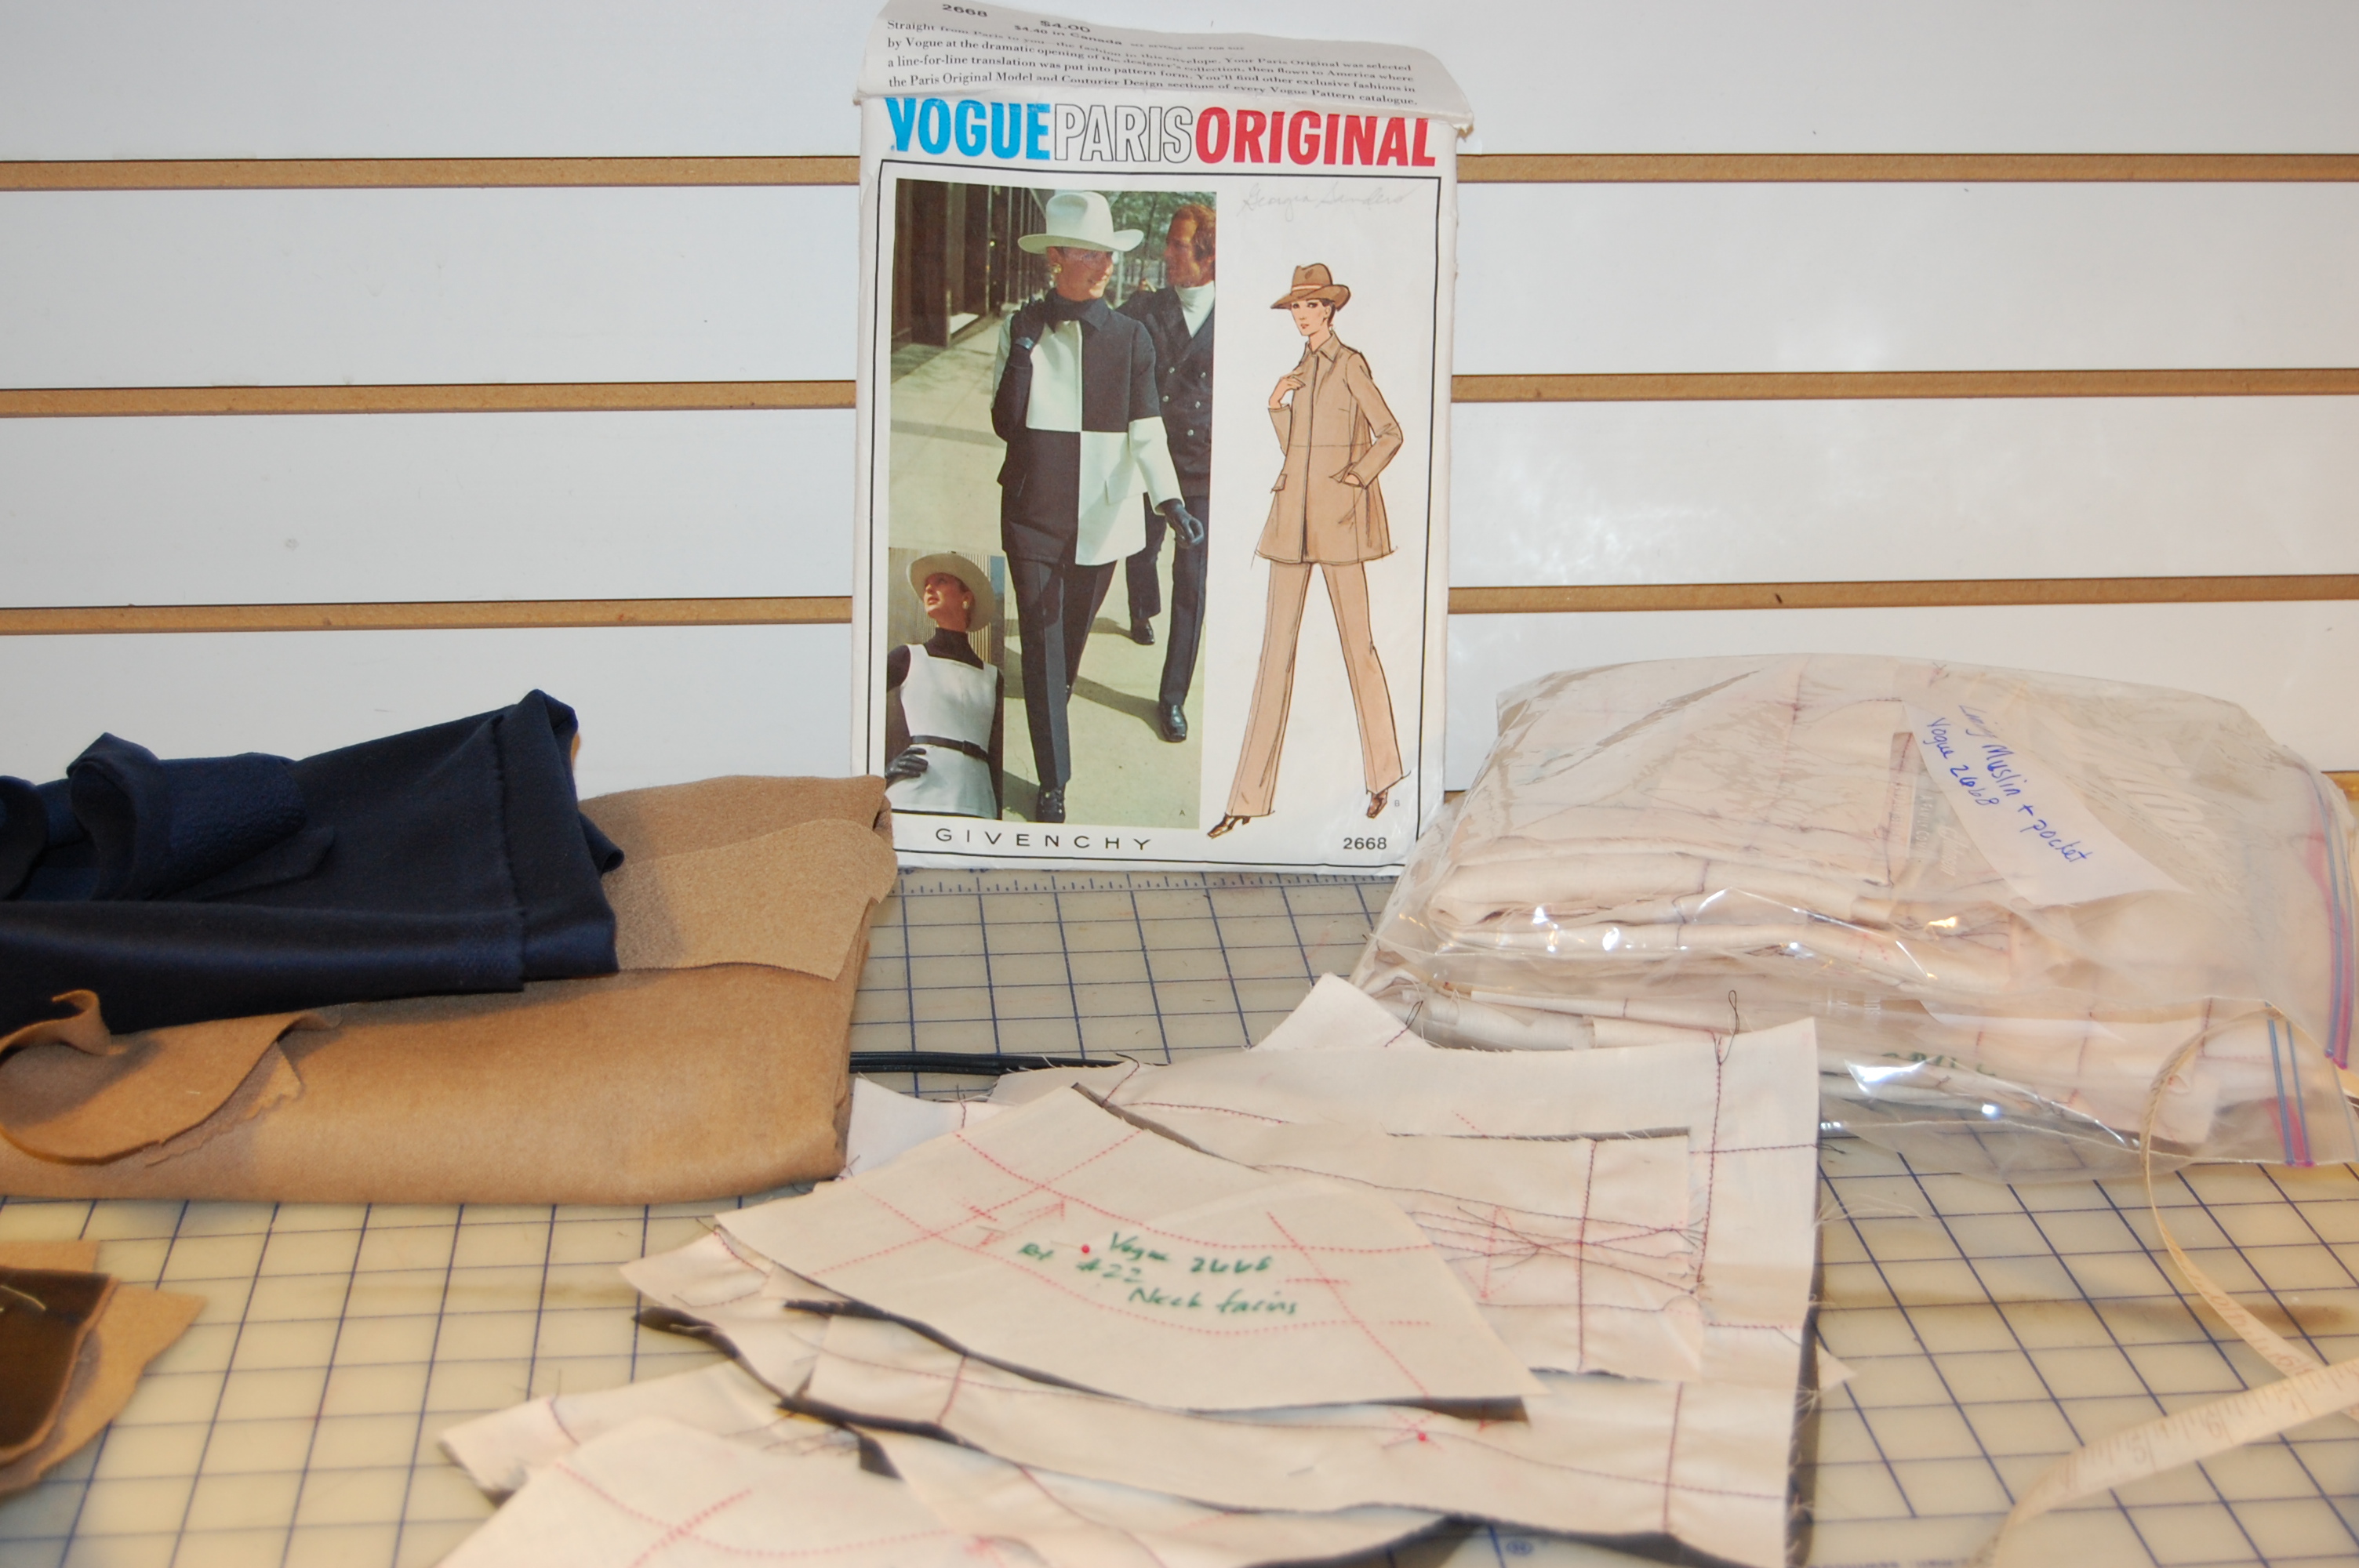
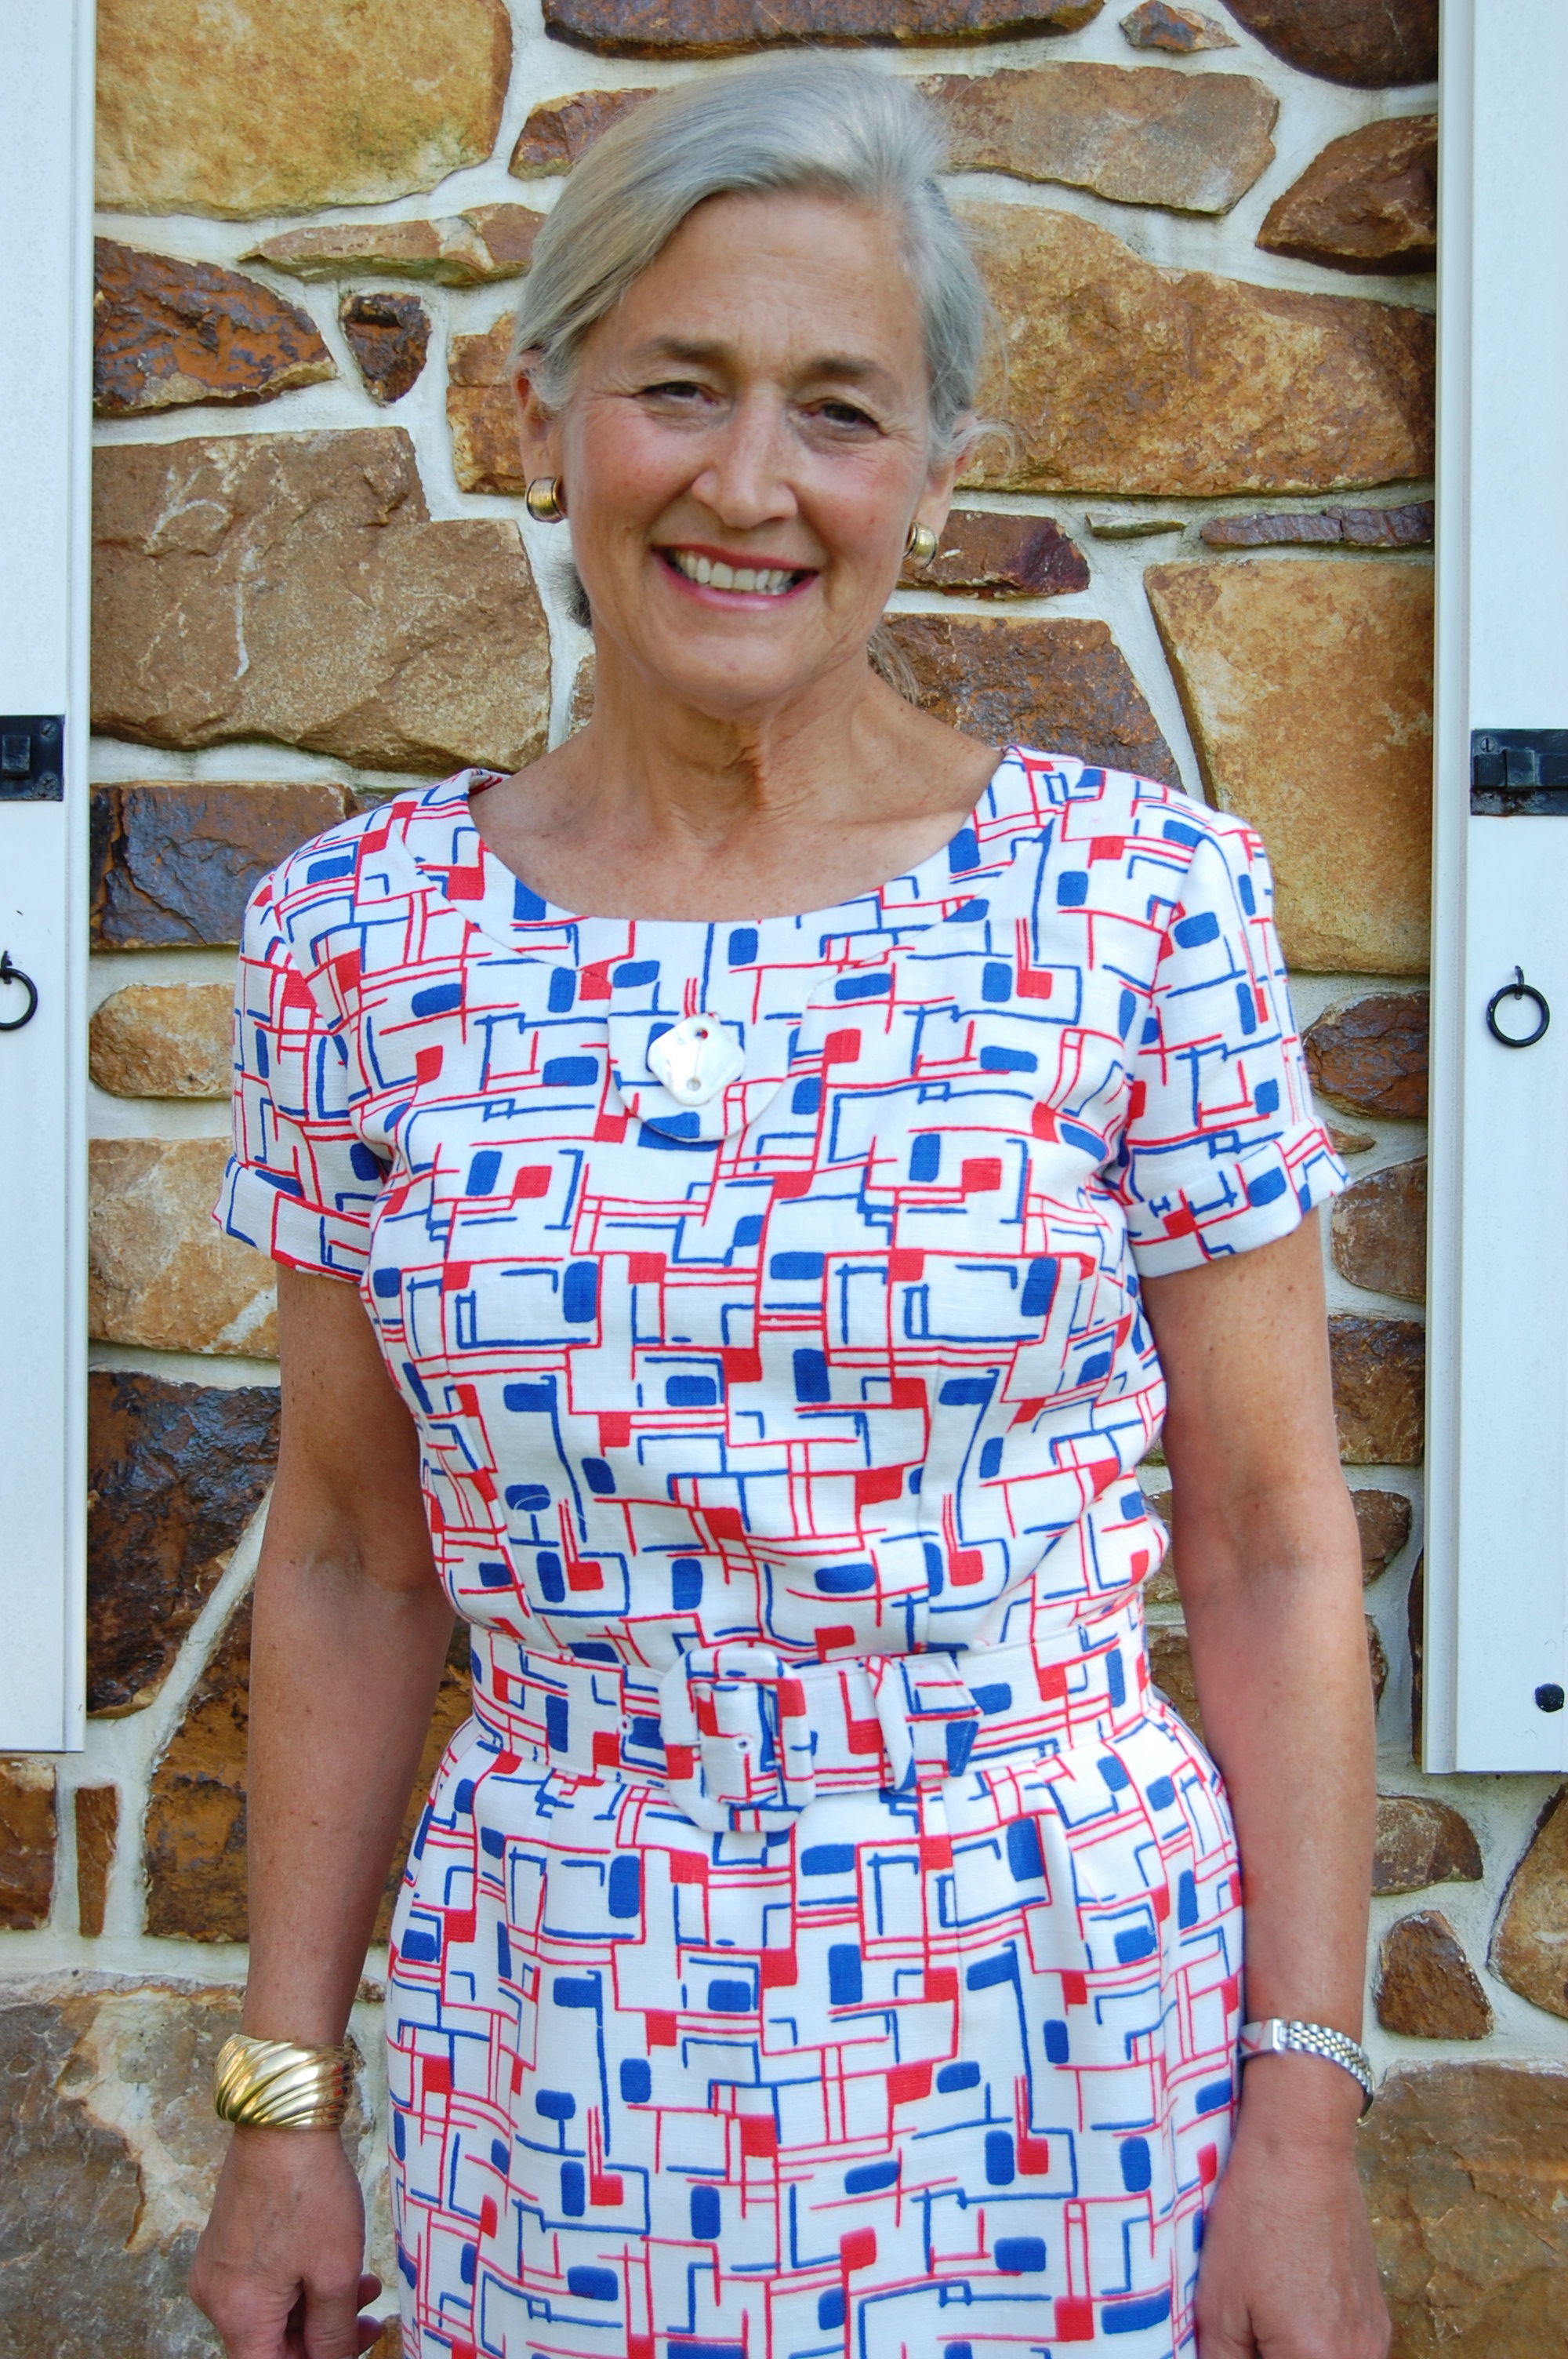
Silk organza must be the best fabric ever made. The more I use it, the more I appreciate and value its unique properties. Having first become aware of it as the building block of couture sewing in the Couture Dress Class by Susan Khalje on Craftsy, I quickly adapted my sewing to incorporate it whenever possible and feasible. Although I fully expected to be using it for my color-blocked coat, I wasn’t sure if I would need to add more to the inside construction in the way of interfacings or other support techniques.
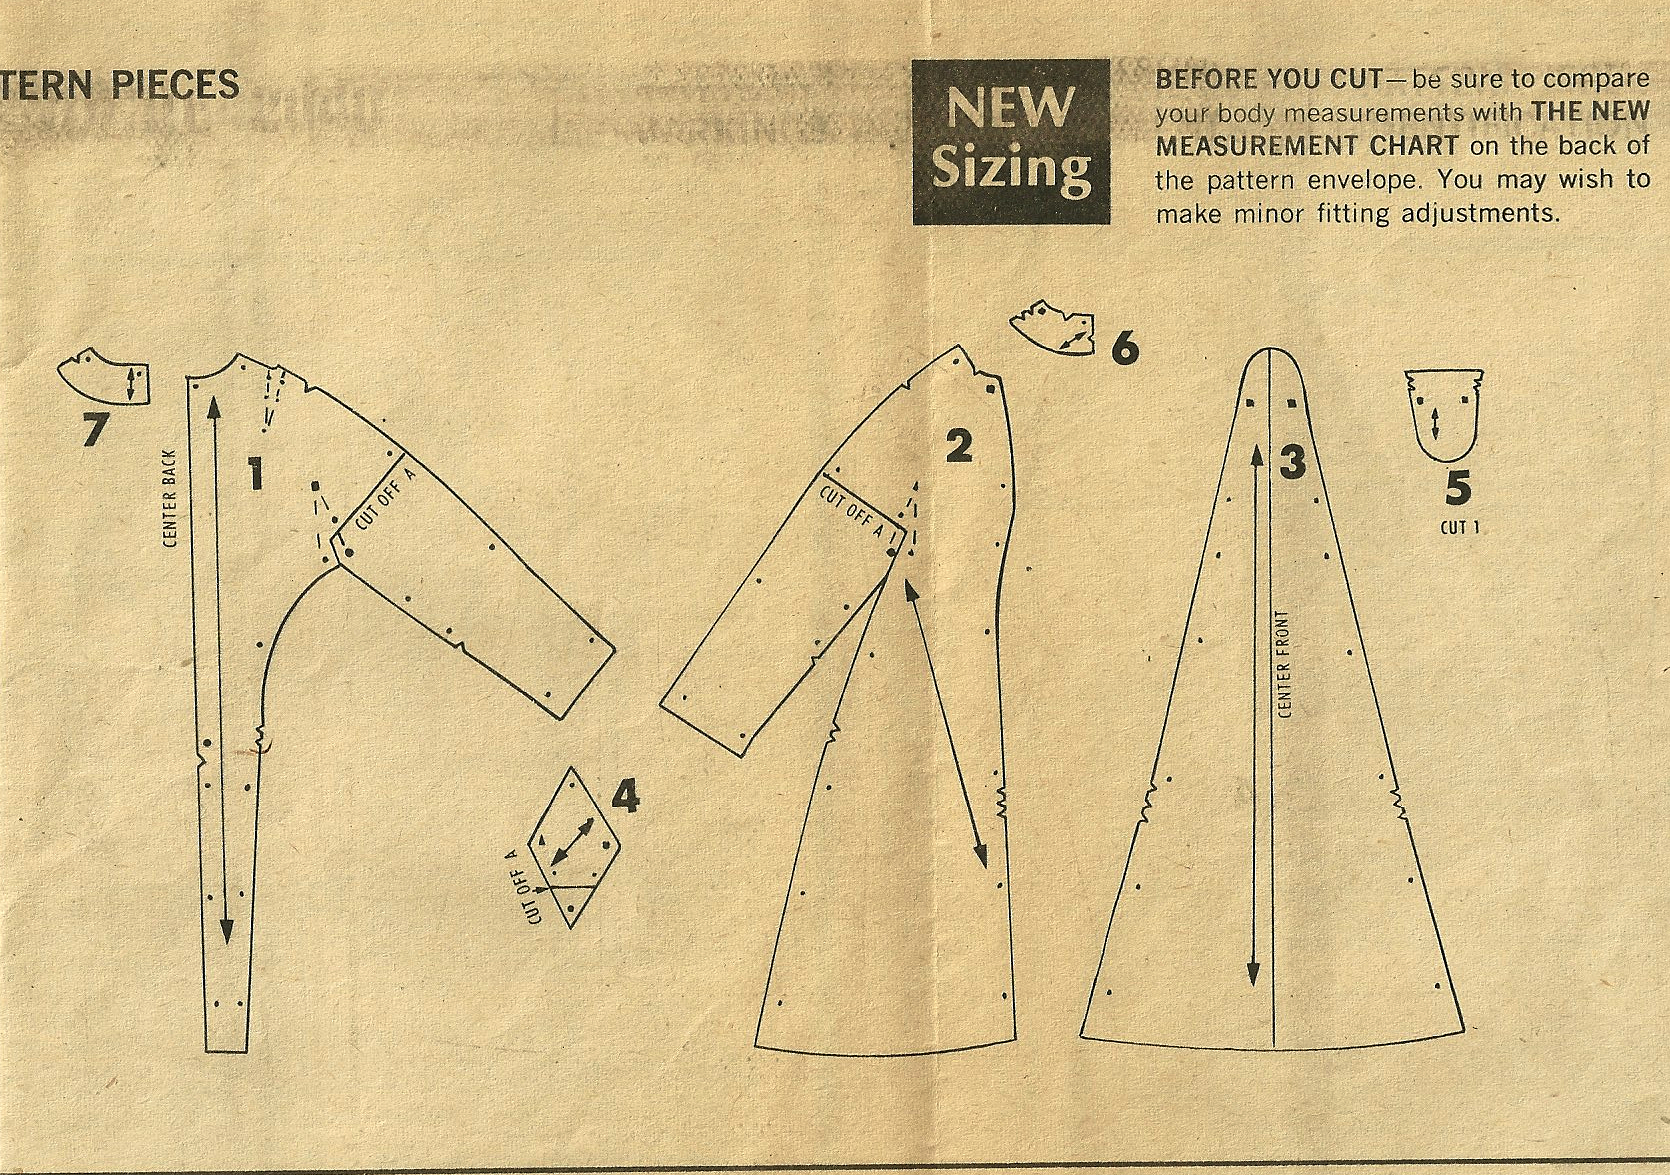
The pattern envelope and instruction sheets were somewhat mystifying, as they listed yardages for both interfacings and underlinings. However, the diagrams on the instruction sheets clearly showed interfacings only.
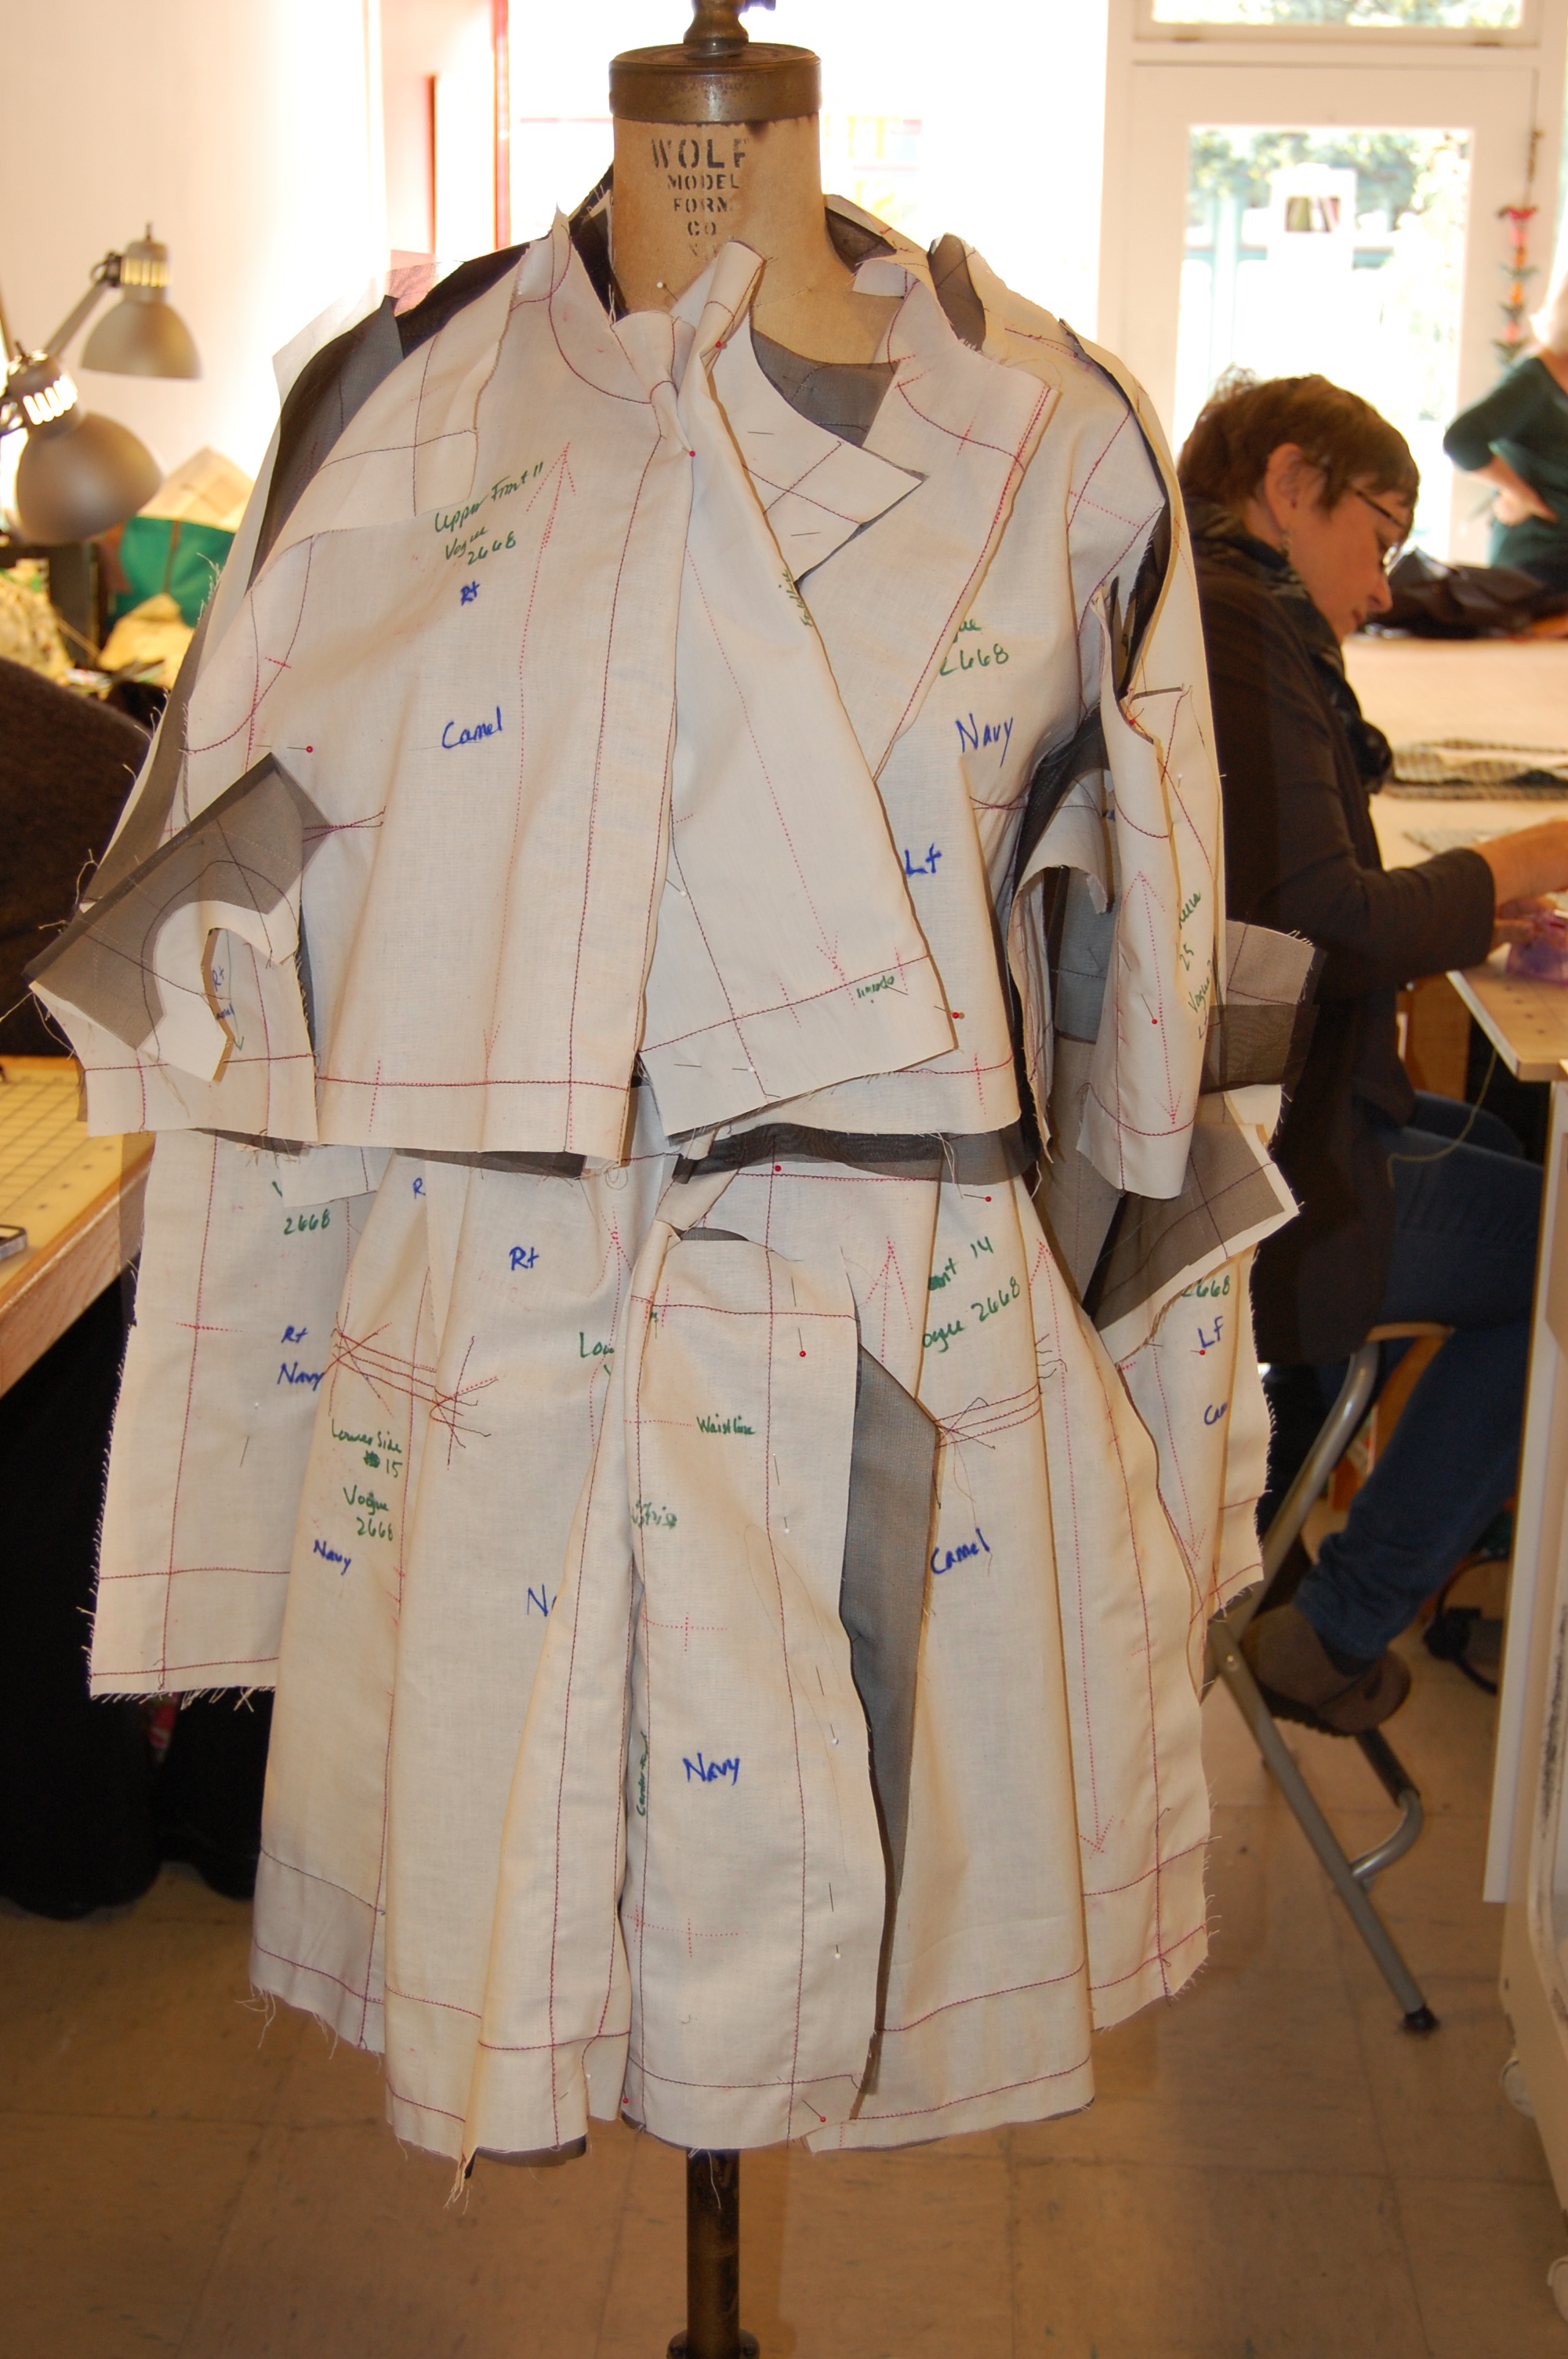
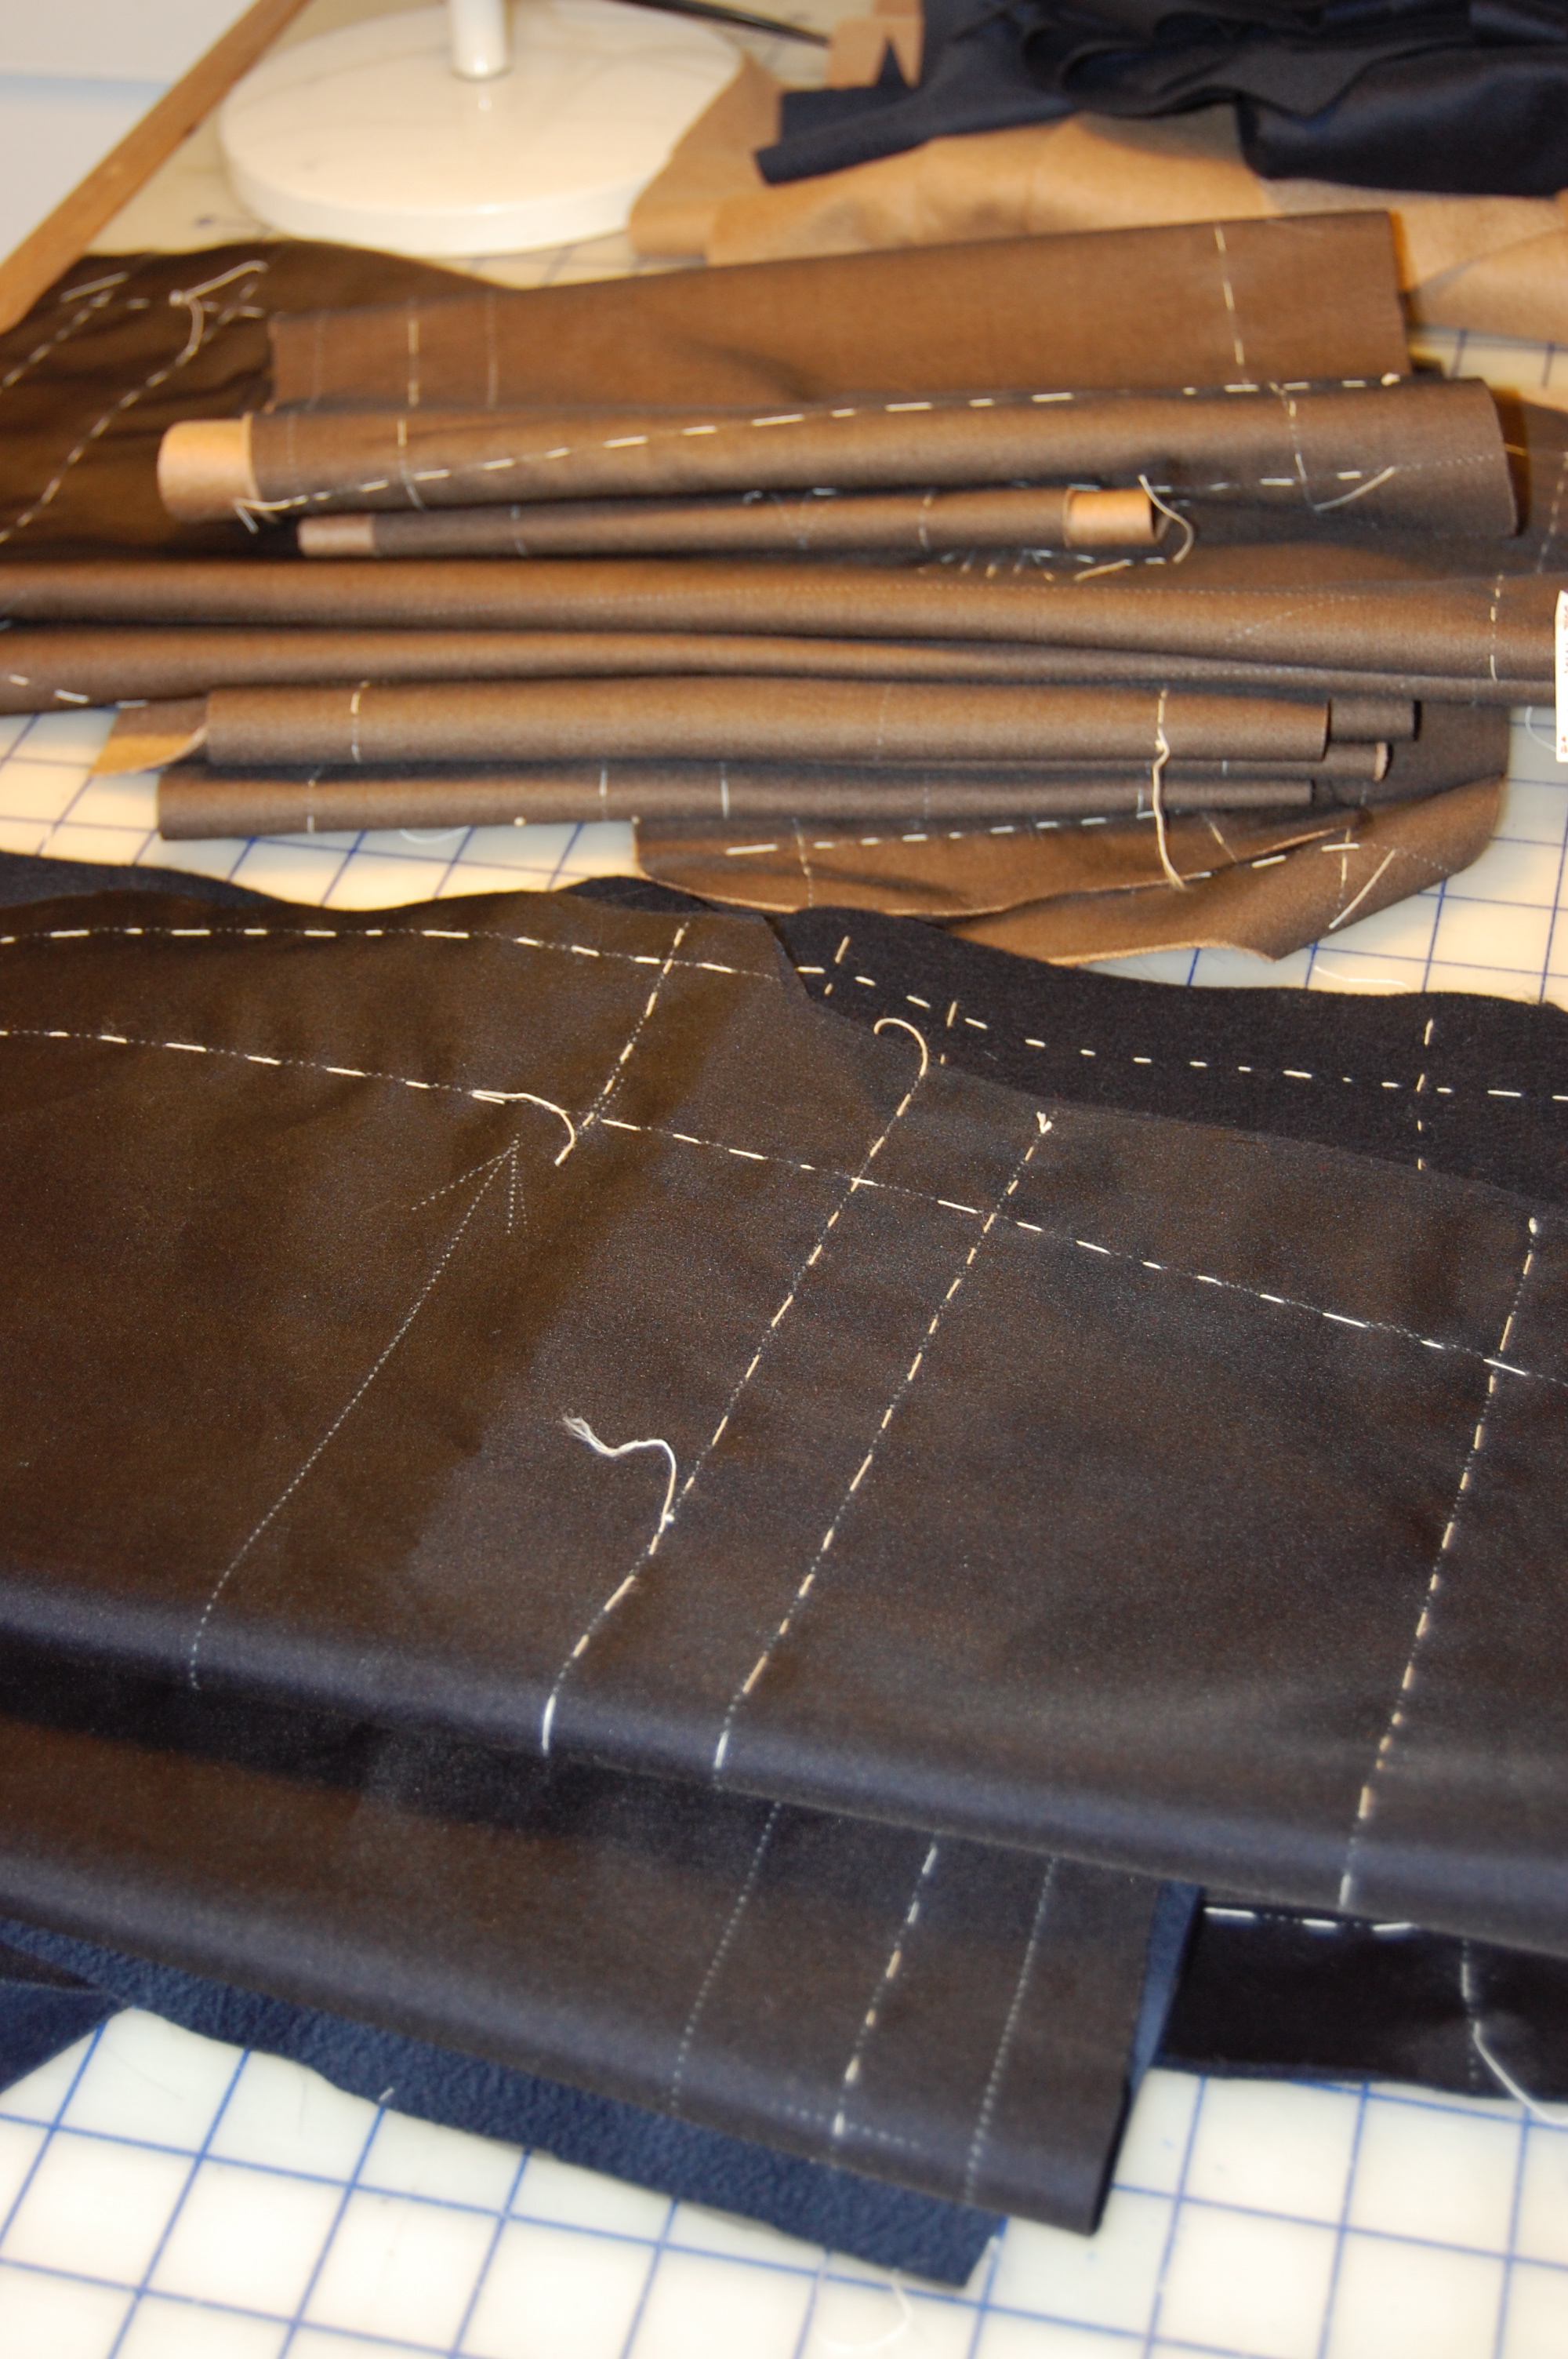
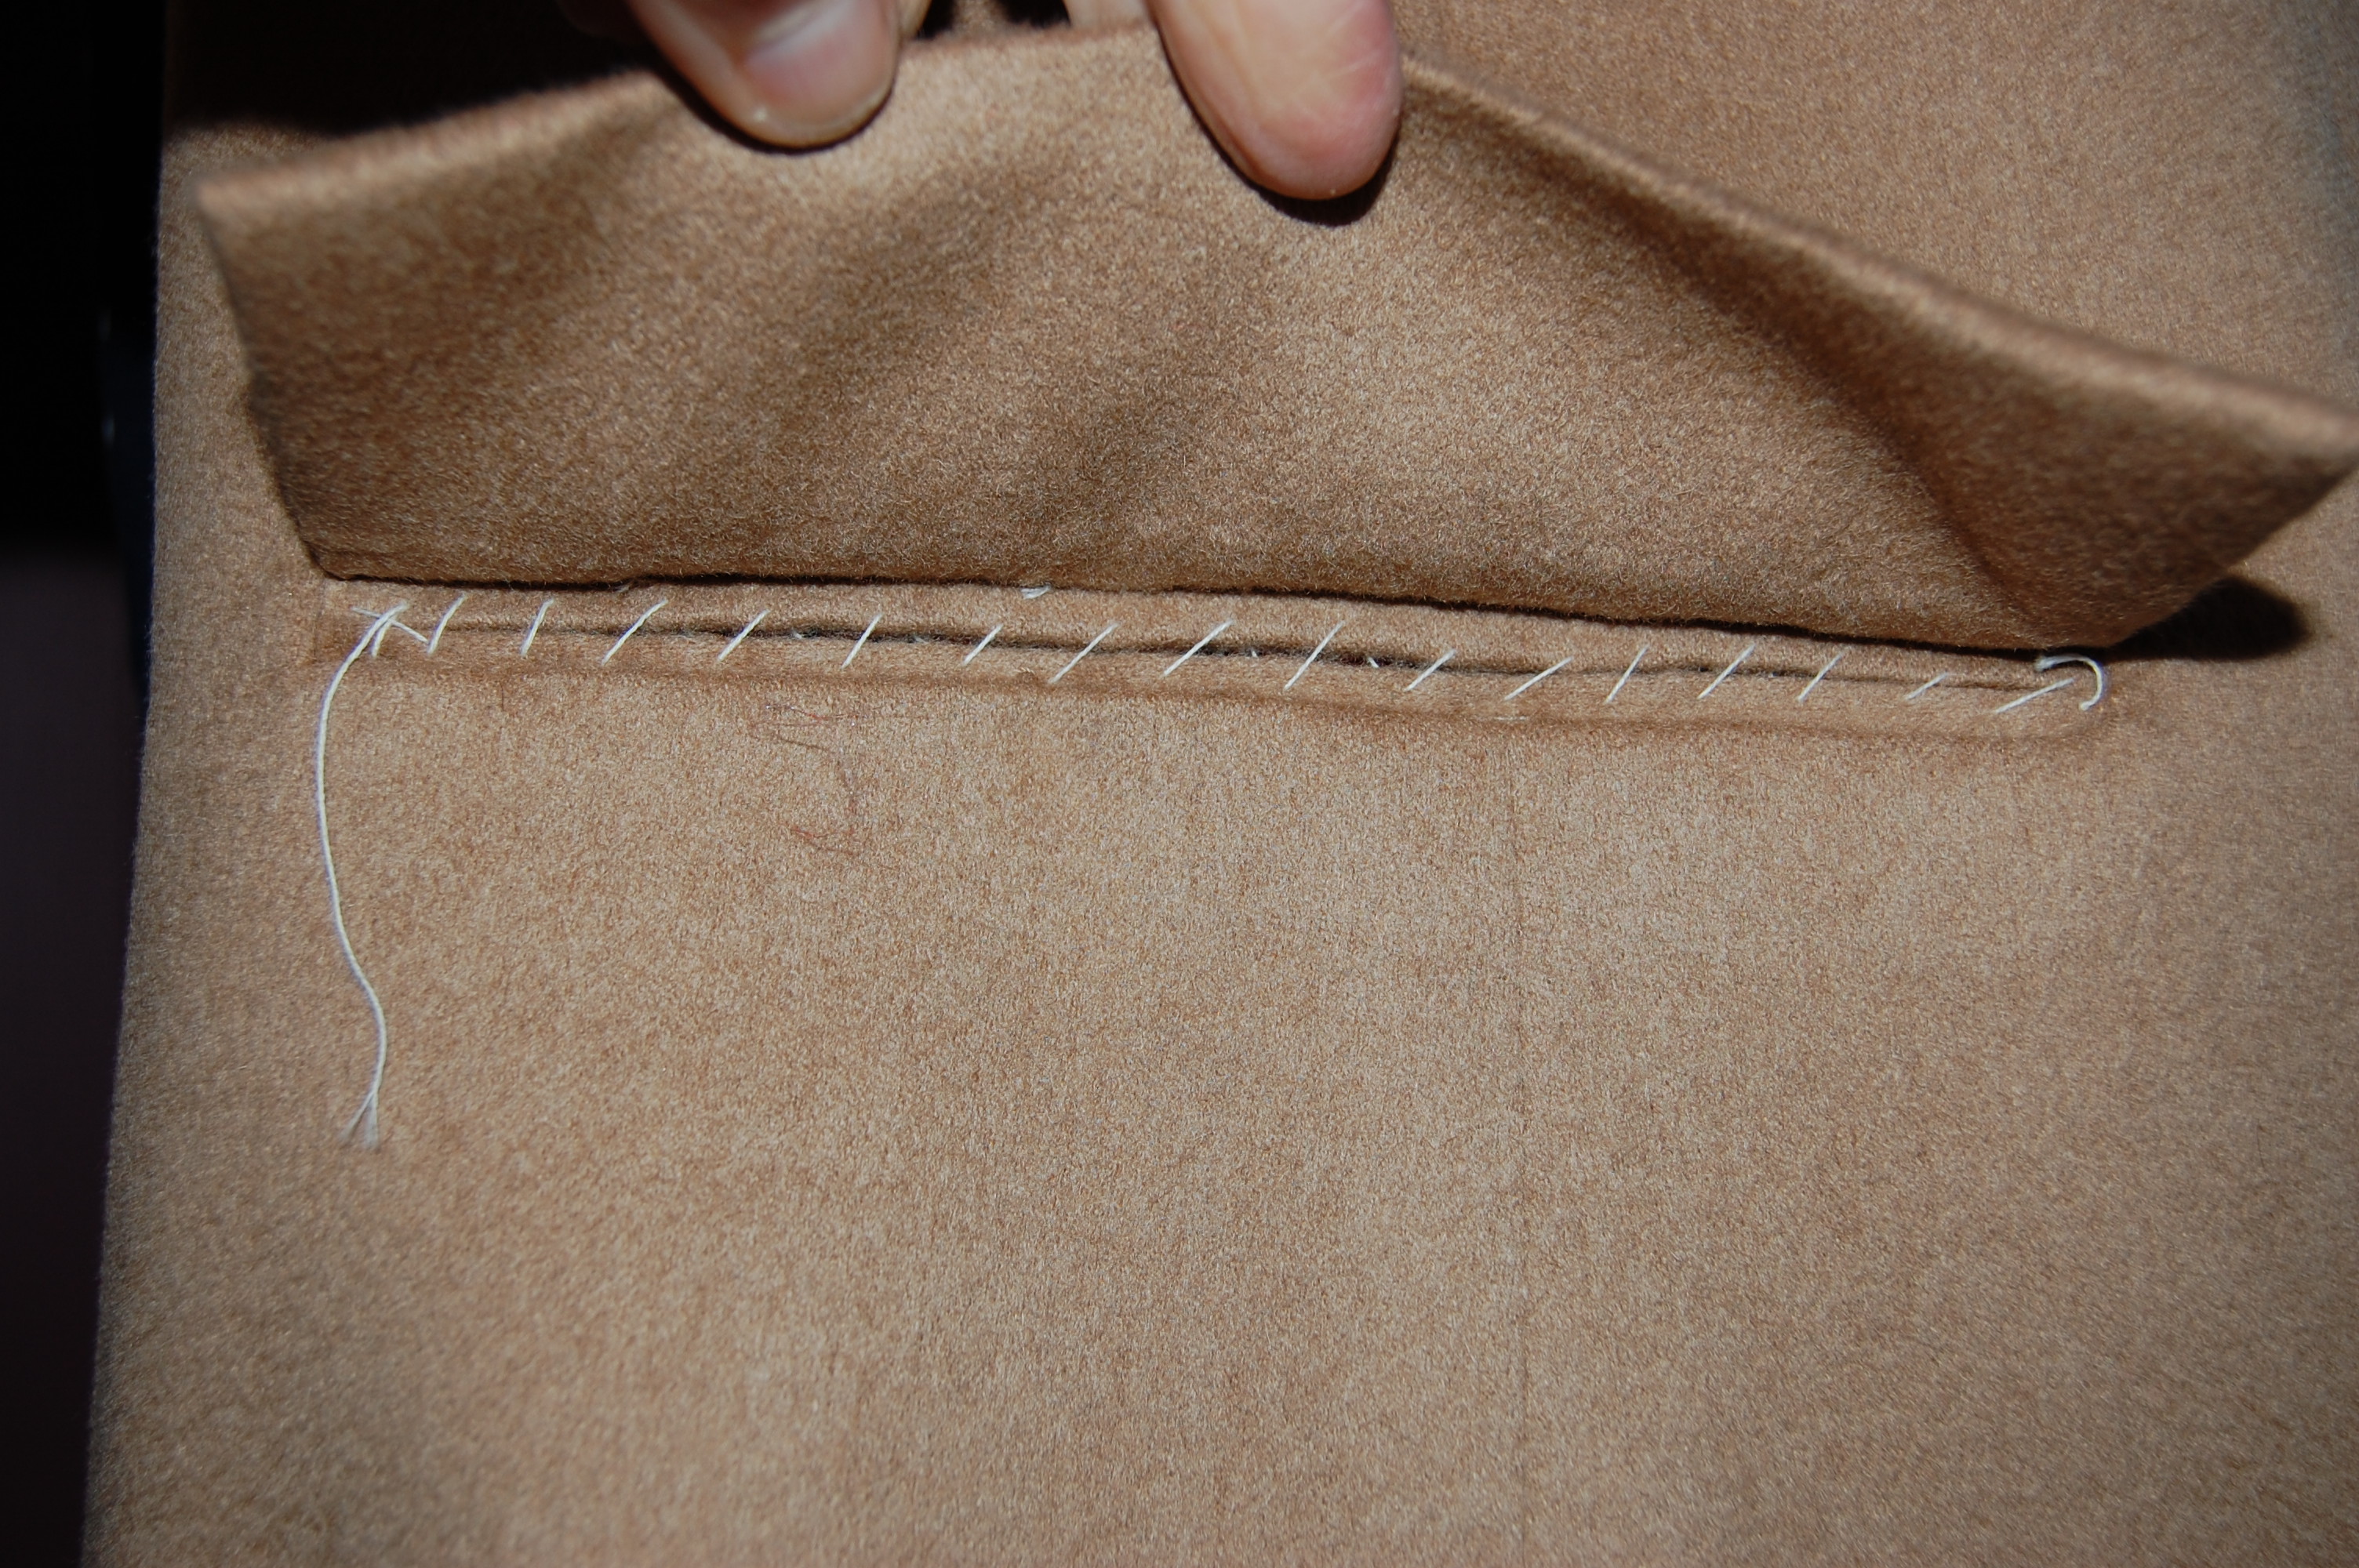
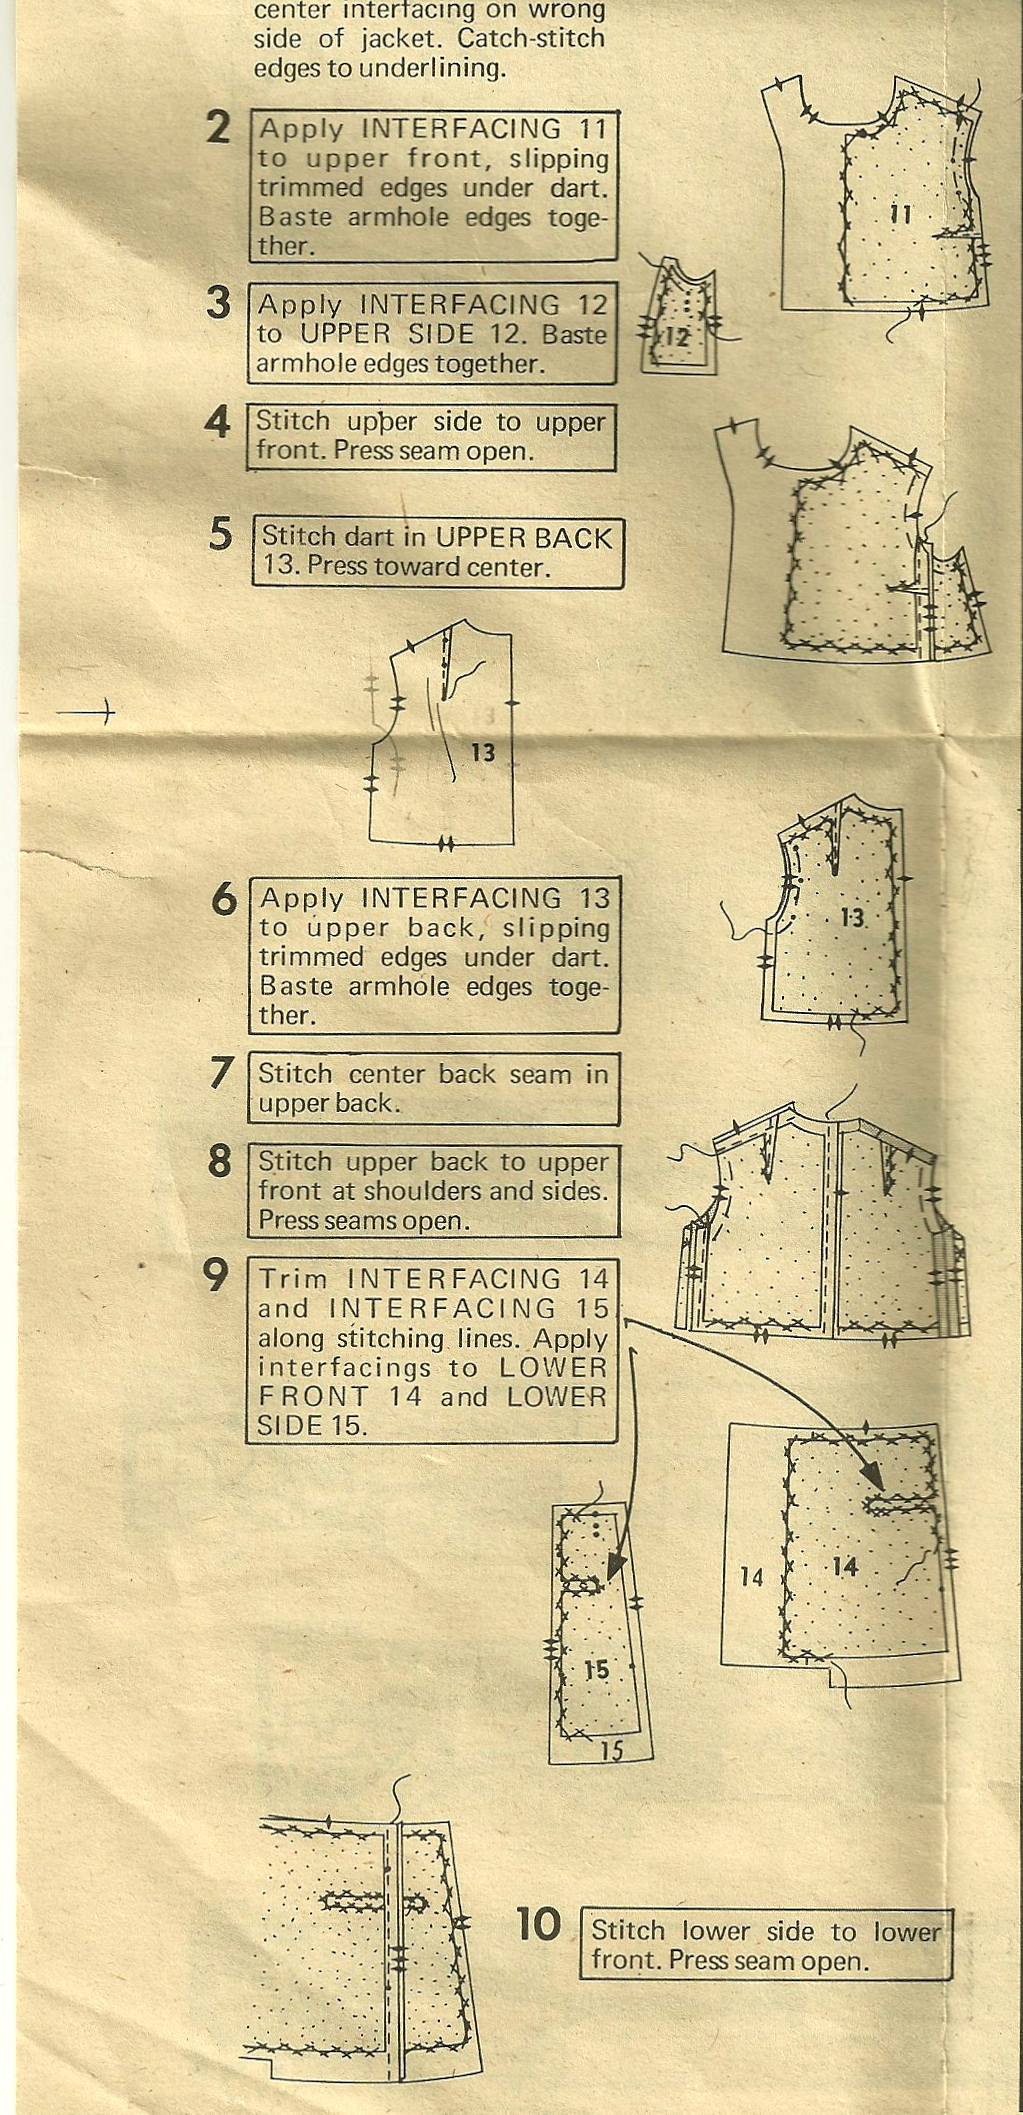 It was just so lovely to have Susan Khalje’s input and expertise to help me with this during my Couture Sewing School class with her in February. Silk organza was clearly going to be the only “support” mechanism I was going to need (with the exception of the collar, to be discussed below.) With each jacket section underlined with black silk organza, I was able to control the inside seams by catch-stitching them to the silk organza.
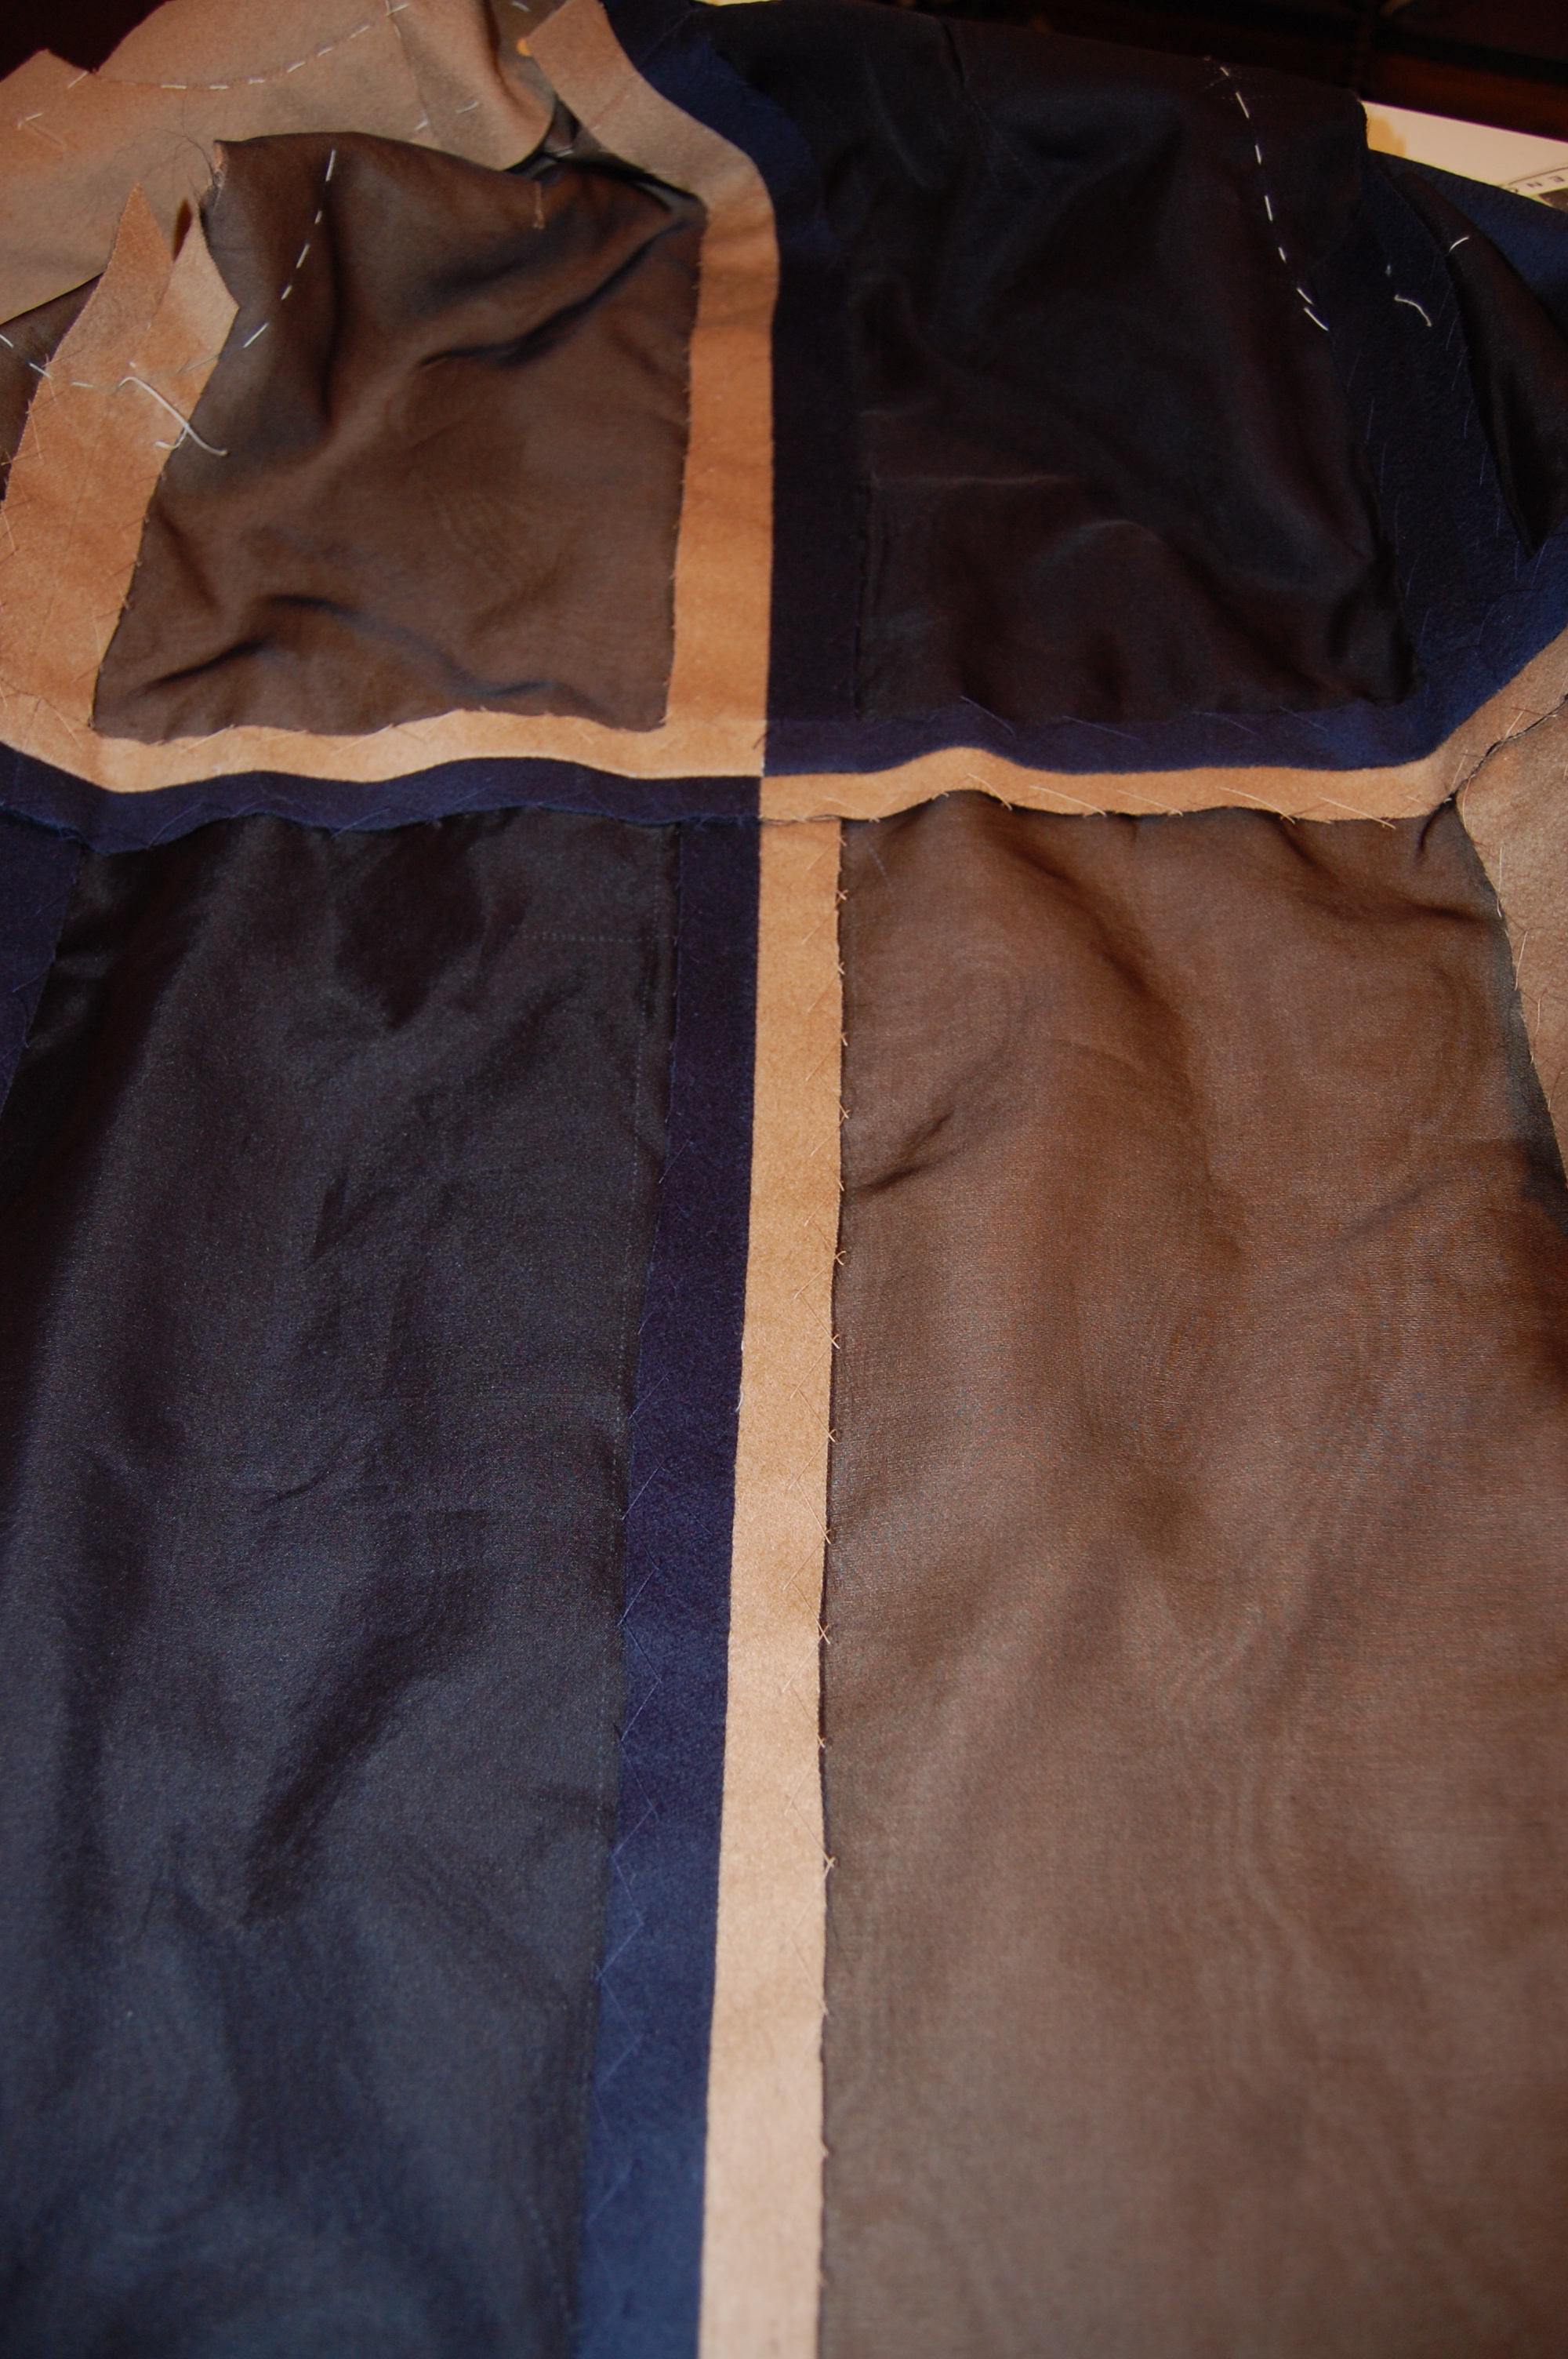
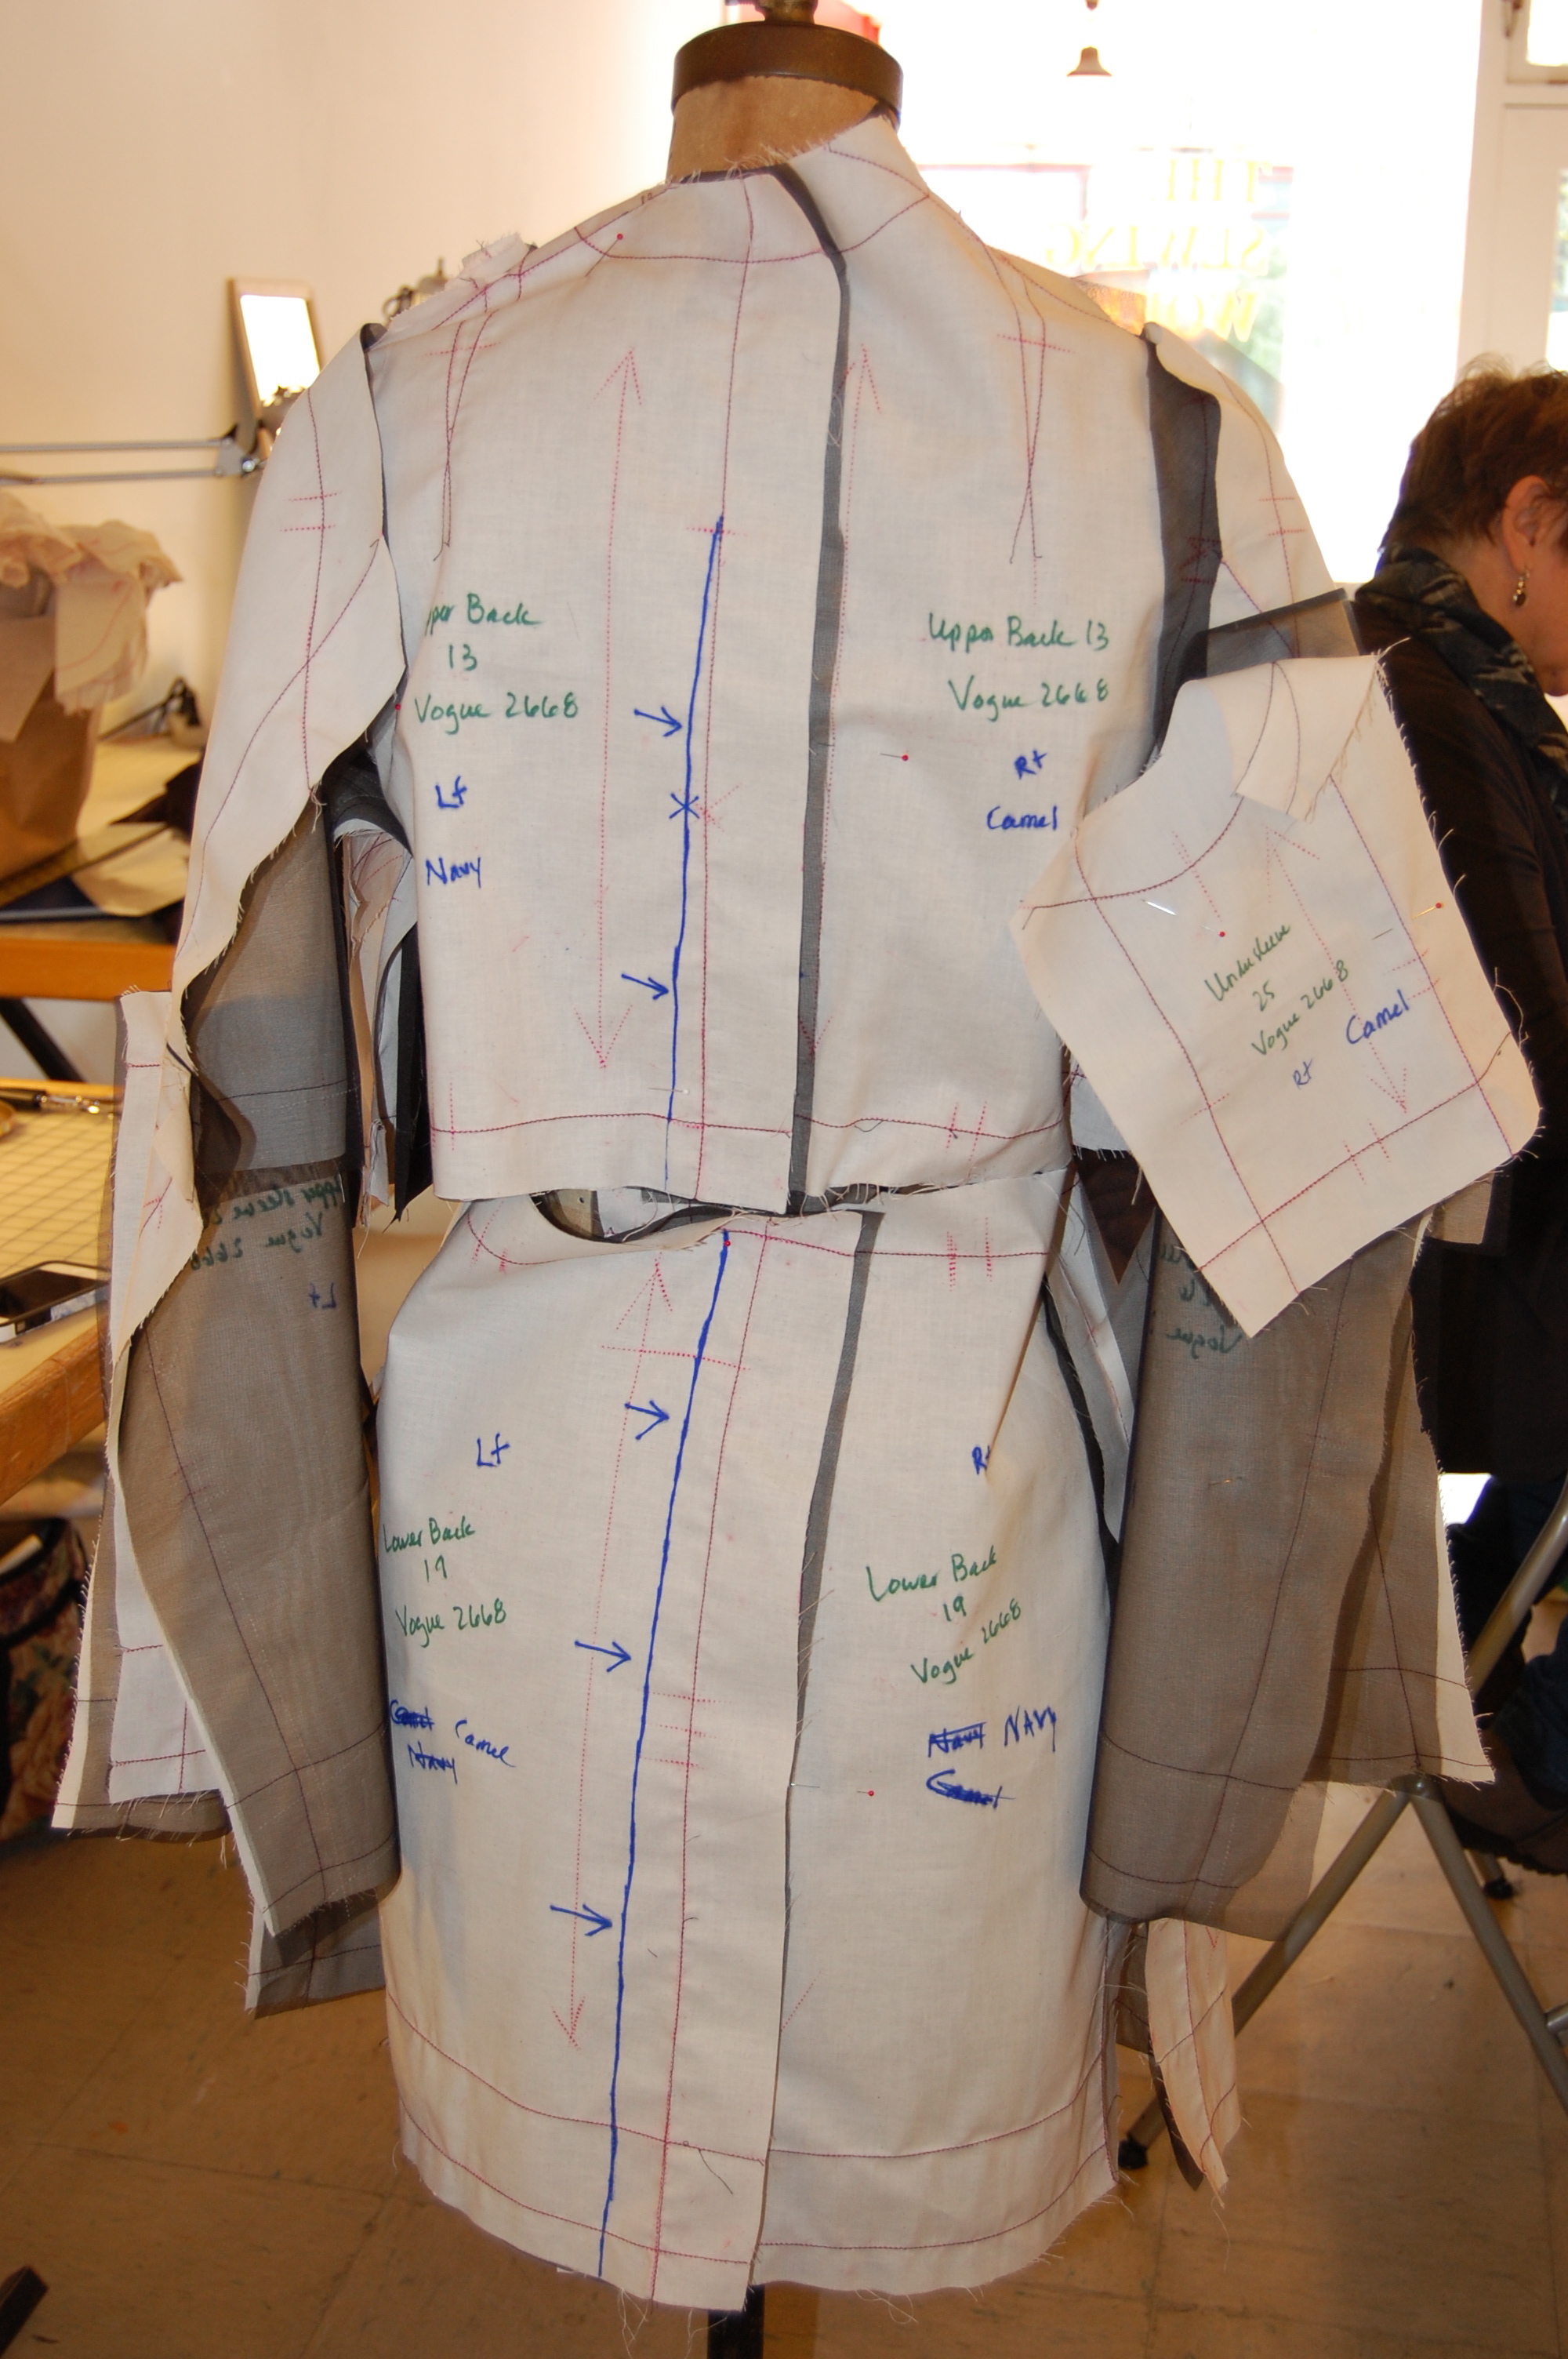
Here is the inside of the back of the coat, with the seams catch-stitched to the organza. Click on the photo to see details.
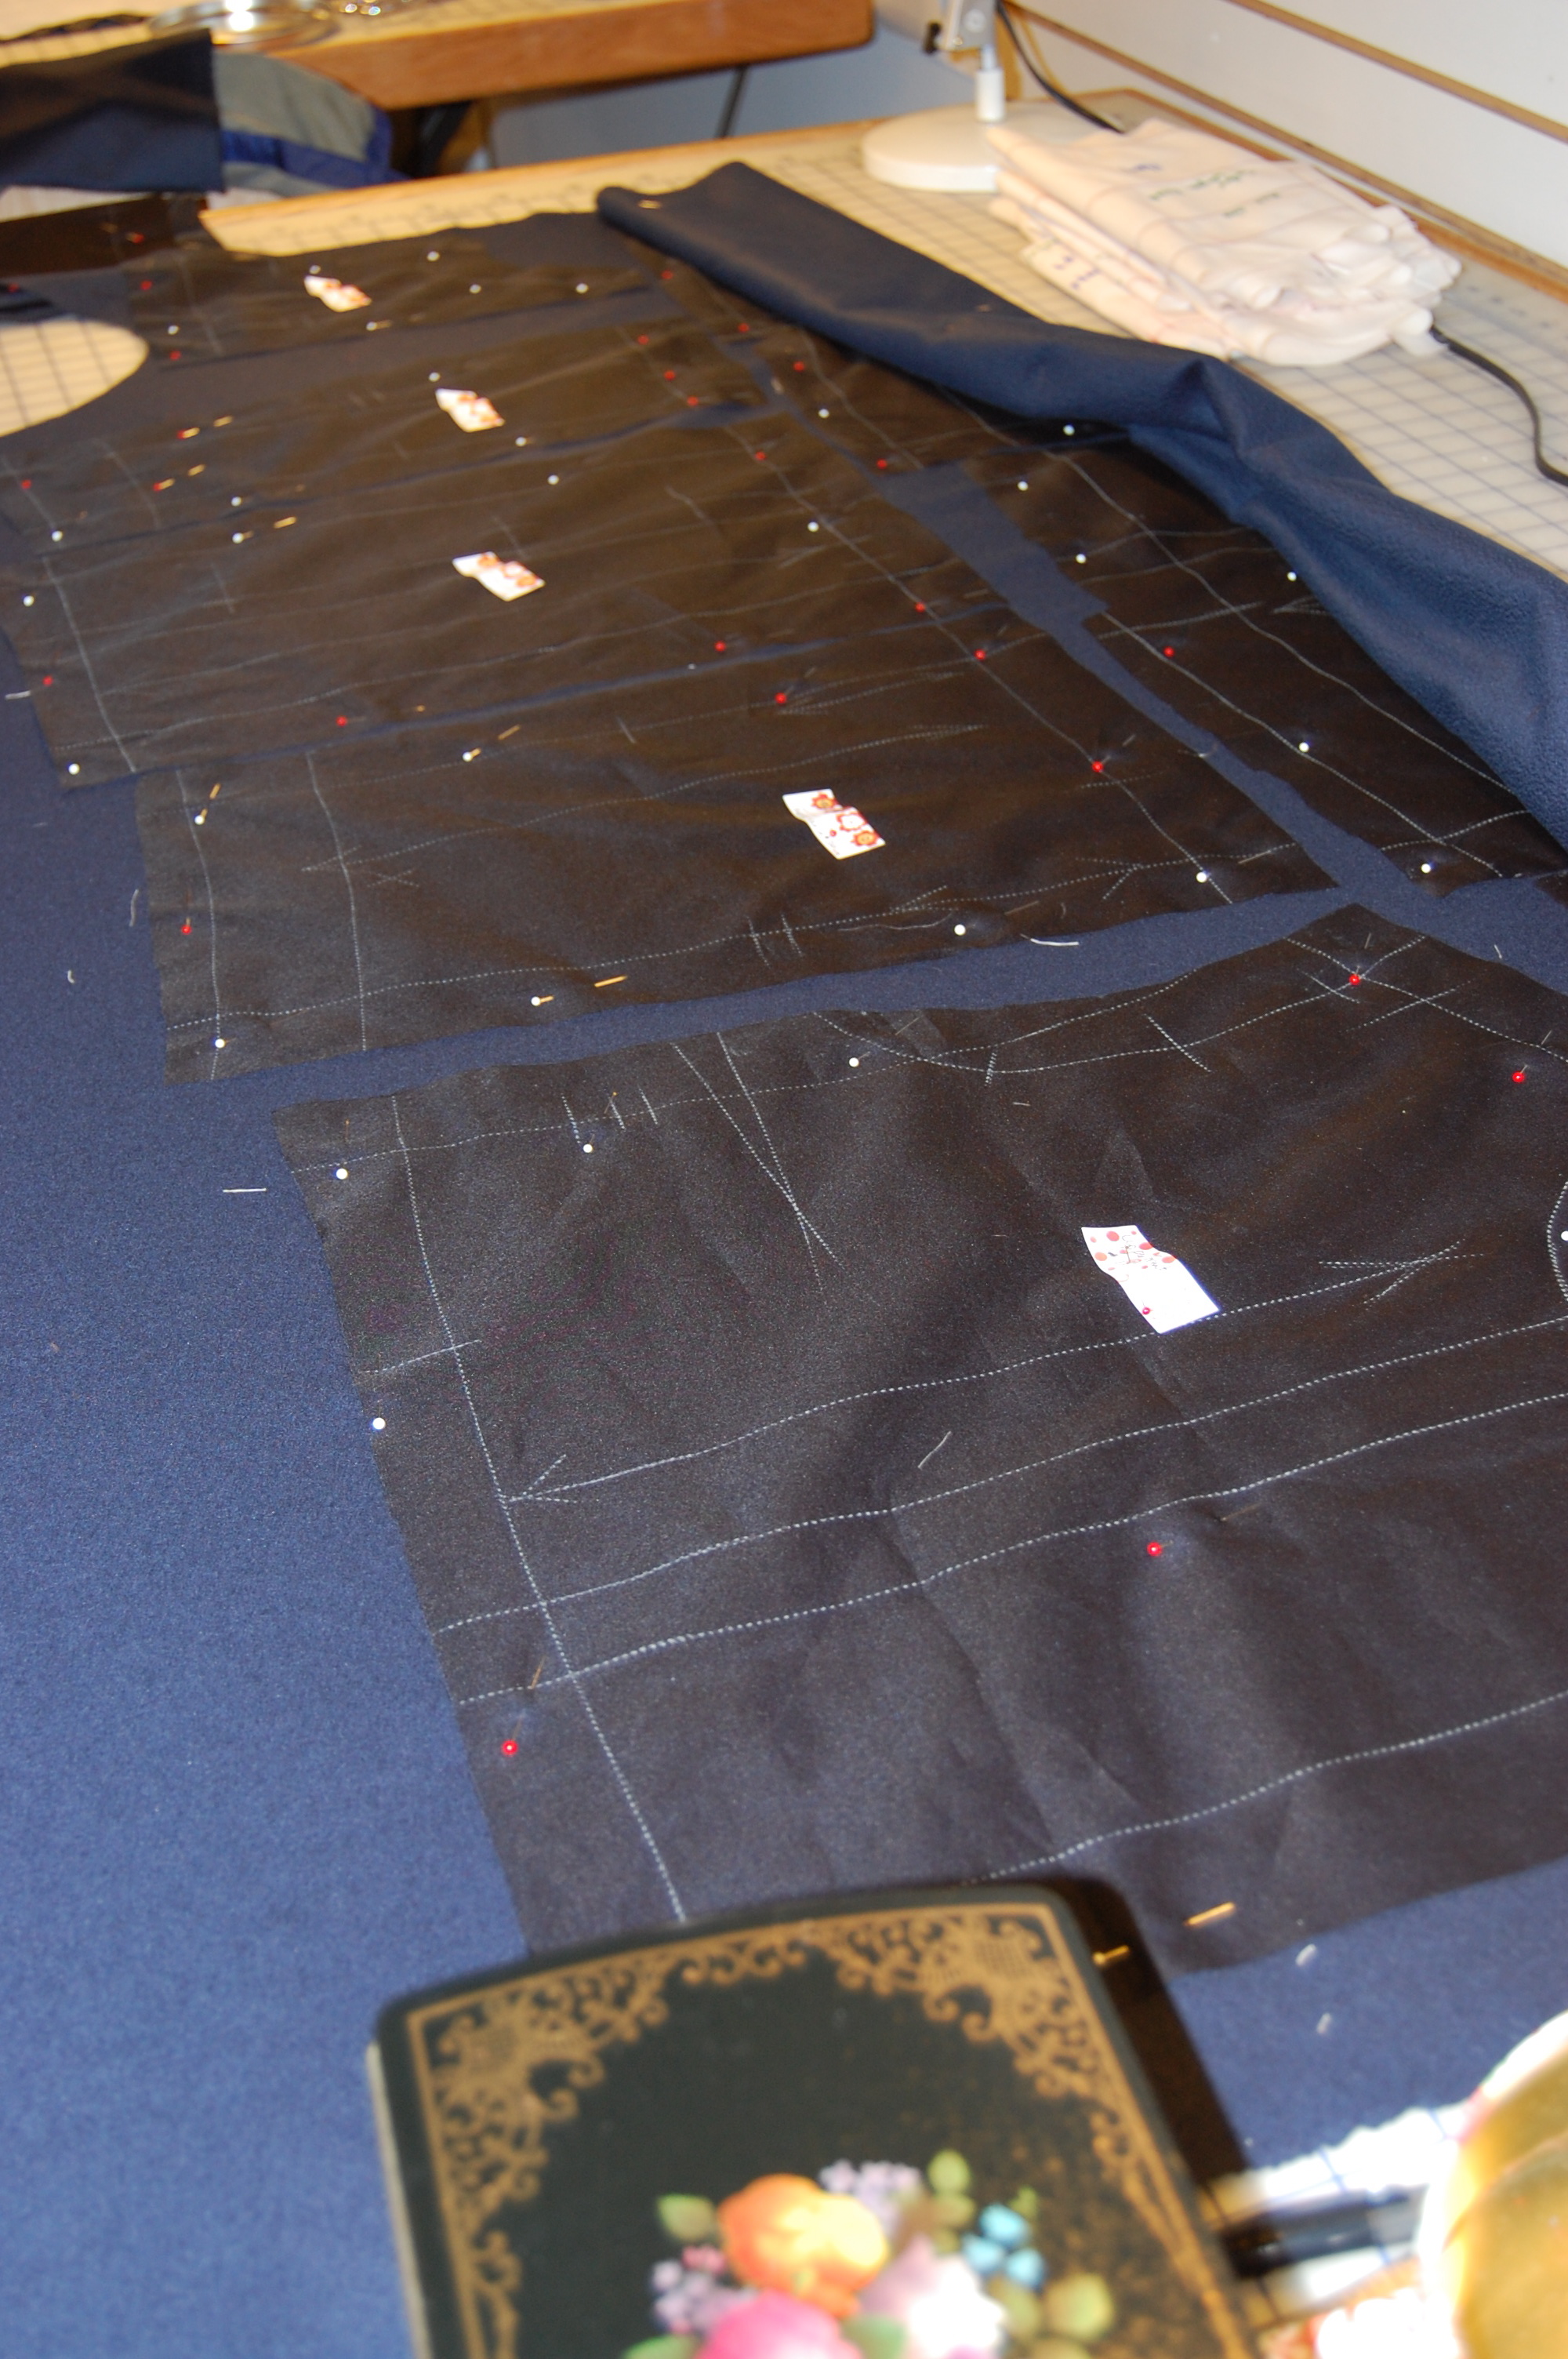
A quick note here on pressing. Because my fabrics each have a distinct nap to them, making them easily impressionable, and because they are heavier coat weight fabrics, pressing seams required some extra attention. Susan had me insert sheets of paper under the two edges of each seam for its initial press (before trimming them down for catch-stitching). This prevented the impression of the seam allowances to show up on the right side. With a really good steam iron, a wonderful finish can be achieved with this method.
The pockets were one of the first details to be tackled. It had been a while (like years!) since I had made flap/buttonhole pockets. Once again, Susan’s guidance gave me confidence. She had me make a trial pocket first, and then I was ready for the real thing.
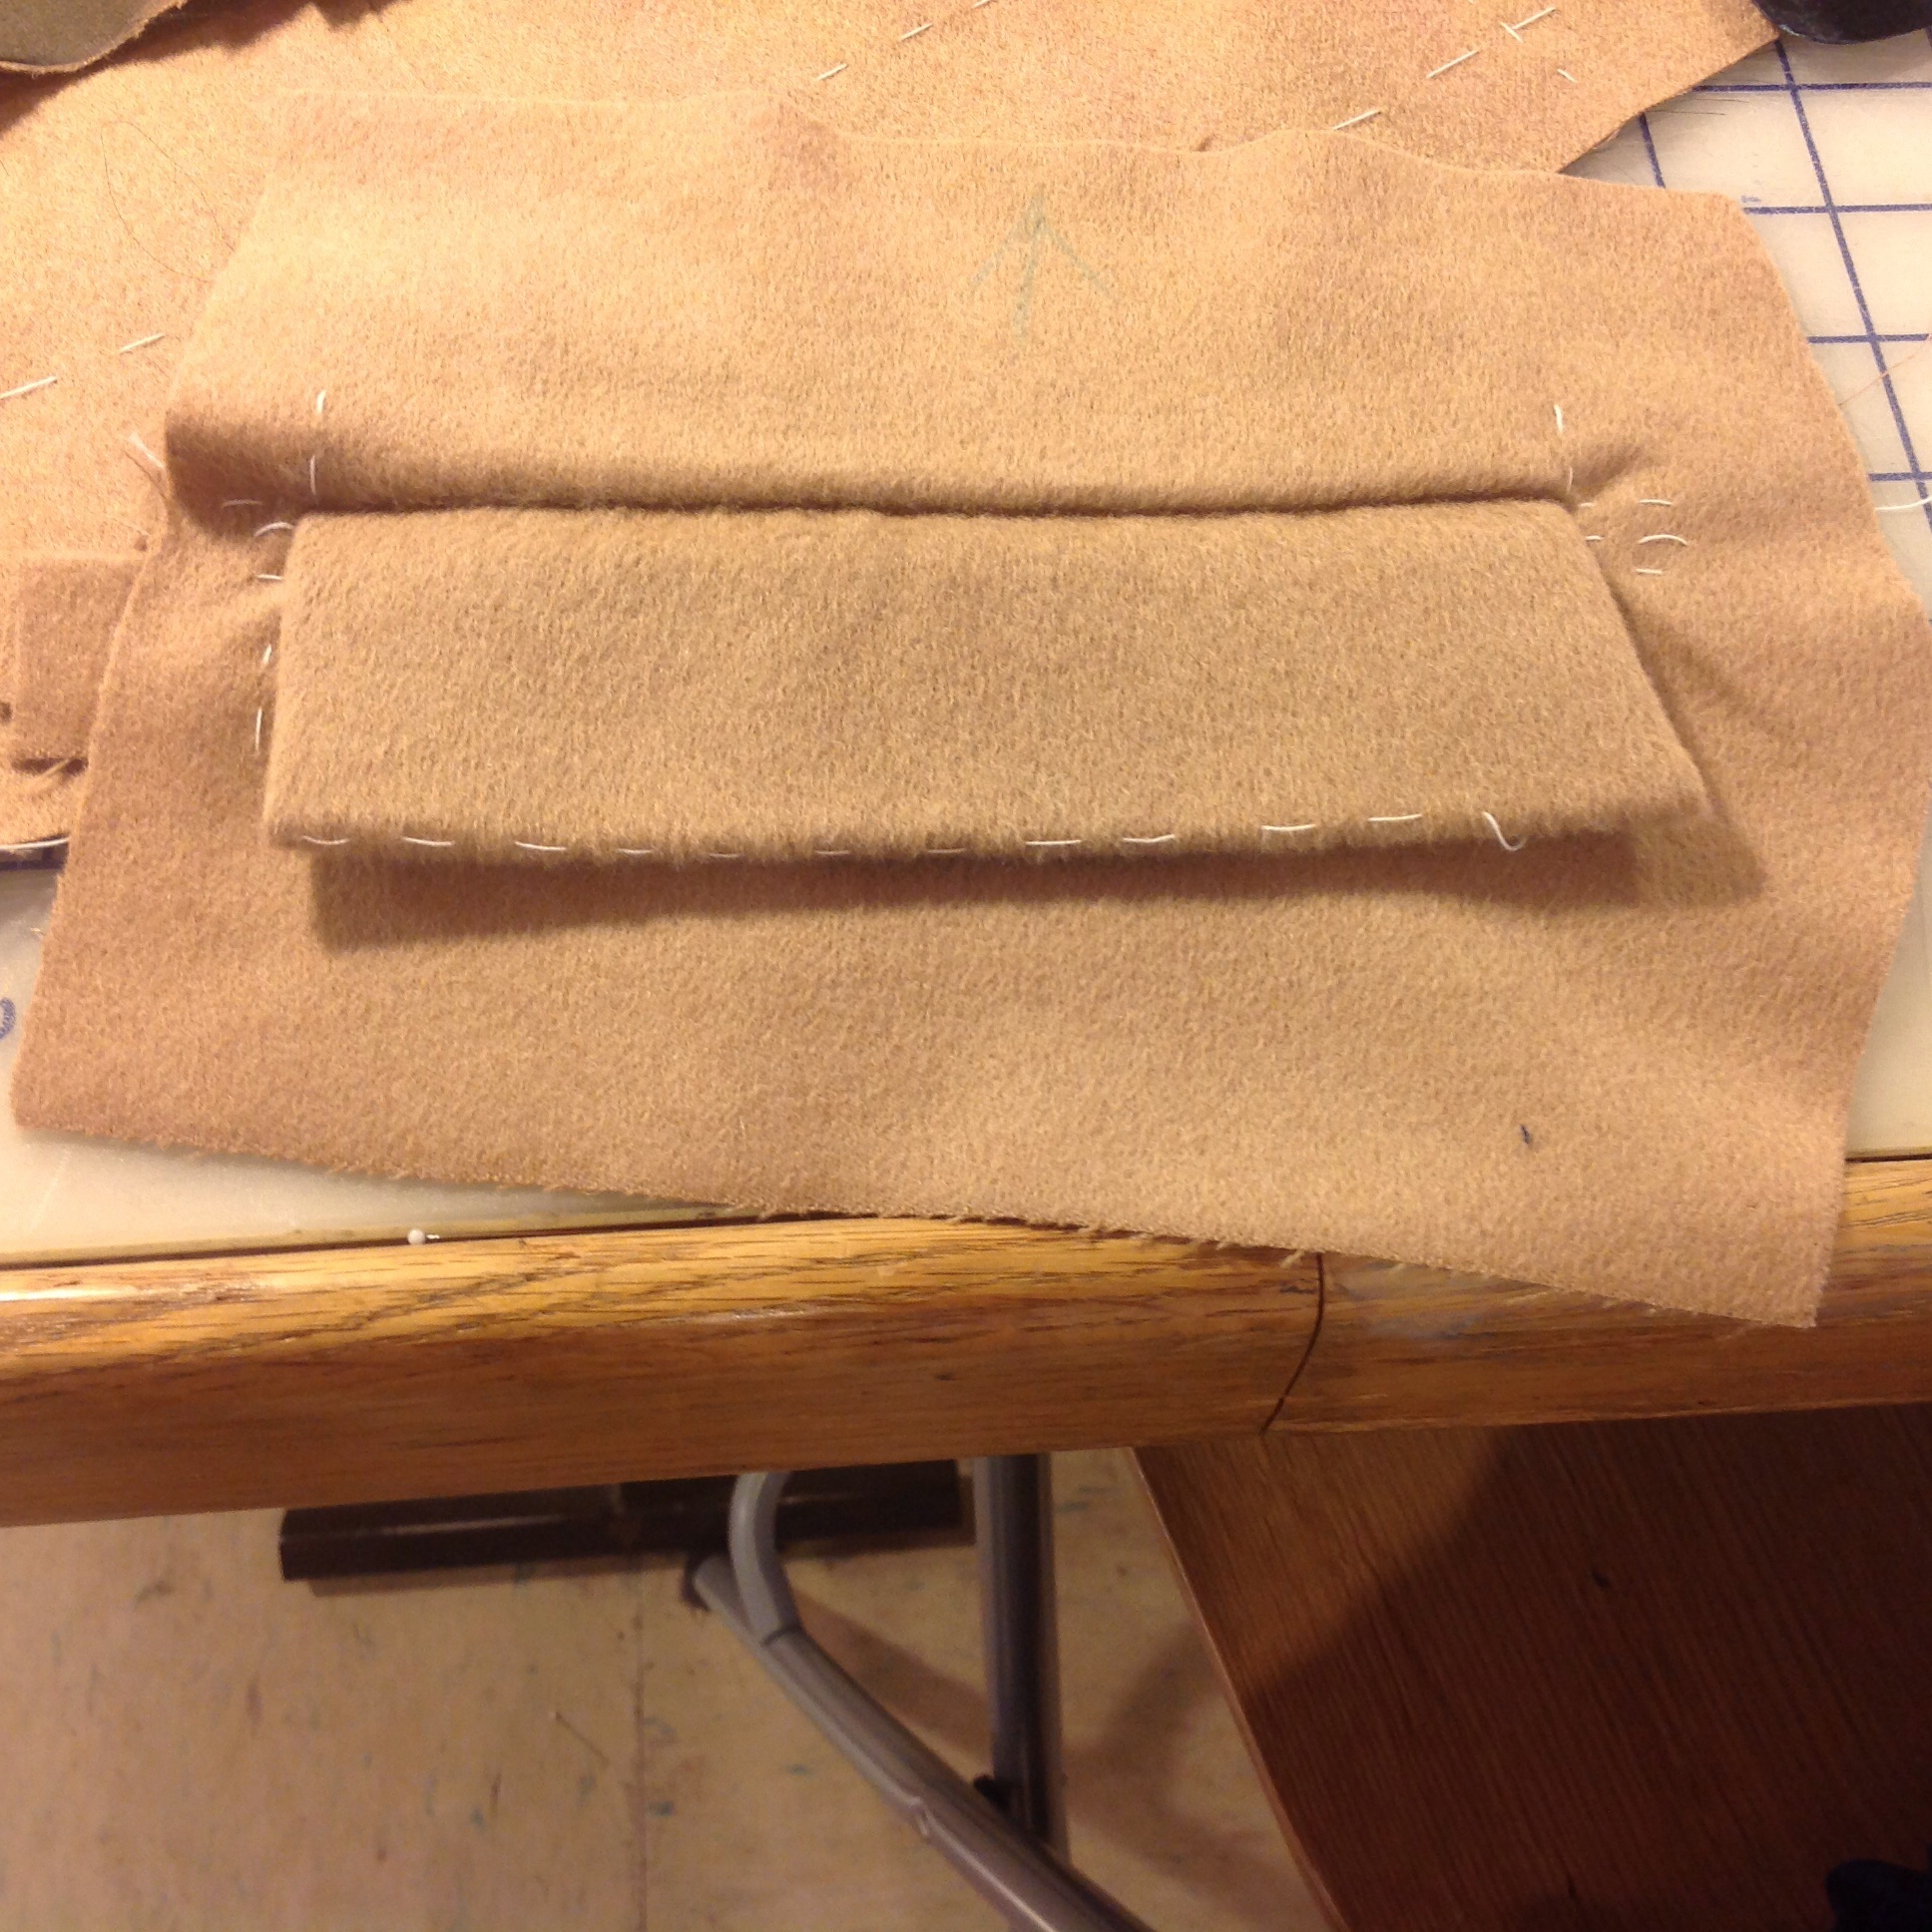
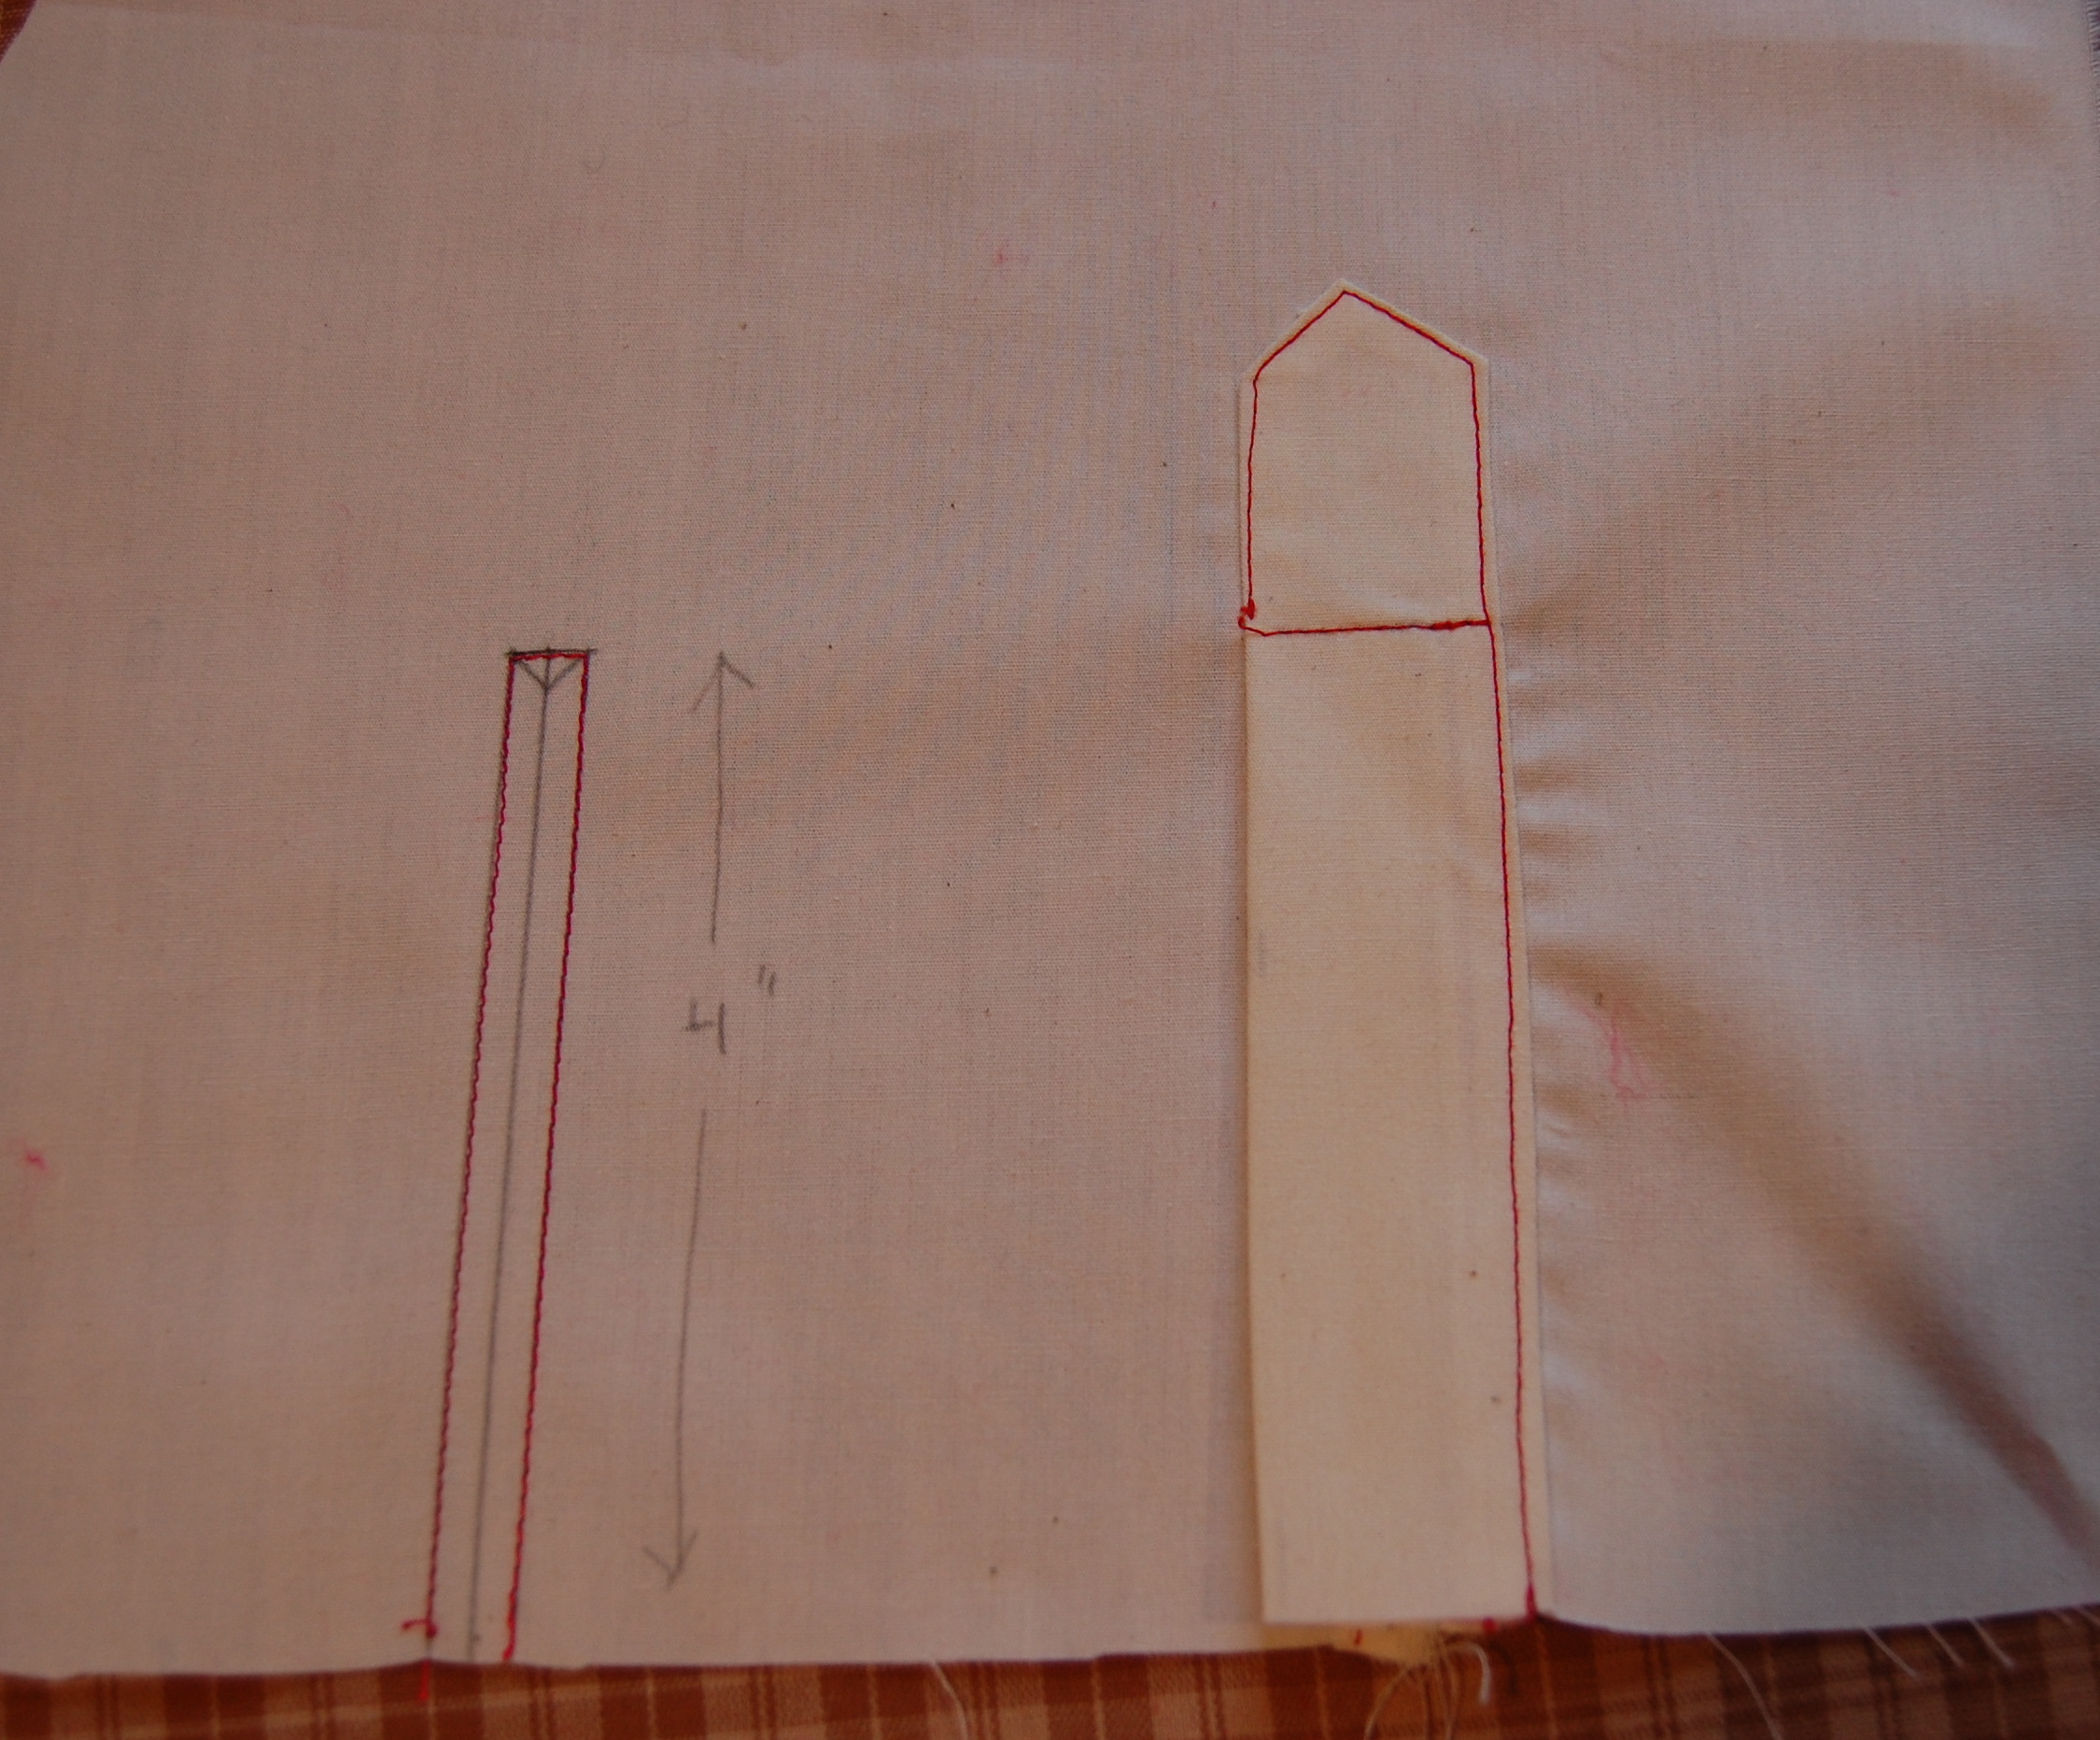
My sample flap before pressing.
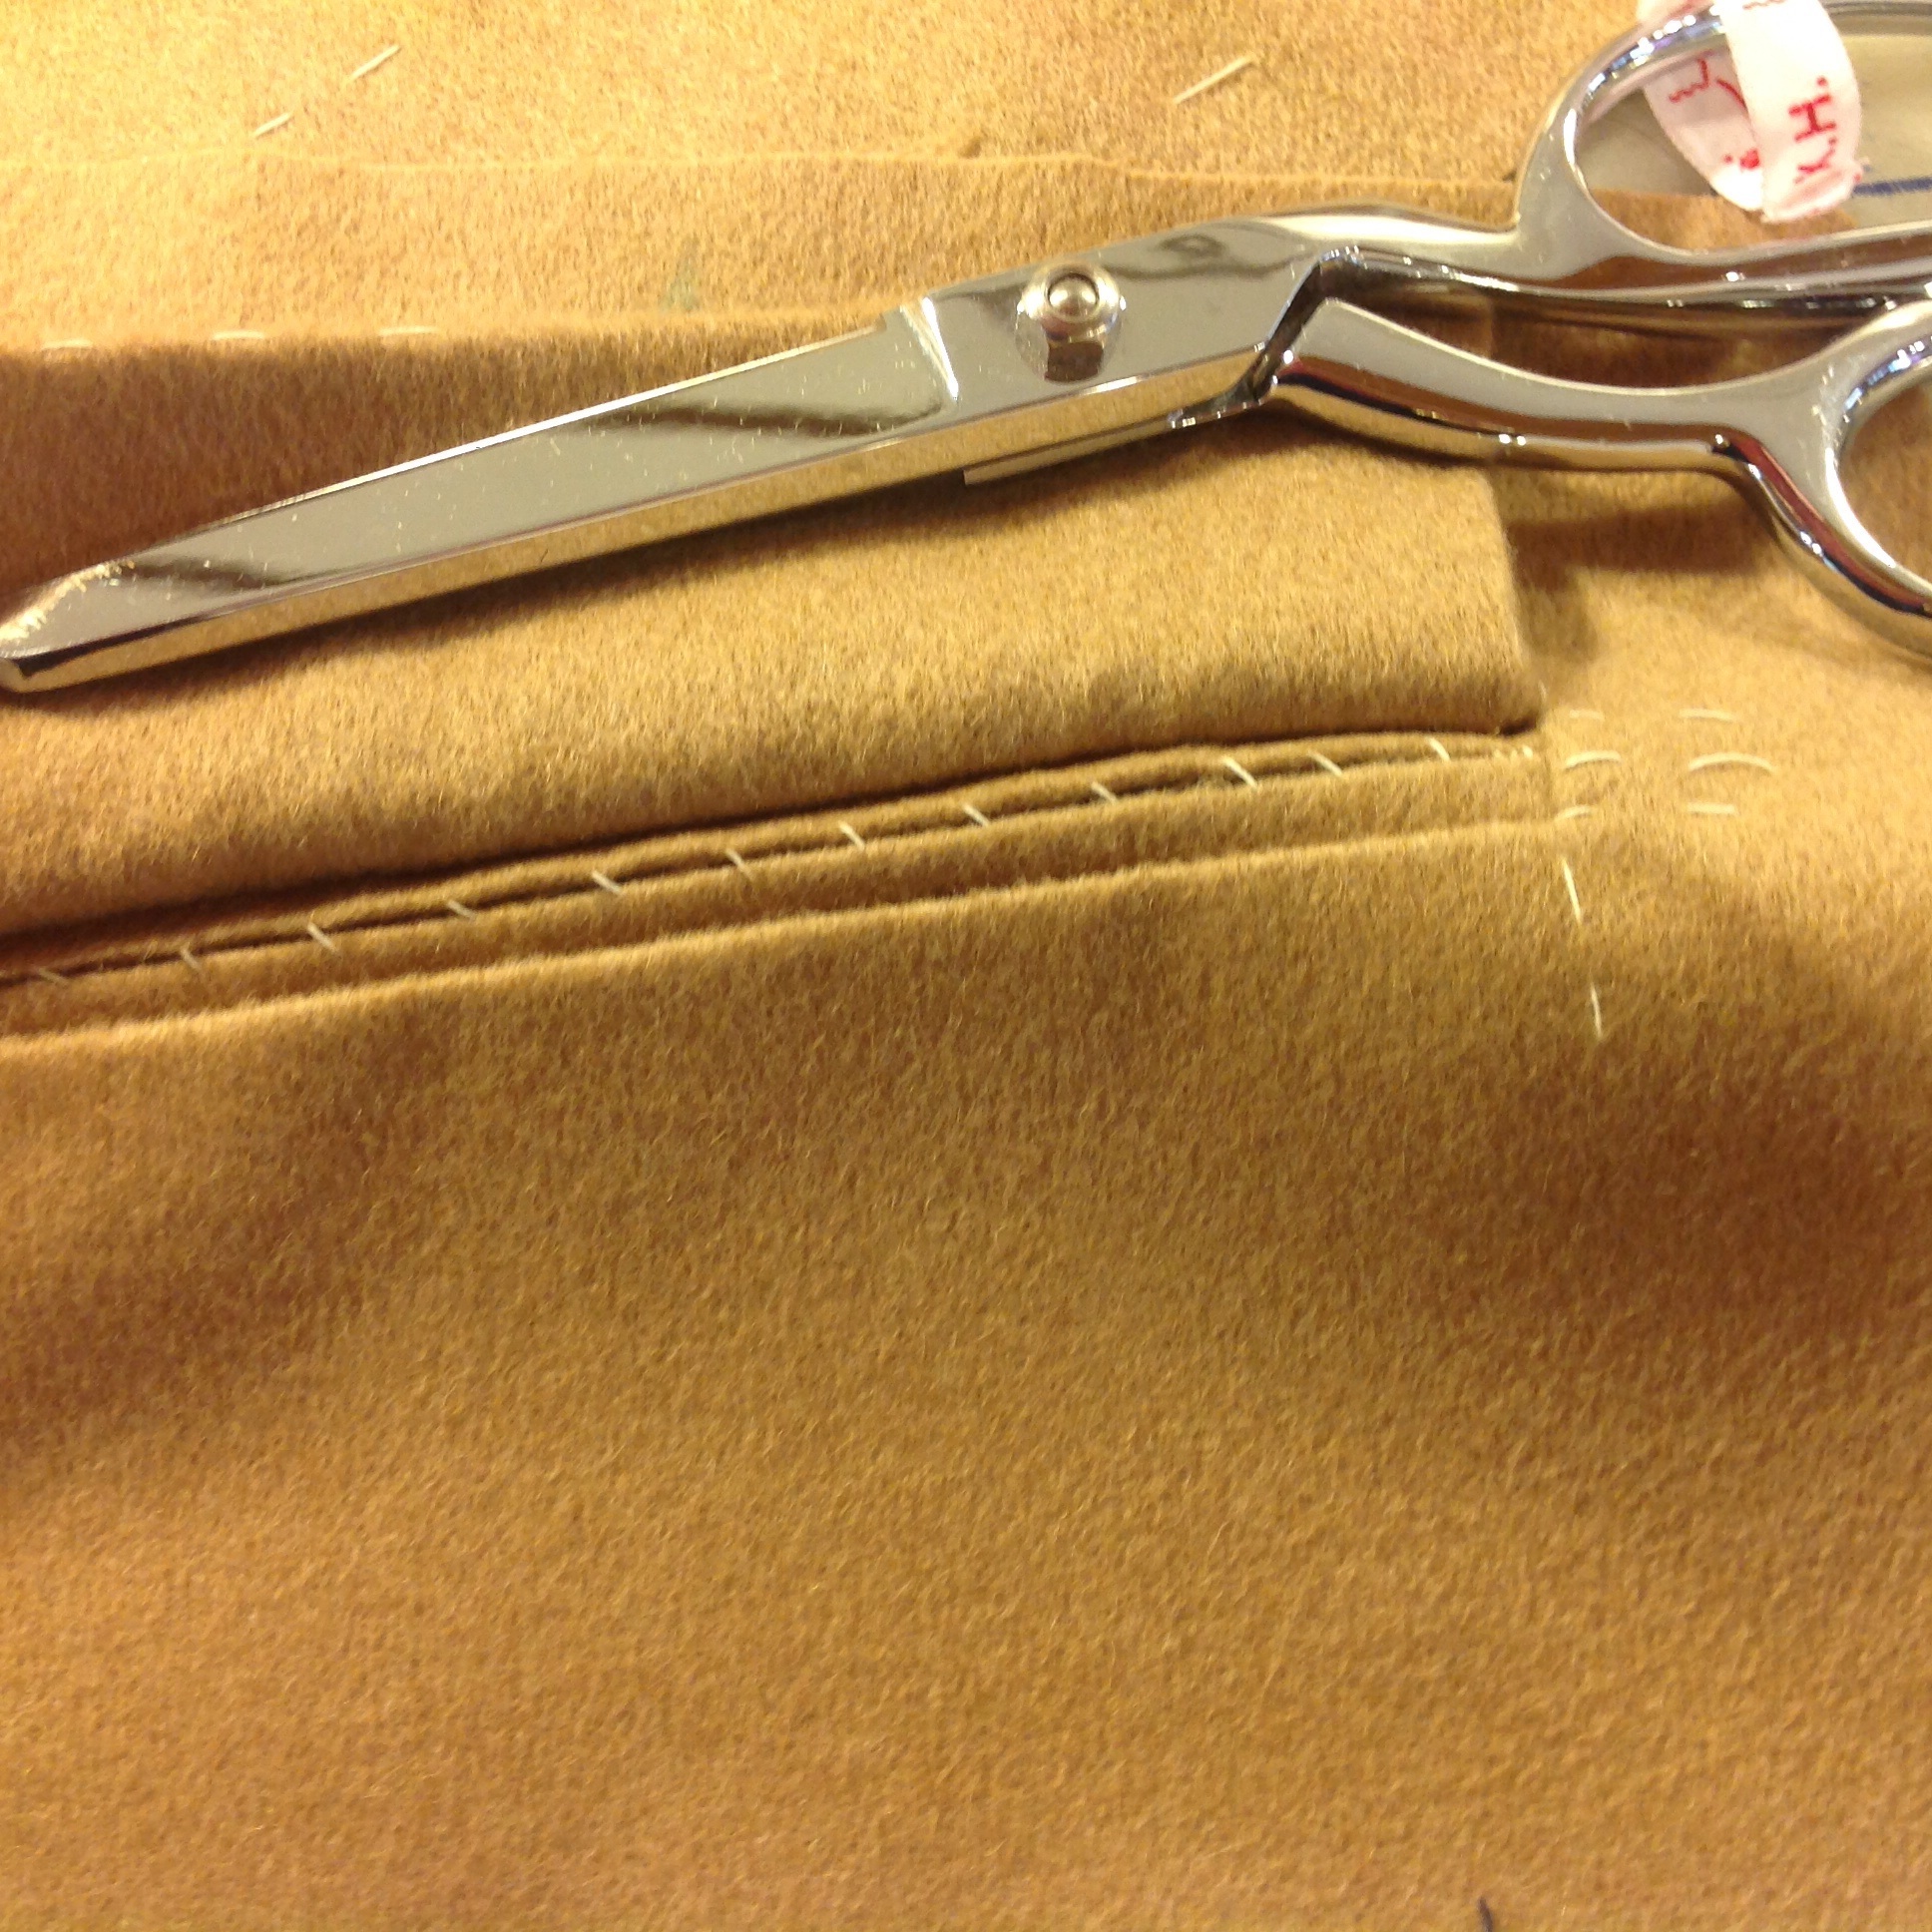
Showing the “buttonhole” type opening.
Showing the “inside” of my trial pocket.
With the flap concealing the opening of the pocket, there is no room for error (or else you will end up with puckers at the edges of the flaps). I basted and basted and sewed with extreme caution. I ended up with pockets with which I can, thankfully (whew!), be happy.
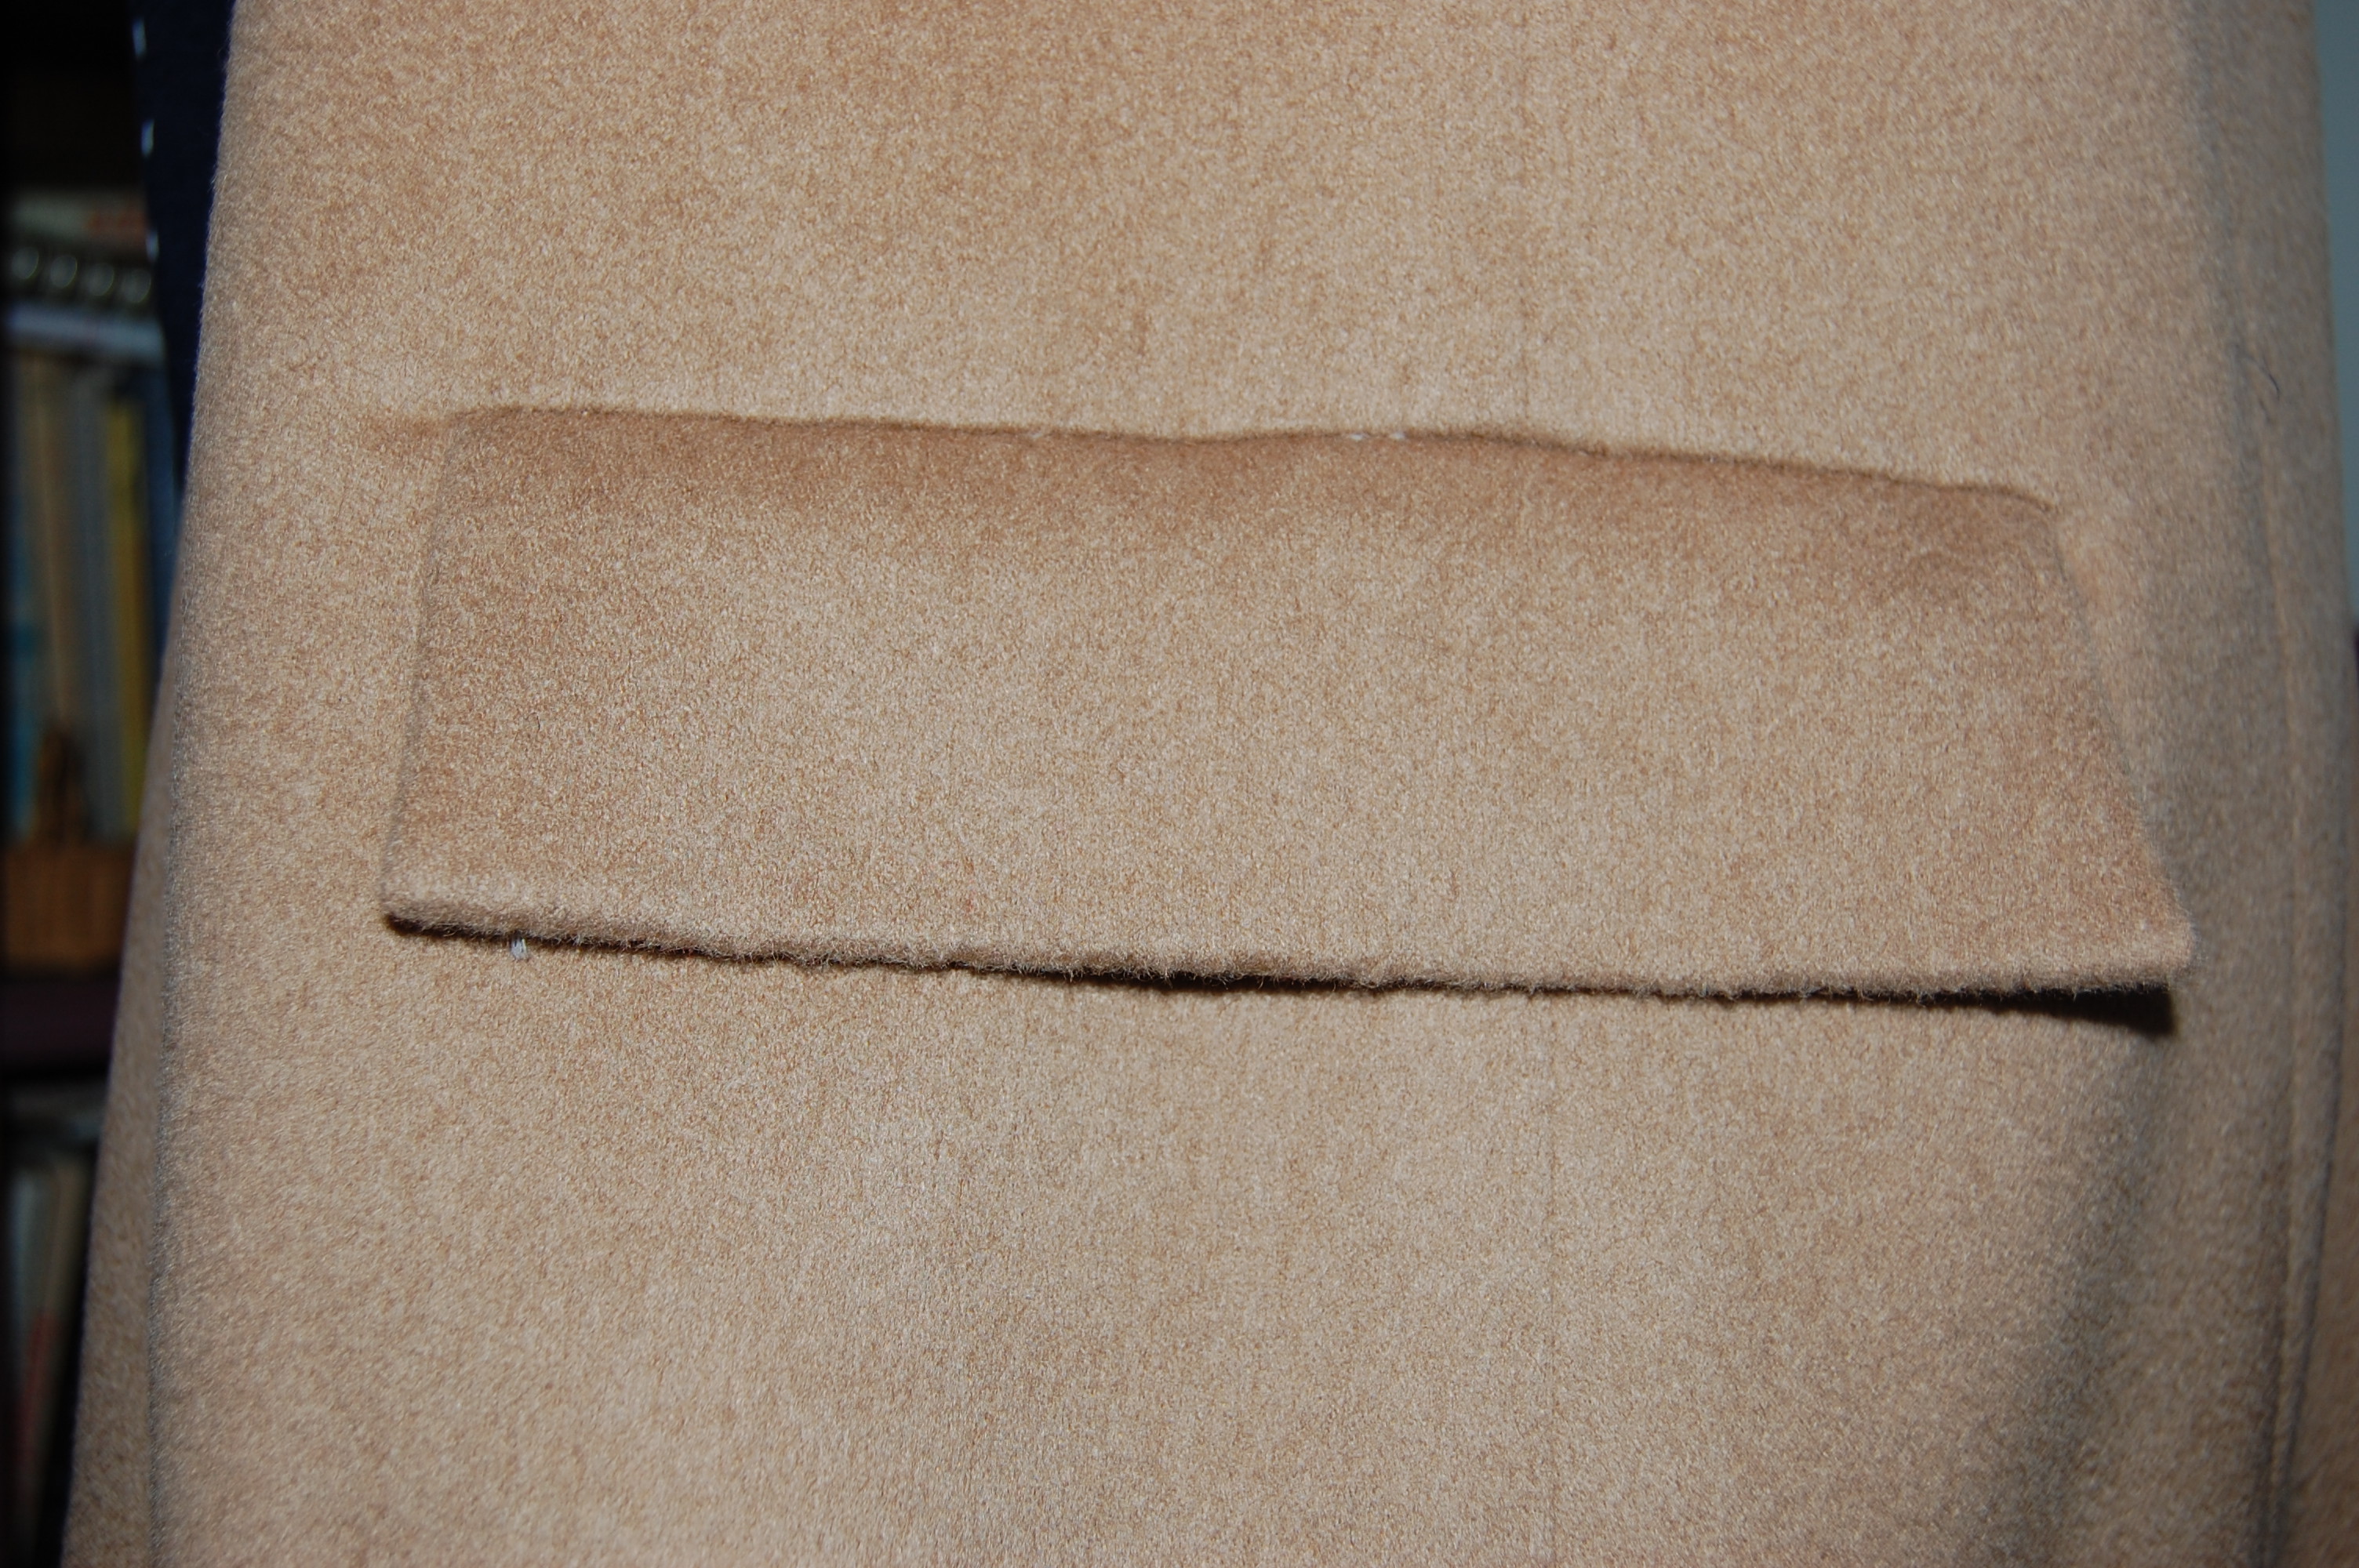
One finished pocket . . .
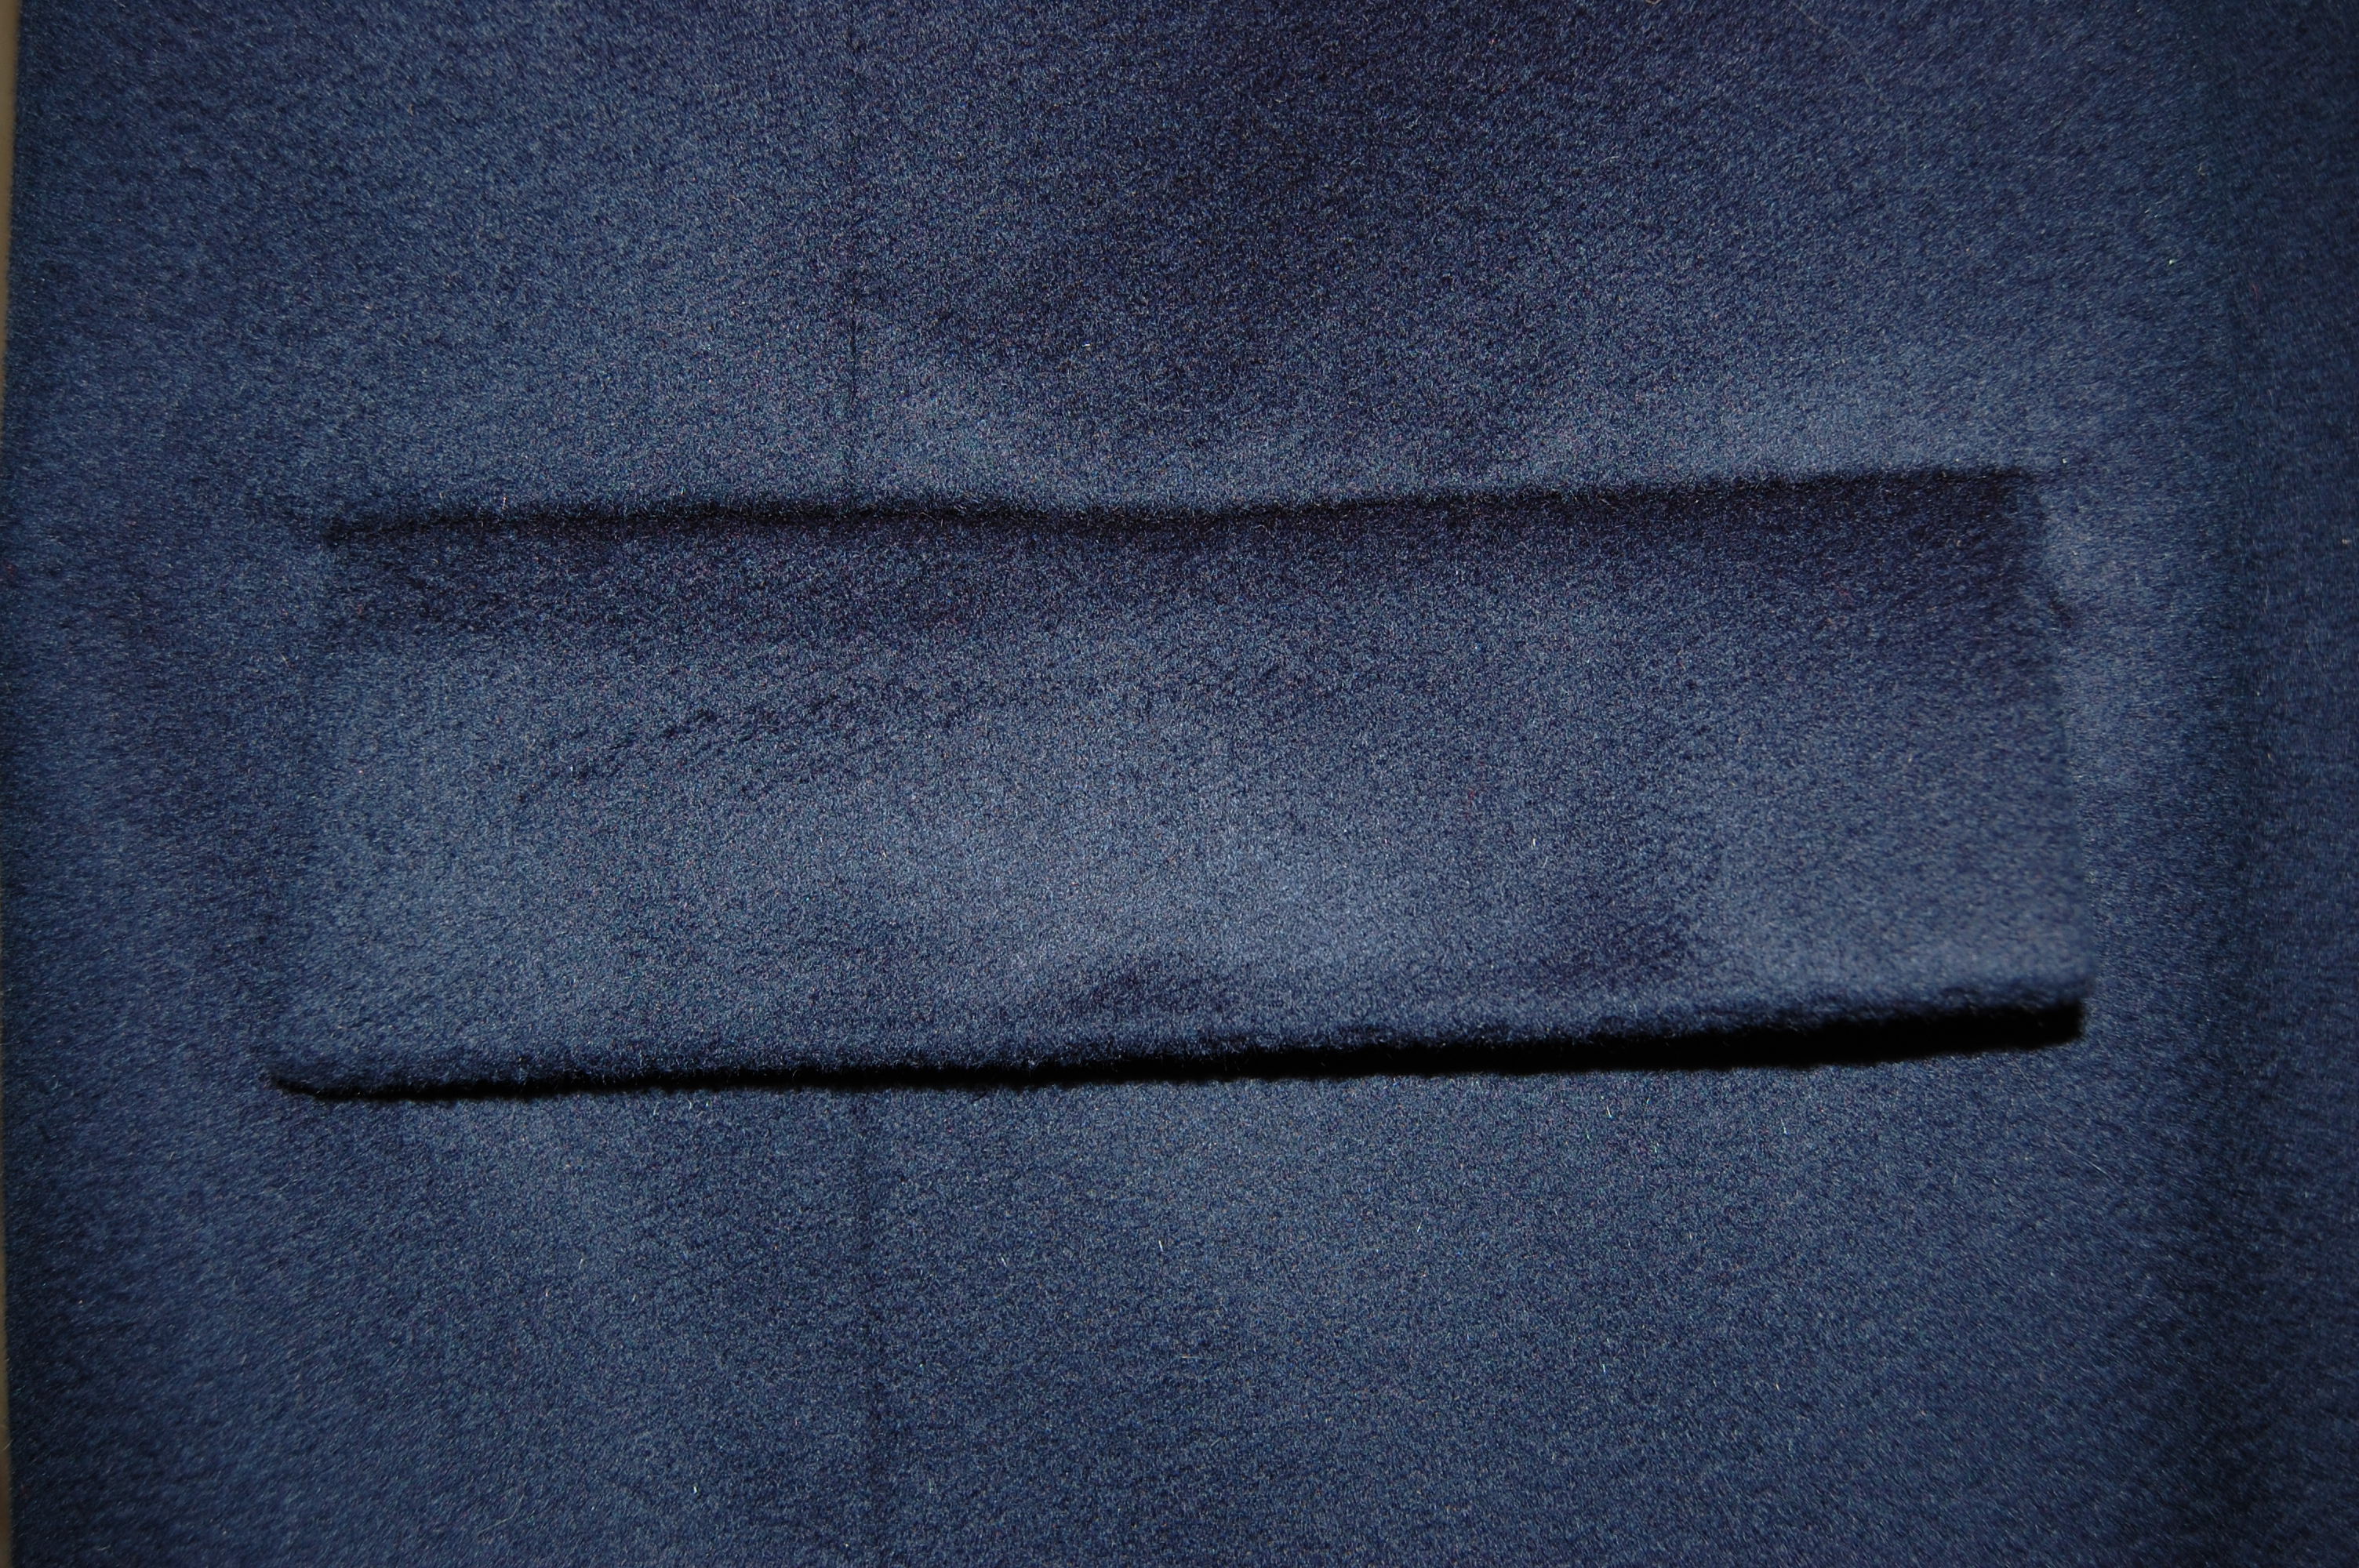
. . . and the other one.
And here is what it looks like under the flap, with the opening basted together temporarily.
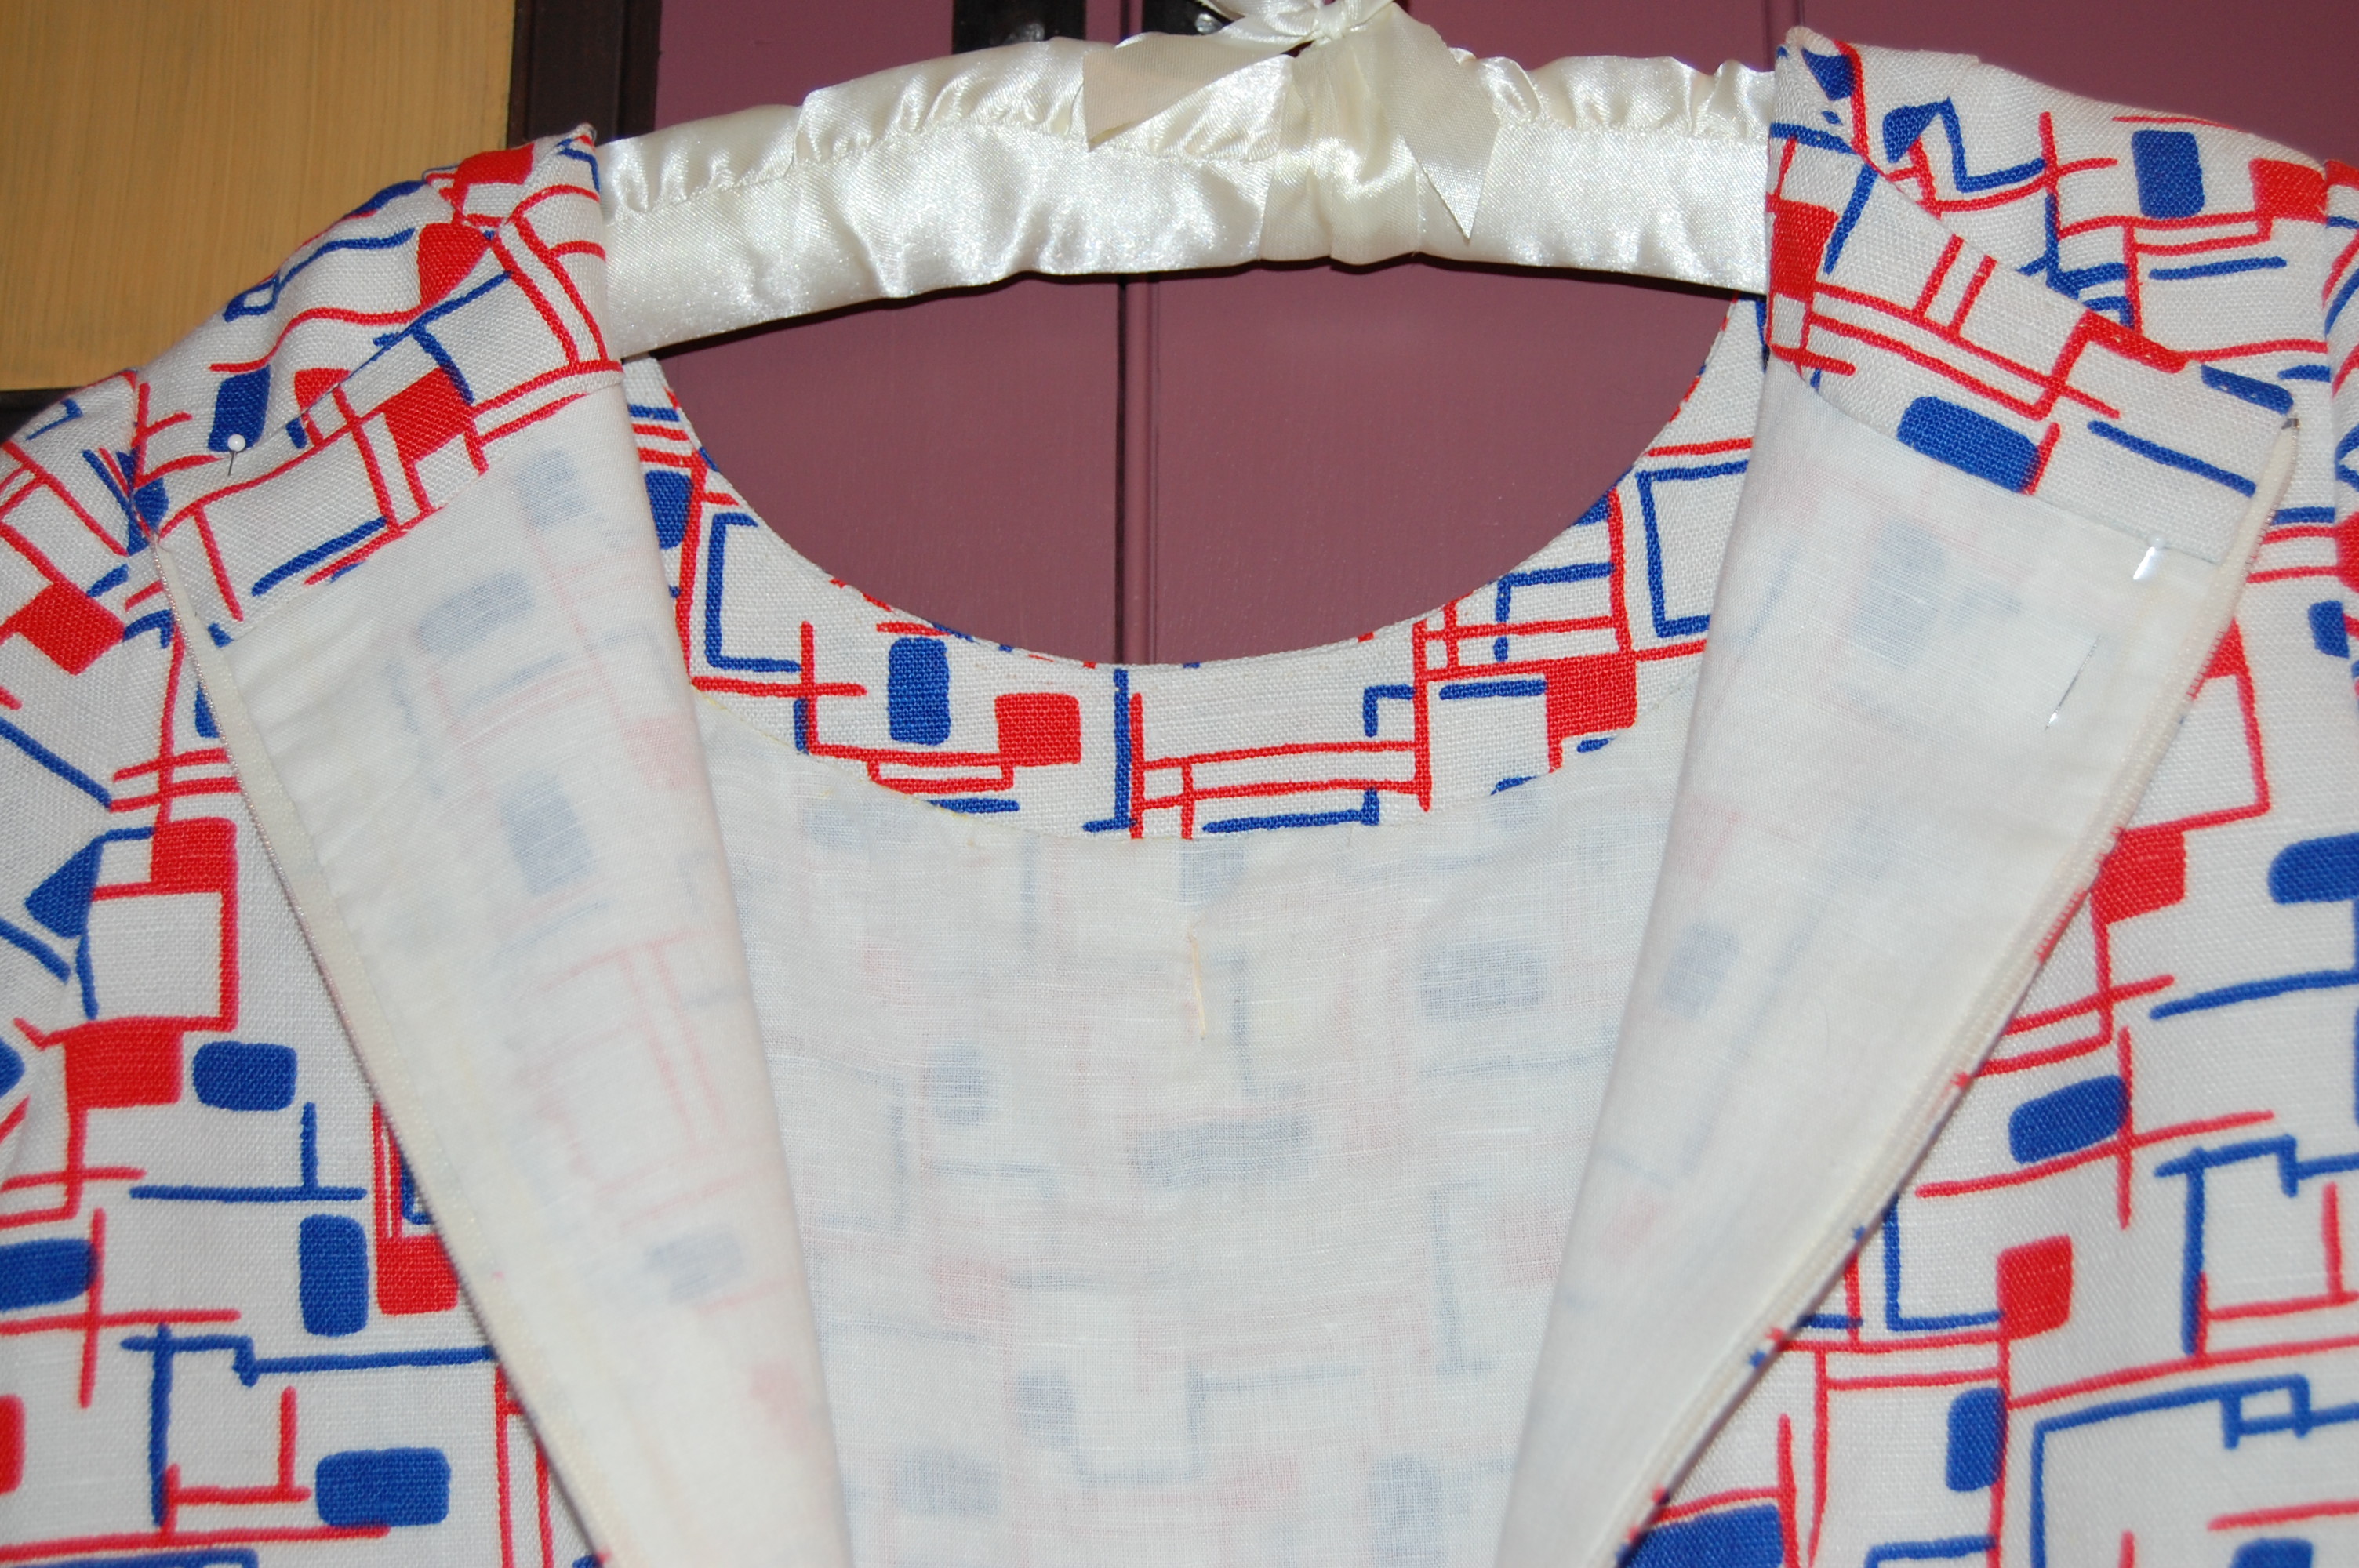
So now on to the collar. The collar was cut on the bias, and it had a clearly marked roll line. With the organza basted on (the only “interfacing” I would need), Susan had me run an invisible line of tiny hand stitching along the roll line.
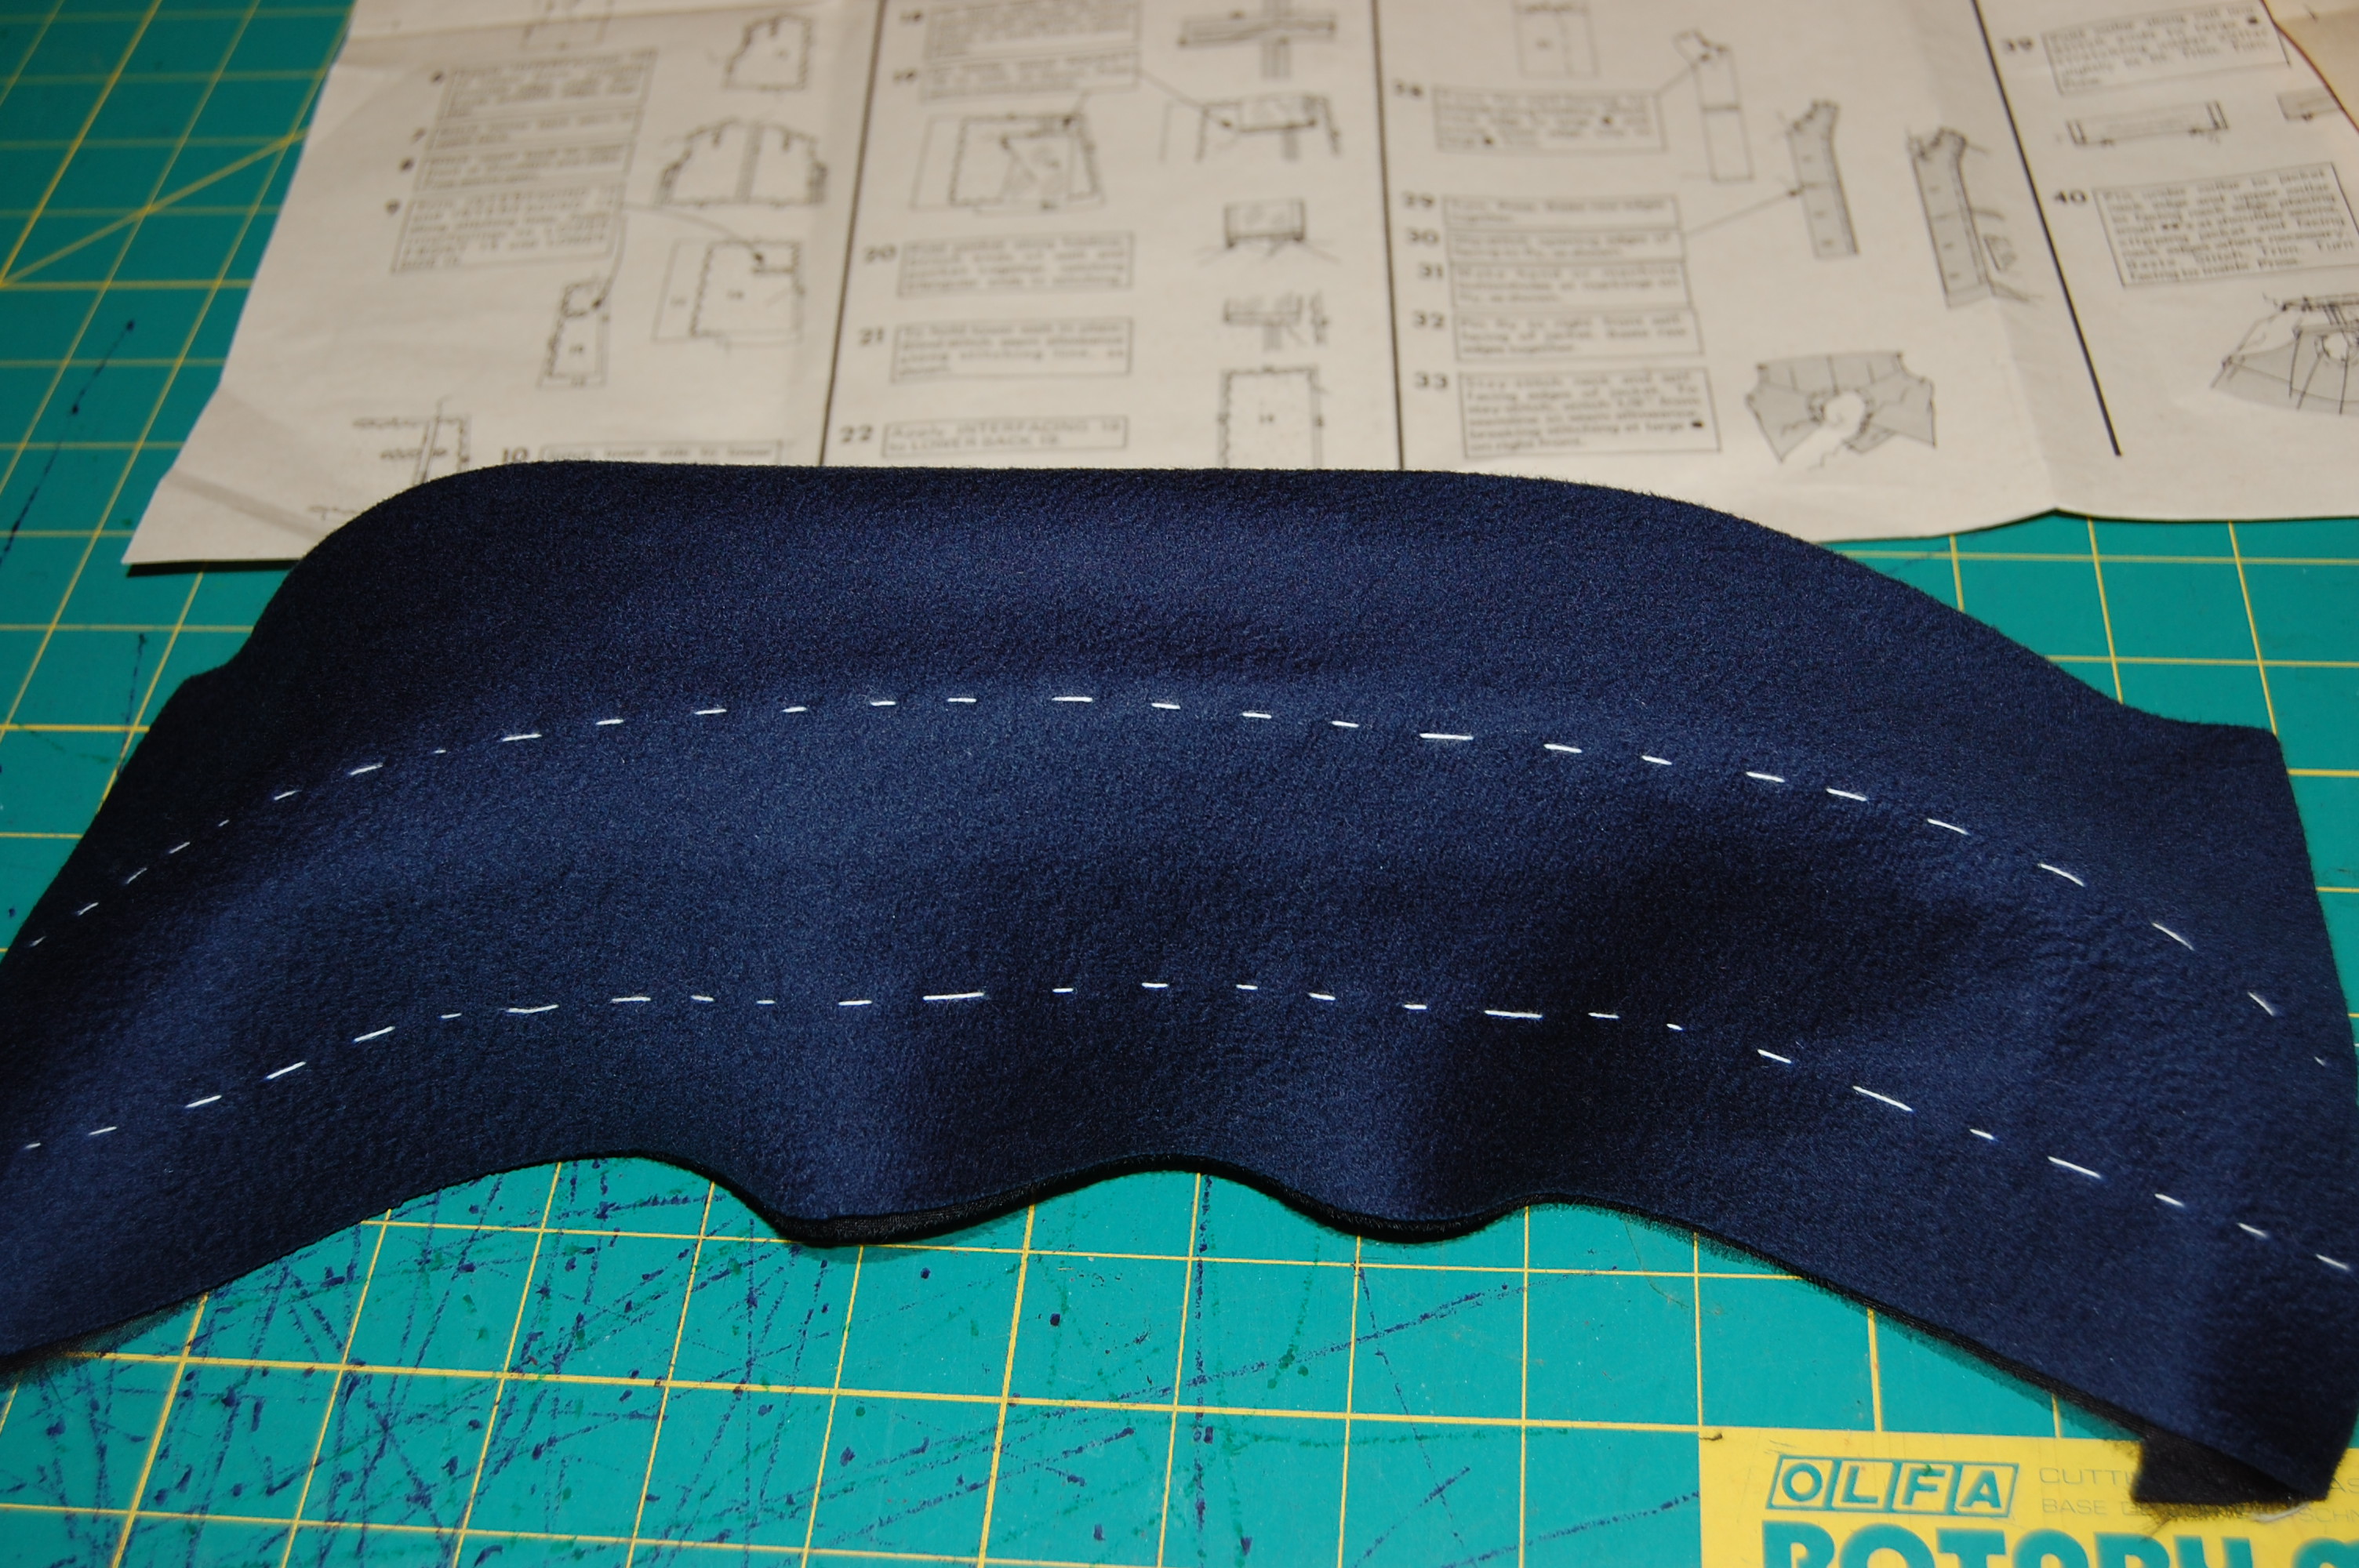
The curved line is the roll line.
This anchors it for the subsequent pad-stitching. Although the pattern instruction sheet shows only half of the collar interfaced, you will see the pad-stitching detail, which is required to get the collar to roll properly.
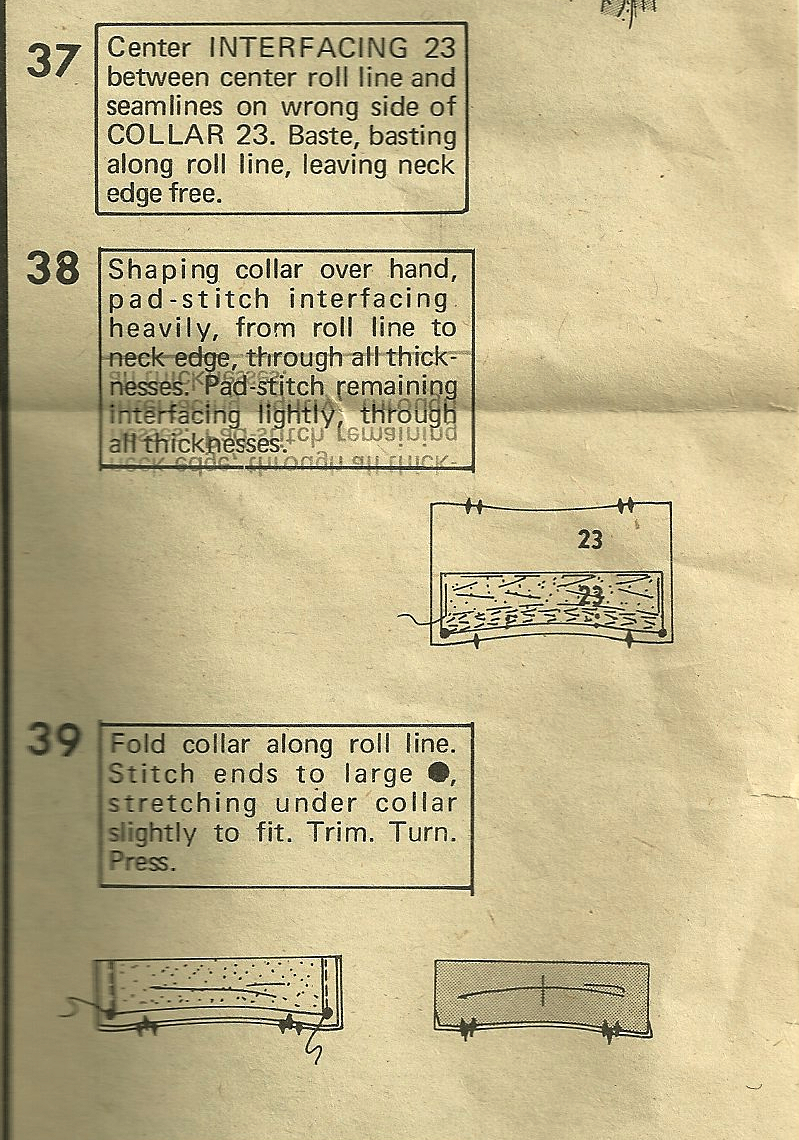
I am grateful to my classmate Sylvia for taking a photo of the pad-stitching which I did on the collar. What this shows is the small pad-stitching below the roll line, with larger pad-stitching above it, extending to the fold line.
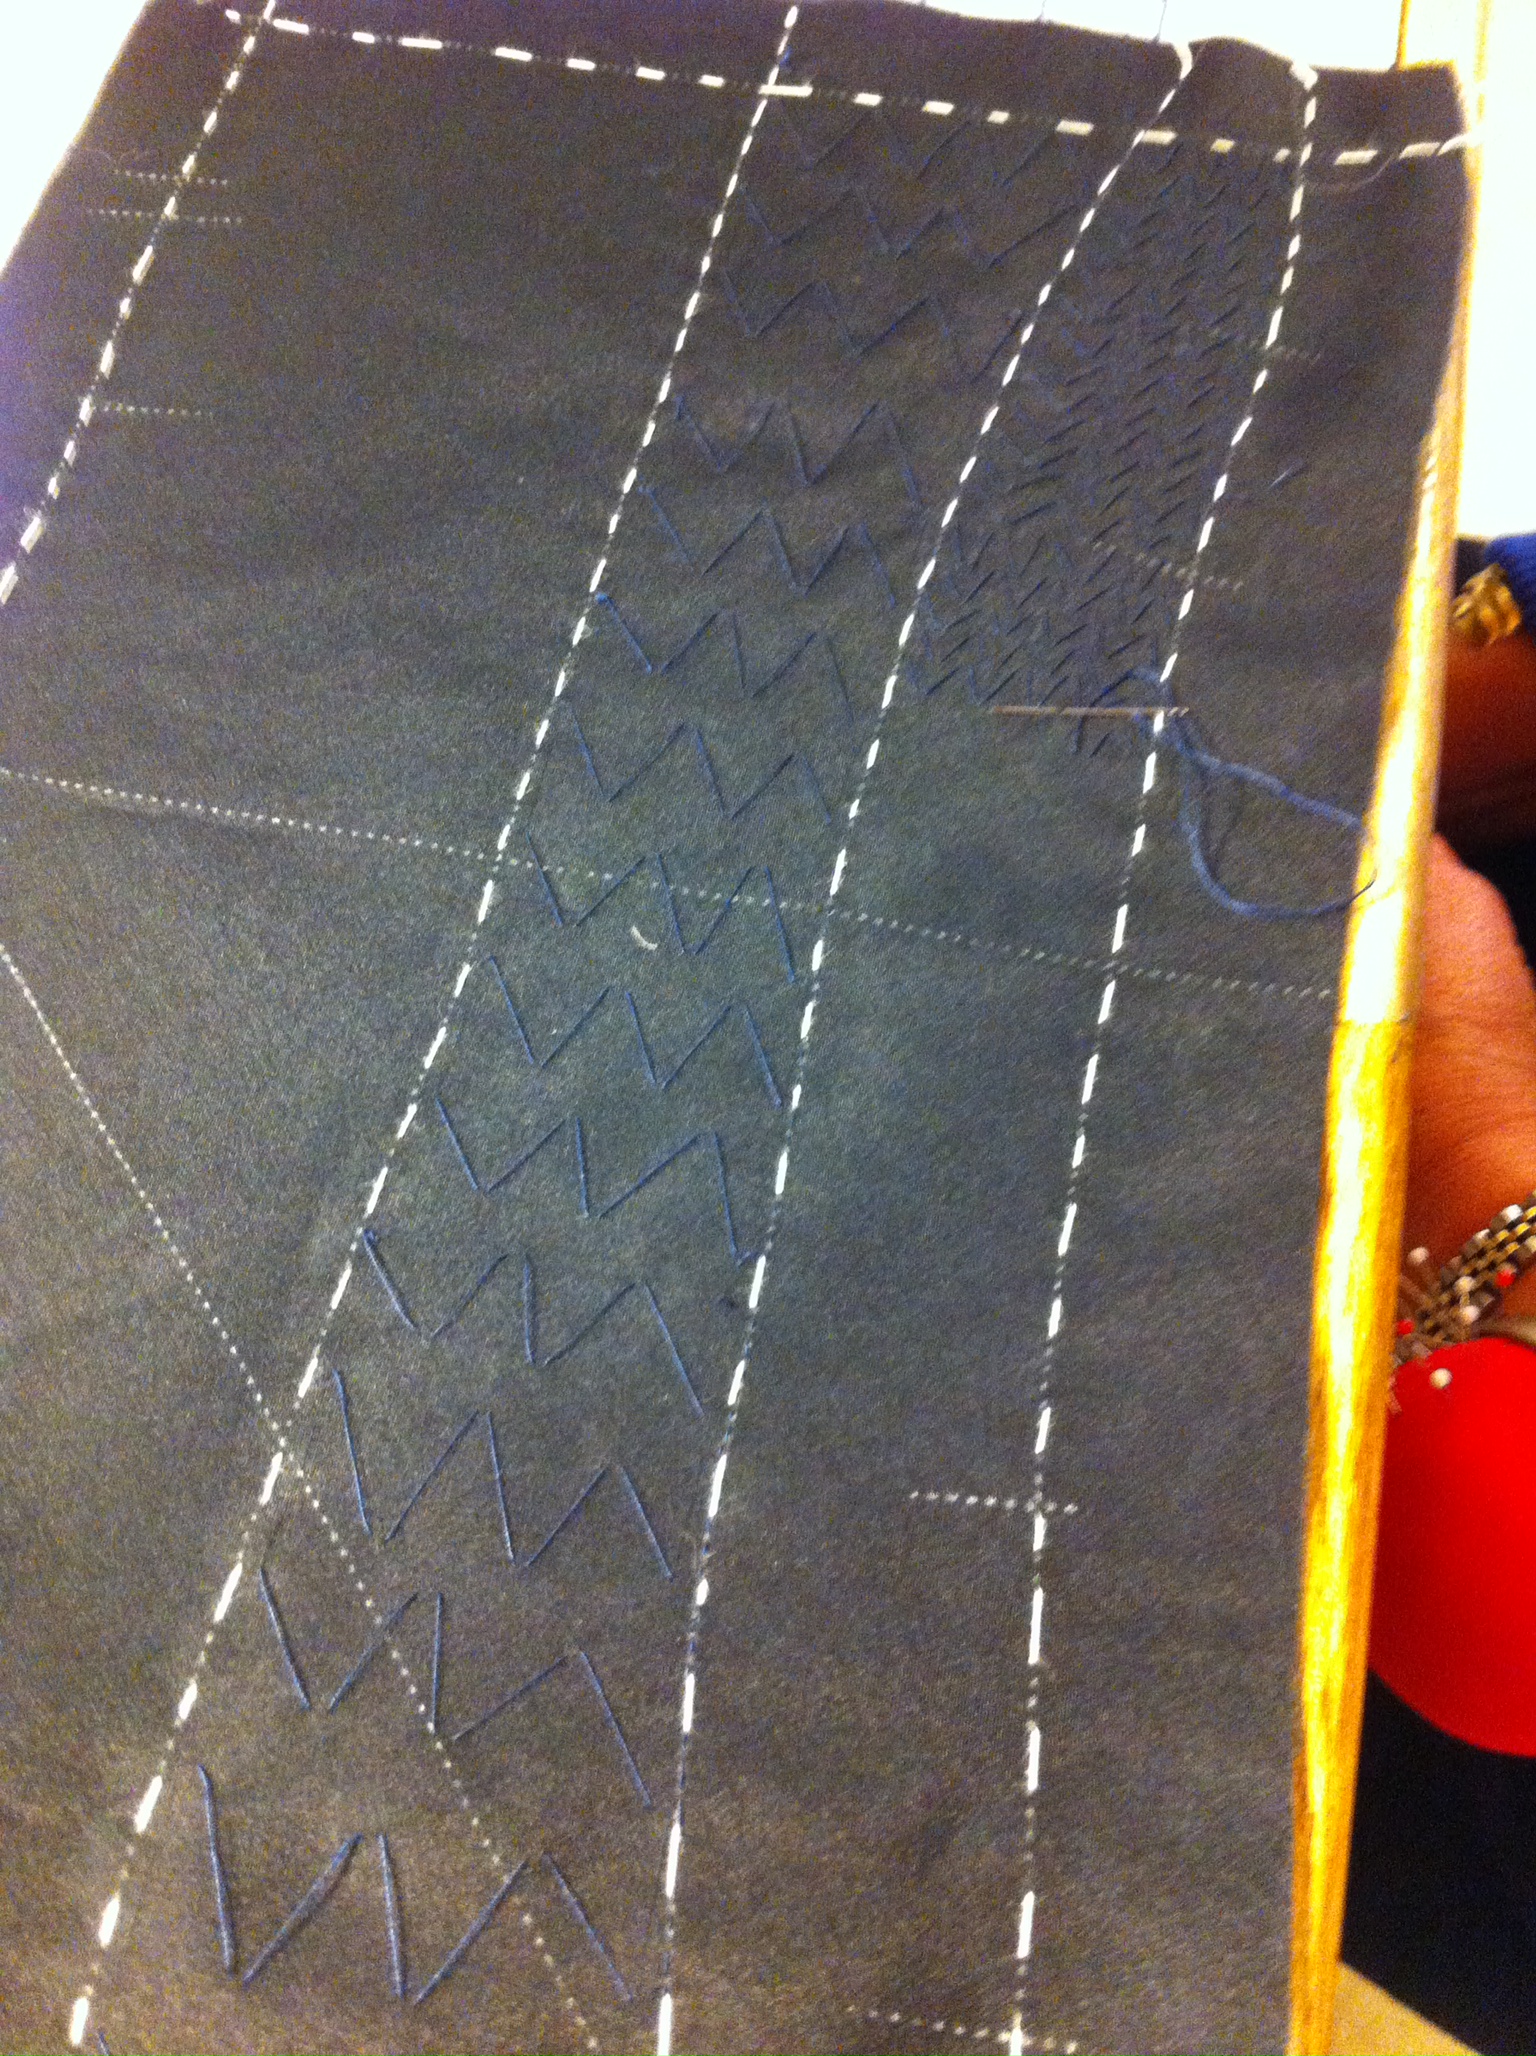
Click on the photo to see it in detail.
With the side seams sewn, my collar showed a clear roll where it was supposed to be.
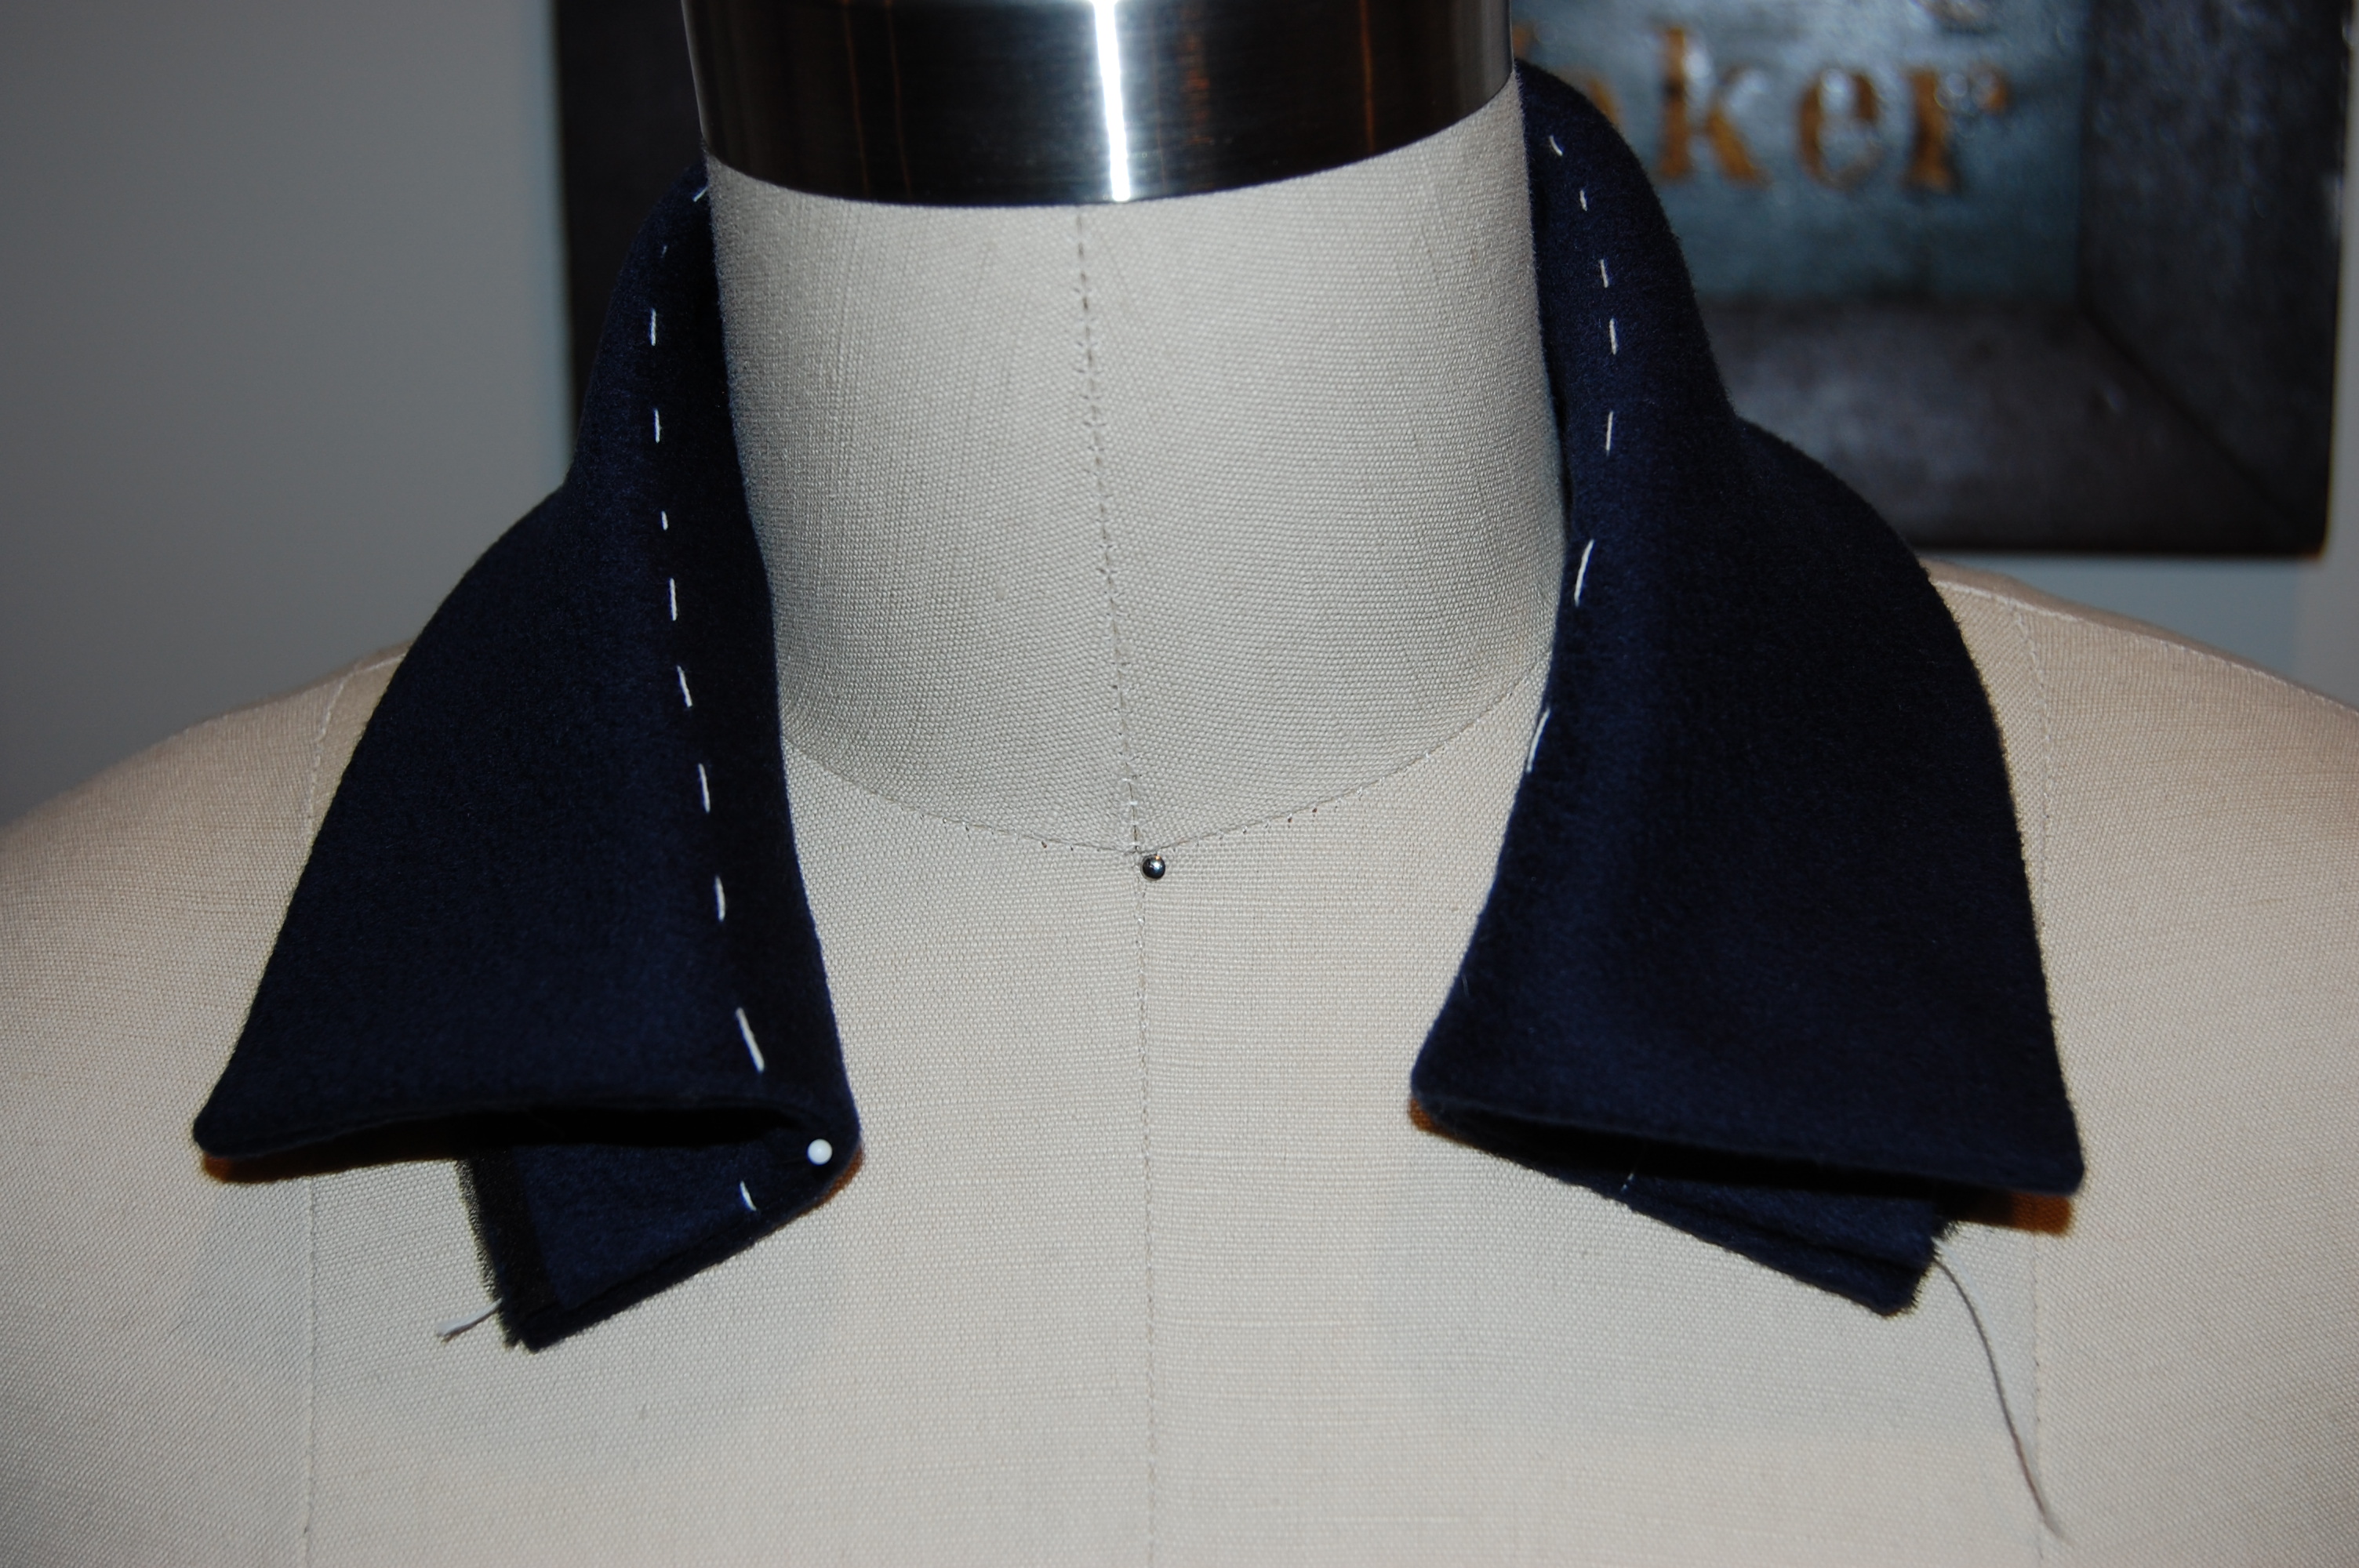
And here is the collar on my dress form.
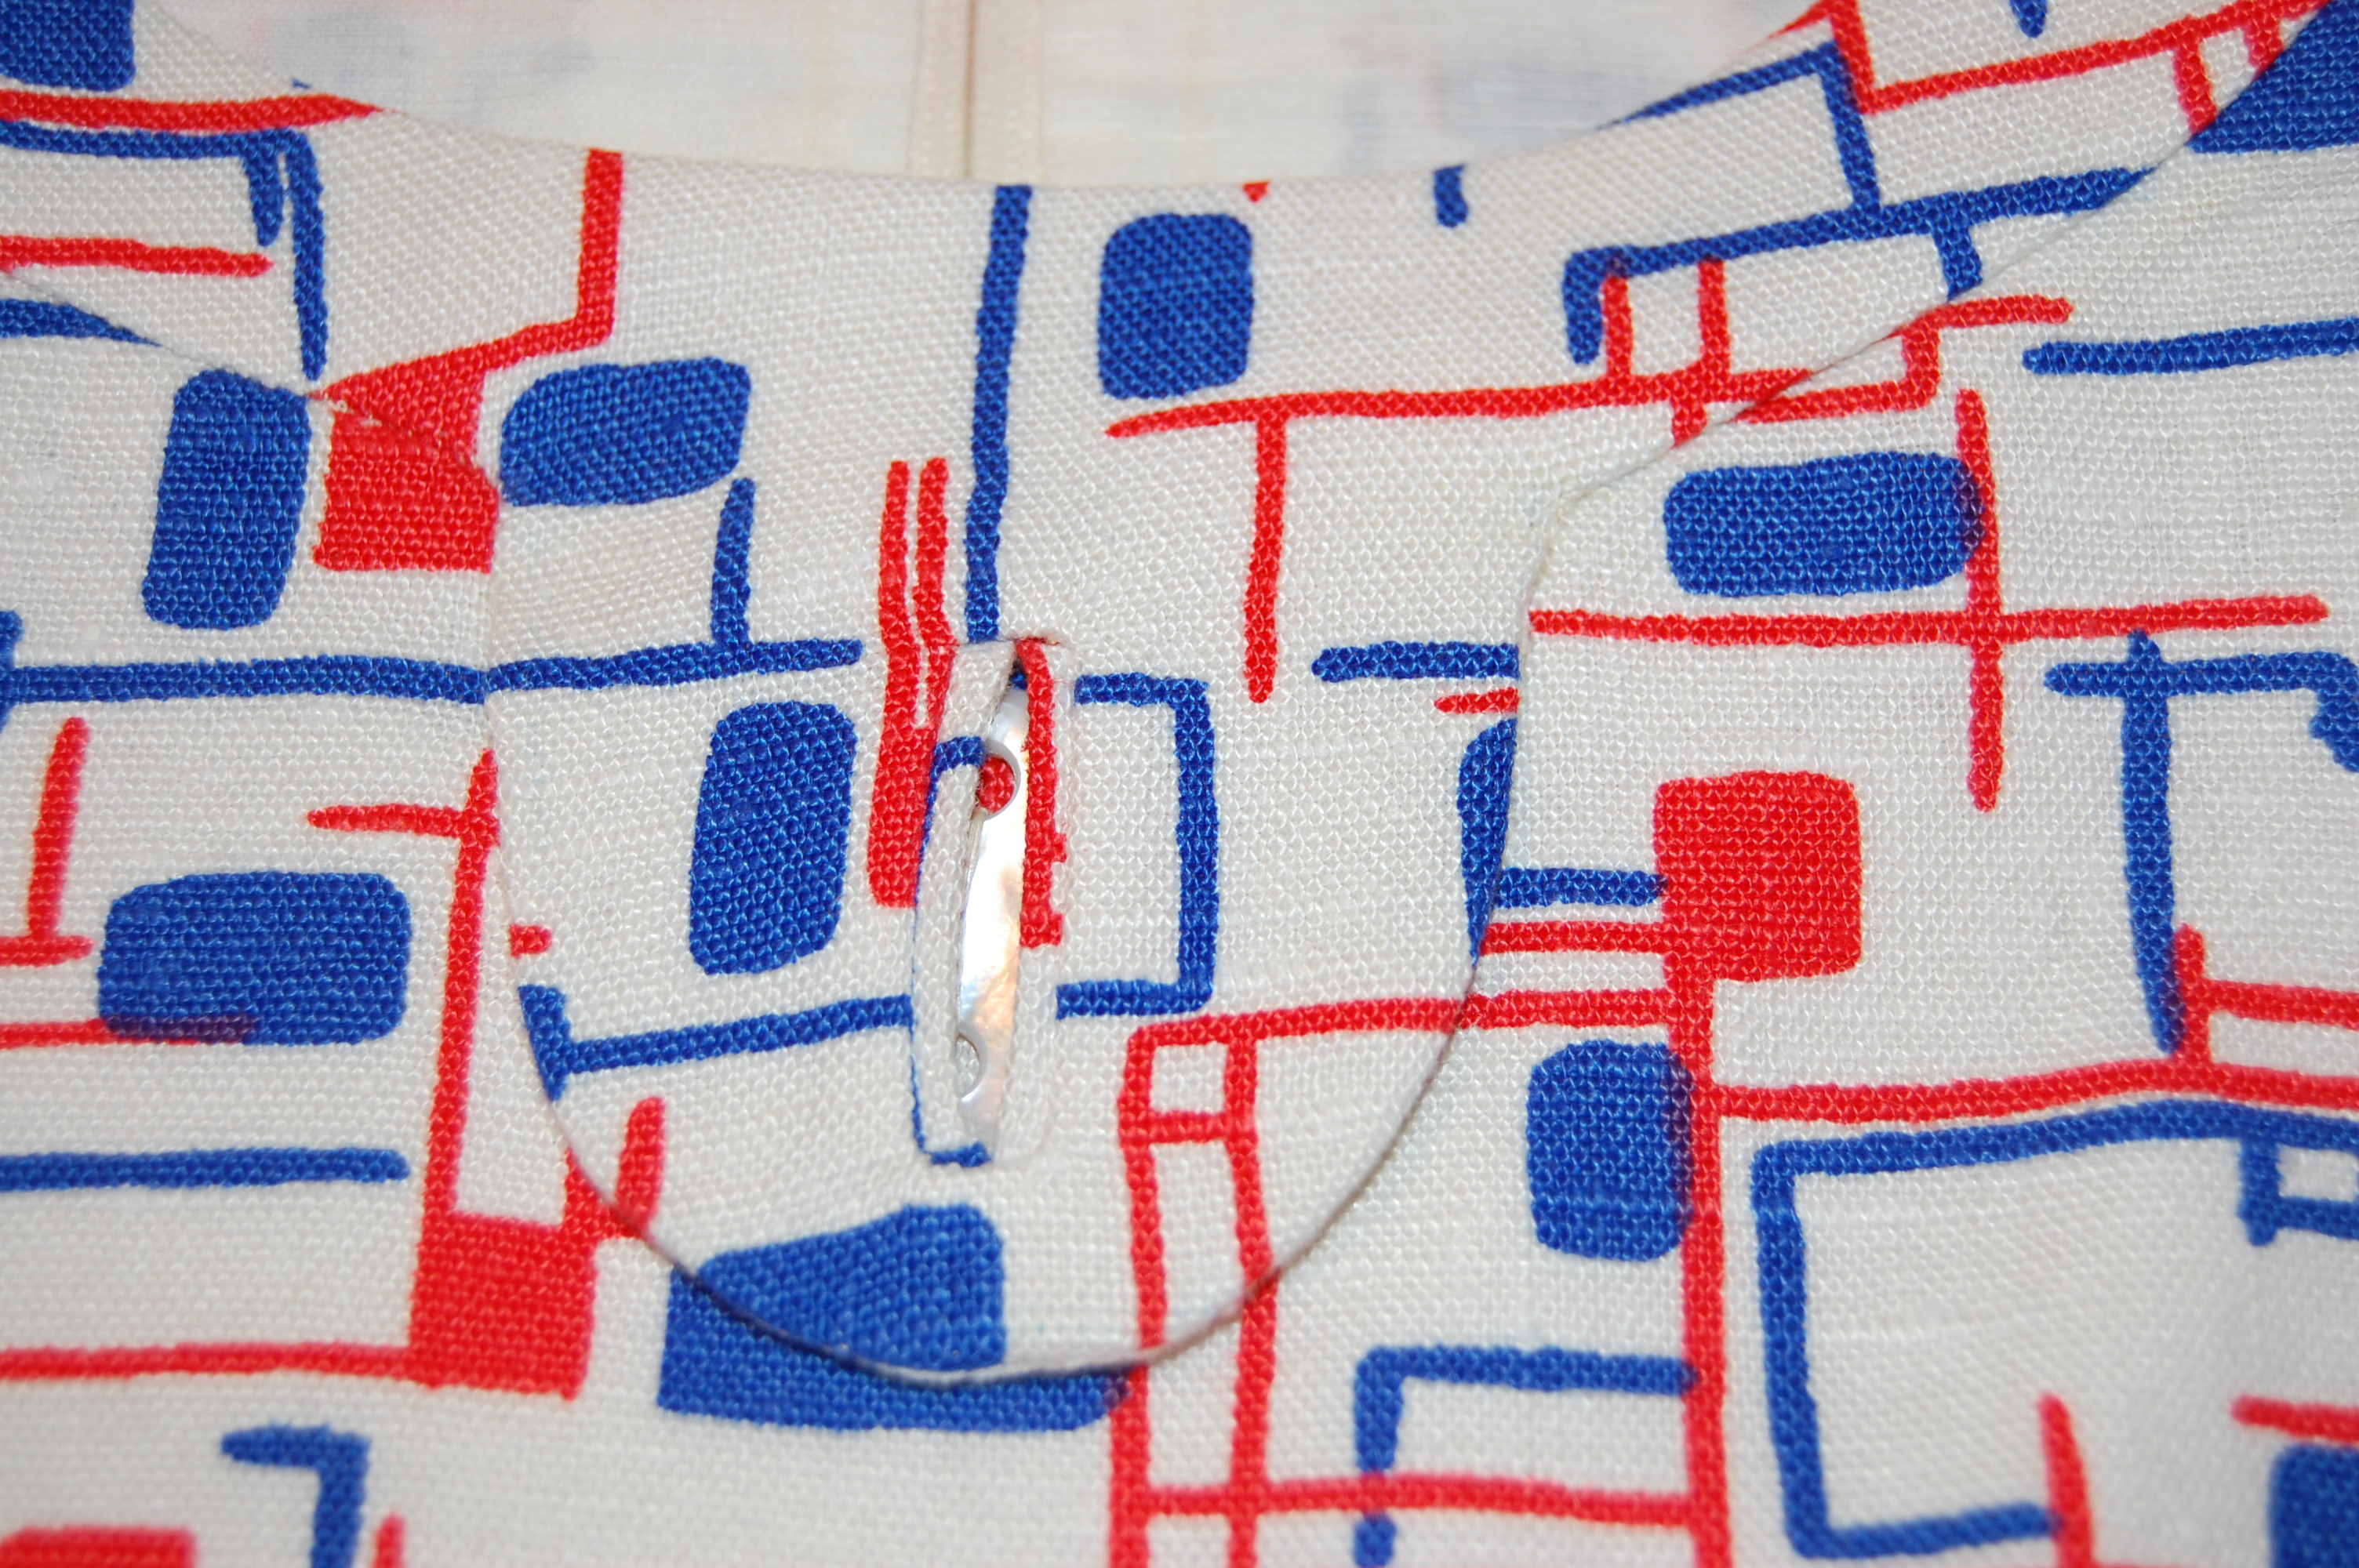
I had one more important question for Susan: what about the buttonholes on that concealed fly front? Normally, when sewing with wool, I would do bound buttonholes, but we both agreed that would add too much bulk to what should be a clean, sleek finish on this coat. It seemed machine-made buttonholes would be the ones of choice. I must admit, I had a bit of reluctance to do machine buttonholes in wool. I even practiced making buttonholes by hand, but I wasn’t happy with my trial runs, and even they seemed too bulky. So, I simulated the thickness of my layers at the fly front and made some machine buttonholes in a sample piece. And – I thought they were great! On to the real thing – and this was clearly the way to go:
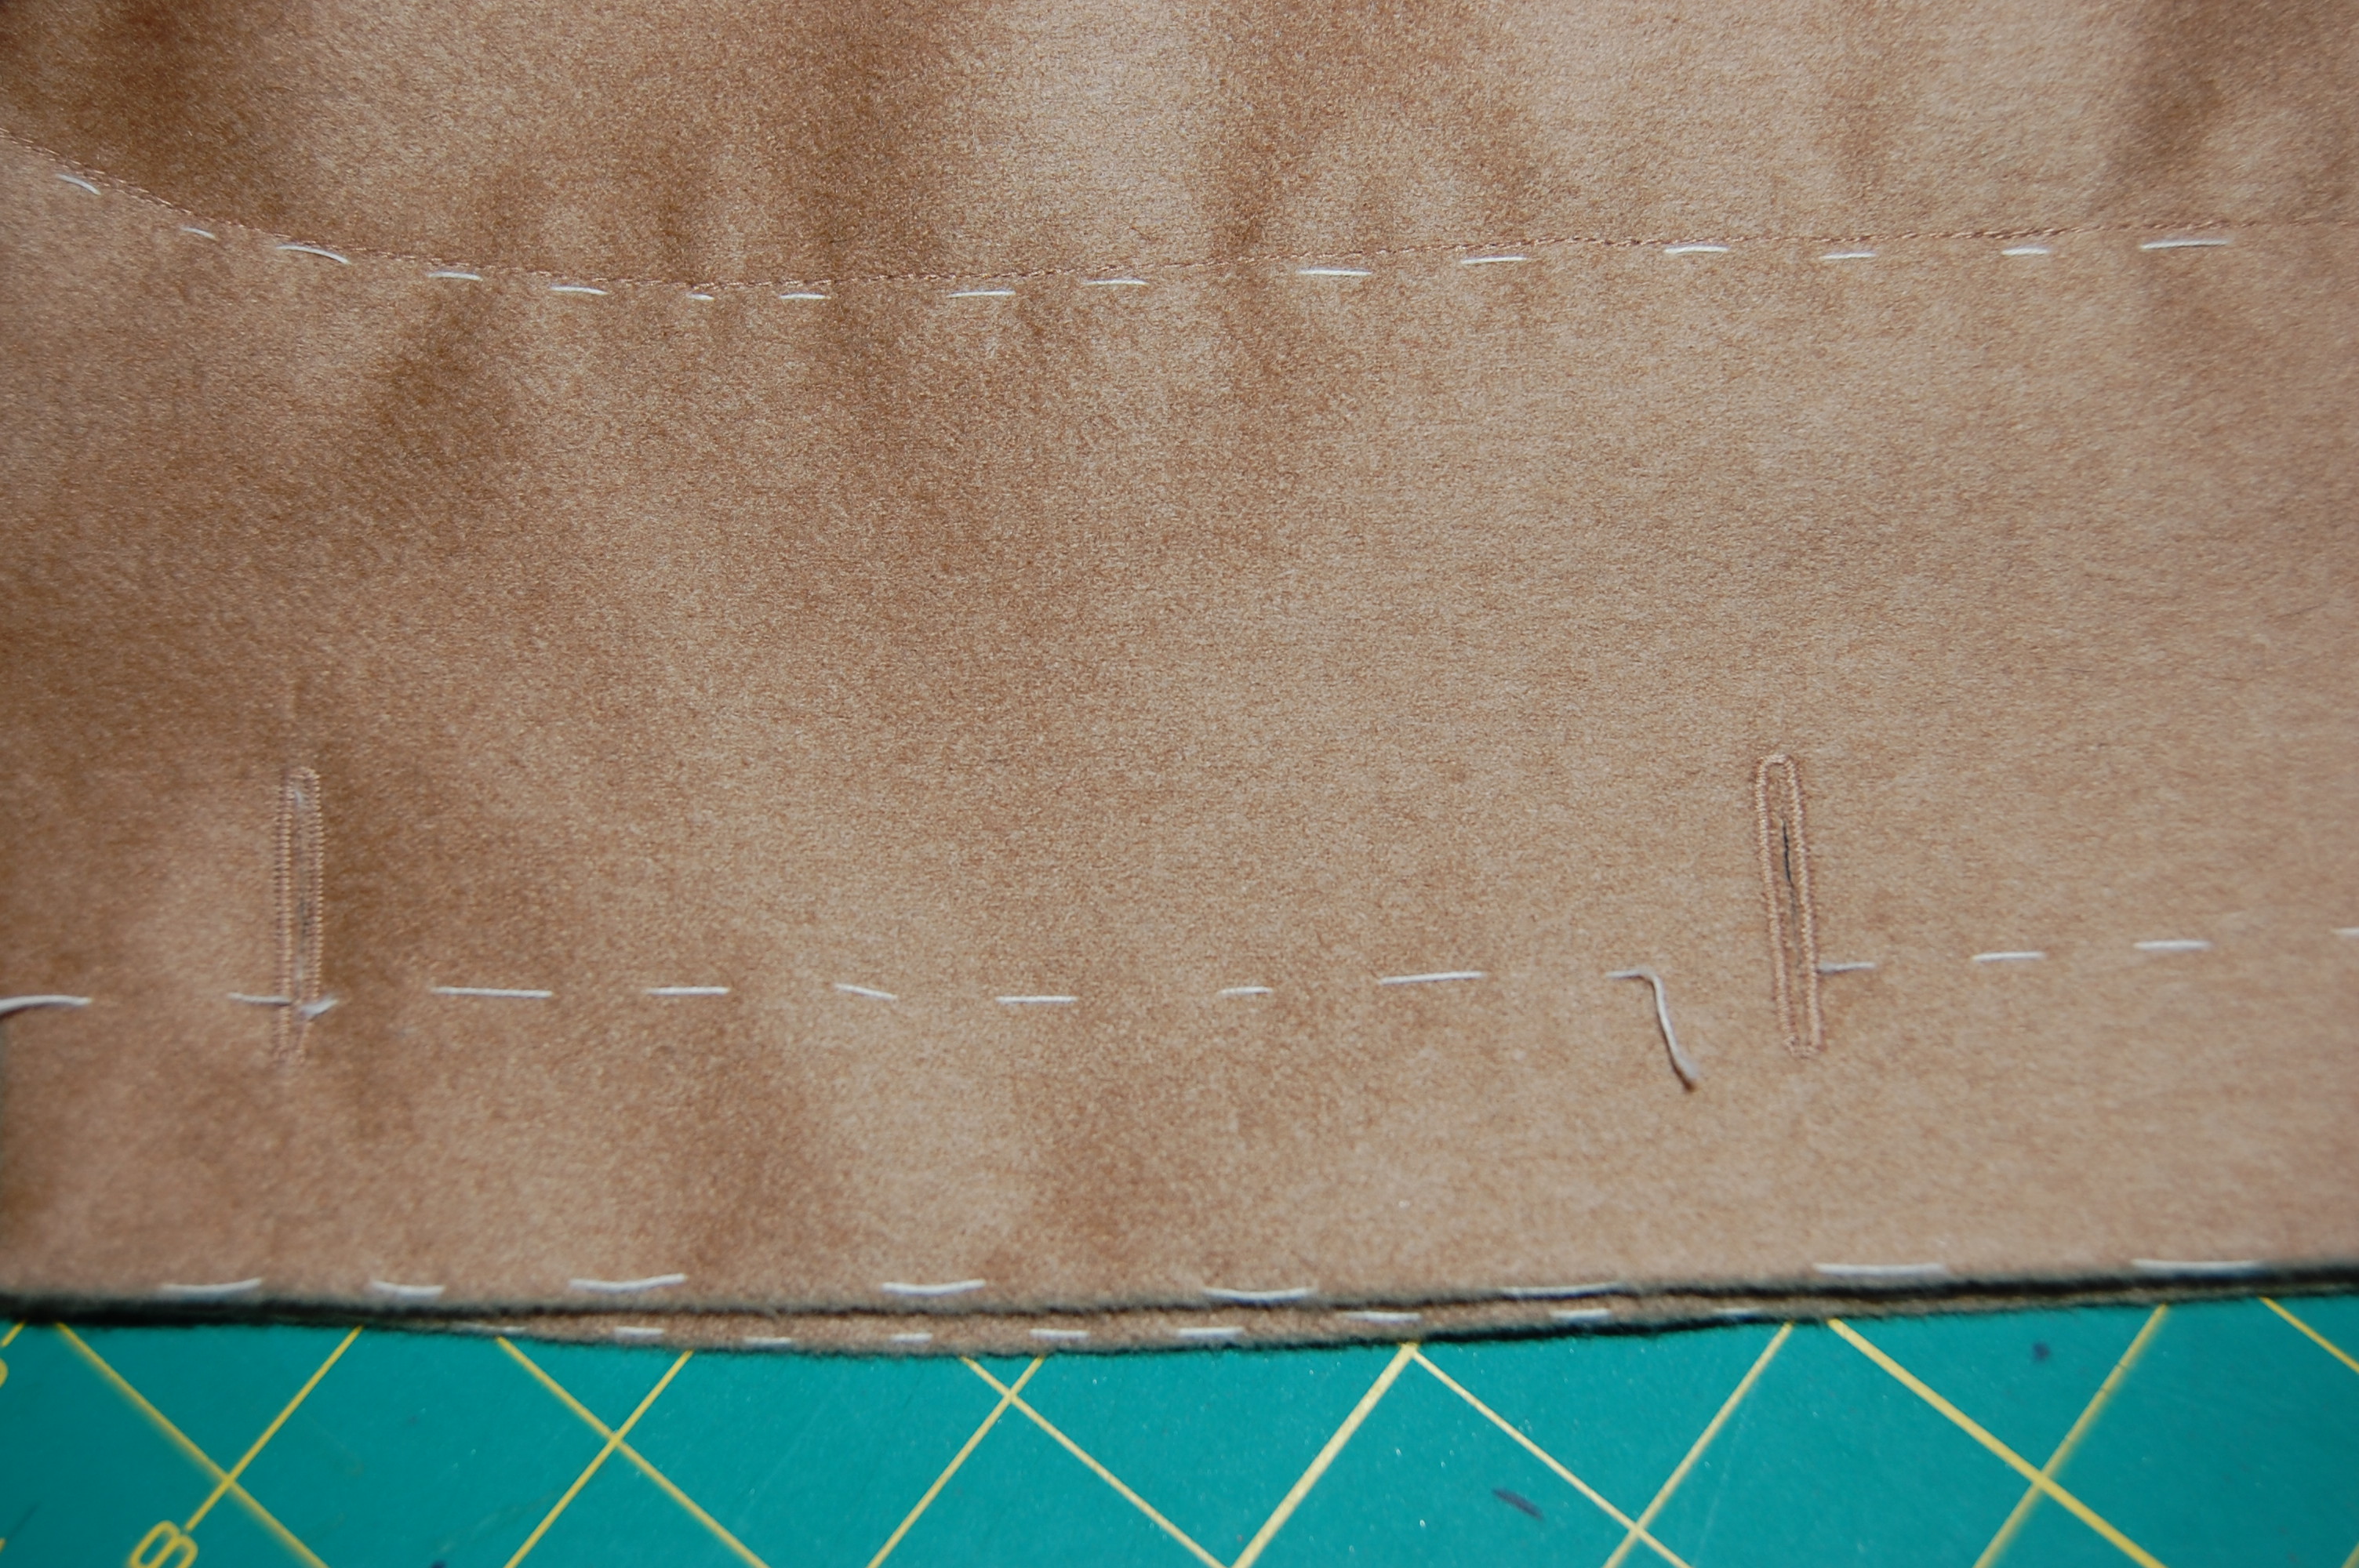
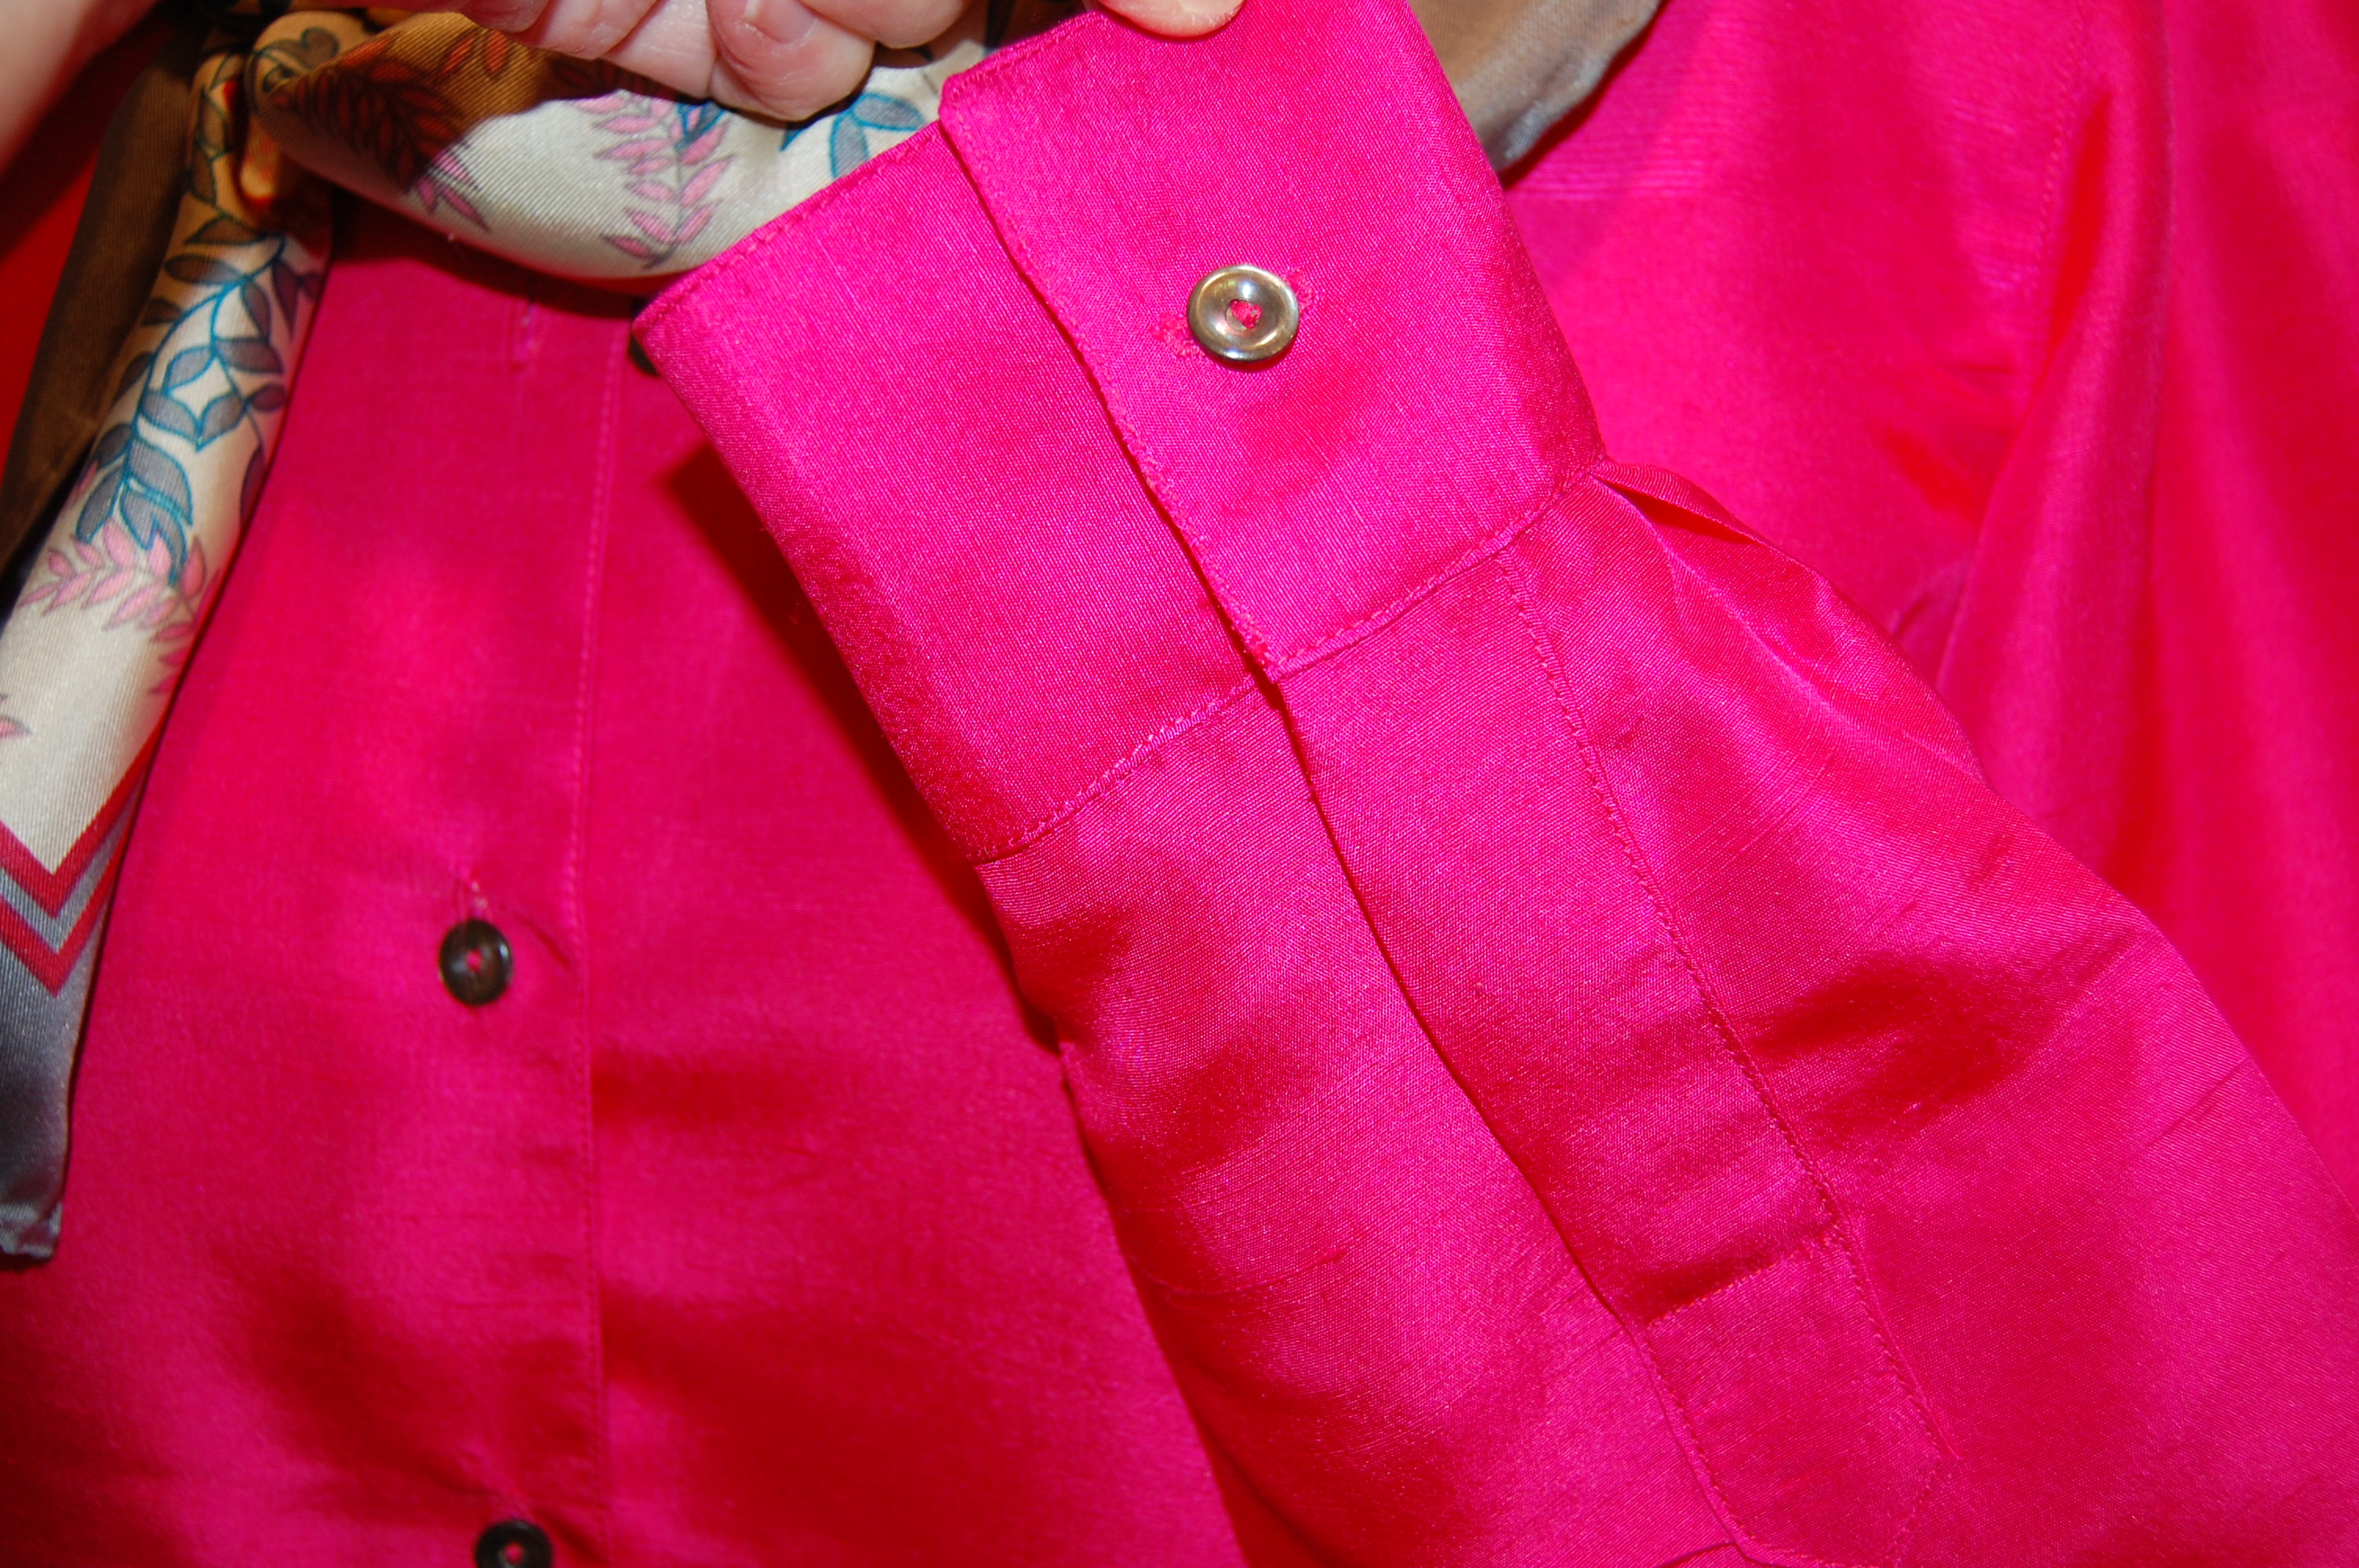
The buttonholes show up better on the camel wool. Click on the photo for a close-up.

The middle buttonhole is a slot-seam one.
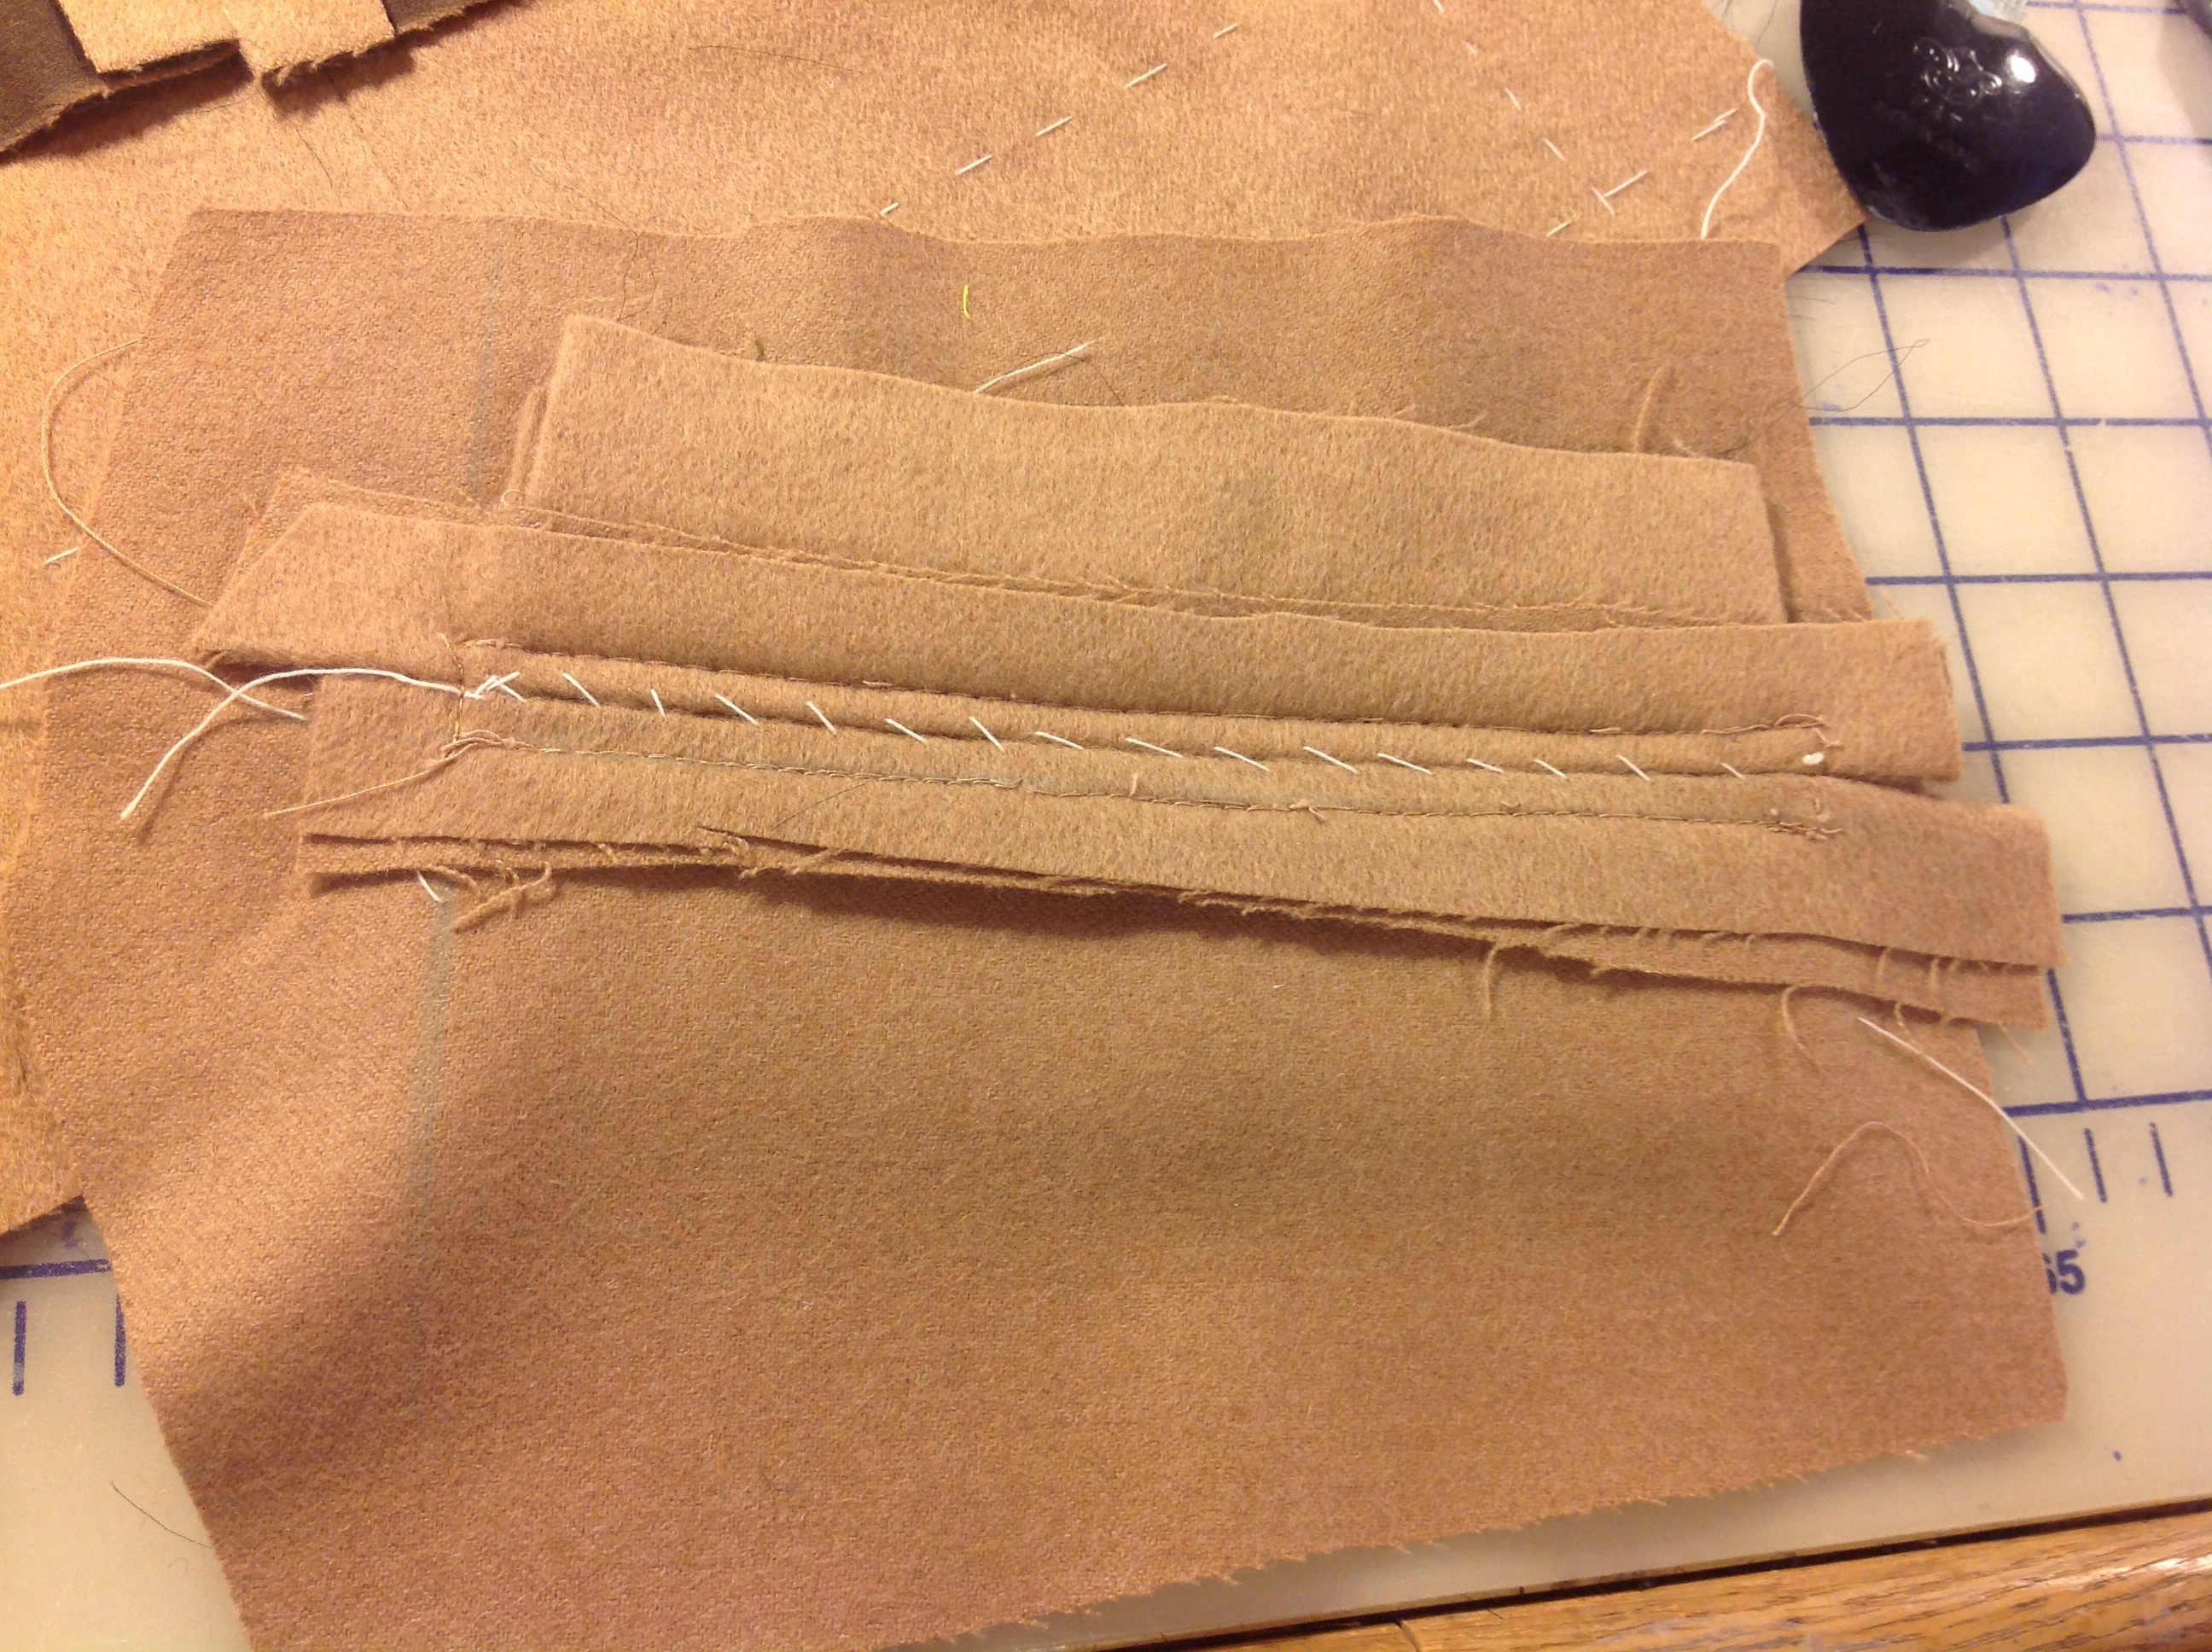
The next step, before inserting the lining, is to finish the hems in the sleeves and the body of the coat. Here I may add a bias strip of soft interfacing to insure that the hem has a soft edge to it.

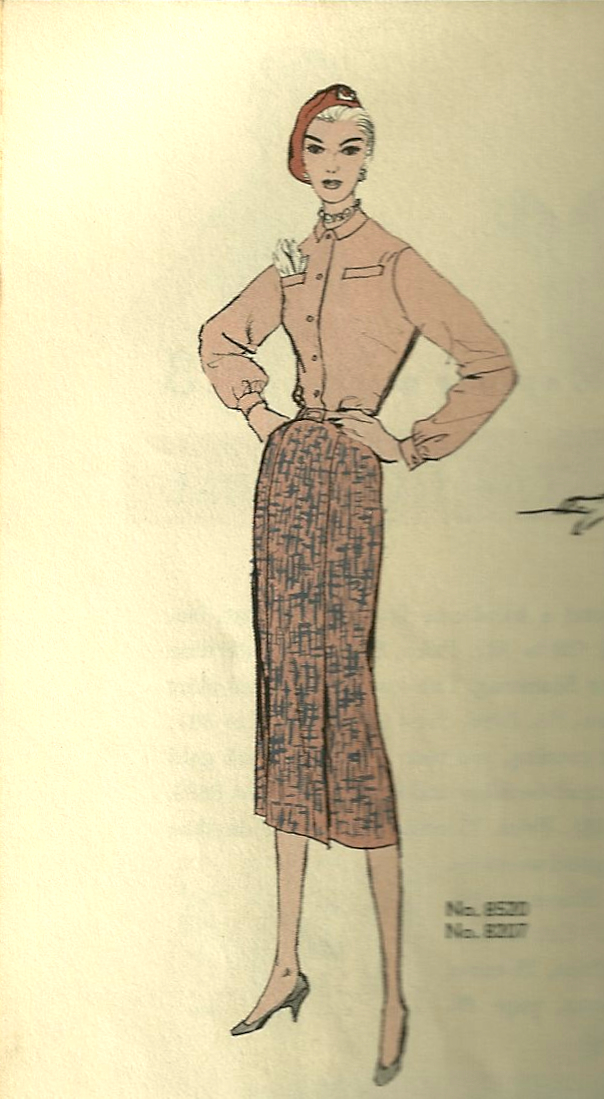
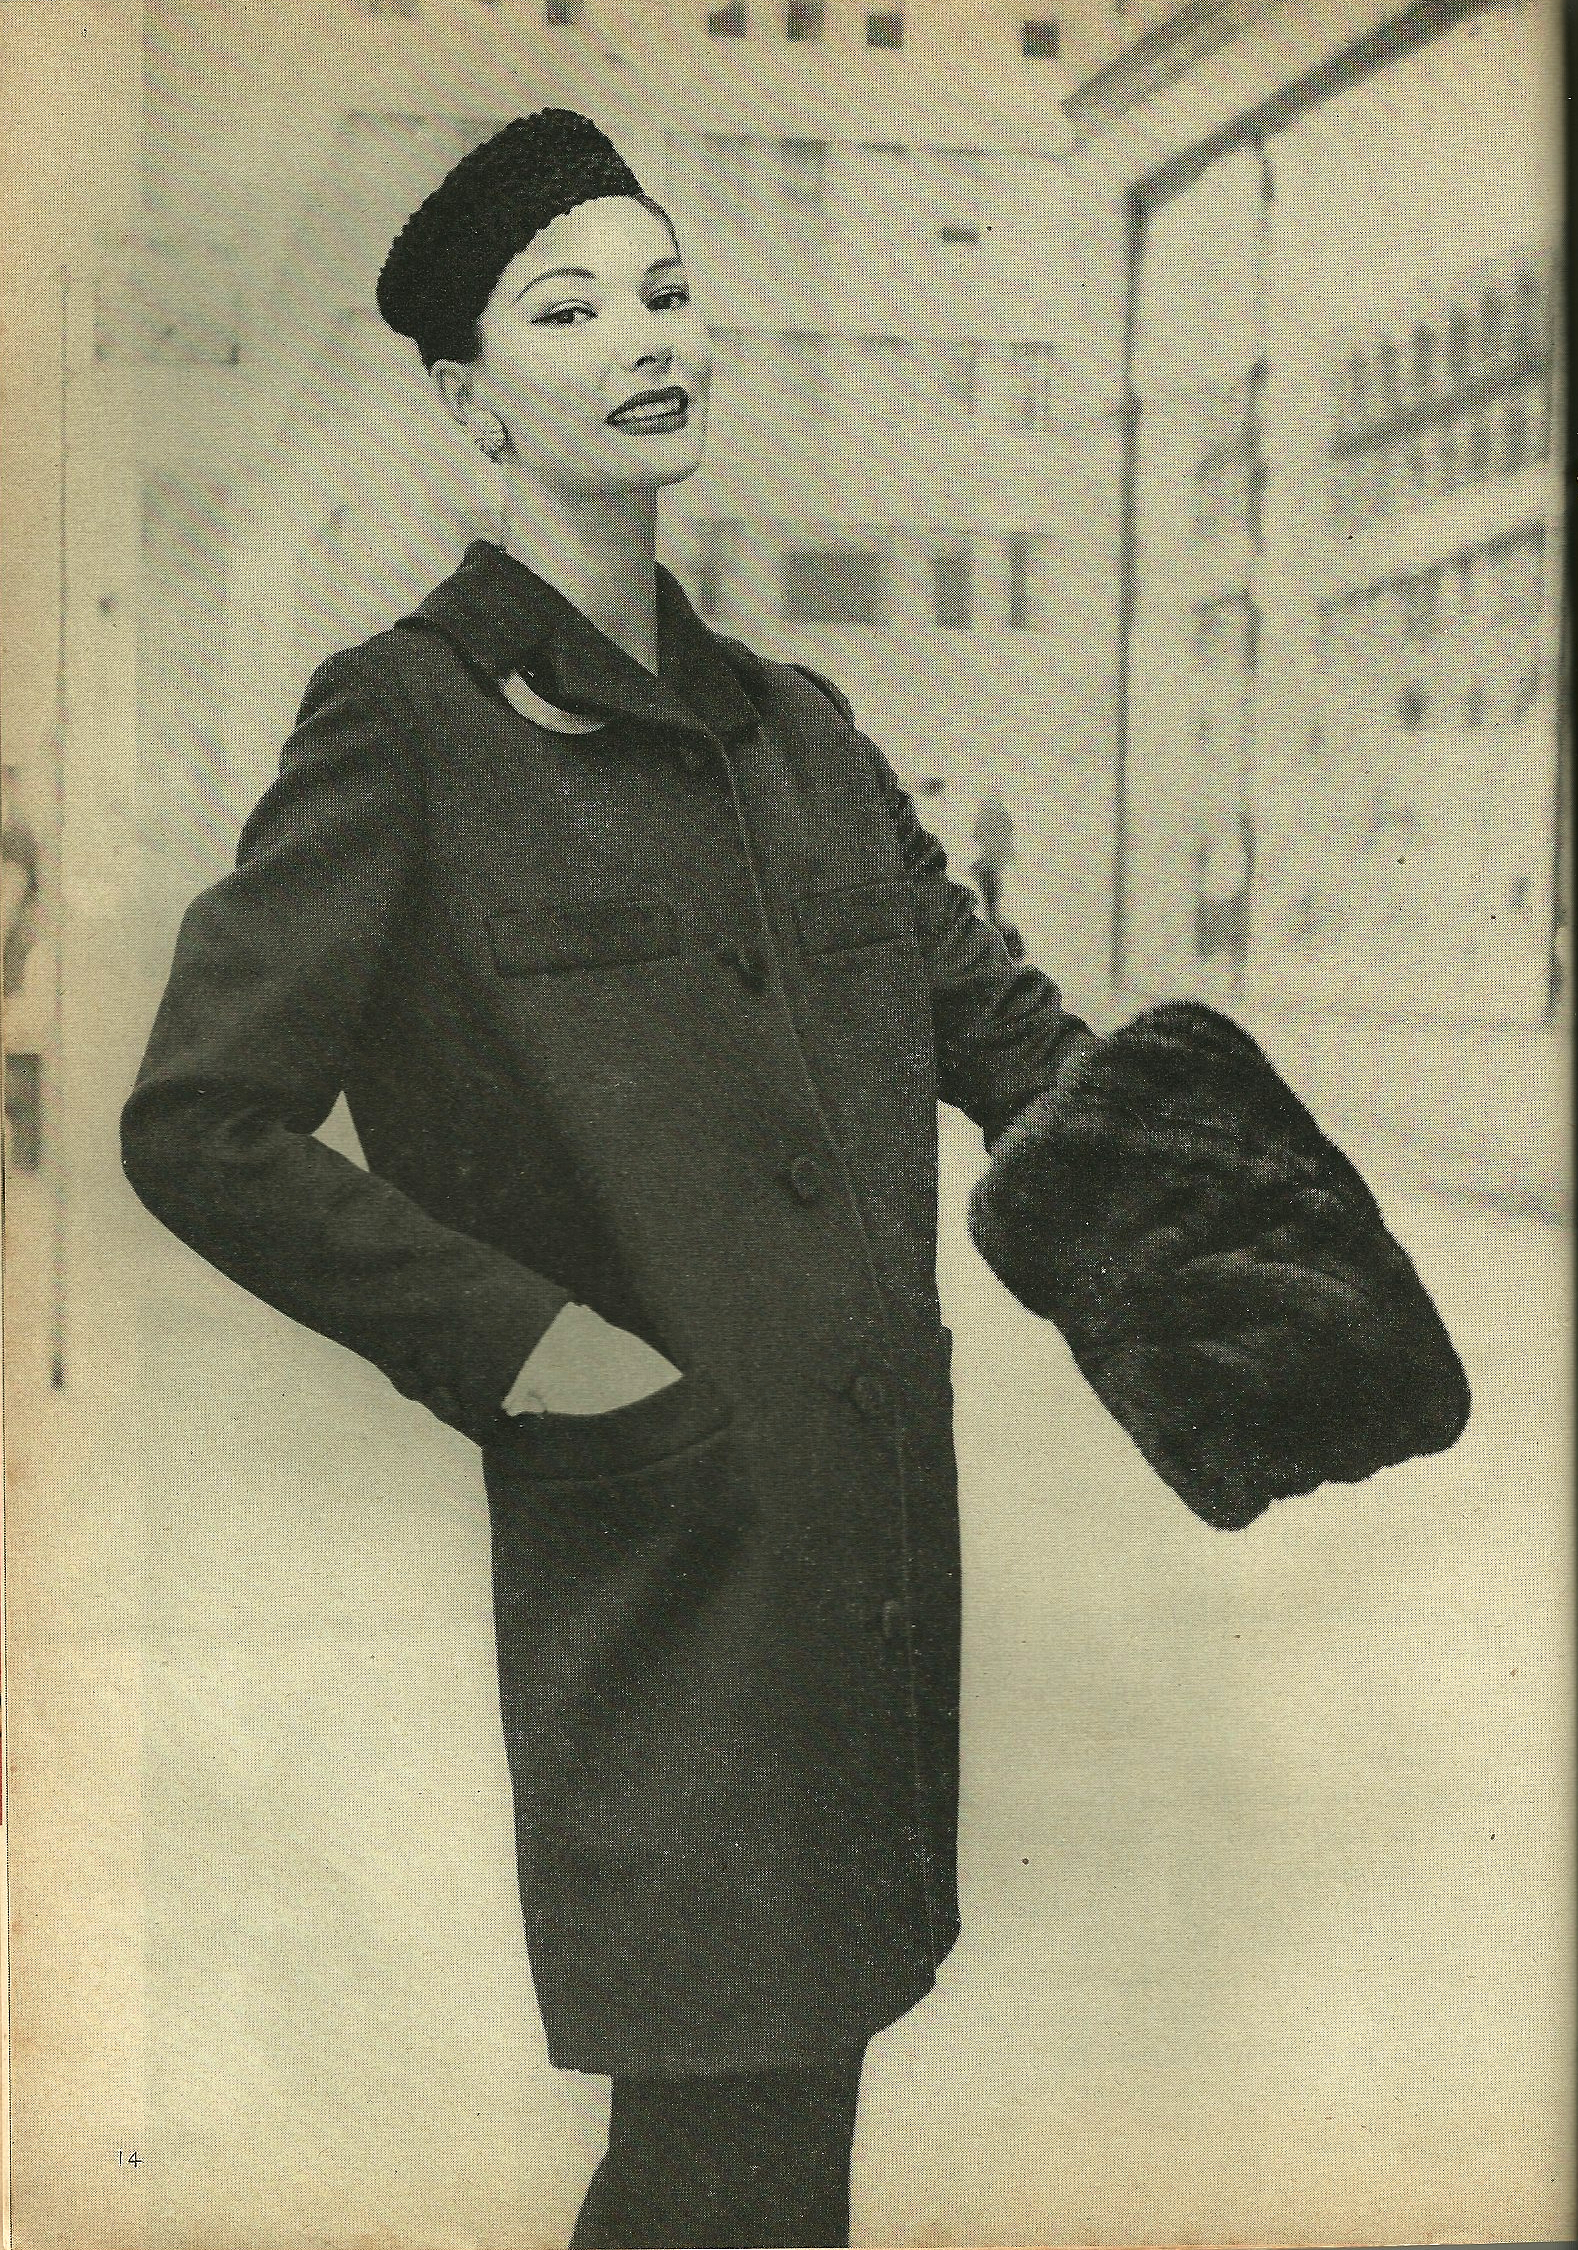
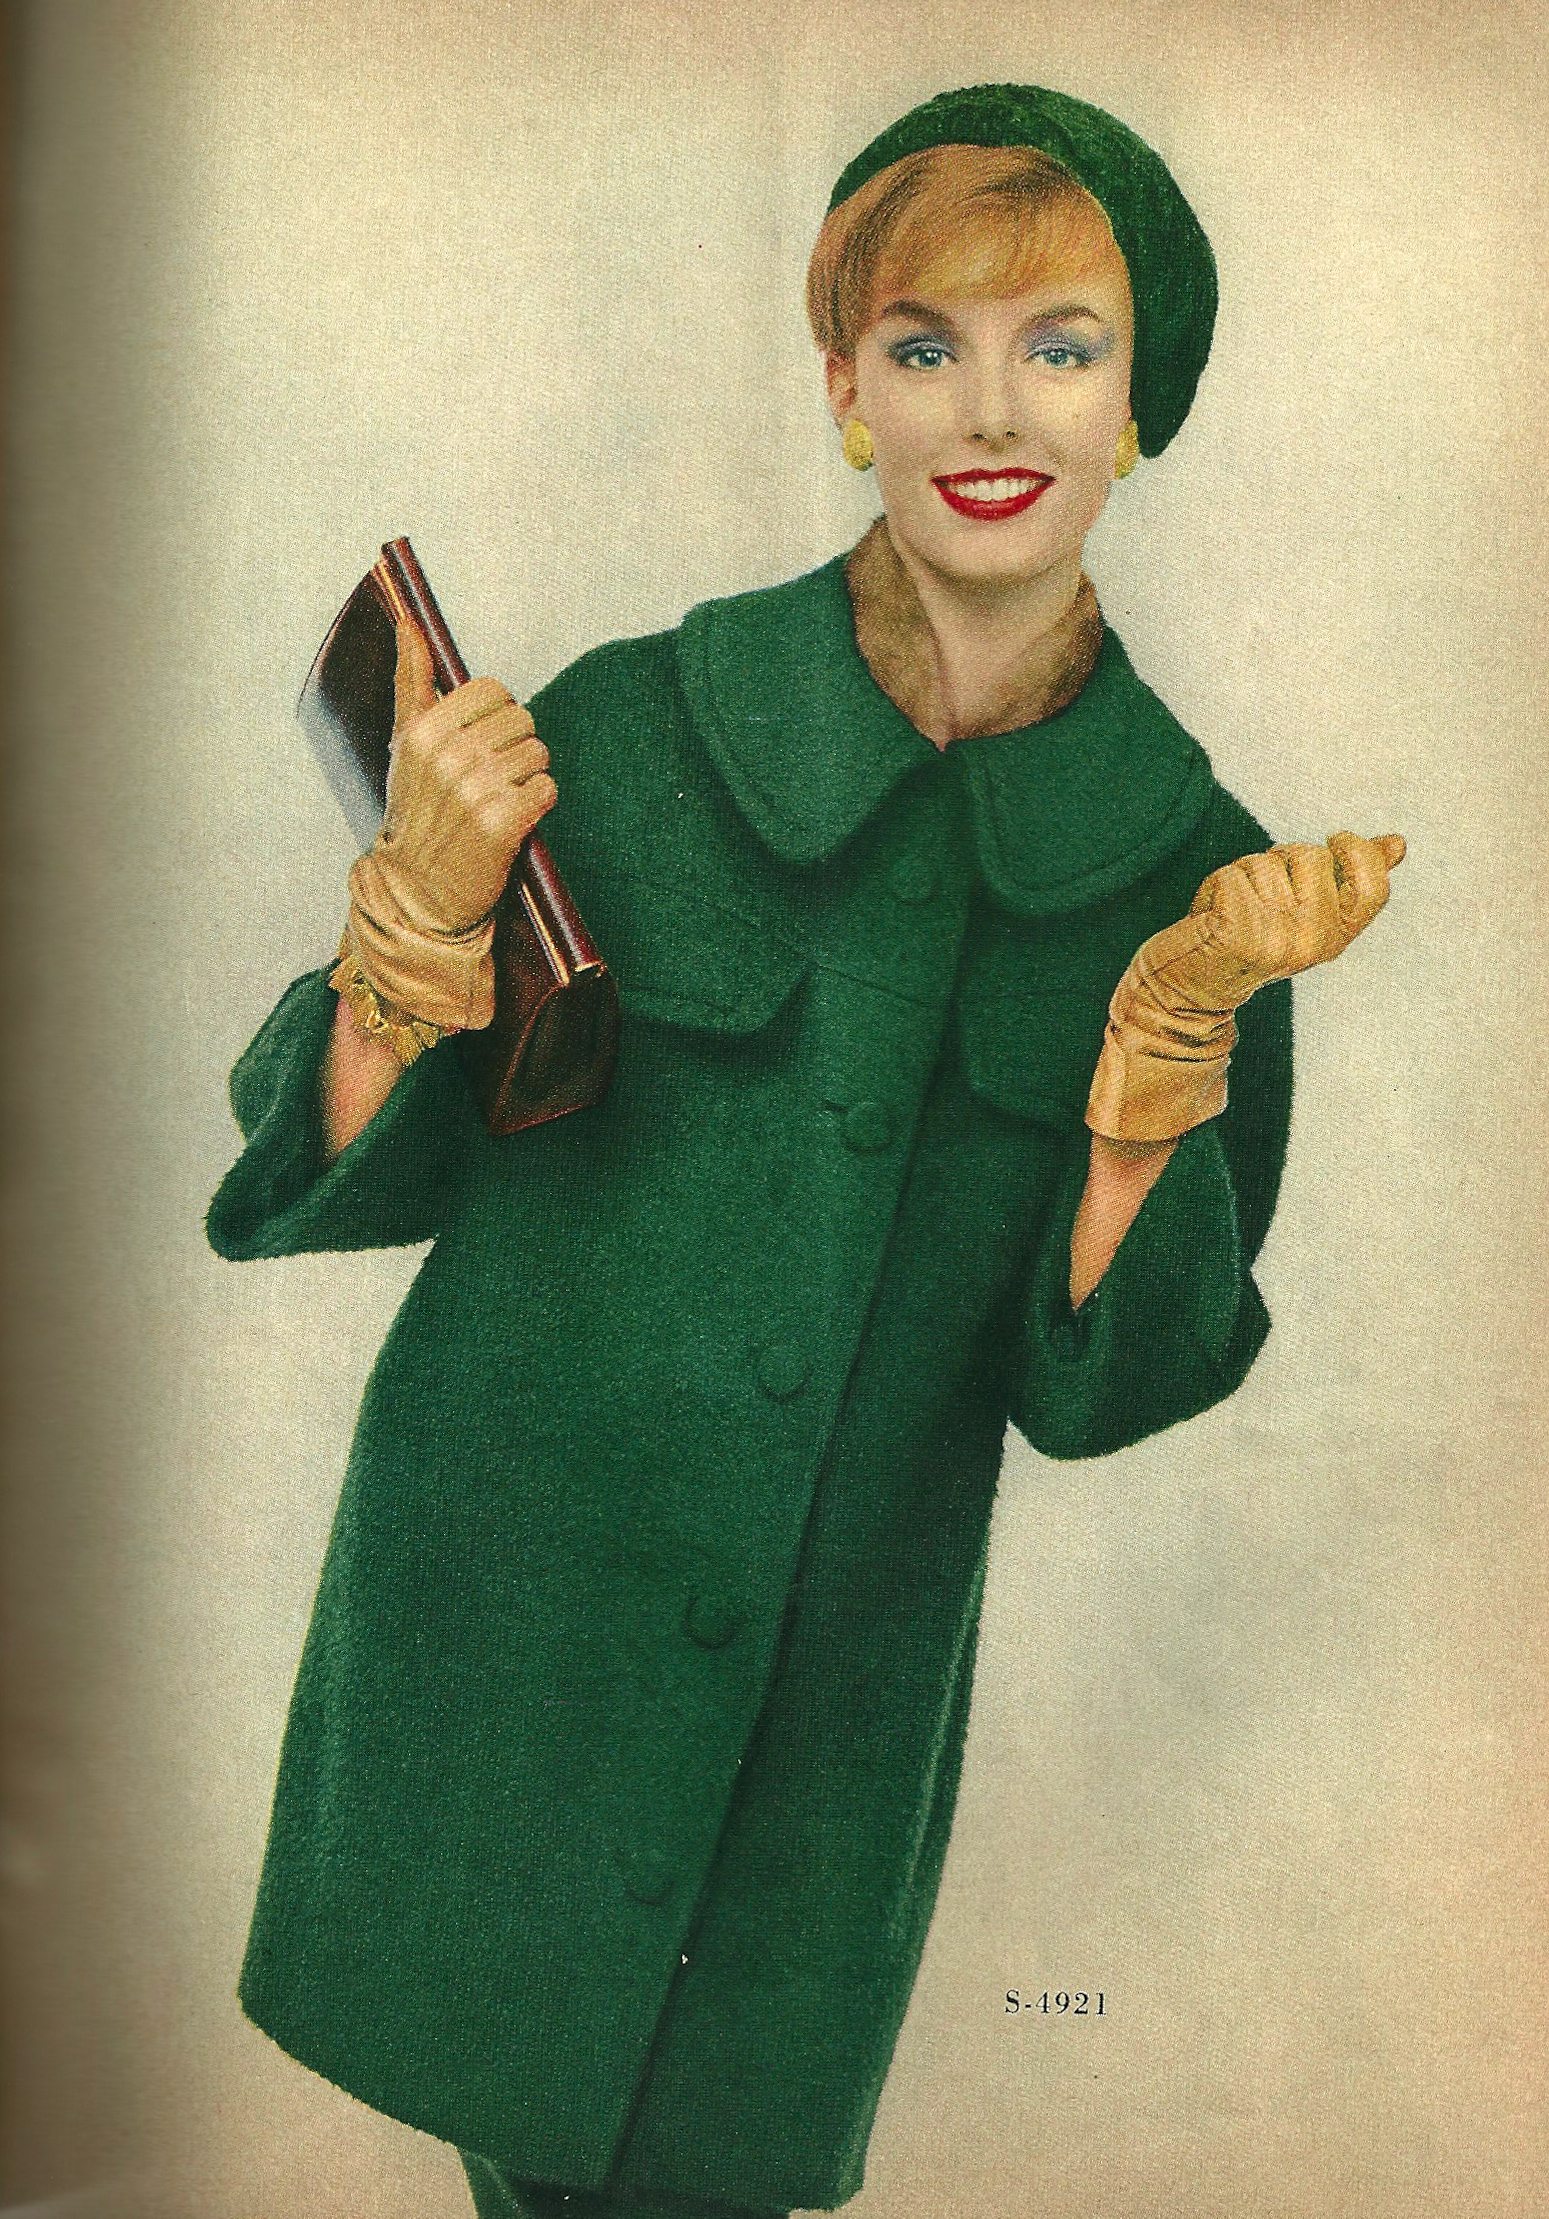
The Vogue Sewing Book from 1963 includes this detail on The Soft Hemline, as part of its section on Haute Couture Techniques. I also asked Susan about sewing on a chain at the hem as well. Because the two wools I have used are slightly different weights, she agreed this may be a good idea, to help ensure an even hang.
So – the miracle of silk organza, pressing techniques, and practice, practice, practice – are helping to make my long-awaited color-blocked coat a reality. On to the finish line!