
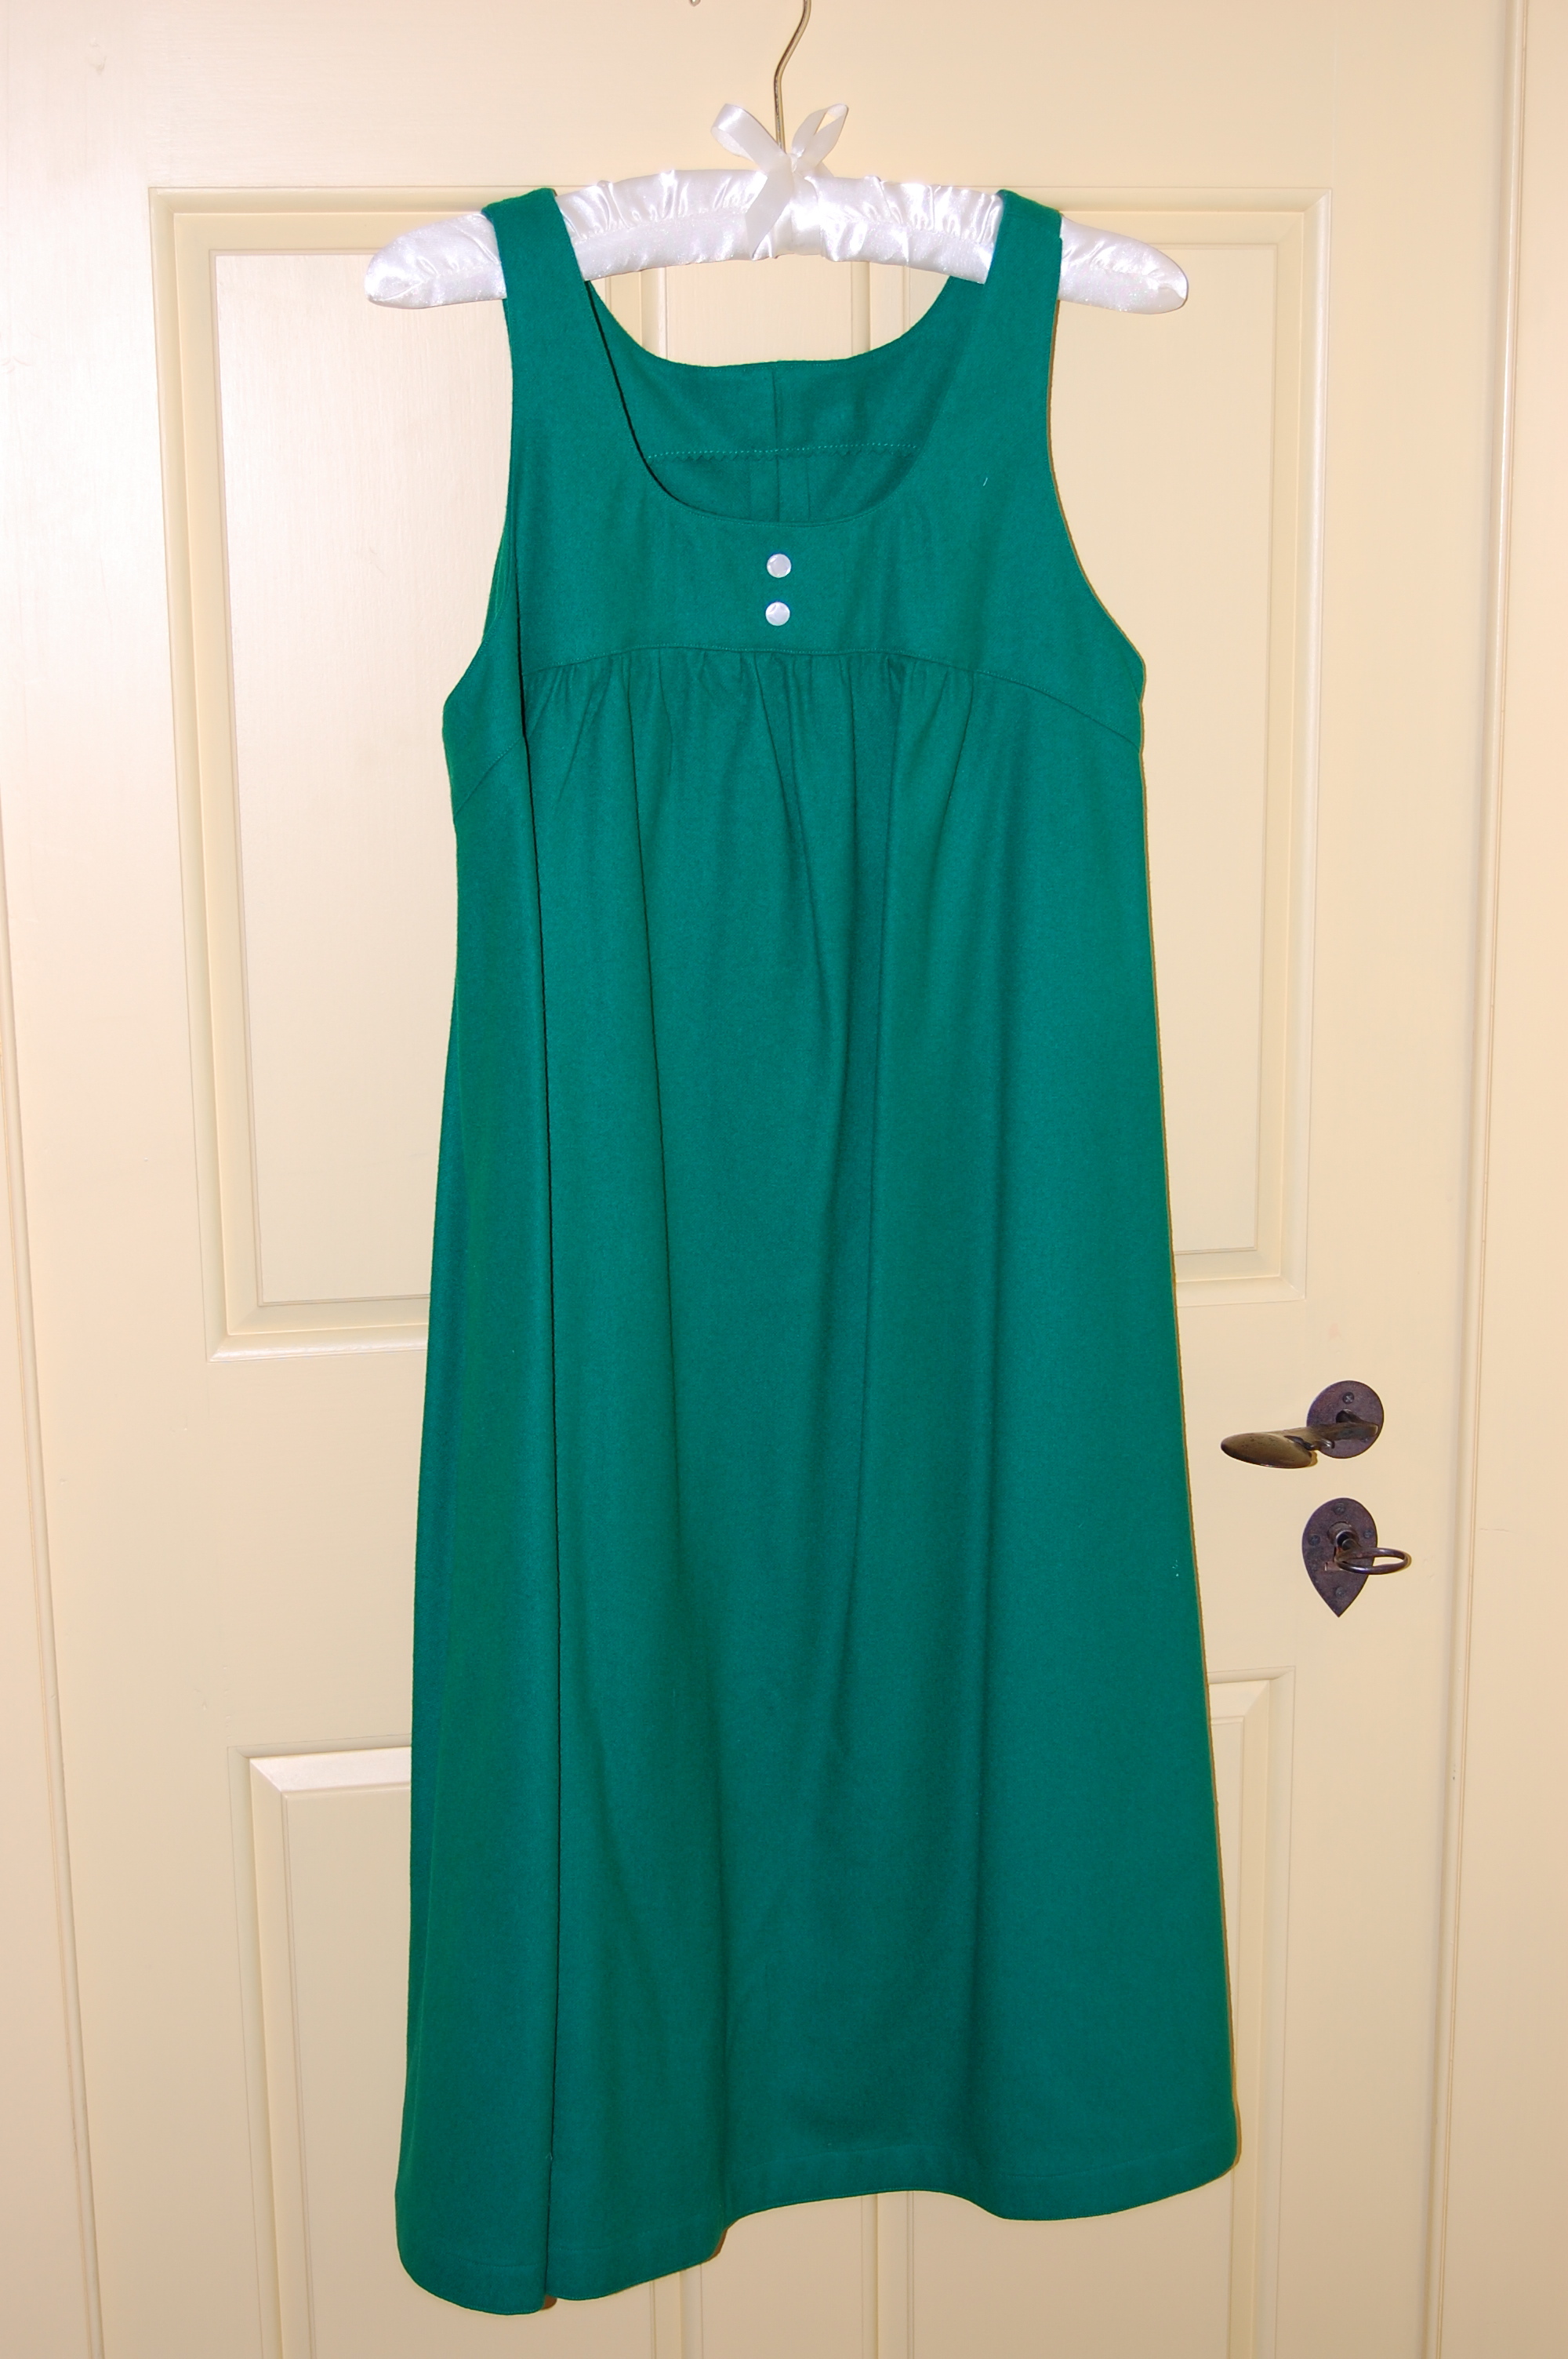
One of the aspects of fashion sewing that appeals to me so much is how projects seem to take on a life of their own. By the time I have it finished, a piece rarely ends up being exactly how I thought it might be when I started it. Most of the time, that’s a good thing. (There are those flops, which are bad things, but thankfully this post is not about a flop.)
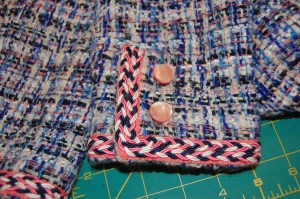
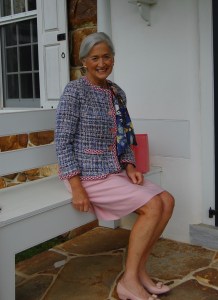
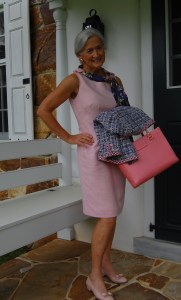
When I did the planning and started the construction of my recent Classic French Jacket, I really thought I would be making a pale blue linen sheath to wear with it, using fabric already in my collection. But somehow that pink accent in the weave of the boucle, the trim I selected, and the buttons, all conspired together and changed my mind for me.
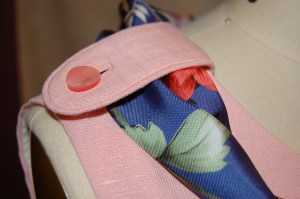
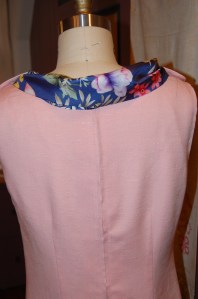
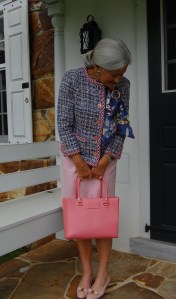
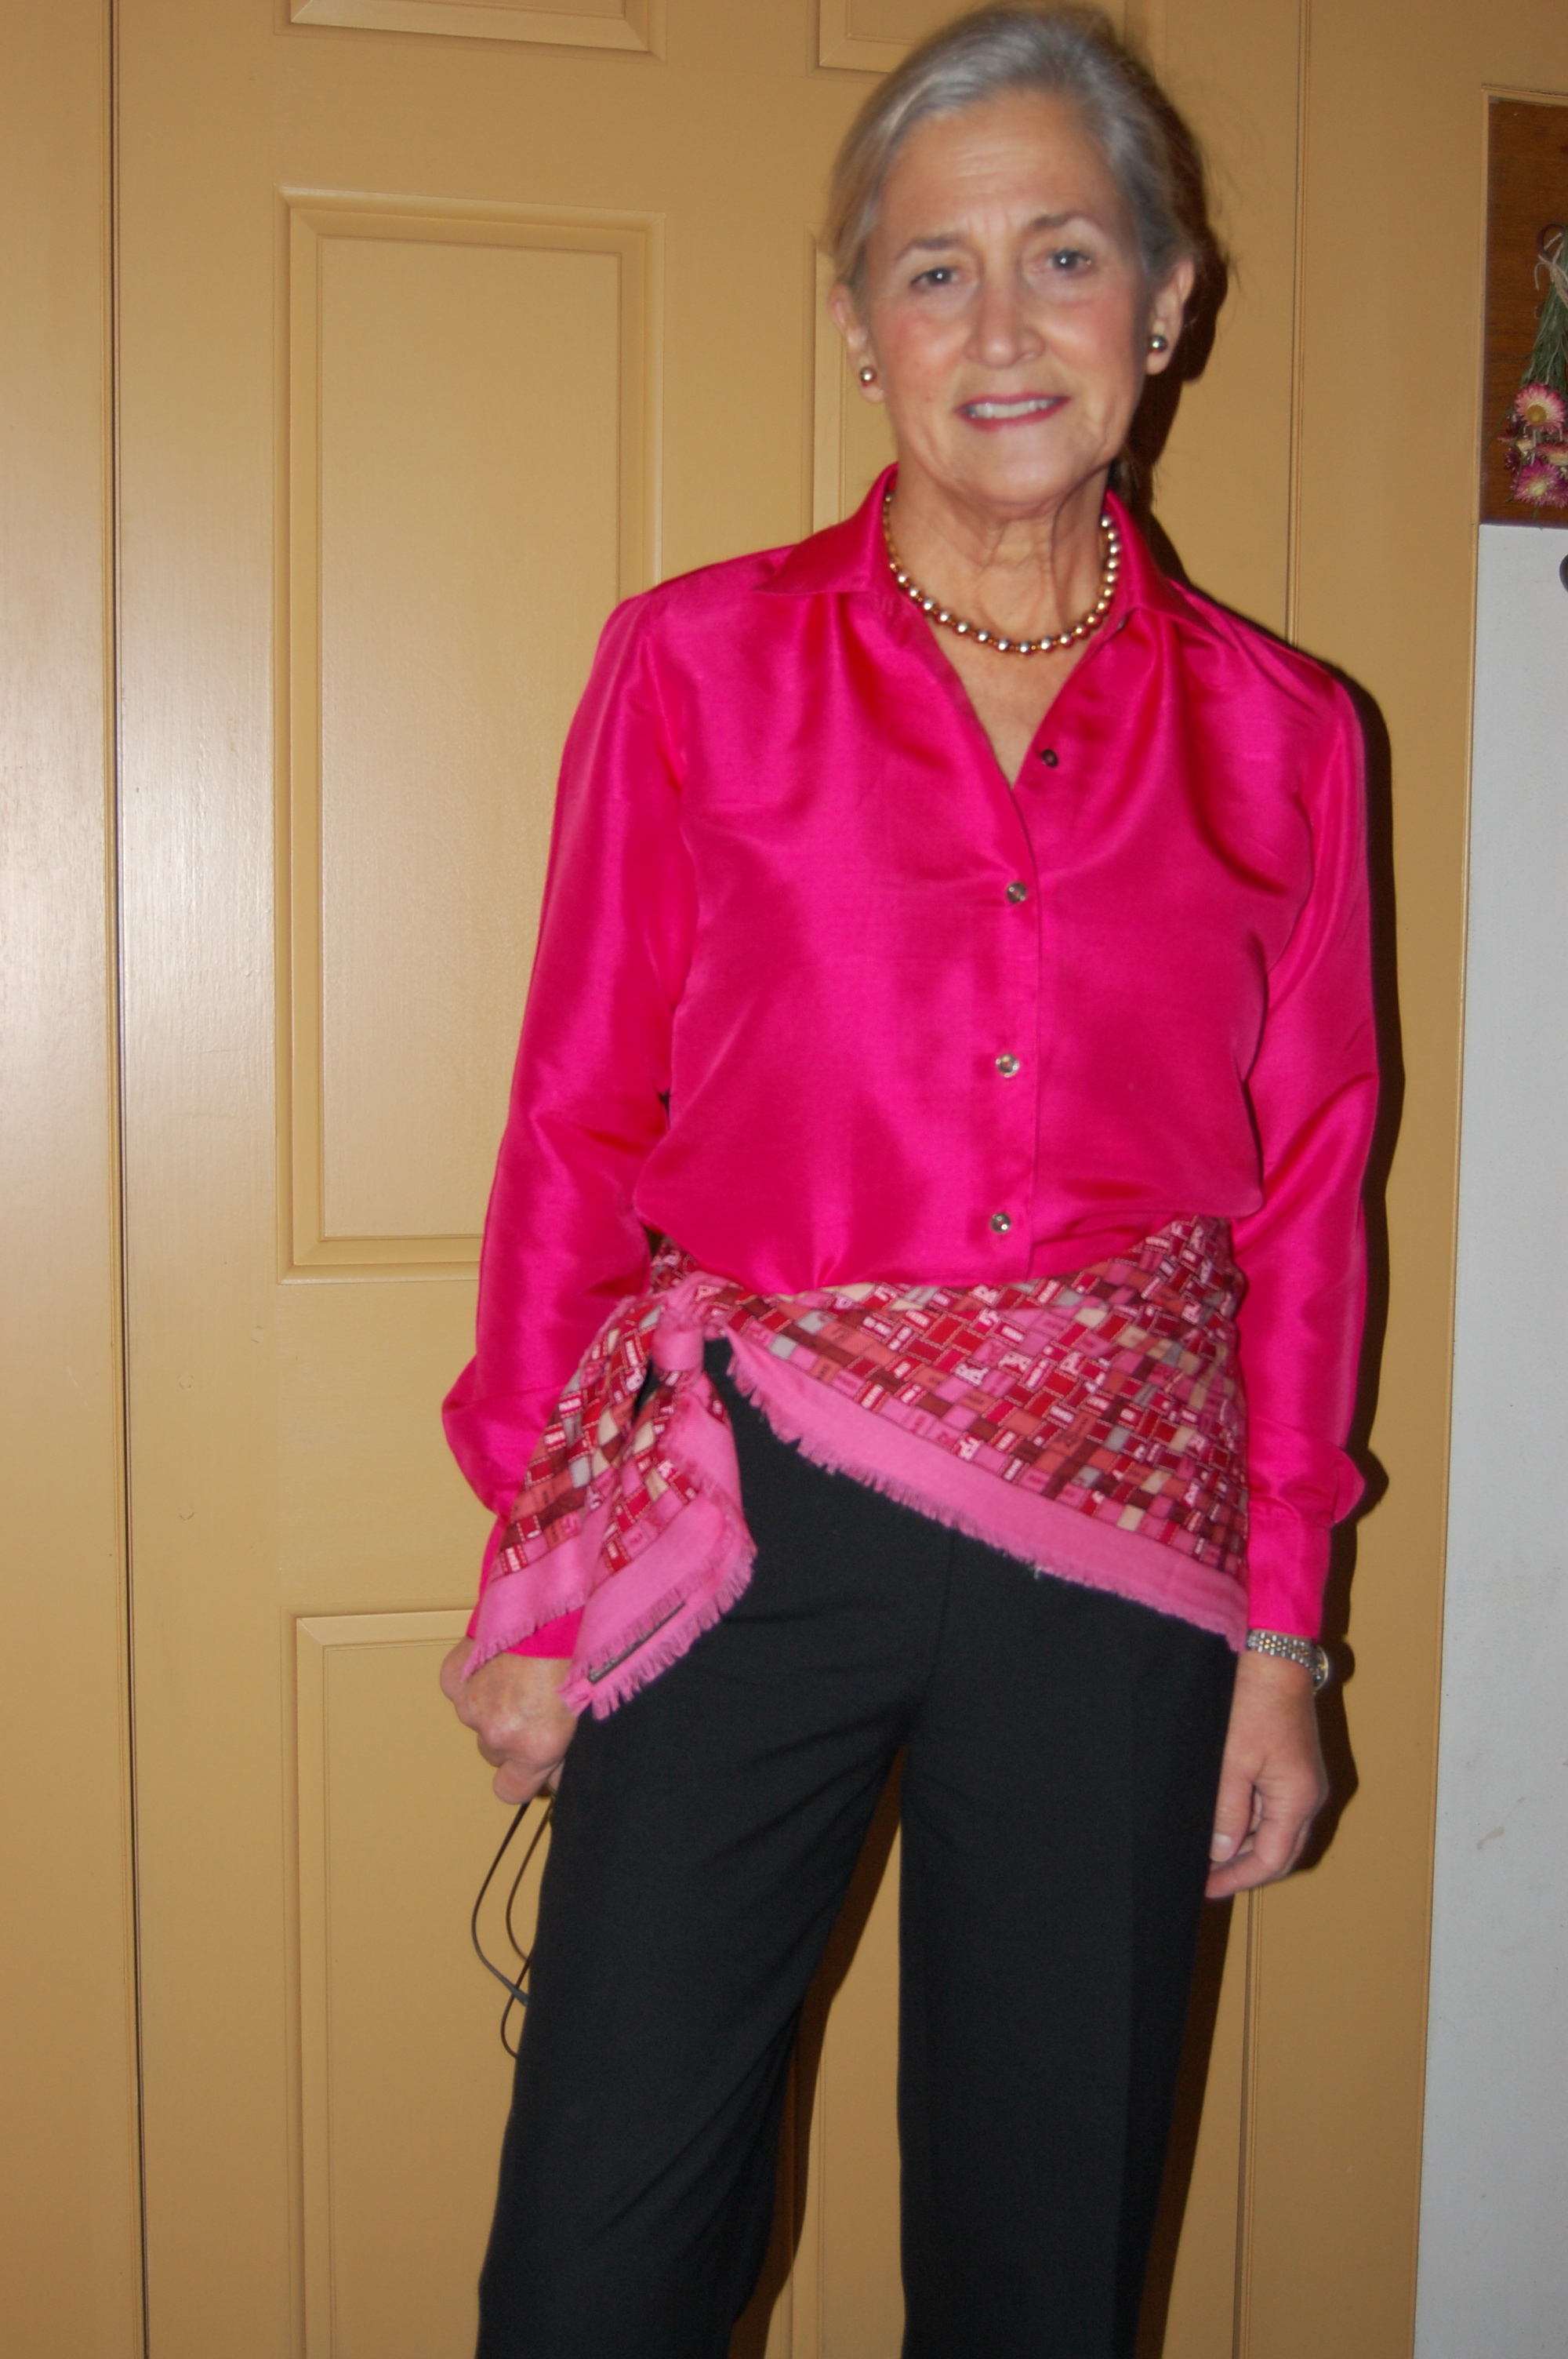
Fortunately, I also had a piece of pale pink linen in my fabric collection (at this point, I might ask myself, what color linen do I not have in my collection? But let’s not go there….) By this time I had already decided I needed to figure out a way to show that gorgeous lining silk in my jacket, rather than having it solely hidden inside. Having seen accent scarves paired with Chanel jackets on Pinterest gave me the idea to make a scarf. Then I thought it might be fun to “attach” the scarf to the pink (planned) dress in some fashion.
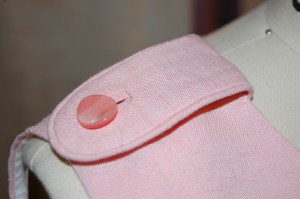
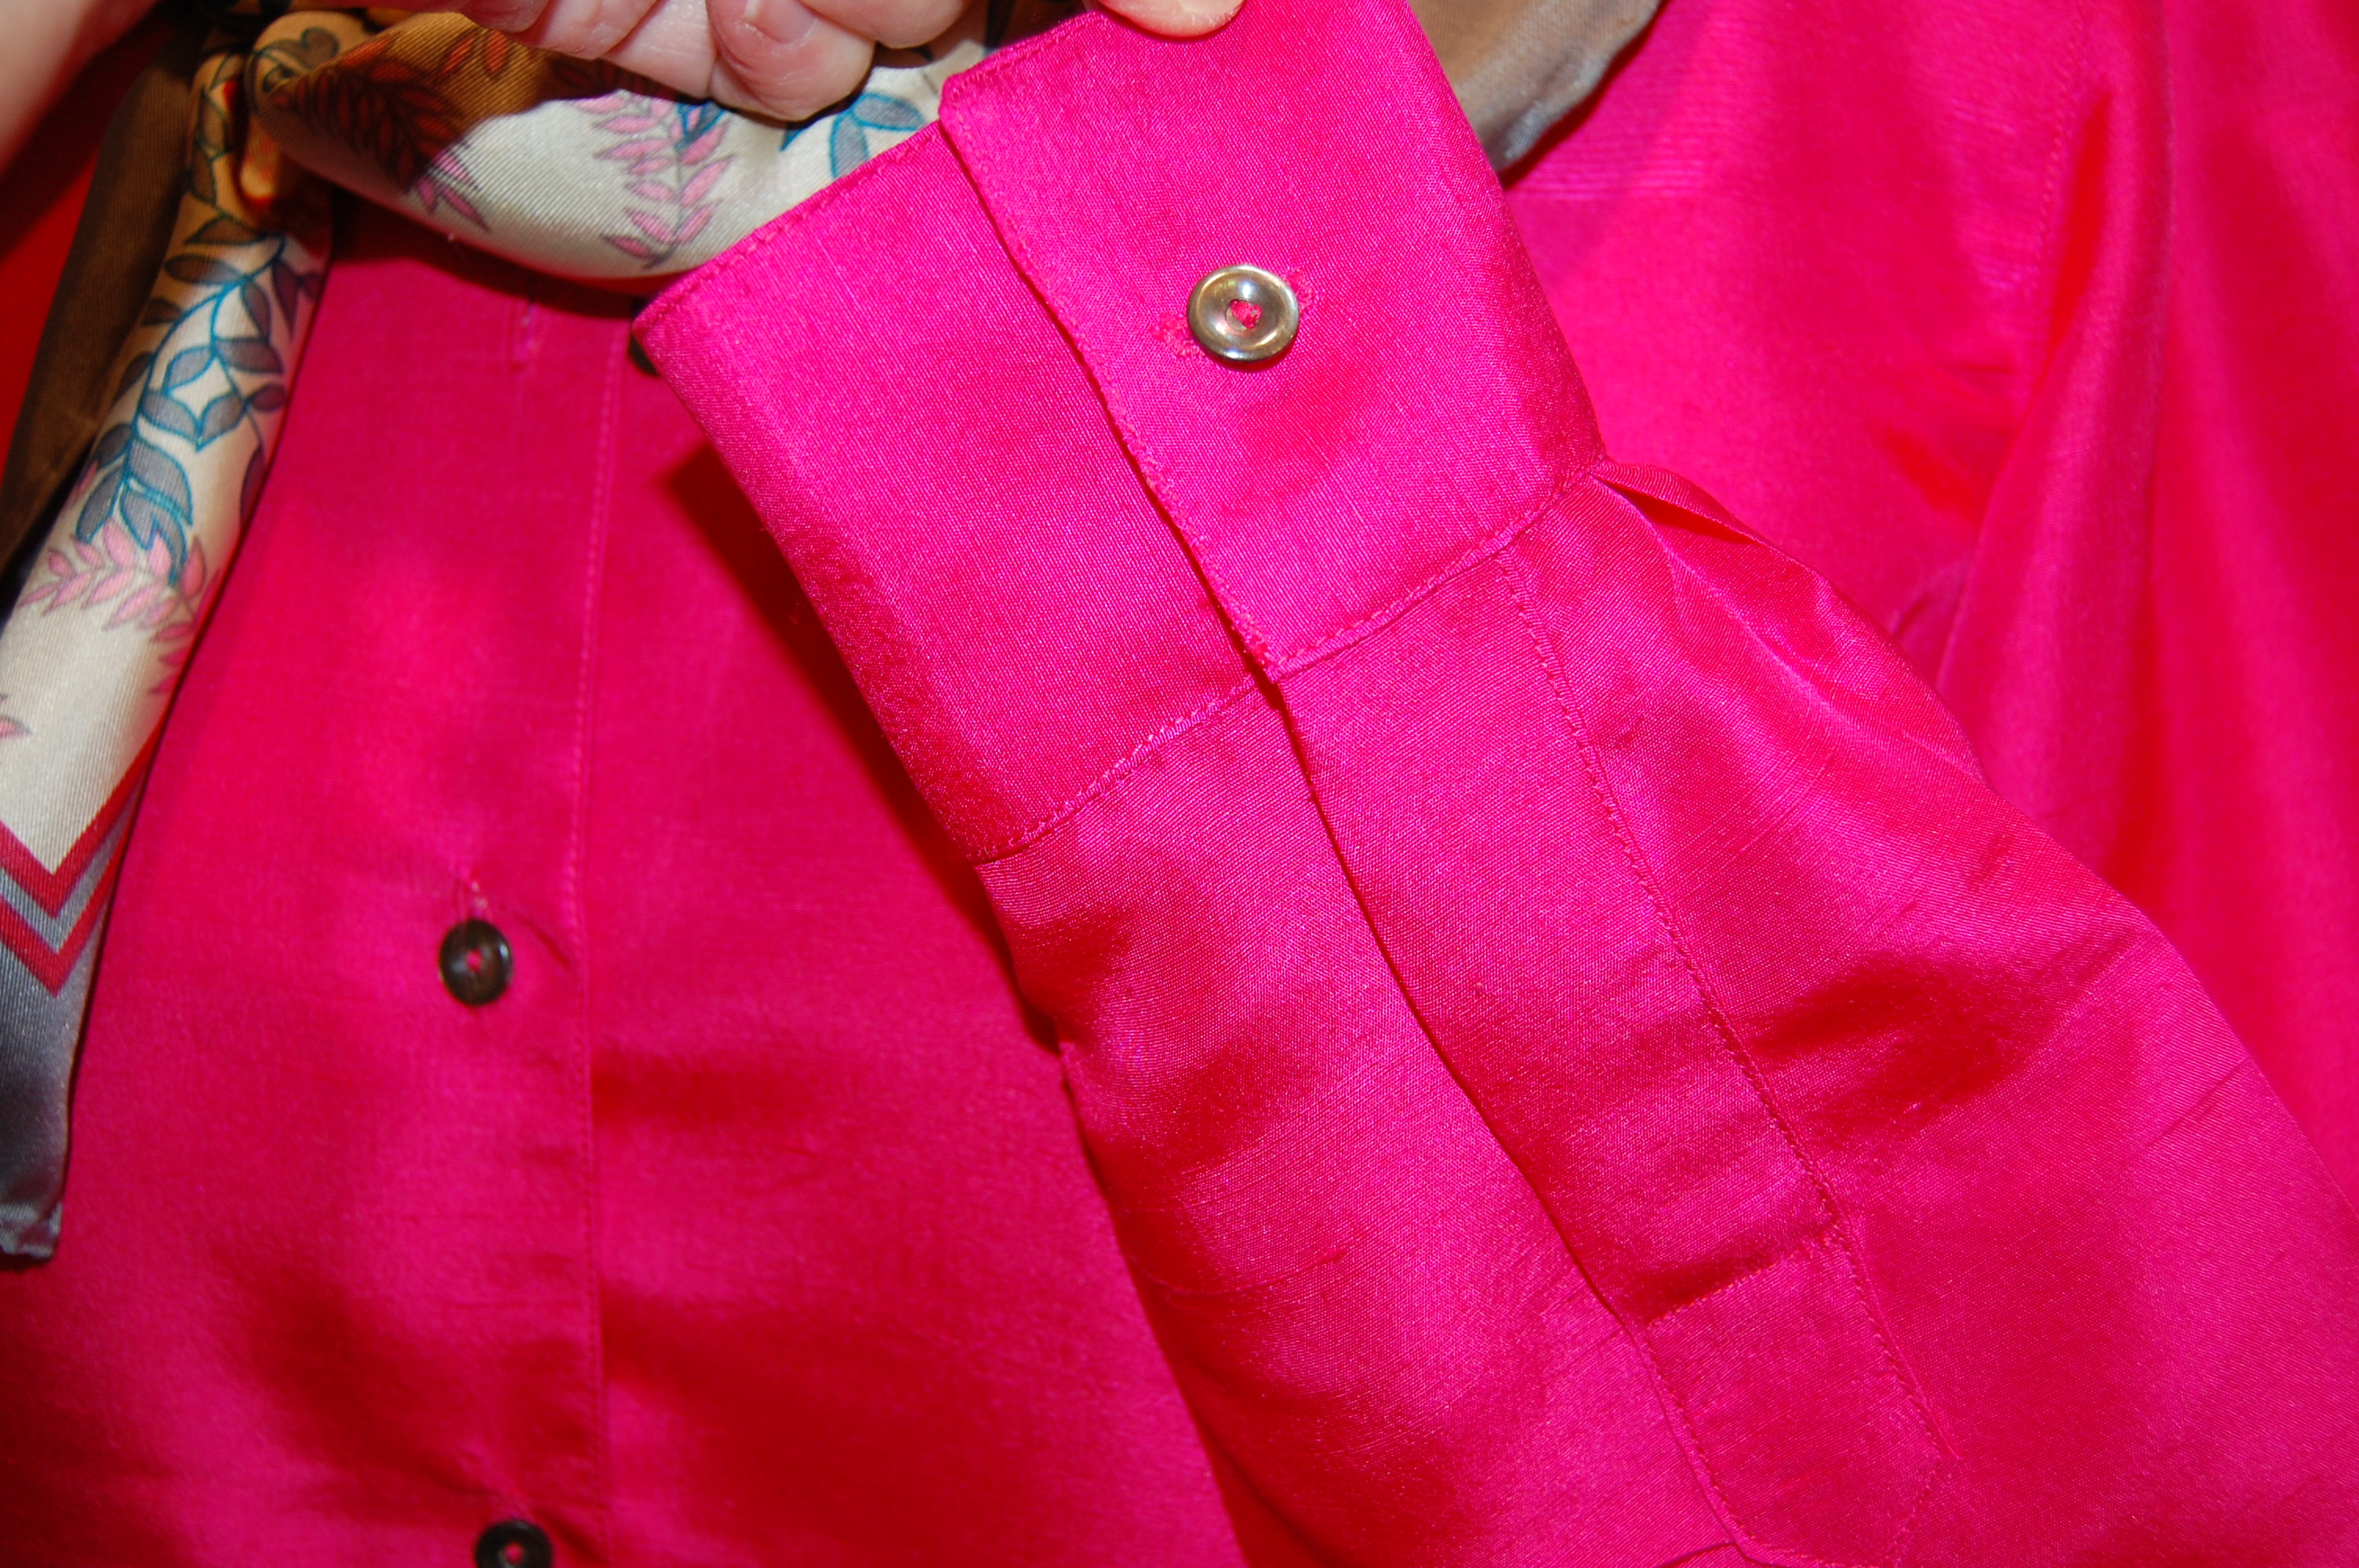
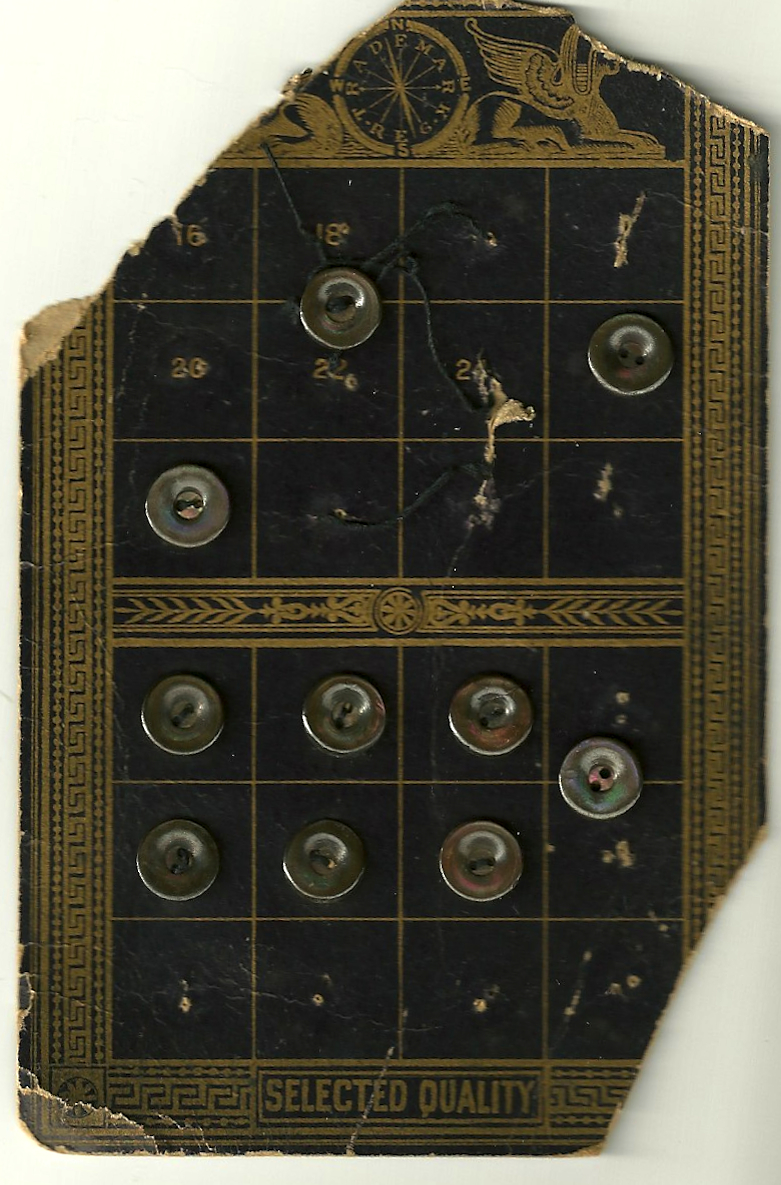
I came up with buttoned shoulder tabs as a possibility. I had purchased eight small buttons for my jacket – three for each sleeve and one for each pocket, long before I had this idea. You might recall in my last post, that I decided to make the sleeve vents for two buttons instead of three? That’s where I found/got the two buttons I needed for shoulder tabs.
I ended up liking my two button vents!
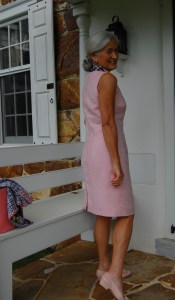
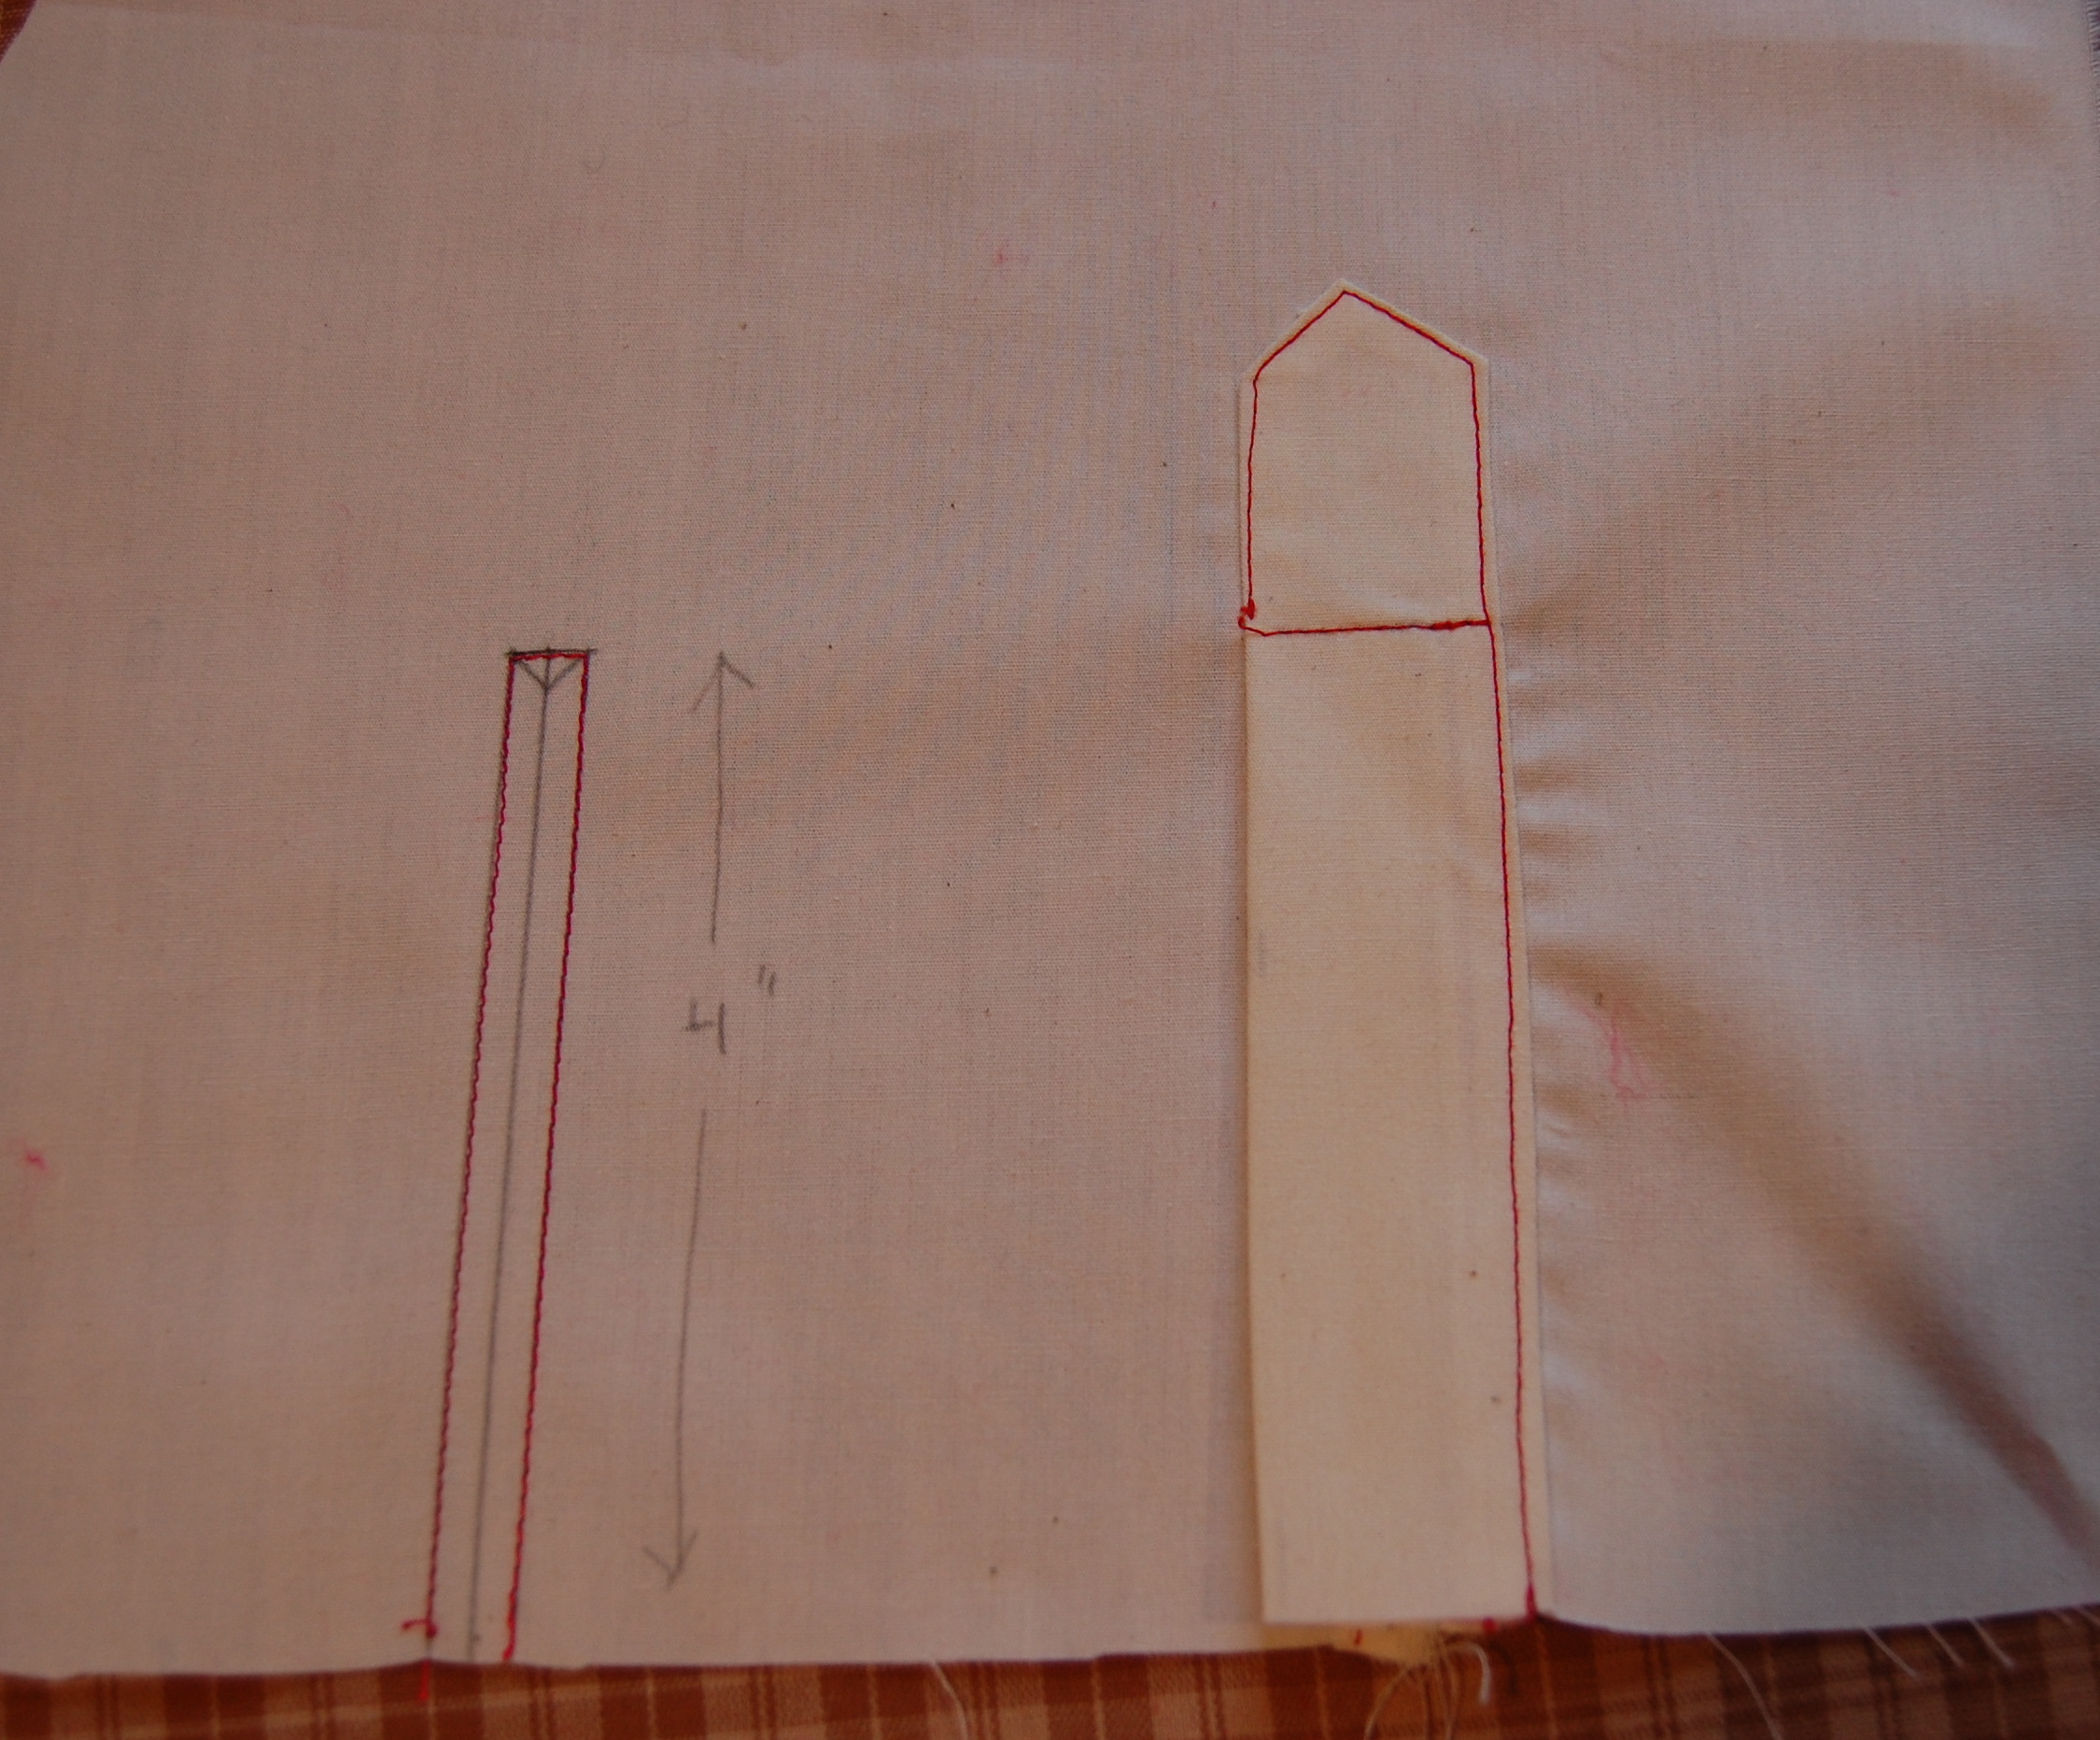
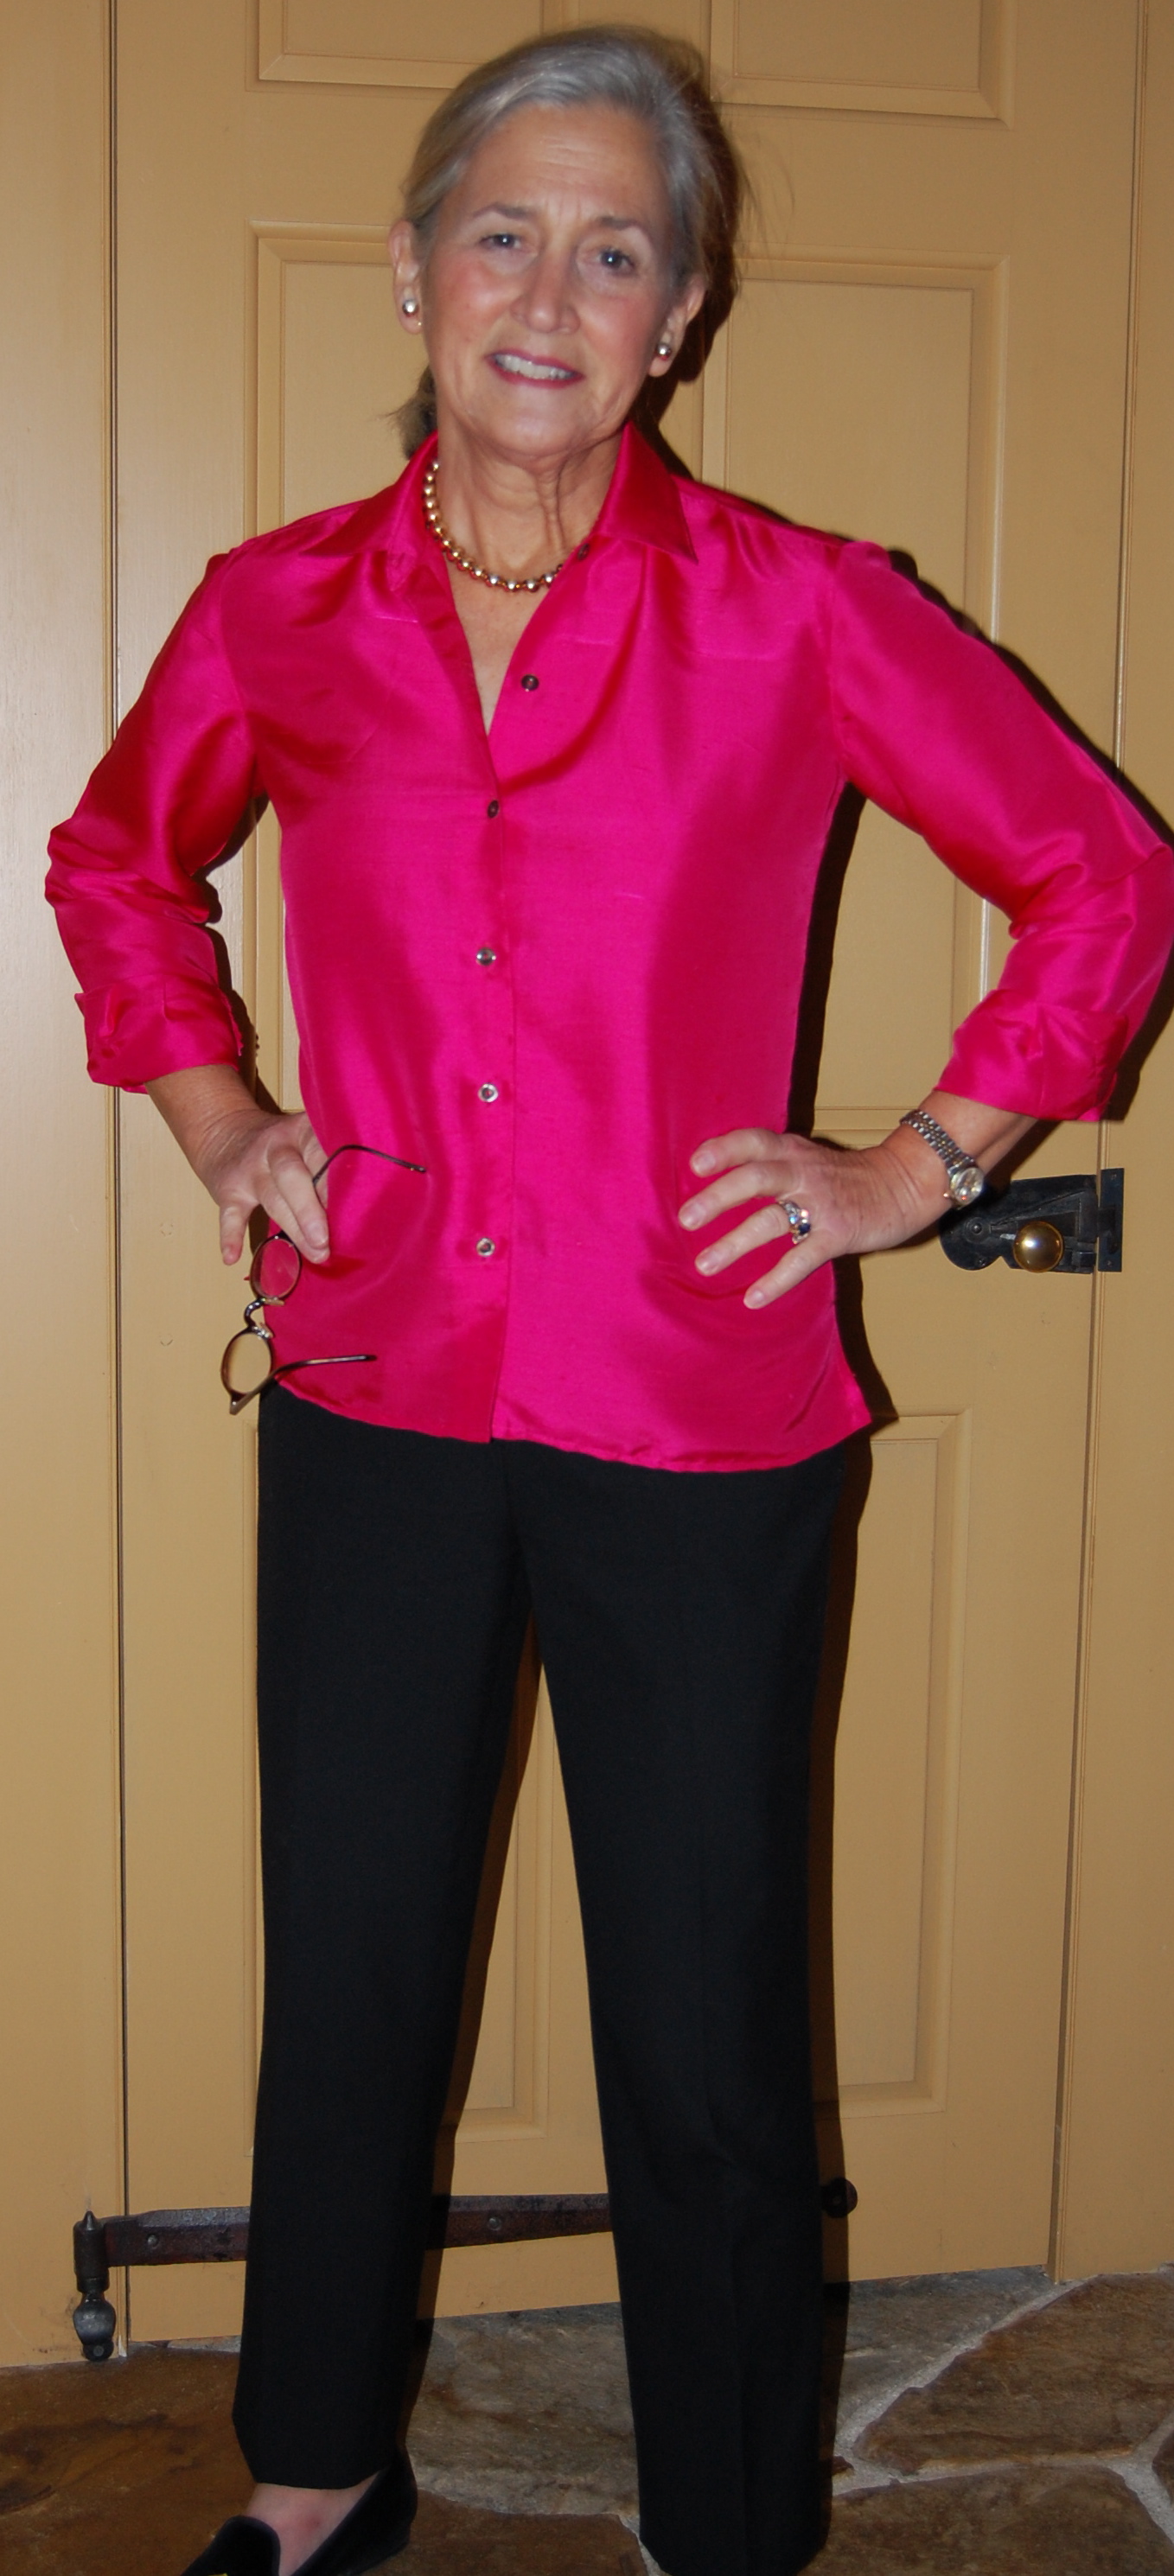
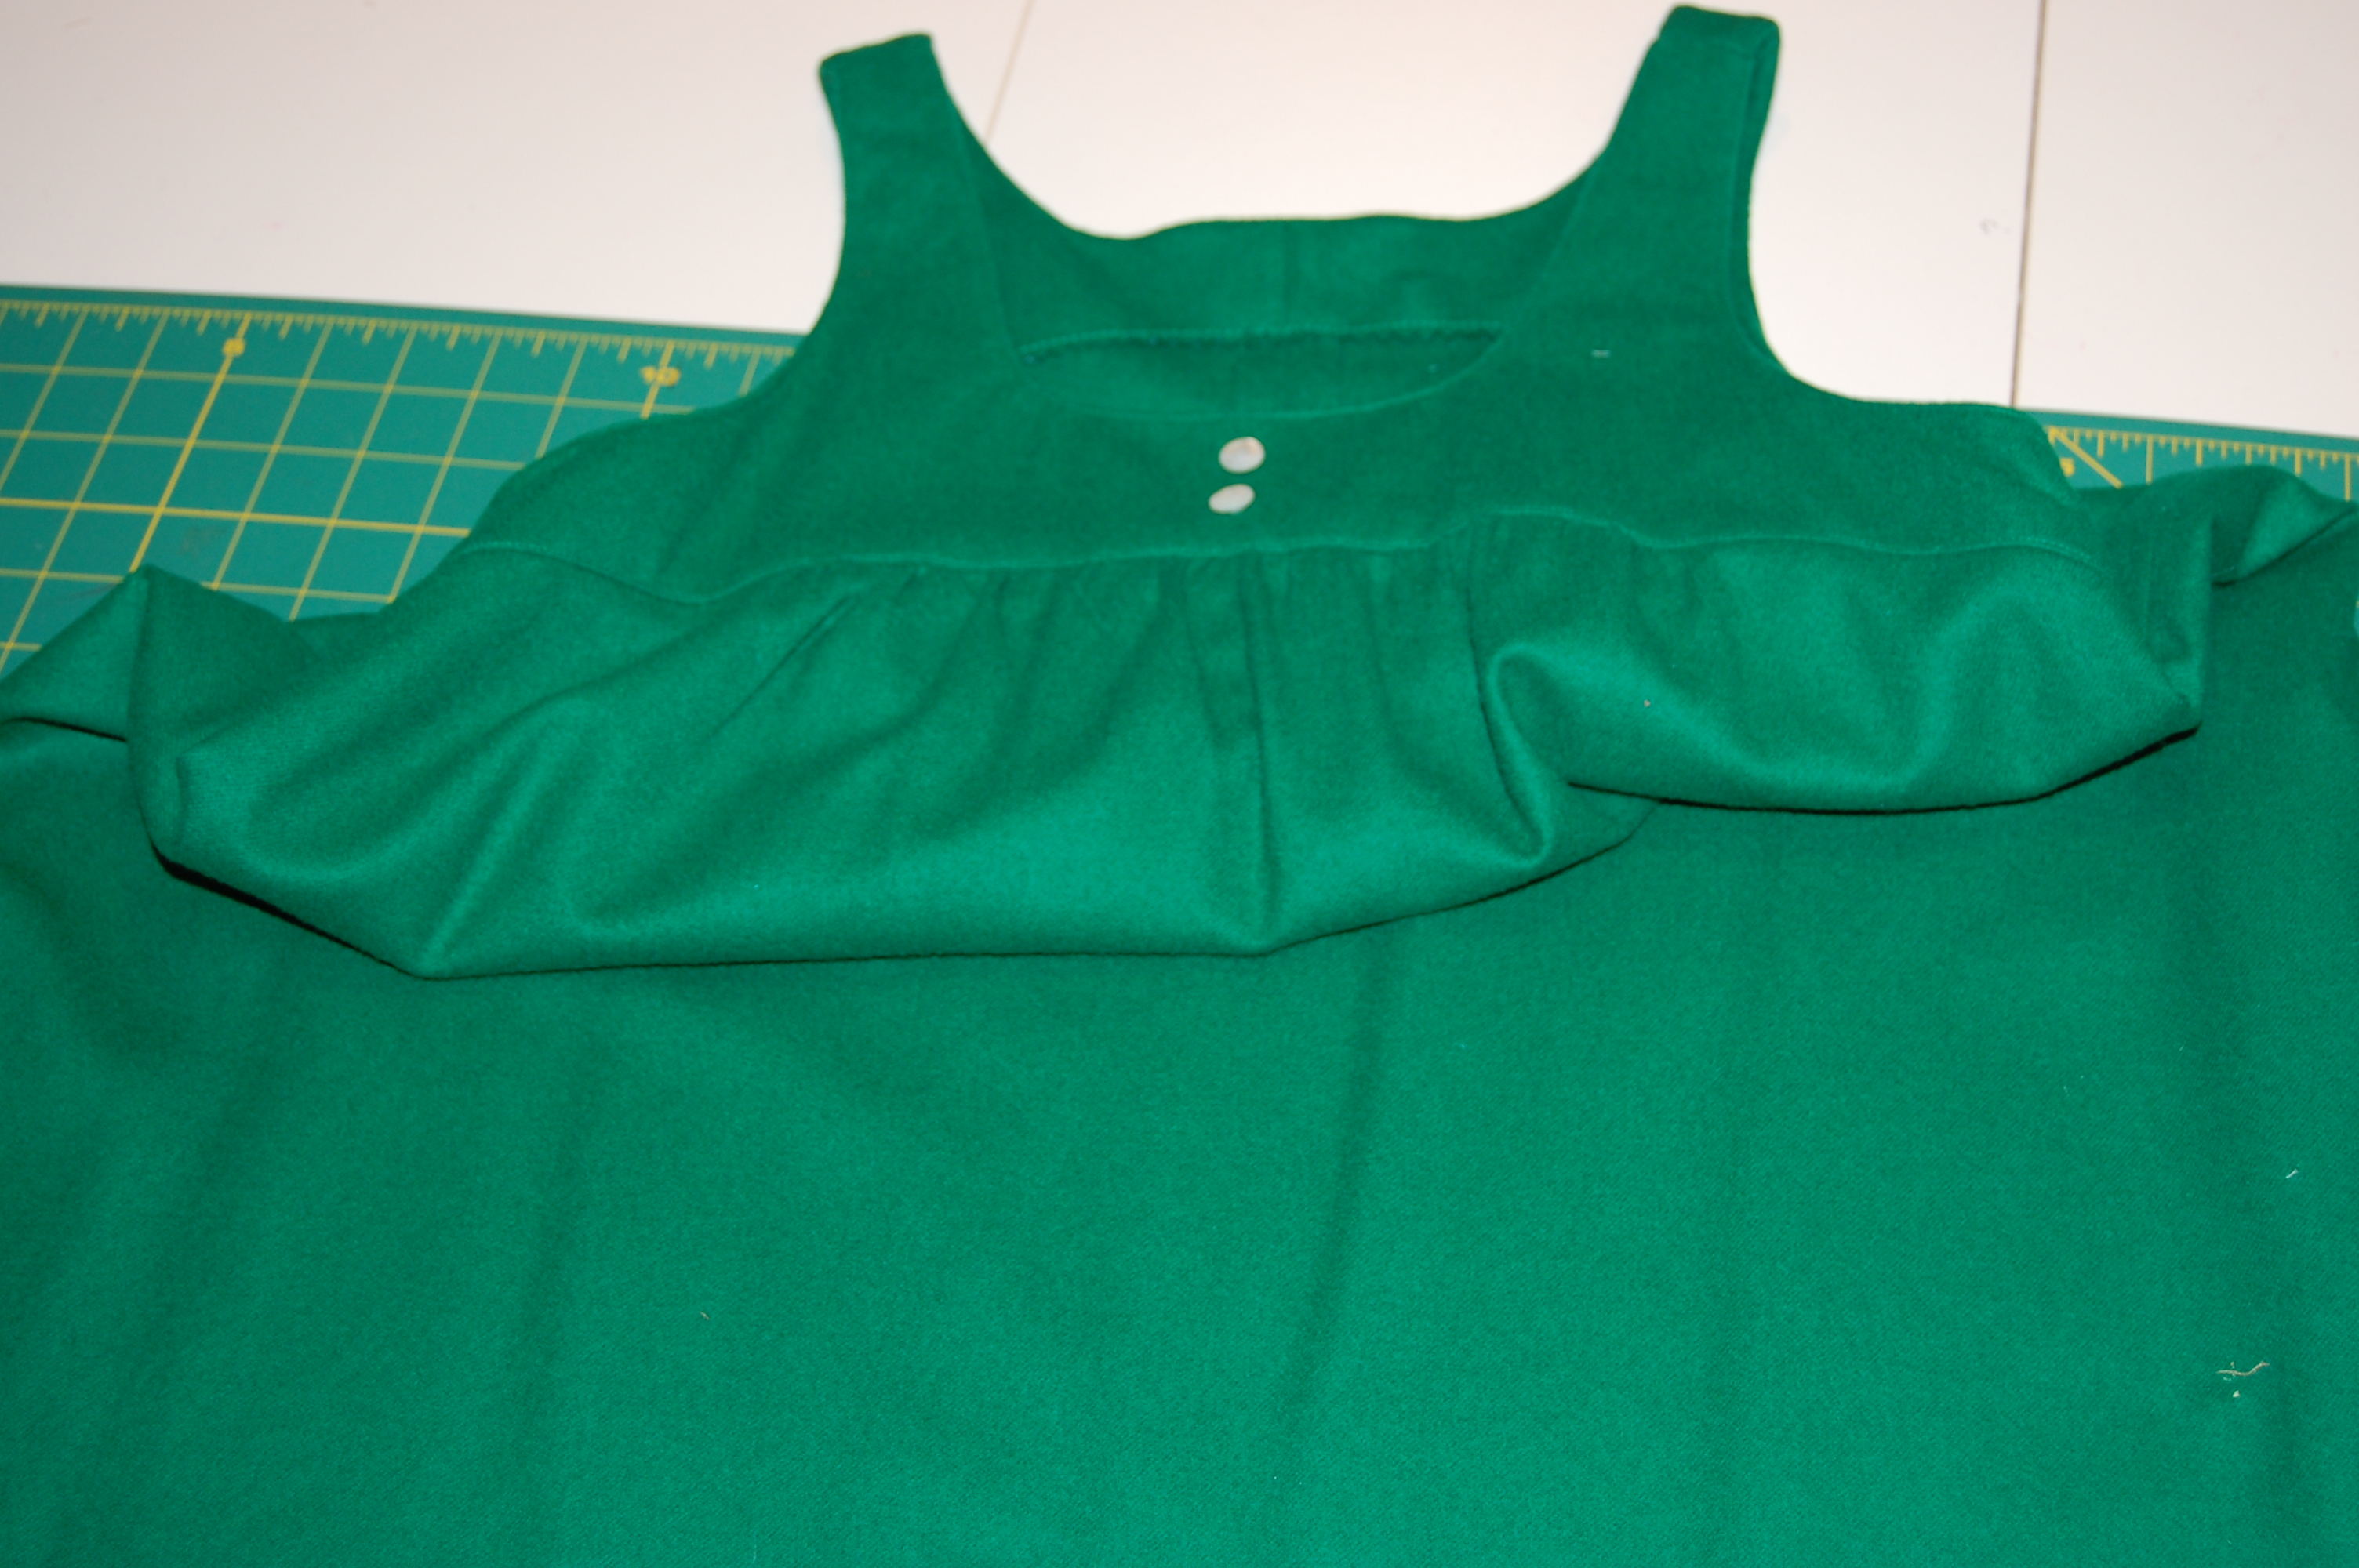
The first tabs I made just did not look right. First of all, they did not turn well, with a pleasing curve And when I placed them at the neckline of my dress, all I saw were the seams.
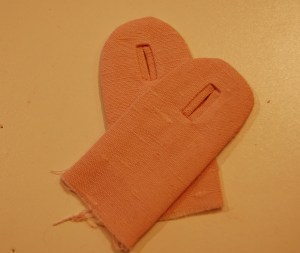
I even finished the bound buttonholes before deciding I didn’t like these.
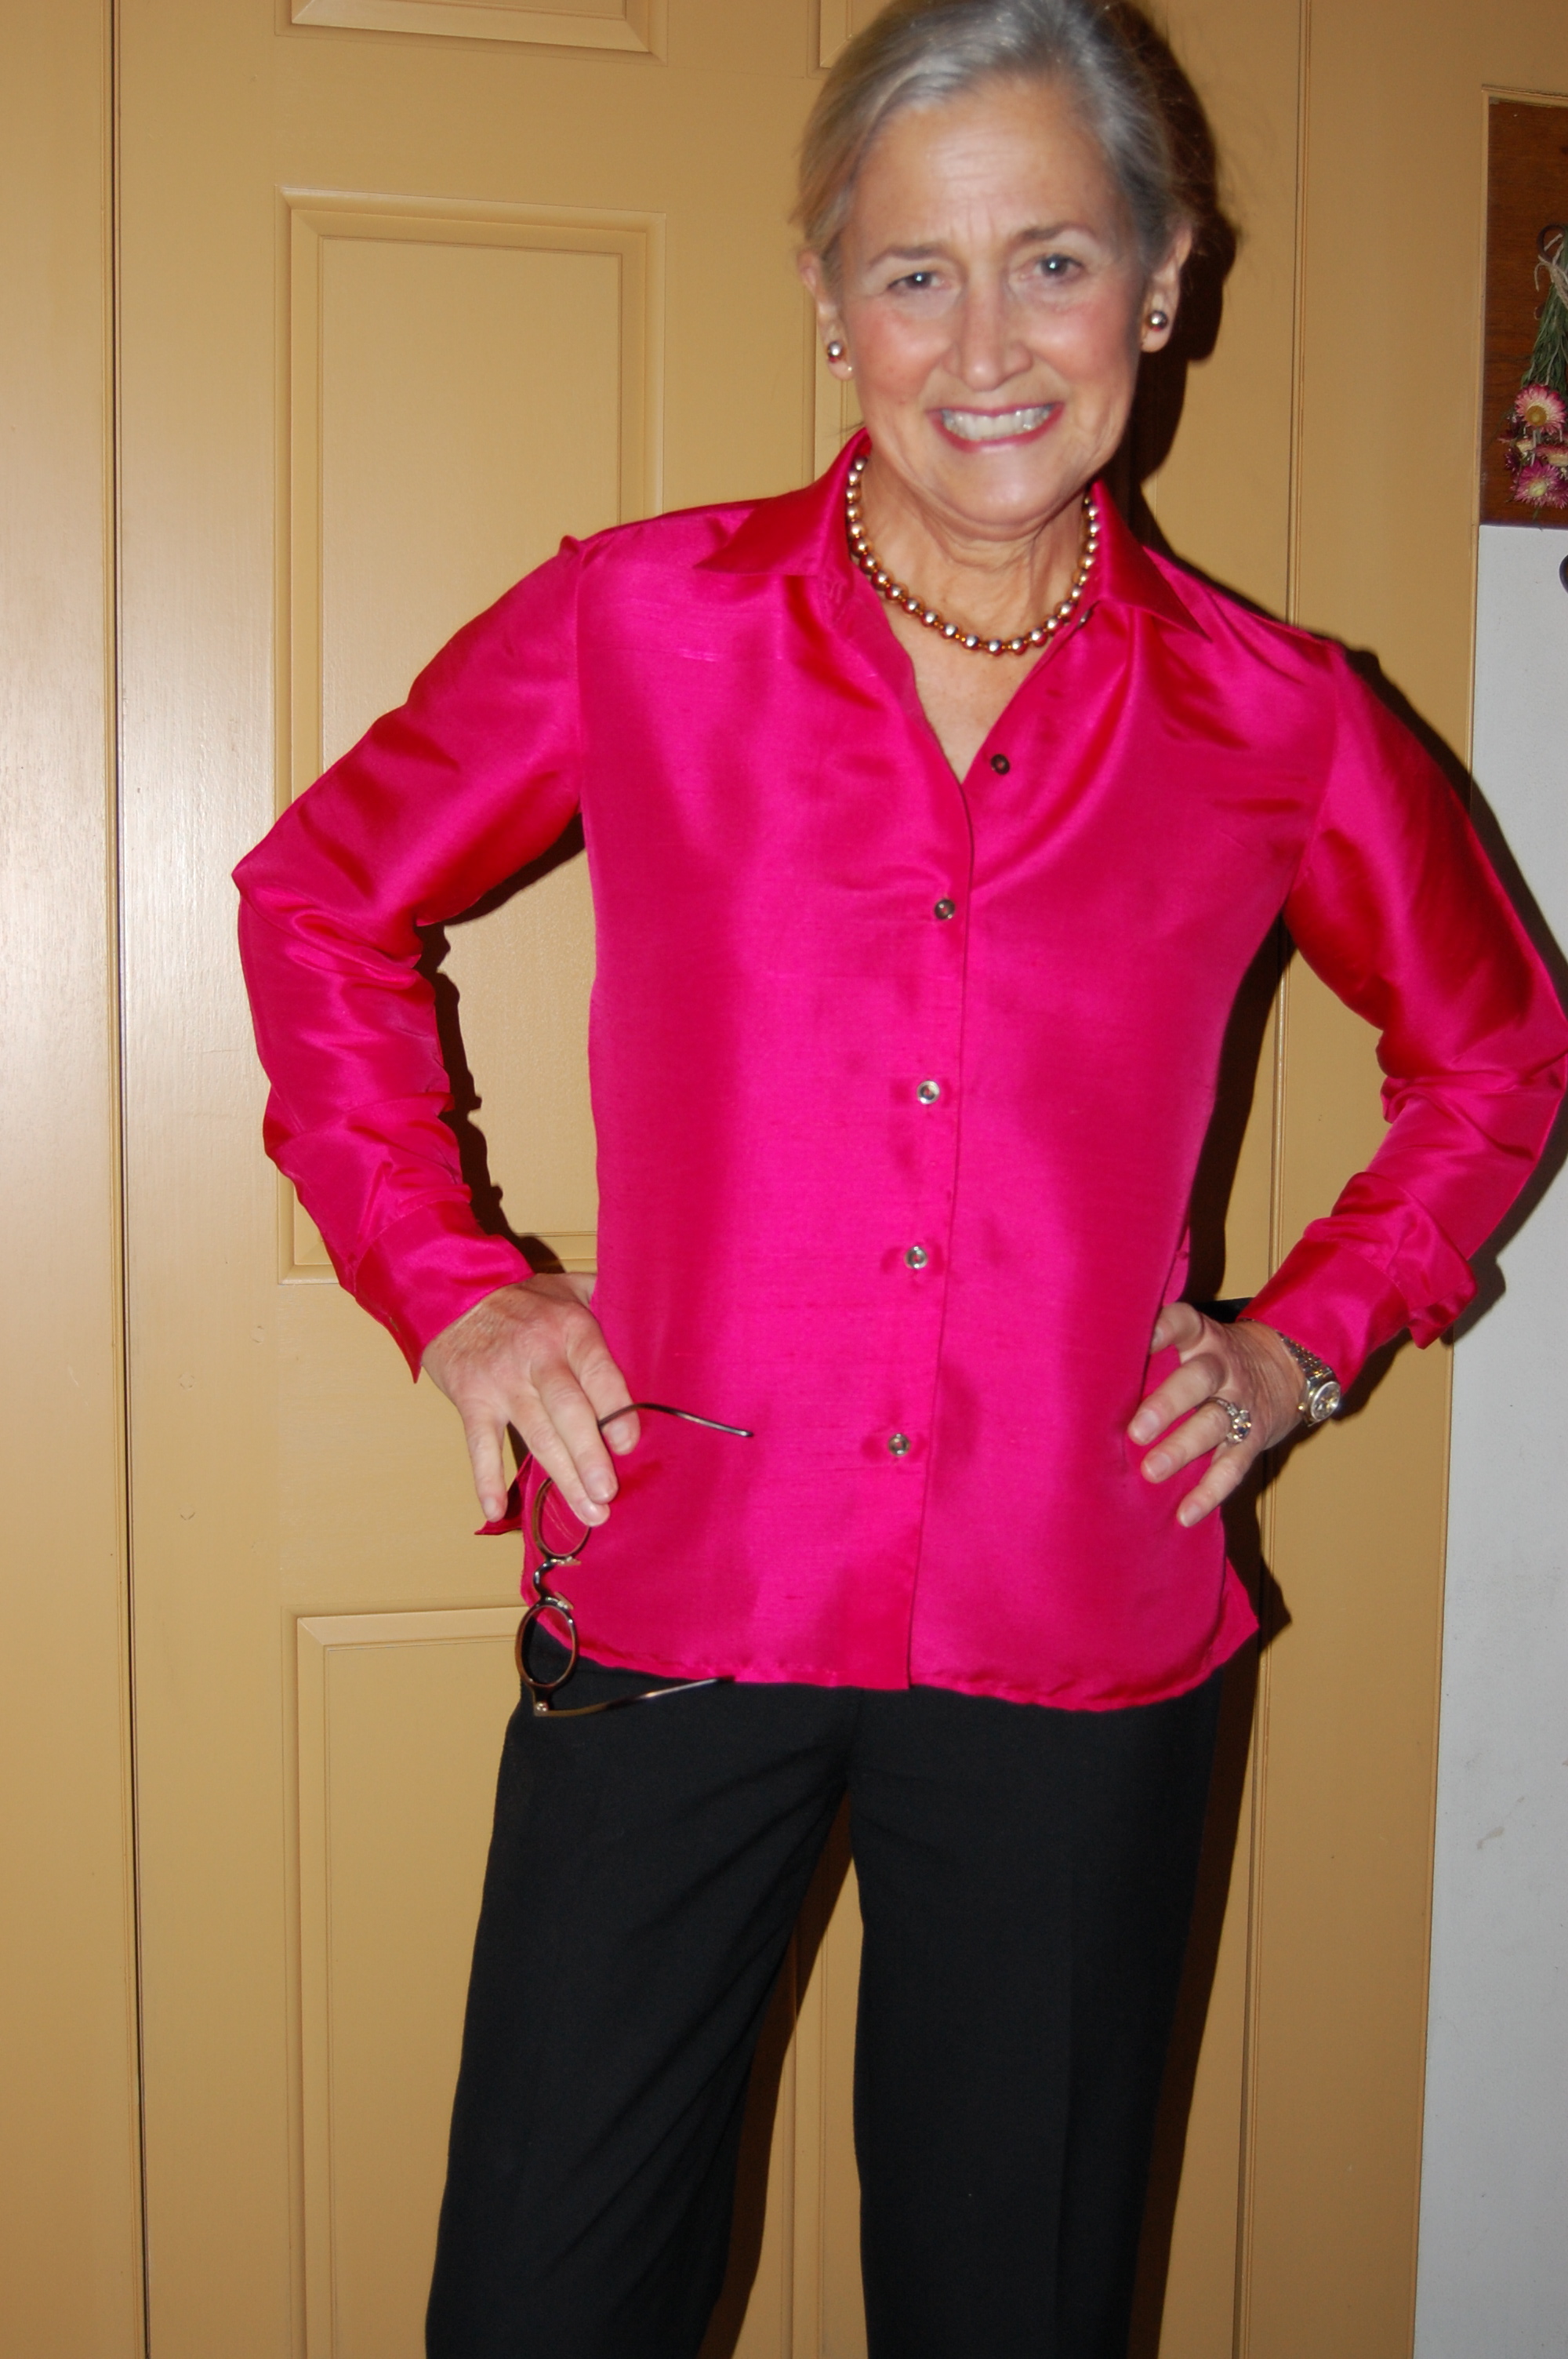
I had to think through lots of possible solutions and finally had a eureka moment when I thought of piping the edges.
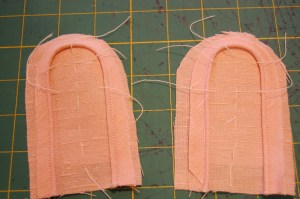
Piping makes the sewn curve much easier to turn well.
So much better!
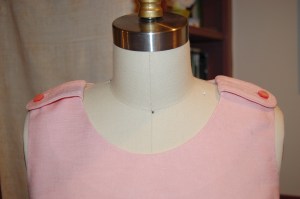
I placed the tabs slightly forward rather than exactly on top of the shoulder seam.
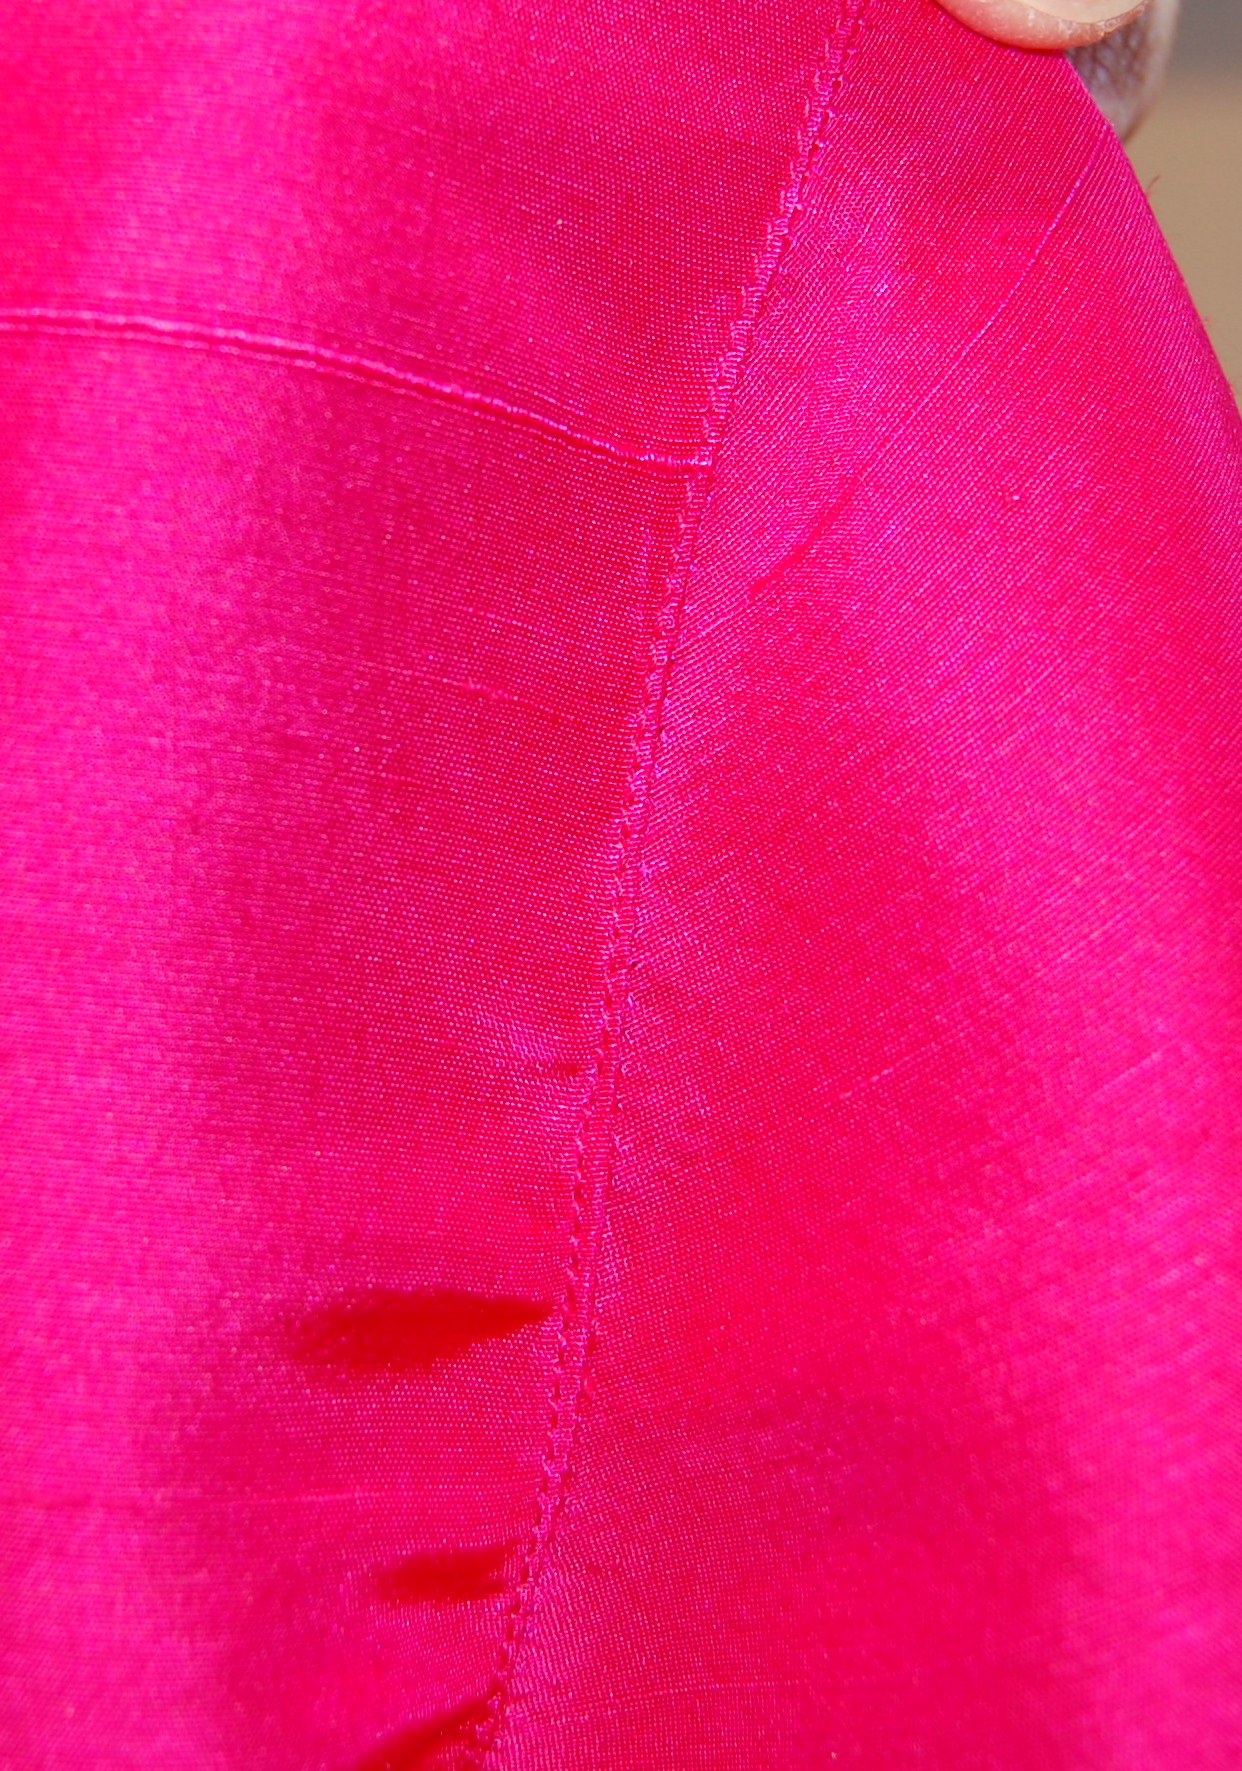
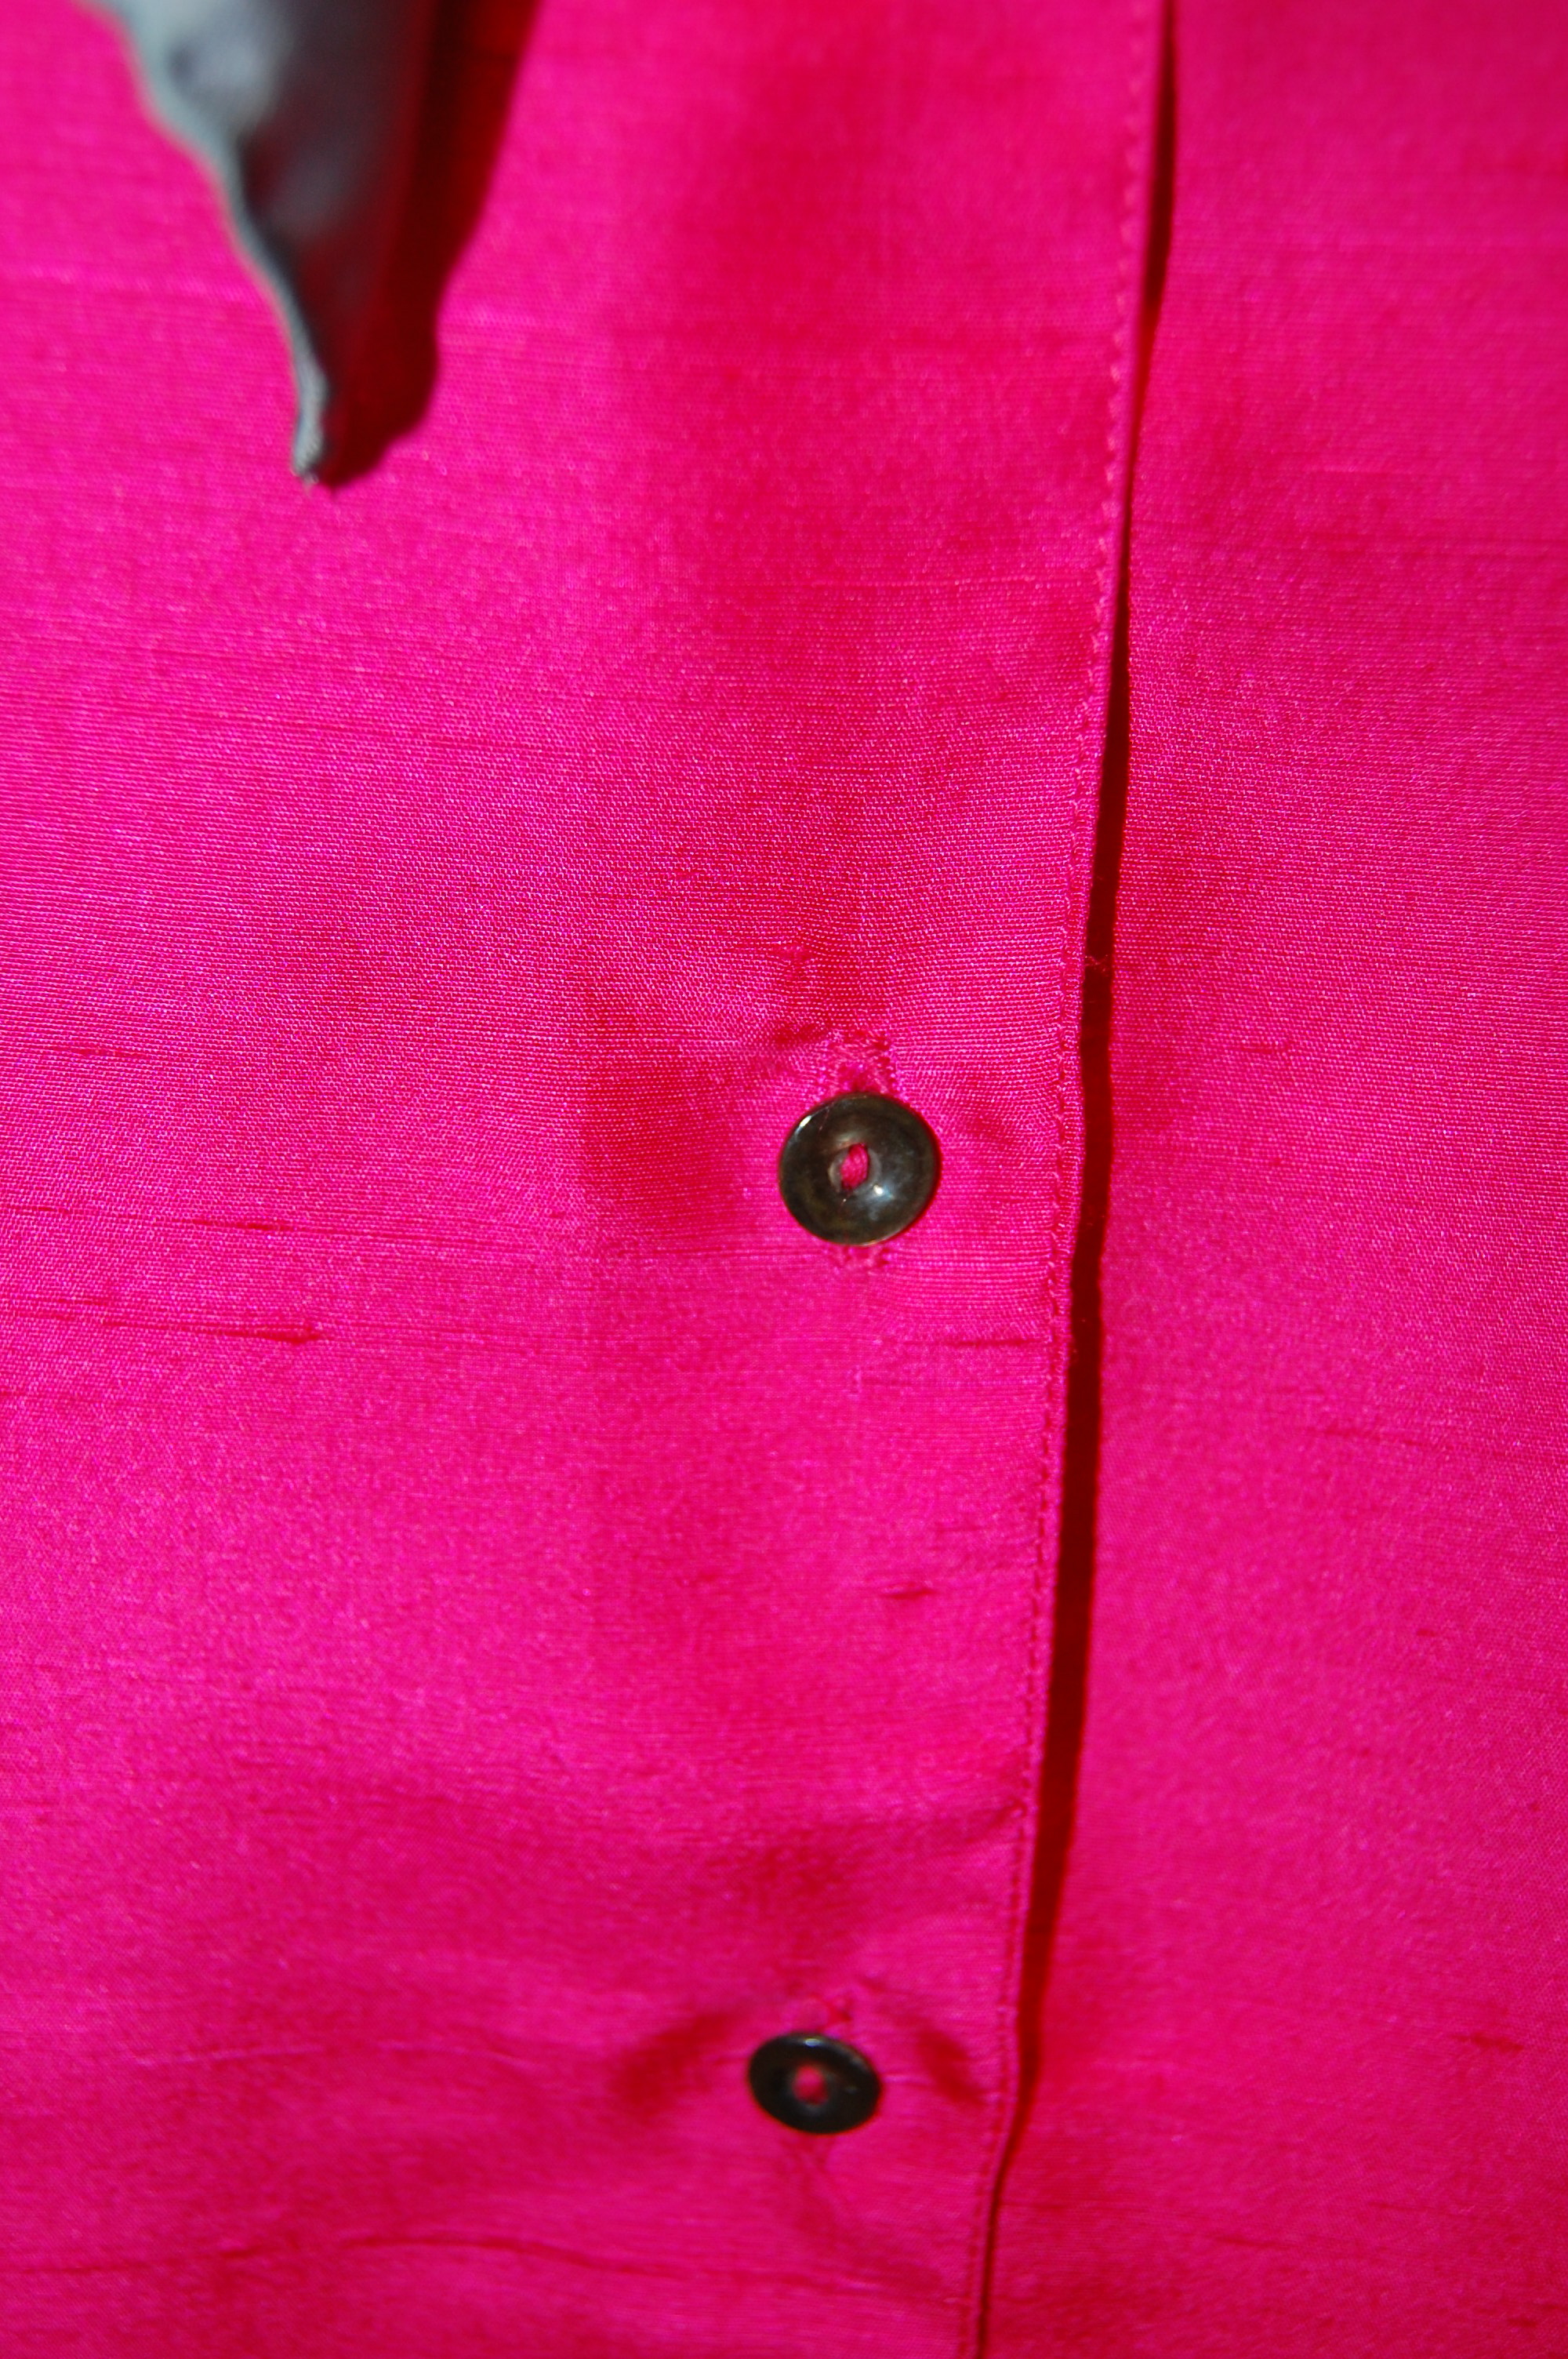
The rest of the dress was very straightforward, as sheath dresses tend to be. It is lined with a lightweight, cotton/linen blend, but I did not underline it, as I like to preserve the washability of most of my linen garments (easier without an underlining.) It is also cooler without an underlining.

Being a lover of pink, I already had pink pumps that match the dress exactly – and a handbag which brings out the peachy part of the pink in the boucle.
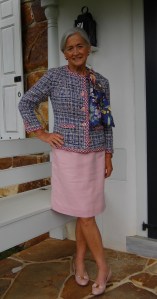
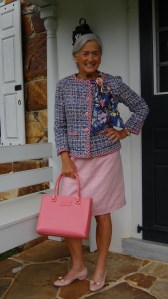
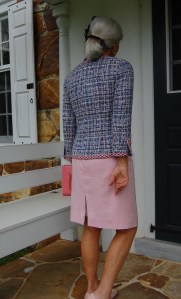

The tabs on this dress give it kind of a ’60s vibe. Unintended, but kind of a nice touch to go with the jacket.
Because these two pieces – and this look – came together from so many sources, I think it is a good idea to give credit where credit is due:
Boucle: Mendel Goldberg Fabrics , NYC, gift from my grown children.
Soutache Braid and Buttons: M & J Trimming, NYC
Pink Petersham Ribbon: Britex Fabrics, San Francisco
Lining and Scarf silk: Britex Fabrics, San Francisco
Pink Linen: vintage Moygashel, 35” wide, purchased on Etsy
Cotton/linen lining for the dress: JoAnn’s Fabrics, purchased in bulk a couple of years ago
Shoes: Ferragamo, old!
Handbag: Kate Spade, also old.
I do love pink!
So that’s it! One major project now residing in my closet rather than in my sewing room. Time to start something new…


Completing the Pink Coat Ensemble
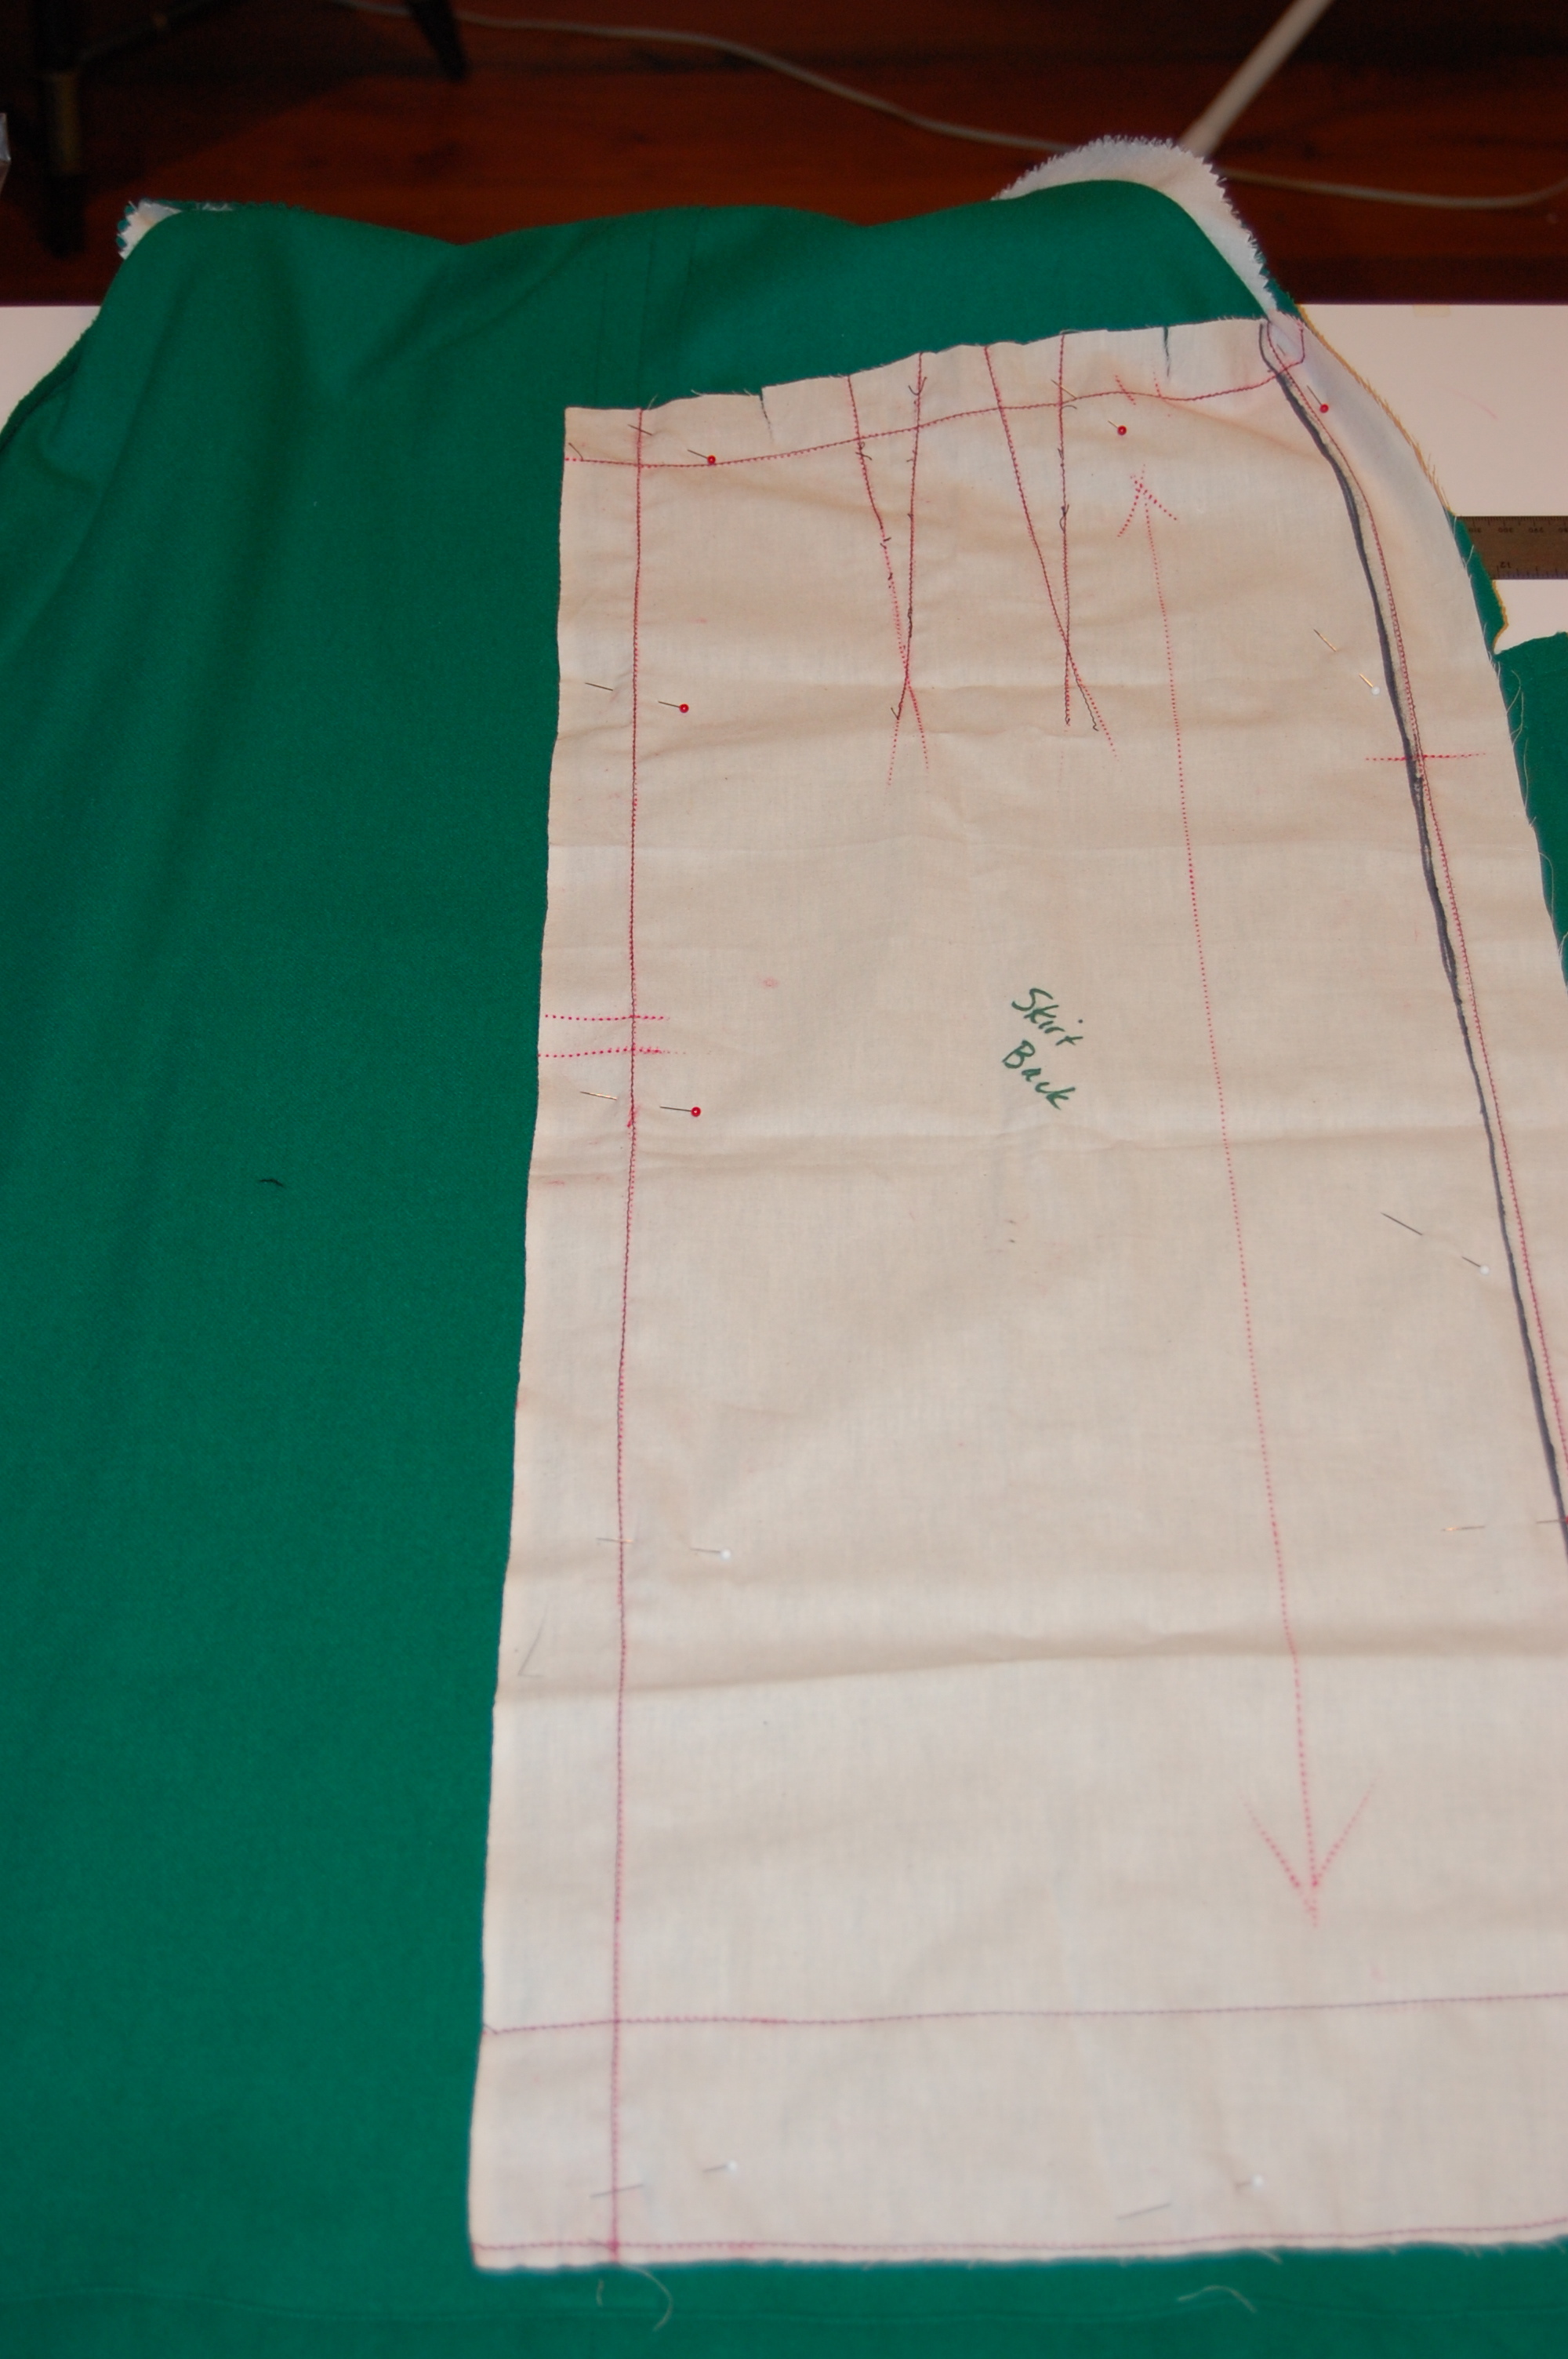
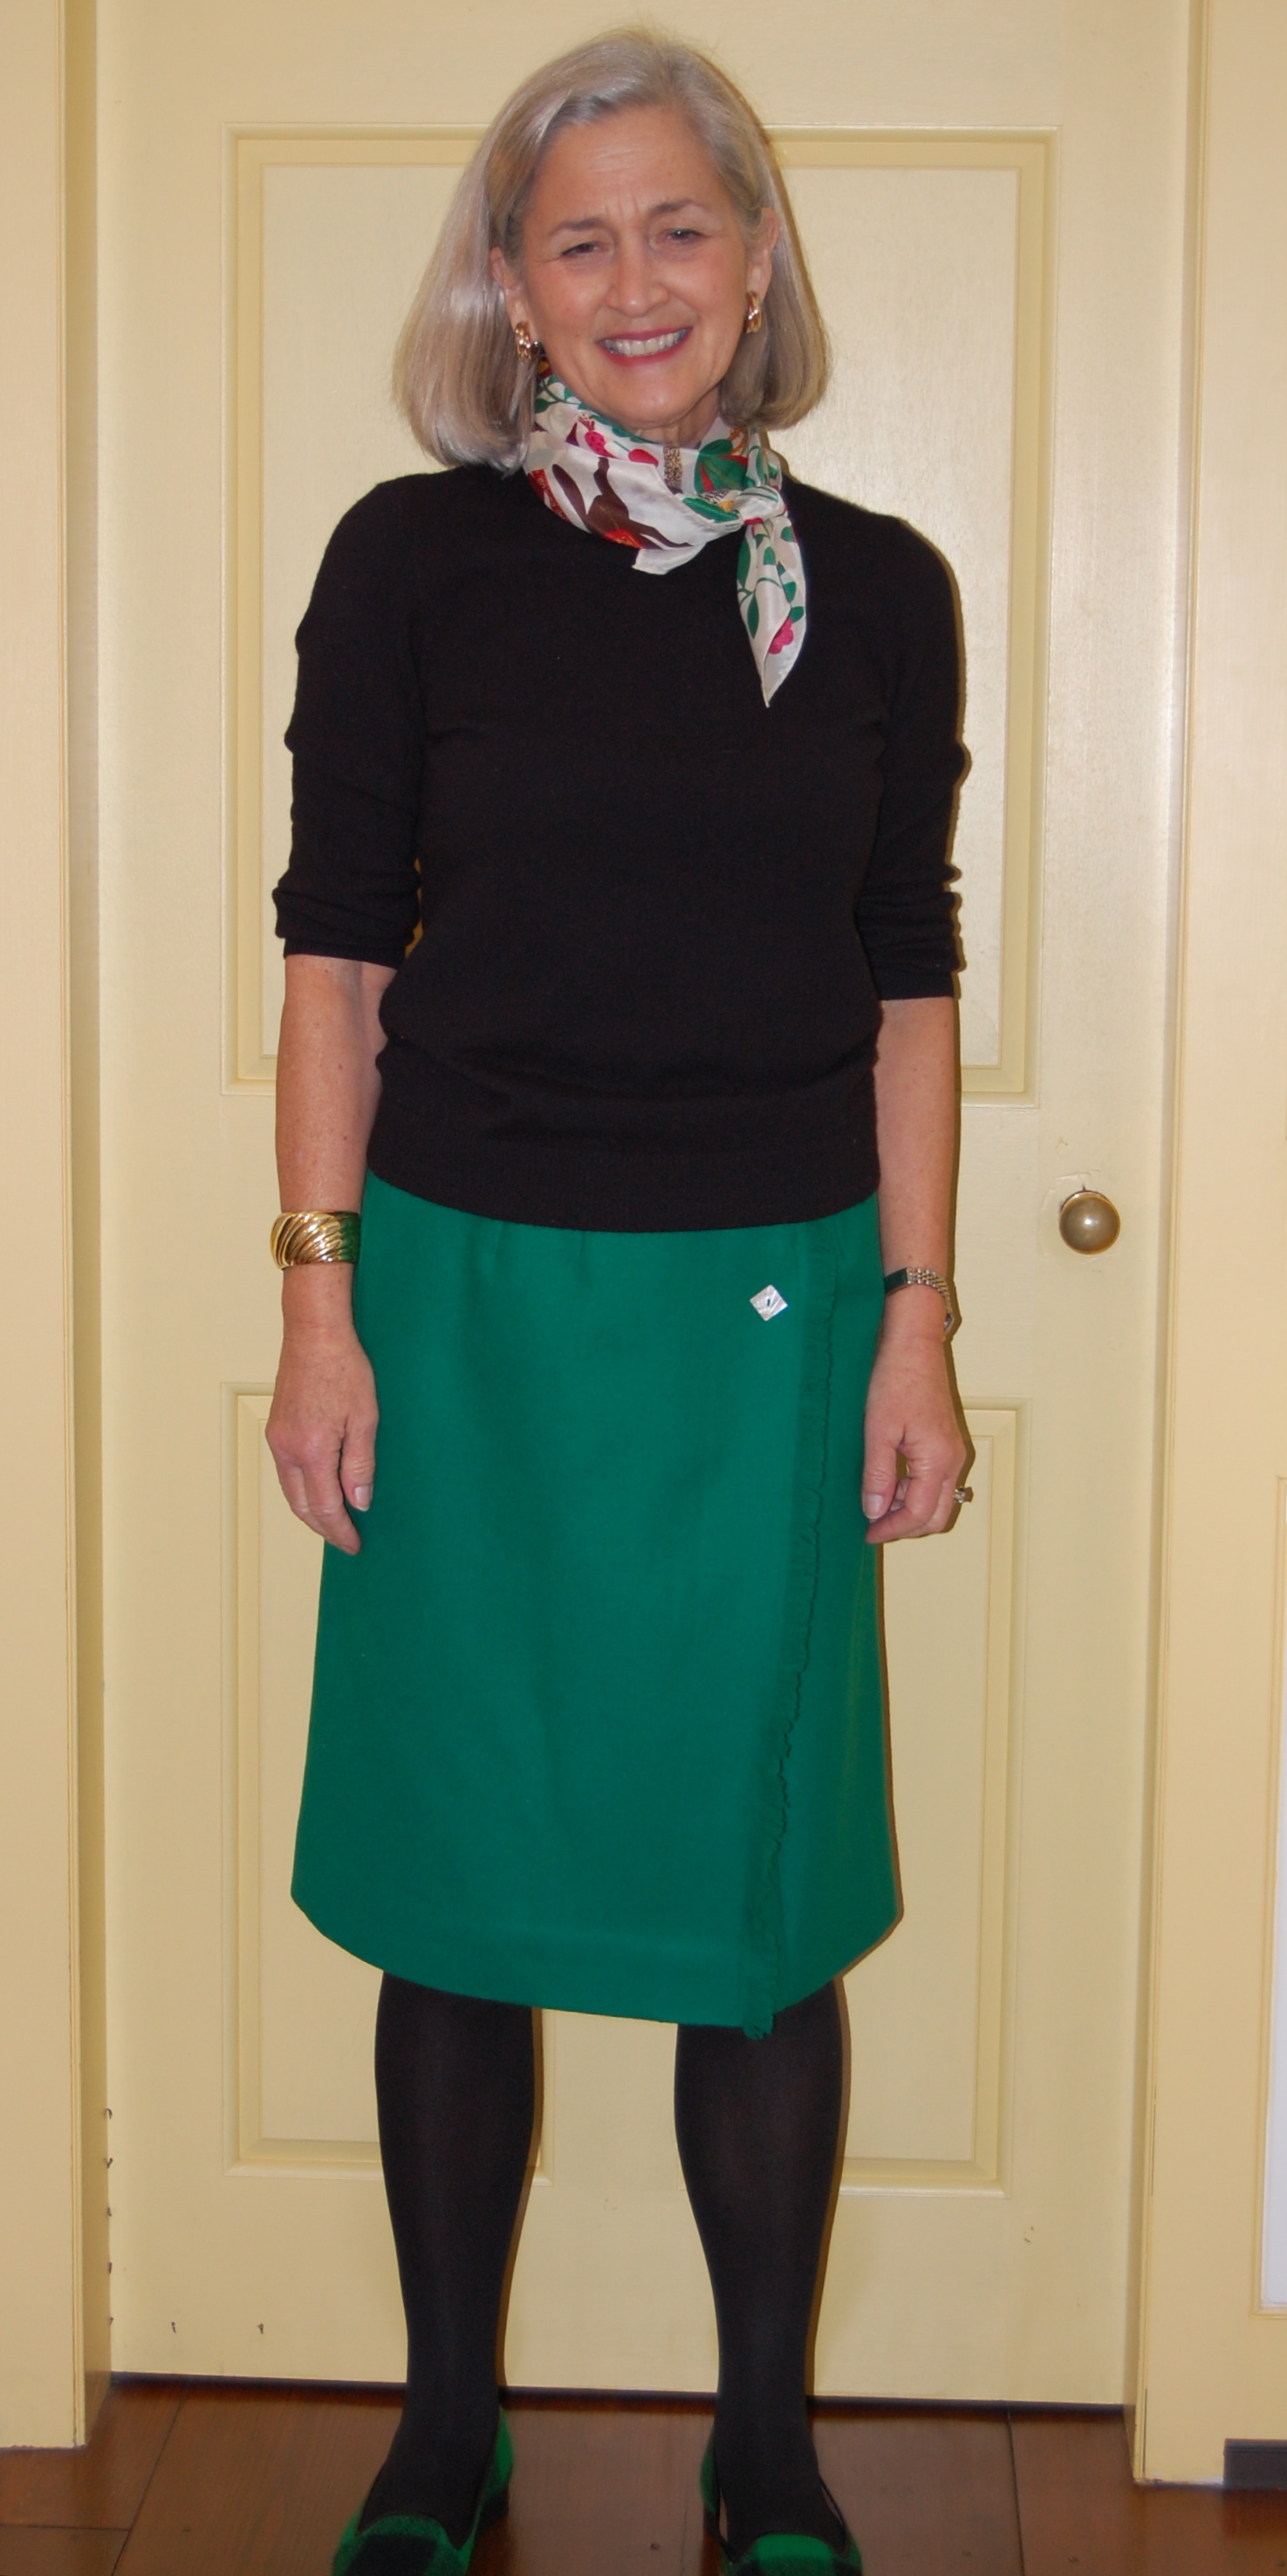
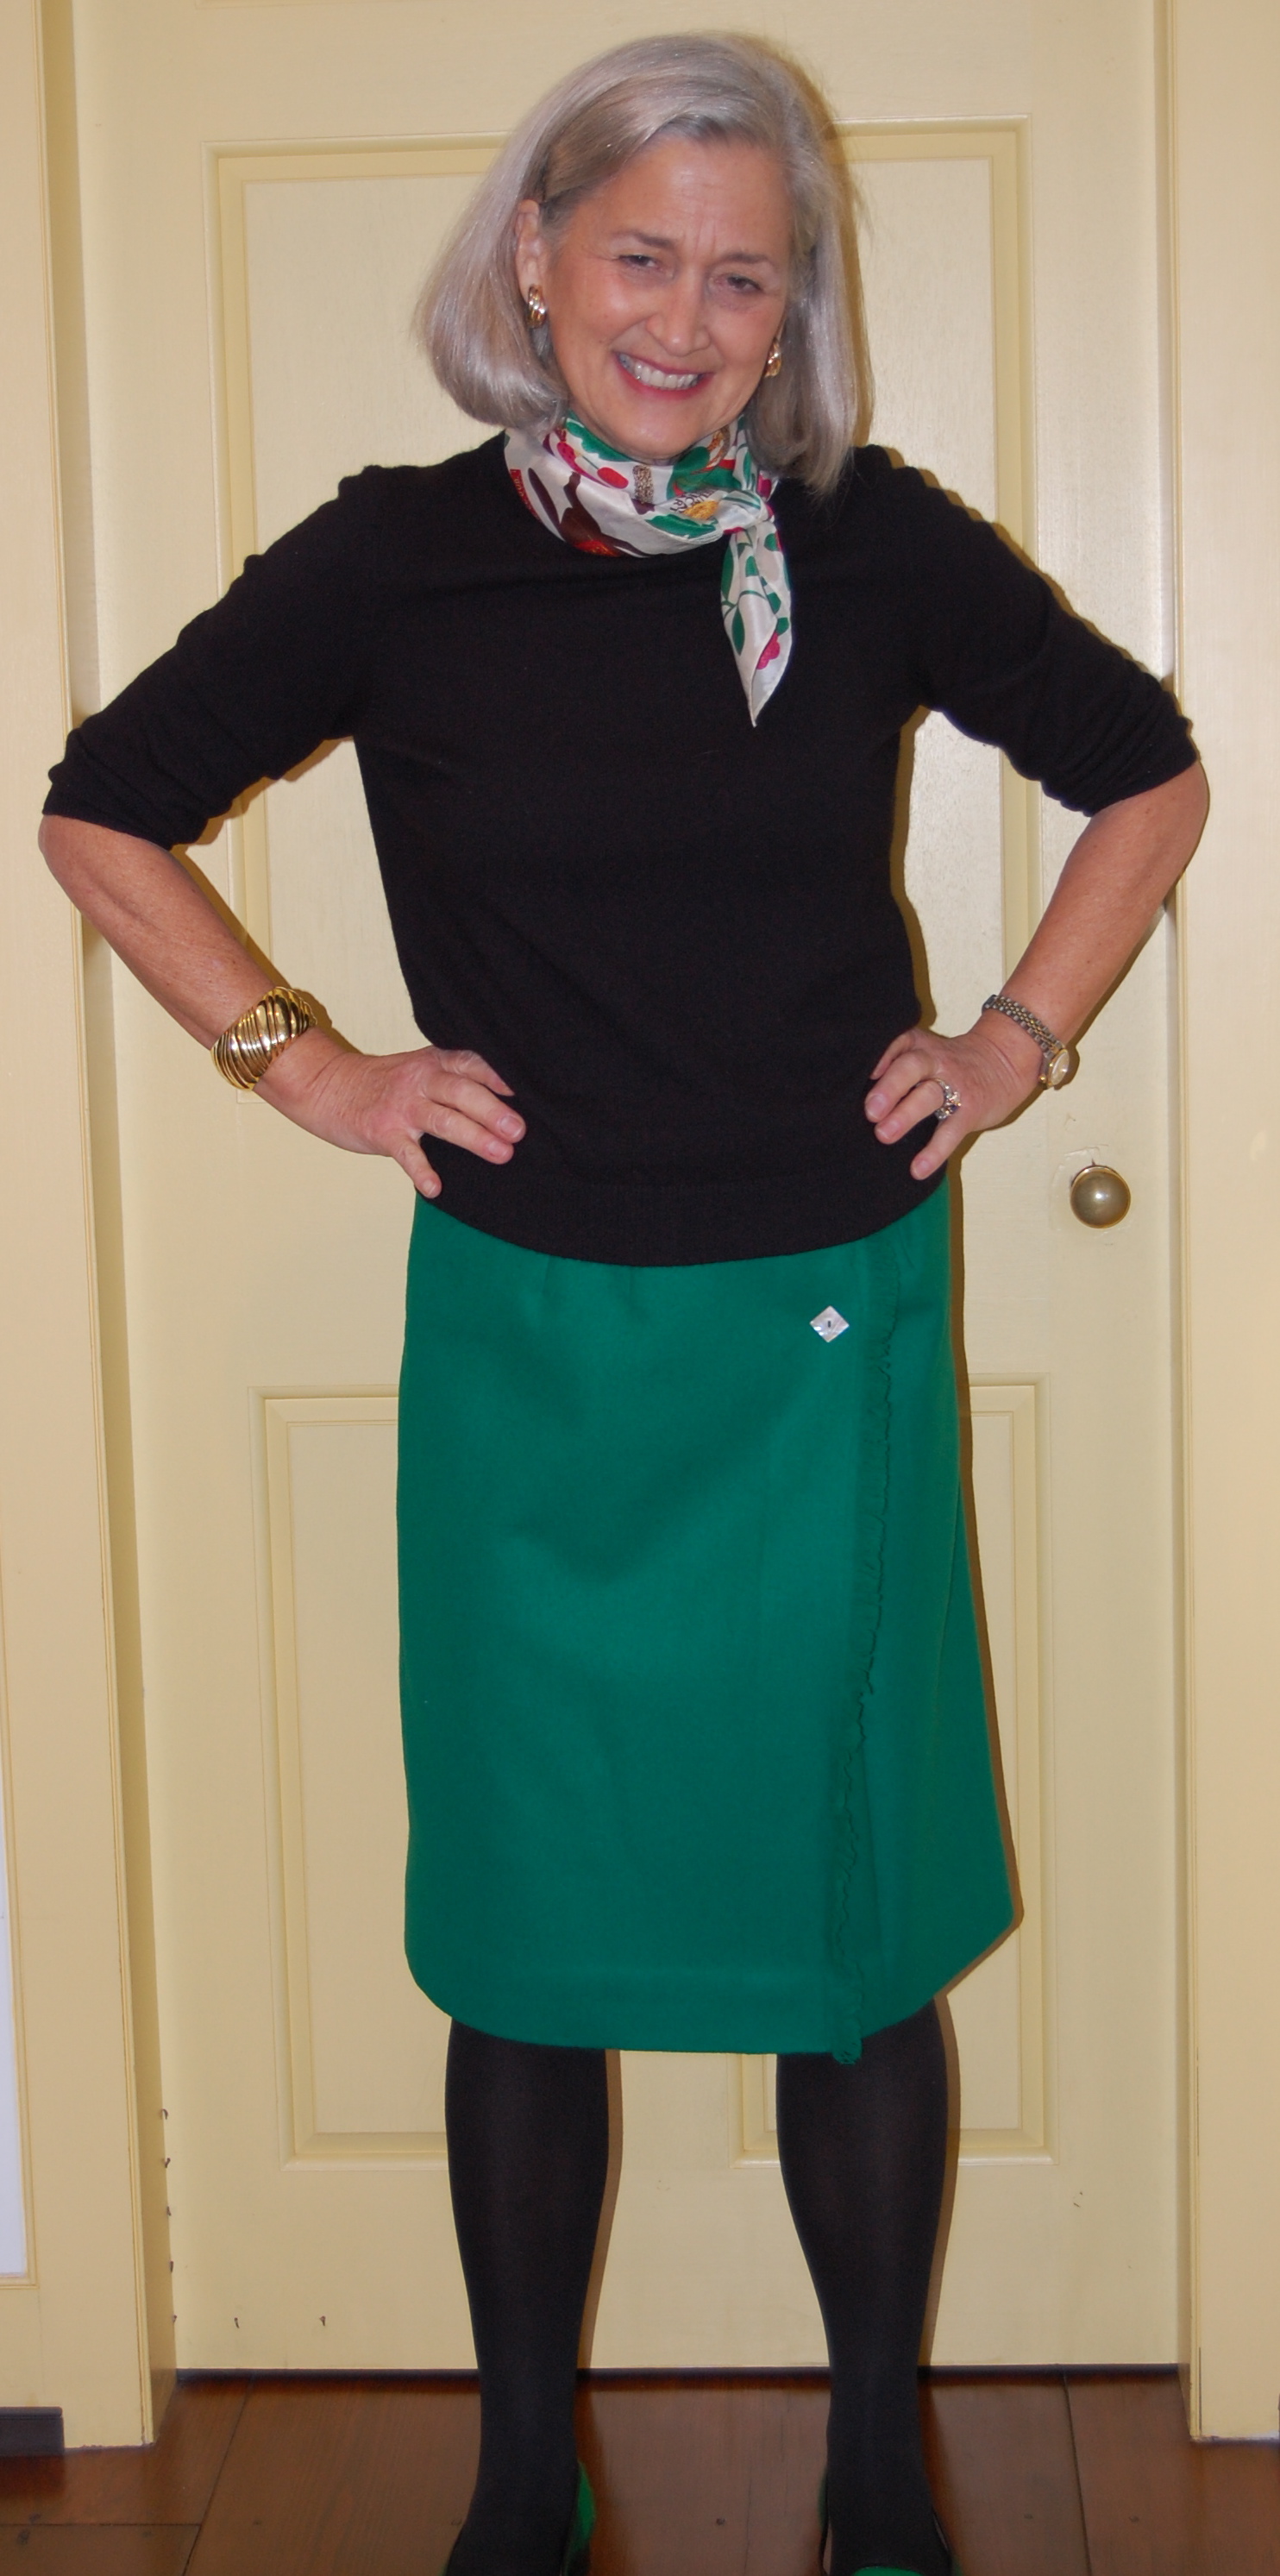
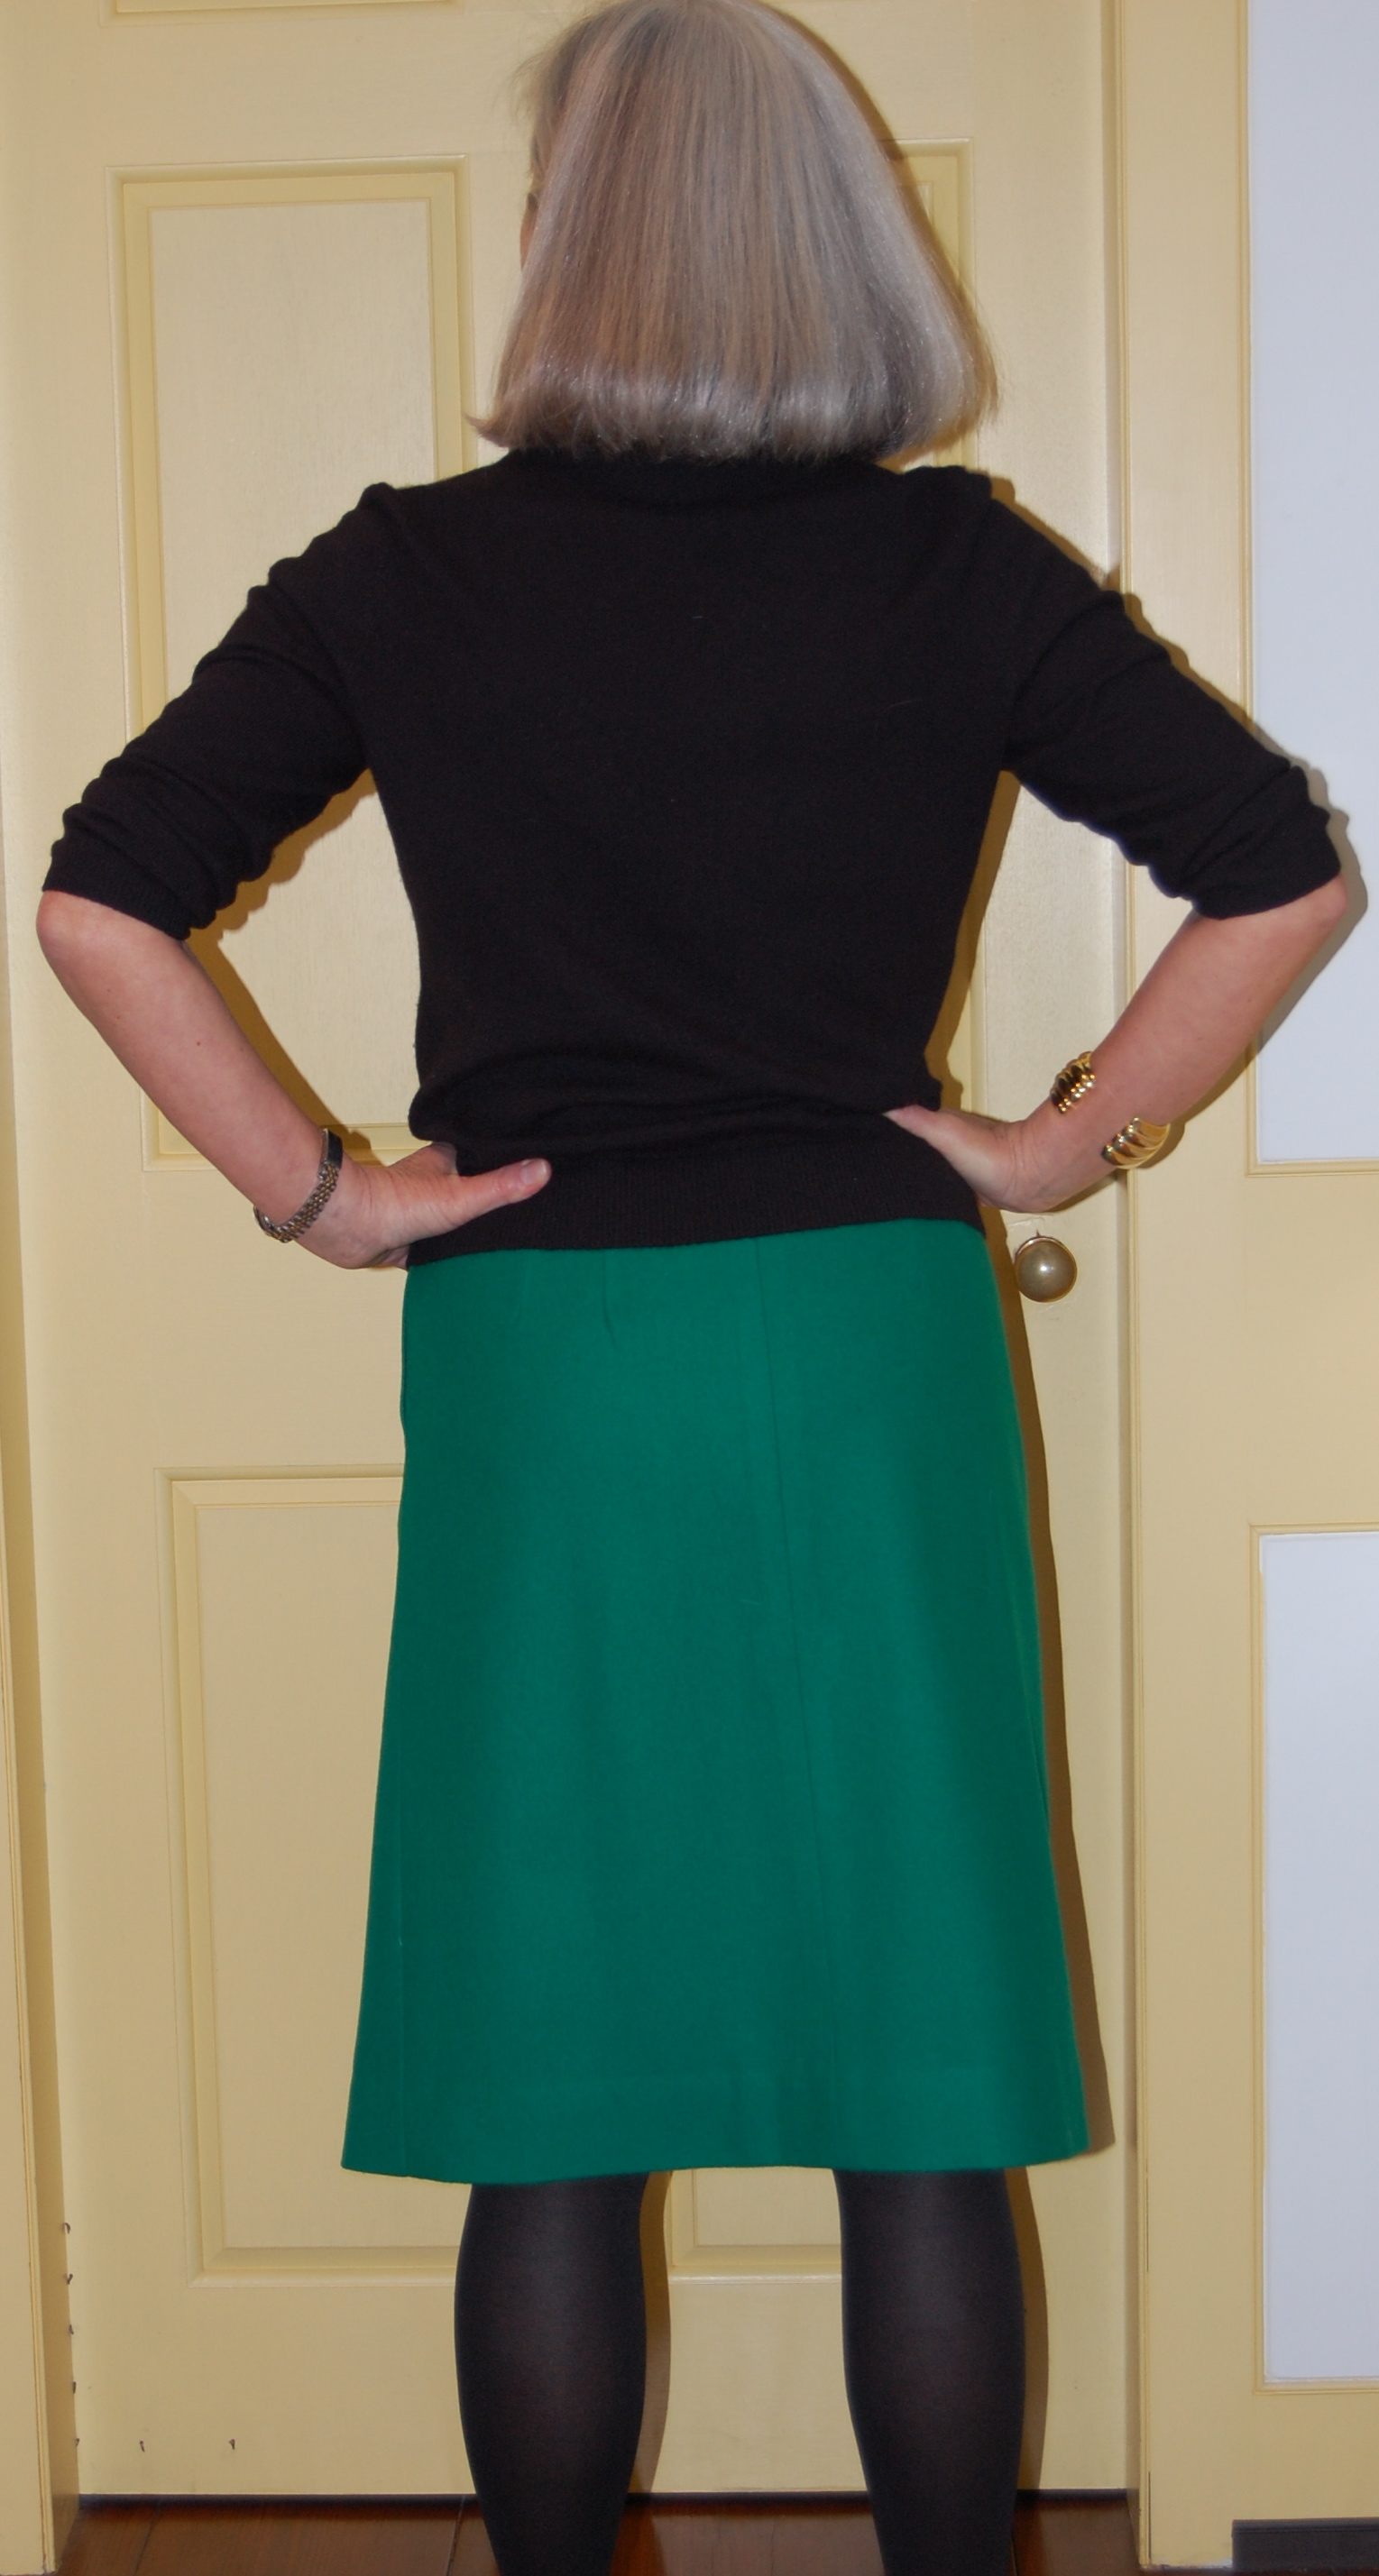
Although I hope to wear my pink wool coat (completed Spring of 2019) with various dresses and skirts, I particularly wanted to make a skirt which would coordinate with it. That way I would have a “planned” ensemble. I envisioned a petite pink-and-gray houndstooth wool, or a mini-checked pink-and-gray wool. After a wide search and coming up empty-handed, I was just about convinced I was not going to find either of those two fabrics, at least not in the time frame I planned. And then I found a lightweight wool and silk blend on the website of Farmhouse Fabrics. It was a variegated gray and oyster-white plaid with a pink pinstripe running through it on the cross-grain. Although it looked lovely on my computer screen, I wasn’t sure it would fit my needs, so I ordered a swatch. From the swatch I could see its beautiful quality – and its perfect colors – so my search was over.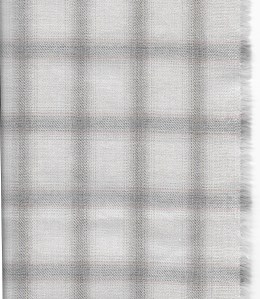
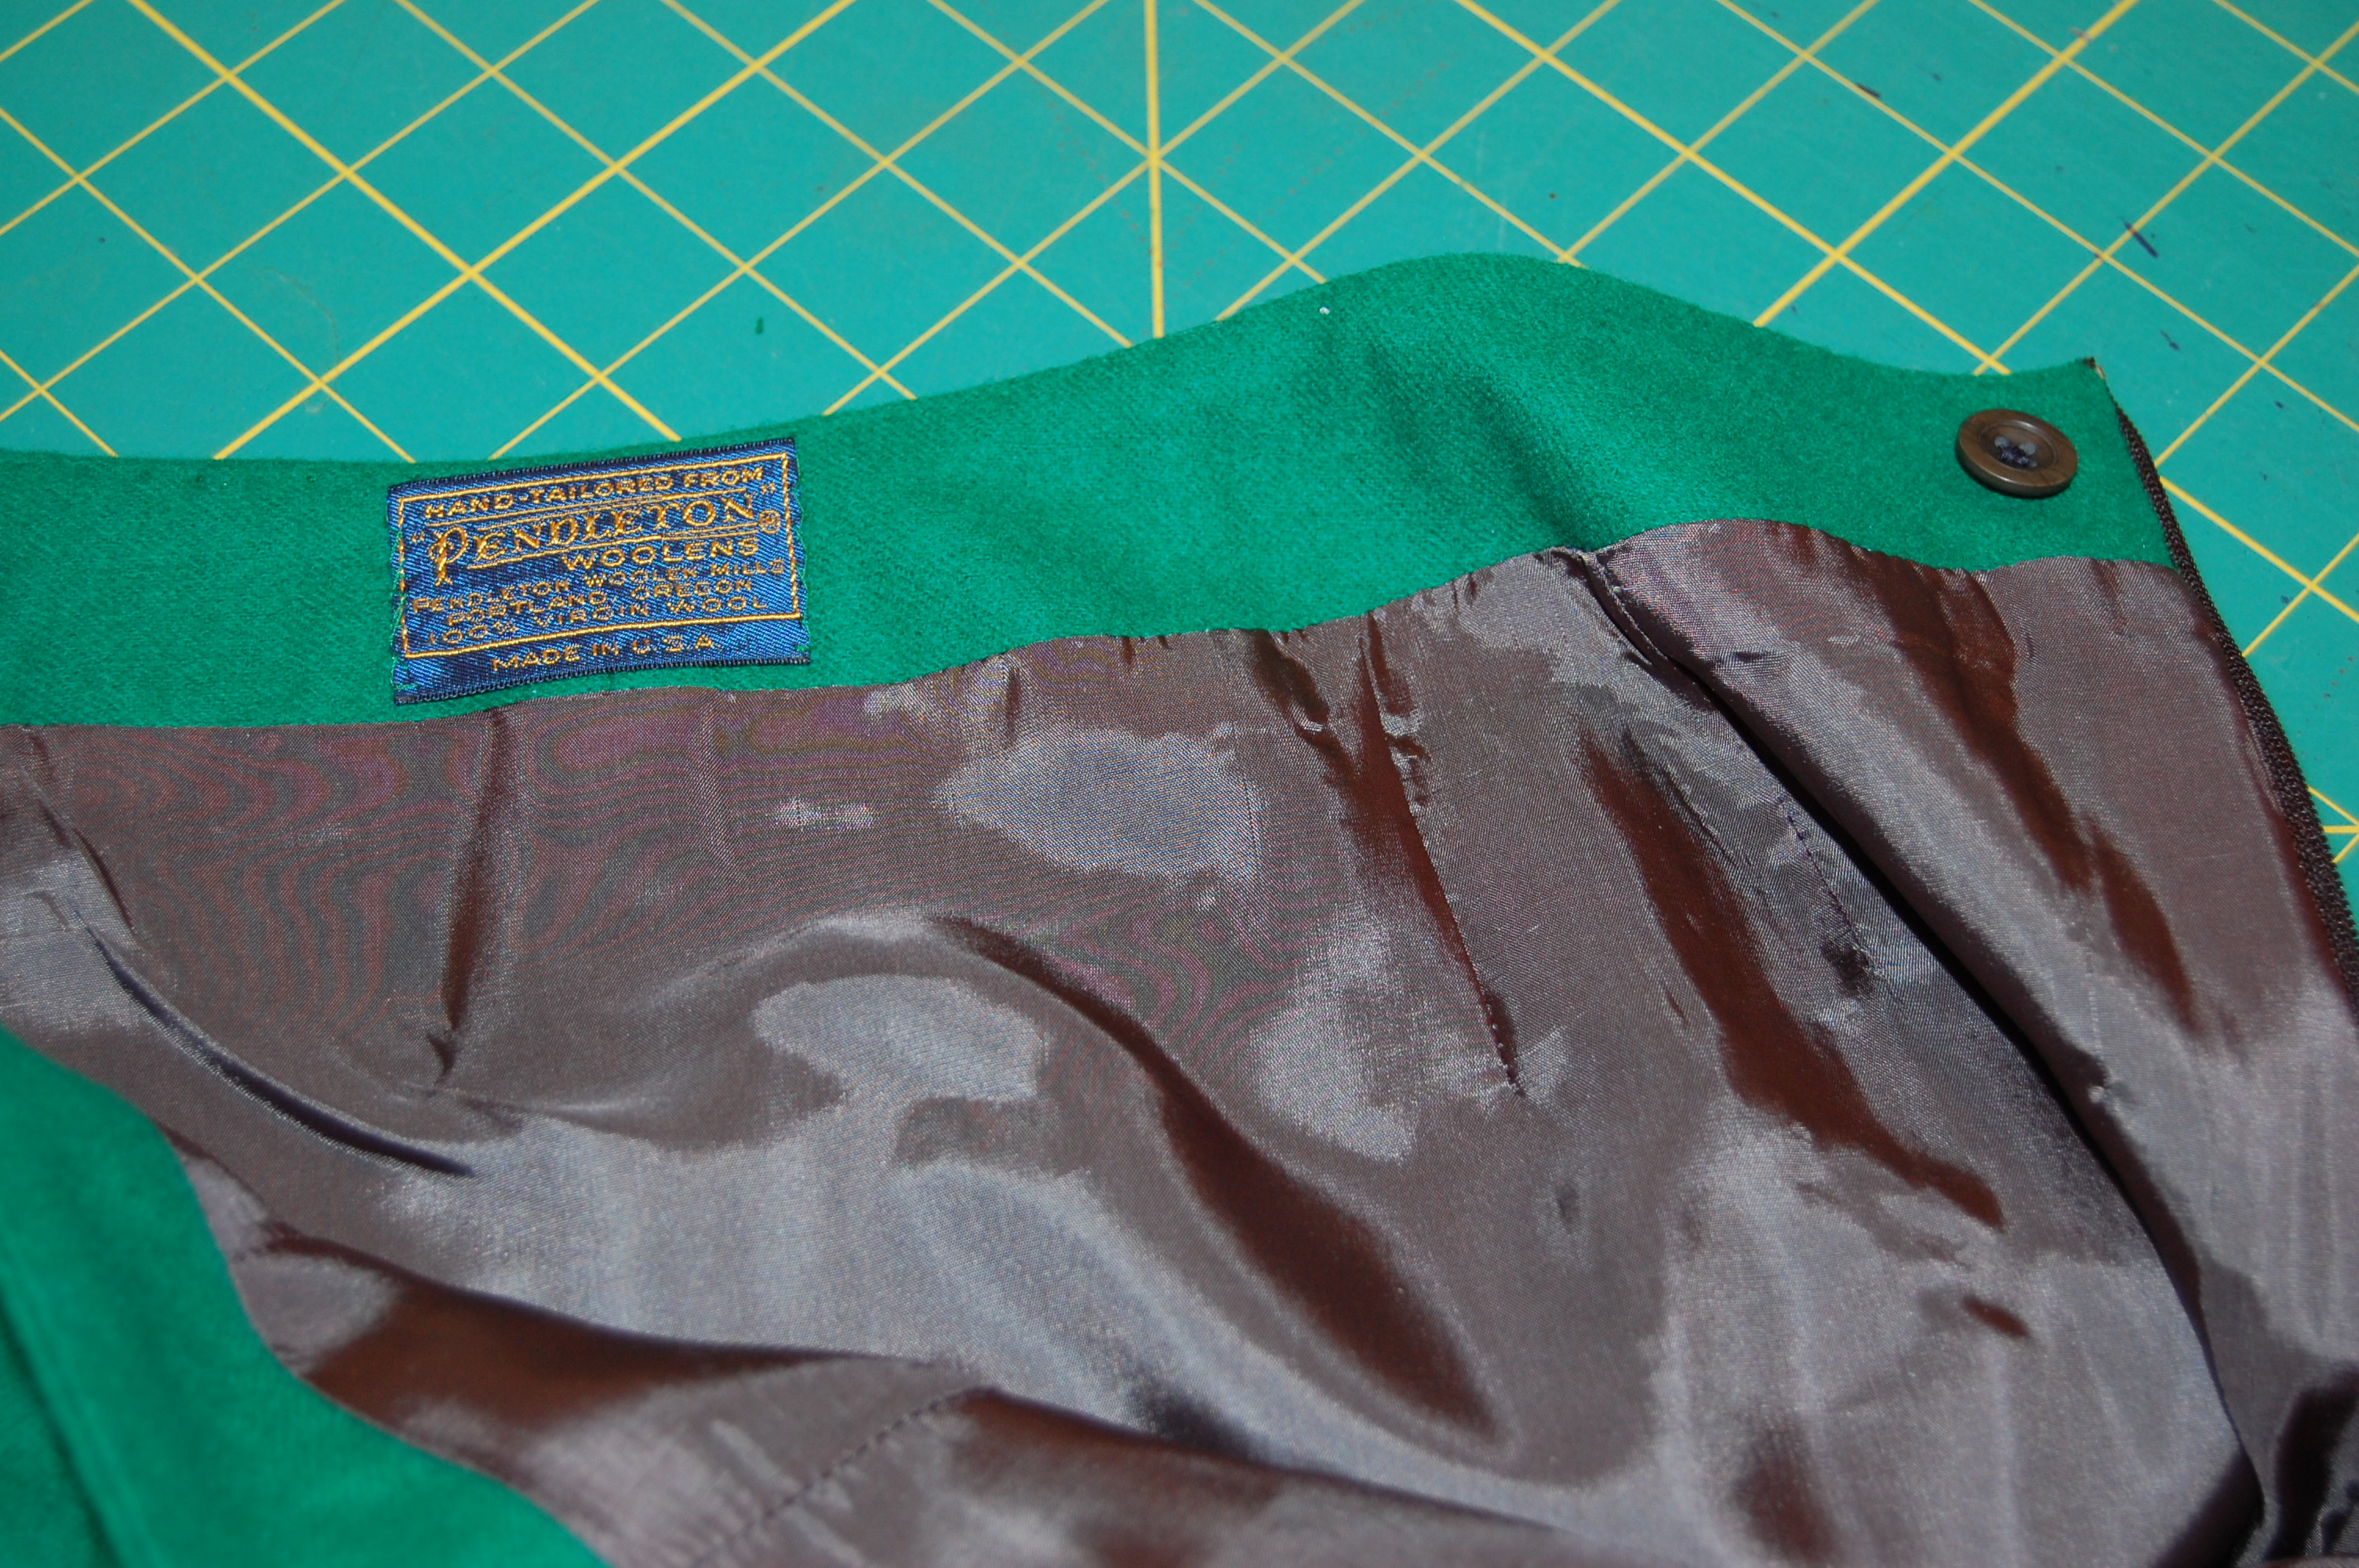
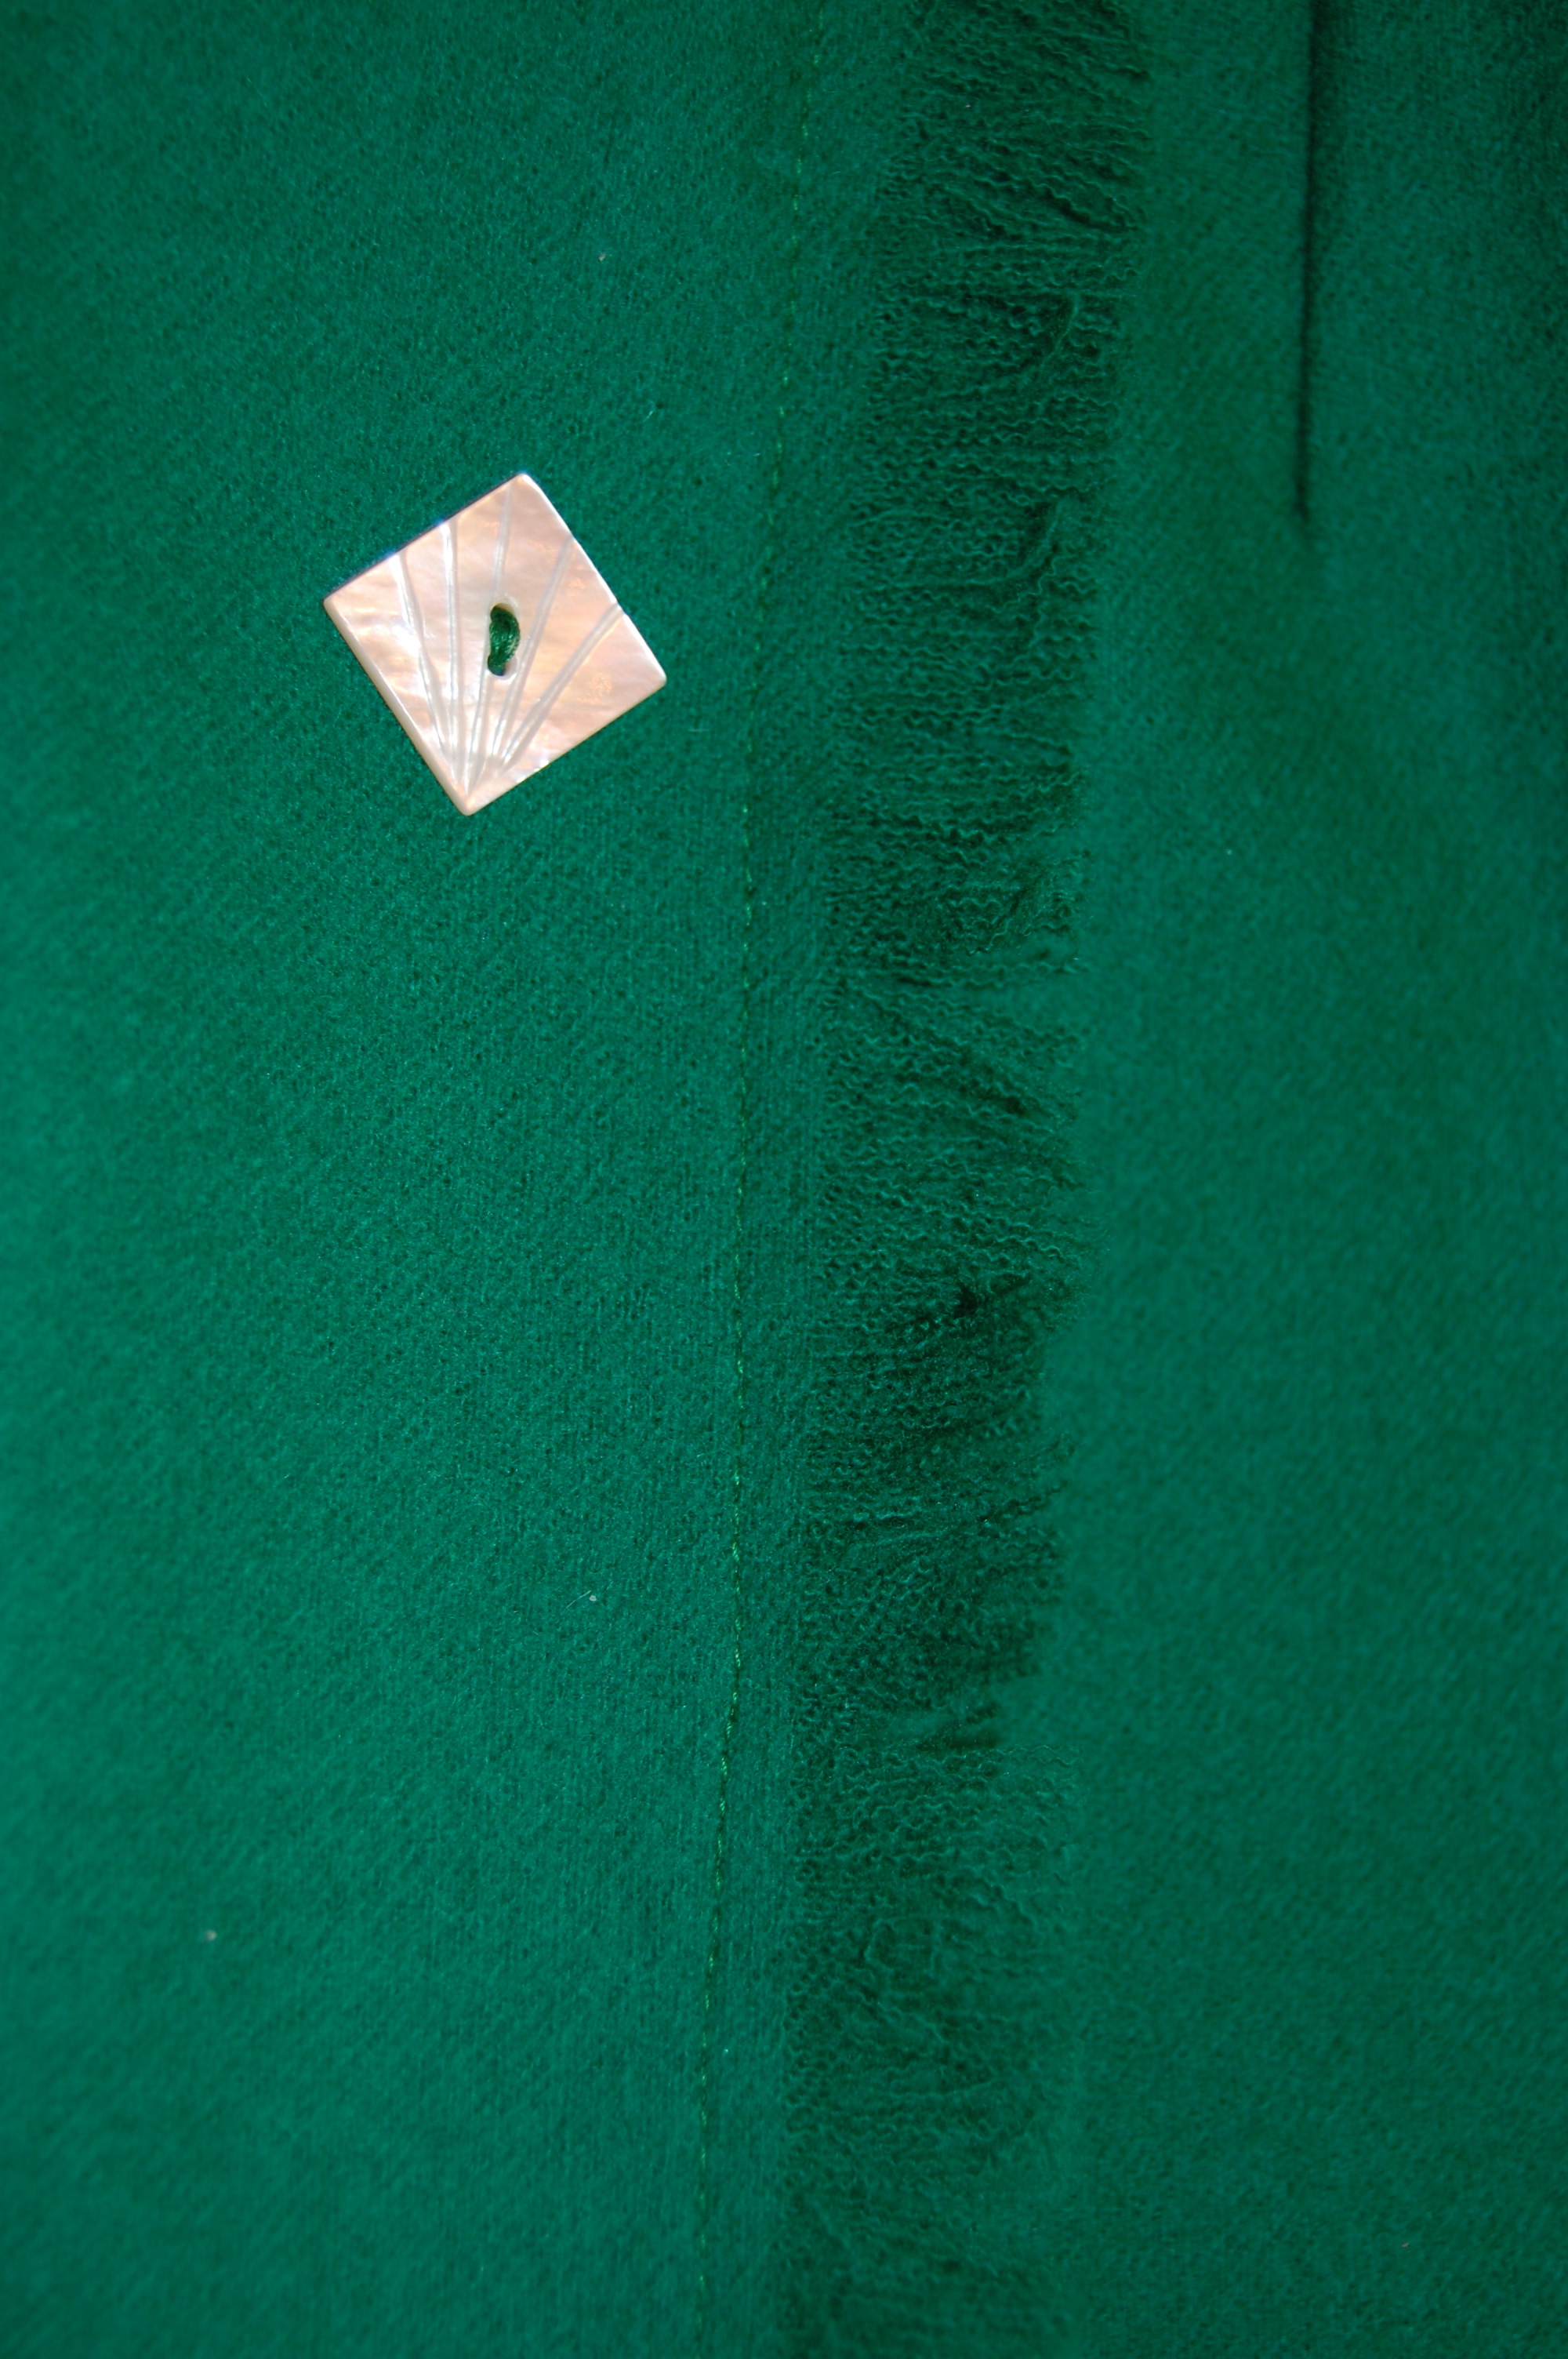
I am so accustomed to using silk organza as my underlining, but the incredible softness and delicacy of this fabric made me think twice. I thought silk organza would undermine the fluidity of the wool/silk blend, so I decided to use a very lightweight cotton batiste instead. Using the Susan Khalje pattern for which I already had a toile (yay!), I made a very simple straight skirt. Just for fun I decided to line it in pink silk charmeuse. I had some in stock as I had used it for the pocket linings in my pink coat. I also lined the waistband, which I like to do when sewing with wool.
The pink charmeuse lining is my unseen homage to this color which I love so much.
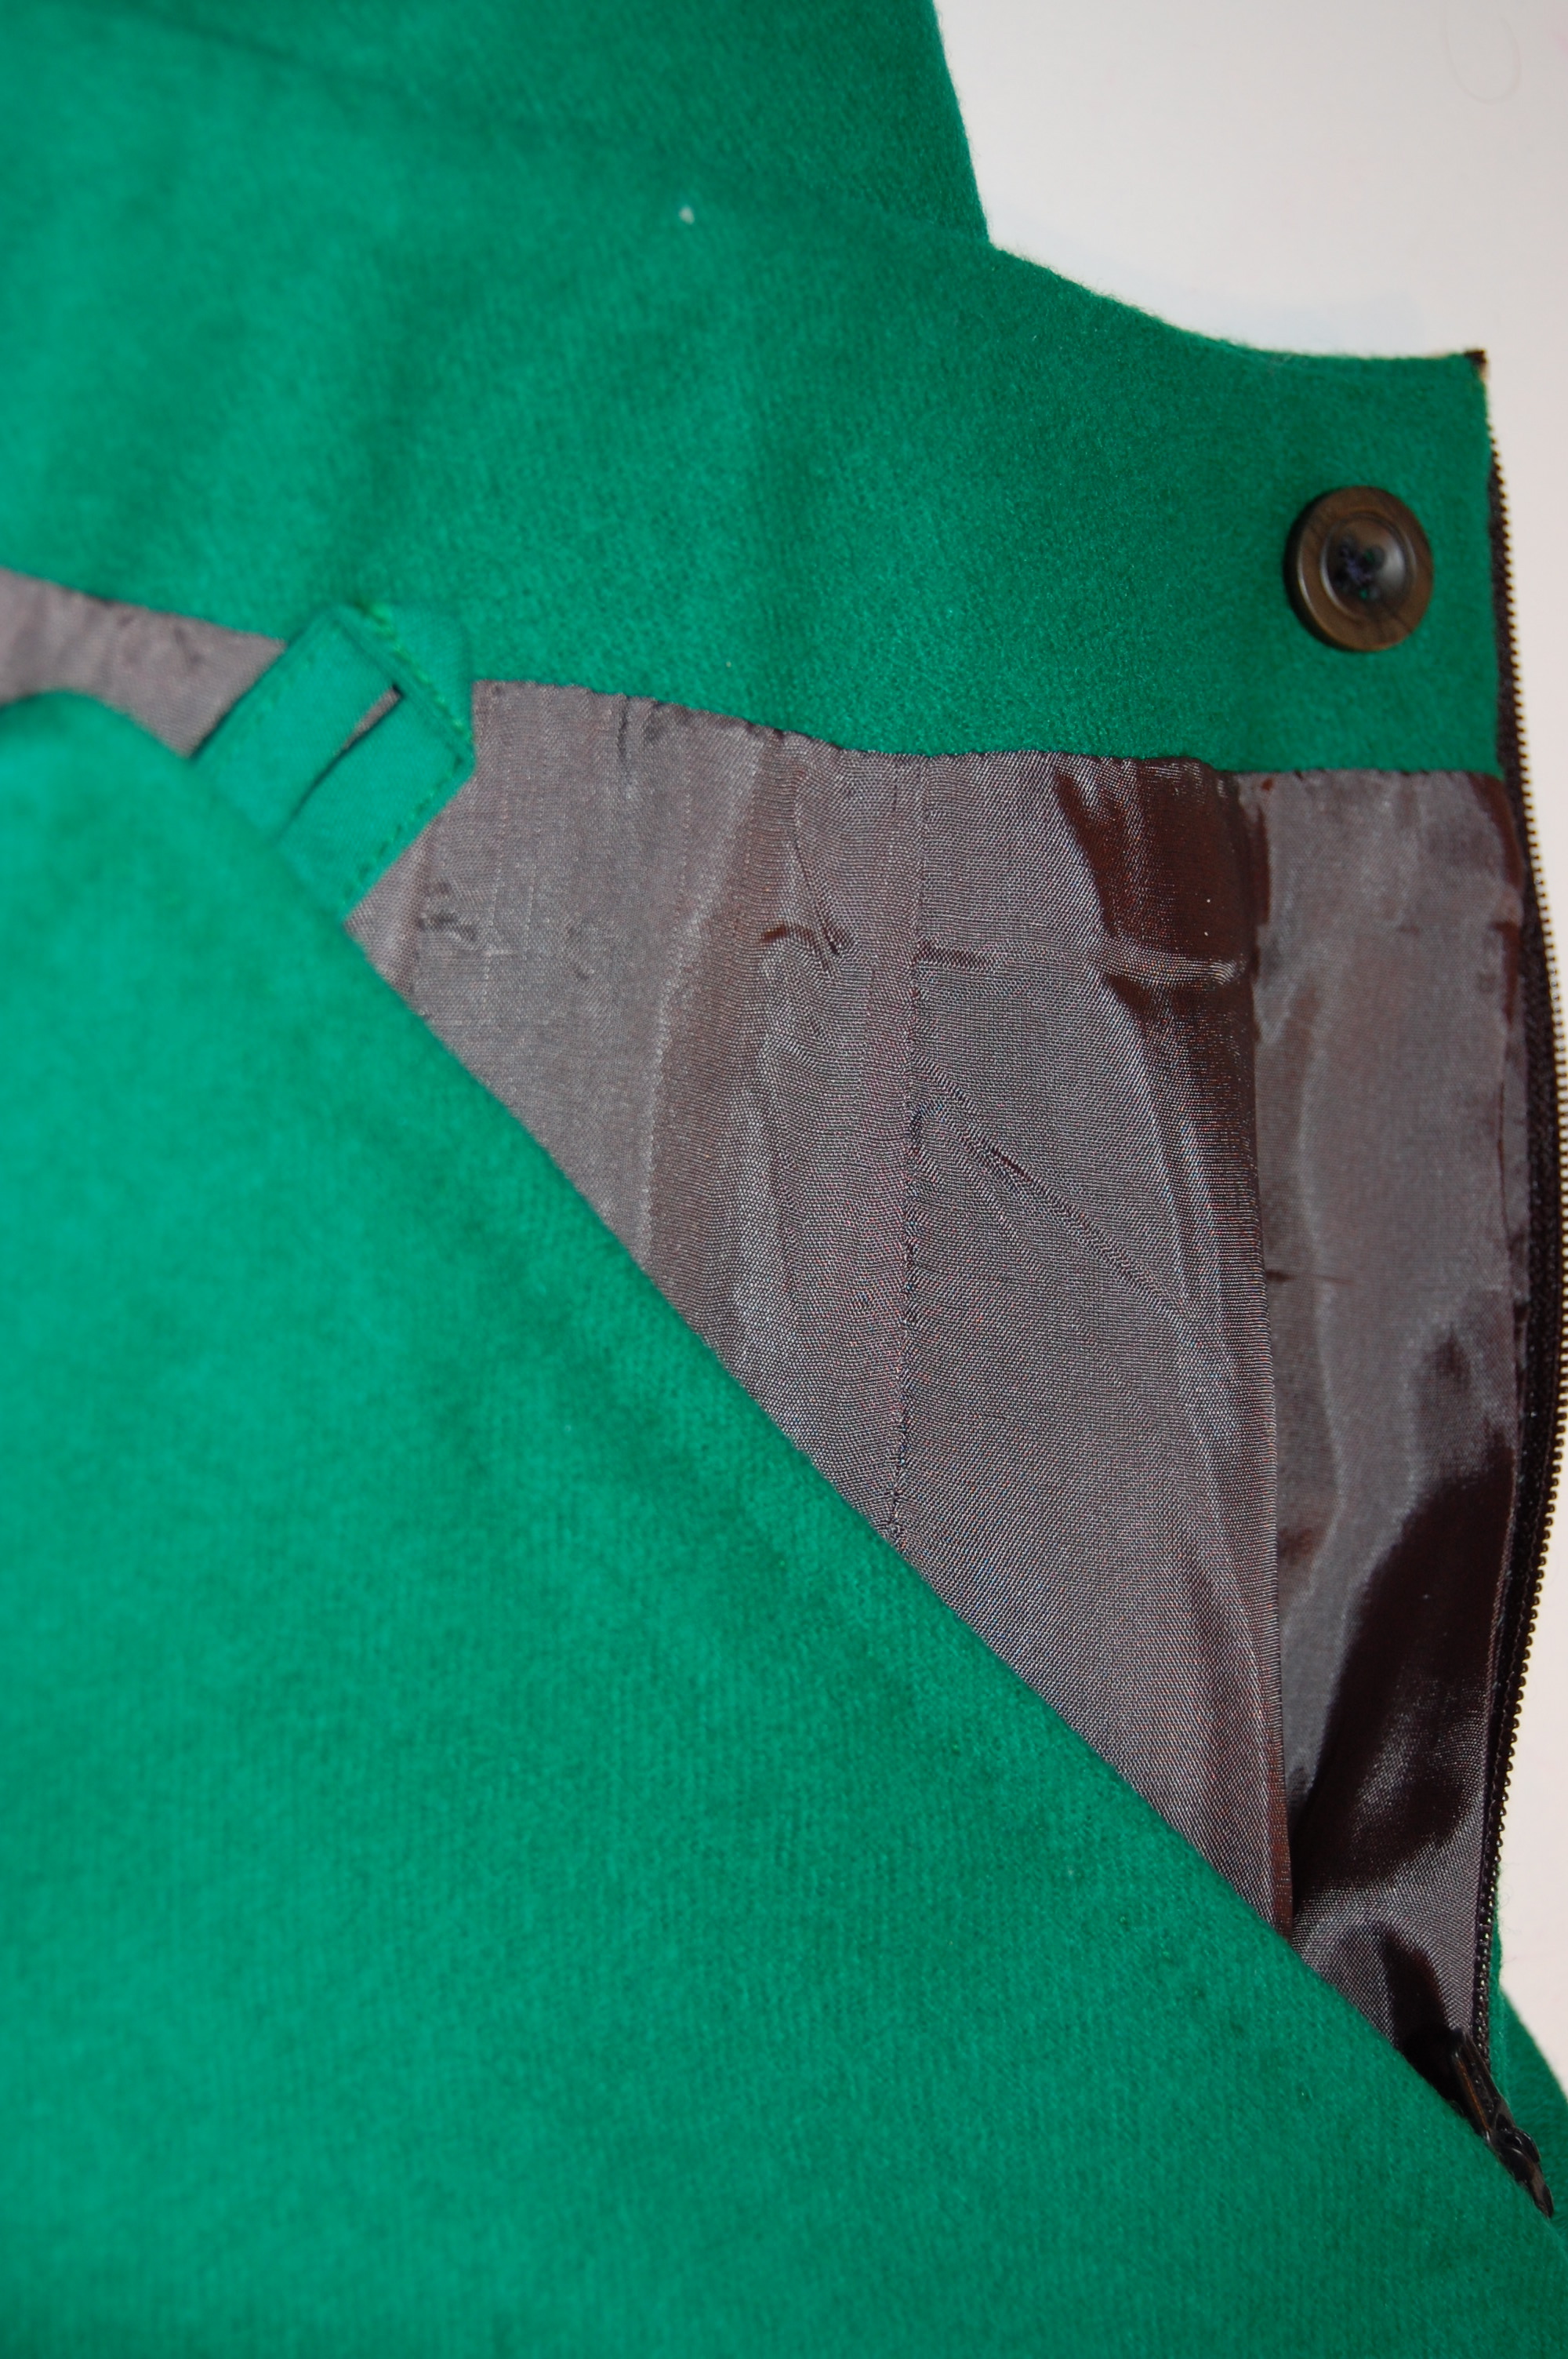
I inserted a lapped zipper by hand in the center back seam.
I angled the center back vent toward the center back seam so that it will hang evenly when I am wearing the skirt.
It is easy to see the angle on the vent with this particular fabric.
One side of the vent folded back.
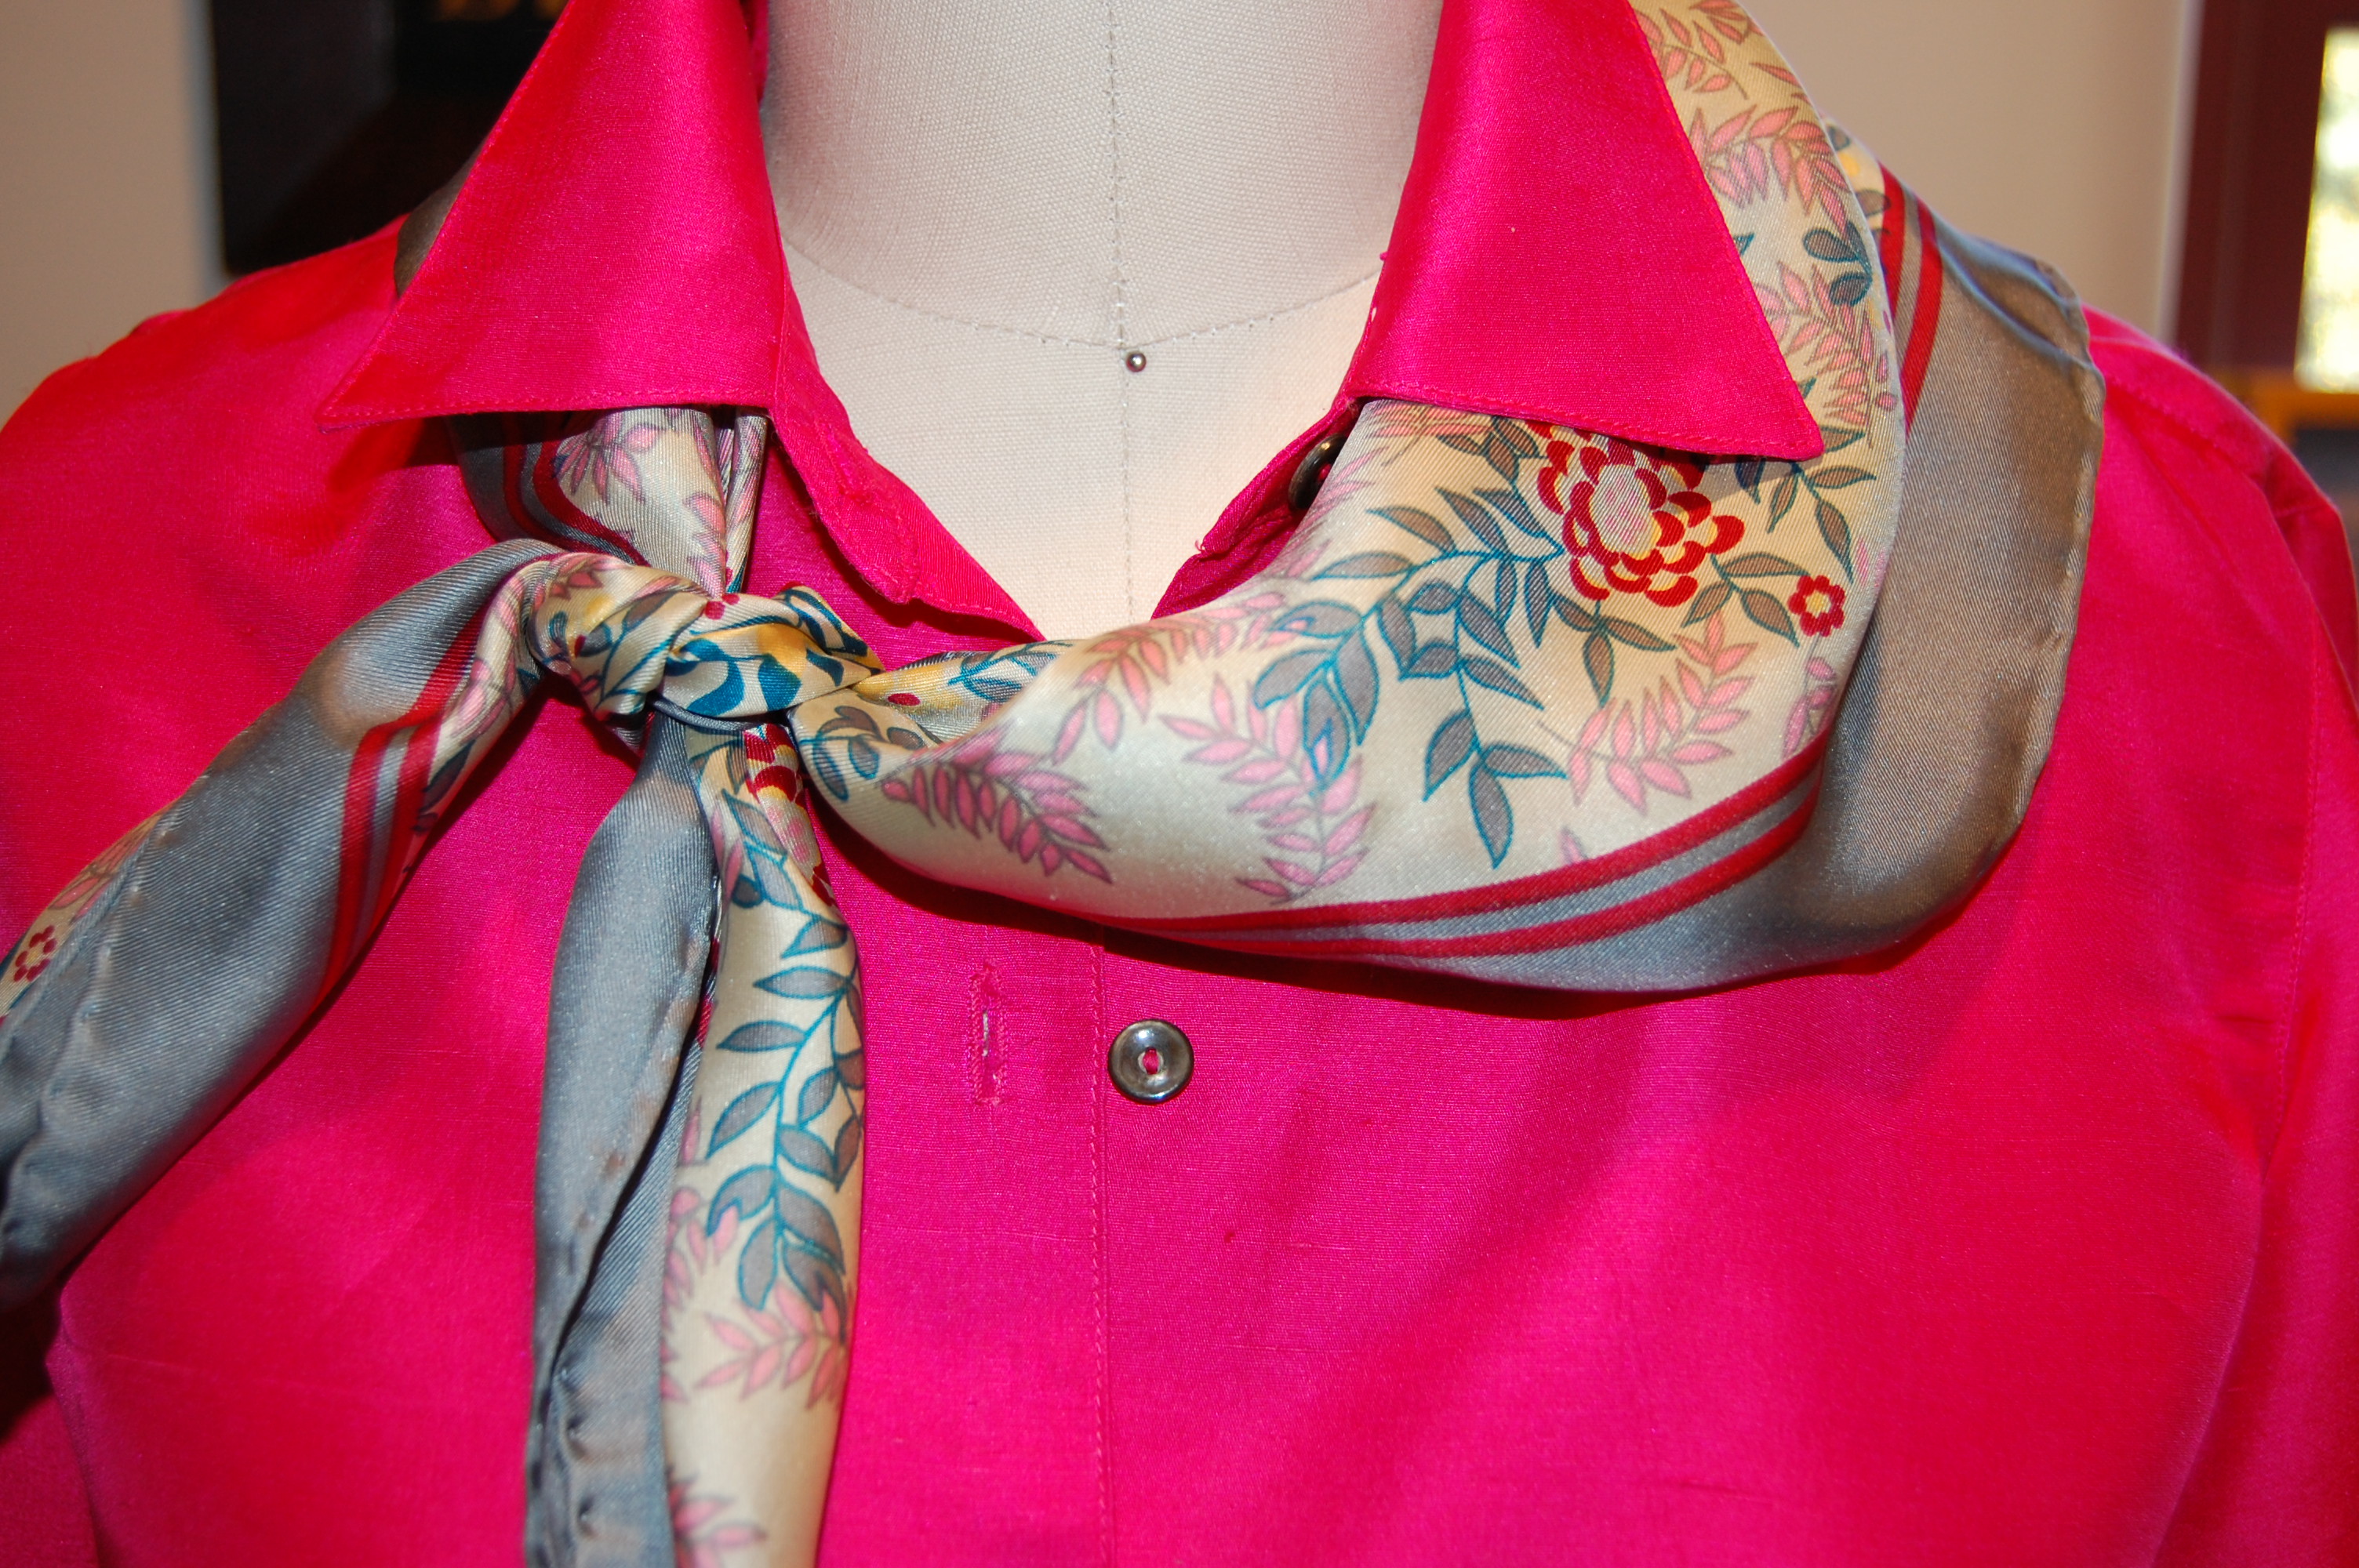
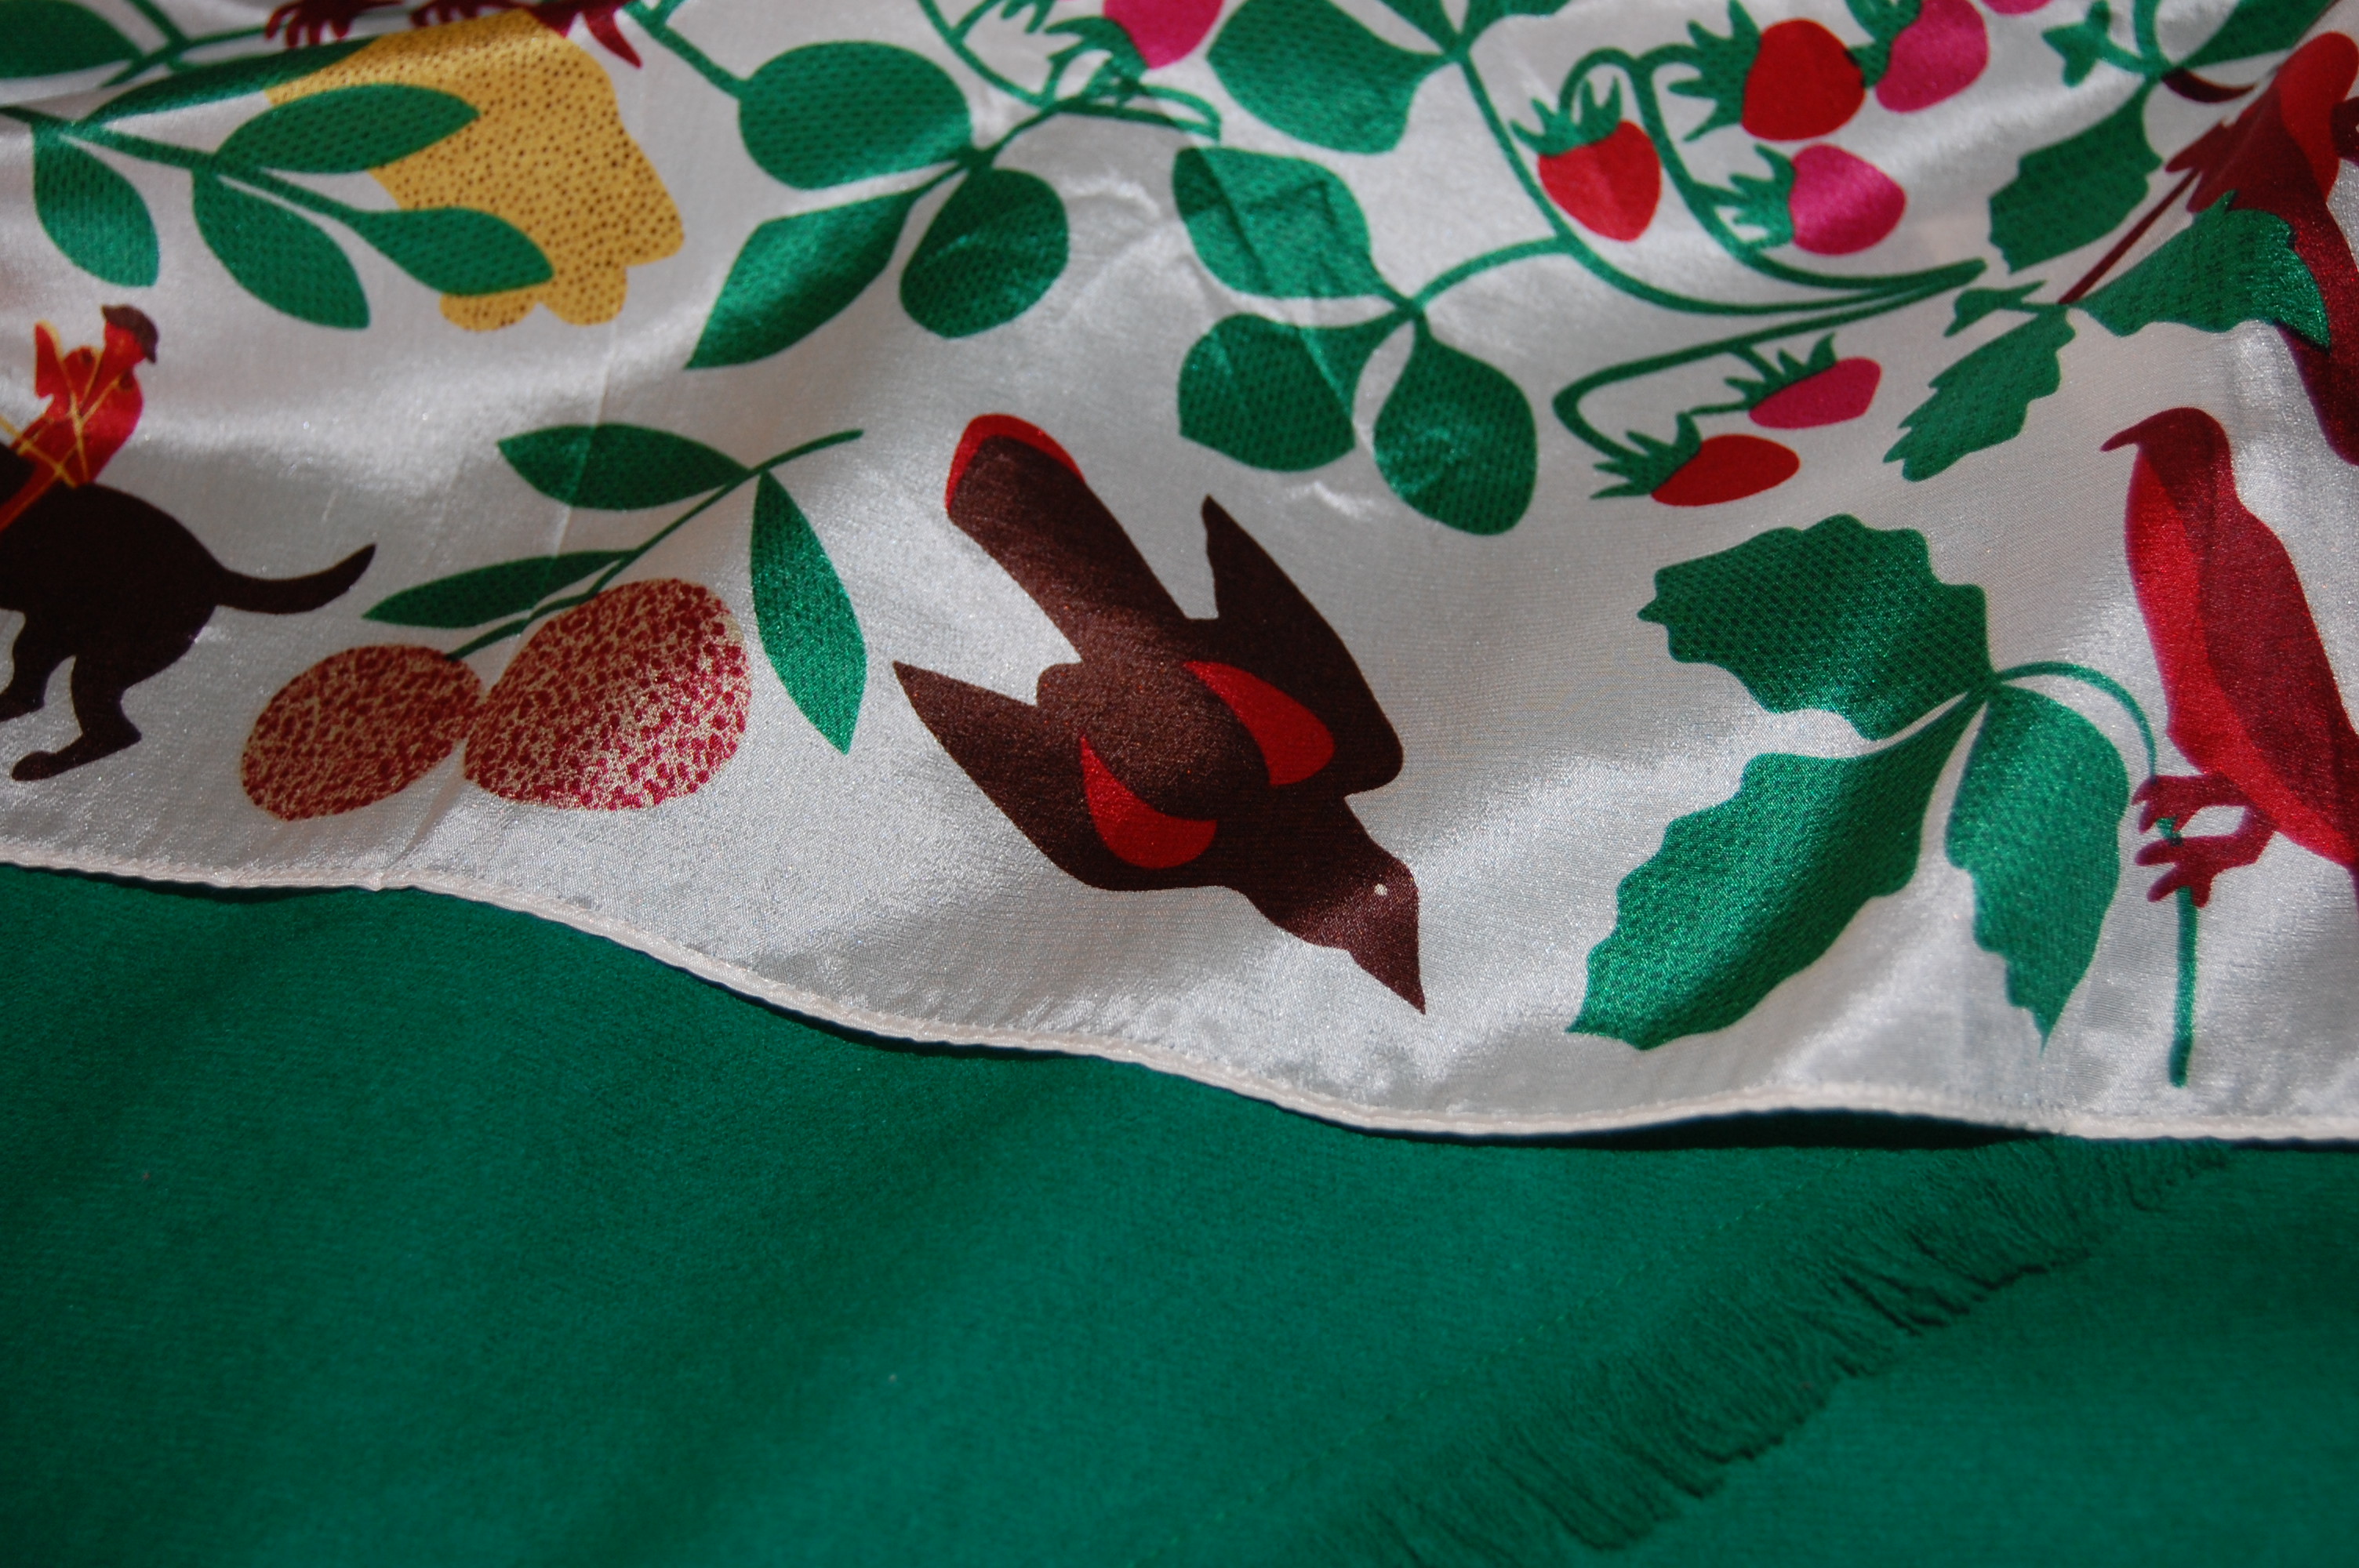
When I cut out the lining for the coat, I maneuvered the pattern pieces to give me a long narrow length of the silk, which I made into a scarf.
Paired with a V-neck gray sweater, it proves to be the perfect accessory. As Christian Dior said in The Little Dictionary of Fashion, “In many cases, a scarf gives a final touch to a dress.”
It’s a nice combination of colors!
The scarf is a pretty addition to the coat, I think.
It is rewarding to see my vision become reality!
So, now the big question, one which I have been asking myself frequently as of late, “When and where will I be wearing this lovely ensemble?” It seems life is just so despairingly casual now, affording few opportunities to wear pretty dresses and skirts and specialty coats. I try to buck the trend when I have the place and time to do so – and I have yet to feel like I have been overdressed. Of course, Christian Dior had something to say about this, too. “Generally it is very bad to be overdressed, but I think that in certain circumstances it is very impolite and wrong to be underdressed.” I could not agree more and personally prefer to be slightly overdressed than underdressed. How about you? I do hope my pink coat, paired with this gray skirt, will prove to be the perfect dressing for many occasions. I am certain I will enjoy wearing them.
48 Comments
Filed under Christian Dior, Coats, Fashion commentary, hand-sewn zippers, Linings, Scarves, Straight skirts, Uncategorized, underlinings
Tagged as Christian Dior, coats, couture construction, Farmhouse Fabrics, fashion sewing, scarves, Straight skirts