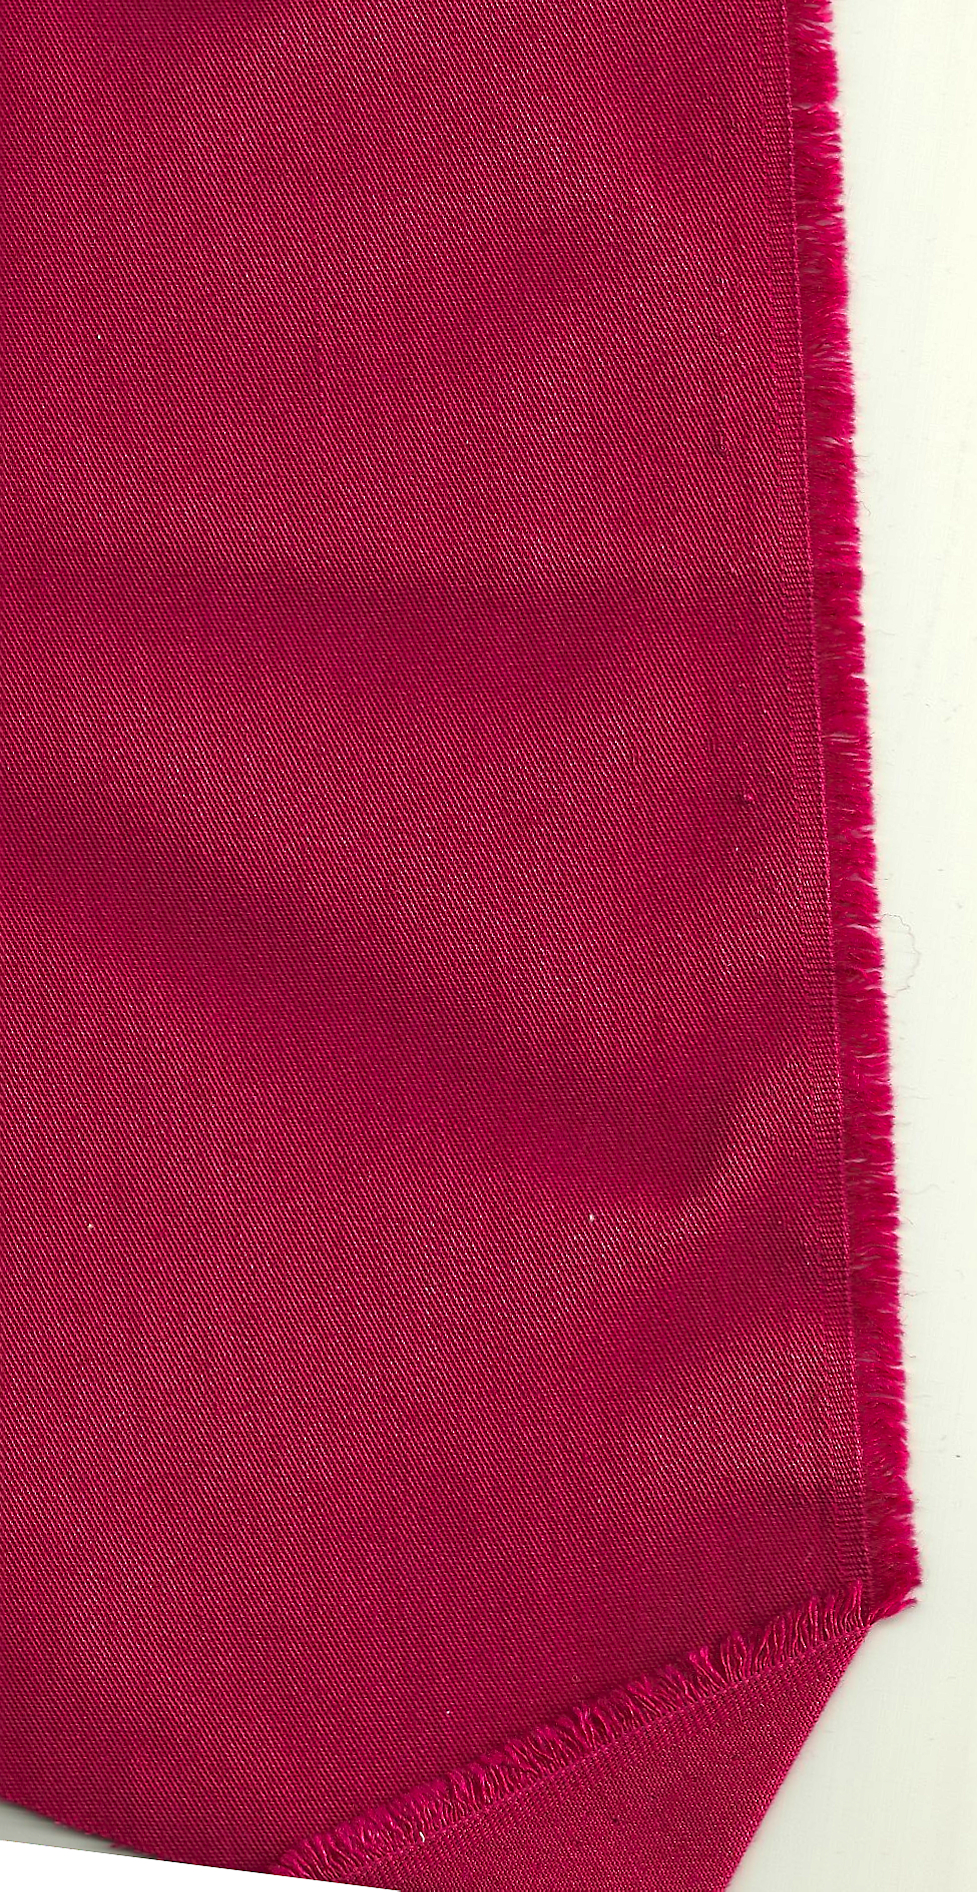
“… Every woman should have something pink in her wardrobe.” Christian Dior certainly had distinct thoughts about fashion, and with this statement I concur. Everyone looks good in pink, especially pale pink (men definitely included), and I suspect pale pink was what Monsieur Dior was thinking when he wrote this in his Little Dictionary of Fashion (First published by Cassell & Co., Ltd., 1954; 2007 edition by Abrams; Copyright Catherine Dior and Jean-Pierre Teto, 2007). Interestingly, the lining pages of his little book are pale pink, but the divider pages feature a deep, deep raspberry pink as in – – – my newly finished “ladylike” dress!

Here is the “section”page for E from Dior’s Fashion Dictionary

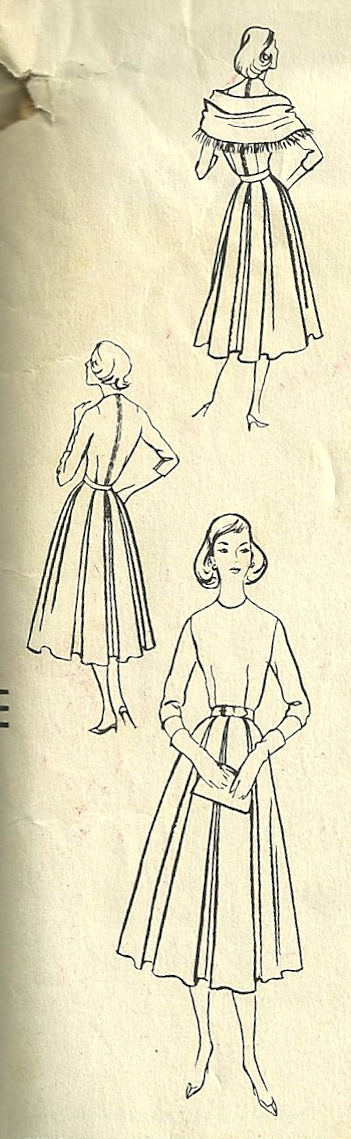
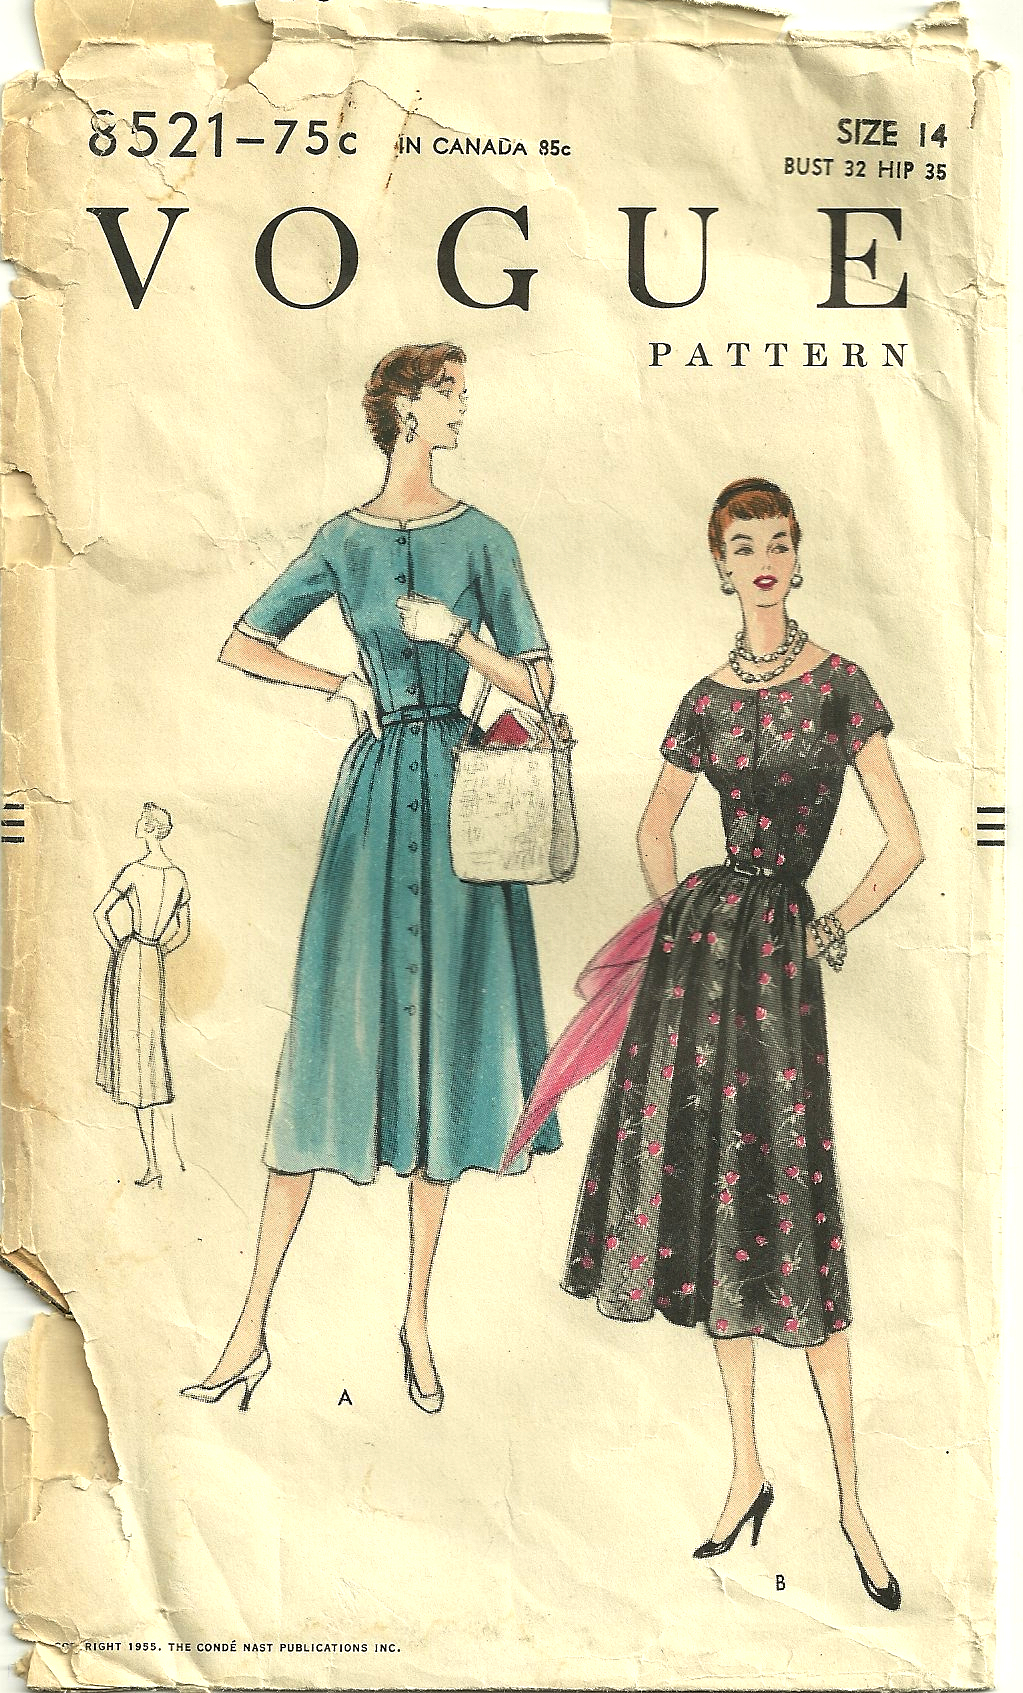
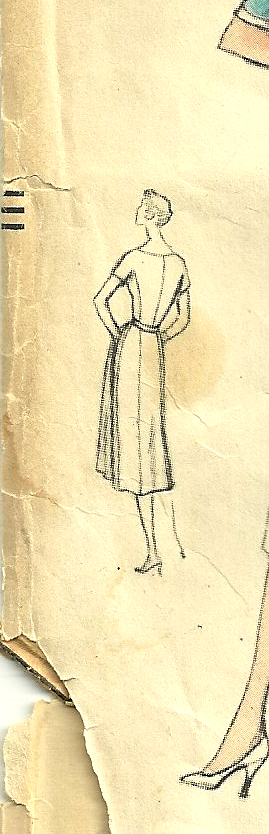
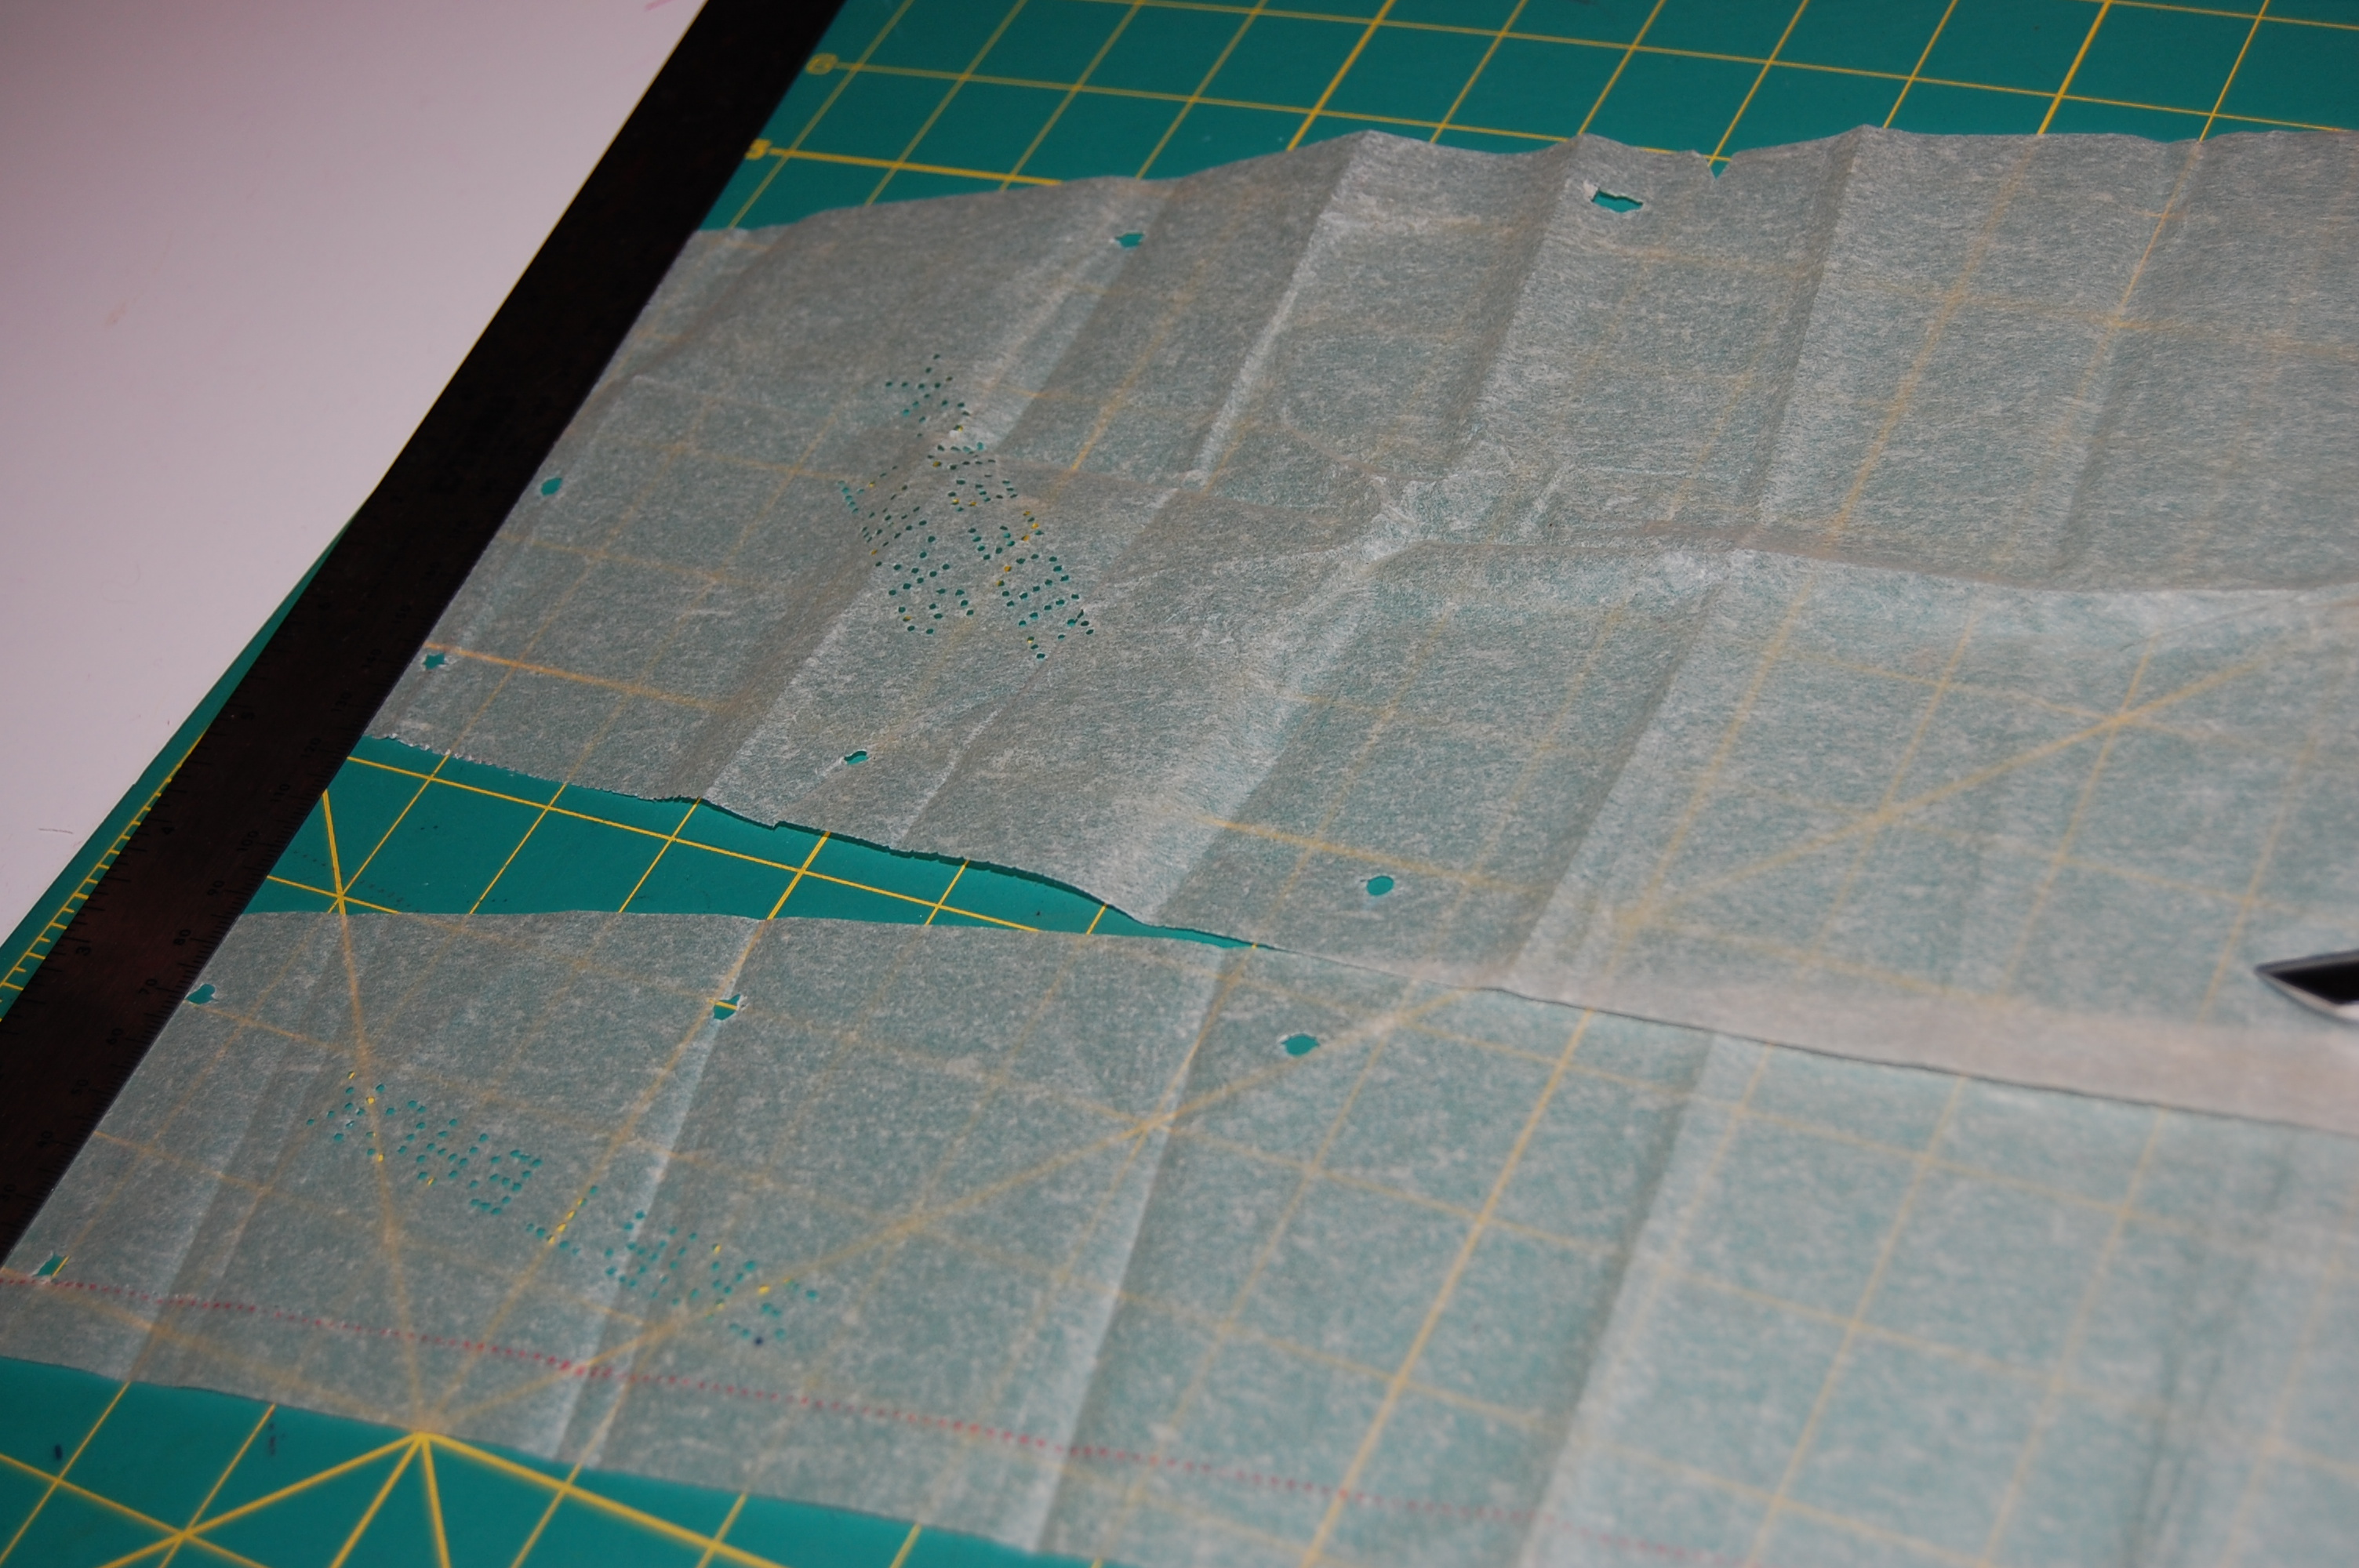
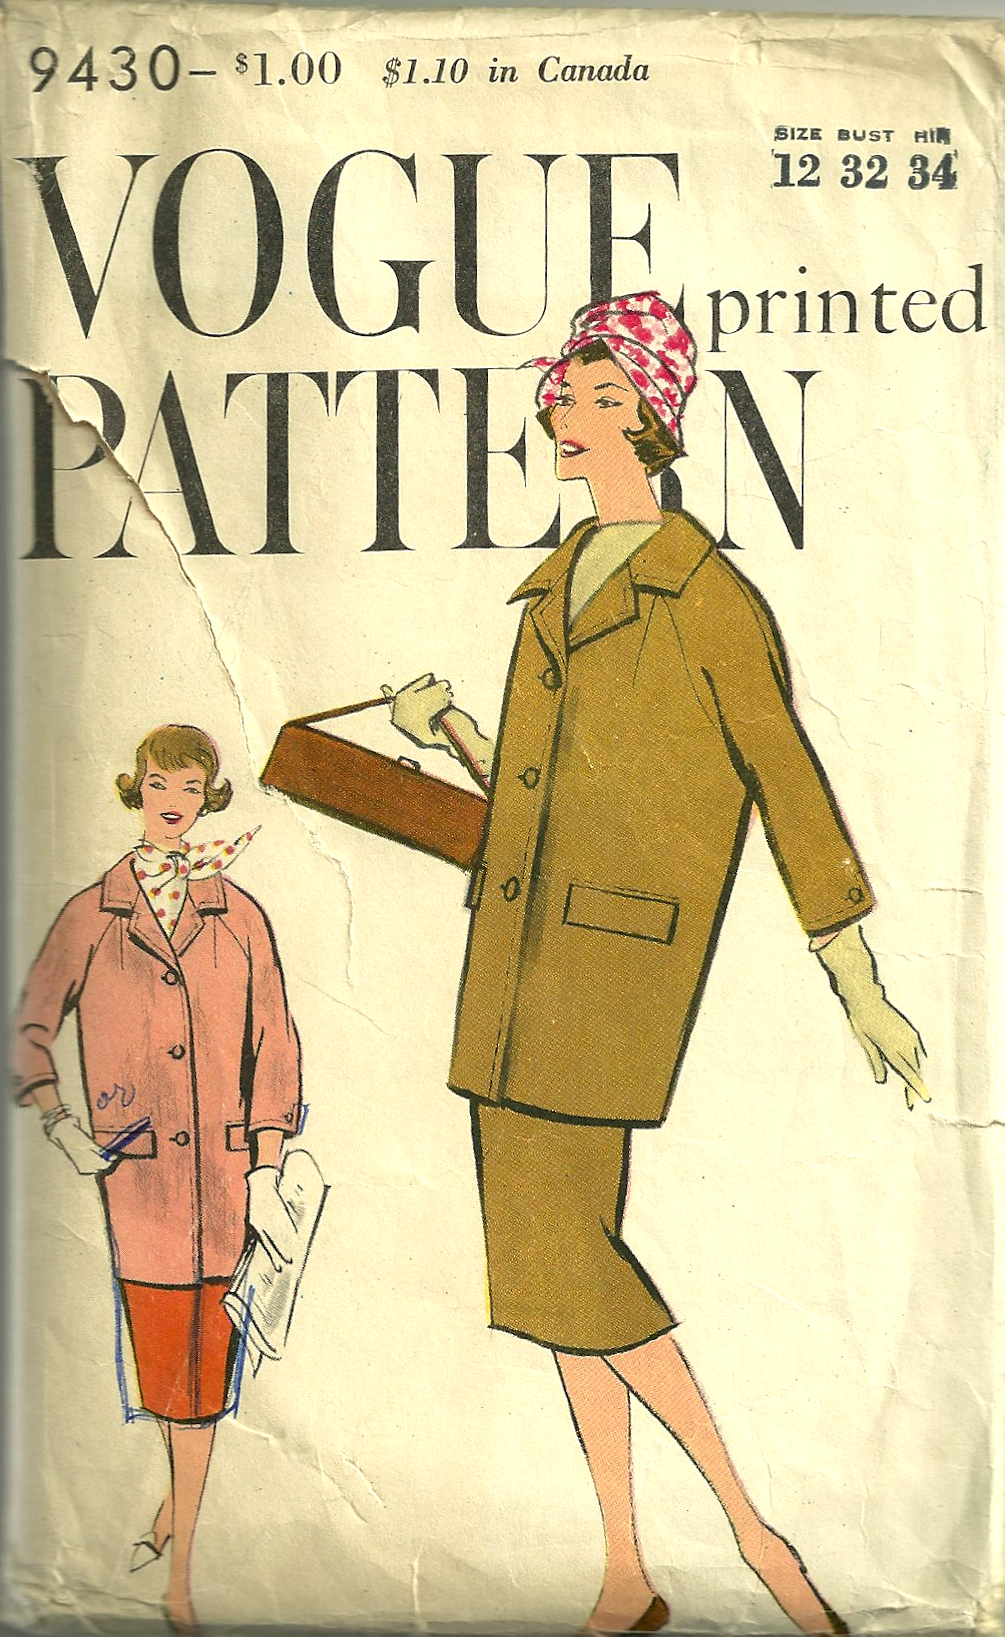
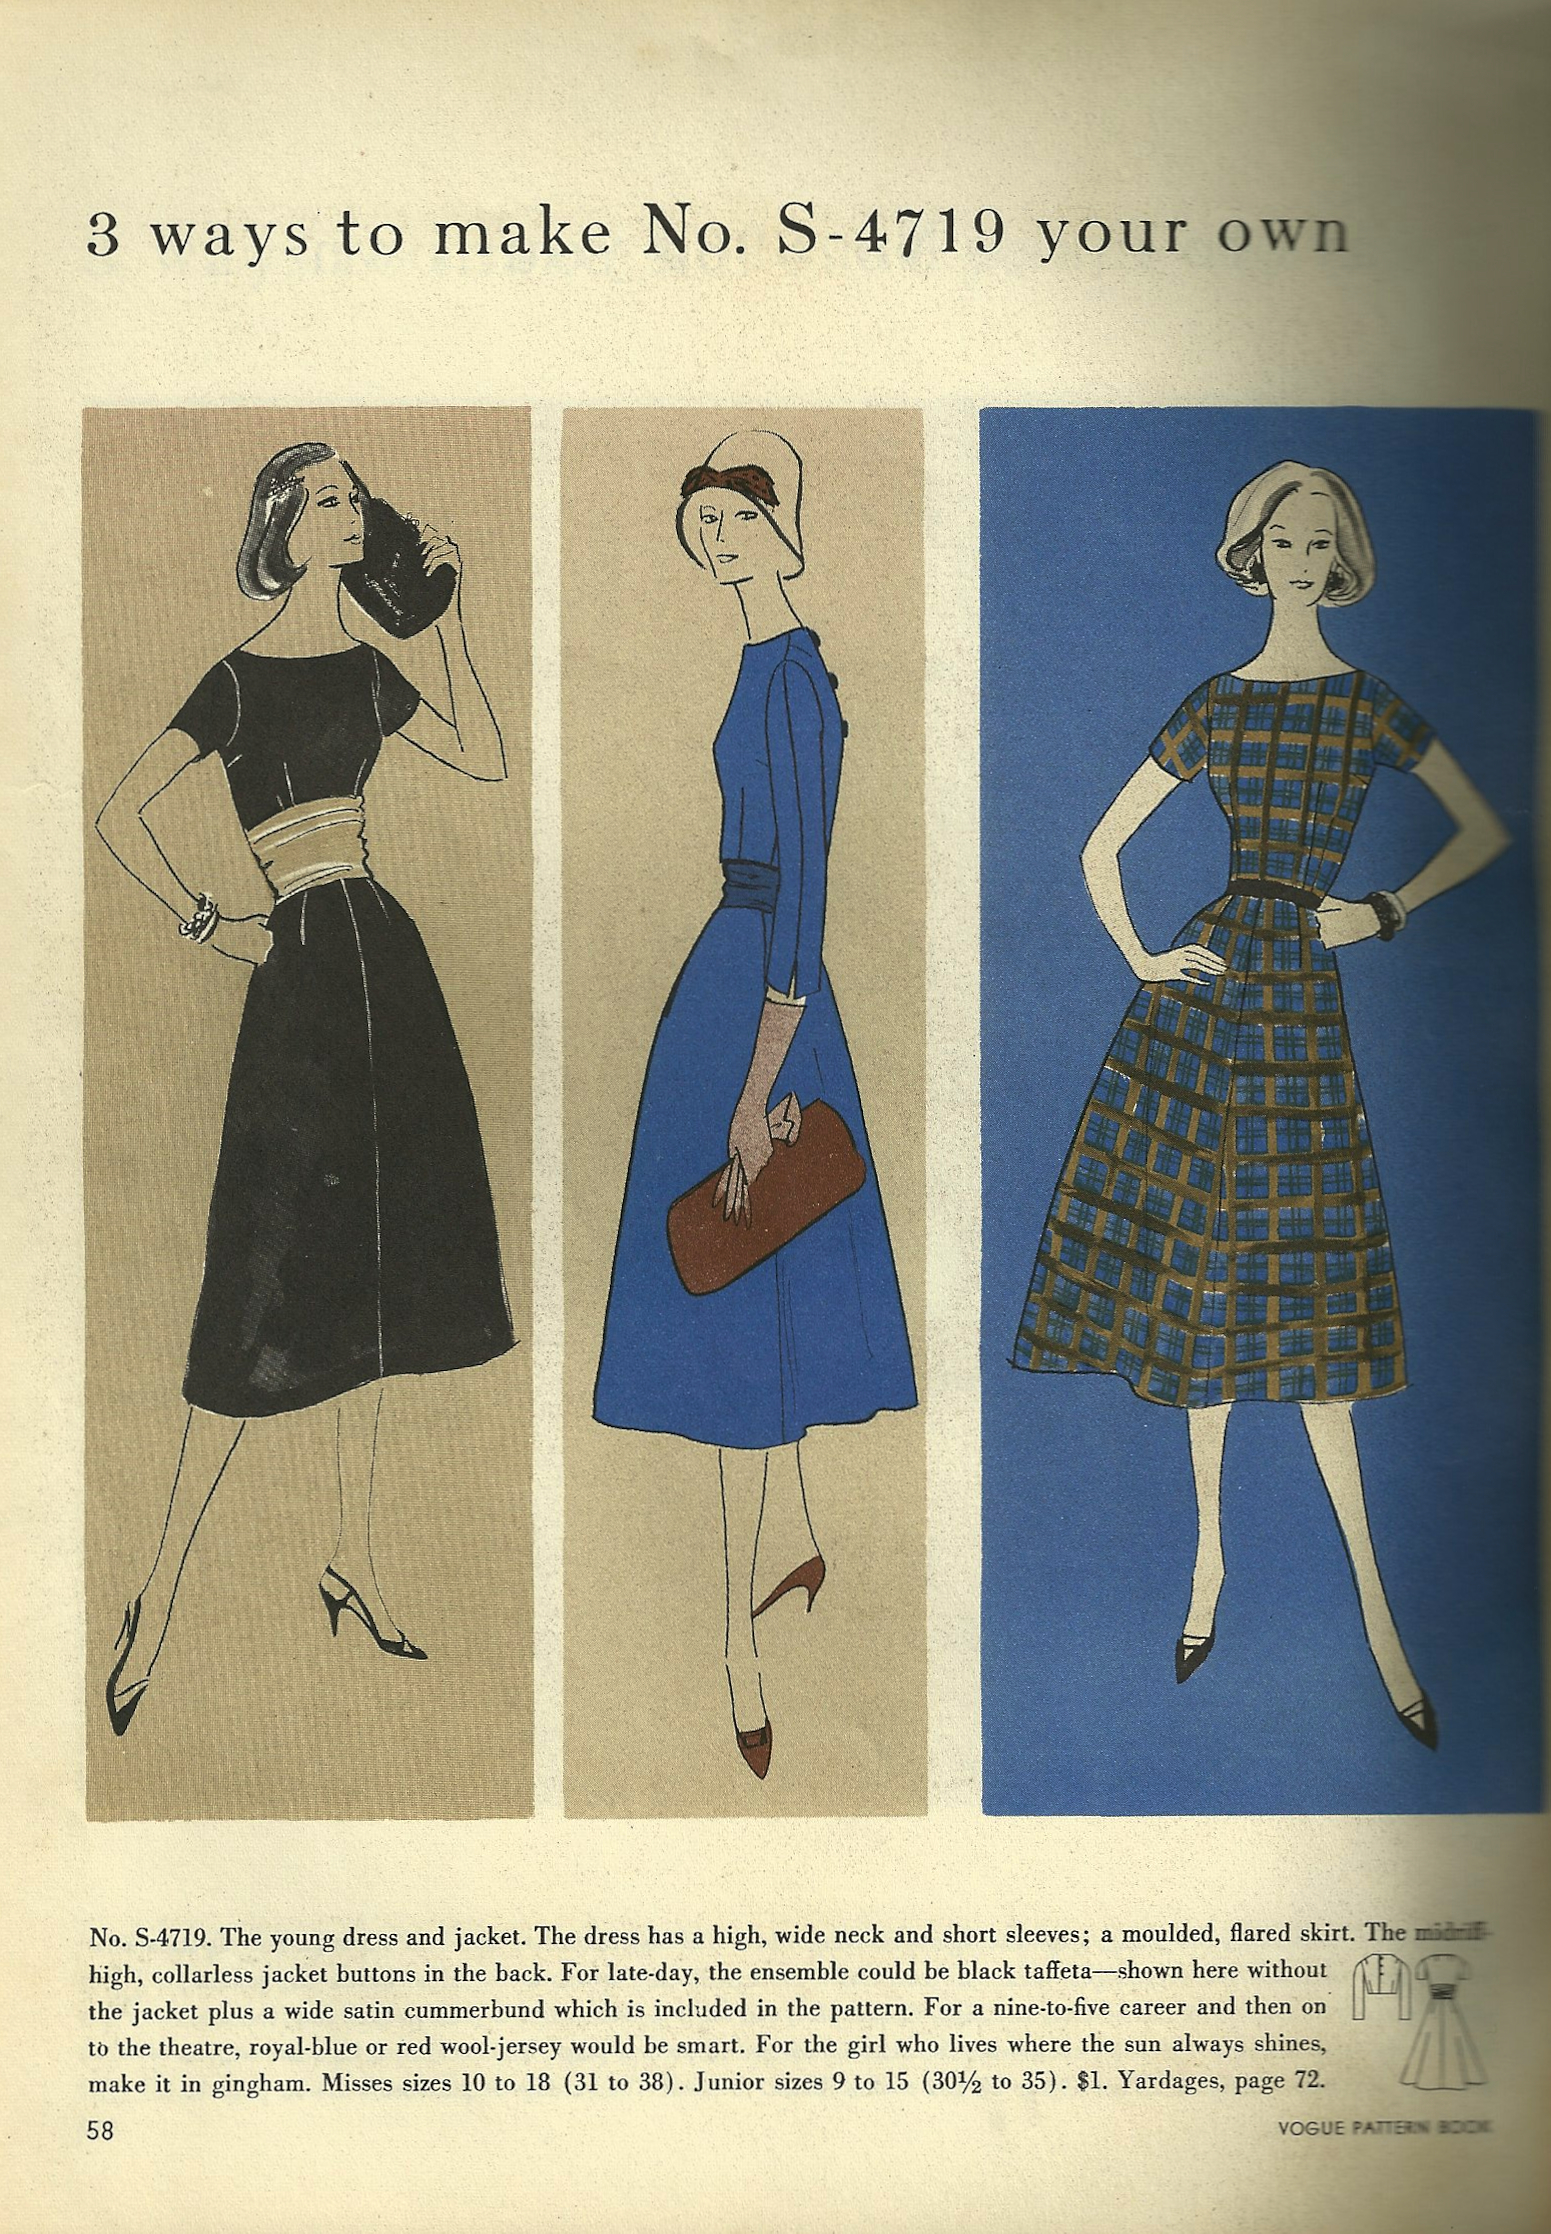
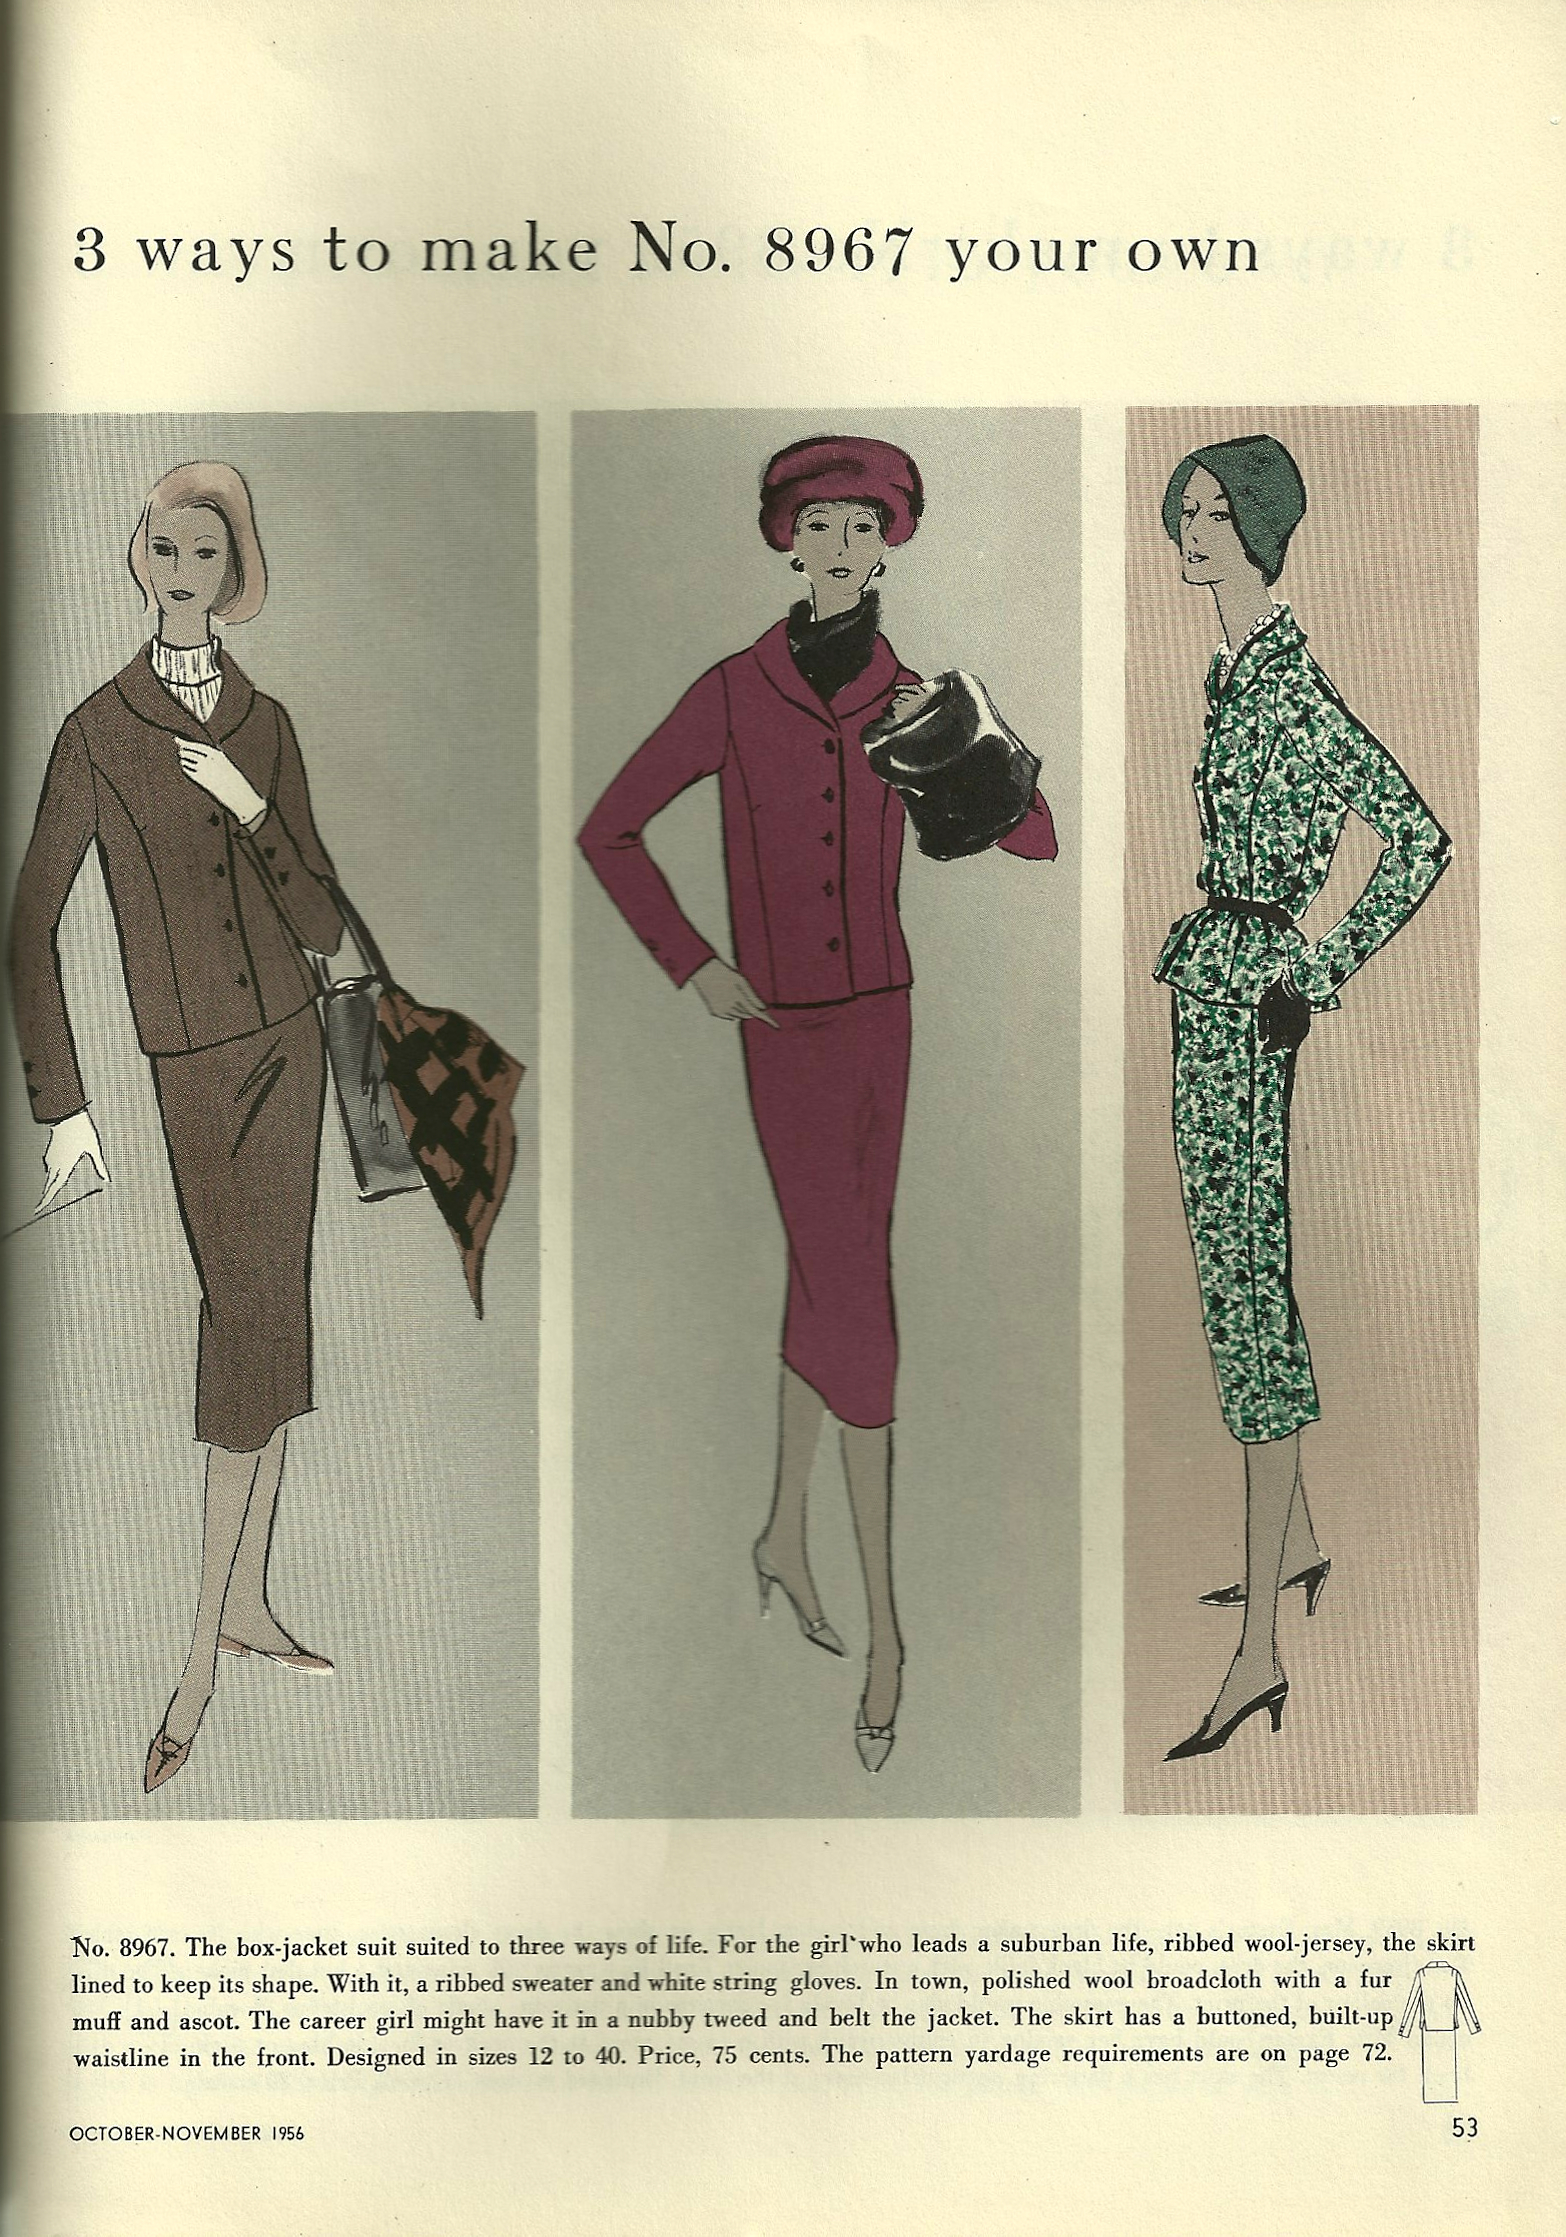
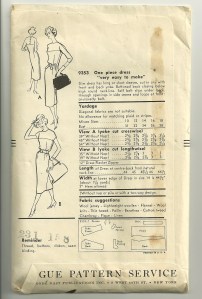
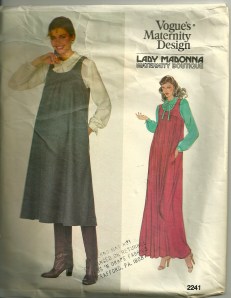
Dated 1958, this is the pattern I used for my pink dress.
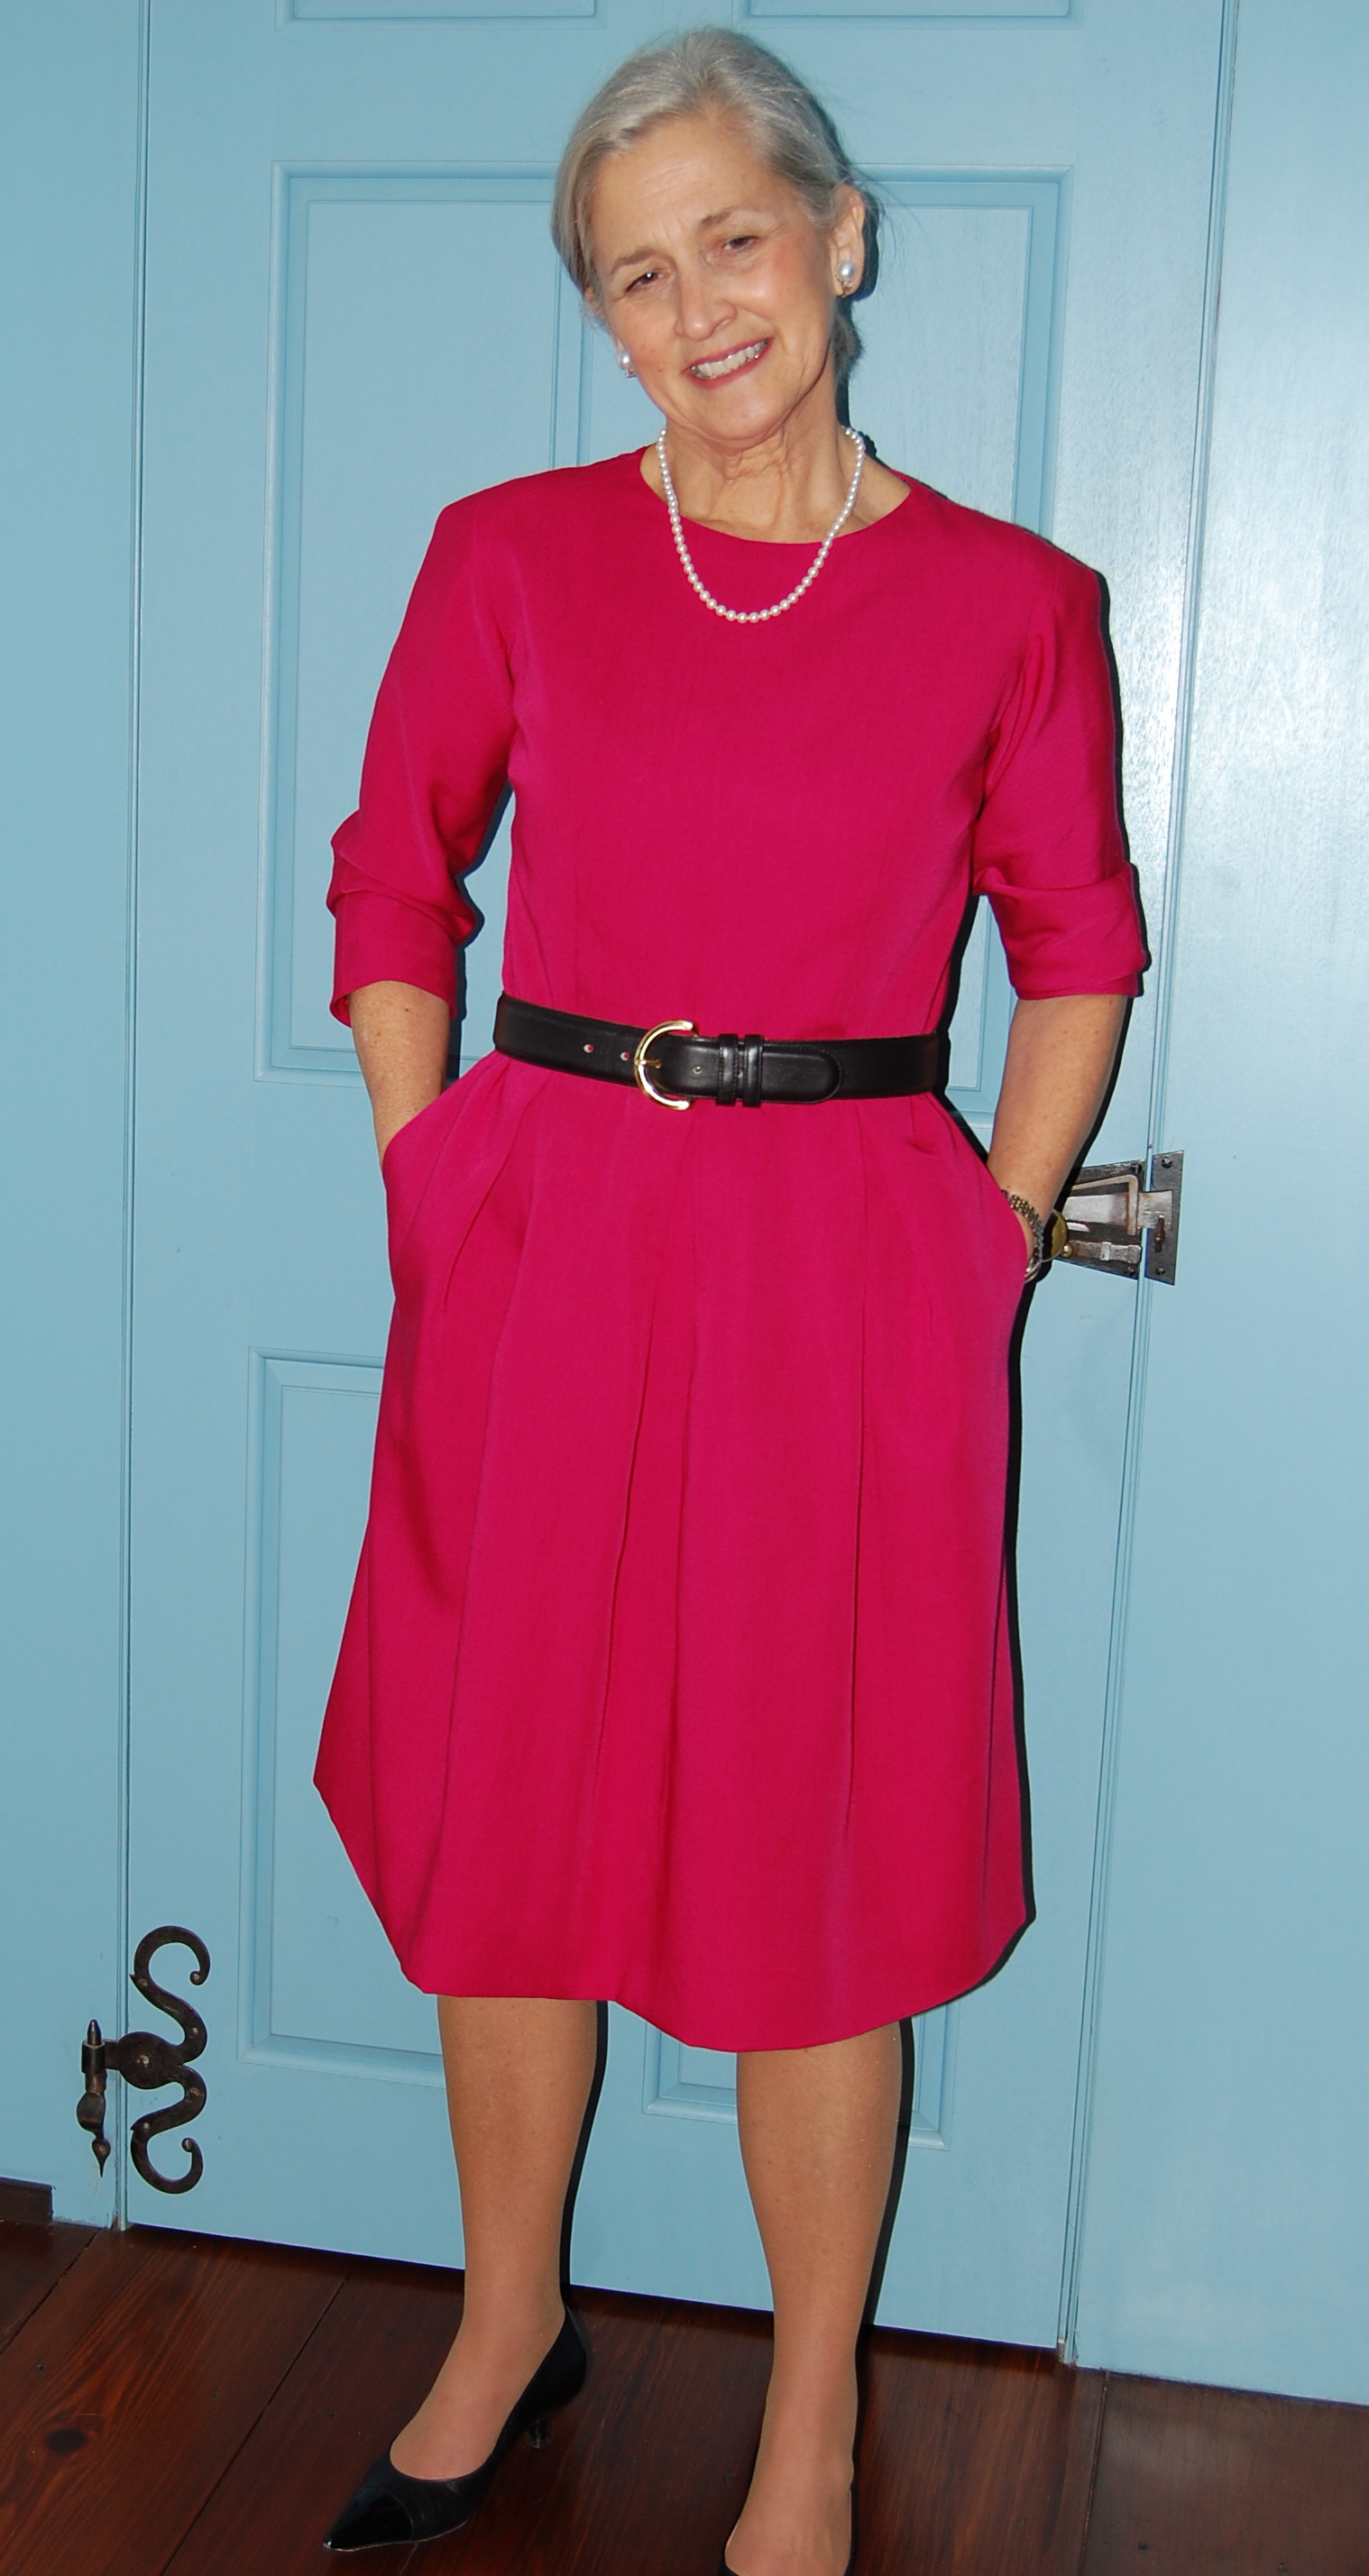
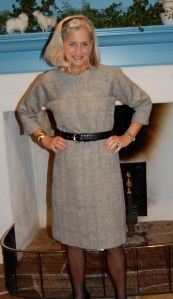
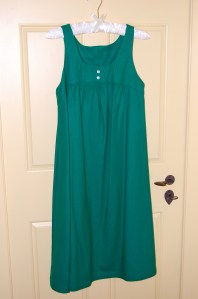
The finished dress!
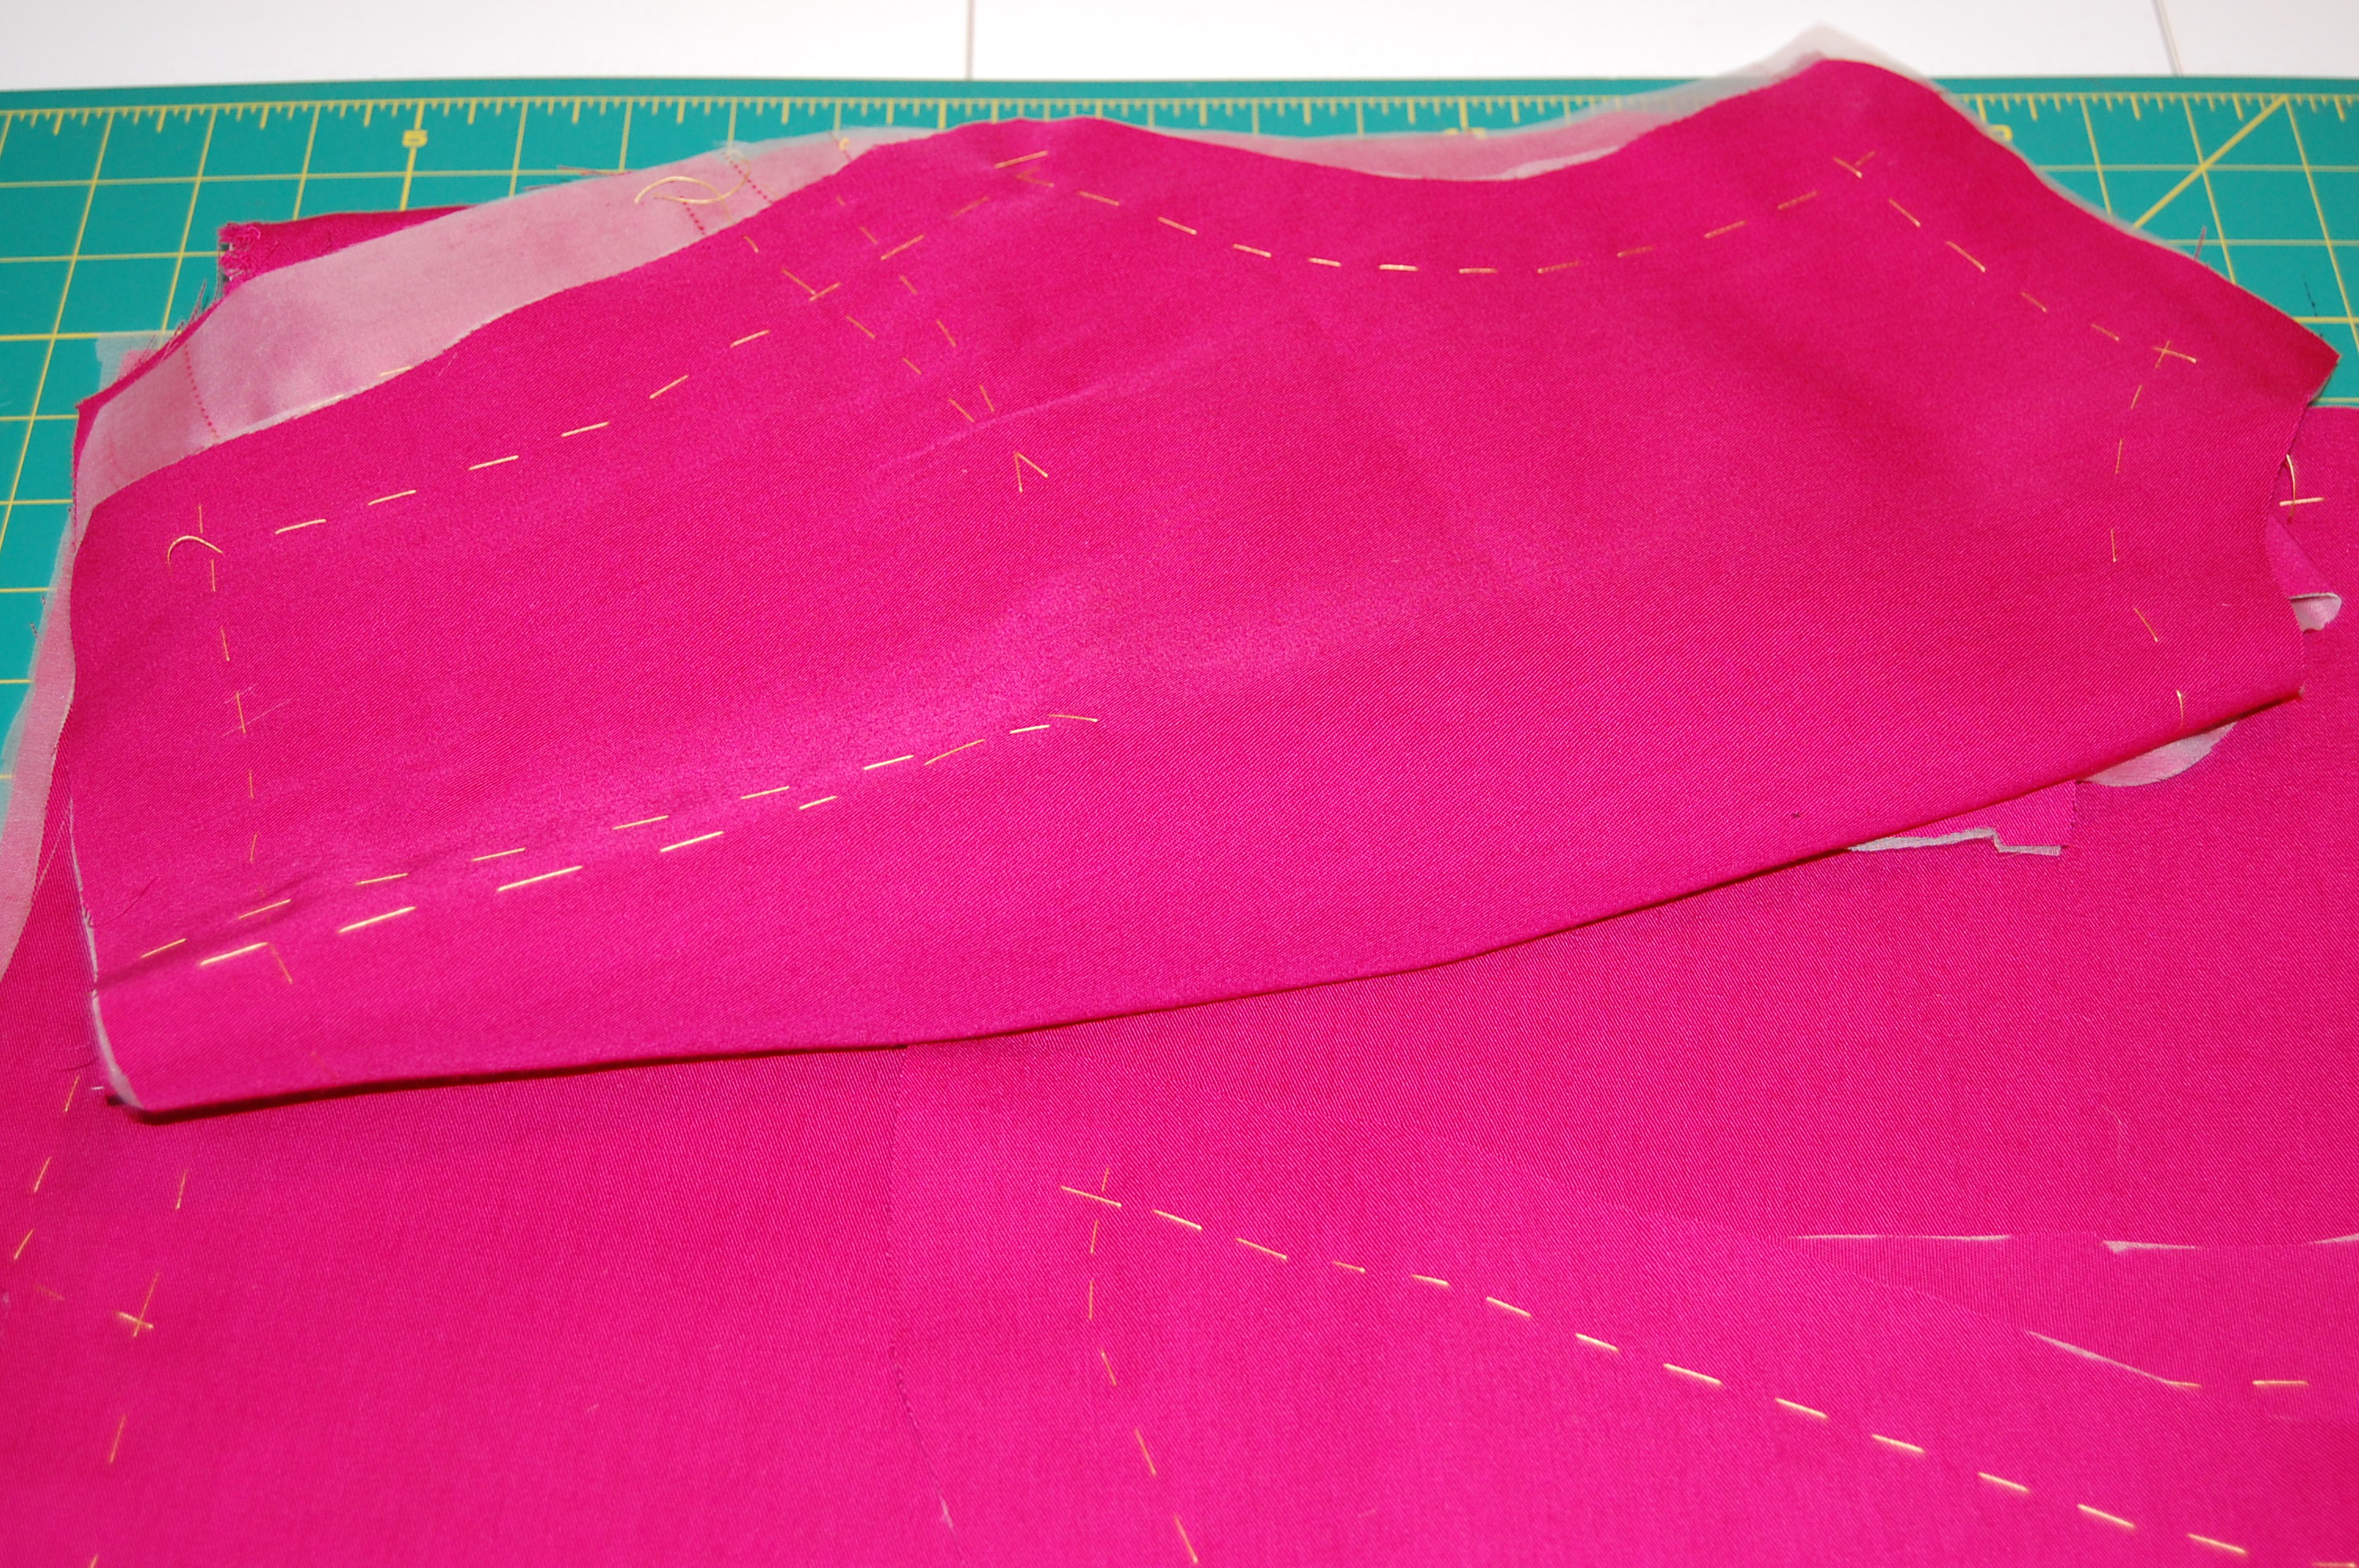
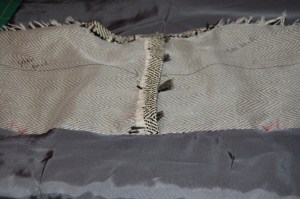
As I mentioned in my last post, I made this dress using couture construction, which means a lot of hand-sewing. The more I use this type of construction, the more I like it, but it doesn’t get any faster.
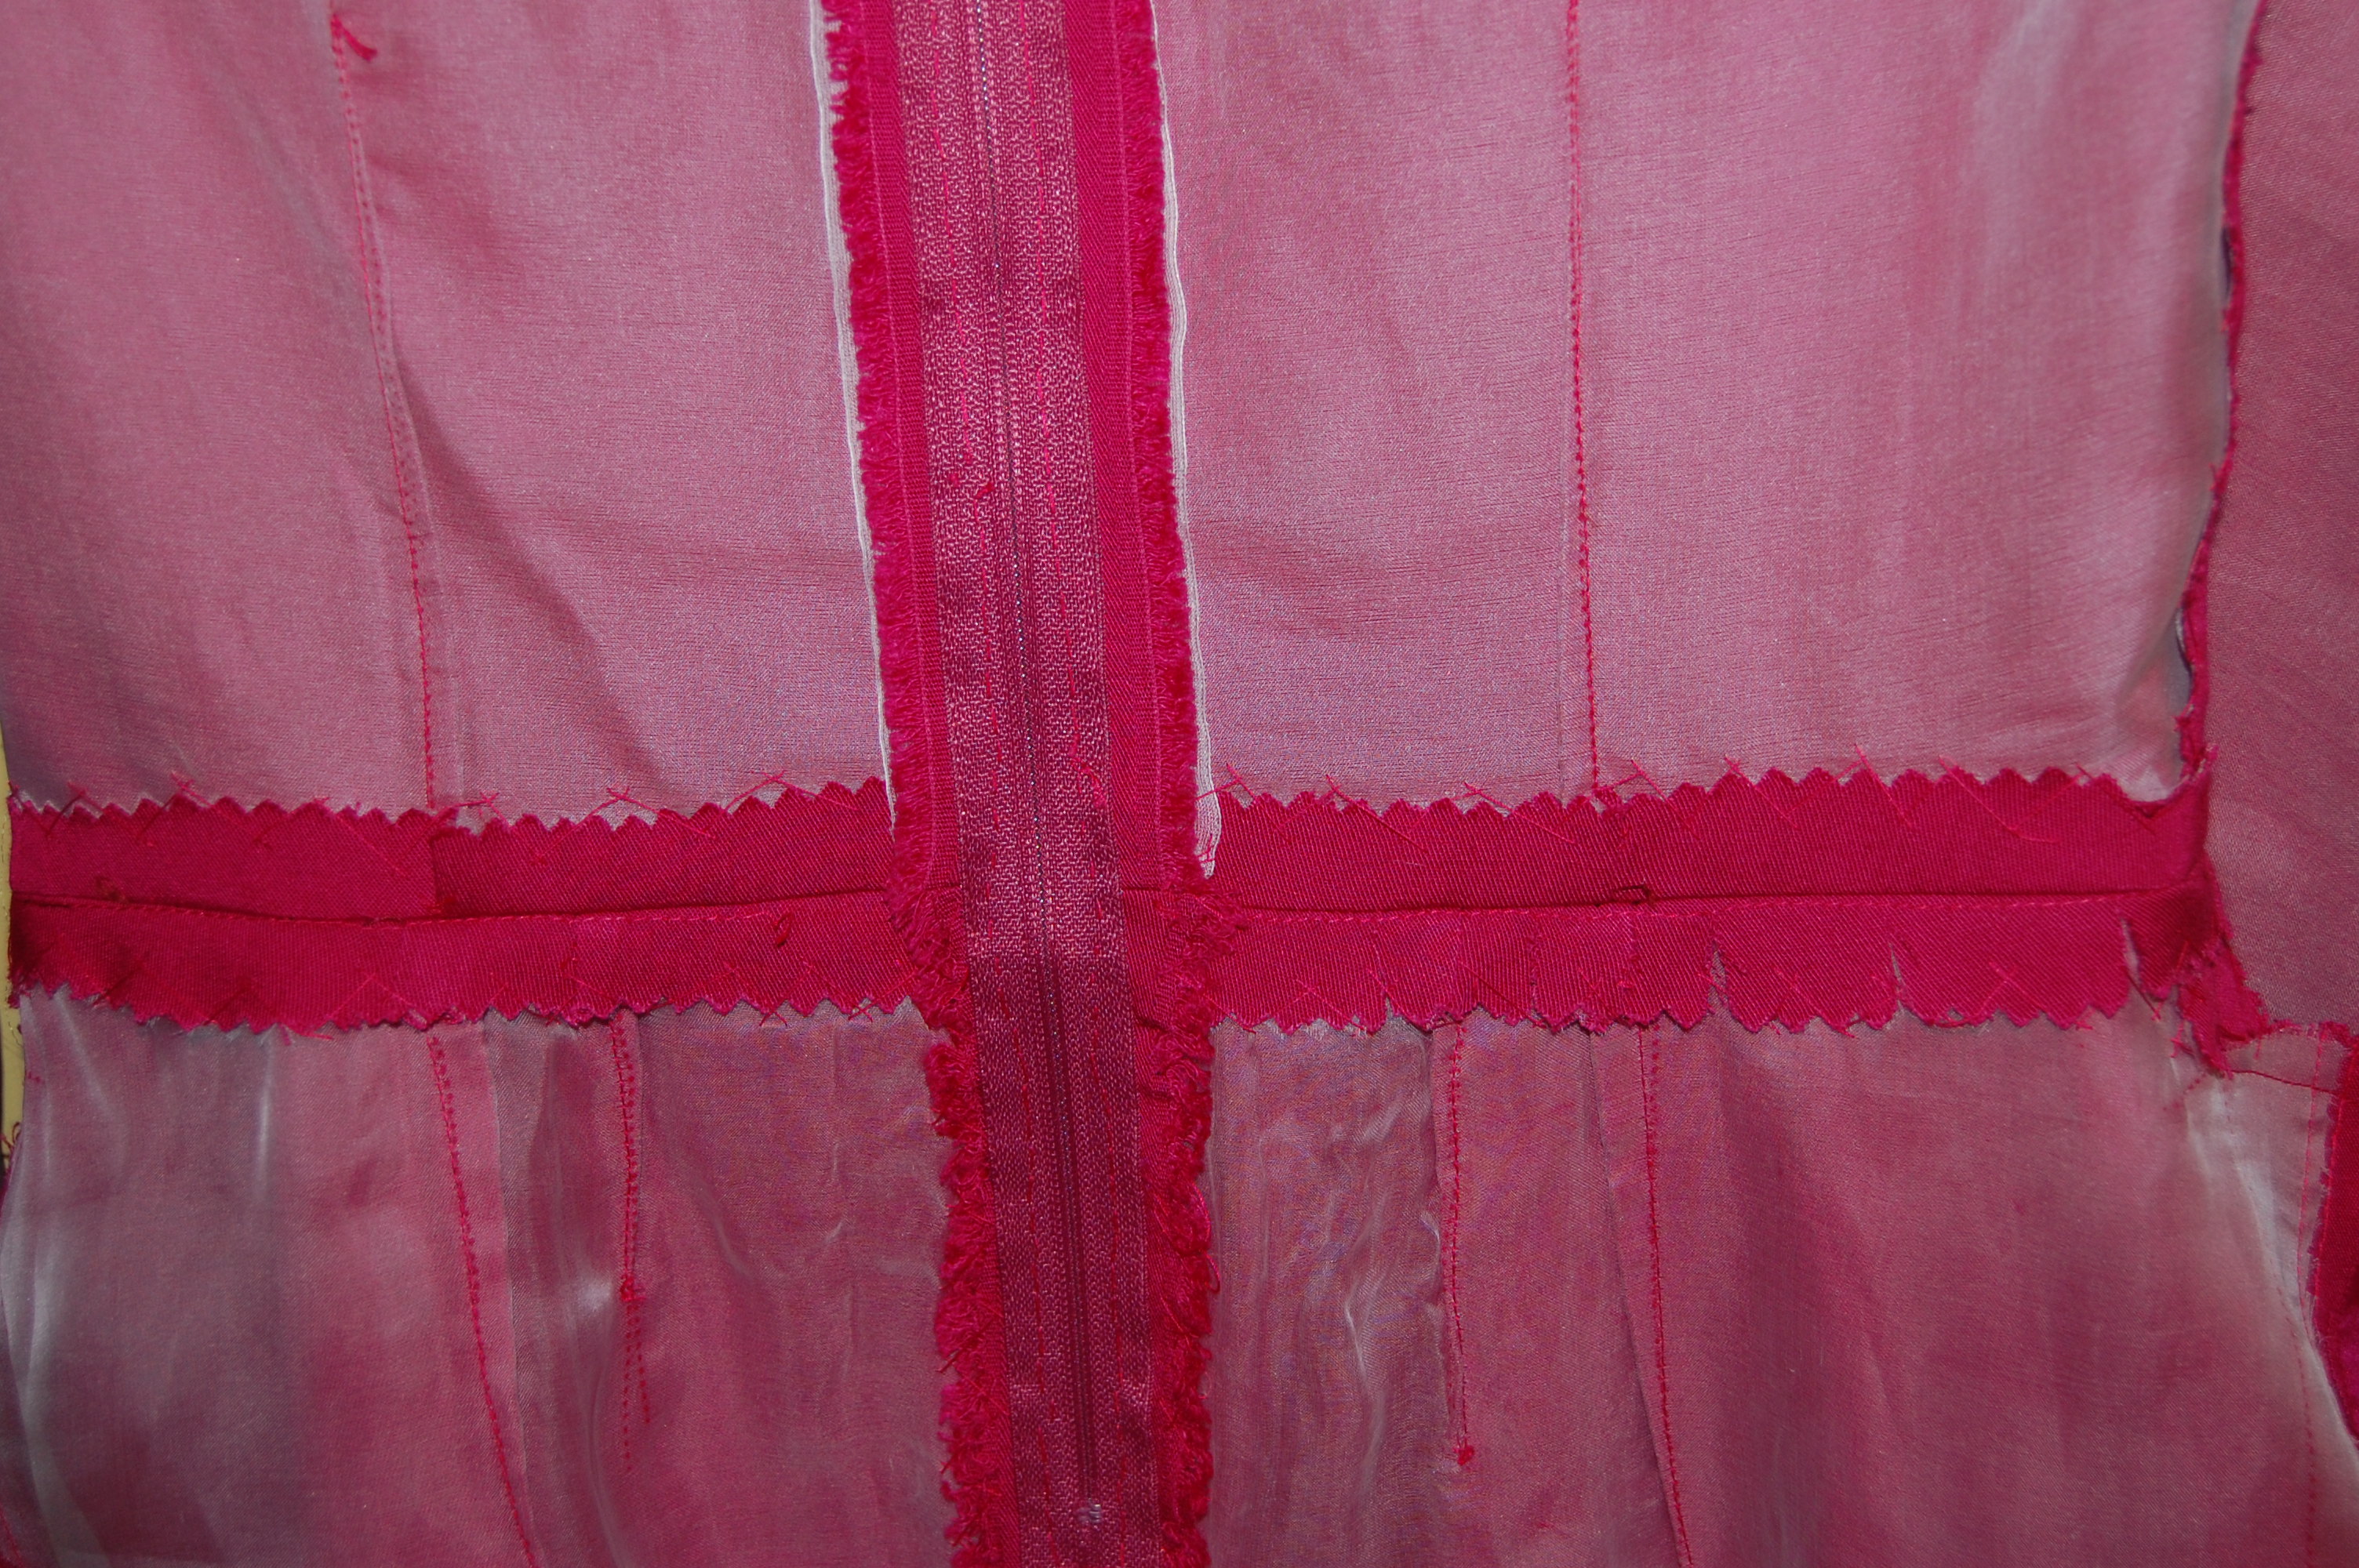
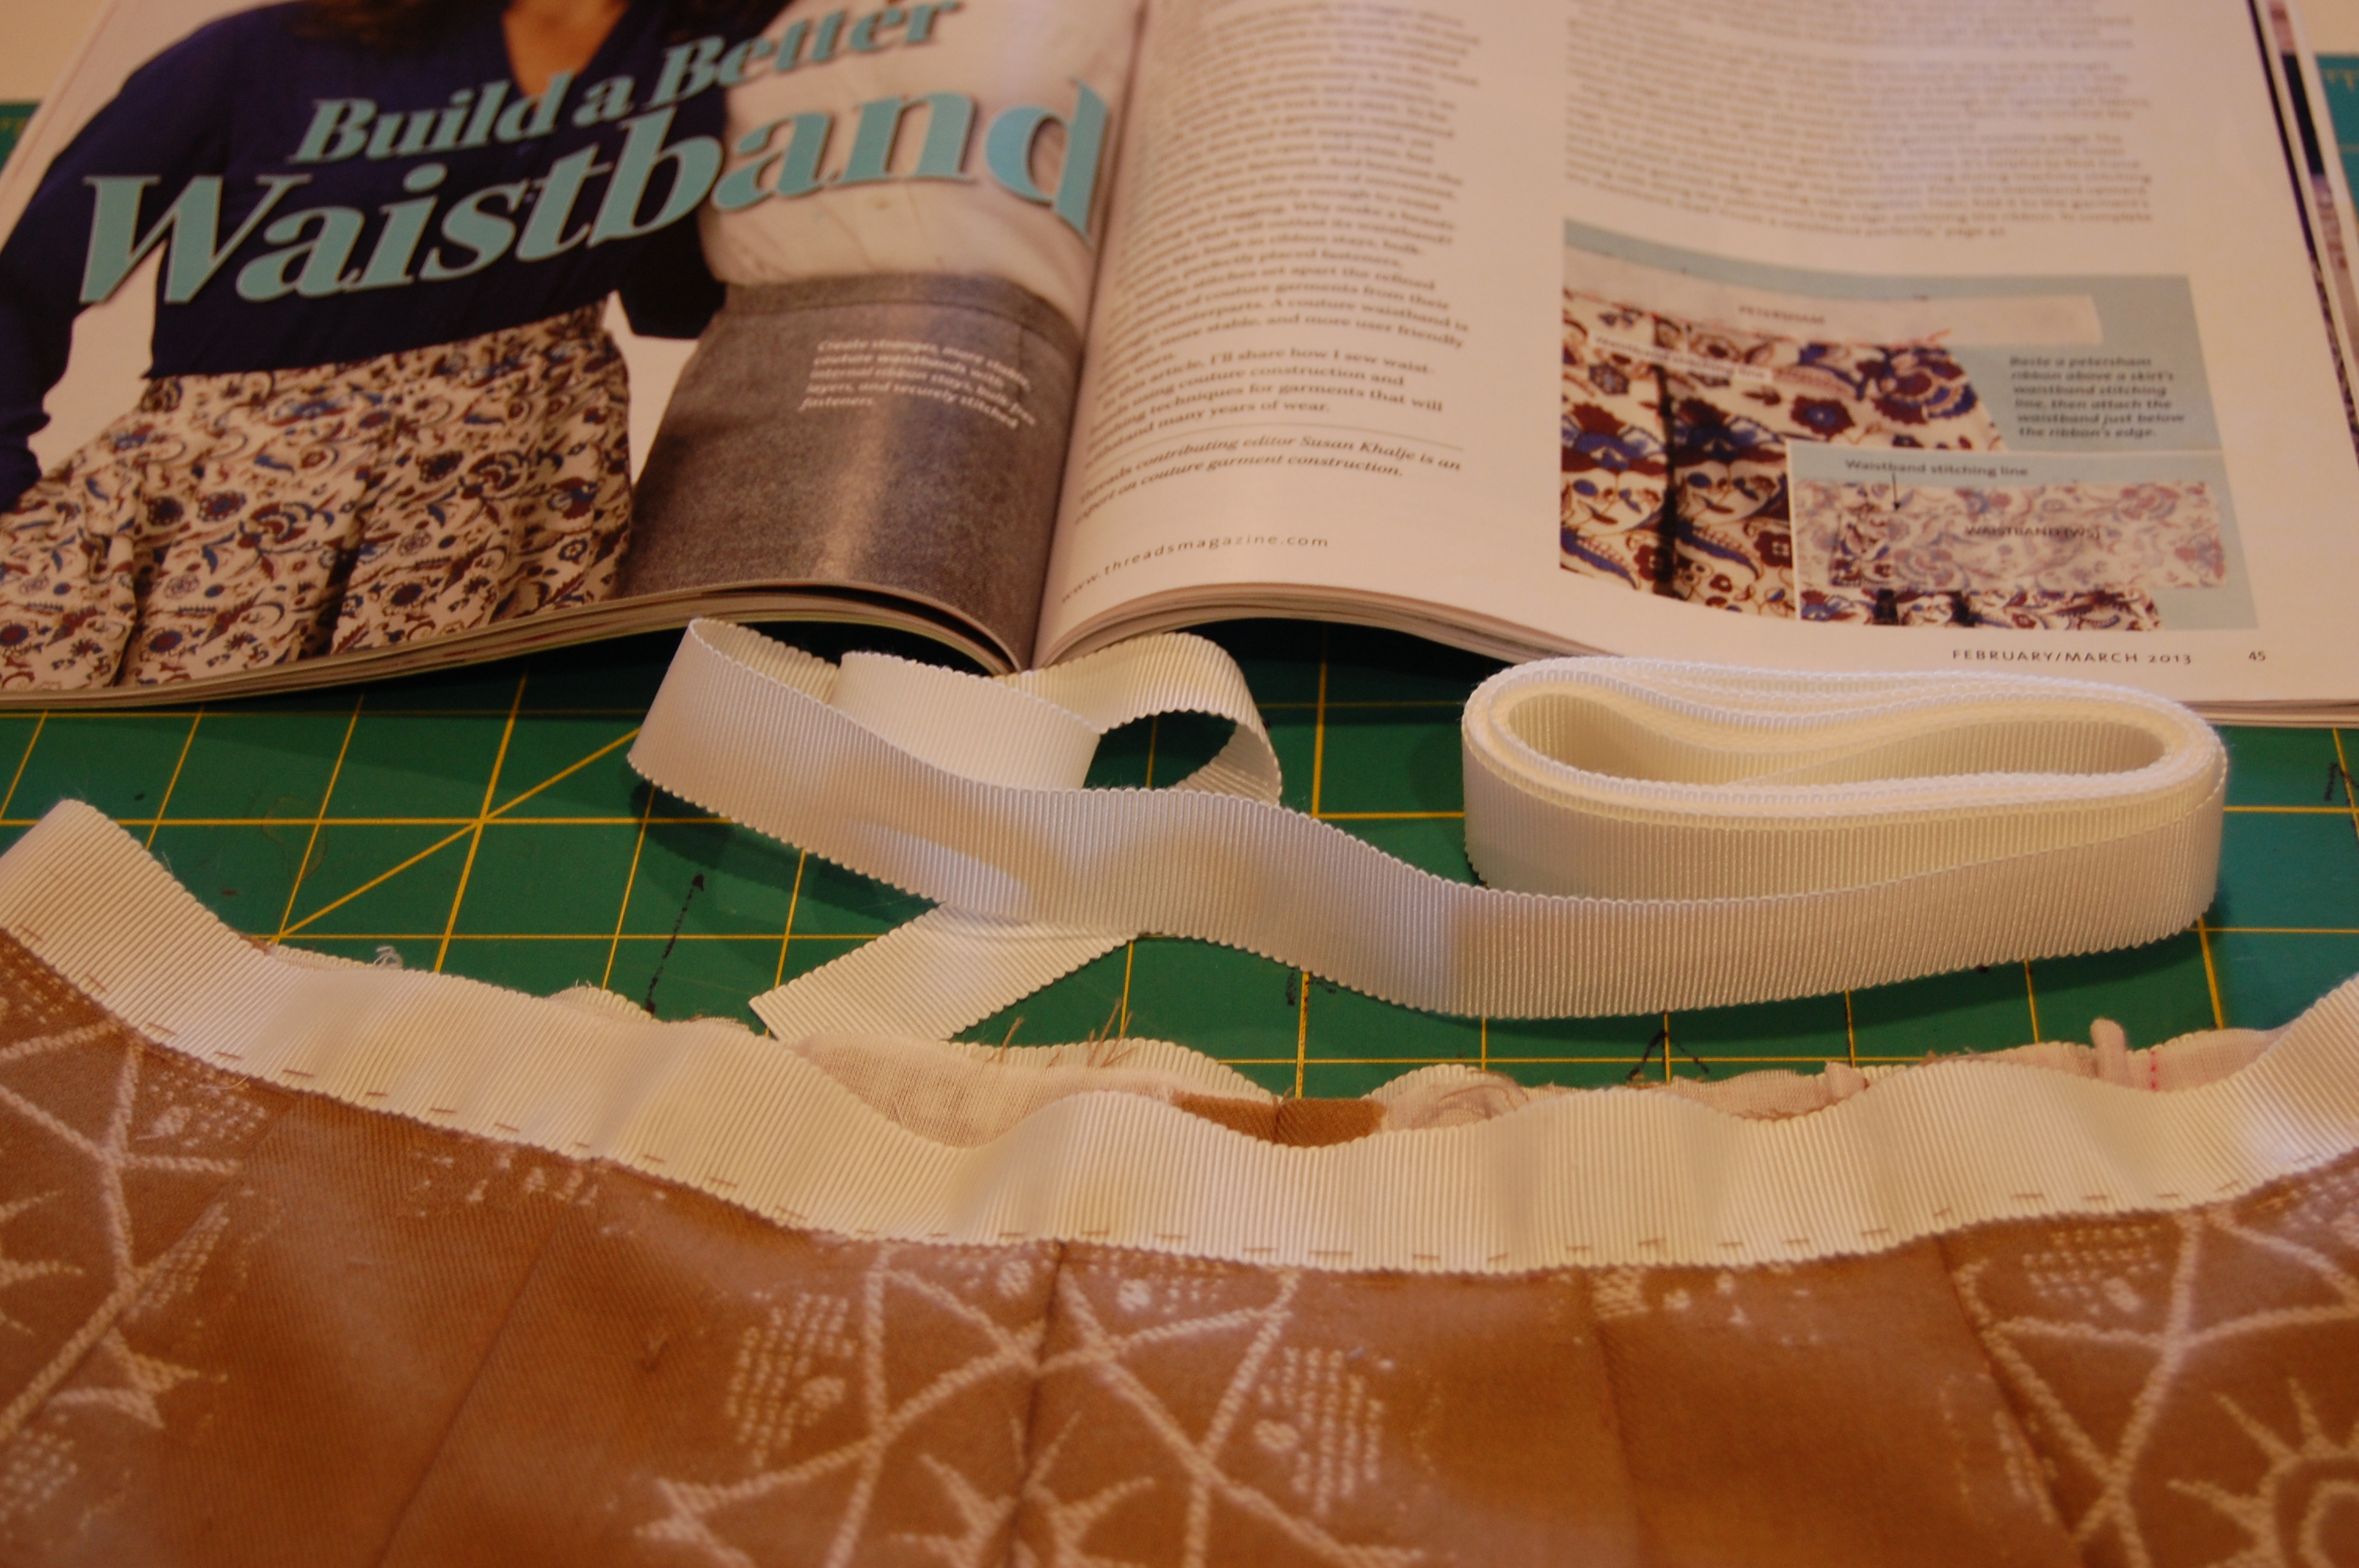
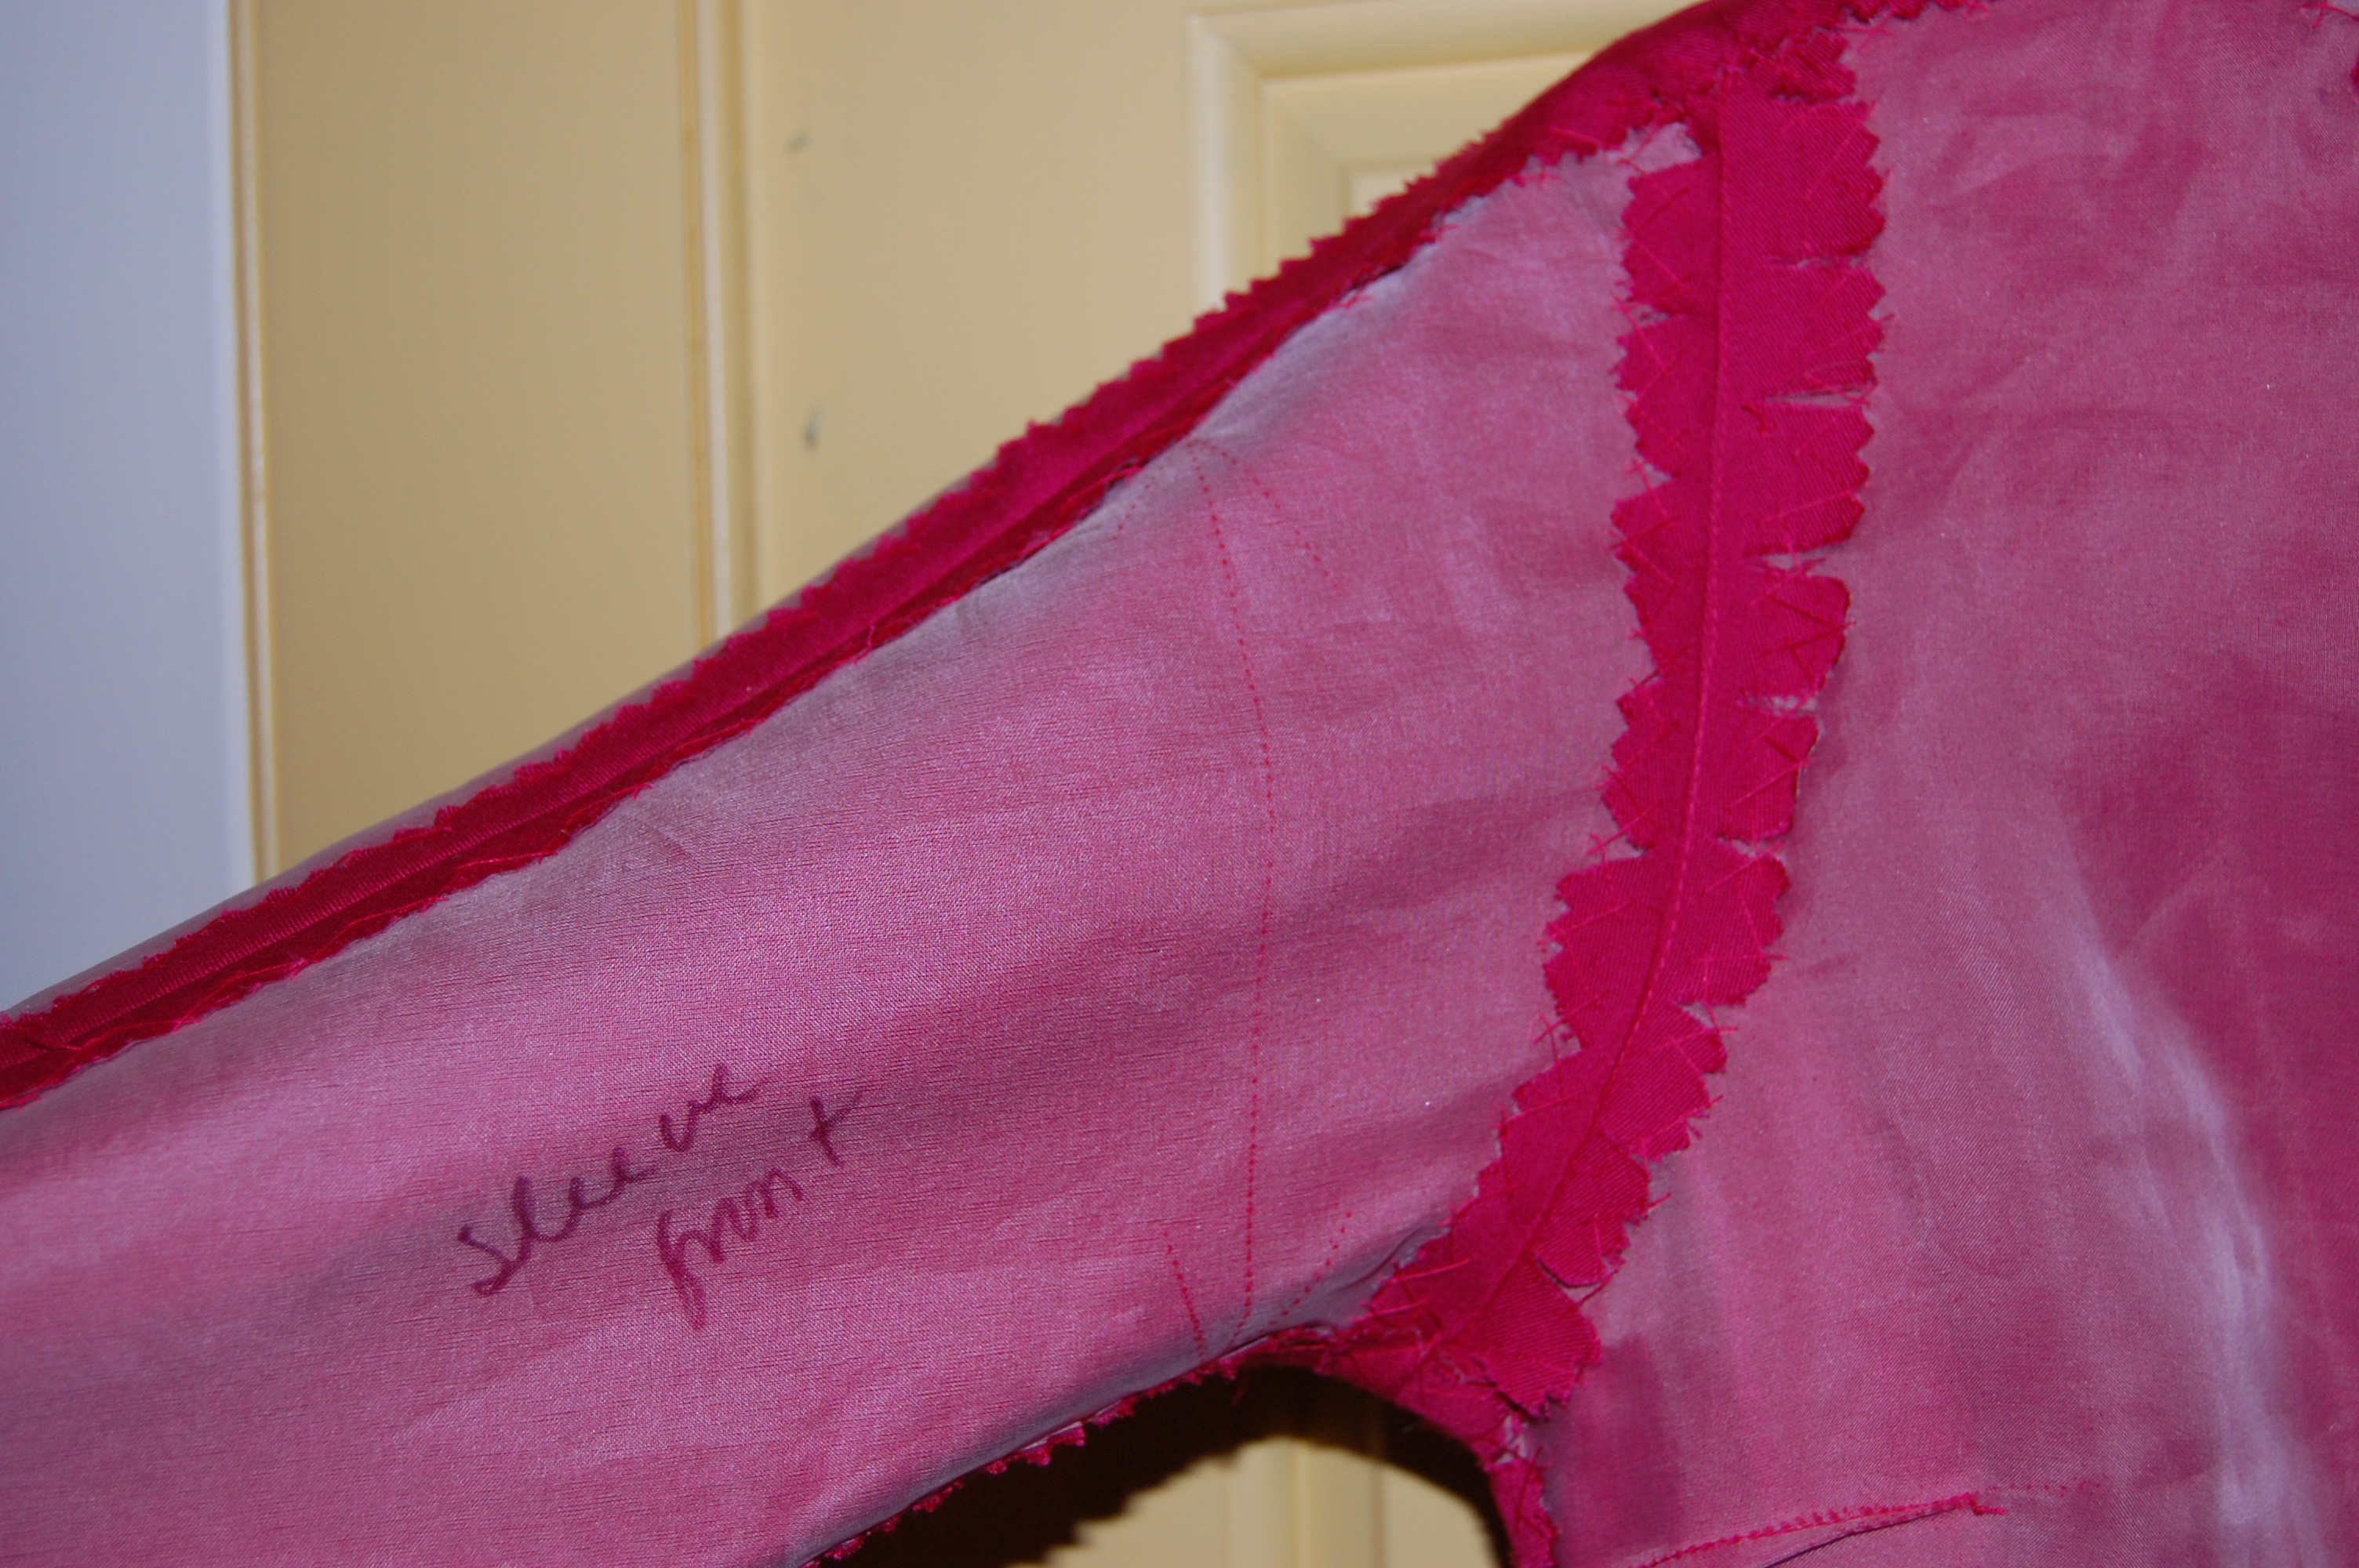
An interior view of some “couture” construction – silk organza underlining, catch-stitched seams, hand-picked zipper.
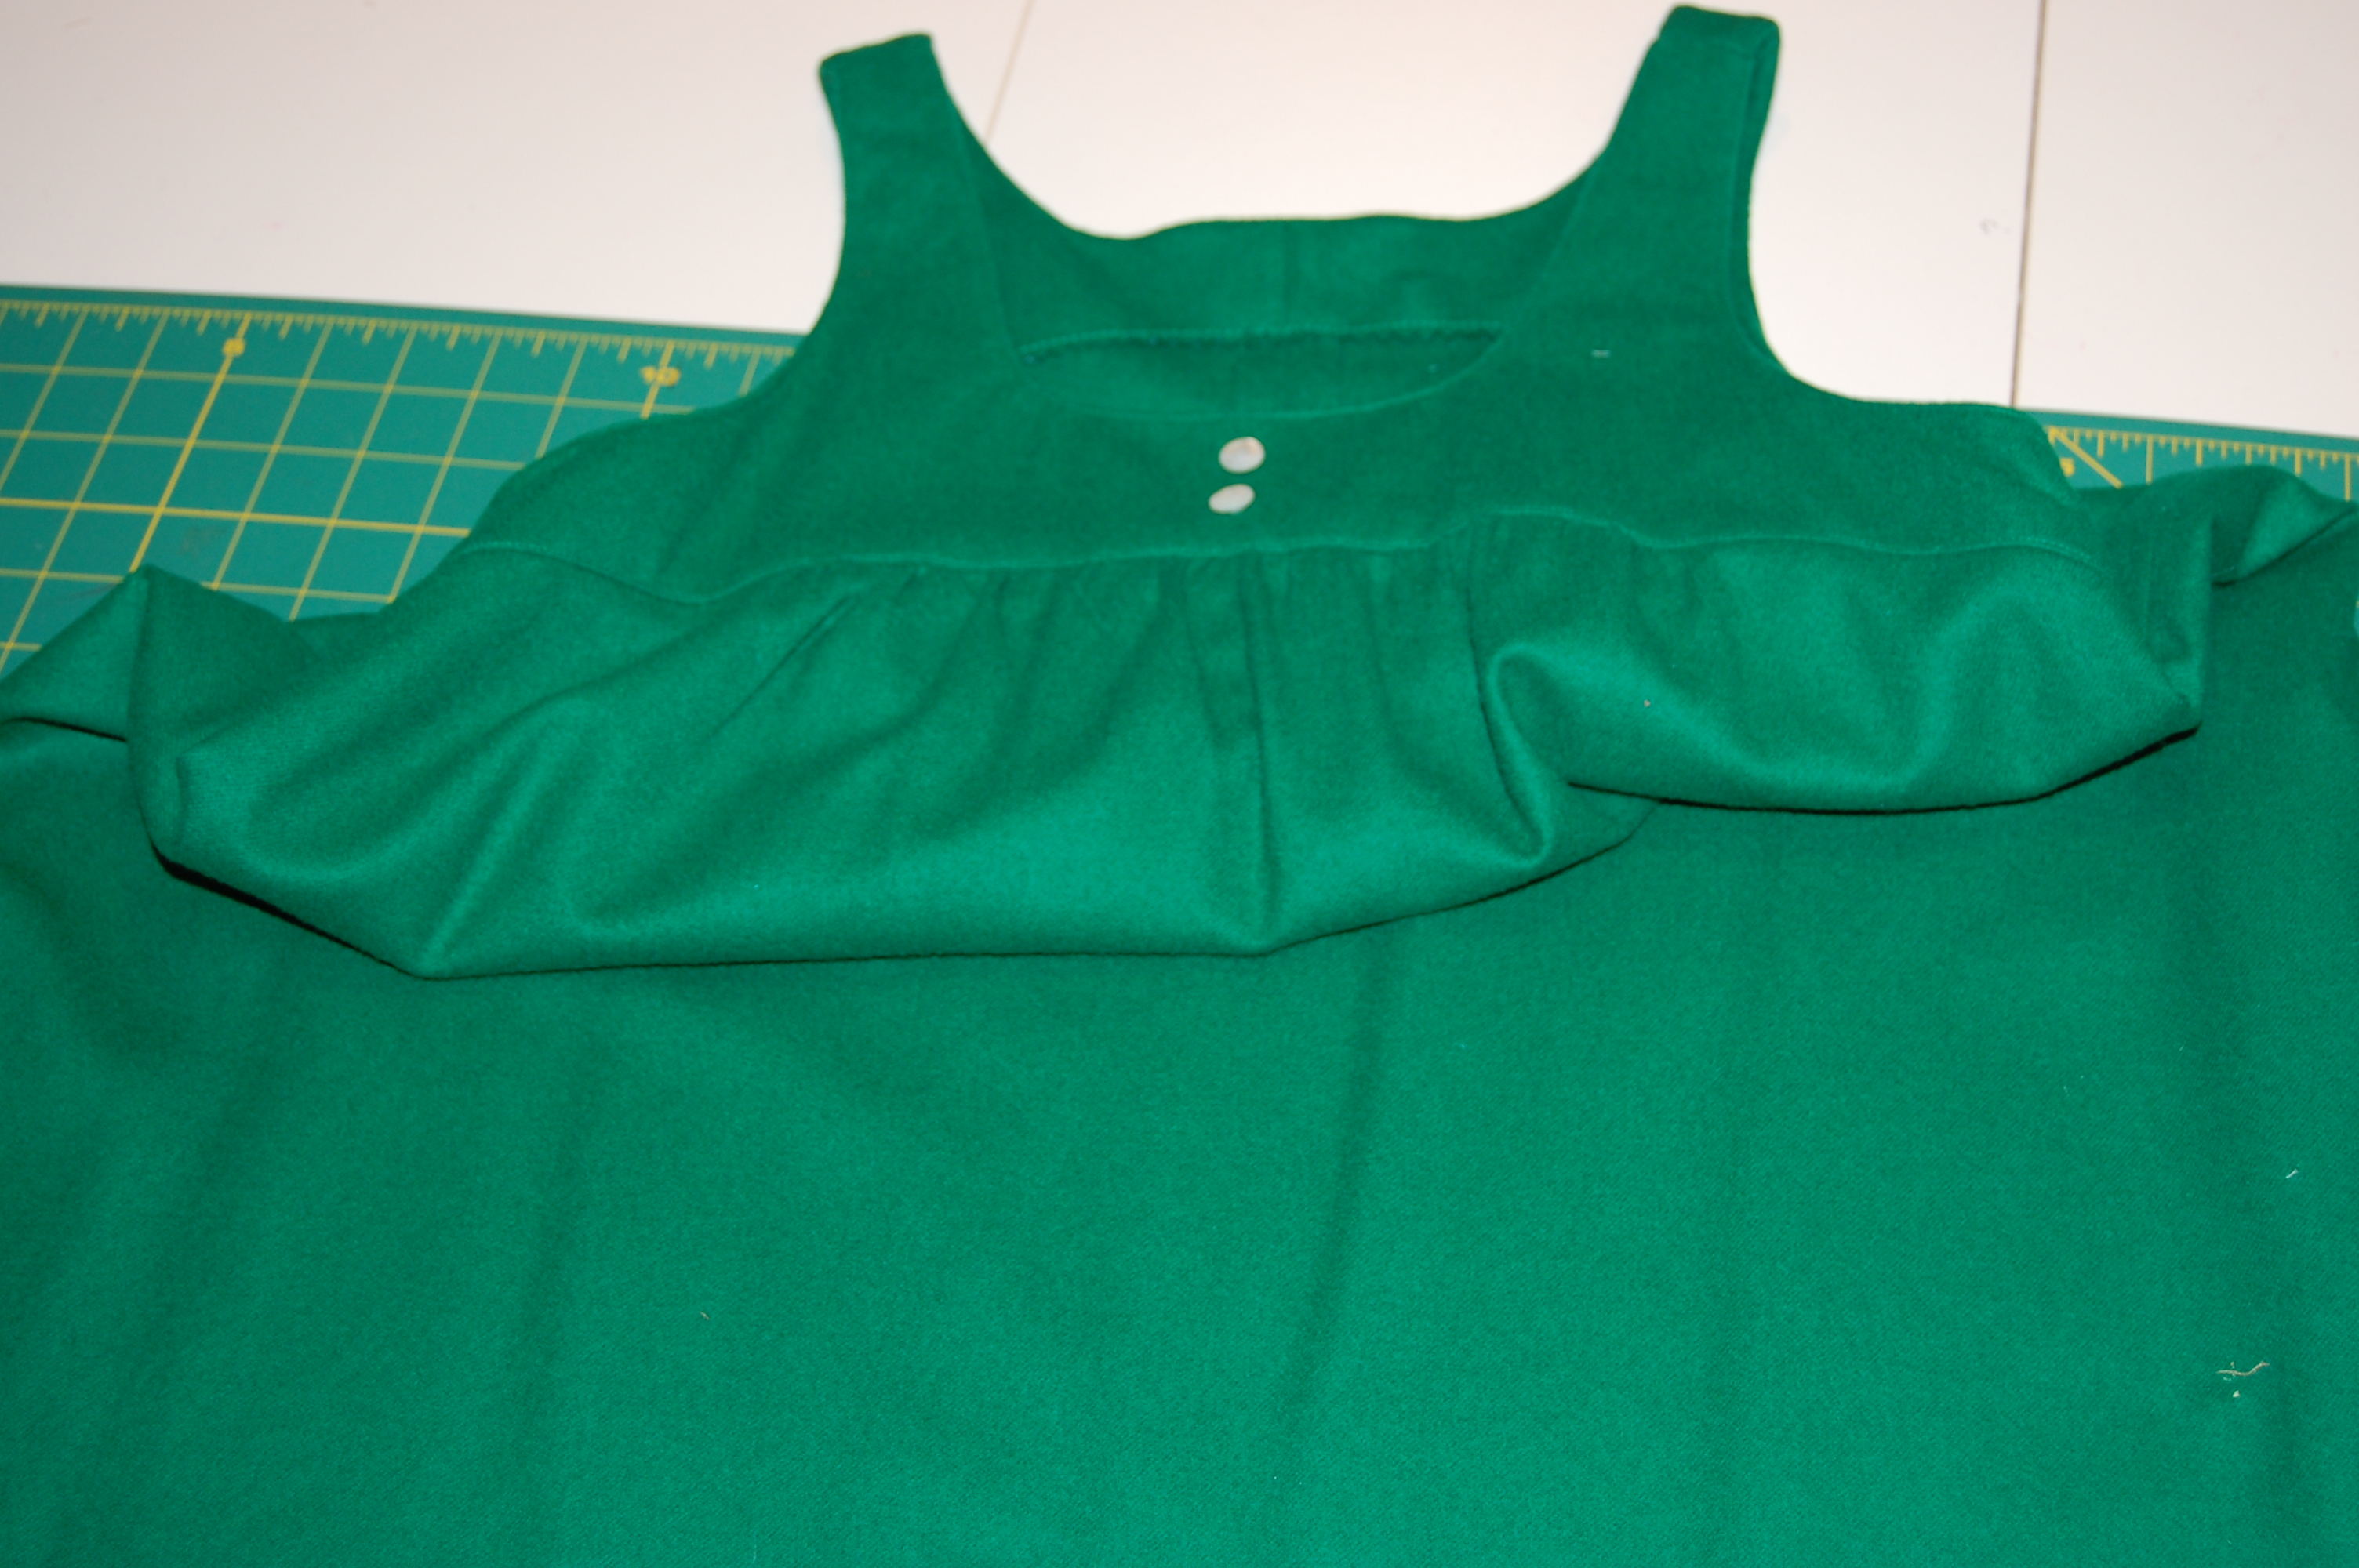
However, couture construction gives me a lot of flexibility in changing necklines, which I really appreciate. That is one of the changes I made to this pattern – widening the neckline to a more flattering appearance for me.
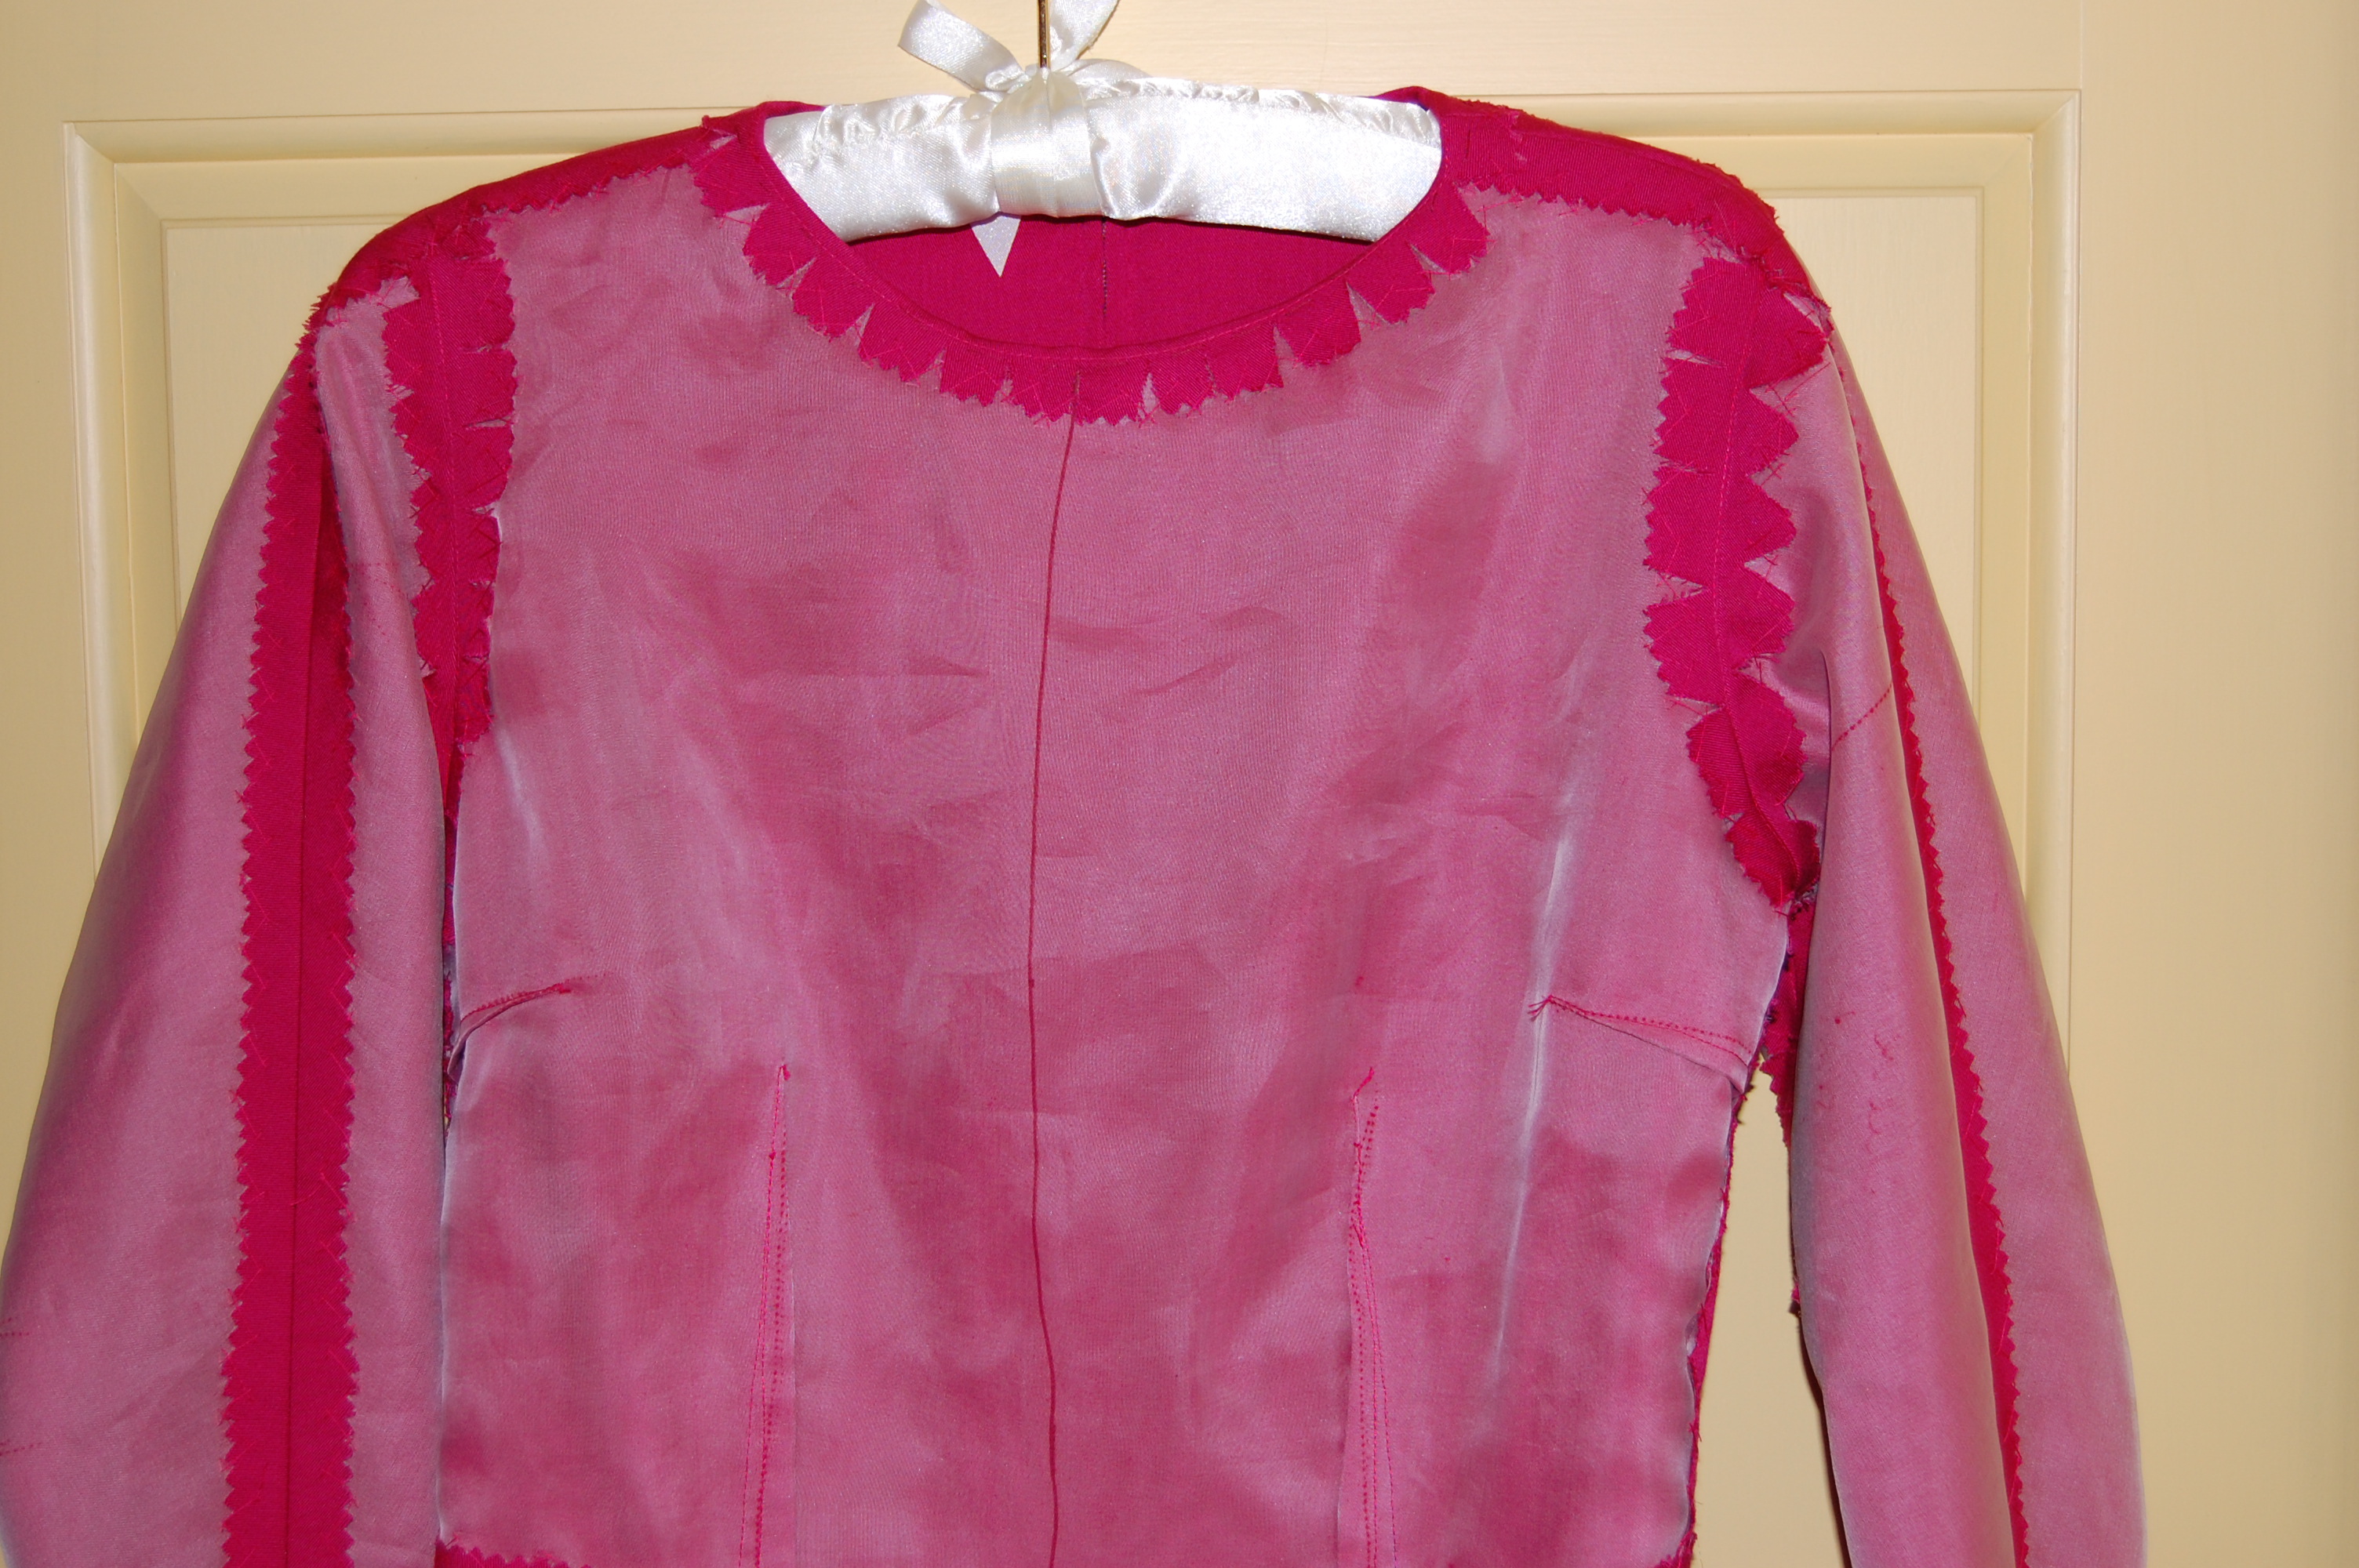
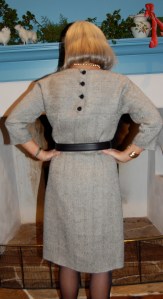
The widened neckline.
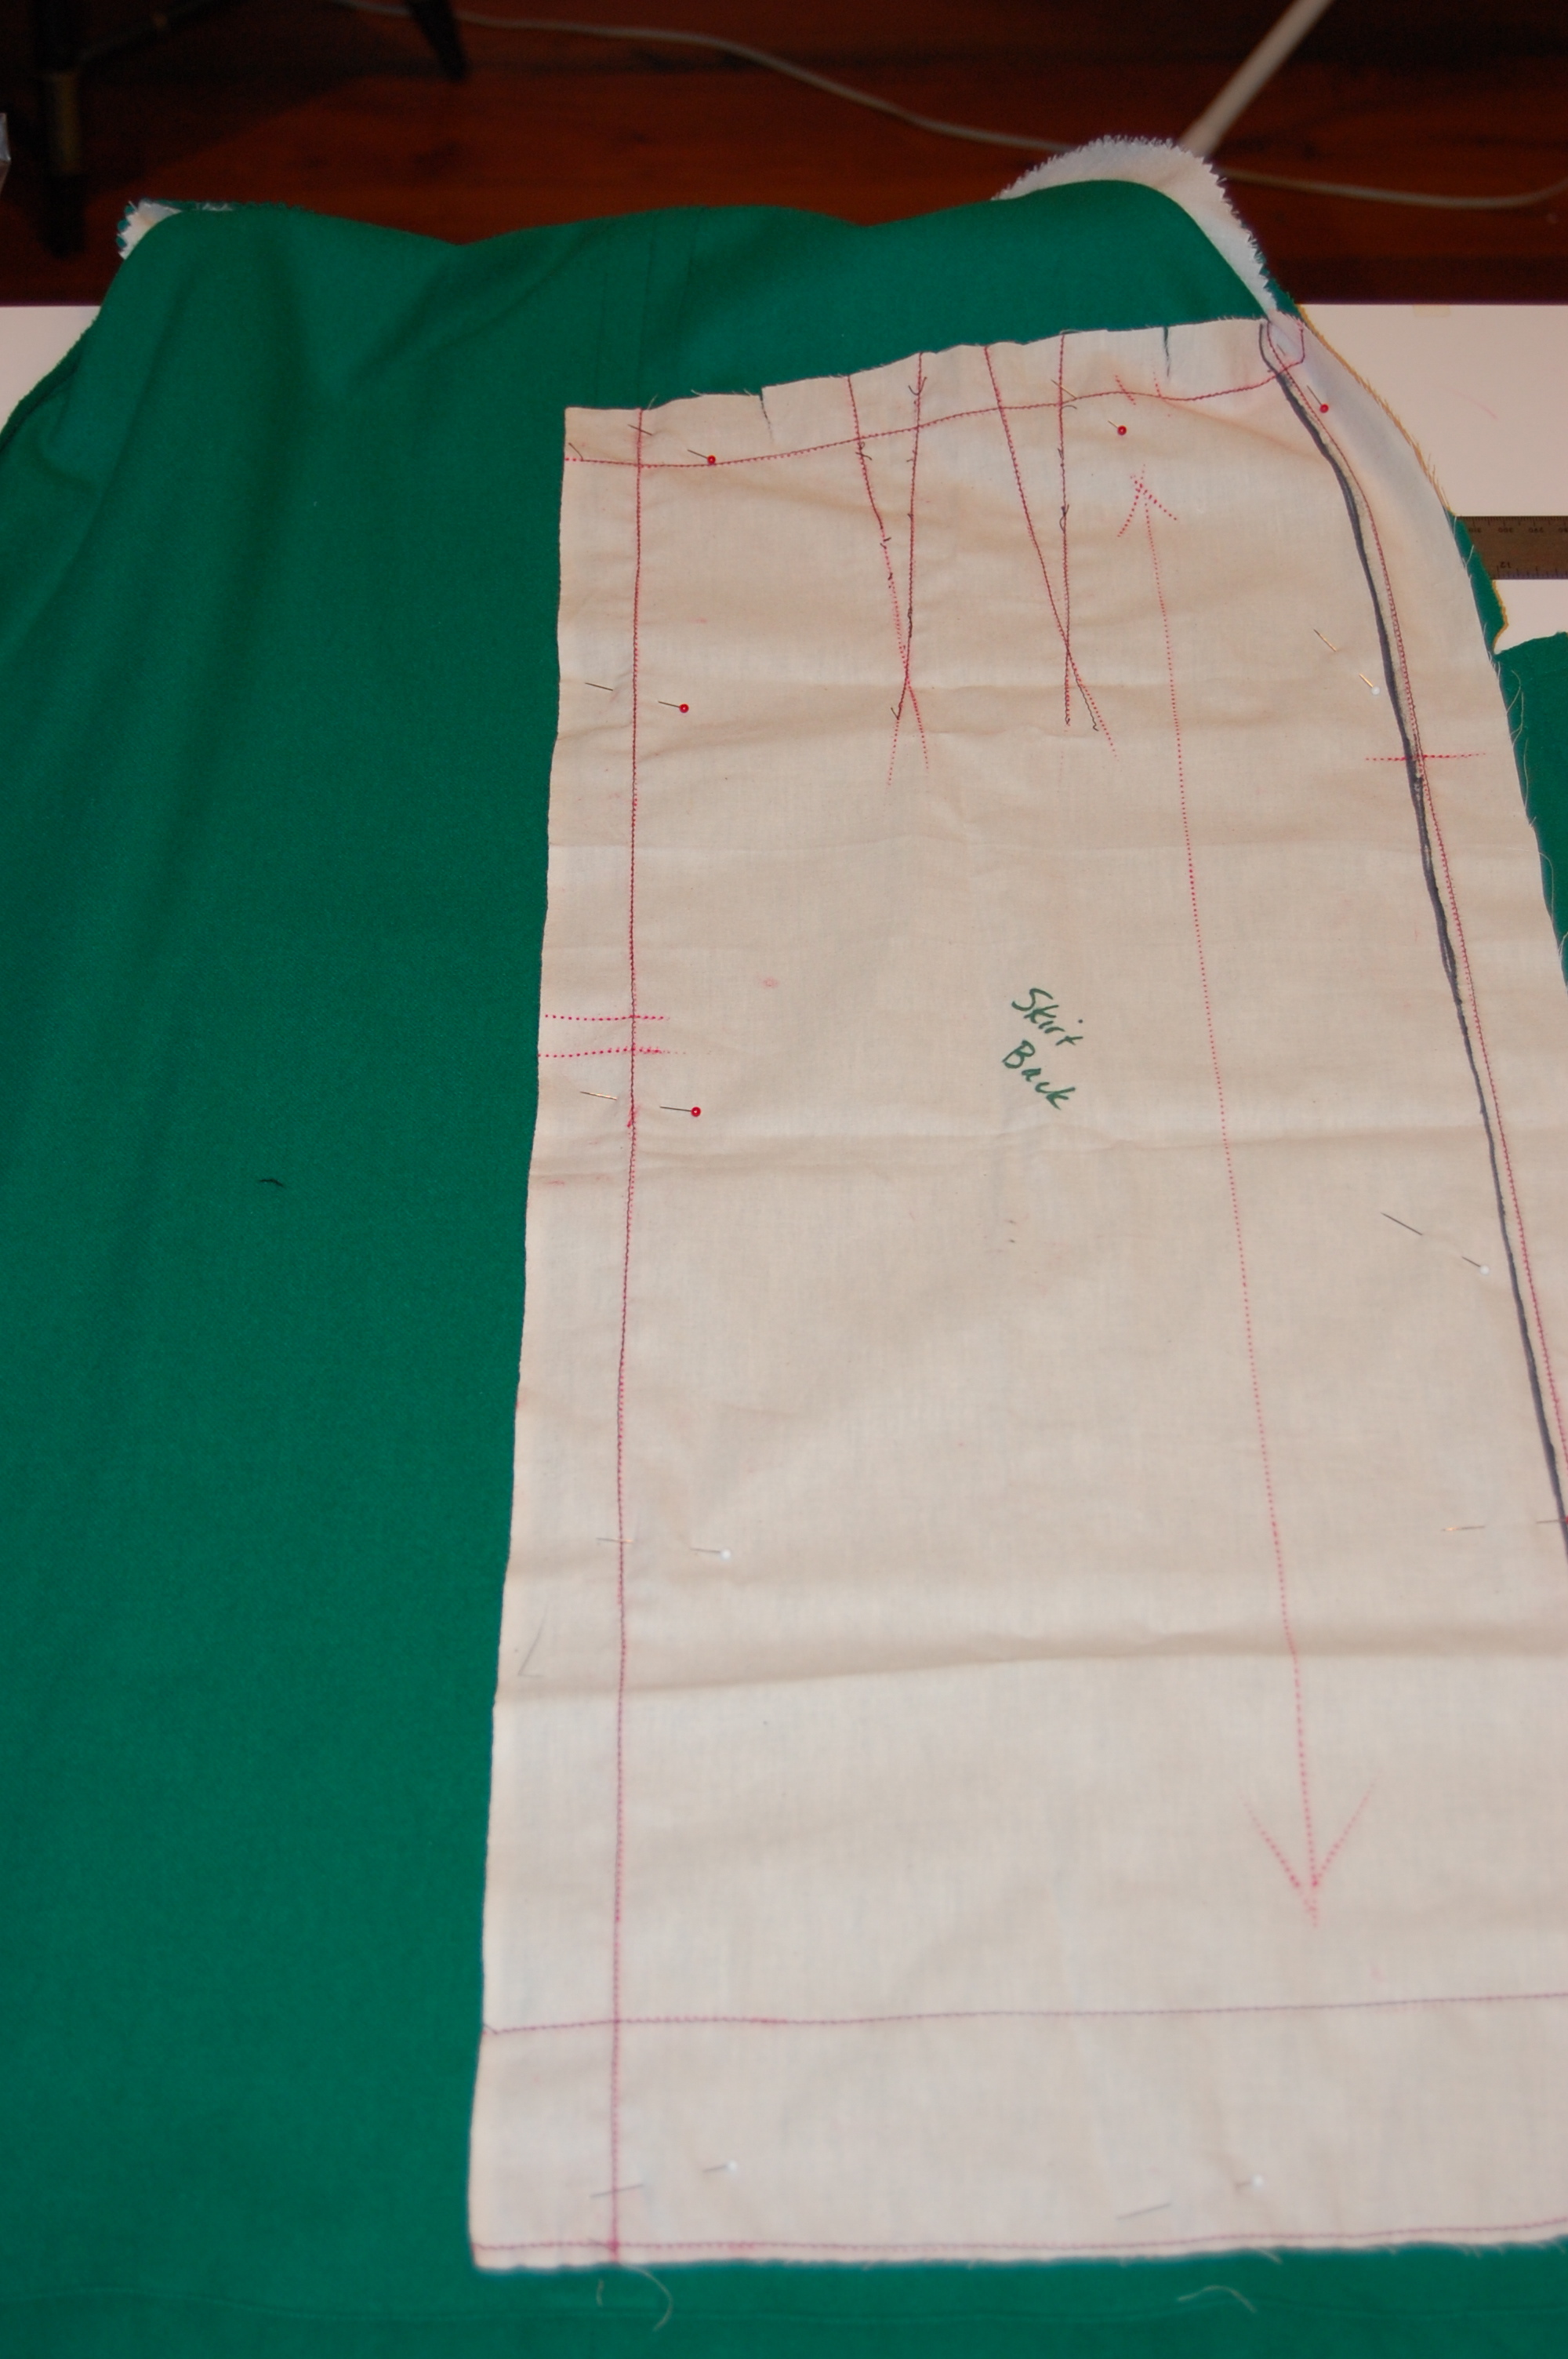
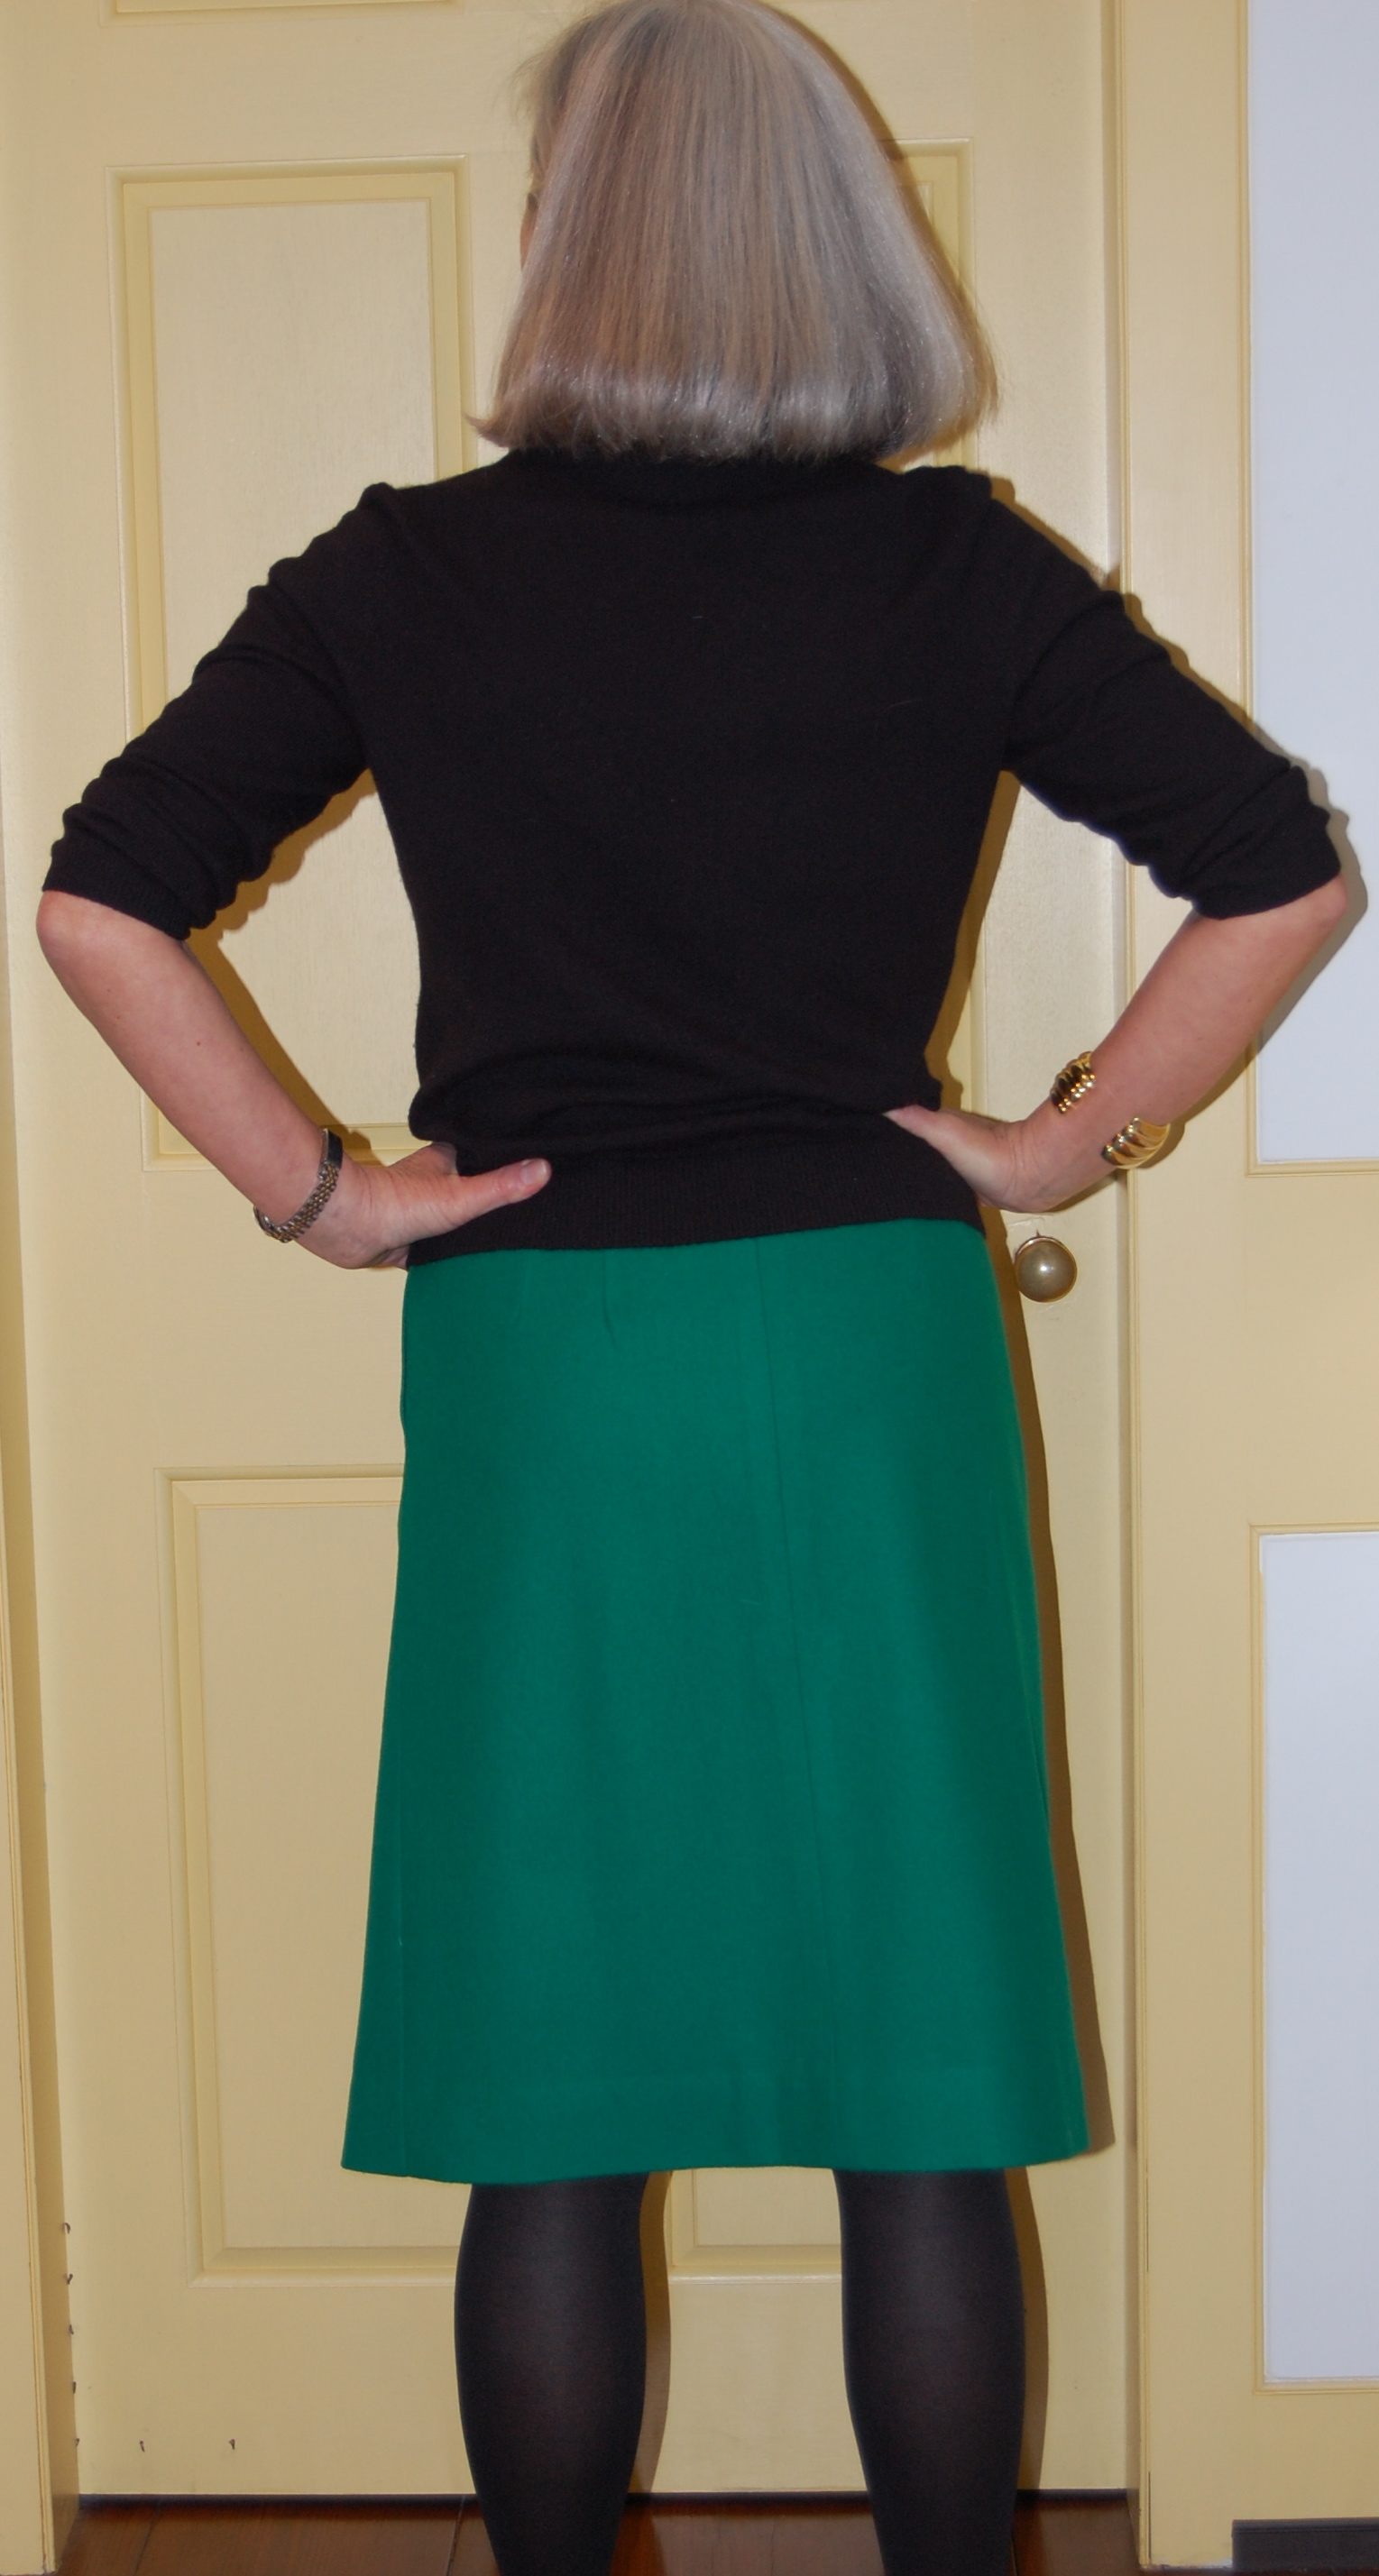
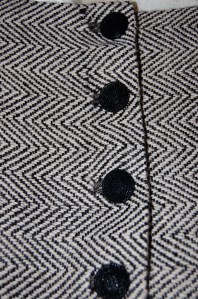
I also changed the back of the skirt by removing the box pleats and substituting a darted back.
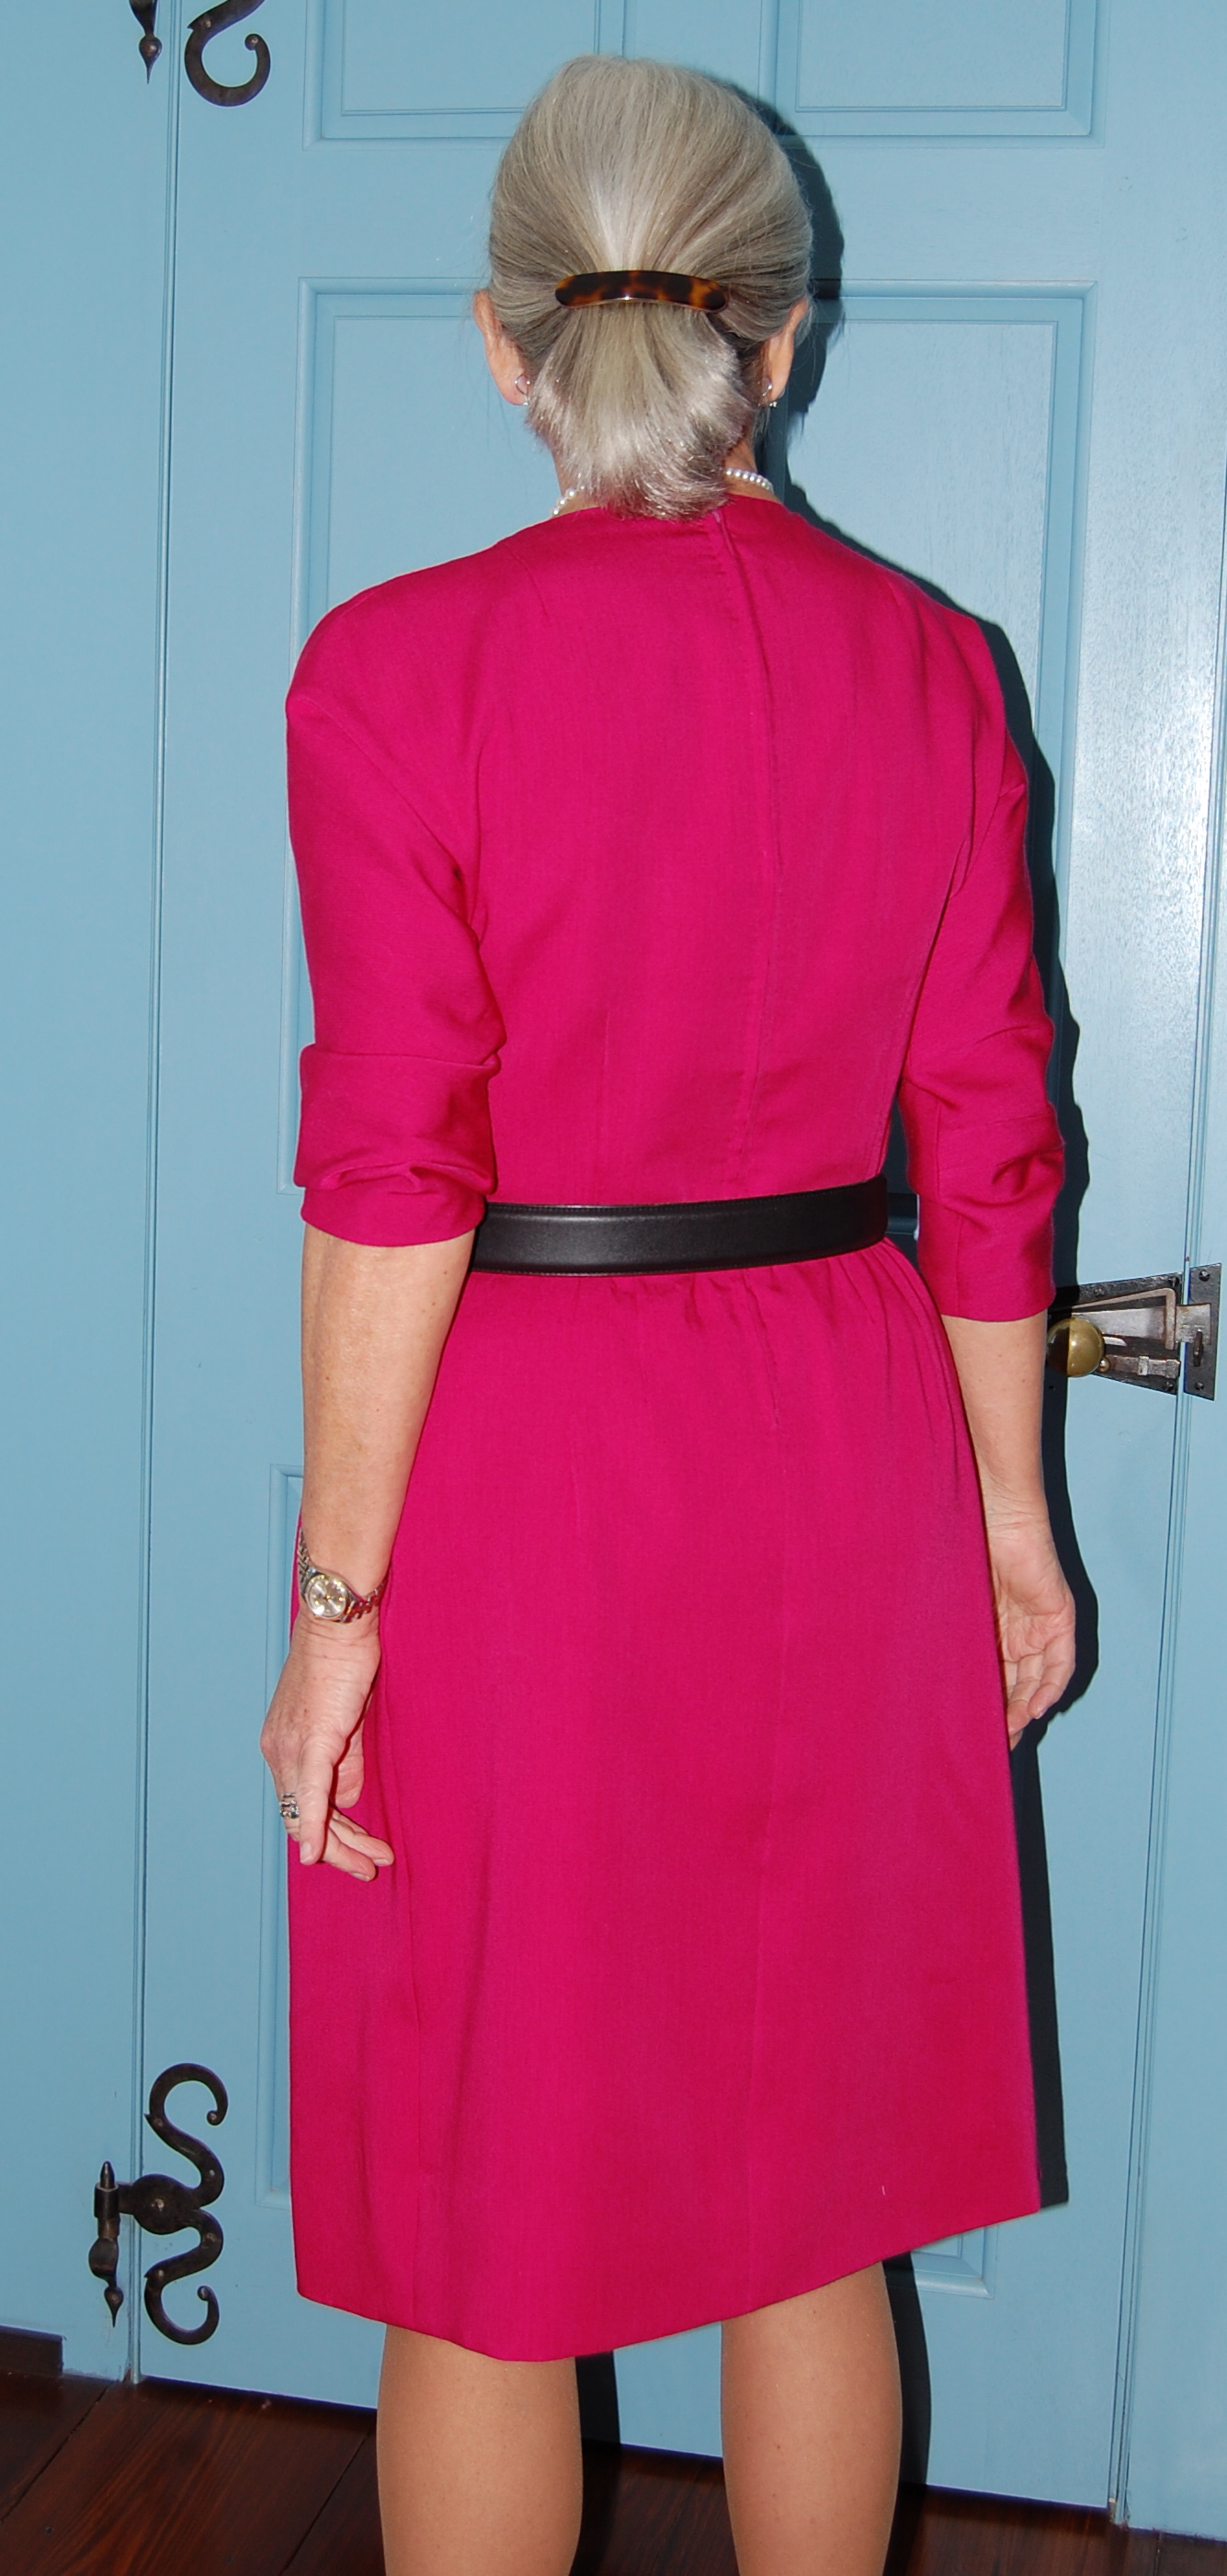
I substituted darted back panels for the “original” box pleats
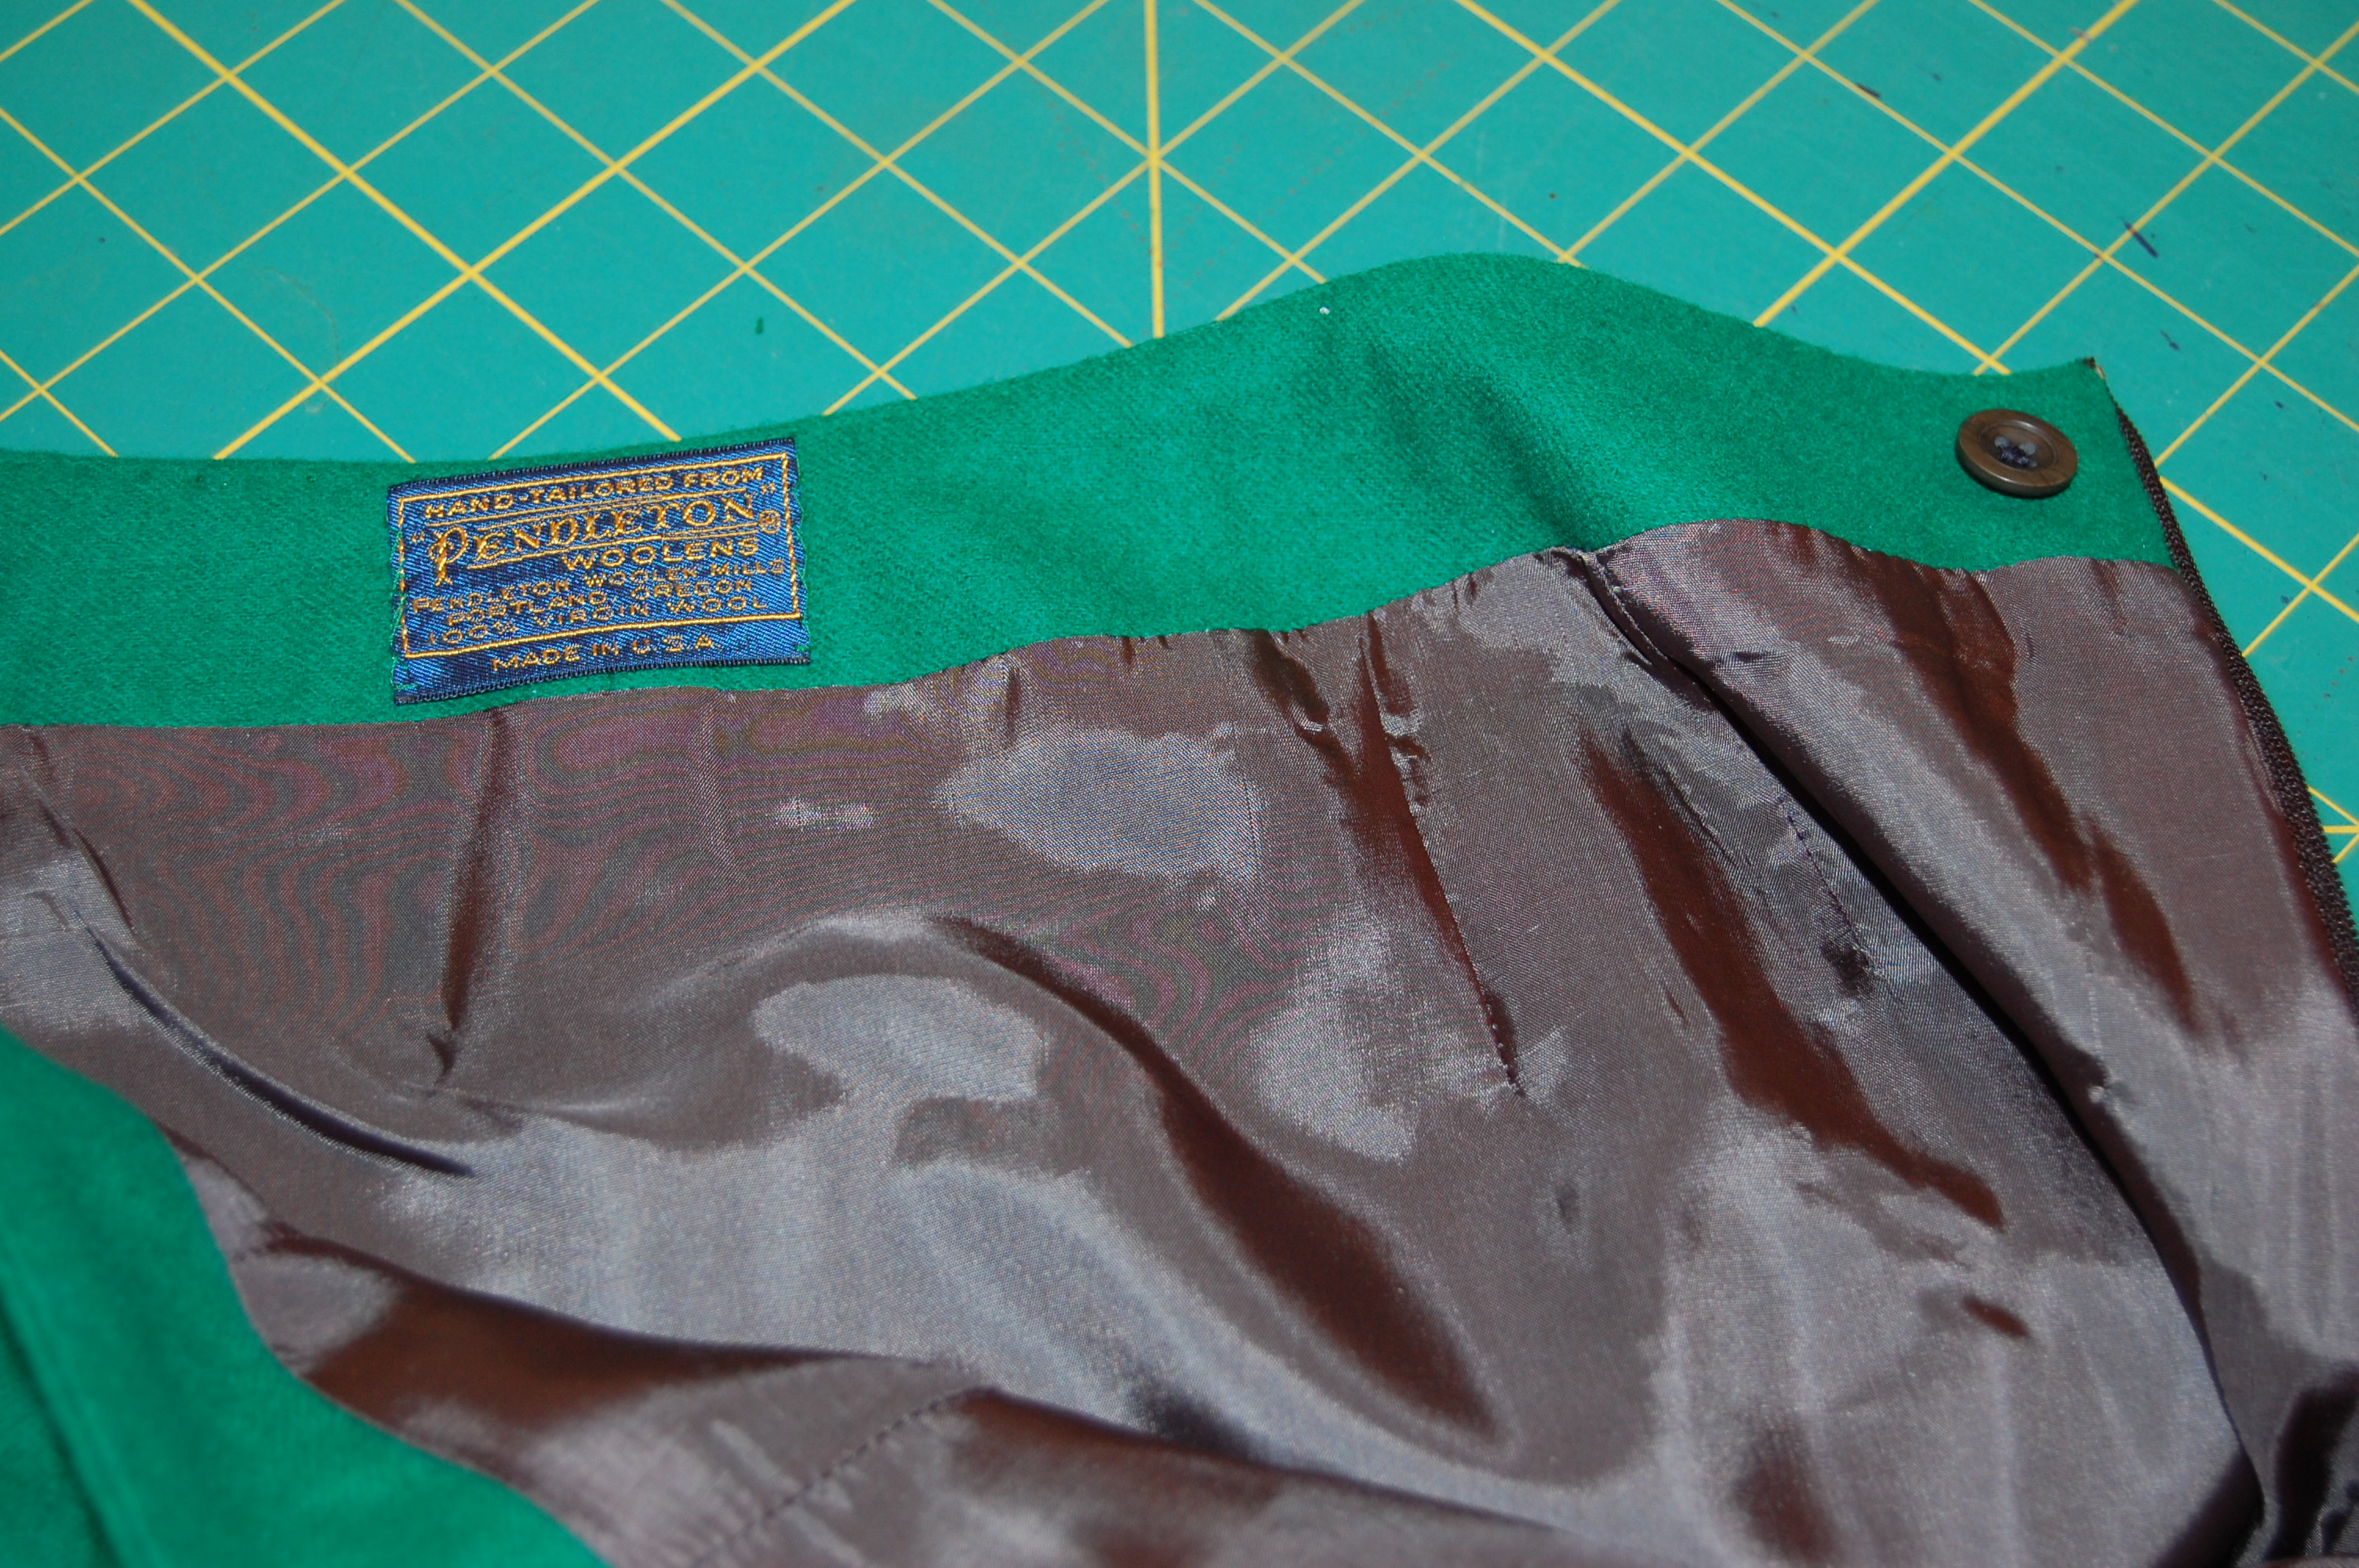
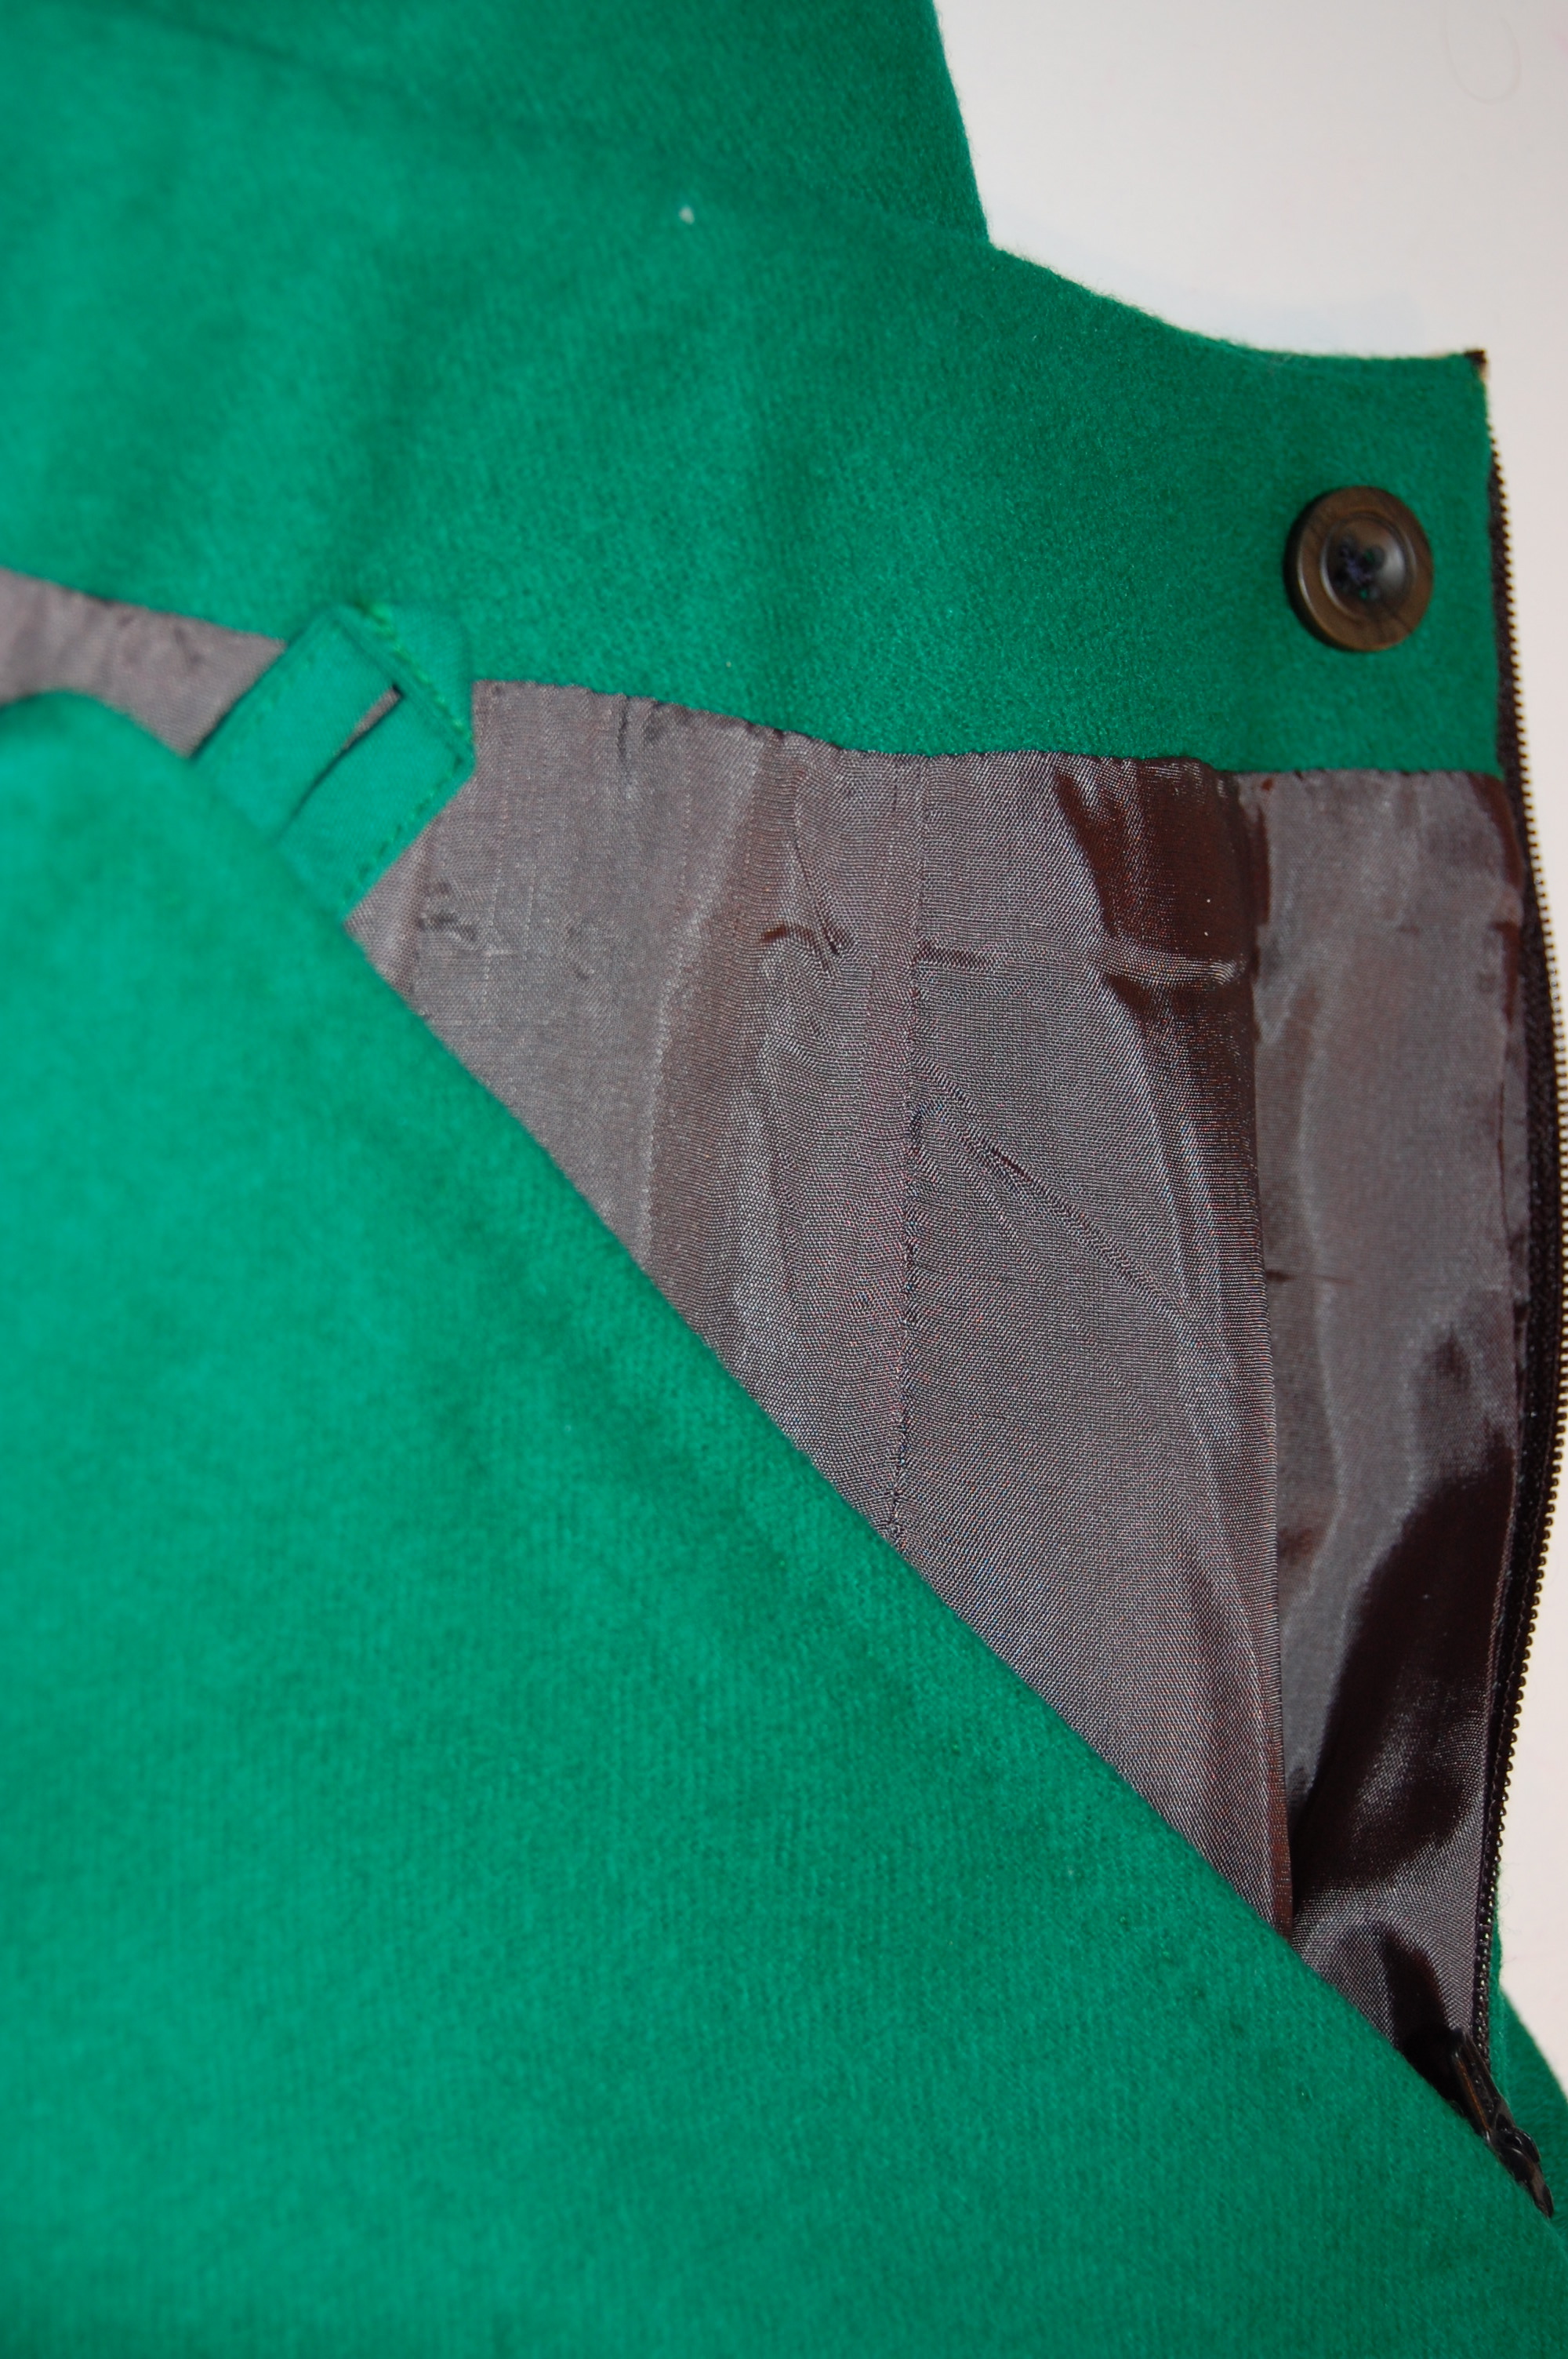
The original dress had pockets hidden in side box pleats, but when I narrowed the width of the skirt, I did away with those side pleats. I still wanted pockets, so I added pocket extensions in order to still hide them in the side seams. It worked!
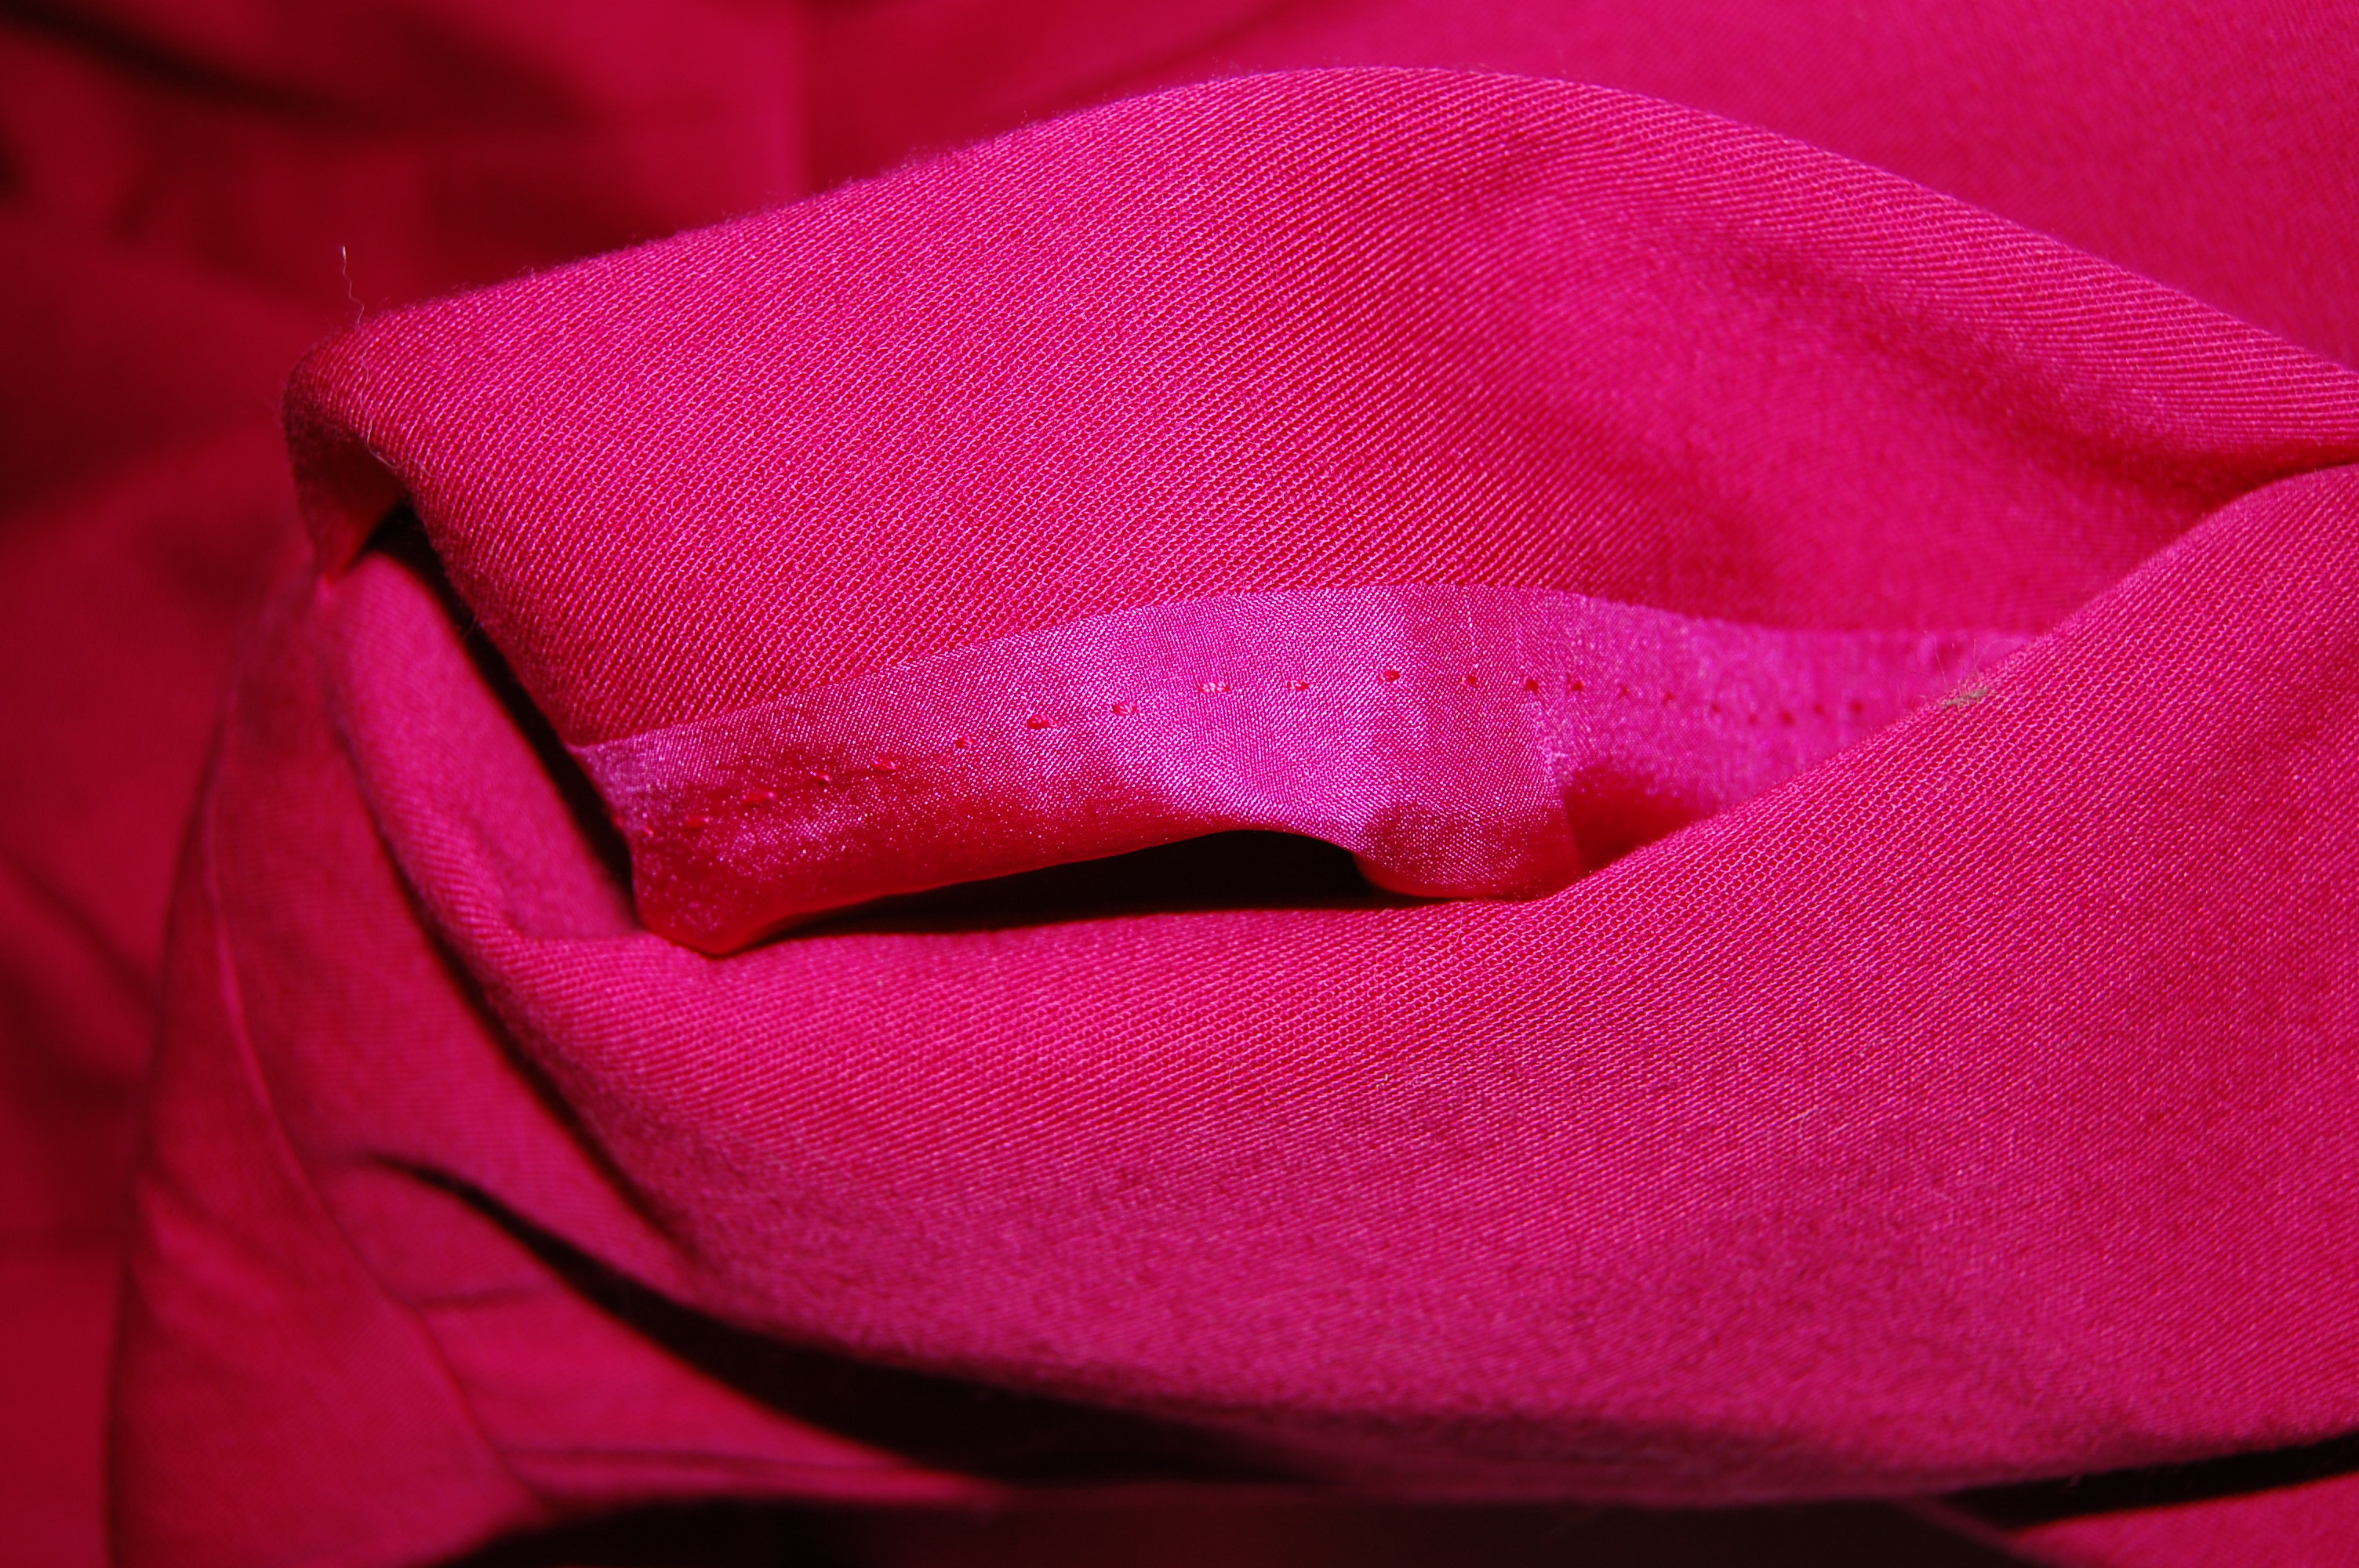
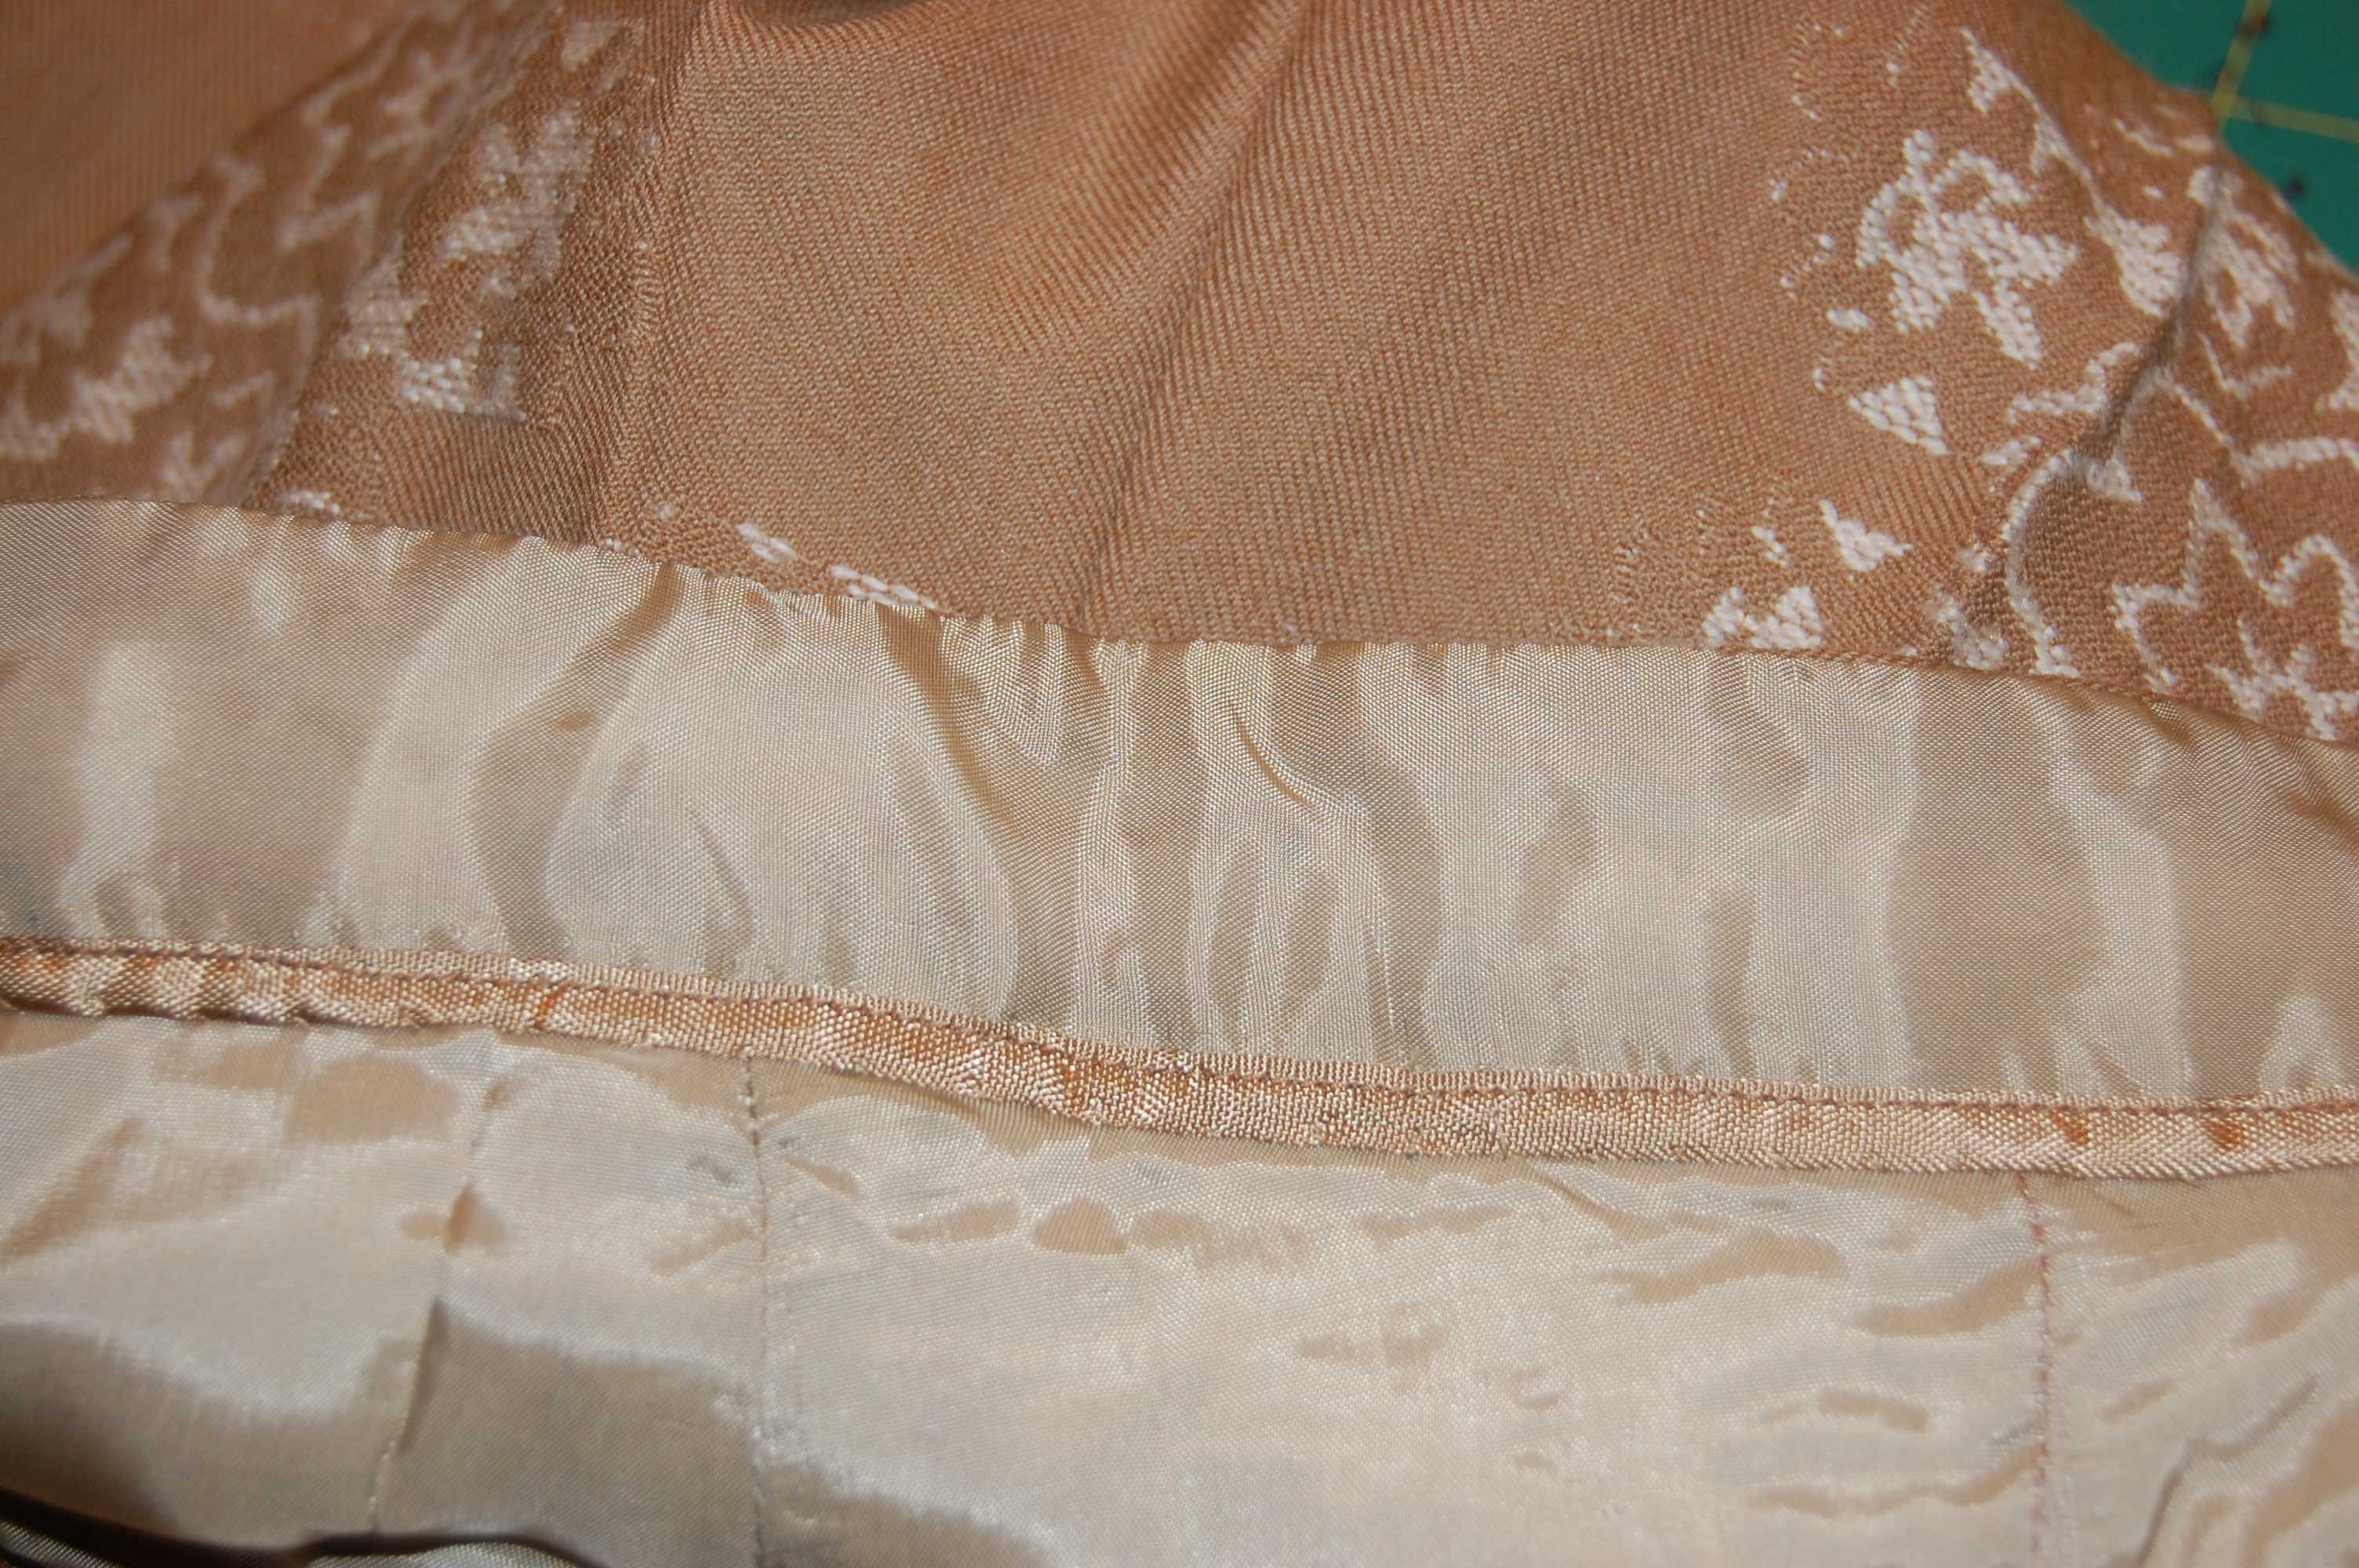
A peek at the pocket inside which also shows the raspberry silk lining I used for the dress. I understitiched the pocket edges by hand, which took no time at all and looks so much nicer than machine stitching!
I added a quarter-inch to the underneath seam on each sleeve, so that each sleeve would have one-half inch extra width to it. Those ladies in the 1950s must have had skinny arms, as I find sleeve widths on these vintage patterns are often just not quite spacious enough.
I added to the underarm seam – an adjustment which I determined from my muslin.
This was the first time I had made sleeves which are half set-in and half kimono. This is a look and fit which I love! In fact, the shoulder fits so well, that my original thought to add an interior sleeve heading was one I decided I did not need.
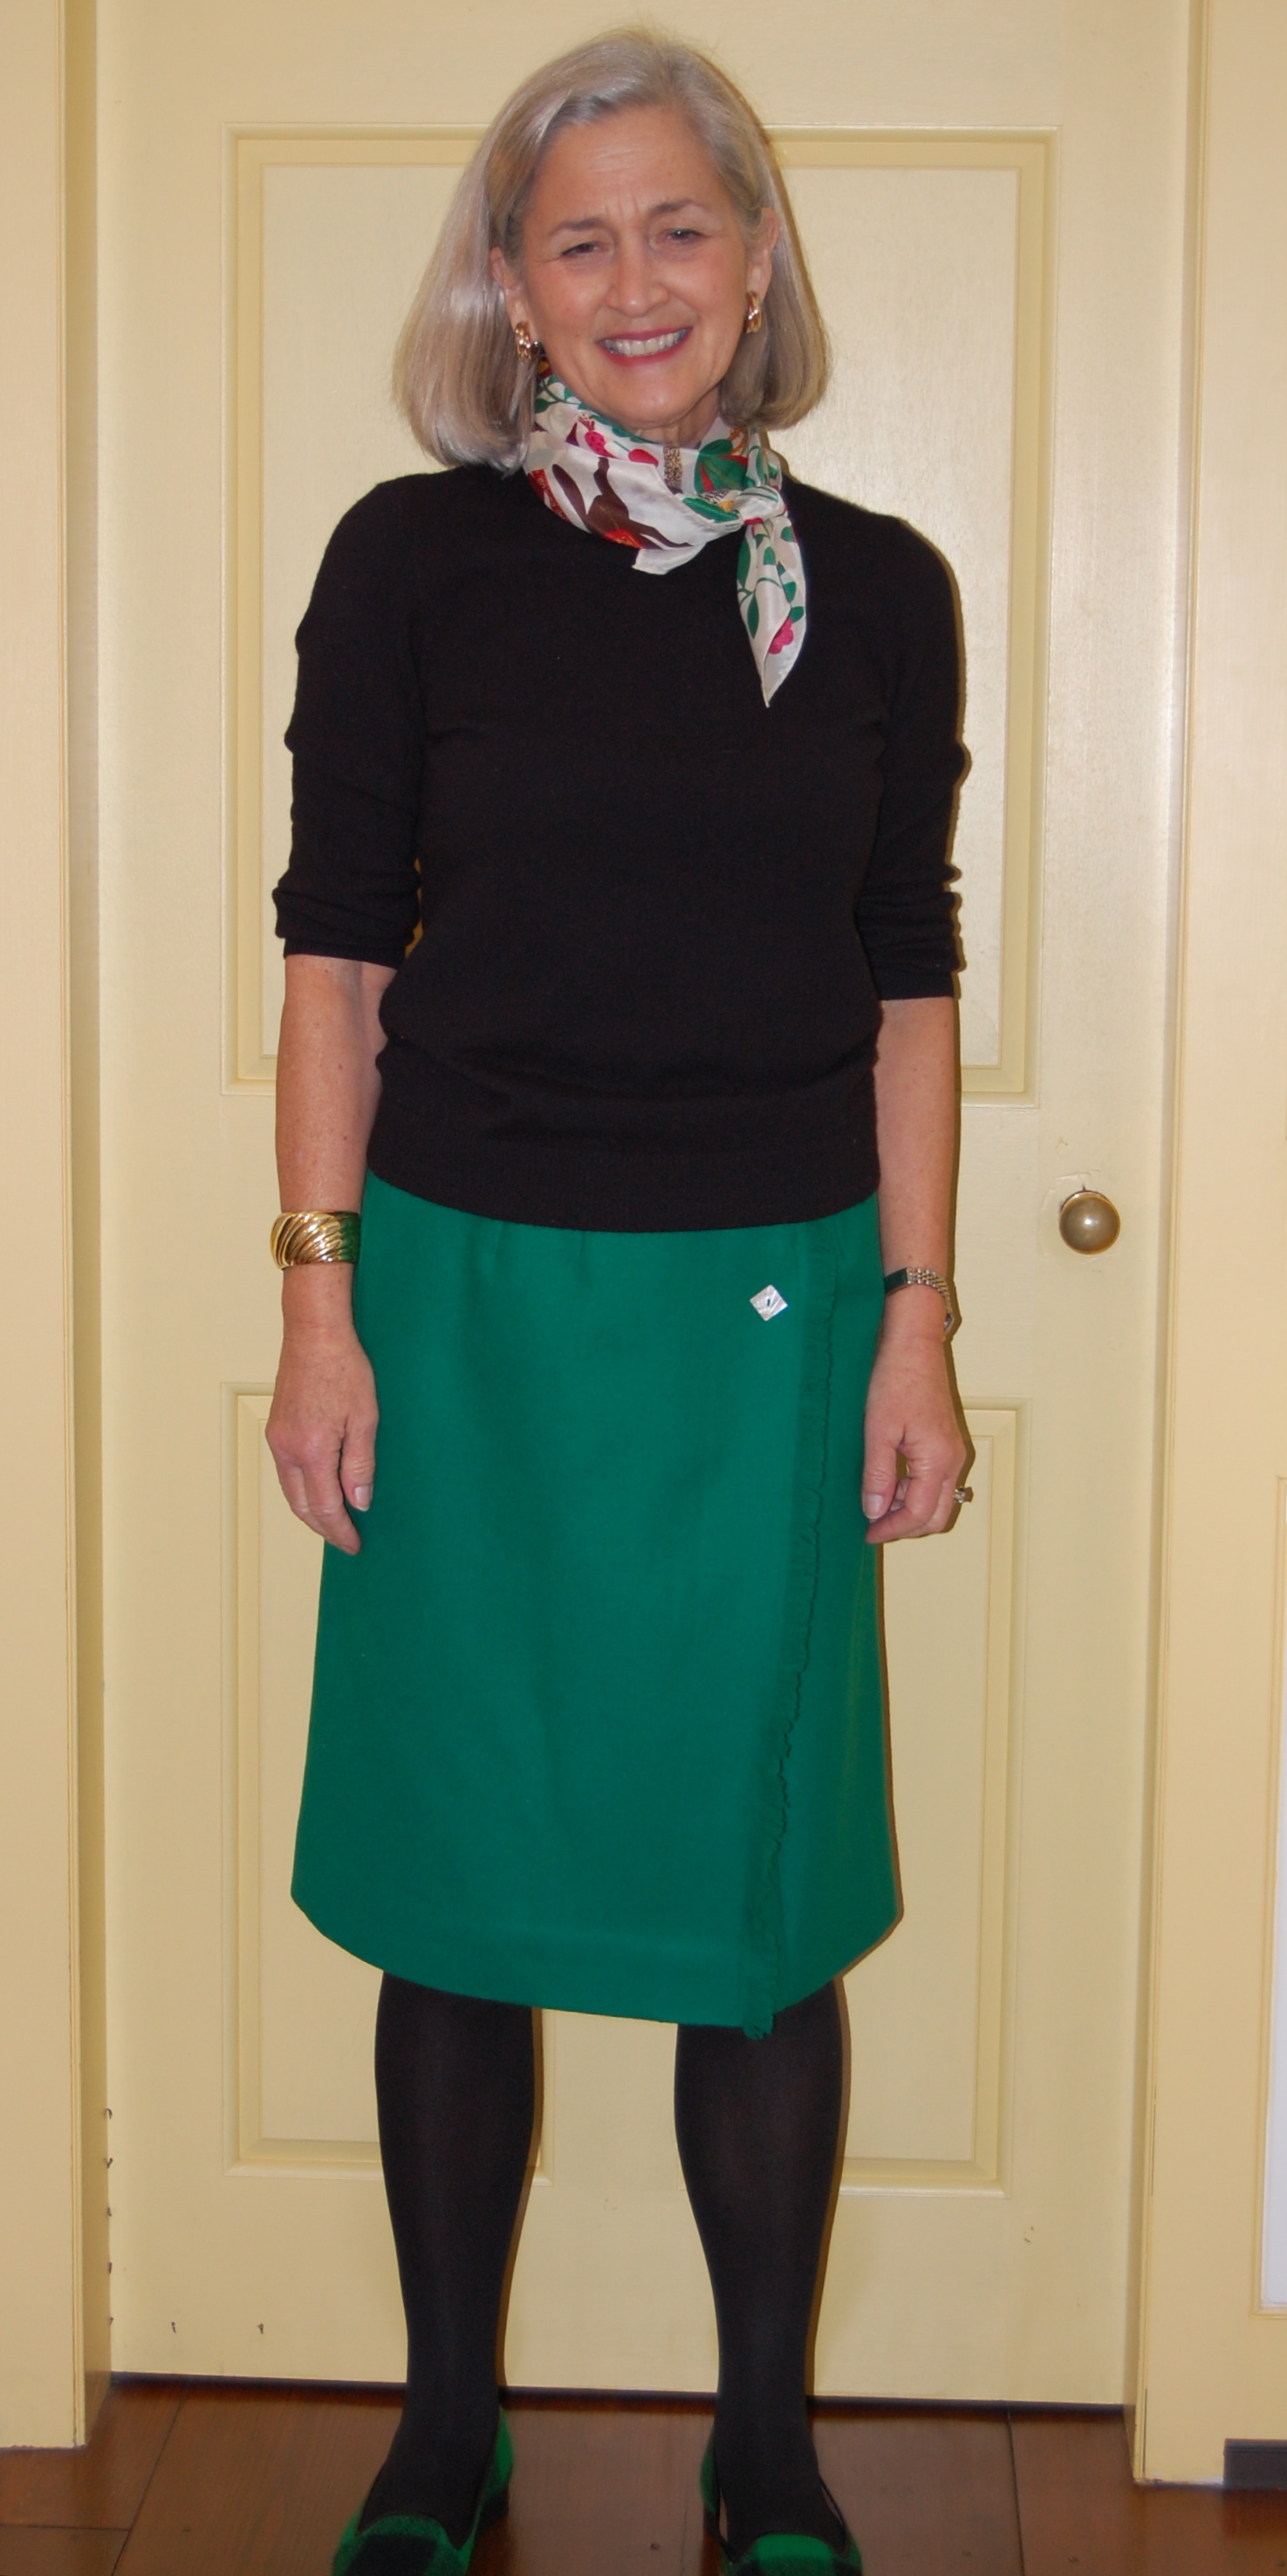
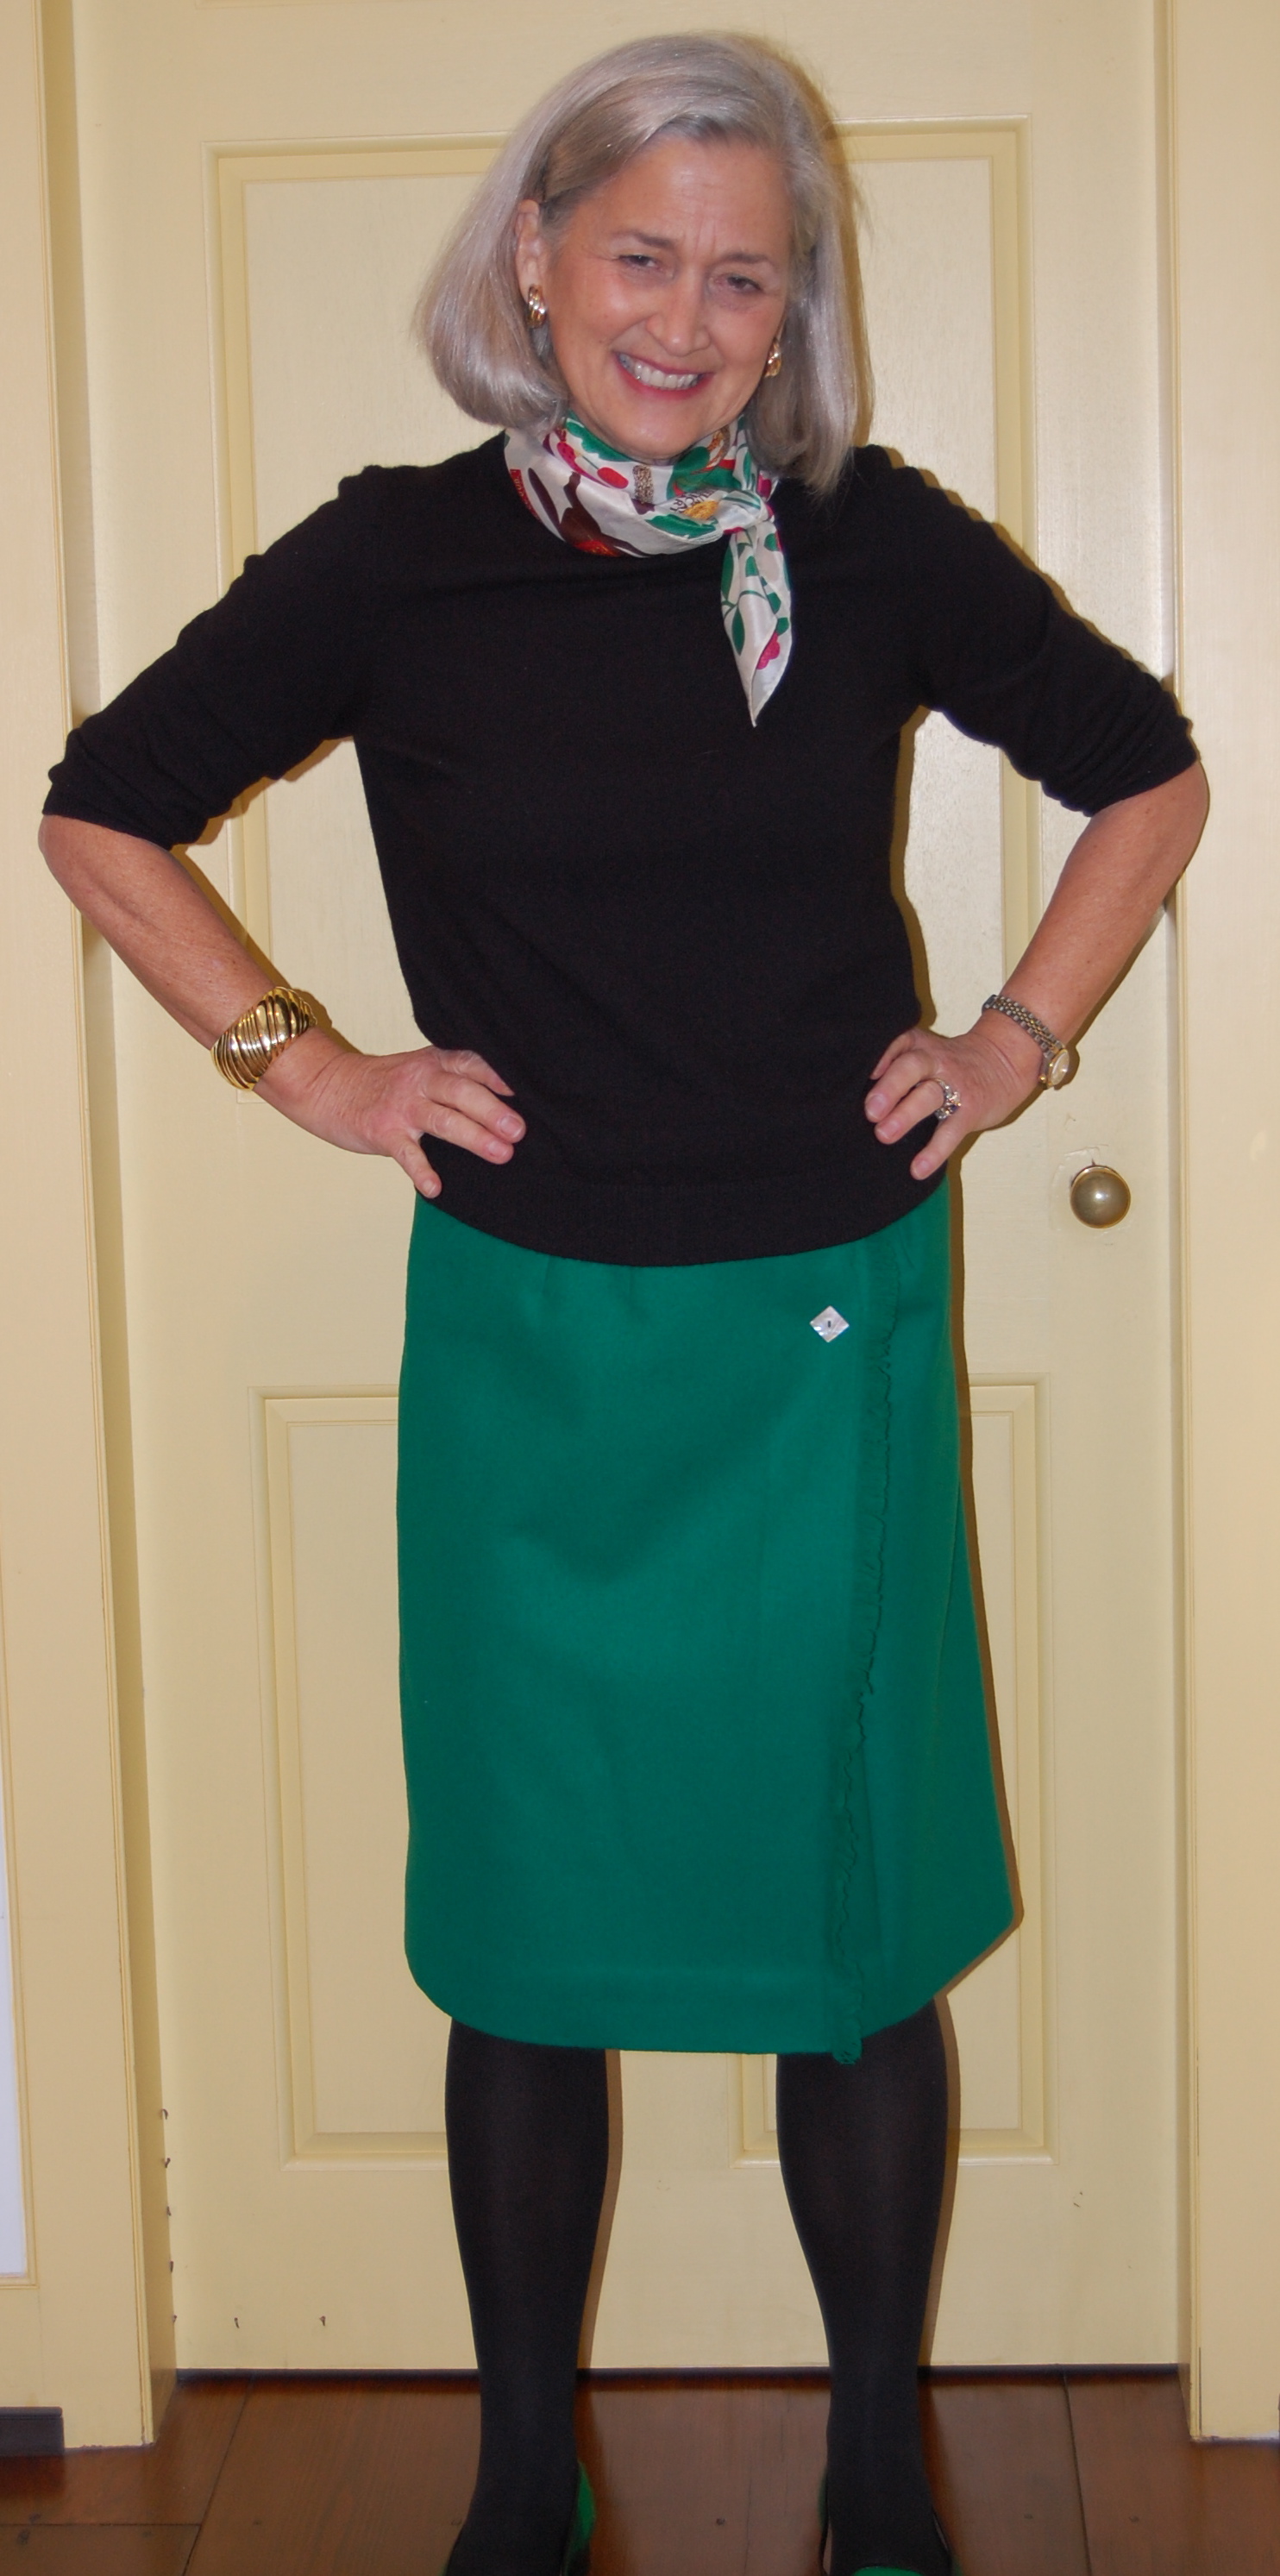
The one thing I’m not sure I like is the “purchased or novelty belt” as indicated on the pattern. I think a self-belt, a little wider than the one I show, would be more attractive. Please comment if you have an opinion. (I have plenty of fabric left over to make one…)
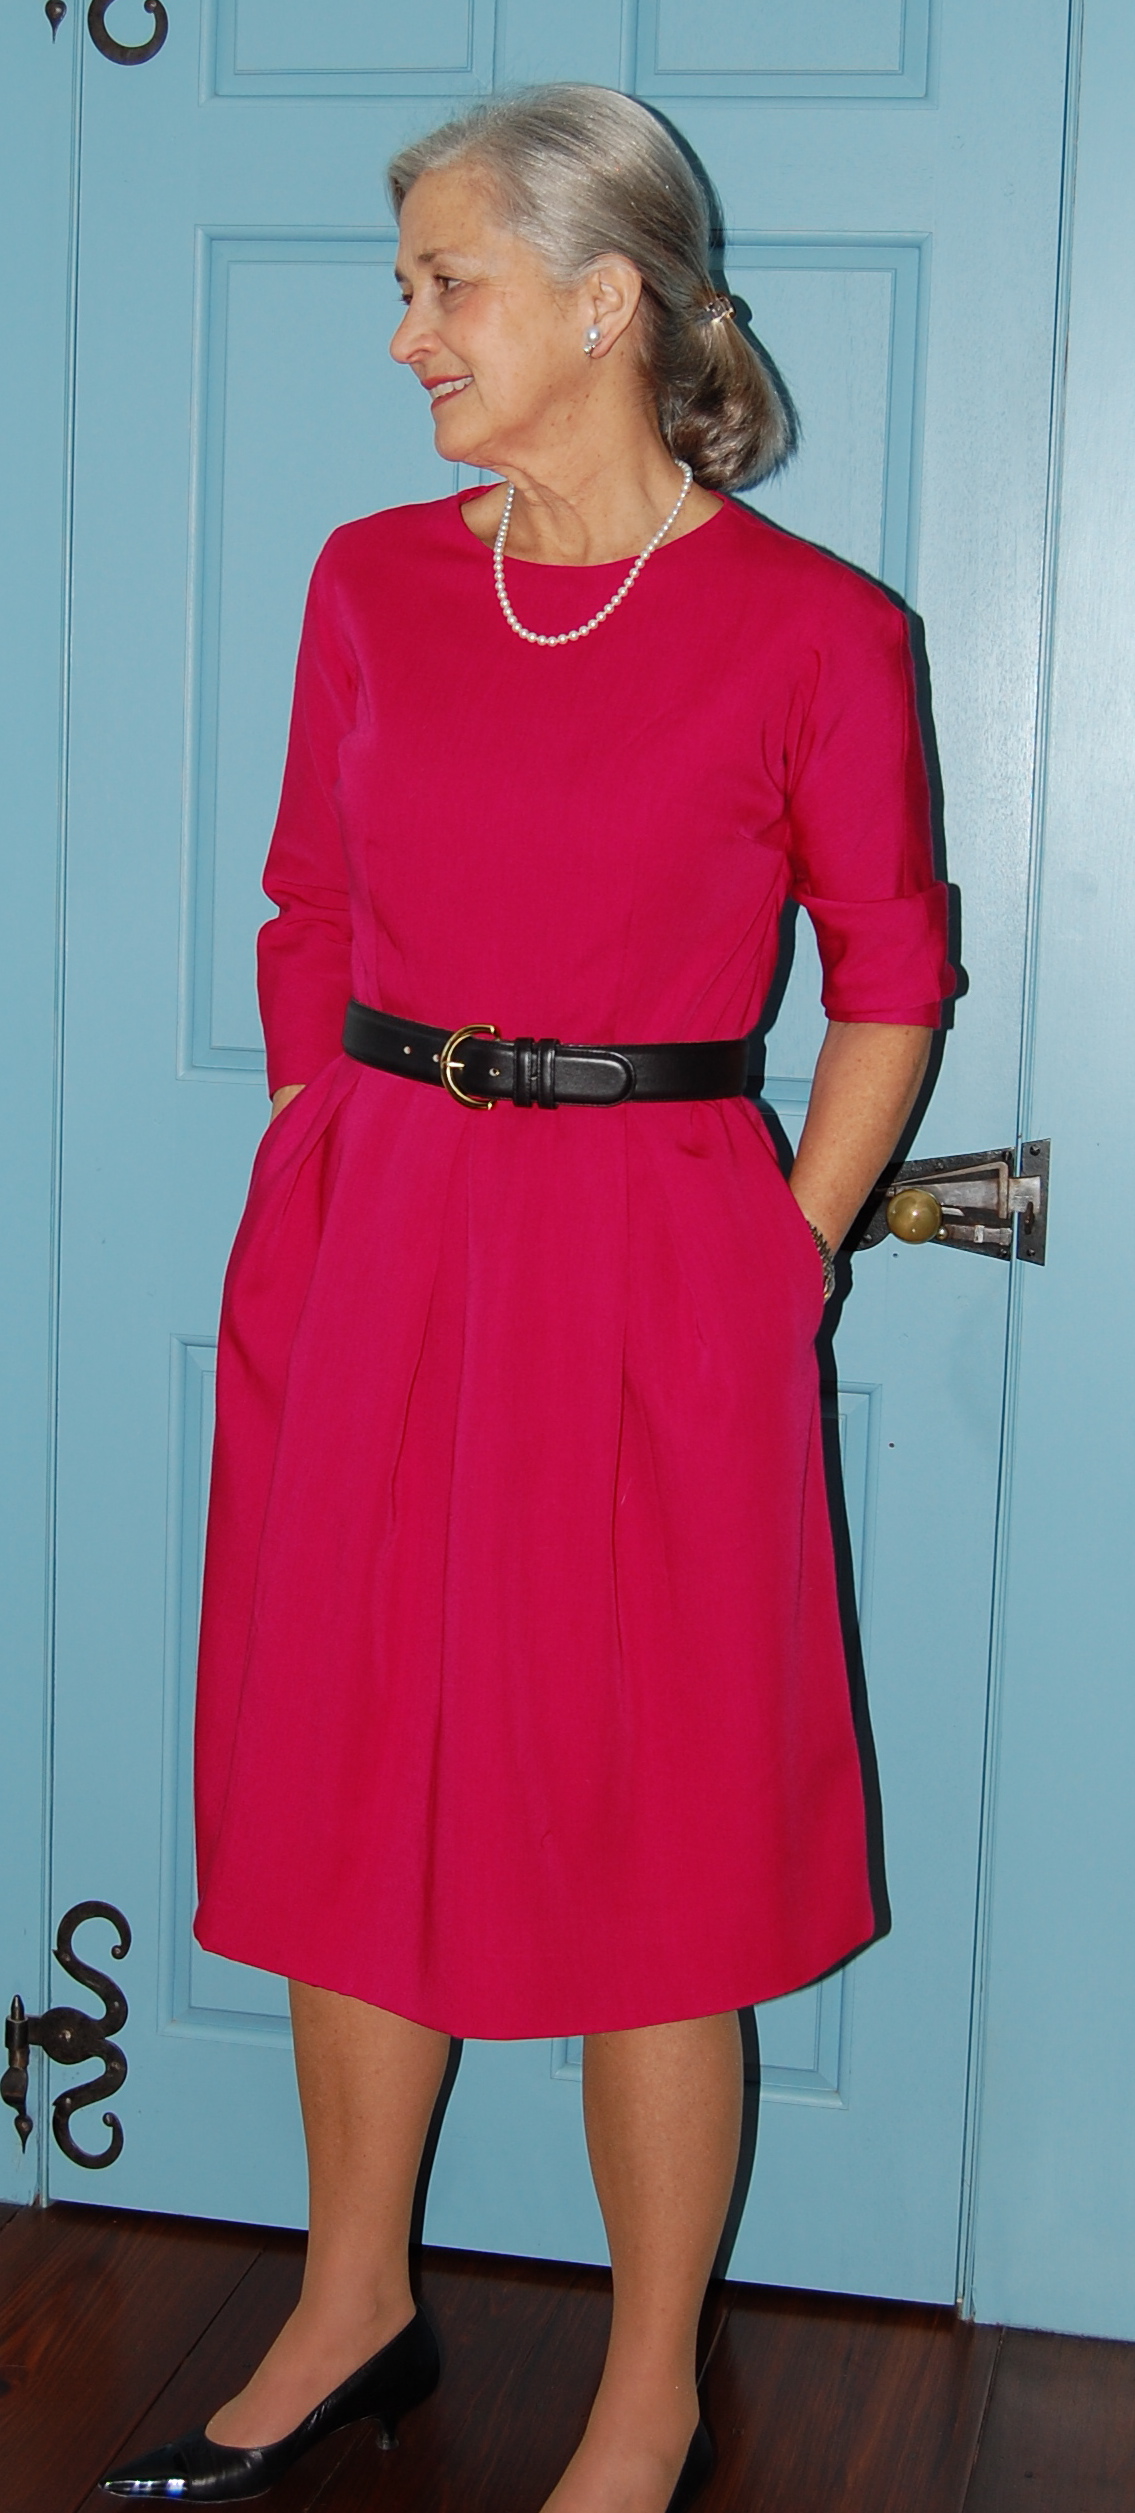
I am thinking a 2″ wide self belt might be more attractive???
Before I move on to my next project (to be announced soon), I want to thank Dresses and me for nominating me for the Very Inspiring Blogger award.
So, in accordance with the “rules” – I am supposed to share a few facts about myself and nominate some others for the same award, so here goes:
1 – I am told I have a slight Southern accent, surely a remnant of being born and raised in North Carolina.
2 – I do most of my machine sewing on a 1940s’ Singer Featherweight and on my mother’s 1956 “306K” portable Singer.
3 – Autumn is my favorite season.
4 – I can make a very good Pumpkin pie.
5 – I enjoy reading historical fiction.
6 – I can’t sing (as in carry a tune) except for a few simple lullabies and Christmas carols.
Now – to pass on this award: So many fellow bloggers inspire me every day that it is difficult to single out just a few (especially as many have already received this award!), but here are some worthy recipients:
For always giving me a laugh: A Dress A Day and The Blue Gardenia.
For always teaching me something I would not have known otherwise: The Vintage Traveler, Pattern Vault, Two Nerdy History Girls, and the FIDM Museum blog.
For sharing their sewing knowledge, design sense, and beautiful workmanship: Custom Style, Lilacs and Lace, So Sew Lovely, and Frabjous Couture.
So now – you are IN THE KNOW and – I am IN THE PINK!