Are there any more magical words for those of us who sew? And what if that shopping trip is to New York City to visit Mendel Goldberg Fabrics? For those of you unfamiliar with this exceptional purveyor of the finest fabrics, this short statement in their recent (and first) ad in Threads Magazine will help to acquaint you: “This family-owned business carries European designer fabrics, from French lace to brocades, boucles, Italian silk prints and novelties. You’ll be amazed by their selection of imported couture fabrics.”
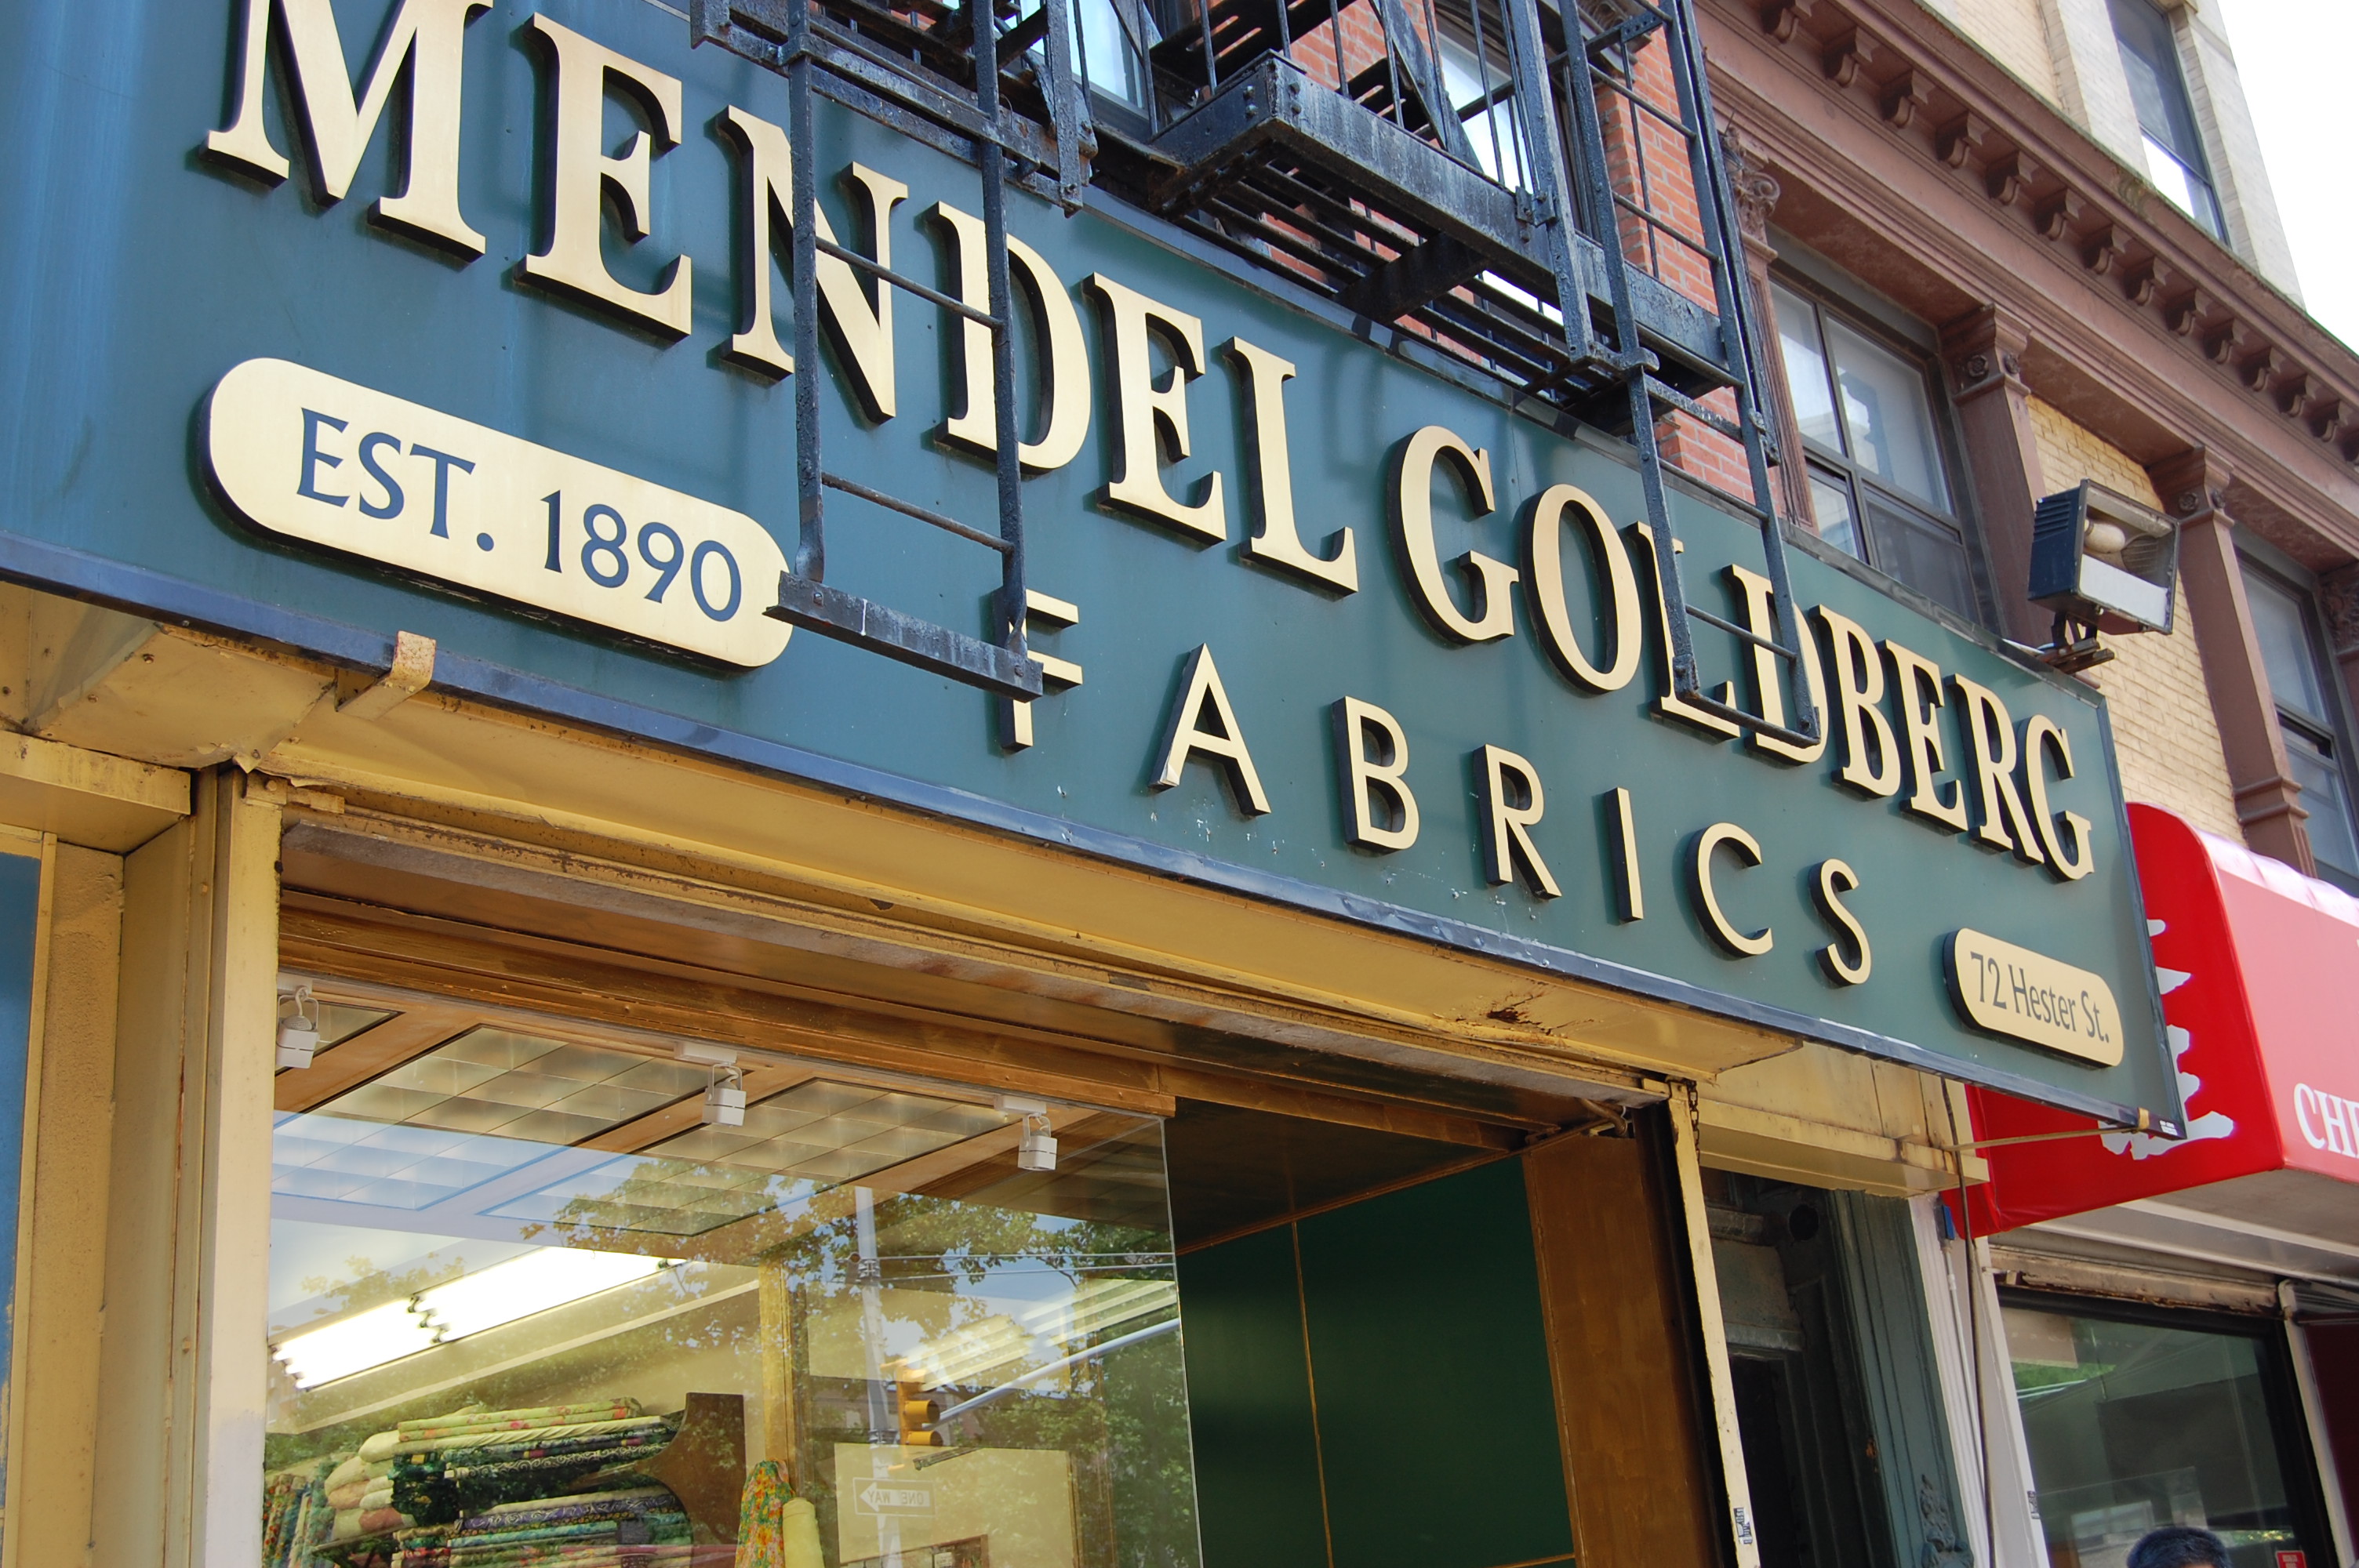
The distinctive sign for Mendel Goldberg Fabrics on Hester Street in NYC.
Well, amazed we were – all 11 of us who visited Mendel Goldberg Monday a week ago (June 24) on the first day of our class with Susan Khalje – The Classic French Jacket. We were also just a little bit giddy (no, we were actually unabashedly giddy) as we viewed the treasures before us. However, I am getting ahead of myself . . .
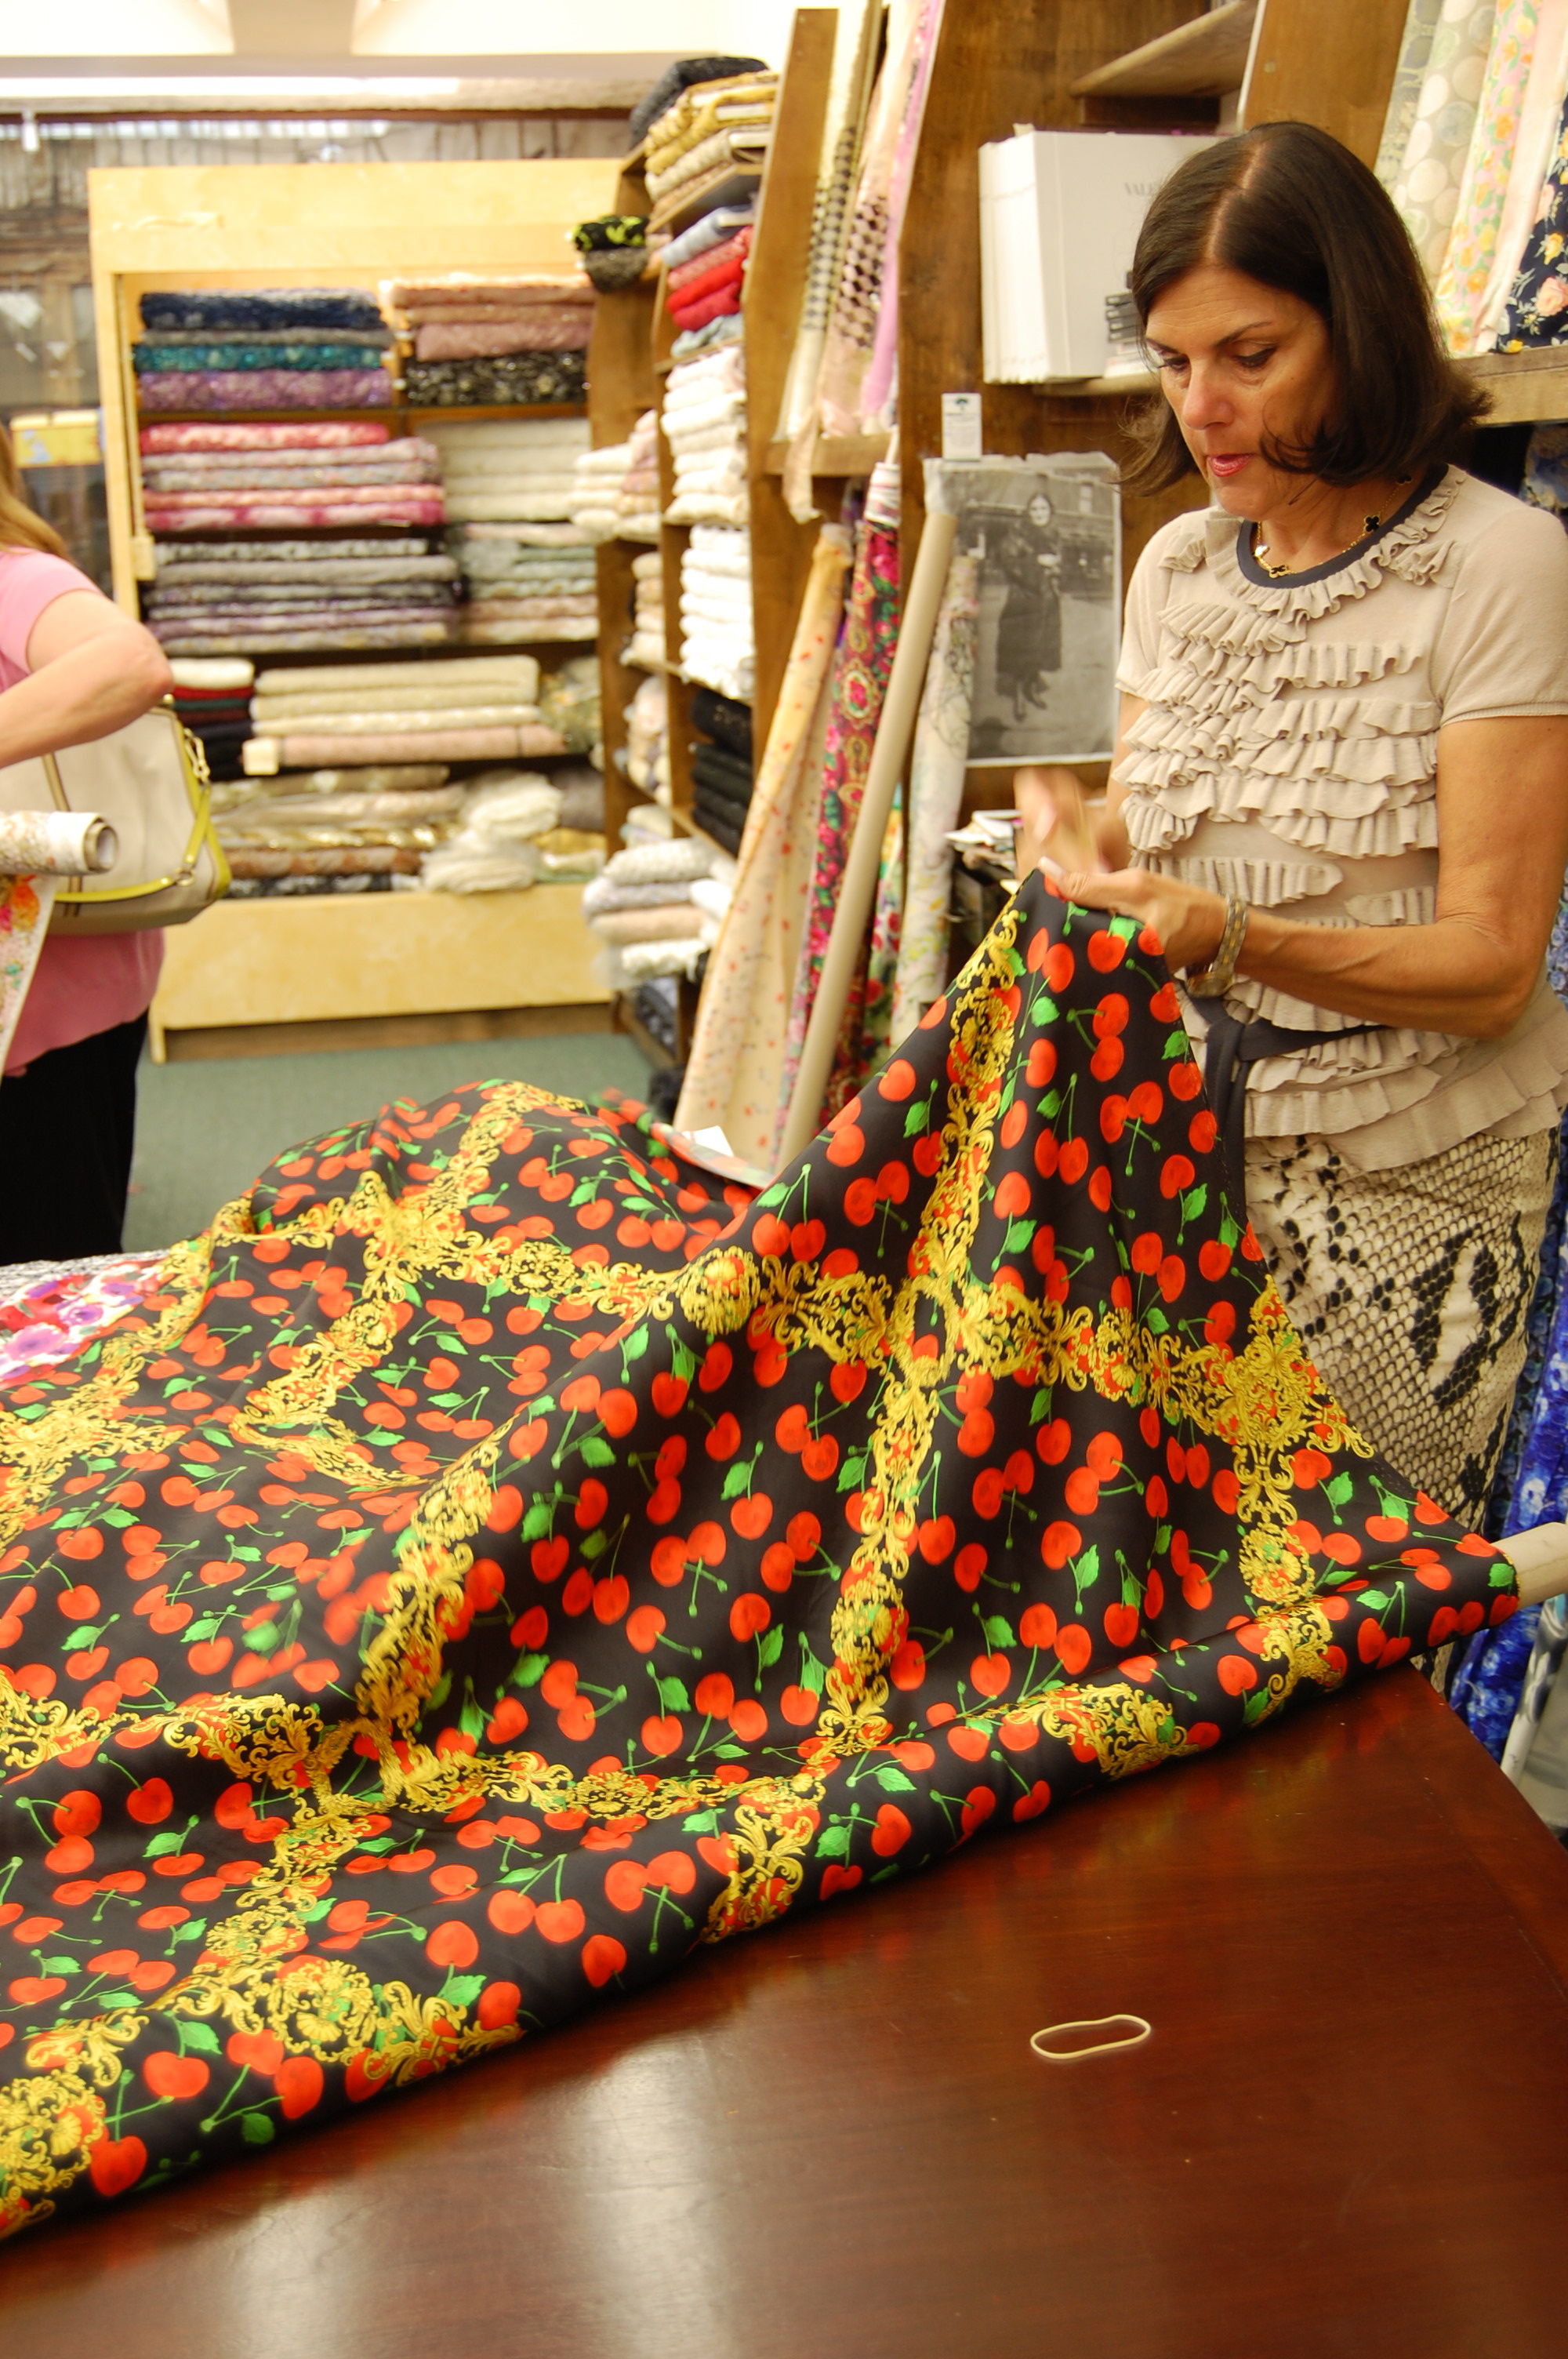
Arriving at the store after our 4-hour drive from Baltimore, we were enthusiastically and graciously met by Alice, the proprietress whose great-grandfather started the business in 1890. Her daughter Josie works with her, and they are assisted by long-time employee Louis. Also there to help us was Pierre, a young Frenchman who was interning with the business for two months.
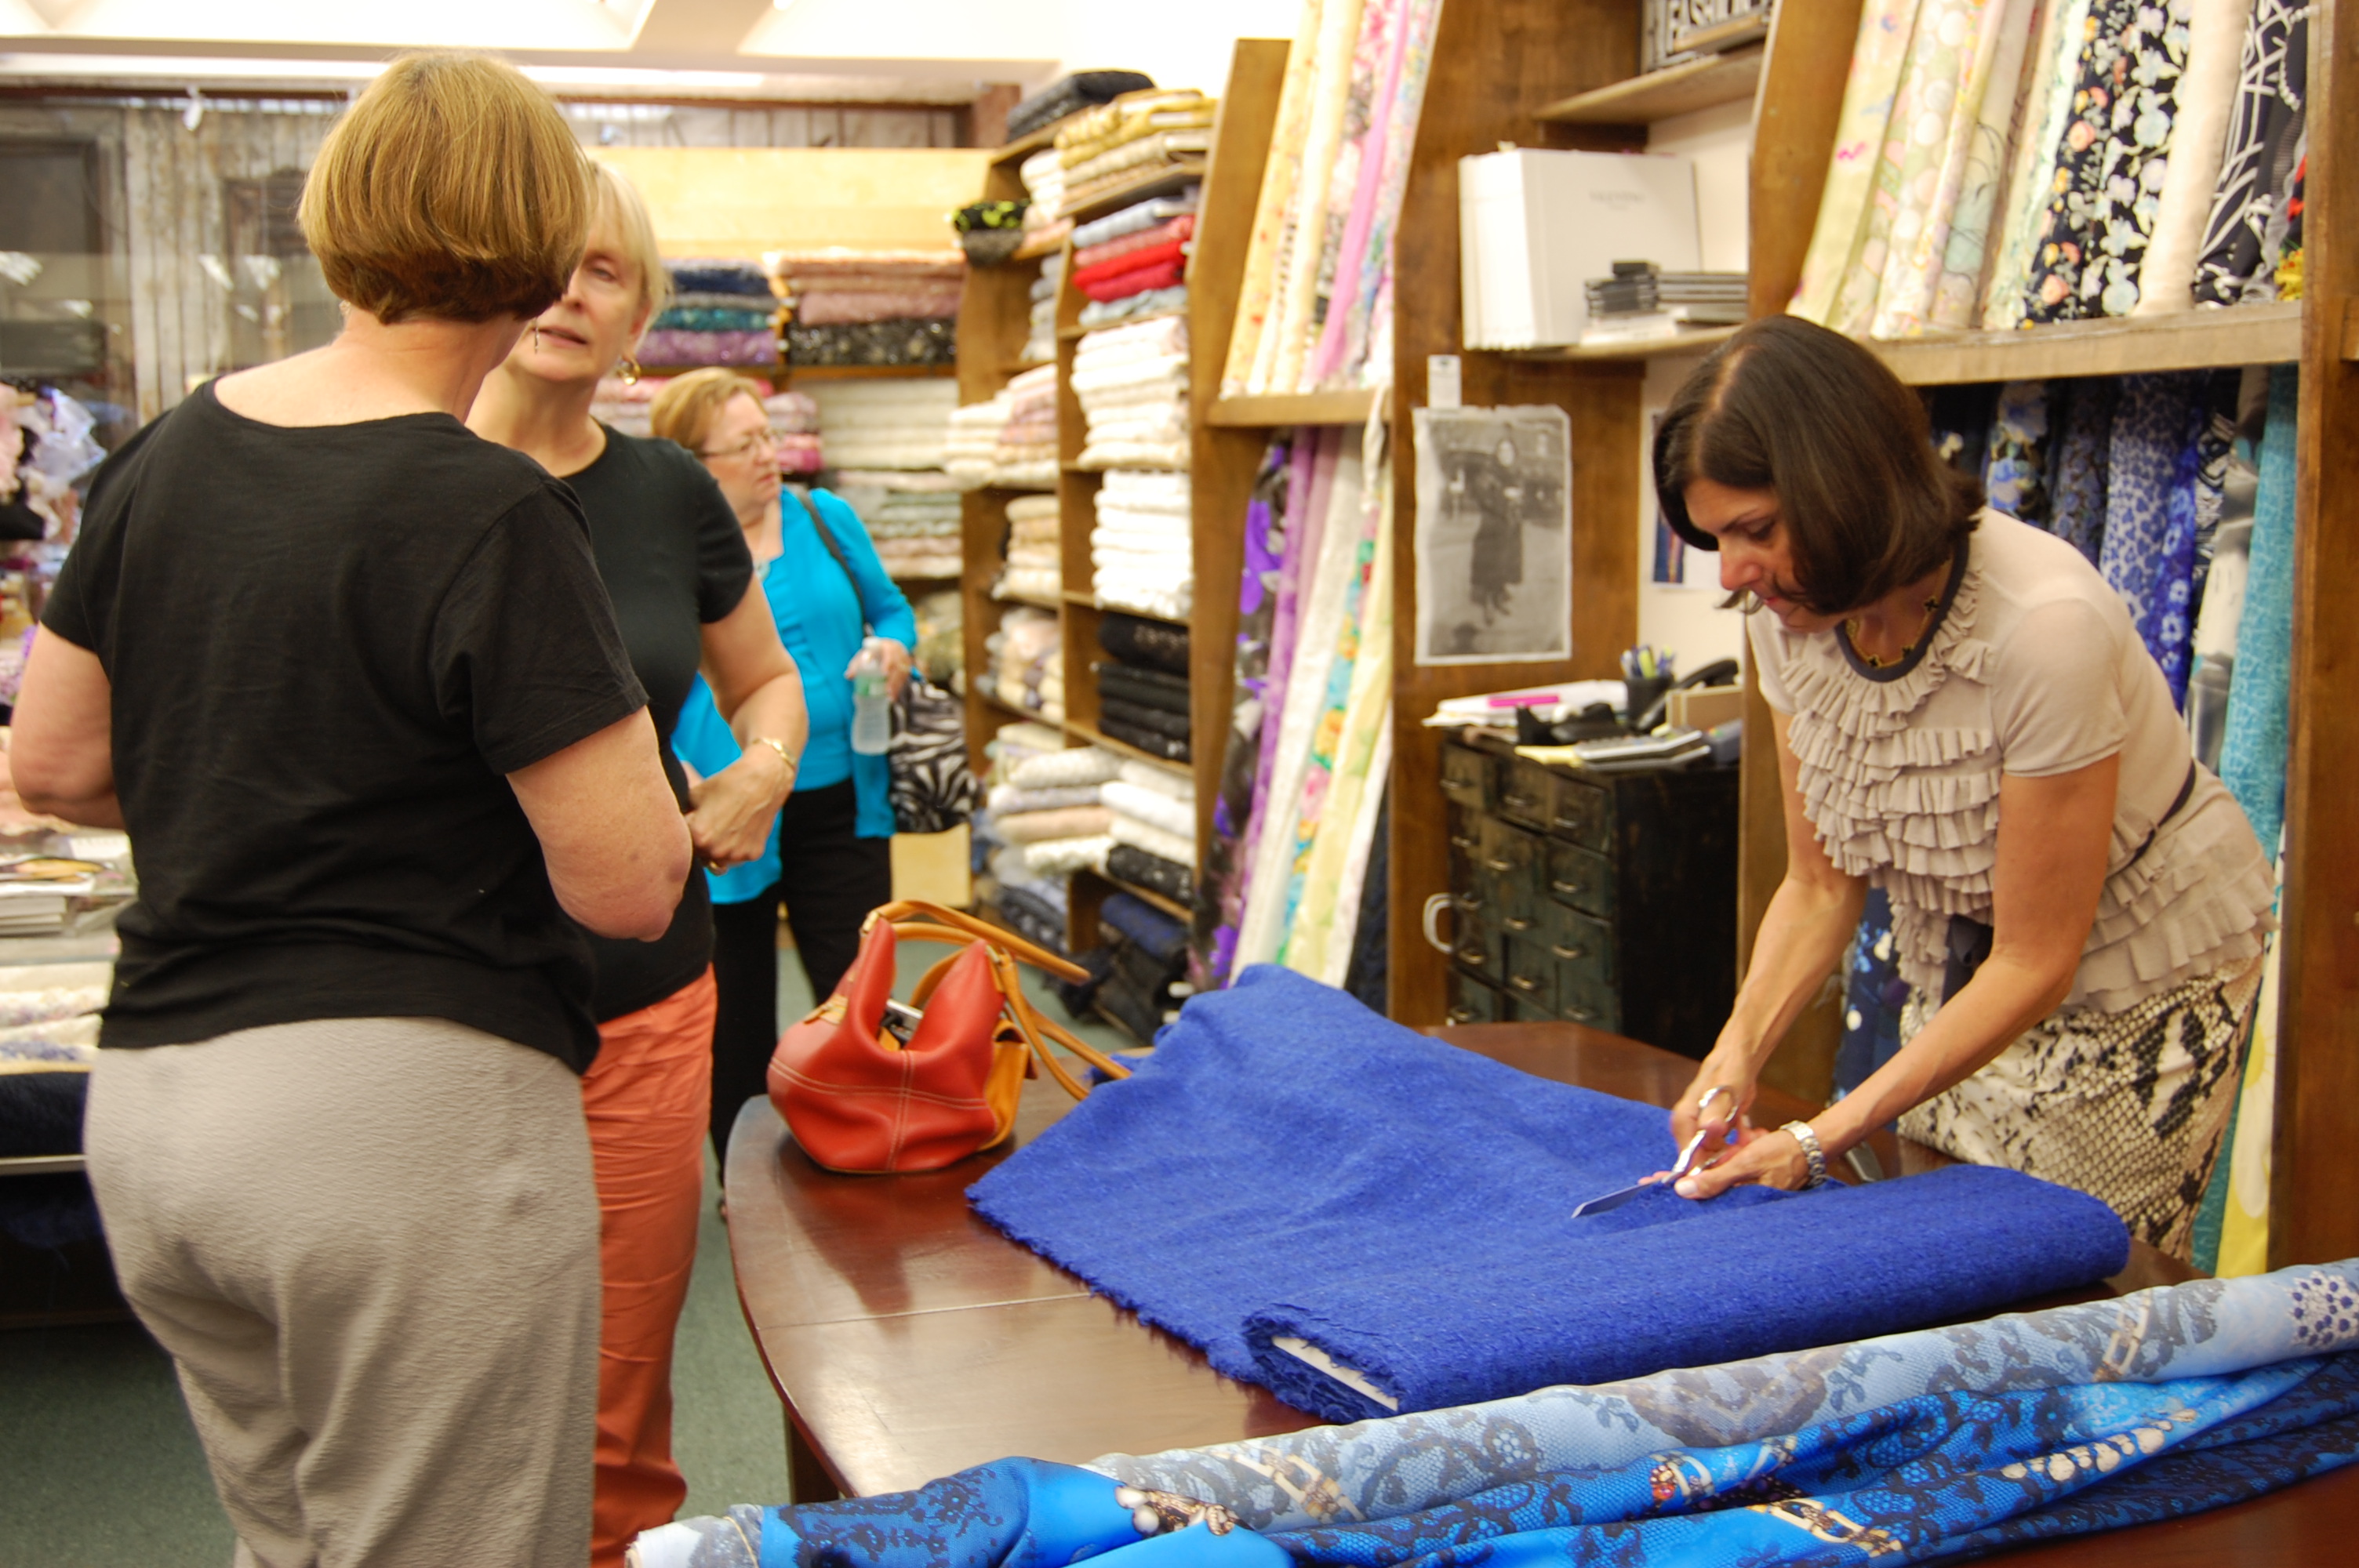
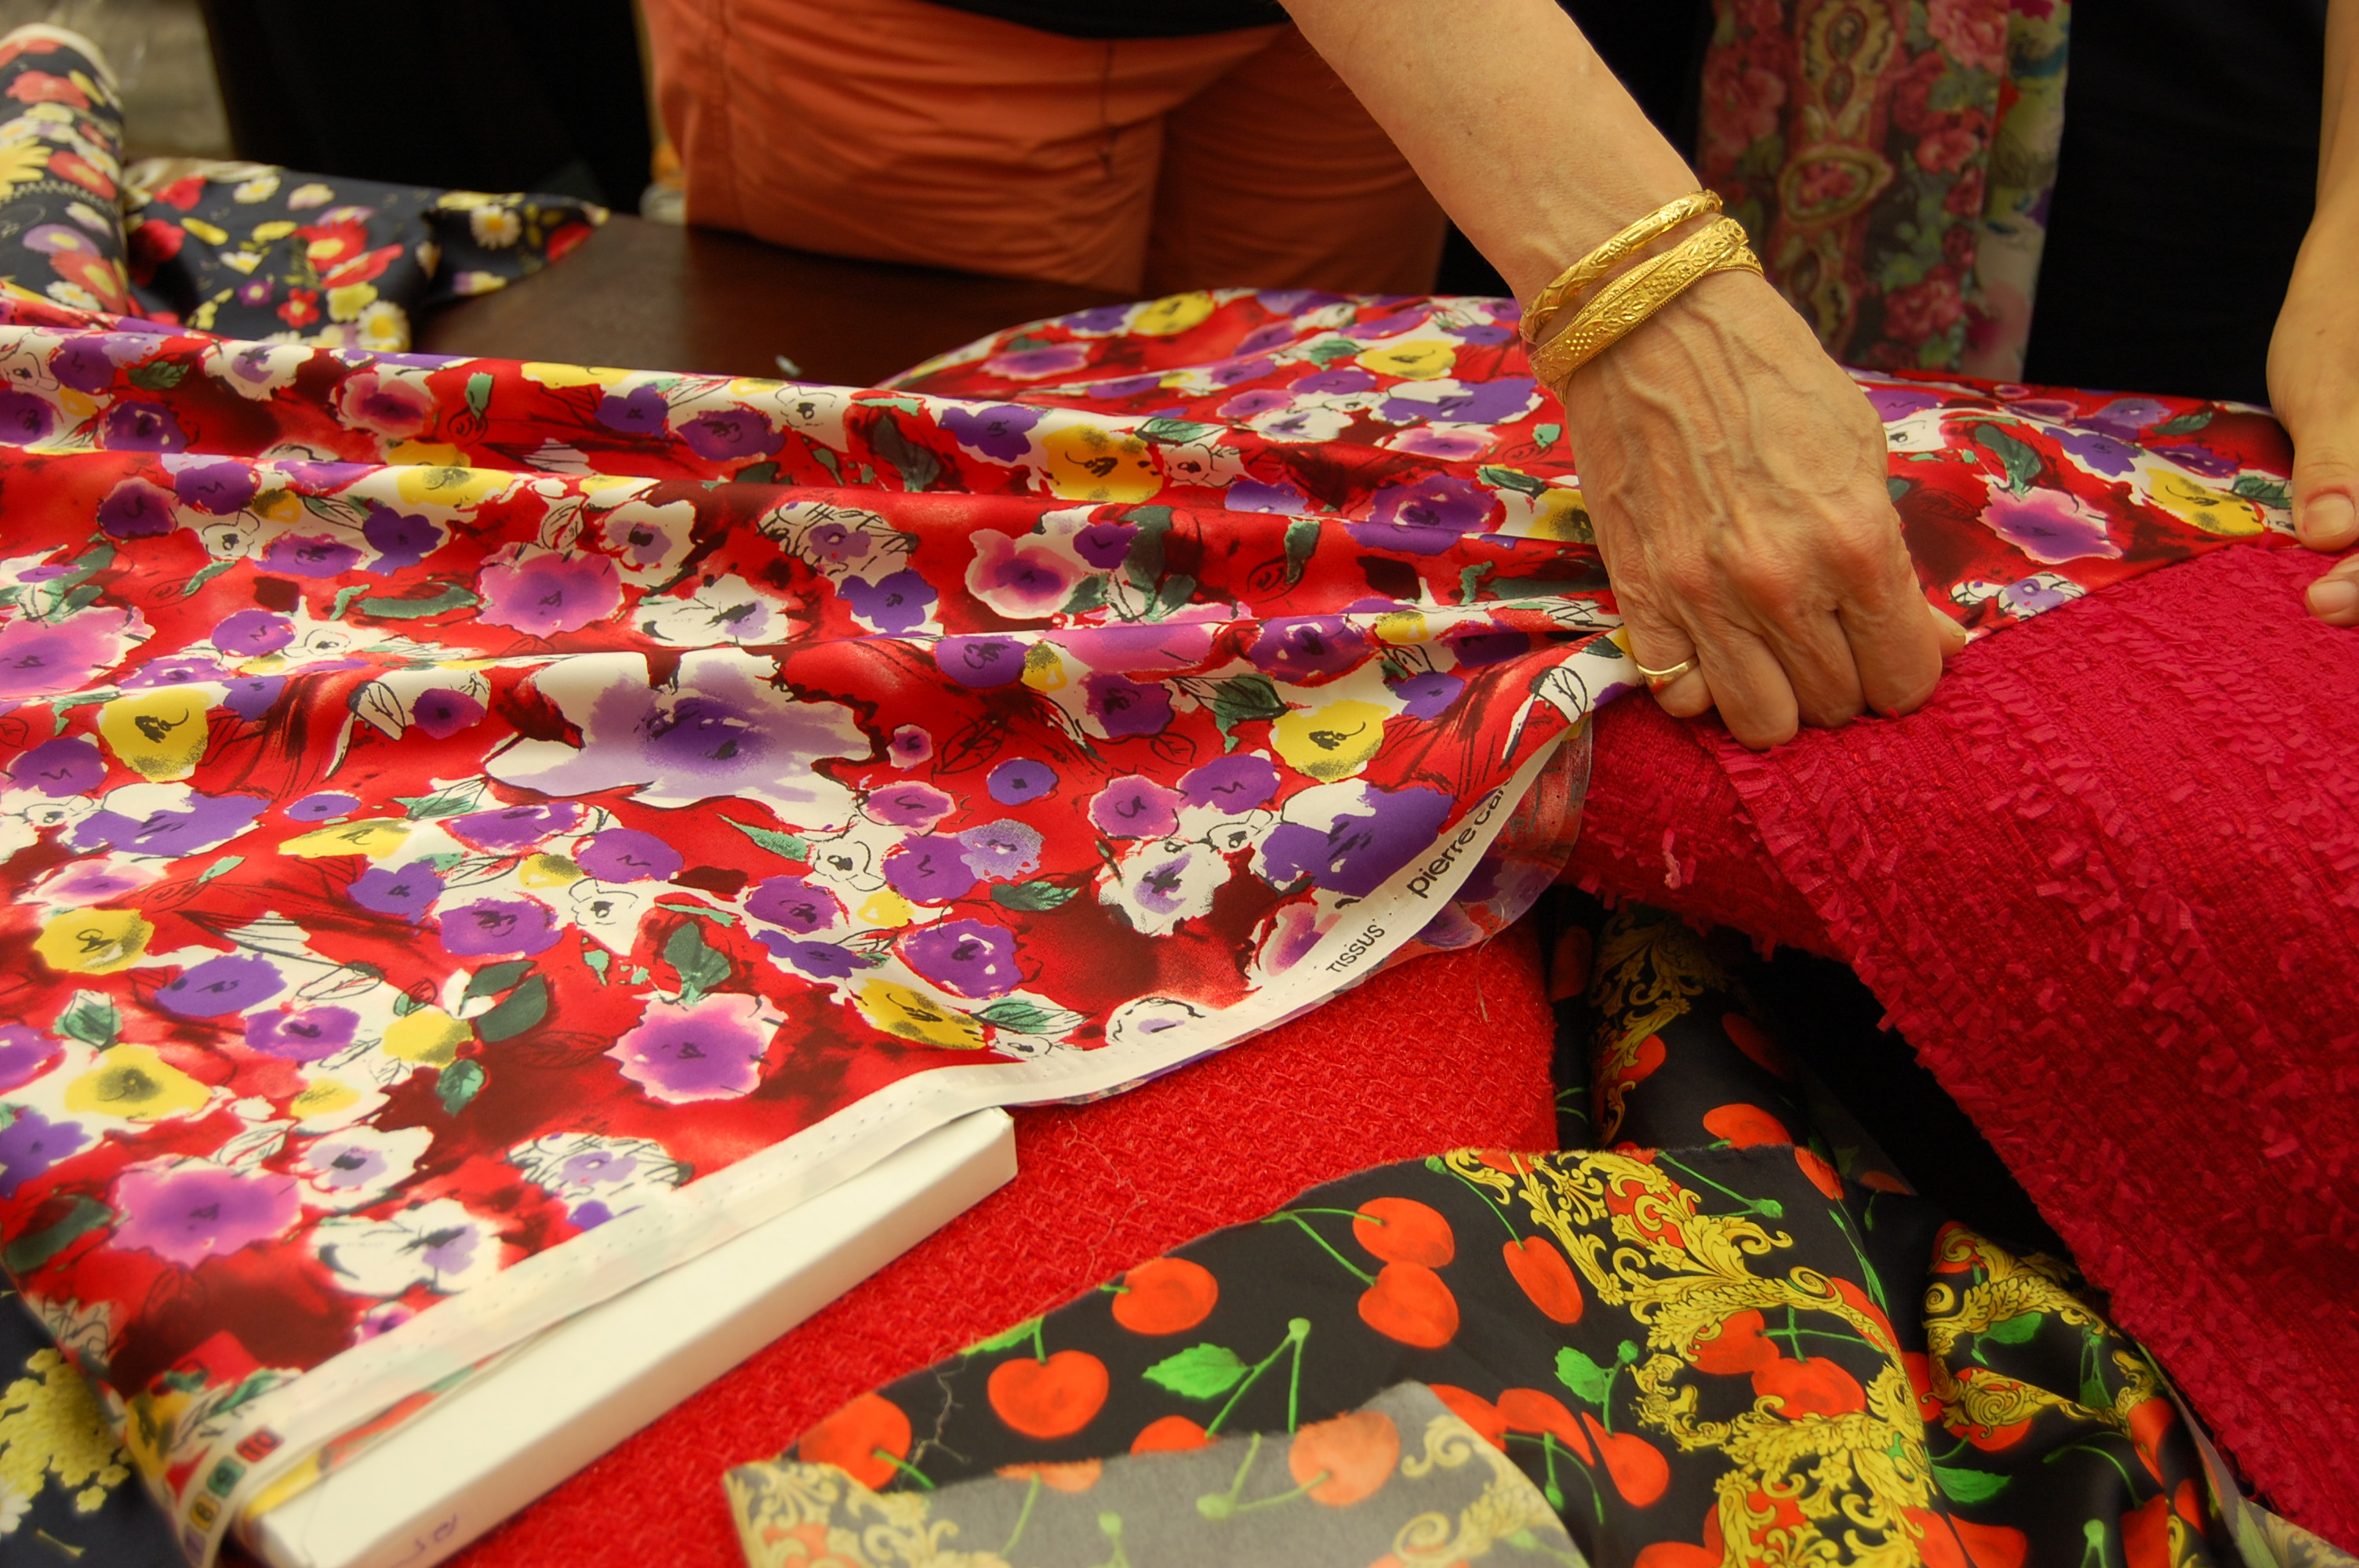
Alice is on the right, in a pose often seen – cutting fabric.
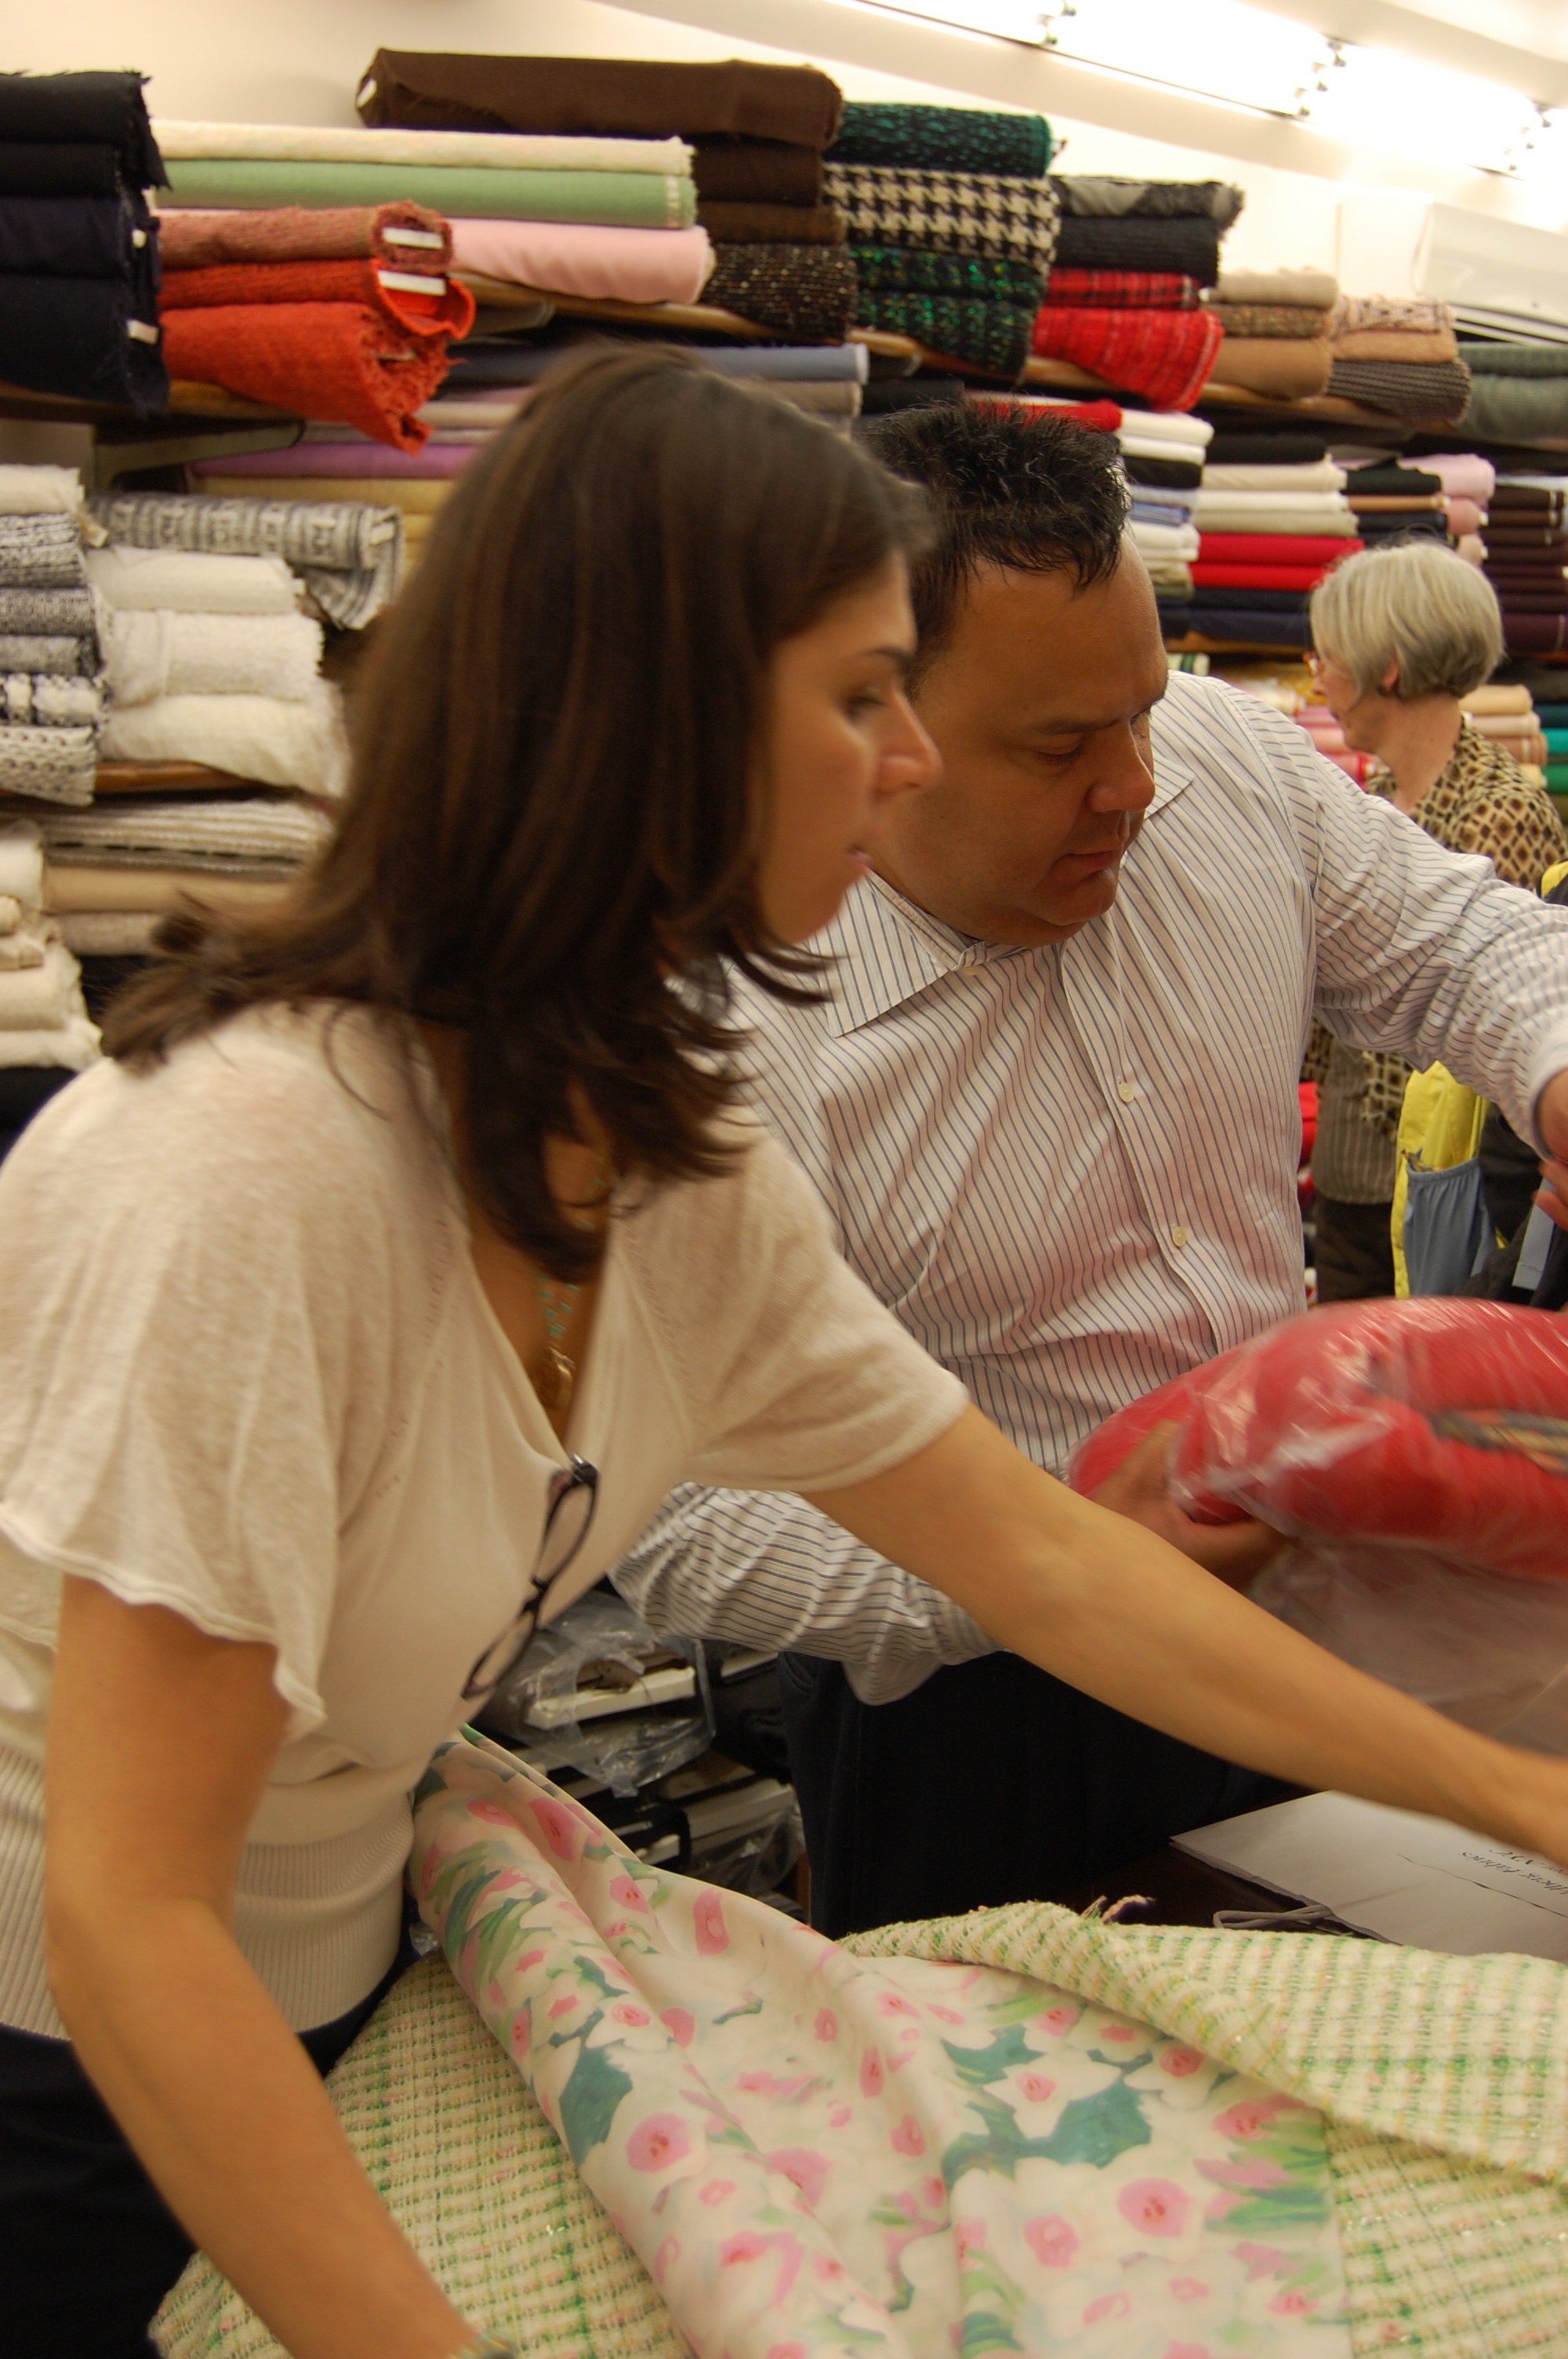
Josie and Louis
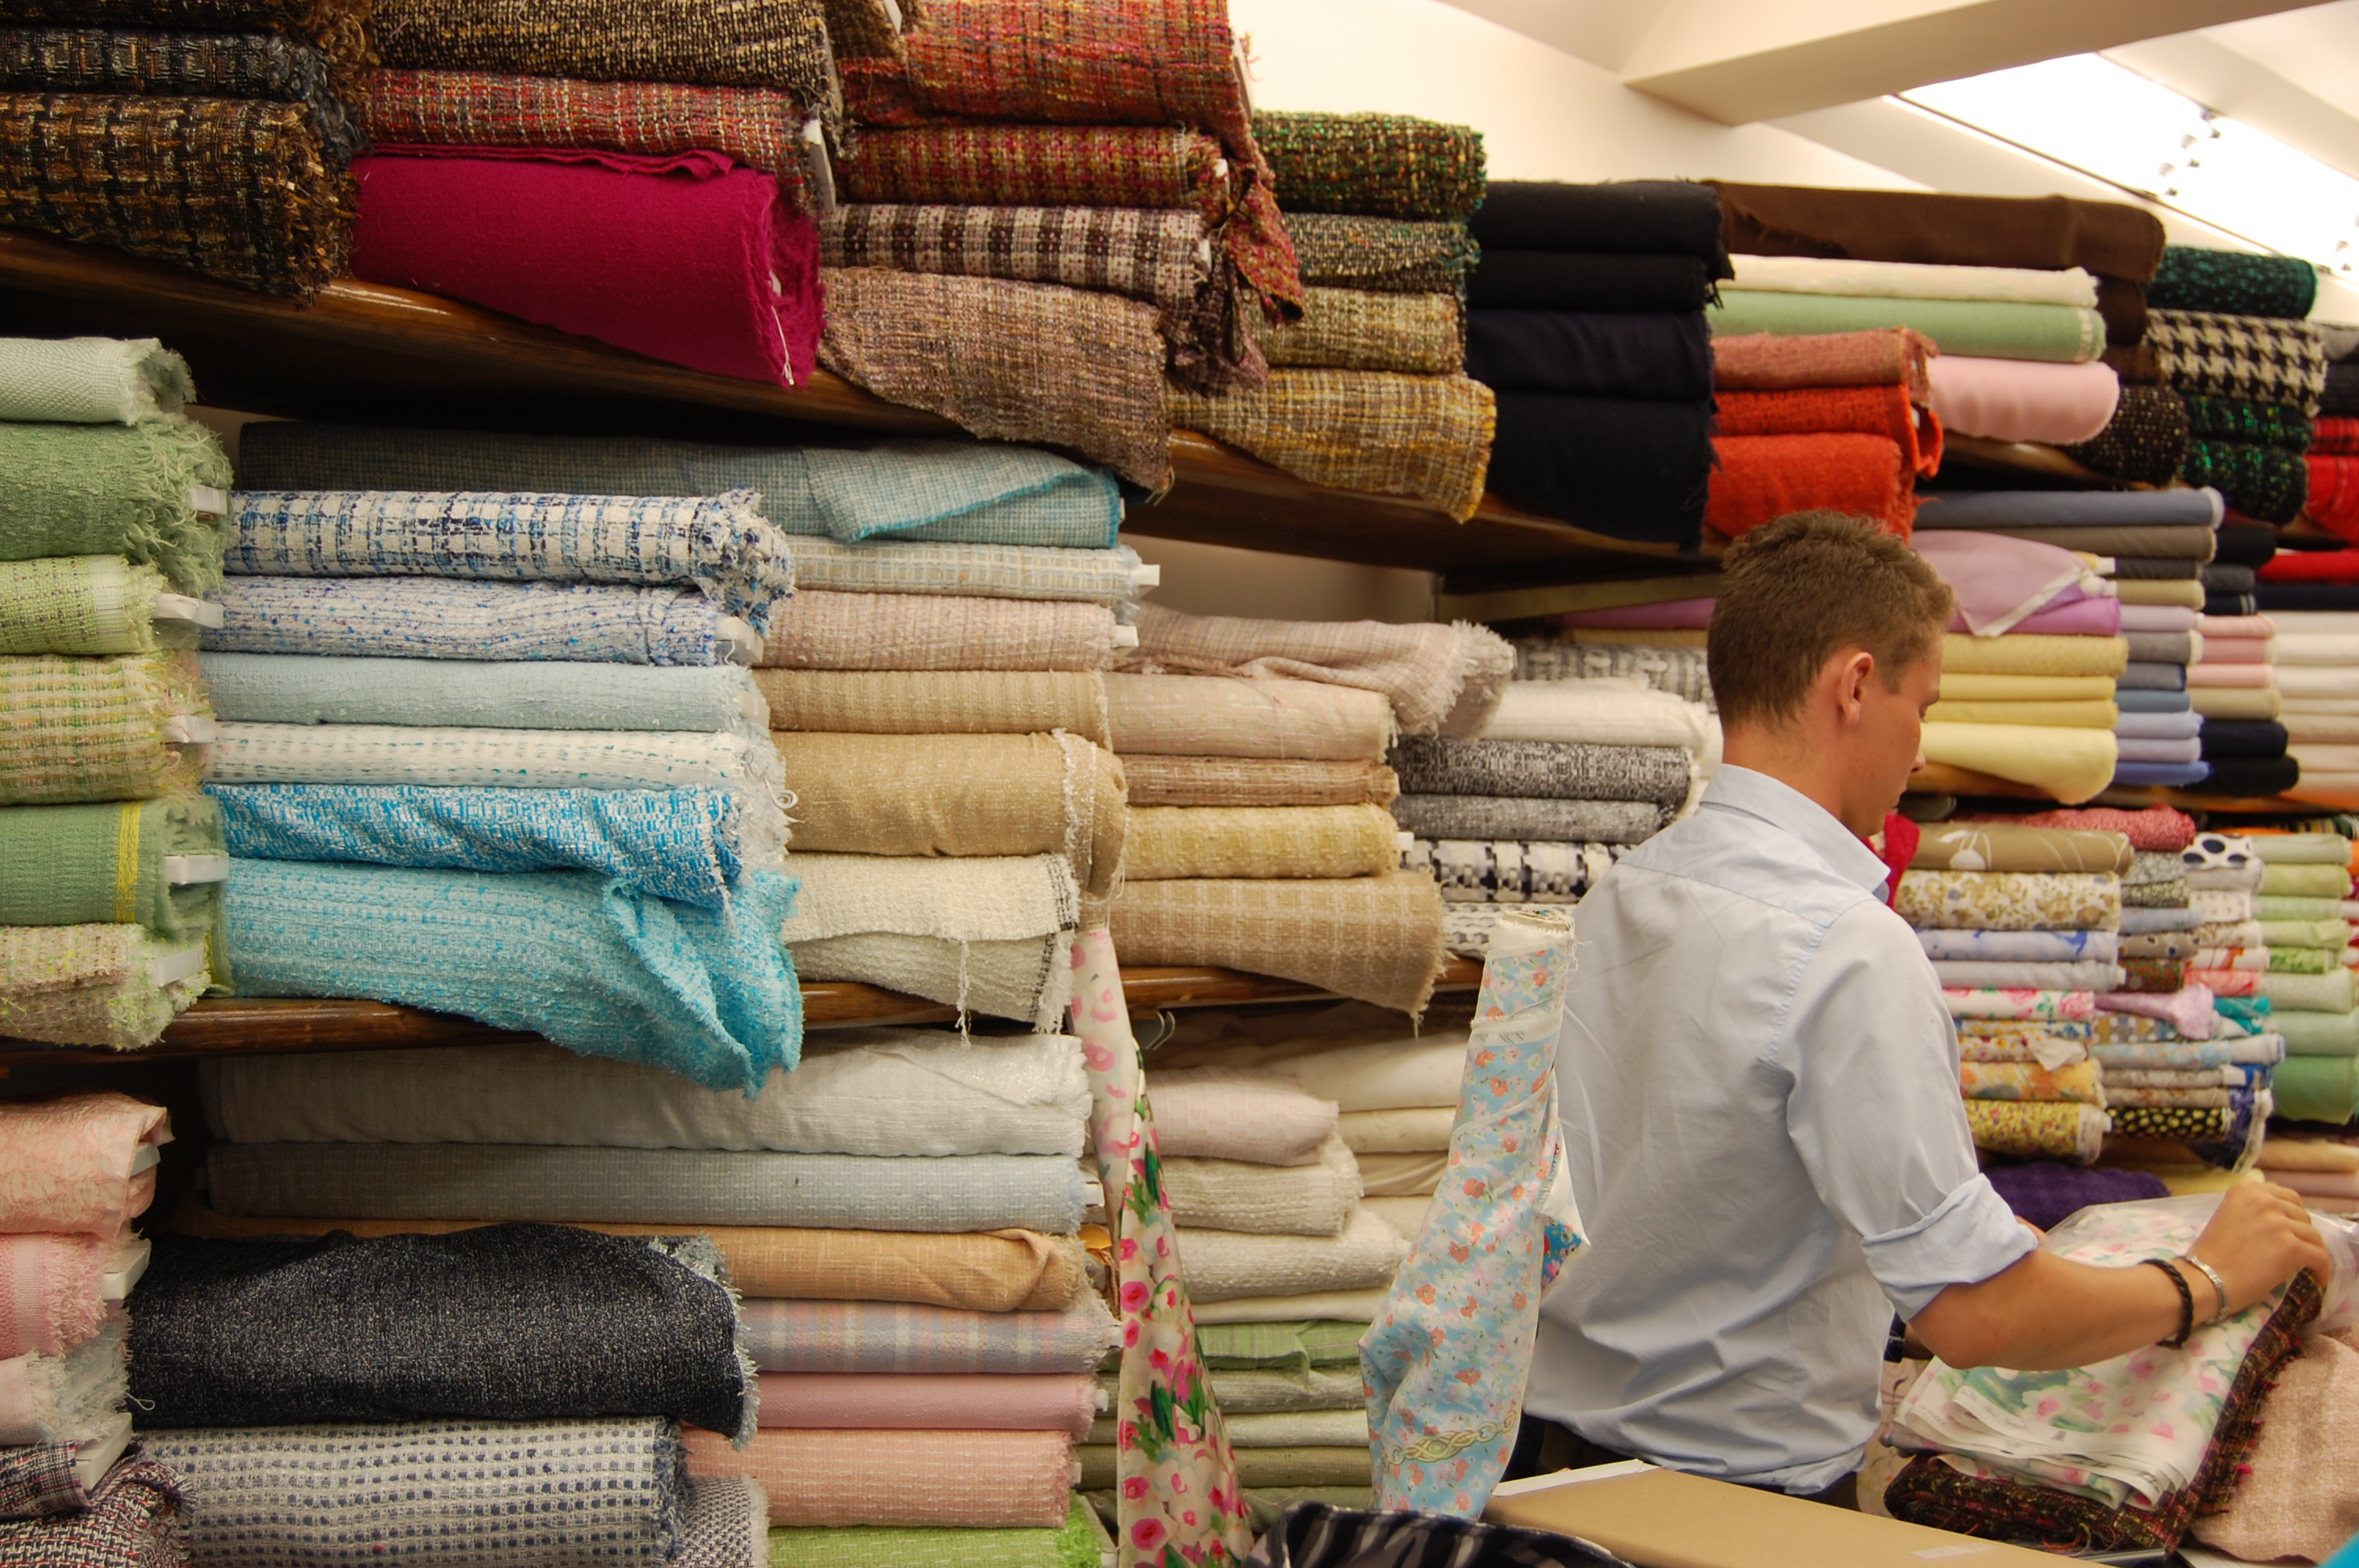
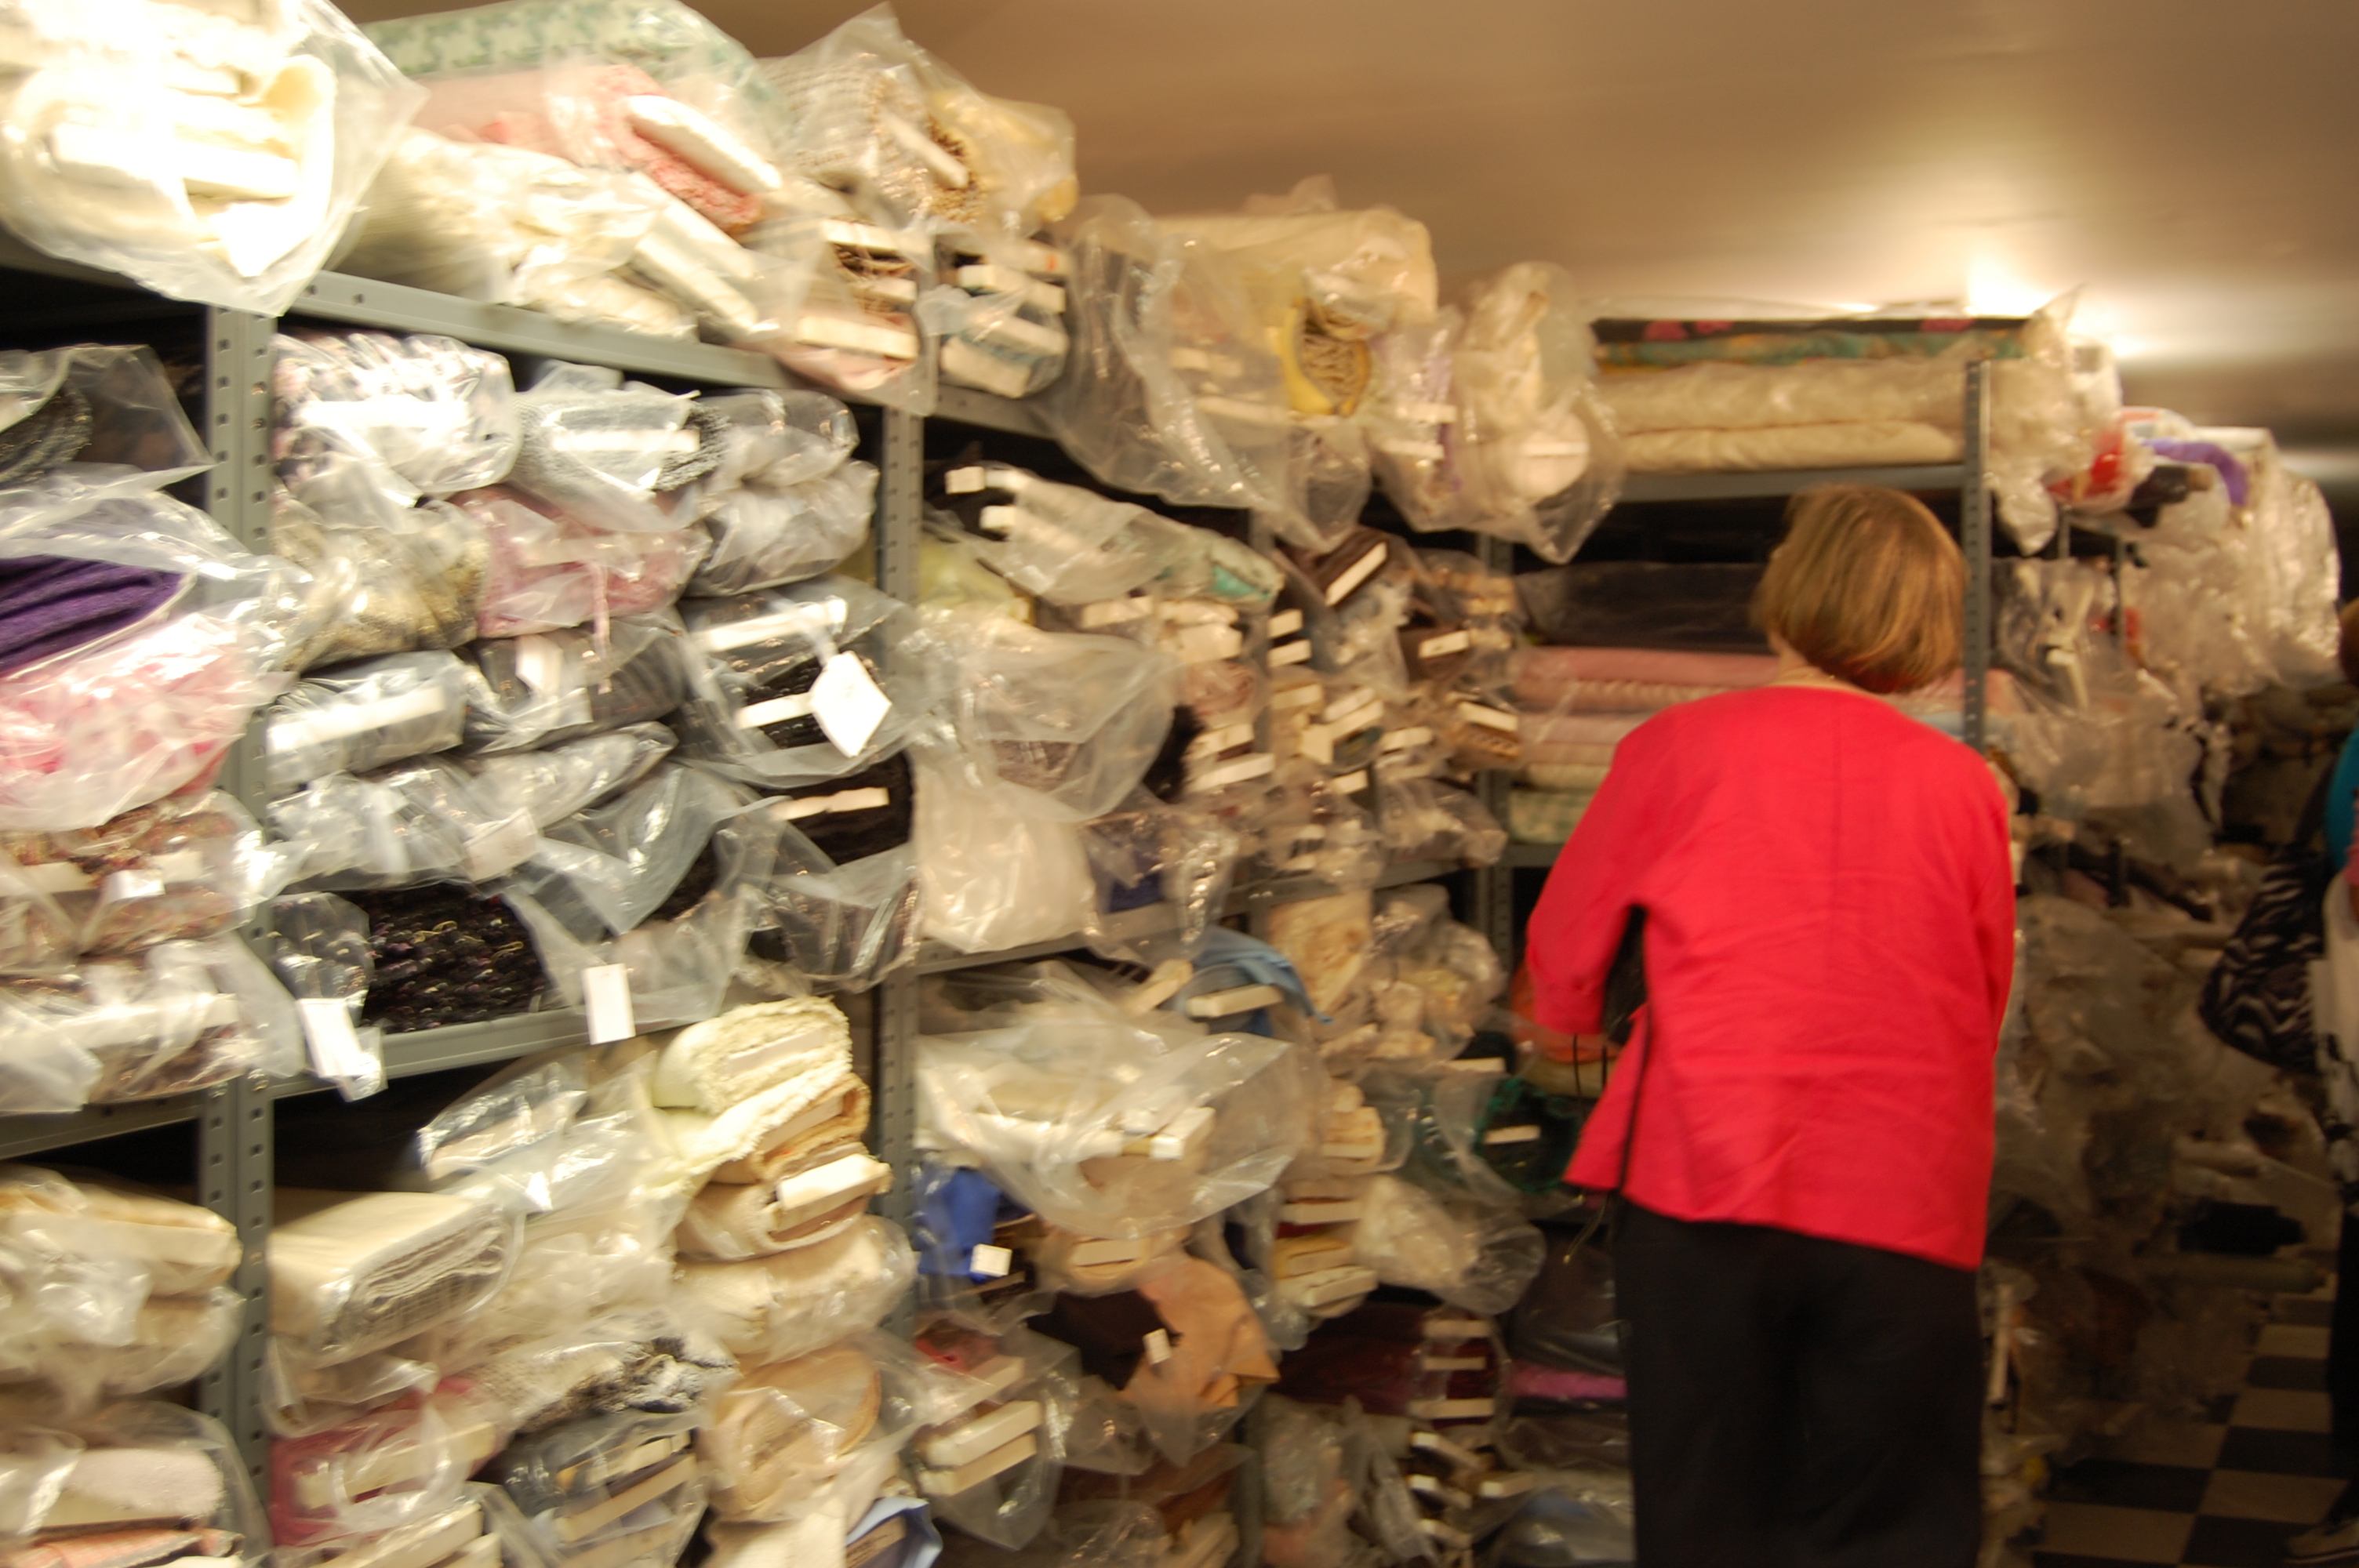
Pierre shown here in front of all those luscious fabrics.
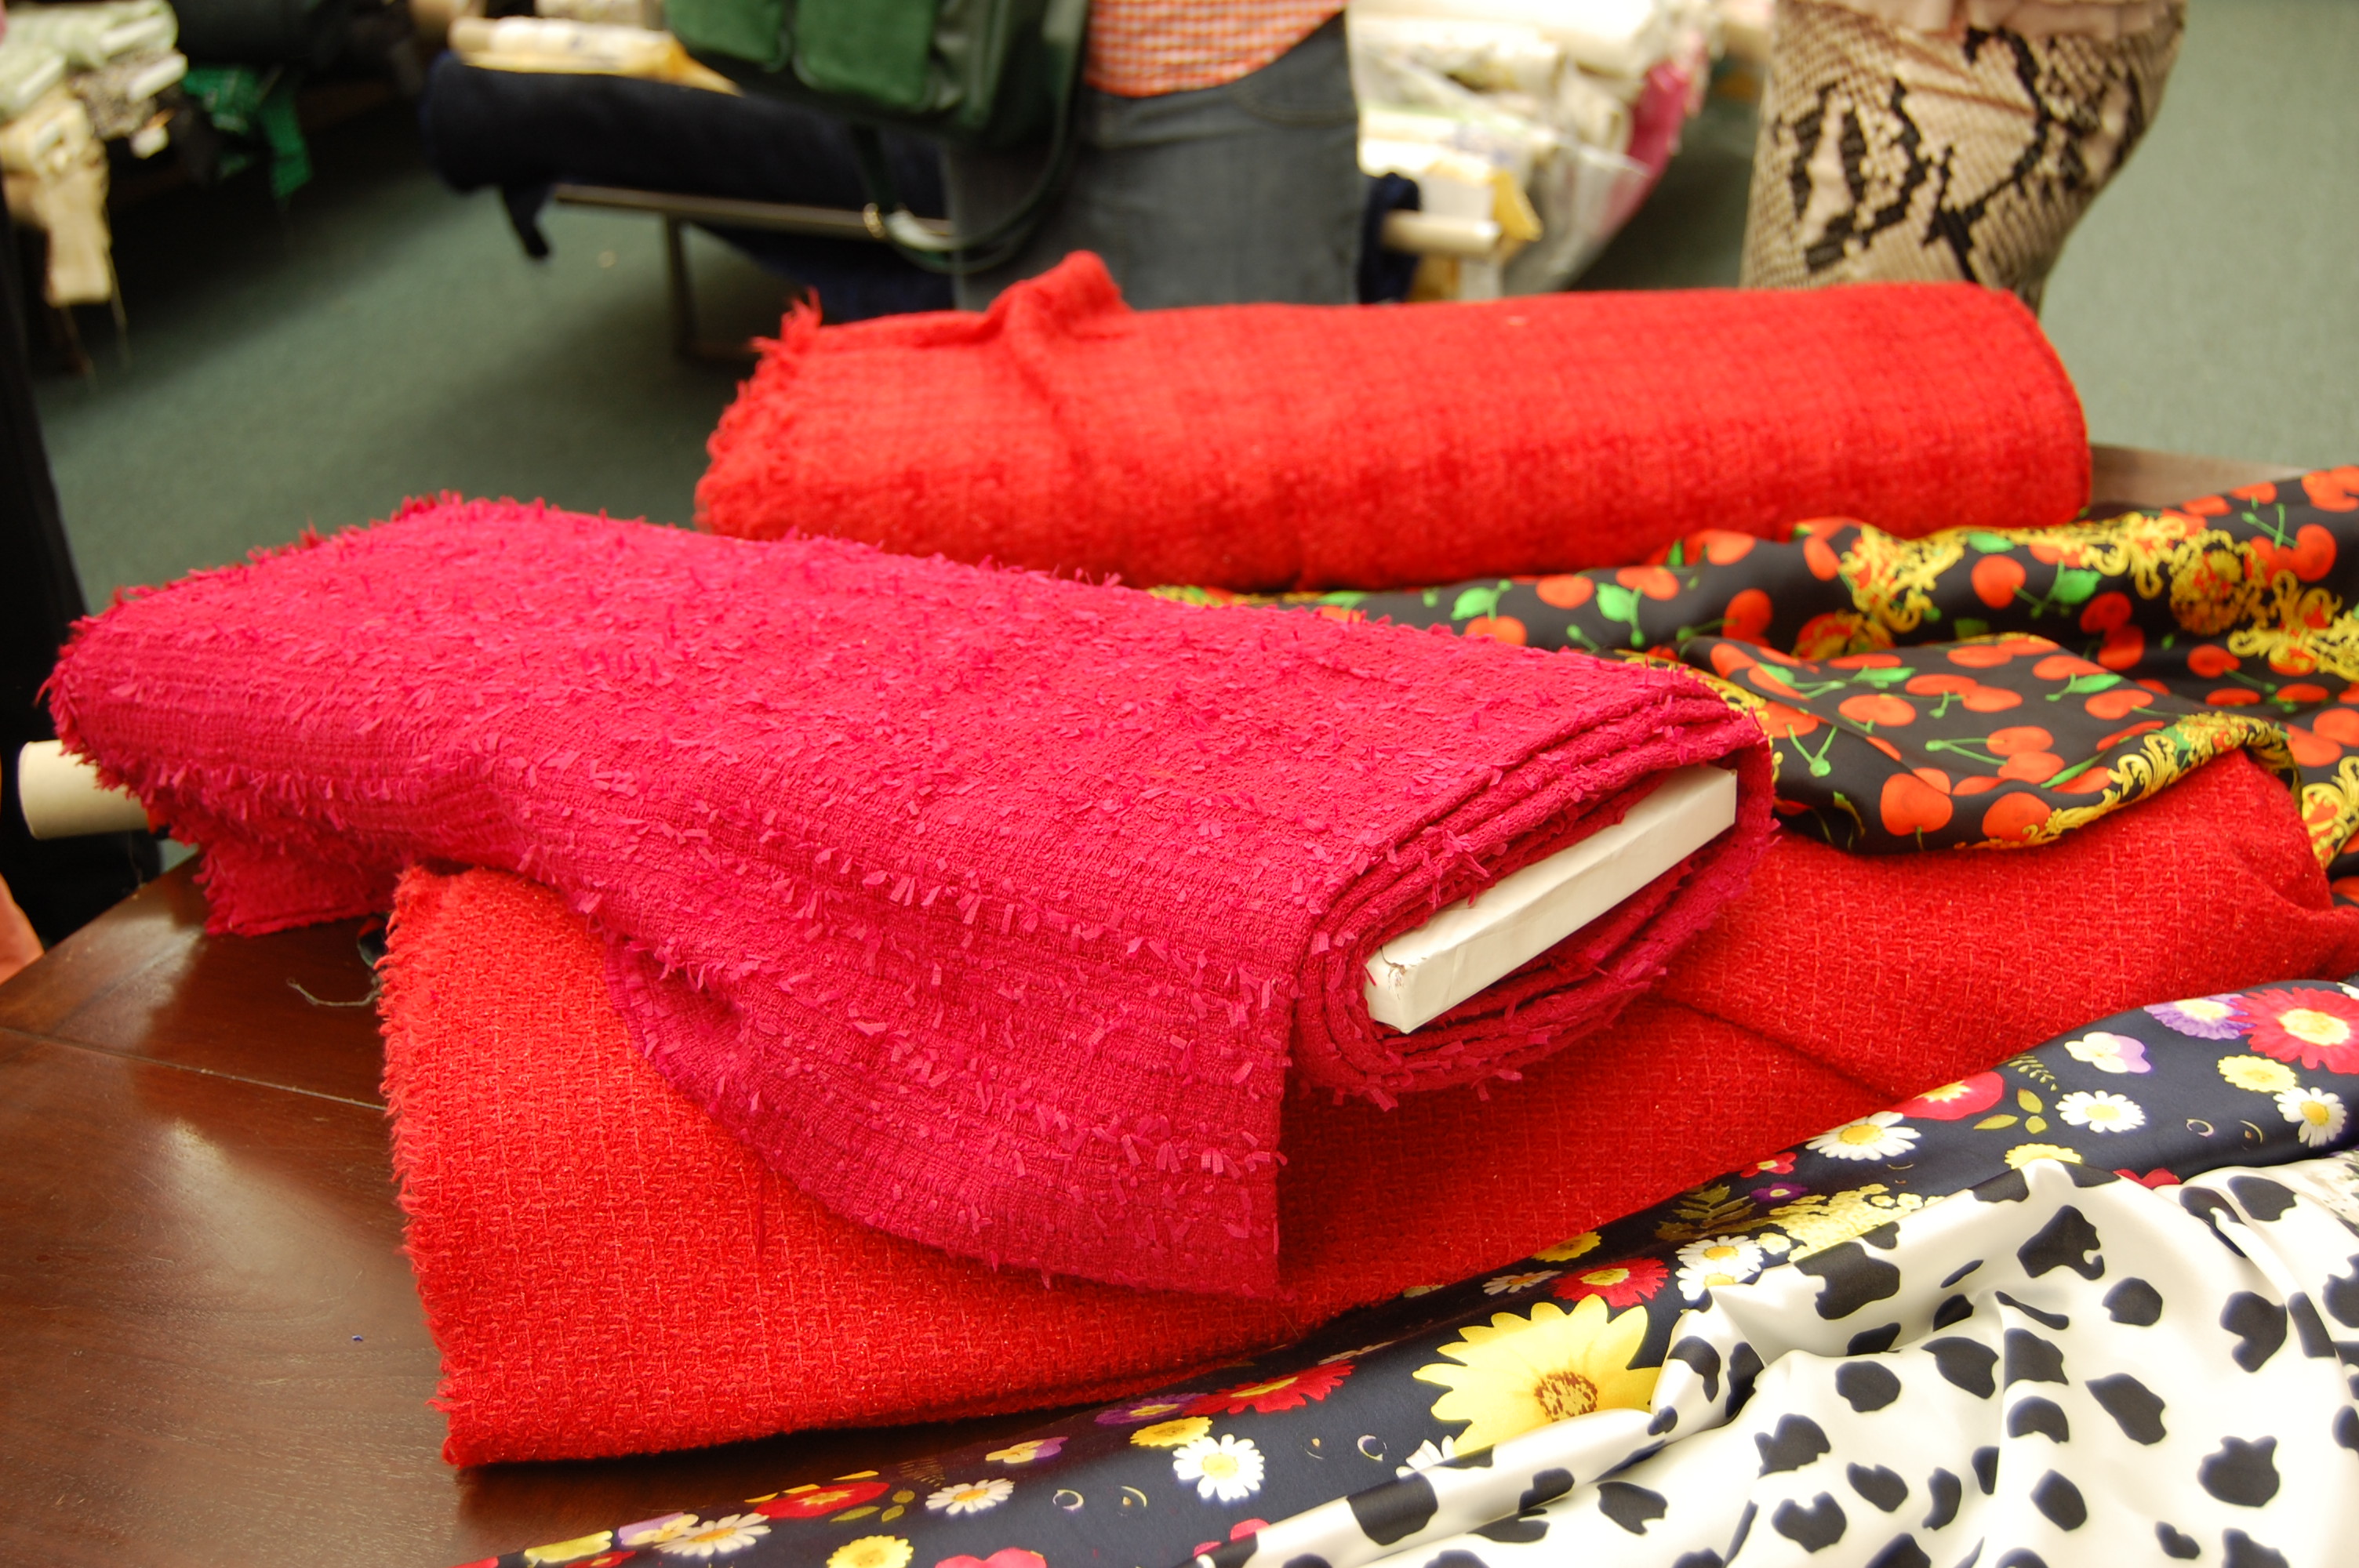
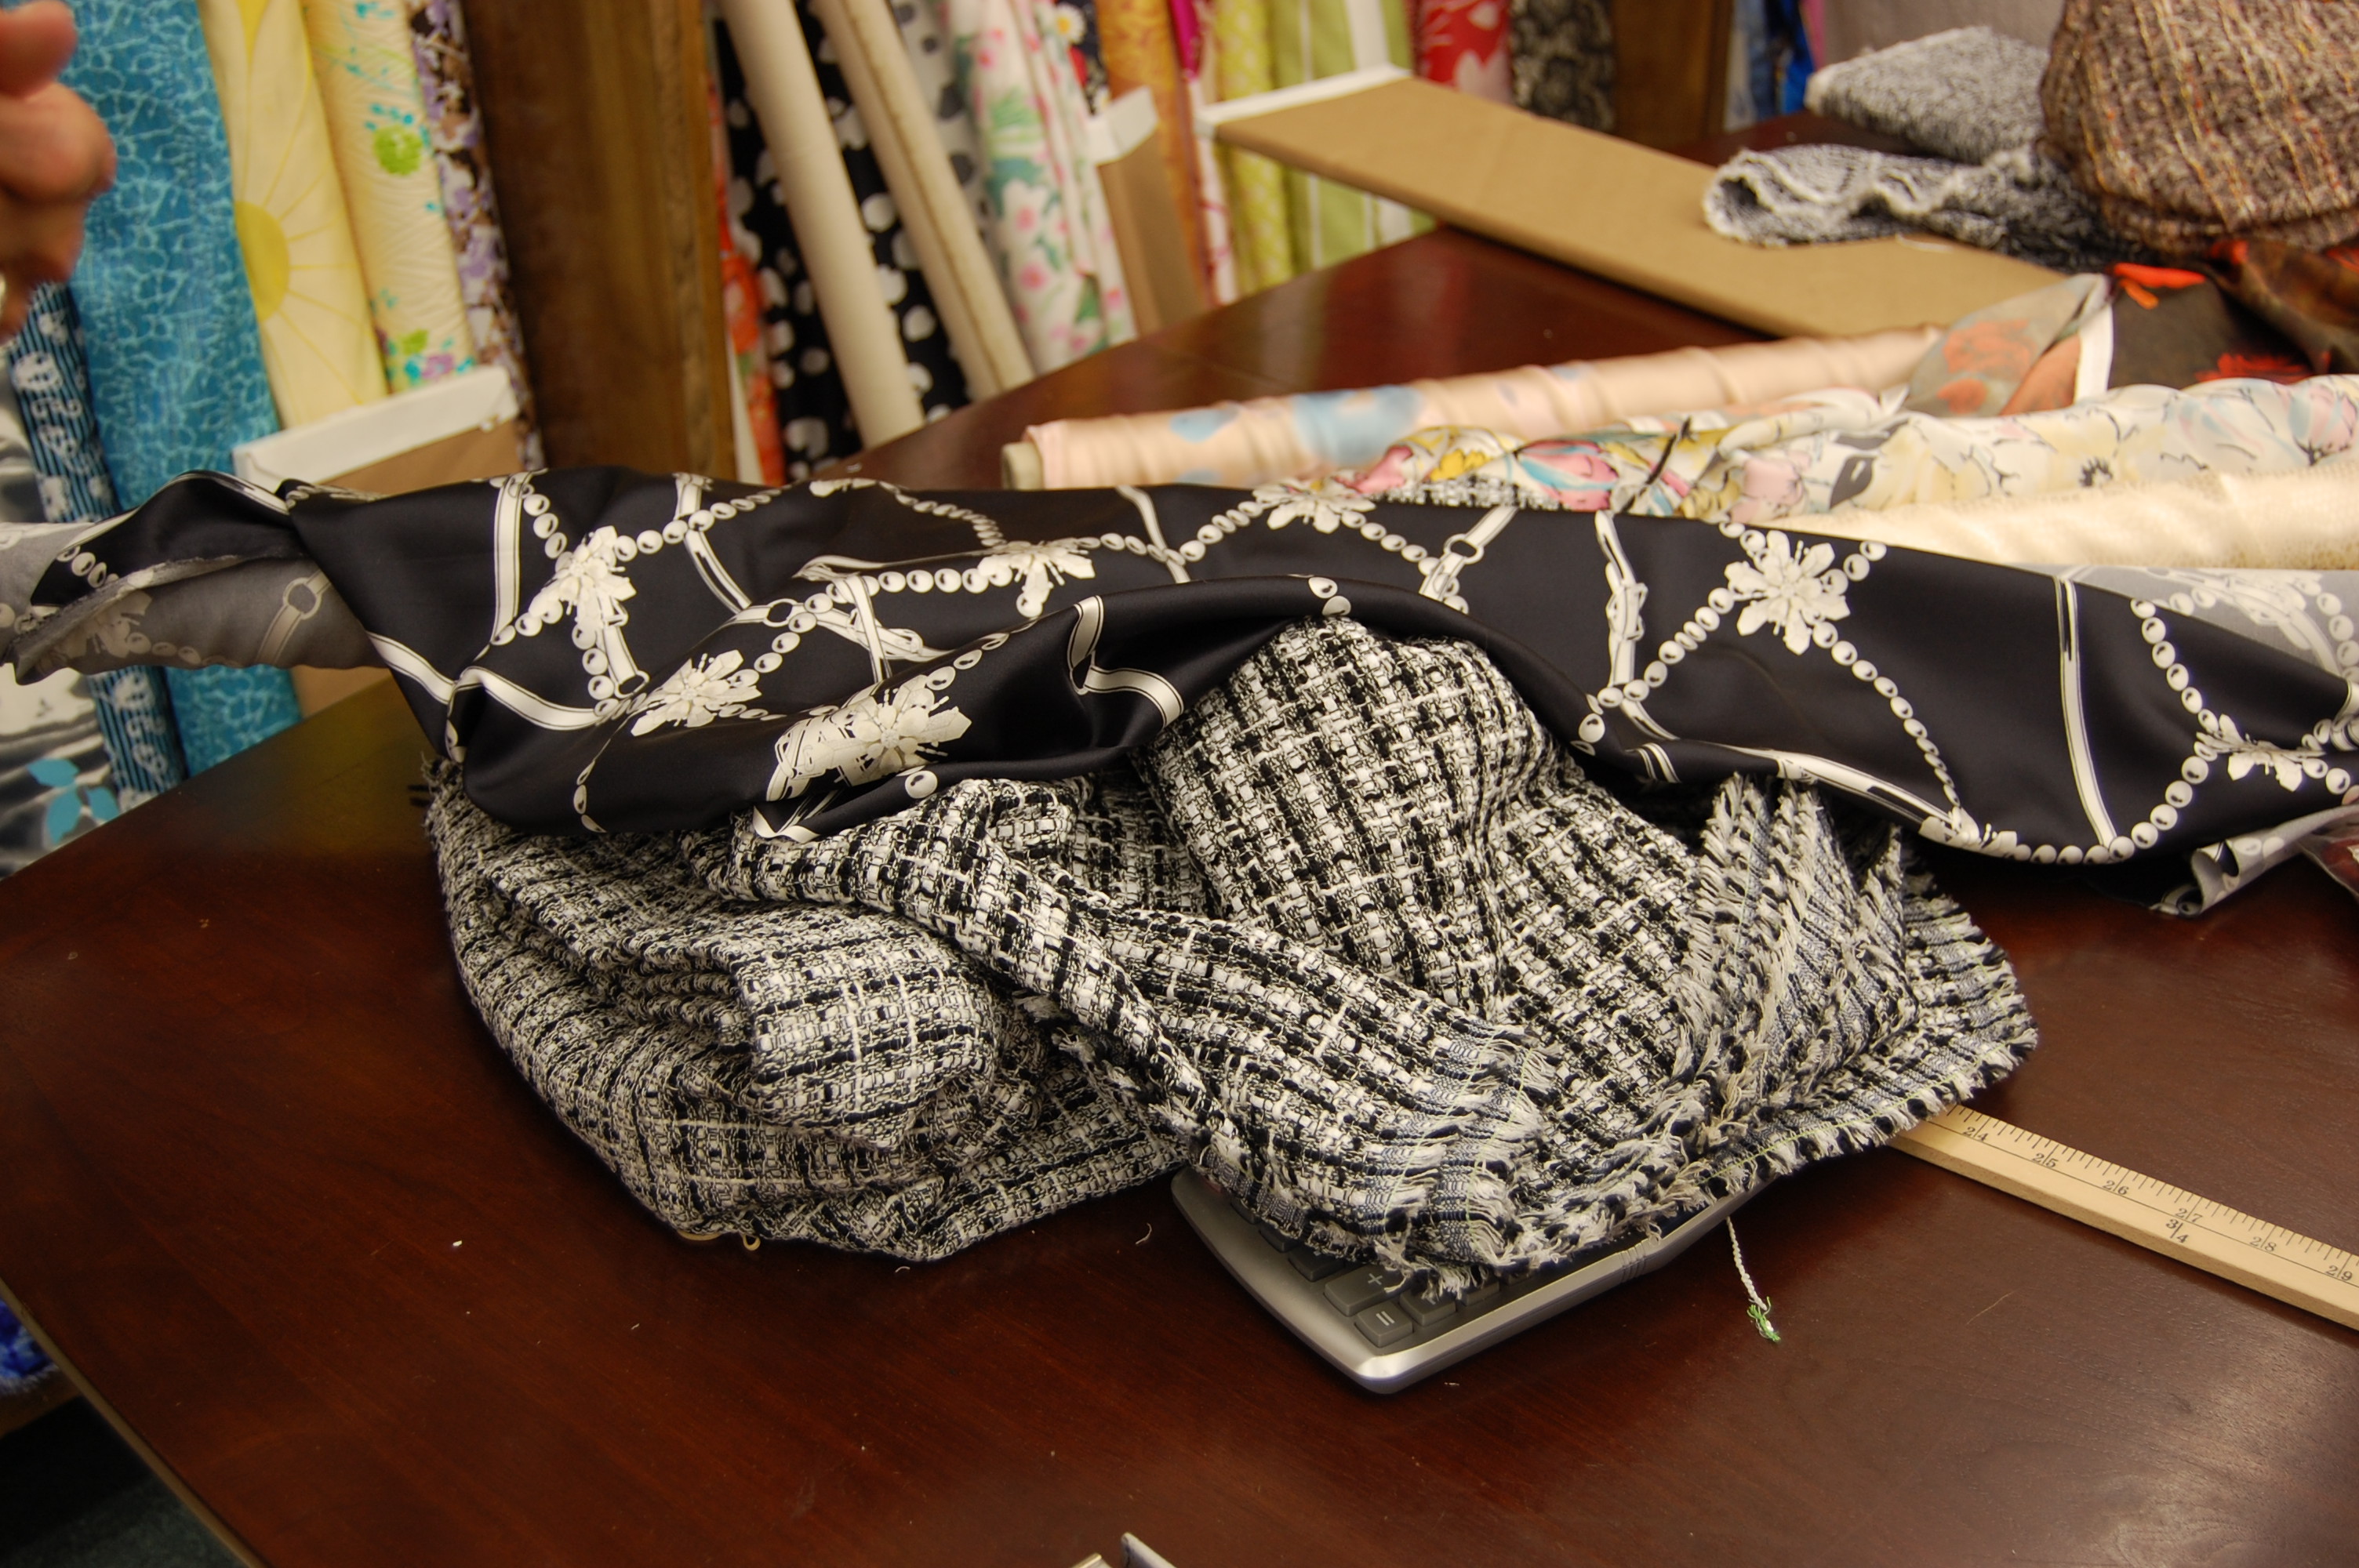
Our mission was to find and purchase our fabrics for the week-long class. Thus – each of us needed to decide on a boucle for the jacket, and a silk charmeuse (the preferred fabric) for our lining. The quantity of boucle fabric which Mendel Goldberg carries makes one’s decision fraught with “how can I ever narrow this down to just one?” Well, of course, being the intrepid shoppers that we were, many of us actually could not narrow down our choice to just one. Is it any surprise that many more than just 11 lengths each of boucle and charmeuse yardage were cut that day?

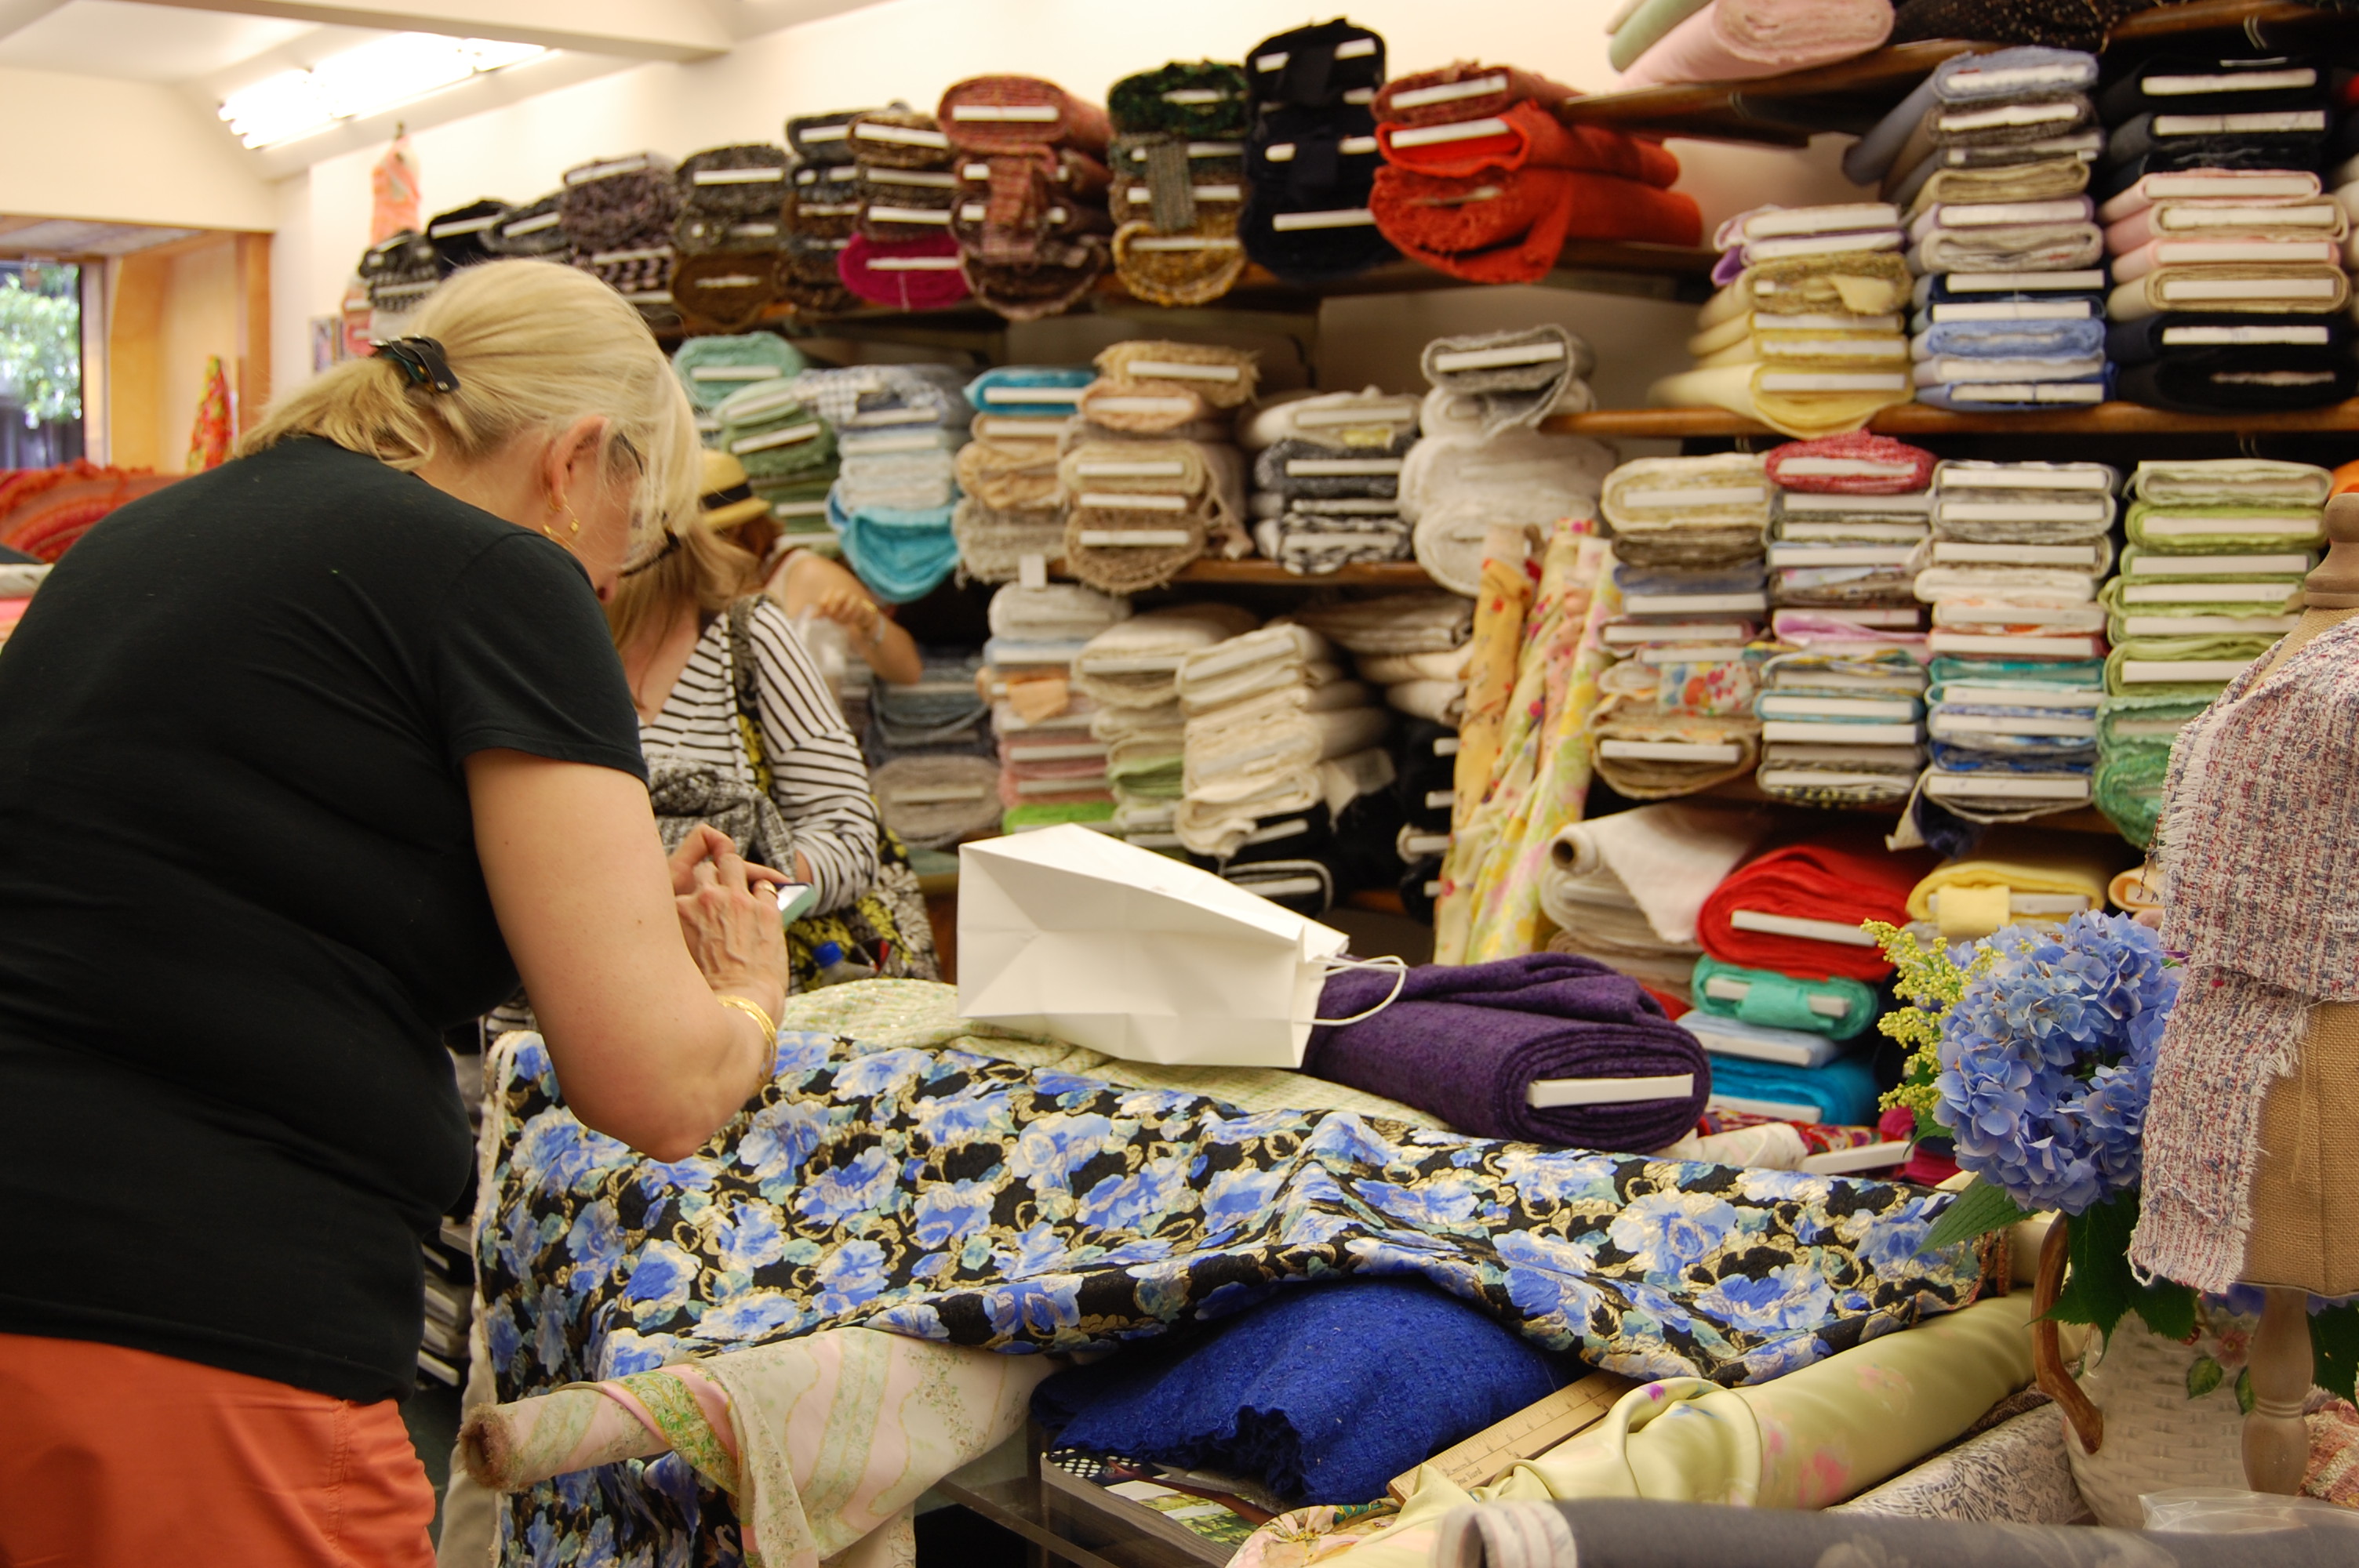
Bolts and bolts of boucles and other fabrics.
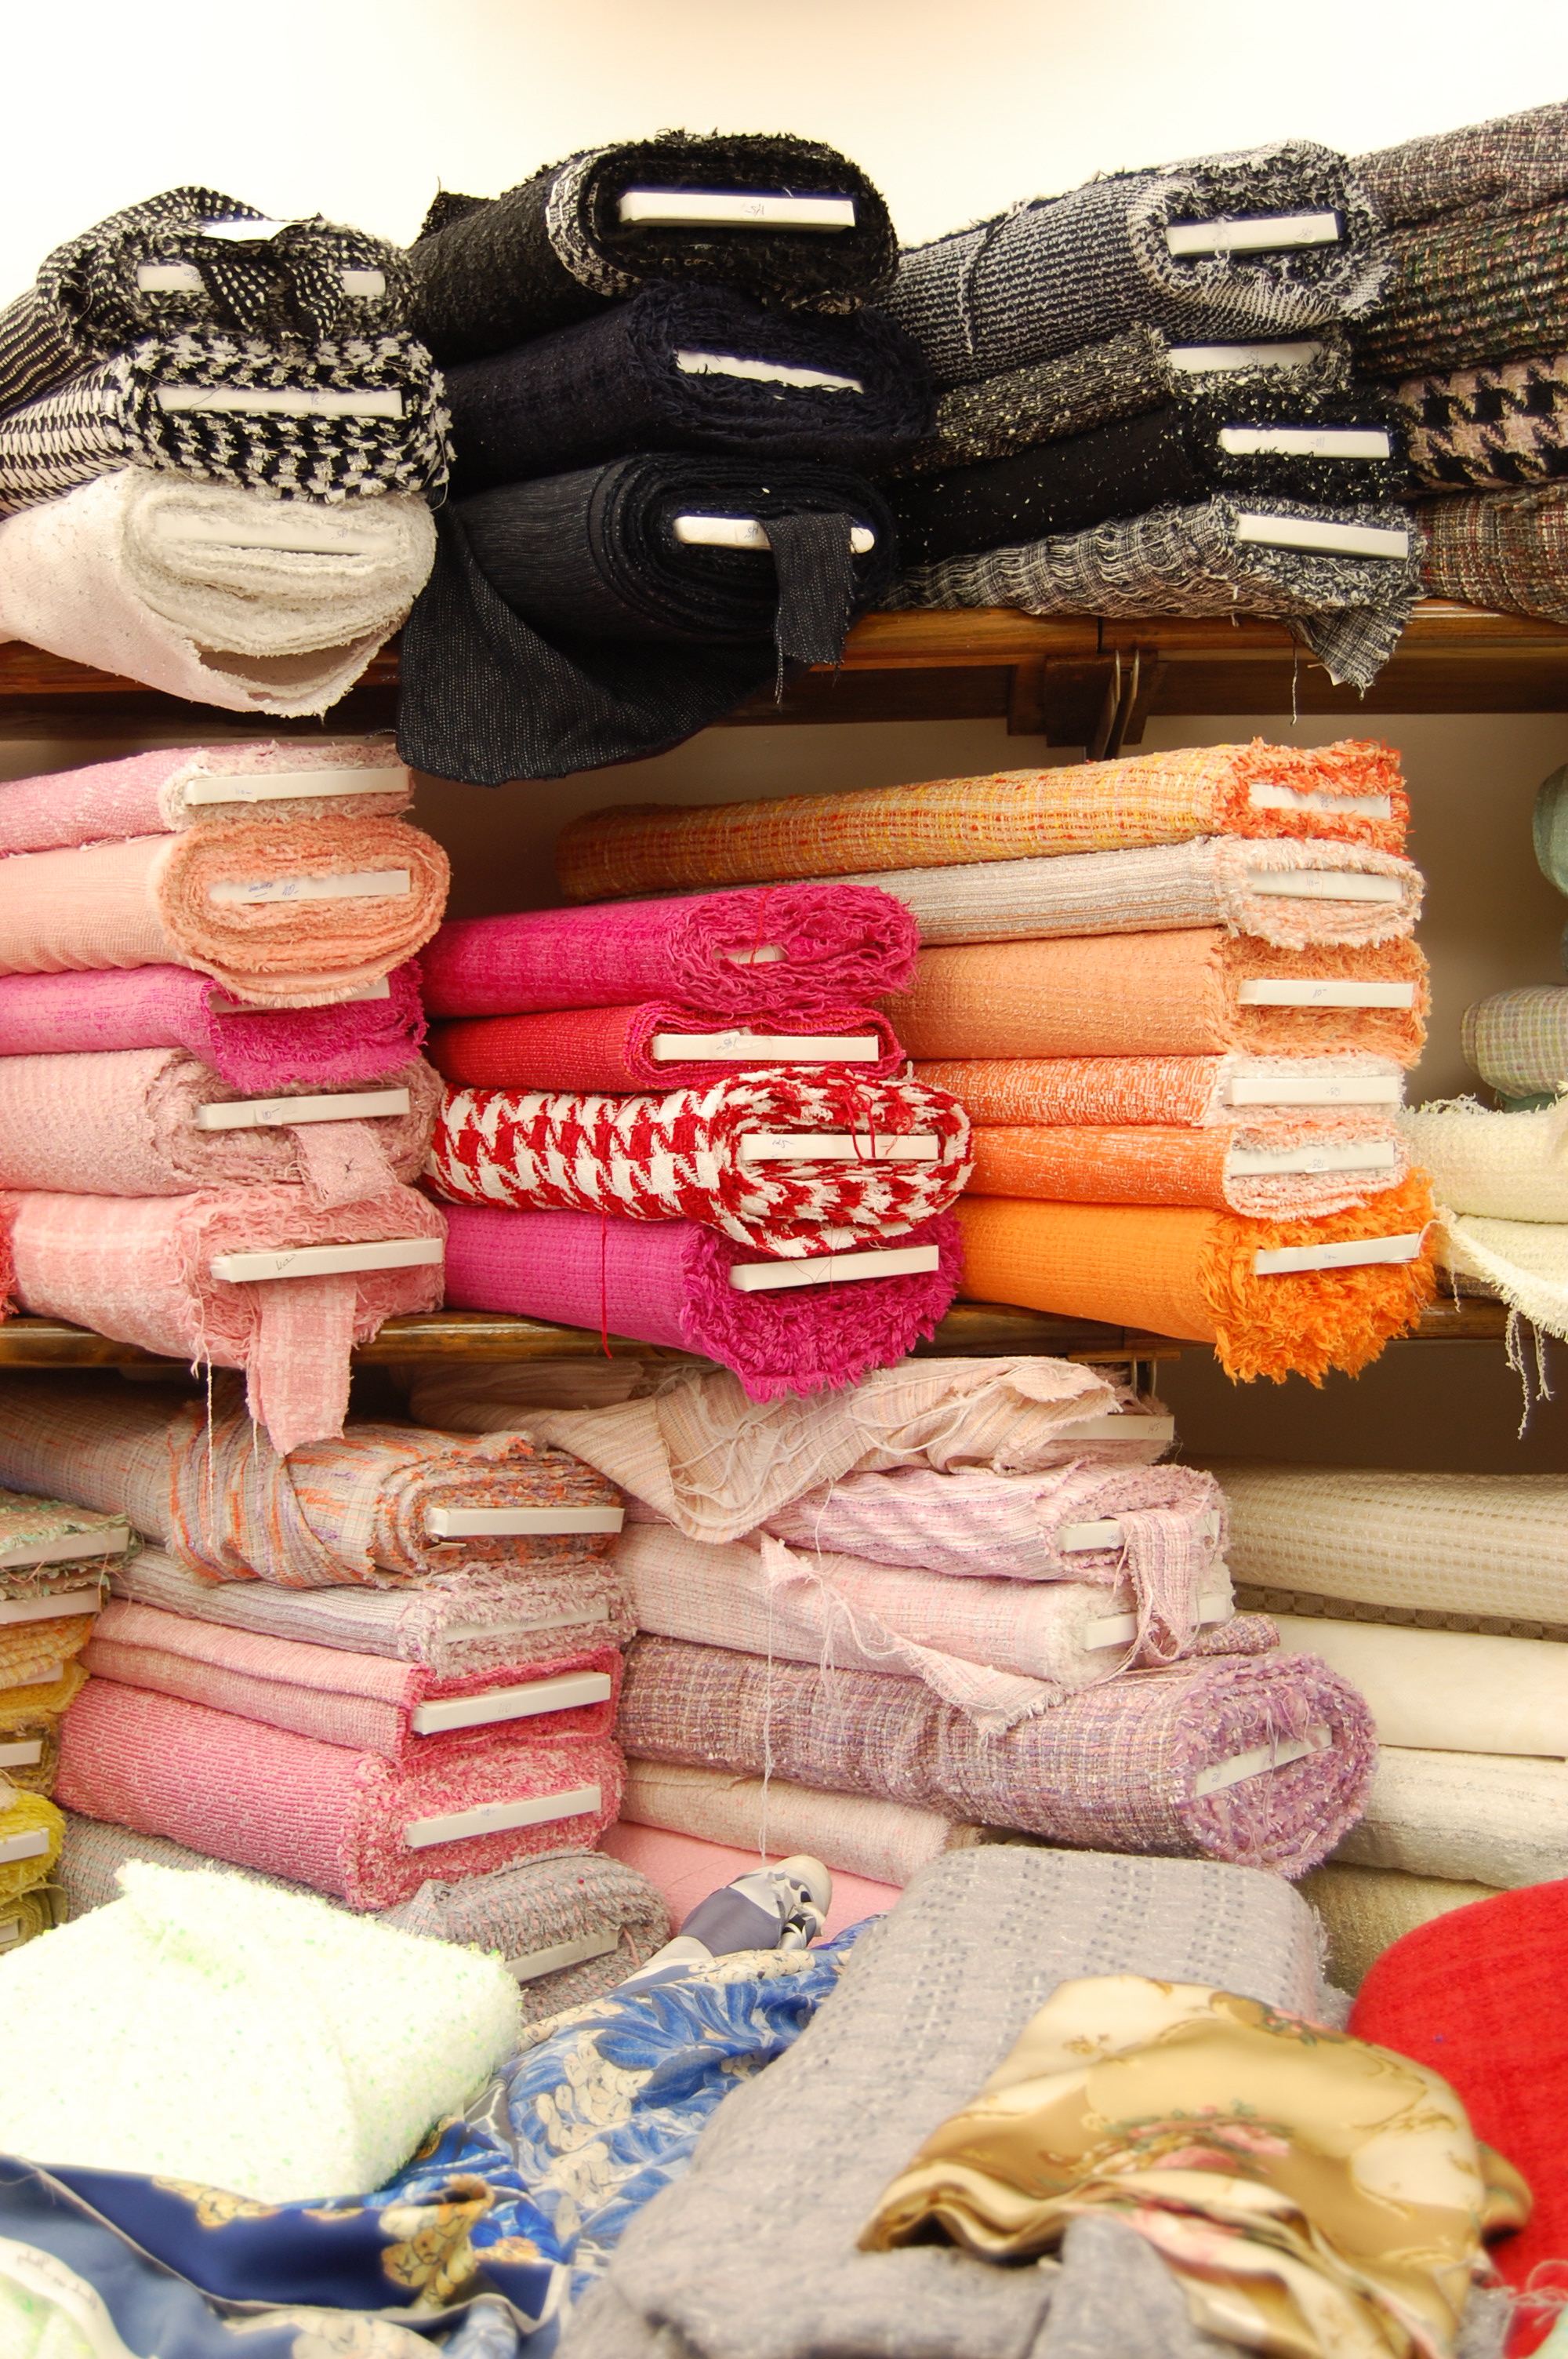
Just a small sampling of the boucles from which to choose.
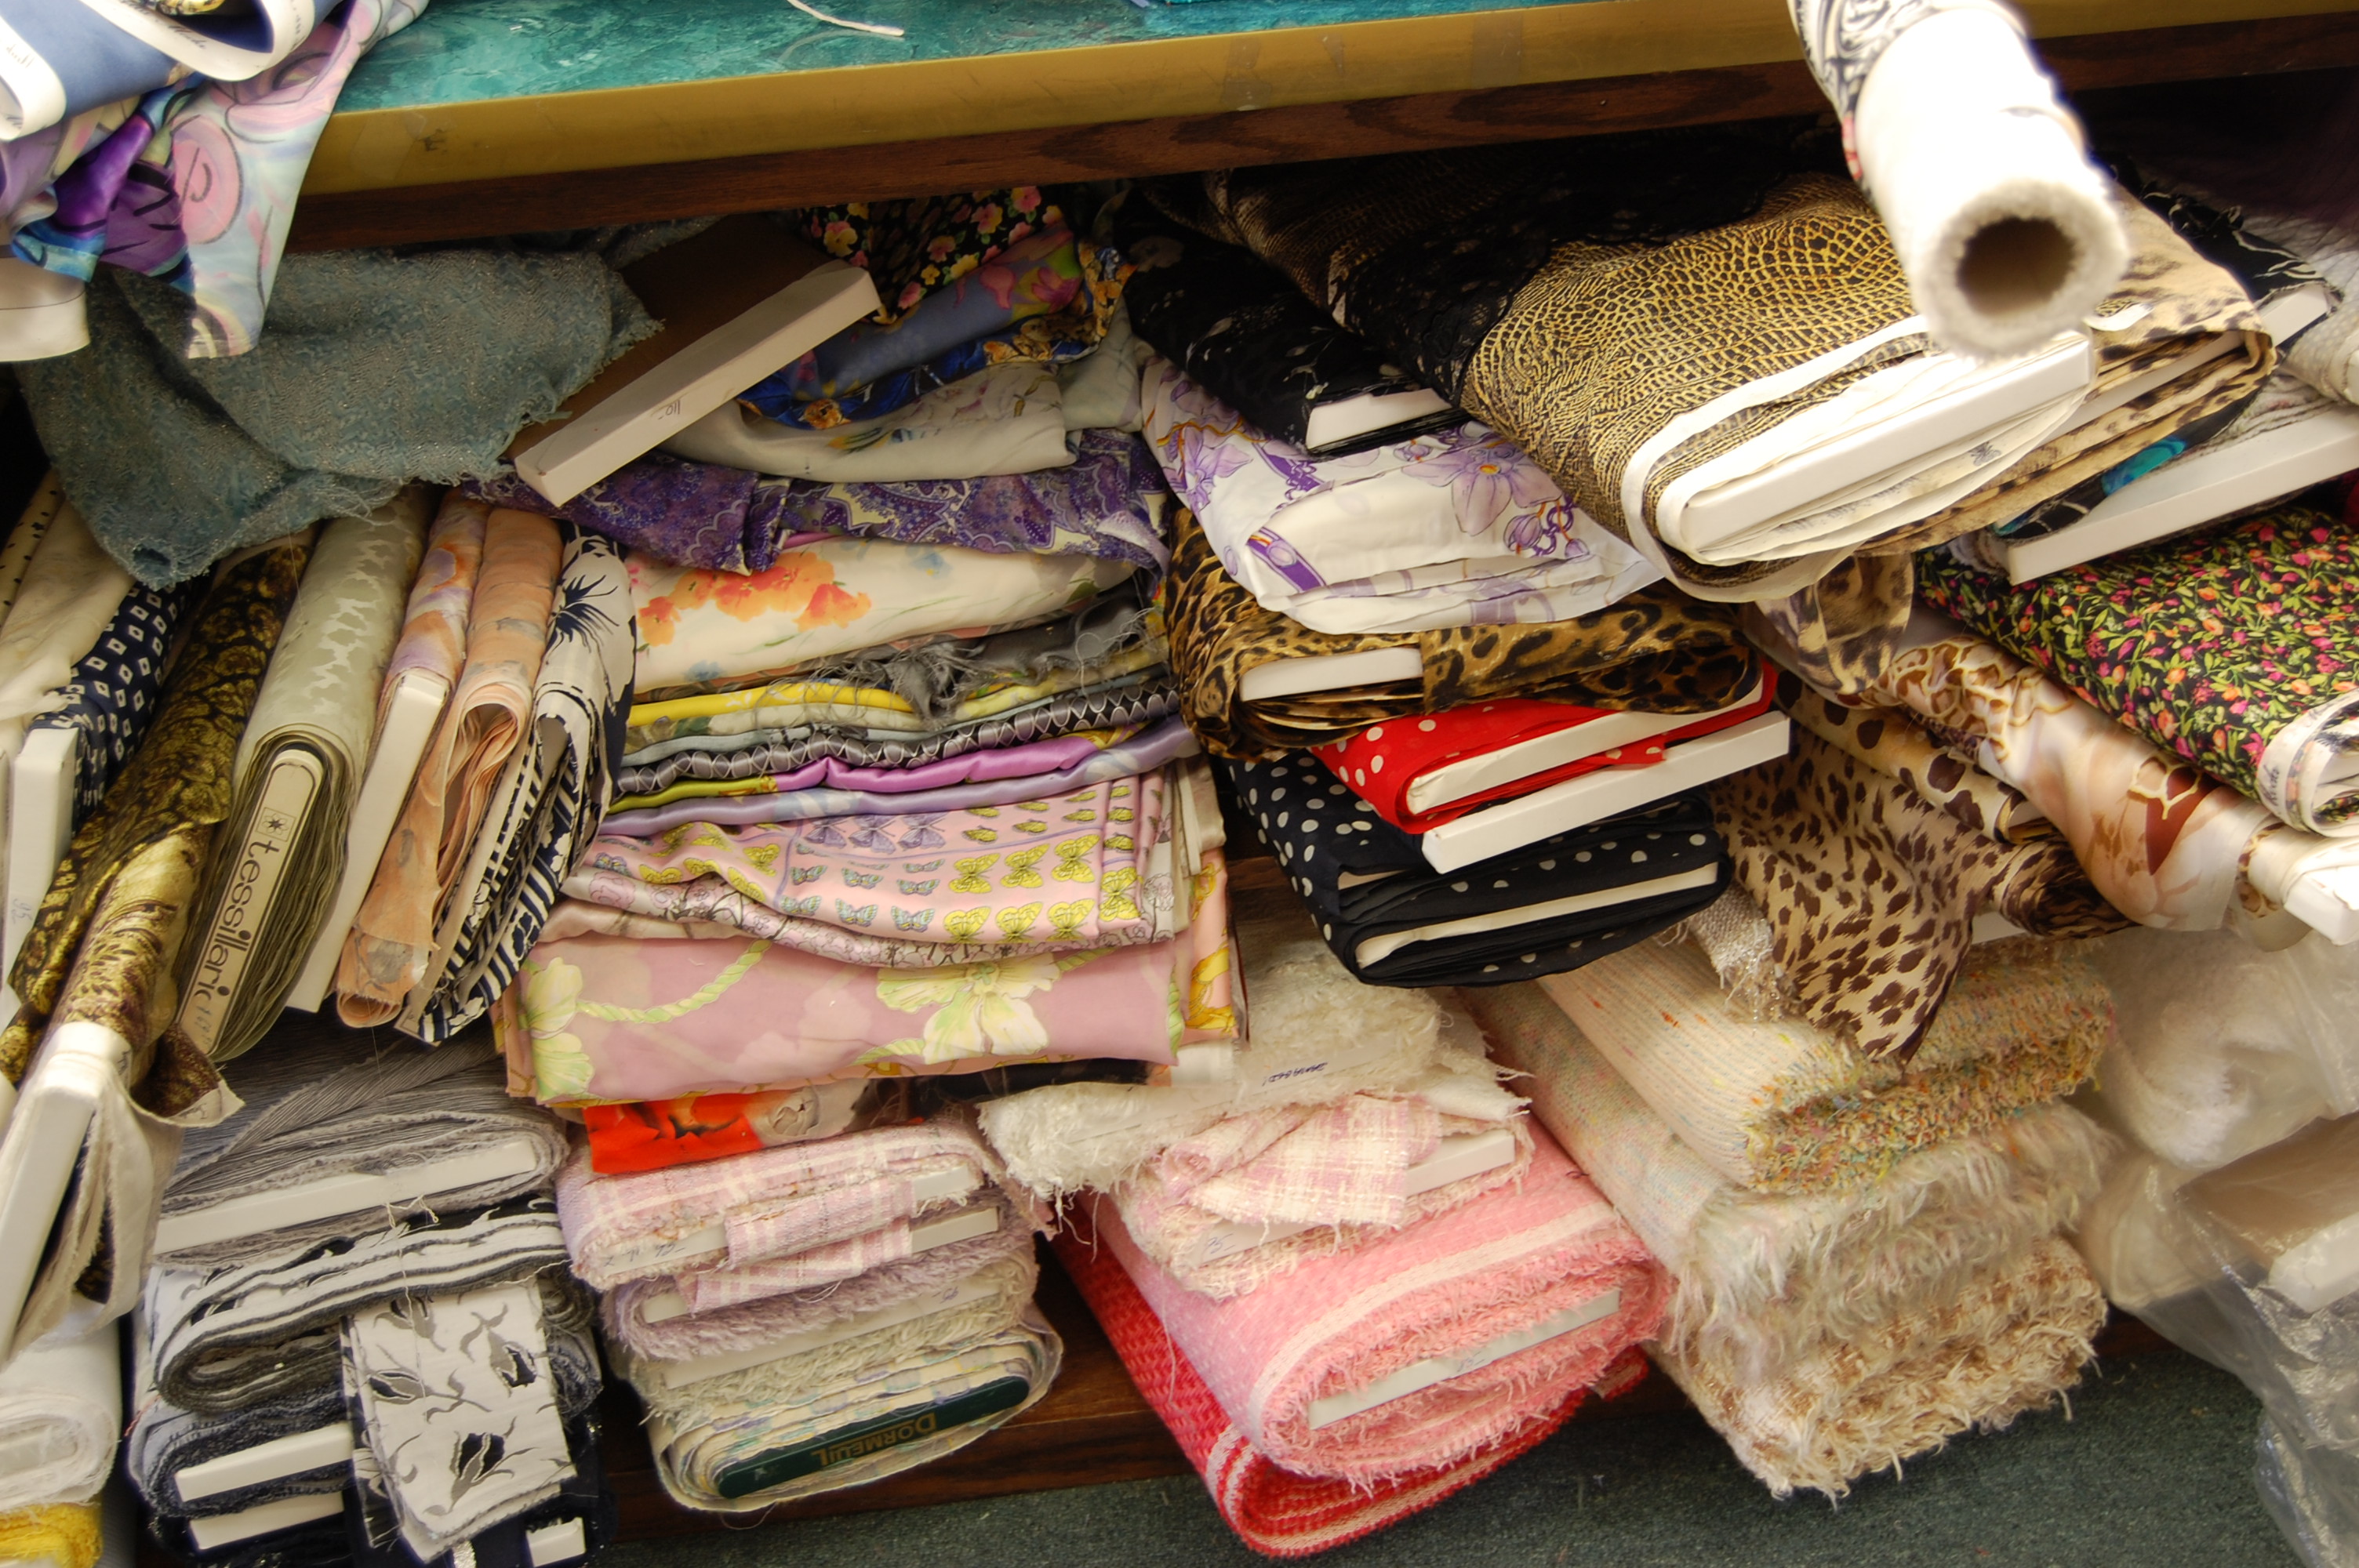
More fabric under the cutting tables.
And more bolts in the basement, which we were privileged to visit.
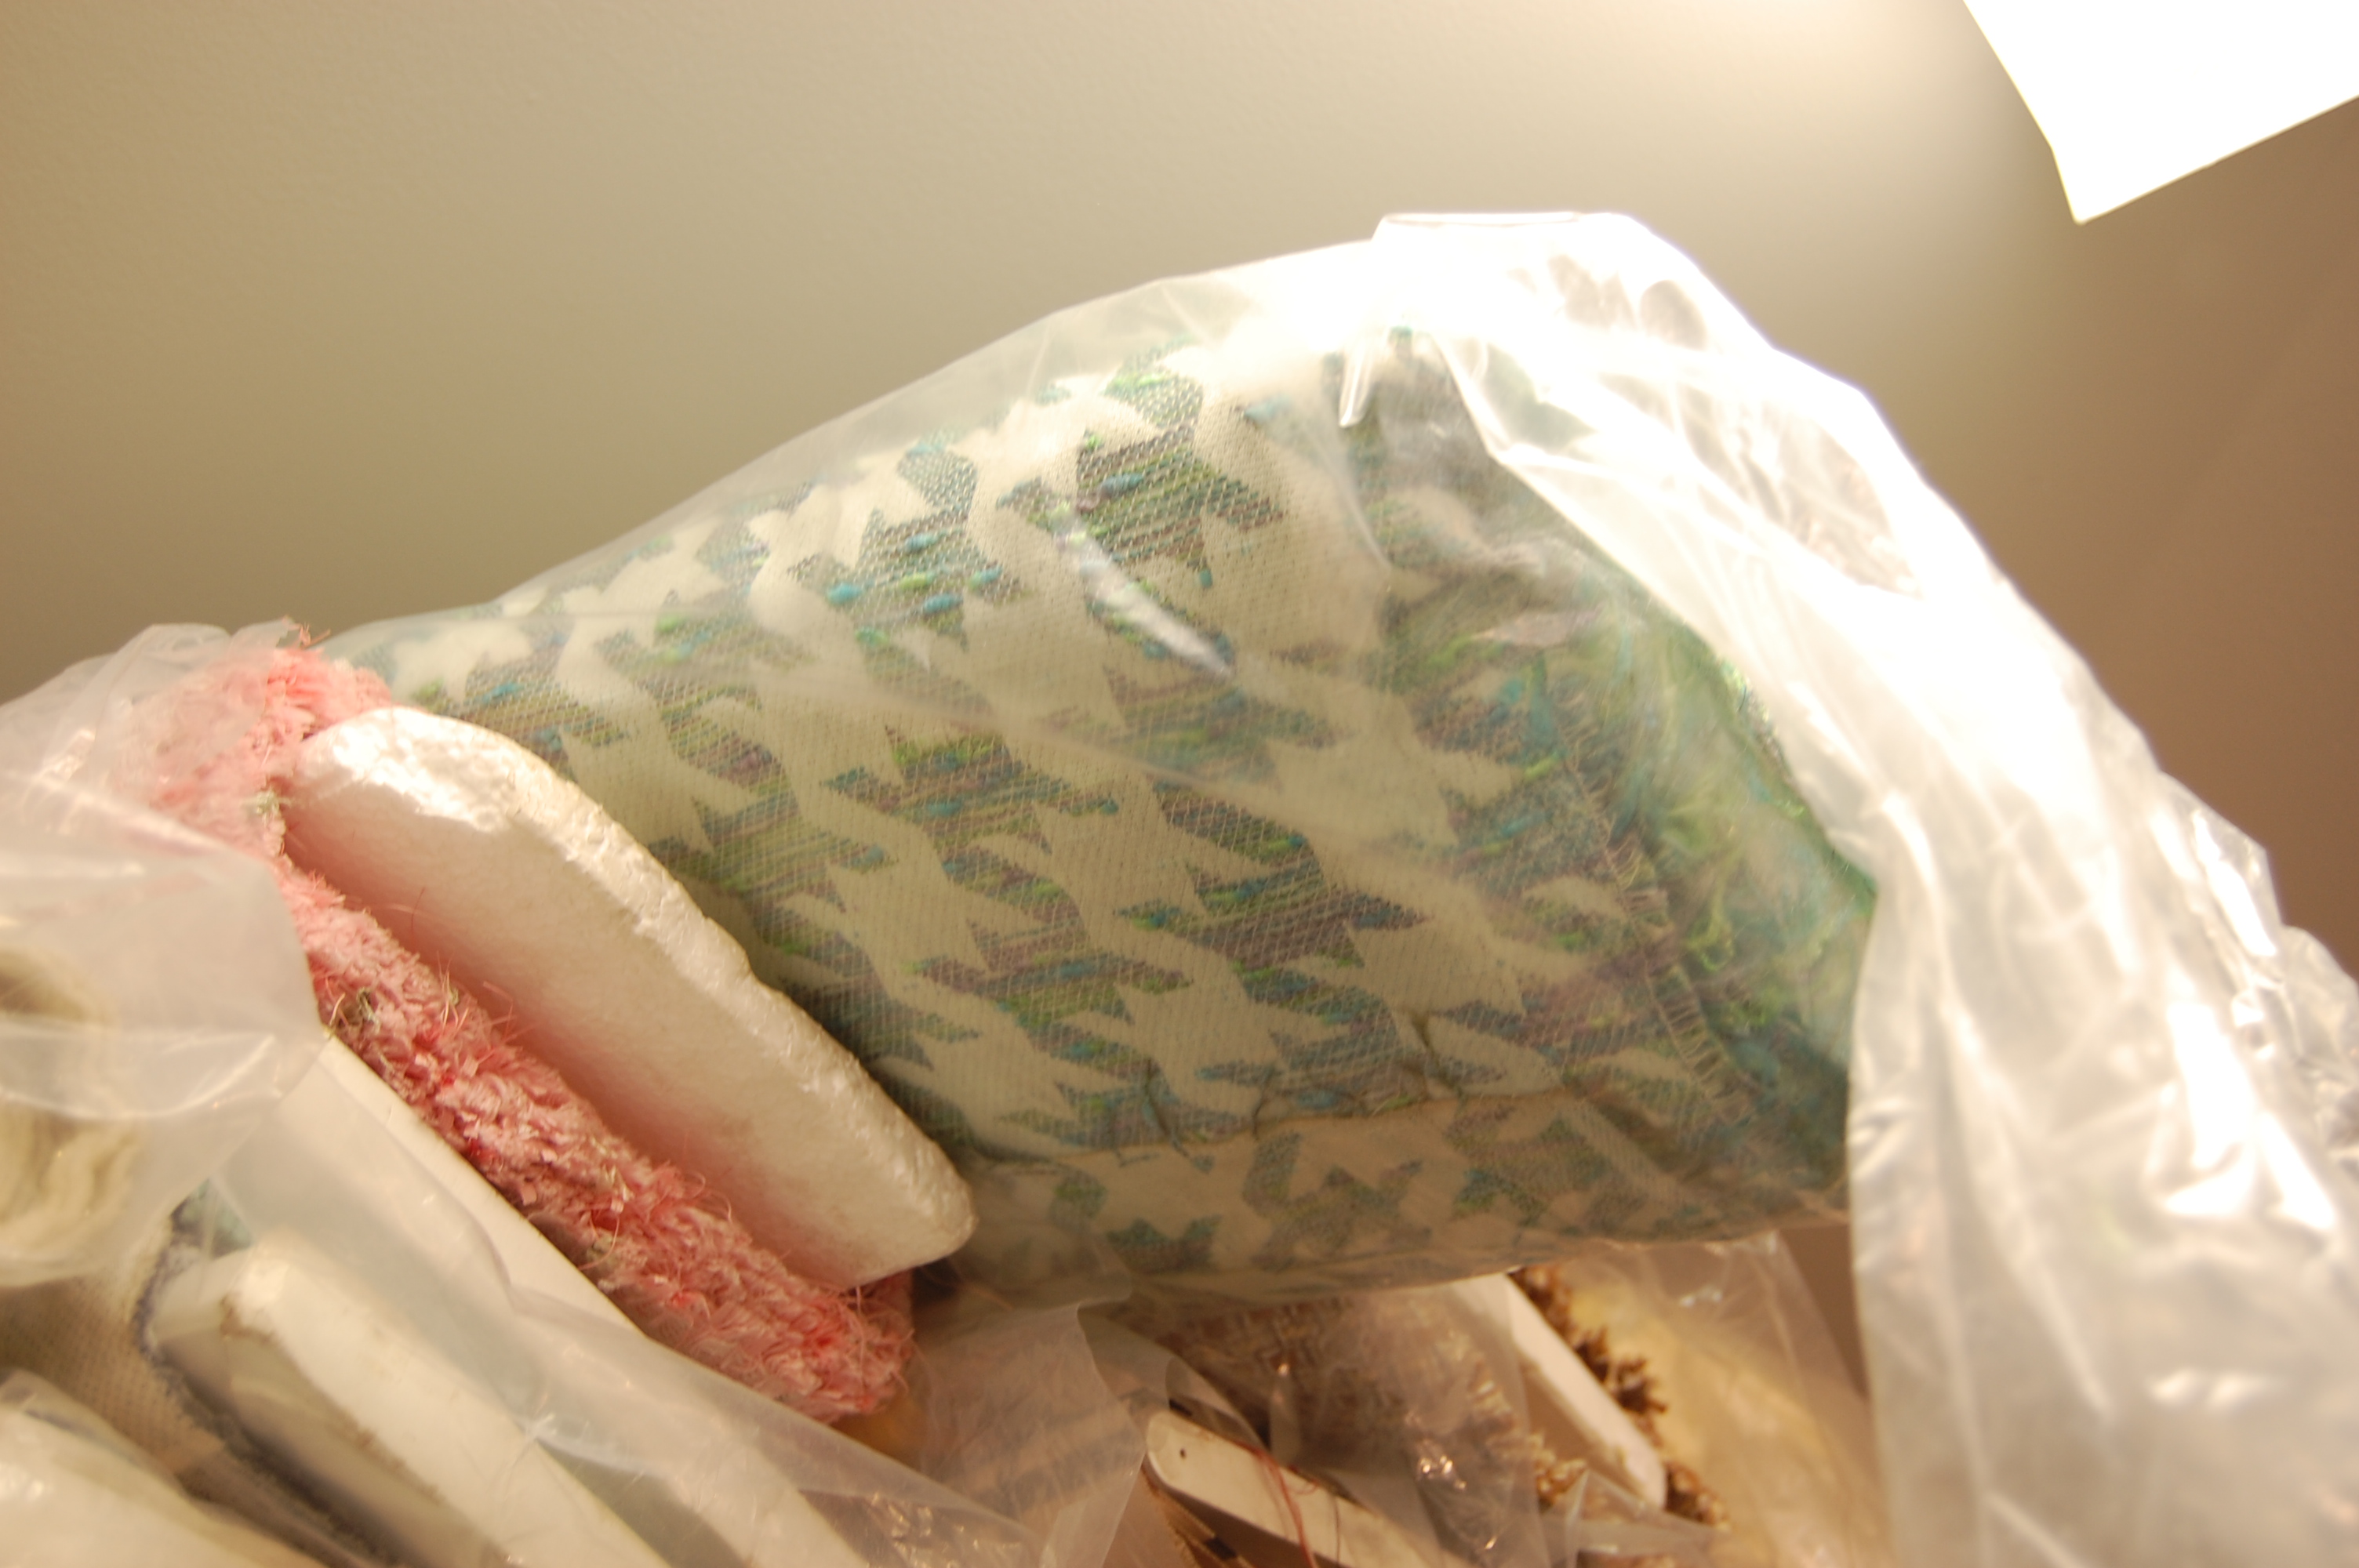
A lovely houndstooth, tucked away in the basement.
Deciding on the lining fabric was as much fun as the boucle, and the exquisite designs, unique prints, and lustrous quality of Alice’s charmeuses are something to behold. Truly, the selection is a testament to Alice’s good taste and her diligence in finding the best that is available in France, Italy and Switzerland, and shipping them home to her store in the States.
So many charmeuses from which to choose.
Susan helping with the “match-up”.
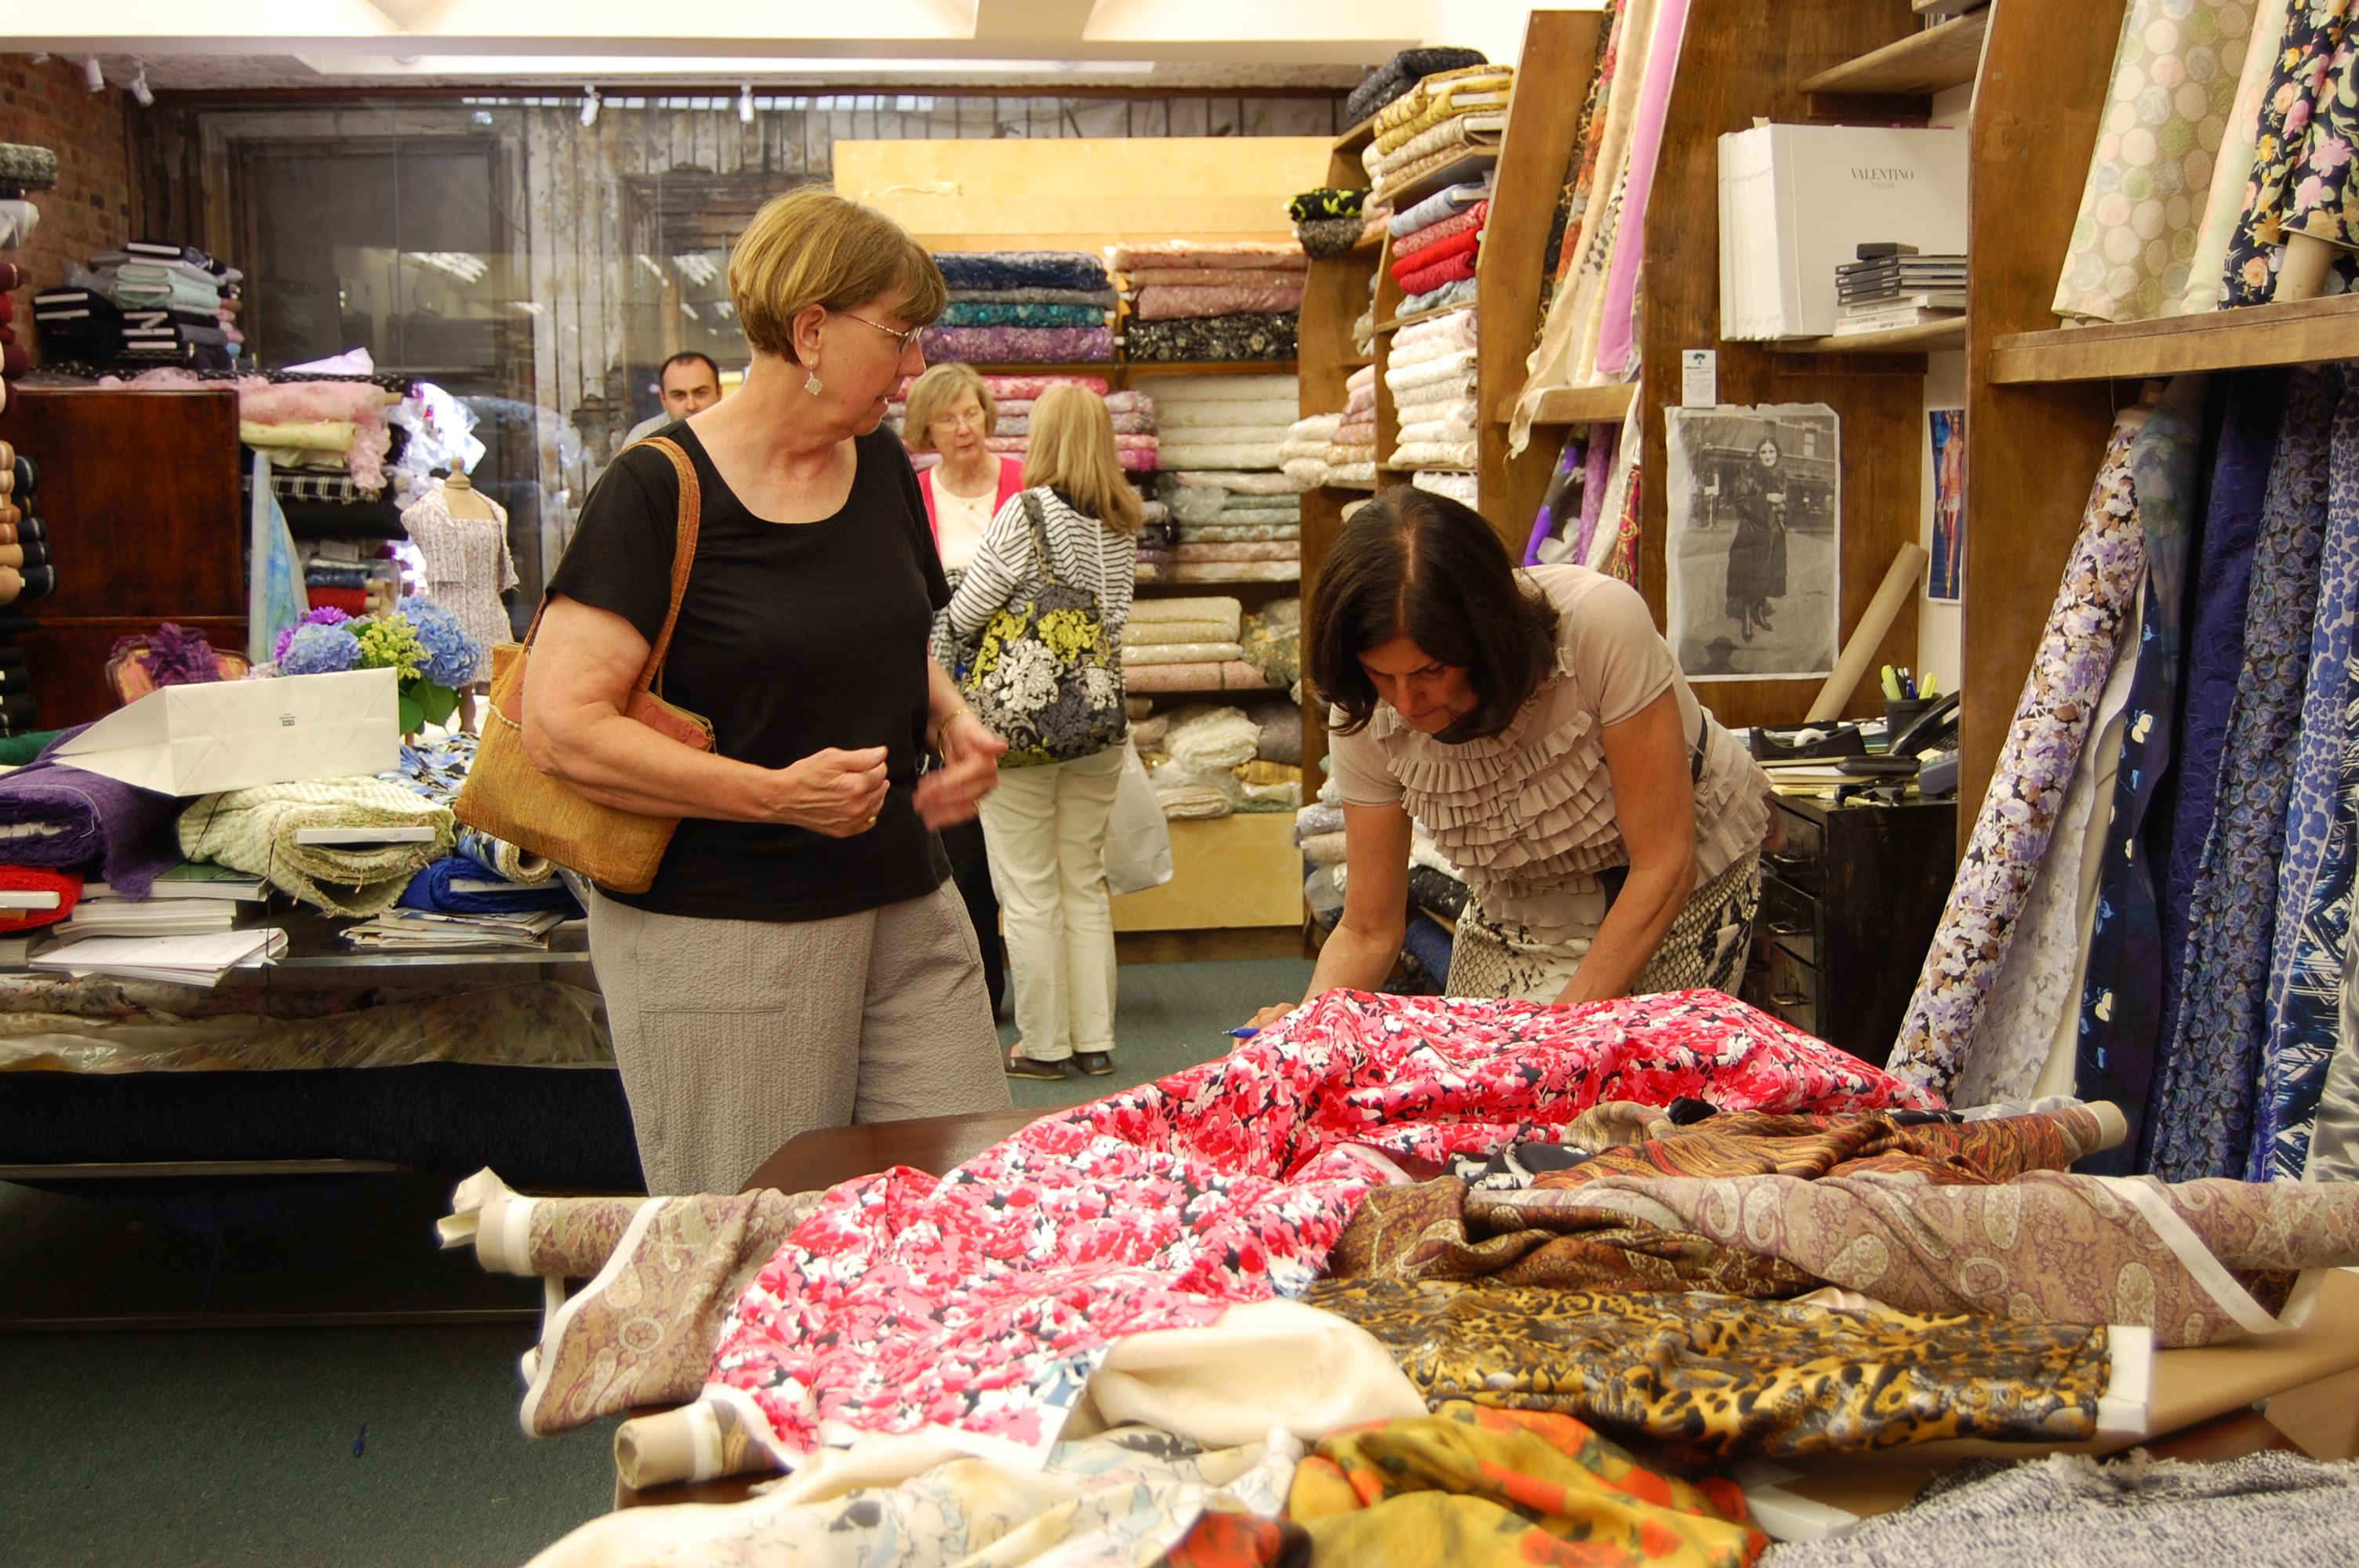
Alice bent over more fabric.
Susan with a beautiful charmeuse.
Classmate Diane’s final selection of boucle and charmeuse.
Alice cutting the charmeuse I selected for my lining.
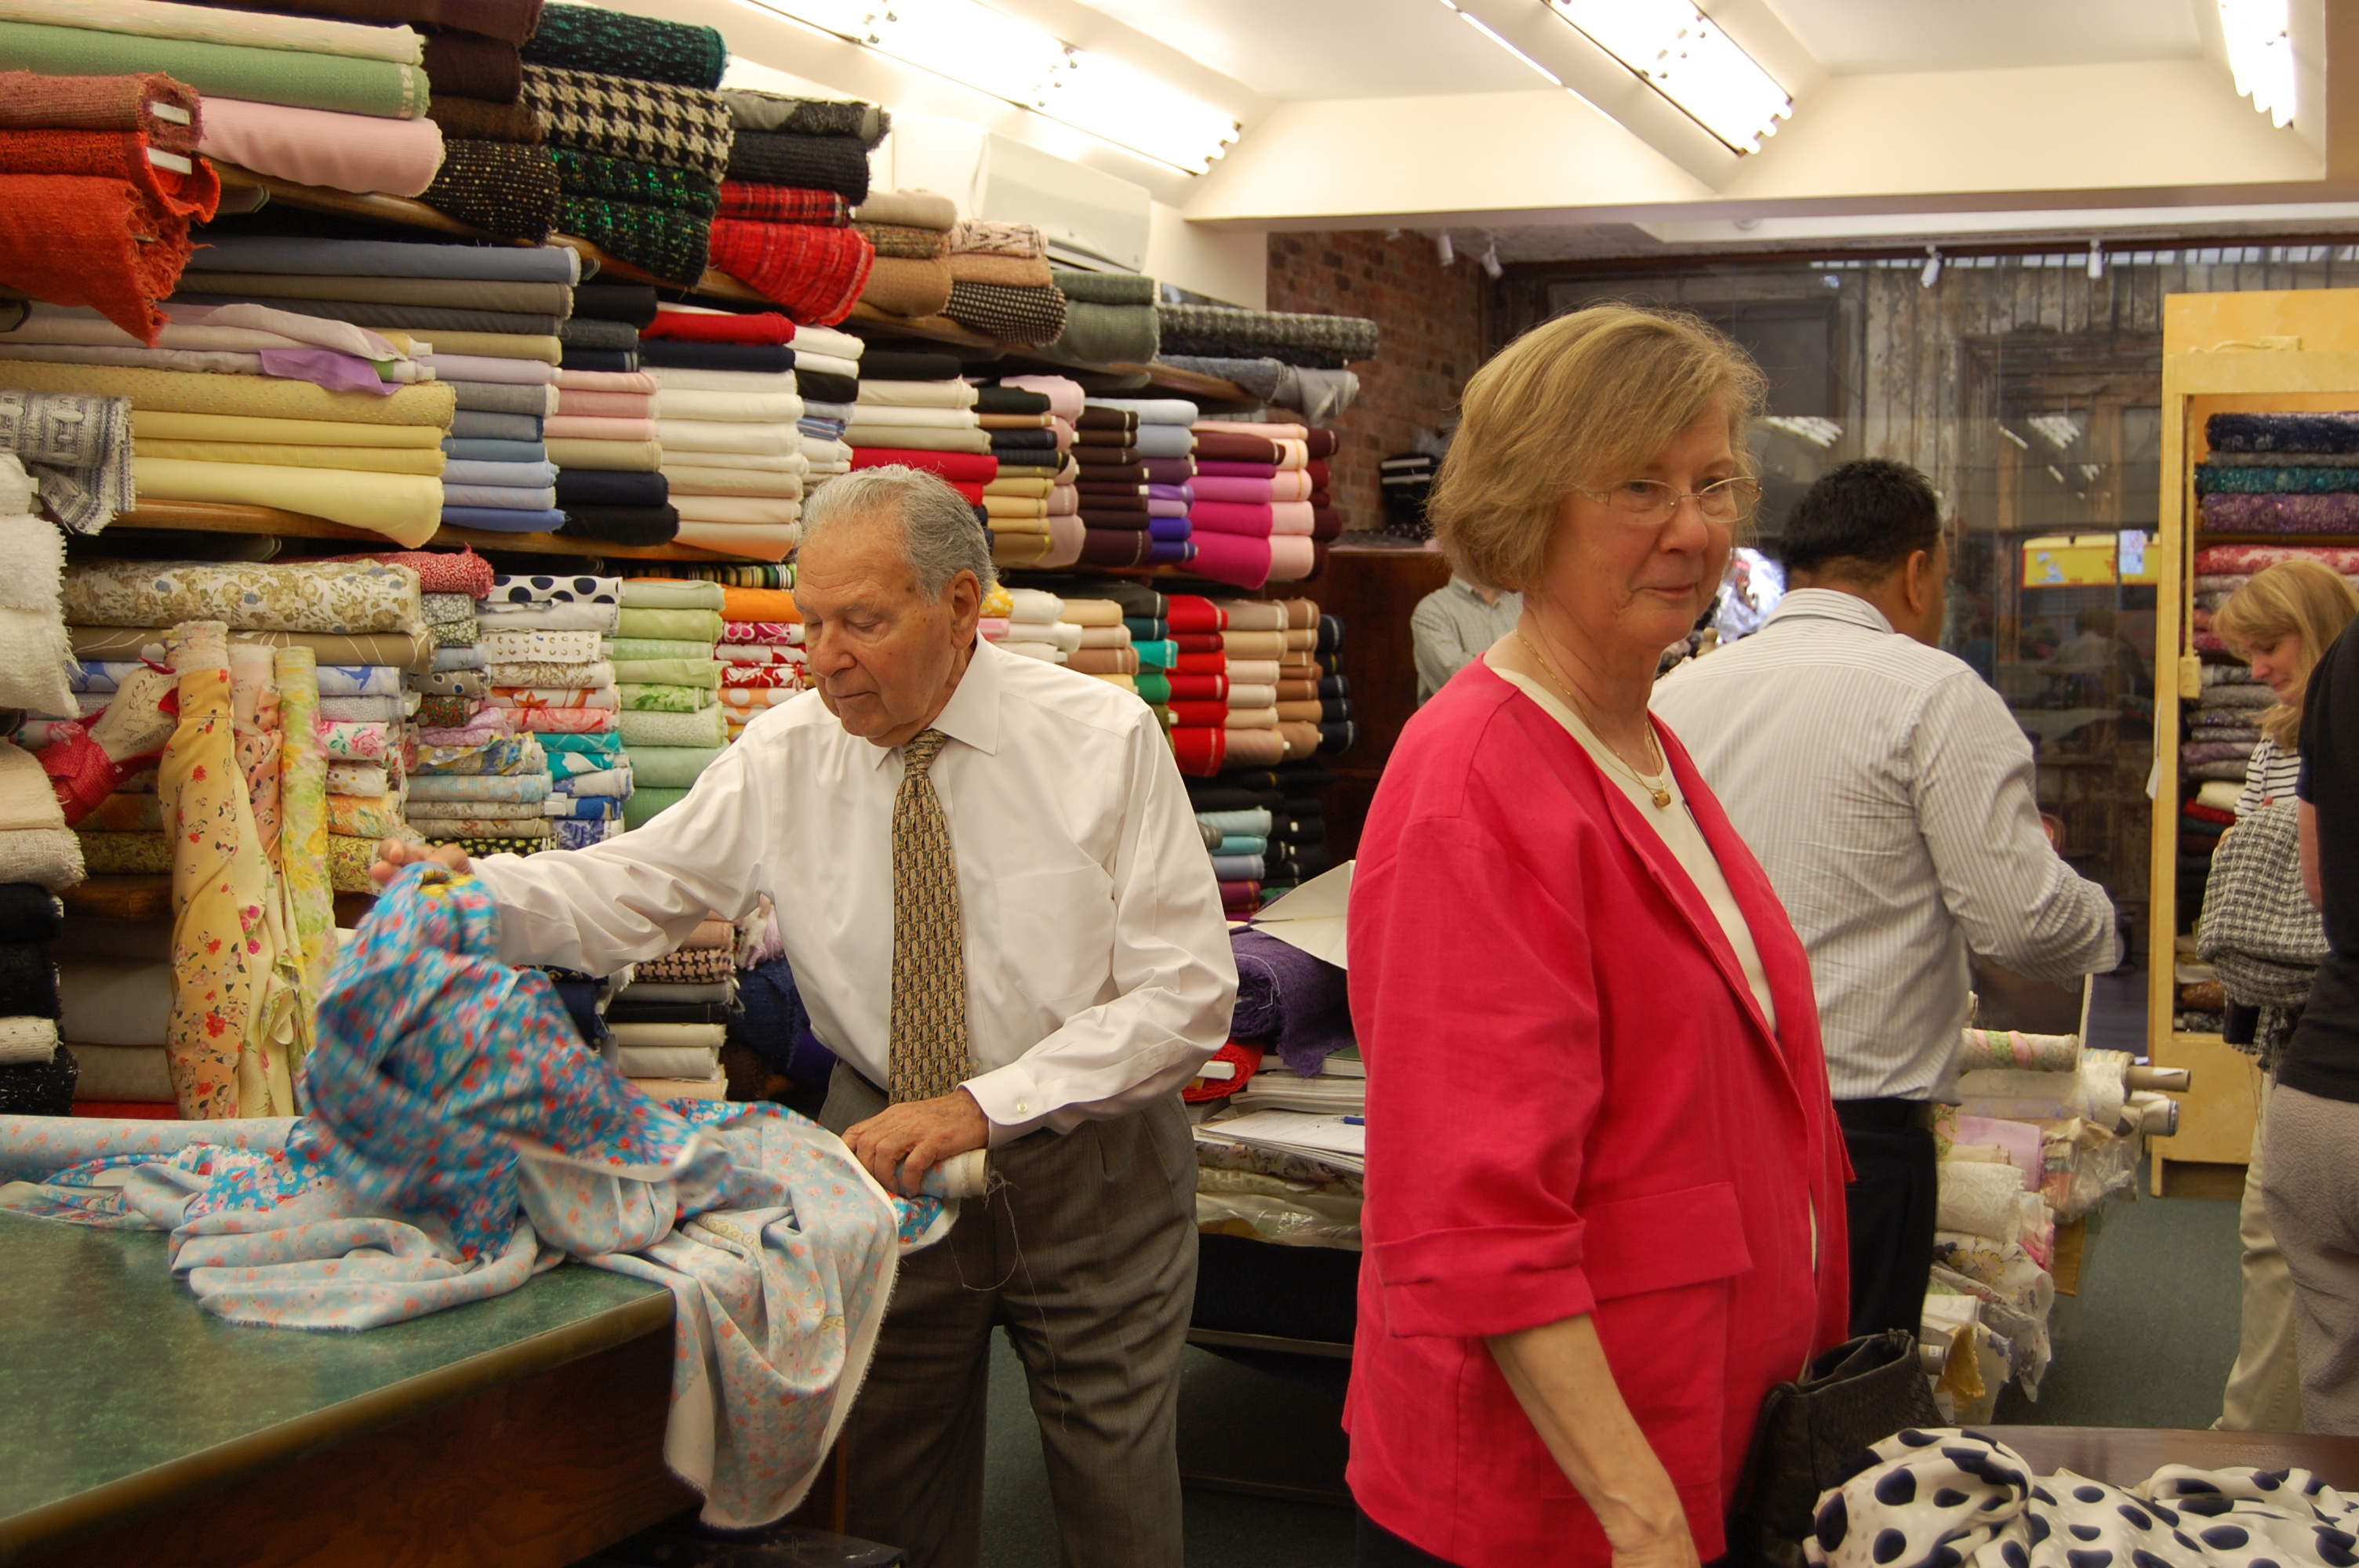
Alice’s father who still comes in to help.
As we left Mendel Goldberg after two quick hours of shopping, I took a moment to view the beautiful display of fabrics in their front window.
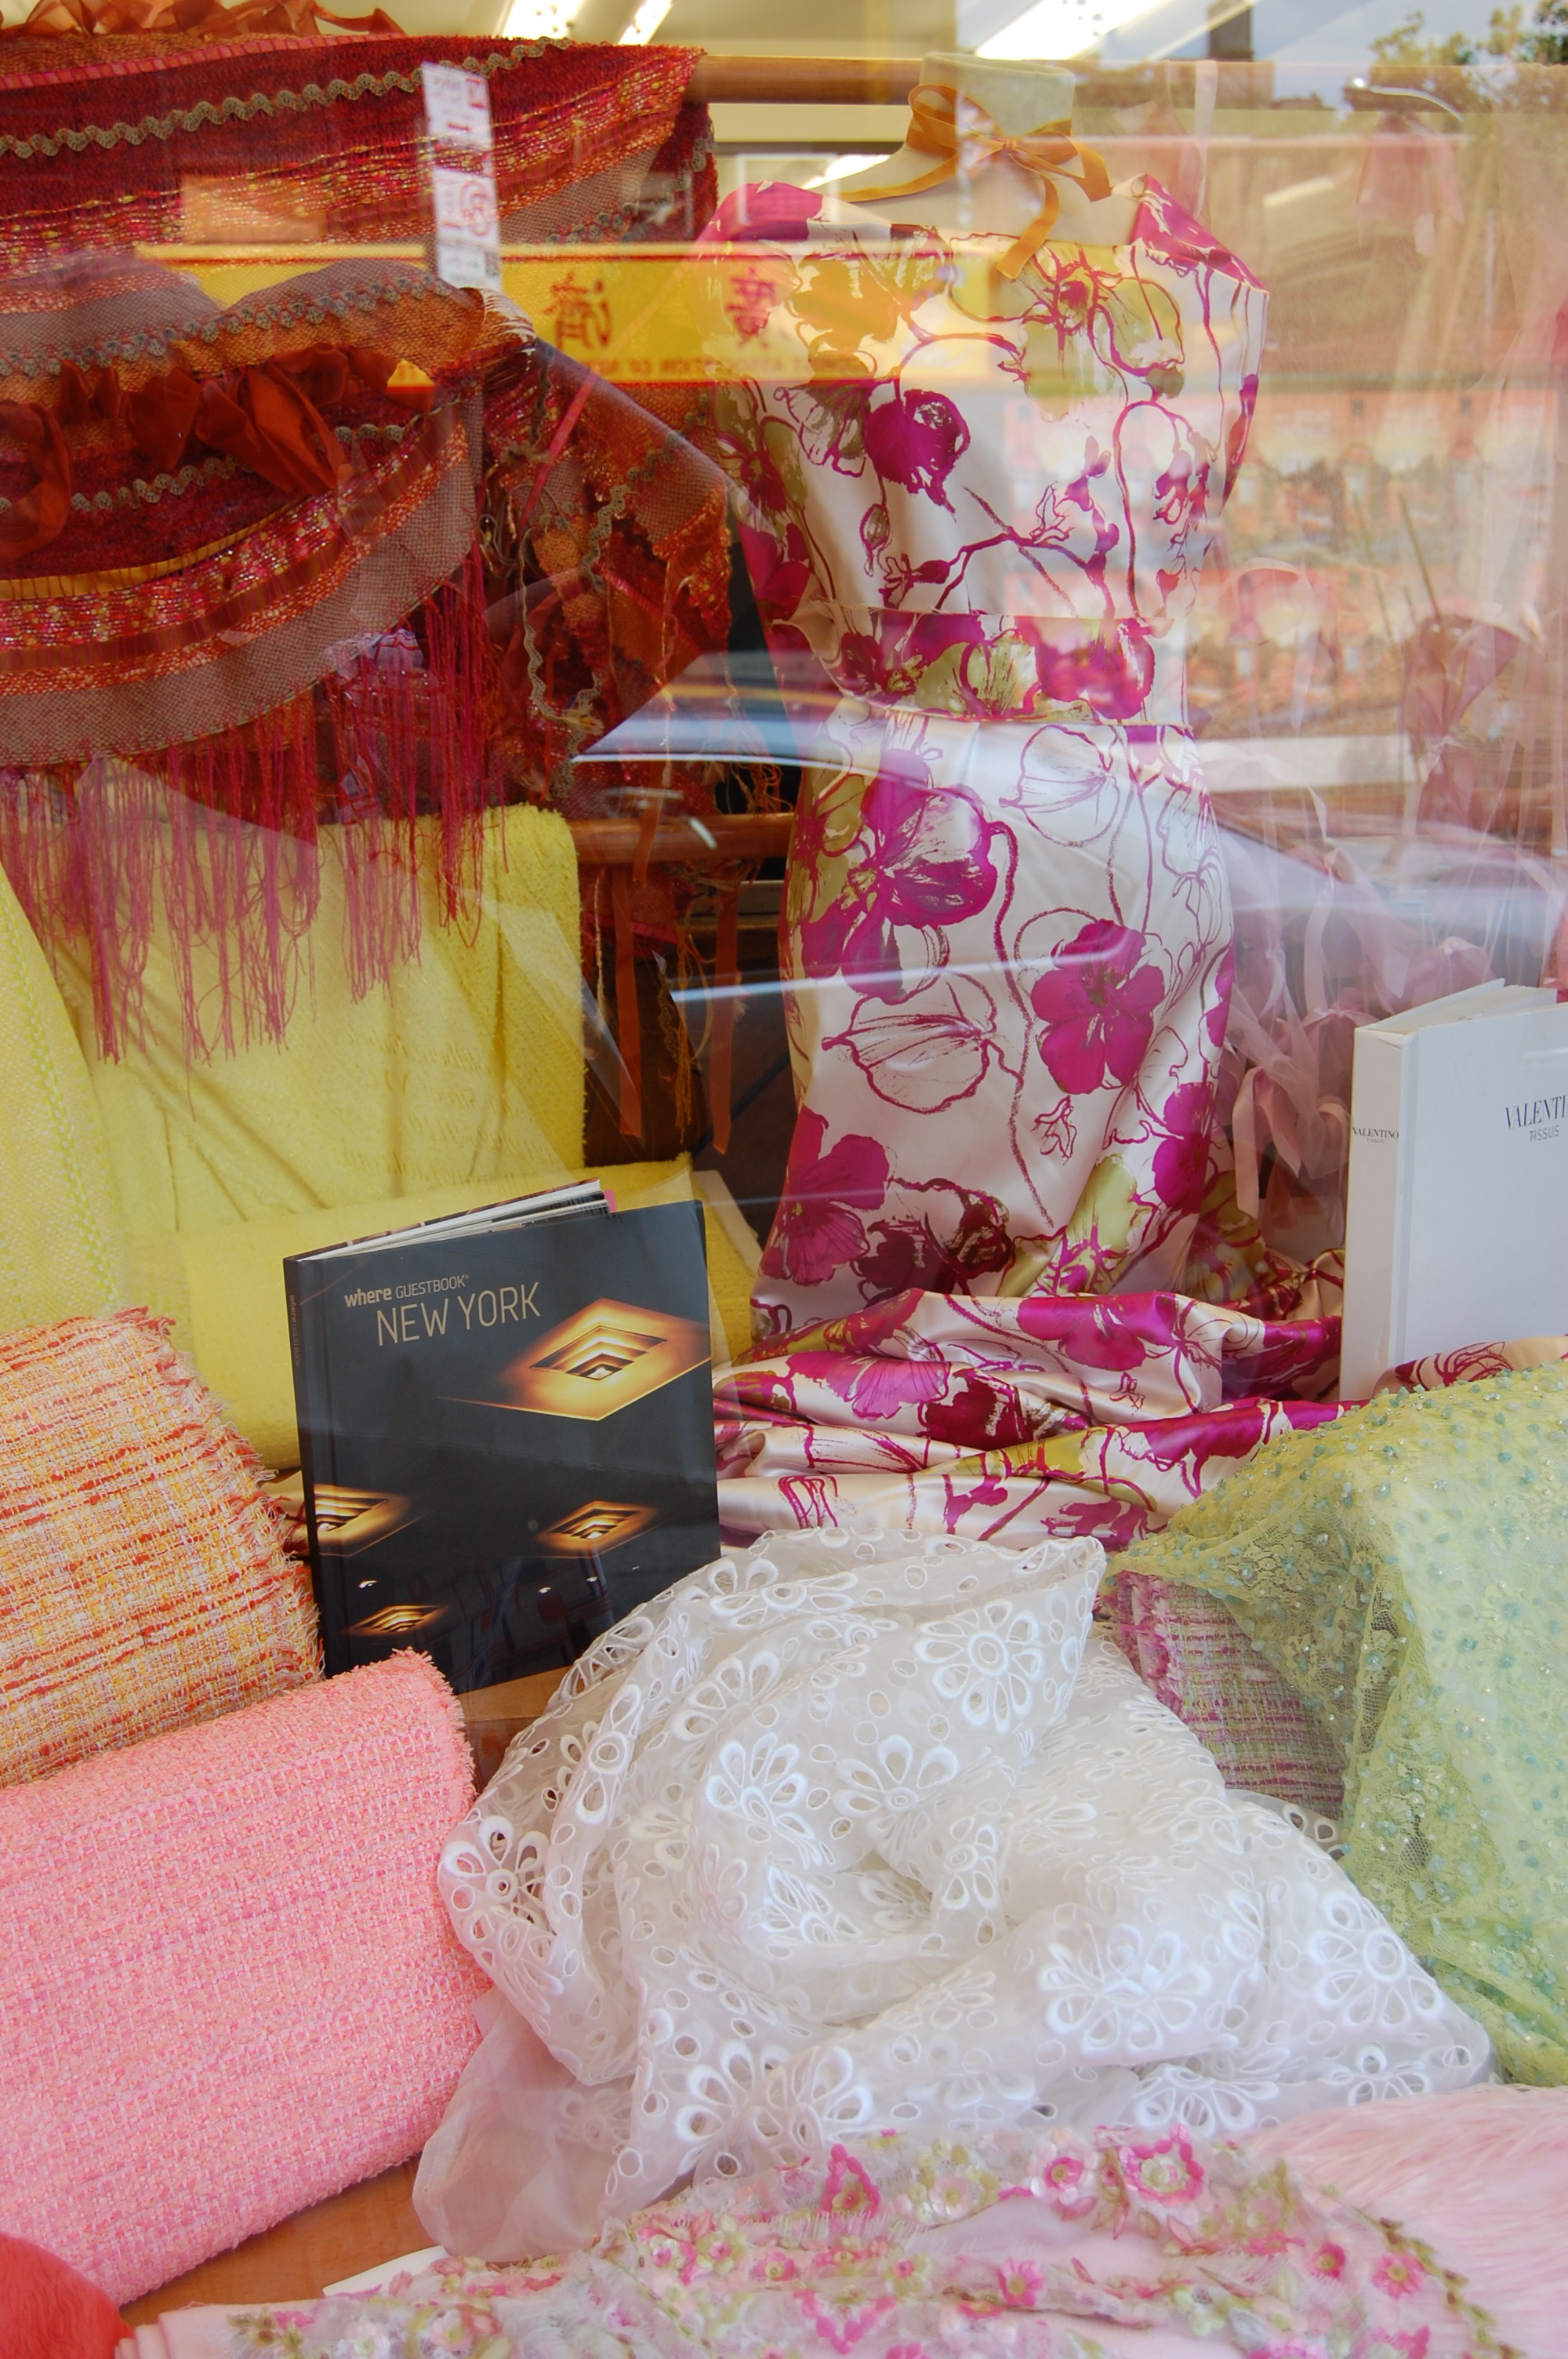
Despite the glare, the fabrics still captivate!
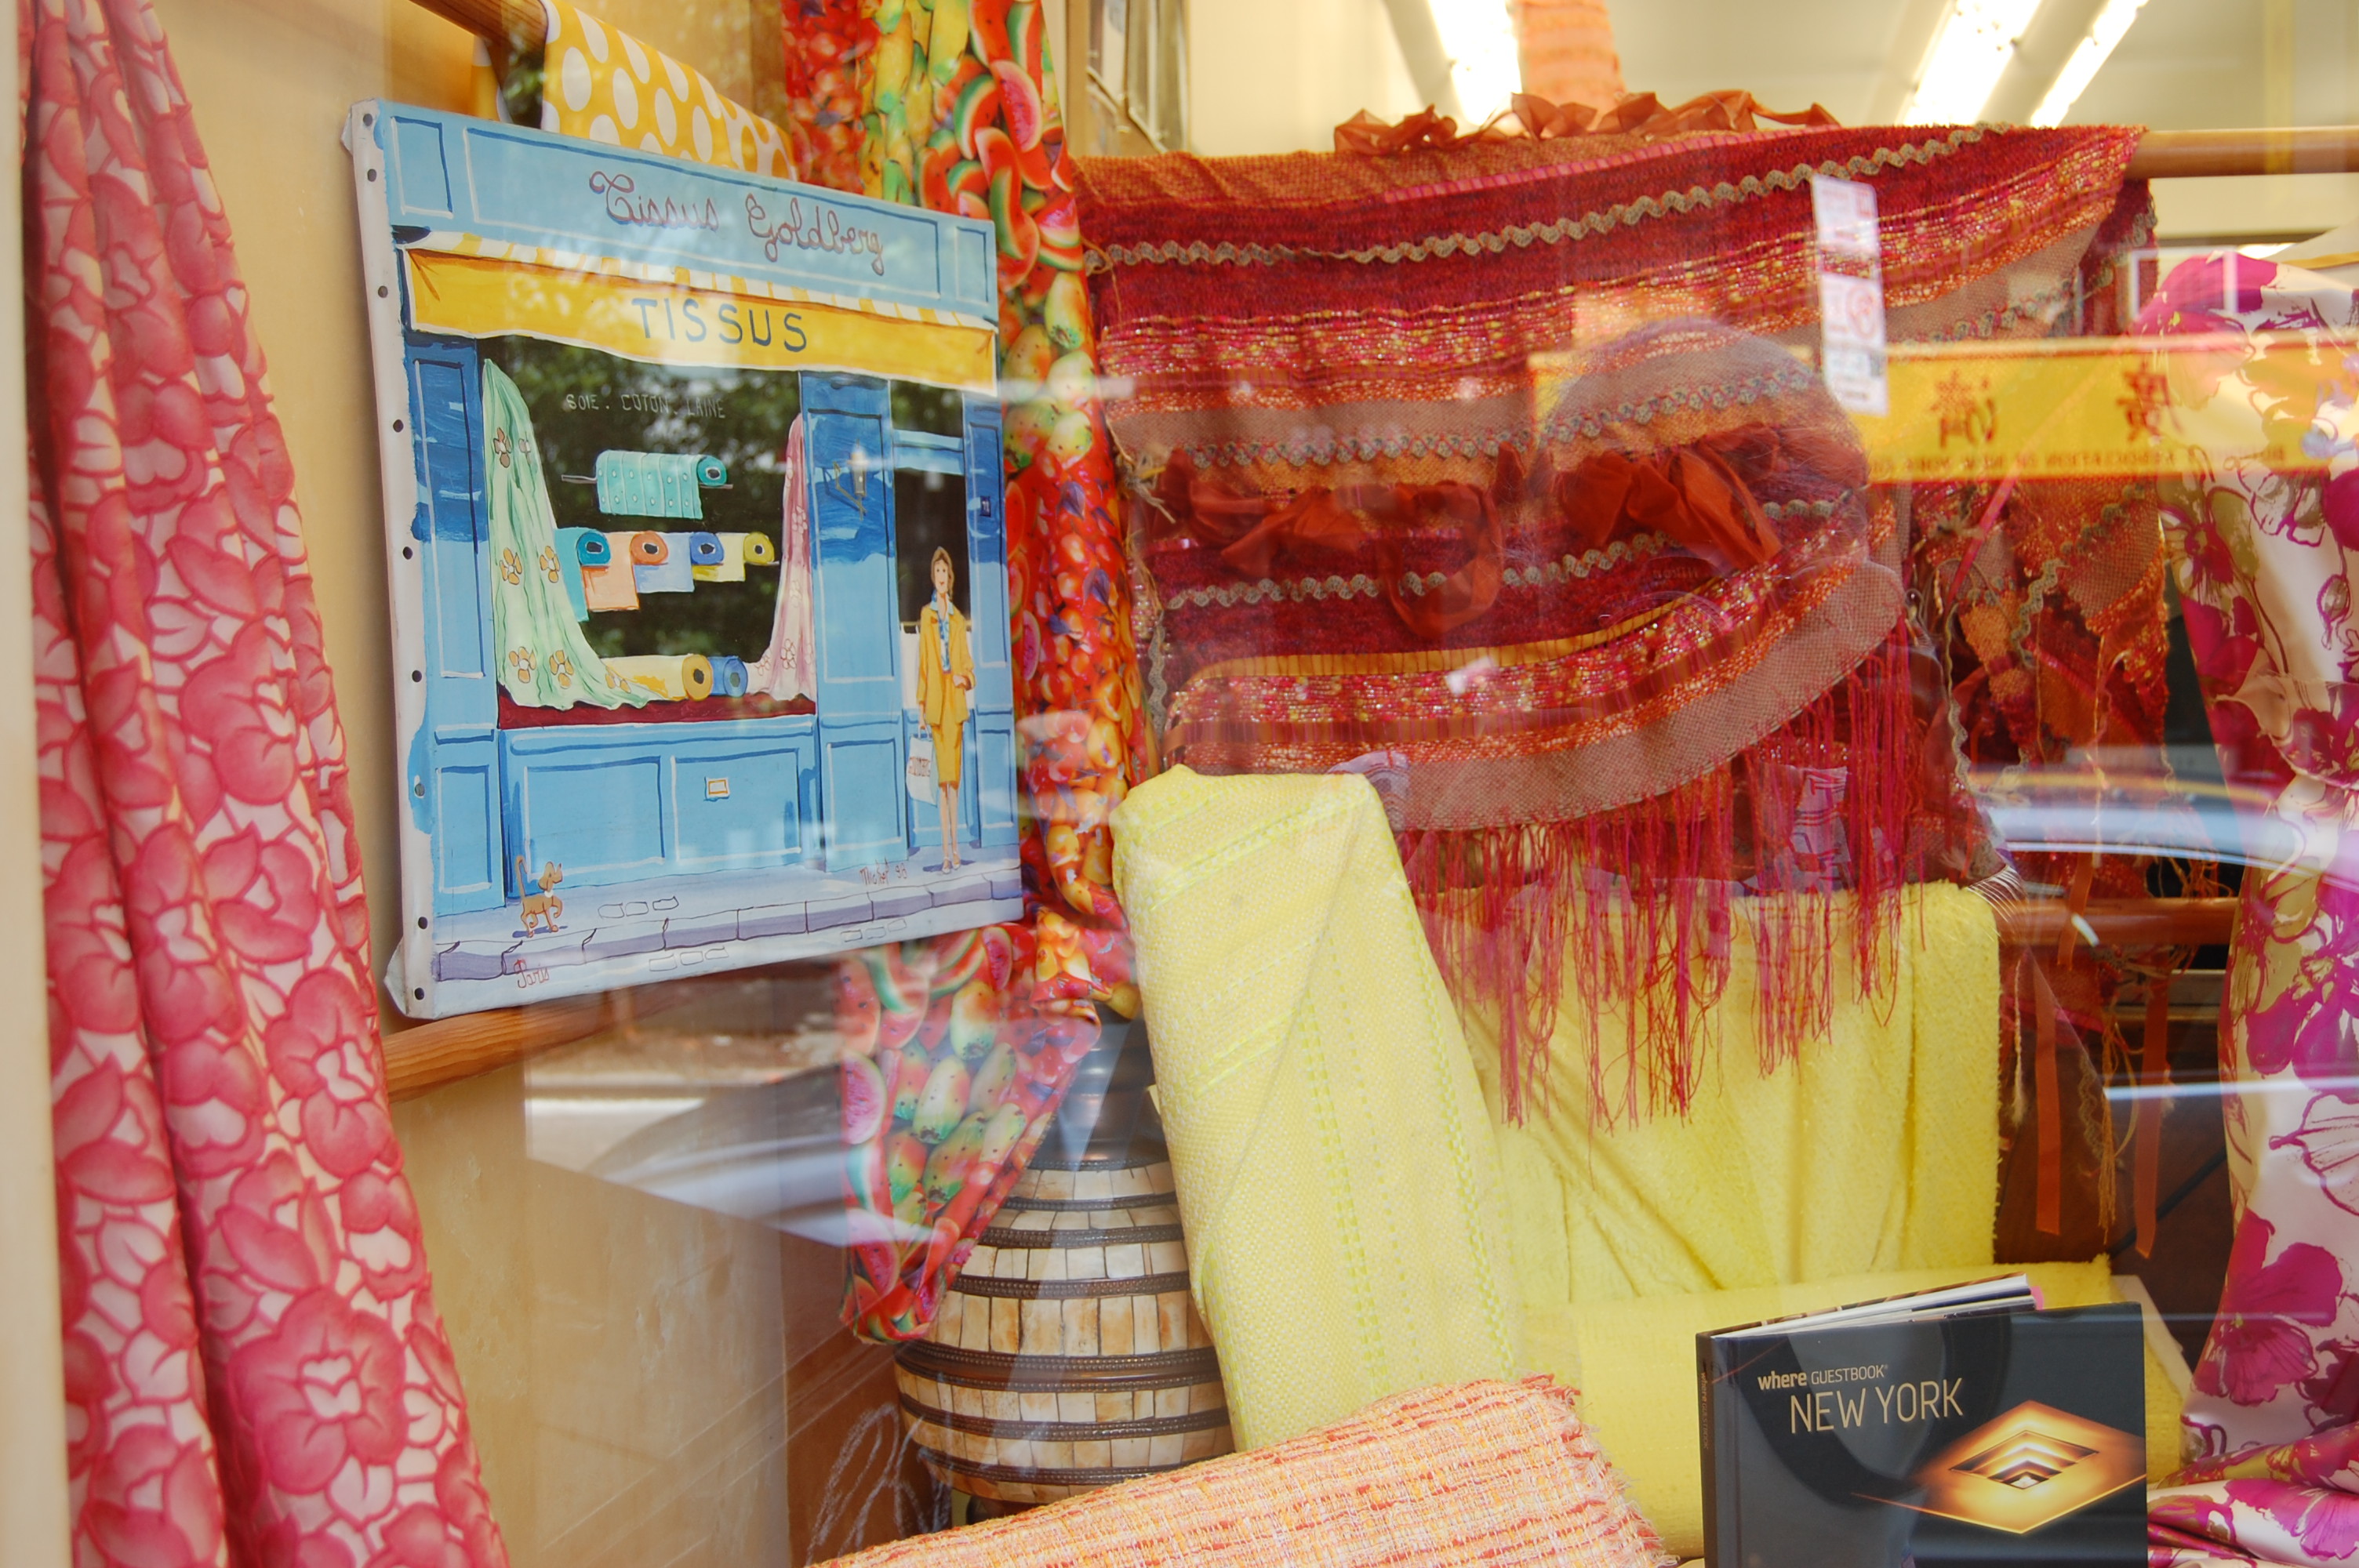
More fabric on display in the window.
Then we gathered on the street next to our van. Our bounty of bags spoke to the remarkable, memorable experience of Mendel Goldberg Fabrics.
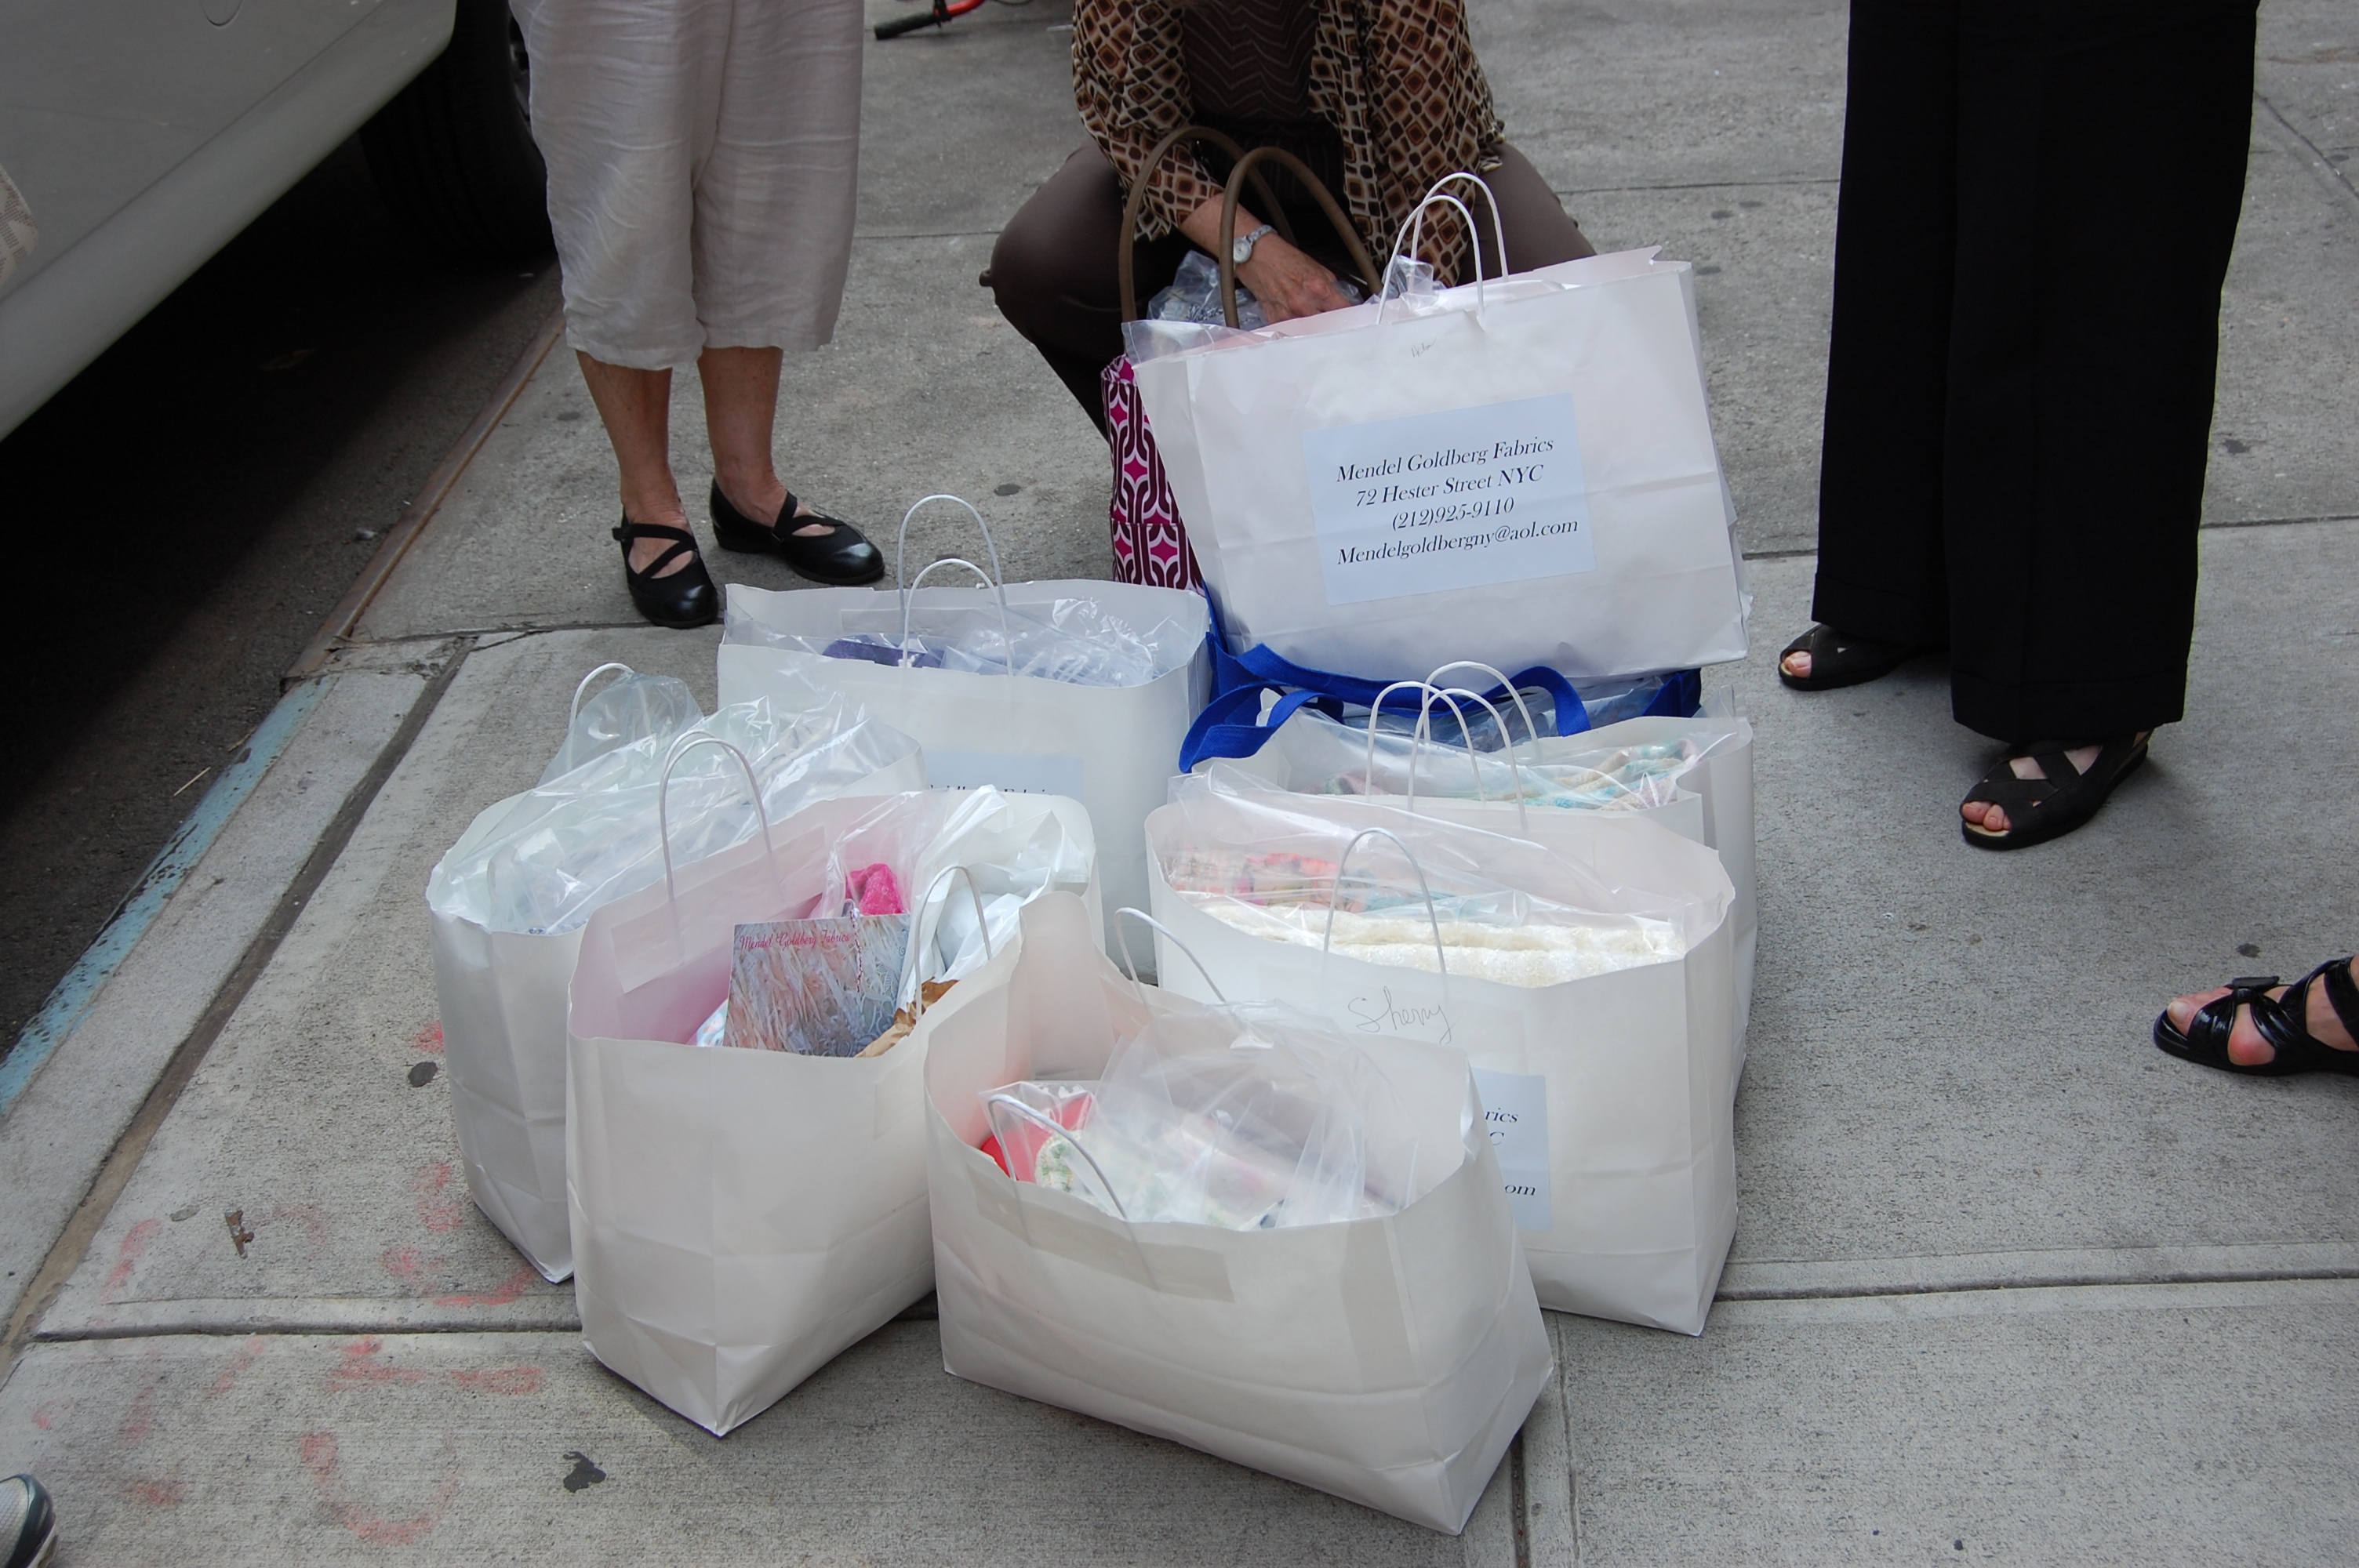
Just a few of the bags that went home with us!
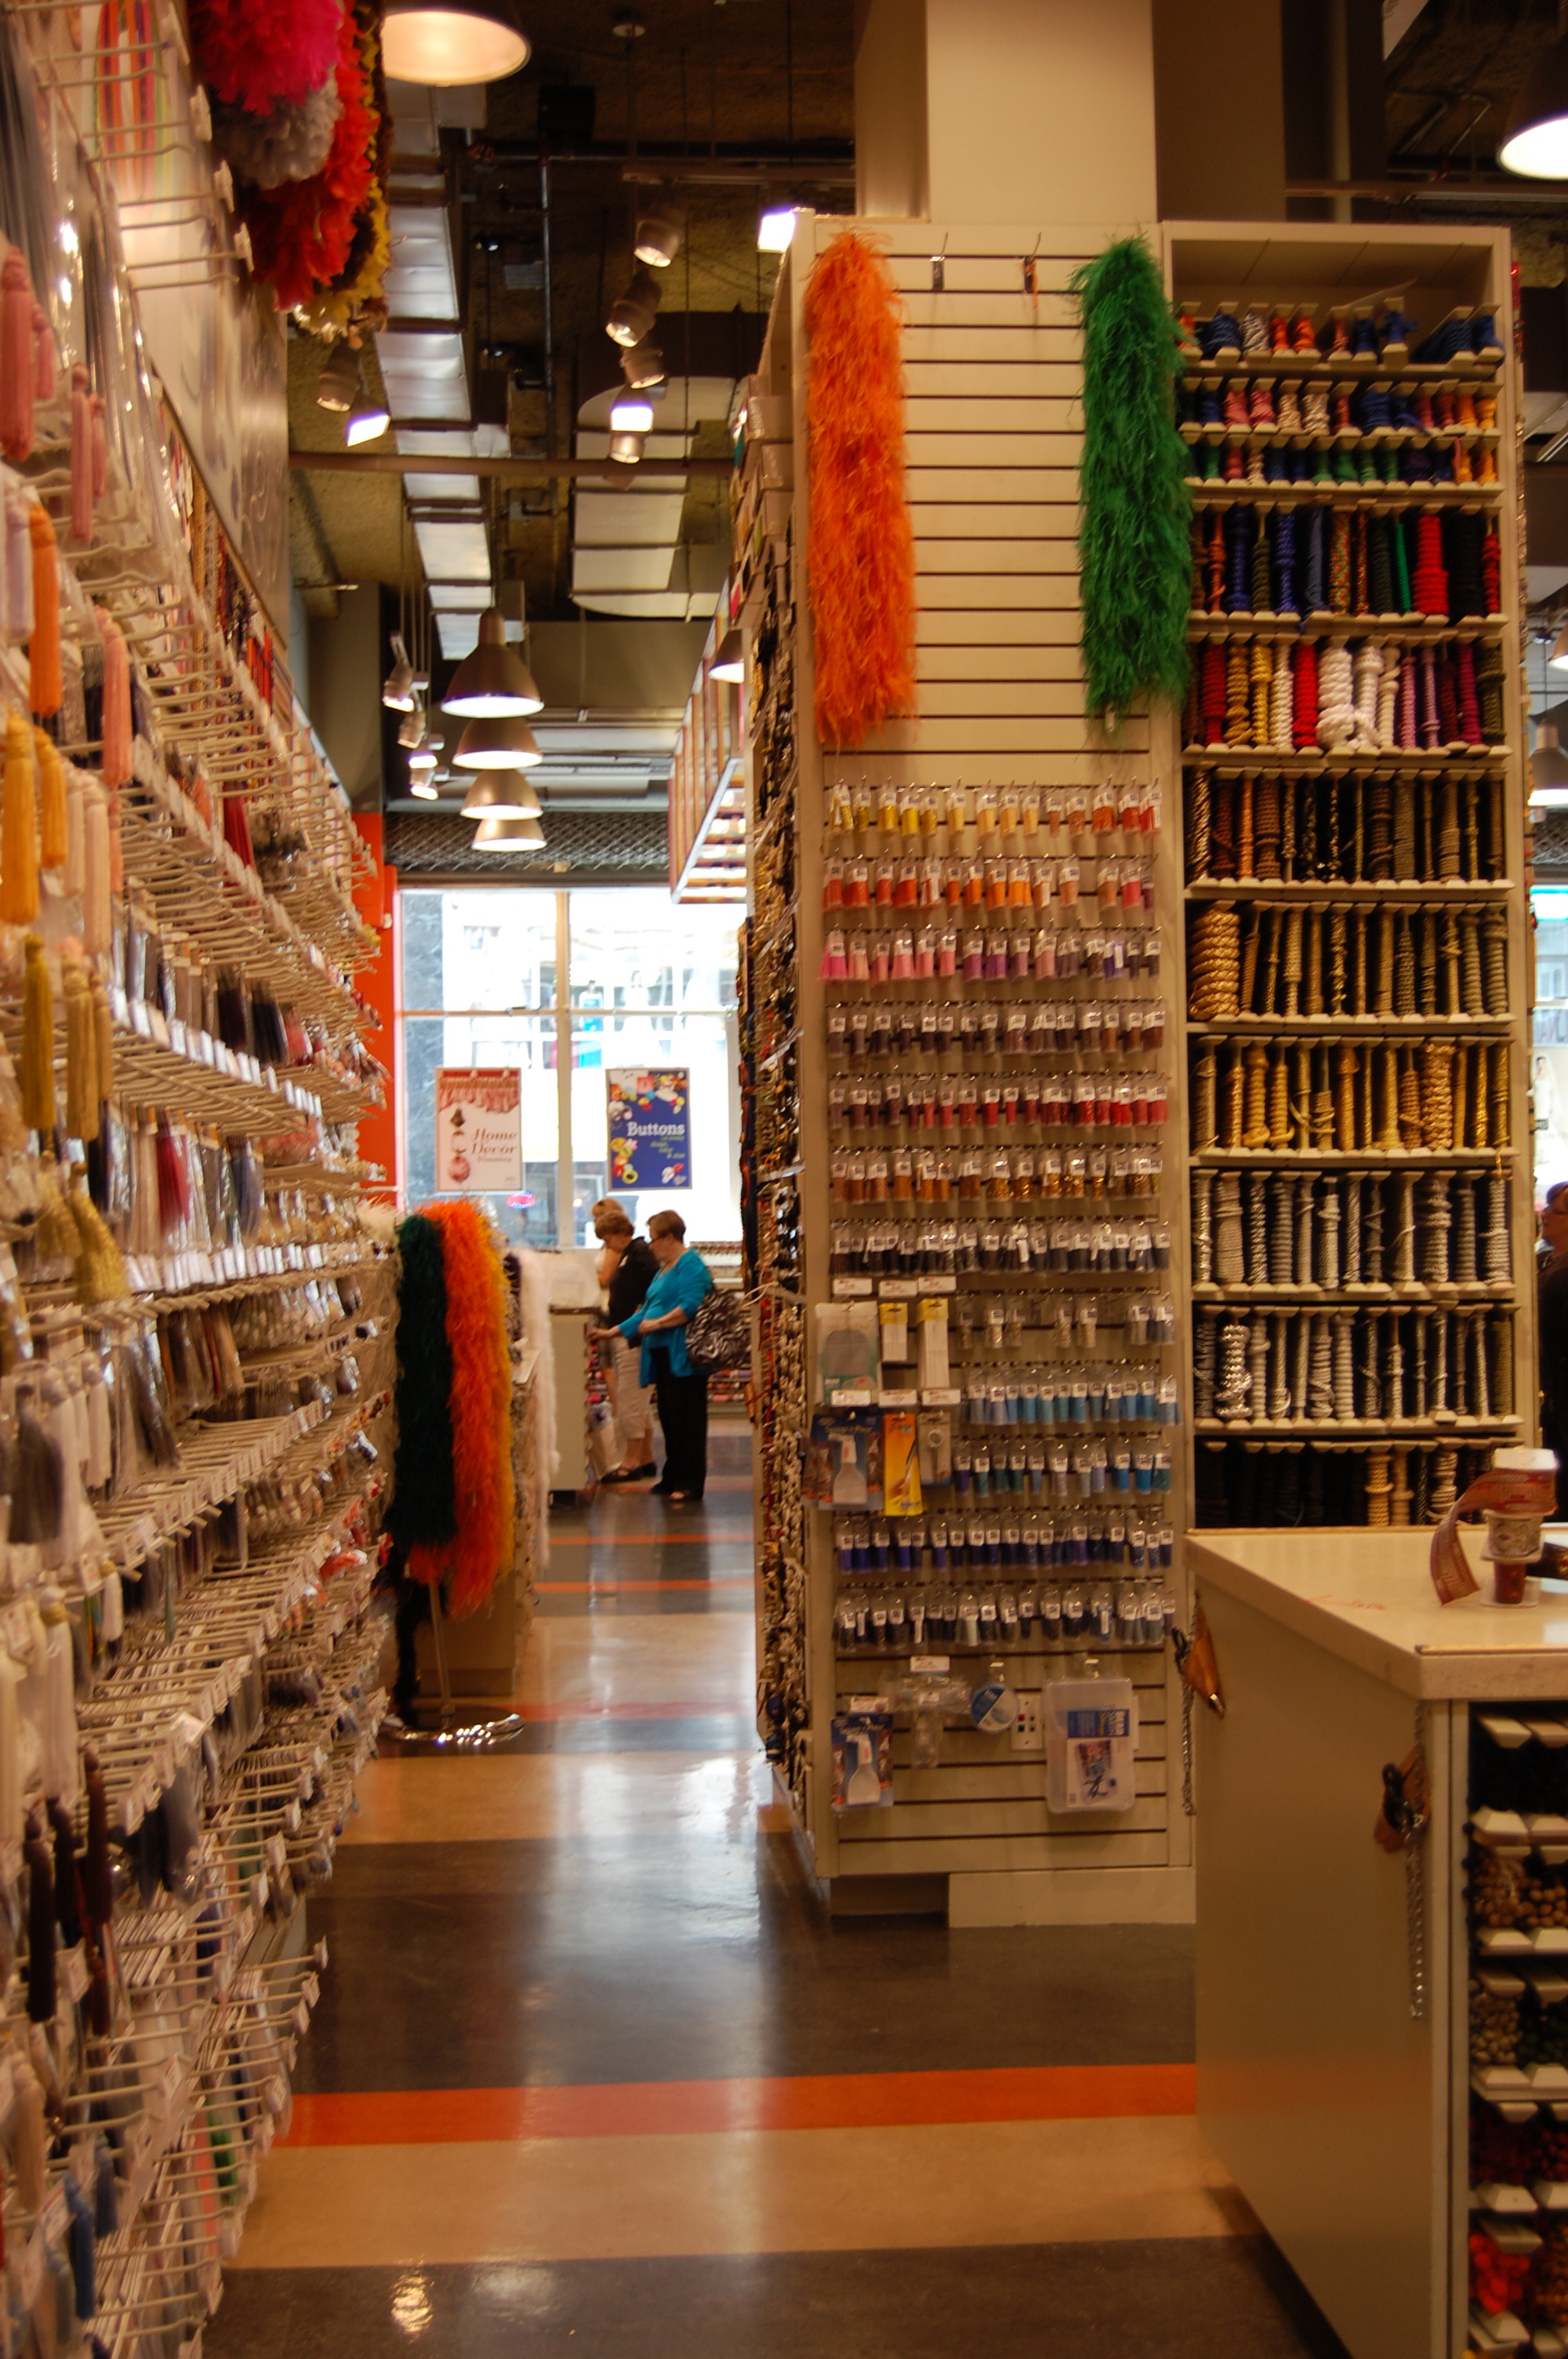
Now that we all had in our possession the two building blocks for our jackets (the fashion fabric and the lining), it was time to look for the embellishments, namely the trim and the buttons. So off we went to M & J Trimming uptown in the Garment District. Walking into M & J was a little bit like walking into a penny candy store, only better (no calories and more selection)! There were trims and people and sales staff everywhere, and it seemed like everyone was on their own important mission. We certainly were! With our boucle and our complementary silk charmeuse in hand, we each first needed to find the perfect trim to set off our jackets. Although numbering in the thousands, the trims were arranged by color and quite logically, so that once we understood the system, we were each able to pick and choose several “possibilities”. Susan was there to help us make final decisions – and miraculously, we could start to see a glimpse of the final look of each of our own unique jackets.
Red and black trims, waiting for my perusal.
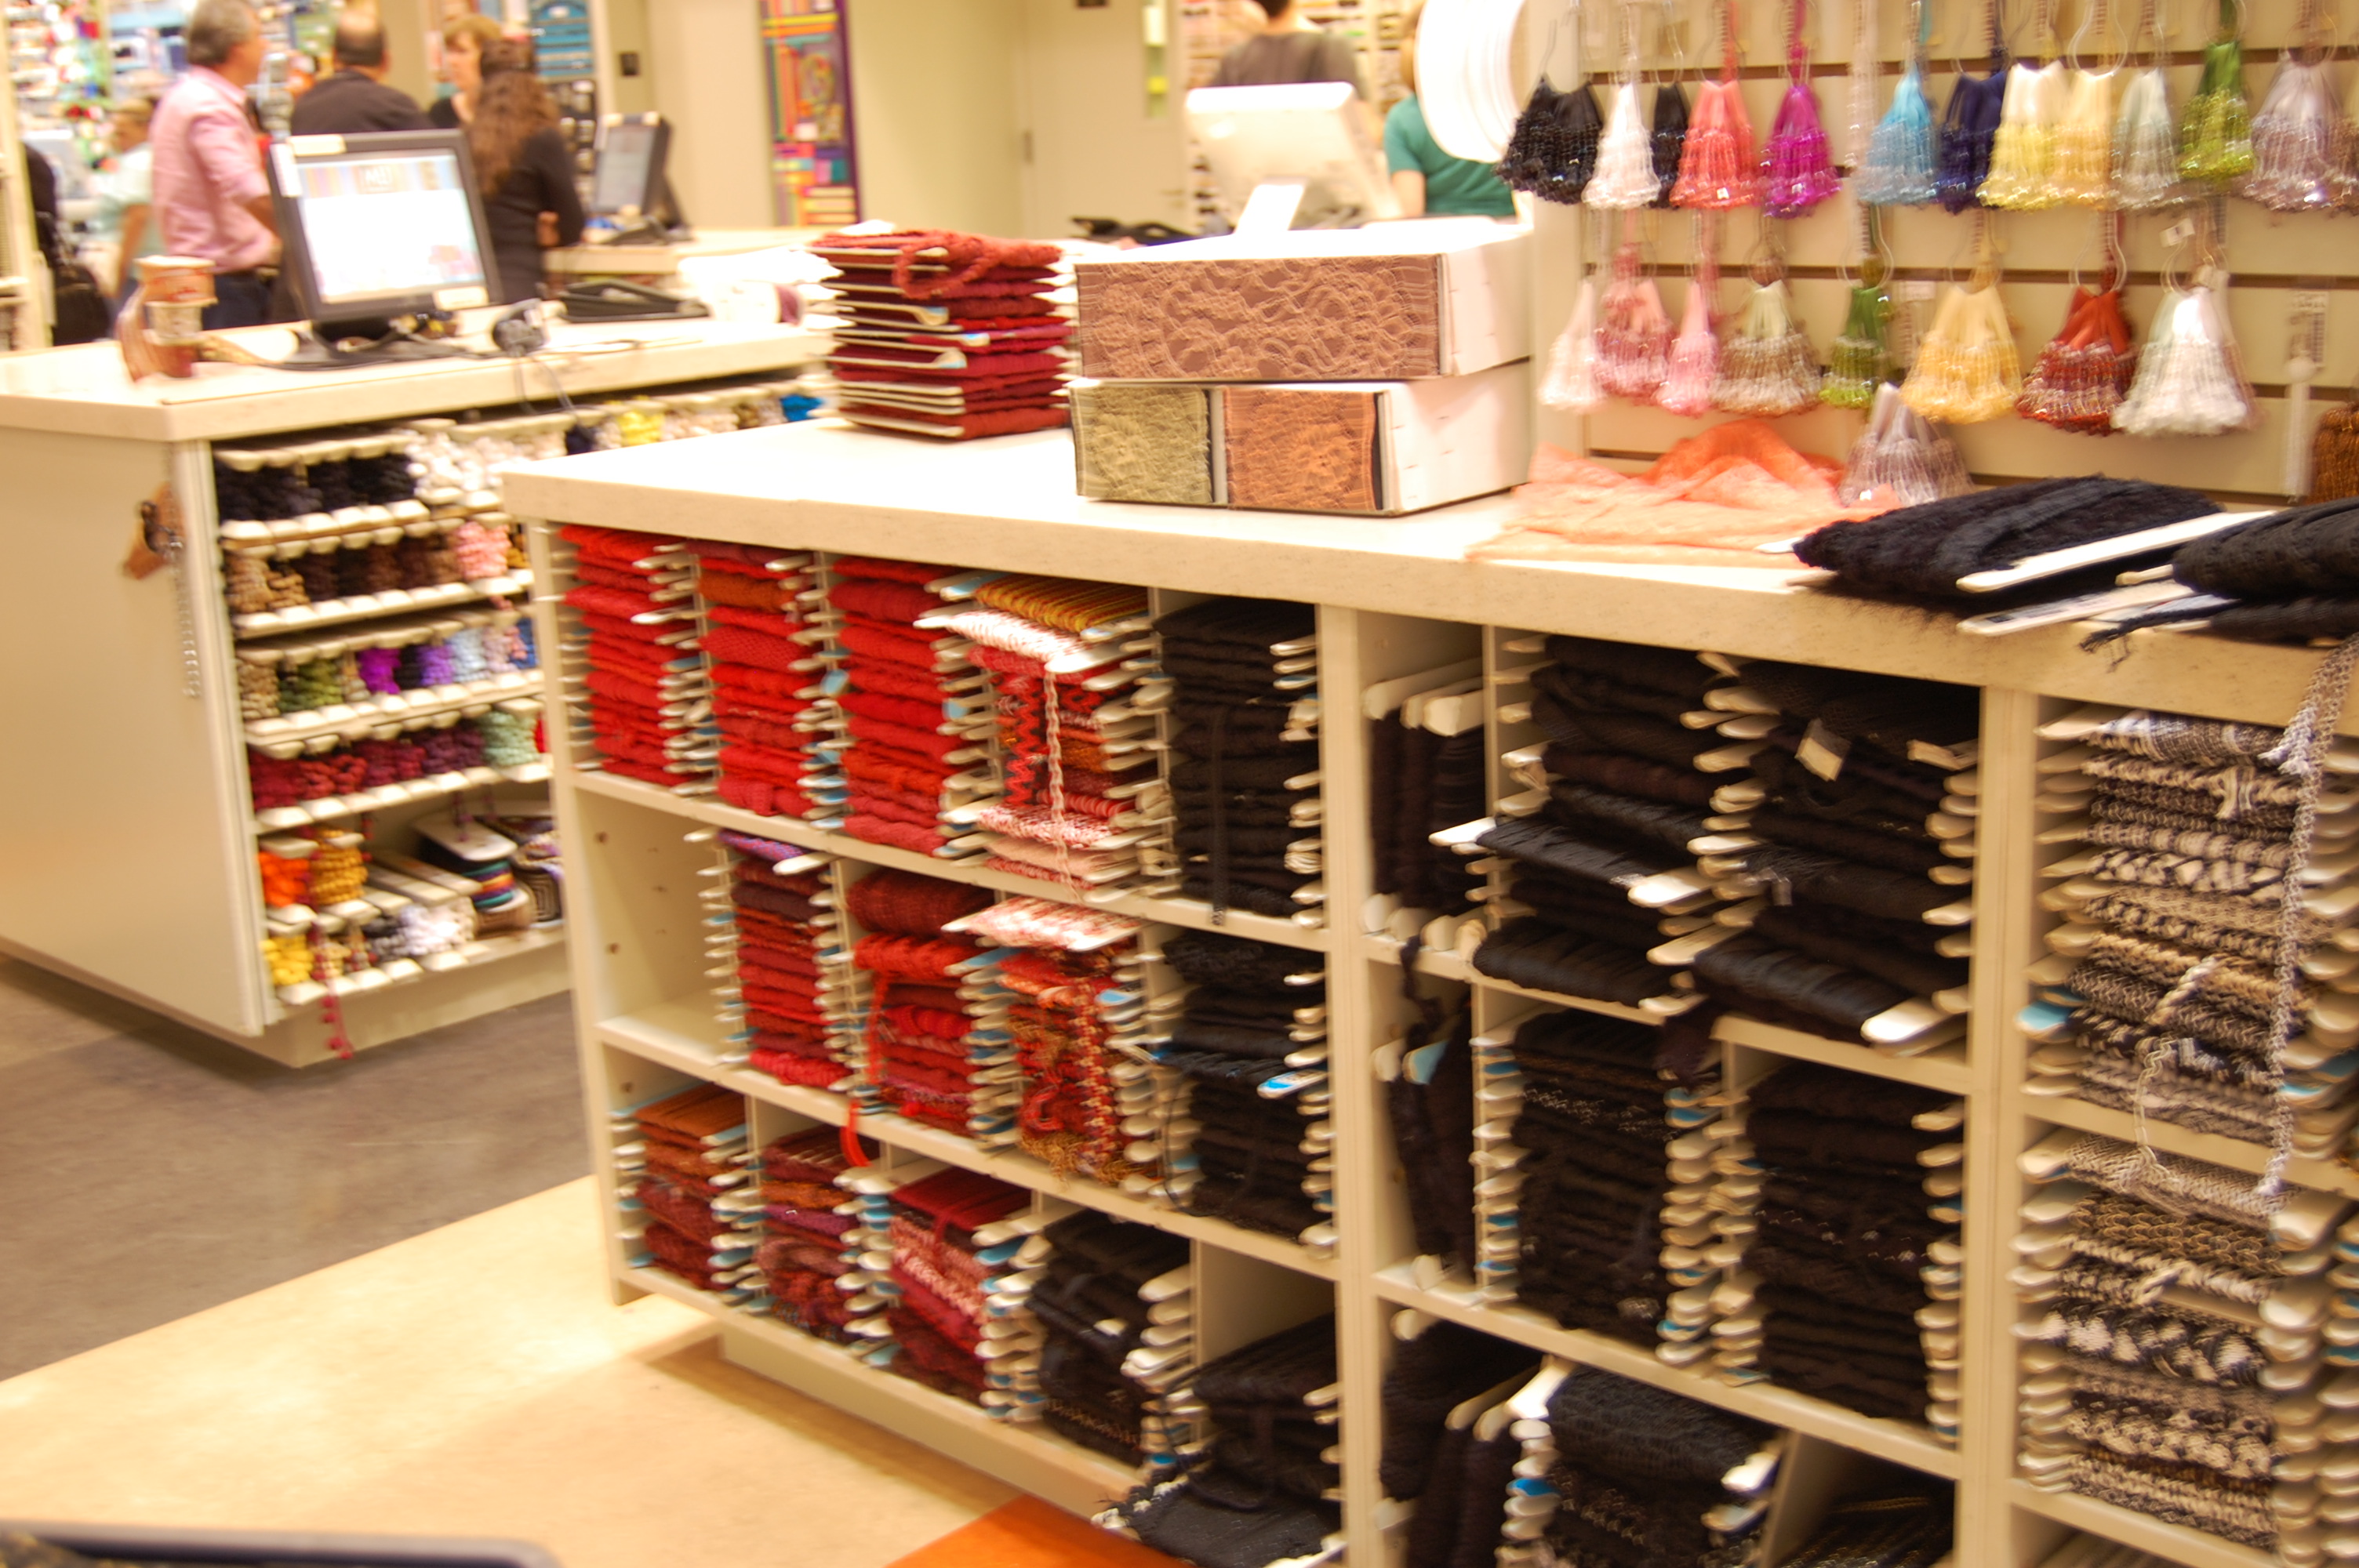
A view inside the store.
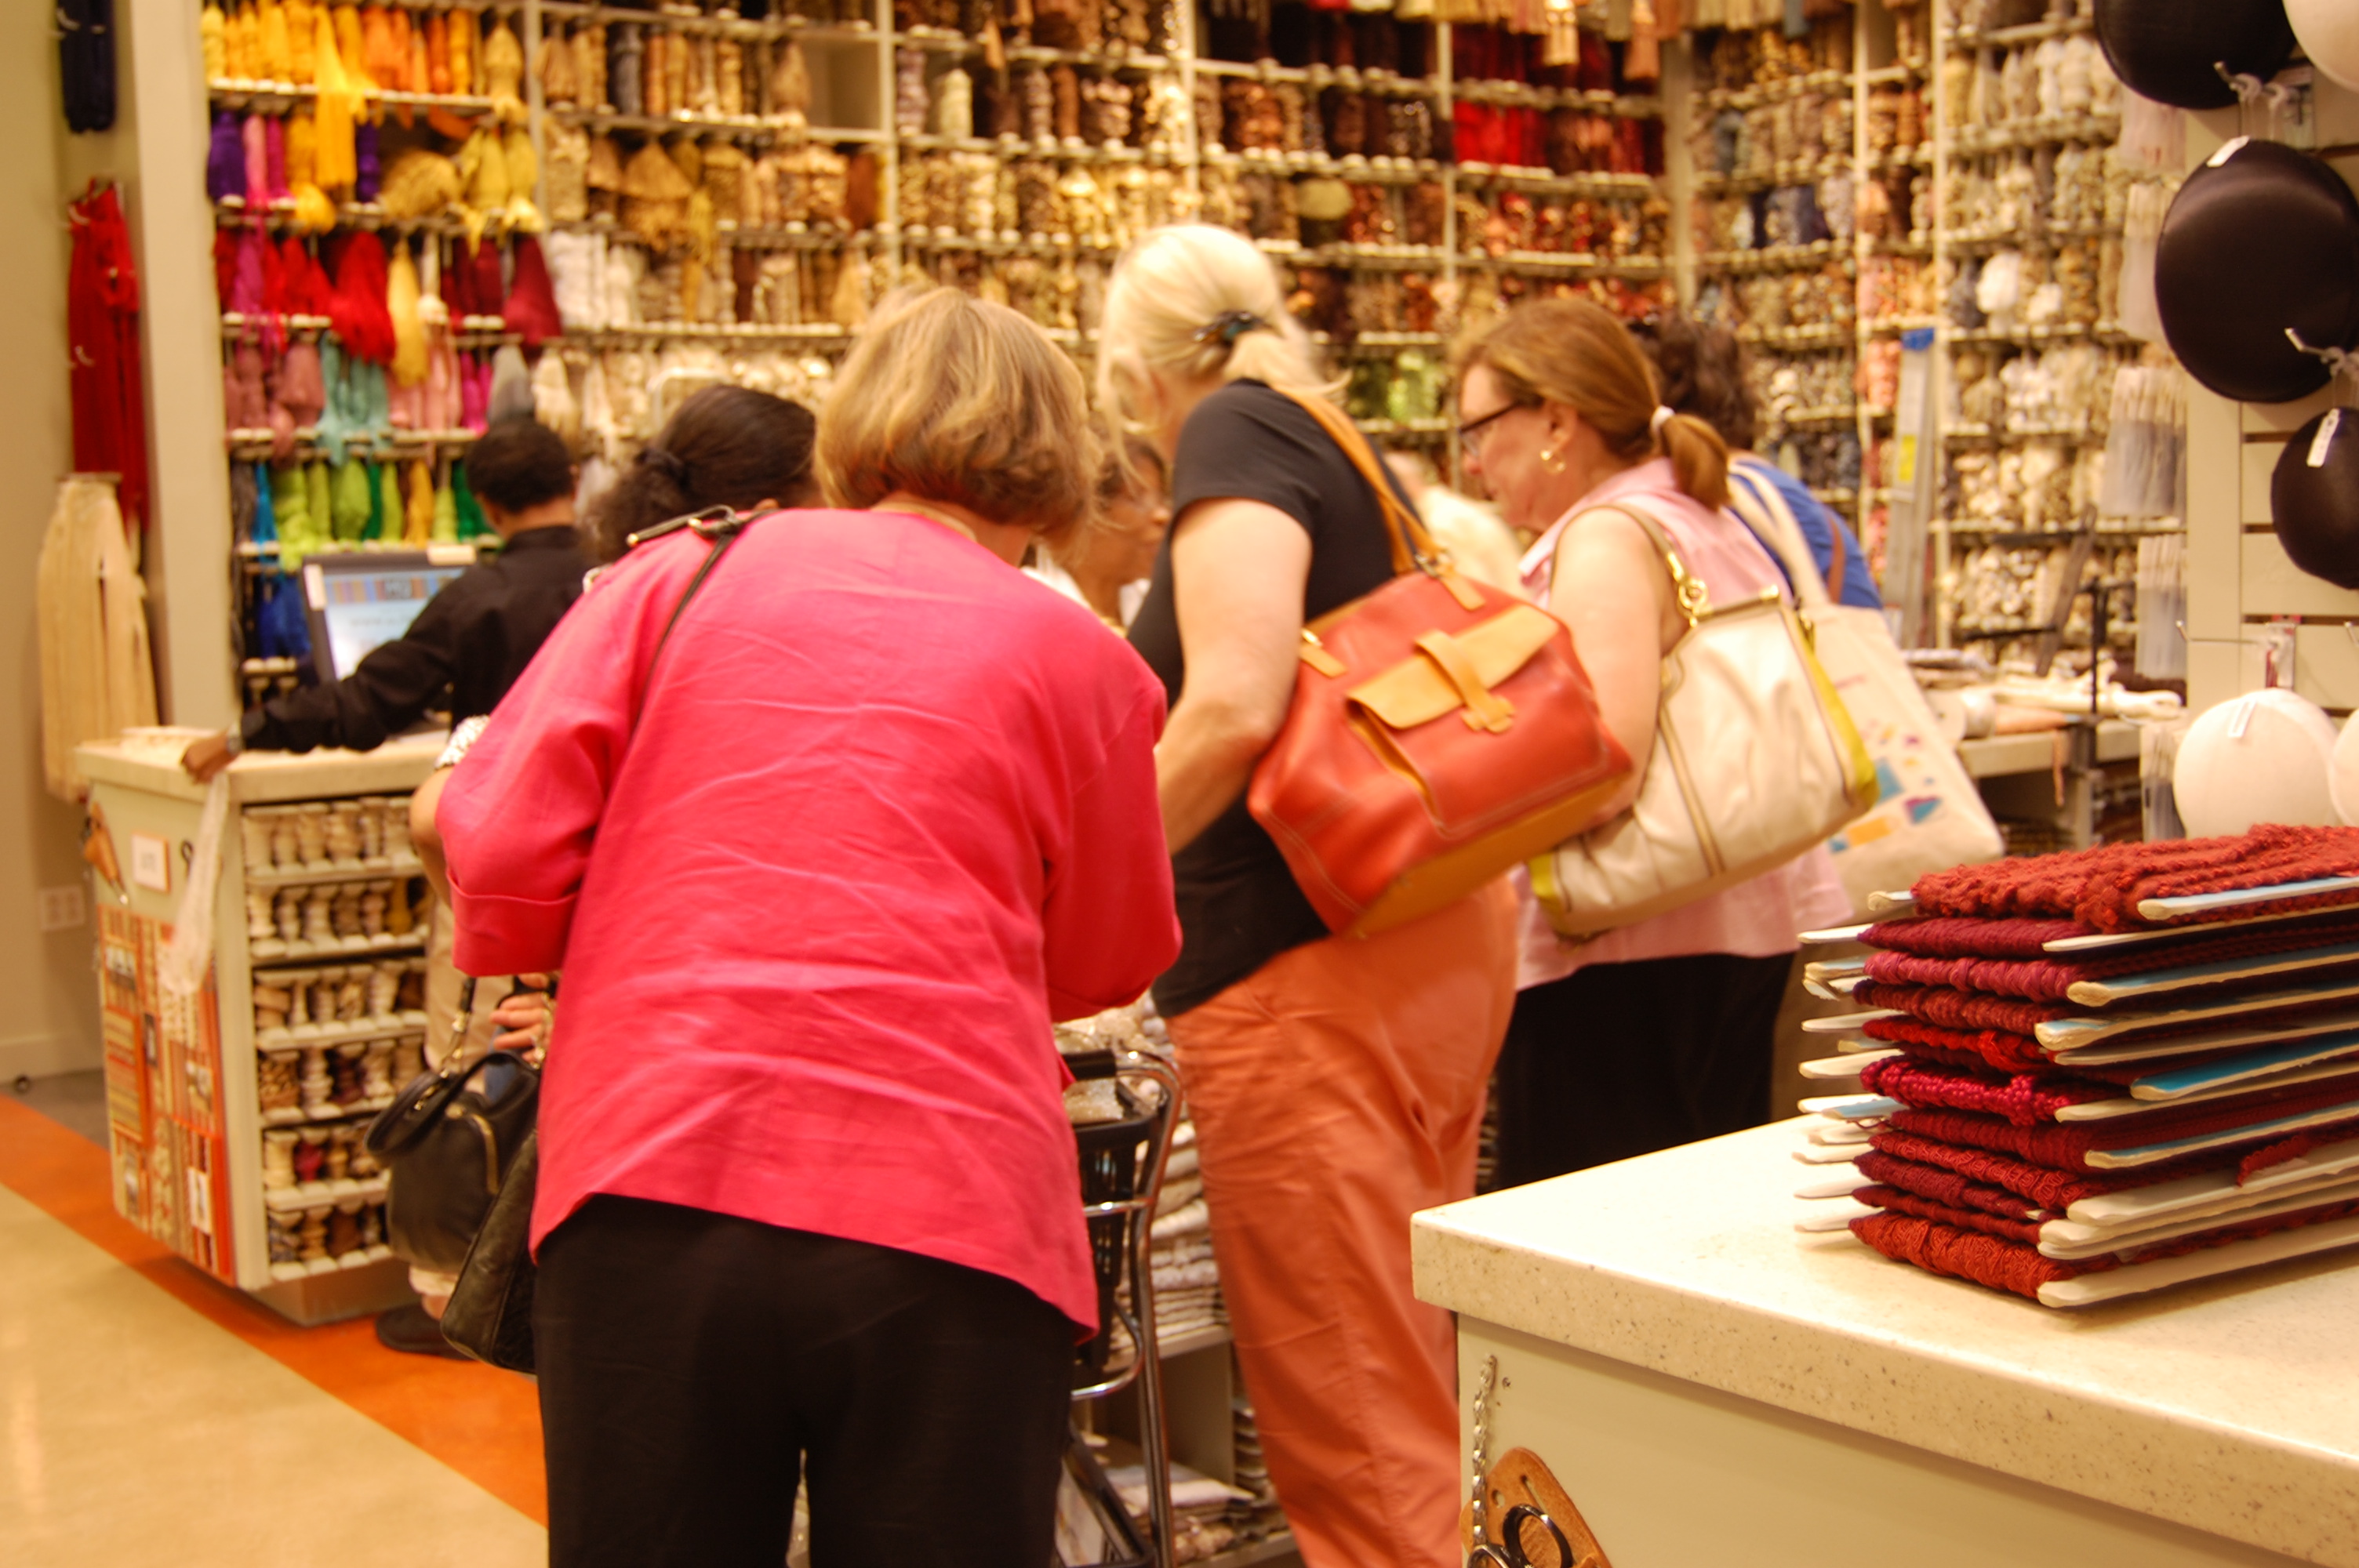
Classmates Sherry and Carol being assisted by Susan.
The only thing left to do was pick out buttons.
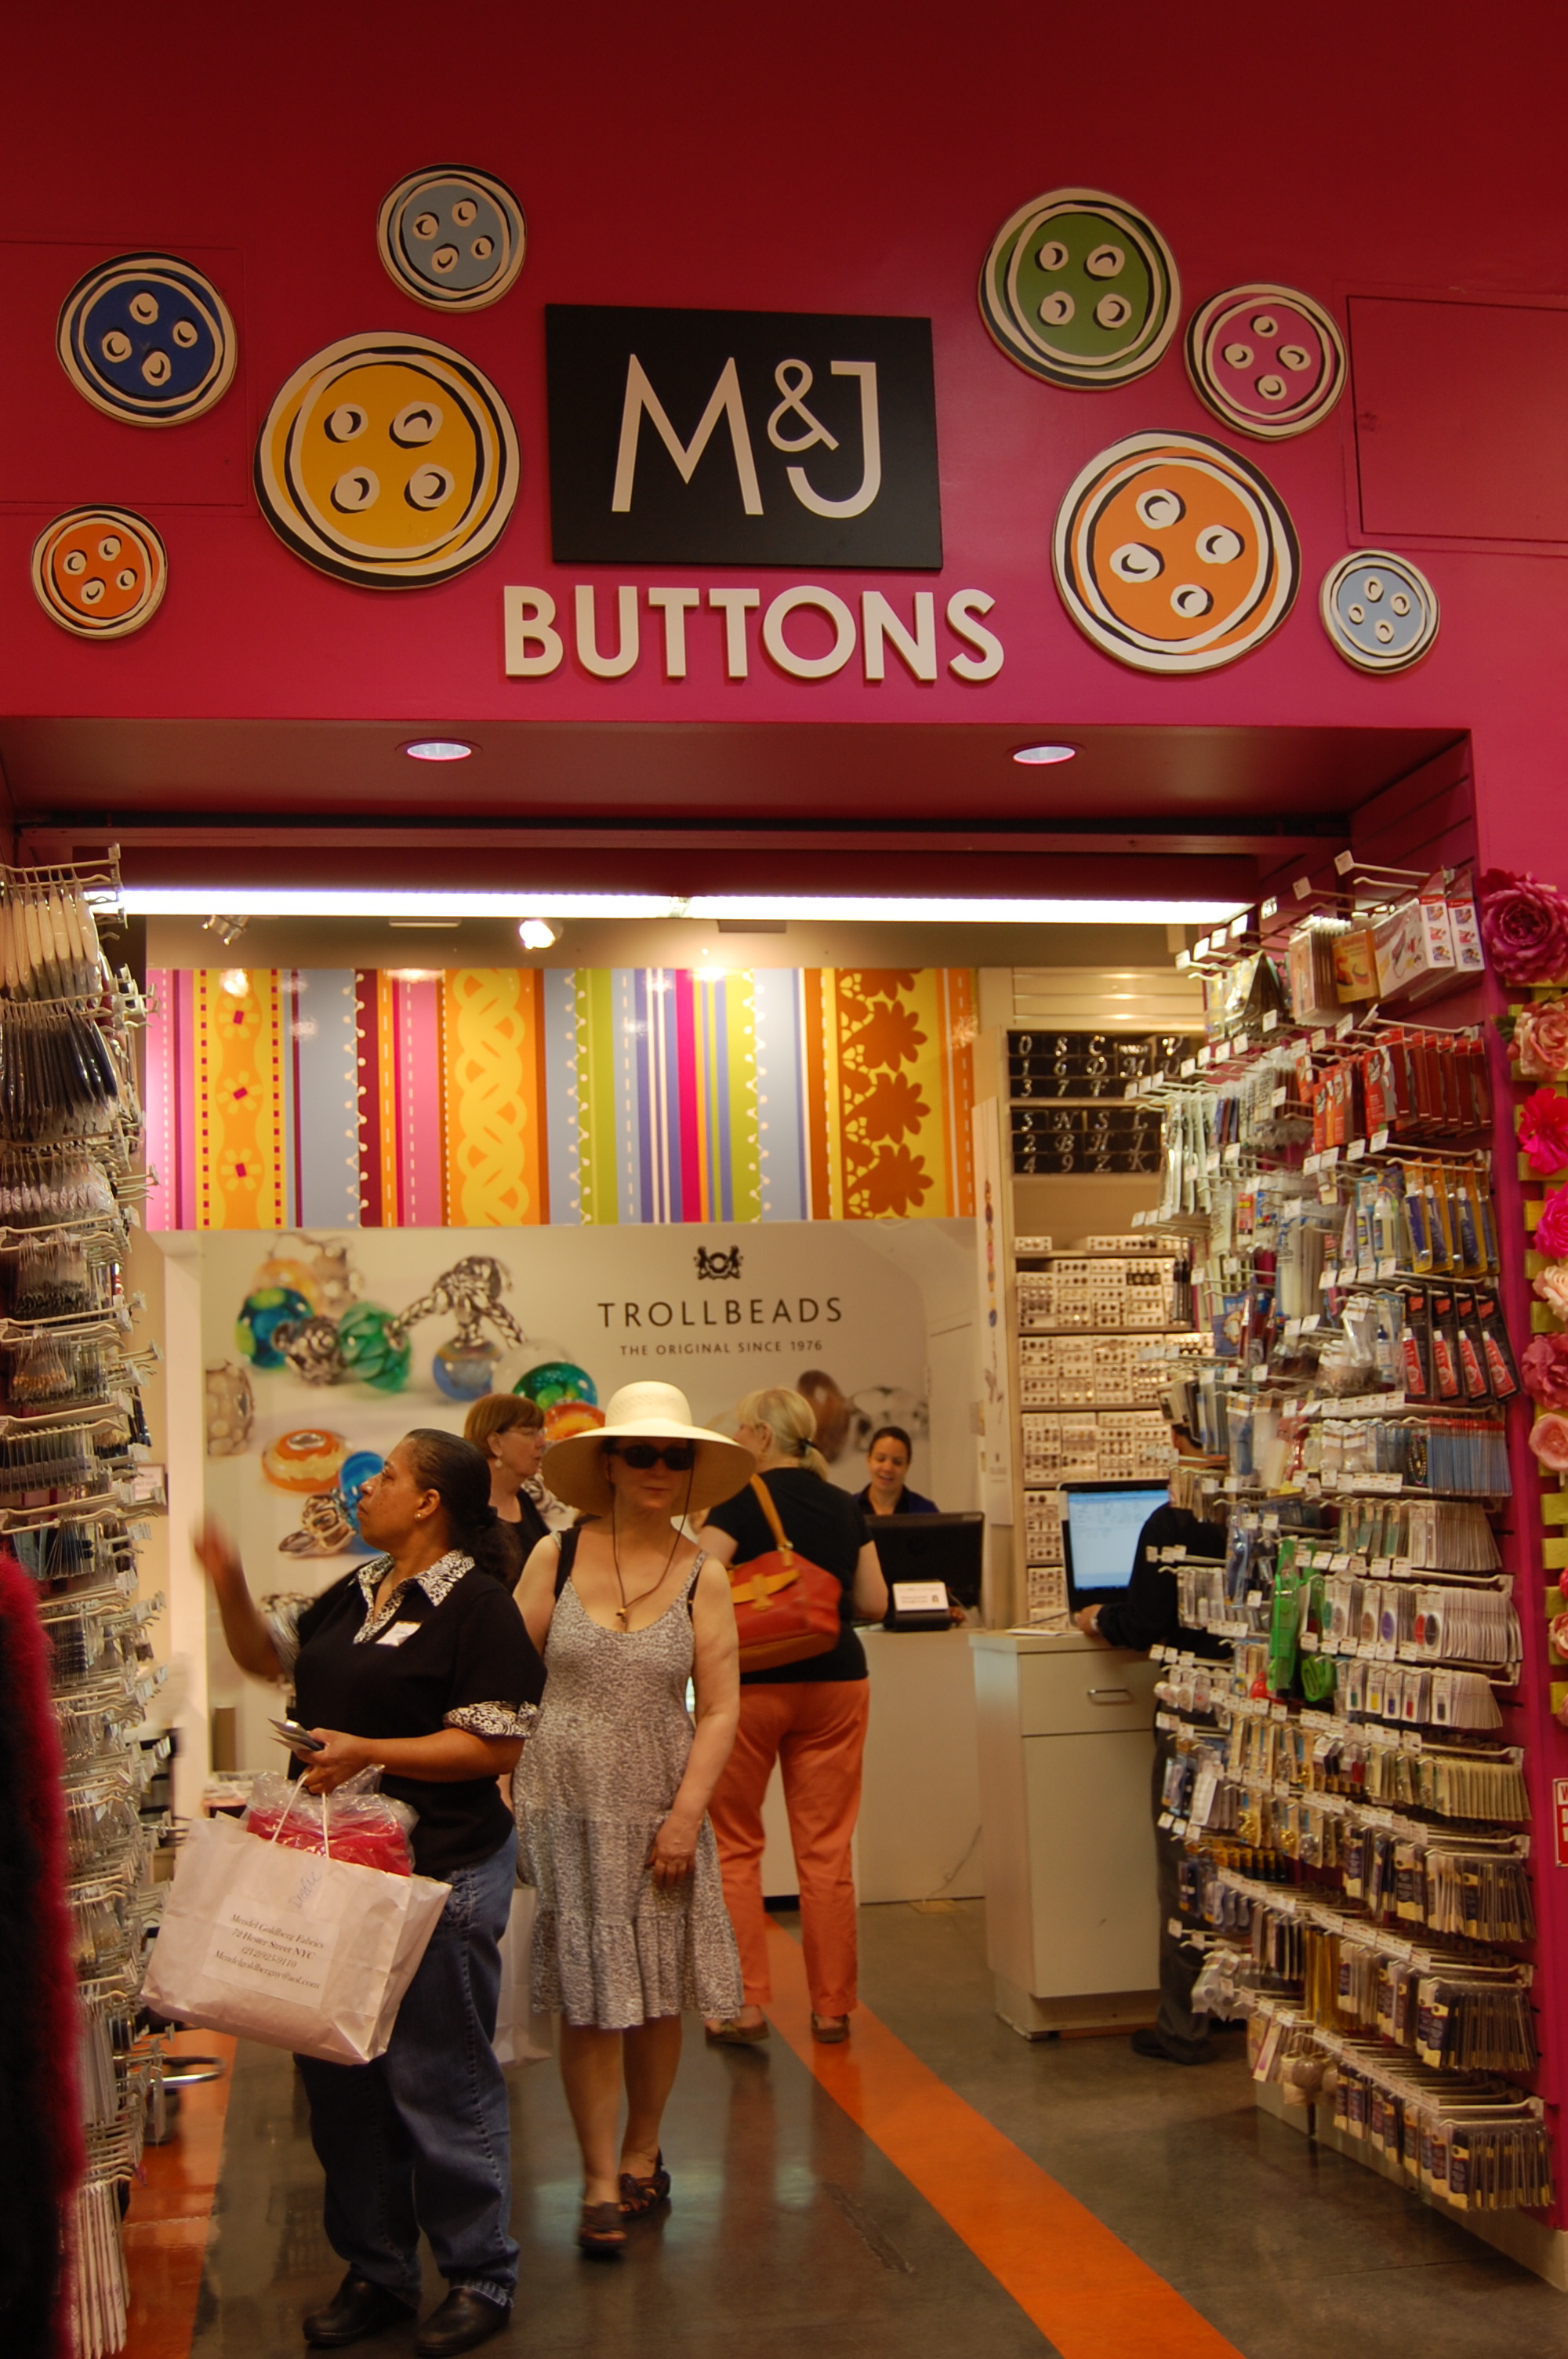
The entrance to the Button section of
M & J Trimming.
As an enthusiastic fan of unique and beautiful buttons, I was smitten. The button displays went from floor to ceiling, arranged by color and type, again very logically.
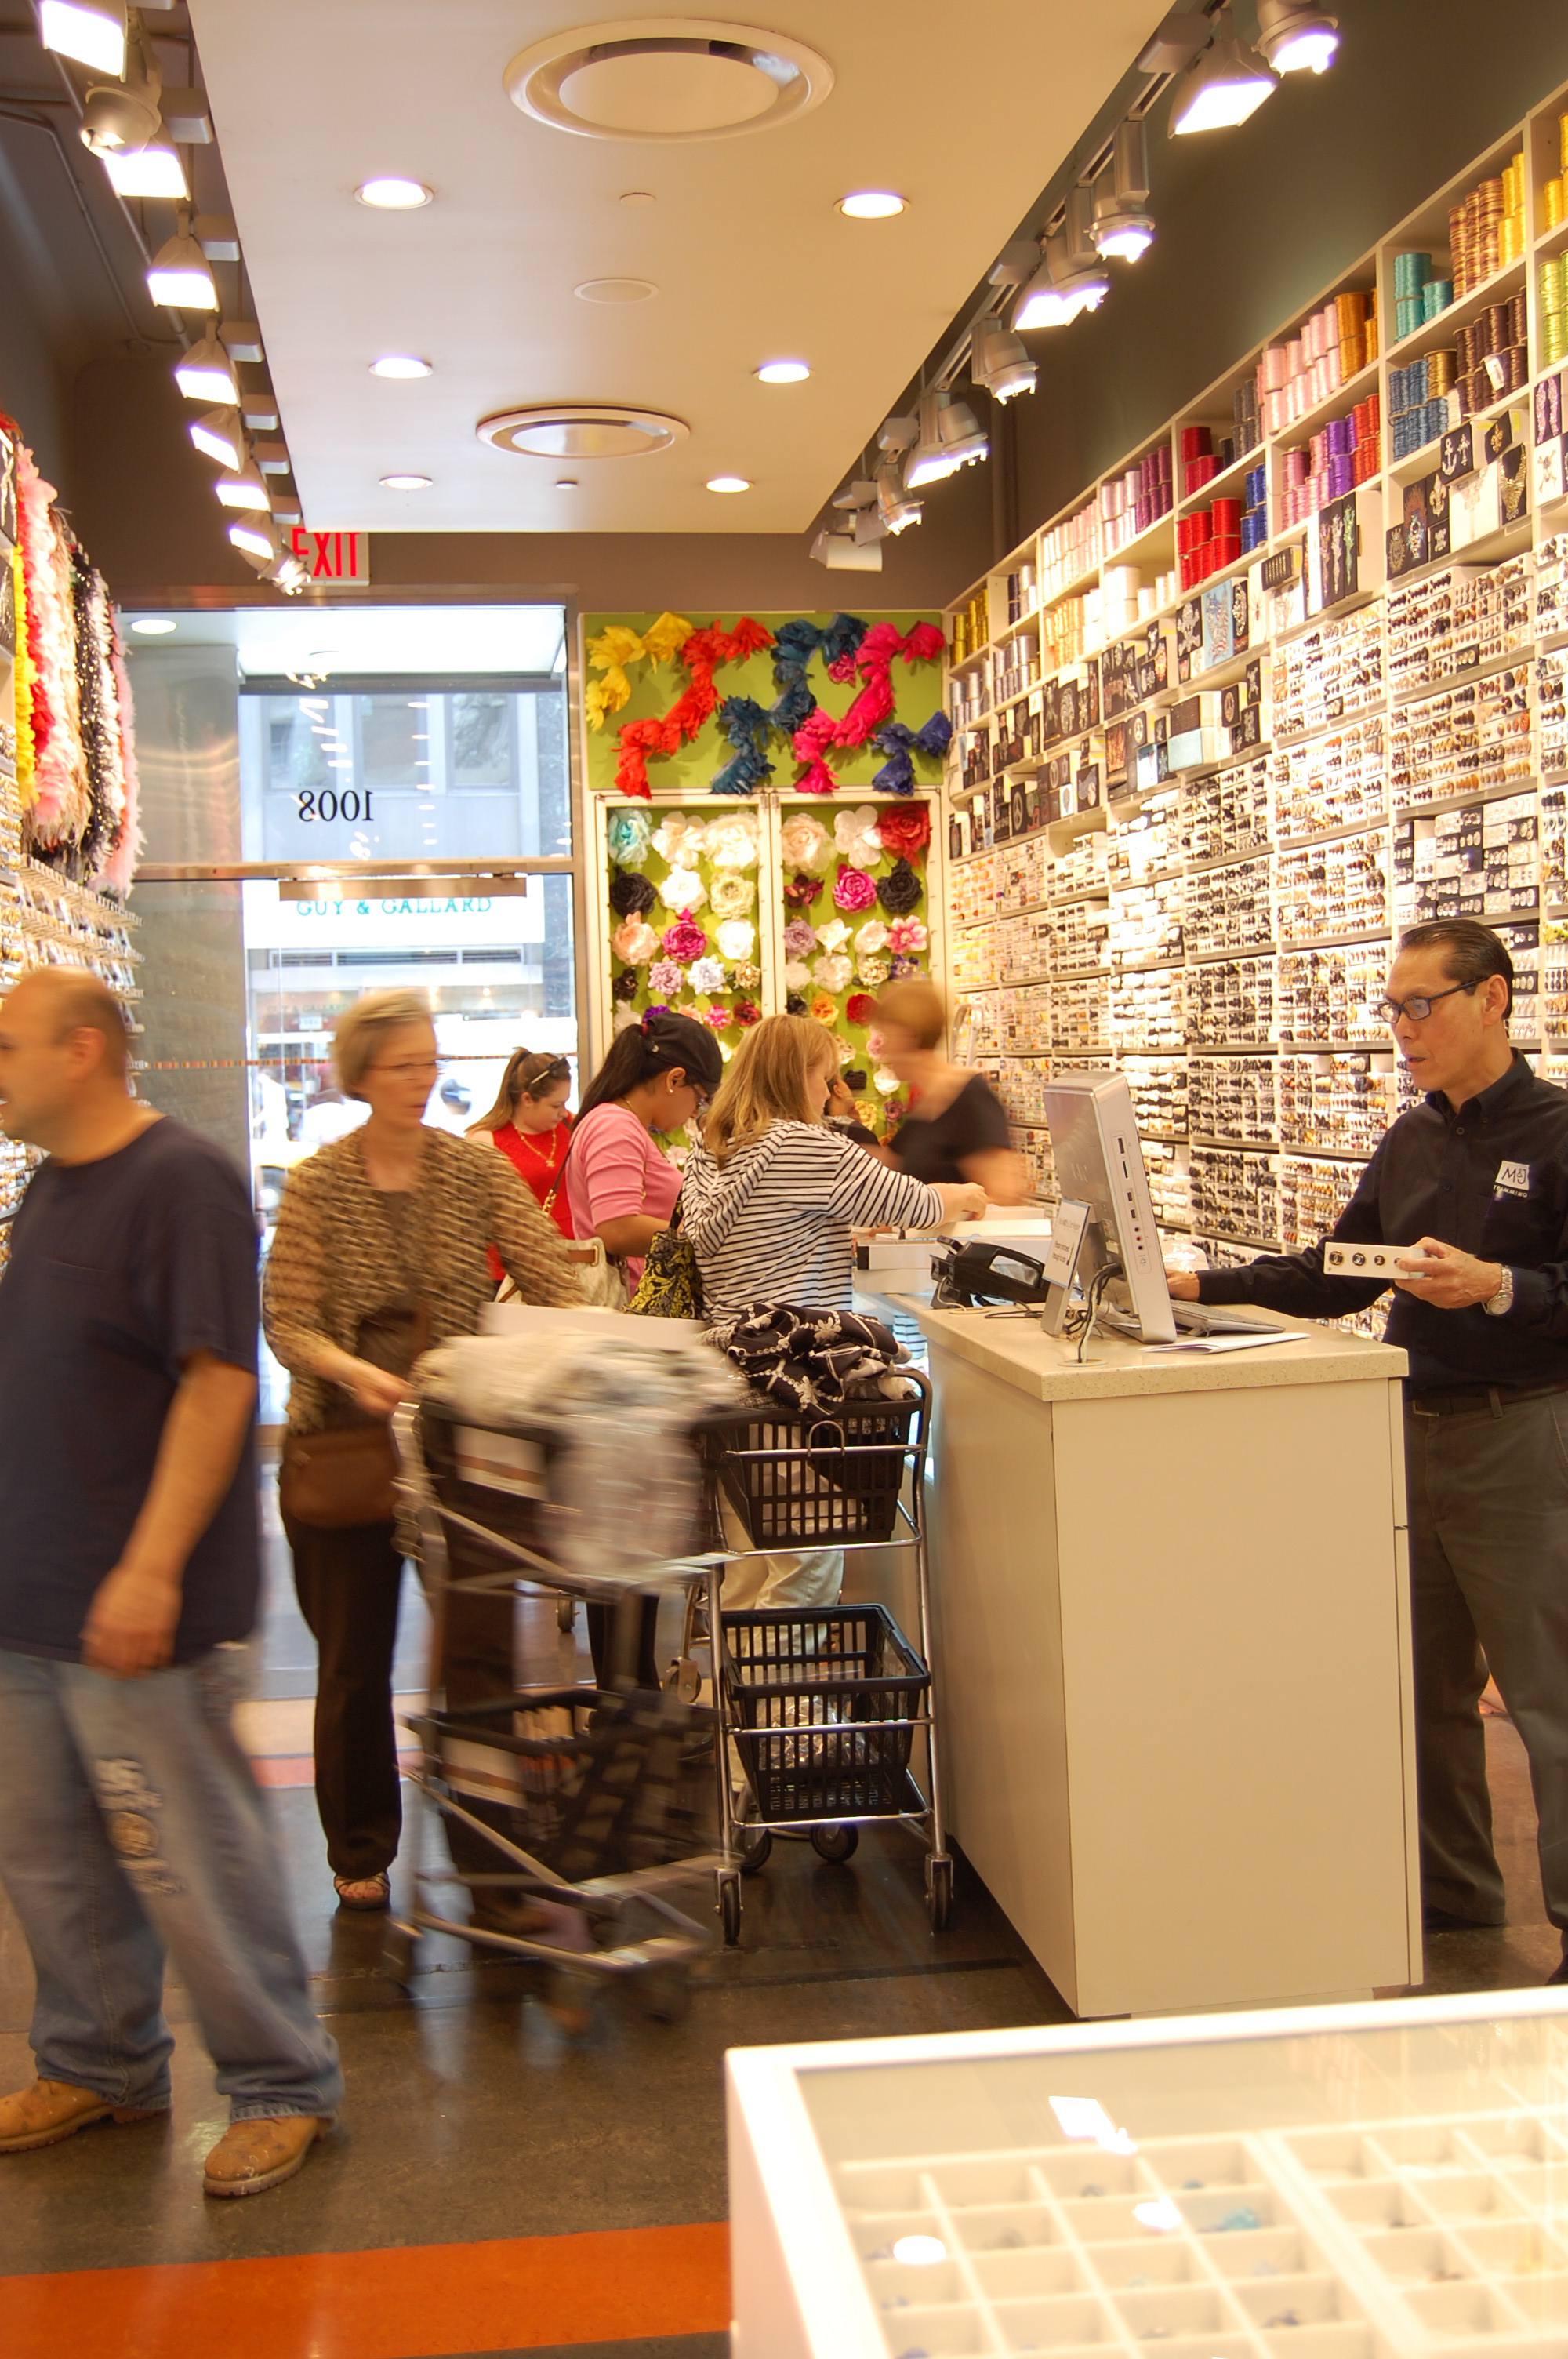
Buttons and more buttons.
As sewers, each of us is accustomed to choosing buttons appropriate to our garment. So – what fun it was to place different ones next to our fabrics and trims so they could audition for the final starring part. With Susan’s guidance, wonderful suggestions, and knowledgeable nod of approval, we all left the store with little bags filled with great and varied treasures.
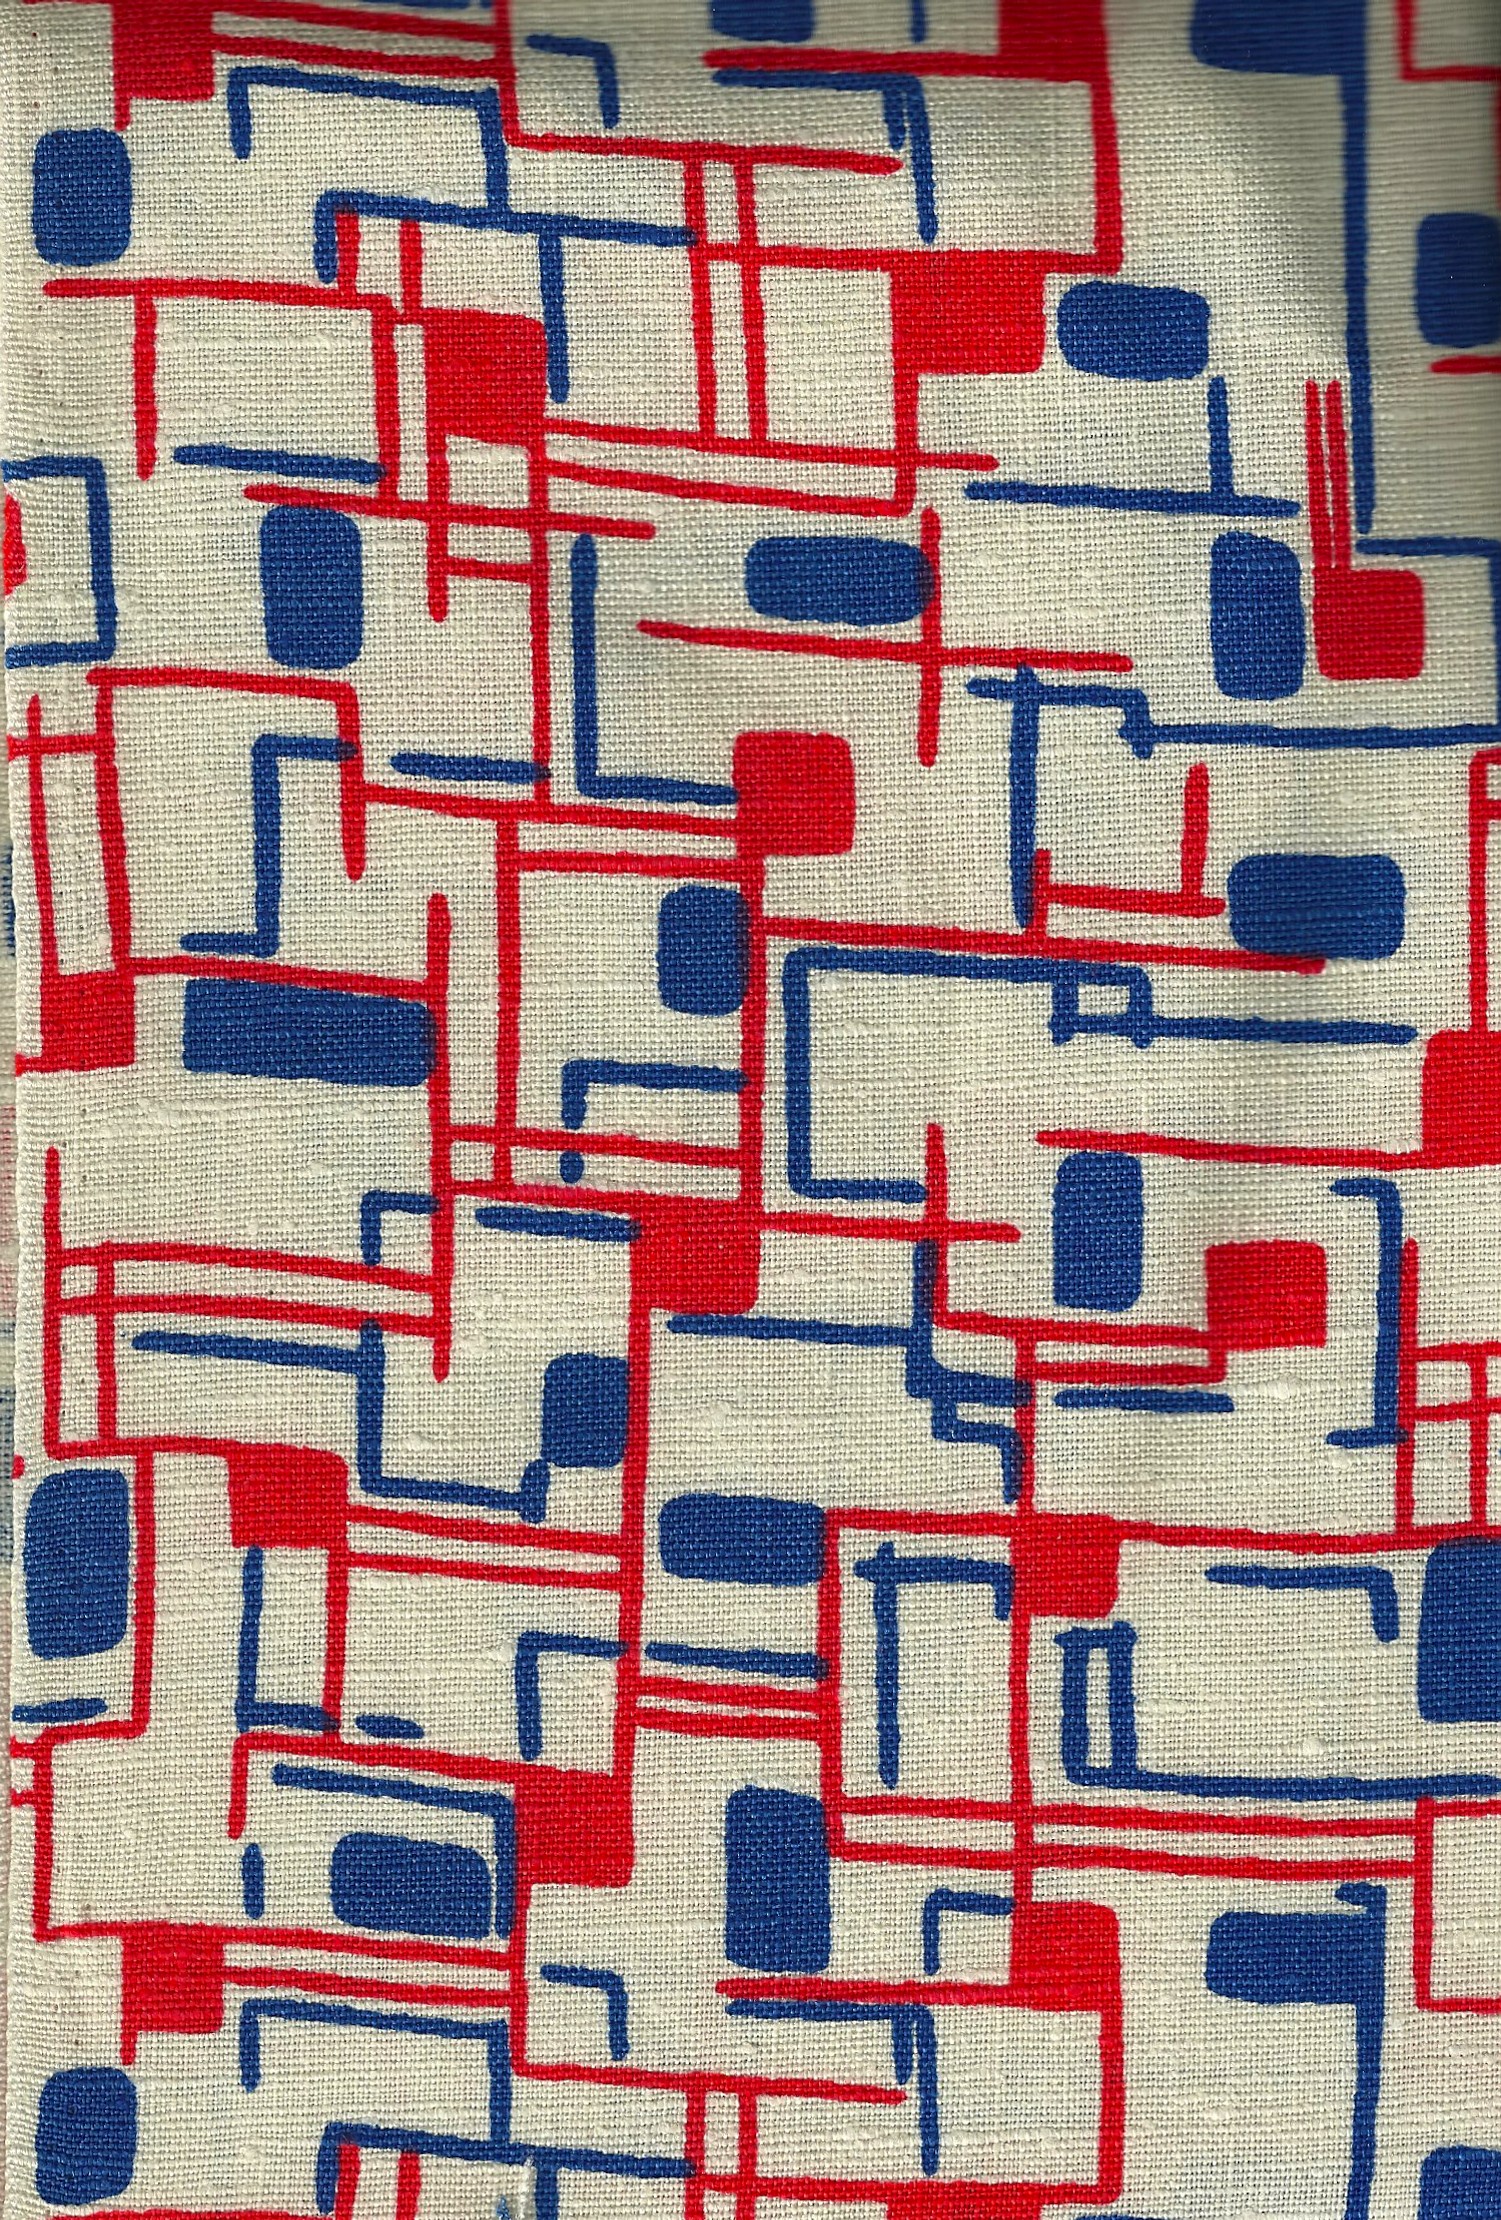
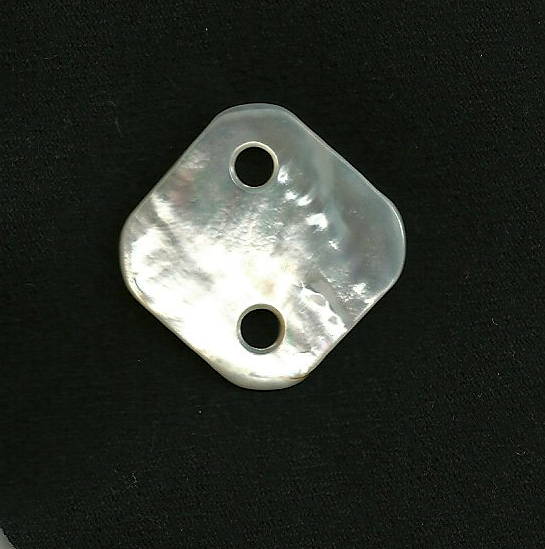
So which of those treasures did I find for my classic French jacket? I went with the hope of finding a lovely red boucle, which I did. Paired with that remarkably designed charmeuse shown above, the red seemed to me to be set off most beautifully with black trim and black and gold buttons.
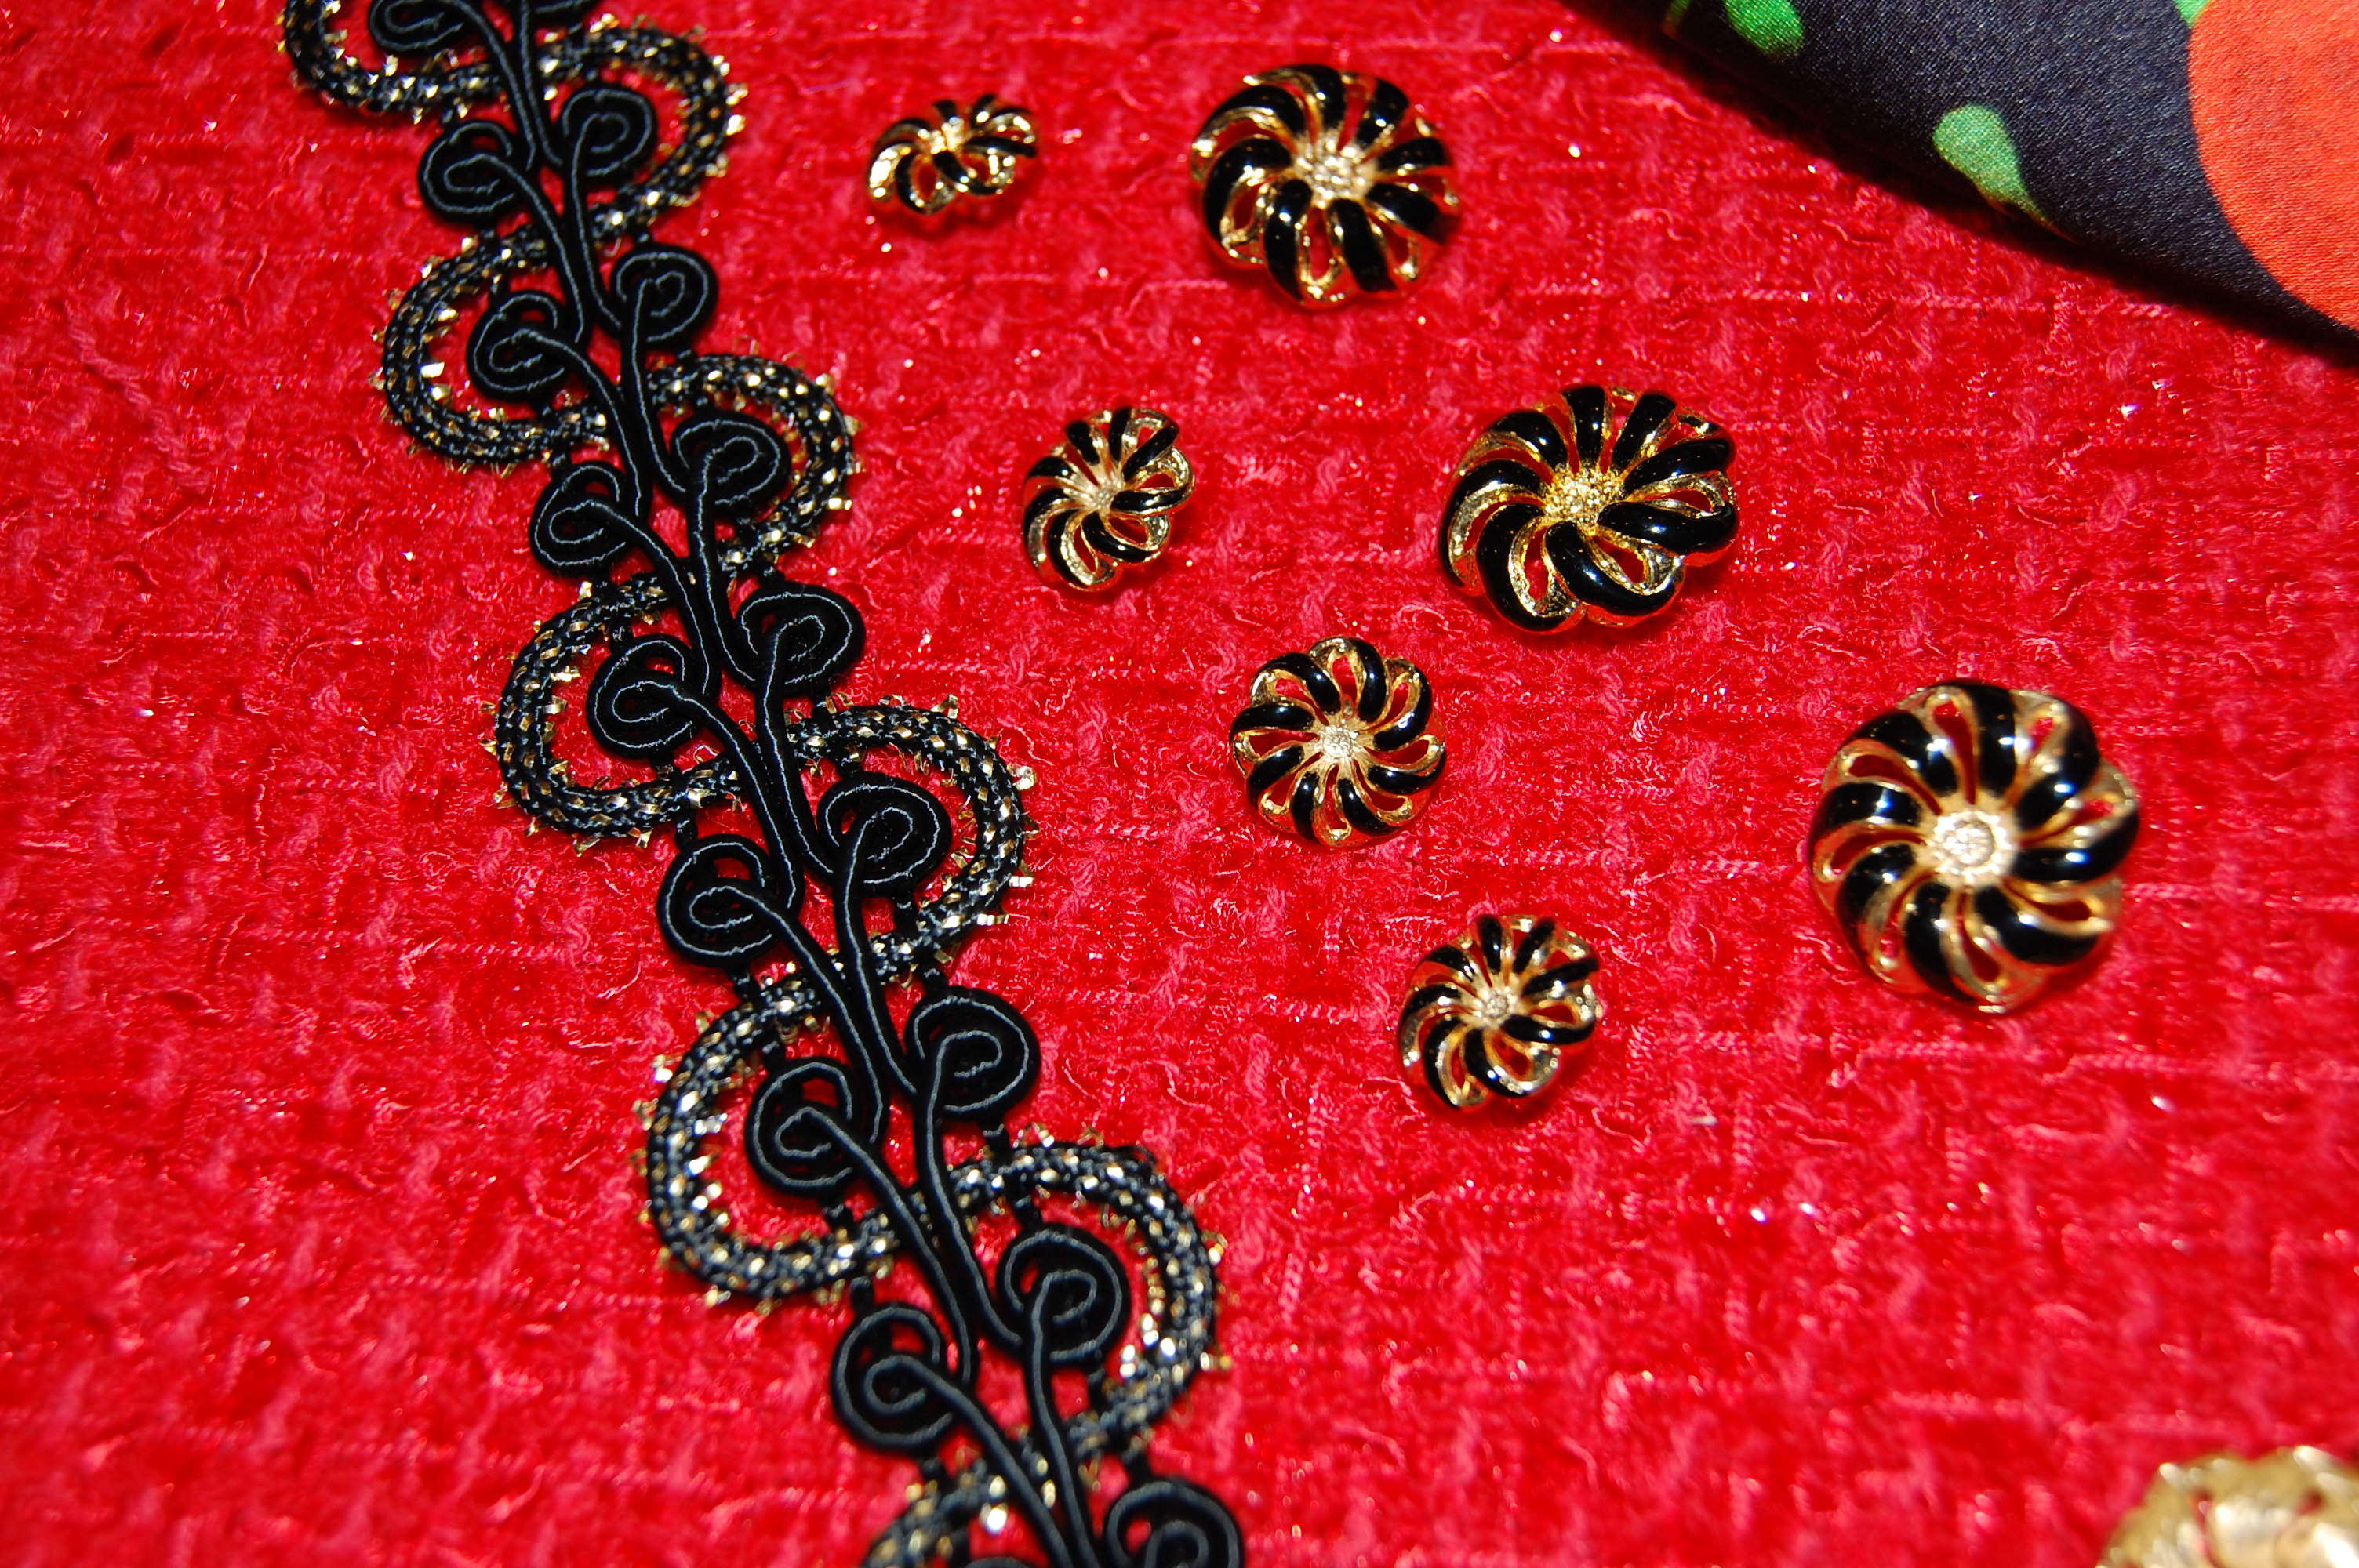
My trim and buttons – click on the photo to see them close-up.
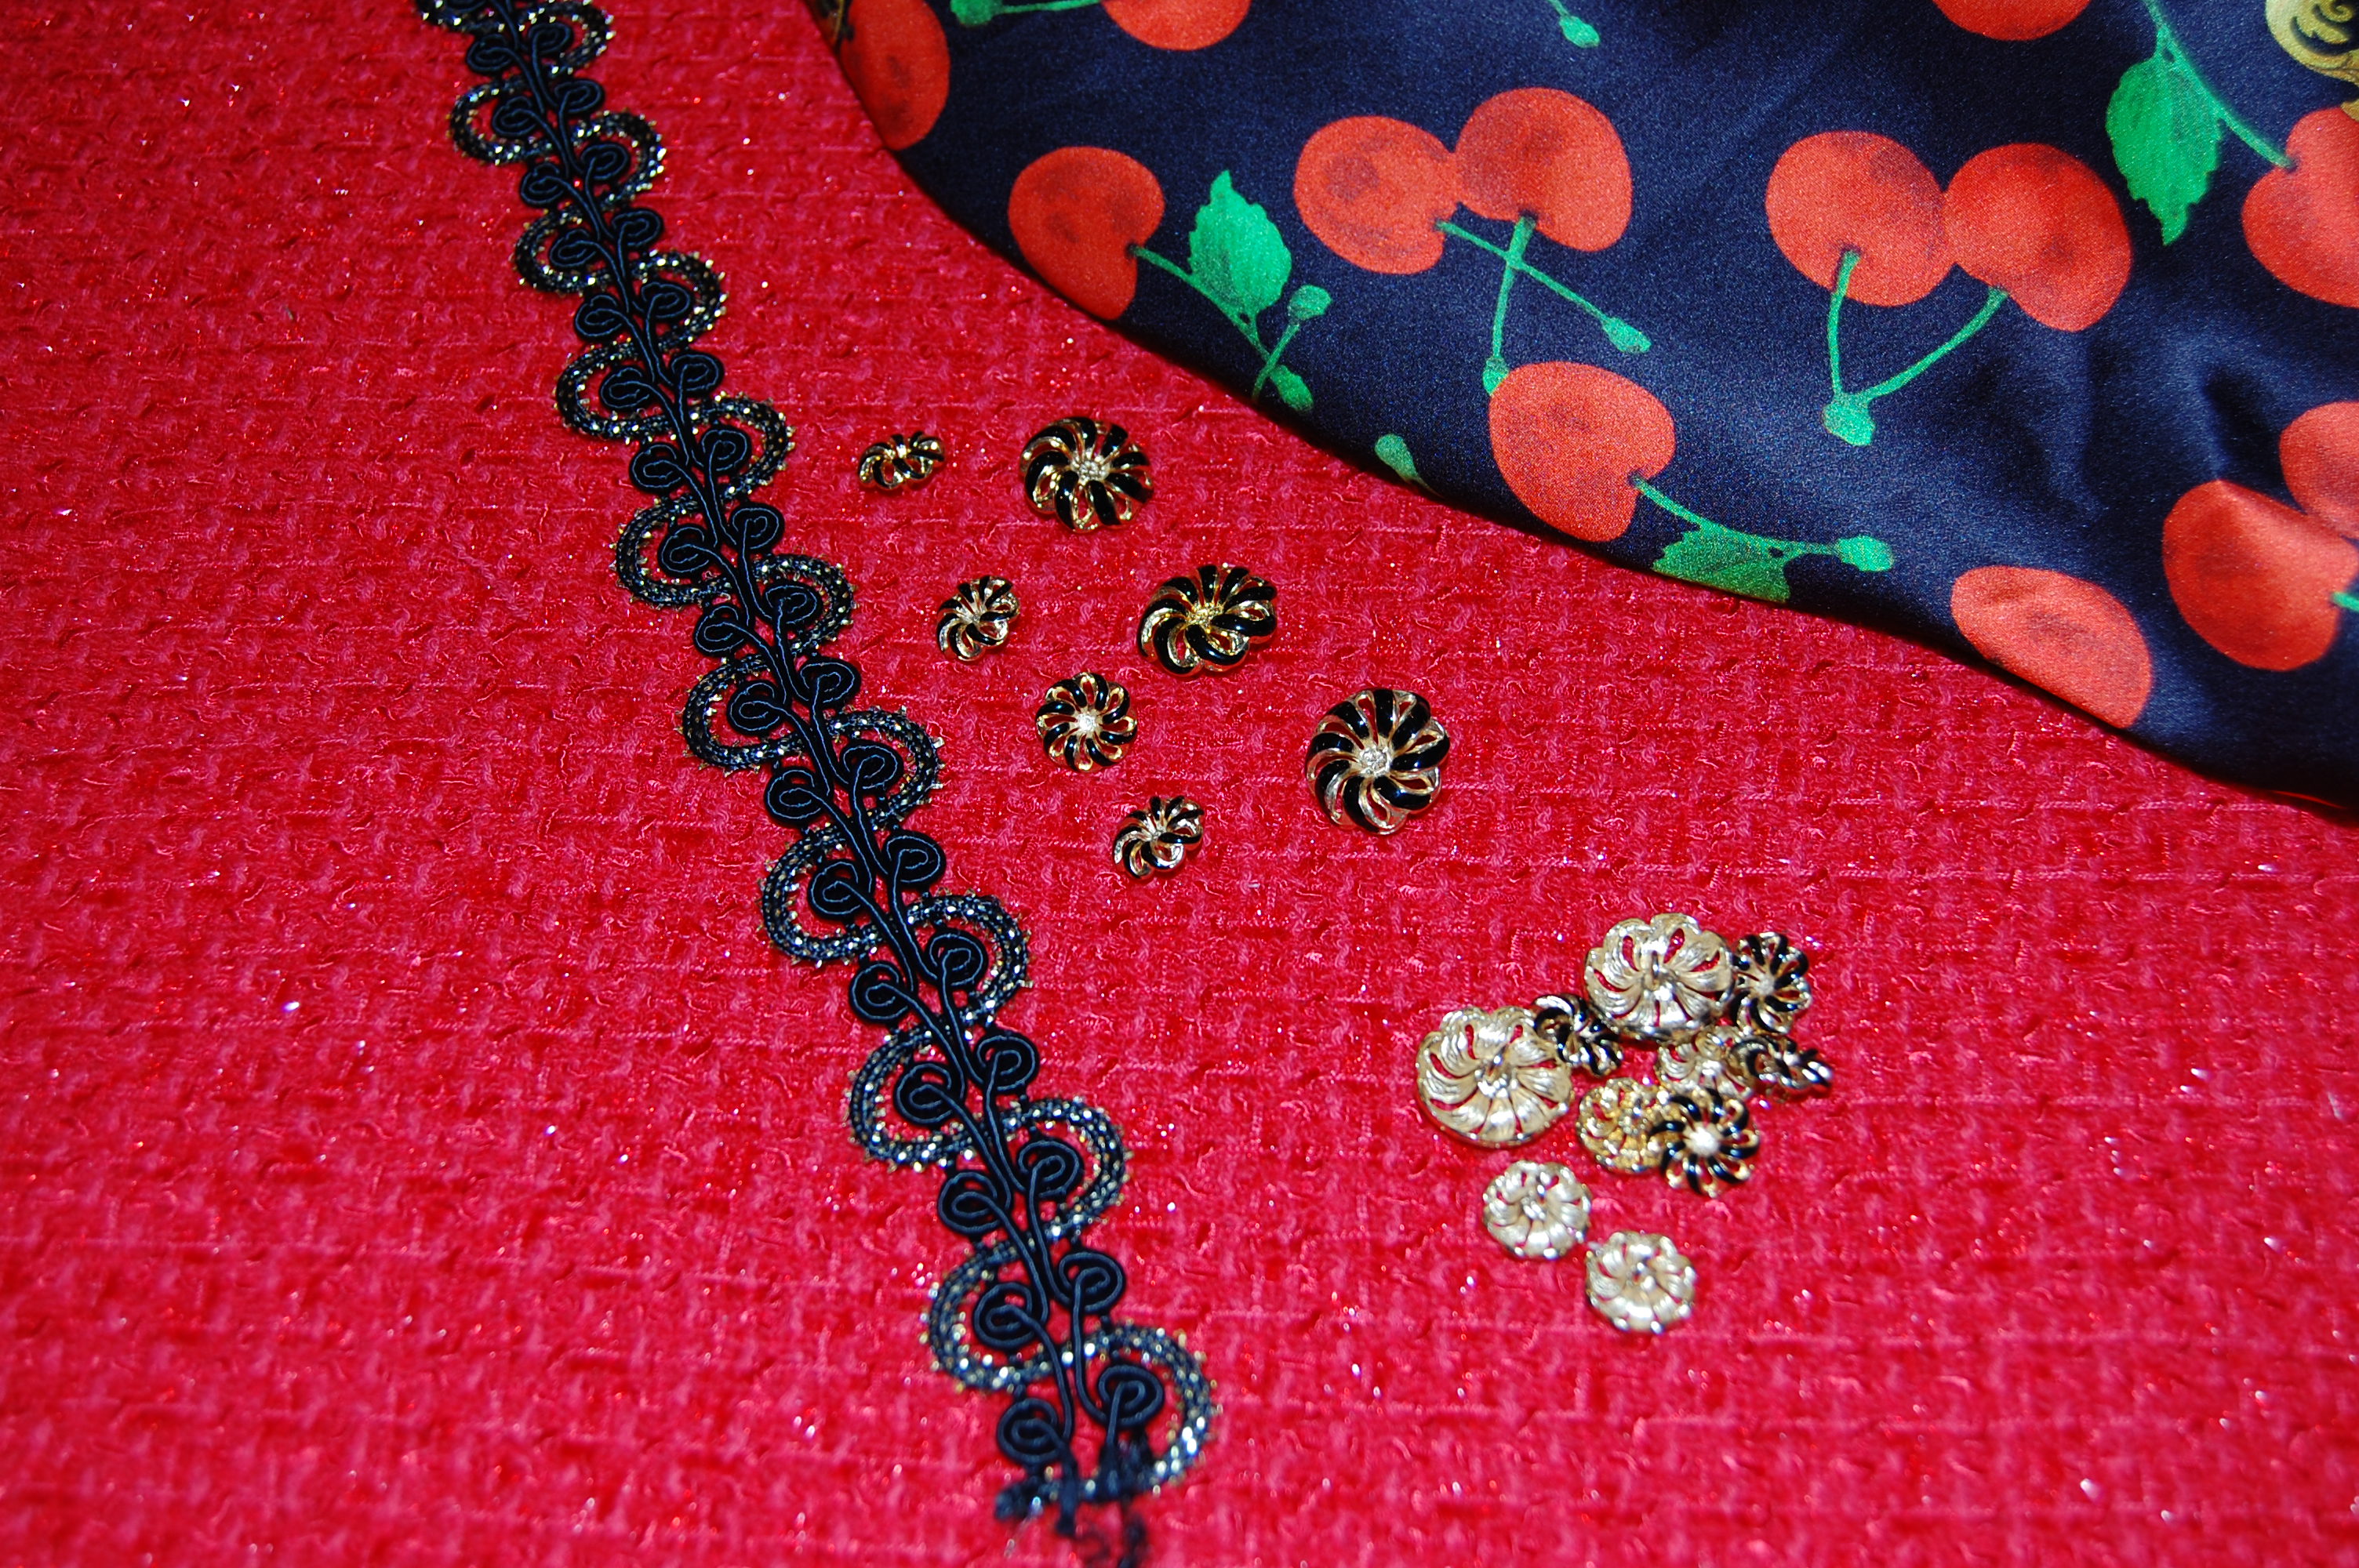
Boucle – charmeuse – trim – buttons. All set to begin my jacket . . .