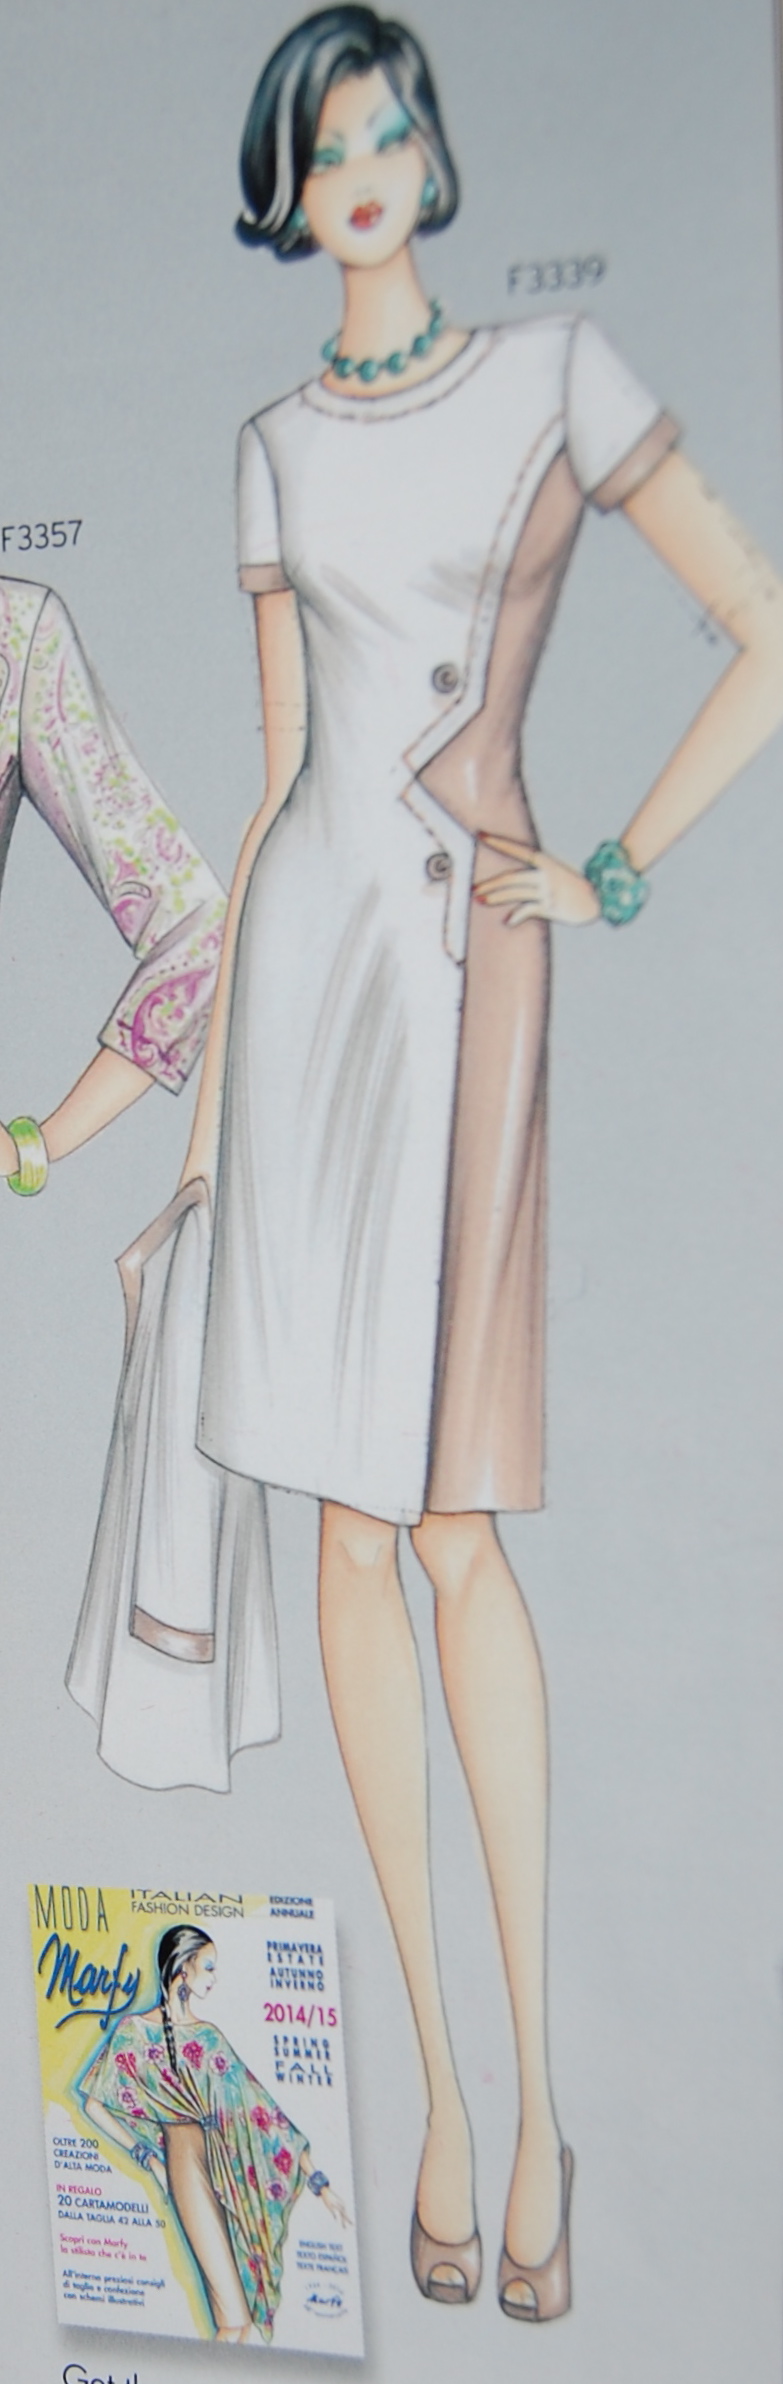
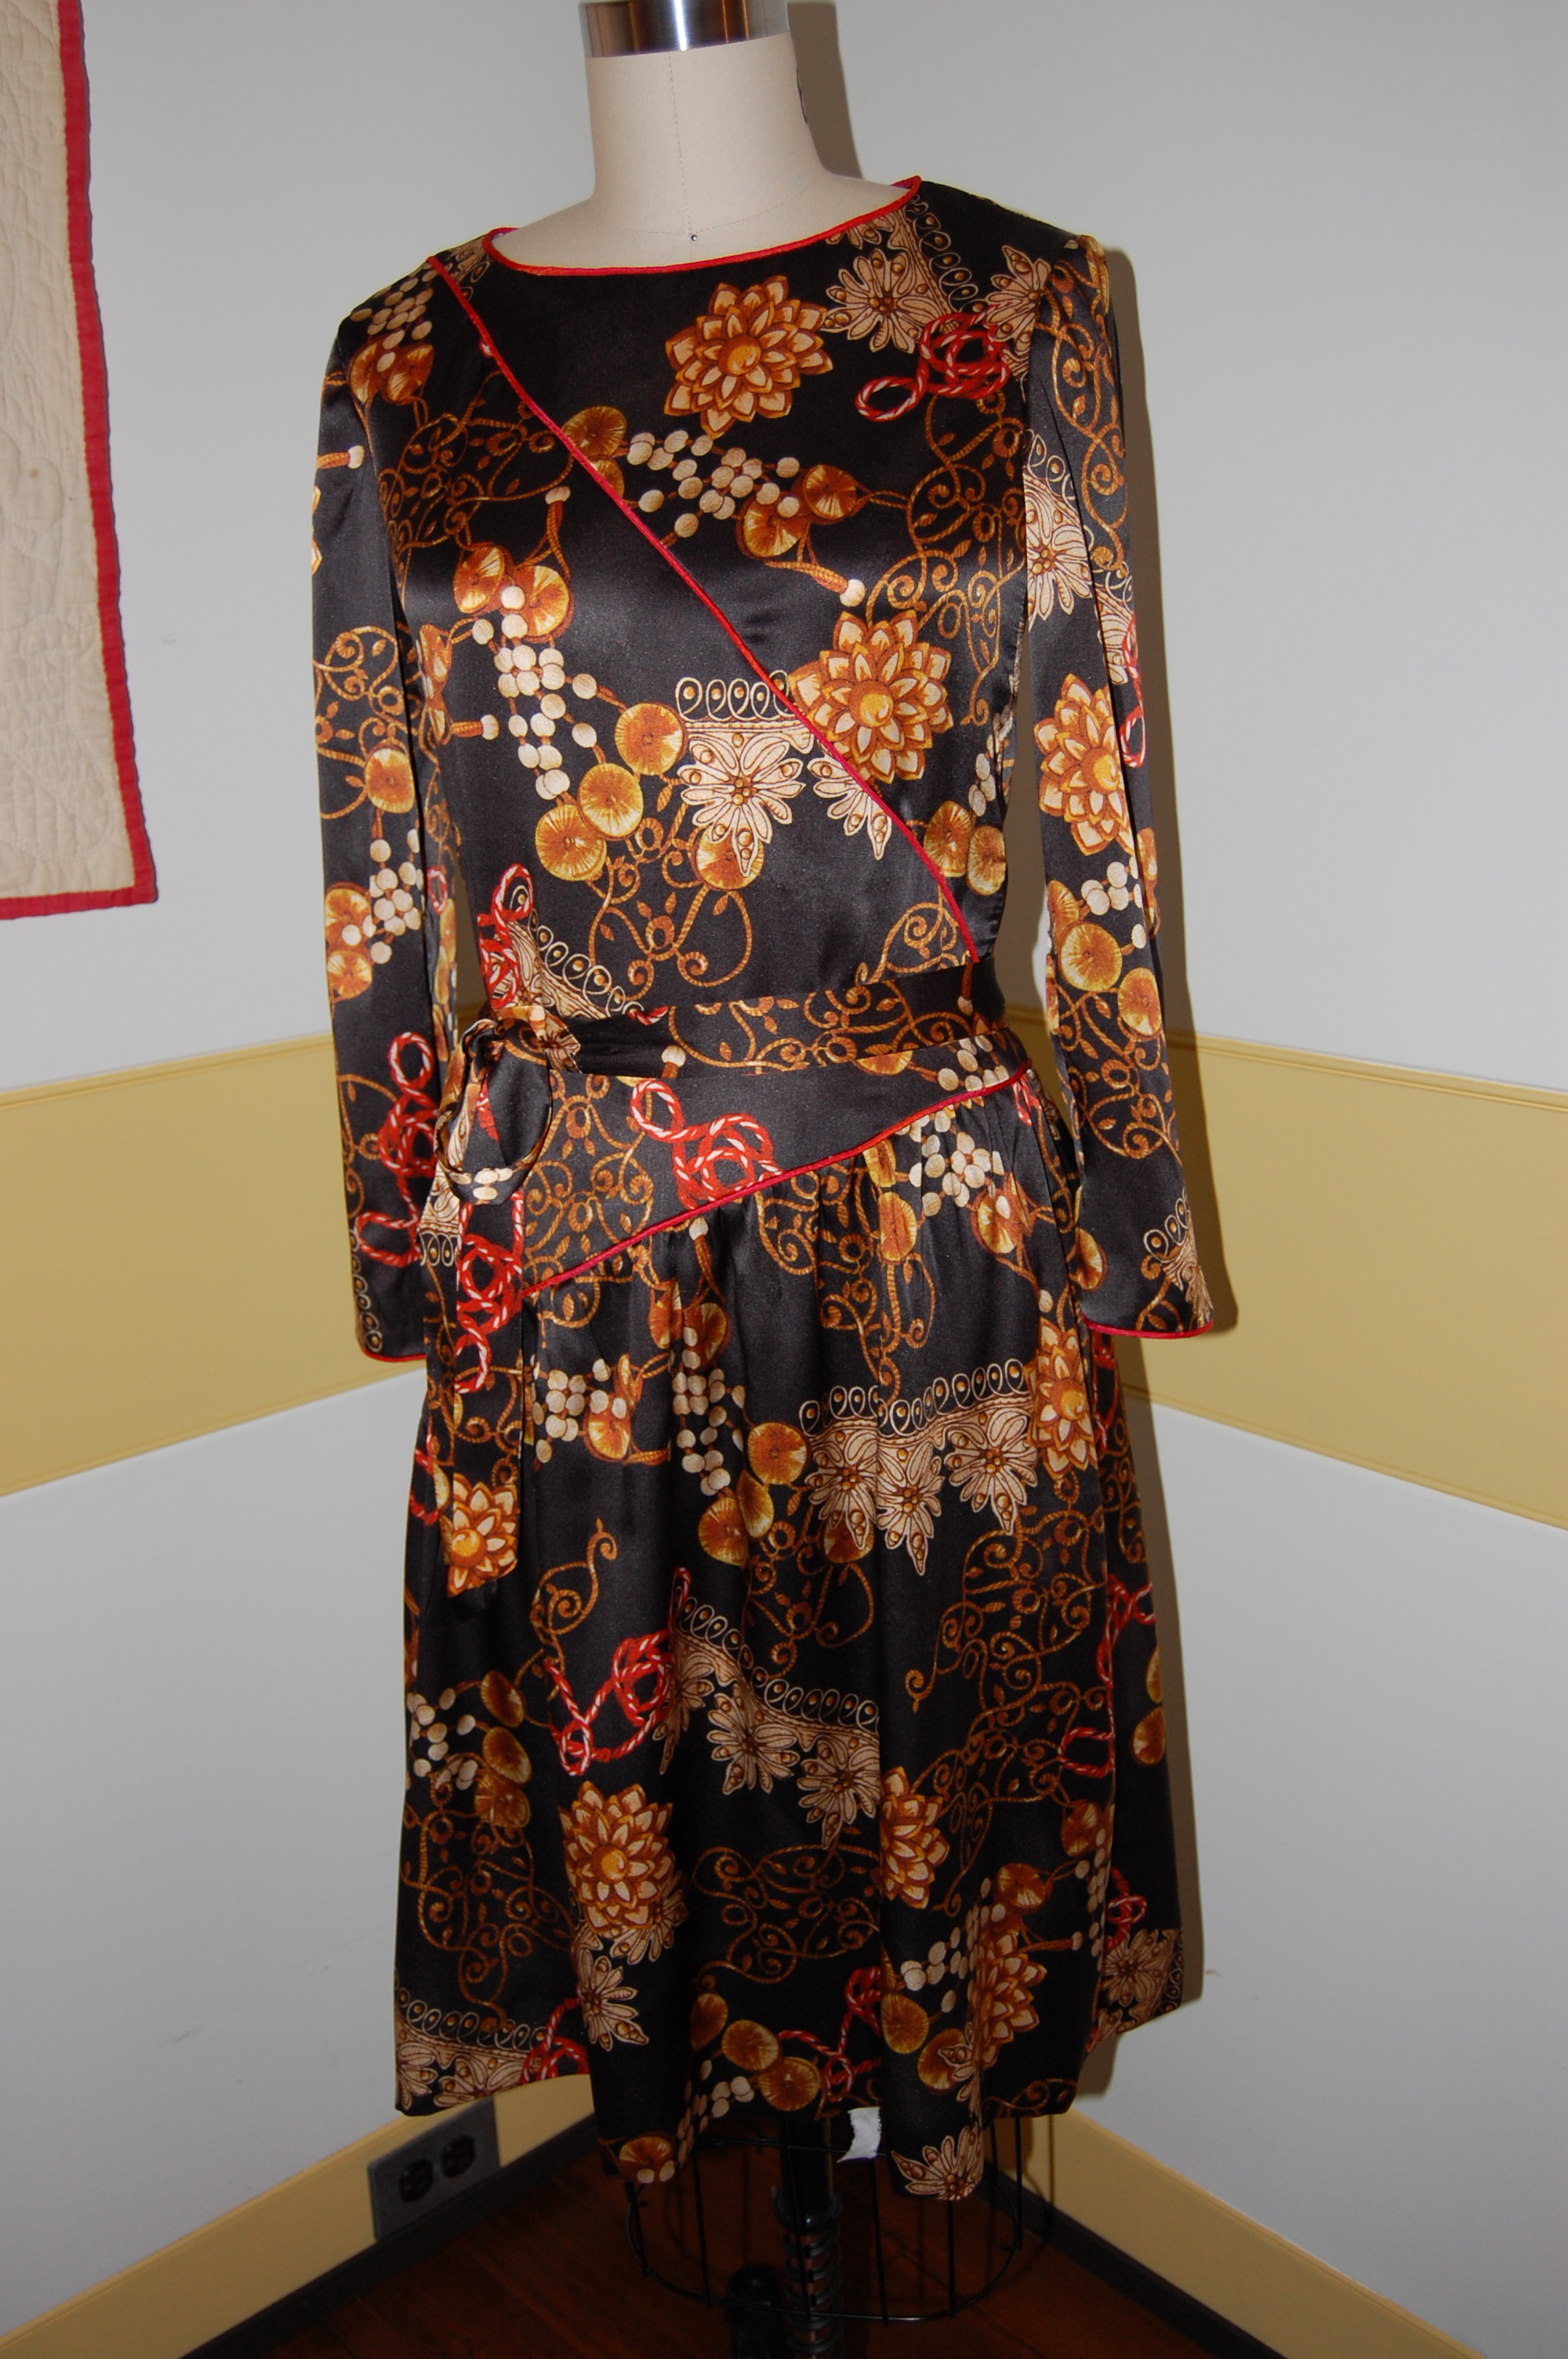
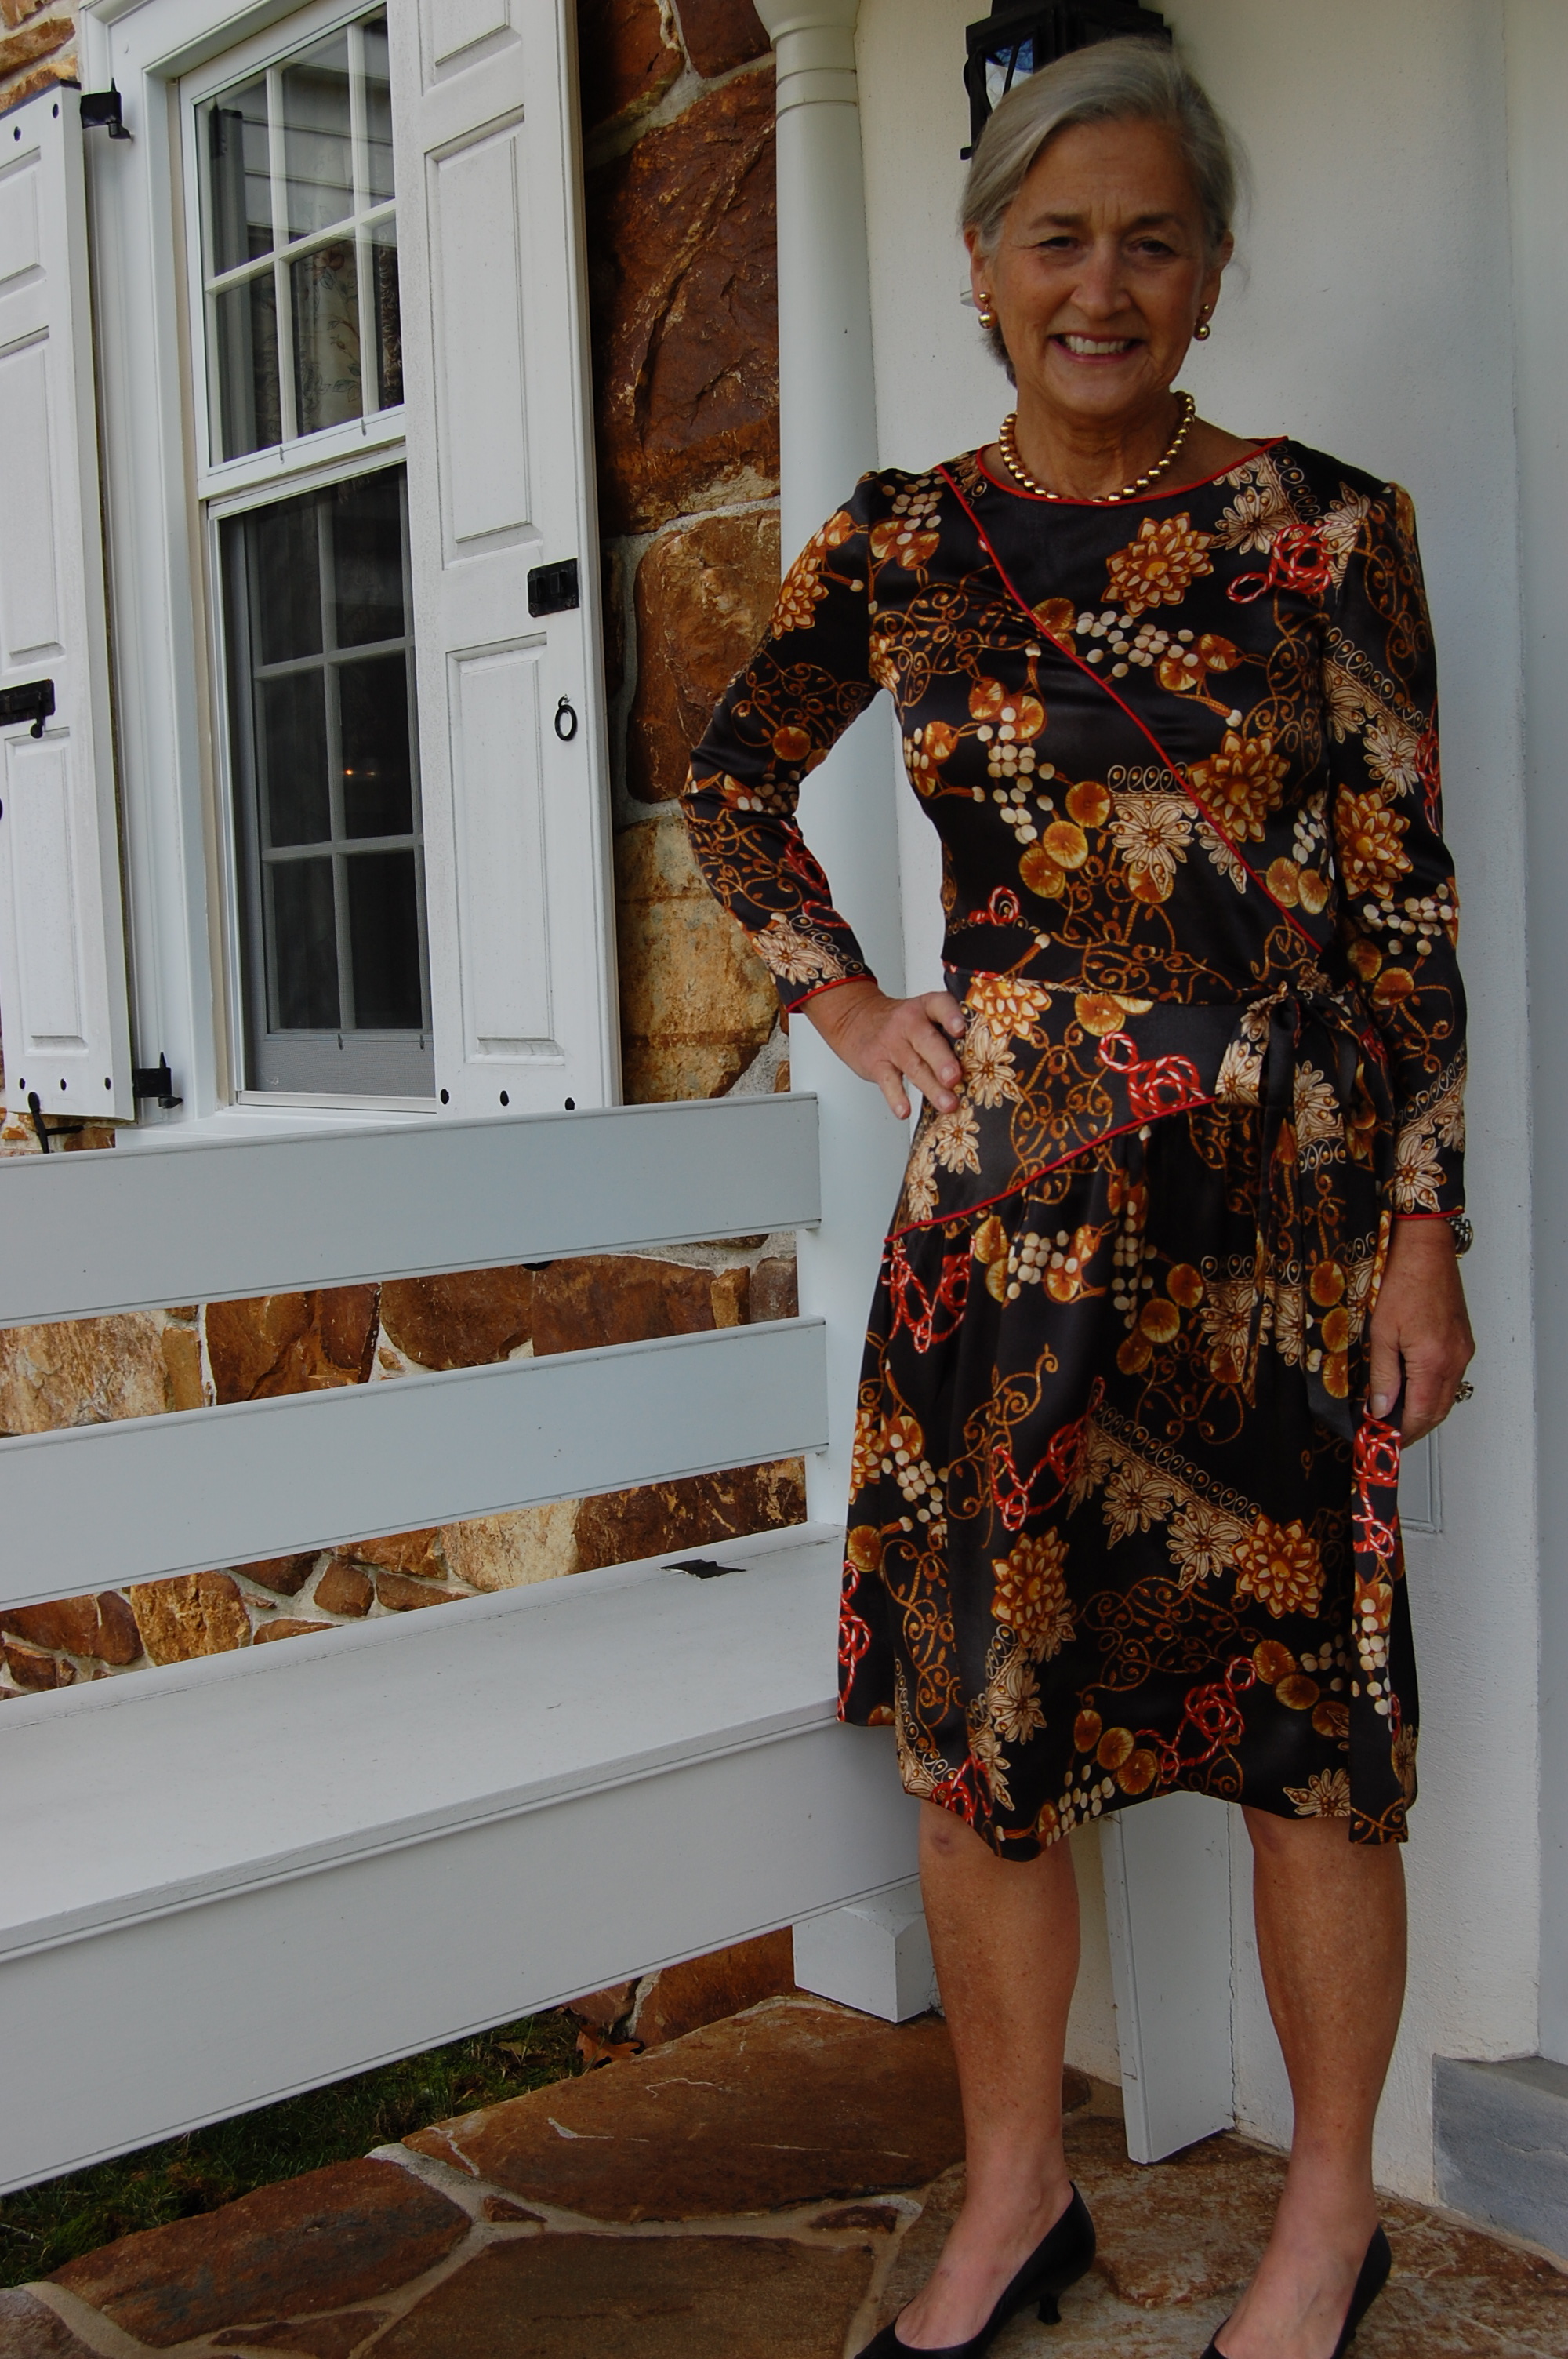
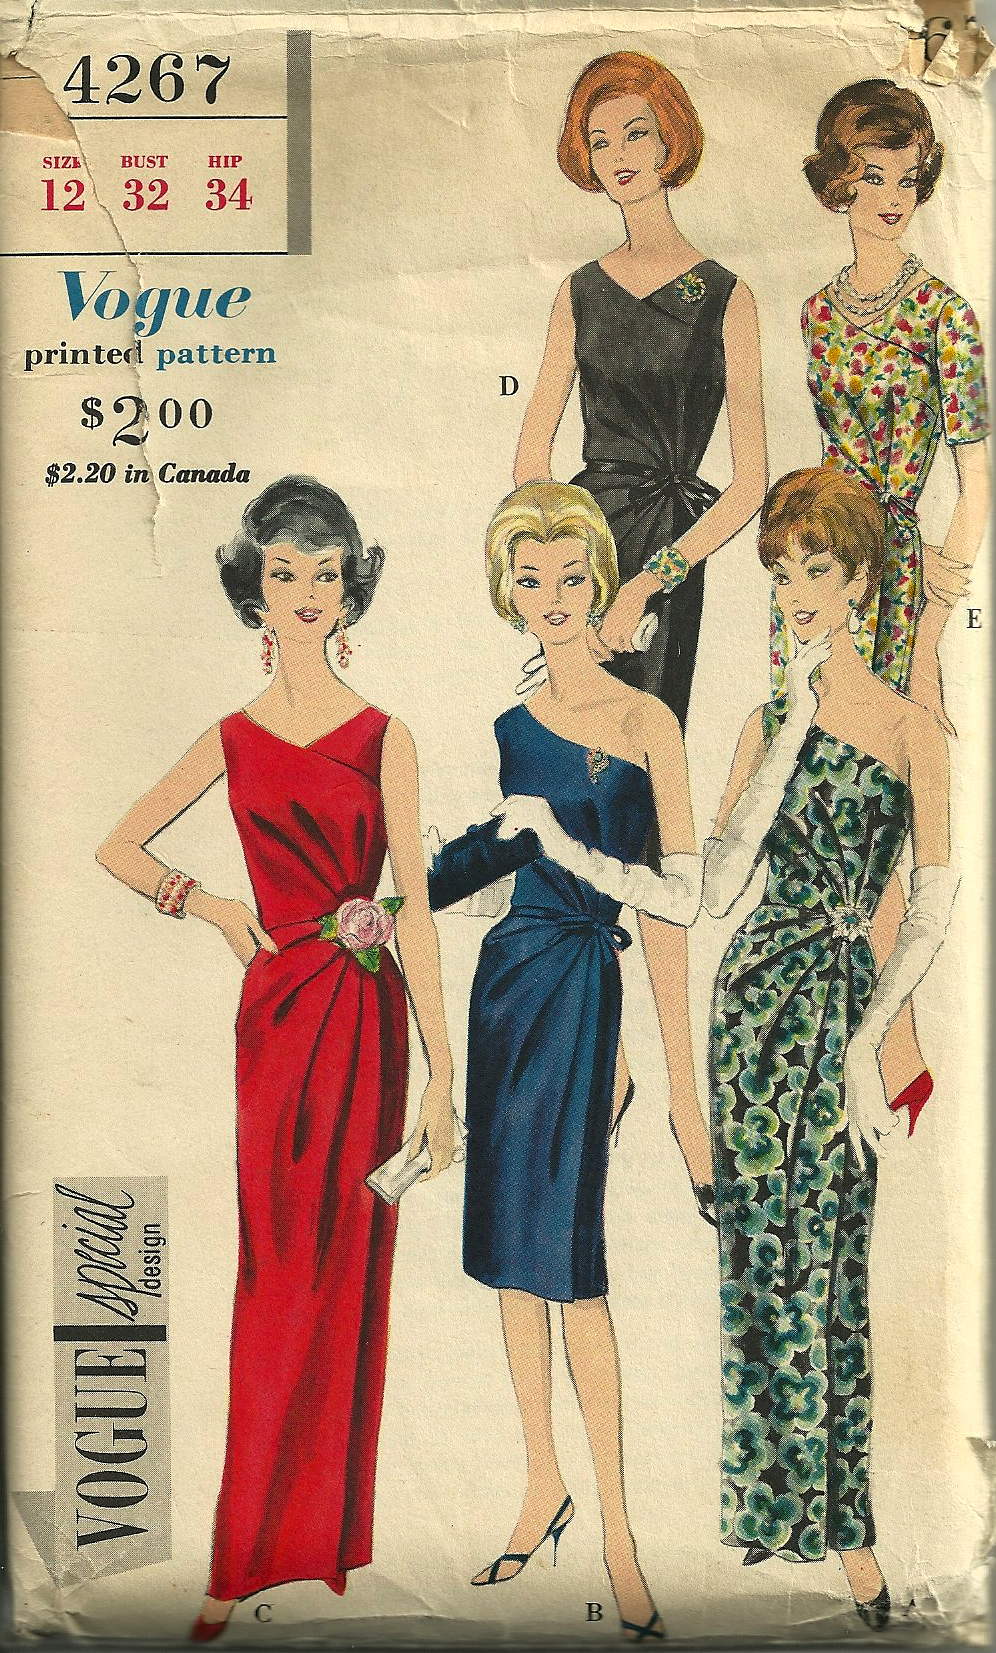
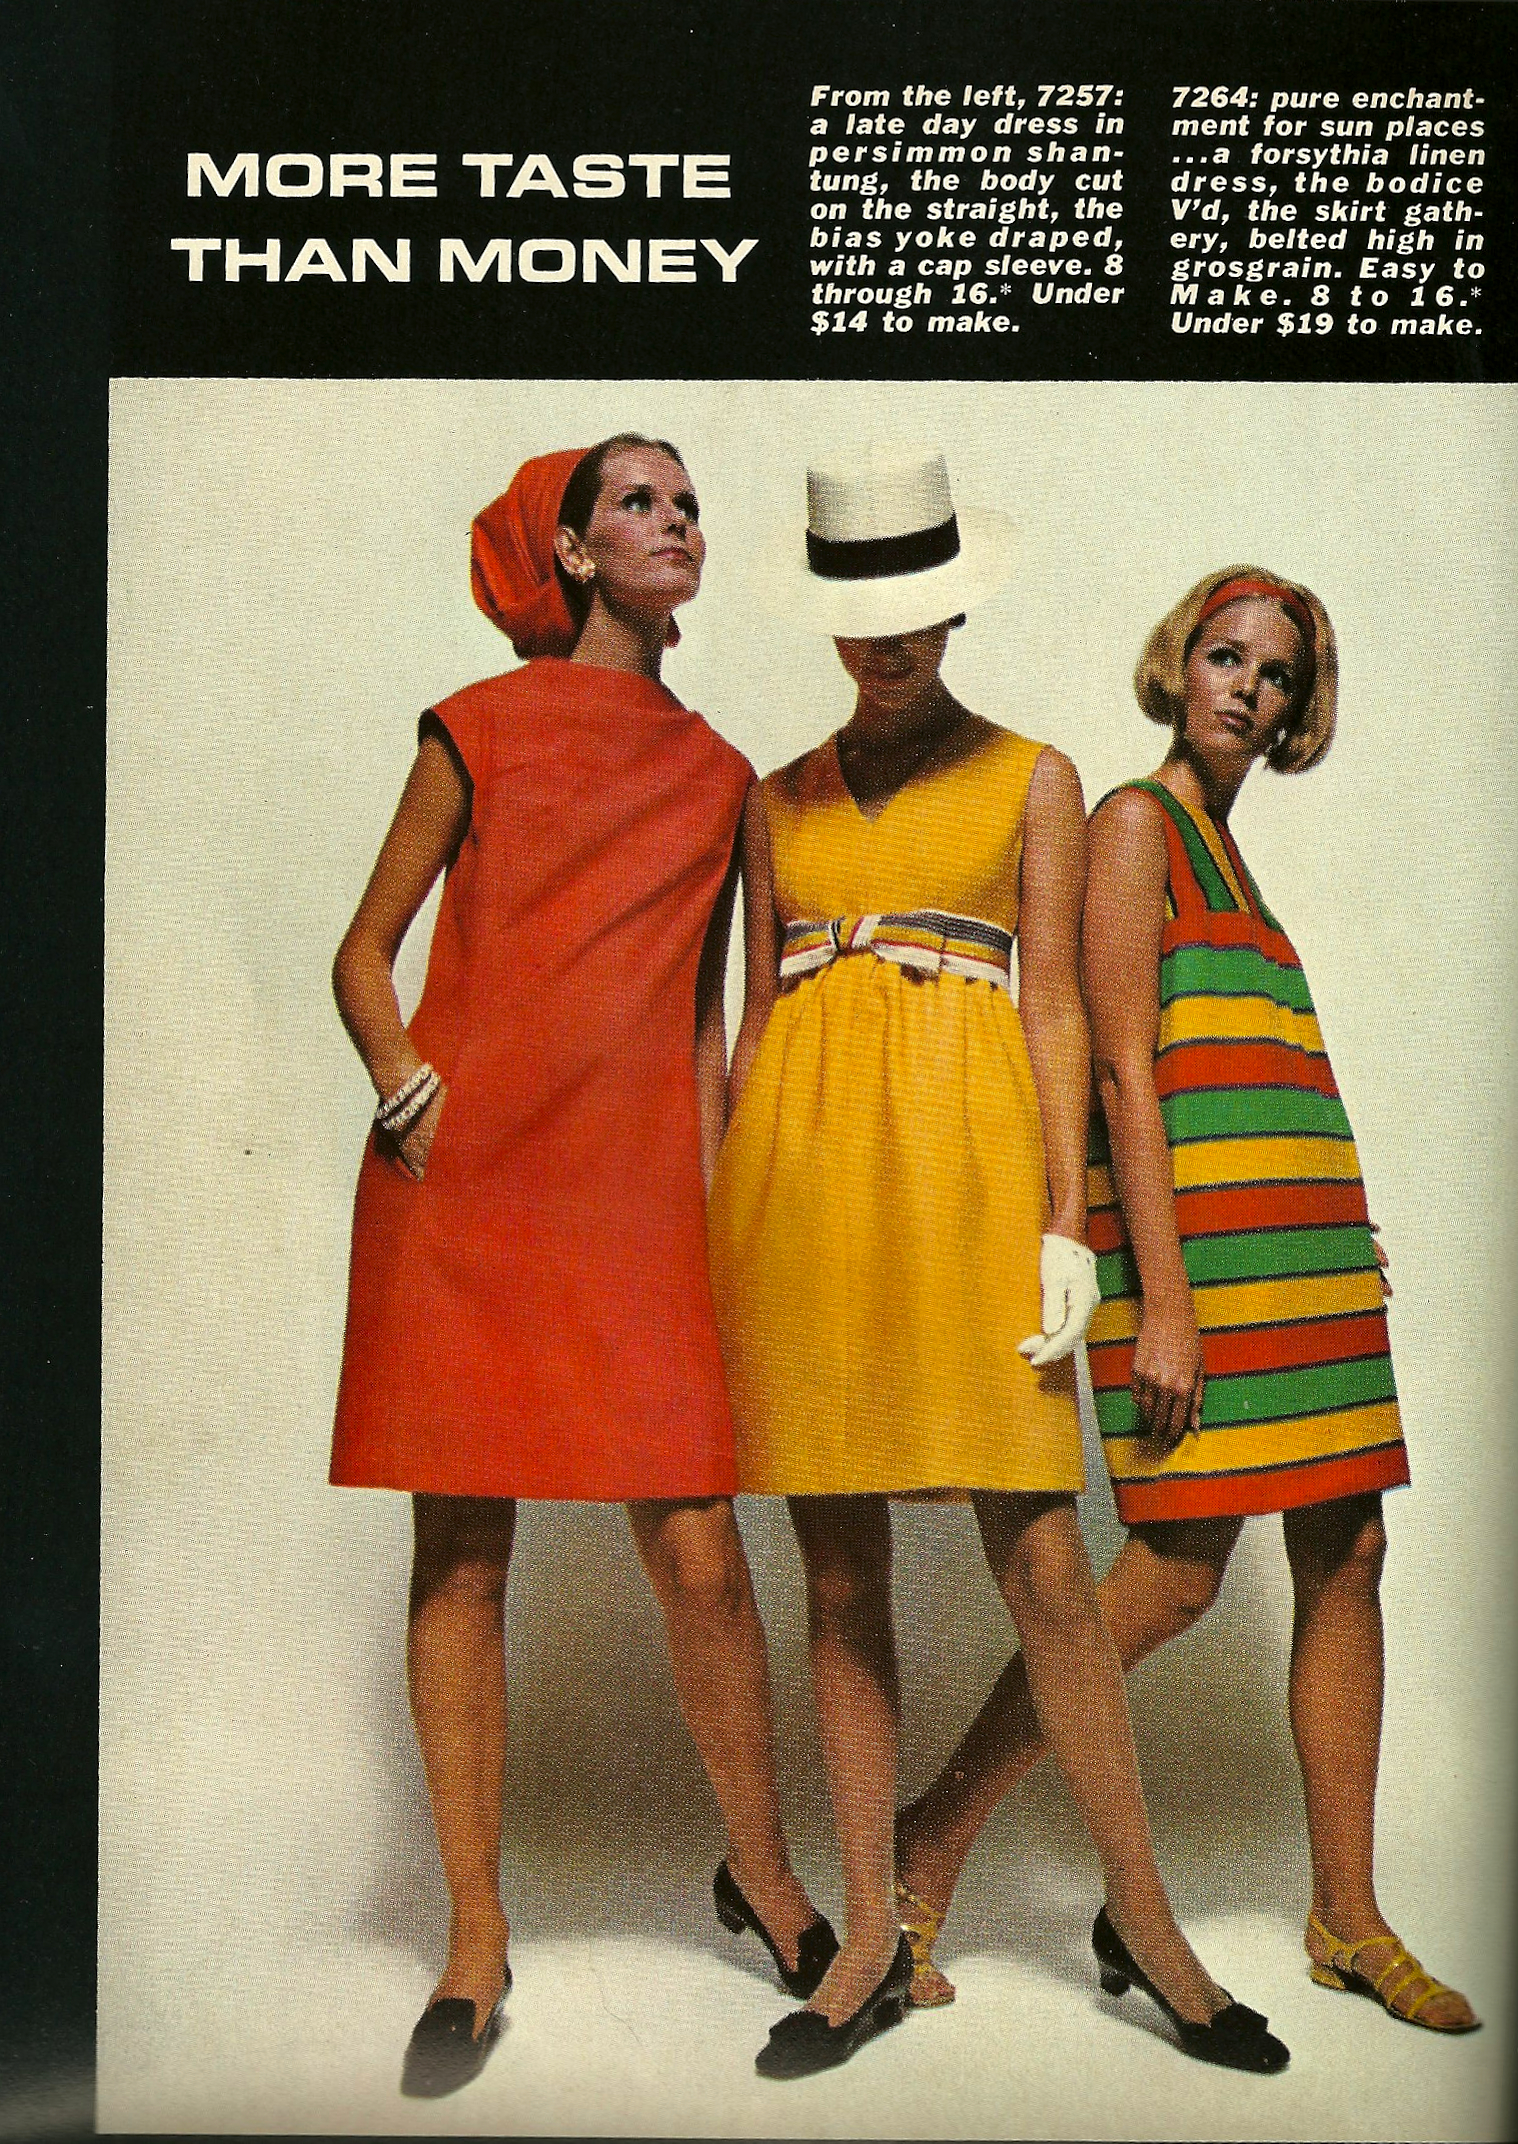
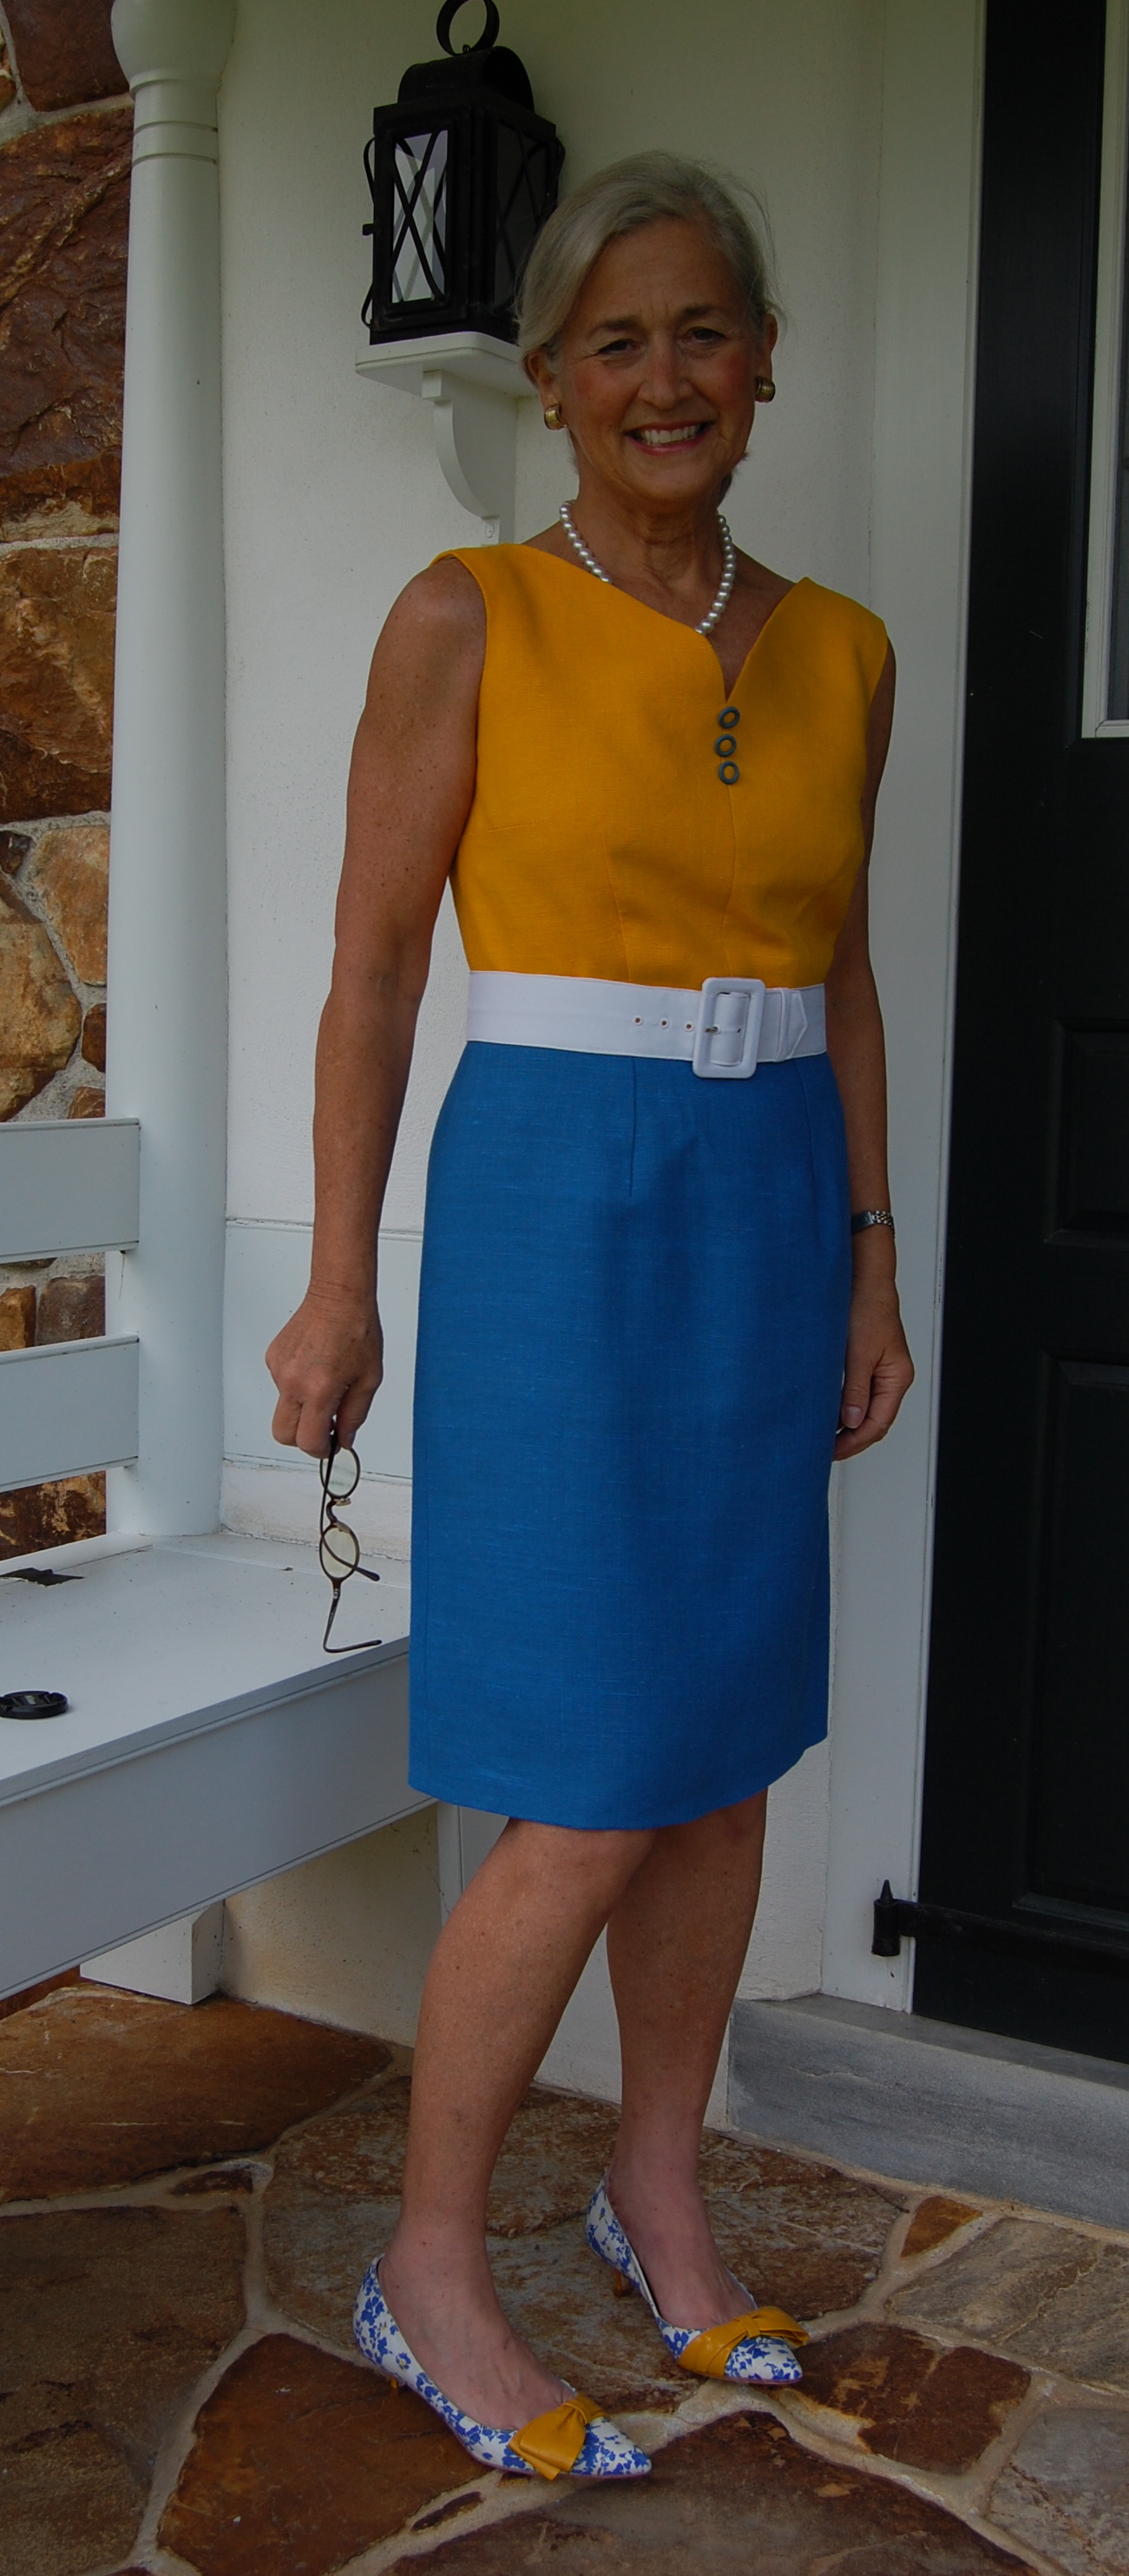
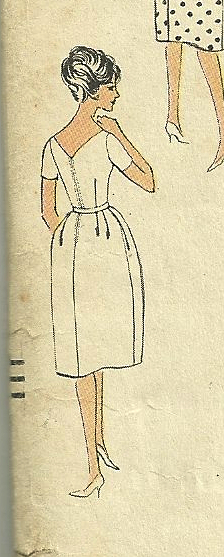
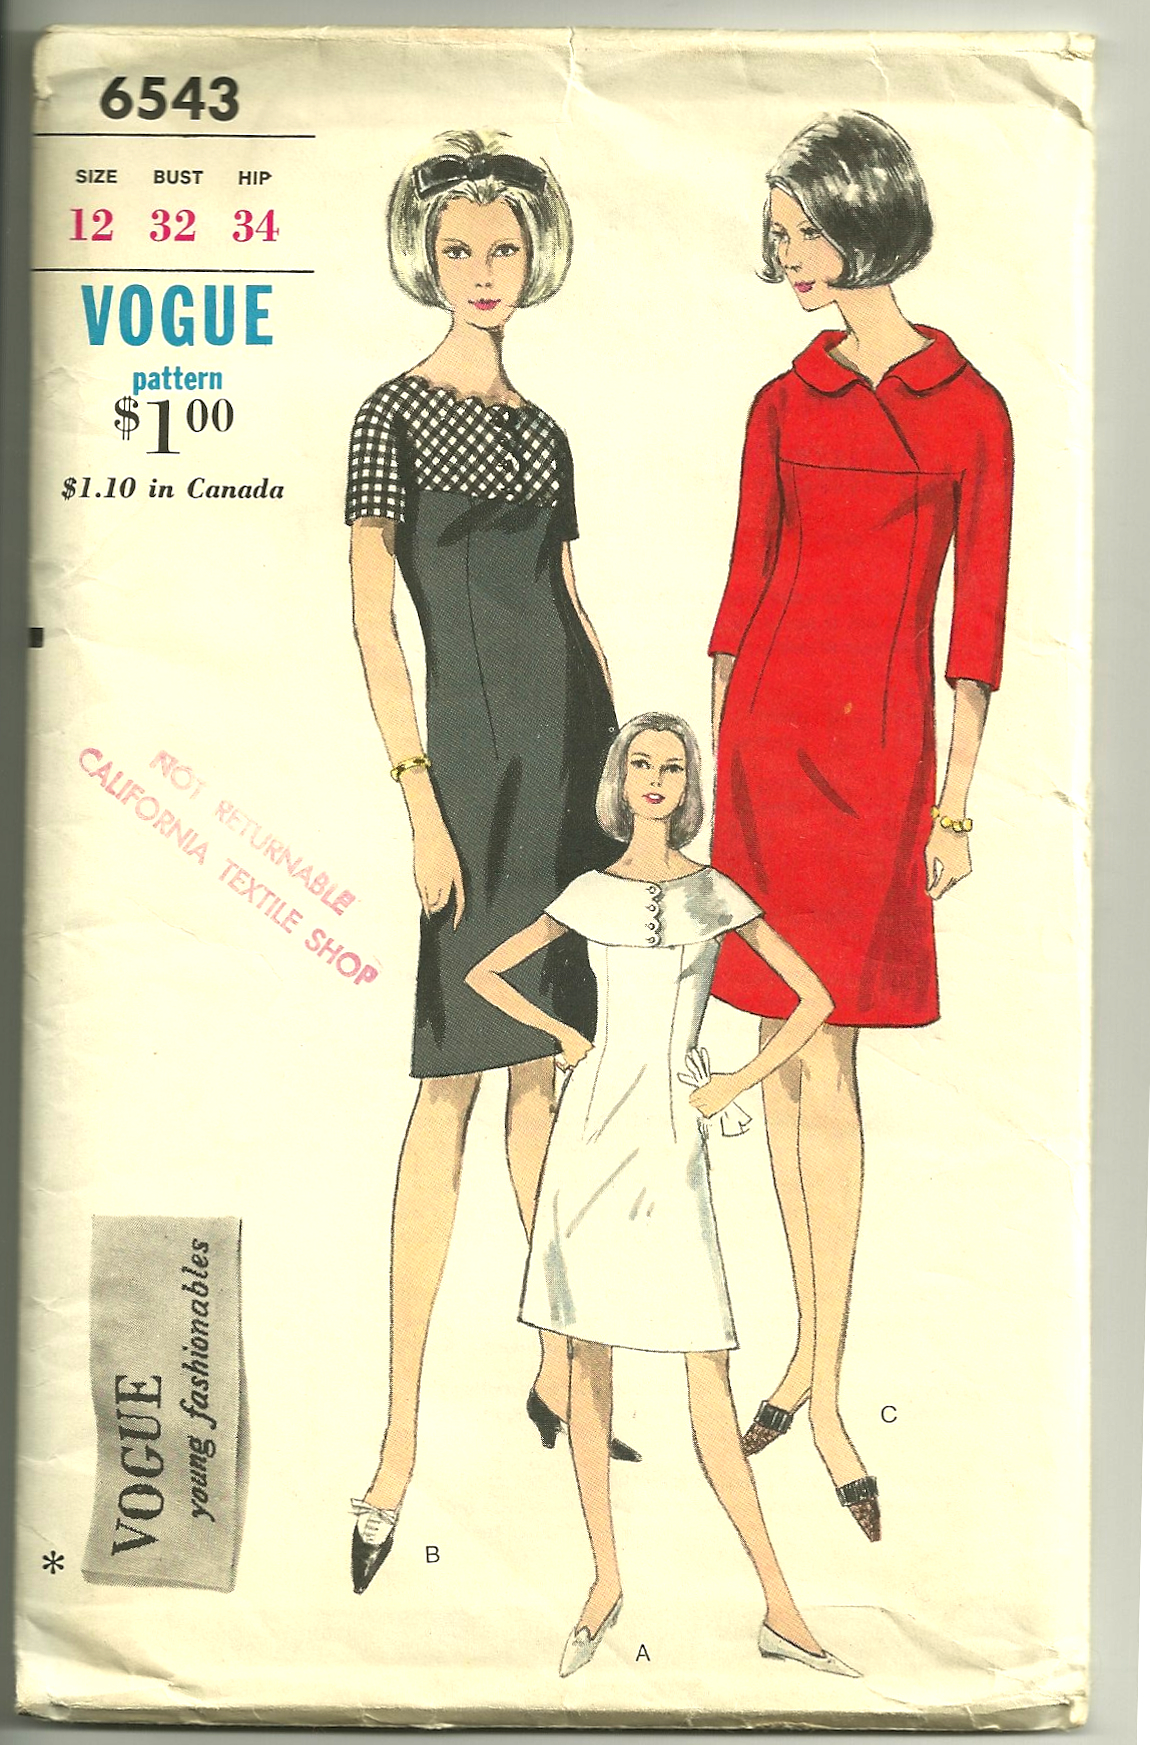
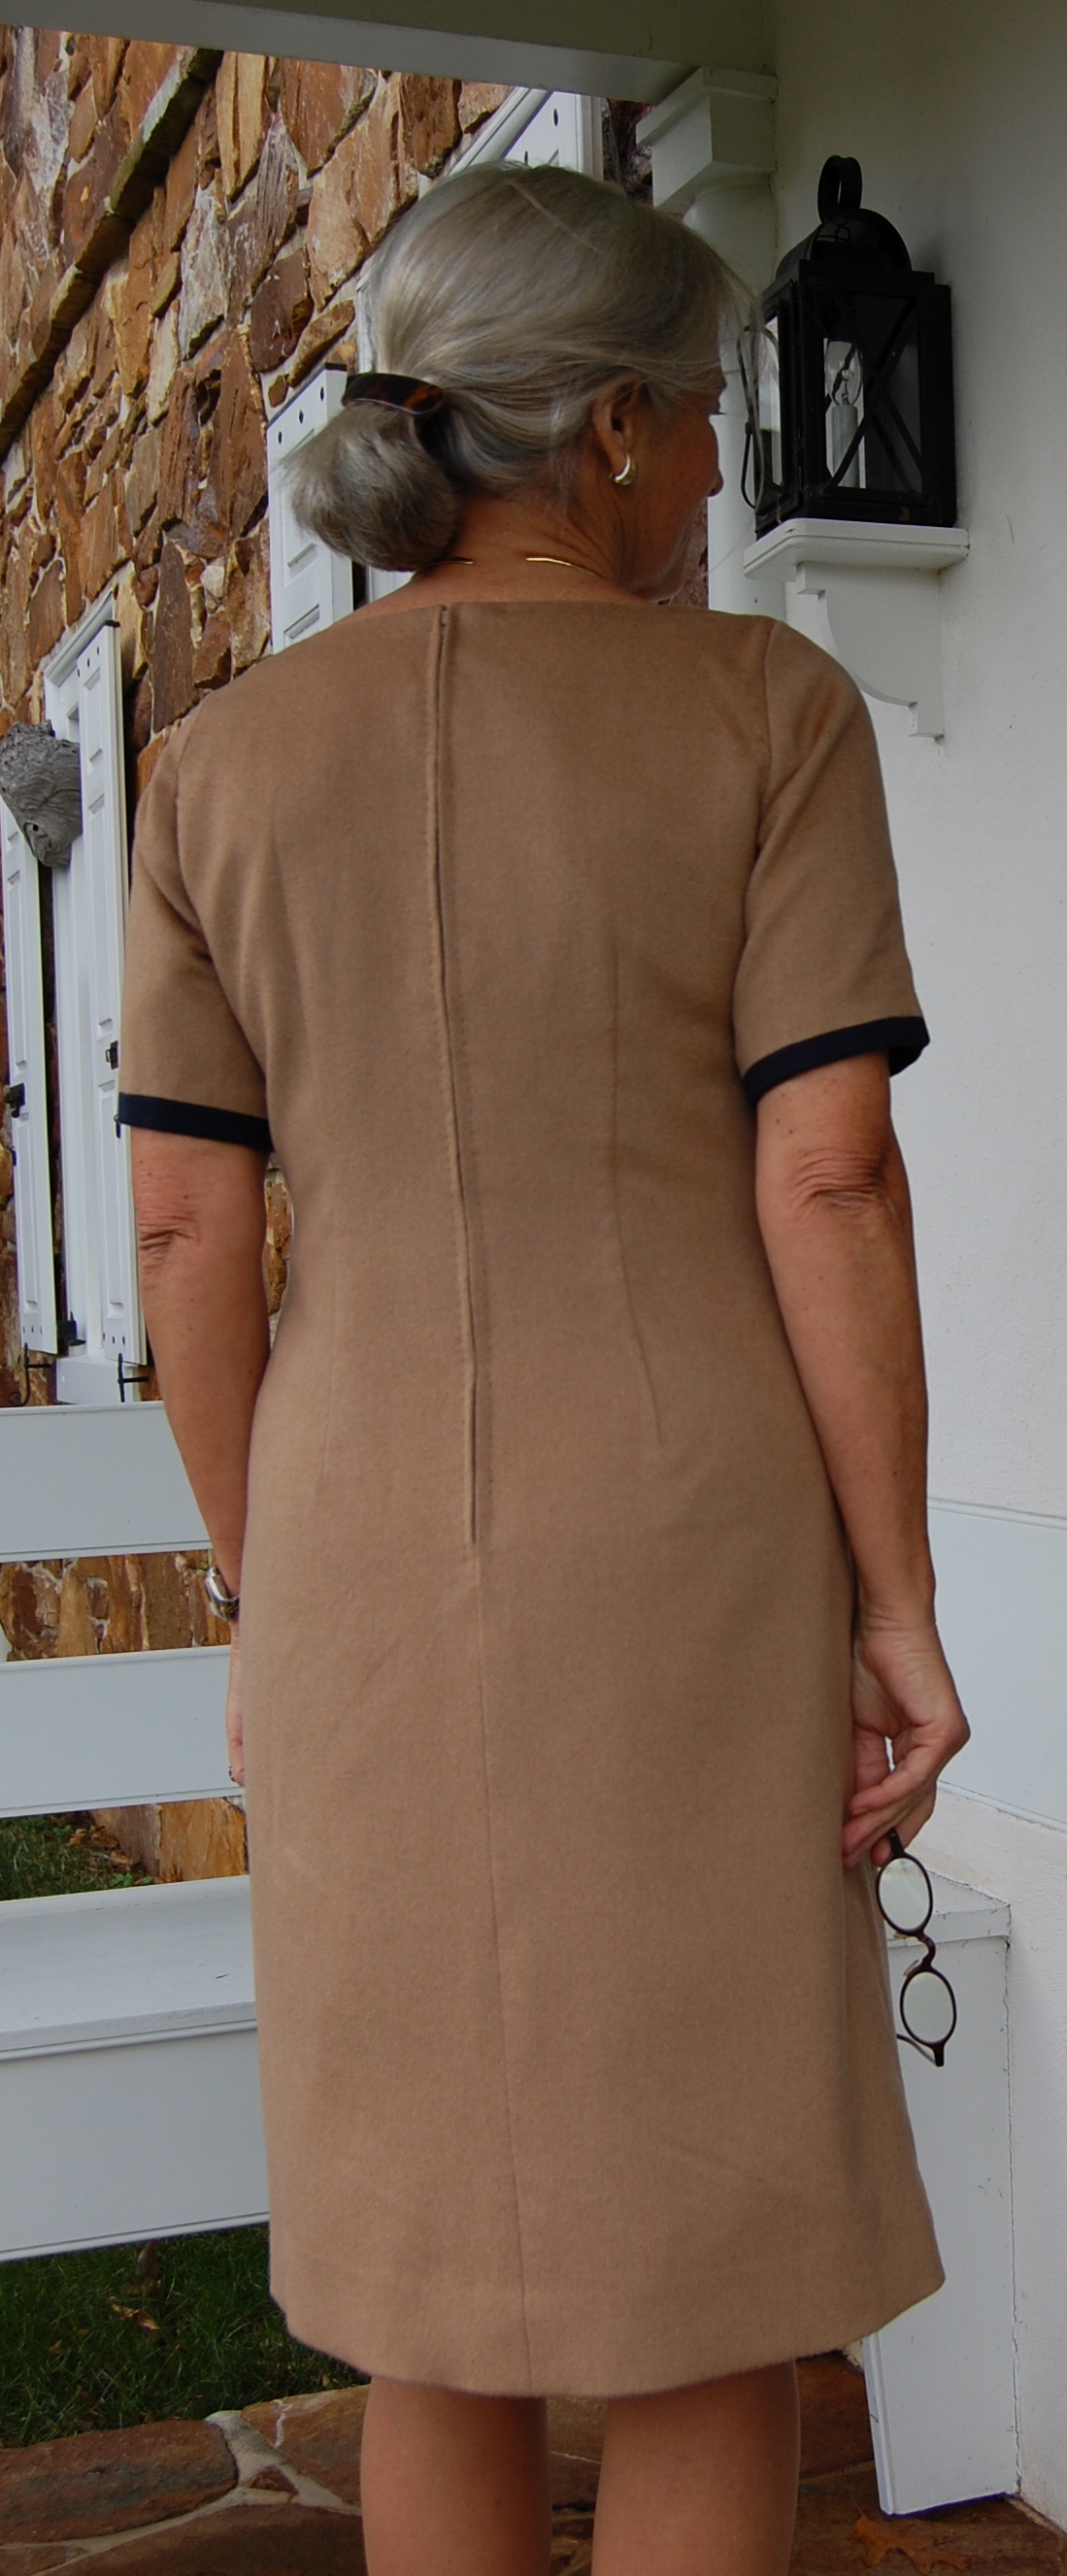
Having completed my first Marfy dress, I now have the pleasure of reflecting upon its creation. Unlike my “Ghost Dress” which caused me so much angst (but turned out okay in the end), this ‘60s-inspired design went together without a hitch, although it definitely took some “figuring it out” along the way.
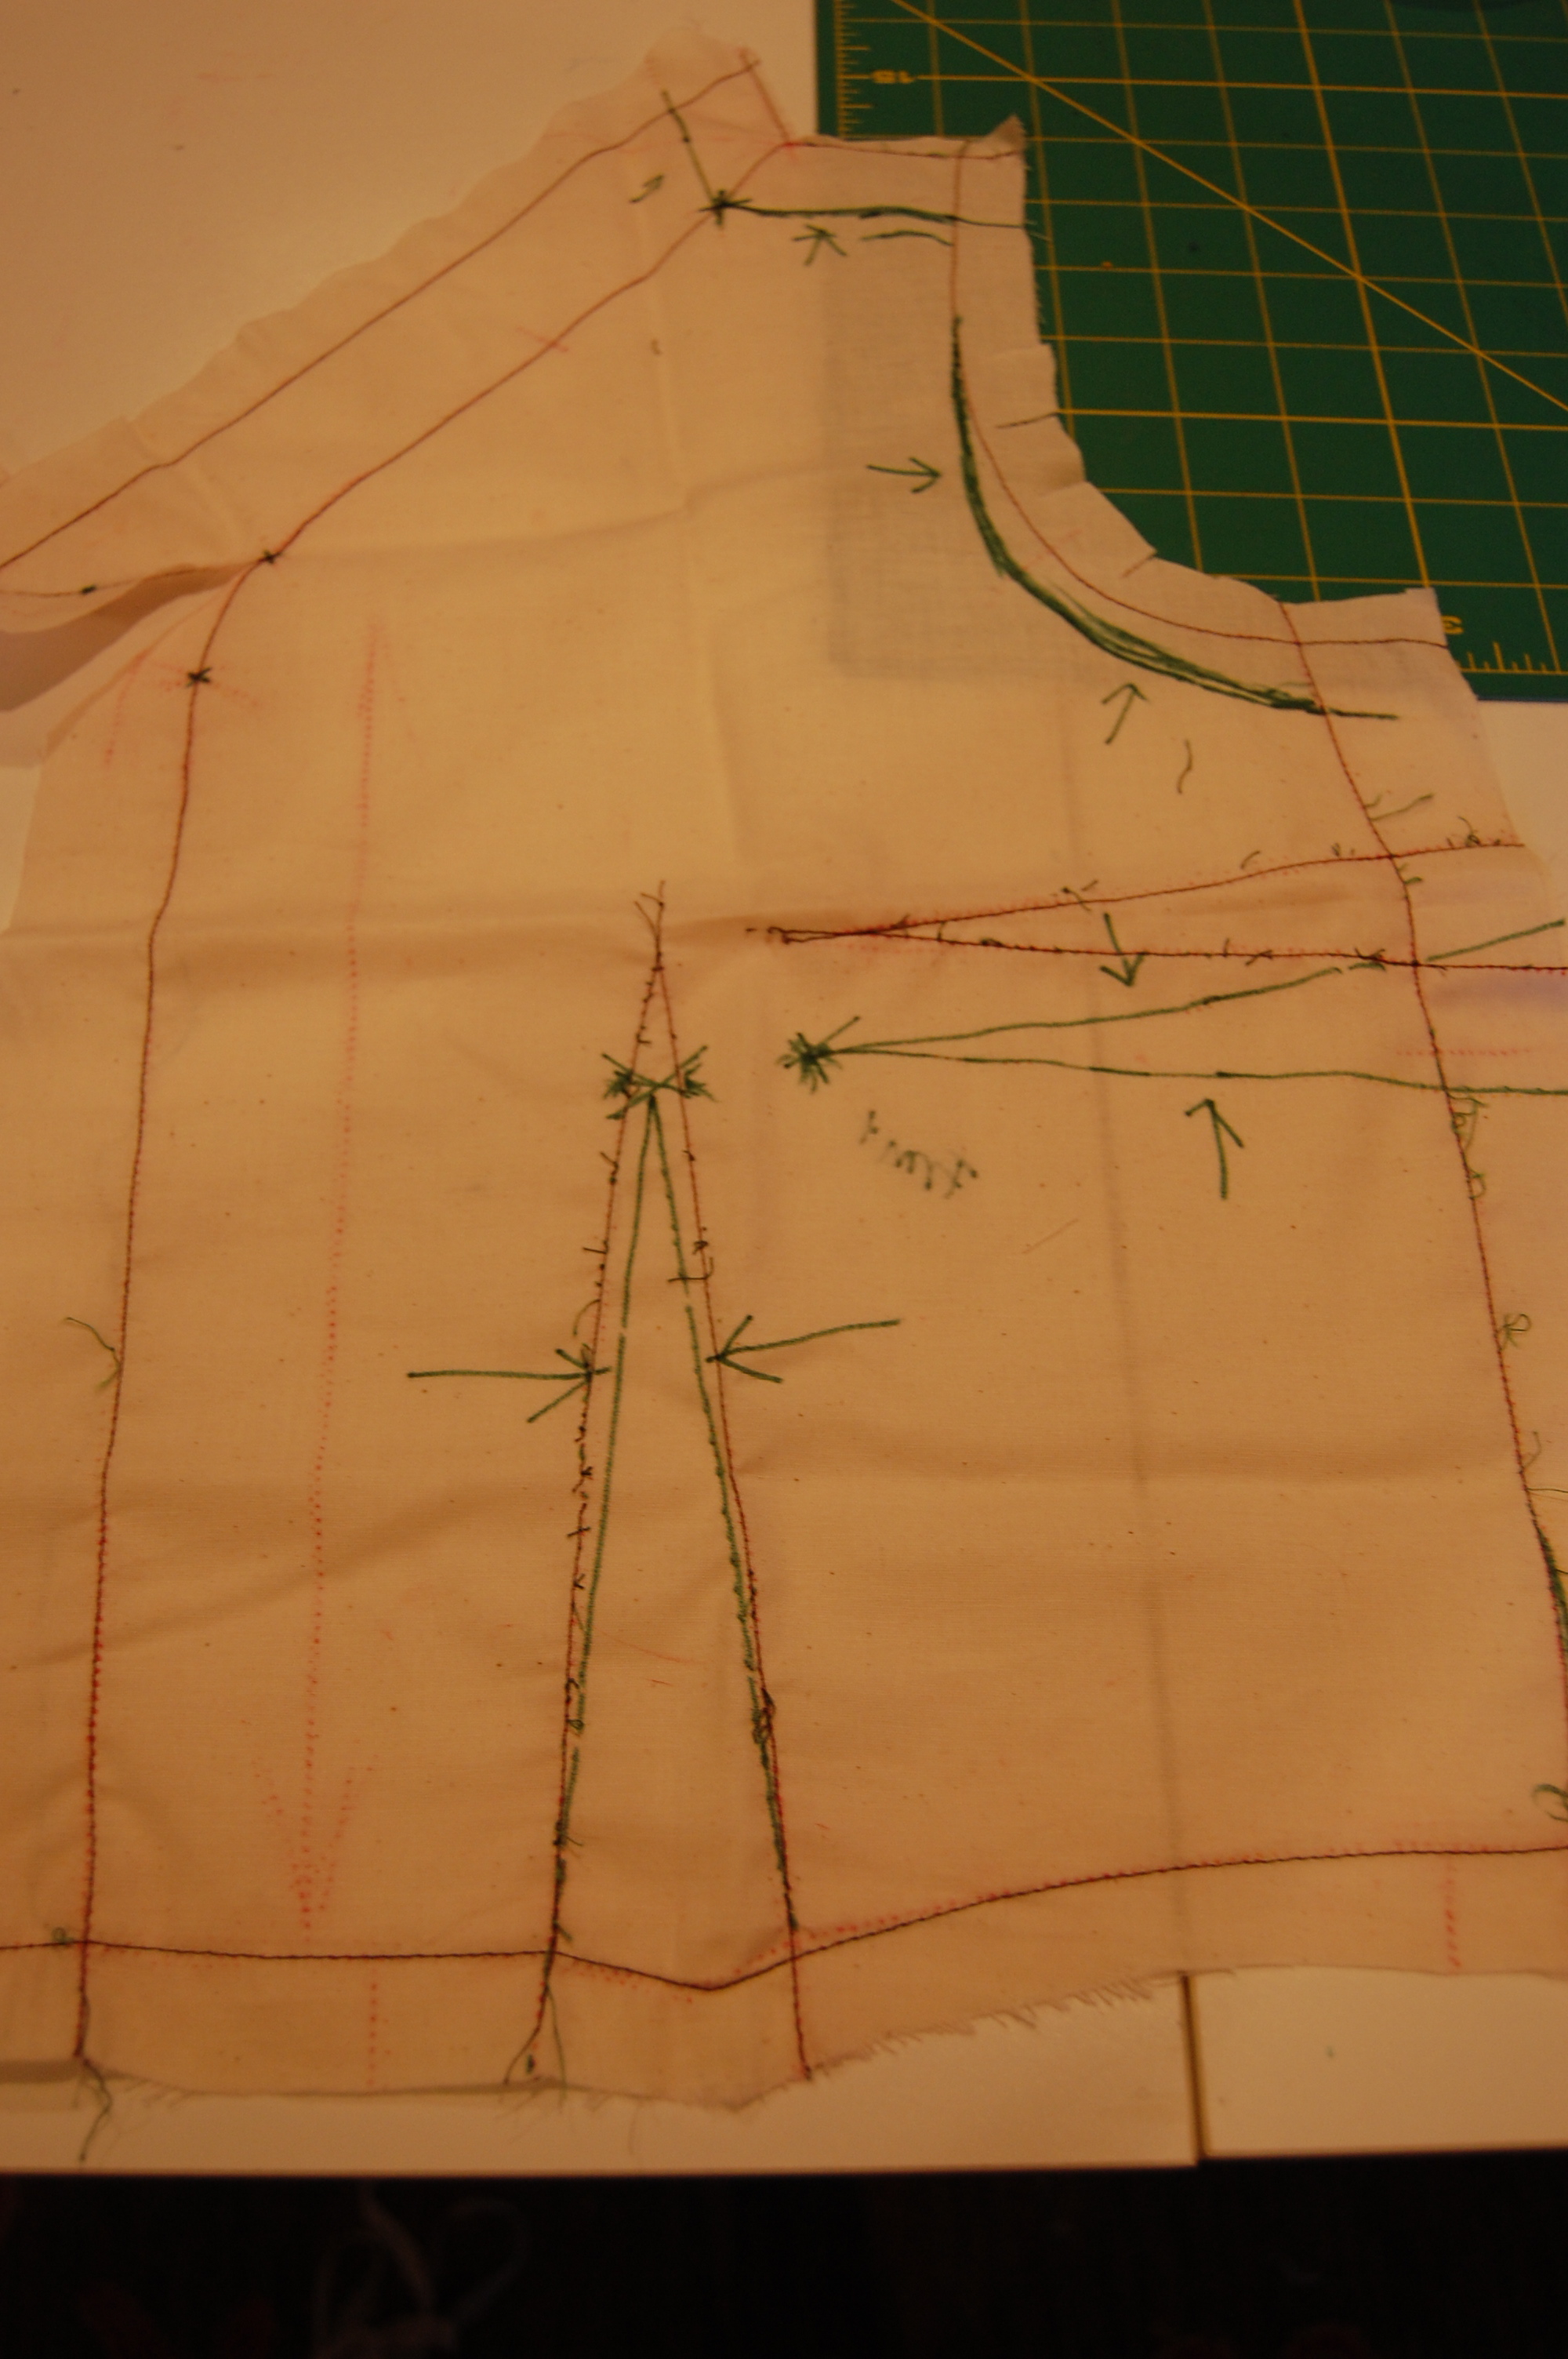
First I’ll cover the four changes I made to the dress, based on my muslin (toile). Initially I had to lower the apex of the bust darts, an alteration I am now used to making. Second, I decided to lengthen the sleeves by about 2 inches. I did this mostly to make the dress more comfortable to wear in the cold winter months. Even covering bare upper arms just a little bit more is helpful. I was hoping this would not detract from the lines of the dress otherwise. I made a tracing to try it out on paper first:
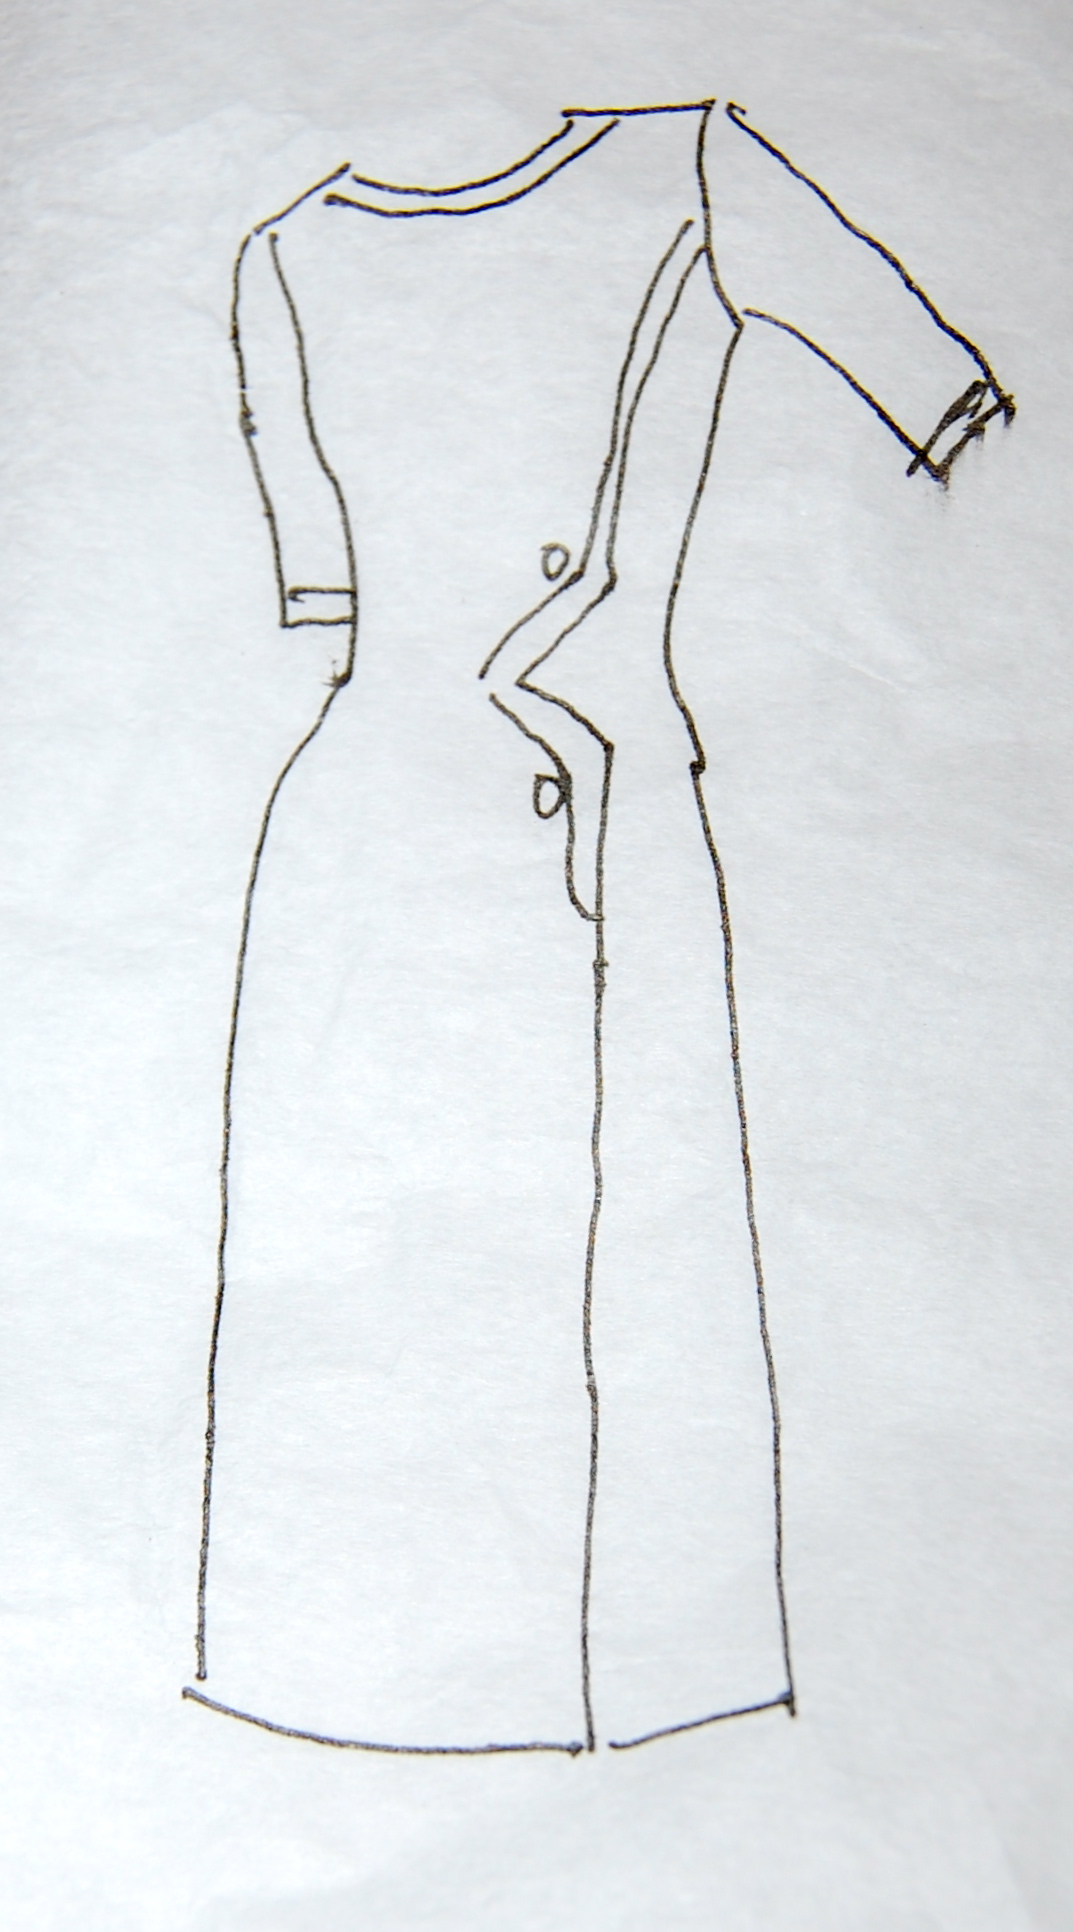
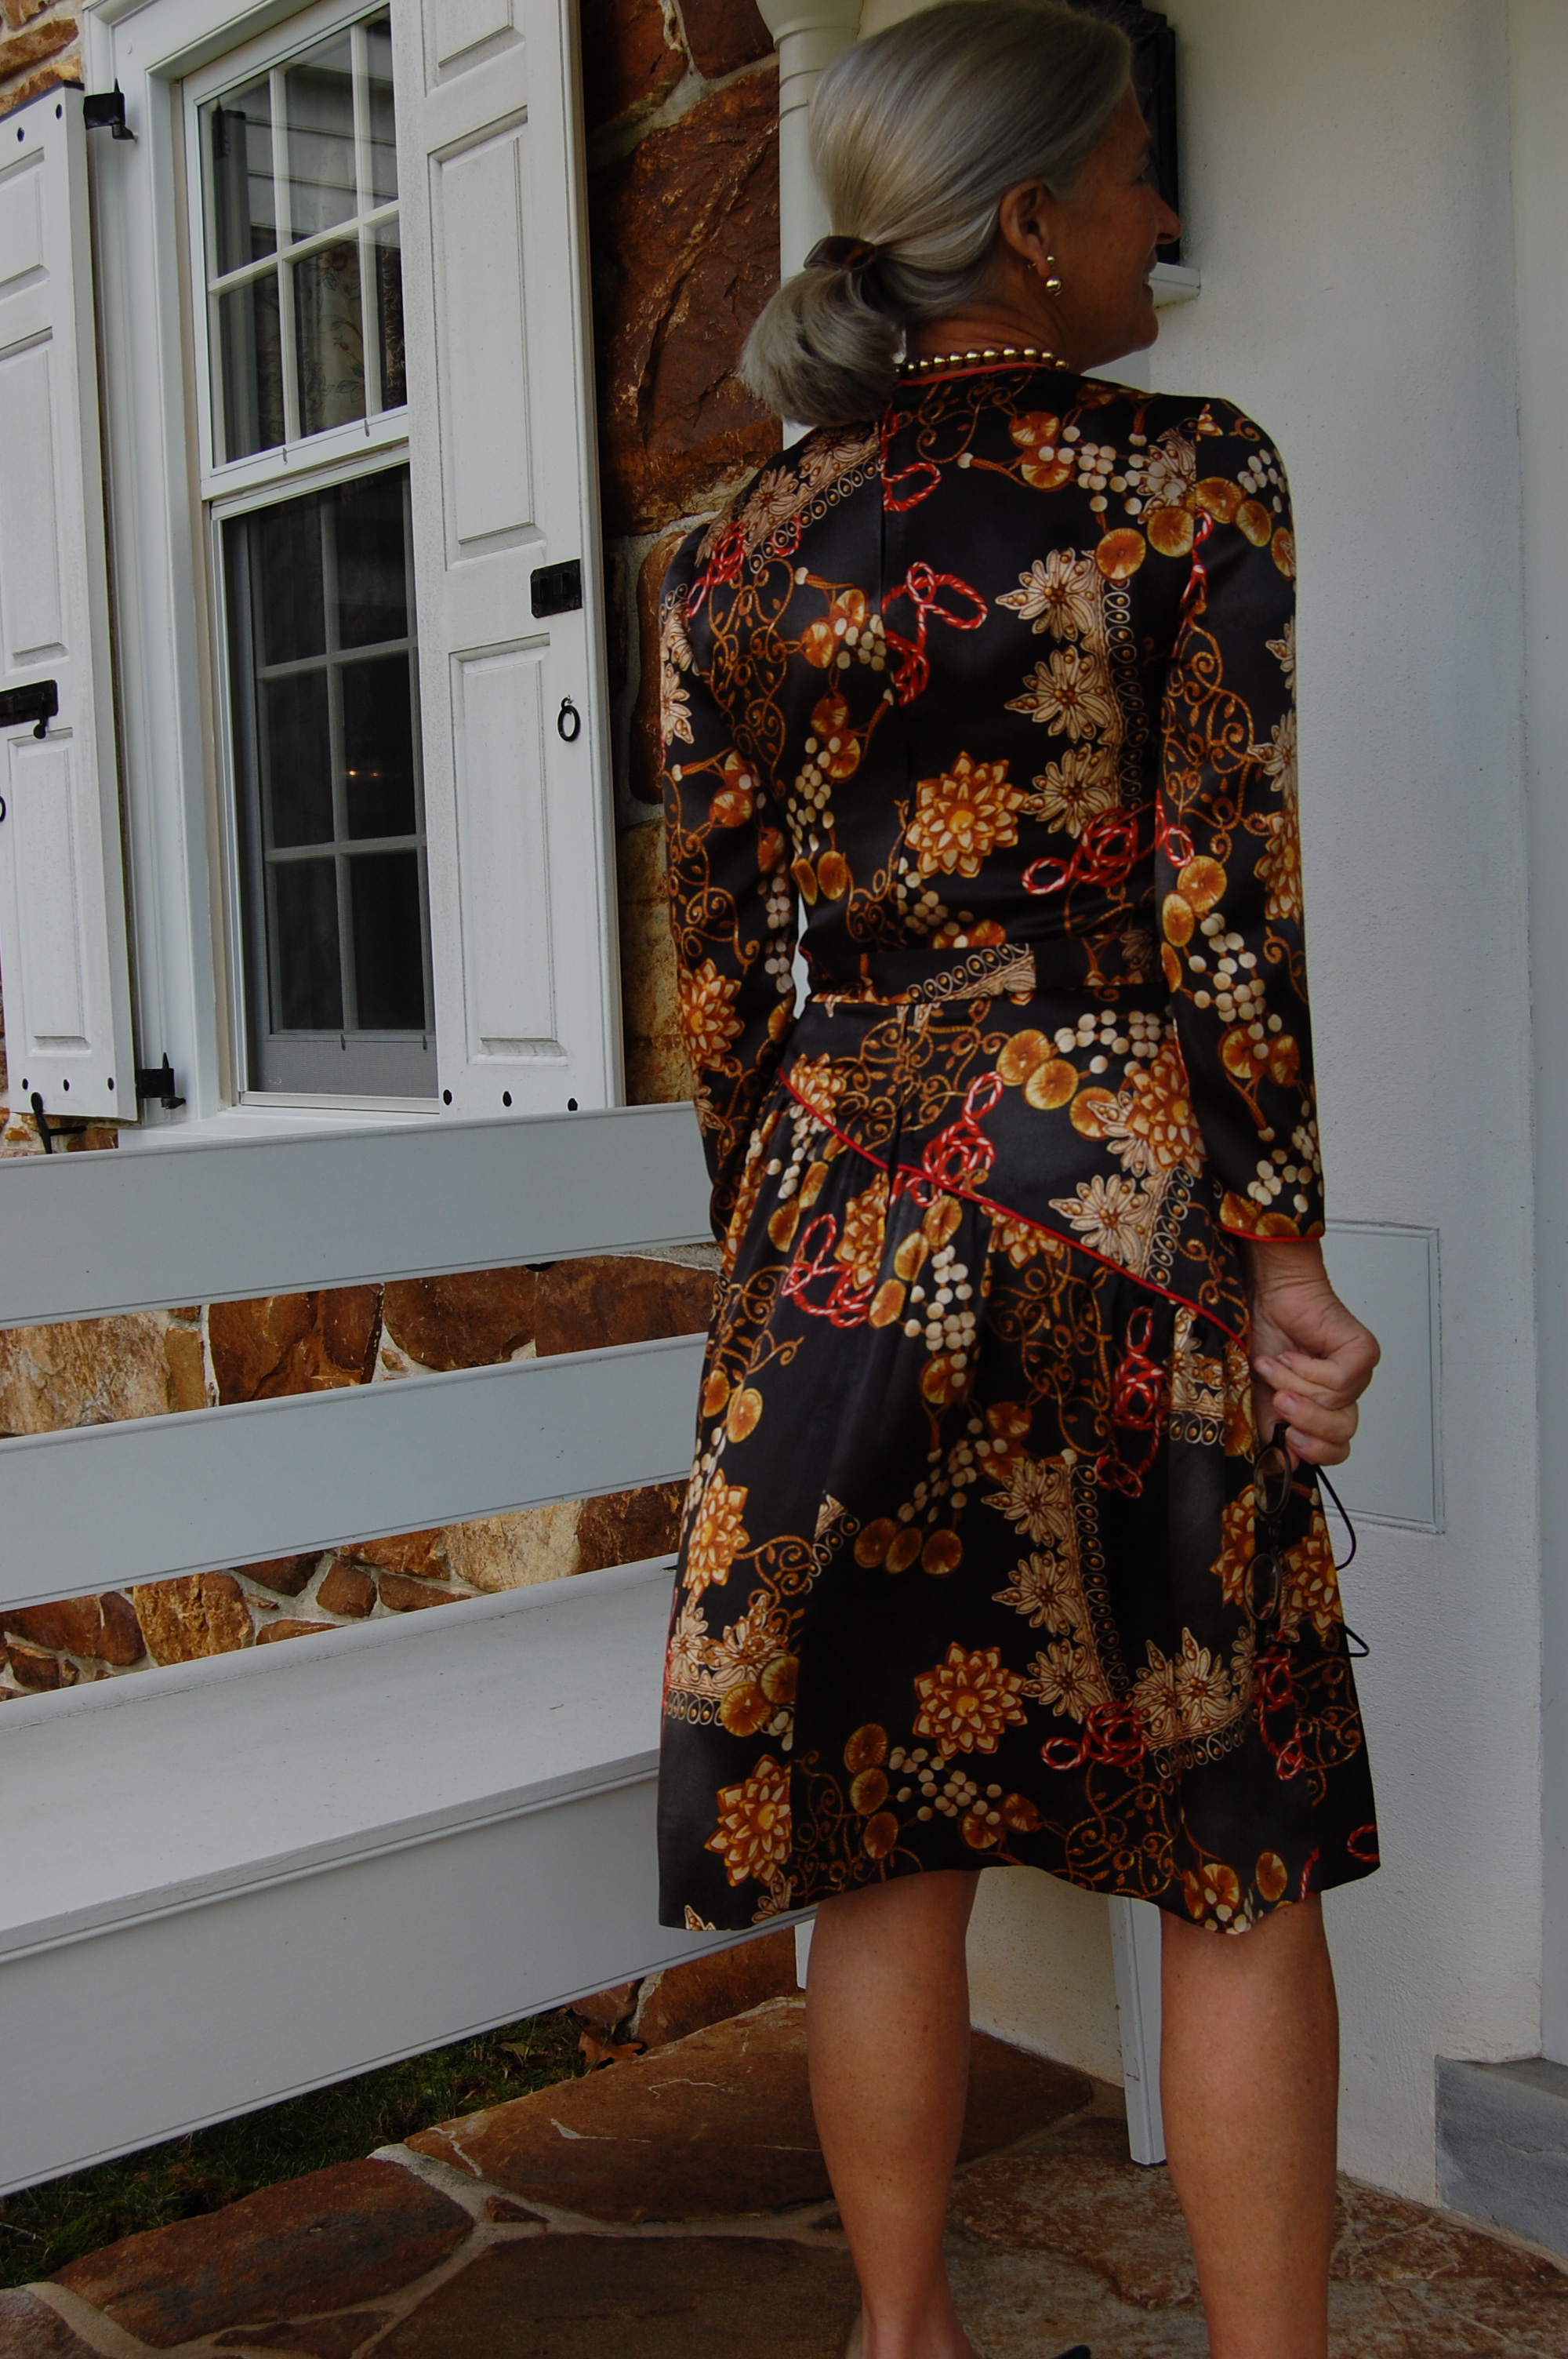
Somehow, the longer sleeves did not look good with the very distinct A-line silhouette of the dress. I thought they would look better with more of a straight skirt. I knew from the muslin that the front detailing had a built-in kick pleat, so narrowing the skirt was entirely doable. I would still be able to walk in it!
Alteration number four was the neckline. I widened it a bit, as I think that looks better on me. Then I widened it again later in the process (I’ll get to that in a bit.)
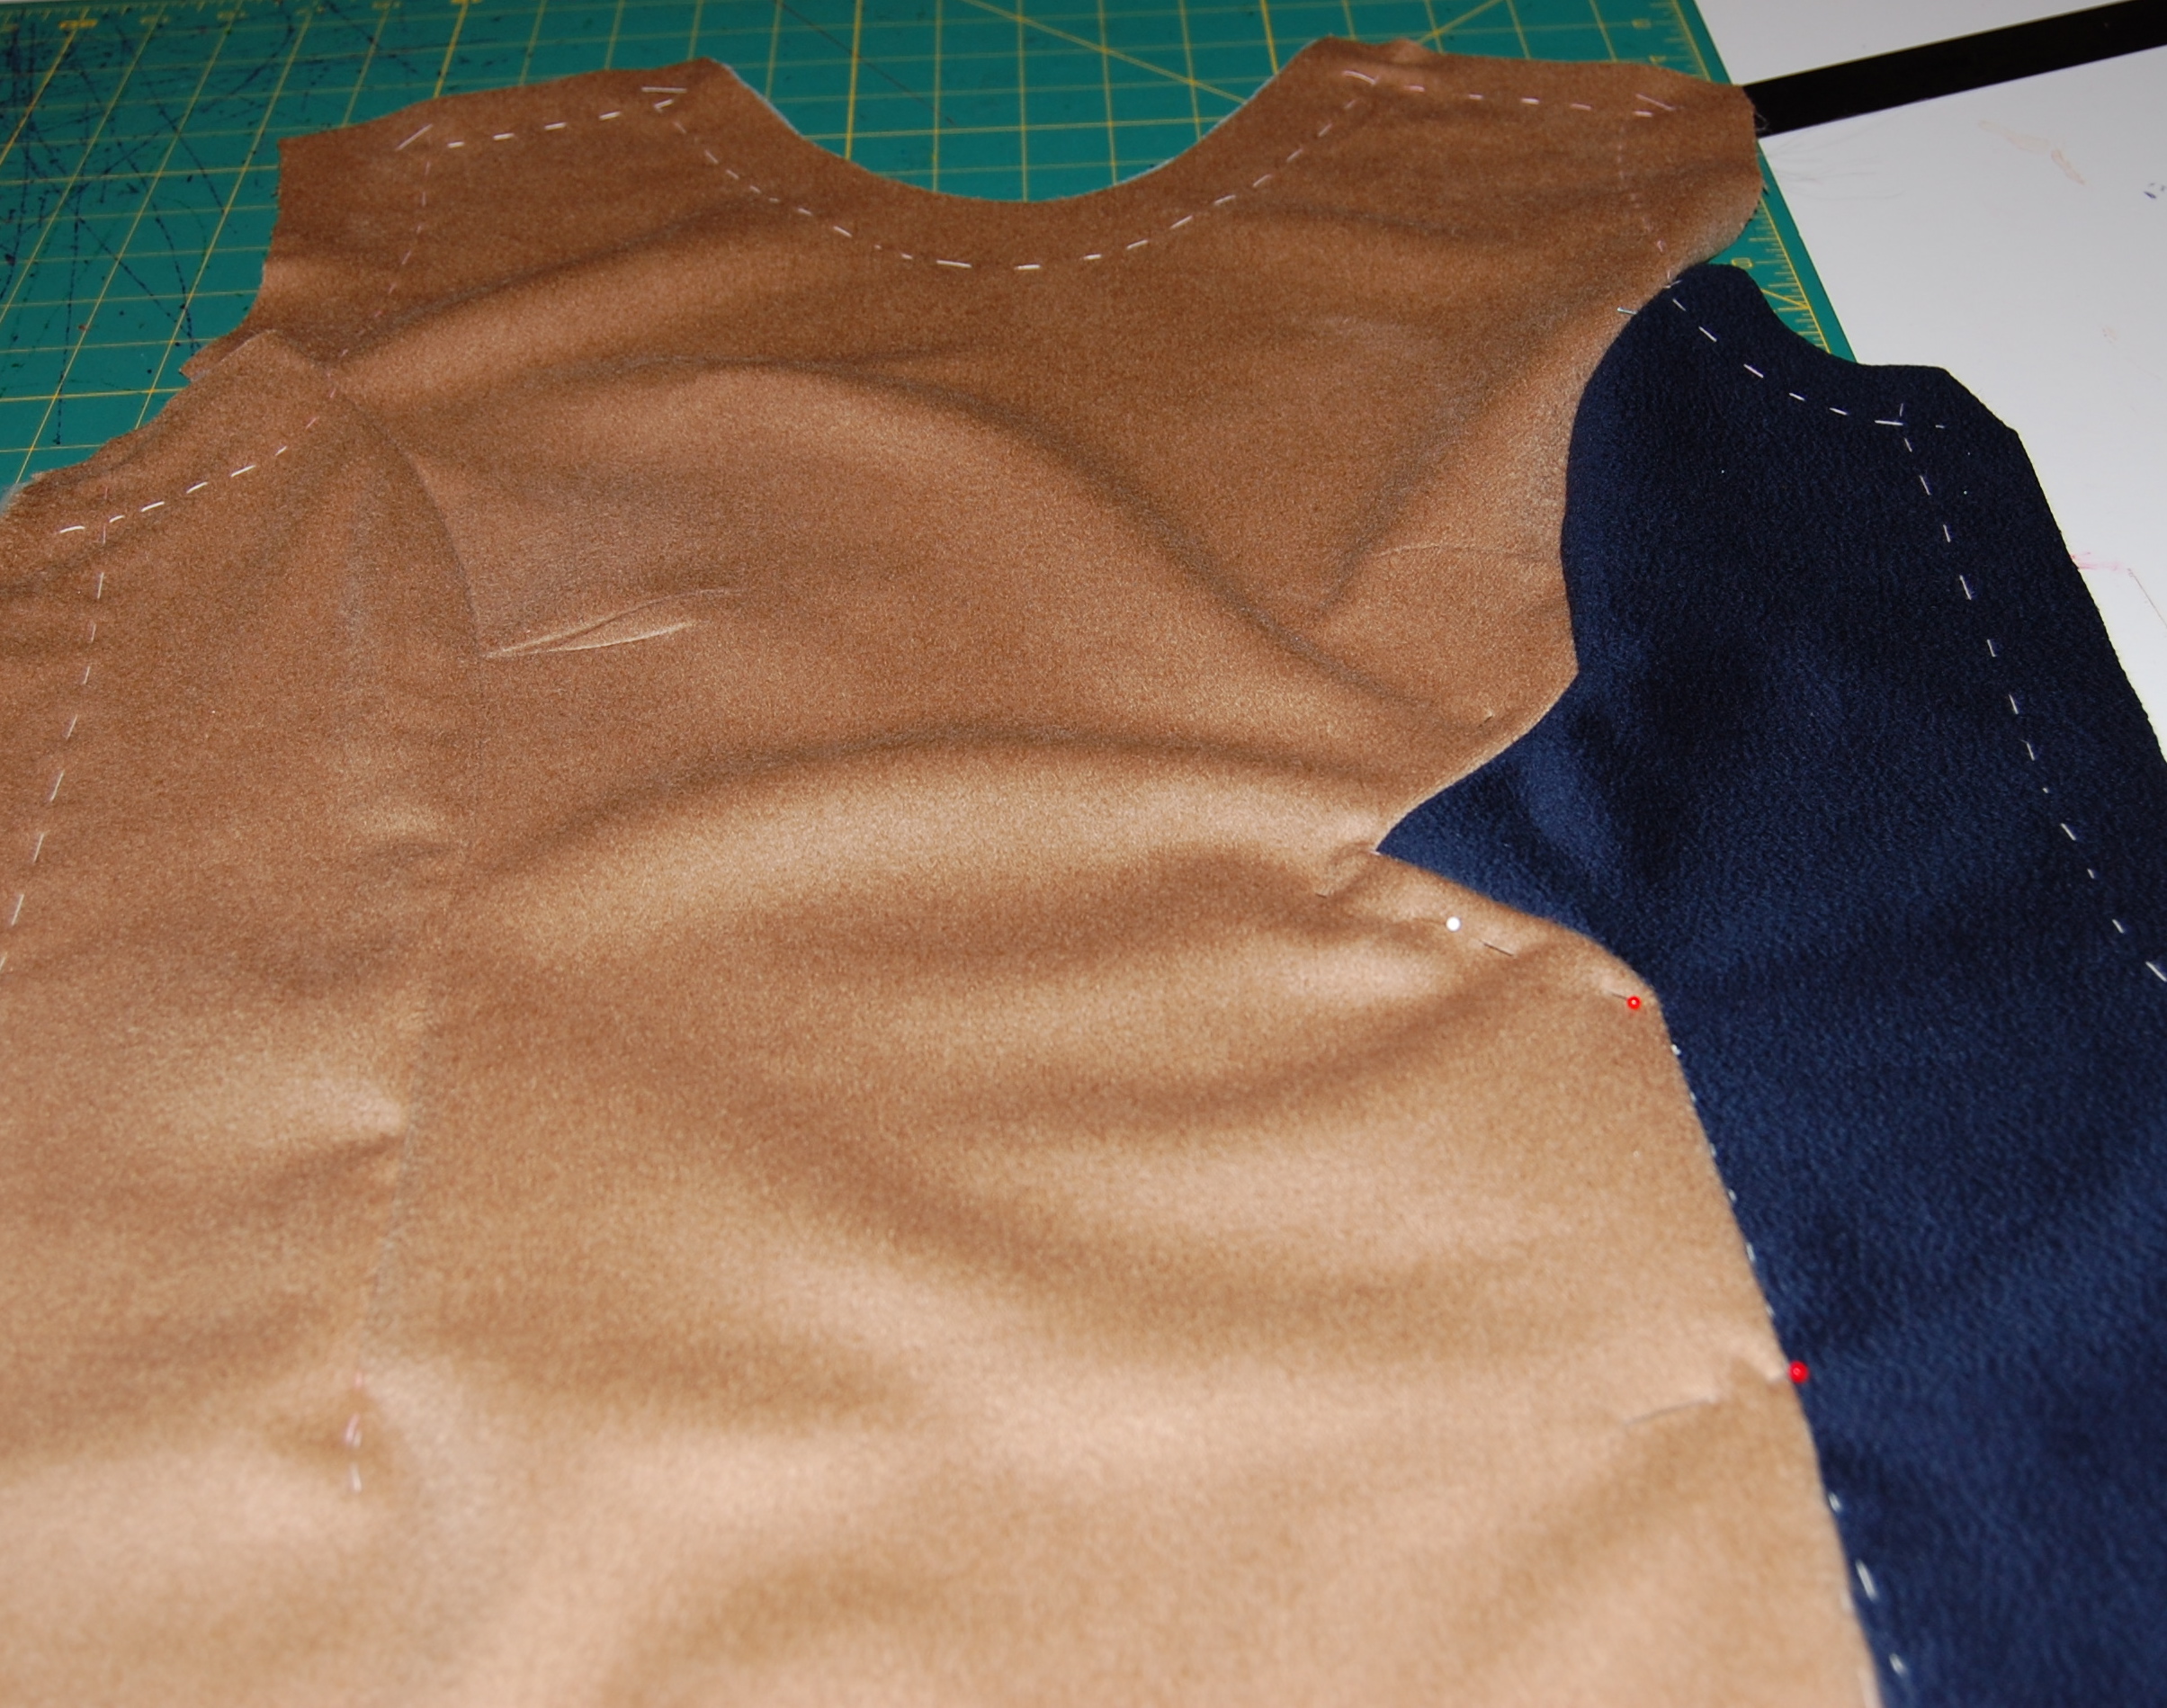
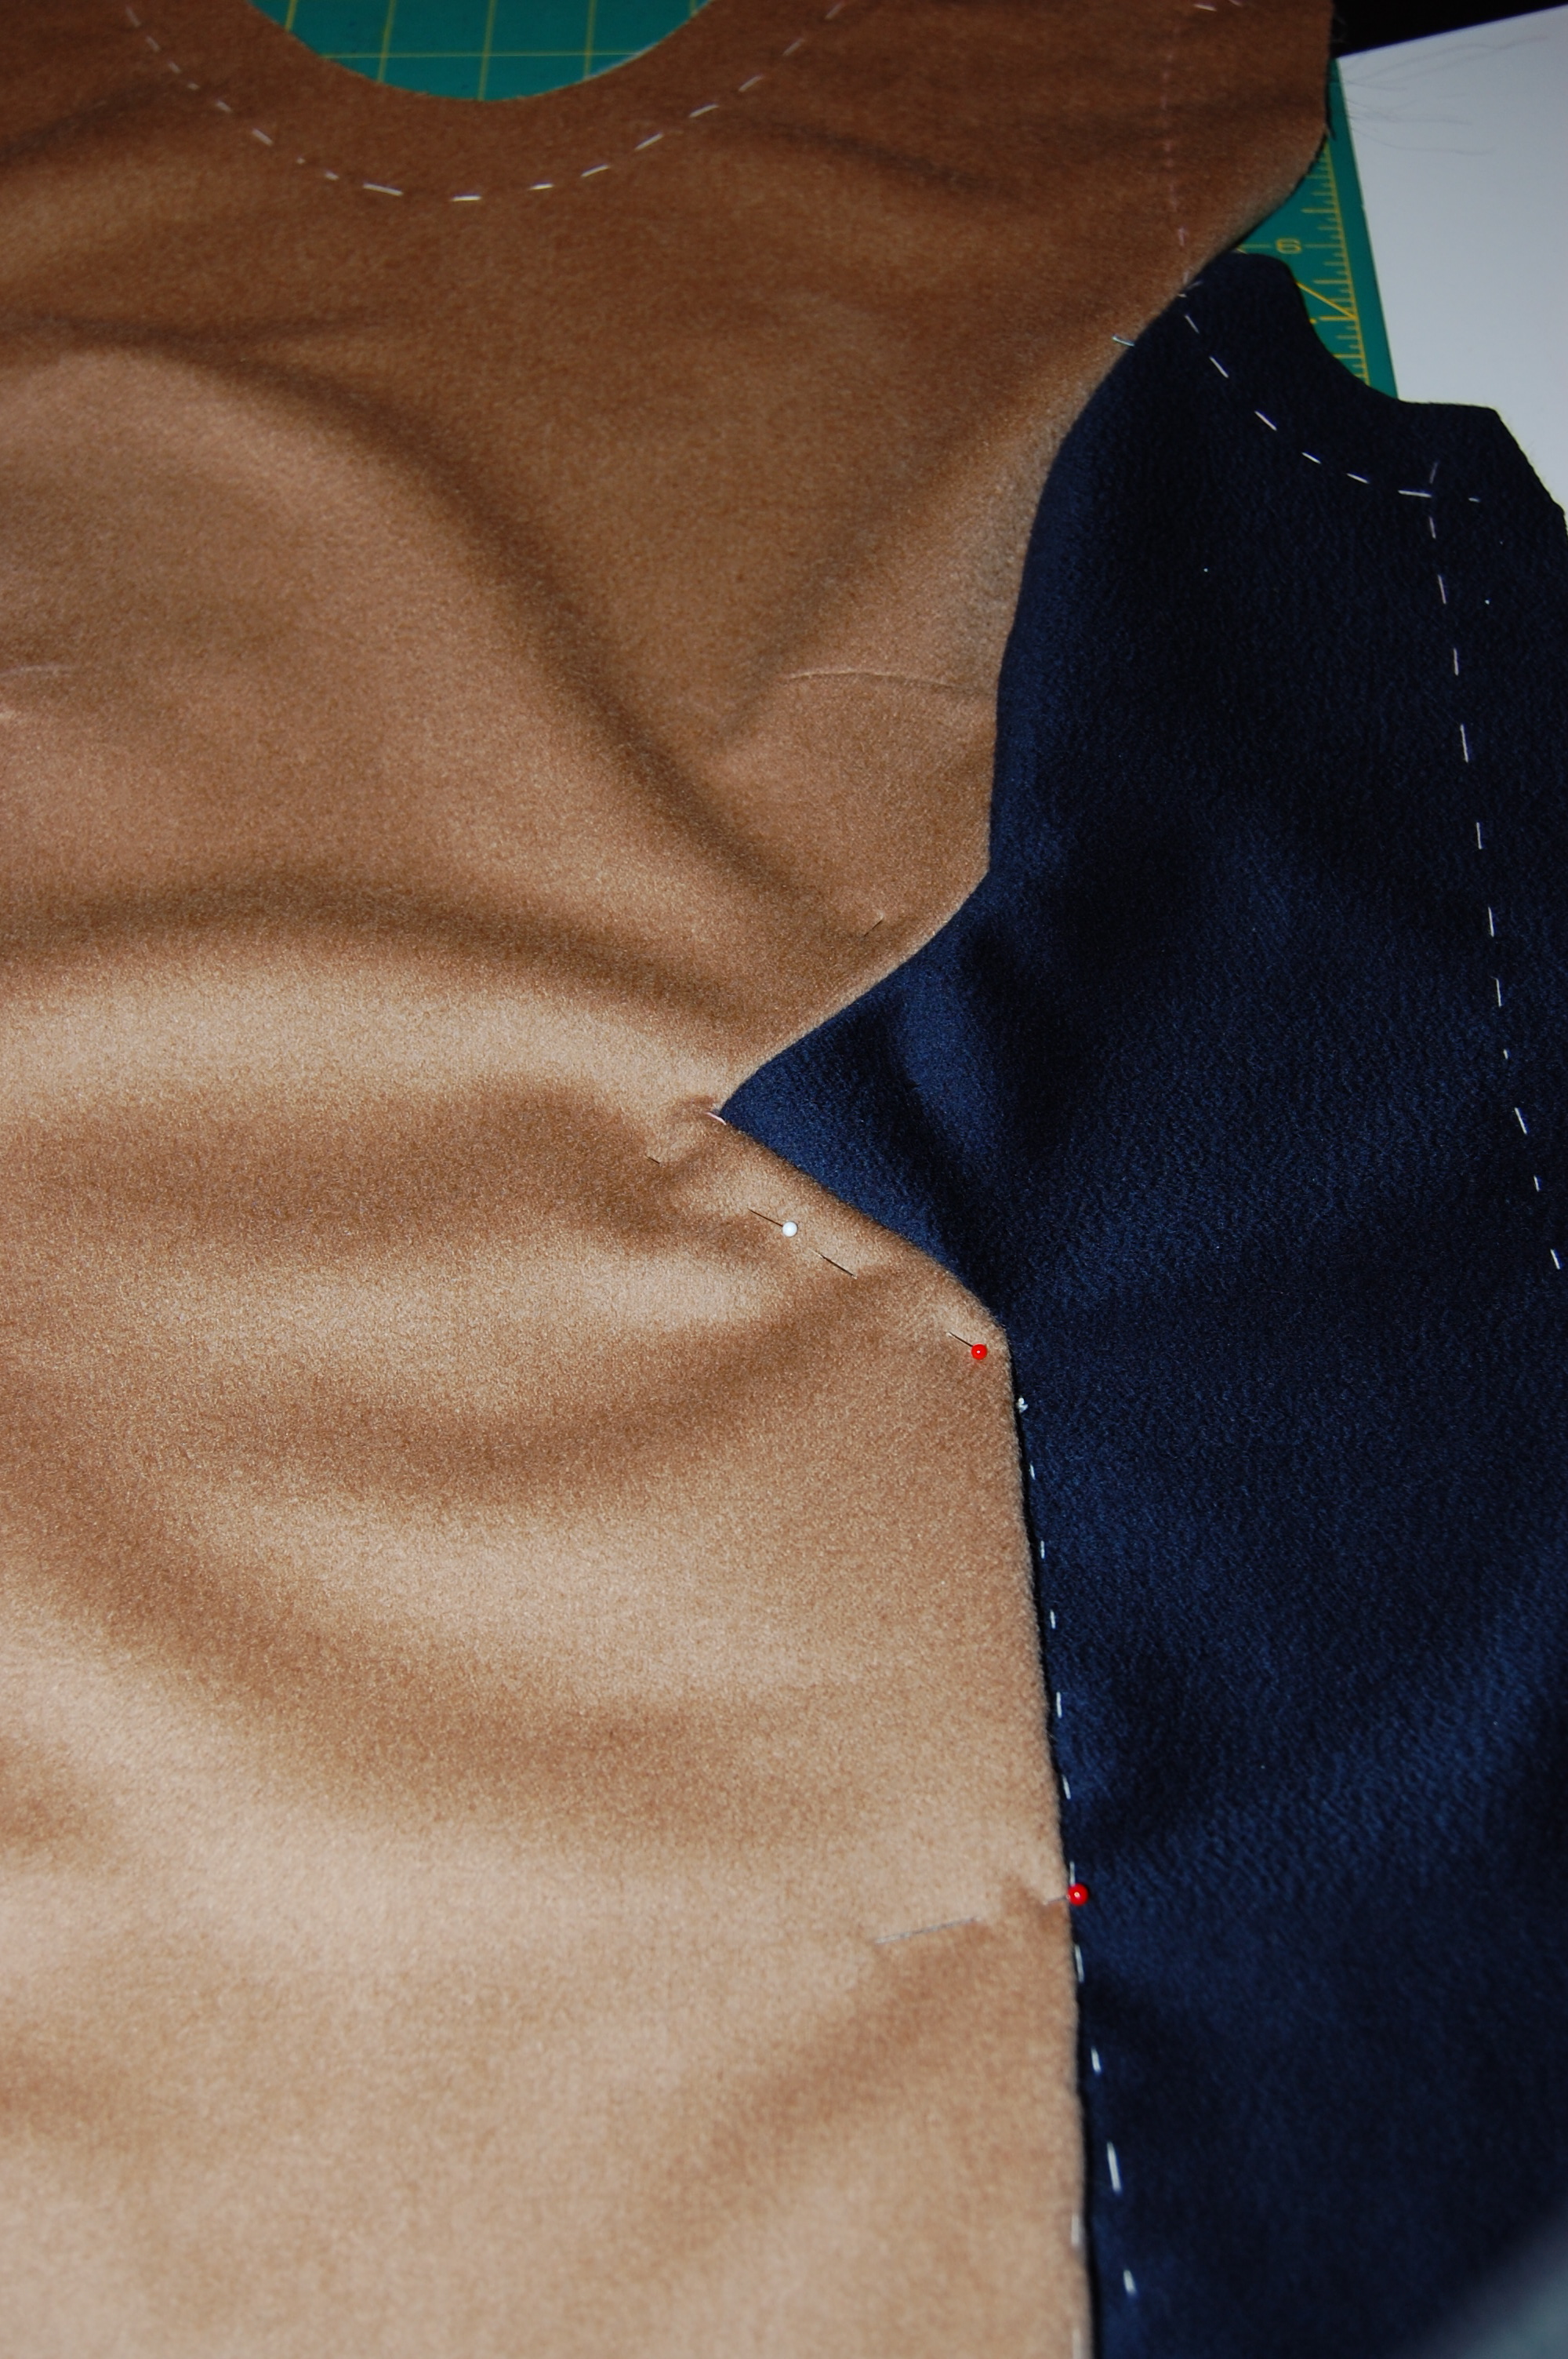
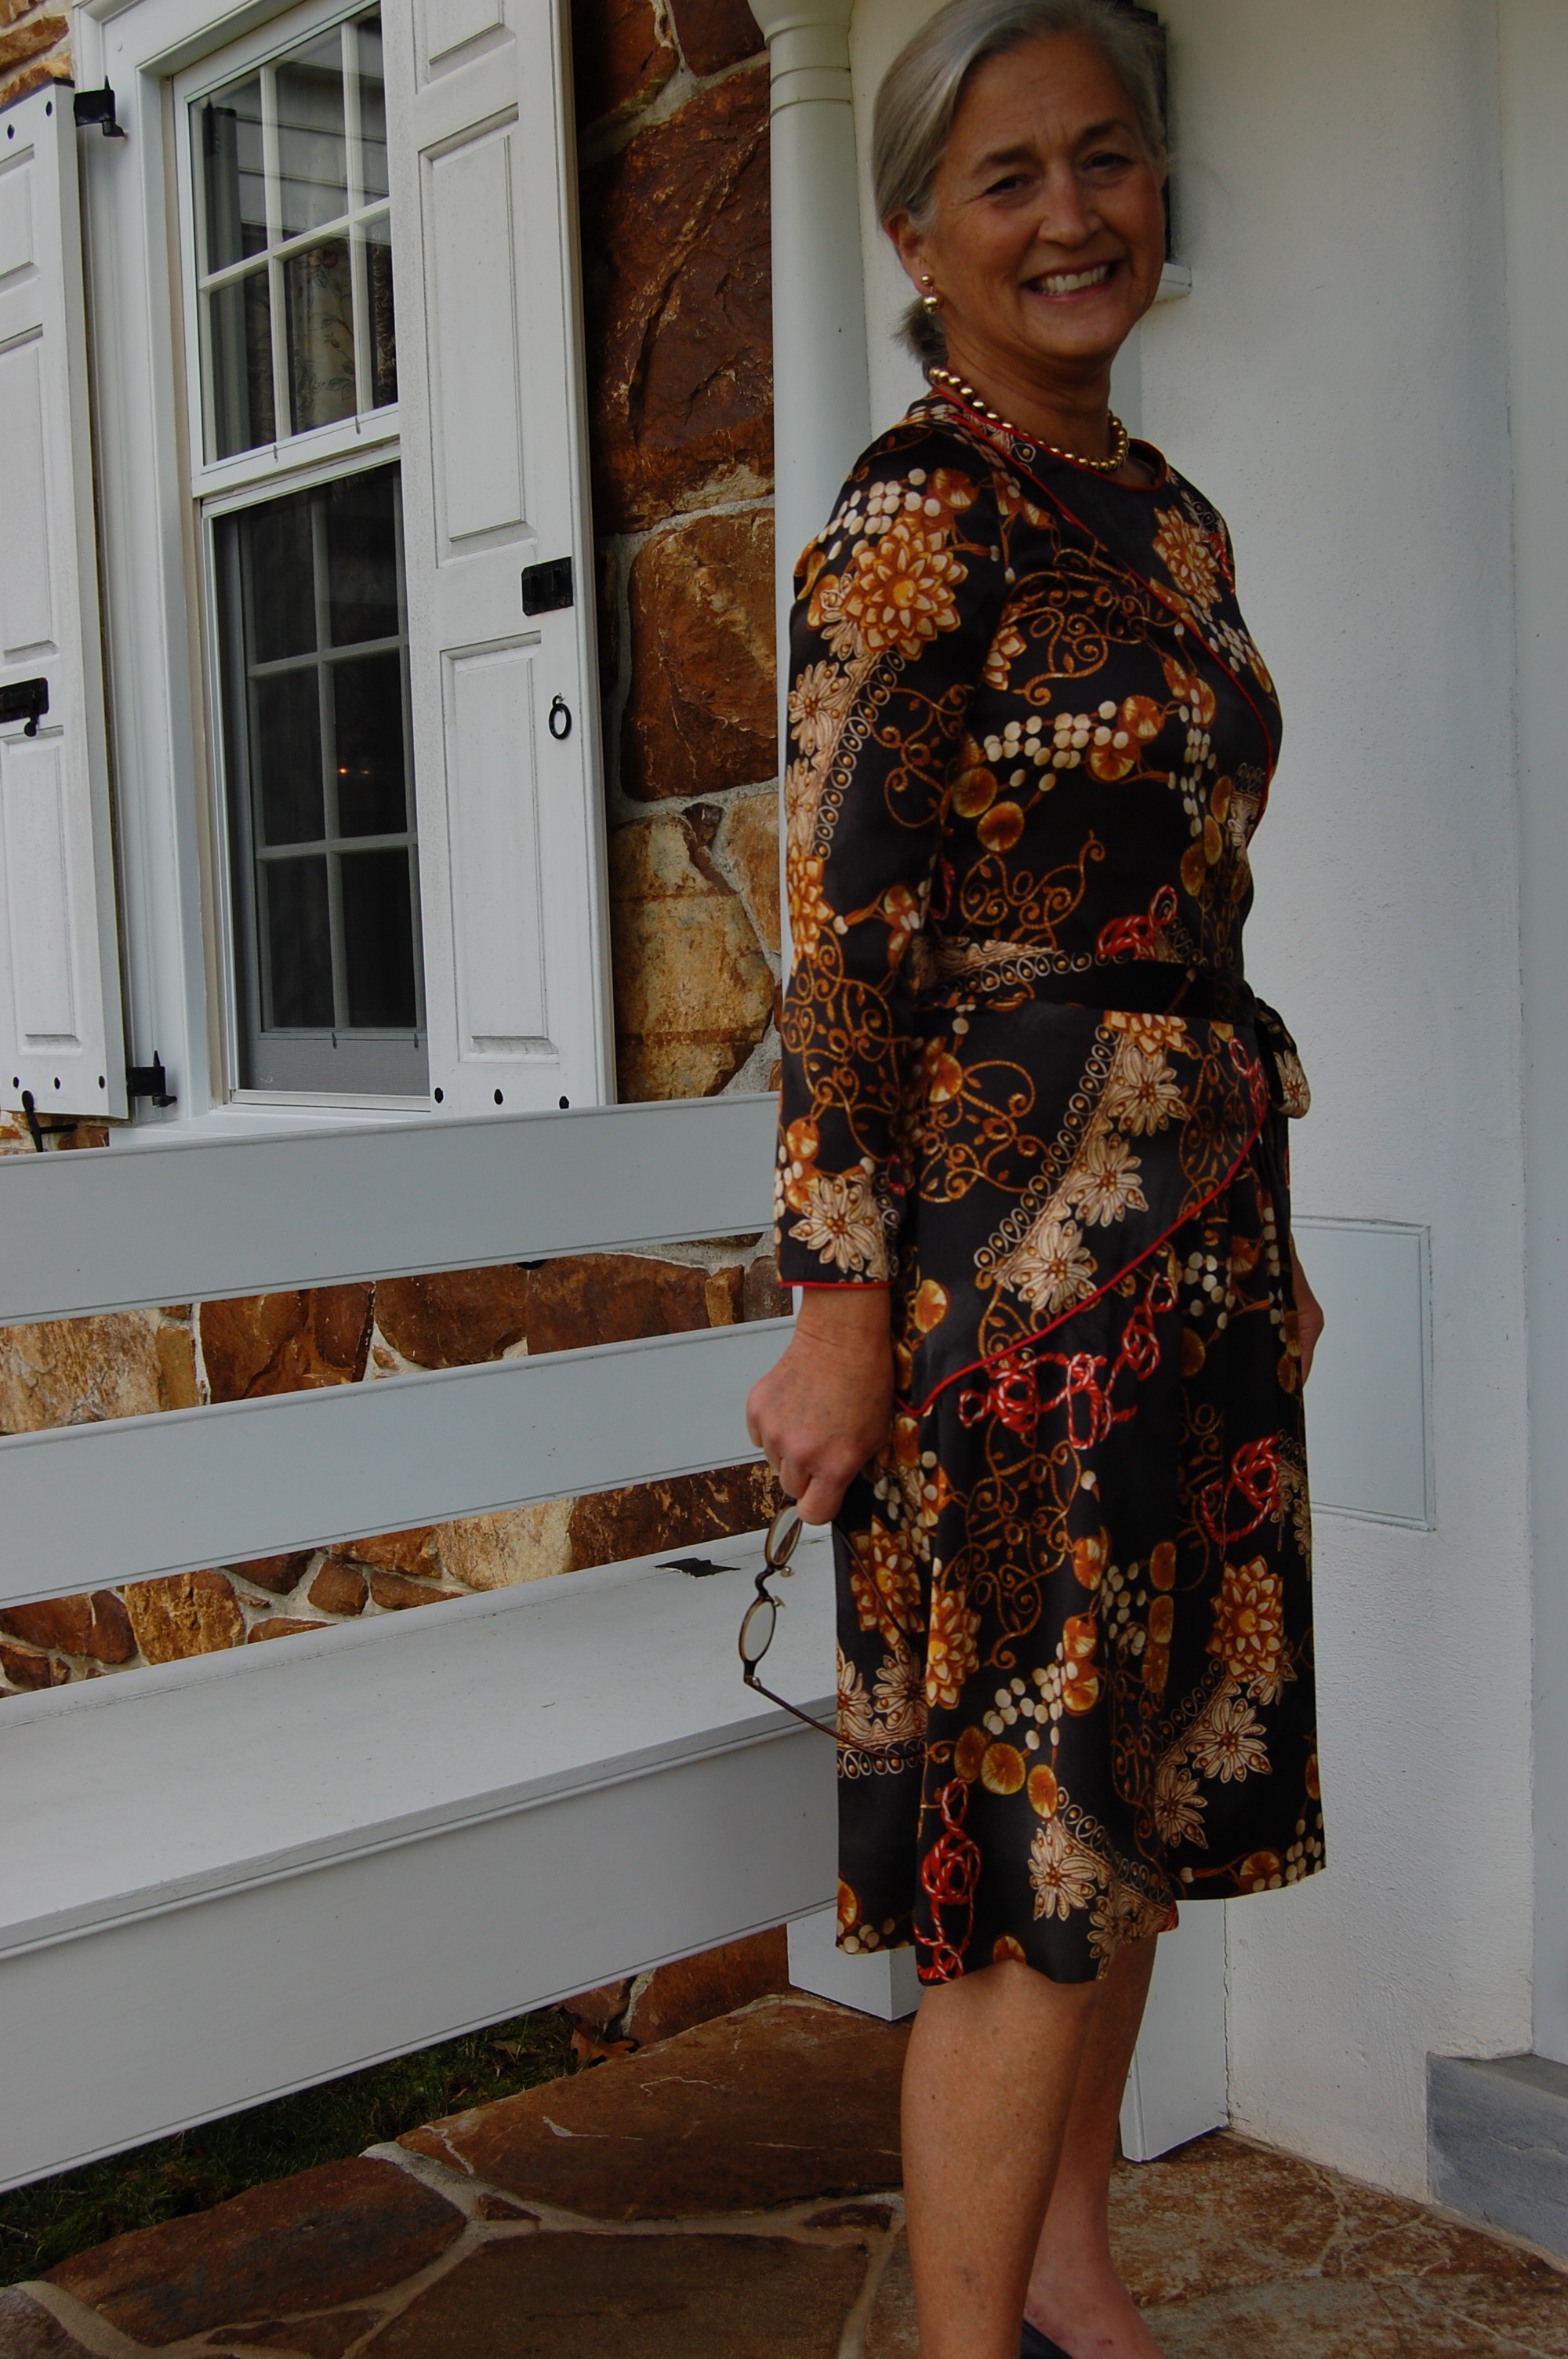
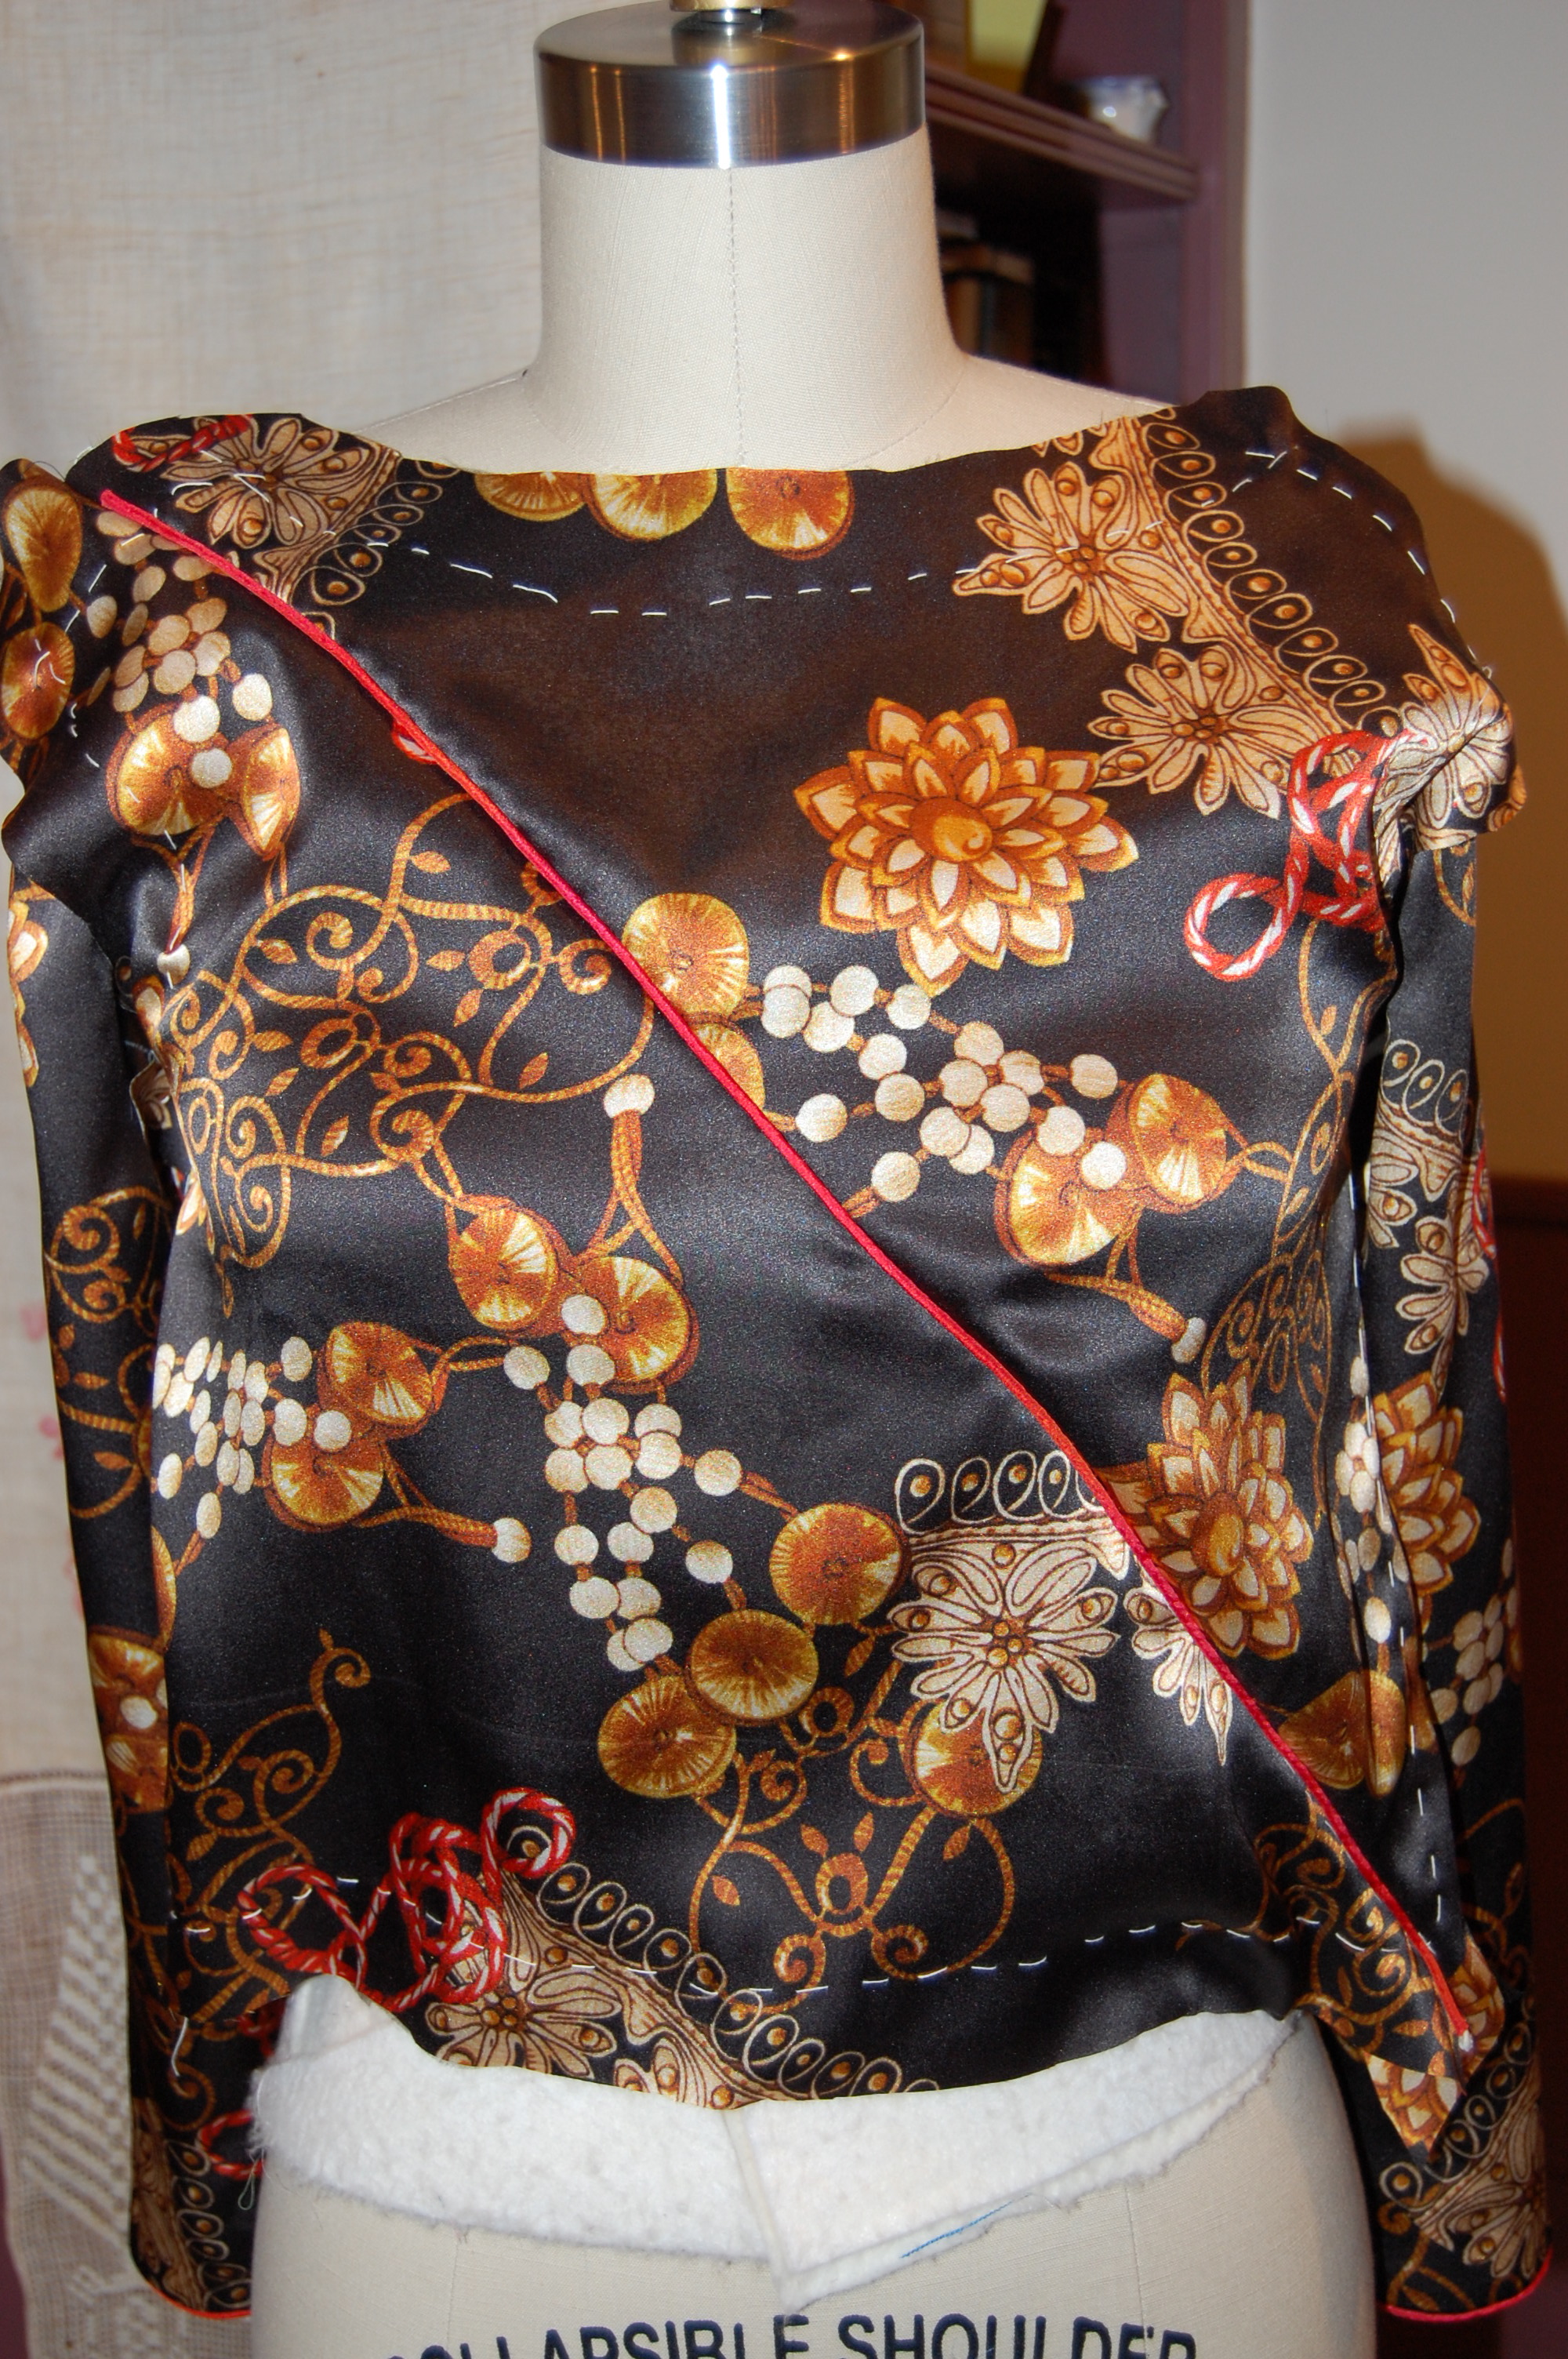
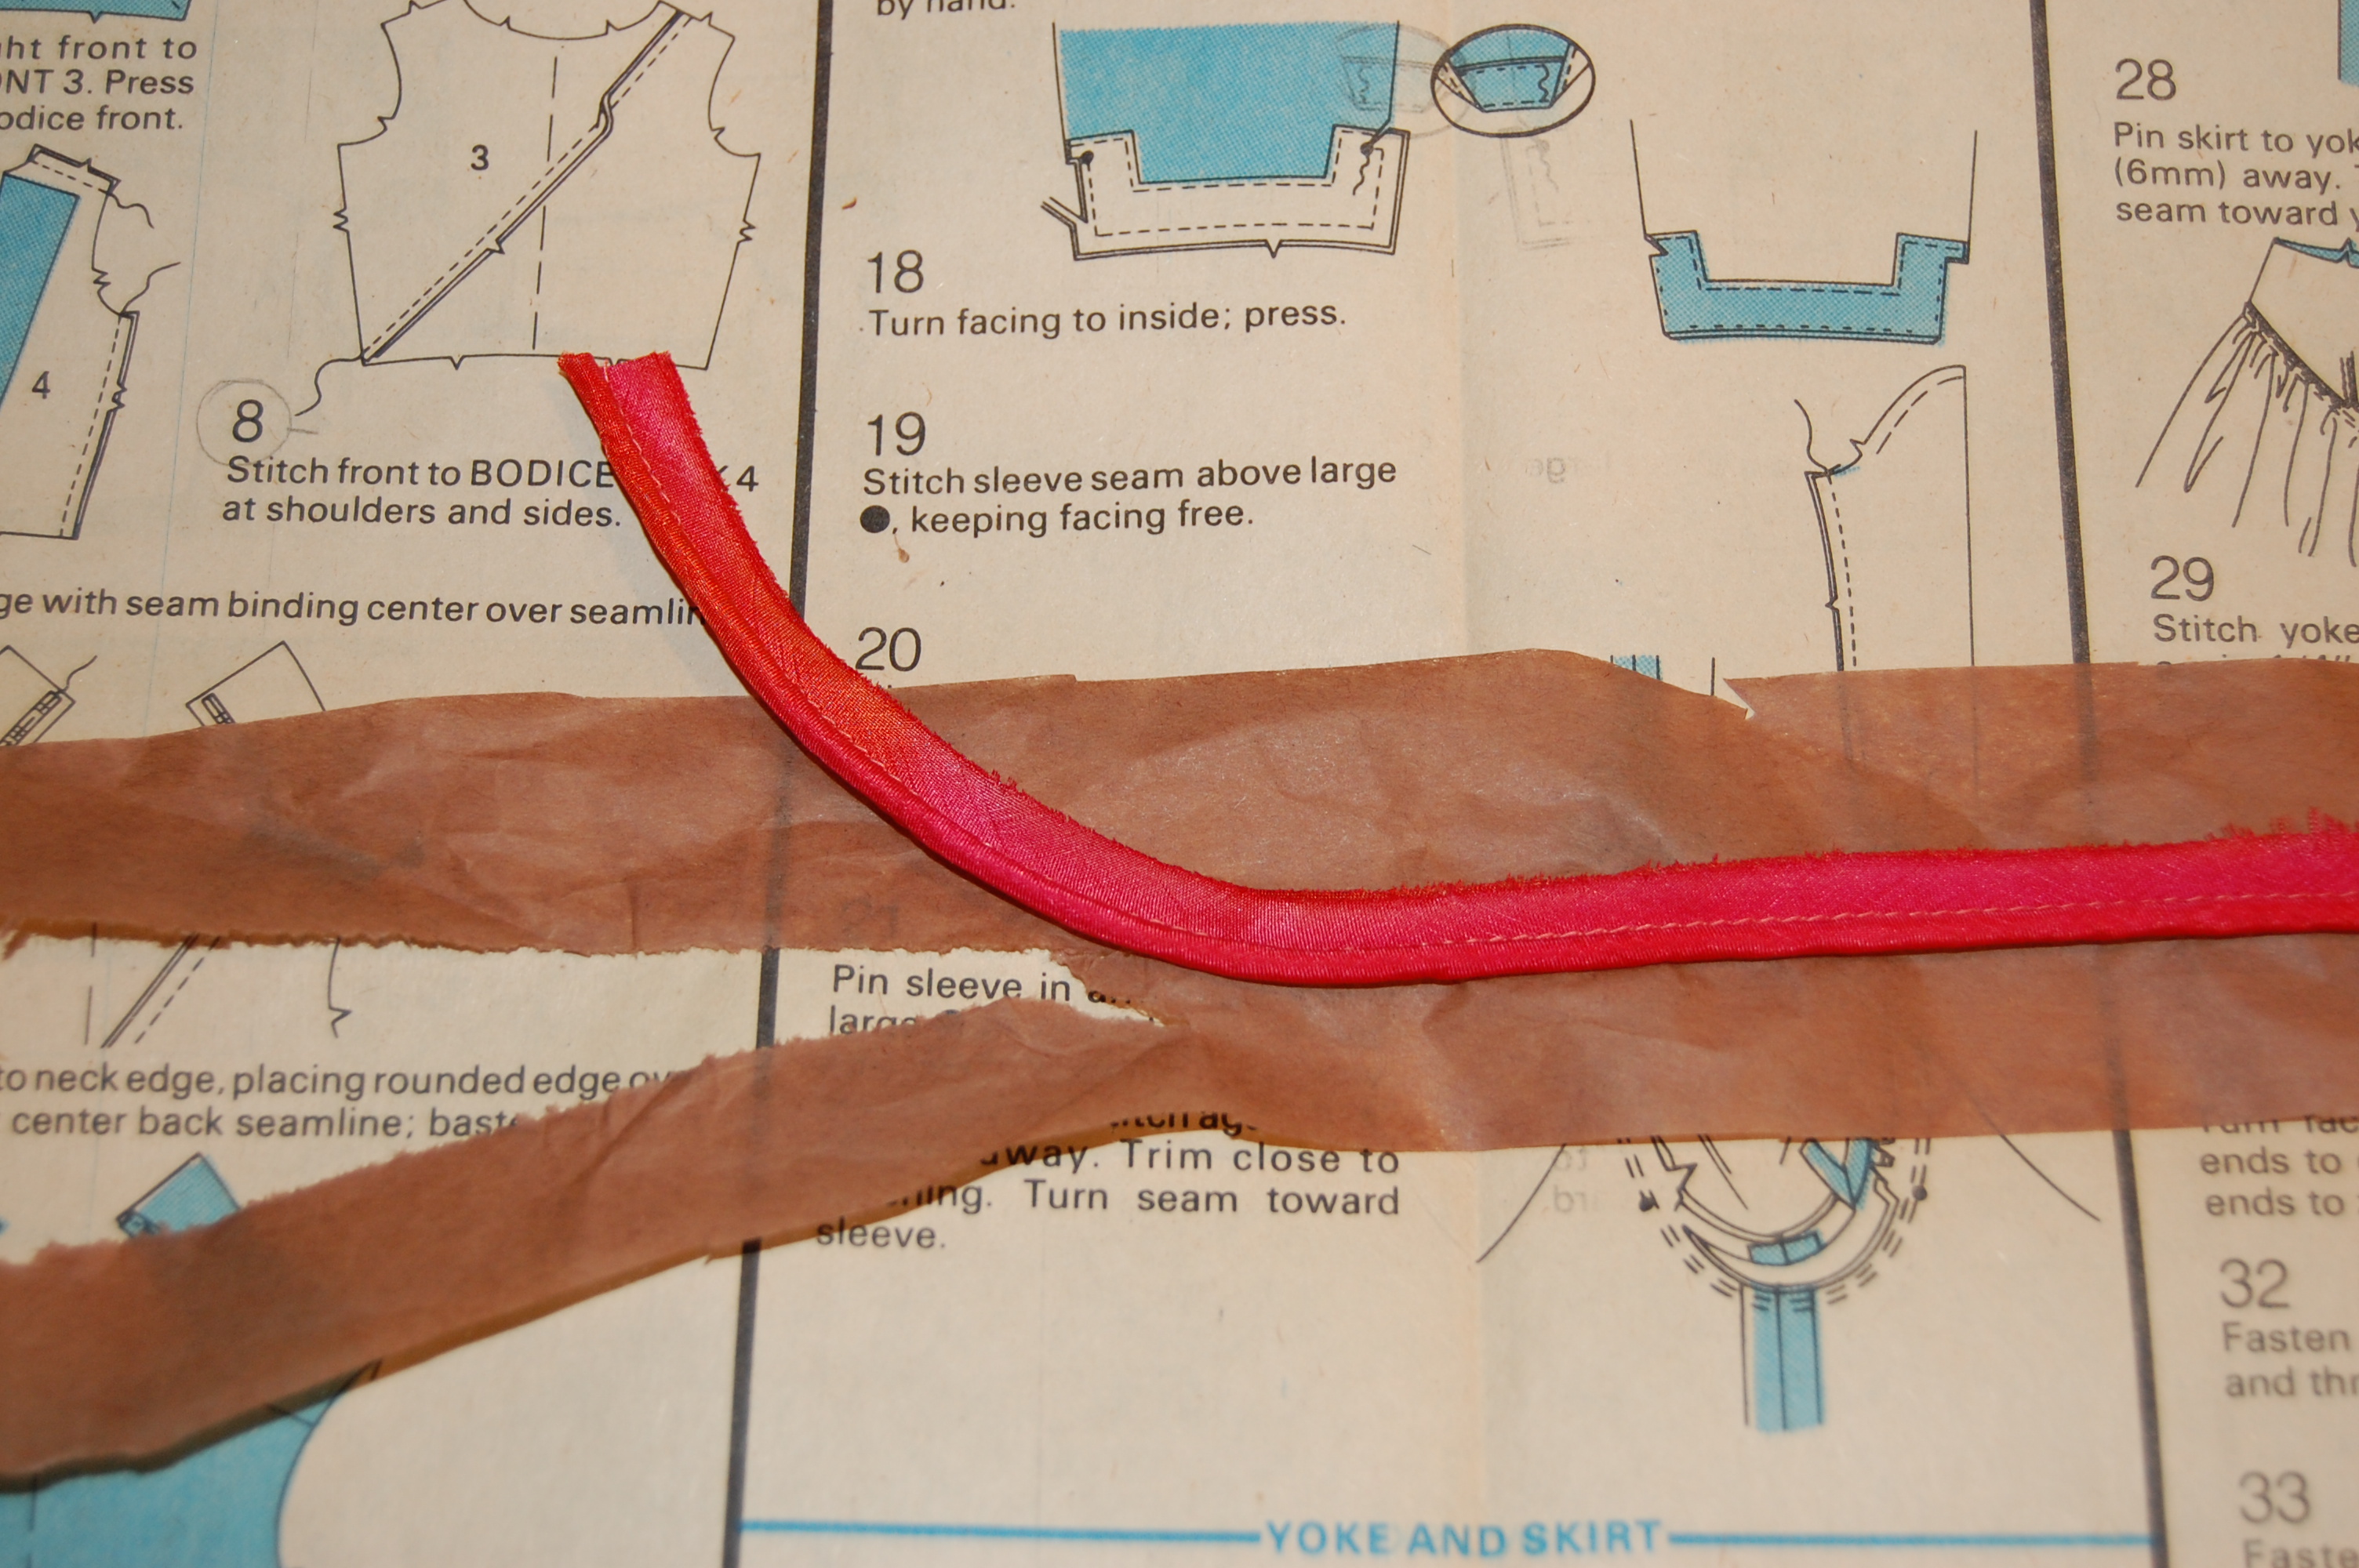
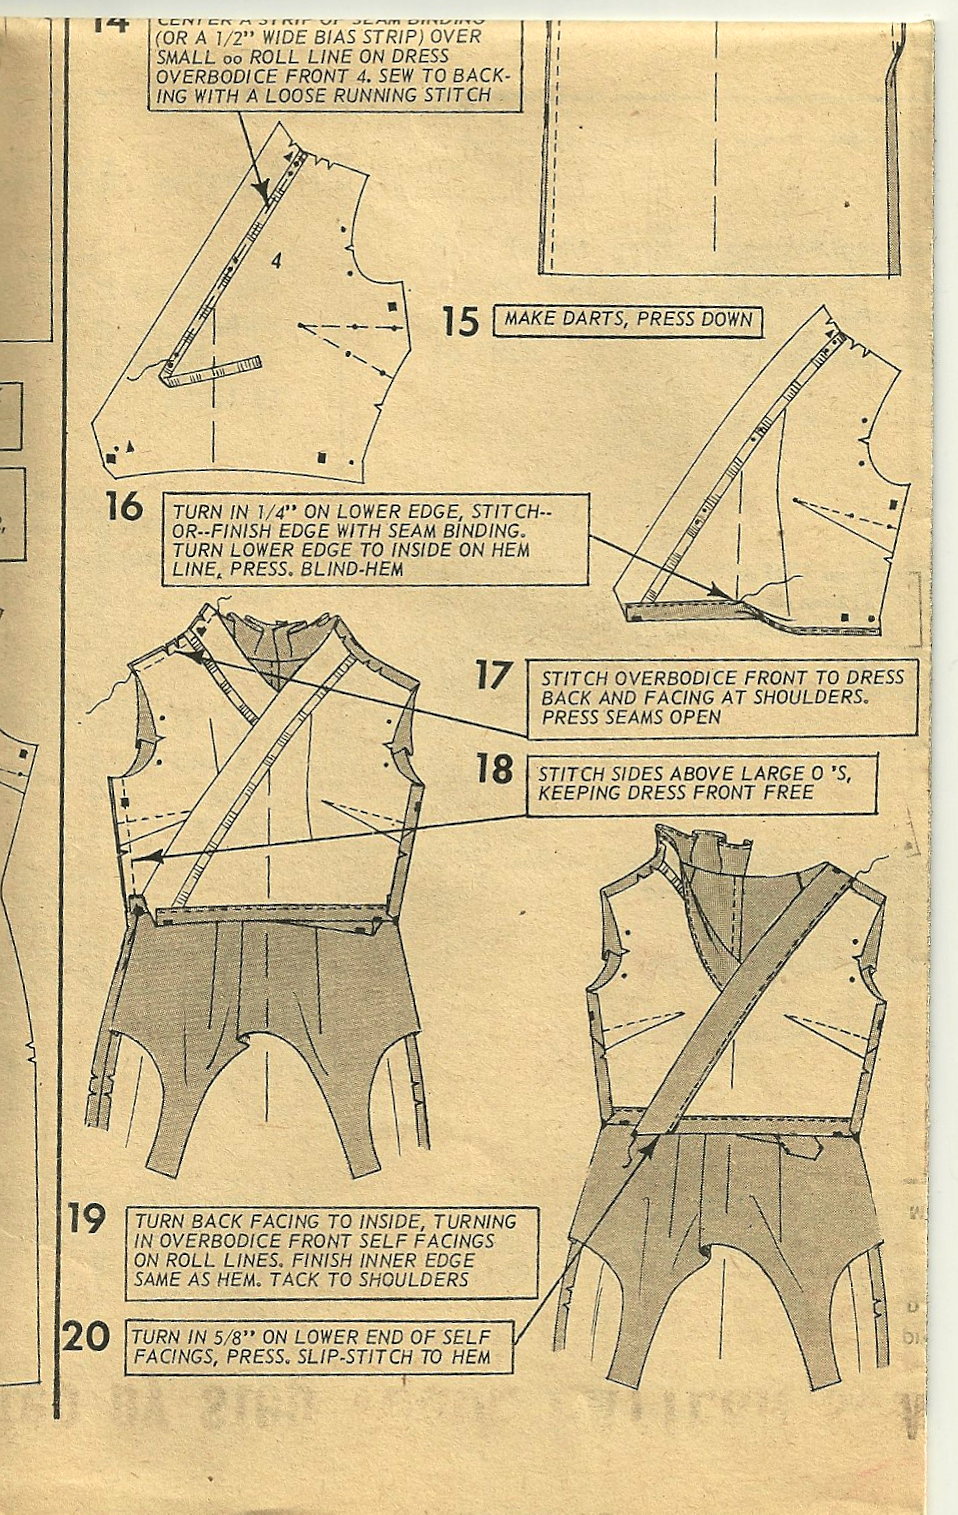
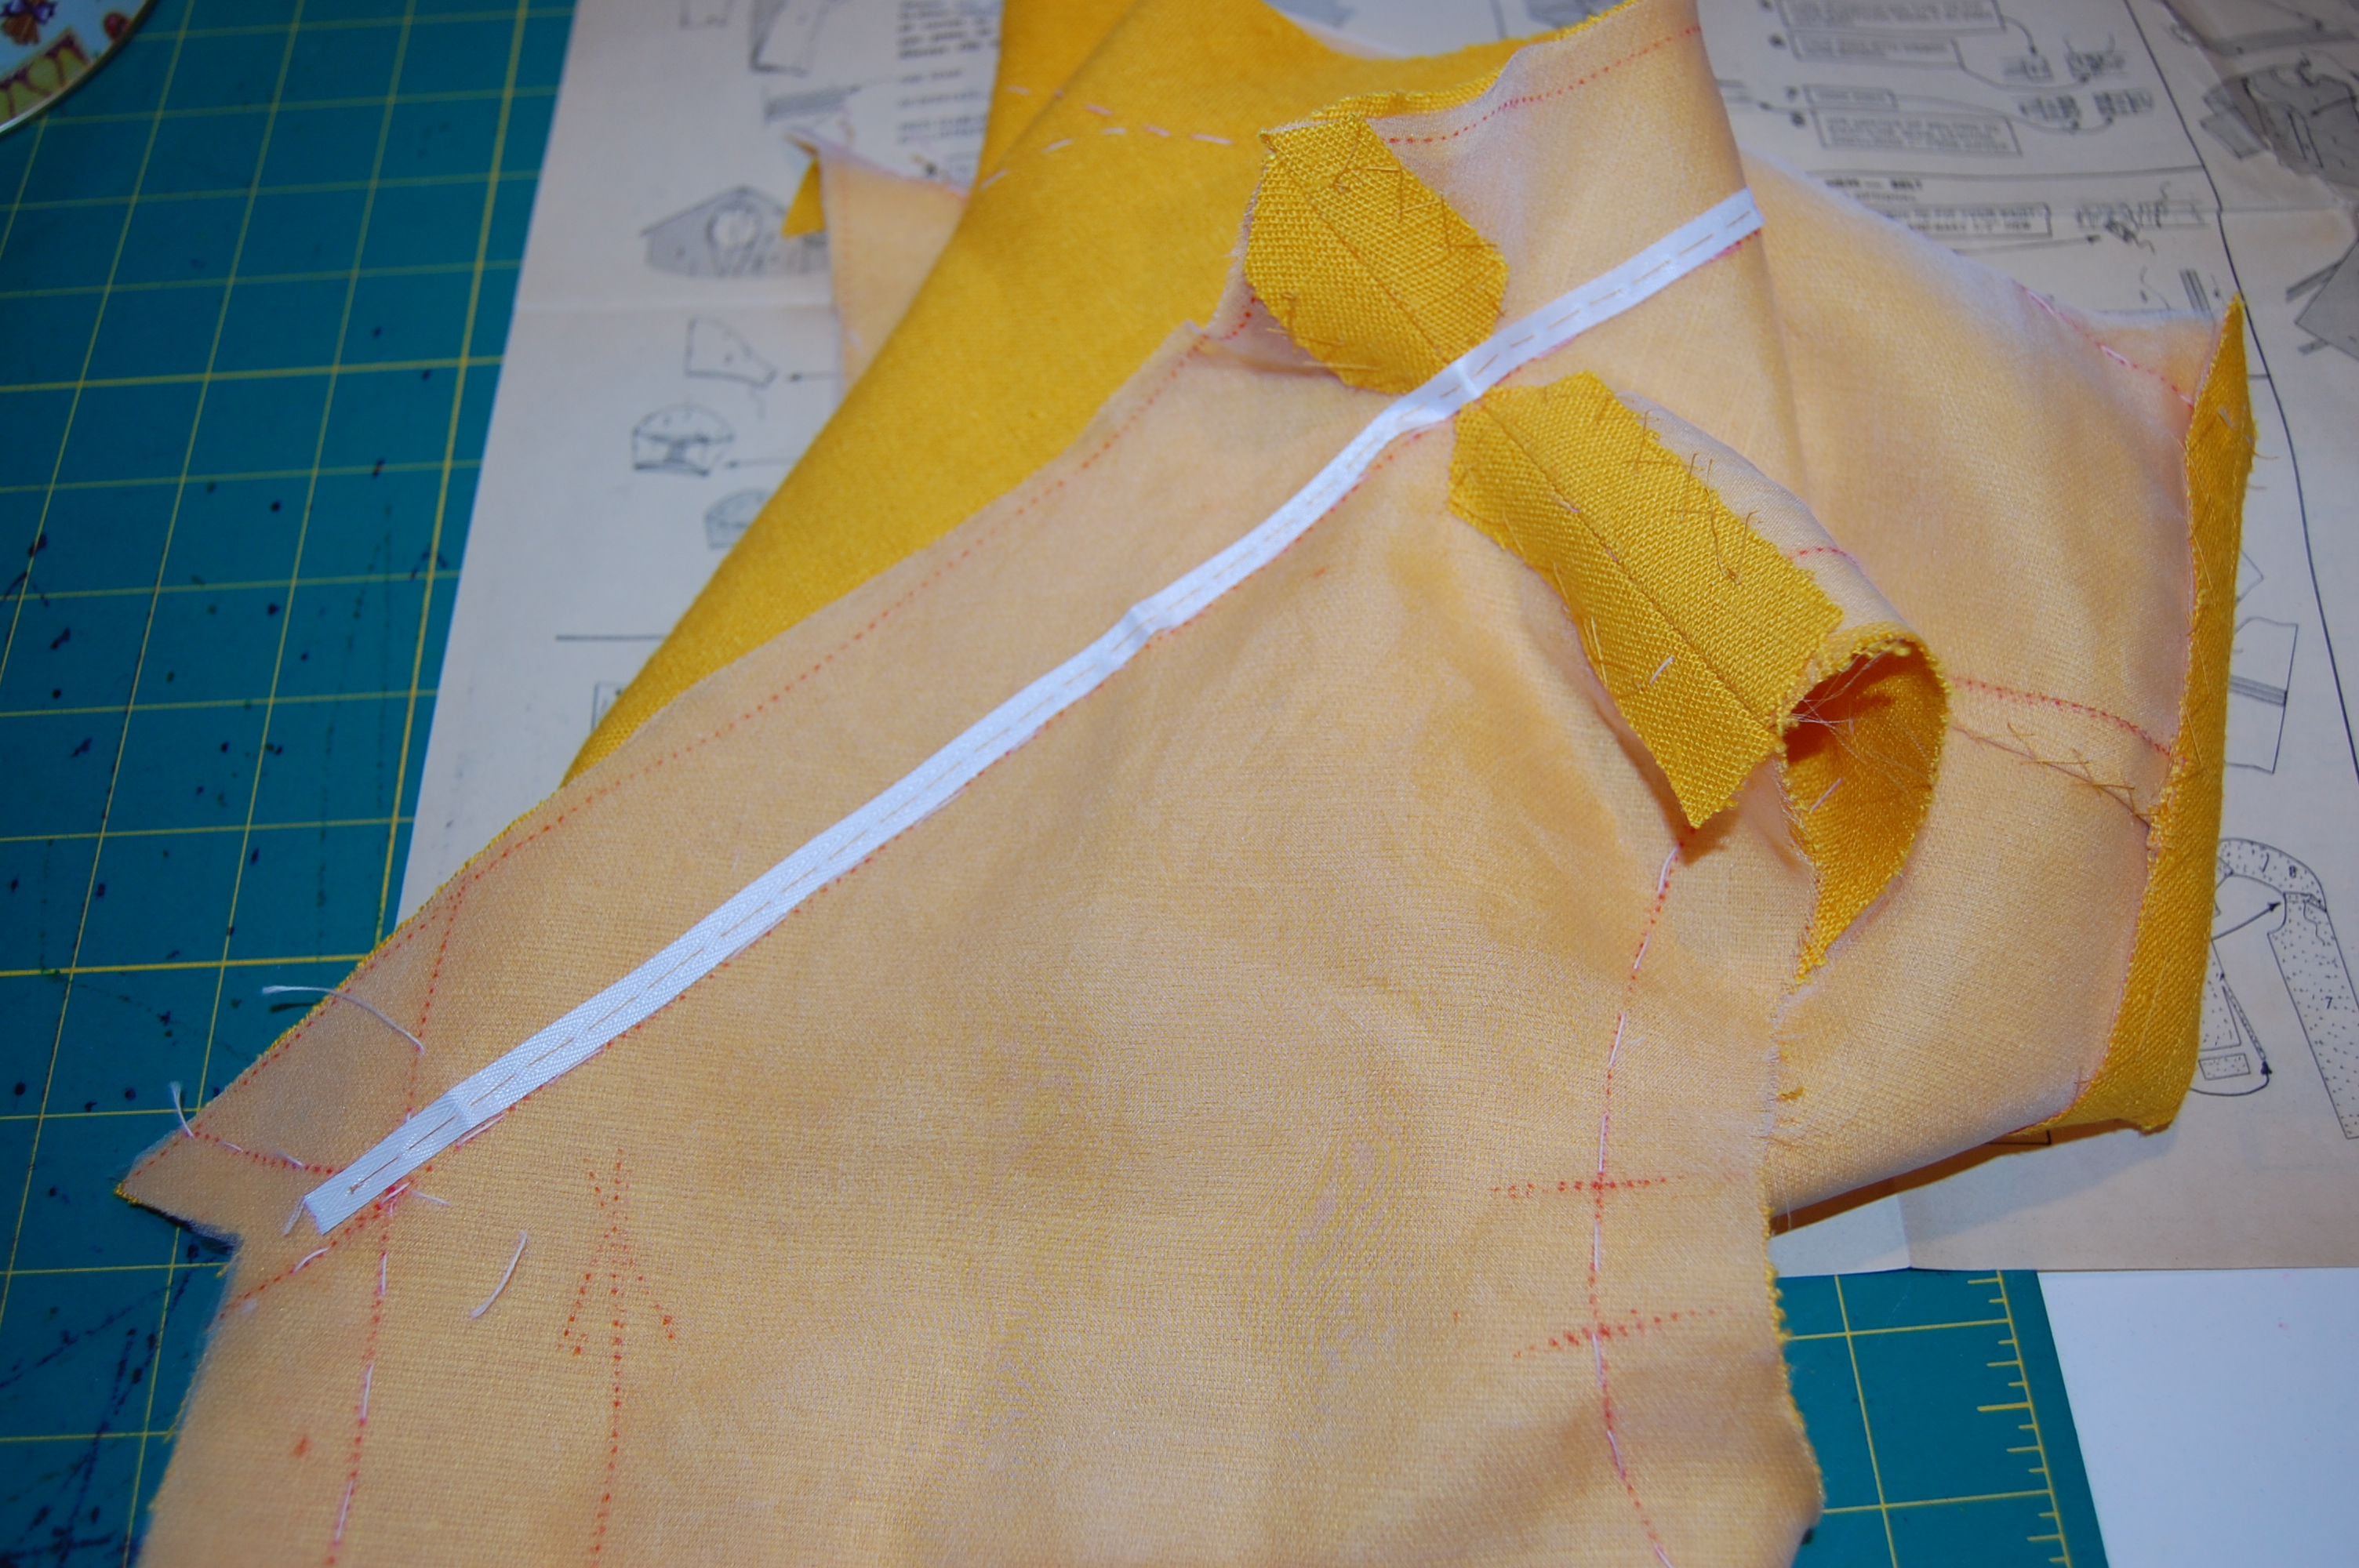
With no written and illustrated instructions to follow, I relied on my sewing knowledge and experience to execute the seaming on the front left of the dress. I was able to sew the seam by machine from the sleeve down to the lower angle of the point. From there down to about 8” from the hemline, I sewed the seam by hand.
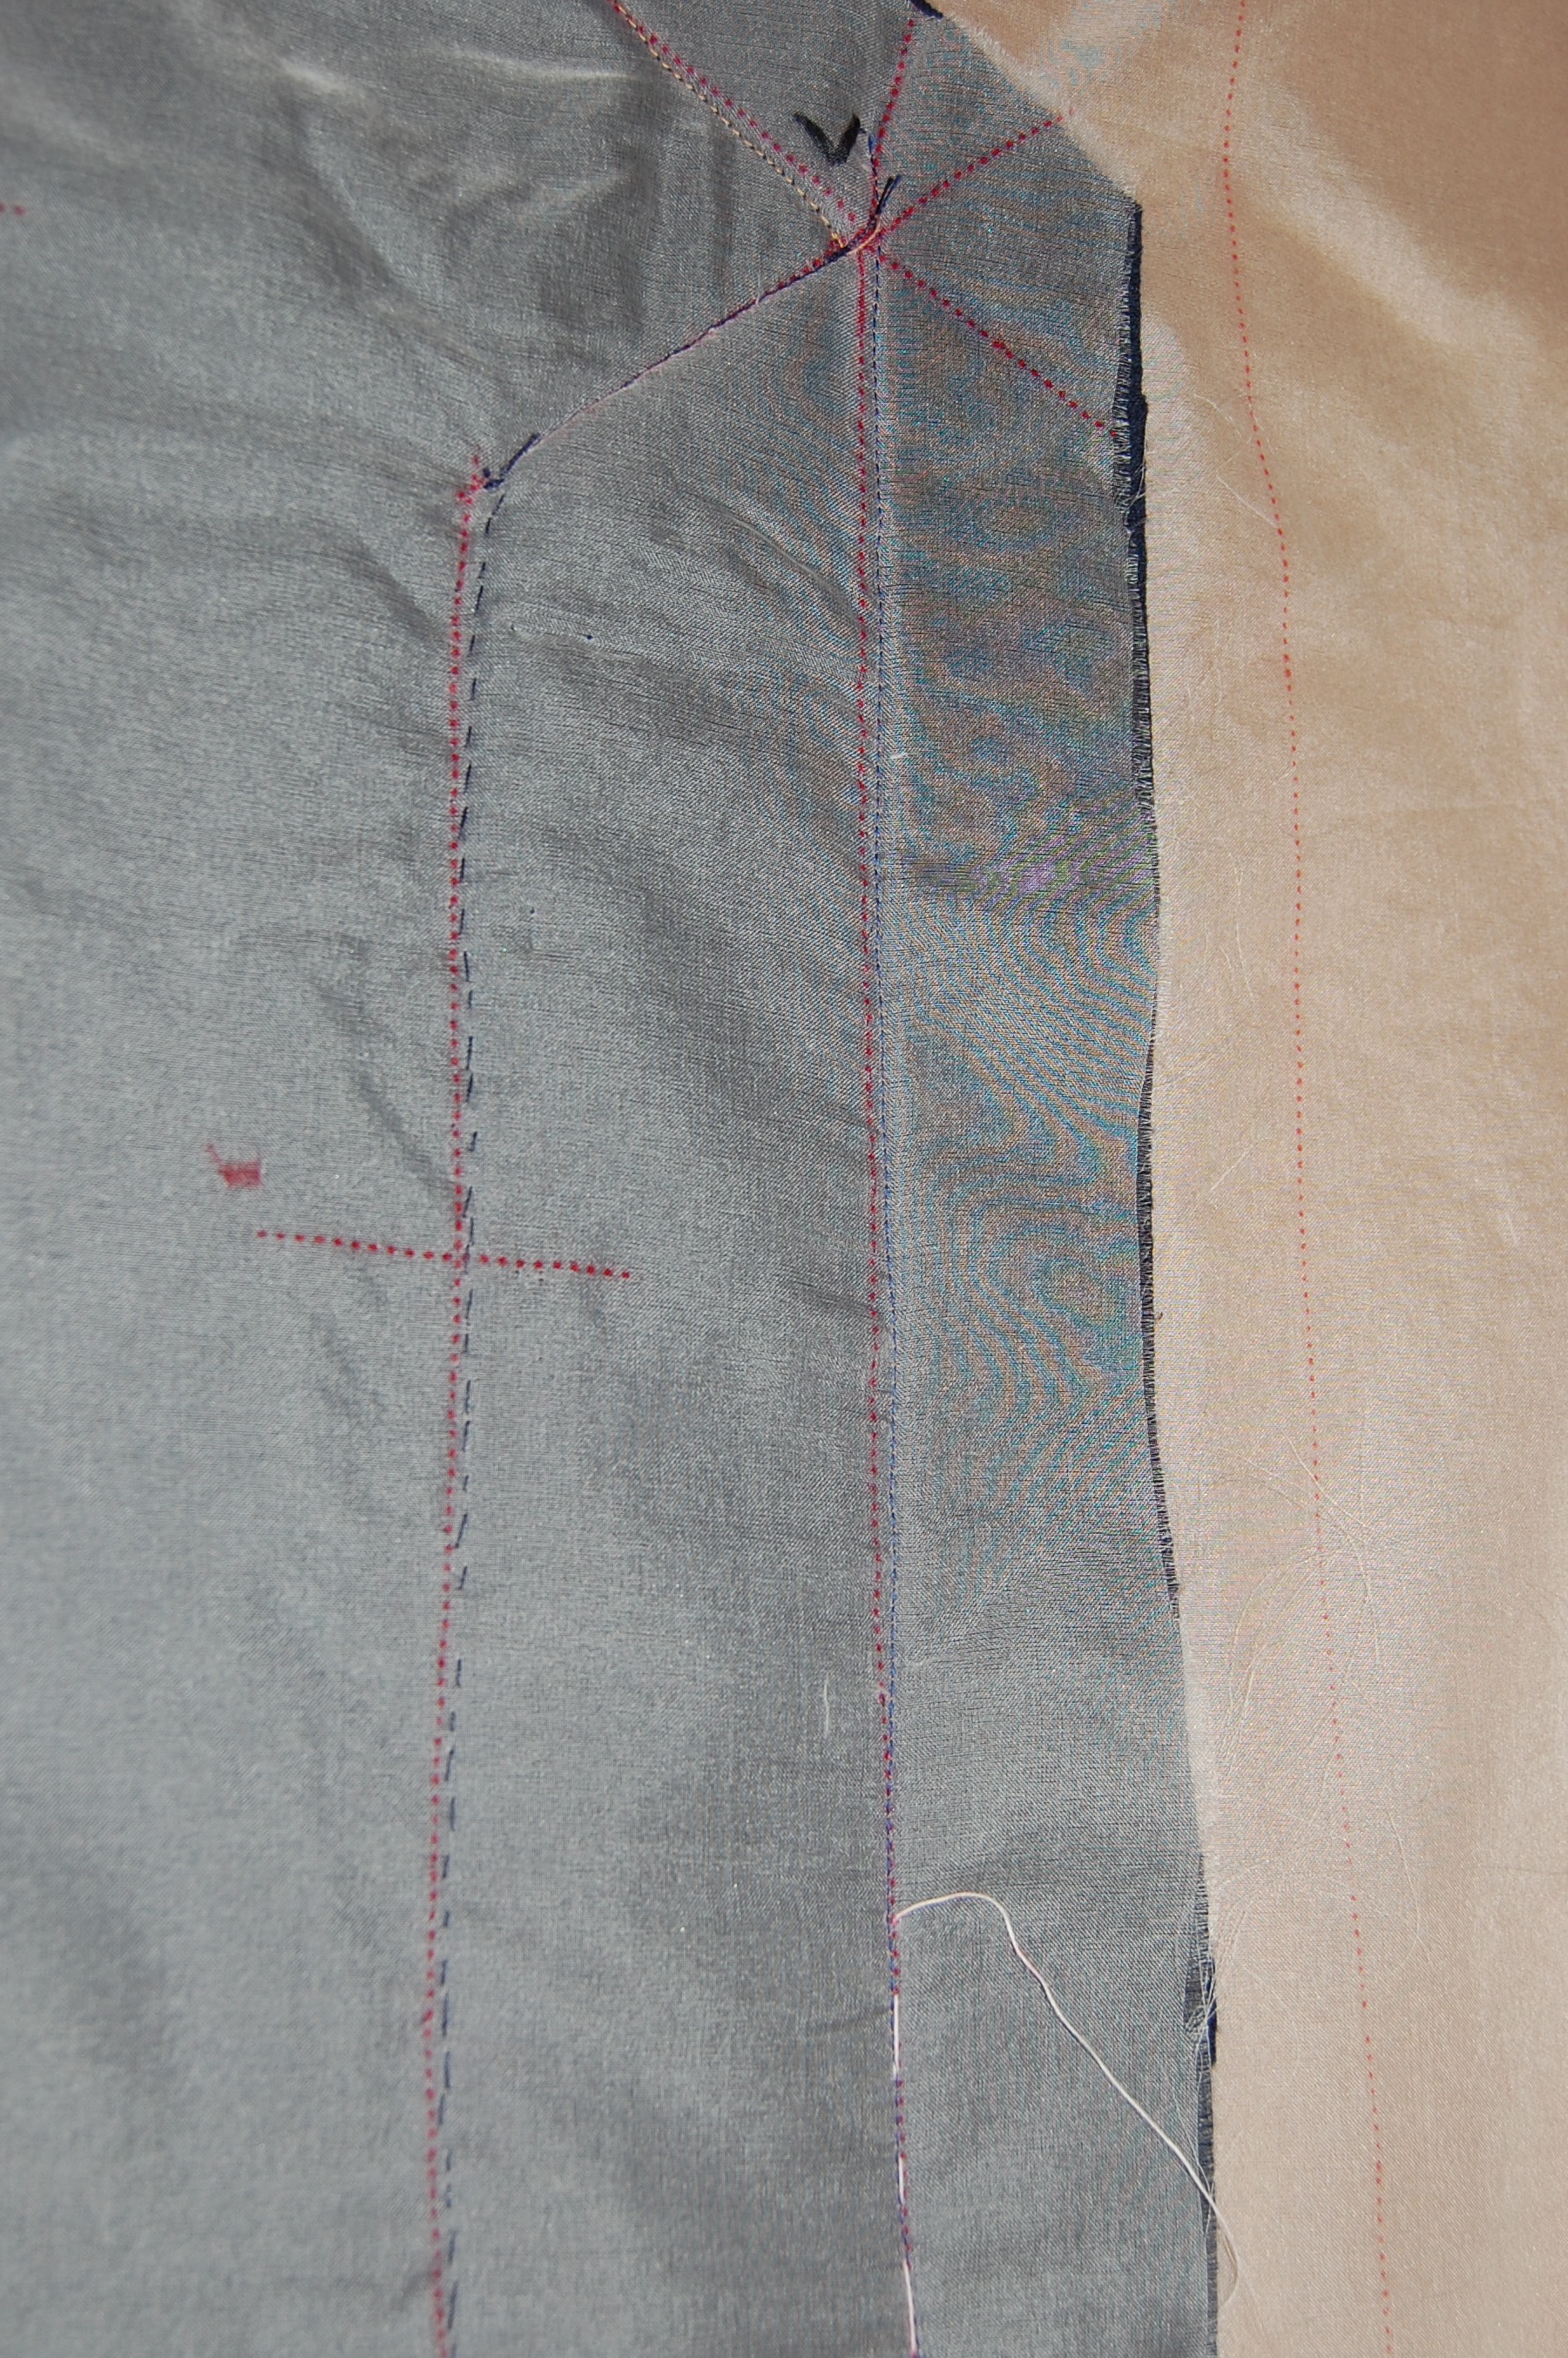
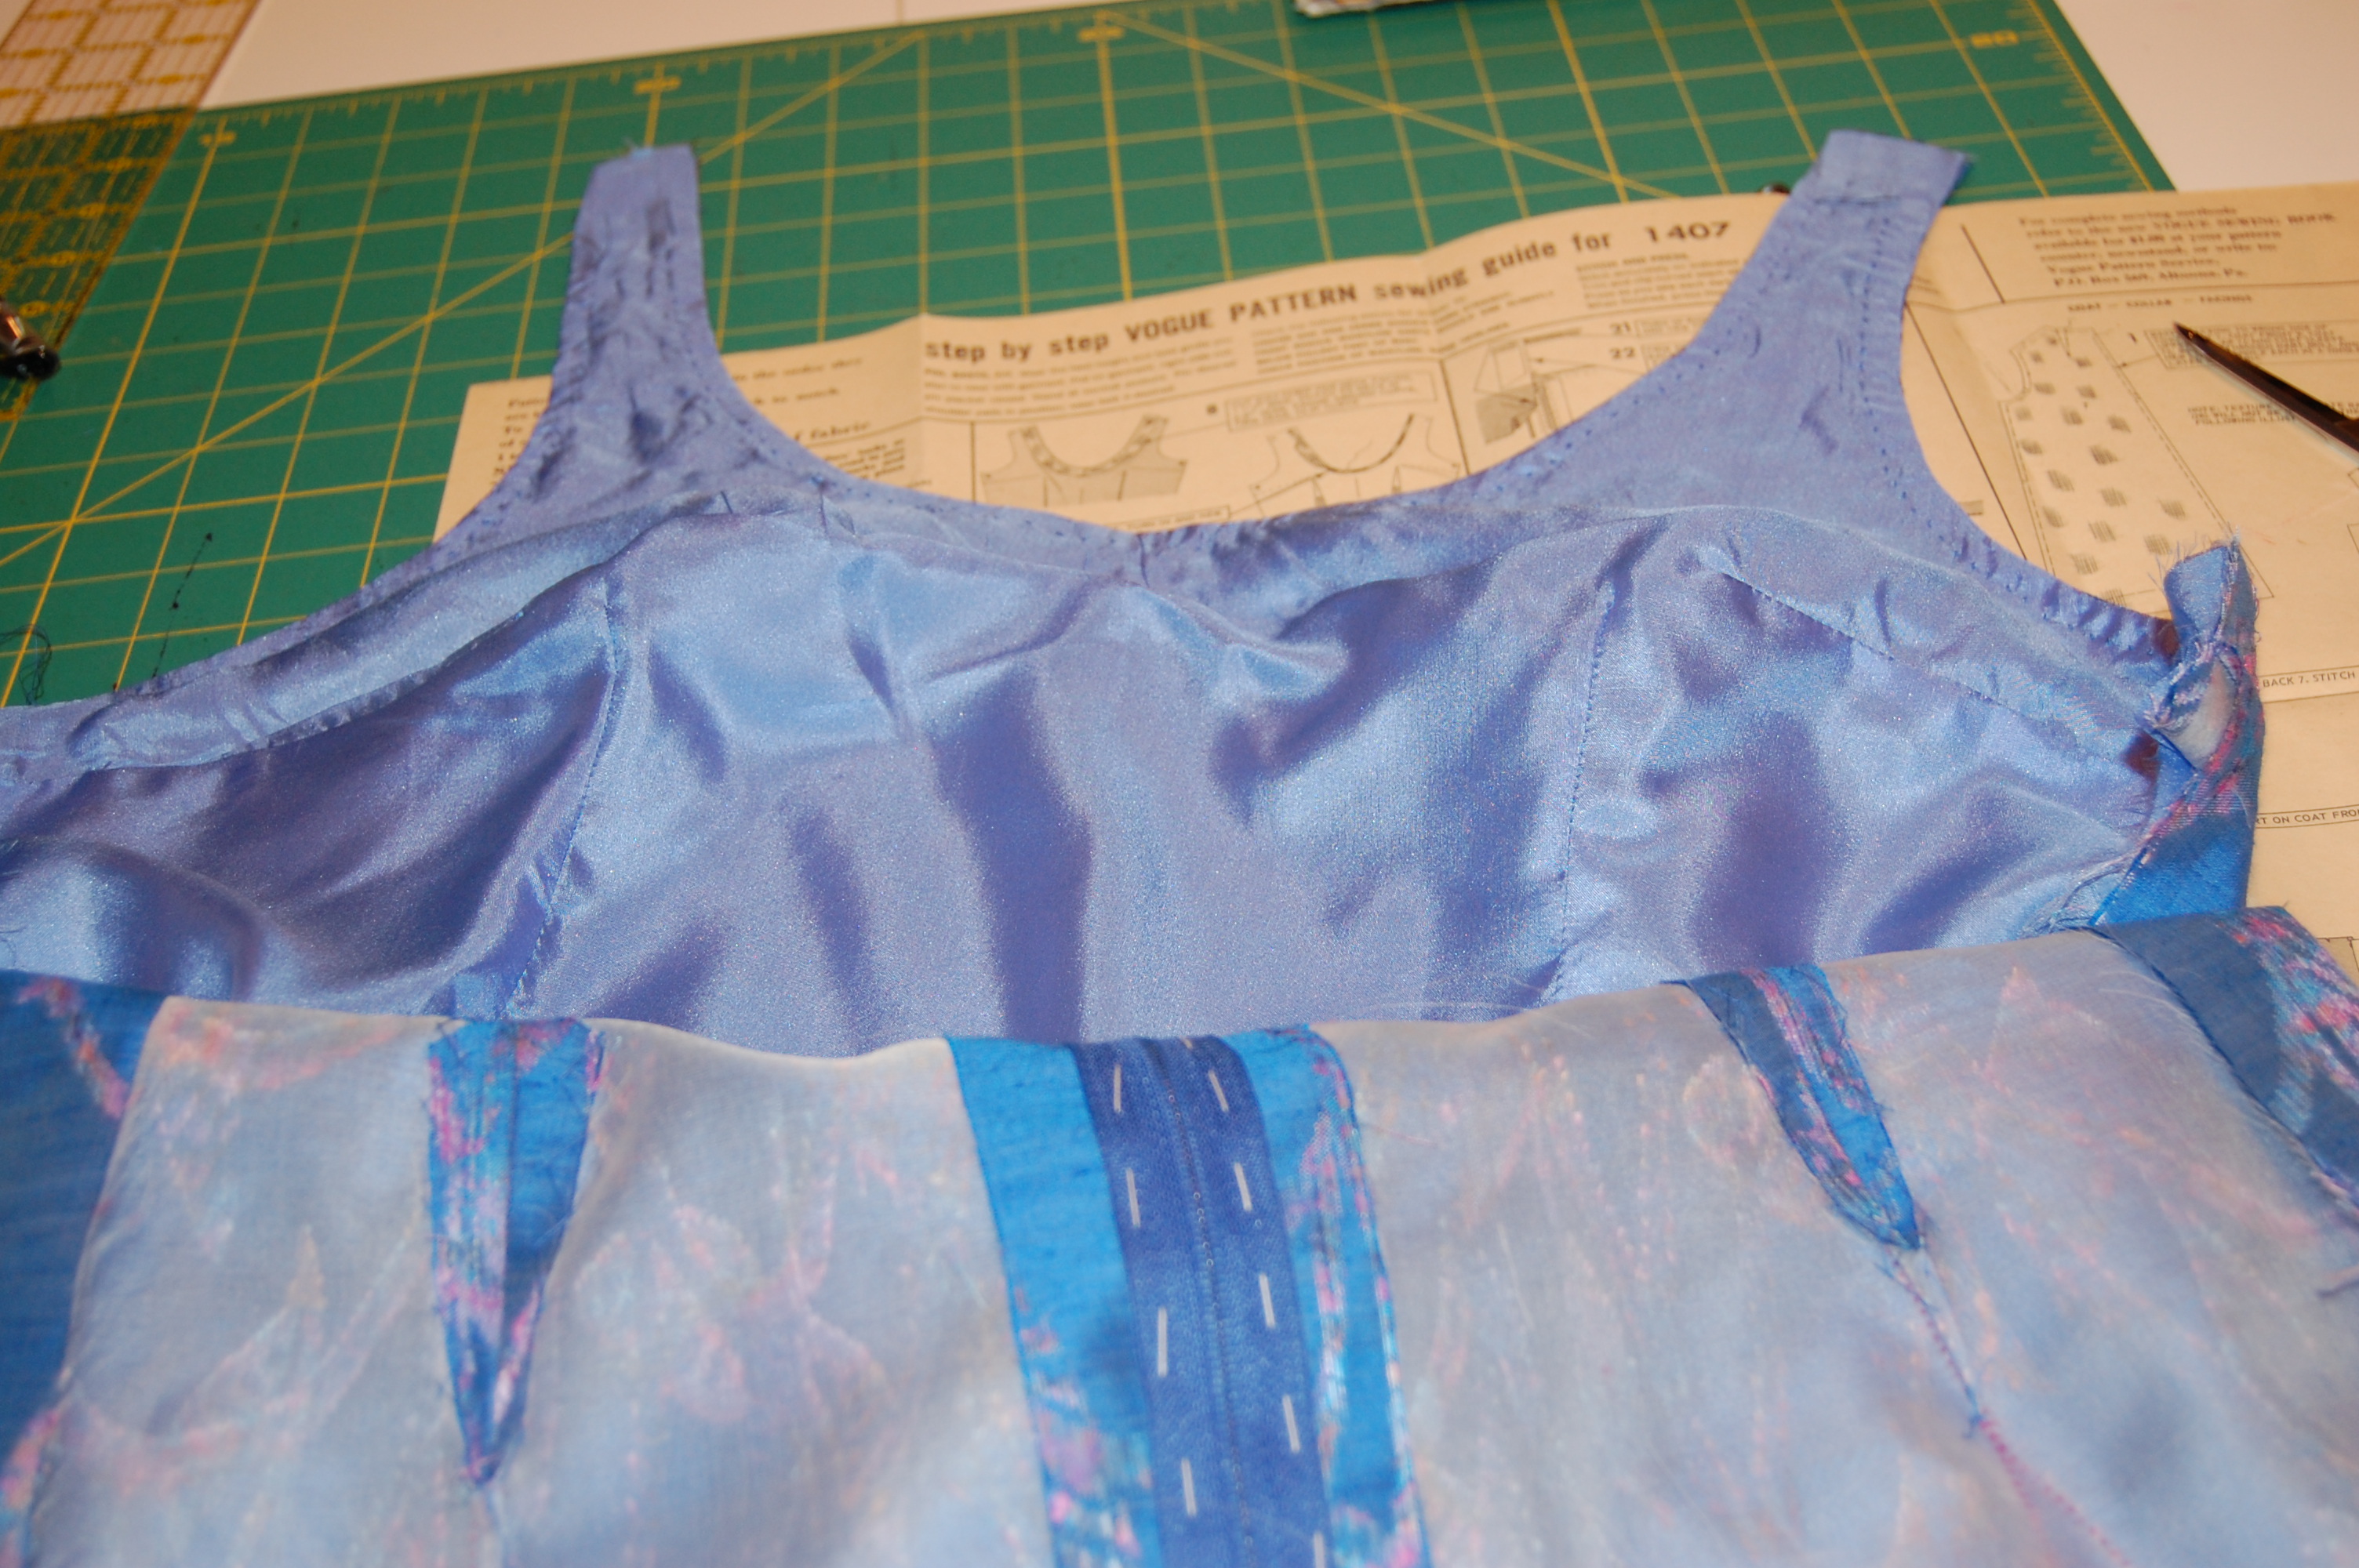
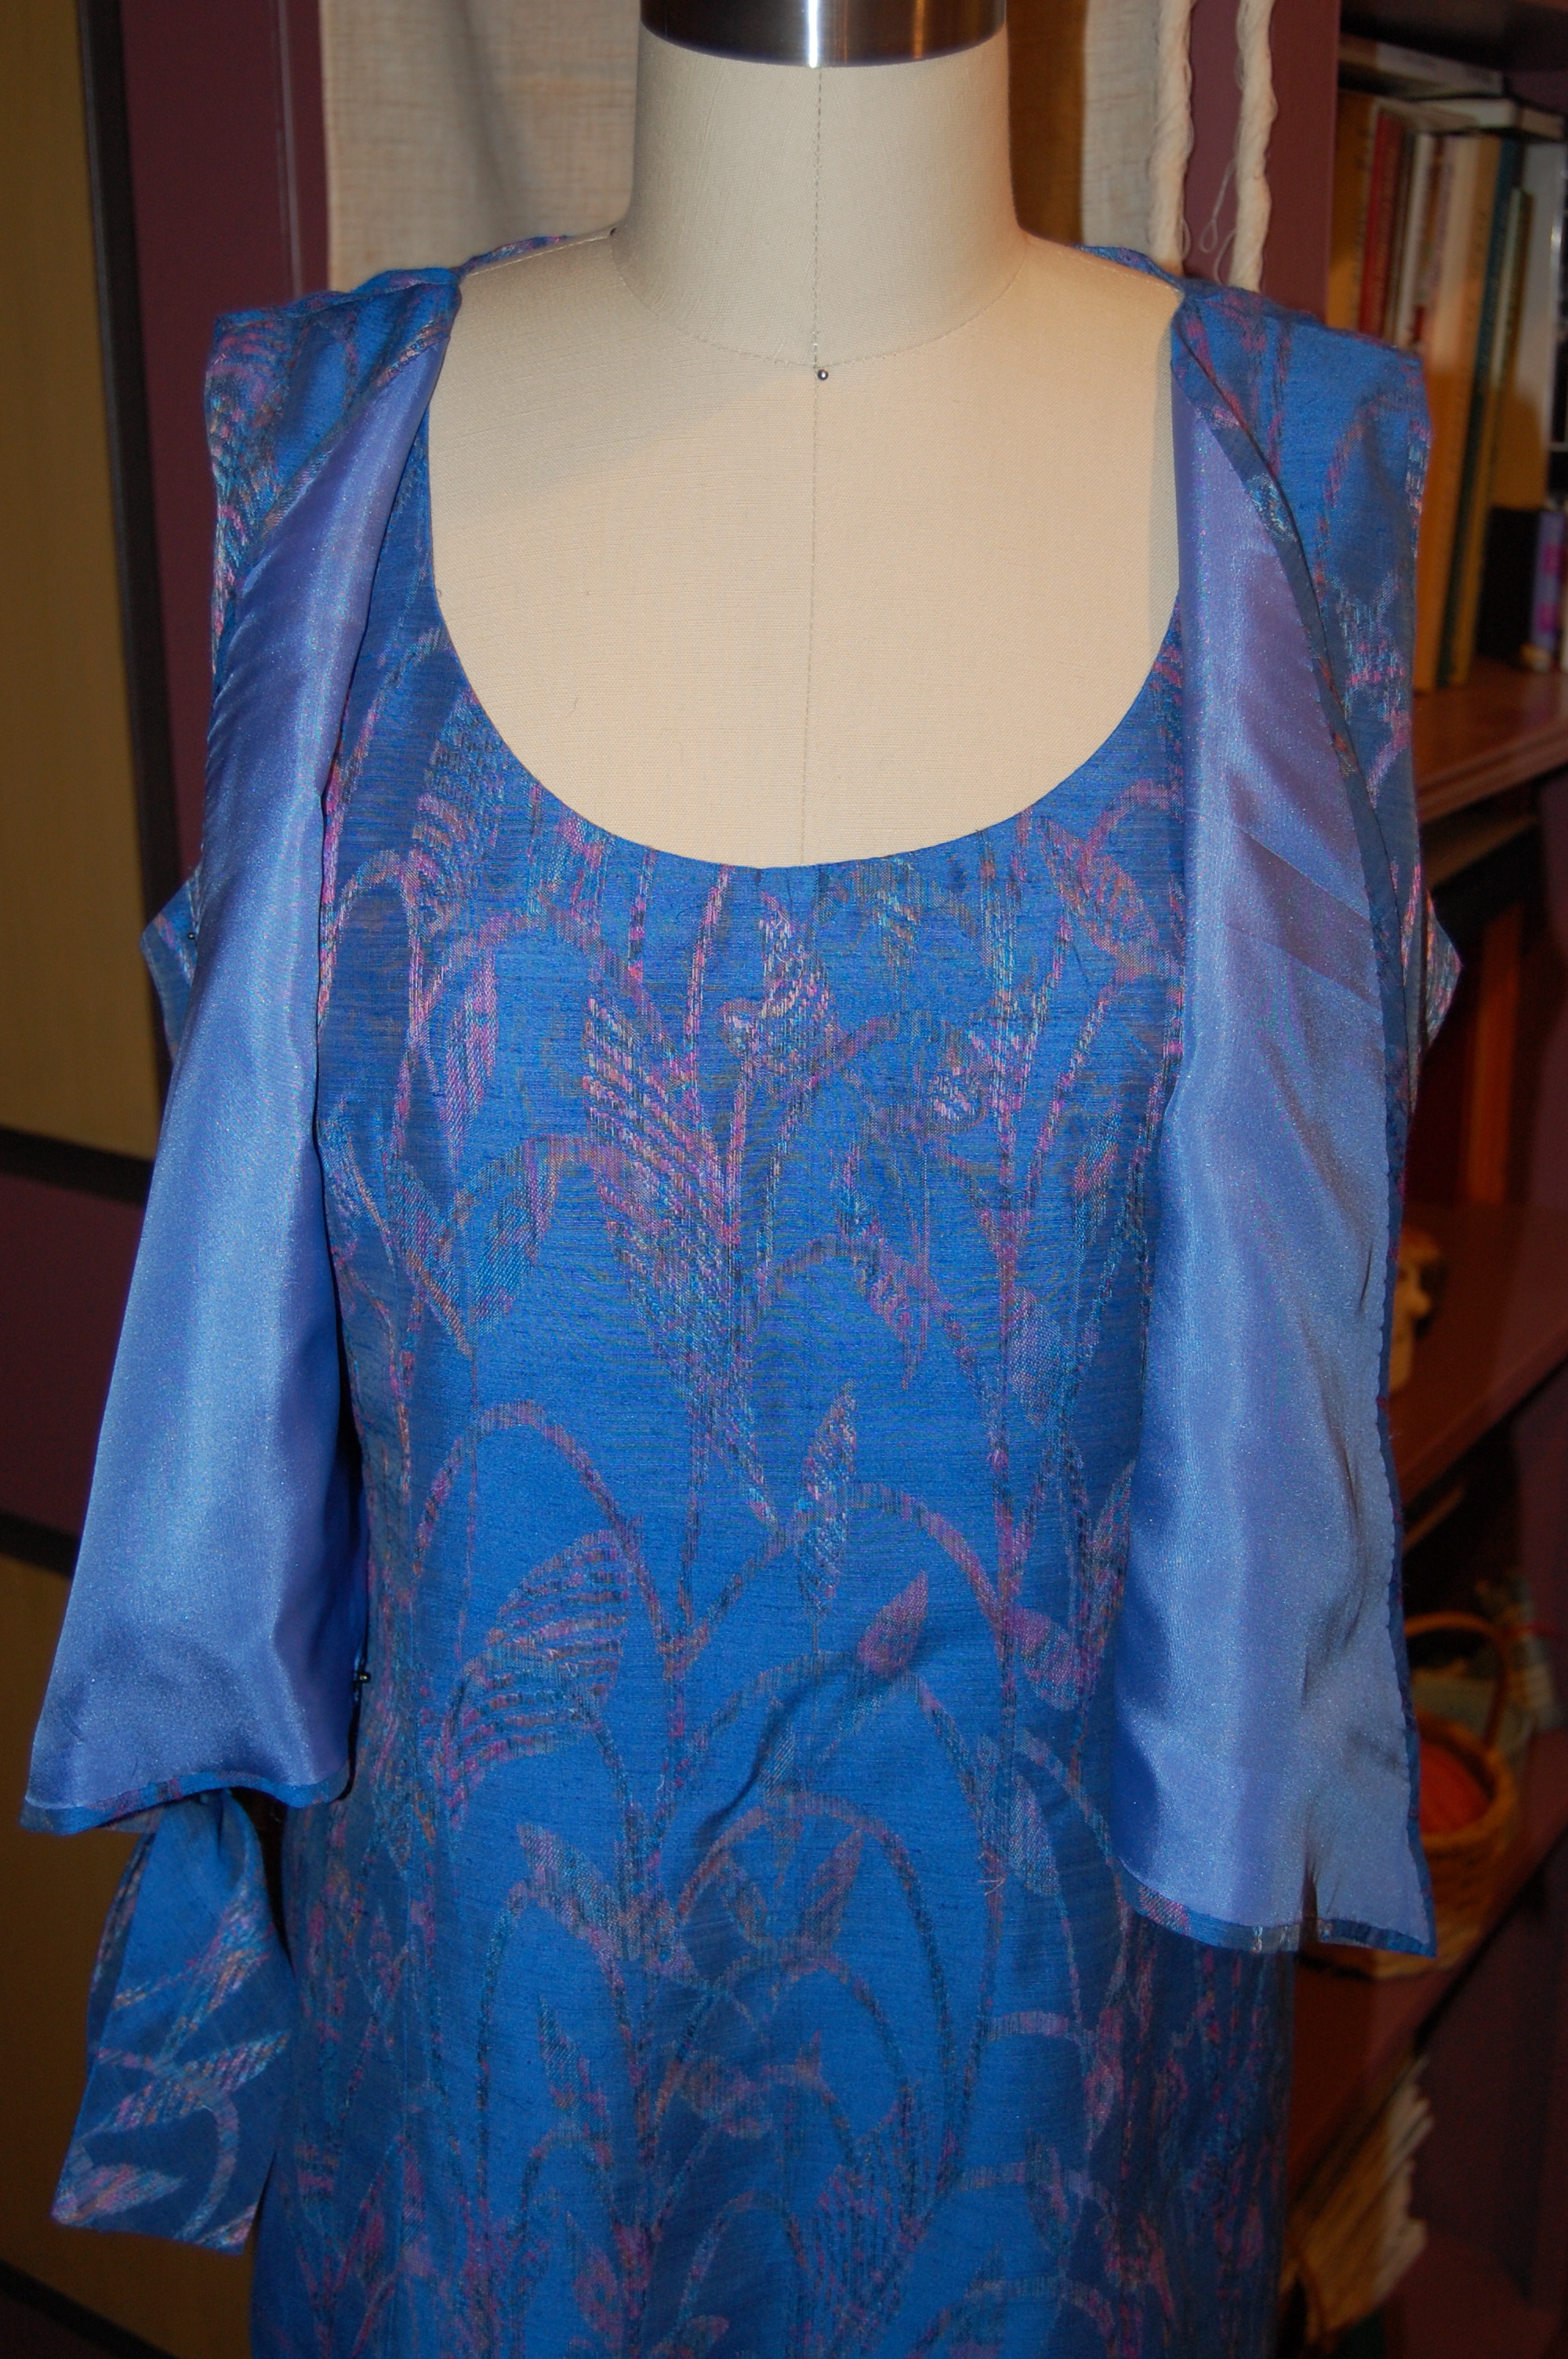
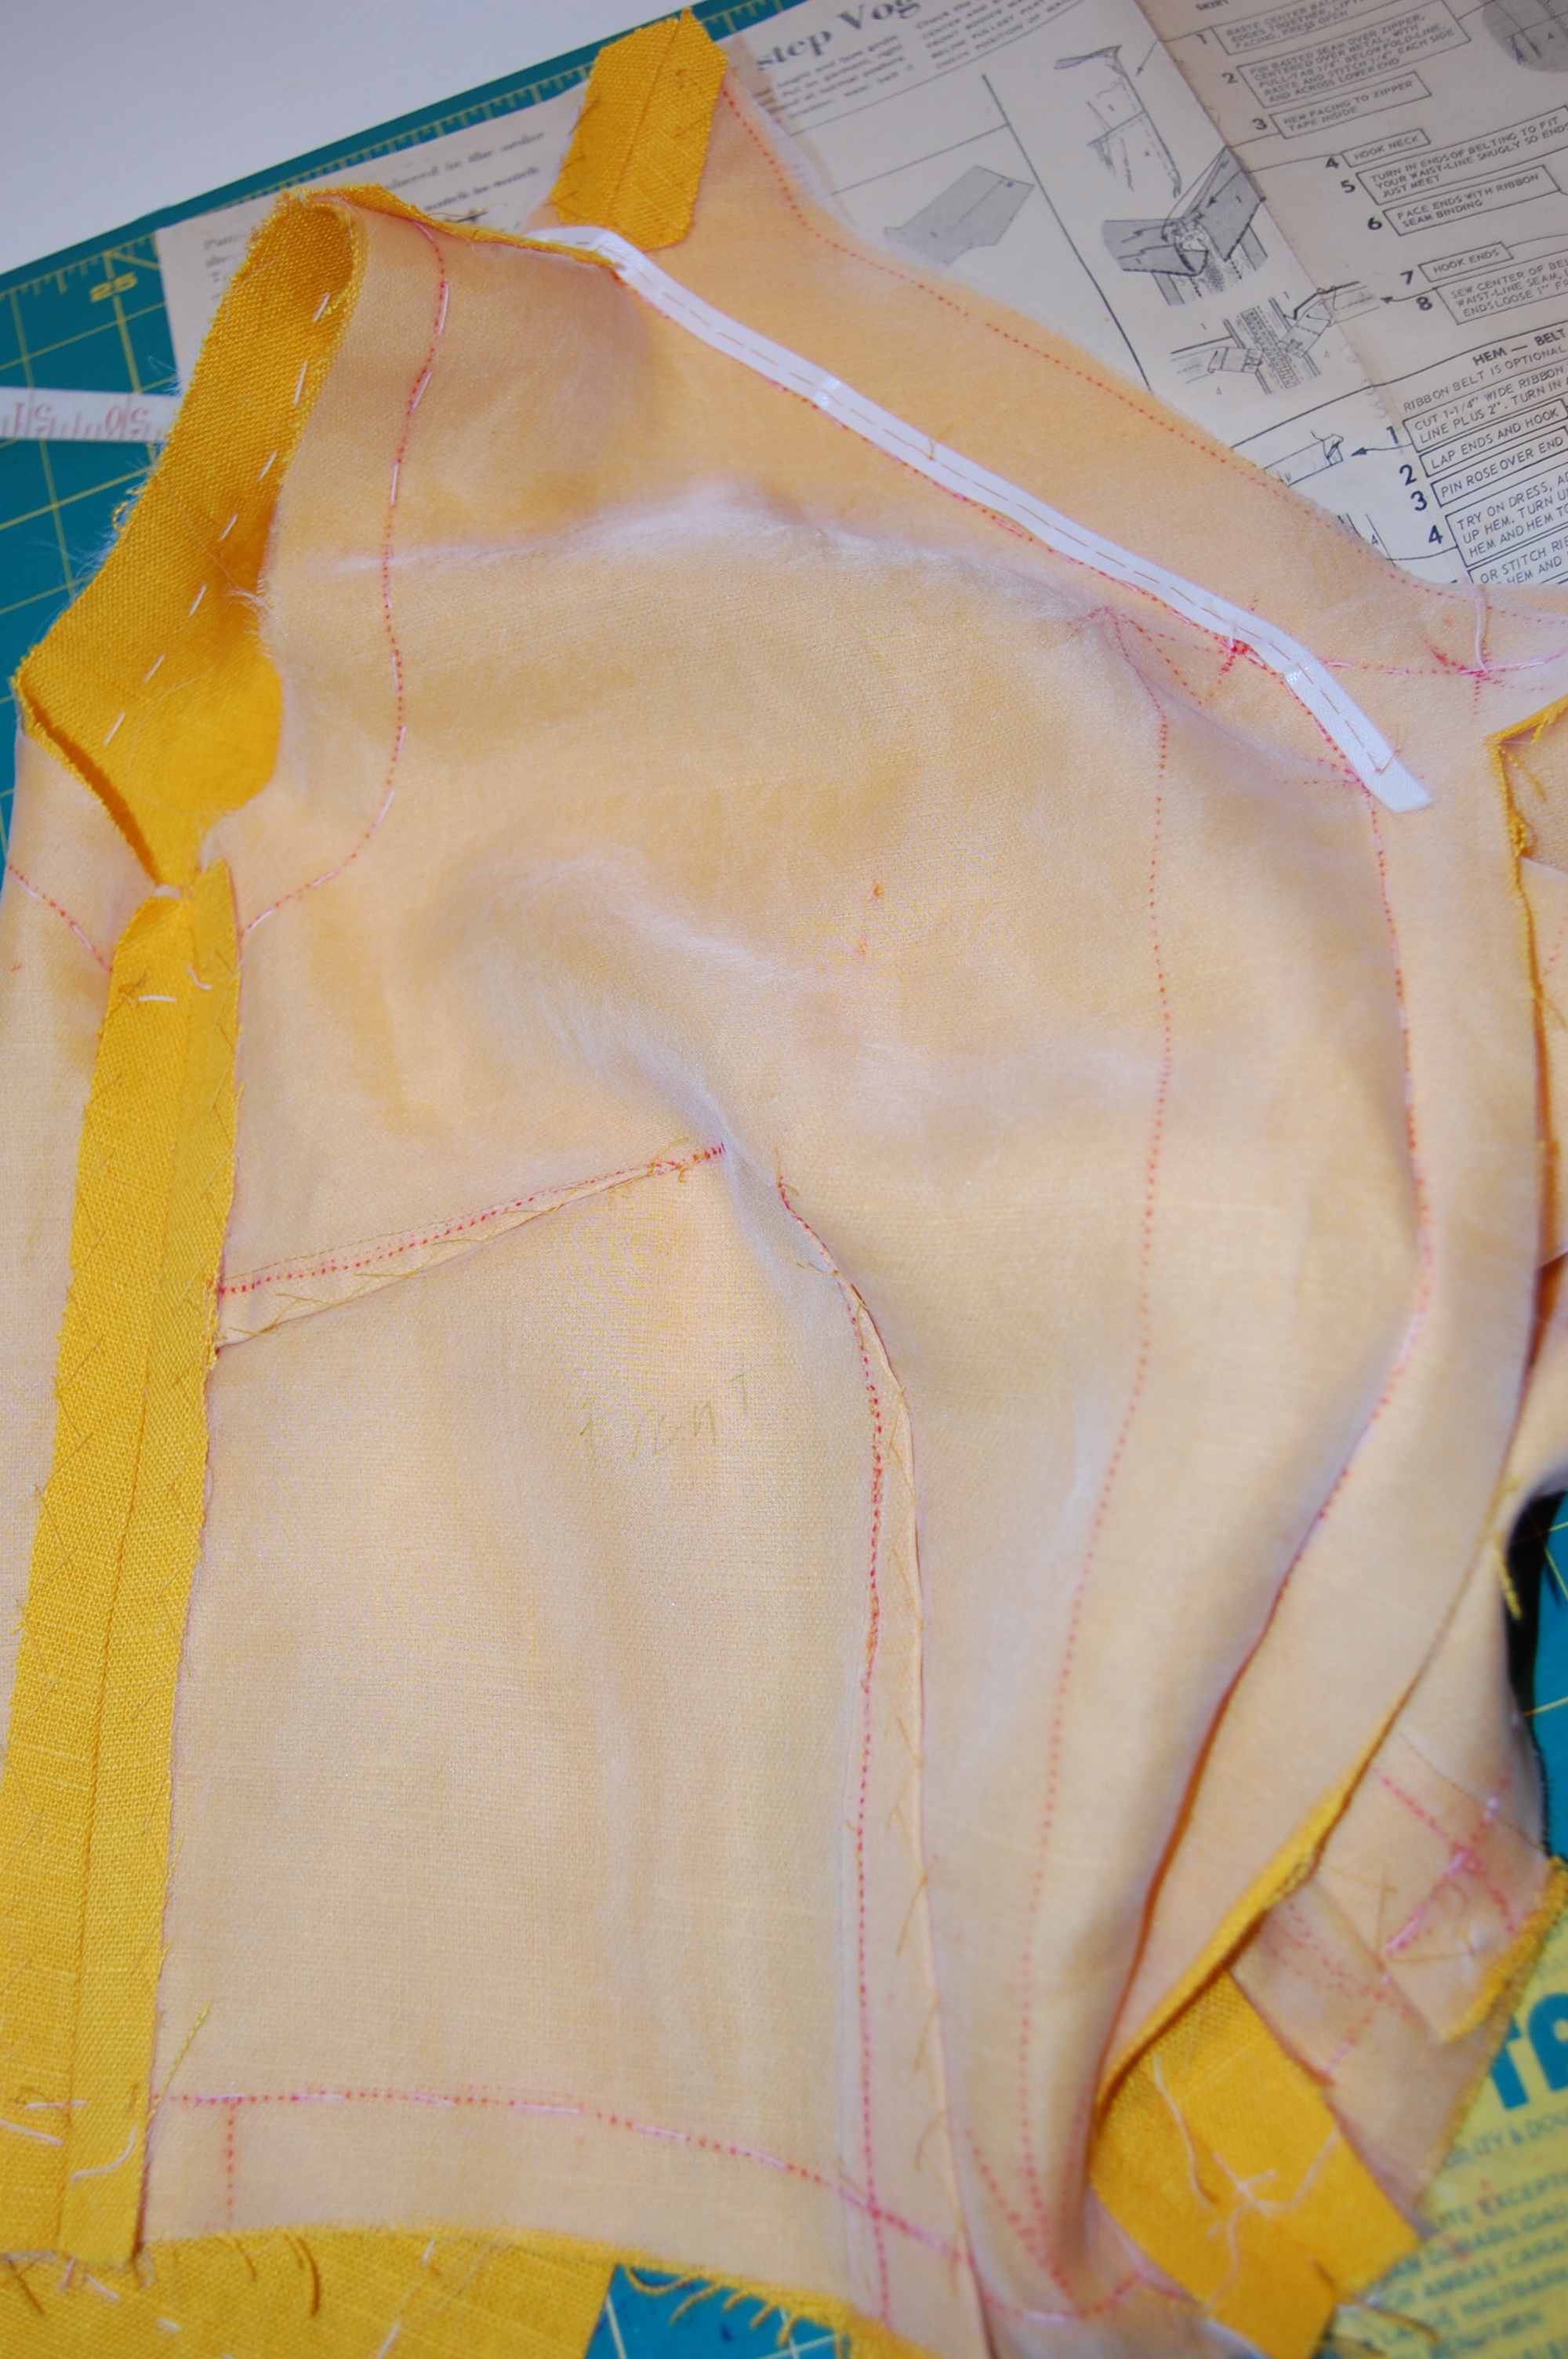
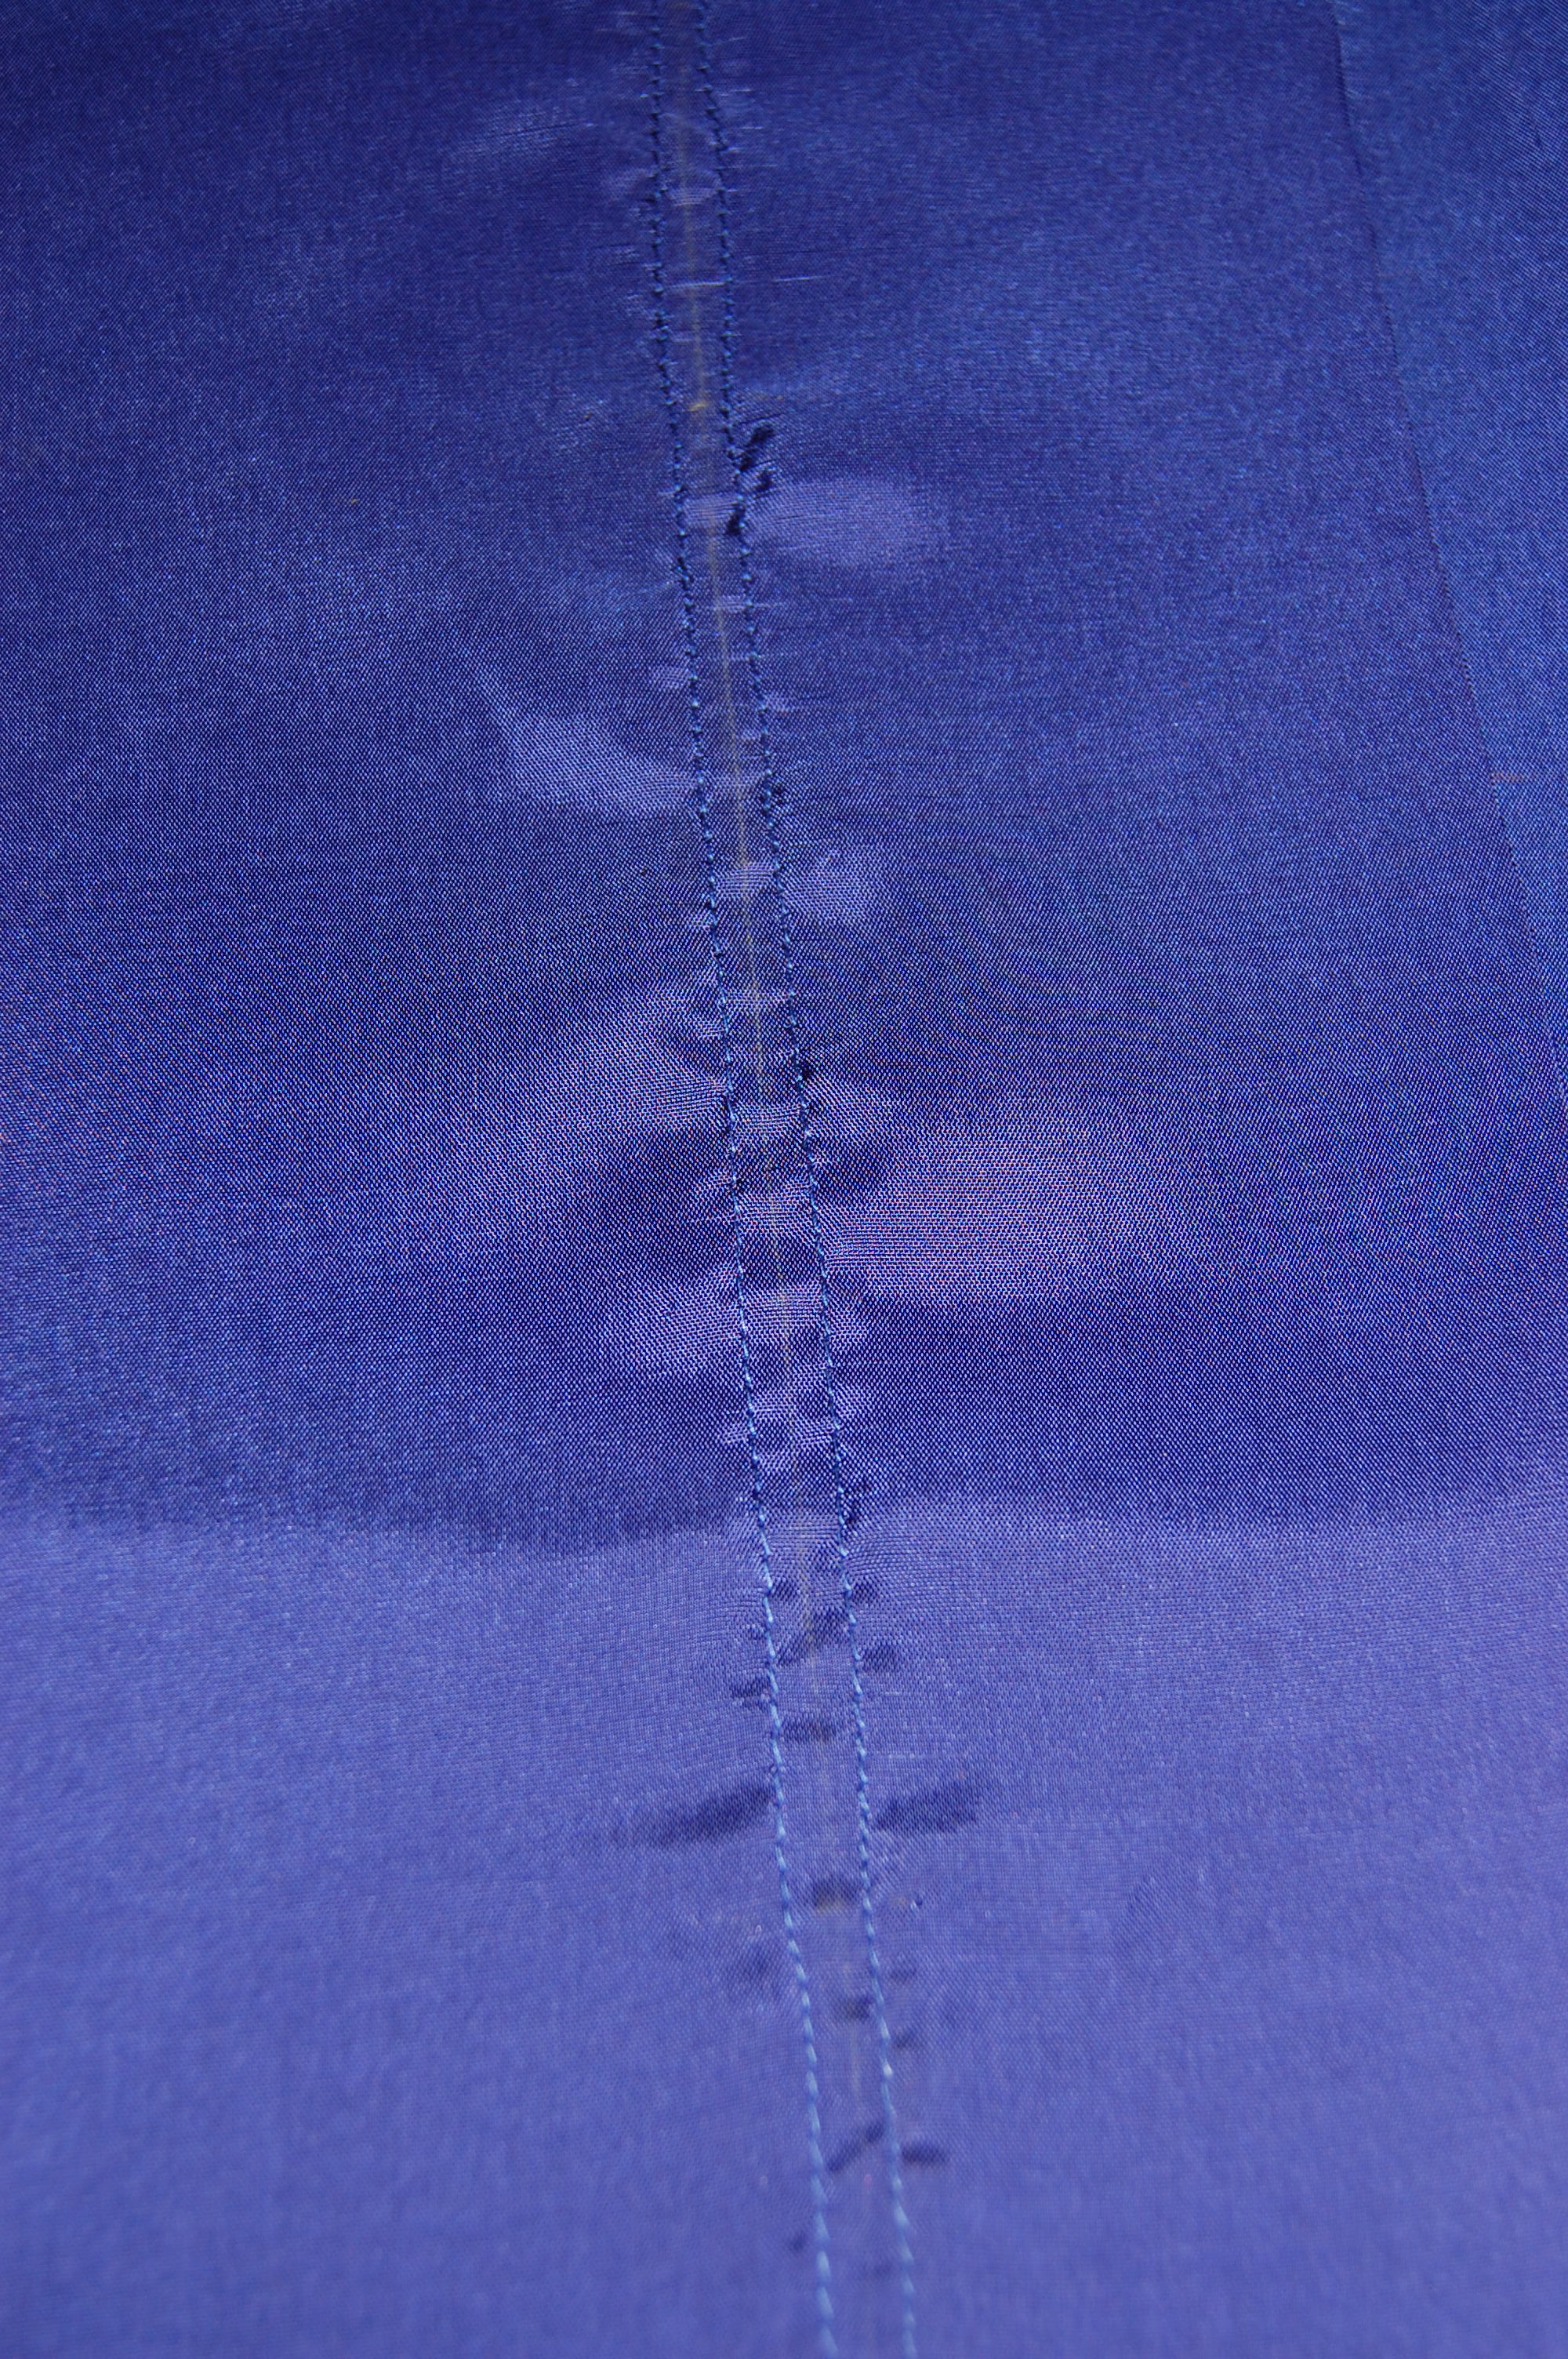
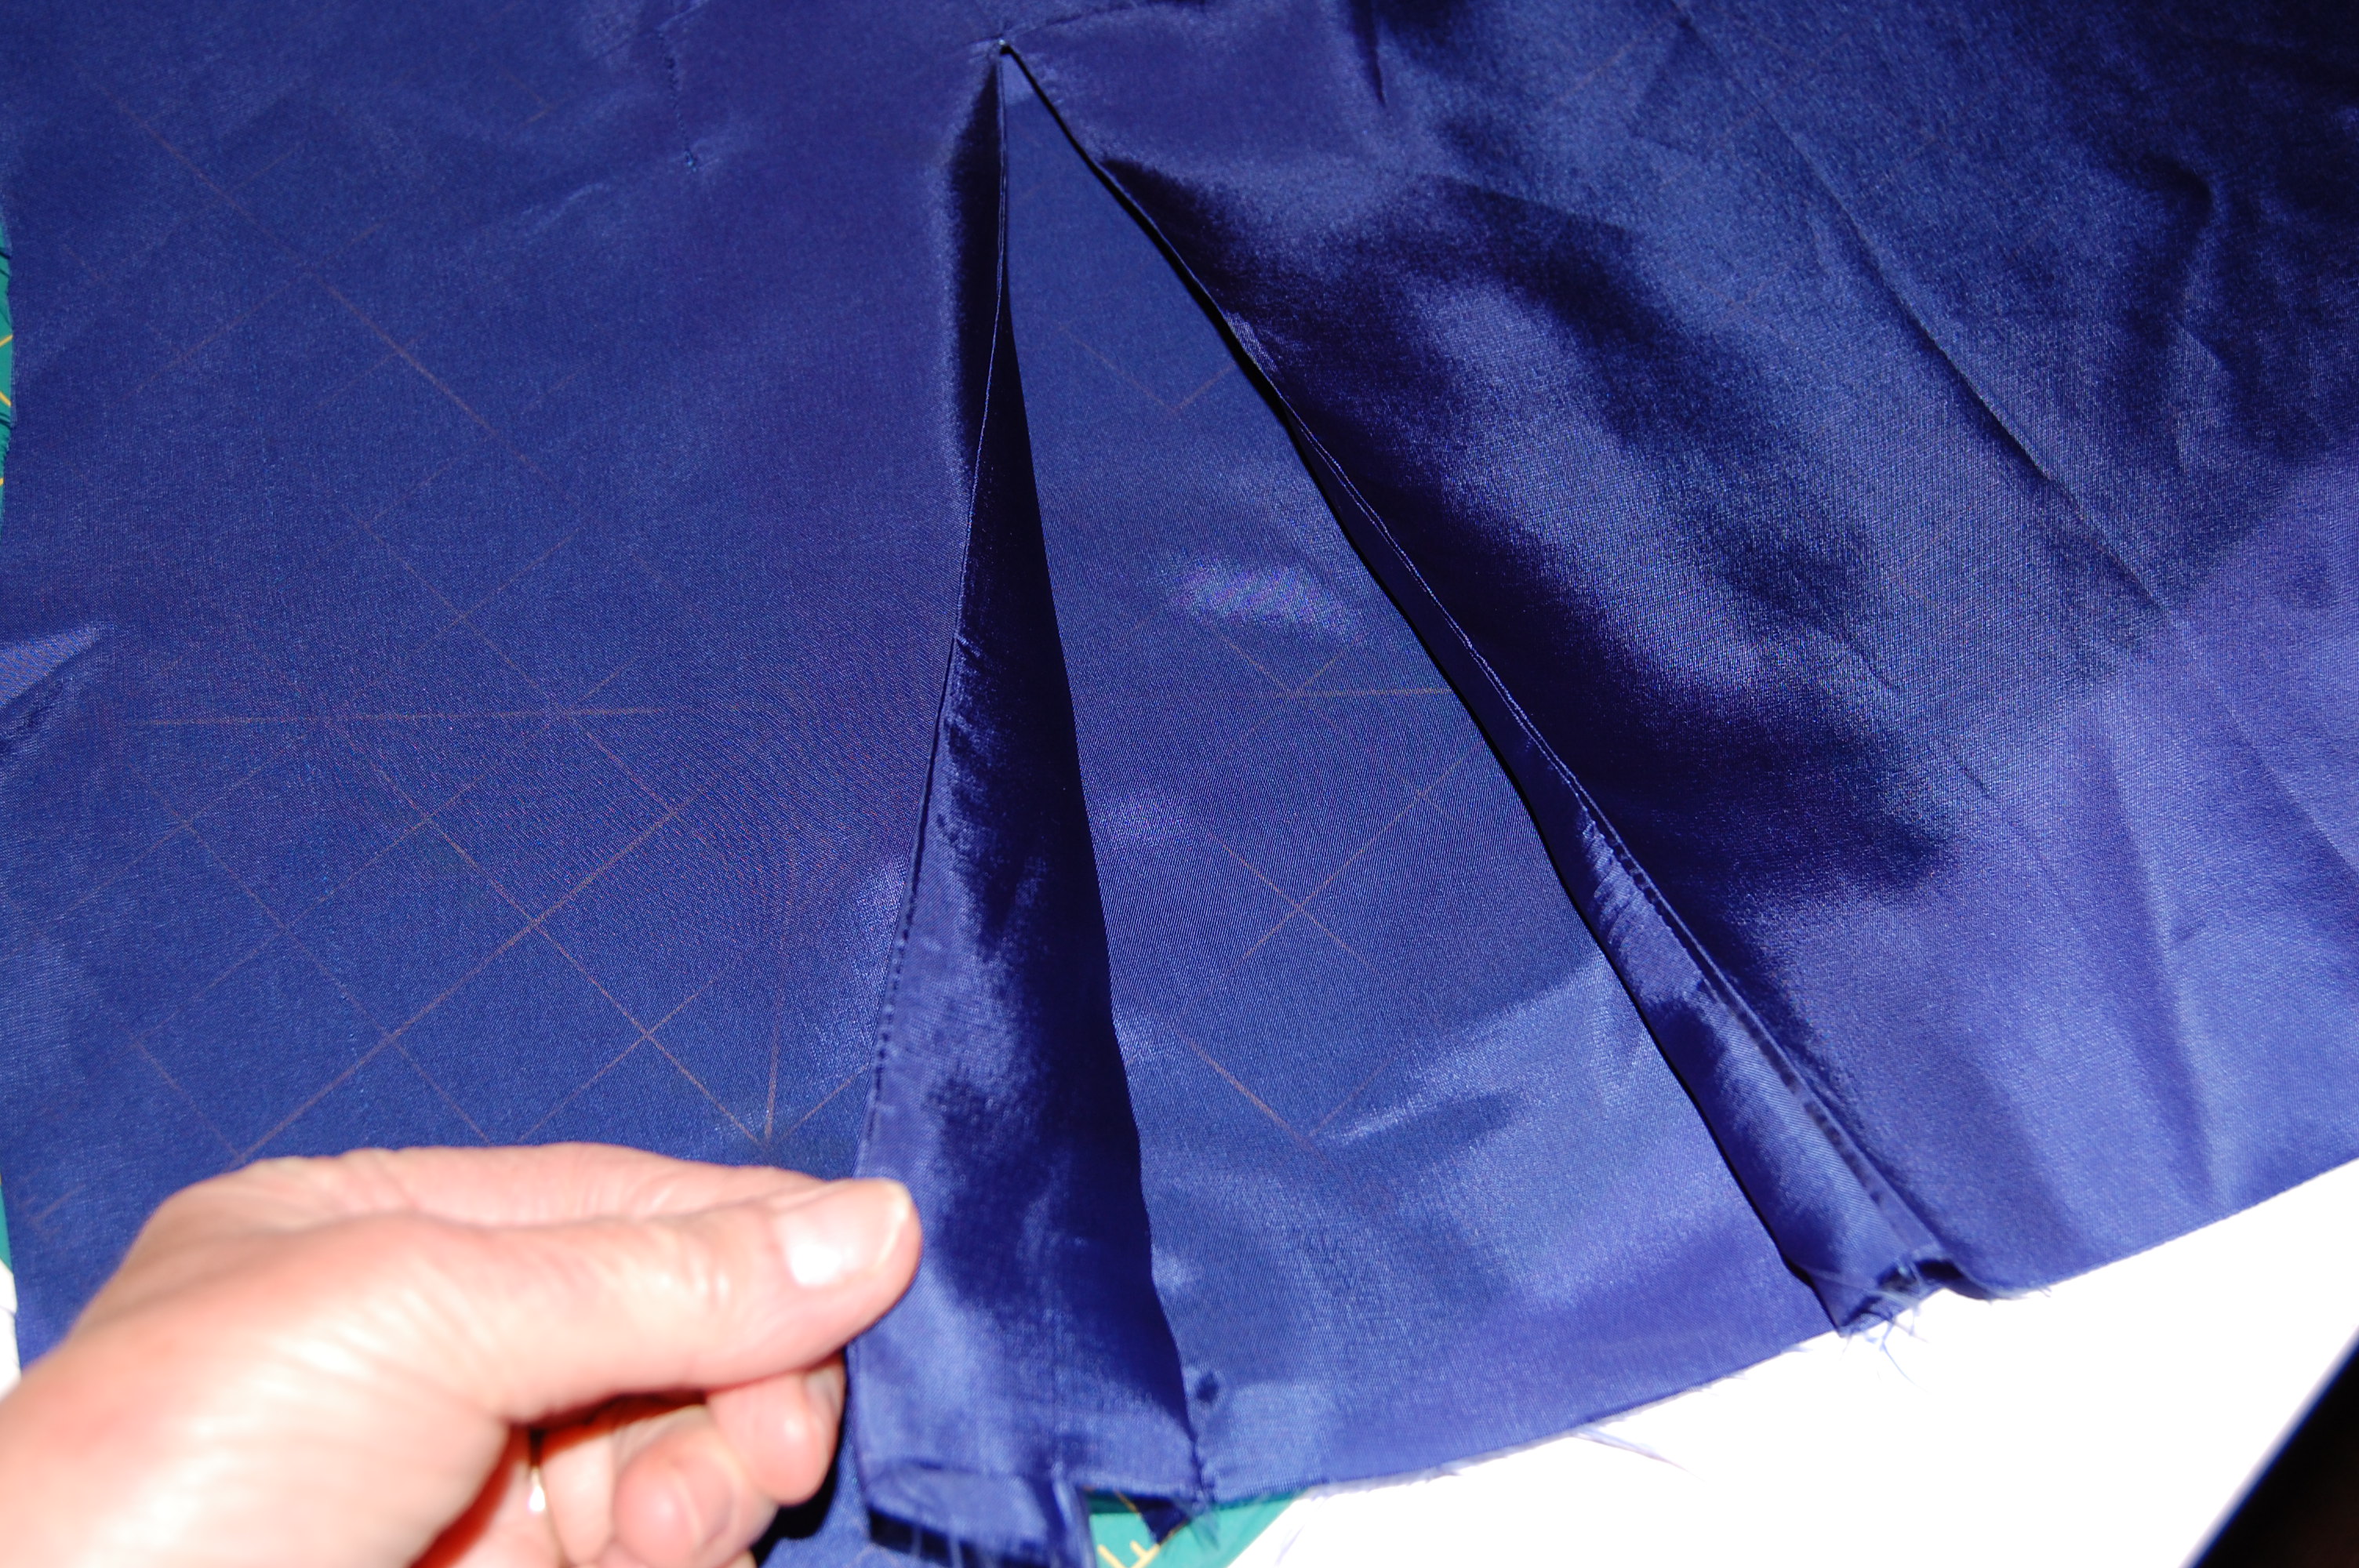
An inside look at the this seam stitched by hand
There is a pleat hidden beneath the dress here, and sewing by hand seemed to be the only solution.
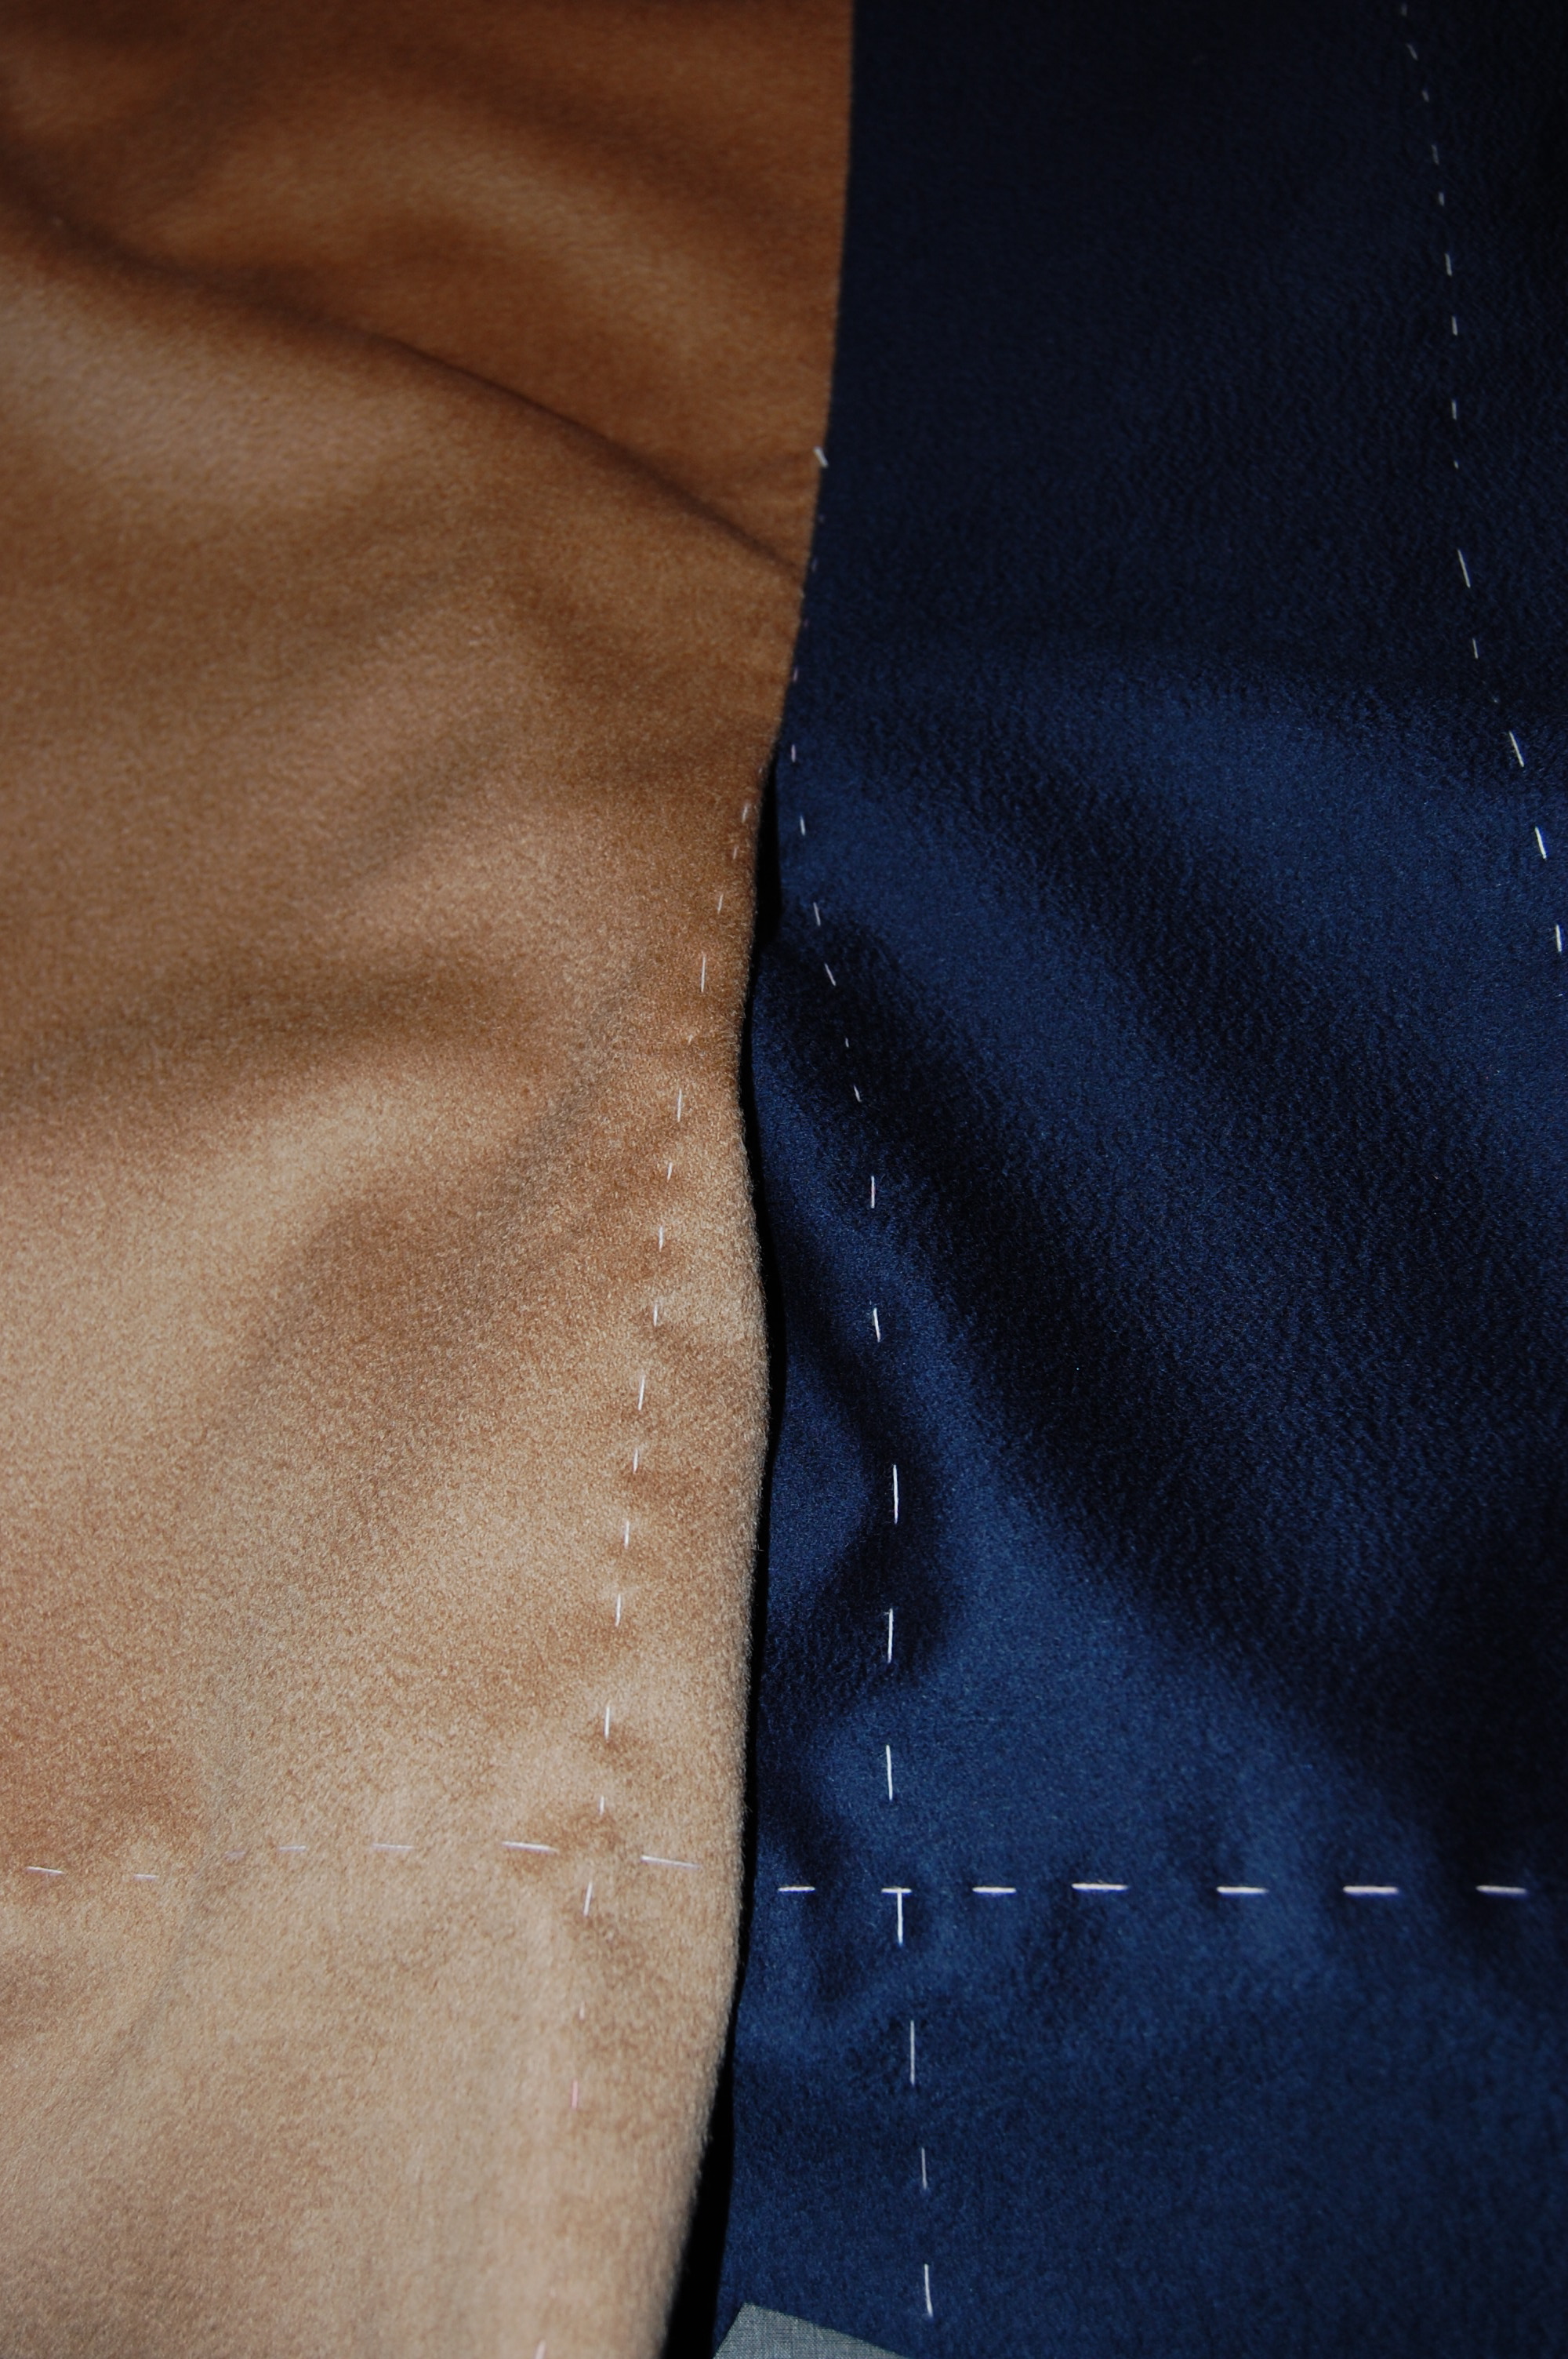
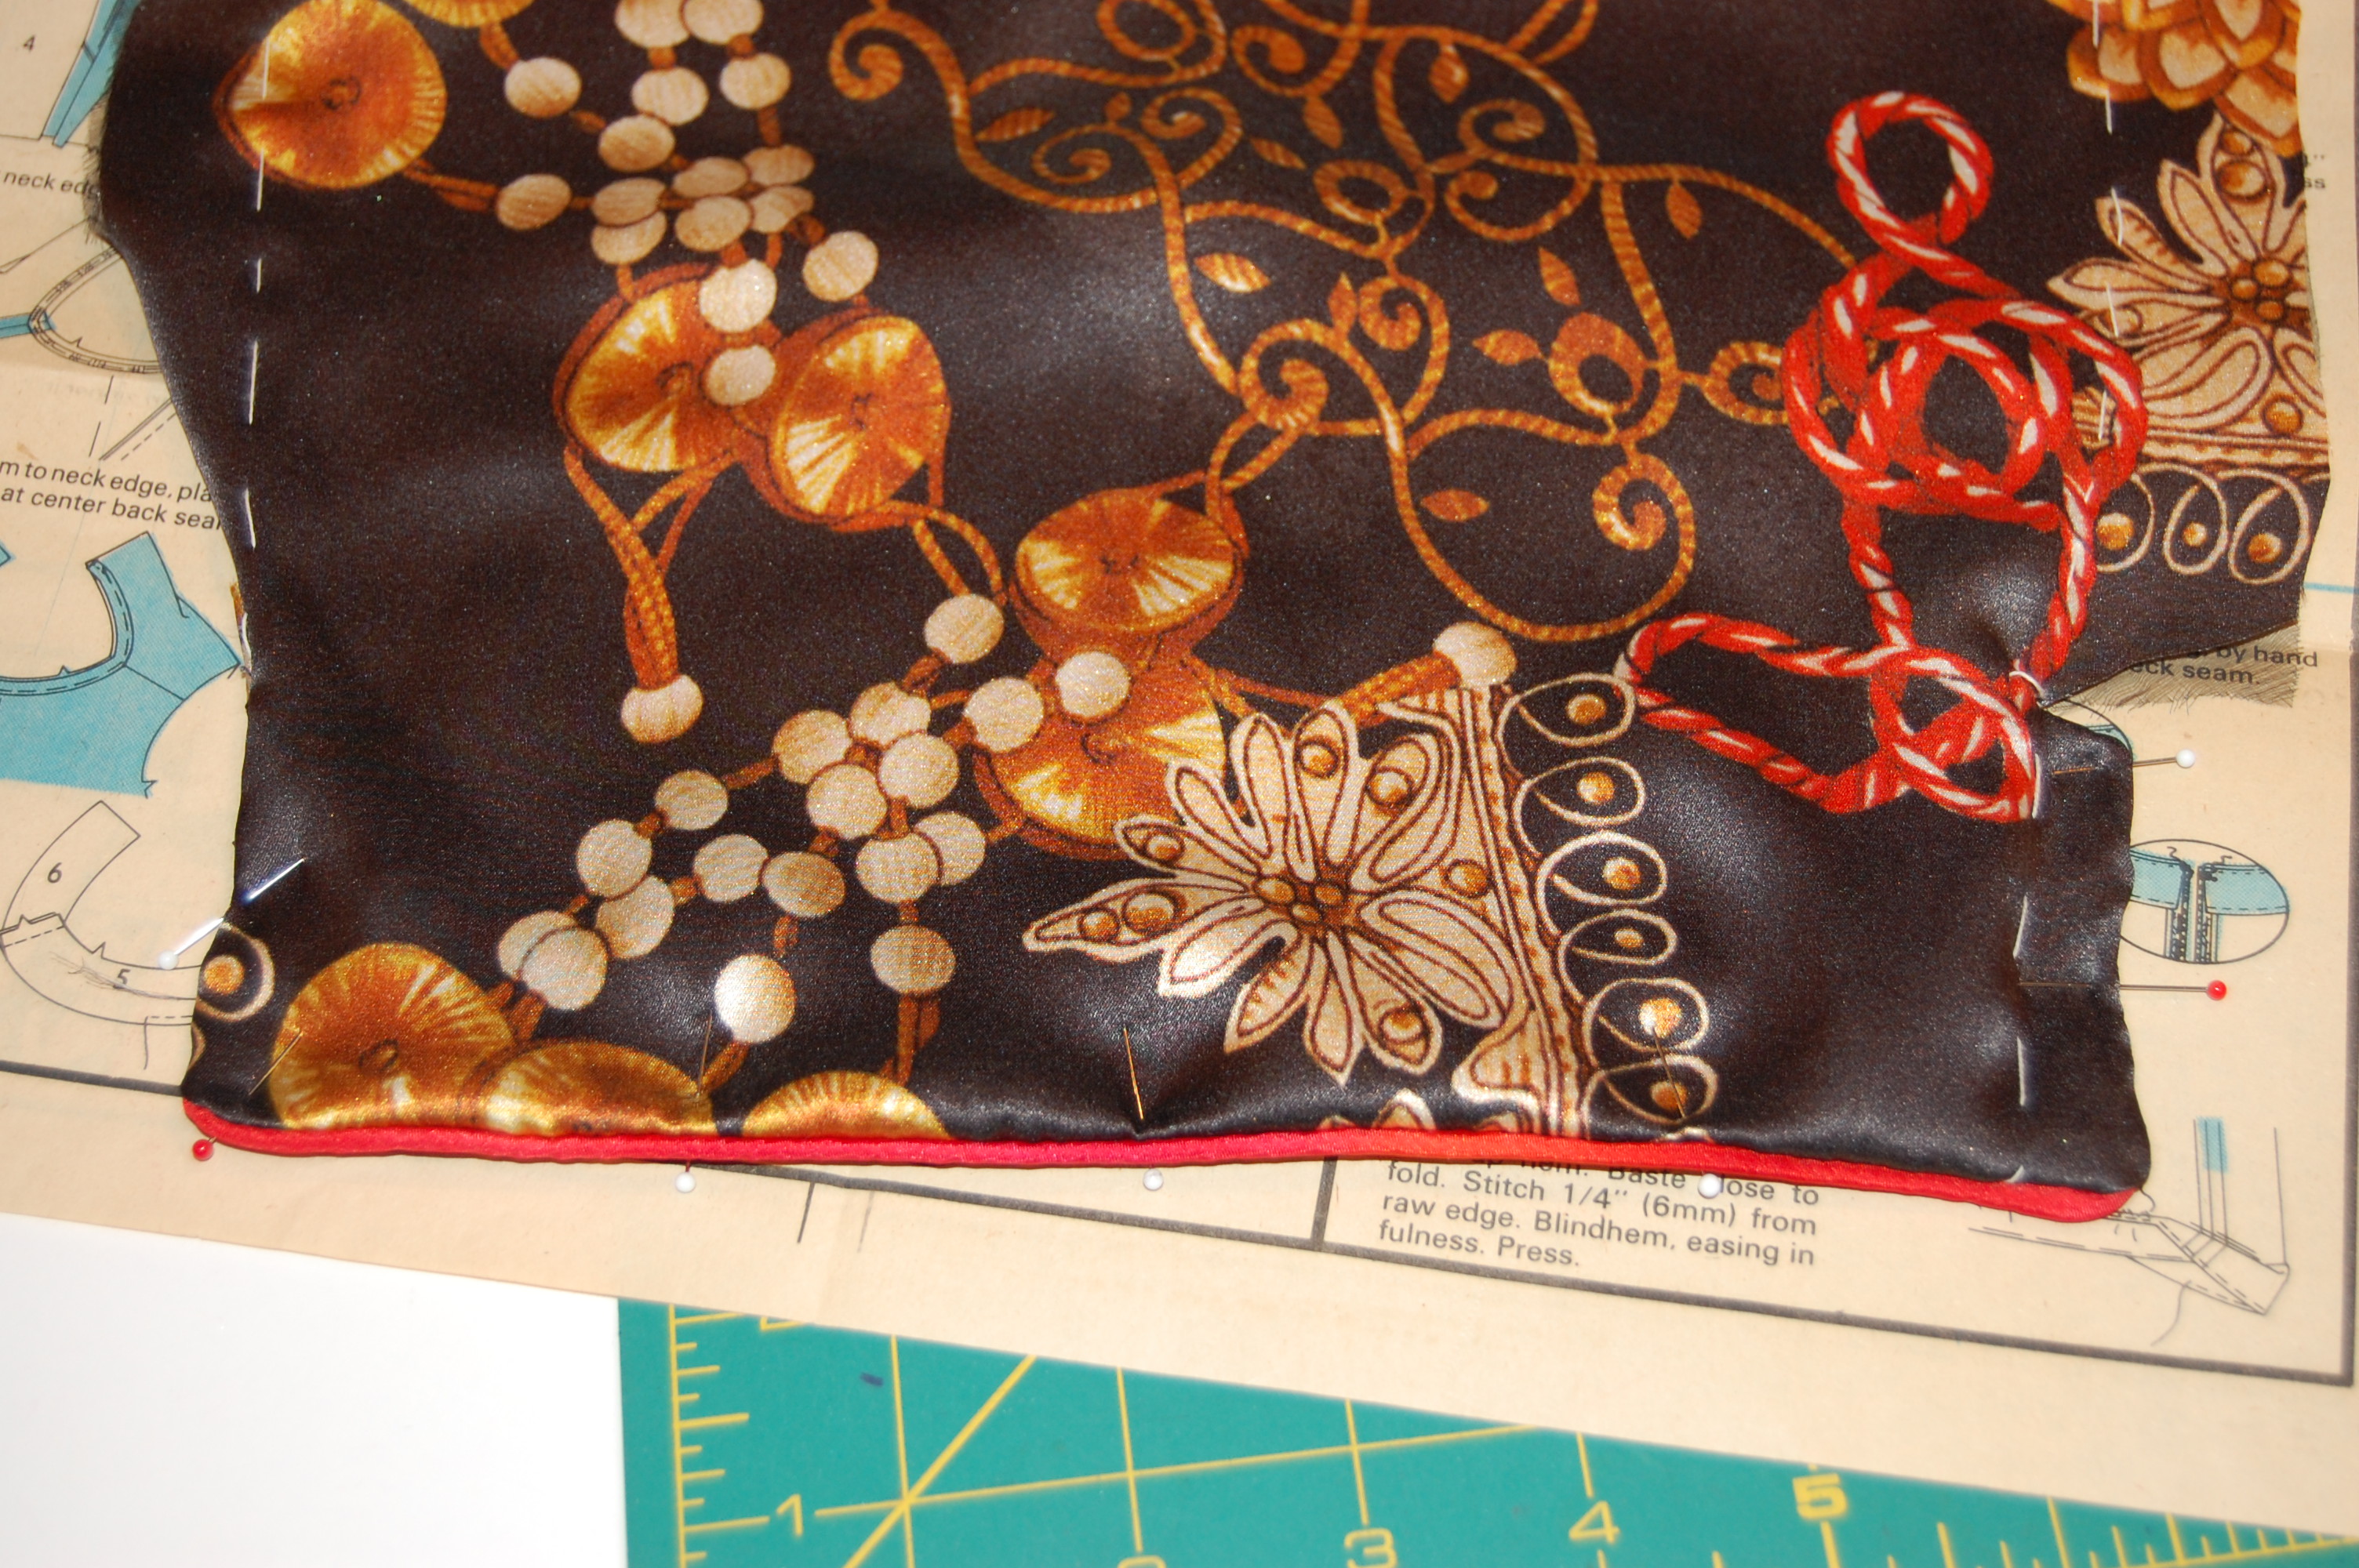
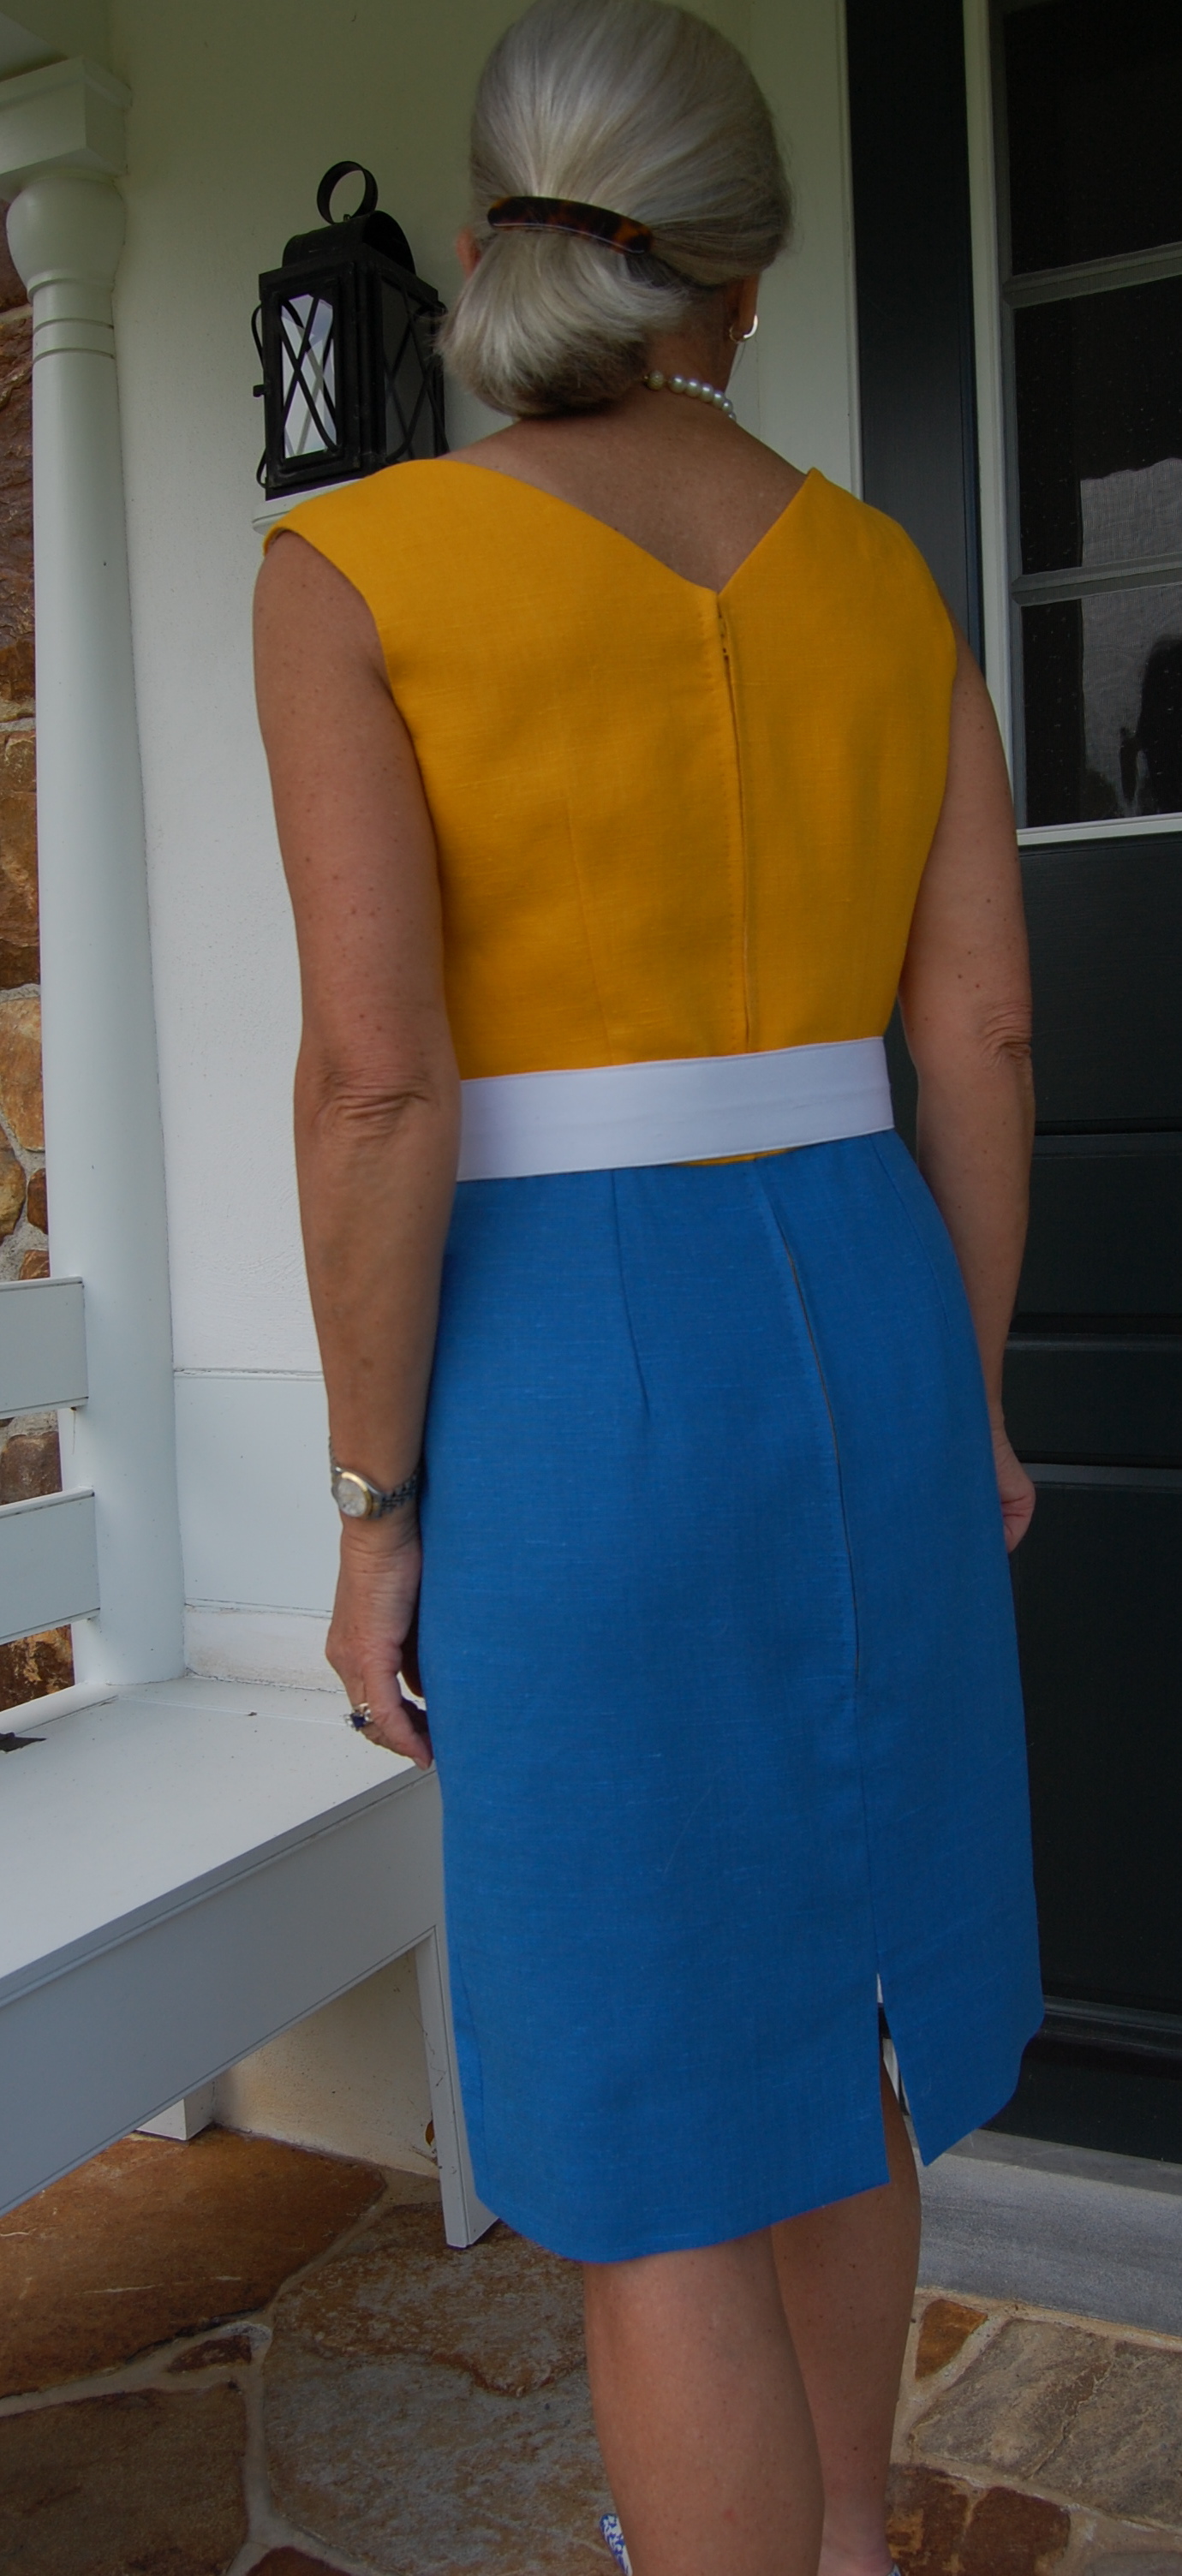
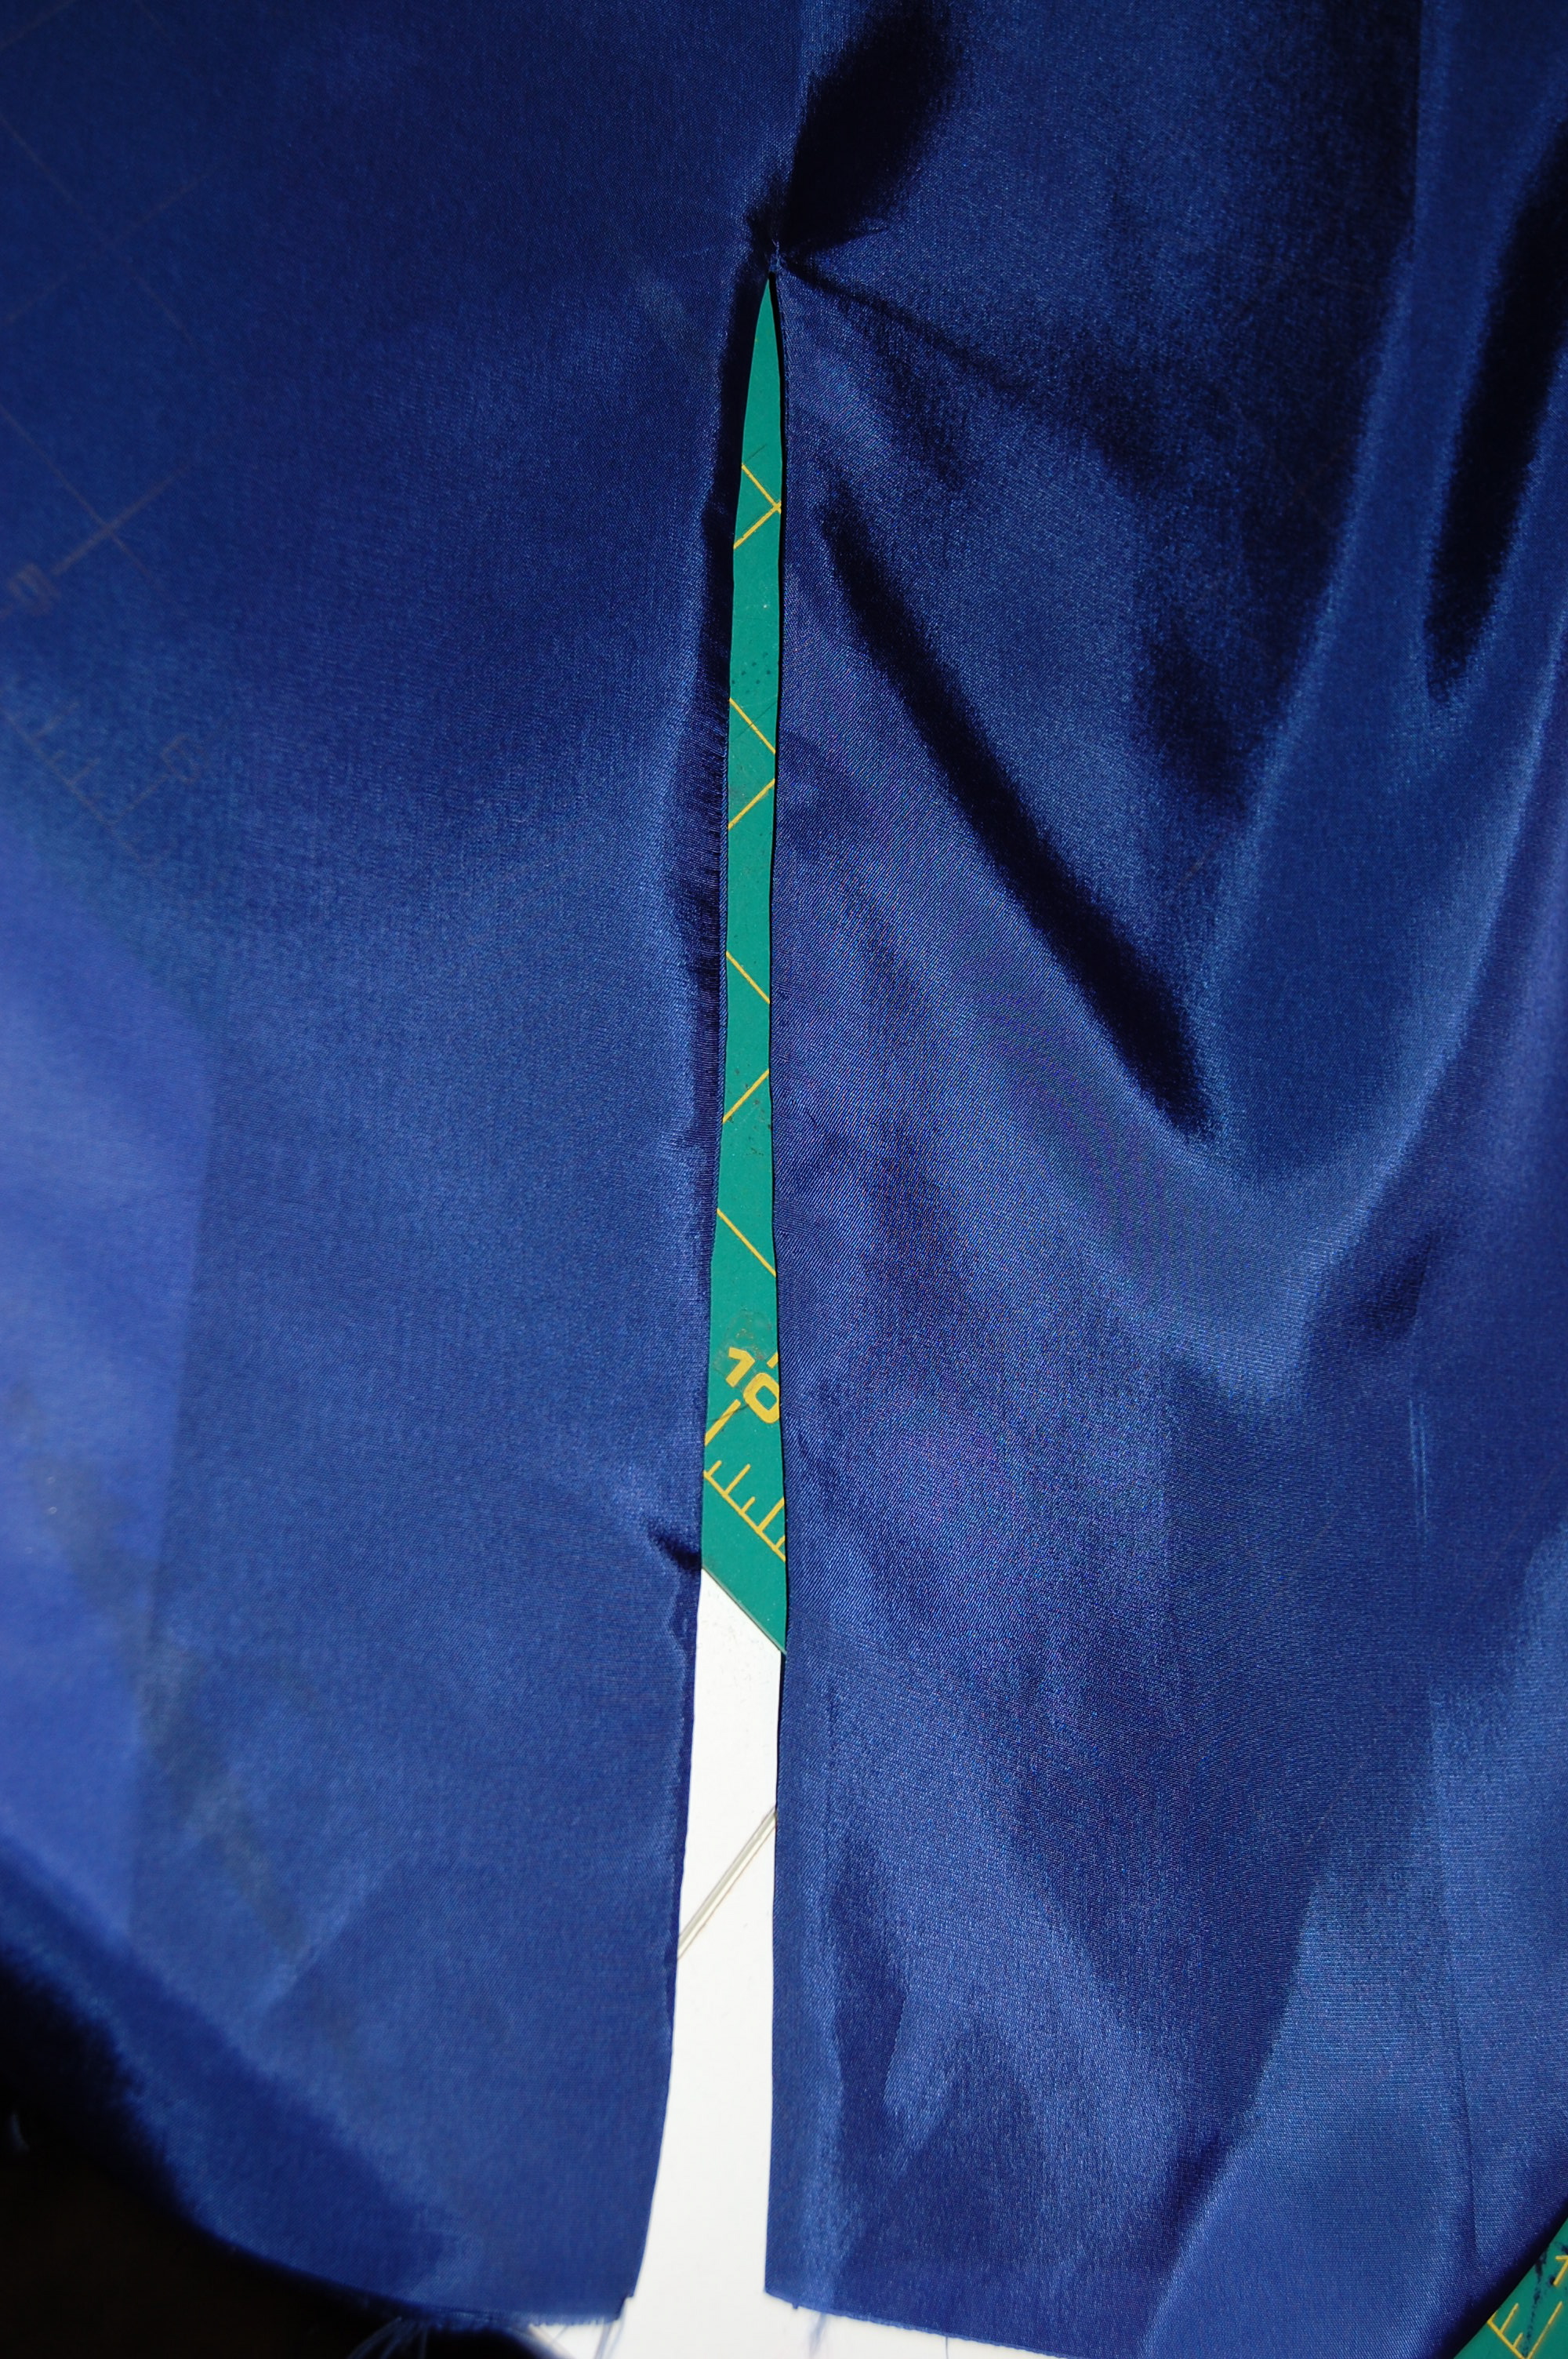
Showing the built-in kick pleat, before the hem is sewn
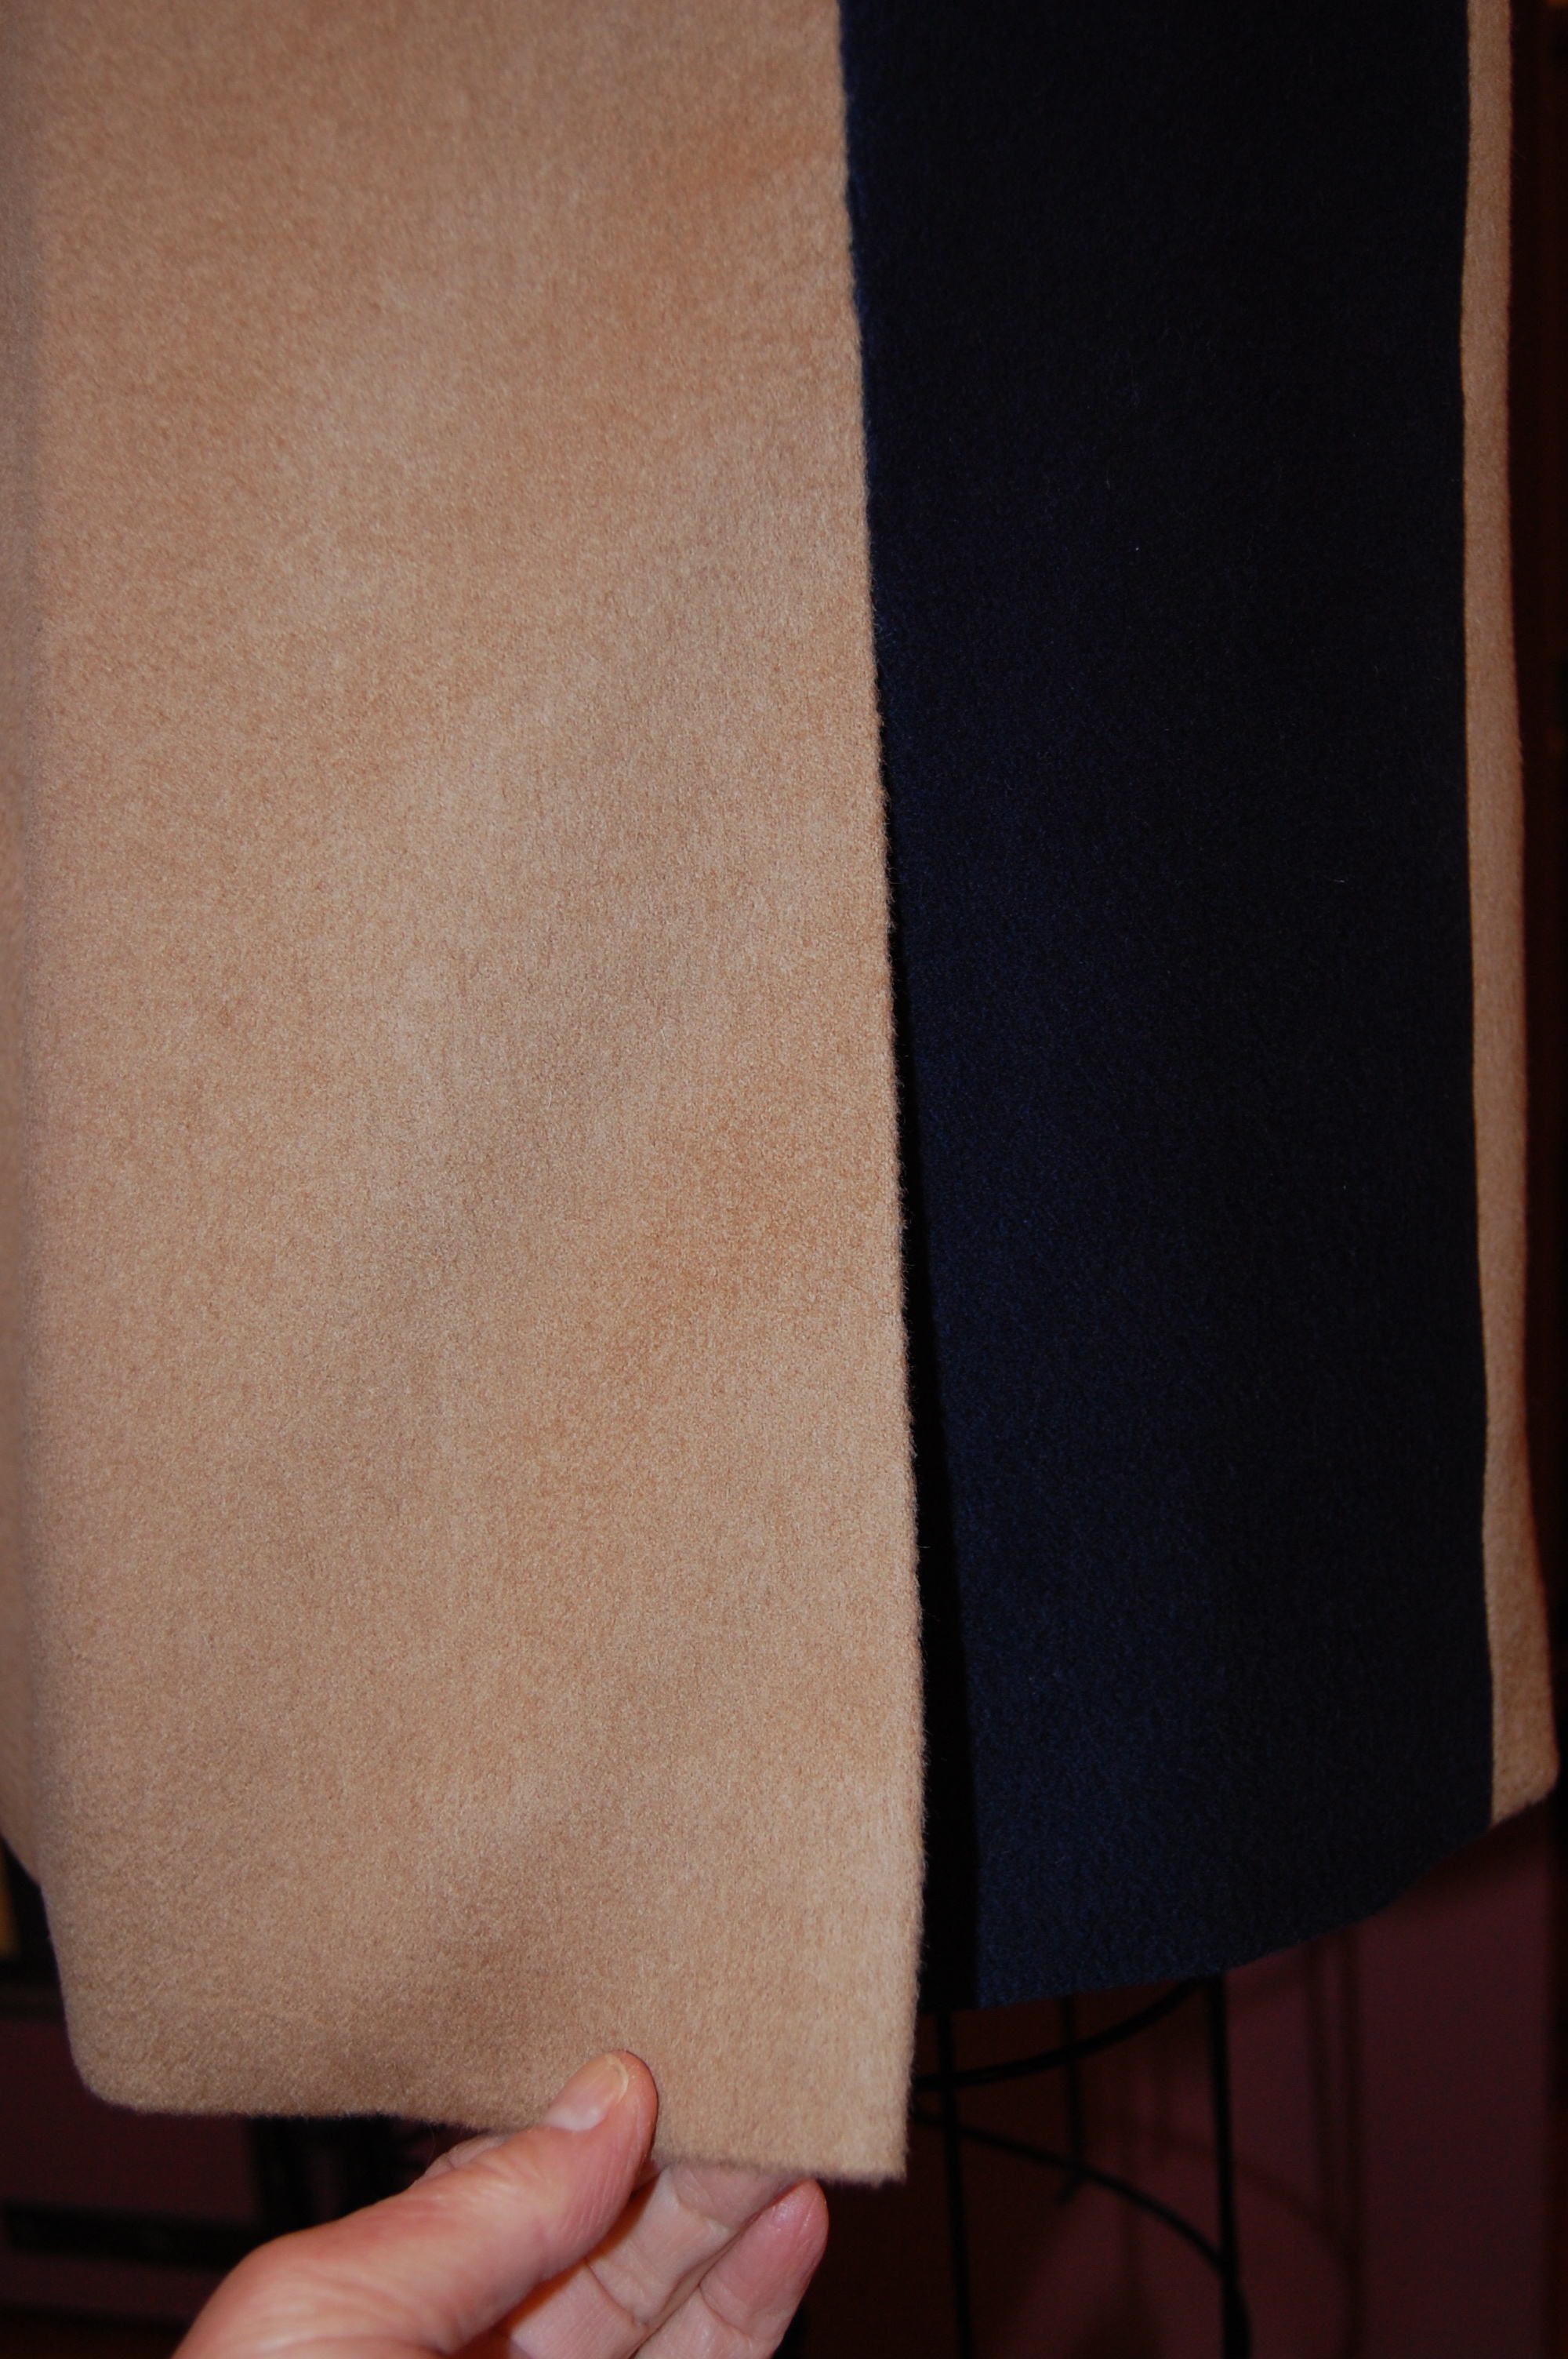
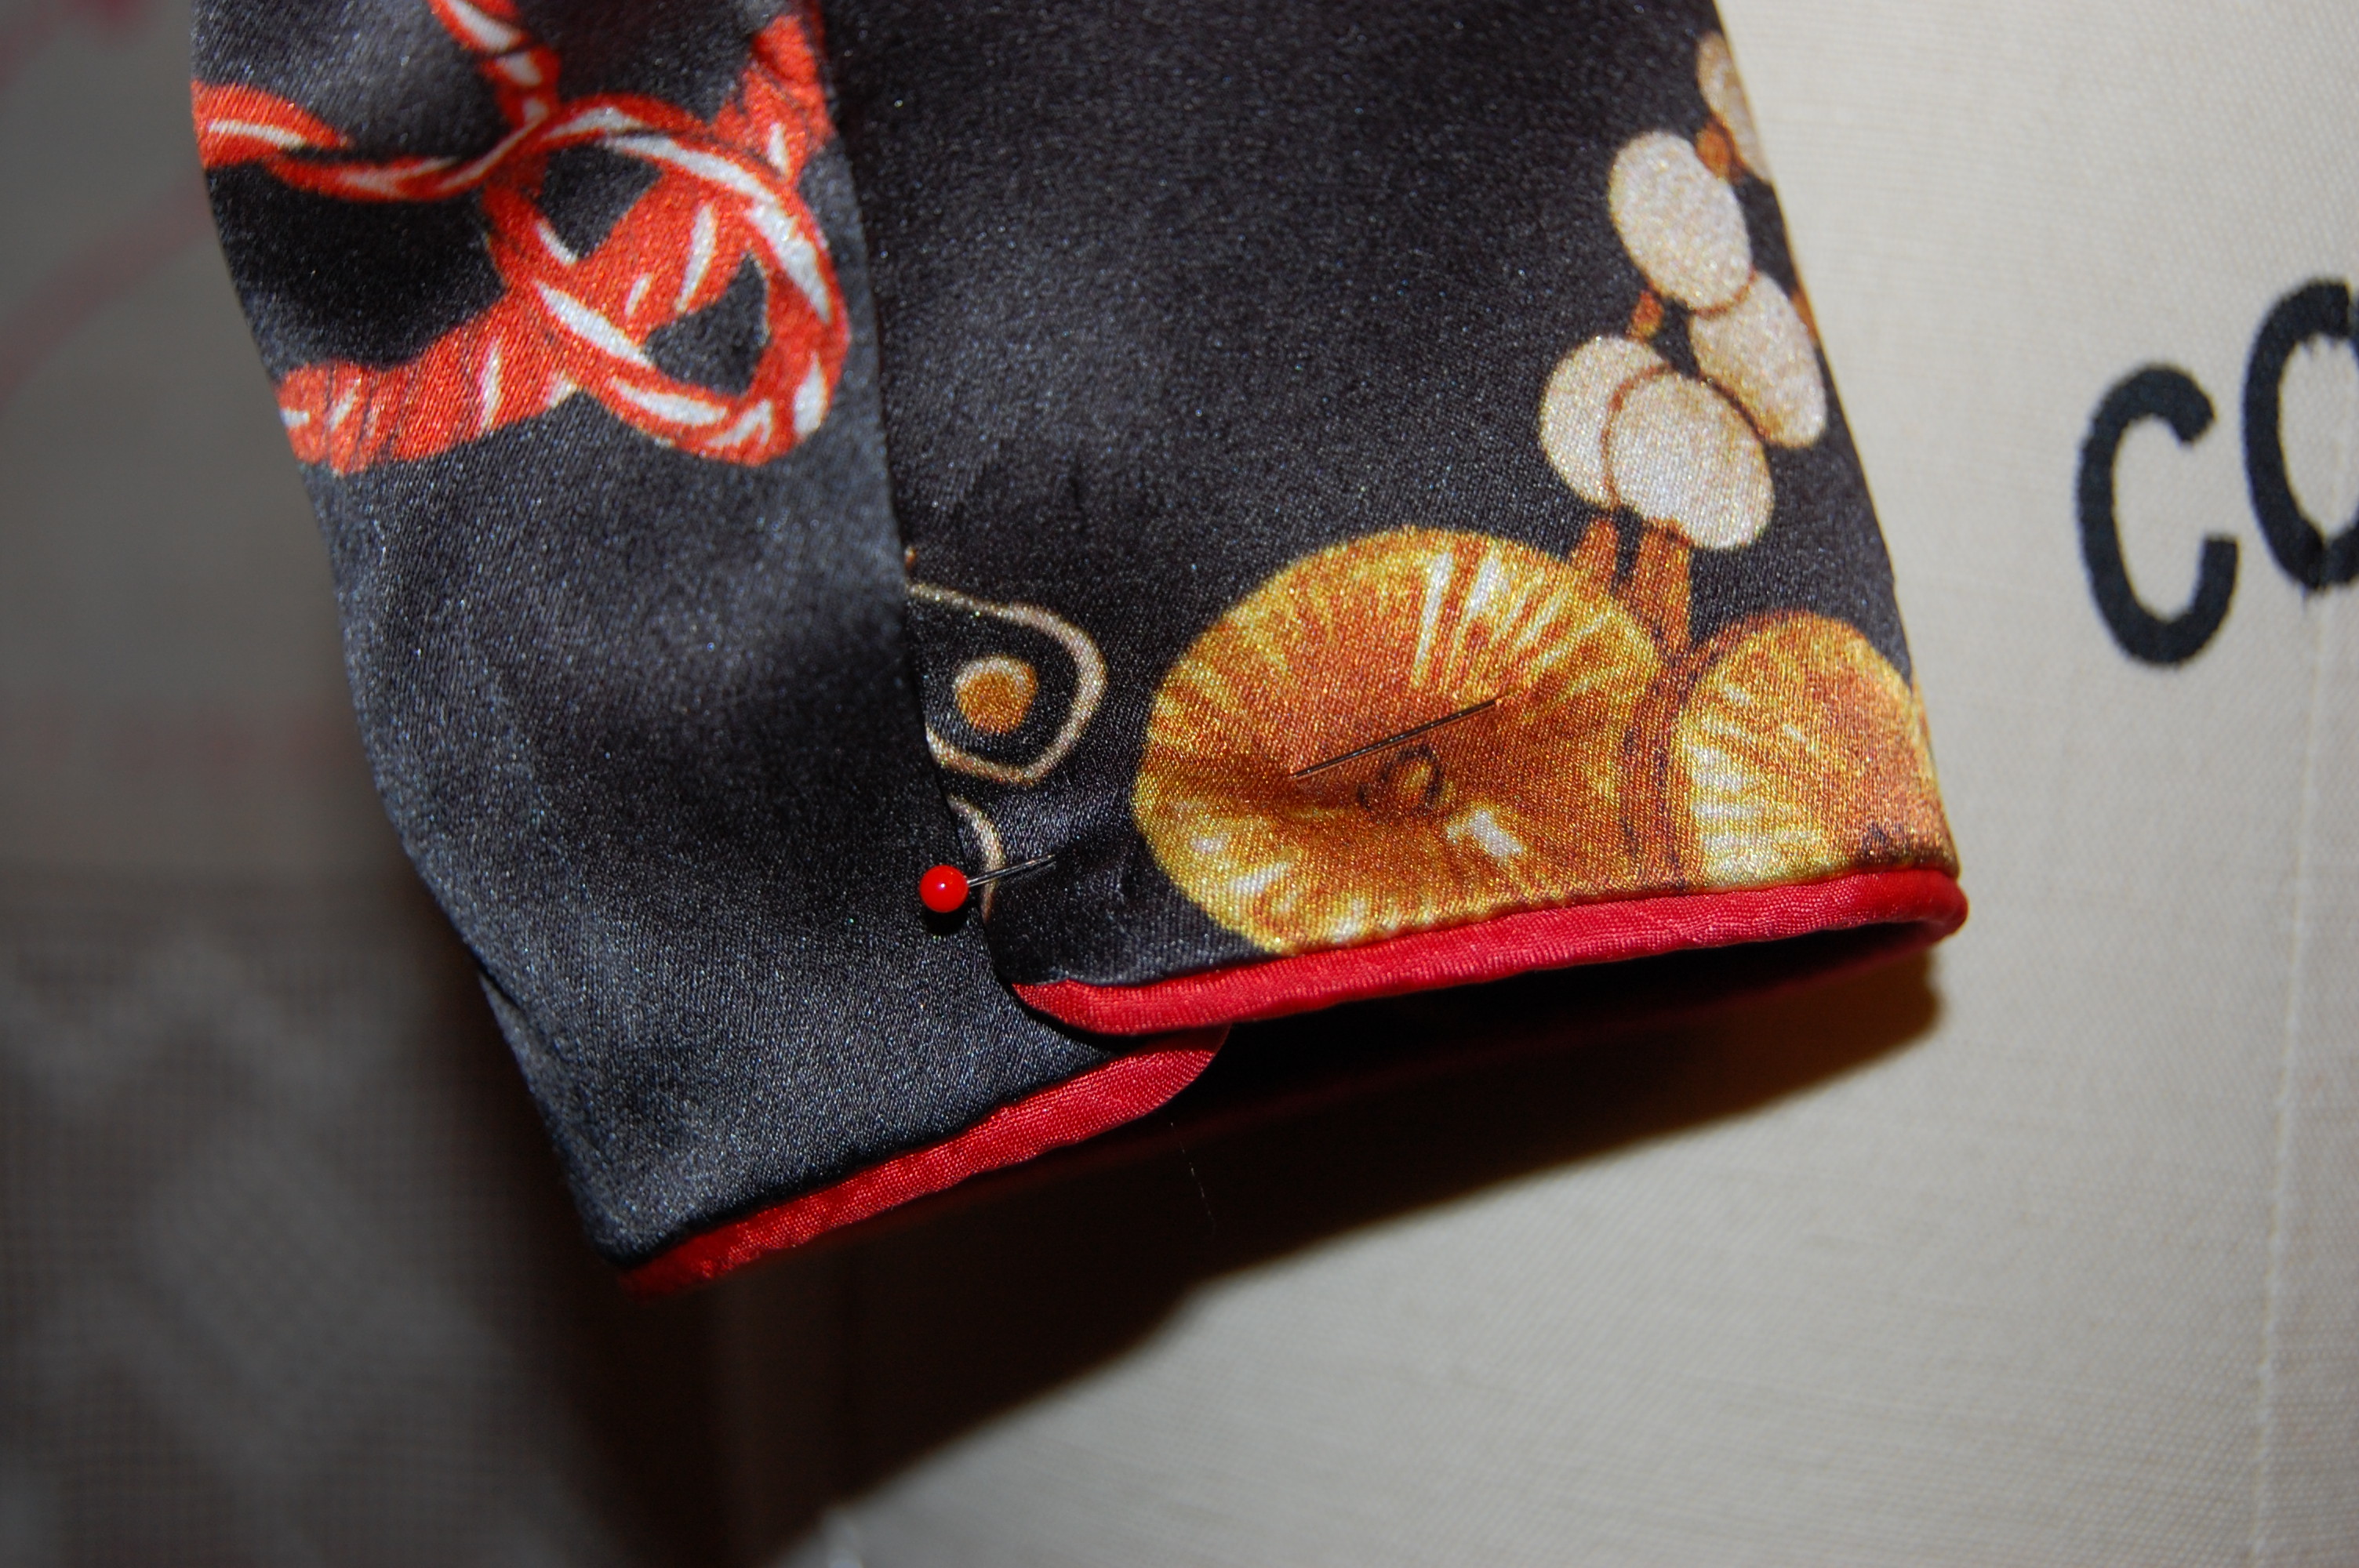
And here is the finished kick pleat.
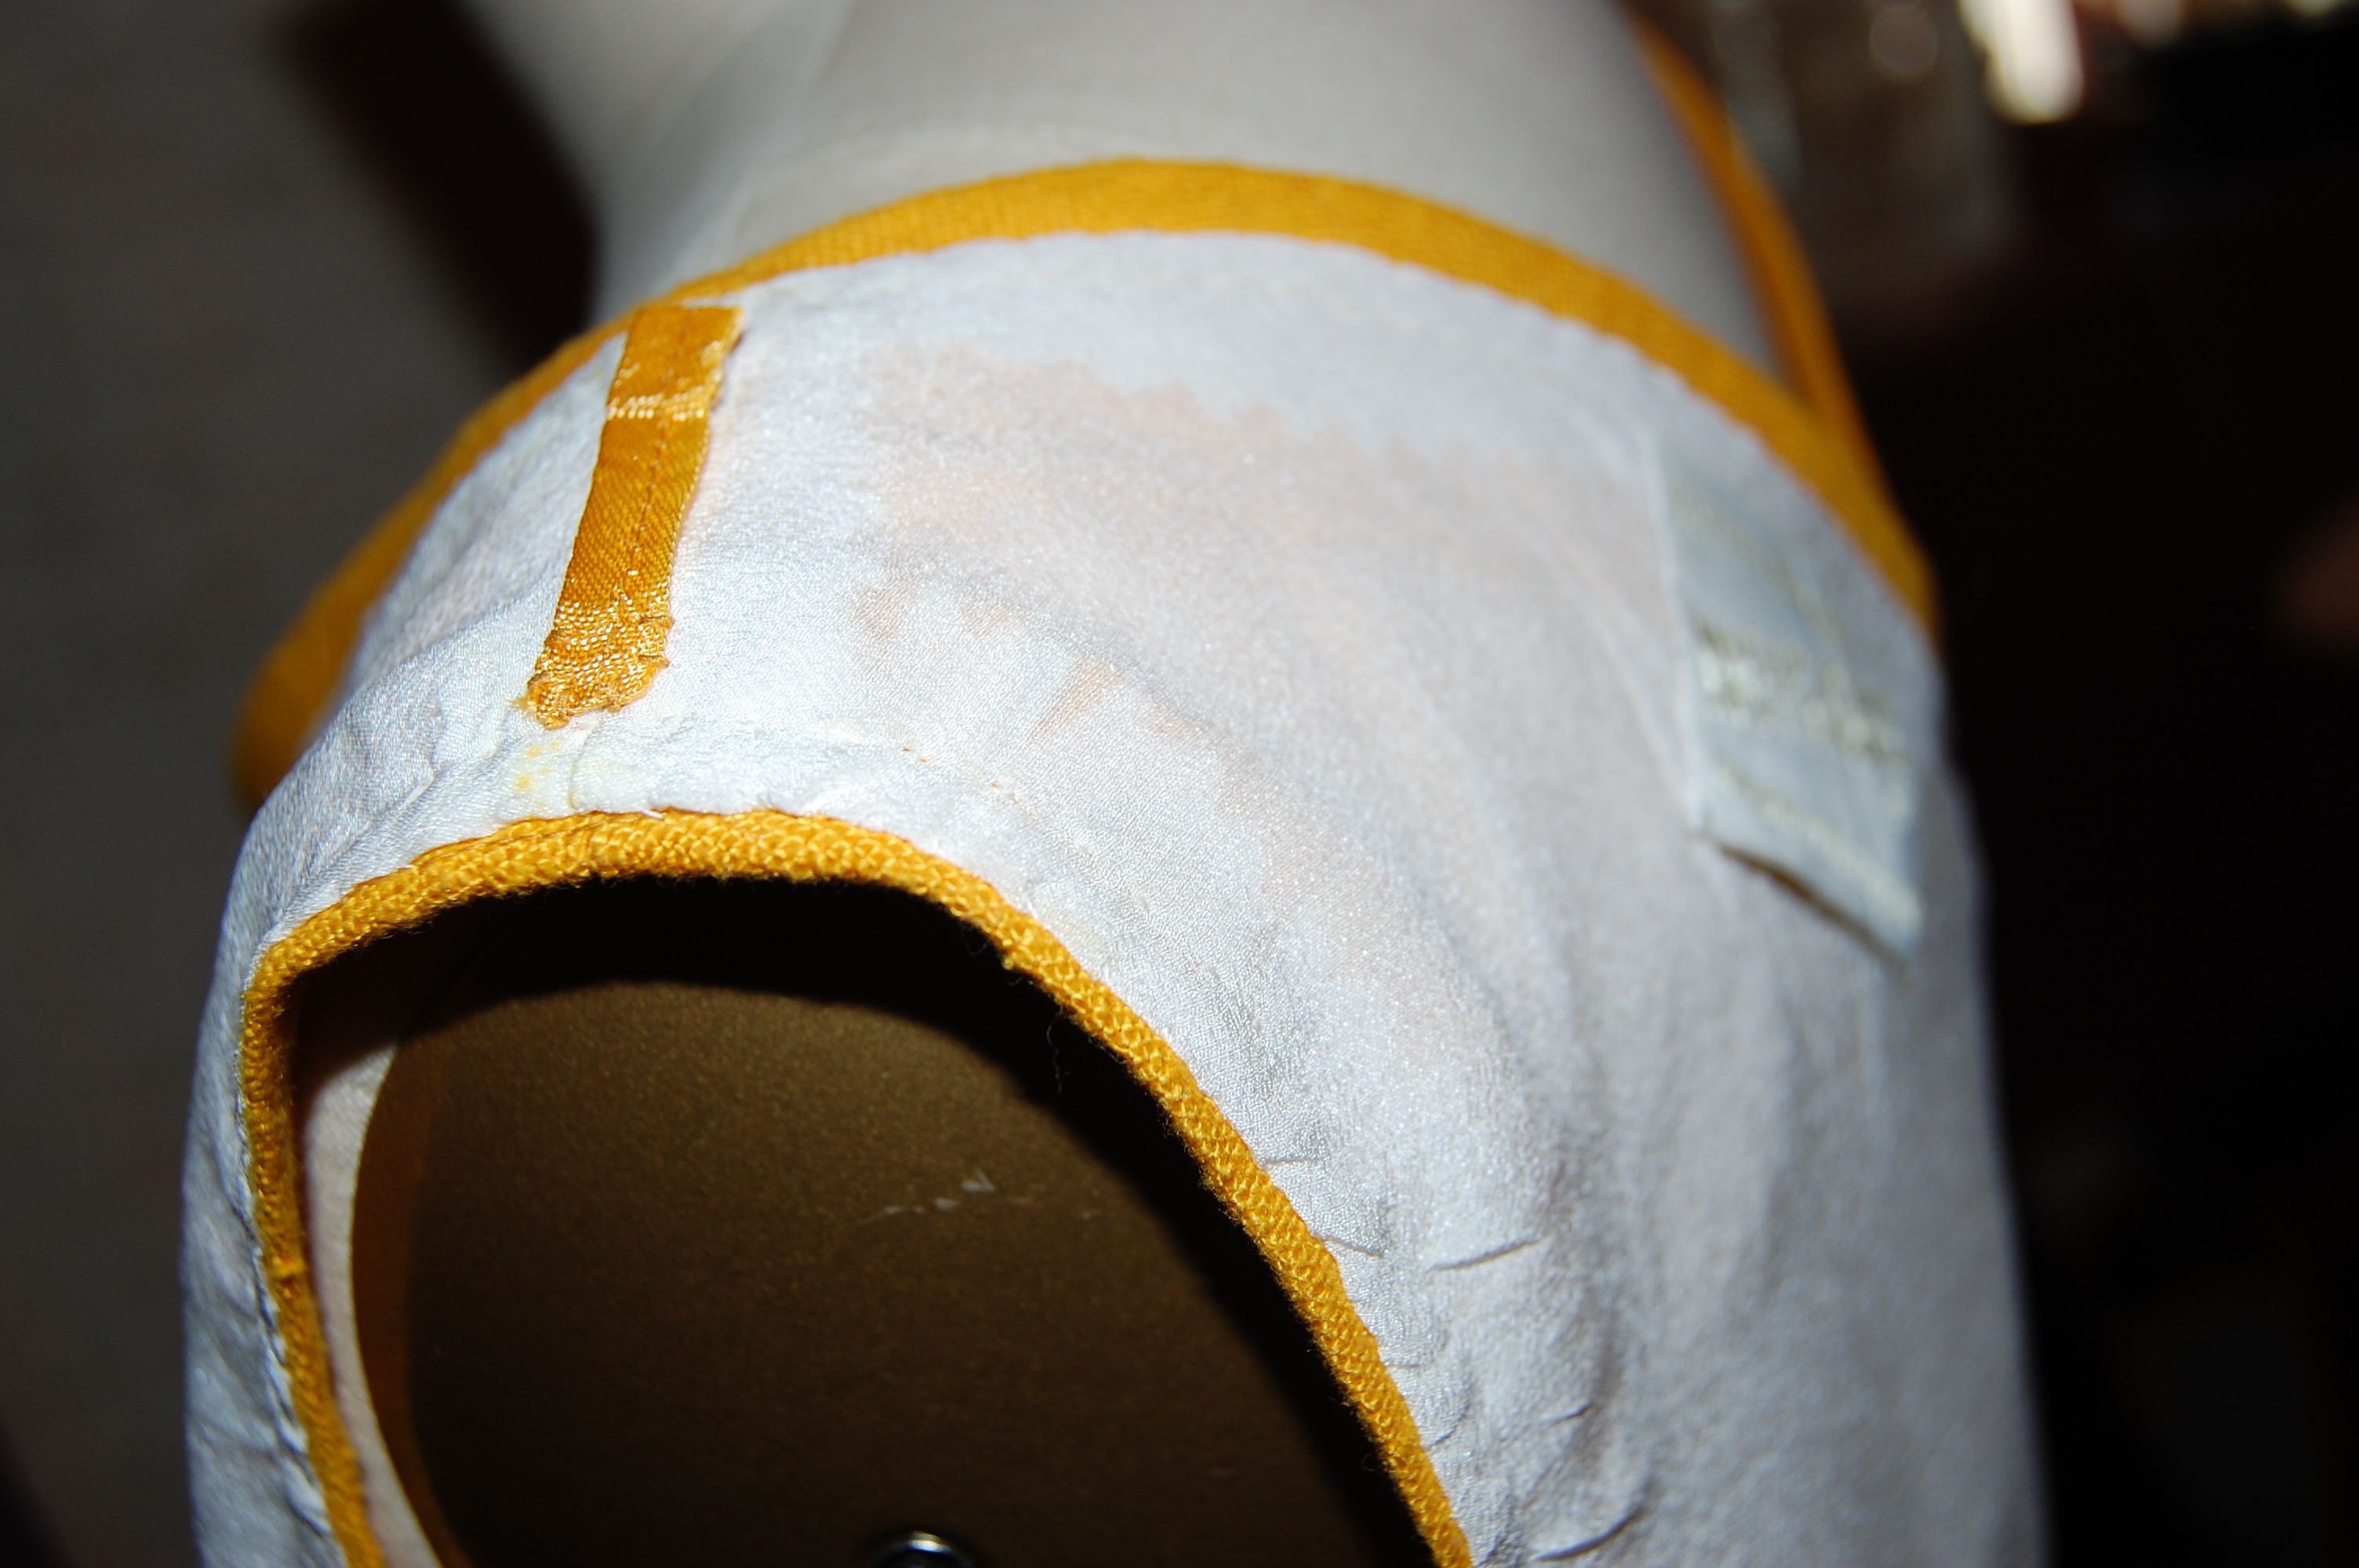
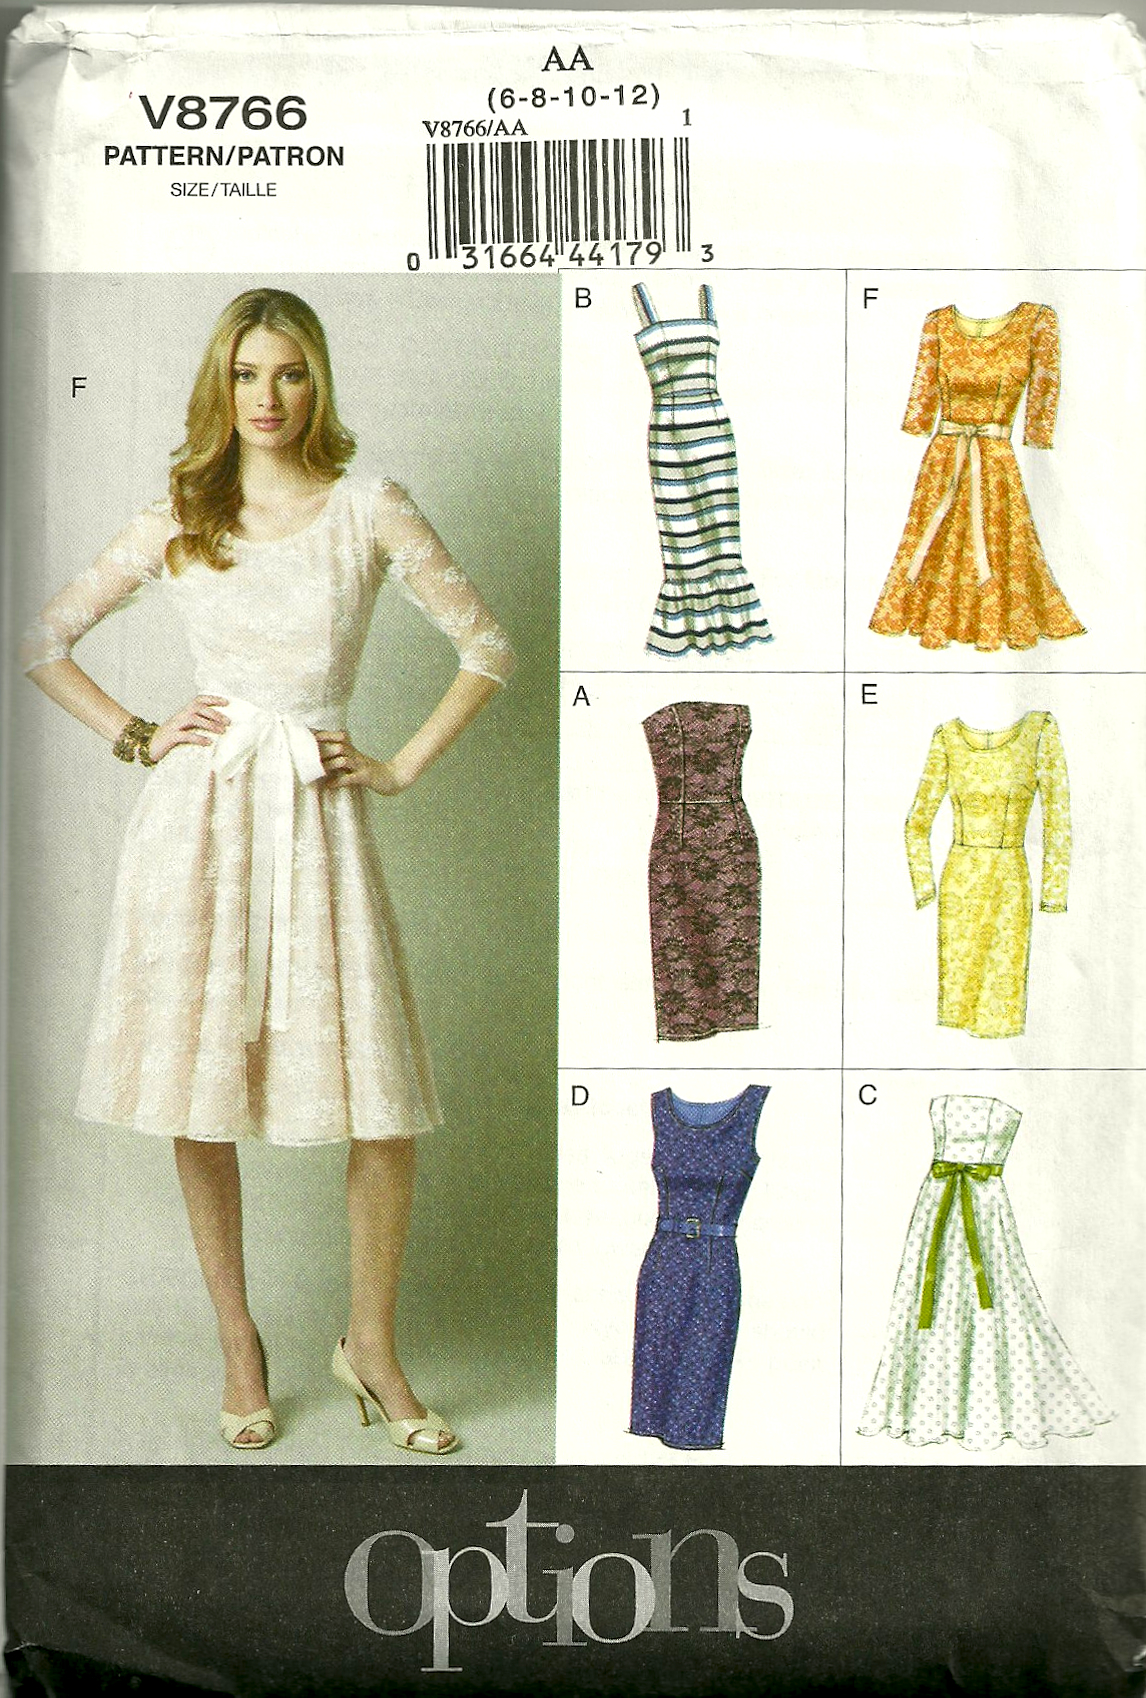
When it came to the sleeves, they are shown in the illustration with a contrasting band. However, no band was included with the pattern. I did a muslin mock-up to test the visual appearance of the width of the band.

Because I had cut the sleeves with a slight curve to the lower edge, I had to make a muslin guide for the bands, which included the same curve.
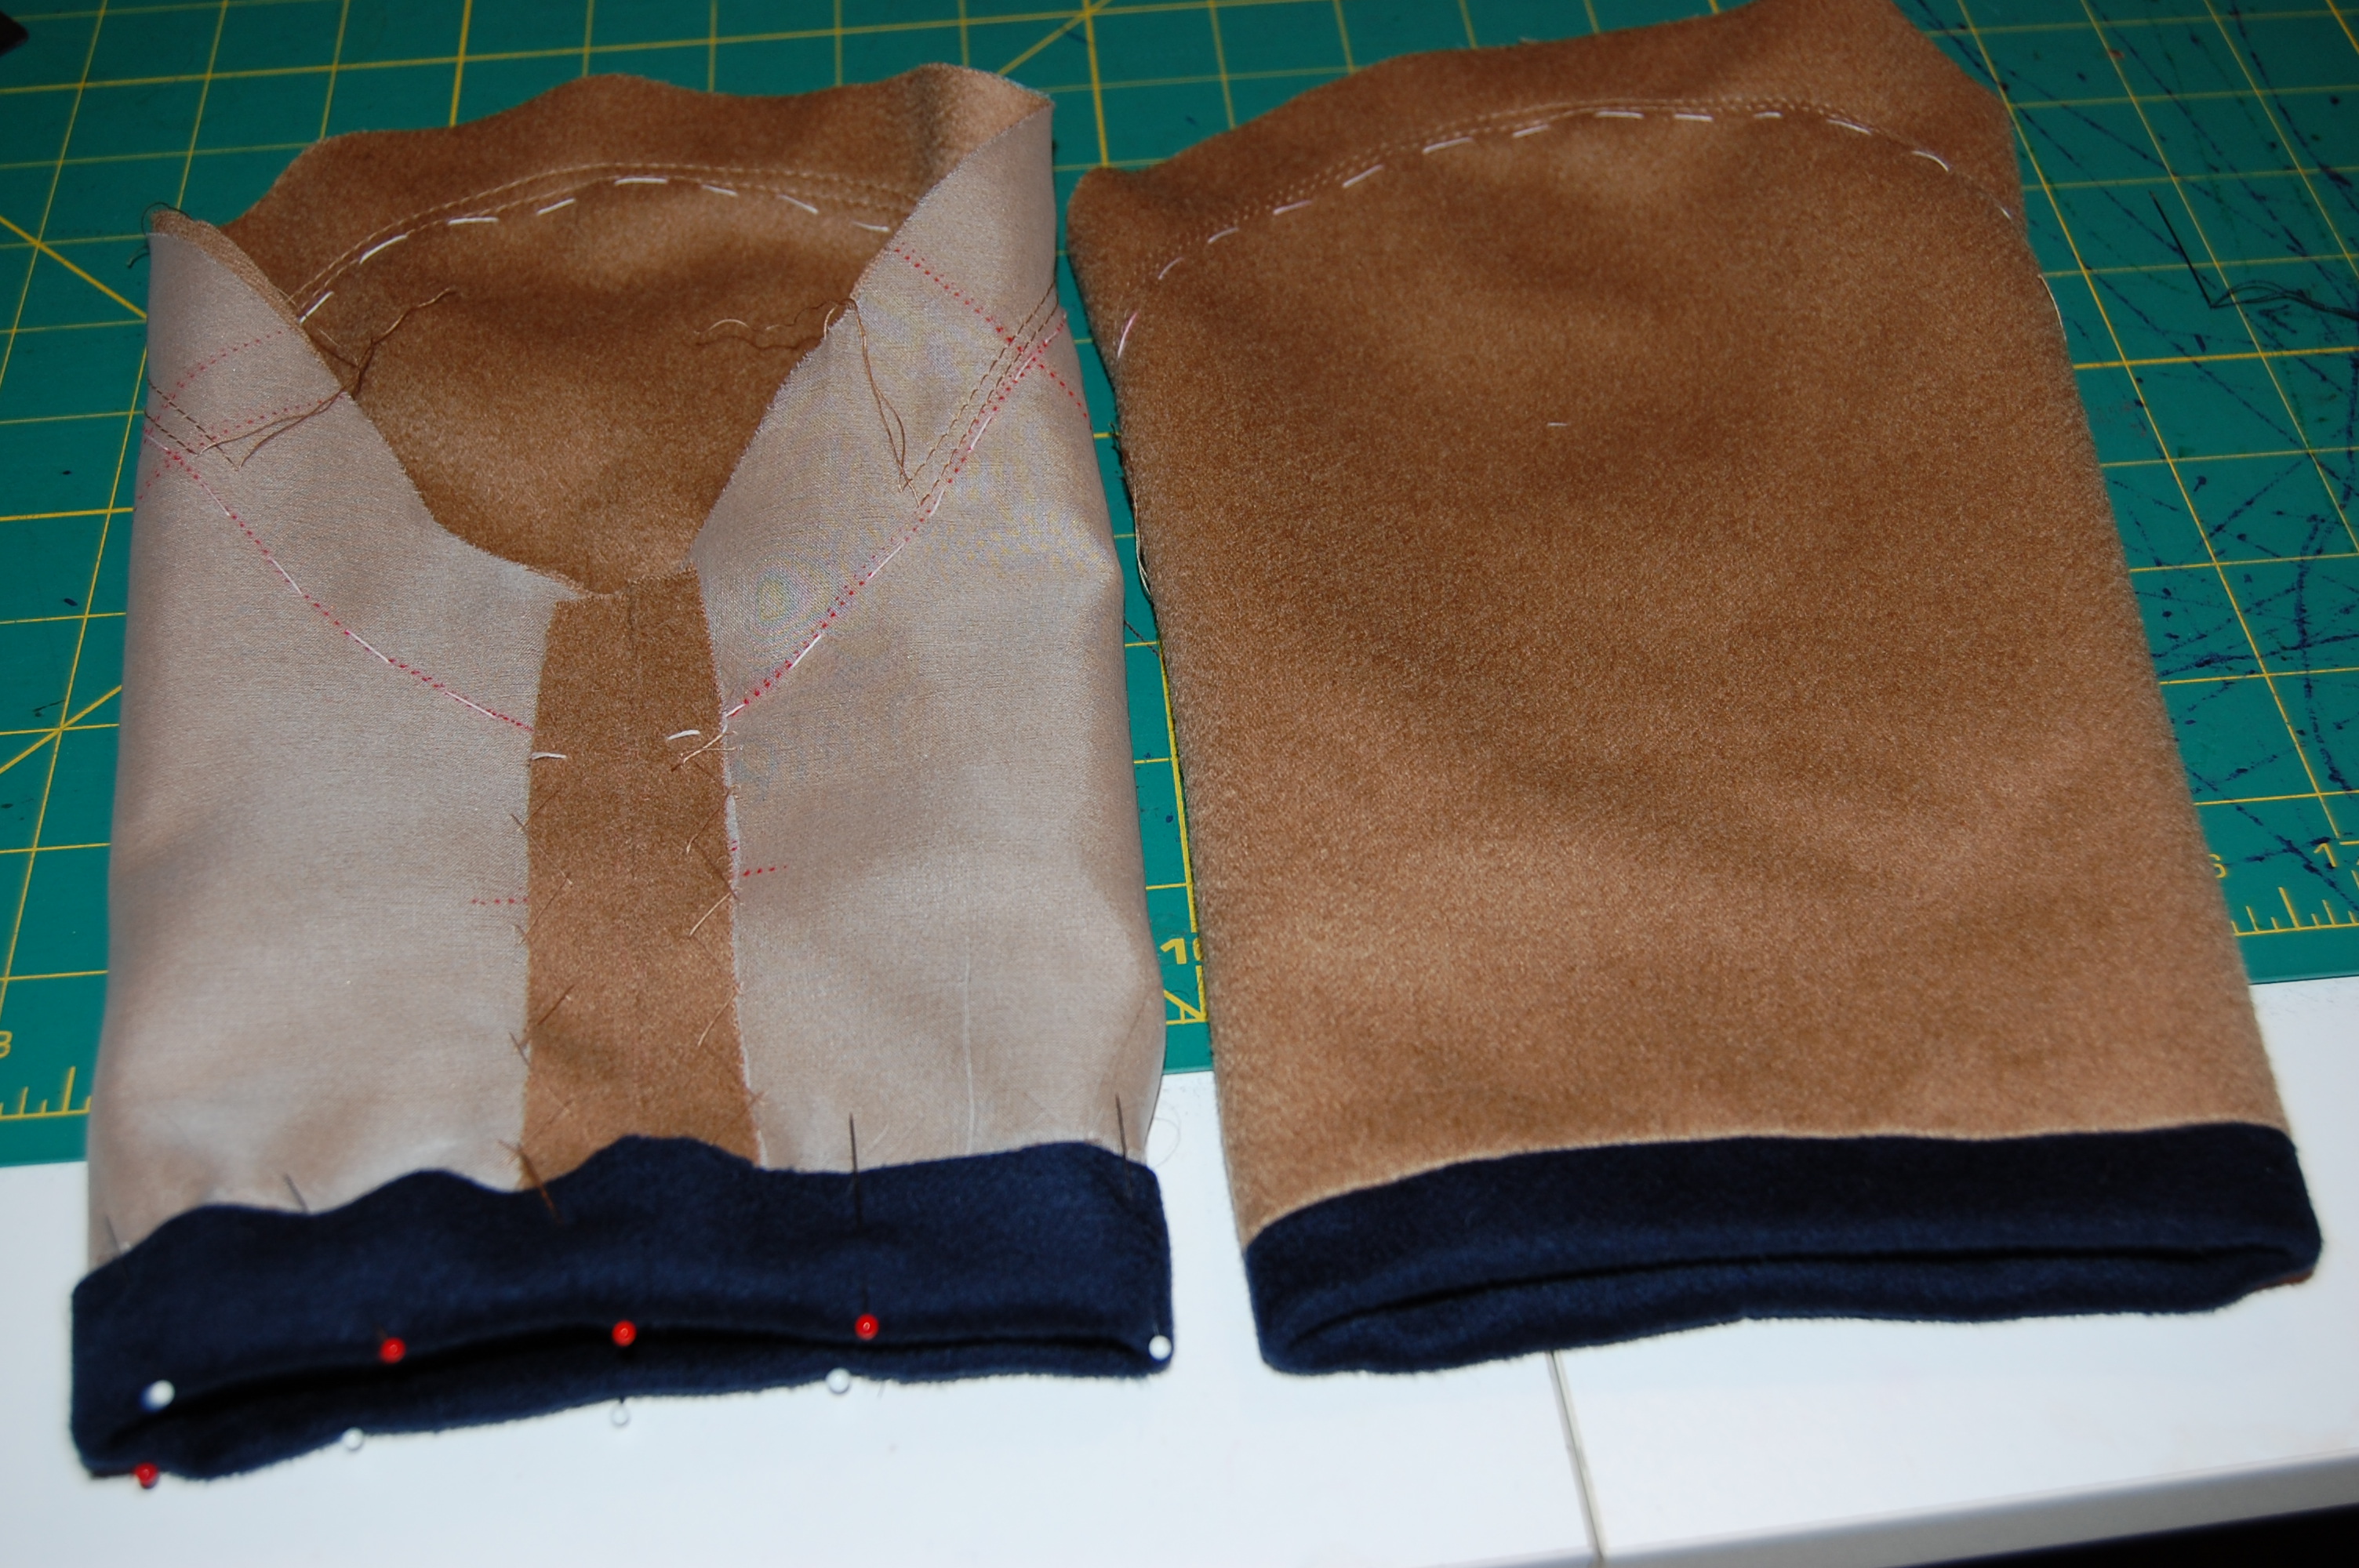
The sleeves with bands attached
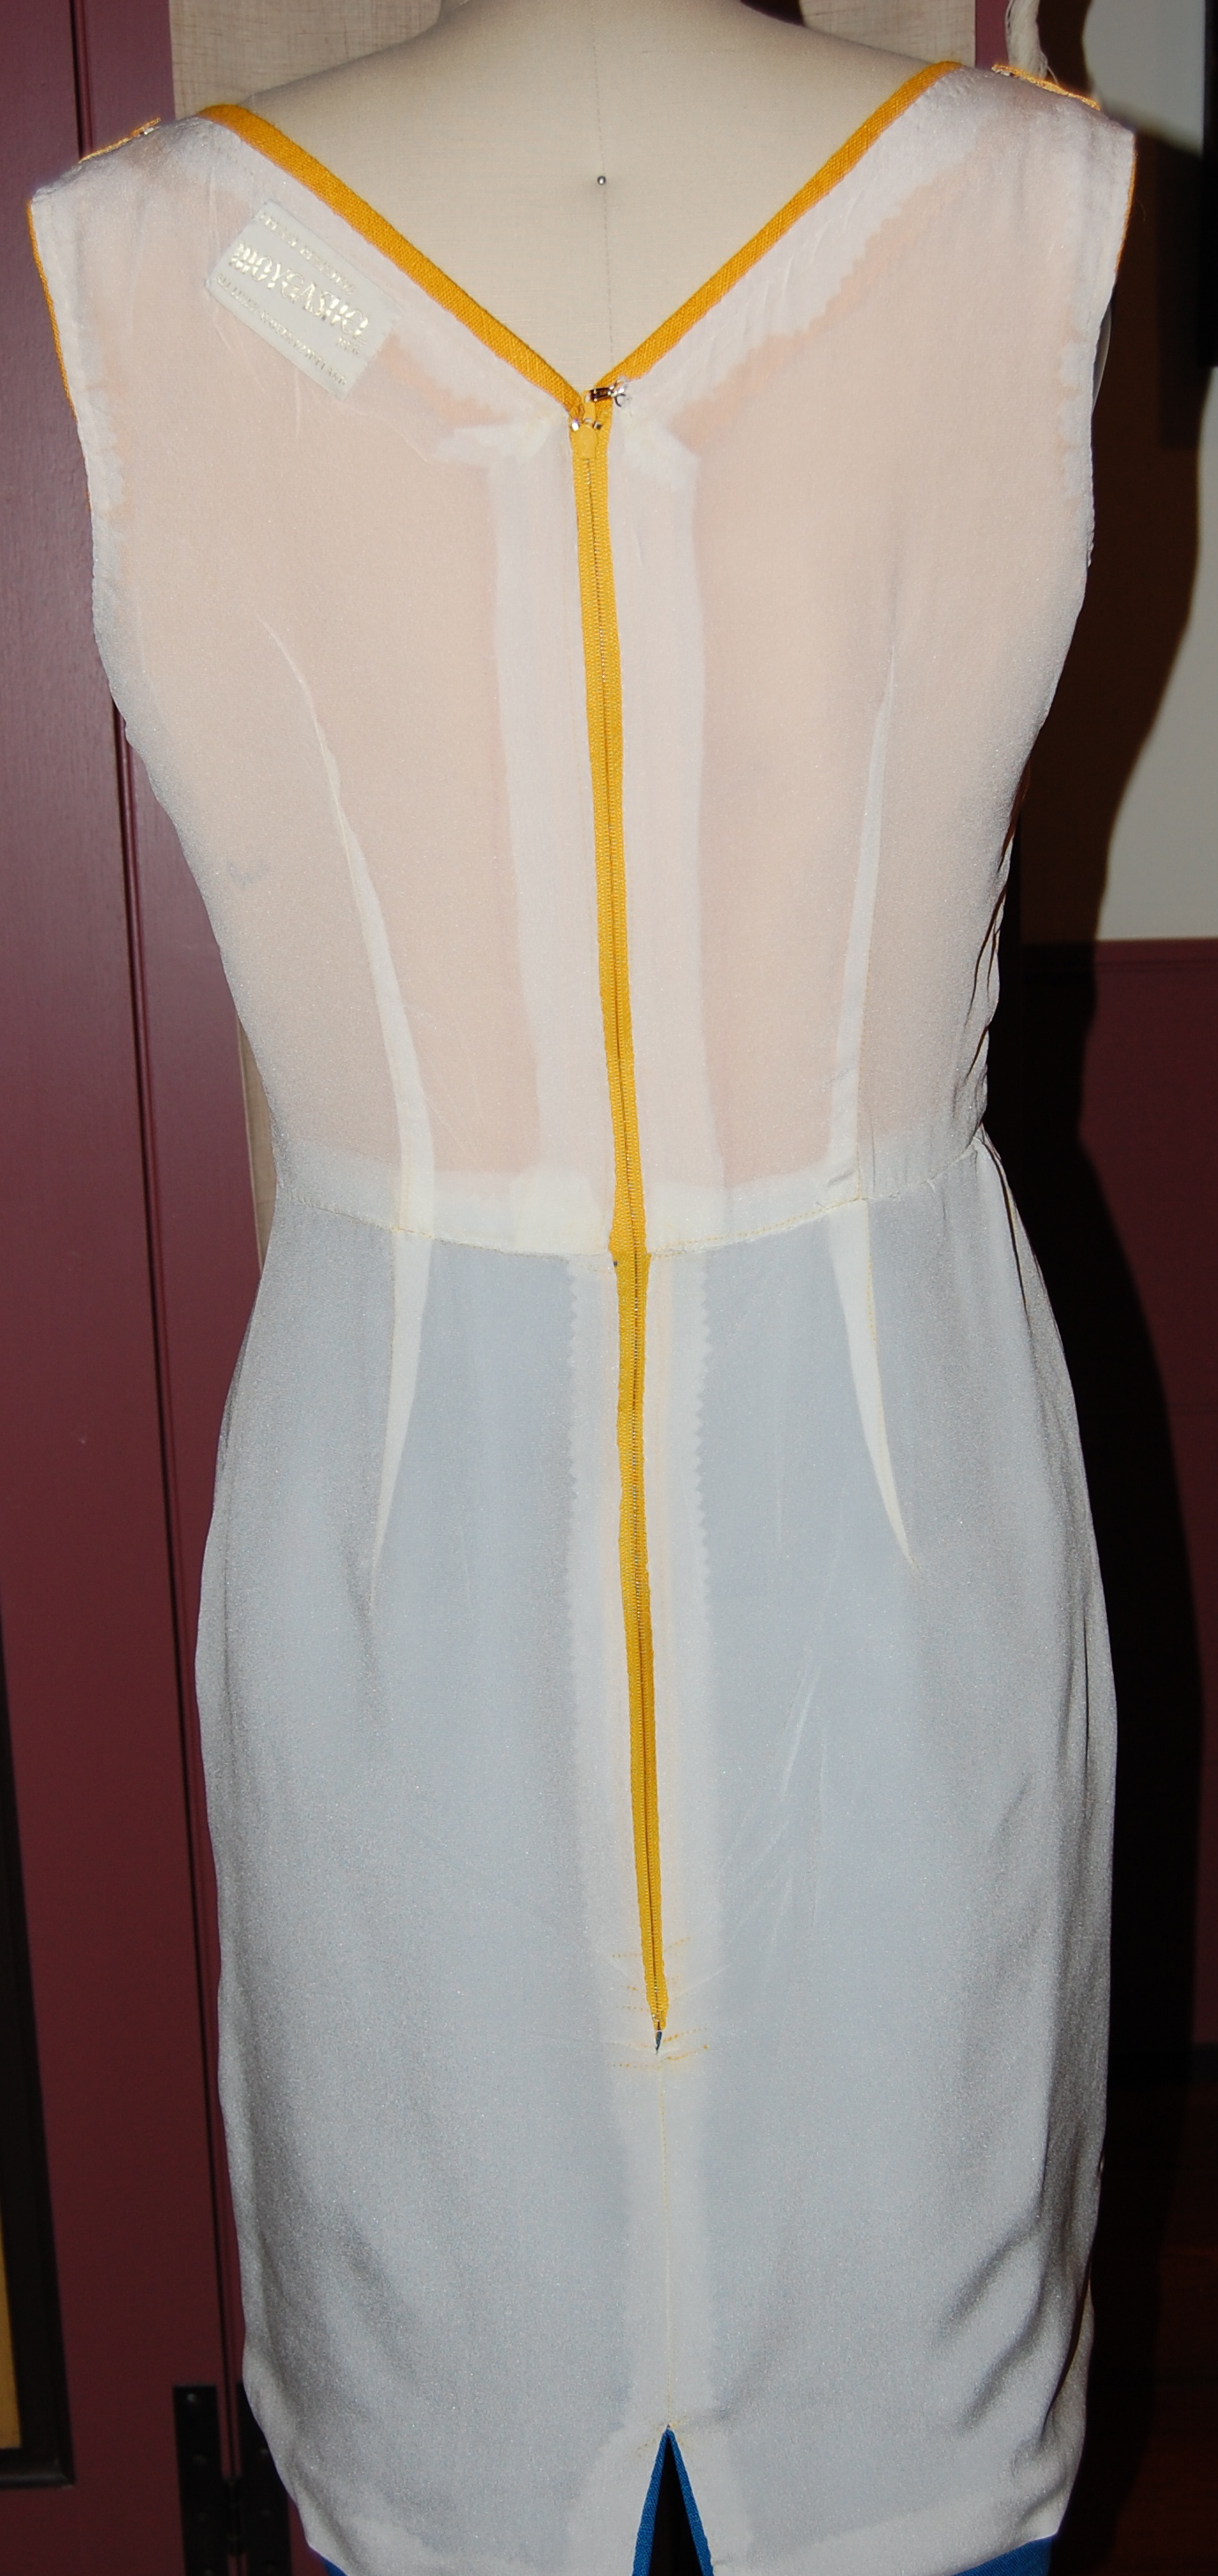
With sleeves, hand-picked zipper and all seams complete, I turned my attention to the lining. Instead of cutting the lining with the same angled detail as in the dress, I chose to cut a symmetrical front, thus reducing bulk at that critical waist area. However, I needed to add a kick pleat to the front lining to coincide with the built-in kick pleat of the dress. Here is how I did that:
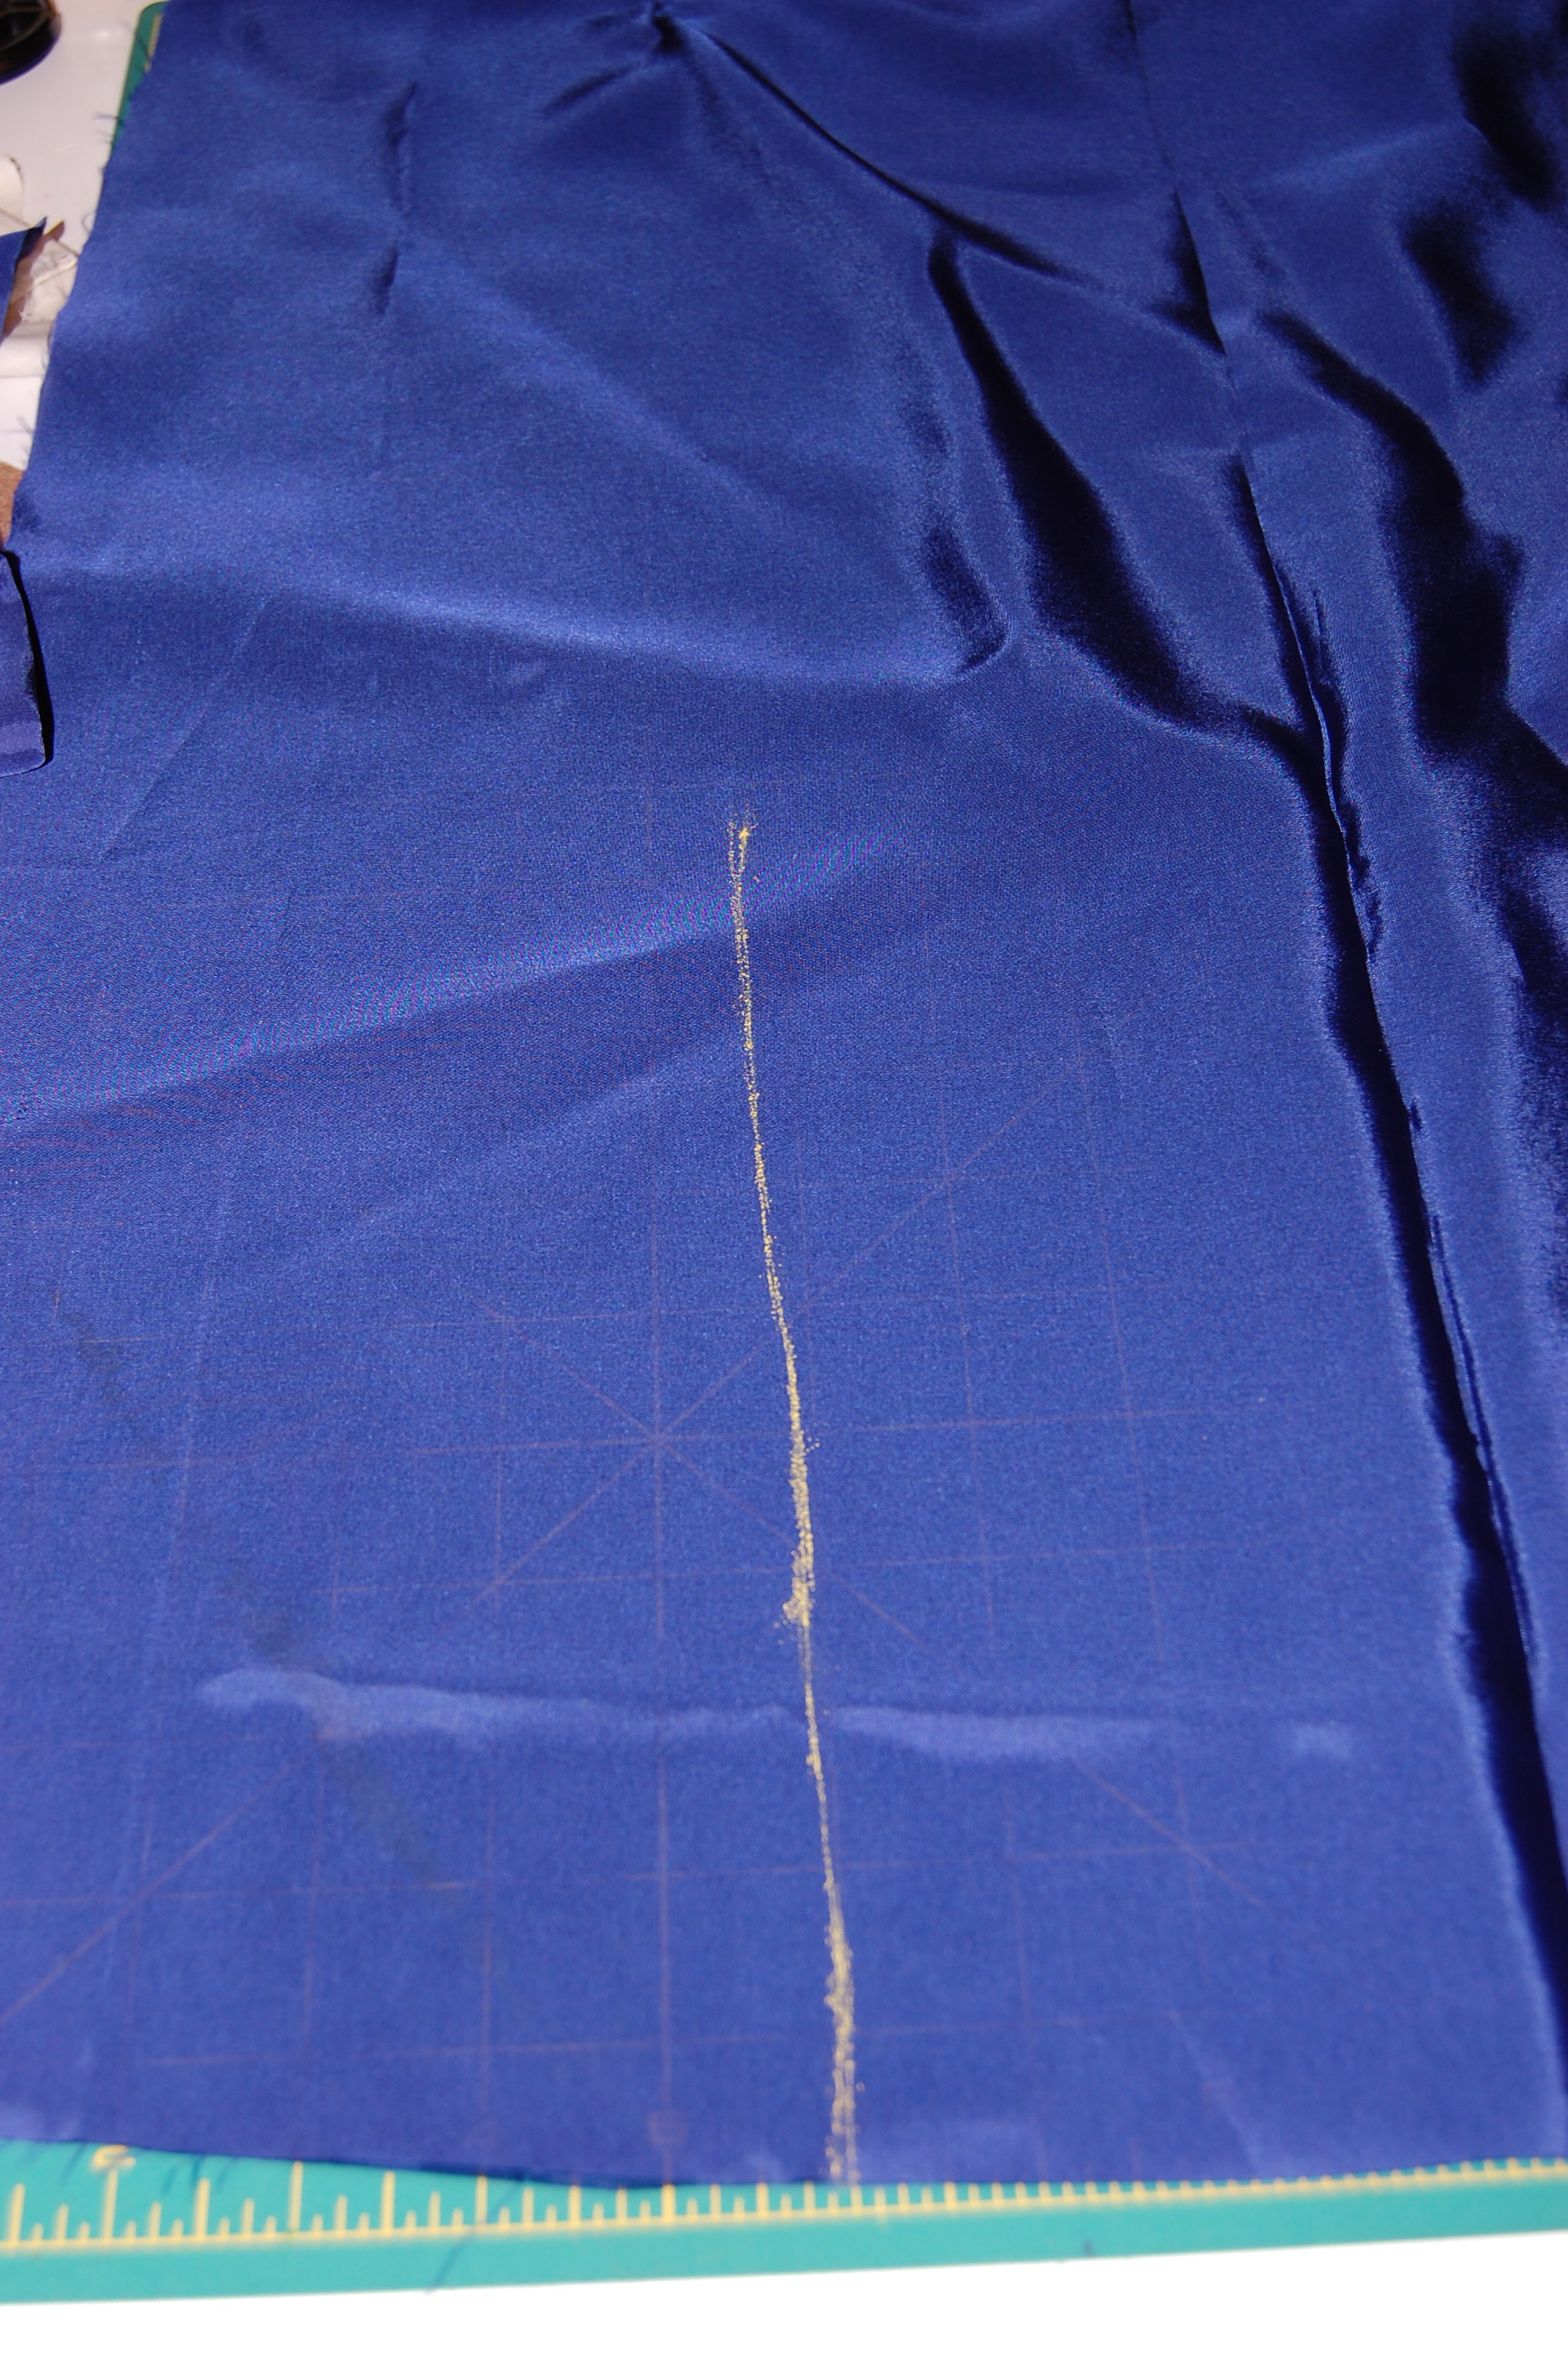
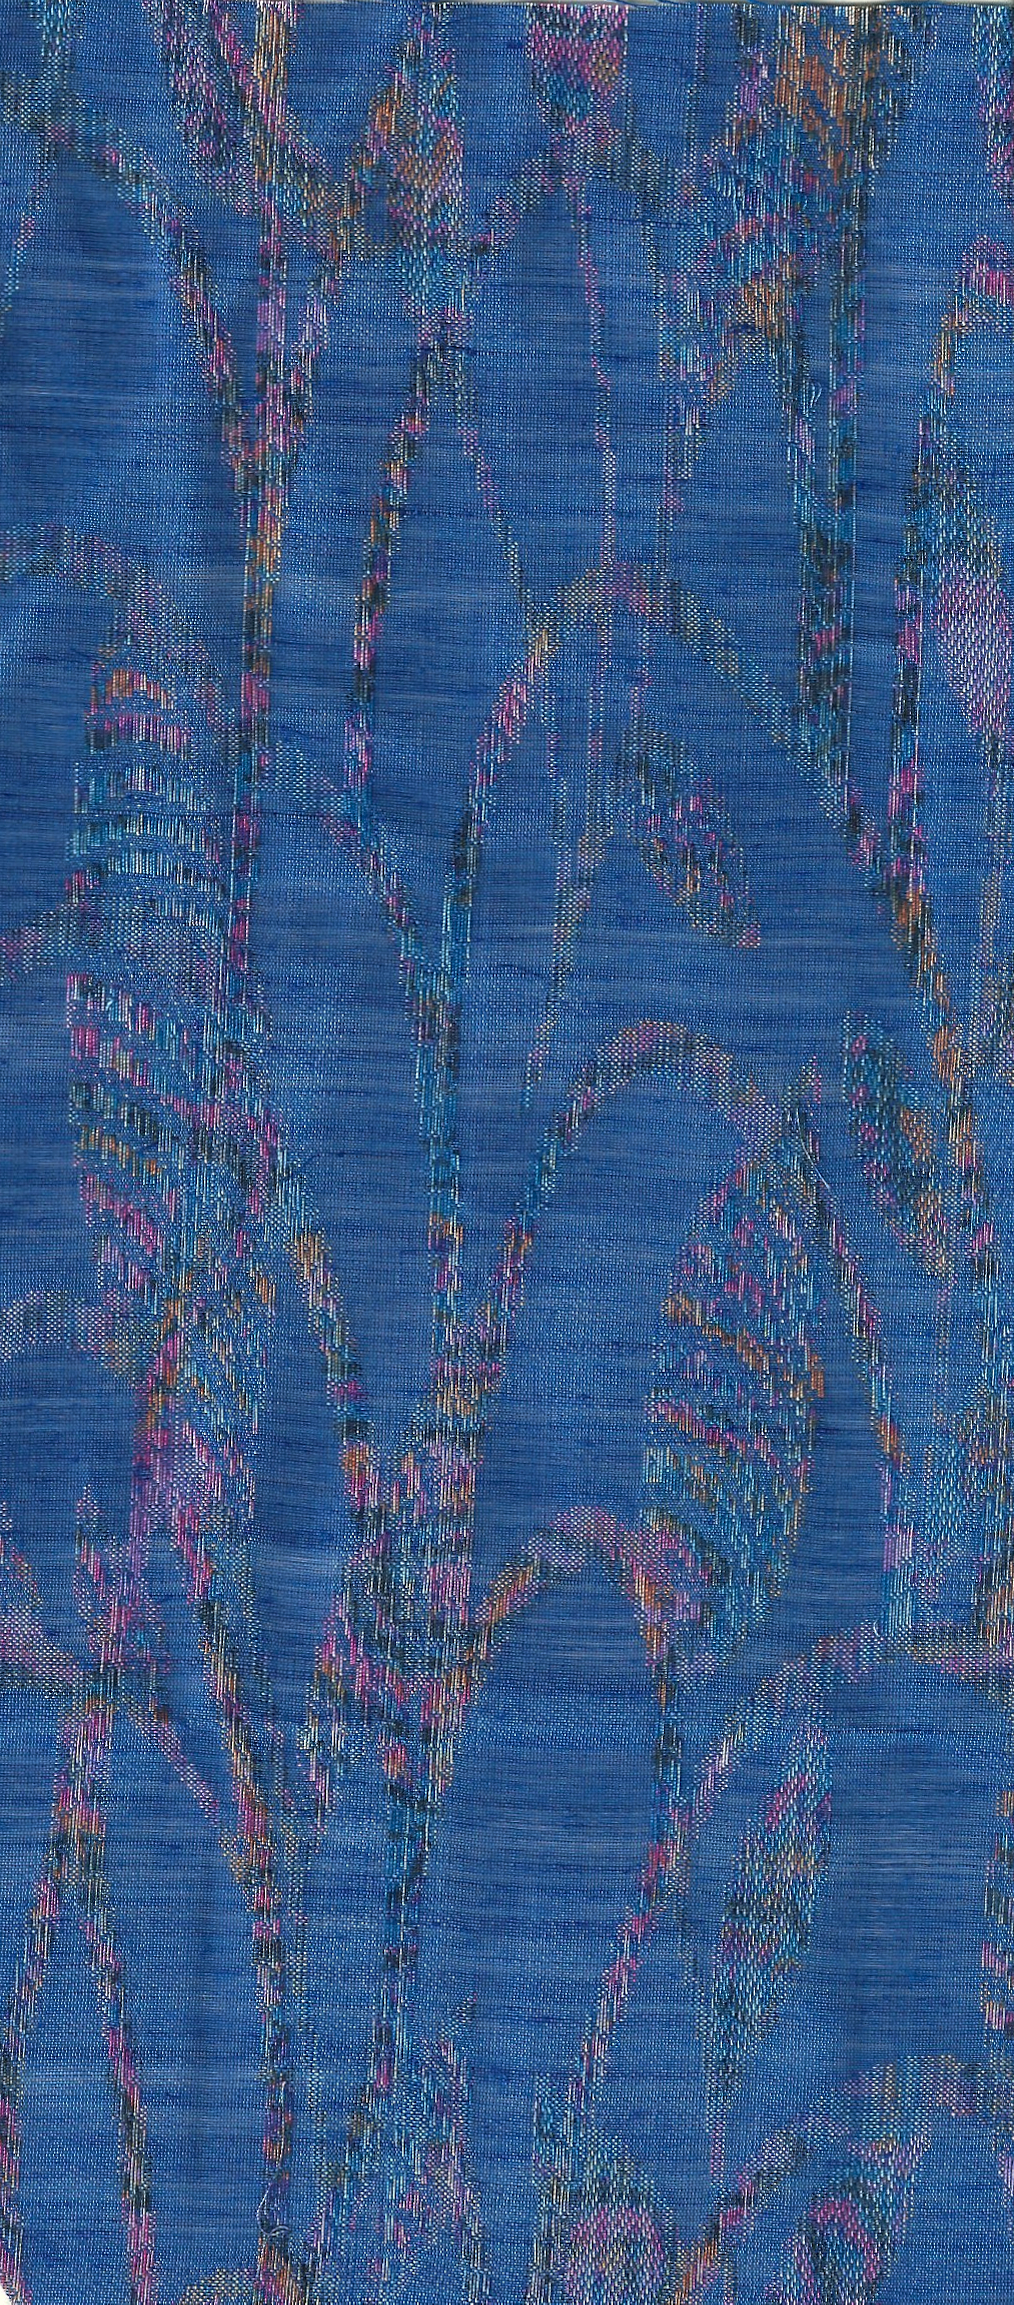
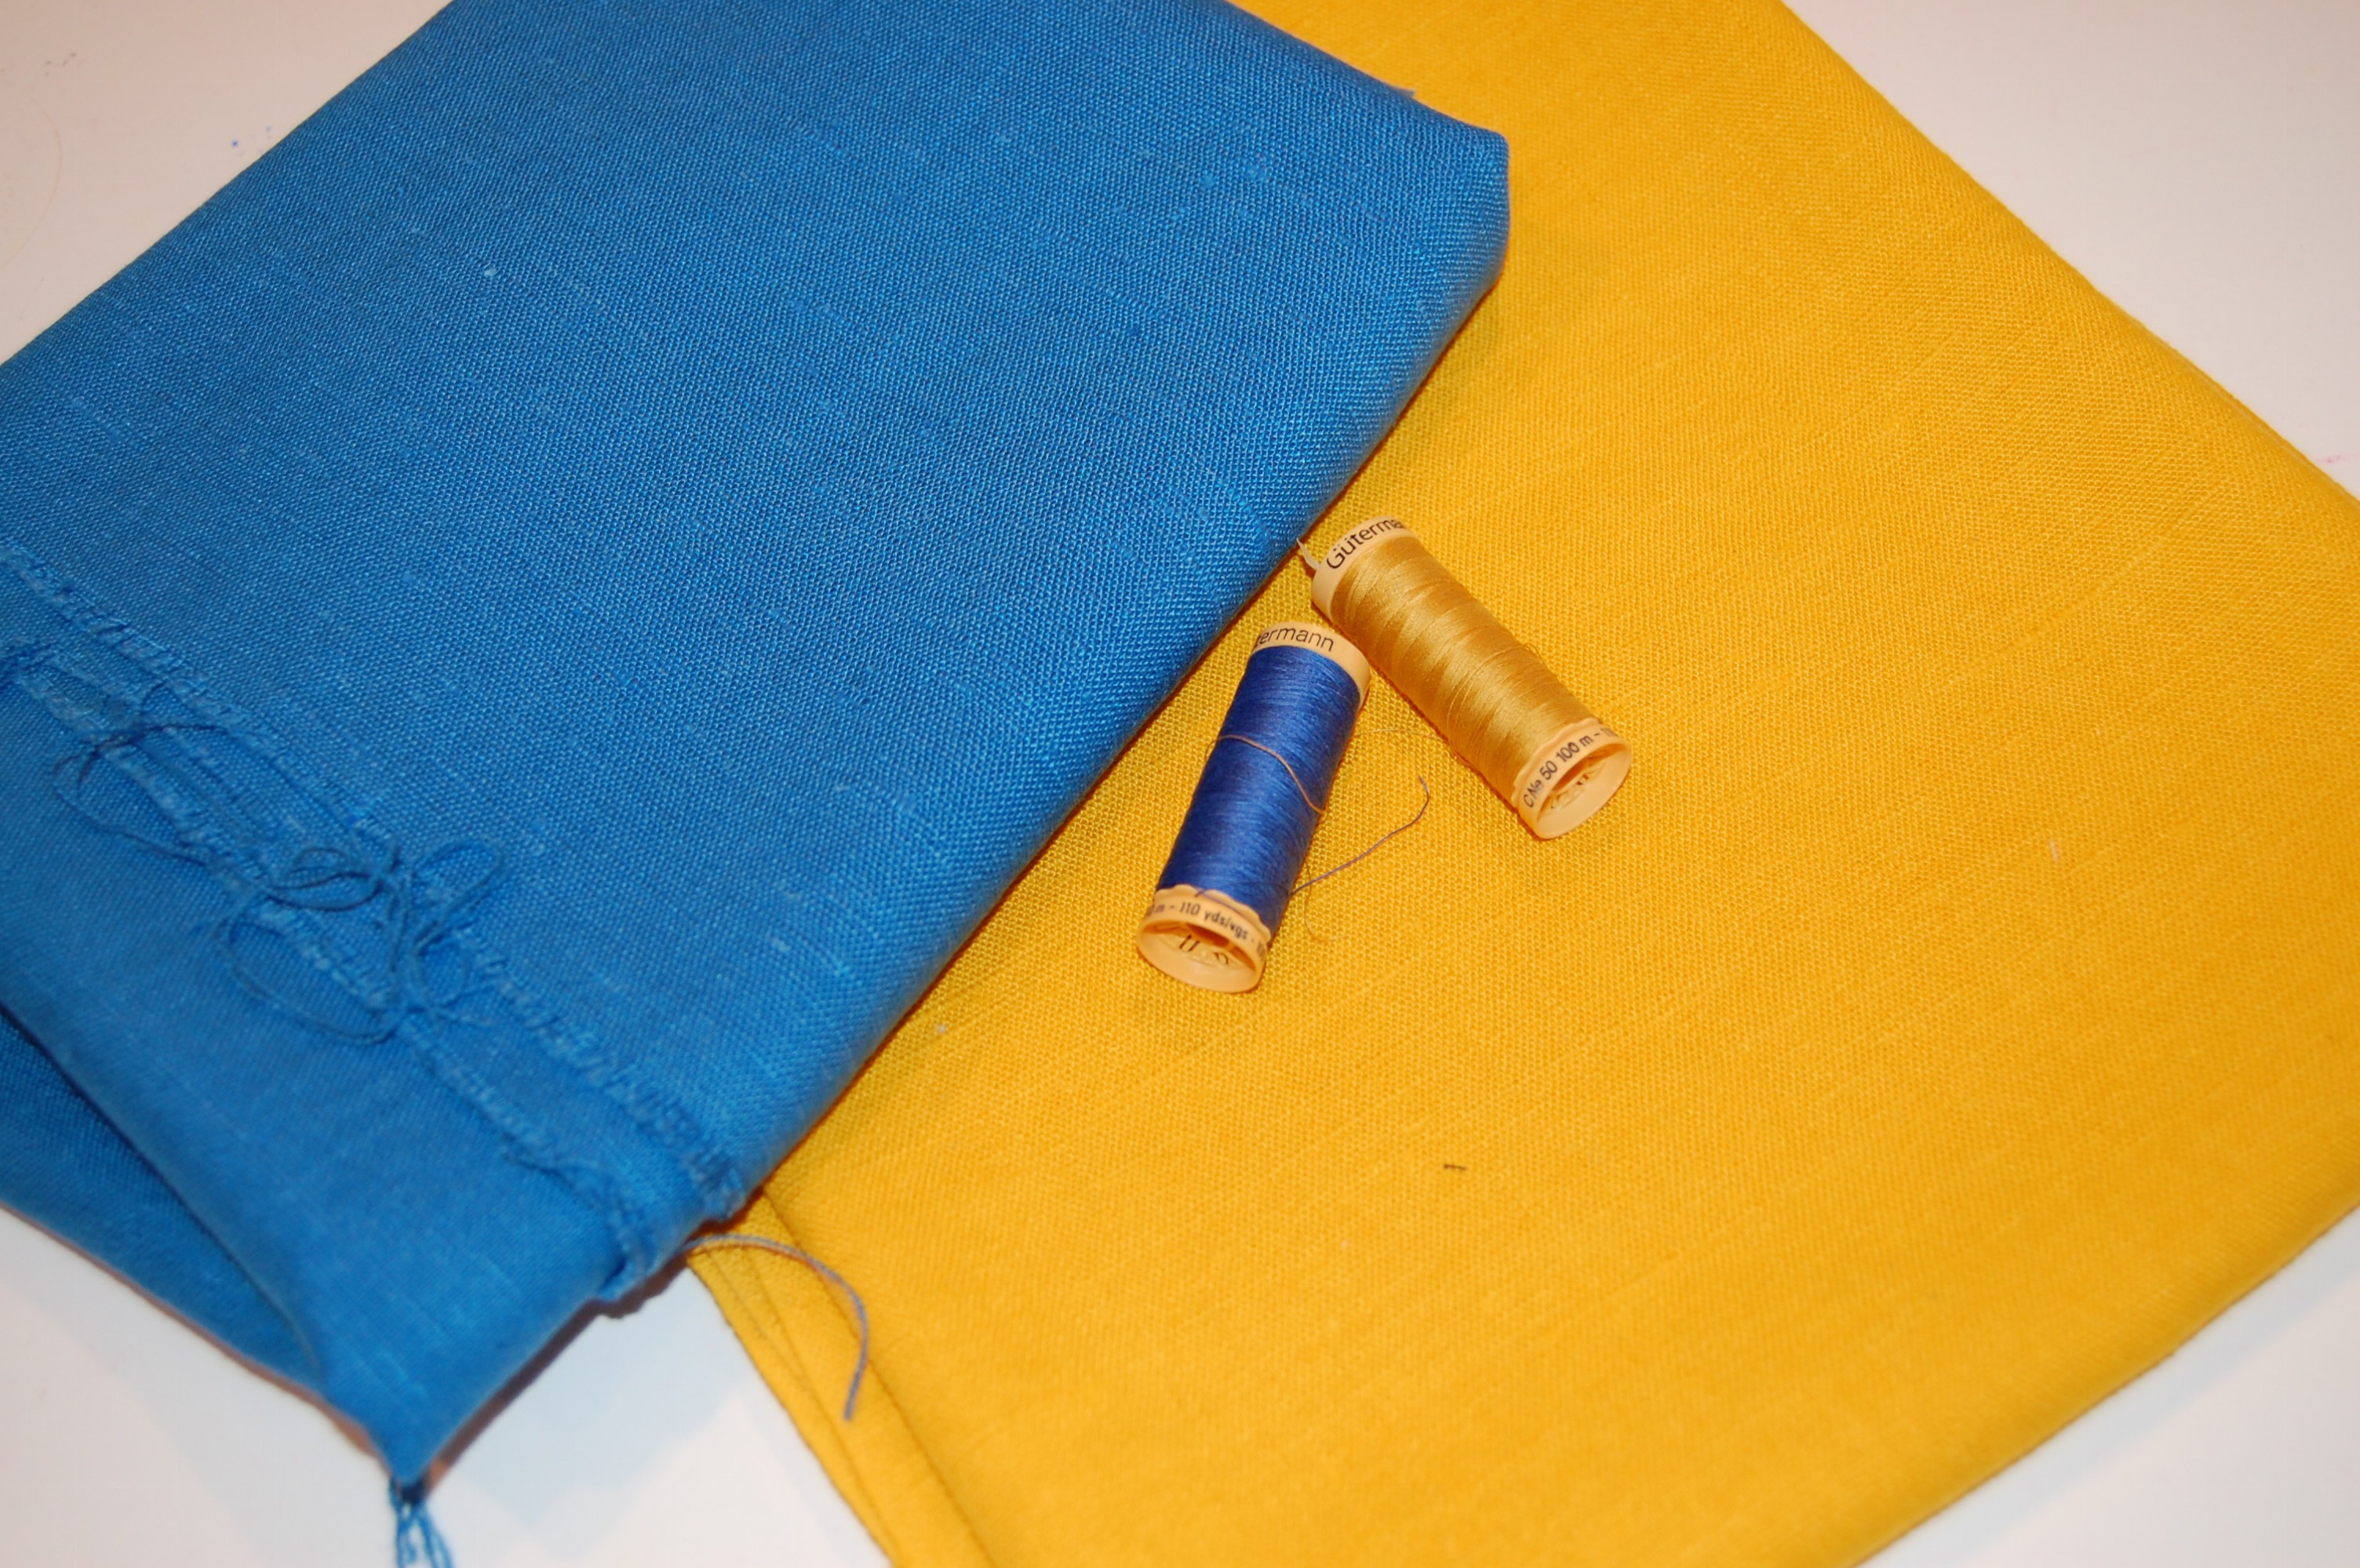
First I marked where I wanted the pleat in the lining to be. By the way, the lining is Bemberg rayon. I usually like to use crepe de chine for my linings, but I had this Bemberg in the right color, so I decided to use it.
I centered a triangle of the lining fabric (about 10″ x 8″) on top of the marked line.
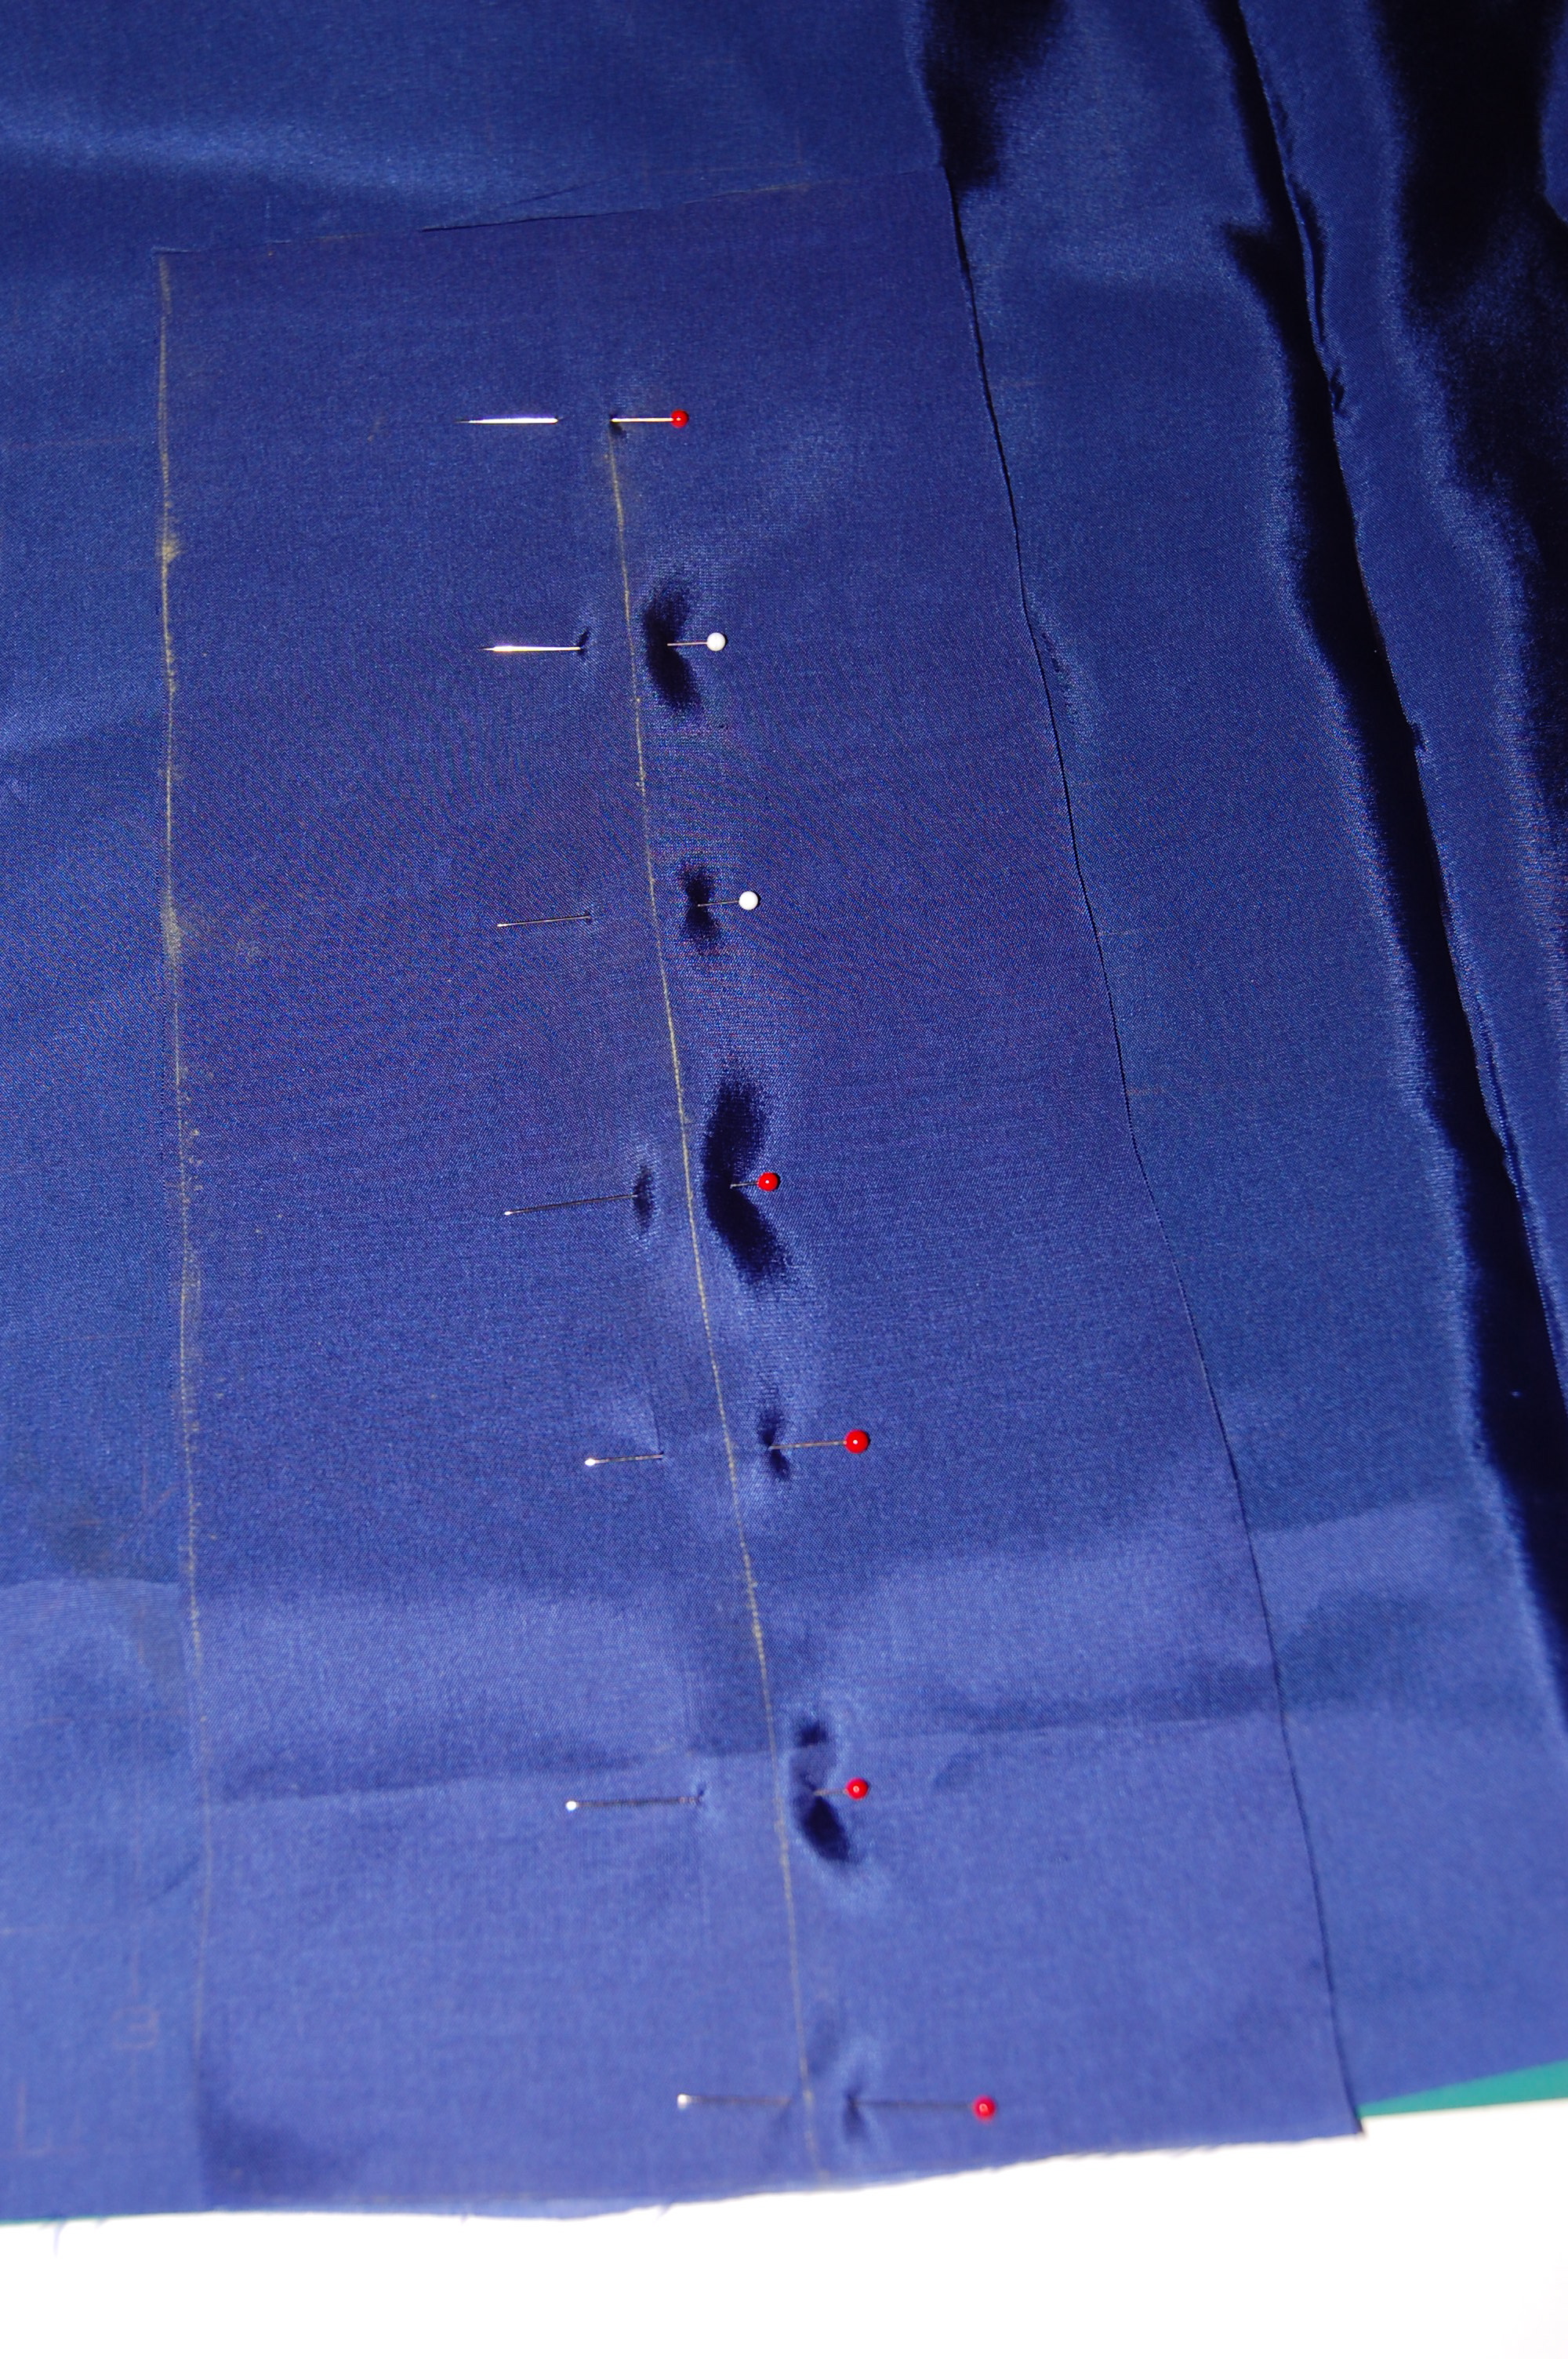
I stitched on either side of the marked line through both layers of lining, graduating up to a point at the top.
I cut along the marked line and turned the placket to the wrong side.

I sewed another piece of ling fabric (10″ x 8″) to the wrong side of the turned placket. It is stitched around the edges in a 1/2″ seam.
After securing these stitched-together pieces across the top through all layers, I had a kick pleat!
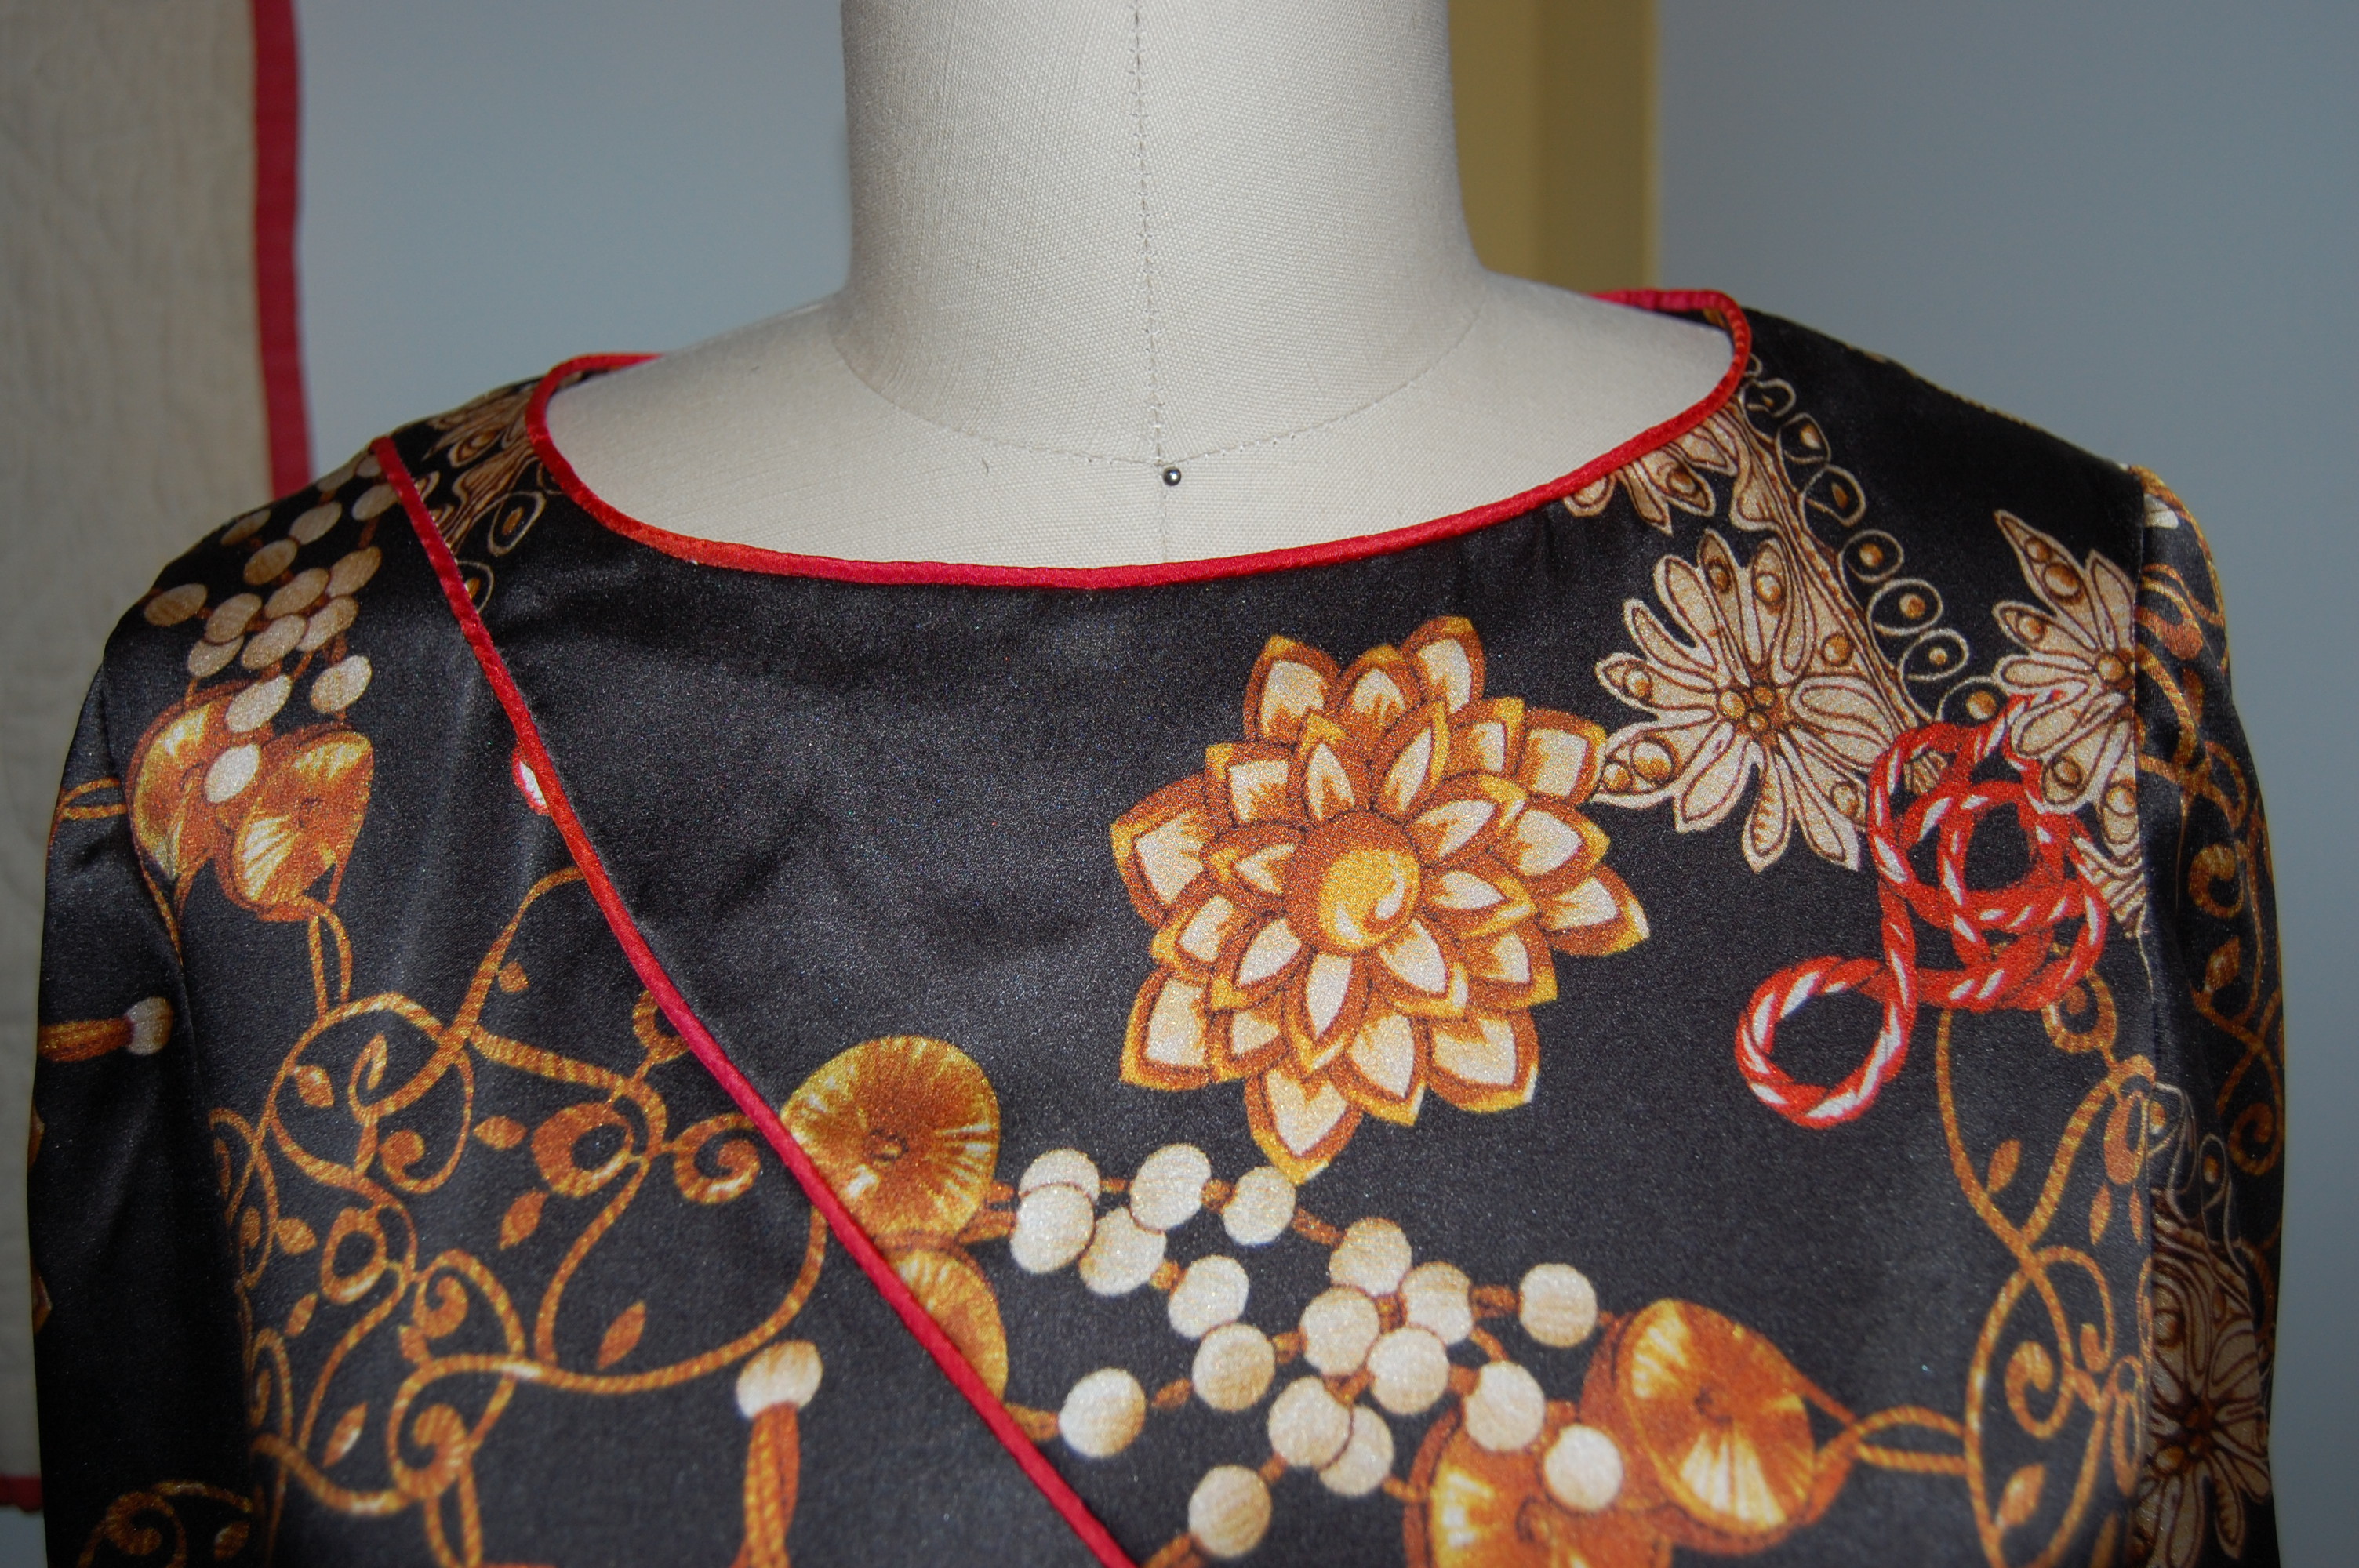
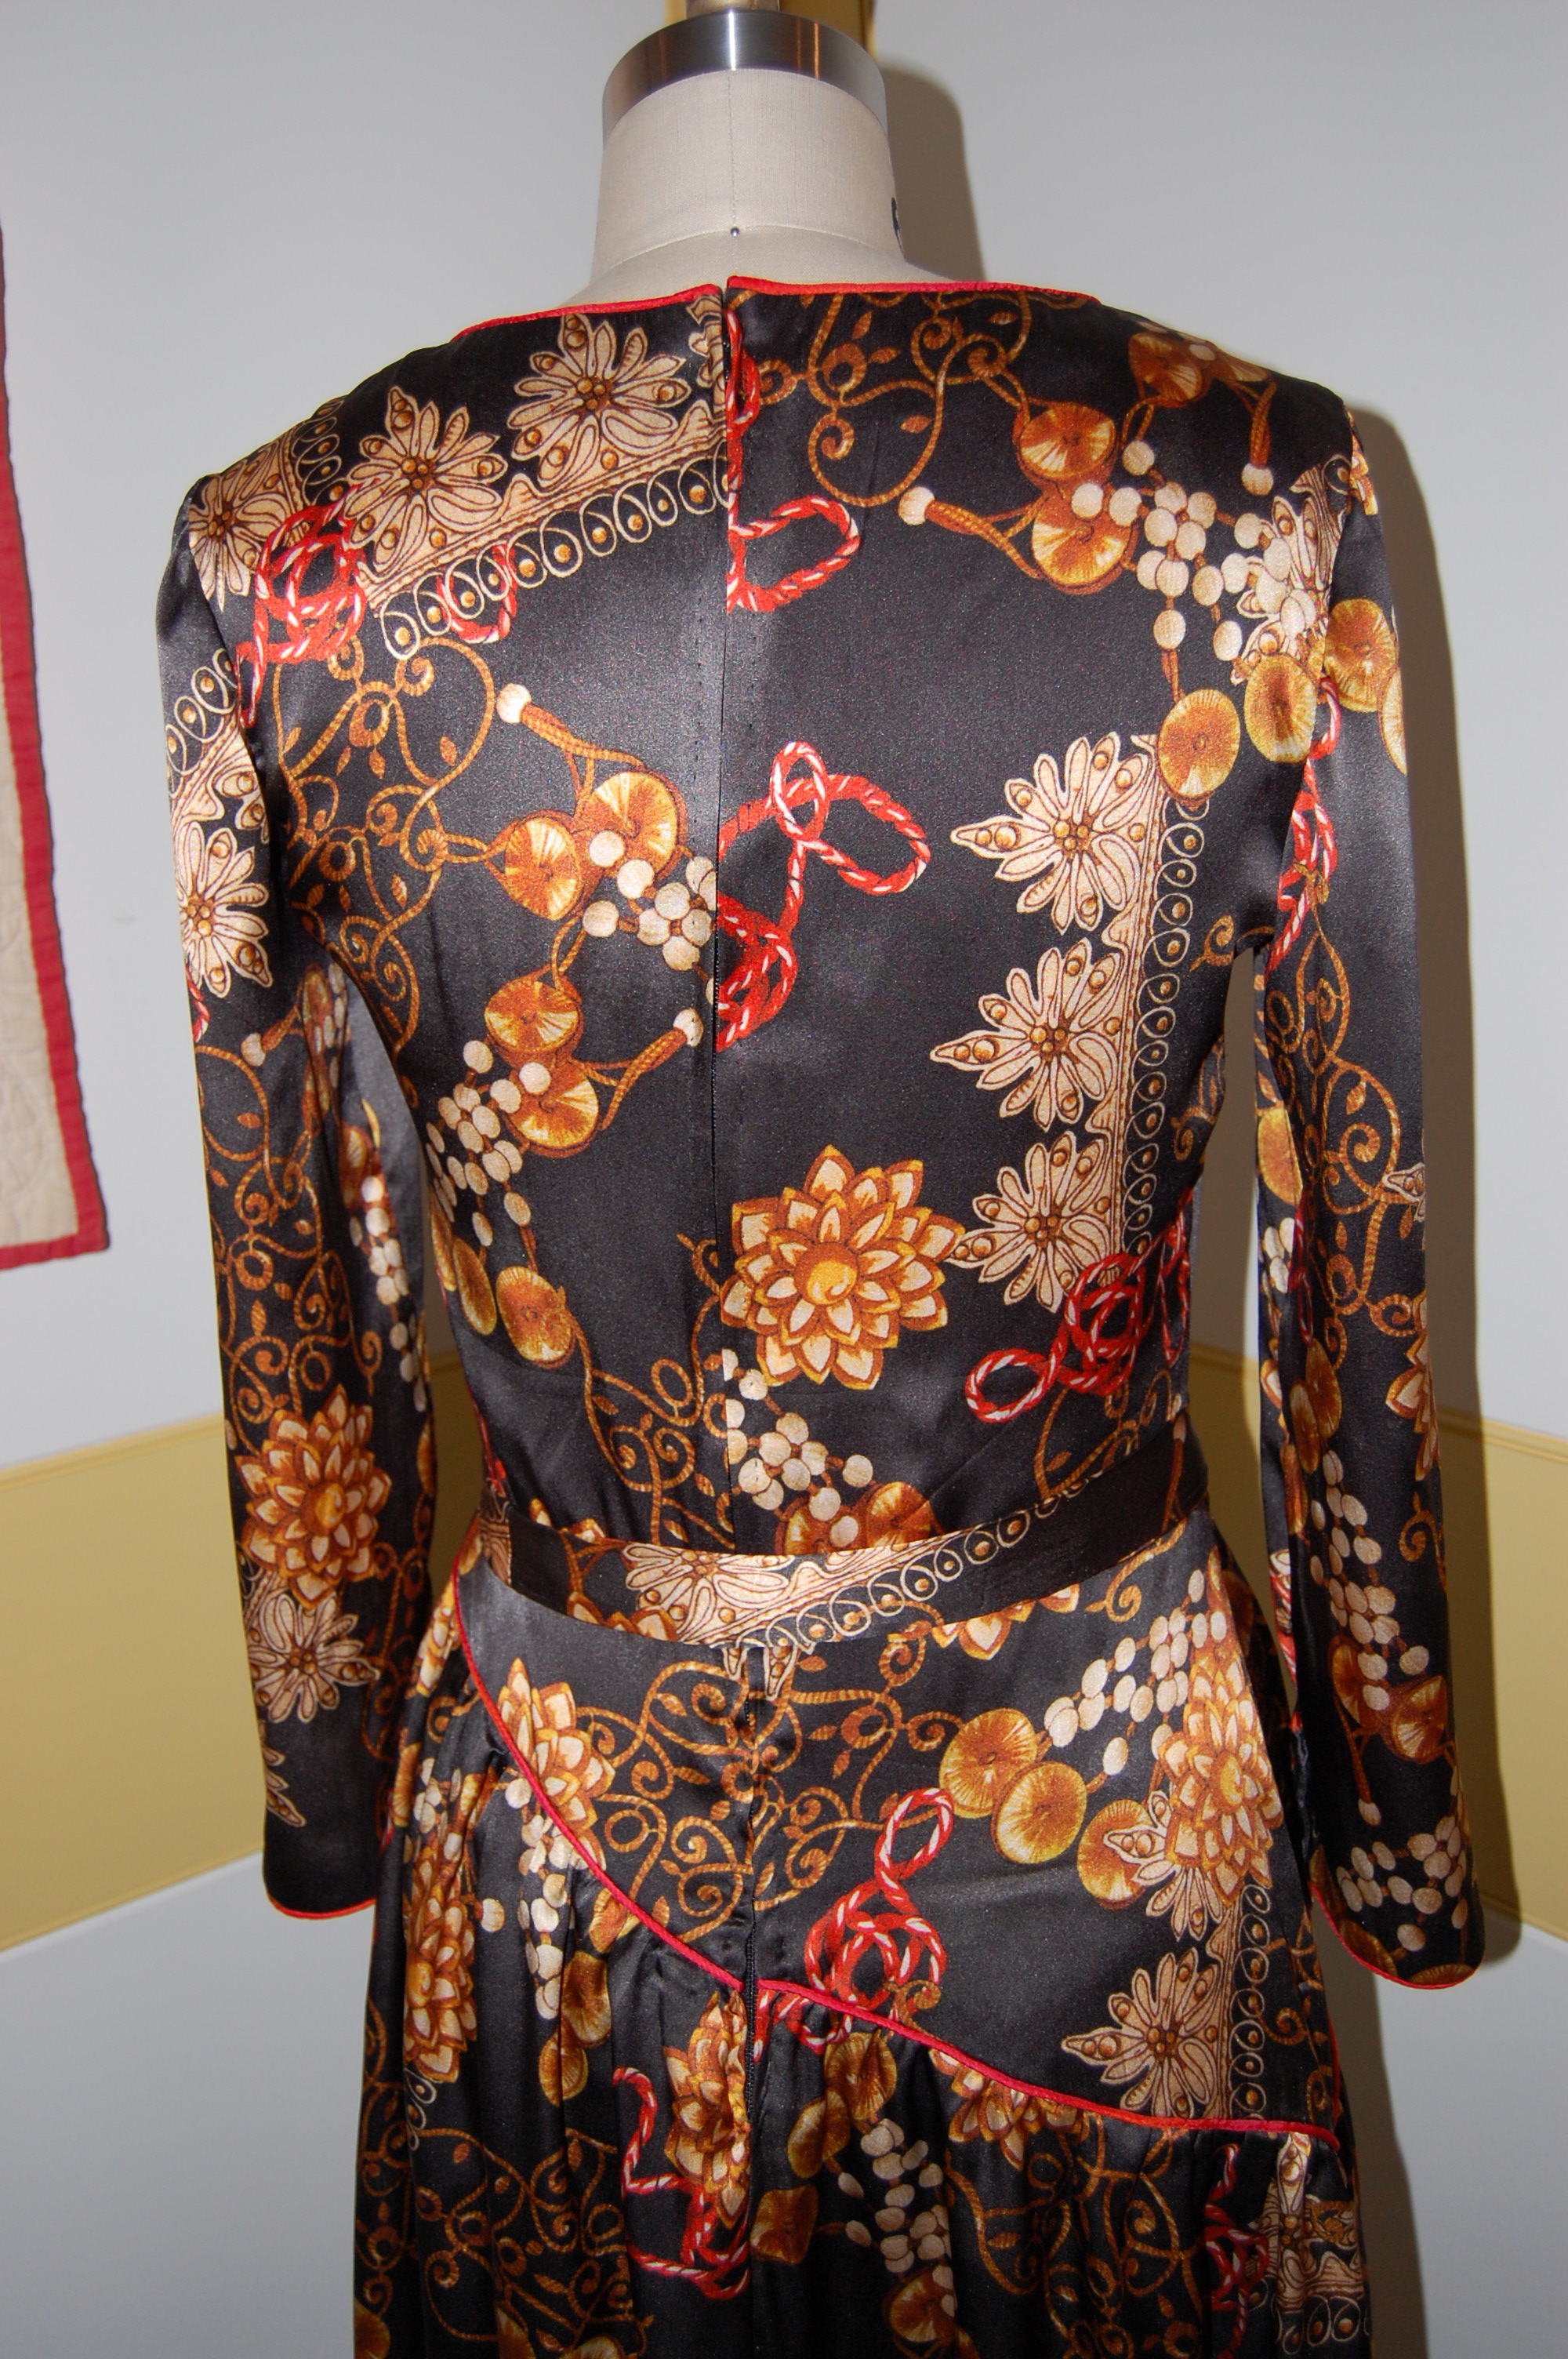
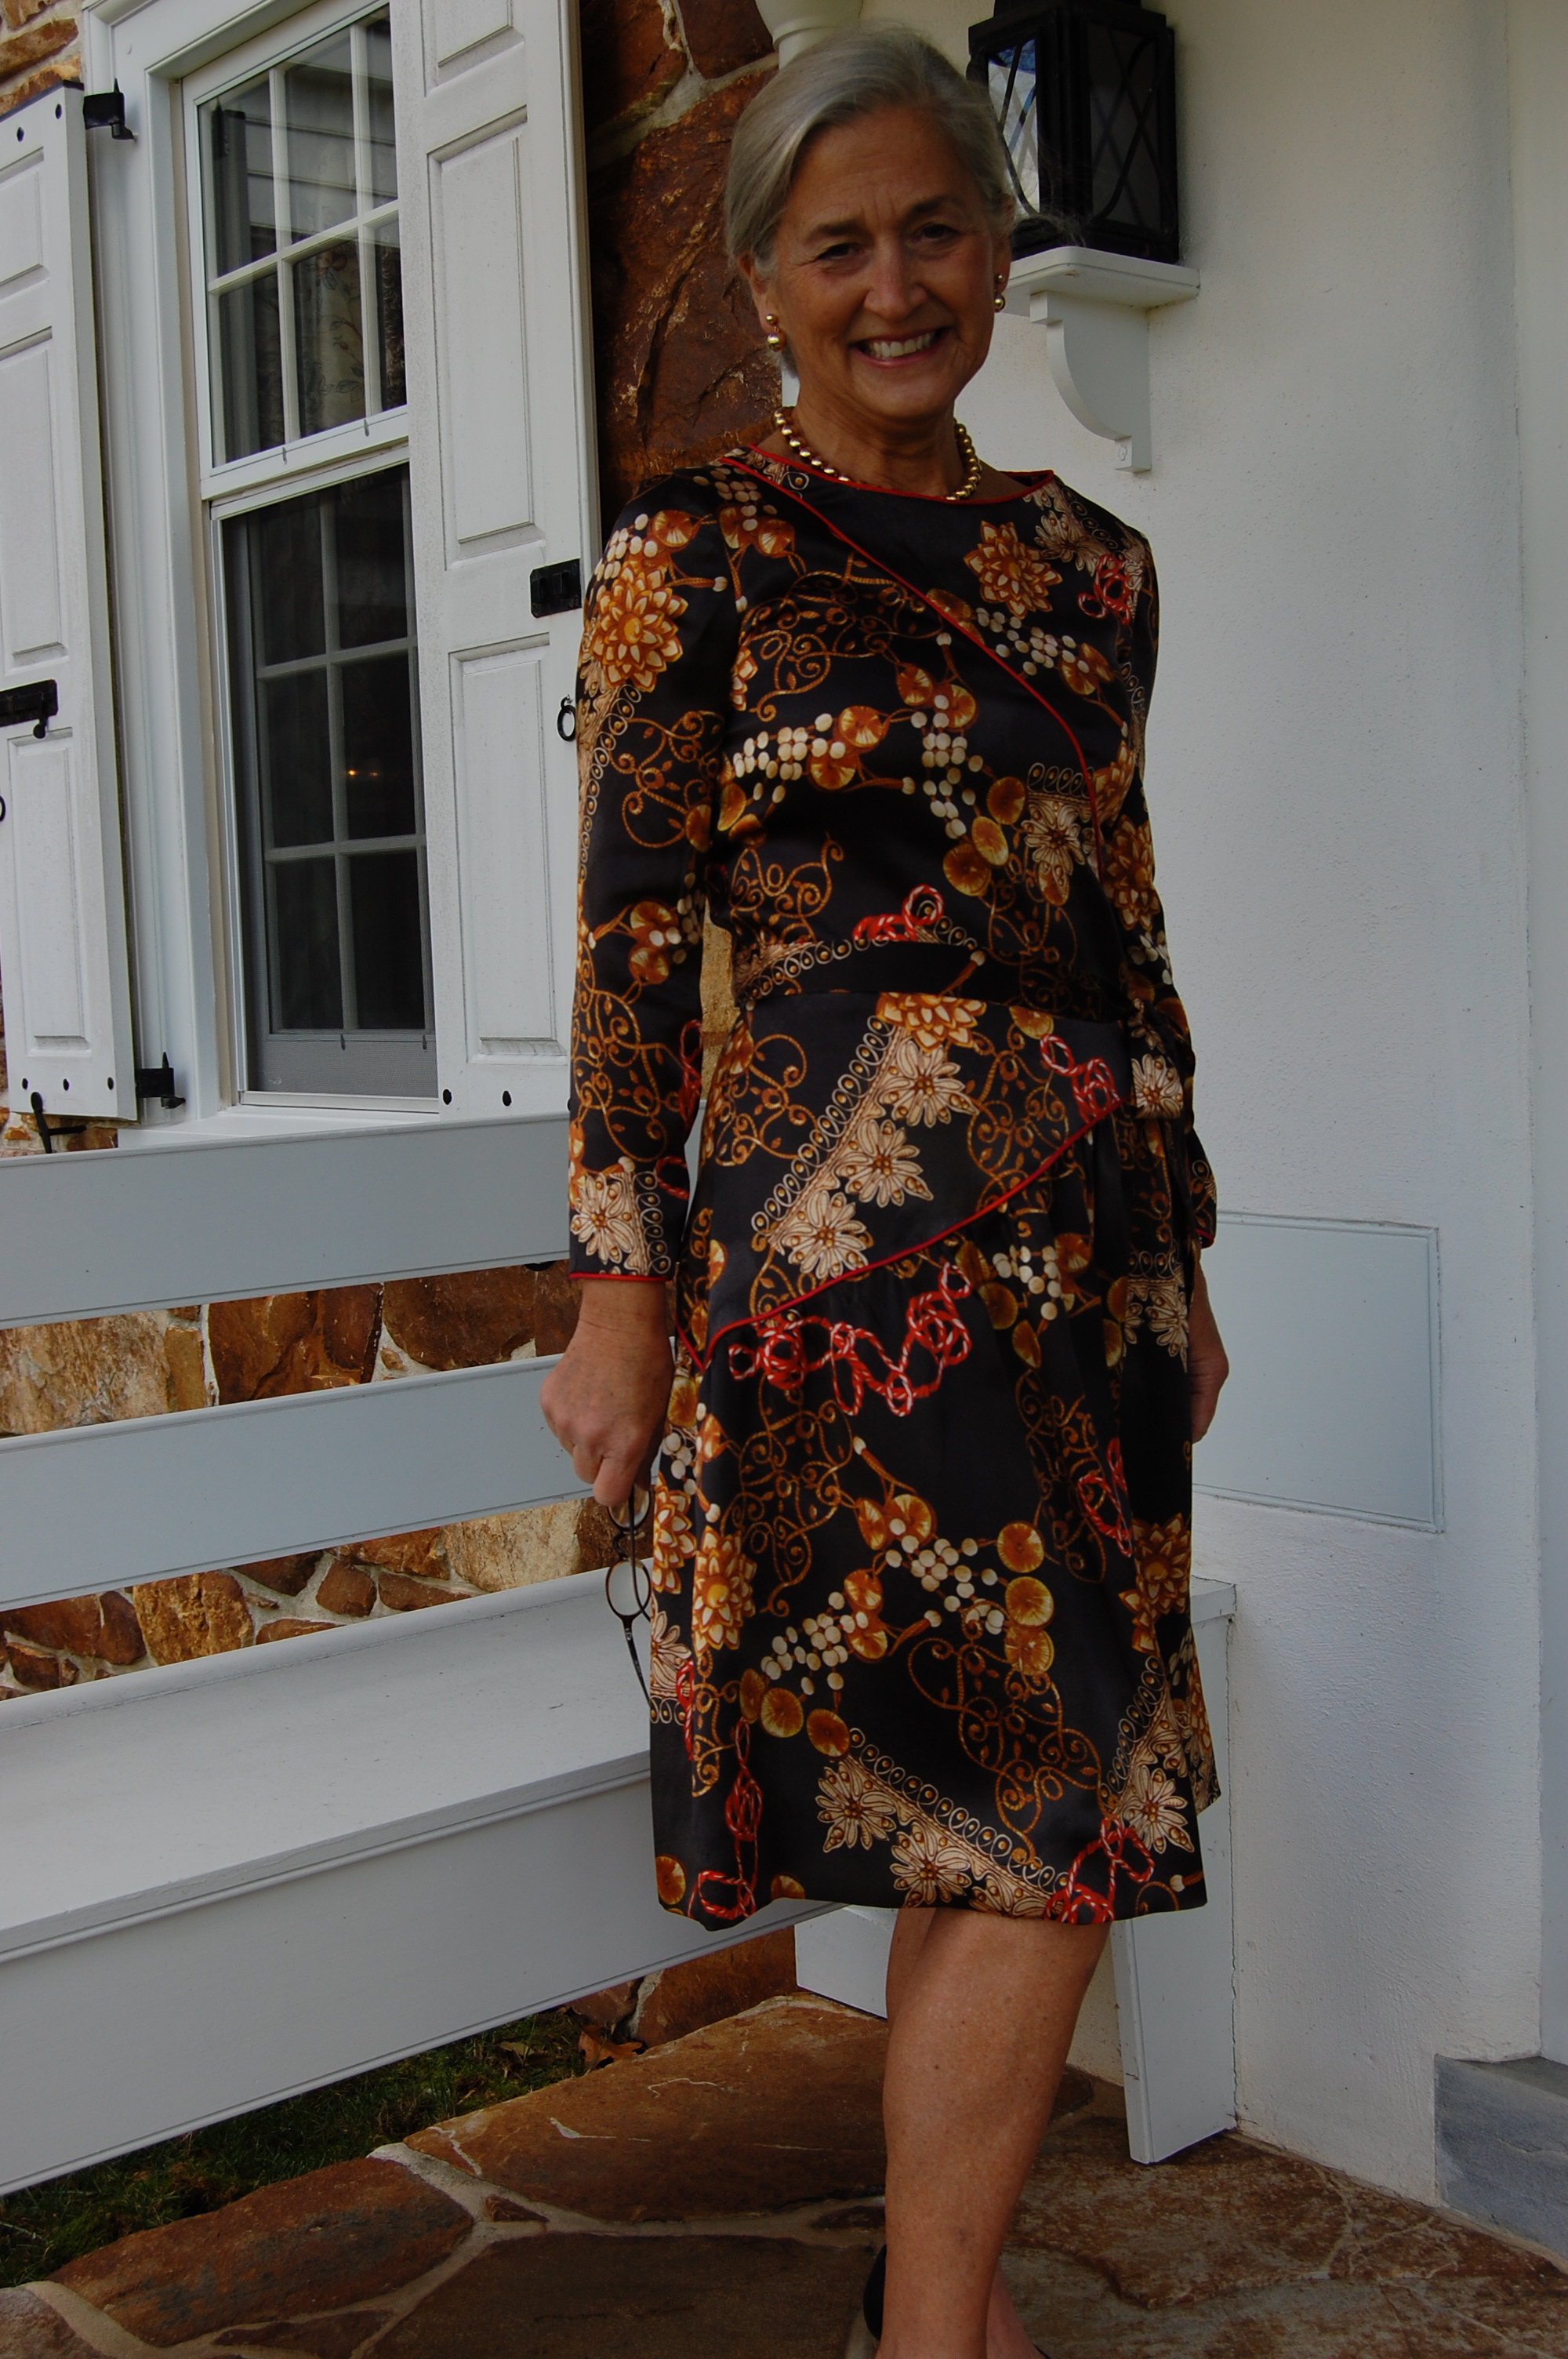
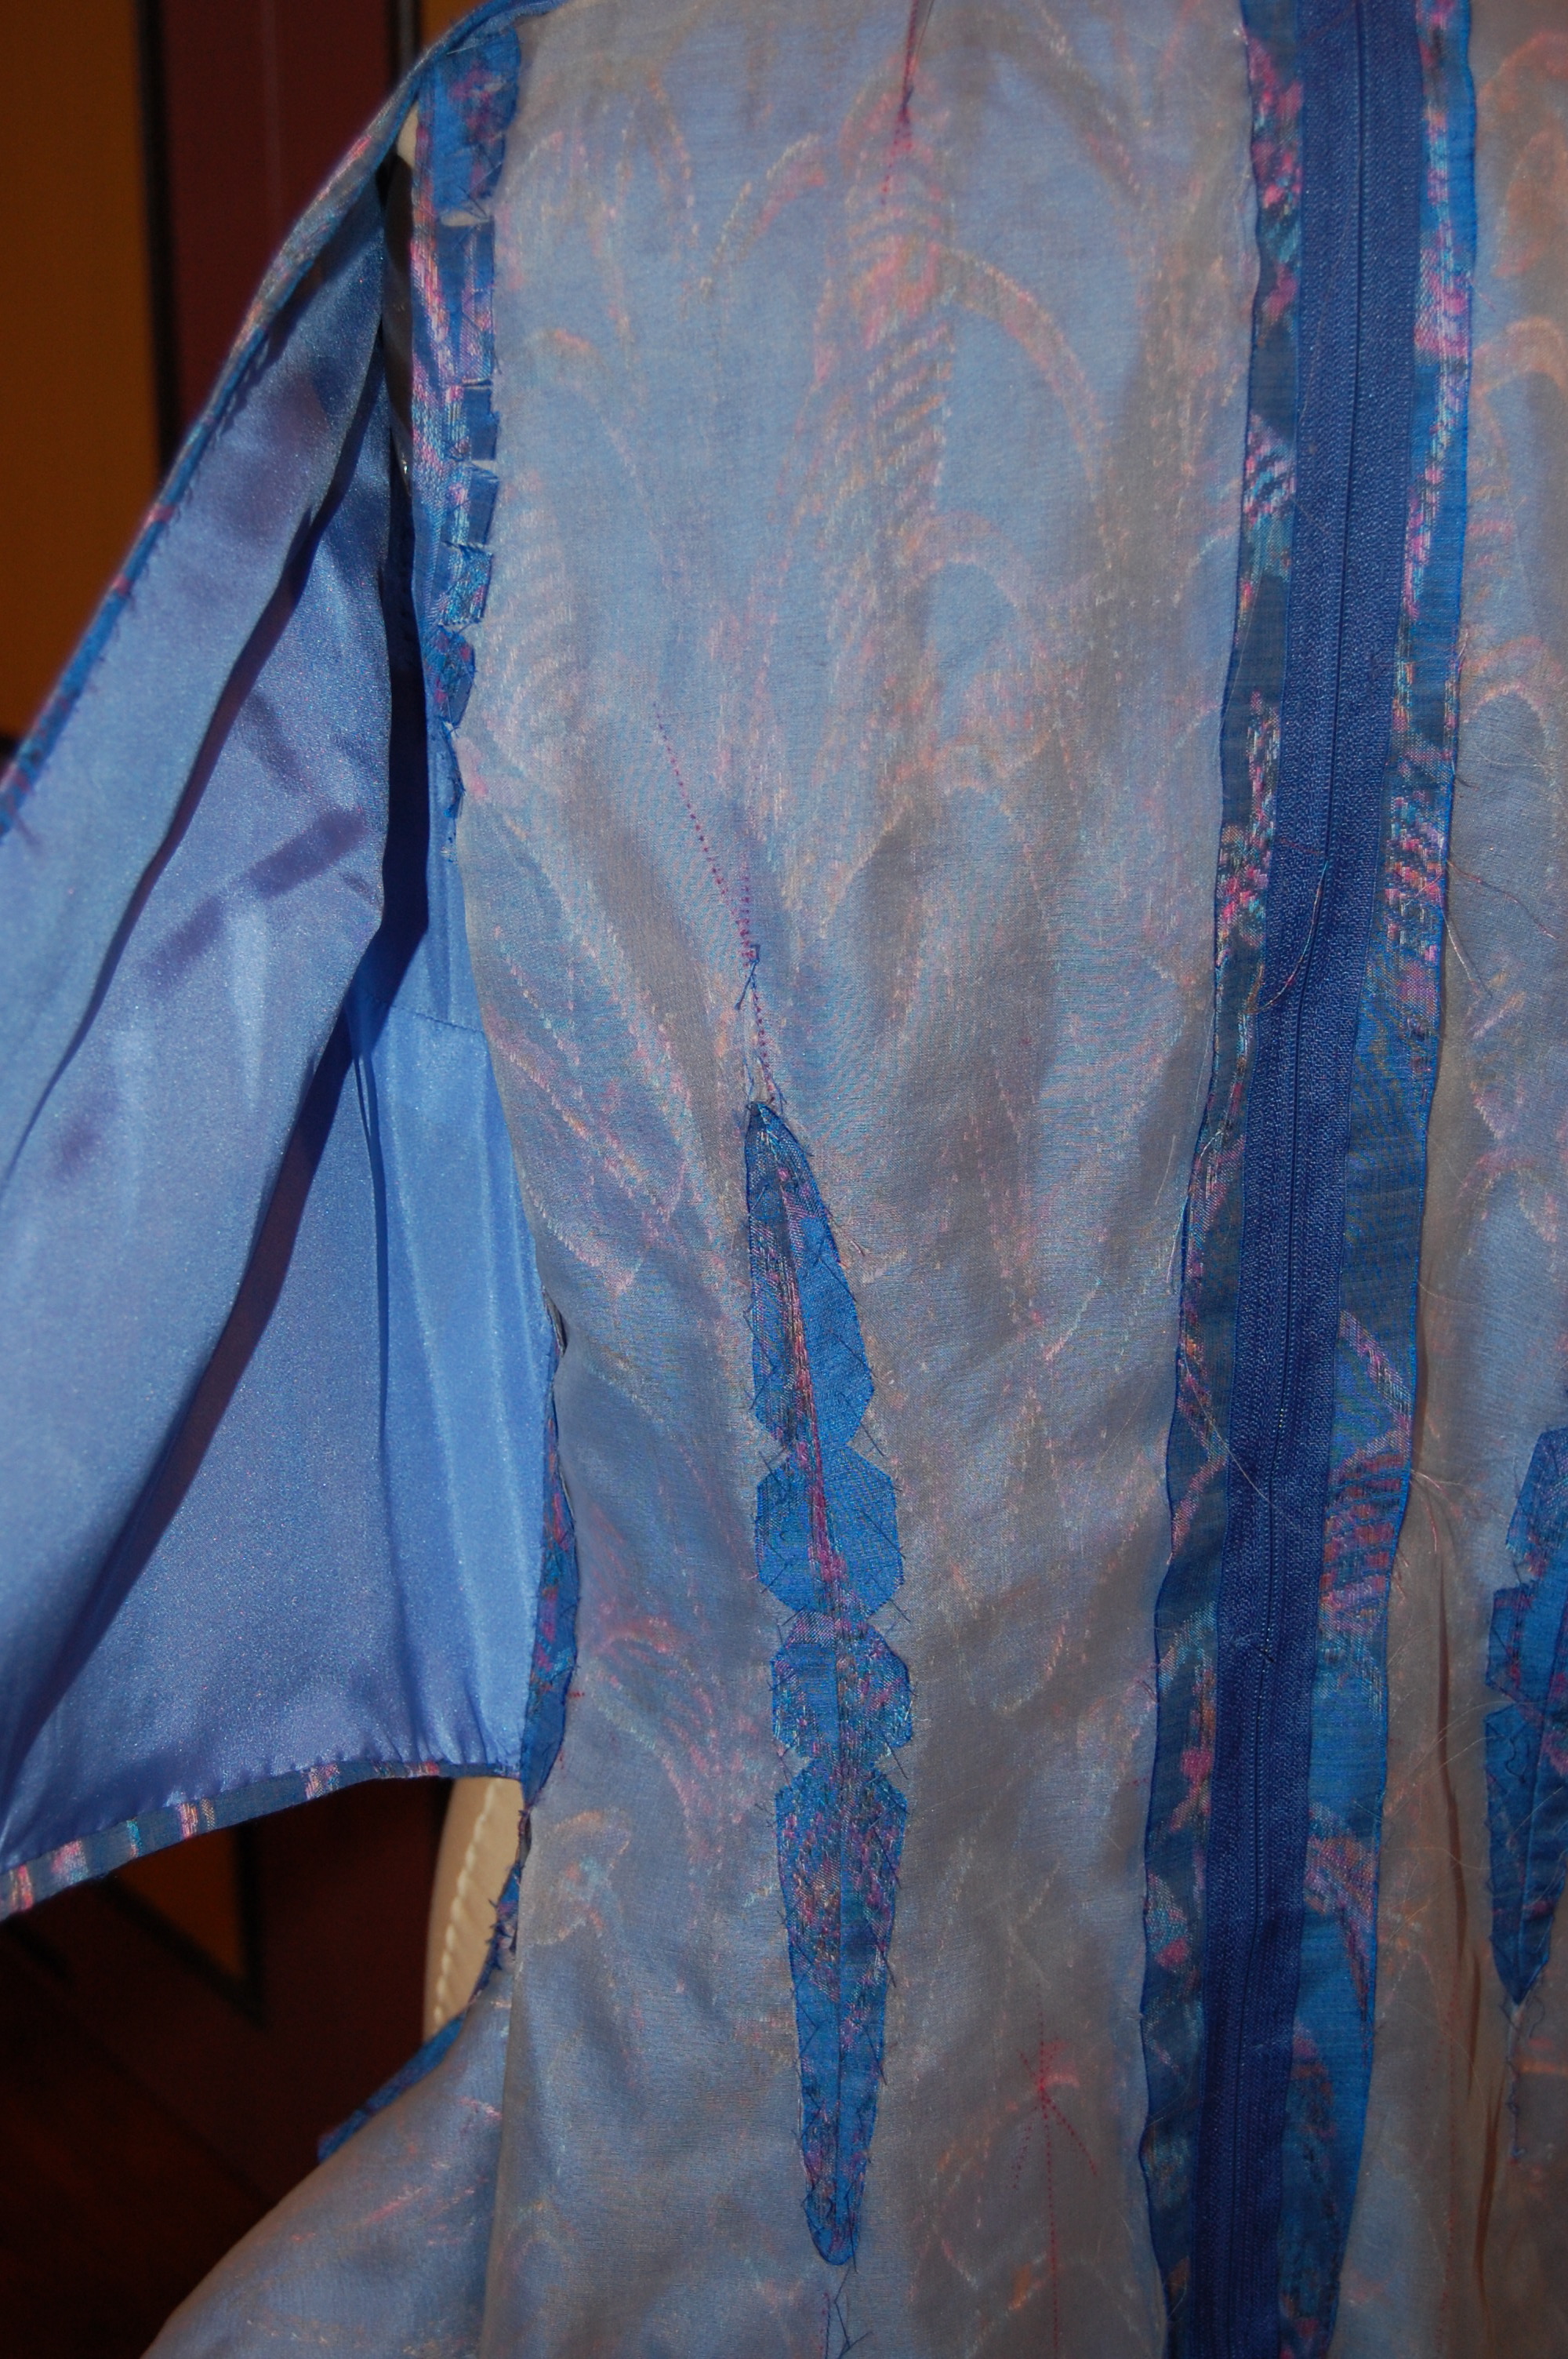
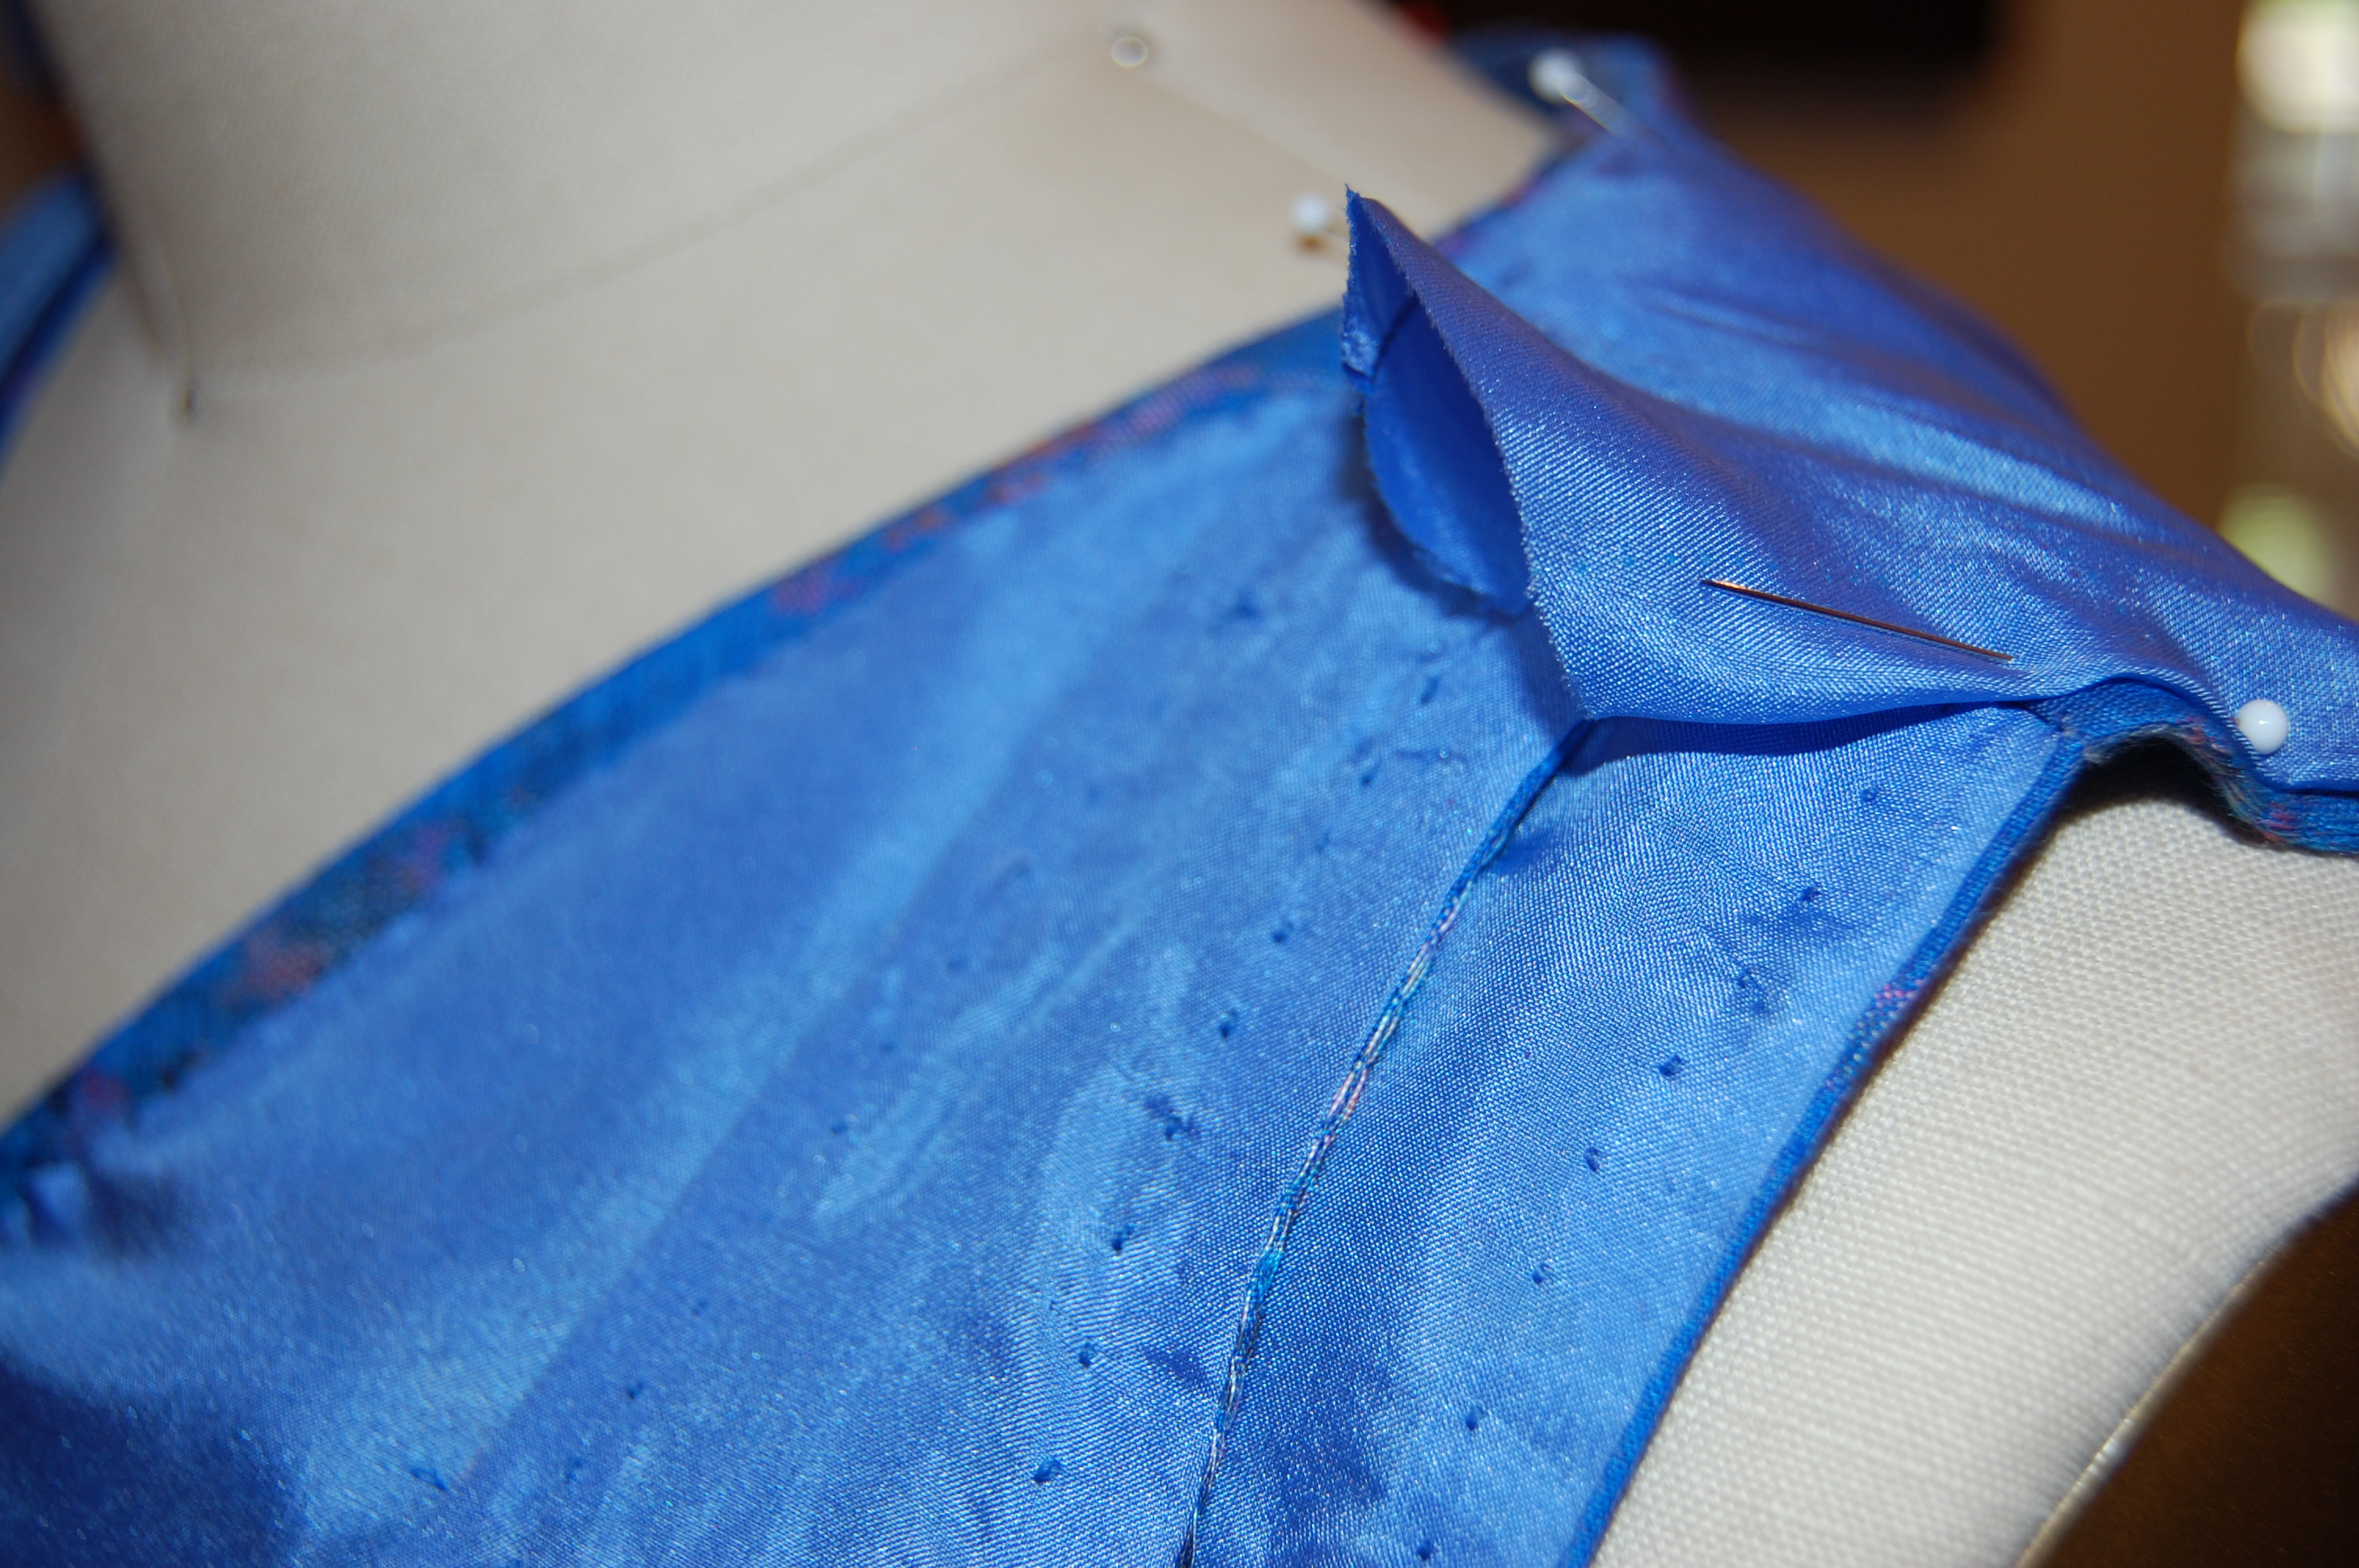
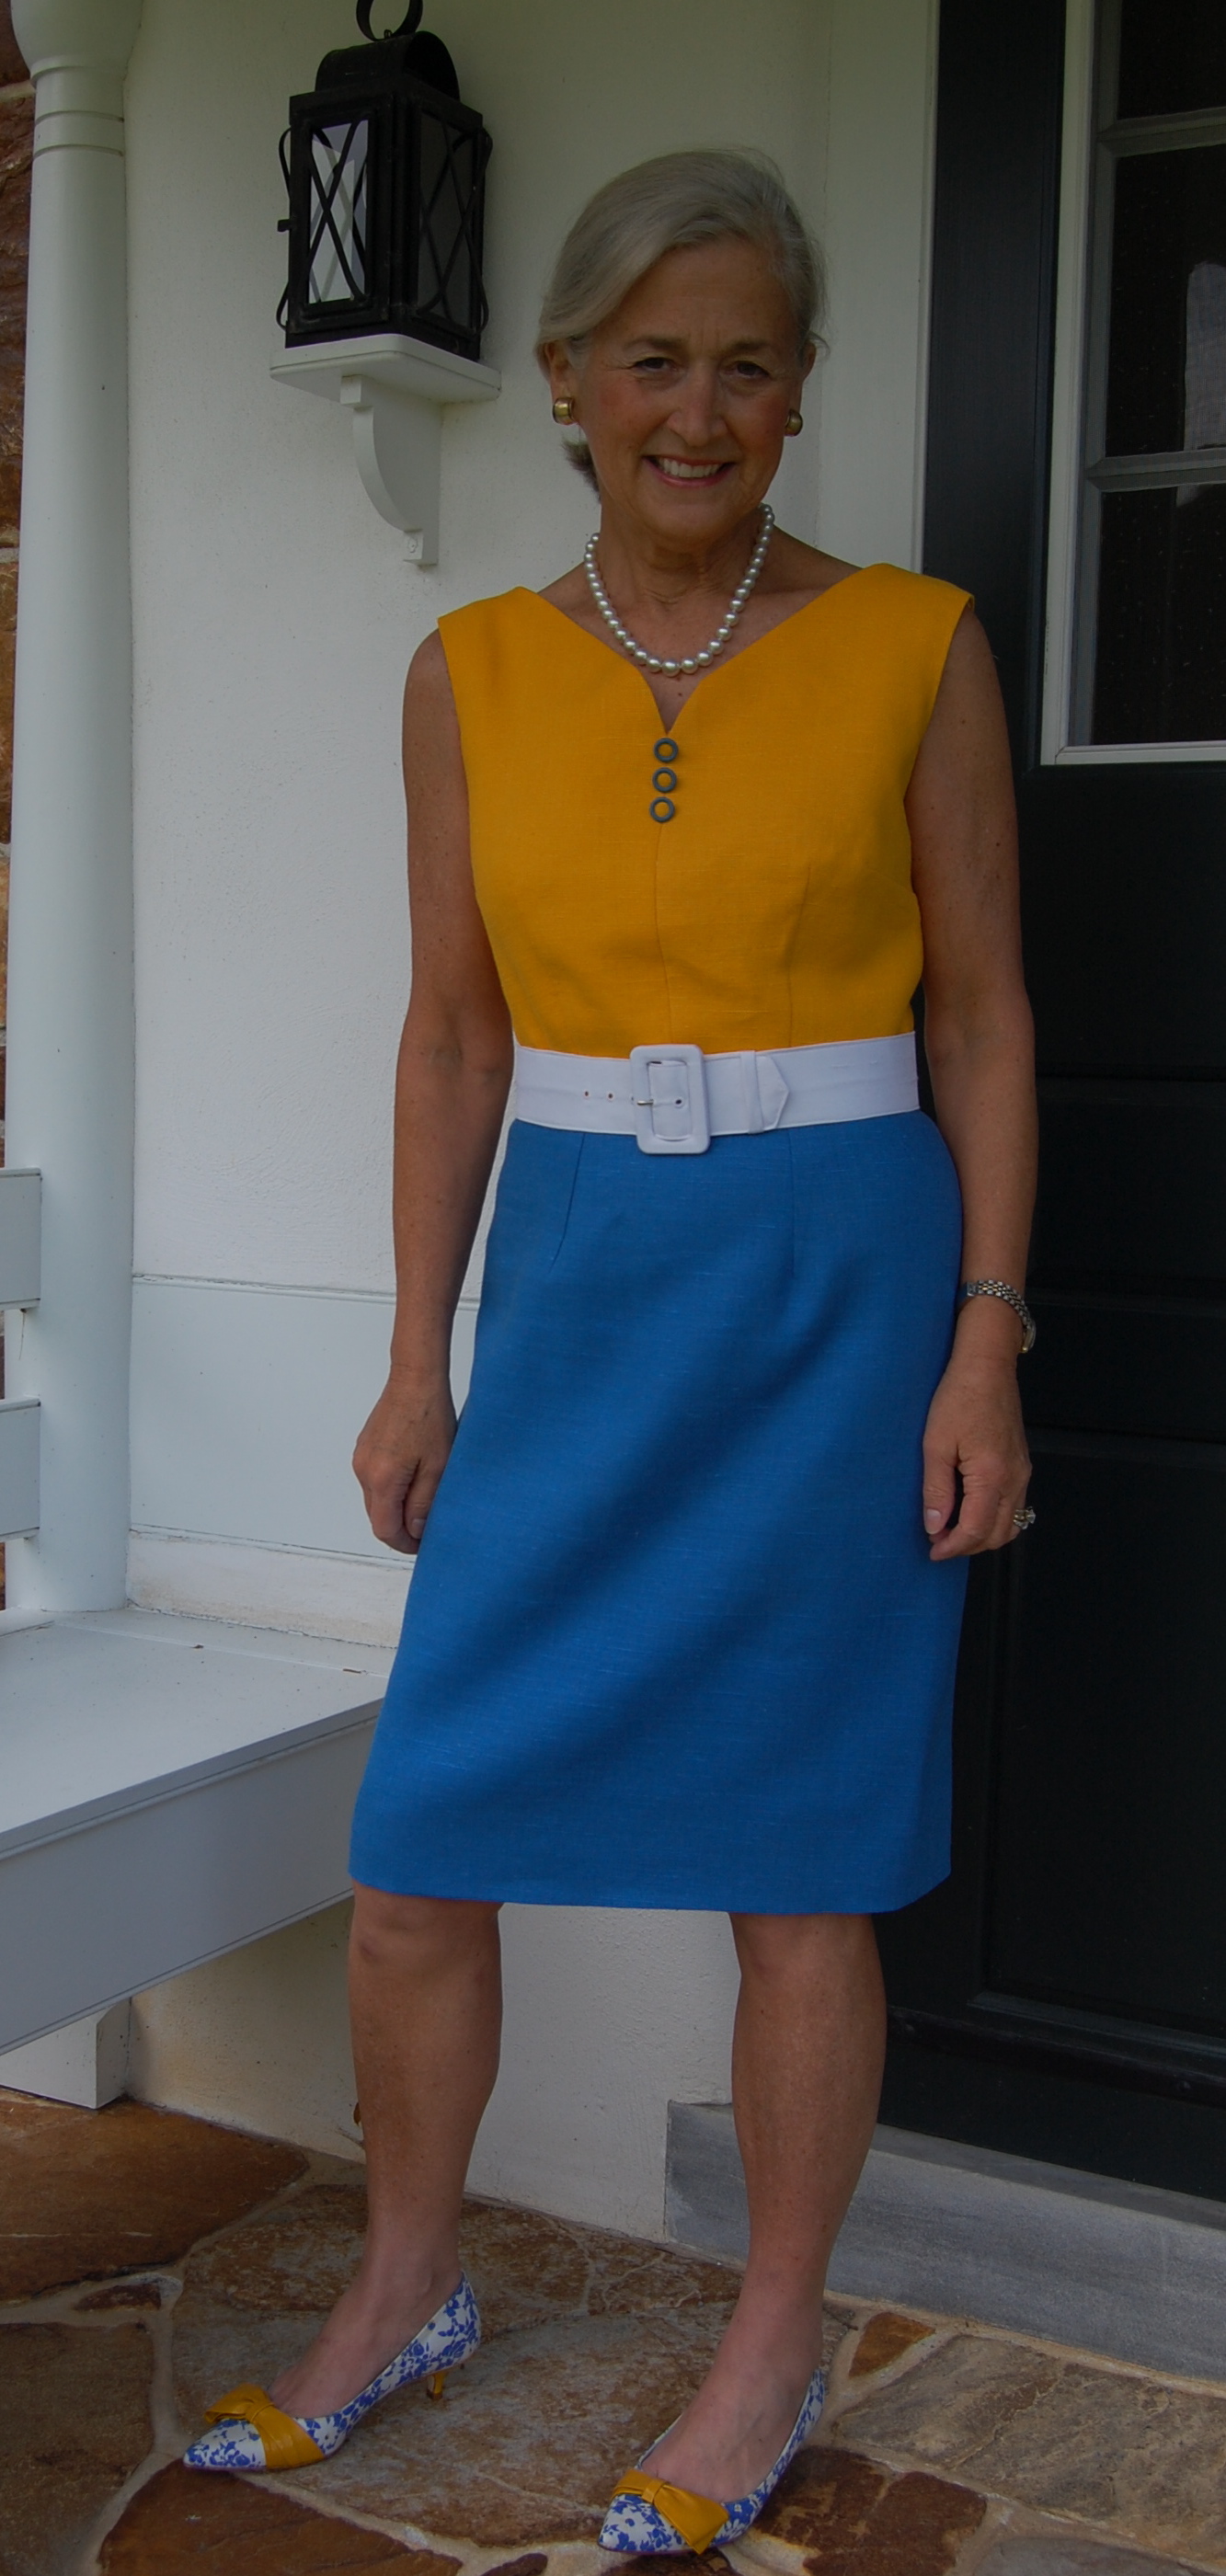
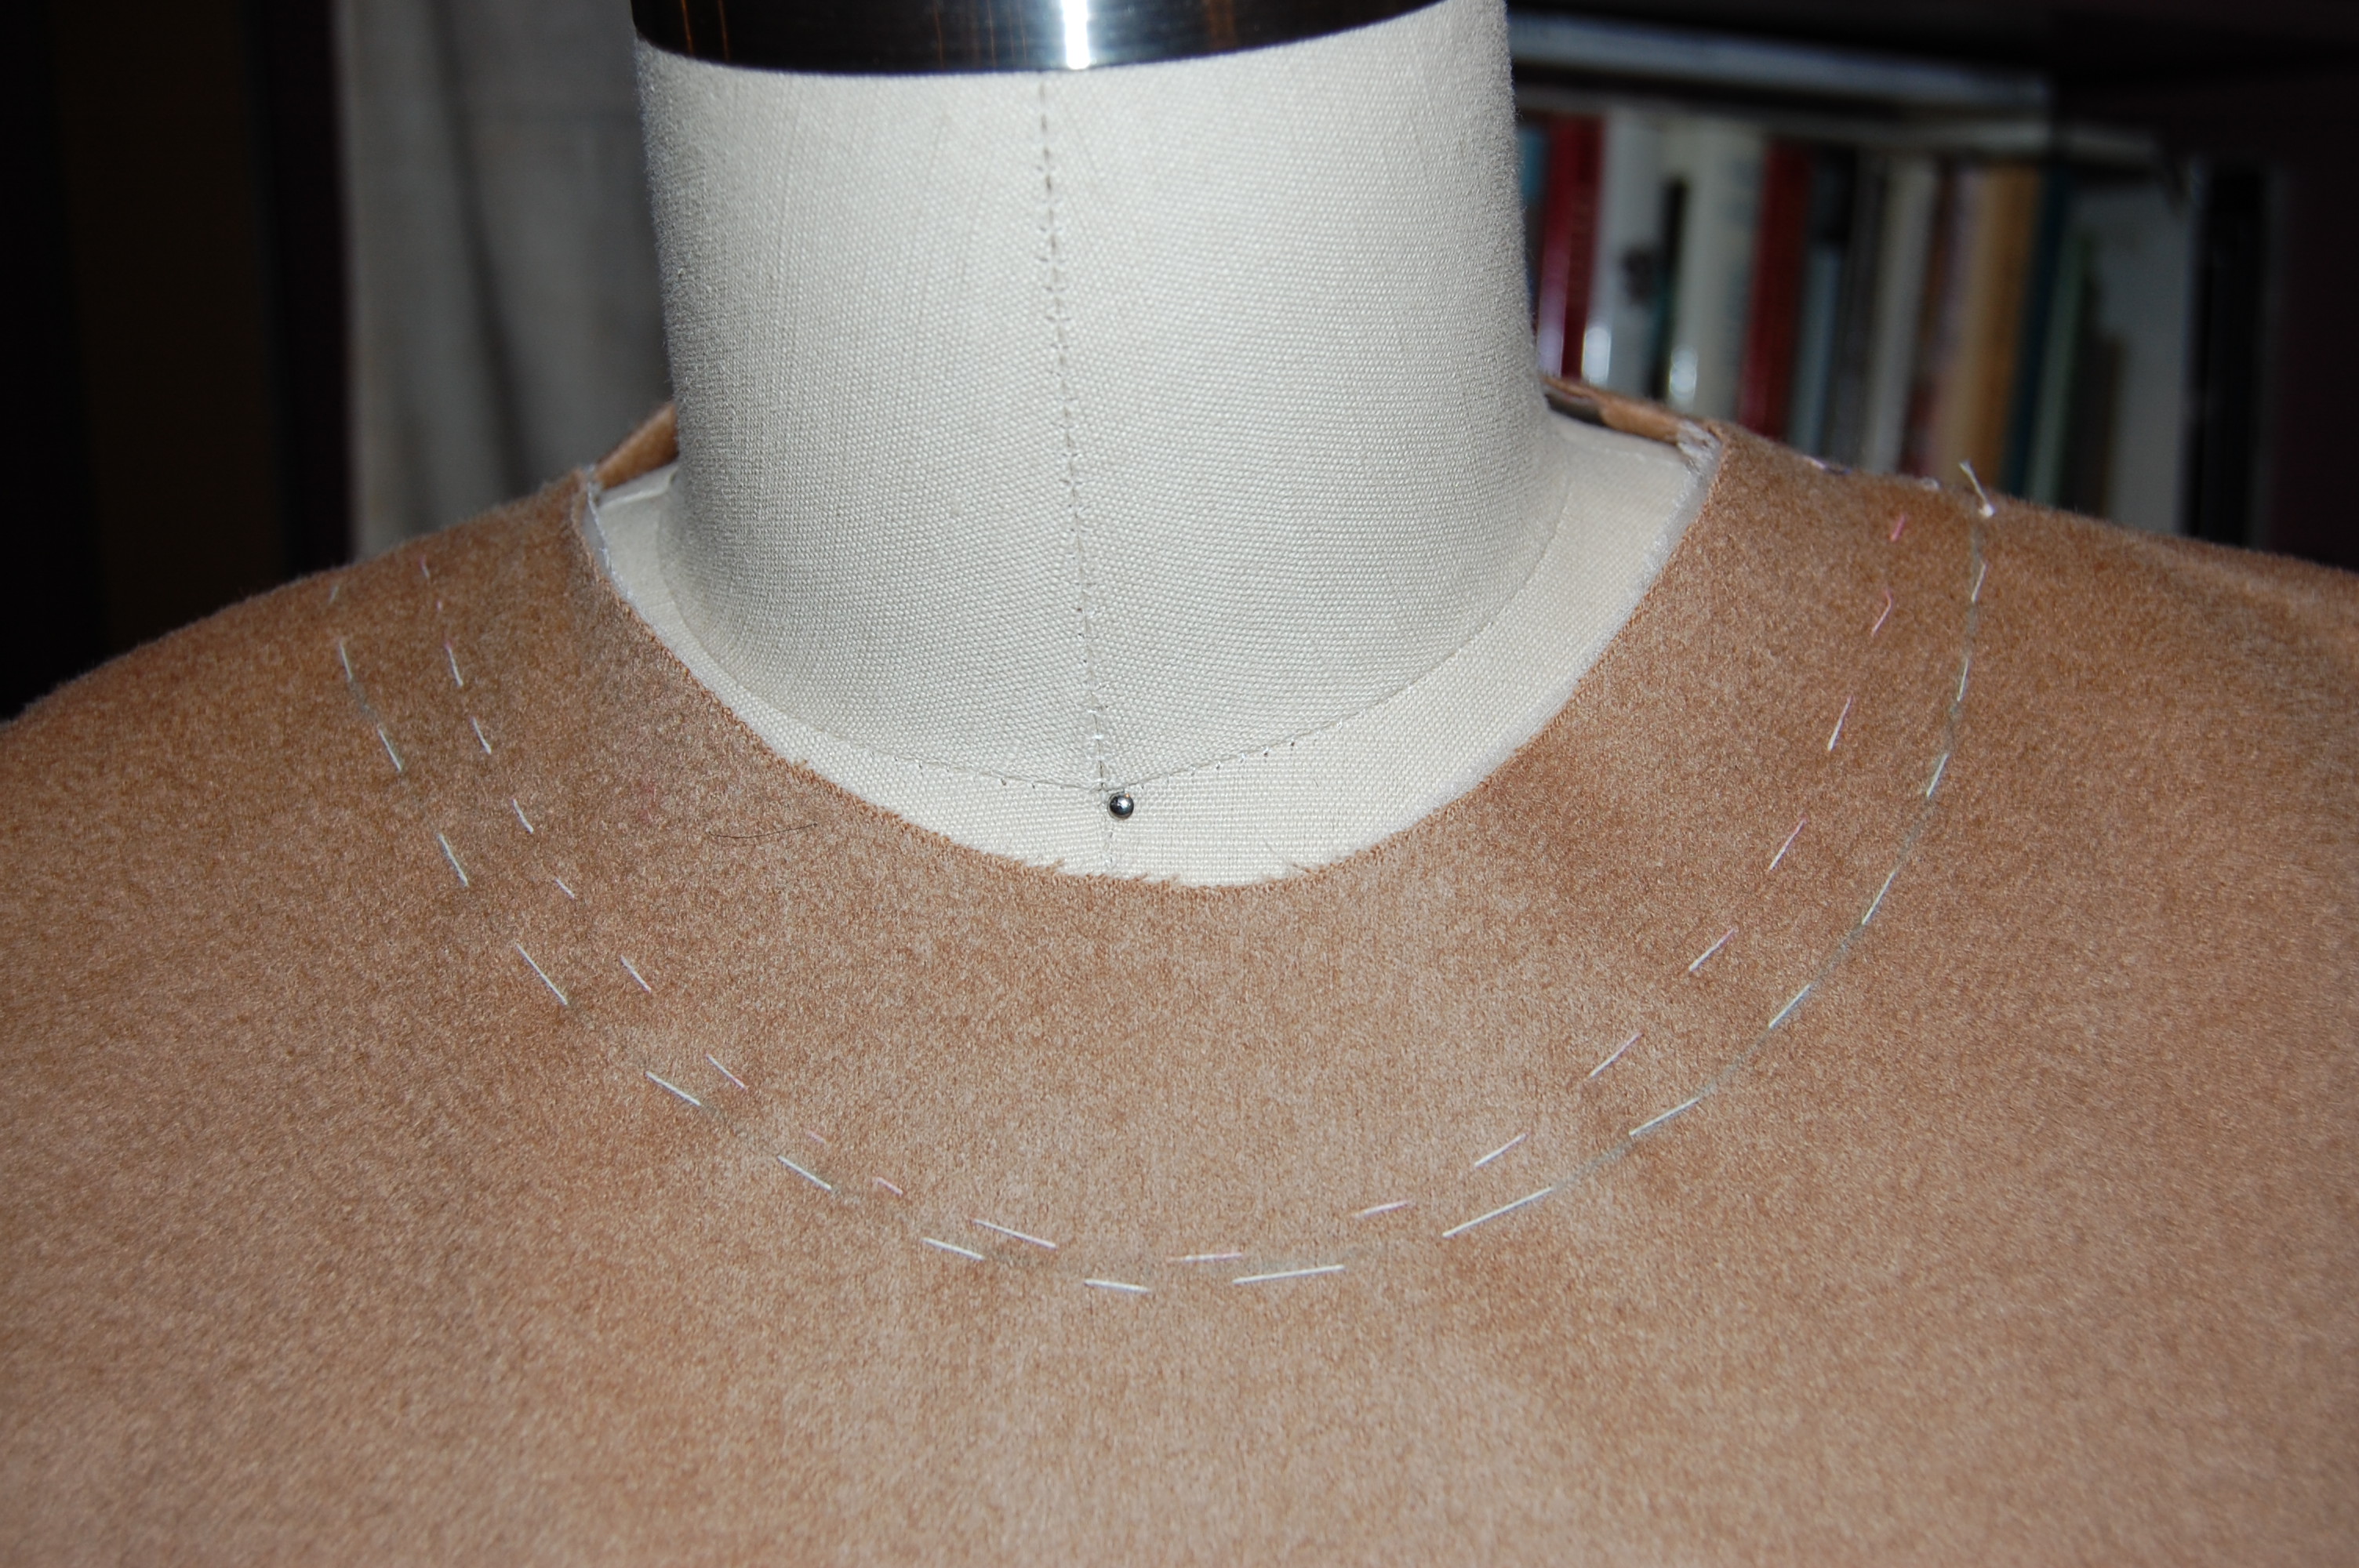
Back to the final part of the dress: the neckline. I still wasn’t sure I had a pleasing neckline, so I got out my French rule and re-chalked one with a little wider stance and depth.
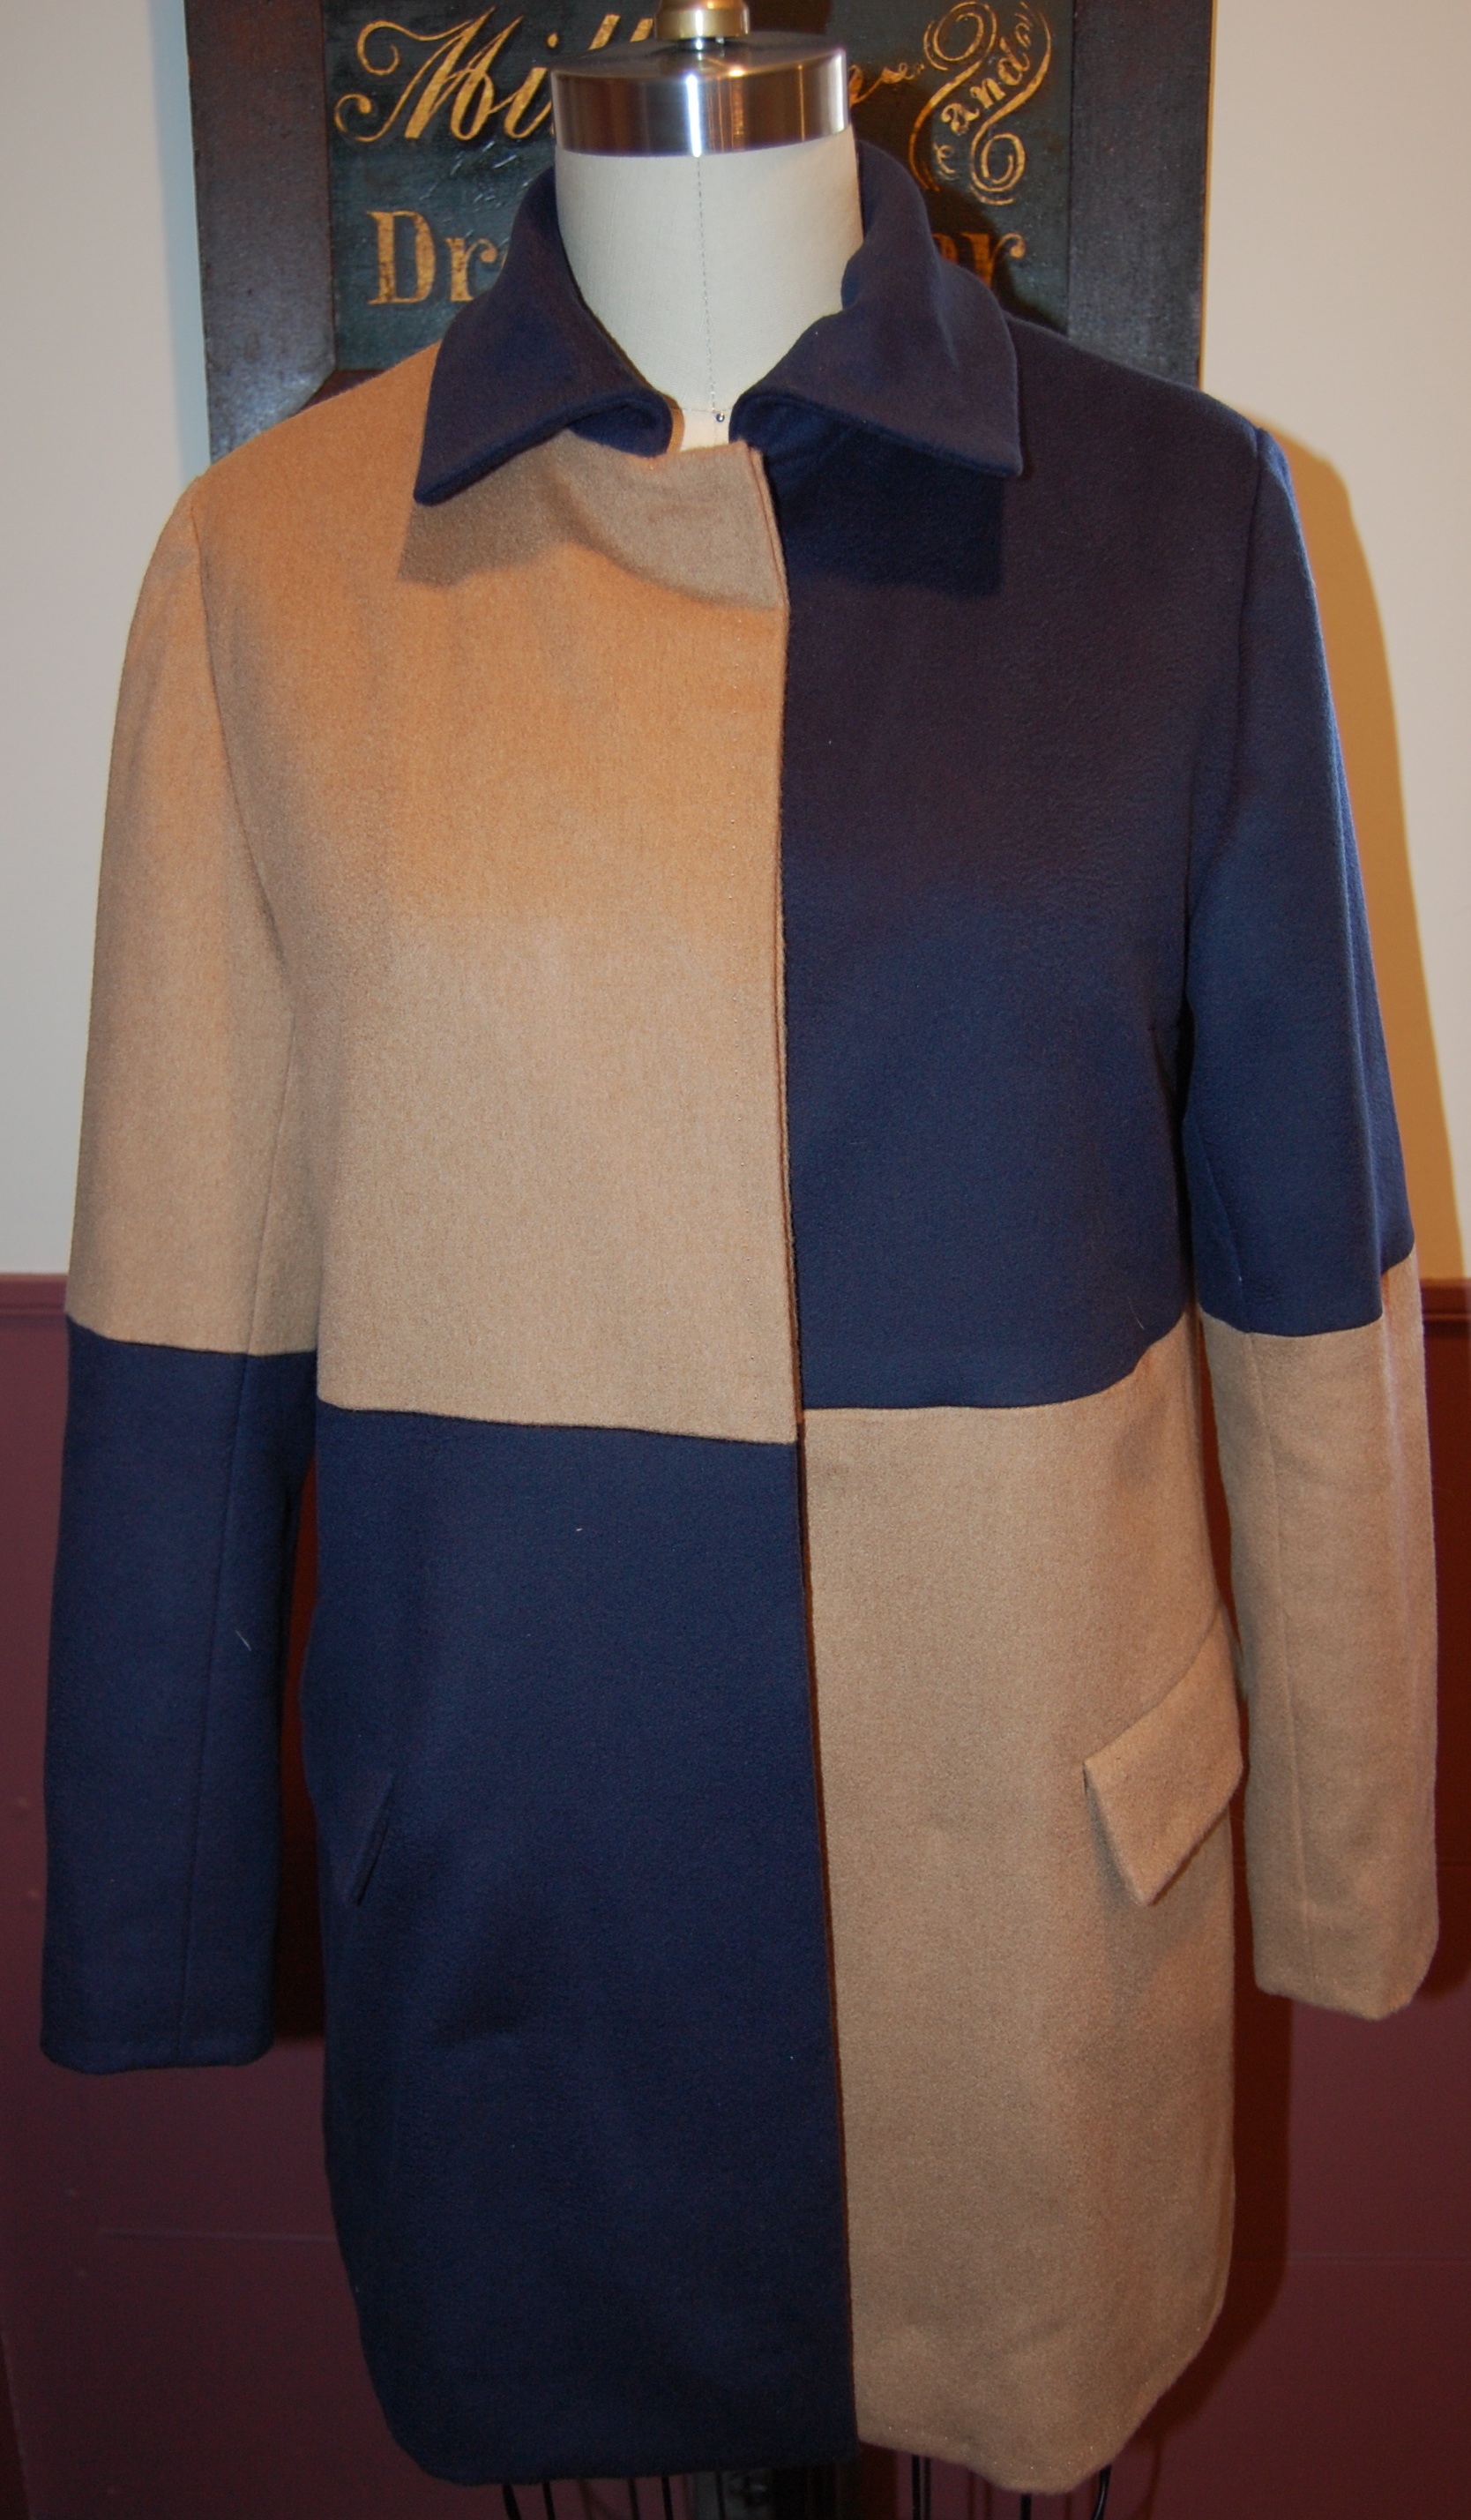
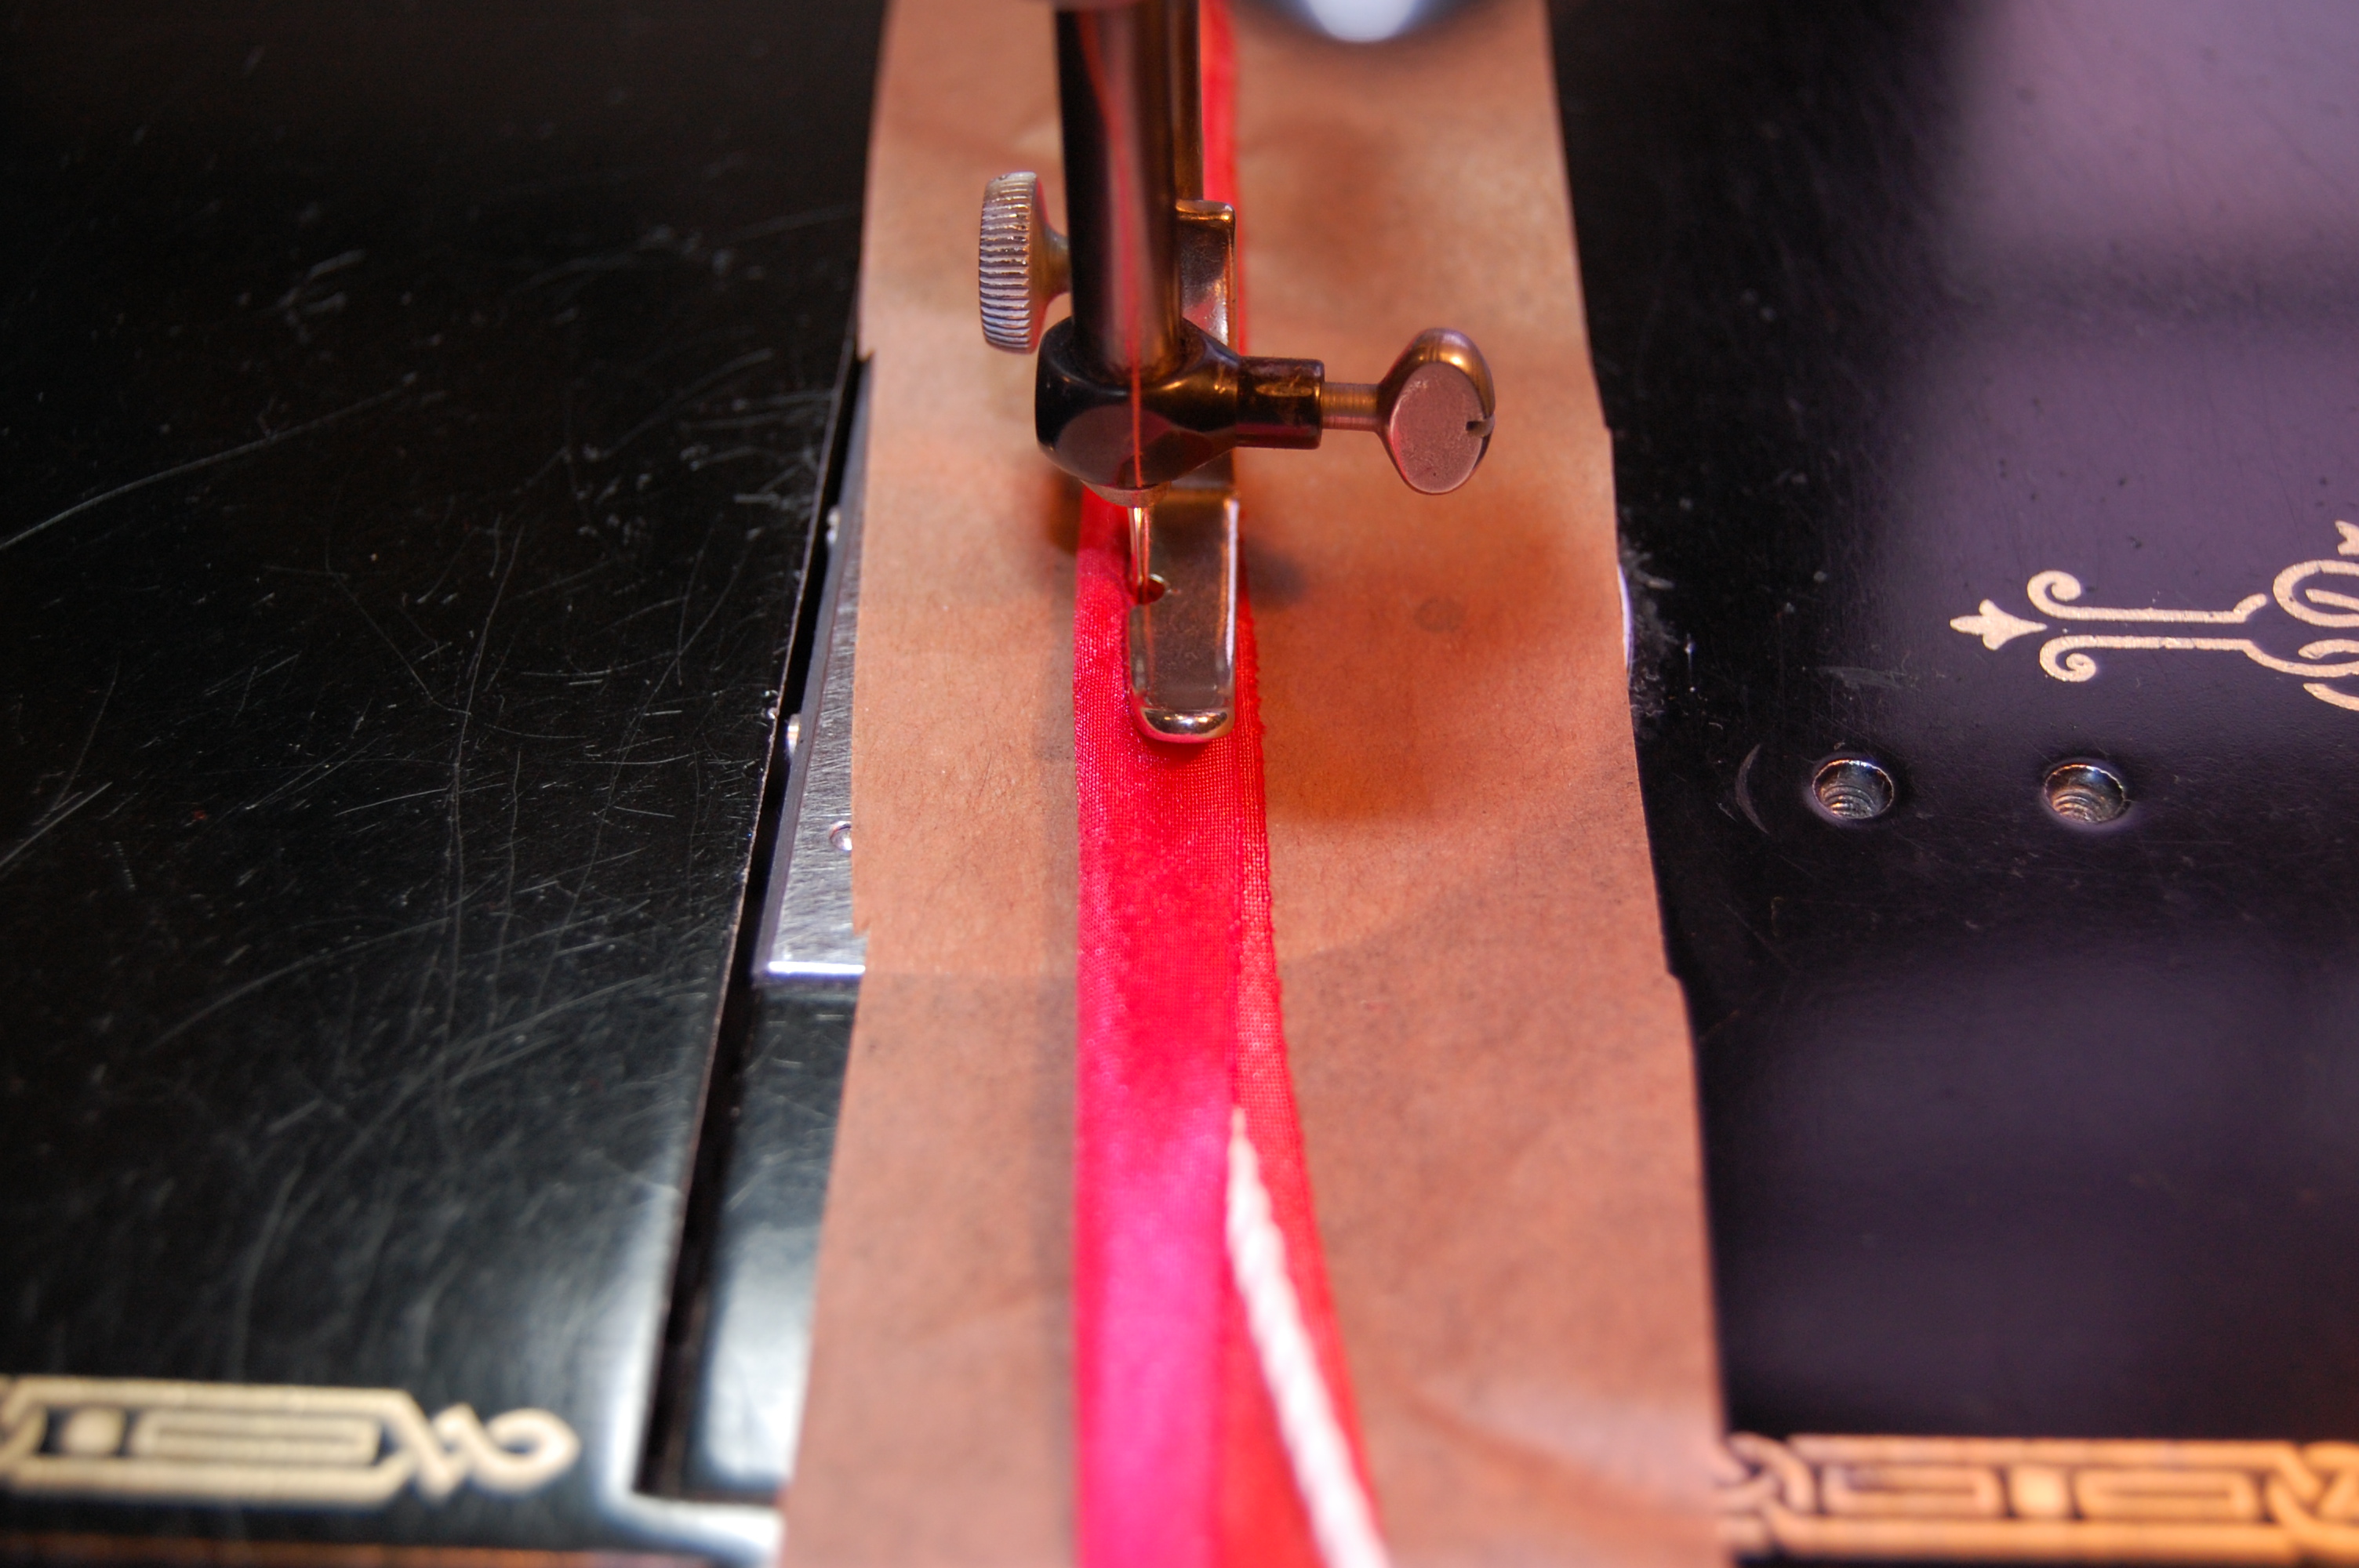
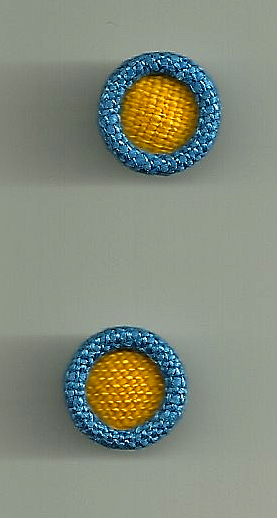
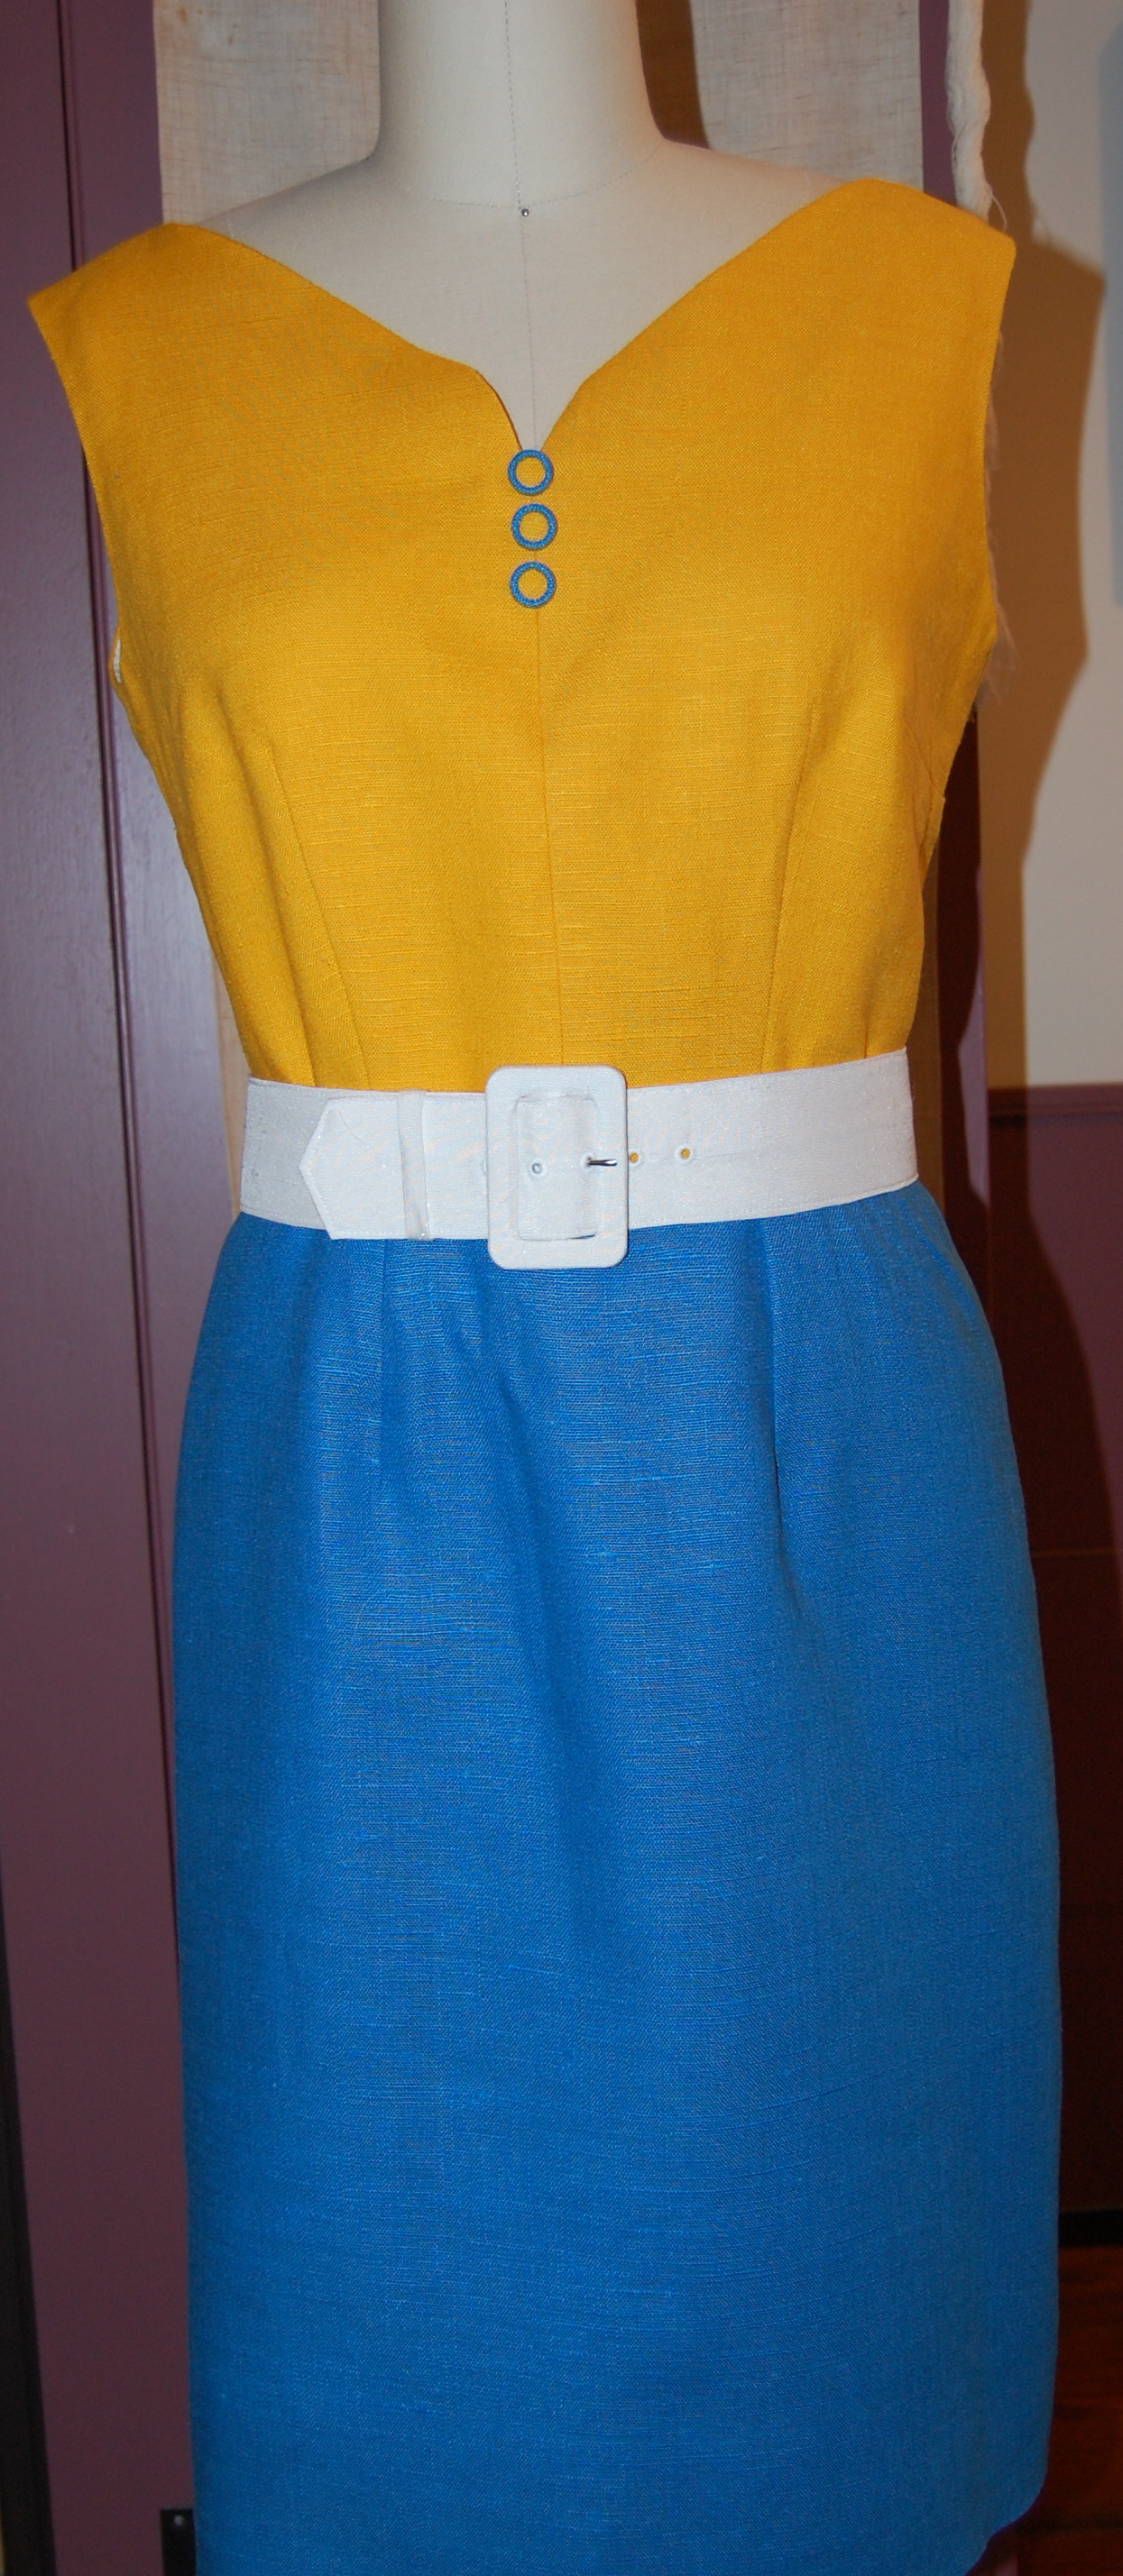
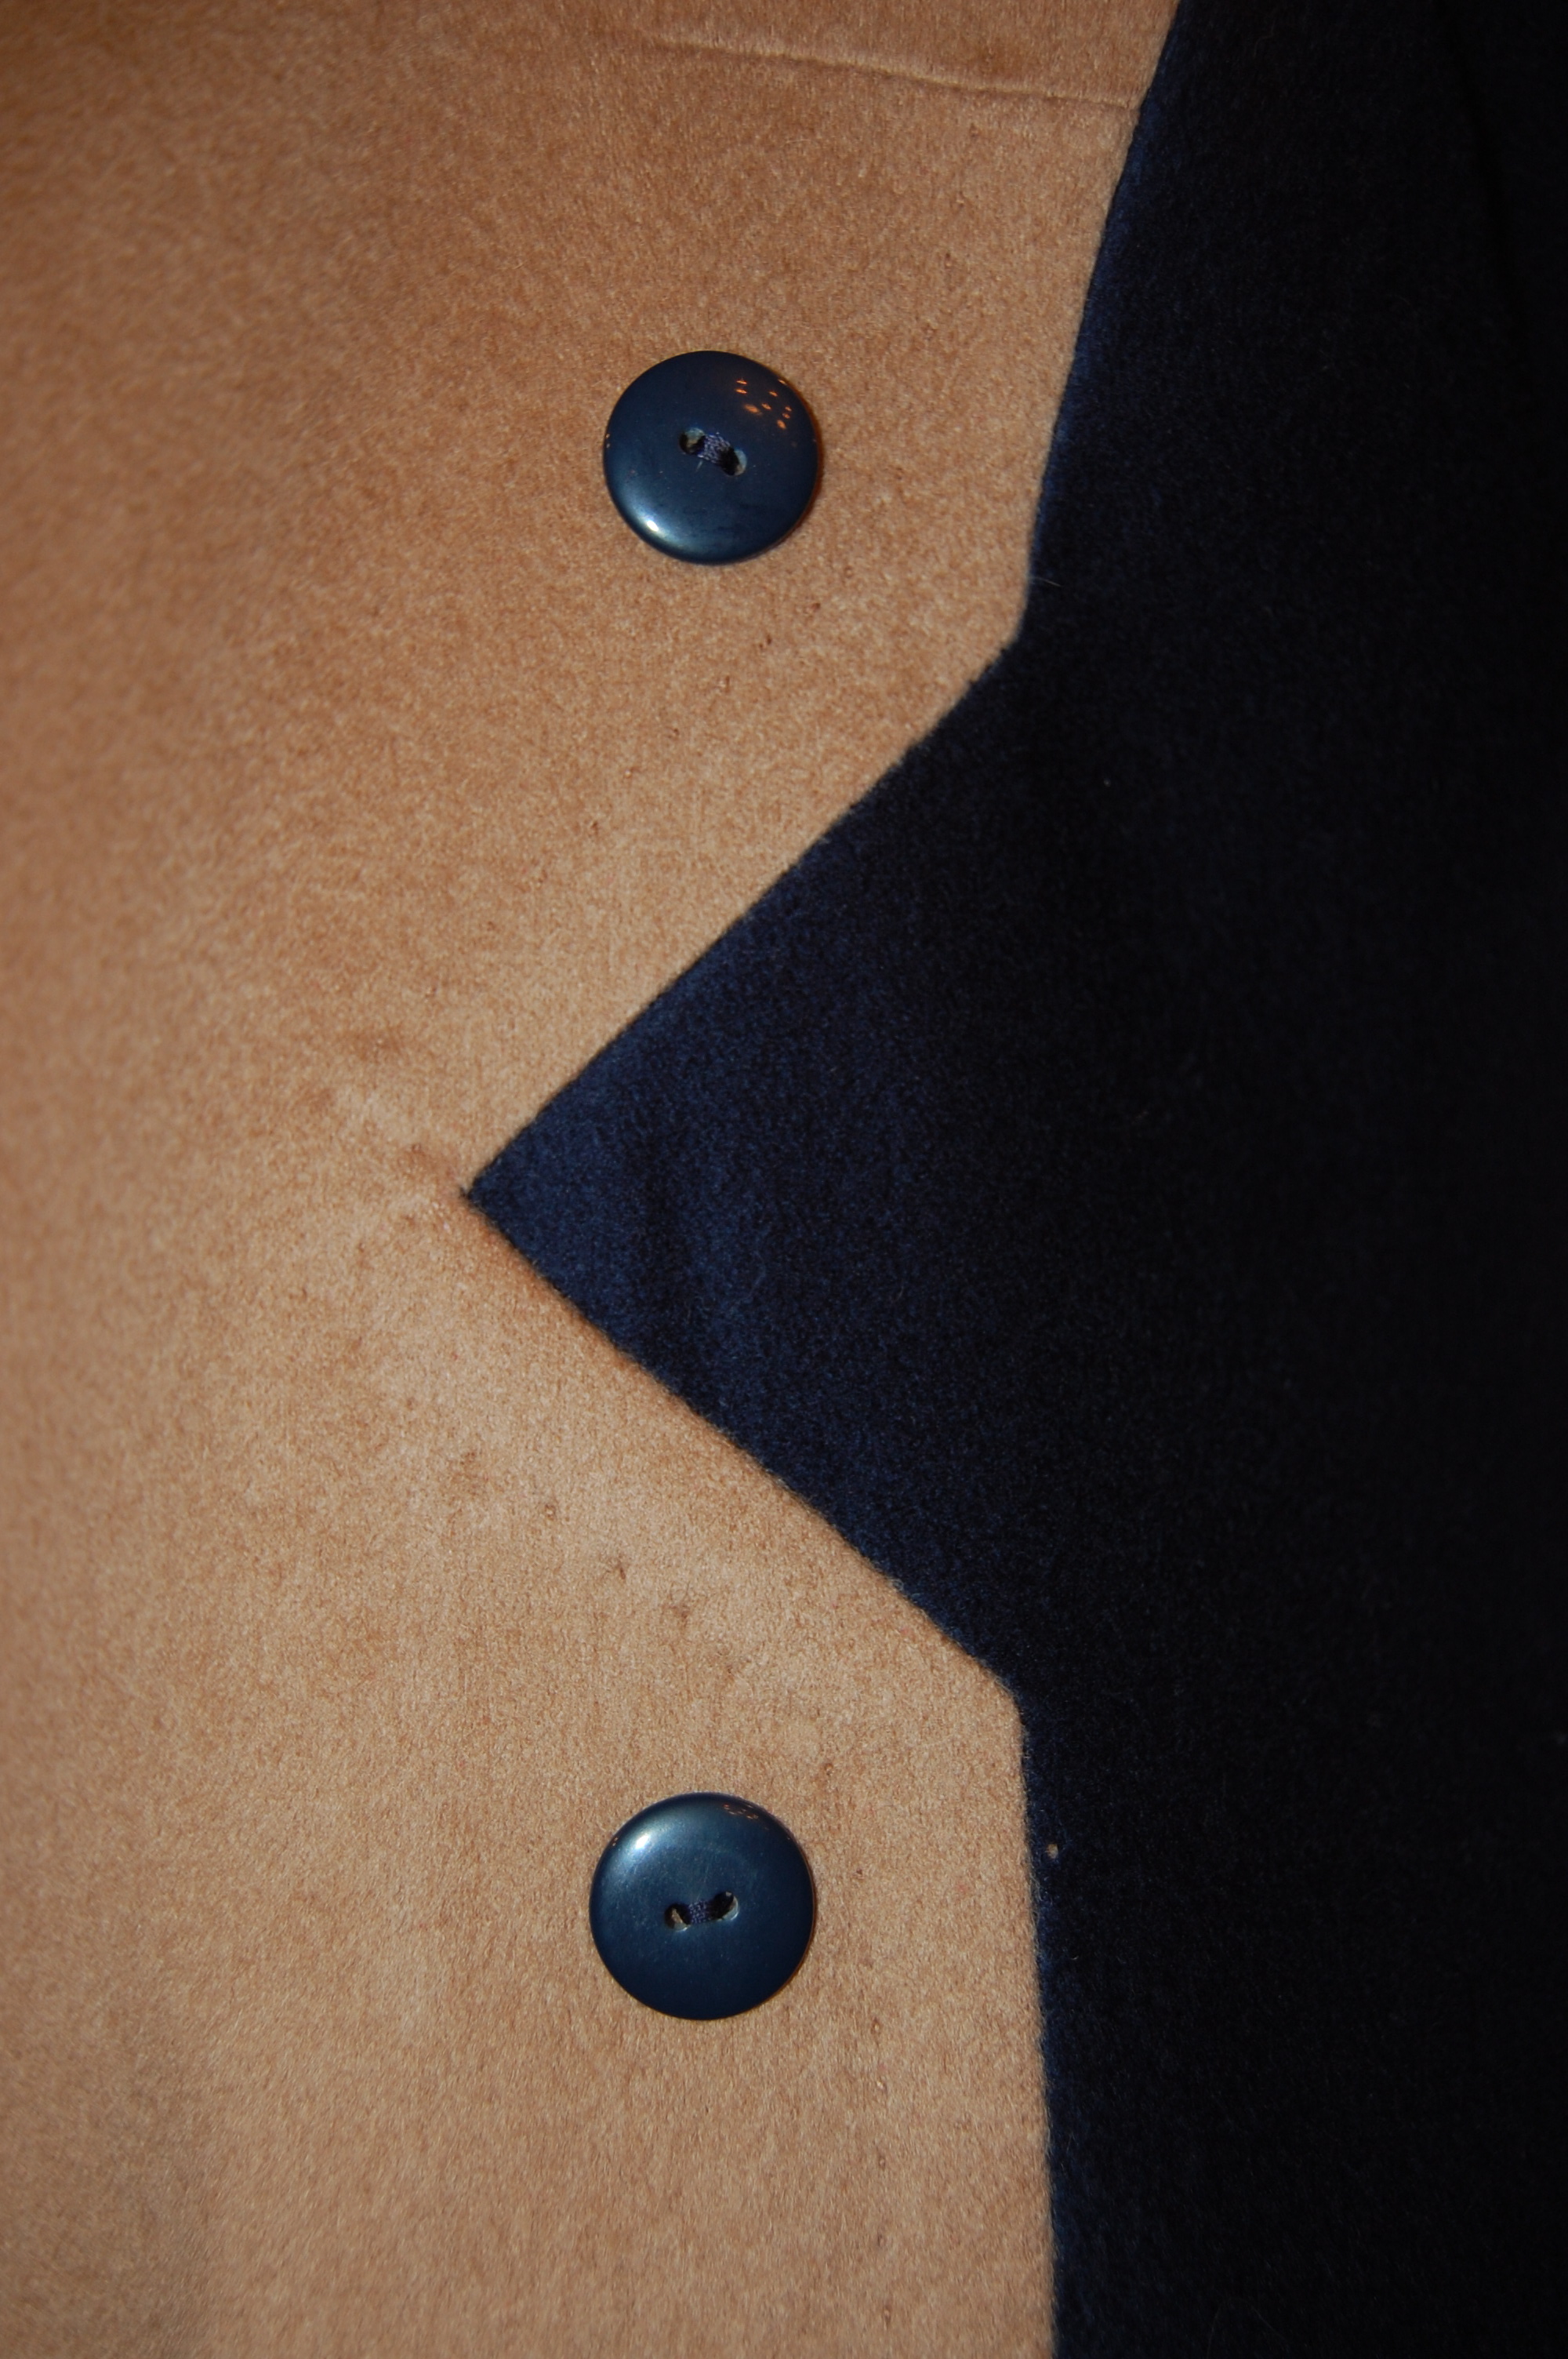
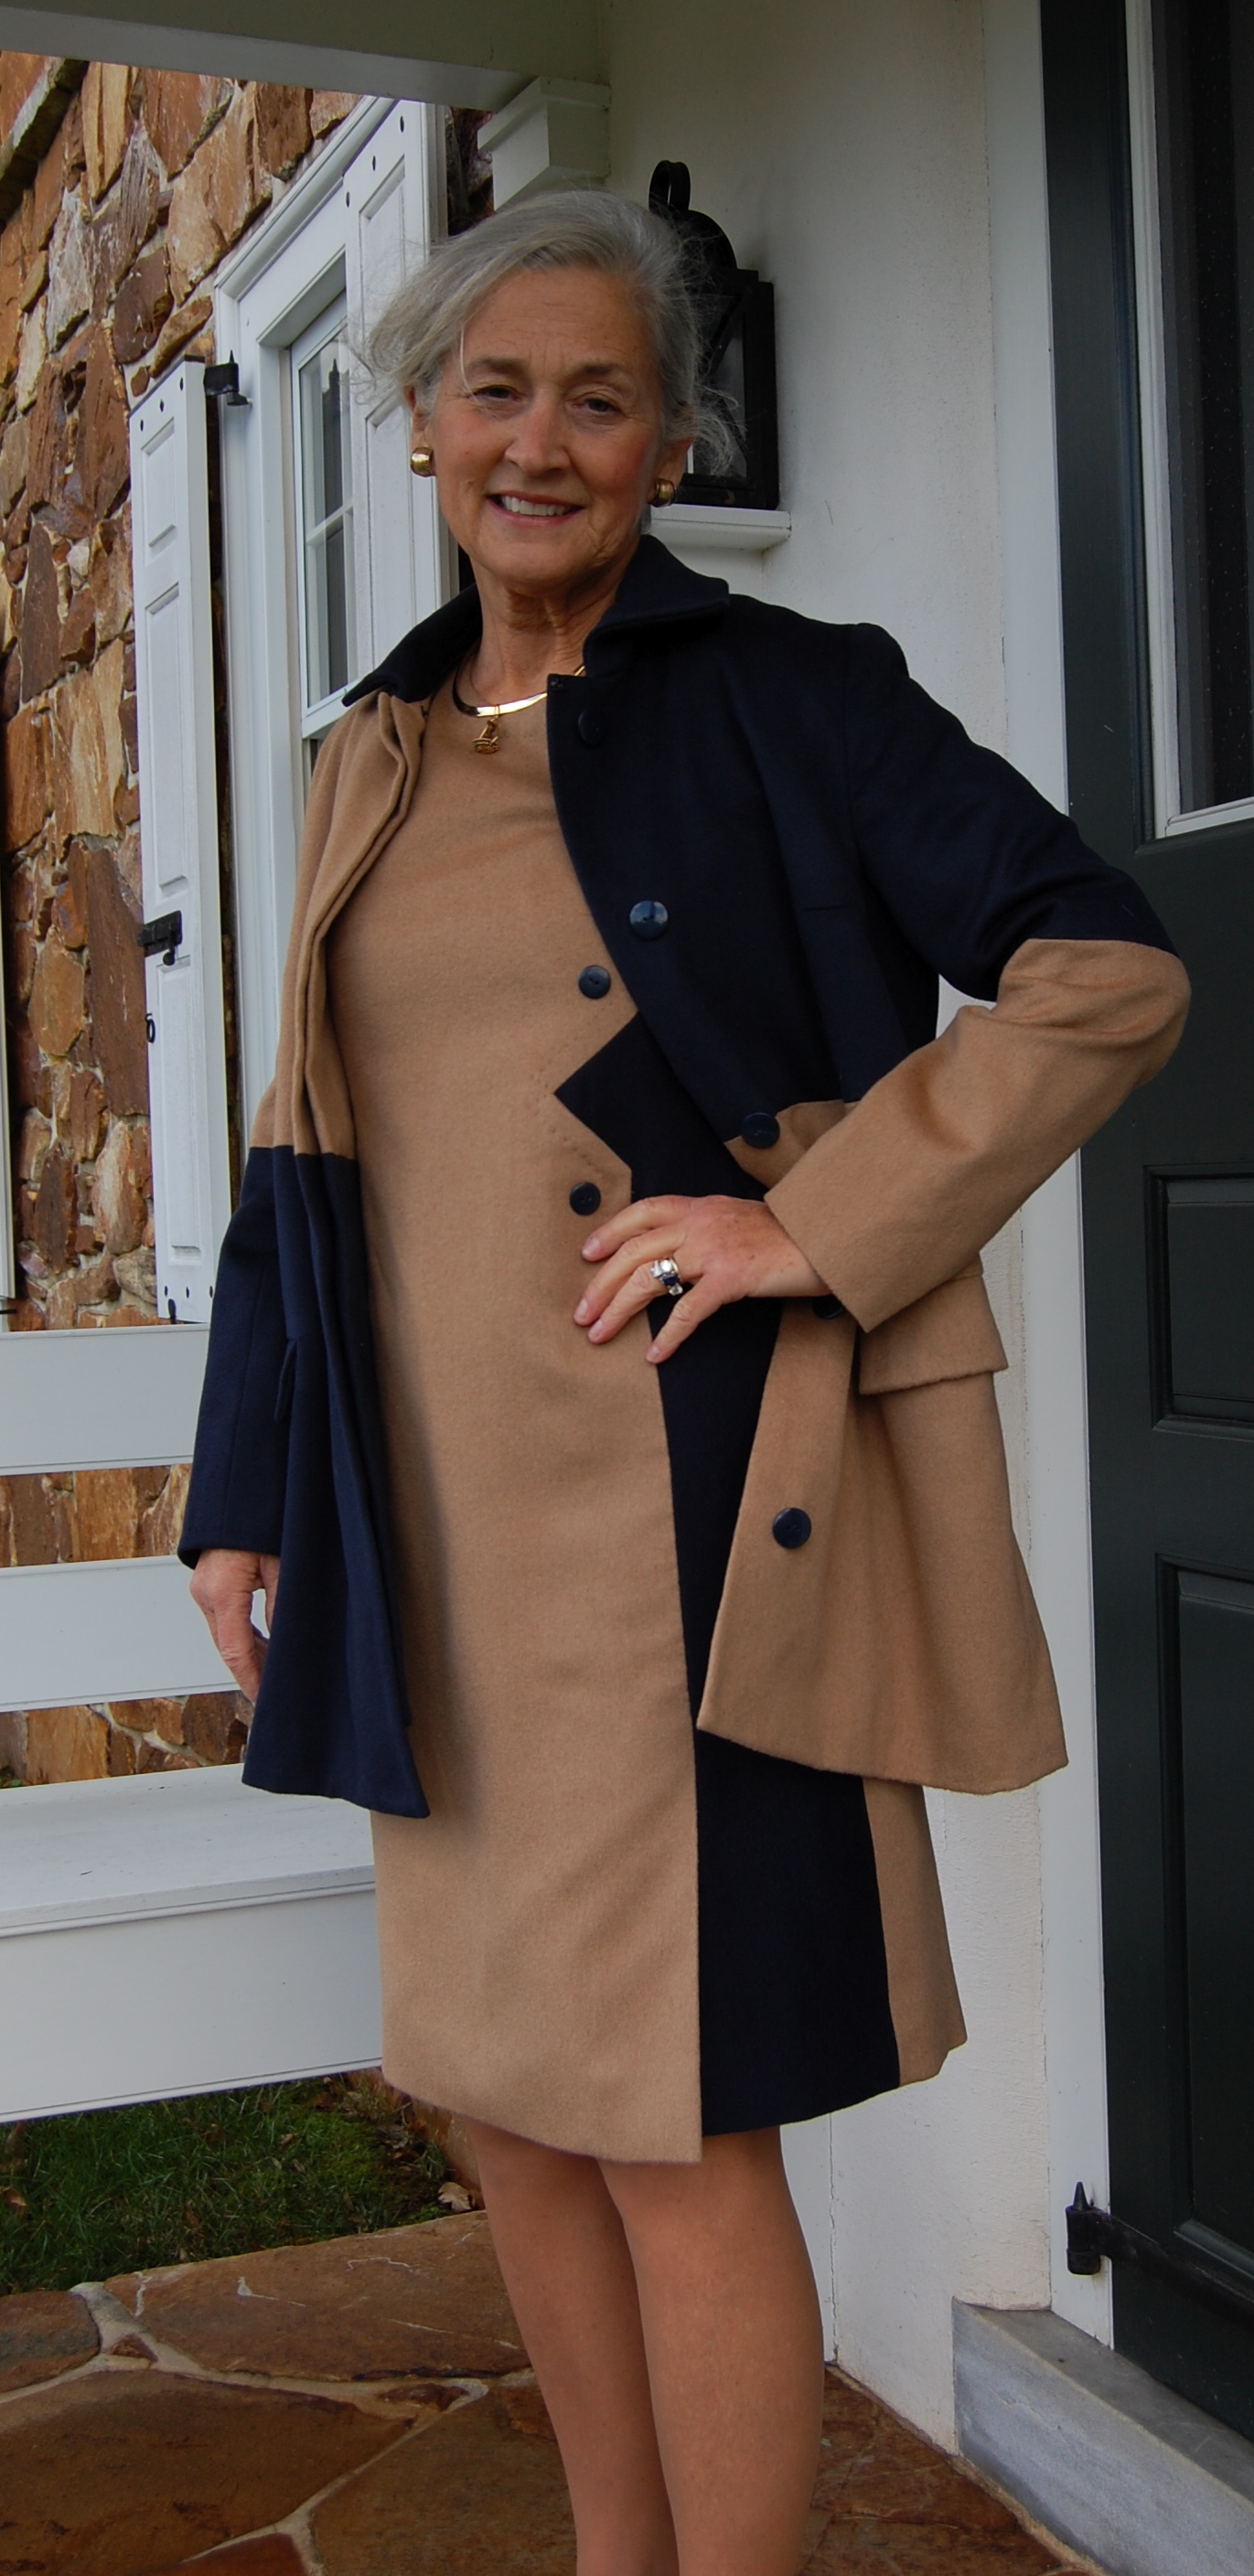
For the top-stitching around the neck and around the angled detail on the front, I did what I did with my jacket out of the same fabric: I hand-picked it. I am so happy with how it looks. It’s very subtle, but adds just the right emphasis. The buttons are smaller versions of the (concealed) buttons on my jacket.
I set the lining in by hand, under-stitched the neck-edge by hand, and finally the dress was complete.
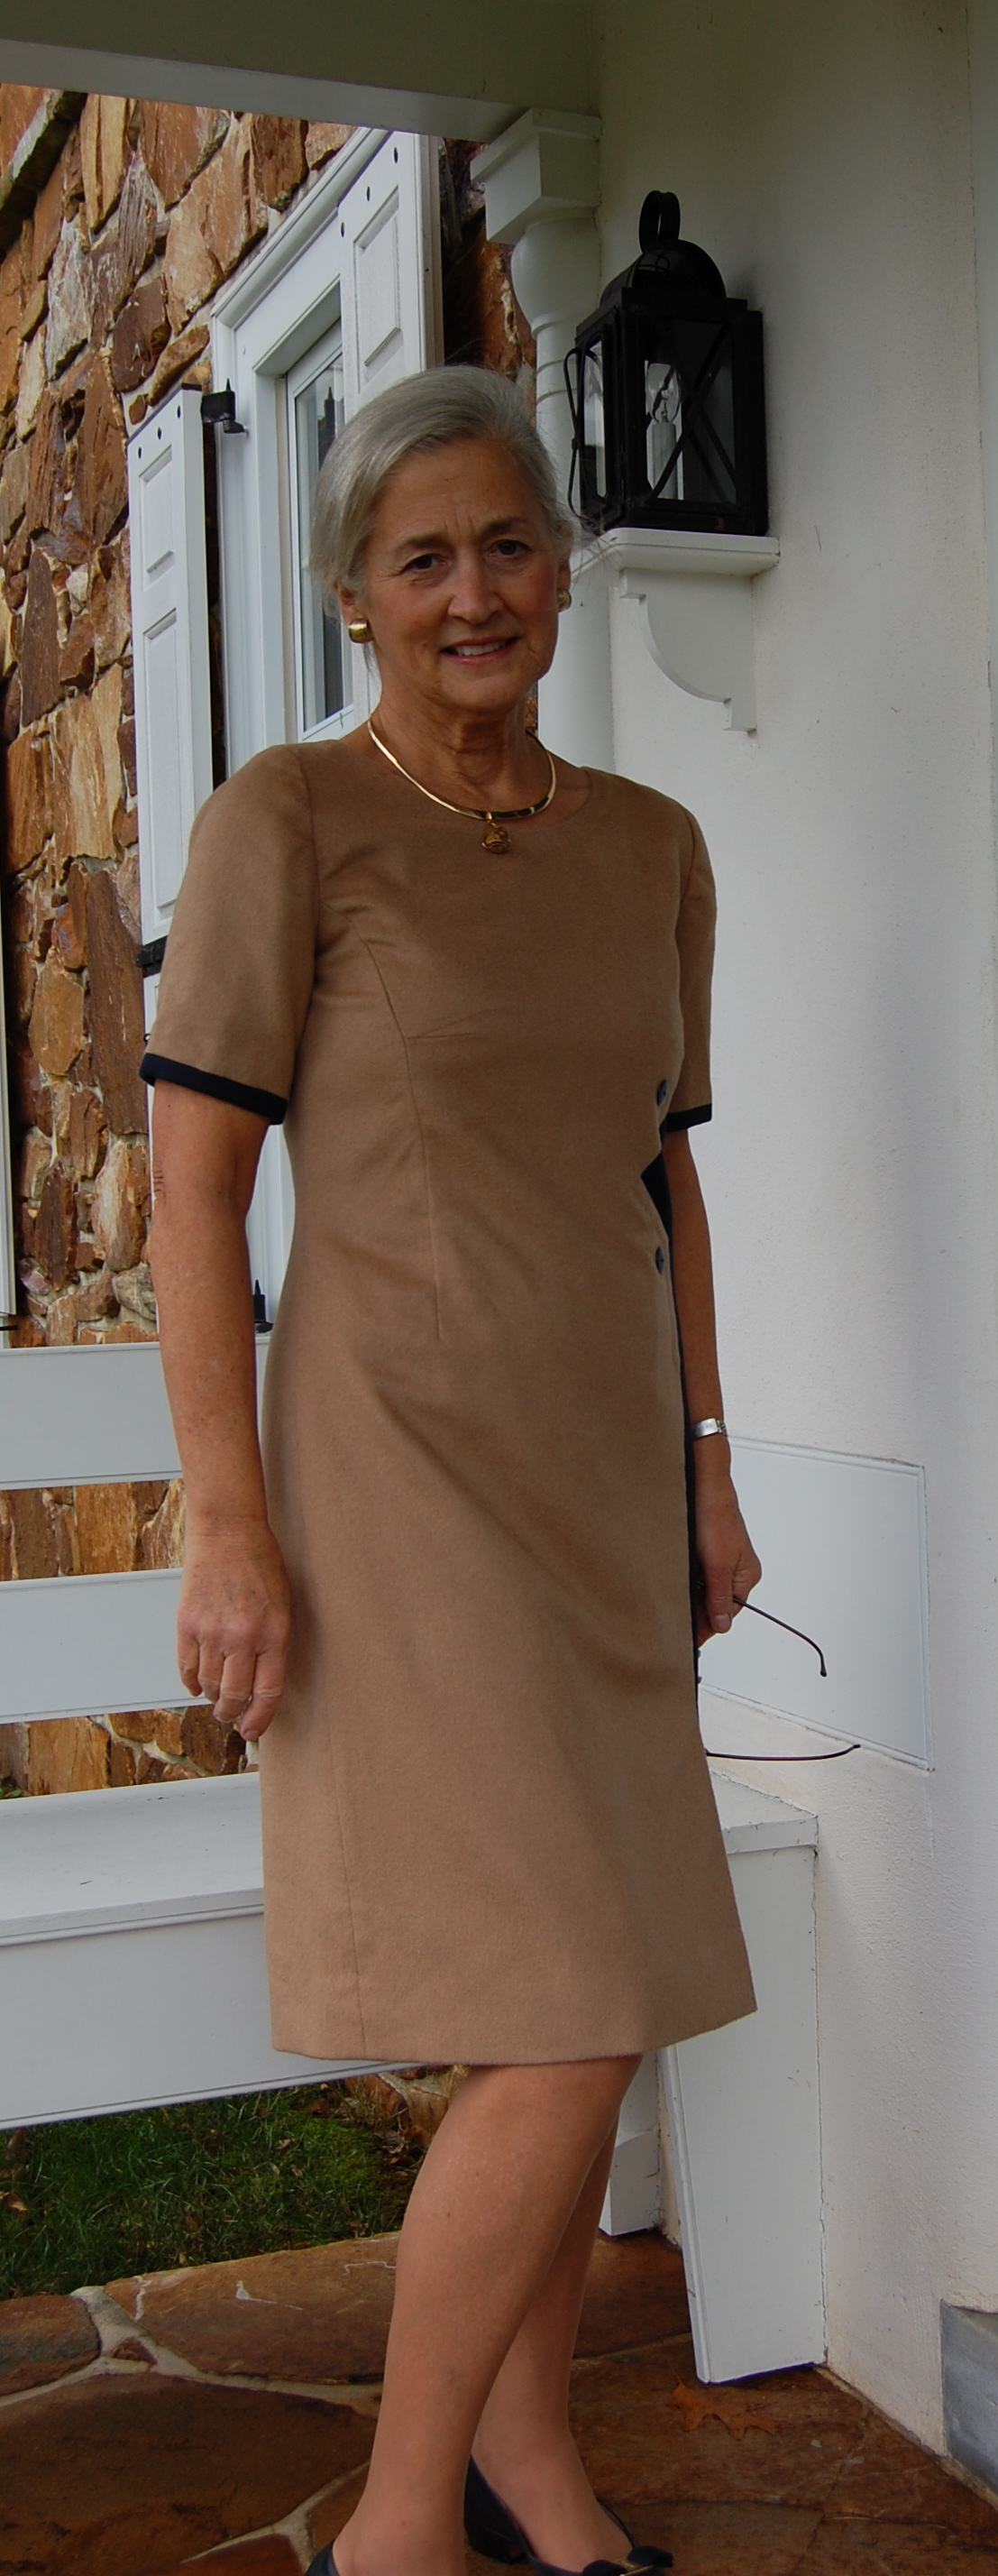

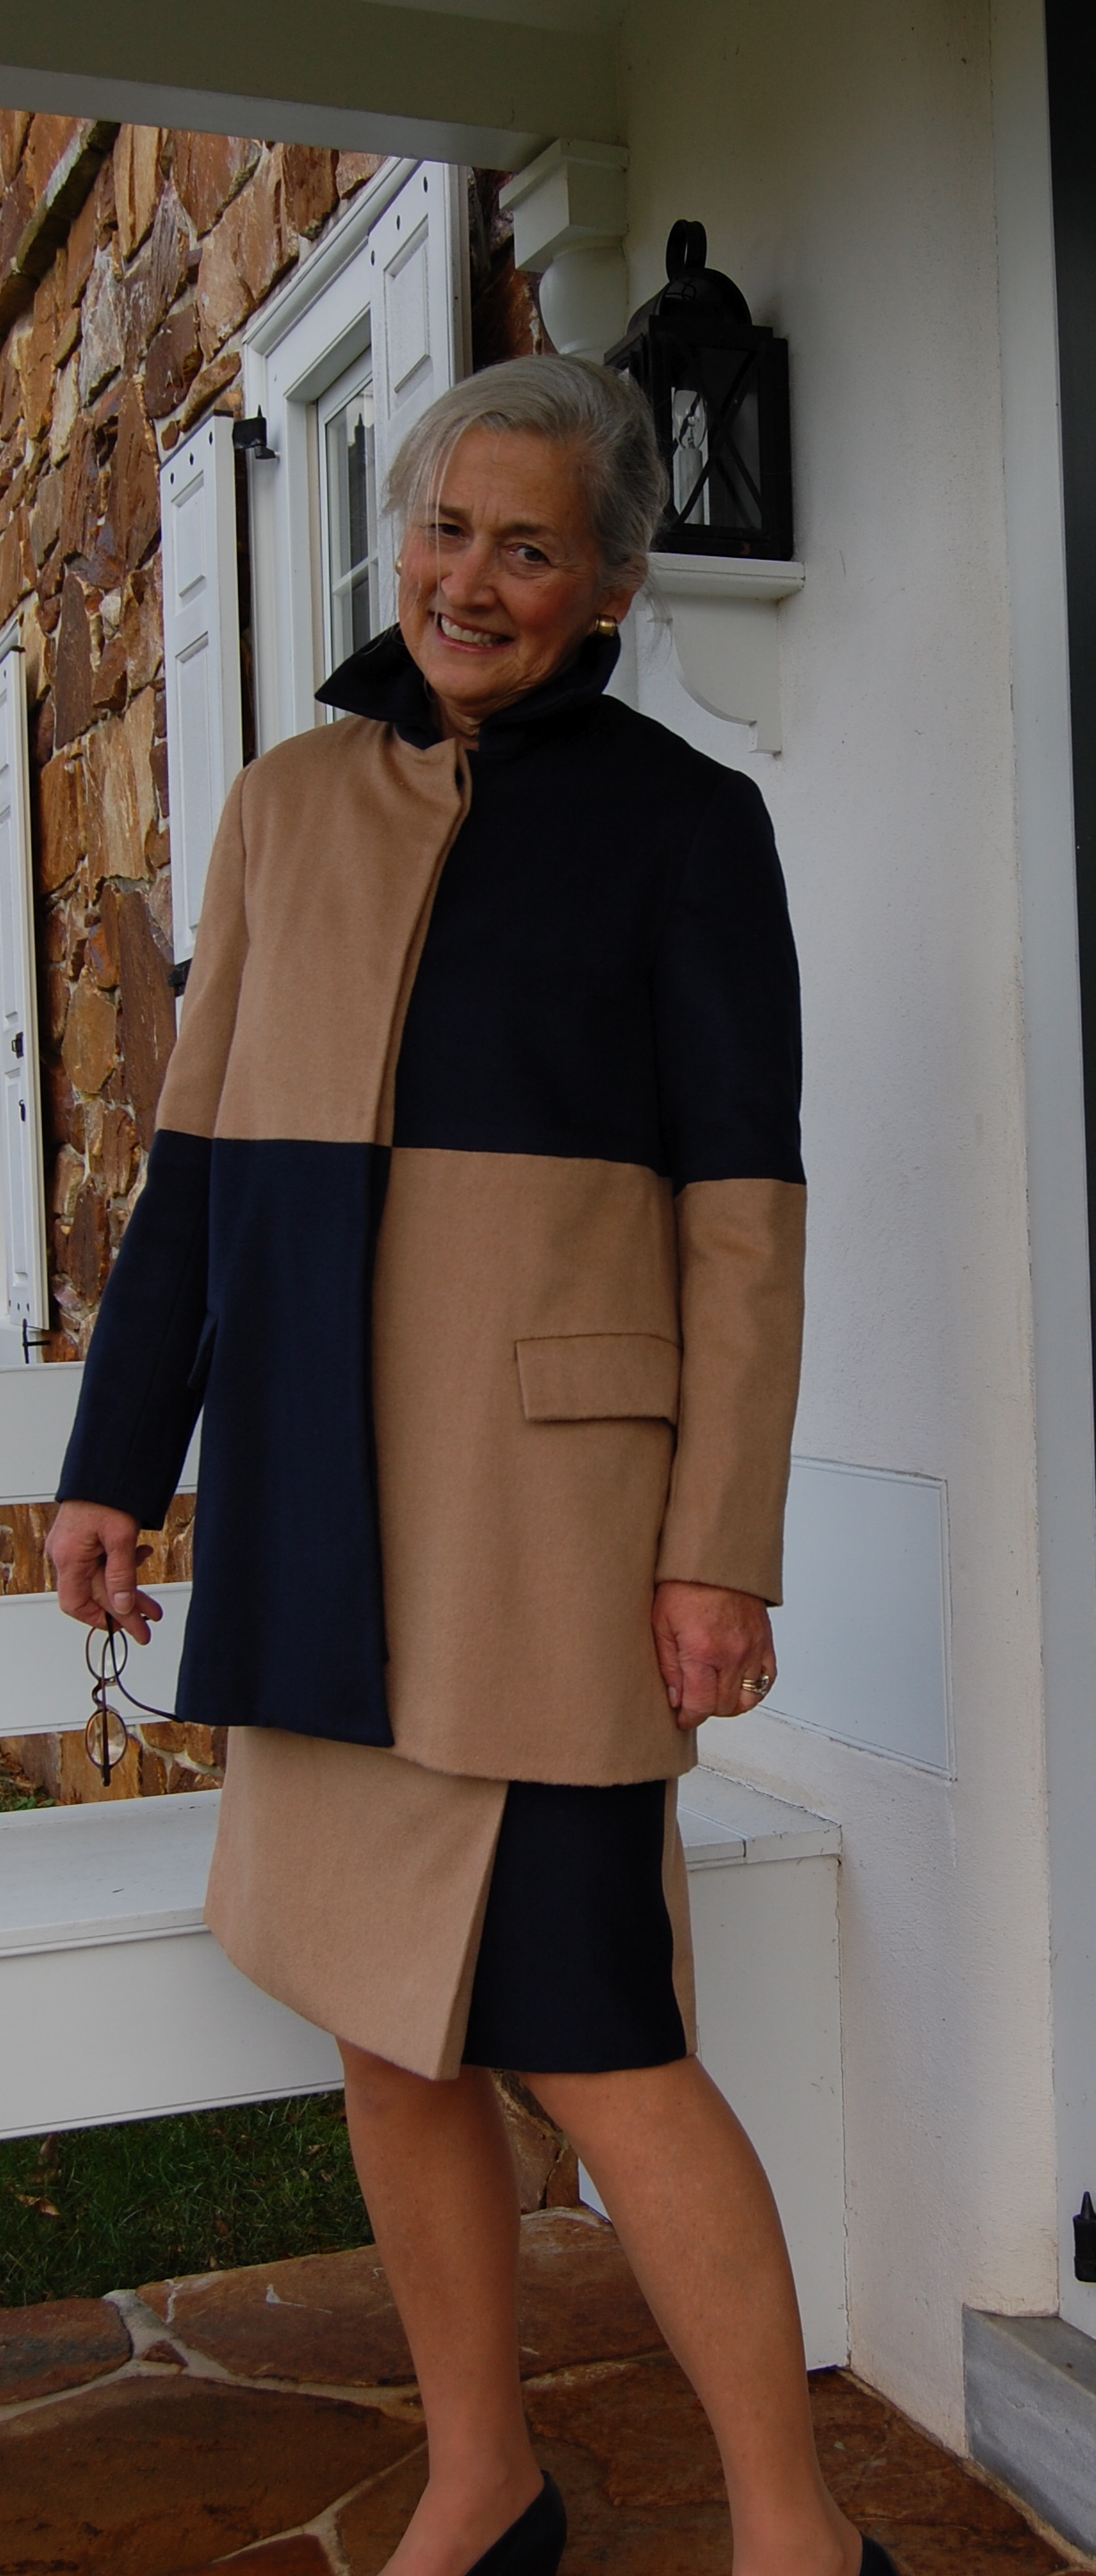
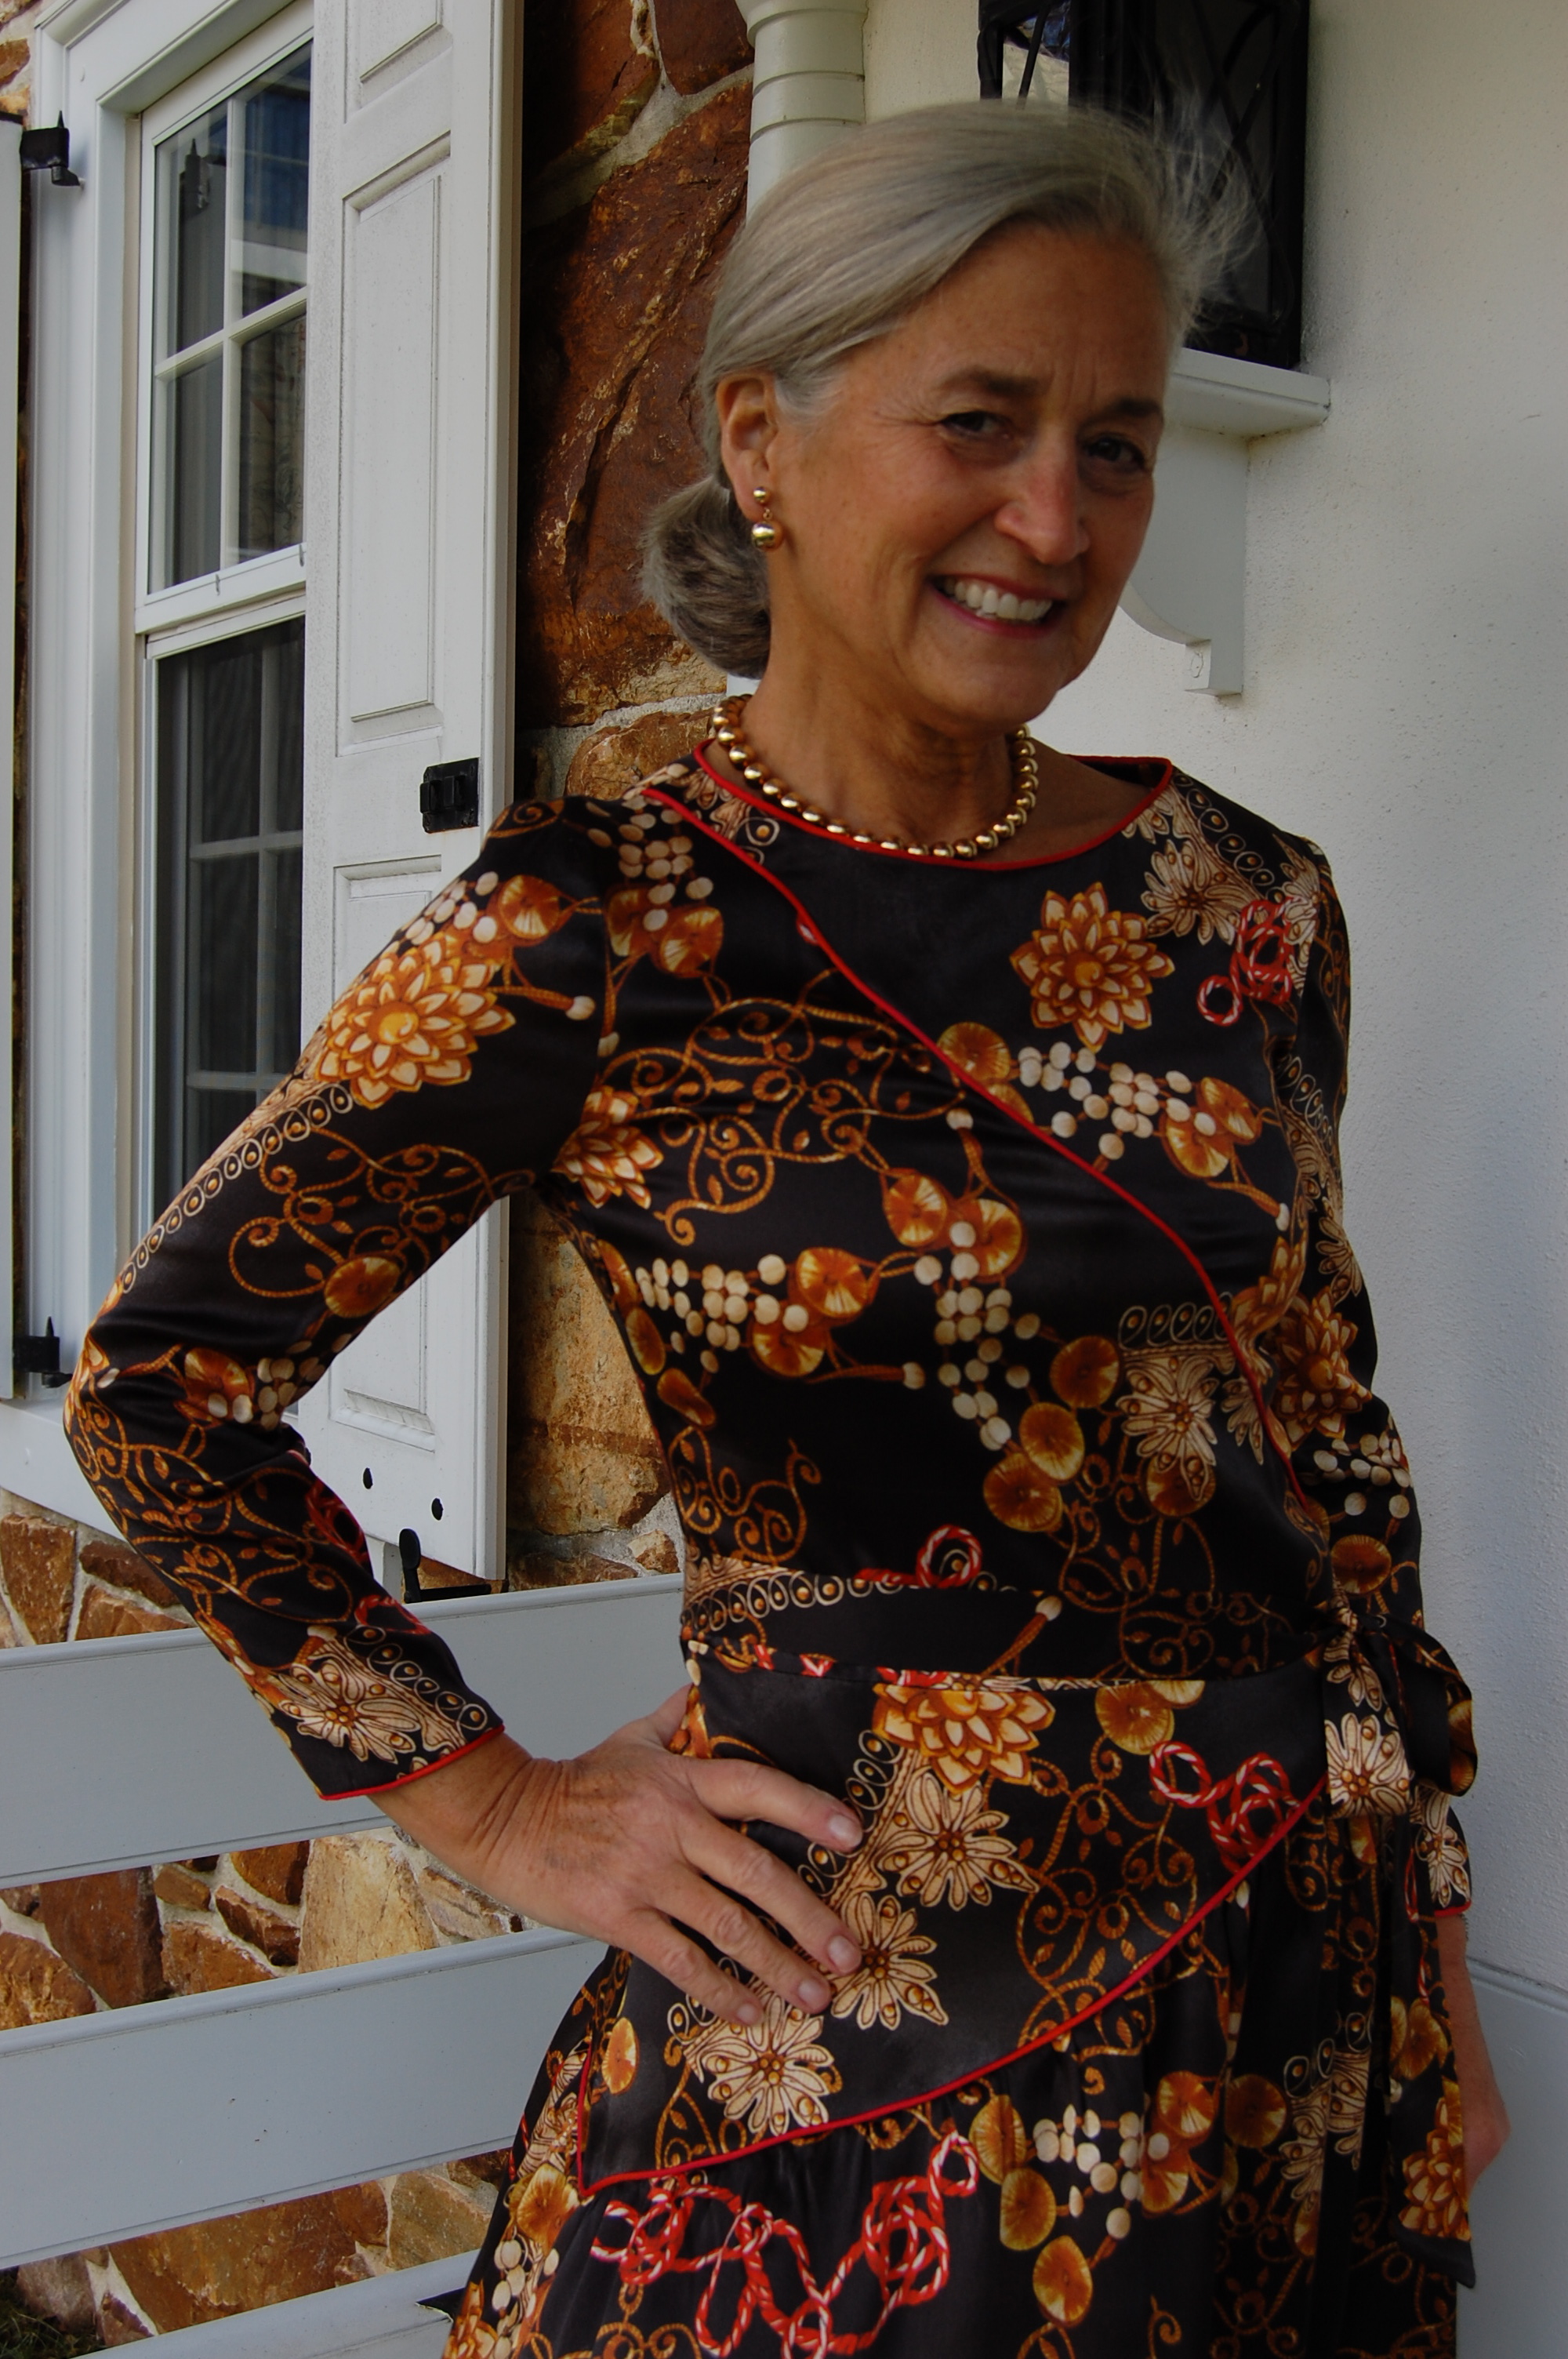
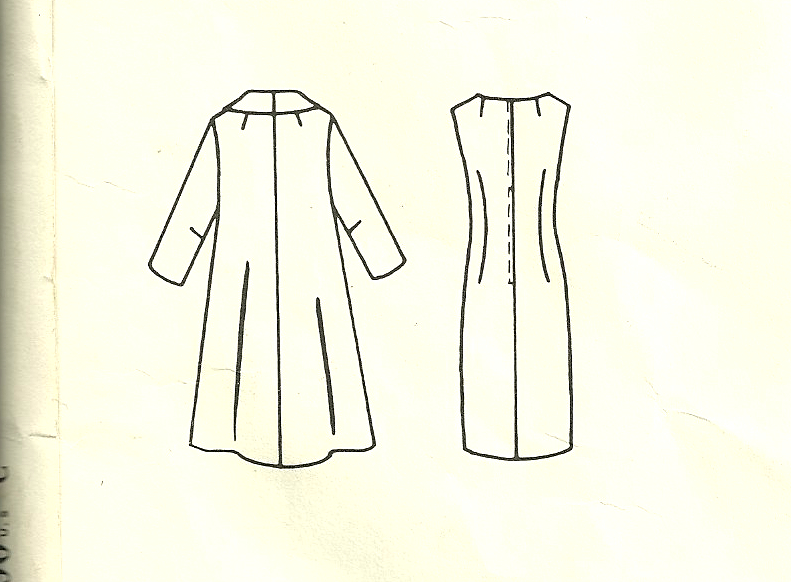
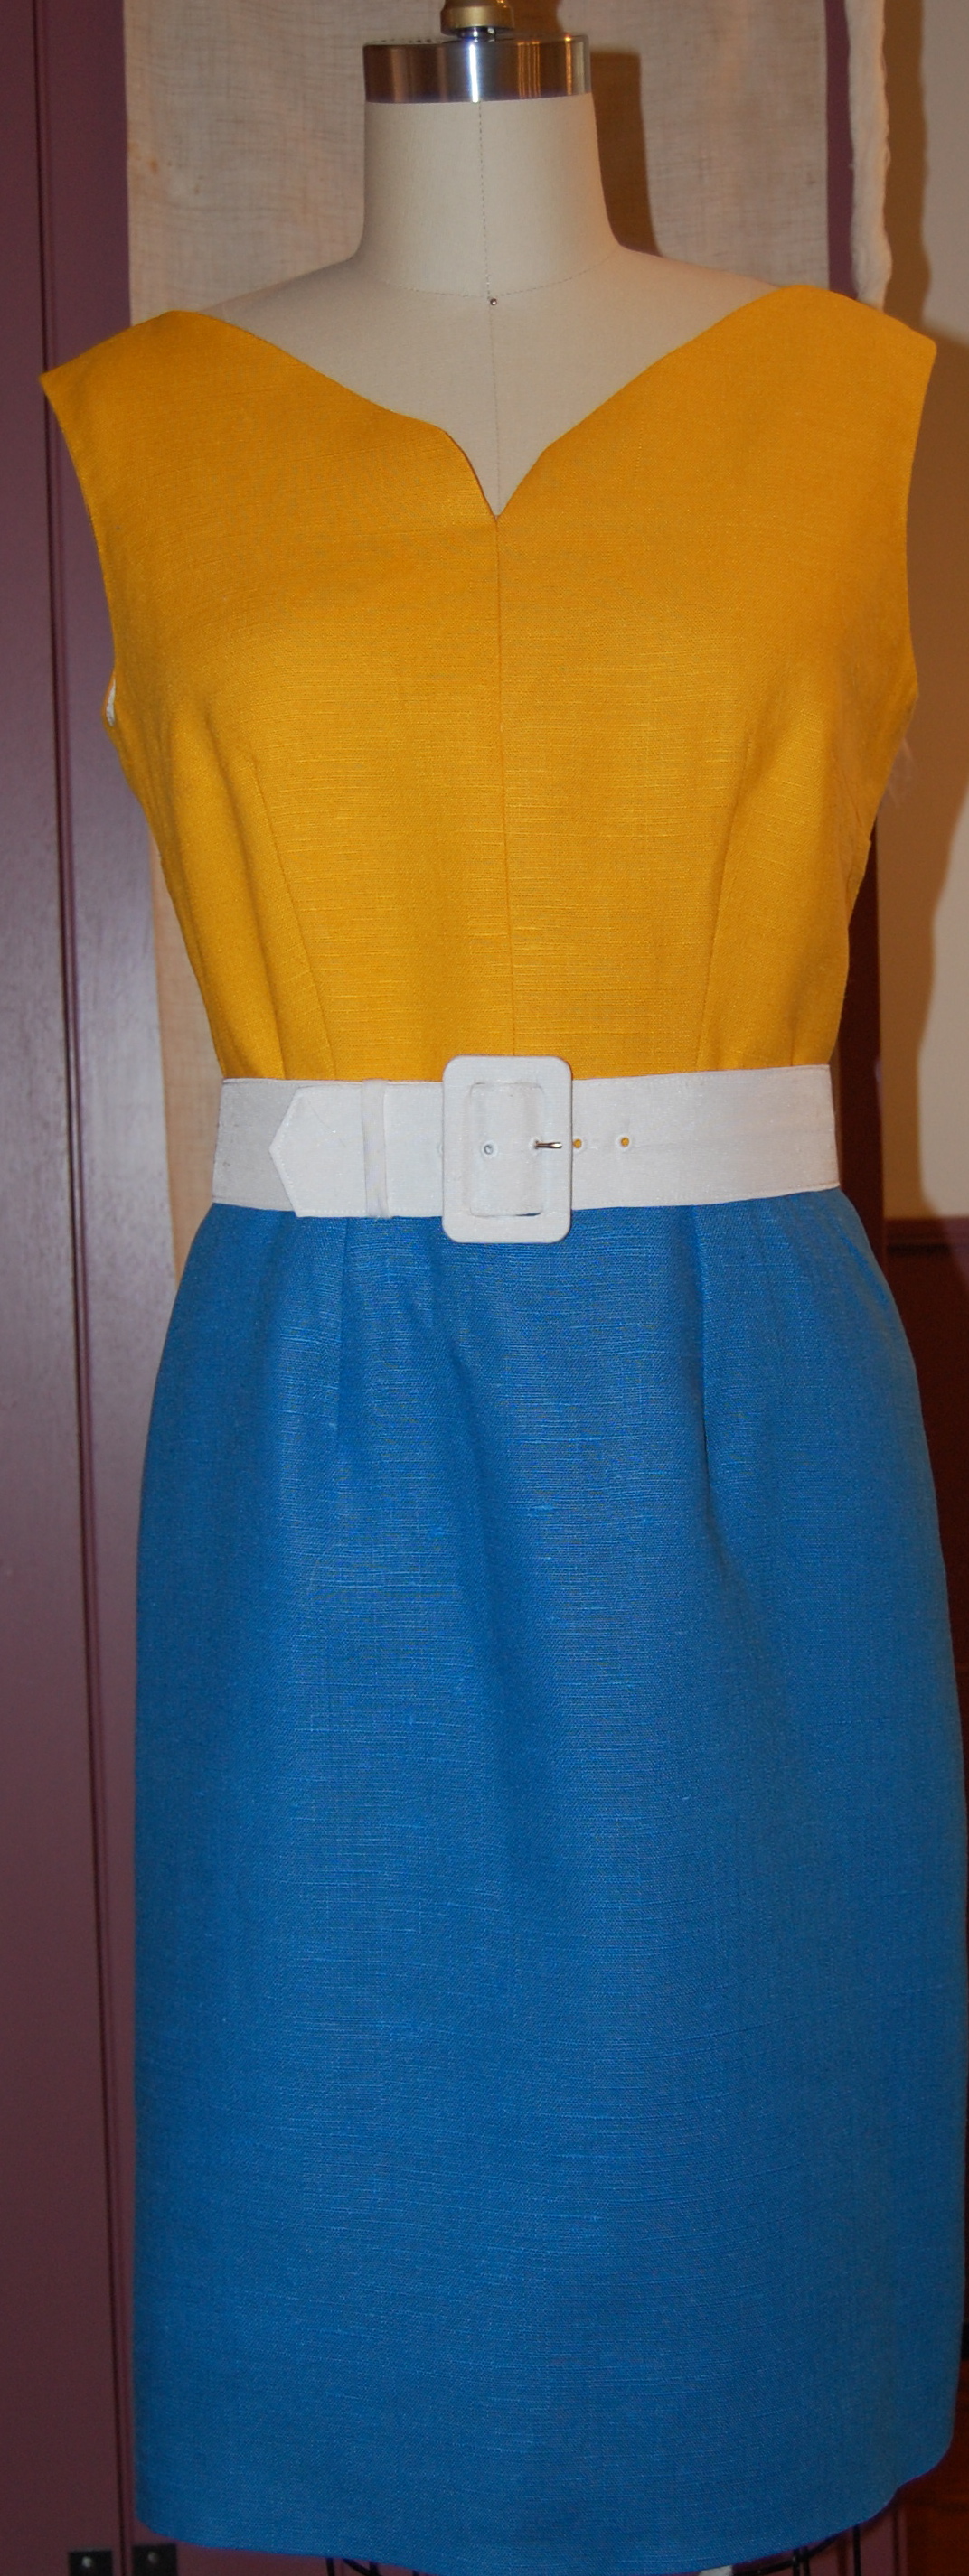
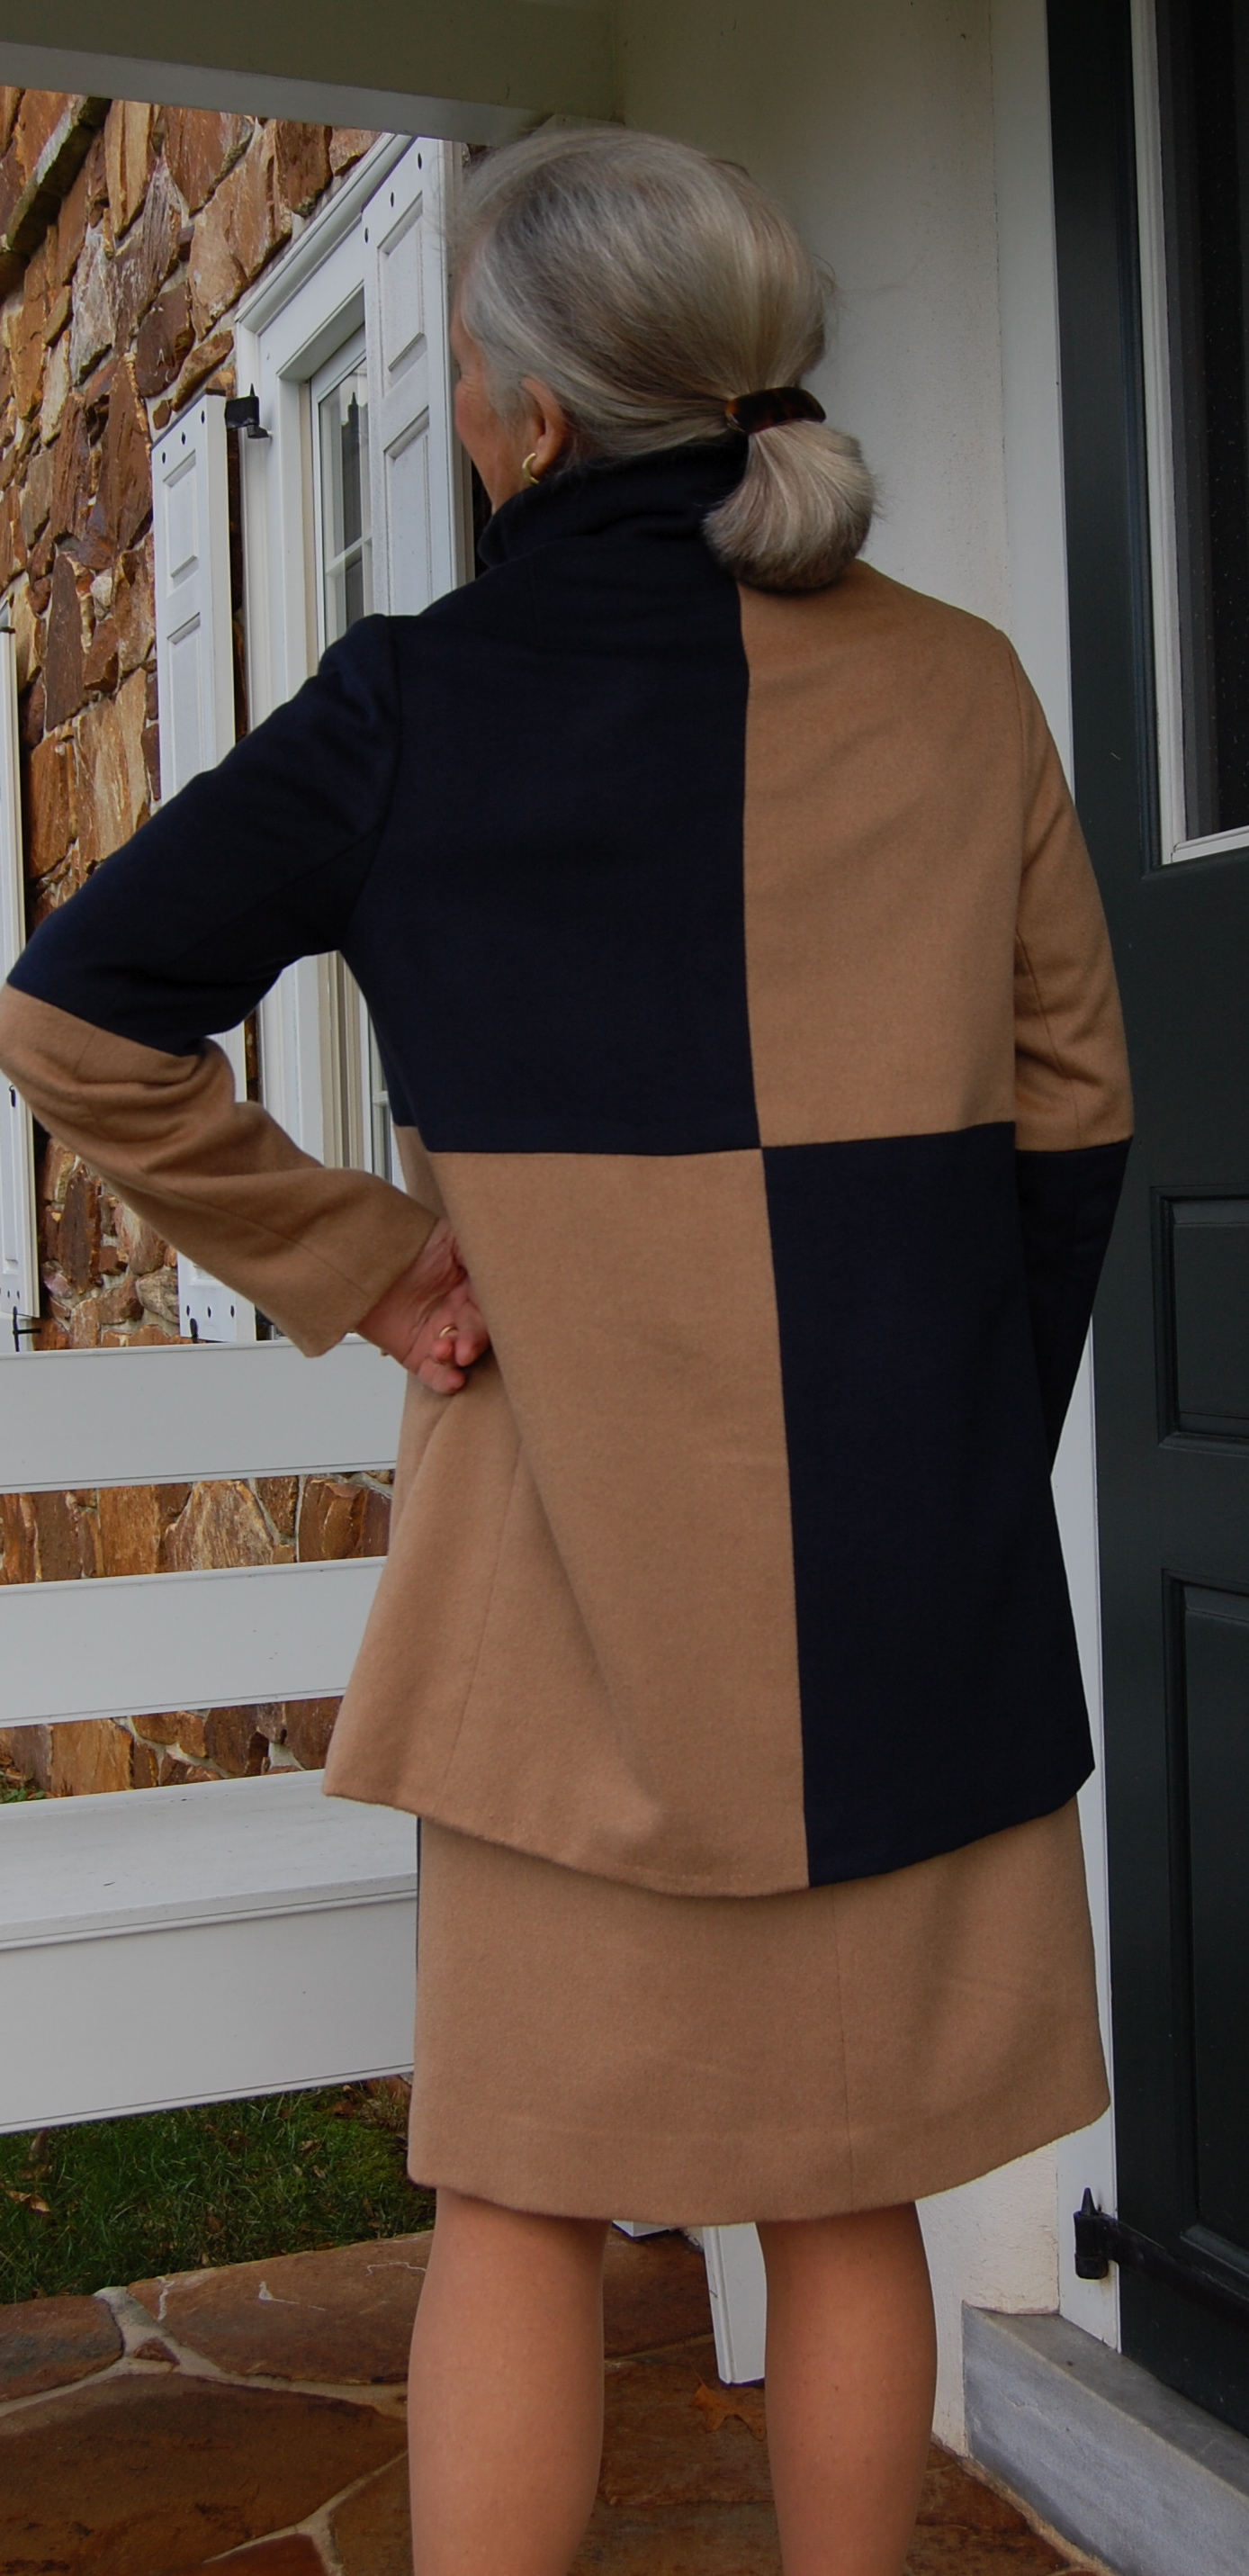
And of course I have to show it with the coat!
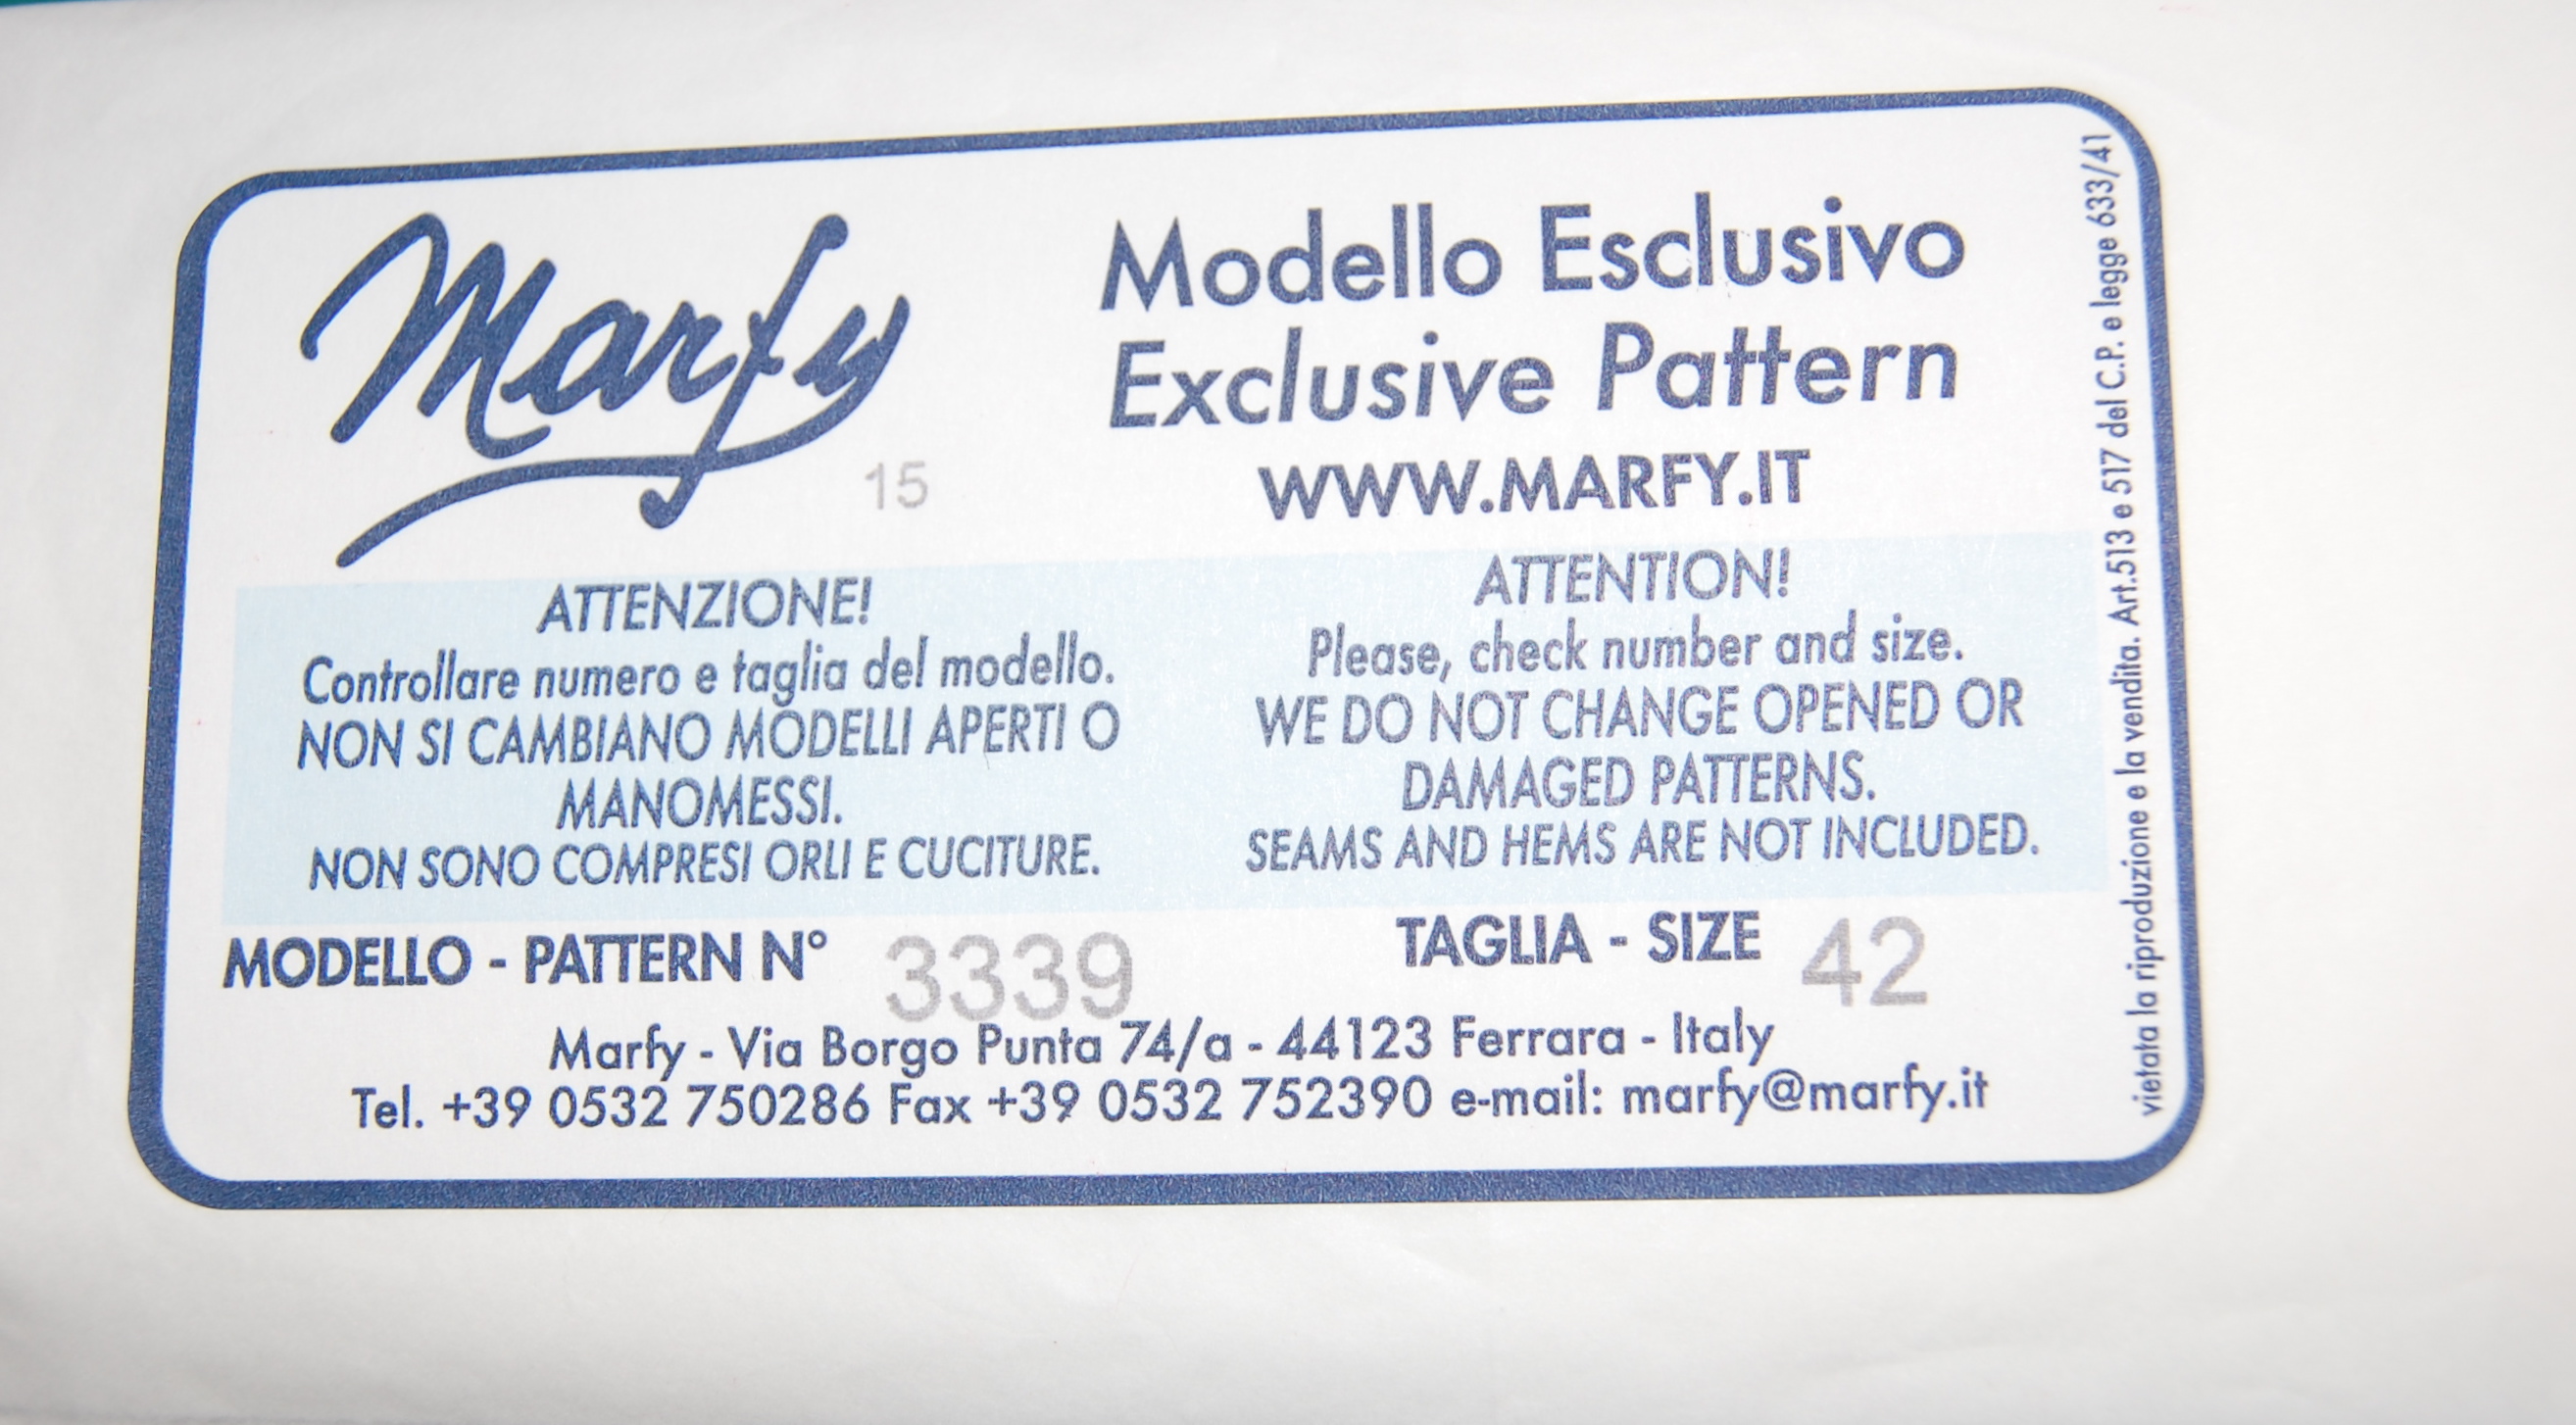
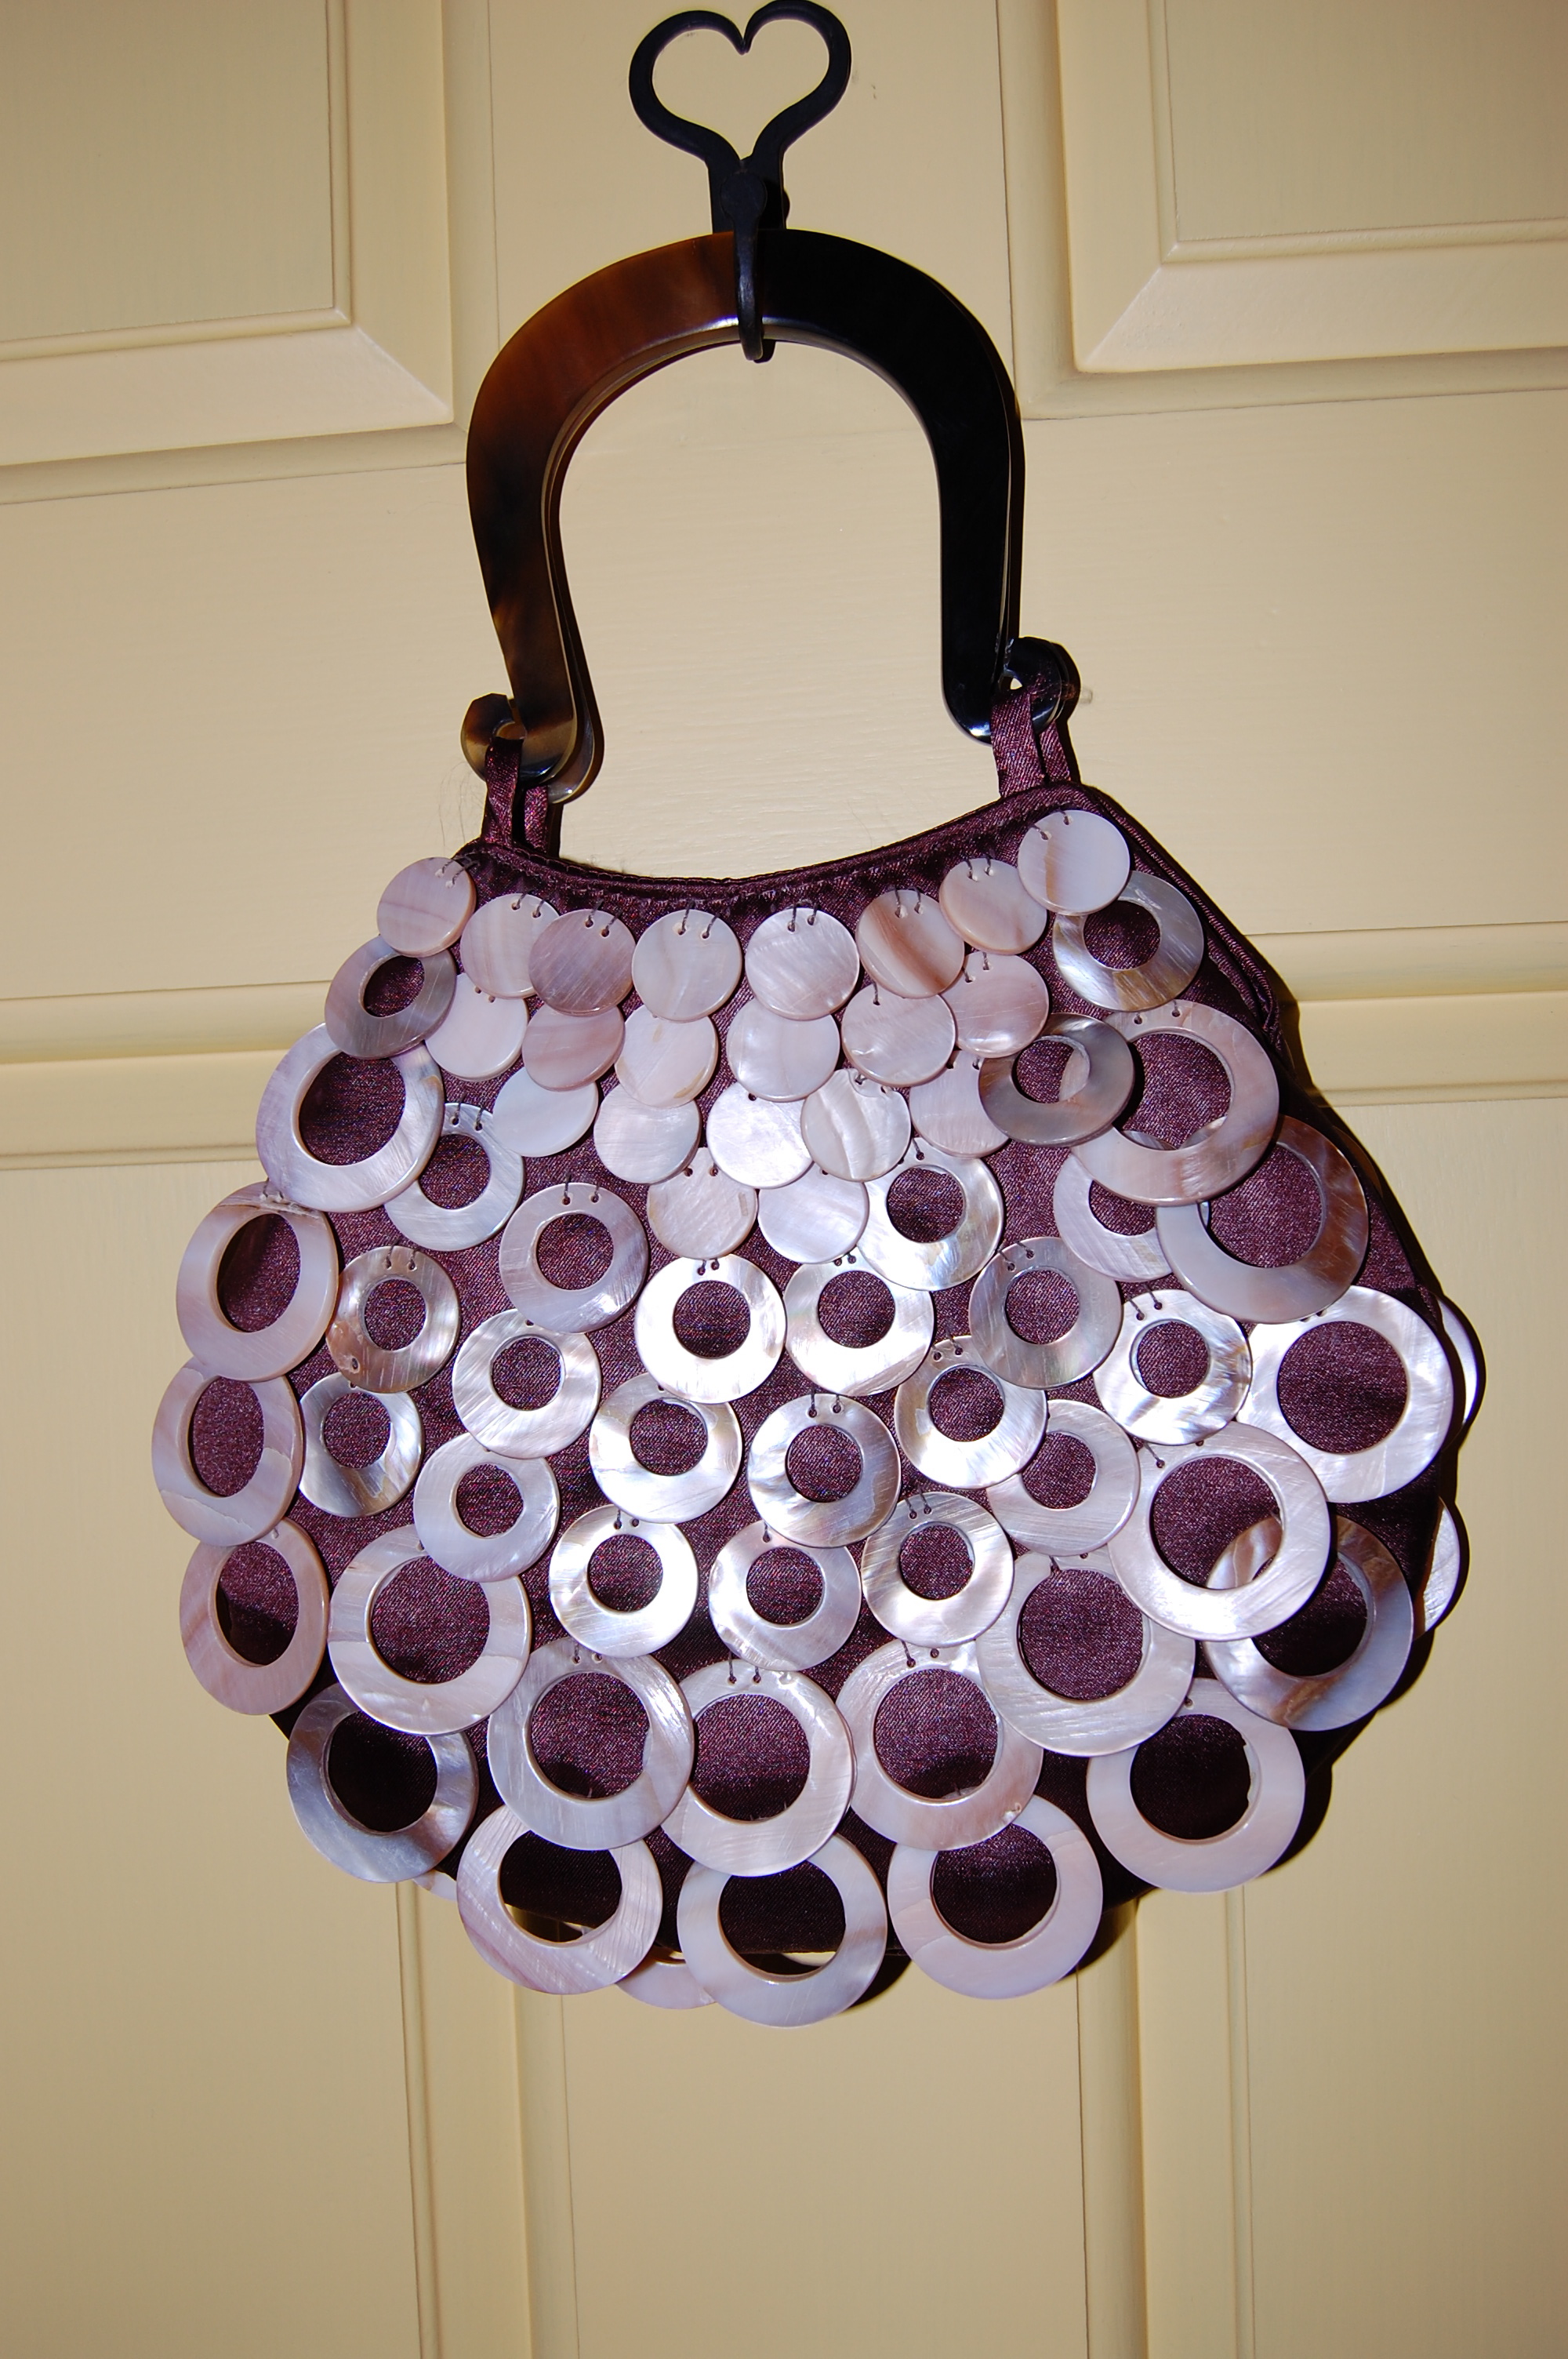
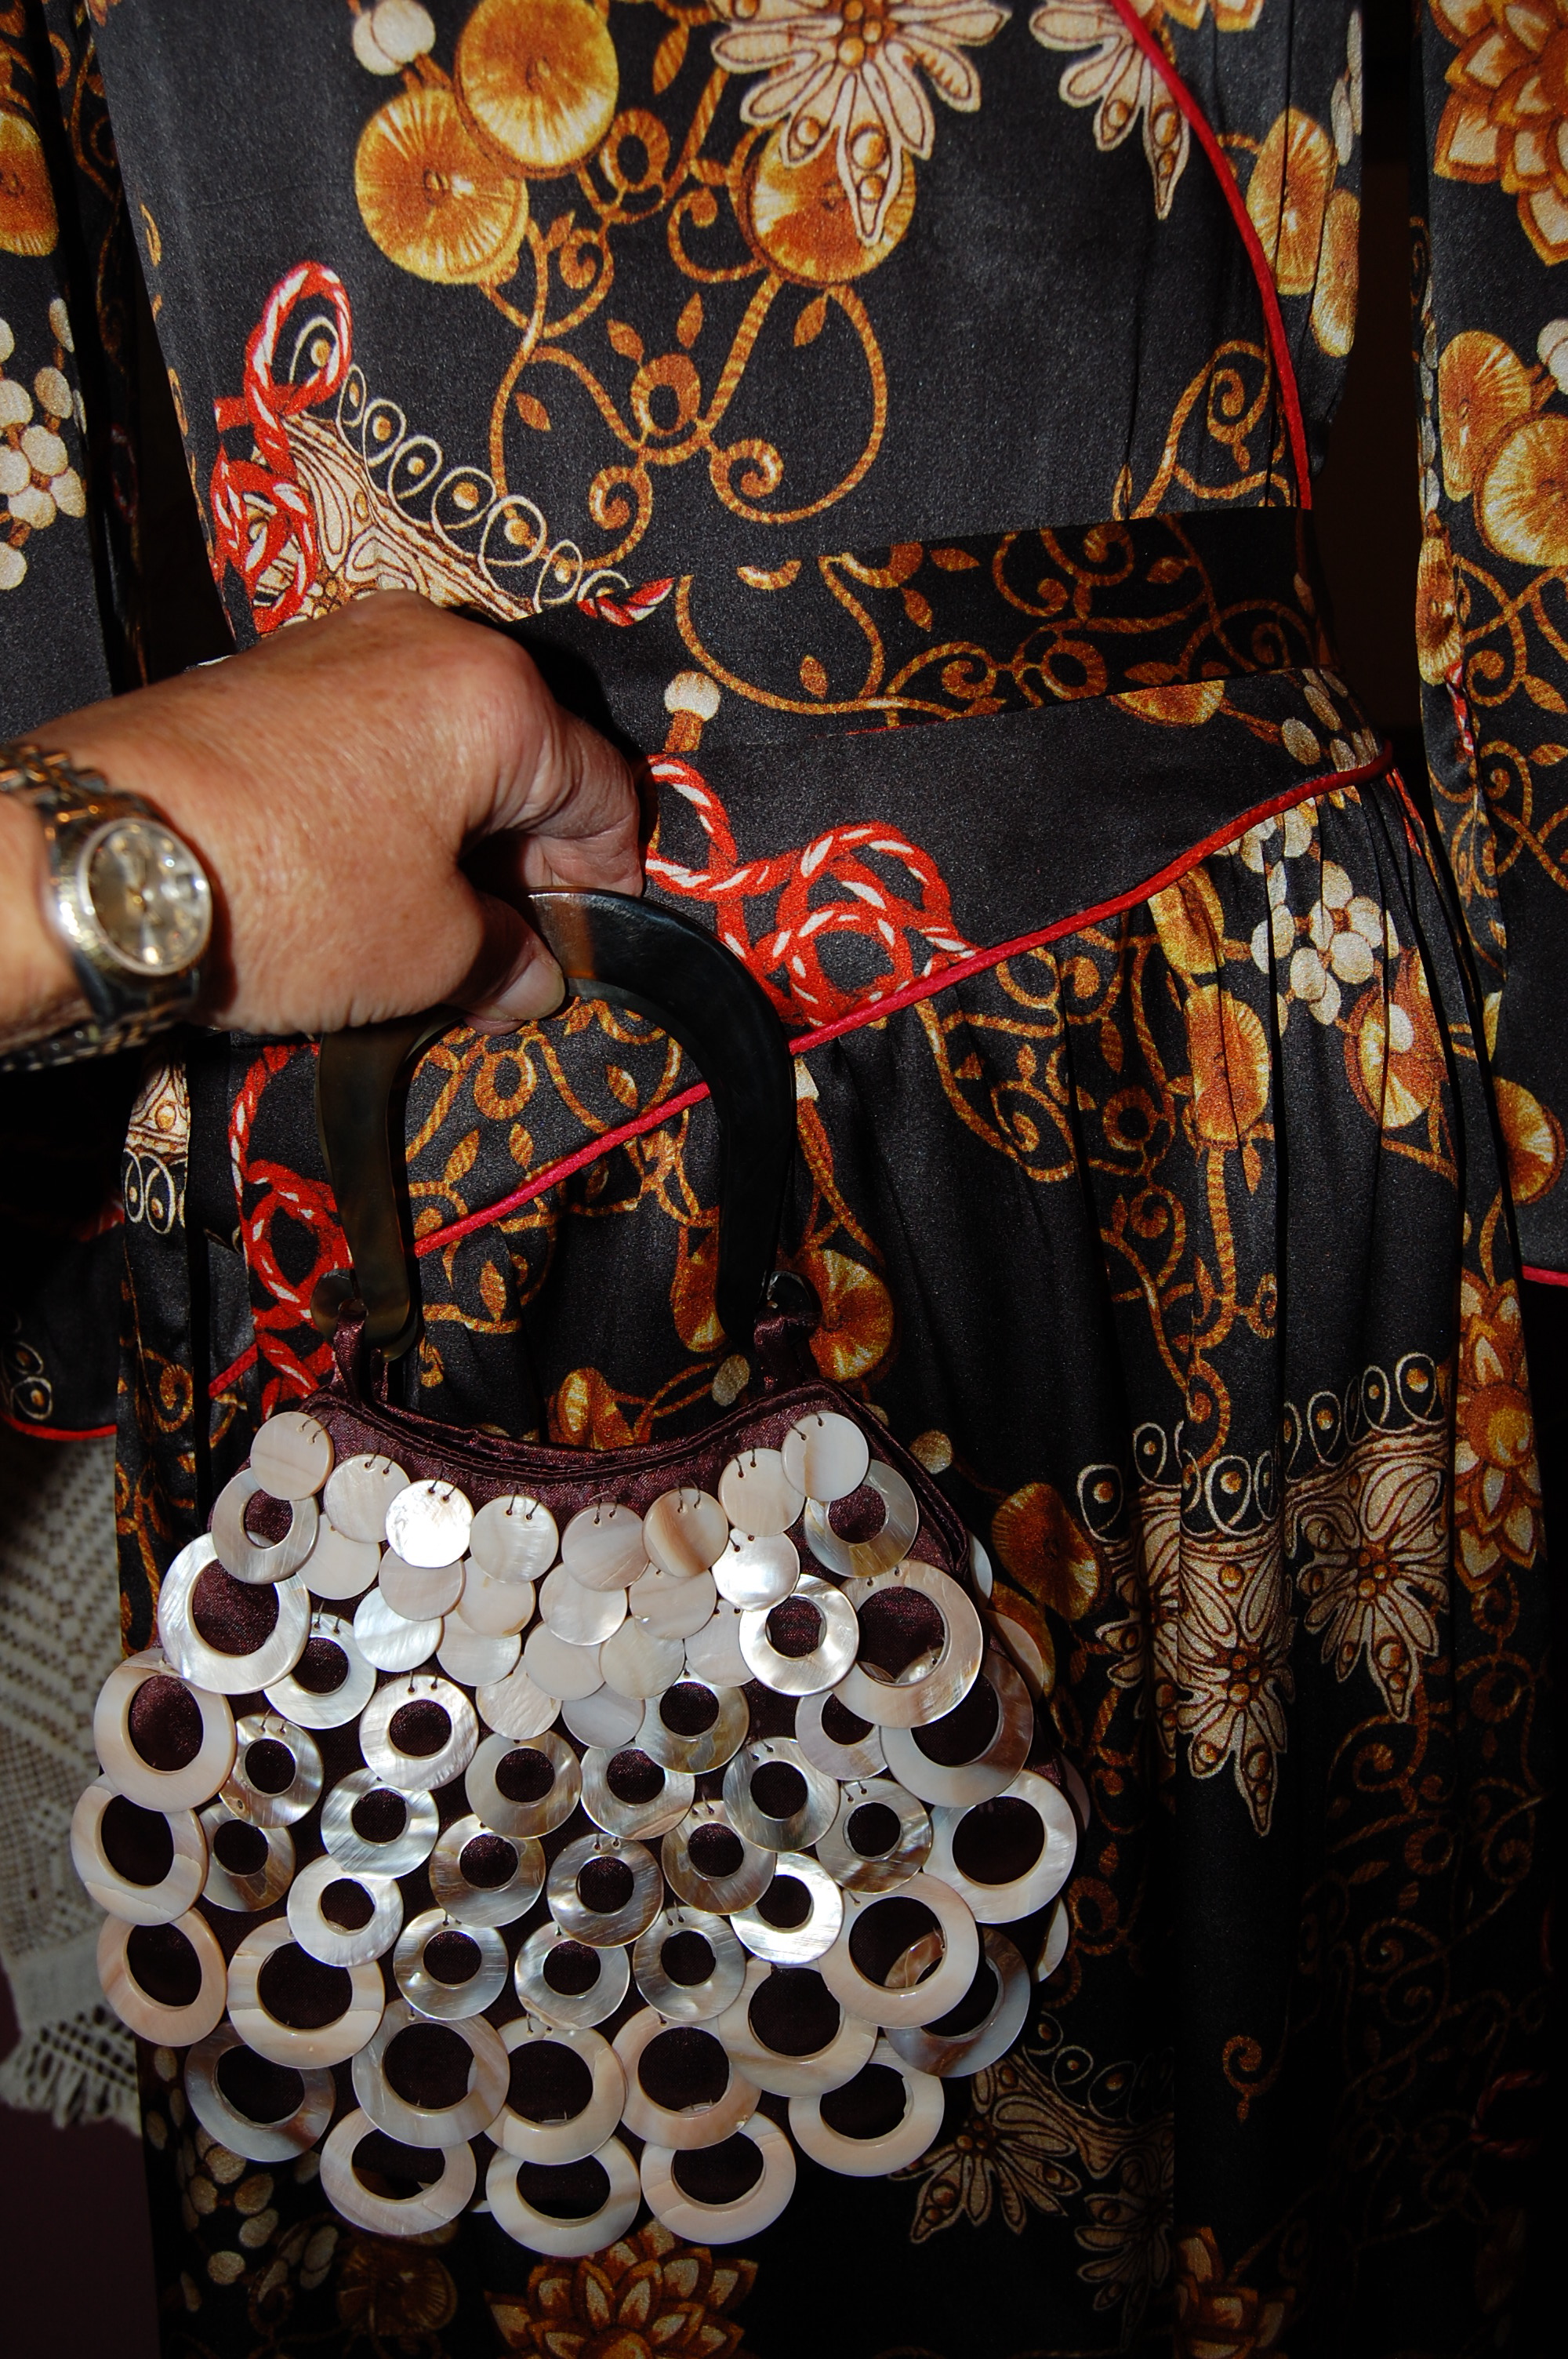
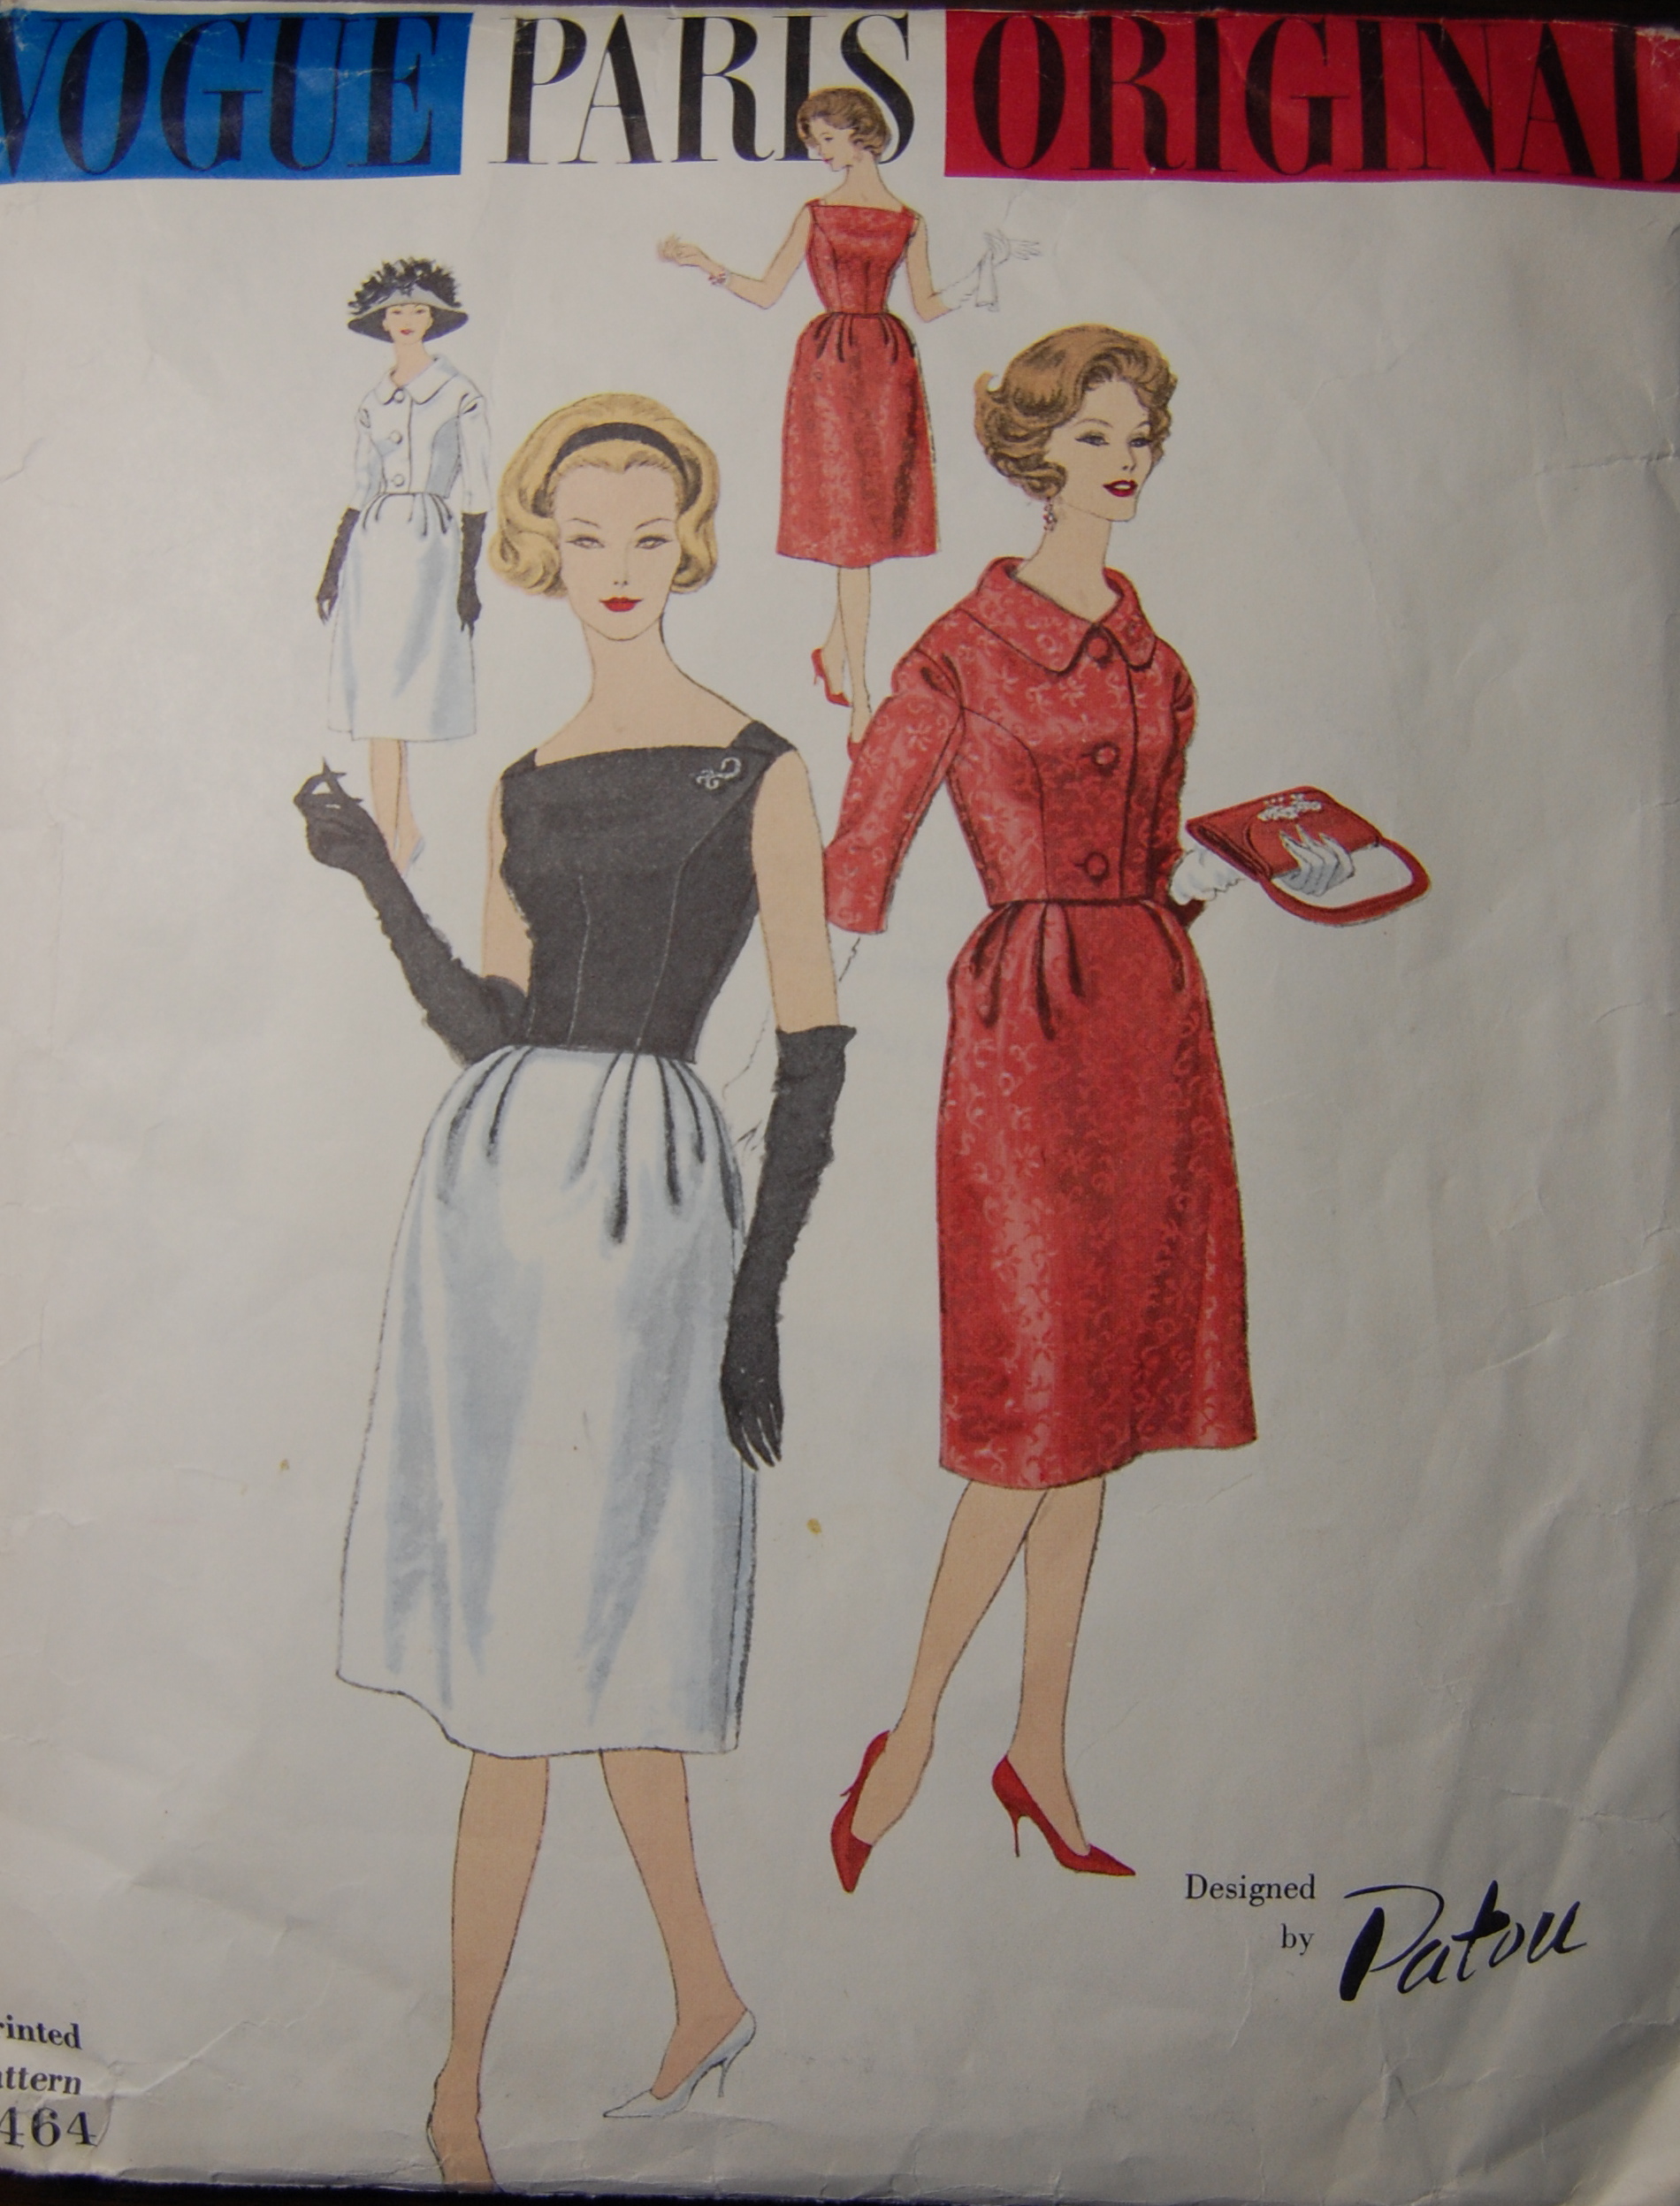
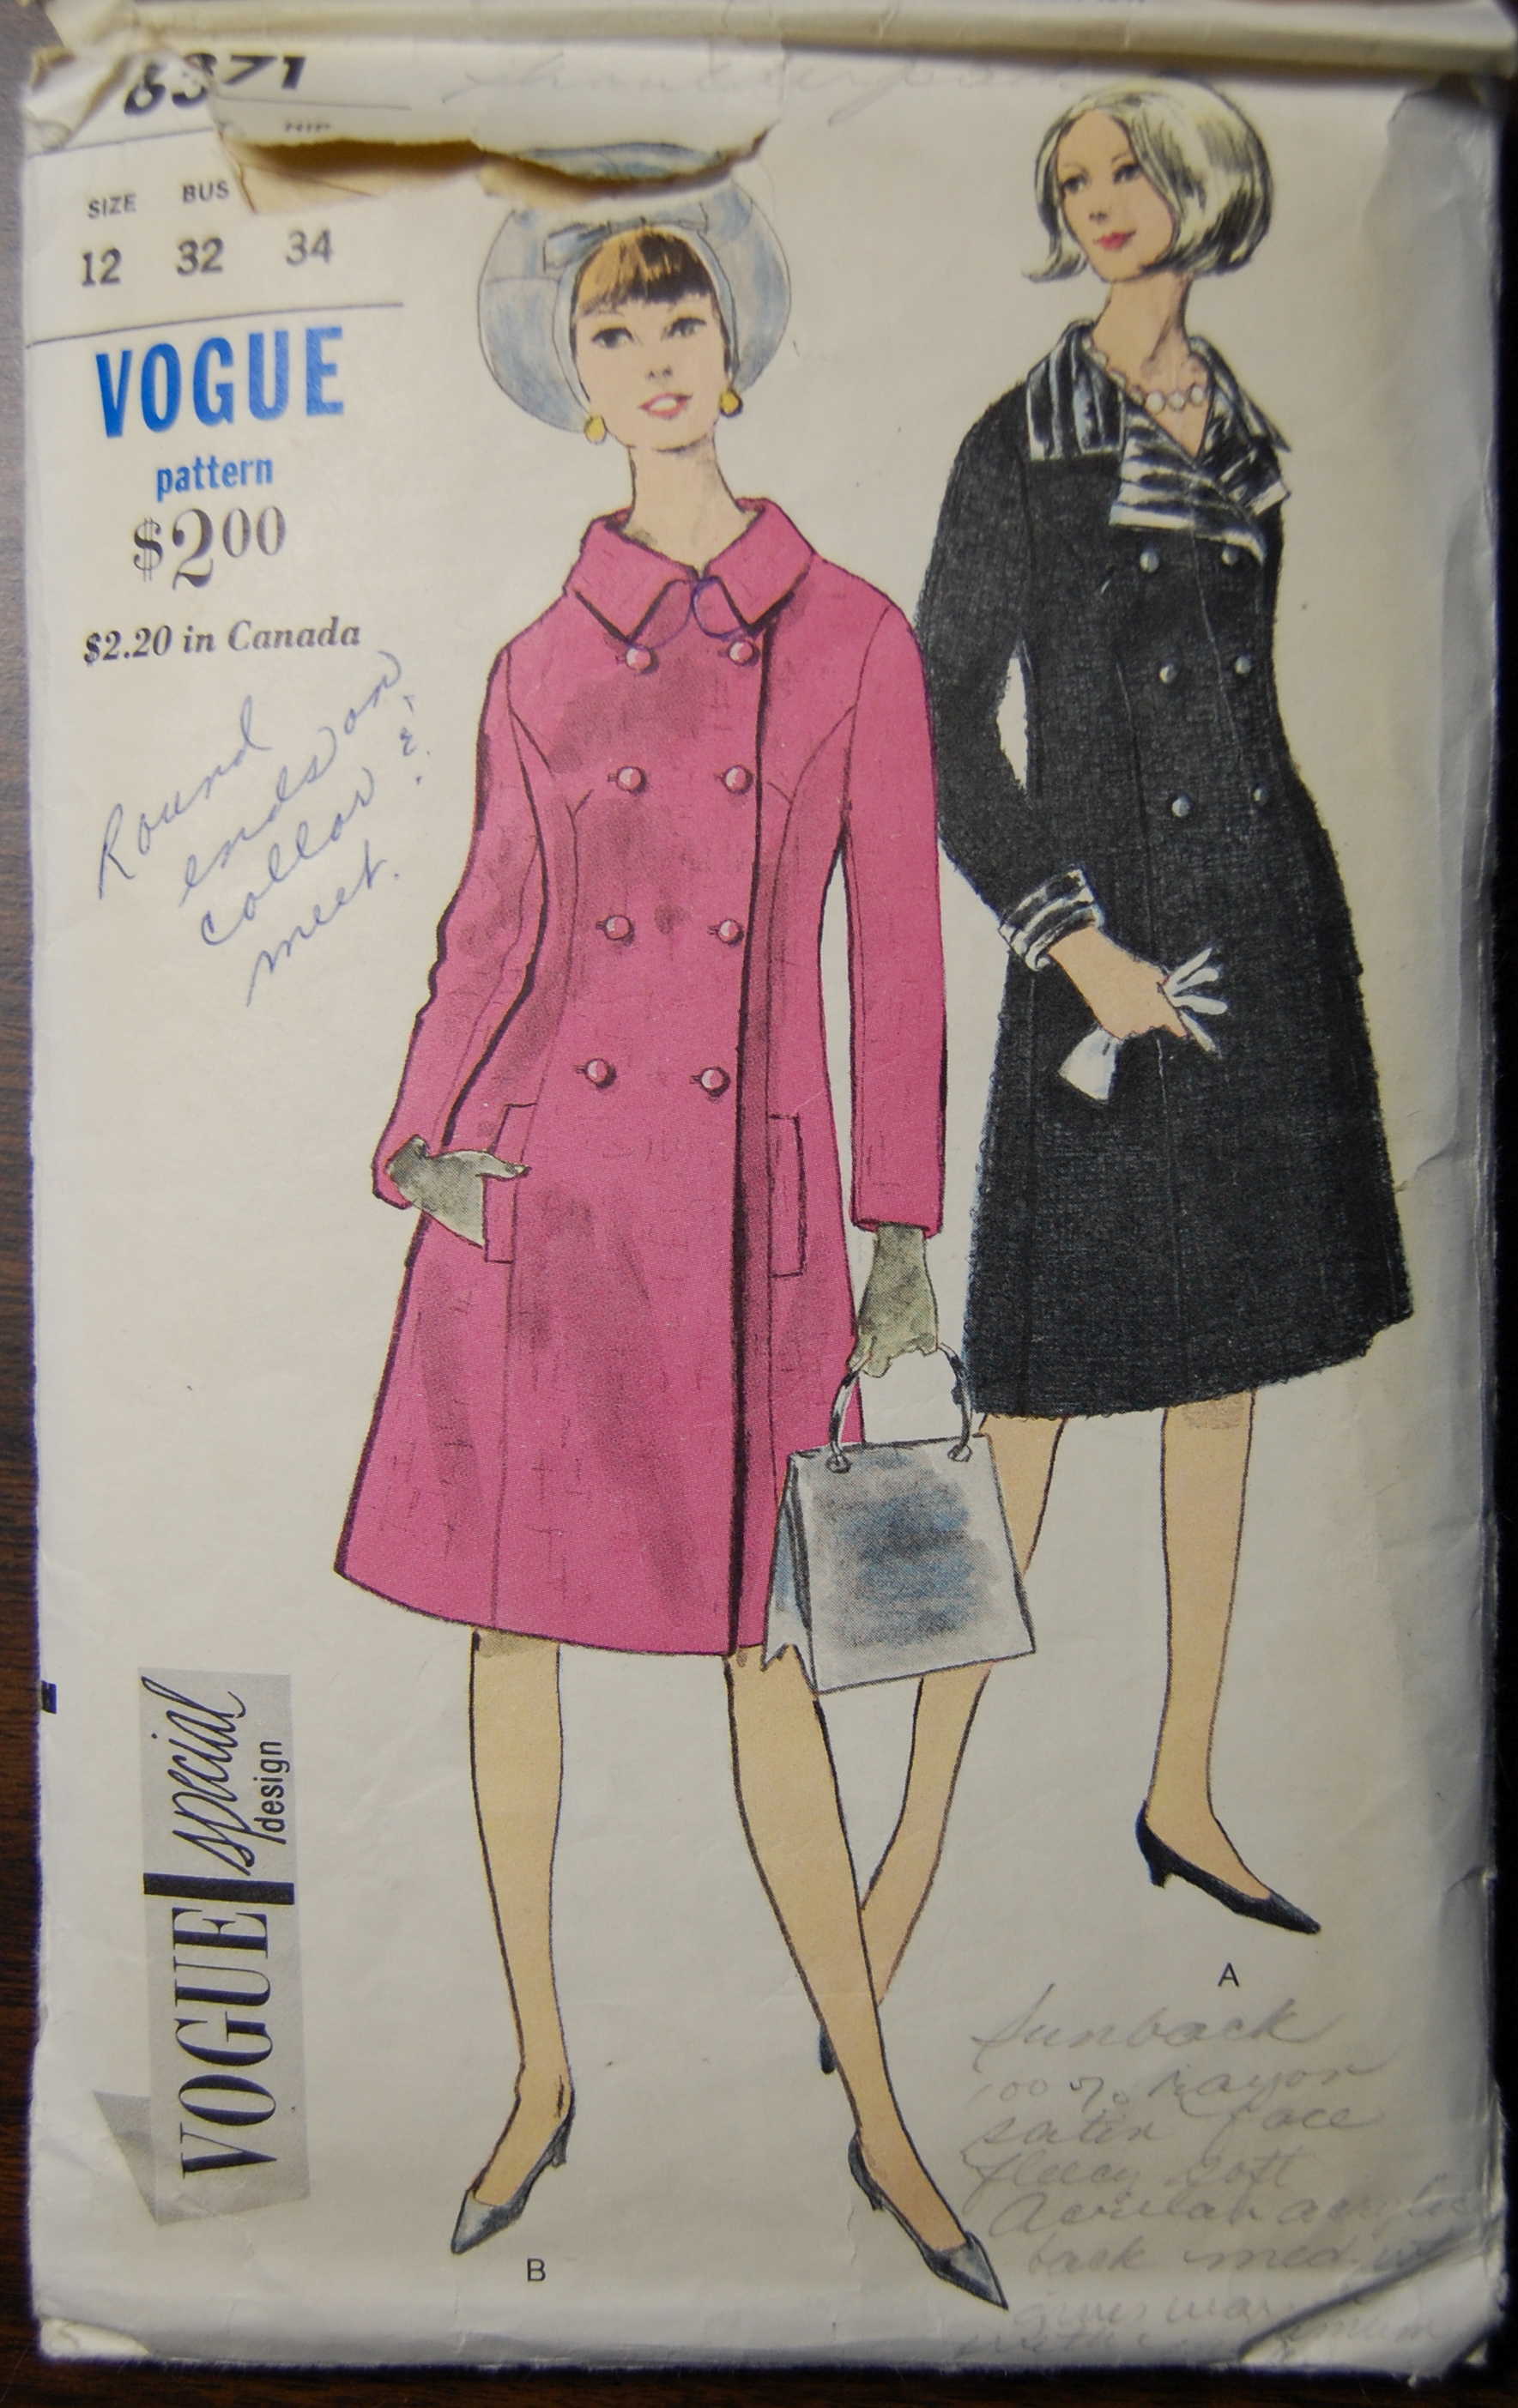
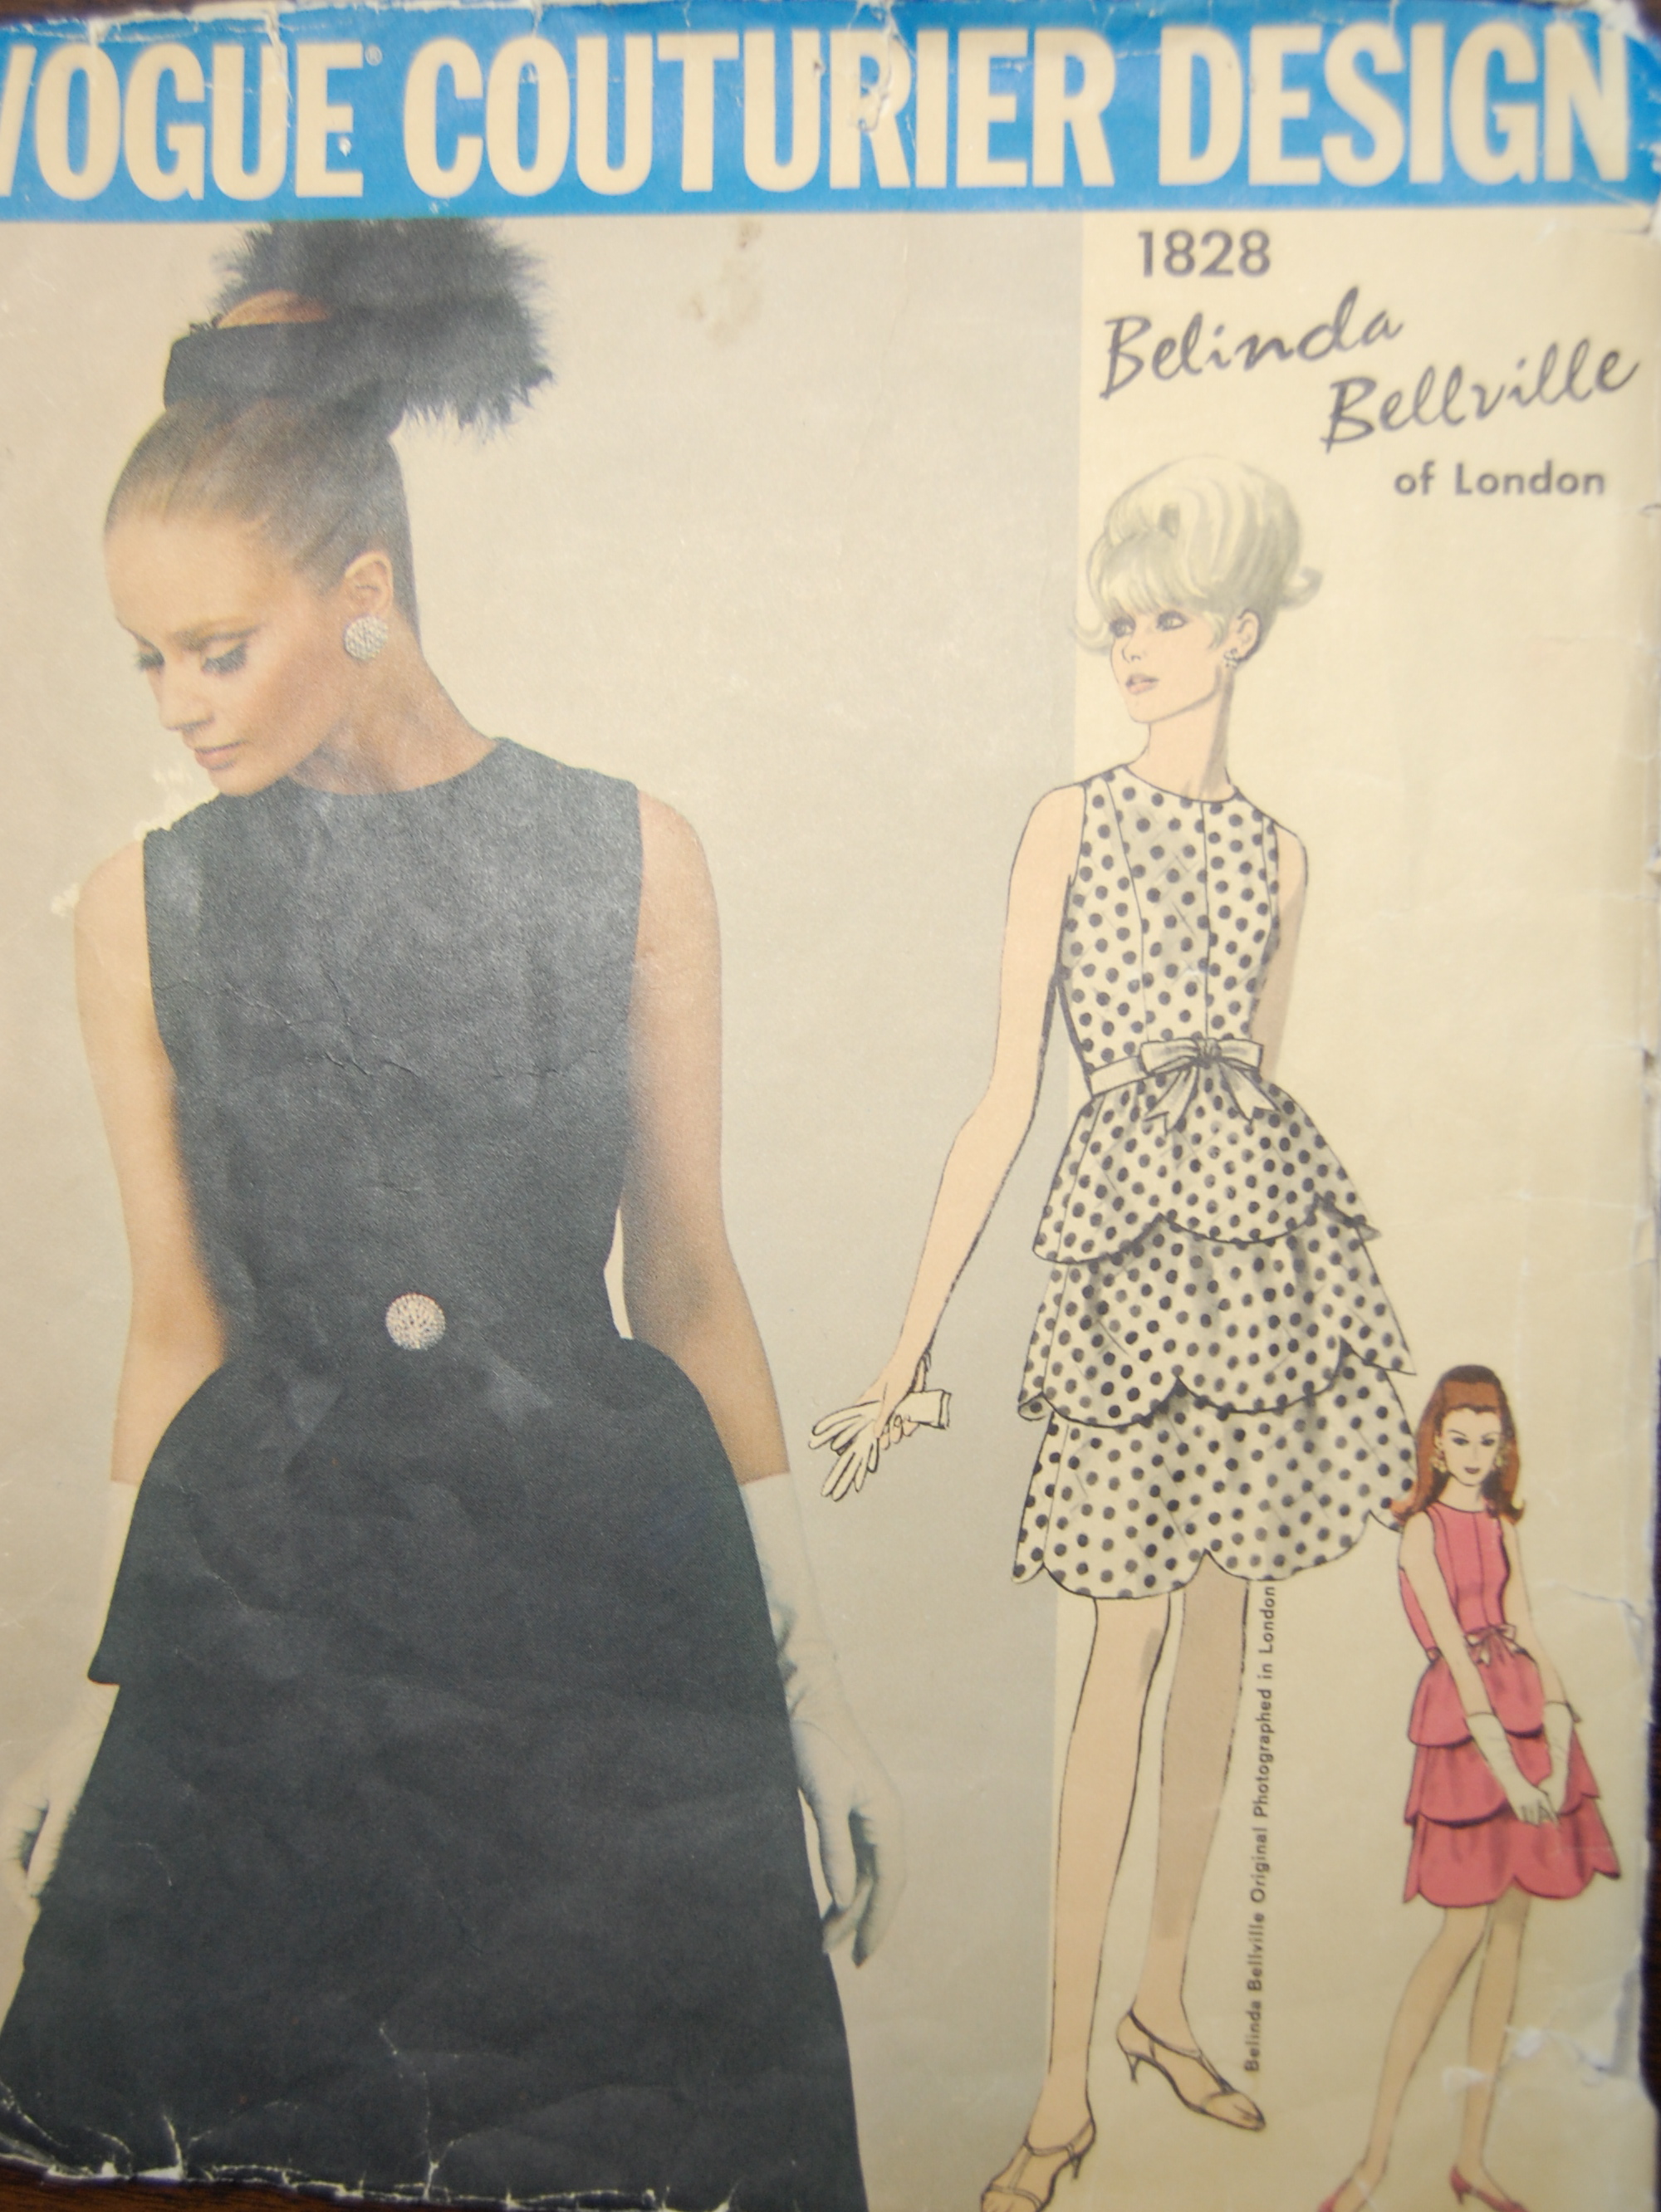
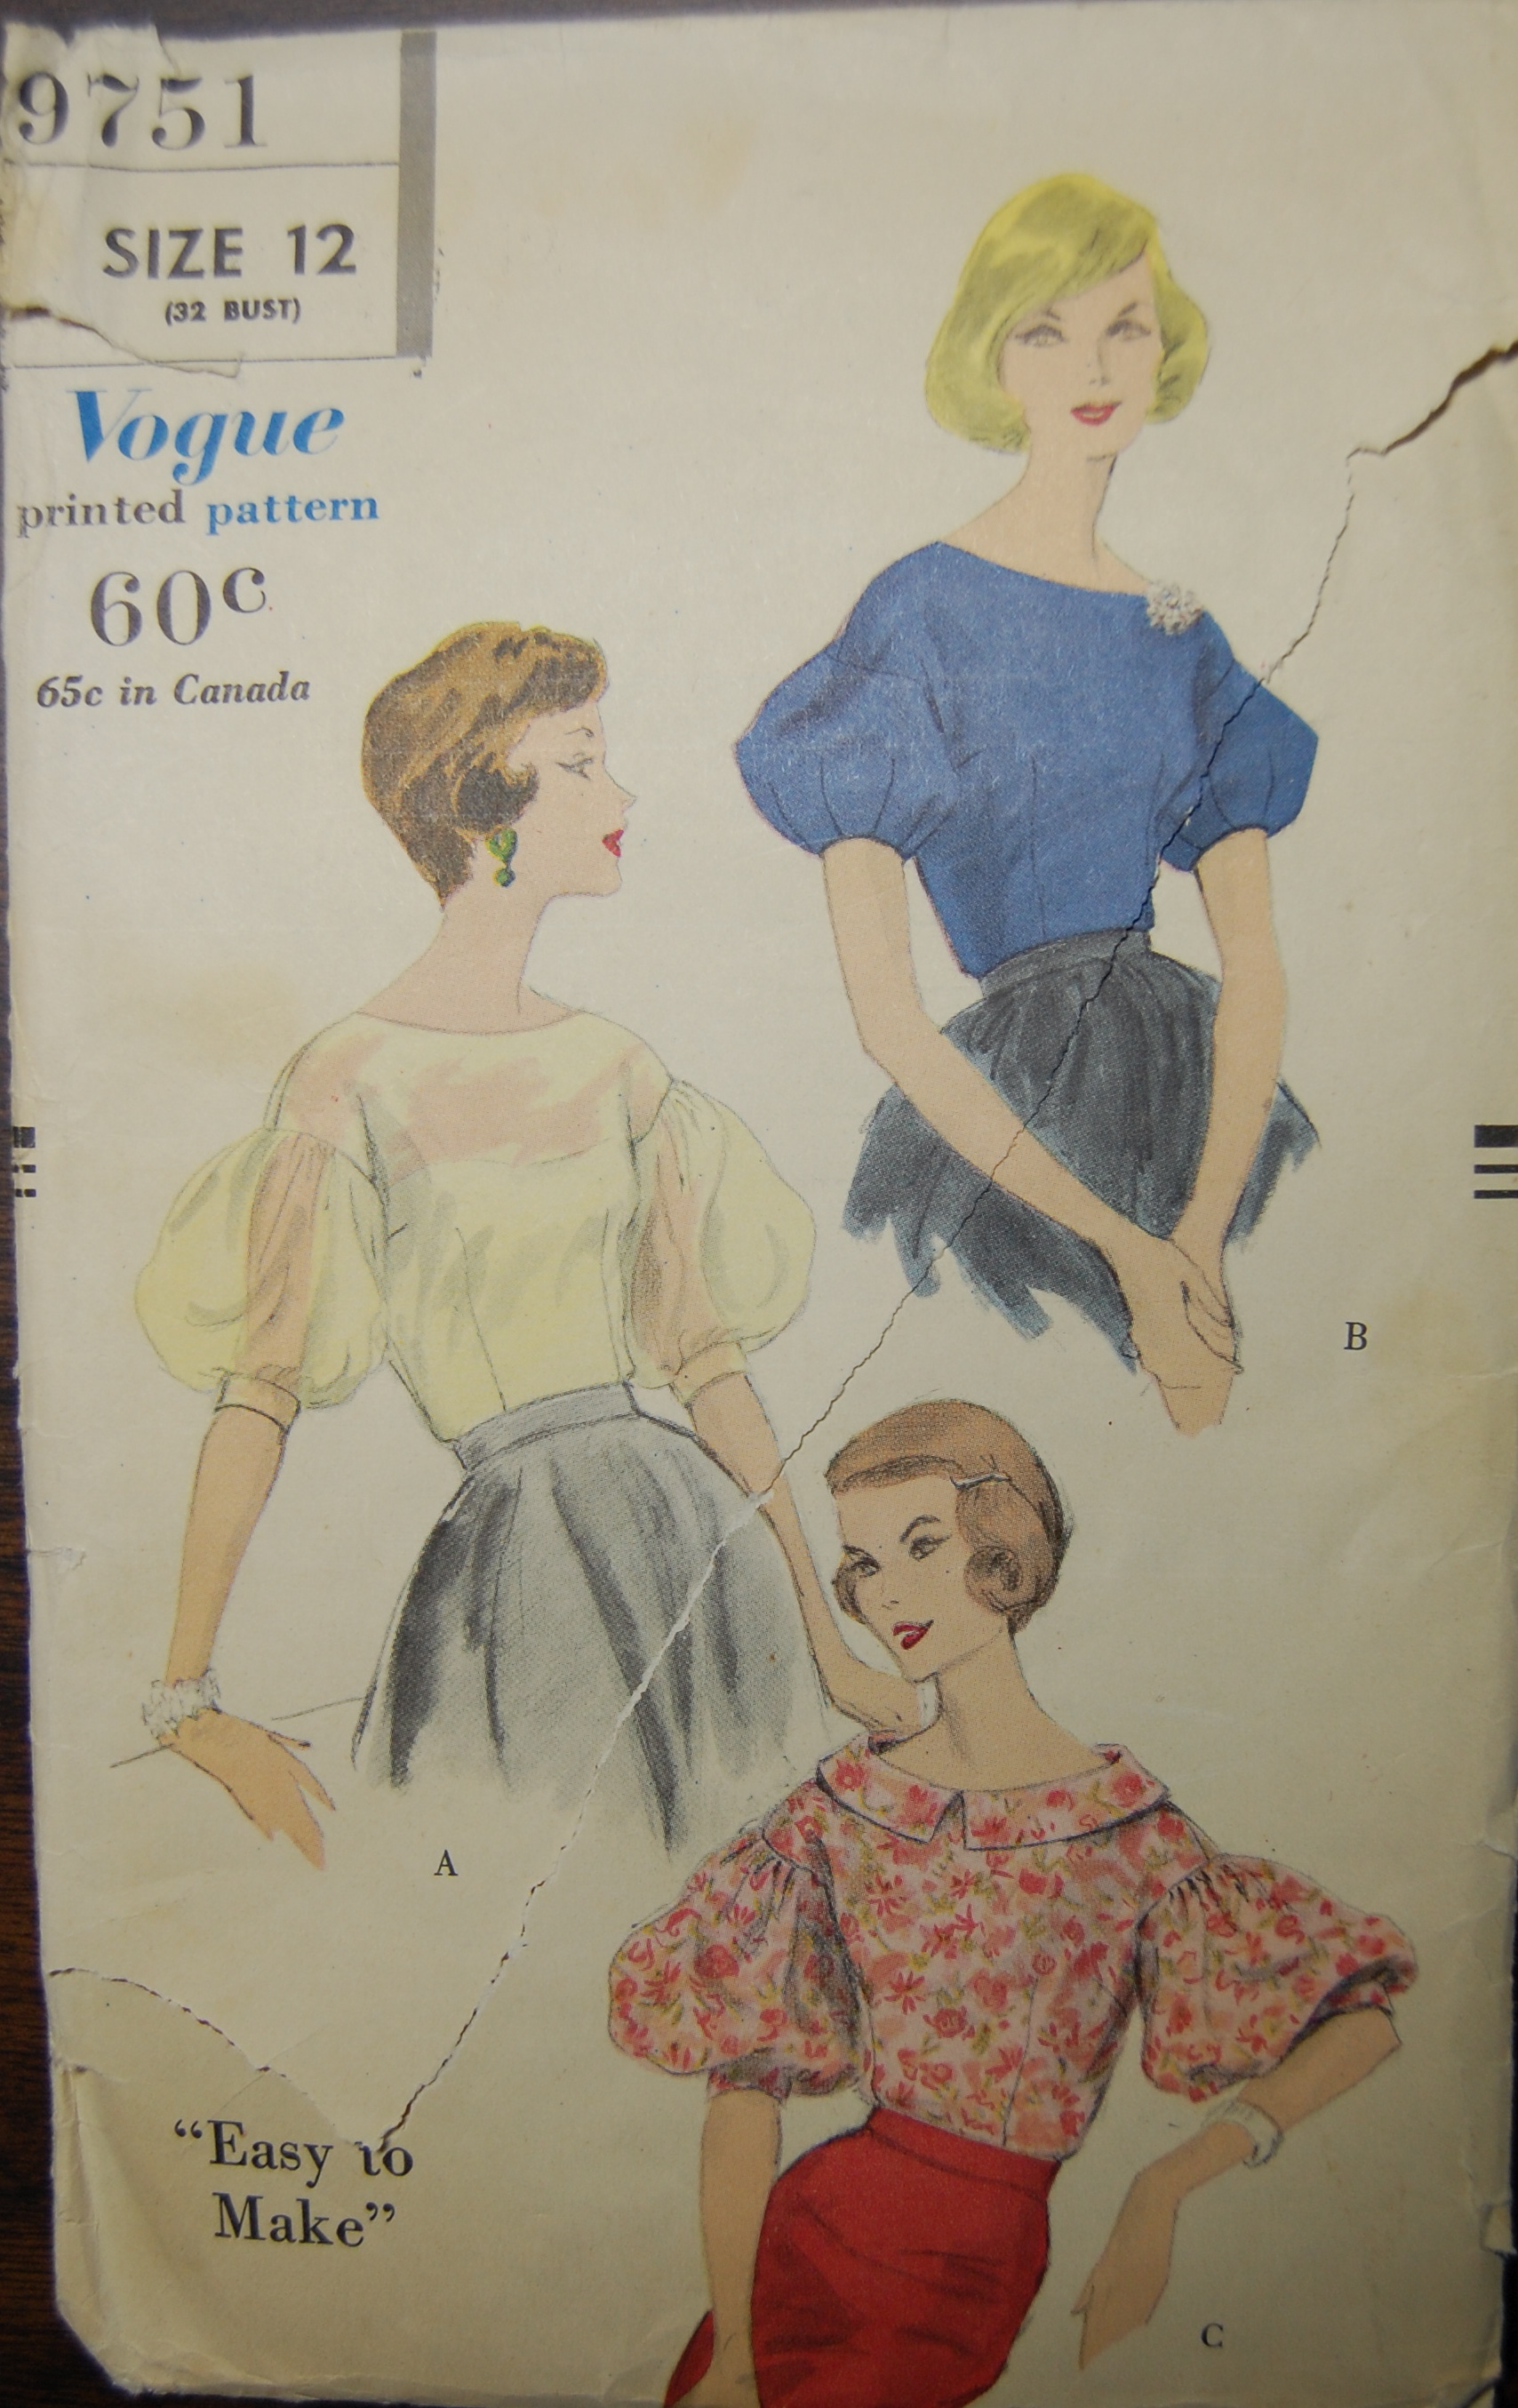
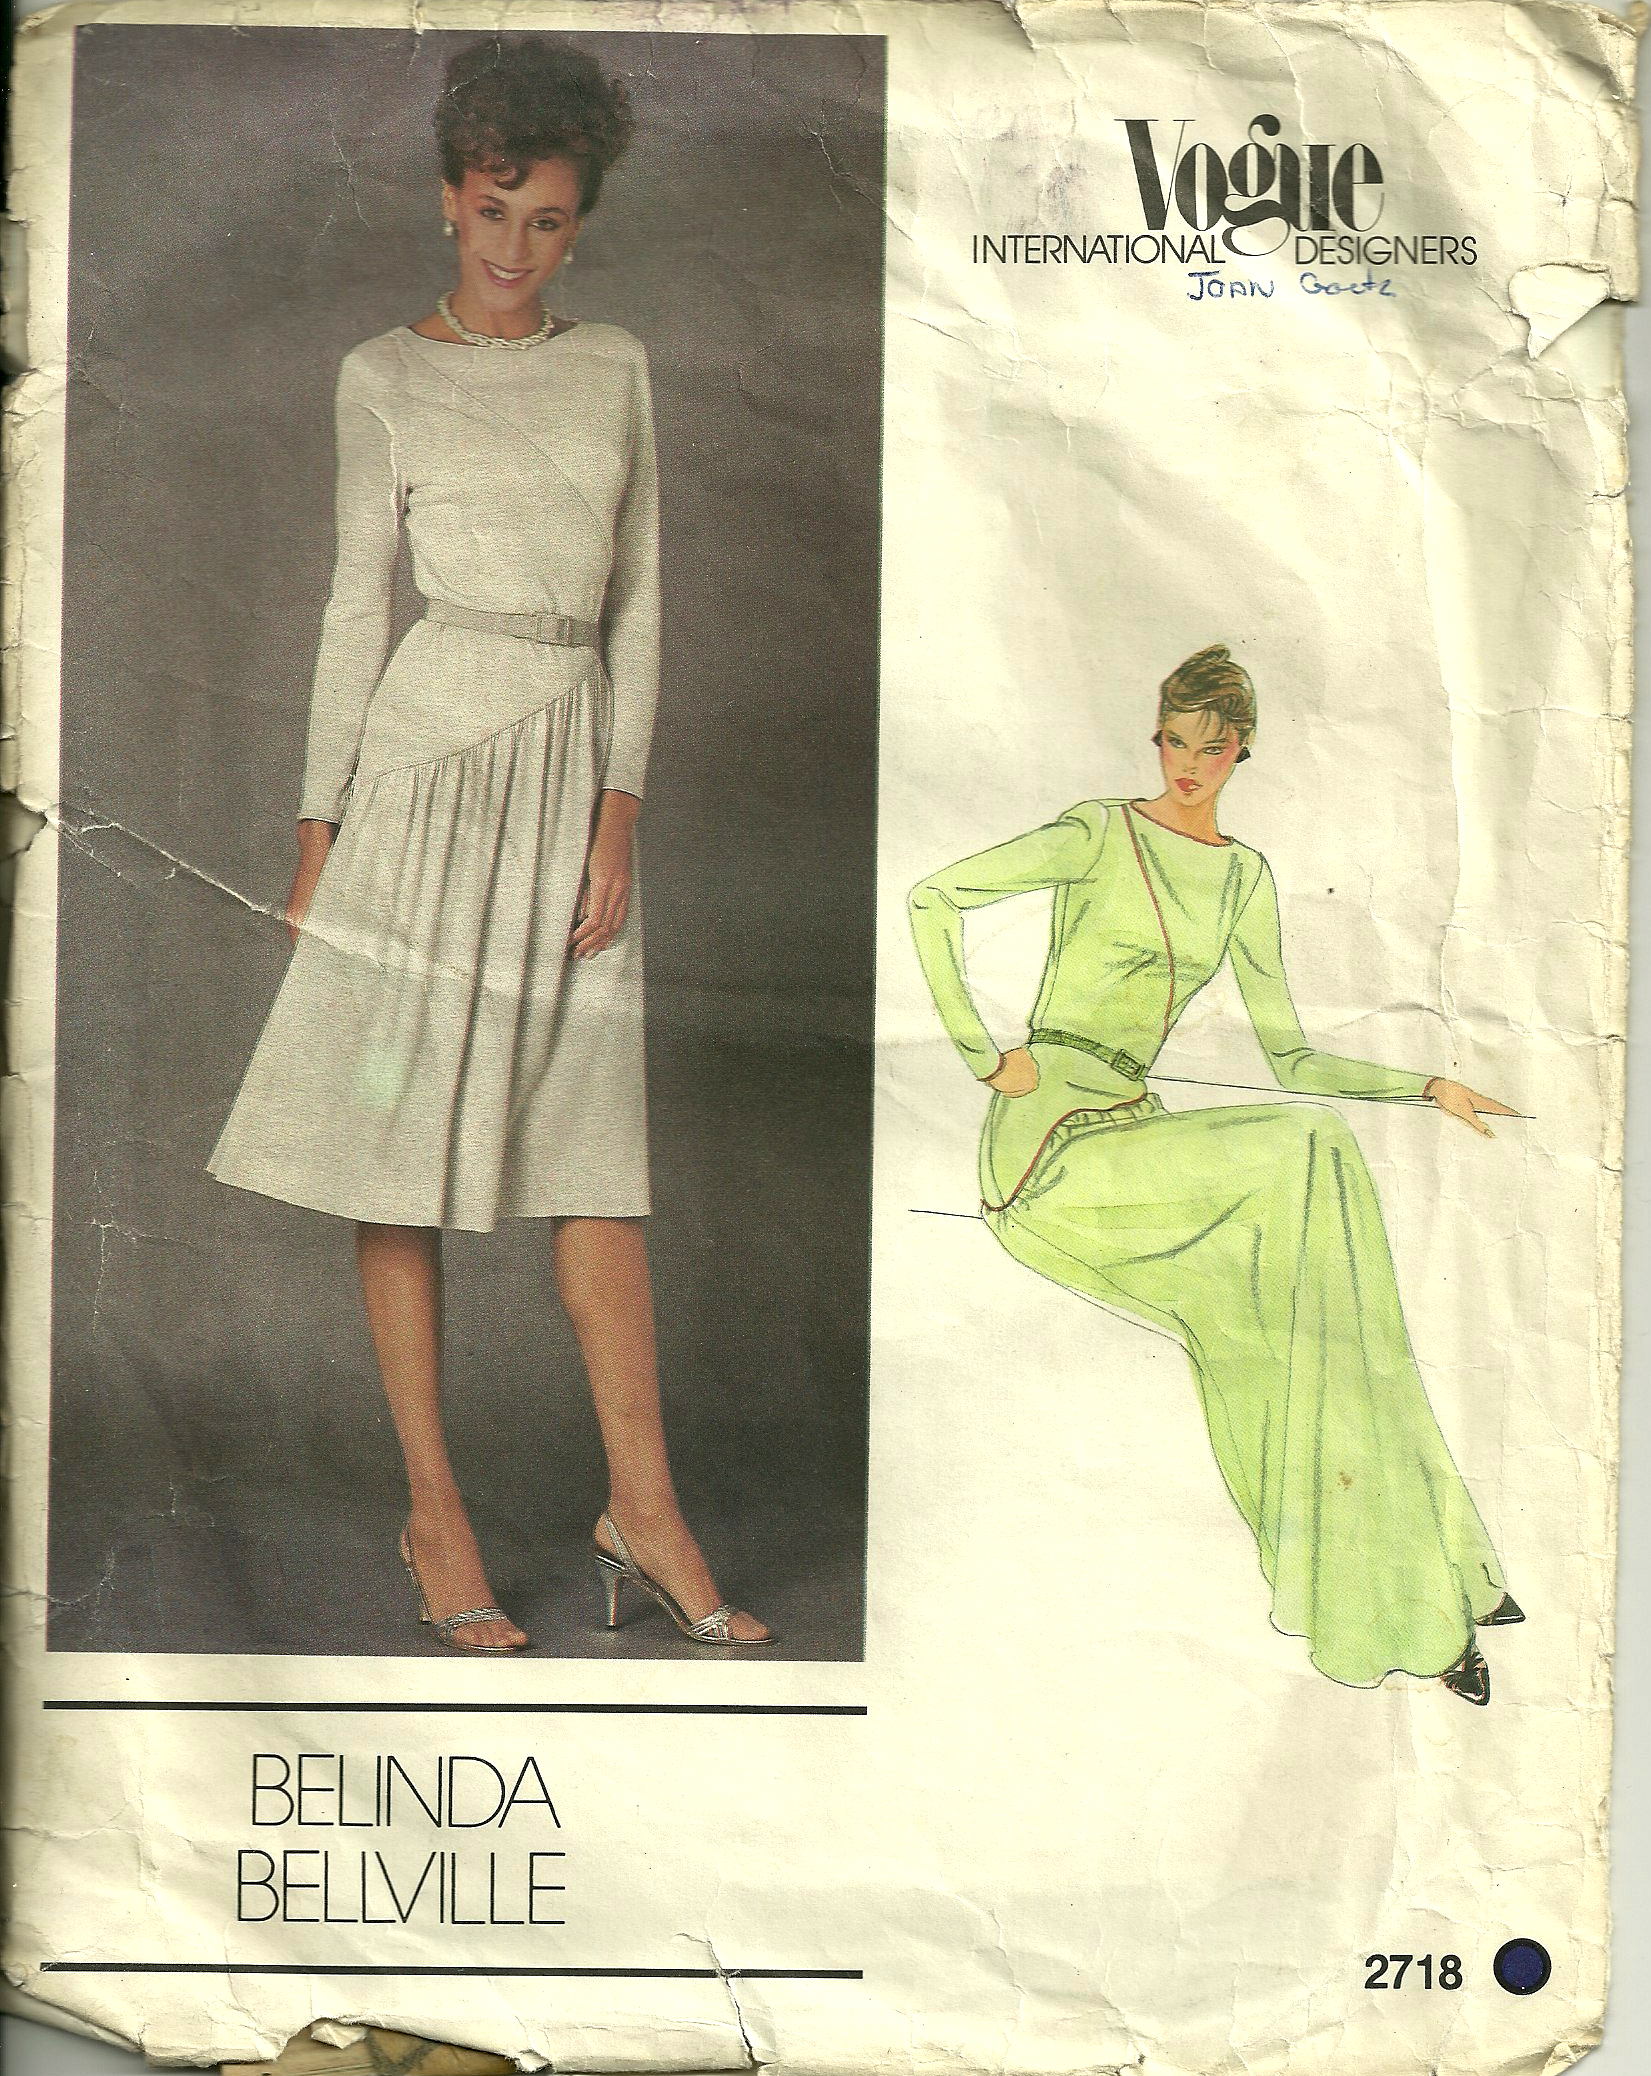
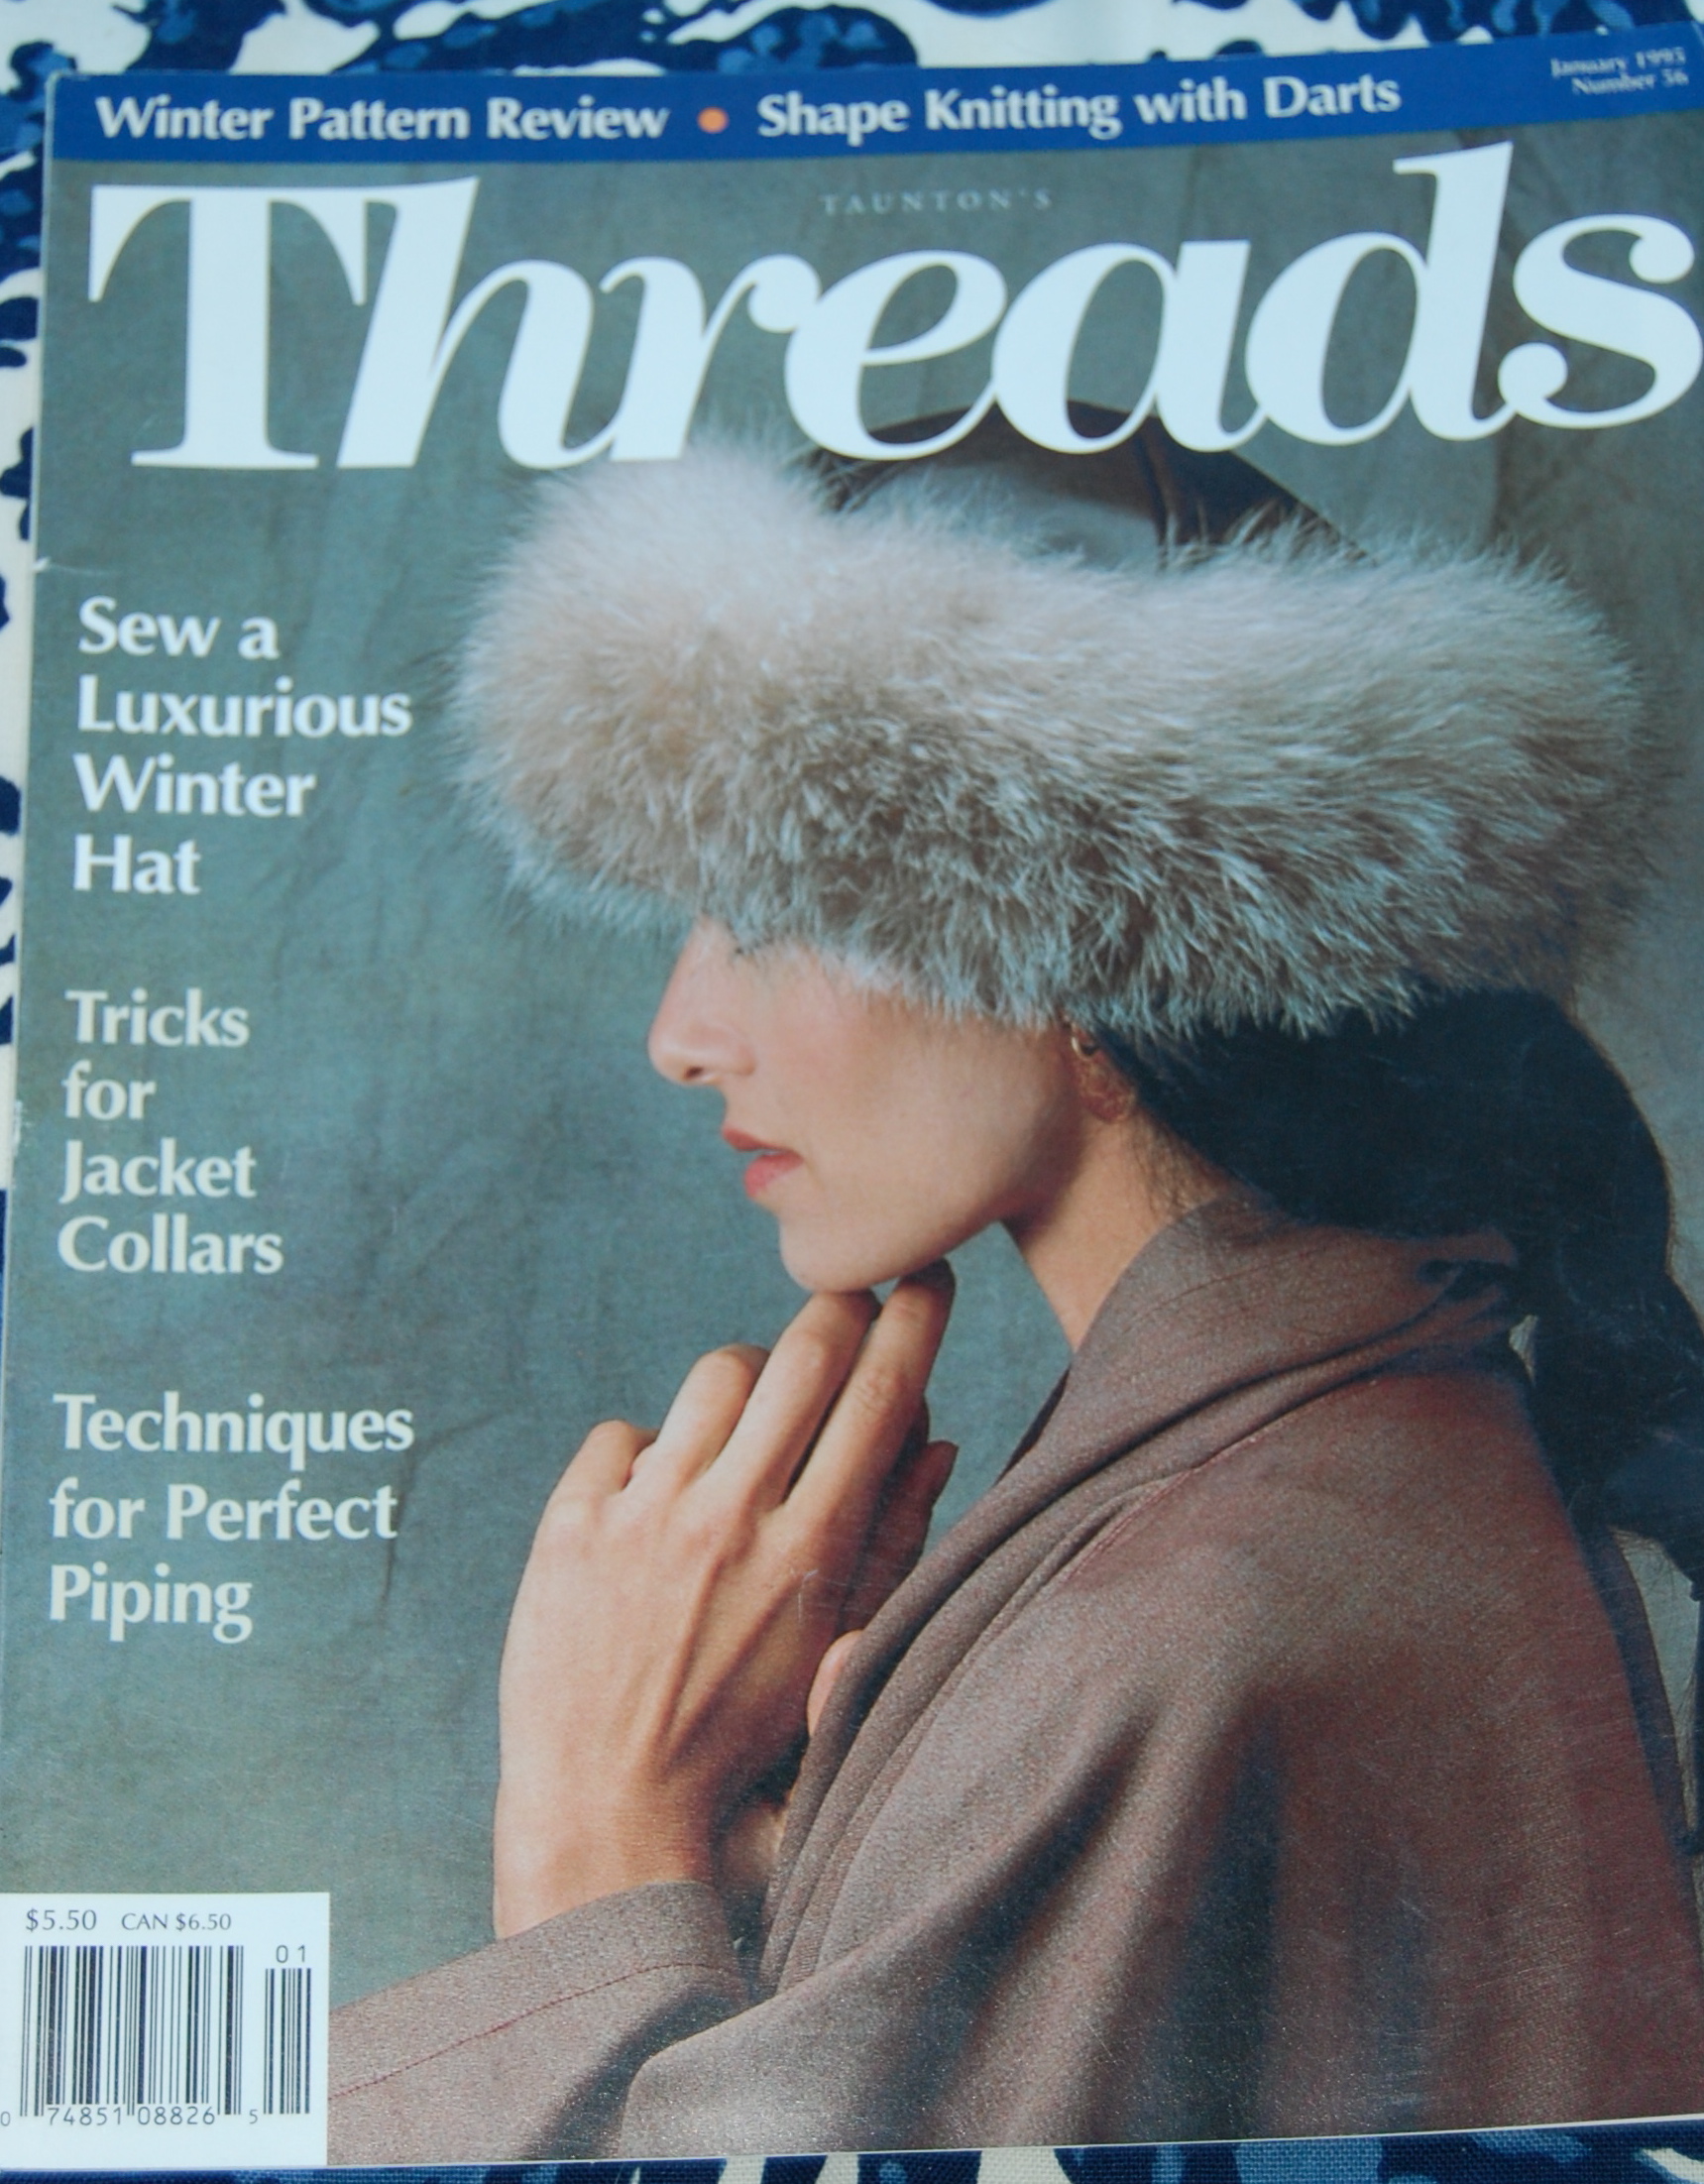
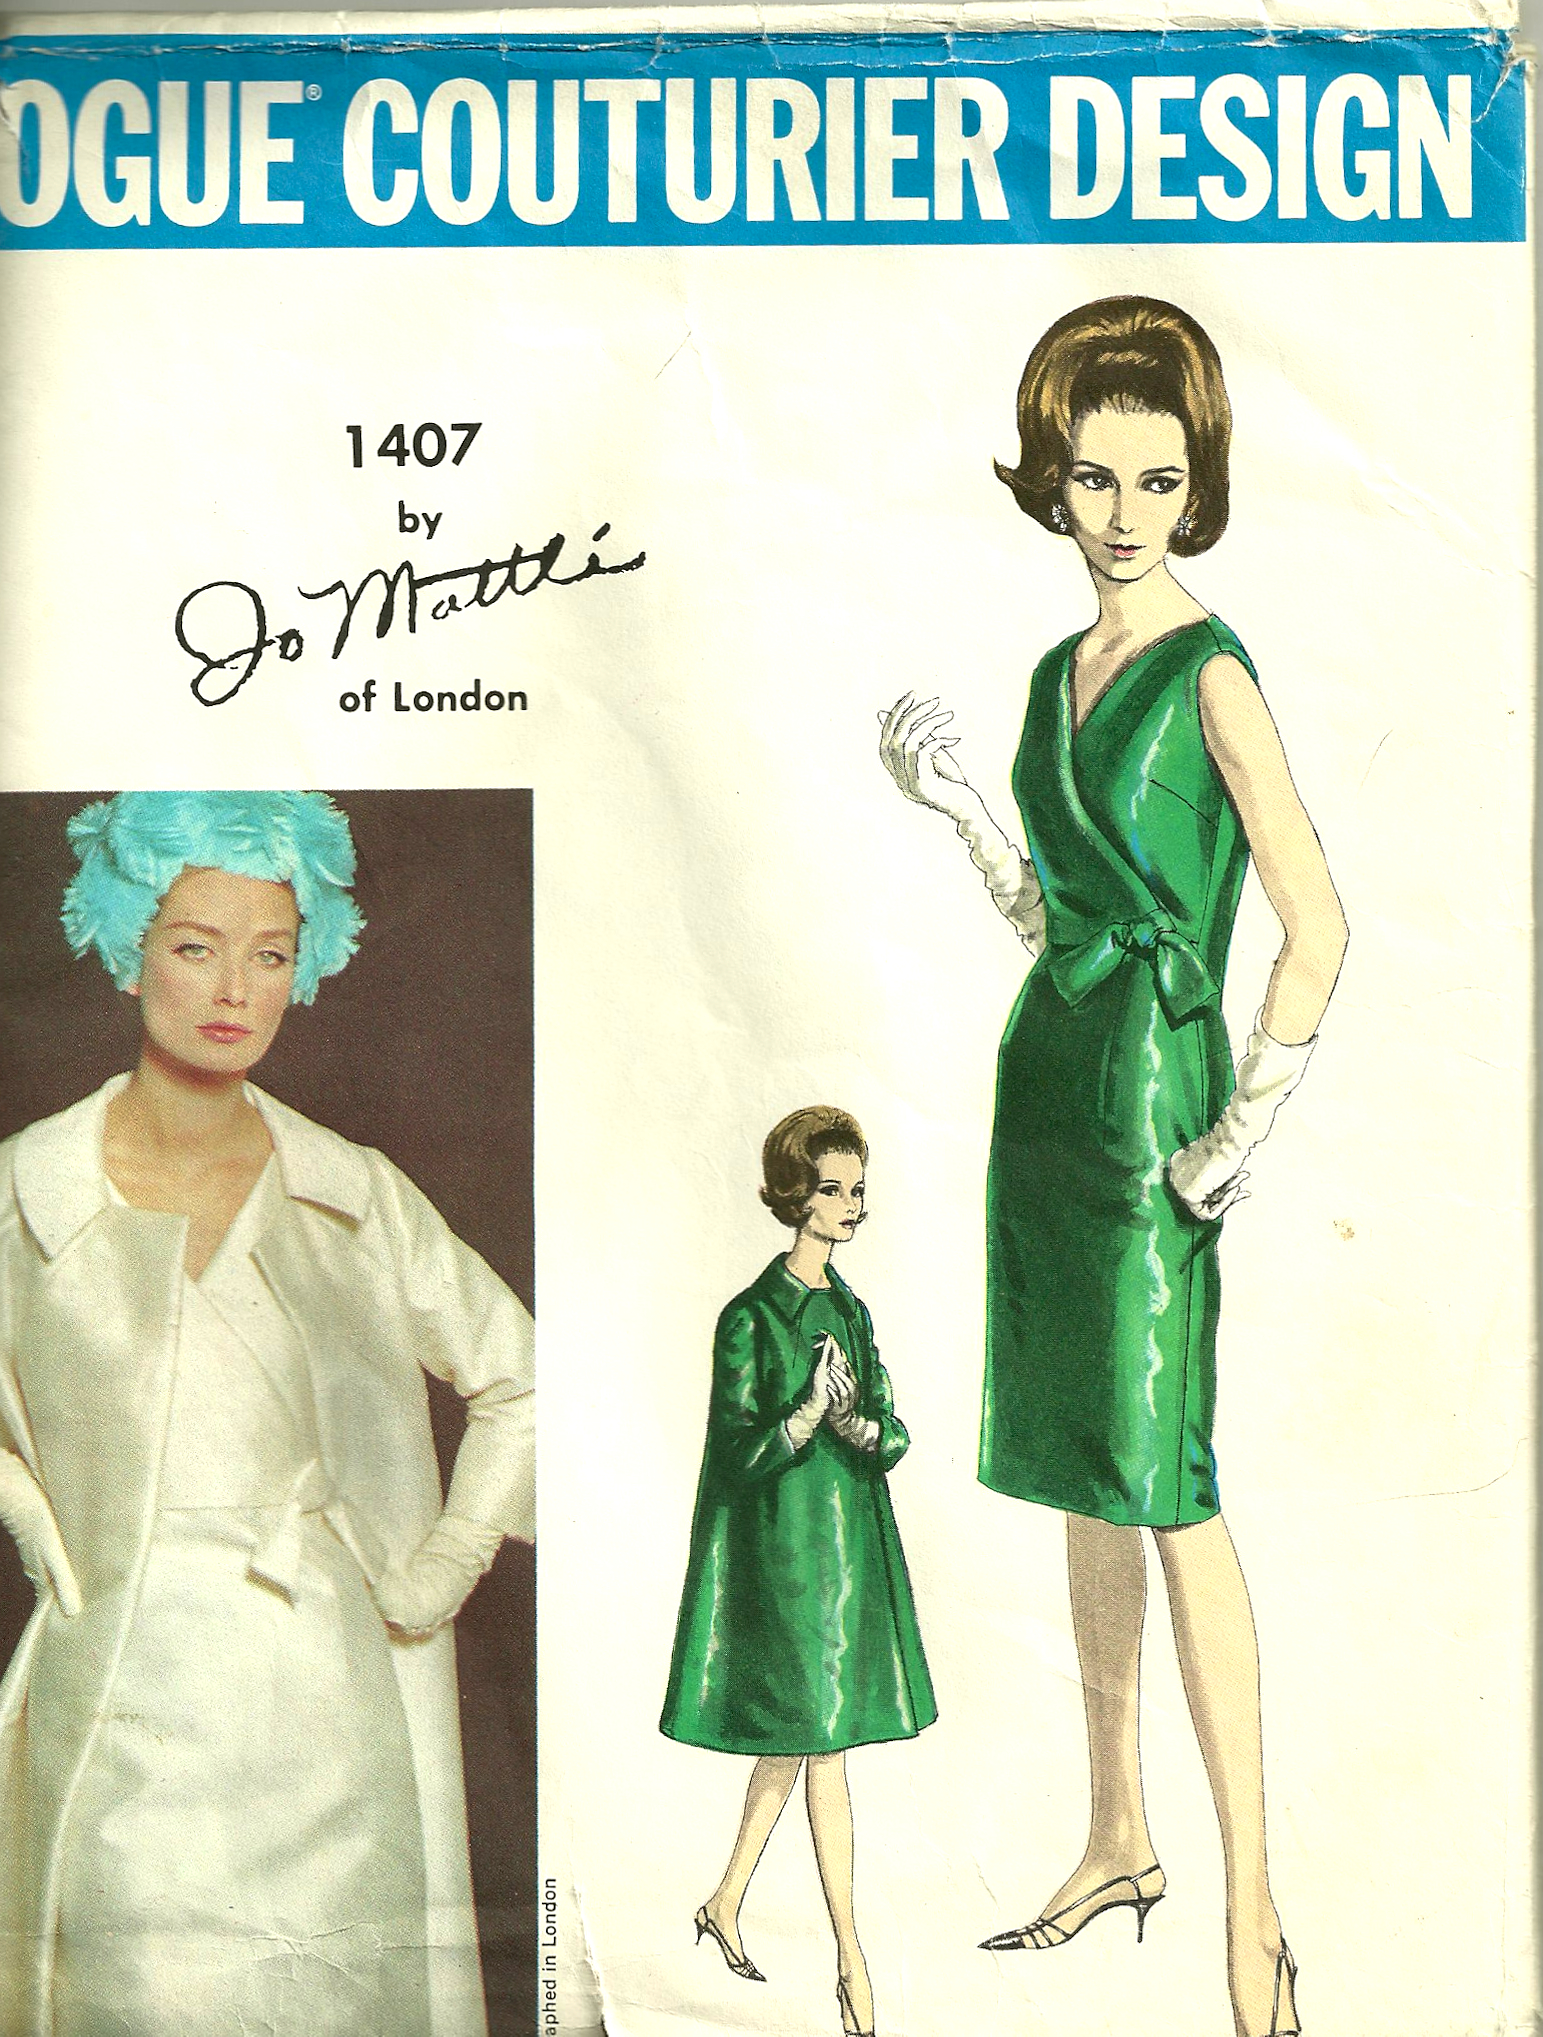
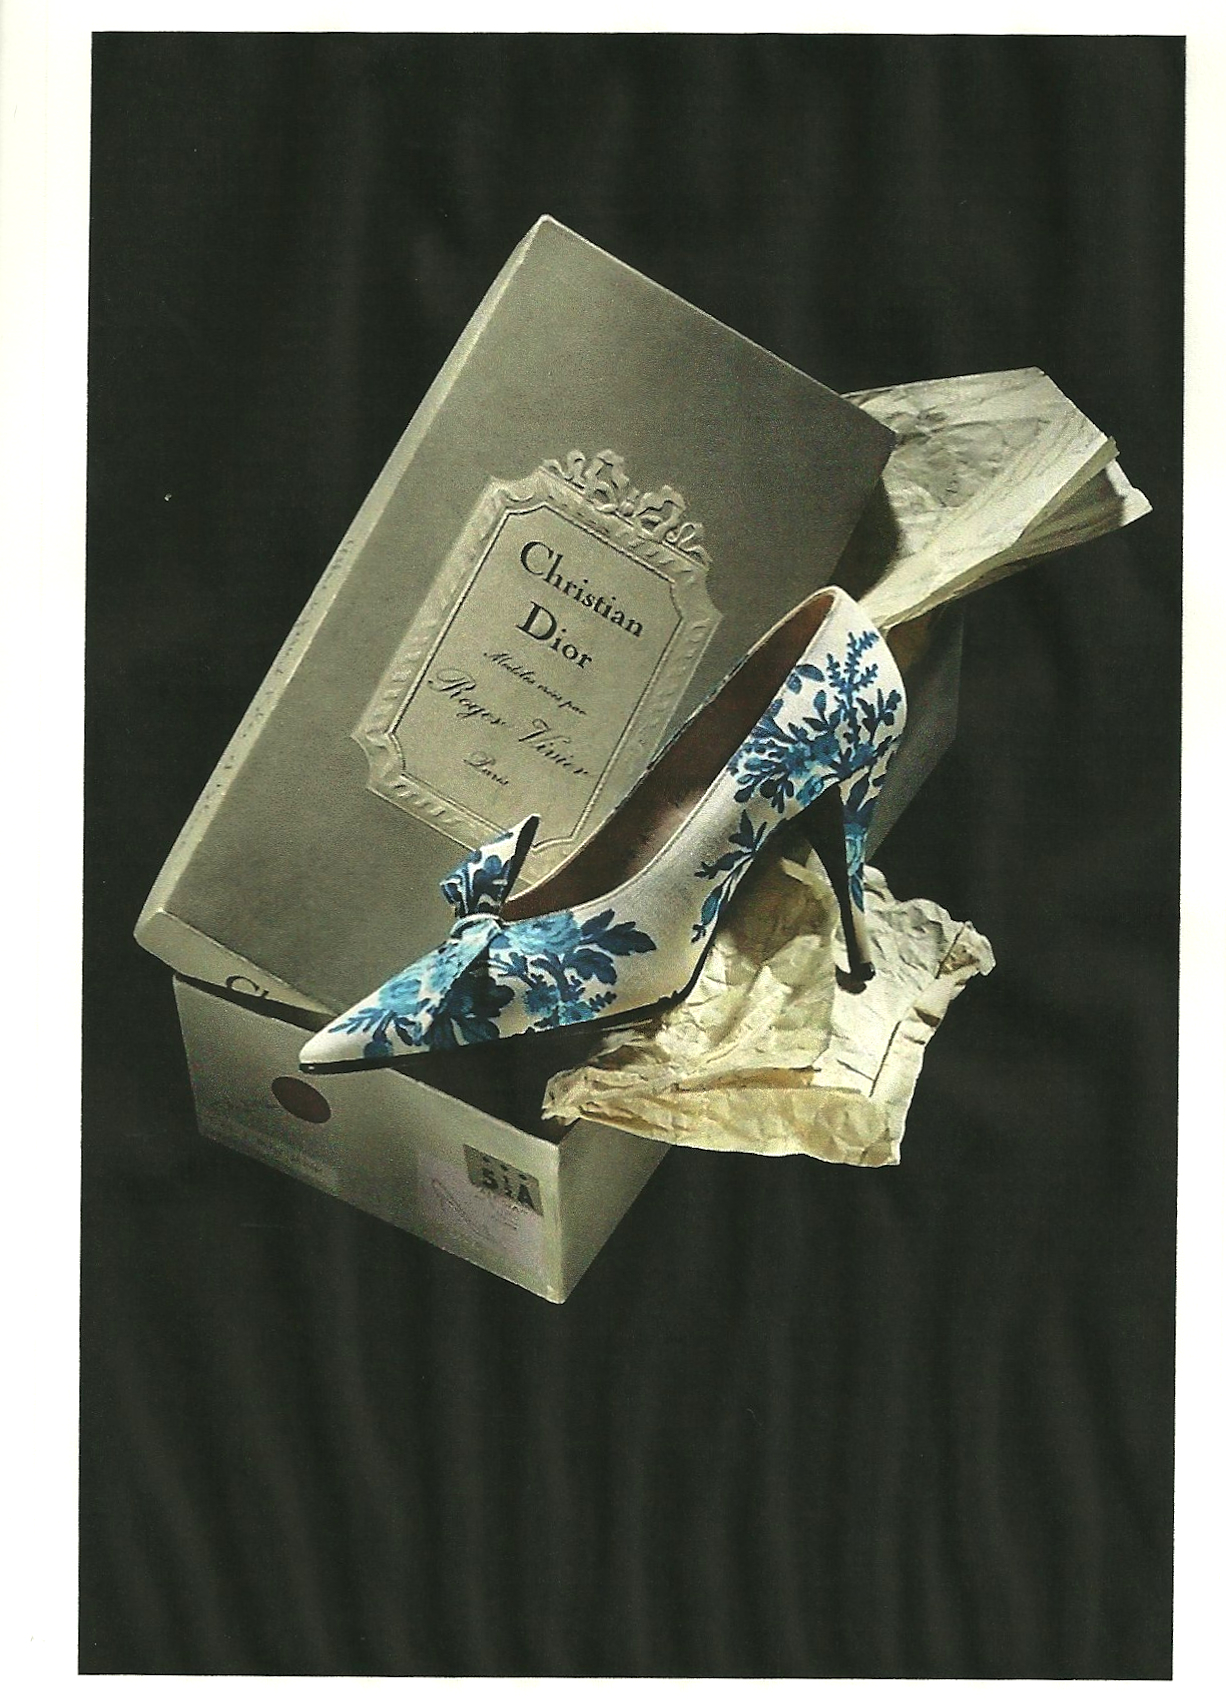
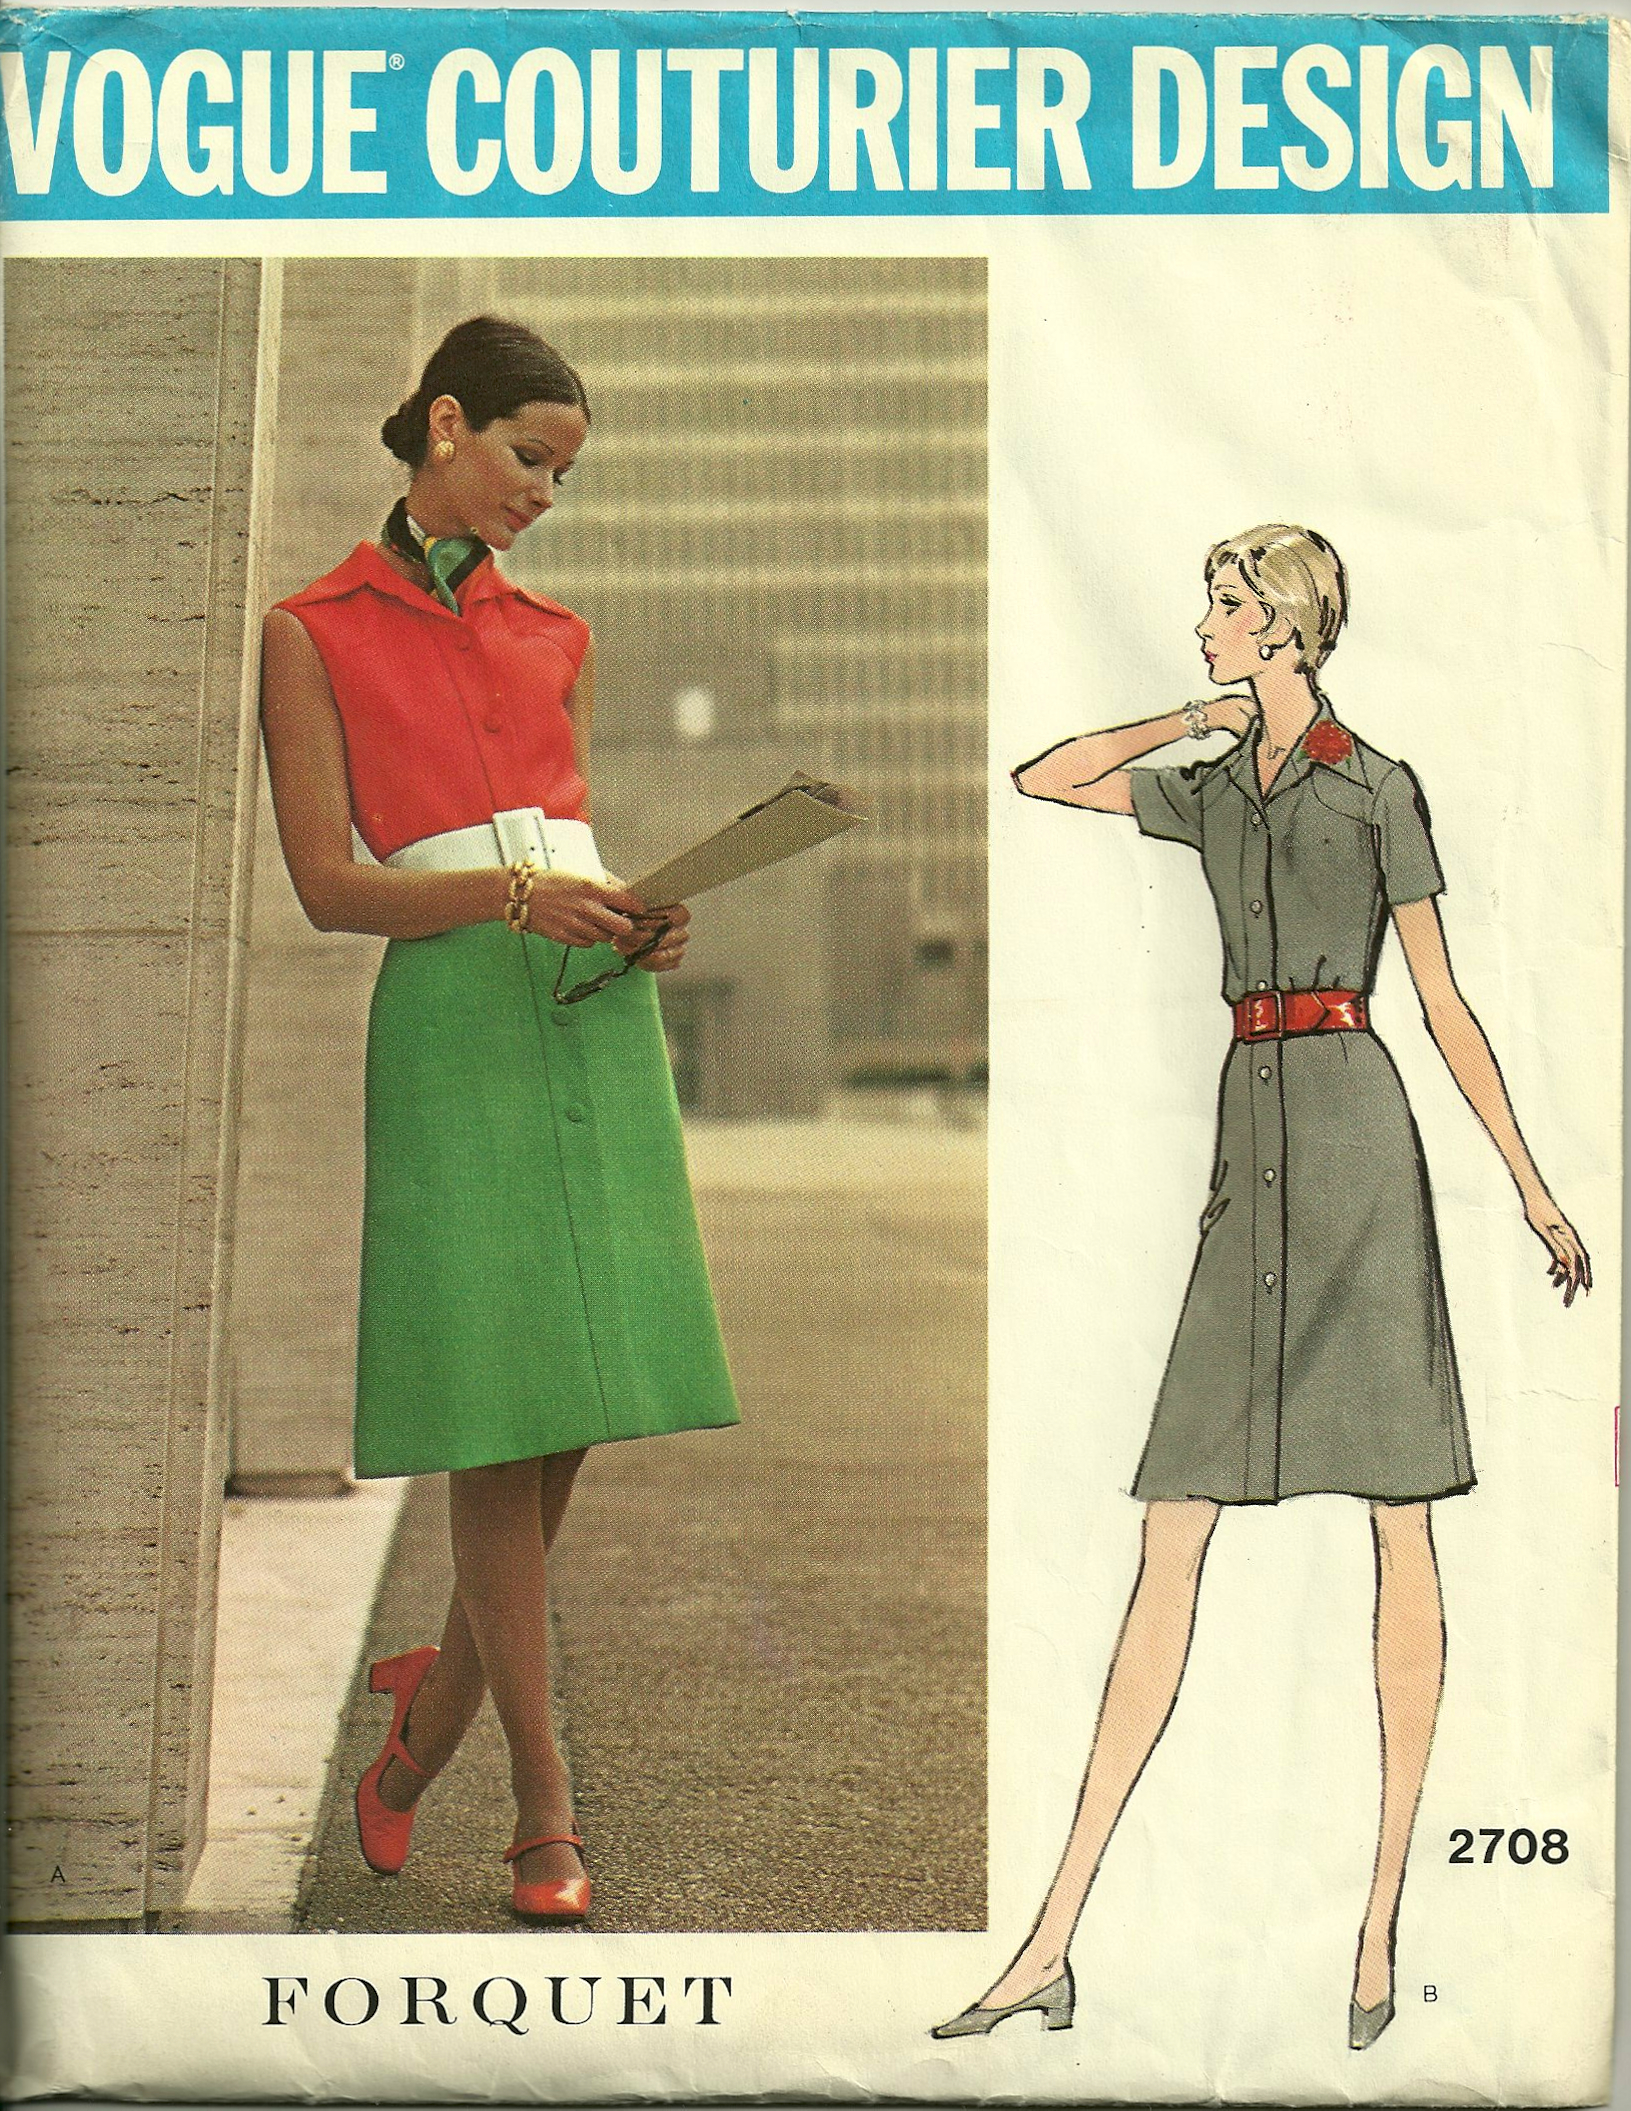
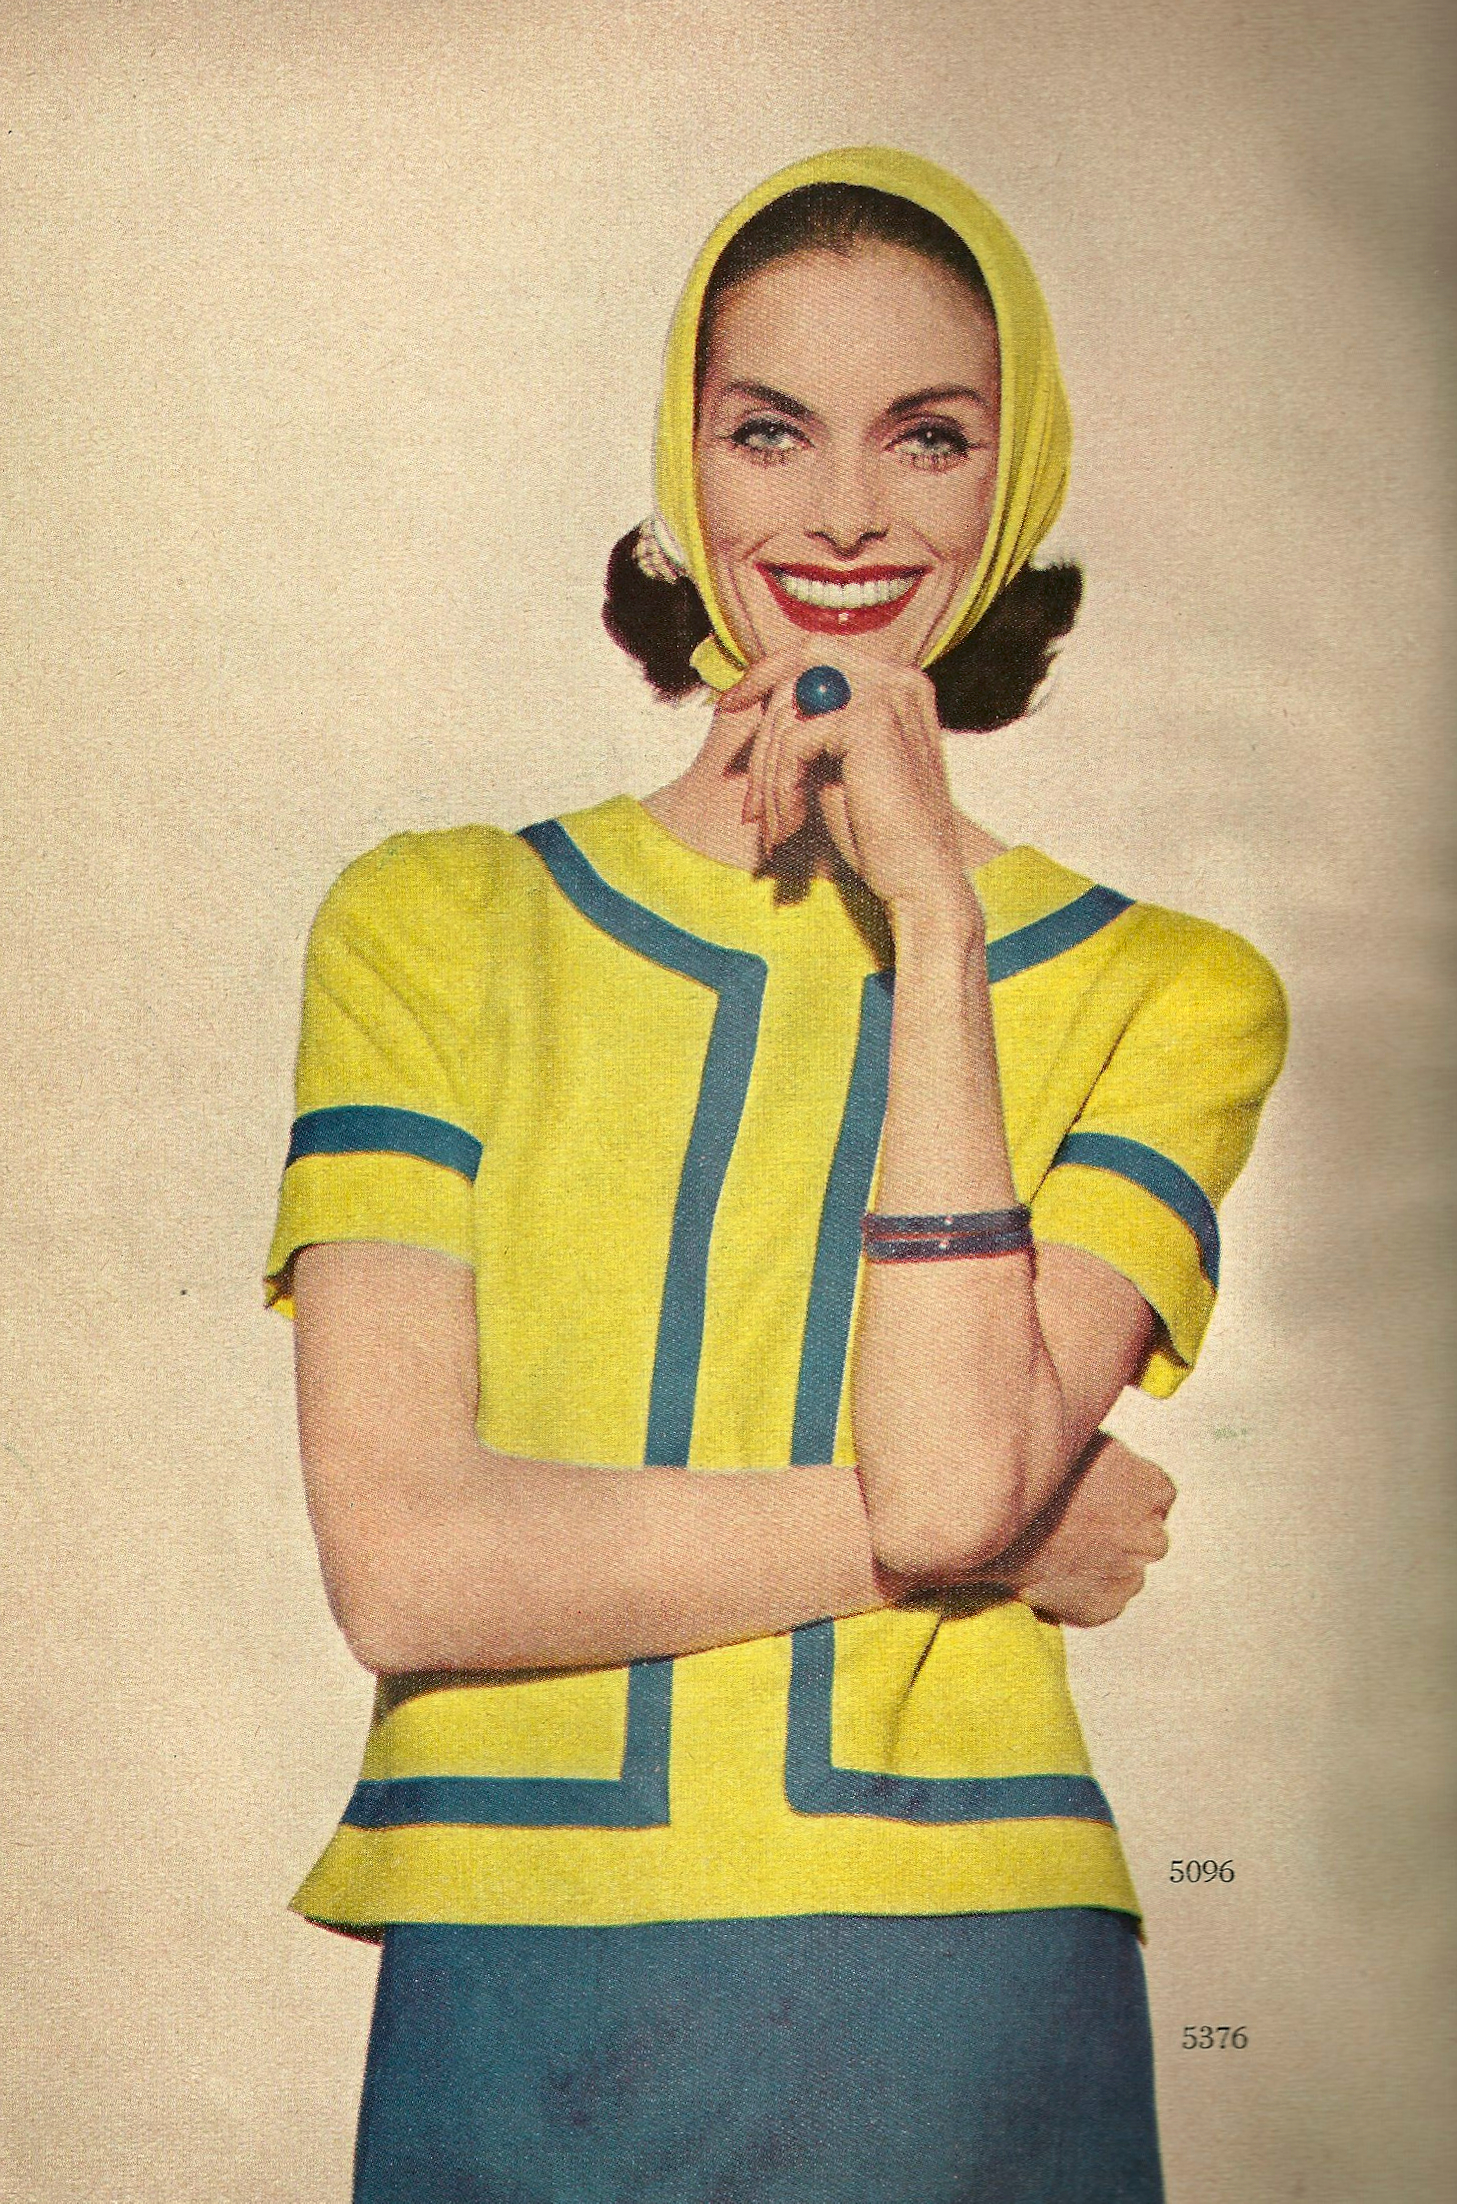
It is probably unfair to do an assessment of Marfy patterns after just one make, but I’m going to anyway! The things I really like, so far, about using a Marfy pattern are 1) its preciseness, 2) the individually sized patterns, 3) the pattern pieces without seam allowance added. And is there anything I dislike about Marfy so far? Yes, one big thing! I really miss having a pattern envelope with an illustration, variant views and back views. I am so accustomed to vintage patterns, most of which sport envelopes which are like small works of art. There is so much pertinent information on them (fabric suggestions, zipper sizes, garment descriptions, thumbnail pattern piece diagrams, etc.) and even wearing suggestions. The illustrations show outfit styling suggestions (hats, handbags, shoes, etc.). I love studying them. So, yes, it’s true – I feel like something is lost without a pattern envelope for this dress which I like so much.
I won’t be waiting long to wear this dress. Our American holiday of Thanksgiving is this Thursday, and Marfy will be one of my dining companions. To my fellow citizens, may the day be as meaningful and blessed for you as it always is for our family. To all my readers around the globe, my thanks to you for sharing your love of sewing with me!