Tag Archives: Linton Tweeds

A Pink Wool Dress

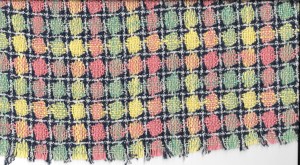
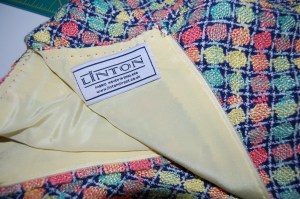
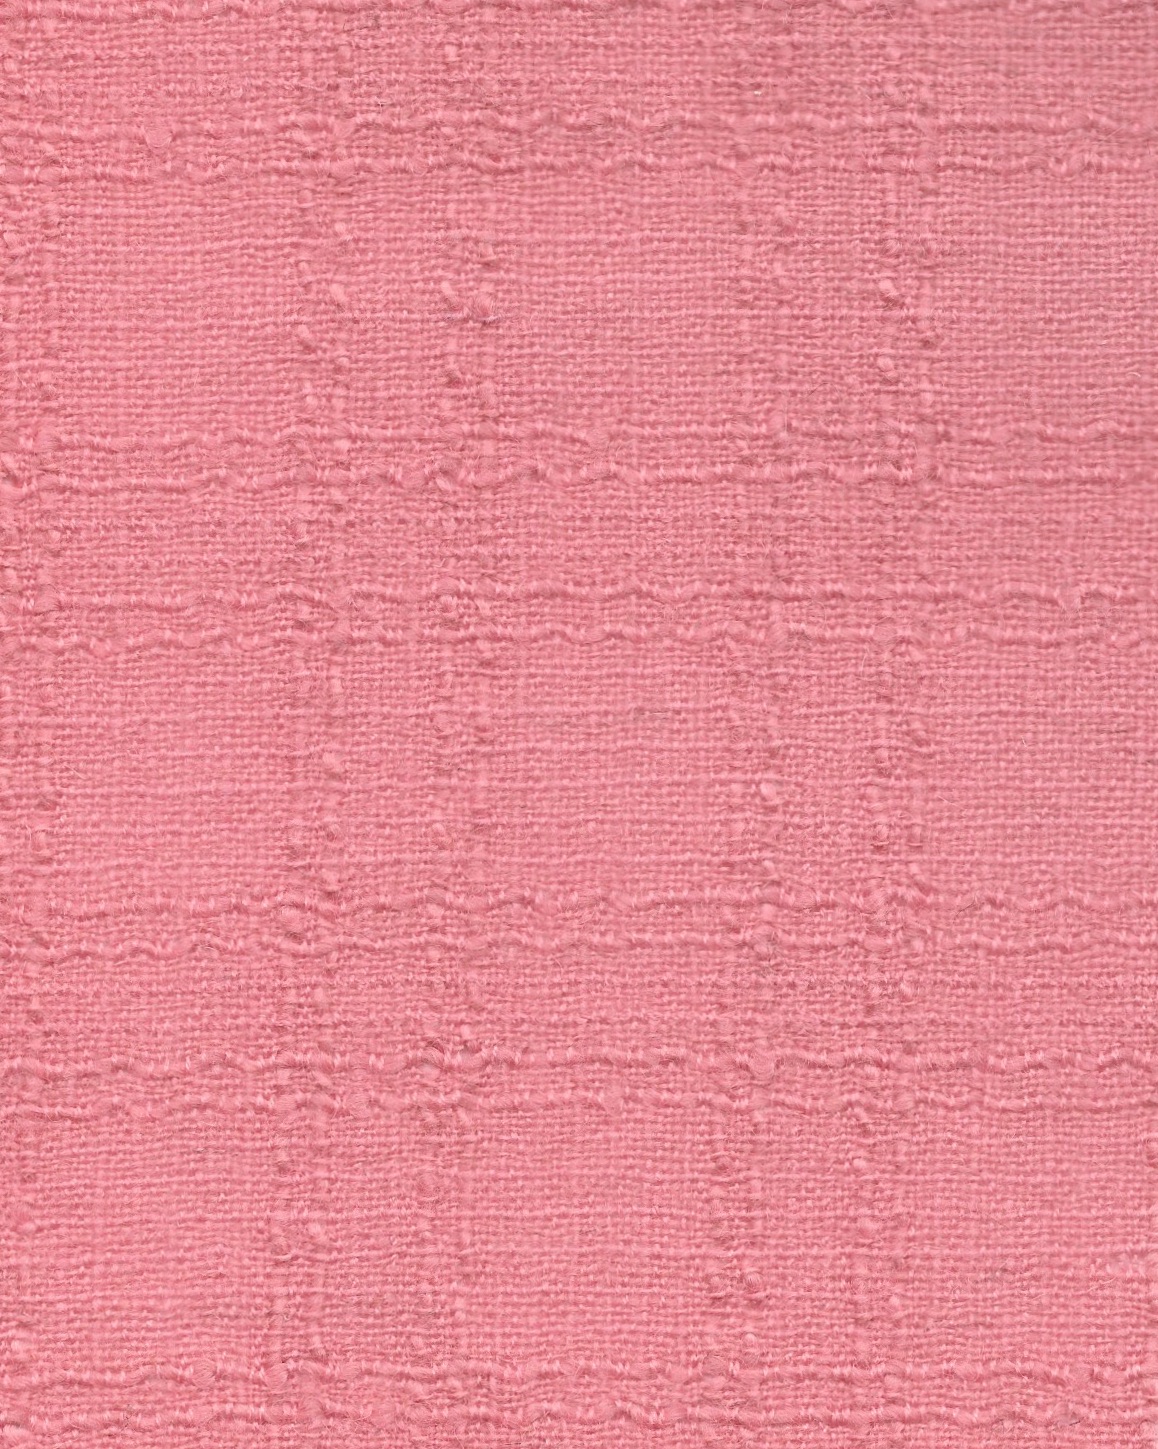
There seems to be a recurring theme in my acquisition of fabric.  I either have more than enough – or – just barely enough.  In the case of this vintage pink Linton wool, I had plenty for its original use.  

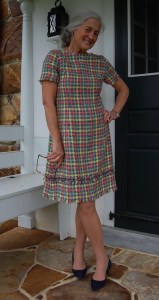
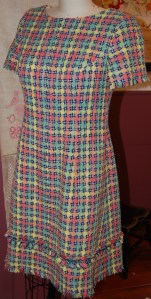
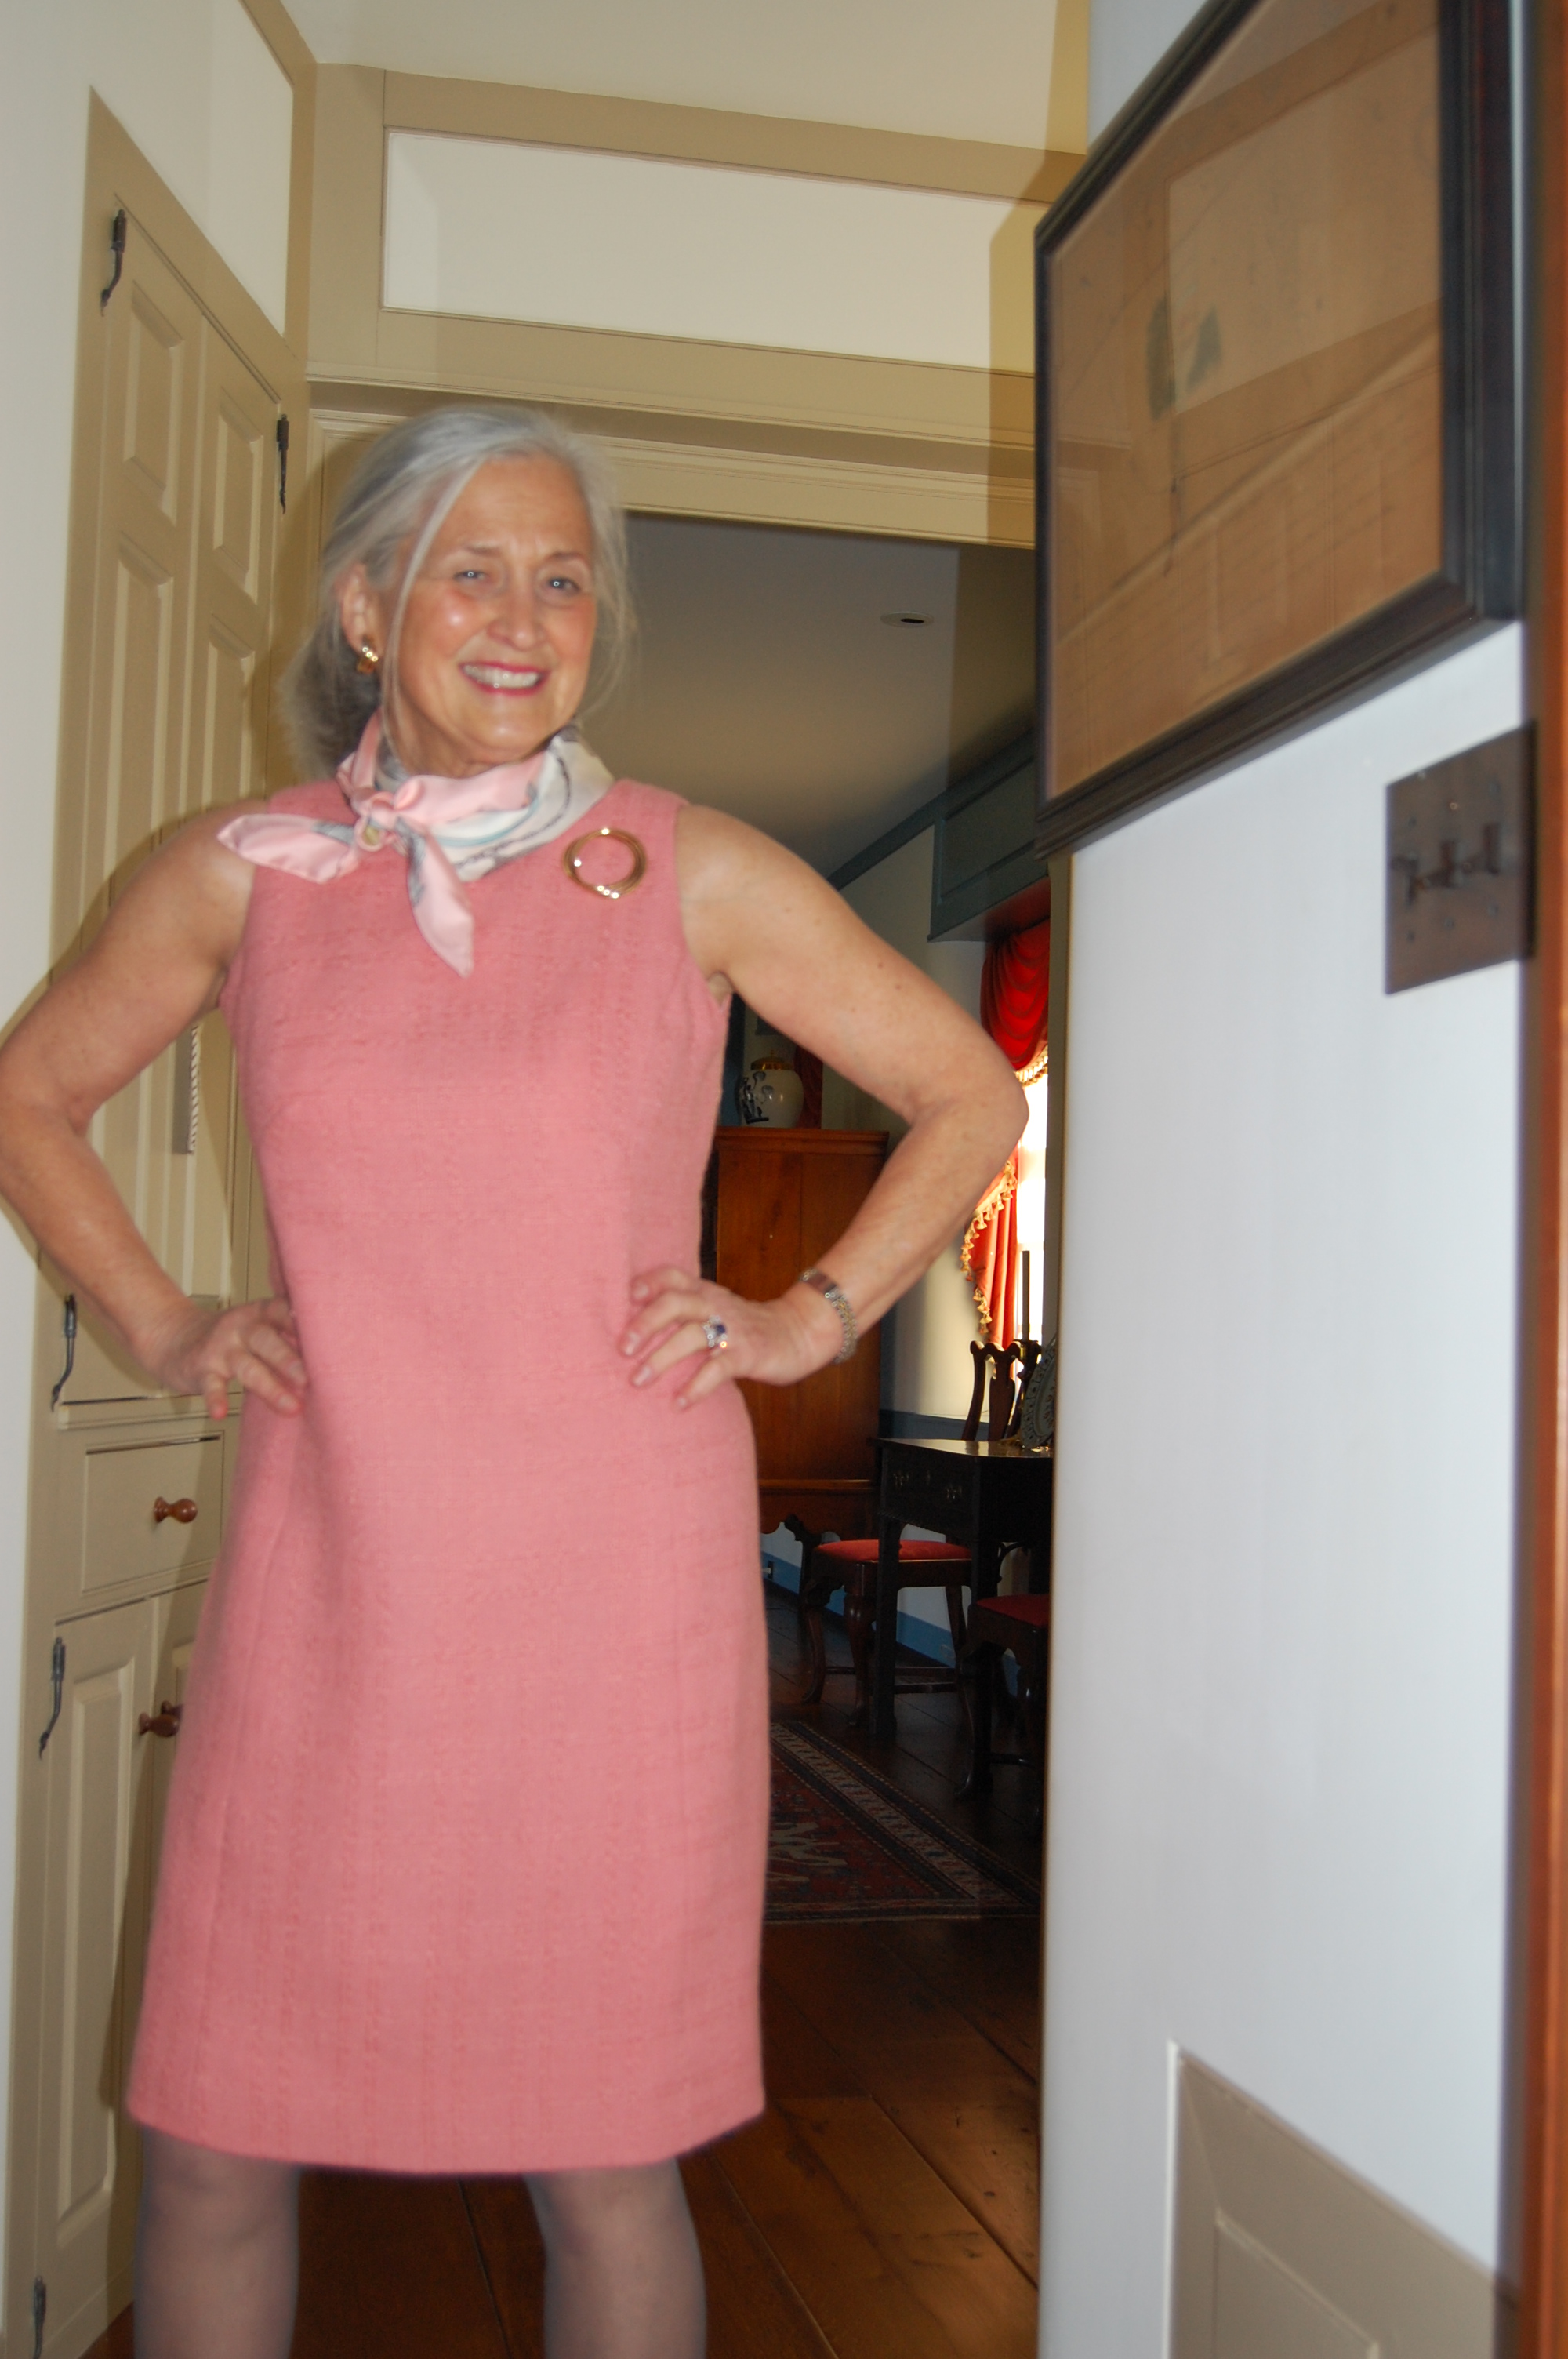
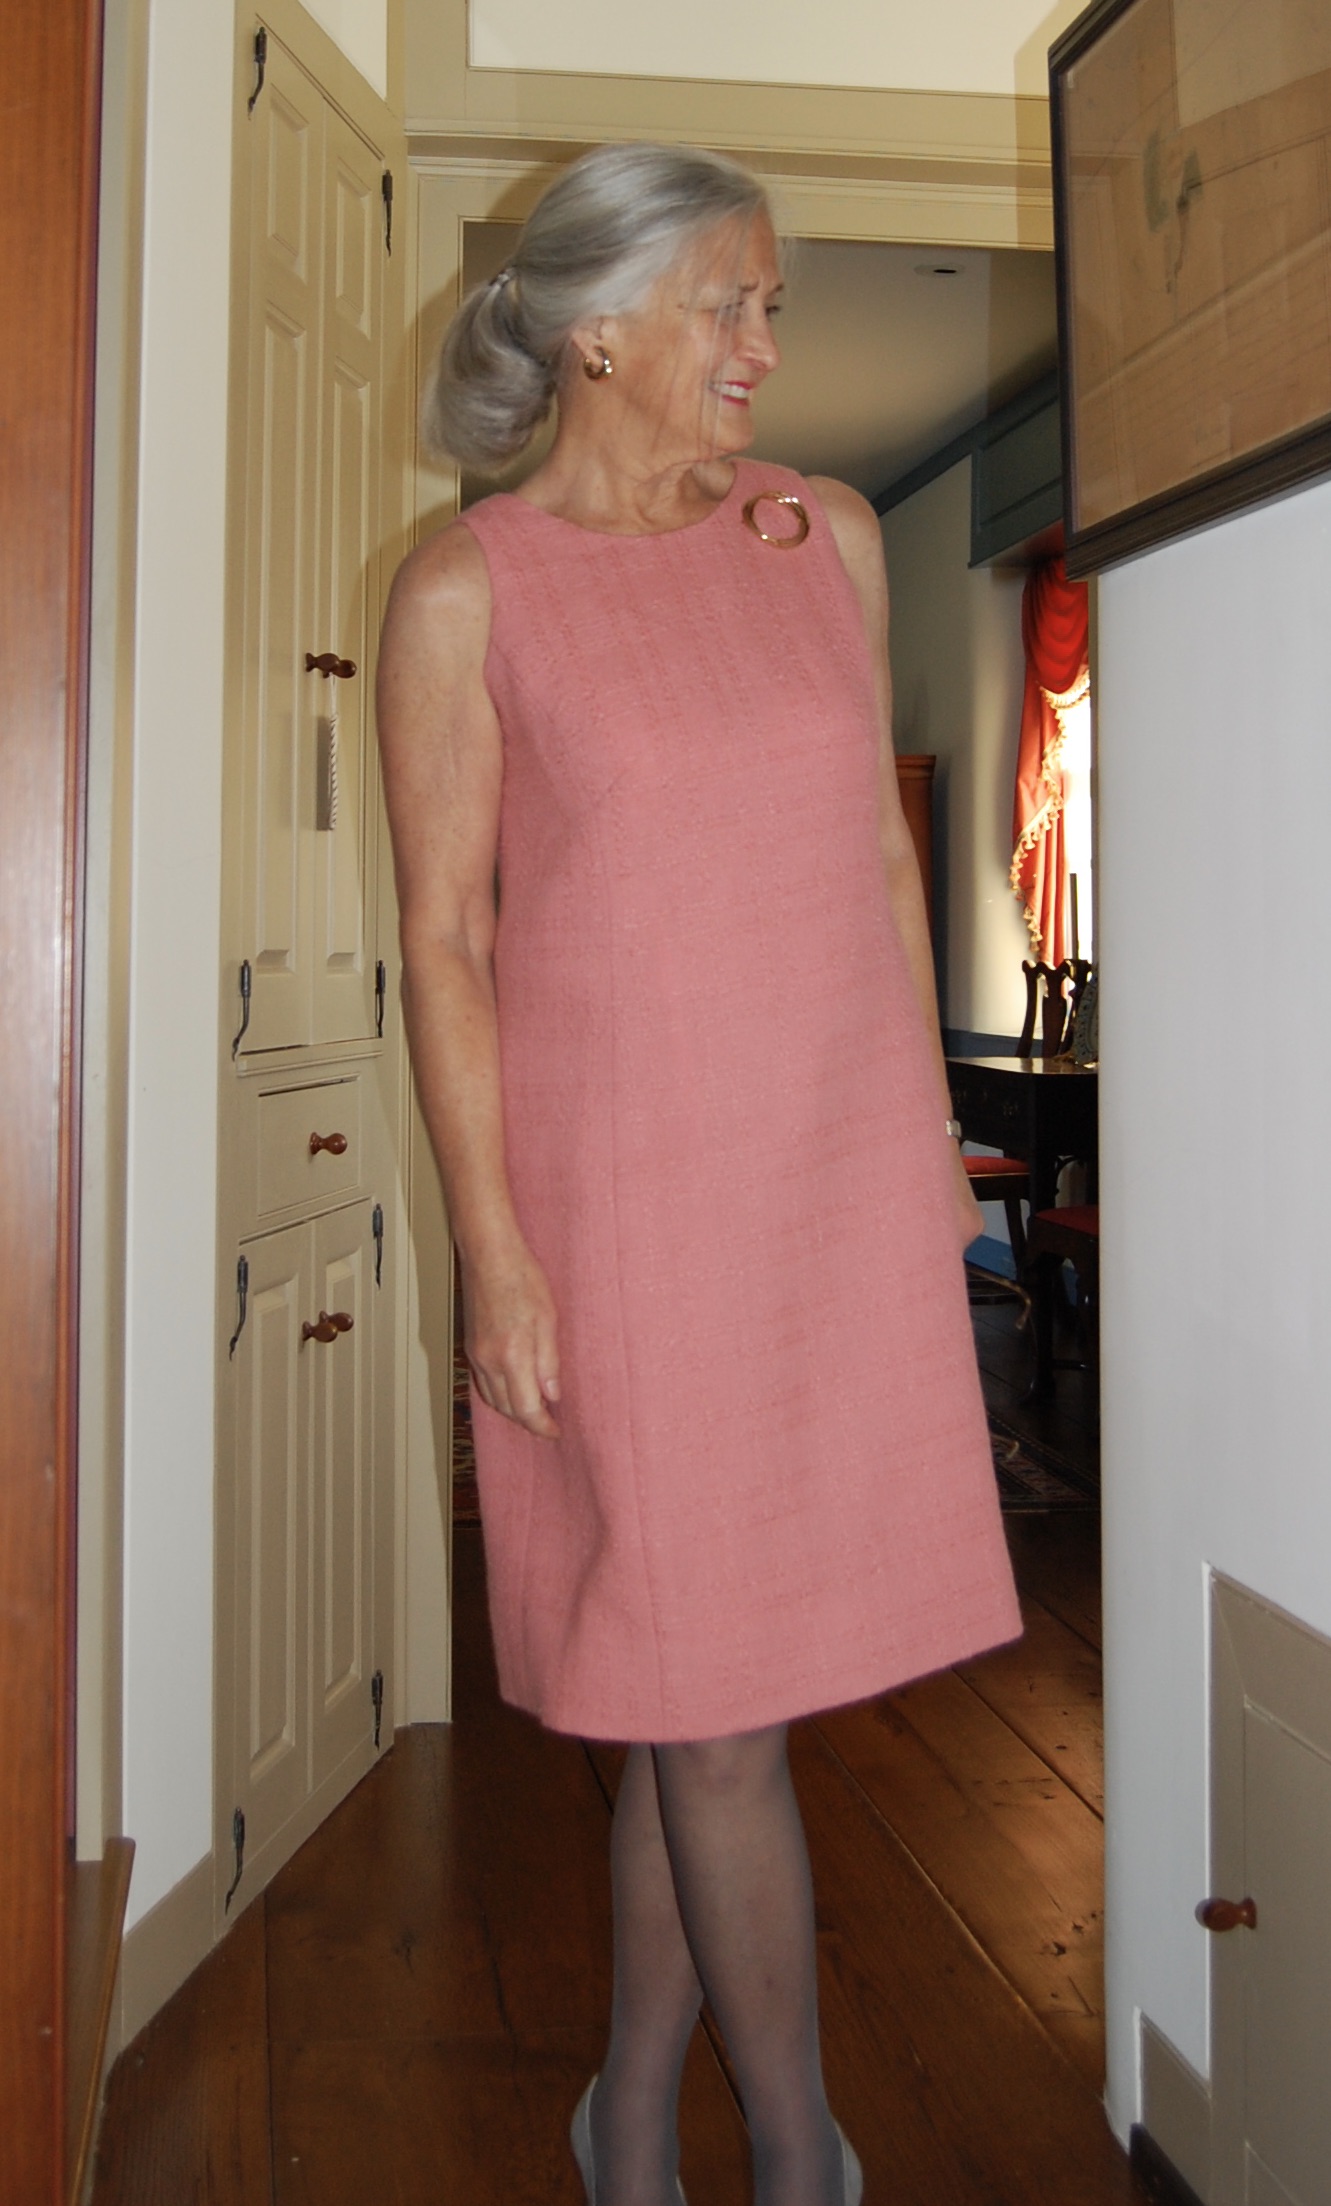
Sometimes when I have lots of fabric left over, I just move on and don’t try to put the remaining yardage to any purpose.  But then there are times when I think it would be a travesty not to use it.  And so – this pink princess A-line dress was born. 

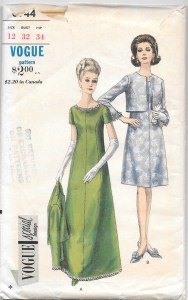
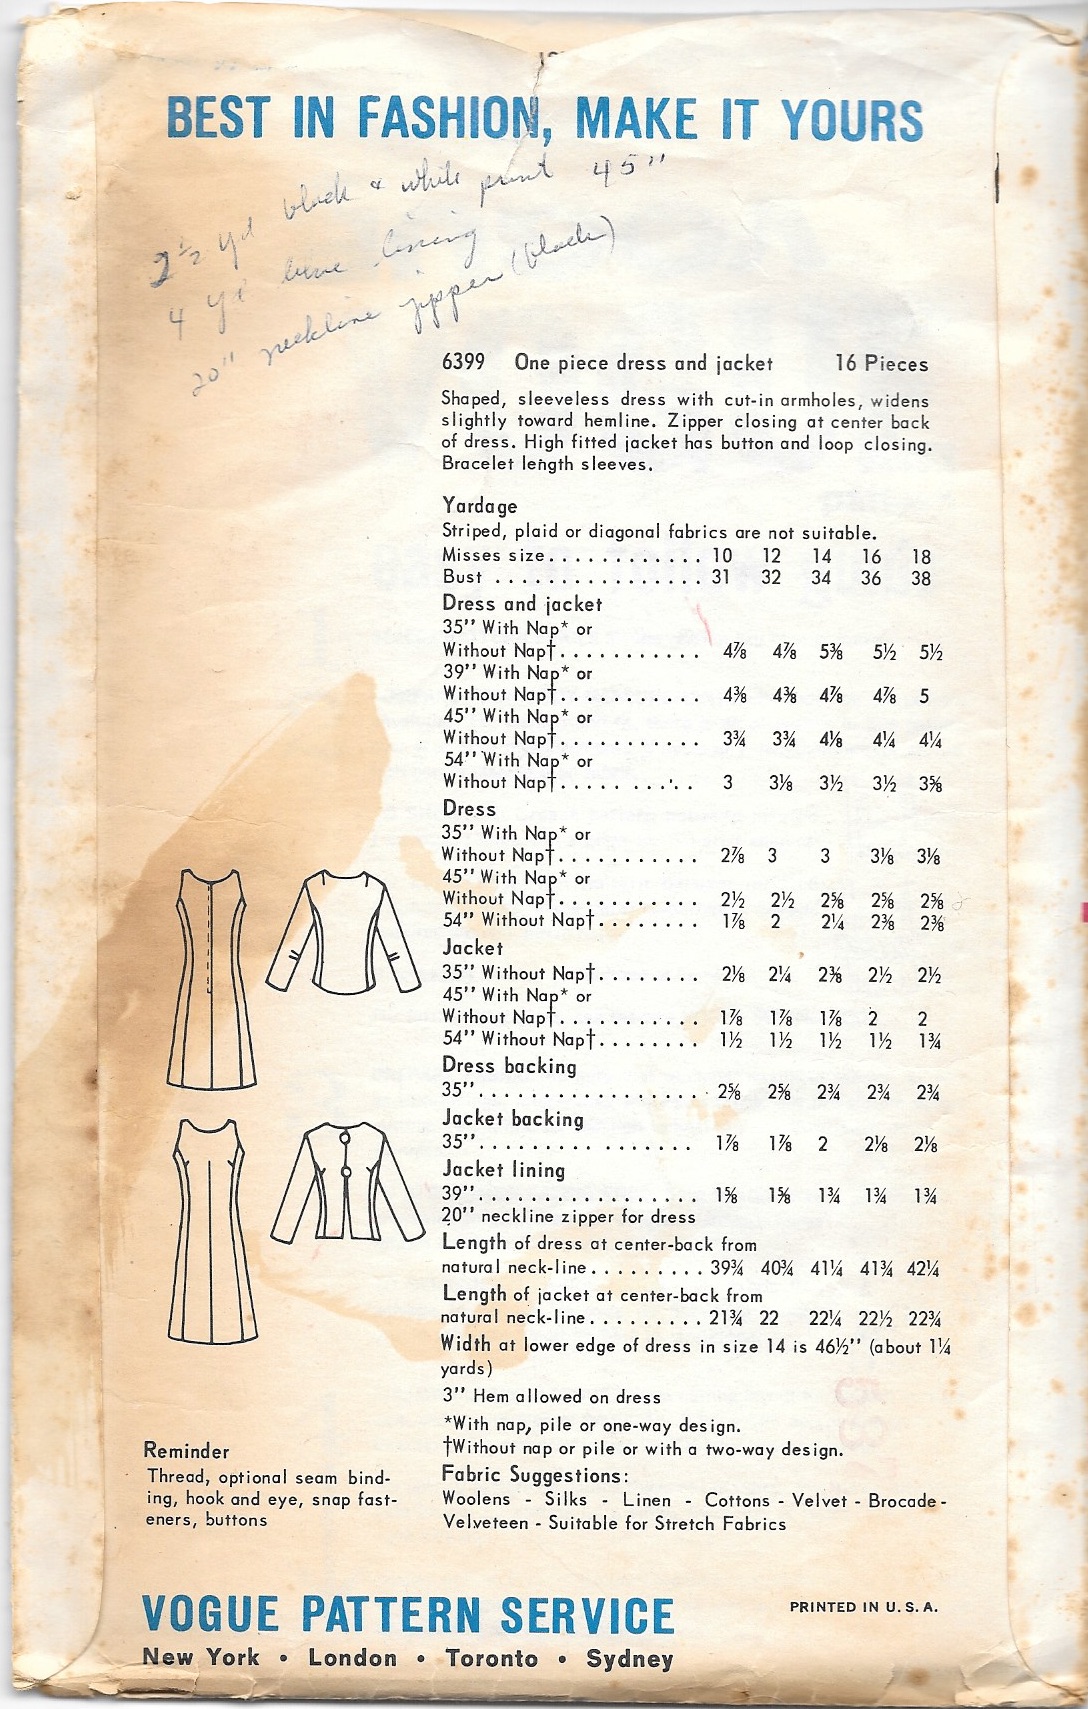
I had purchased this vintage Vogue pattern last year. 

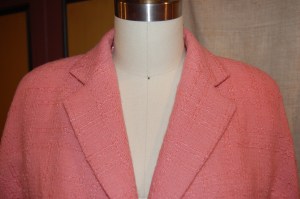
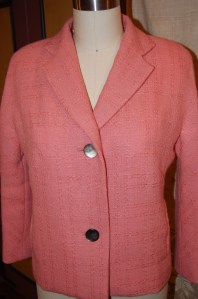
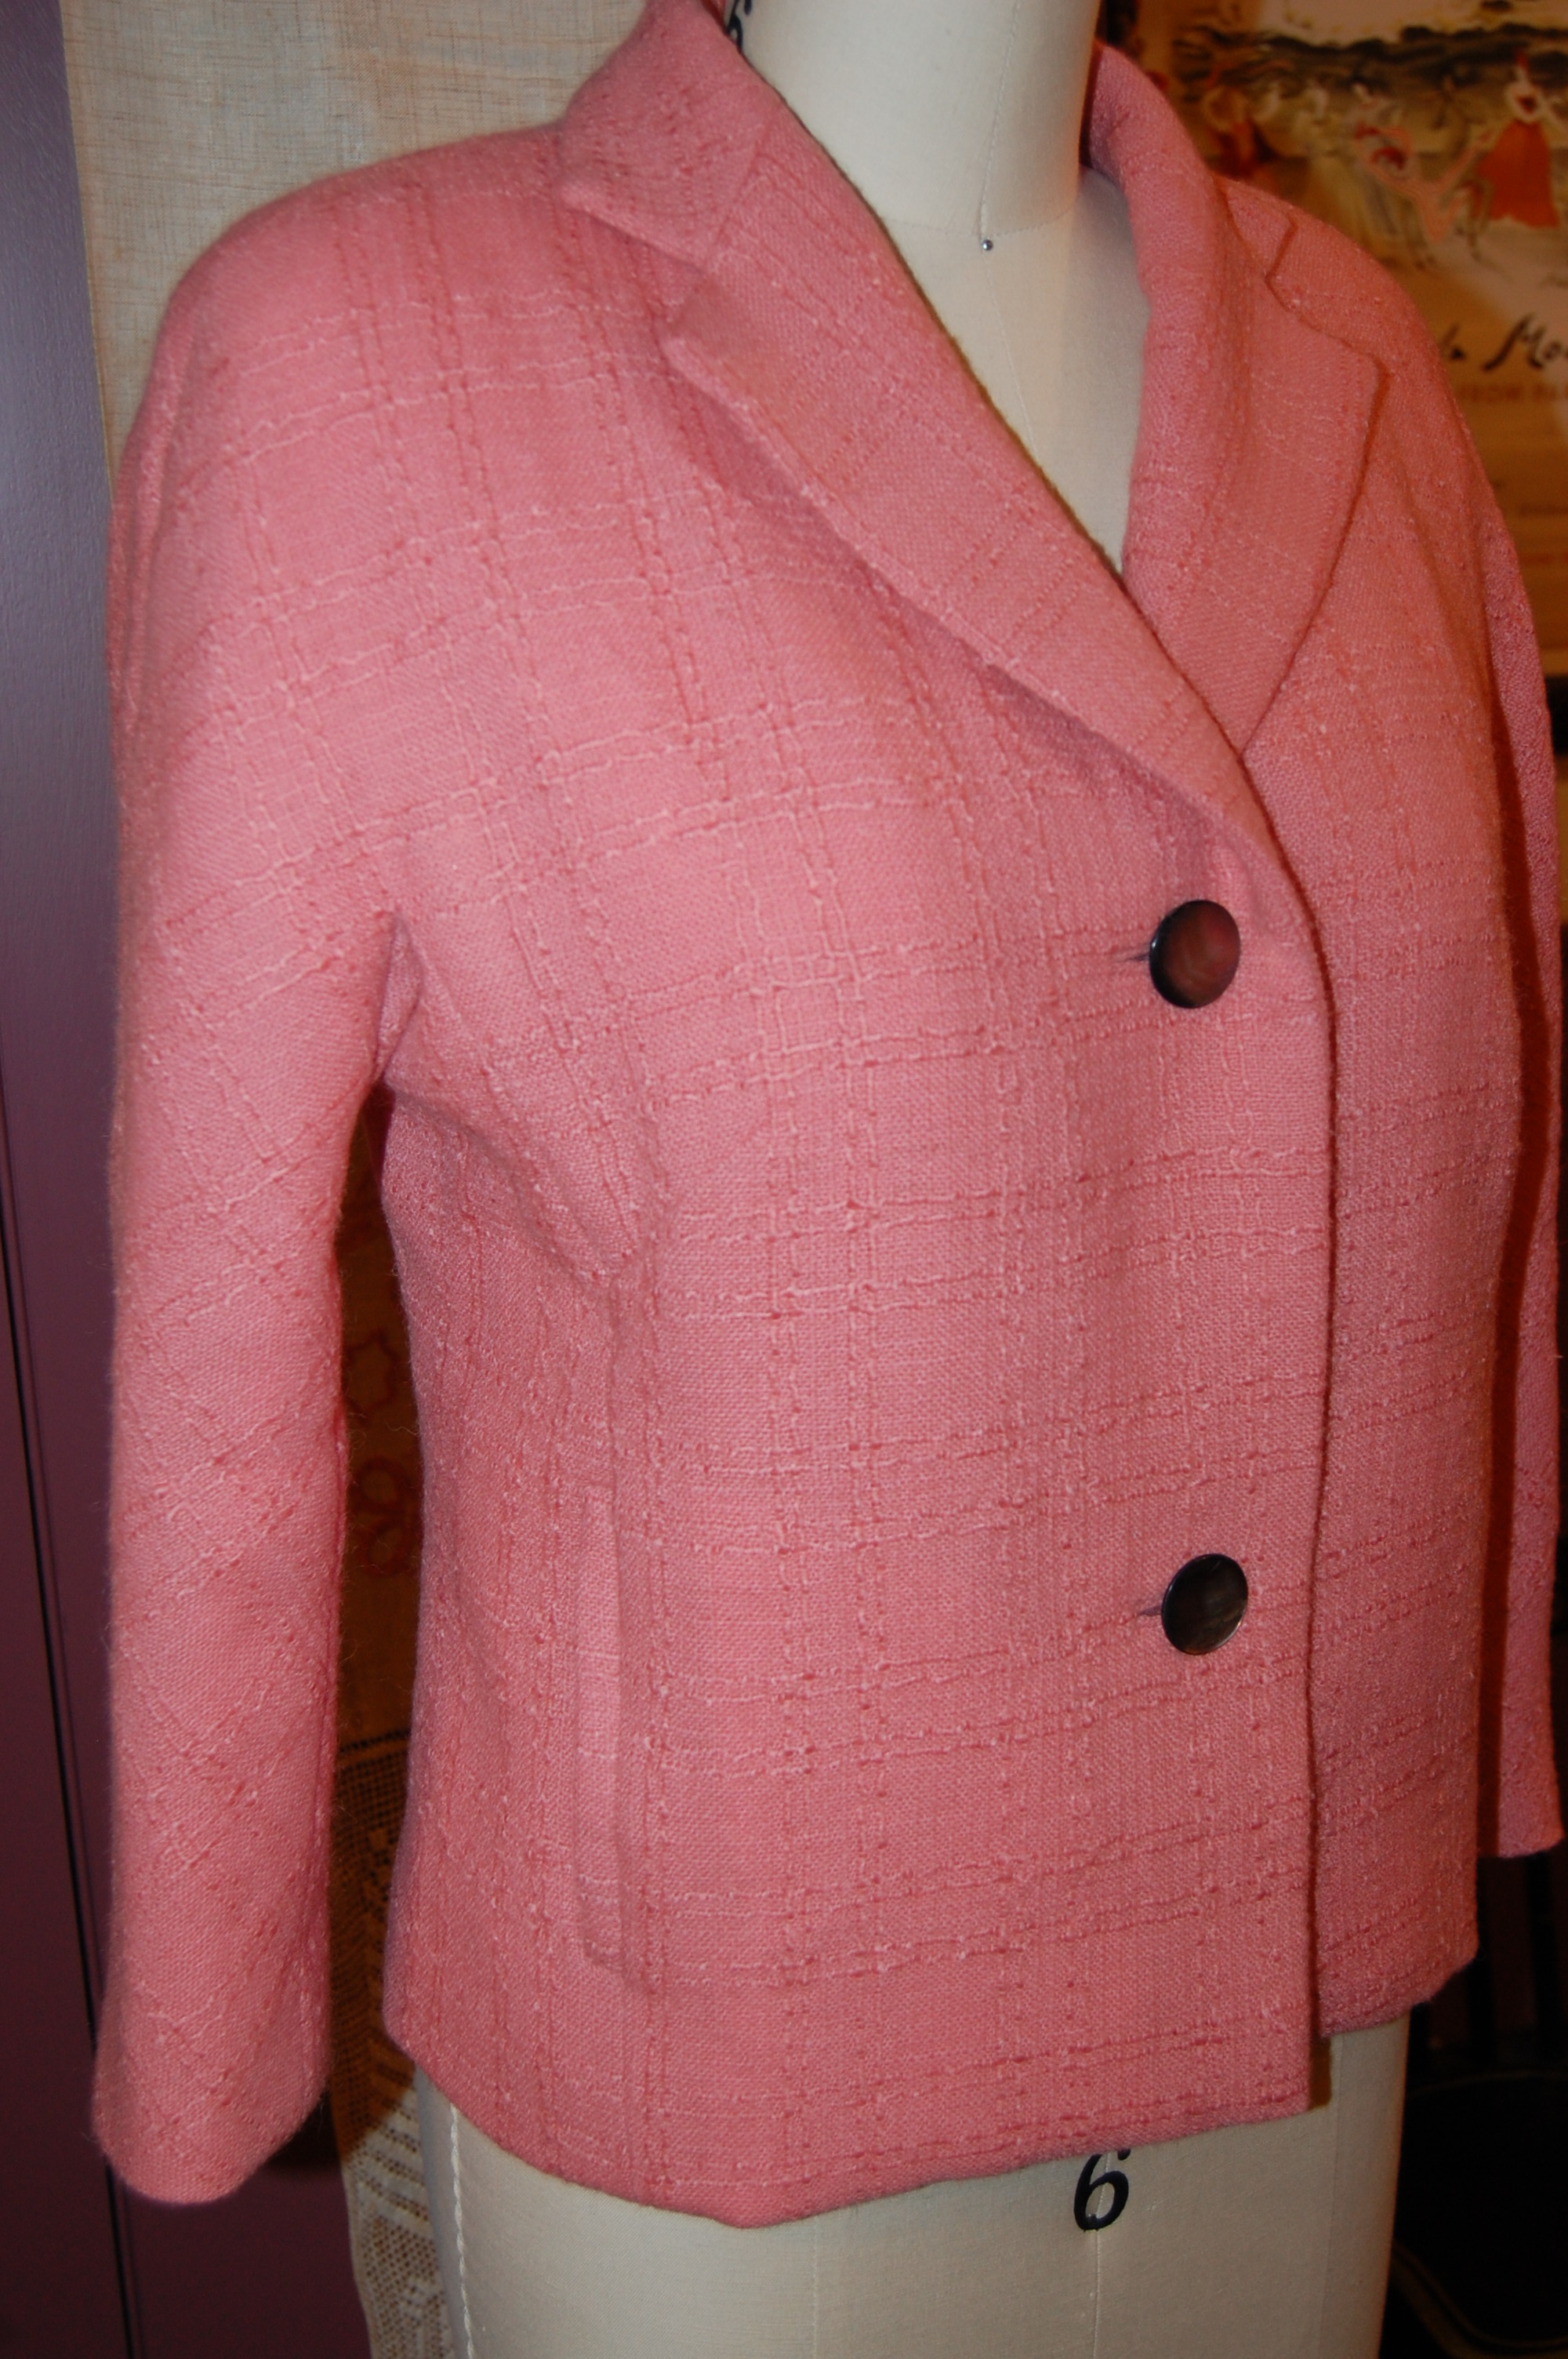
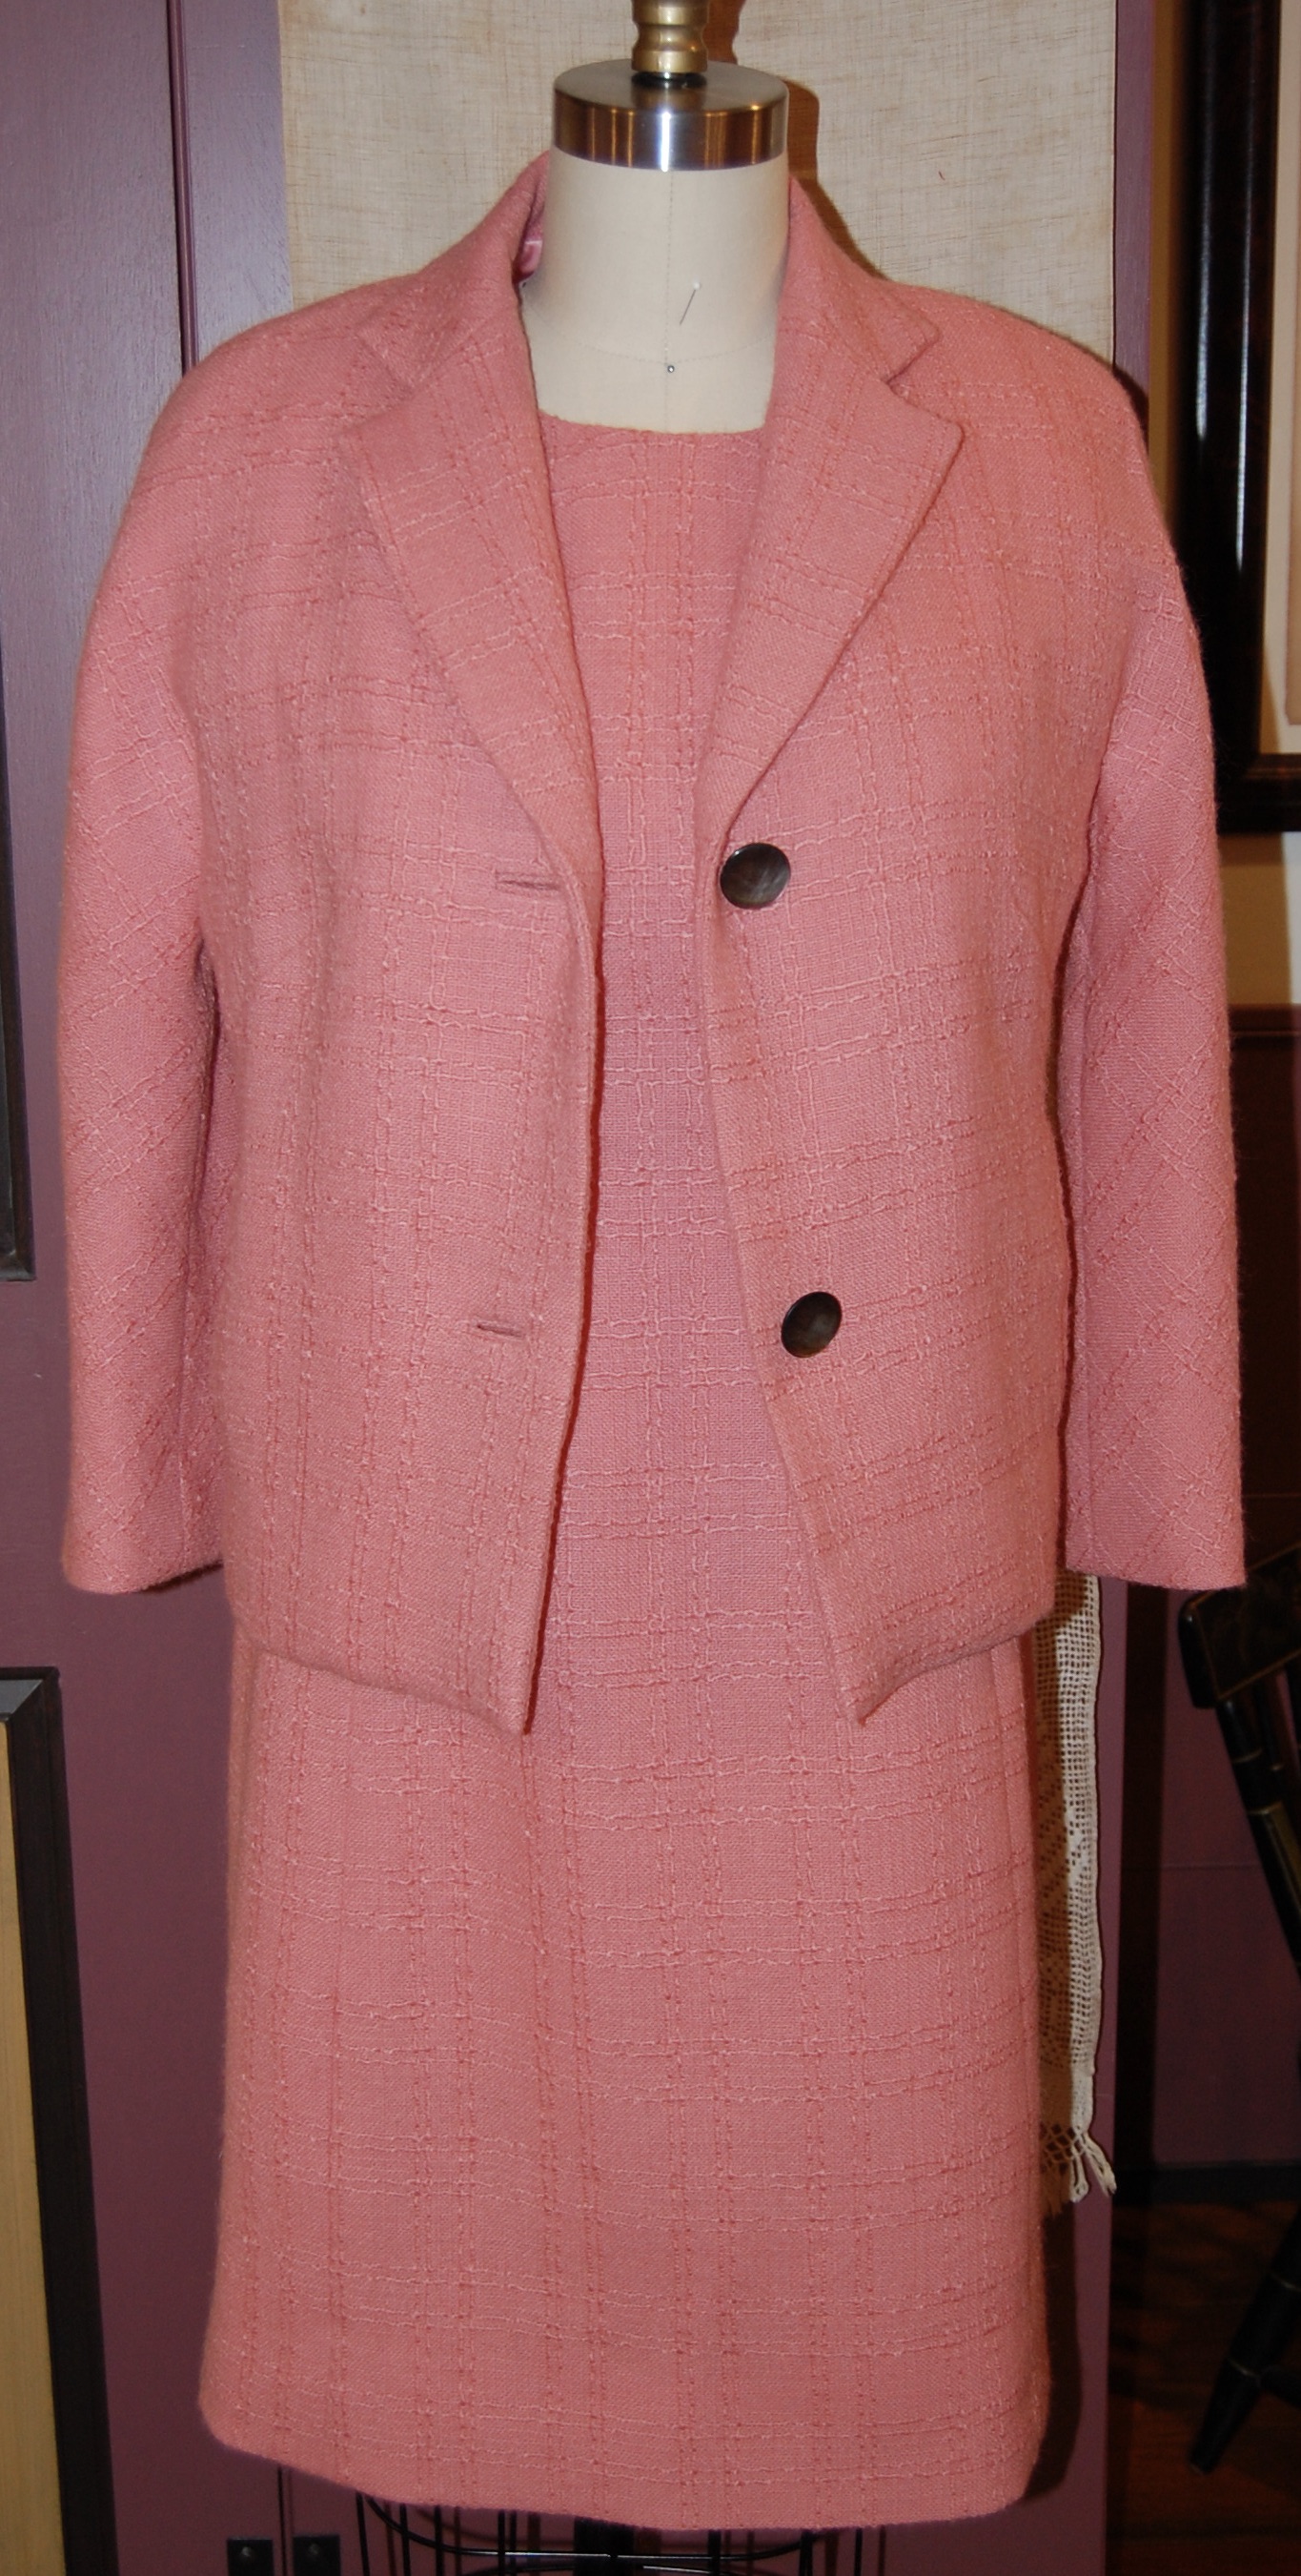
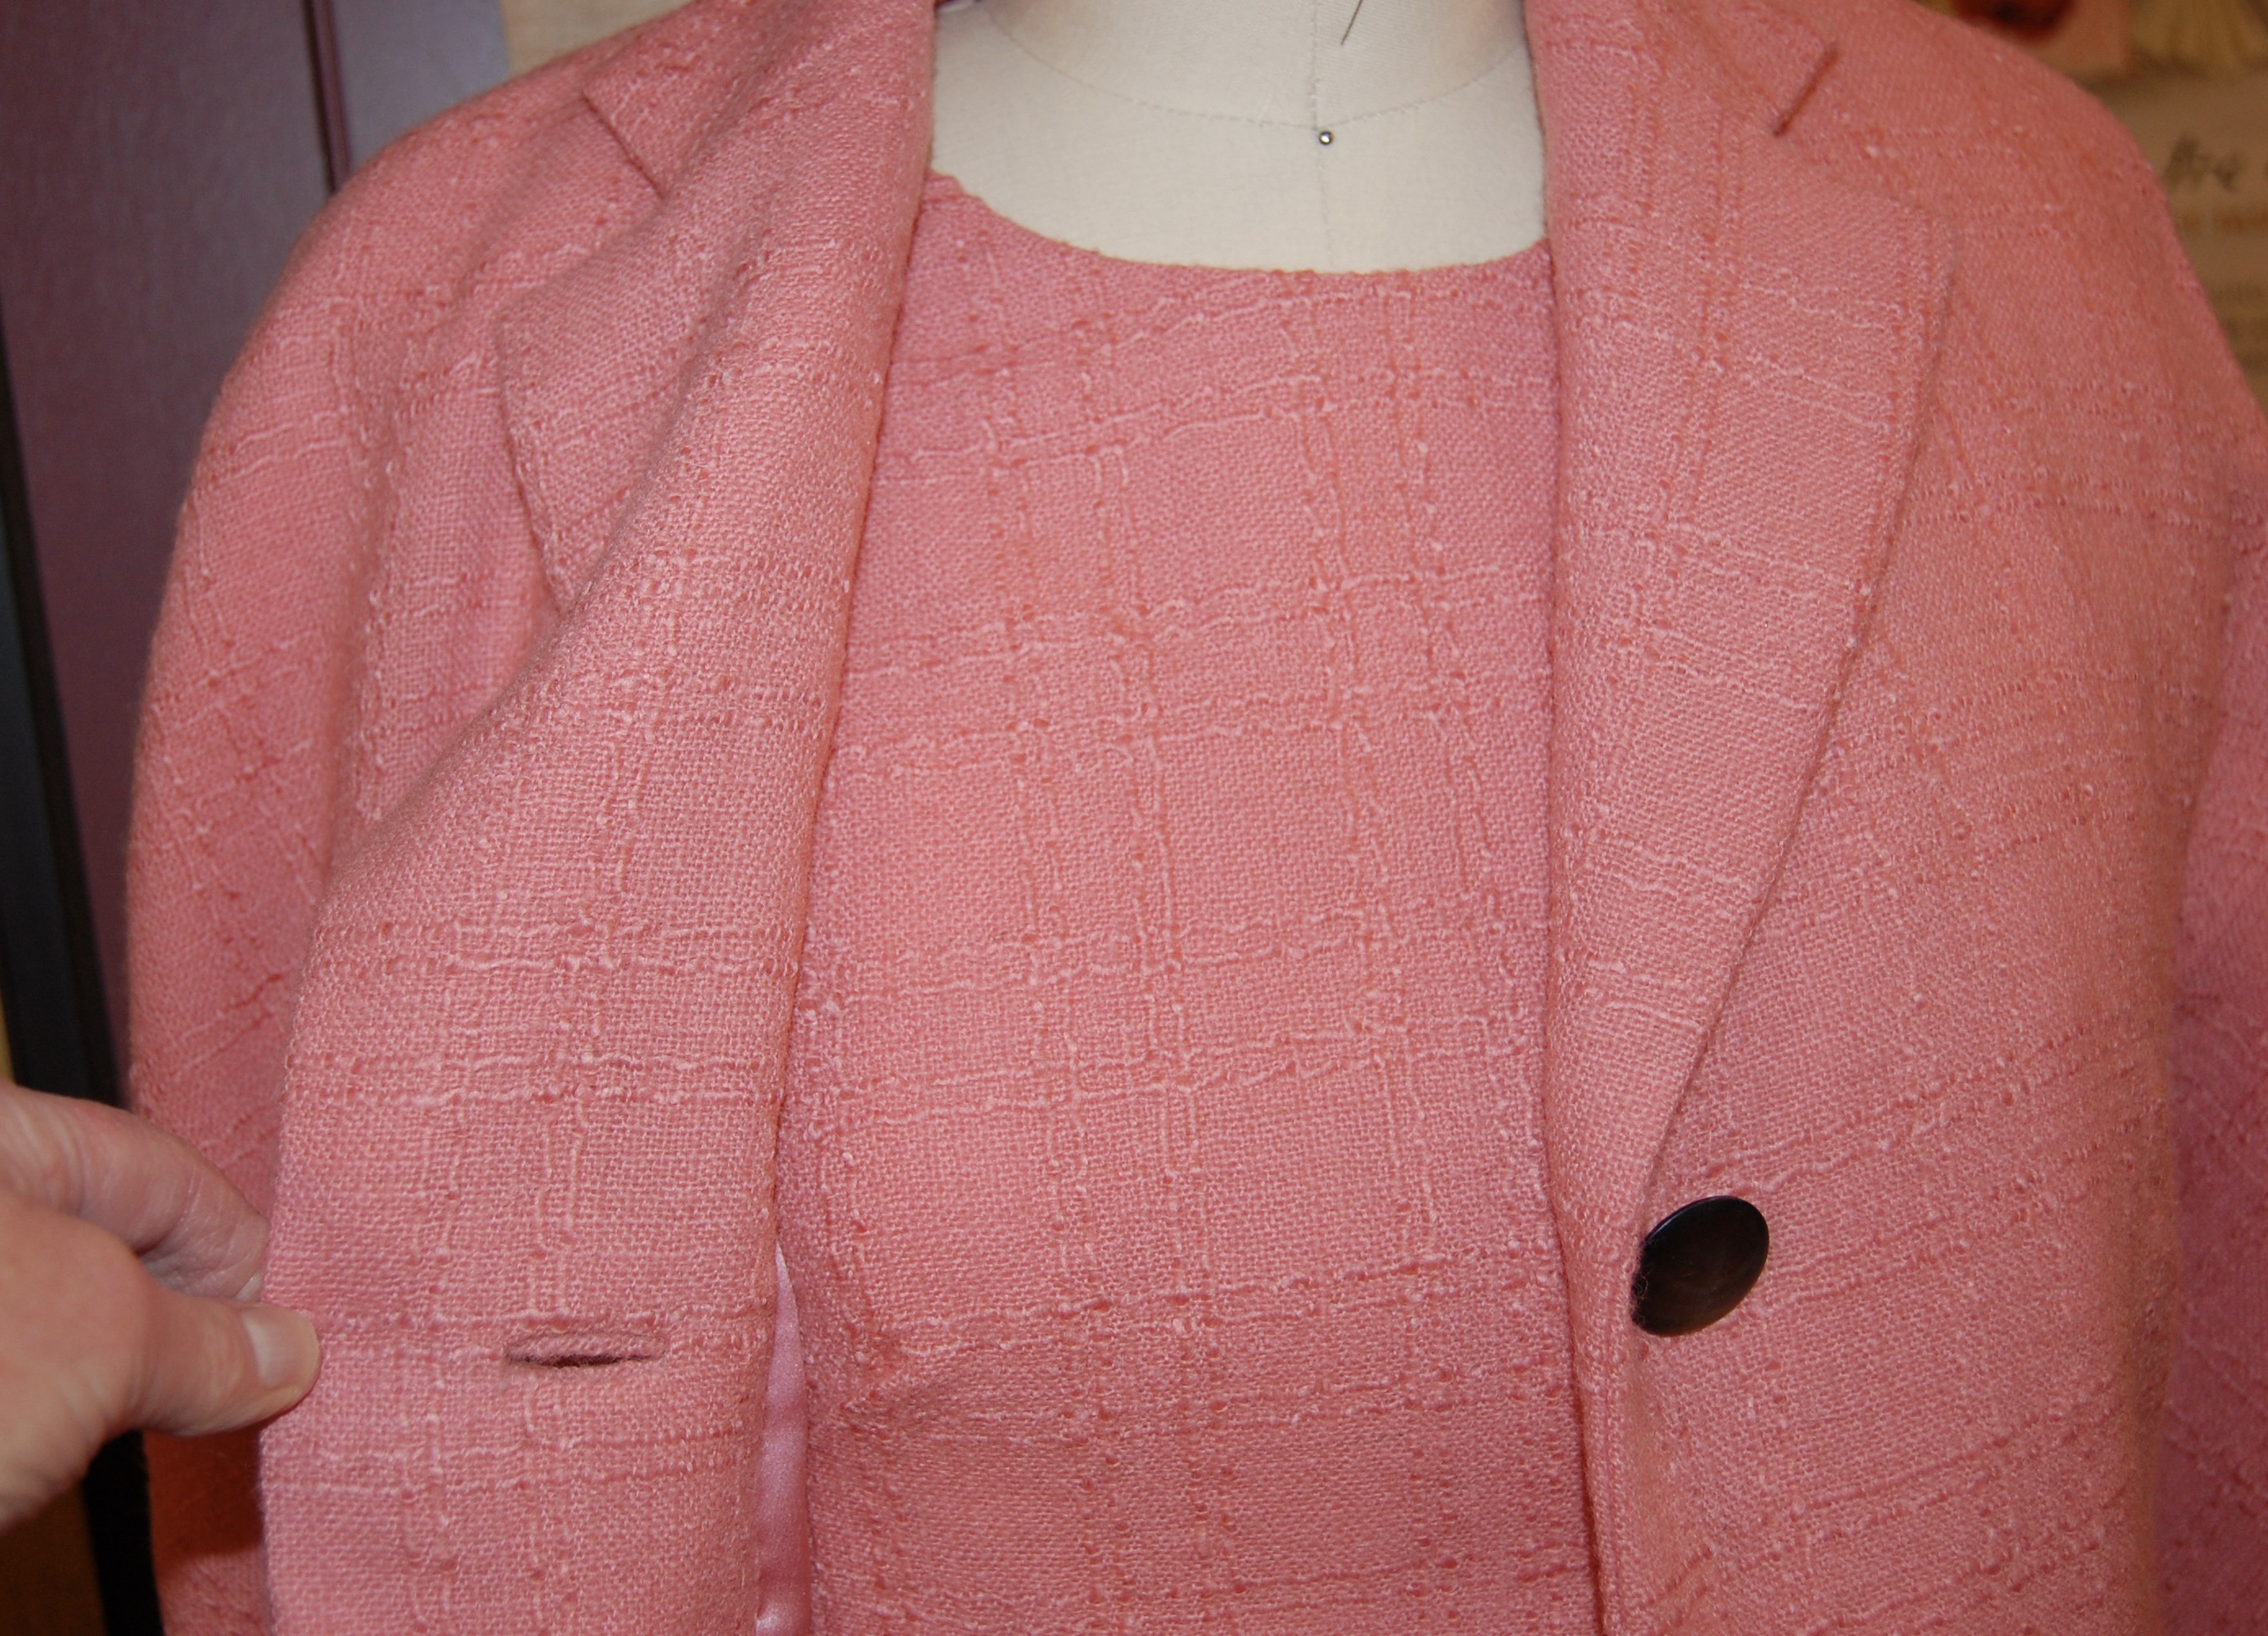
 I particularly liked the cut-in armholes, and the princess lines which also incorporate a small Dior dart.  (I have traditionally thought a princess-line dress or coat generally gets it shaping simply from the seam lines, not from darts. Fairchild’s Dictionary gives this description:  “ Fitted dress with flared skirt, frequently made like a coat-dress, styled without a waistline seam and cut in panels fitted from shoulders to hem.” Page 376. No mention of darts, so maybe it doesn’t matter!) I wasn’t so sure about that long center shaping dart in the front of the dress.  However, I knew a muslin/toile would determine its fate as far as I was concerned.  (I also like the jacket included in the pattern.  It has lovely lines and I really need to make it sometime.) 

The line drawings on the back of the envelope show the lovely seaming details on the jacket.

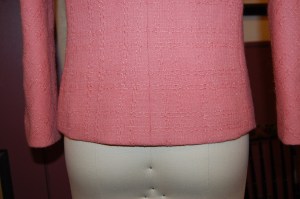
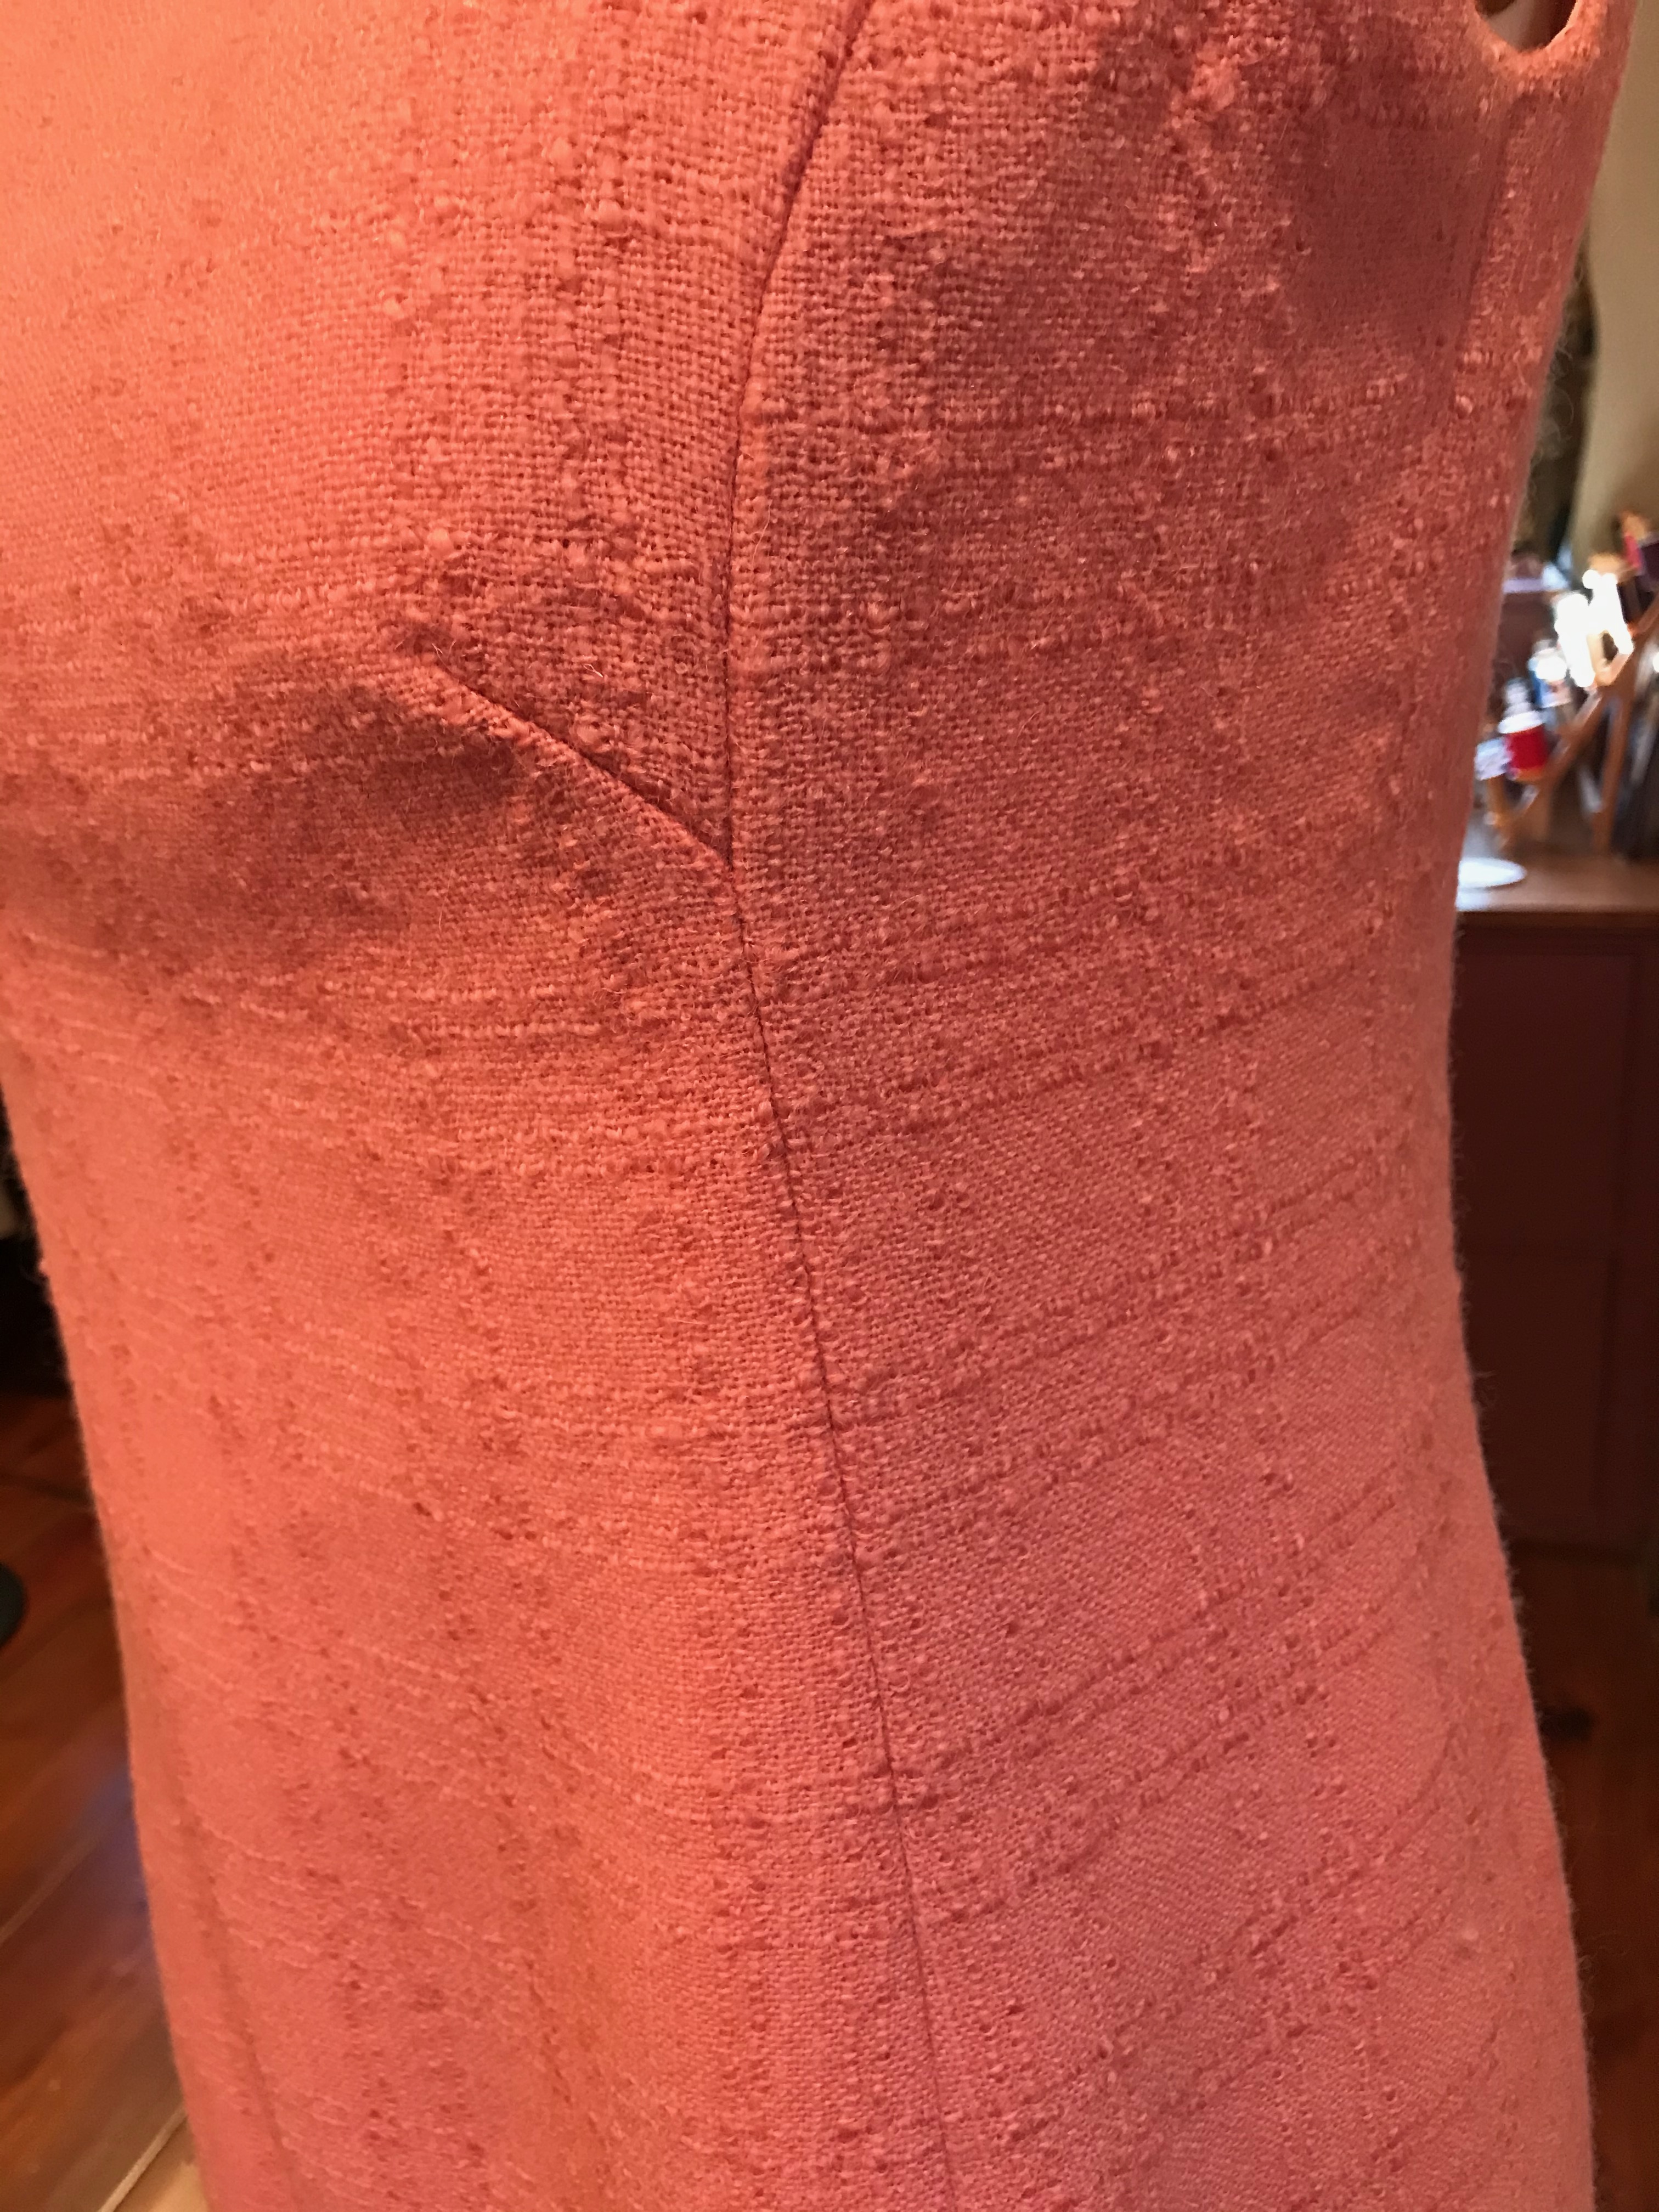
As I suspected, I was able to eliminate the long center dart, which seemed to add more emphasis to the bust than I cared to have.  When I make this pattern again, I think I will make a dead dart where the shaping dart is supposed to be, which should take in a little bit of excess bagginess. Or, if that doesn’t work, then I will take the front side seams in a little bit. I only noticed the bagginess after I had taken a few photos.  Always tweaking – it never seems to end!  

A little baggy….

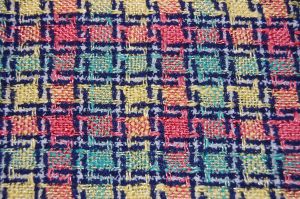
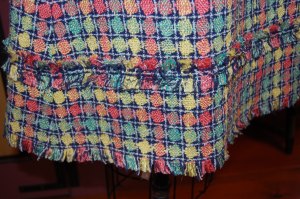
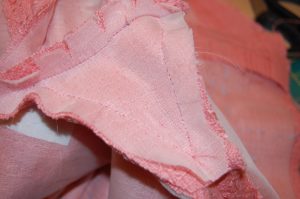
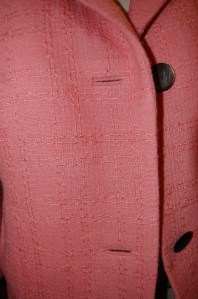
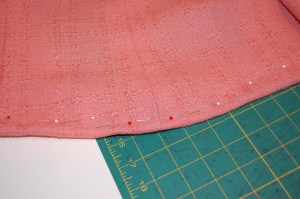
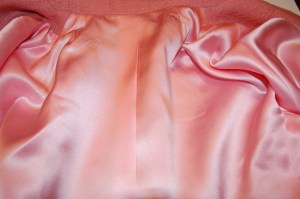
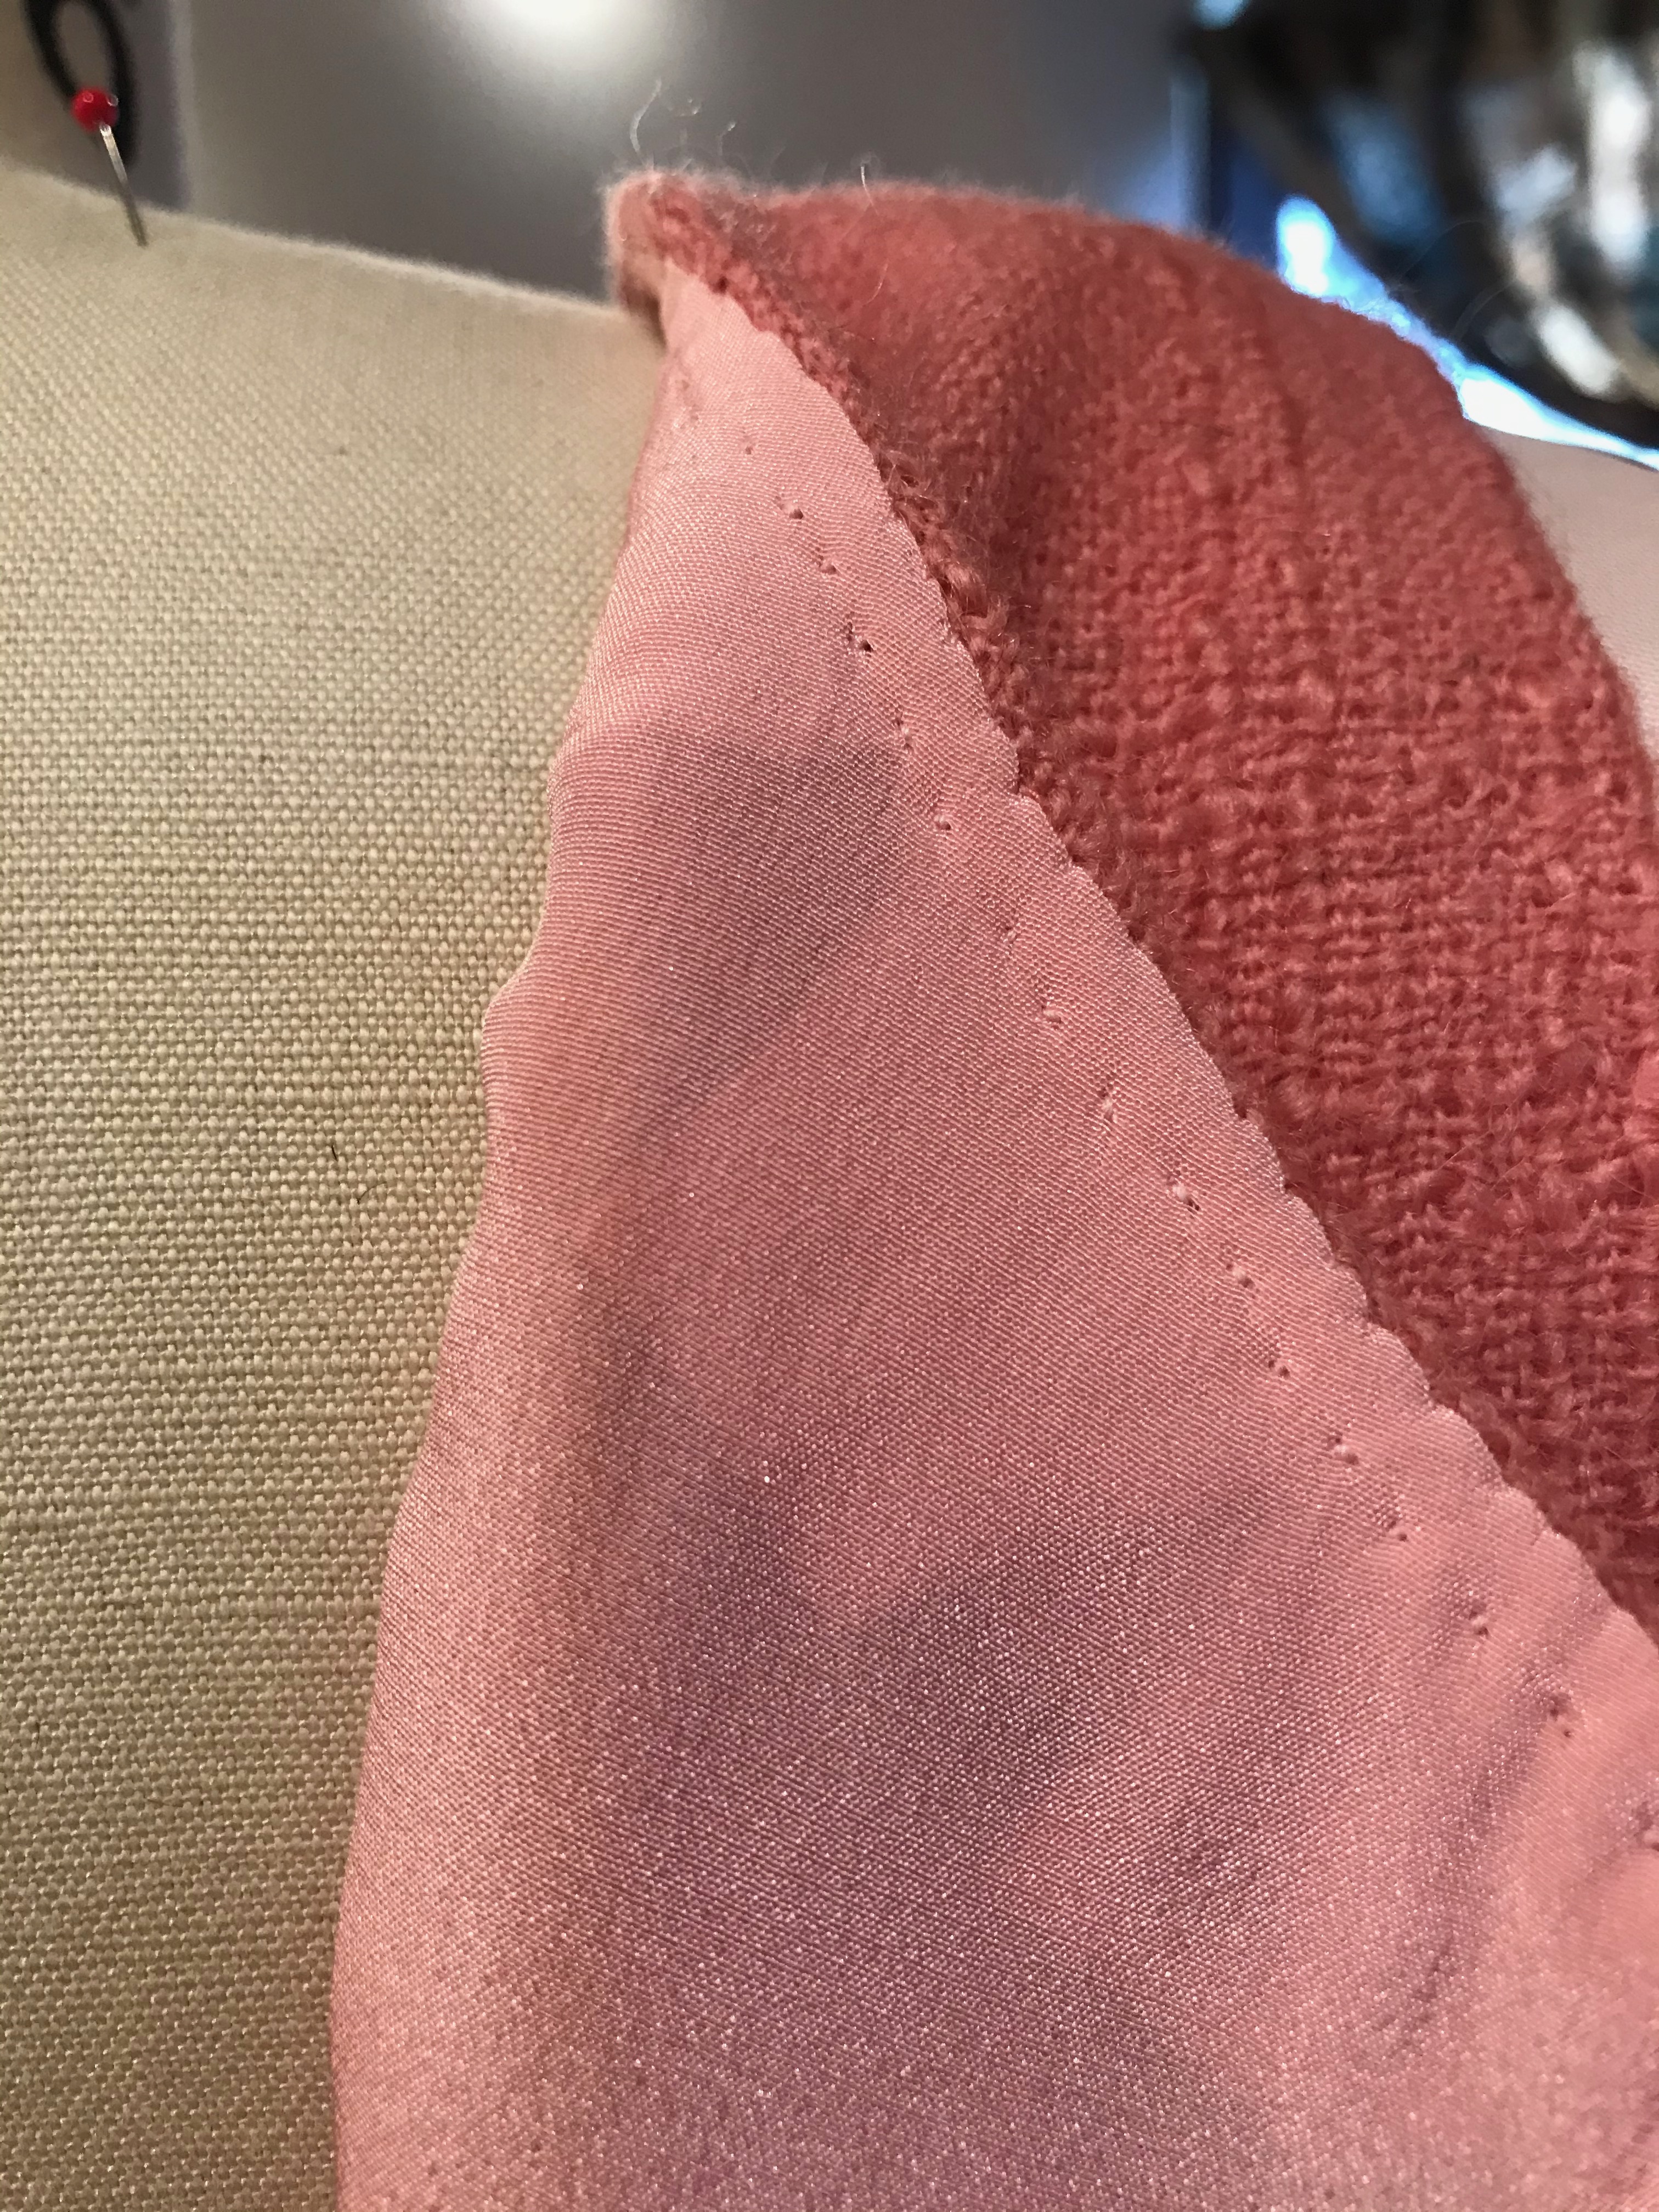
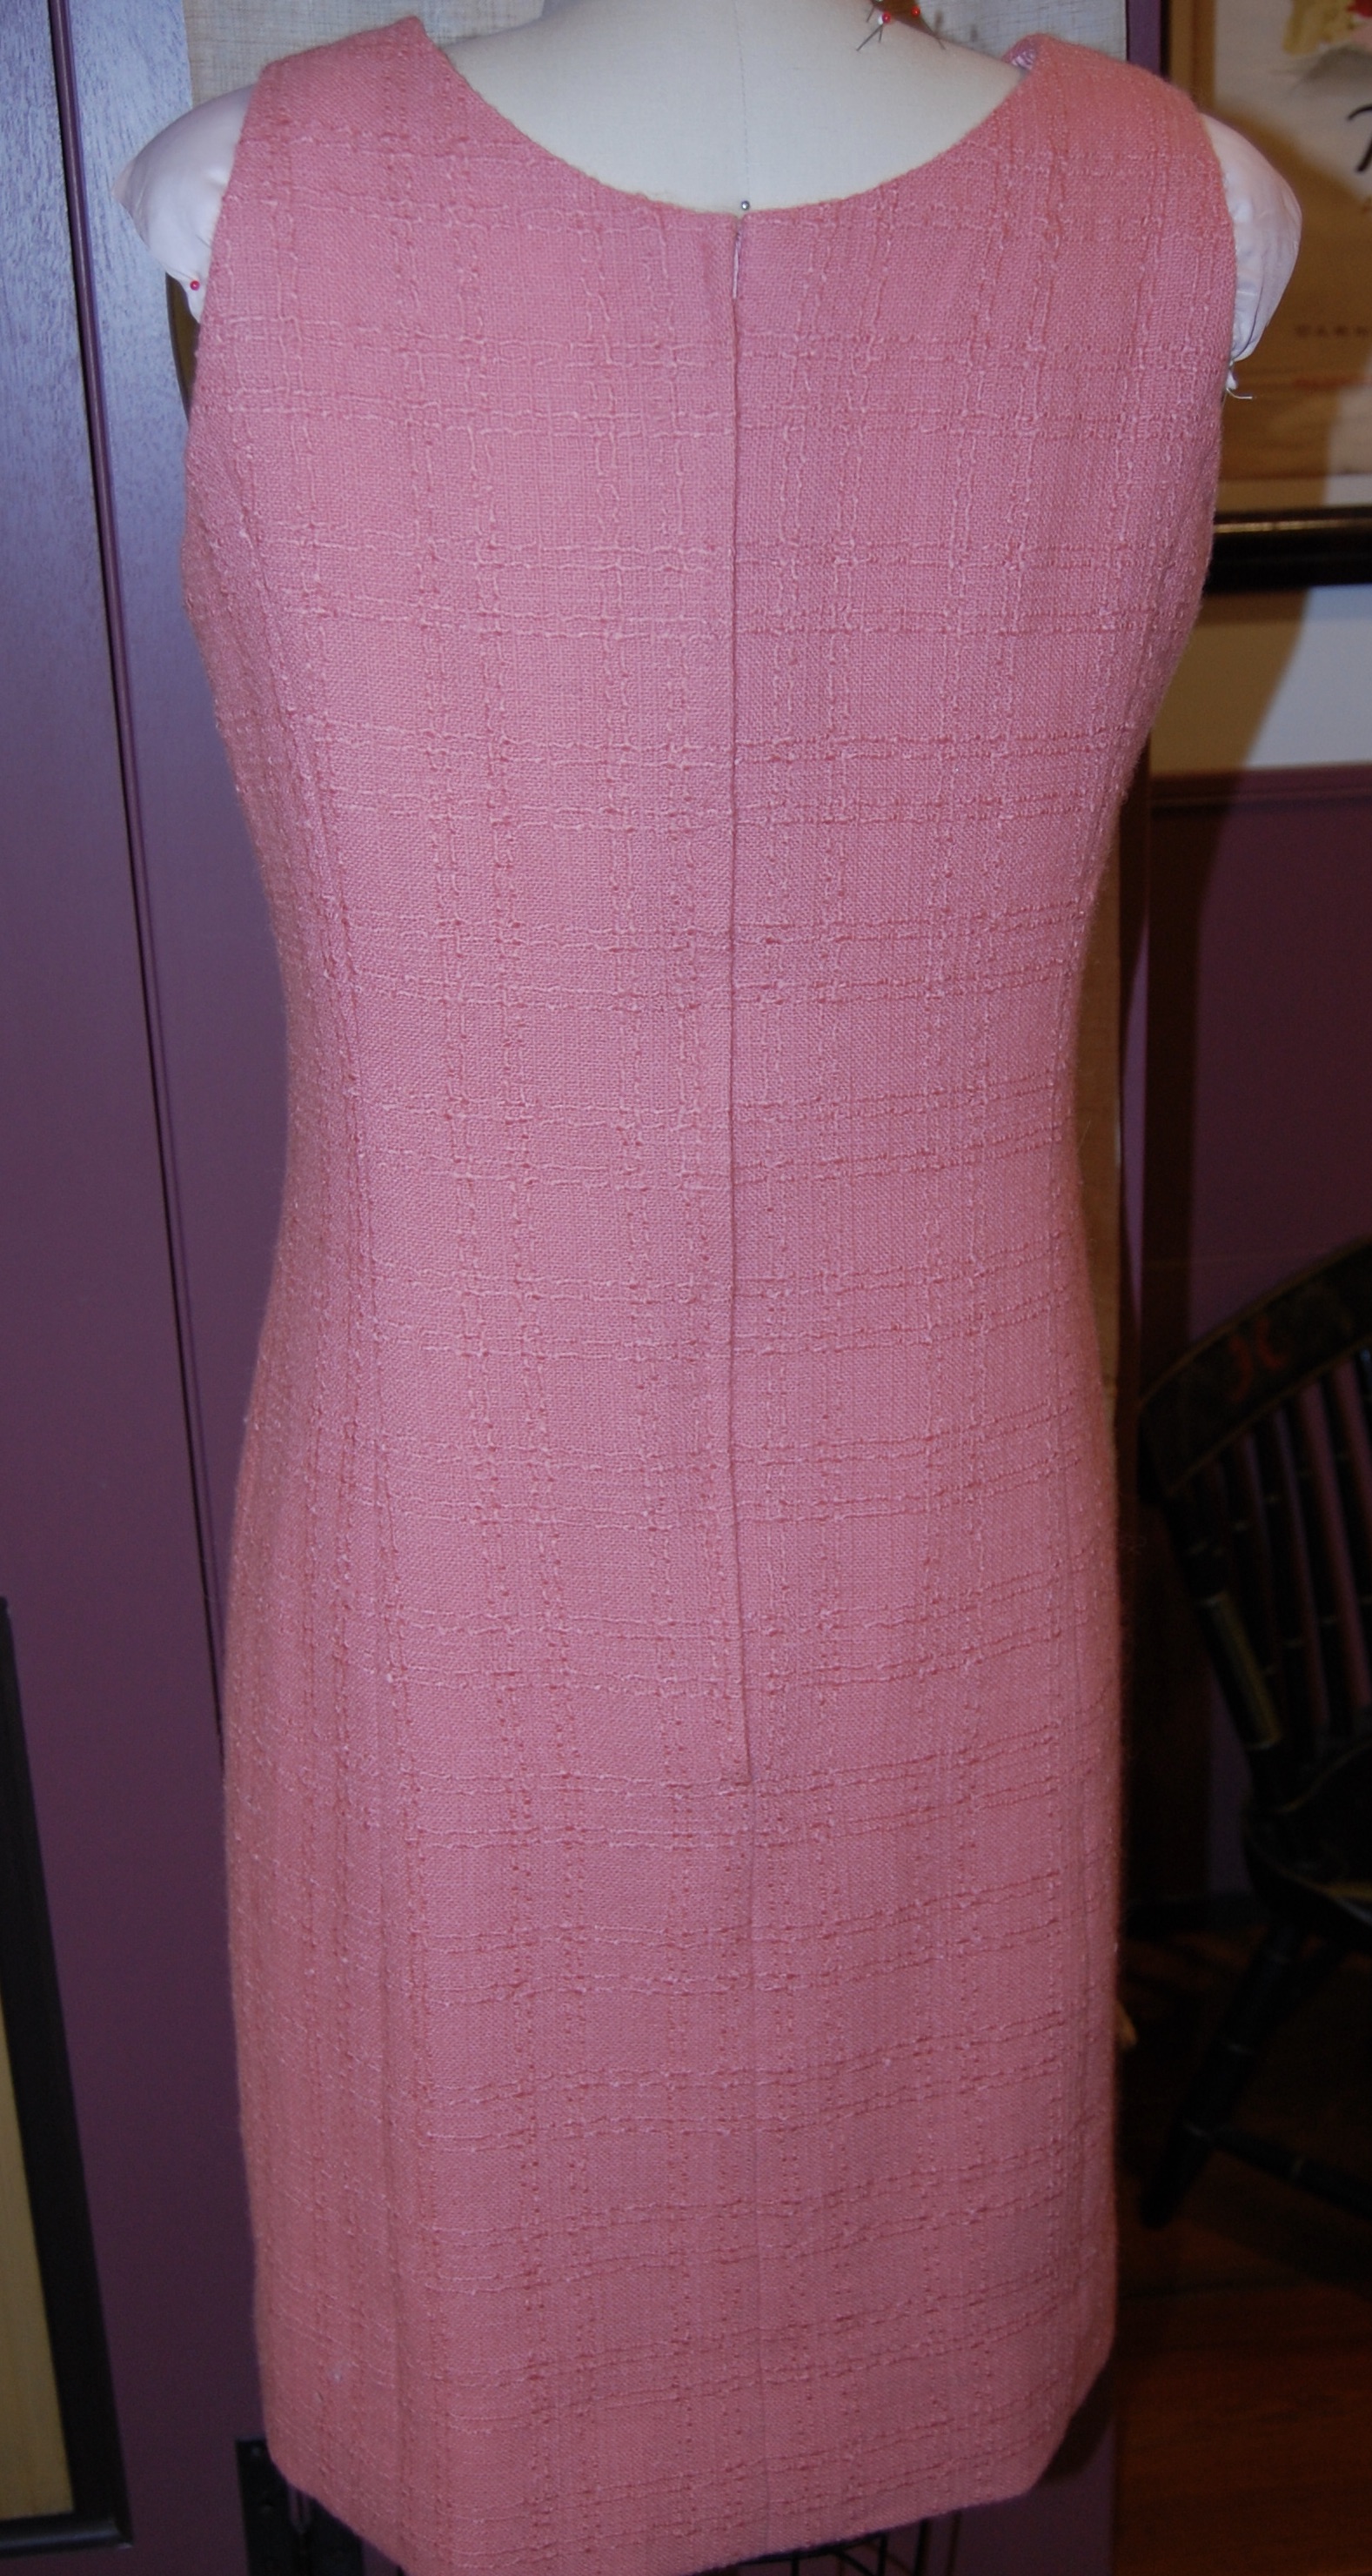
One of the pleasures of sewing with a plaid – in this case the plaid is strictly in the weave – is the preciseness with which dress parts can be joined.   I underlined all with white silk organza, which gave this loose weave just the body it needed.  Then to make sure I had everything lined up, I hand basted every seam before sewing by machine.  

A close-up of the Dior dart, and the front side seam.

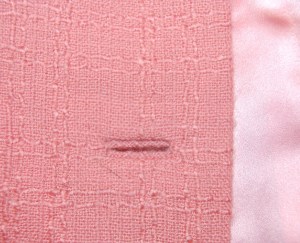
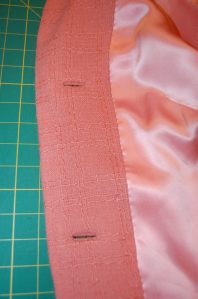
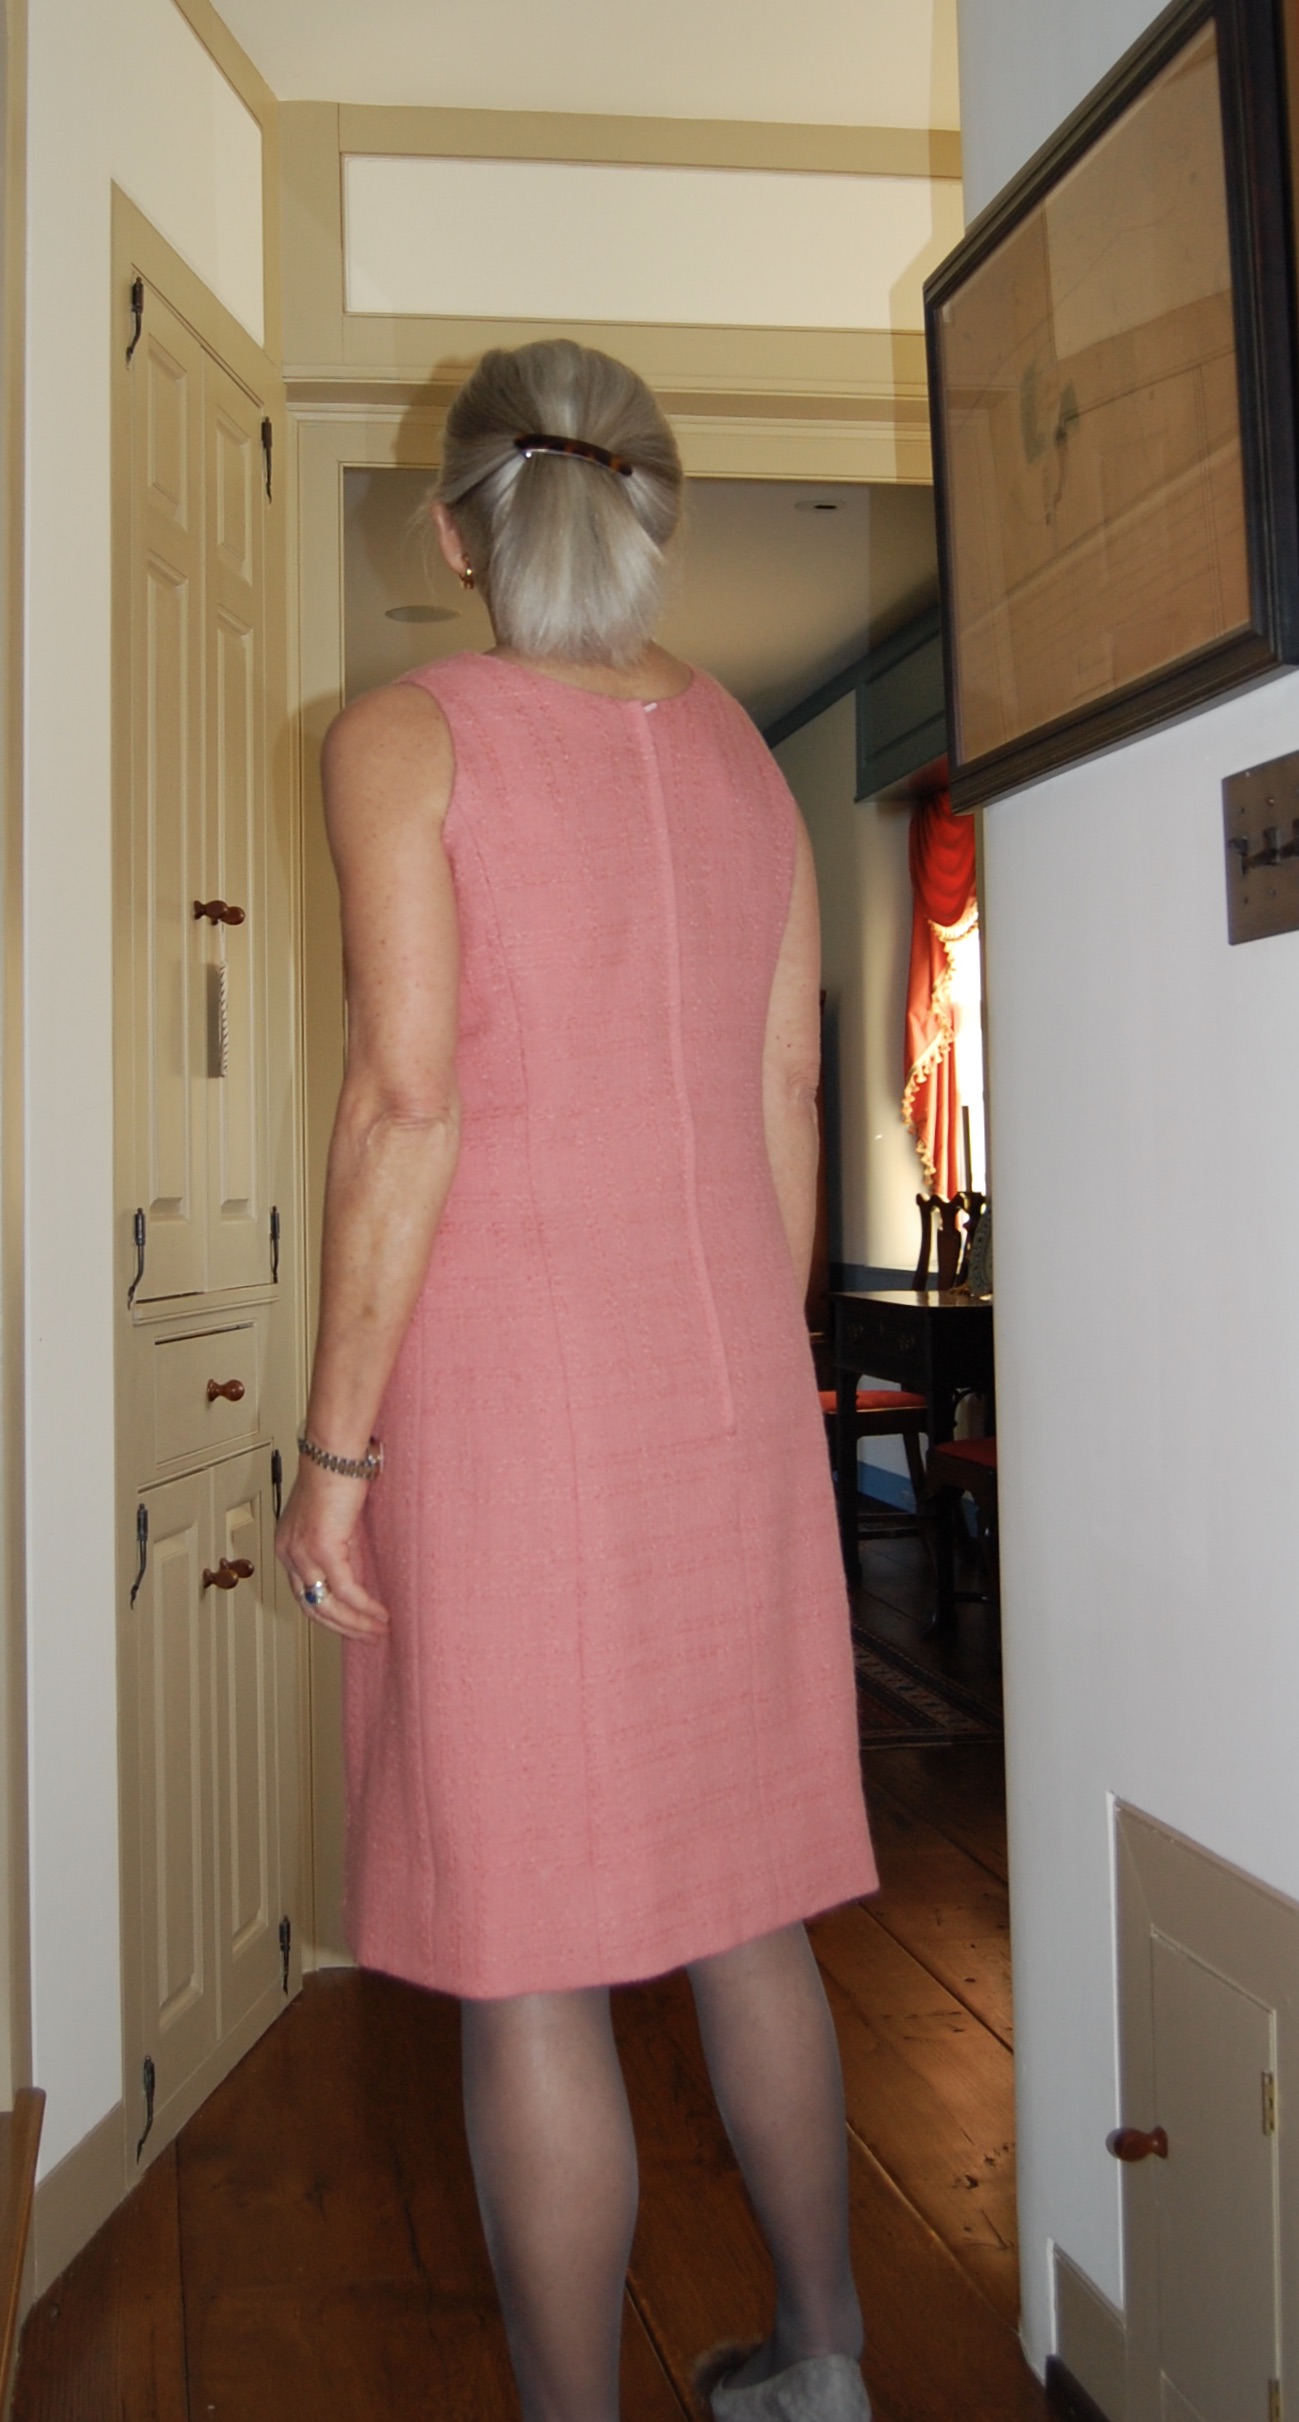
I eliminated the facings and used the couture method of lining to the edge, using back stitching to secure the lining to the underlining around the neck and armholes.  Then I used a hand-sewn lapped application for the zipper.  

I enjoyed making this dress, and I will use this pattern again – I am already envisioning a dress and jacket ensemble, featuring the jacket included with the dress.  And I know just the fabric I will use.  But I am getting ahead of myself – first here a few pictures of this dress and jacket duo.

Dress and jacket together…
I have said this before, but it bears repeating – I love a center-placed lapped zipper.
The weave in this wool is just so pleasing.

And how much of the Linton fabric did I have remaining after making this dress?  Well, enough to make a coat for an American Girl Doll which my oldest granddaughter is getting for Christmas.  Doesn’t every doll need a Linton Tweeds coat?  

34 Comments

Filed under couture construction, Dior darts, Sheath dresses, Uncategorized, vintage Vogue patterns from the 1960s, woolens

From Ready-to-Wear to No-Wear

Is a dress really complete if one has nowhere to wear it?  Well, yes, I think it is. Otherwise, I fear, I never would have finished this dress.

Its inspiration came from a ready-to-wear dress I spied on the Halsbrook website.

My original intention was to make a wool dress using this vintage royal blue-and-black houndstooth boucle I found several years ago.

After deciding it was just a bit too hefty to use for a dress, I switched gears and ordered this boucle from Linton Tweeds in England.

It is a cotton, silk and viscose blend with a lovely hand and a beautiful luster to it.  The colors look like the woven manifestation of Spring, and once it arrived, I was feeling very grateful that I was moving on to some warmer weather sewing rather than being stuck in a Winter project.  Below is the vintage pattern I had chosen to recreate the look of the ready-to-wear dress.

I used this pattern once before and knew it would work beautifully for this purpose.

All was not so merry, however, once I had my silk organza underlining cut out.  While positioning it onto the boucle fabric, I had a rude realization that the boucle, despite its very even grid, was an uneven plaid, in regard to color.  There was no way I was going to be able to balance the colors evenly across the width of this dress.  I had to make a decision how I wanted to treat the center front seam (which helps with the shaping of the dress).  I also had to determine which of the colors was dominant in the grid and then try to fixate on getting that evenly spaced.

After much debate, I decided to use the yellow as the dominant color, and I decided to “railroad track” the center seam, disrupting the even windowpane grid in that spot.

This picture shows how I tried to balance the yellow on the front of the dress, which I was able to do by narrowing the windowpane in the center seam.

I guess I have looked at this dress just a bit too much, as I am still second-guessing myself.  Sometimes it looks okay to me and other times, all I see are the unevenly spaced pink and green grids.

I decided to line the dress in pale-ish yellow crepe de chine, ordered from Emma One Sock Fabrics.

When it came time to finish the inside neck edge with understitiching, I was completely out of matching yellow thread.  Of course, with all the non-essential stores closed (since when I ask, is a sewing supply store considered non-essential?), I had to choose another color for that task.  I went to my supply of vintage buttonhole twist and found coral pink, a nice substitute.

I machine-sewed strips of silk organza interfacings onto the edges of the sleeves and hem, so that I could fray them confidently.   Then I finished the interiors by hand.  Somehow, most vexingly, I lost my pictures of this process.

I actually used the reverse side of the fabric for the double-wide fringe several inches up from the hemline.  It gave me another “railroad track” detail which I thought would help make sense of that center front seam.

This is the reverse side of the fabric.

And here is the double-sided fringe attached to the skirt. The “railroad track” motif is visible in the center of the fringe.

Can you tell I was consumed by this uneven color scheme?  I think it is still playing games with my head, but the good news is, once I did the final try-on of the dress, I thought it looked okay!

I’m not looking back any more on this one!

Well, from Ready-to-Wear to No-Wear to currently No-Where to Wear anything pretty, the only way to go is towards the time, hopefully soon, when we can all be thinking,”So many places to go, so many new dresses to Wear.”


45 Comments

Filed under couture construction, Day dresses, Hem facings, Hems, Linings, Uncategorized, vintage Vogue patterns from the 1960s

Making a Parisian Jacket, Part 2 – and on to the Finish

Oh, lets’s just skip Part 2 and go right to the finish!  To be honest, a separate Part 2 was somehow lost in the midst of a flurry of sewing while I concentrated on “December Dresses” for my two granddaughters.  More on those another time.

When I returned to my Parisian Jacket, I was almost ready to tackle the gussets.  Sewing the bottom curved seam of the gussets was easy to do on the machine.  But when it came to the other two seams, working in such tight angles, I did not even try to sew them on my machine.  I went right to hand sewing them, using a small tight backstitch, and I ended up with good results.

Having the gussets finished meant that the basic body of the jacket was together.  Then it was on to the collar and the front facings.  Following Susan Khalje’s video instructions, I was able to get a very precise finish to the collar.

I had to be careful to match the weave of the fabric, up and down and across.

There are two bound buttonholes in the right front of the jacket, and this is where I deviated slightly from the order of construction that Susan was following.  Instead of partially sewing on the right front facing and then making the buttonholes, I did my buttonholes before I attached any part of the facing.  I felt like I had more control doing it this way.

The finish of the buttonhole on the ifacing.

The finish of the buttonhole on the facing. (Please pardon the cat fur!)

Whenever I have made a Classic French Jacket, I have added a slight curve to the back hem, and I find this to be very pleasing.  I decided to do the same with this jacket.  At the center back I marked the hemline at 5/8” below the marked hem, and then I gradually curved it up to the side point of the jacket.  It is quite subtle, but I think a nice addition.

I went round and round with buttons for this jacket.  Ideally I would have loved to find some pink ones, but the pink of this vintage Linton fabric is really not a clear pink.  It is a bit “dusty” and finding buttons to match proved too big a task.  So I opted for these vintage mother-of-pearl gray buttons, which happen to have pink overtones to them.

I expect to wear this jacket with gray quite a bit, so the gray buttons make sense to me.  I actually really like them now that they are on.

I chose a pink silk charmeuse from Emma One Sock Fabrics for my lining.  I would have loved to use a flowered silk, but the ‘see-through’ factor of the light pink wool prohibited that.  And actually the pink lining seems to add some vibrancy to the fashion fabric.  It makes a very pretty “inside”.

I sewed the lining in entirely by hand, which was an option. The front seams of the lining could also be machine stitched.

This was a very time-consuming project, even without making granddaughter dresses in the midst of it.  The video series is 13 parts long and Susan is extremely complete in her instructions.  I attribute my success with this jacket to three main facts:

  • I basted every seam before machine sewing them, even the seams in the lining.
  • Except for the bound buttonholes, I carefully followed Susan’s order of construction as she laid them out in her videos.
  • I viewed each lesson over and over to make sure I wasn’t missing anything.

There were many couture tips shared by Susan during the making of this jacket, but these four are ones I will use again and again:

  • Sew the sides of the pocket bags in by hand with a small fell-stitch rather than sewing them by machine. What a great finish this made.
  • Catch-stitch the upper curve of the pocket bags to the underlining of the jacket. This keeps them in place and prevents sagging of the bag inside the garment.
  • Use straight-of-grain silk organza strips to stabilize the on-bias cuffs of the bias sleeves. This keeps the lower edge of the sleeve from “growing” as bias is wont to do.
  • To add a center back pleat to the lining, which is necessary of course, place the back jacket pattern piece on the fold of your lining silk, set back from the edge by about one inch. (You will not have a center back seam in your lining with this method.)  The extra inch makes a natural pleat which can be secured at the neckline and at the waist or slightly below.

It may be a little difficult to see the center back pleat, as everything is so pink, but it is in the center of the photo.

I am already looking forward to making this jacket again.  I can visualize it in a vintage Moygashel linen – it would be beautiful for Spring and Summer and Fall.  I think this jacket may become as addictive to sew as a Classic French Jacket!


24 Comments

Filed under bound buttonholes, Buttons - choosing the right ones, couture construction, Gussets, Linings, Uncategorized, vintage buttons, Vintage fabric, woolens