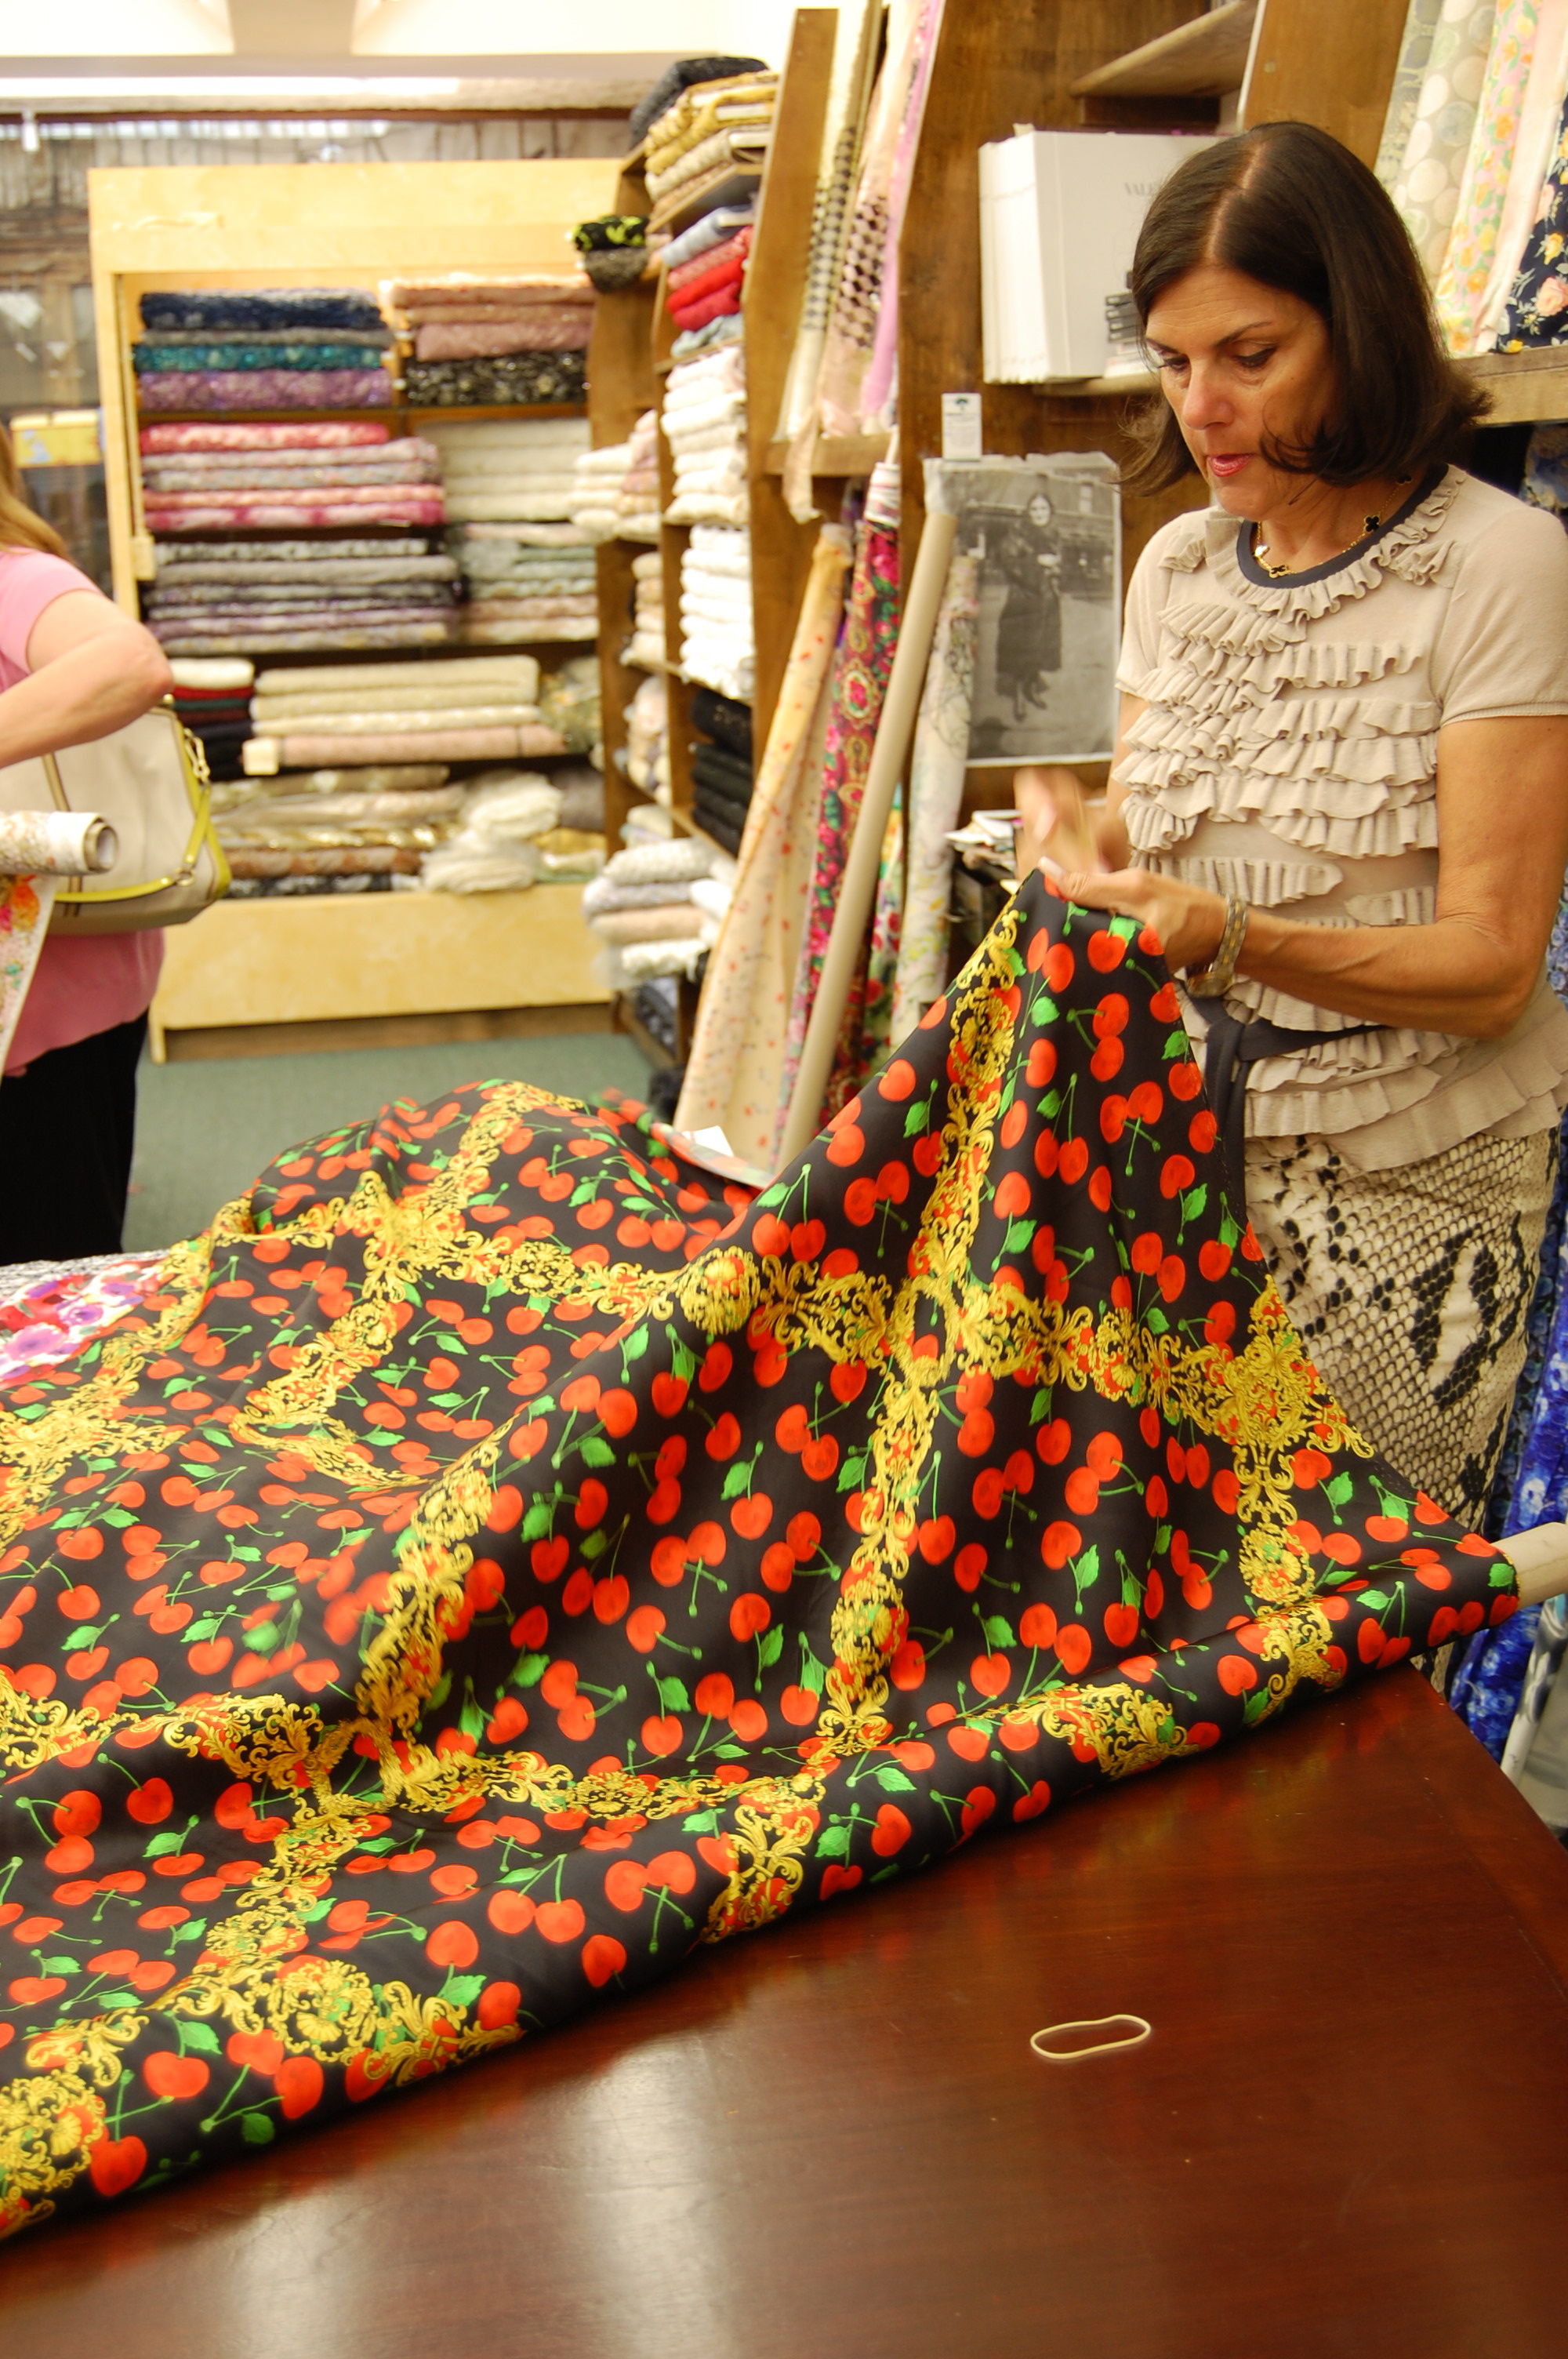
Among timeless fashion statements, pearls and wrap dresses both make my top-ten list. The opportunity to combine the two was just too good to pass by, especially after being inspired by a silk charmeuse perfectly suited for just such a pairing.
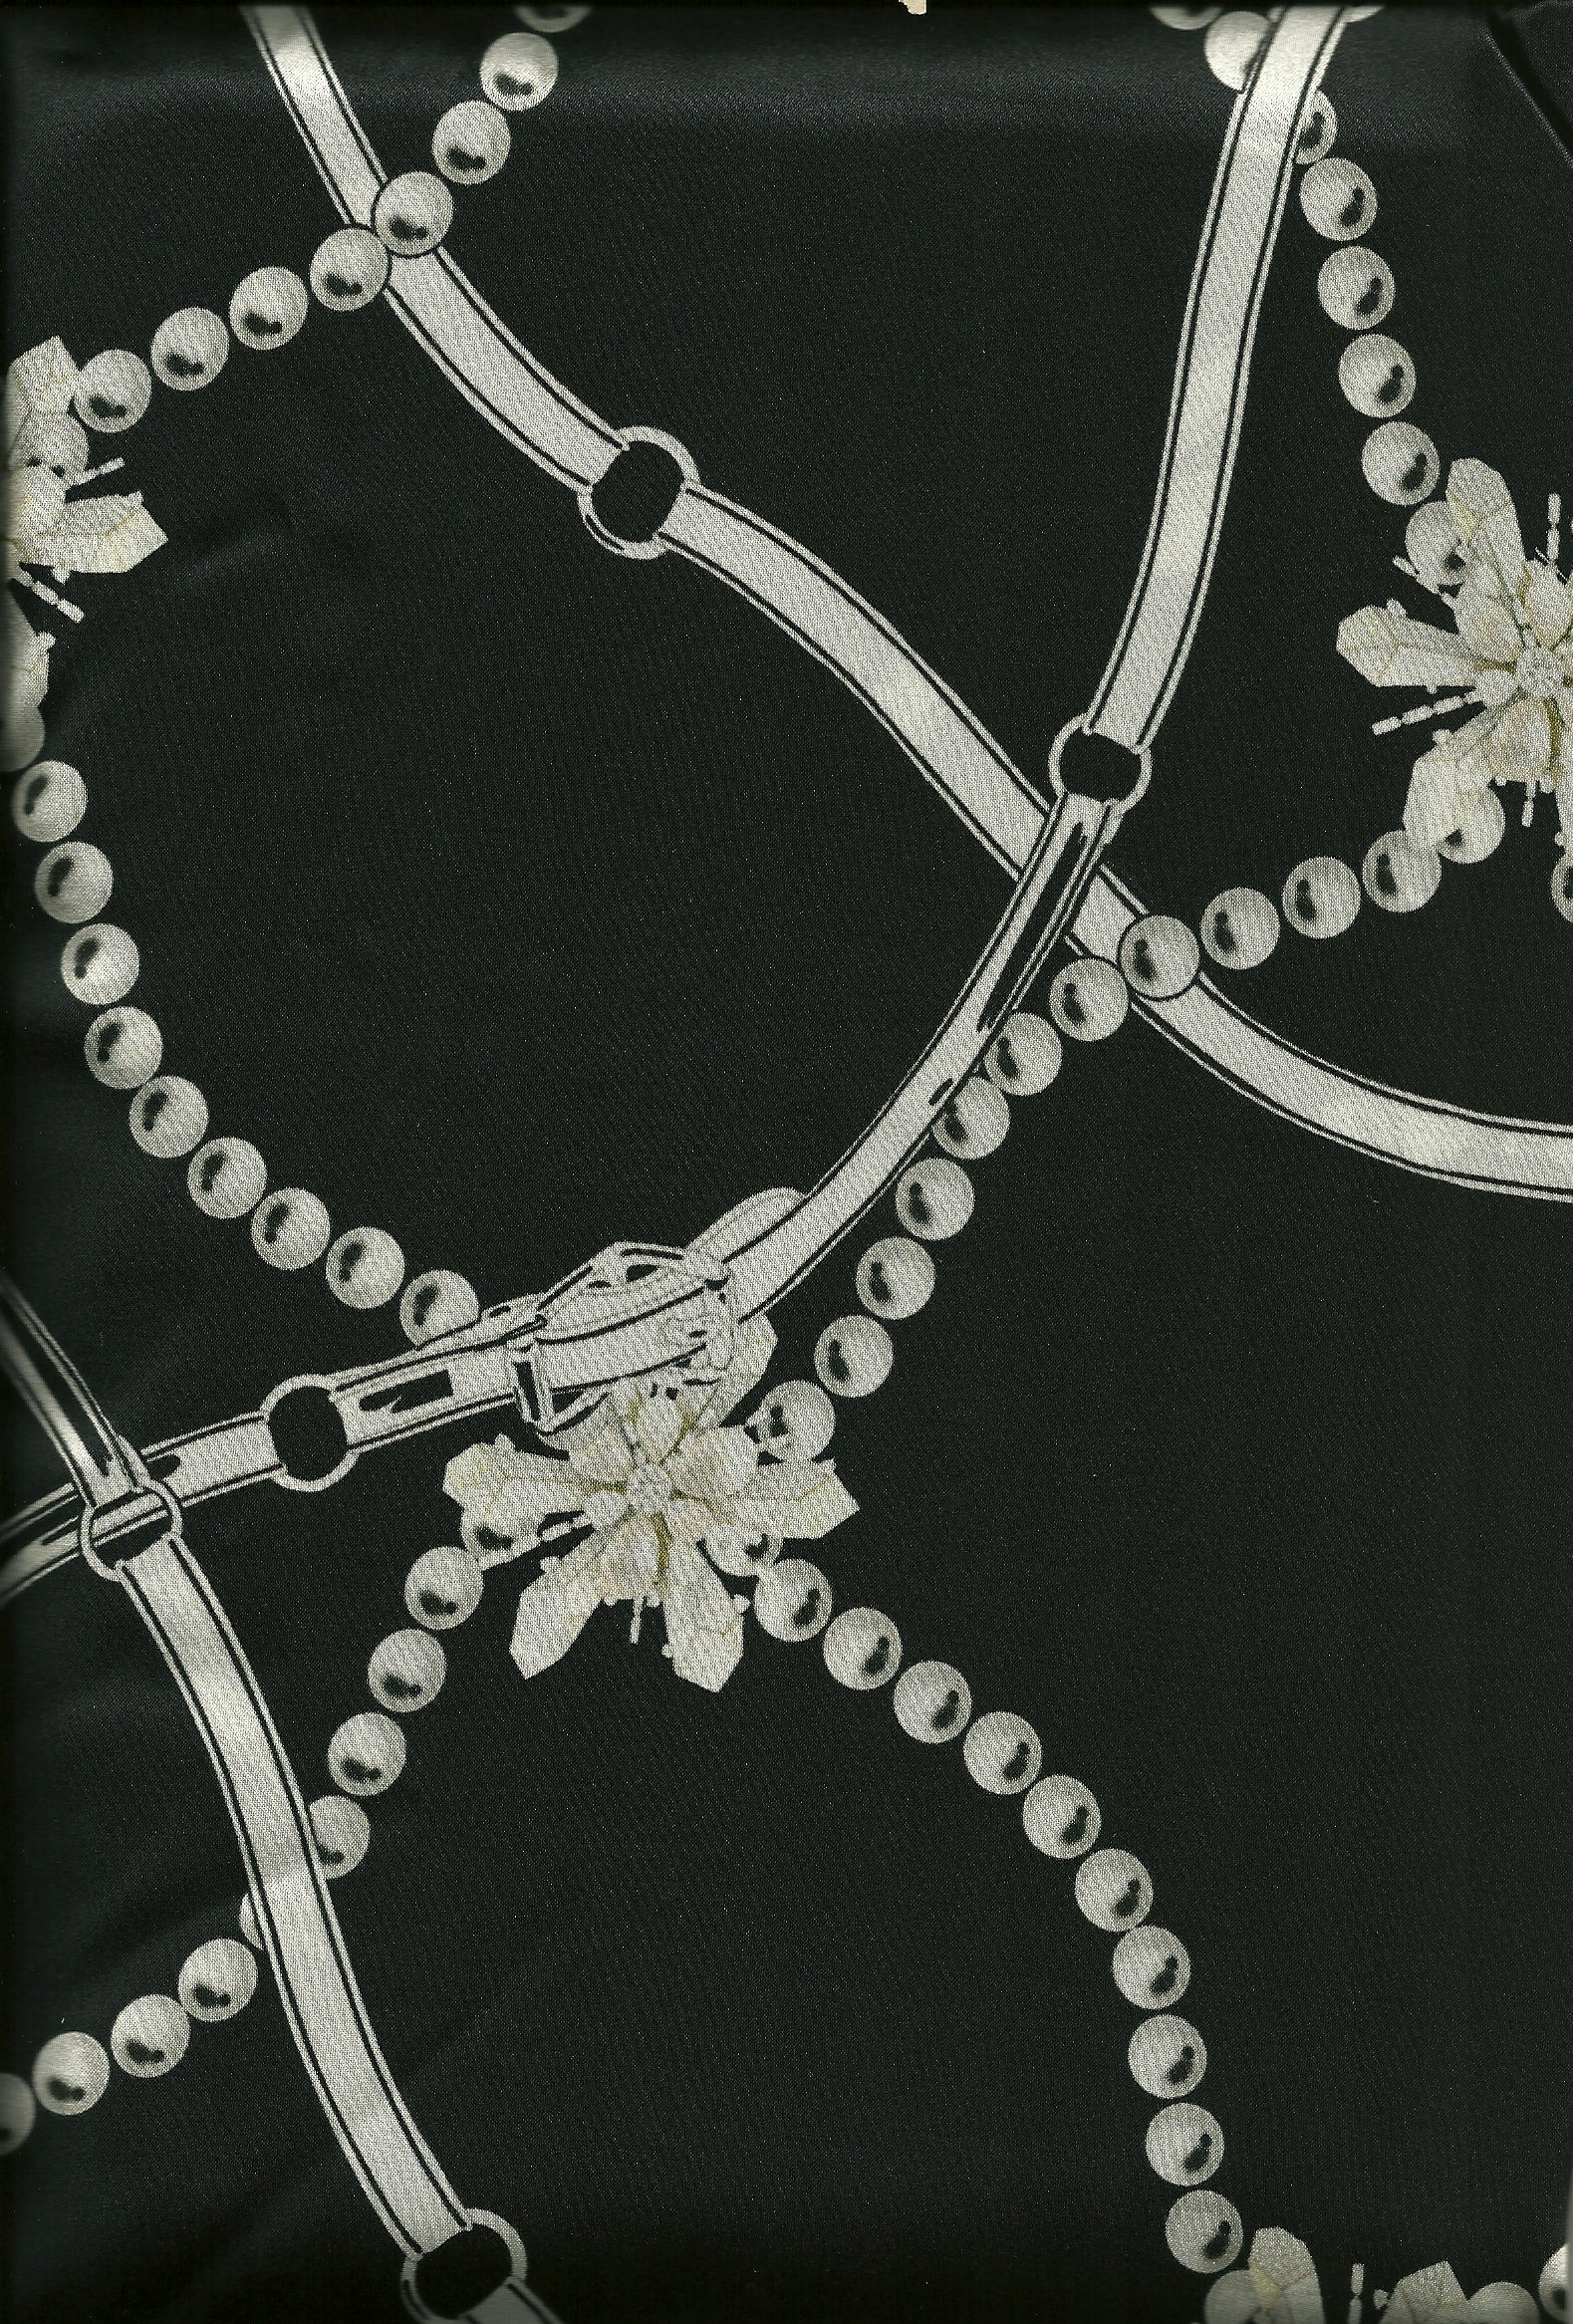
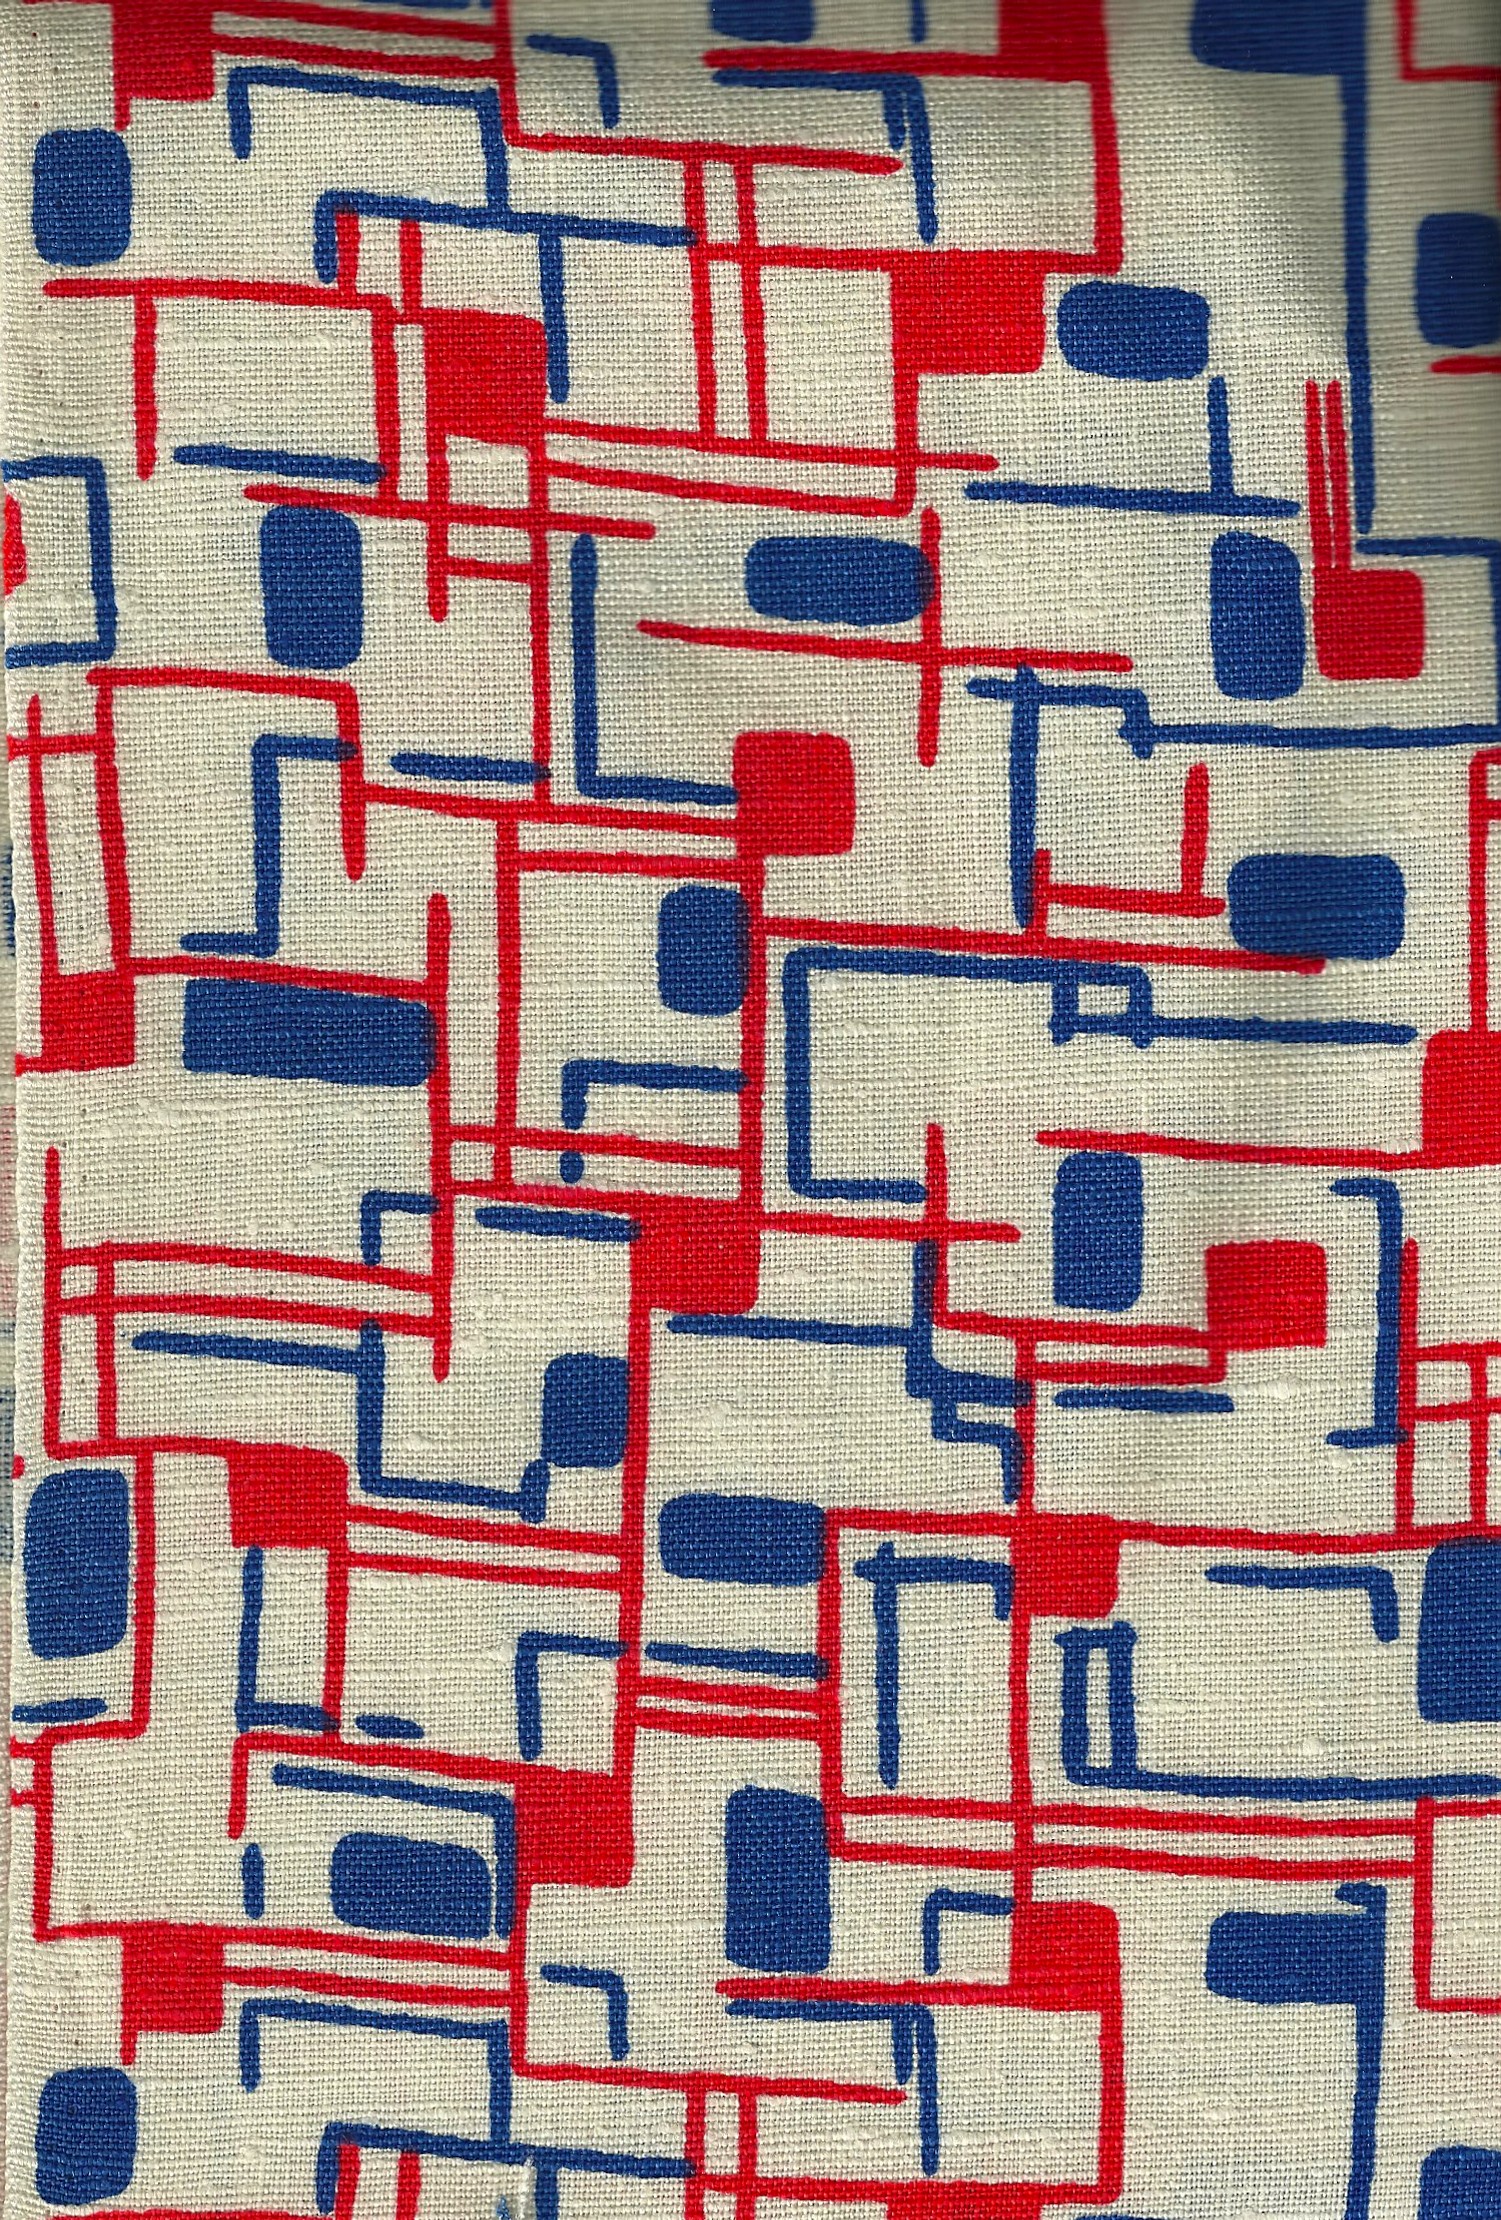
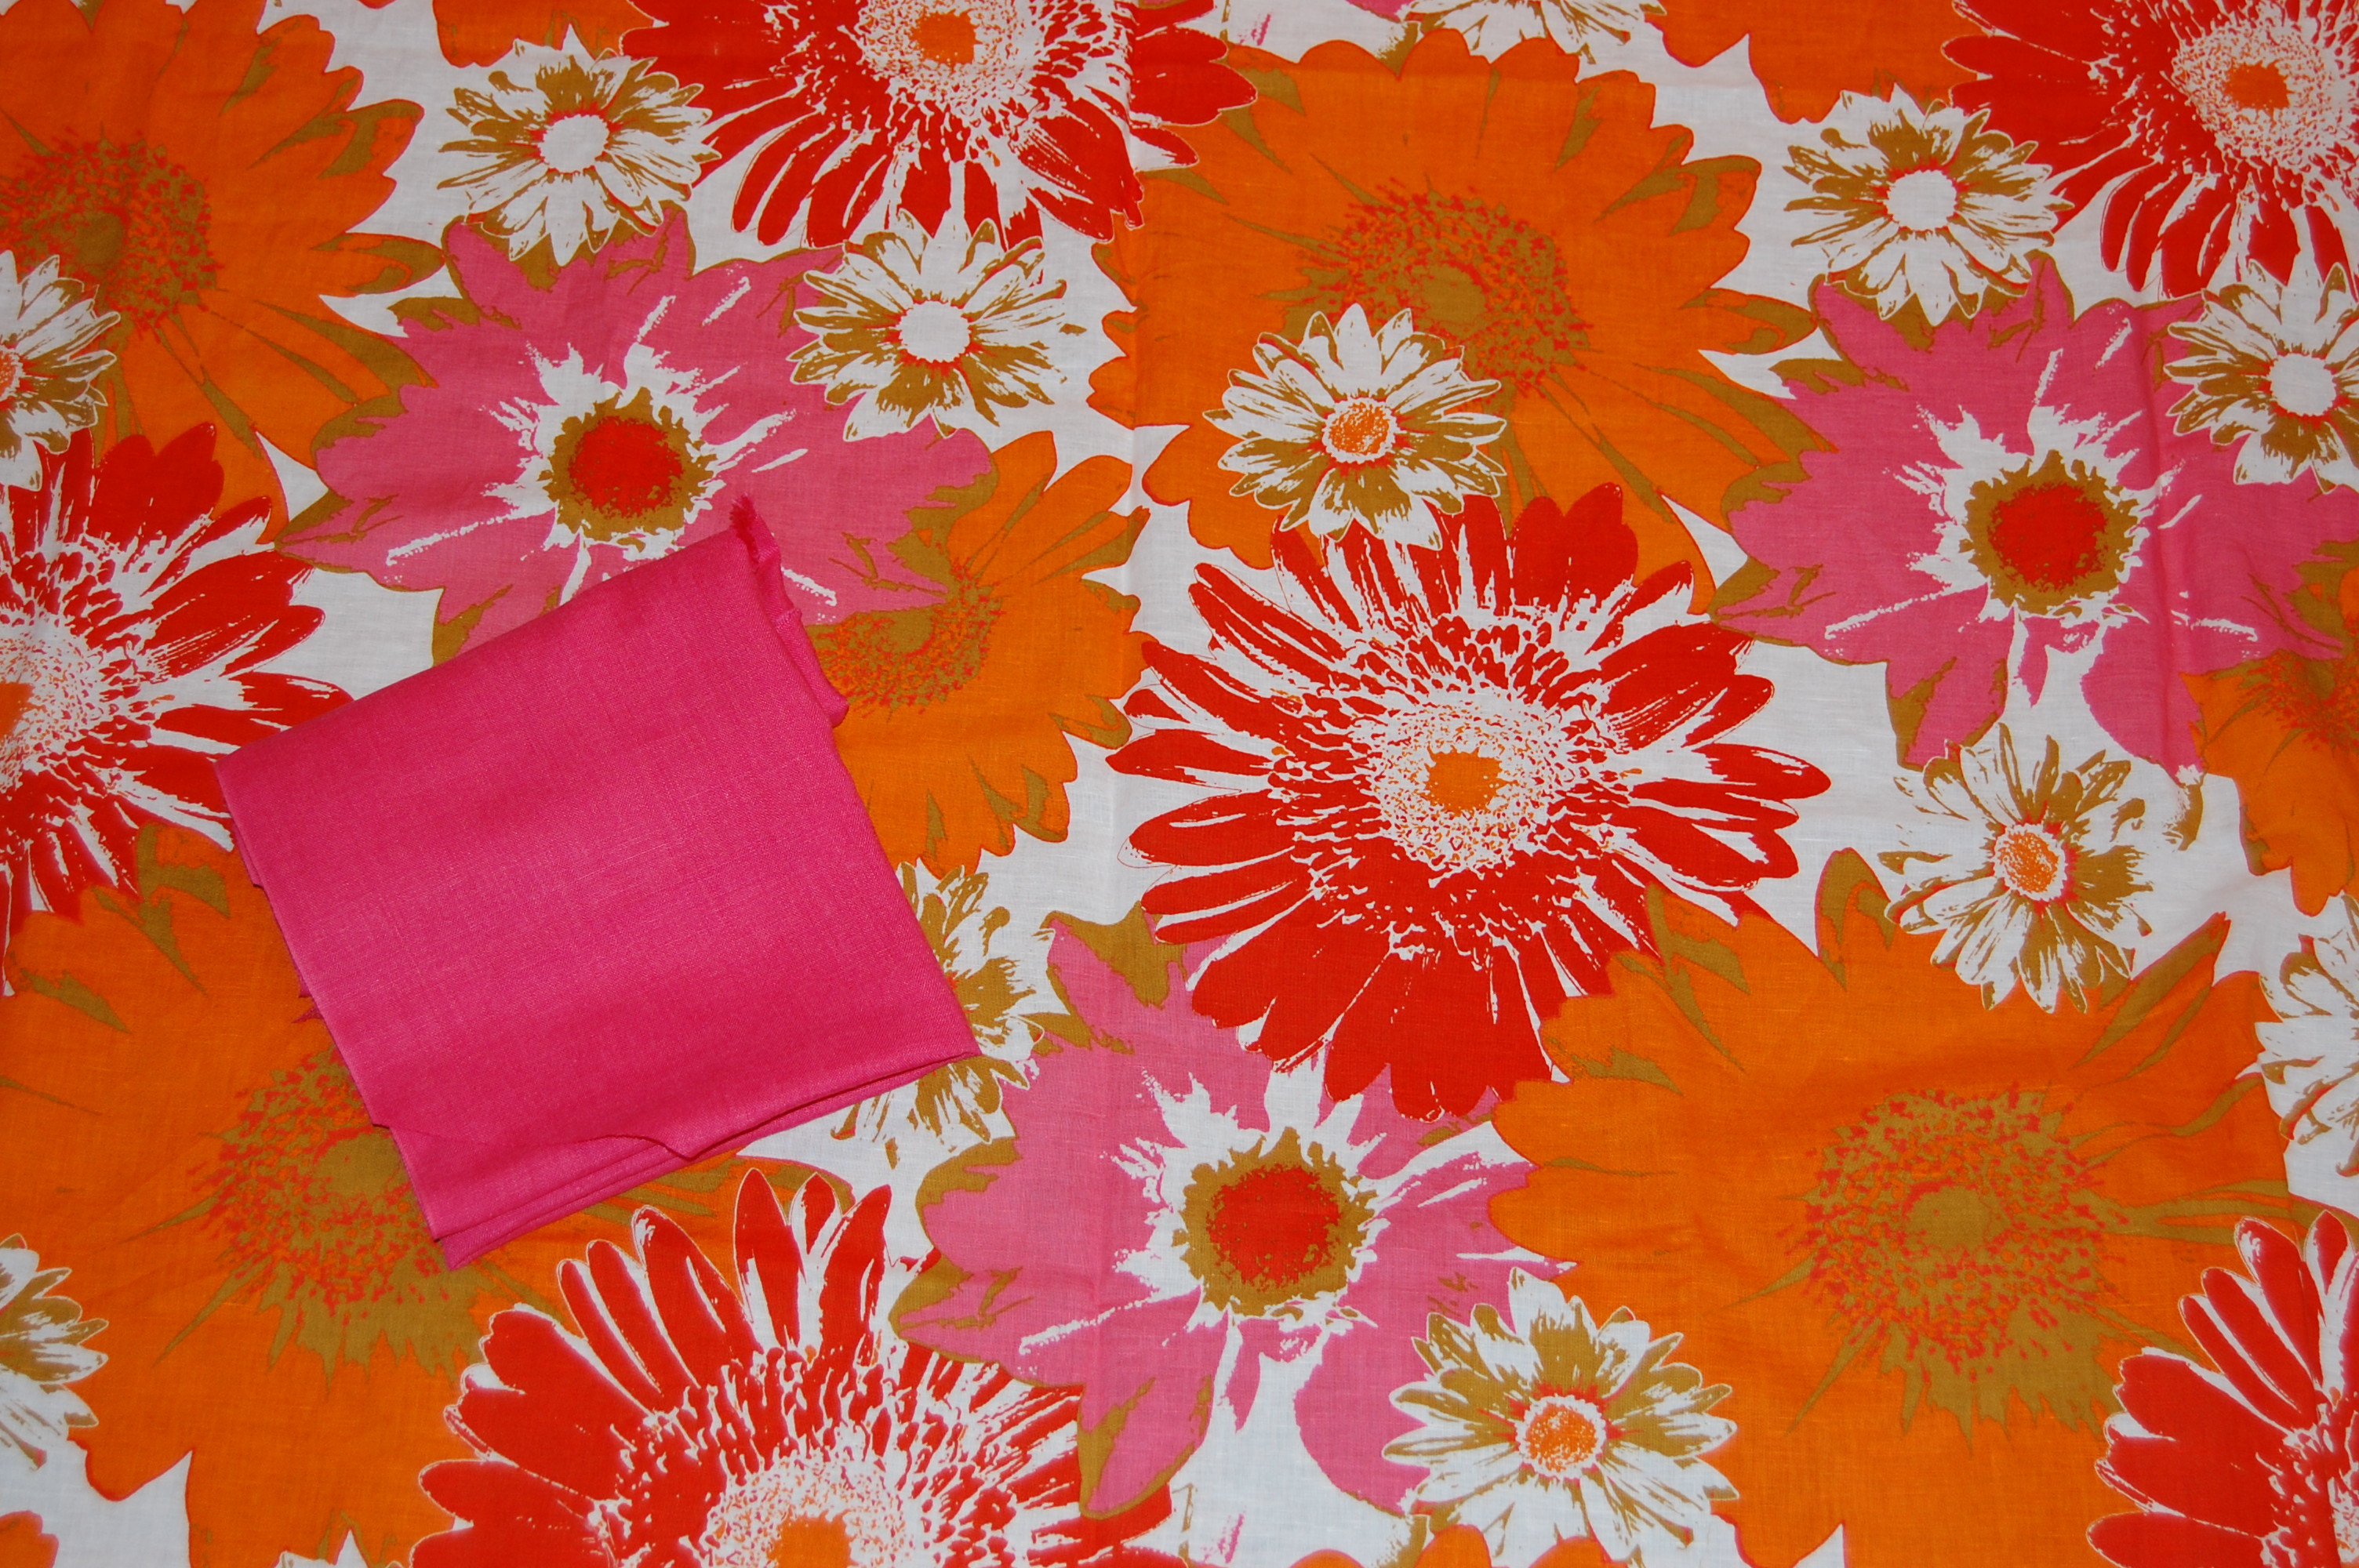
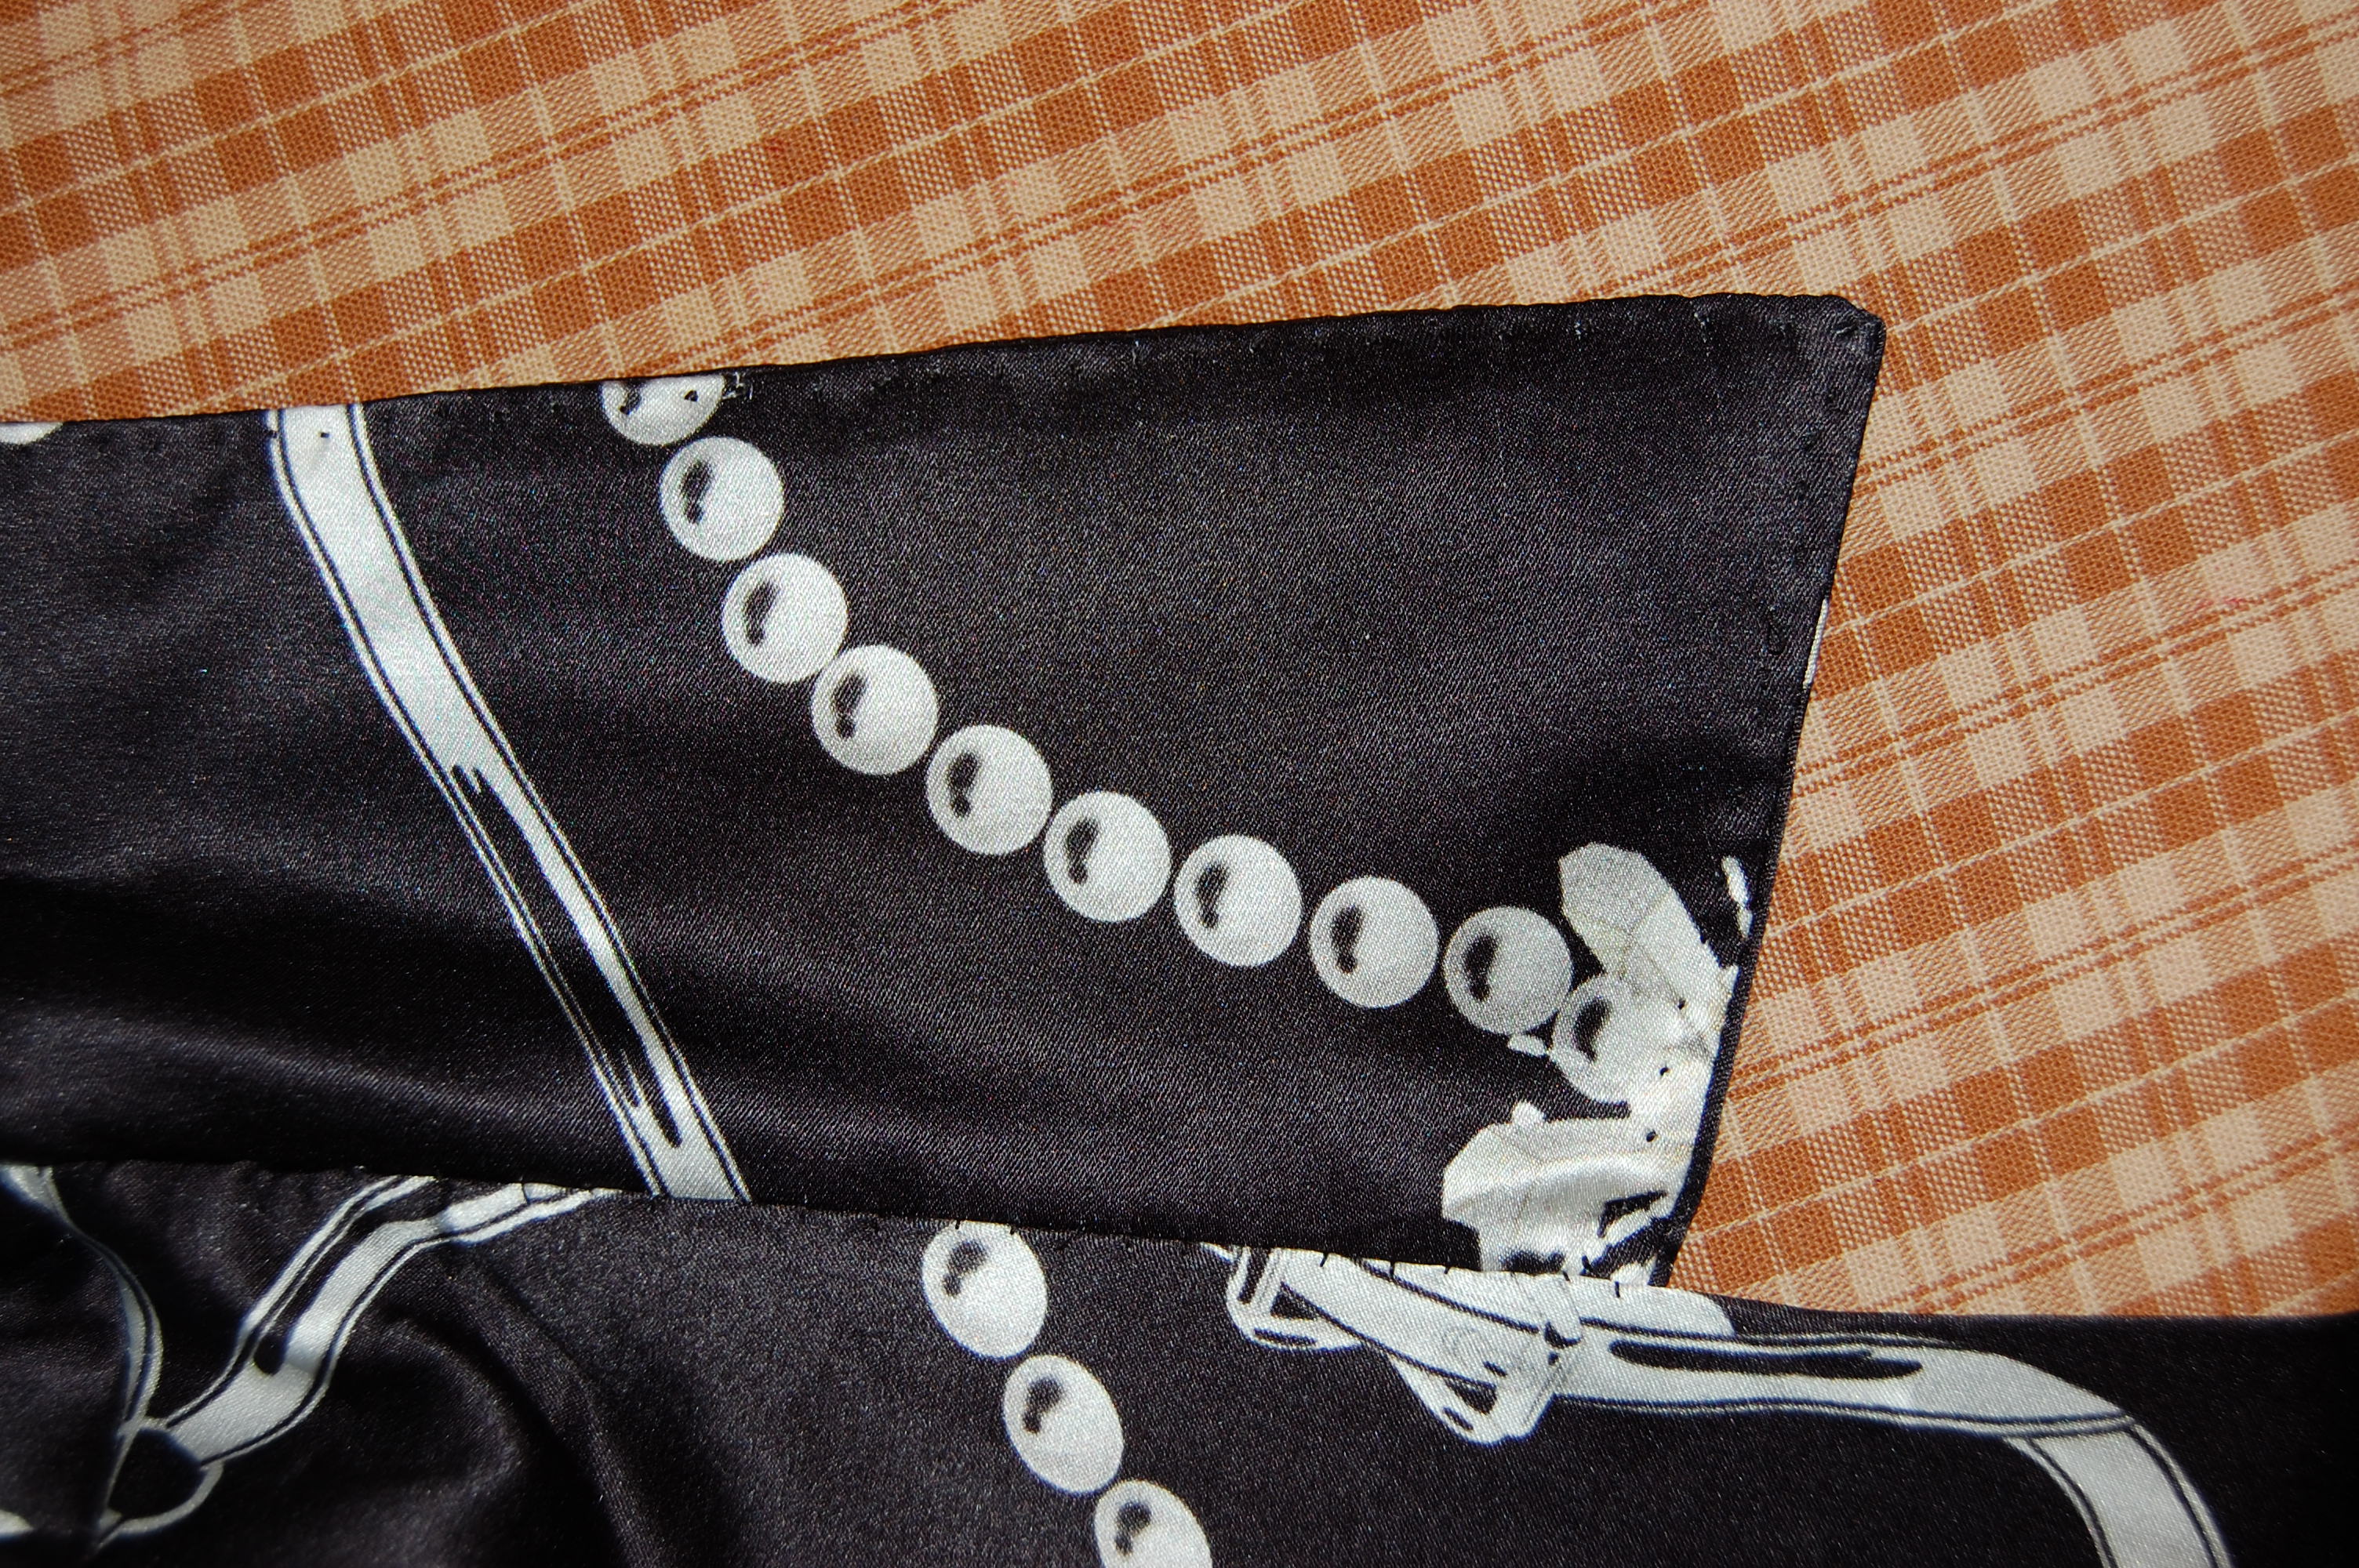
Pearls and ribbons and clusters, fabric purchased from Mendel Goldberg Fabrics in NYC.
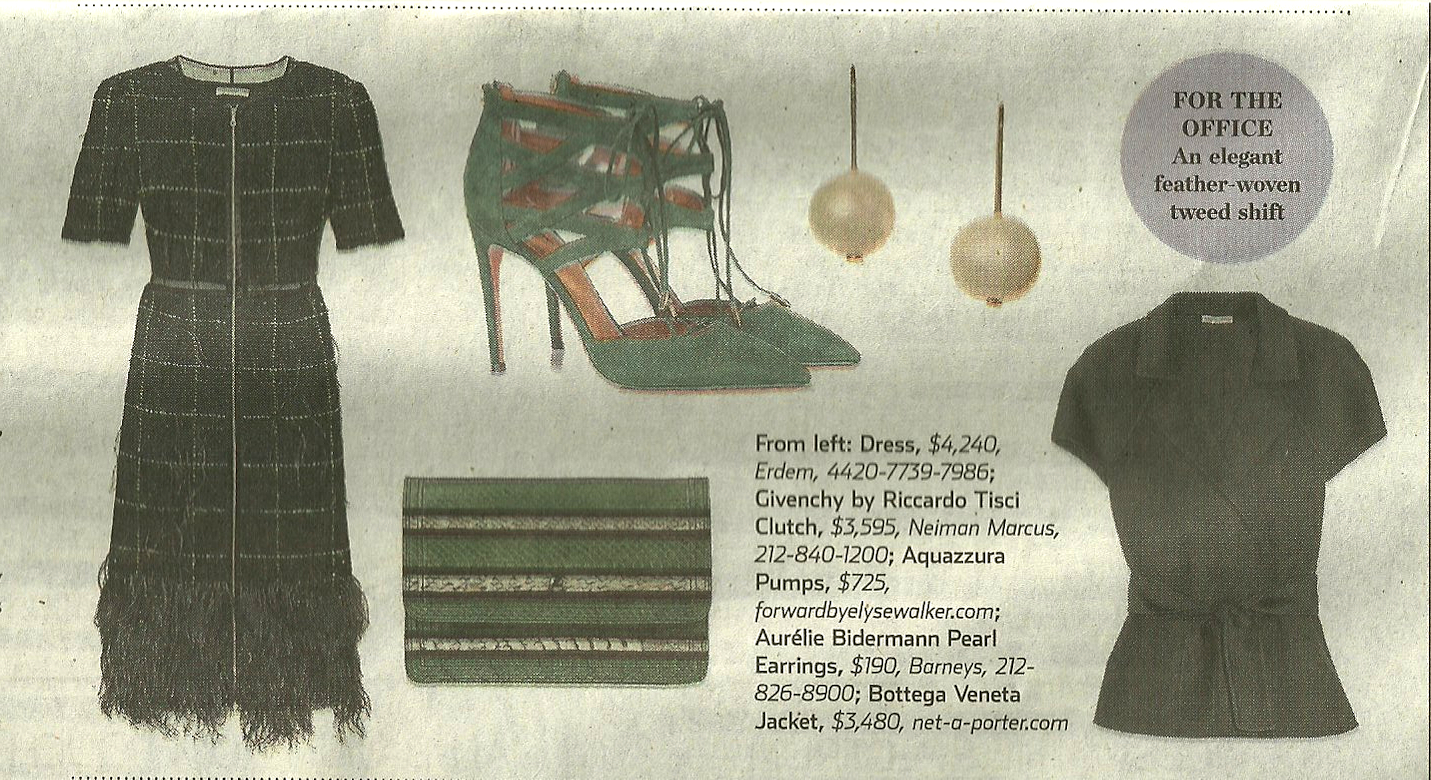
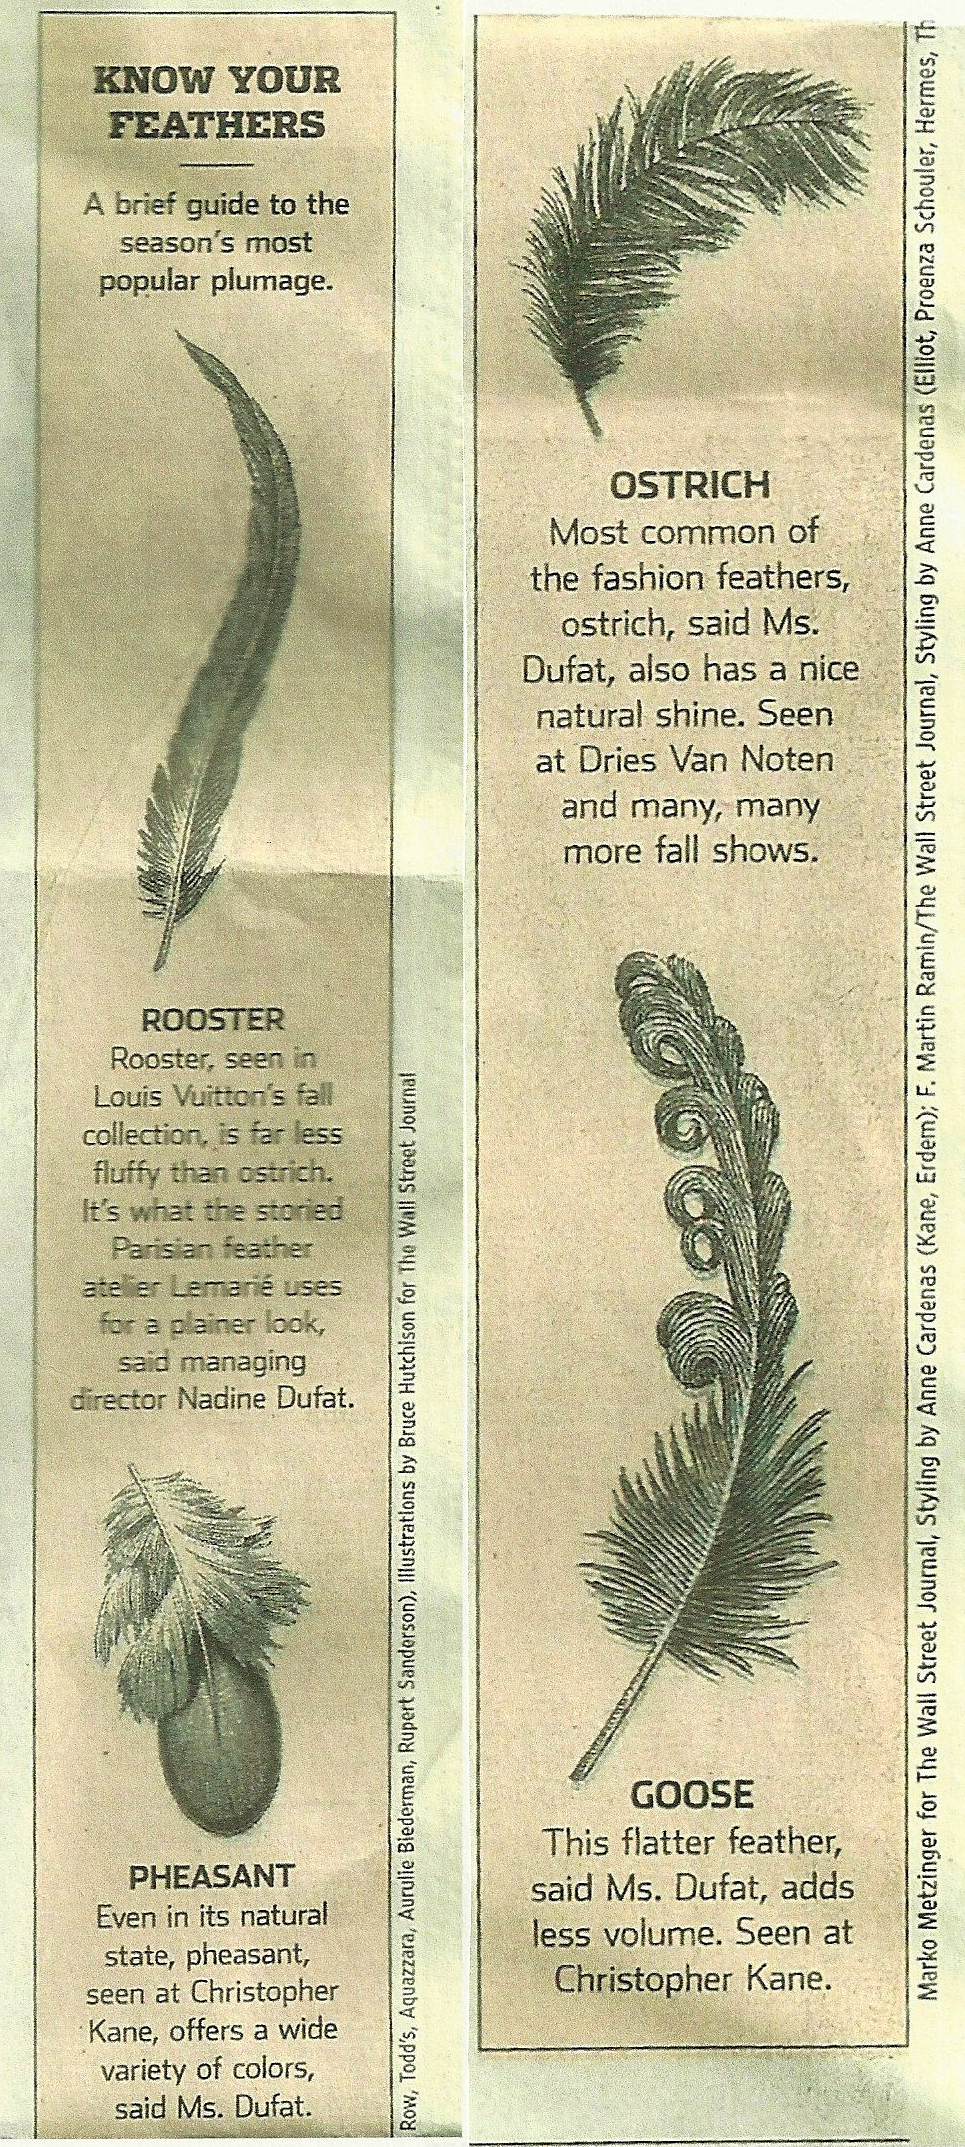
As luck would have it, shortly after I purchased the silk for this dress, an entire article in the Style & Fashion section of The Weekend Wall Street Journal of August 24 – 25 (2013) was devoted to “the old-fashioned allure of pearls…” It seems that pearls are “showing up on everything from shoes to wallpaper to chairs” – and to fabric, as evidenced by my Italian silk charmeuse. I am just “old-fashioned” enough to think that pearls are never not in style, but I must admit that even I was smitten with the unusual and modern approach of this fabric design.
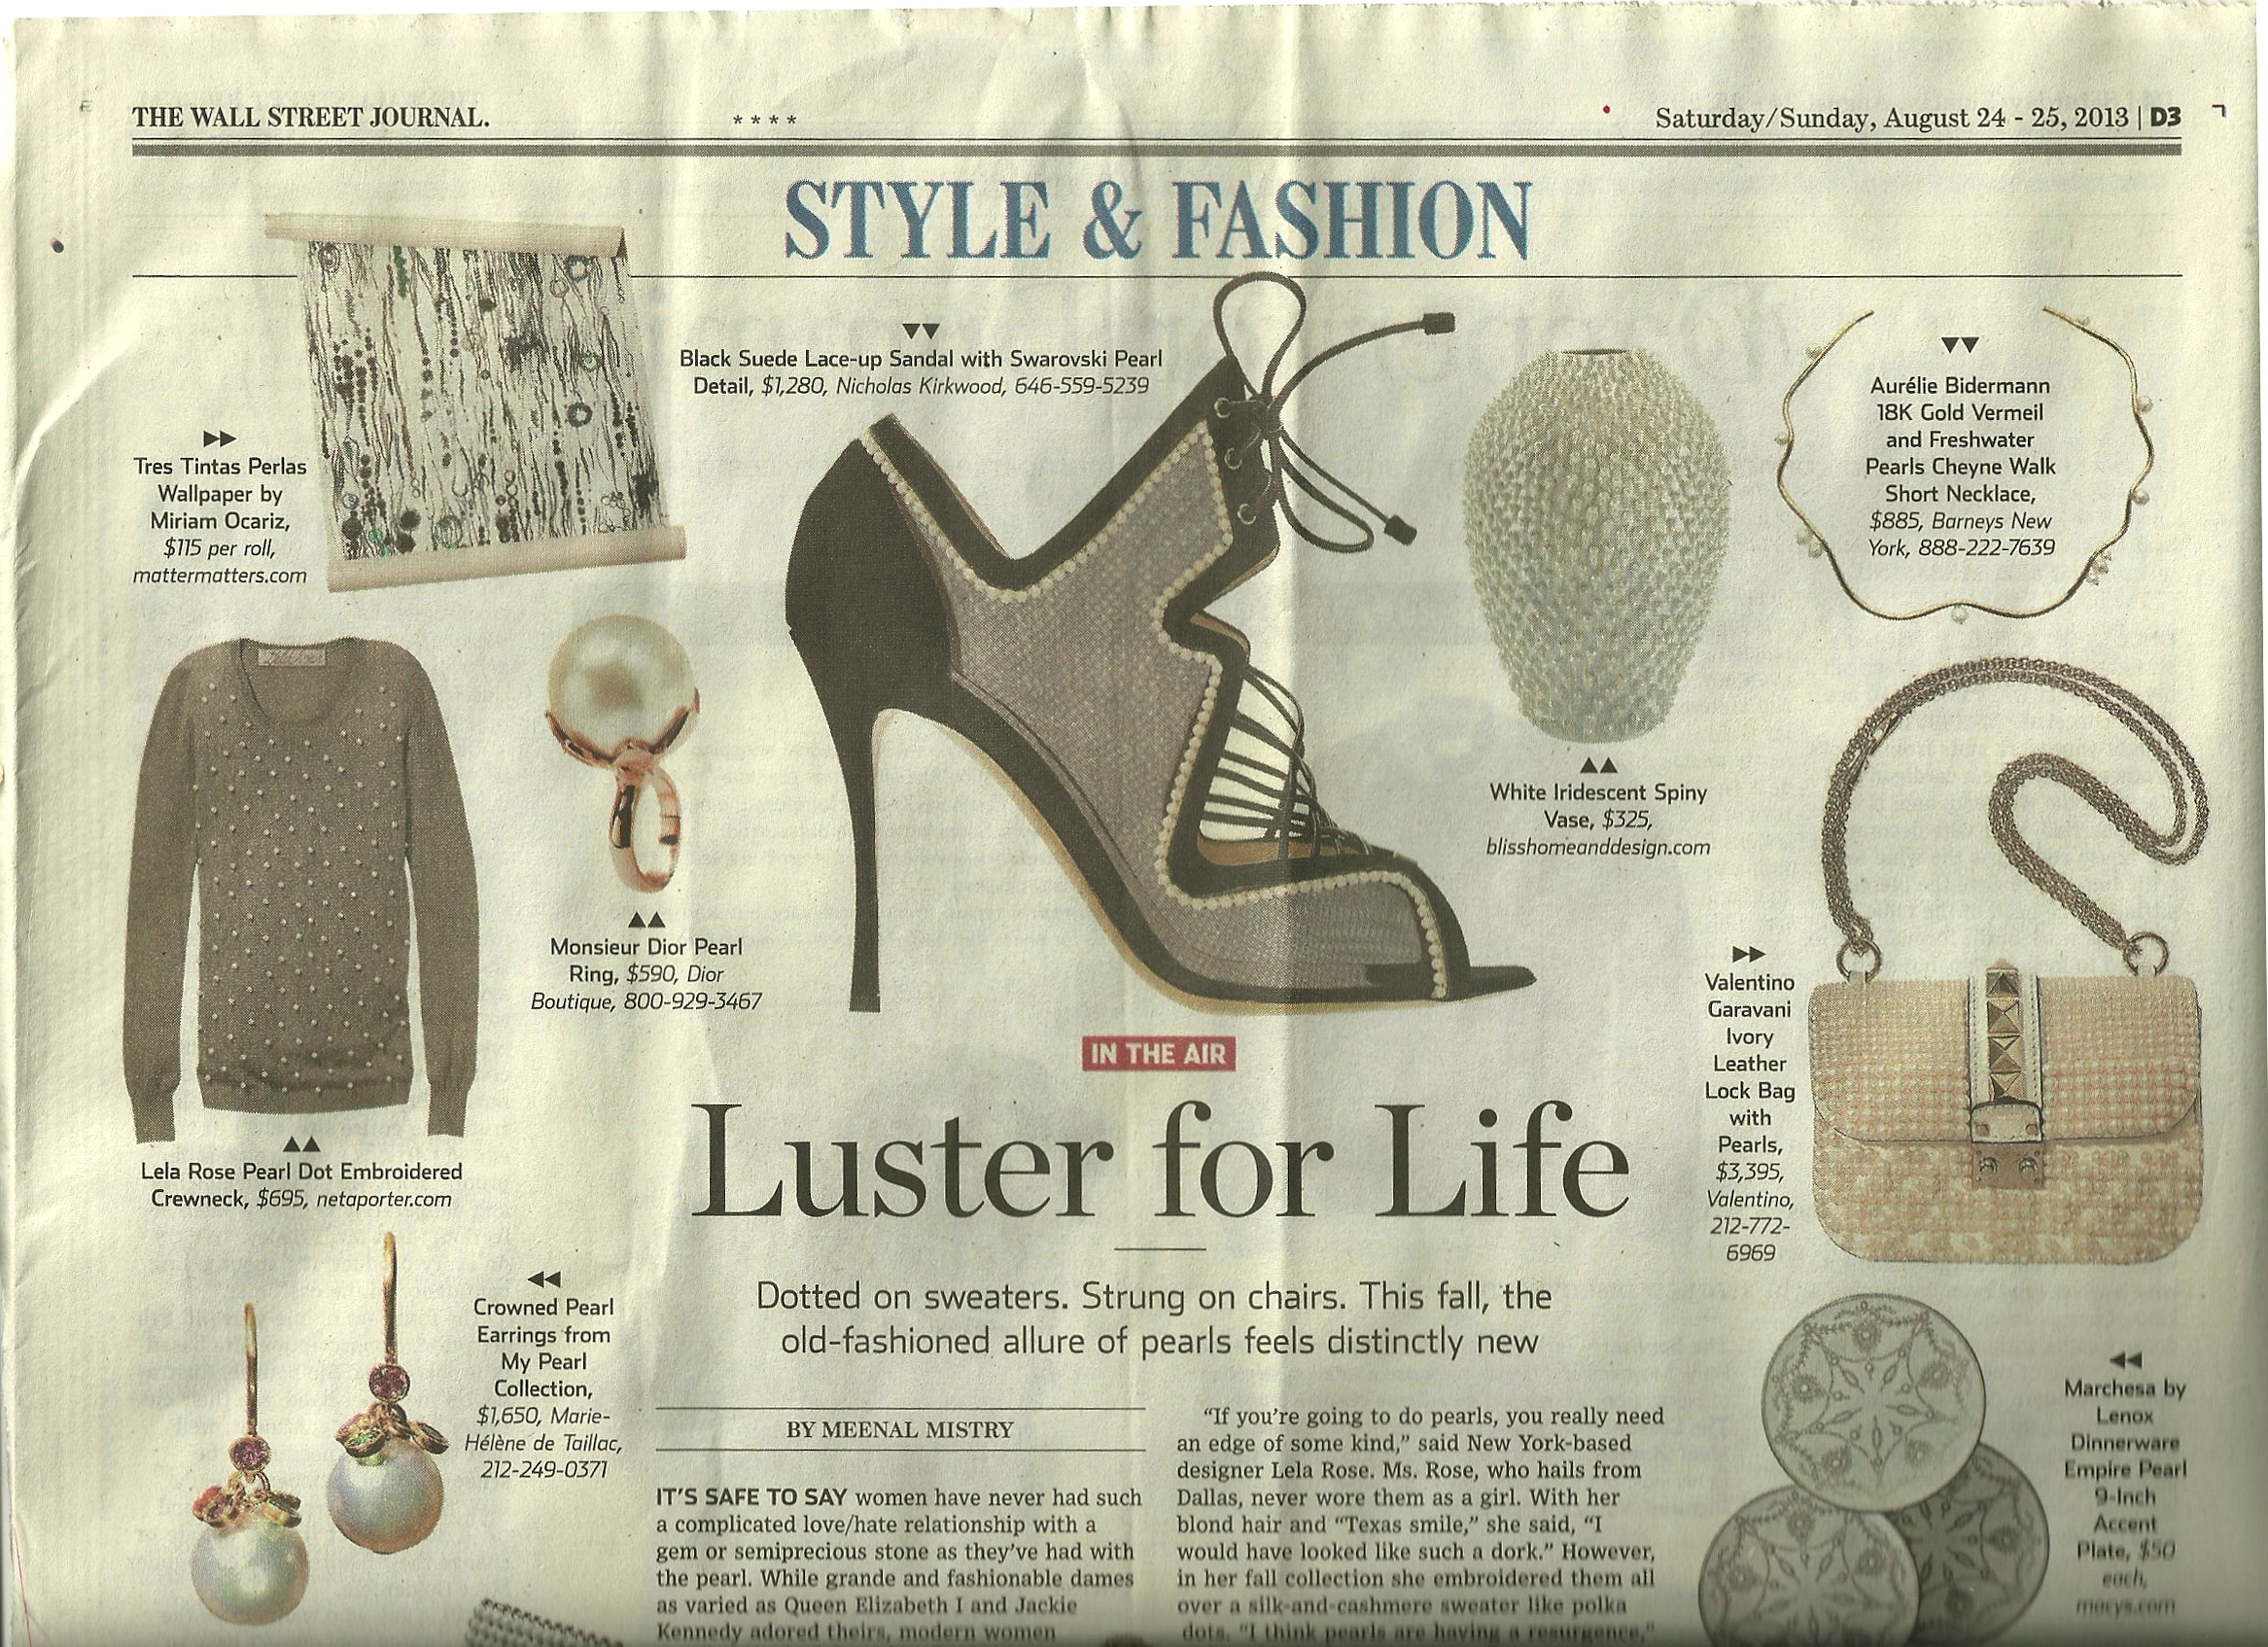
Pearls are showing up everywhere, it seems.
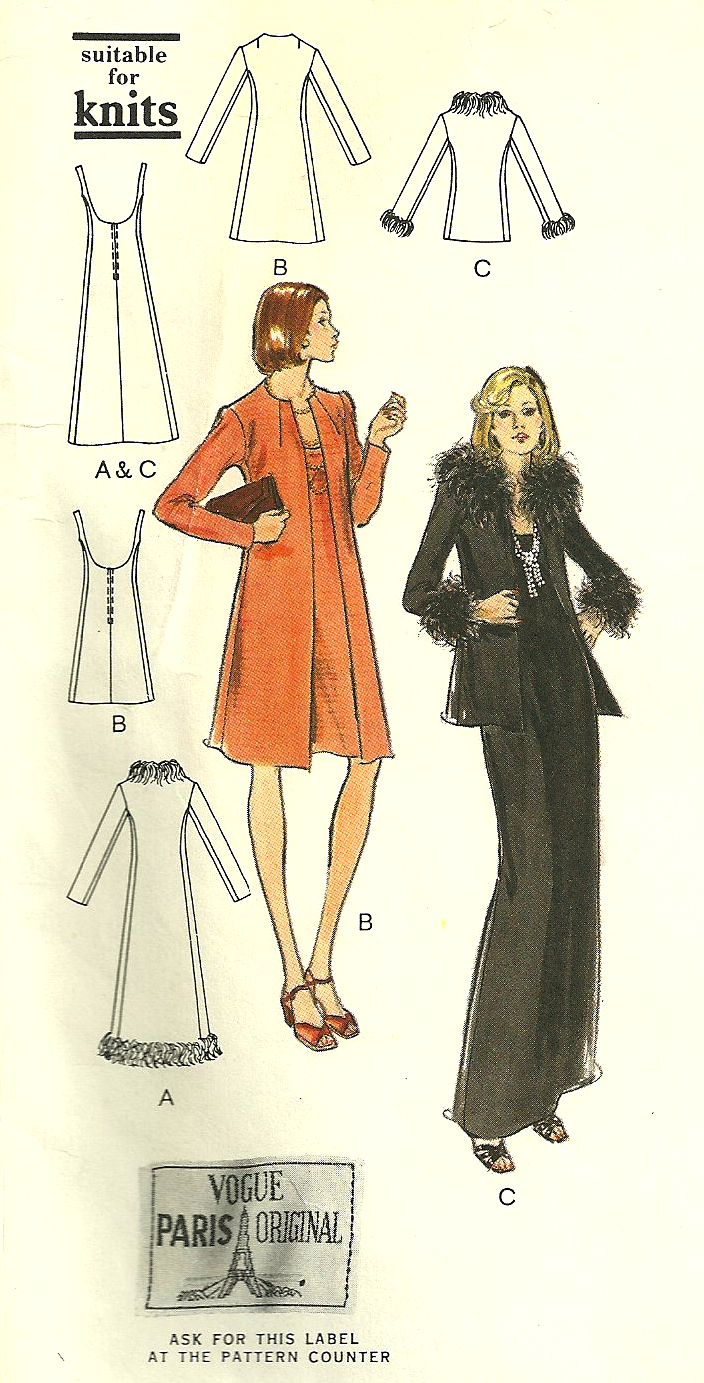
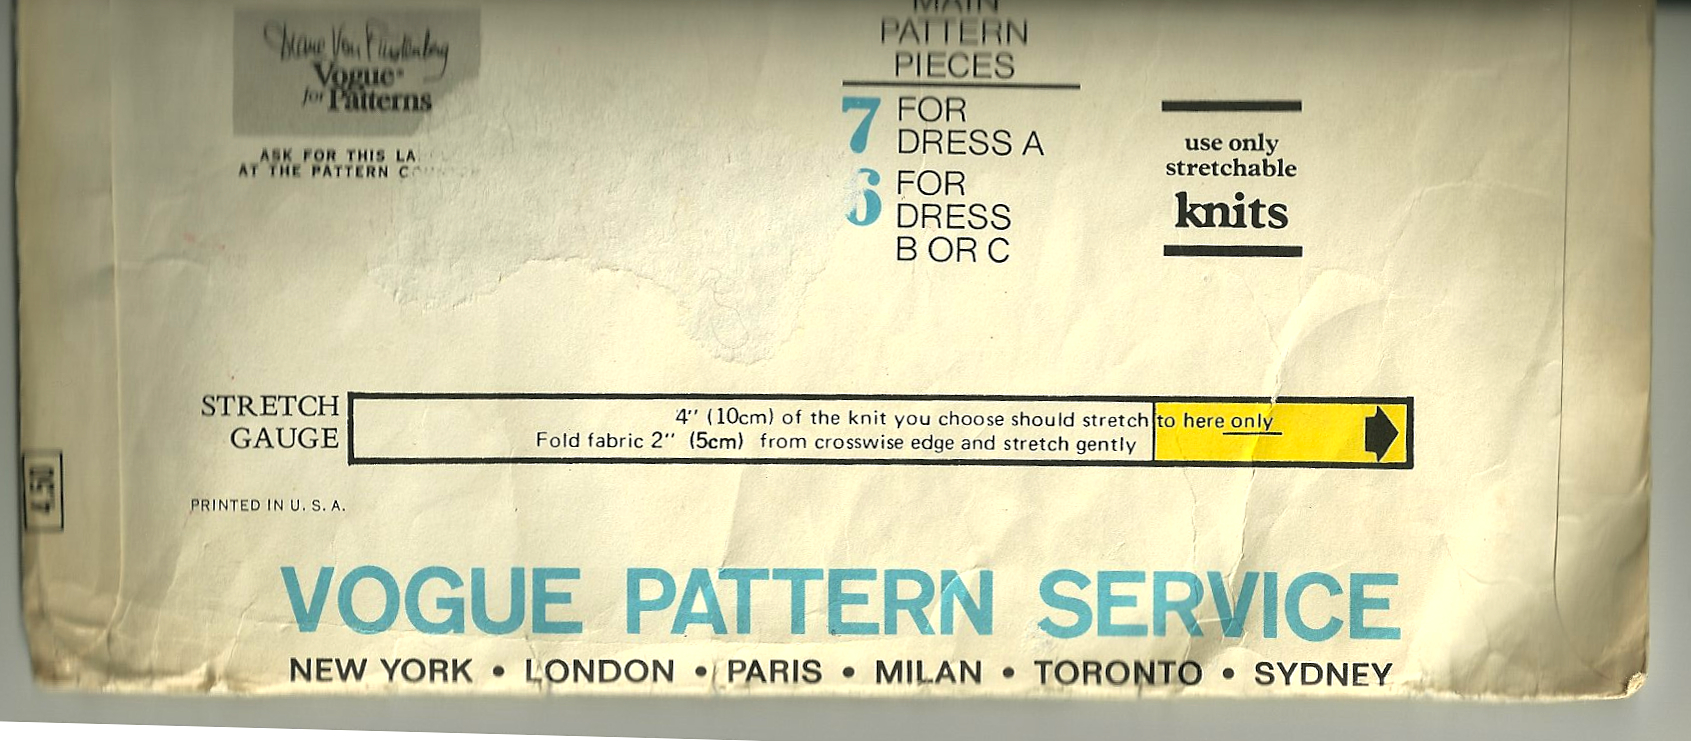
So – how would this modern fabric look, made up in a mid-1970s’ wrap dress pattern? I thought it would work quite well. But getting there turned out to be challenge. Although I was lacking the classic Diane von Furstenberg wrap dress pattern that I envisioned for this dress (blogged about here), I thought I could piece together a 1976 Simplicity version and a new Vogue wrap dress pattern to achieve my goal.

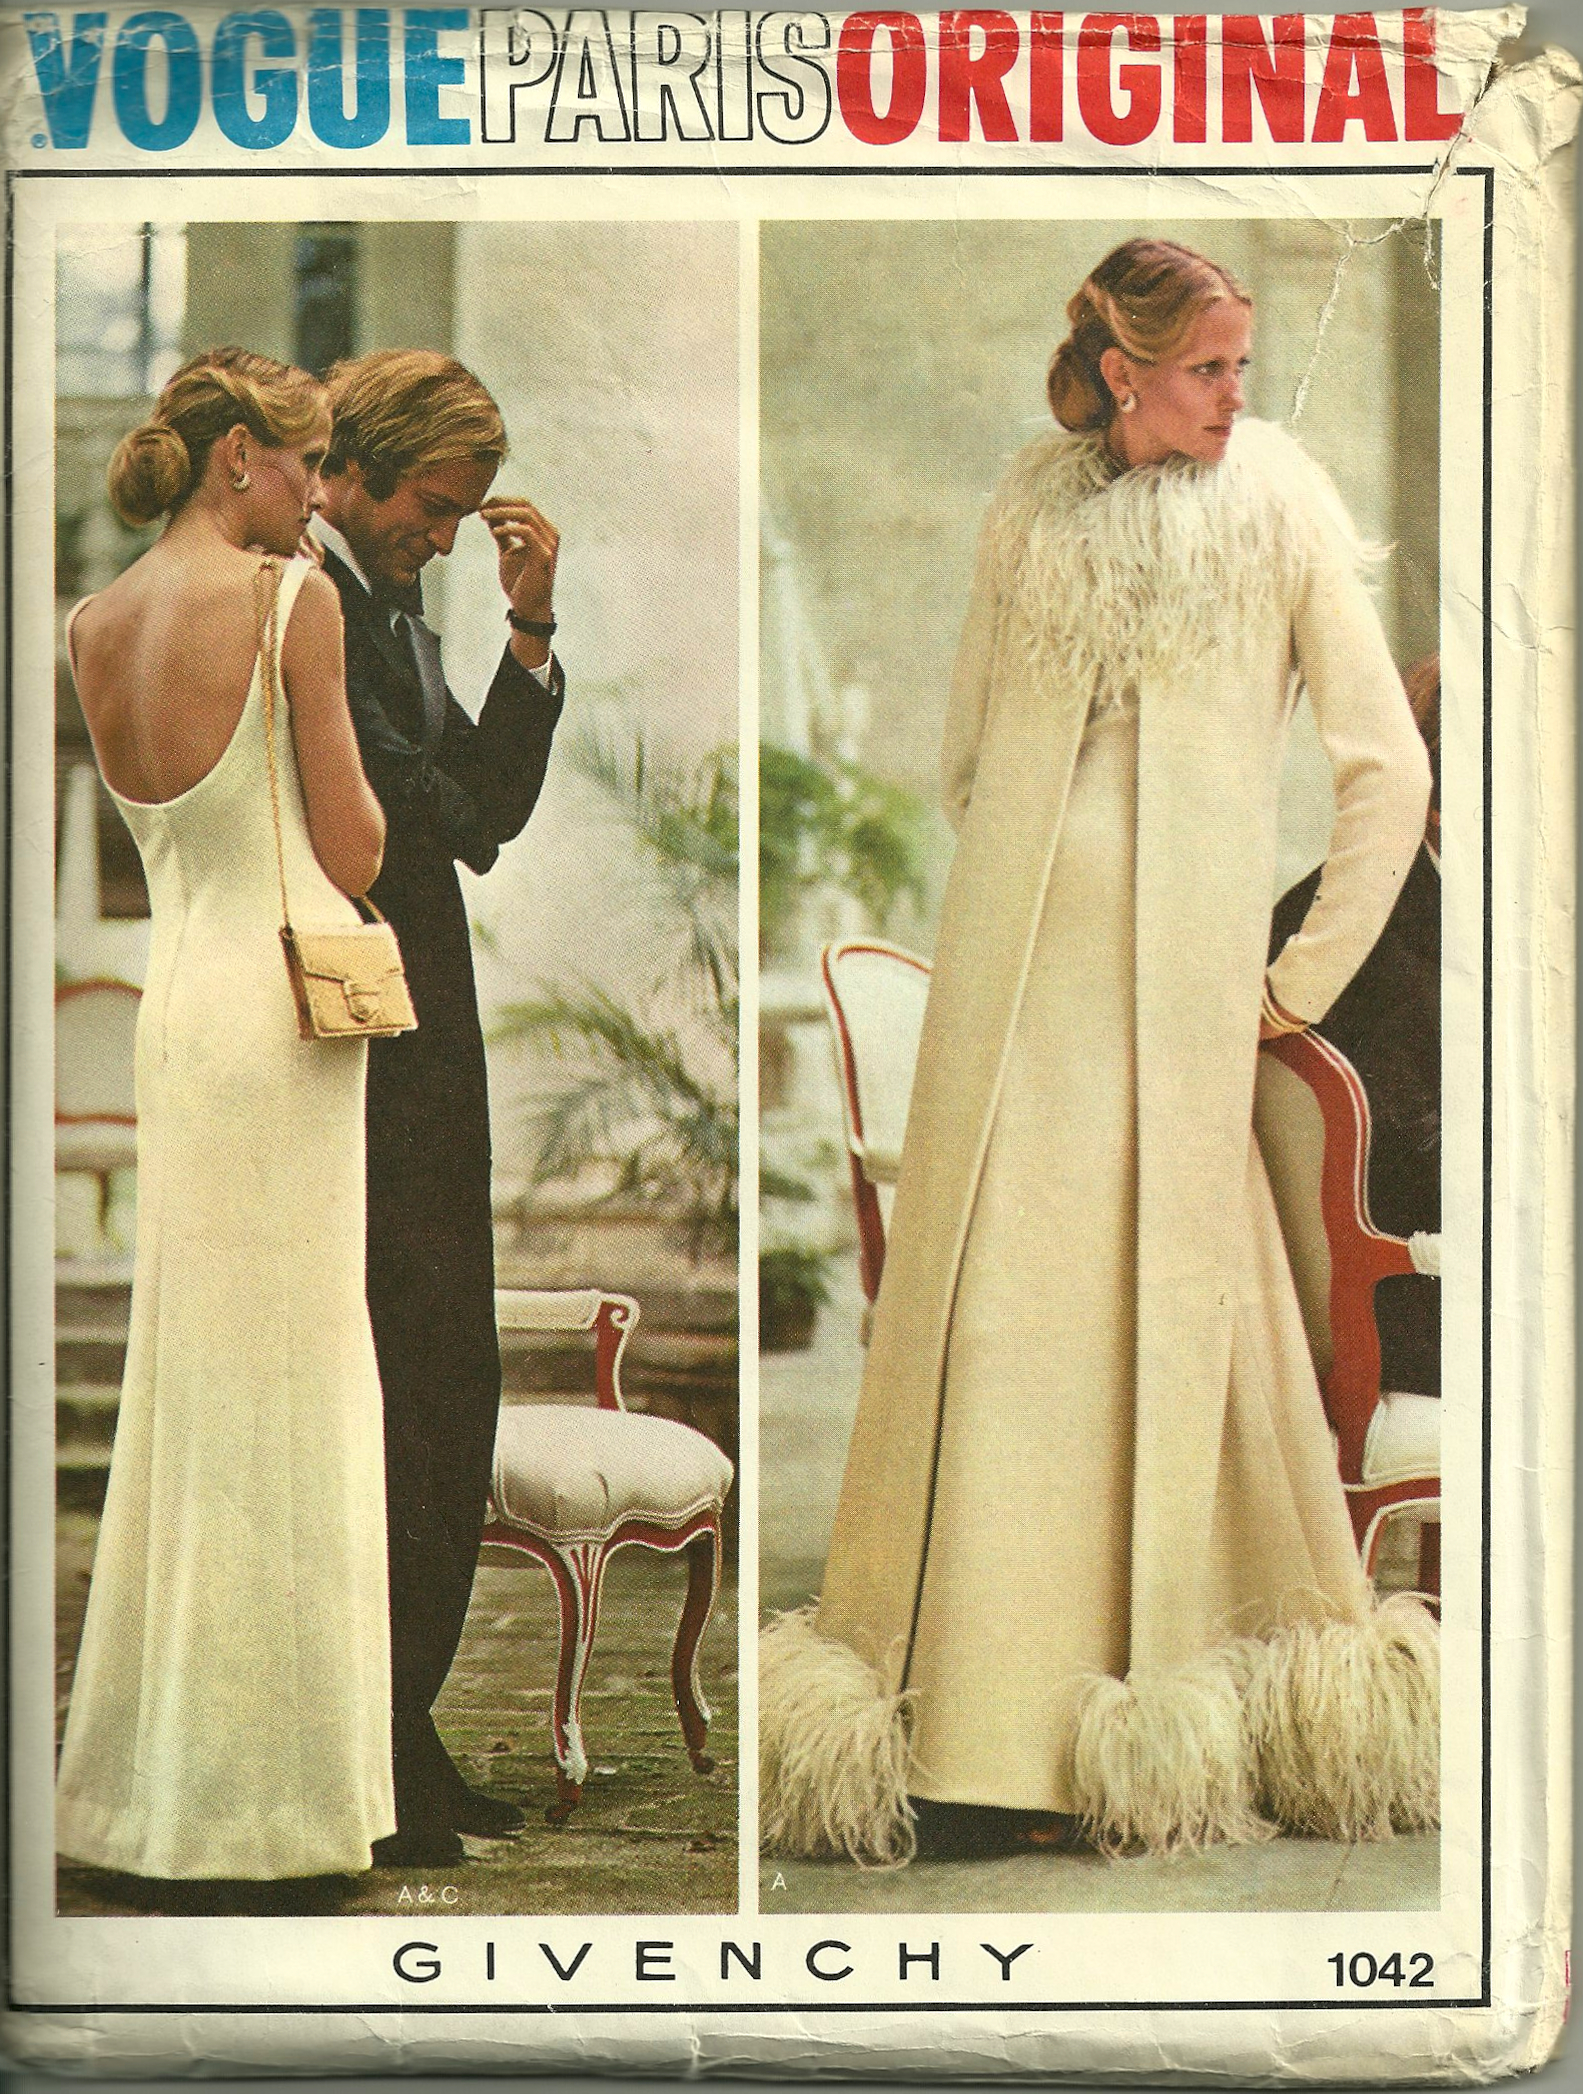
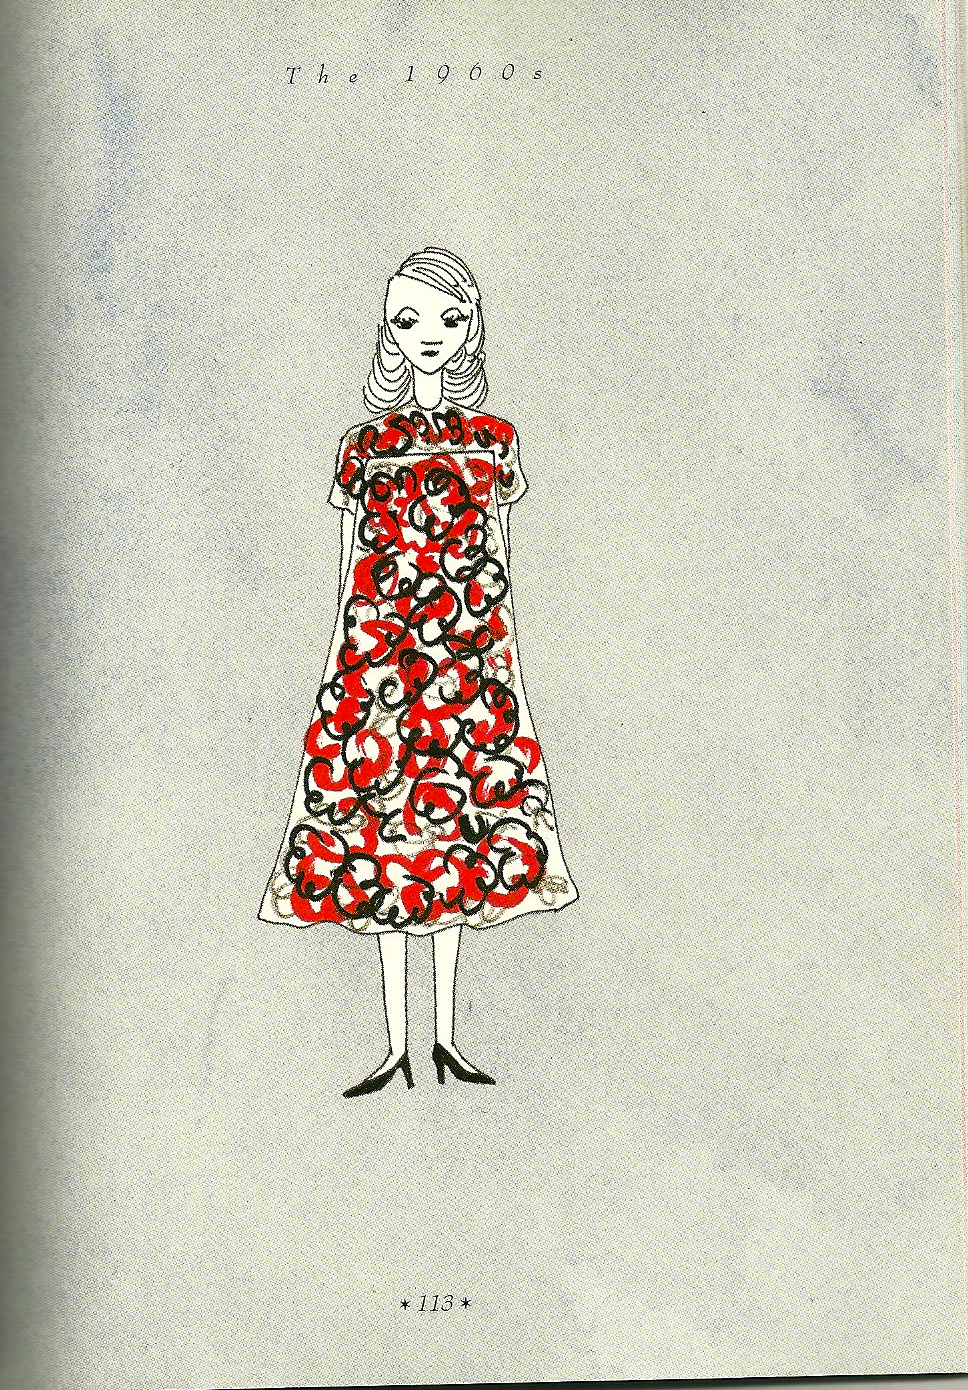
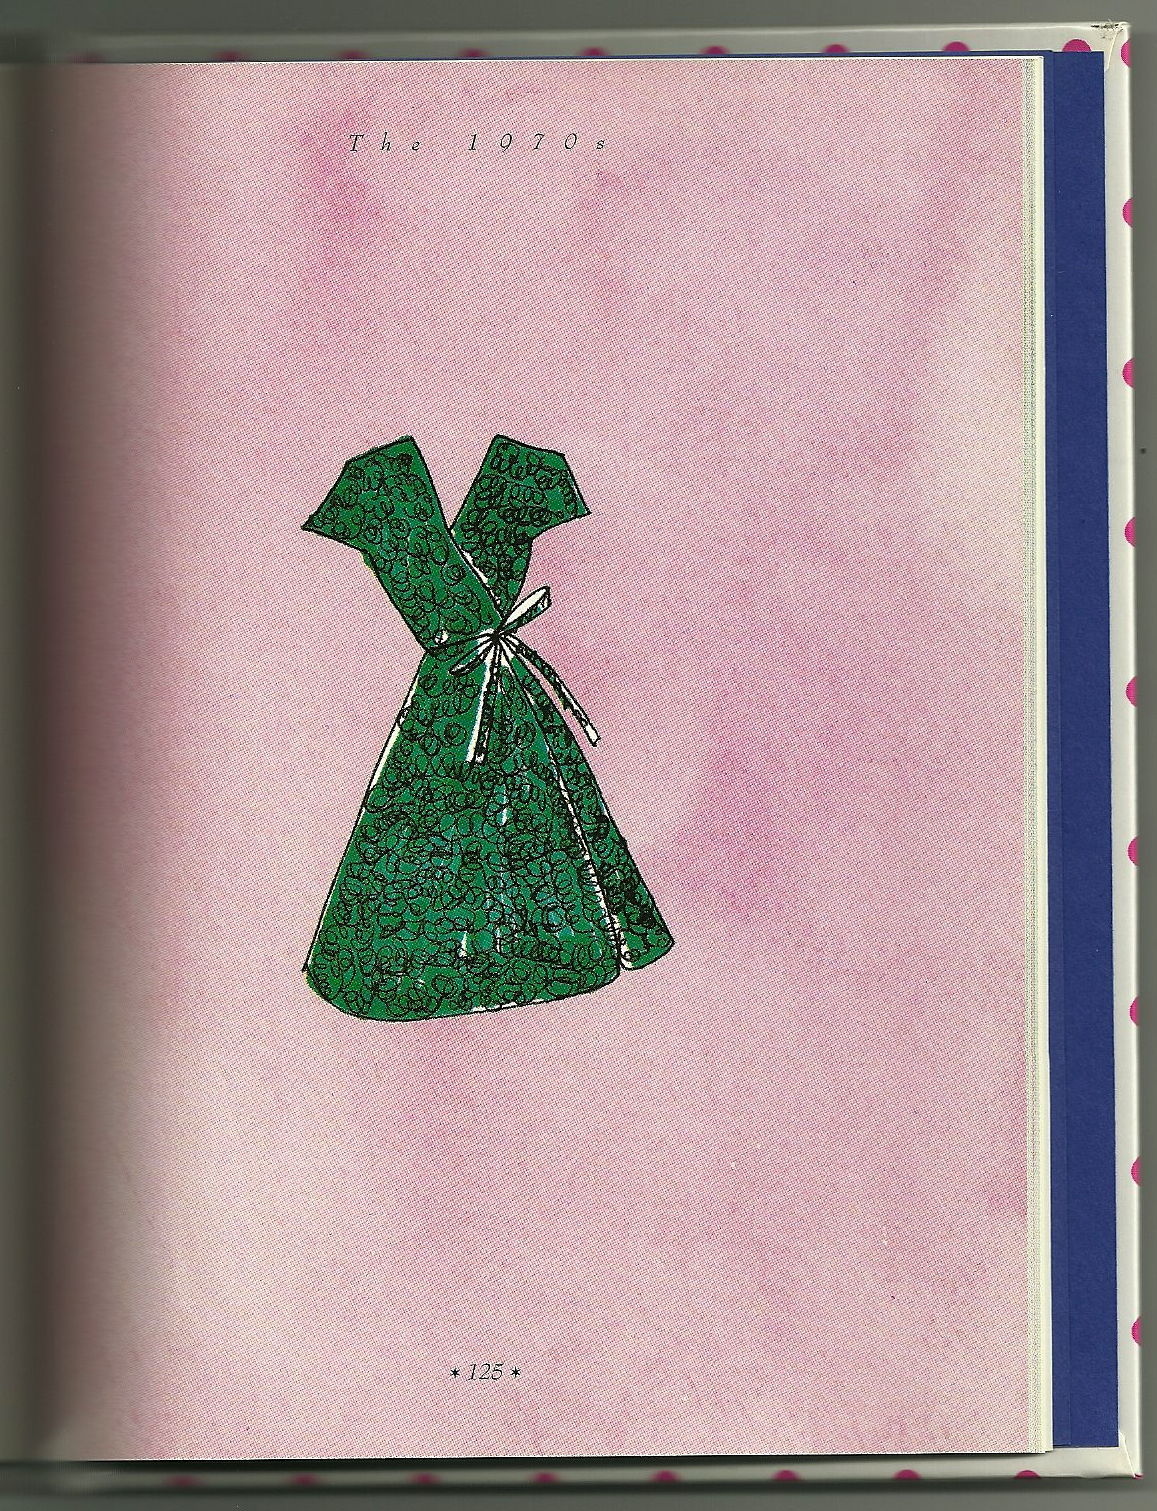
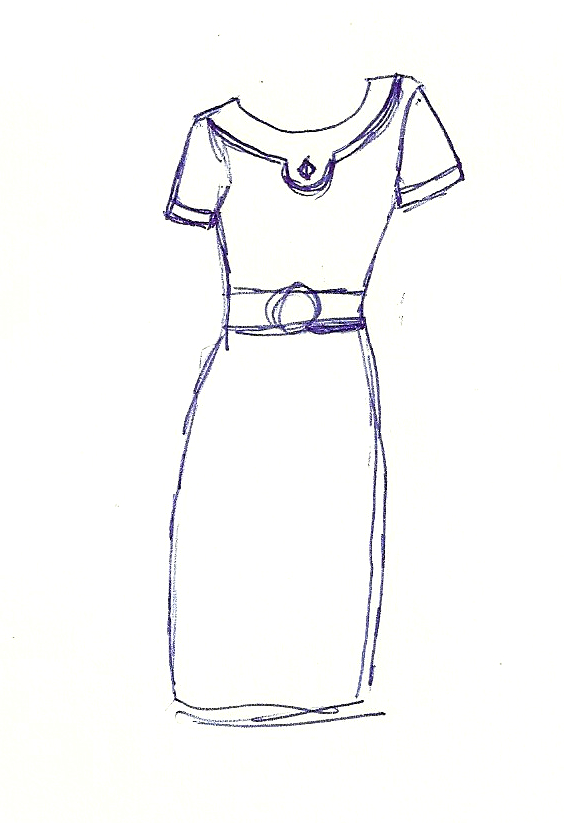
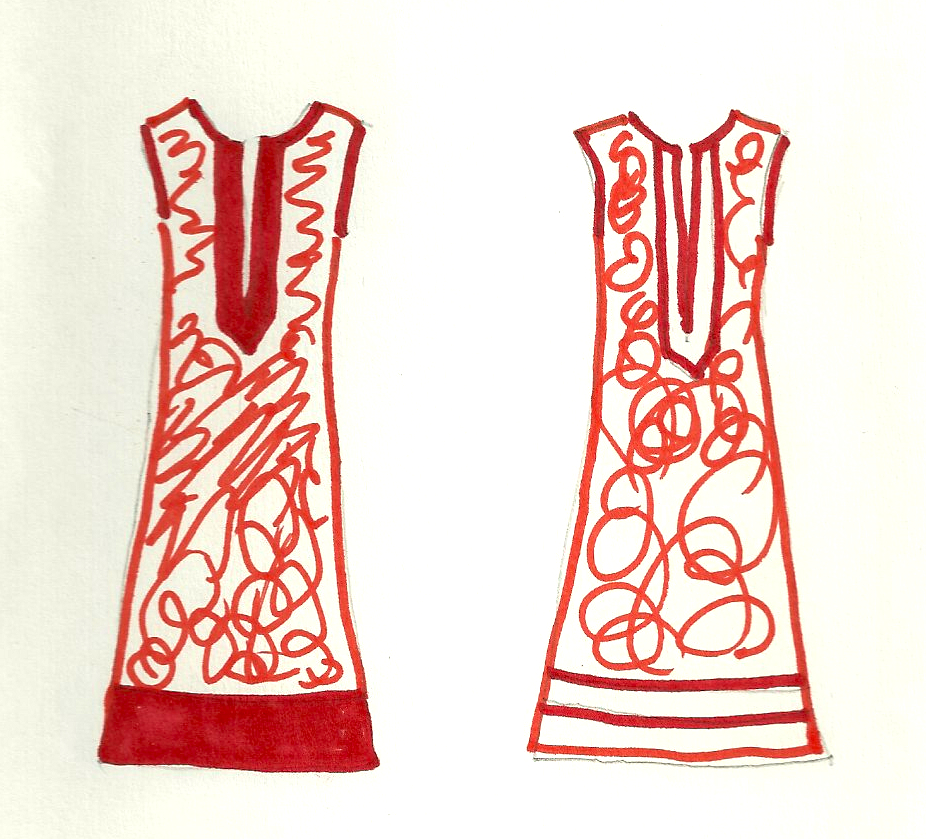
This is the dress I wanted to recreate…

The Simplicity “version” of the Diane von Furstenberg wrap dress.

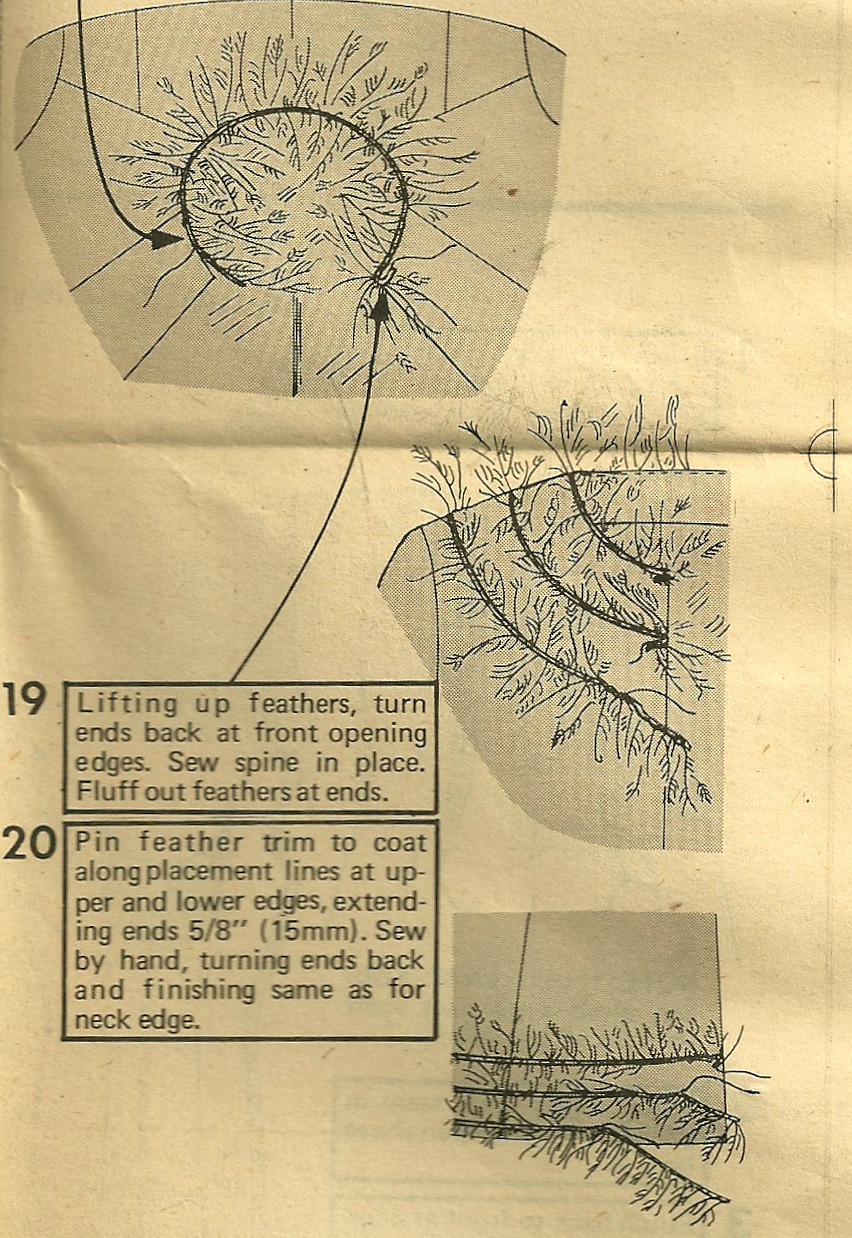
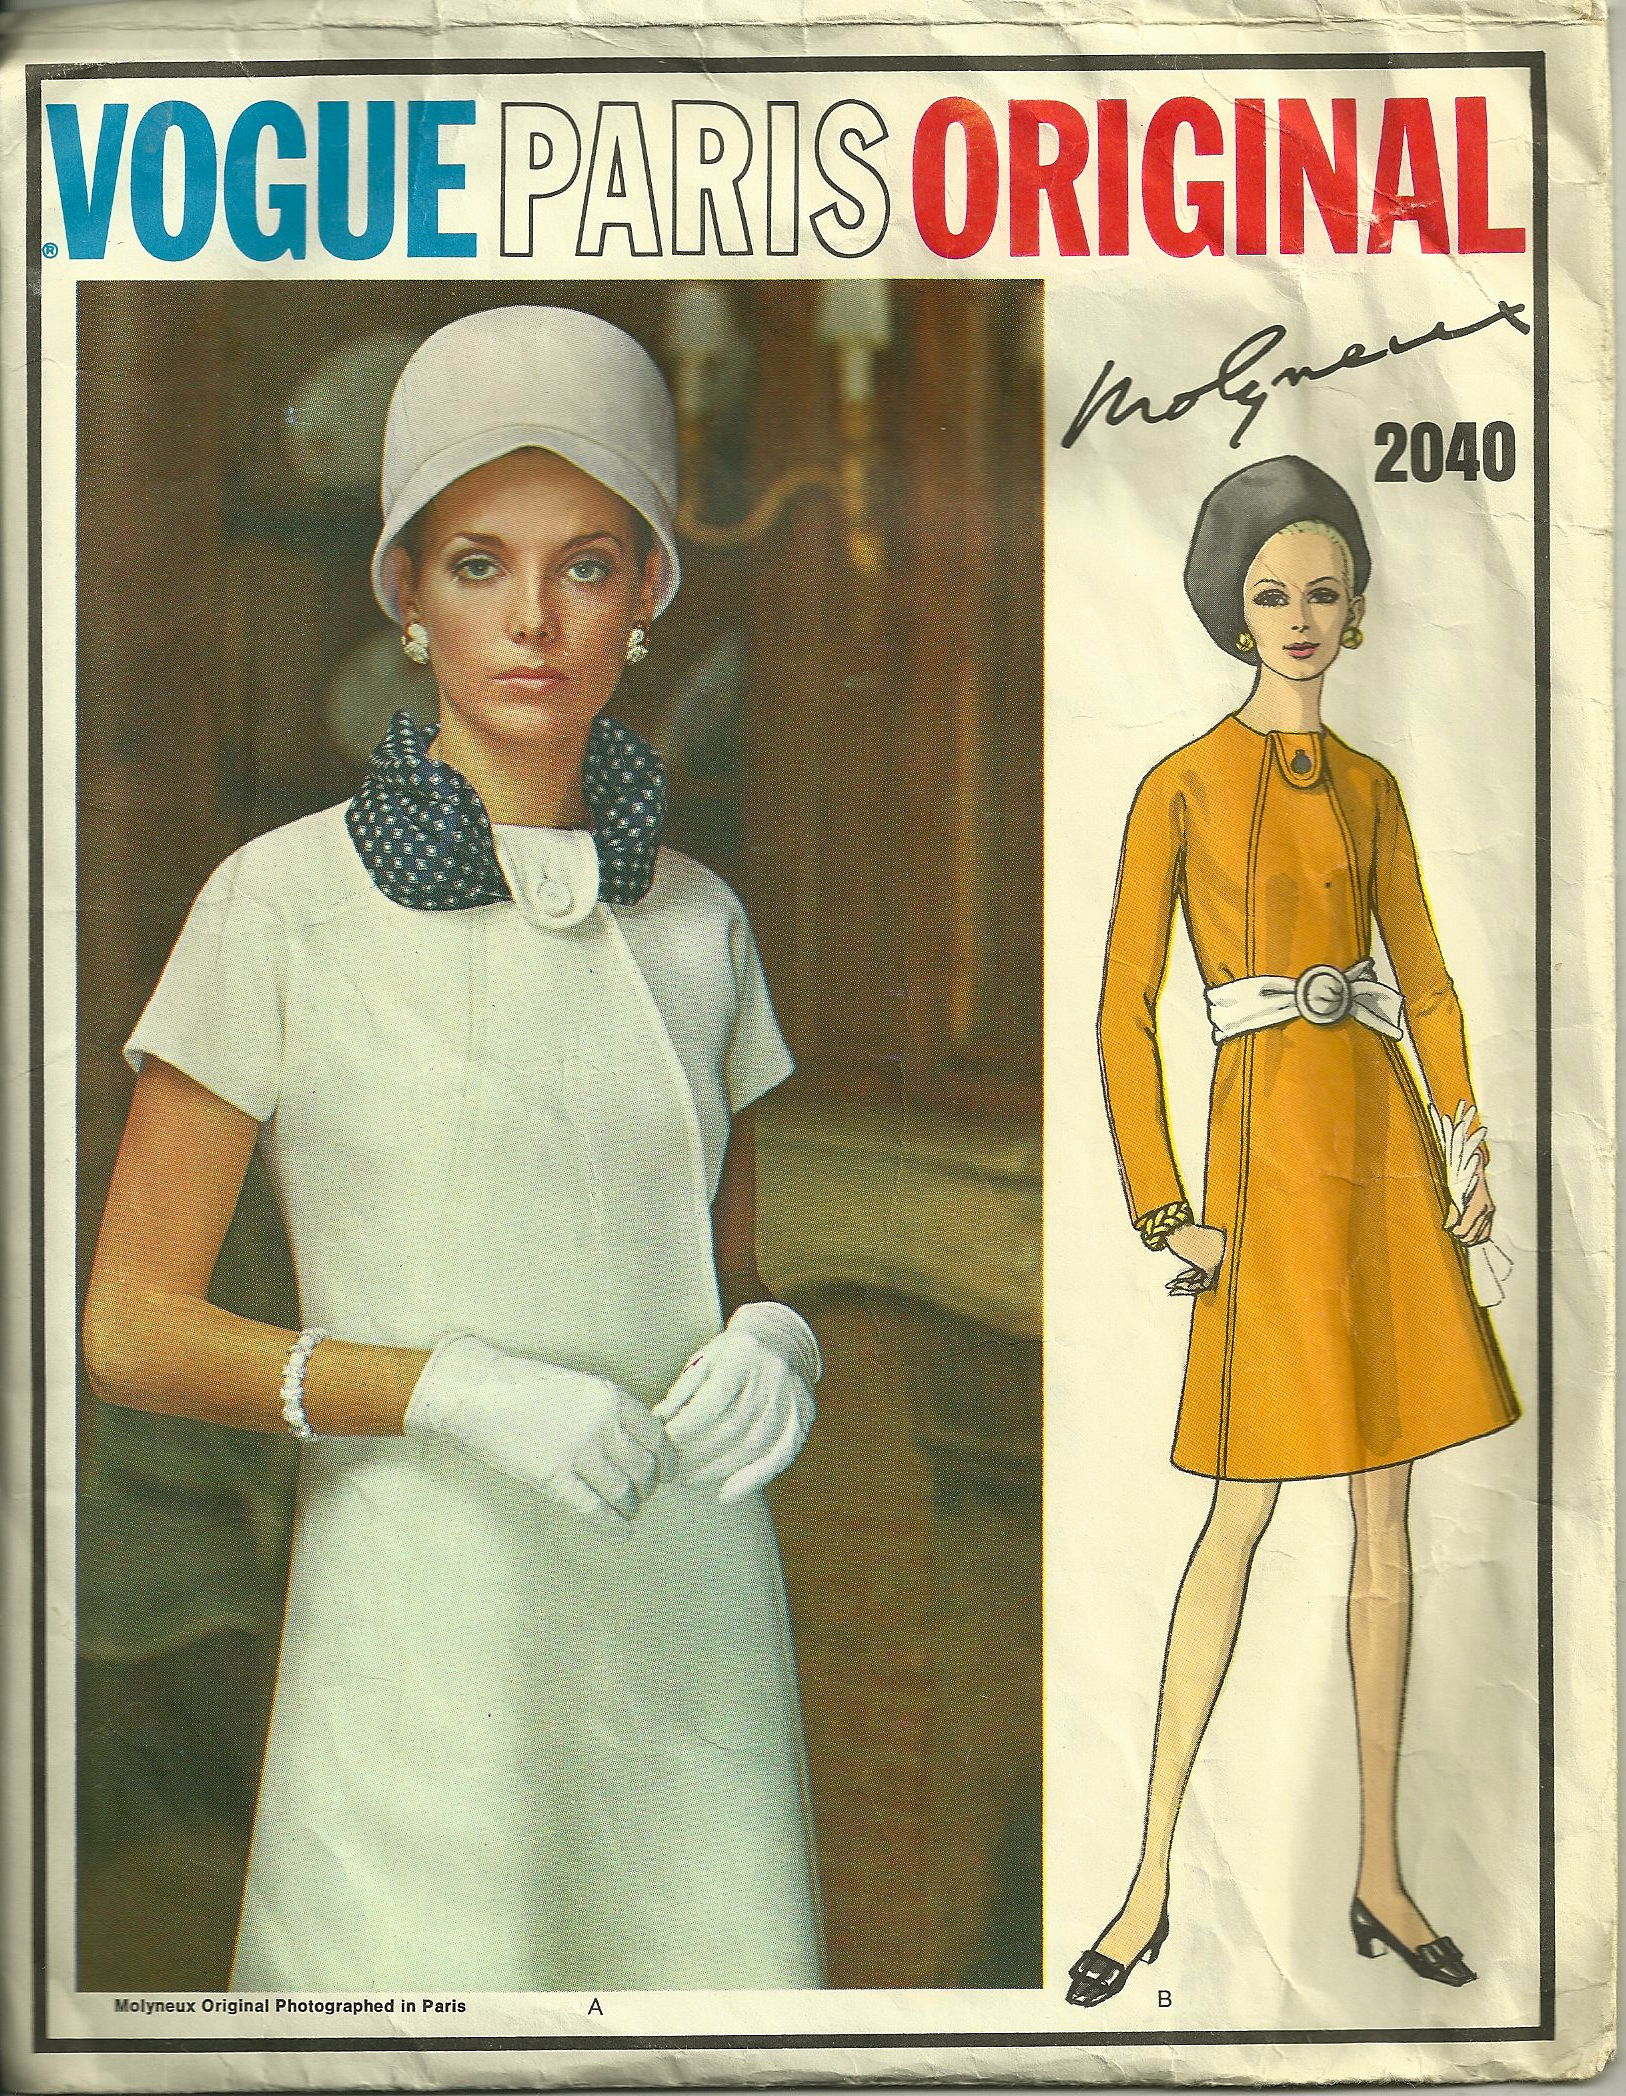
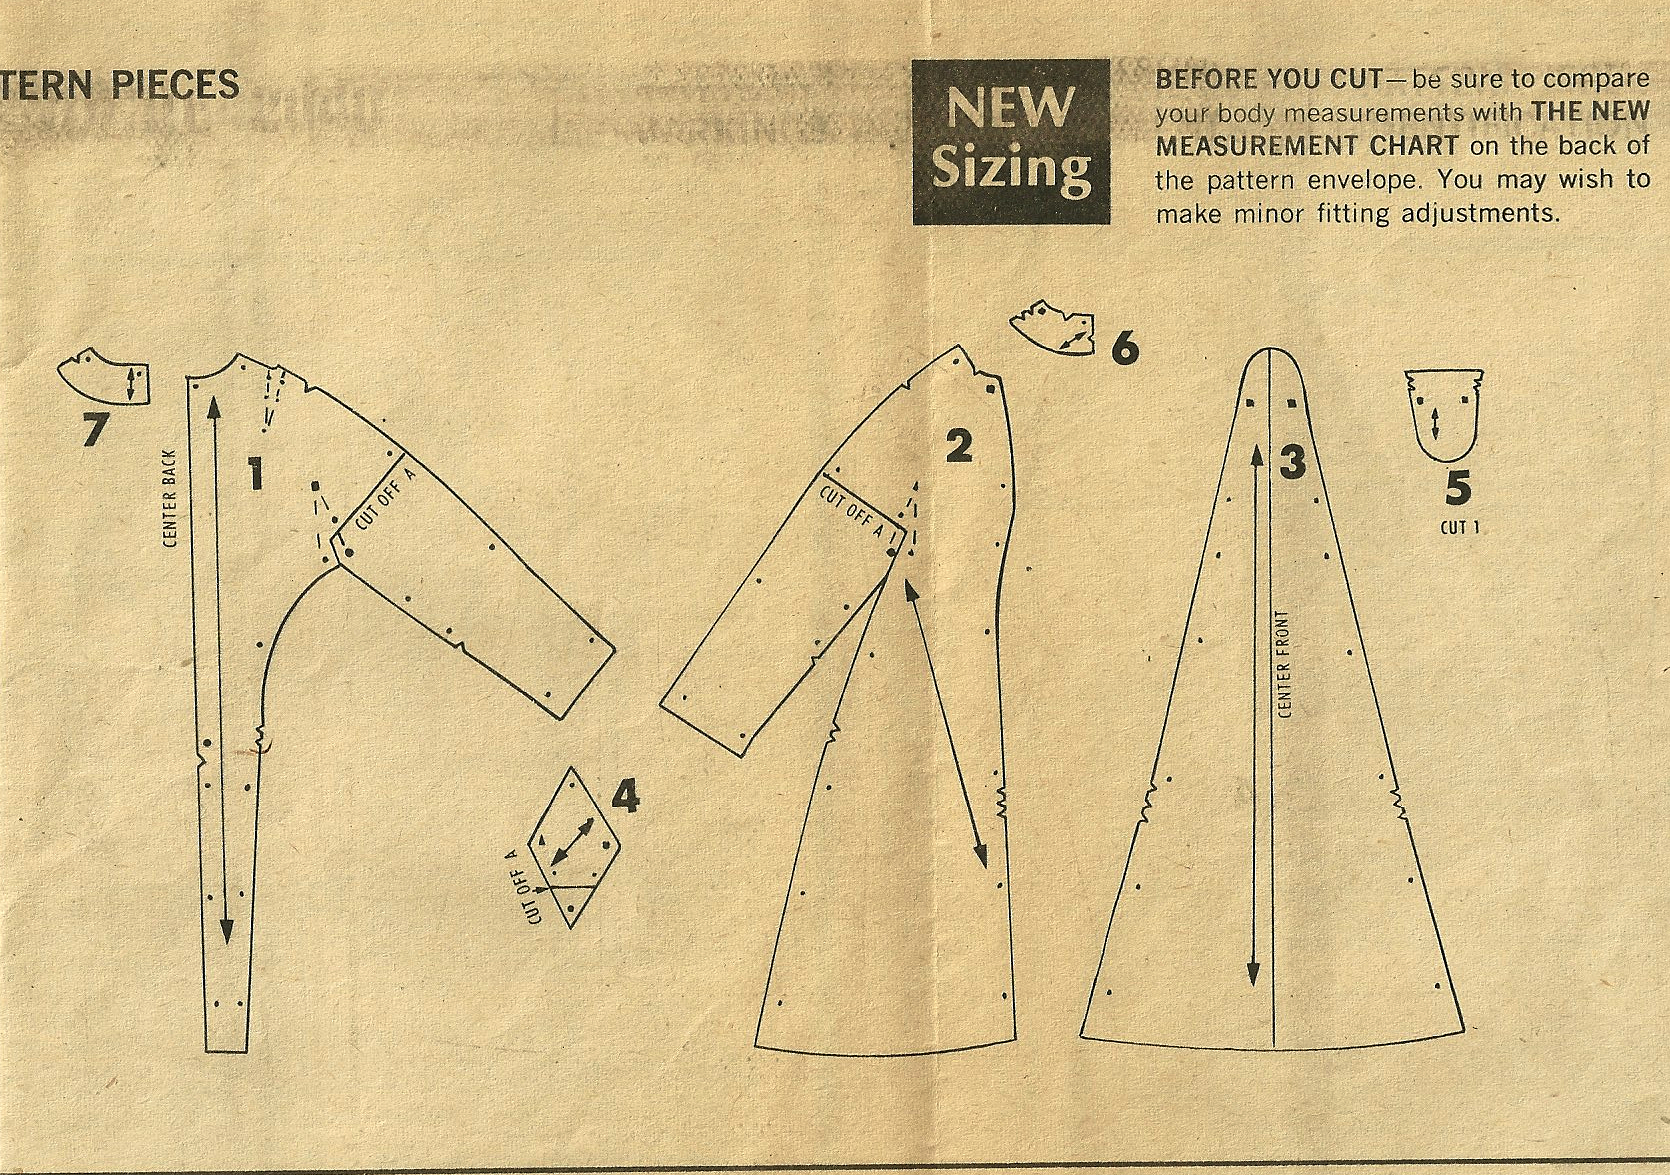
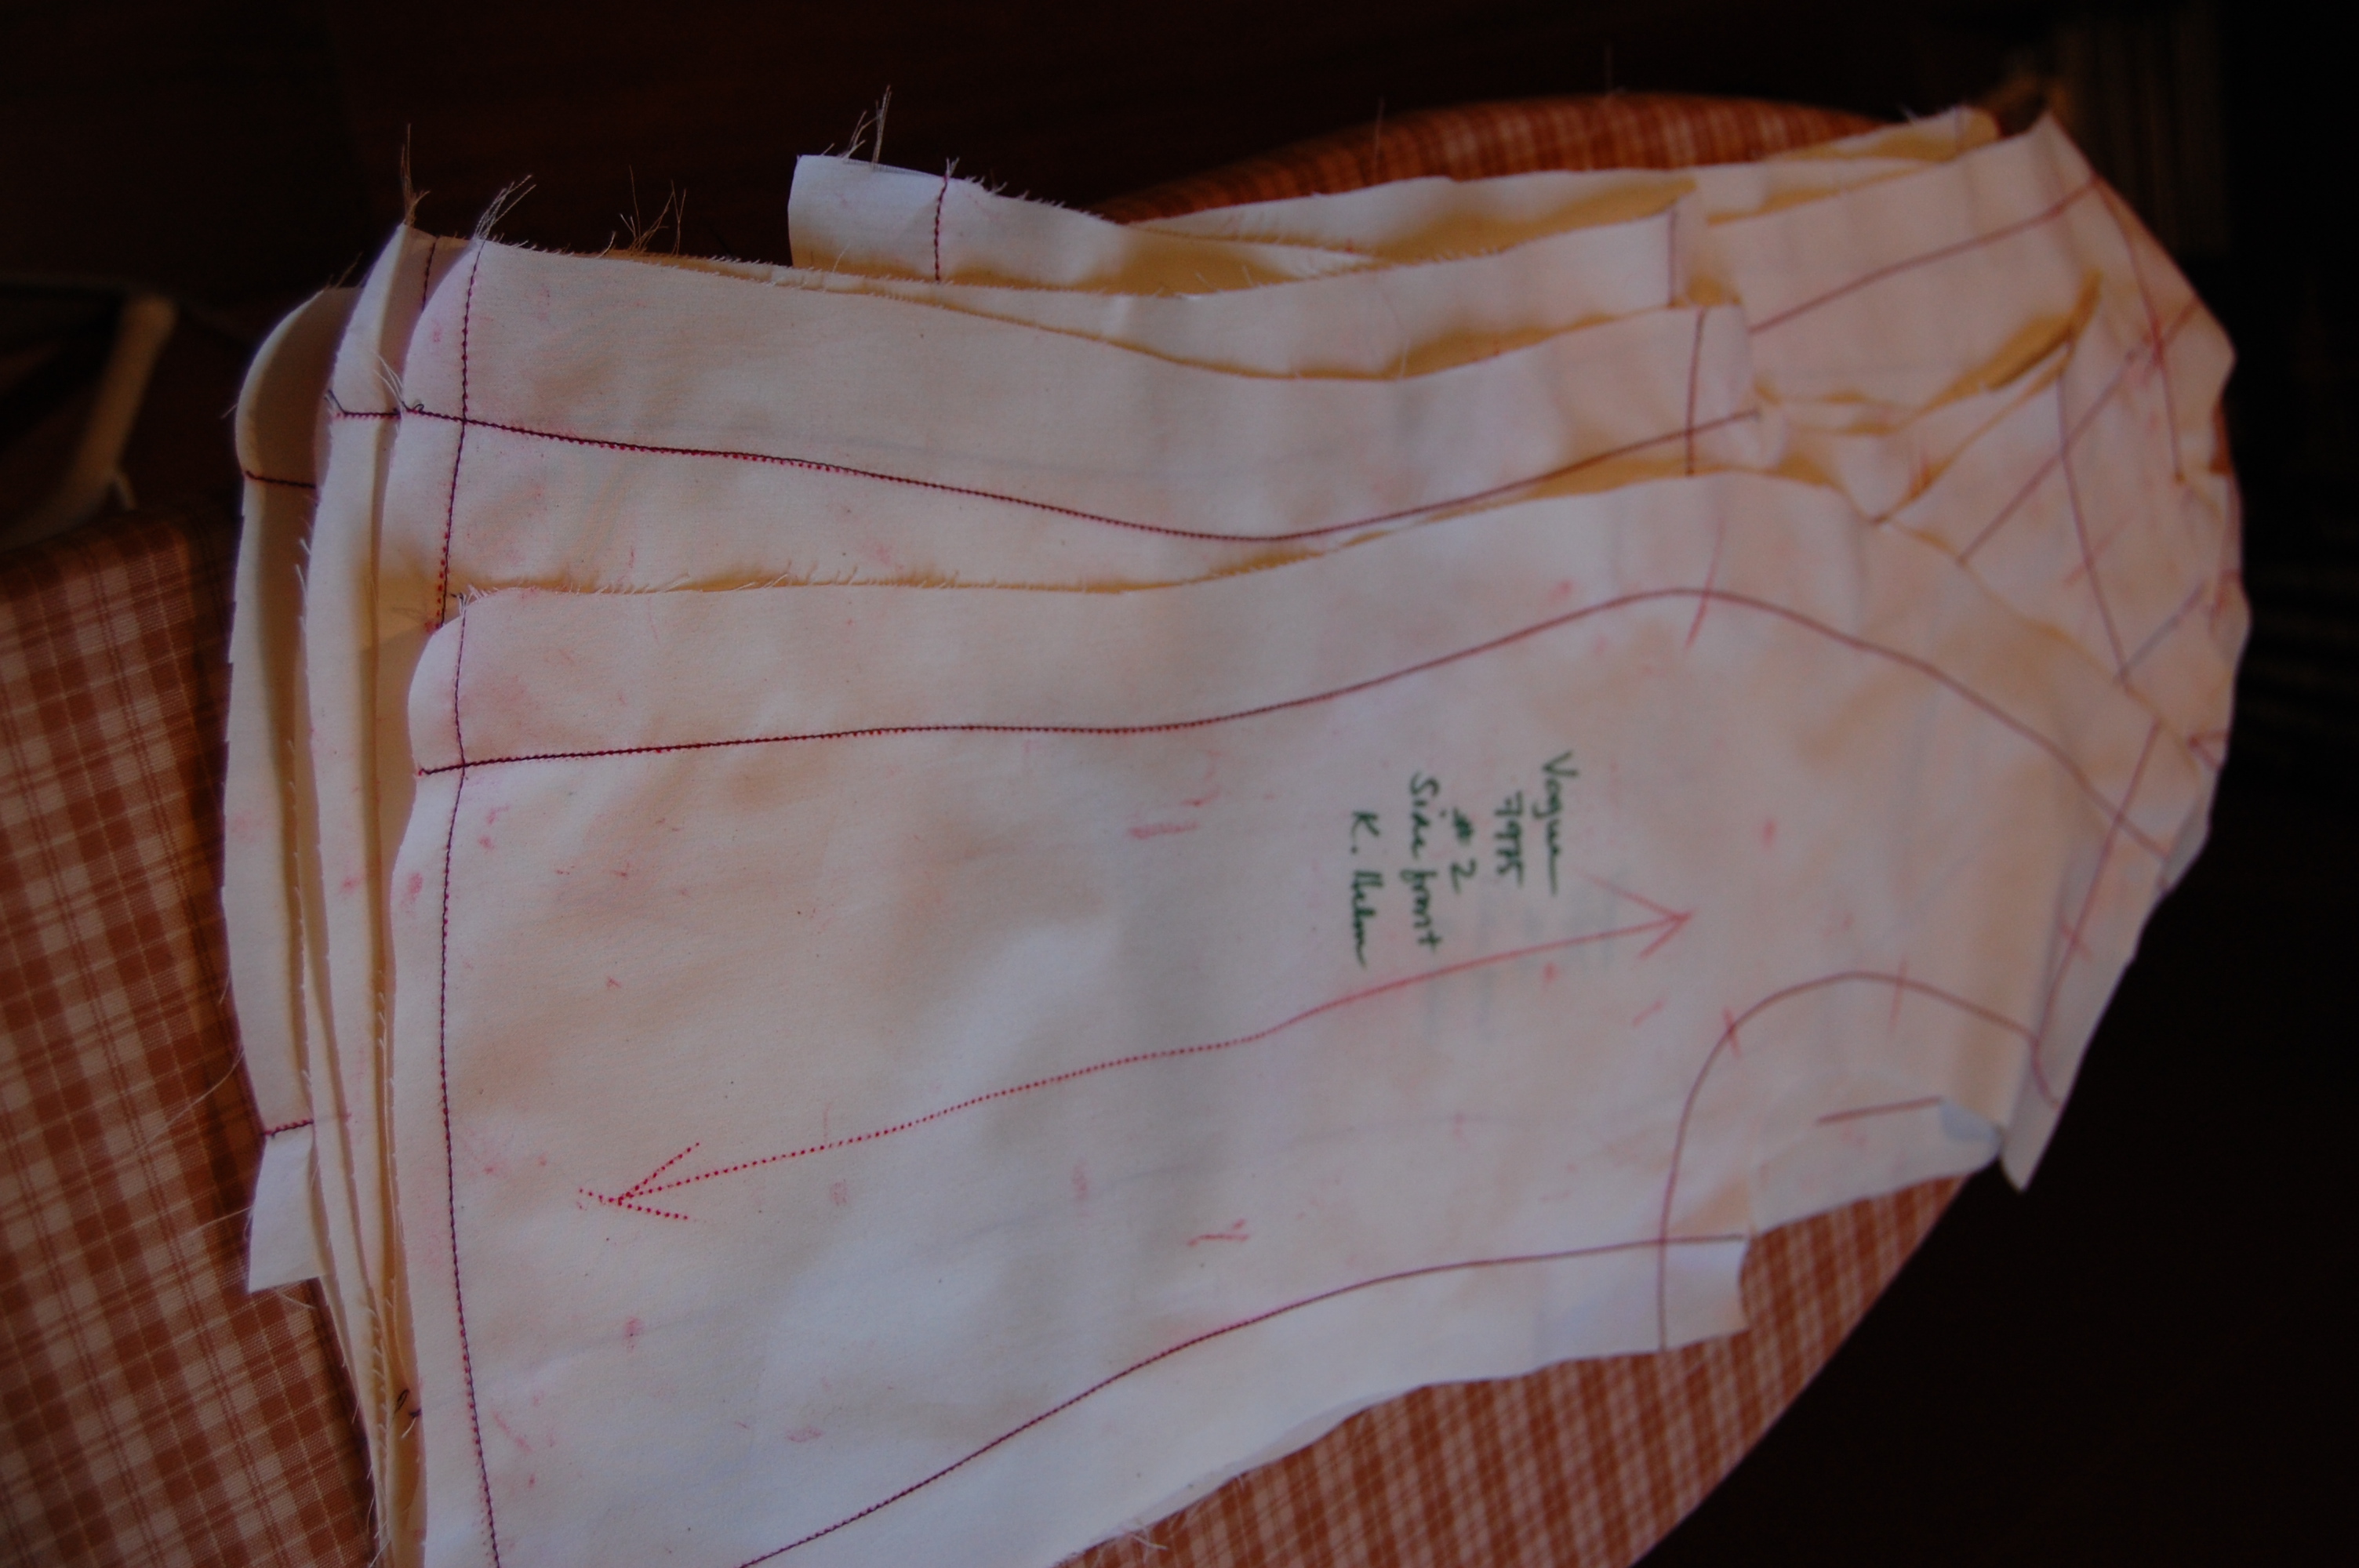
Vogue 8784 diagrams
Here’s what I did:
1) I decided to use the princess-seamed bodice back from the new Vogue pattern.
2) I re-cut the collar and the cuffs from the Simplicity pattern so that the points on them would not so extreme.
3) Because the ties on the Simplicity pattern were not attached to the dress (the tie was just like a very long separate sash) I used the ties from this DvF pattern, and attached them to the side seams.

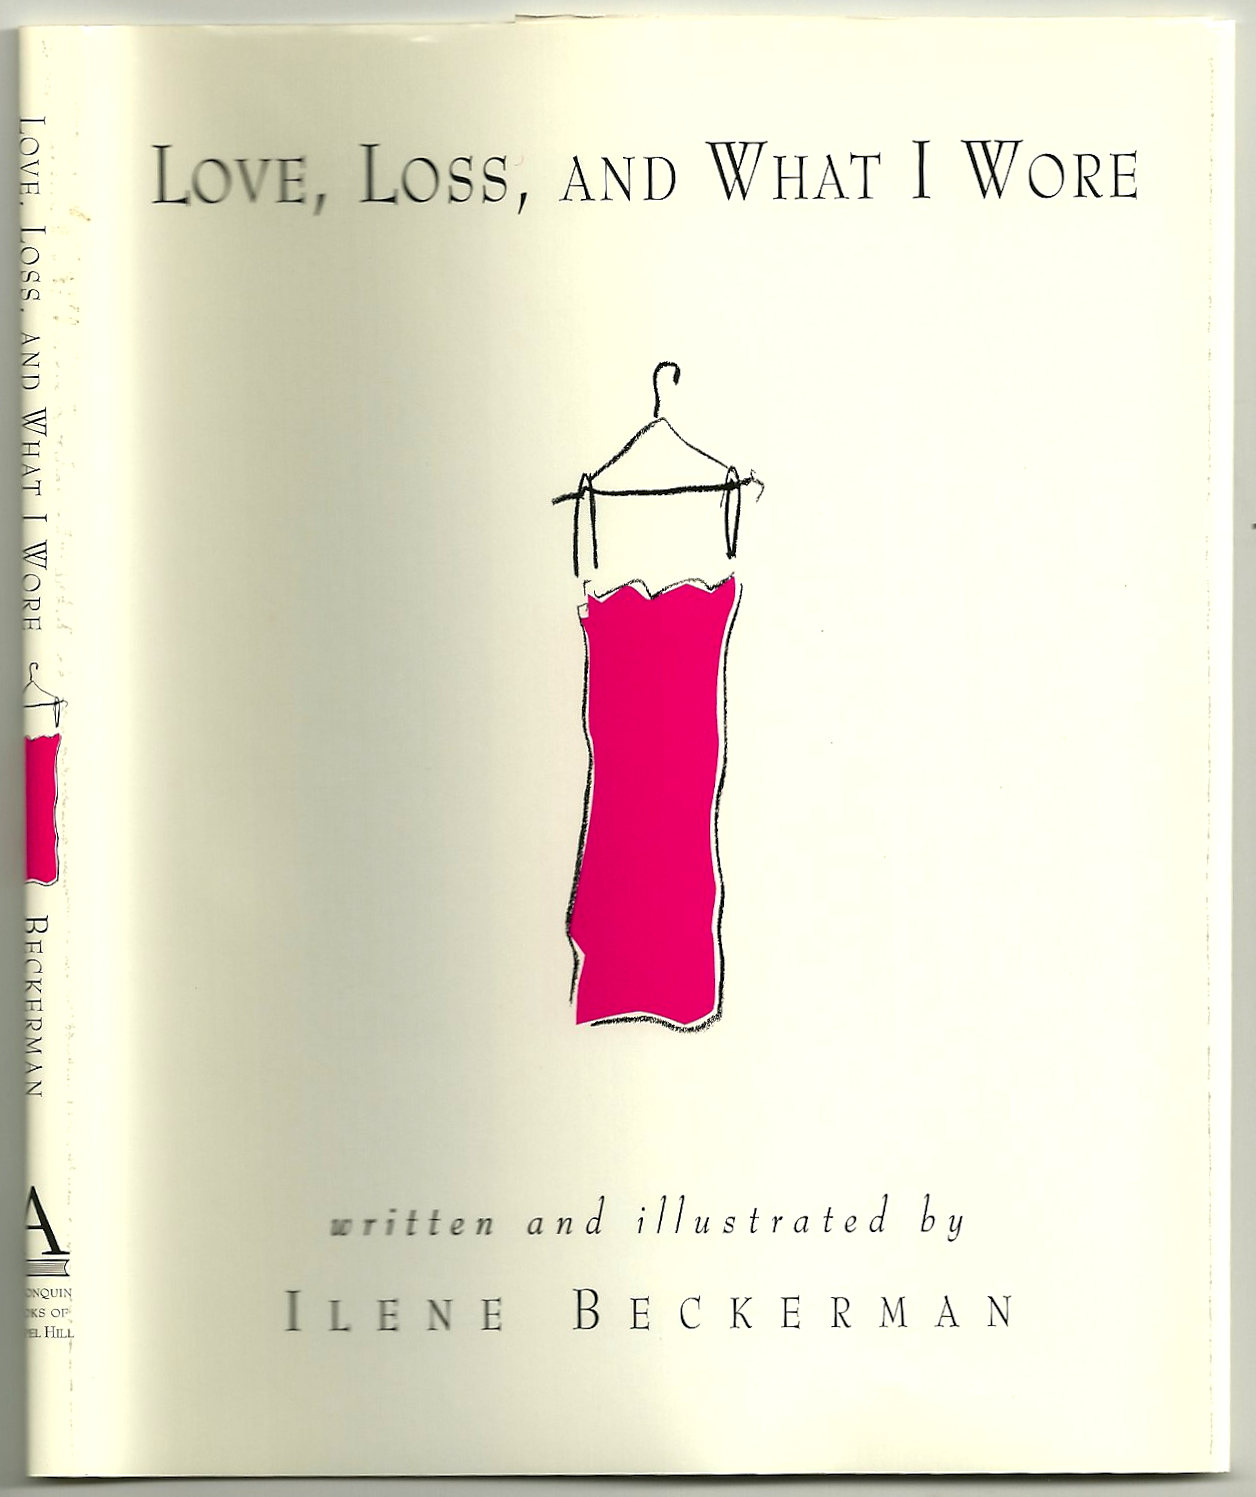
4) The missing sleeve pattern piece in the Simplicity pattern meant that I had to use the sleeve from the new Vogue pattern and basically redraft it, with an elbow dart, and with cuffs. I also used Simon Henry’s book The Little Black Dress: How to make the perfect one for you as a reference.

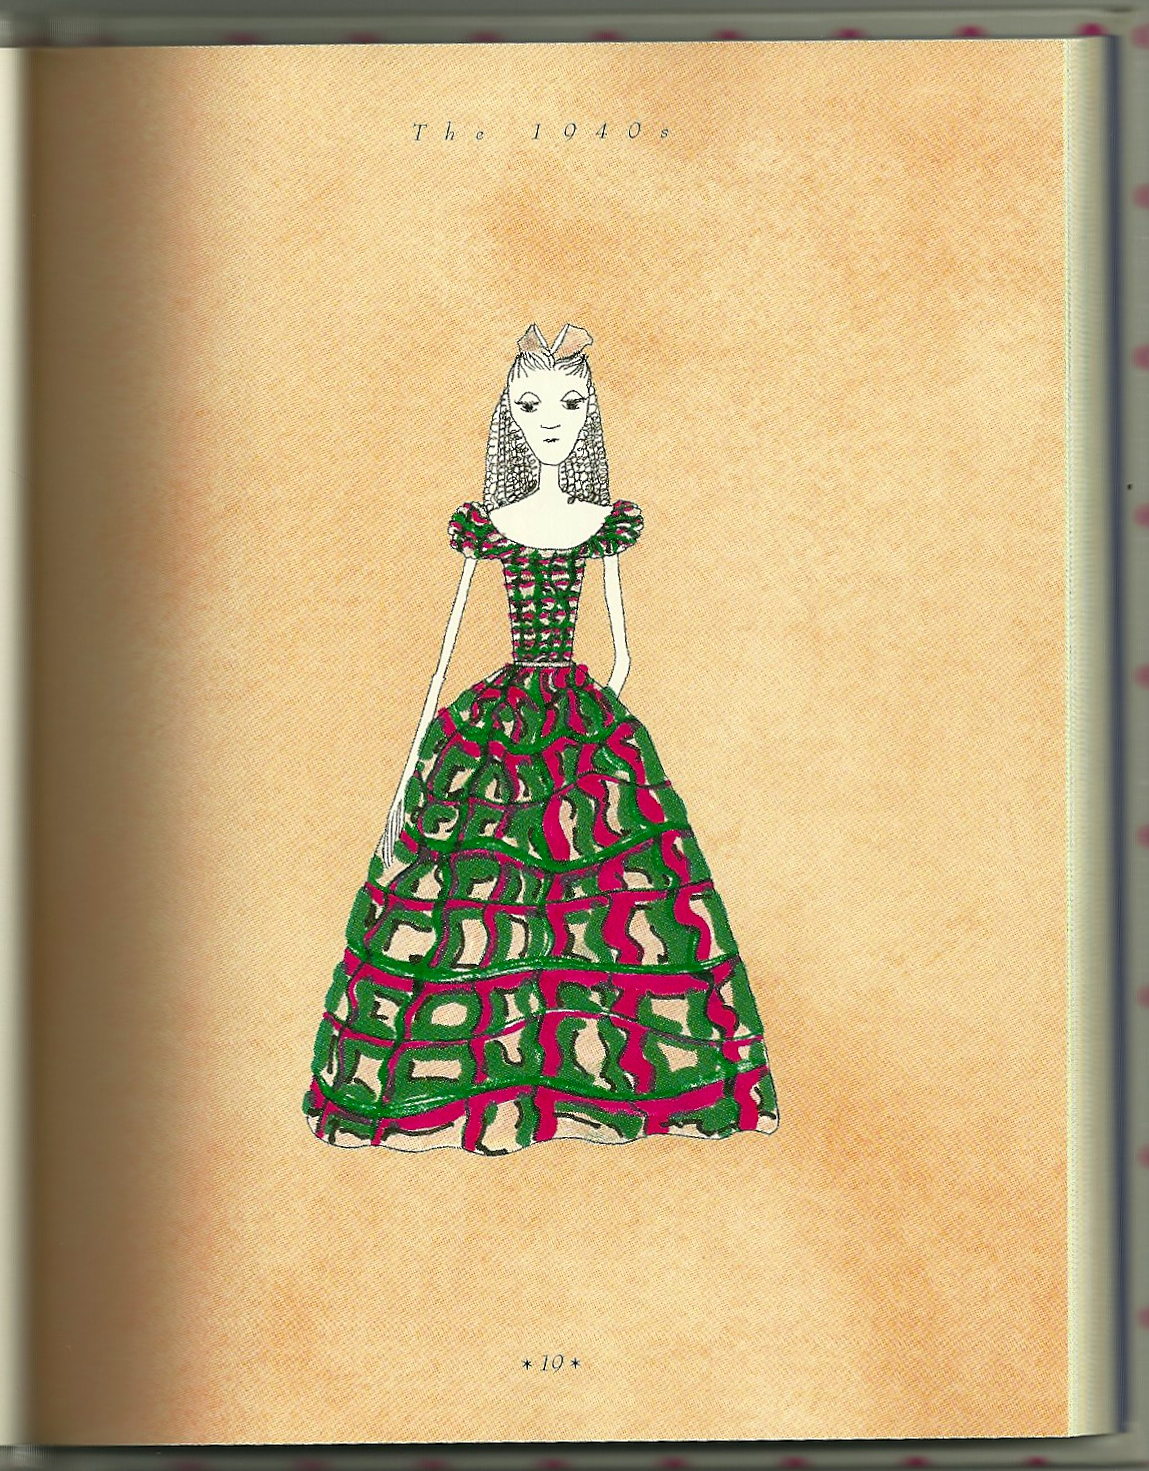
This is the wrap LBD dress featured in the book.
5) I ended up making two complete muslins and re-stitching one of those muslins, before I had a workable pattern. All of this seemed to take forever!
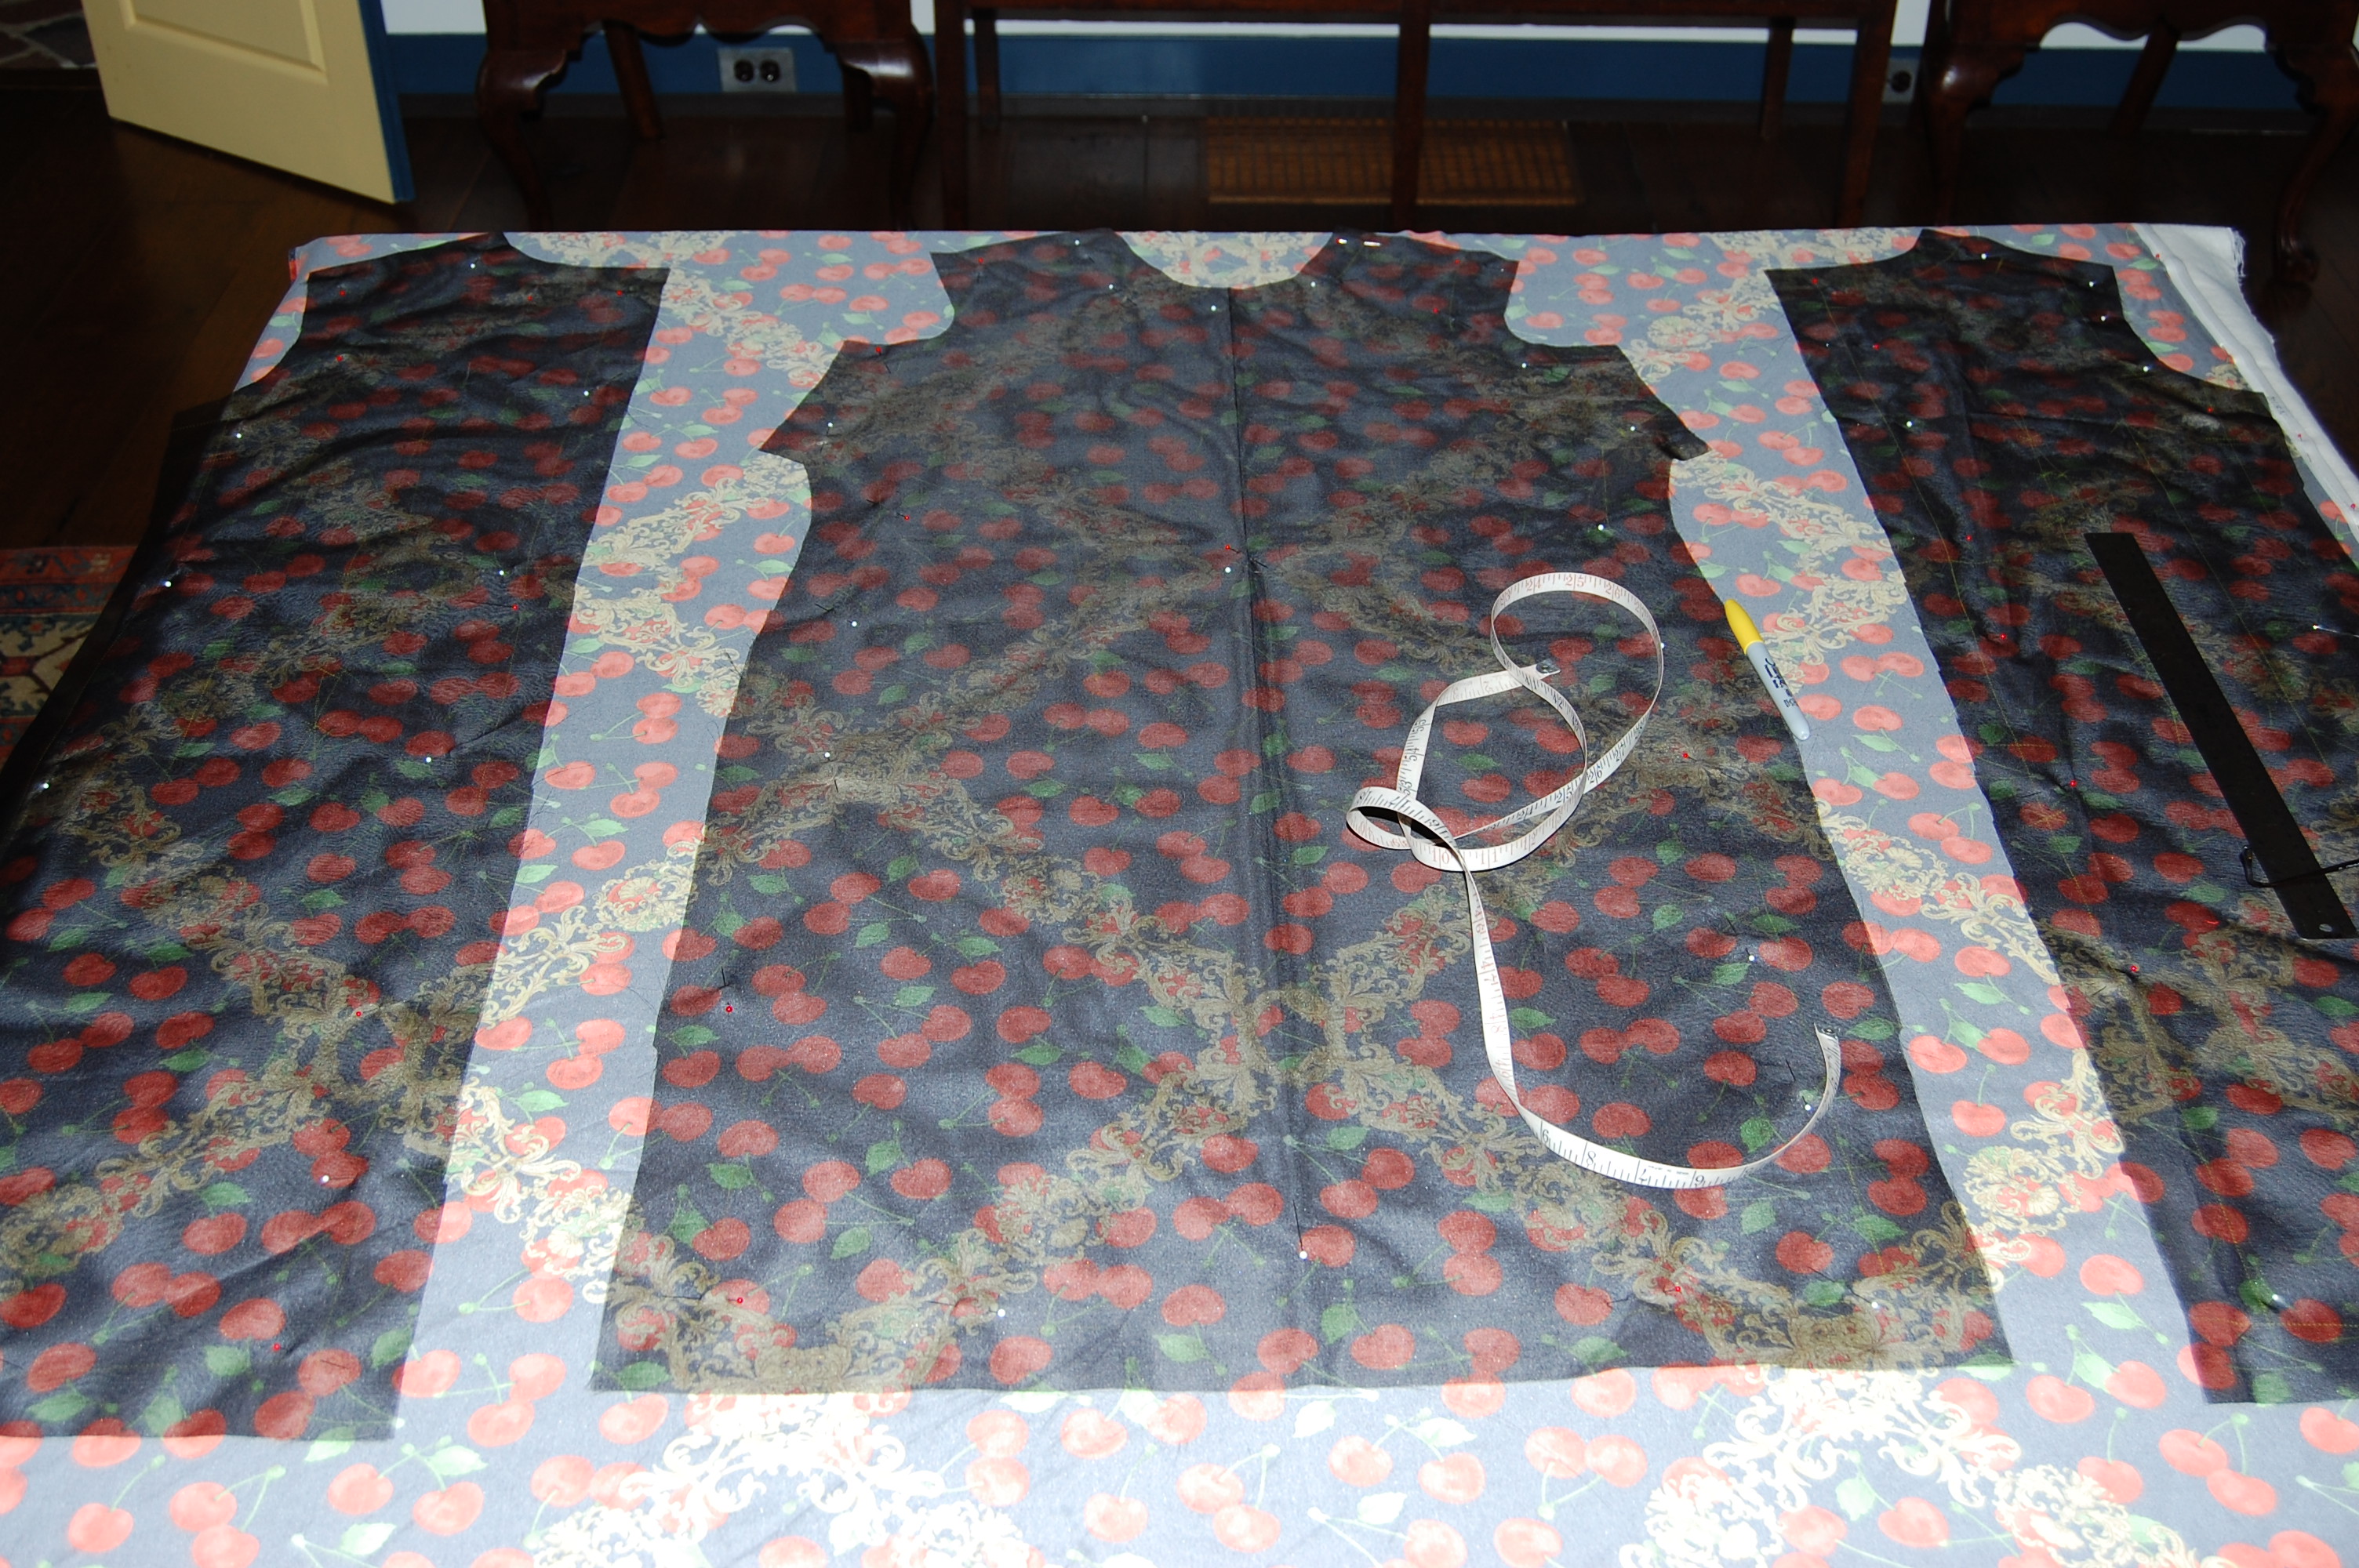
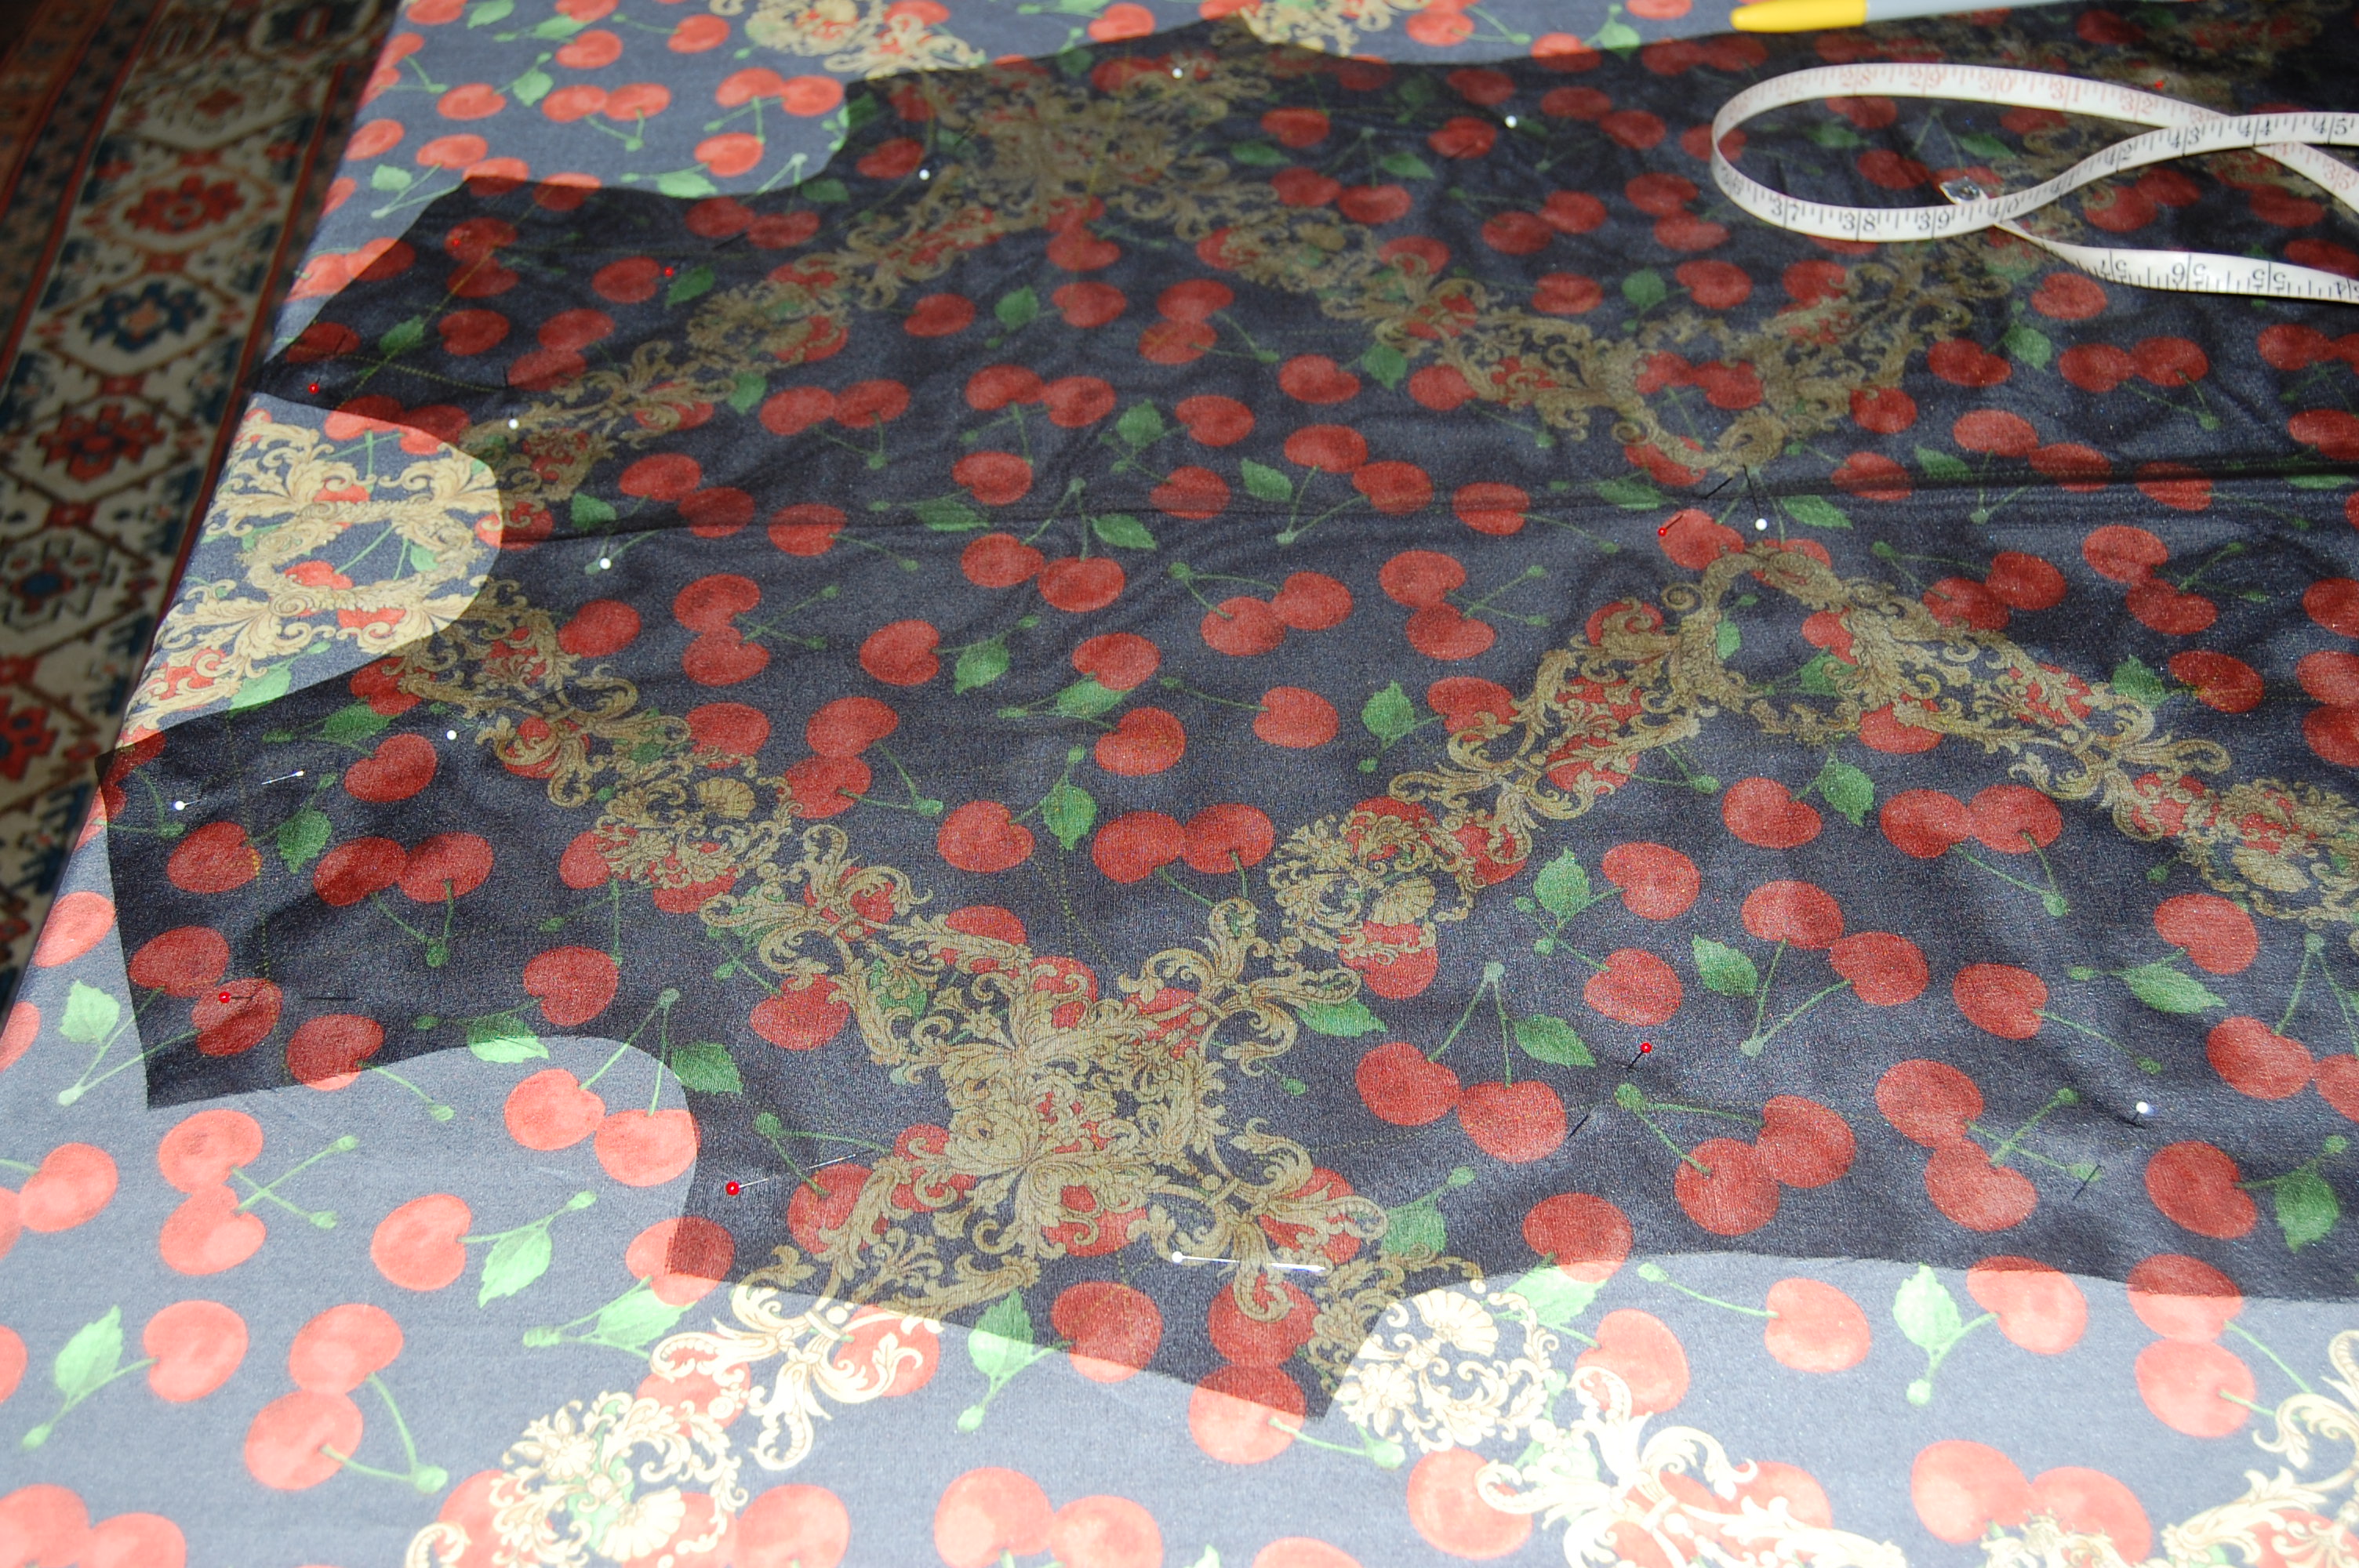
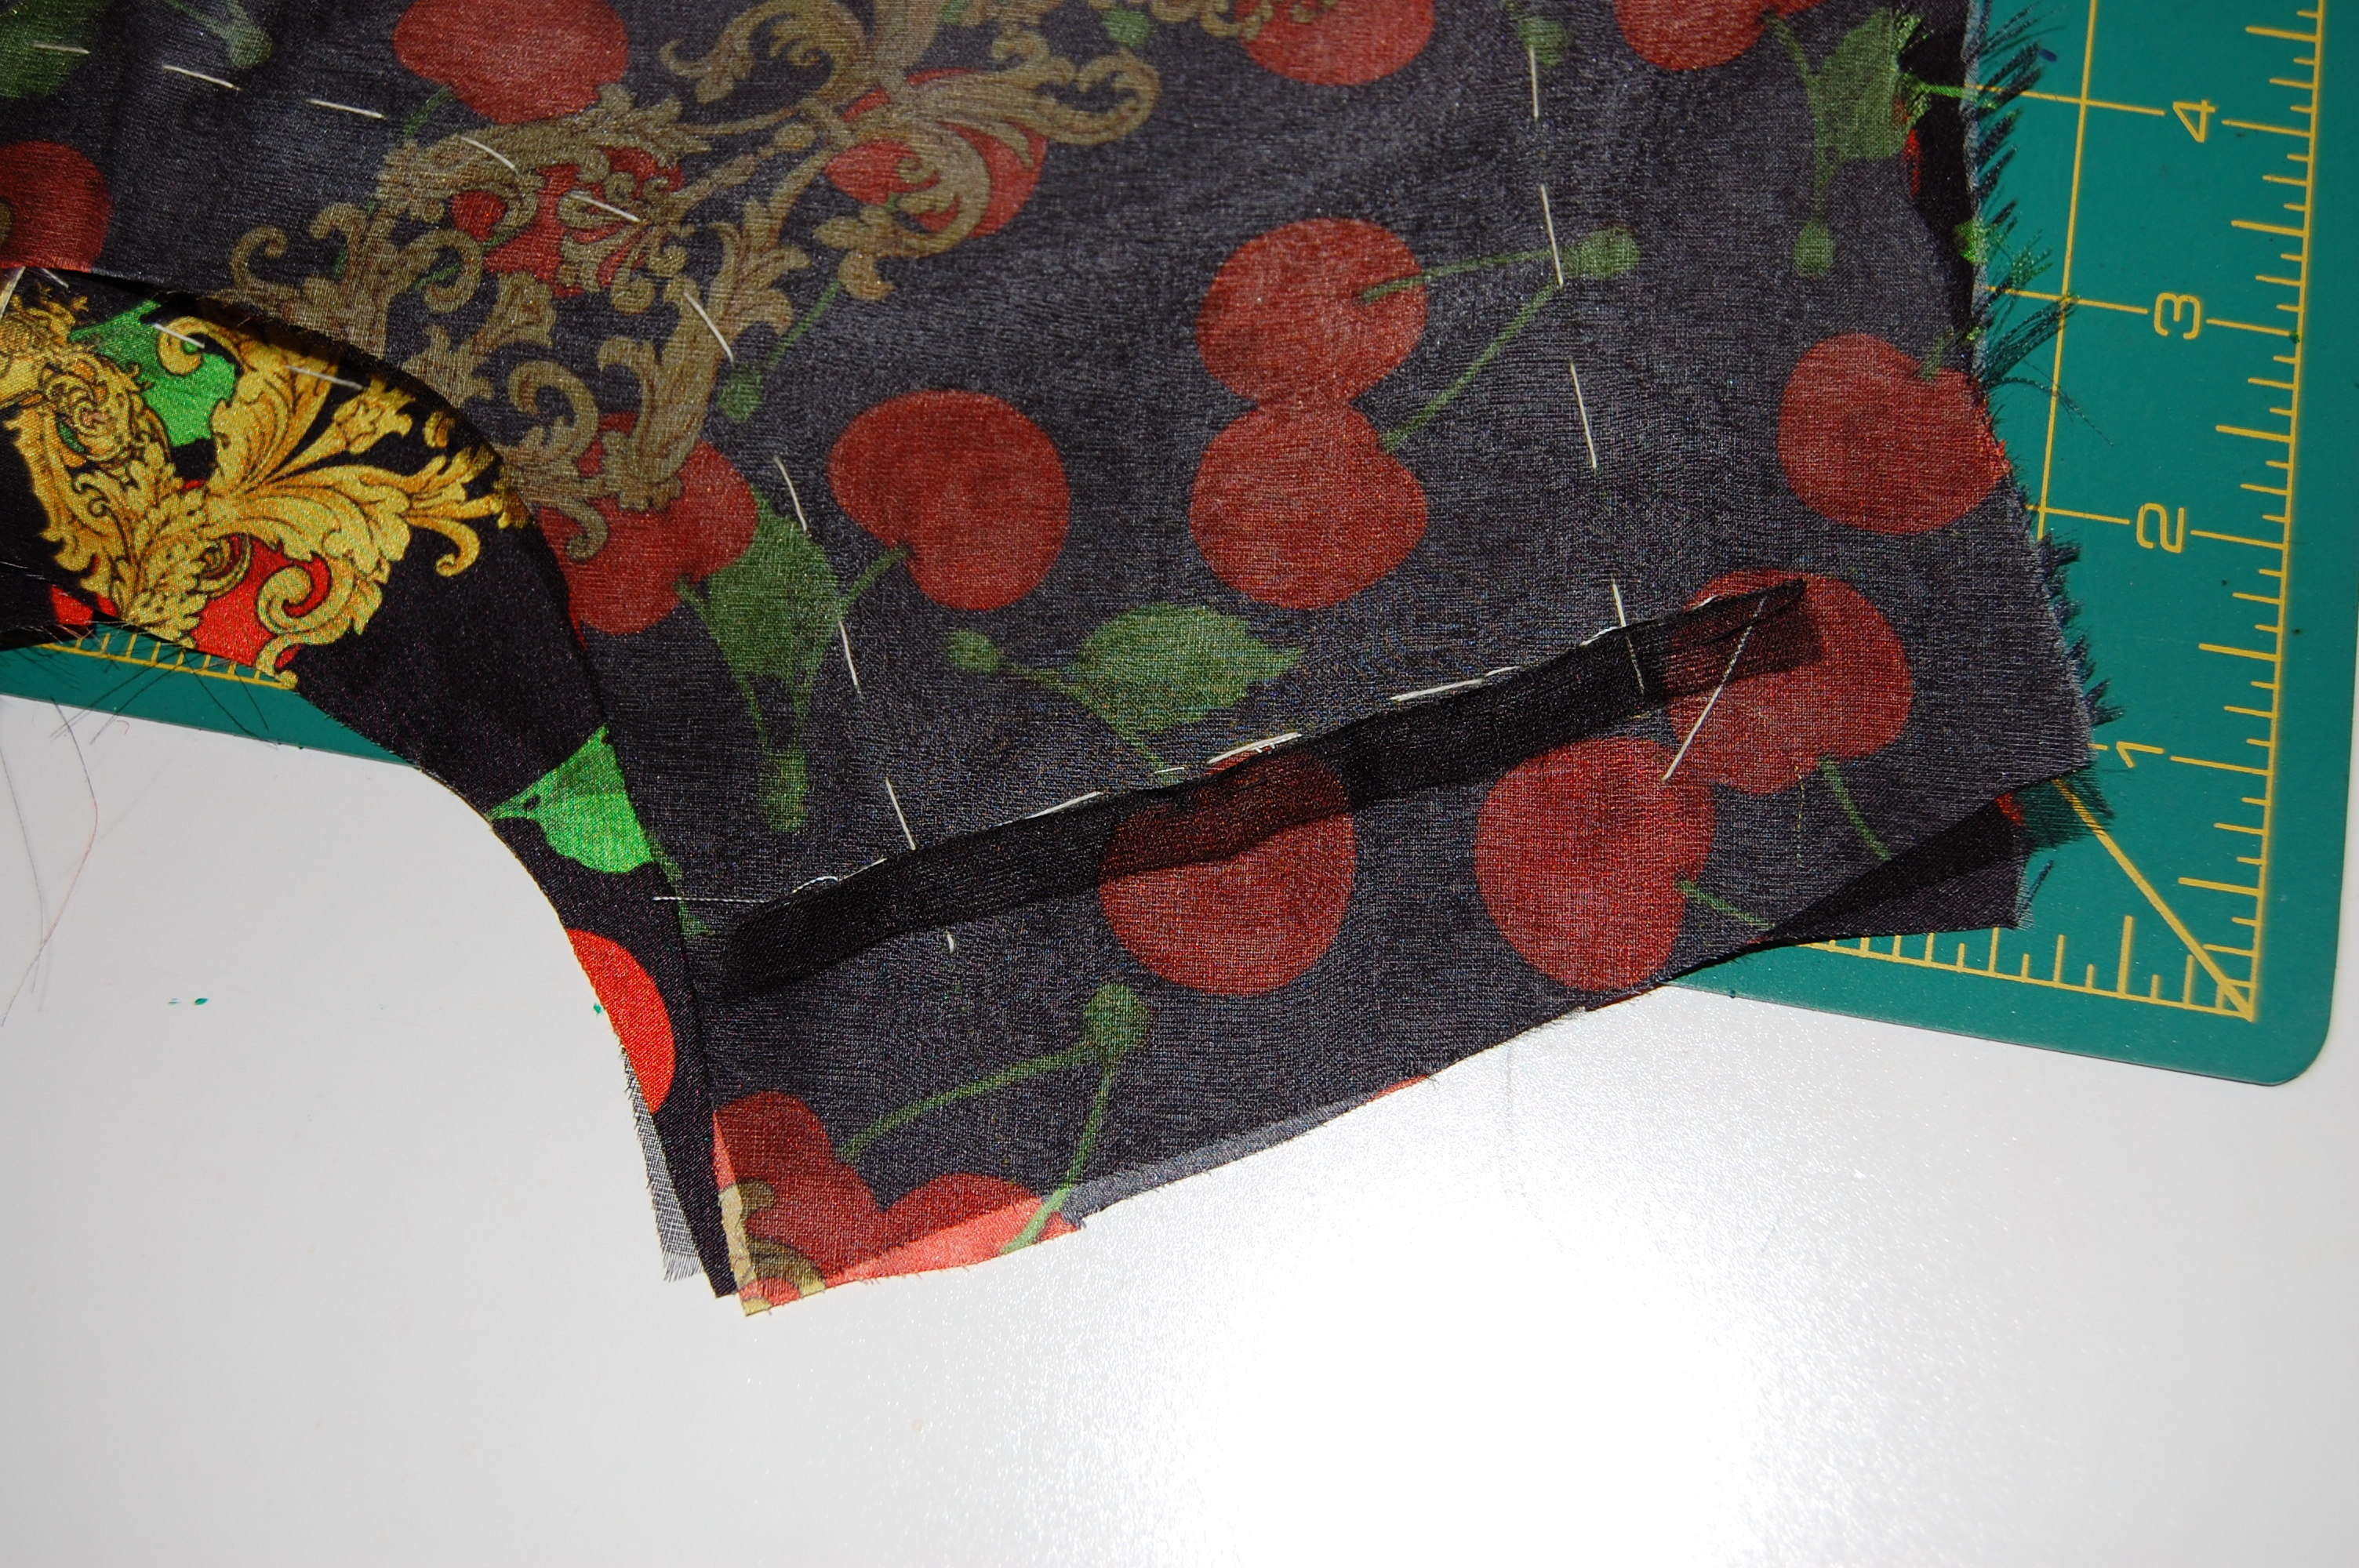
When I finally cut out the black silk organza underlining, I was ready for a celebration, but of course, that would have been premature. Although the design in the fashion fabric really could not be “matched”, I still had to respect the placement of the “clusters” as they would relate to the bodice. (I did not want “clusters” at the apex of the bust darts, for example.) And I felt like the “clusters” should be placed at equal distances from each other over the expanse of the dress, if possible. After determining all this and cutting out the fashion fabric, I finally got to sewing, which included lots of basting, catch-stitching all the seams to the underlining, understitching the collar by hand (which worked beautifully, for which I was very grateful!), setting in the sleeves, making the lining, etc., etc.
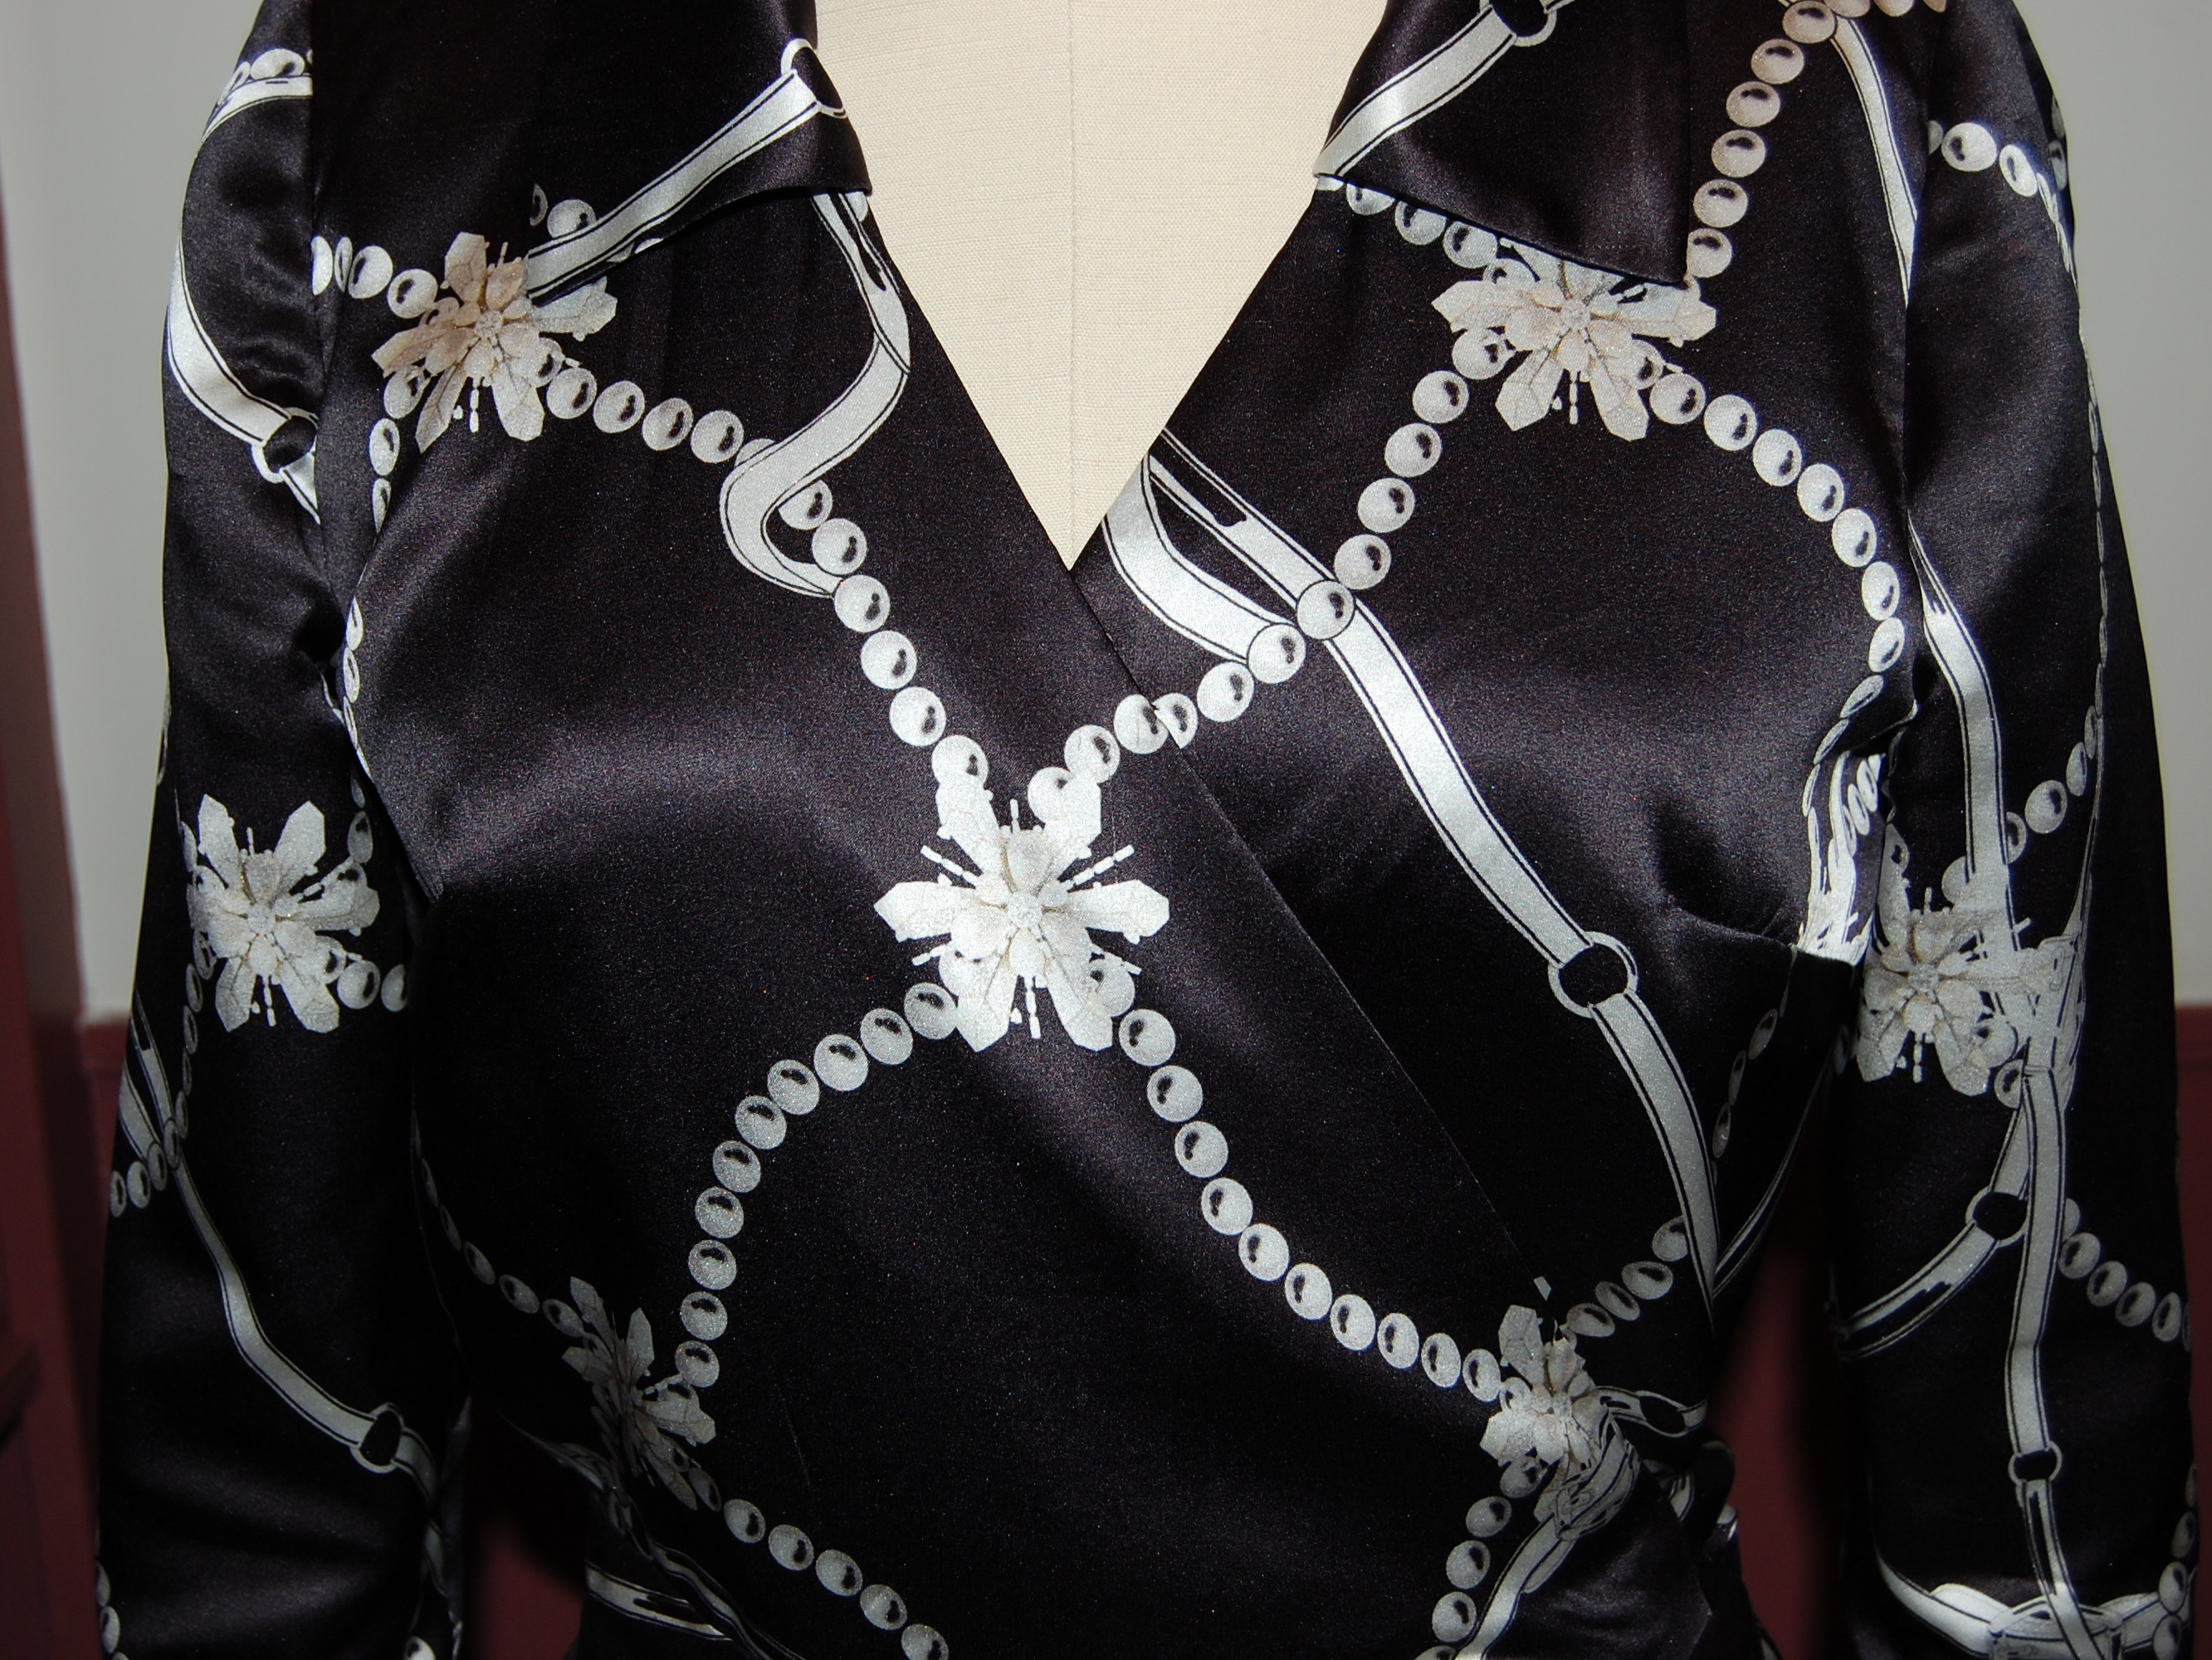
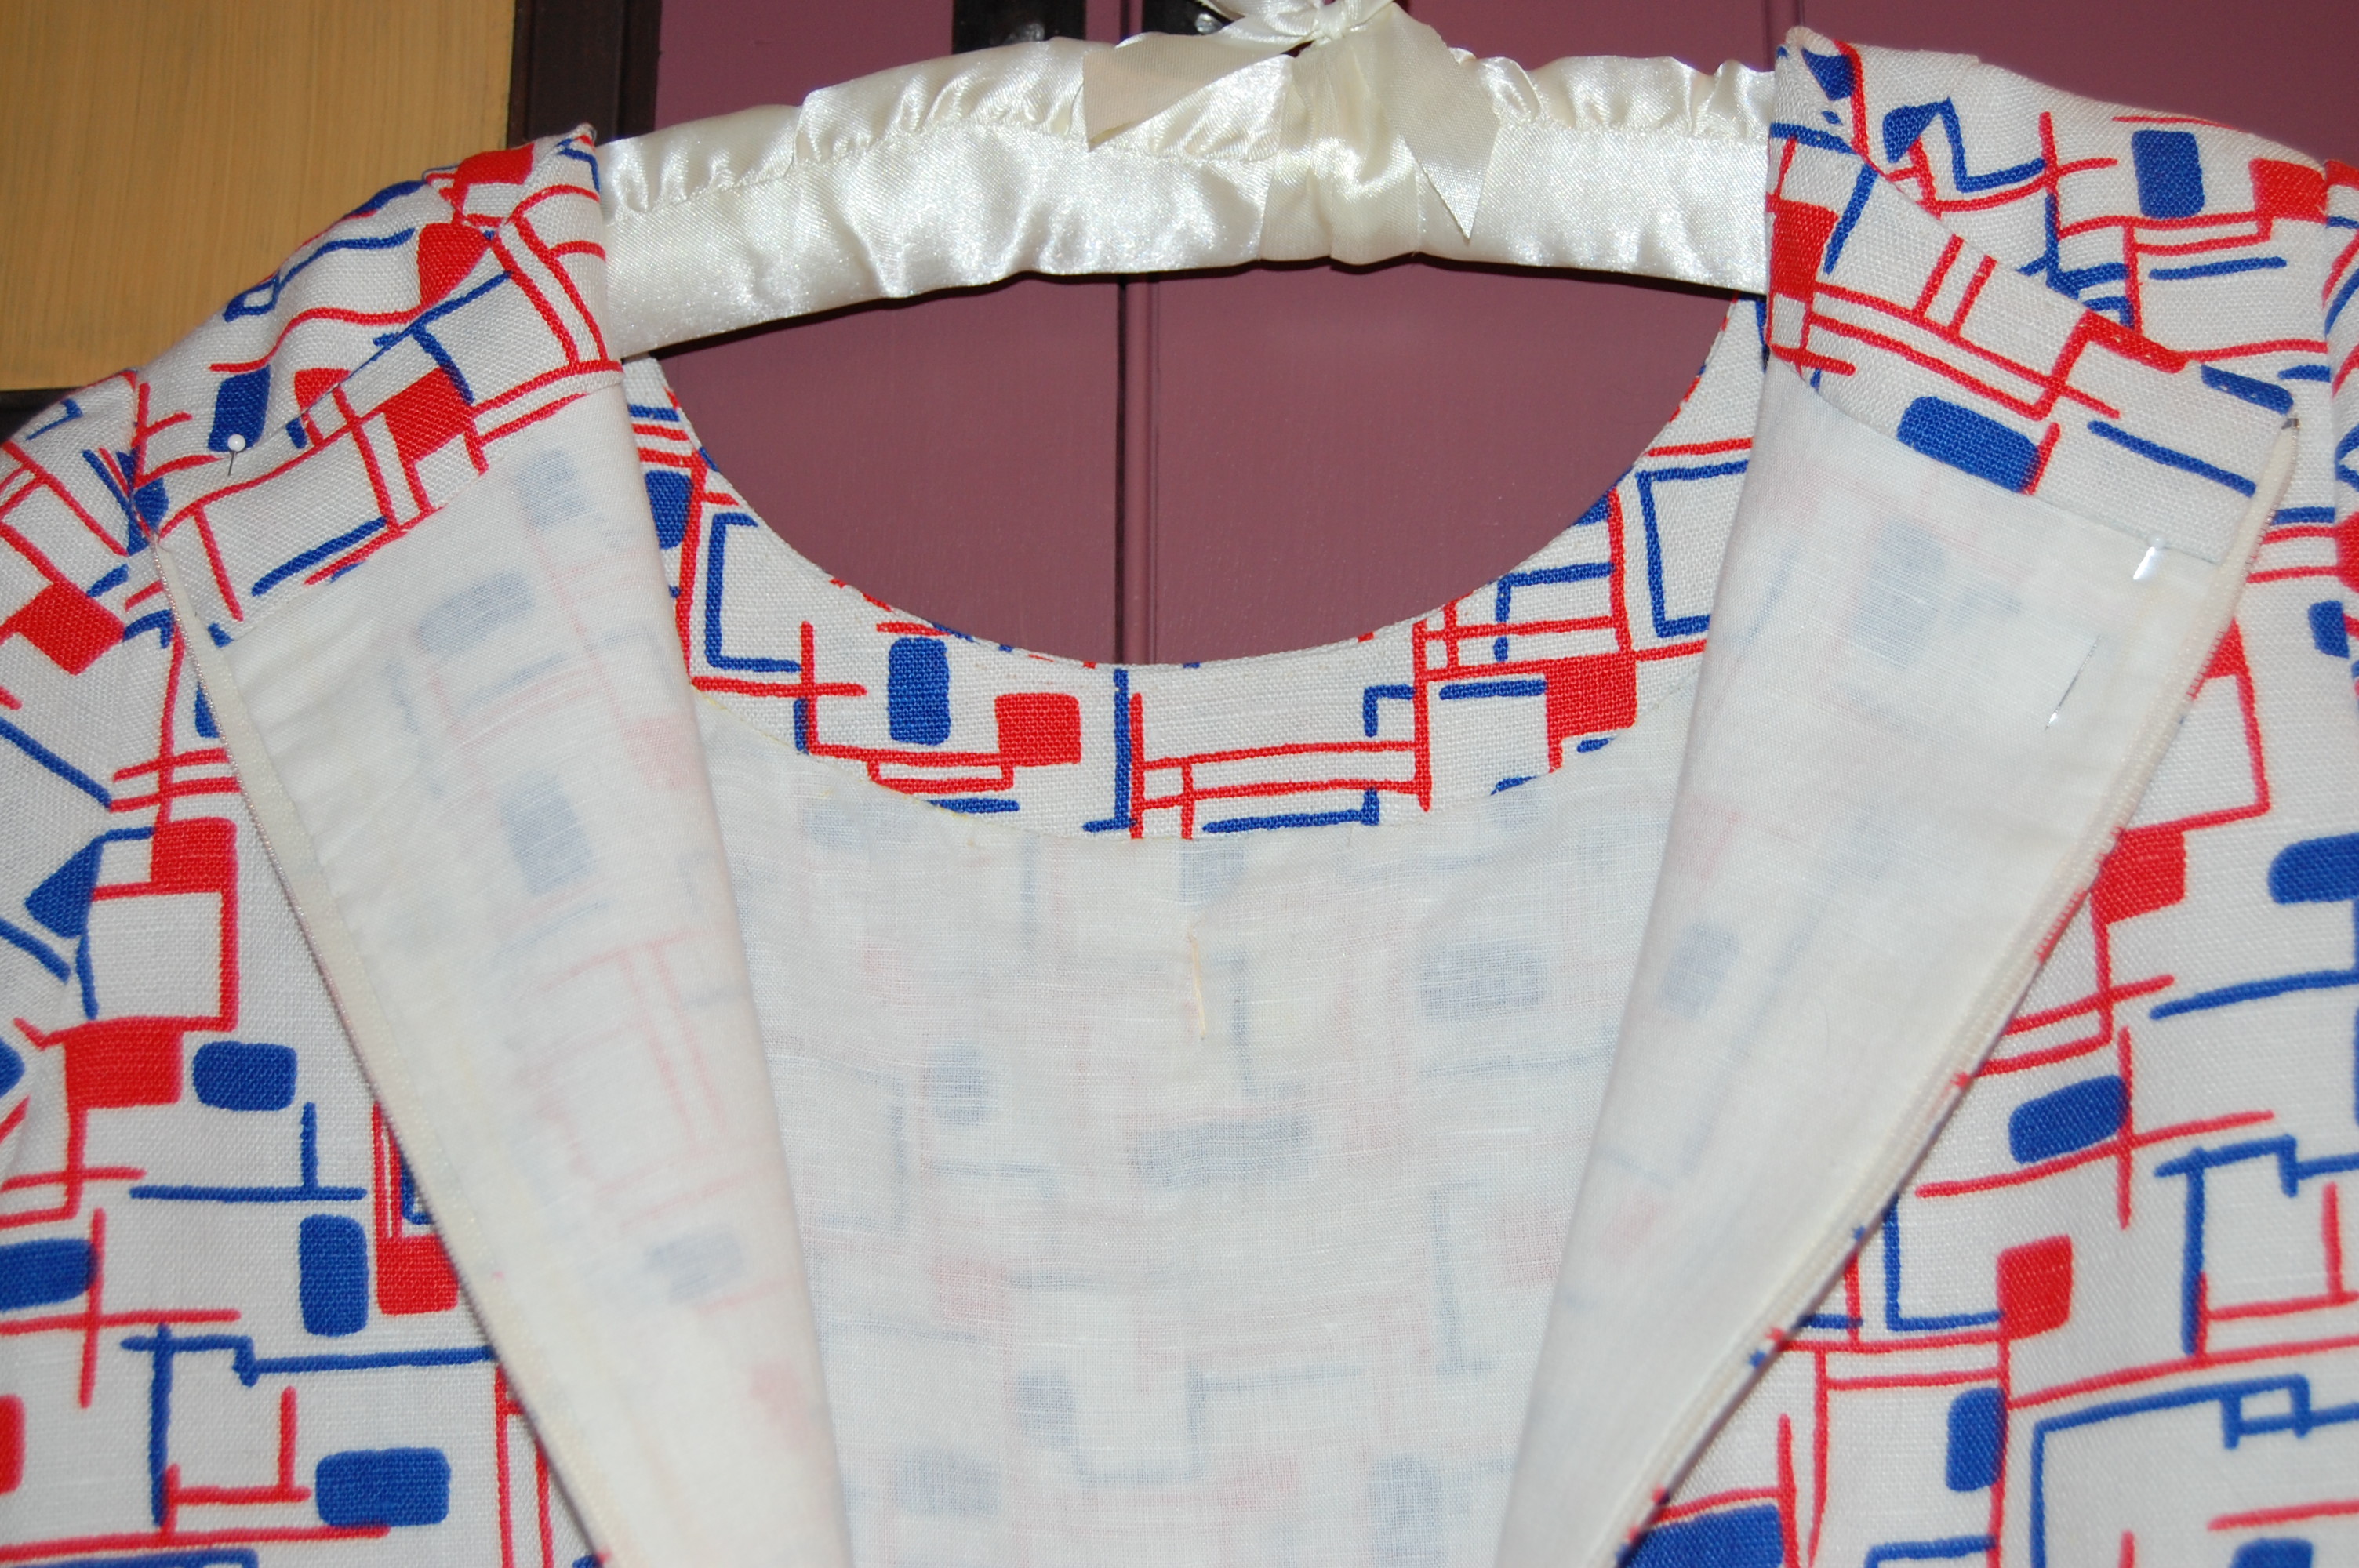
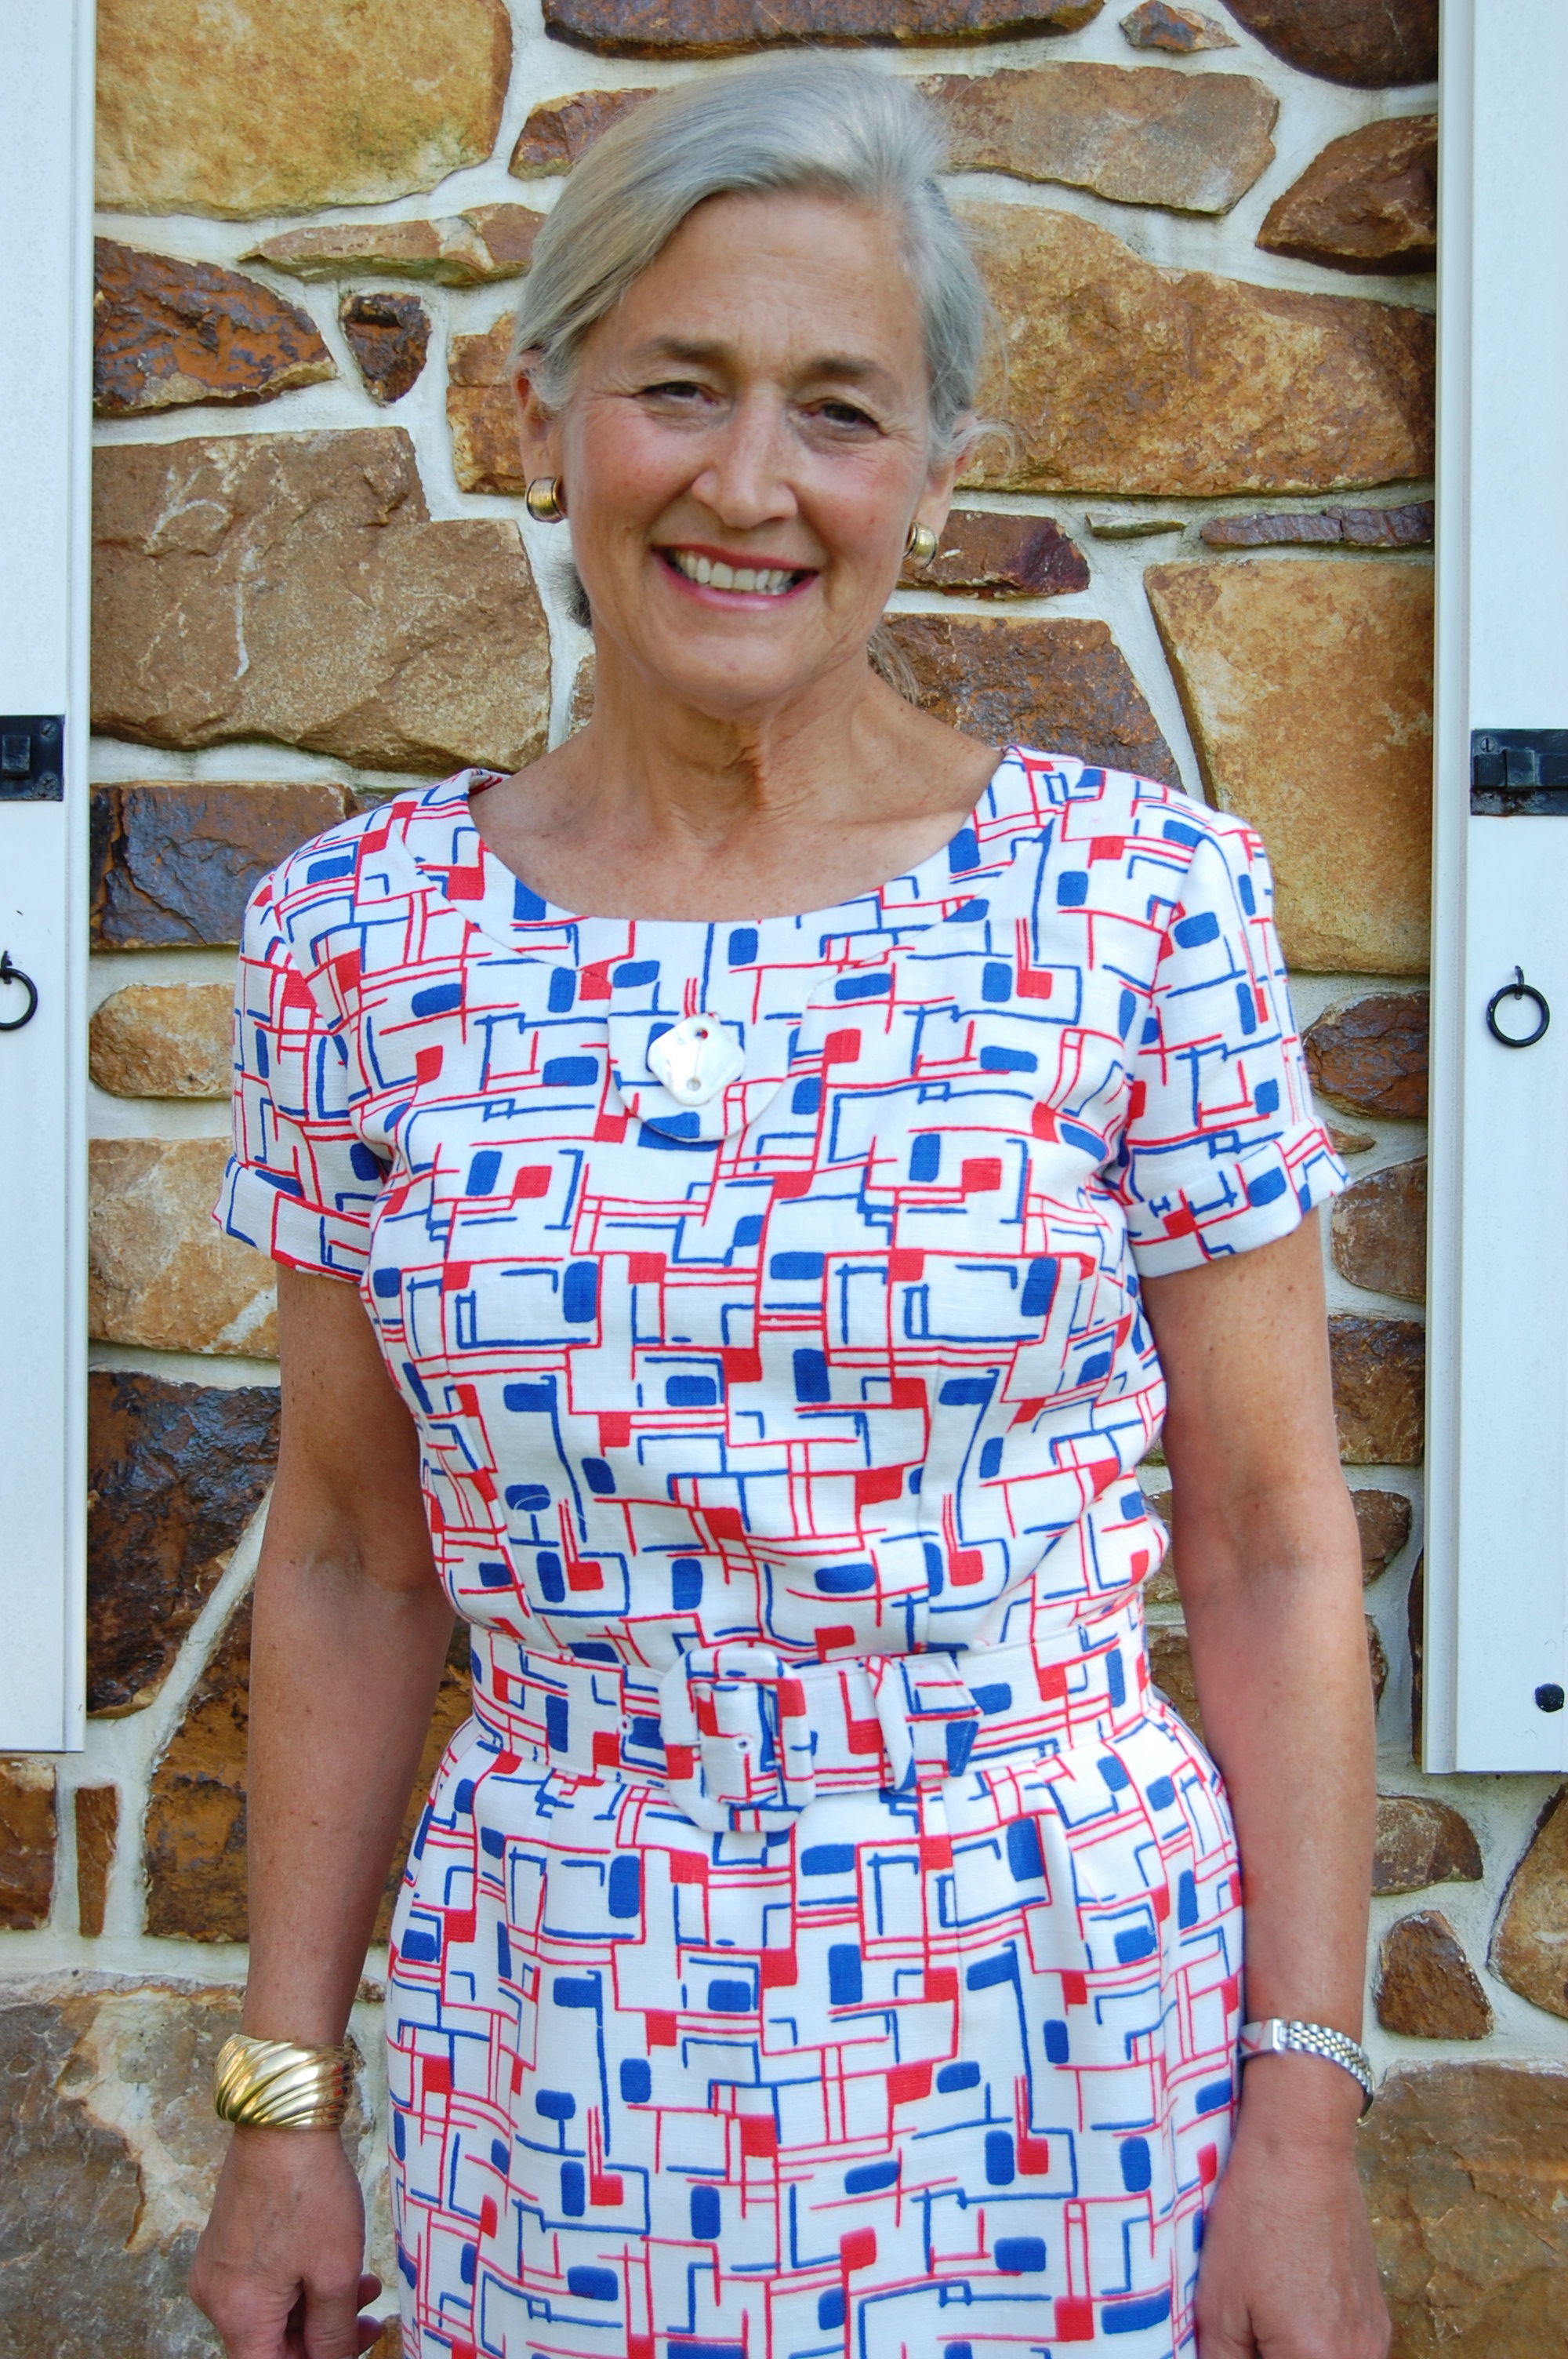
Here is the final placement of the fabric design on the front of the bodice . . .

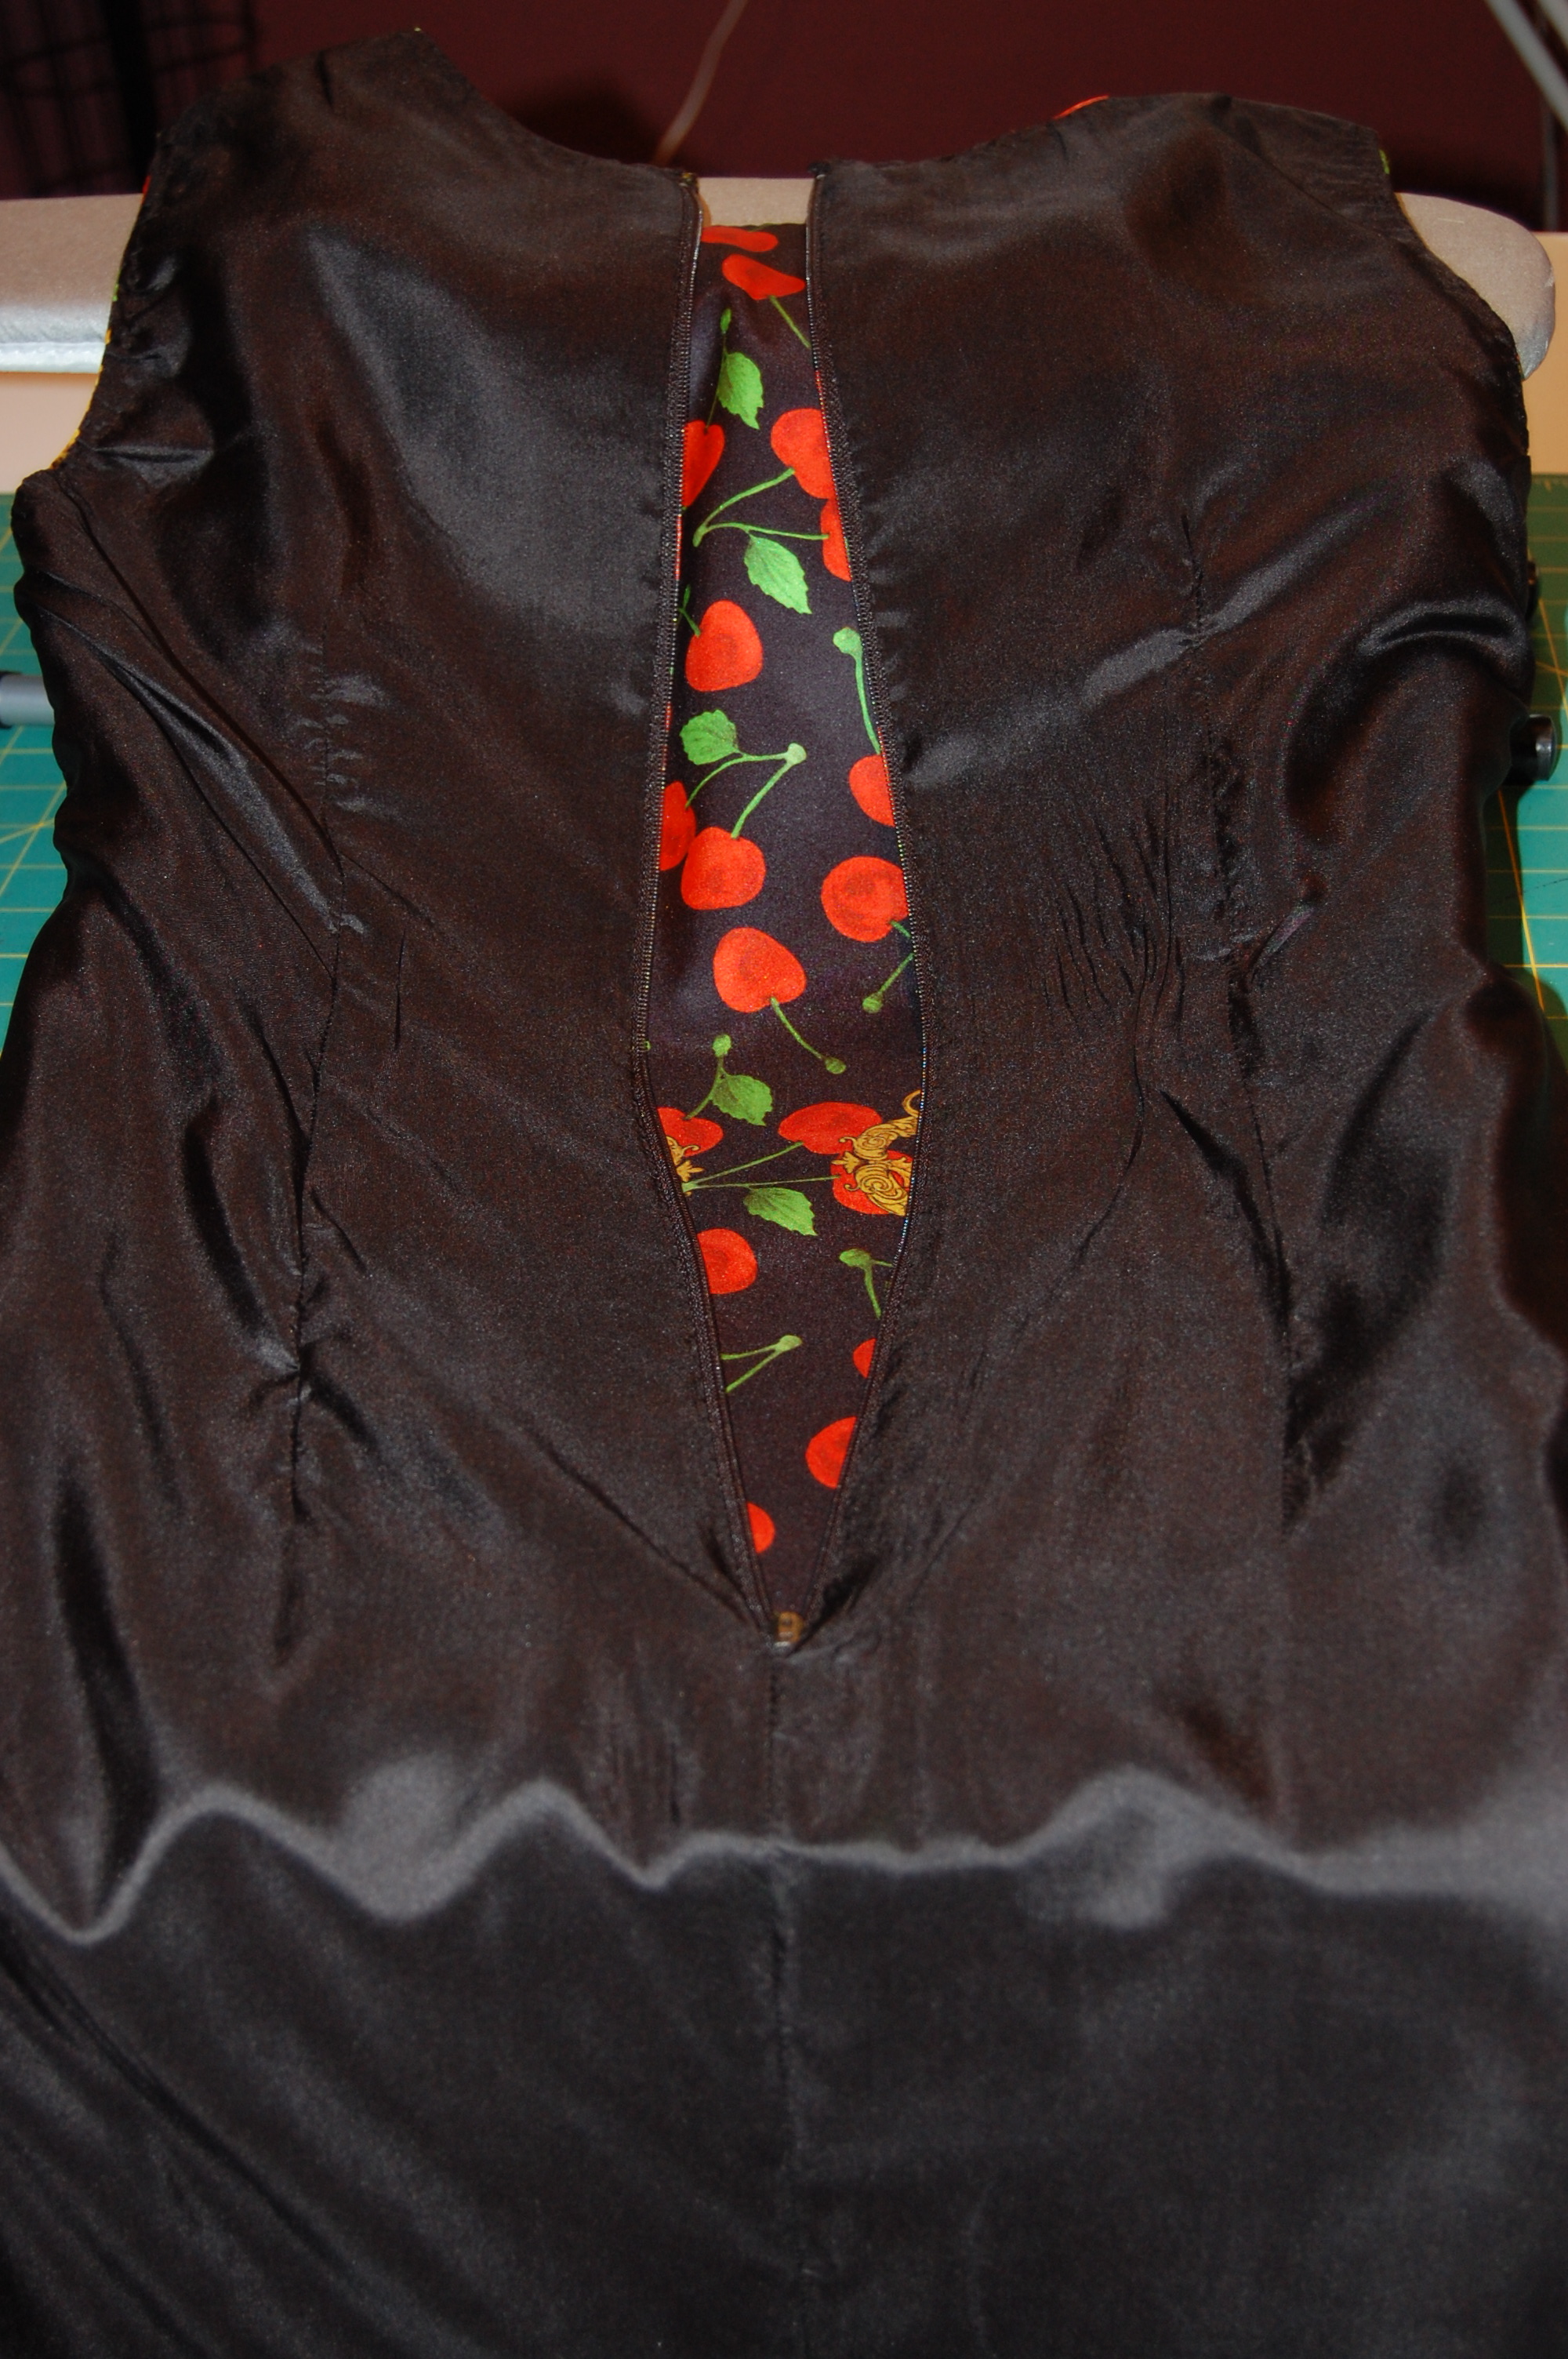
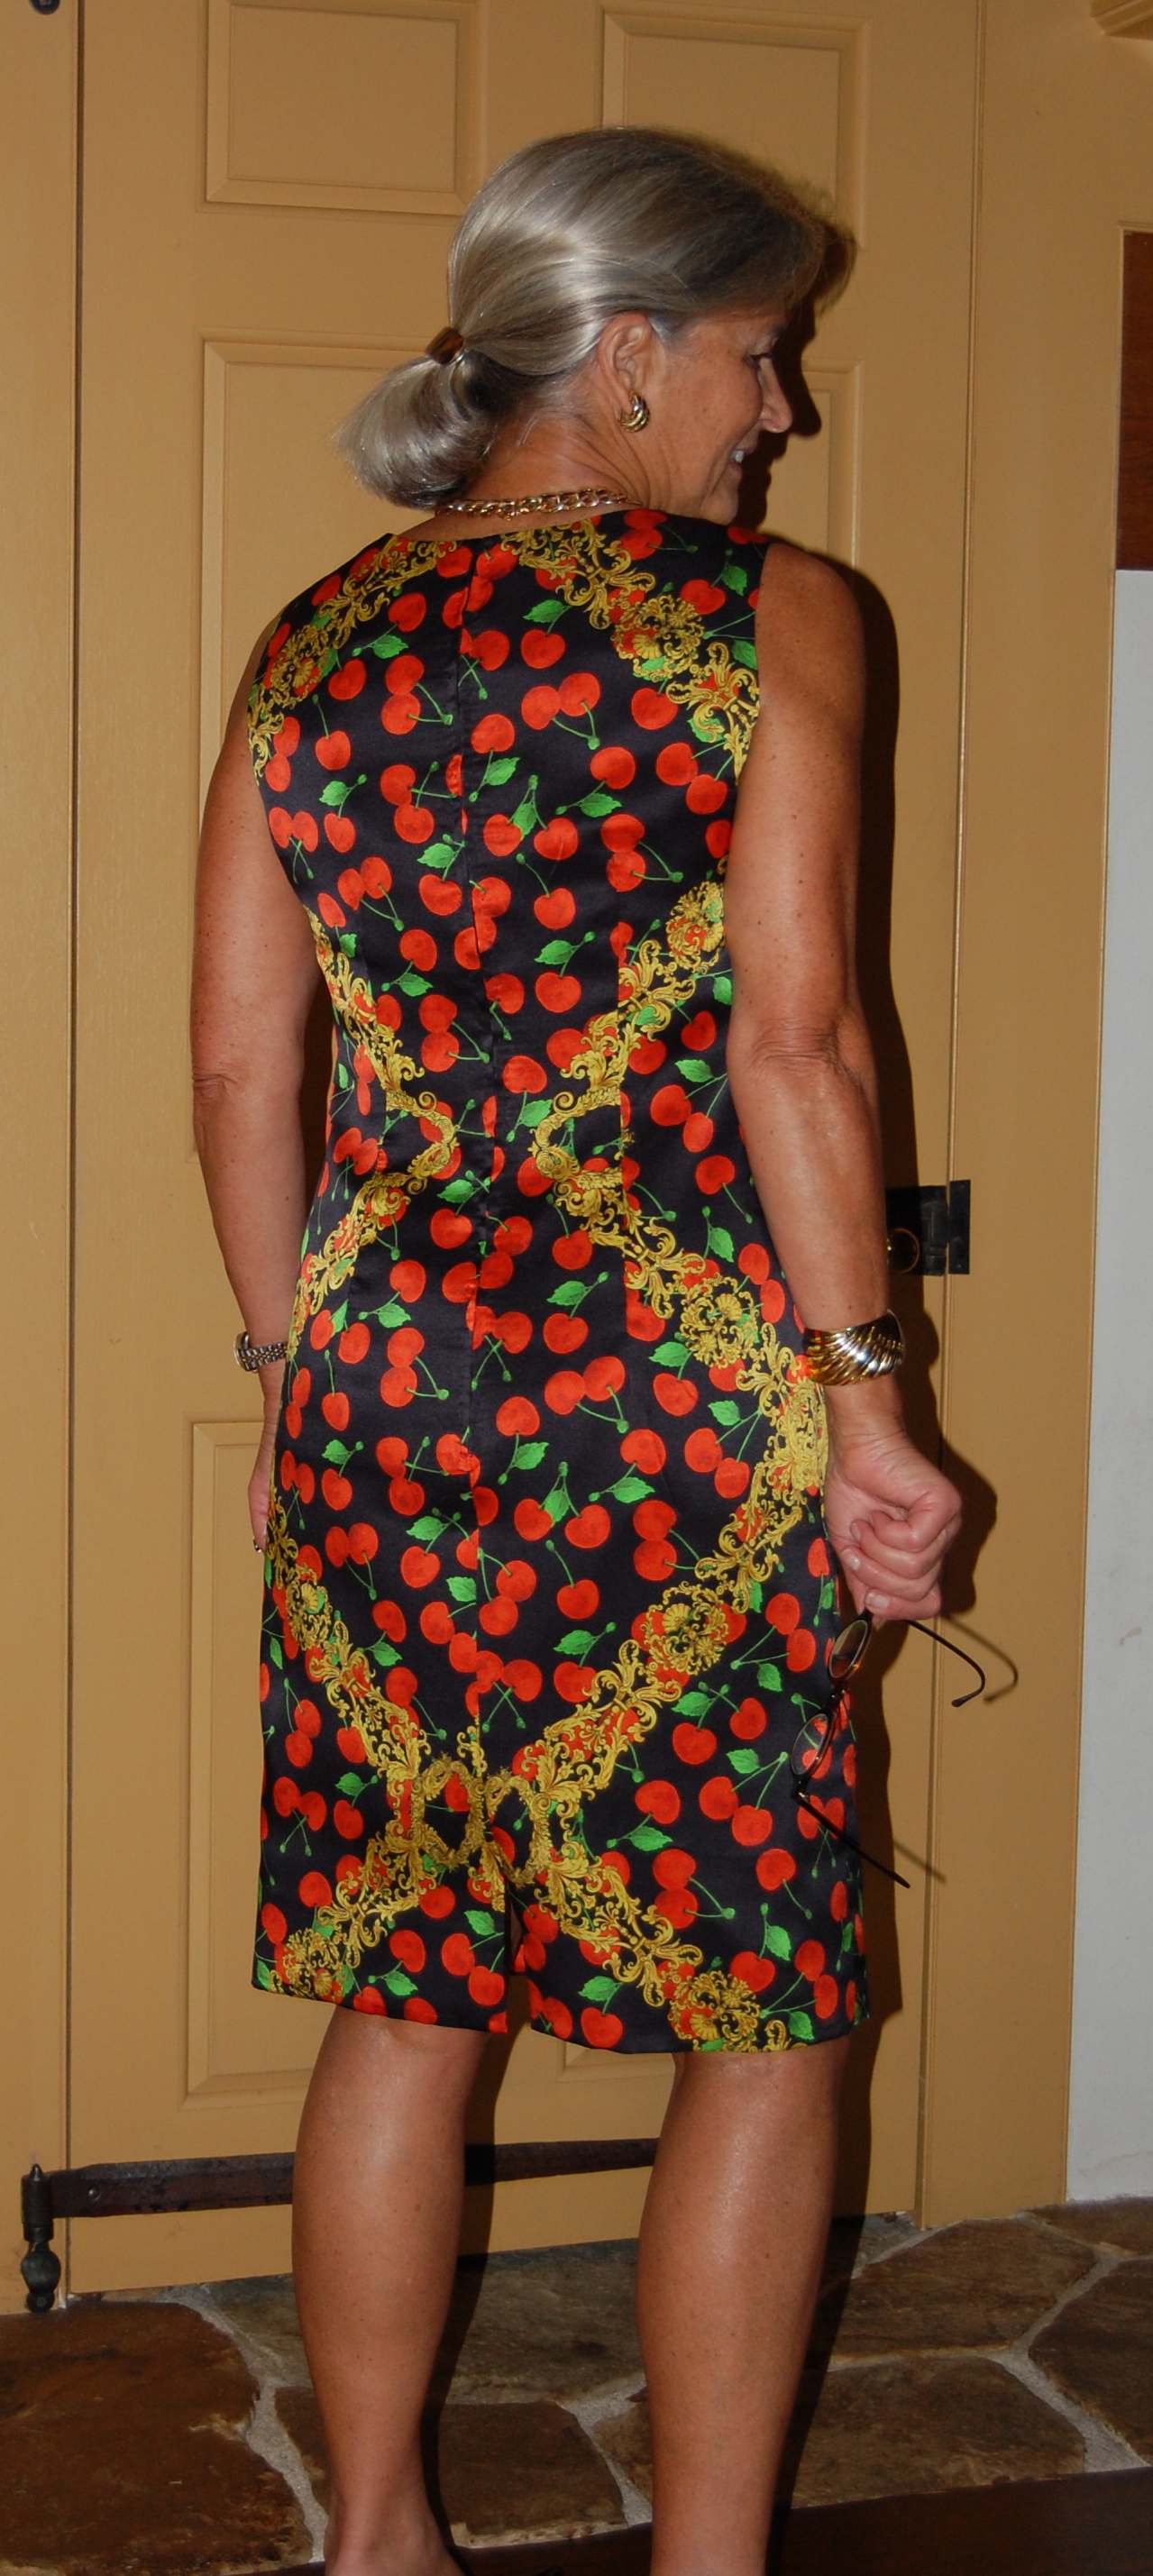
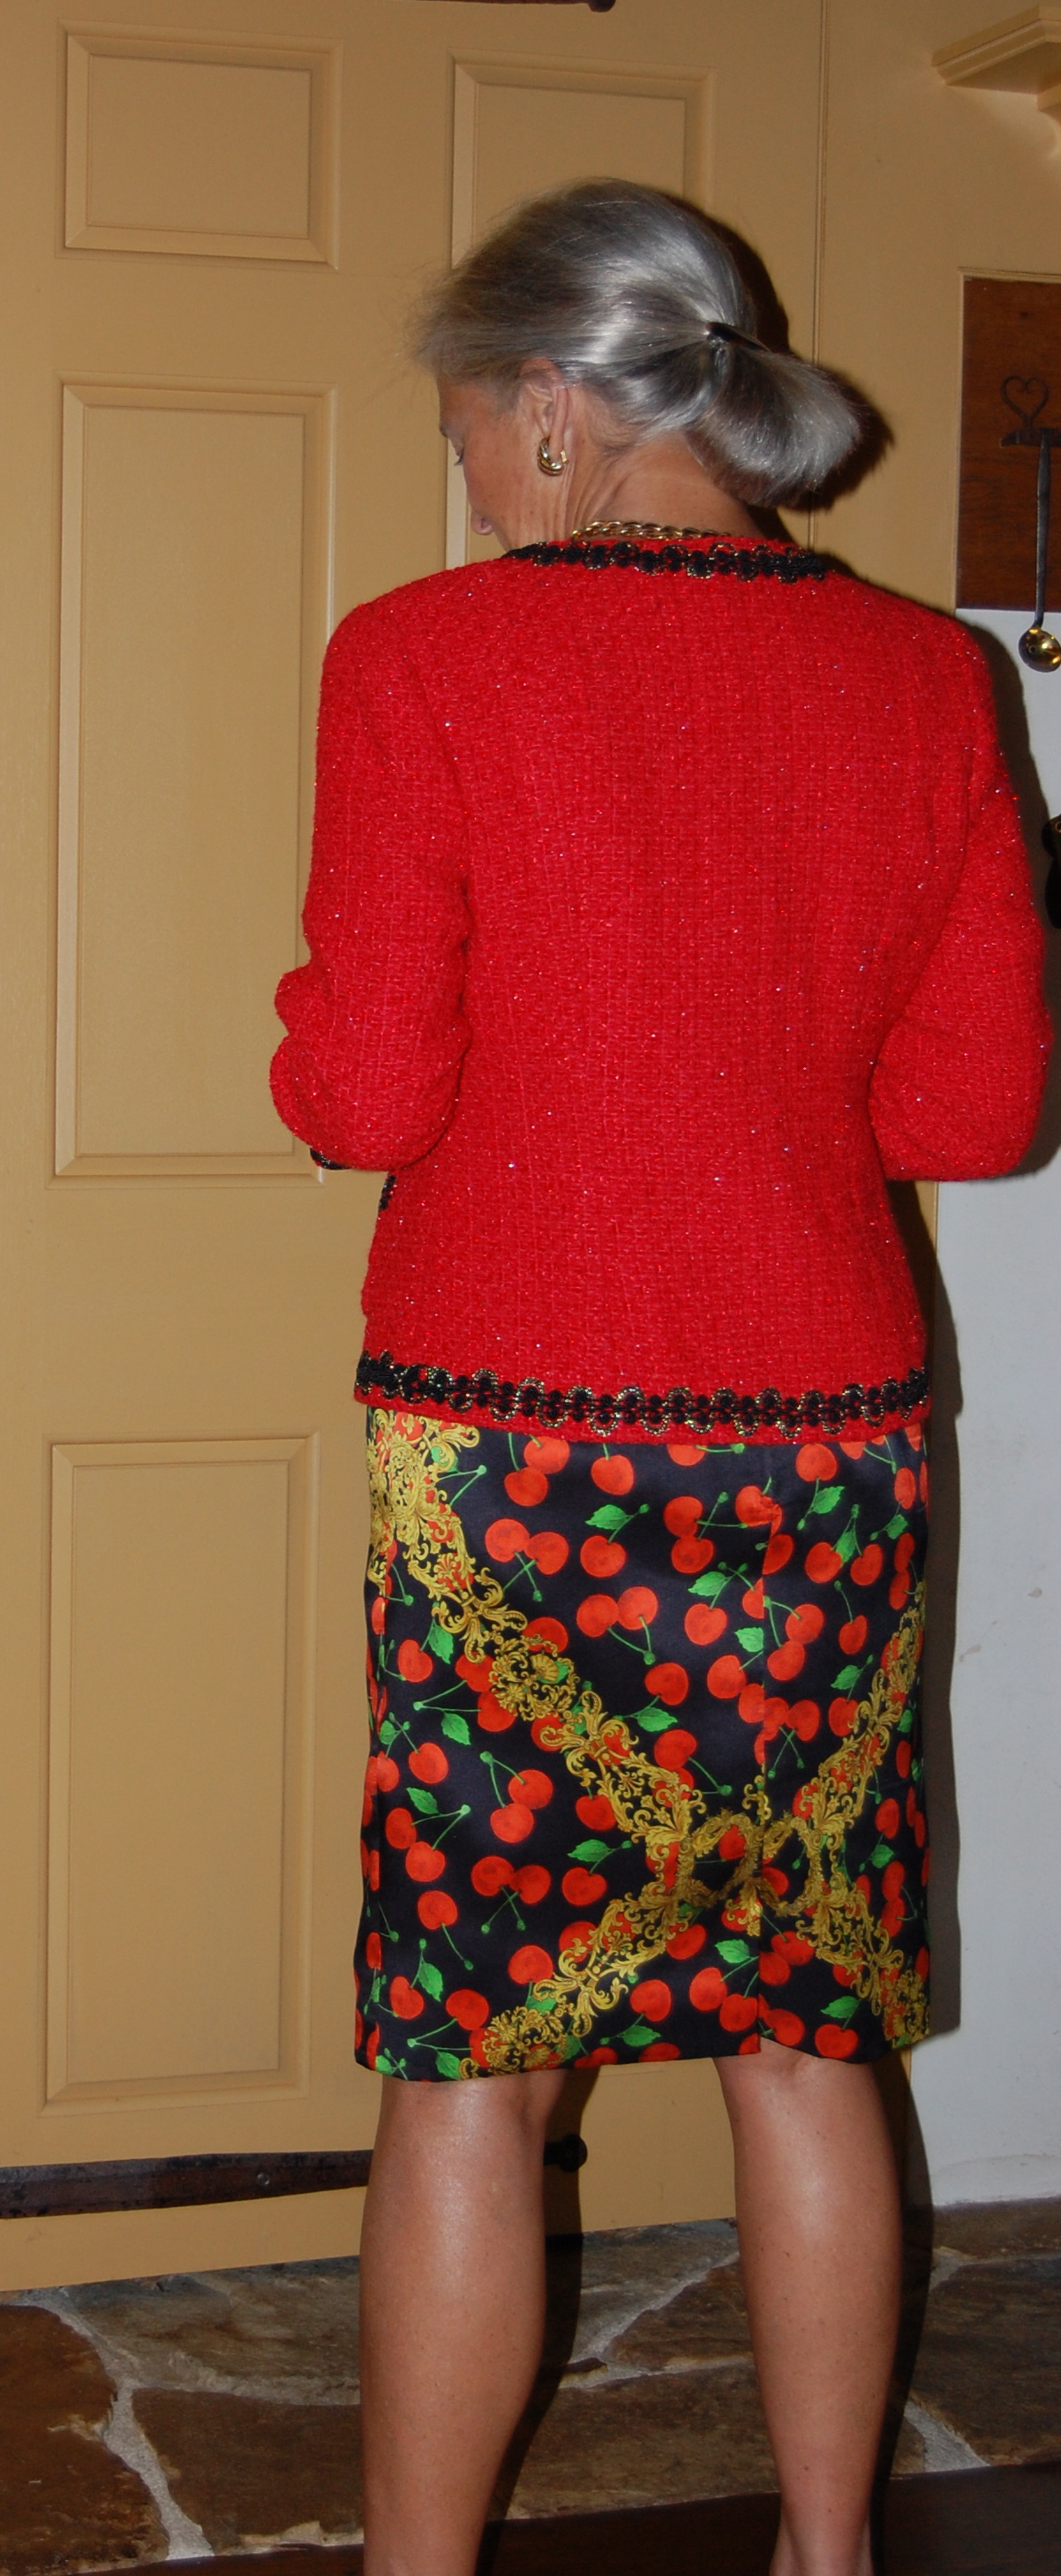
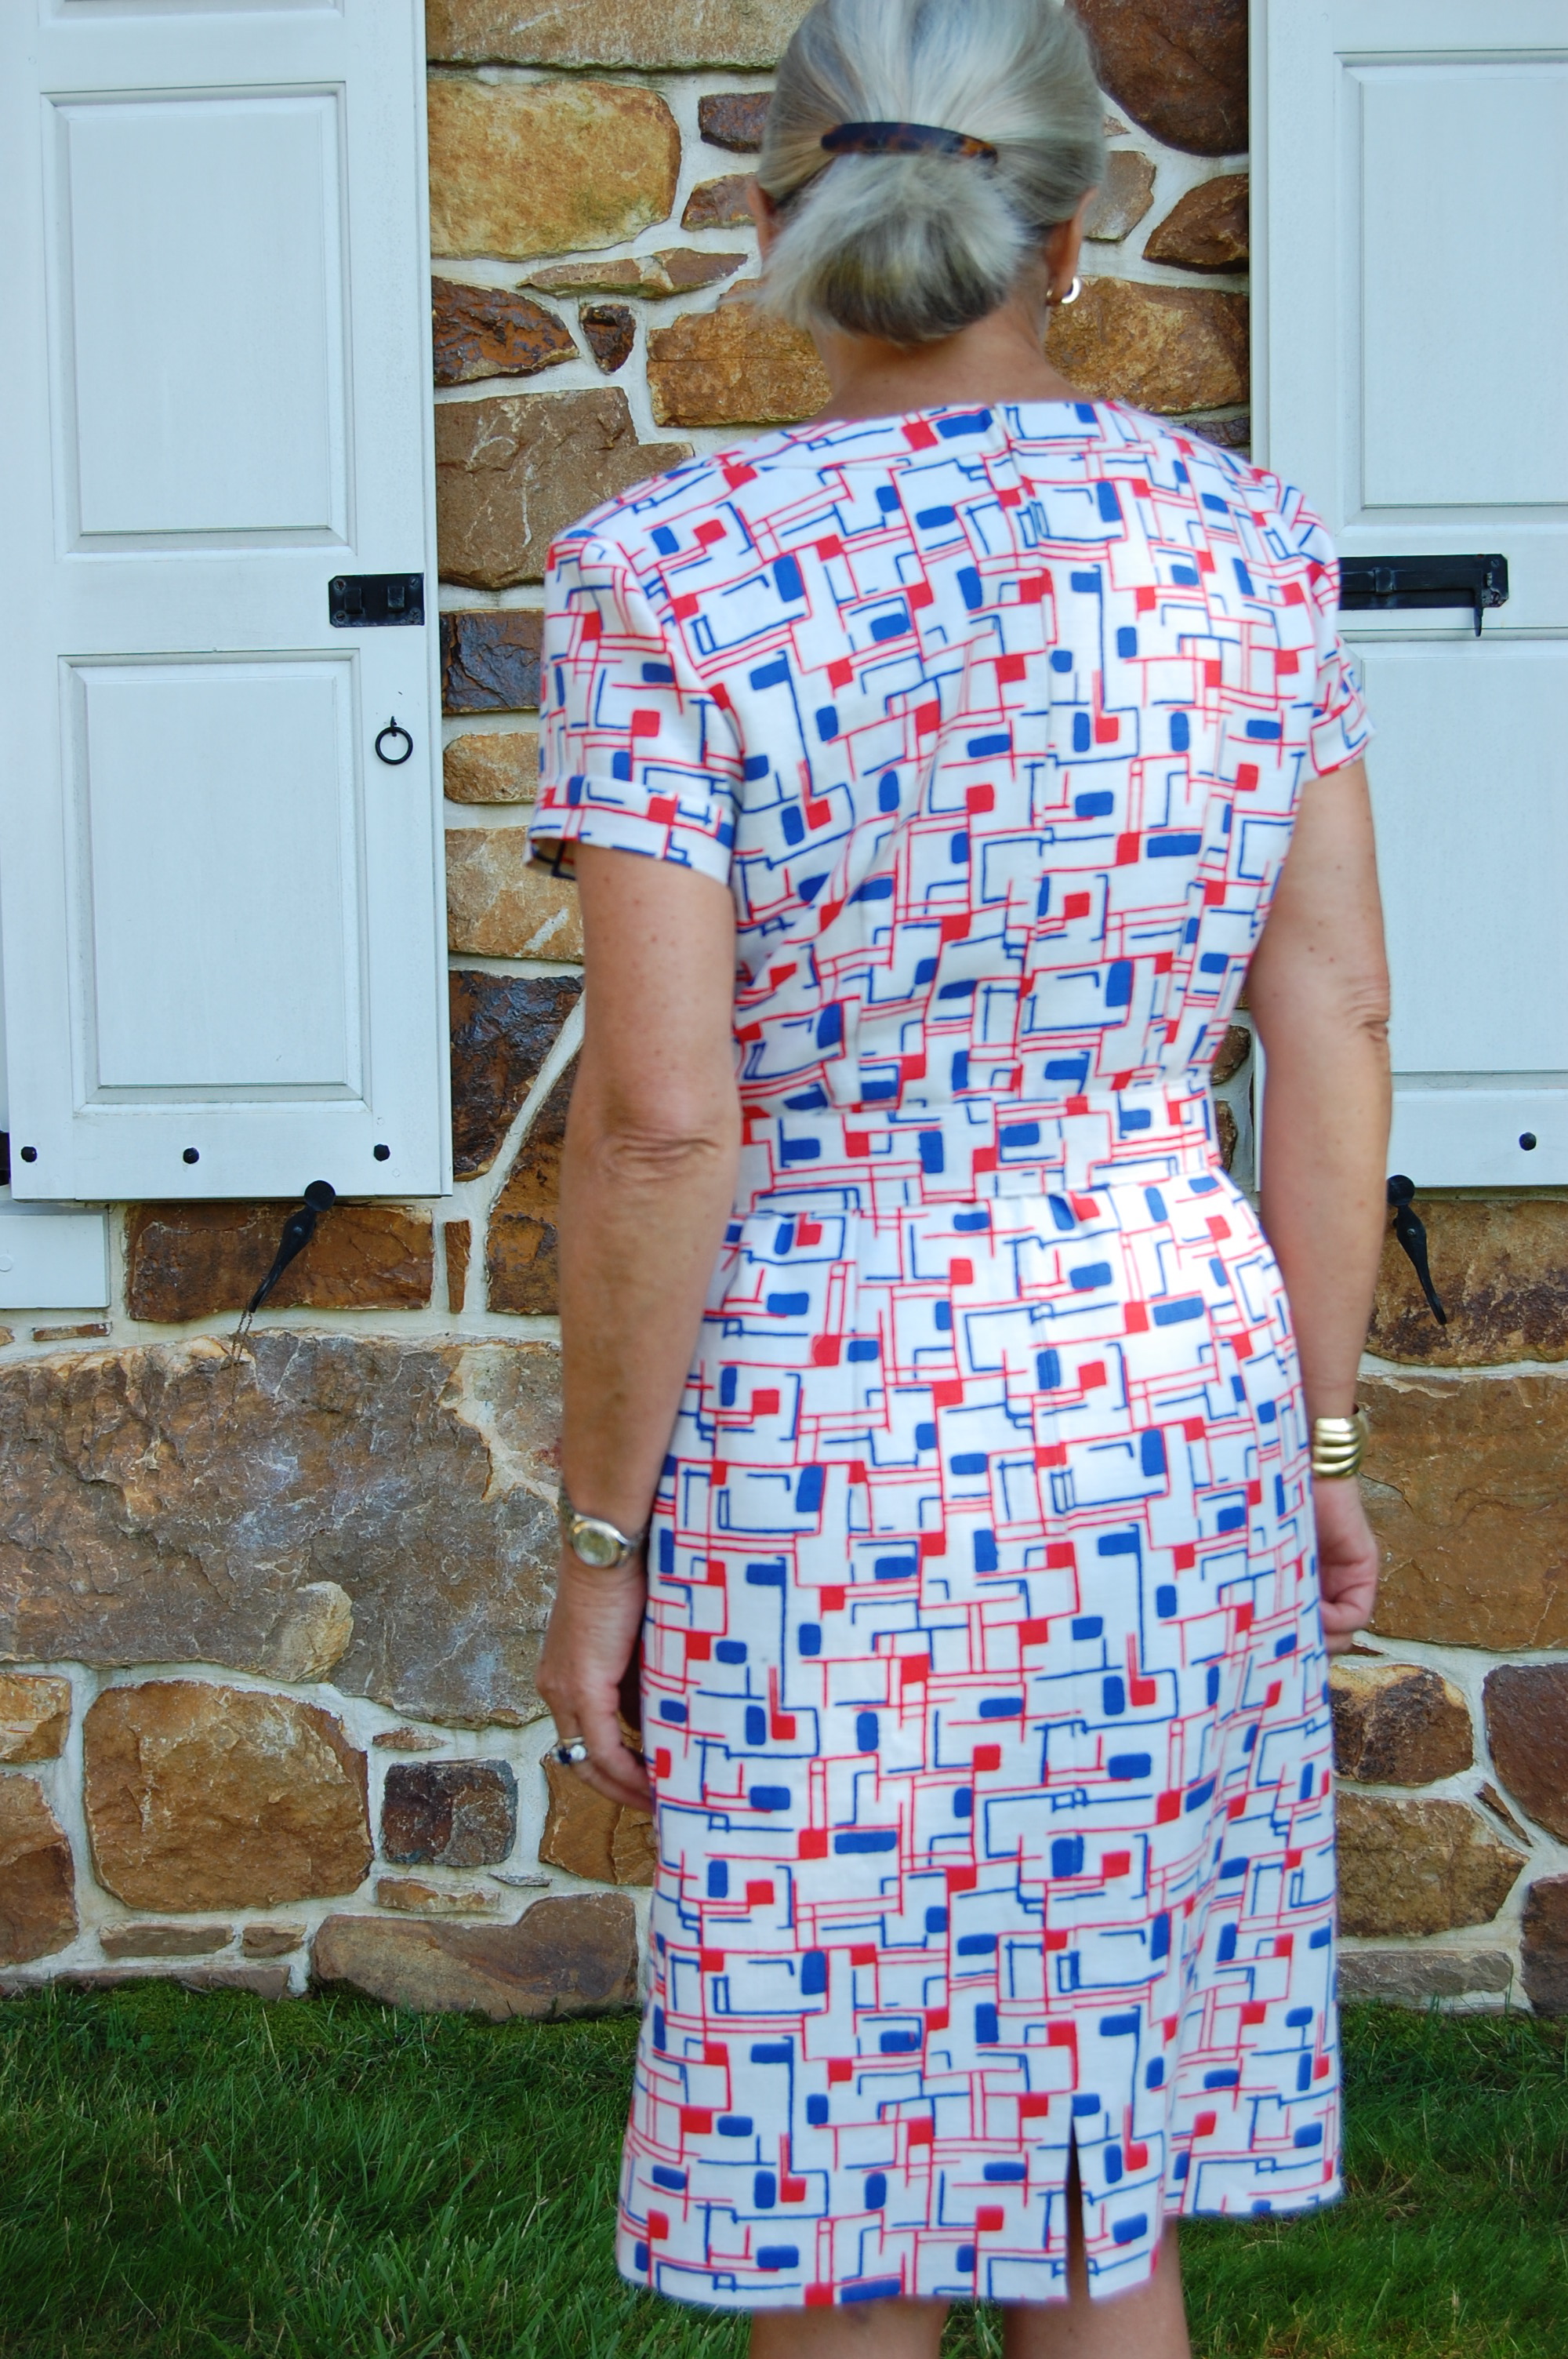
. . . and here is the bodice back.
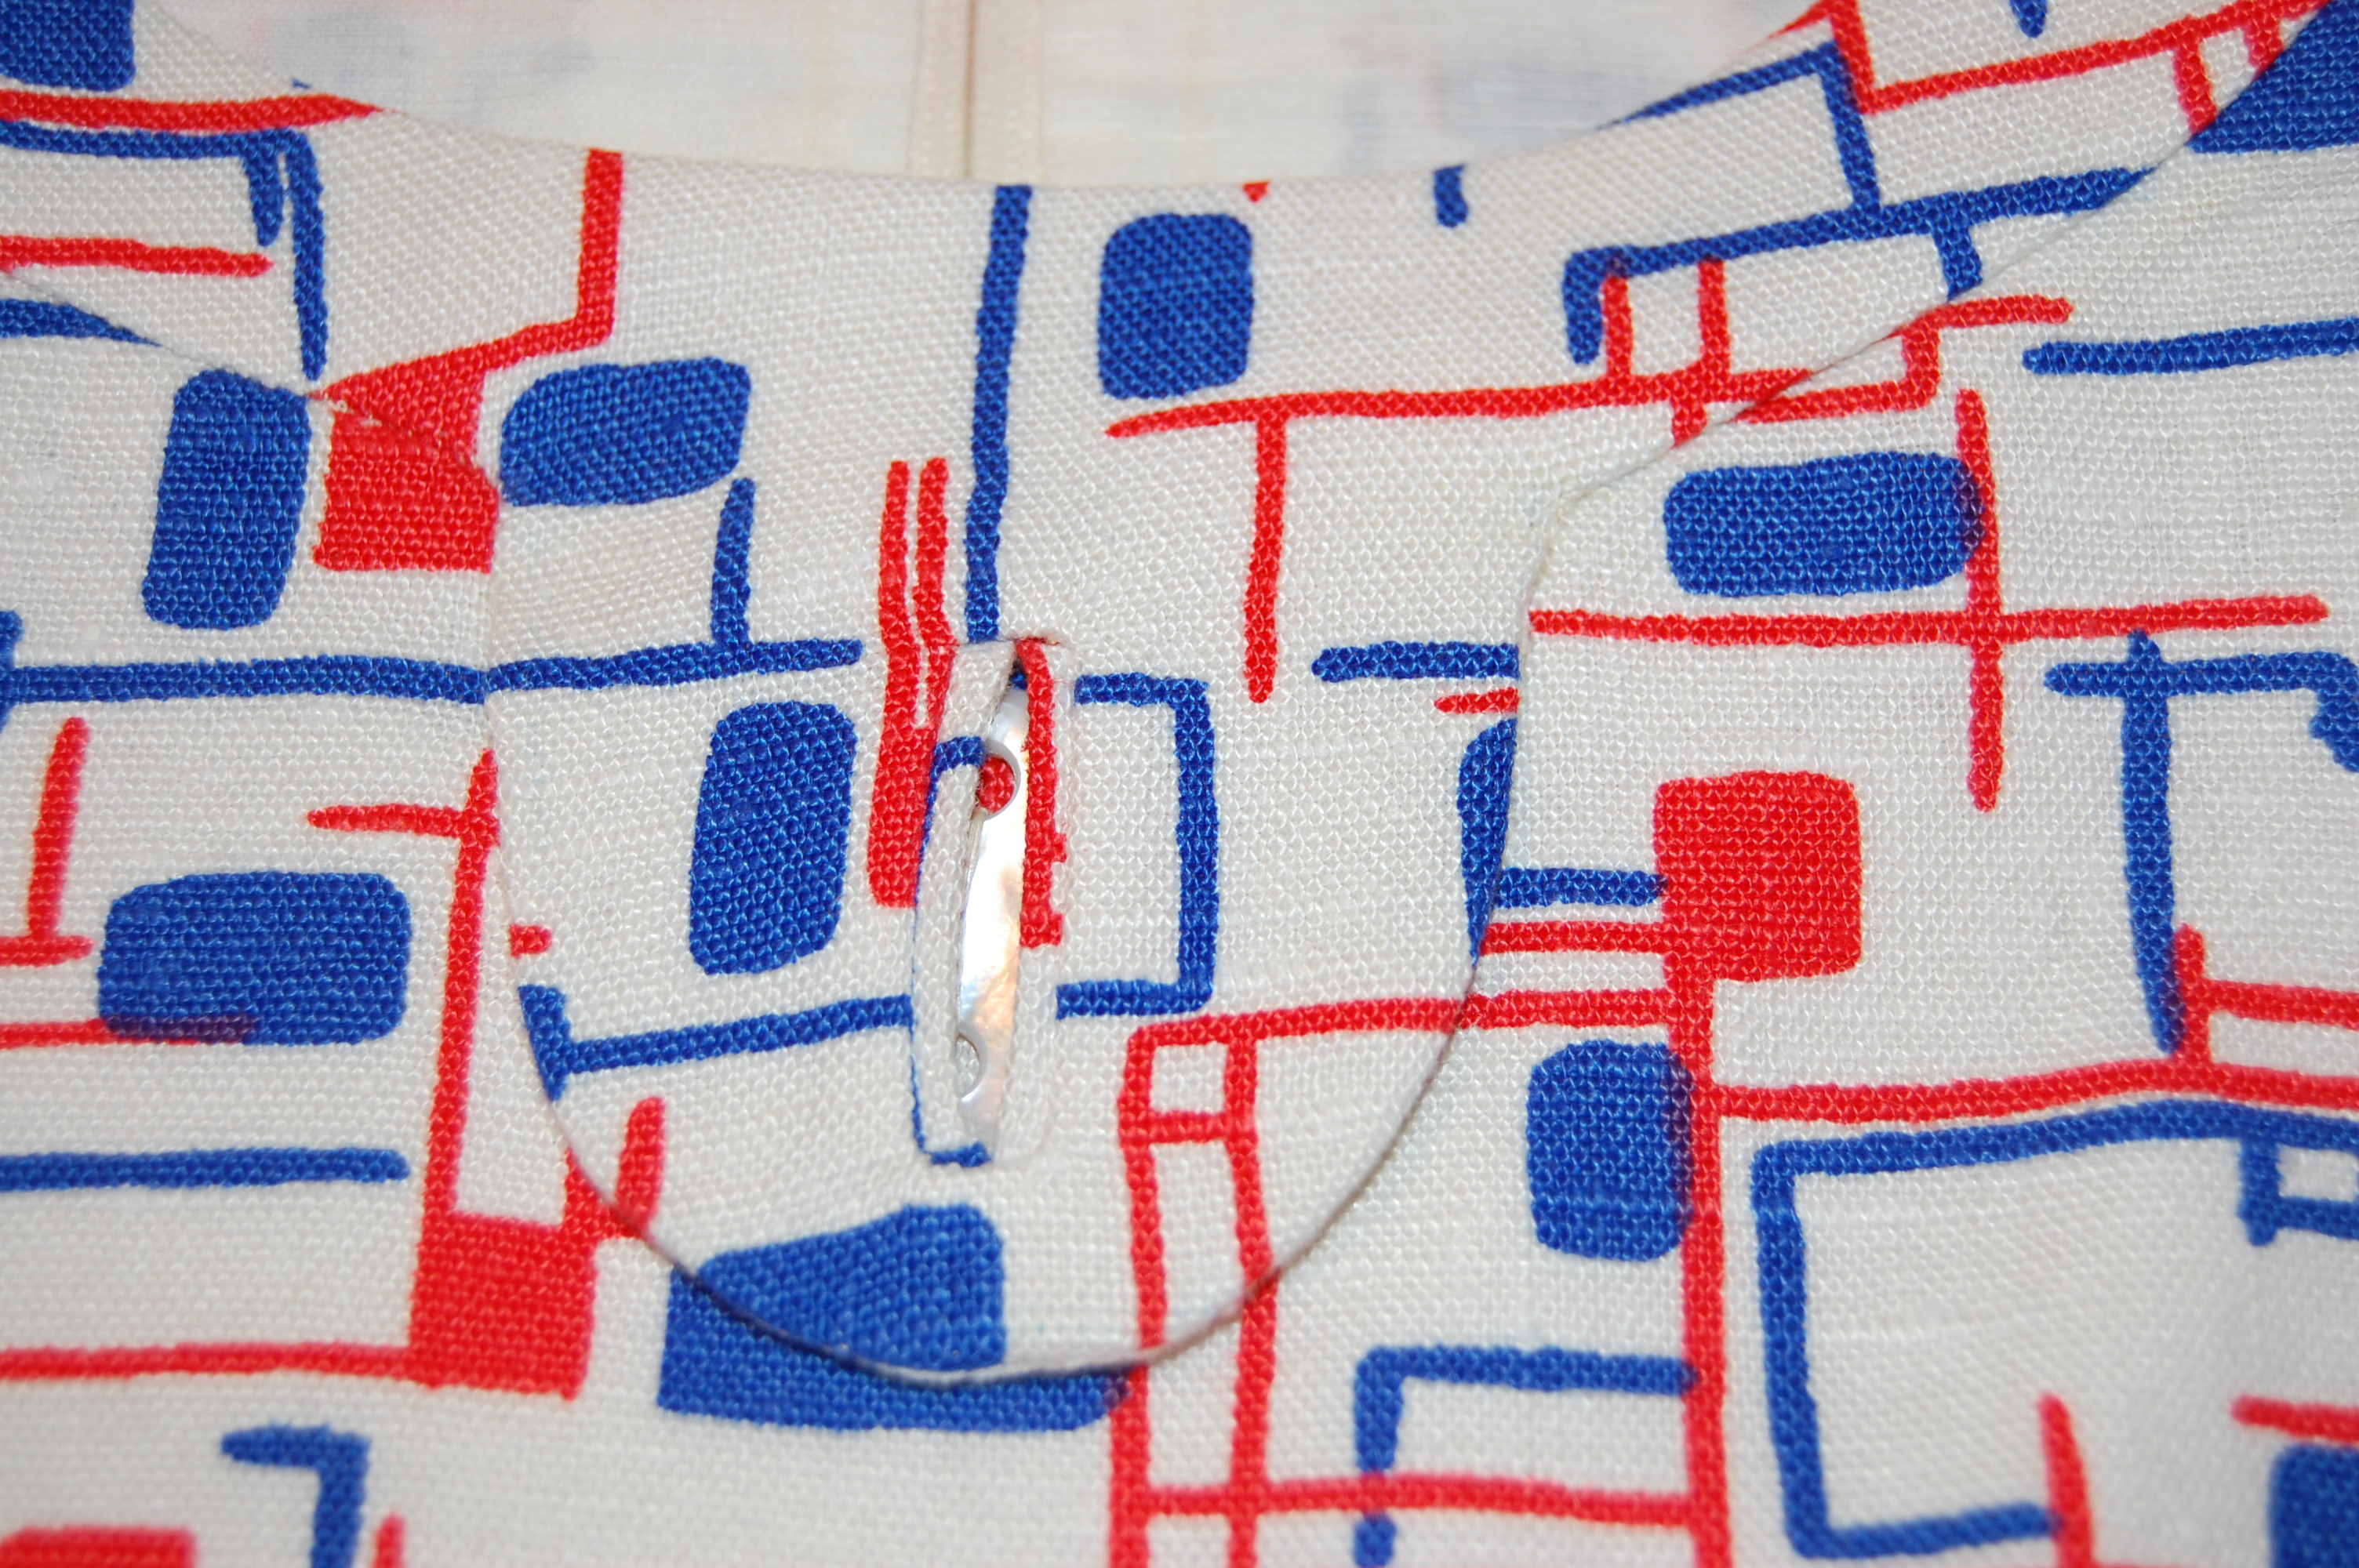
Understitching the collar created a slight under-curve which helps the collar lay flat.

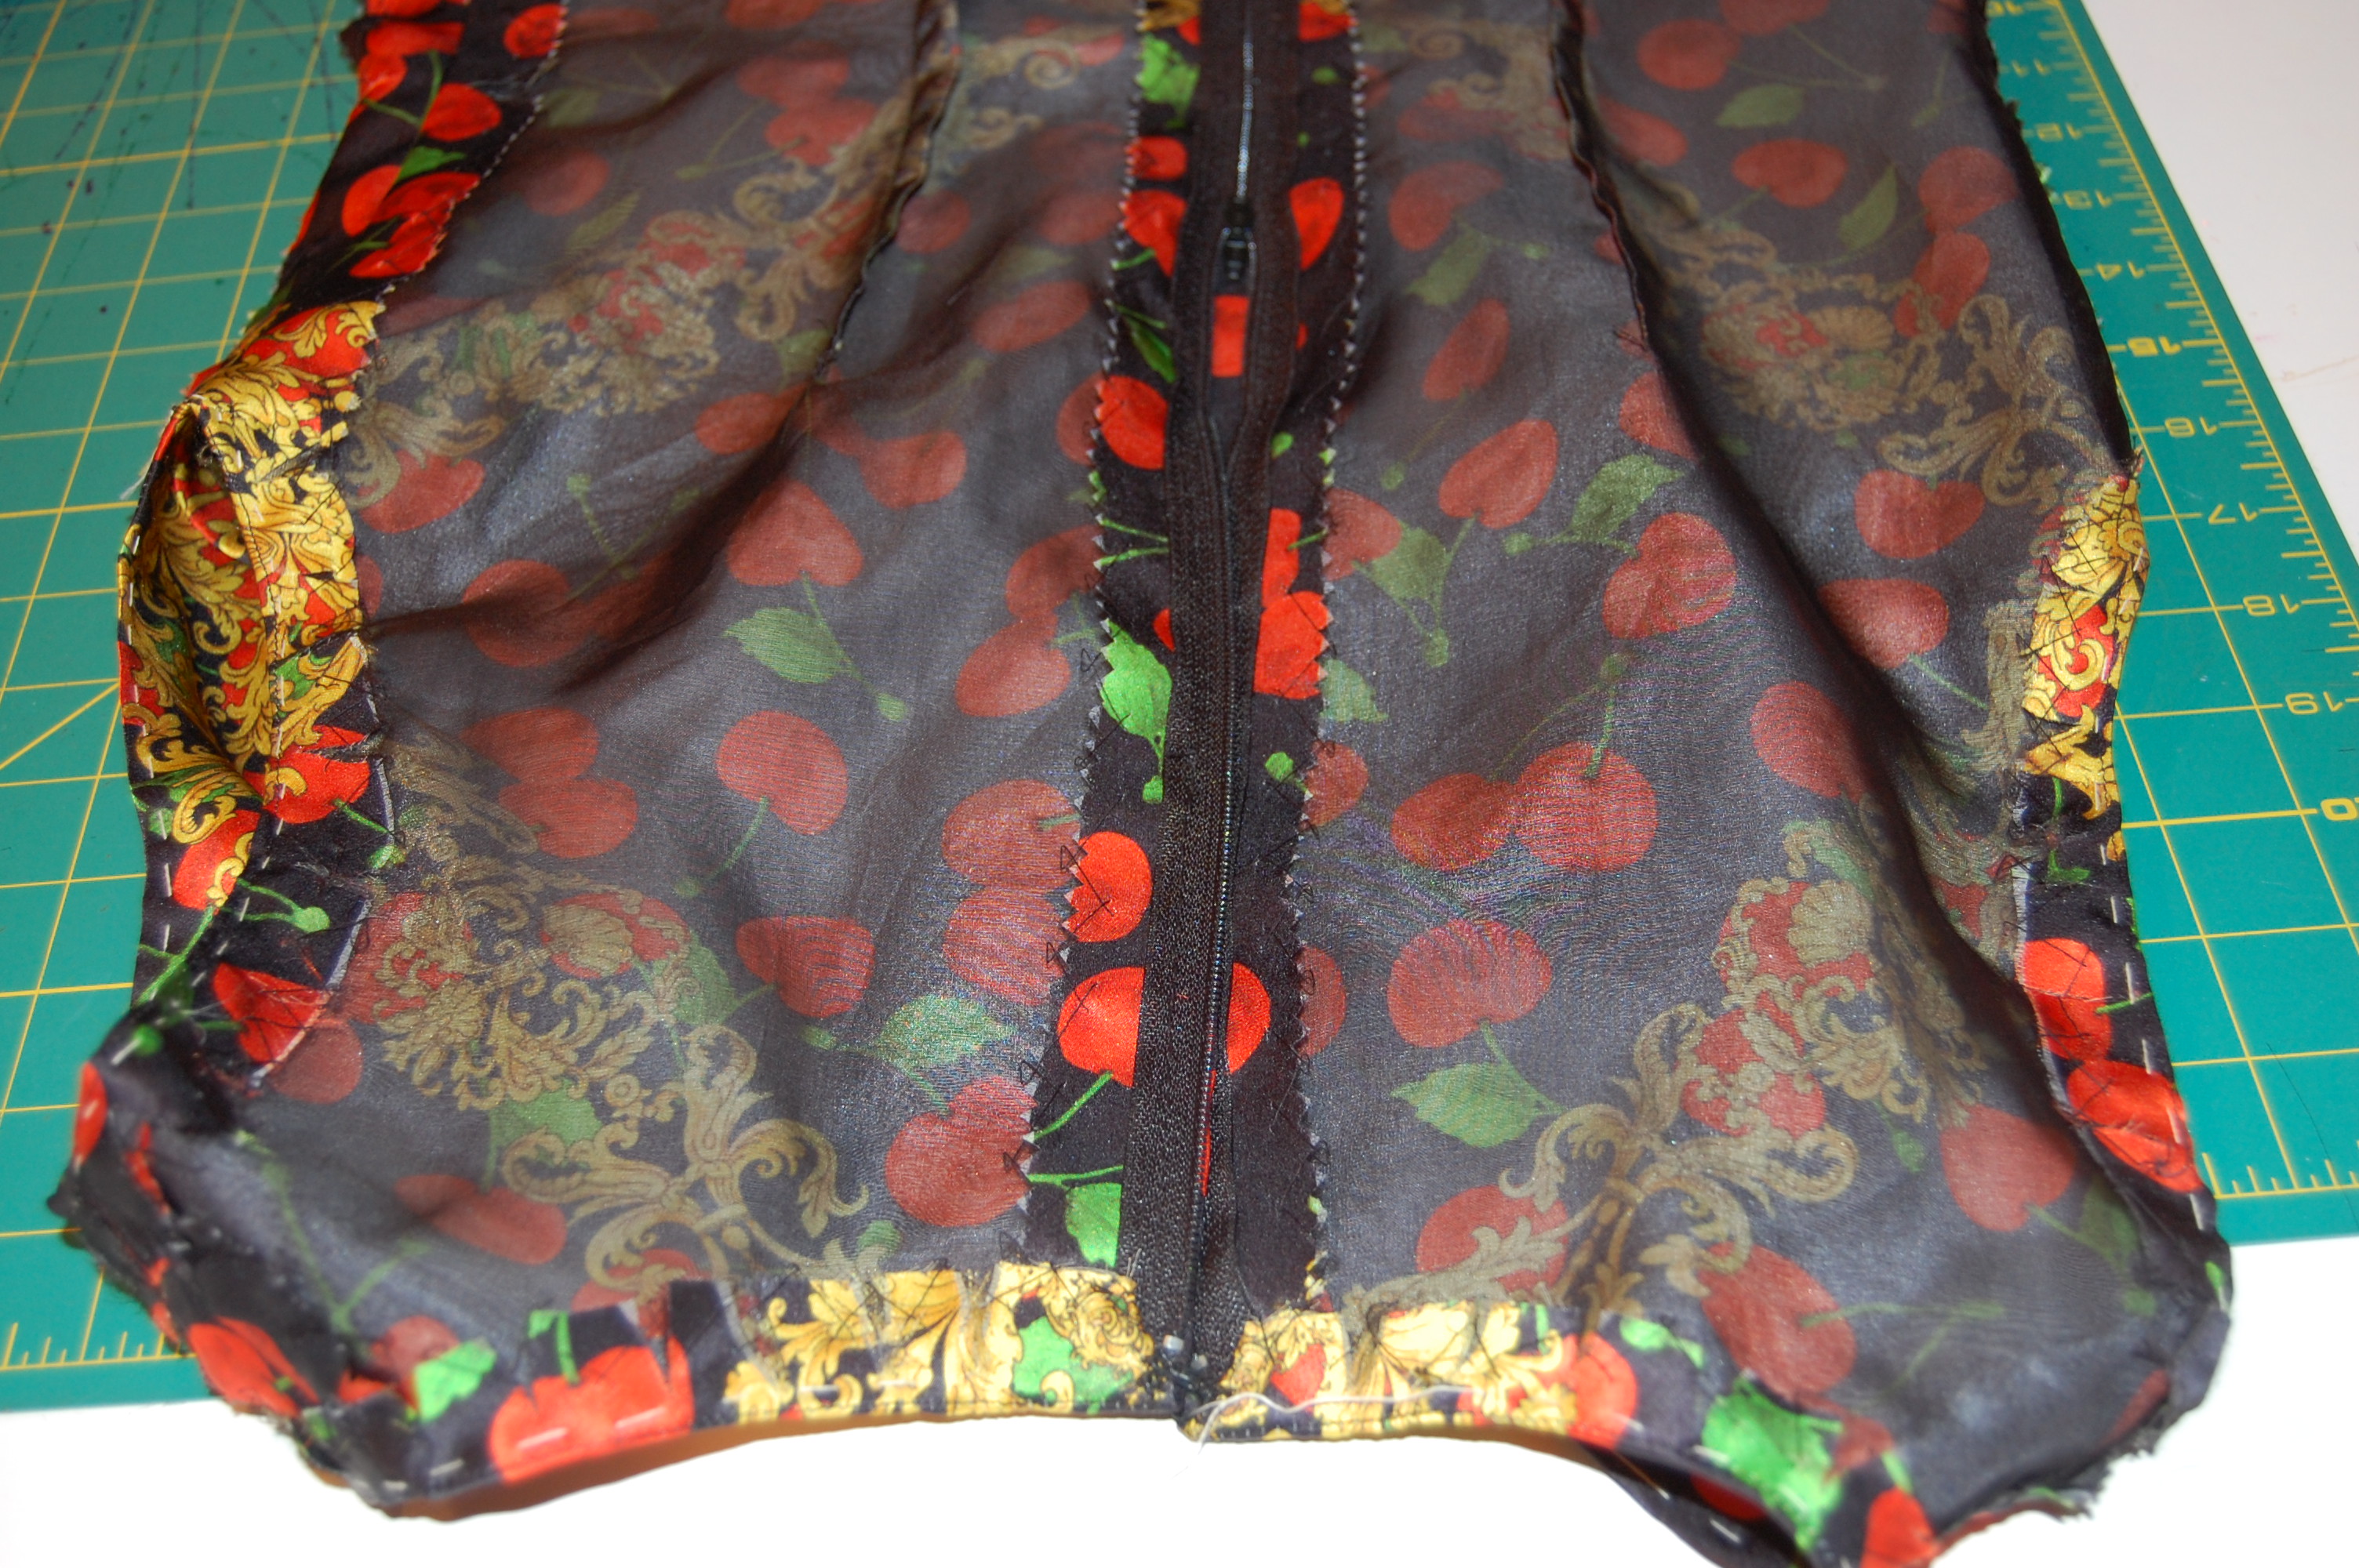
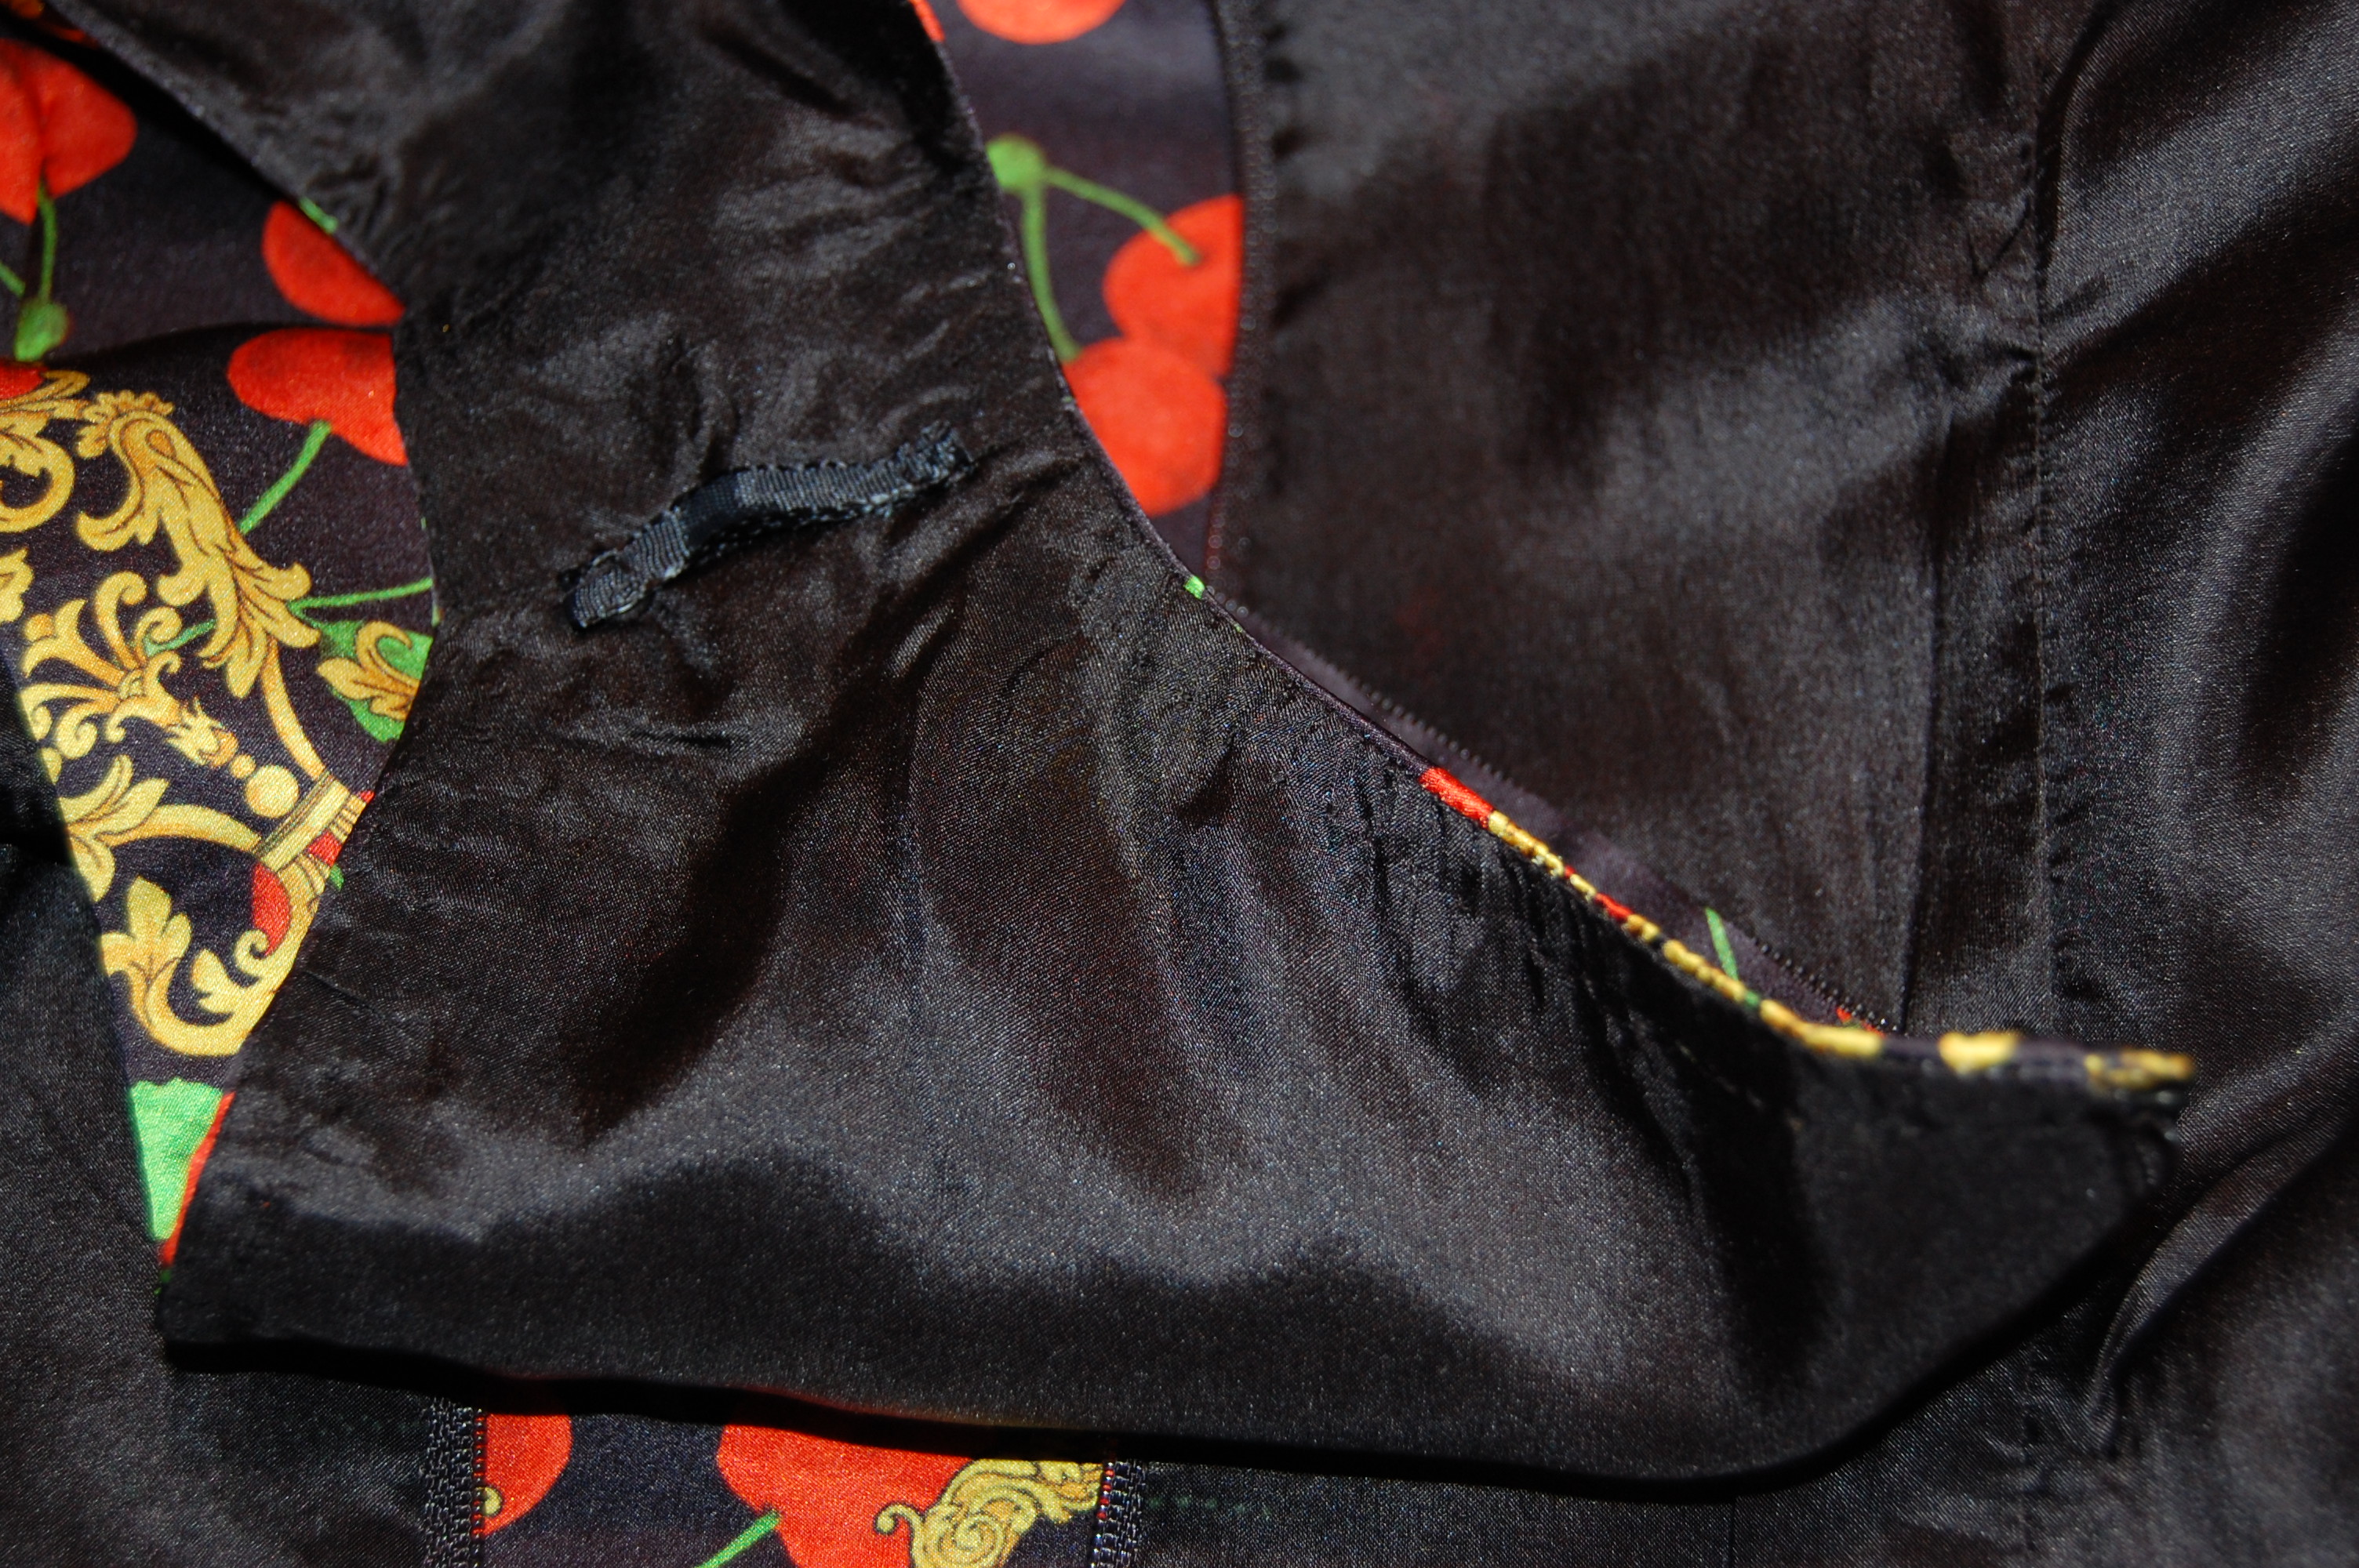
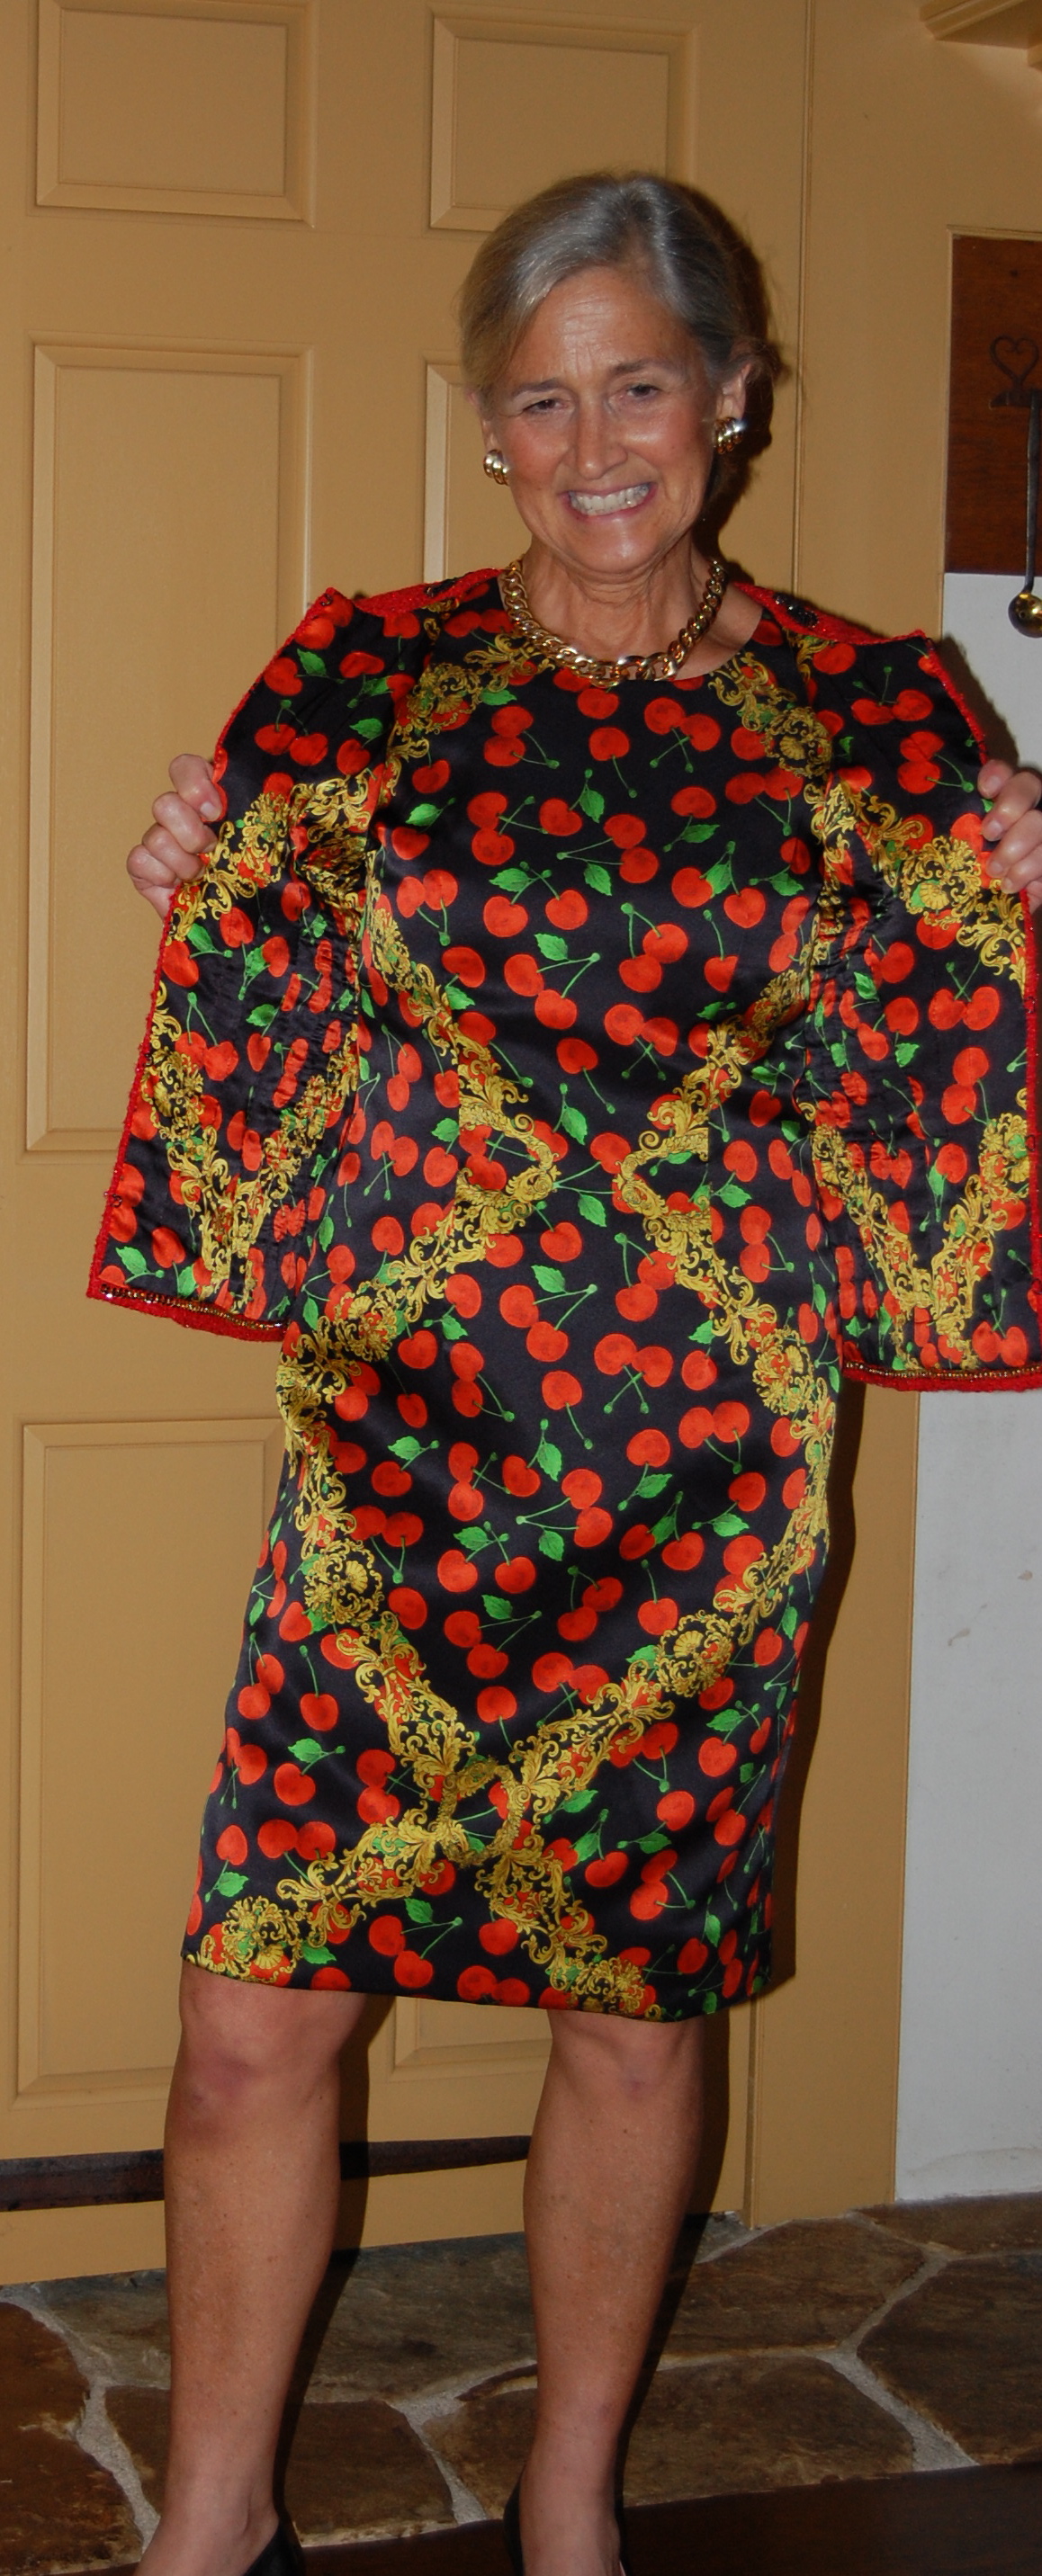
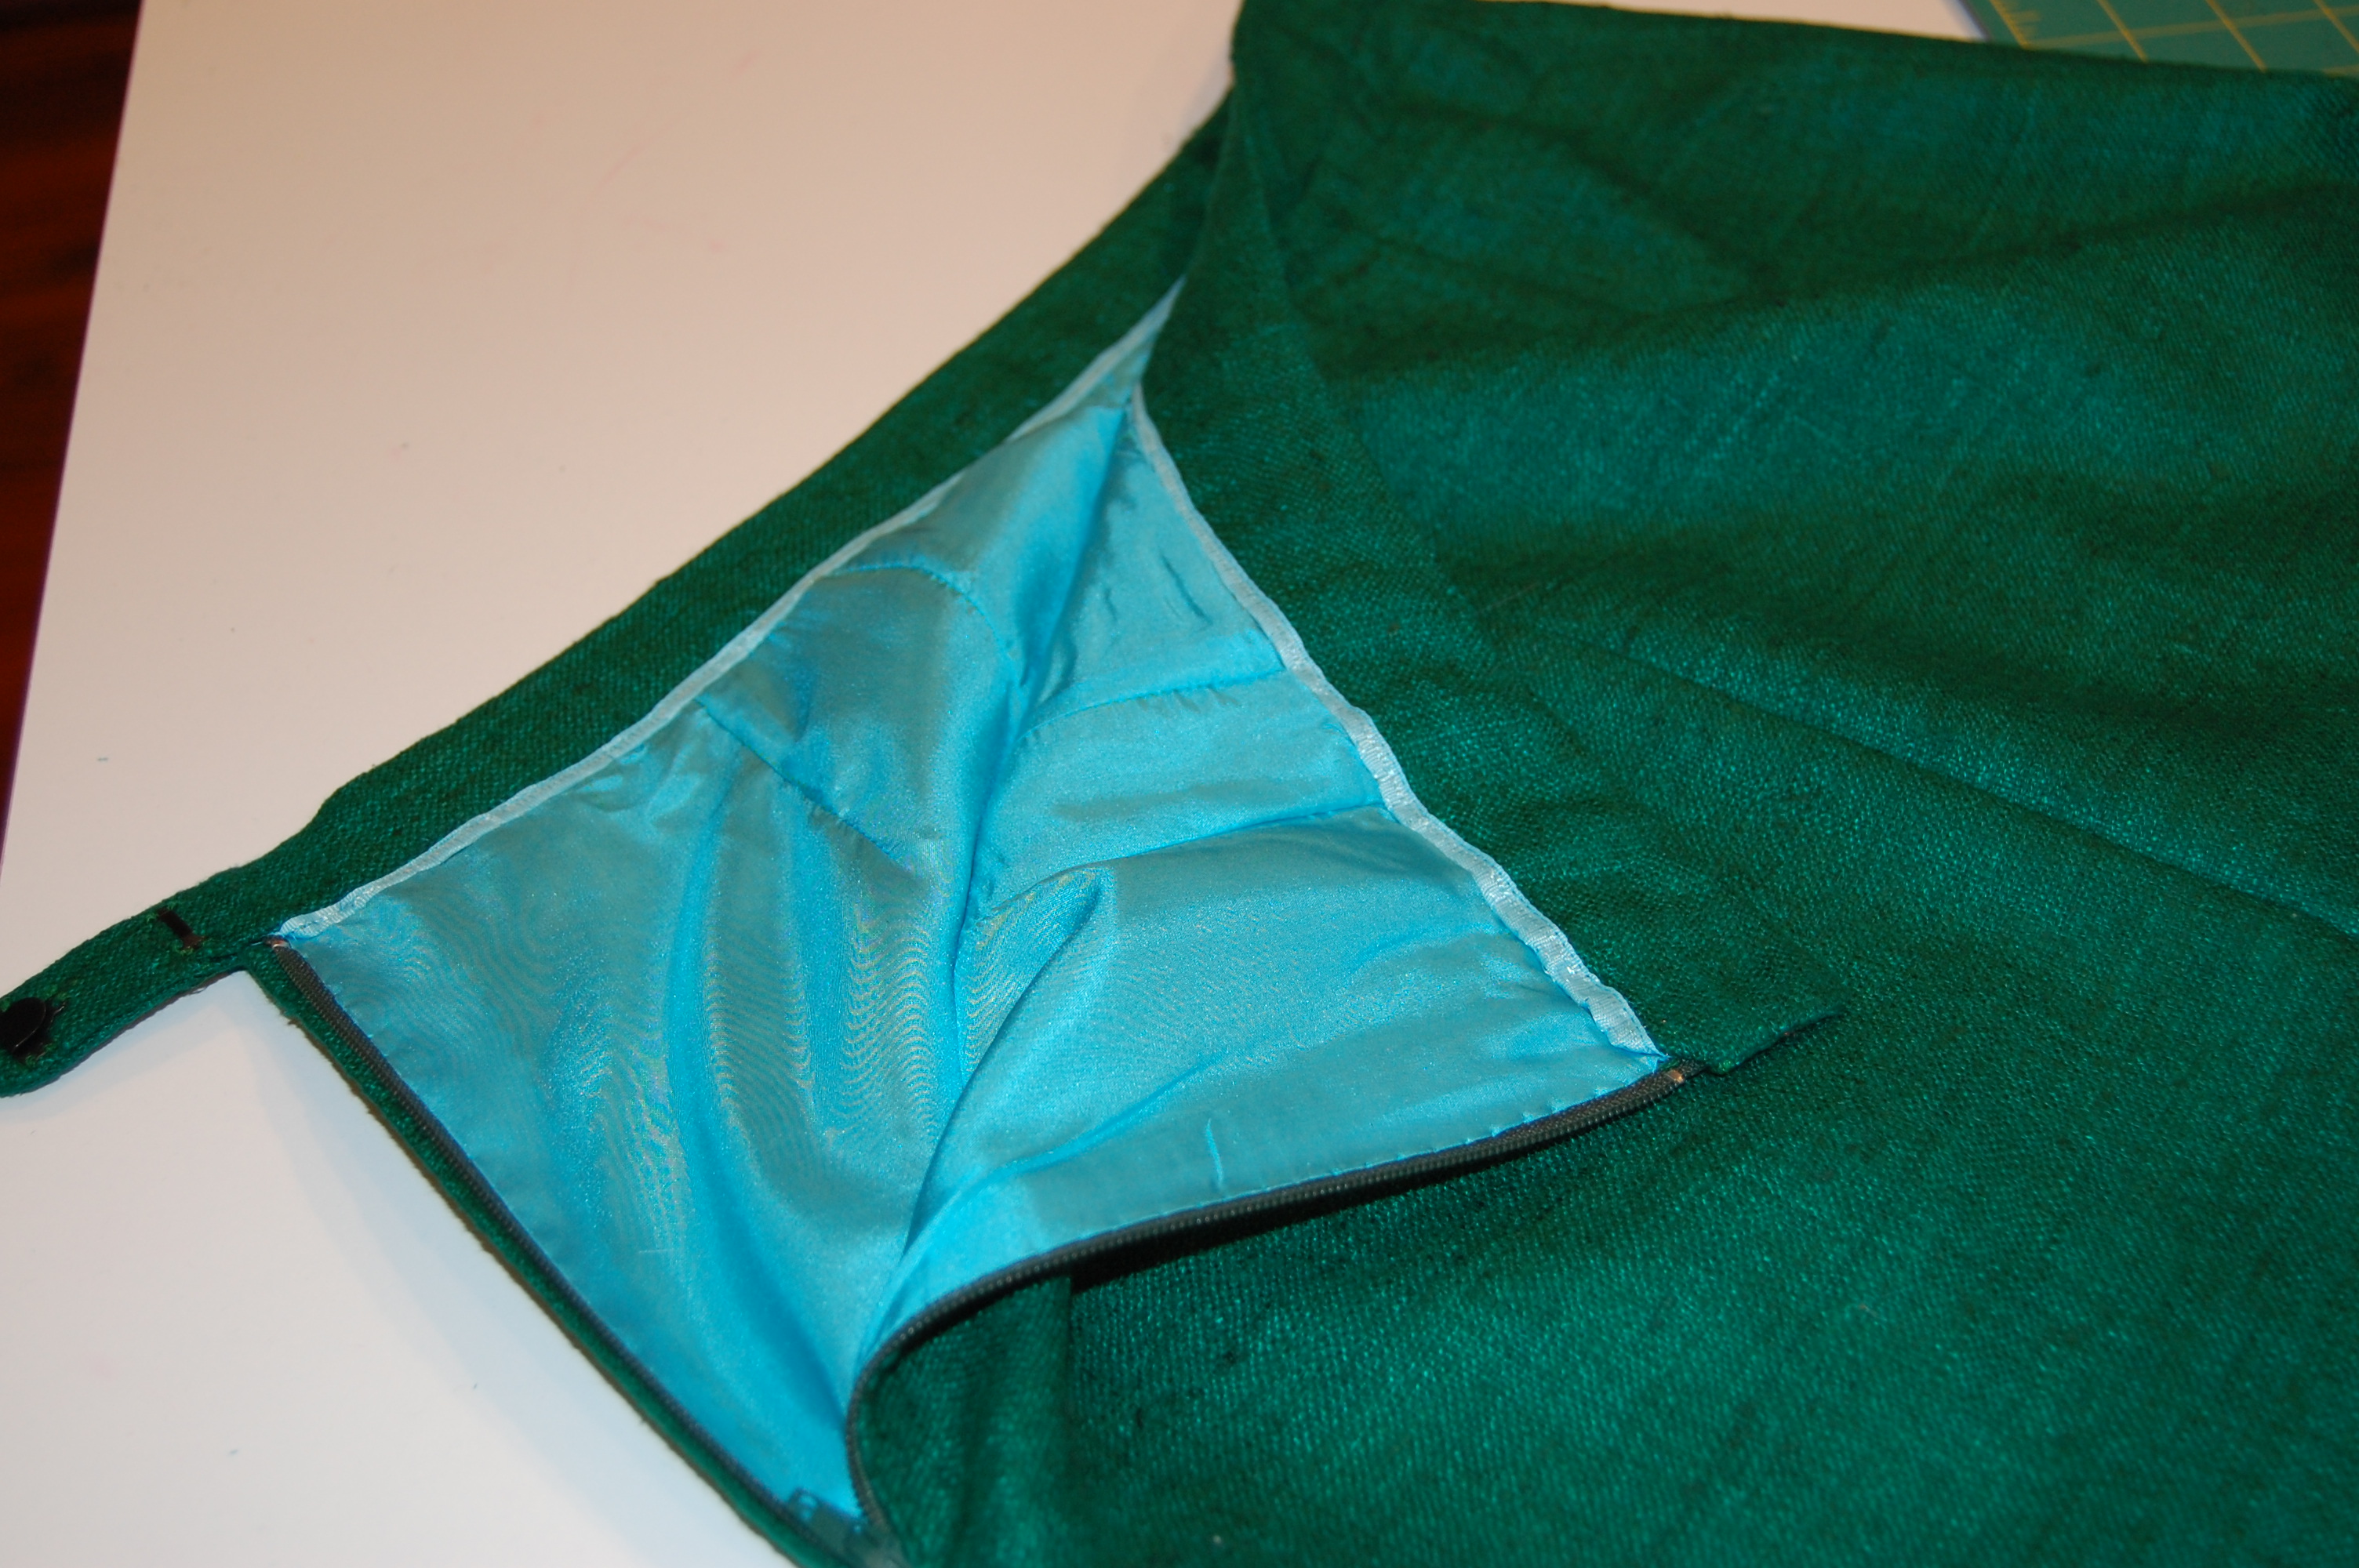
This boring view just shows the lining that was so tedious to attach!
I made the mistake of making the cuffs before a final fitting of the sleeves. (I thought I was being smart and getting “prep” work done, but I just made more work for myself). I ended up shortening the sleeves and enlargening the openings so that I would be able to push them up on my arms if I wanted to. The cuffs I had made were not long enough to accommodate these adjustments, so back I went to cut and make new cuffs. Fortunately I had just enough fabric to squeeze these out!
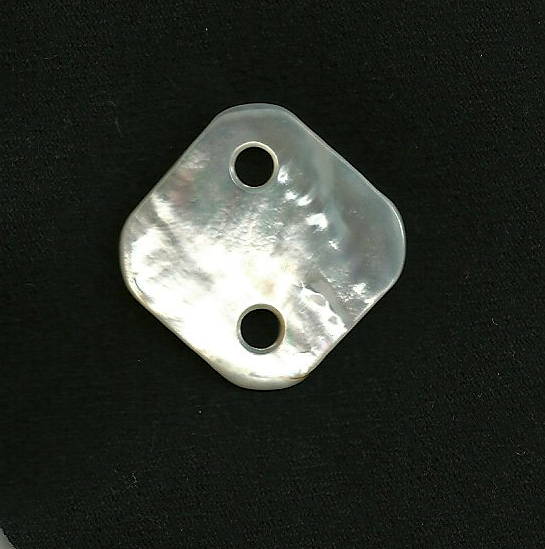
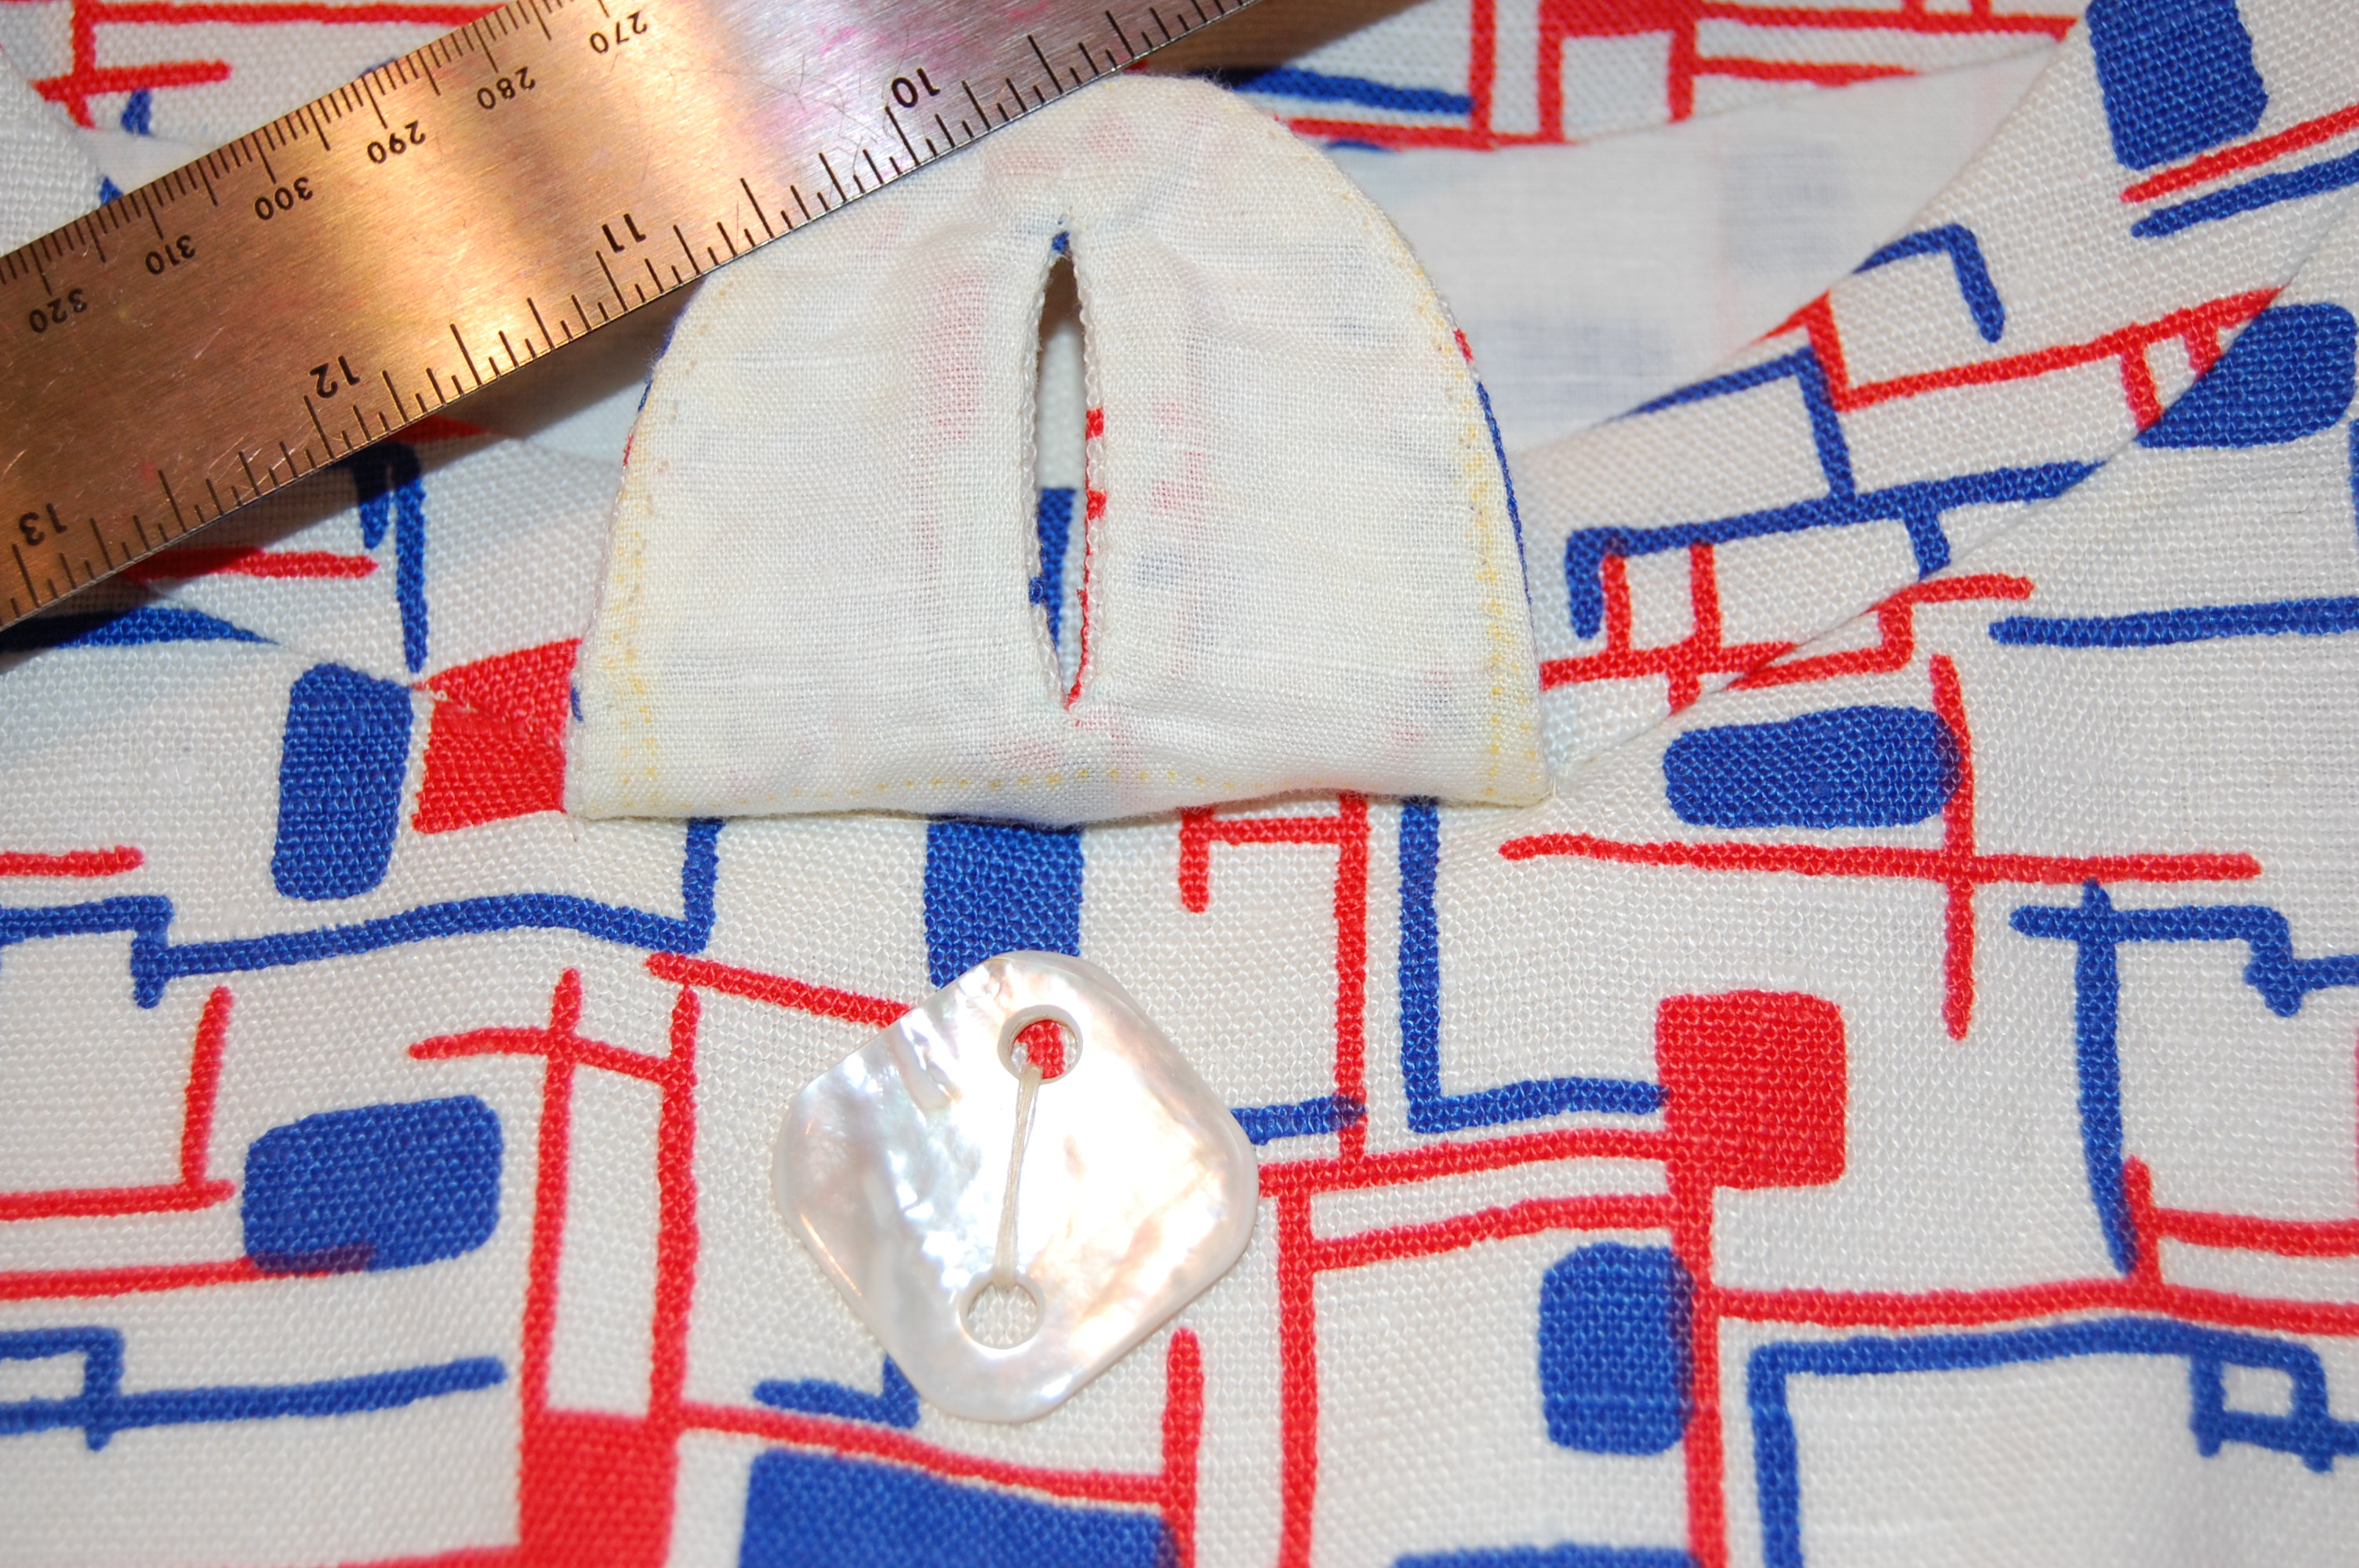
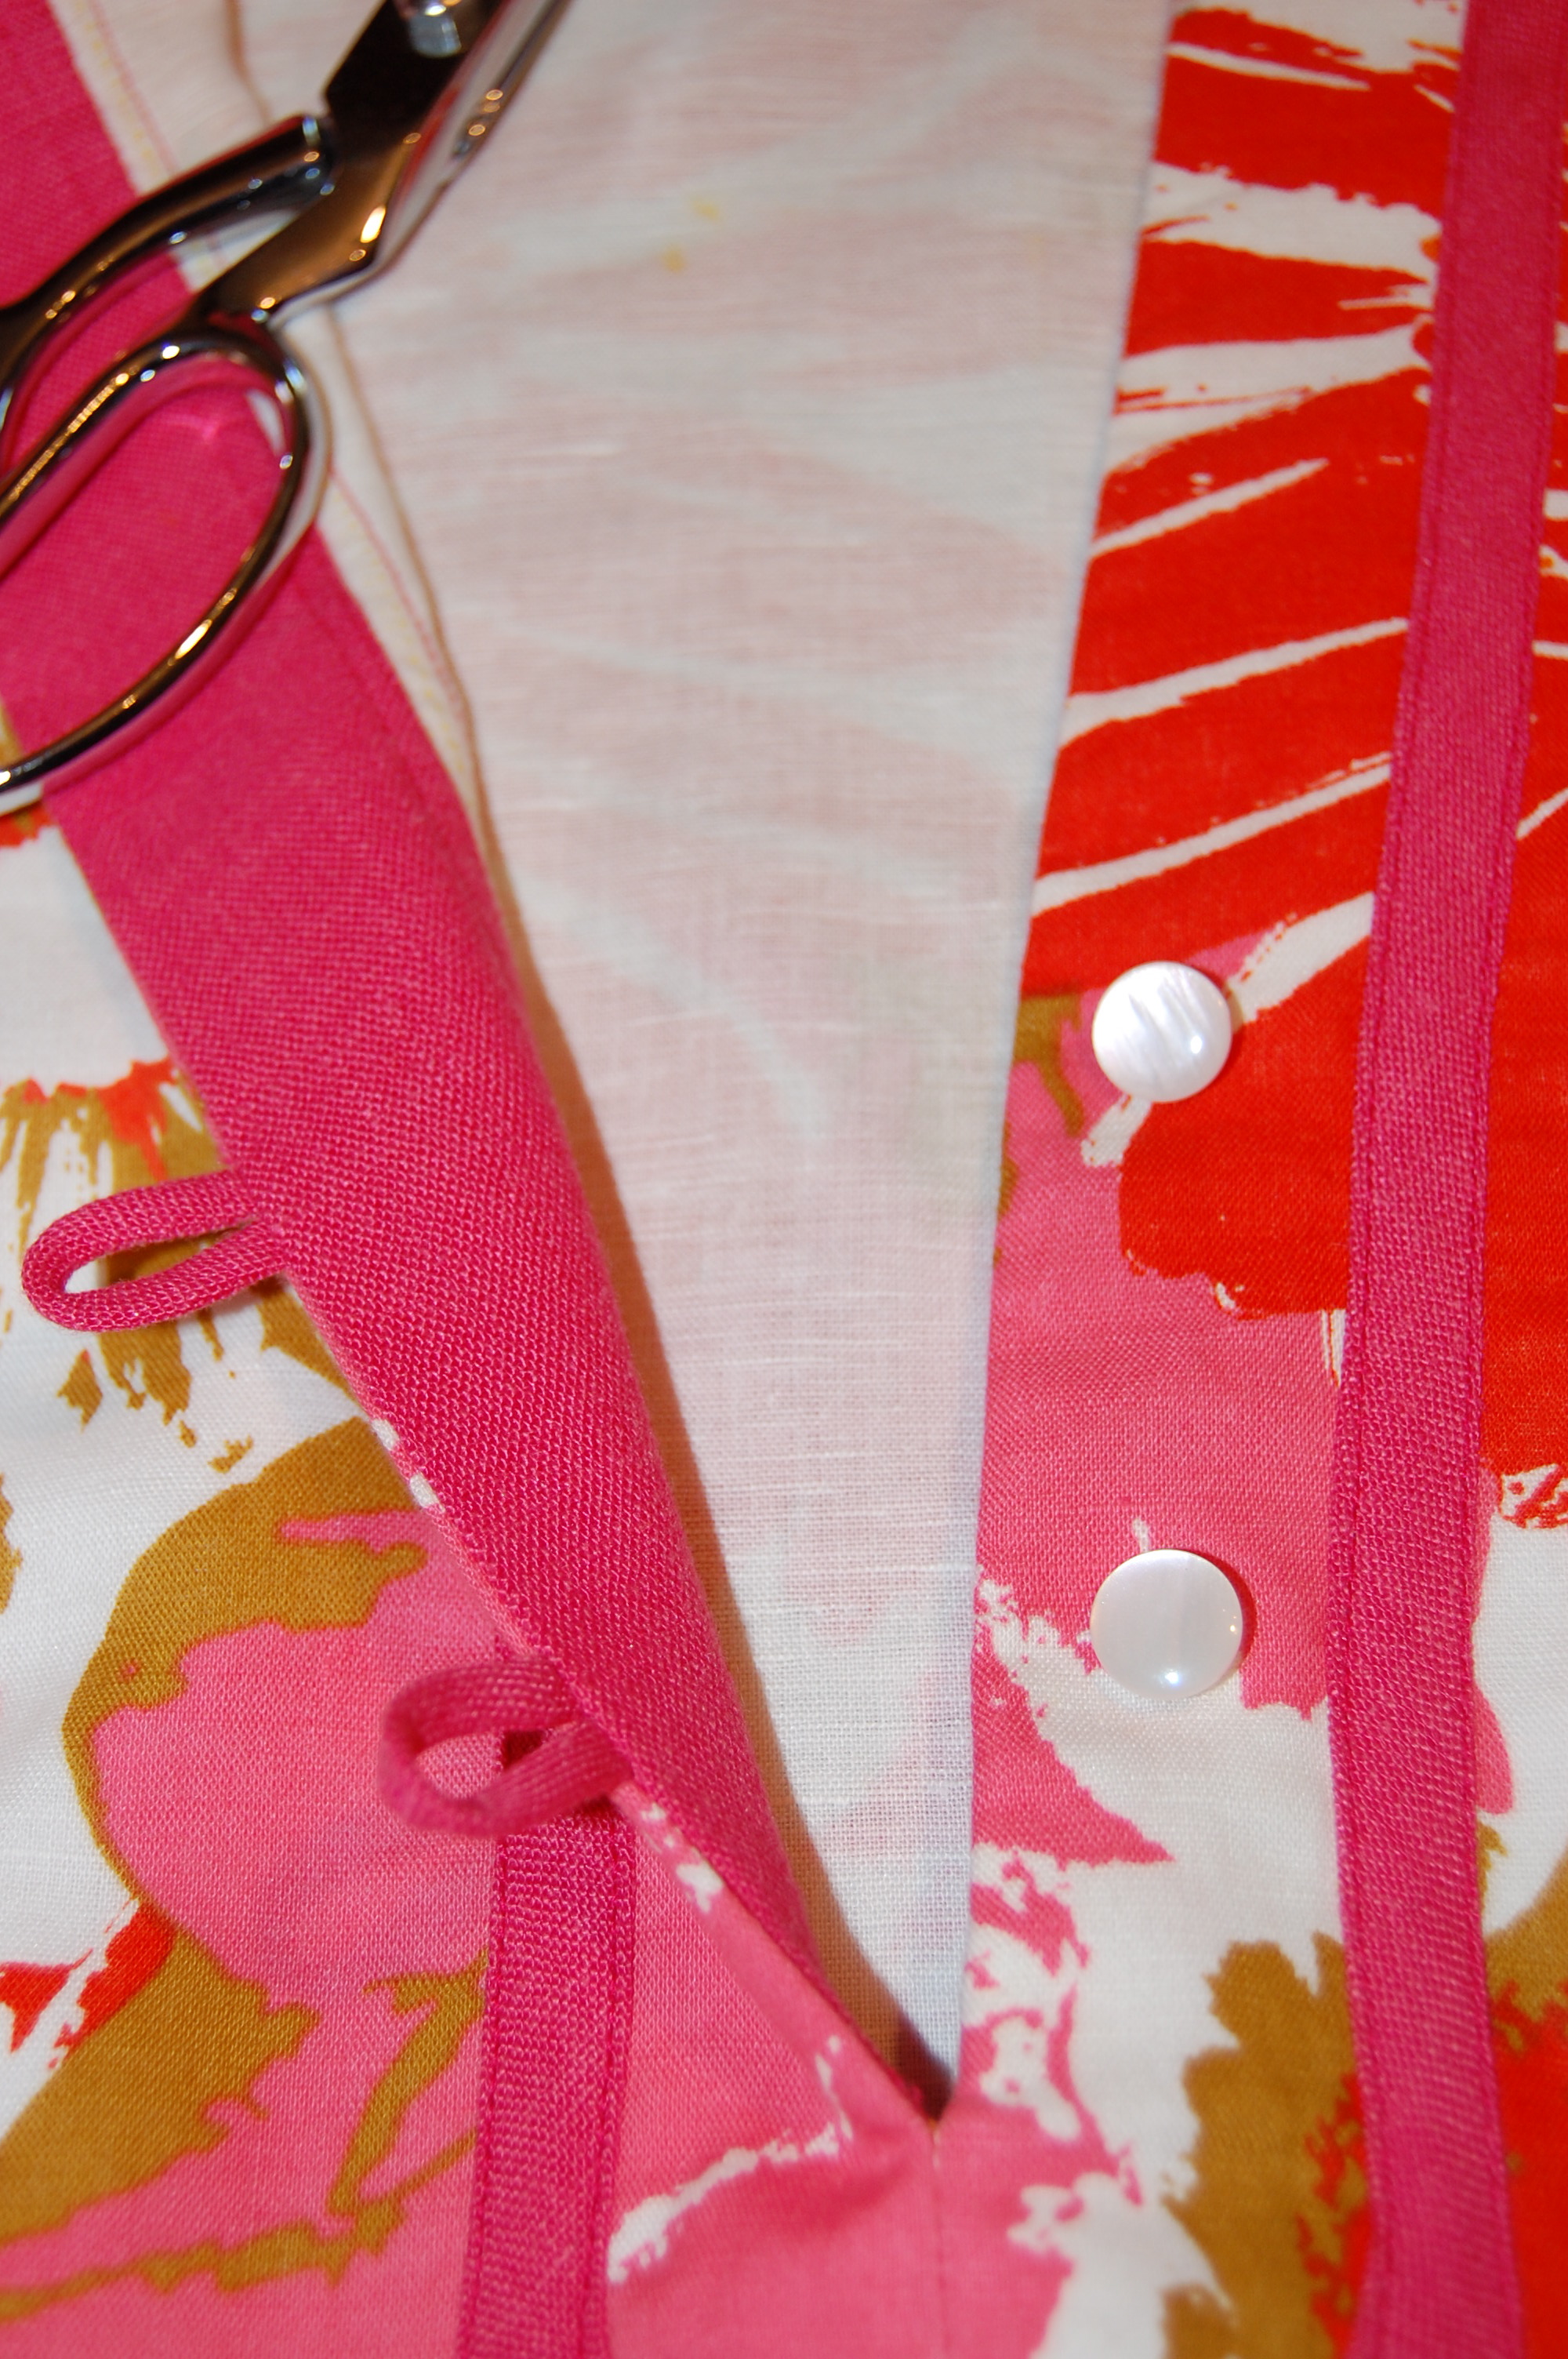
For buttons for the cuffs, I went to my button box and came up with this card:
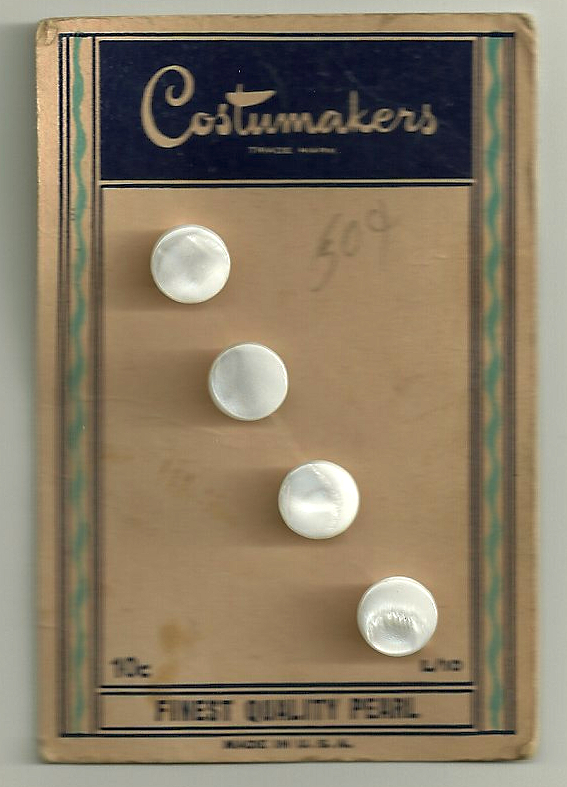
The original price of these buttons was 10 cents. I picked them up for 50 cents at some point. It almost seemed a shame to cut them off of the card!
Because I had reduced the points on the cuffs, I needed “not-too-big” buttons and these proved to be perfect, I thought, and in keeping with the “pearl” theme.
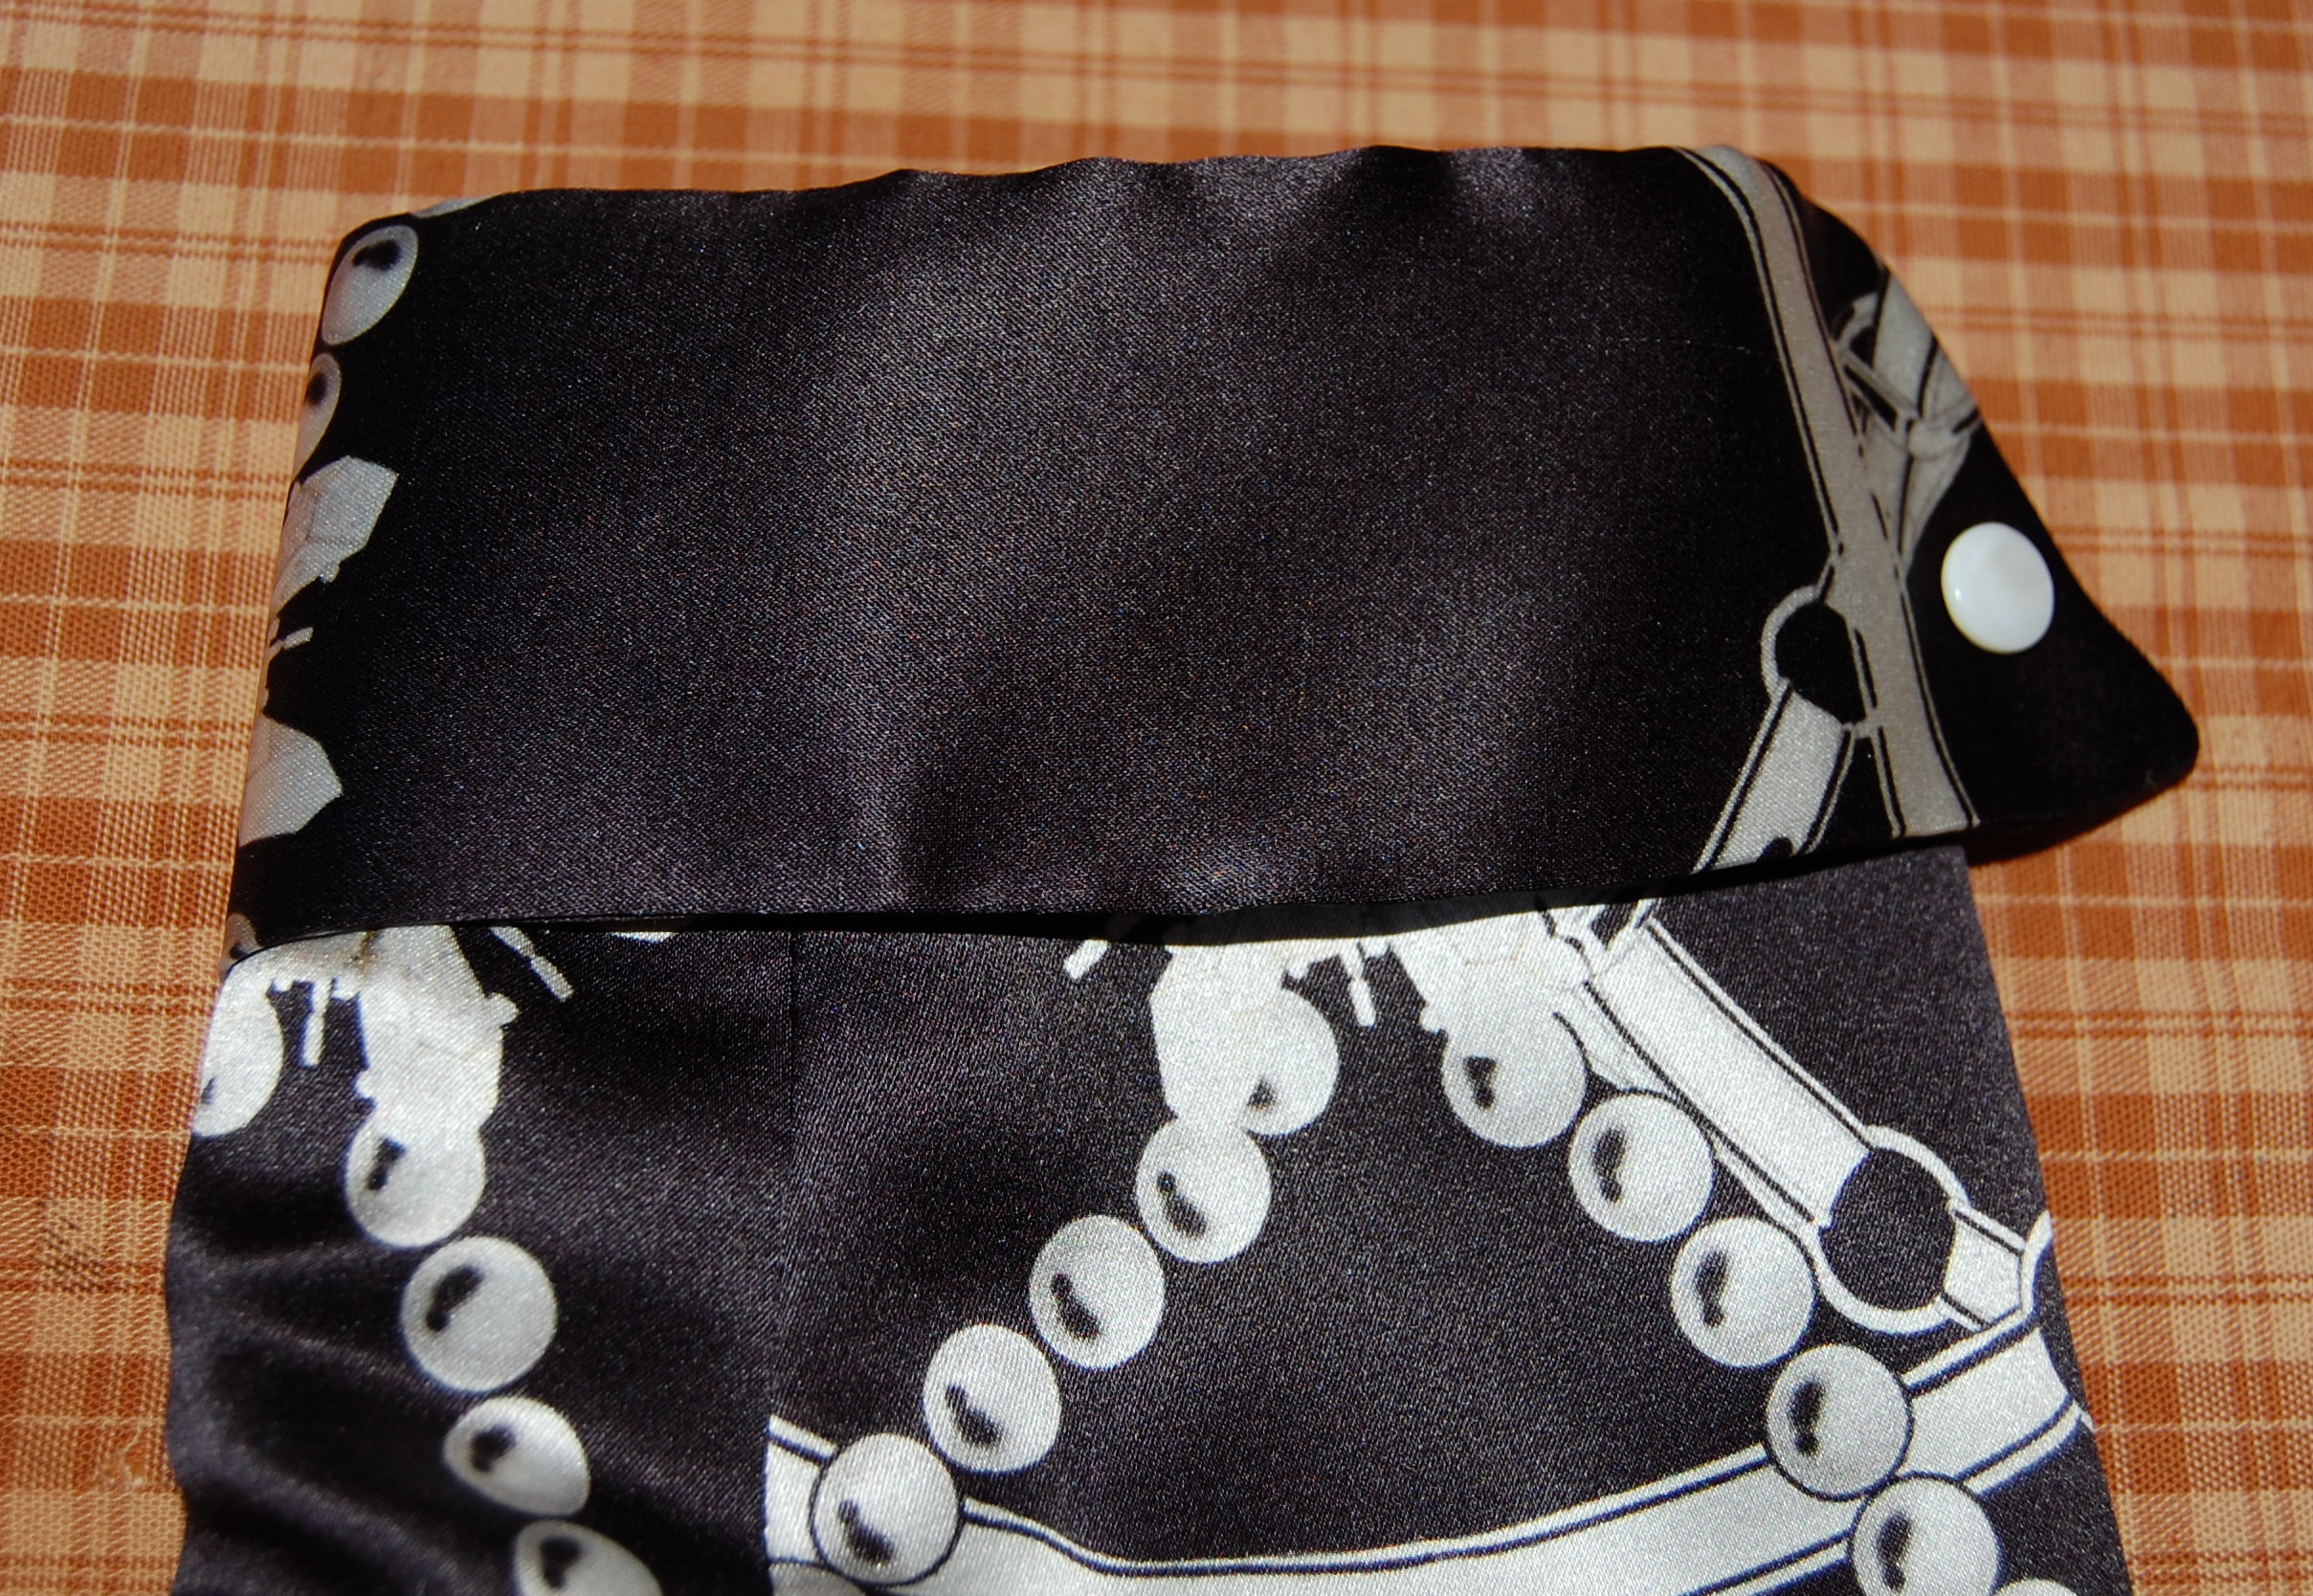
Here is one of the cuffs with buttons attached.
Working on the black fashion and lining fabrics was tedious. And it seemed the more I worked on this dress, the more there was to do on it! Kind of like eating a big bowl of pasta – the work seemed to multiply before my eyes. Fast, easy, and jiffy this was not! It’s times like this that being of a stubborn nature serves me well. I persevered and got it done! And even better, I am really happy with the results.

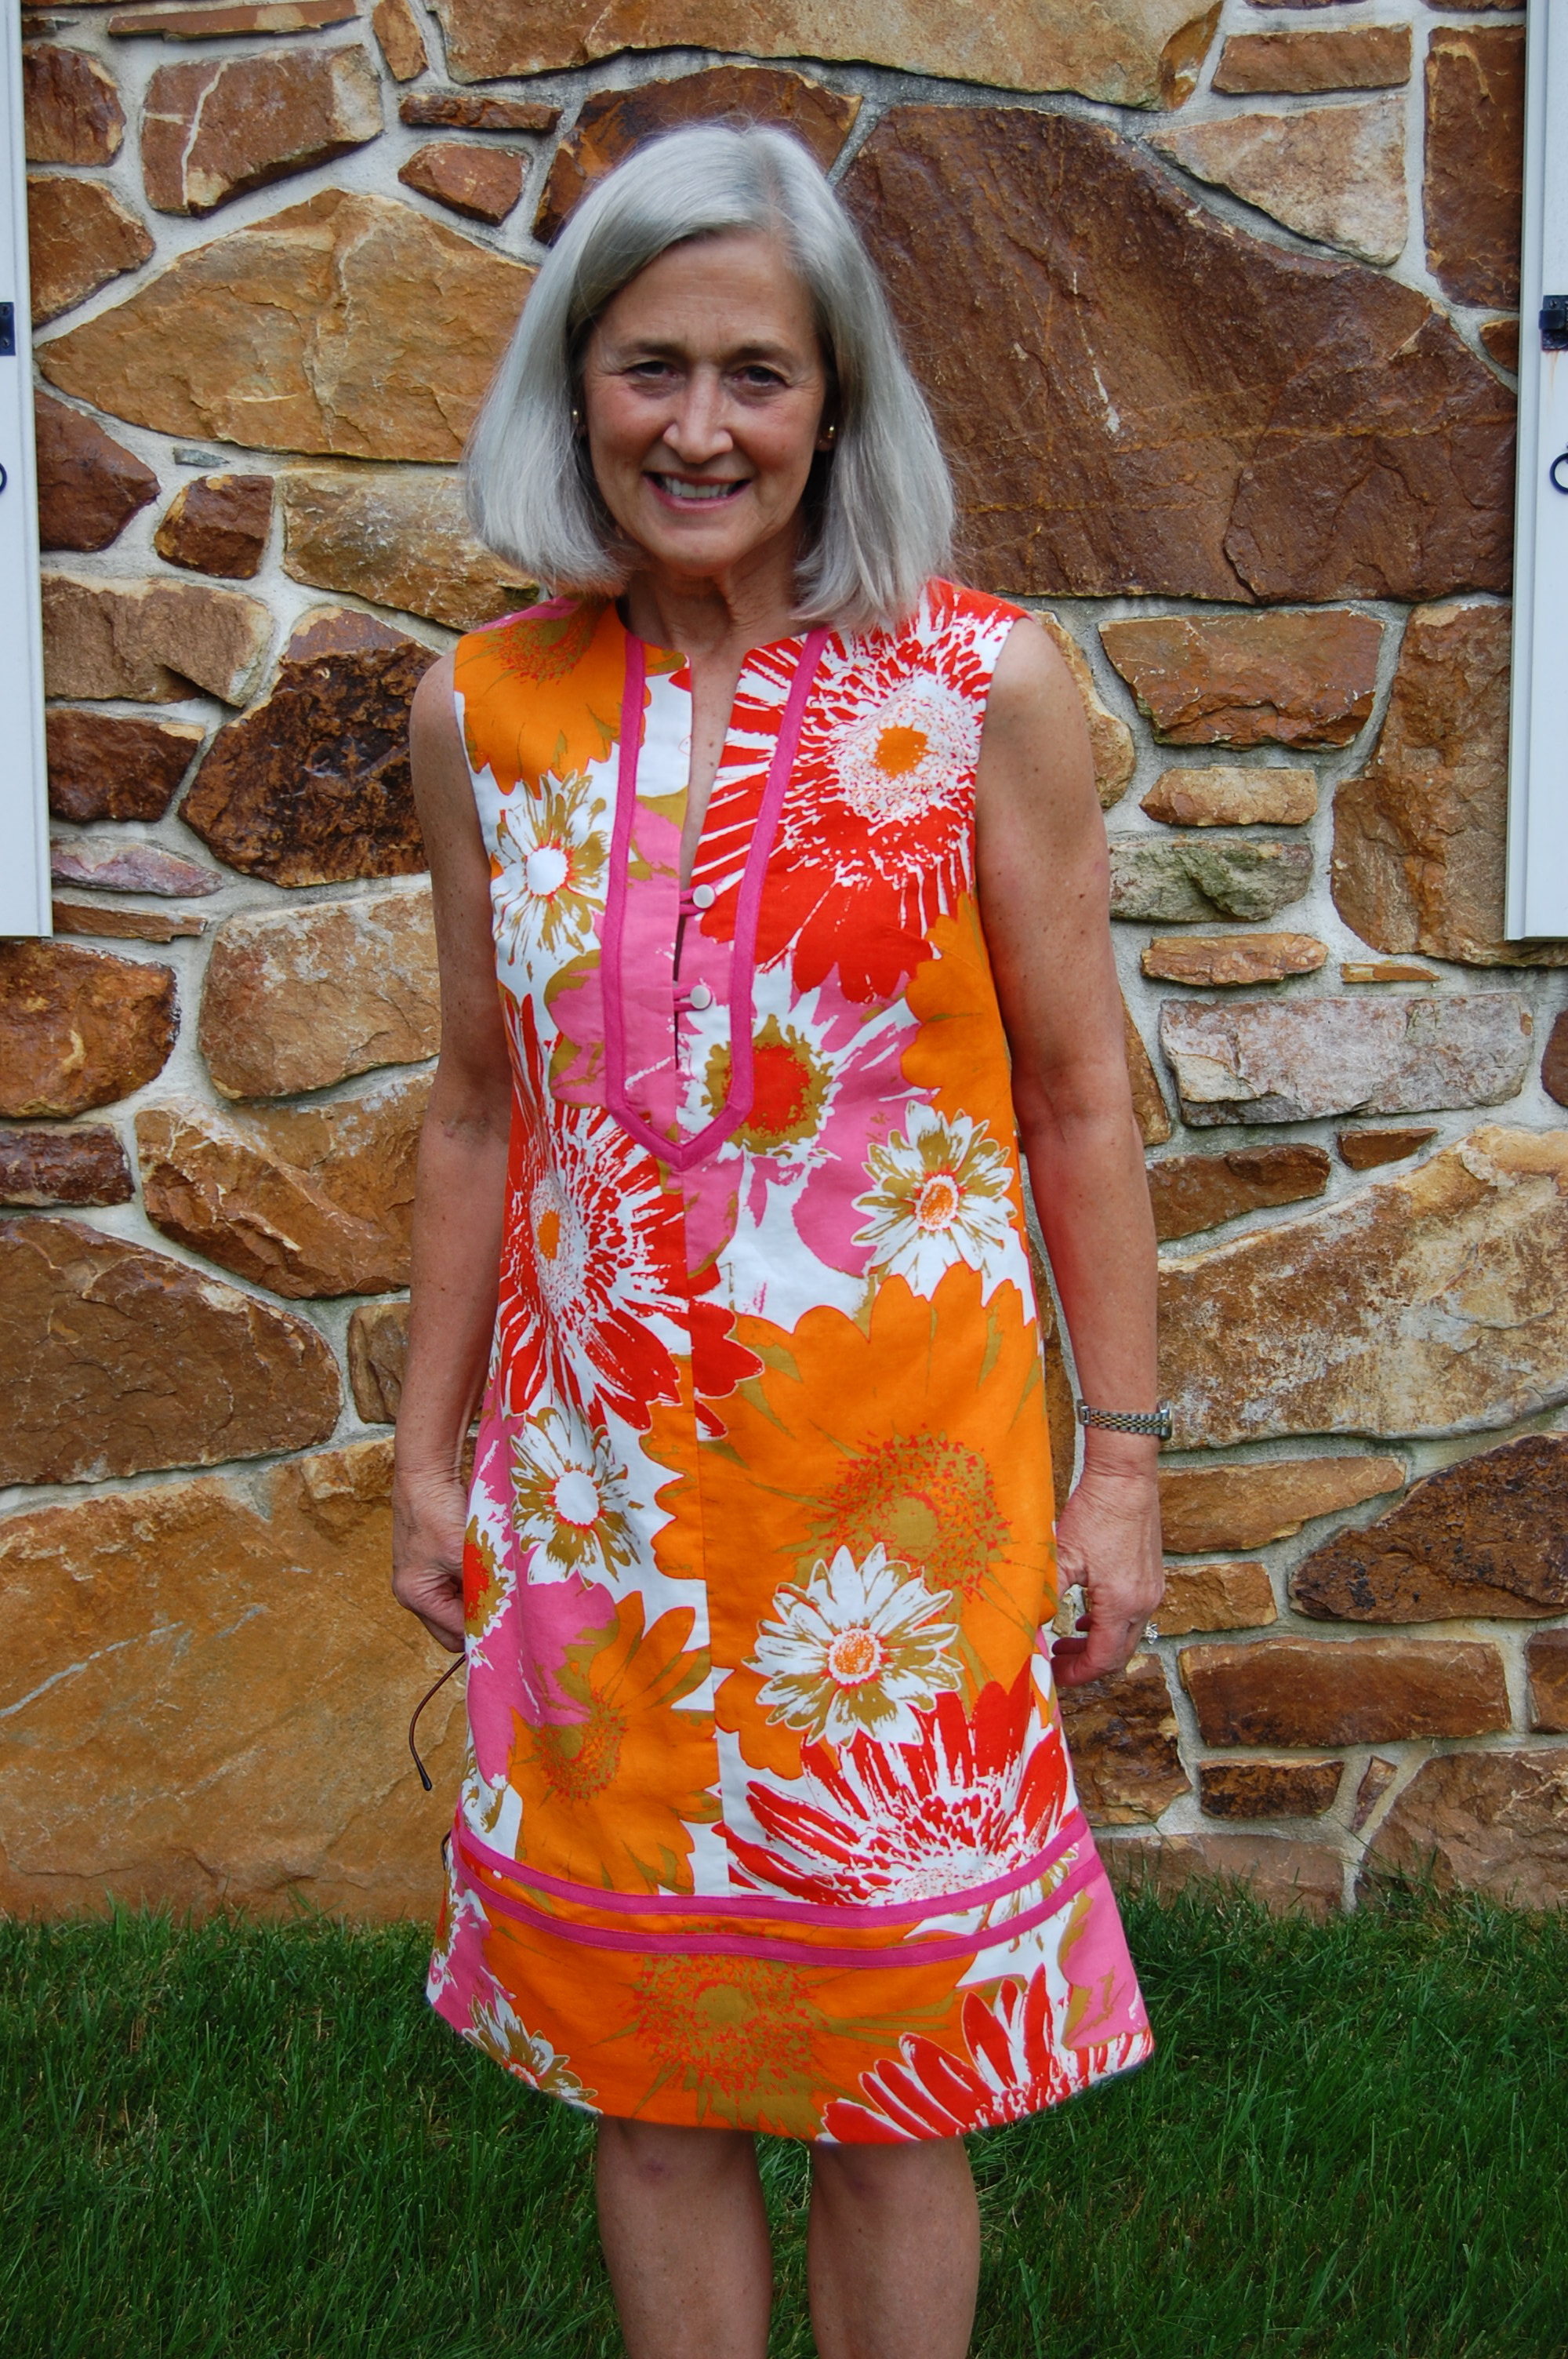
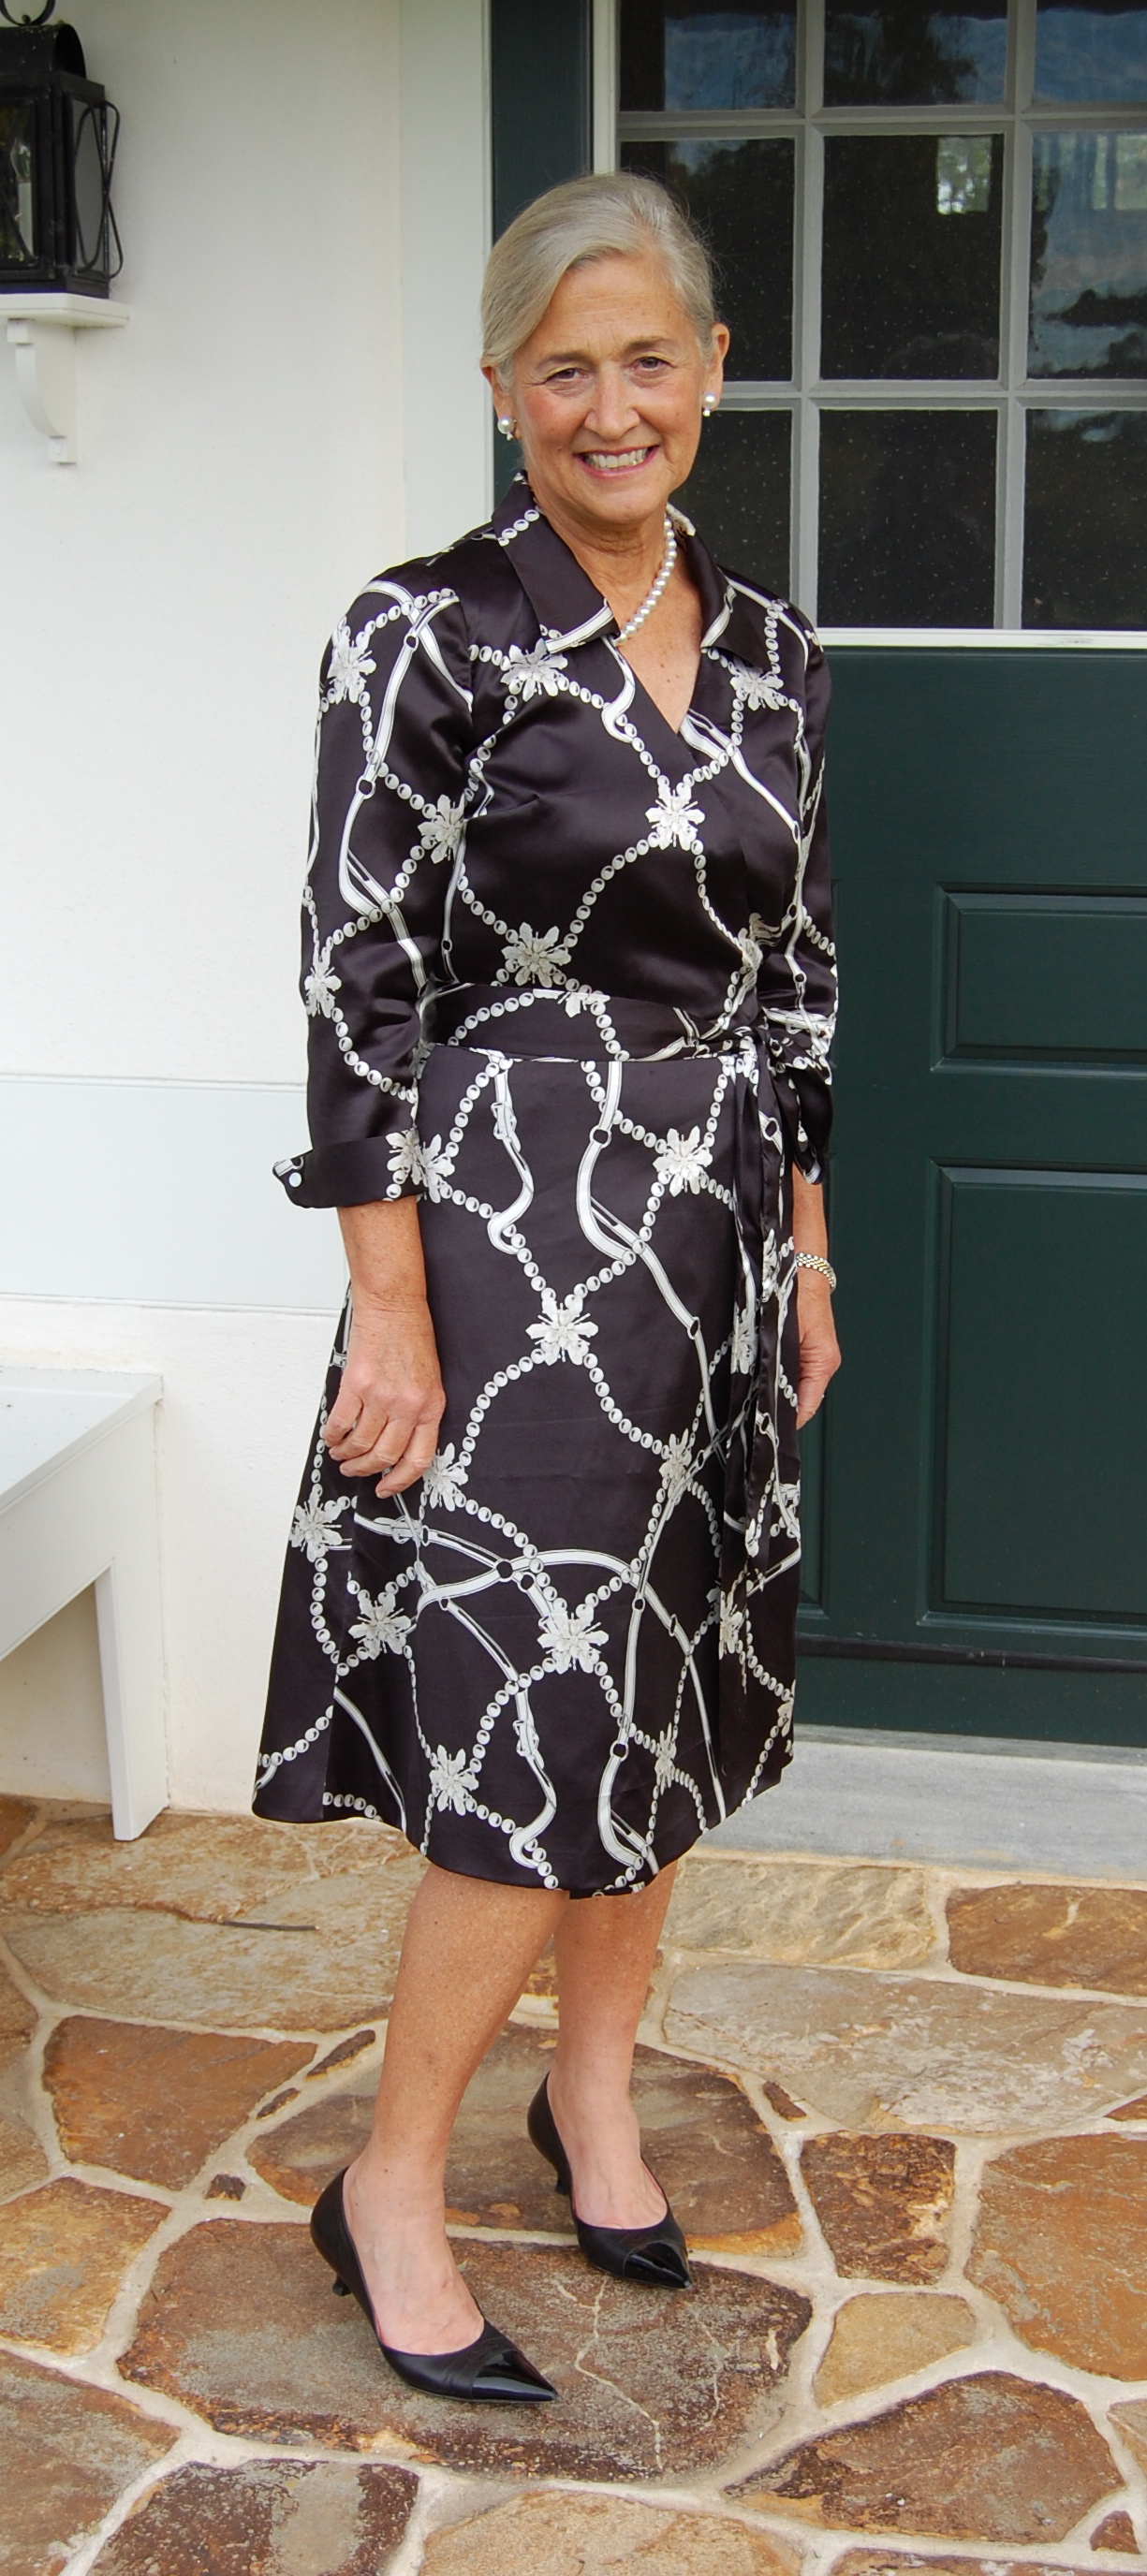
Here is the dress on my new dress form . . .
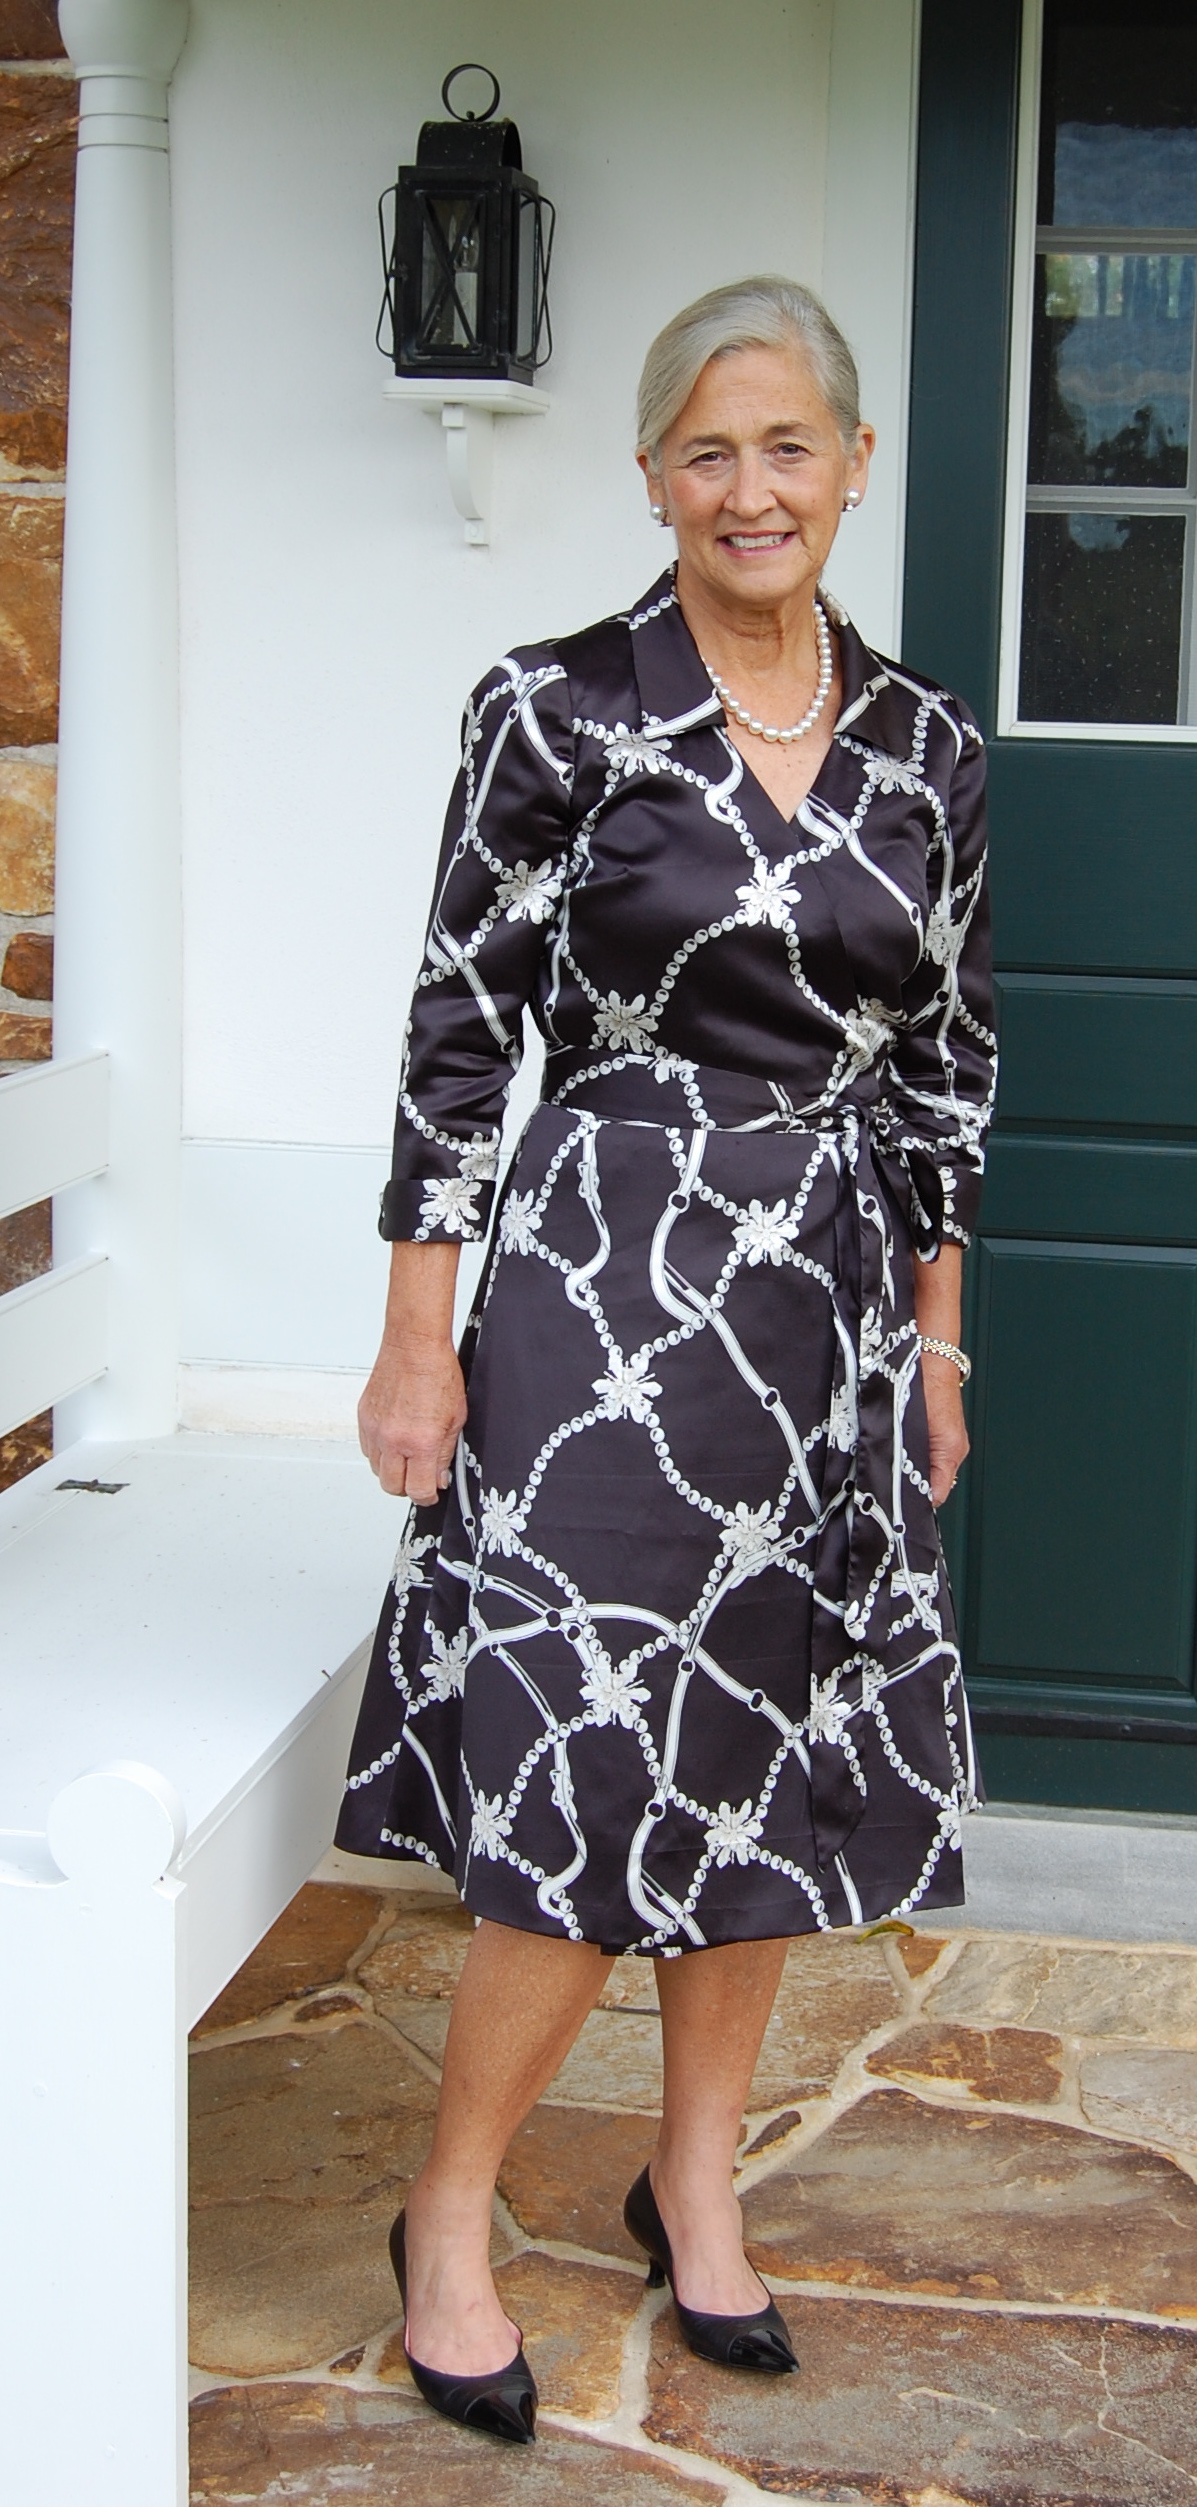
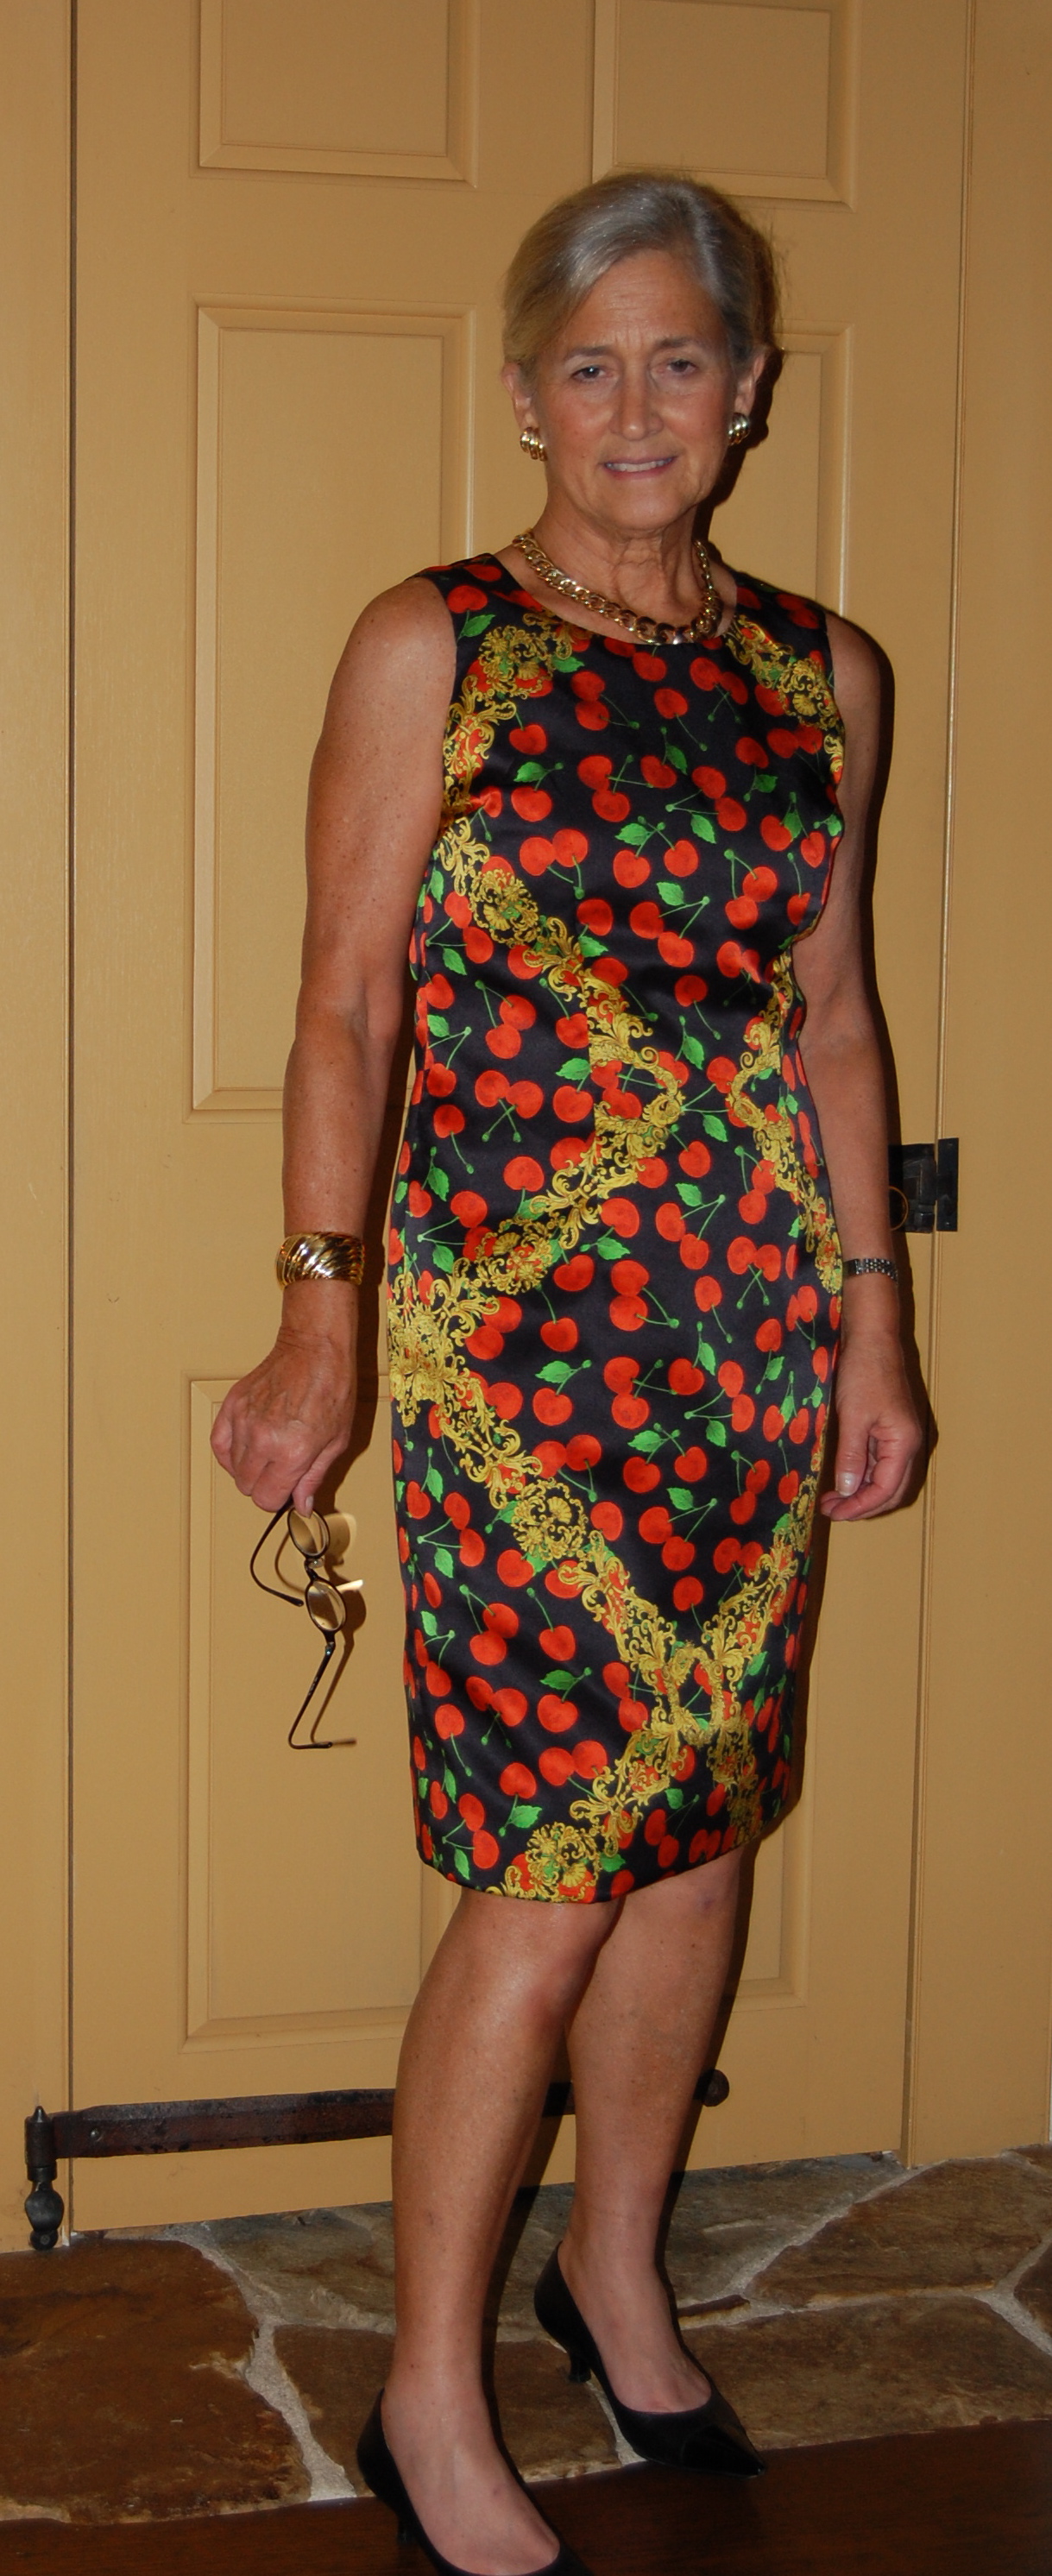
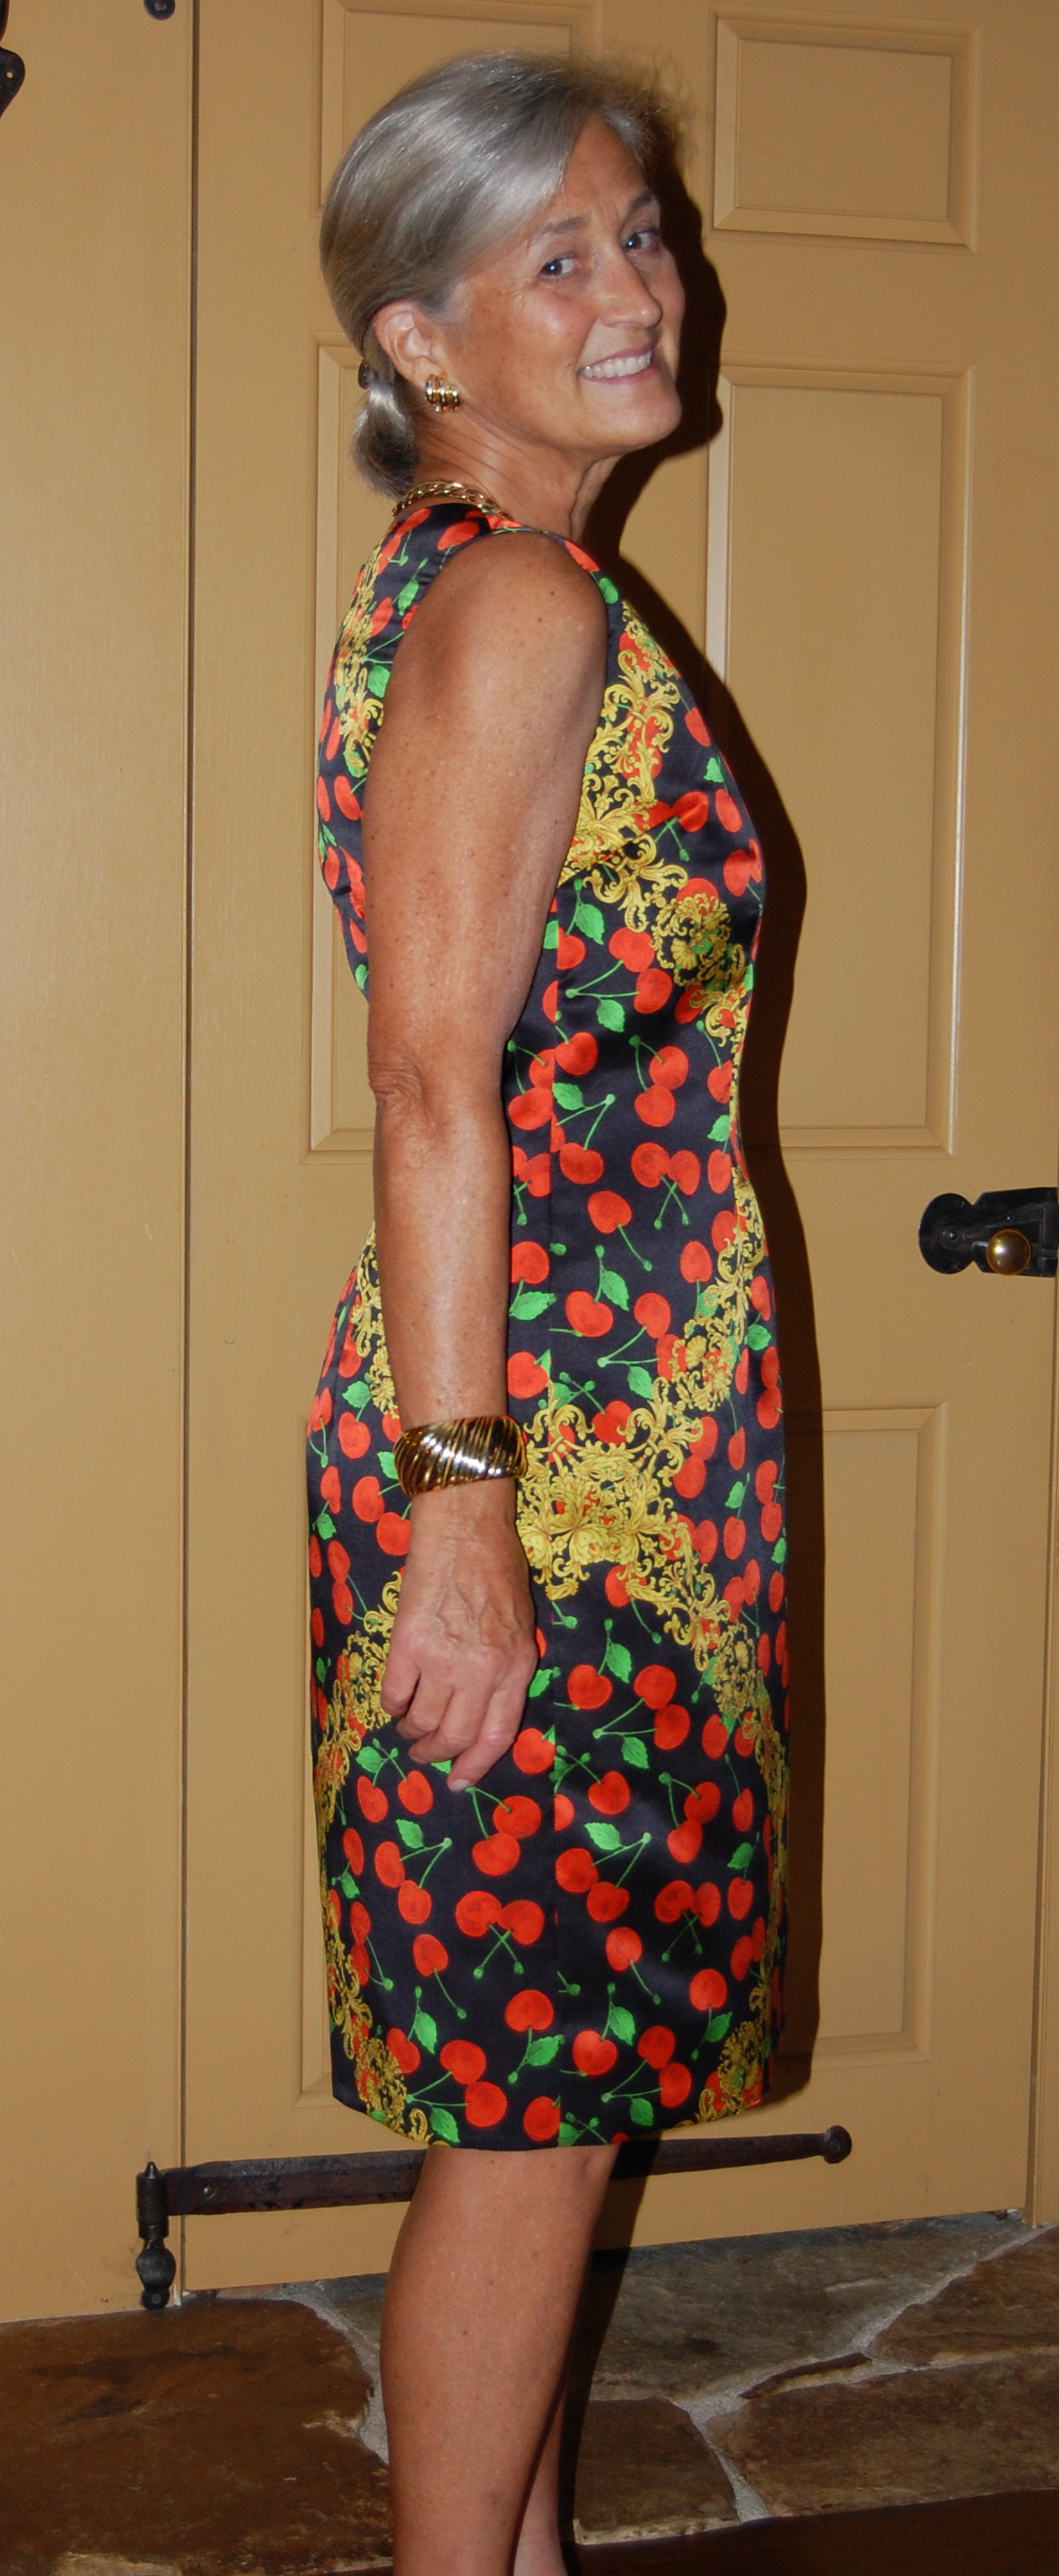
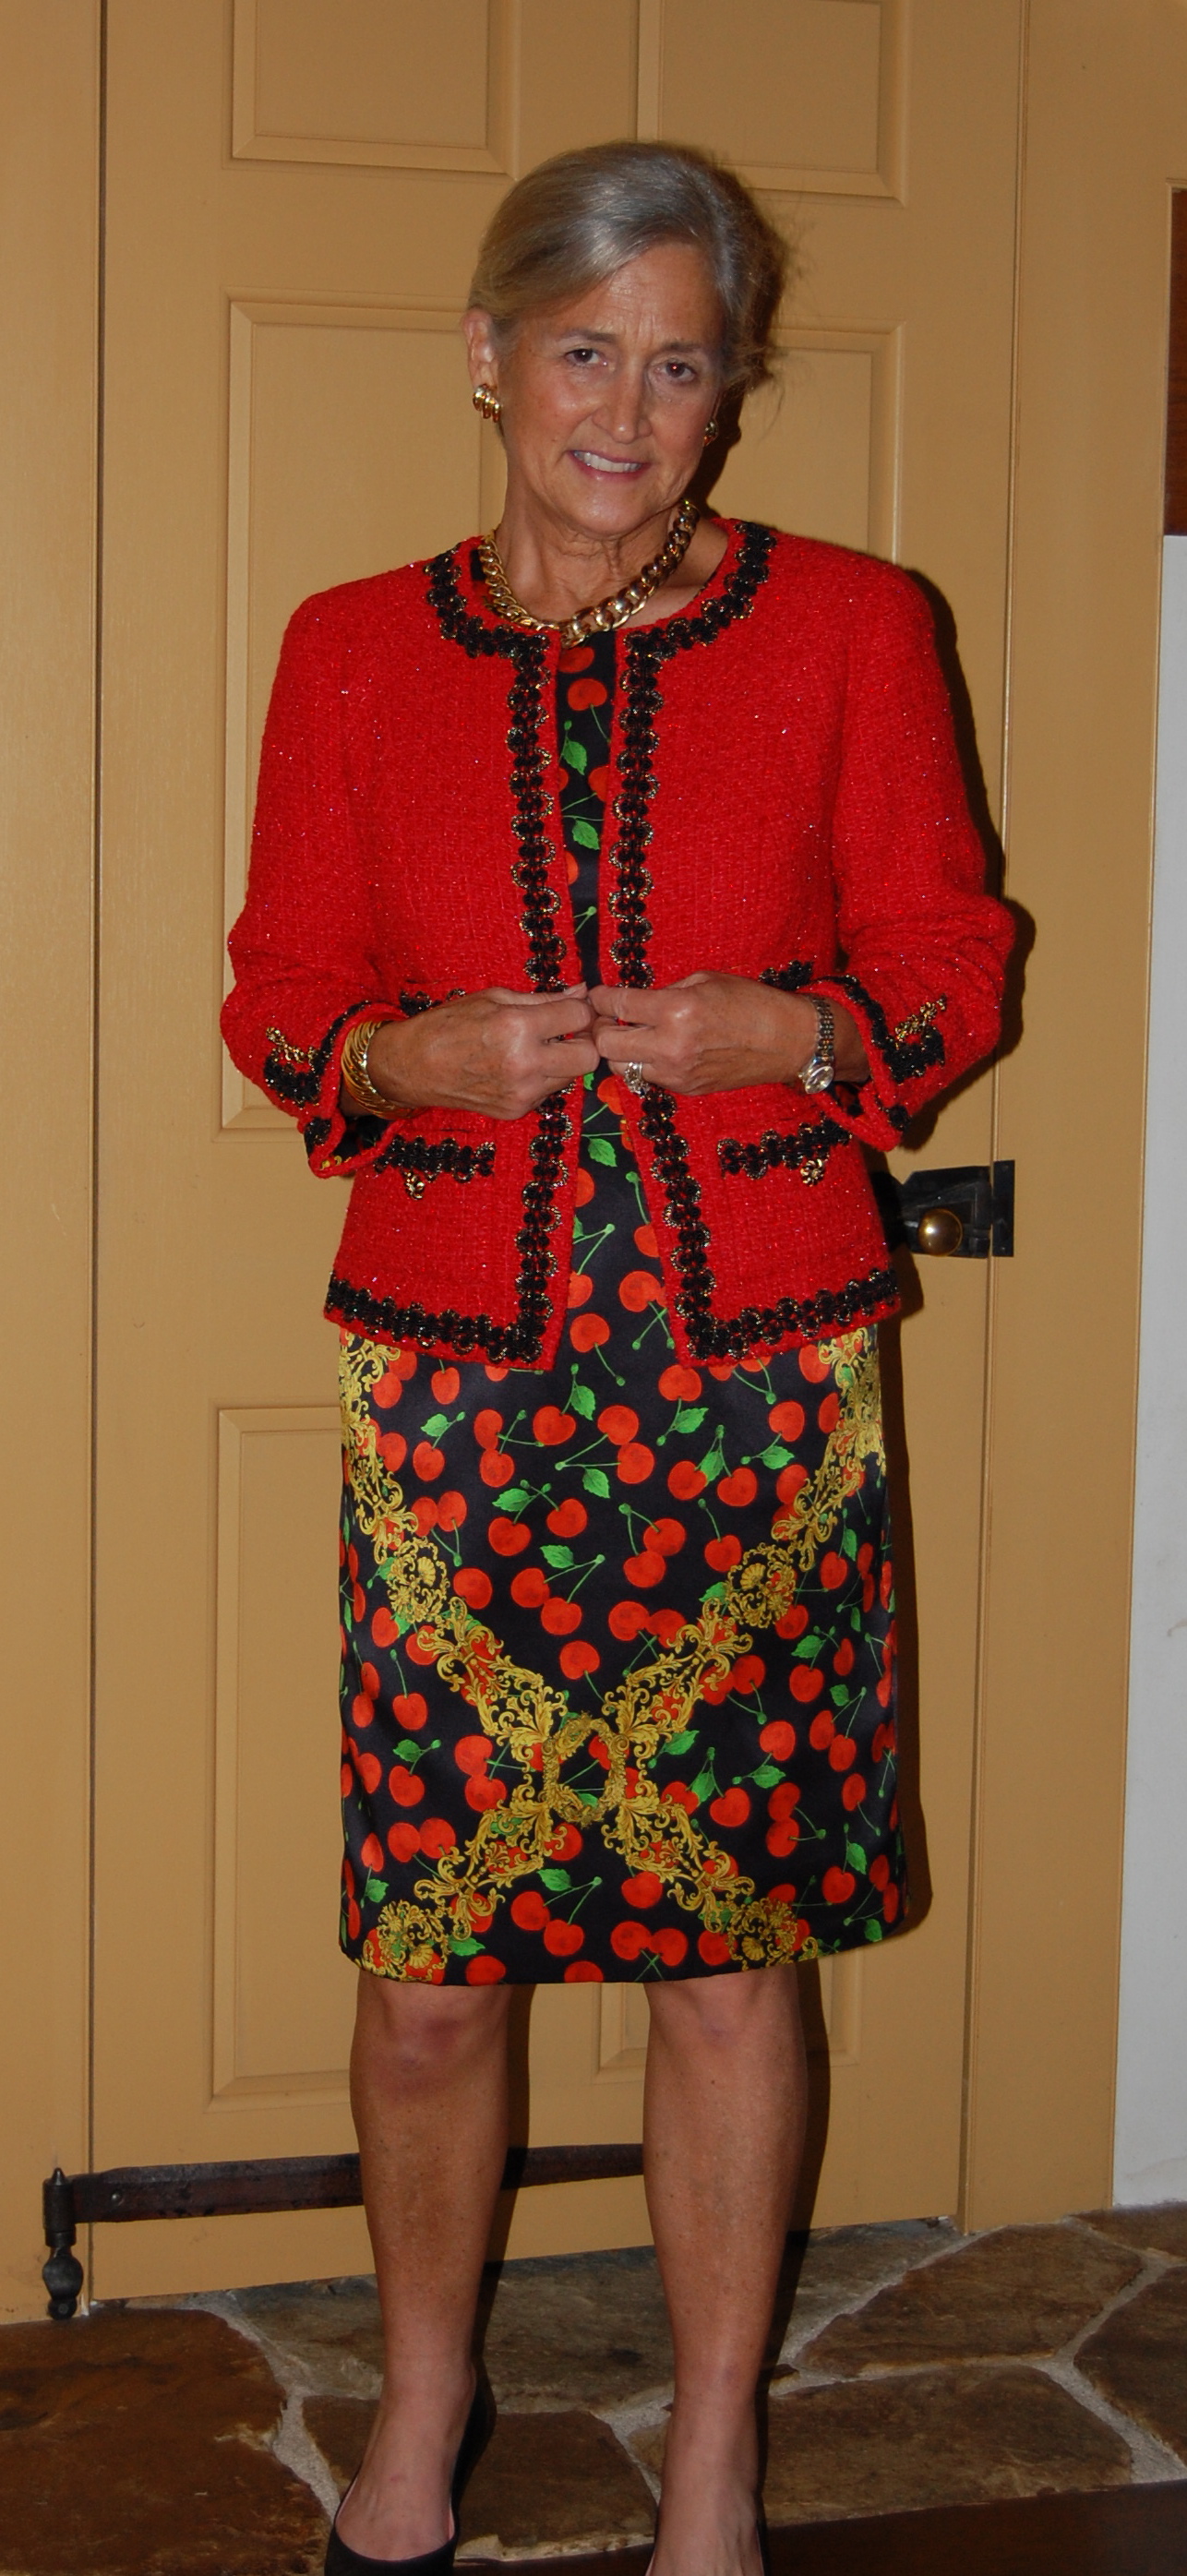
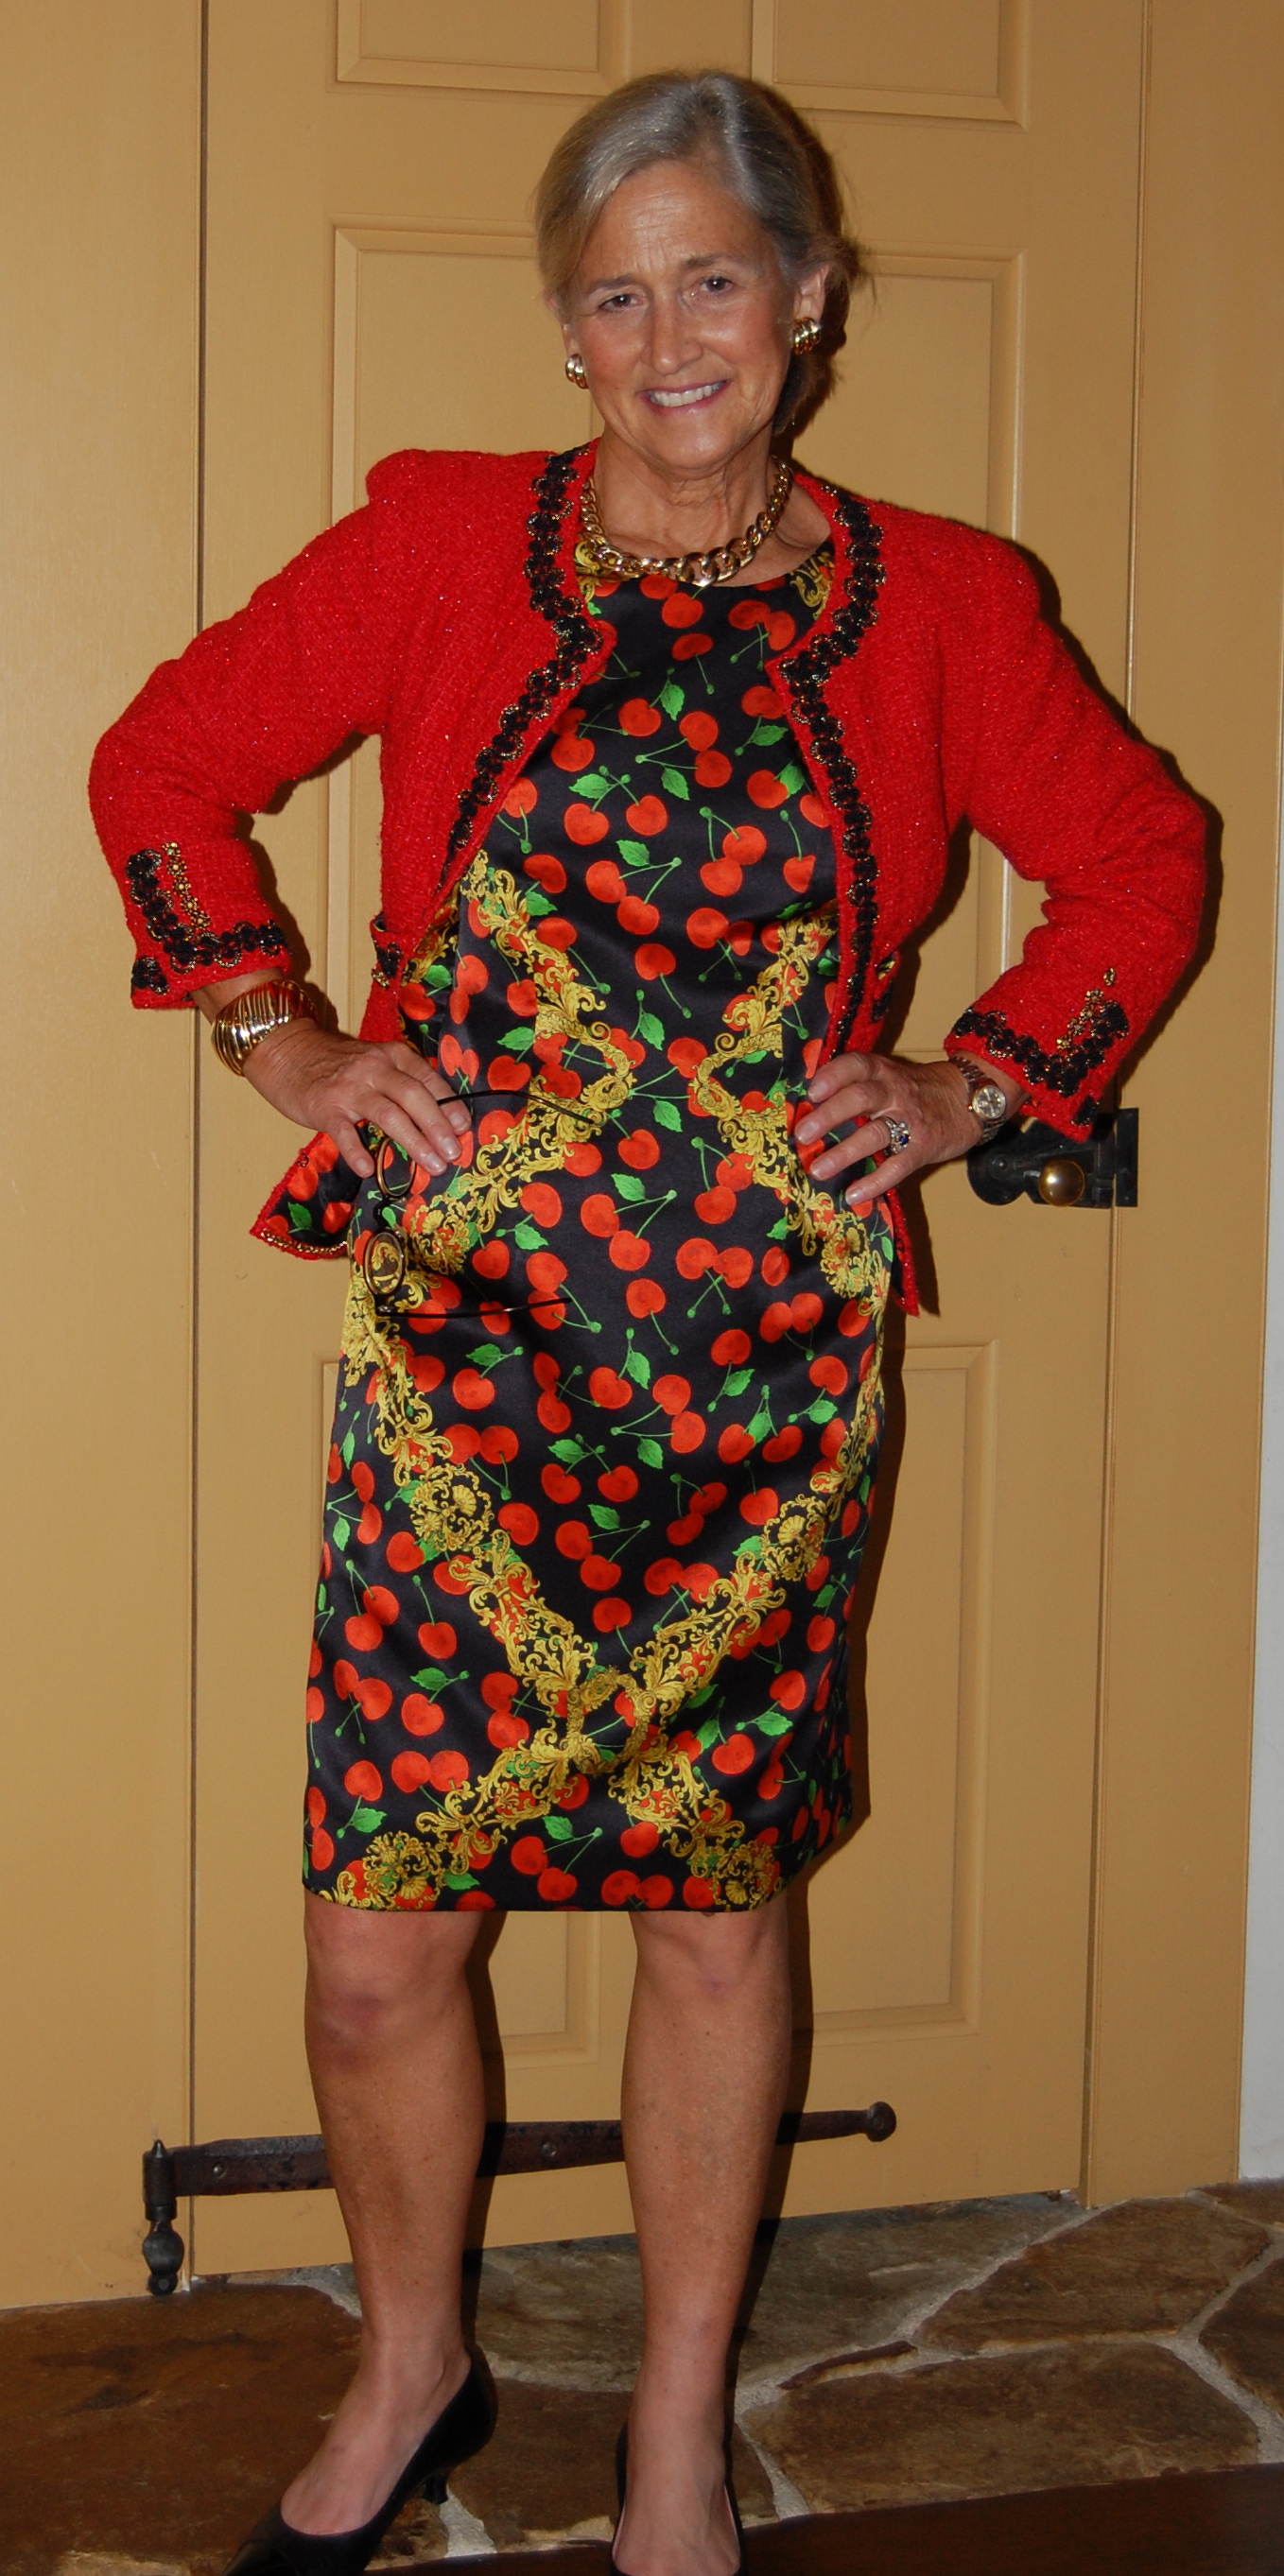
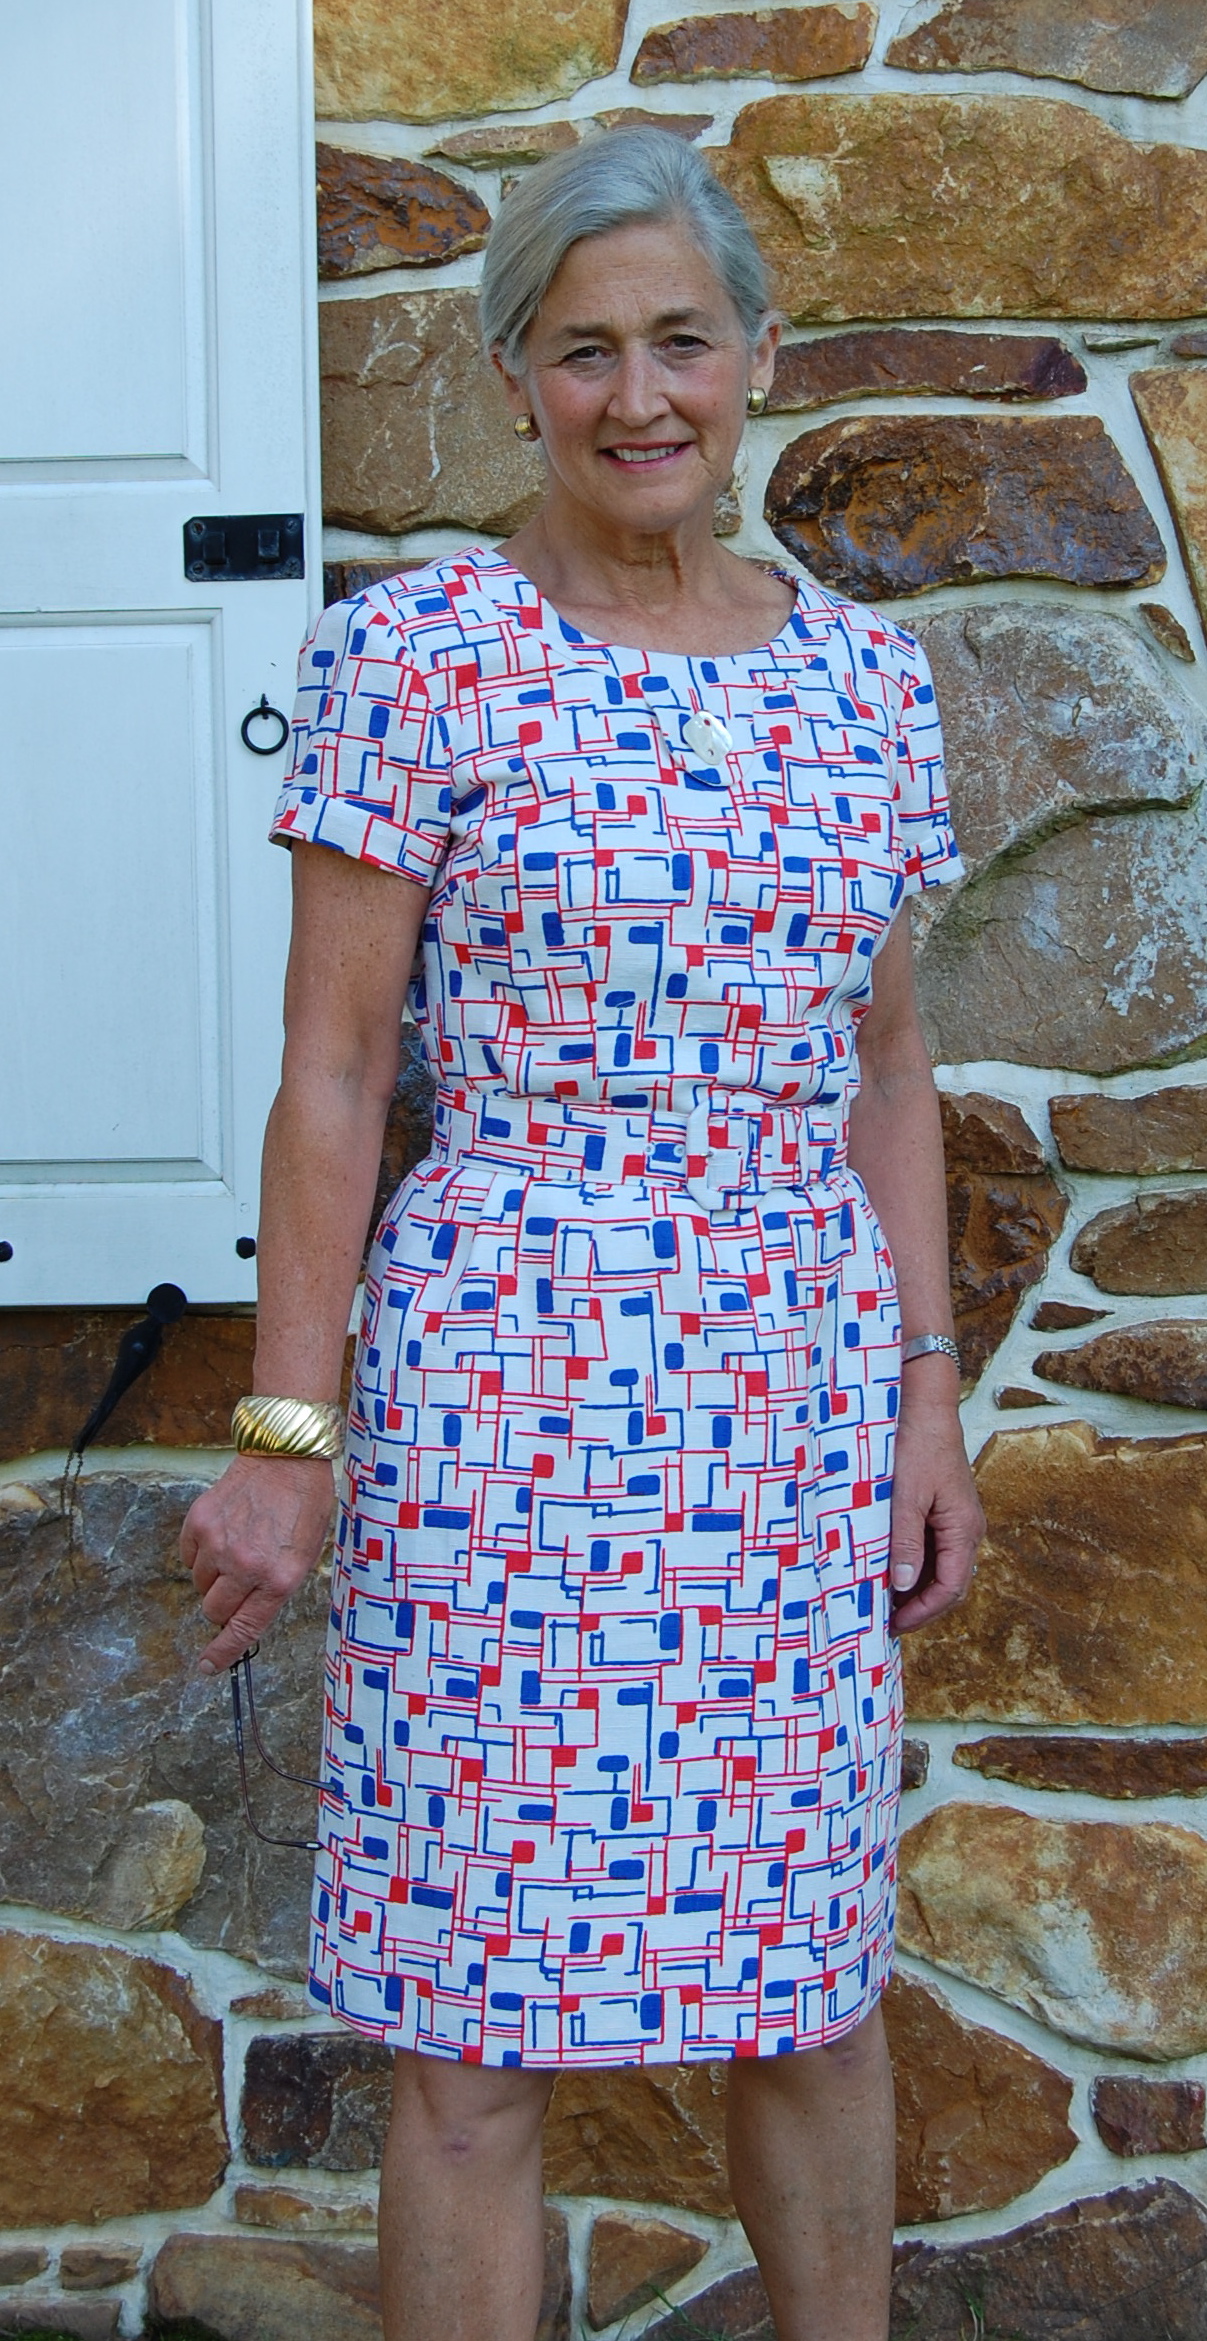
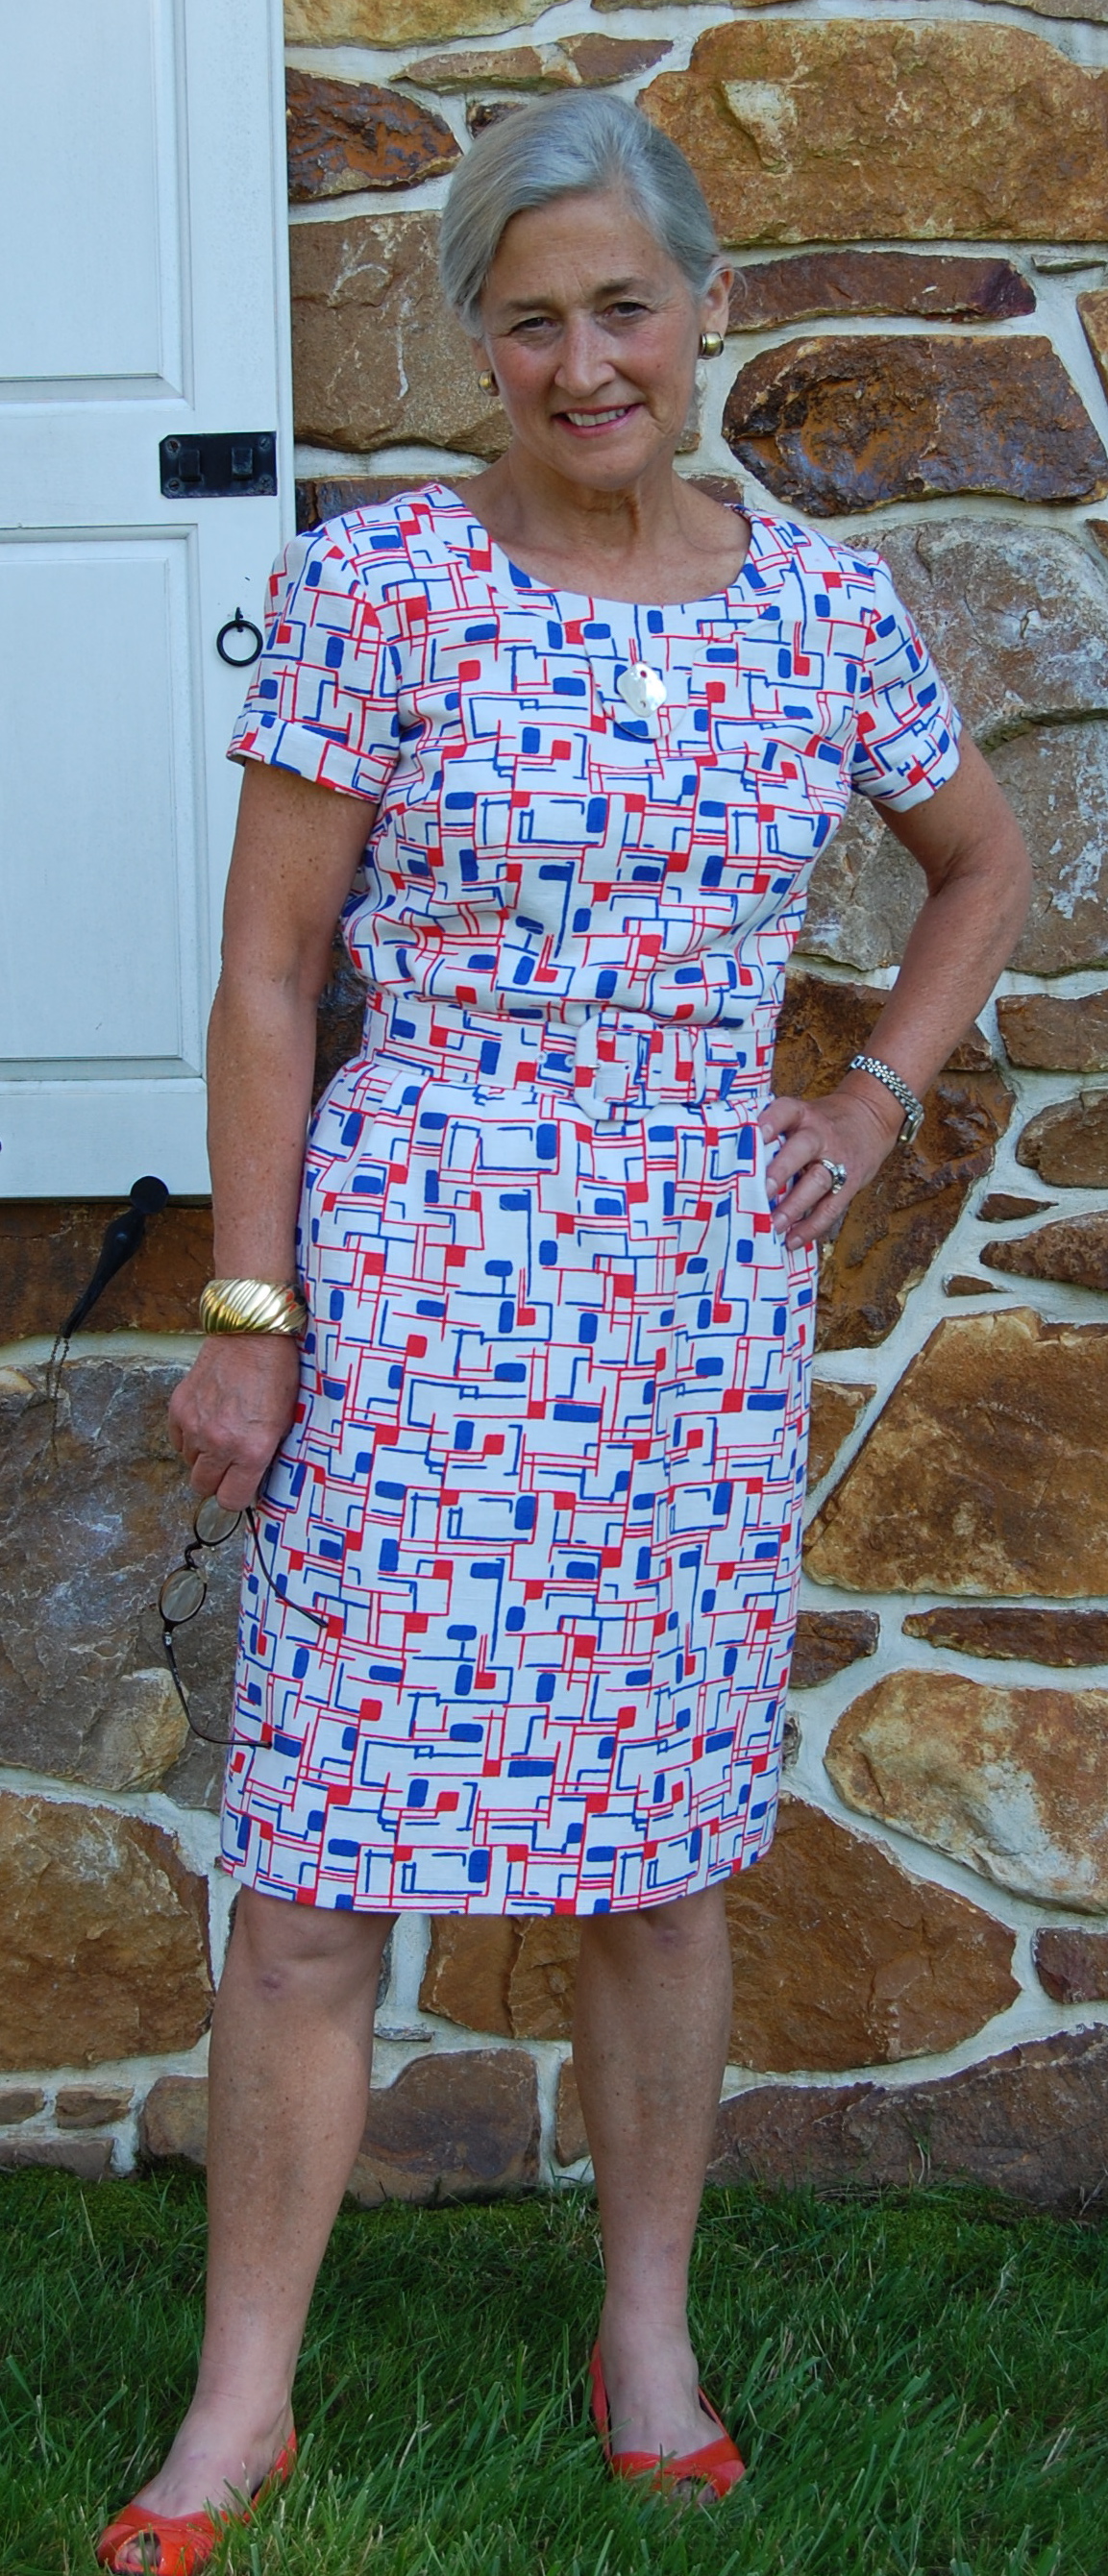
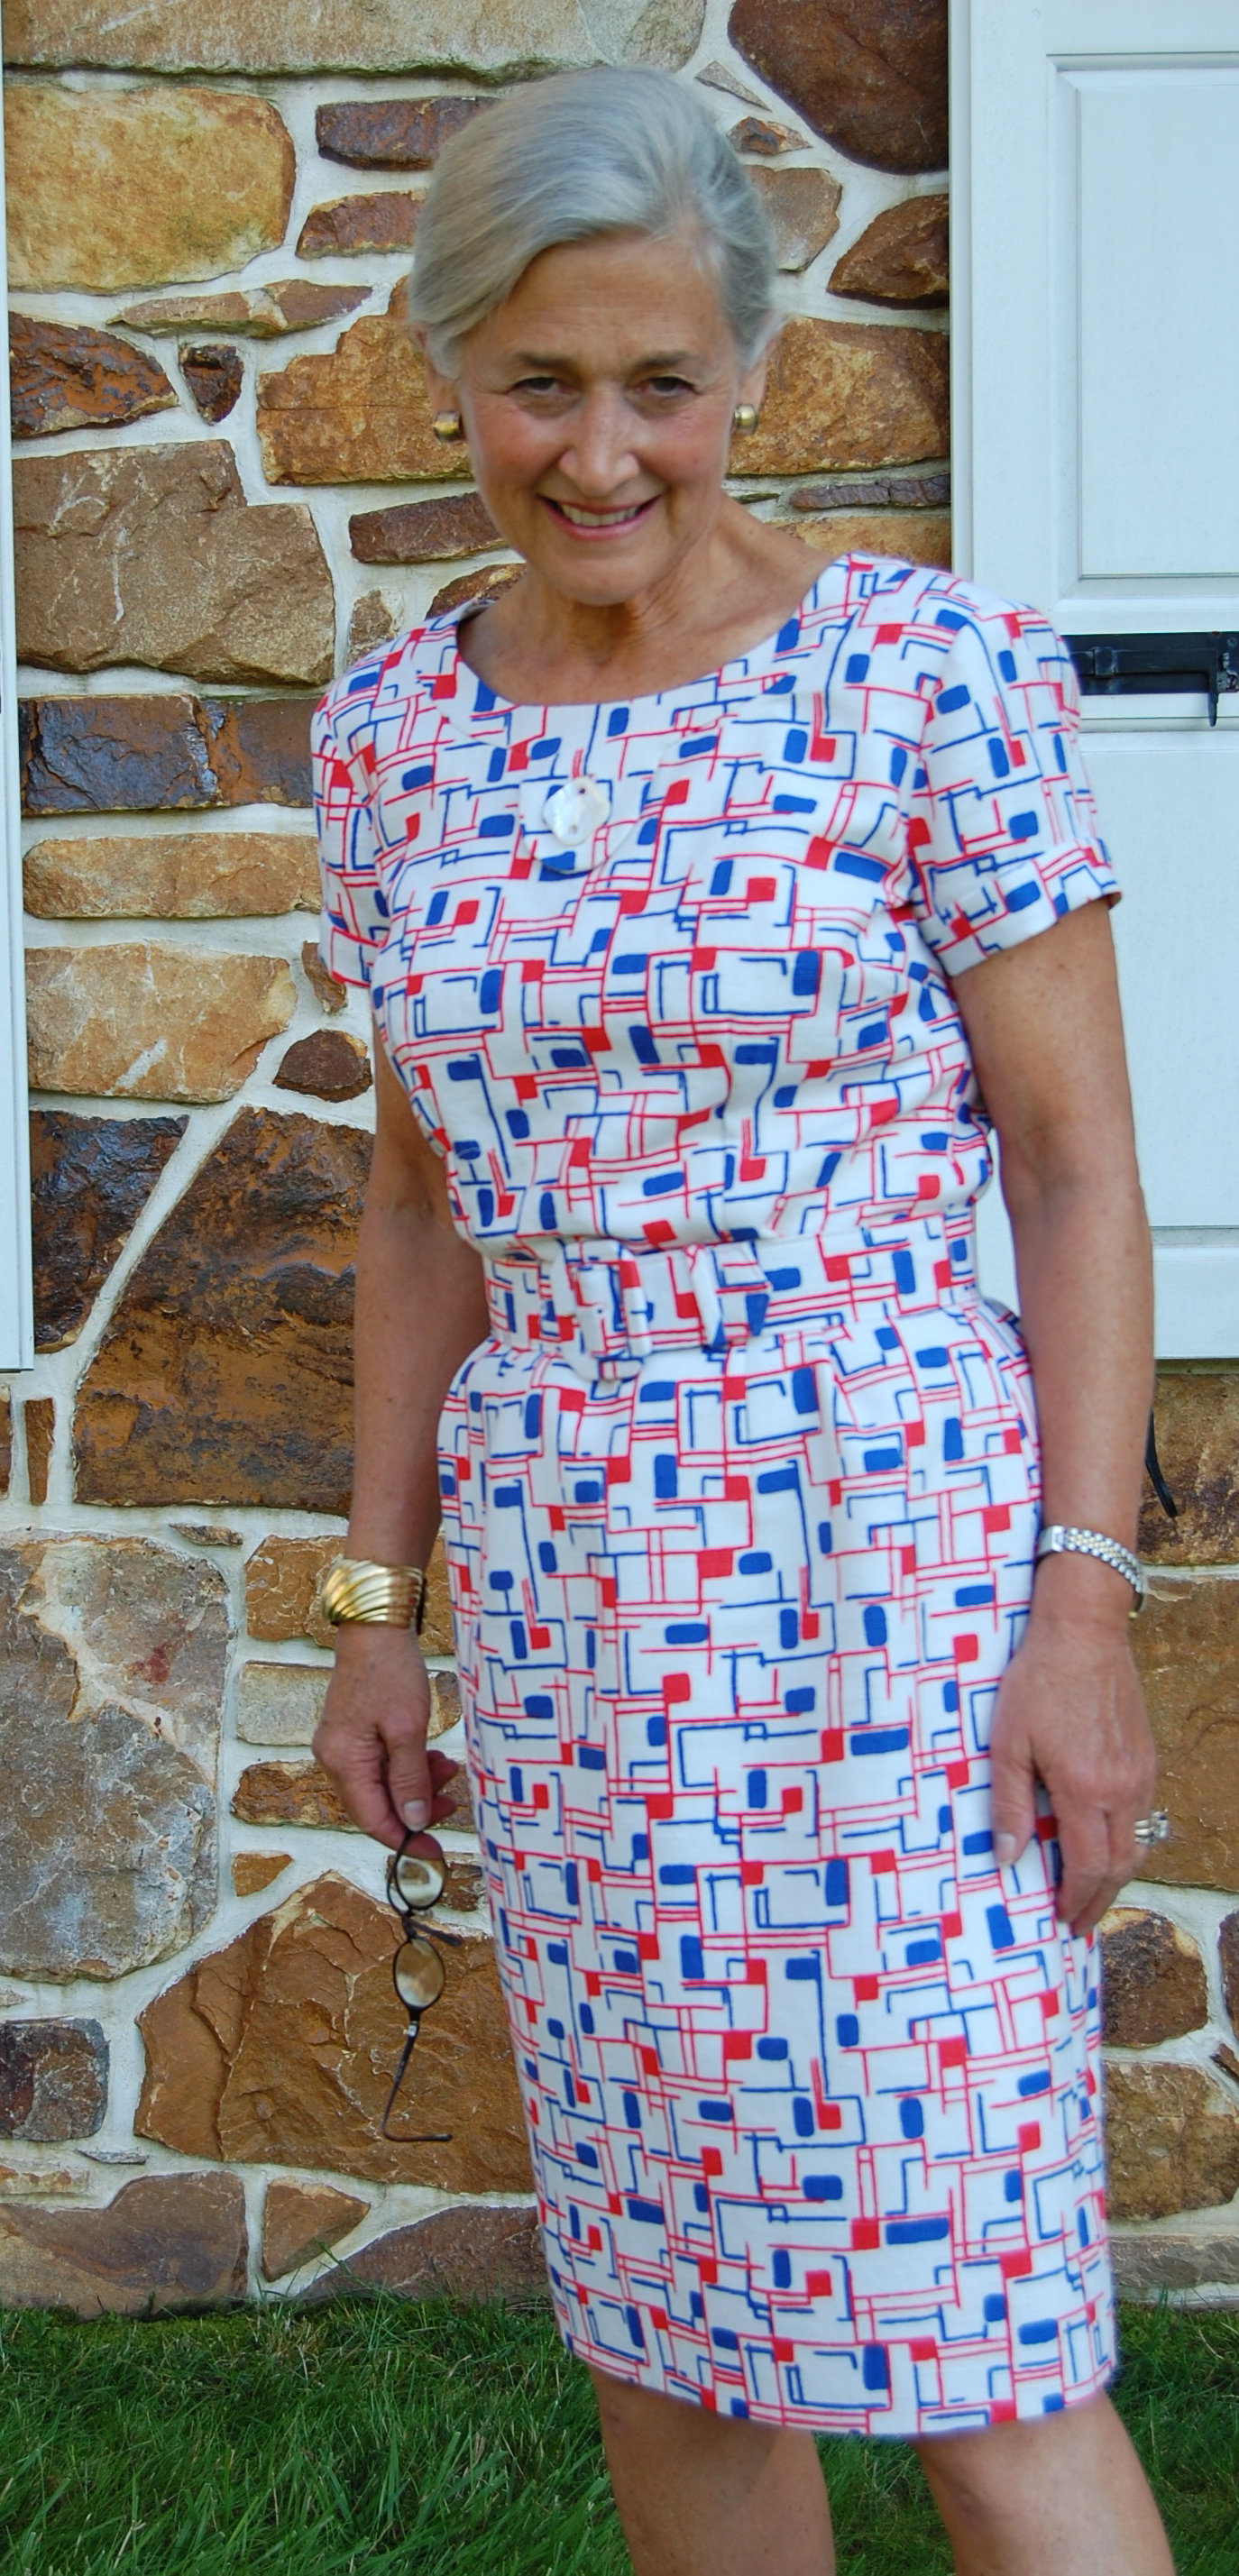
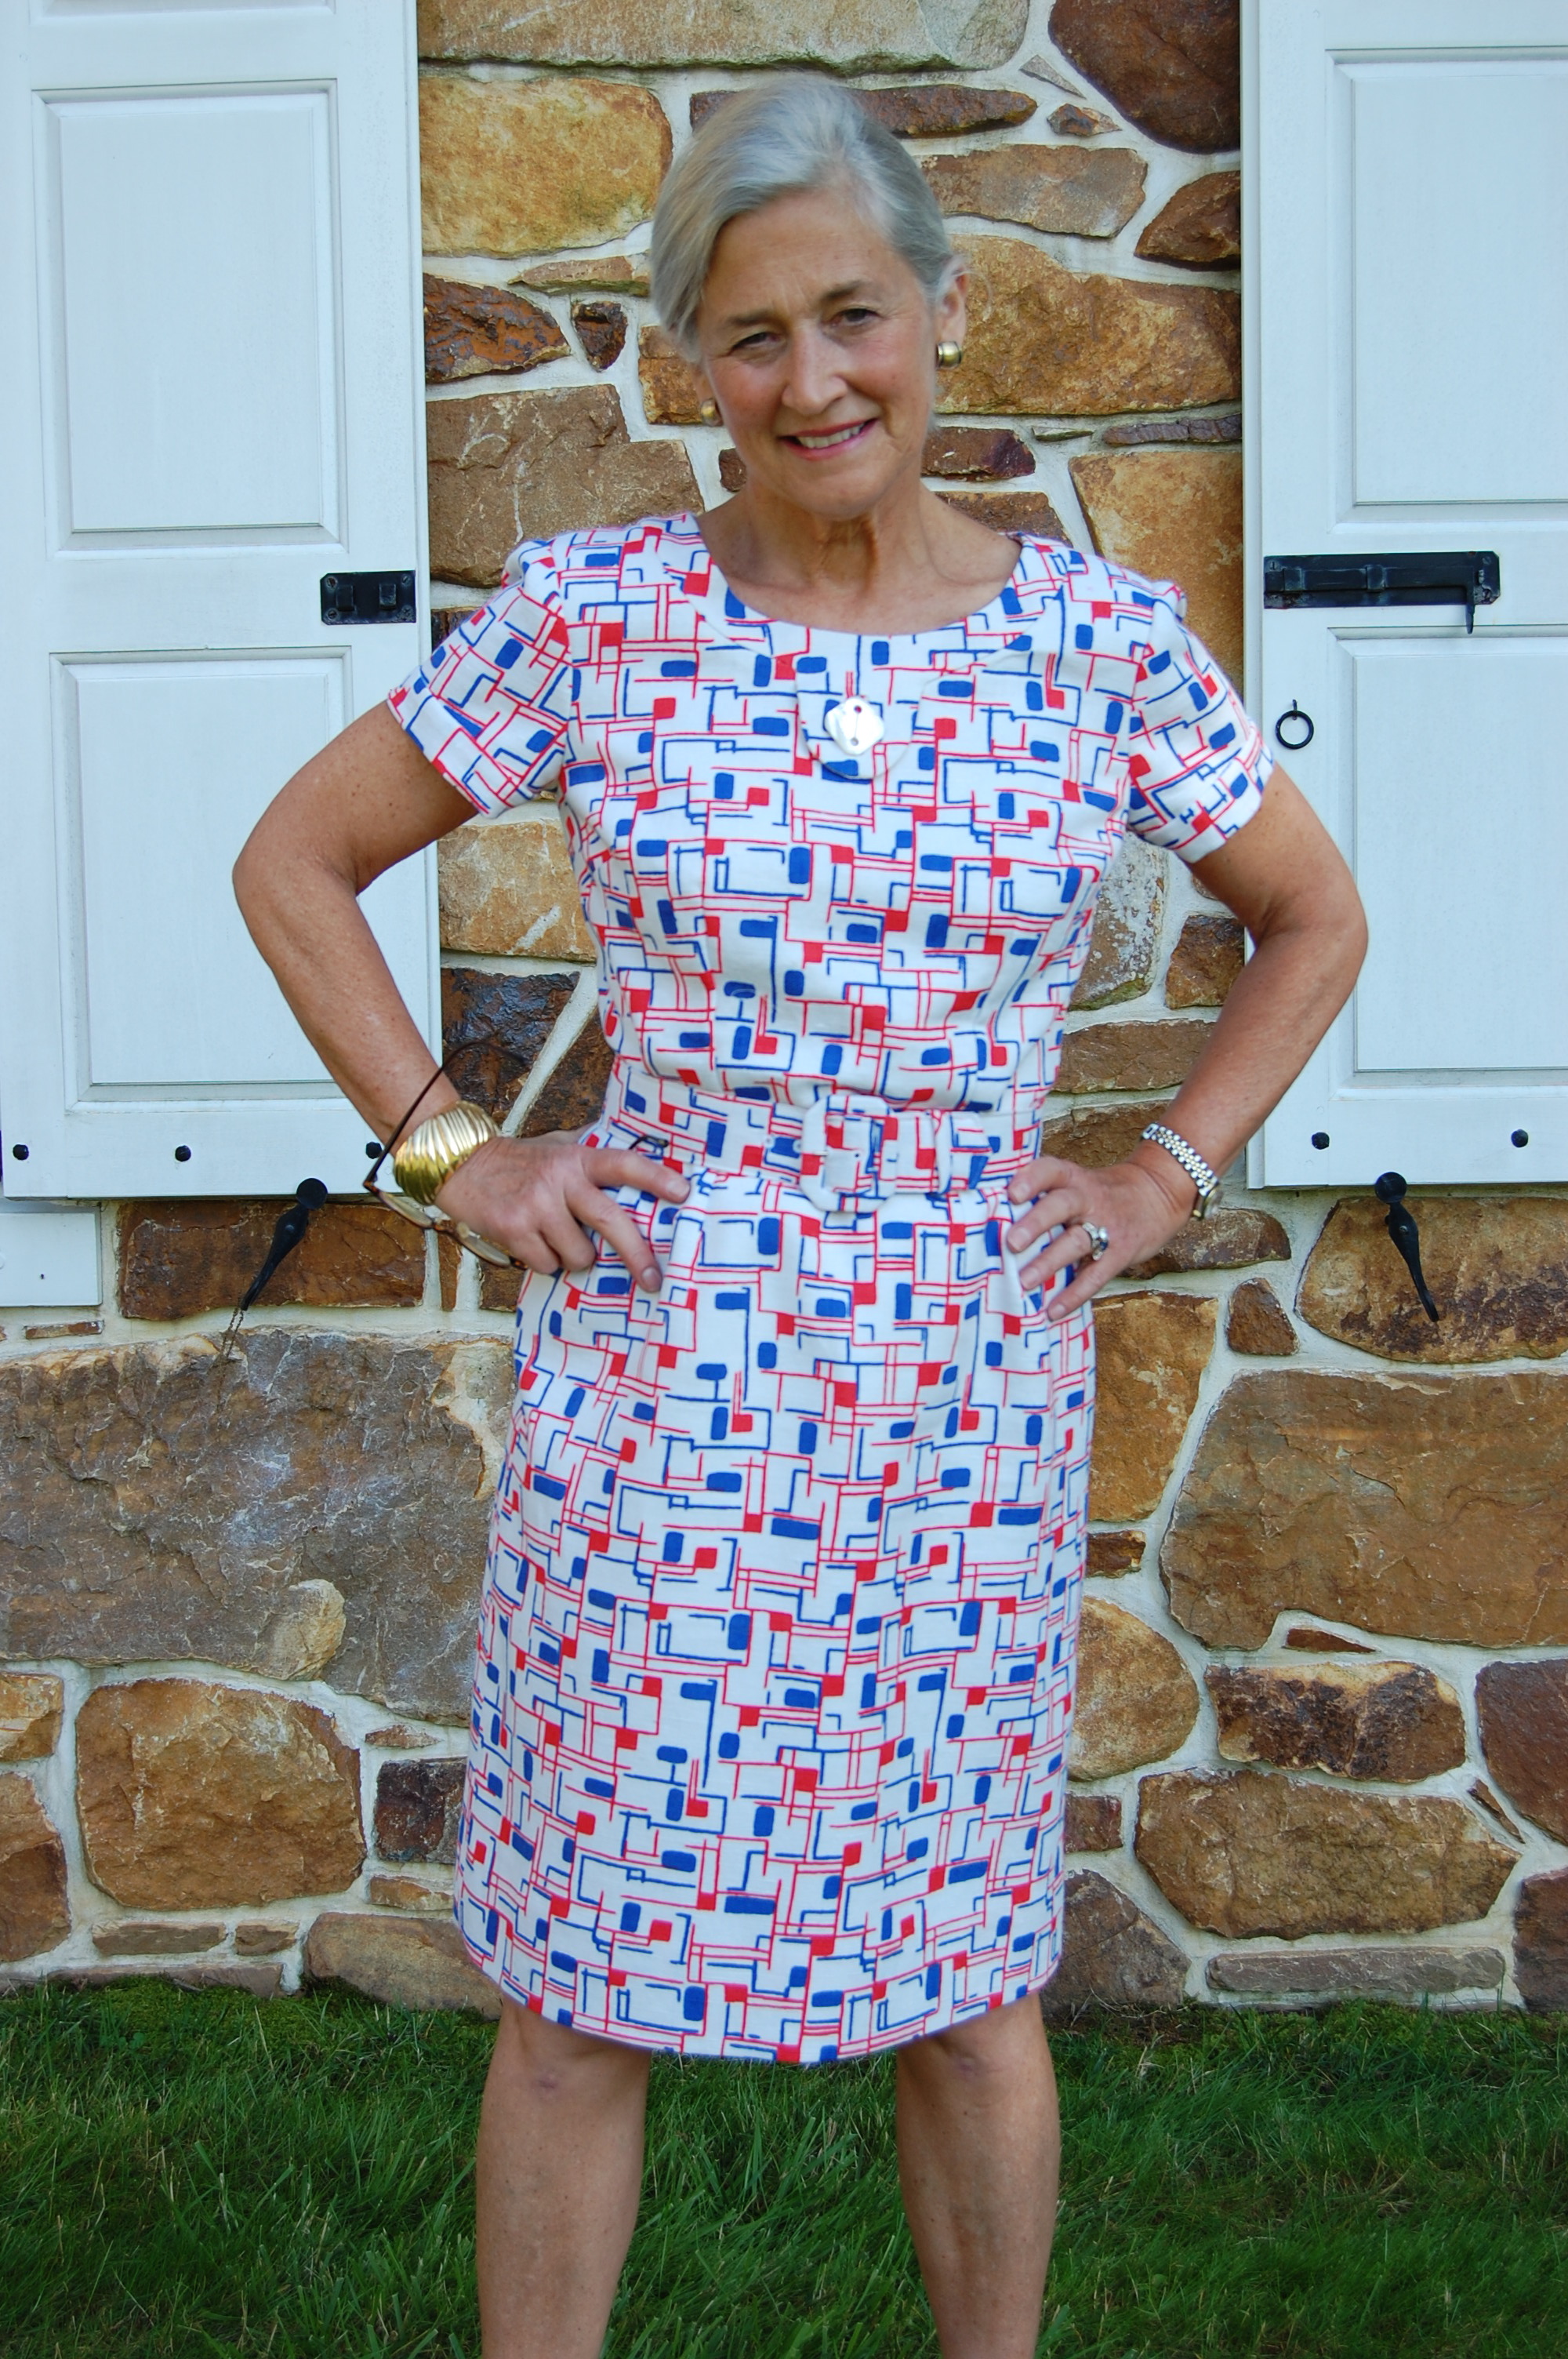
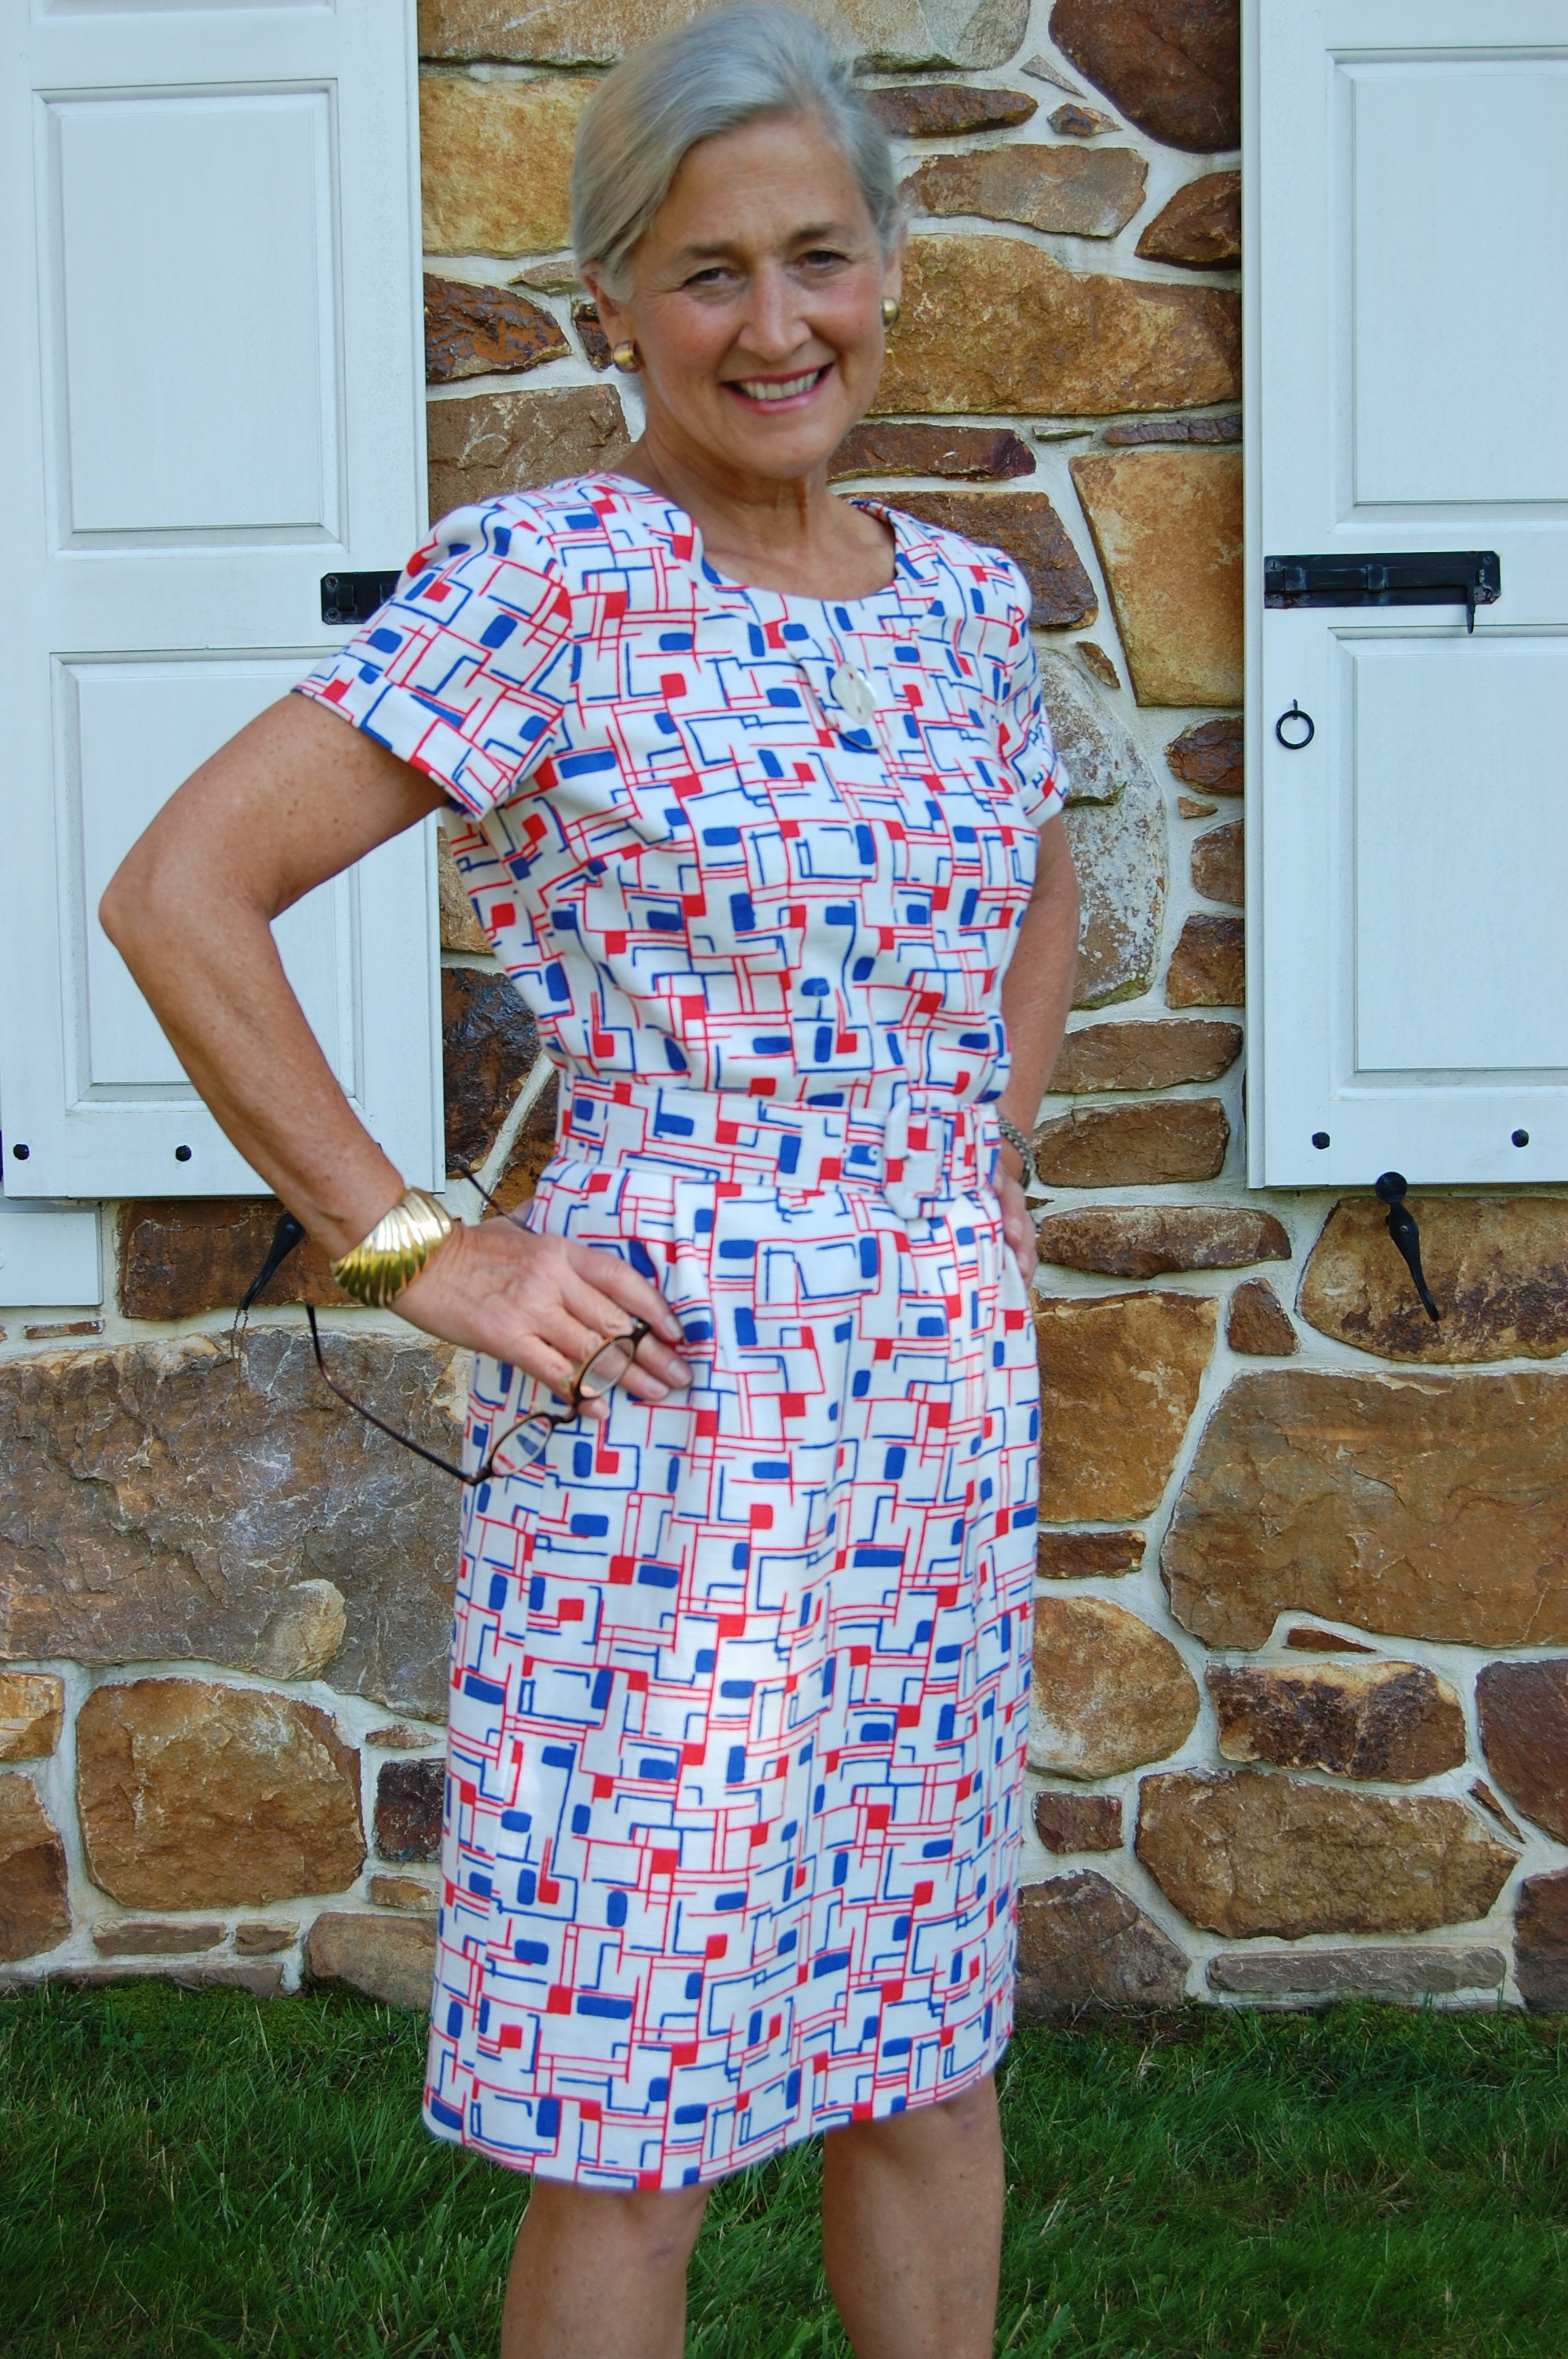
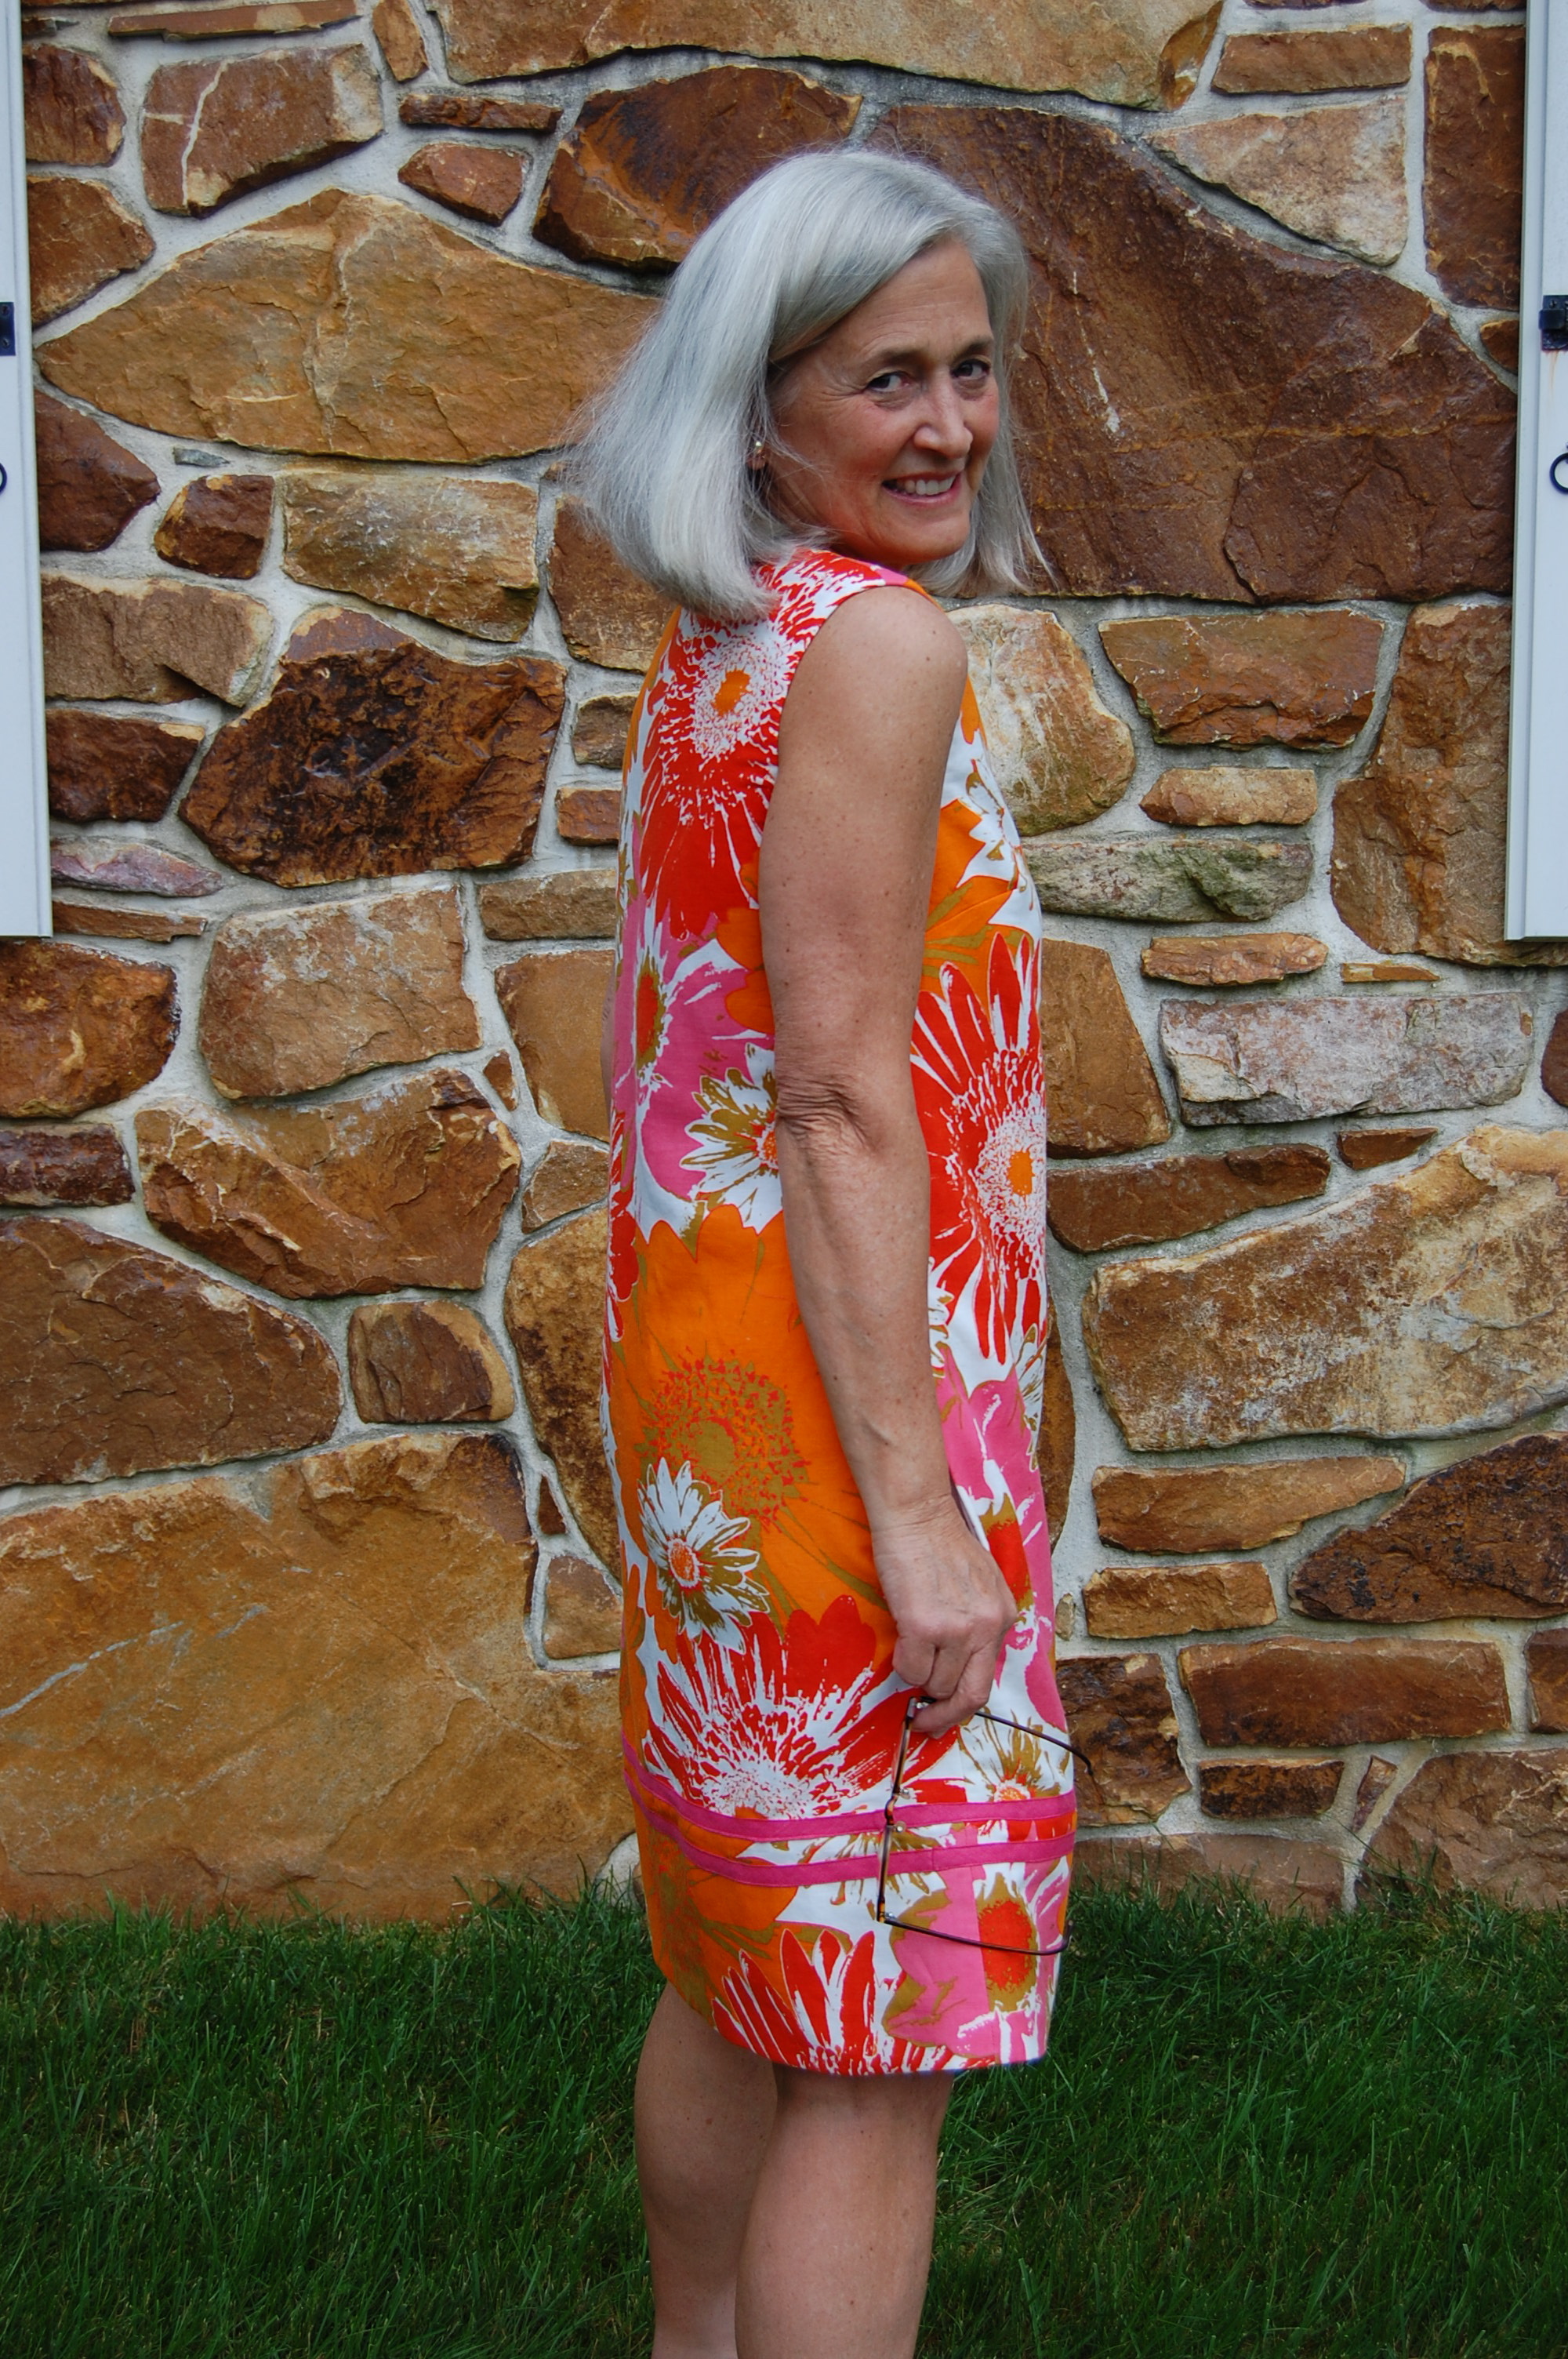
. . . and here it is on ME!


Now – two more “P” words. I have “P”romised myself that my next “P”roject will be simple. Maybe a blouse – or even a blanket?