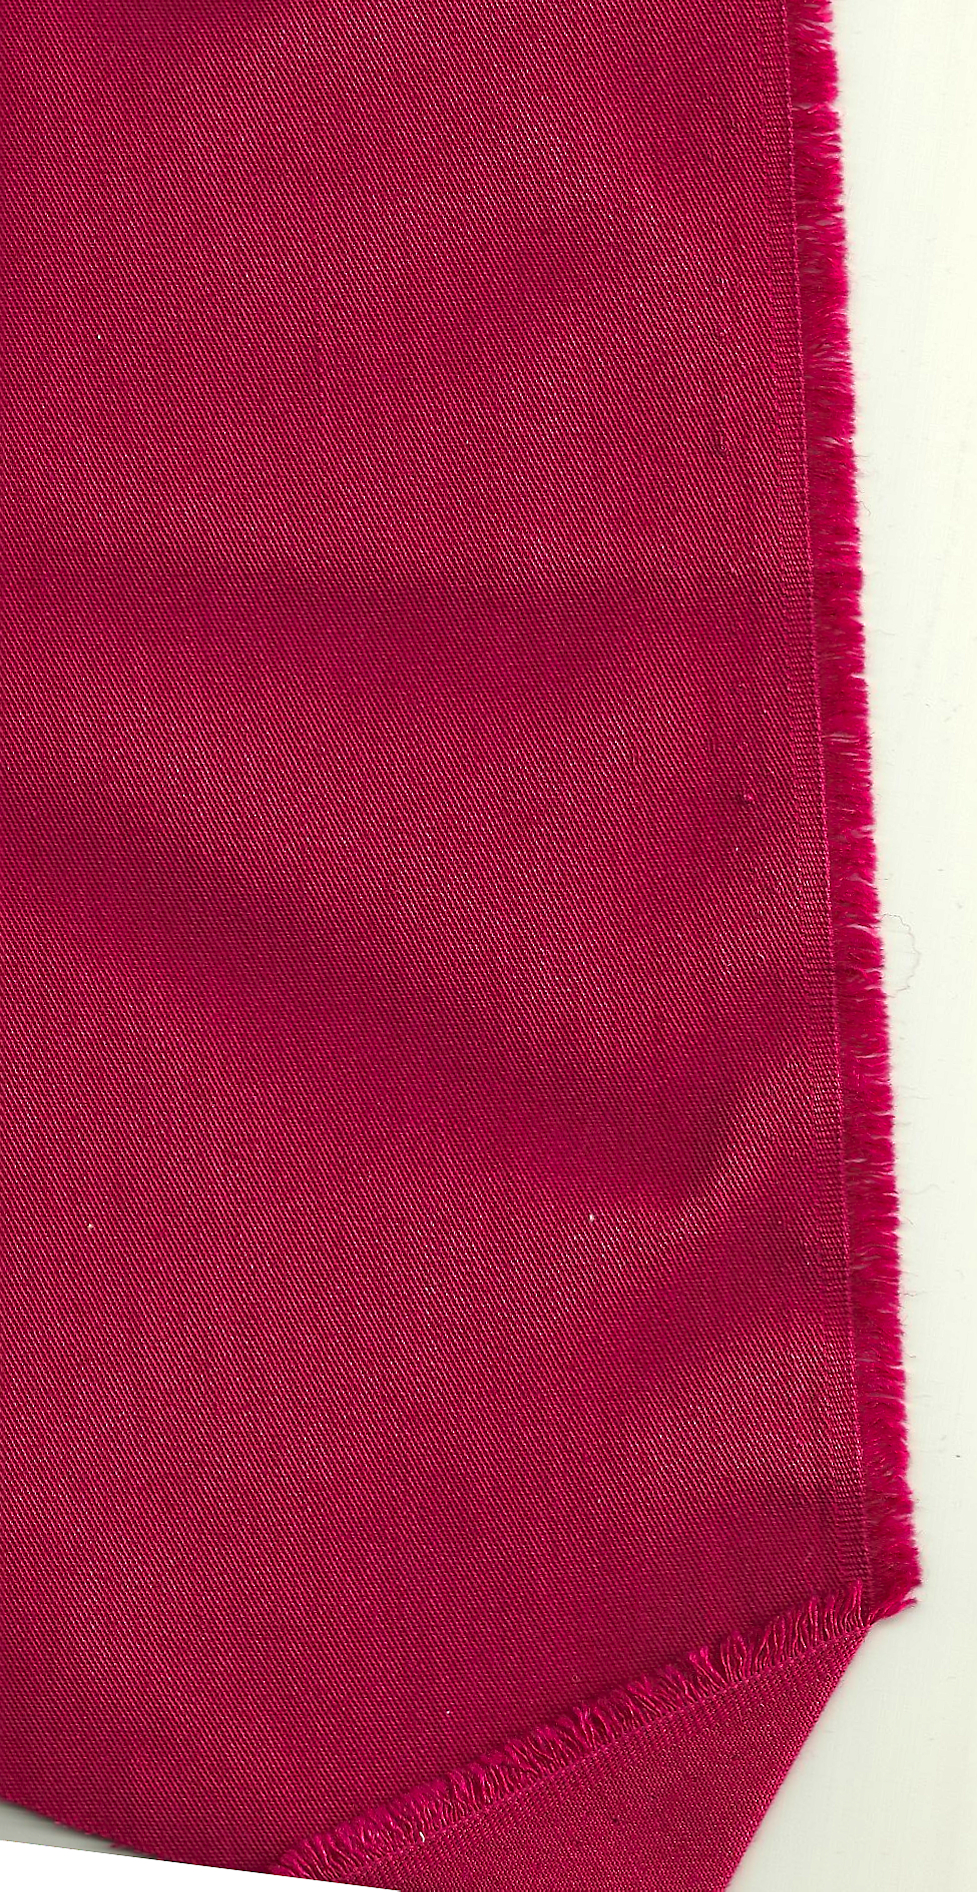
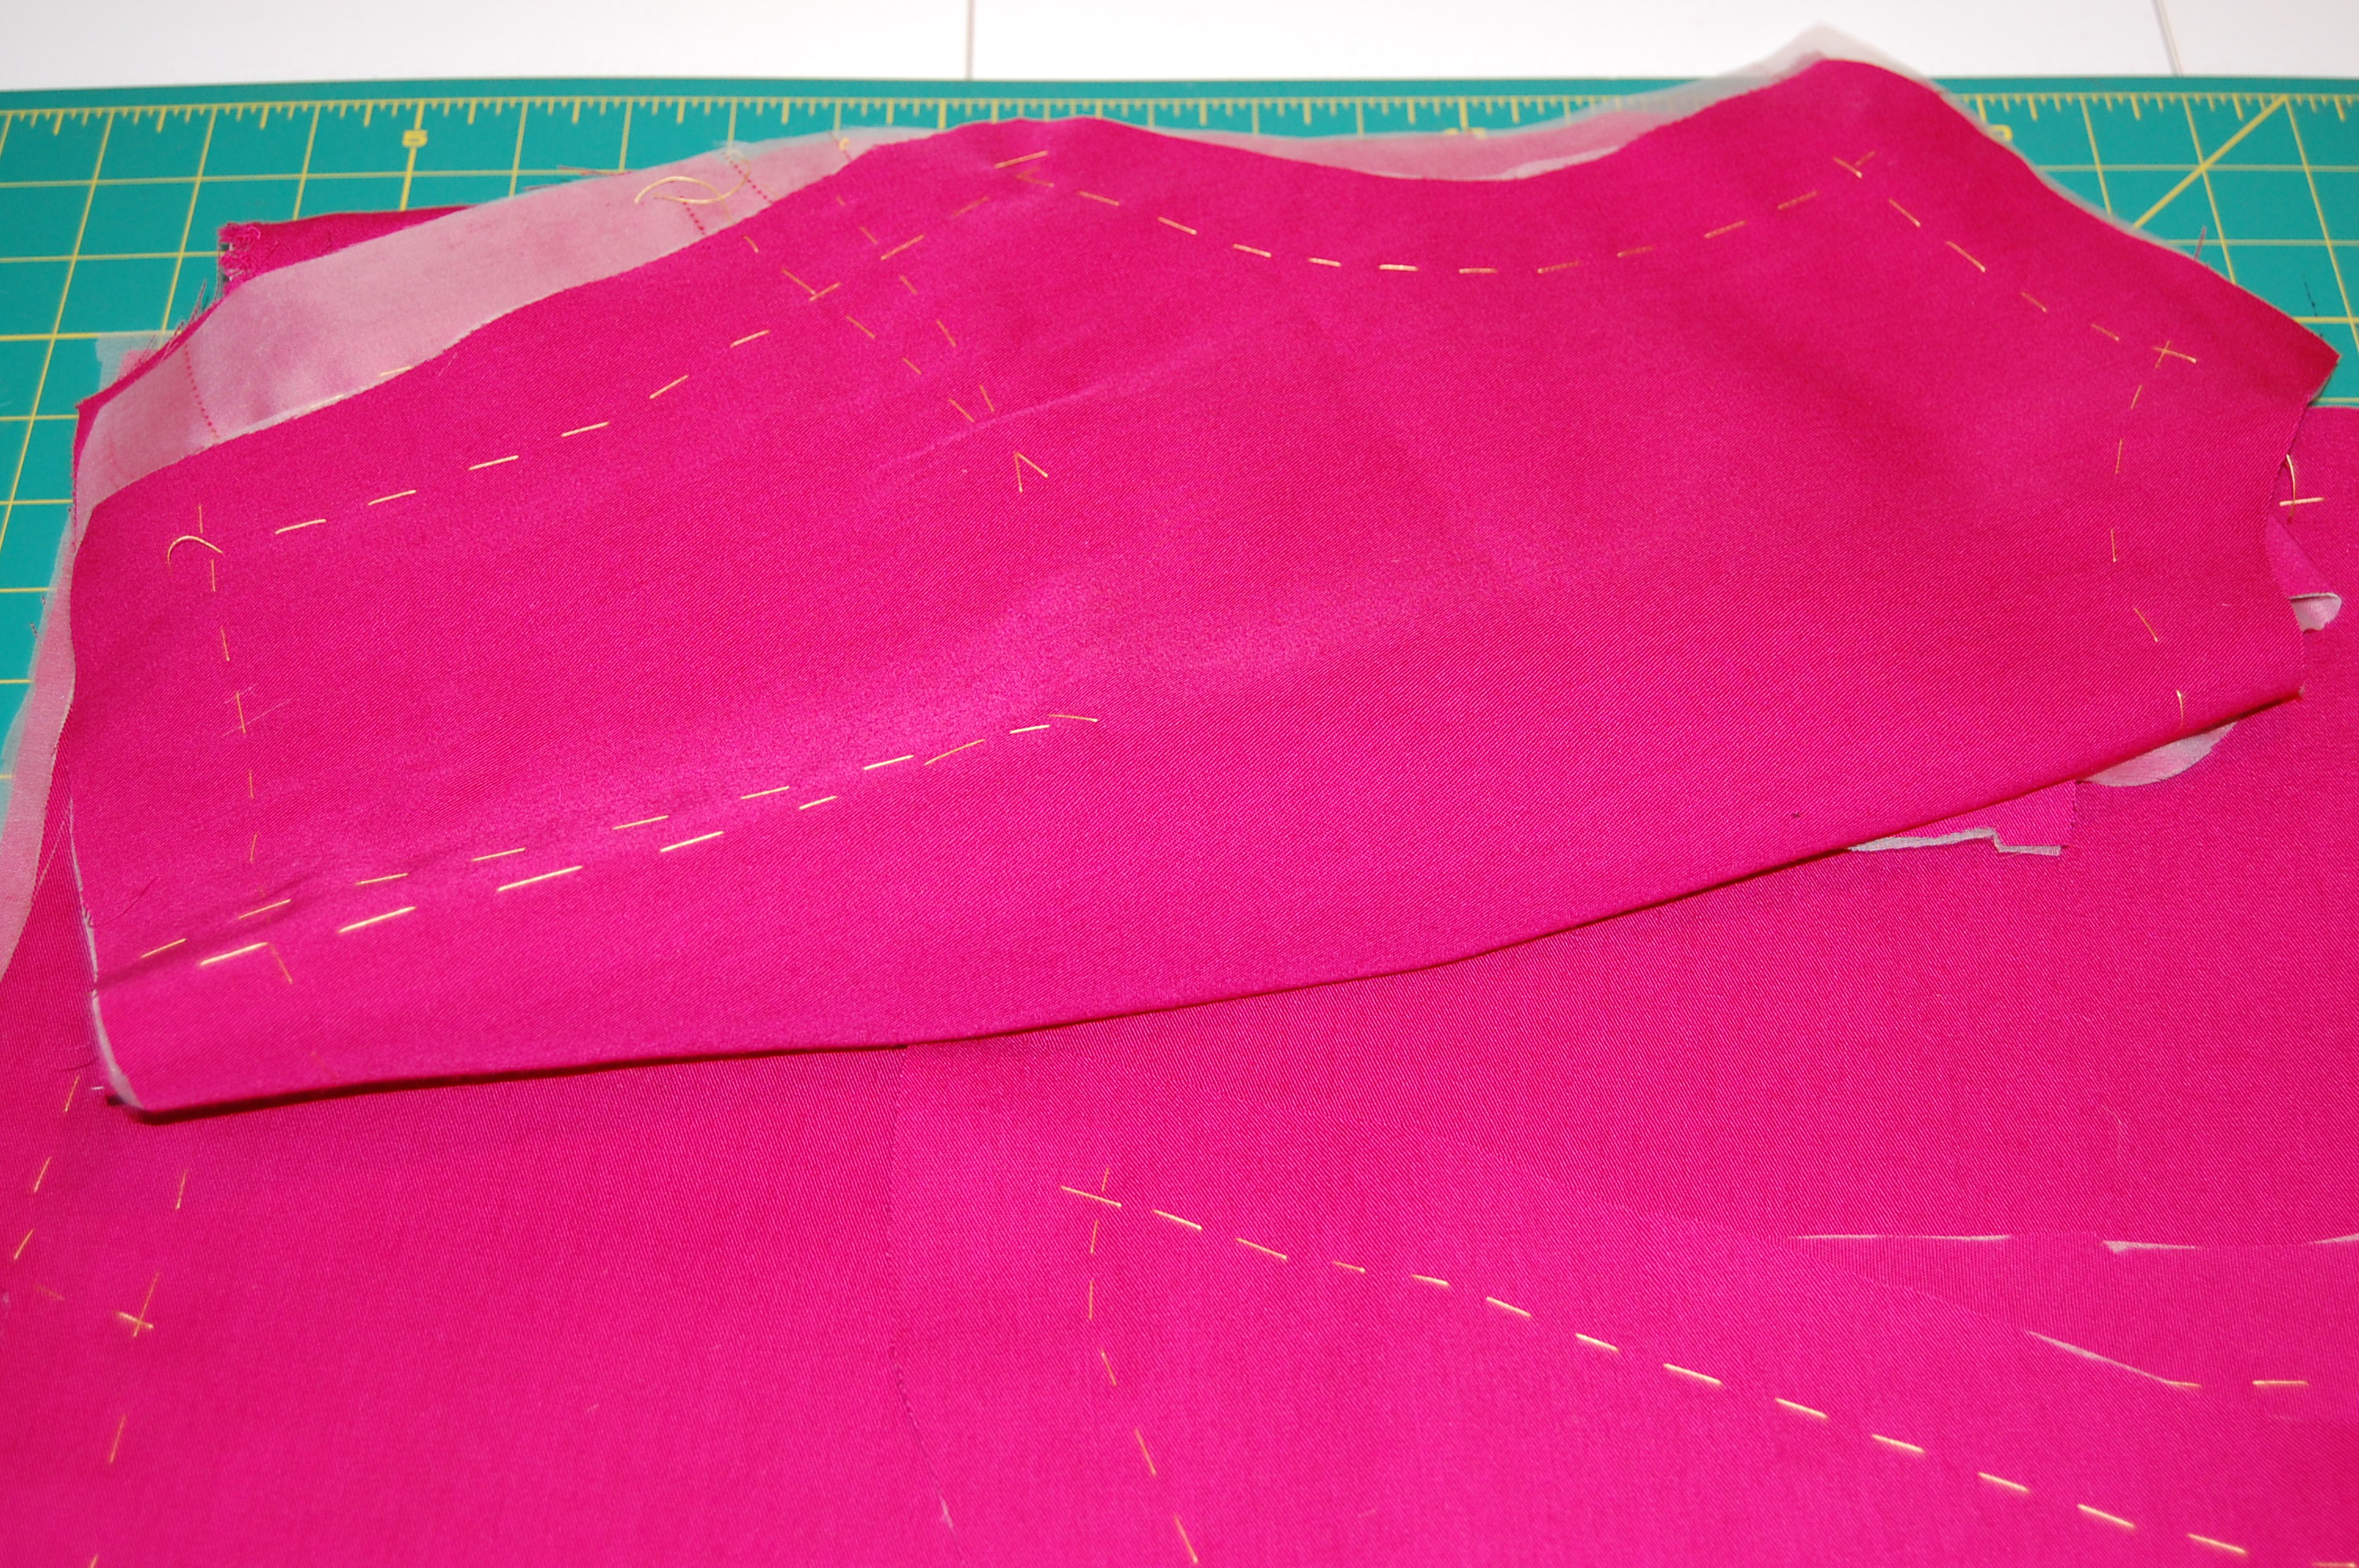
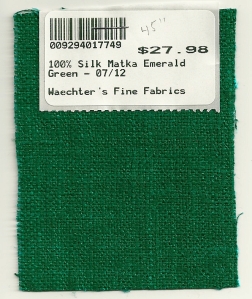
Last Fall when I found emerald green matka silk on Waechter’s website, I quickly purchased 3½ yards. At 45” wide, I knew that amount would be enough for a Spring suit although I really did not know which pattern I would be using. It seems I often purchase fabric and then end up not actually using it for a year – or more. But with emerald green so front and center in fashion this year, I definitely decided to make this project a top priority.

This is the silk I ordered from Waechter’s Fine Fabrics.
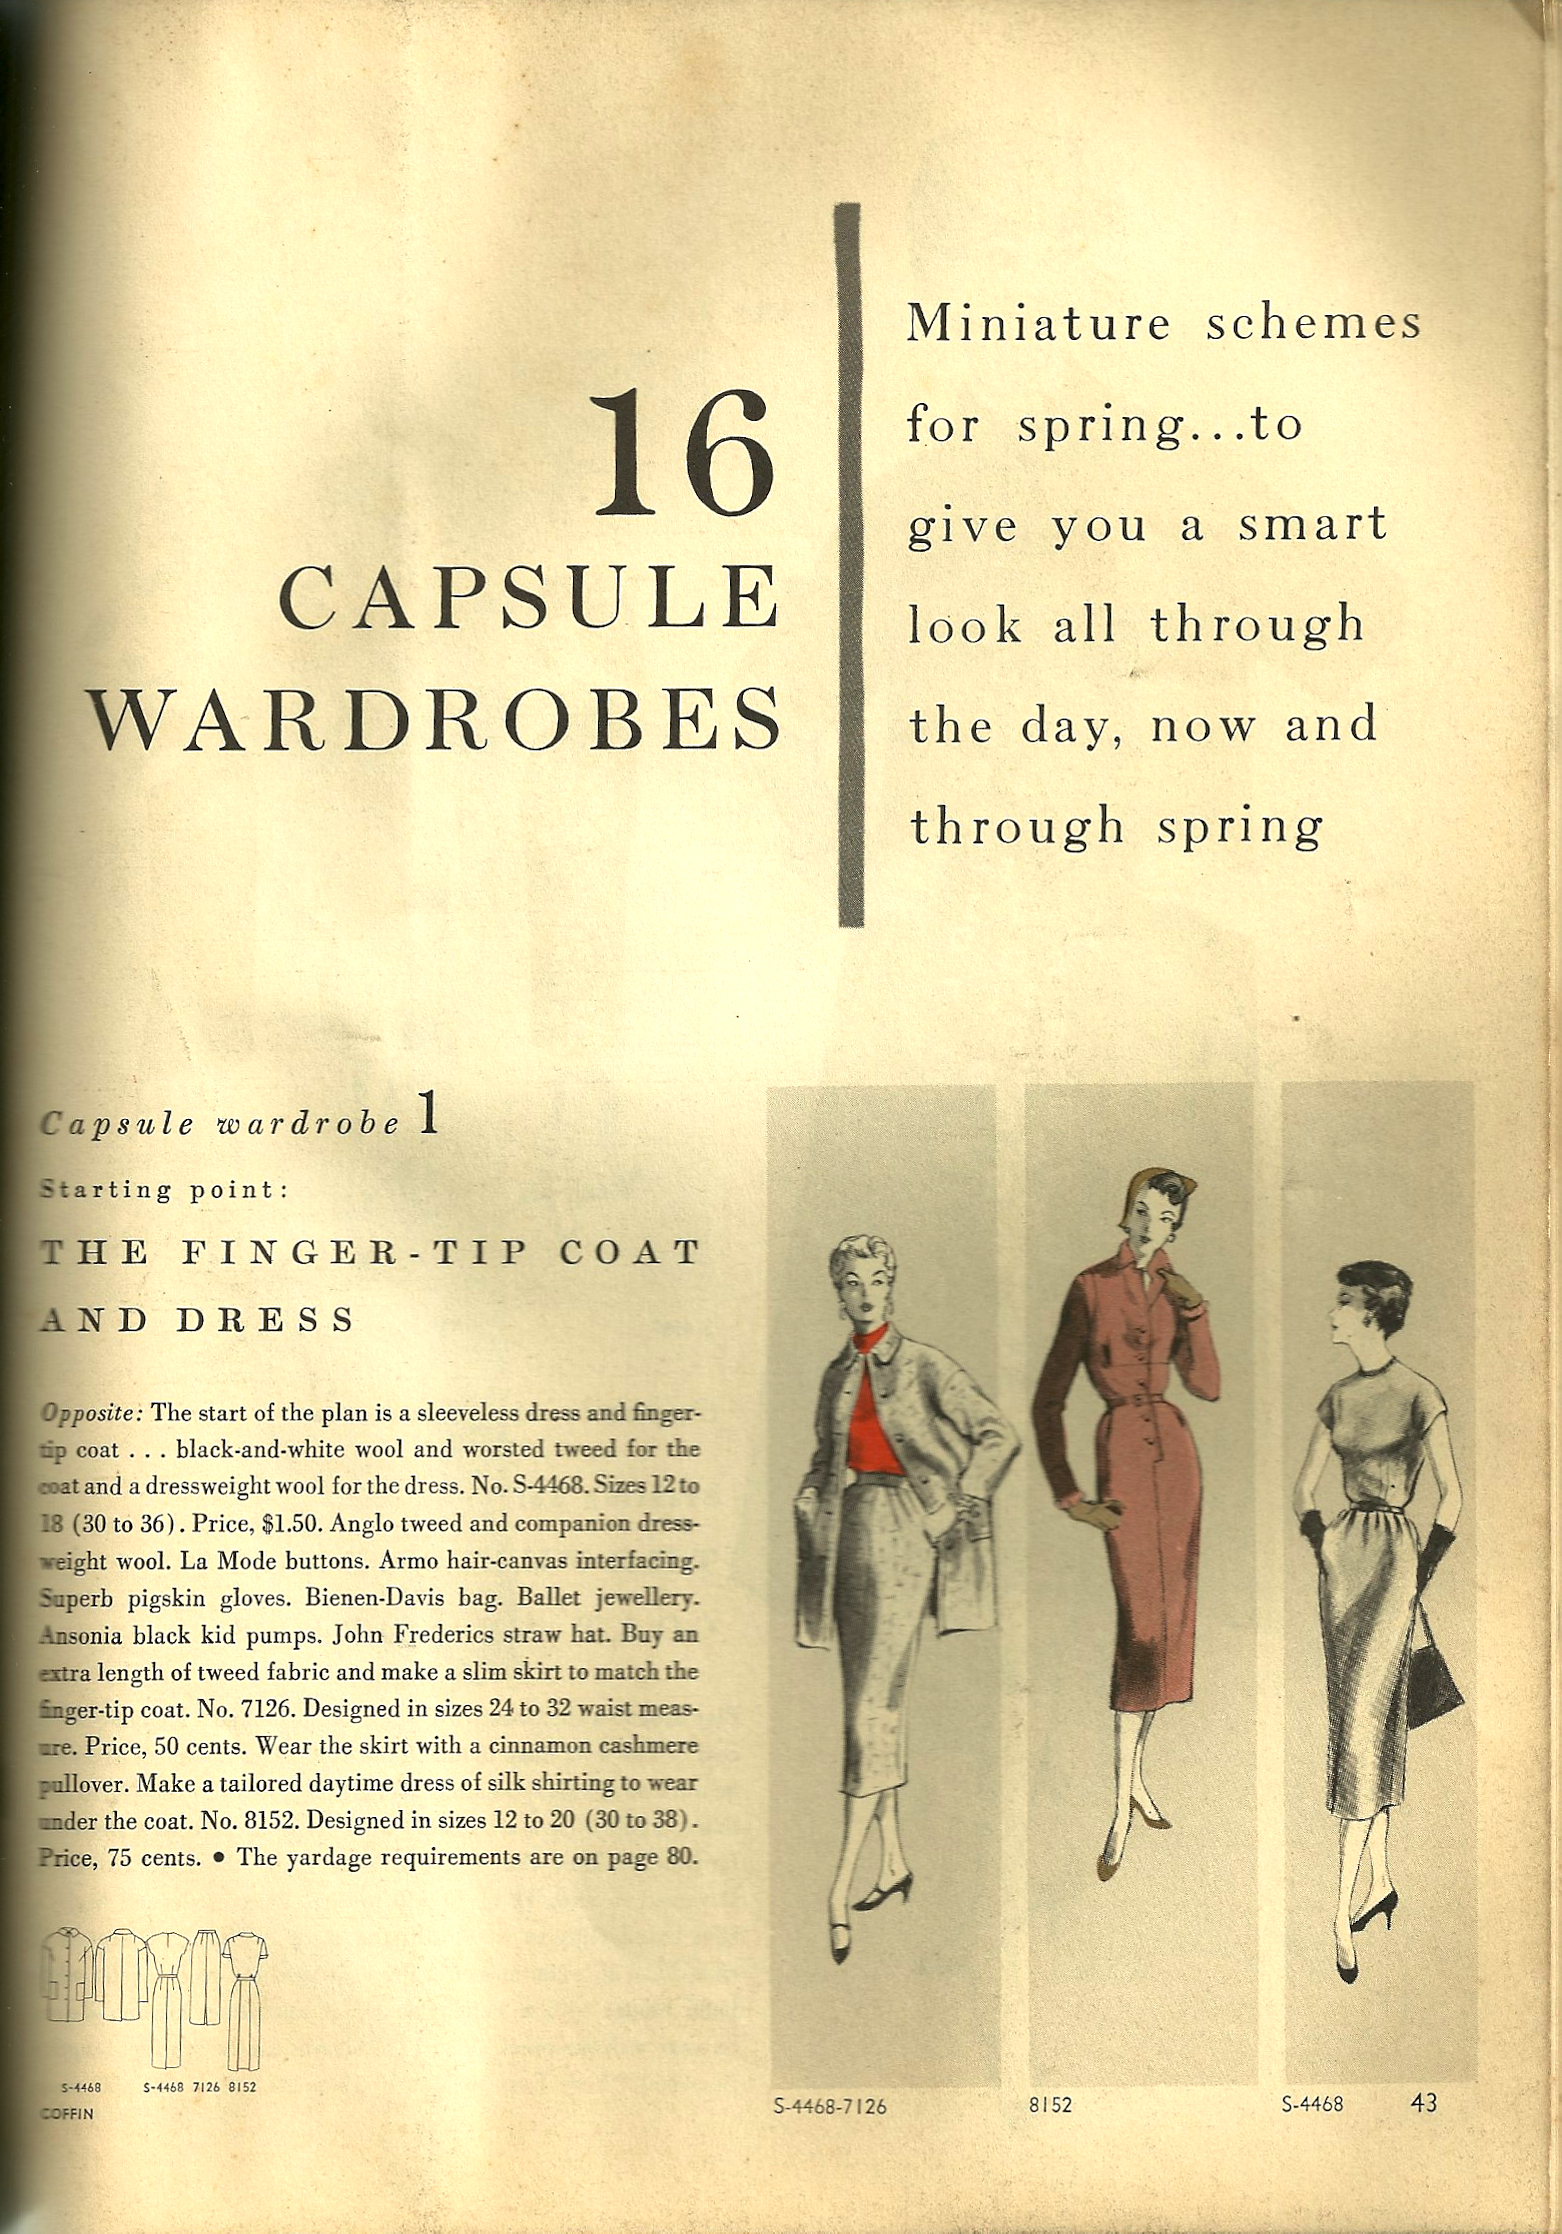
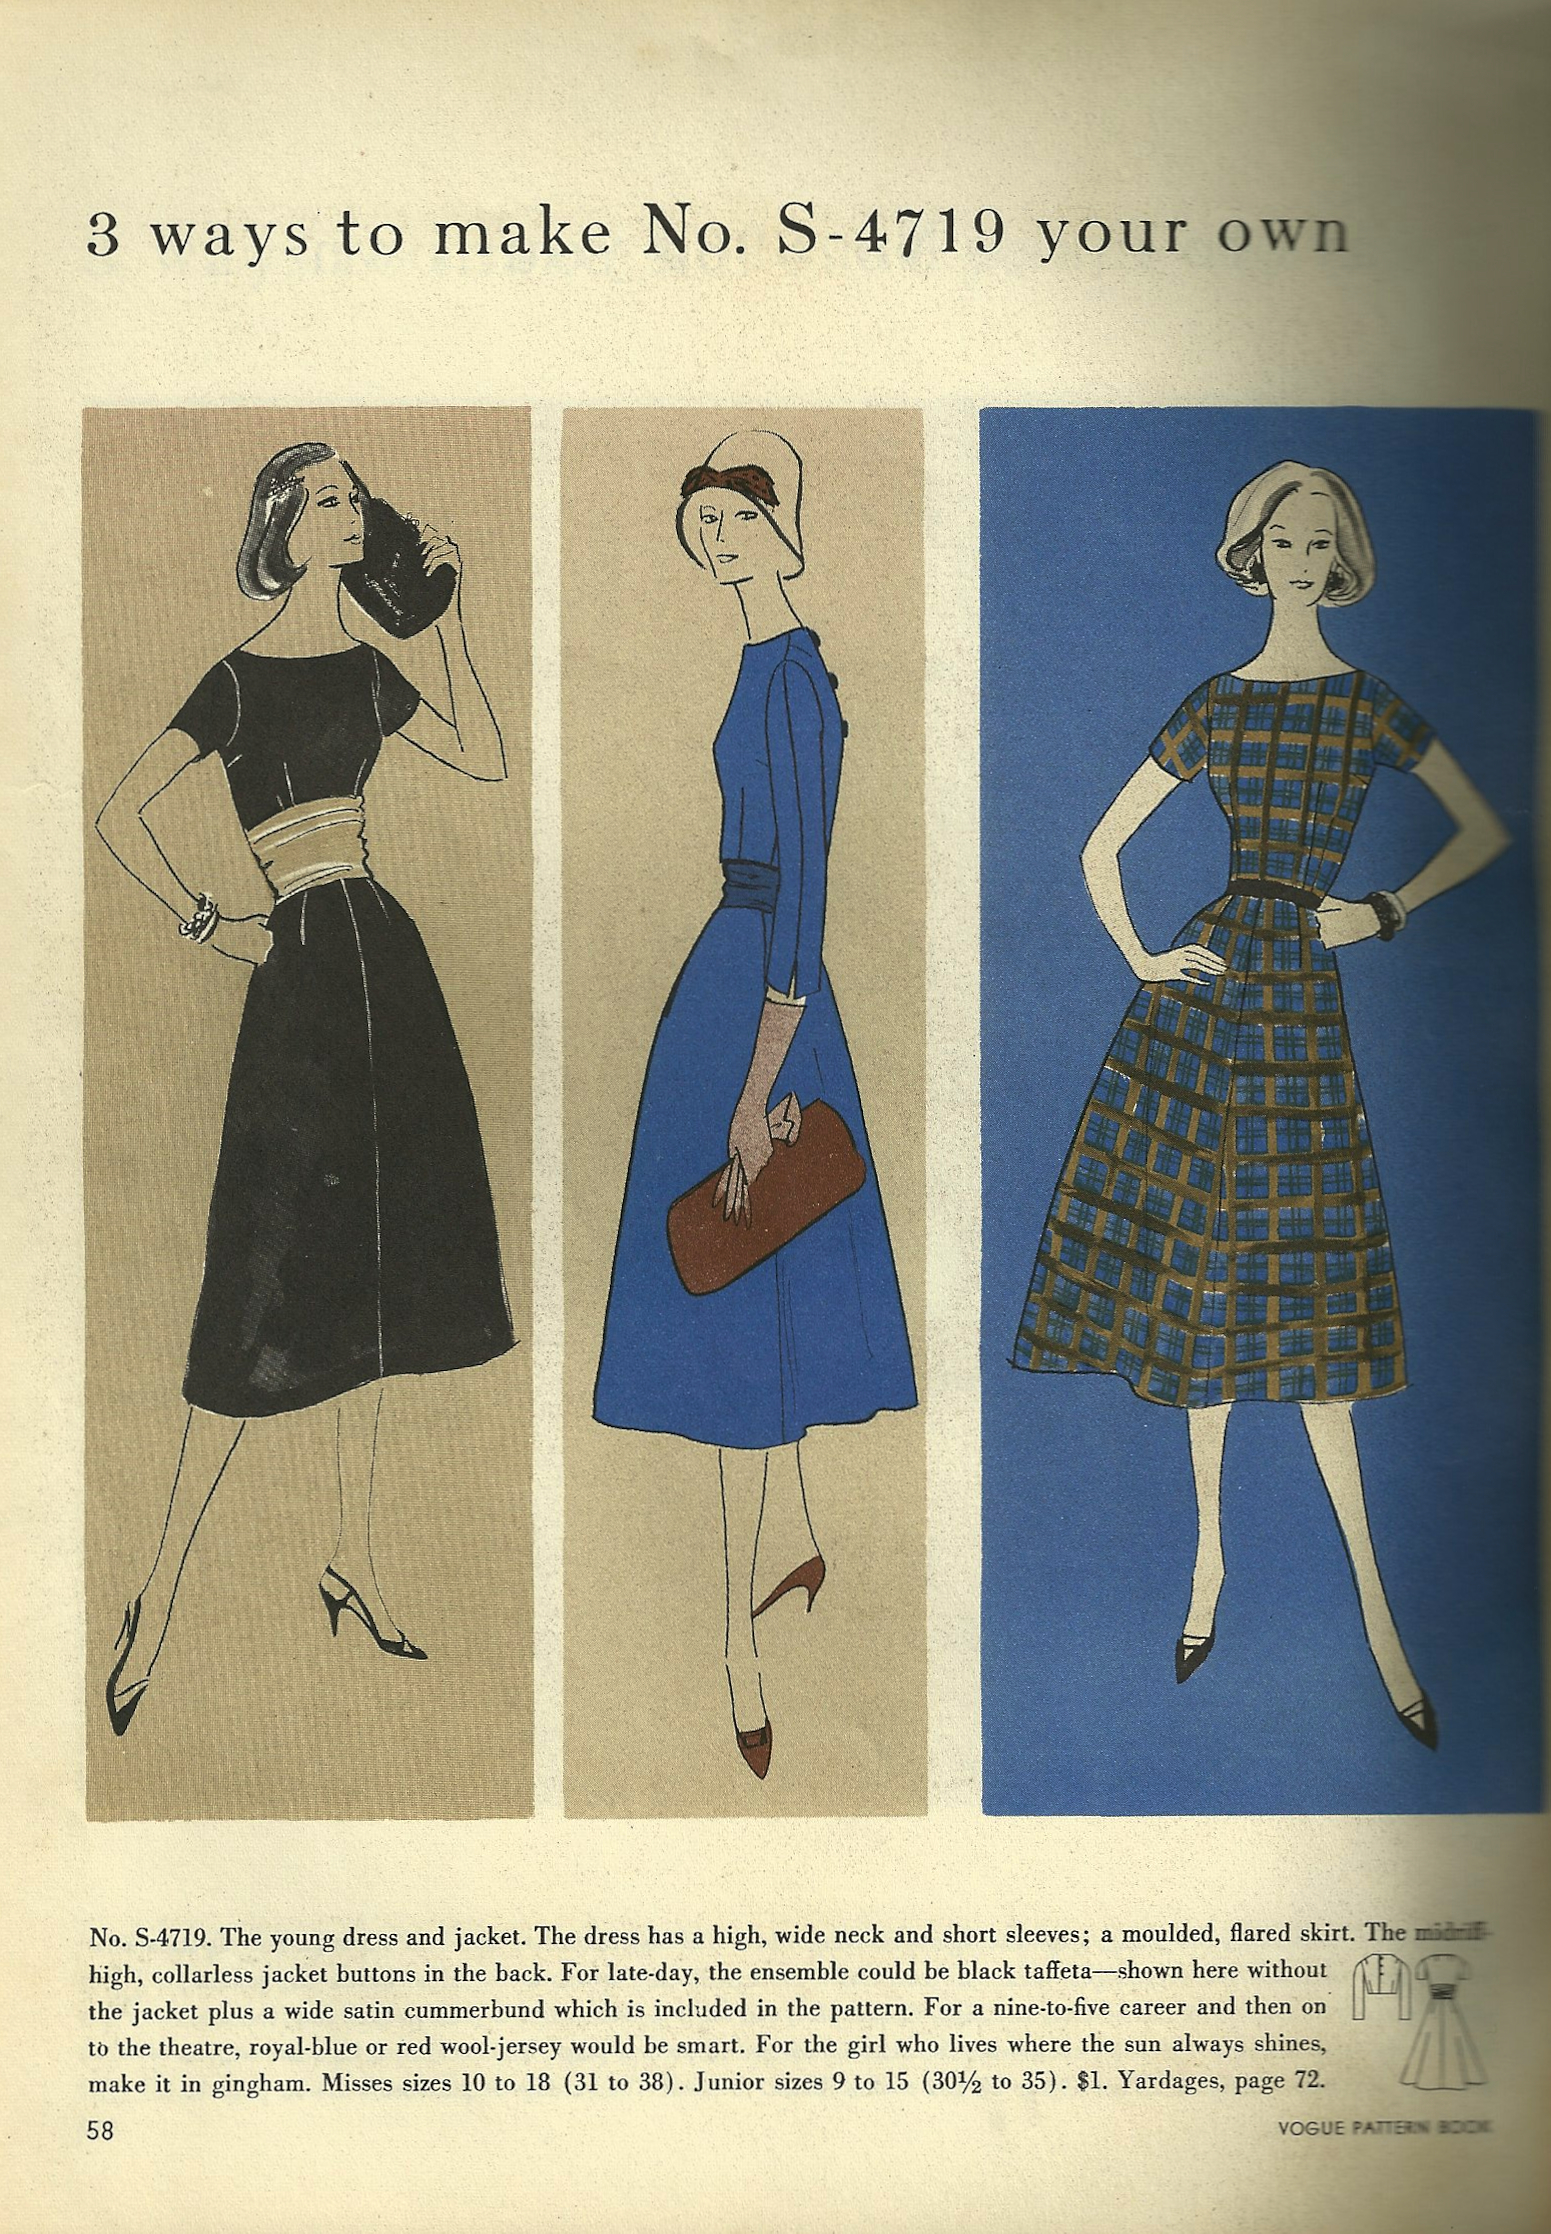
I envisioned what is known as a “dressmaker suit.” Fairchild’s Dictionary of Fashion (3rd edition, Fairchild Publications, Inc, New York, New York, 2003) gives this definition: “Woman’s suit made with soft lines and fine details, as contrasted with man-tailored styles that have the sharply defined lines of a man’s suit made by a tailor. Fashionable in 1950s and revived in the mid-1980s.” Specifically, I envisioned a straight skirt (aka pencil skirt in today’s fashion parlance), a short-ish, dressy jacket with some neat detail on it, and adorned with buttons to compliment the sheen and slubby texture of the silk.
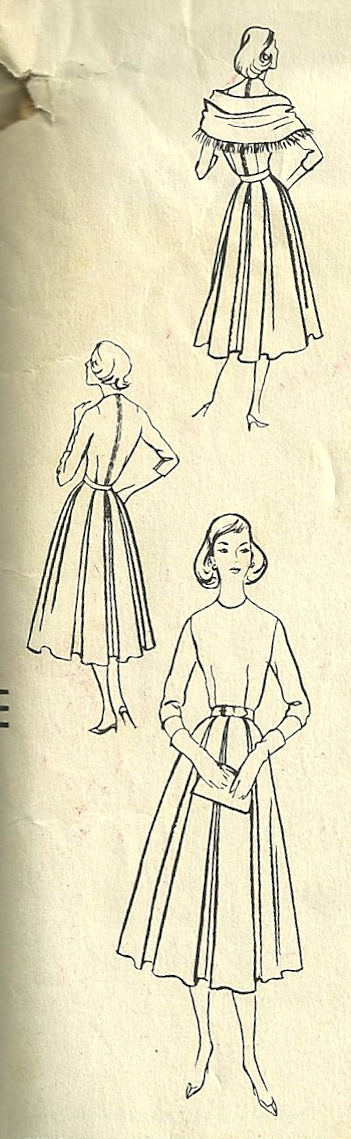
First step was to go to my pattern box, brimming over with vintage patterns (and a few new ones). I quickly had my selection narrowed down to two possibilities, but one was actually a sheath dress with coordinating jacket, not a jacket and skirt. (Yes, there is a definition for this category as well, according to Fairchild’s: “Suit dress: Used in 1960s to refer to a jacket and dress ensemble that resembled a tailored suit.”)
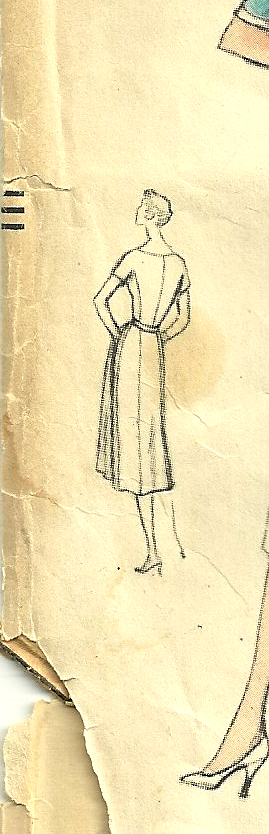
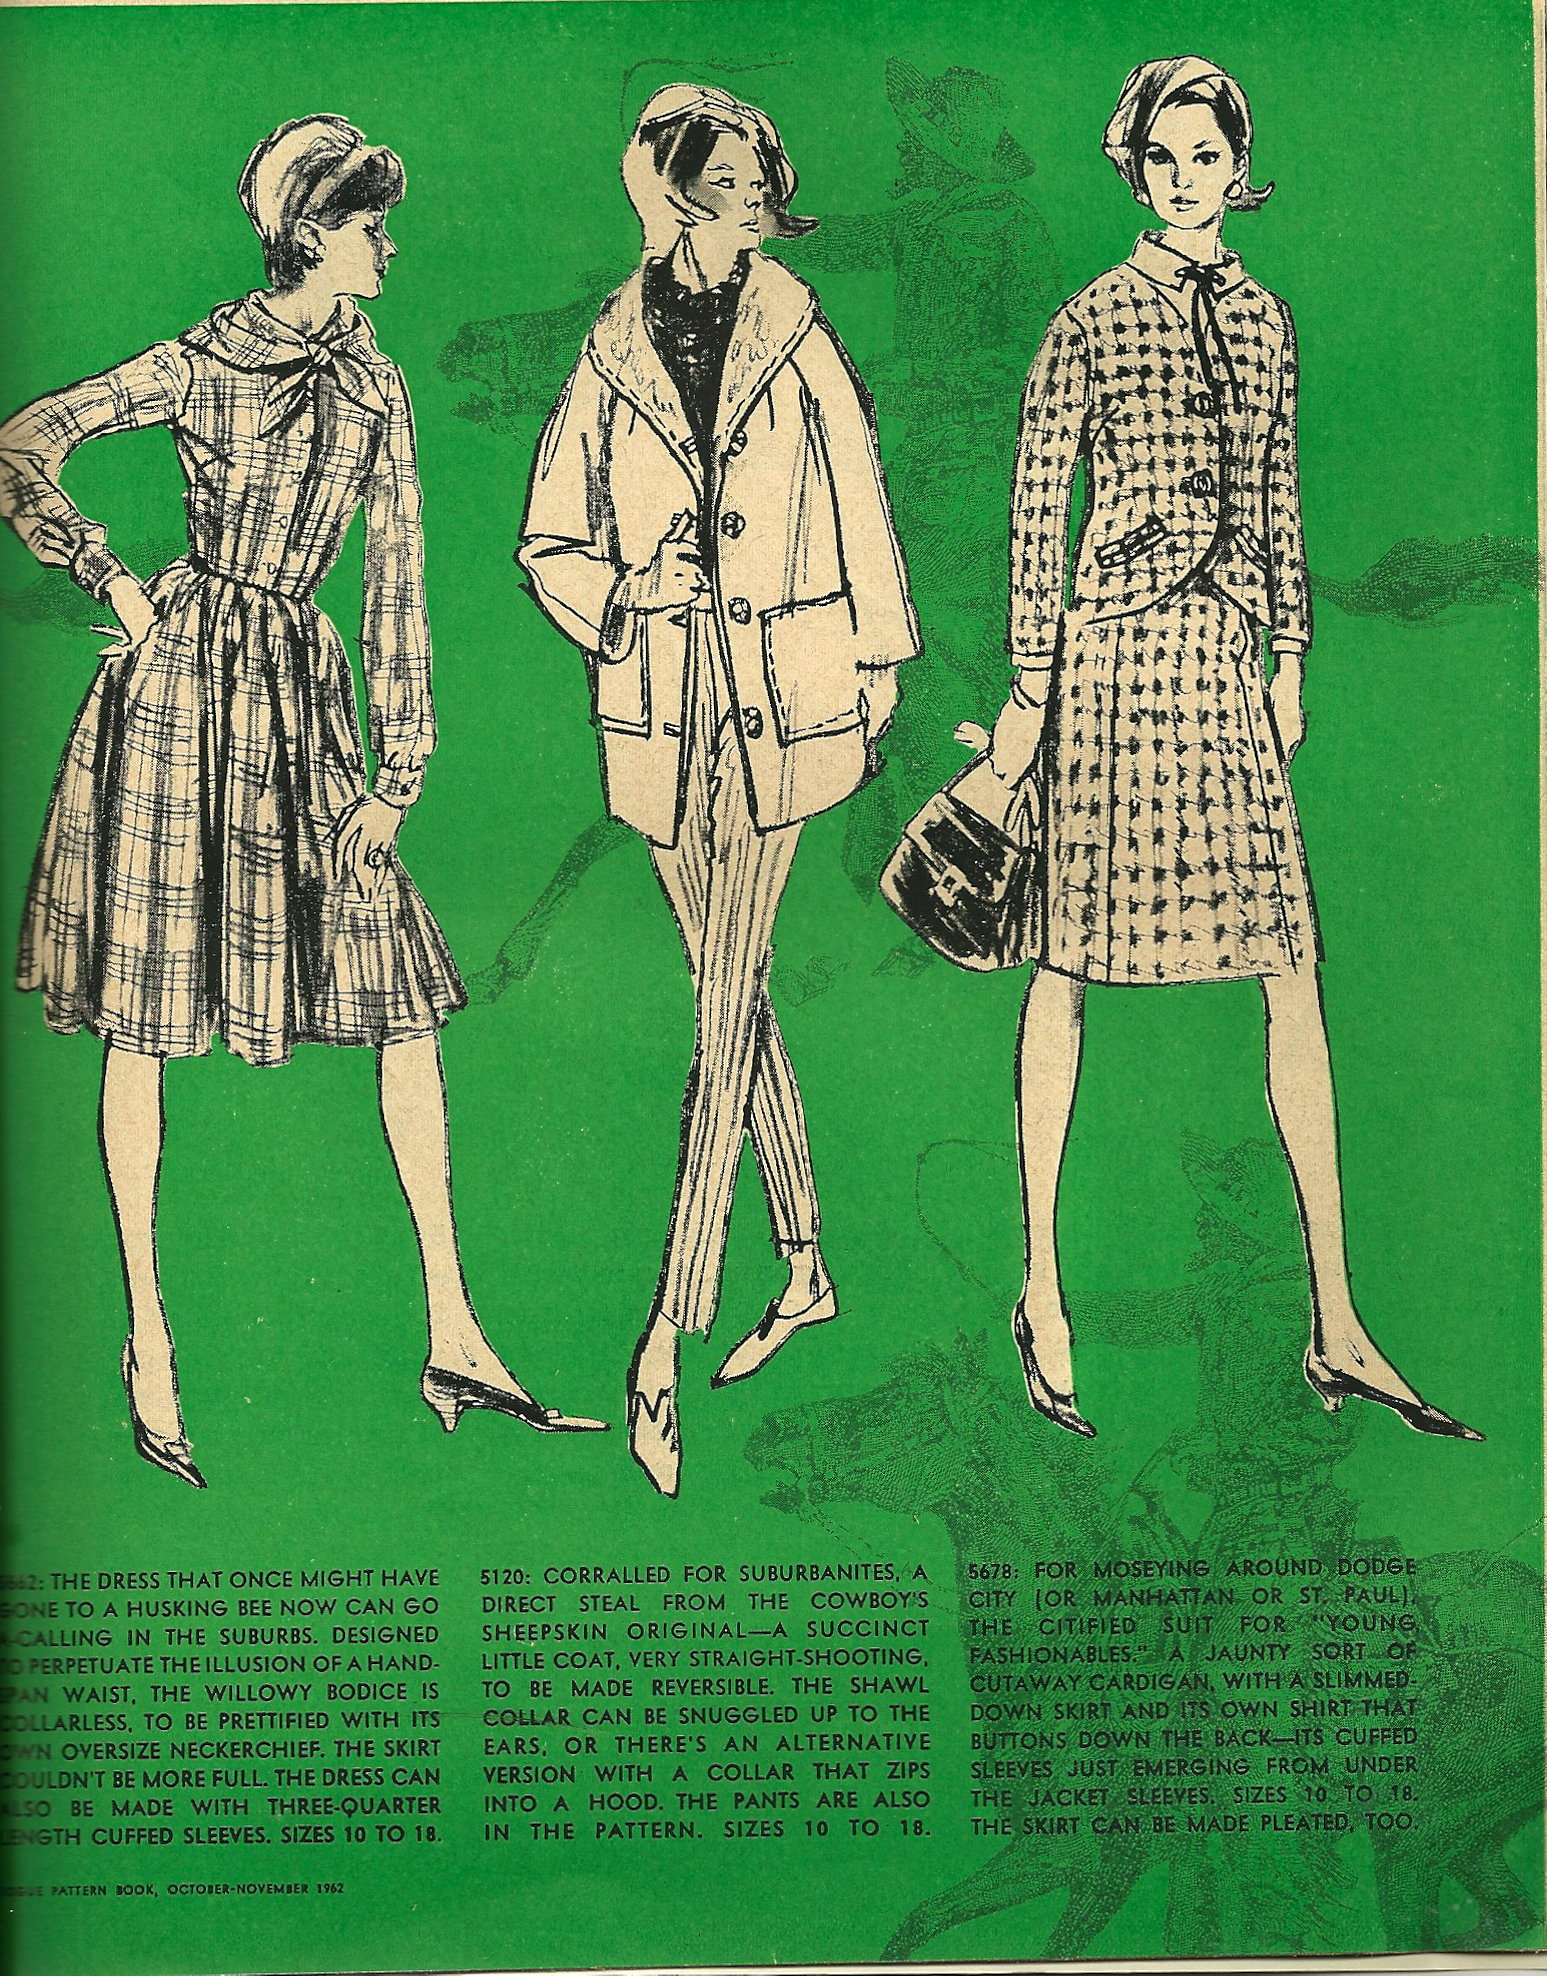
Is it the hat that makes this ensemble so appealing – or just good styling?
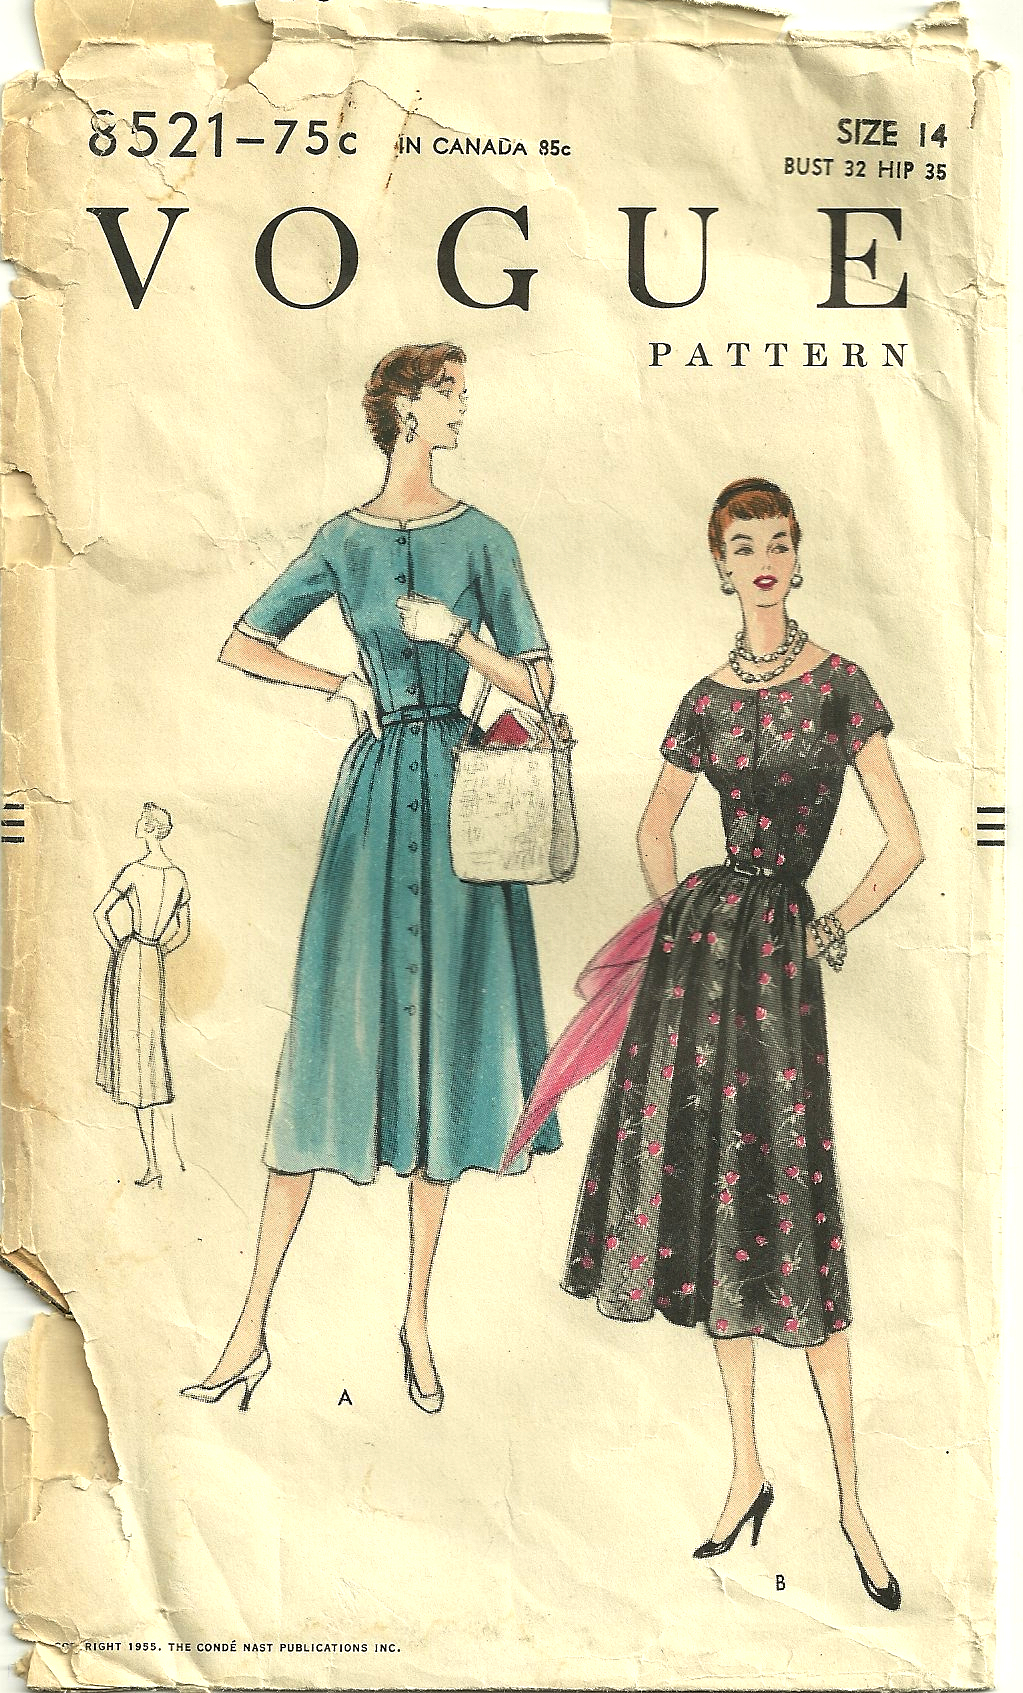
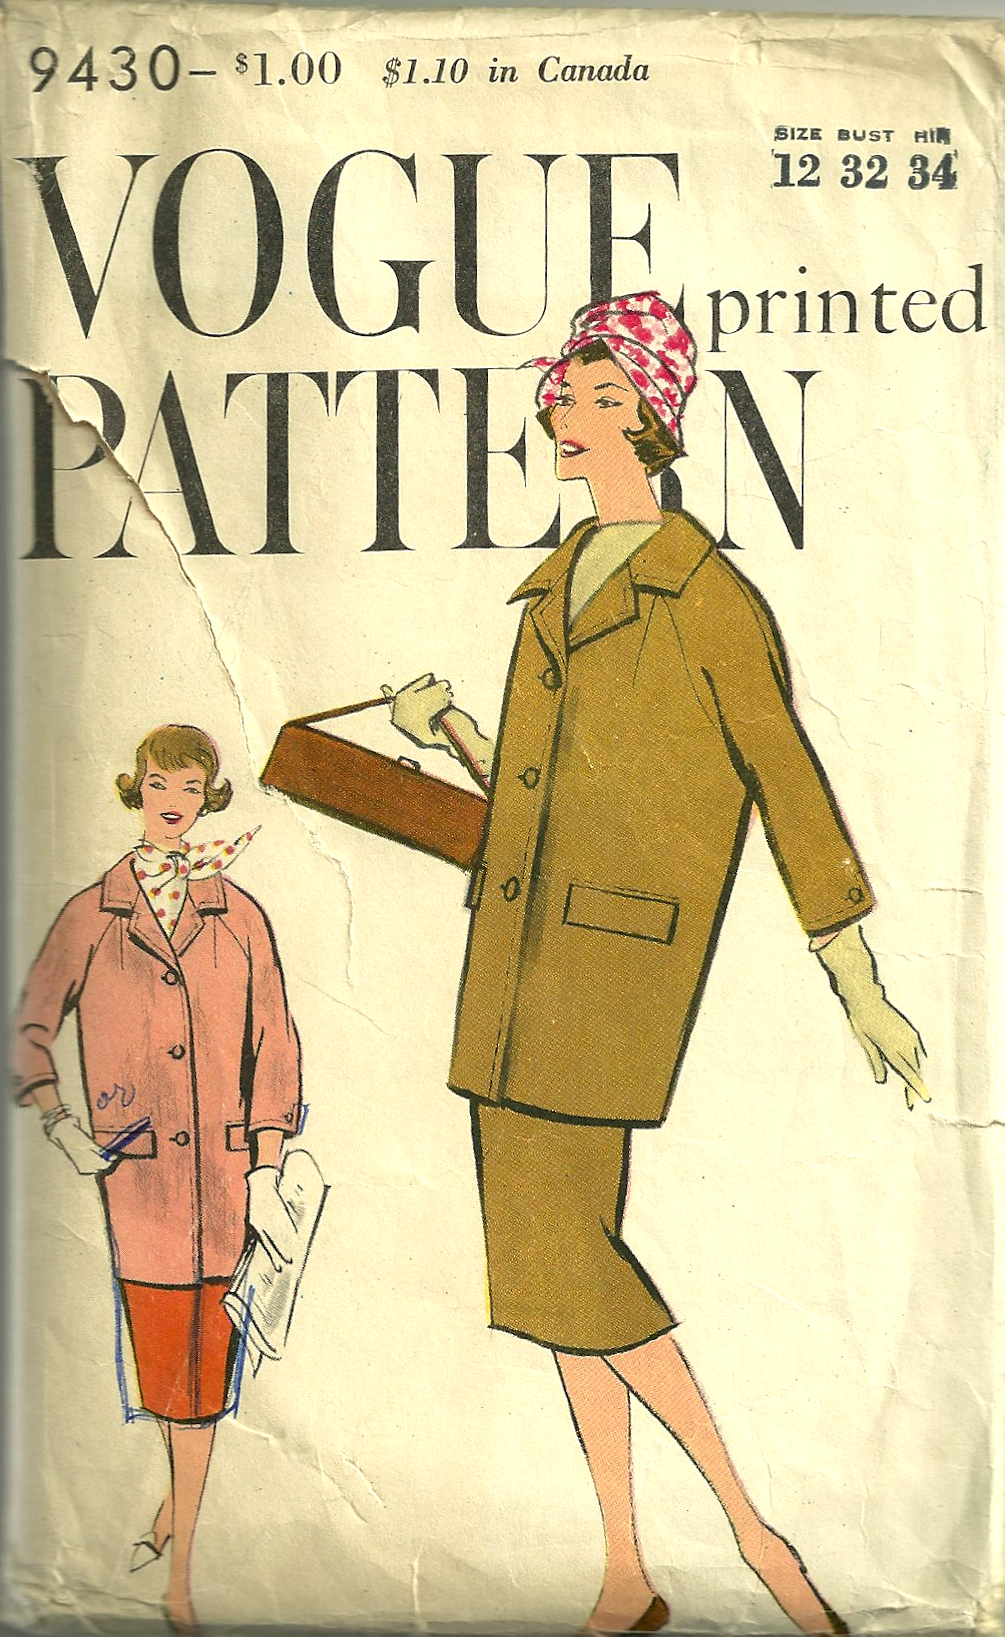
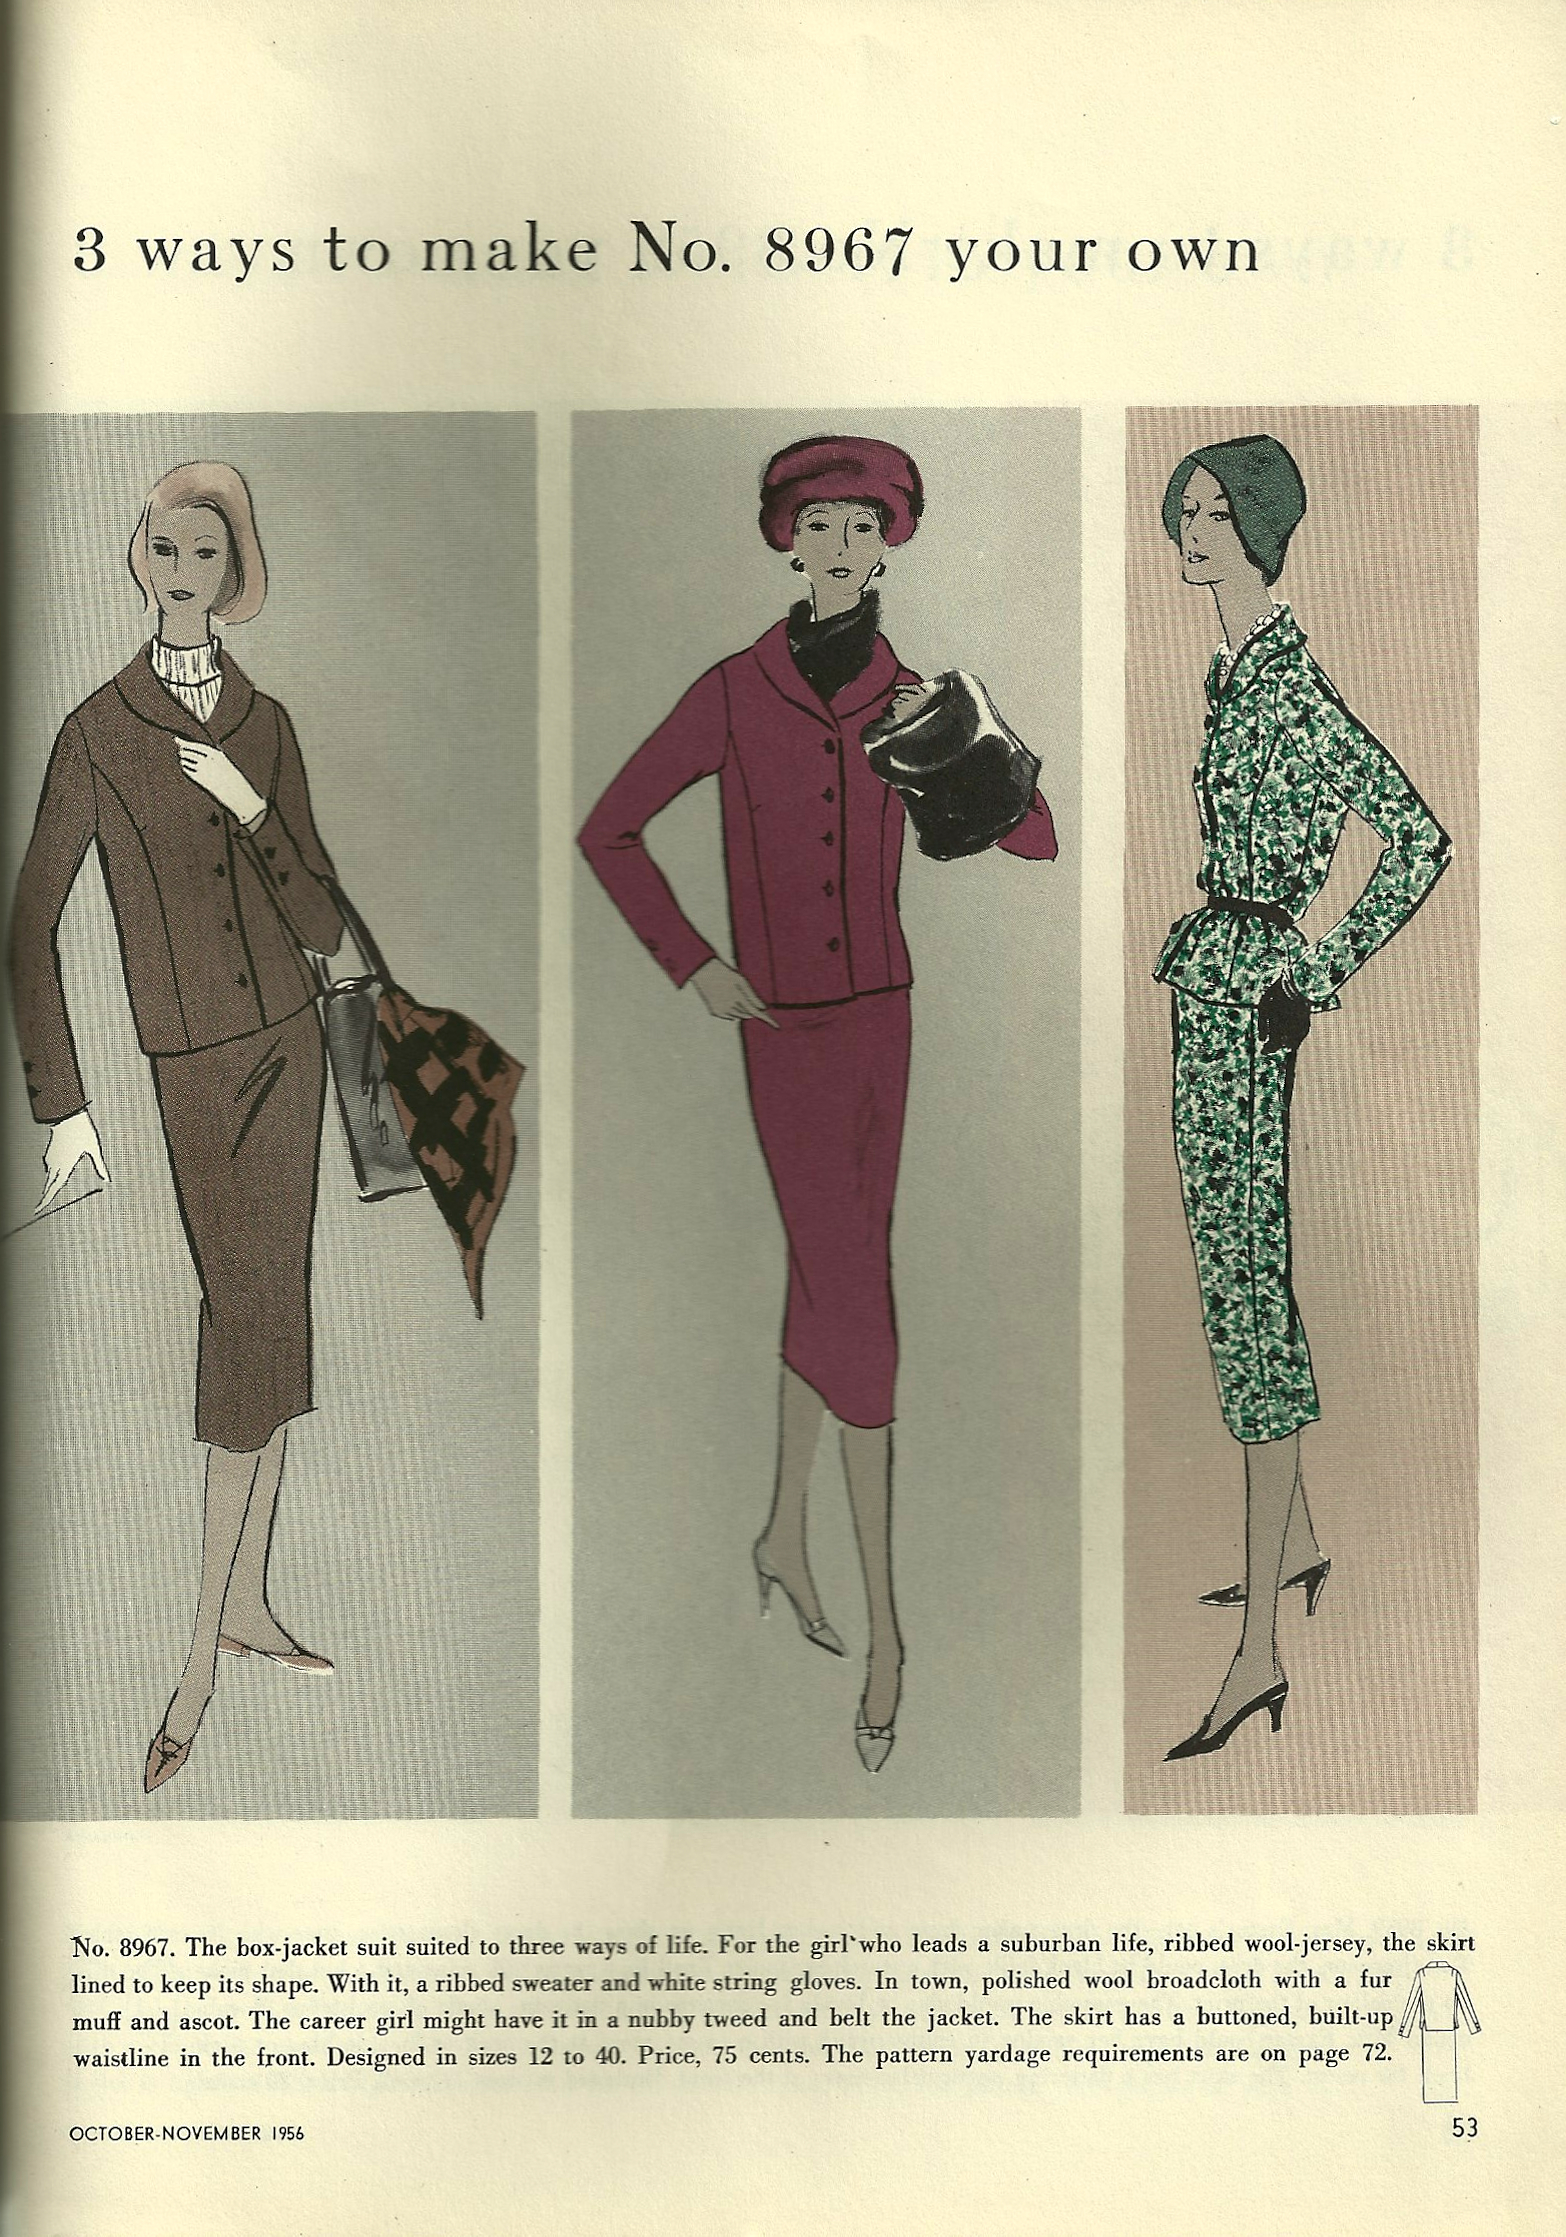
I hashed over the two reservations I had about using this pattern: 1) I was a little short on yardage – about a quarter of a yard – and just not completely confident that I would be able to cut this pattern out with the generous seams that I have come to like so much, and 2) I have a RTW (gasp!) silk shell top which will look stunning, I think, paired with an emerald green silk skirt and matching jacket. So in the end, I decided to go with a dressmaker suit to be made from this pattern:
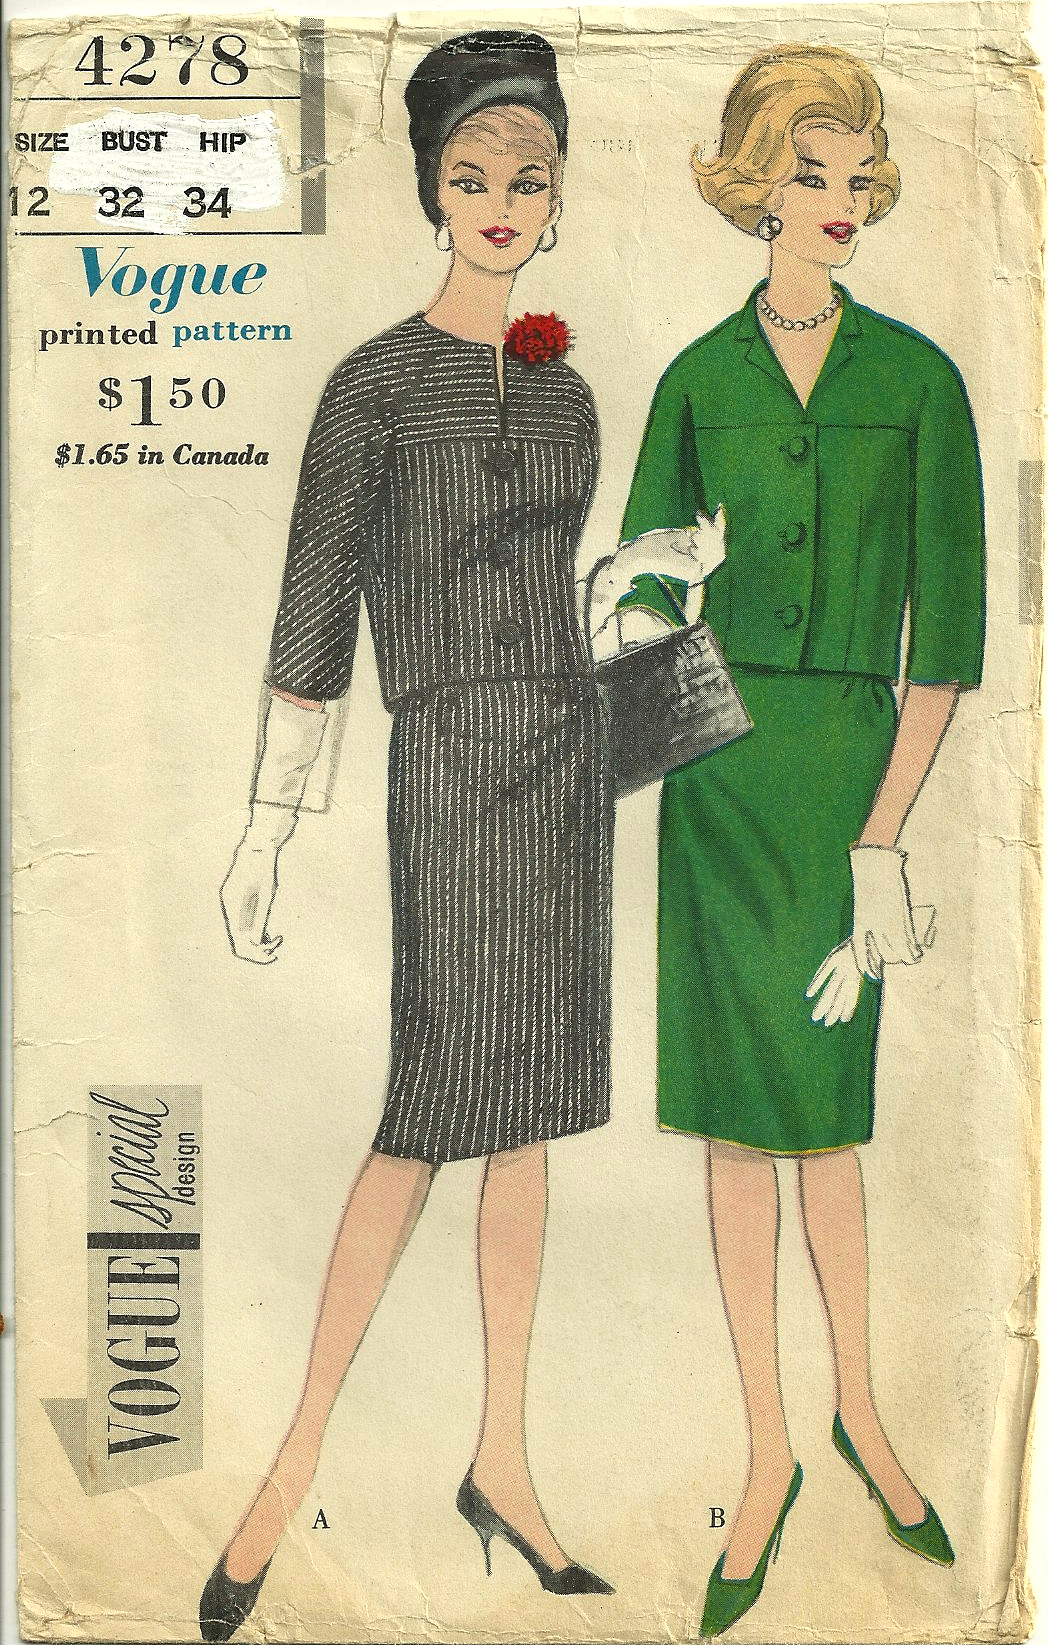
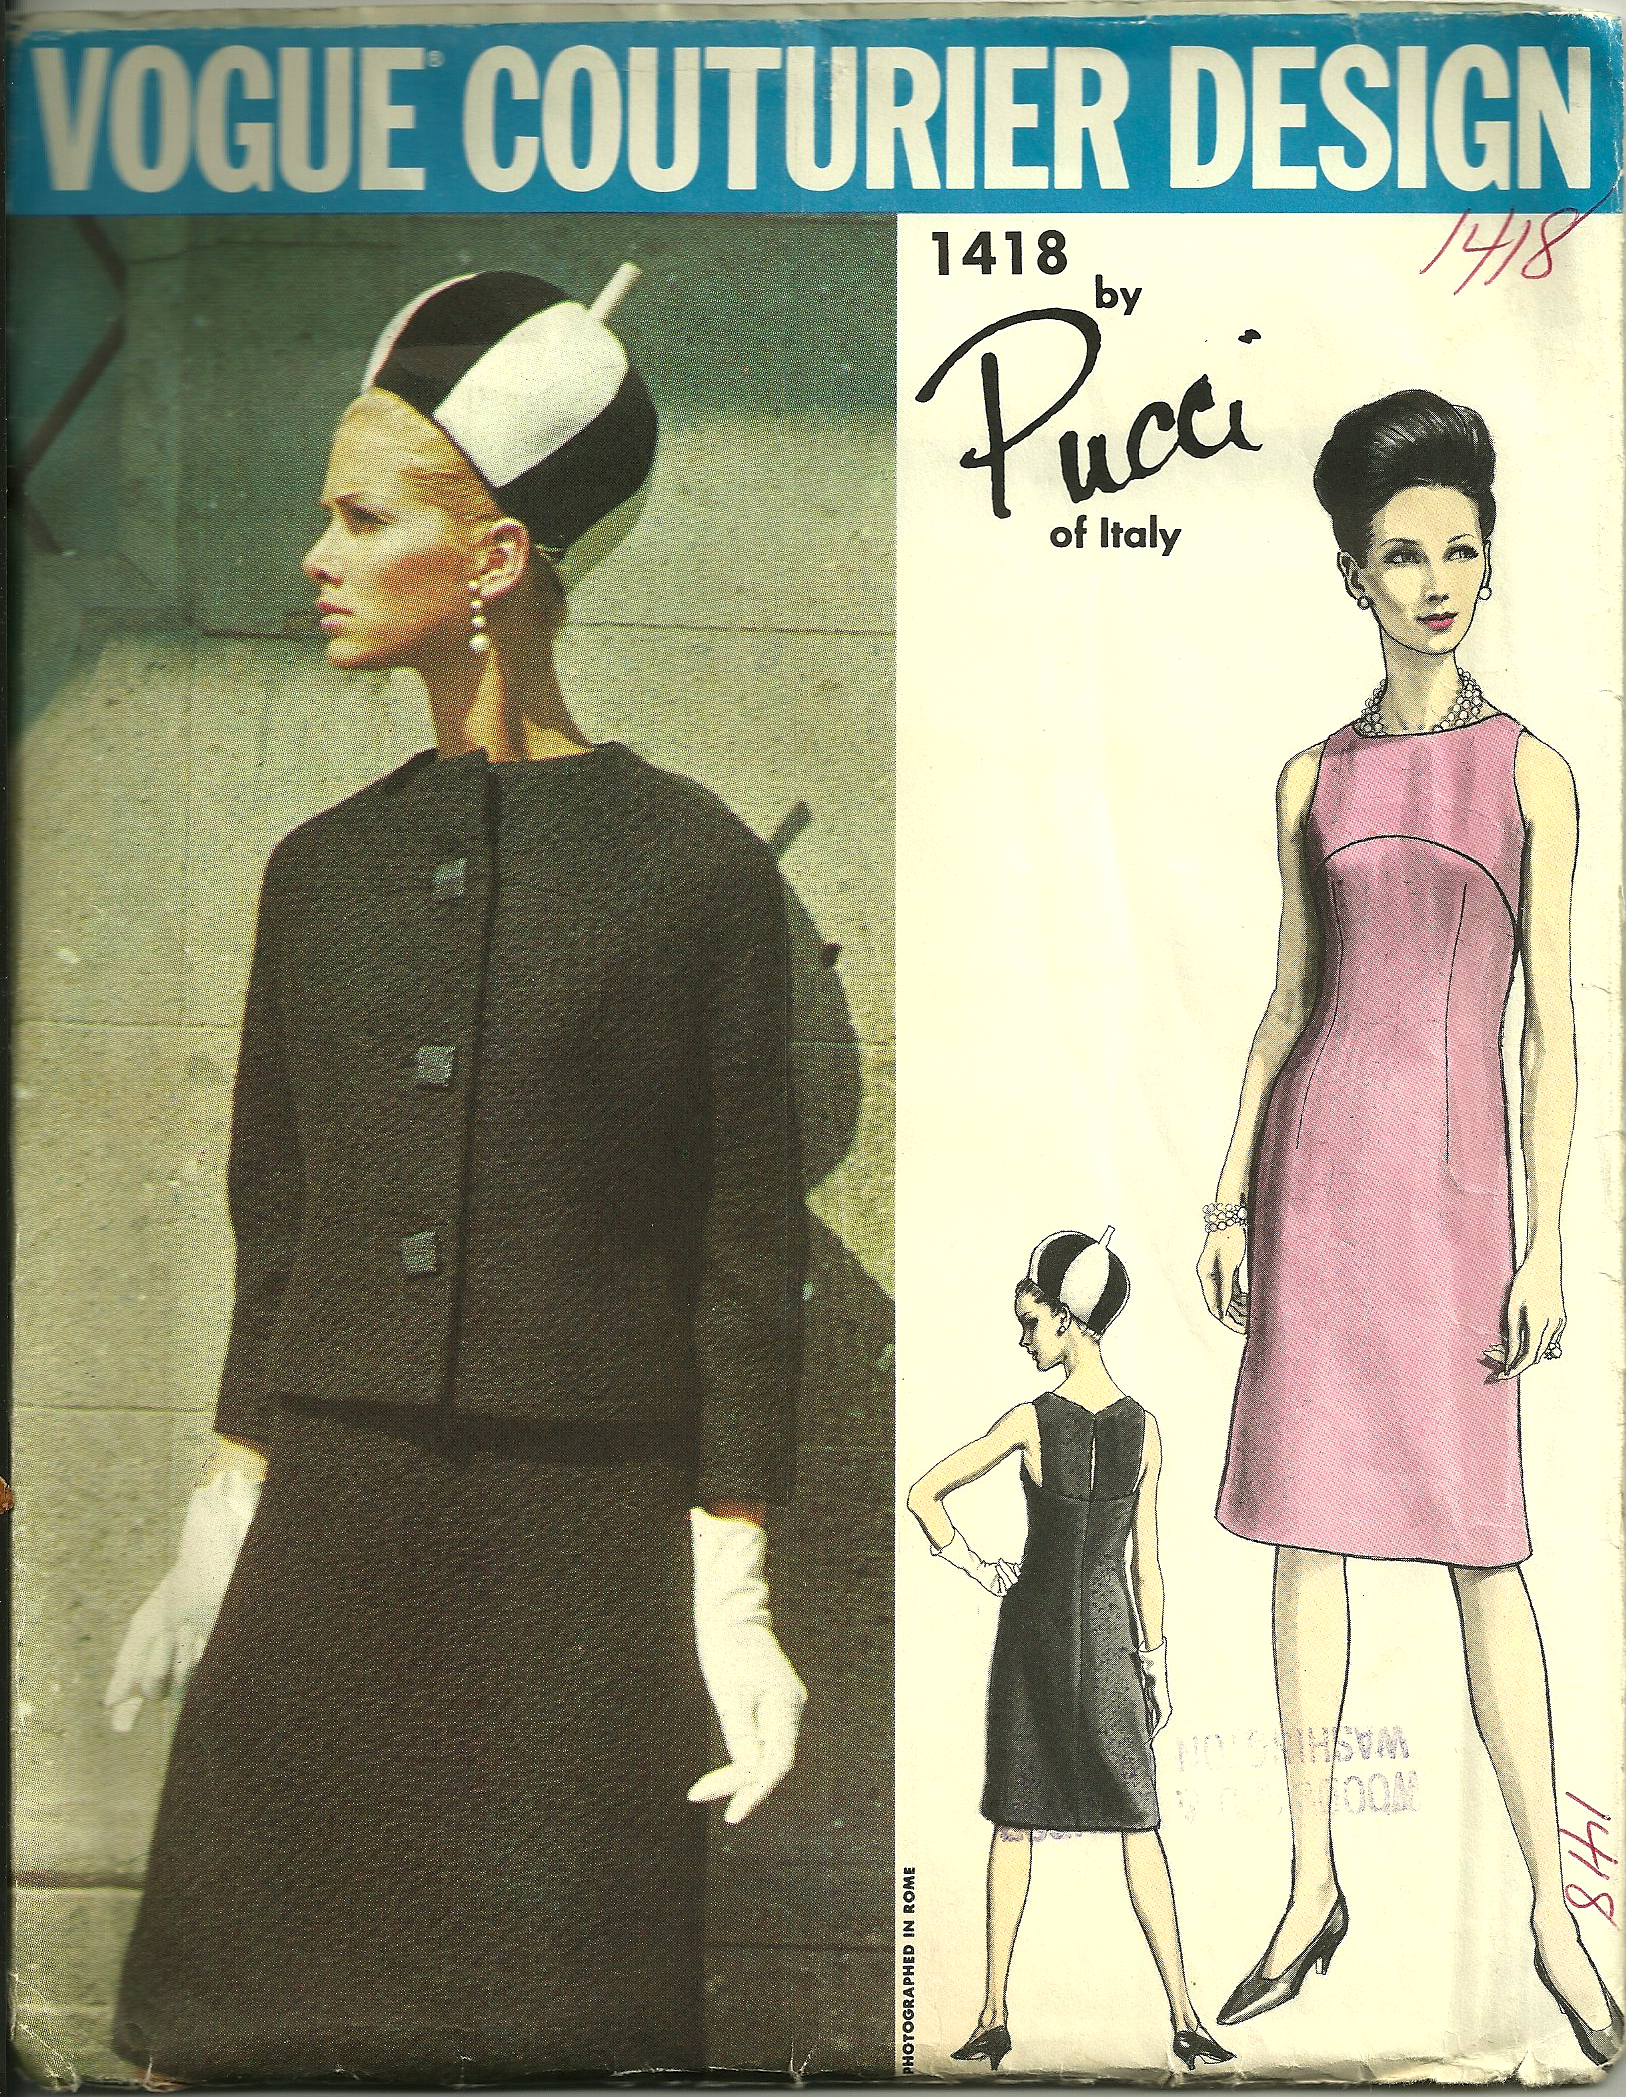
I’ll be making View B, which just happens to be shown in emerald green!
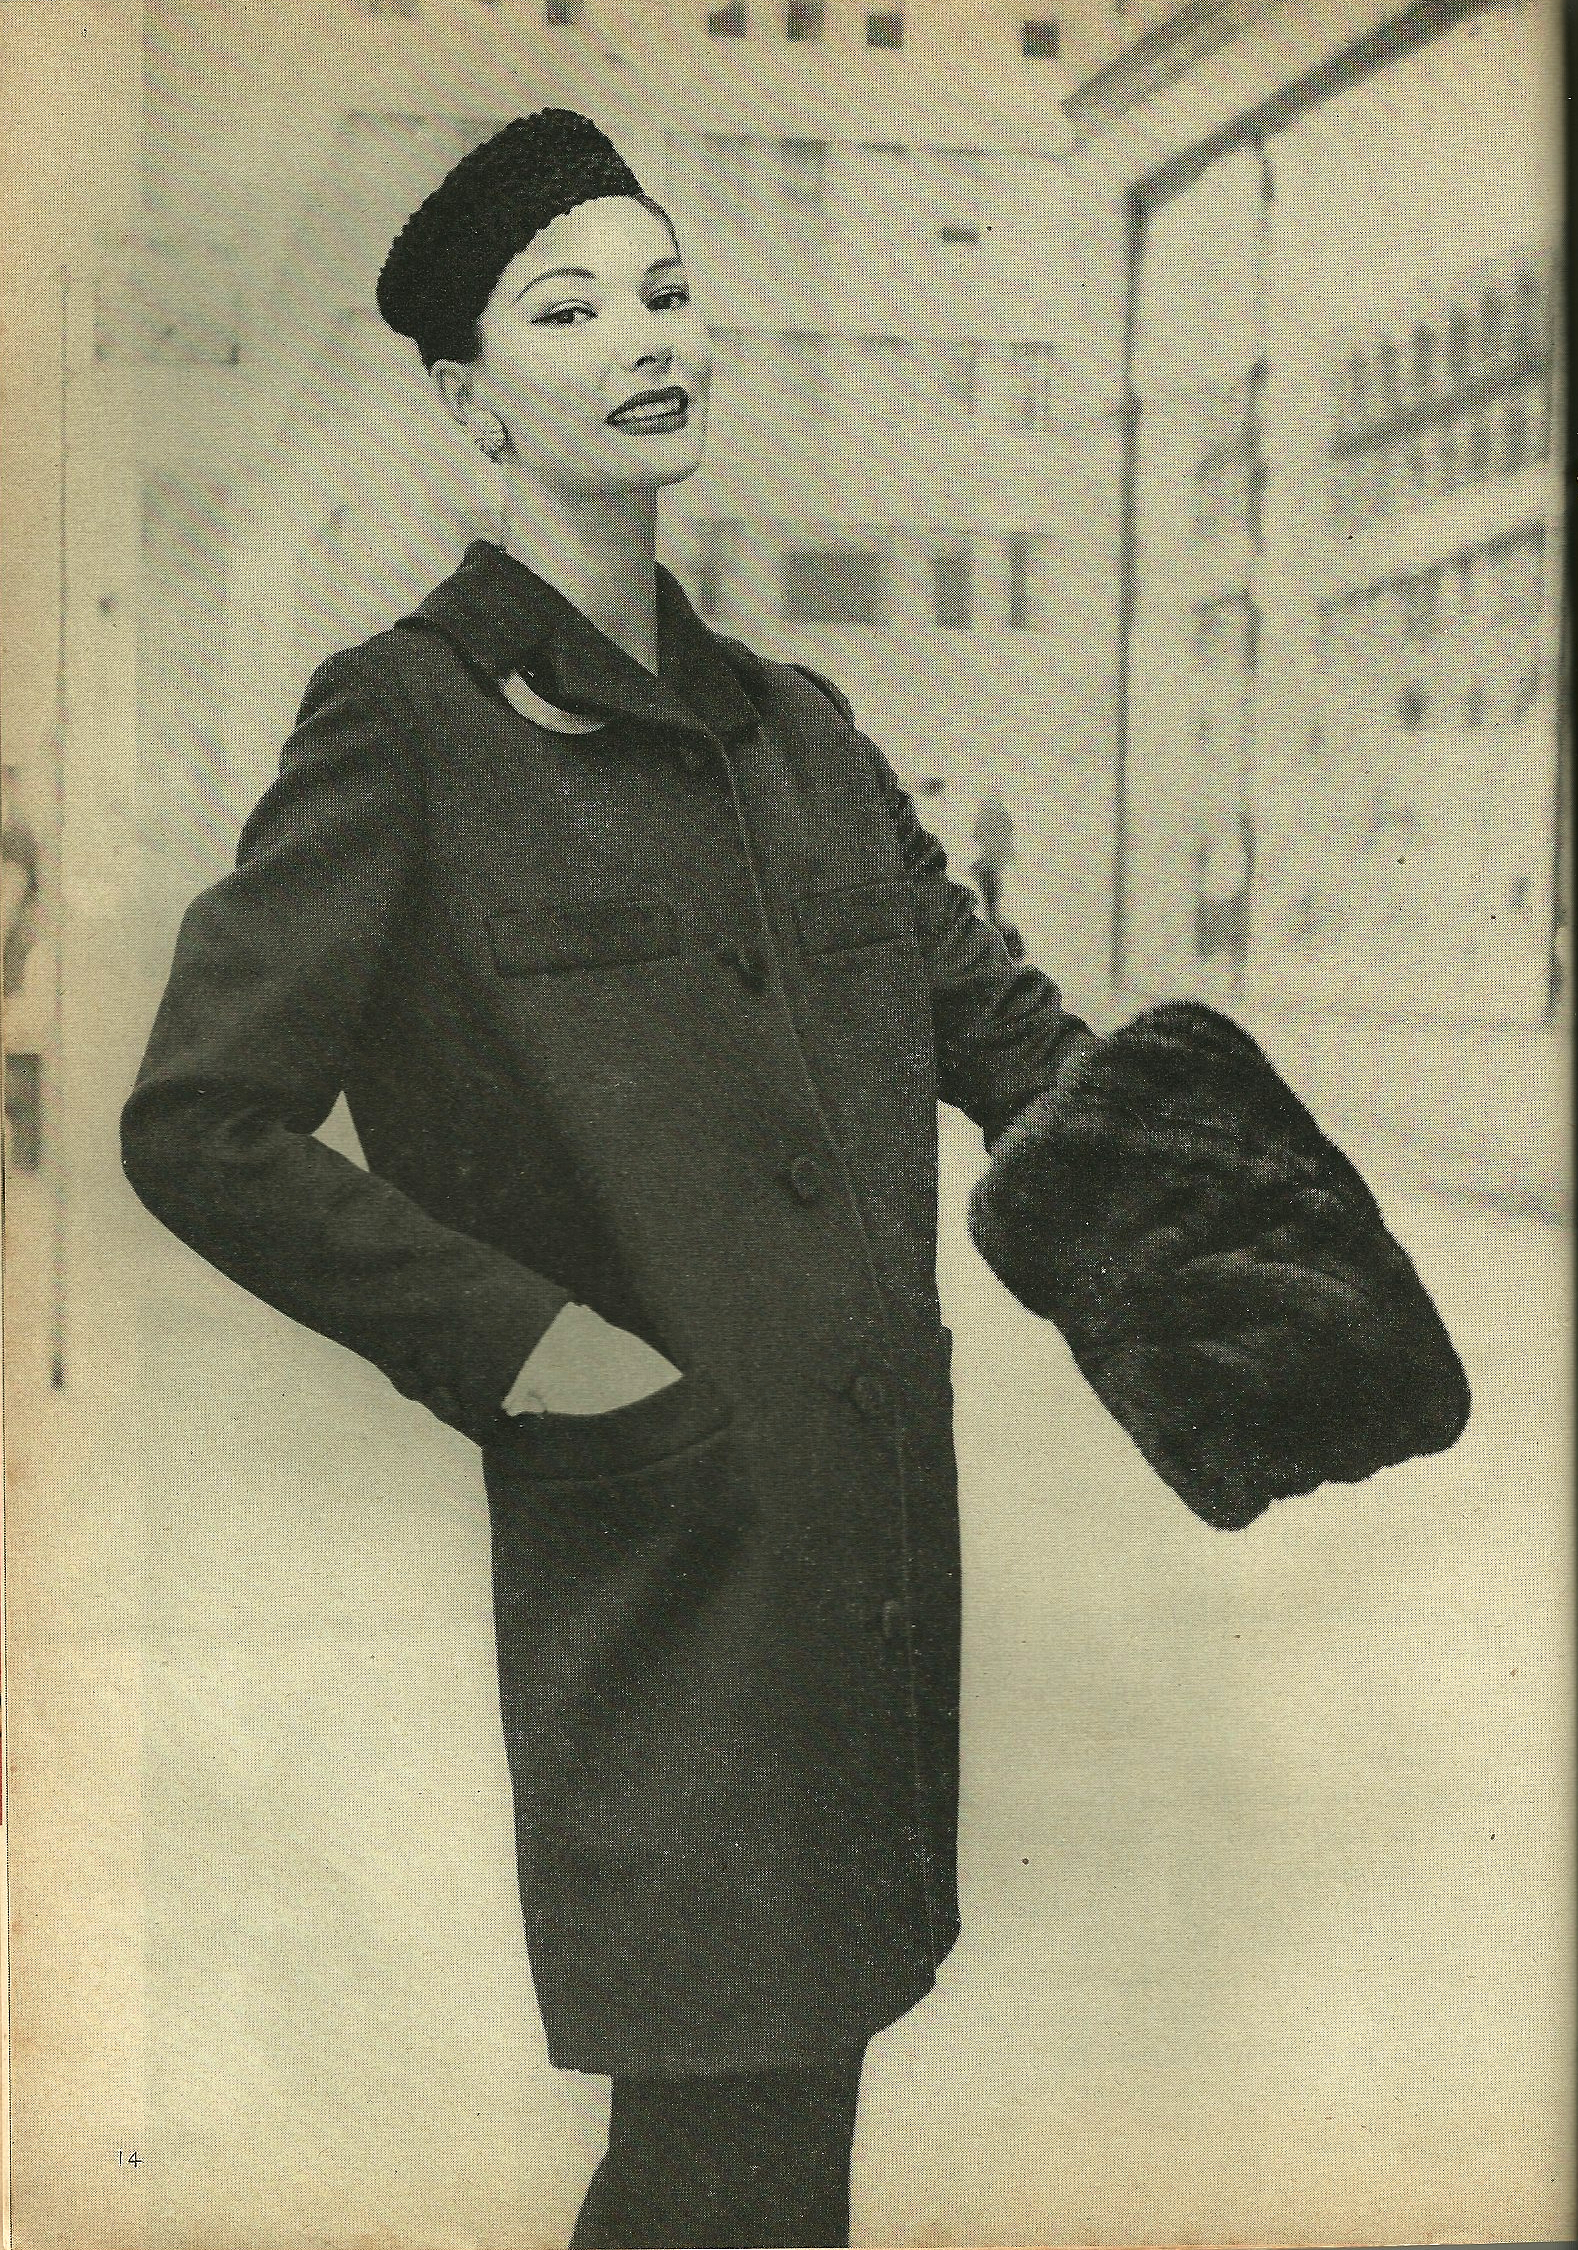
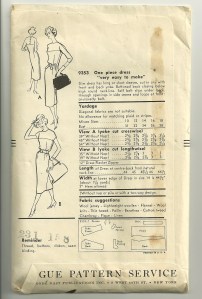
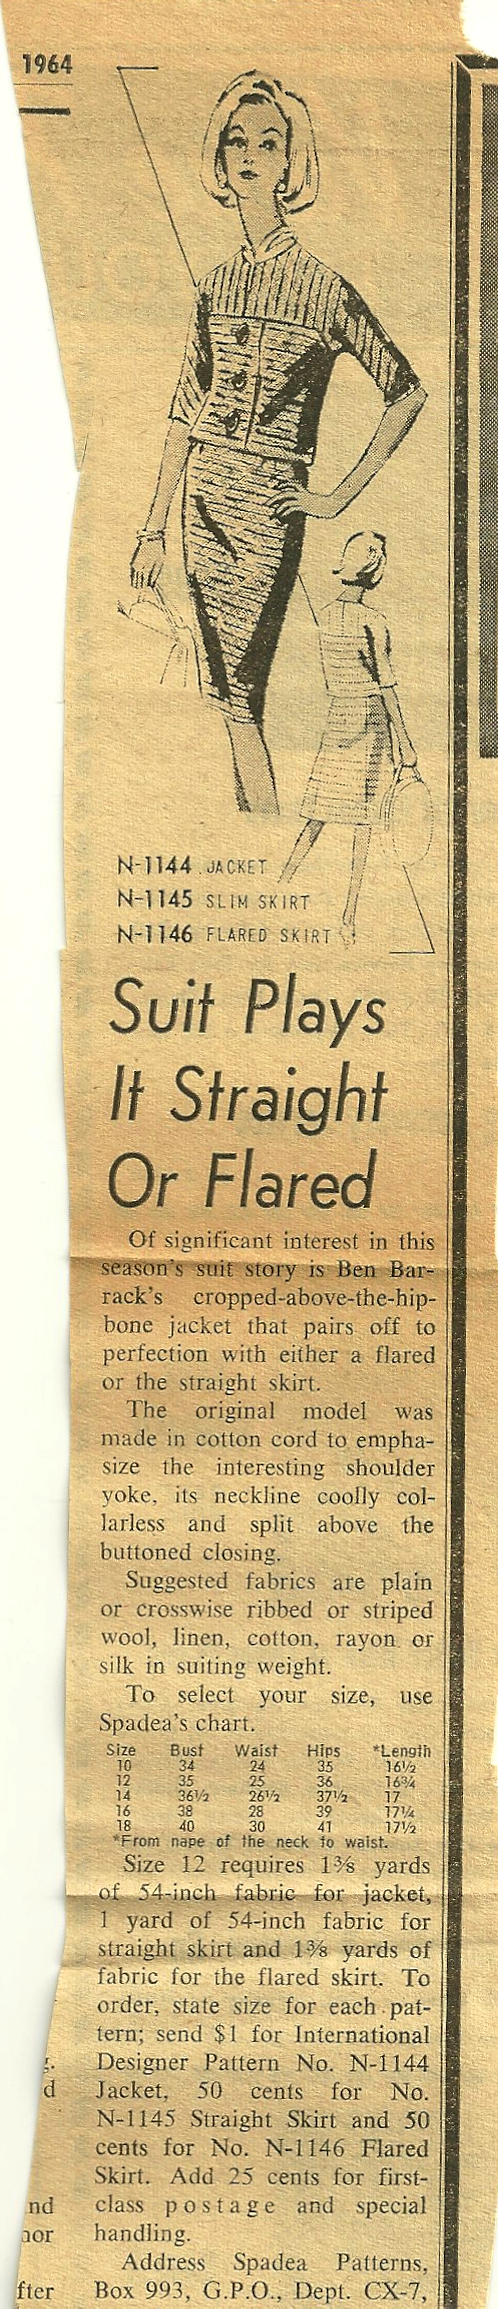
And then, the bonus! Actually three of them . . . I had forgotten that tucked inside the pattern envelope were two clippings obviously placed there by the original owner of the pattern. She was doing some “comparison shopping” for styling.
The first clipping is for another pattern – a Spadea, available through mail order from the newspaper. Fortunately, the date of 1964 shows up on one corner.
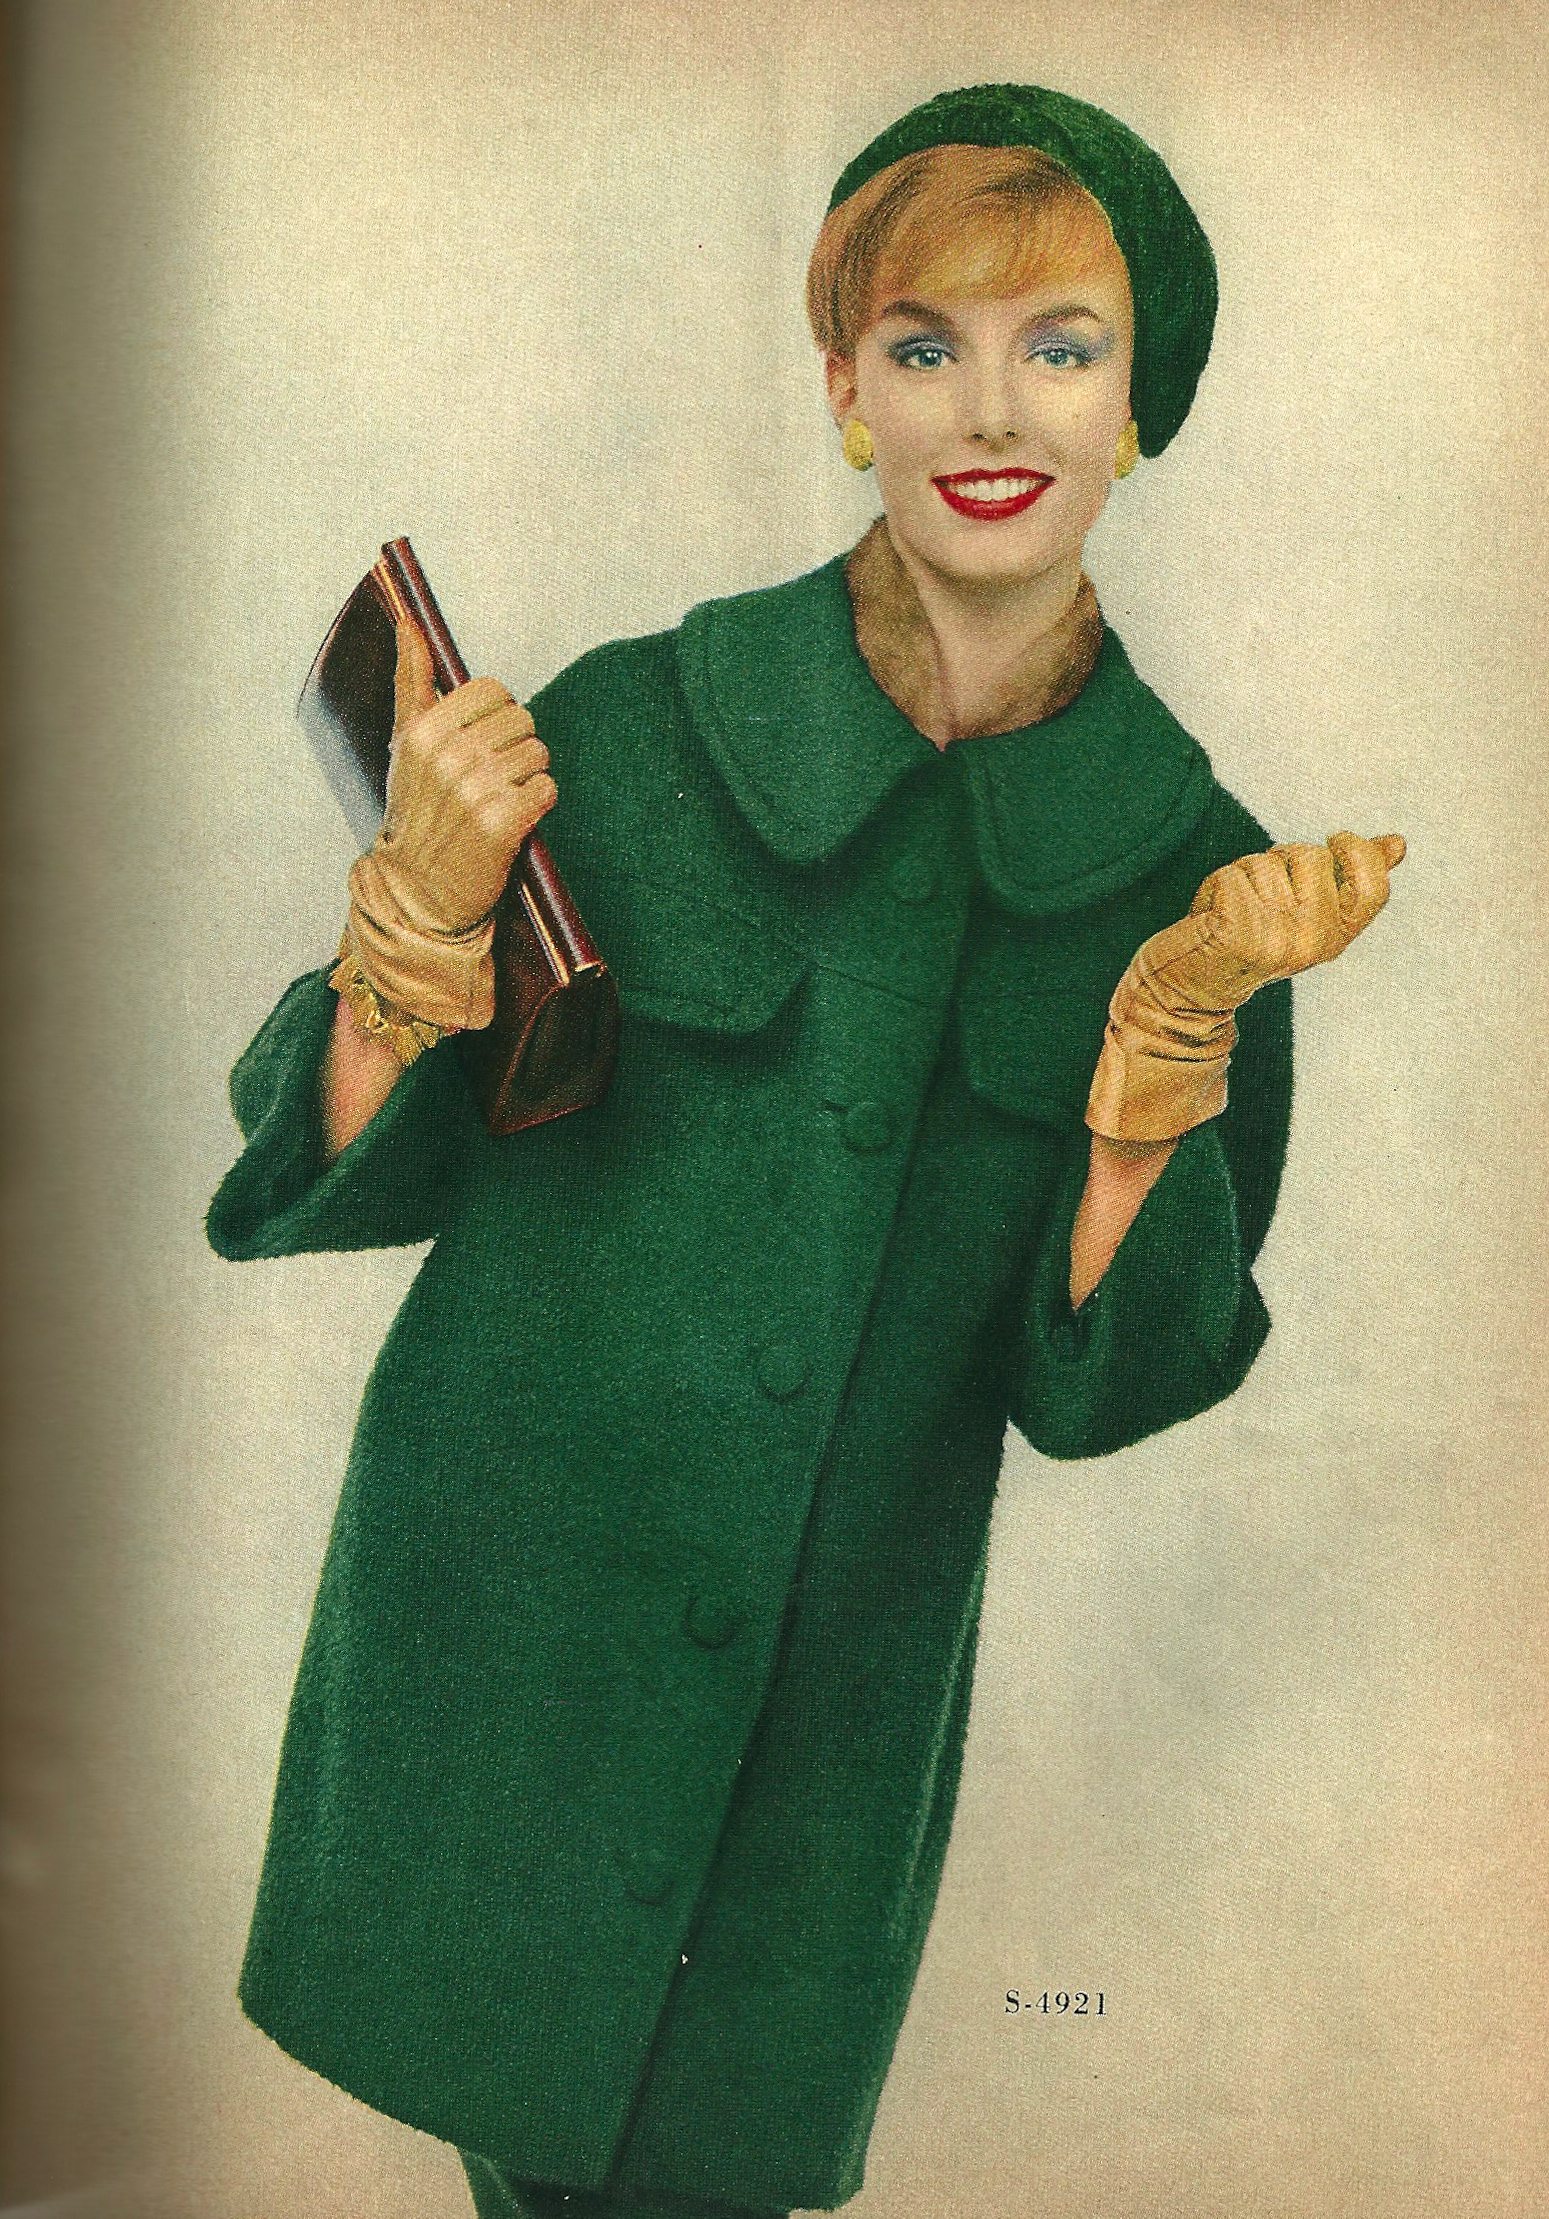
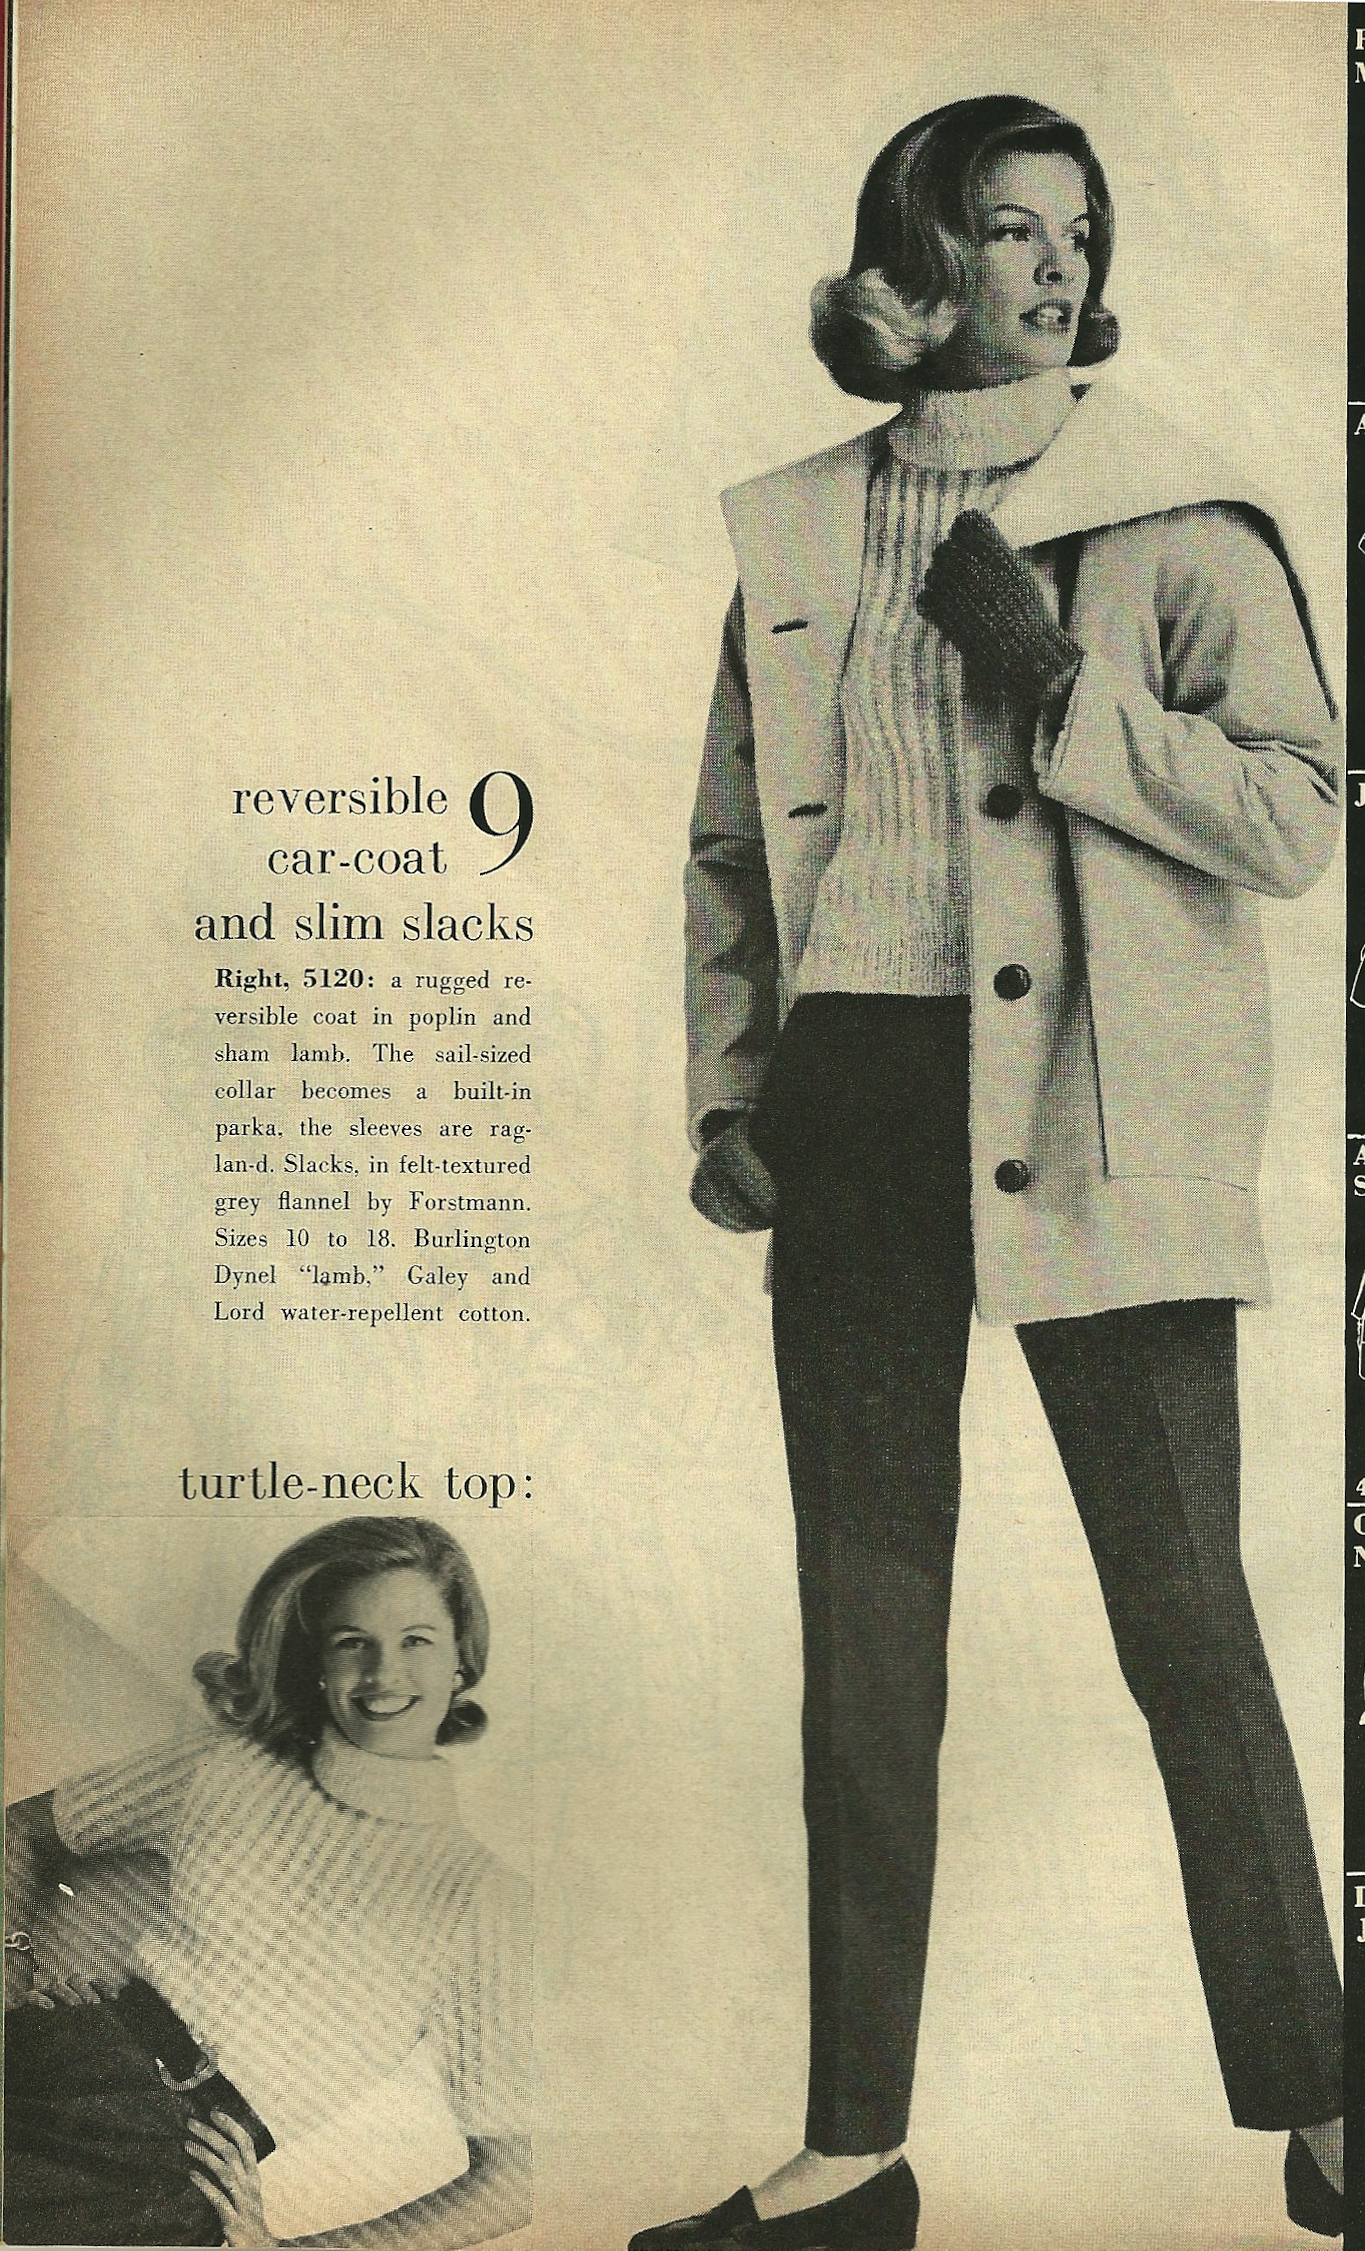
The second clipping is from Vogue magazine, showing a fashion from 1968.
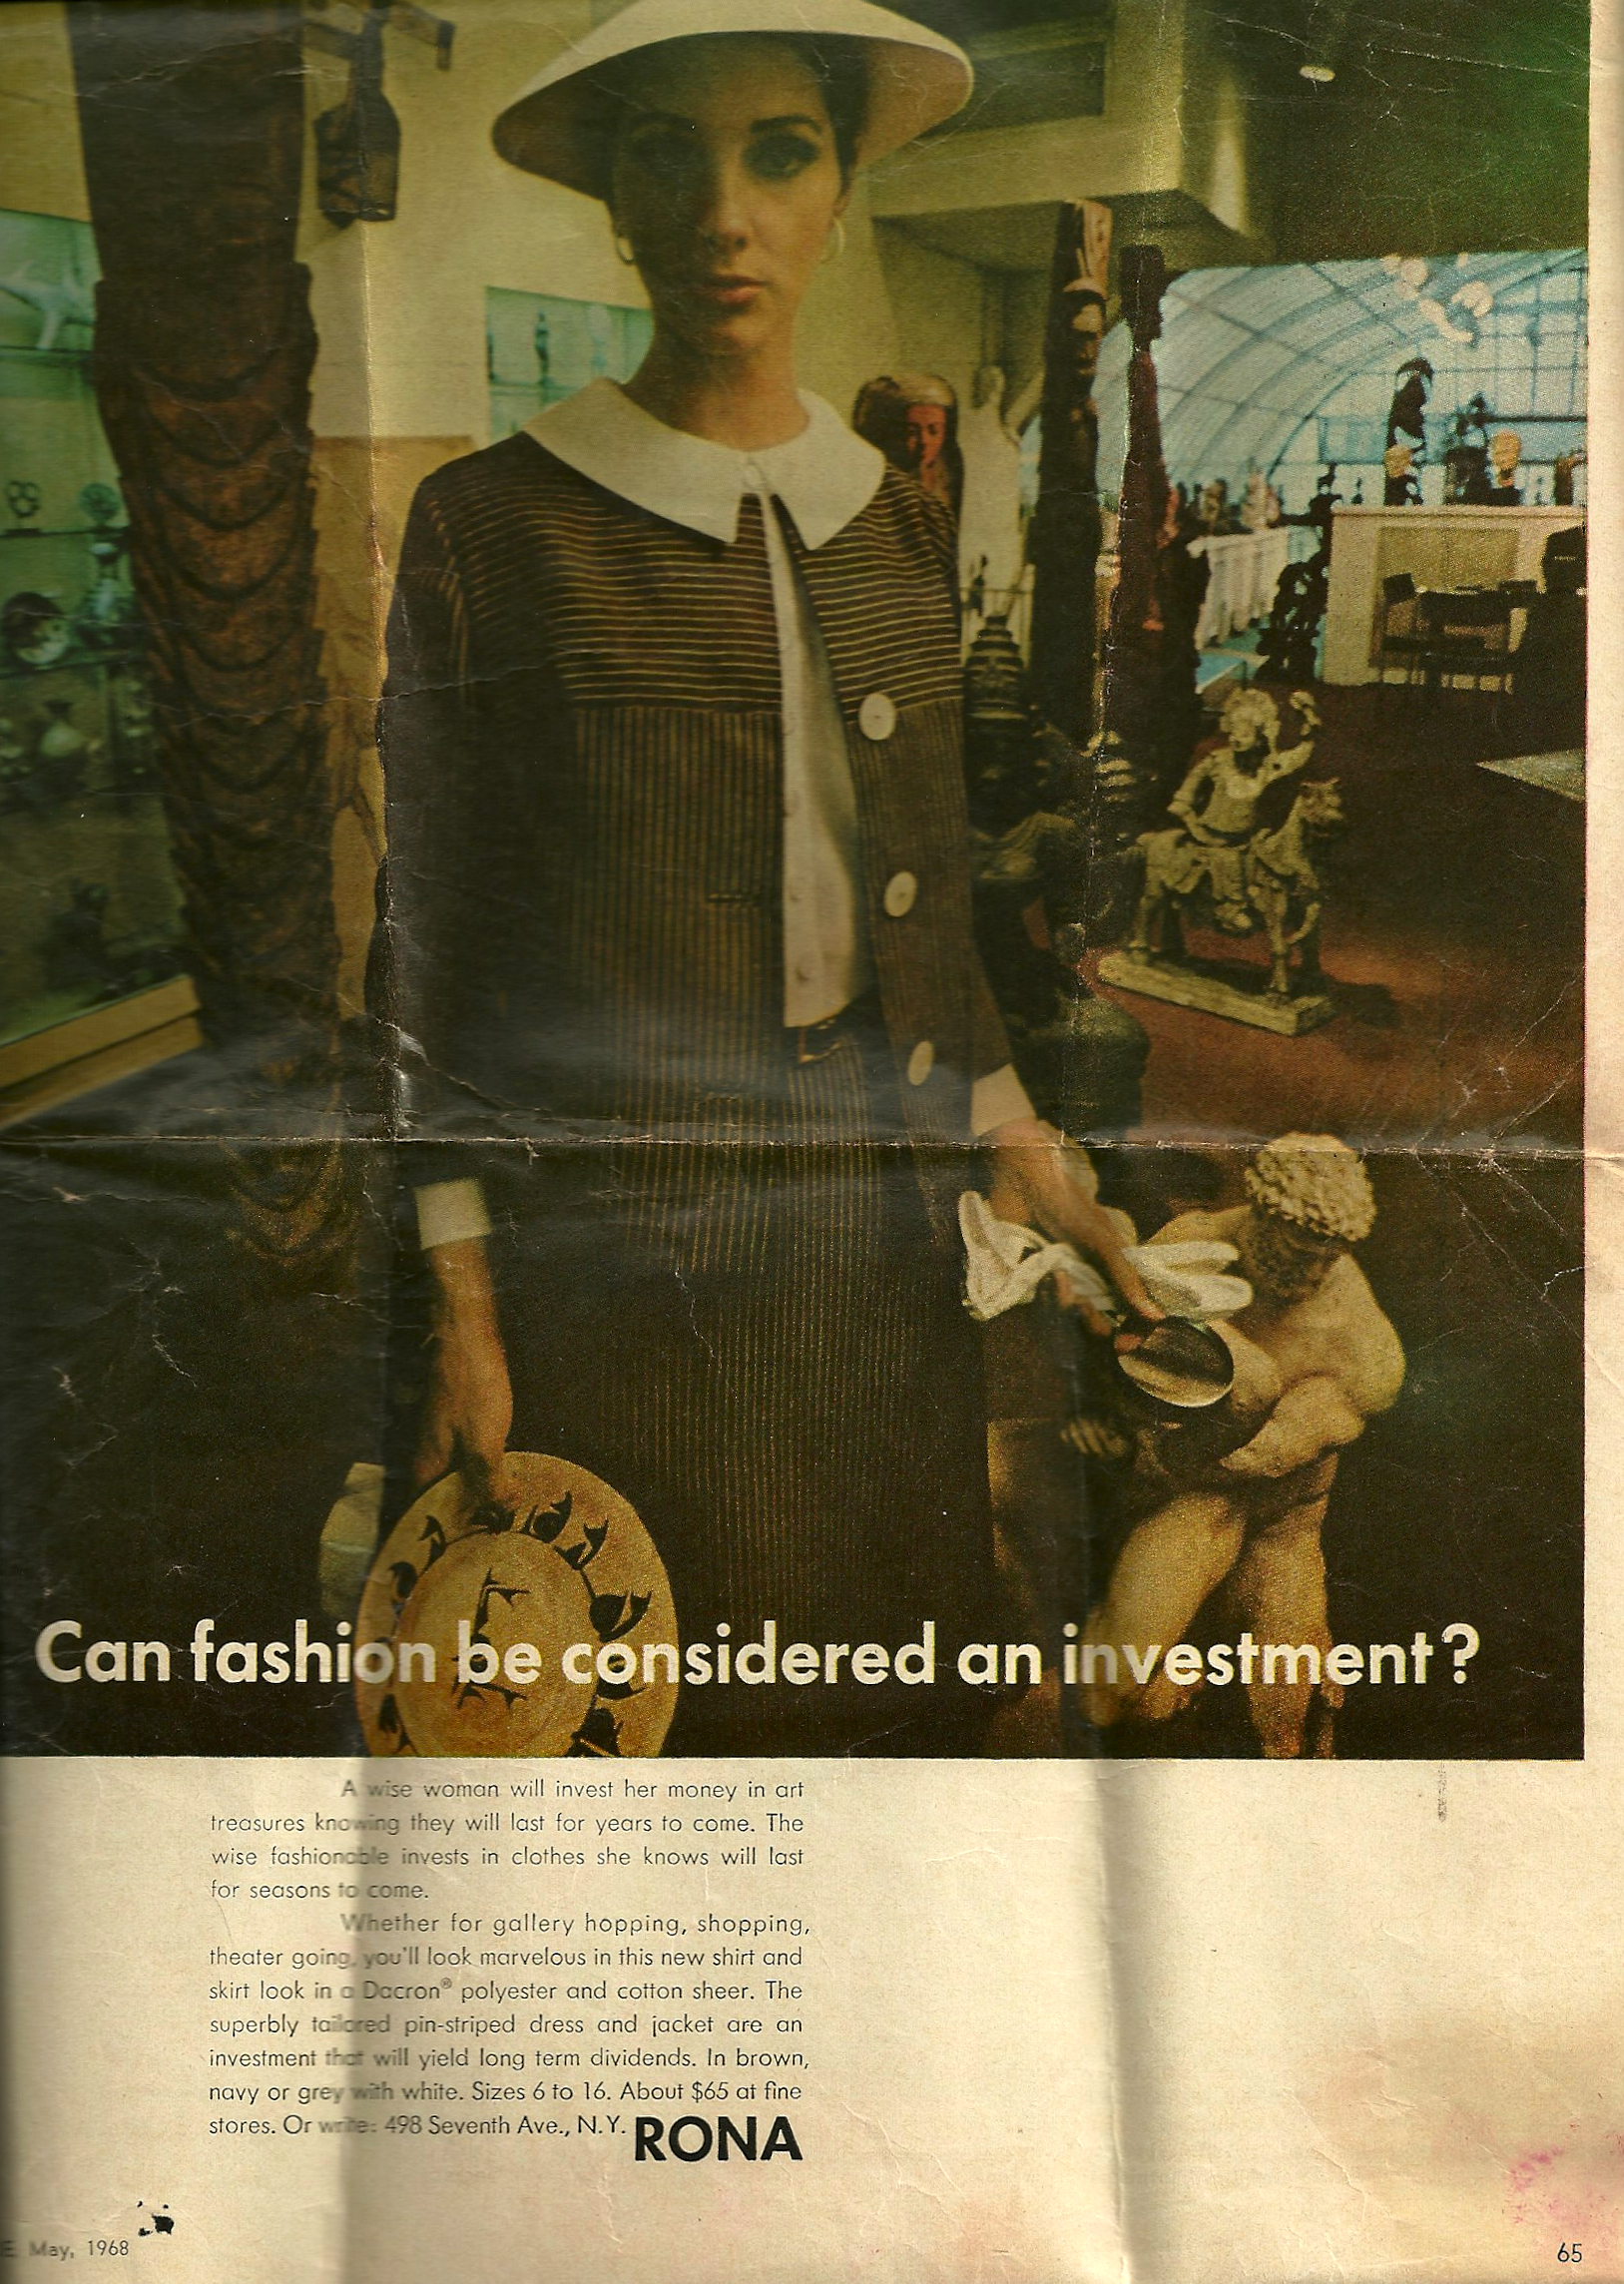
The jacket of this suit, just like the Spadea pattern, is very similar to the Vogue pattern.
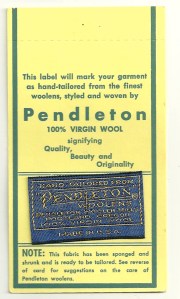
Perhaps the original owner was trying to decide between a striped fabric and a plain one? Maybe she was really undecided about making this style suit? I’d love for her to sit down with me over a cup of coffee so we could discuss this pattern! As it turns out, she never made the jacket, as its pieces were still in factory folds when I obtained it. The skirt pattern shows signs of having been used, however. I’ll never know why, after all her thought about this suit, she never made it. However, her decision afforded me the third bonus – the original pattern label – pristine after so many years.

I am looking forward to sewing this label into my green silk suit.
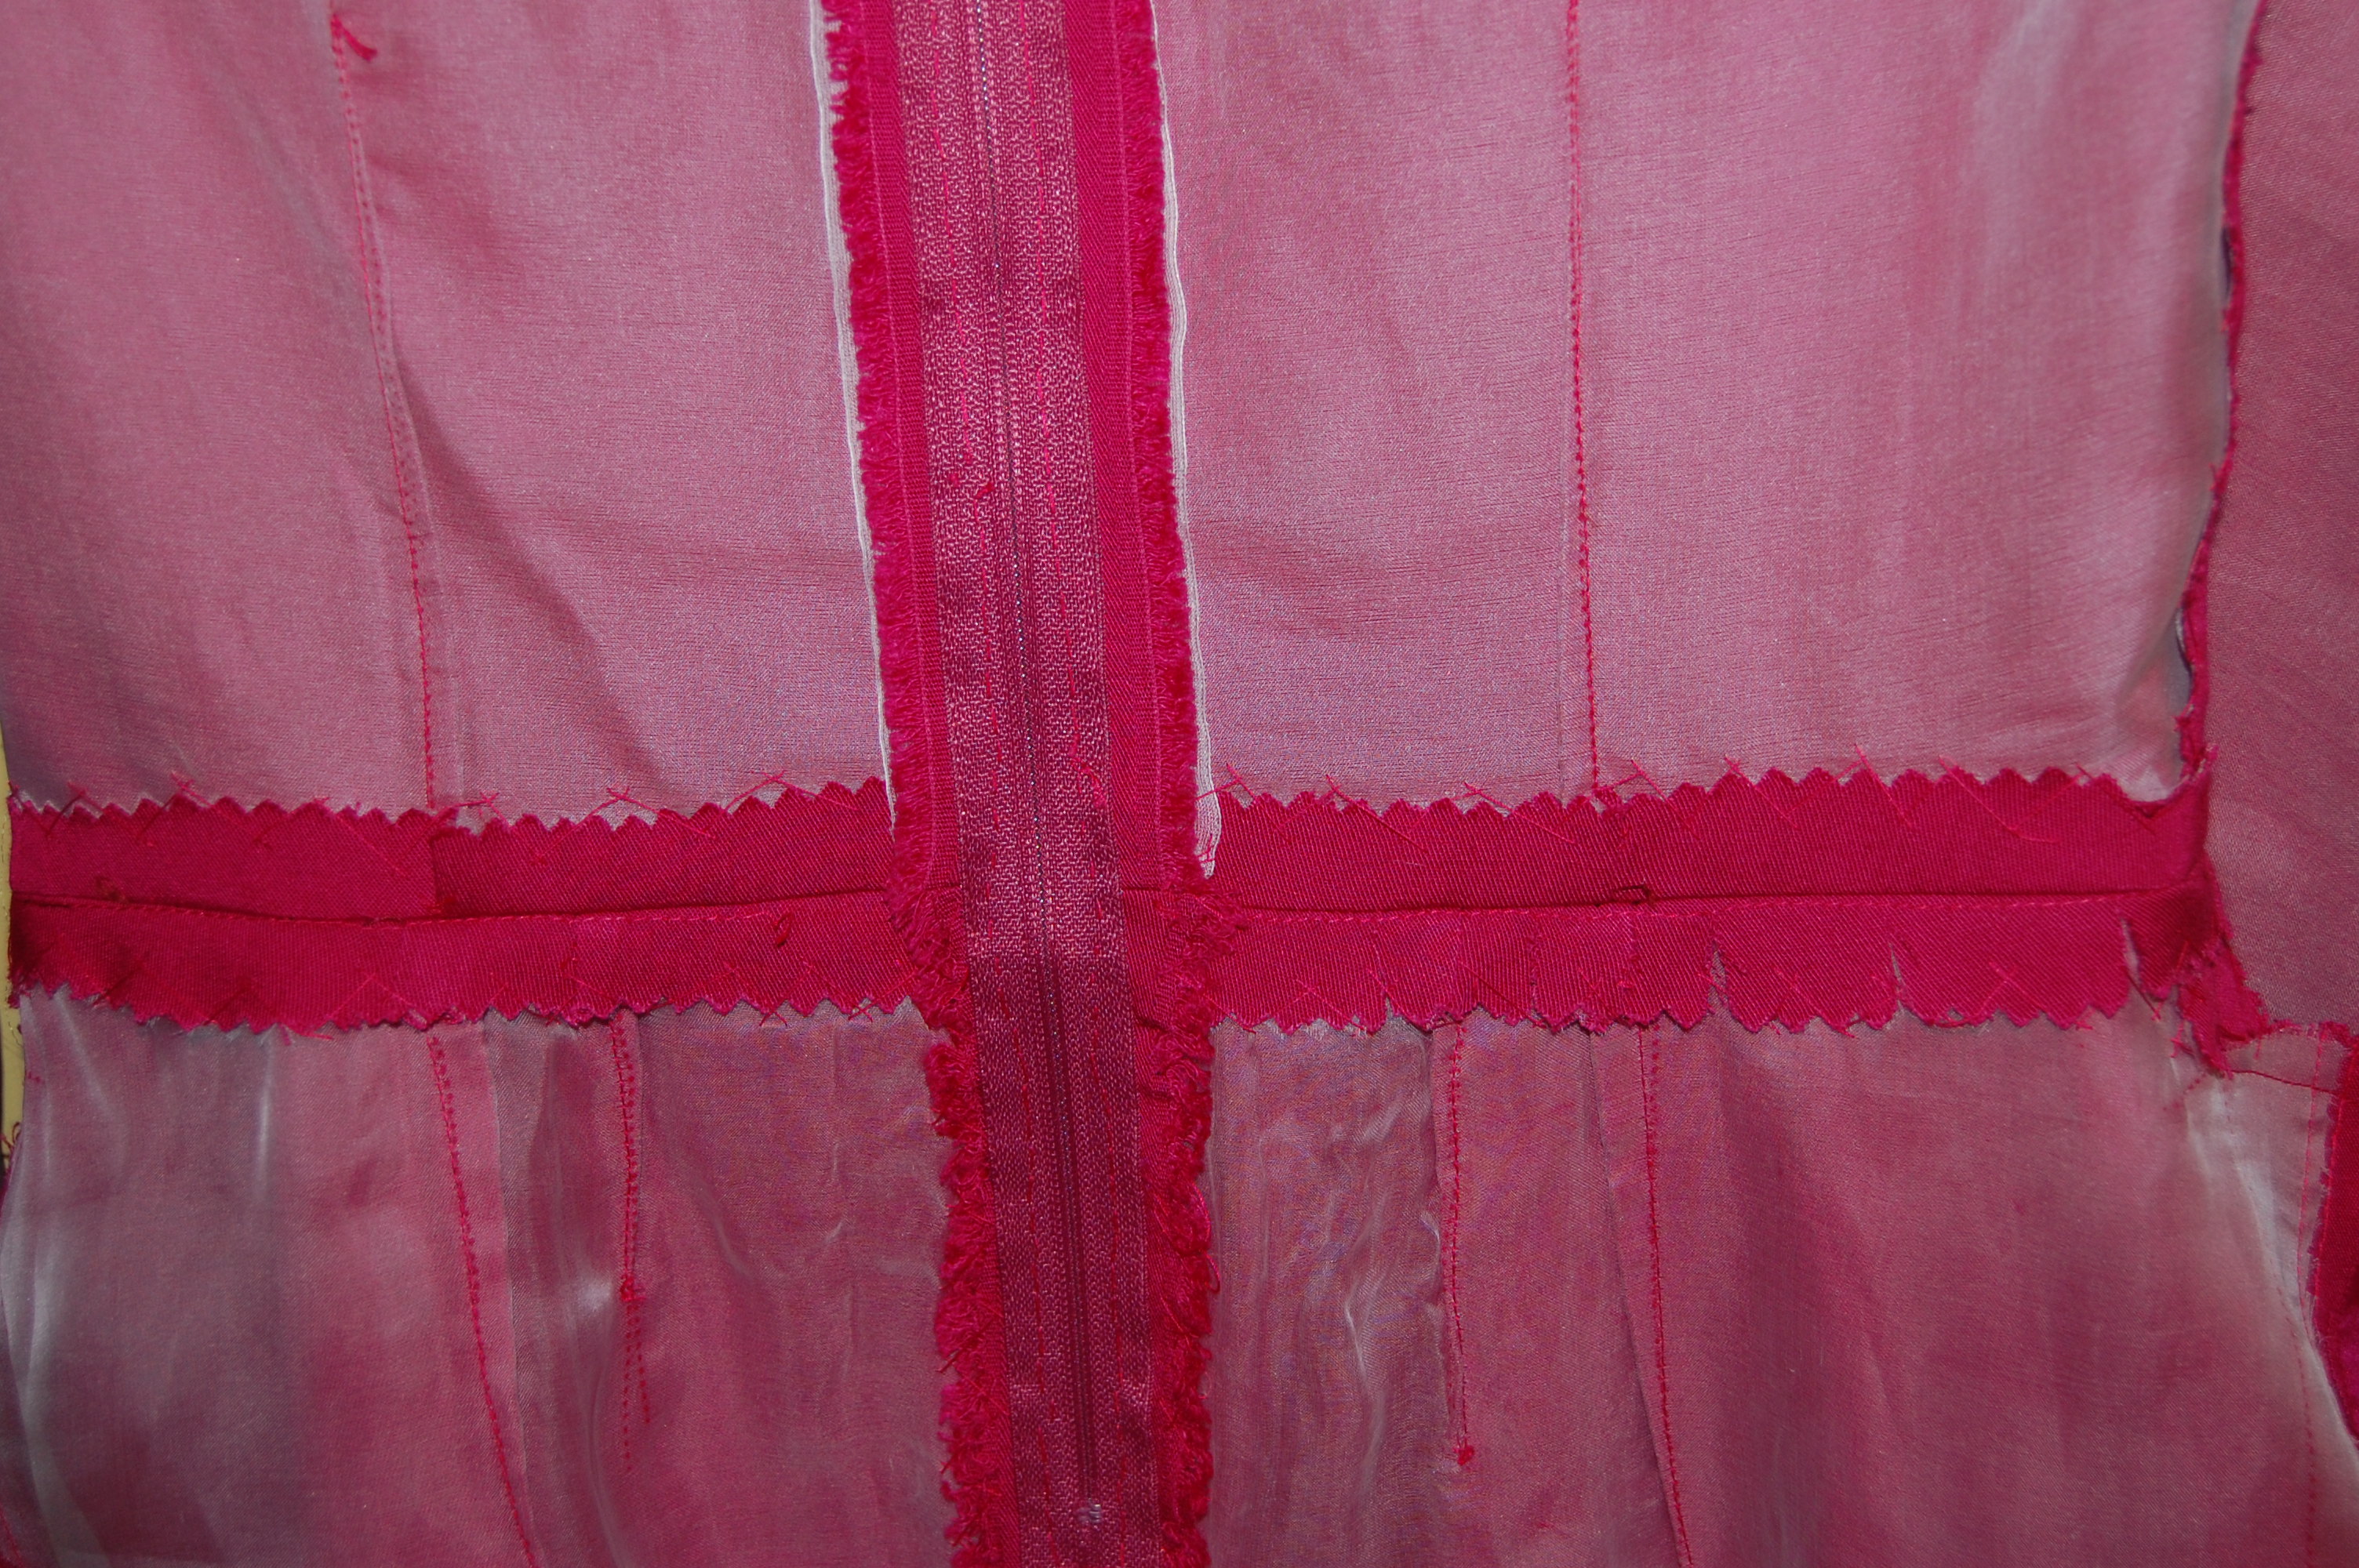
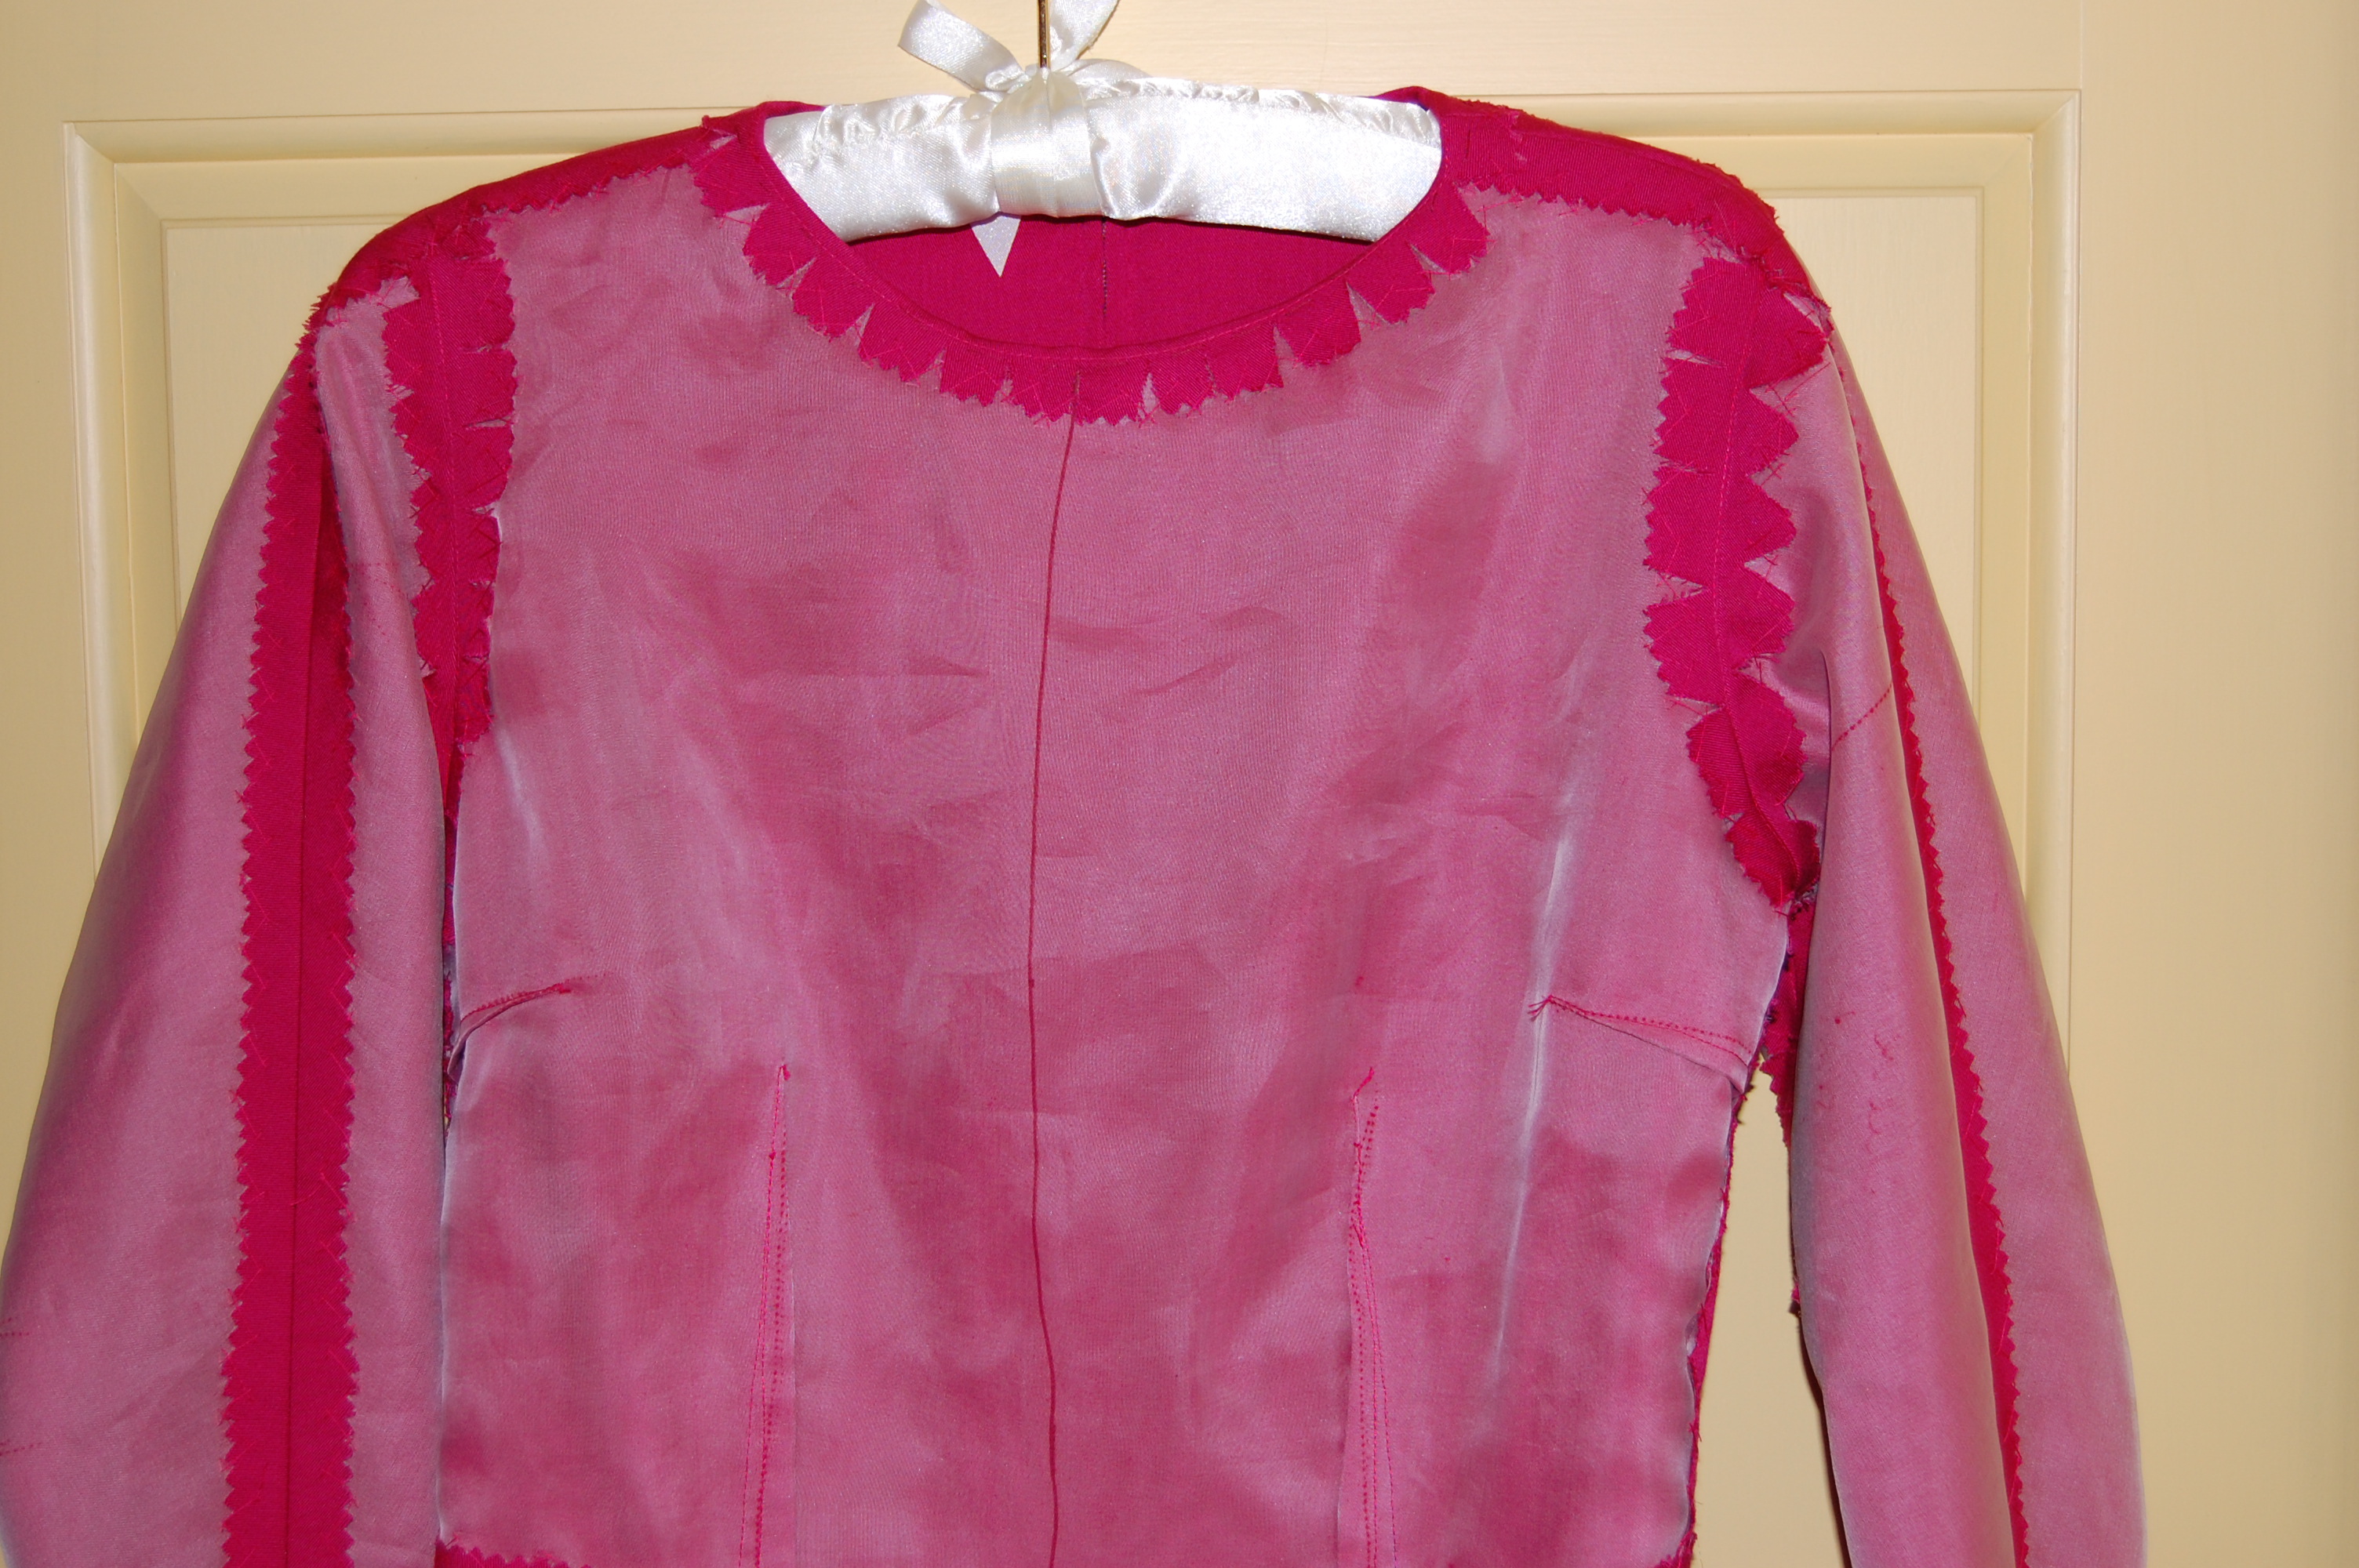
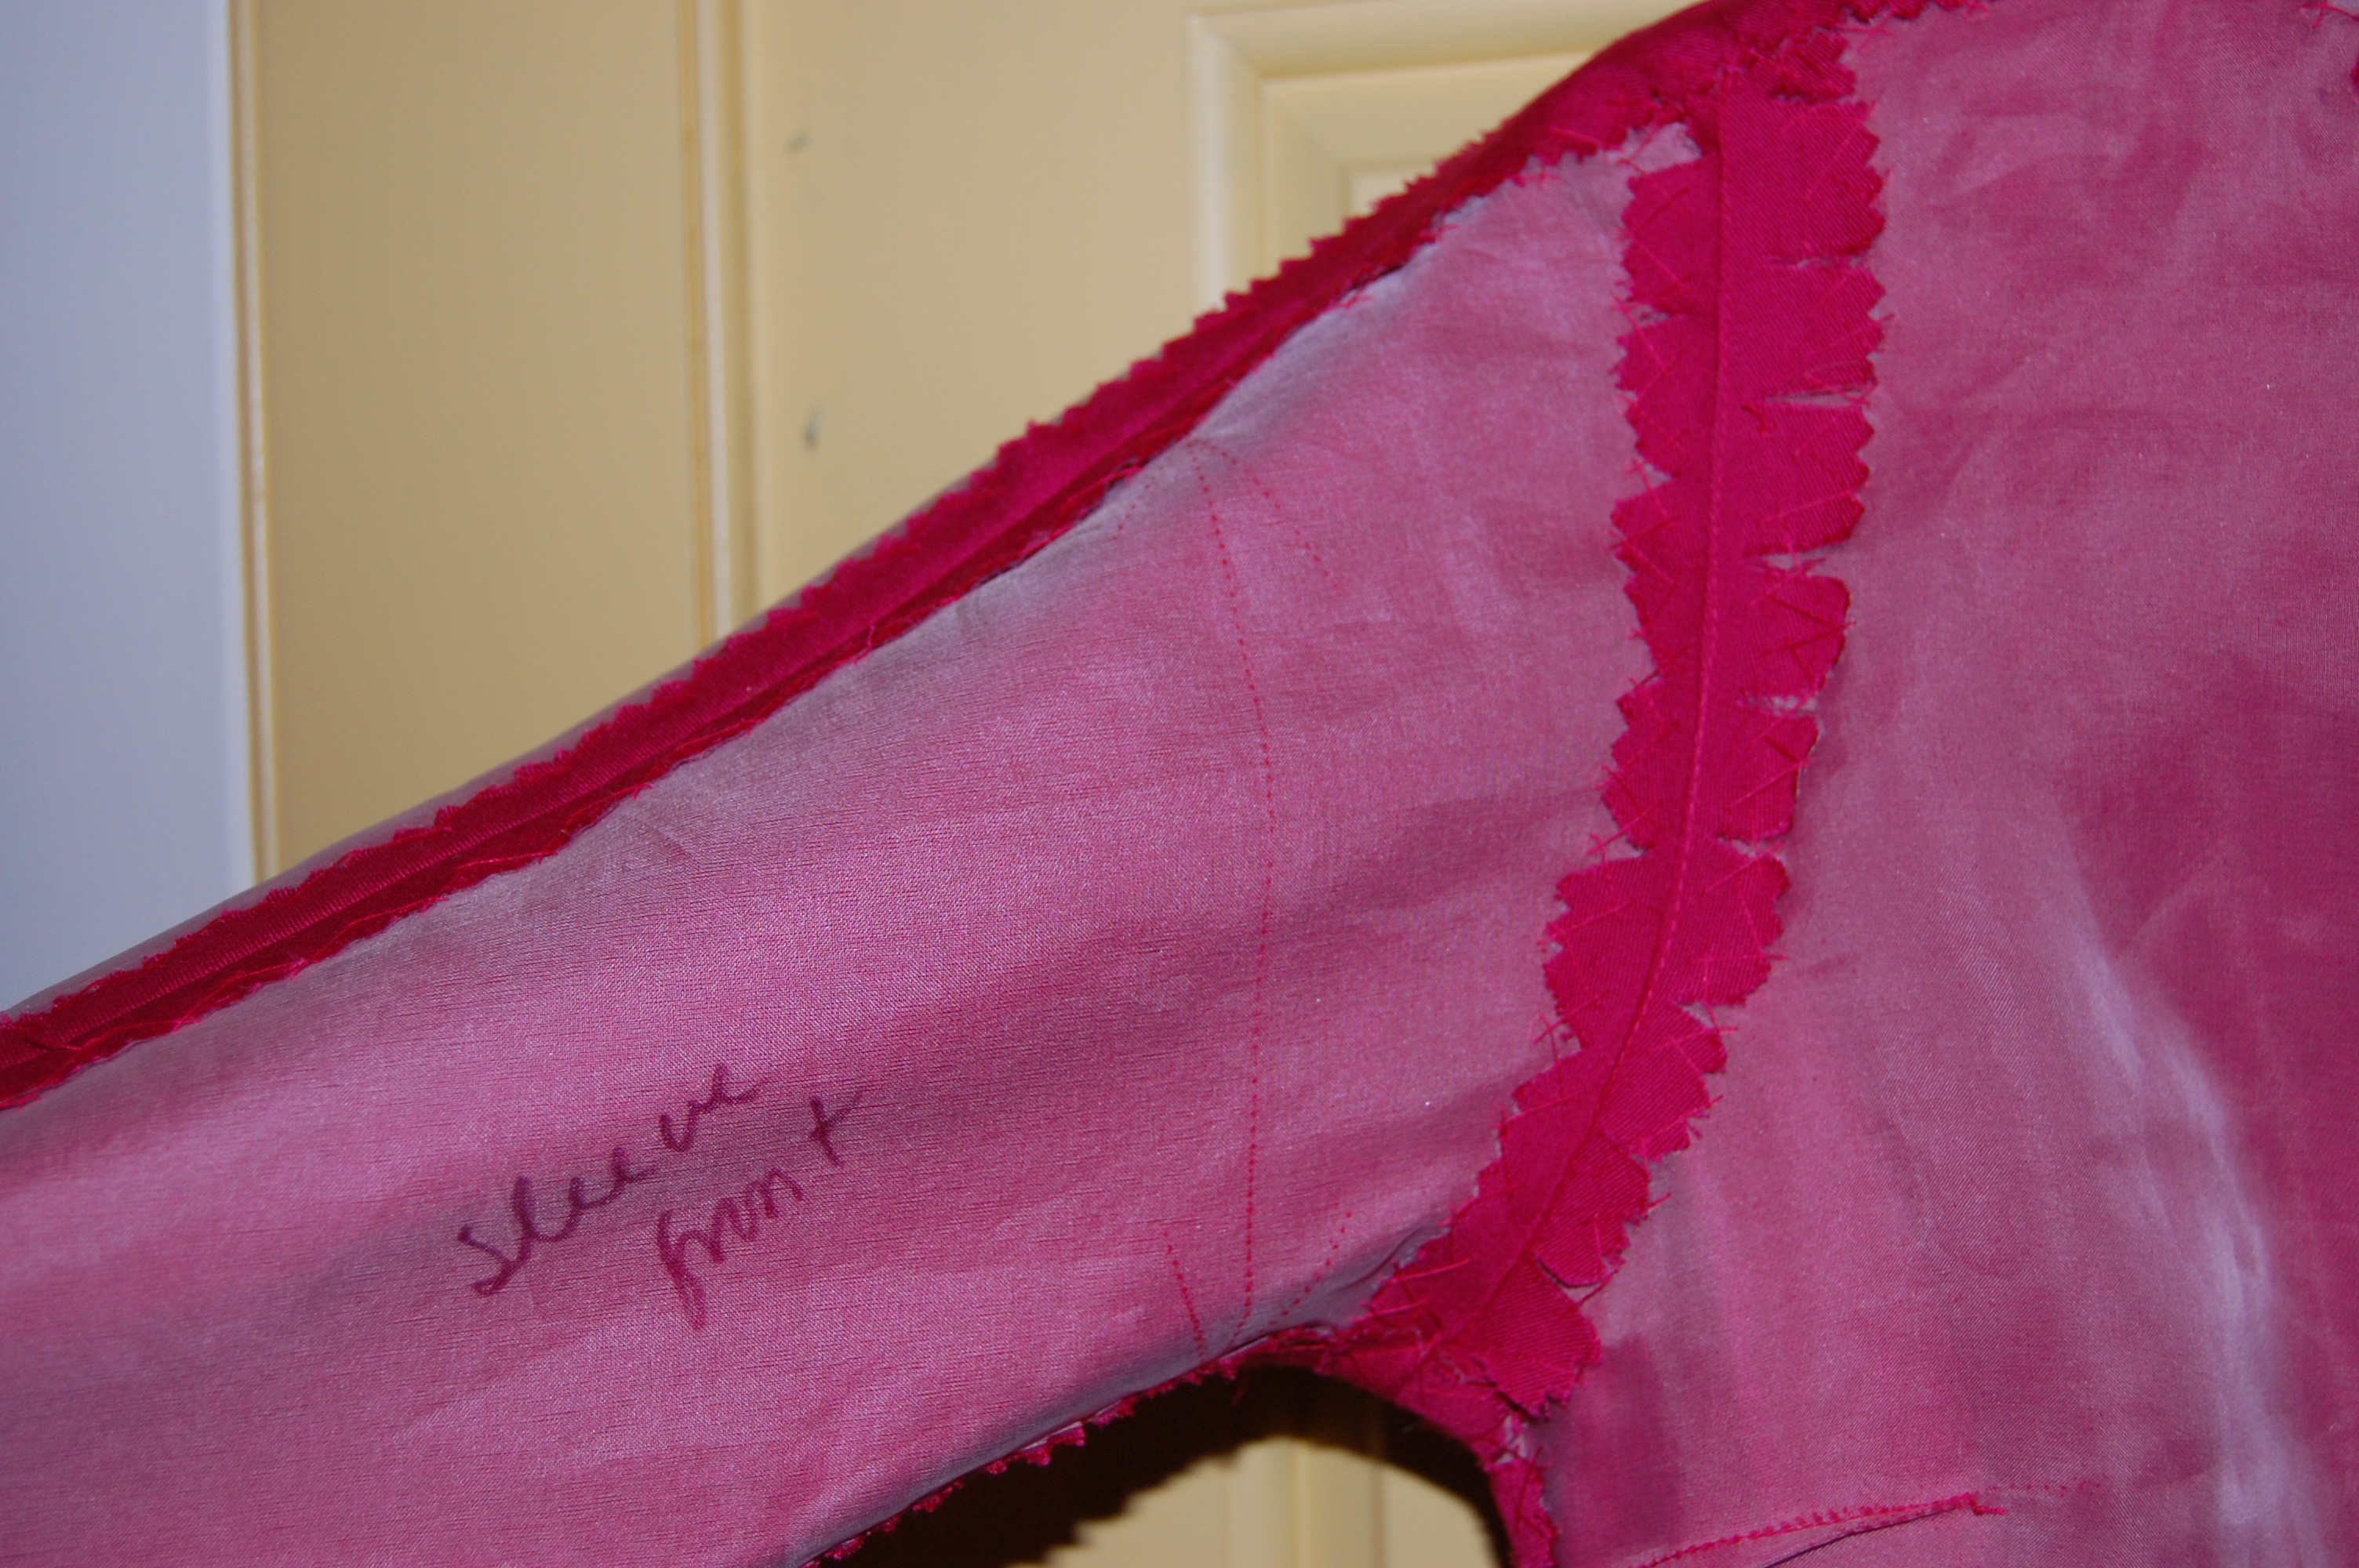
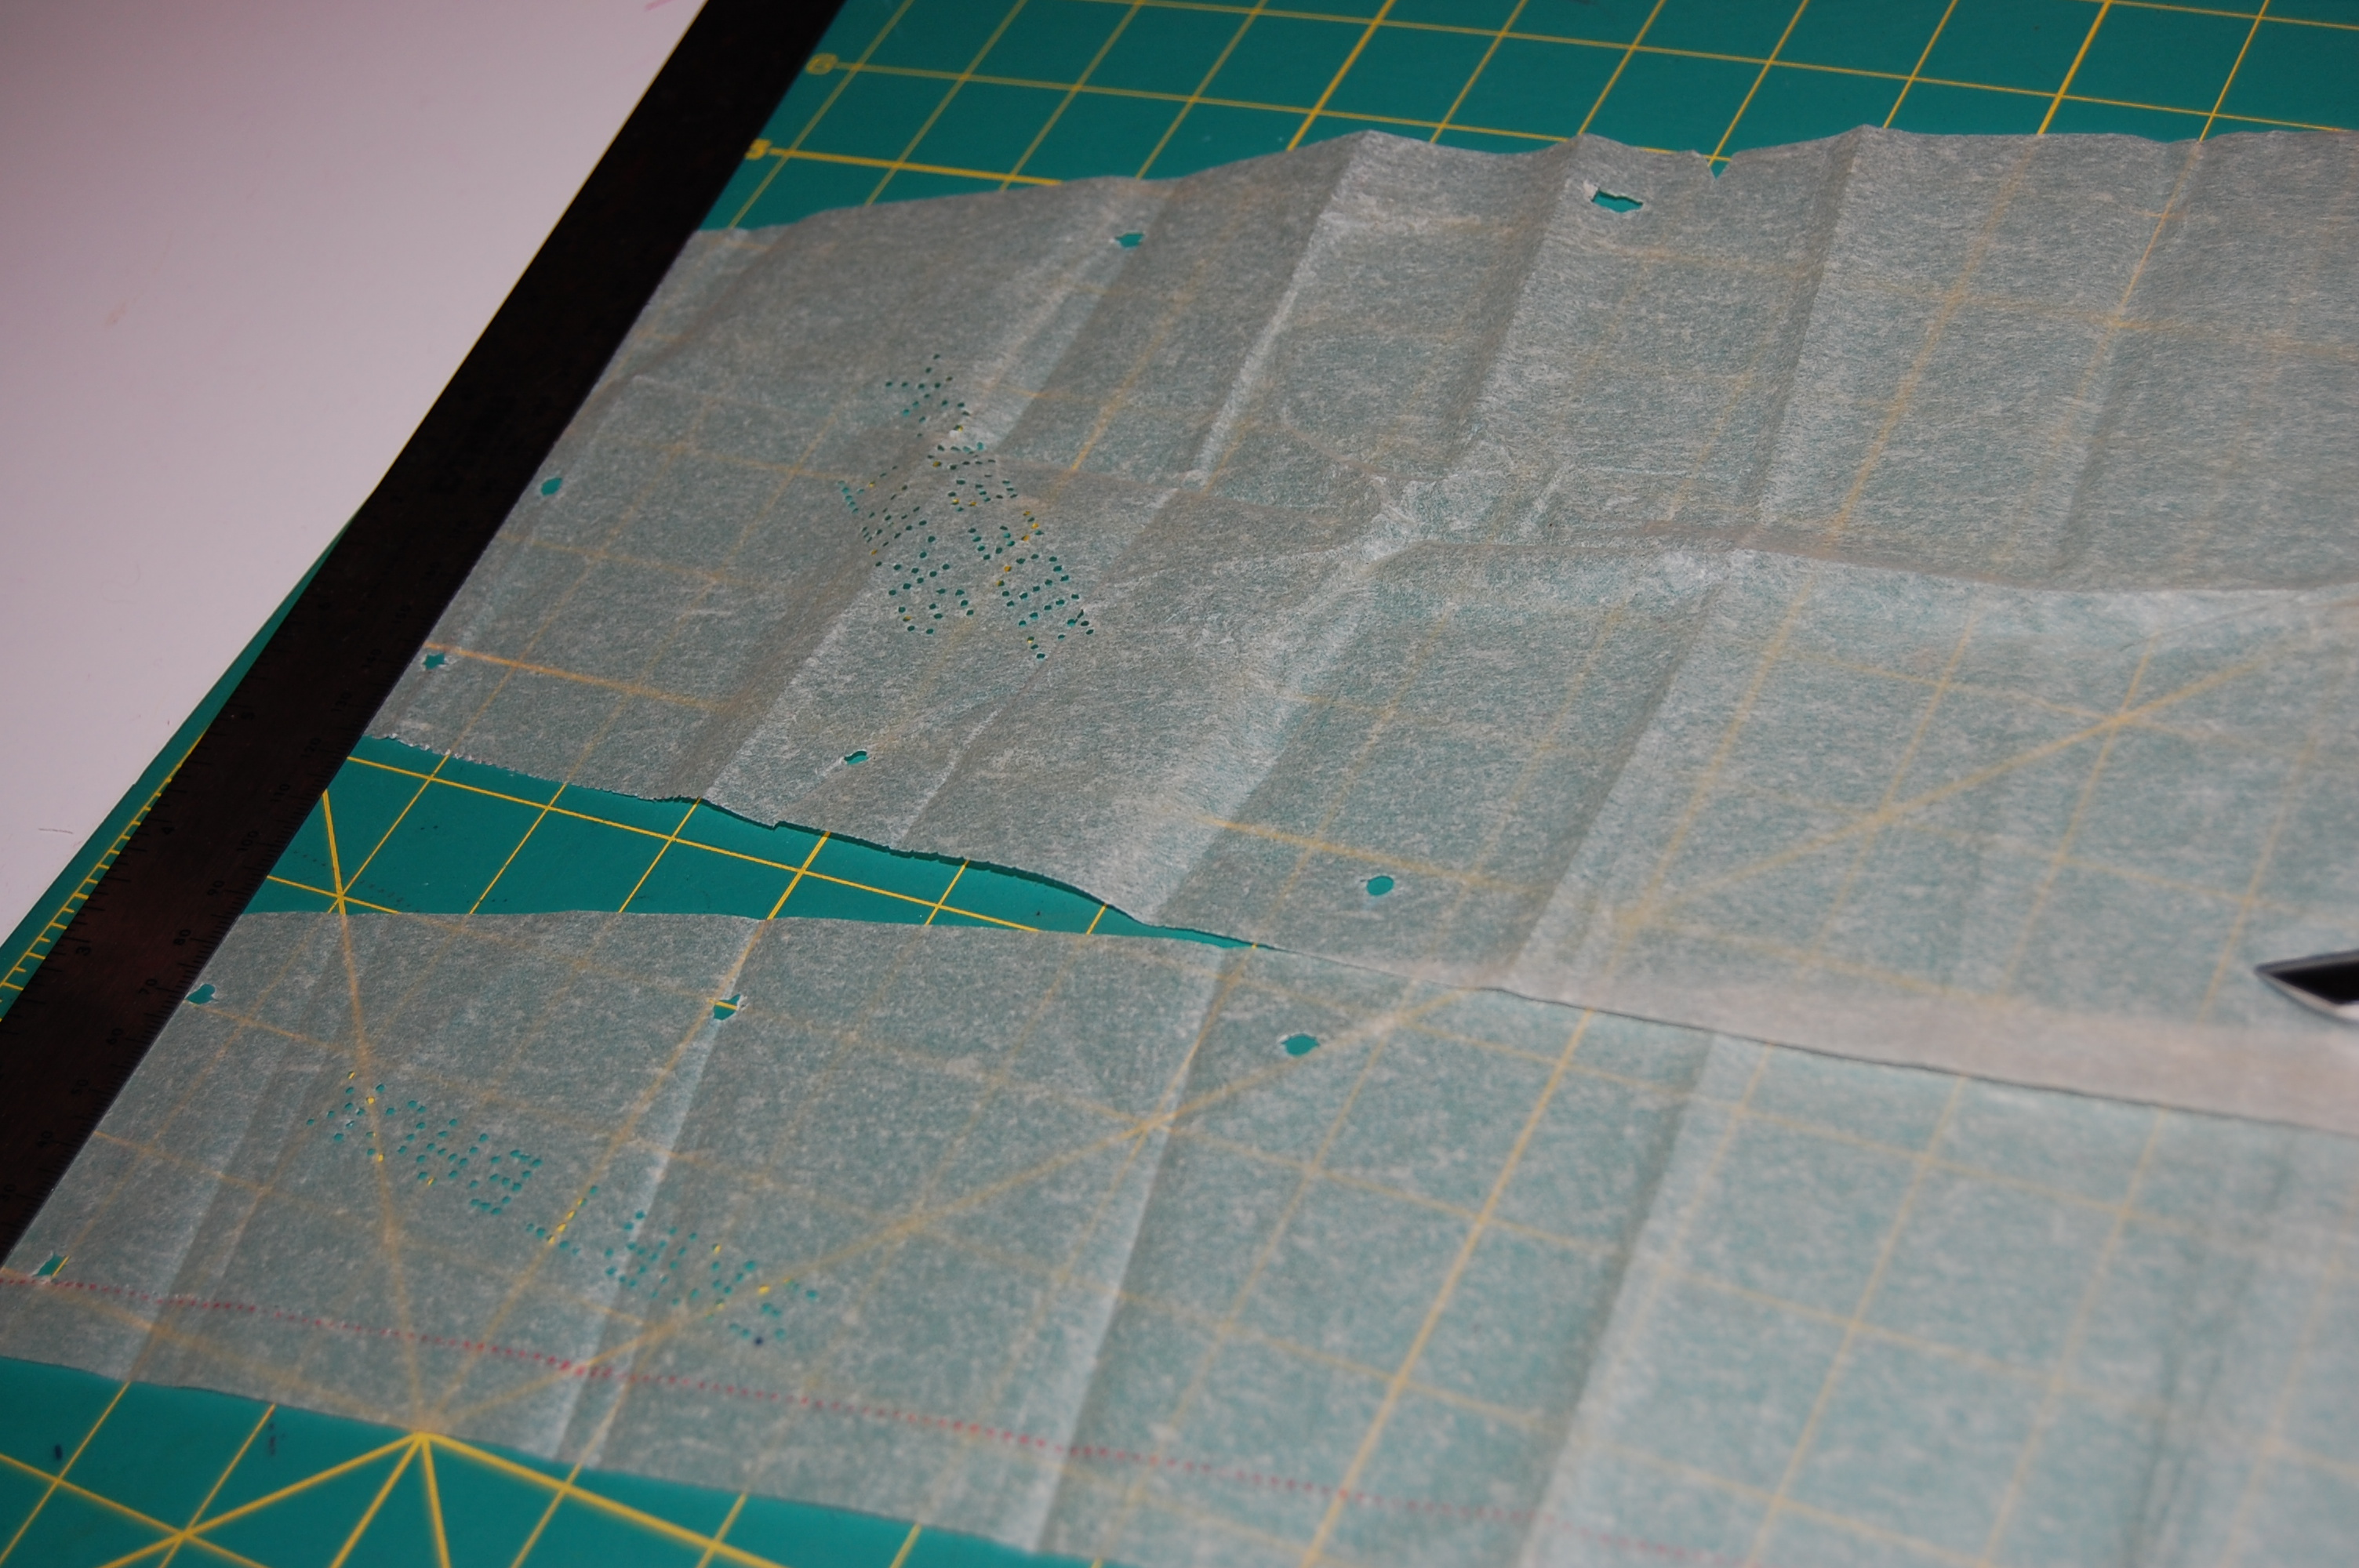
I’ve made my initial adjustments to the pattern and am now making the muslin. Like my “pattern predecessor” I am dreaming of a certain look. Now it’s up to me to finish what she started.