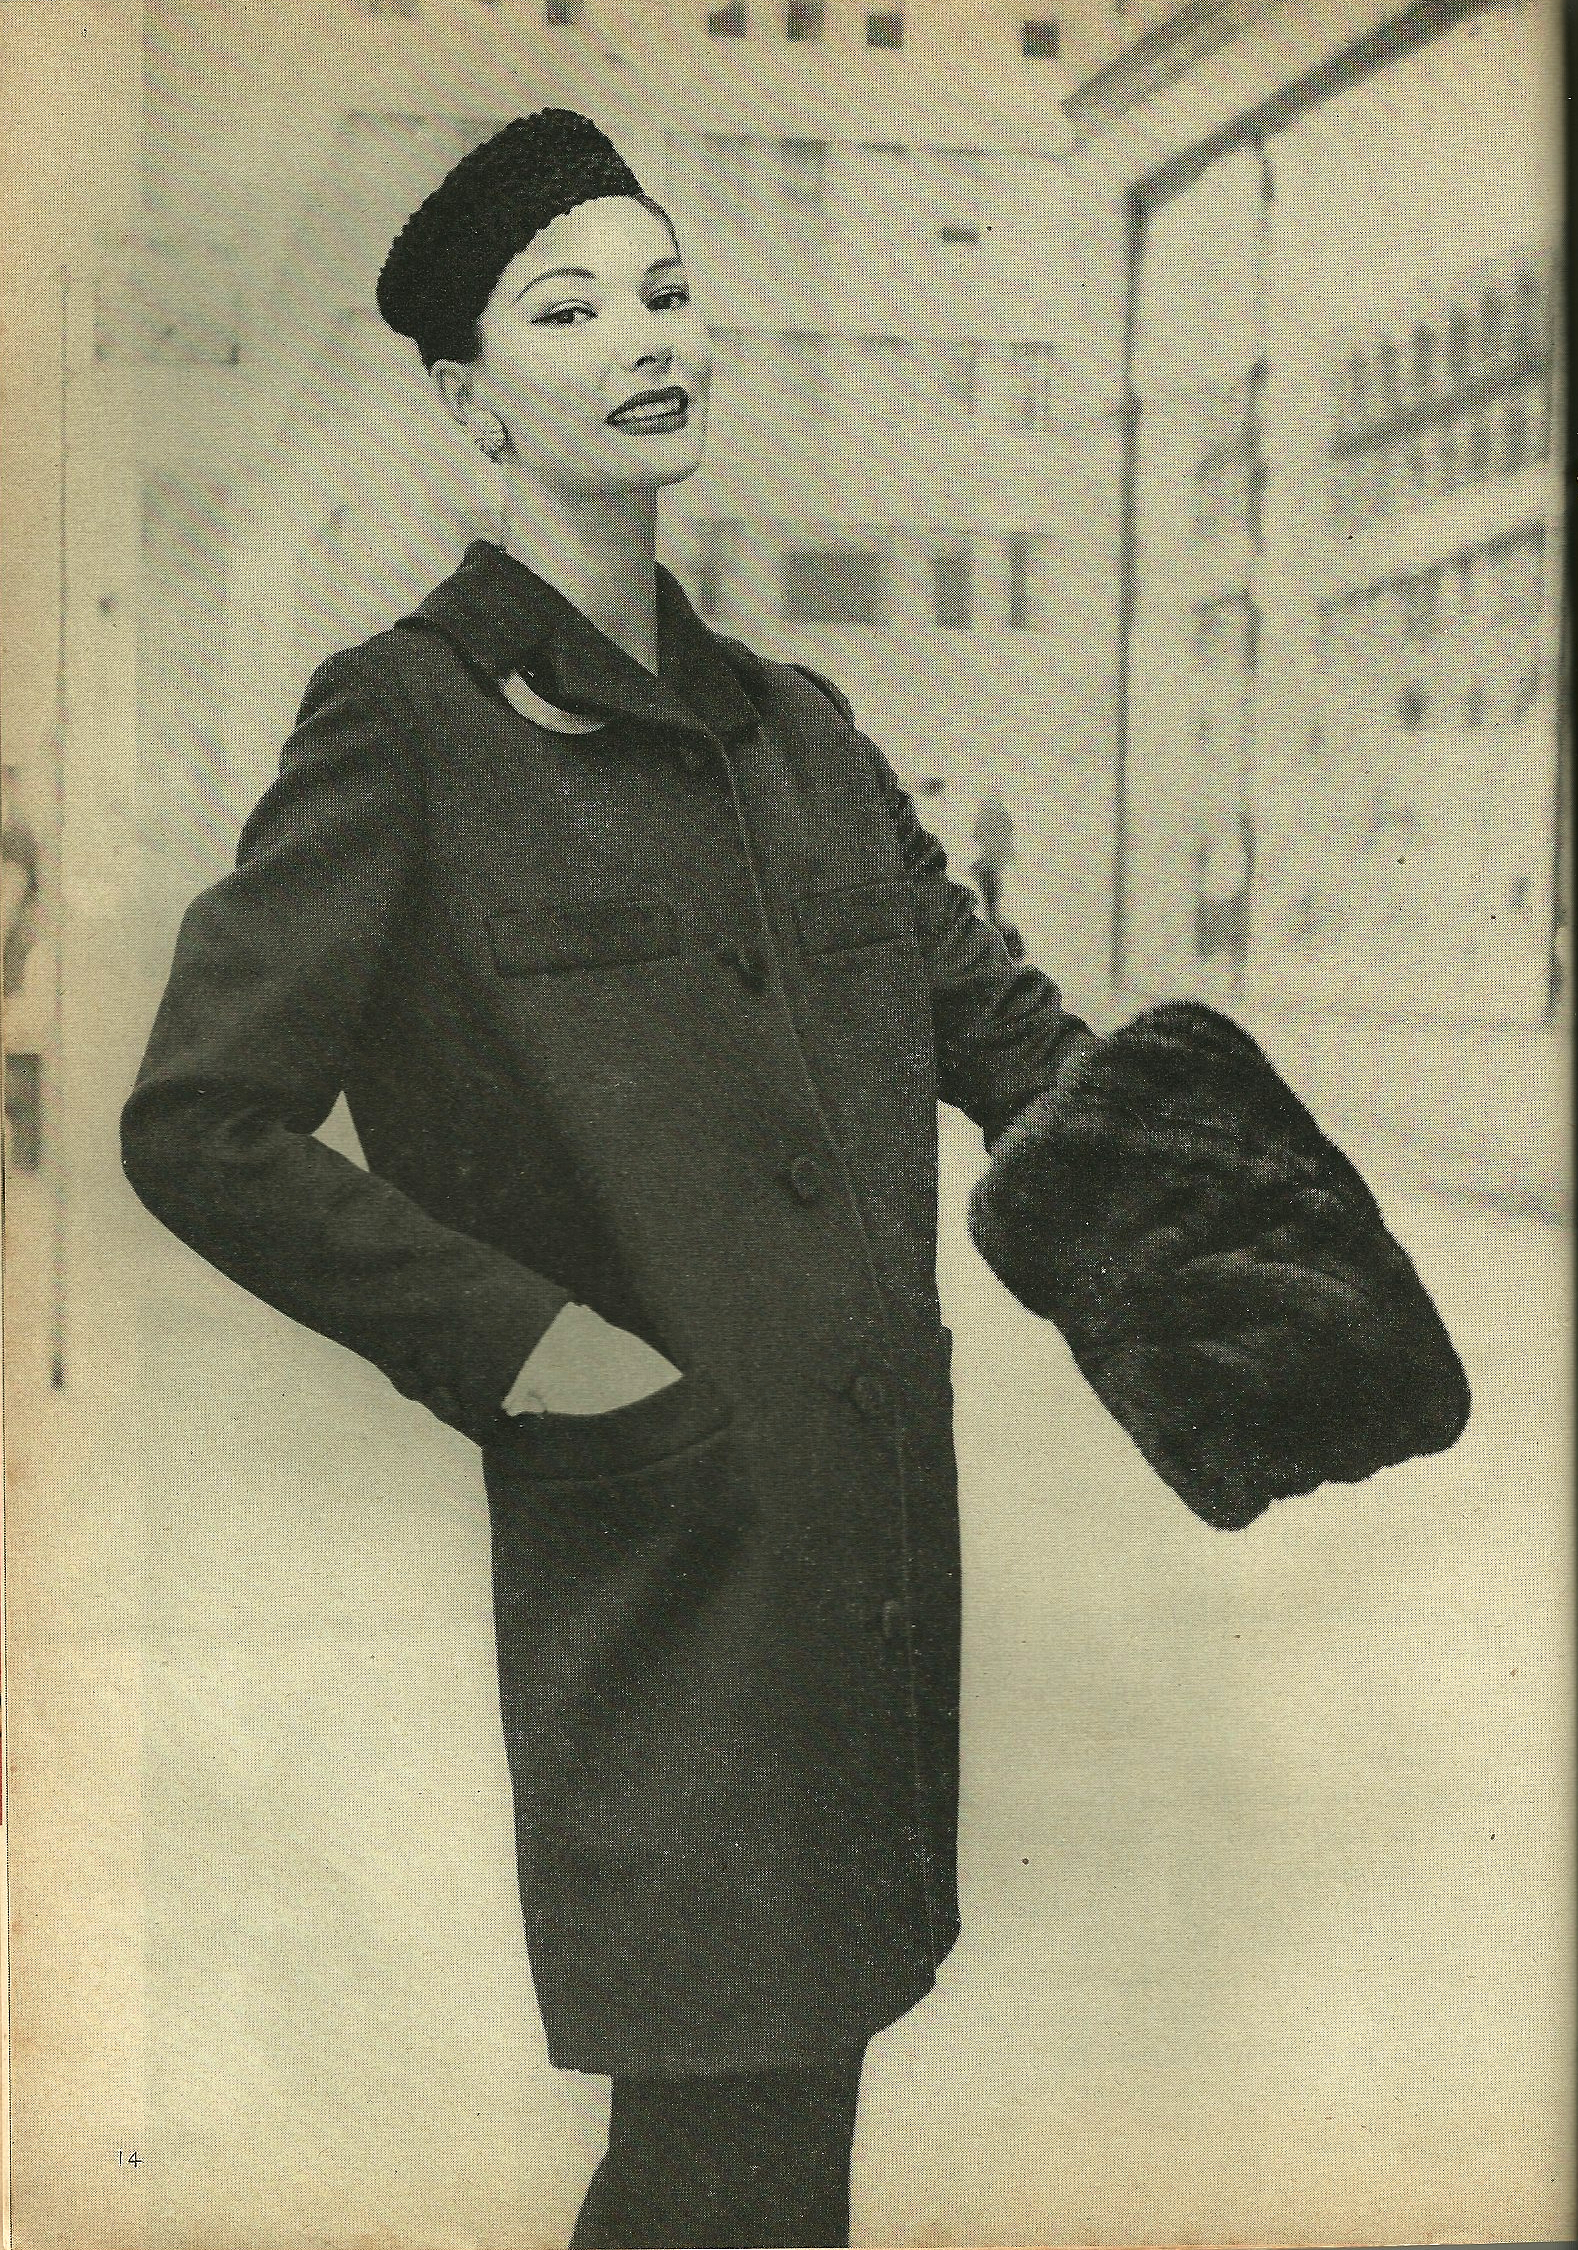
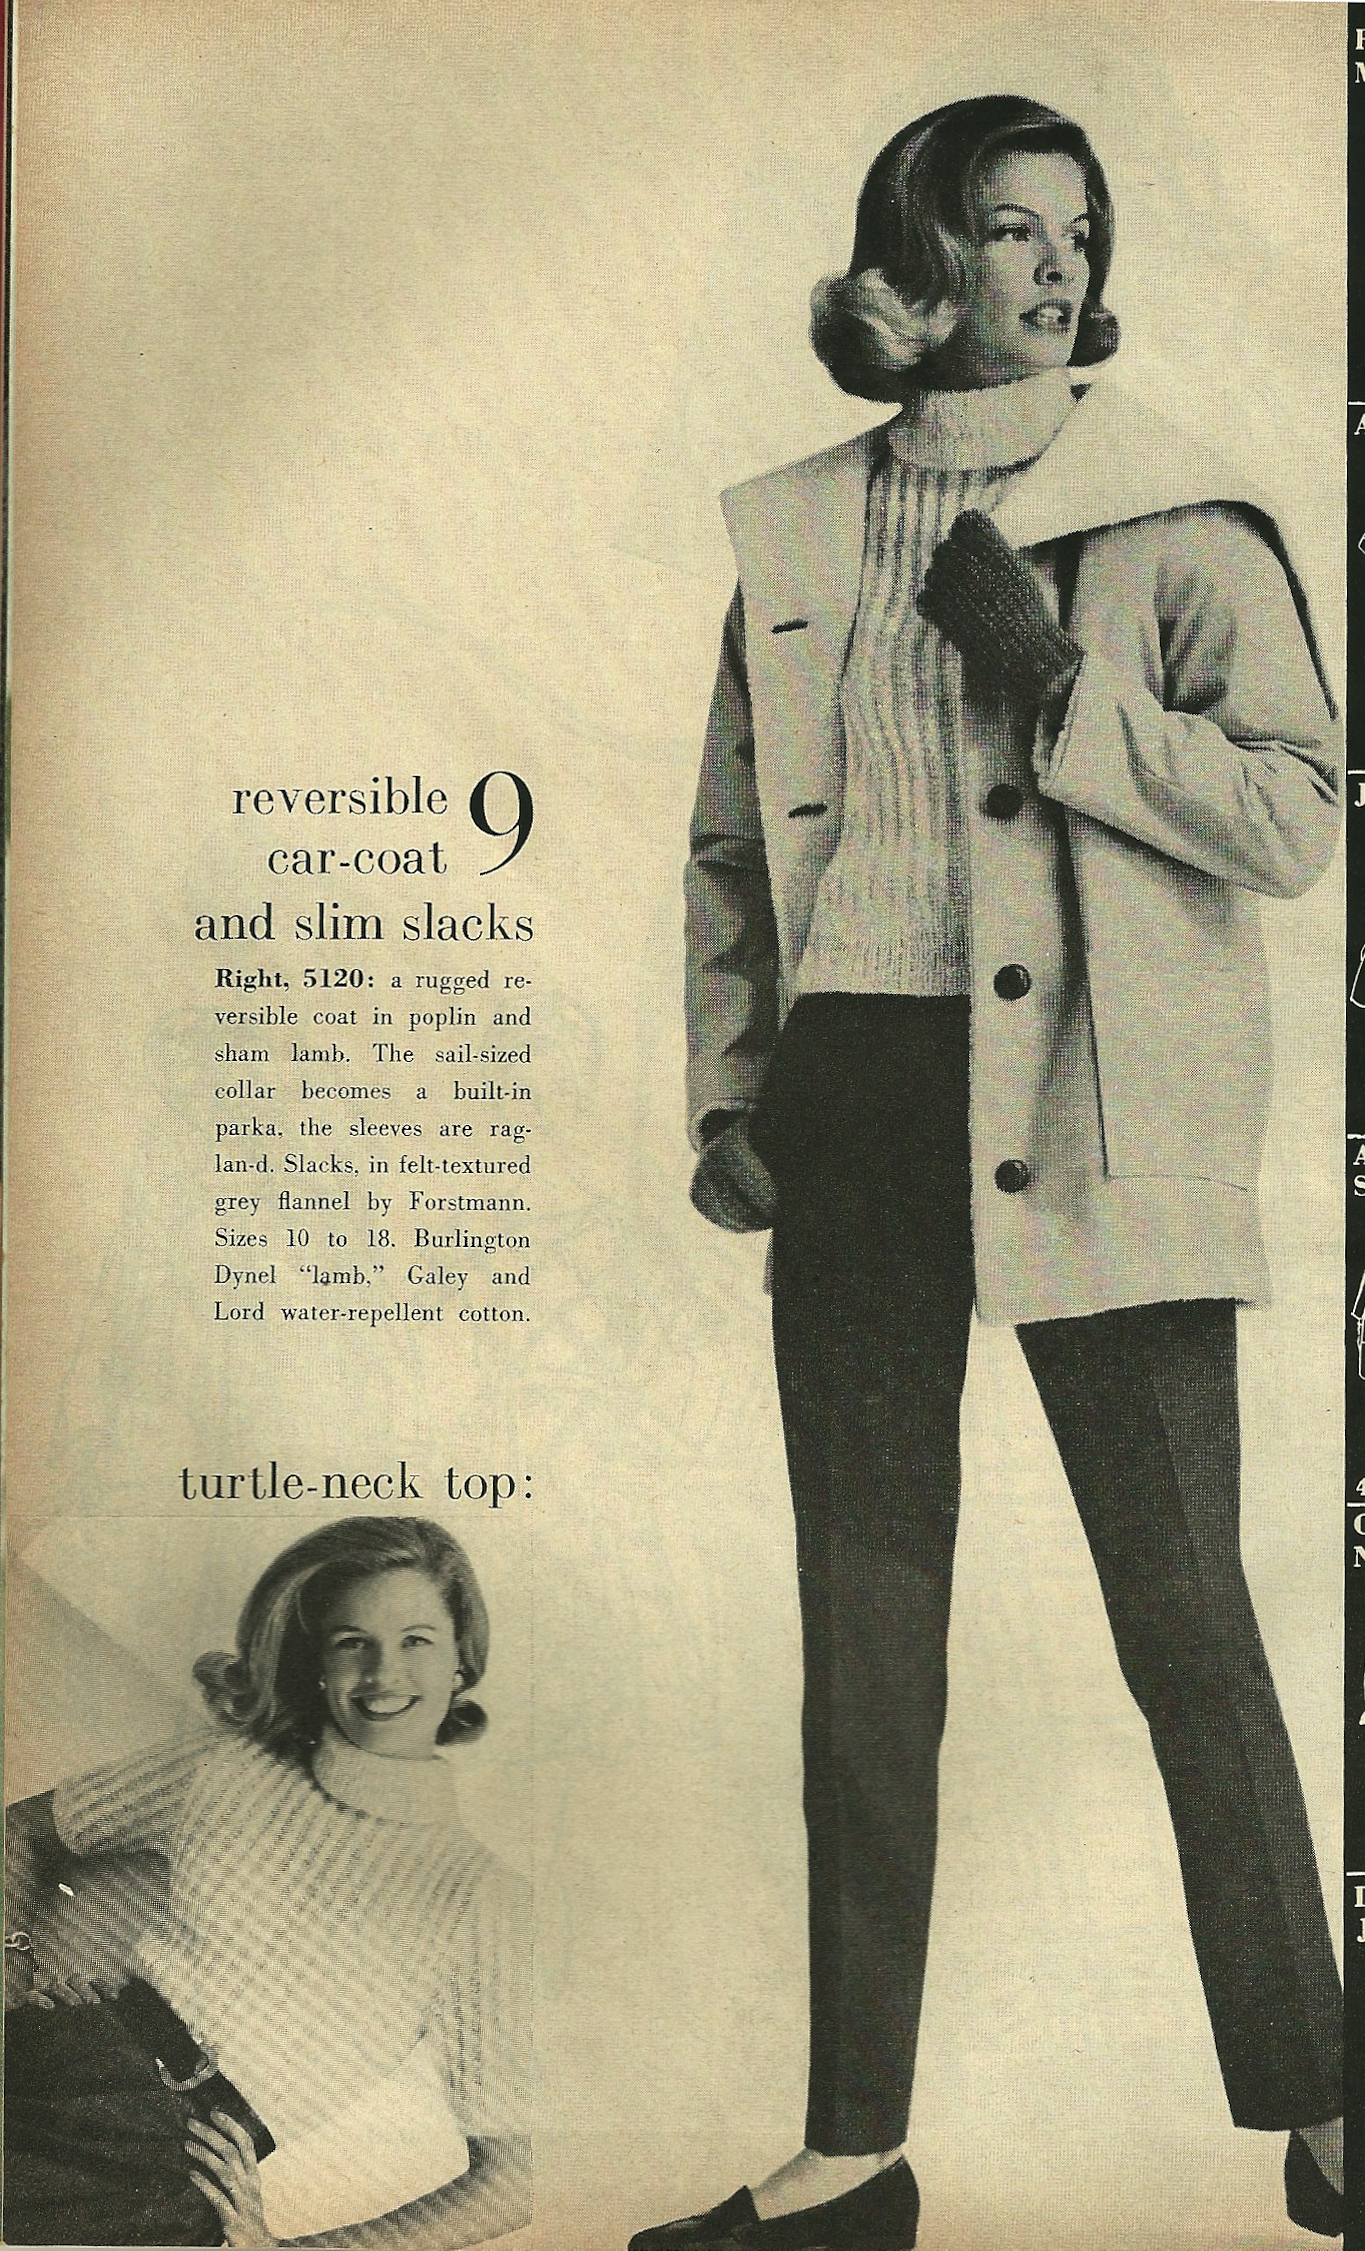
It seems I just can’t get way from that word – ladylike. Just as I was finishing the jacket to my emerald green silk suit, the weekend Wall Street Journal arrived with this article in the Off Duty – Style & Fashion section: “Gran Larceny – Fashion’s latest rebellion is co-opting looks from grandma’s closet.”
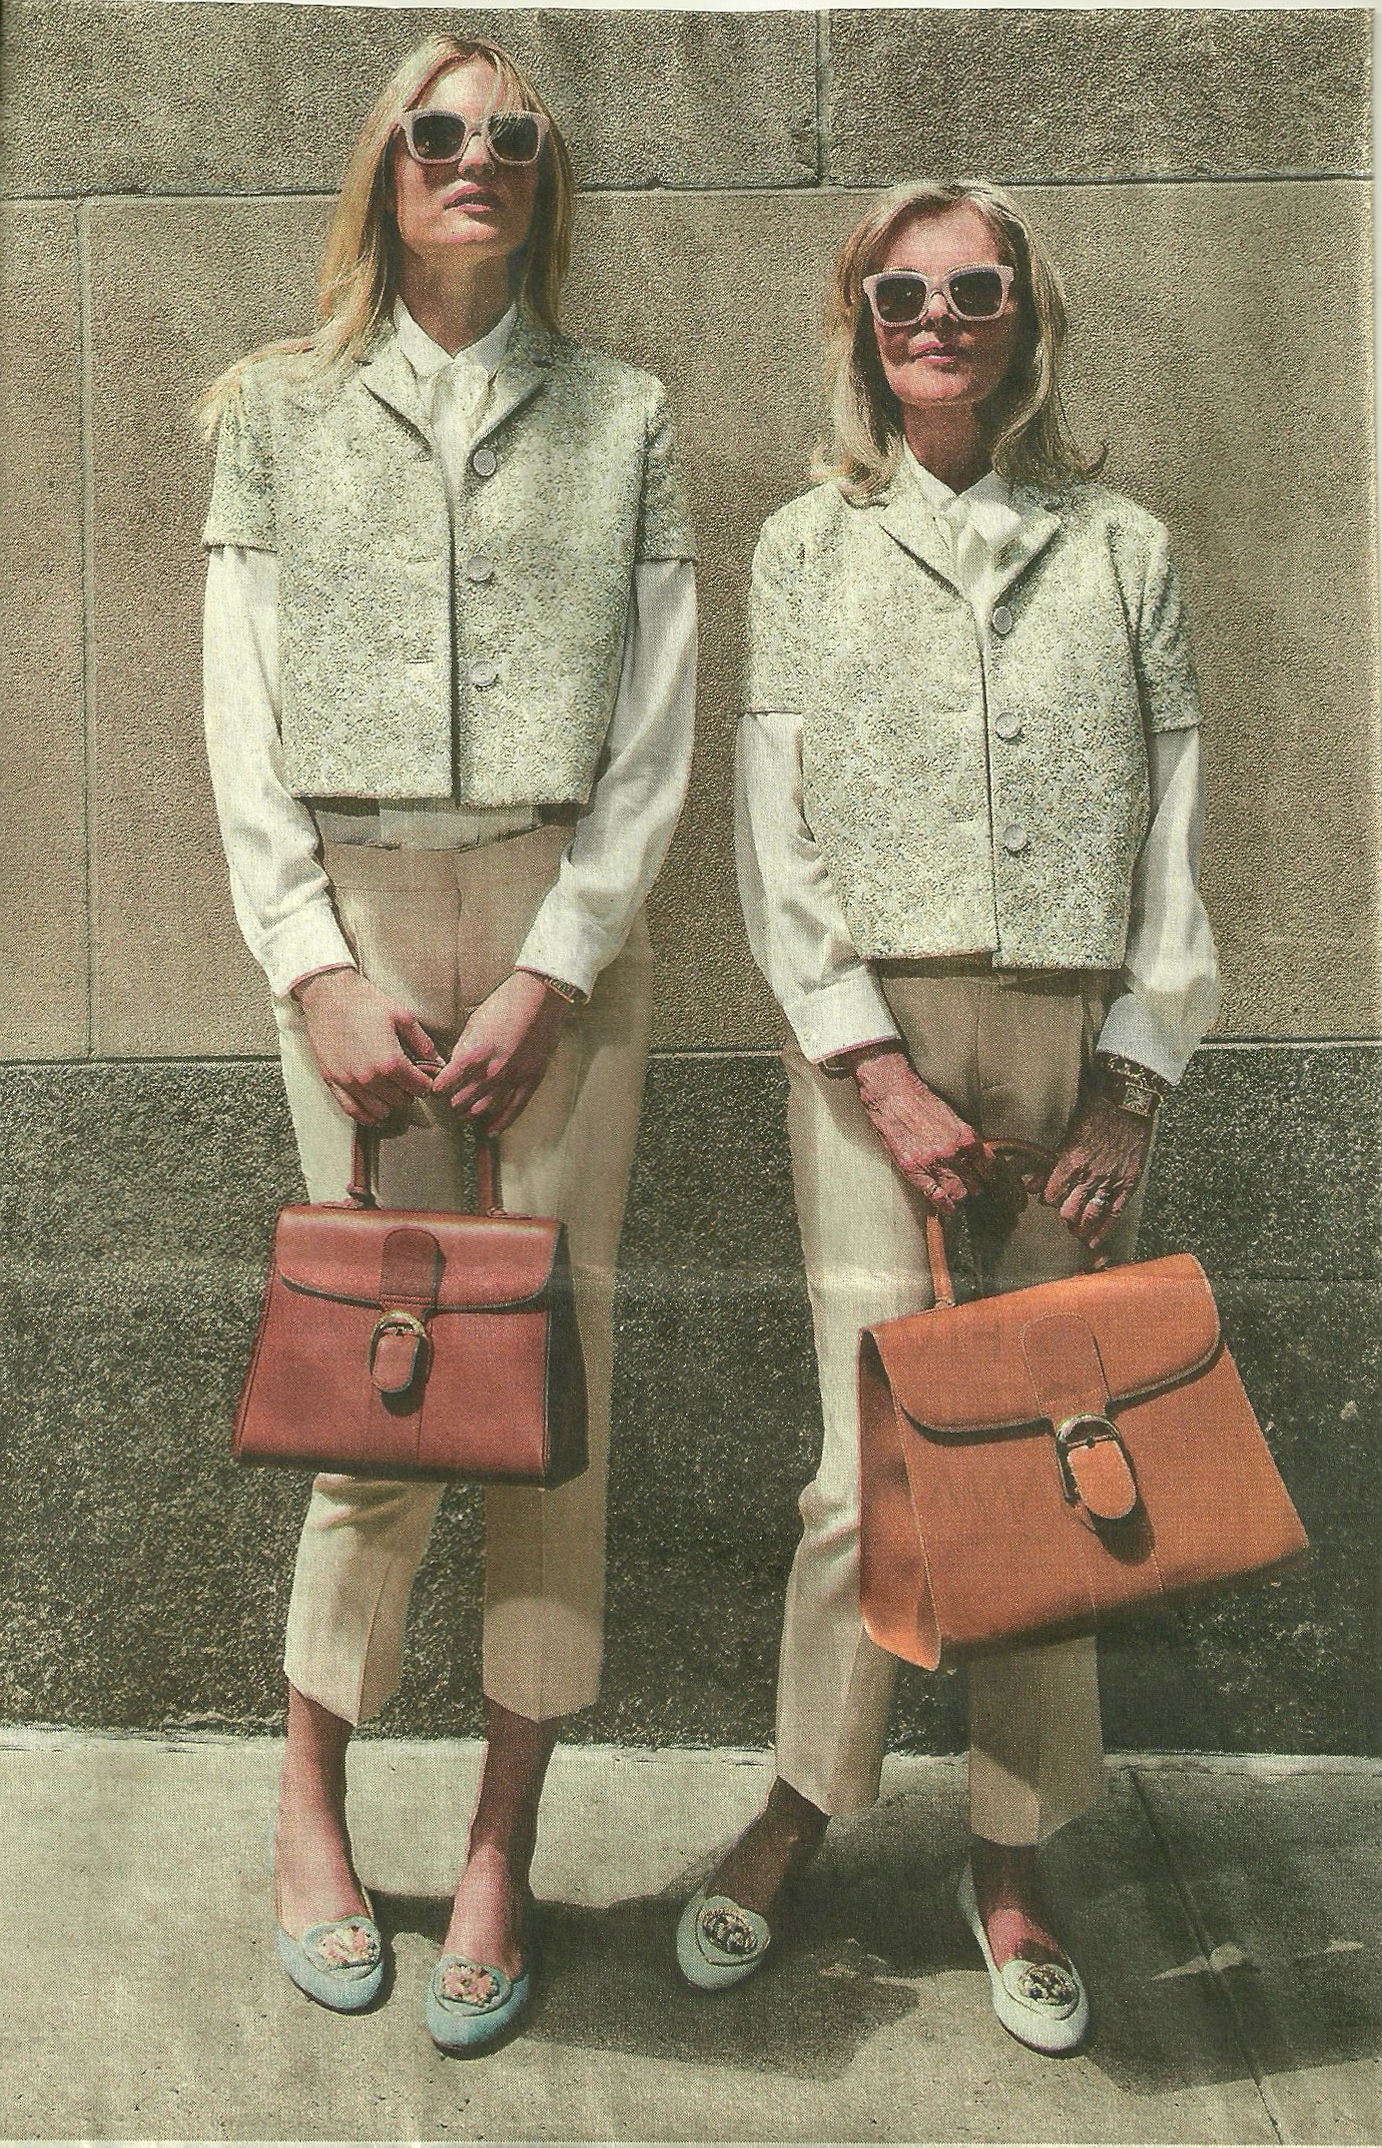
This photo, copyright The Wall Street Journal, is the lead photo for the article.
To quote from this article by Alexa Brazilian:
“Is conservative the new radical? The fashion world certainly seems to think so . . . Designers are reimaging soignée staples for spring and summer – skirt suits, twin sets, below-the-knee dresses, kitten heels and frame bags – that appear anything but moth-eaten.
“ ‘A young girl now doesn’t want to dress like her mother; she finds her grandmother much cooler,’ said Nina Ricci creative director Peter Copping, who designed skirt suits inspired by his own nana. ‘She wore little smart tweedy suits. I always had a romantic notion of that.’ “
And then later in the article is this statement by Christopher Kane (which I might frame and put on the wall in my sewing room!): “Ladylike is the ultimate sexiness,” said the designer. “It’s clean, elegant and in control. The famous saying, ‘It’s the quiet ones you need to watch,’ definitely applies to this style.”
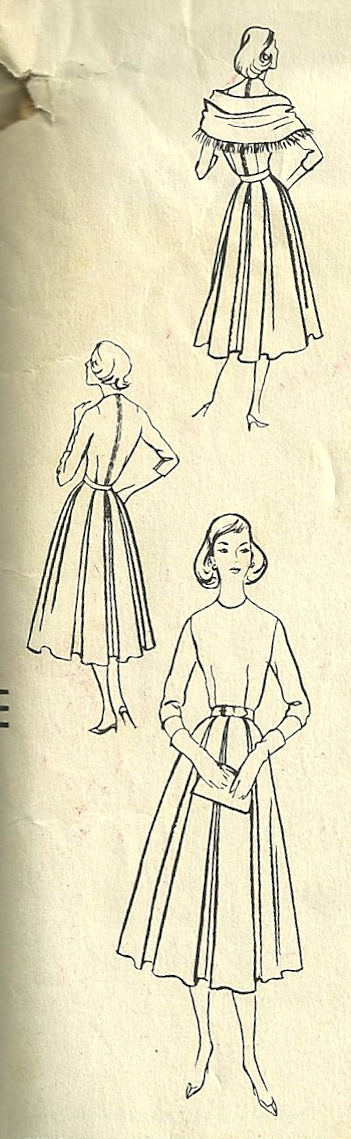
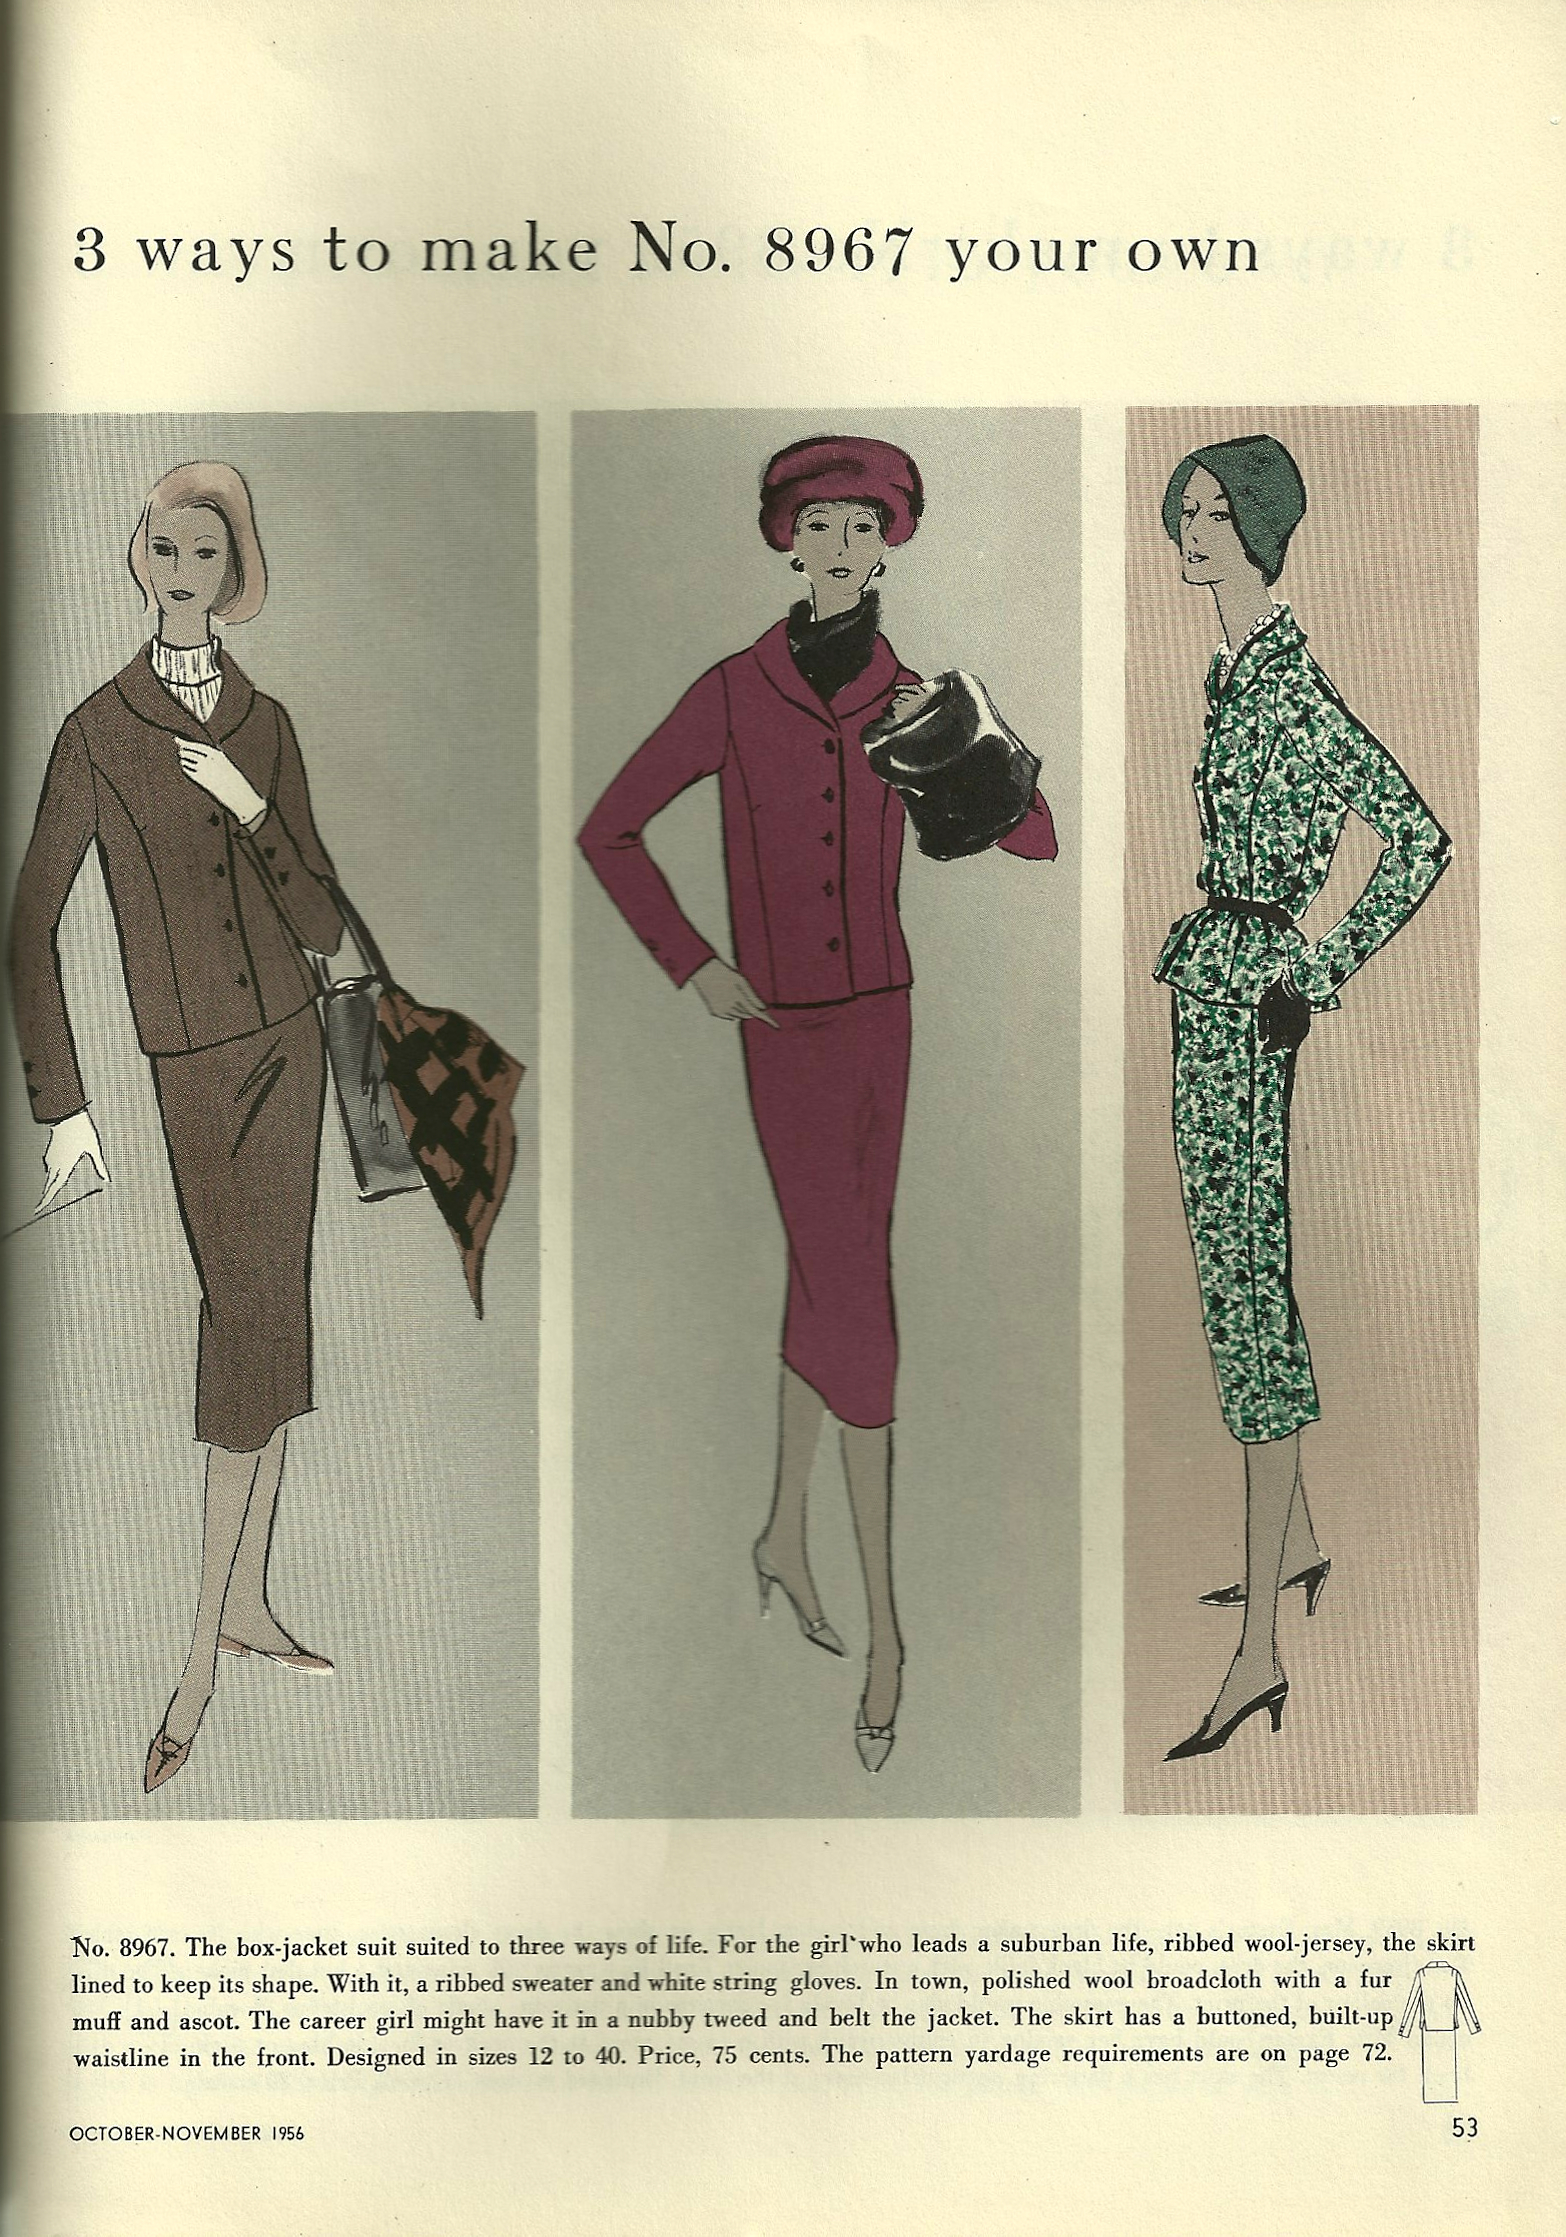
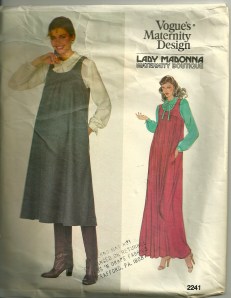
Well, I won’t necessarily feel radical or even sexy when I wear my new green skirt suit, but I do believe it is an example of that ladylike style of the early 1960s — which actually makes sense since the pattern is indigenous to that decade.
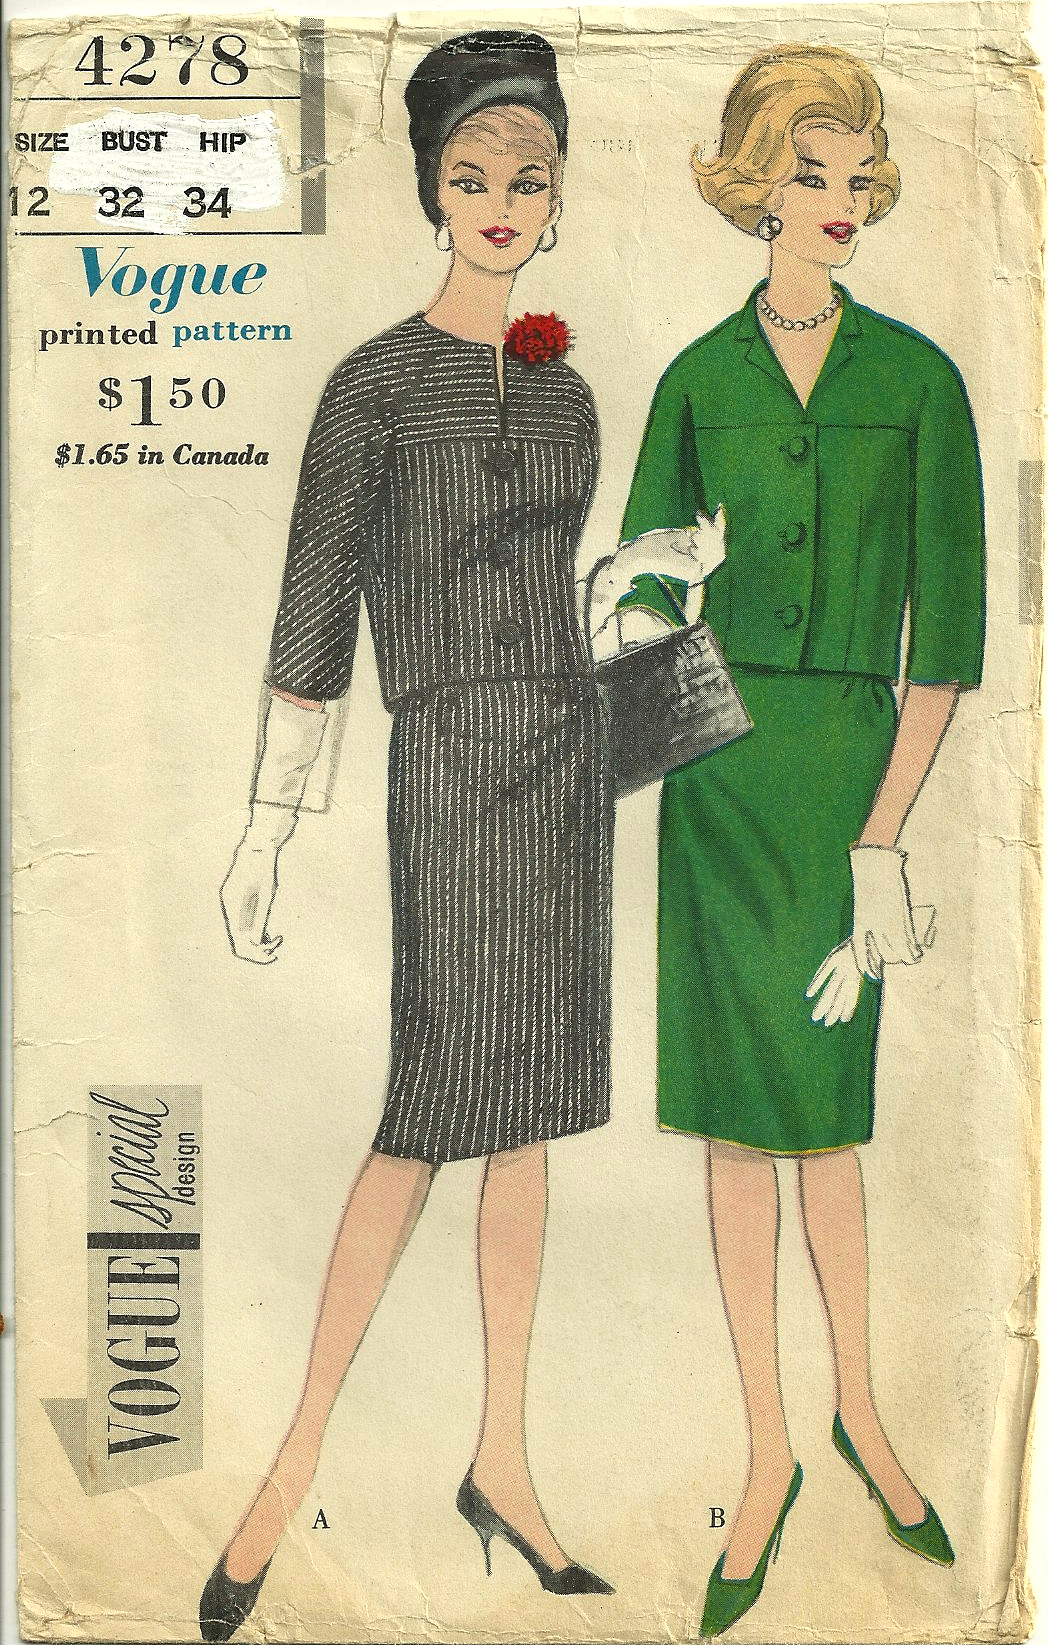
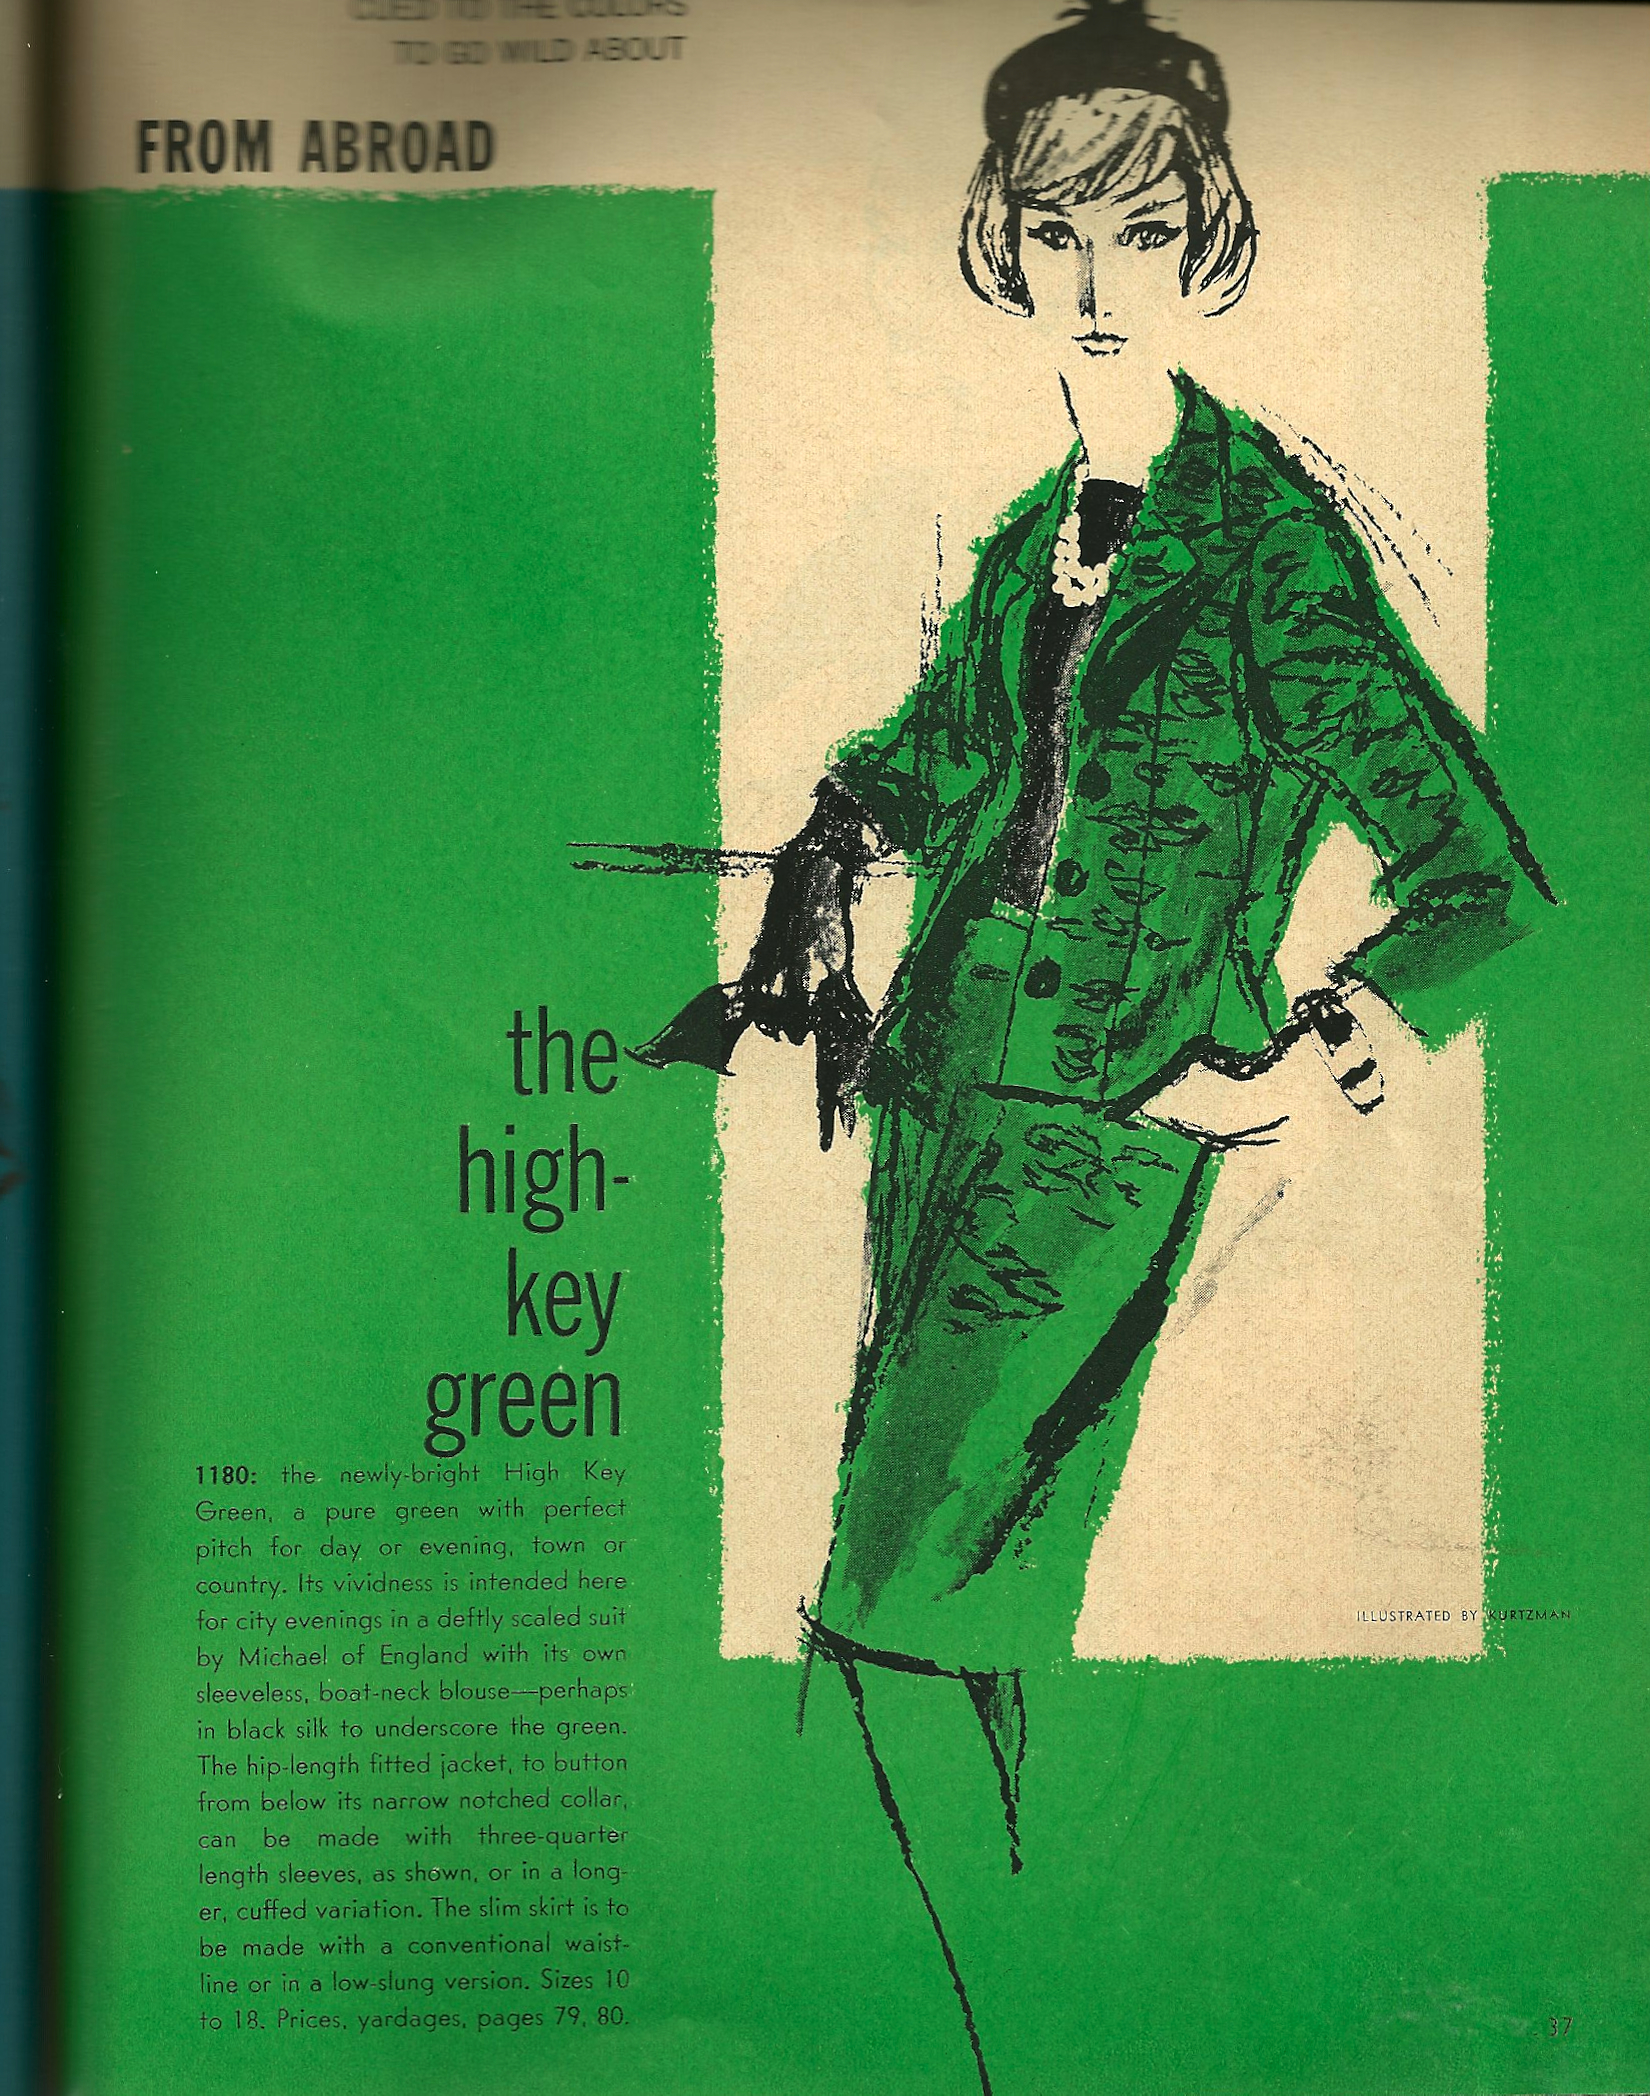
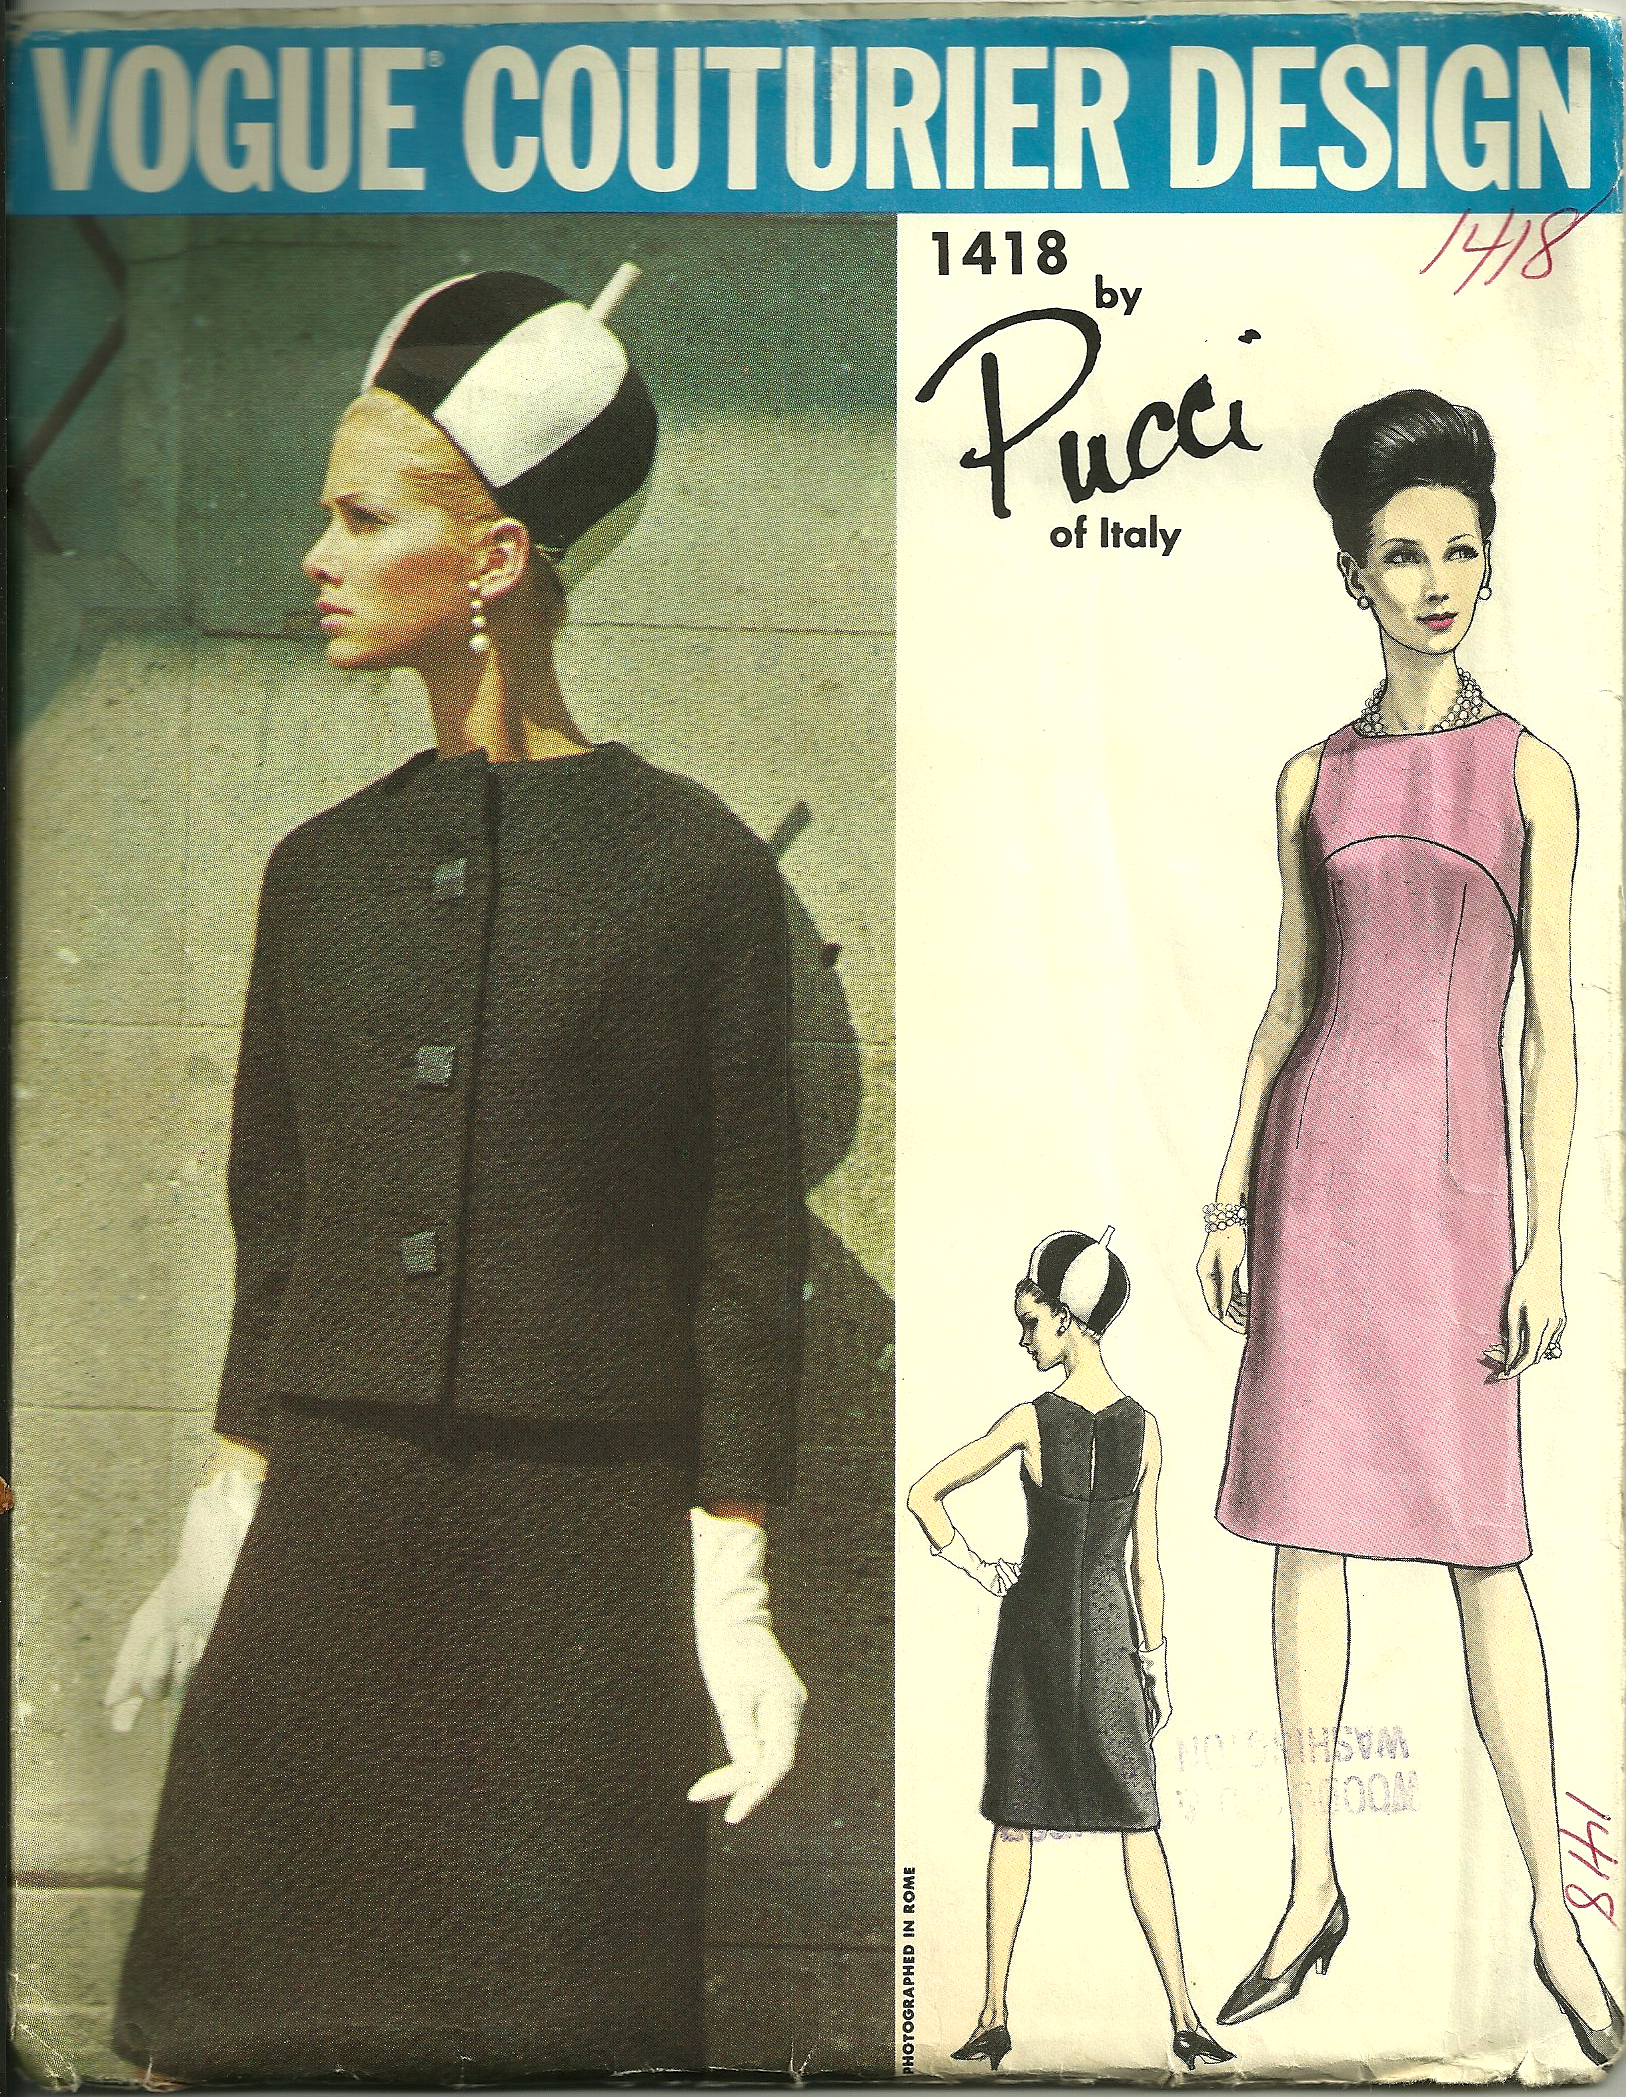
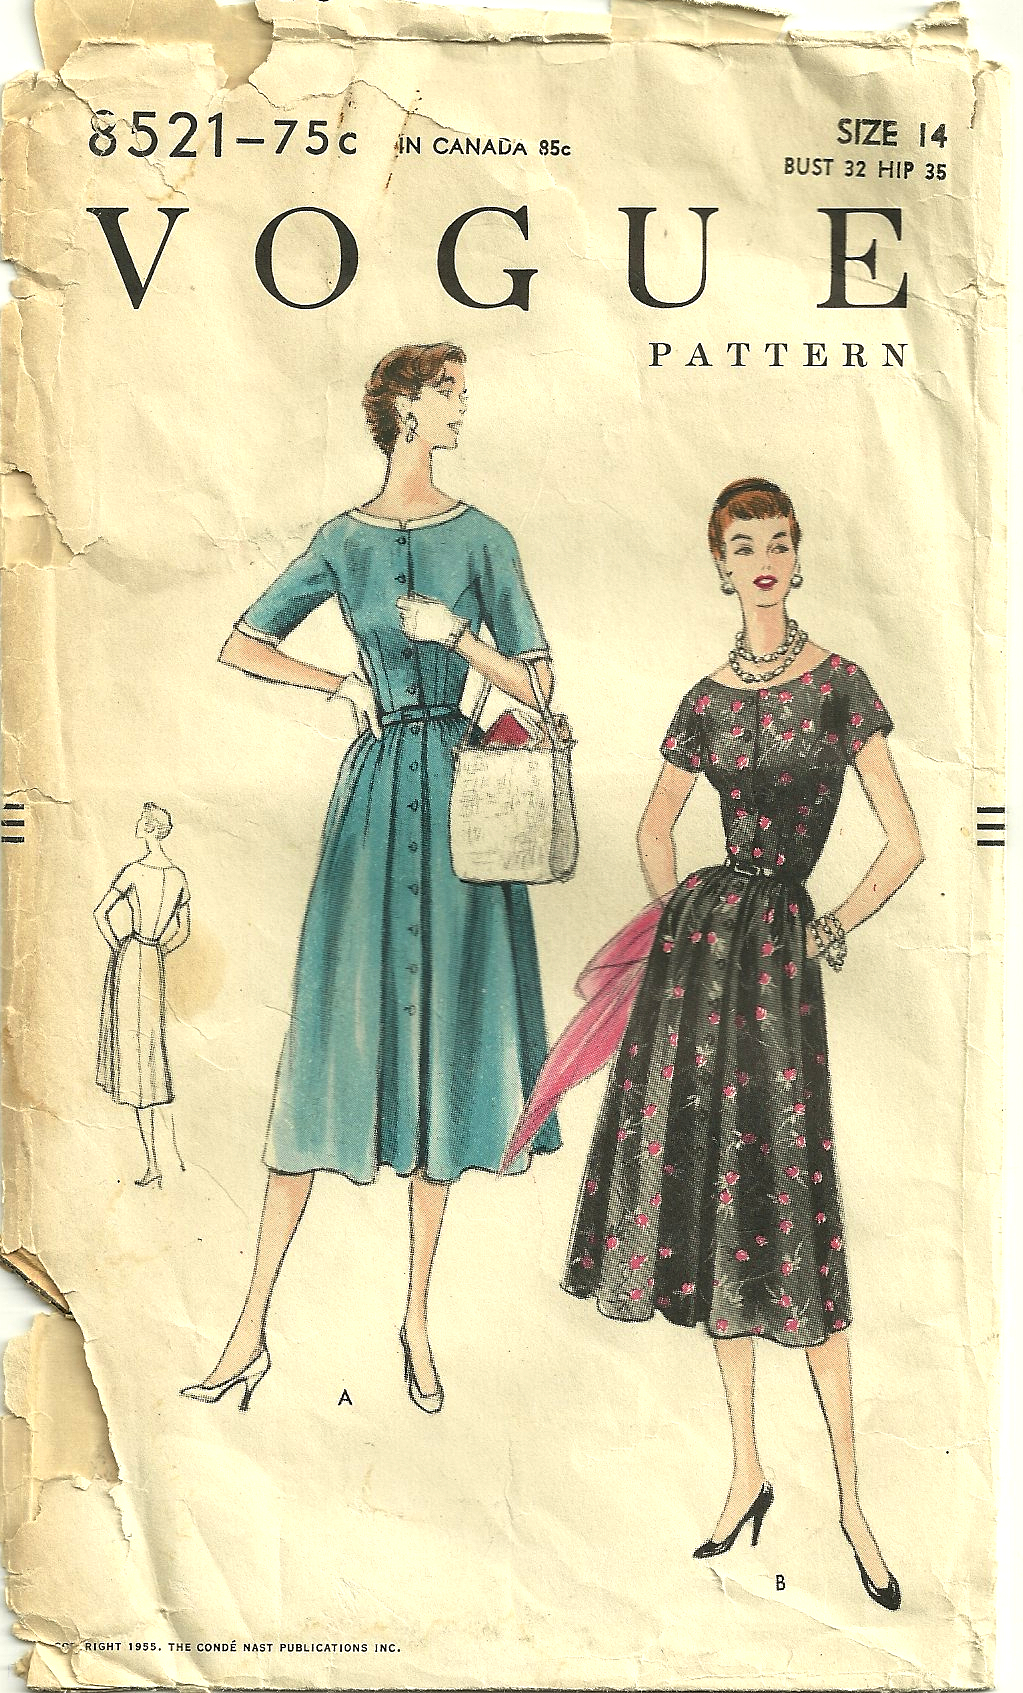
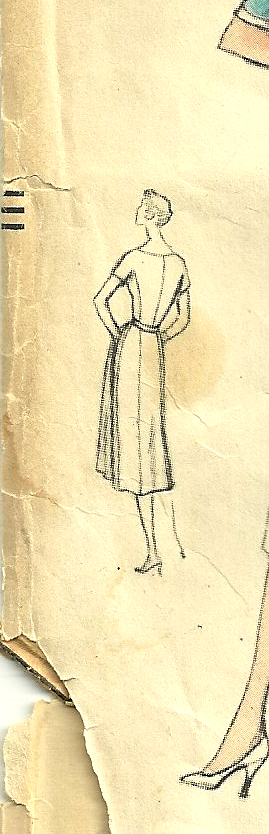
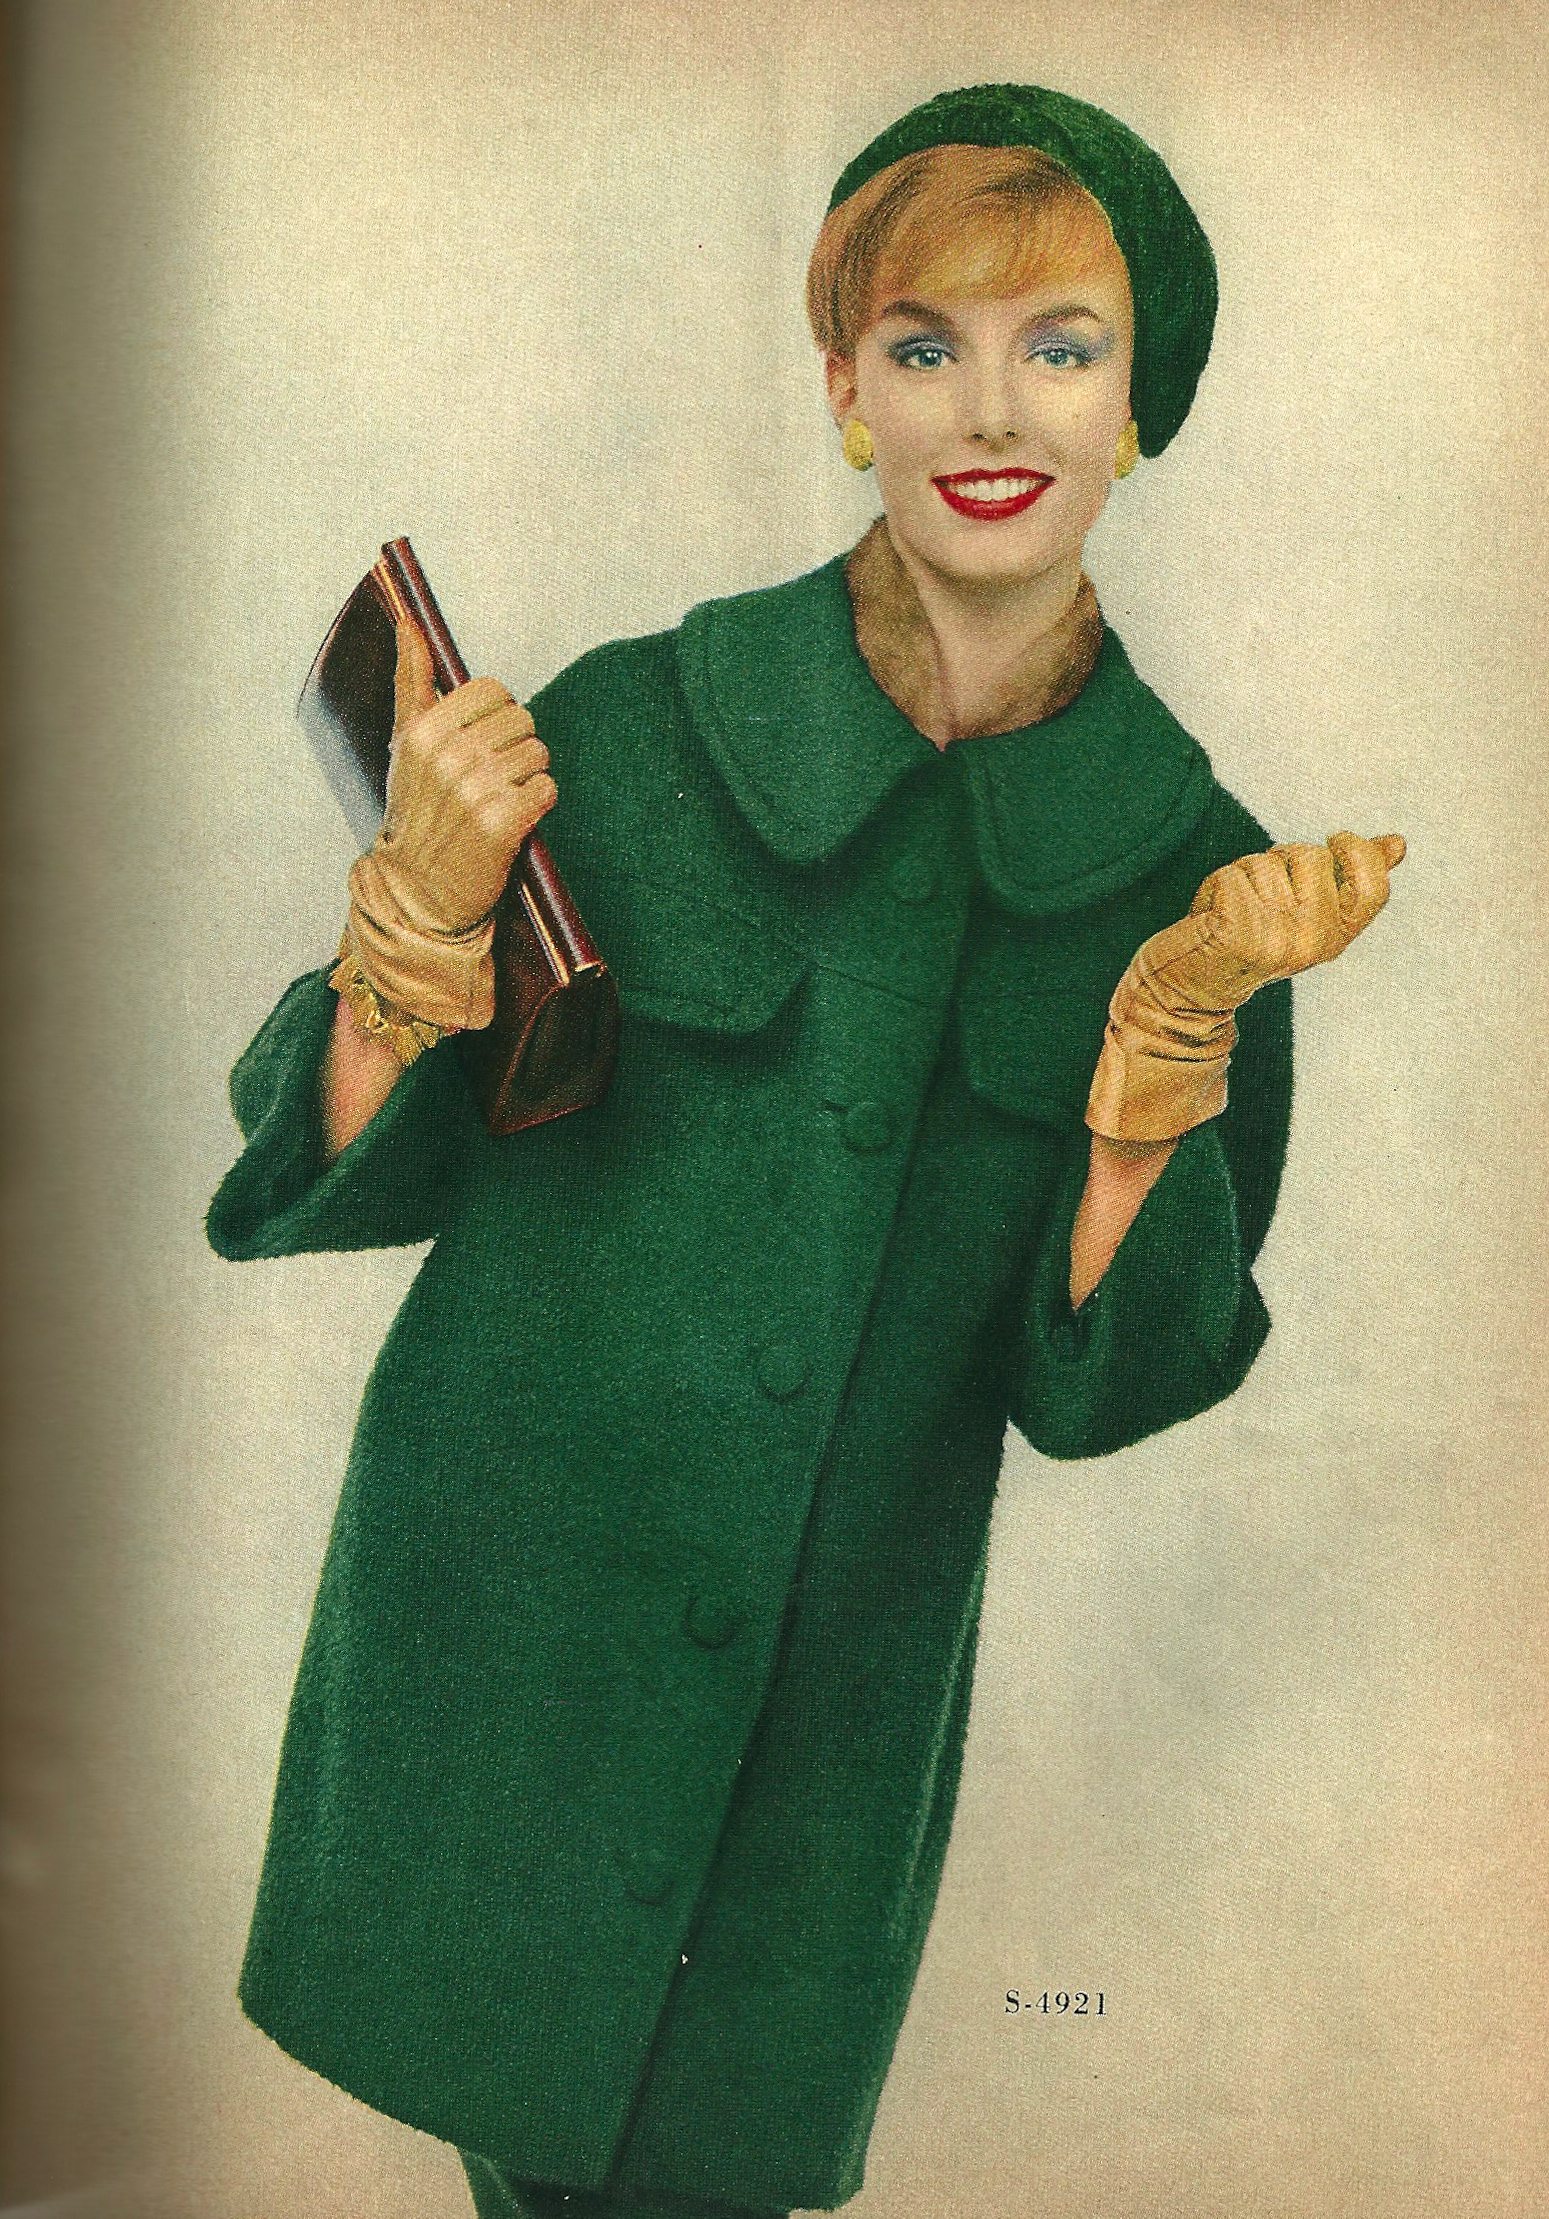
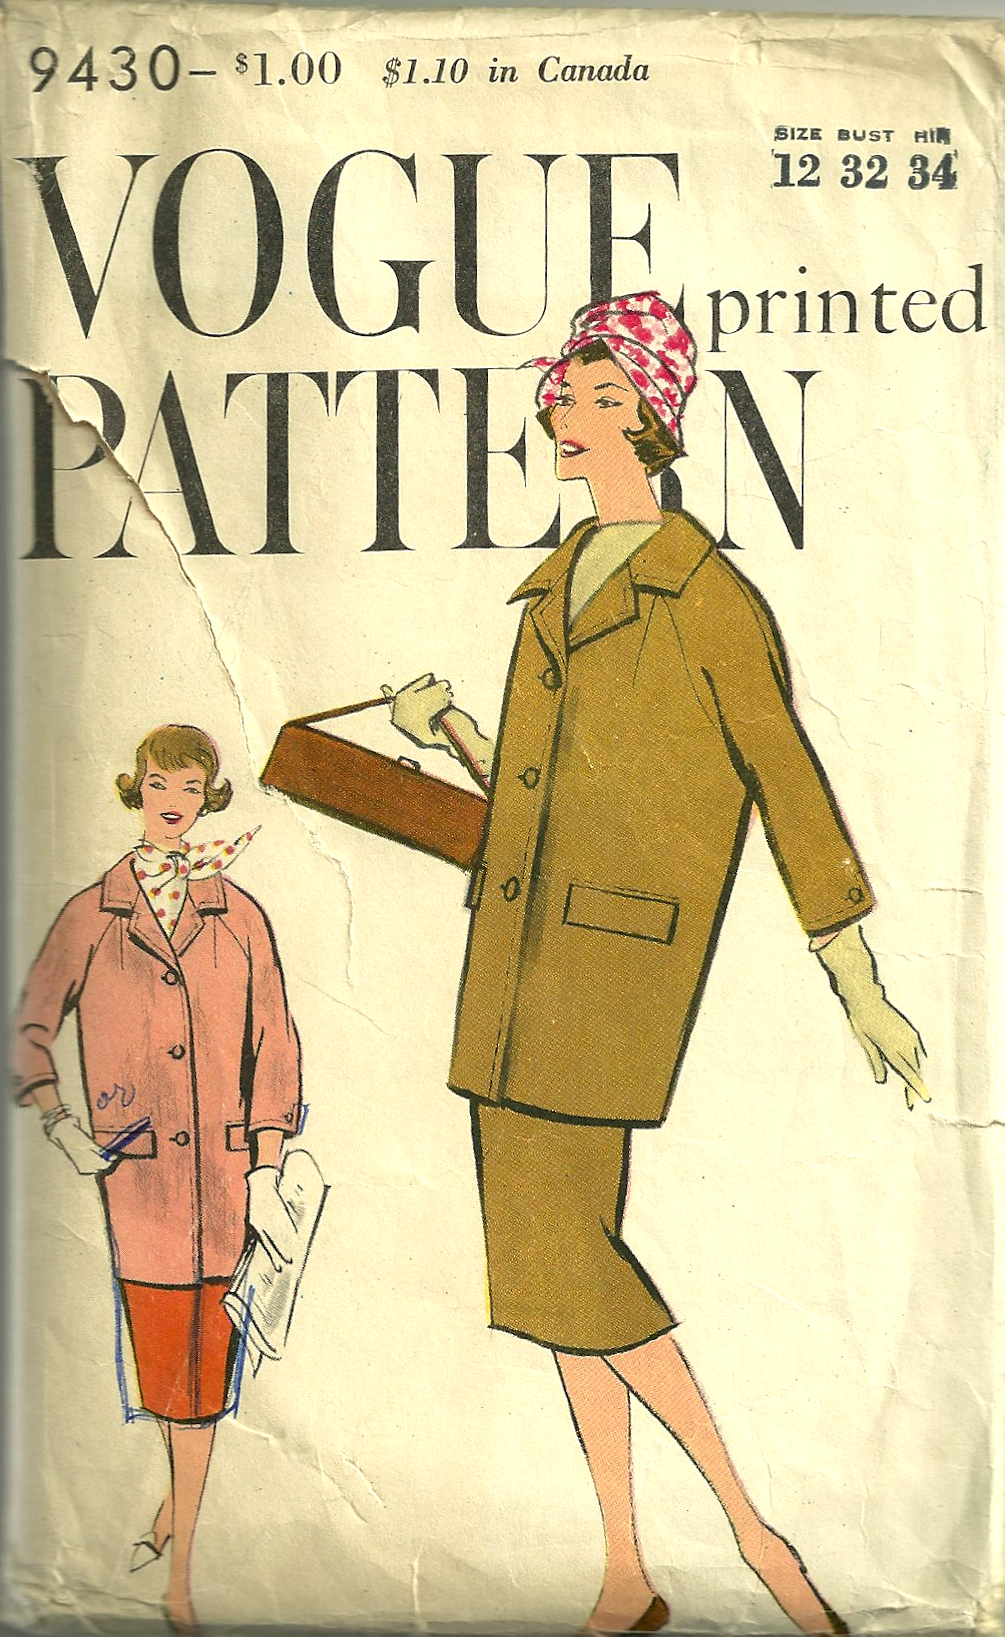
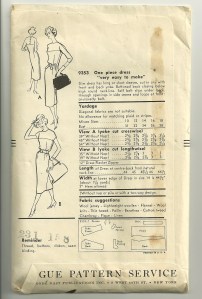
This is the pattern from the 1960s I used for my suit.
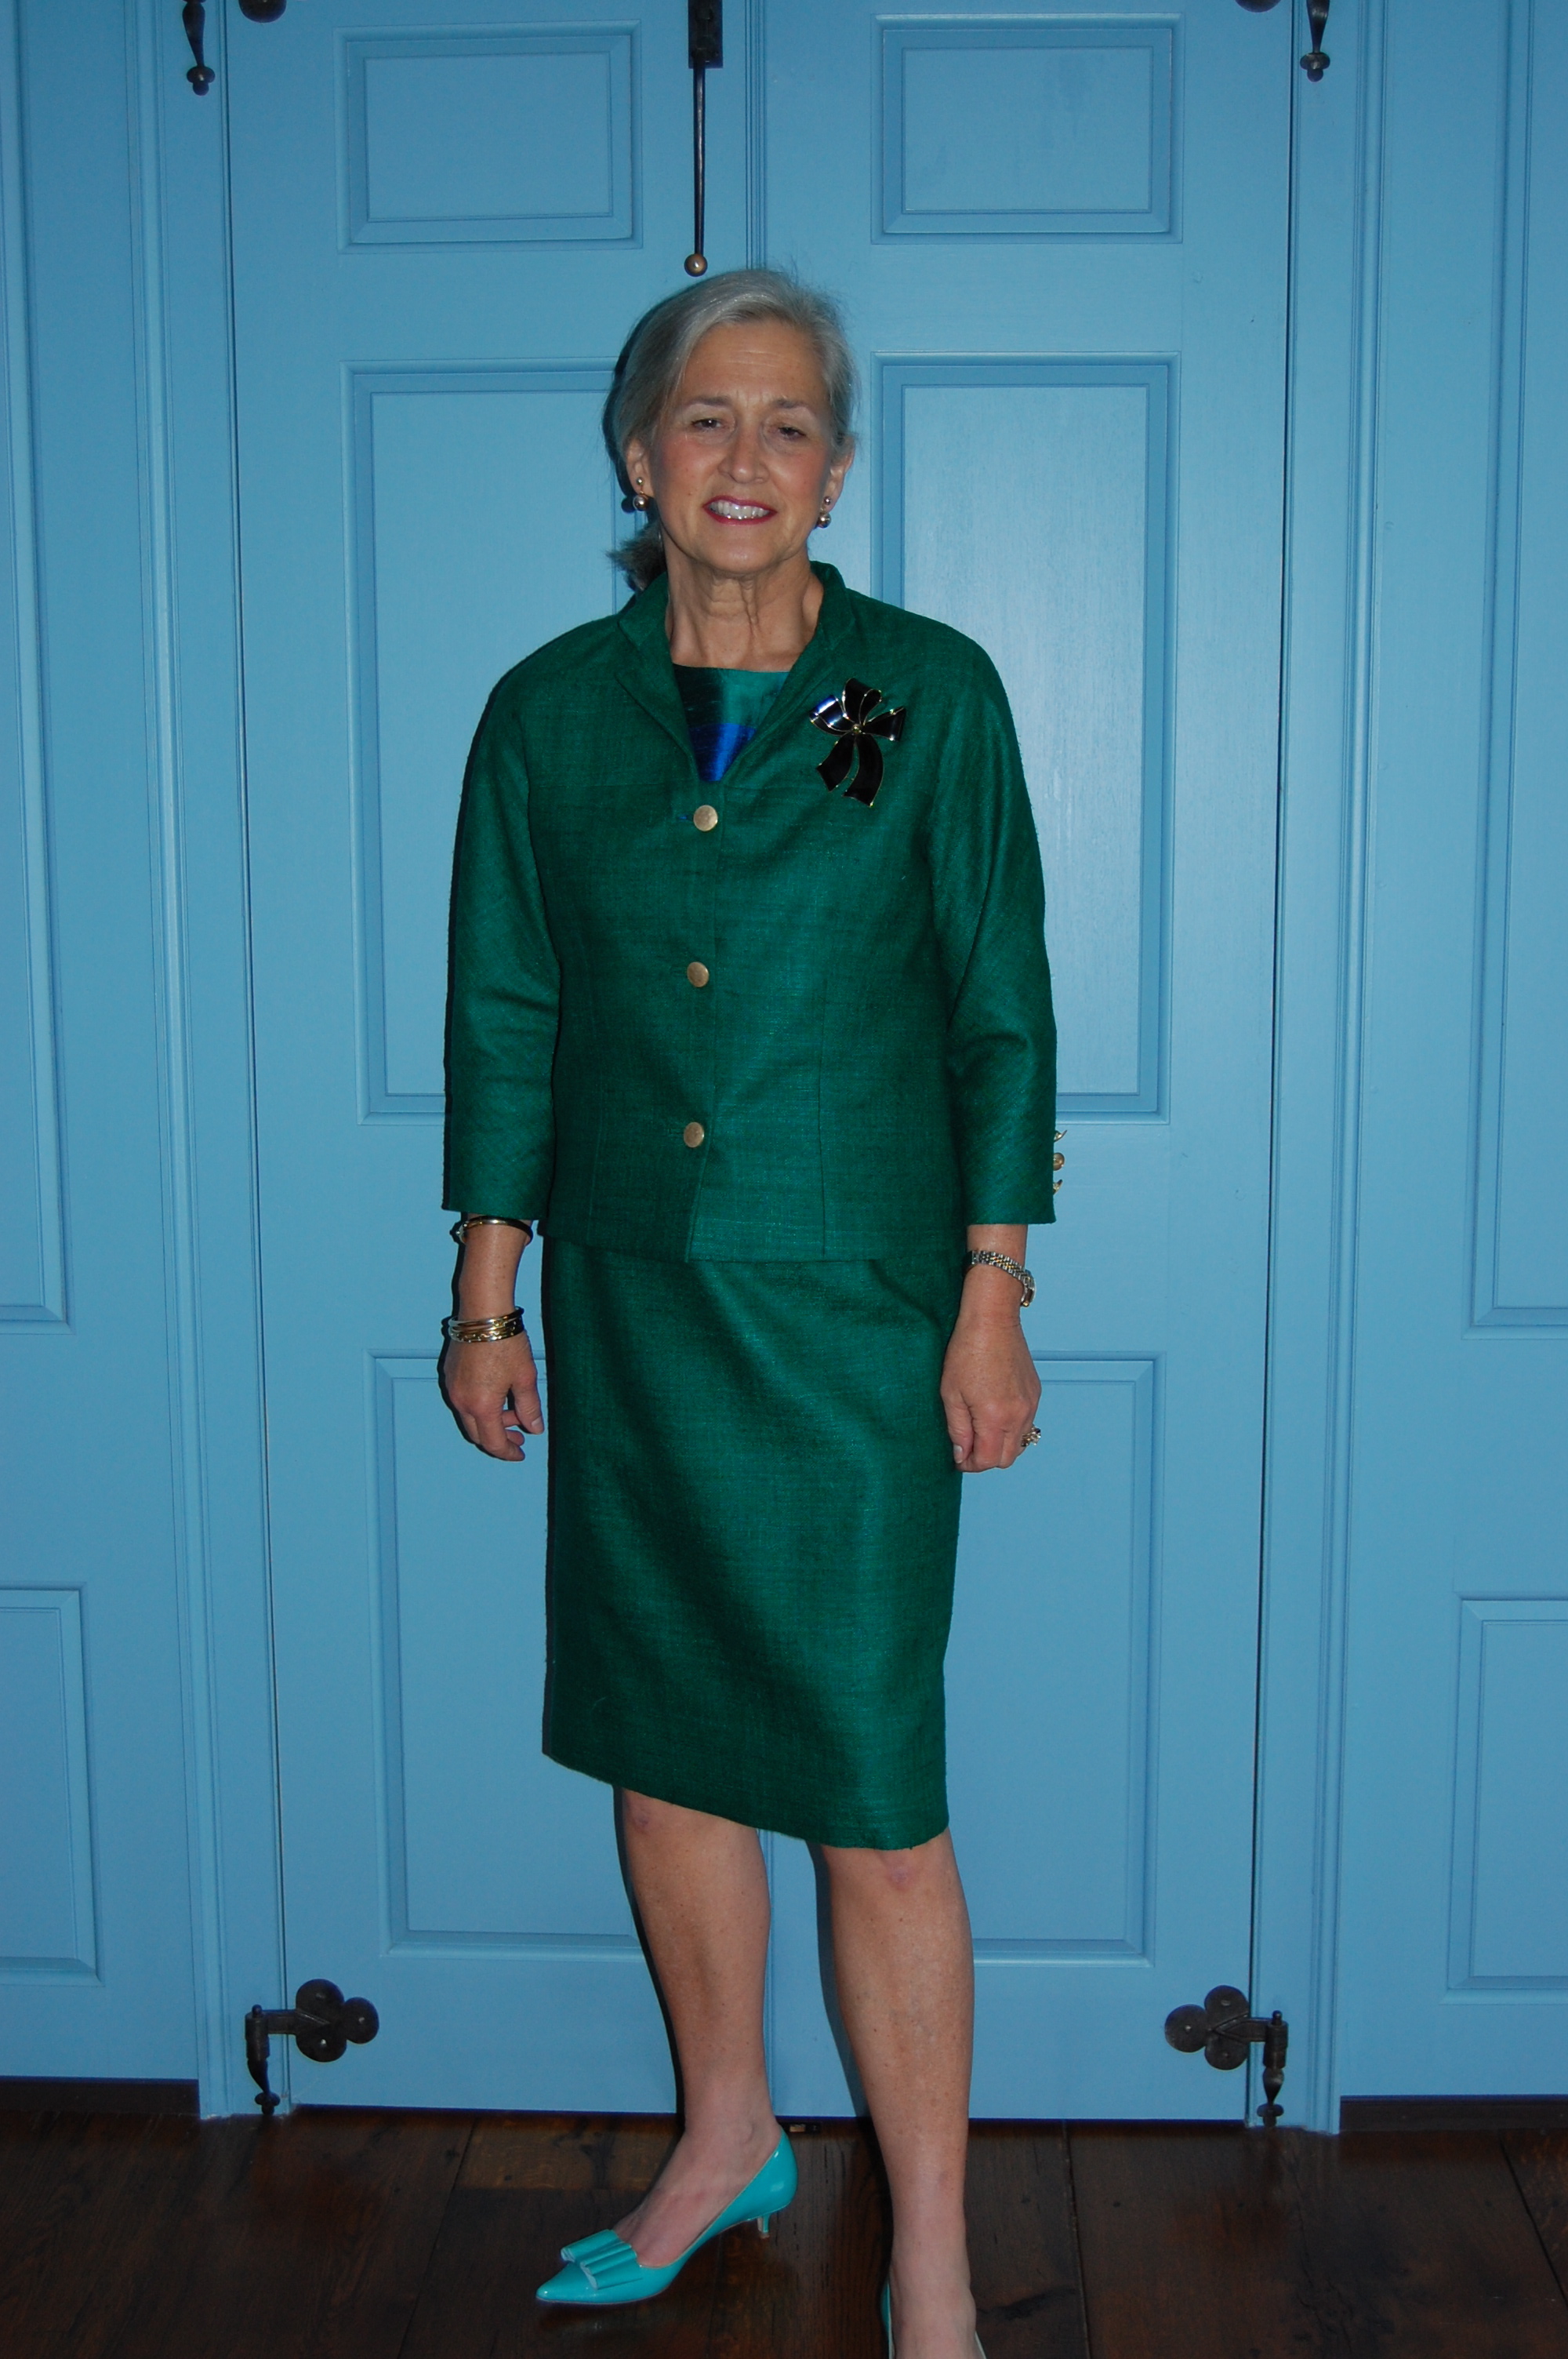
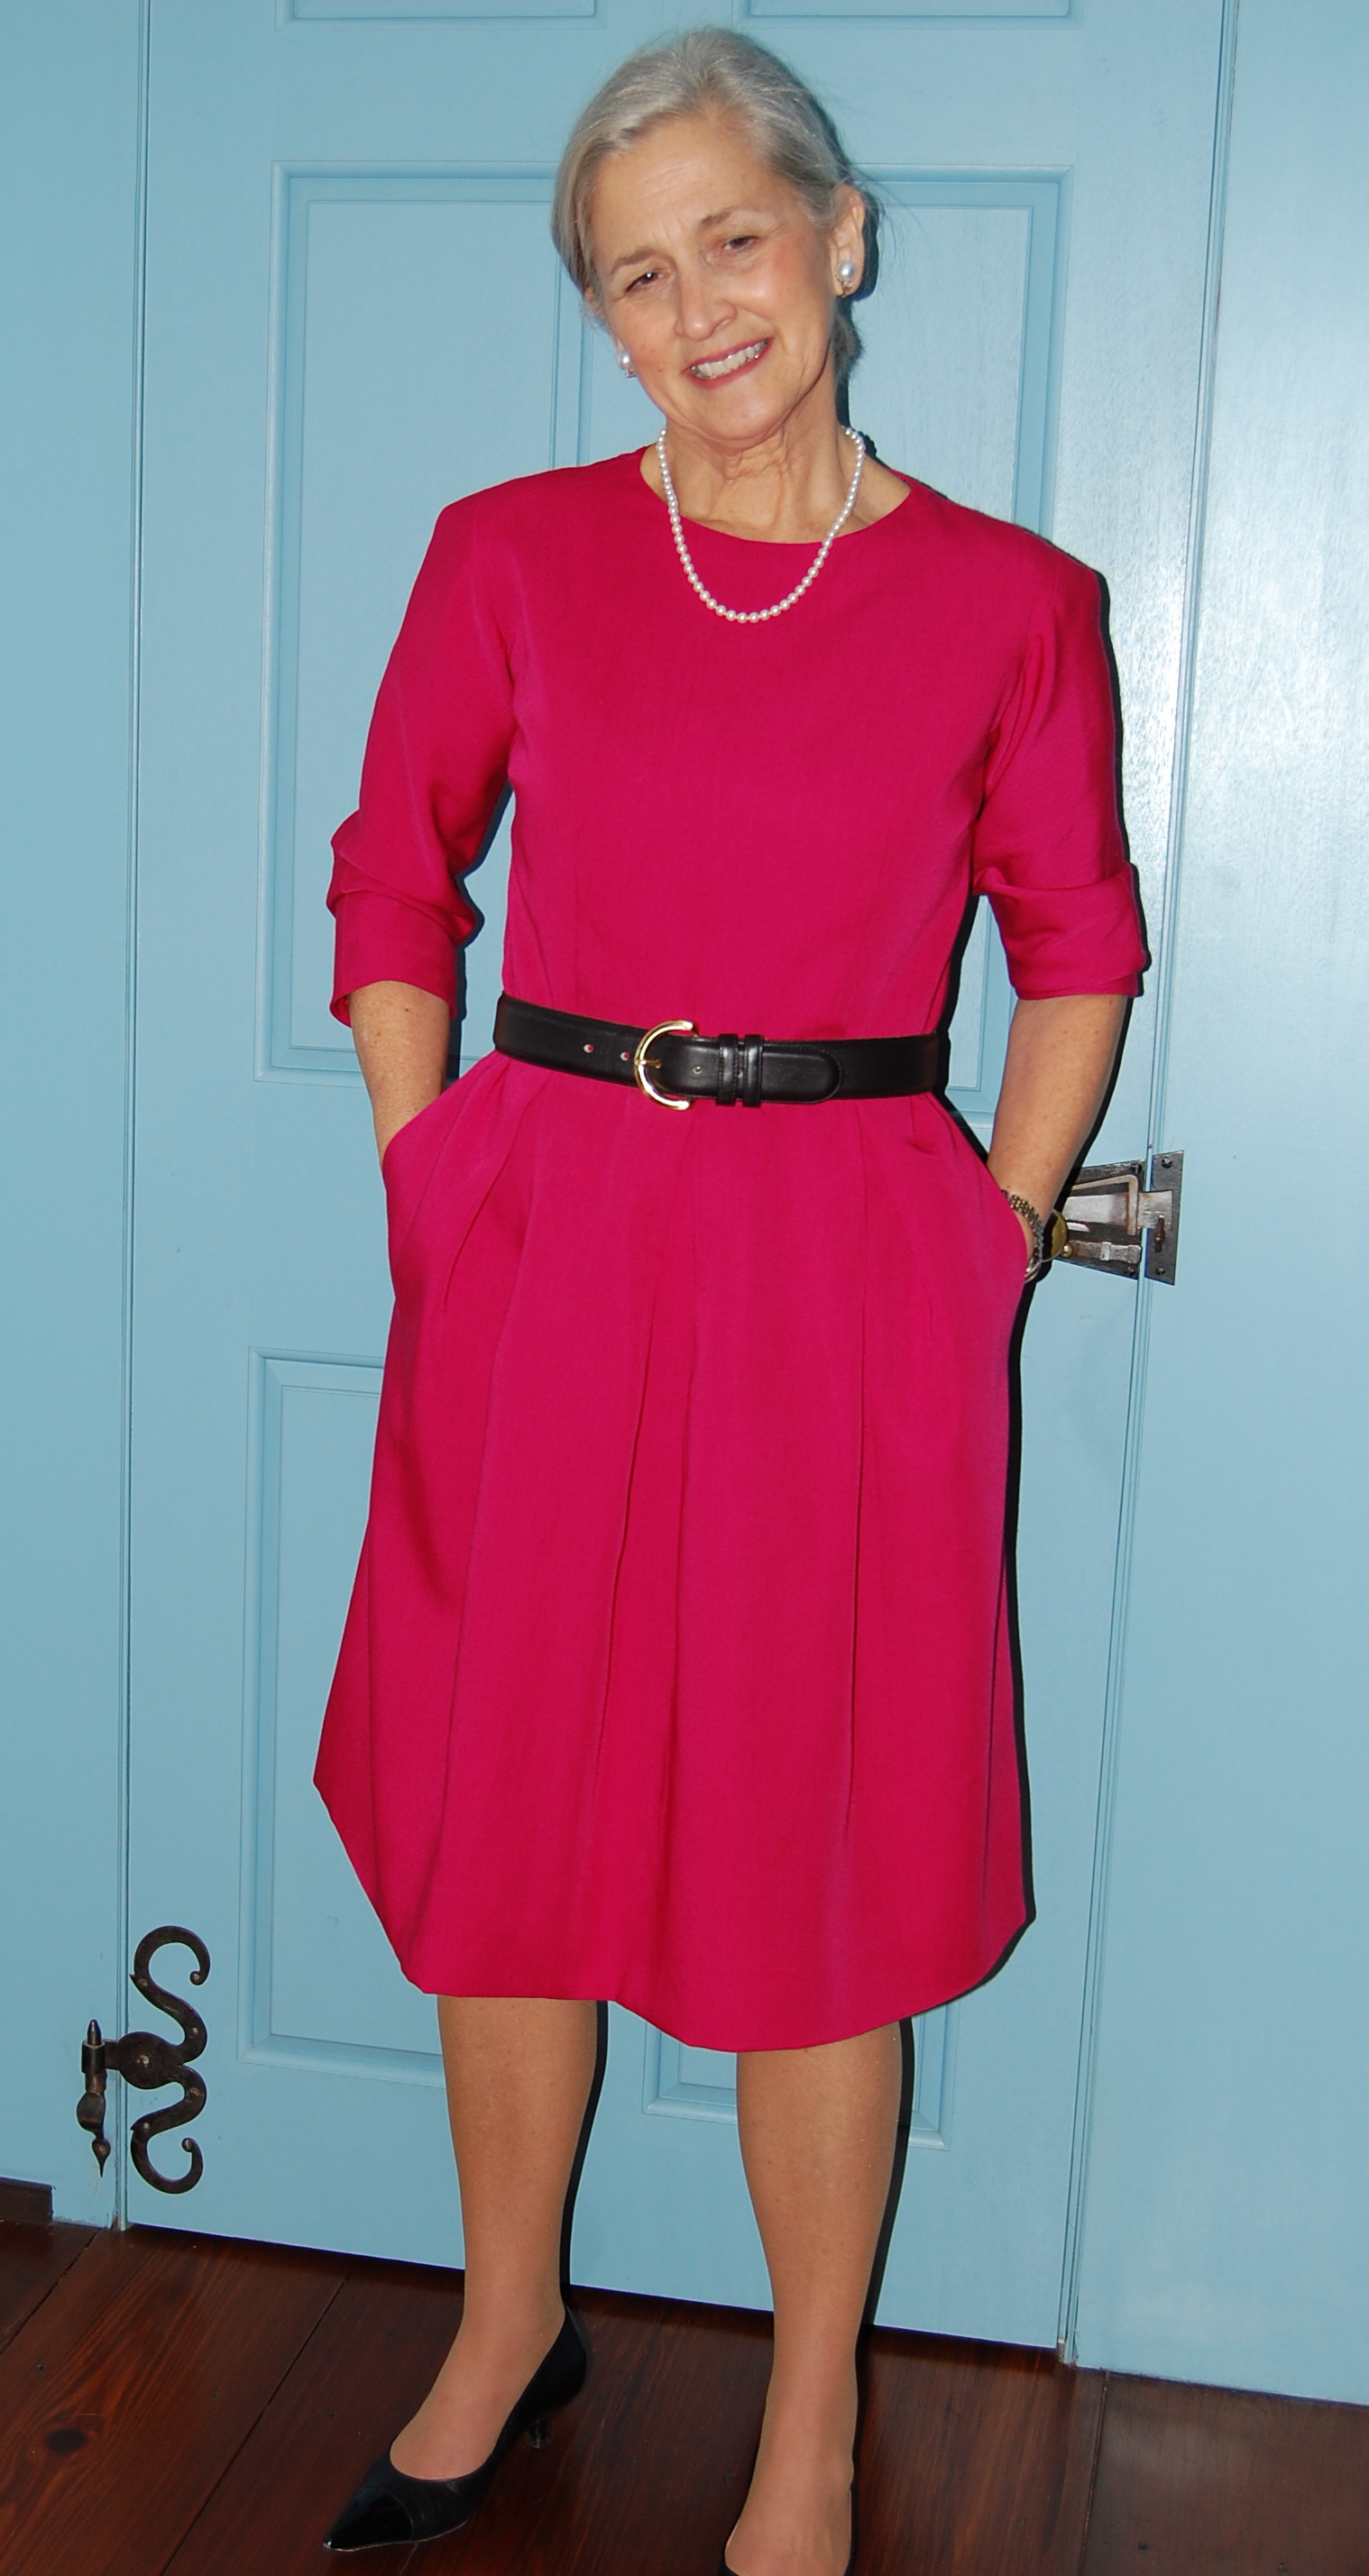
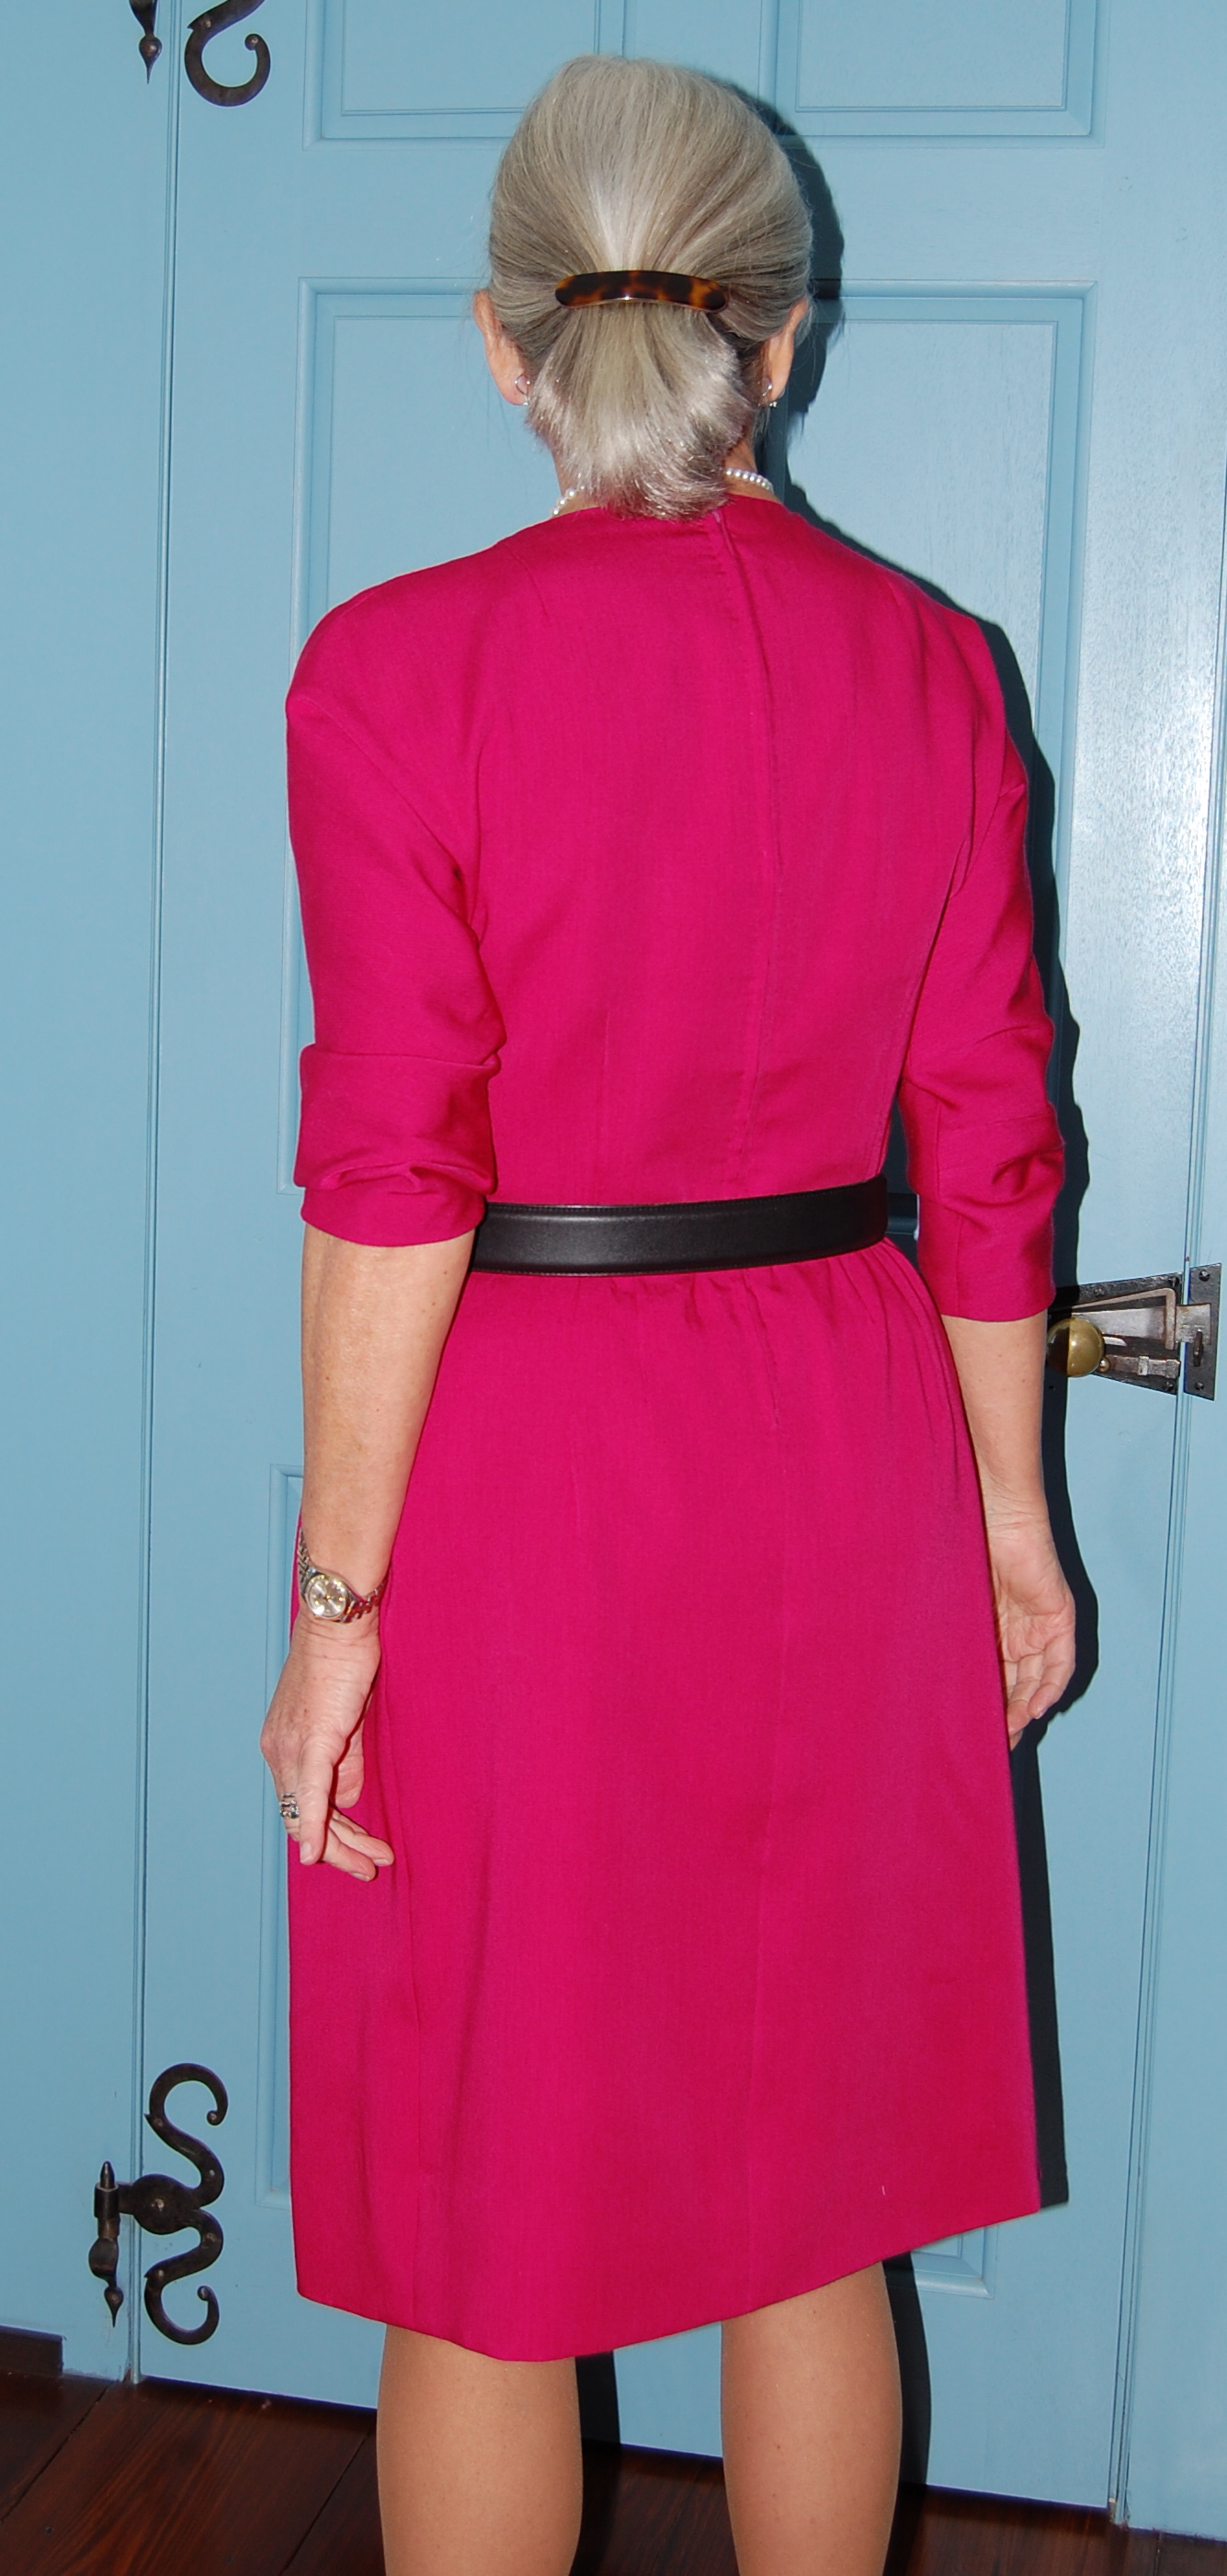
And here is the suit finally finished.
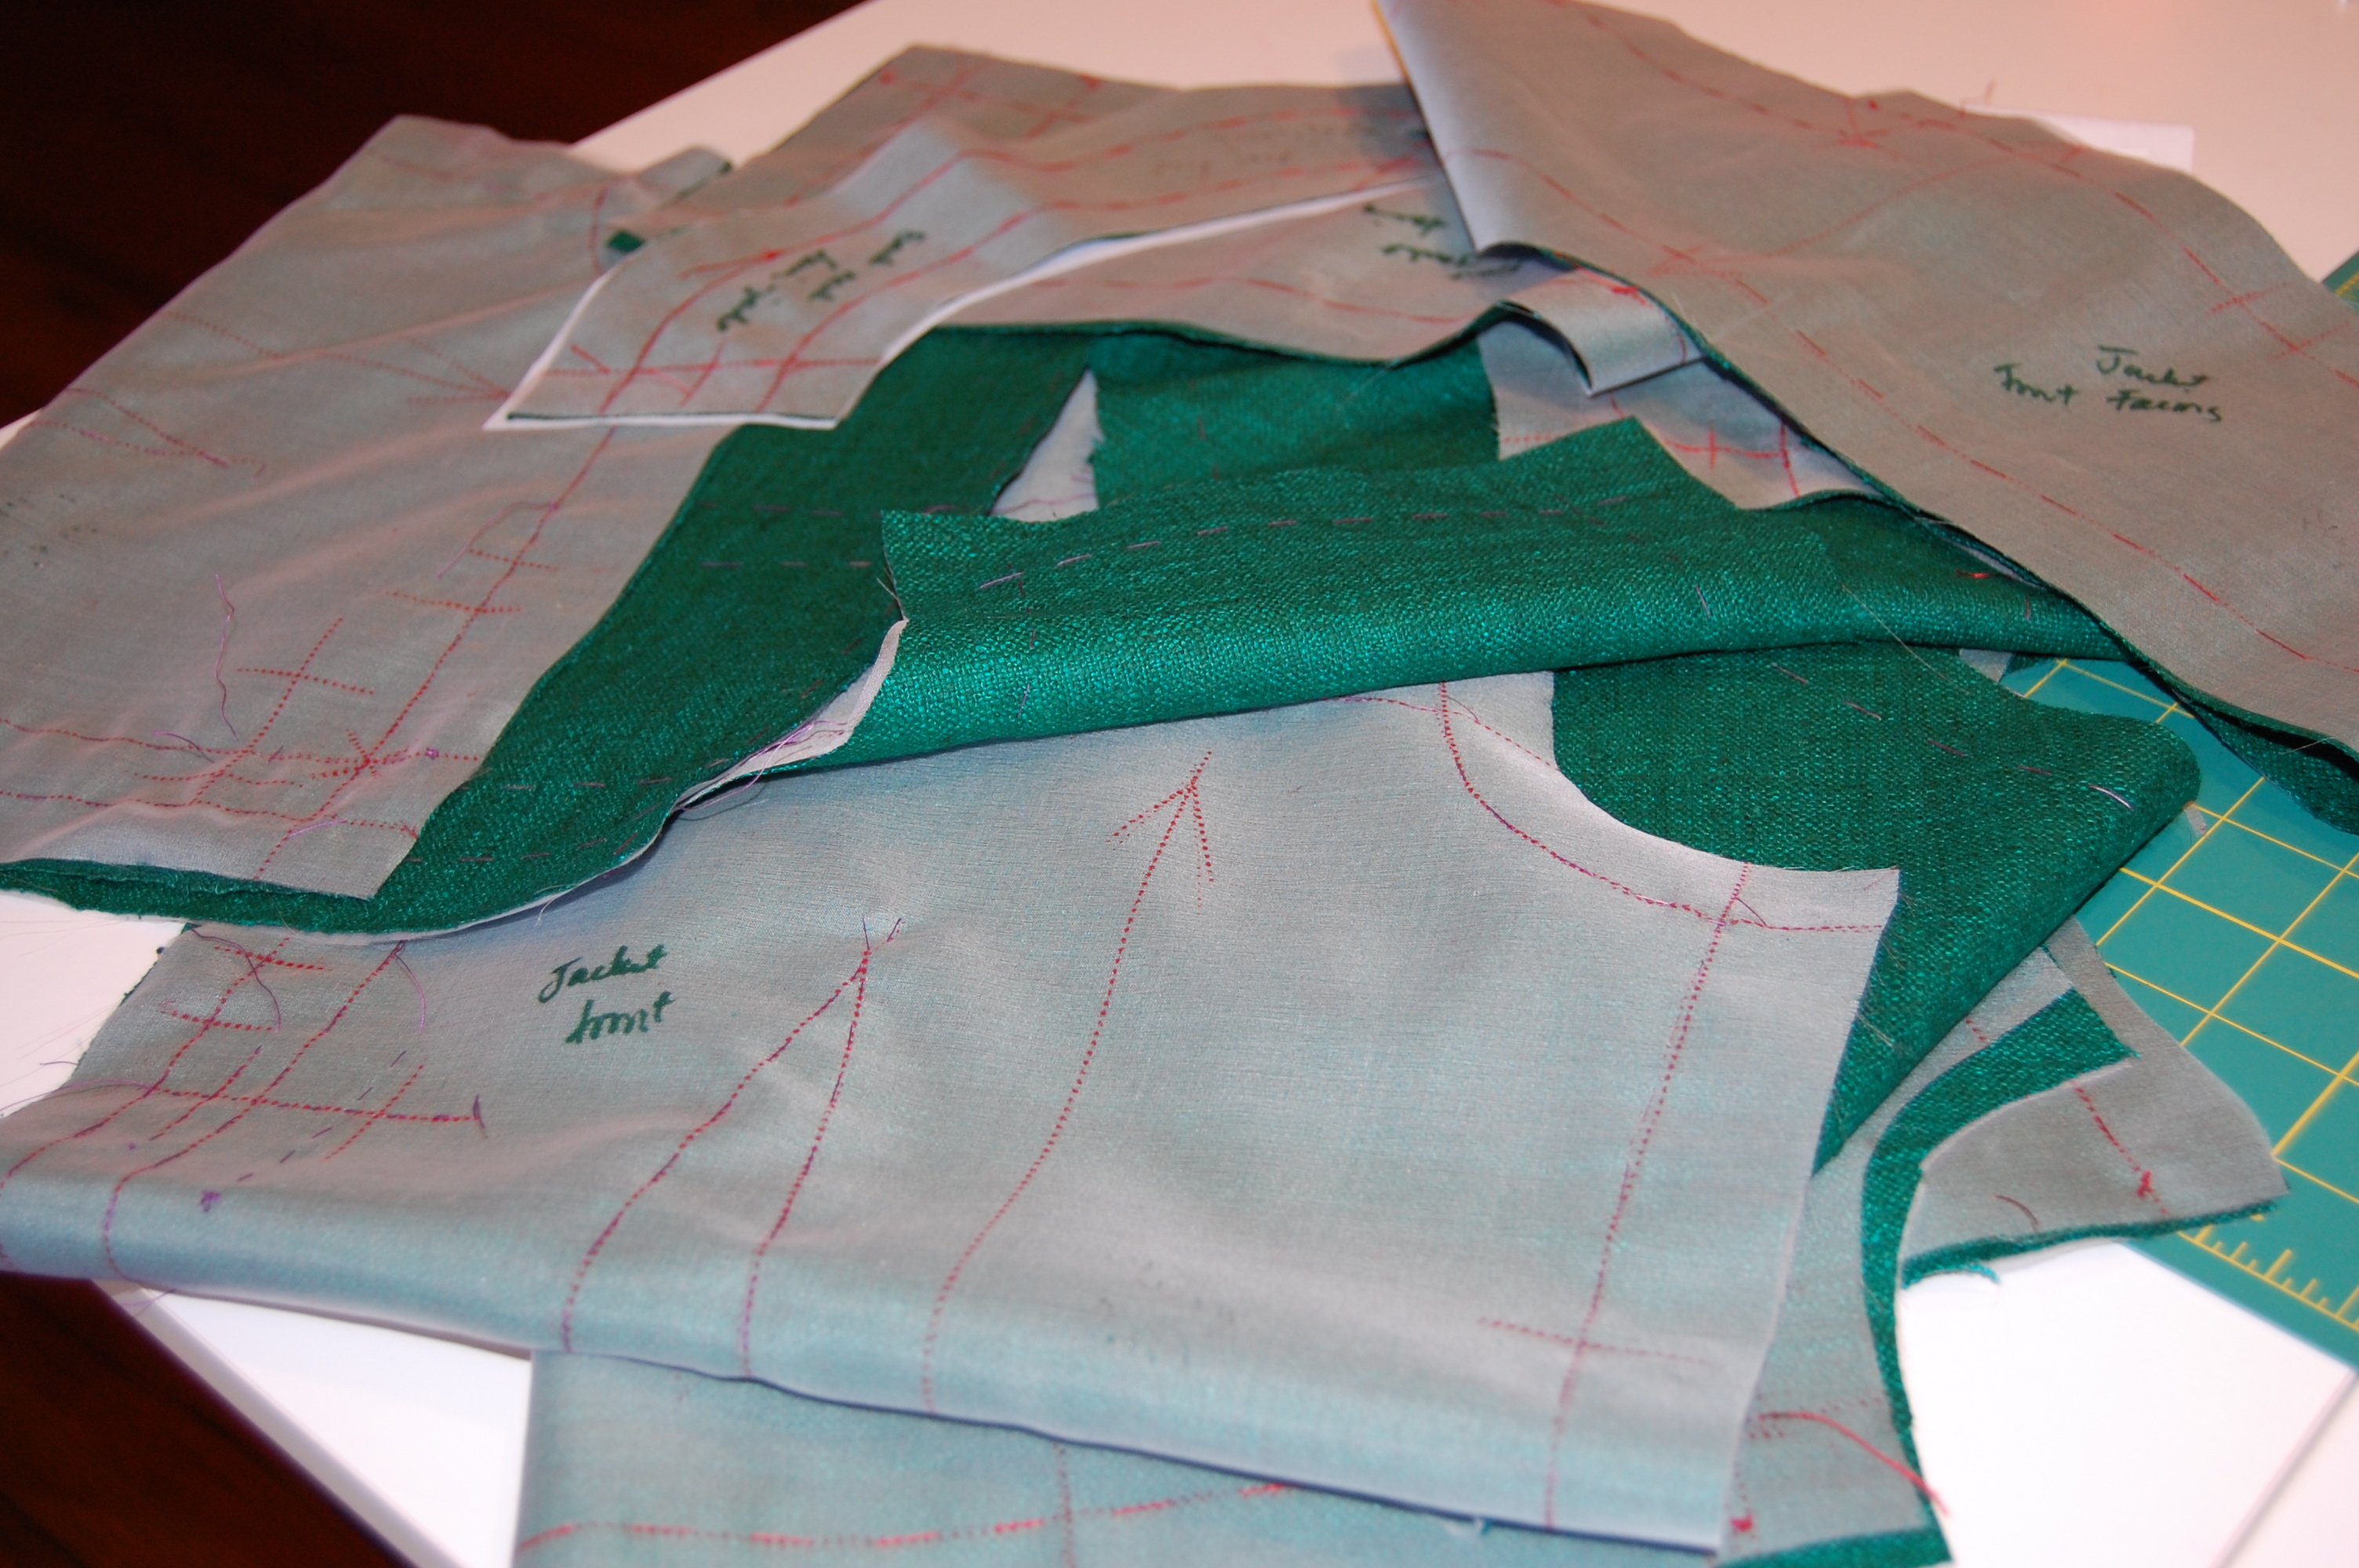
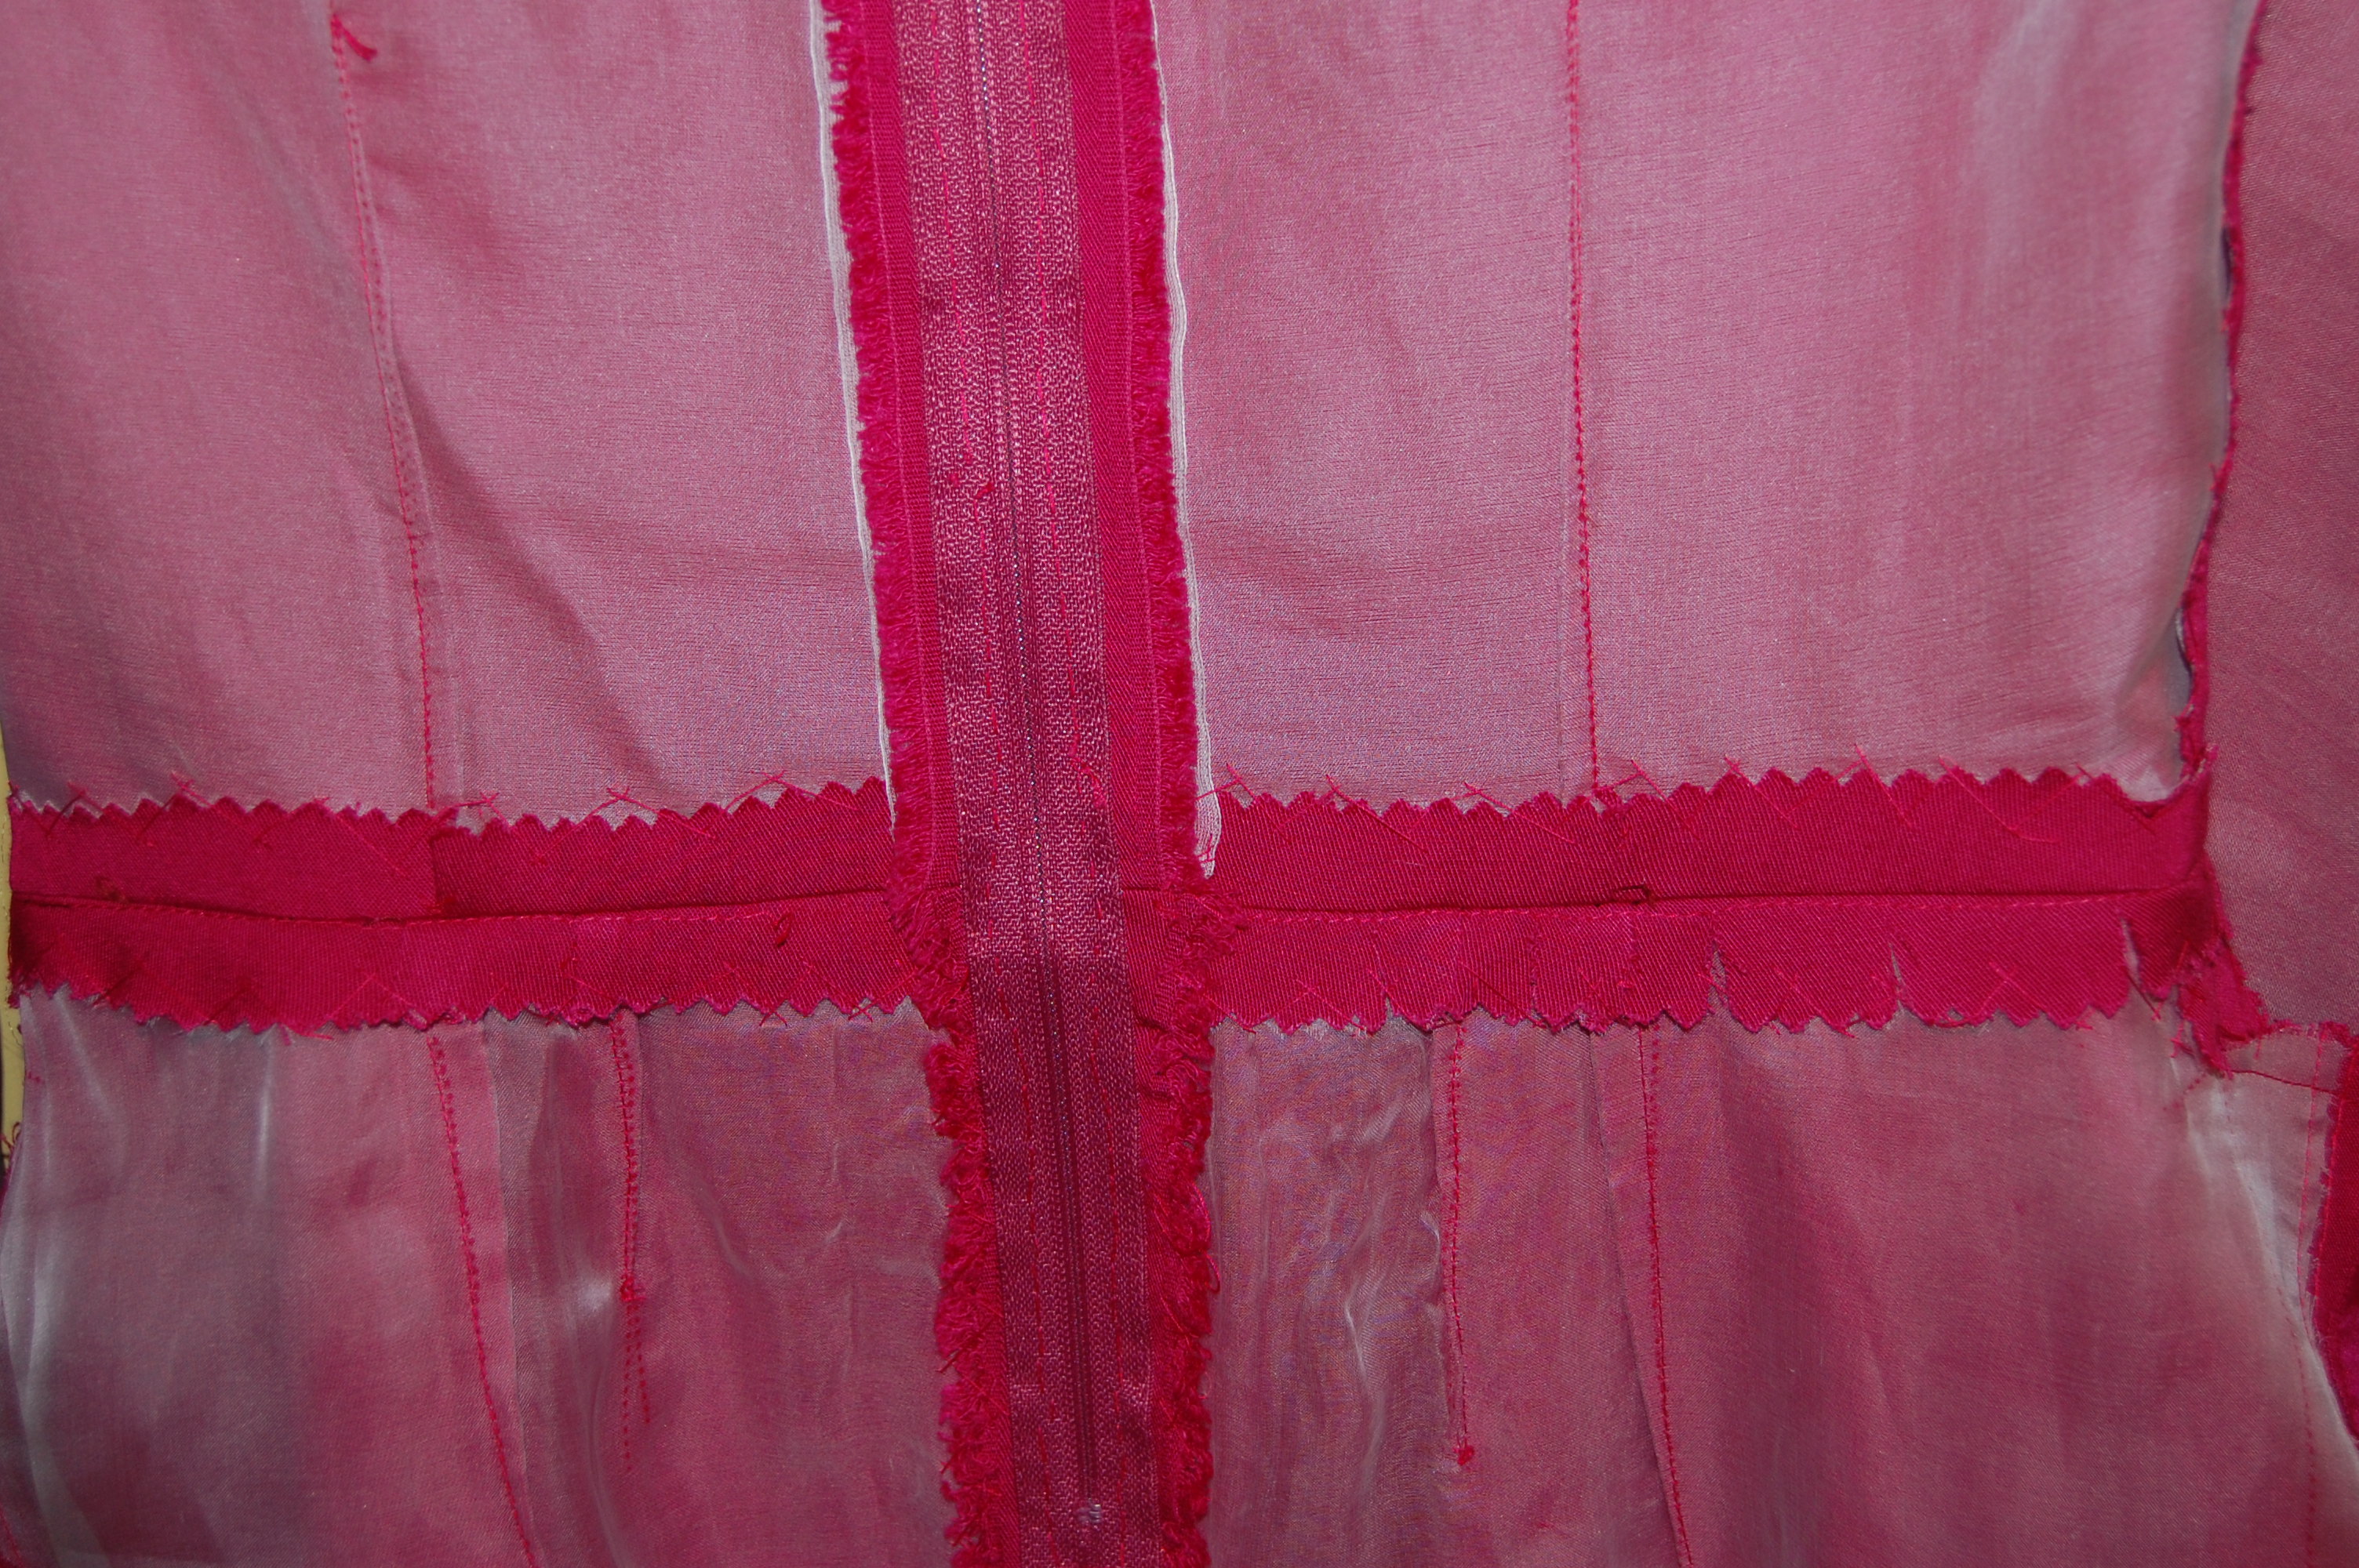
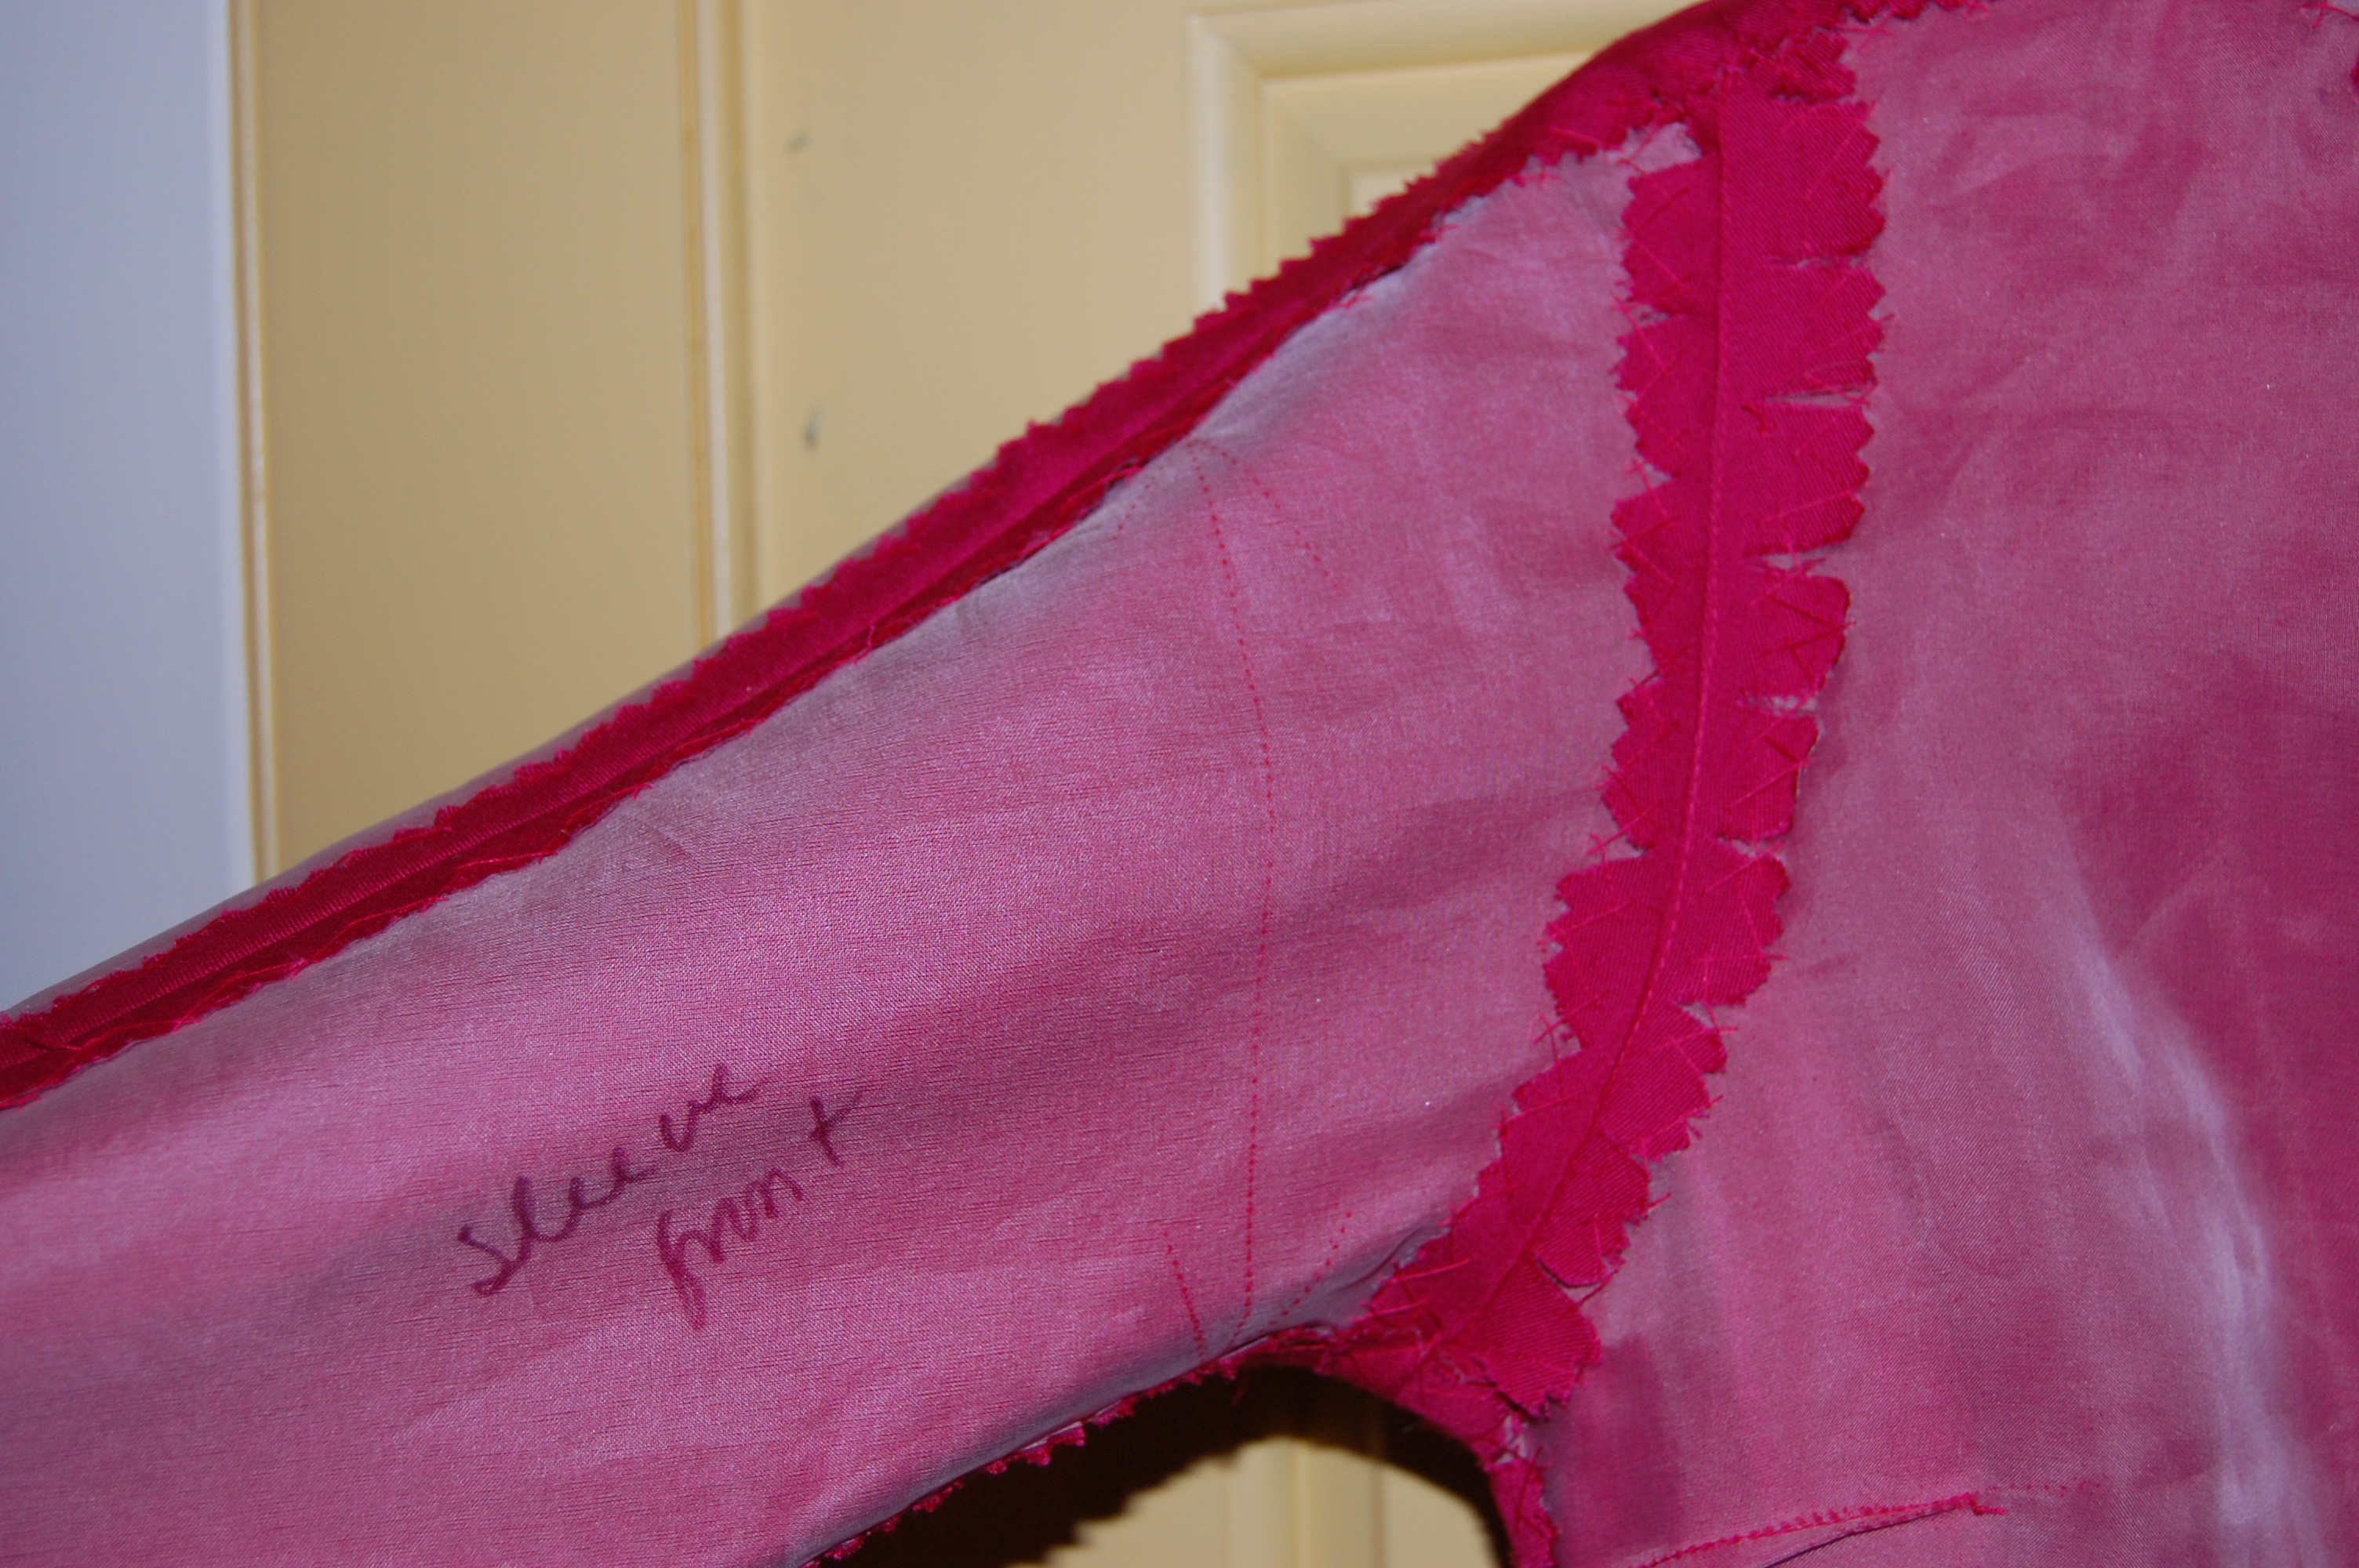
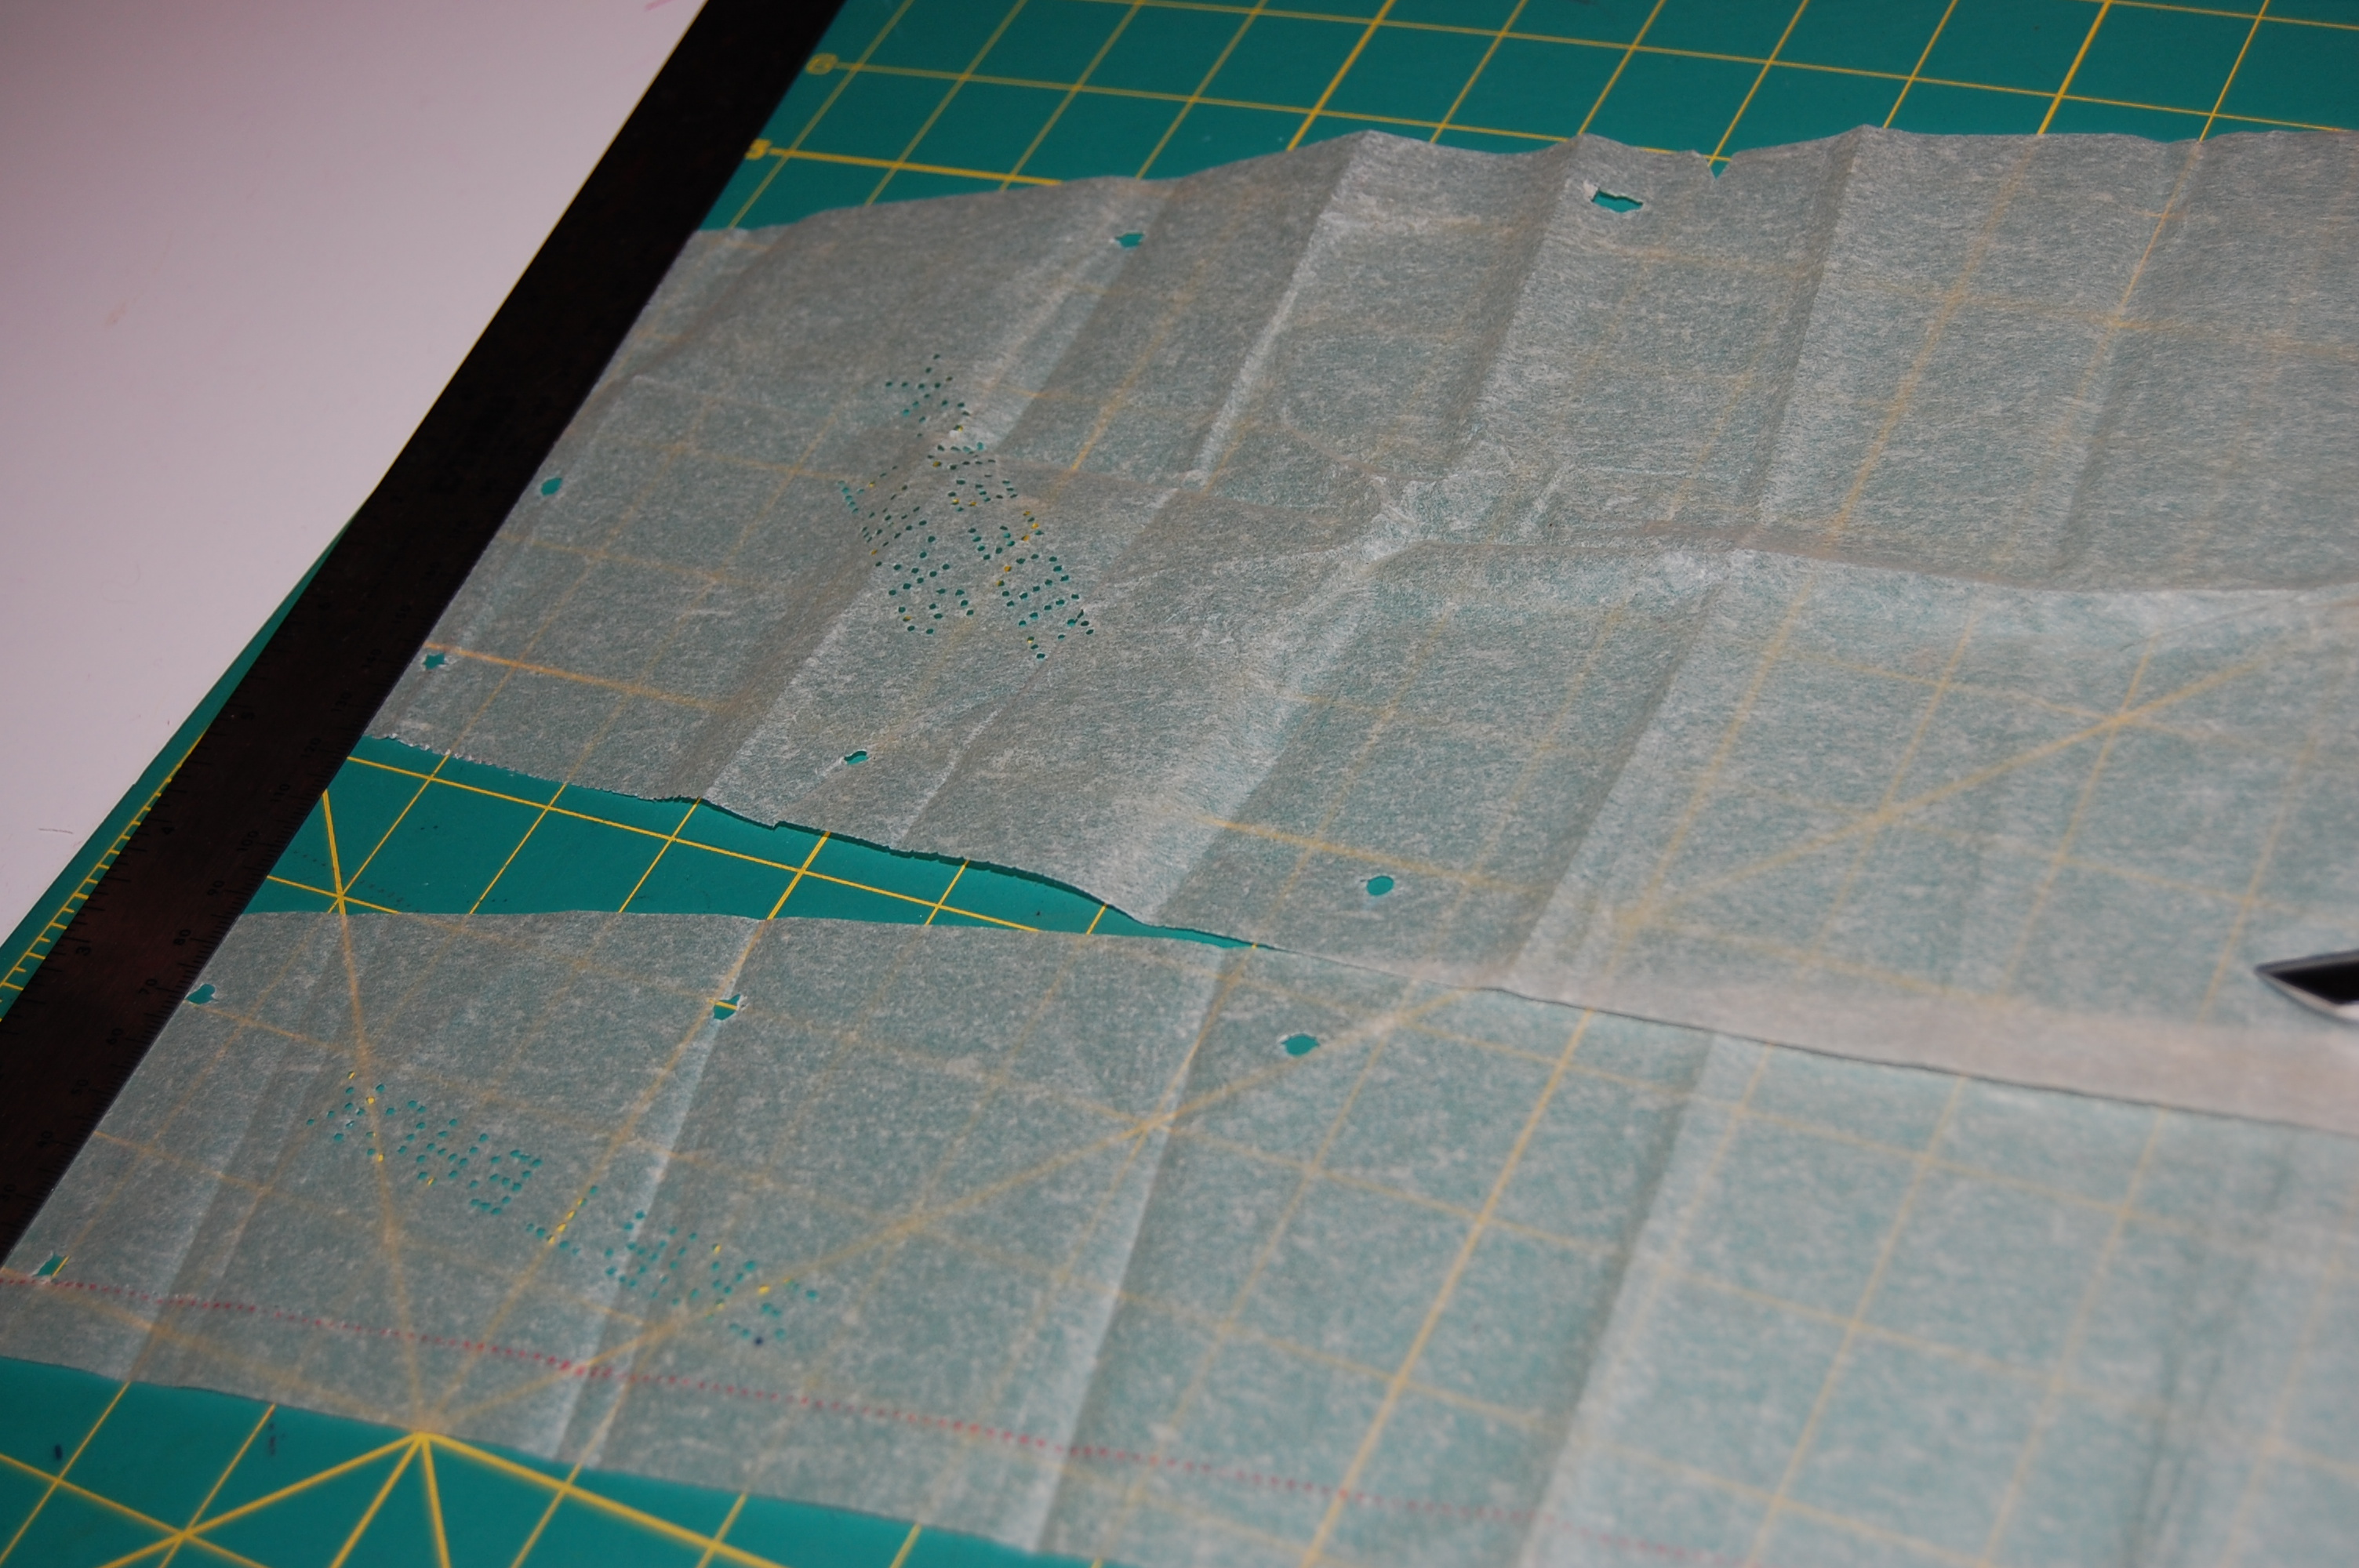
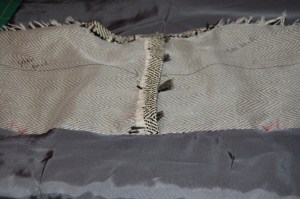
I make a few changes to the design once I made the muslin for it. First, I added two tapering darts to the back. It was supposed to have a boxy feel to it, but I felt a little narrower silhouette would be more flattering to me. I also lengthened the jacket by about 1 and ½ inches.
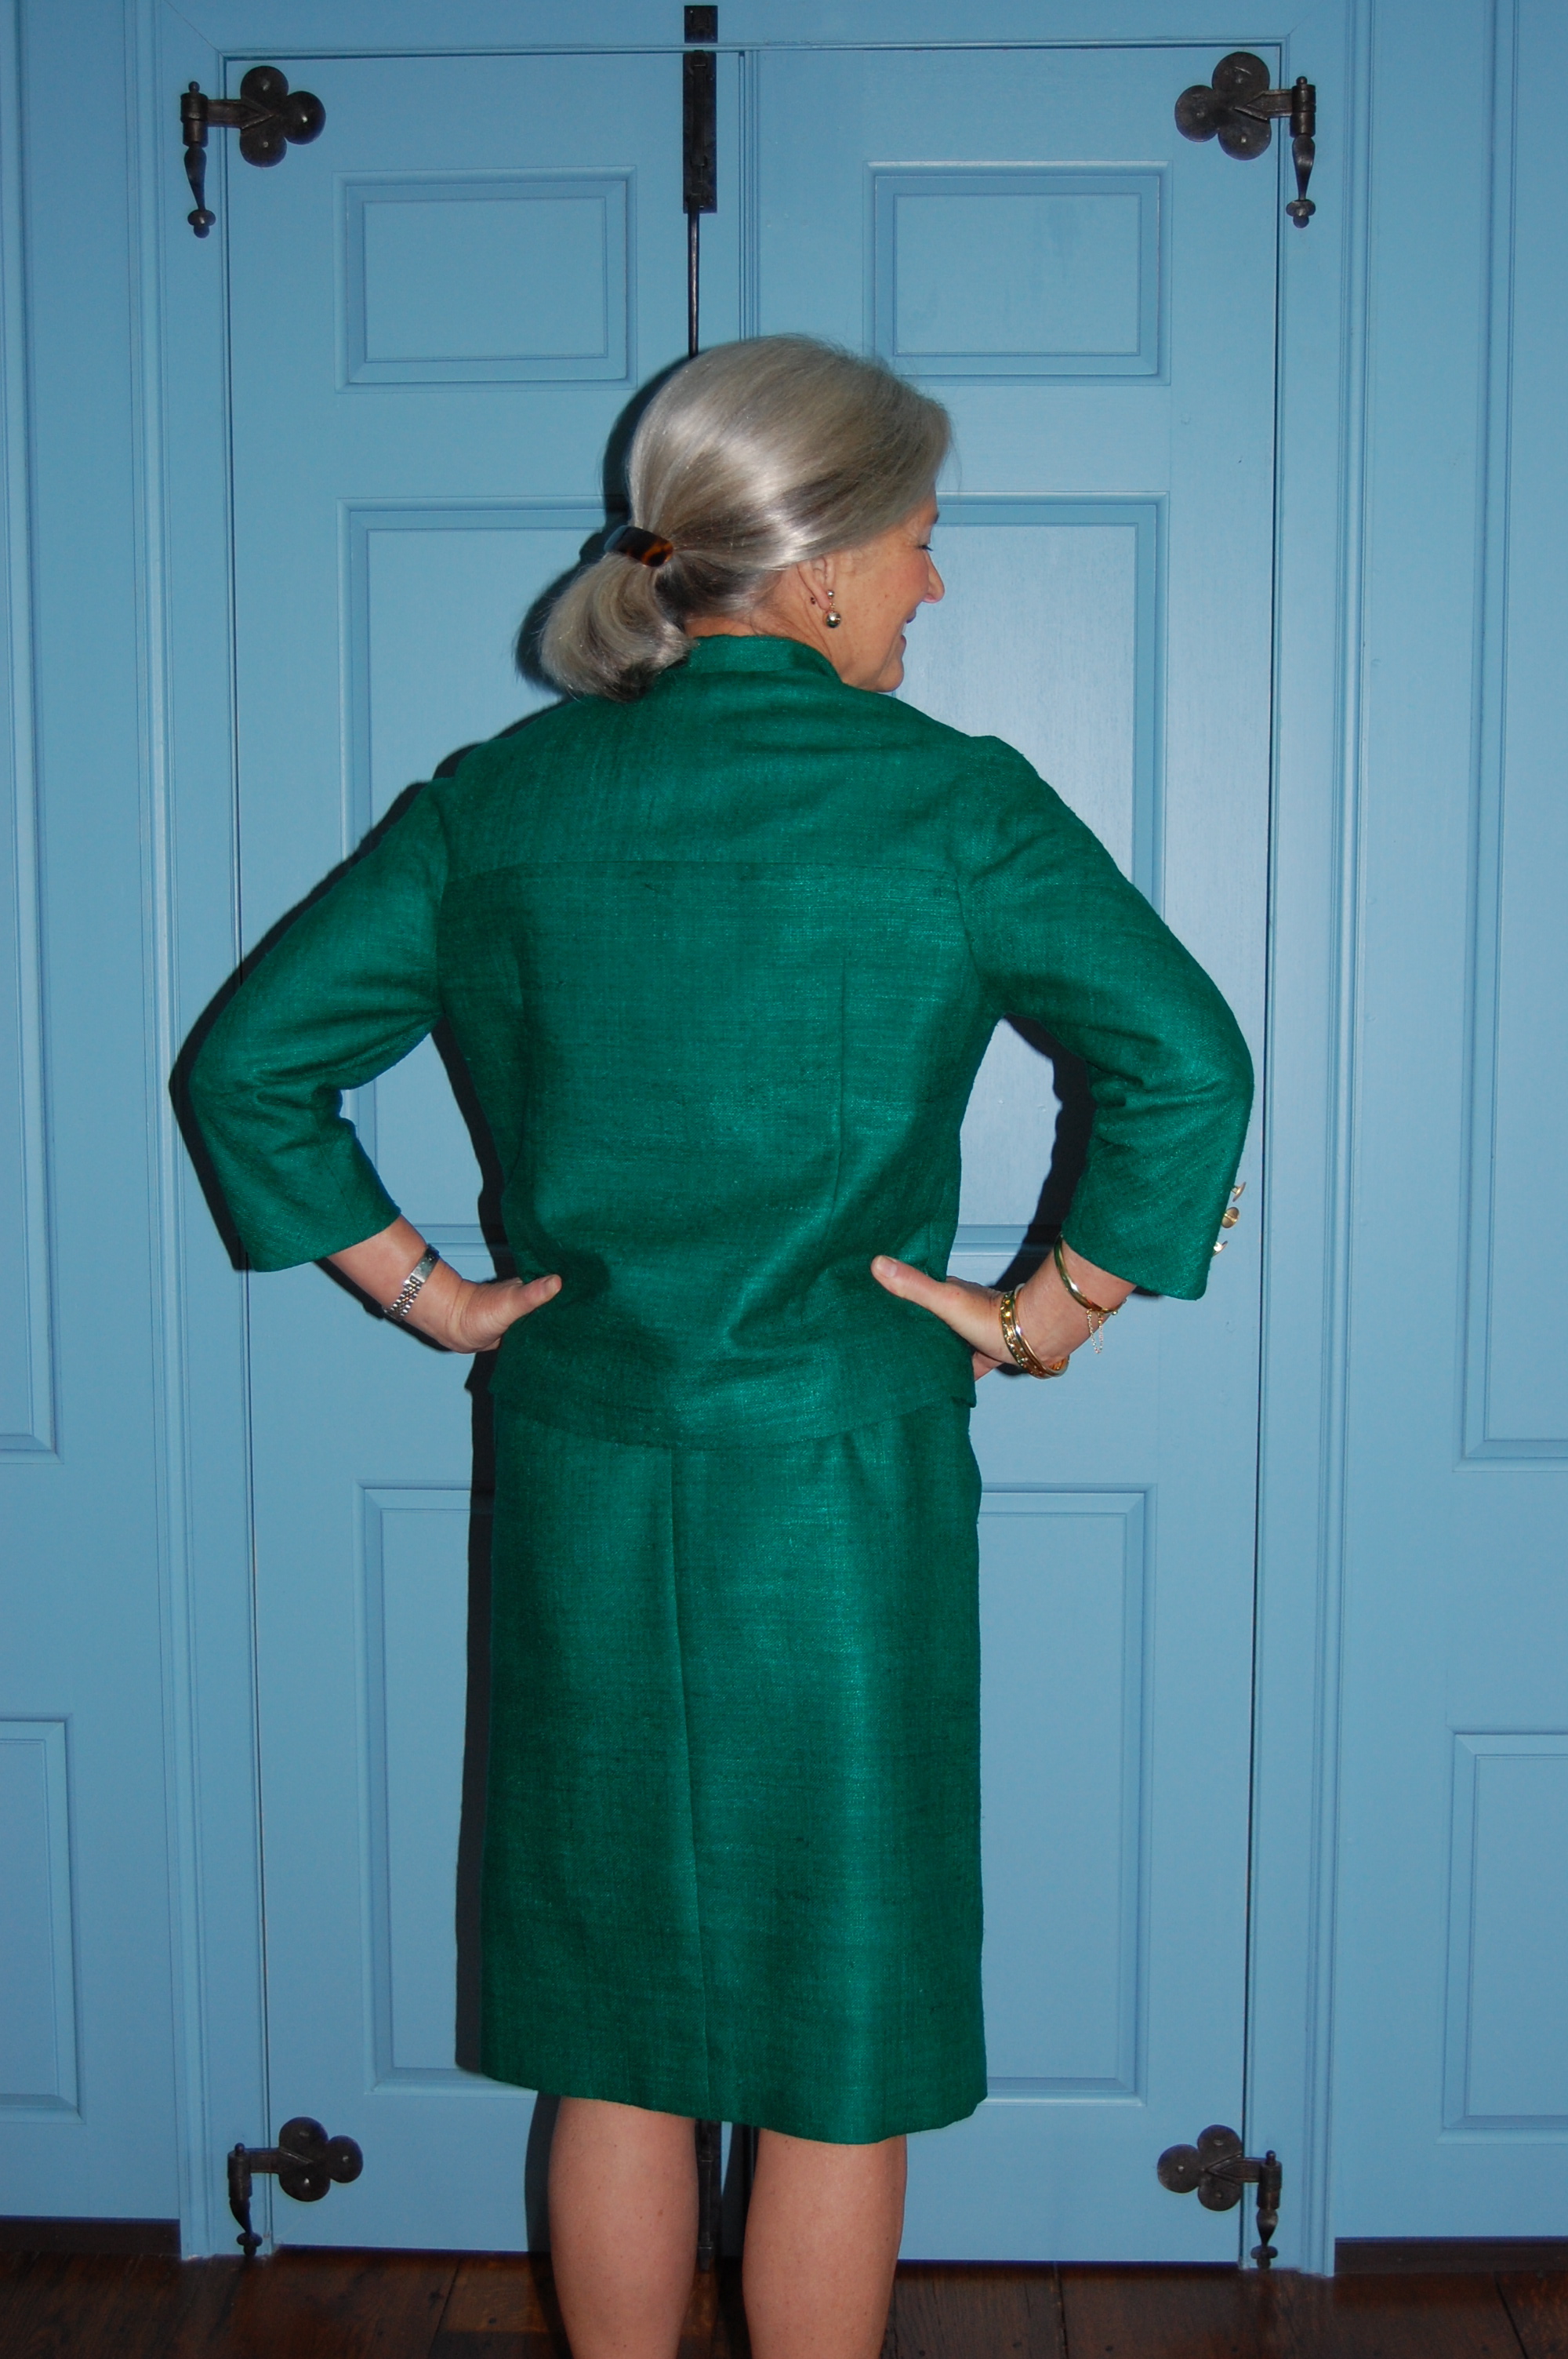
The jacket is still “boxy” but less so with the added darts.
I decided to make the sleeves below elbow length, so I added another inch and ½ to them. Then I had to narrow them a bit as well to make them look proportional.
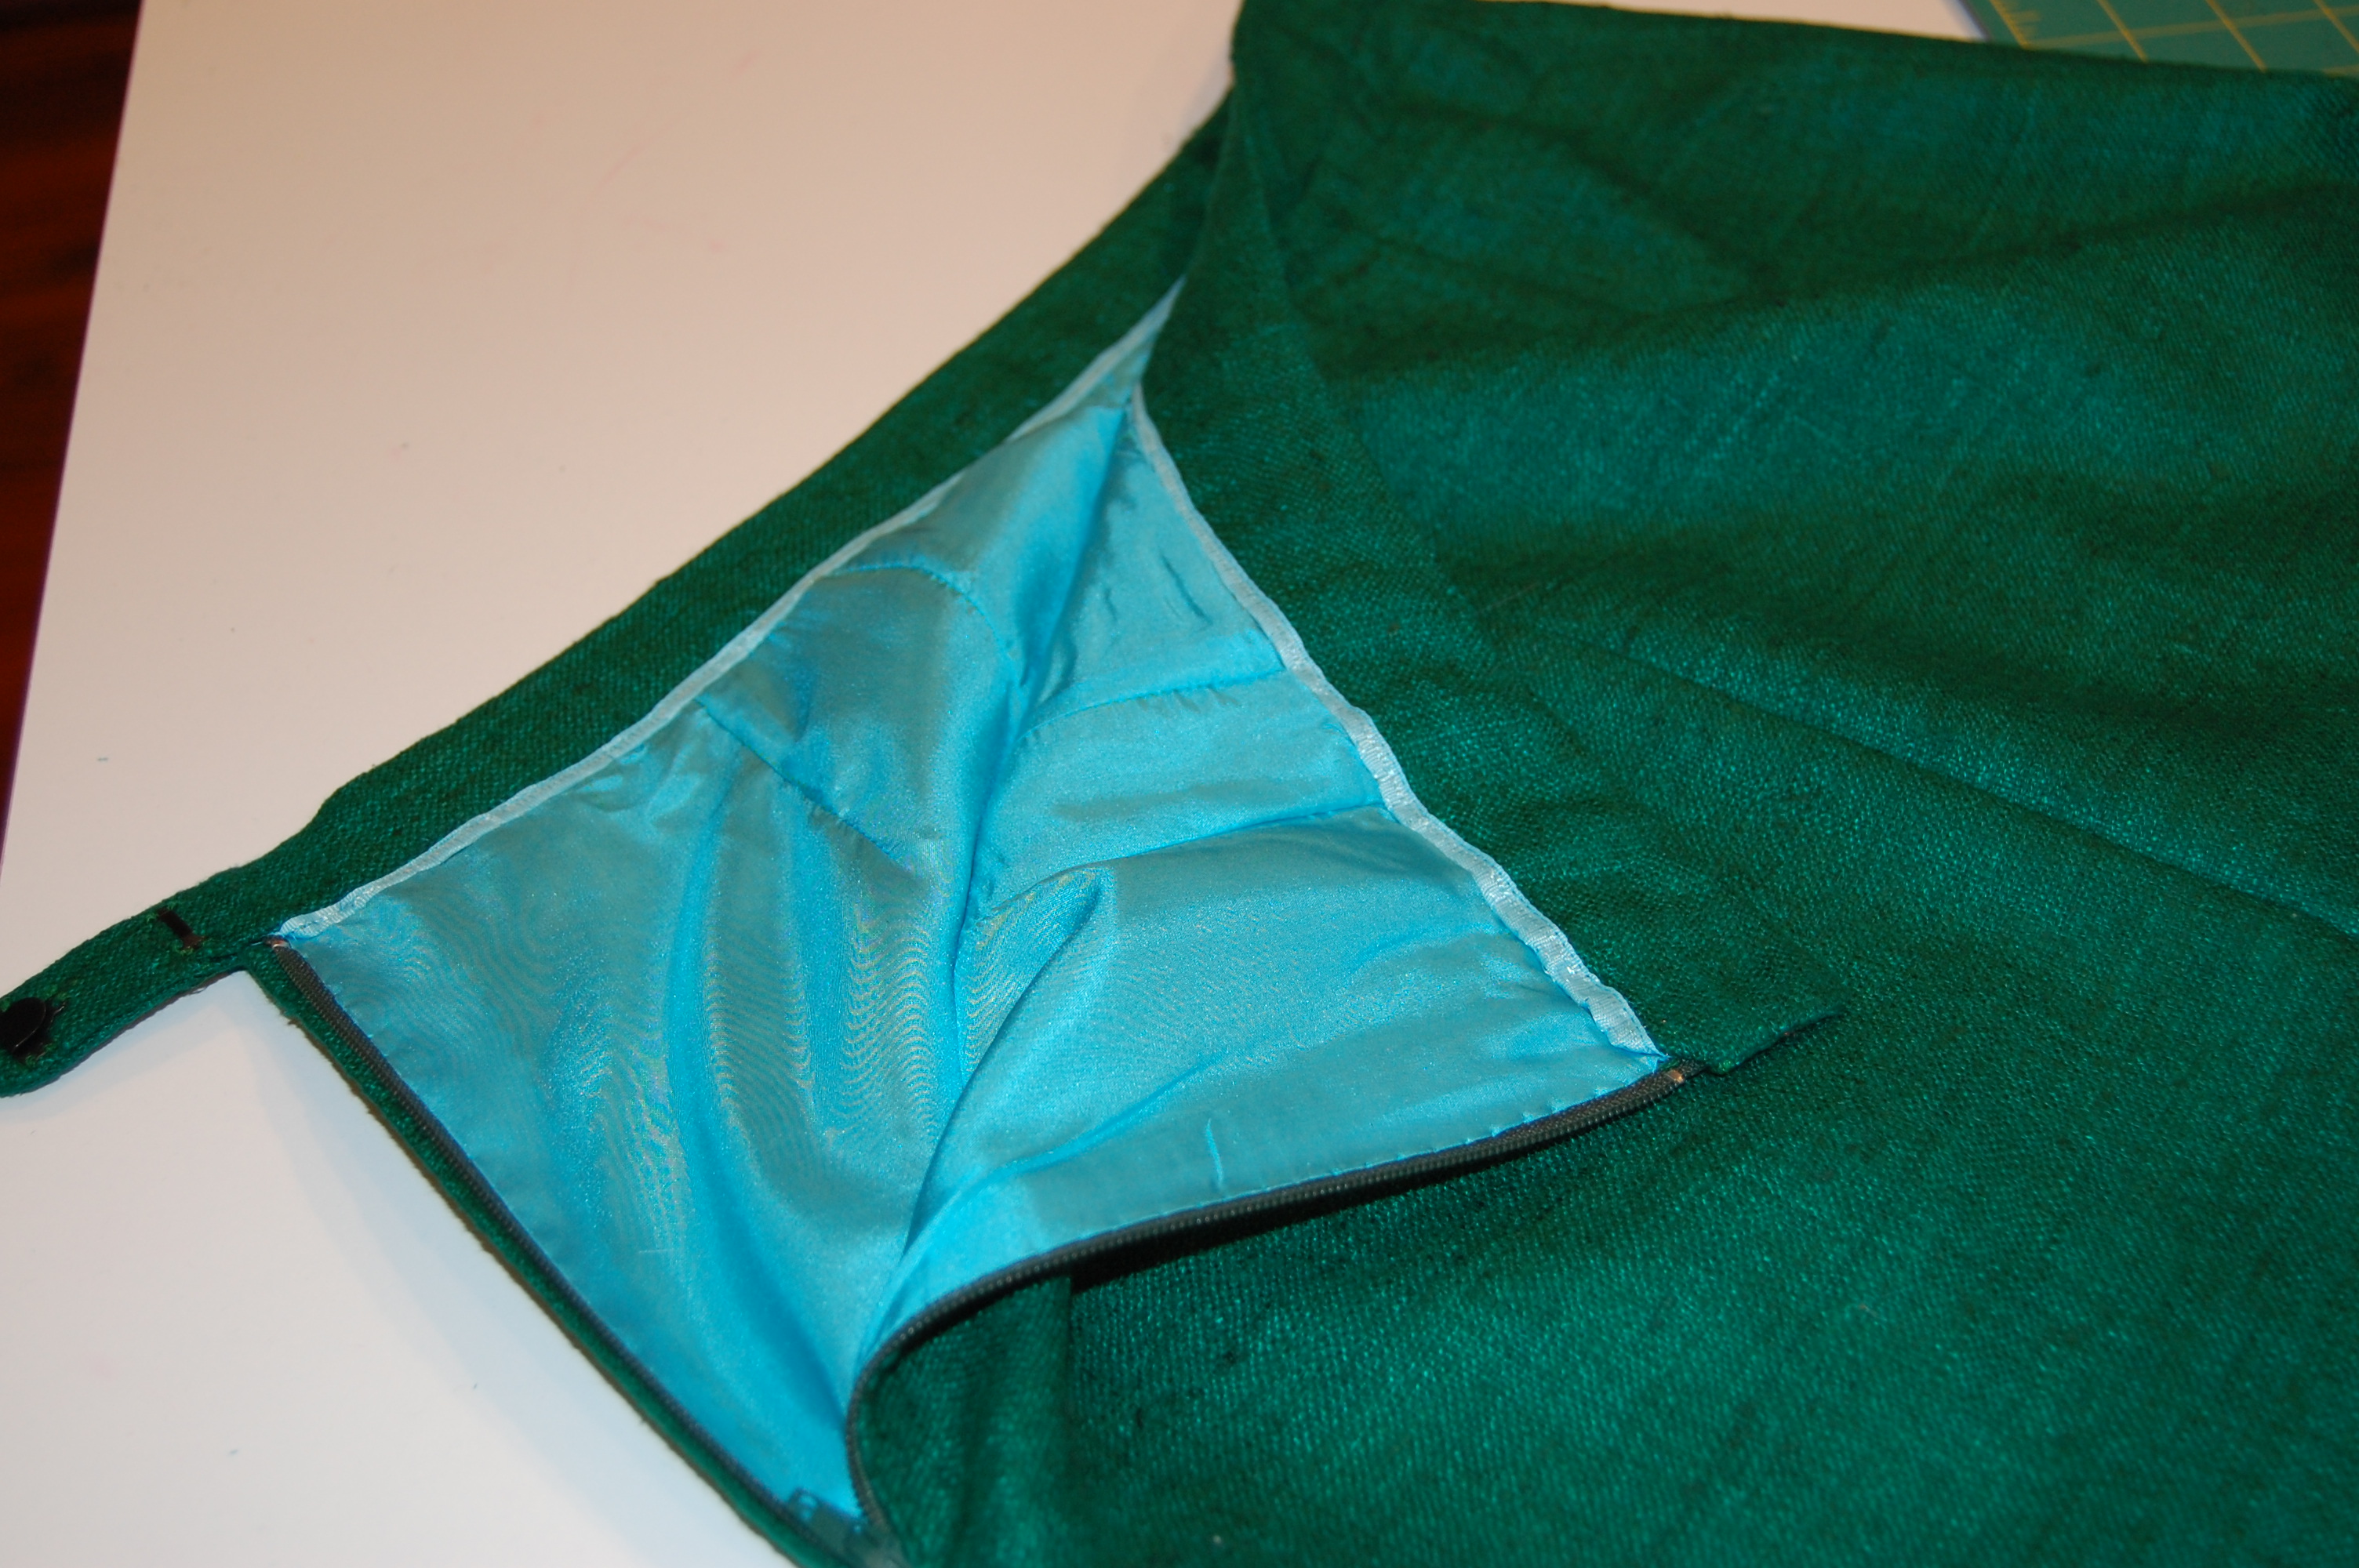
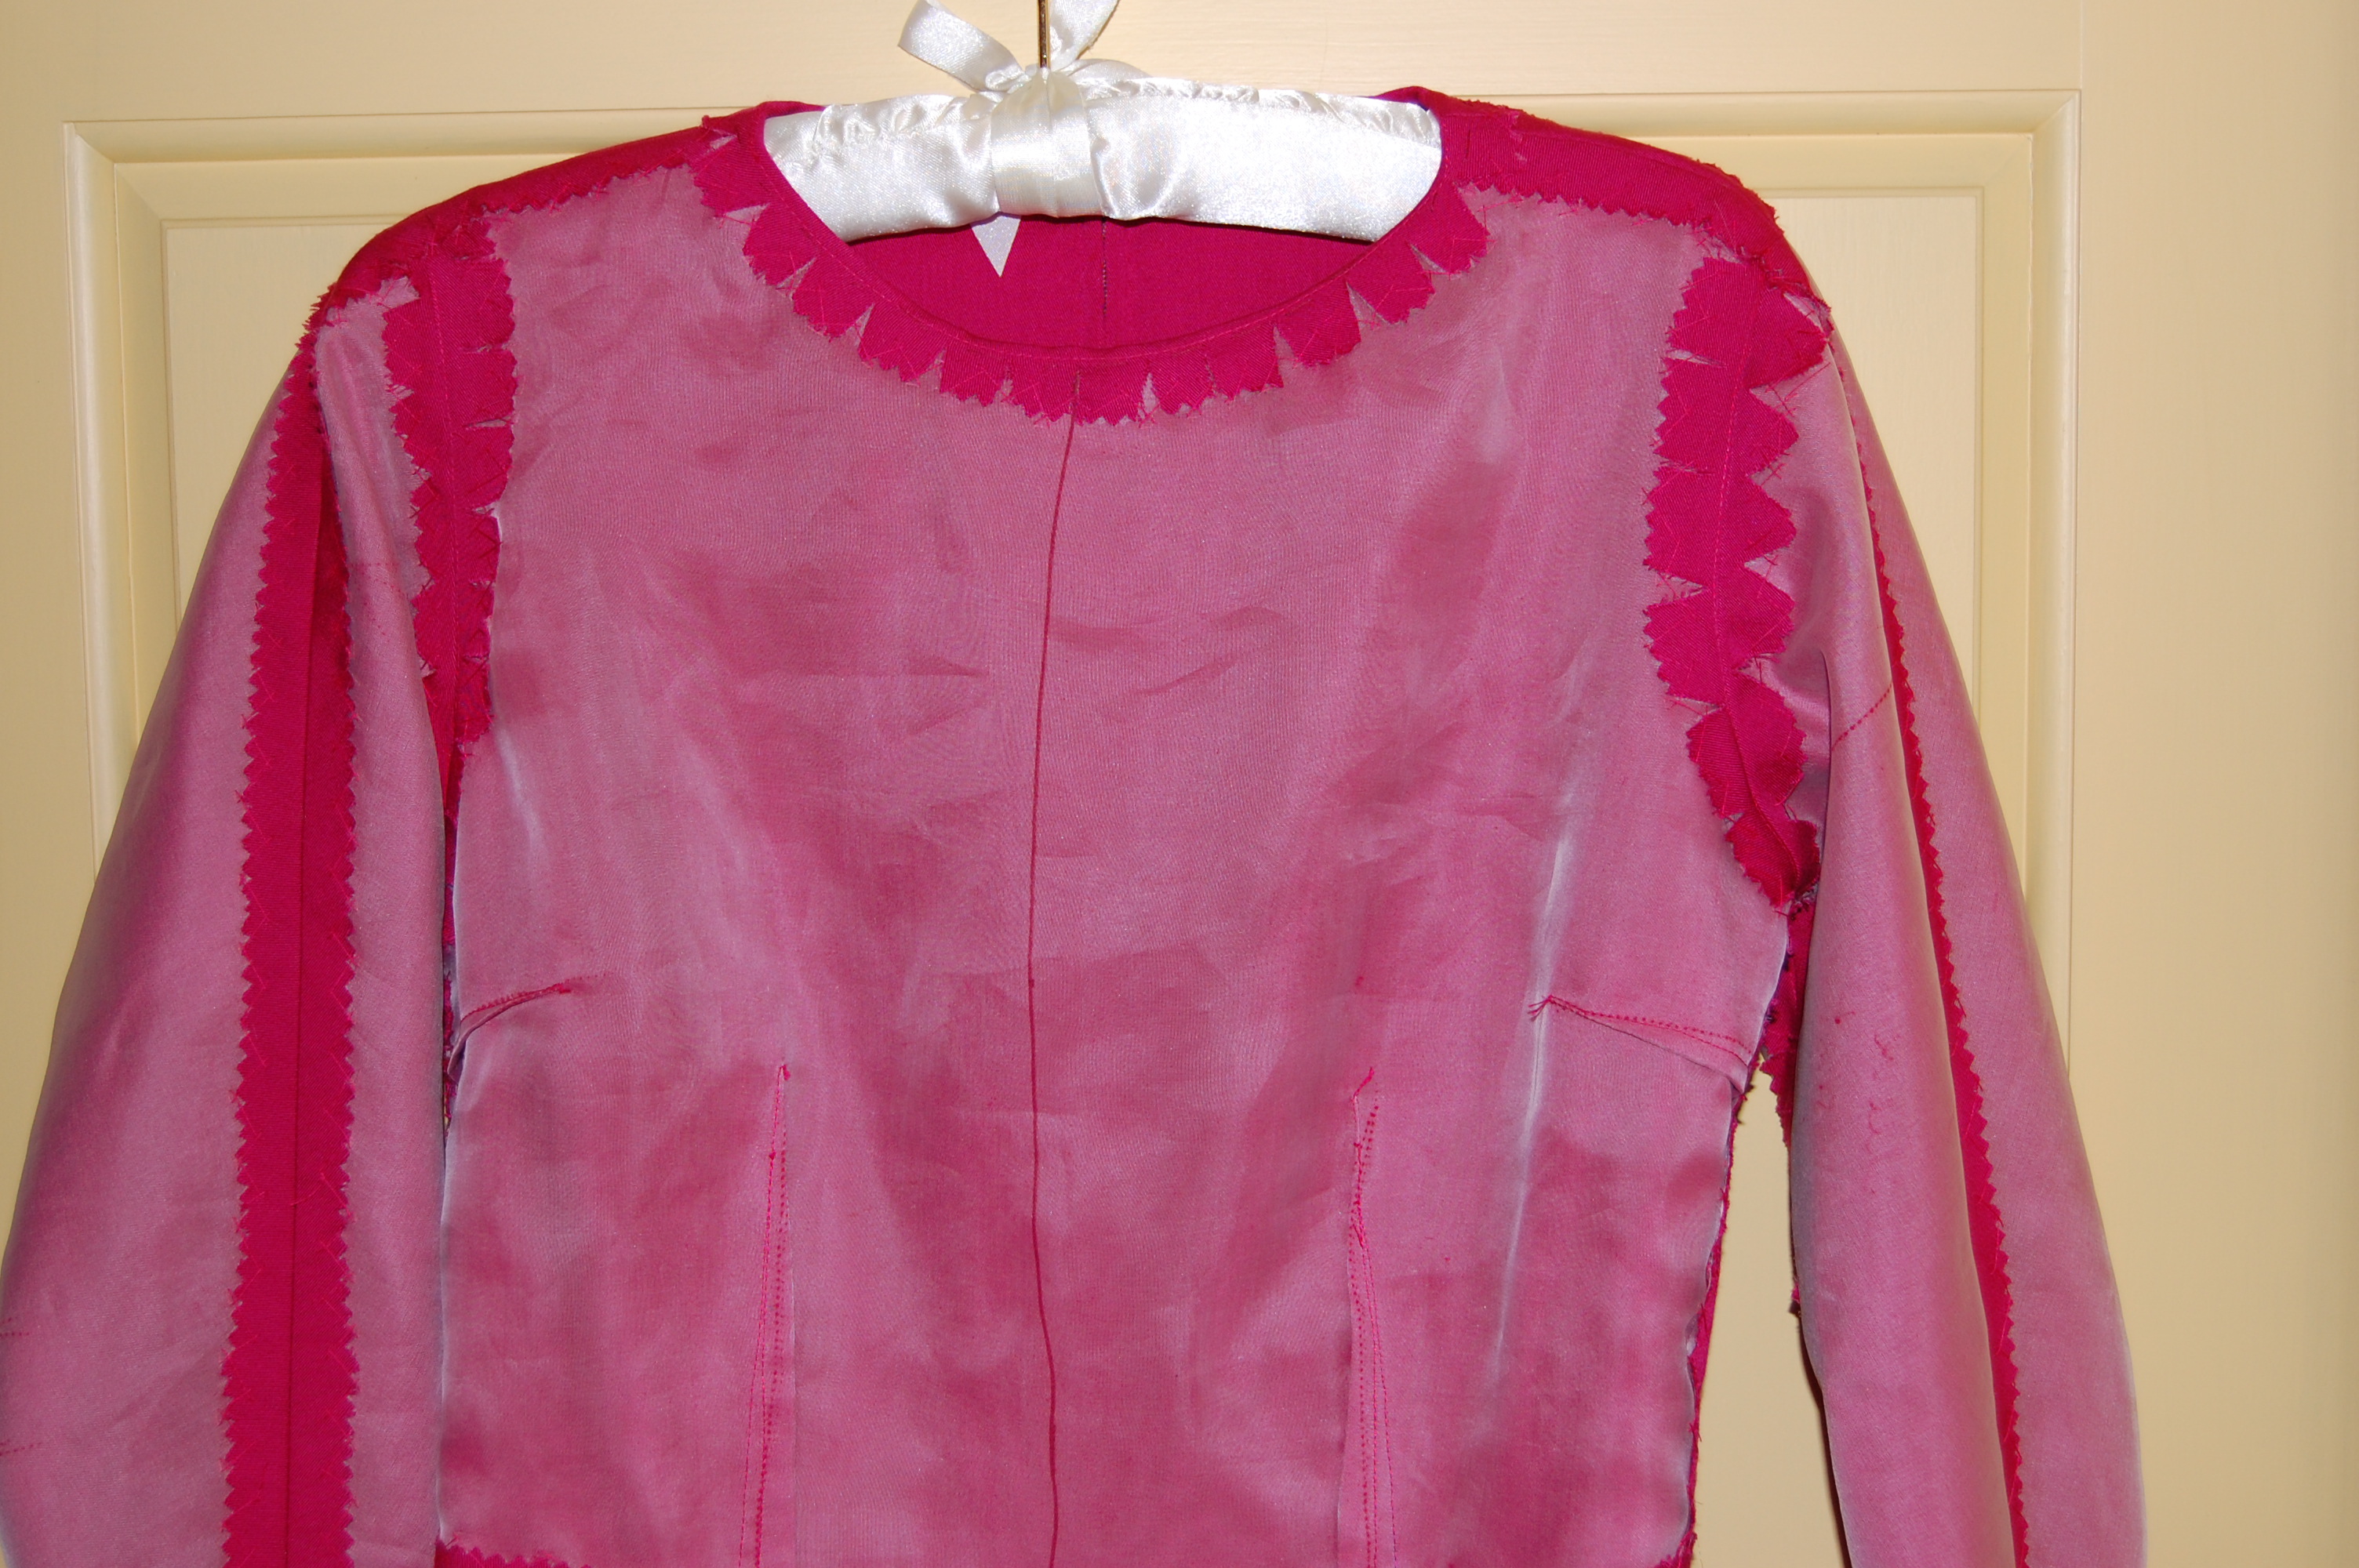
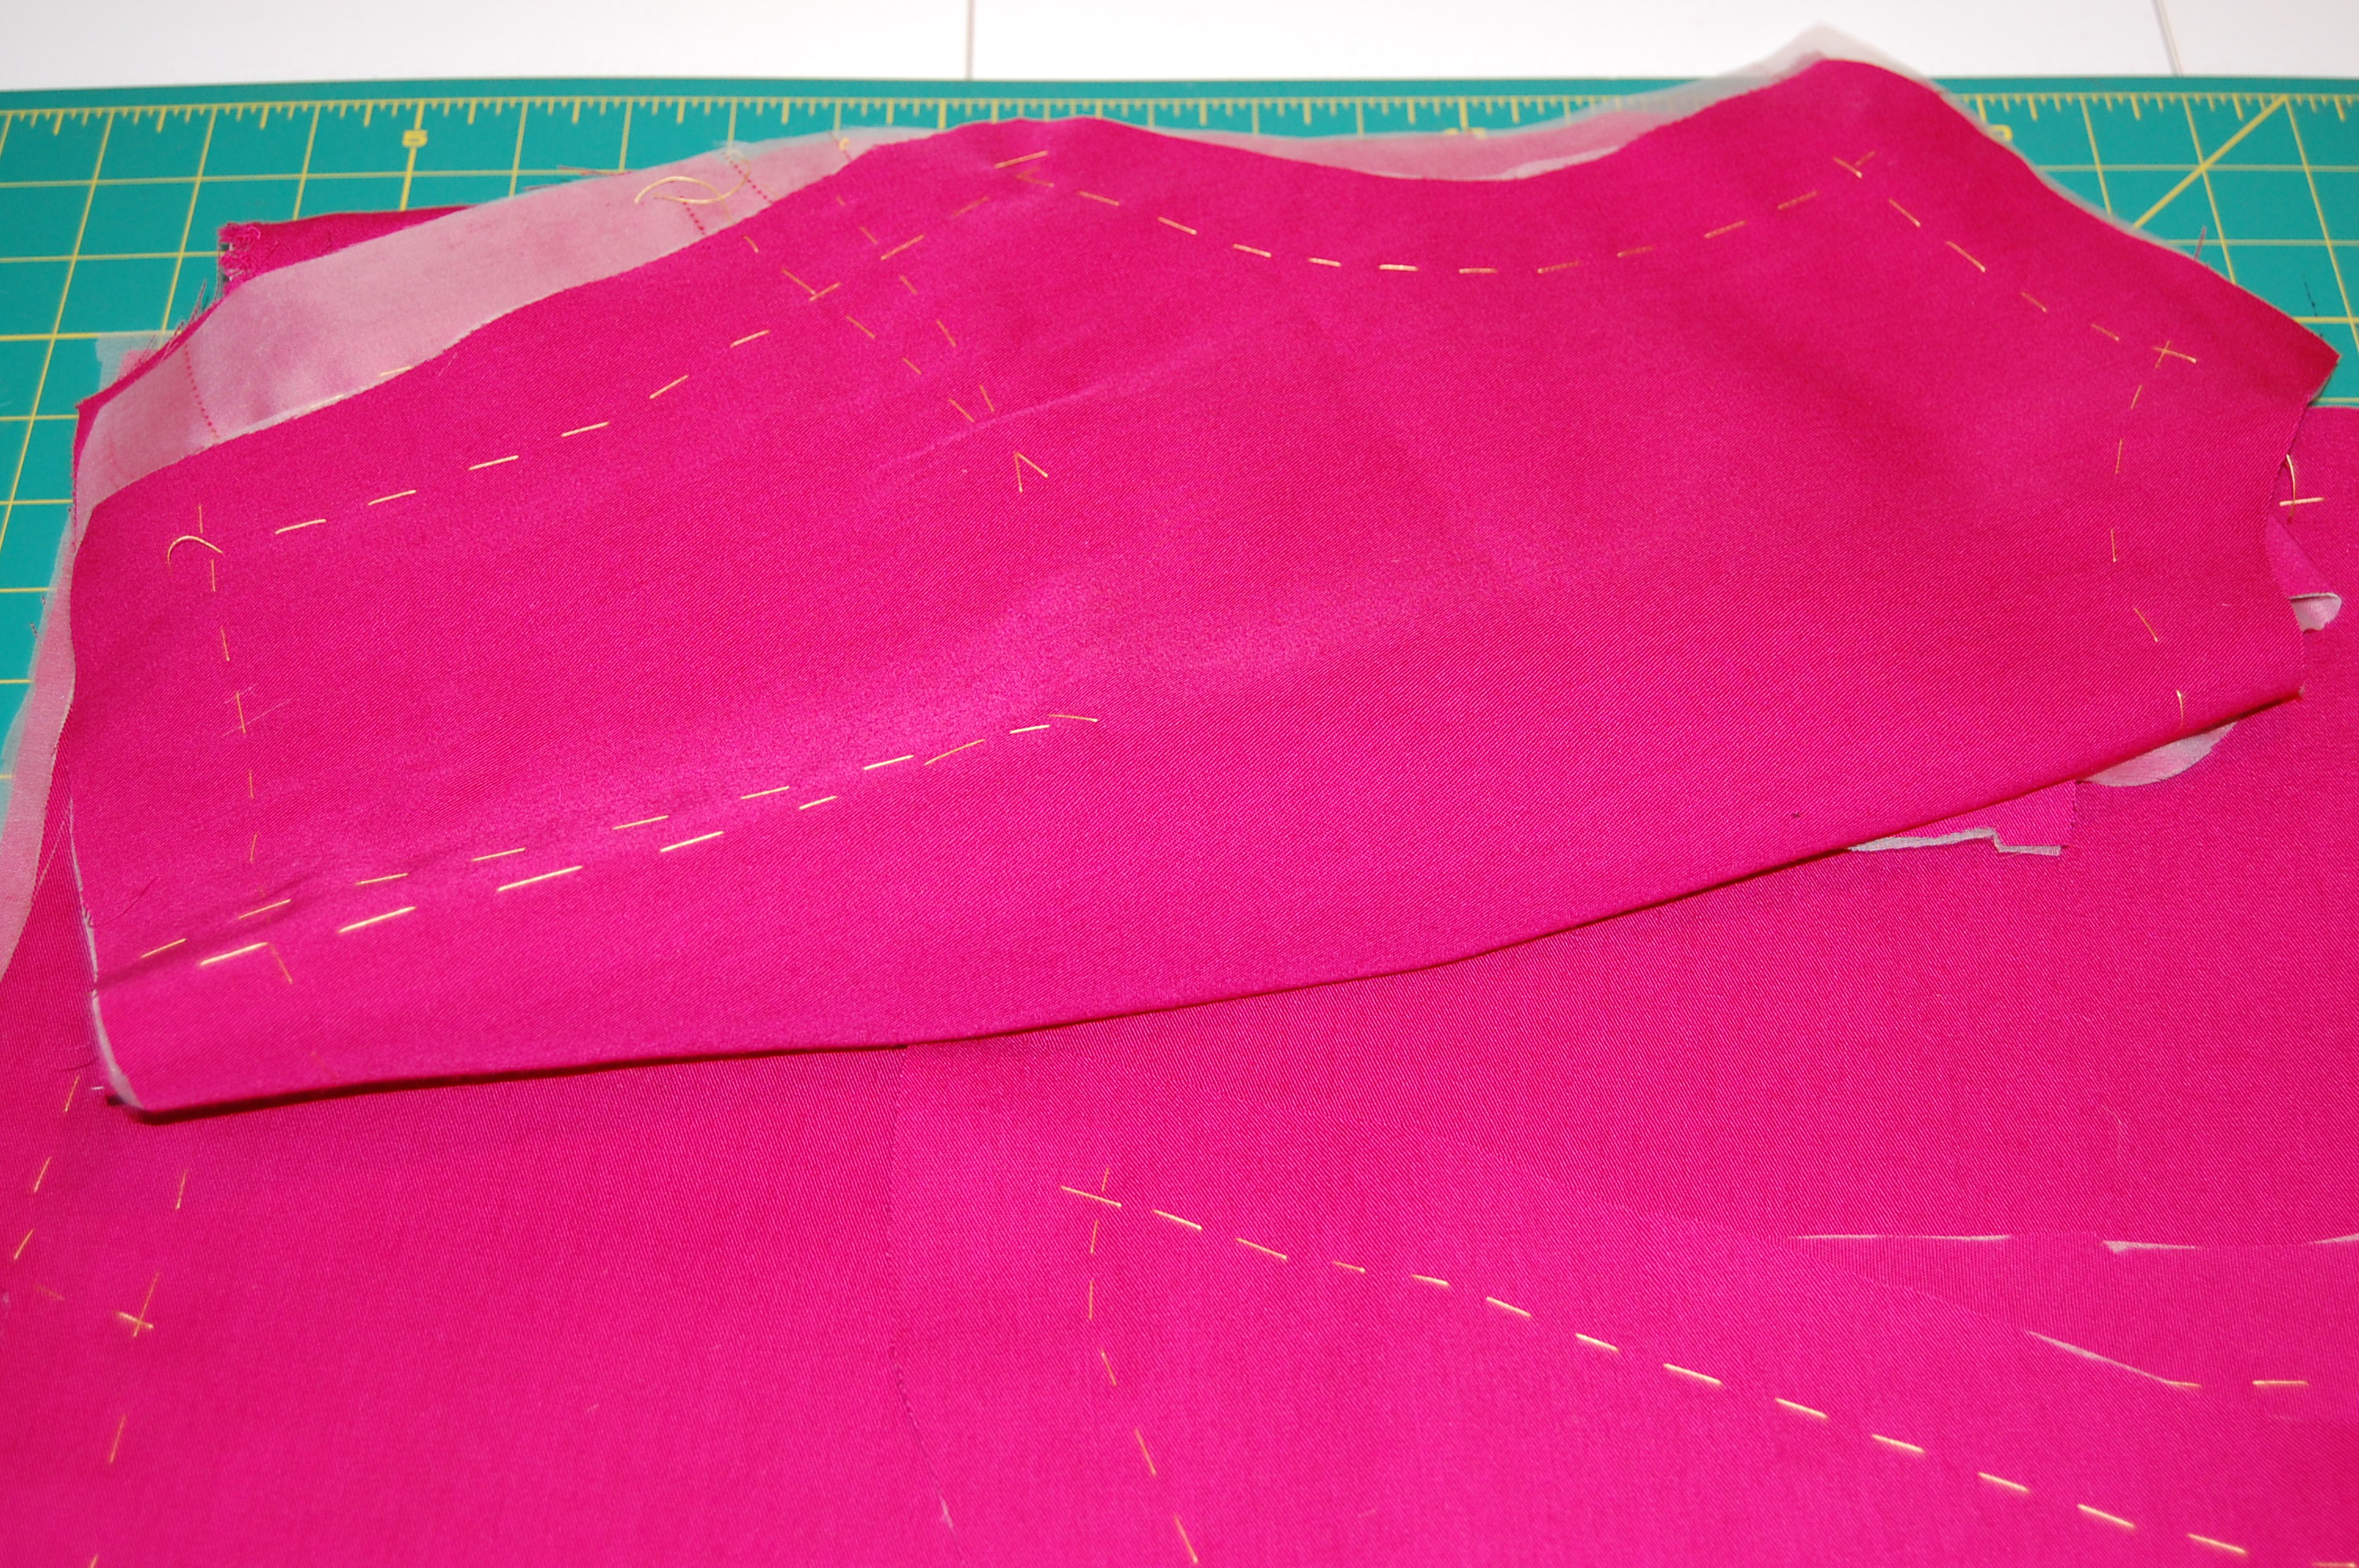
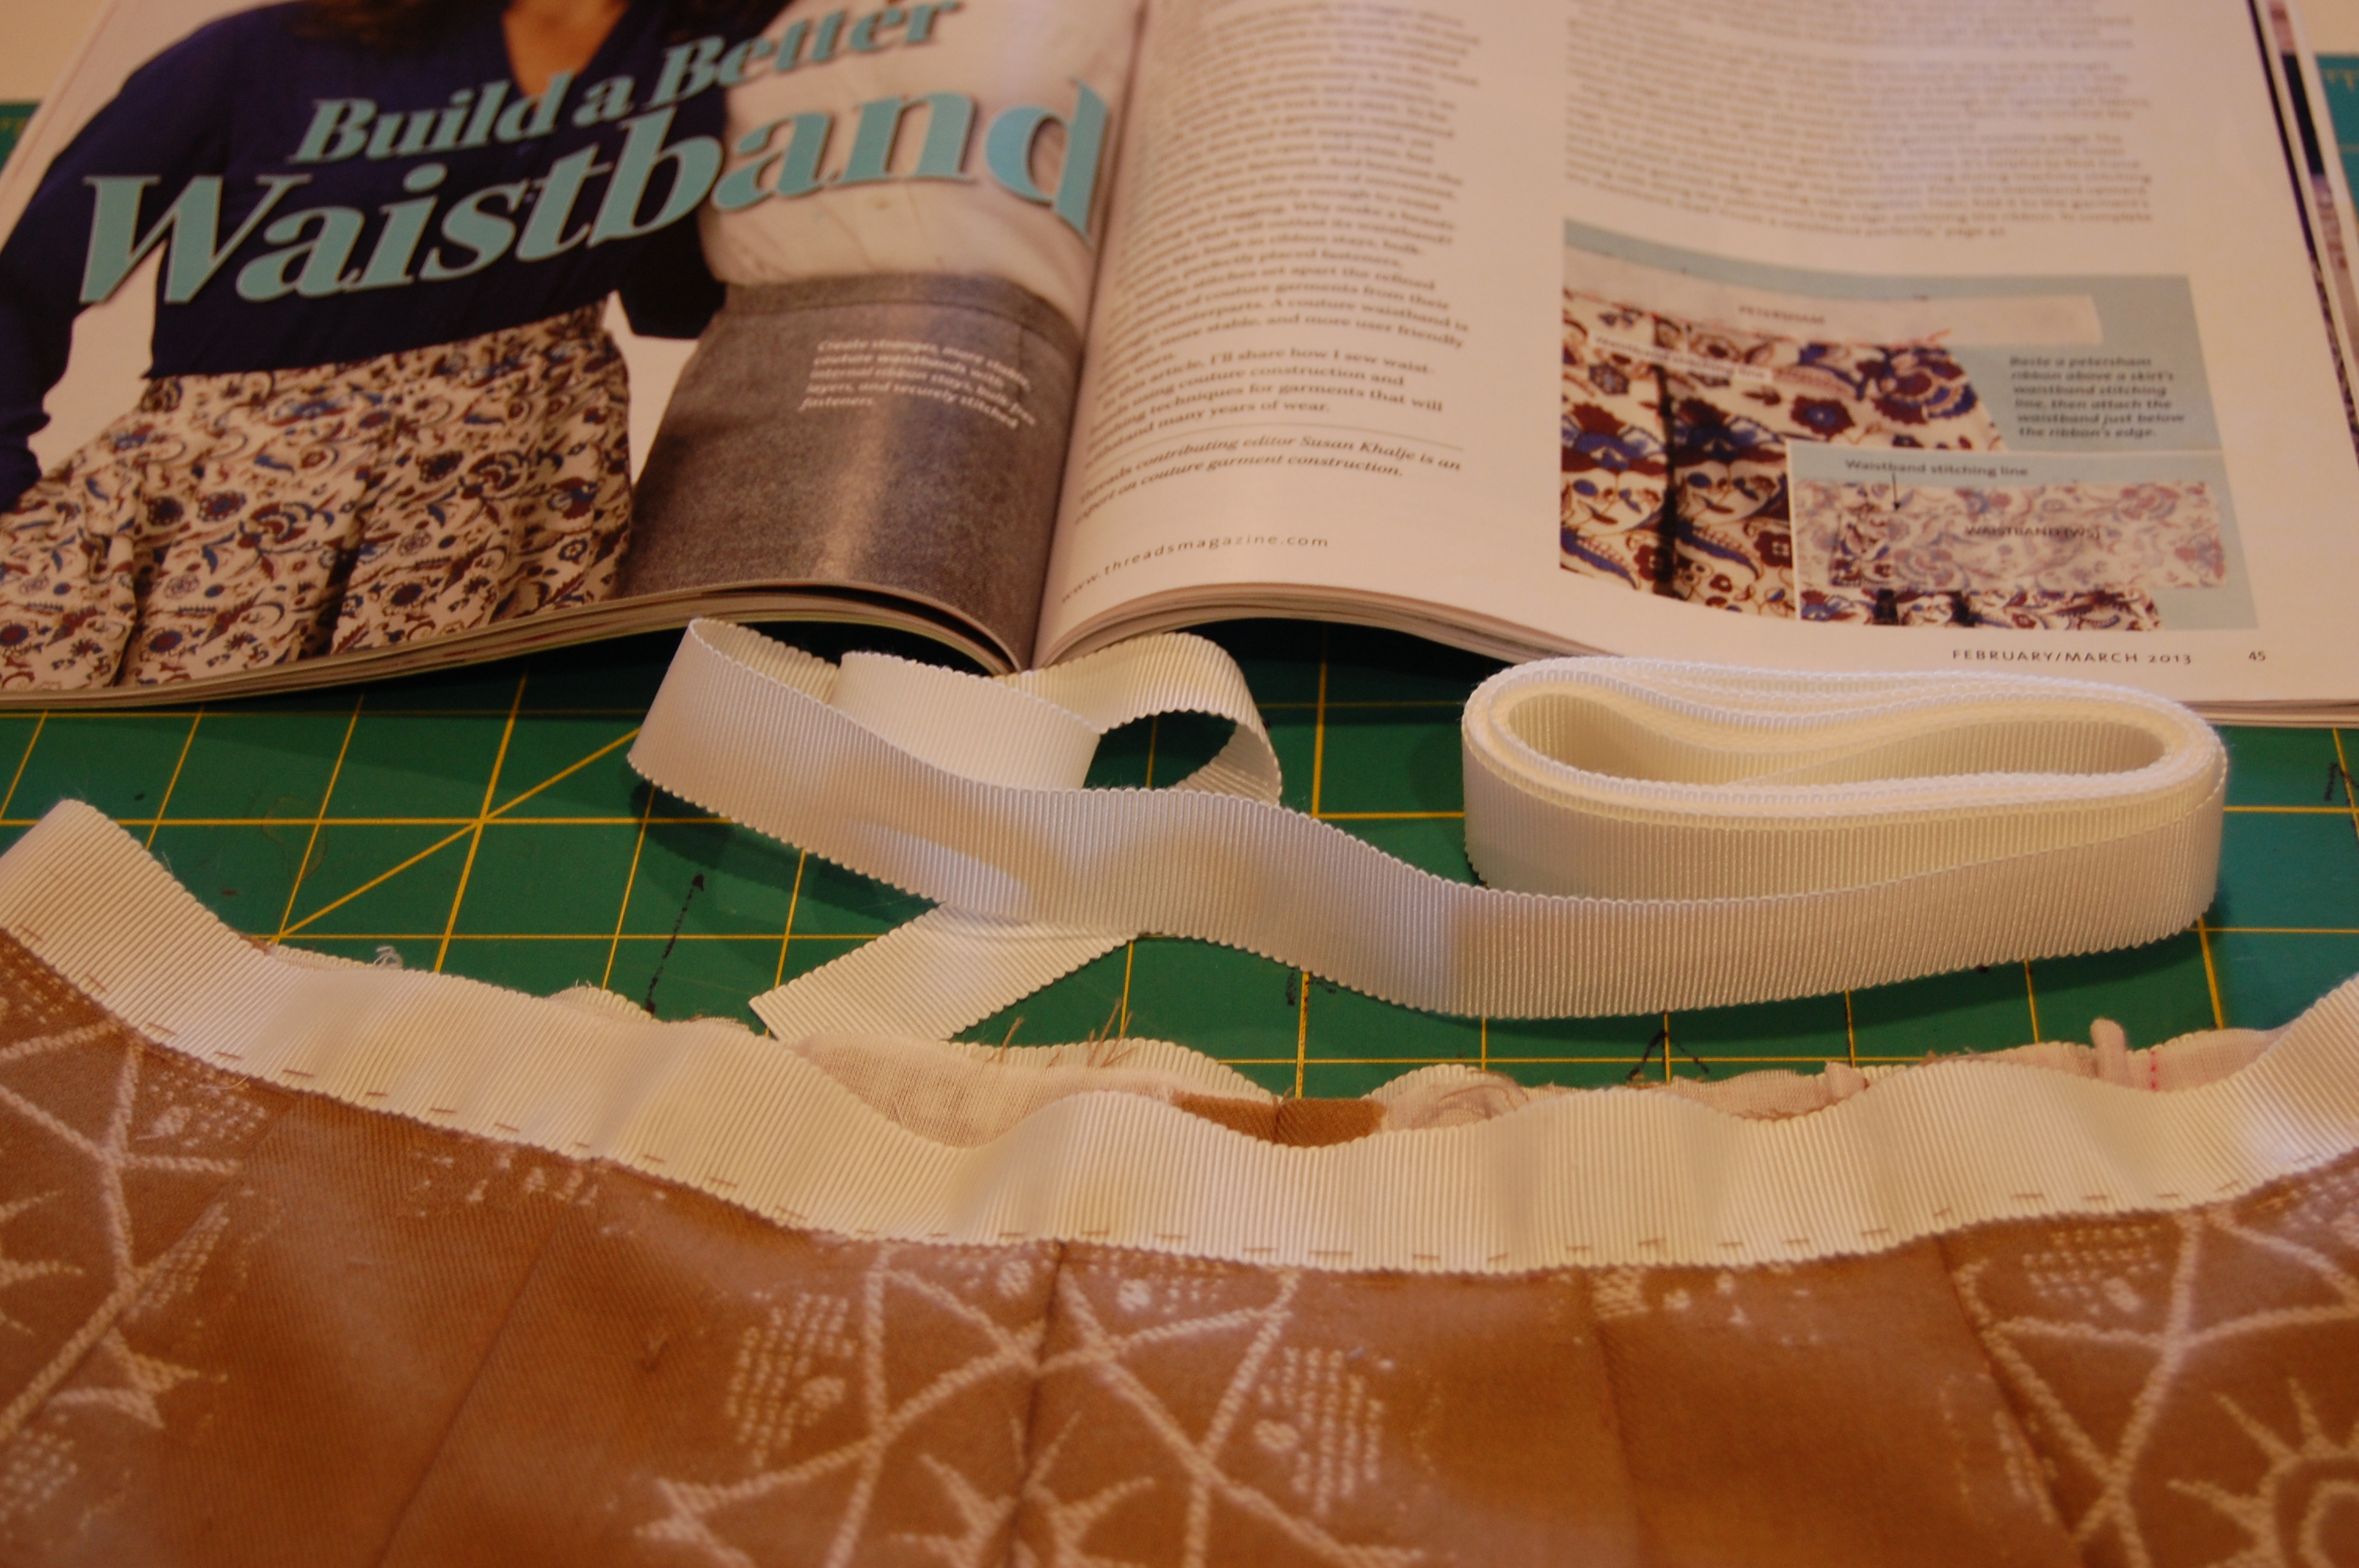
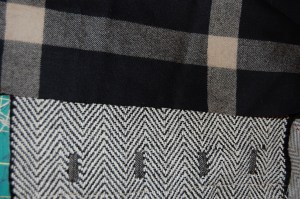
Now to the fun part: the two dressmaker details I added. In an earlier post, I already showed the turquoise silk lining fabric I chose. Once I had such a dramatic contrast in the works, I thought I’d push the envelope a bit farther. I found silk bias ribbon in a lovely periwinkle color and used it to add an edge detail to the lining in the body of the jacket.
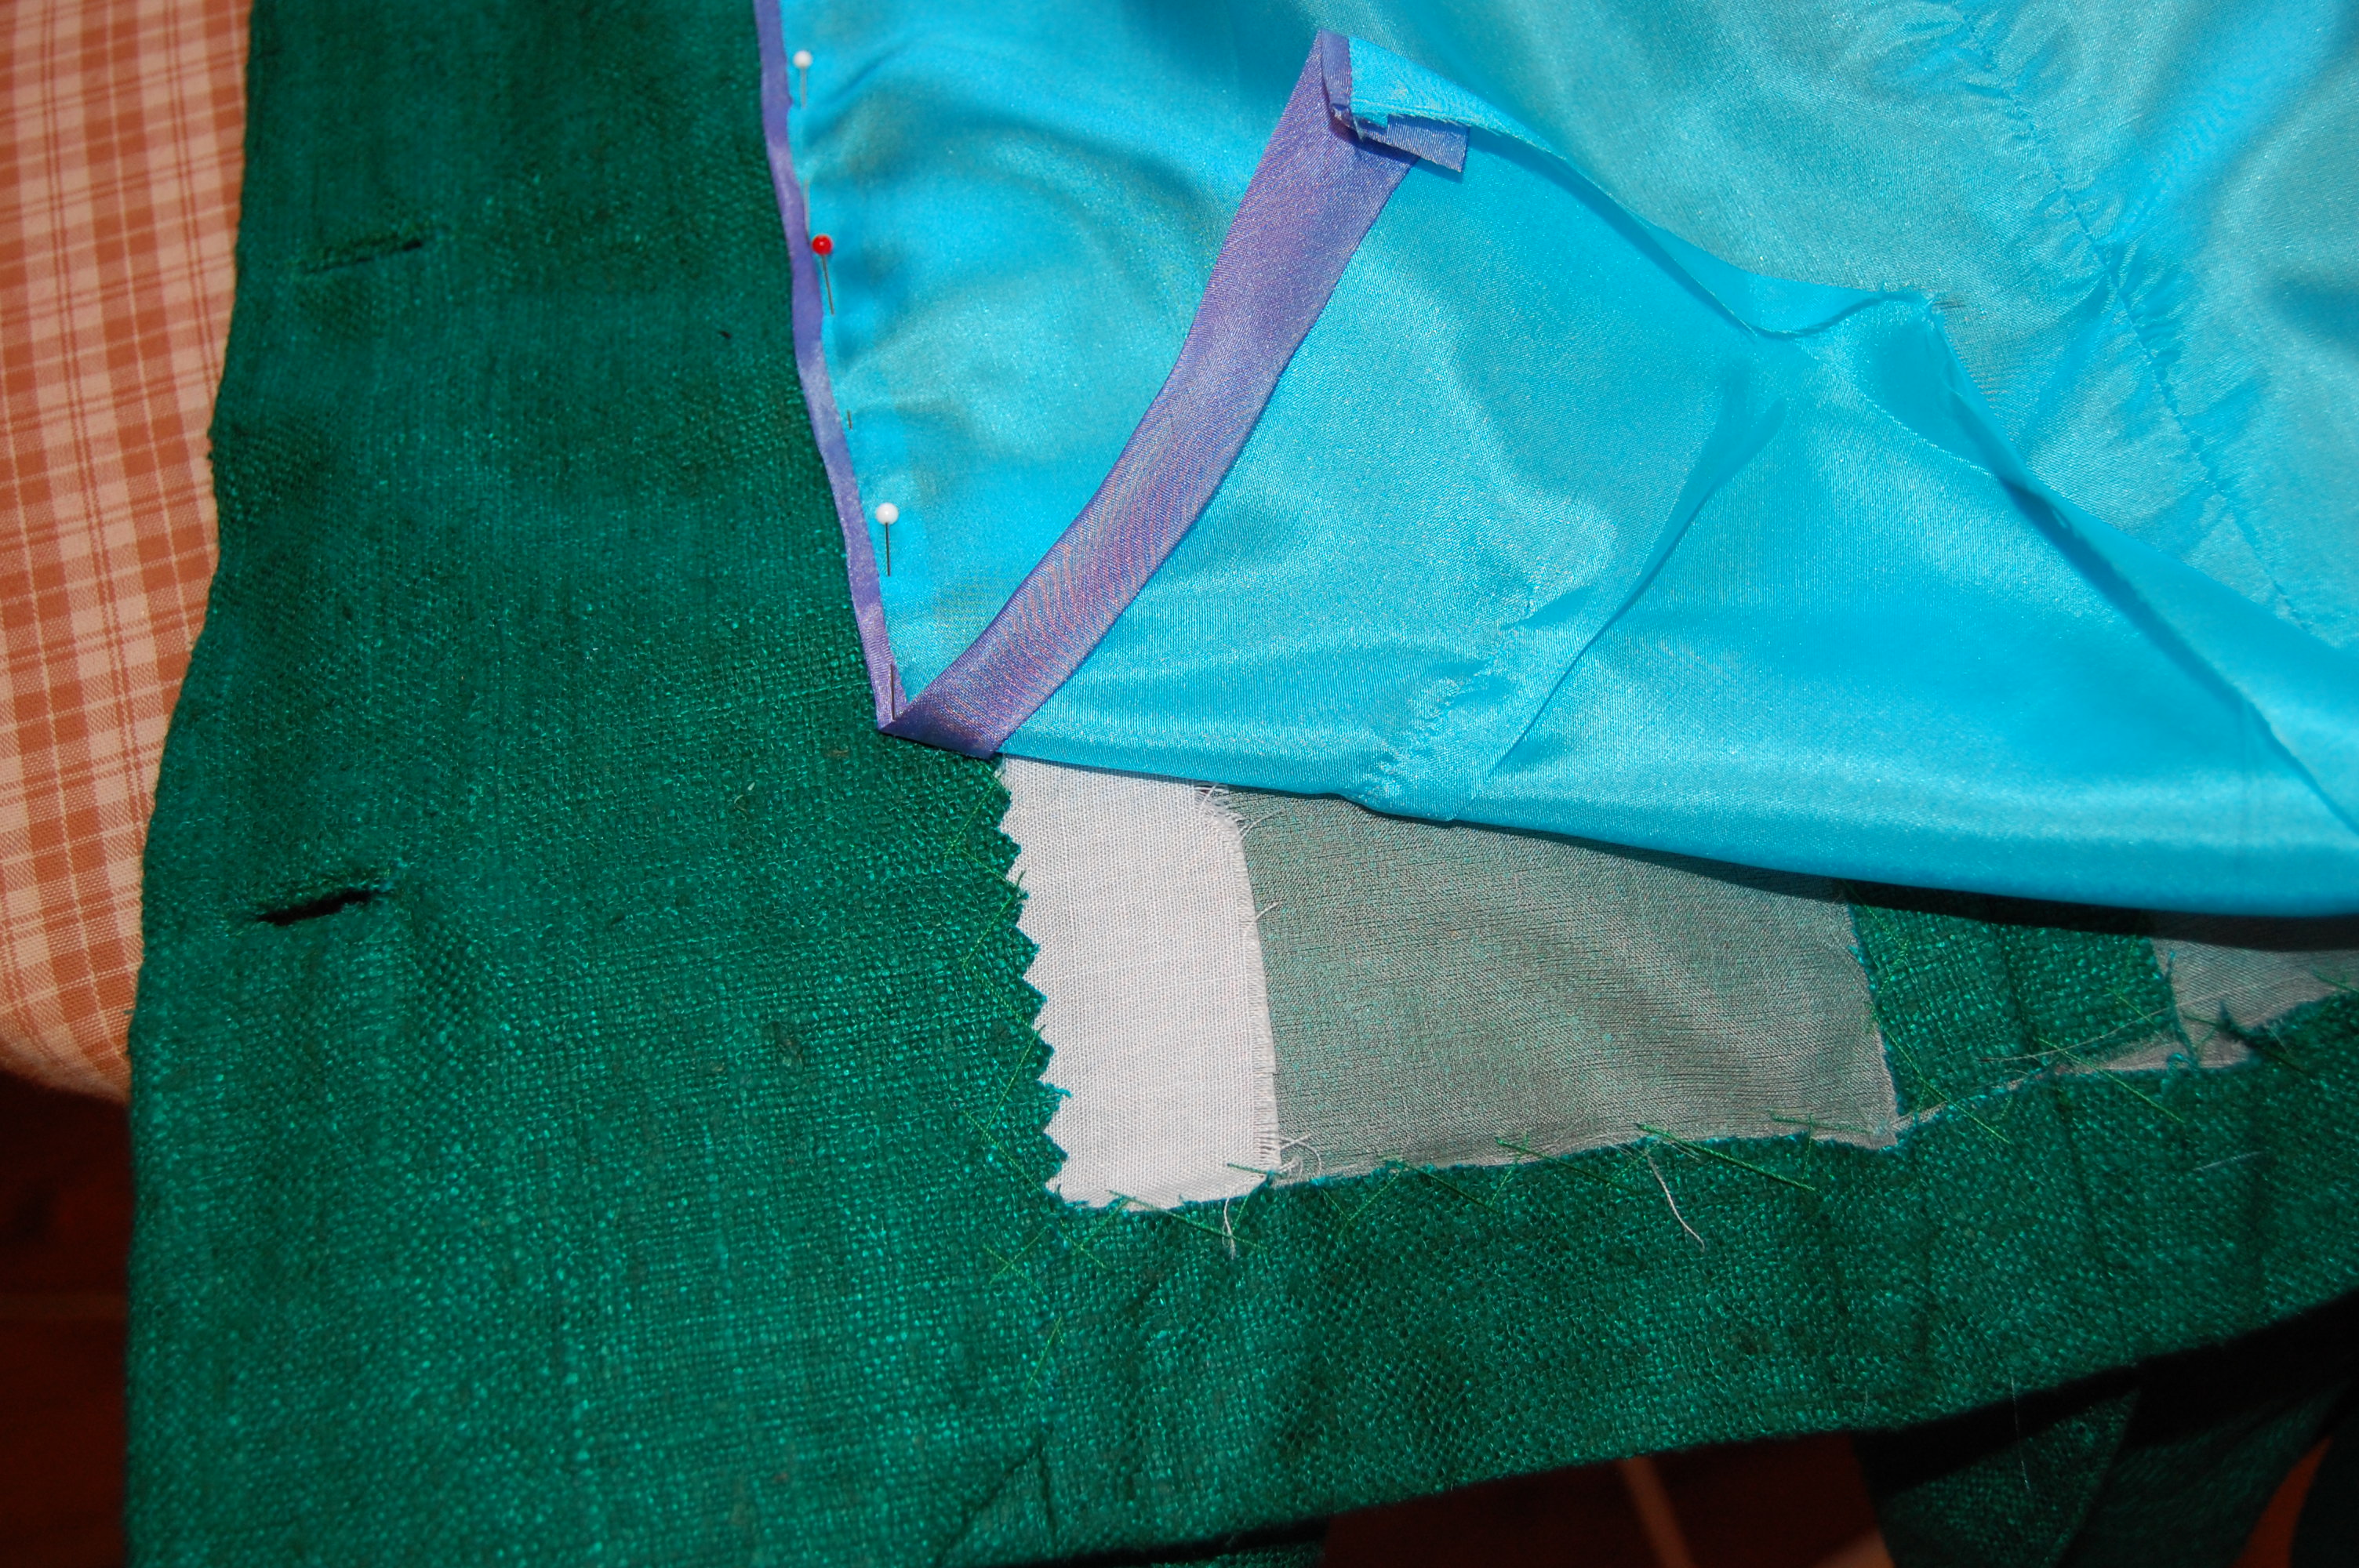
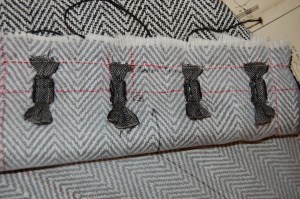
Here is the bias silk ribbon attached to the edge of the lining… Click on the photos to see them up close.

… and one more picture of it.
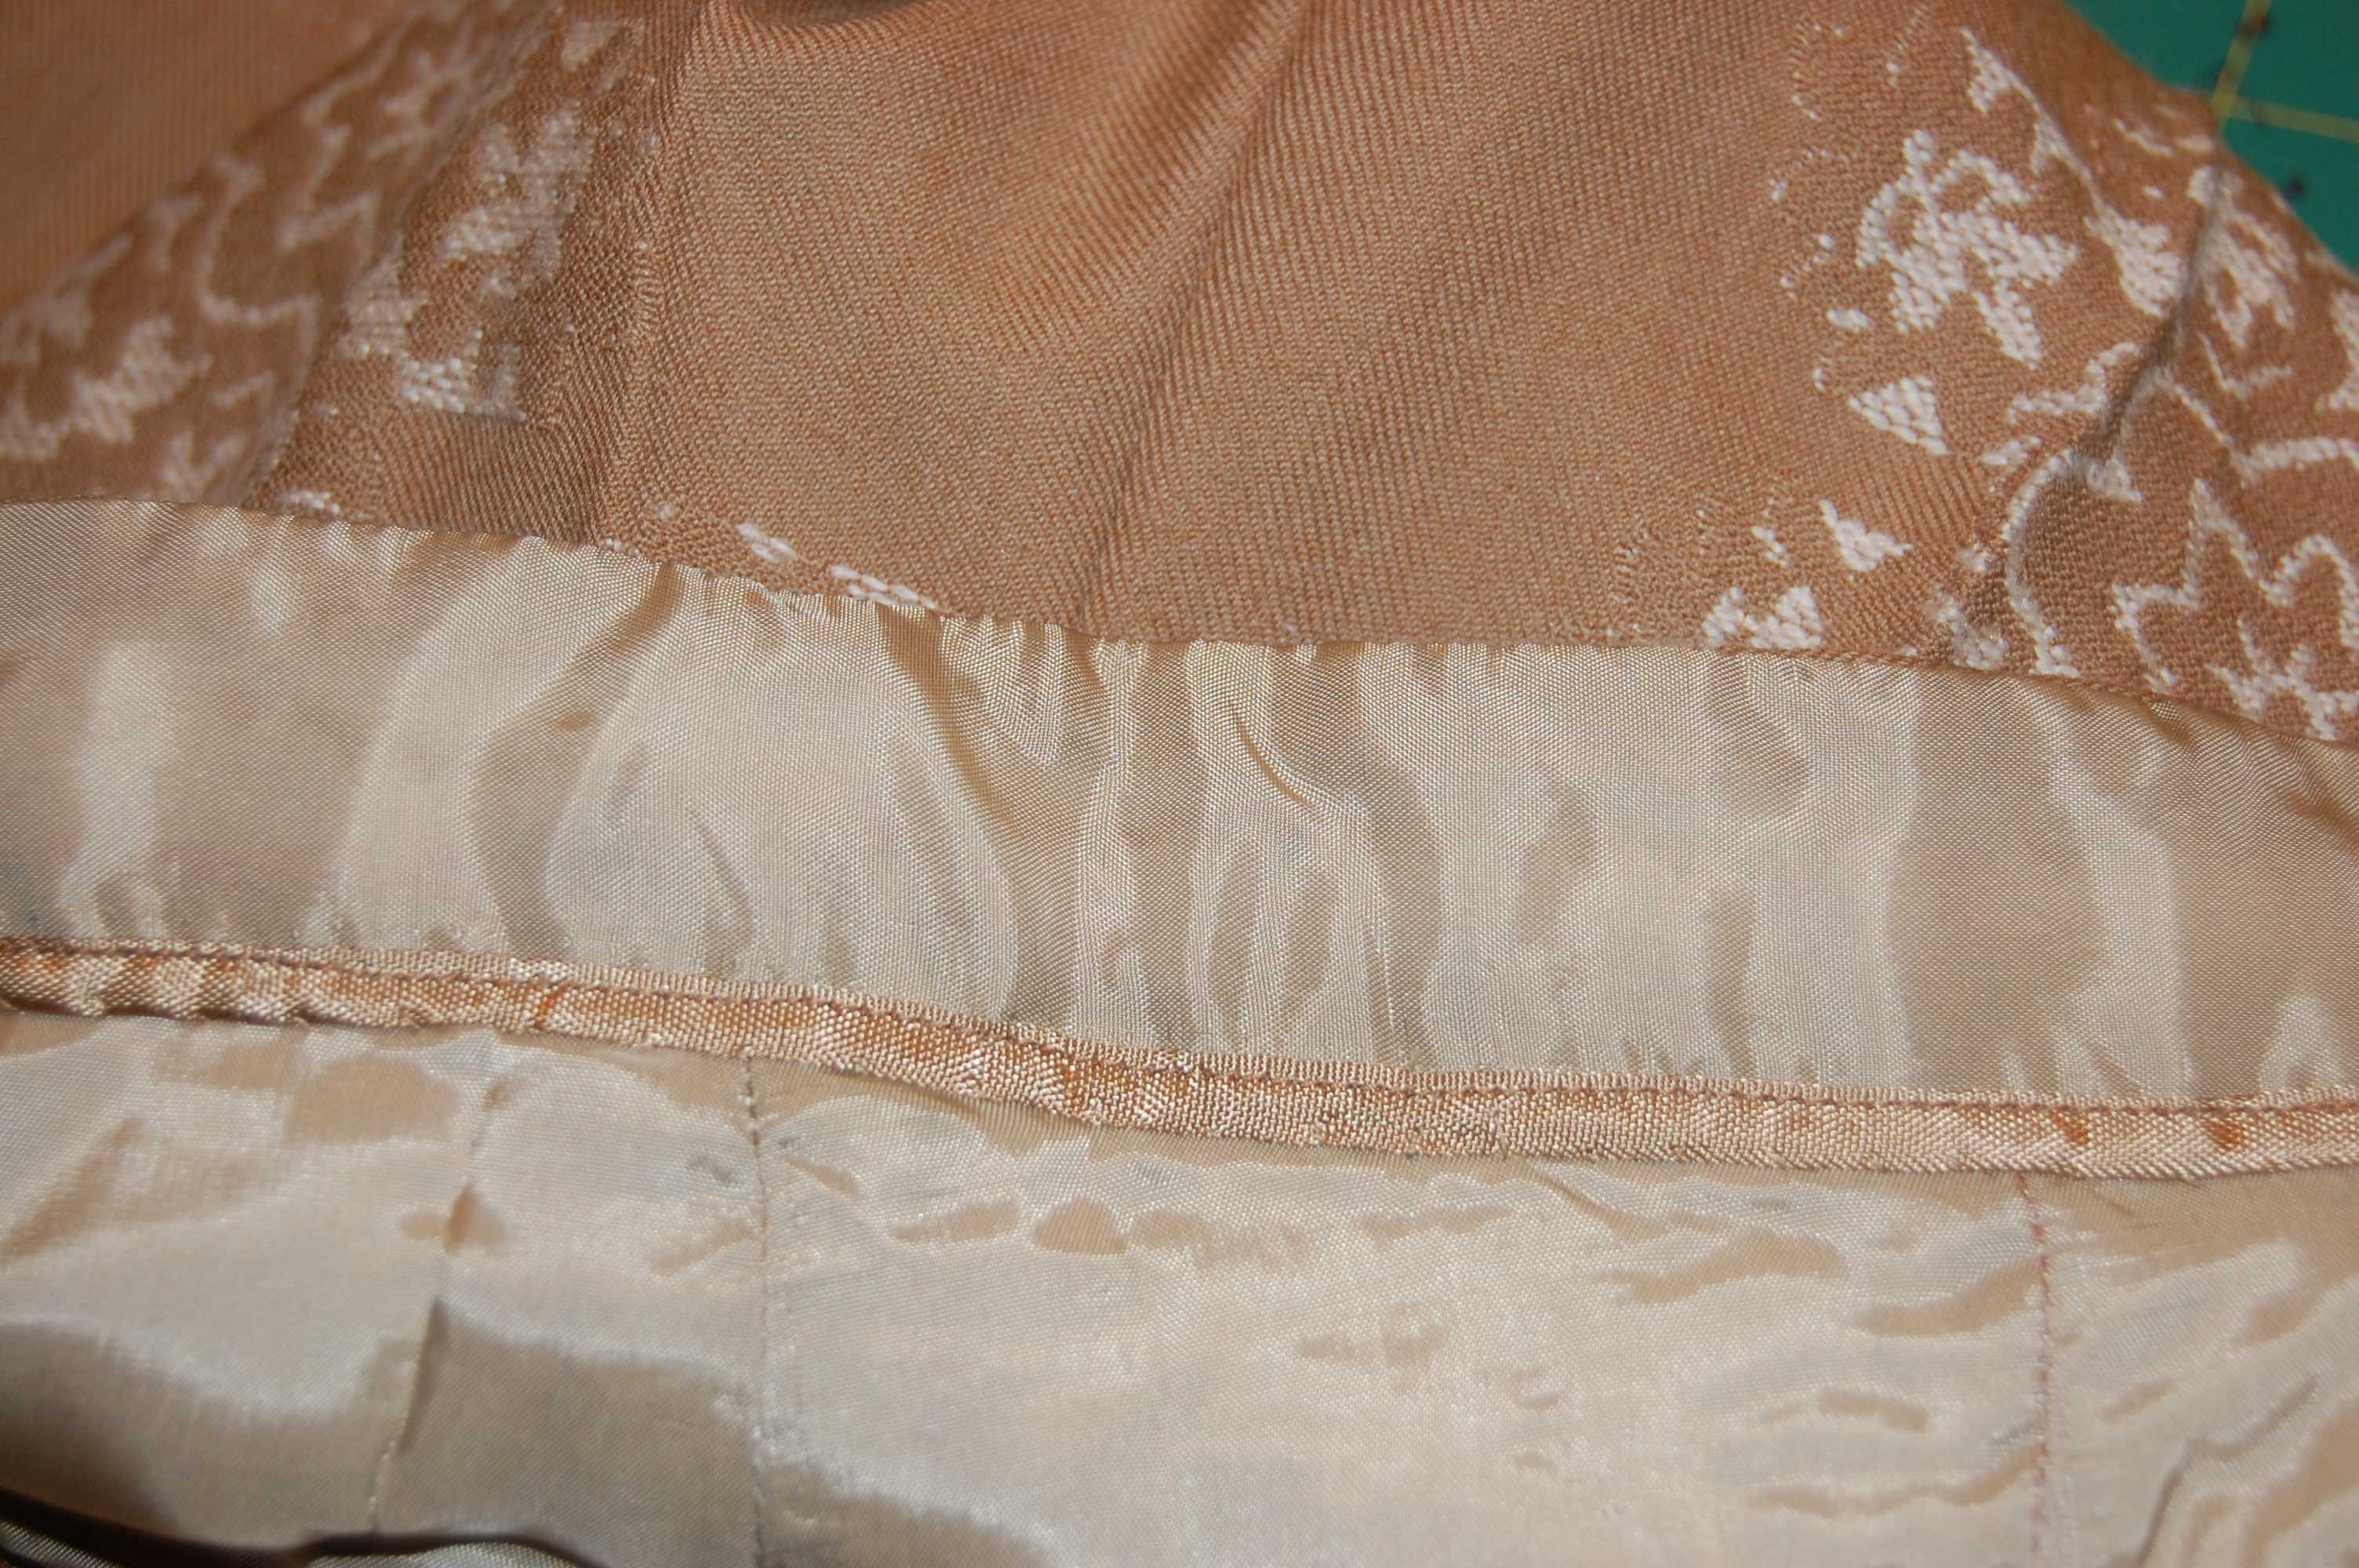
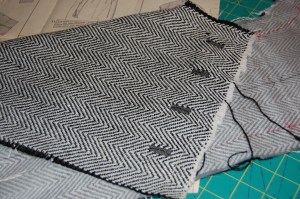
This was so much fun to do and made attaching the lining to the jacket very easy, as all I had to do was “hand-stitch in the ditch” where the silk ribbon and the lining fabric were sewn together.
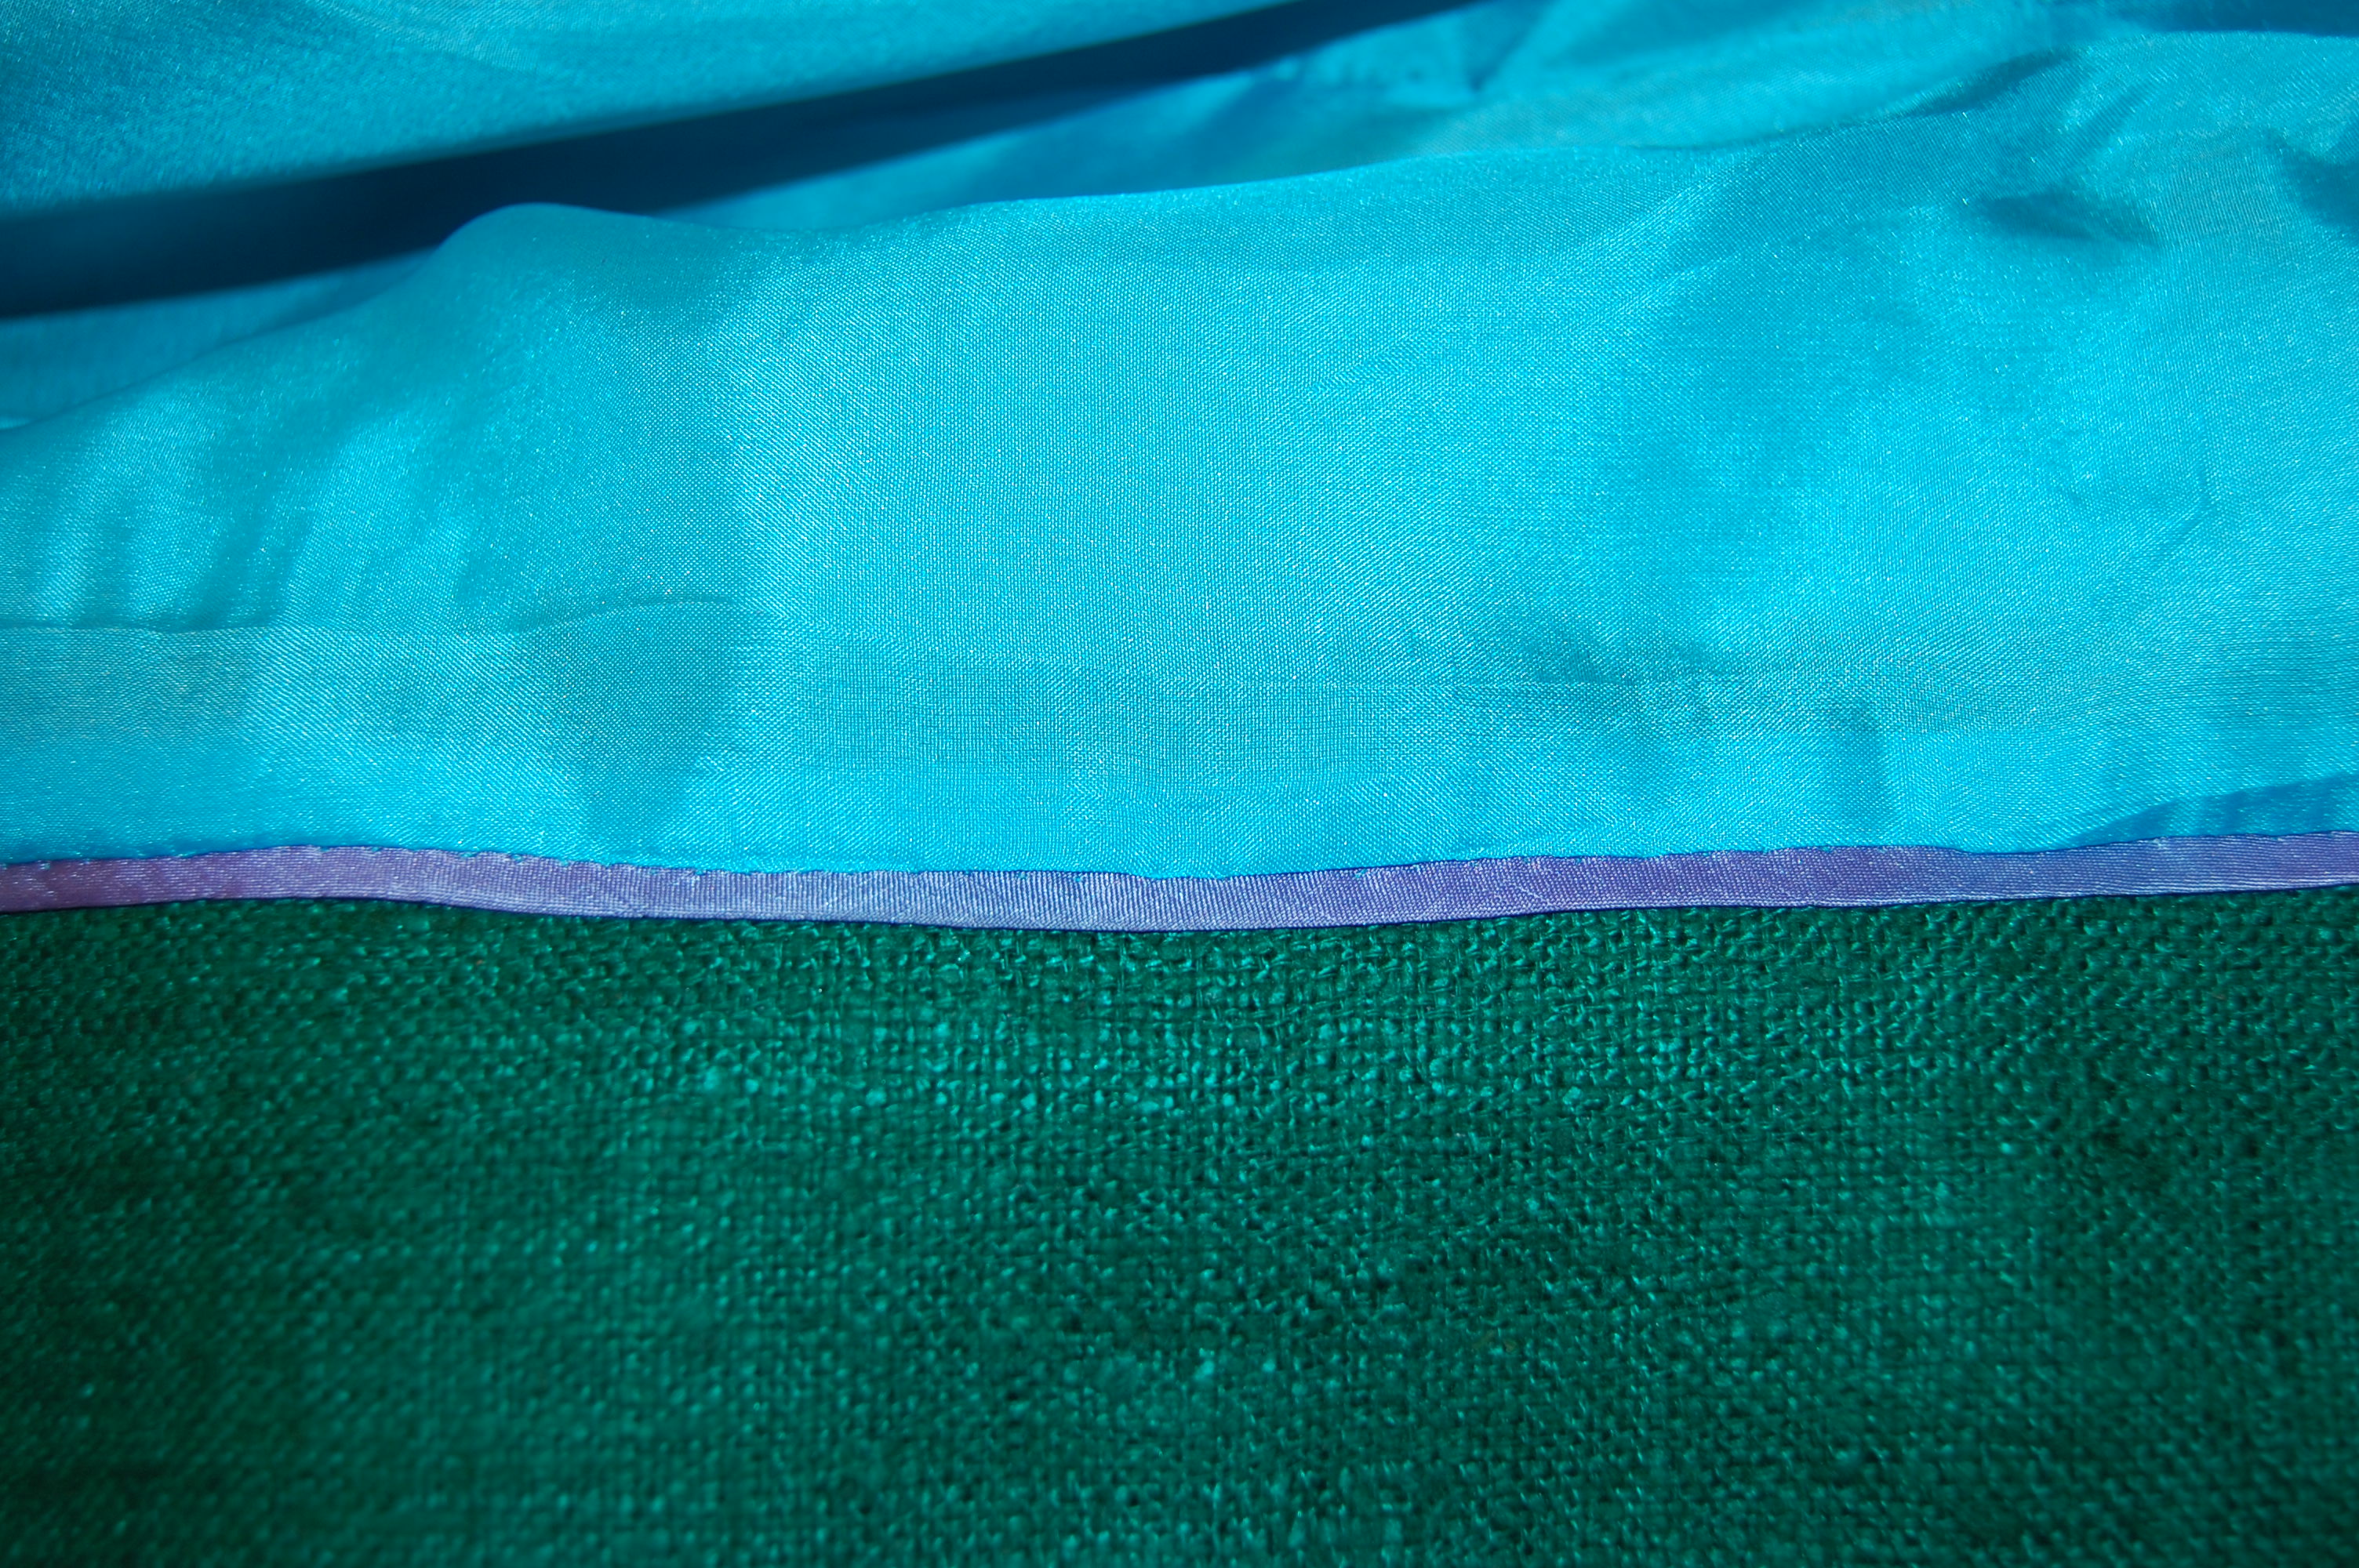
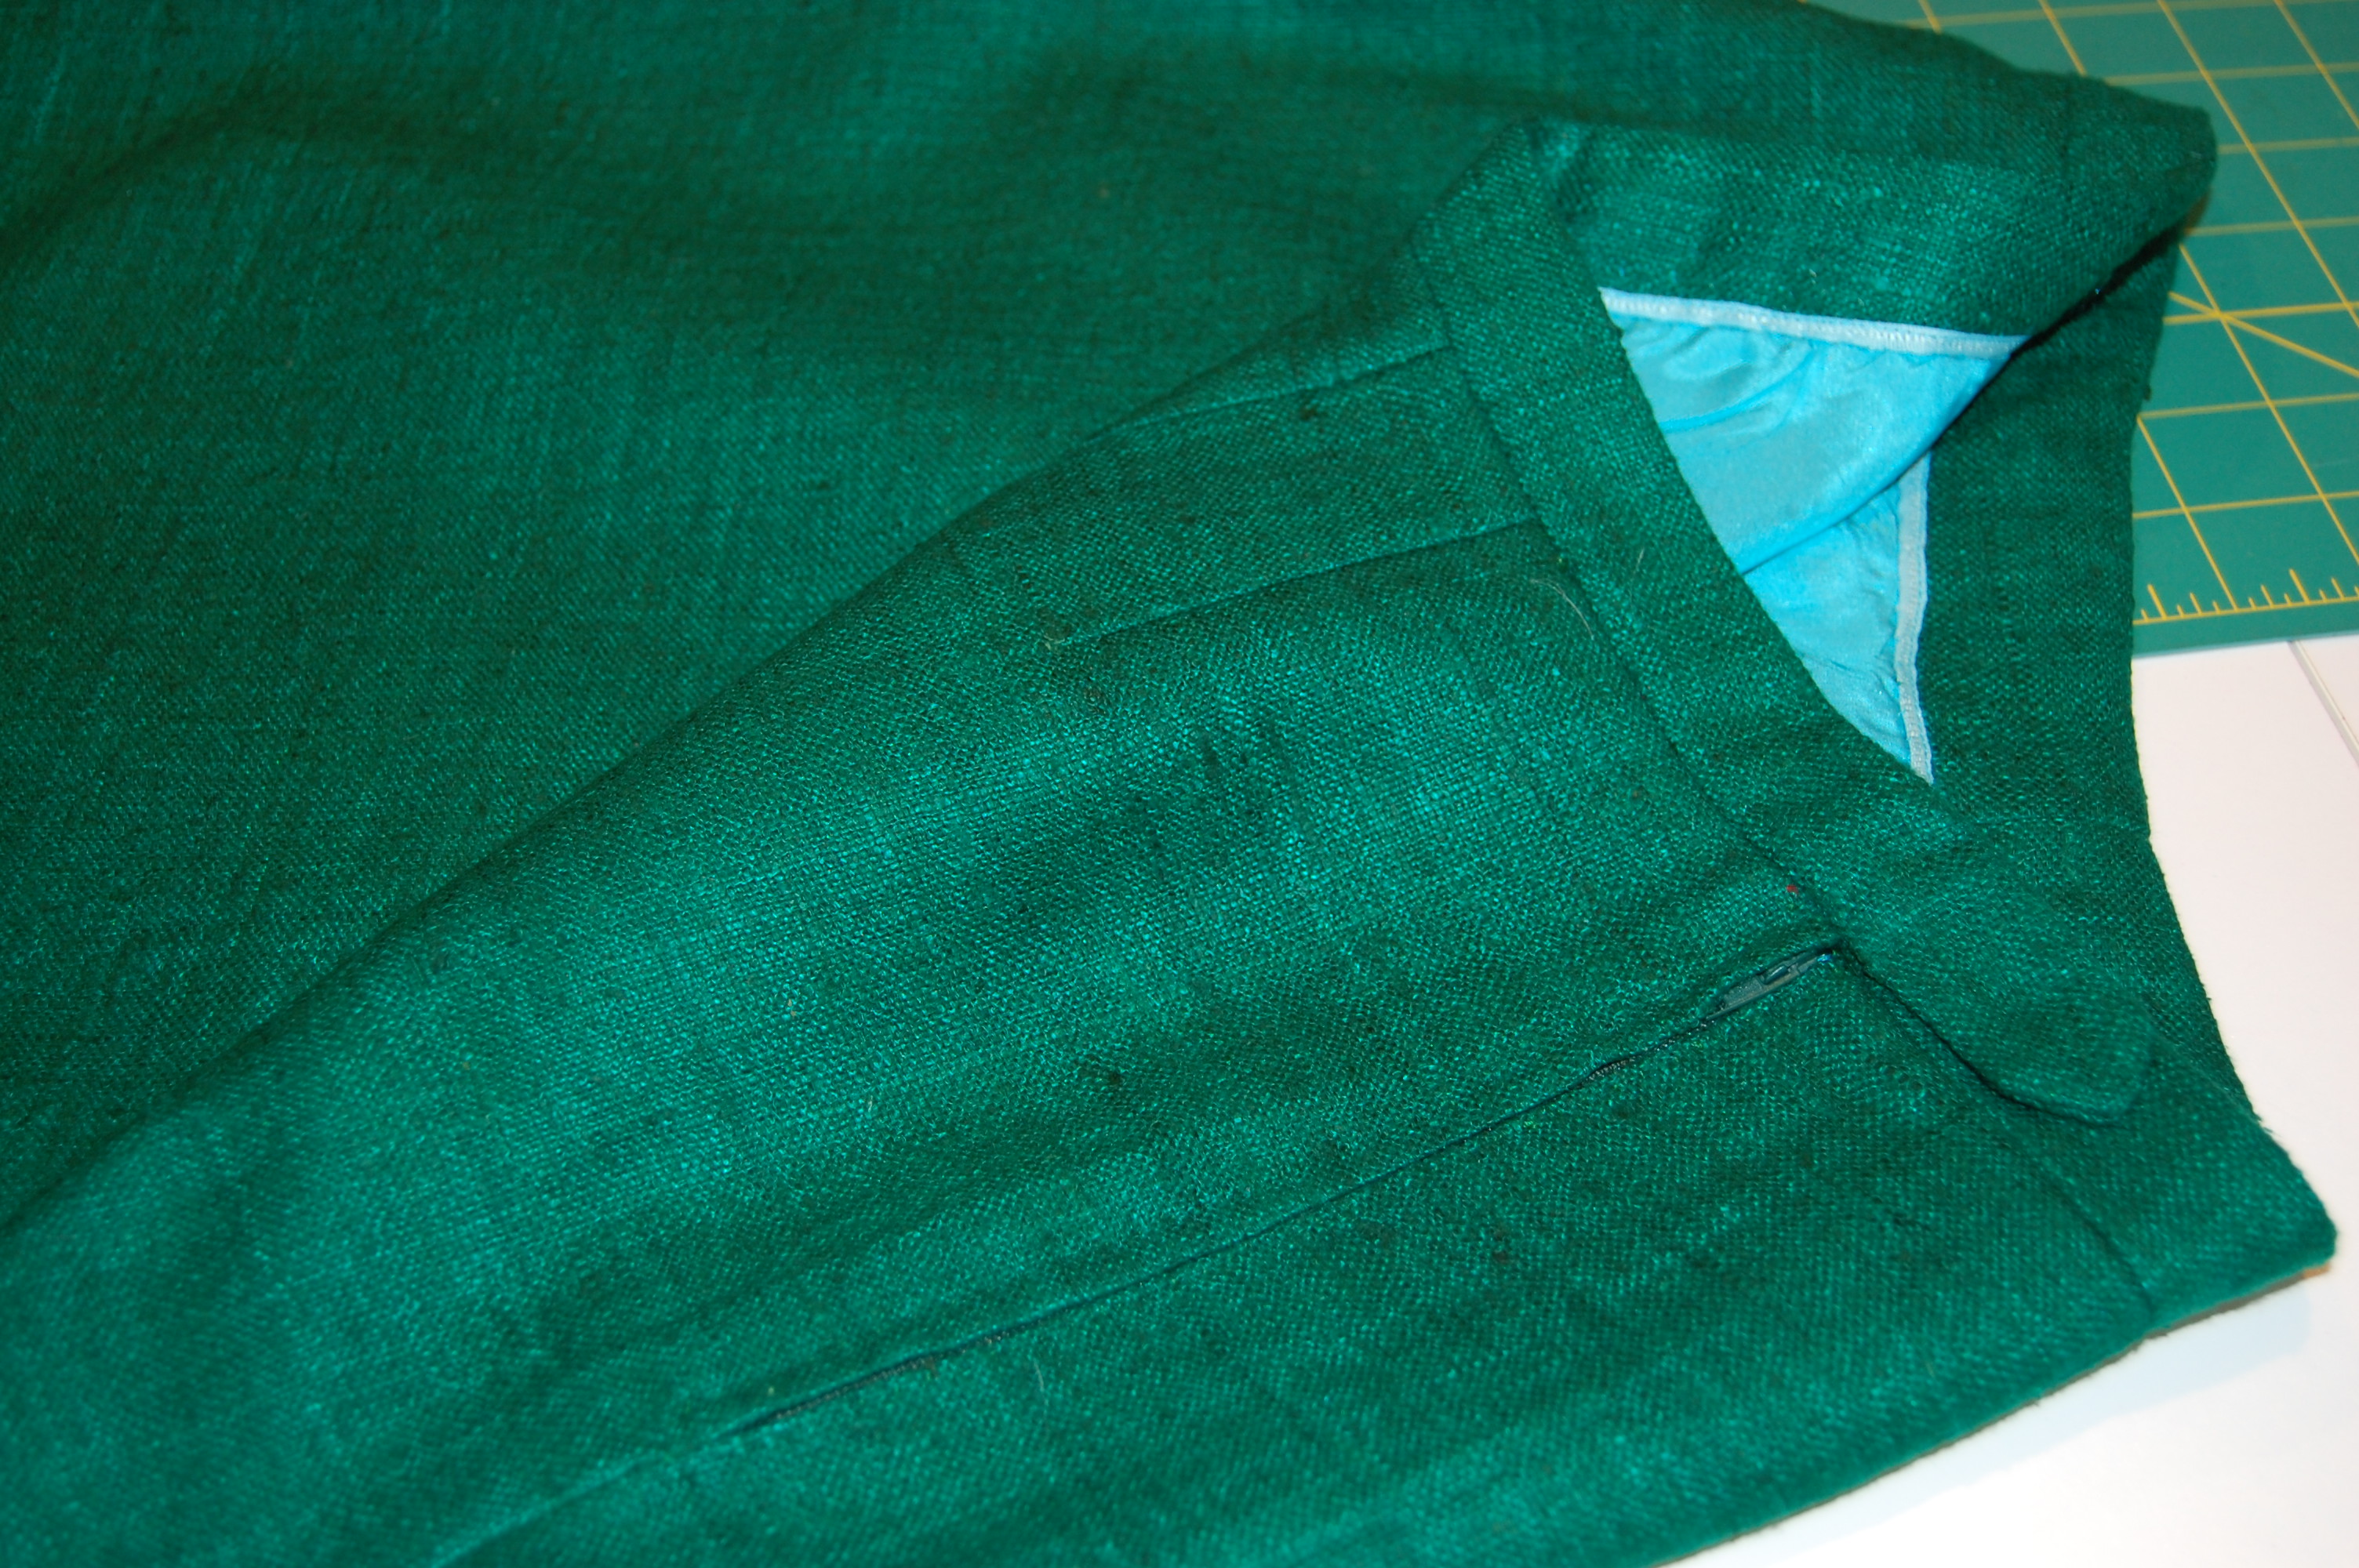
Here is what the finished edge looks like.
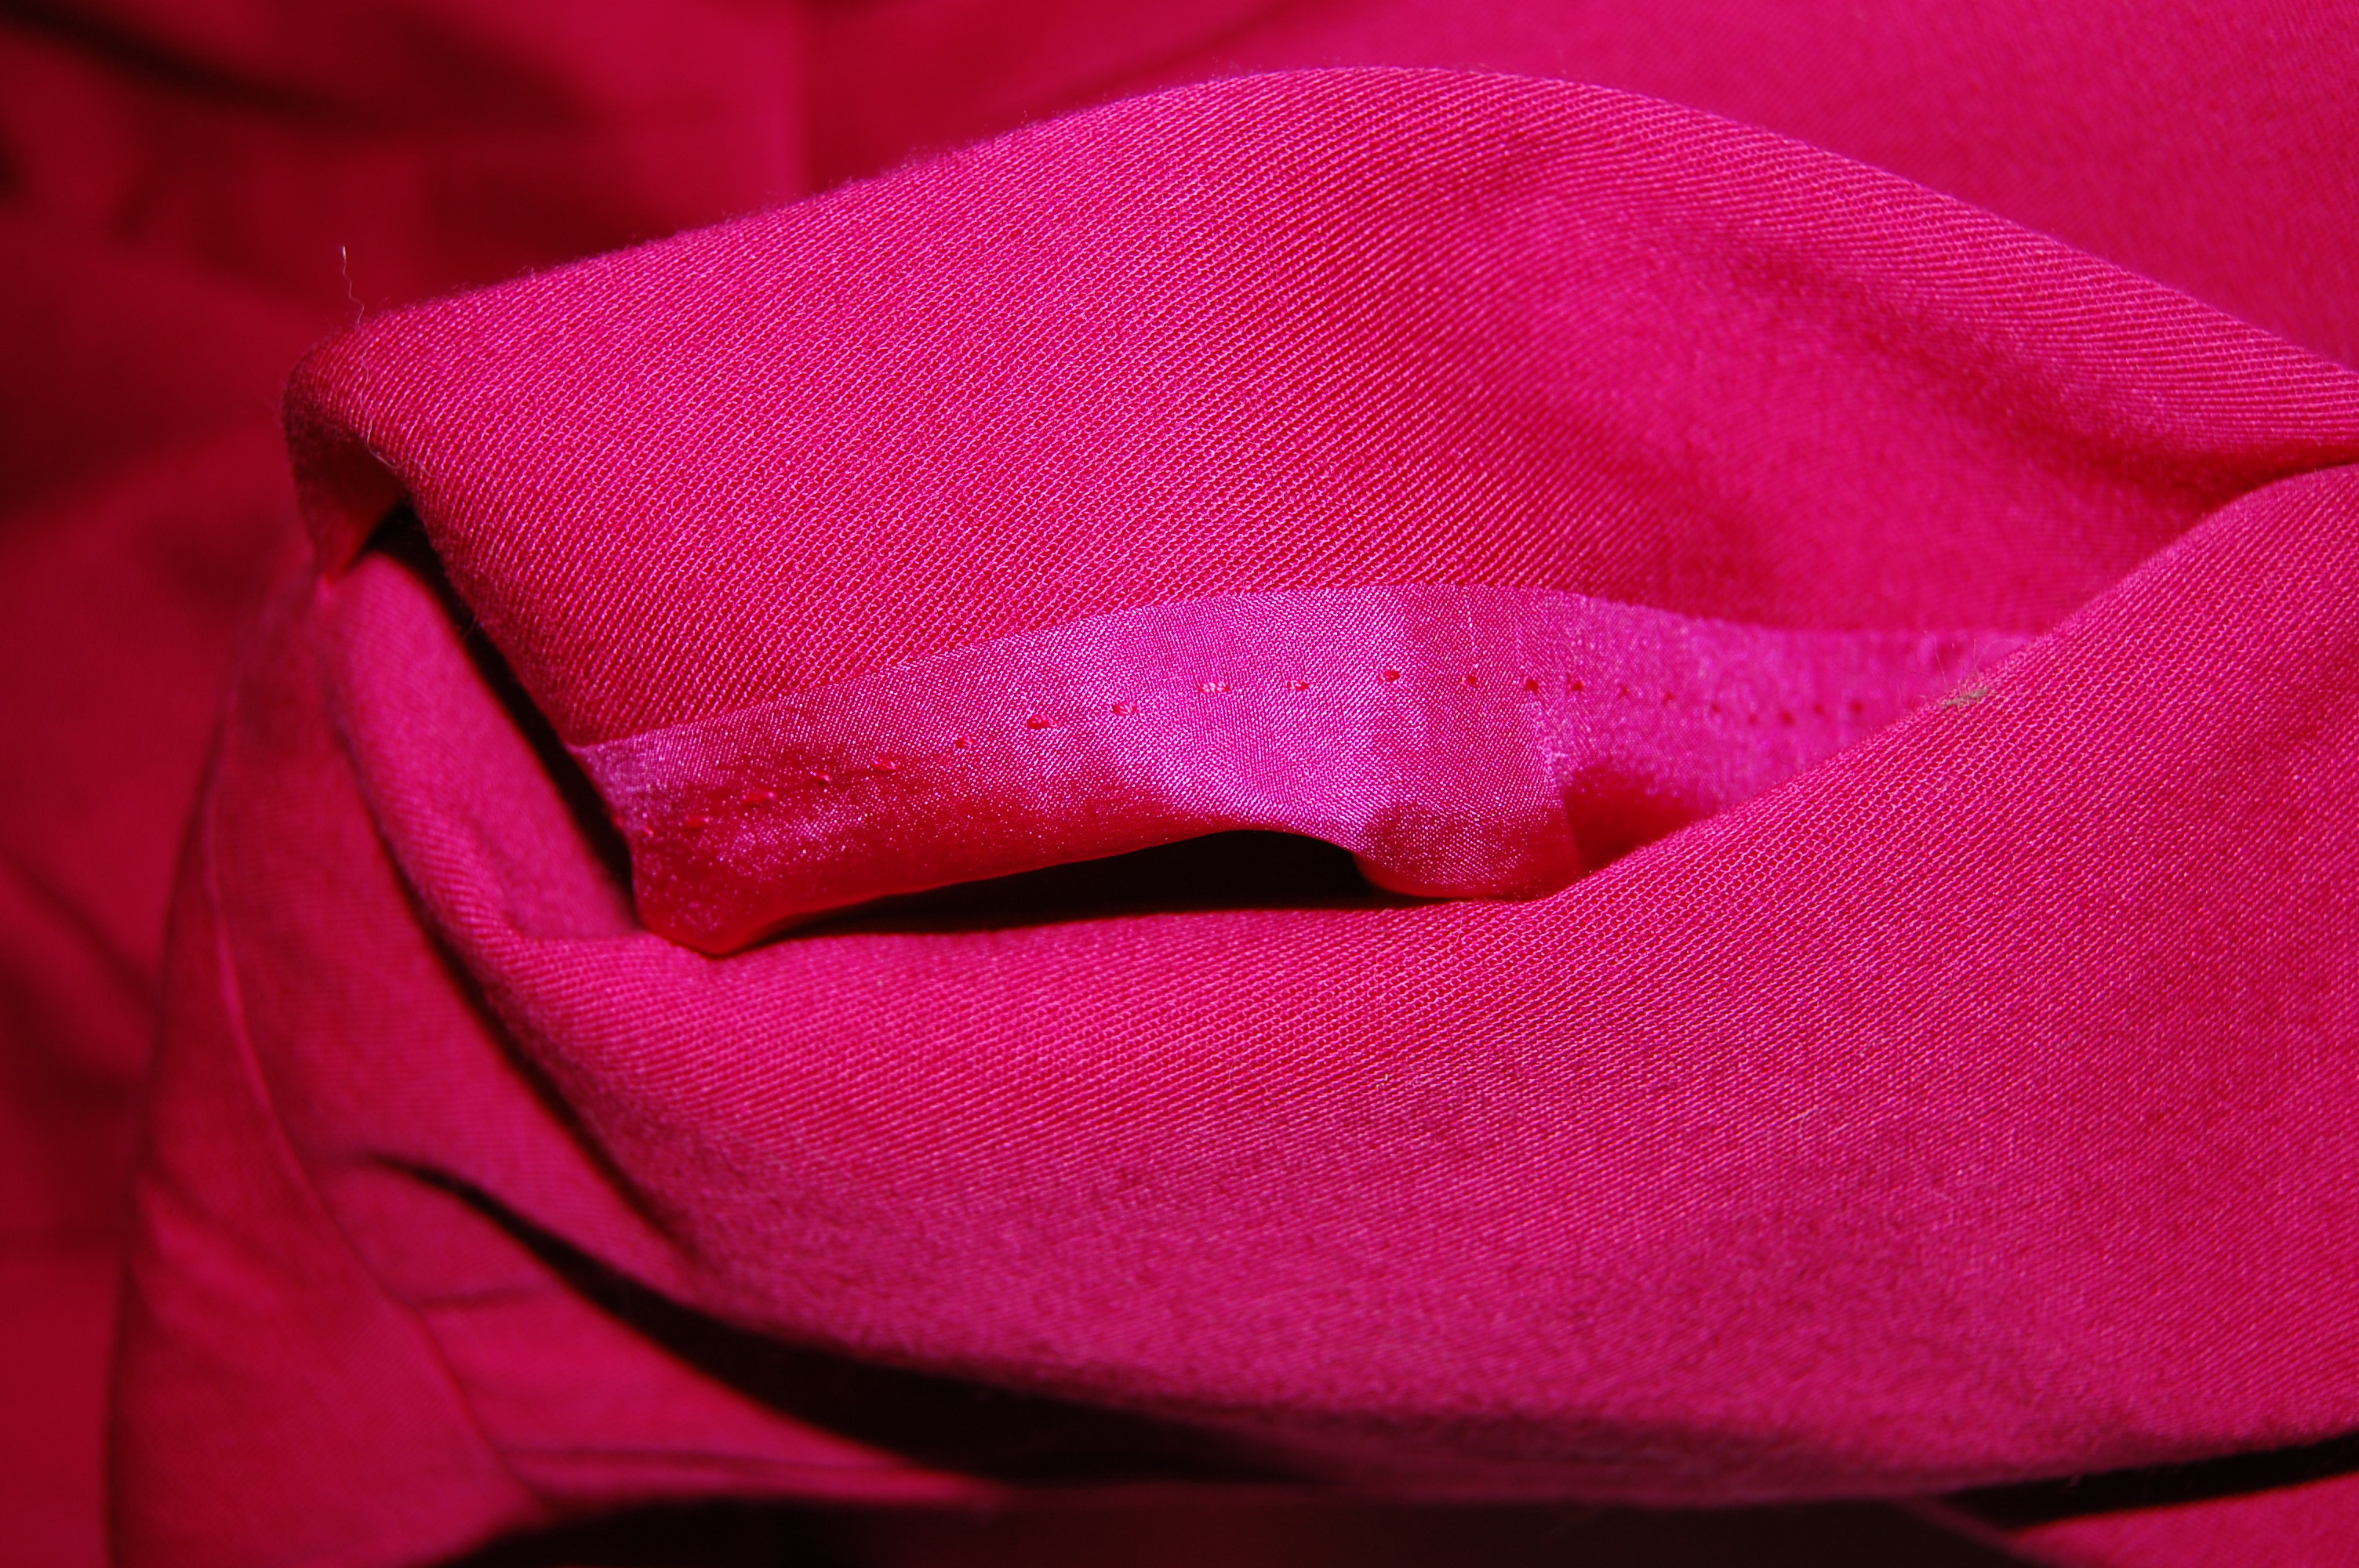
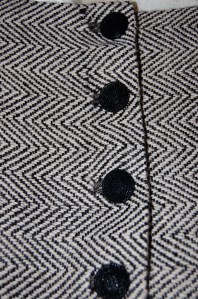
When I found the gold buttons for the jacket, I immediately knew that adding buttons to the sleeves would make it all look more complete.
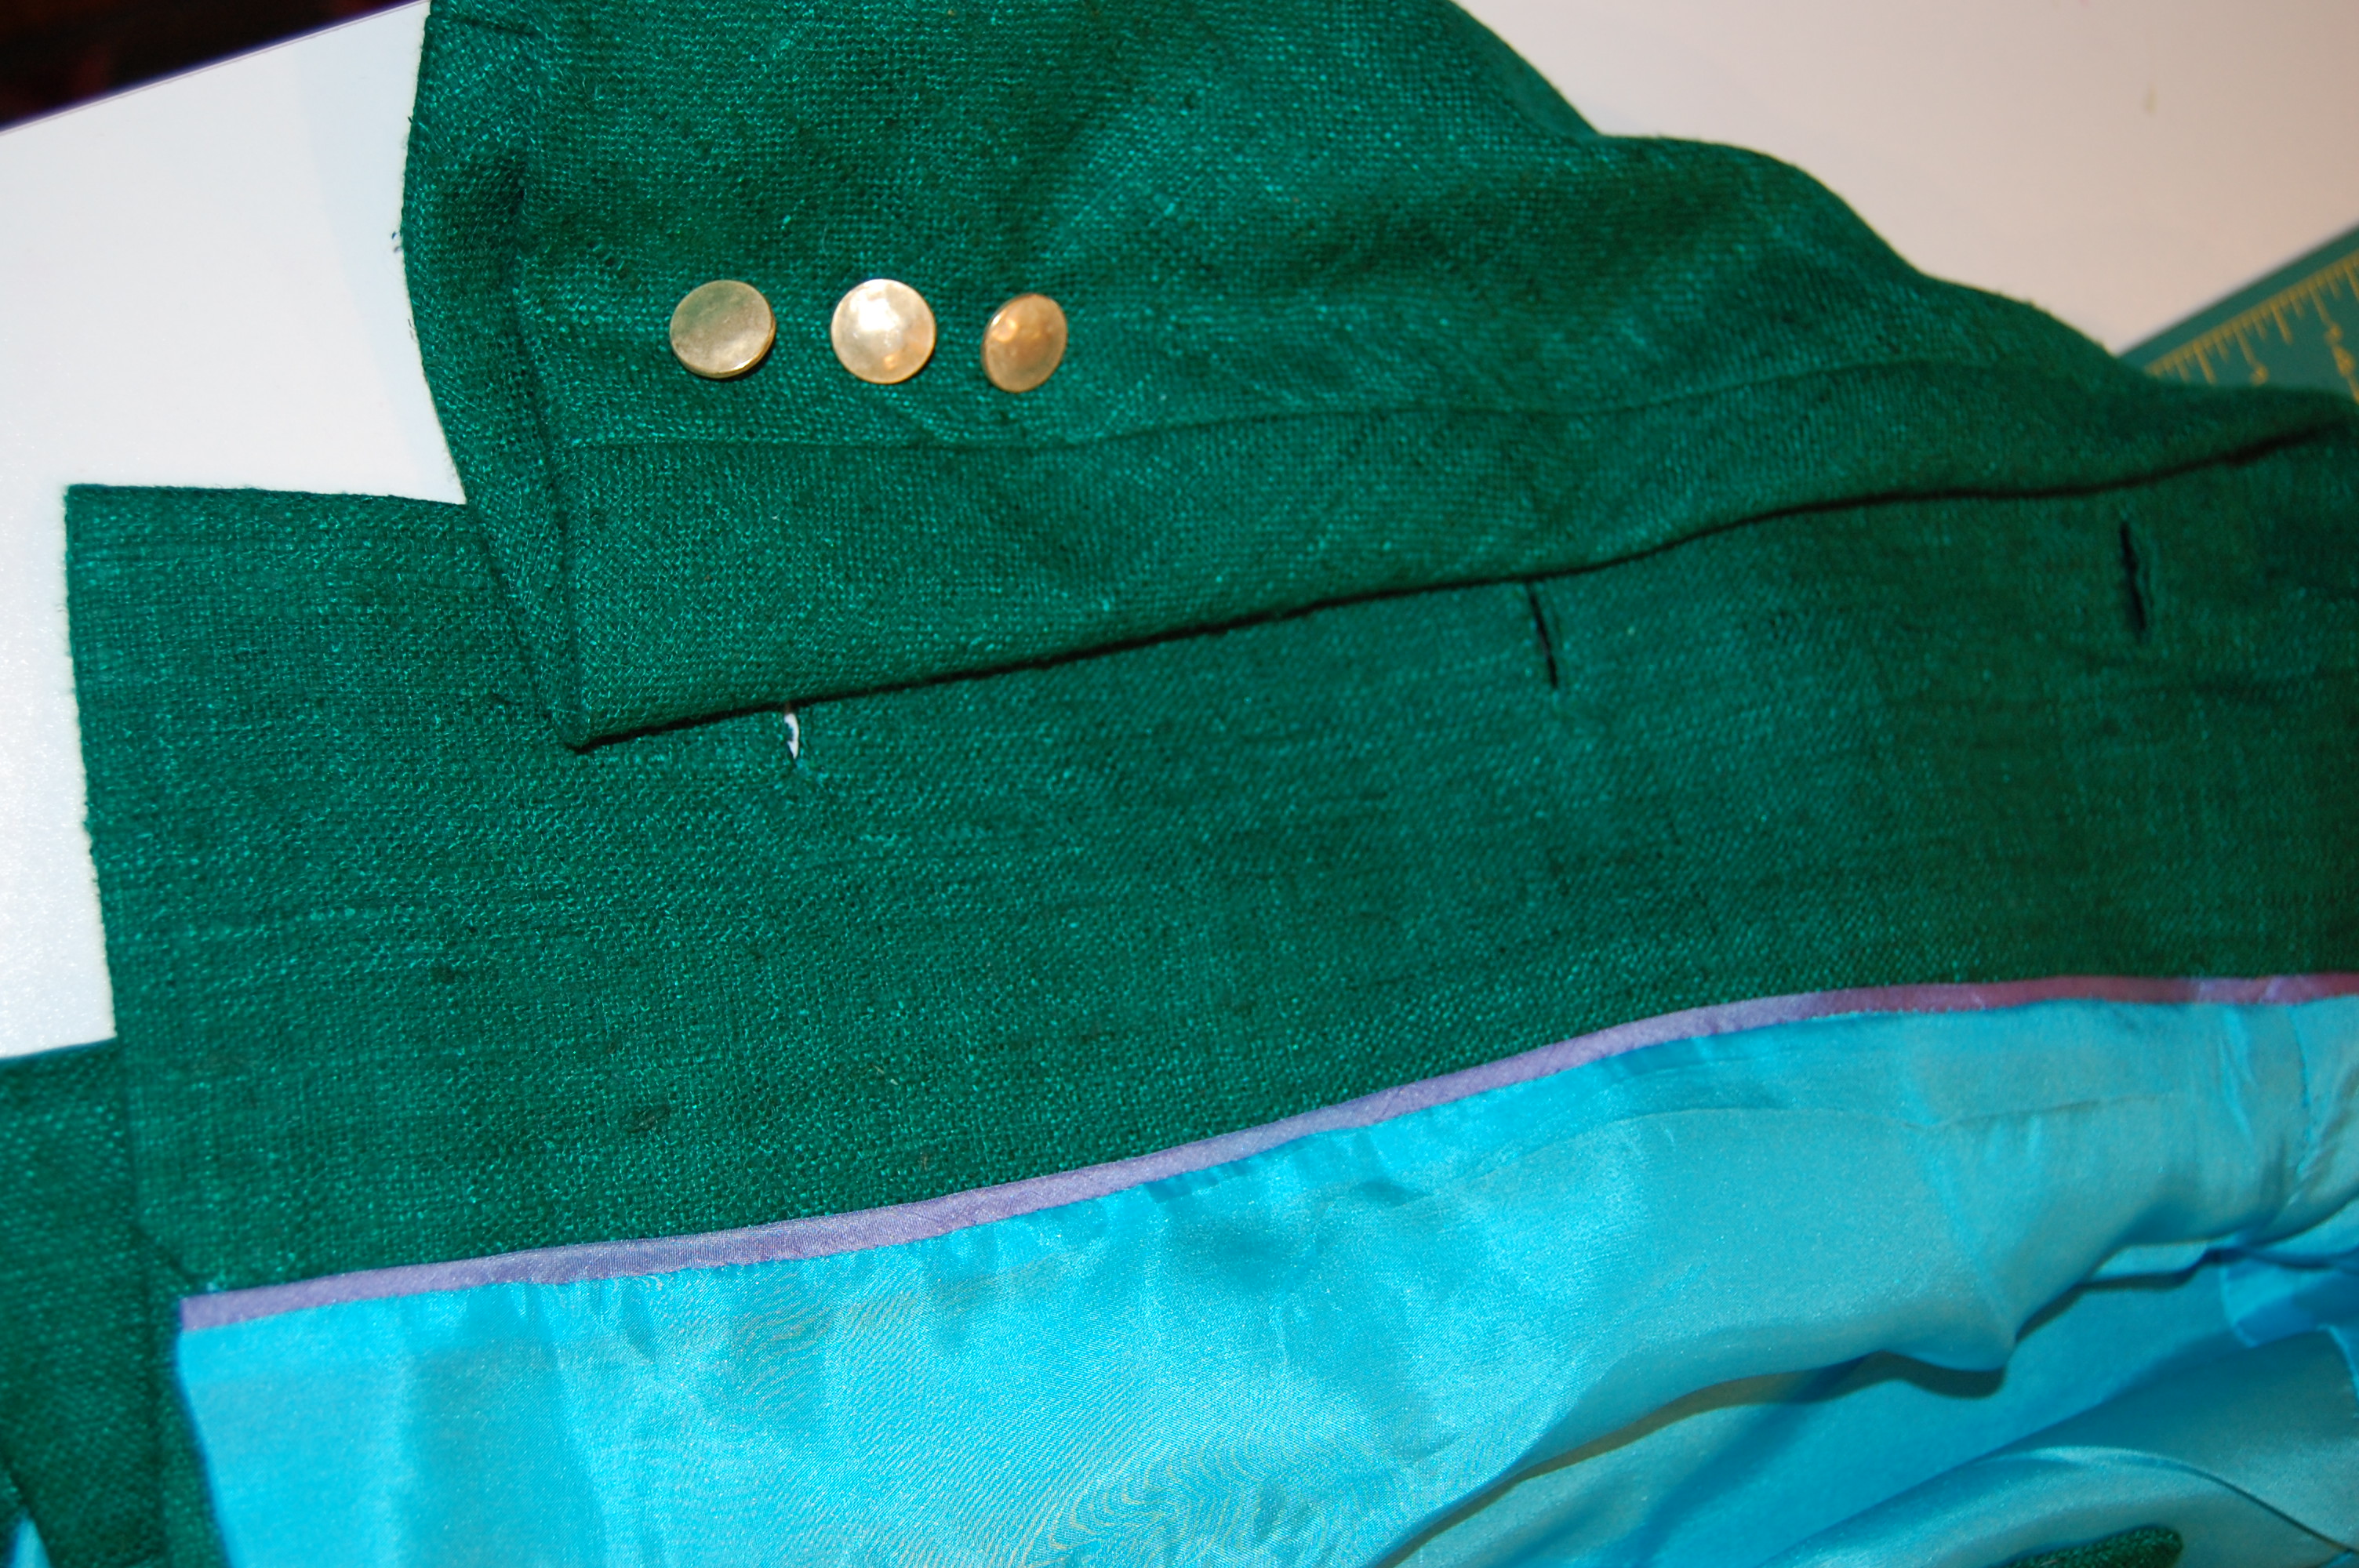
The gold buttons added to the sleeves and another view of the lining (and the back of the bound buttonholes).
And here is a close-up of the larger buttons for the front of the jacket, with their bound buttonholes.
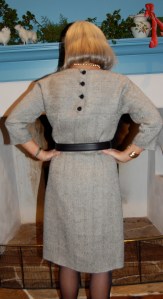
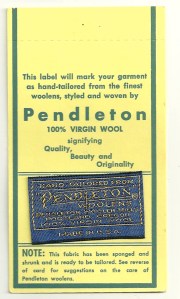
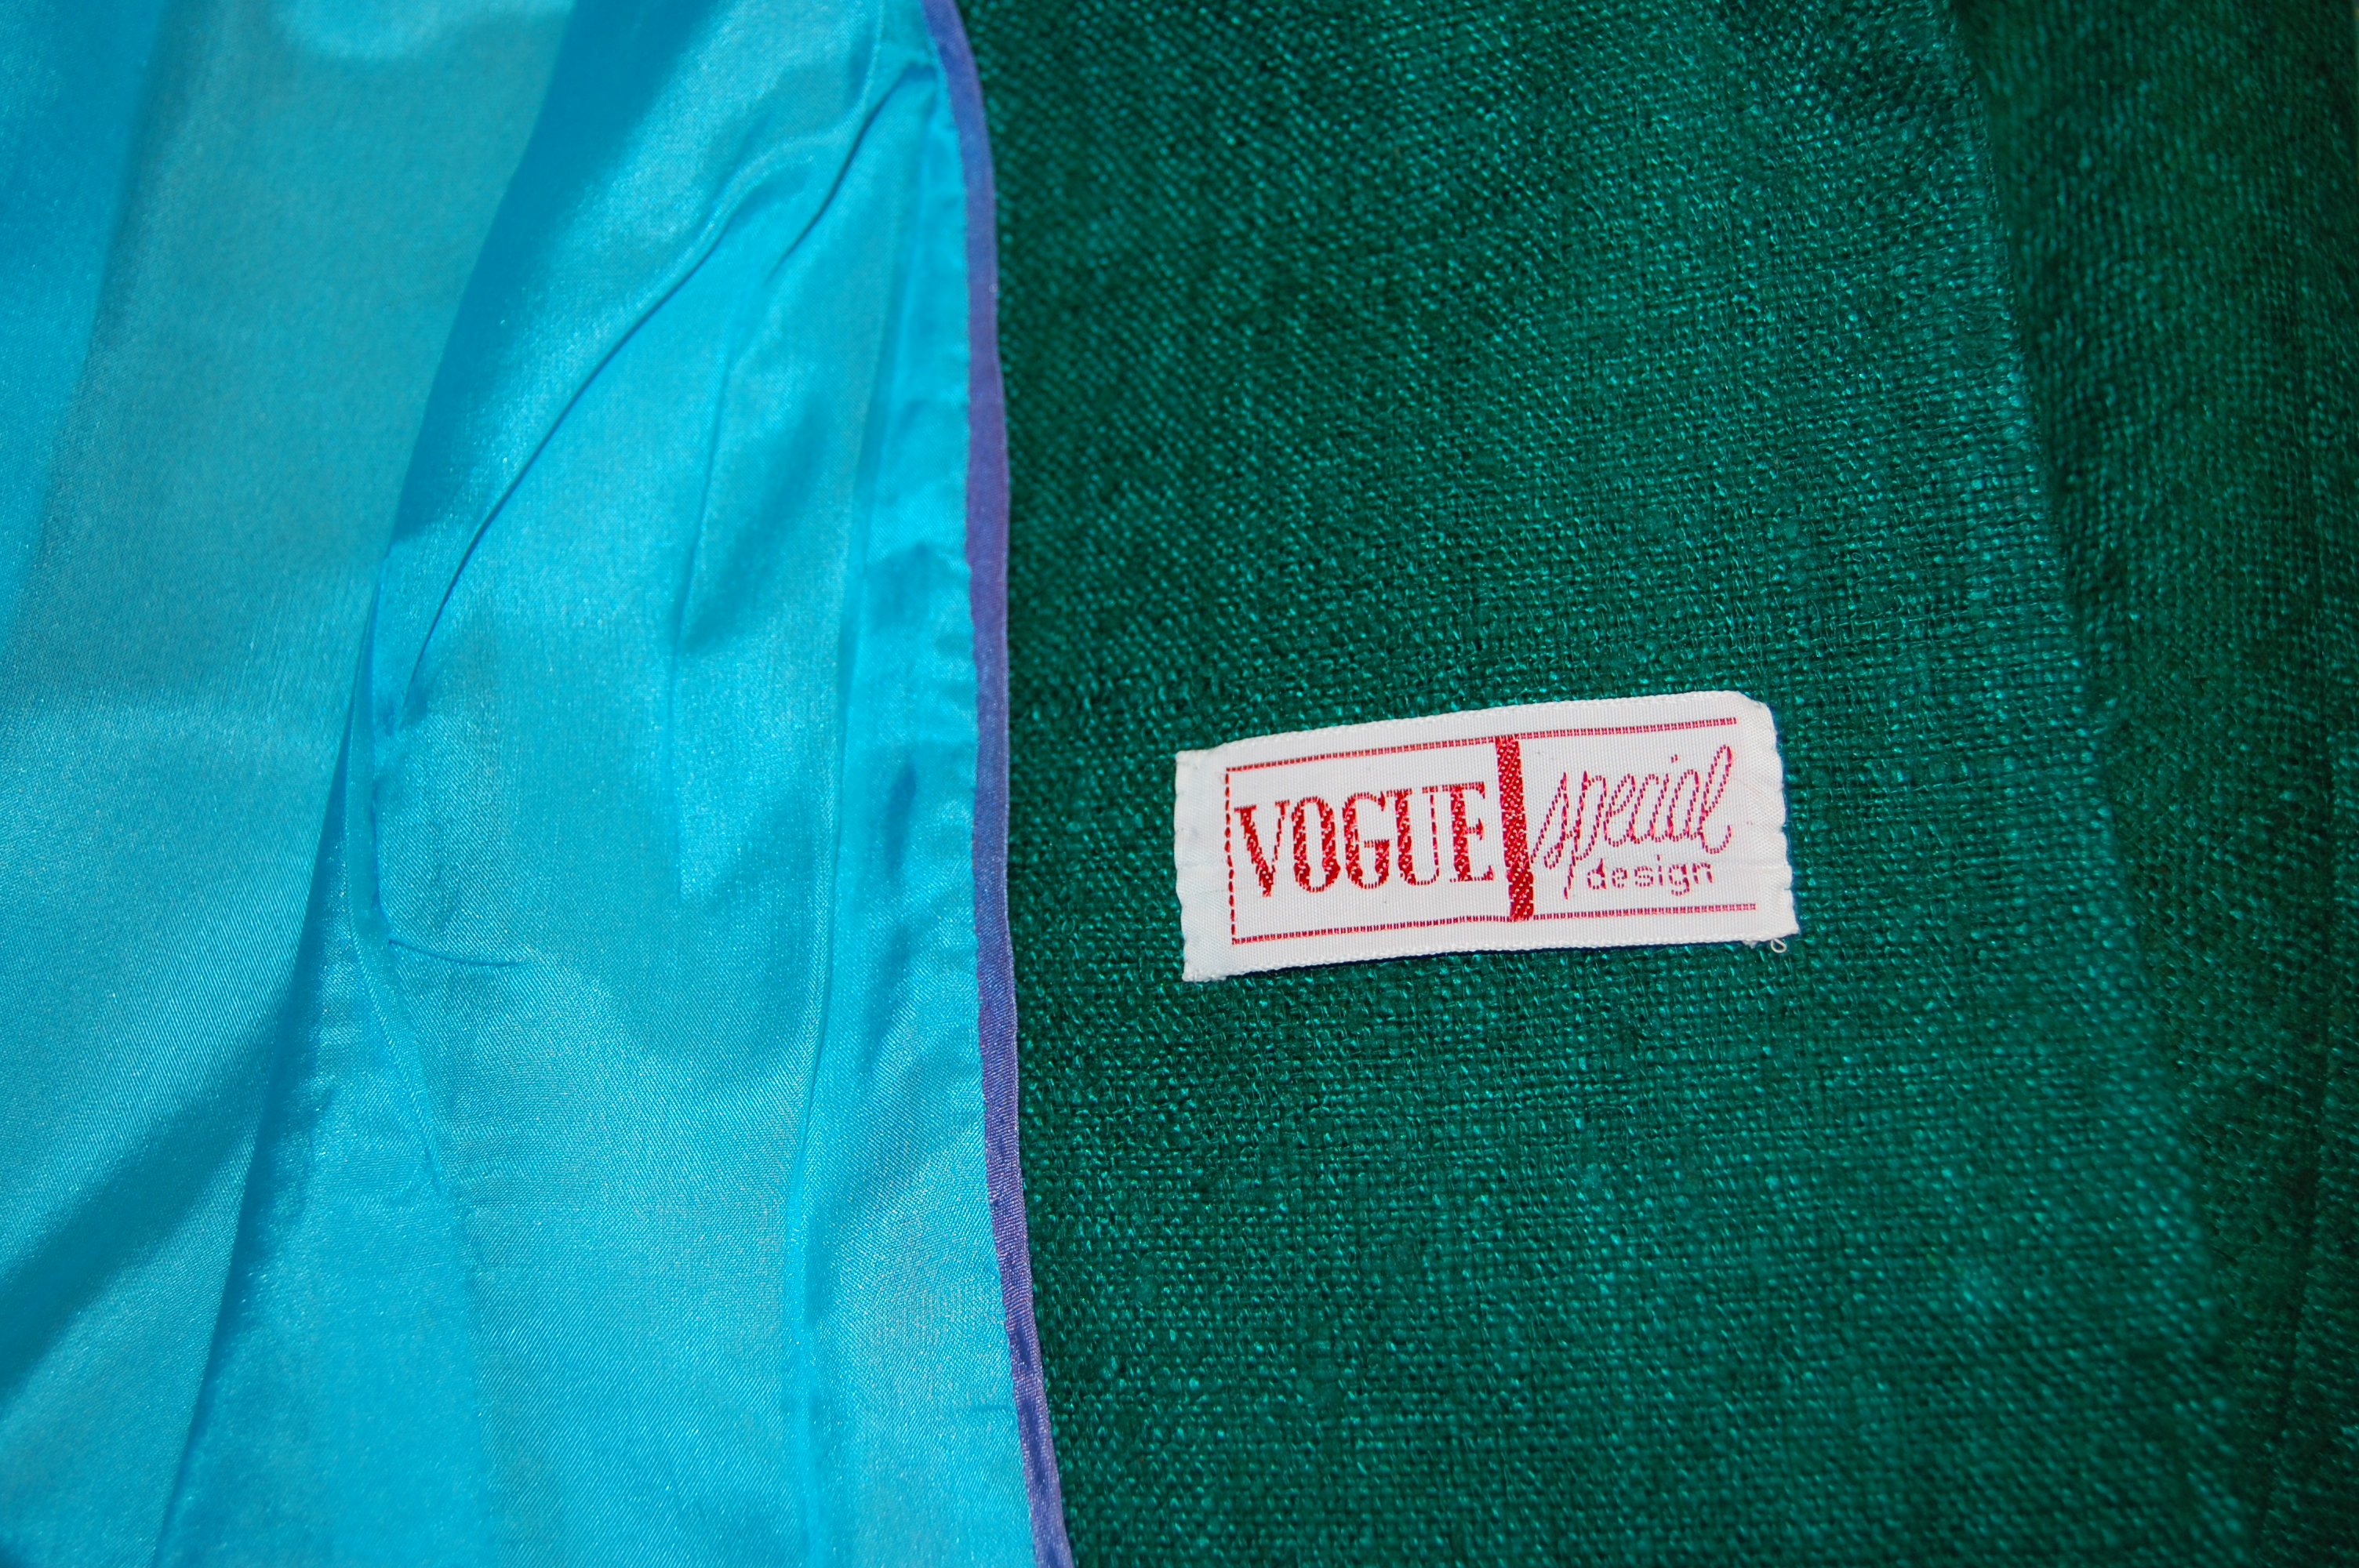
The last thing I did was attach the label to the inside front of the jacket.
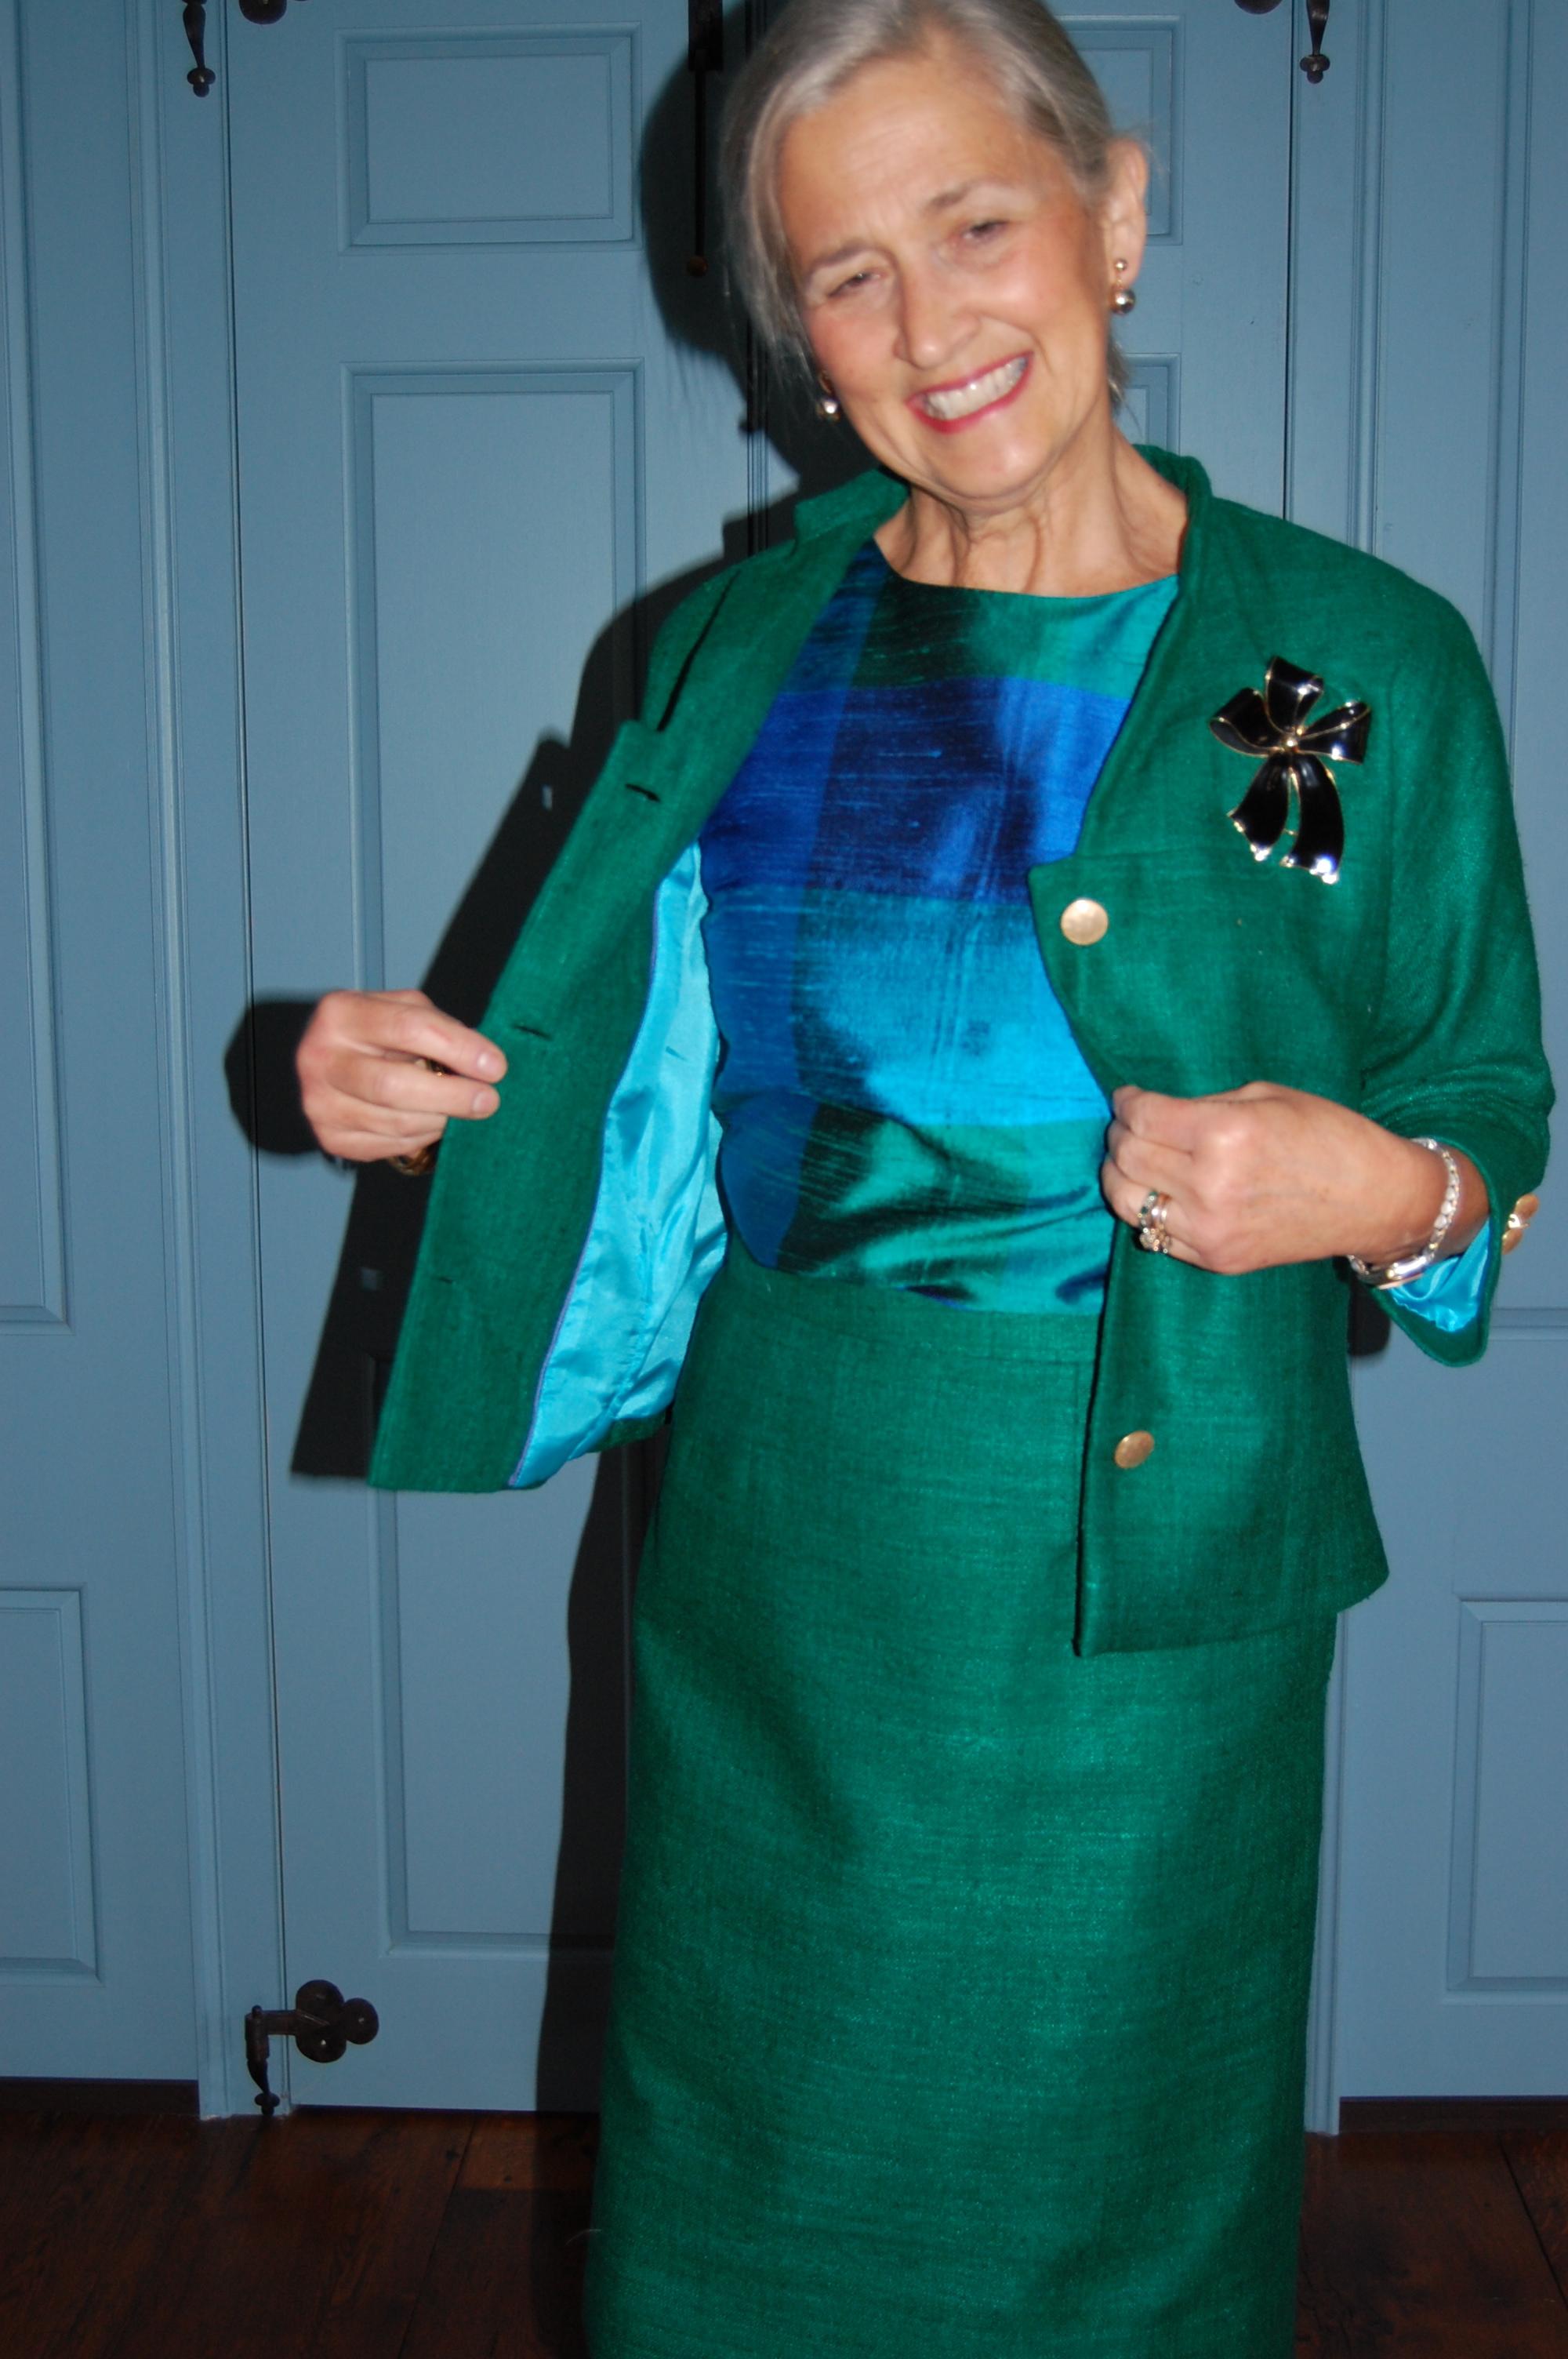
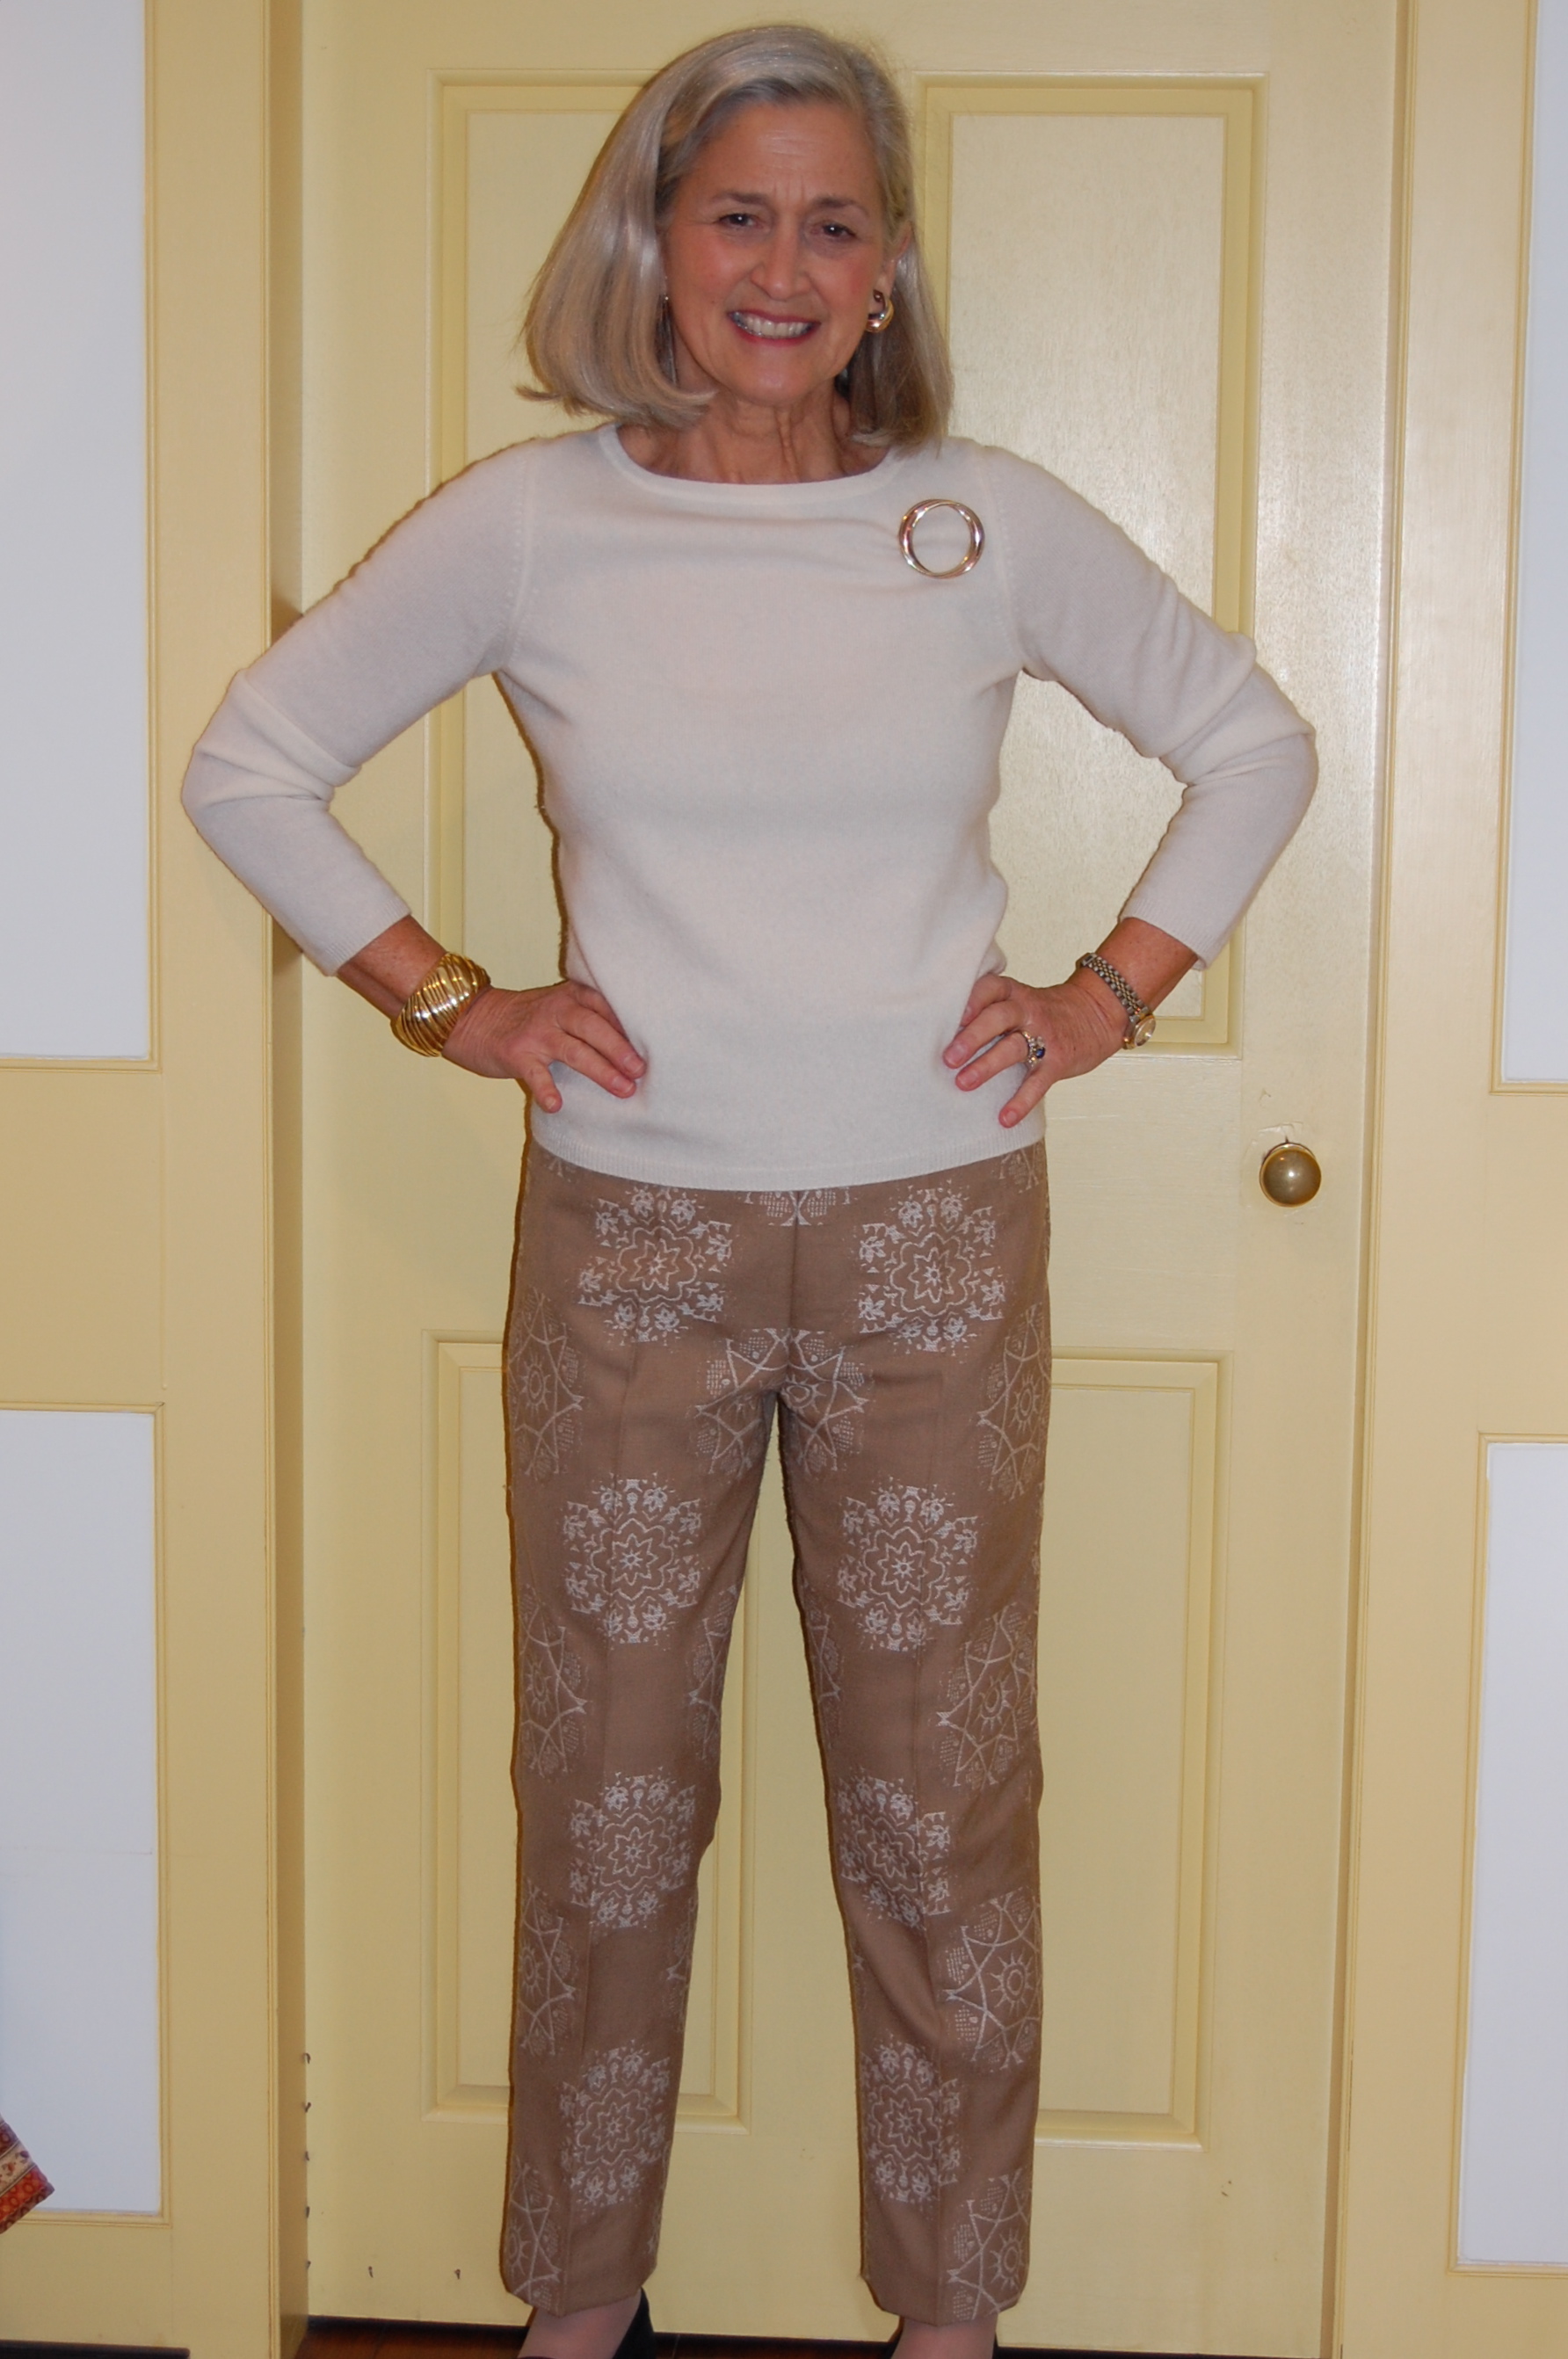
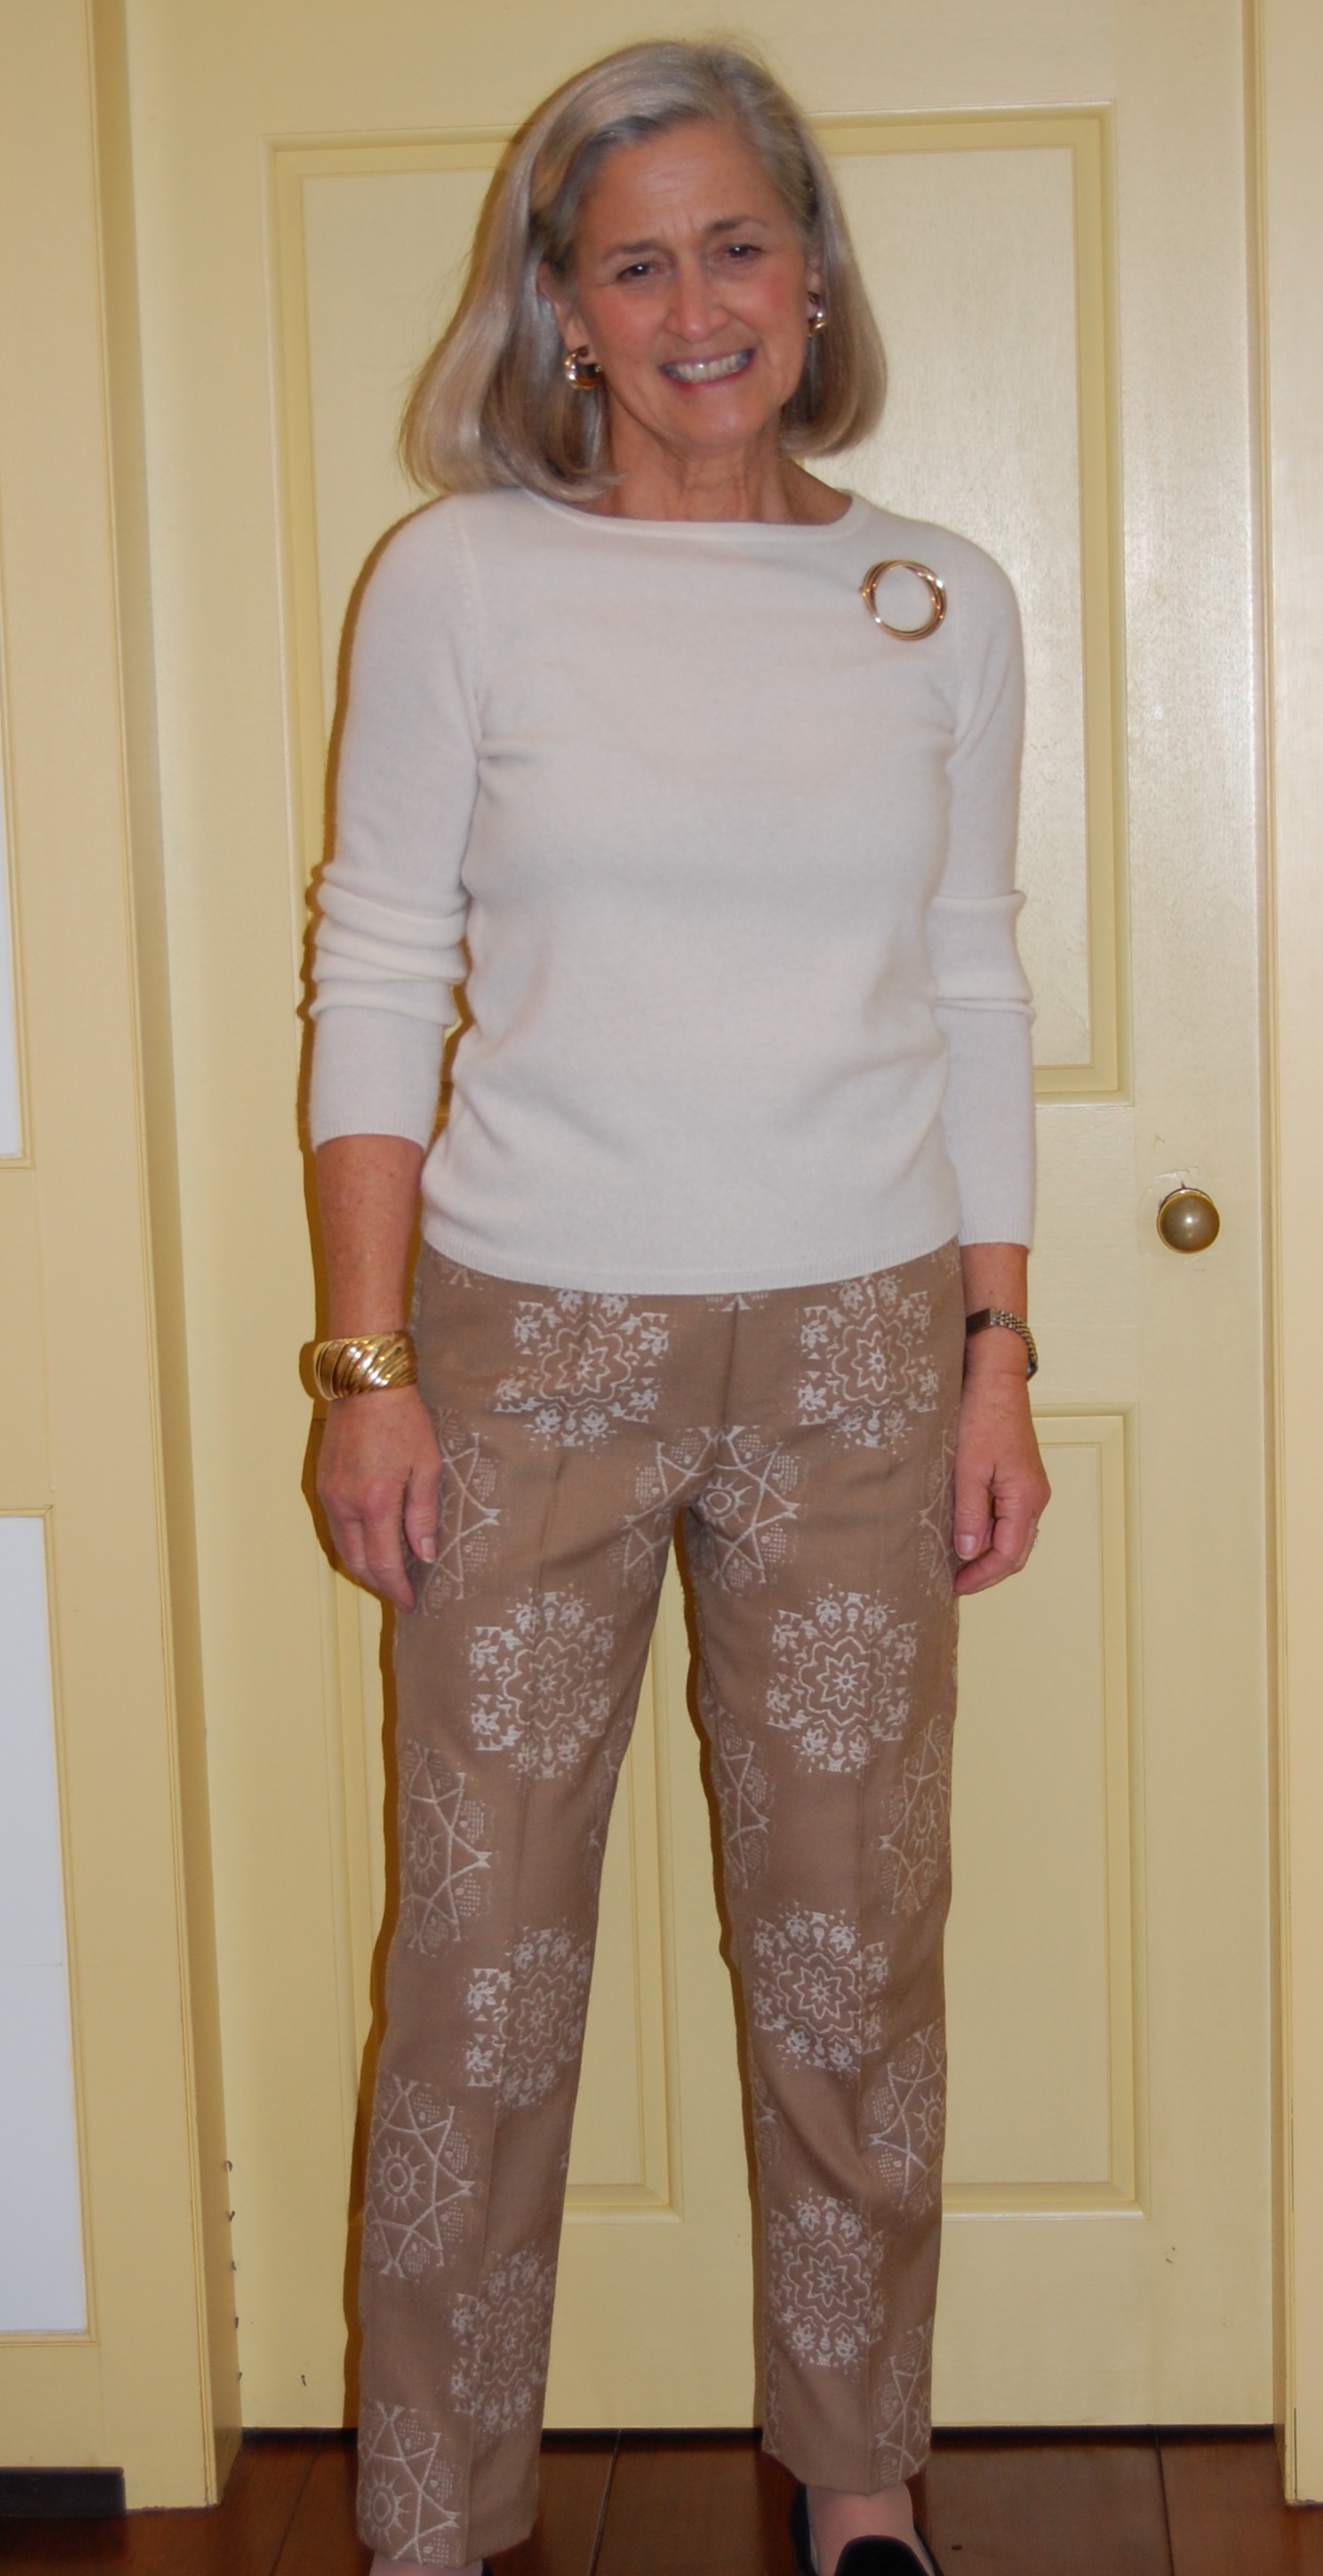
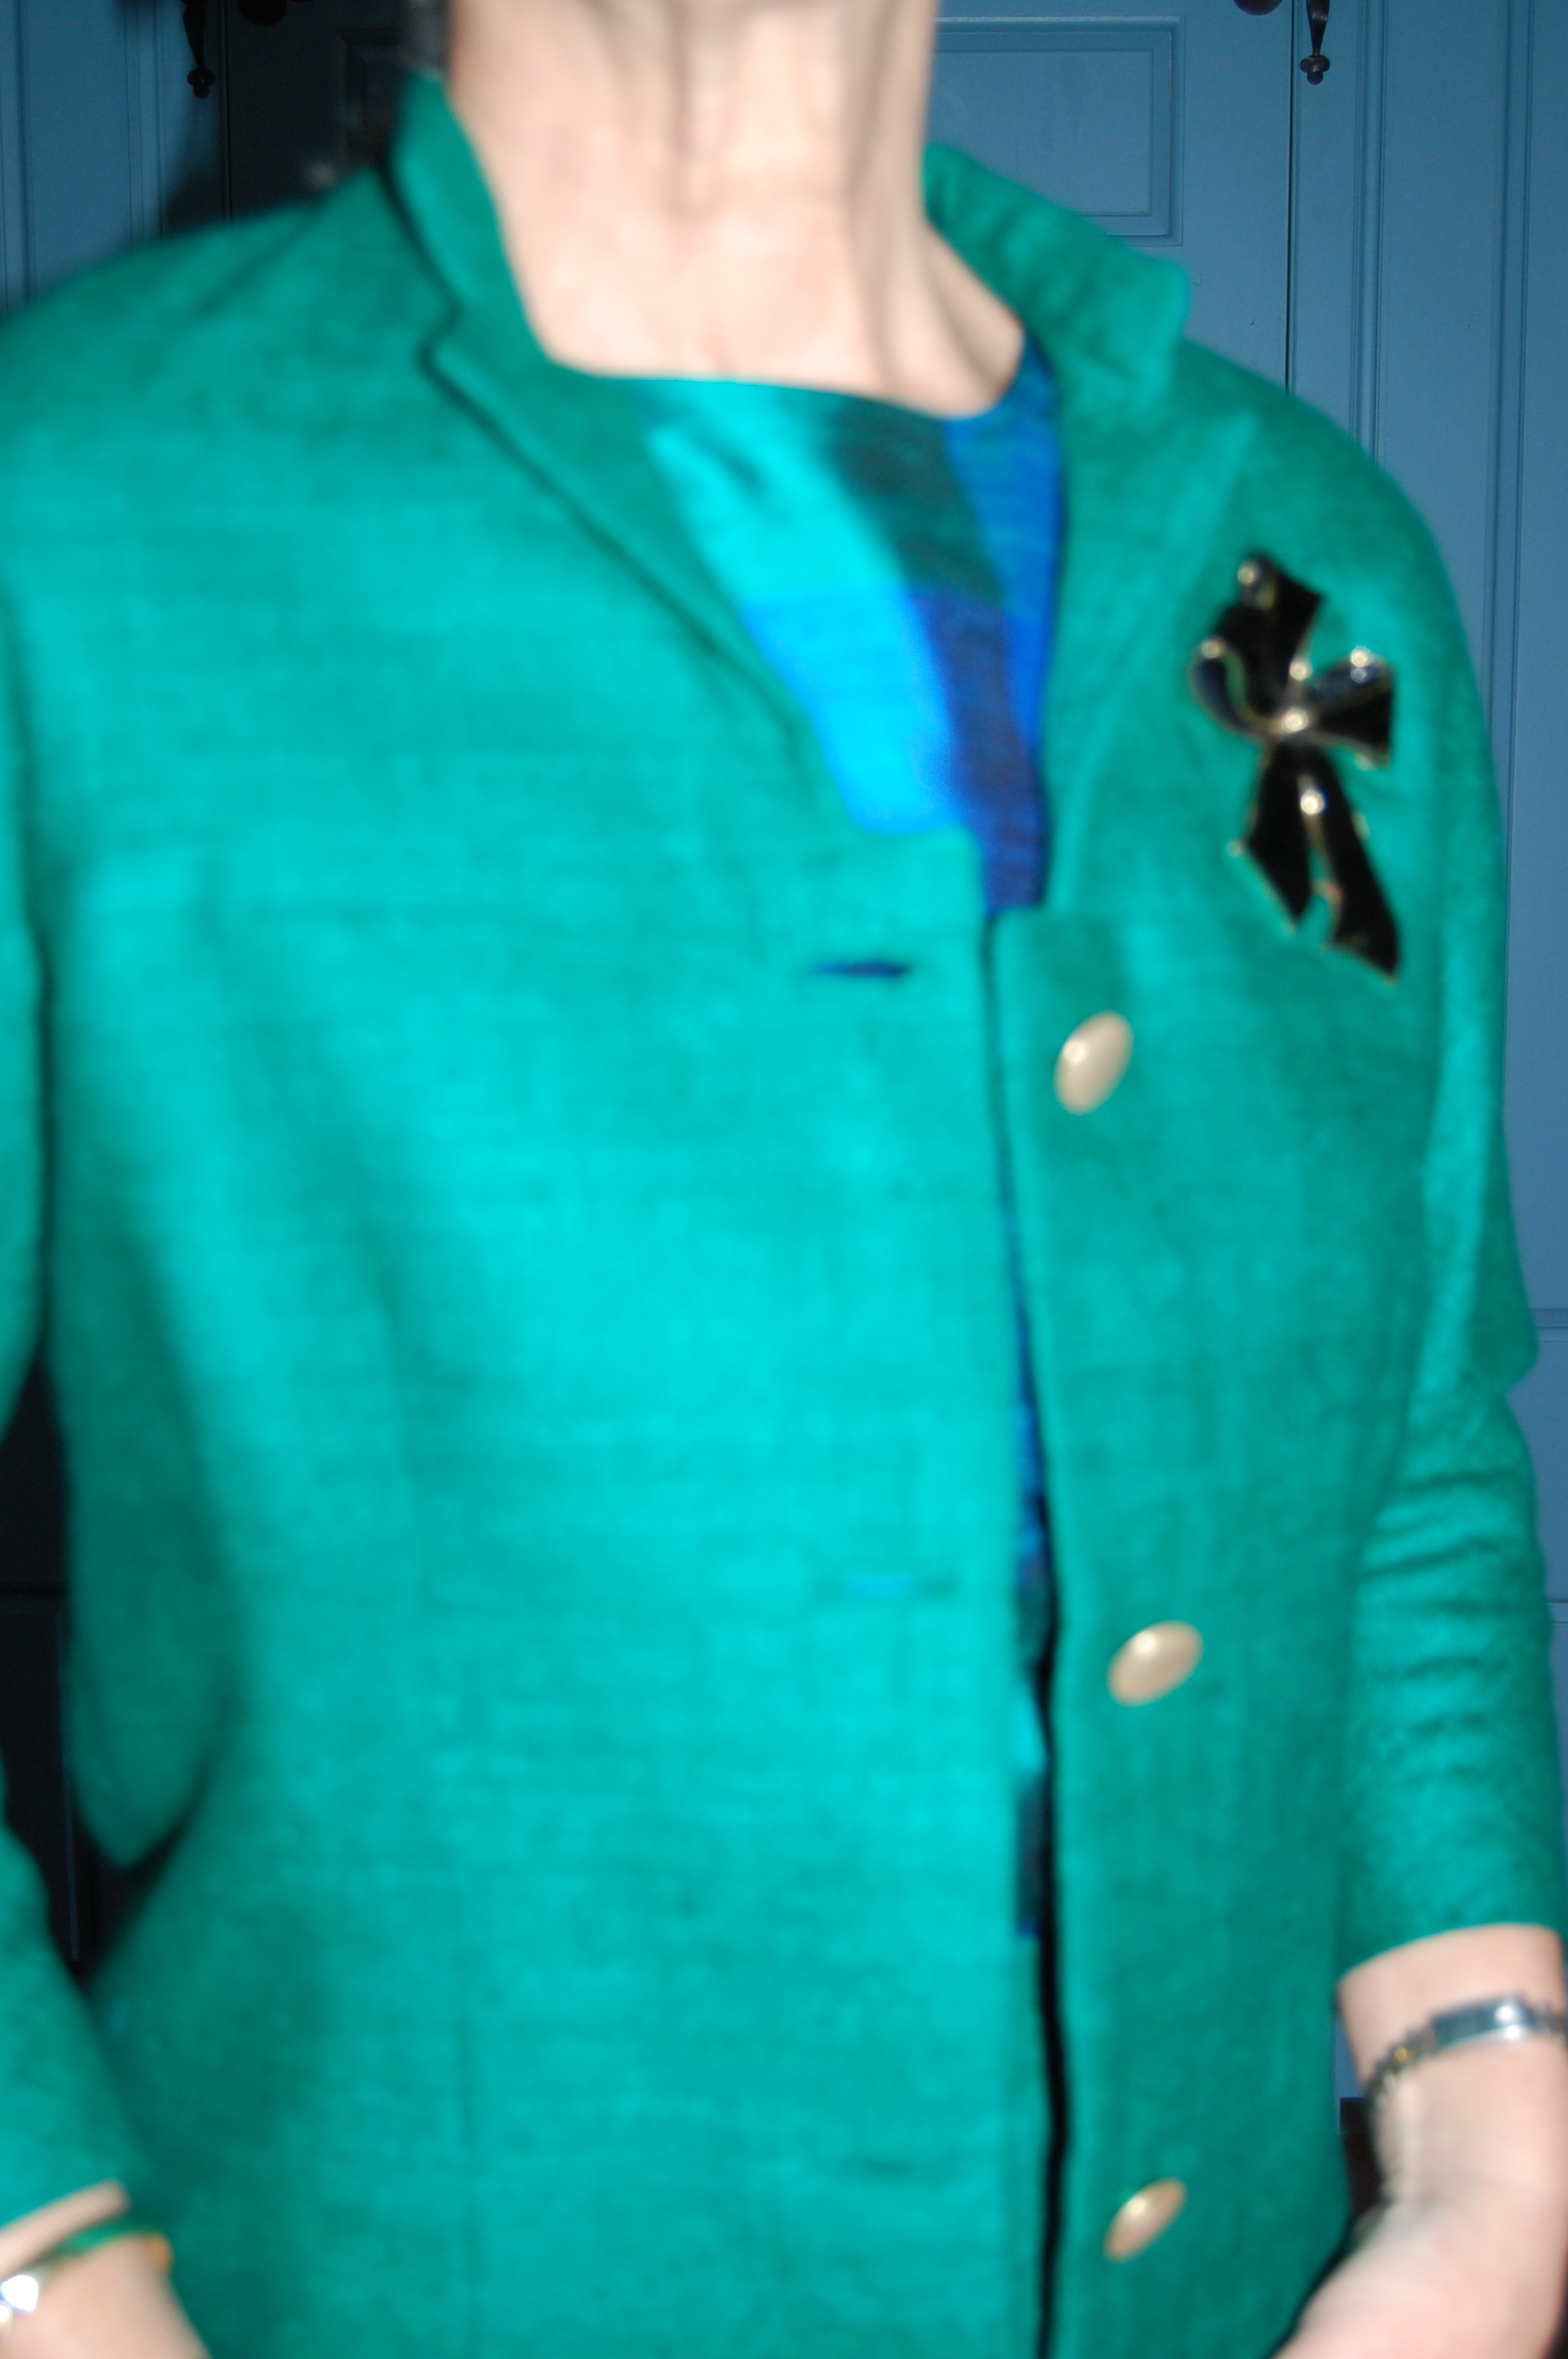
The silk shell I am wearing is a RTW one. I purchased it last Spring and now have something with which to wear it!
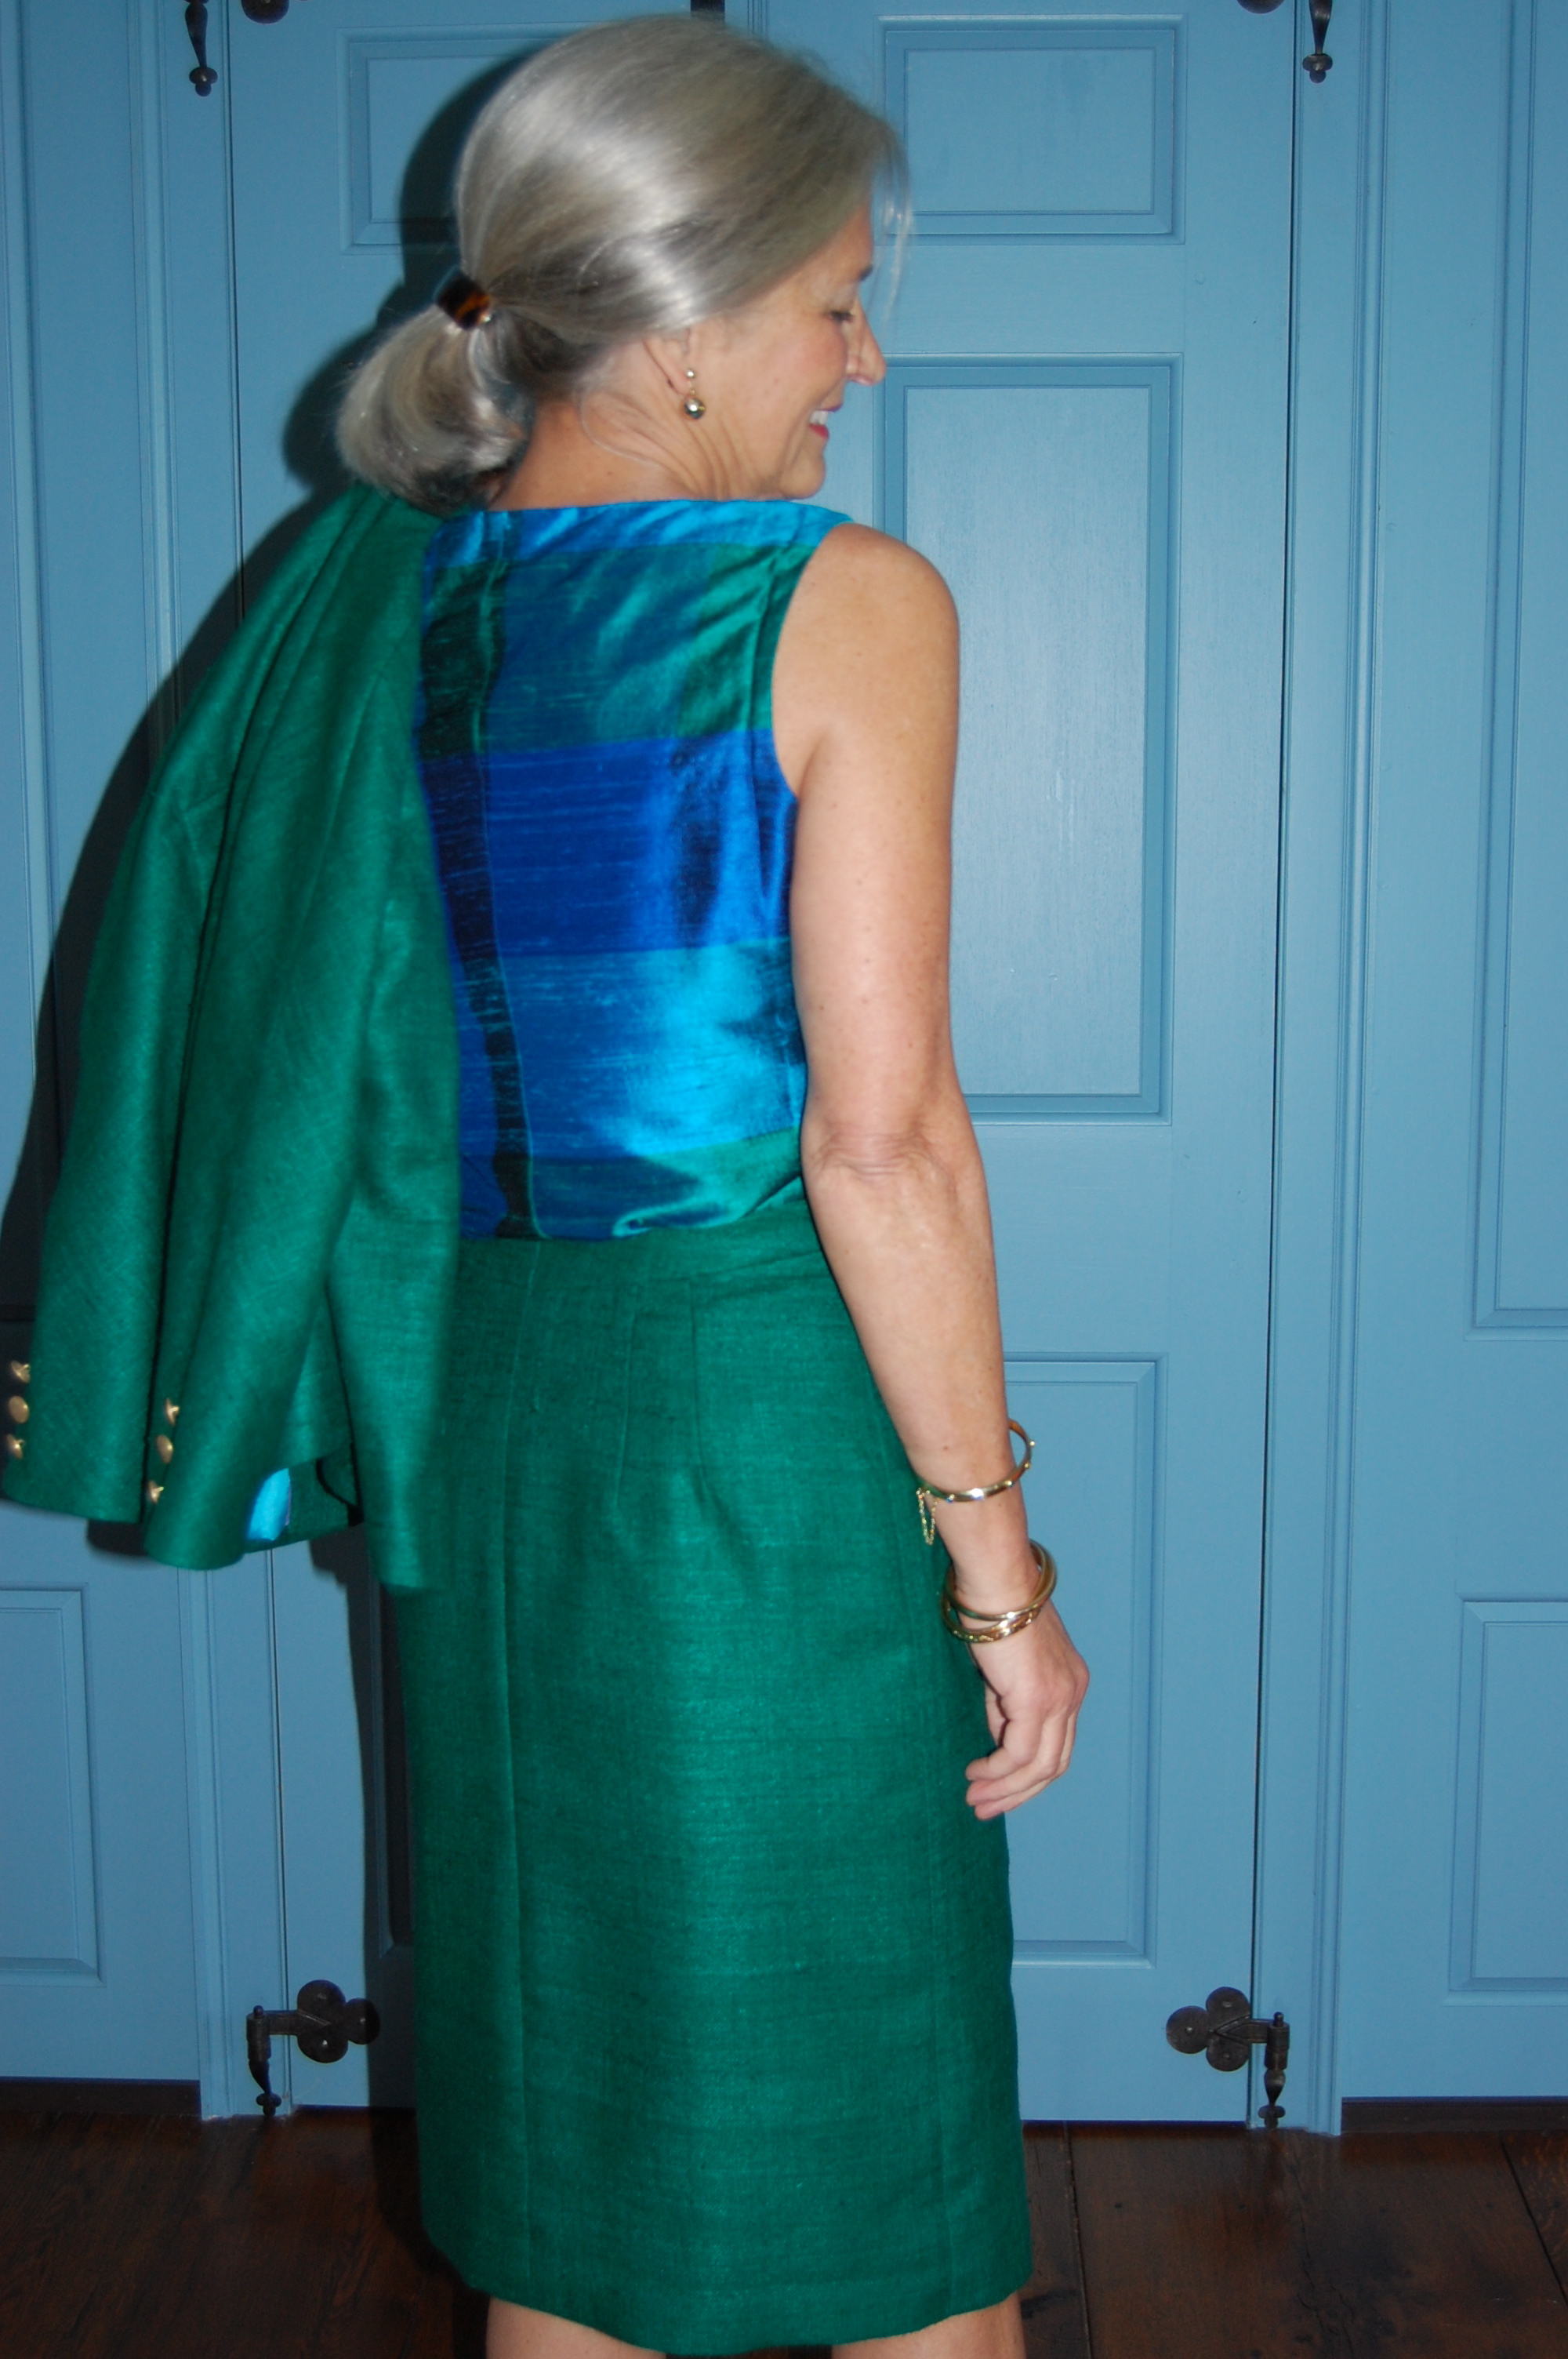
Another view, with jacket over my shoulder.
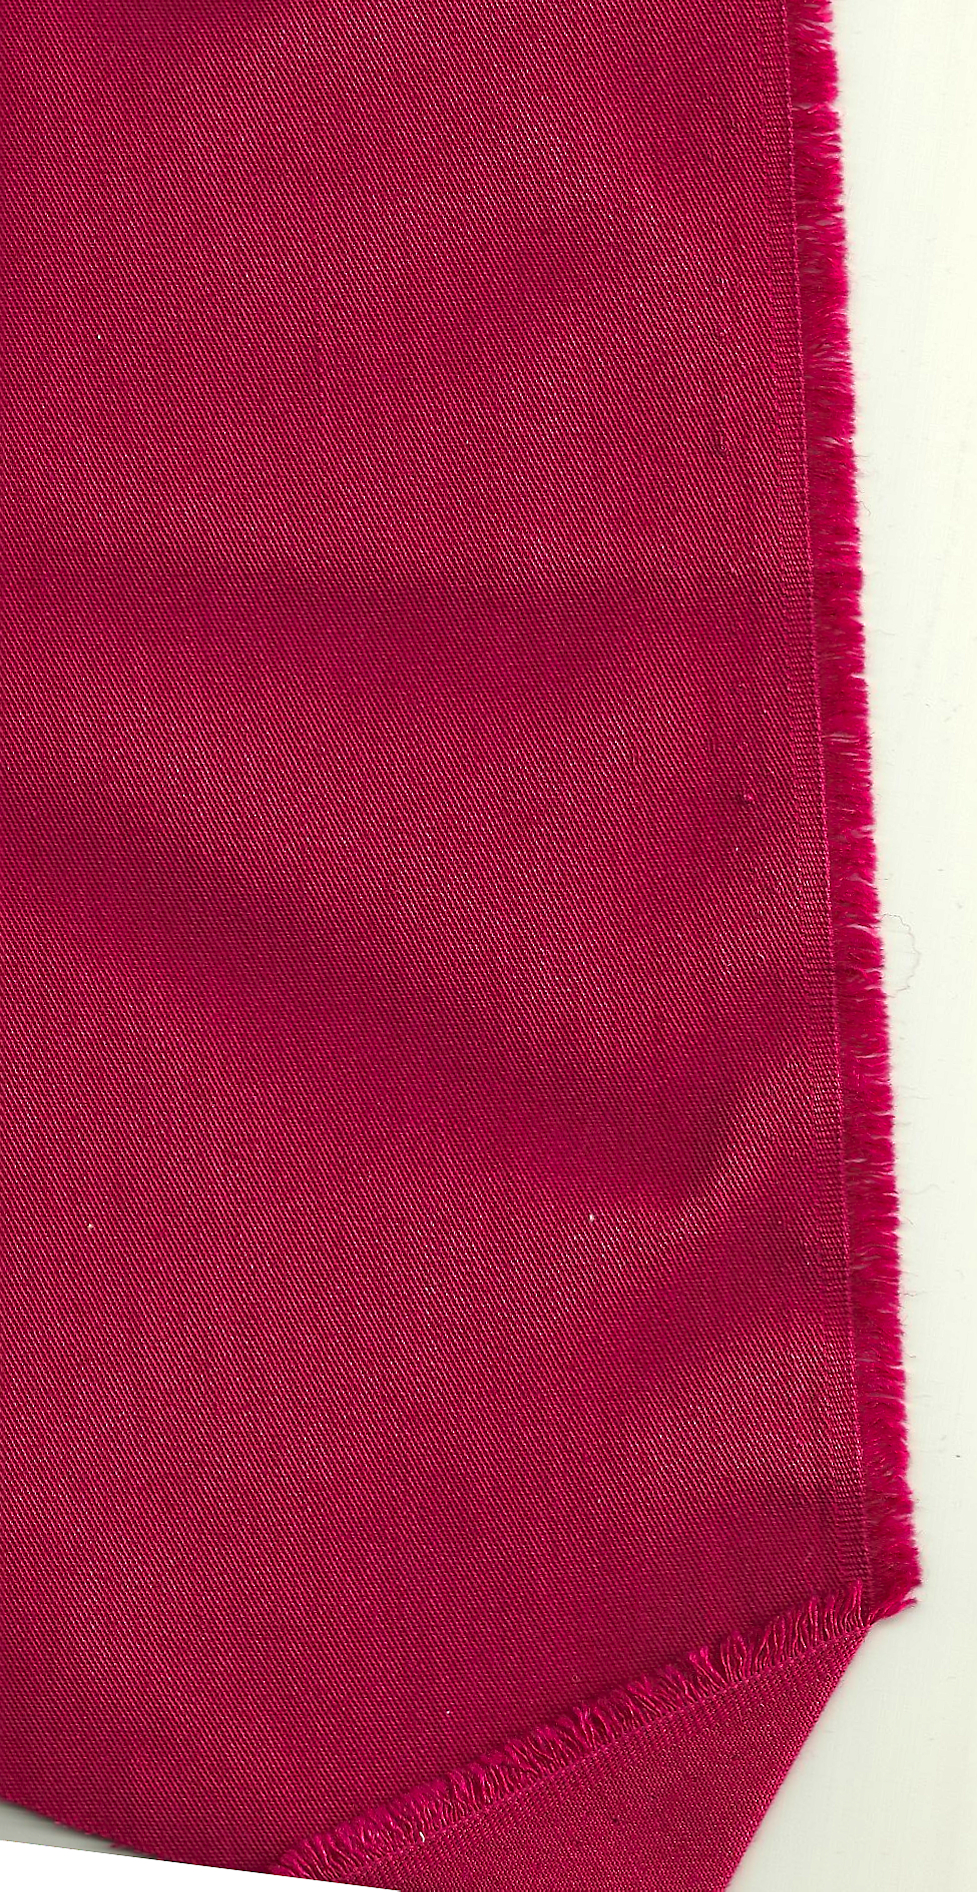
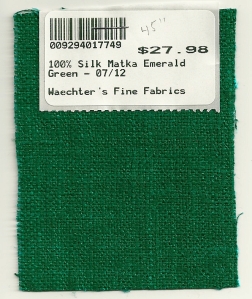
When I found this emerald green silk matka online last Fall at Waechter’s Fine Fabrics, I envisioned a skirt suit – or dressmaker suit, as this type of dressy suit is also called – but I had not progressed beyond that in my planning. Well, now this new grandmother is feeling pretty fortunate that, not only did I grow up with the styles from the 1960s, but they are making me feel quite fashionable now that I am in my 60s!