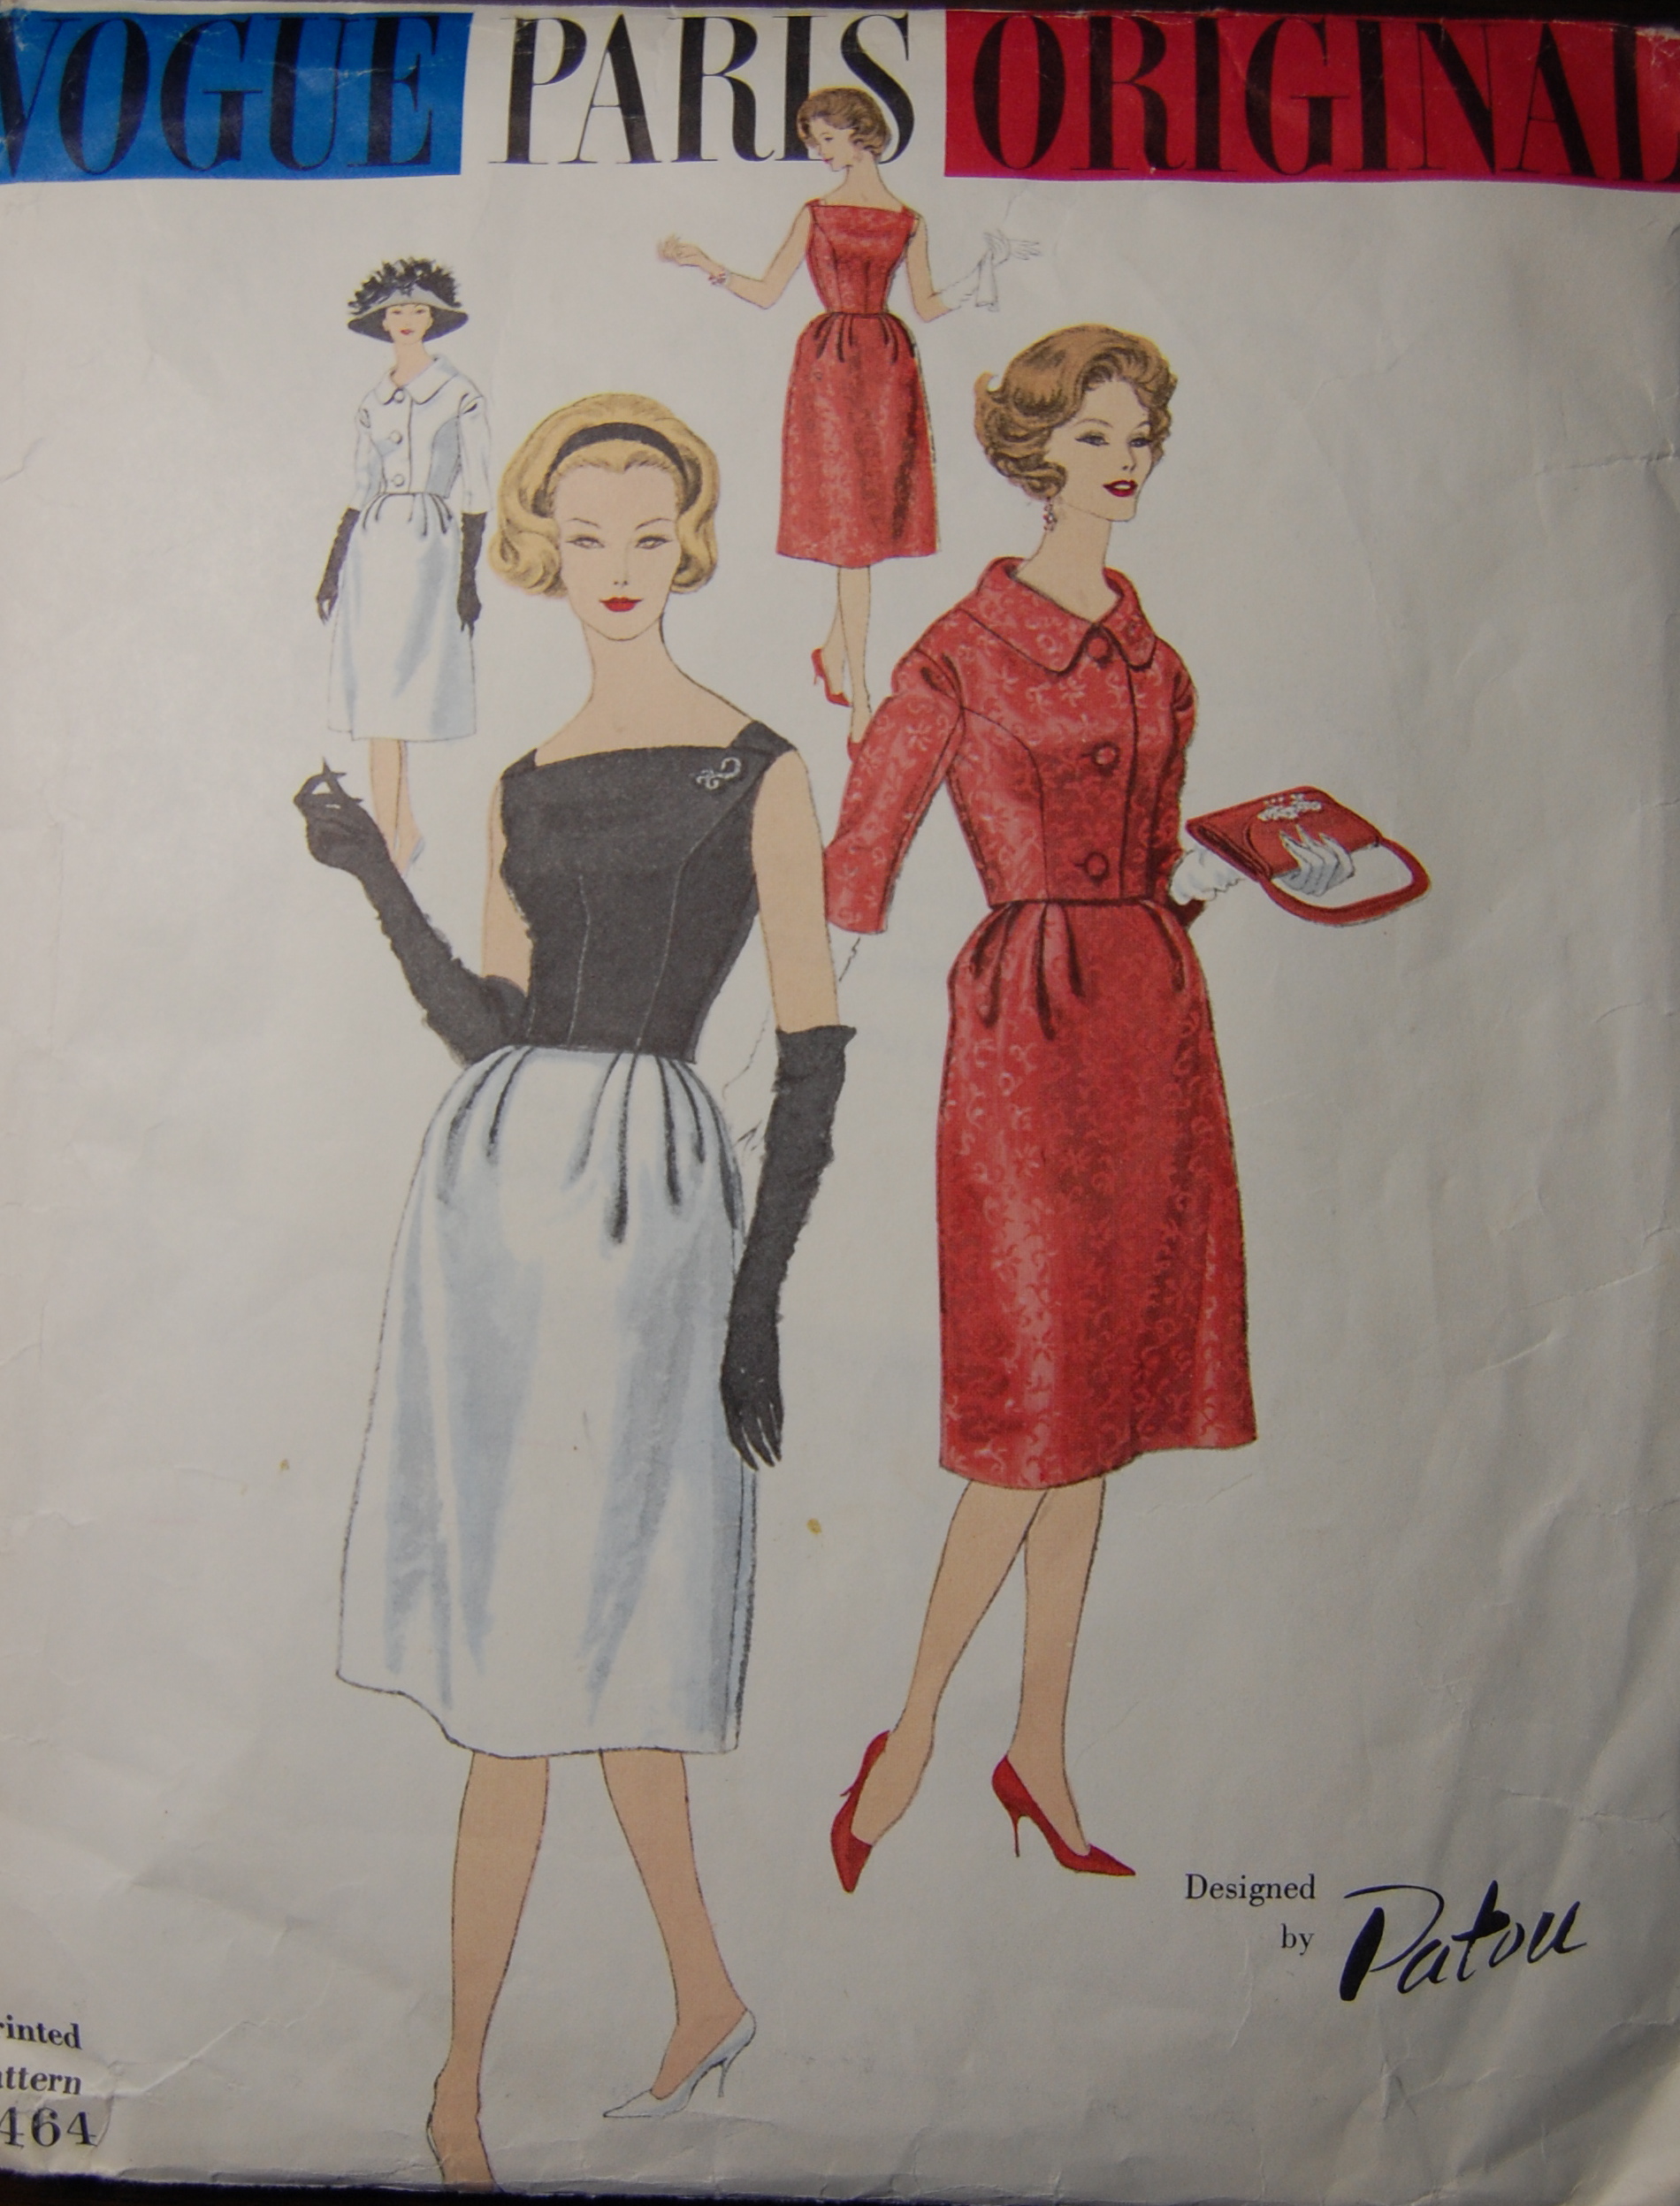
Why is it that we so often think every wedding to which we are invited means we need a new dress? Sometimes it is warranted; maybe we really do need a new dress! Maybe what we already have in our closet isn’t right for the season or the “ambience” of the wedding site. Maybe the couple getting married is very dear to us, and it just seems right to celebrate this event with something new and special. Maybe the wedding season is busy enough that we really cannot wear the same dress to multiple events where we will probably see many of the same friends and people. But maybe, just maybe, a wedding invitation is exactly the perfect excuse we need to indulge our love of fancy, dressy clothes.
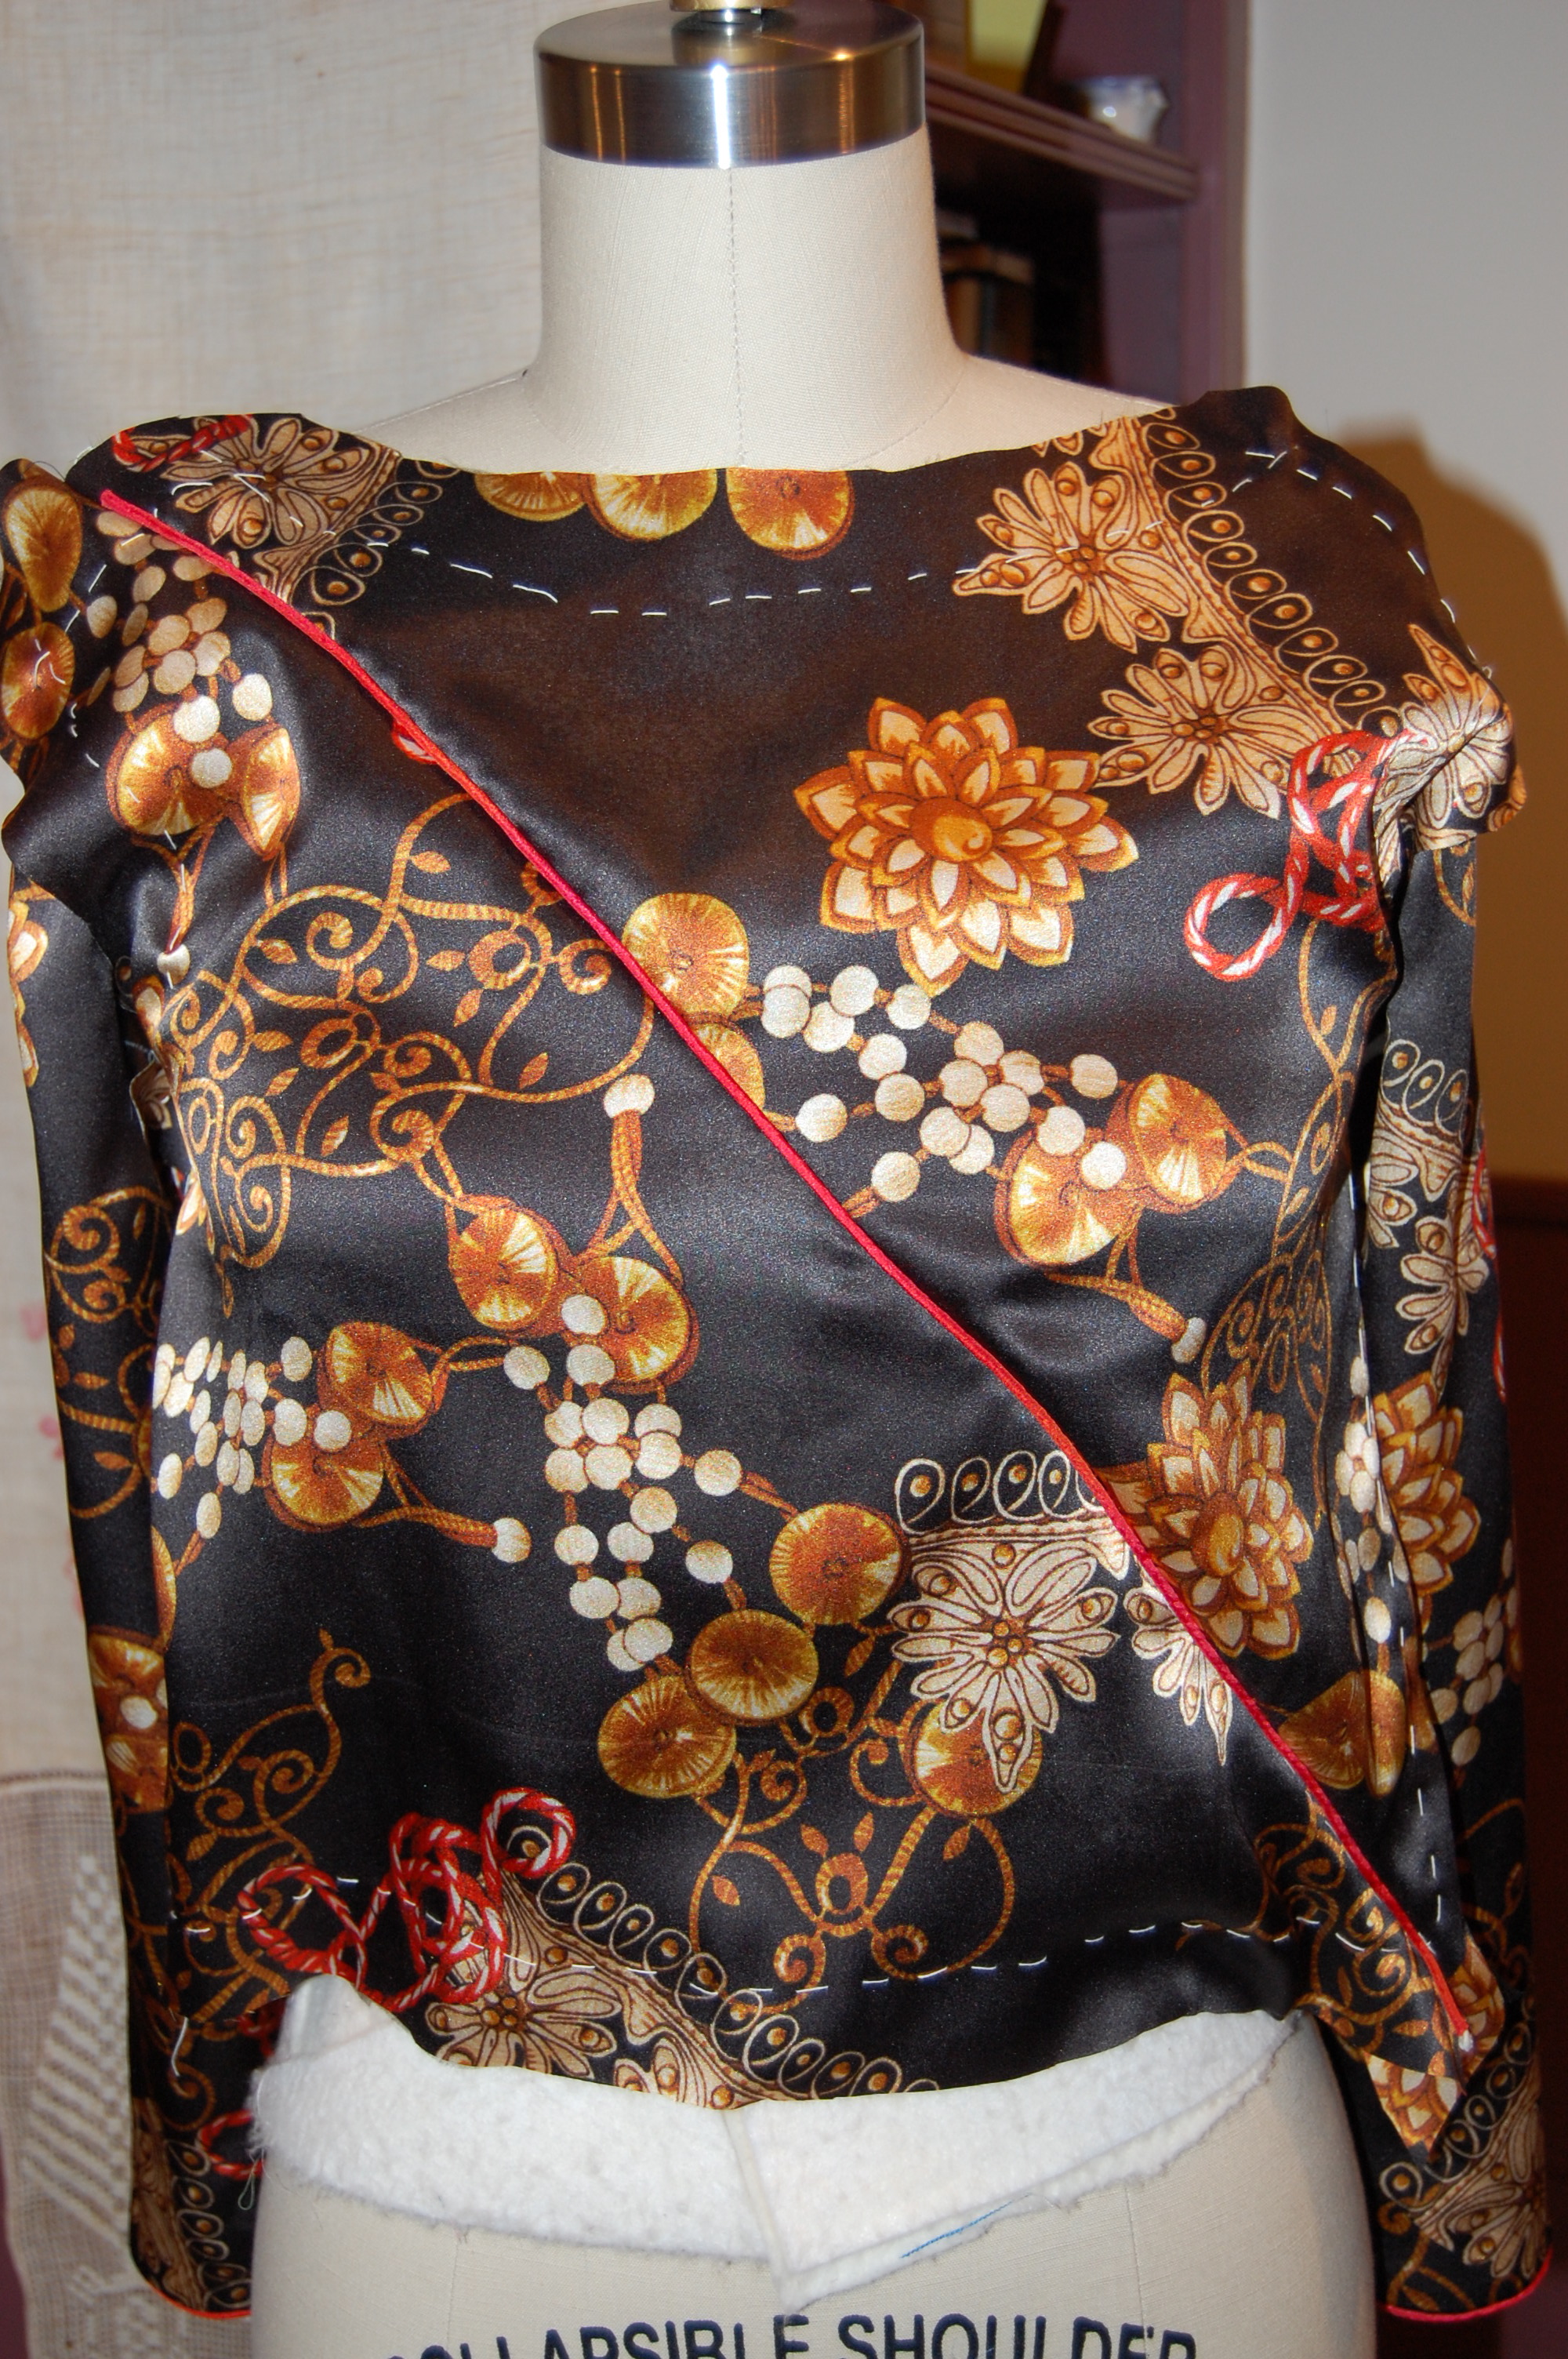
Fortunately, I have not only a wedding to attend, but also, the following weekend, another elegant evening of “cocktails, dinner and dancing,” so it just seemed appropriate – necessary even! – to make a dress/ensemble that could suffice for both. Well, the dress is done, but not the jacket.

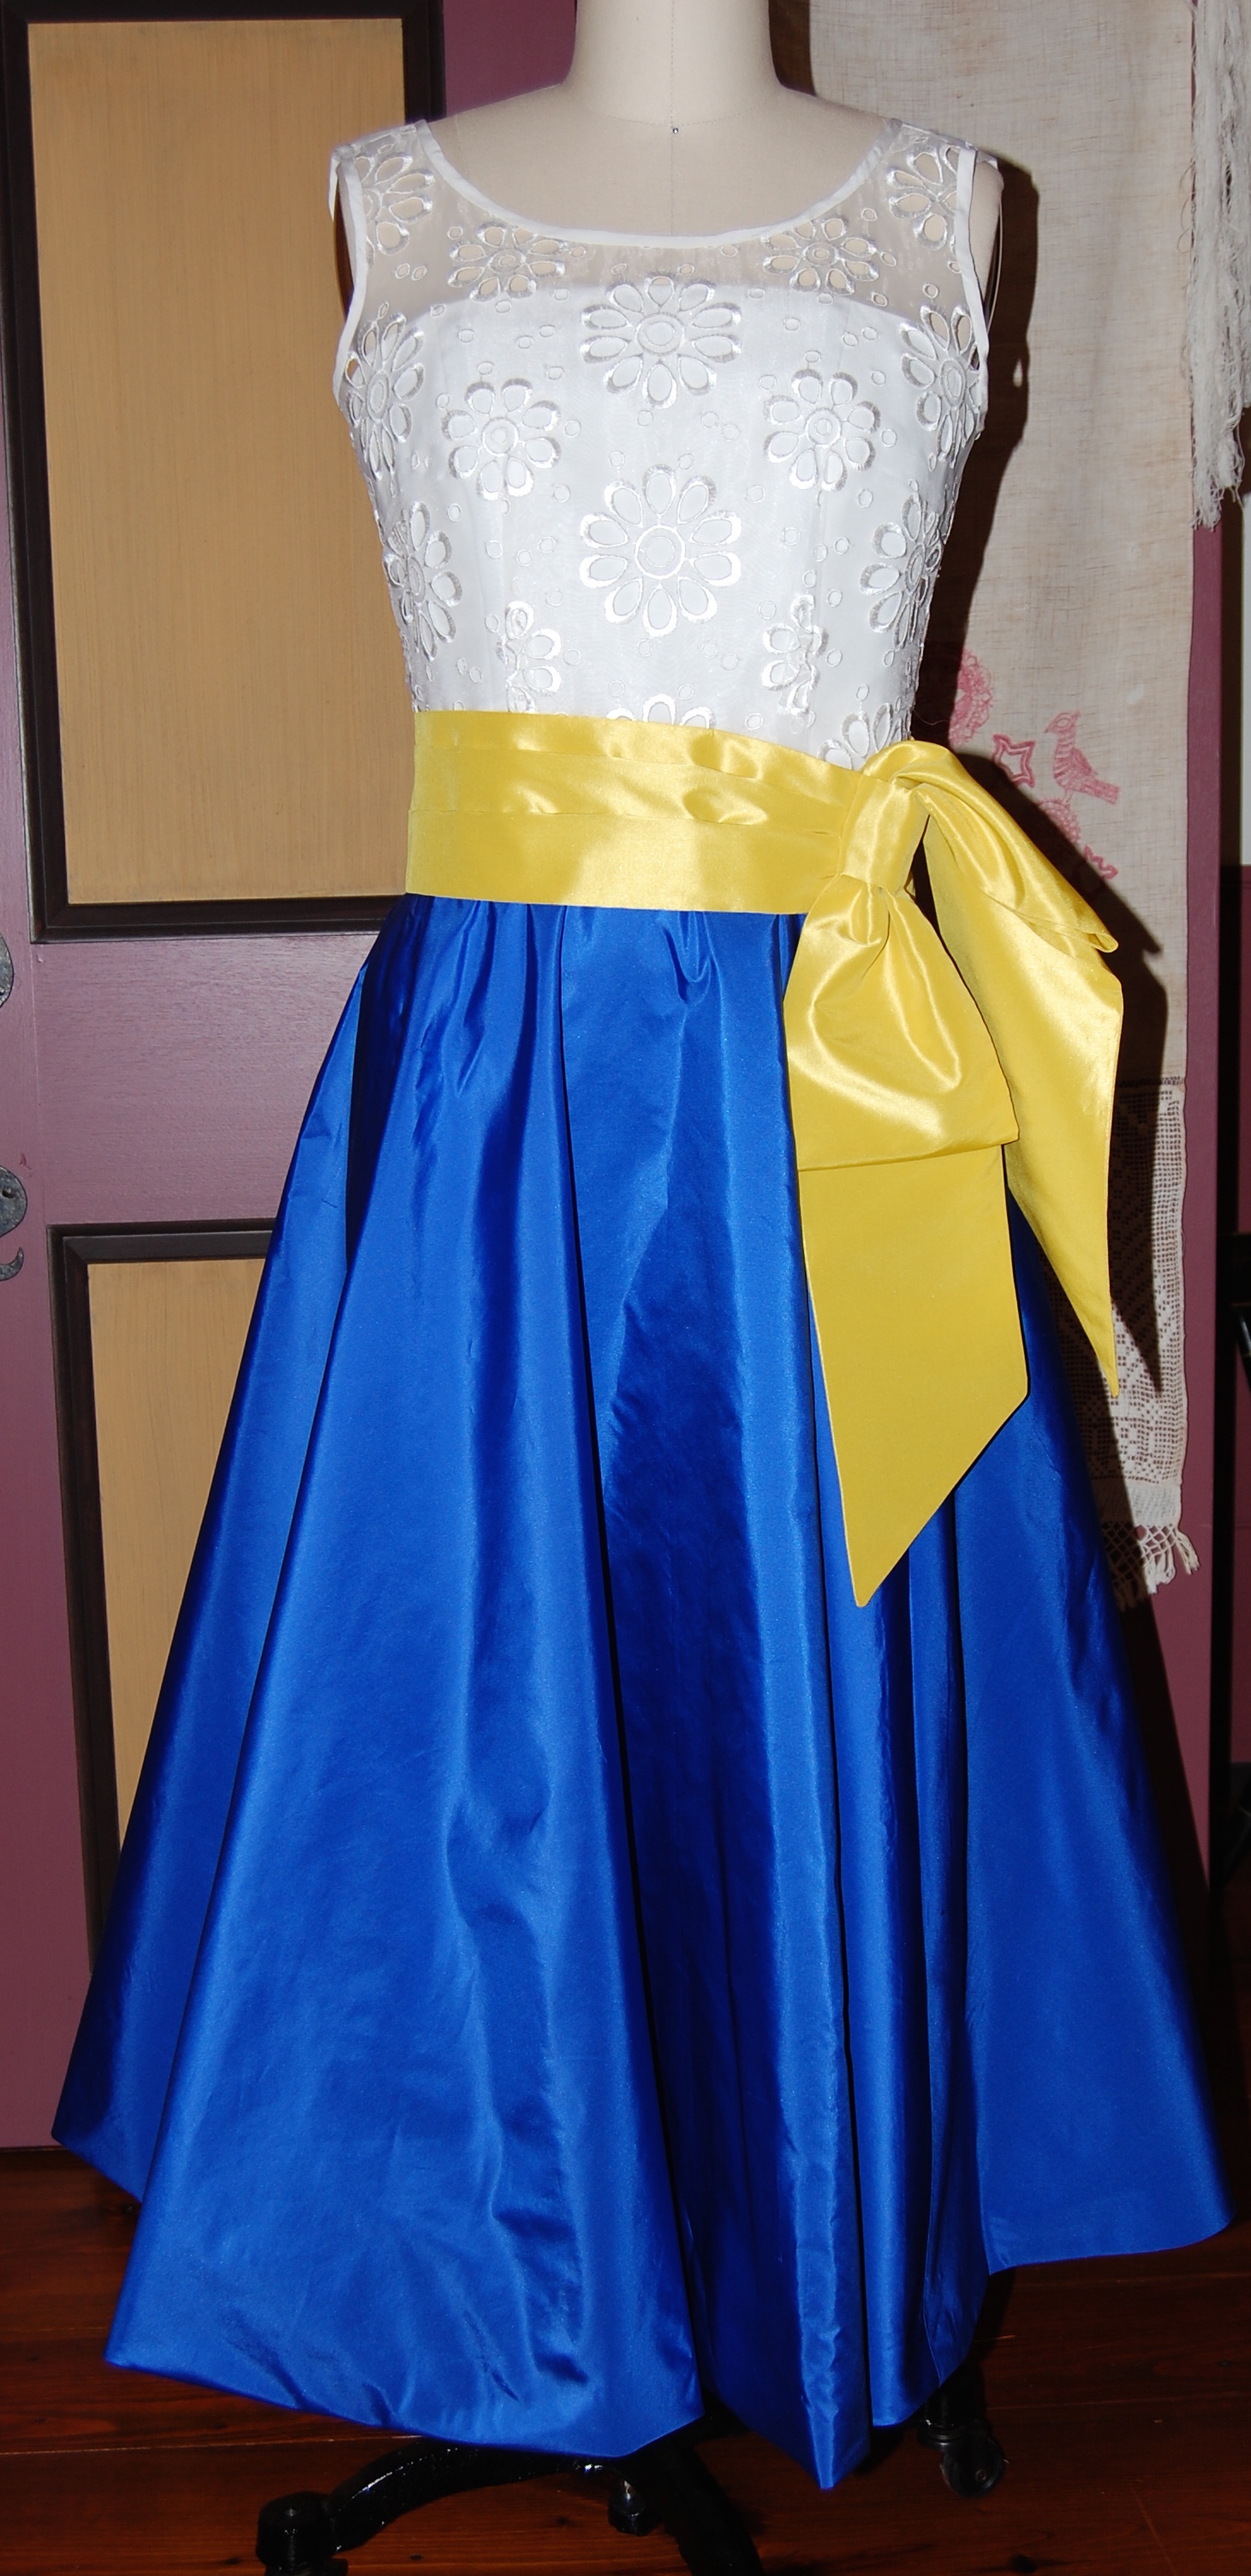
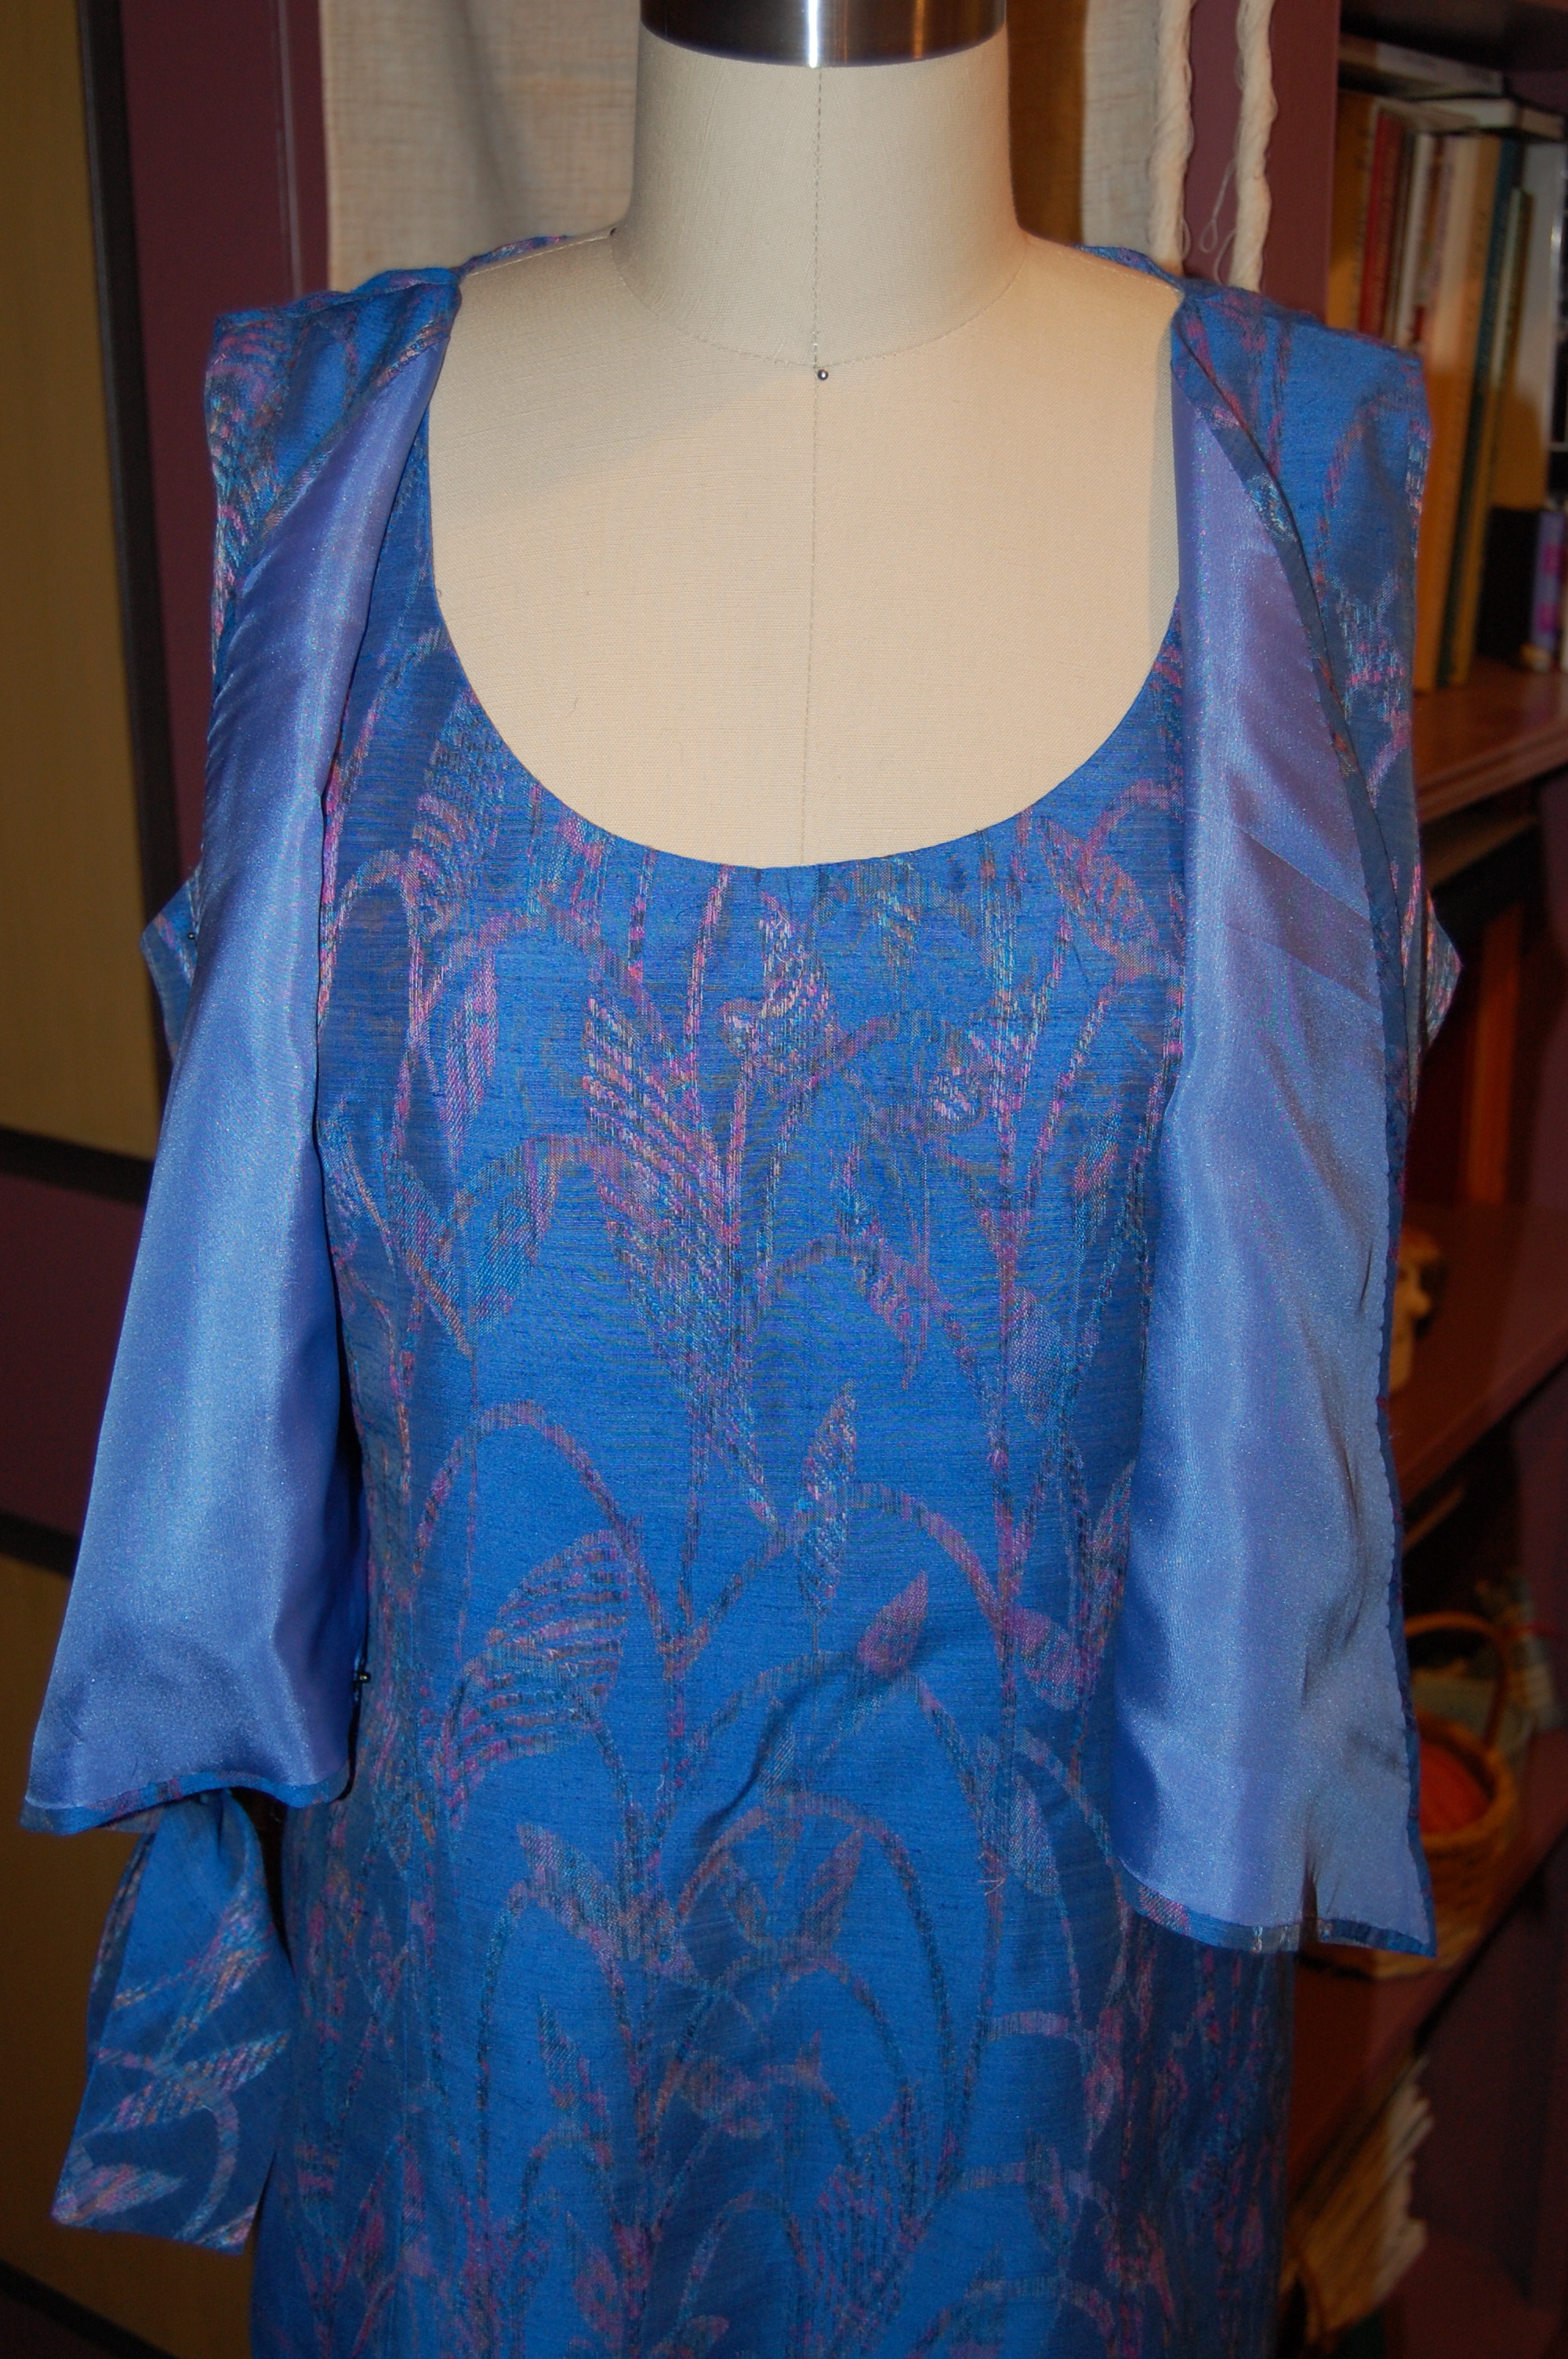
Front . . .

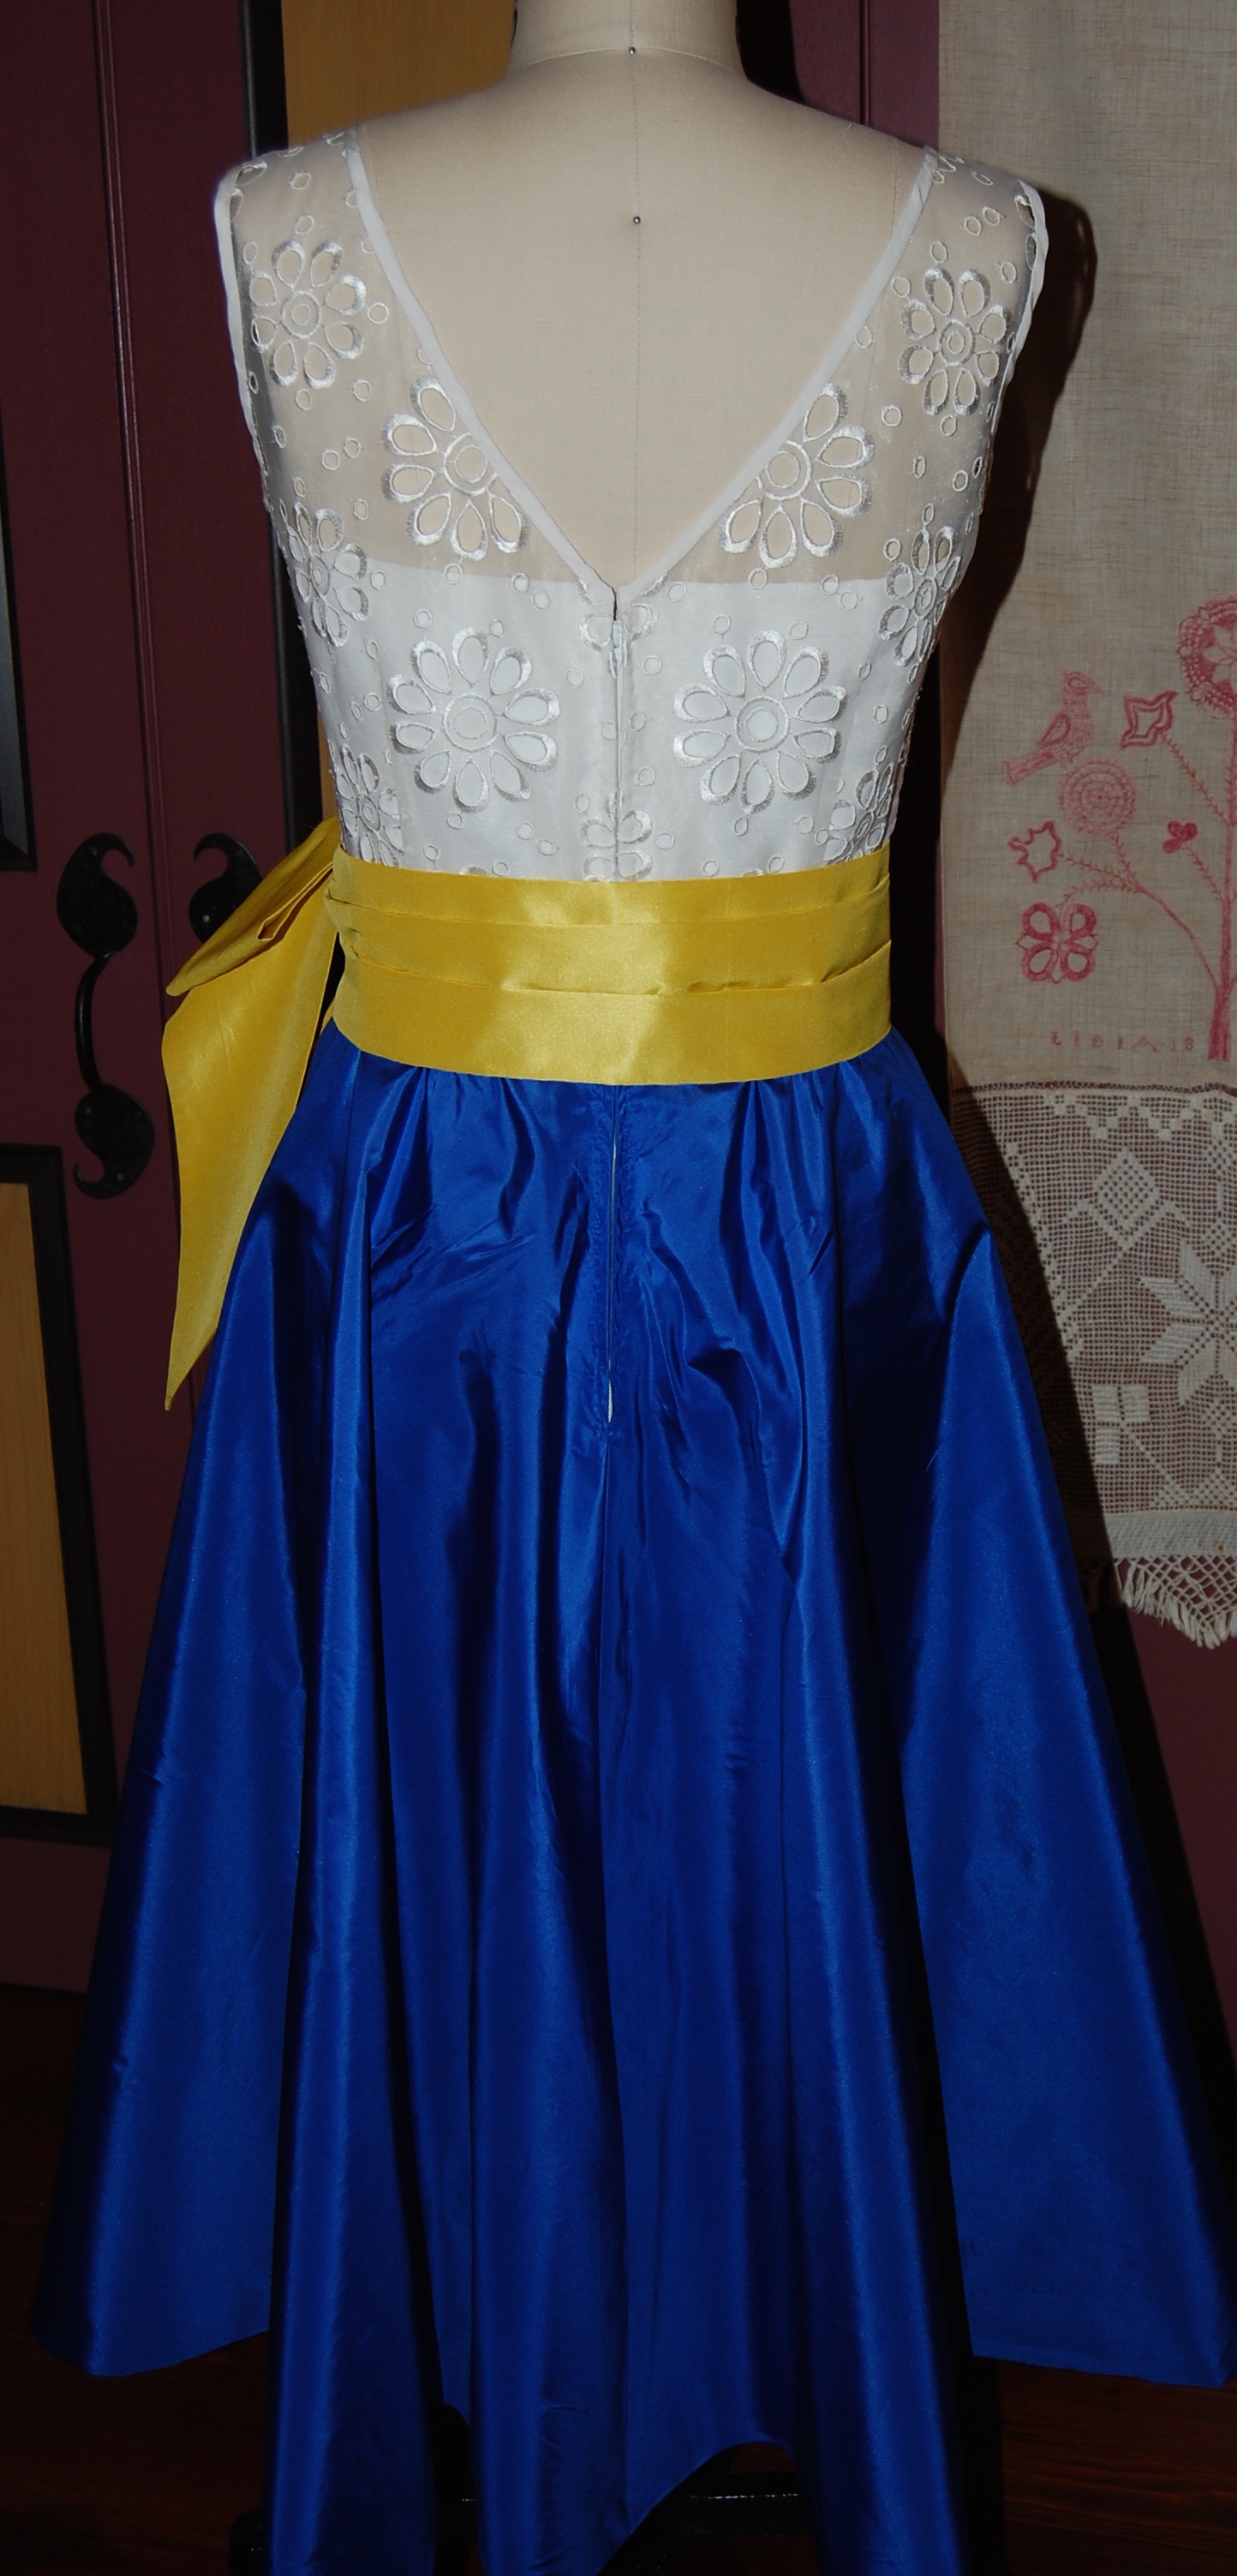
. . . and back

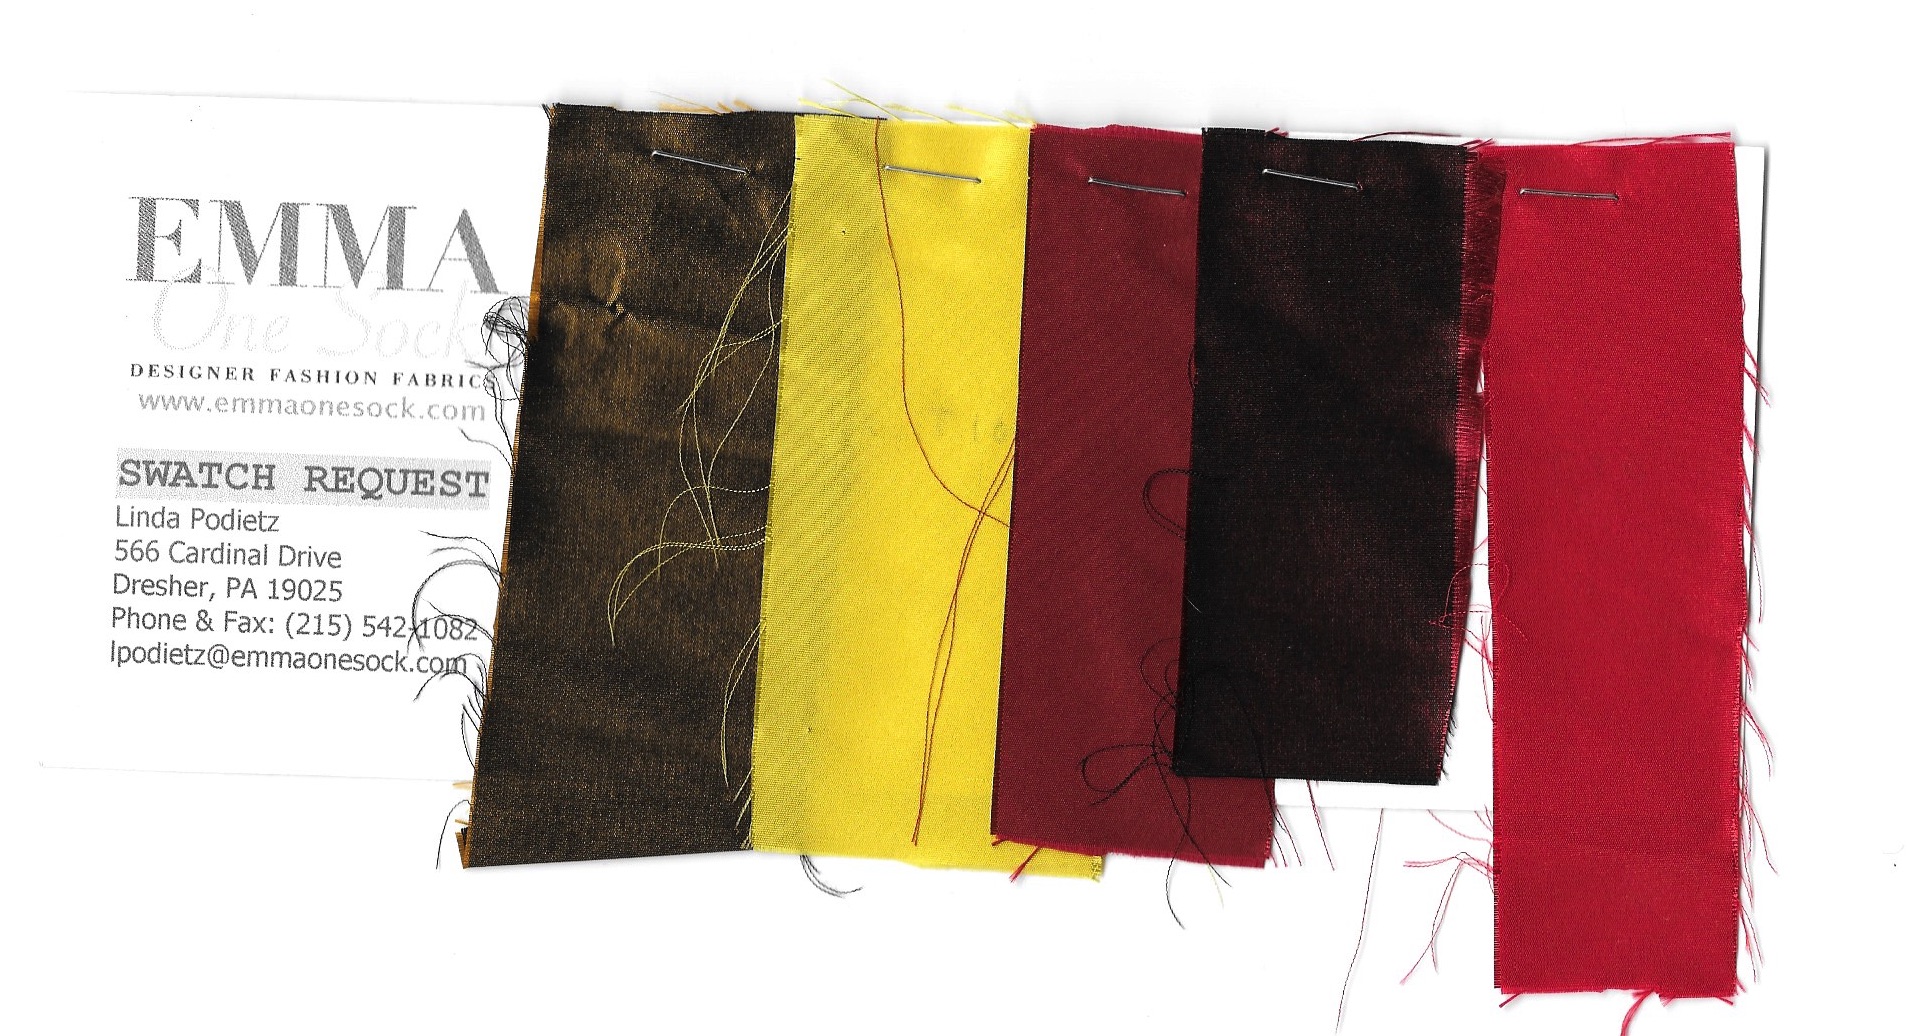
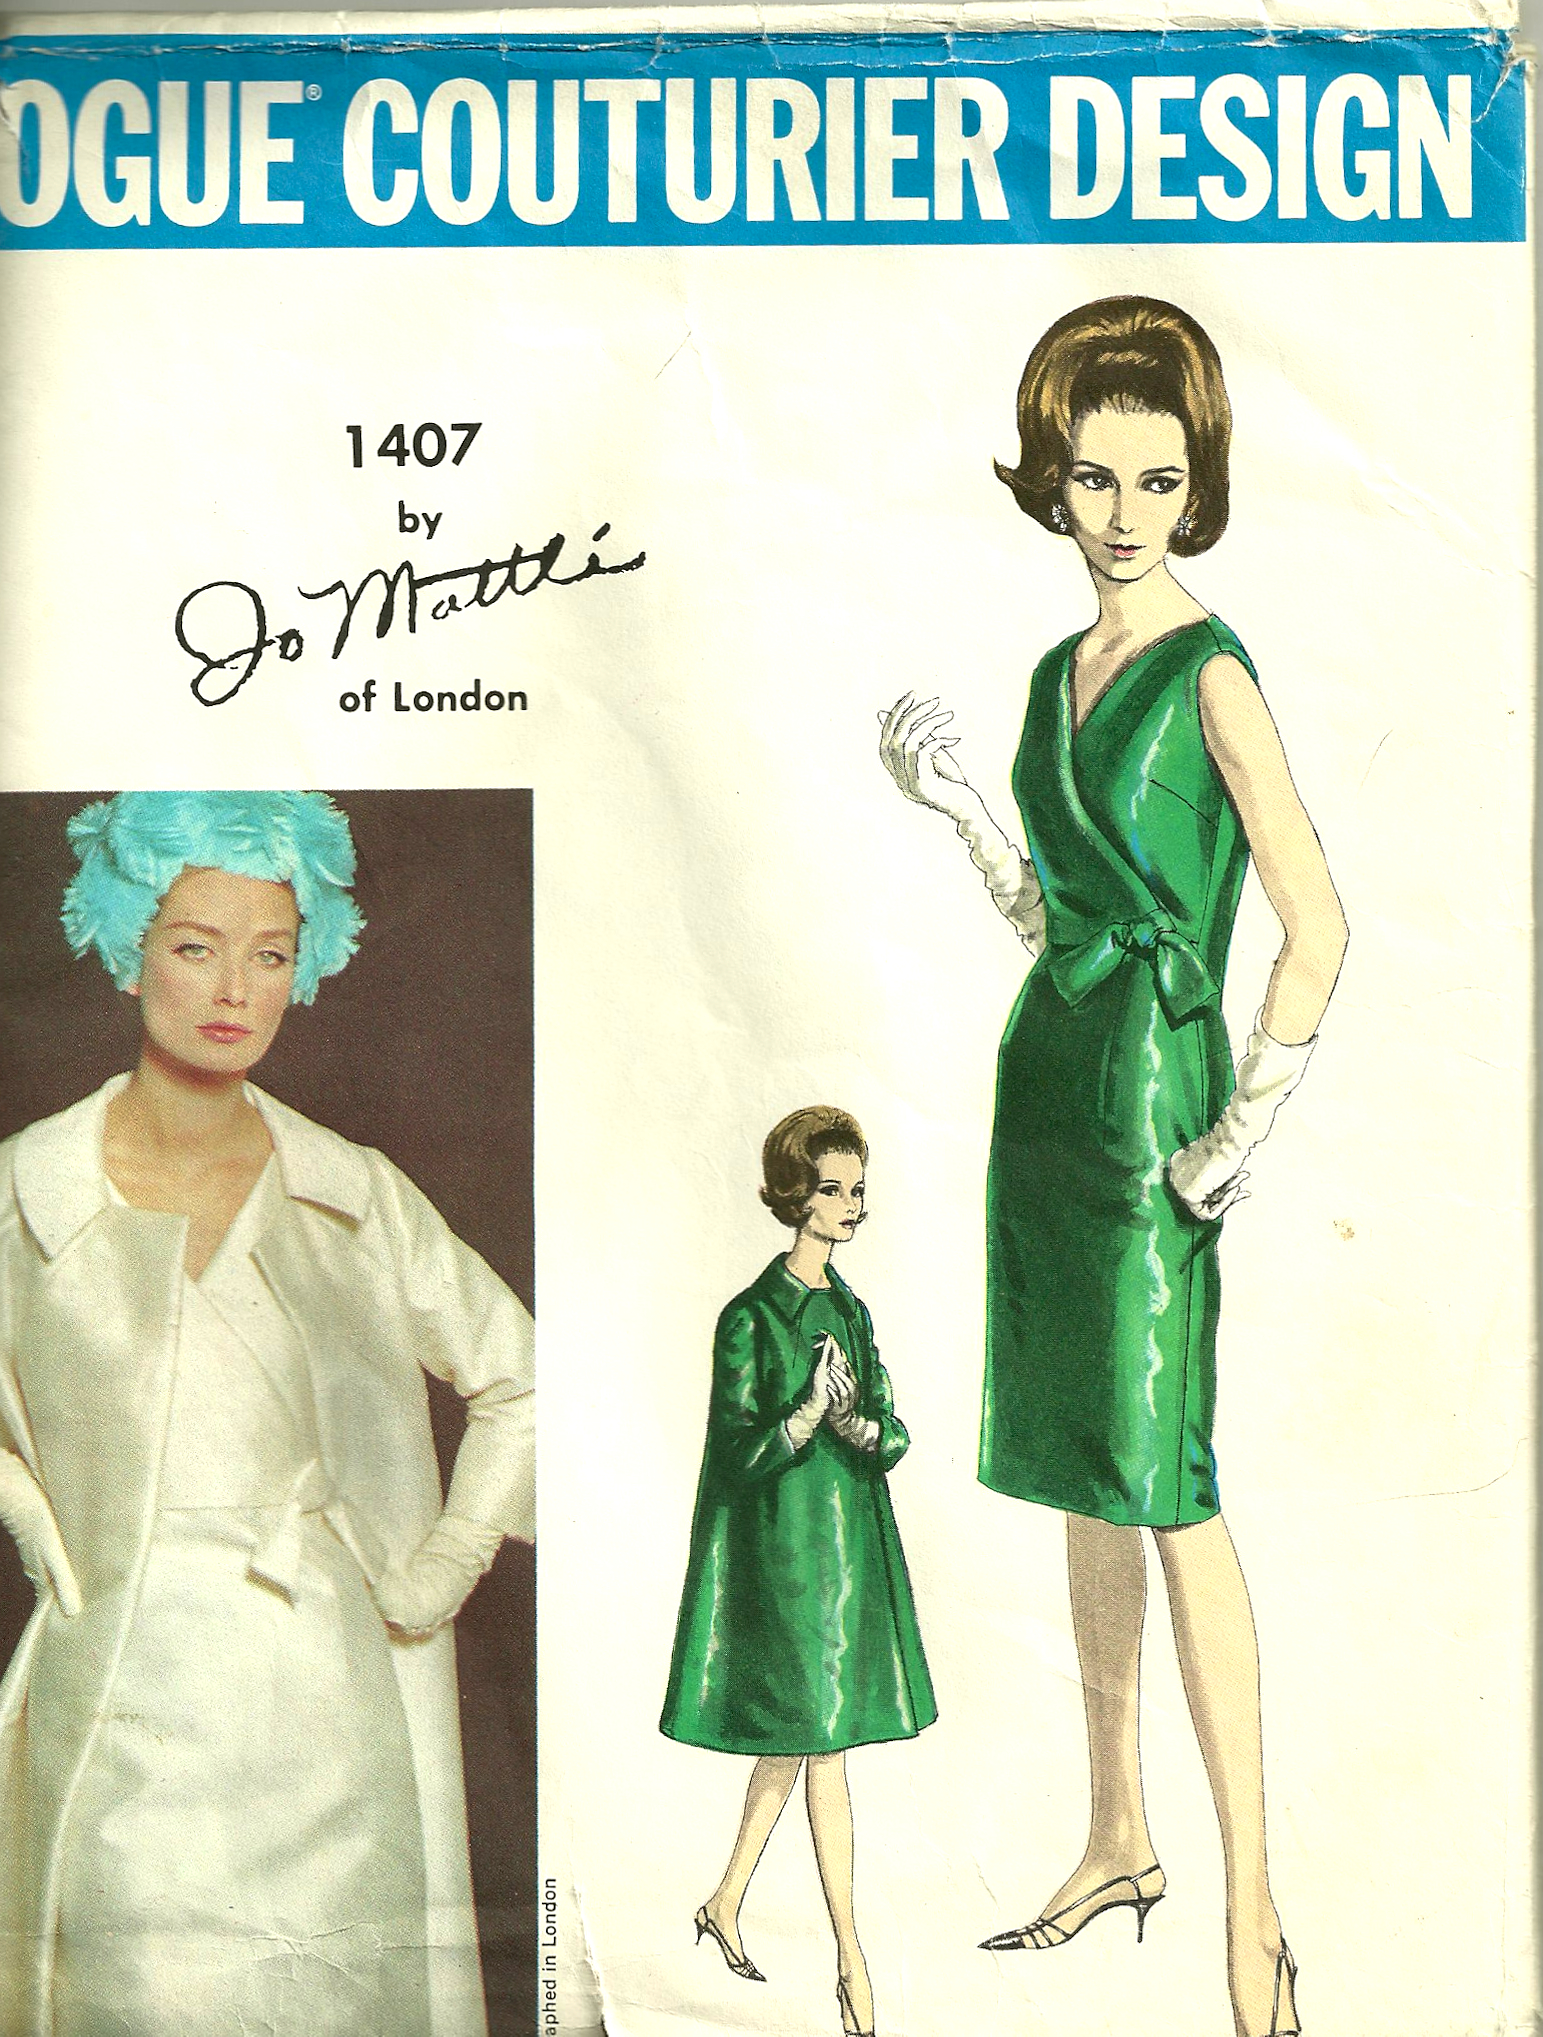
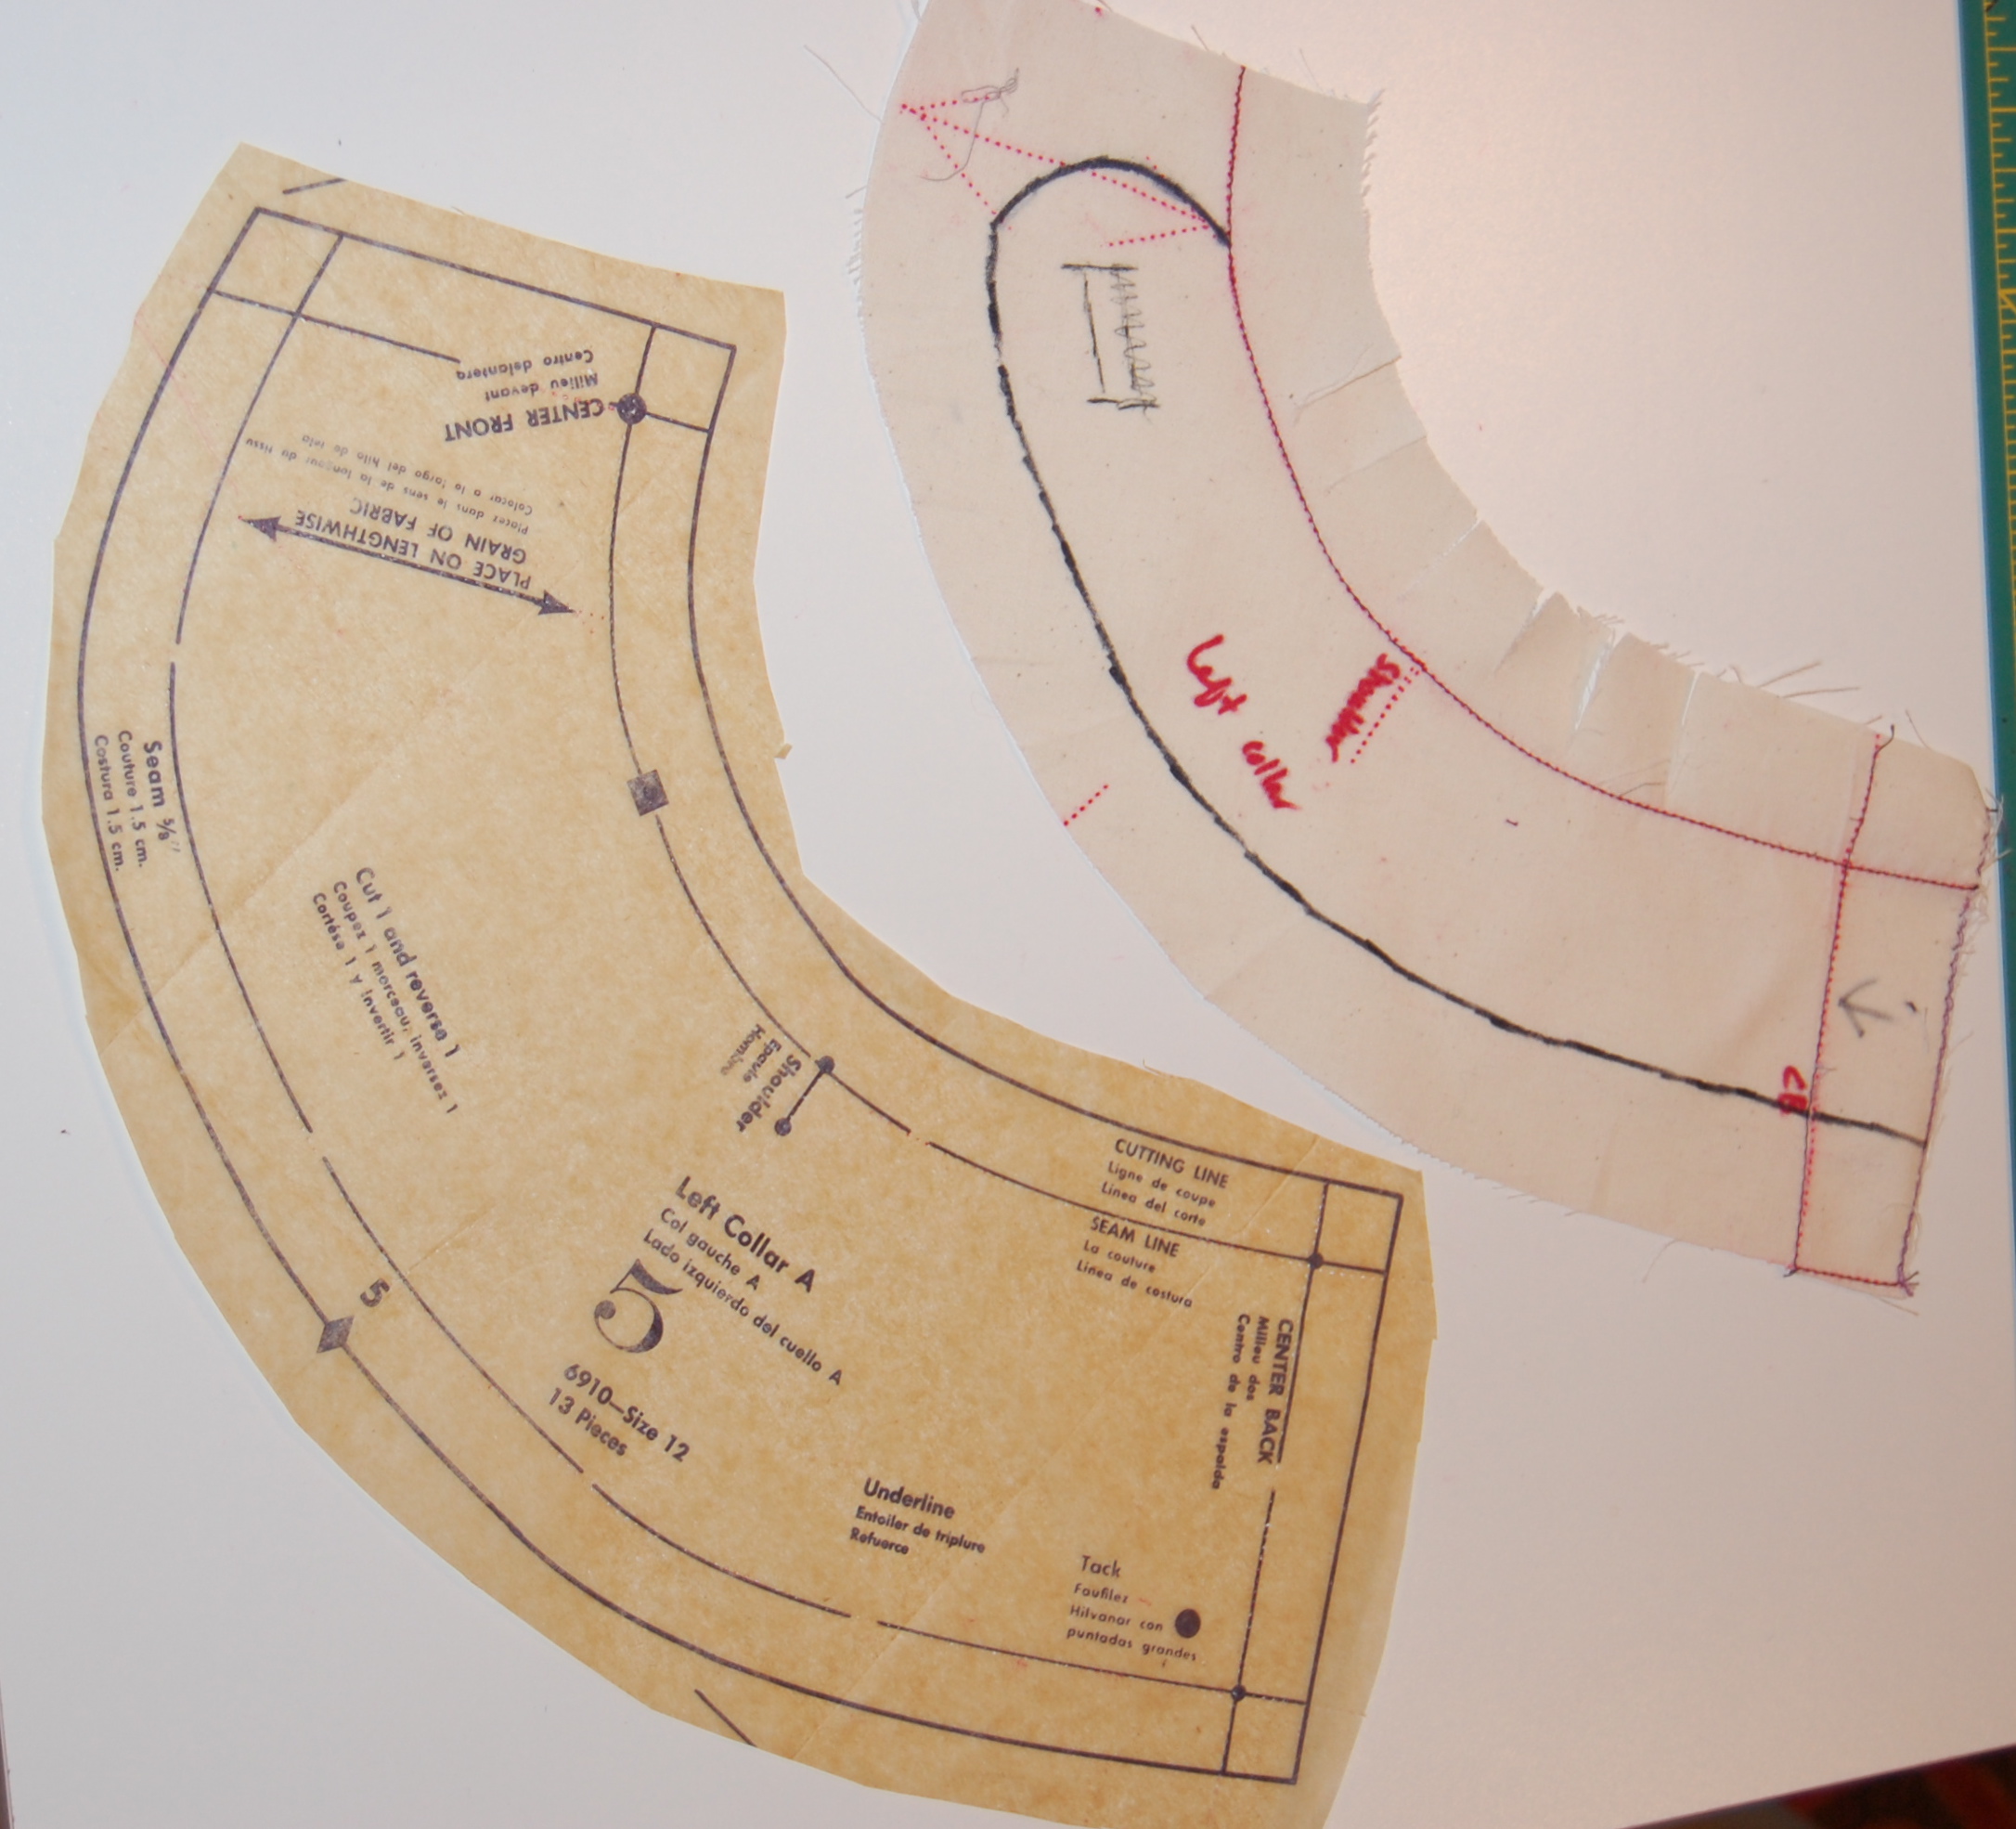
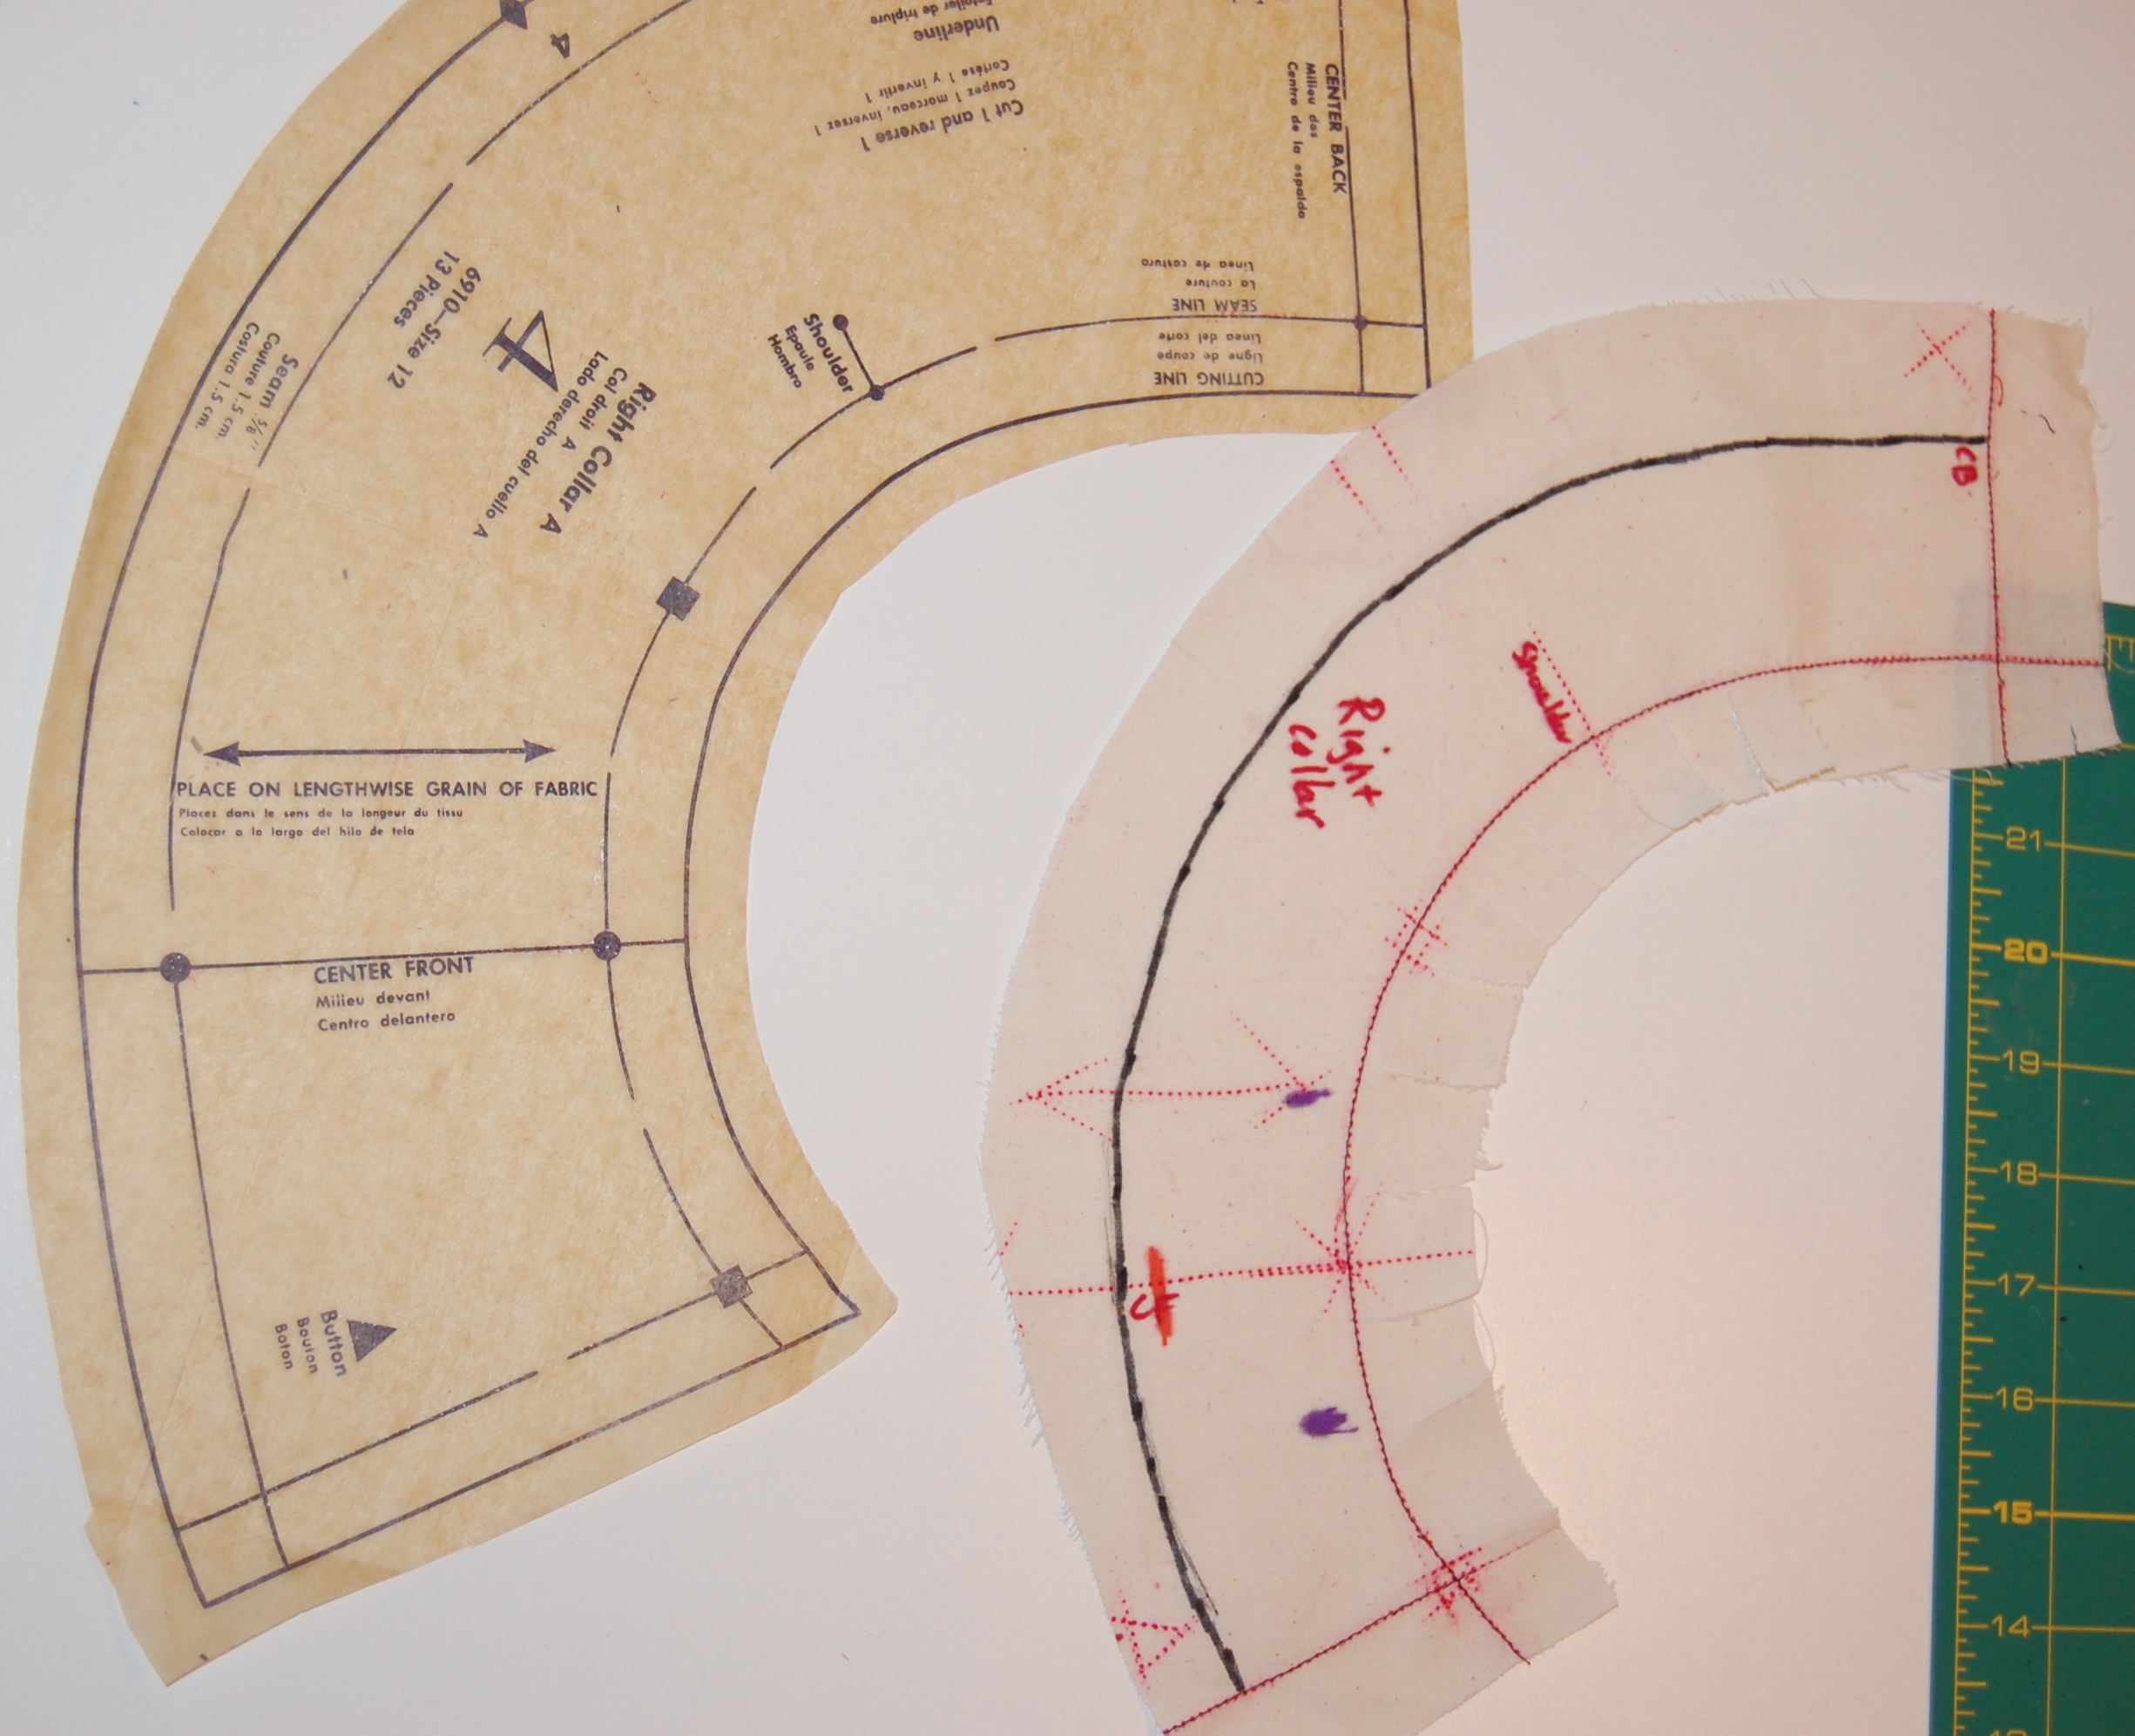
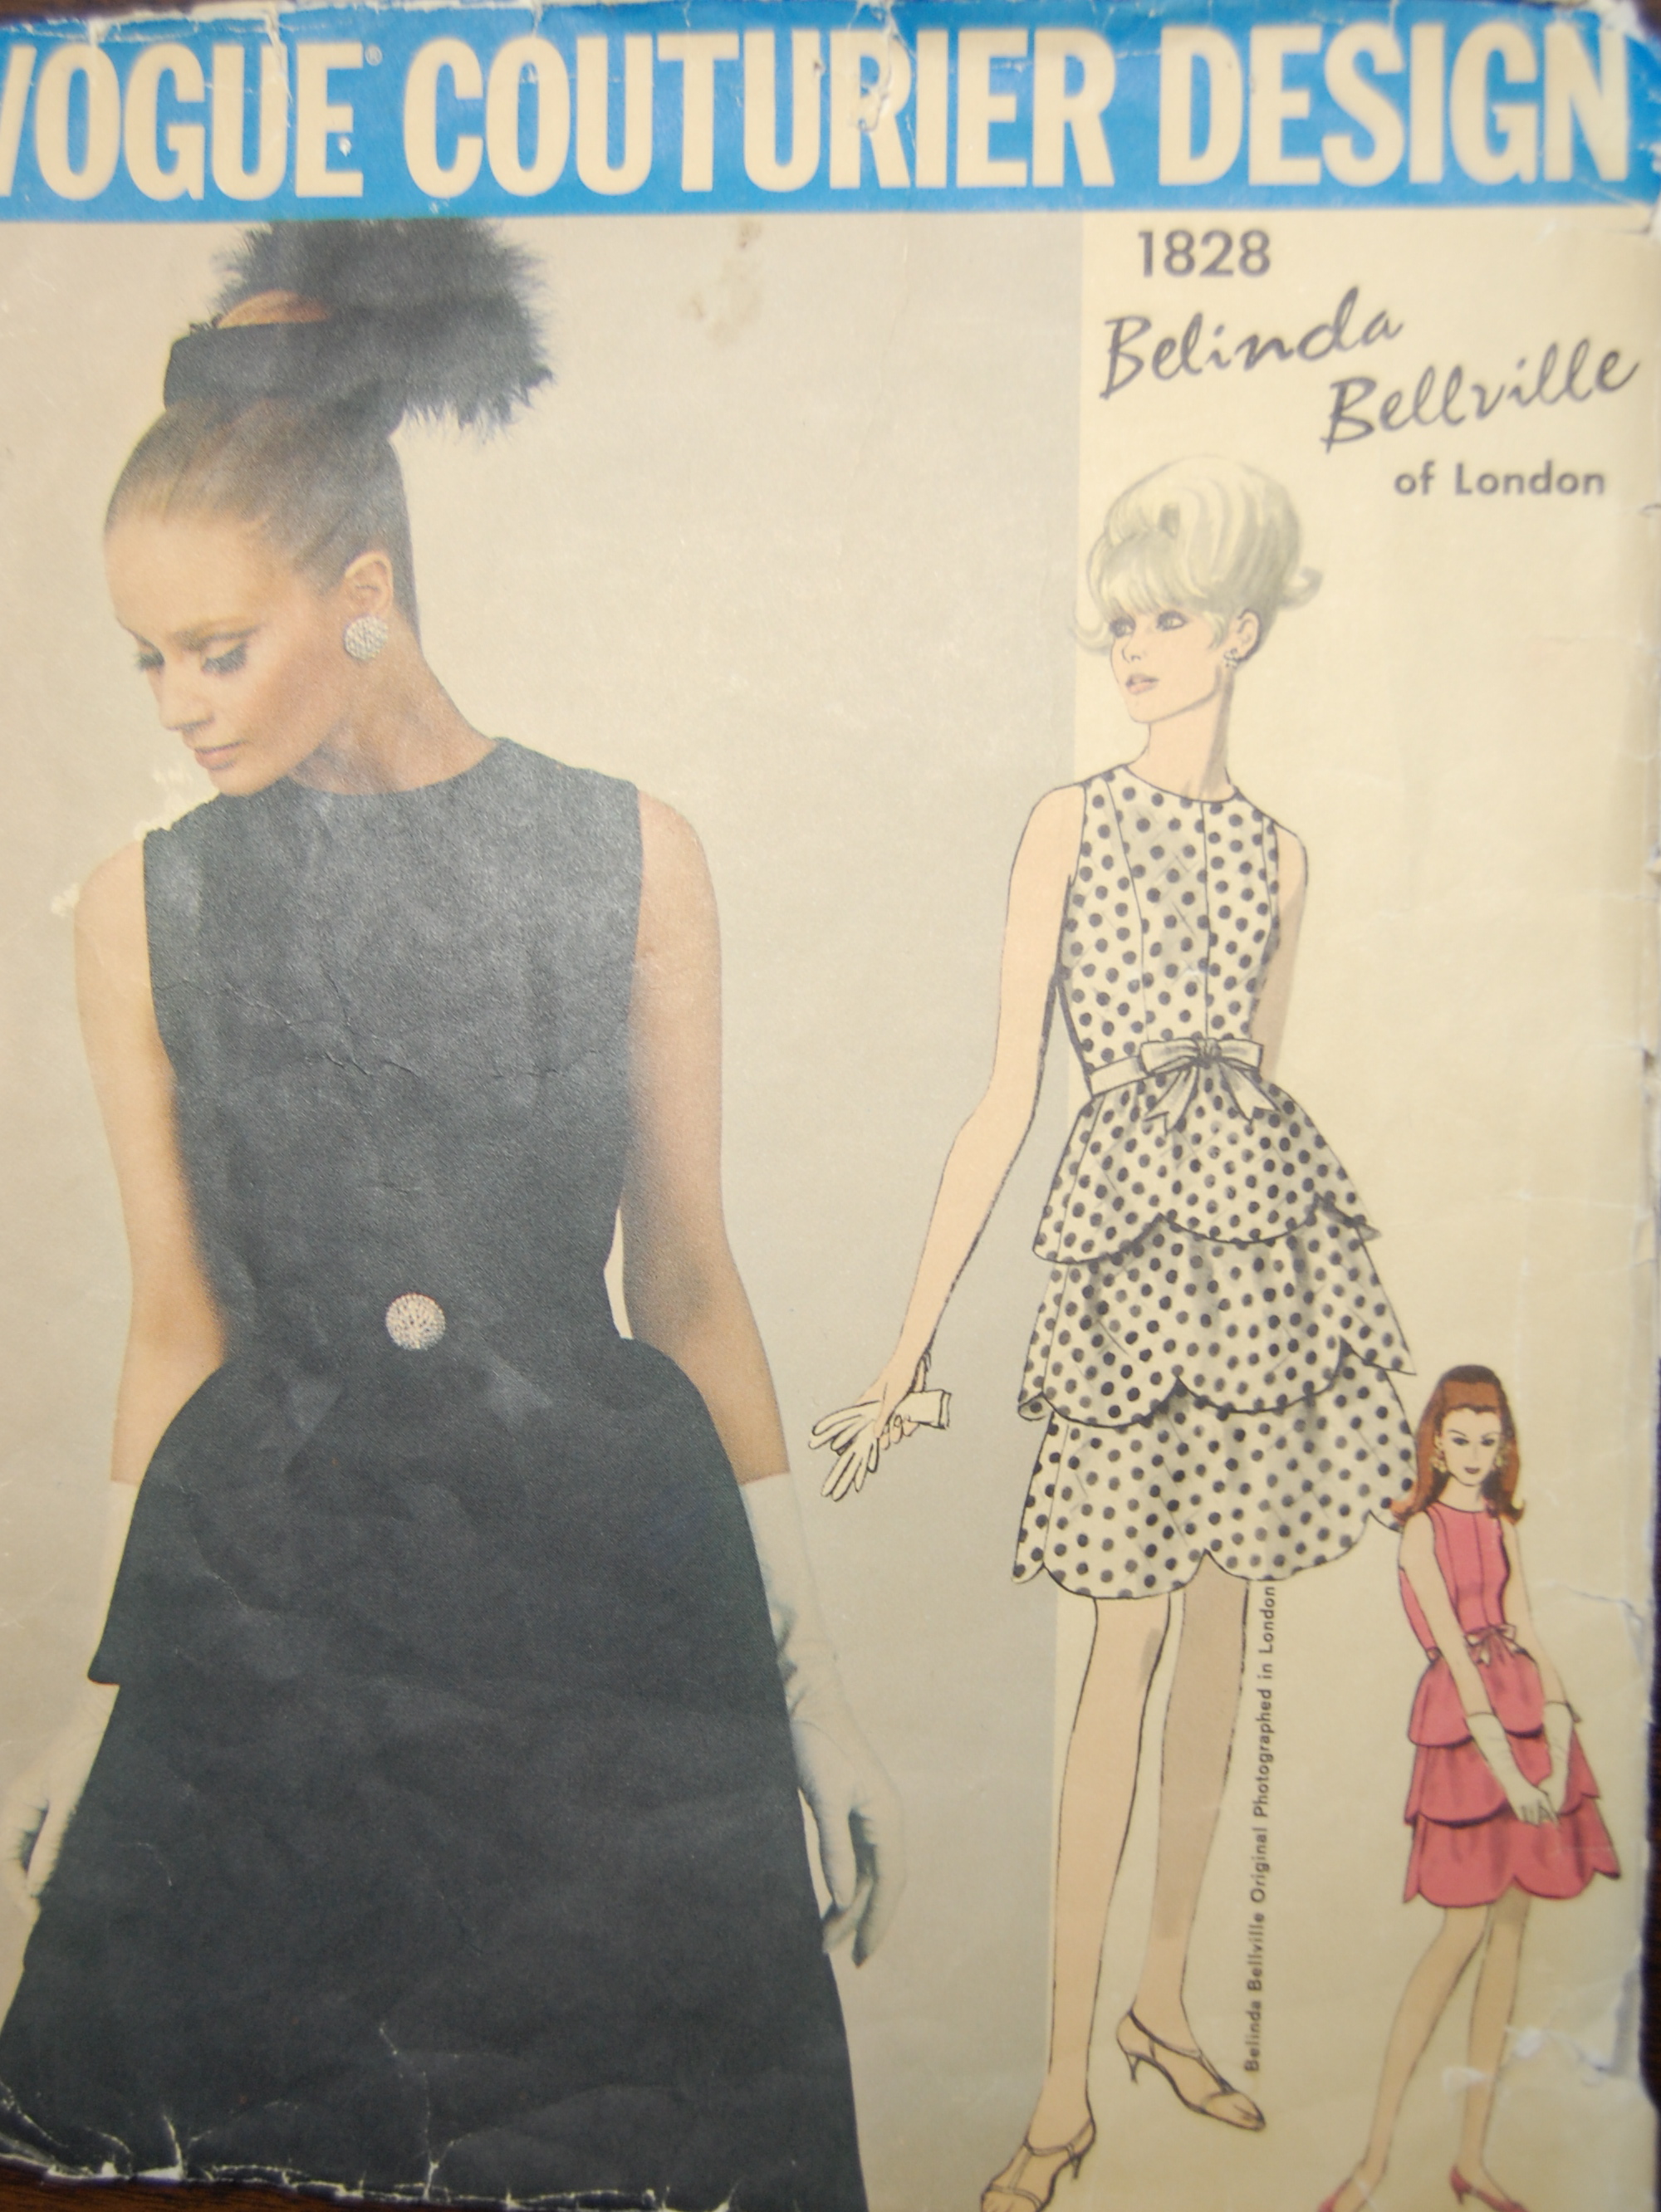
This is, of course, the pattern I had to alter in order to fit it onto my available fabric.

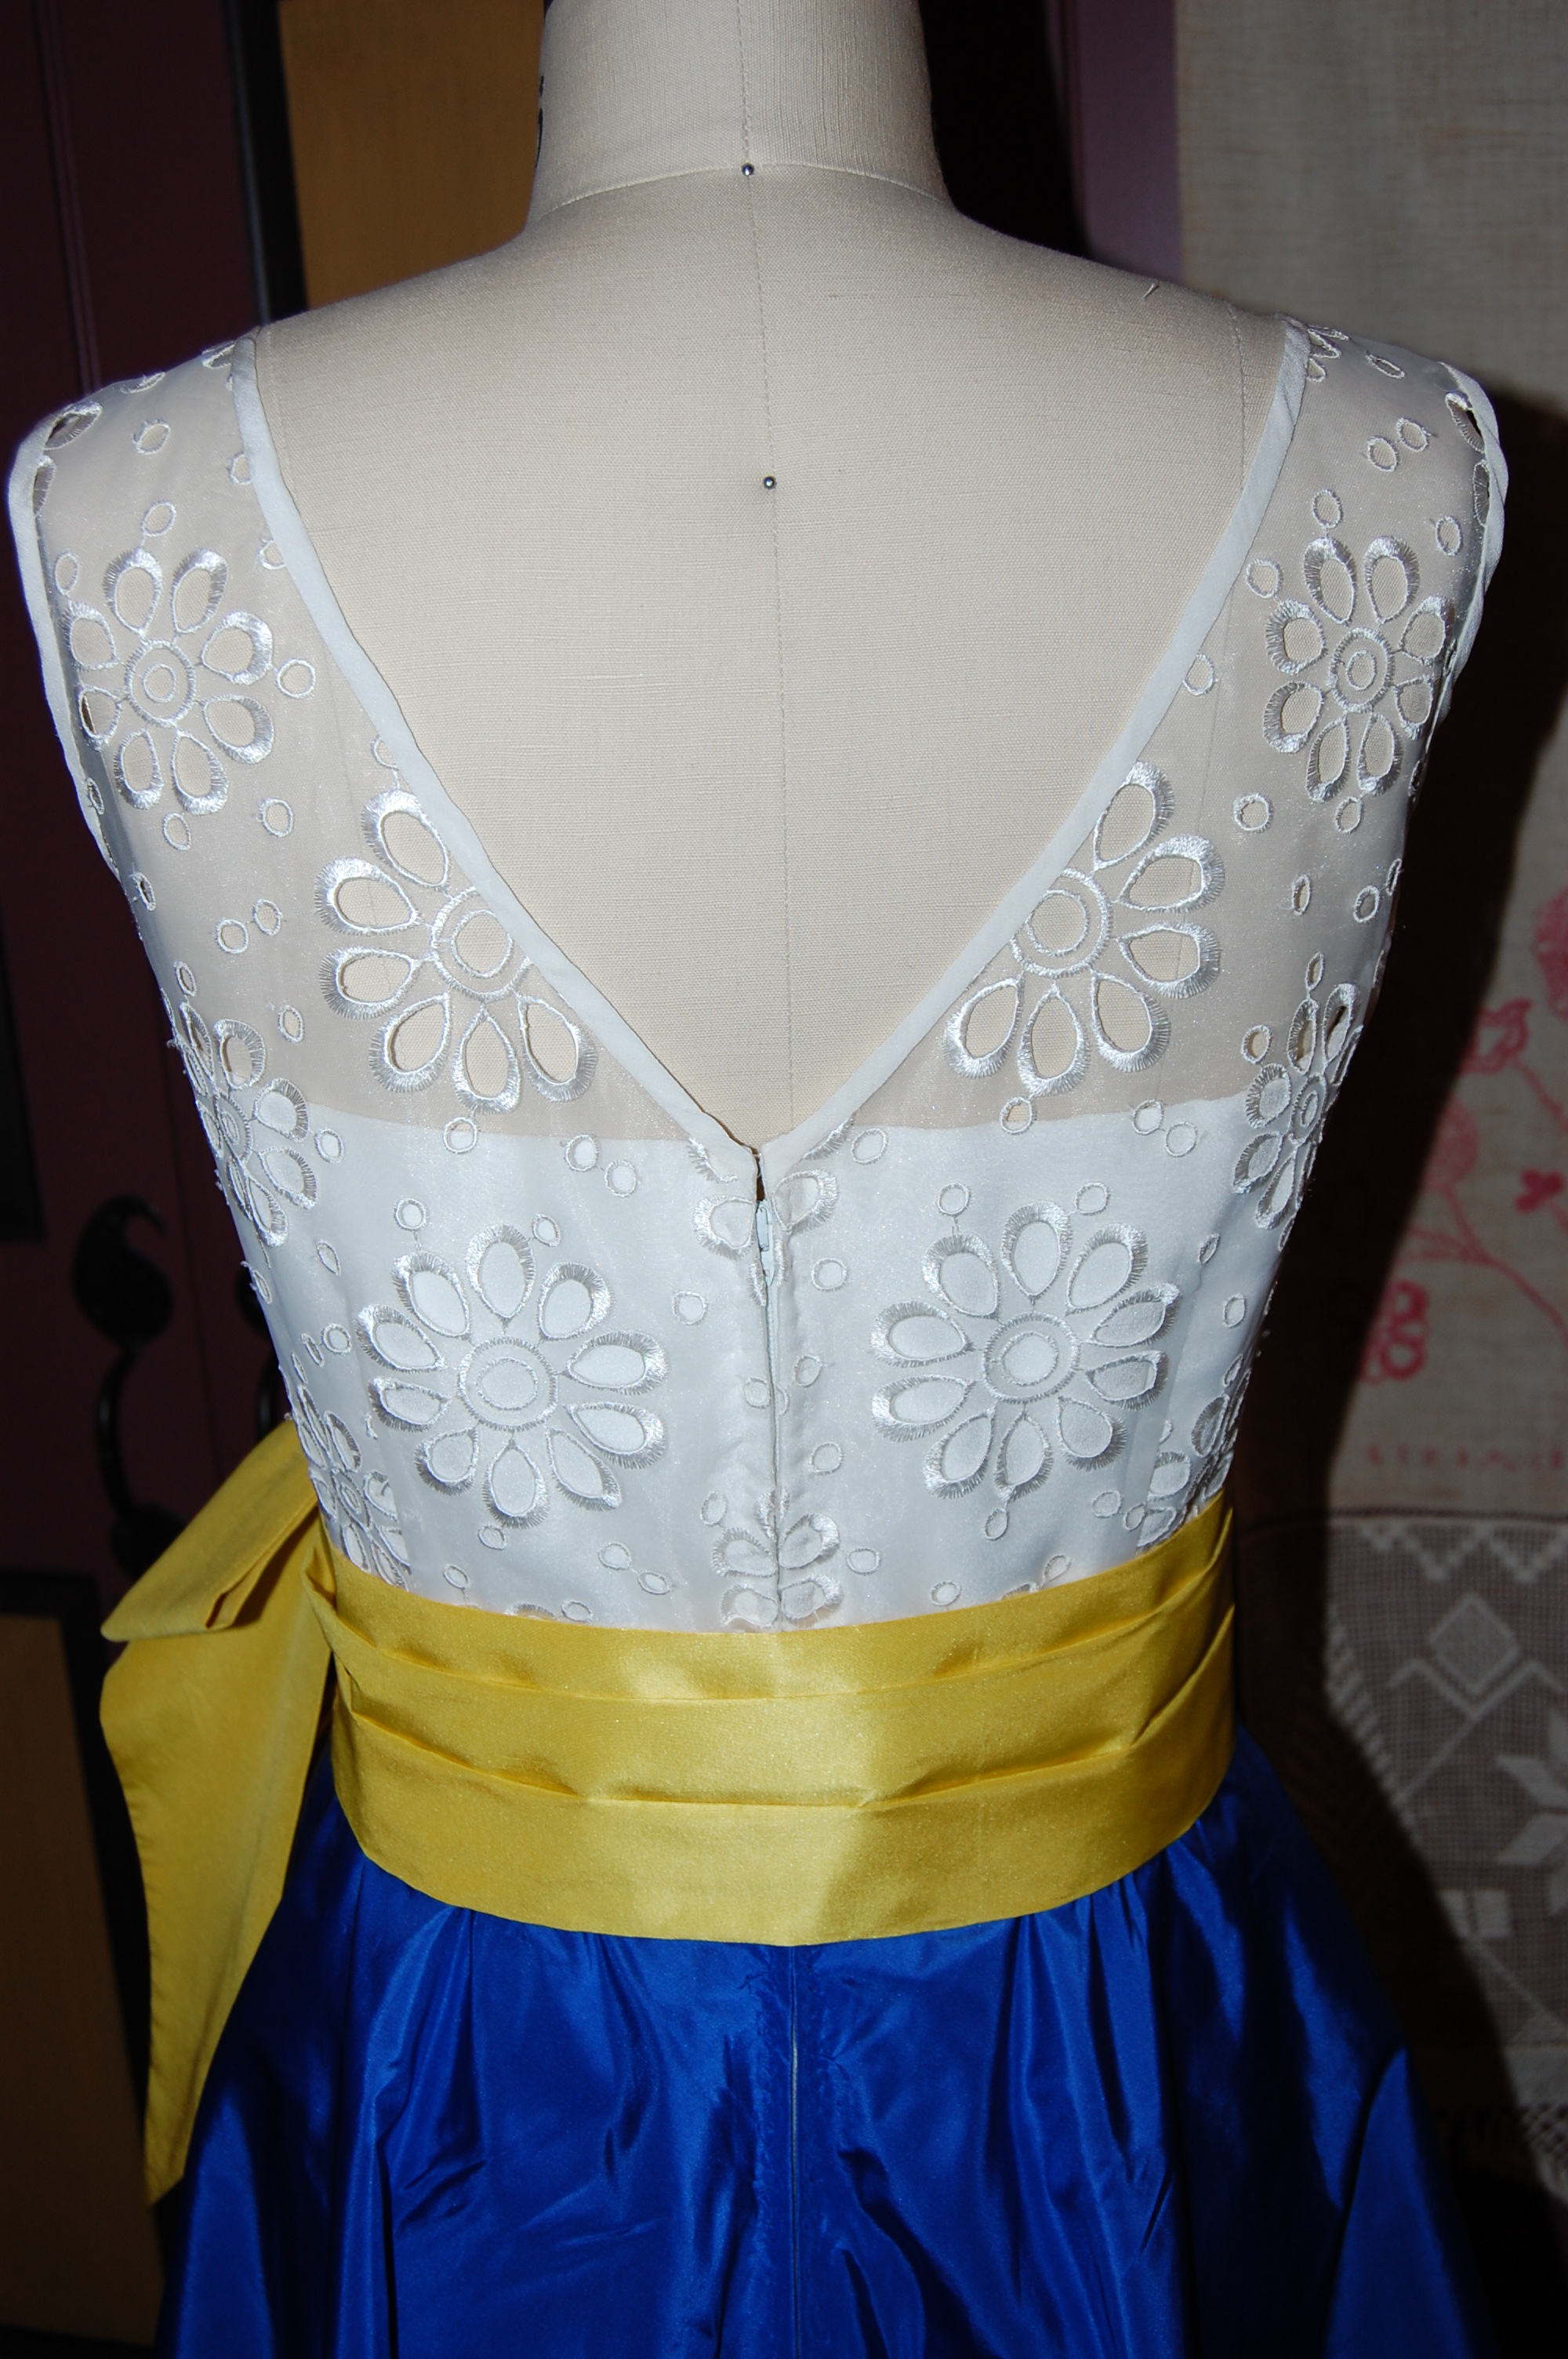
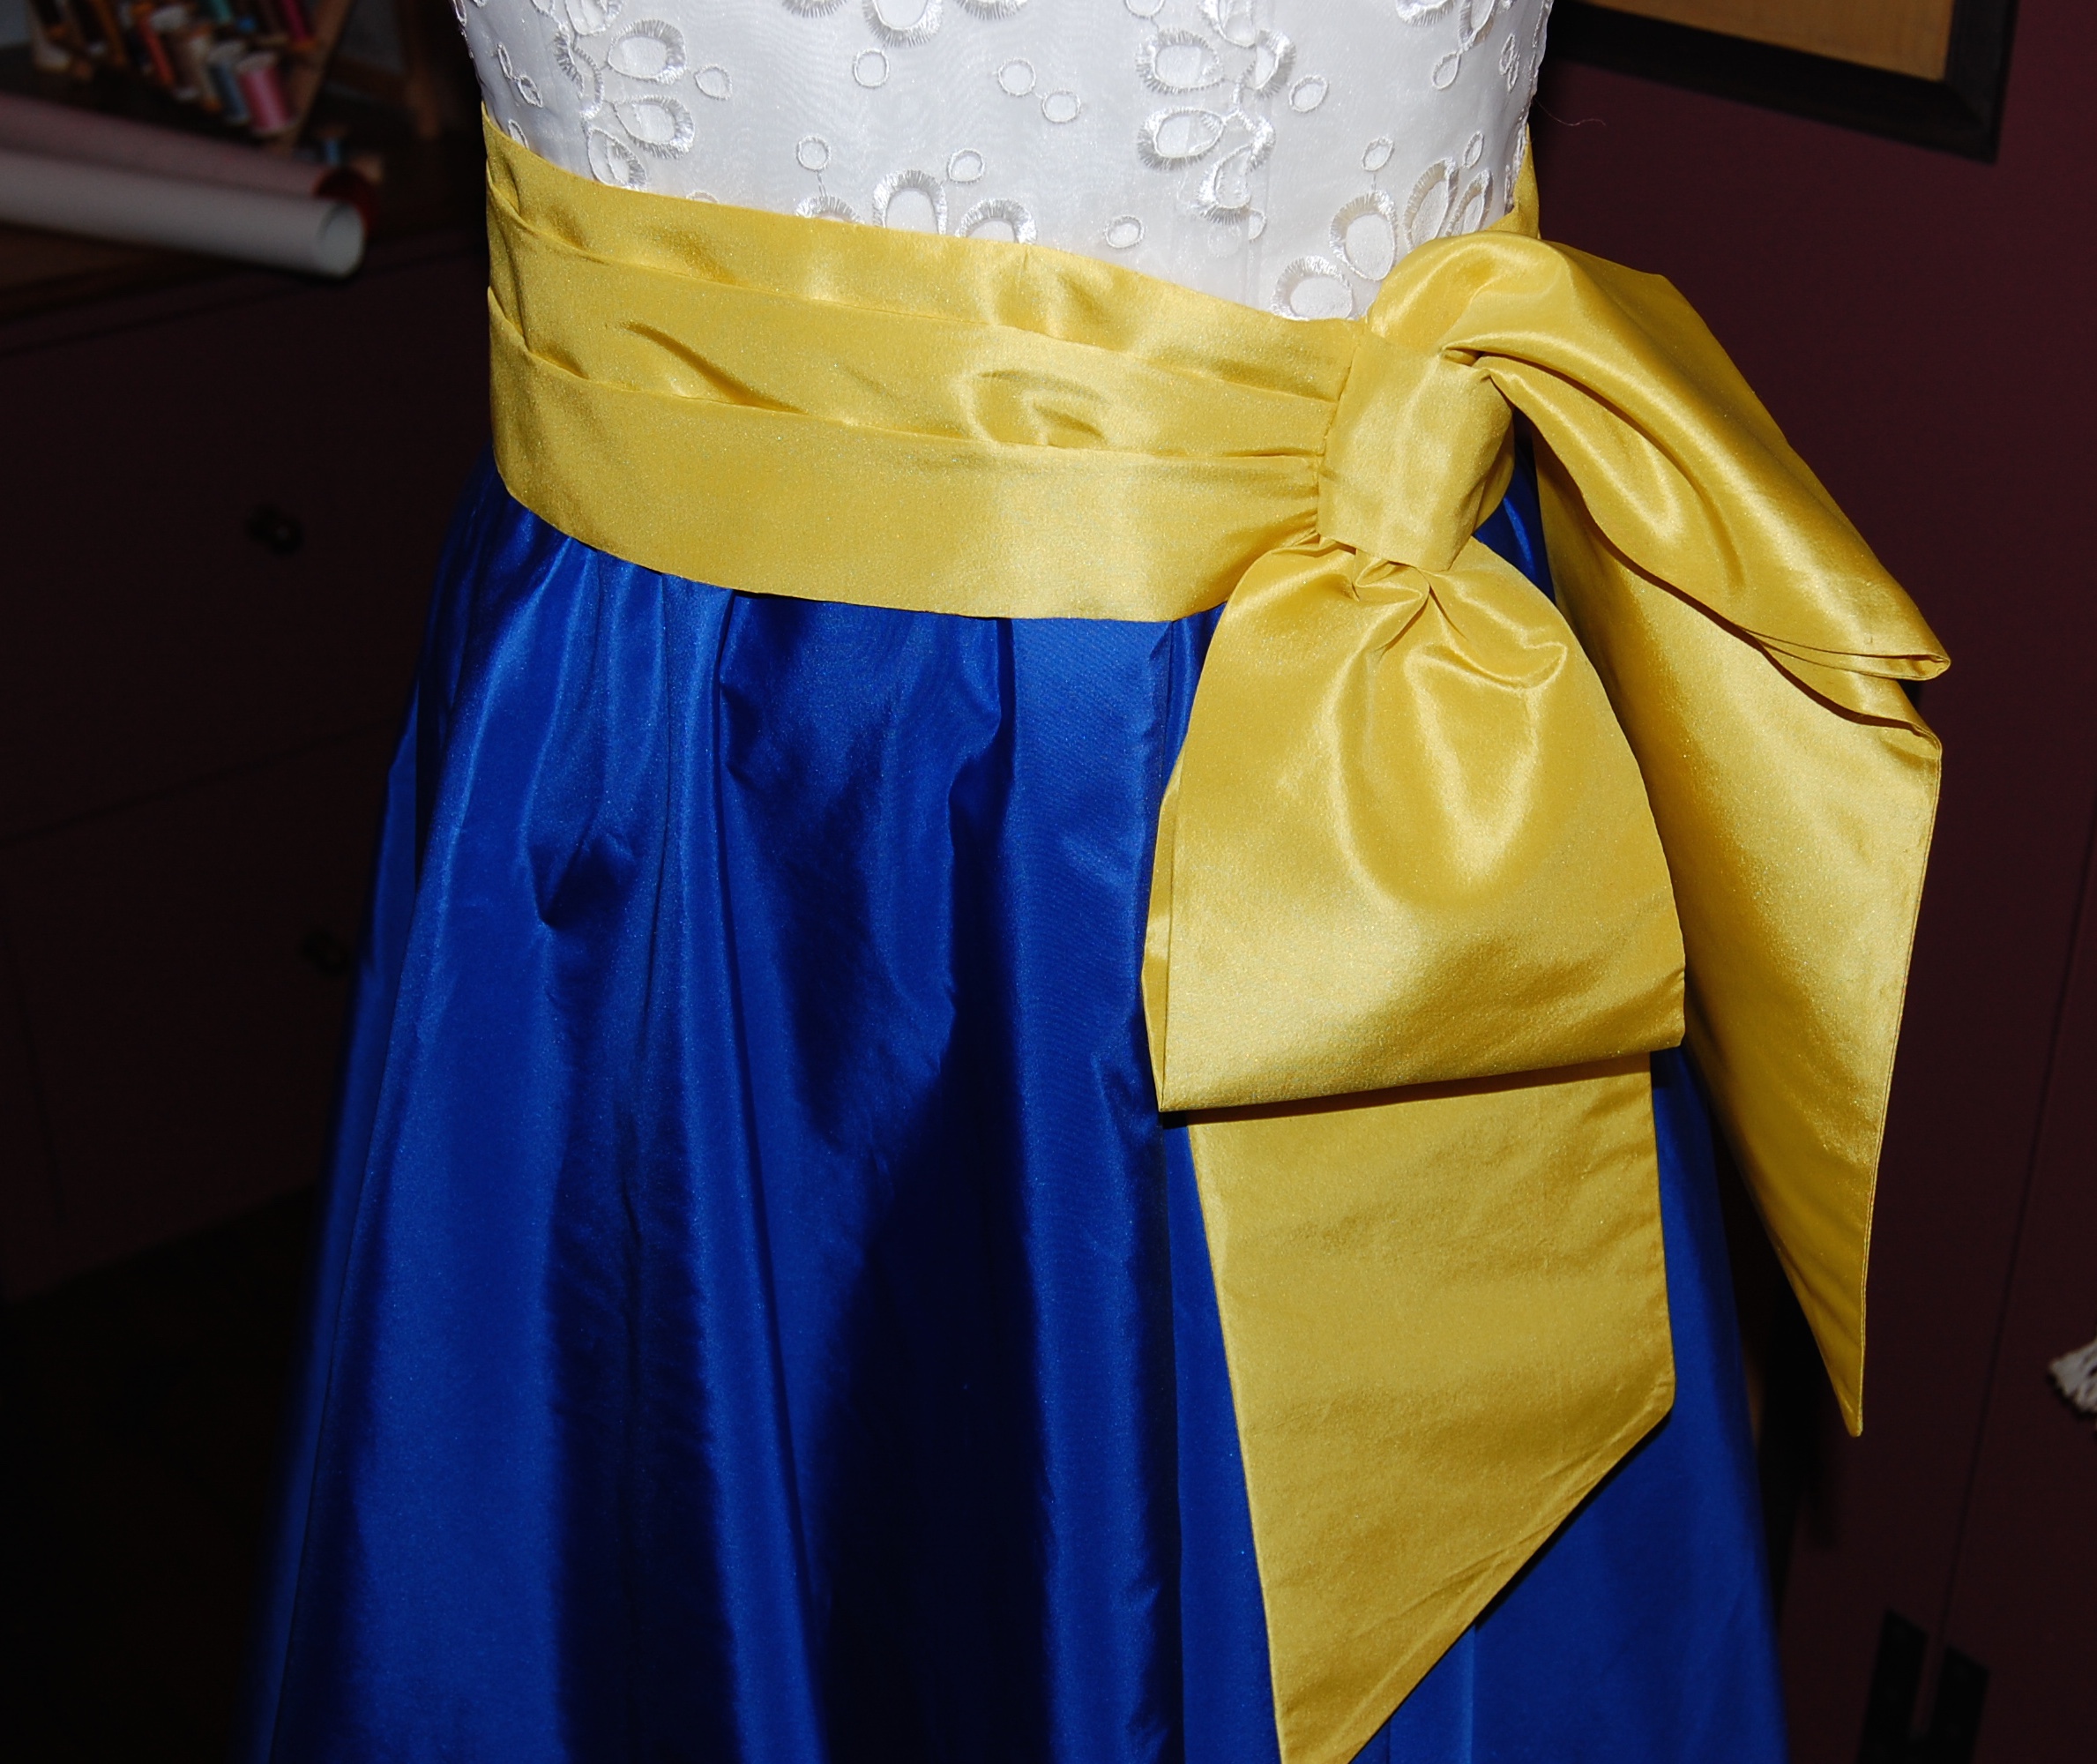
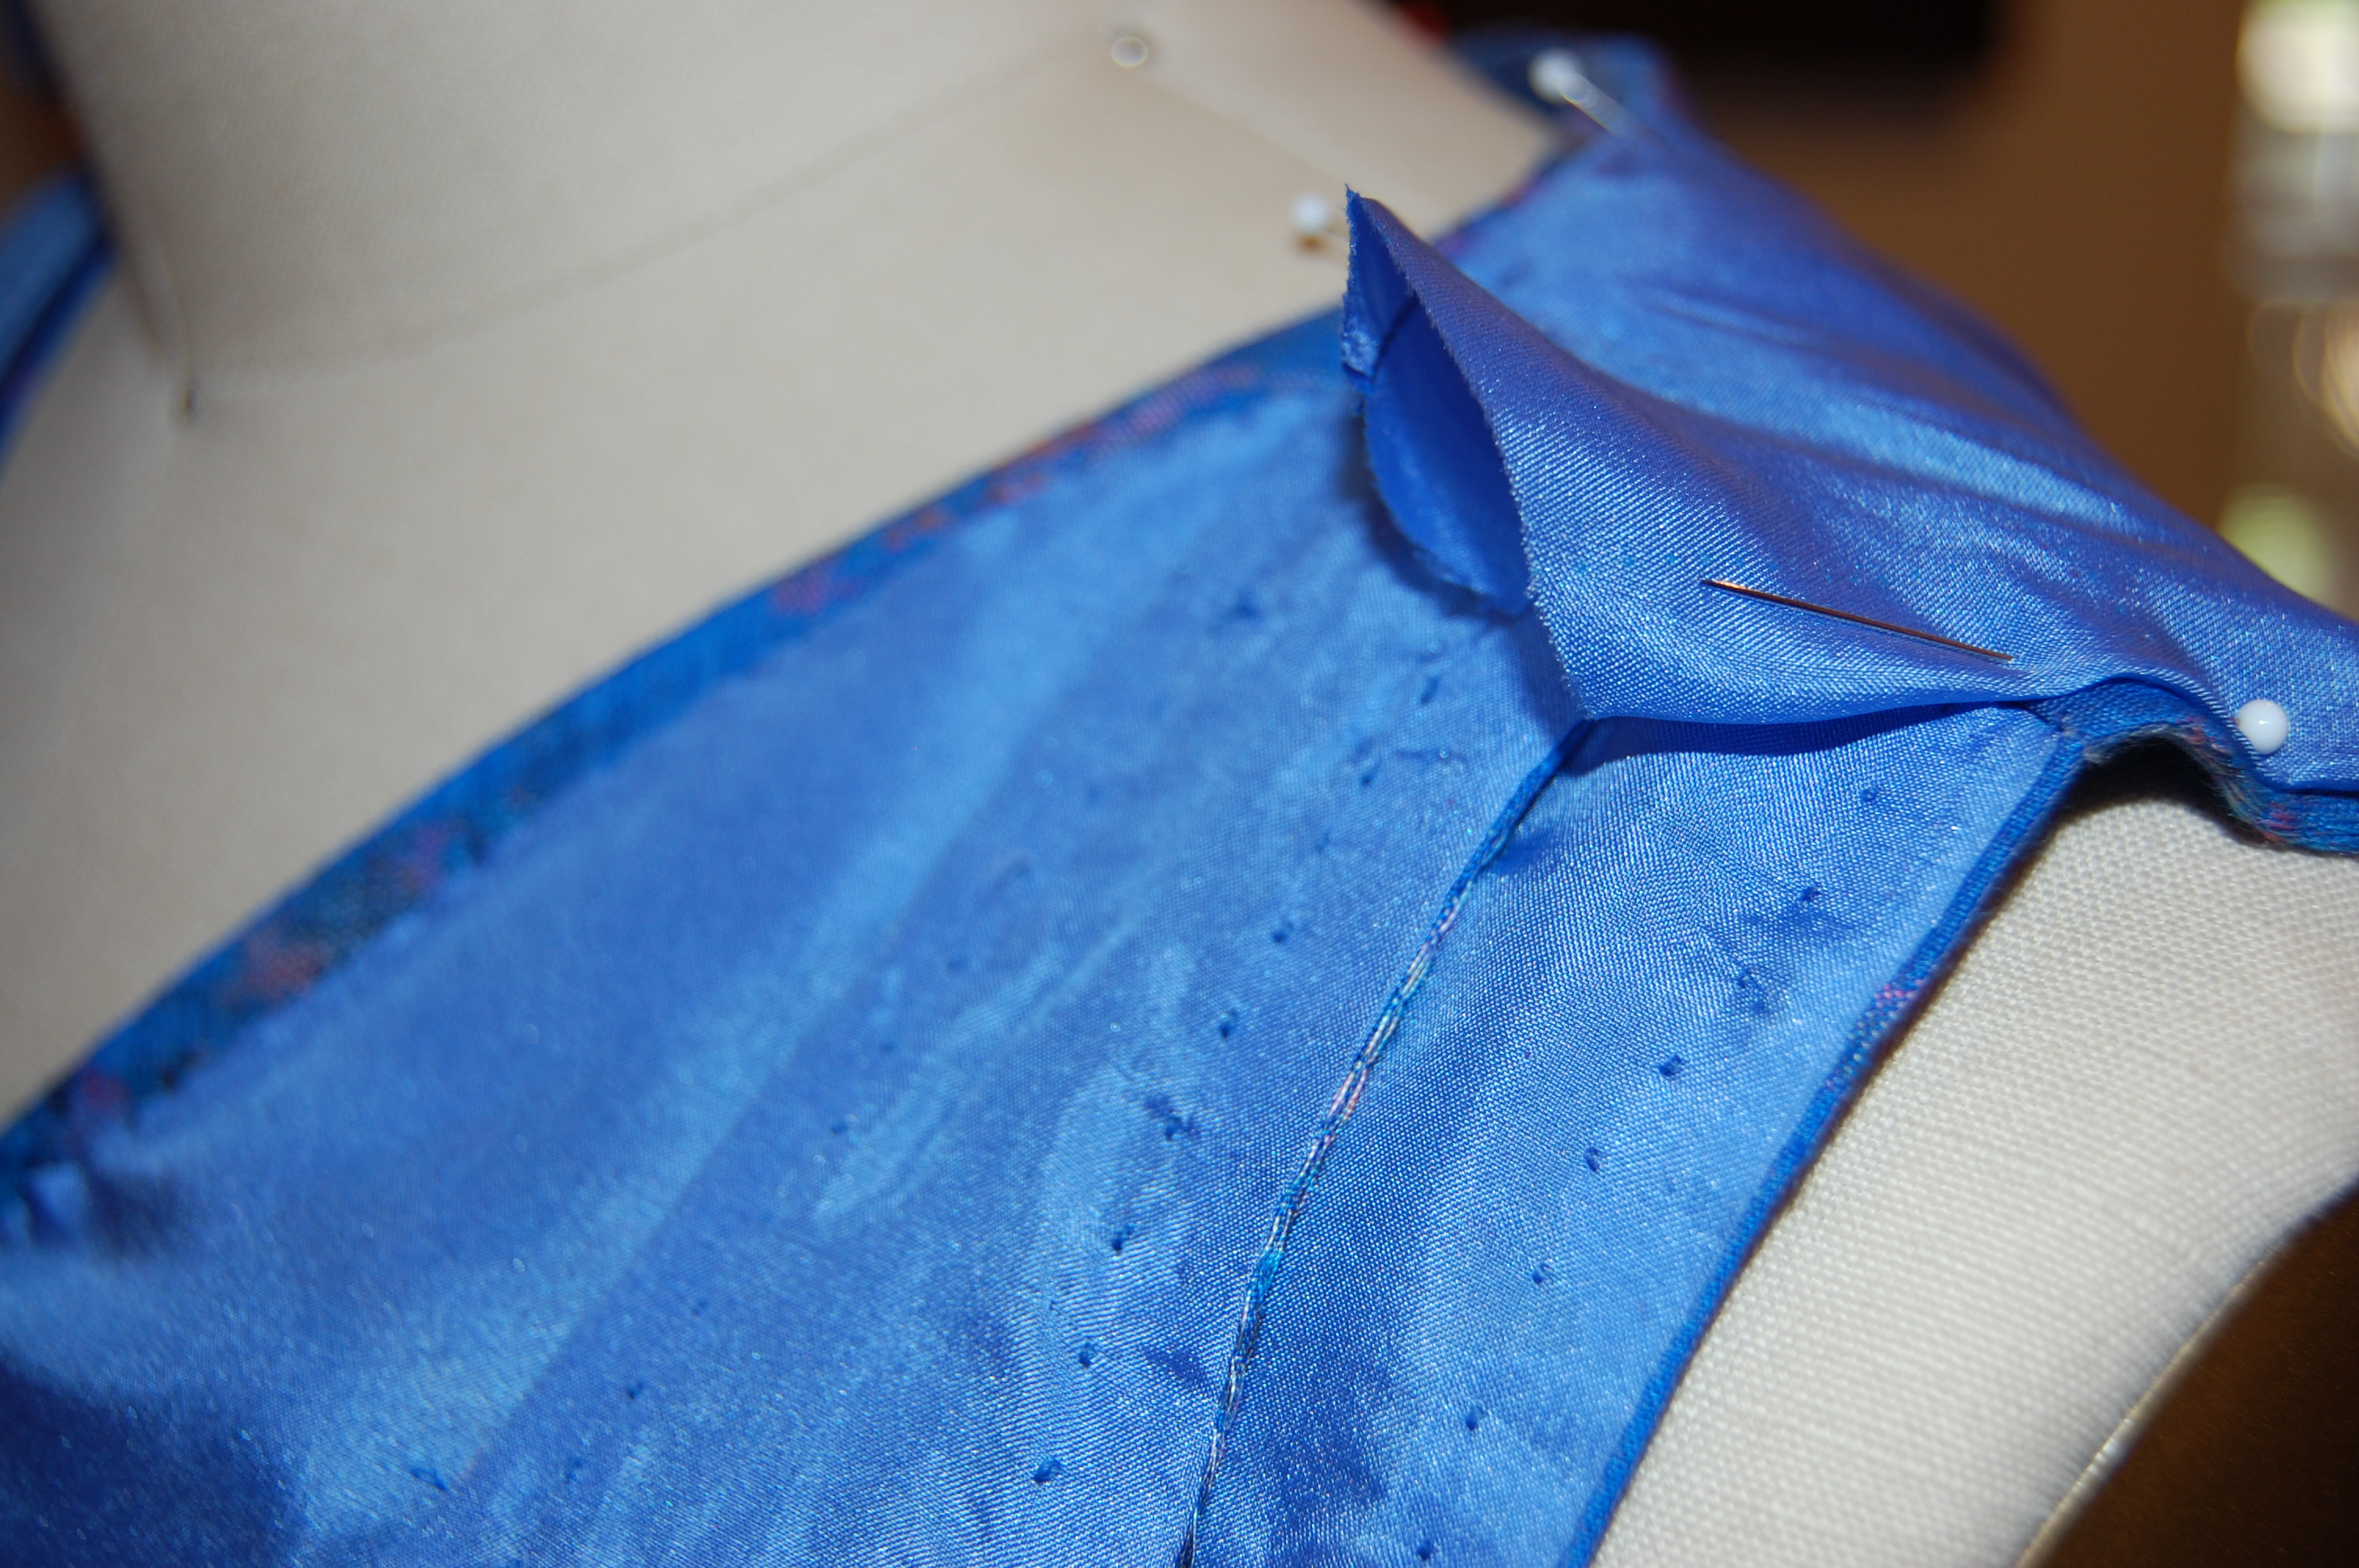
I made a couple more small changes to the dress. I broadened and lowered the neckline by a small amount, to make it more pleasing on me. I eliminated the neck facing and used the couture method of finishing that edge, with the dress lining brought up to the edge, fell-stitched in place, and secured with small back stitches. I also decided to make the center back zipper a focus when I found a vintage spool of green silk buttonhole twist in my collection. Using an idea I had seen one of my readers do (thank you, Cissie!), I pick-stitched the zipper with the twist, leaving a little trail of bright green dots along the center back.
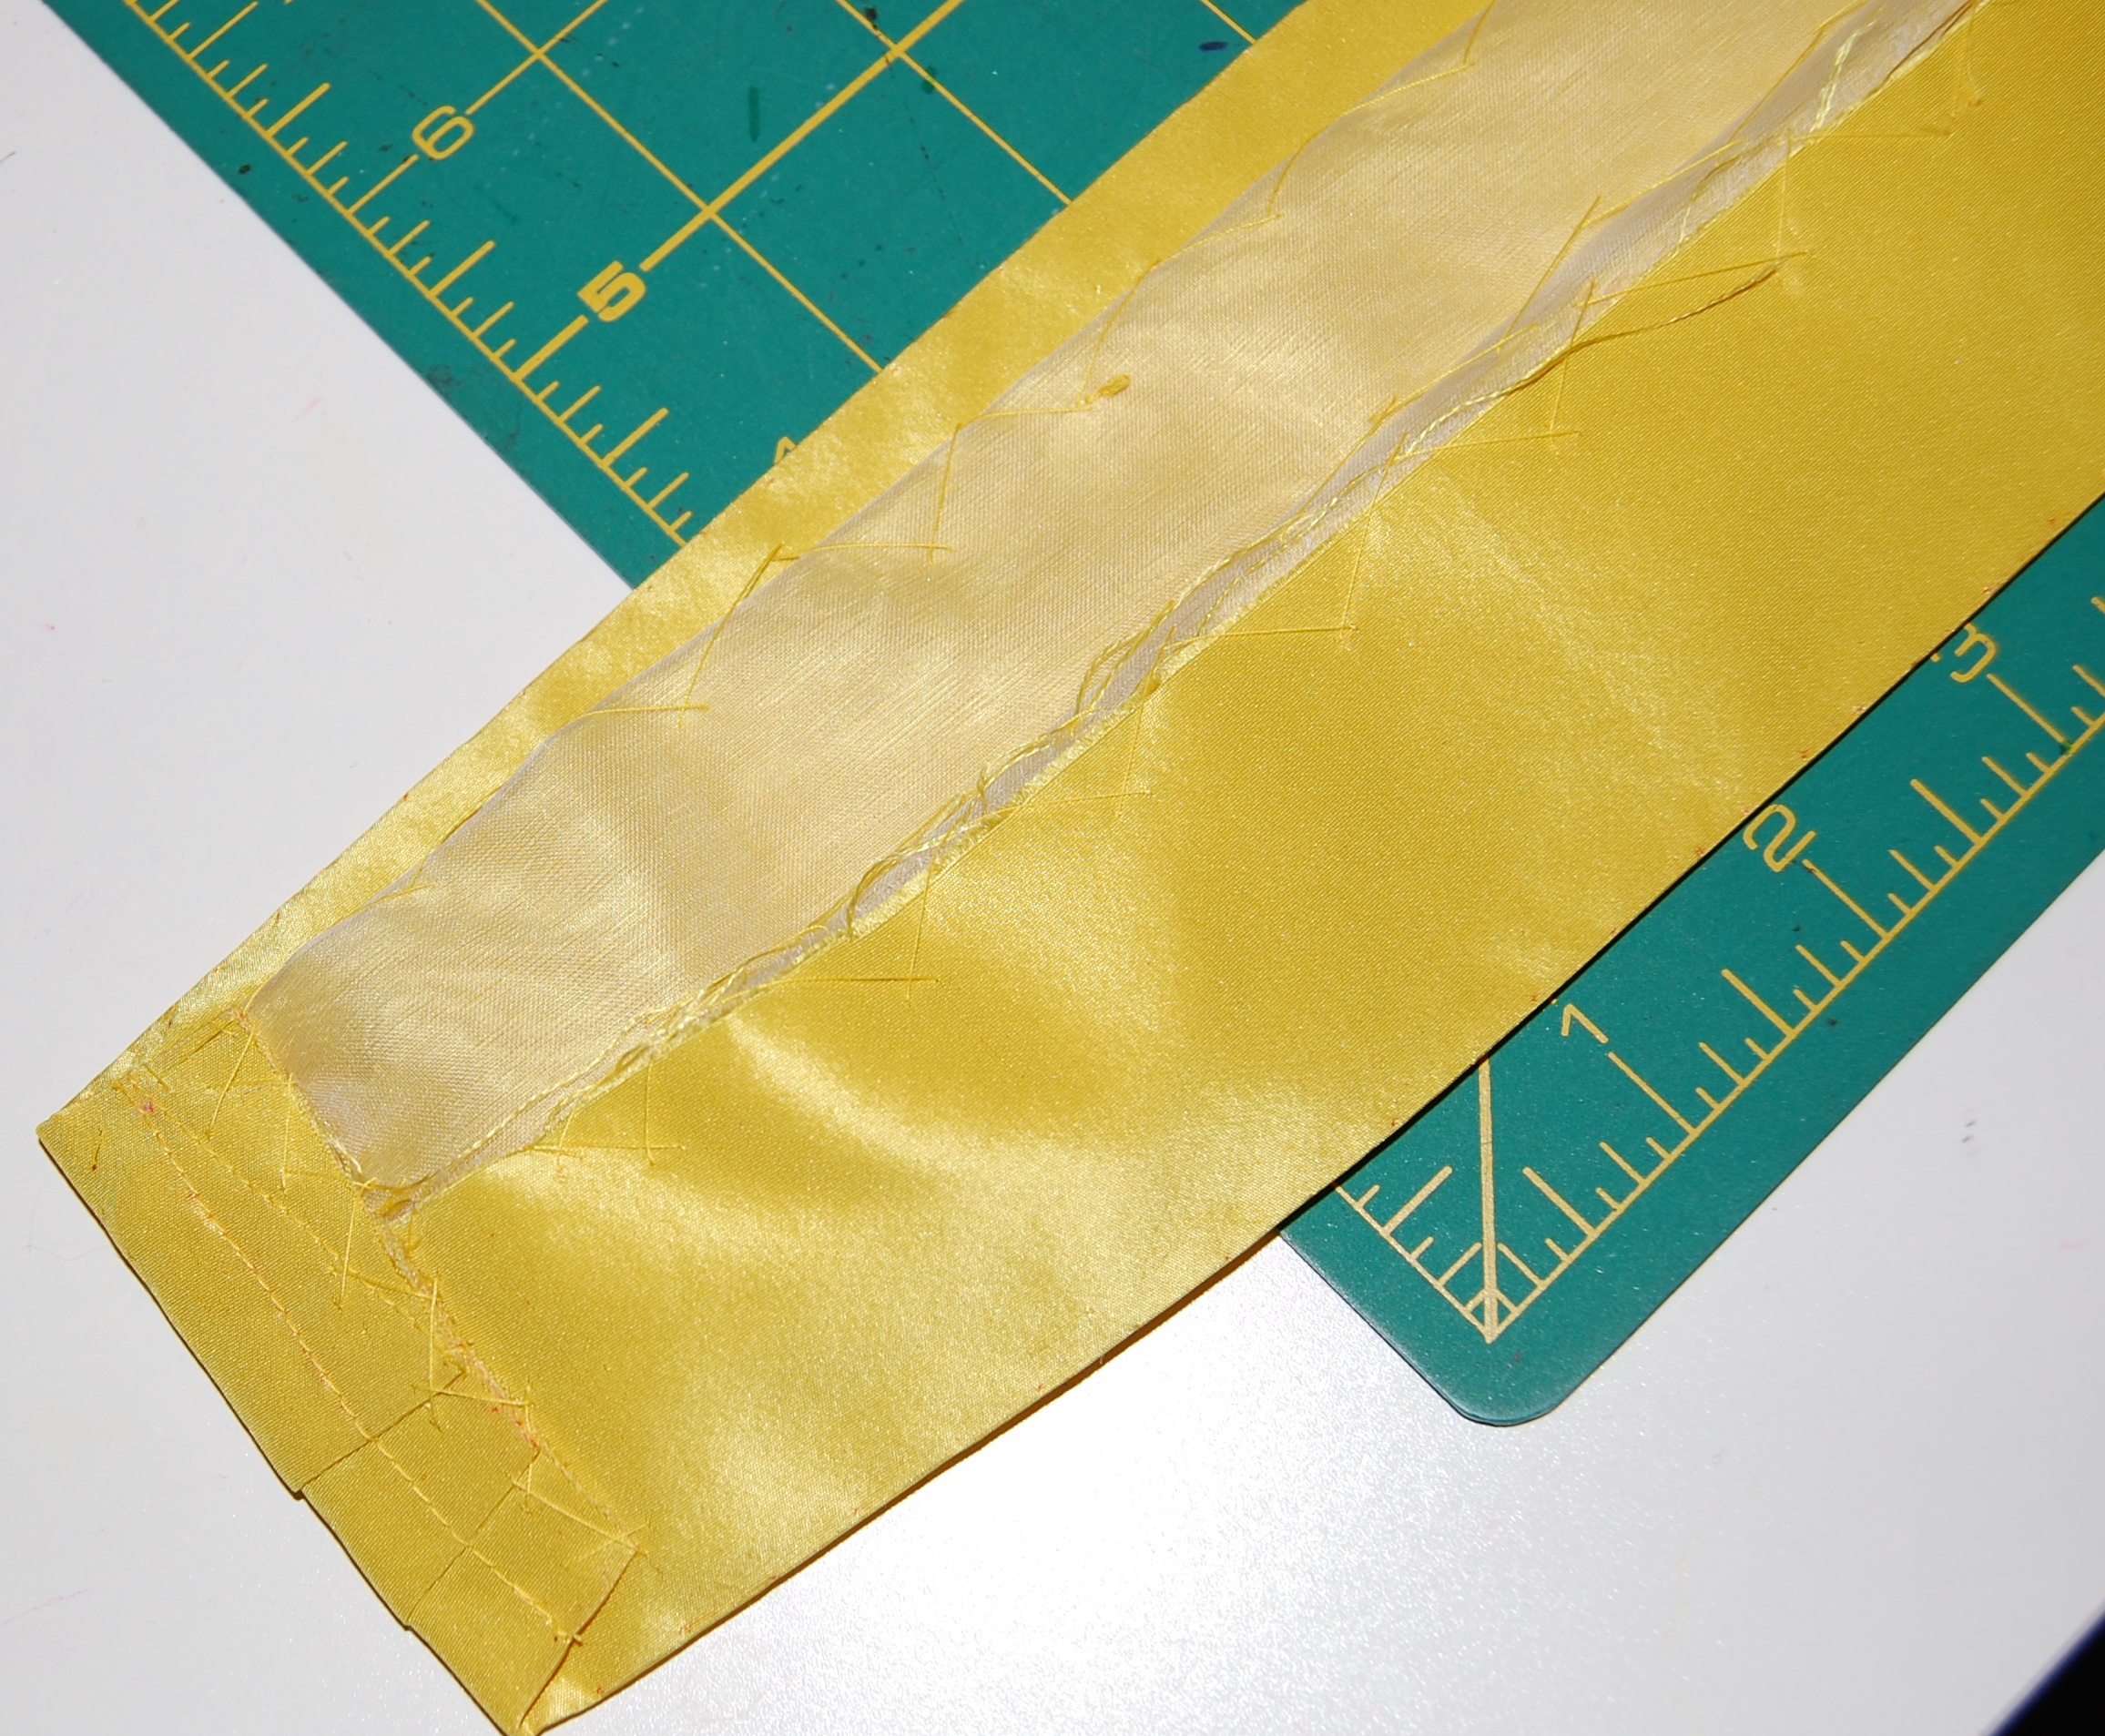
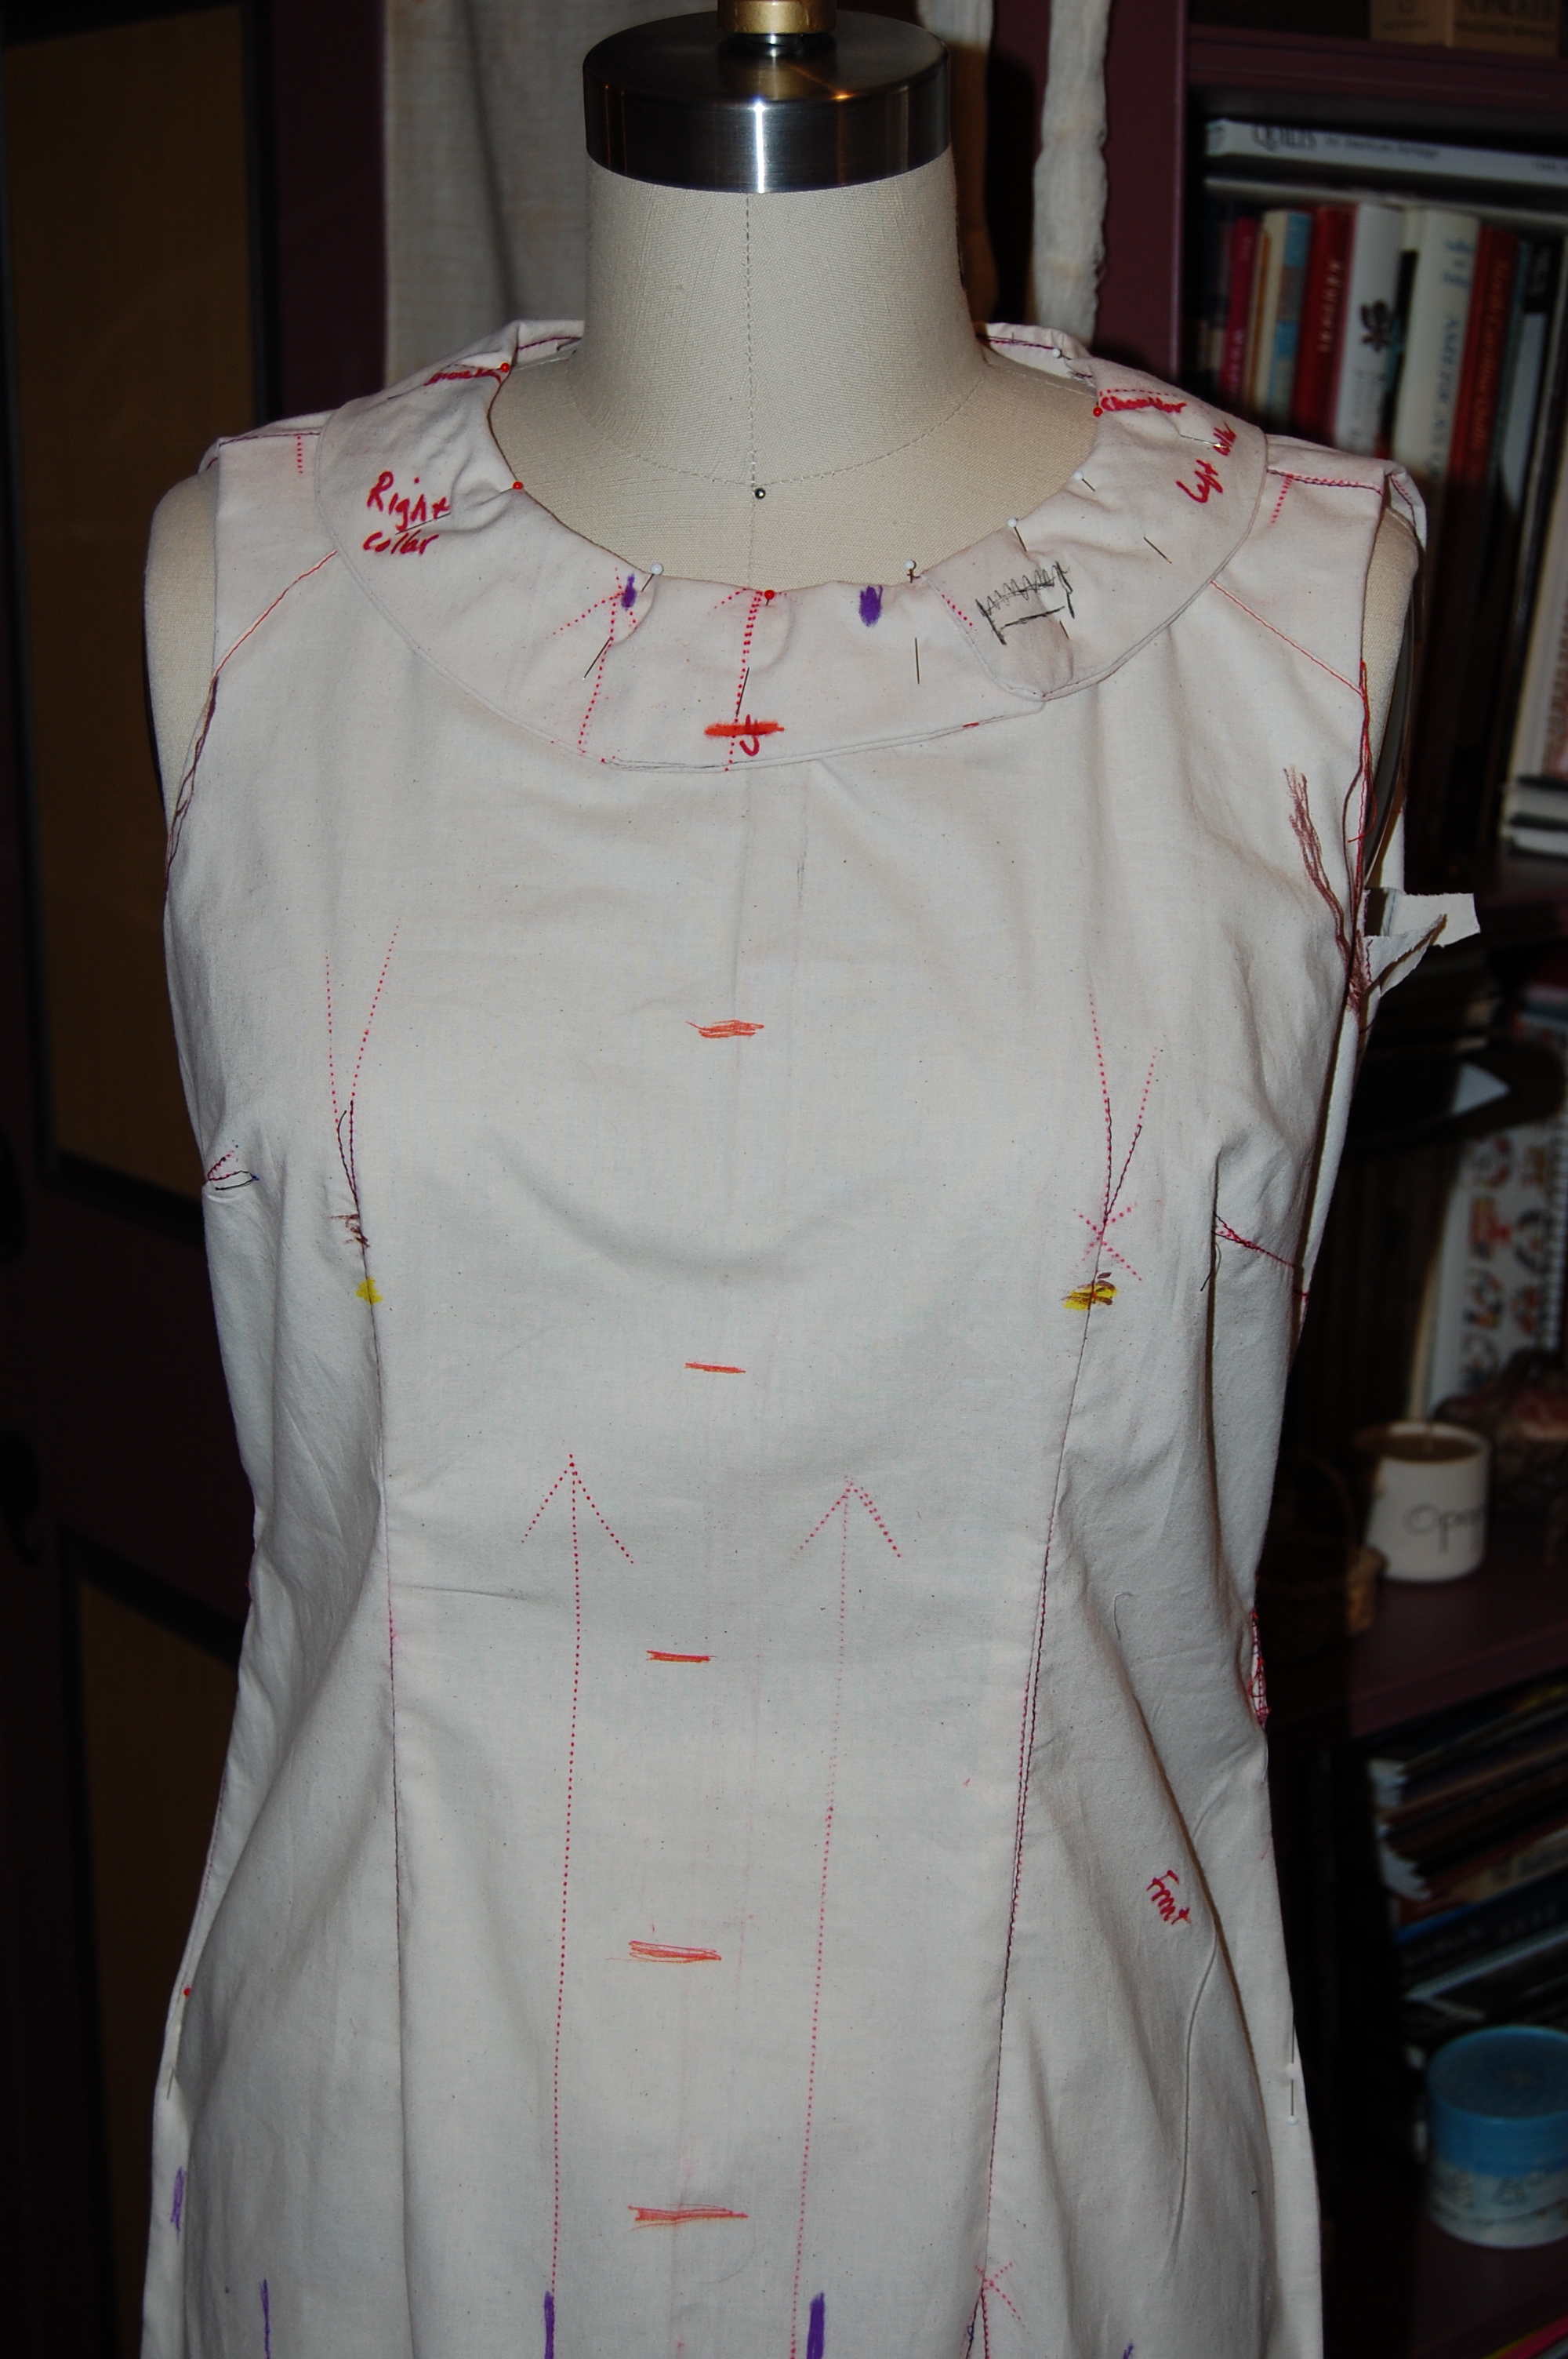
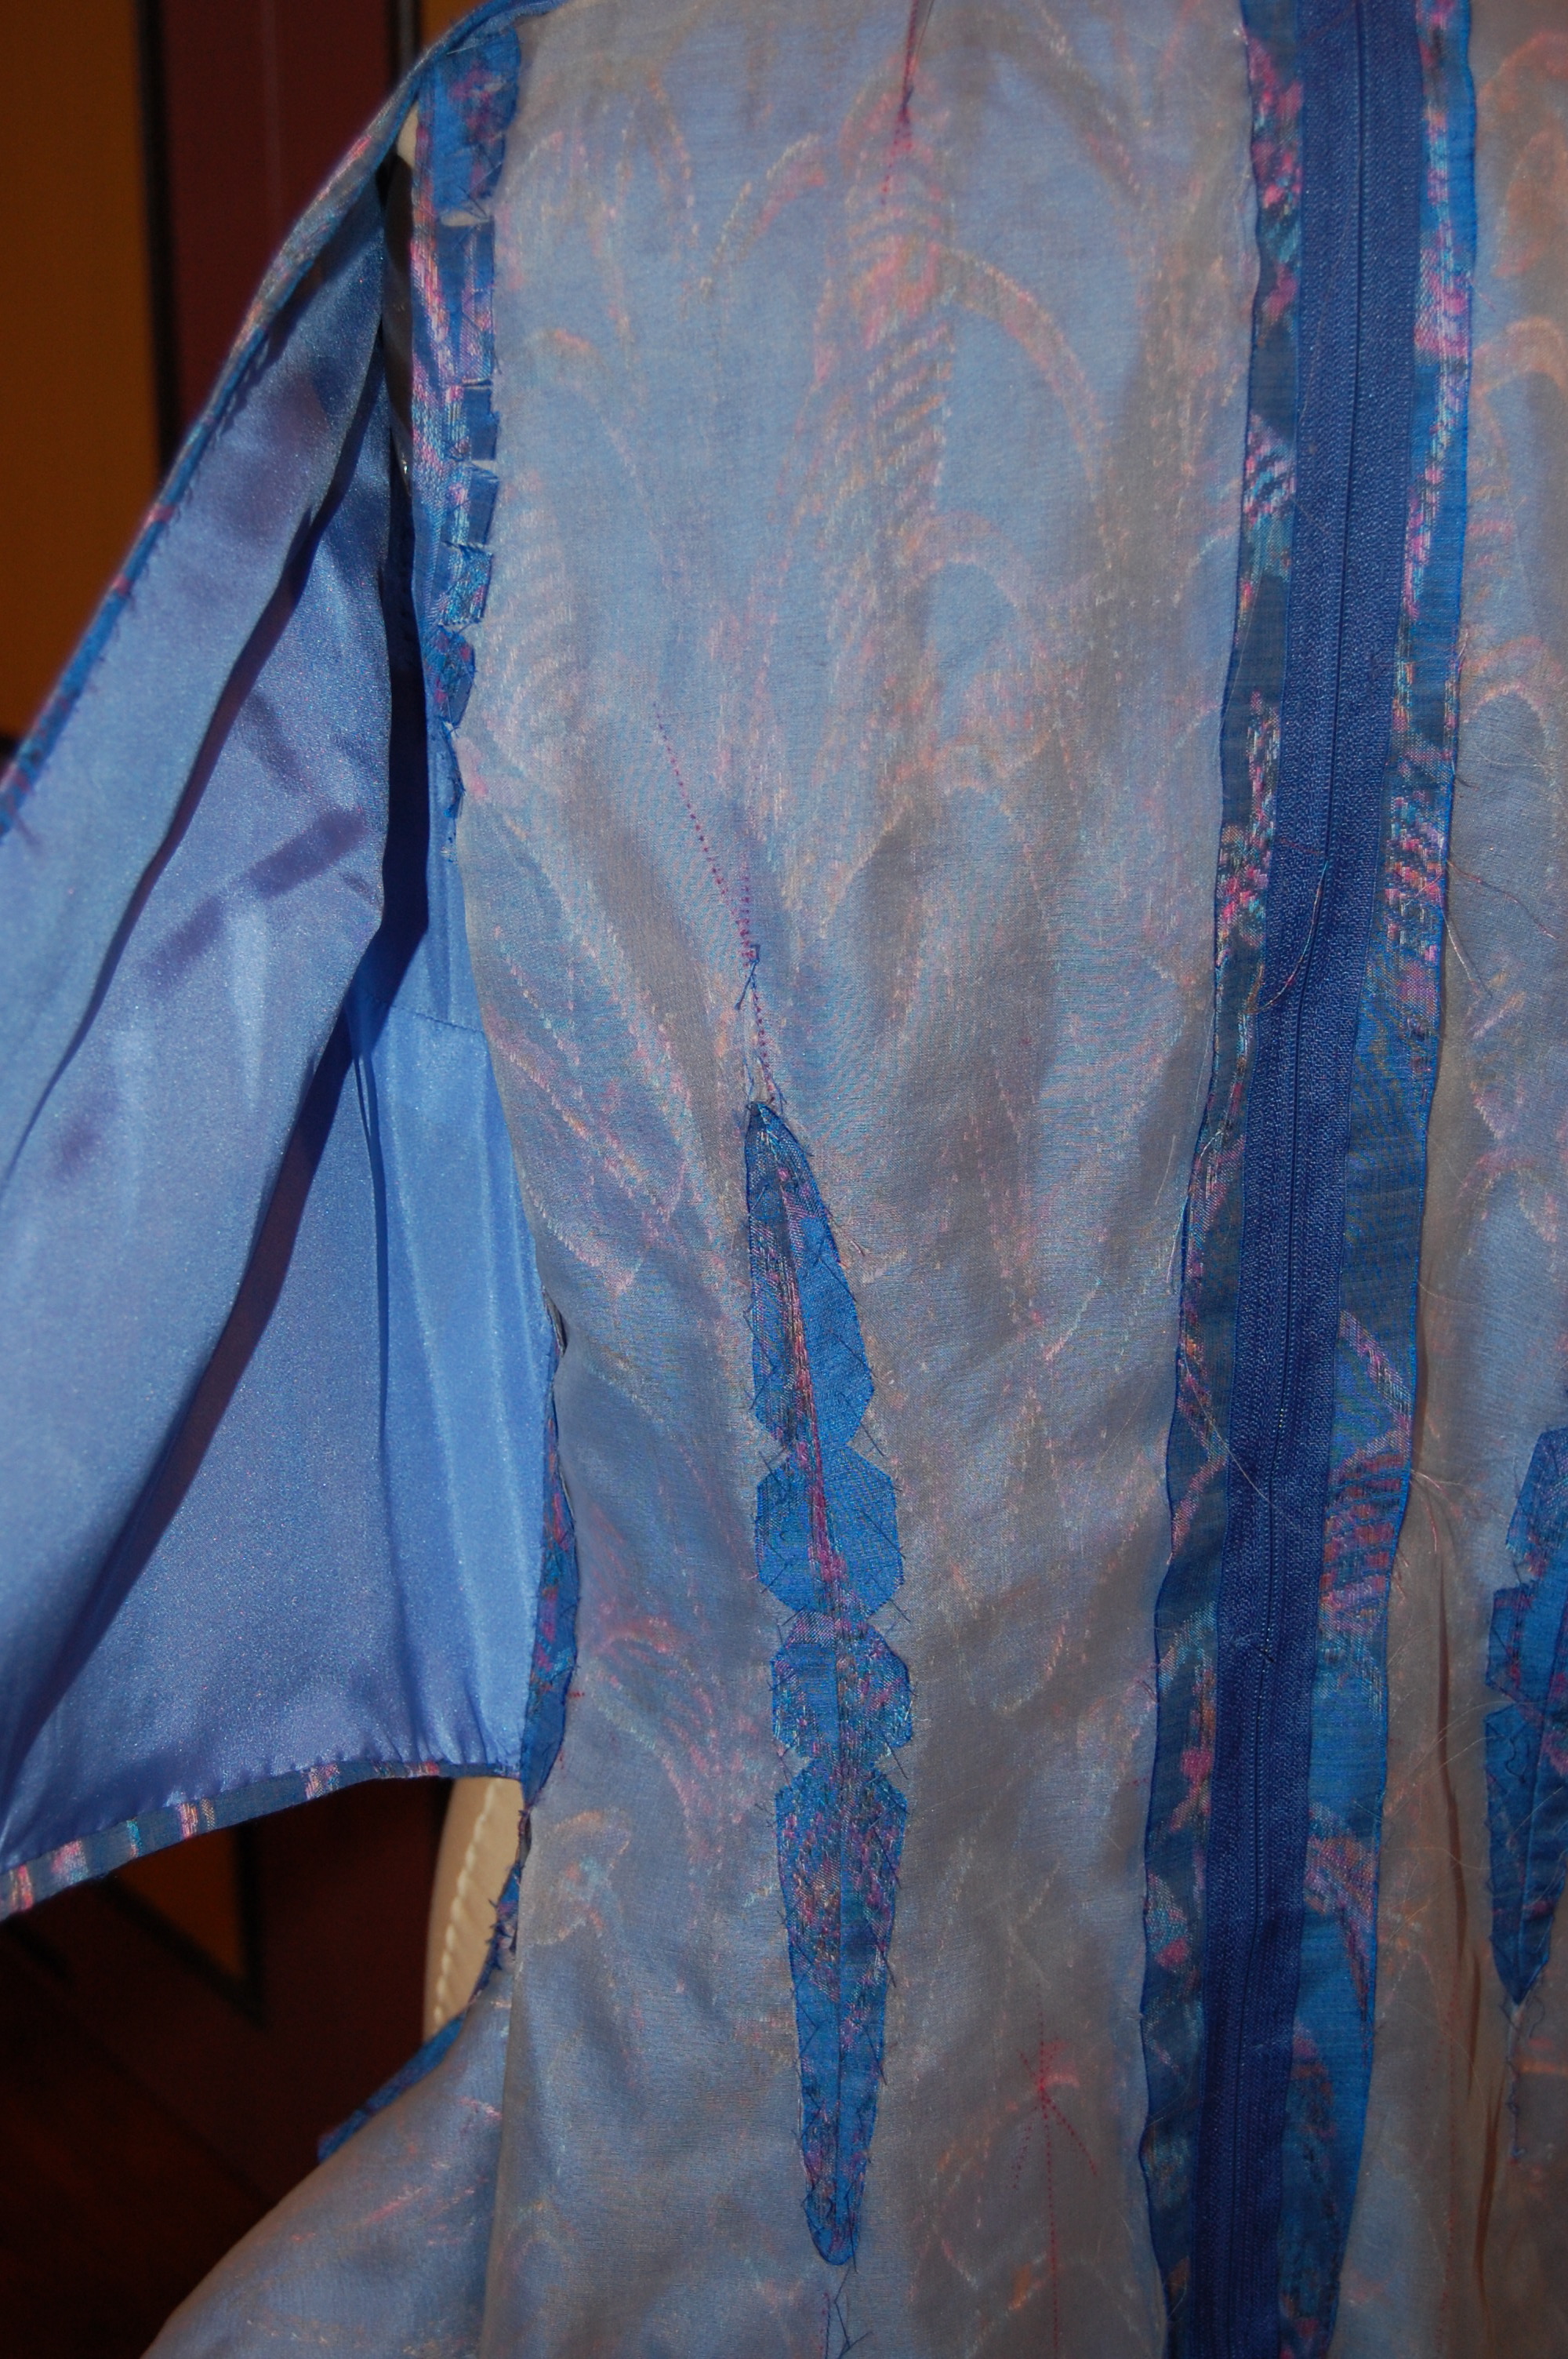
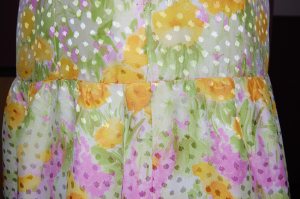
In the Department of “Nothing is Easy,” I ran into a problem with the fullness of the “half-skirt” on the front of the dress. You may recall from my last post, that I doubled one of the back skirt sections to use for the front skirt (replacing the diagonally shaped flounces as shown on the pattern which required more fabric than I had.) When I made my muslin (toile), I did not realize that the front skirt was fuller than the two back skirt sections. I had all three sections of the fashion fabric sewn together, with the seams all catch-stitched, and the lining attached too (in order to treat both pieces as one in the ruffling process.) I was half way through basting the skirt onto the body of the dress when I realized there was too much fullness in the front. I had to take it all apart, and figure out where I had made the mistake. It turned out that the front section of the dress was narrower than the two back sections sewn together. So I had to do some calculations, coming up with the fact that I had to take 4.5” off the width of the front skirt. That took a whole afternoon of sewing to take care of that adjustment!
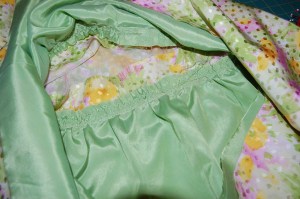
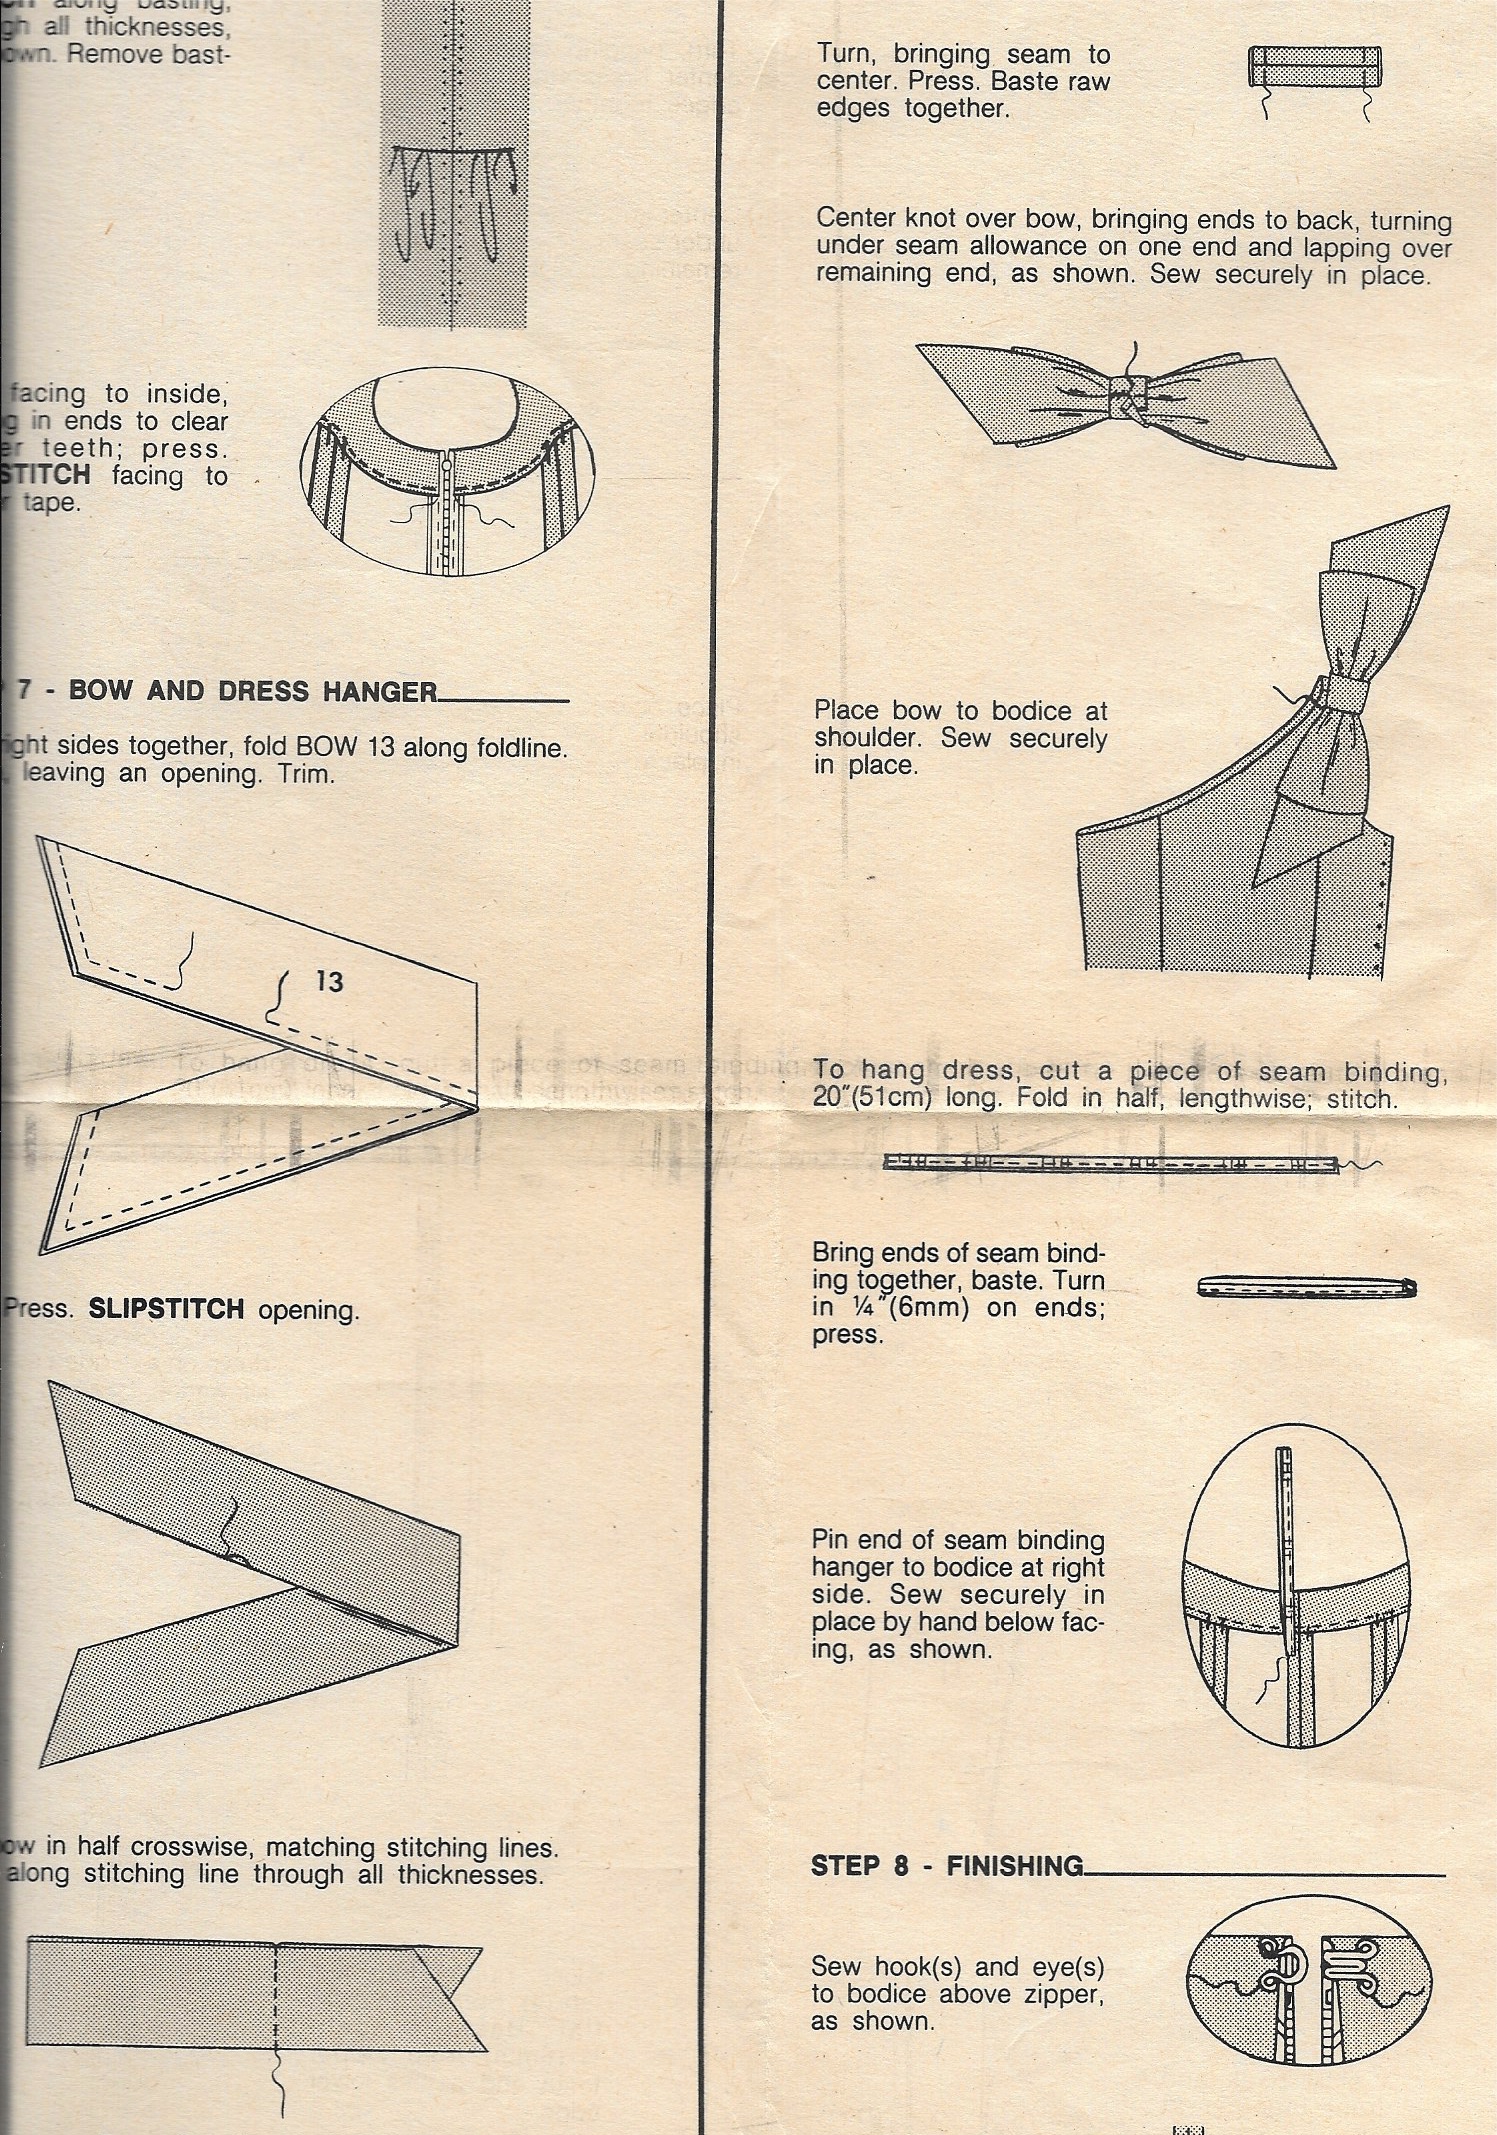
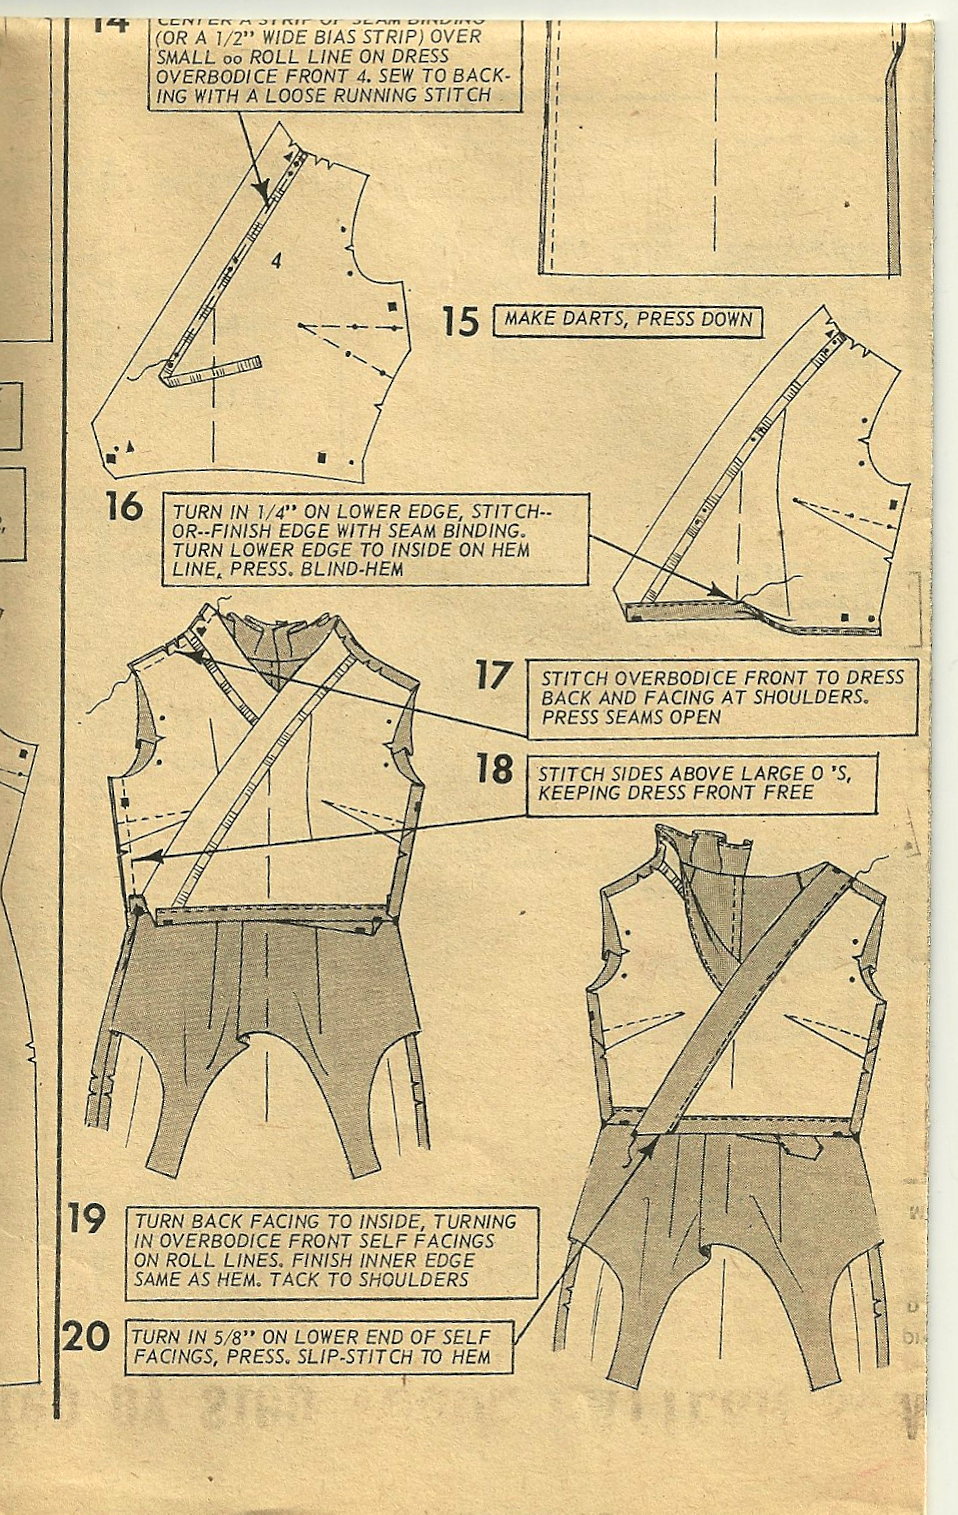
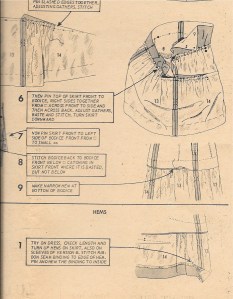
The skirt was attached to the bodice in an rather unusual way as you can see in this photo and the instruction sheet below.
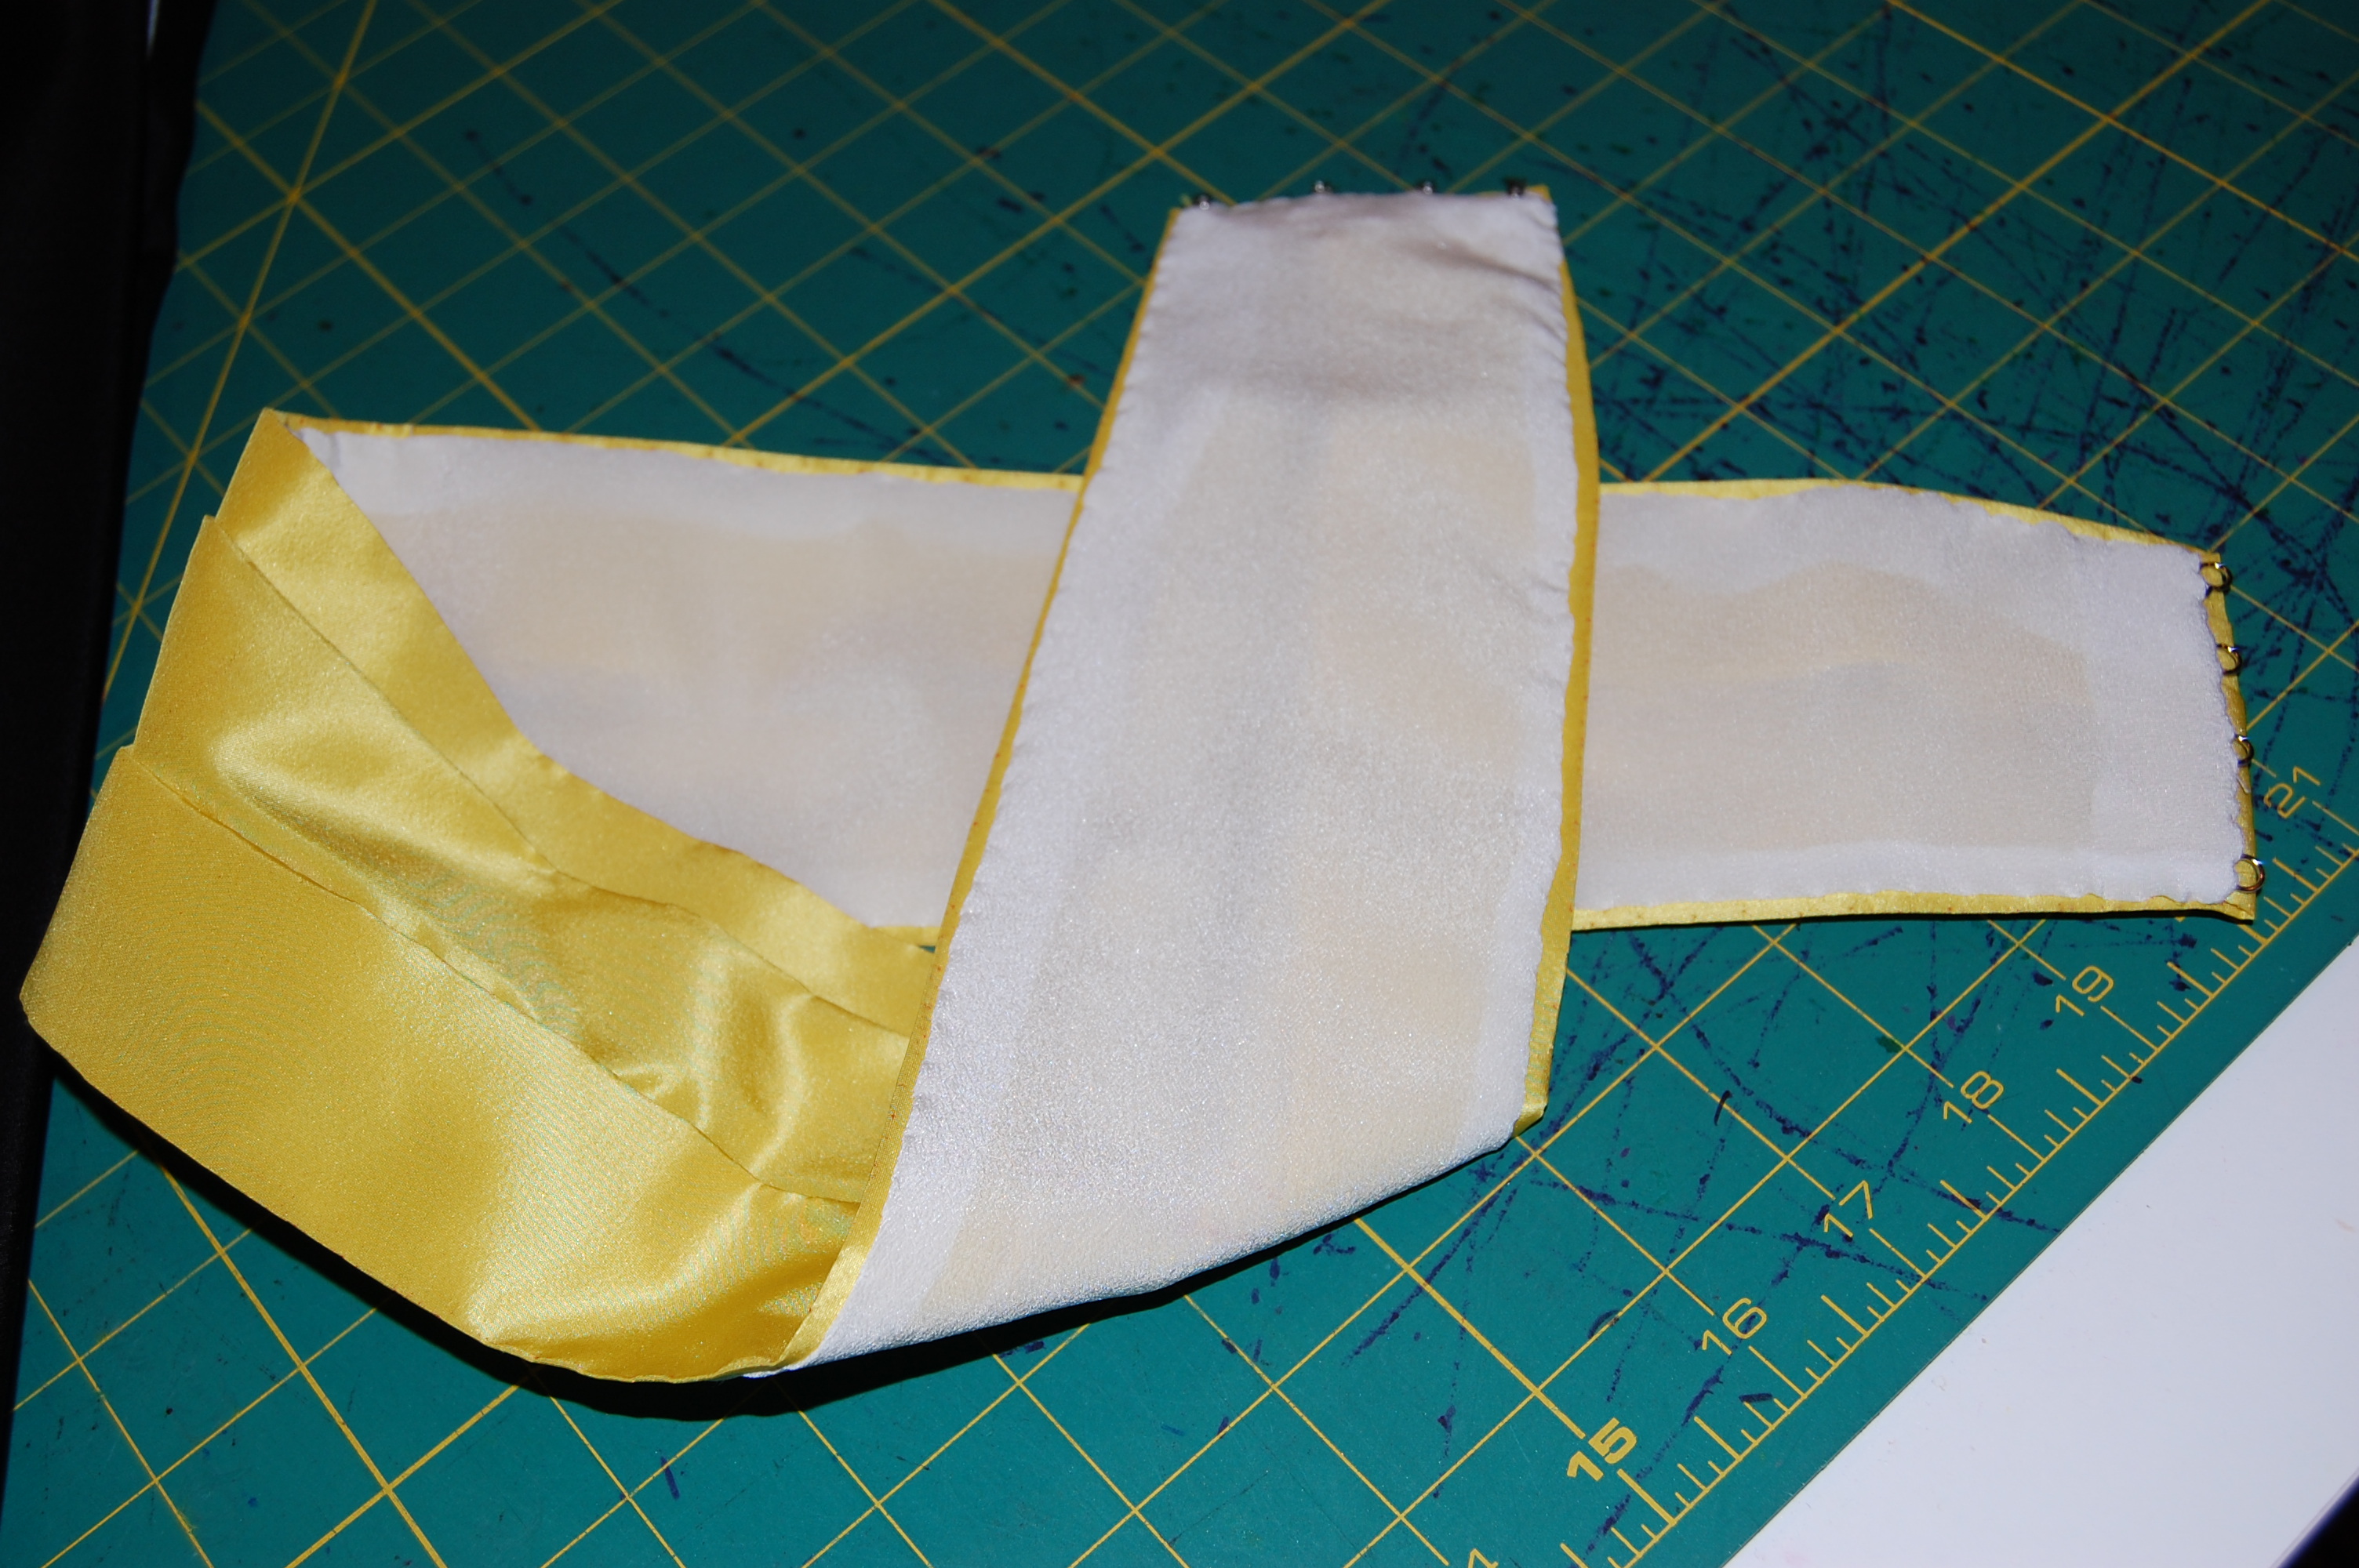
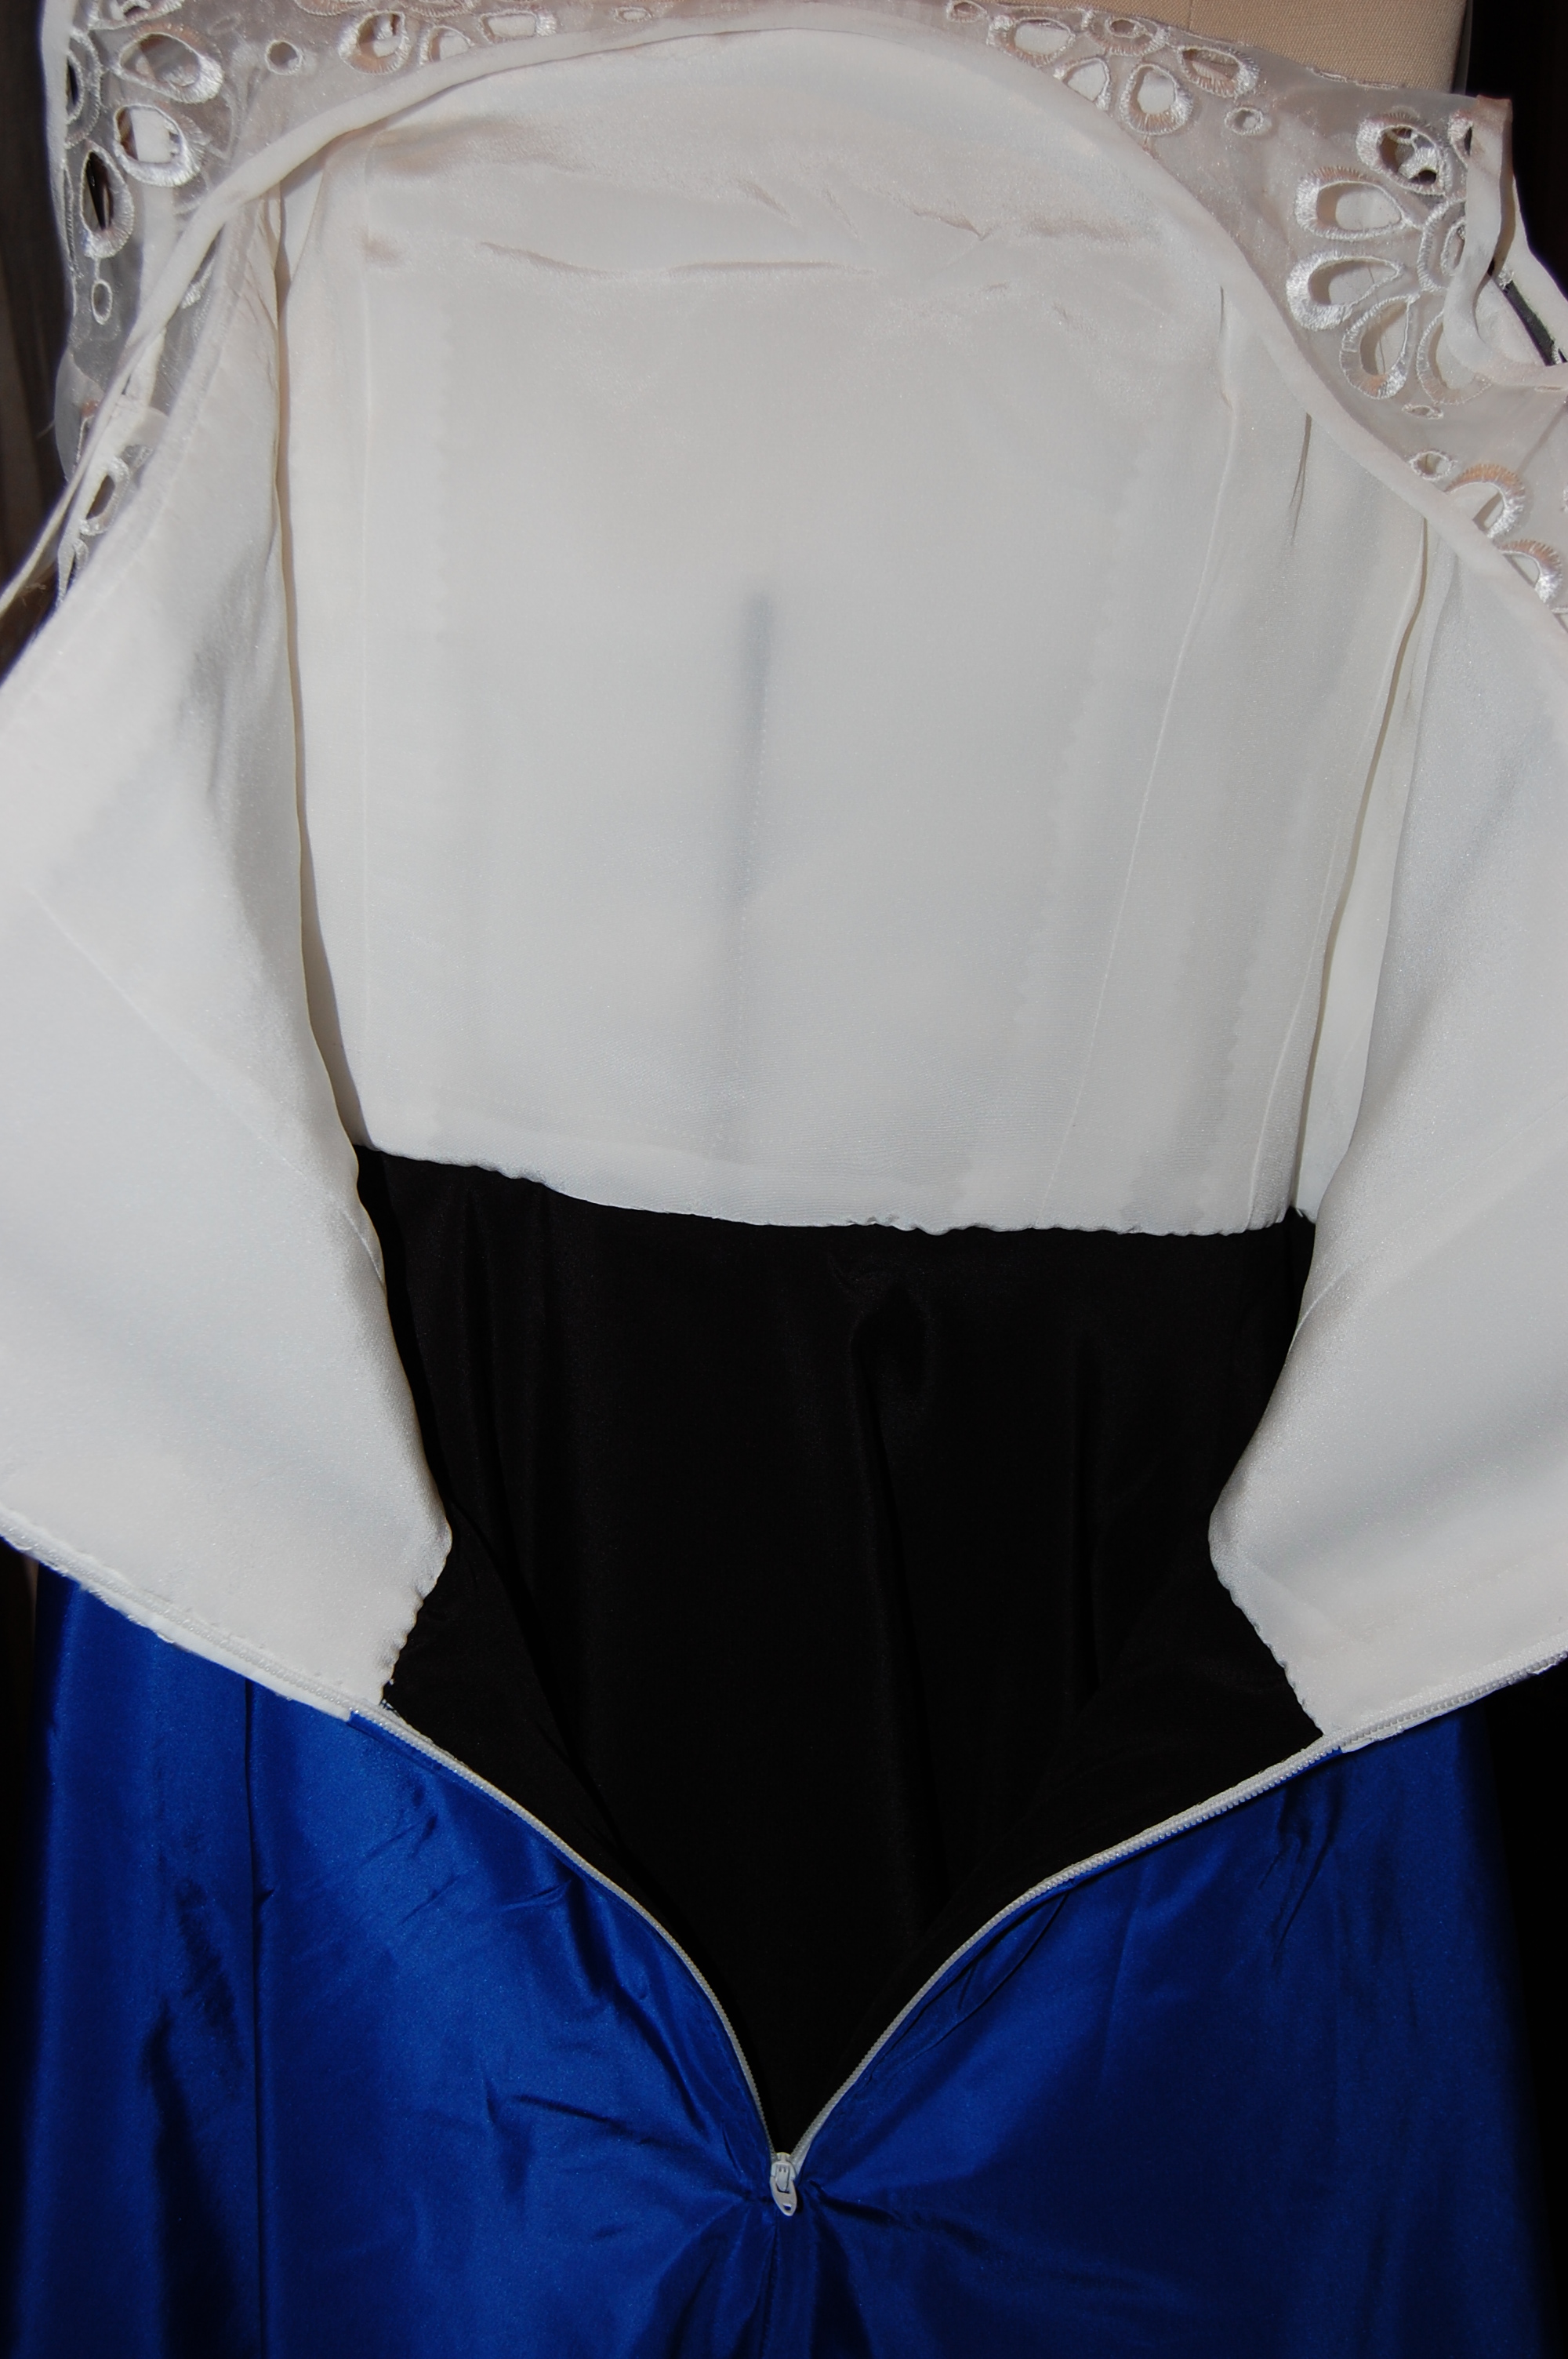
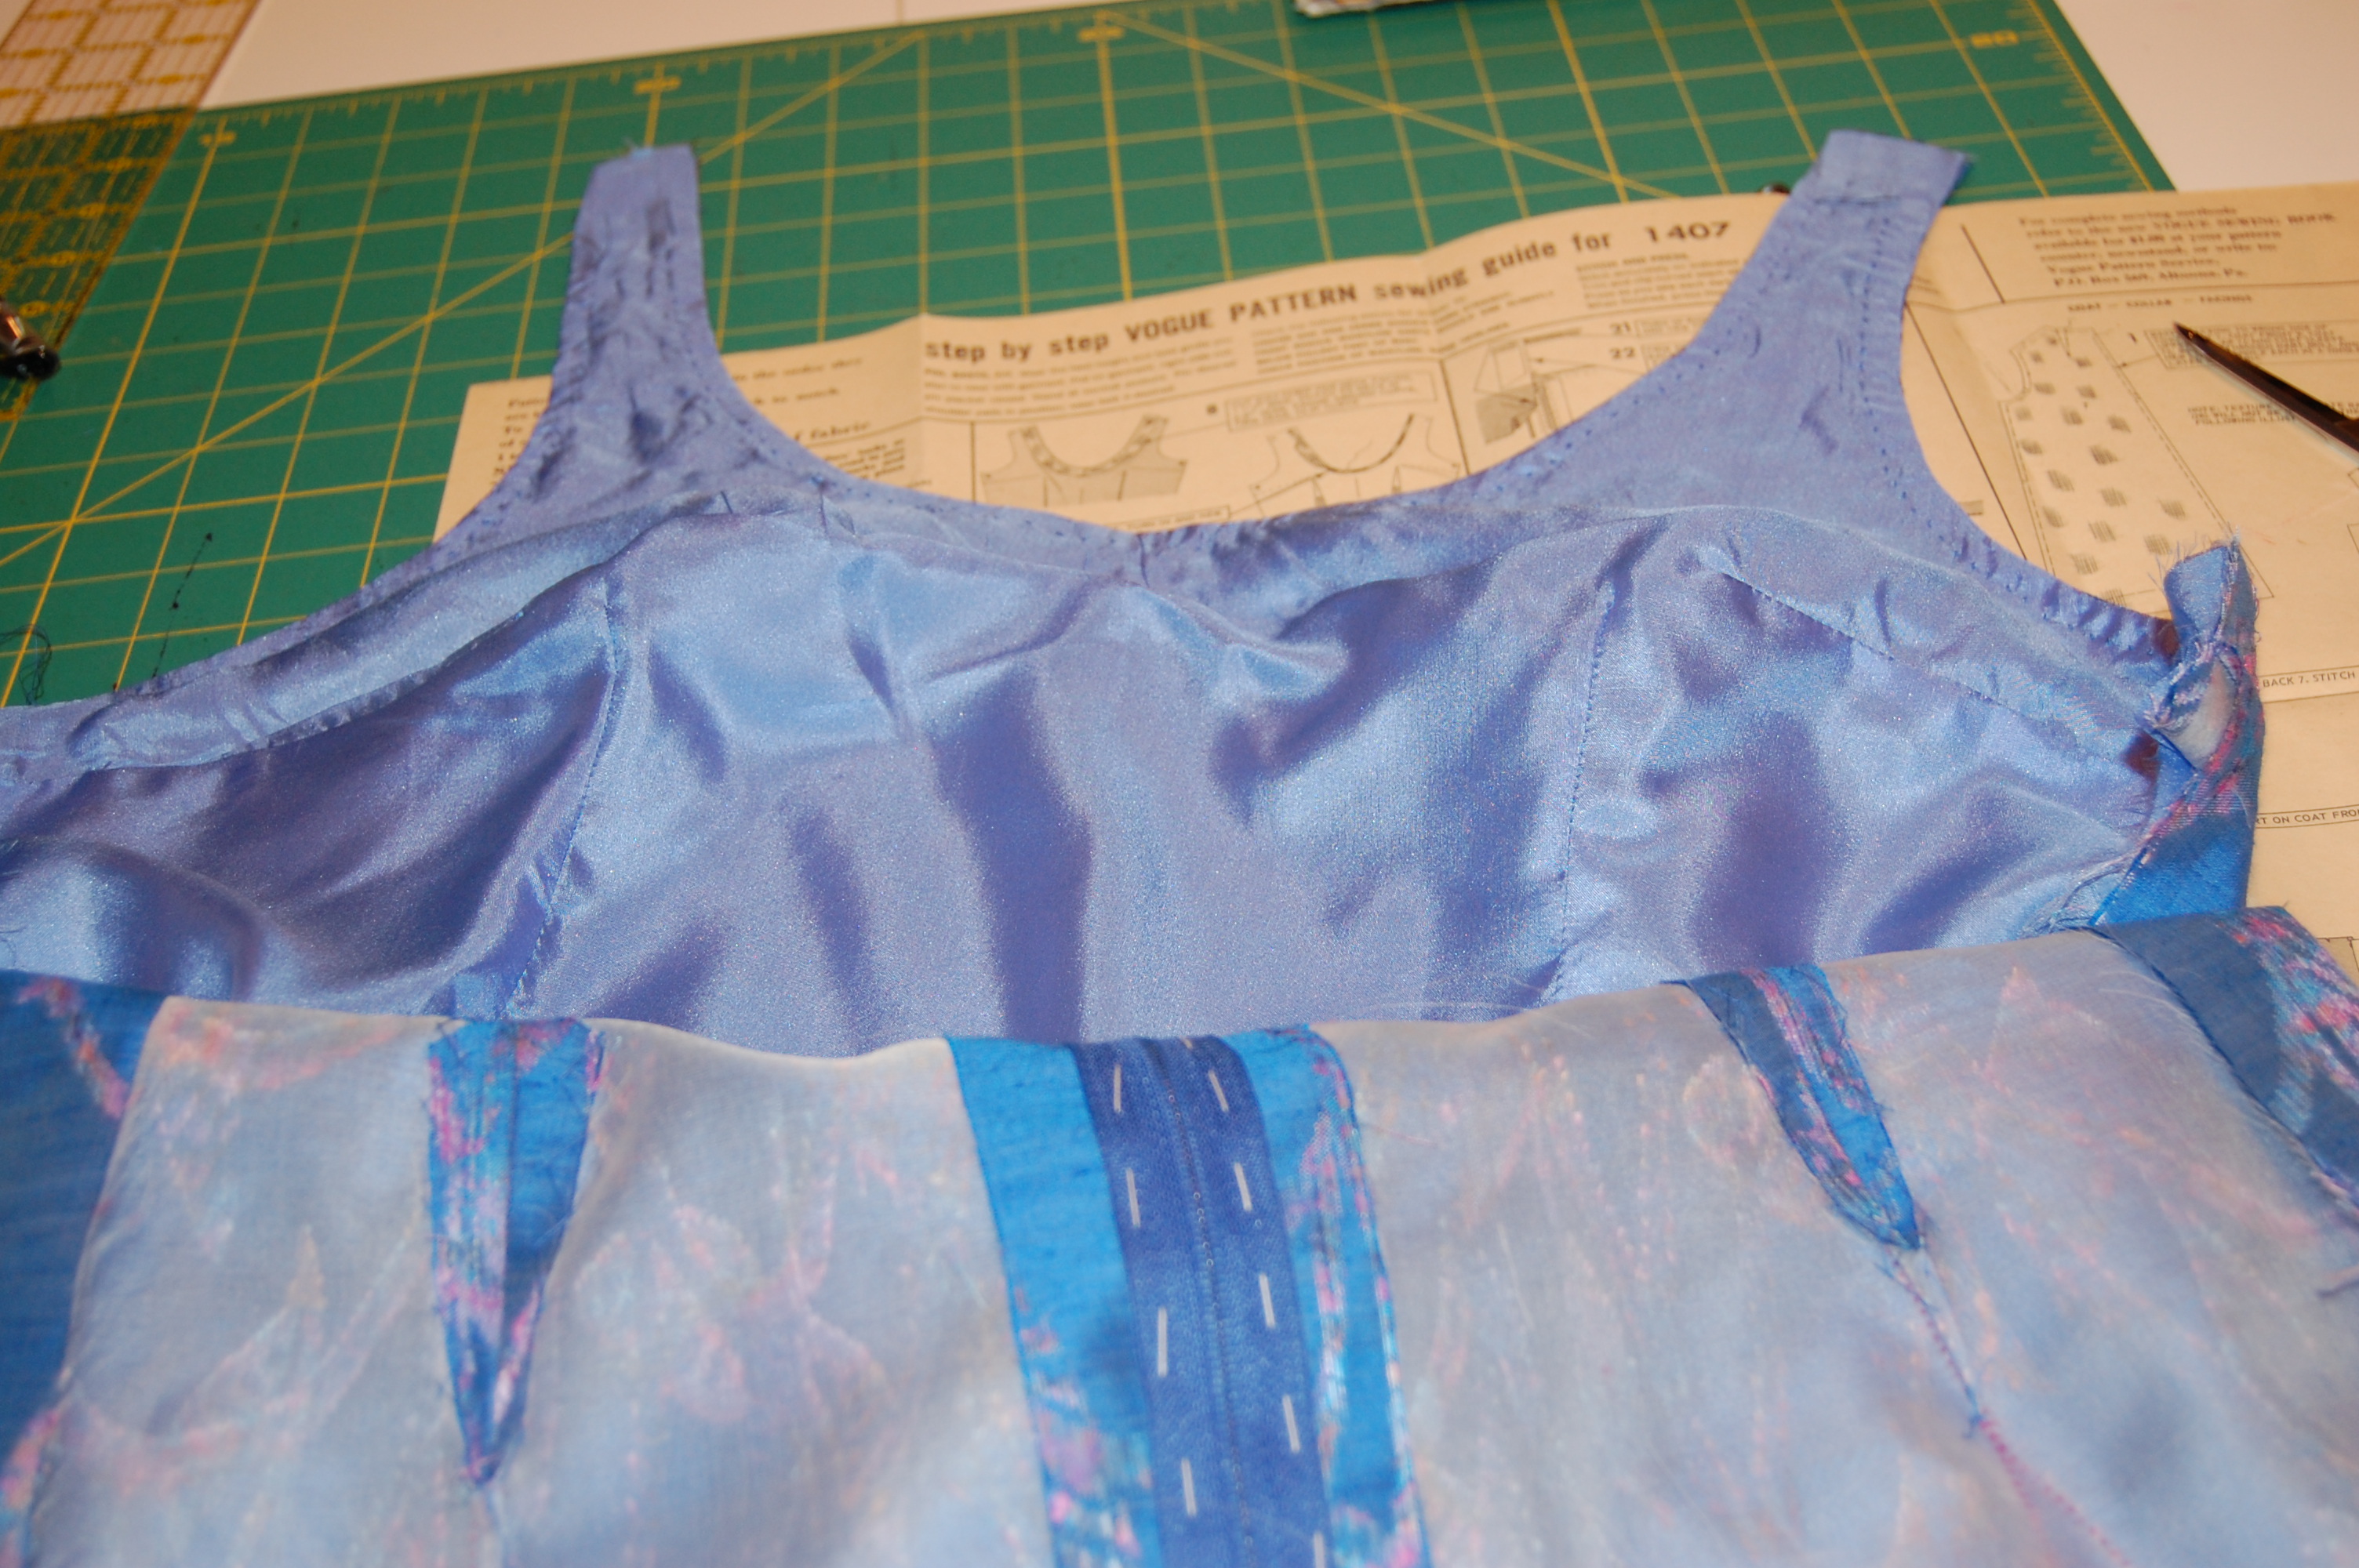
I also had to figure out how to line the top part of the dress. I finally decided to leave the top part of the lining hanging loose inside the dress – and it actually works beautifully!

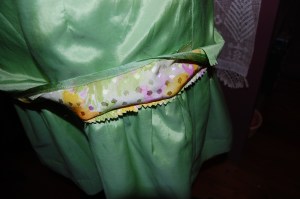
The skirt lining is not attached to the bodice lining at all.
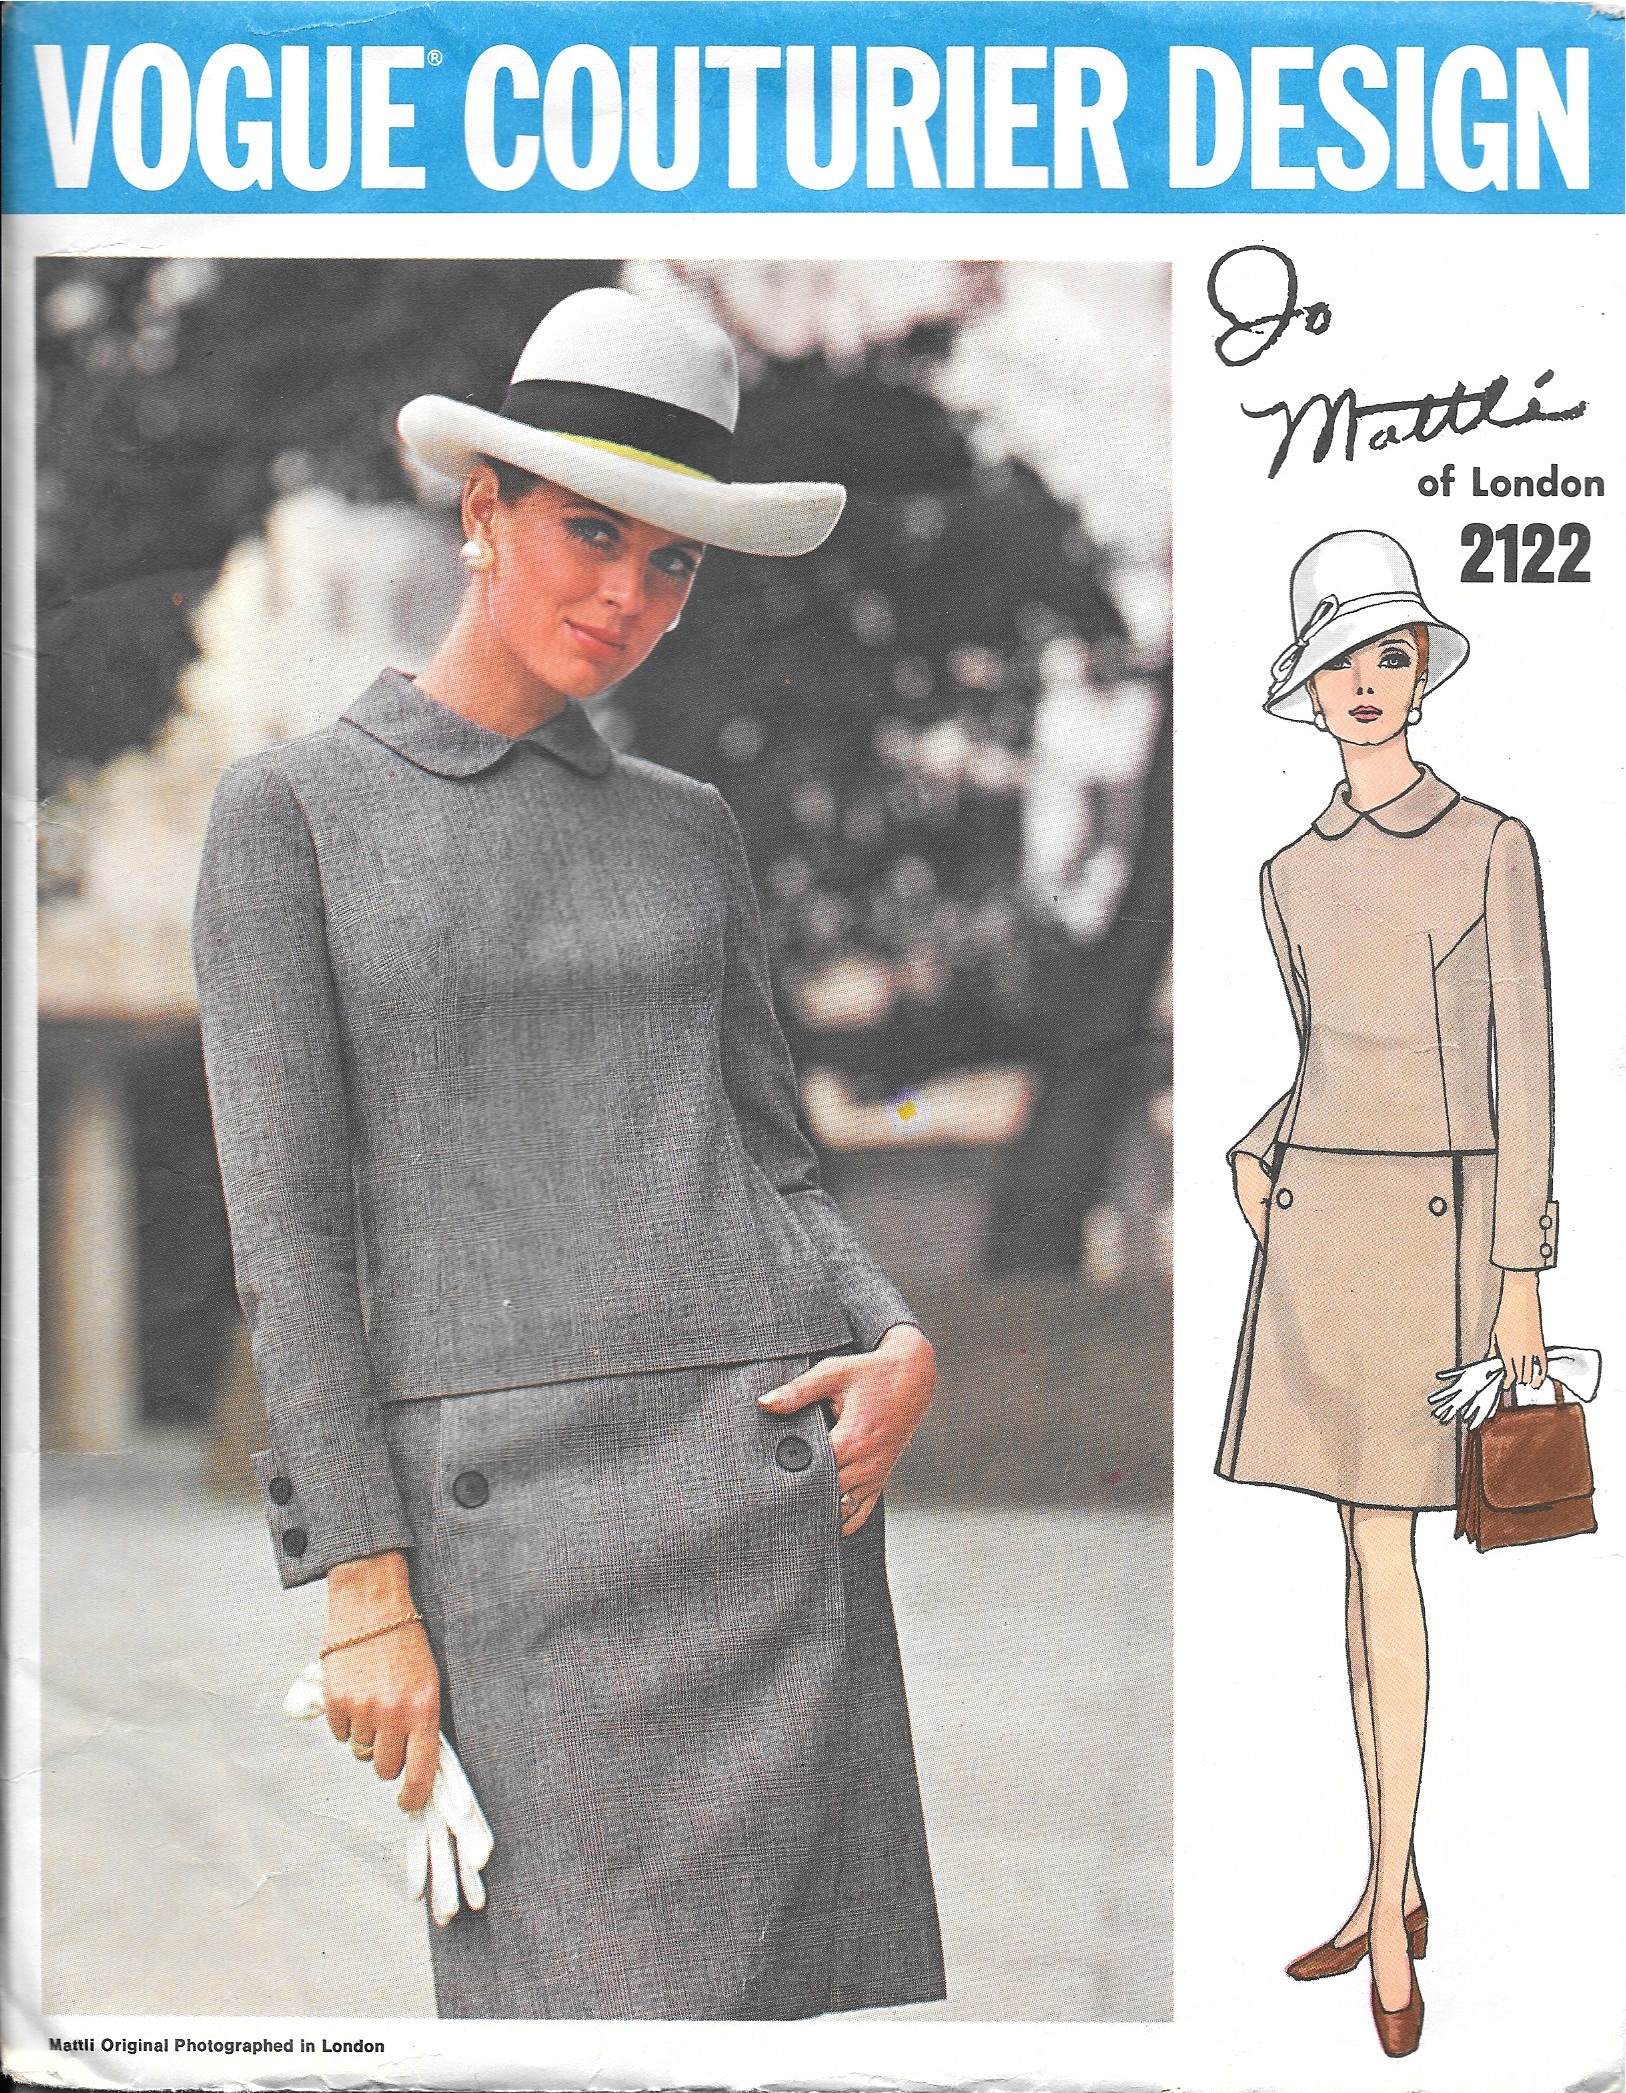
Two small interesting design notes on this pattern are worth noting. First, if you look at the pattern envelope, you see small neckline darts on the back of the dress.
 When I studied the pattern, those darts were not there! Either the artist made a mistake, or the darts were eliminated when the pattern was drafted.
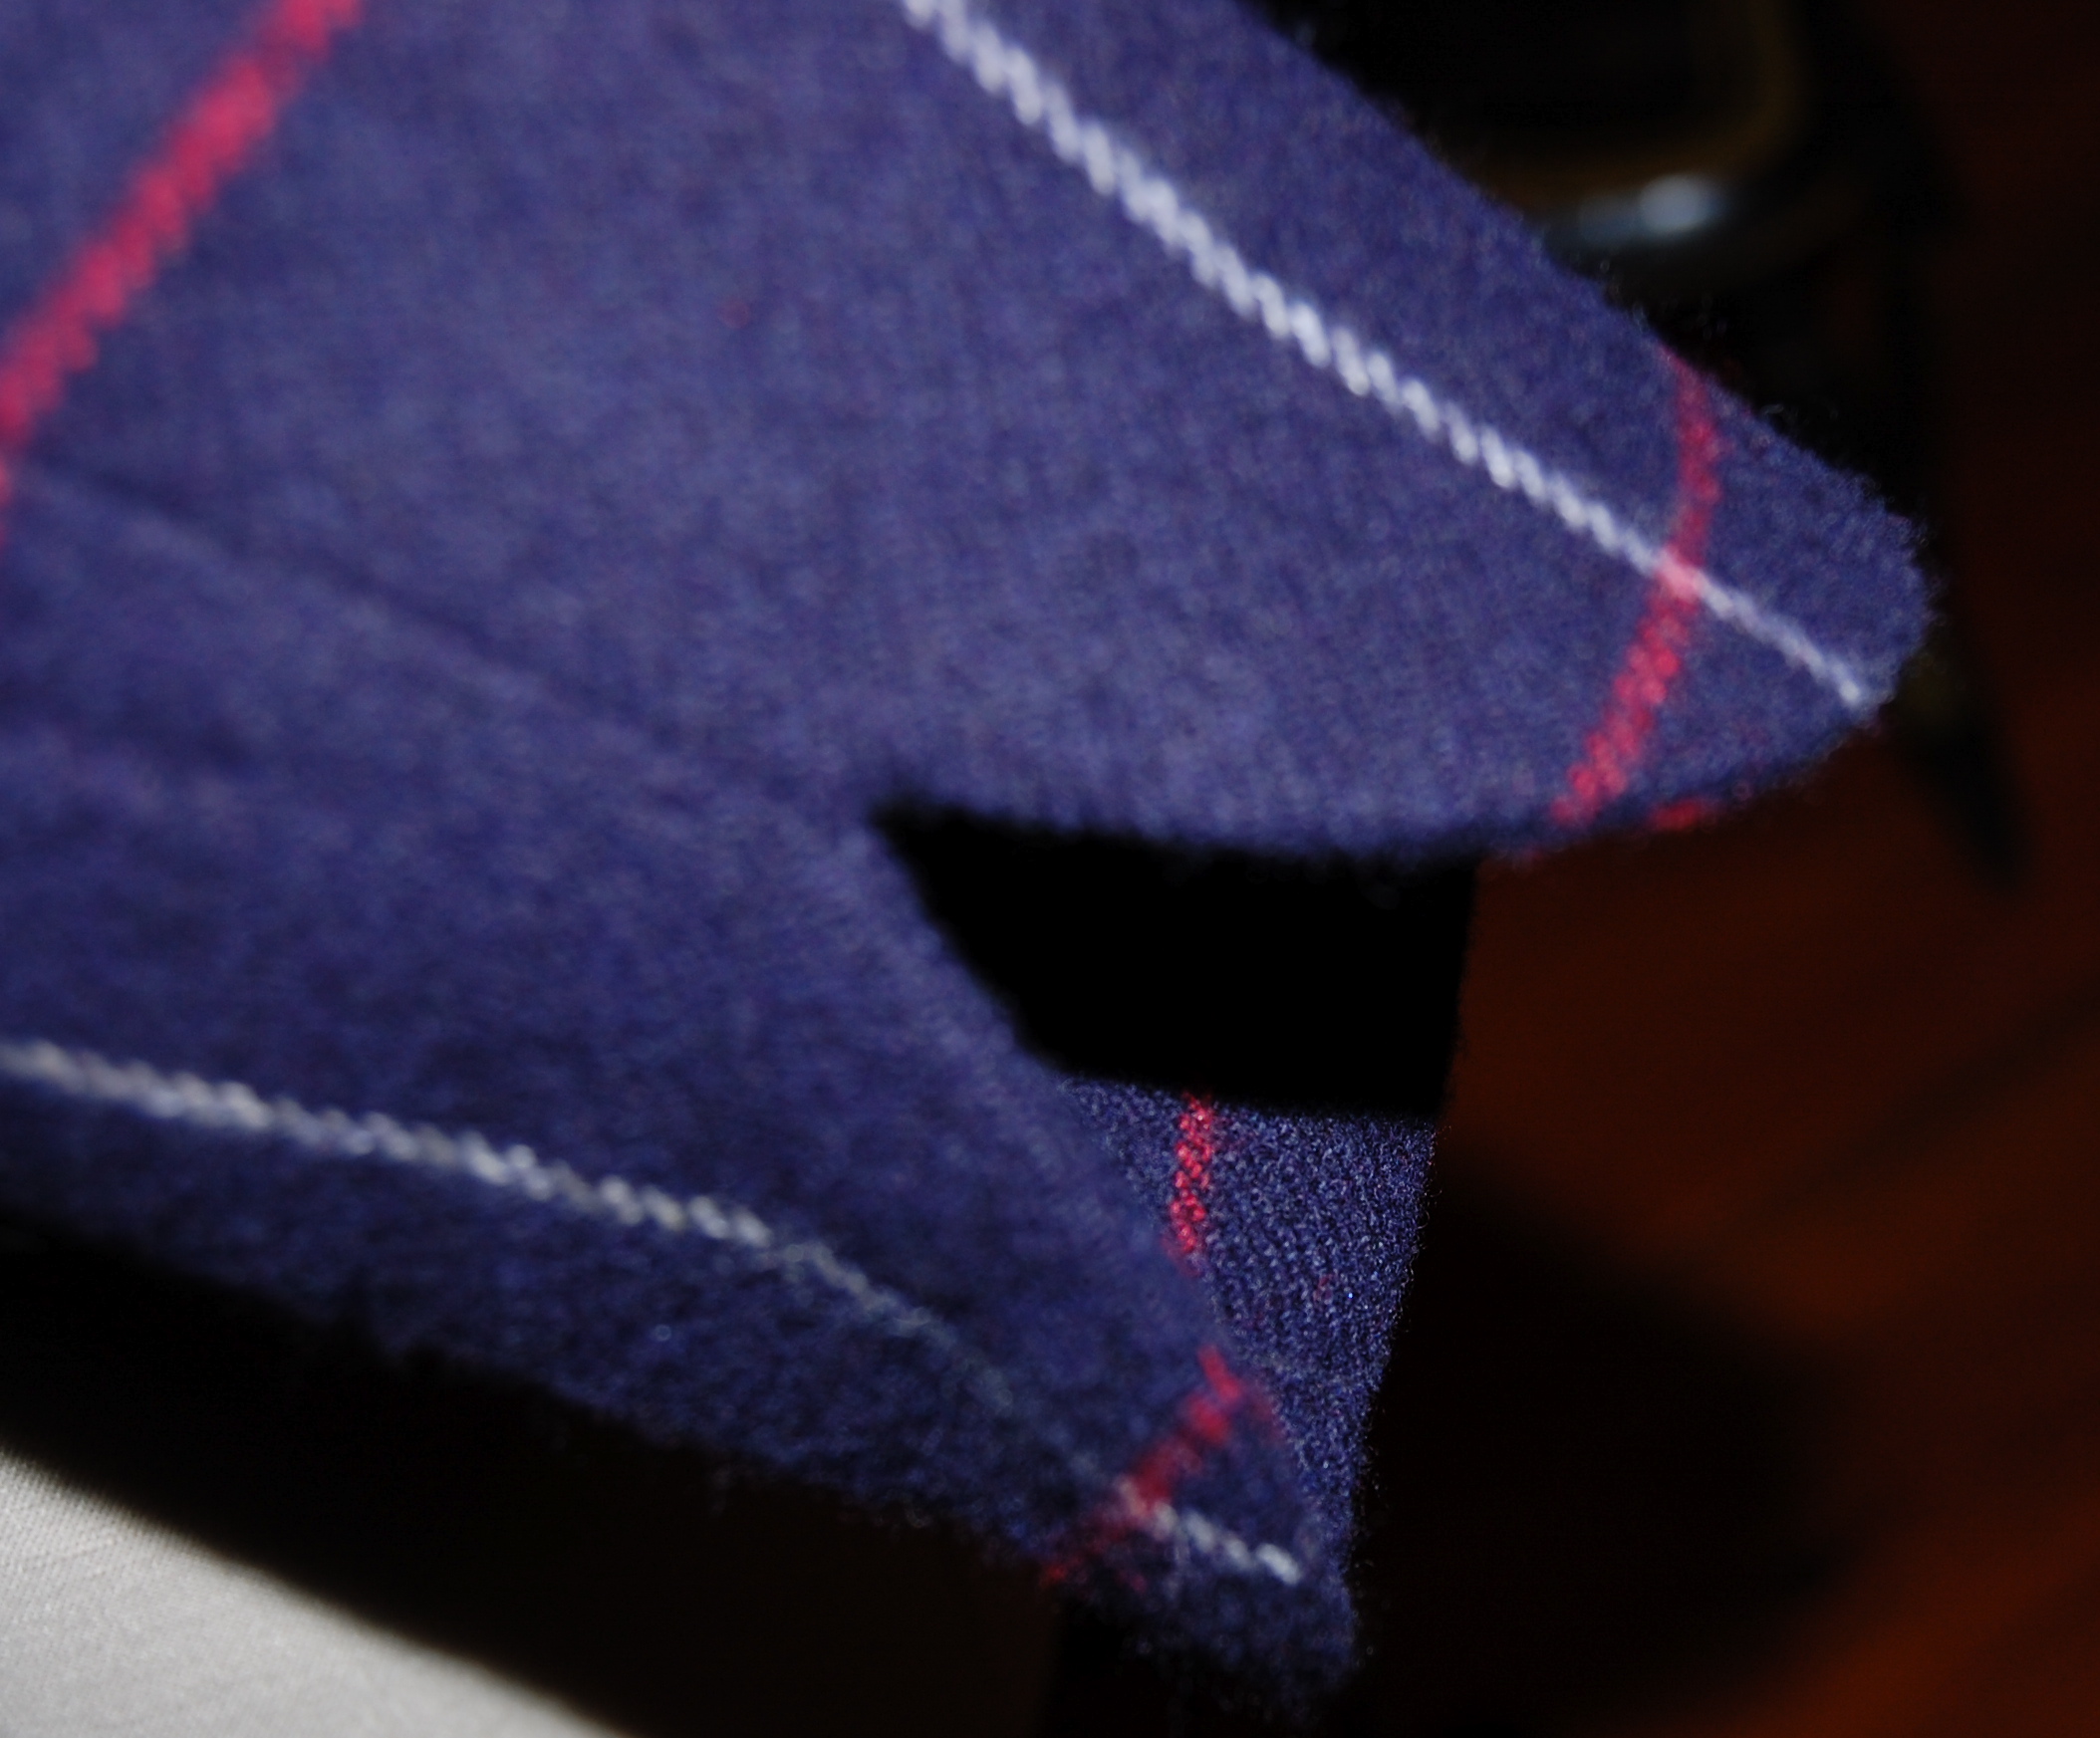
Another interesting design aspect is the center back seam in the skirt. Usually center back seams are there because there is an opening that the seam needs to accommodate. That is not the case in this dress, as the zipper does not extend into the skirt. However, even though it is very subtle, it just looks better to have a seam in the skirt that matches up with the center back seam of the bodice section.
That center back seam which is picked up in the skirt.

It has been rainy and cold all week so no photos outside. I need a dress like this to remind me that it is actually May.


Another back view

I have decided I am “wedding ready” even without the jacket. However, if I get the jacket finished, I’ll be very happy!