In sewing there are various degrees of success. At one end of the spectrum is something which not only fits well, but is flattering, a perfect combination of pattern and fabric, a piece destined to become a staple in one’s wardrobe. At the other end is – a complete flop. Flops are painful, aren’t they? I didn’t realize this project was going to be a flop until I was almost finished with it, although I was beginning to have my doubts about halfway through it.
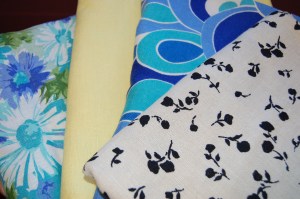
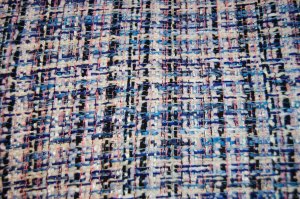
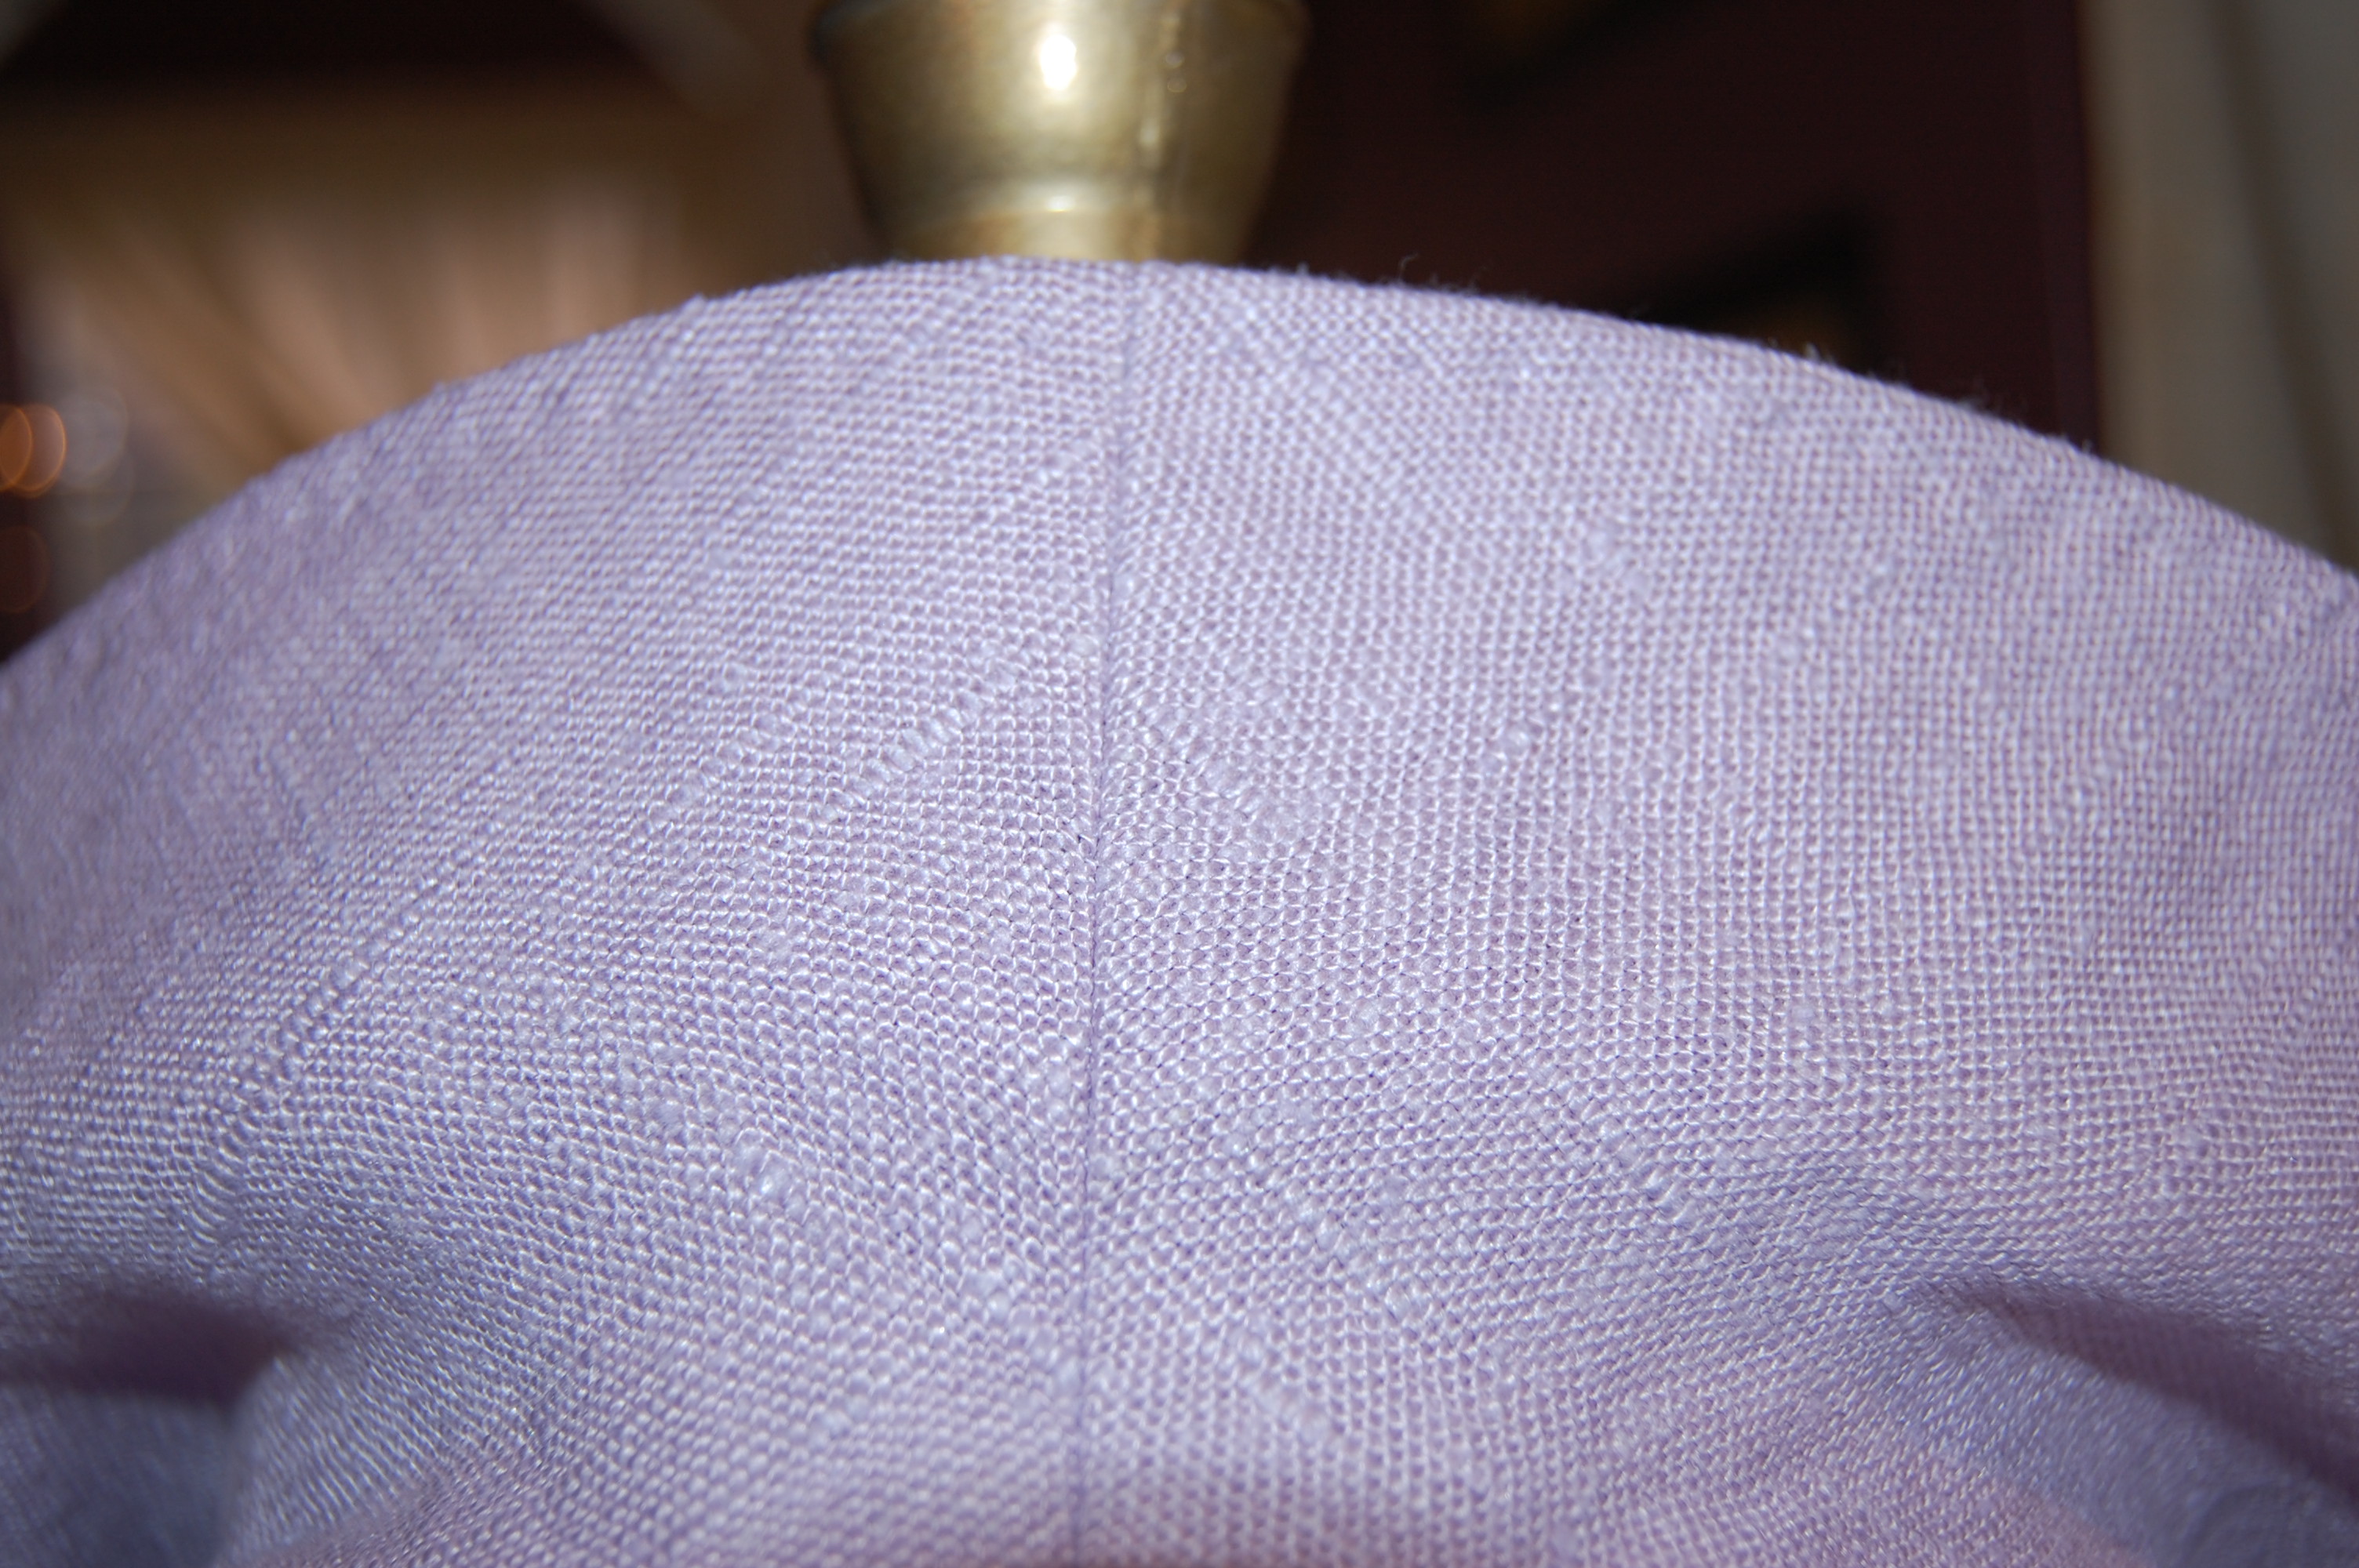
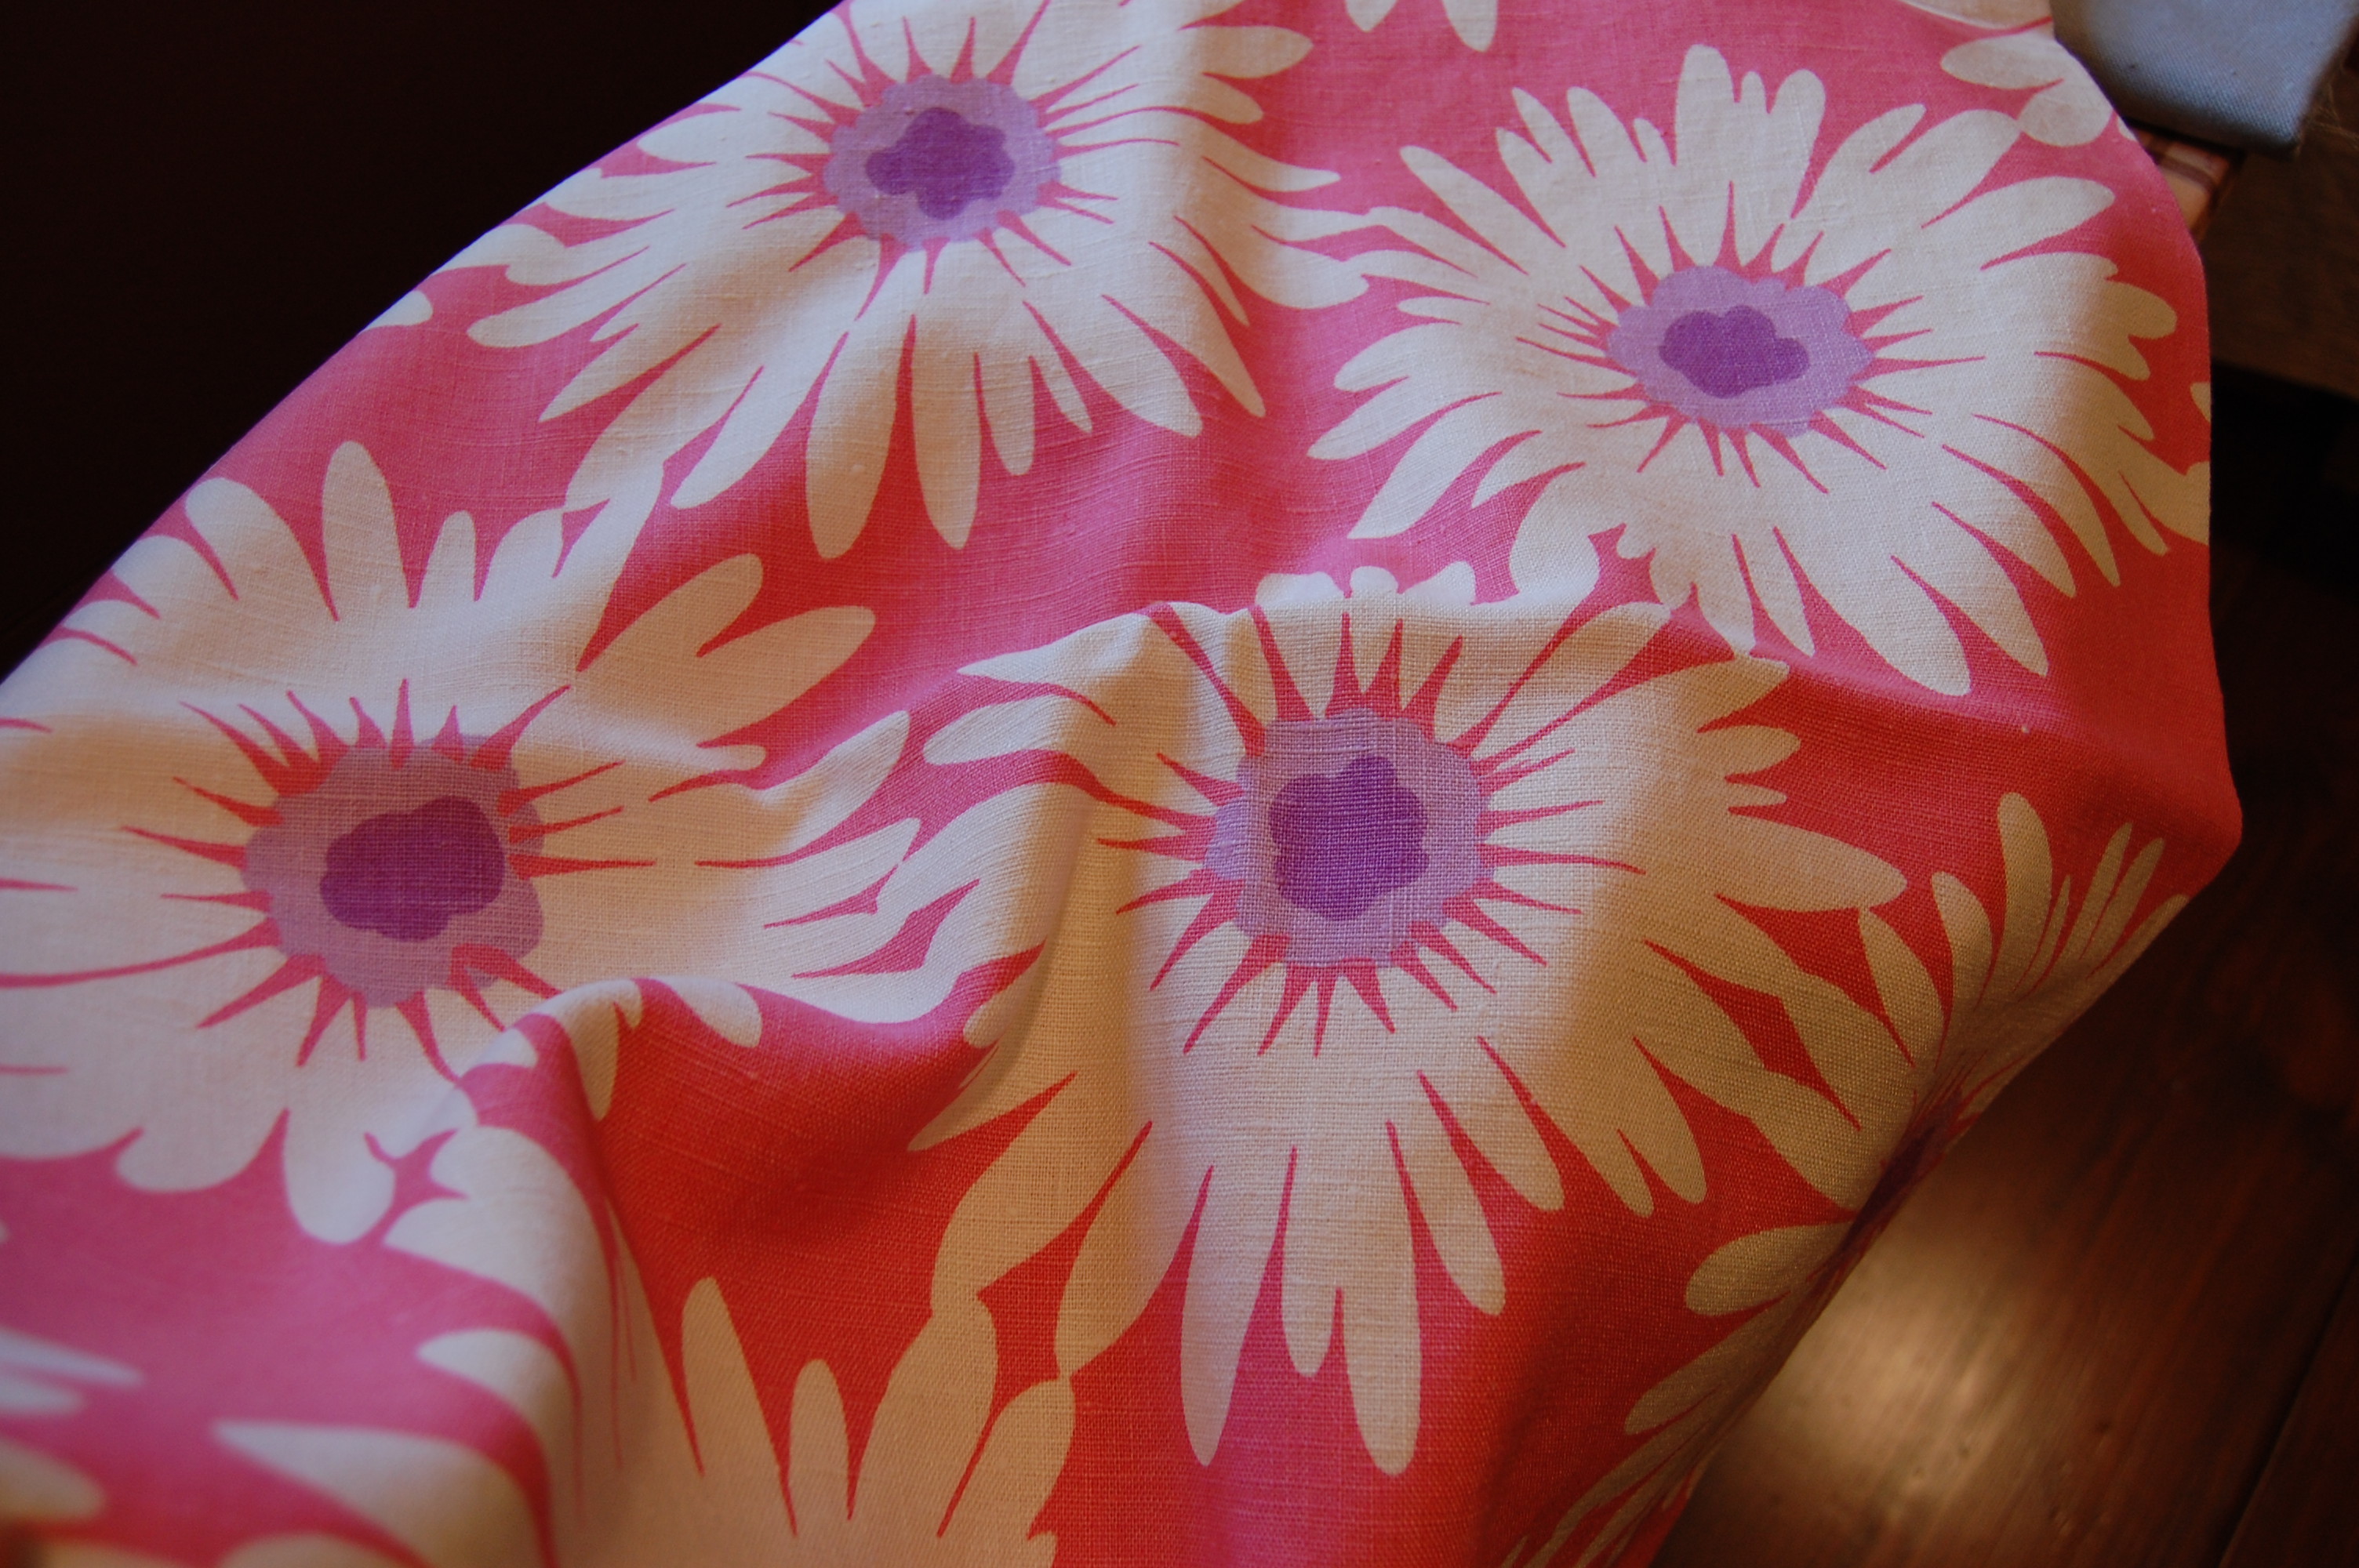
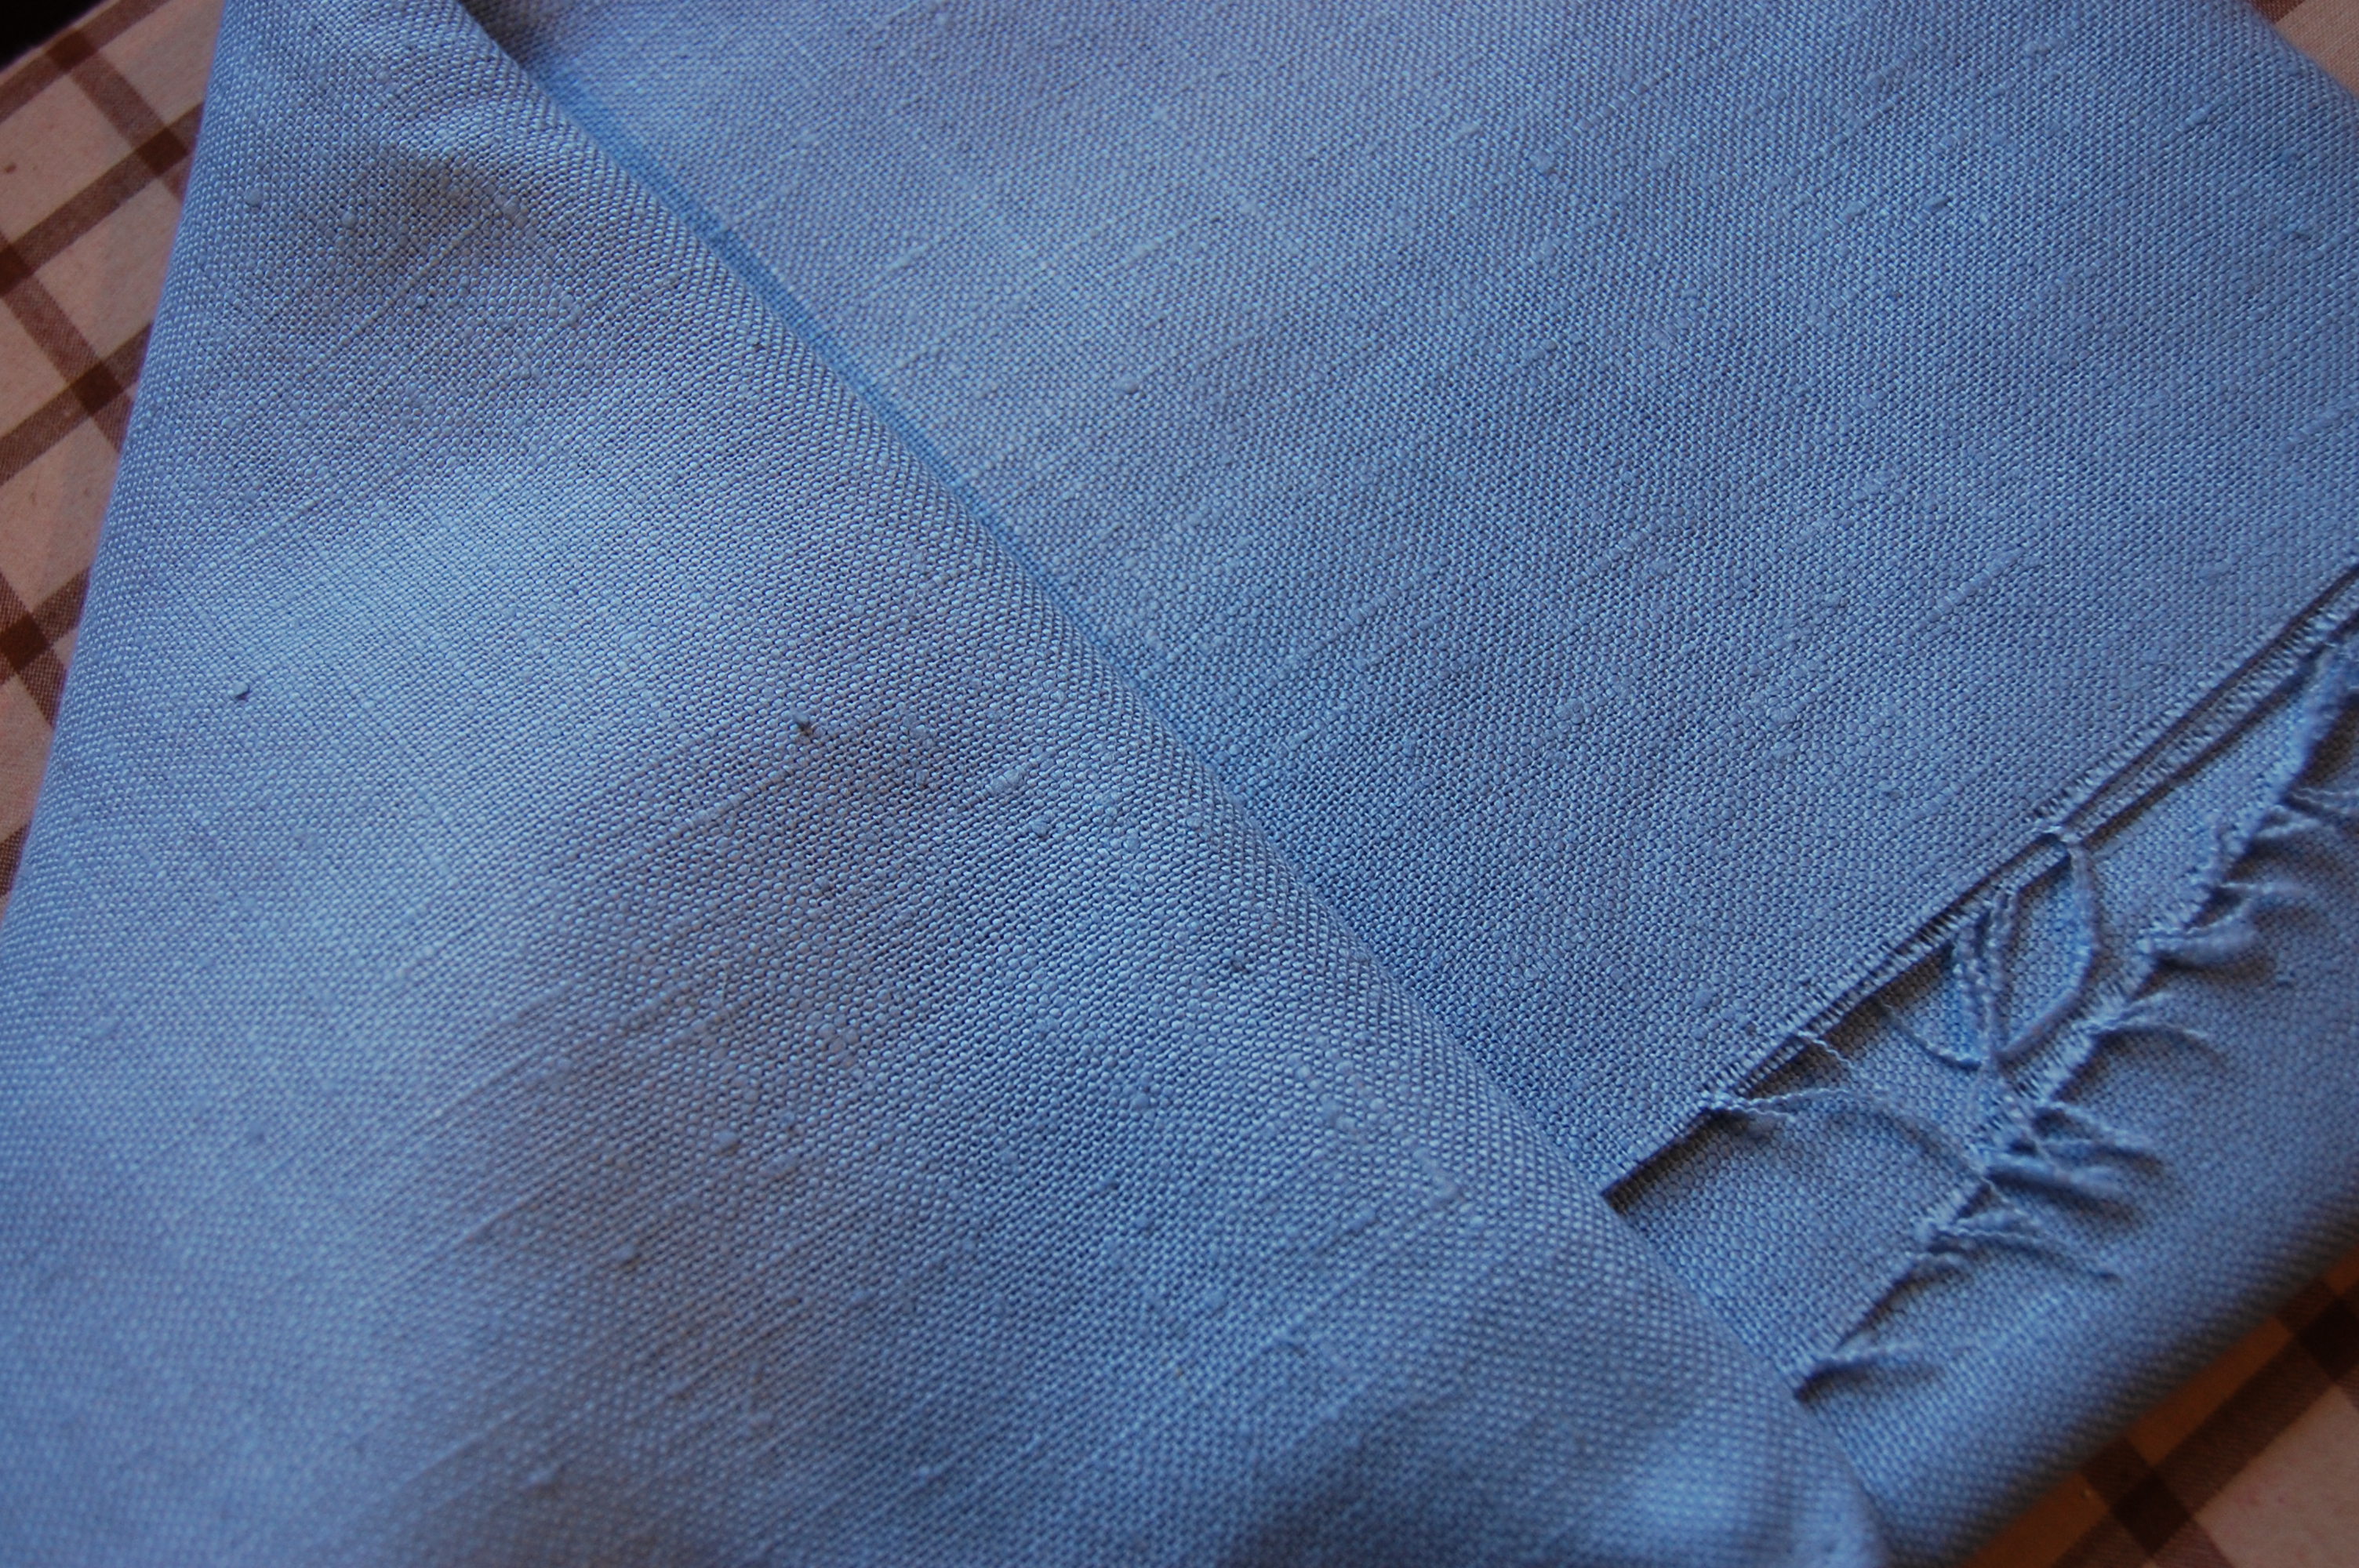
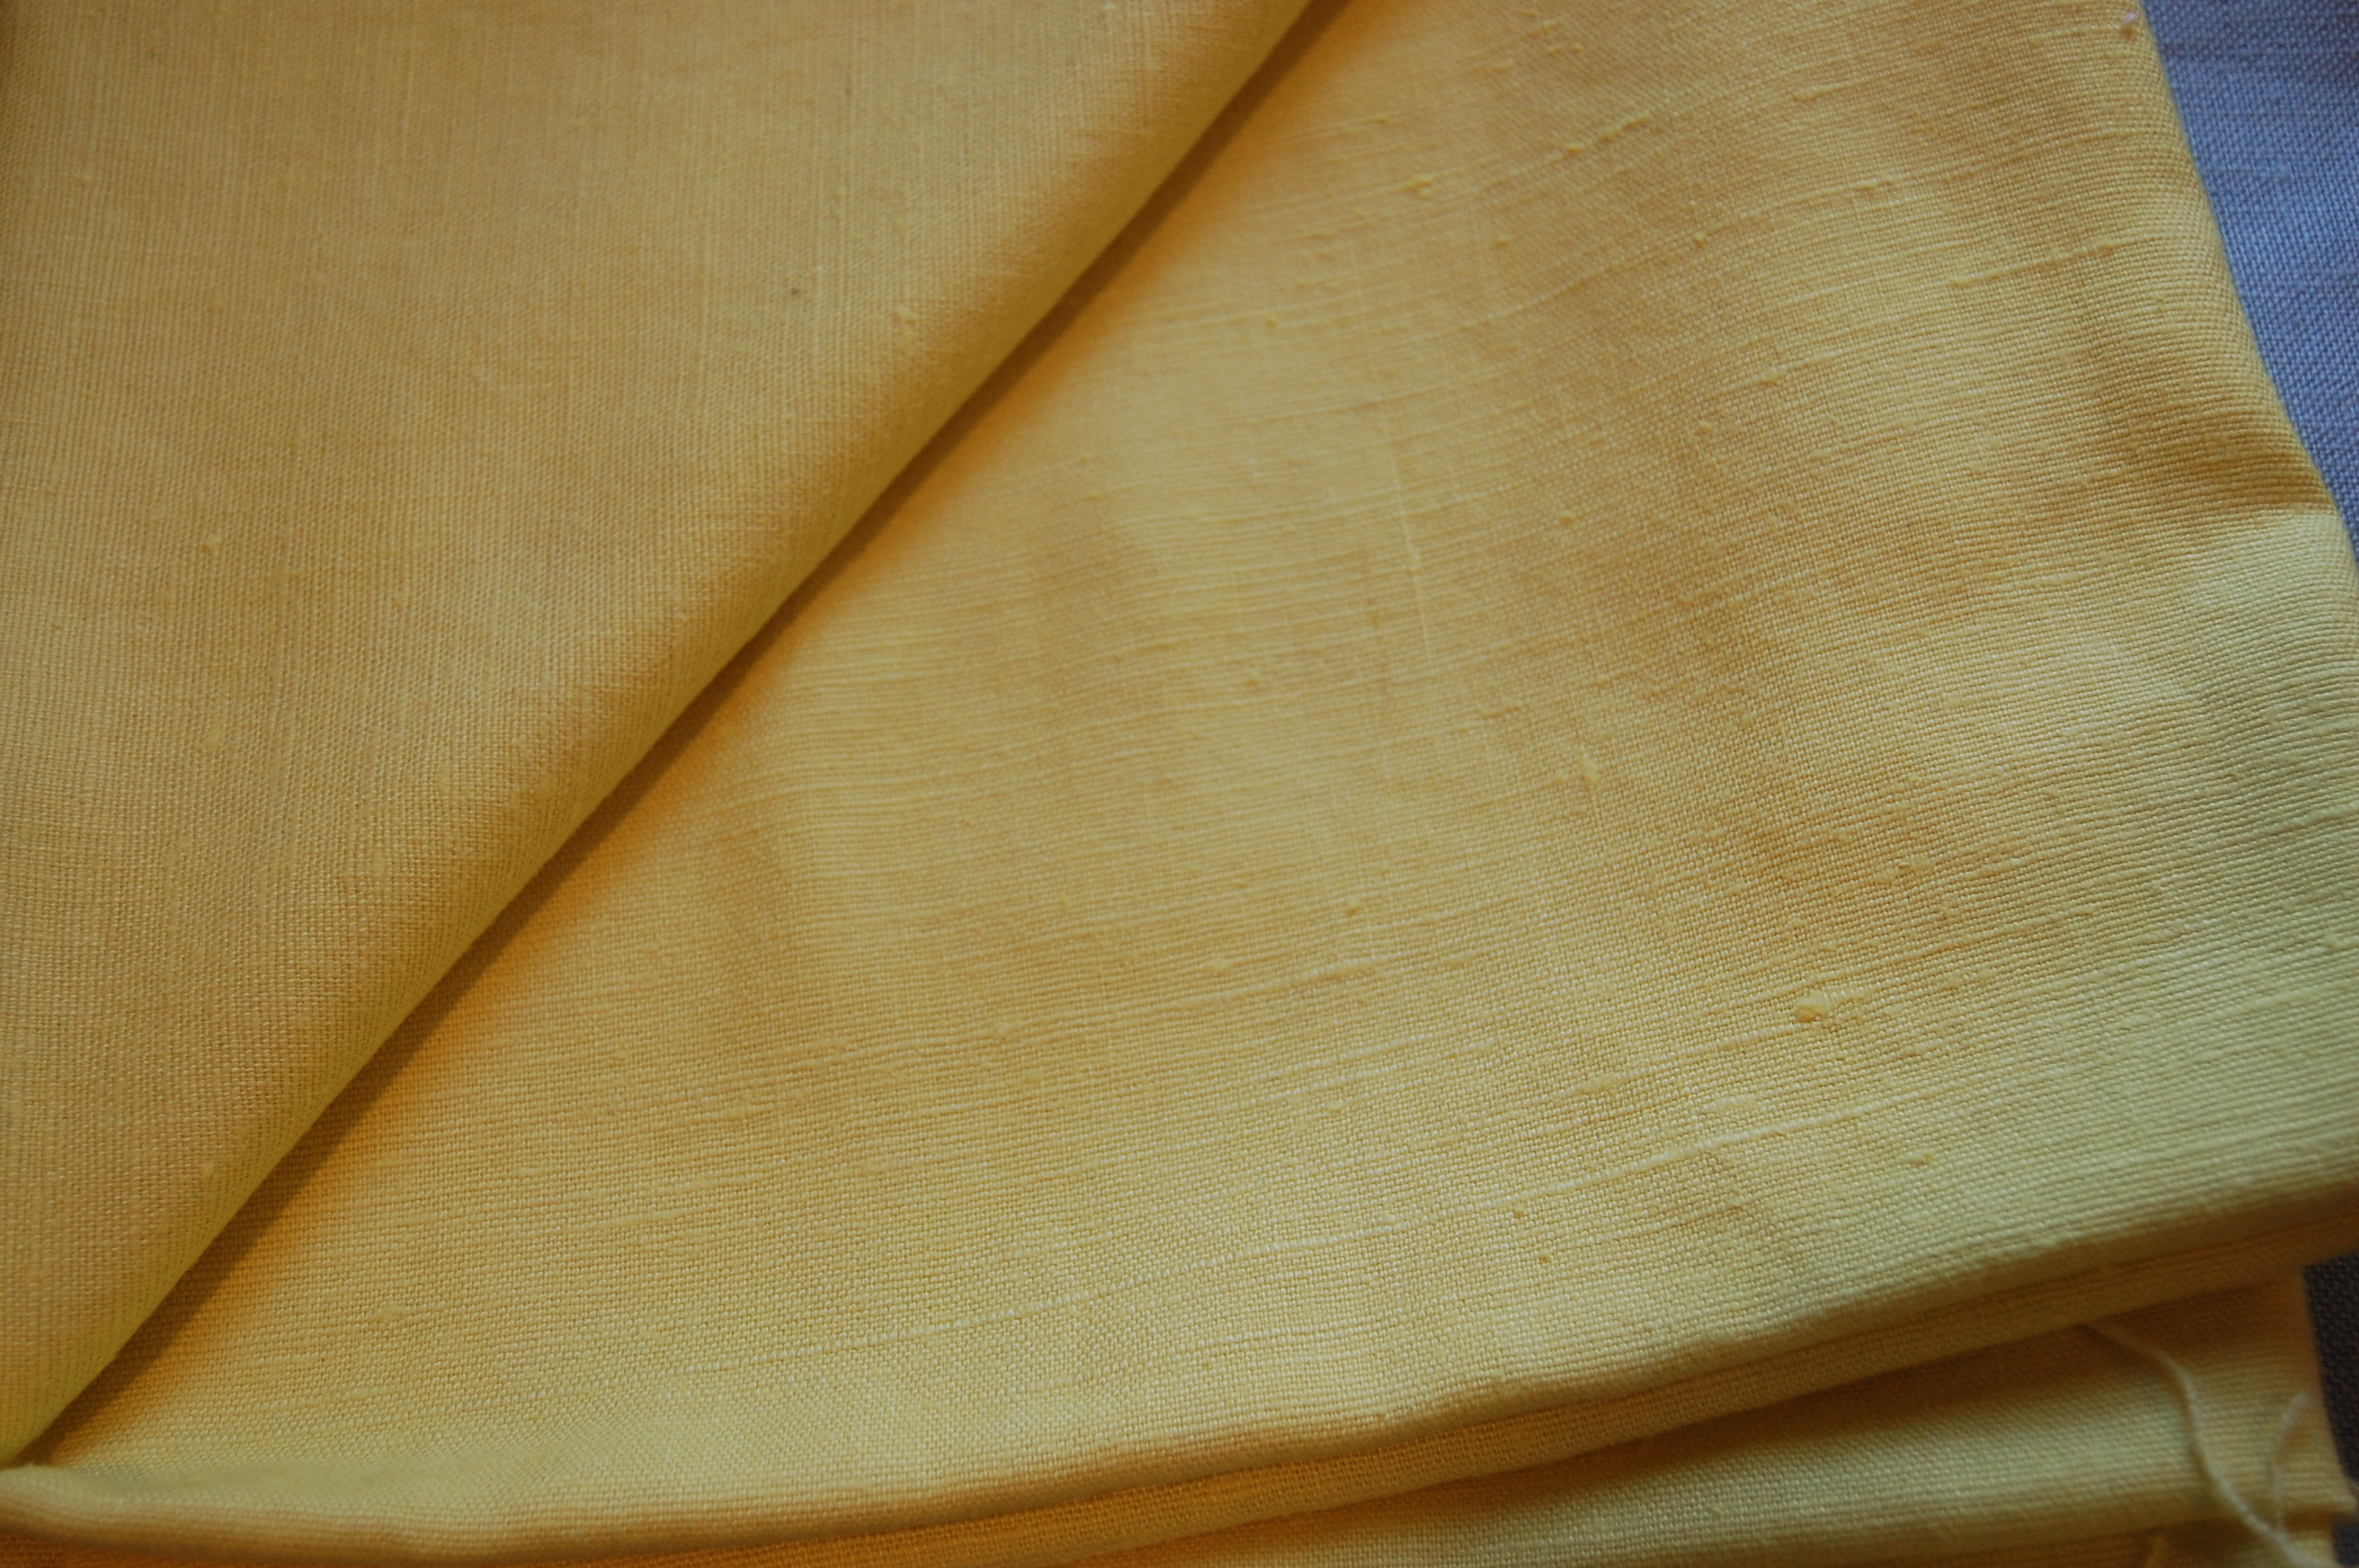
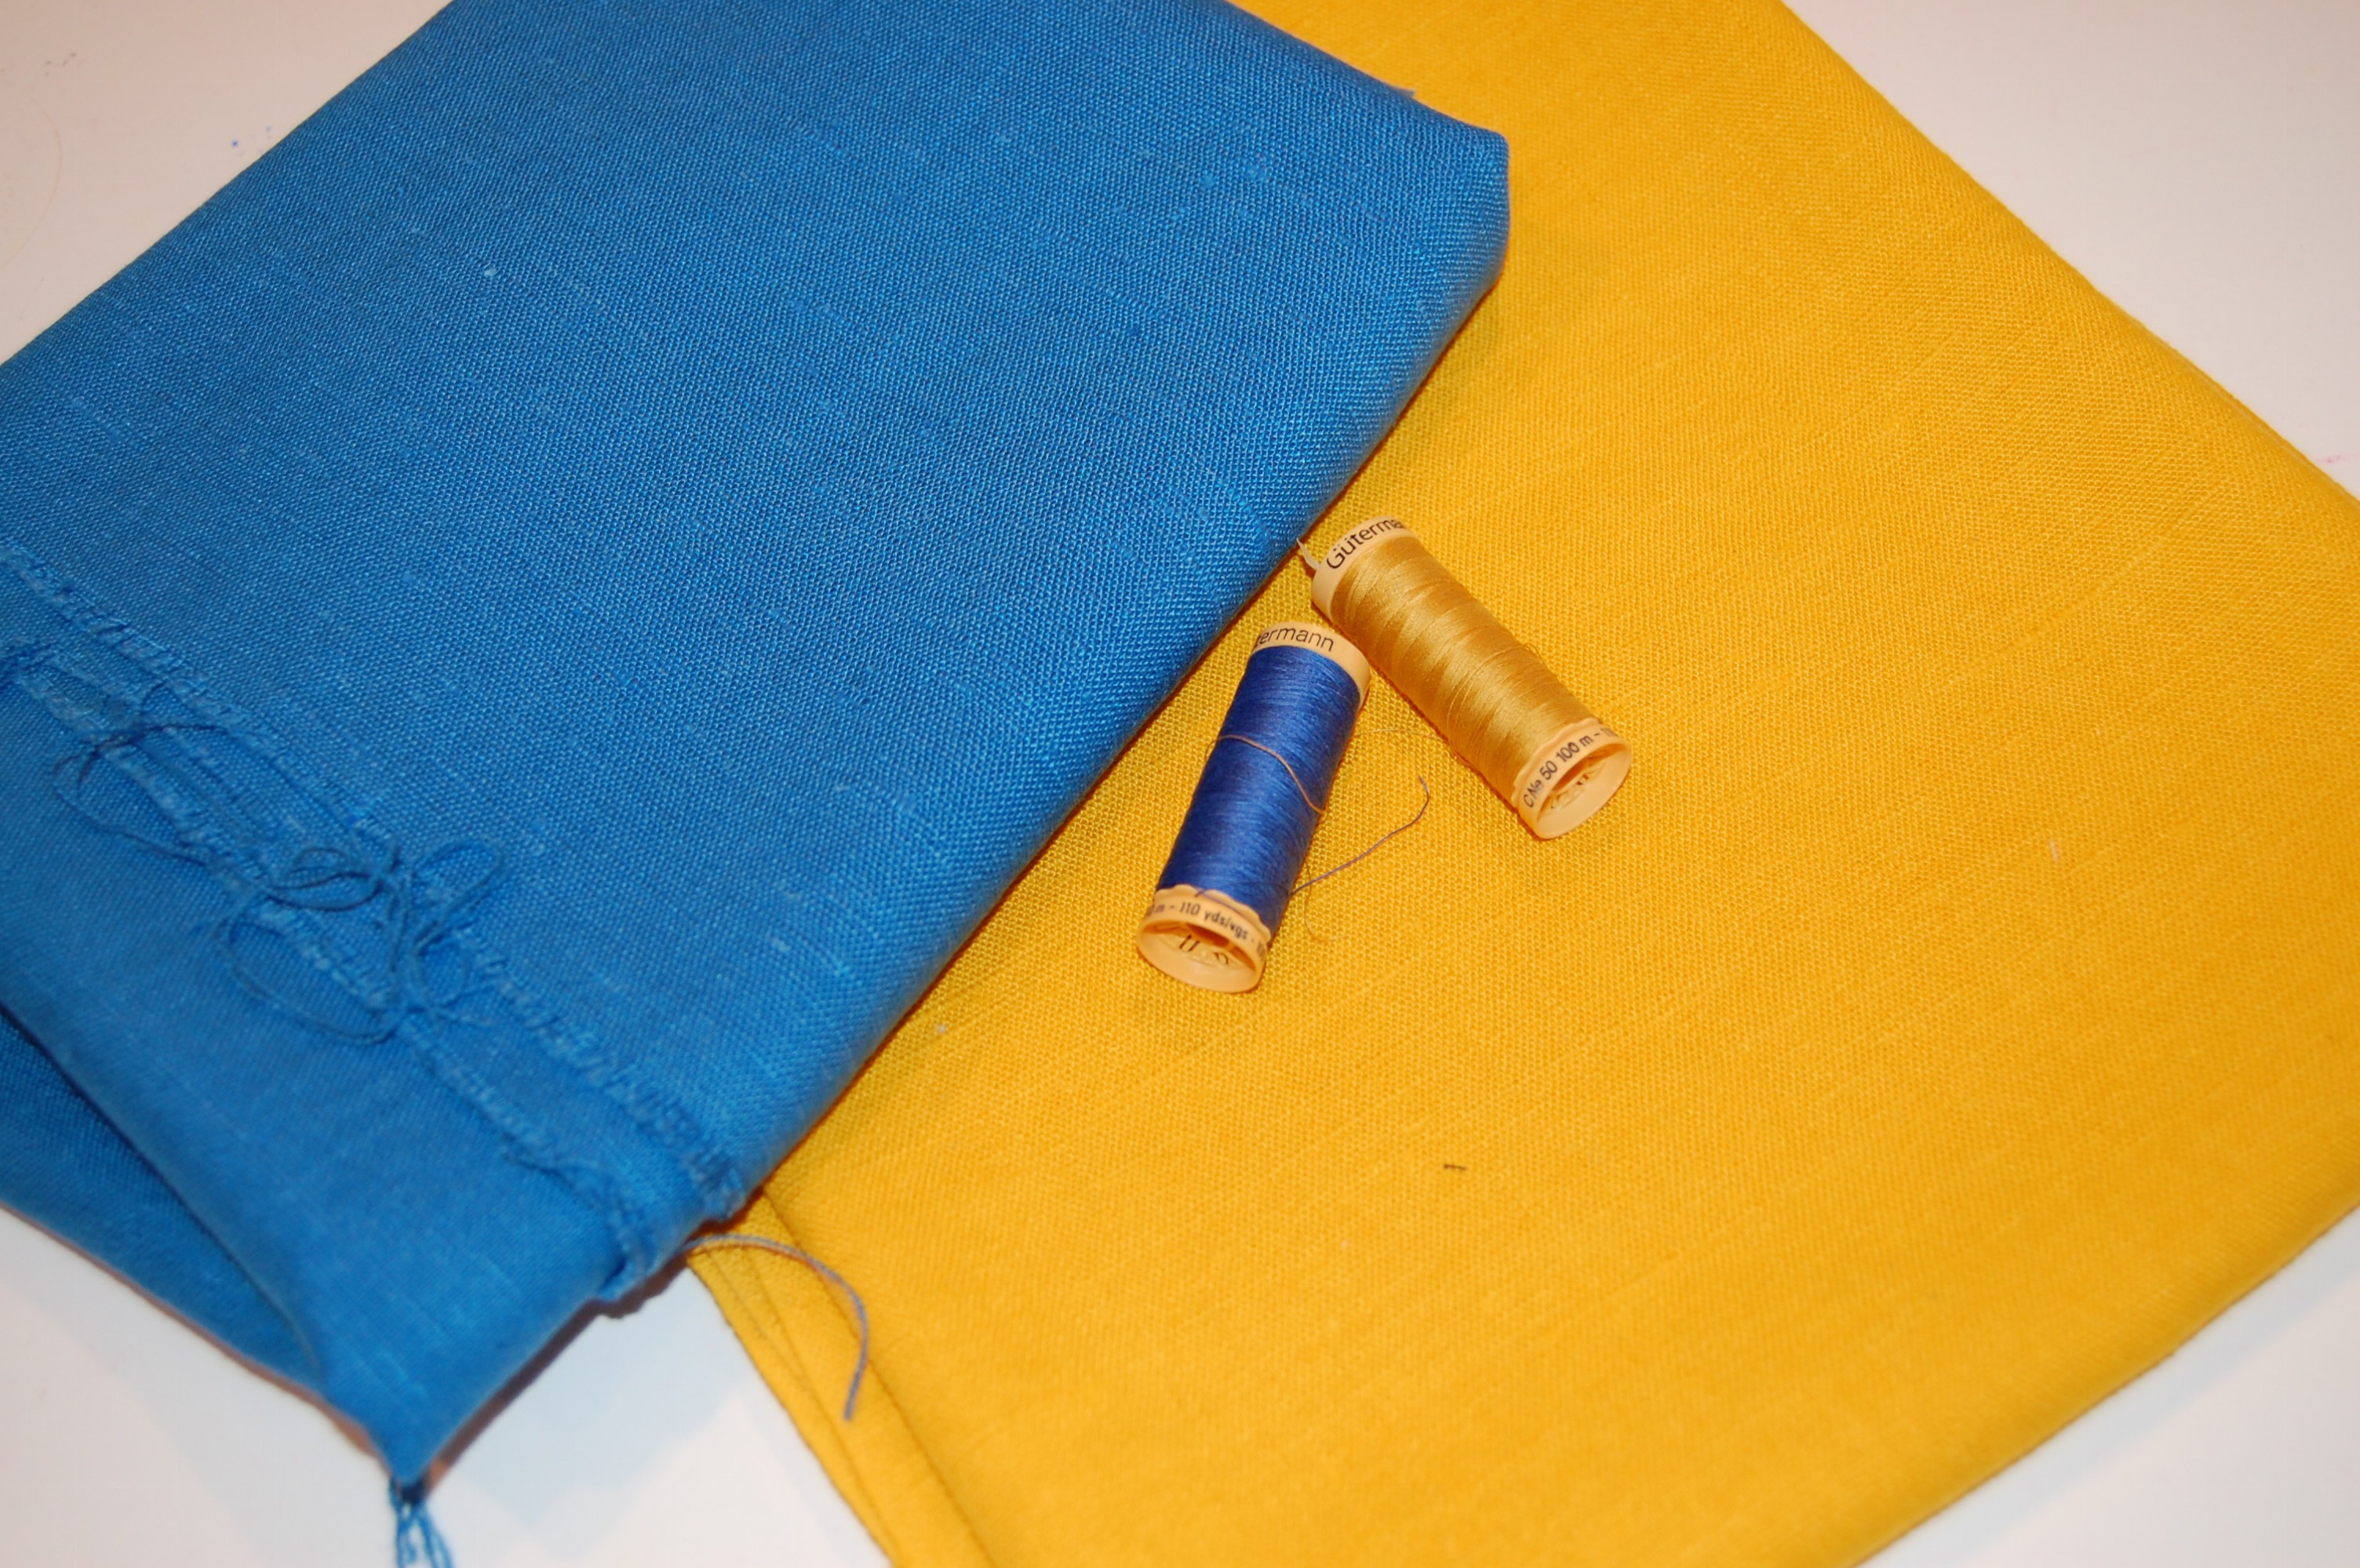
I started out with this really lovely linen blend from Mood Fabrics, which I’ve had for a few years. Here it is draped on my dress form:


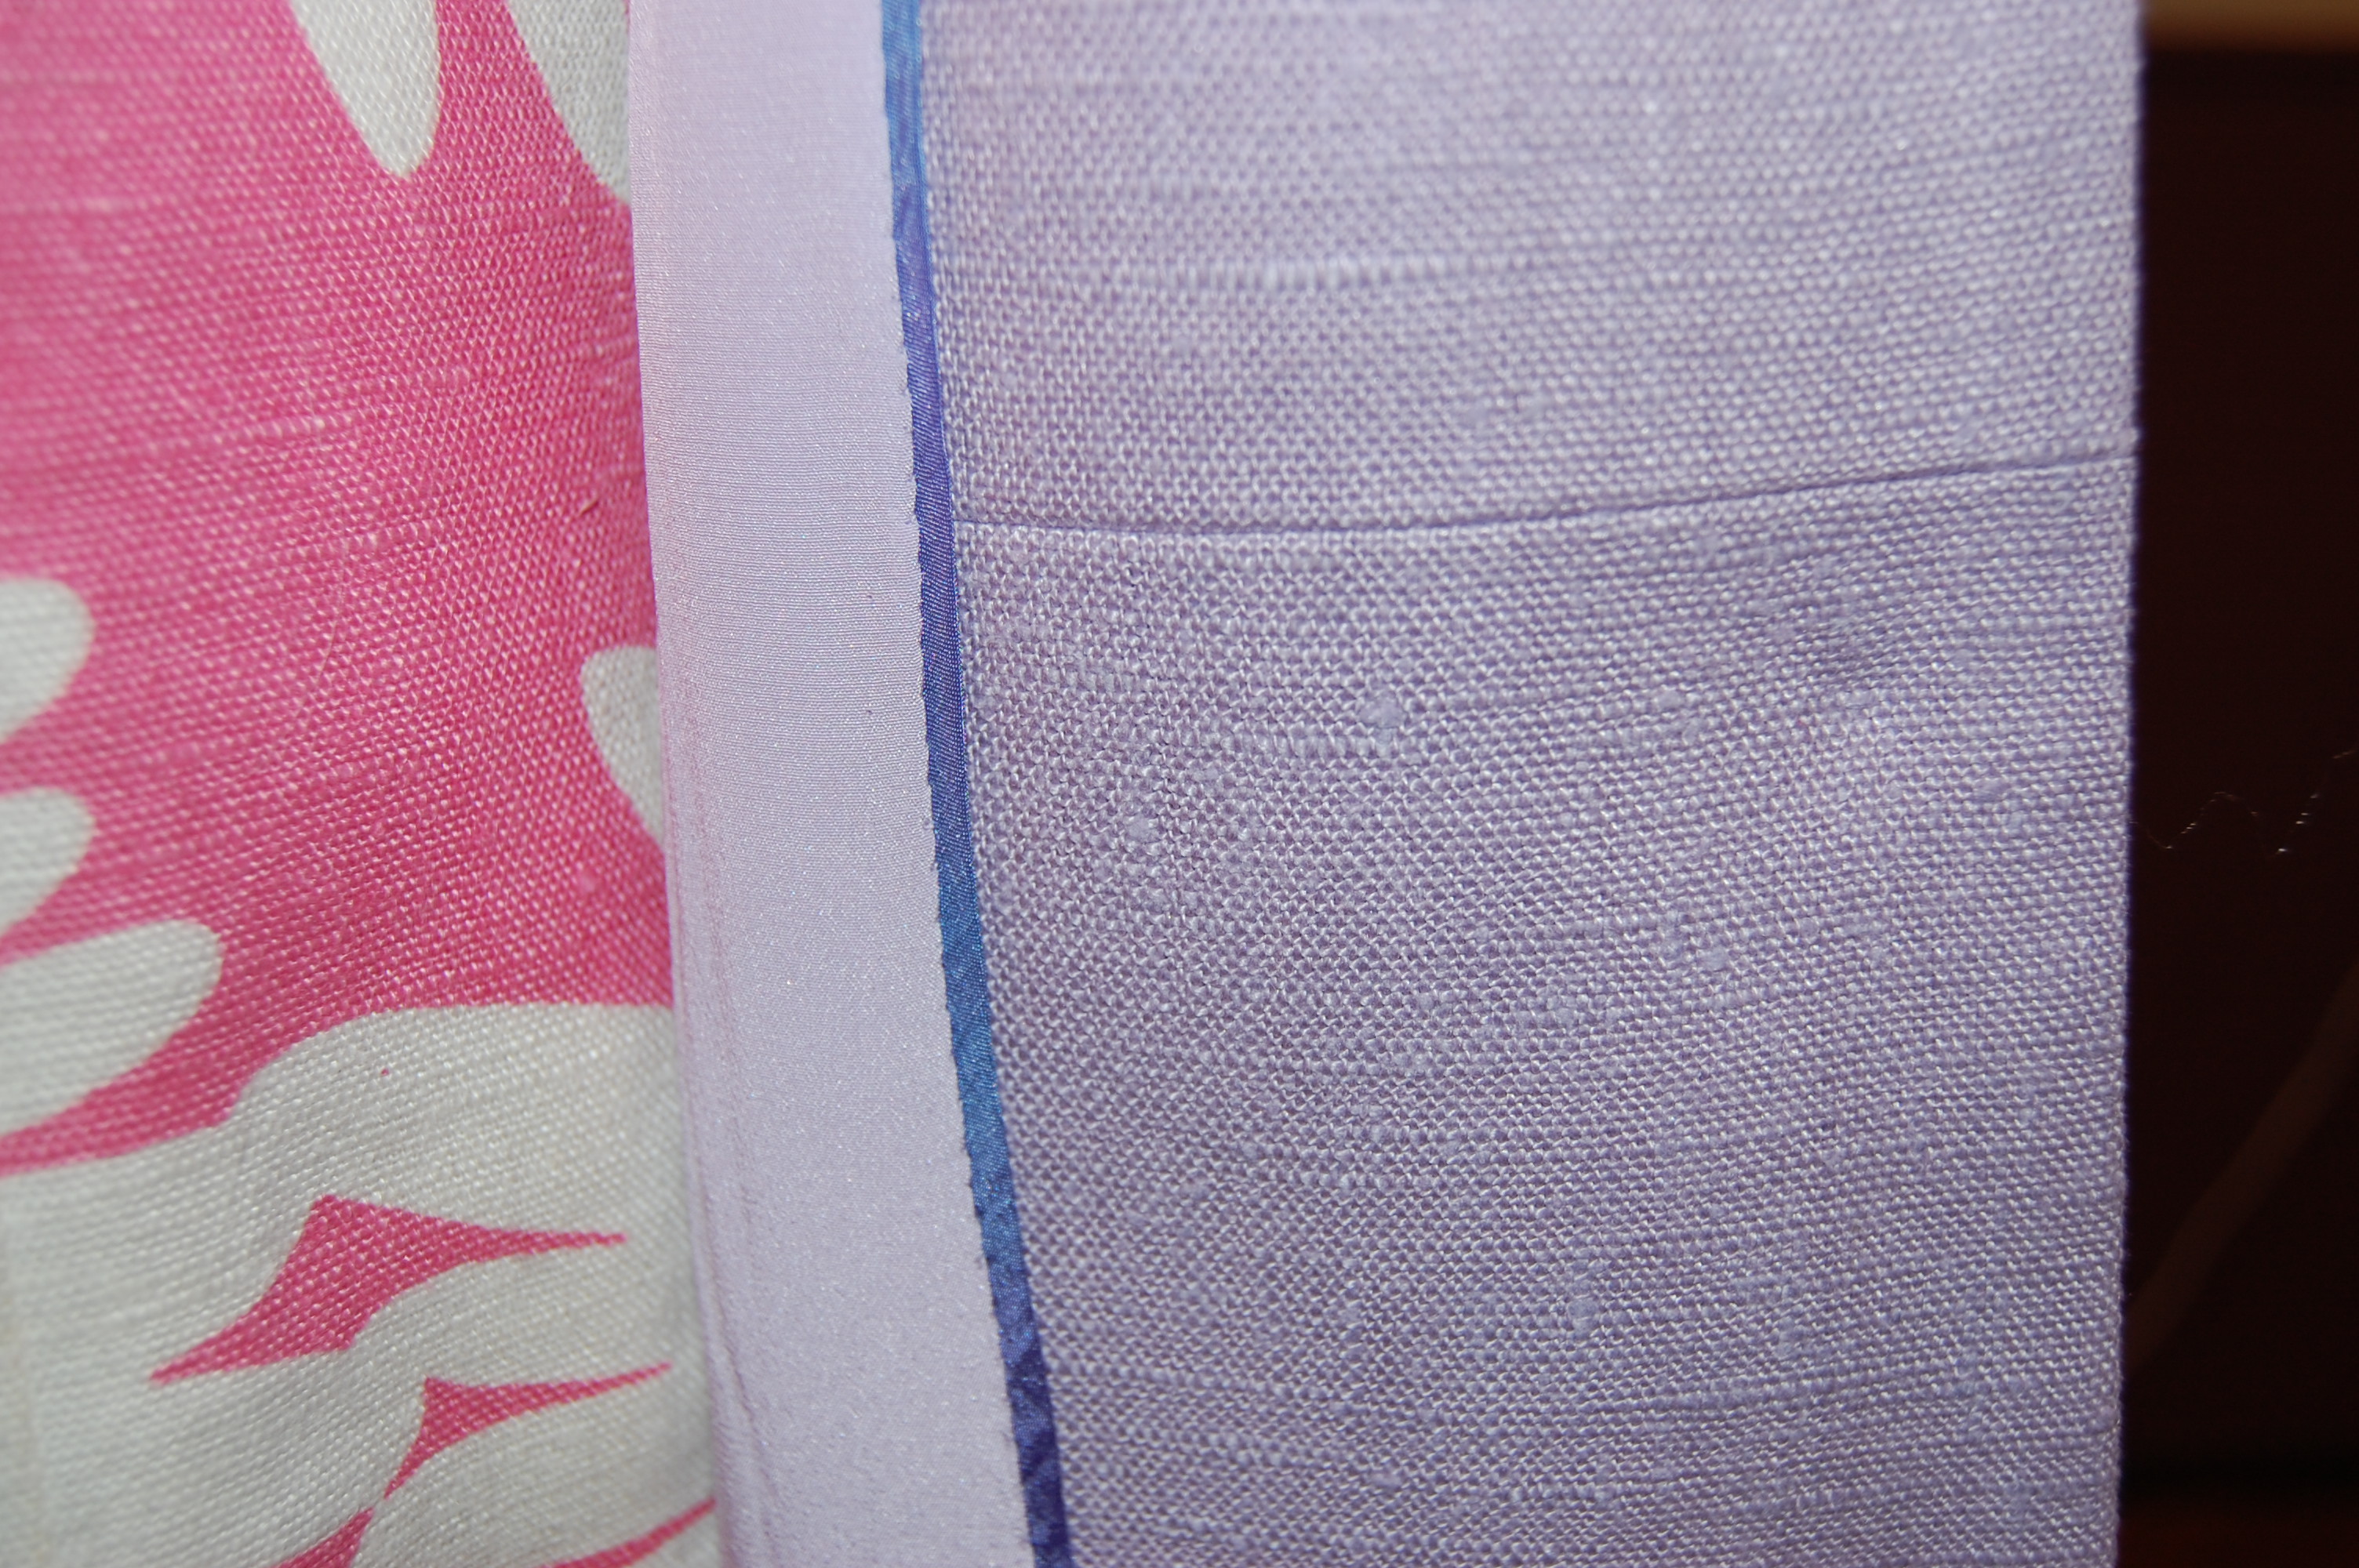
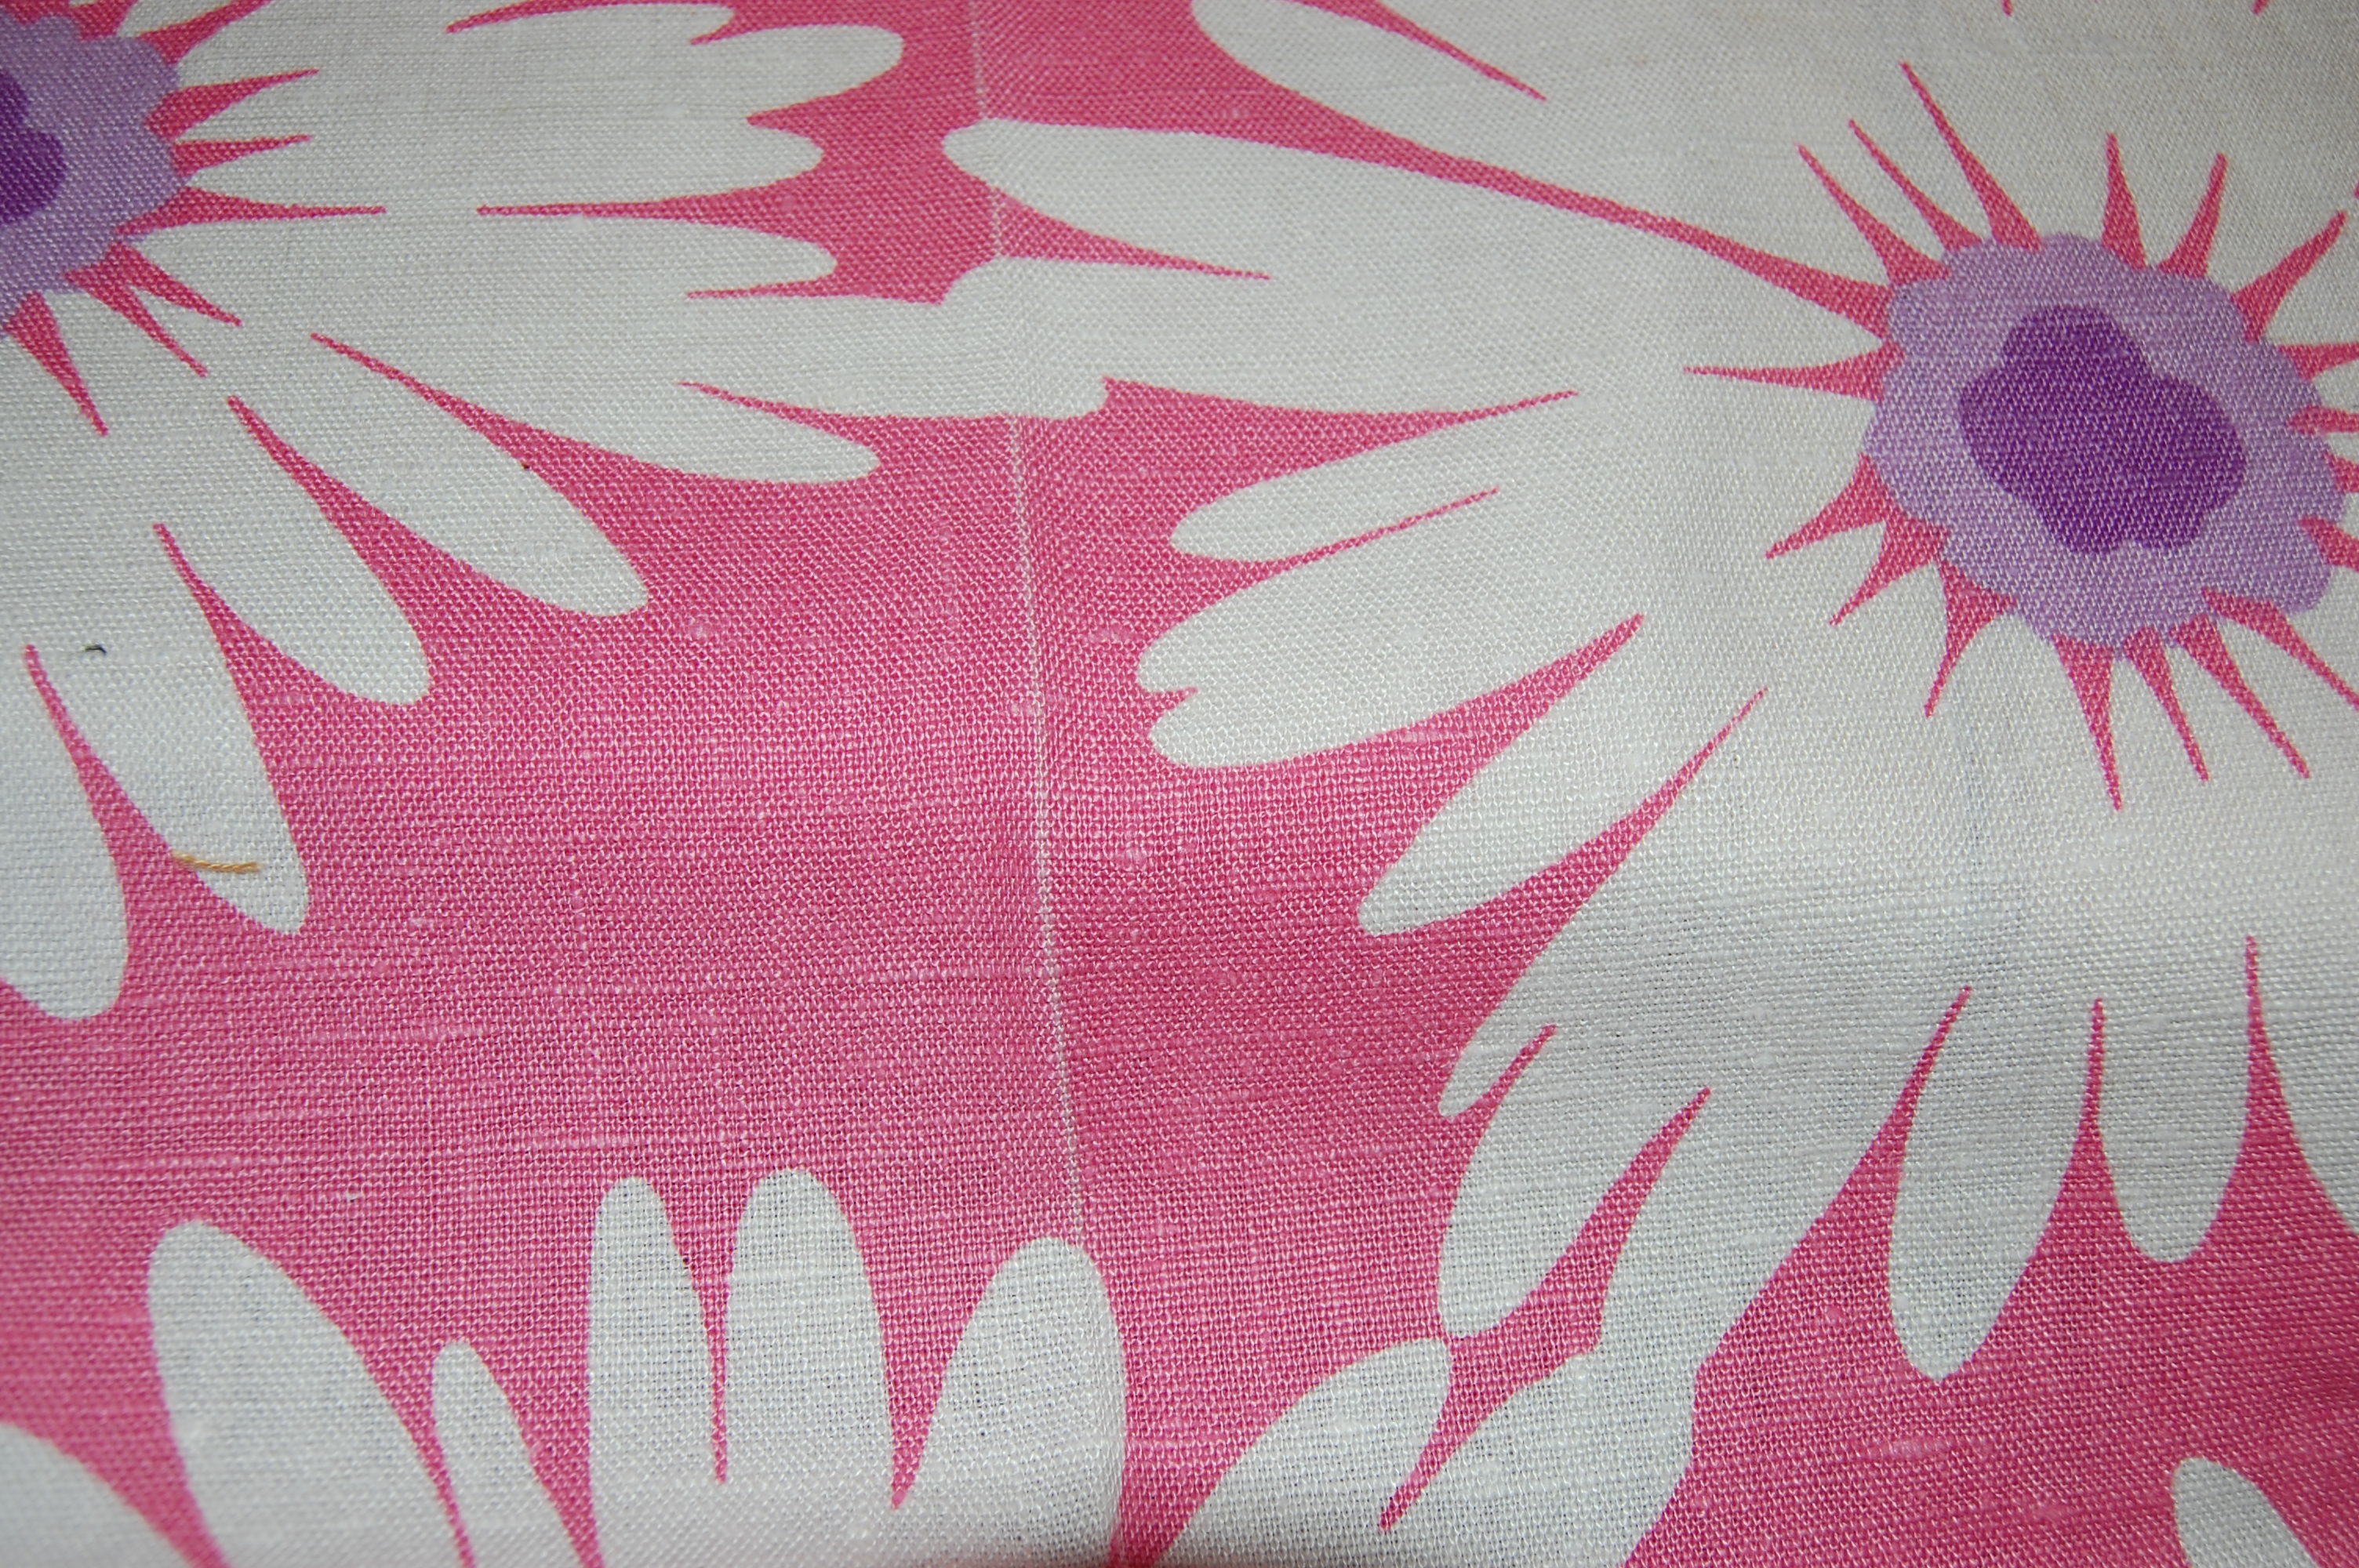
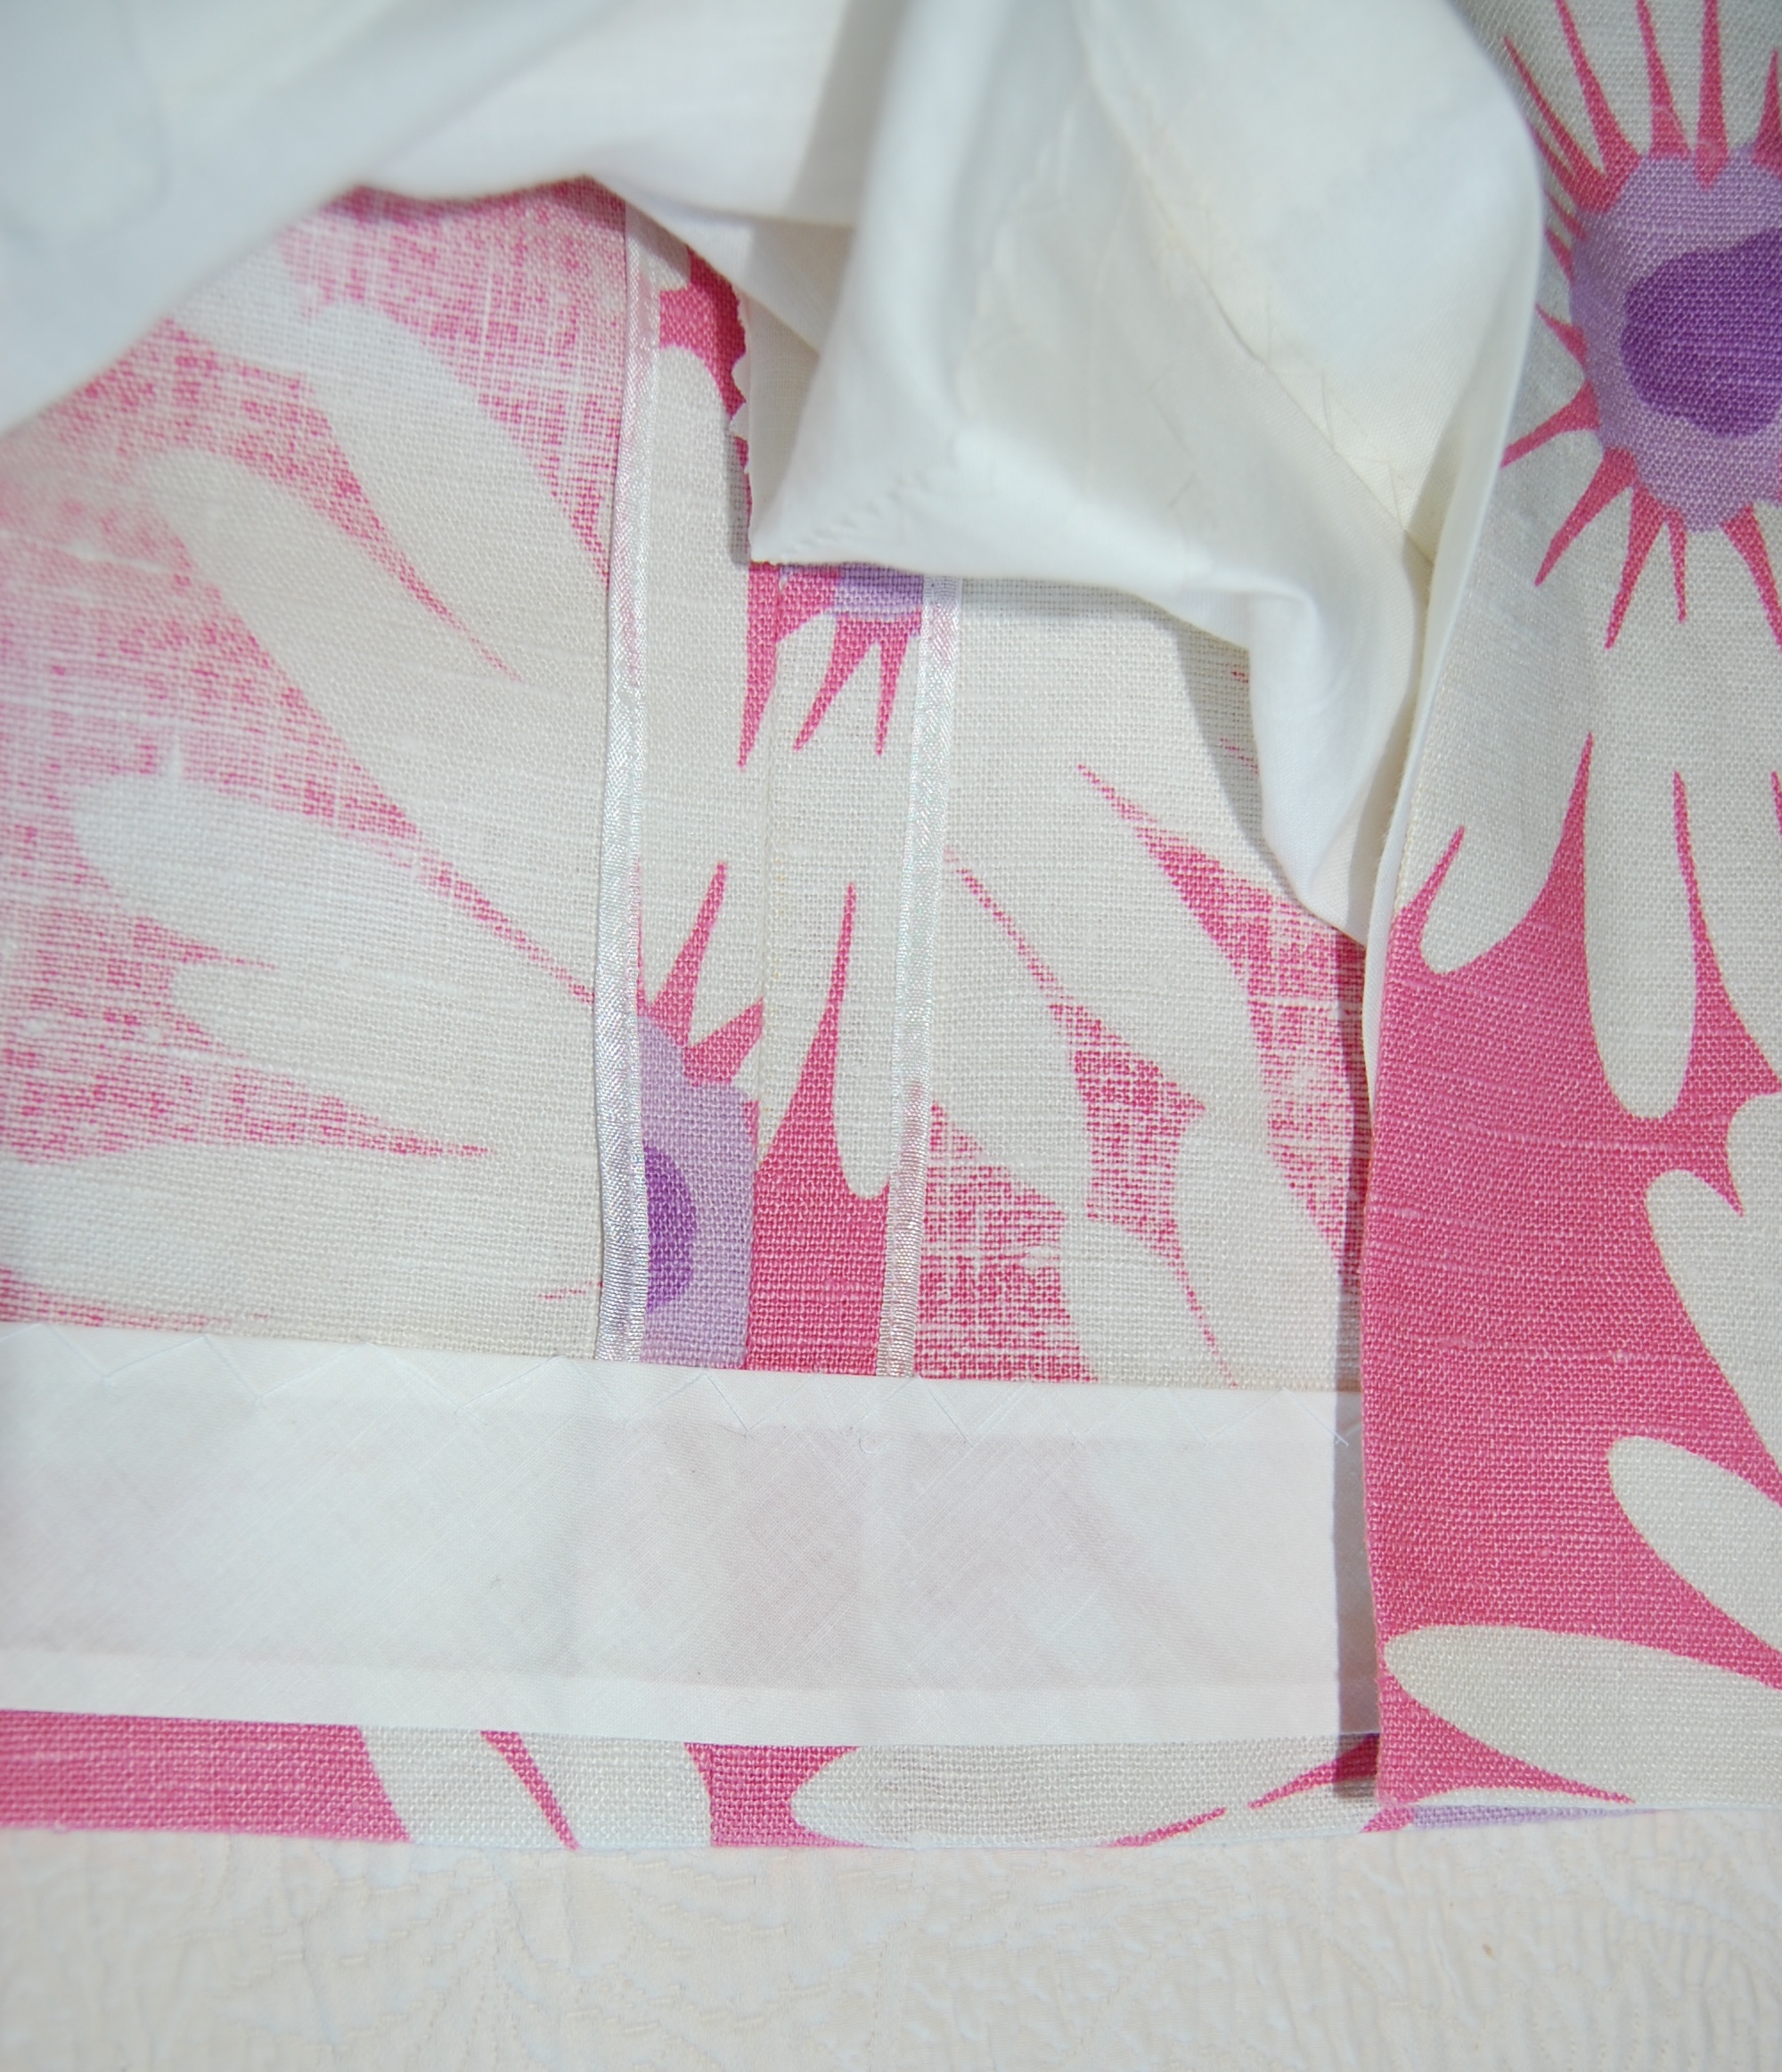
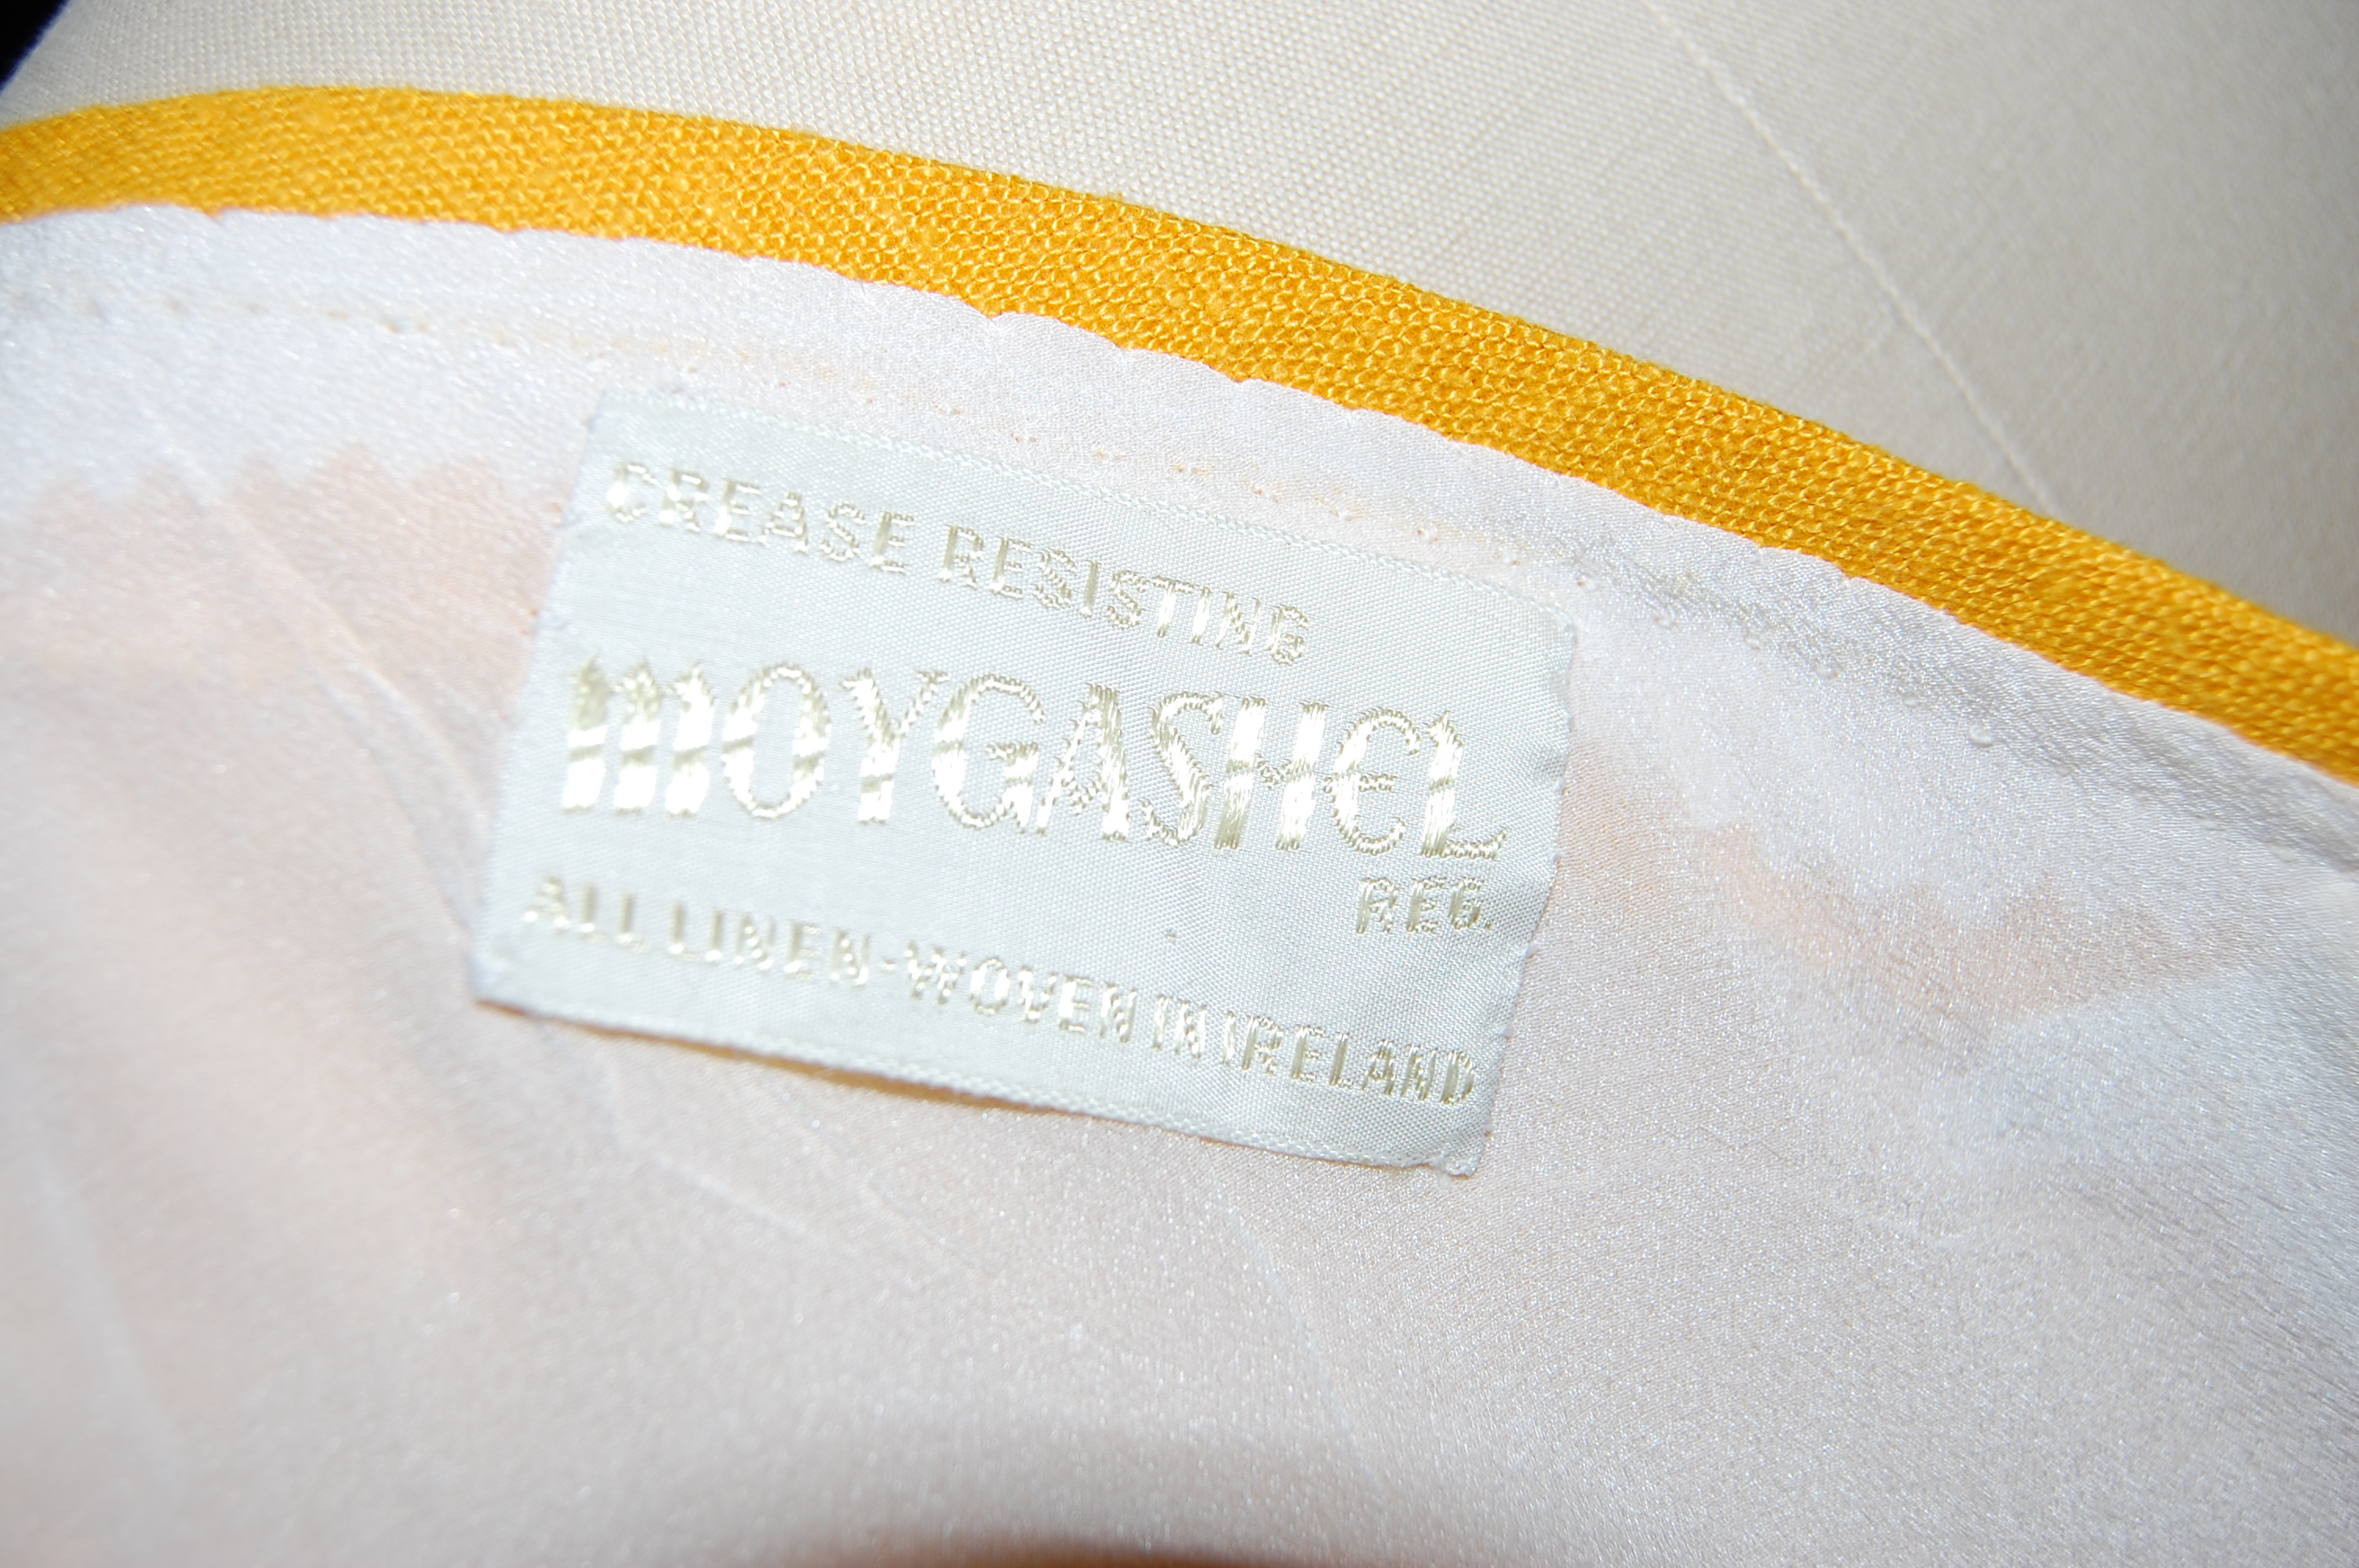
The fabric looks like – and is – a somewhat loosely woven linen, but it is surprisingly stable.
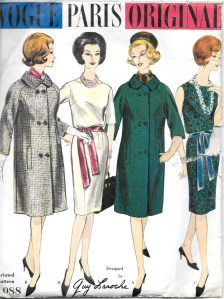
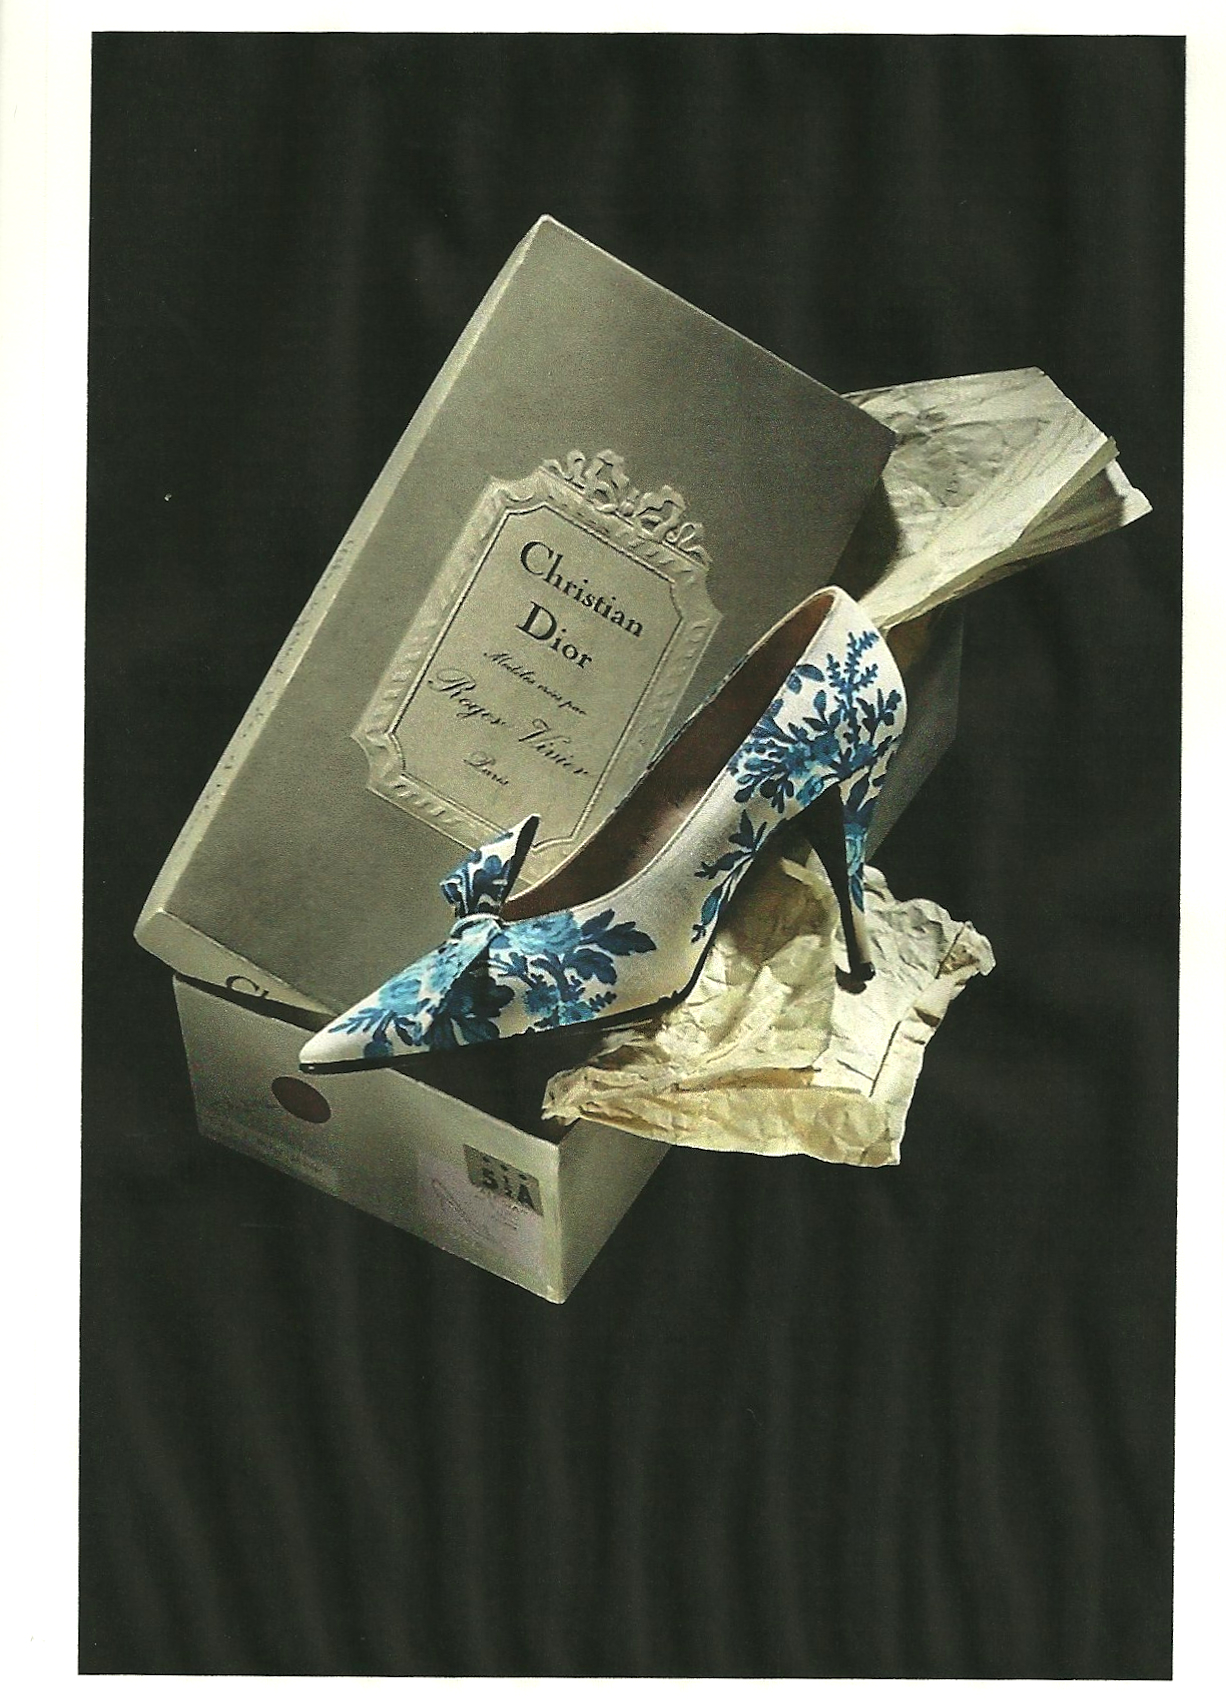
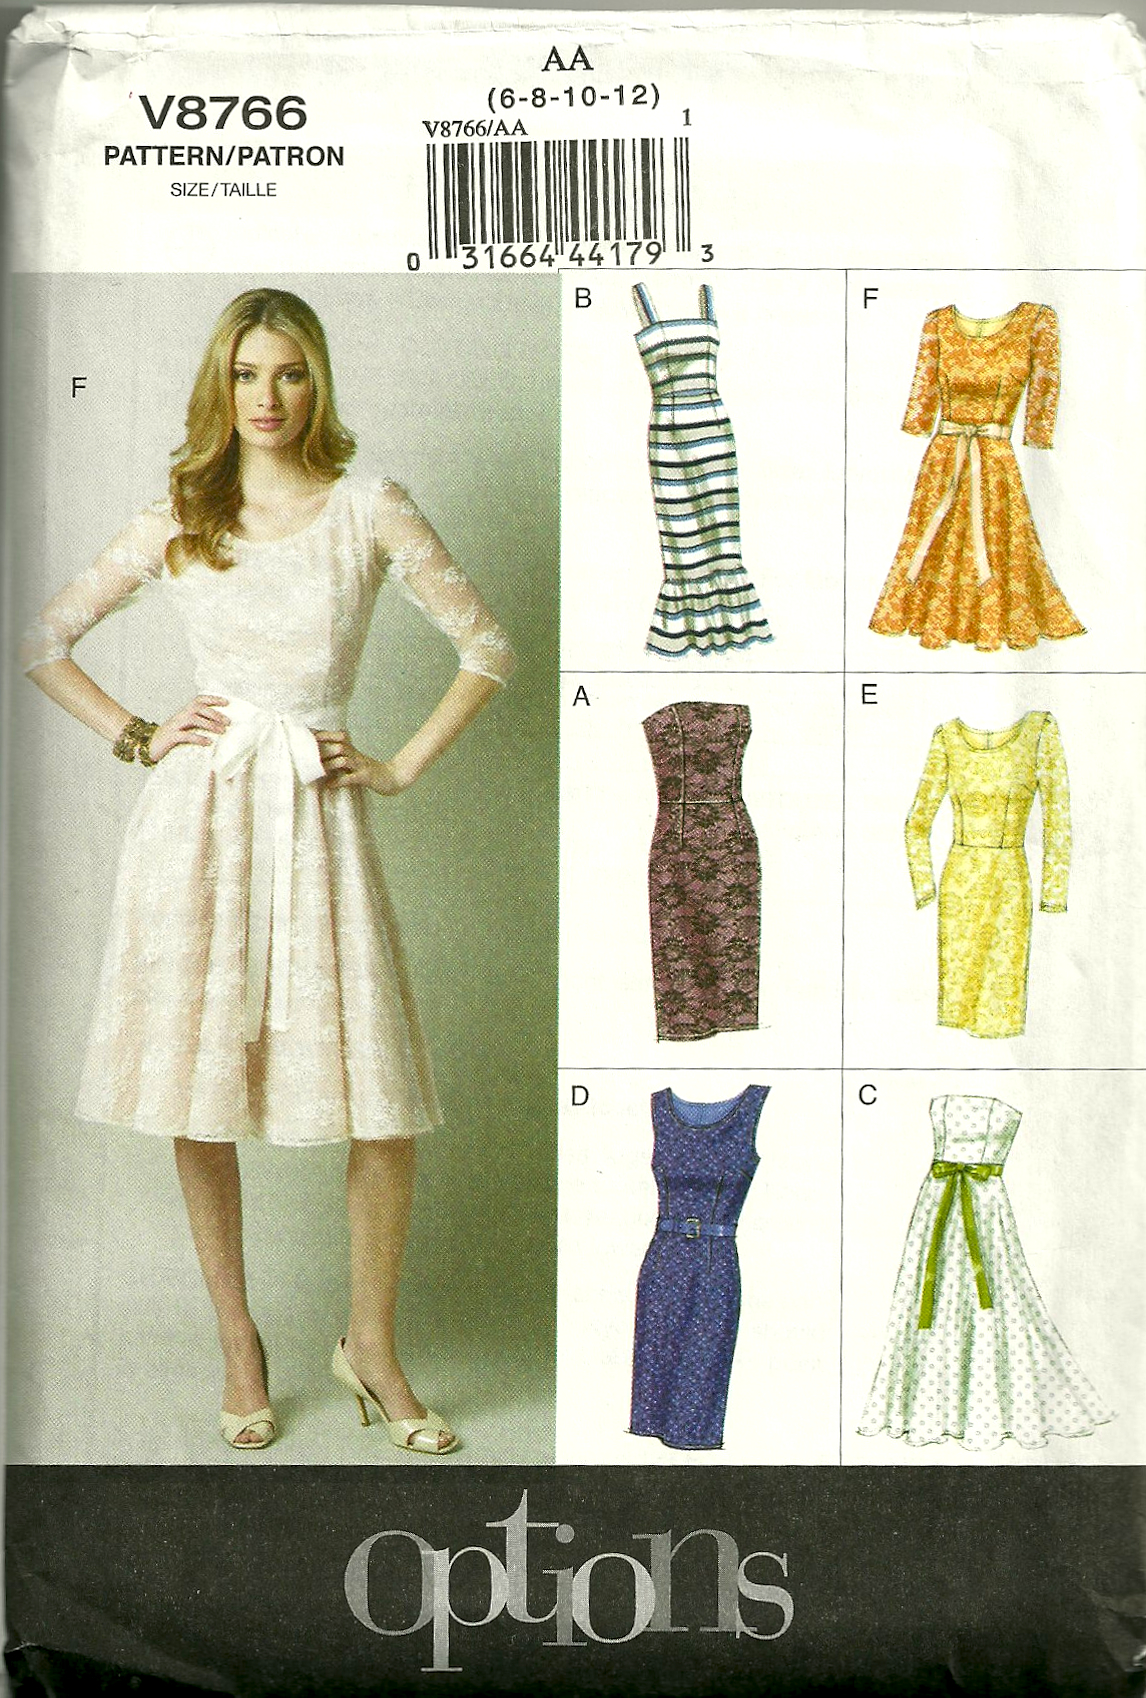
I had purchased the By Hand London “Flora” pattern (a departure for me to buy a “new” pattern!), as it reminded me of a Cristobal Balenciaga dress which I have long admired.


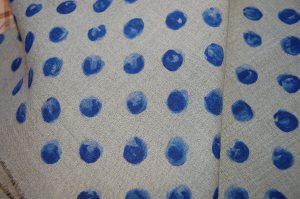
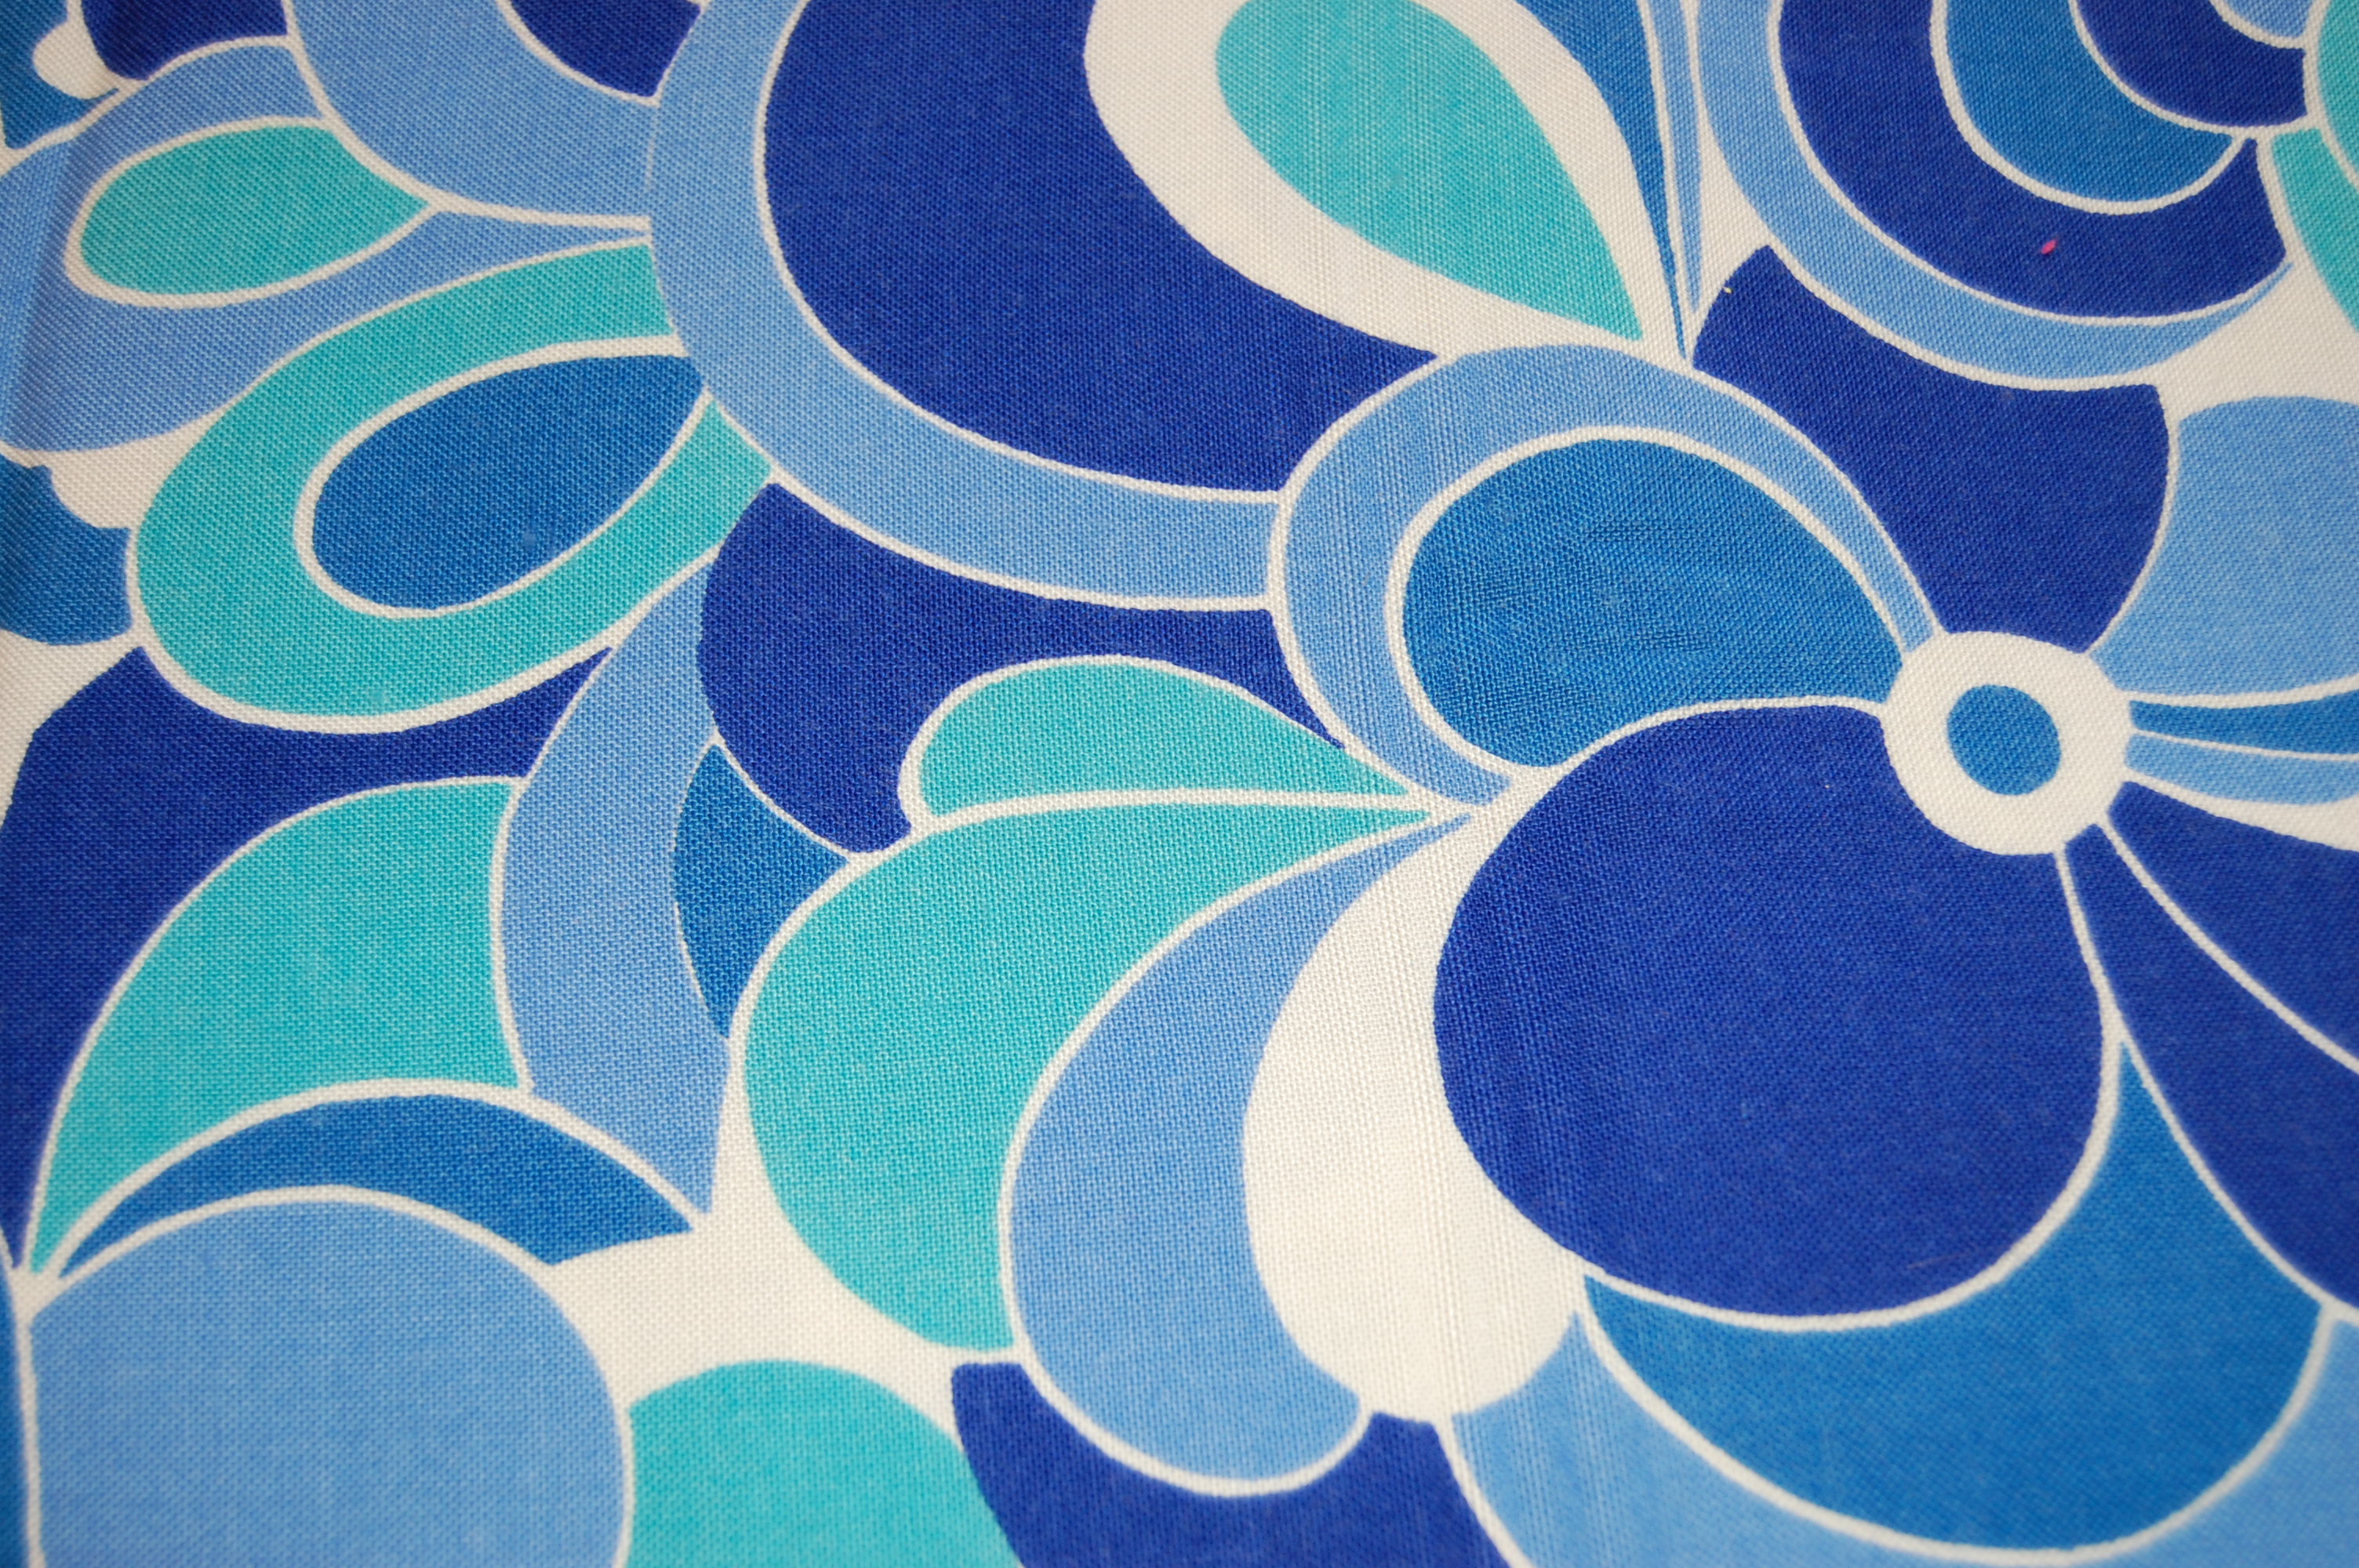
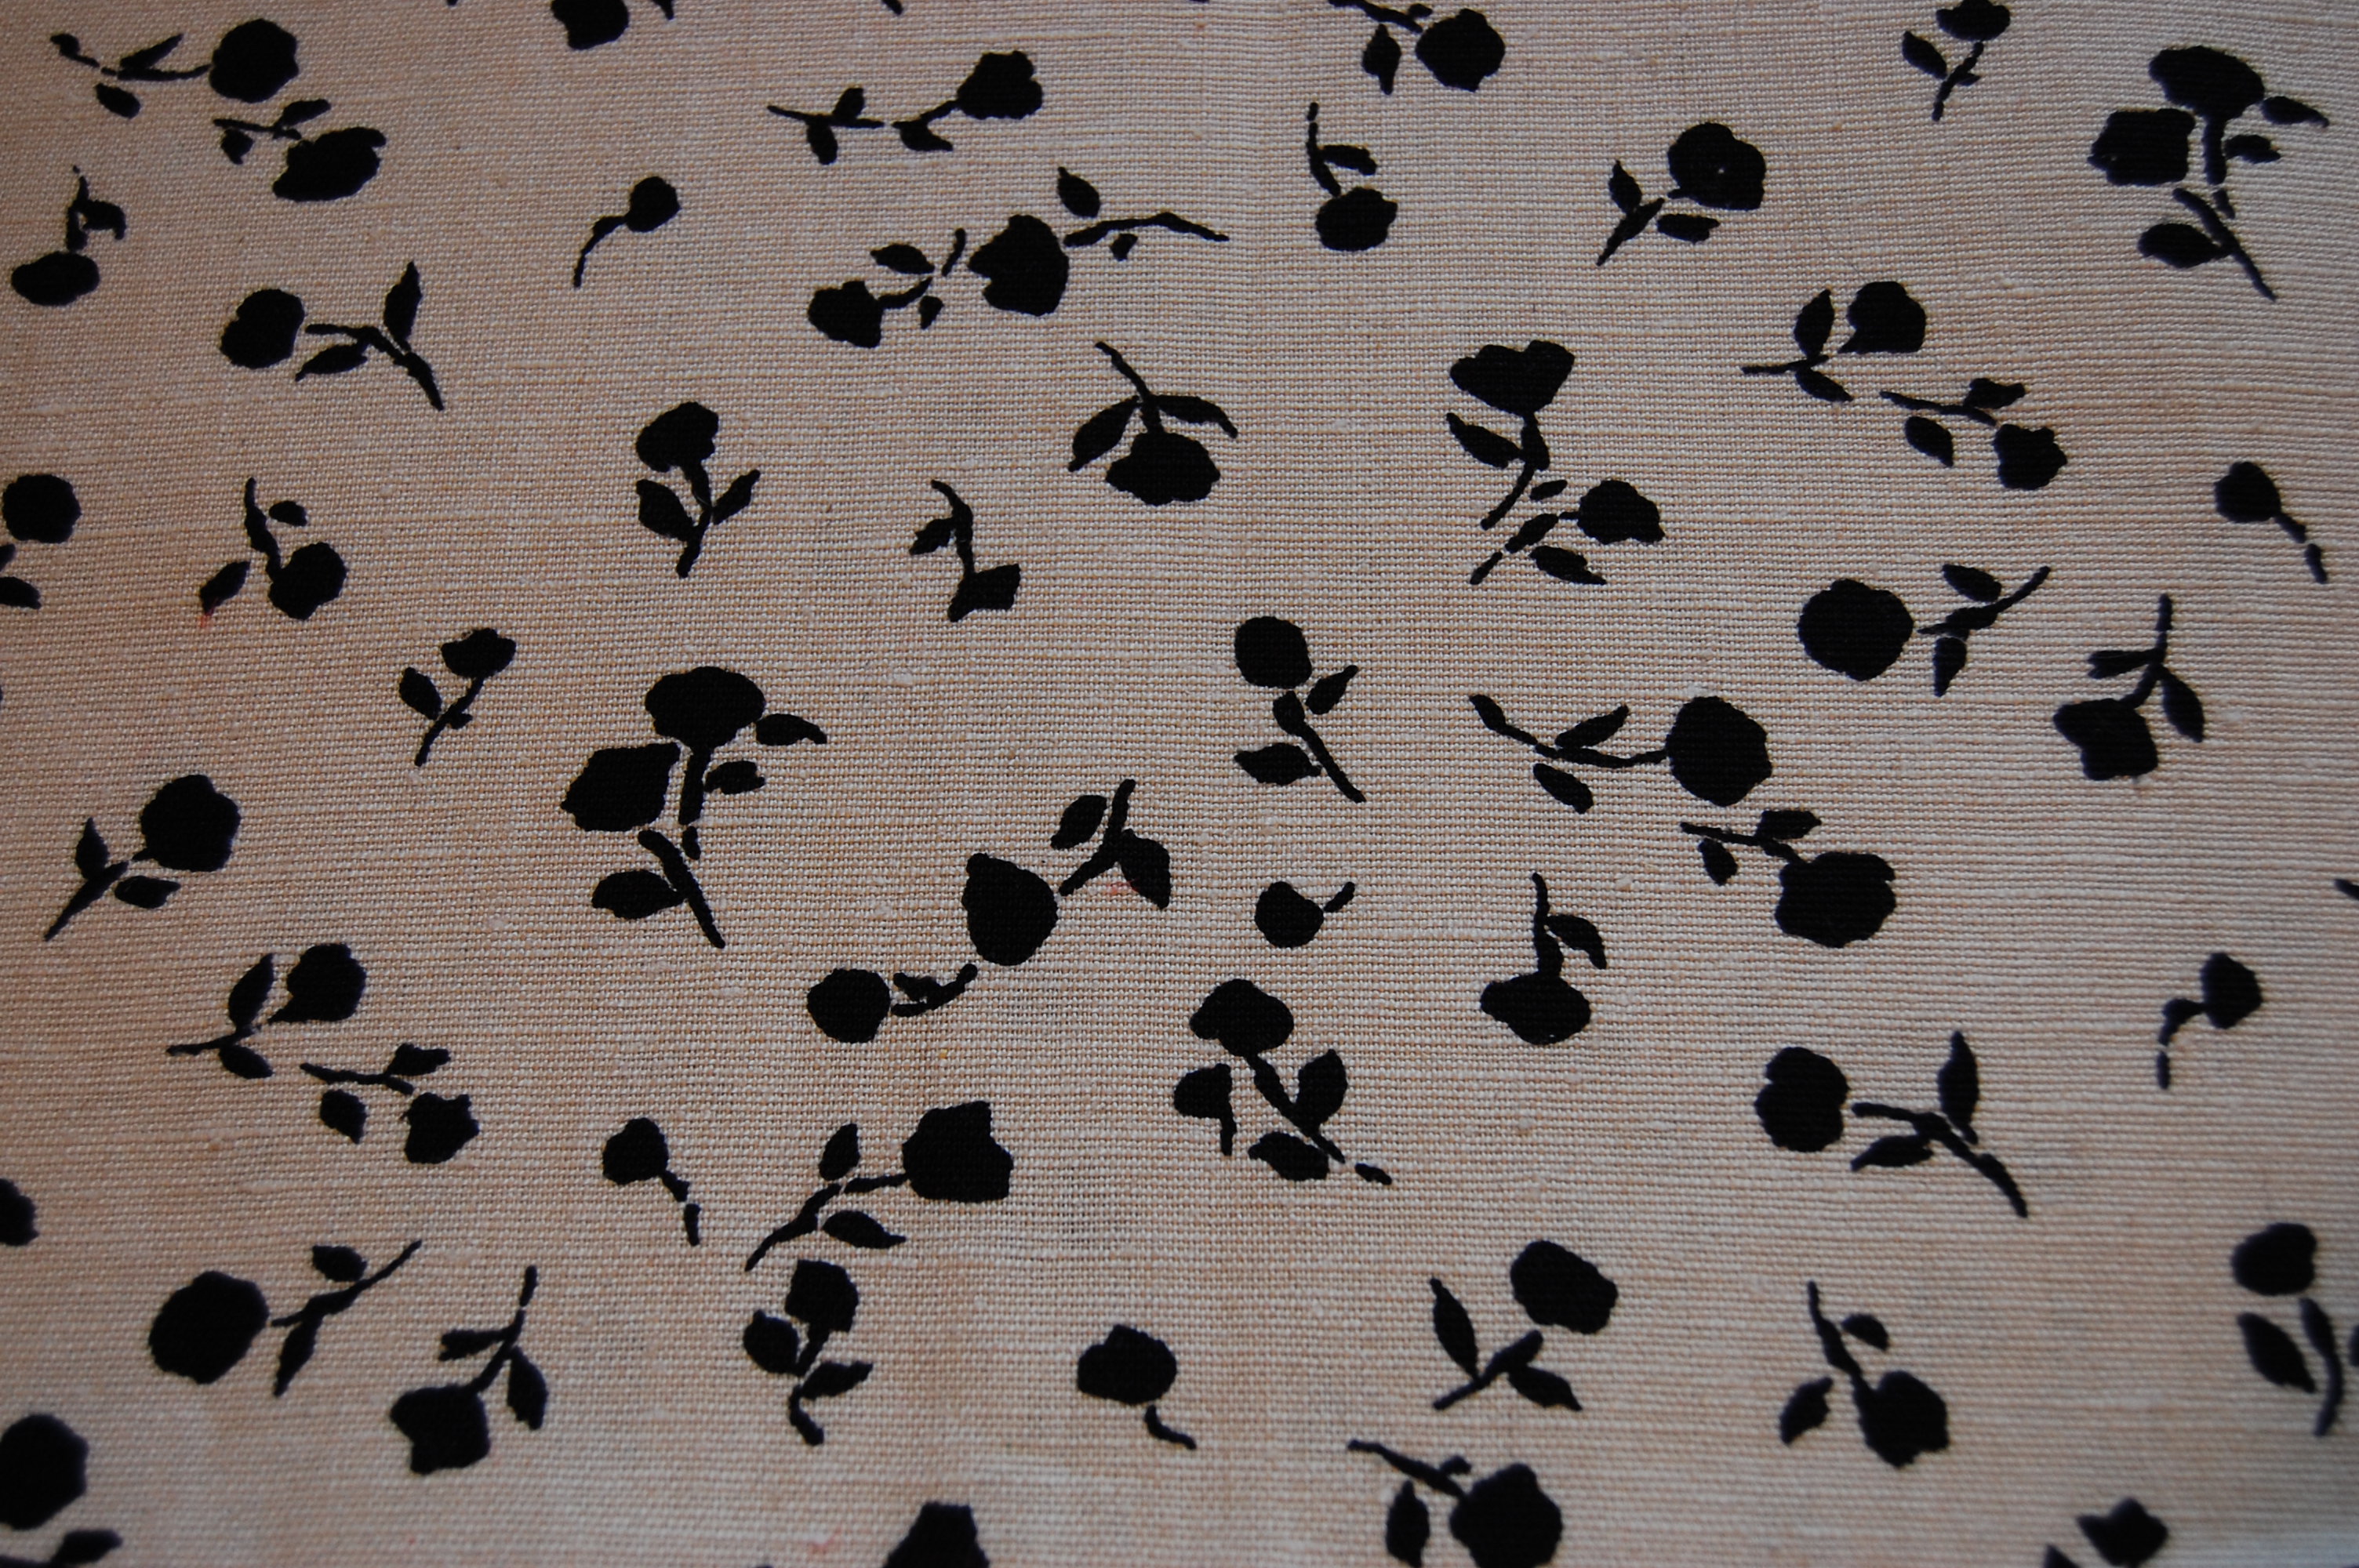
Evening dress in flocked shantung in blue and black, 1957

Both images are from: Balenciaga: Cristobal Balenciaga Museoa; Fundazion Cristobal Balenciaga Fundazioa, Editorial NEREA; English Edition 2011; distributed in the USA by Thames & Hudson Inc., NY, NY, page 260.
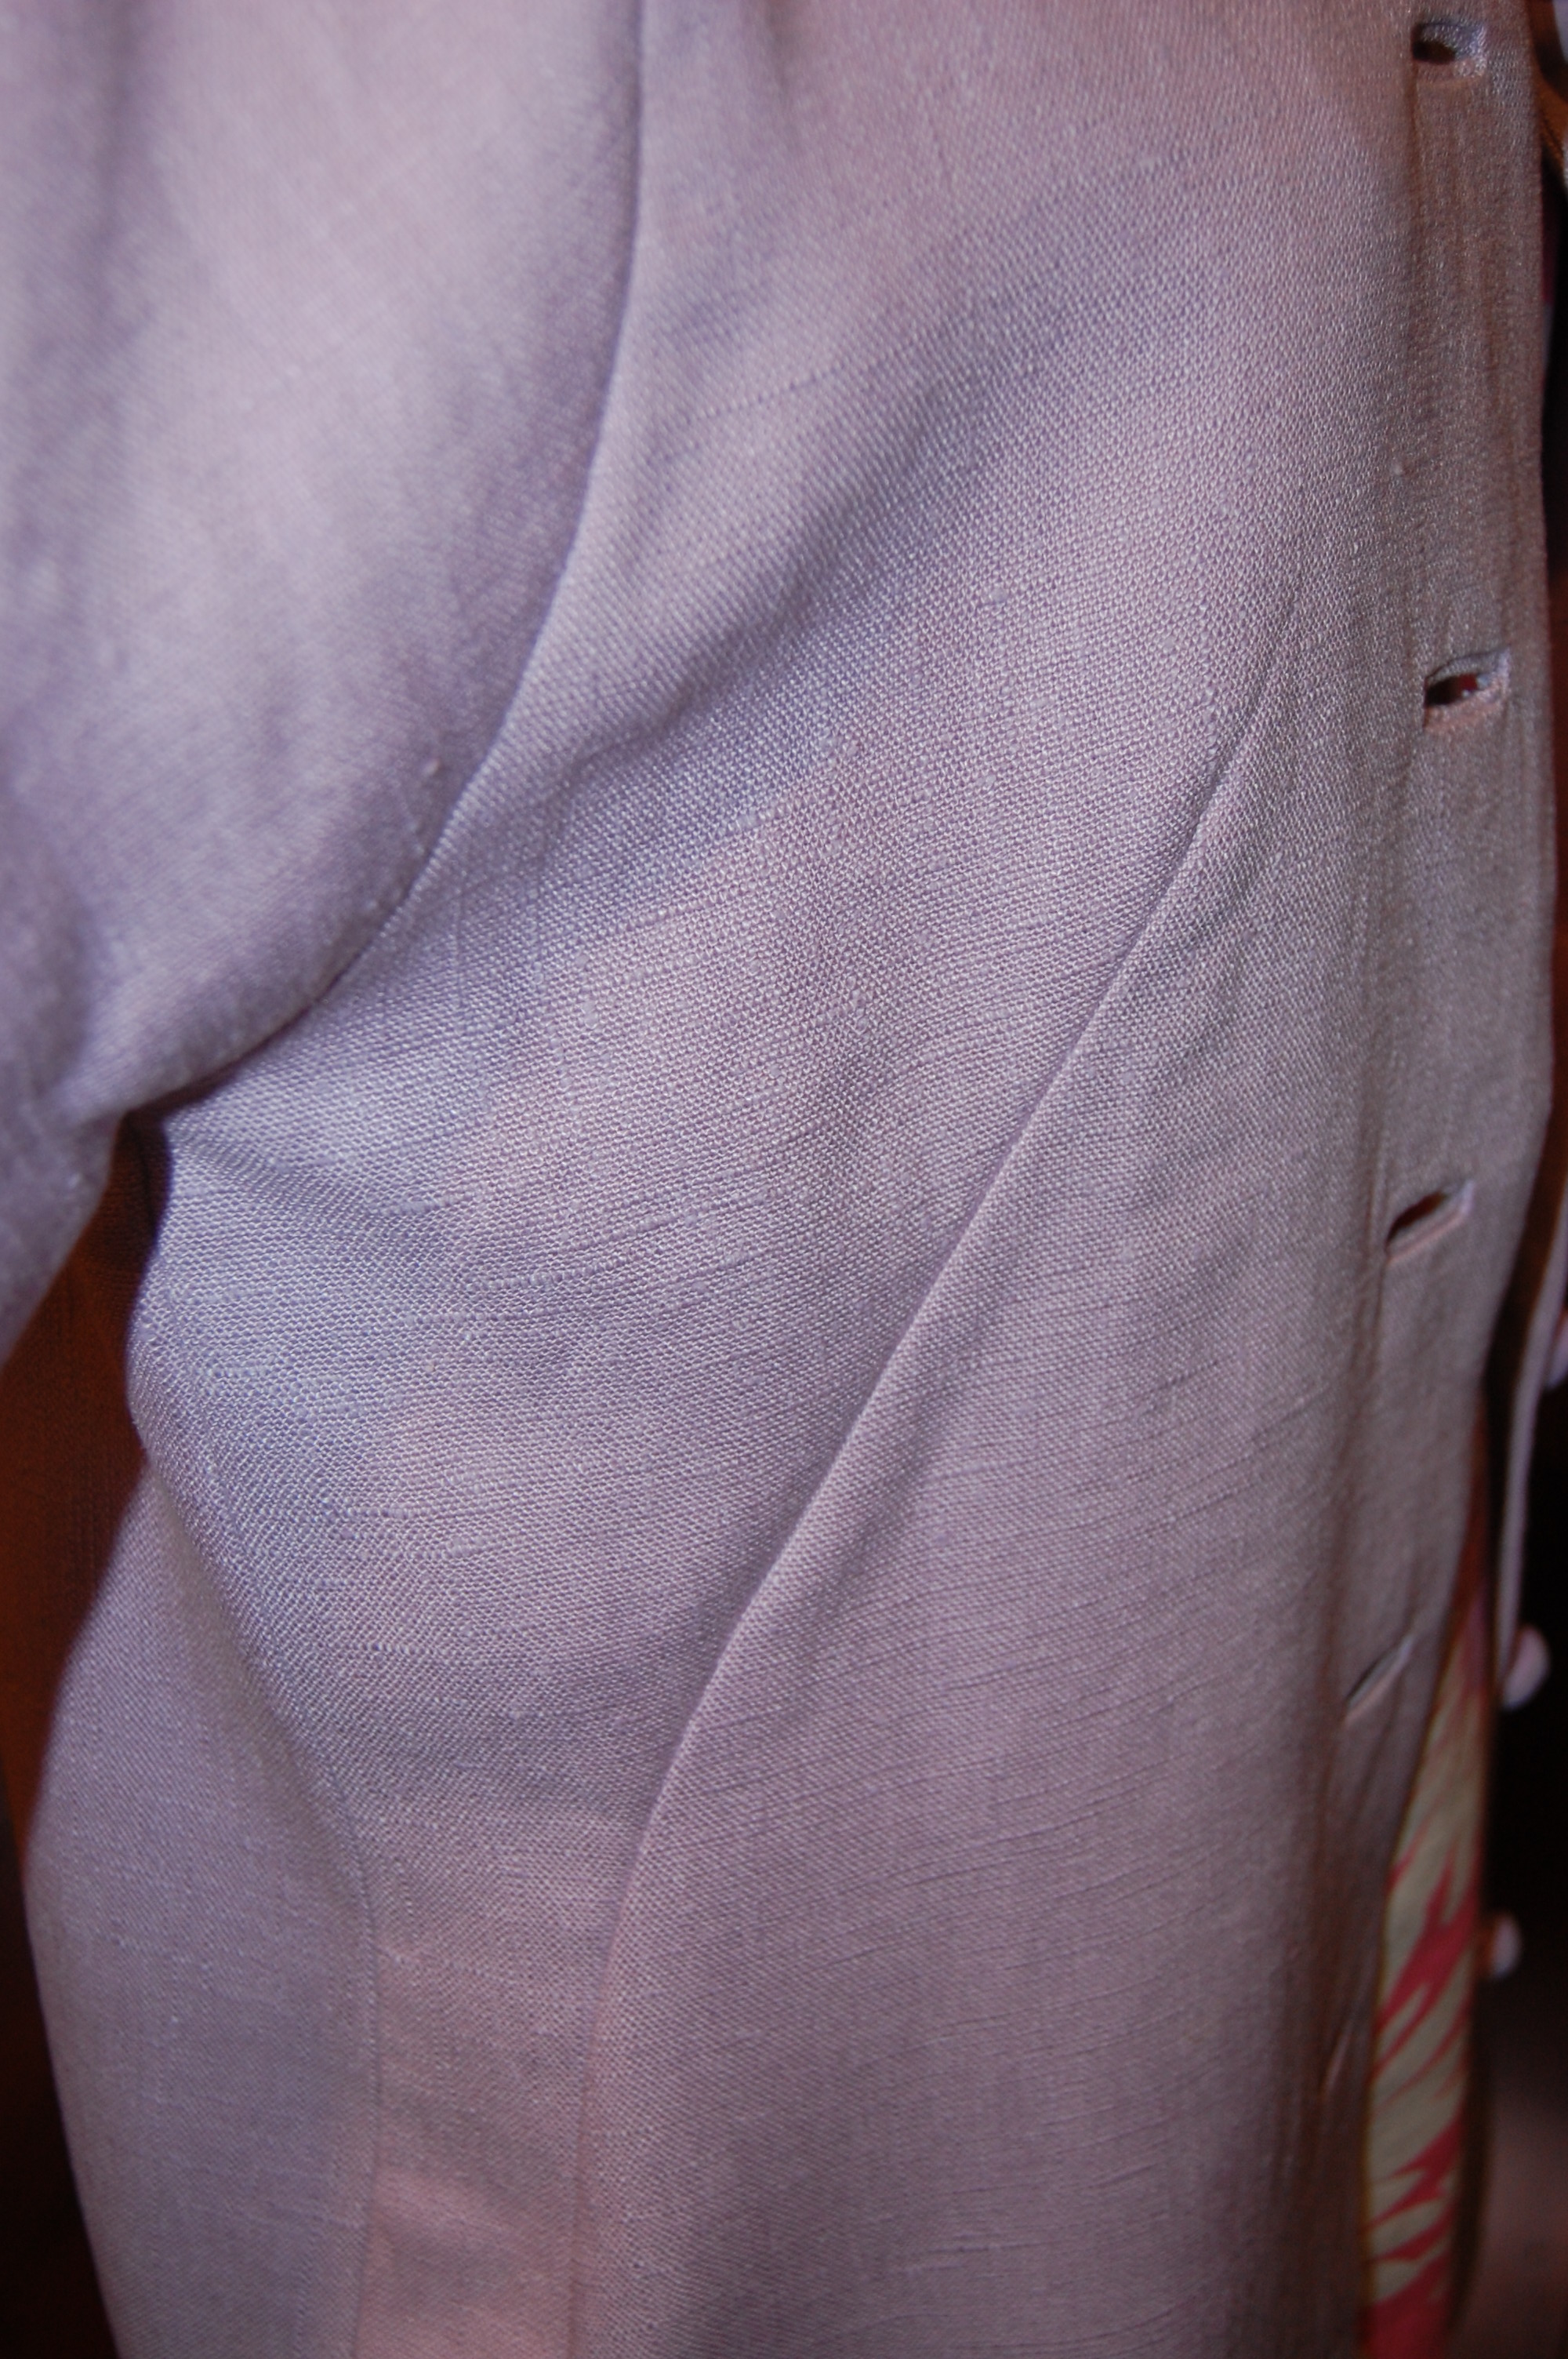
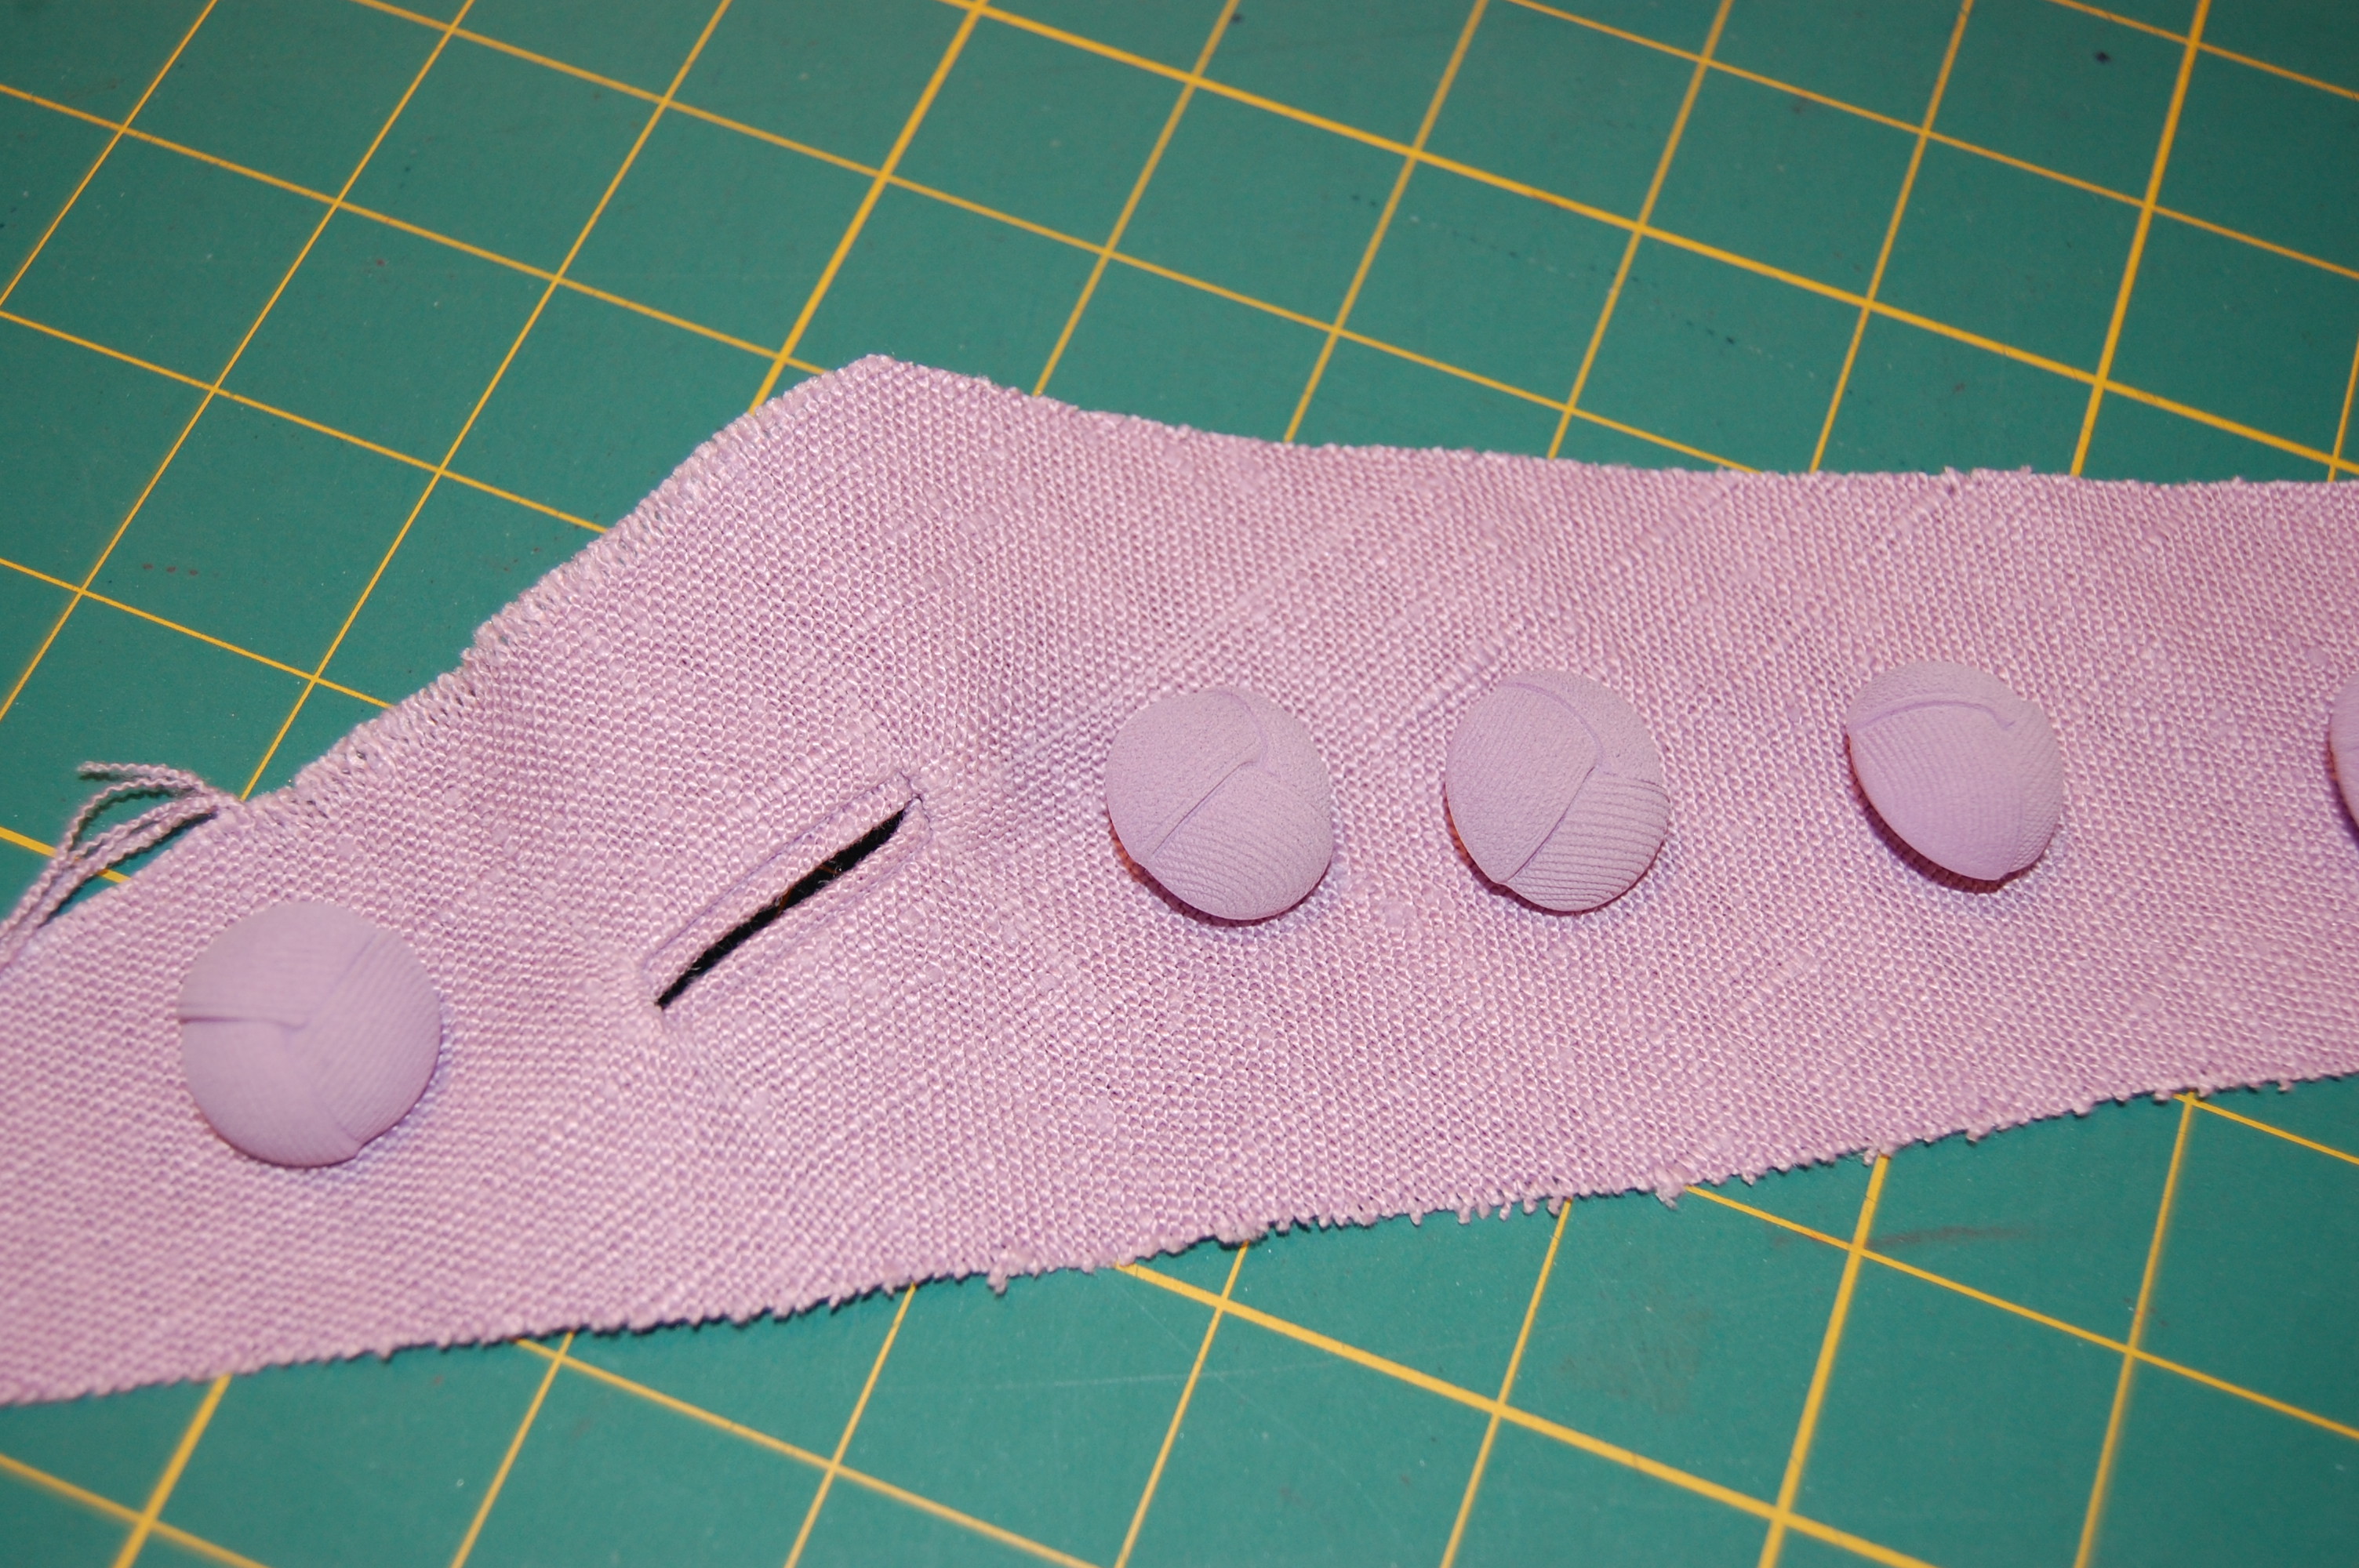
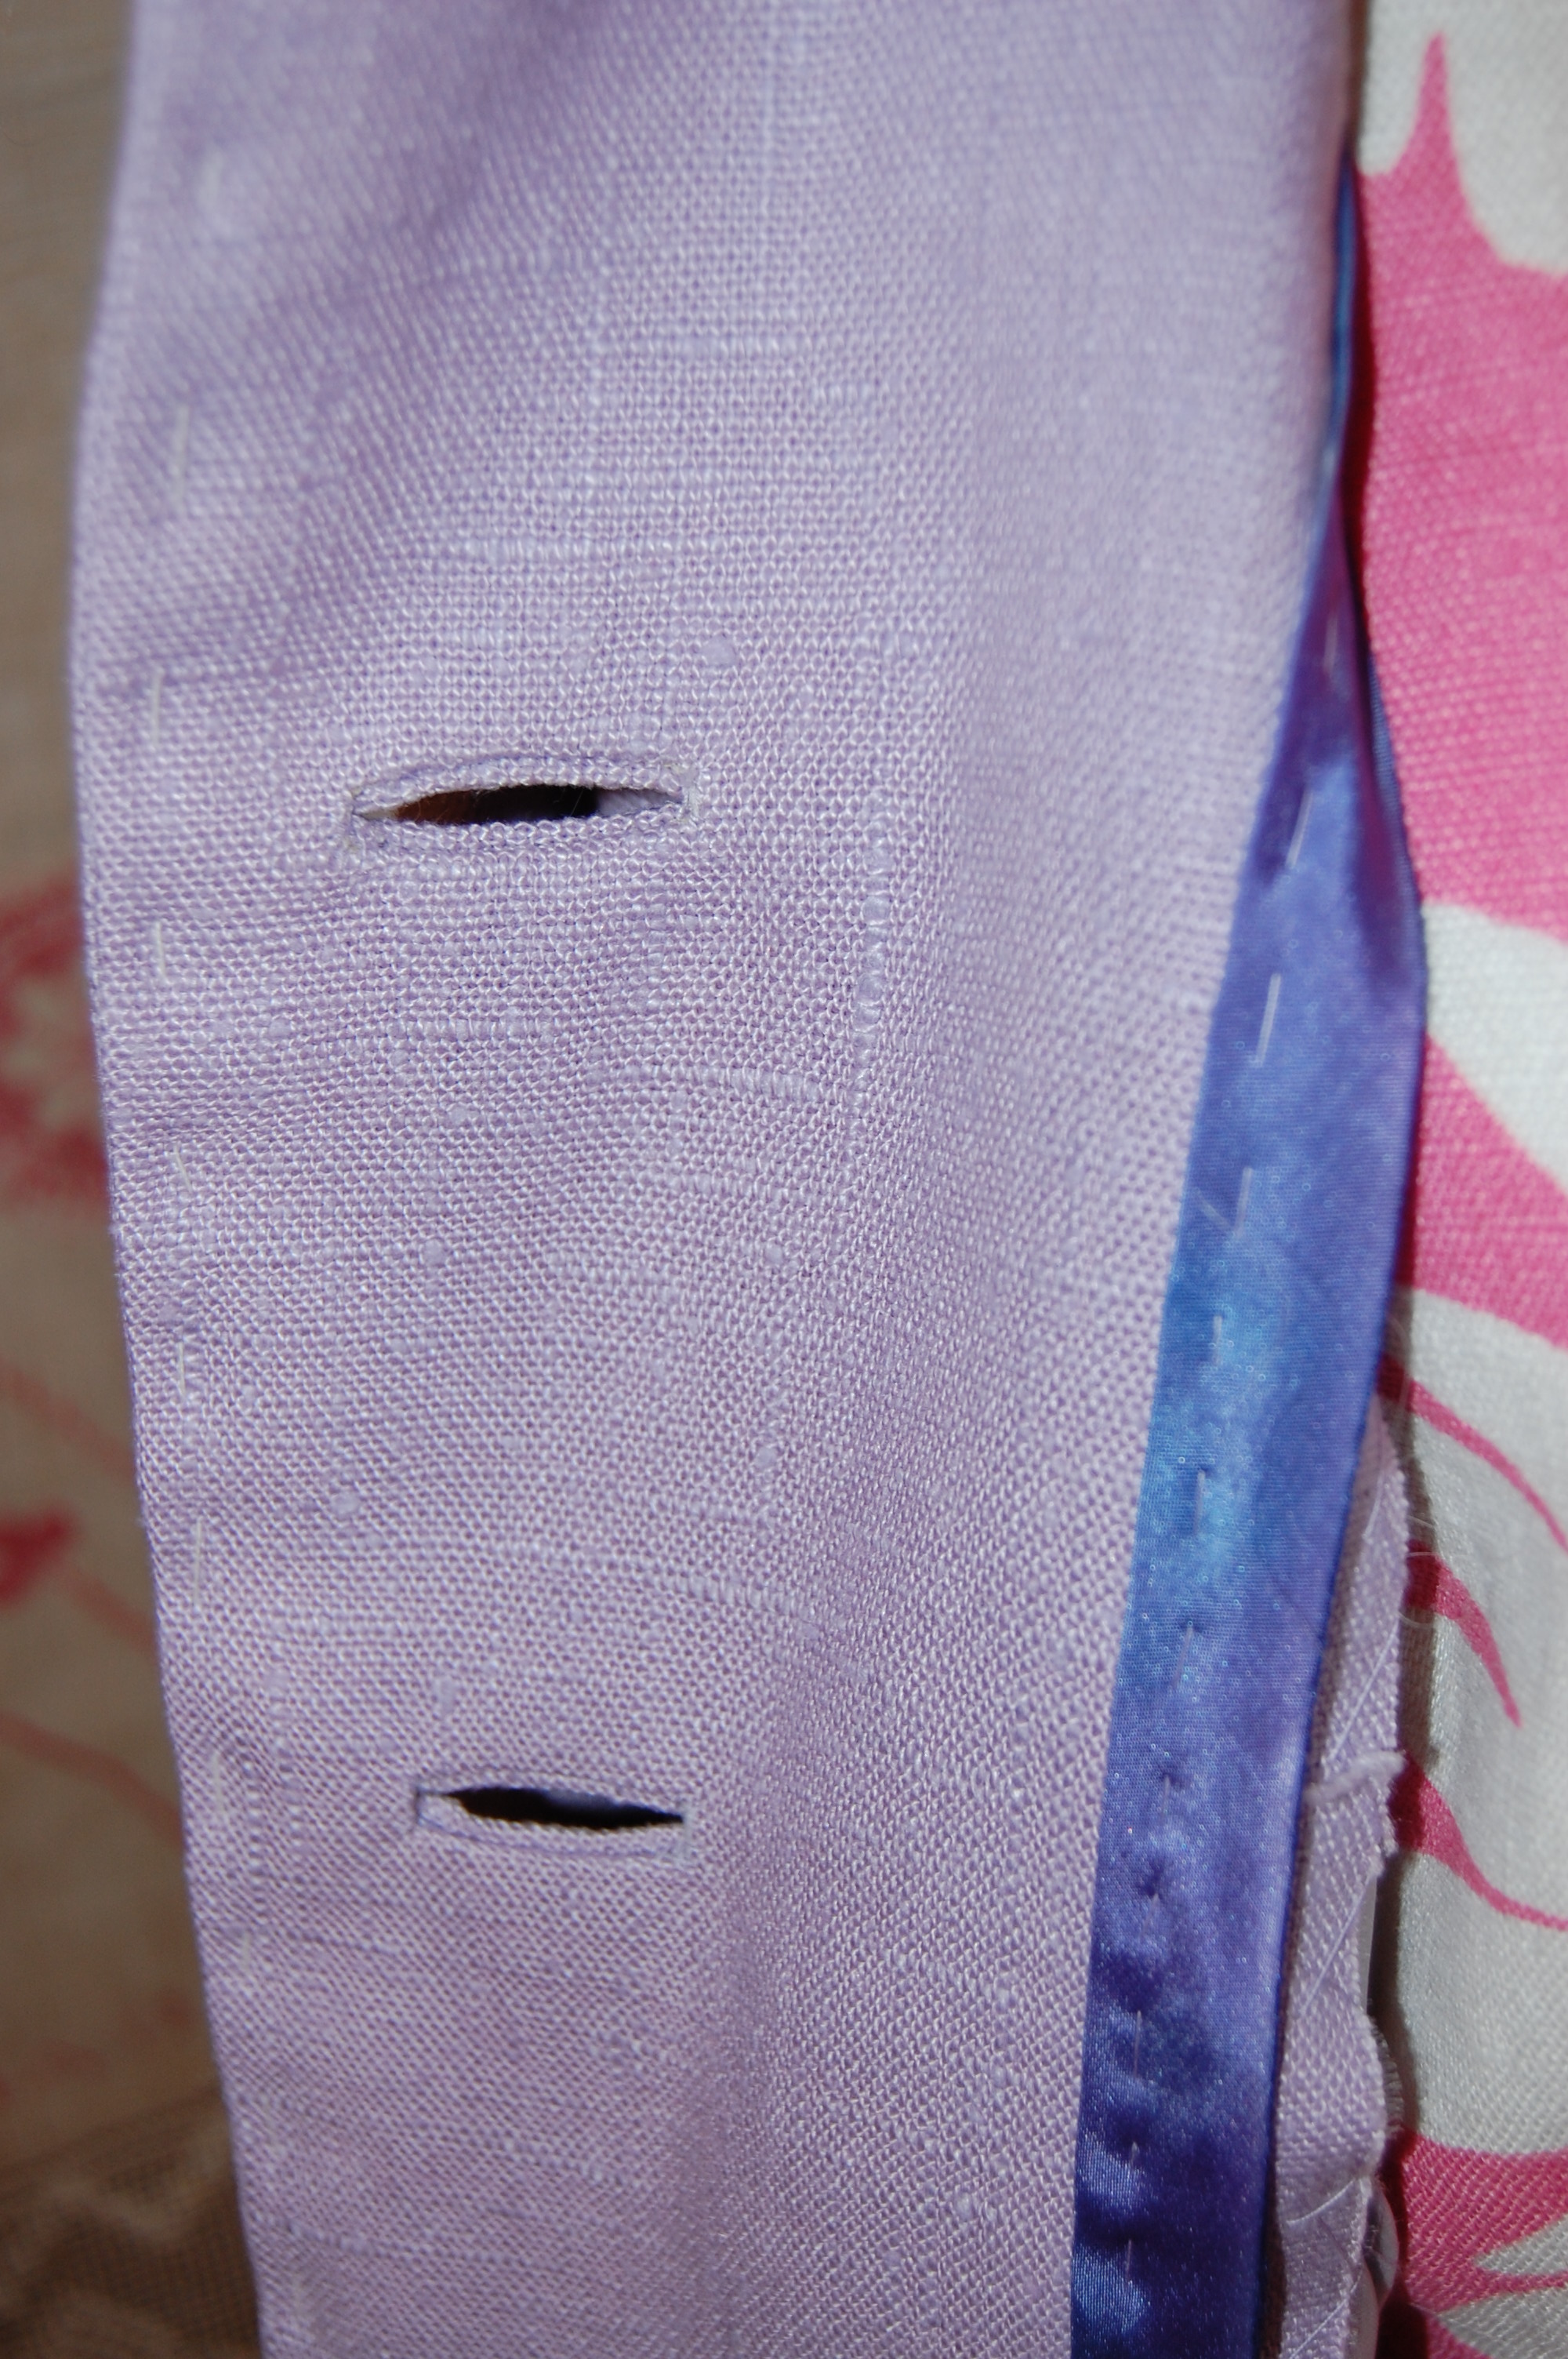
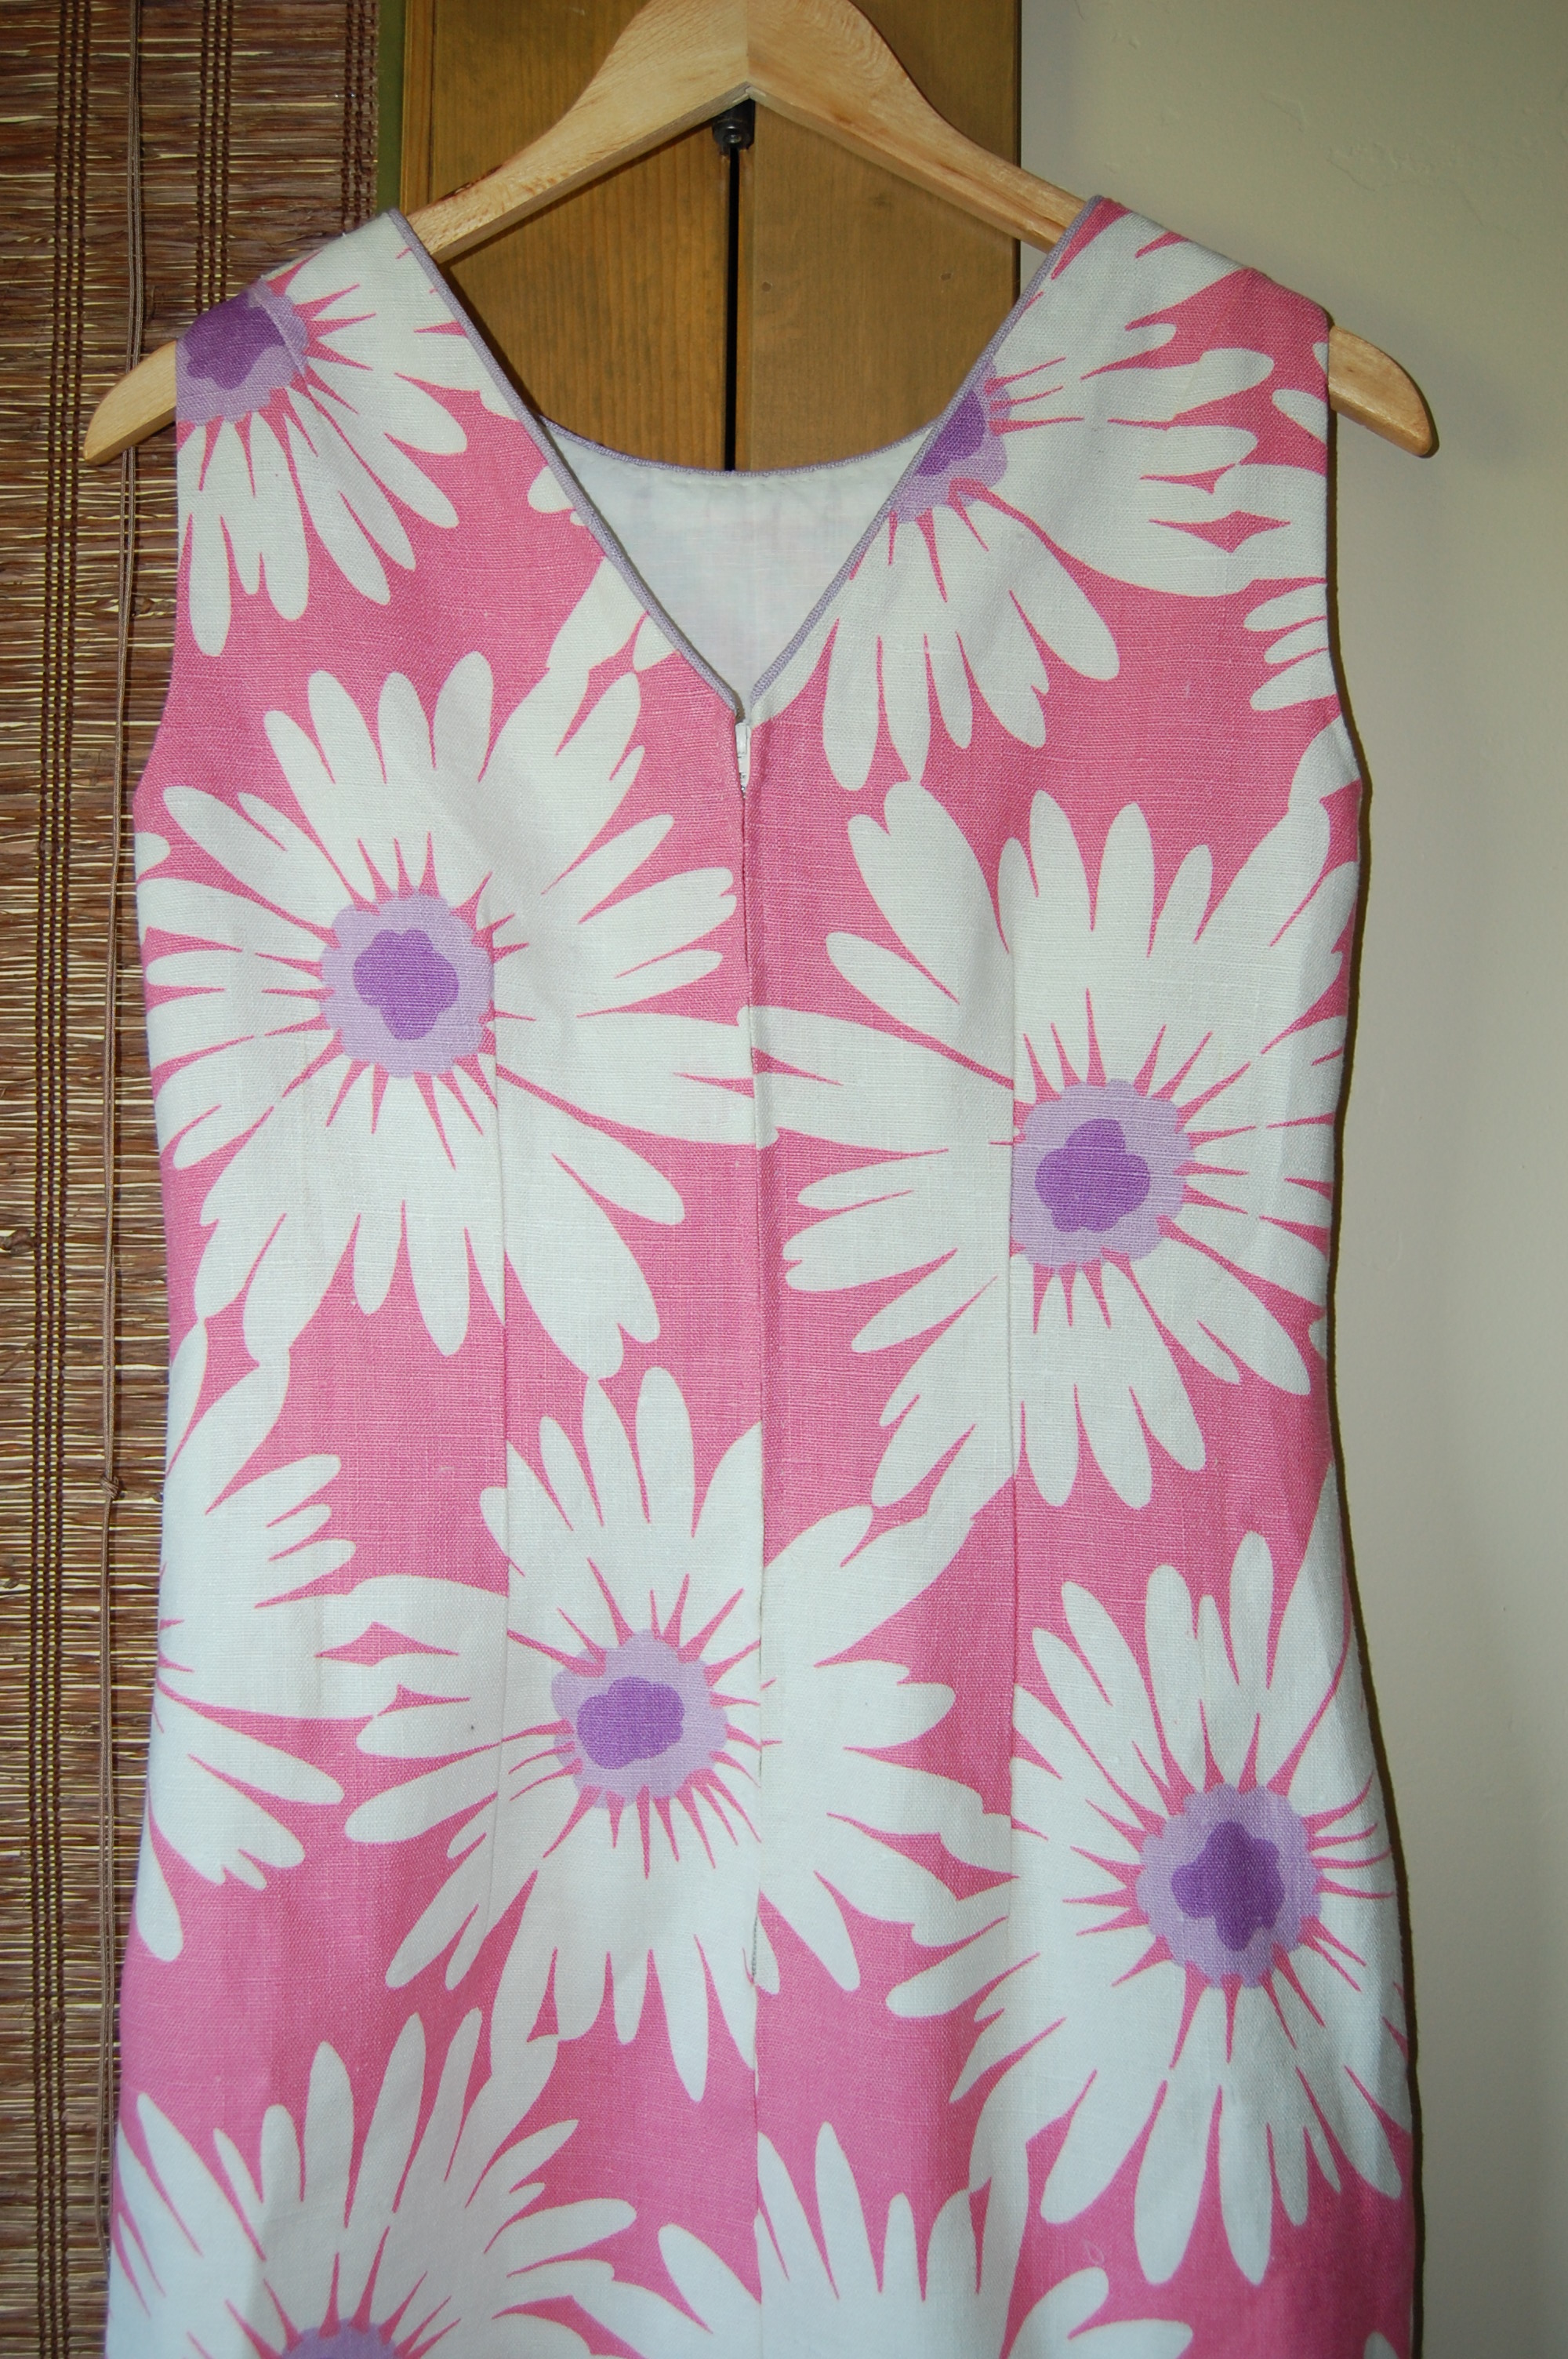
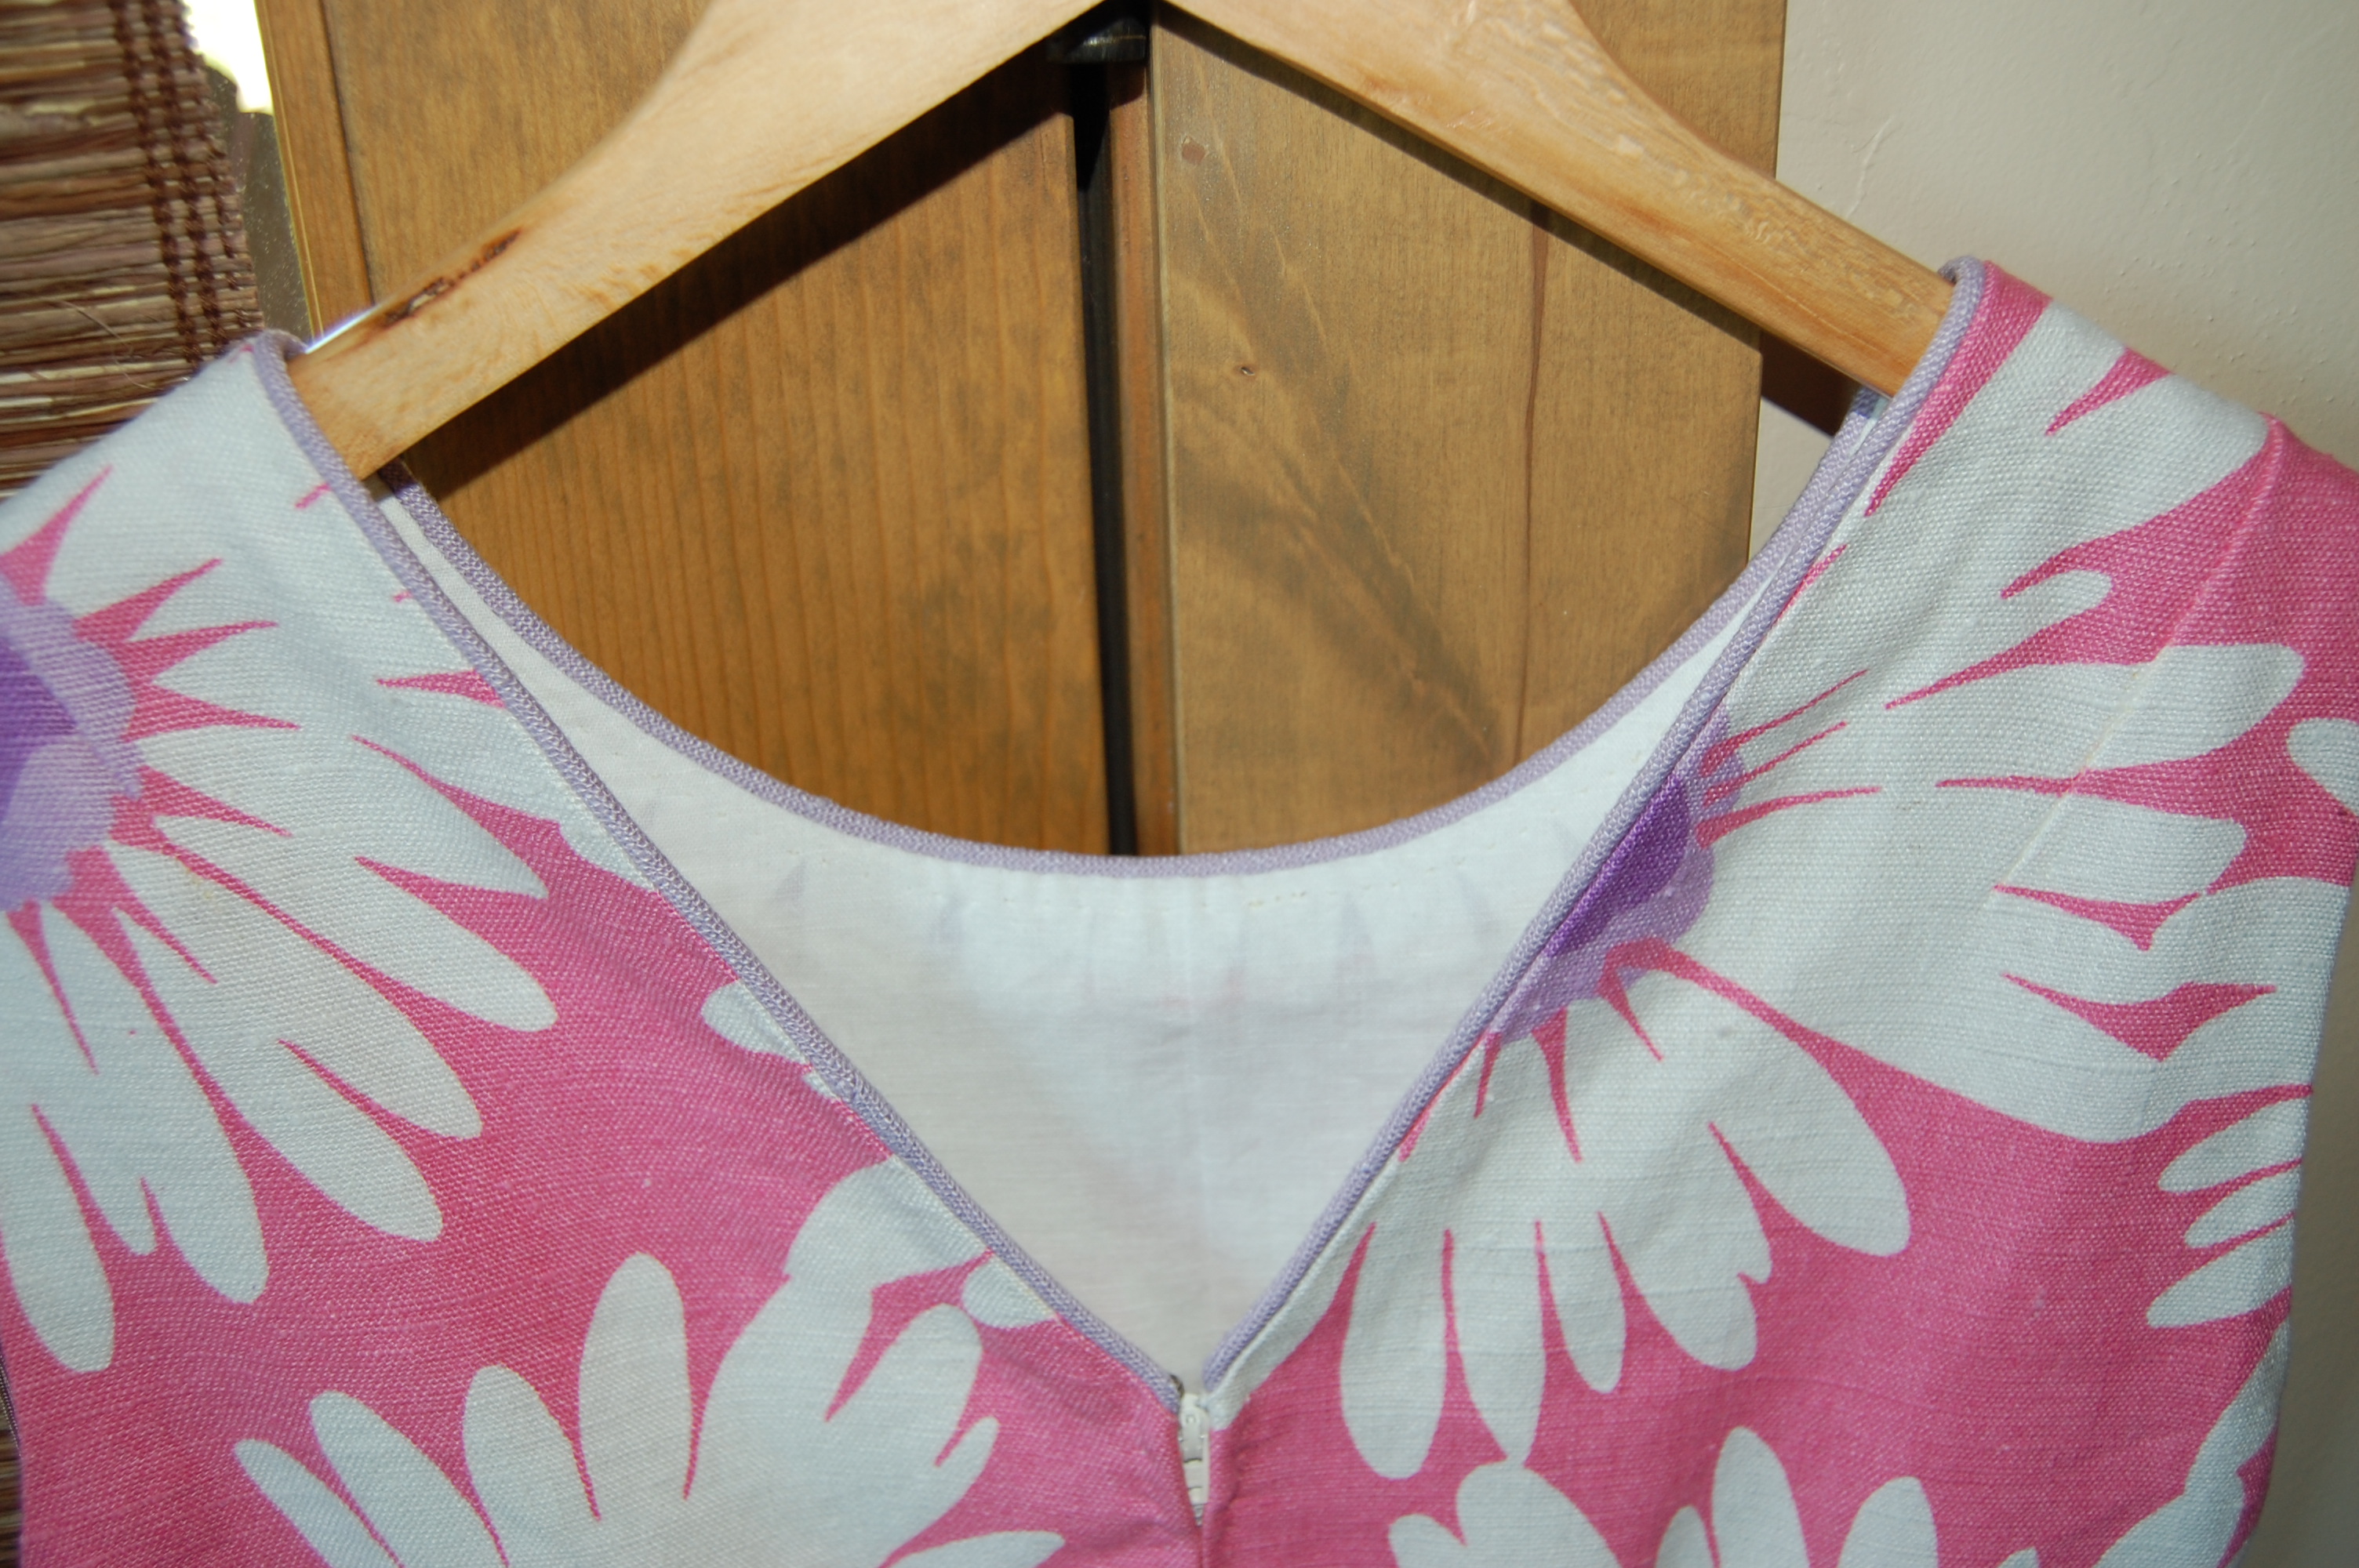
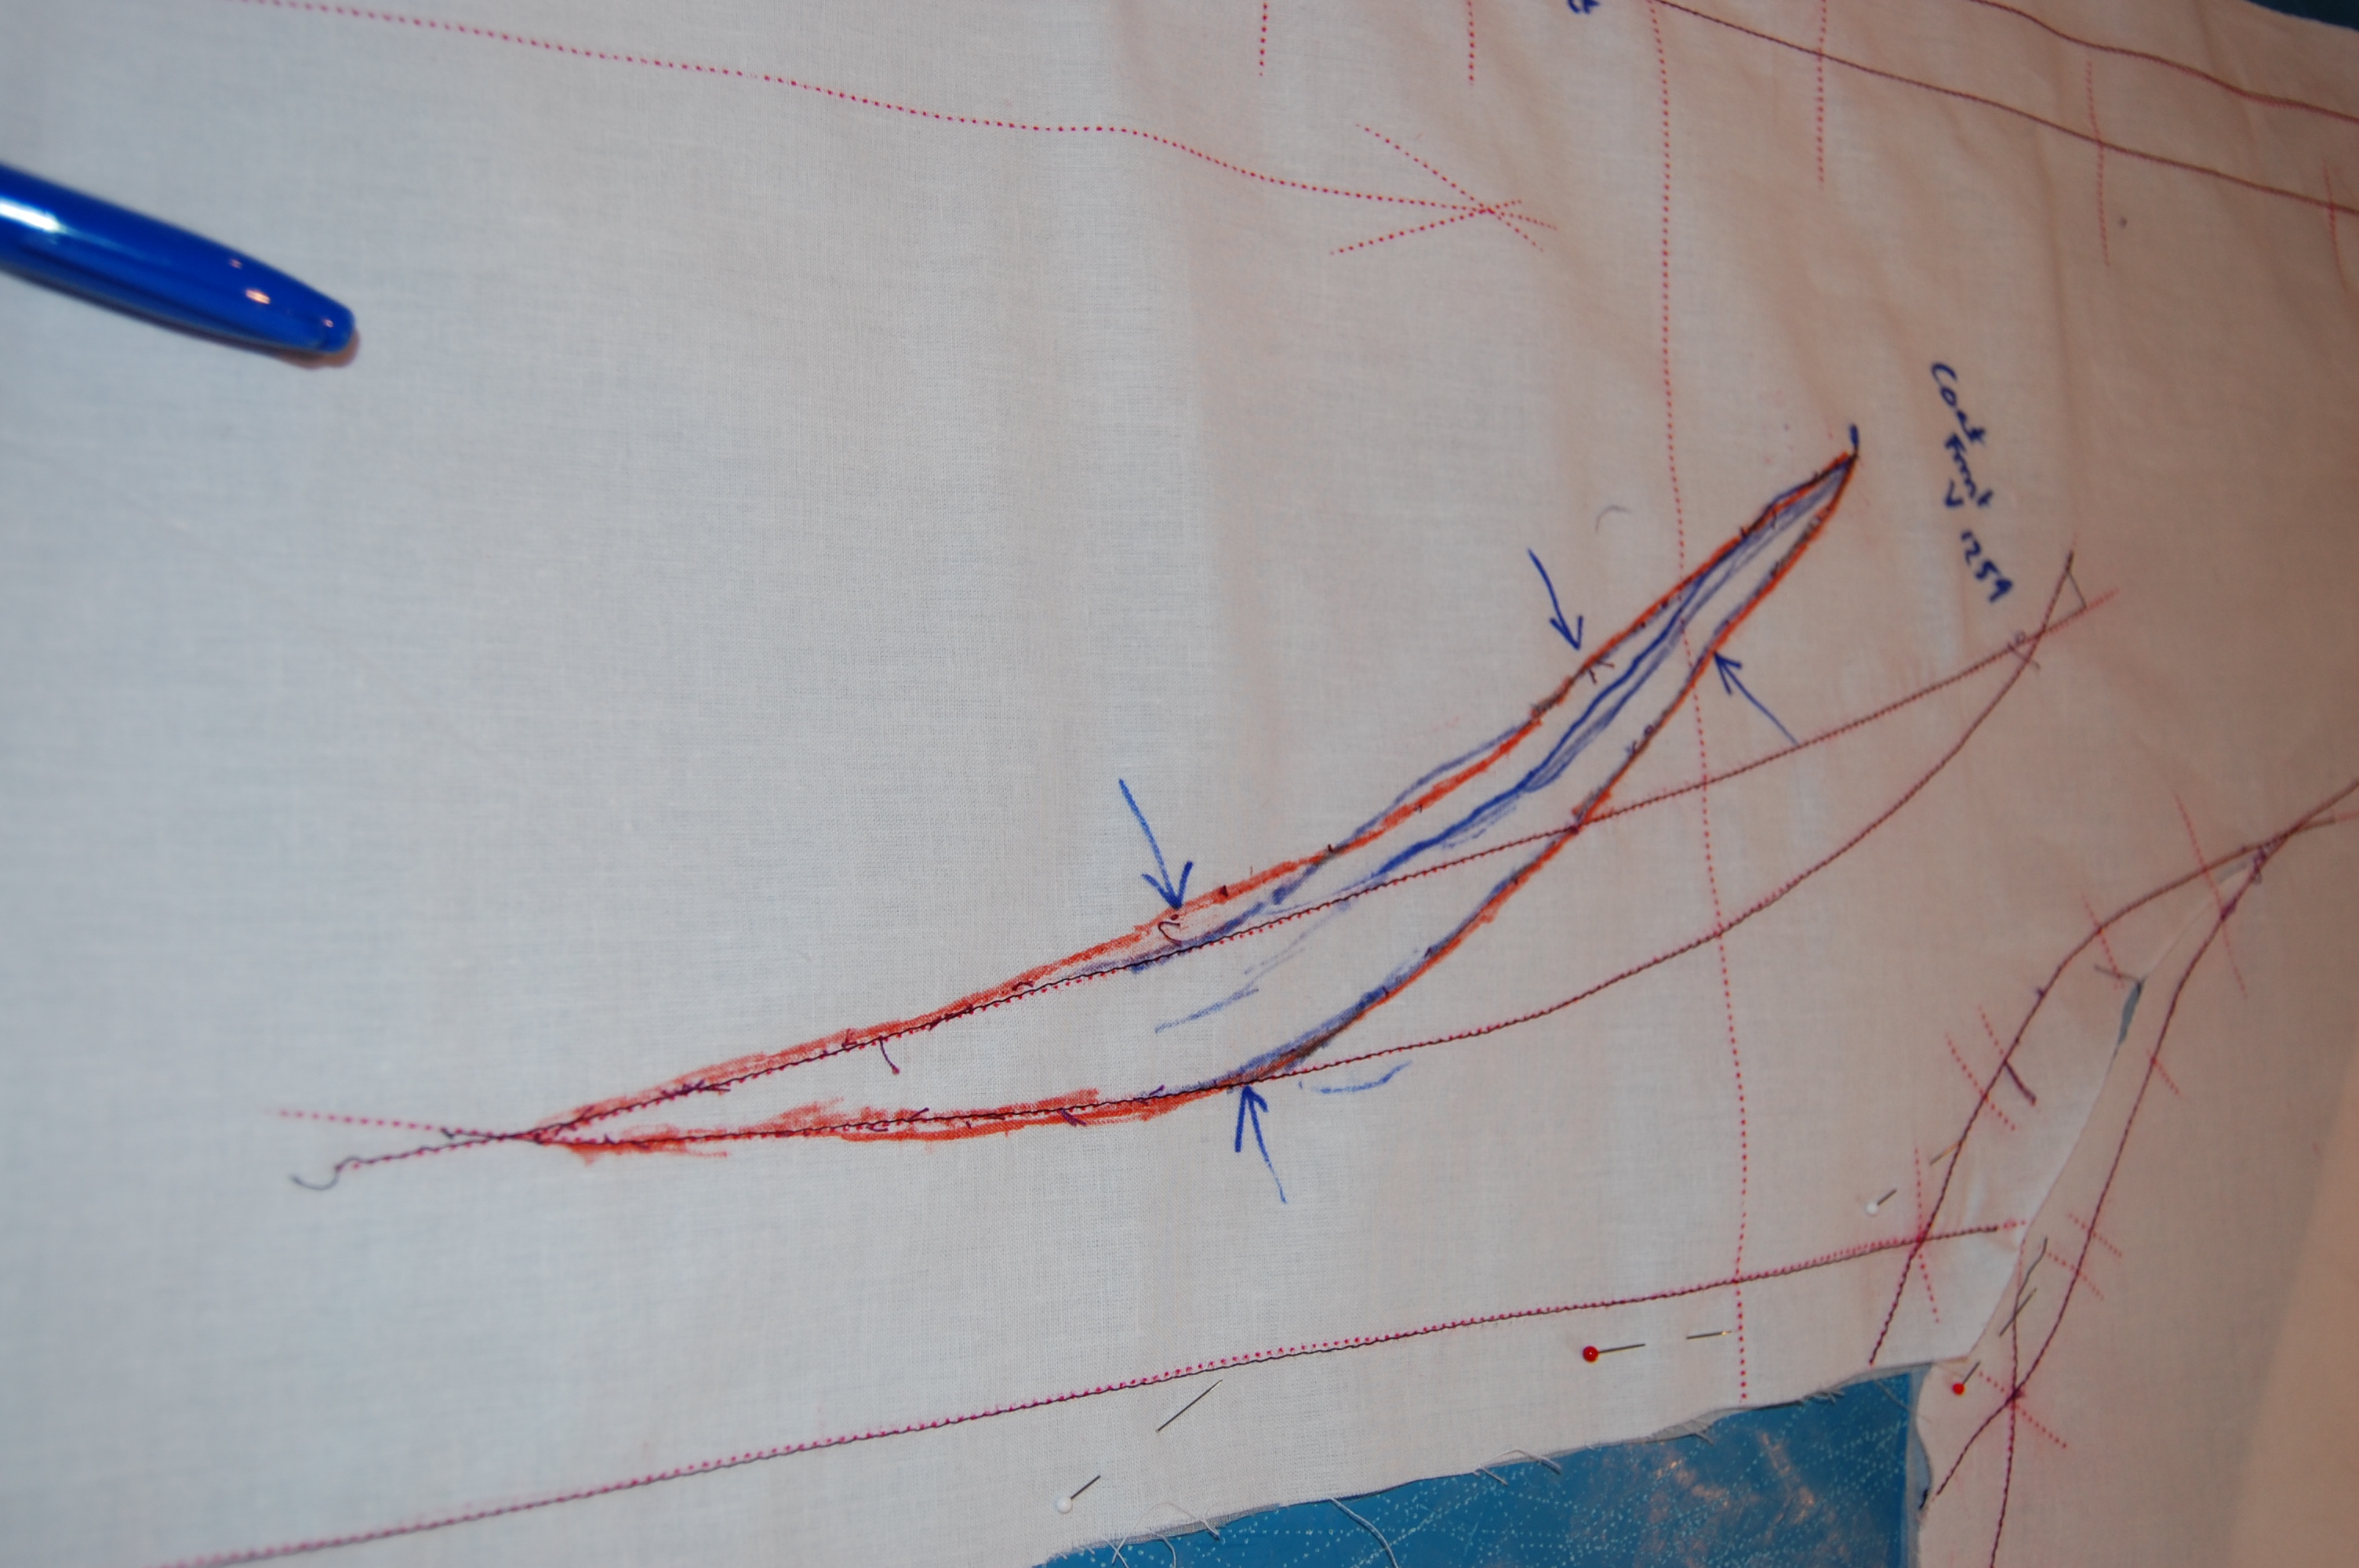
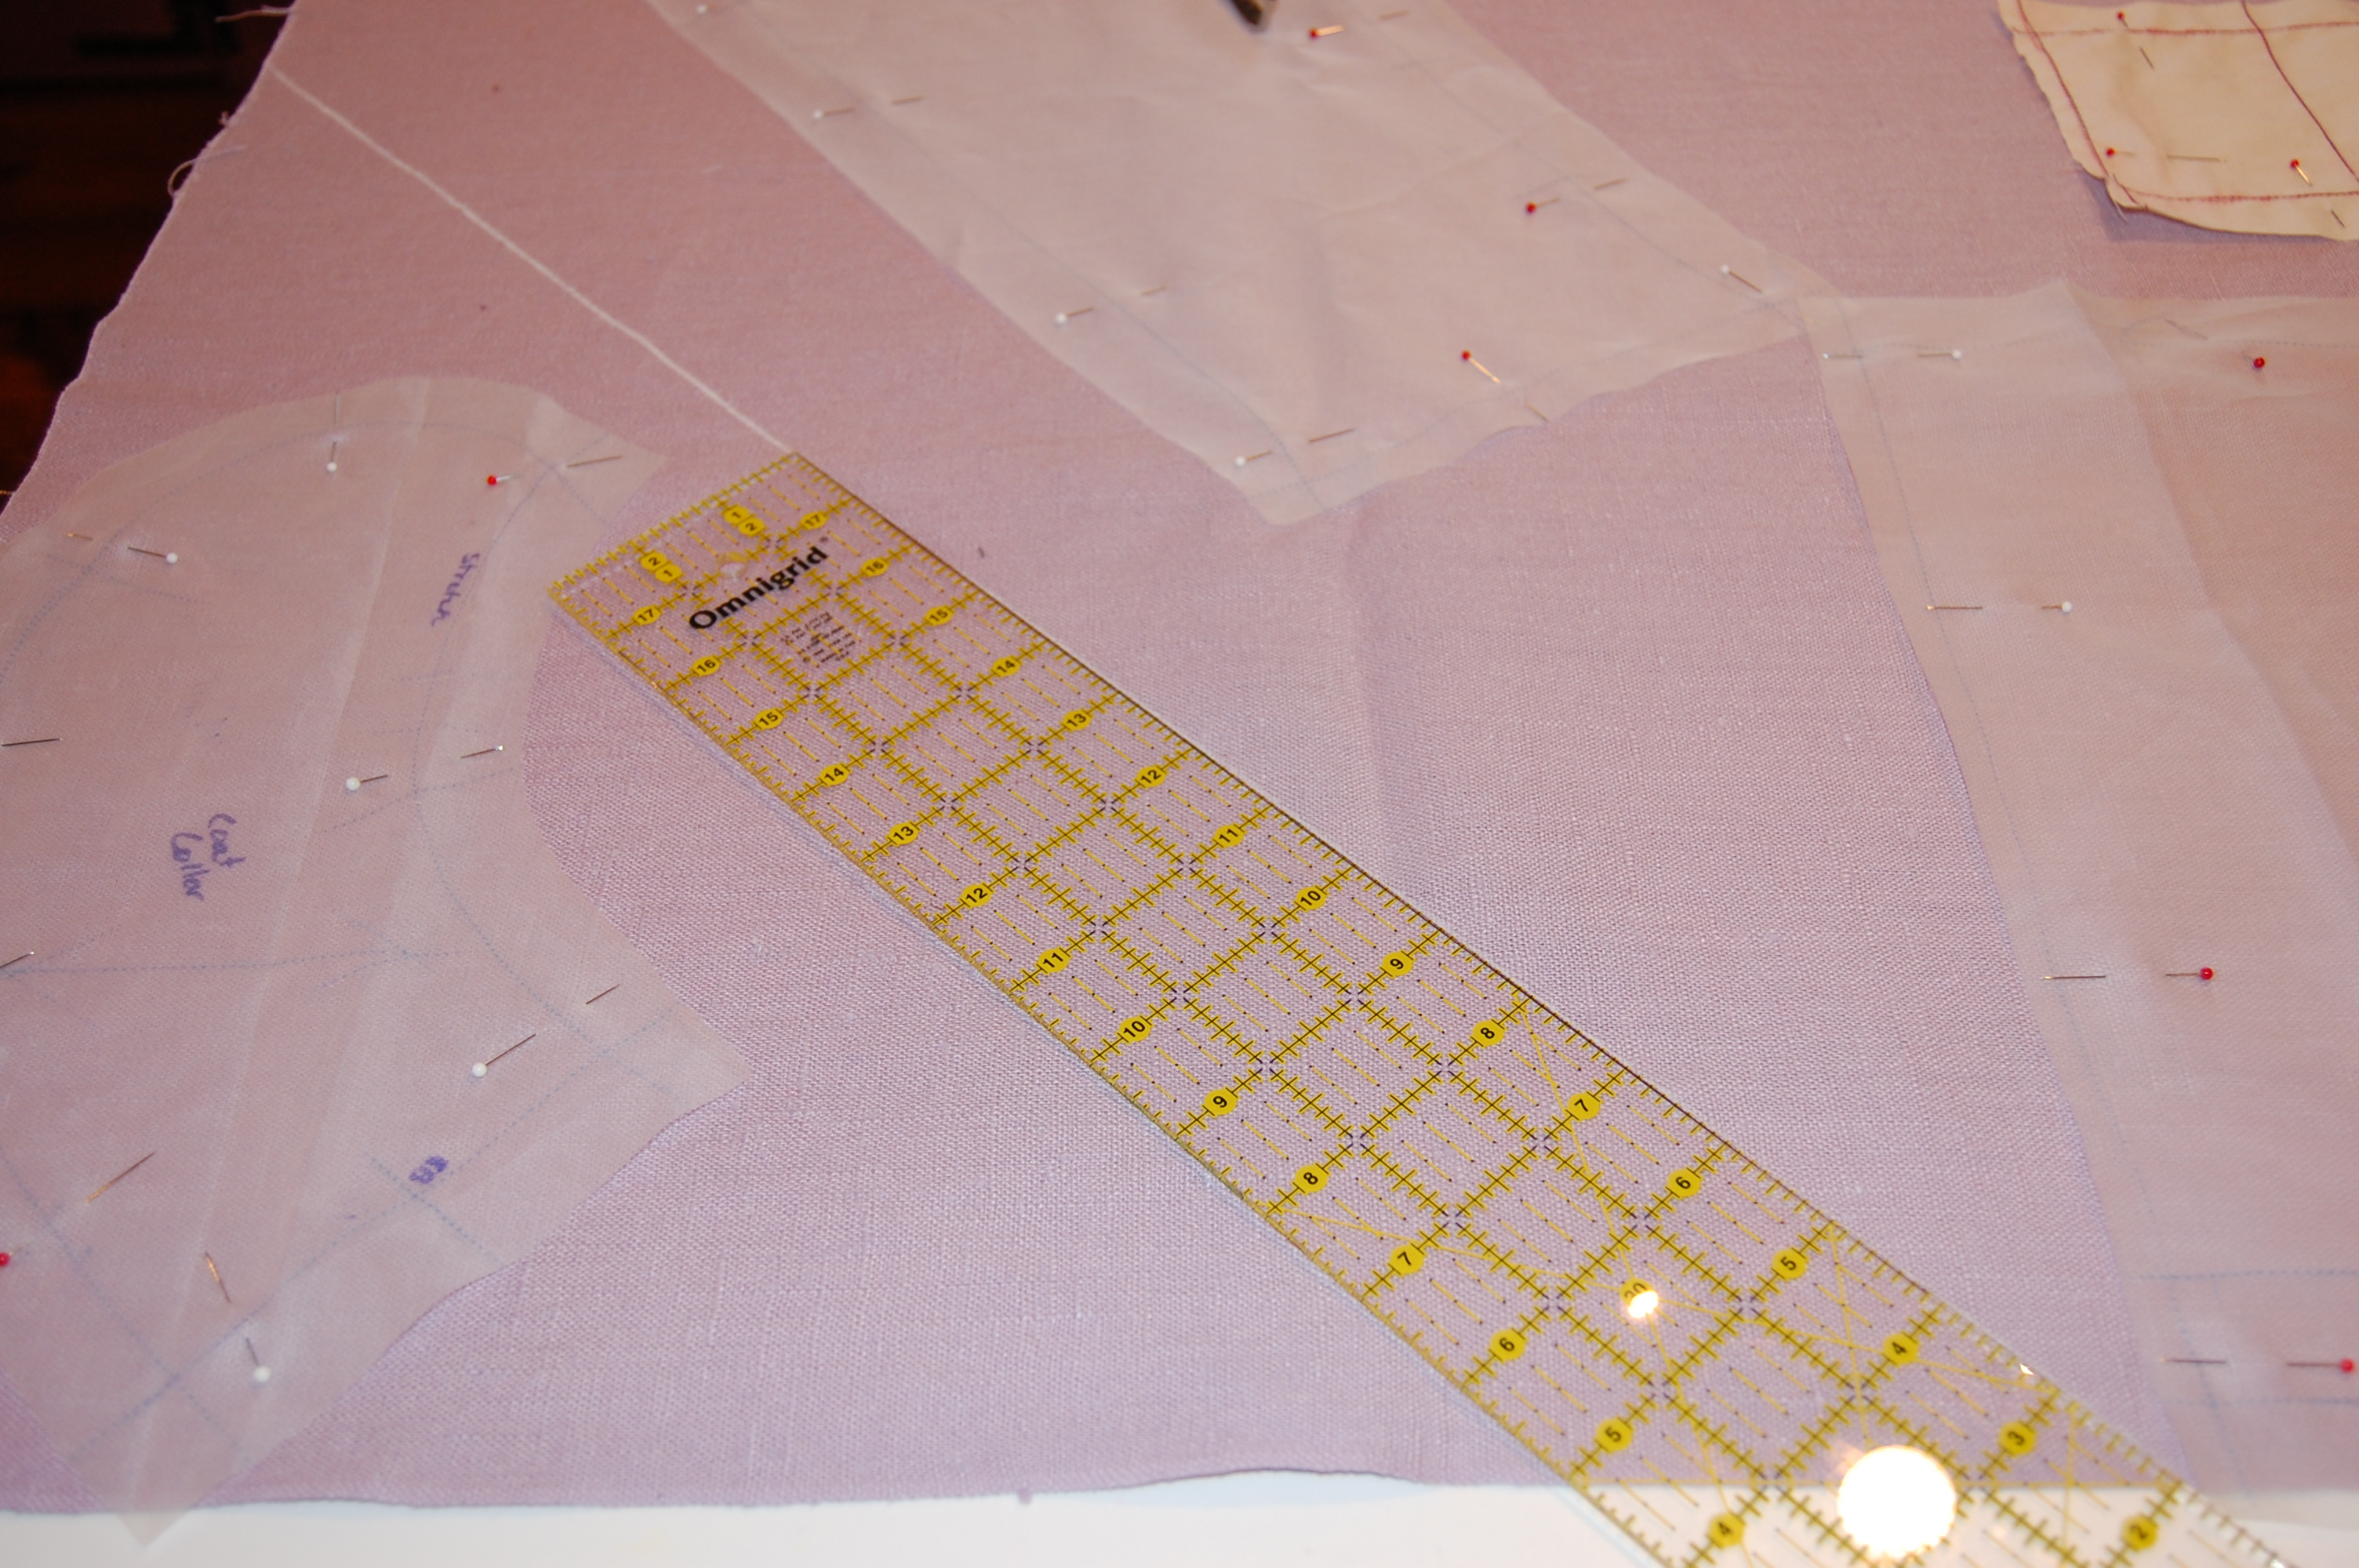
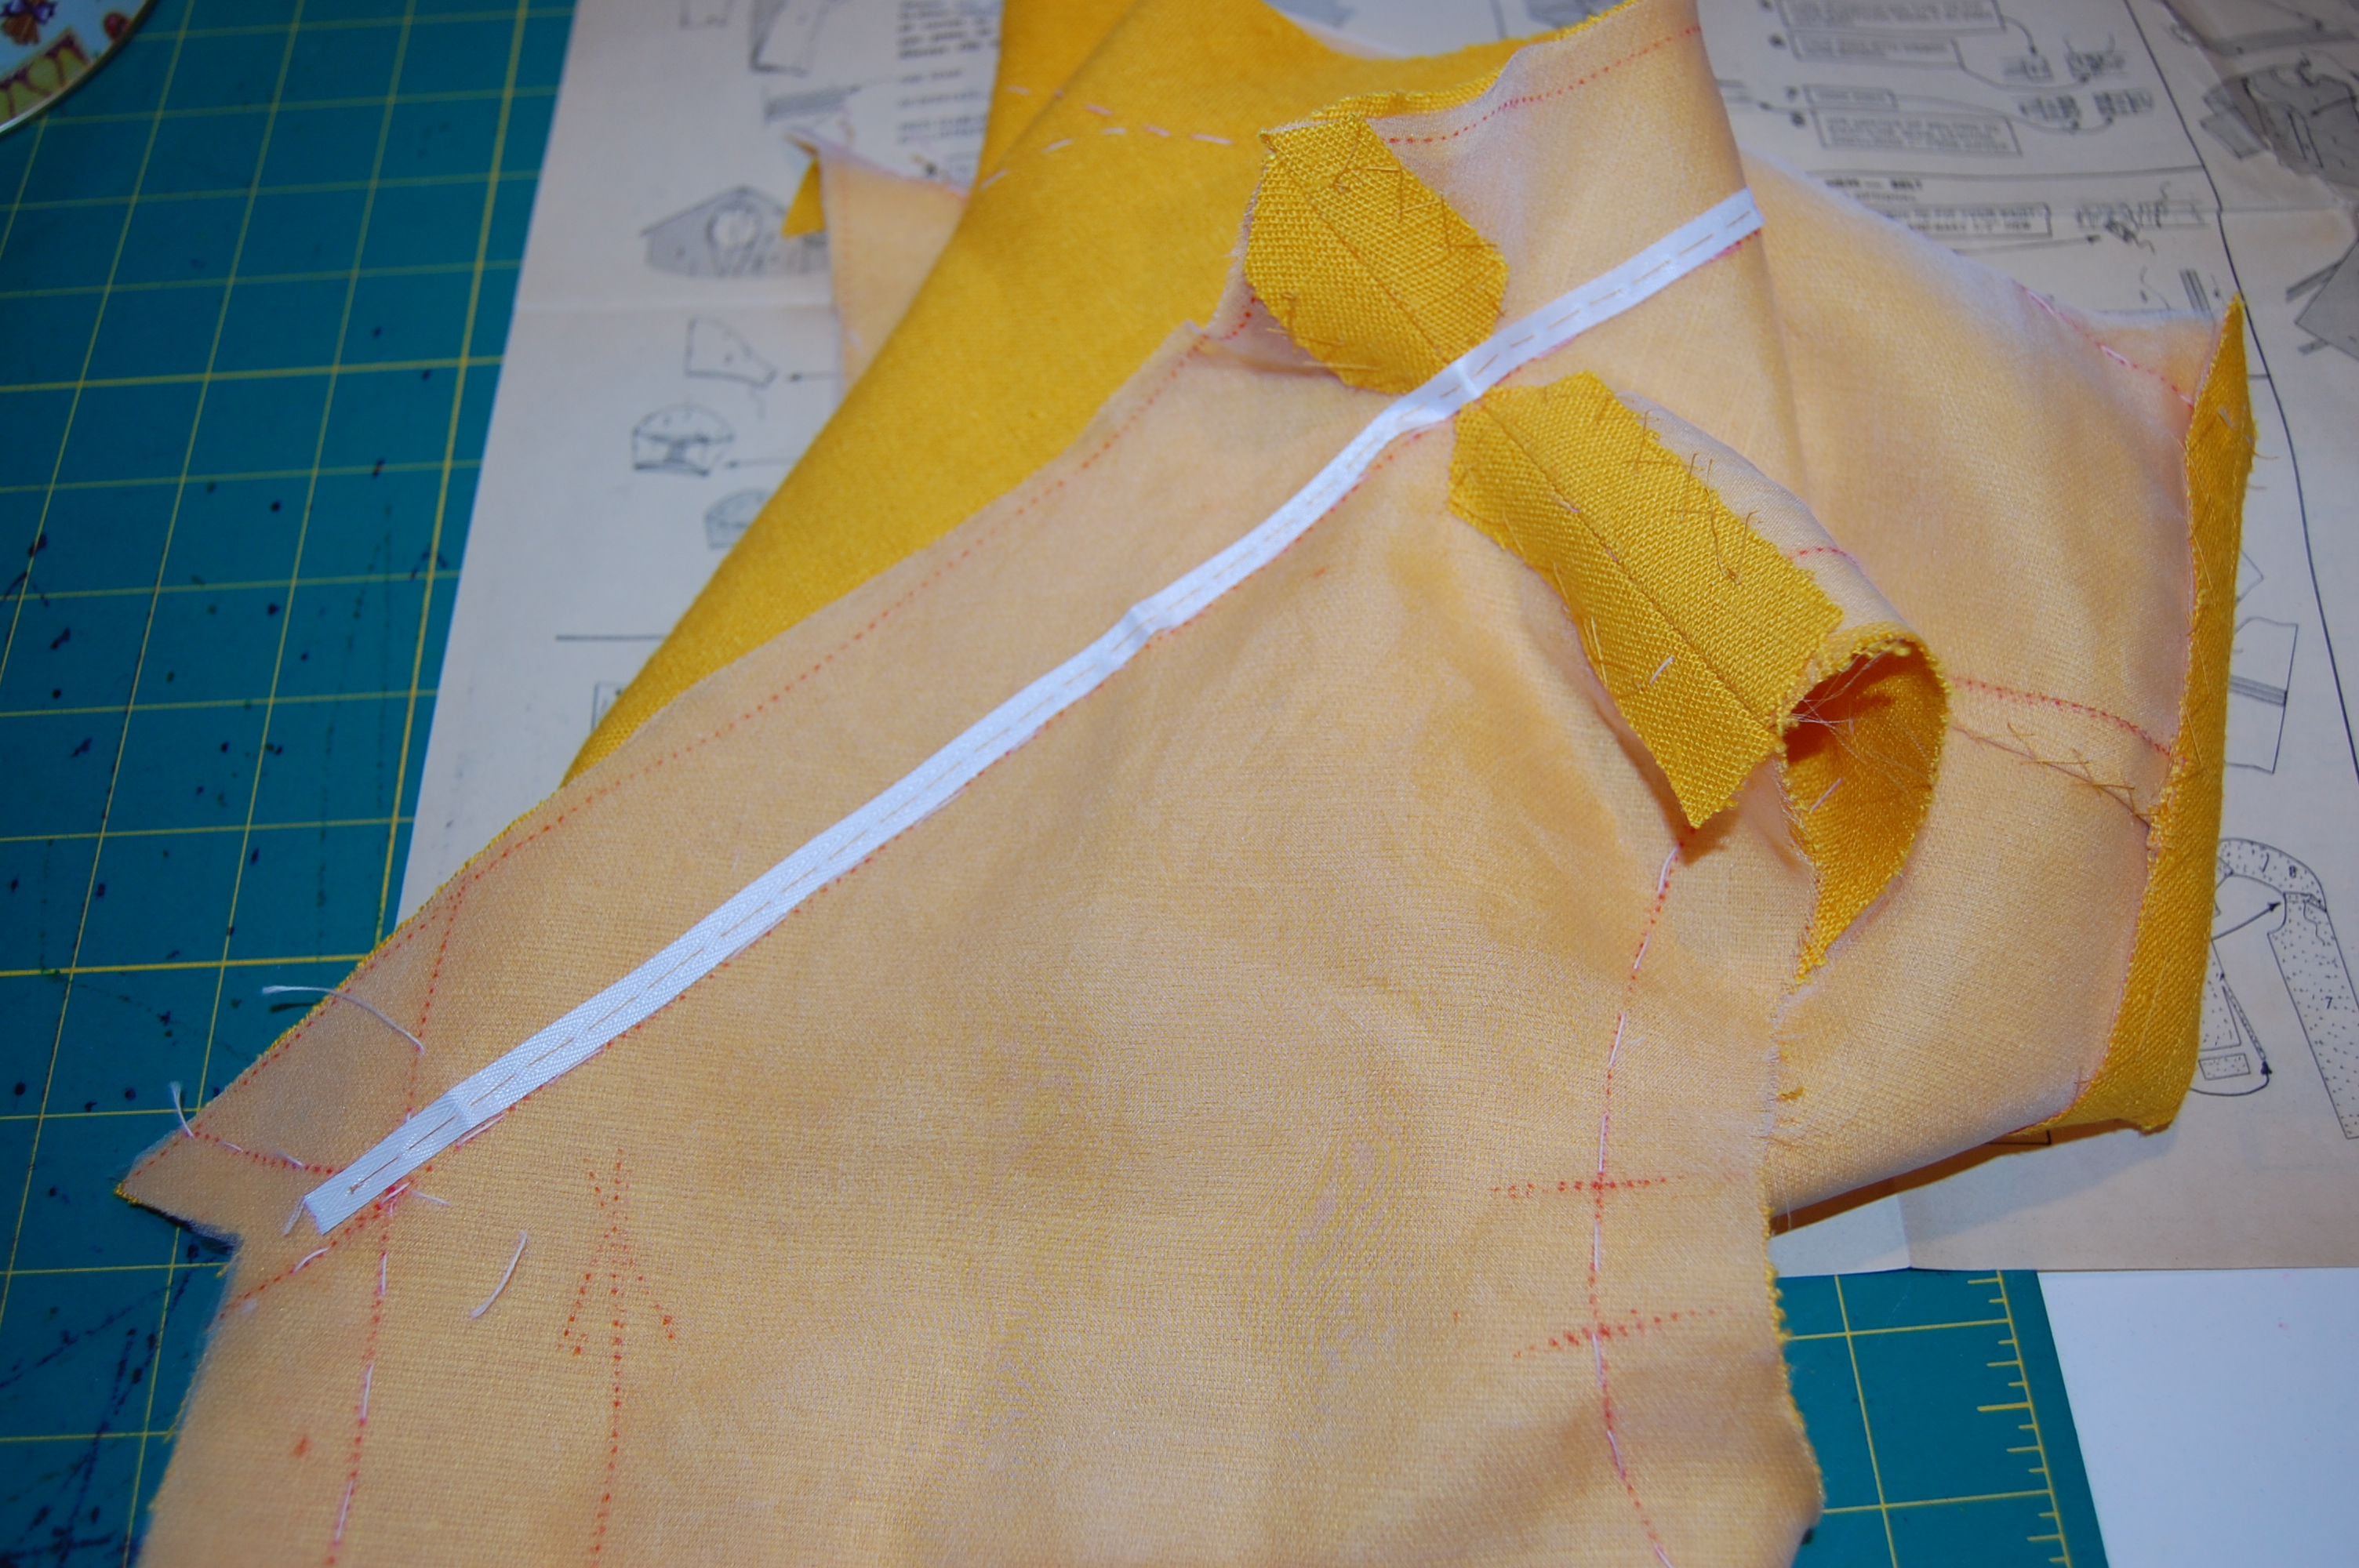
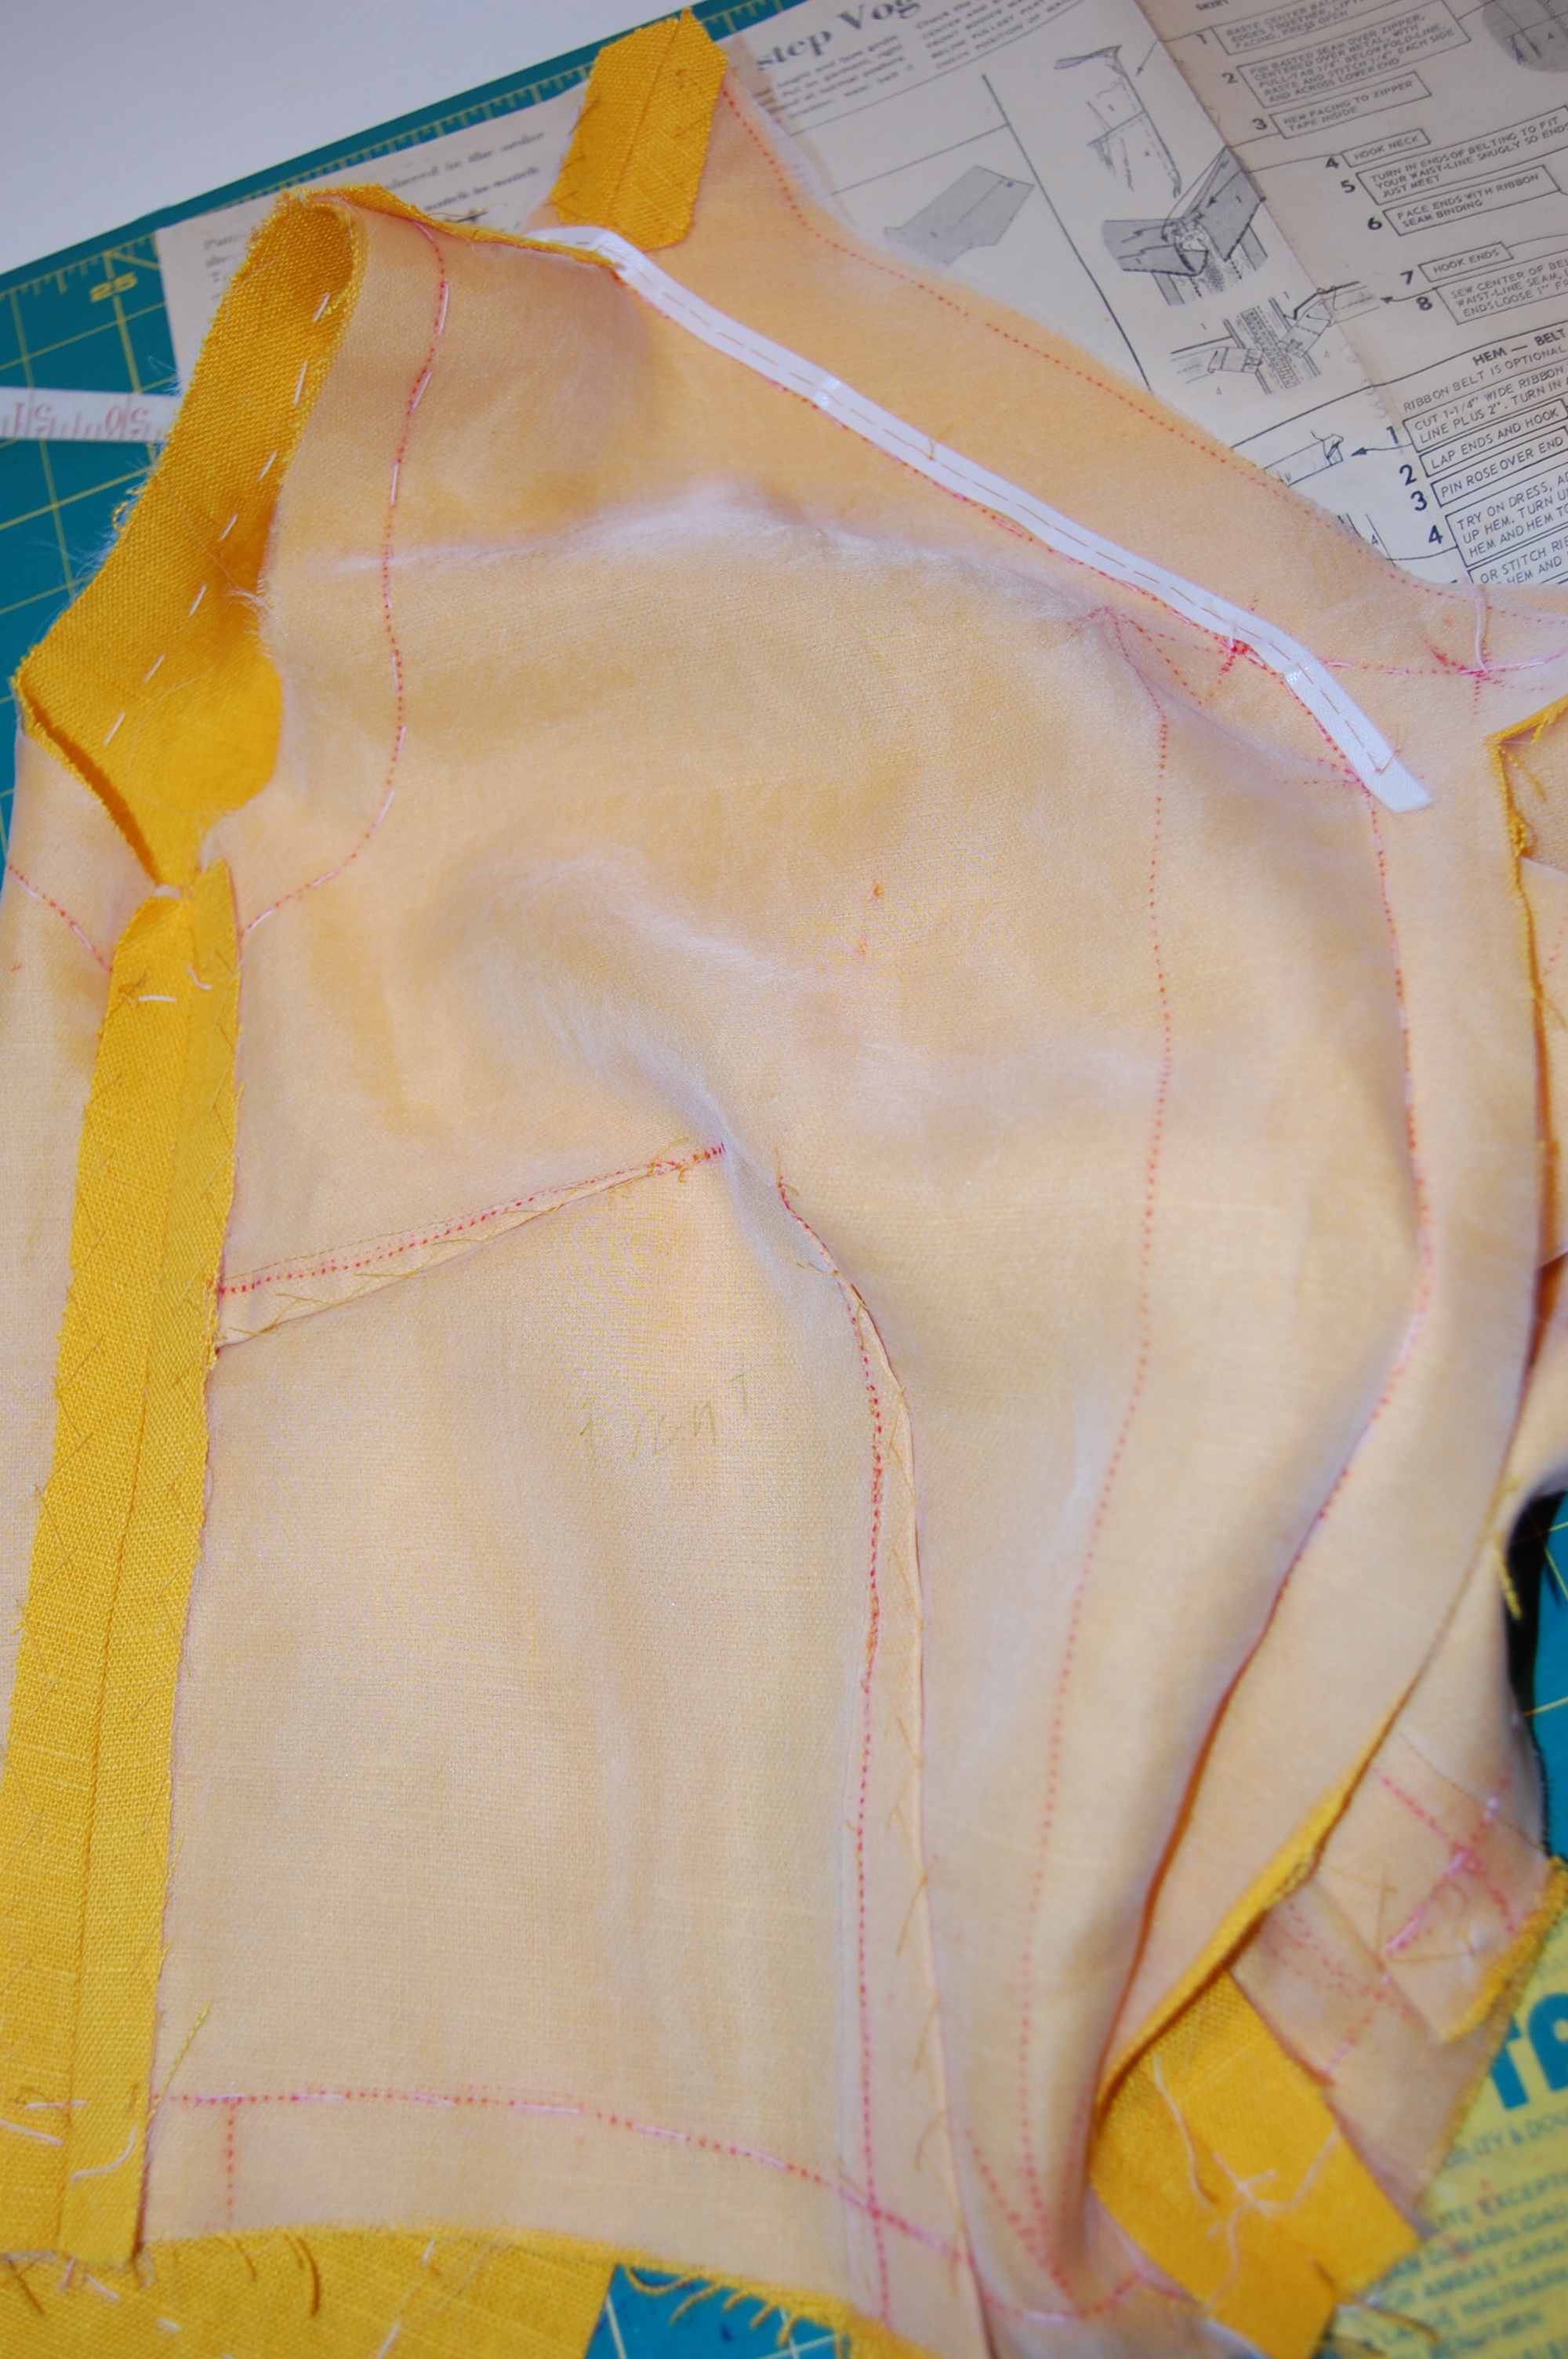
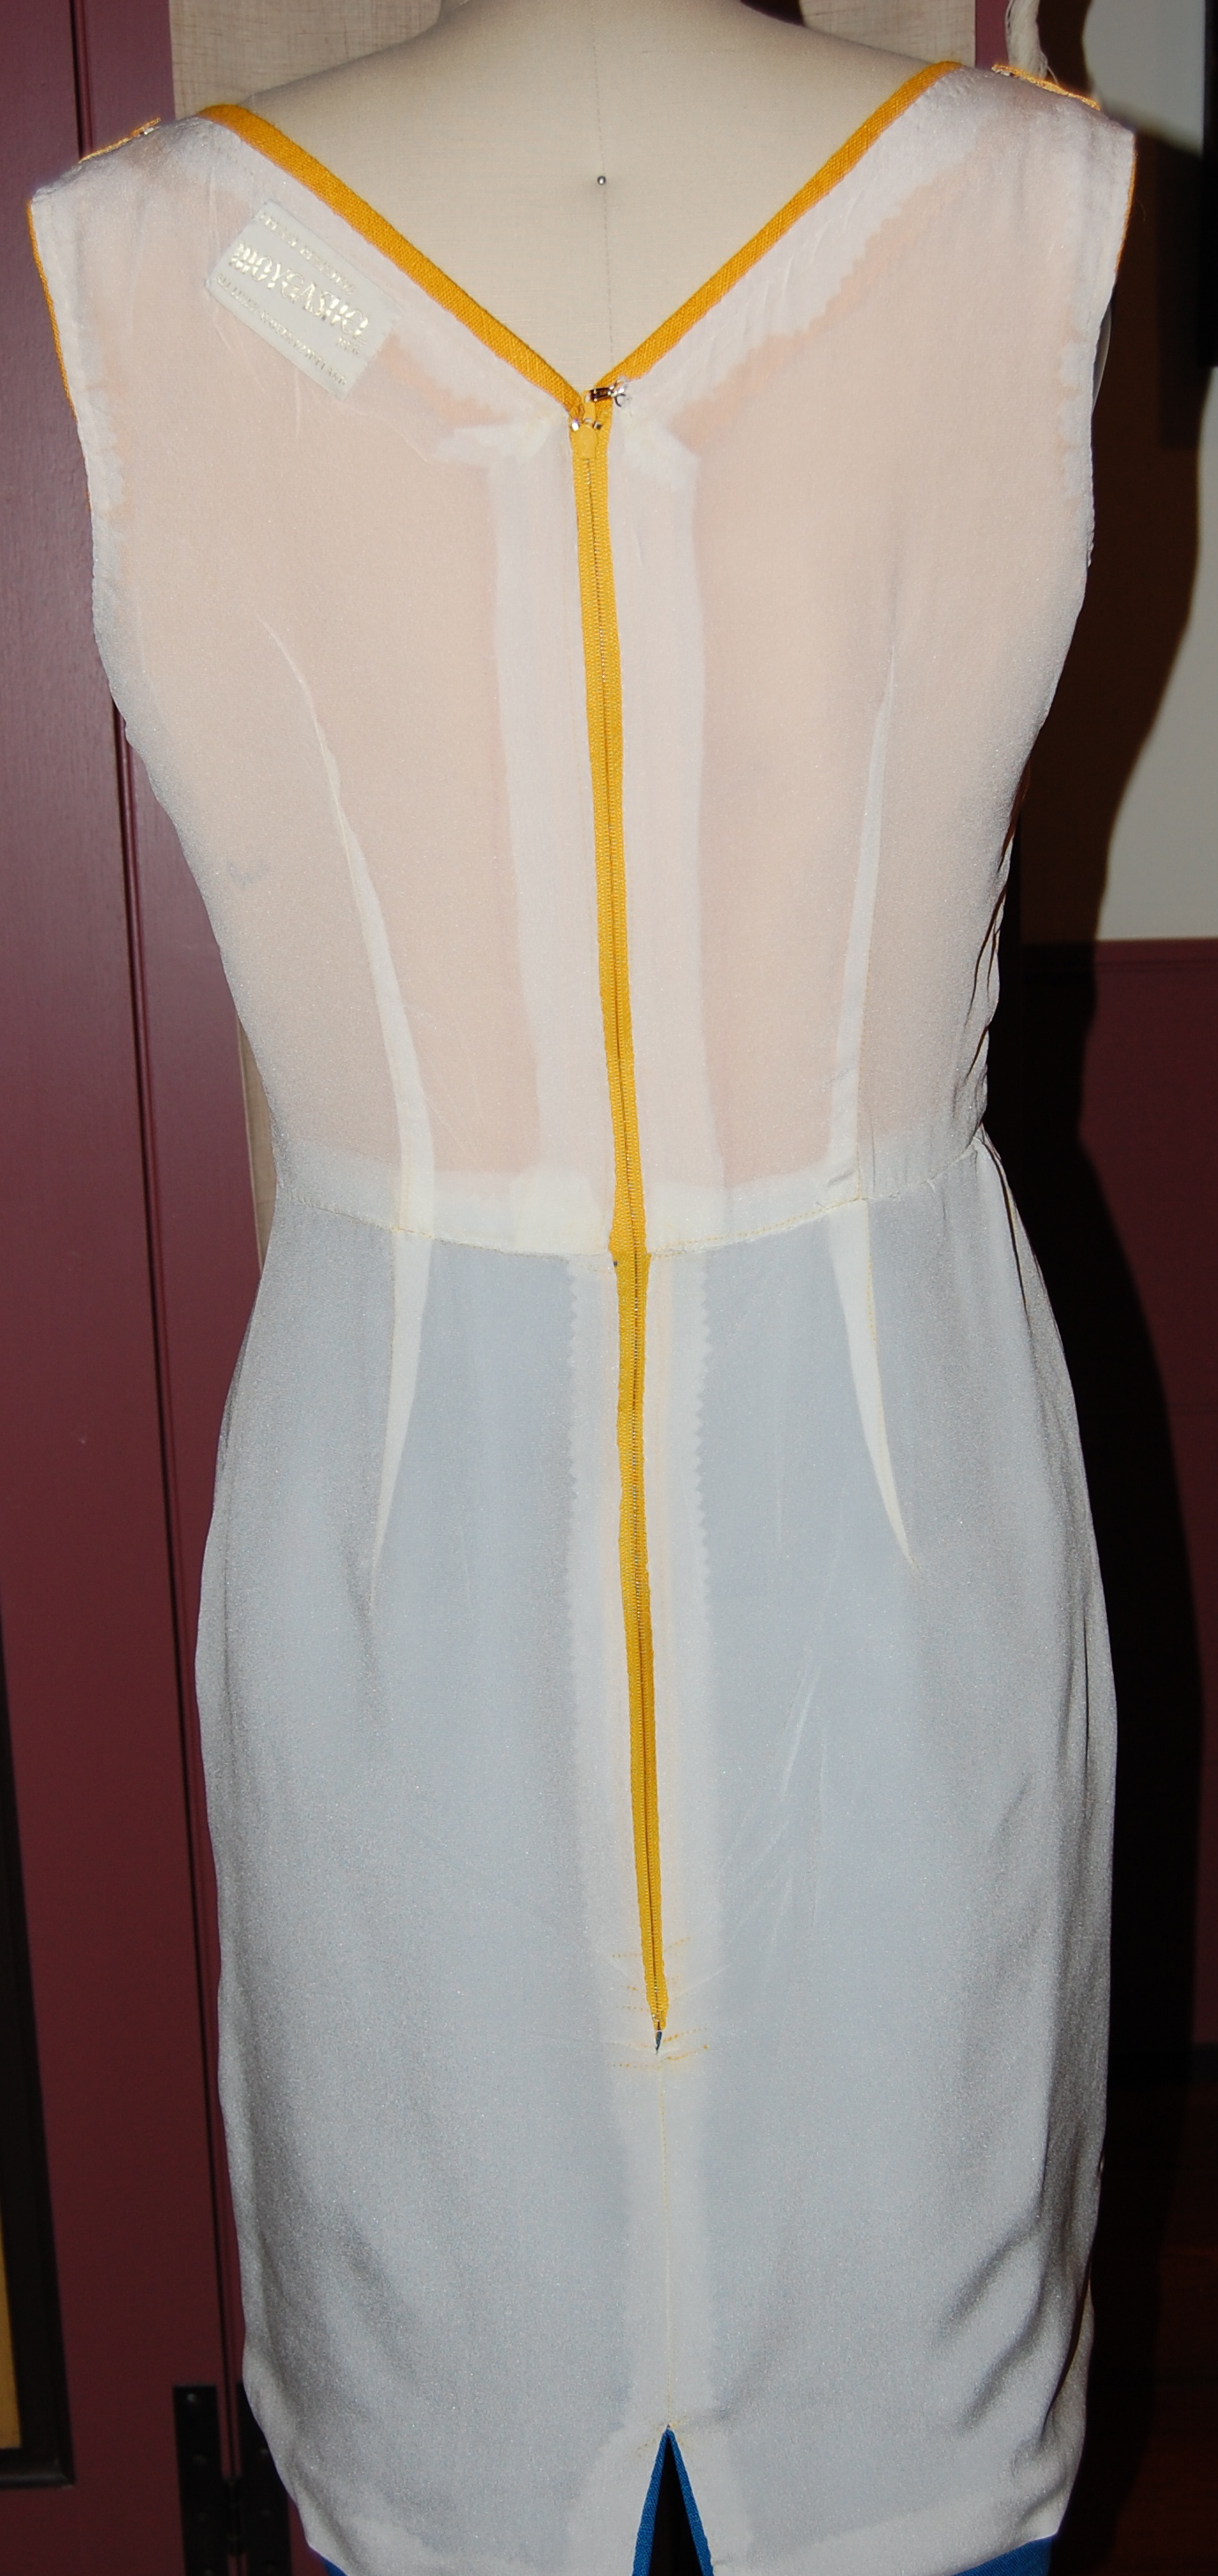
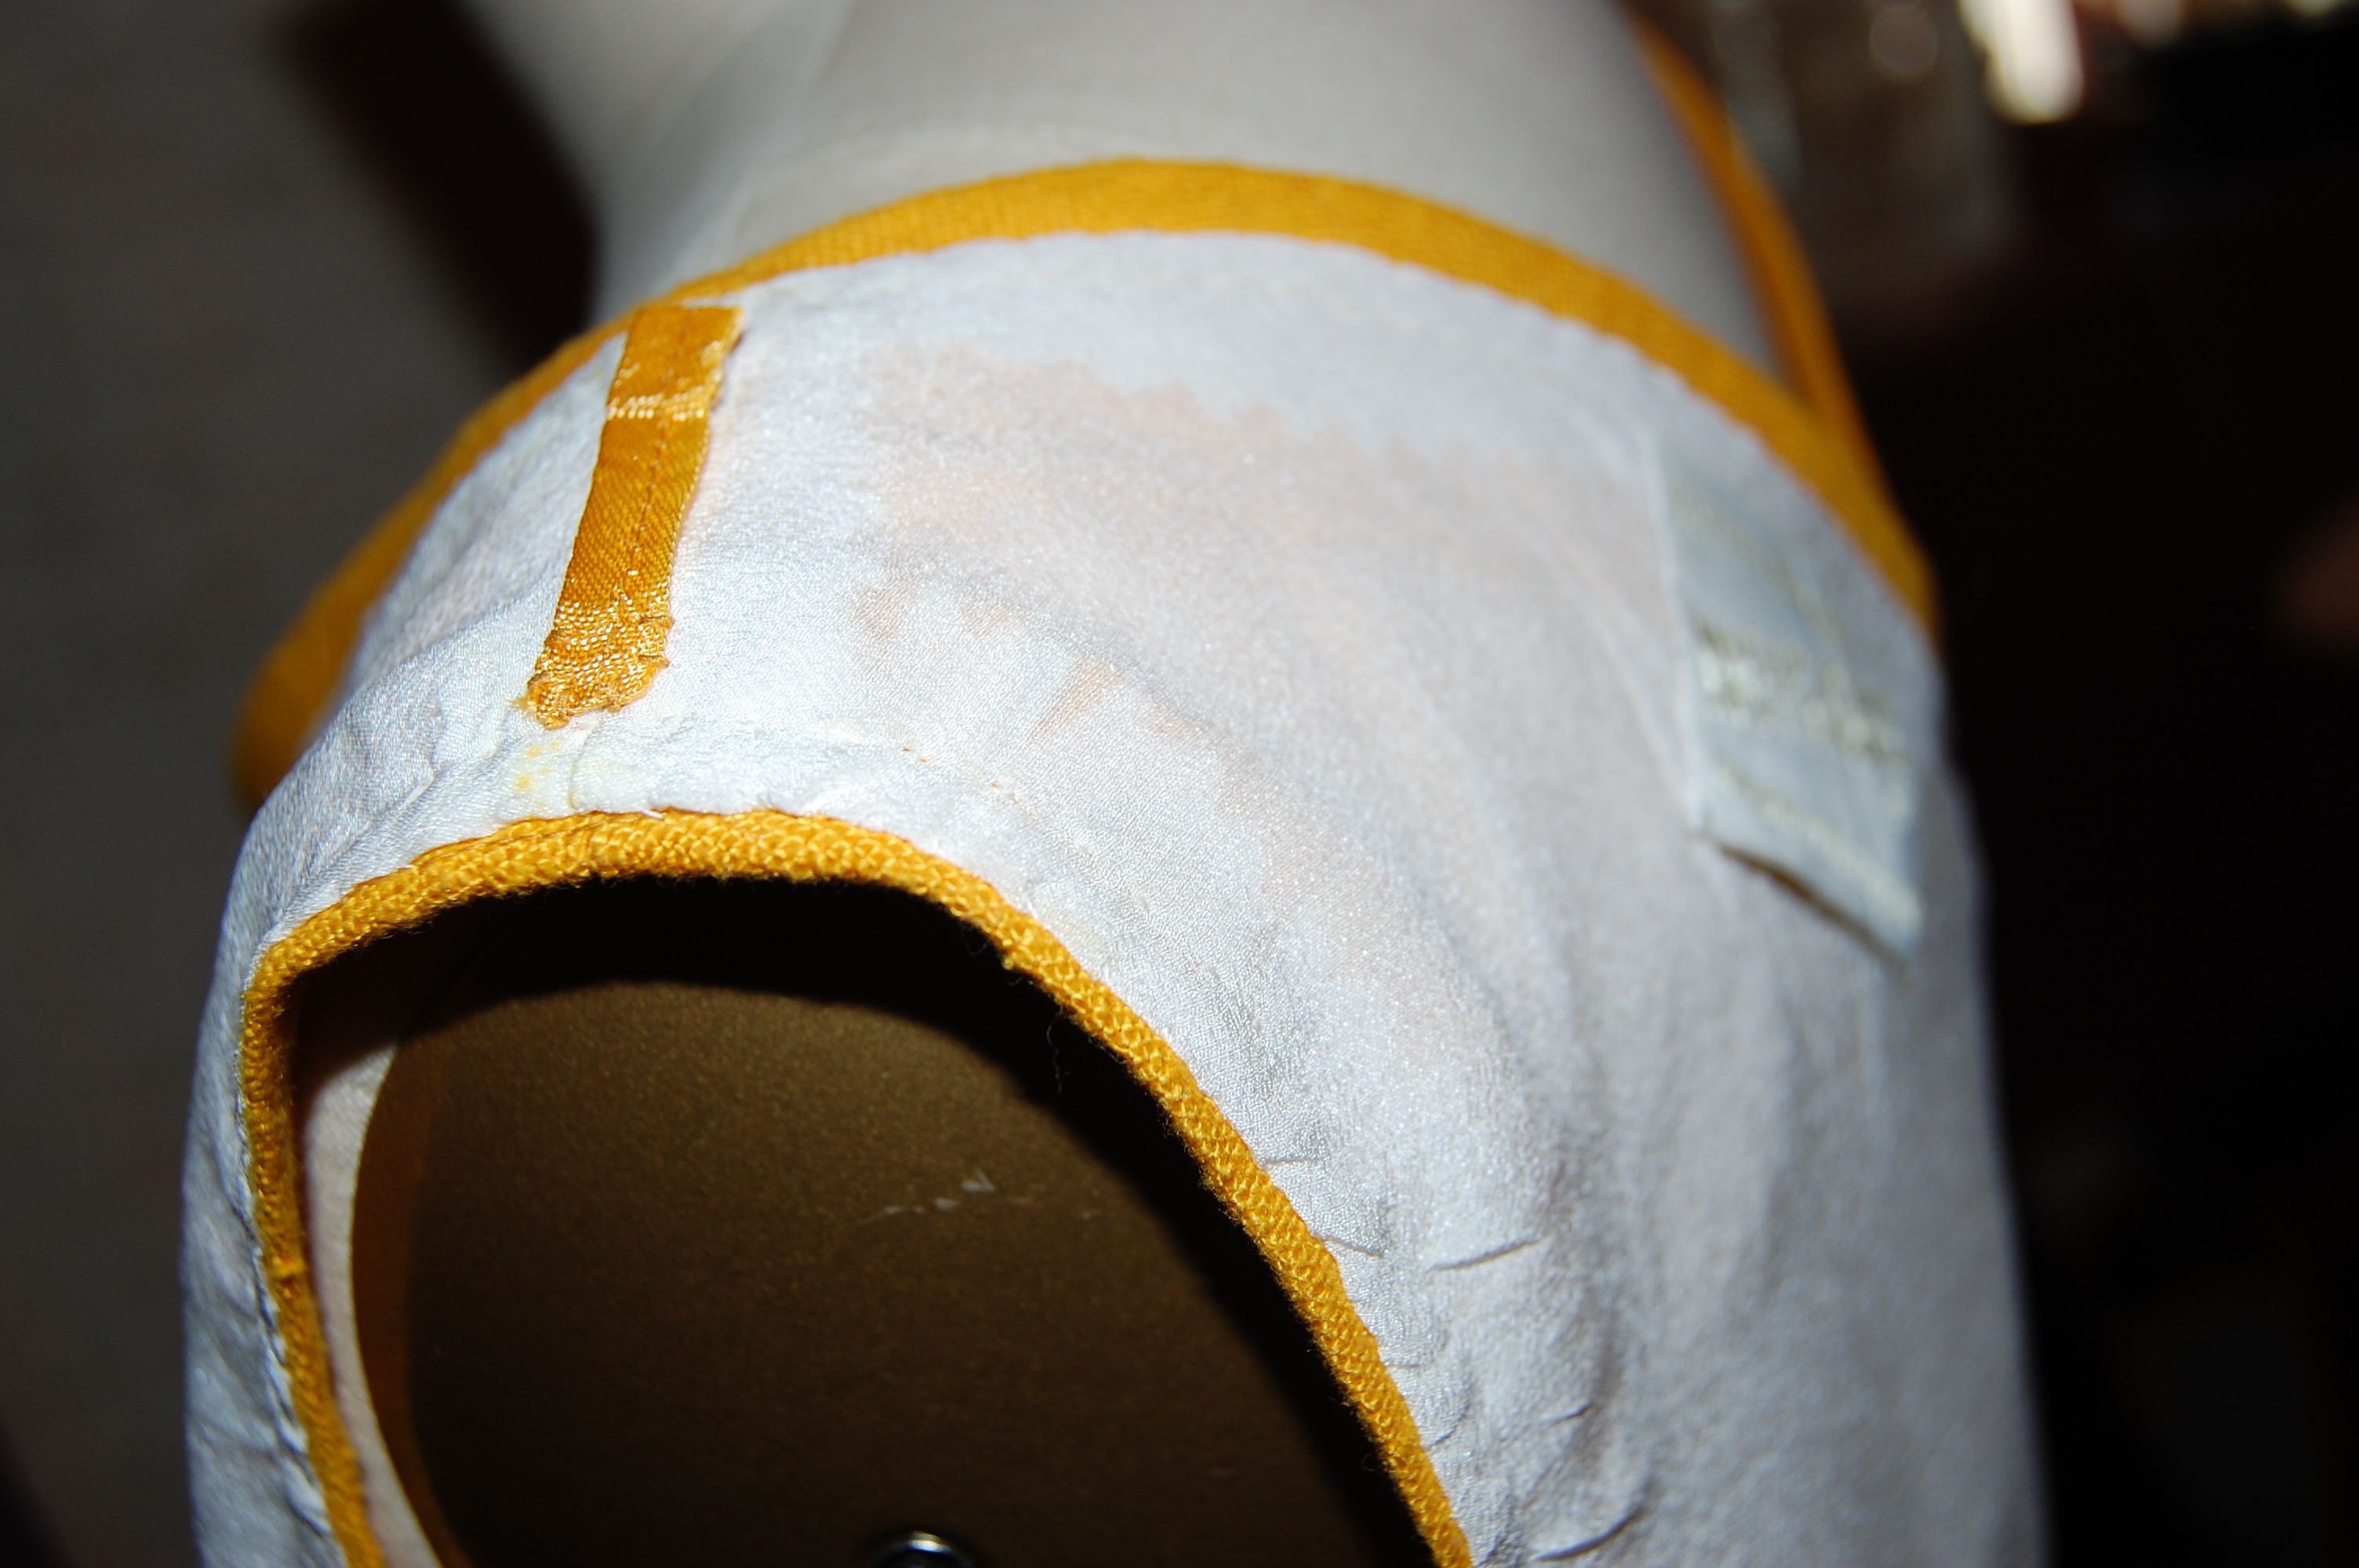
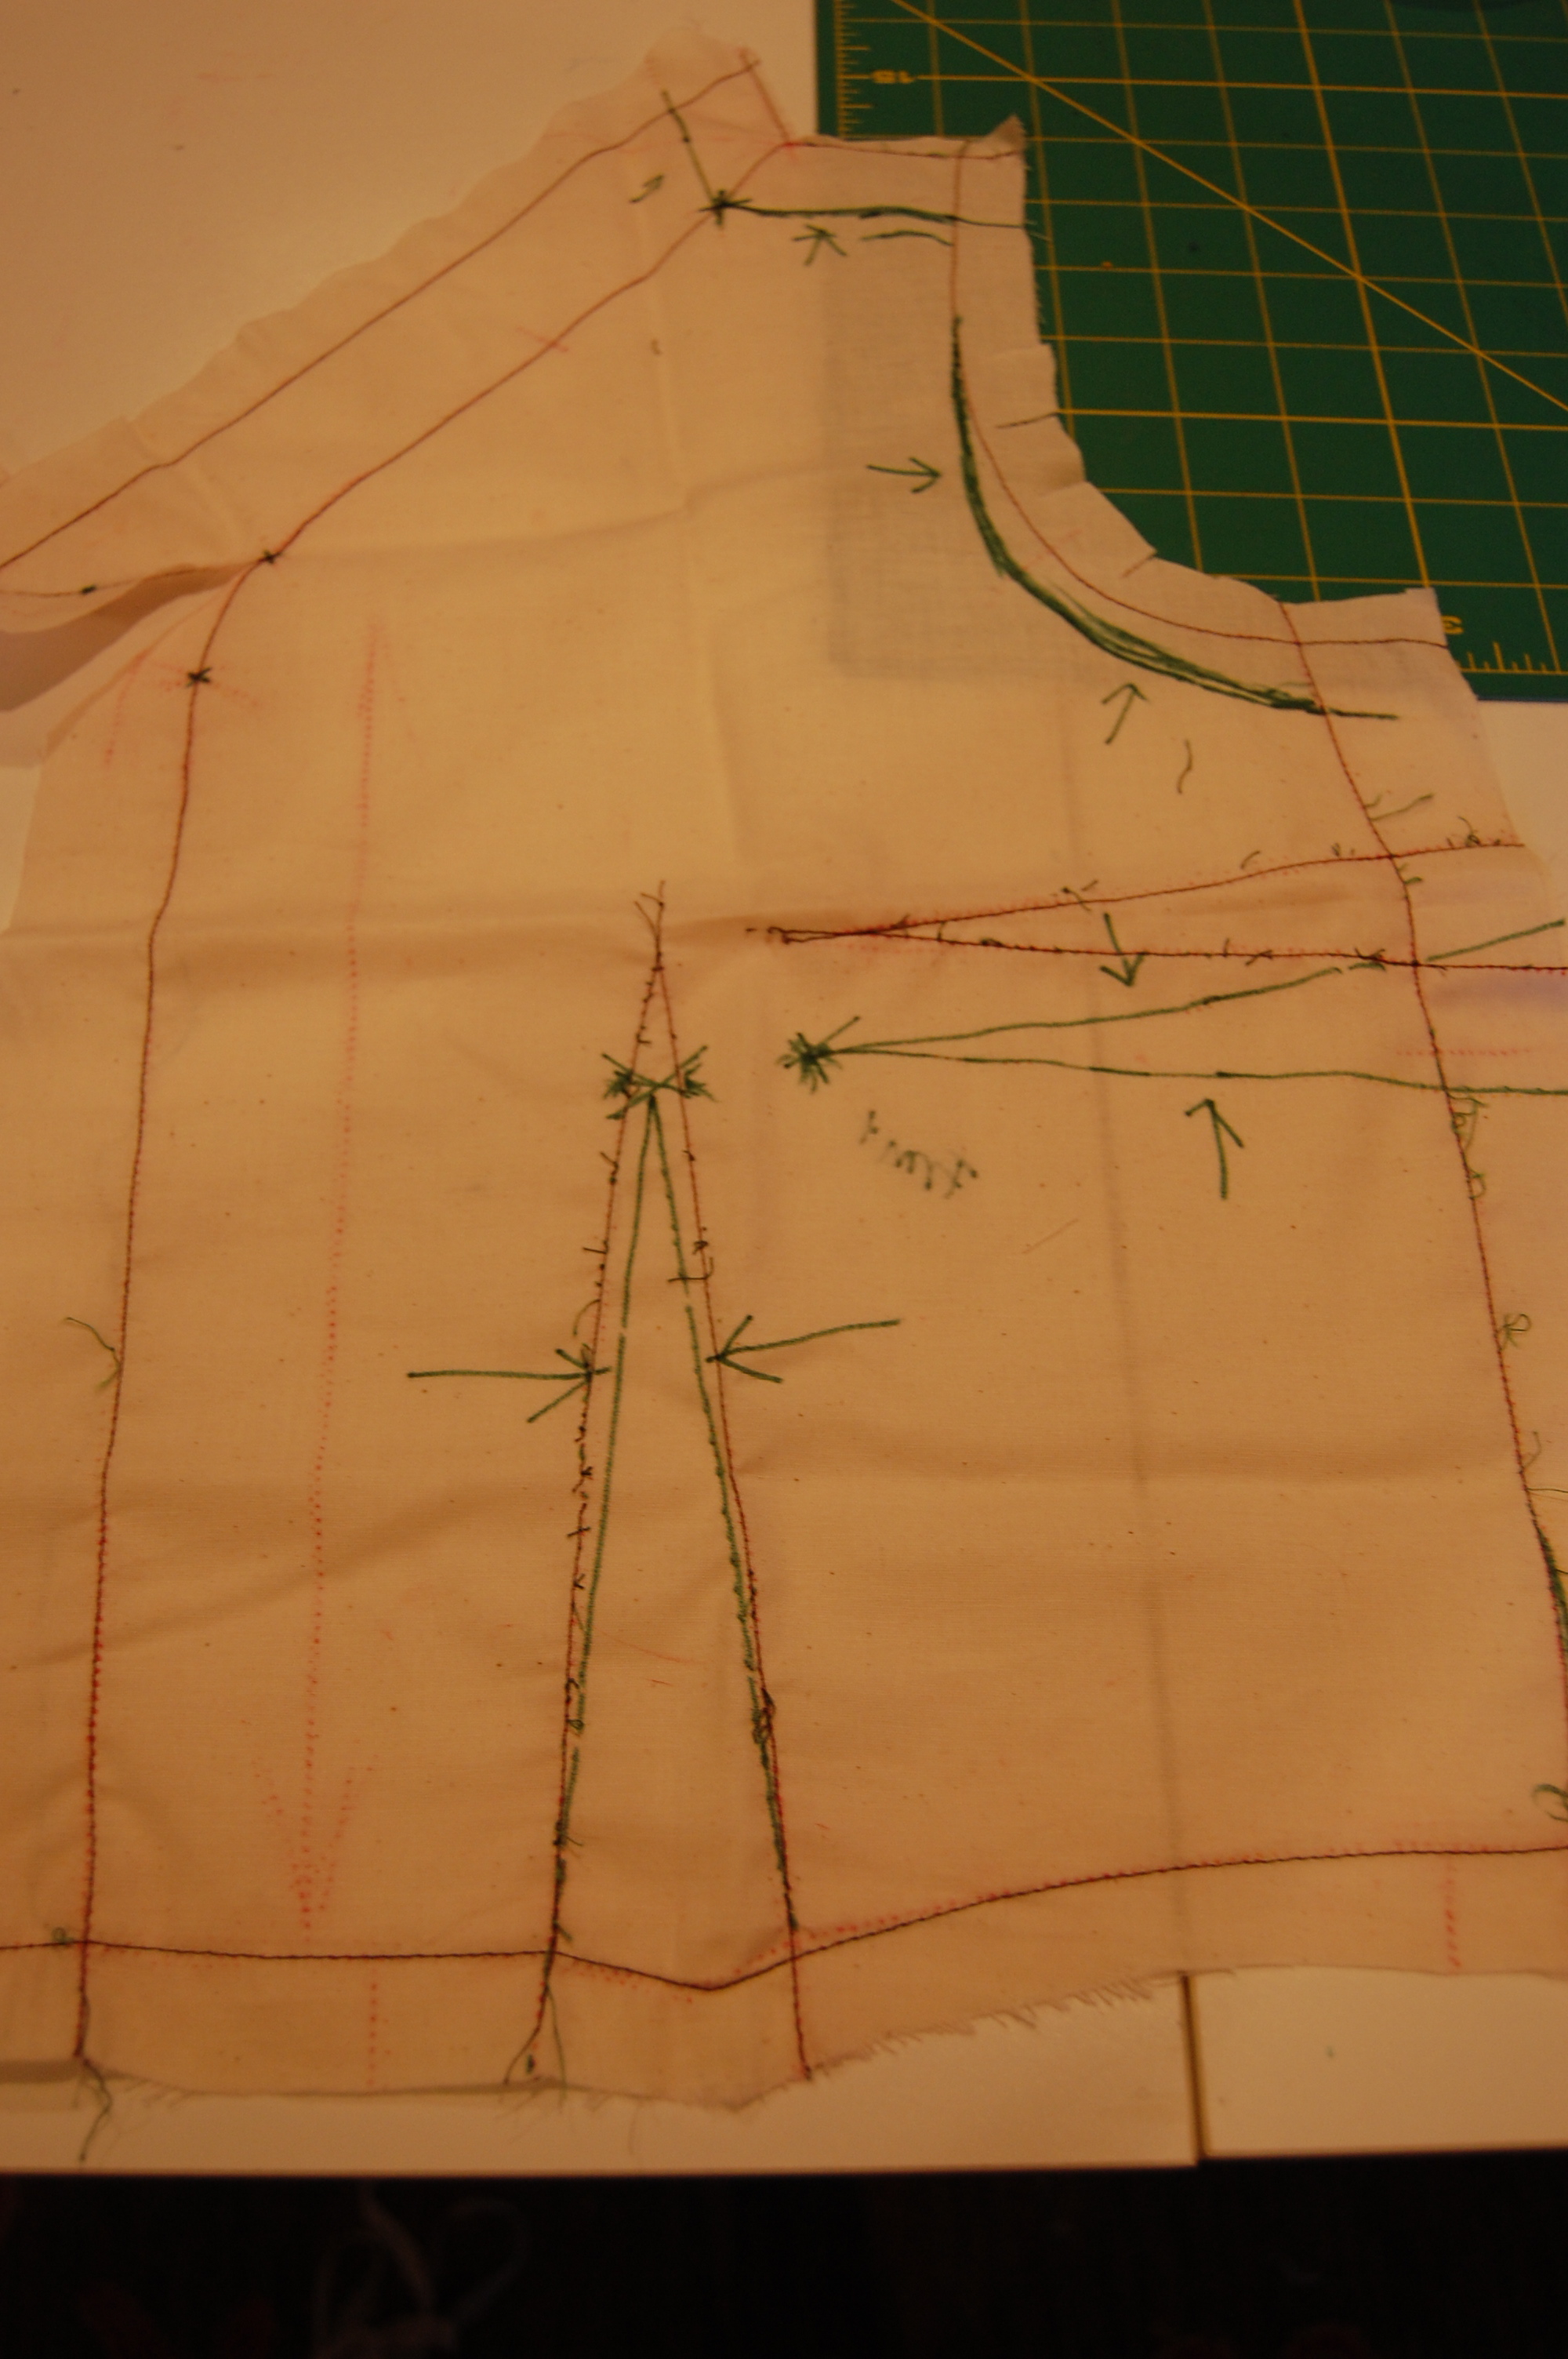
I had not intended to use the Flora pattern for this fabric, but somehow I got the notion that it would be really pretty. In addition the fabric was 60” wide, a requirement for the Flora dress, and for once, I had enough yardage. I made a muslin, and liked the way it looked – and I did a fairly good job of perfecting the fit of the bodice. The pattern lends itself to using couture construction techniques, as there are no facings, so that fit right in with how I like to sew. I underlined it all with silk organza. I catch-stitched all the seams. I used a silk crepe de chine lining, and hand sewed it into the bodice. I backstitched all the edges to secure the lining.

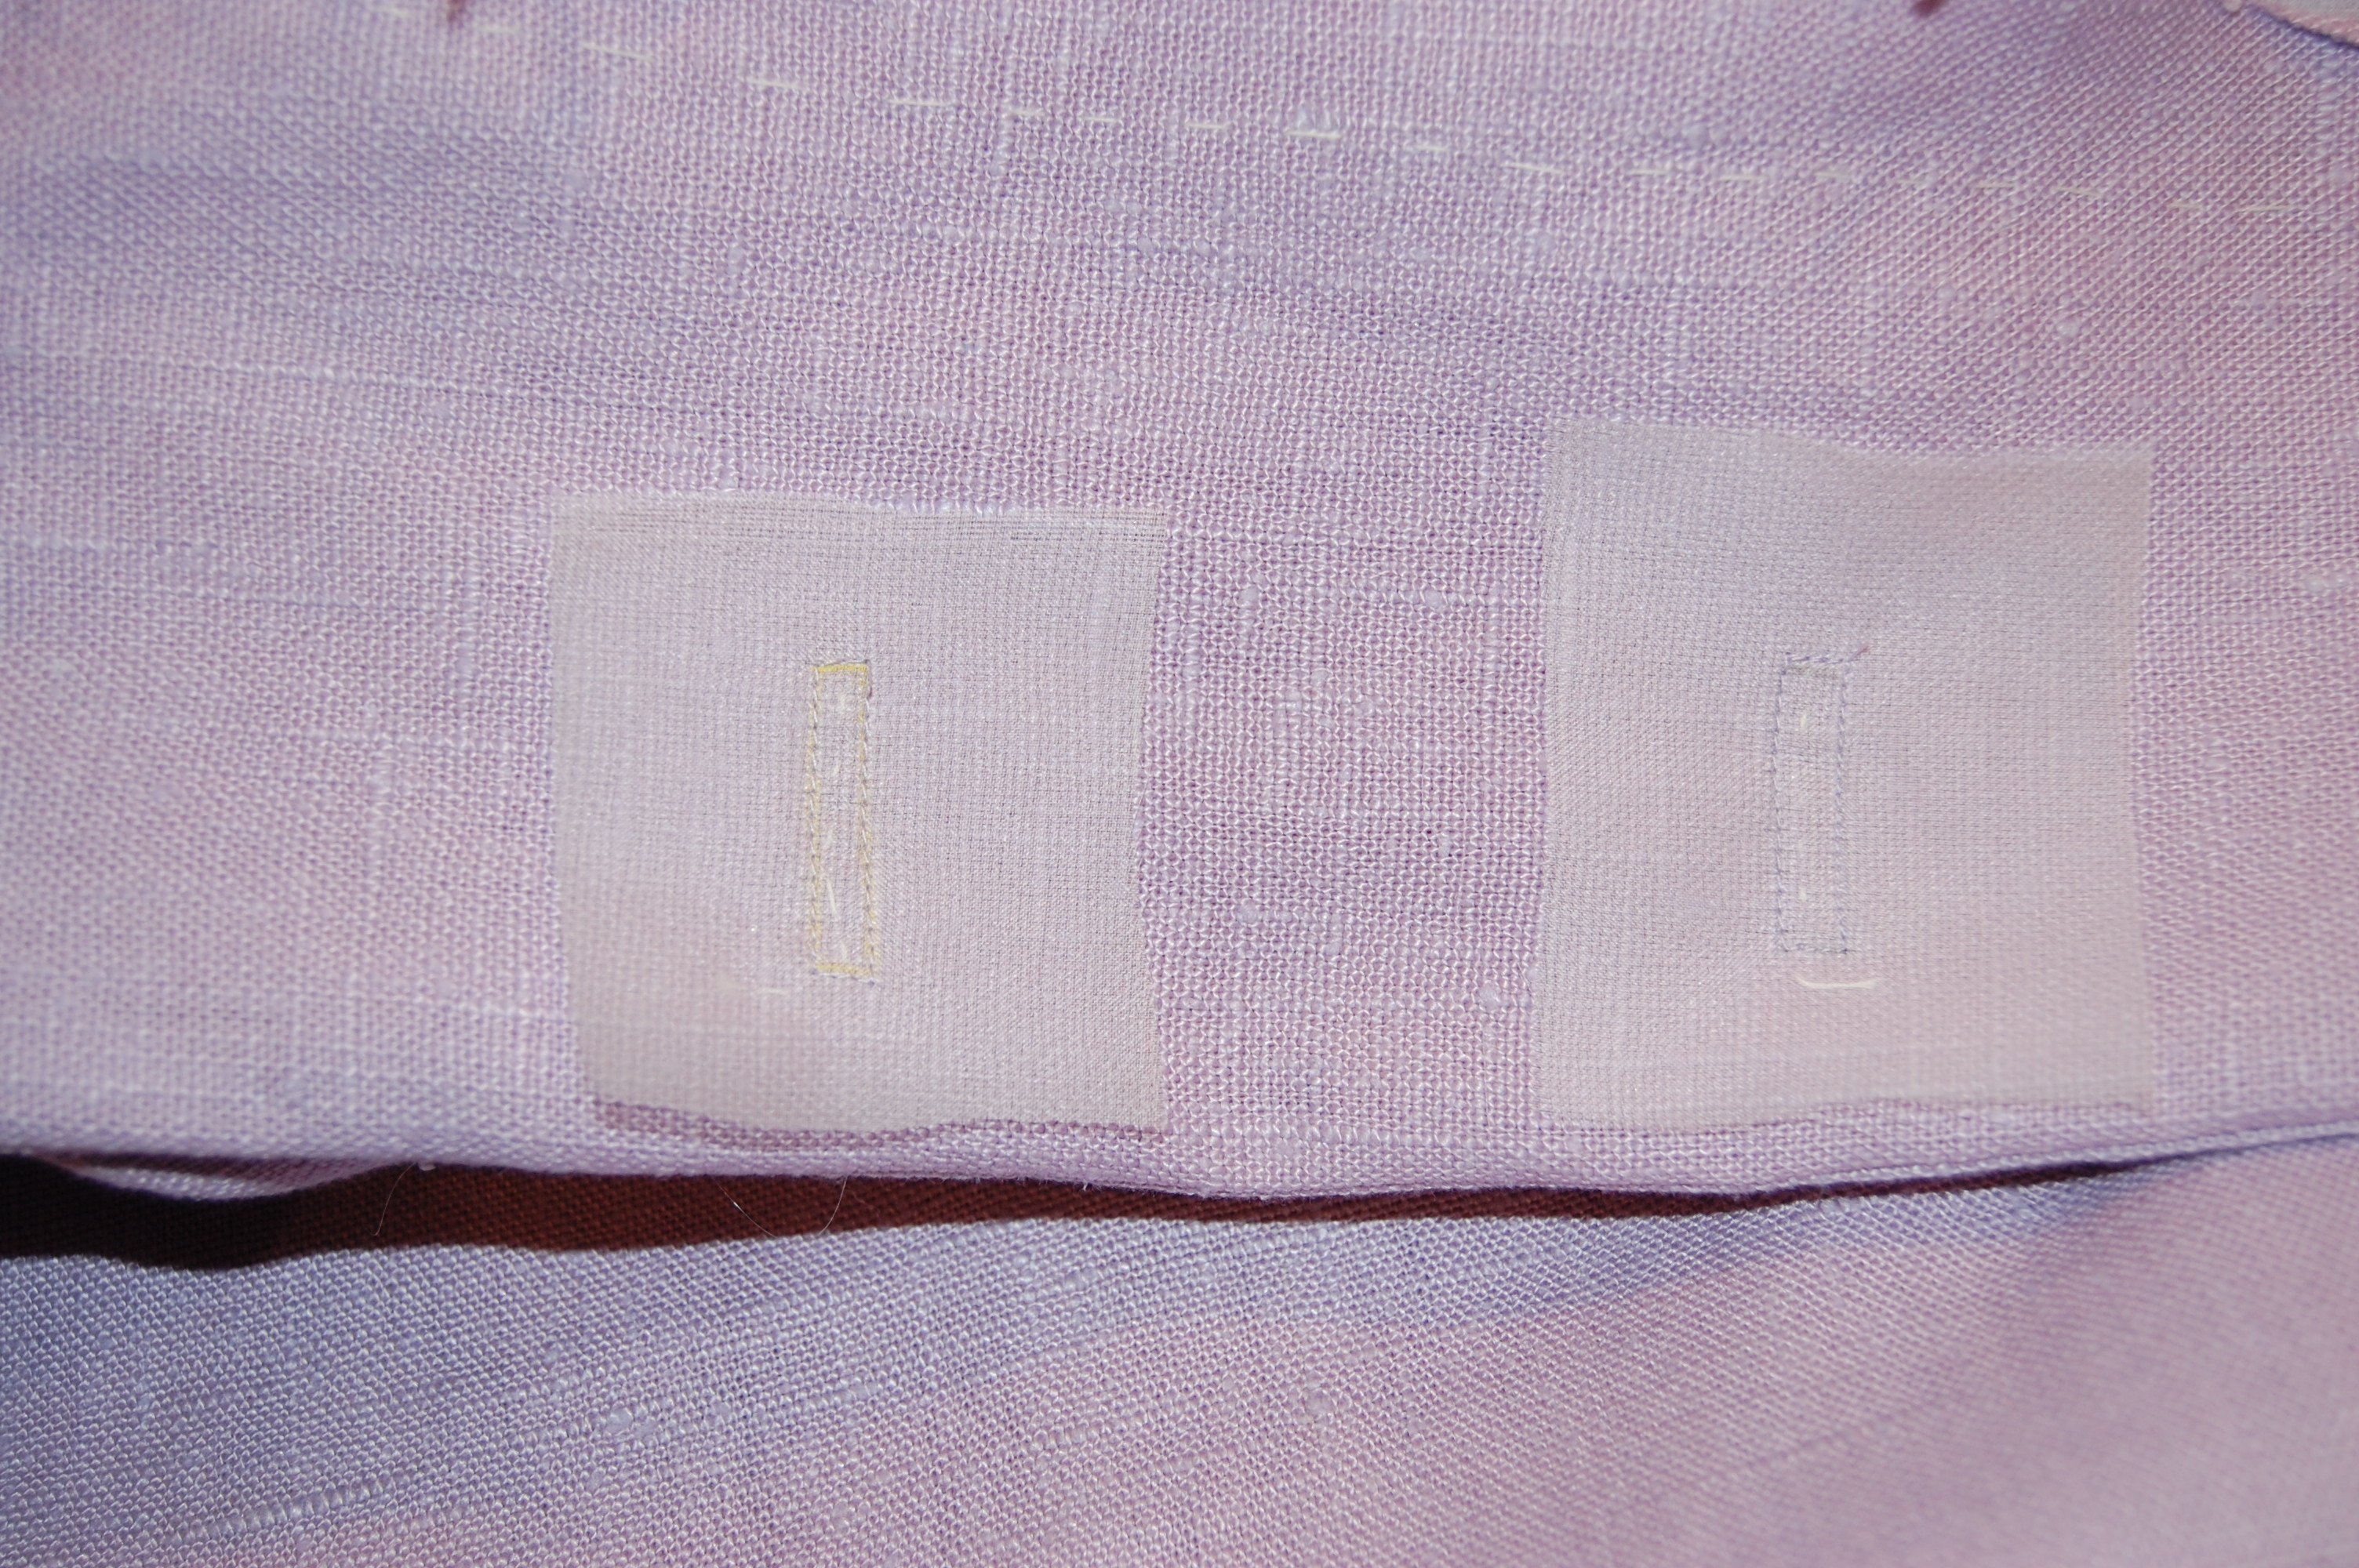
The silk organza added additional stability.


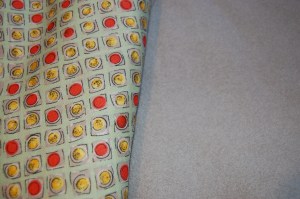
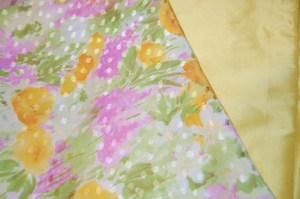
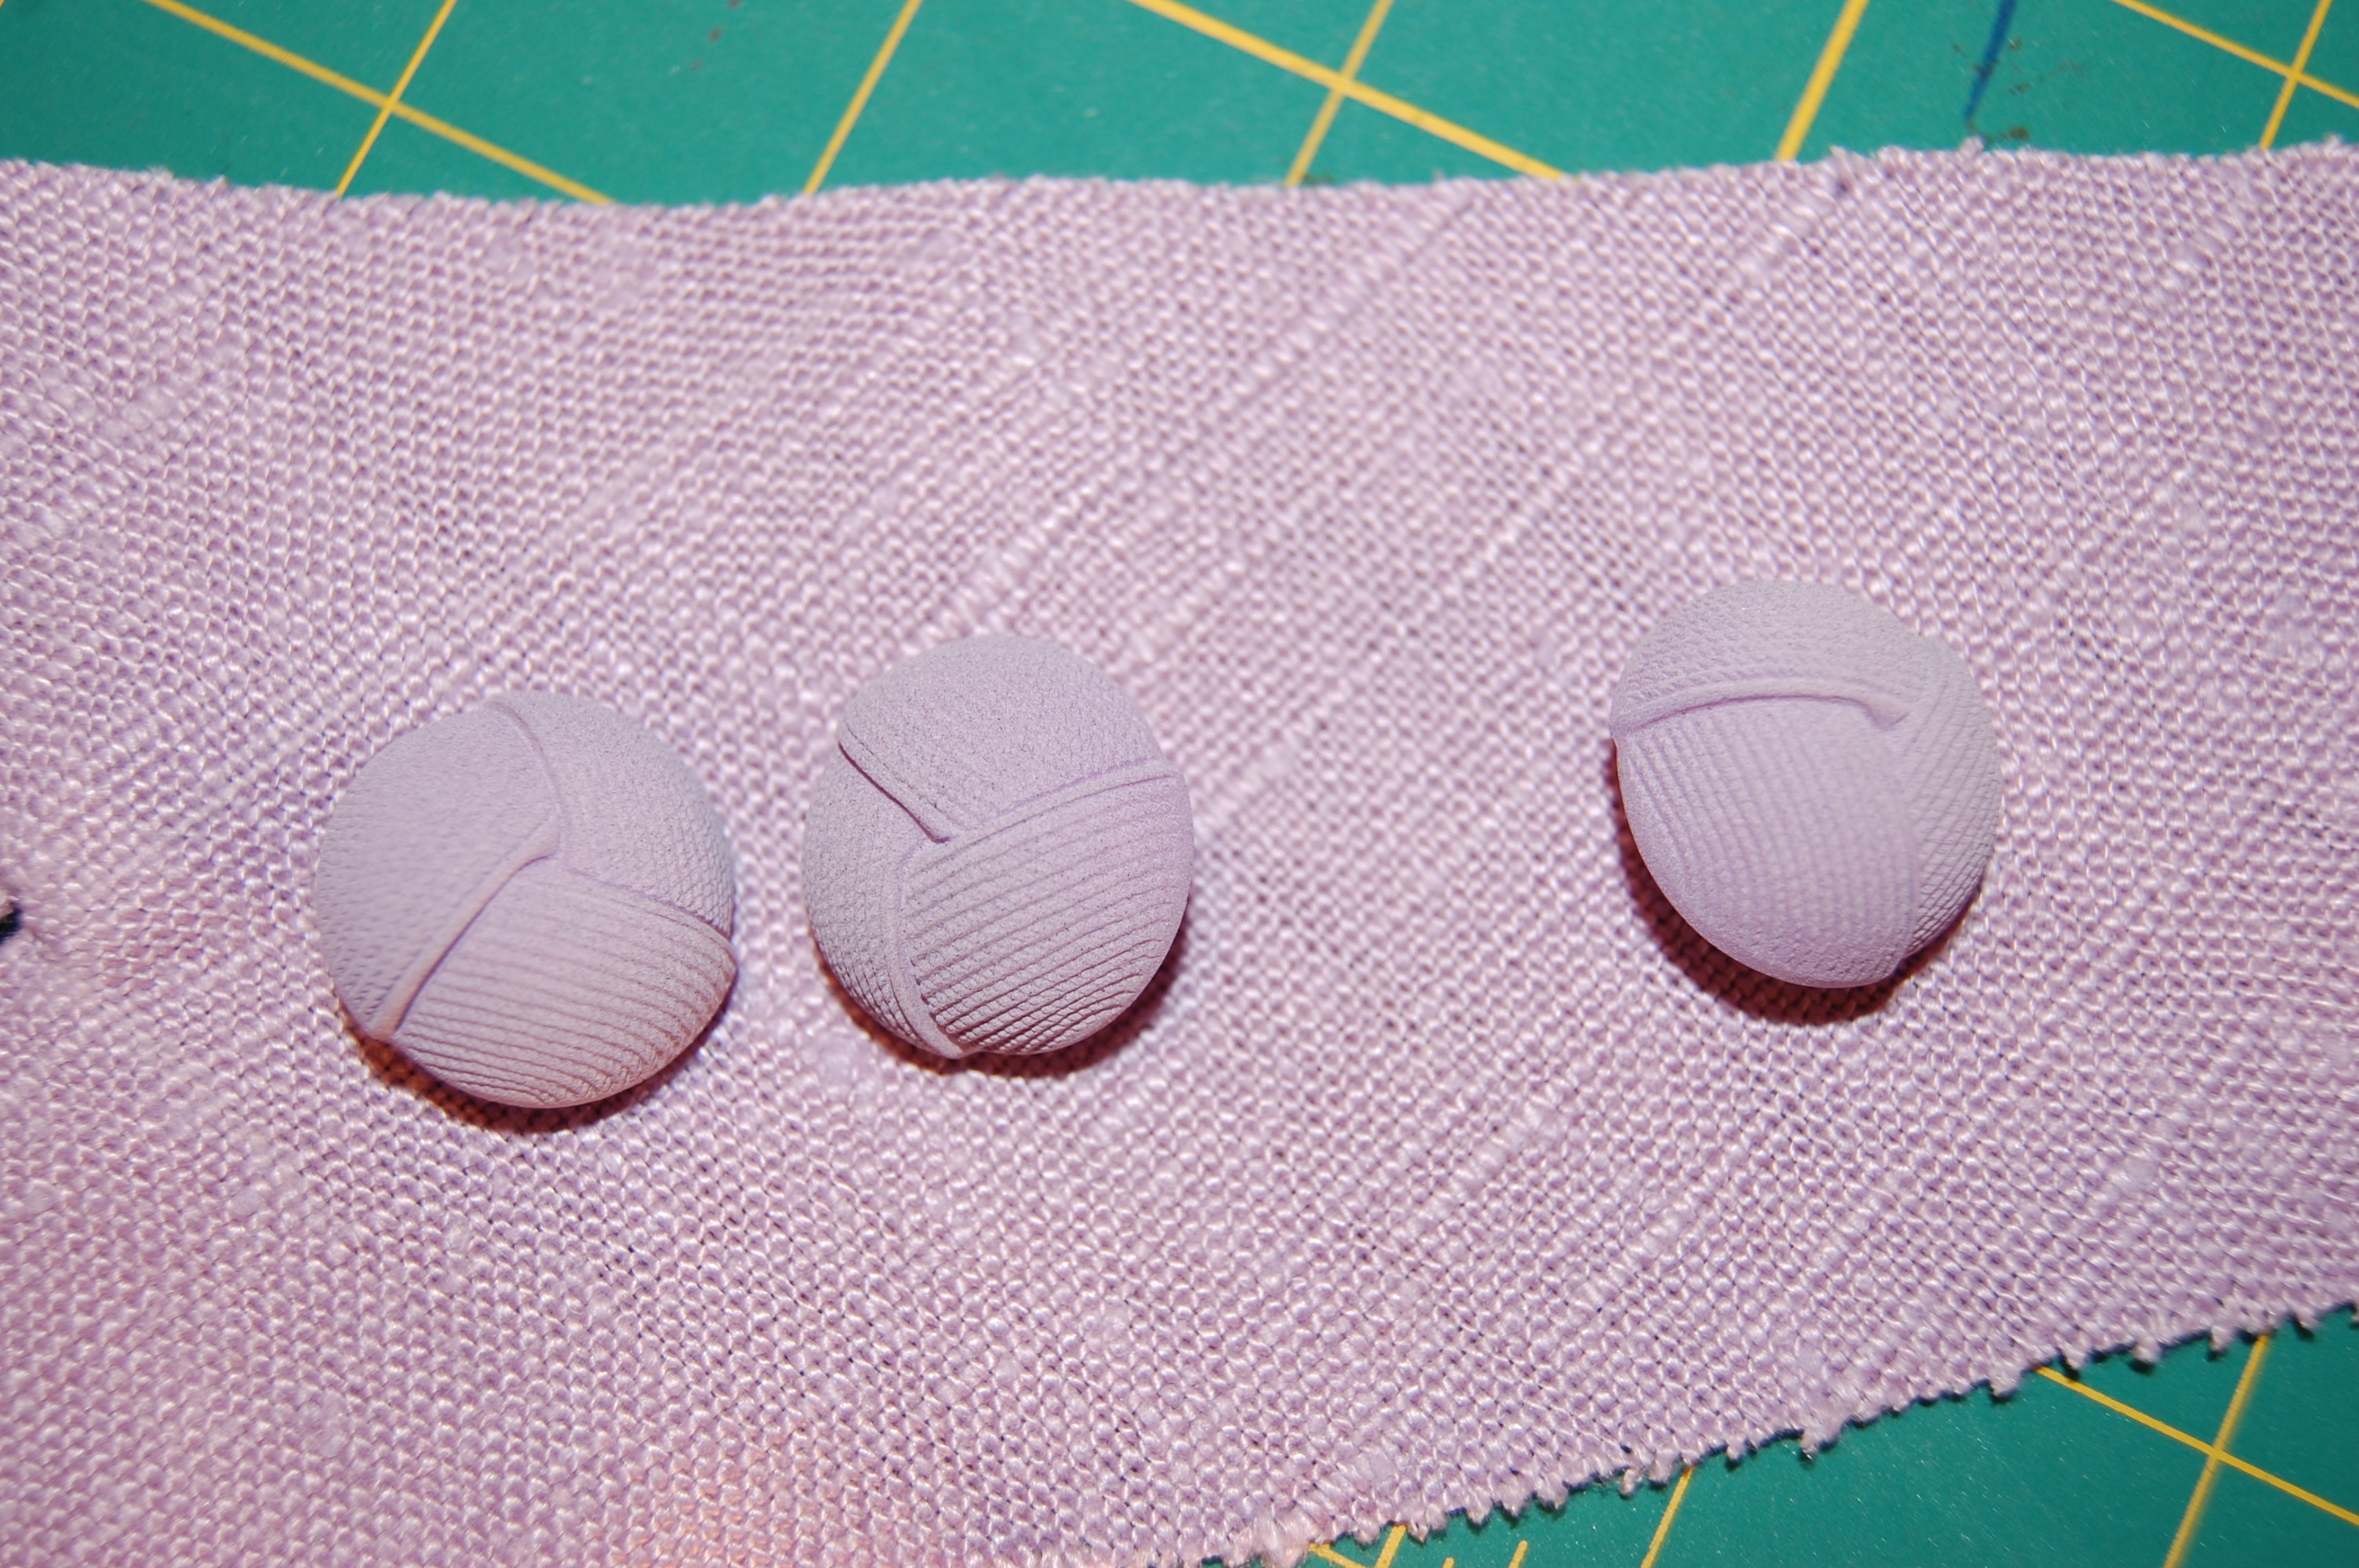
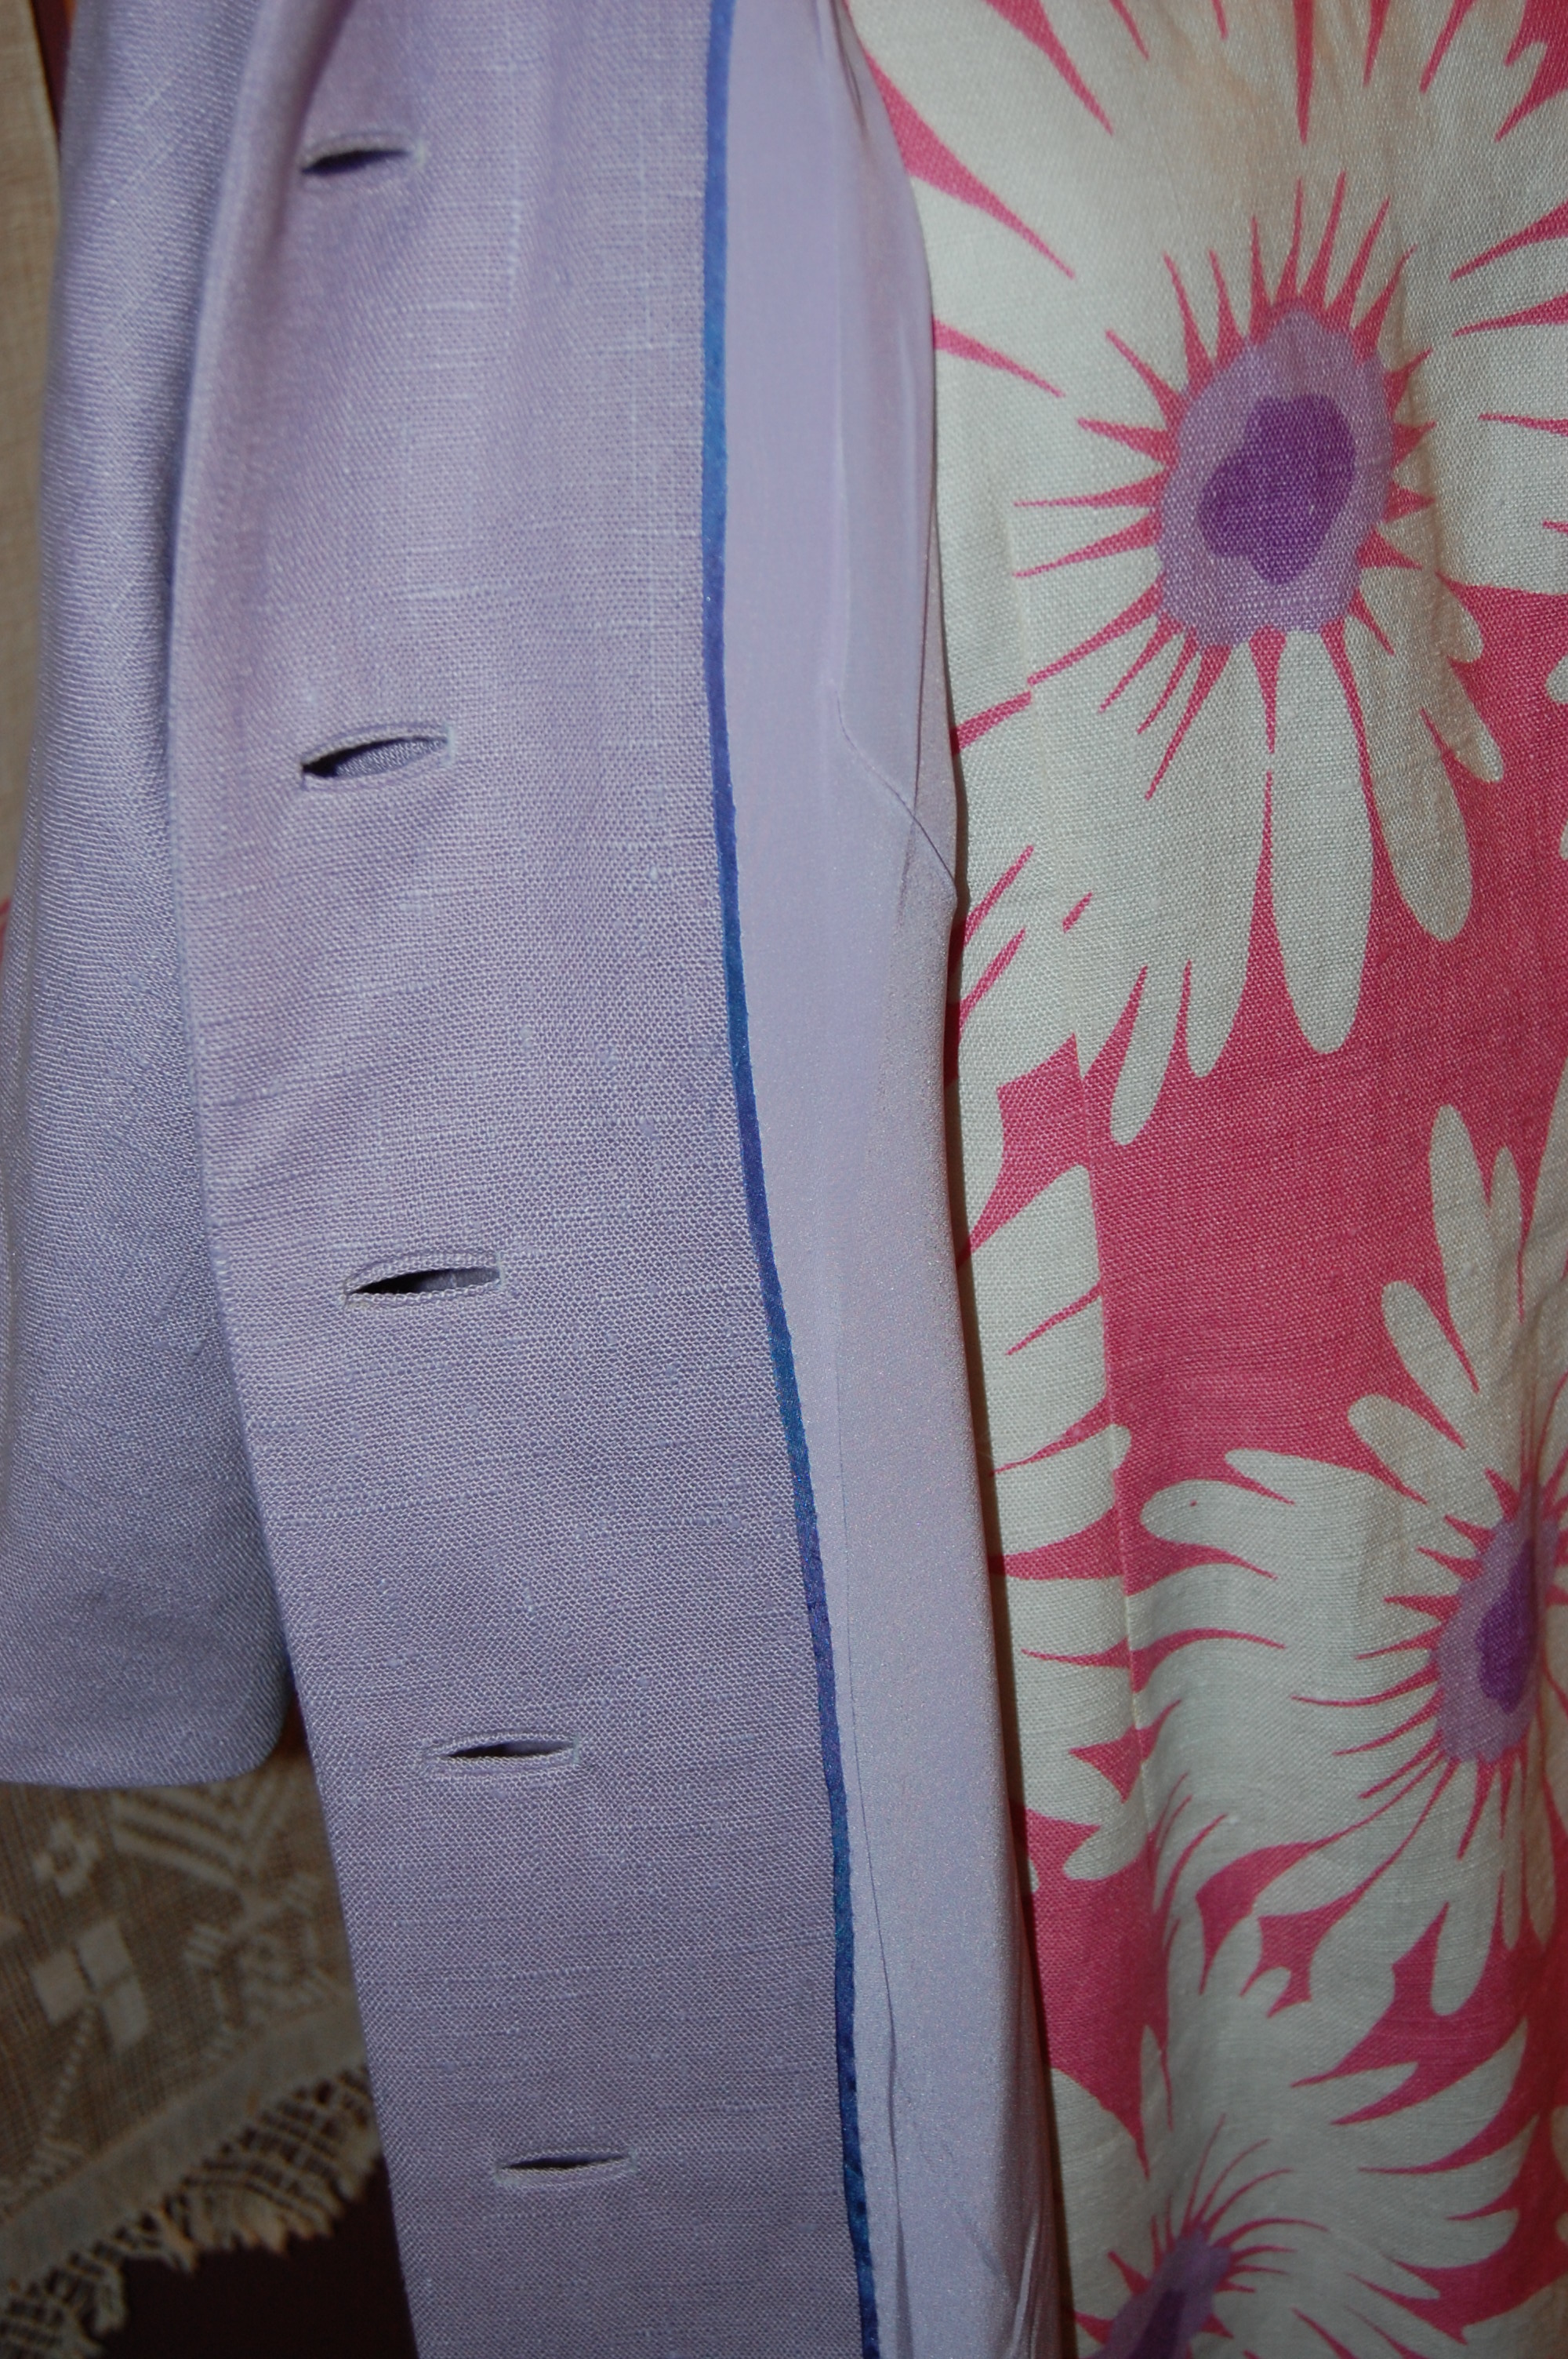
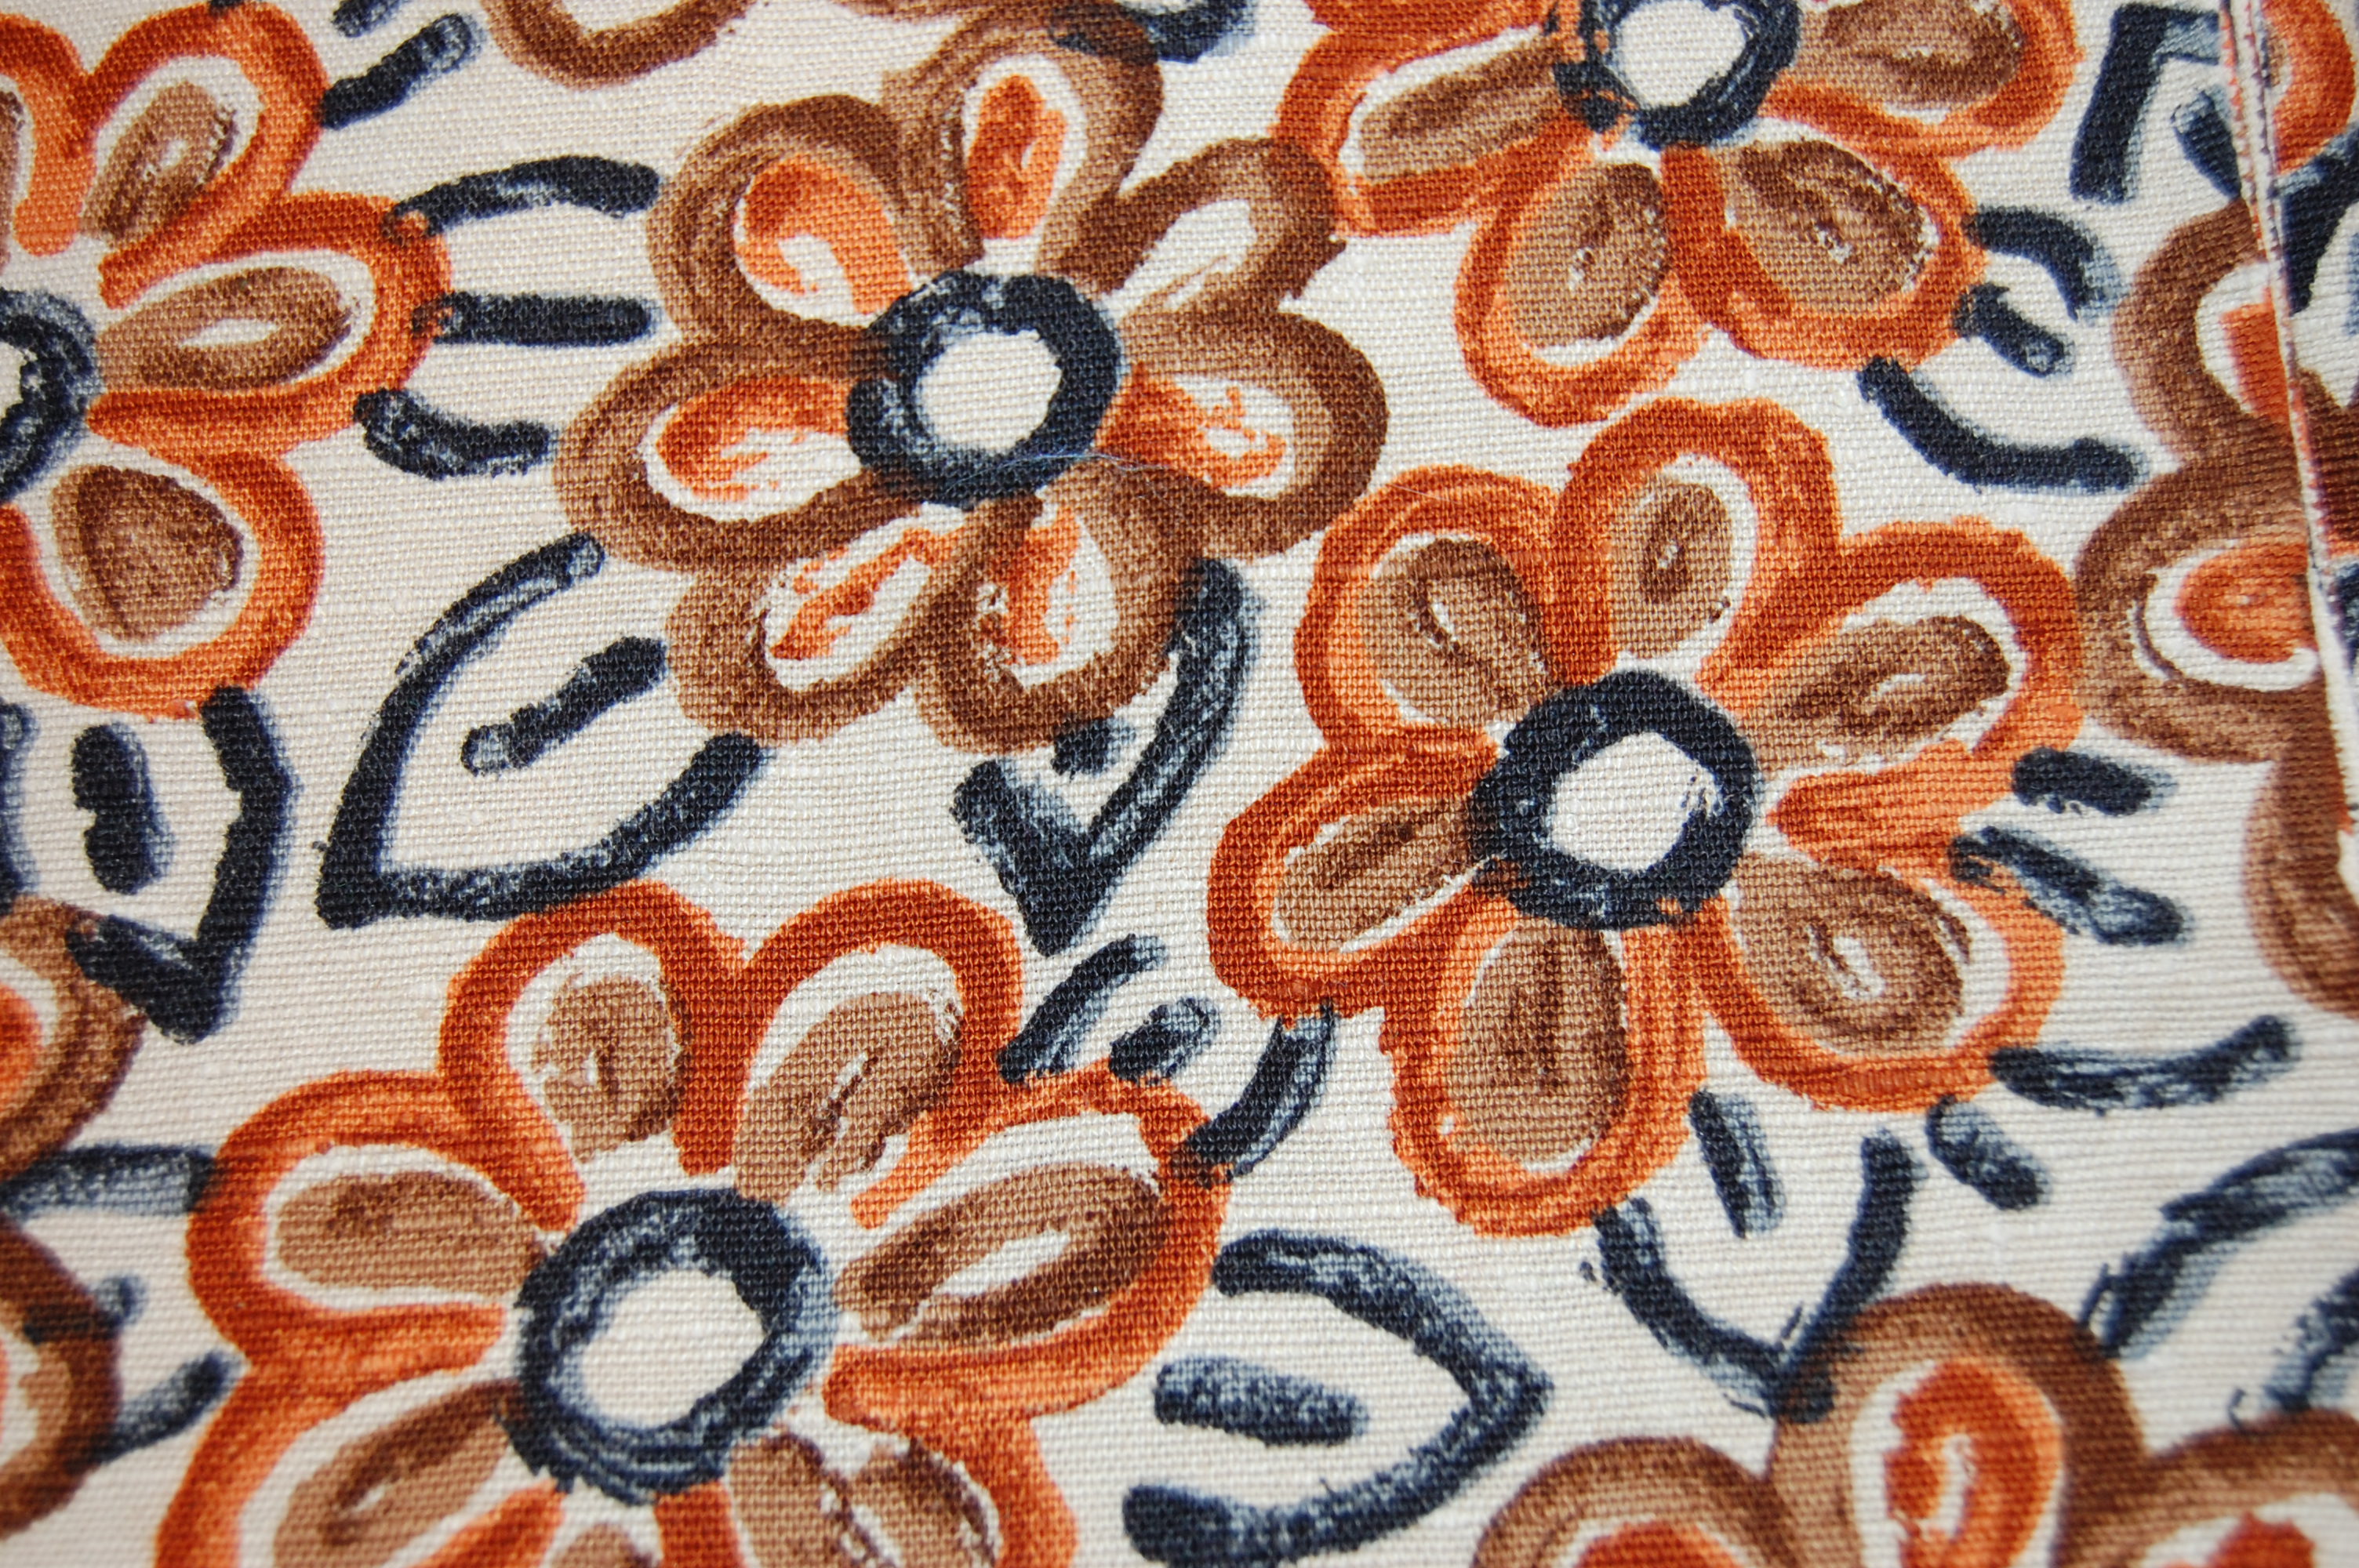
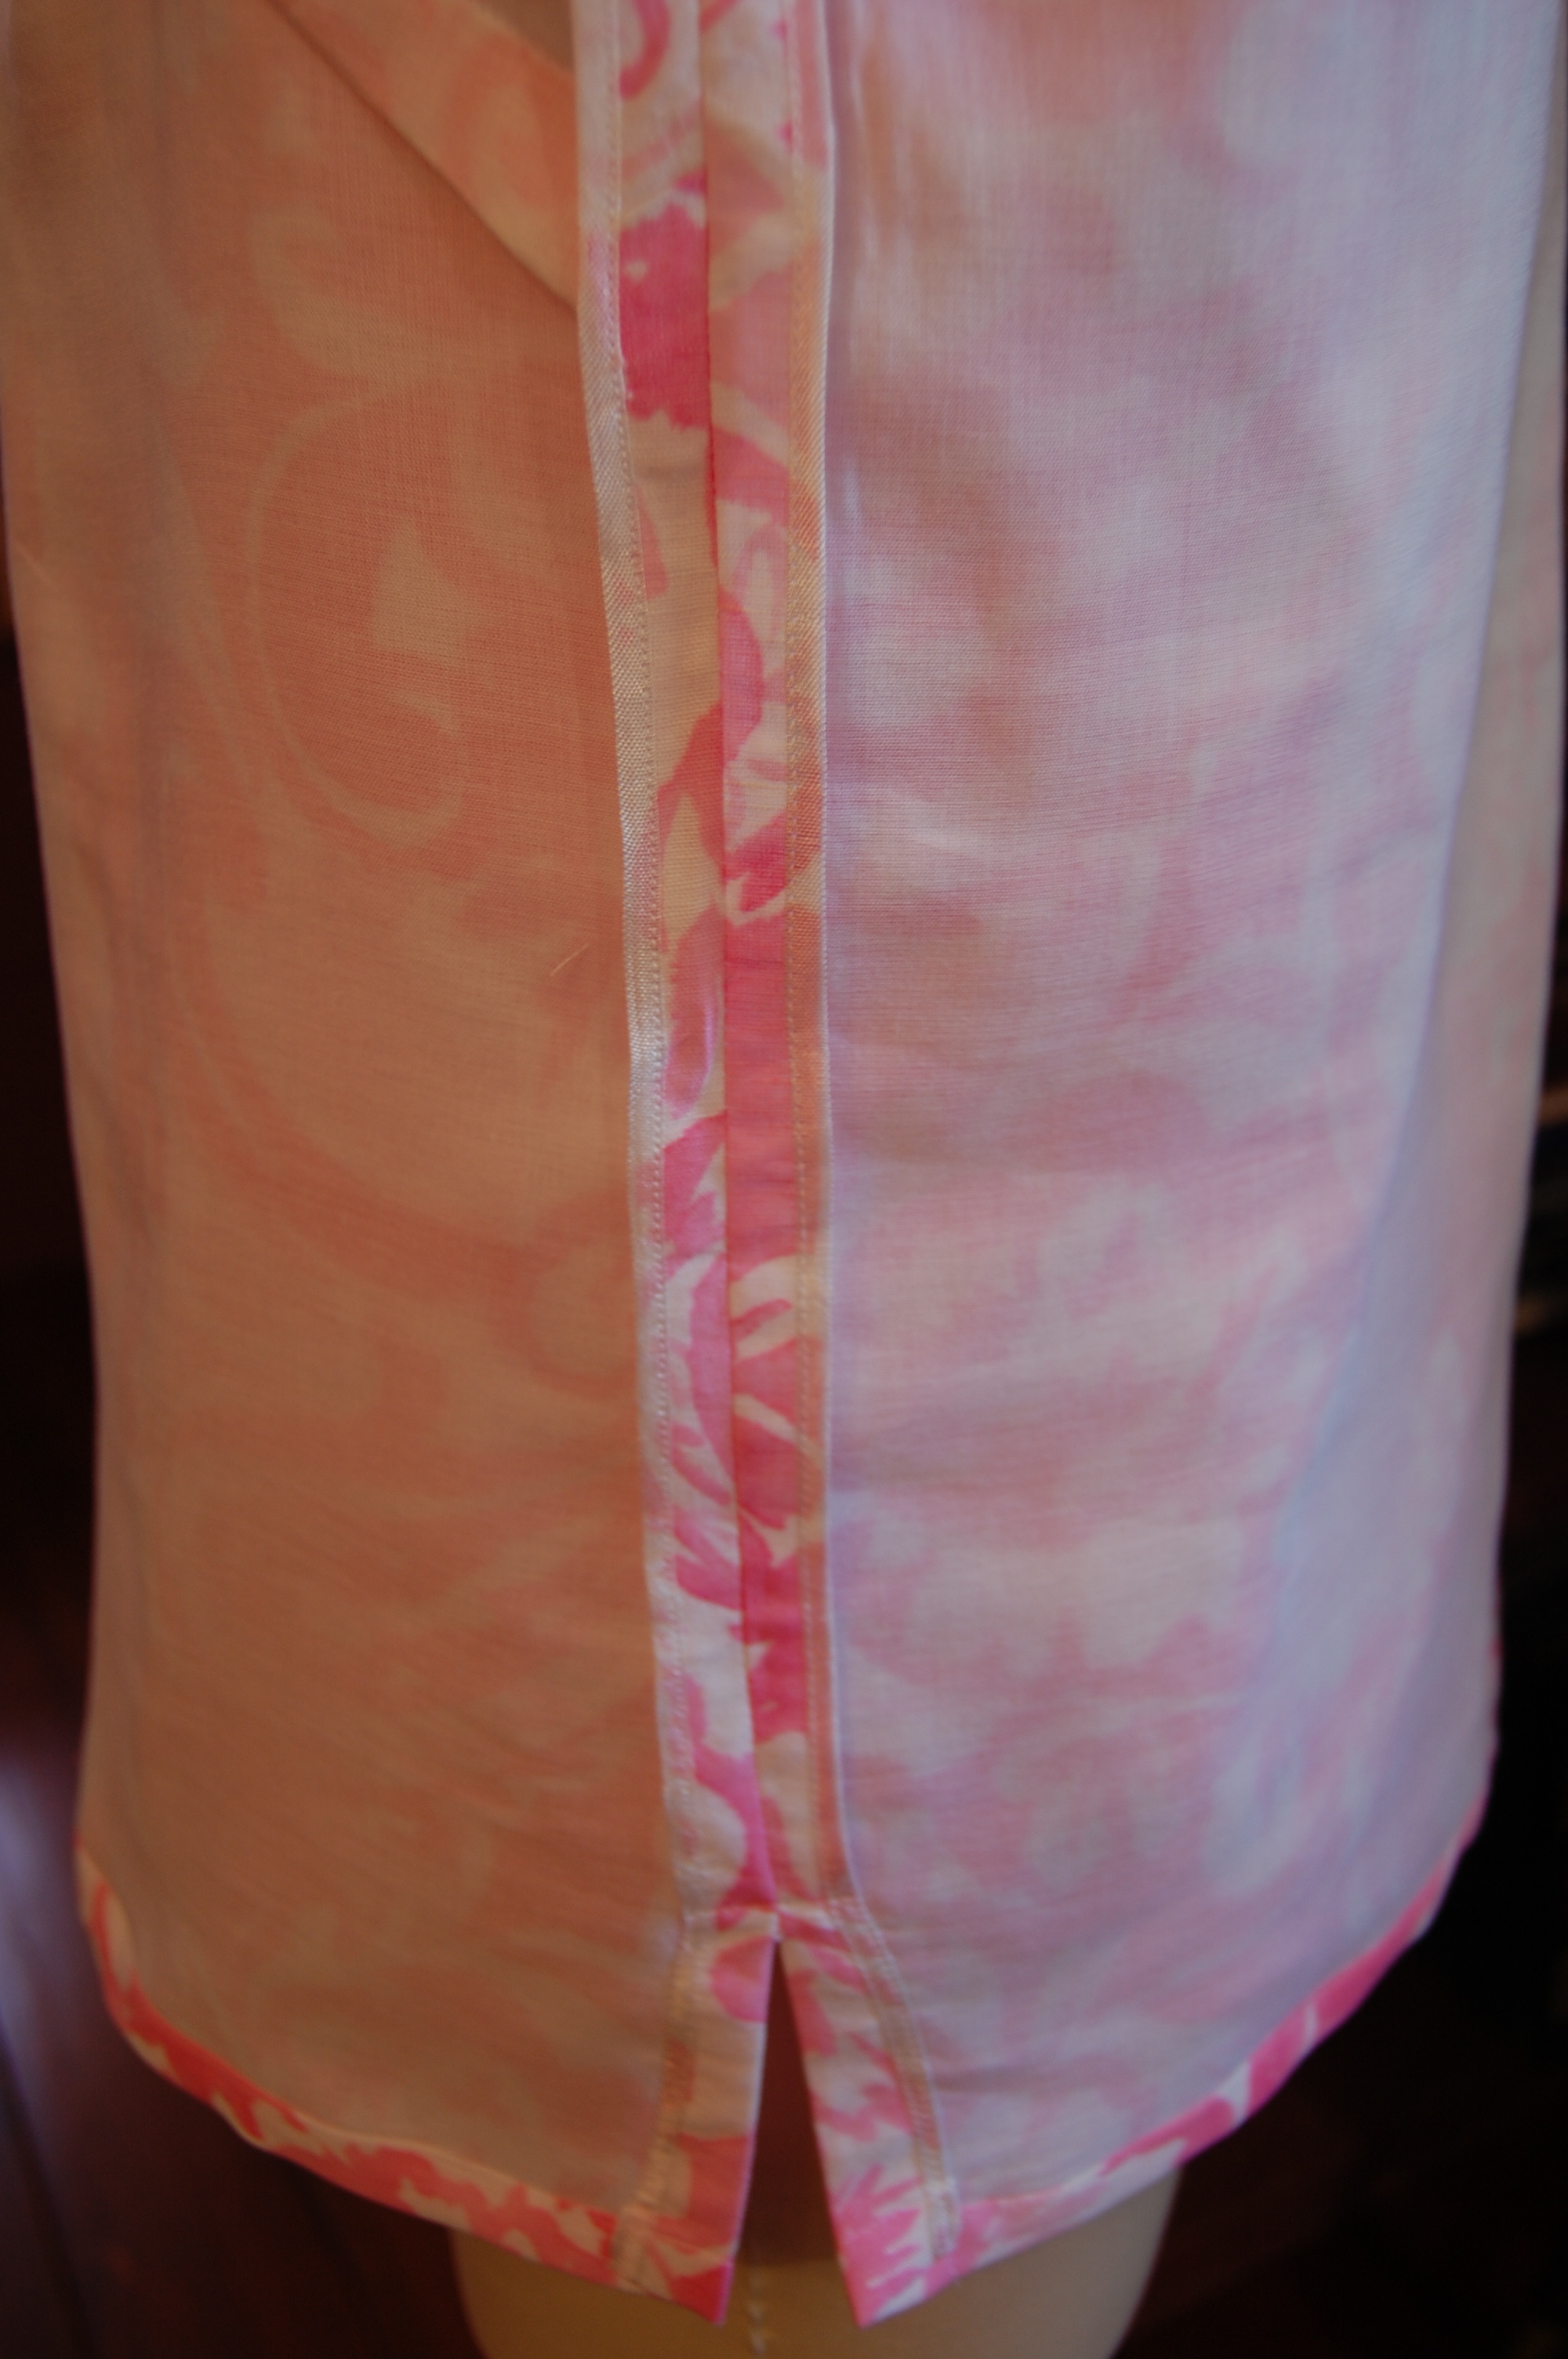
I chose a pretty orange crepe de chine for the lining.
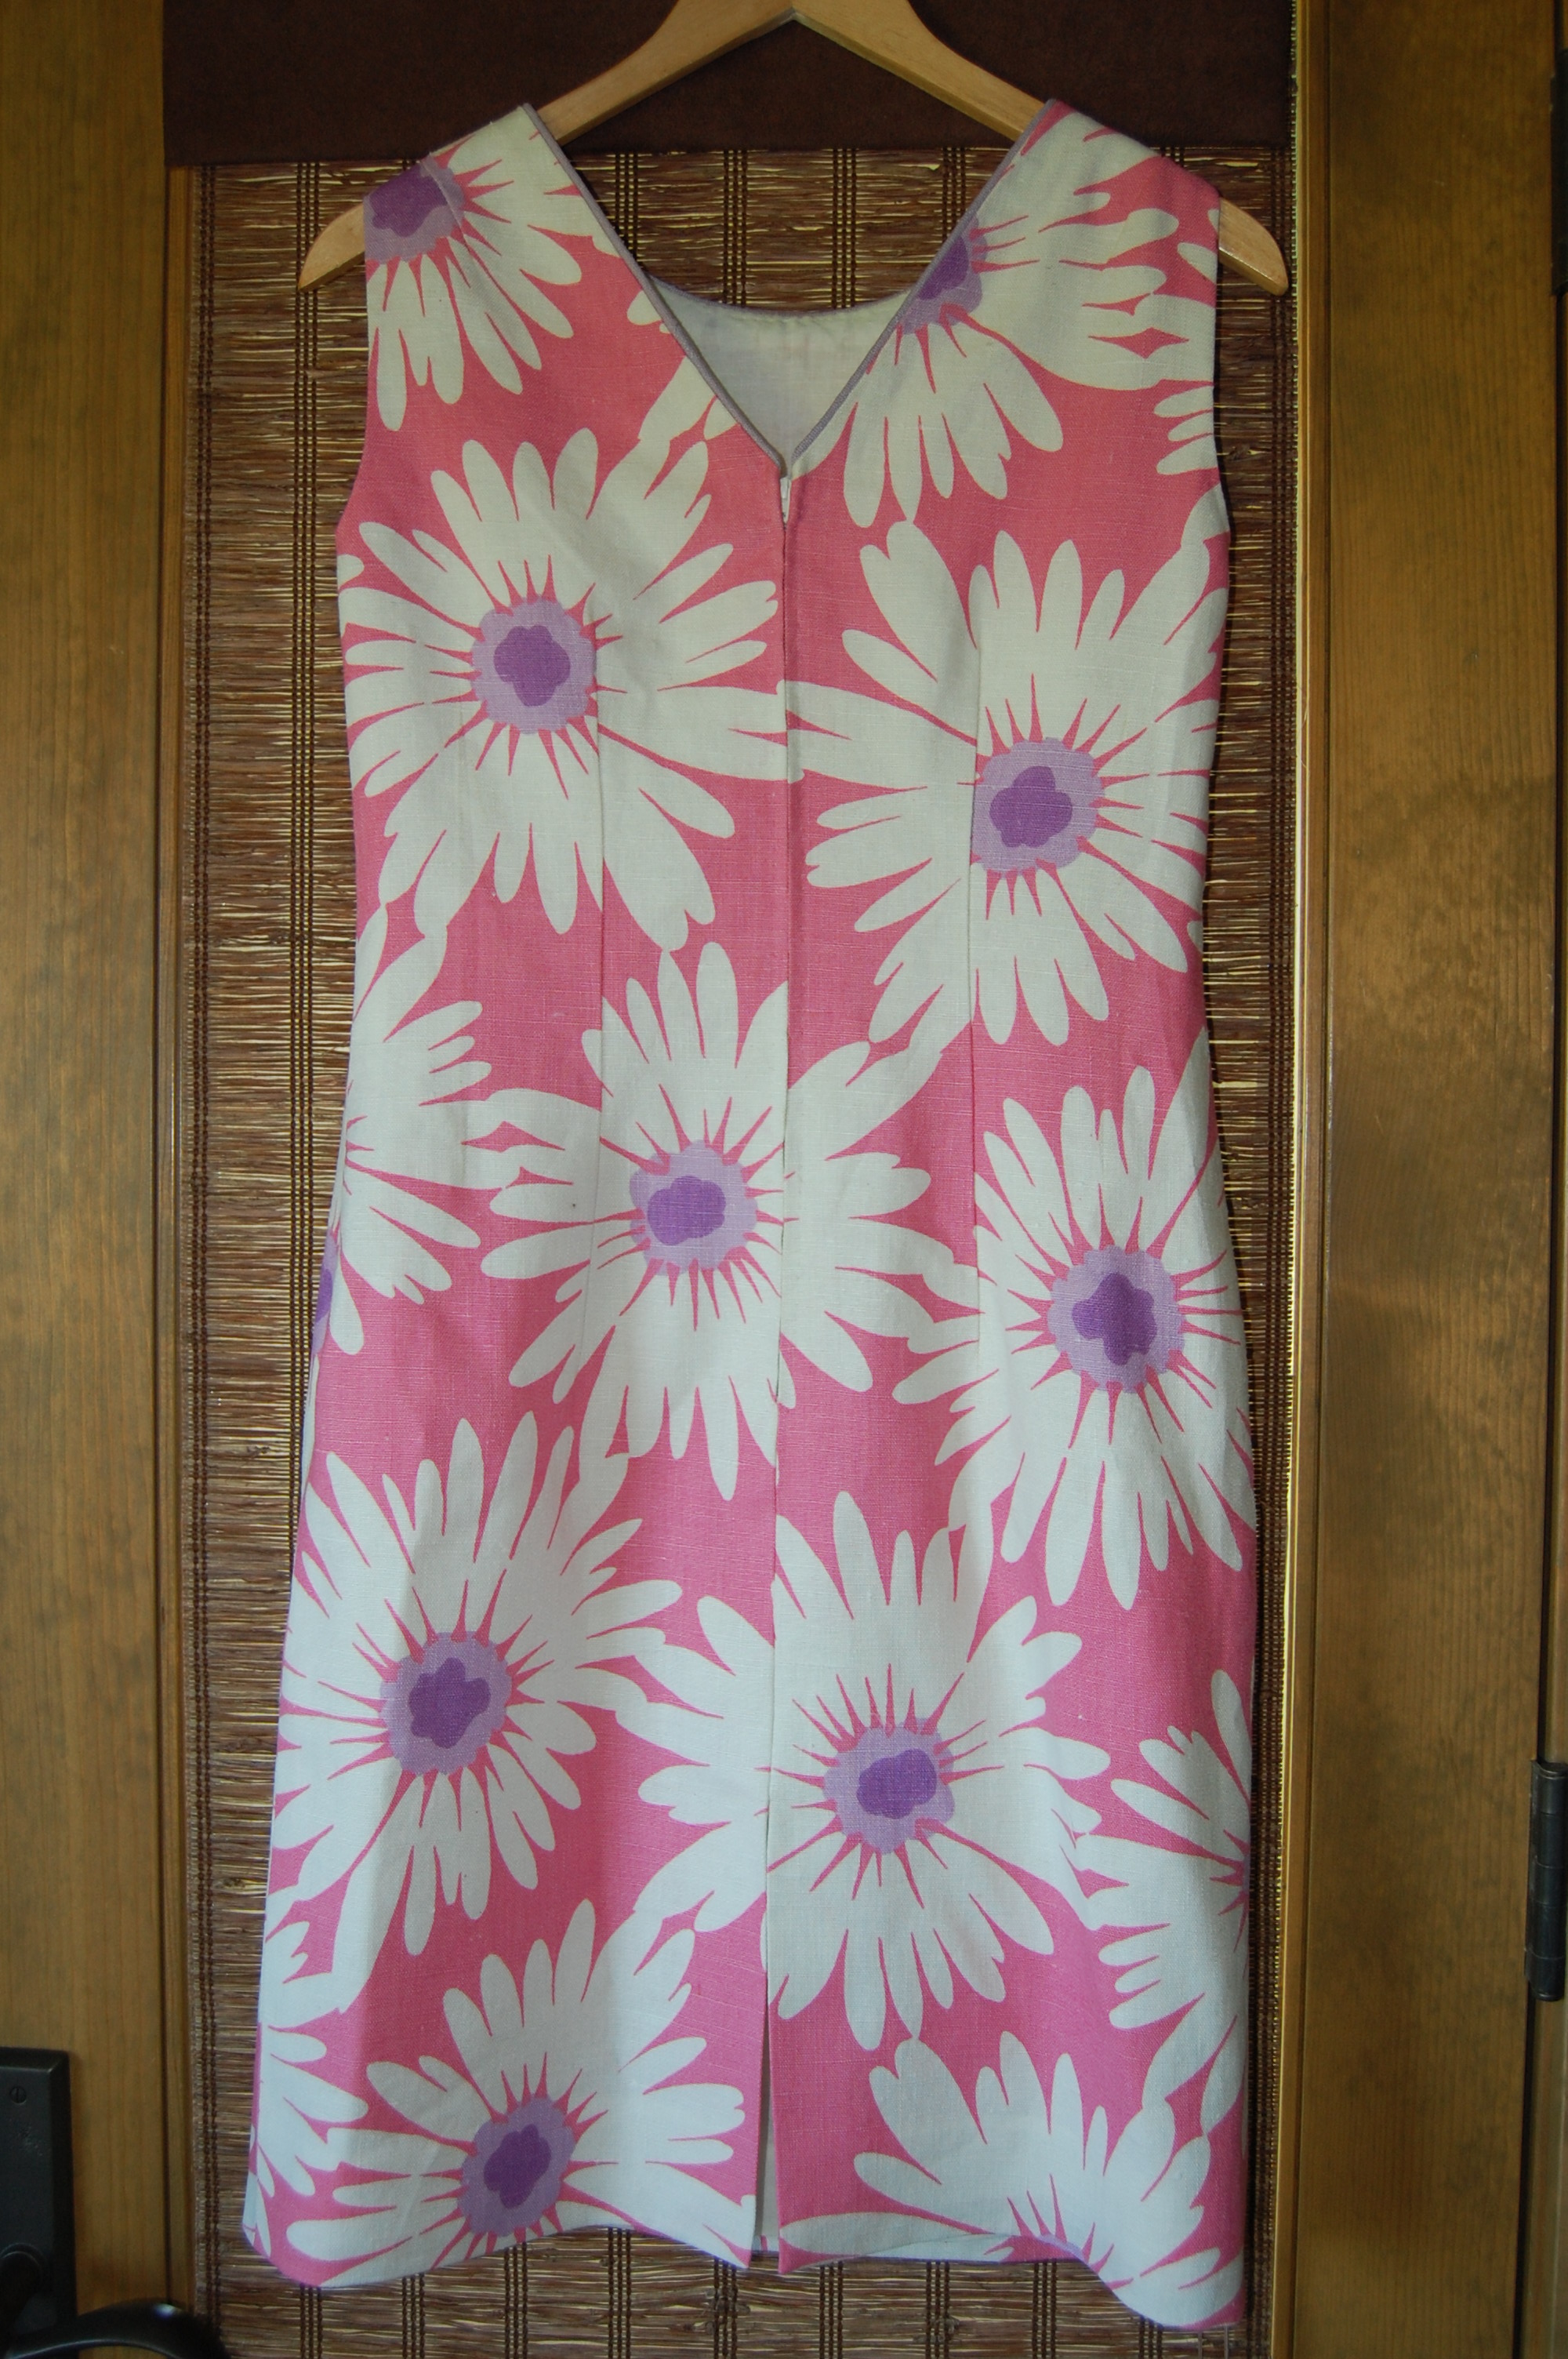
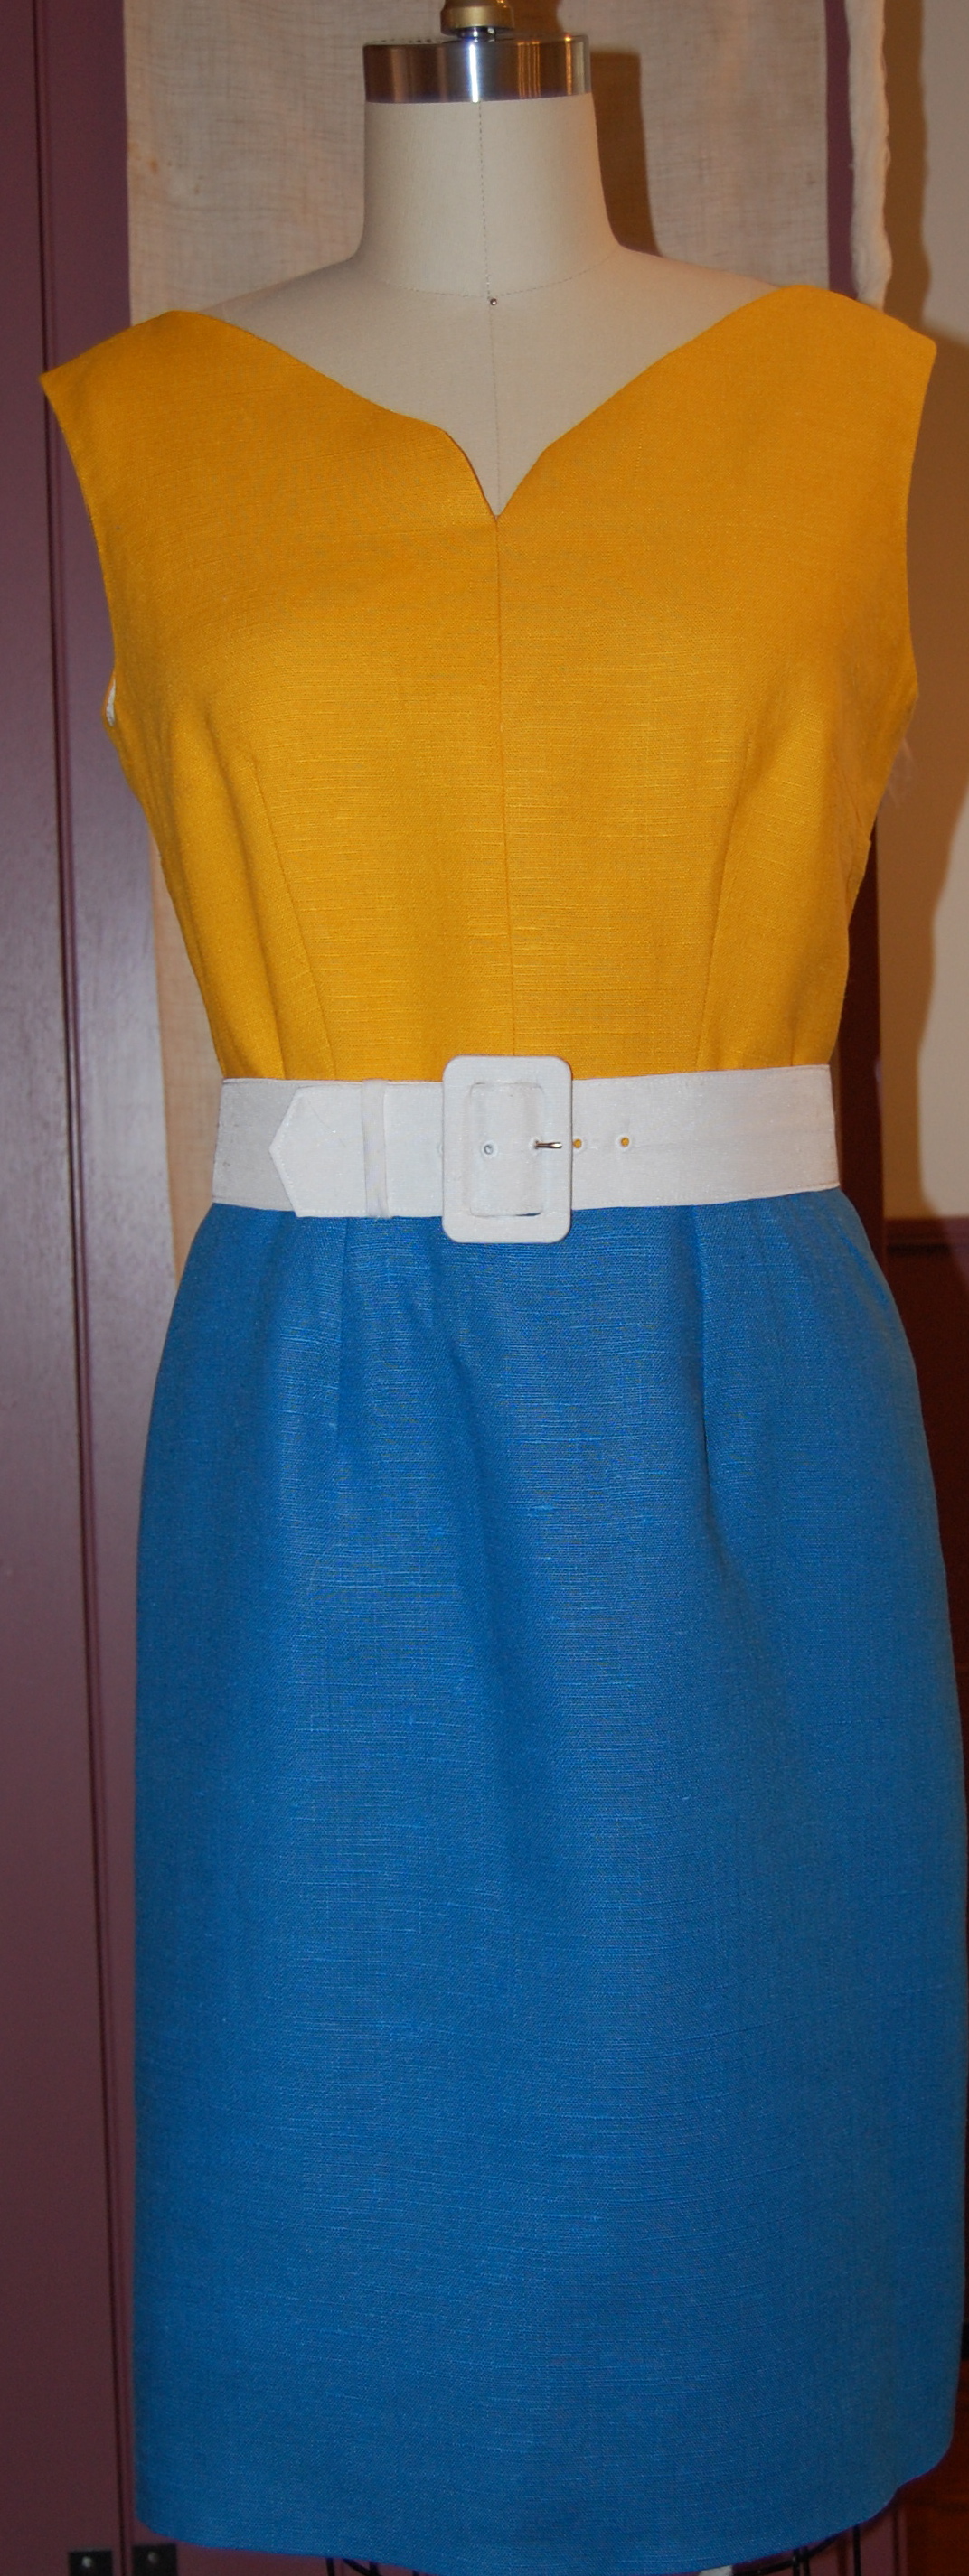
The skirt is voluminous and that is where my problems began. It seemed okay made up in muslin, but once I had it constructed in the fashion fabric, I looked like I was a dumpling wearing a flowered parachute. The funny thing was that when I had it on my dress form, I thought it was rather attractive. I was fooled into thinking that if I just got it all put together, I’d be happy with it.

Looks pretty, doesn’t it?

I thought the orange lining would be lovely peeking out from the dipped back hem…
I have been trying to figure out what went wrong. I think perhaps the pattern is just too “youthful” looking for me. I think it is such a pretty dress, but perhaps my days of wearing voluminous skirts are over (… although the skirt on my silk dress from last summer looks fine. It is, however, simply a gored skirt with no additional pleats or fullness.)

The skirt is full, but hangs with no bulk.
Now I am left with trying to salvage something from this project. I like the fabric too much to just abandon it, and I have too much time and effort and money invested in it all, as well. Right now, however, I am very sick of the whole thing, so it might be a while until I come back to it. But when I do, I am going to separate the bodice from the skirt first.

Now I wish I had left the bodice just as you see it here!
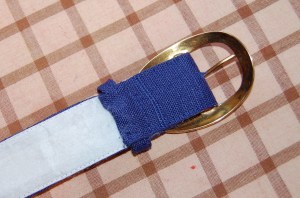
Then I think I may cut a new slim skirt (no pleats, no gathers, just a nice, slim, matronly skirt!) to attach to the bodice, and perhaps make a self-belt with a tailored bow for the closure.
How does that sound?