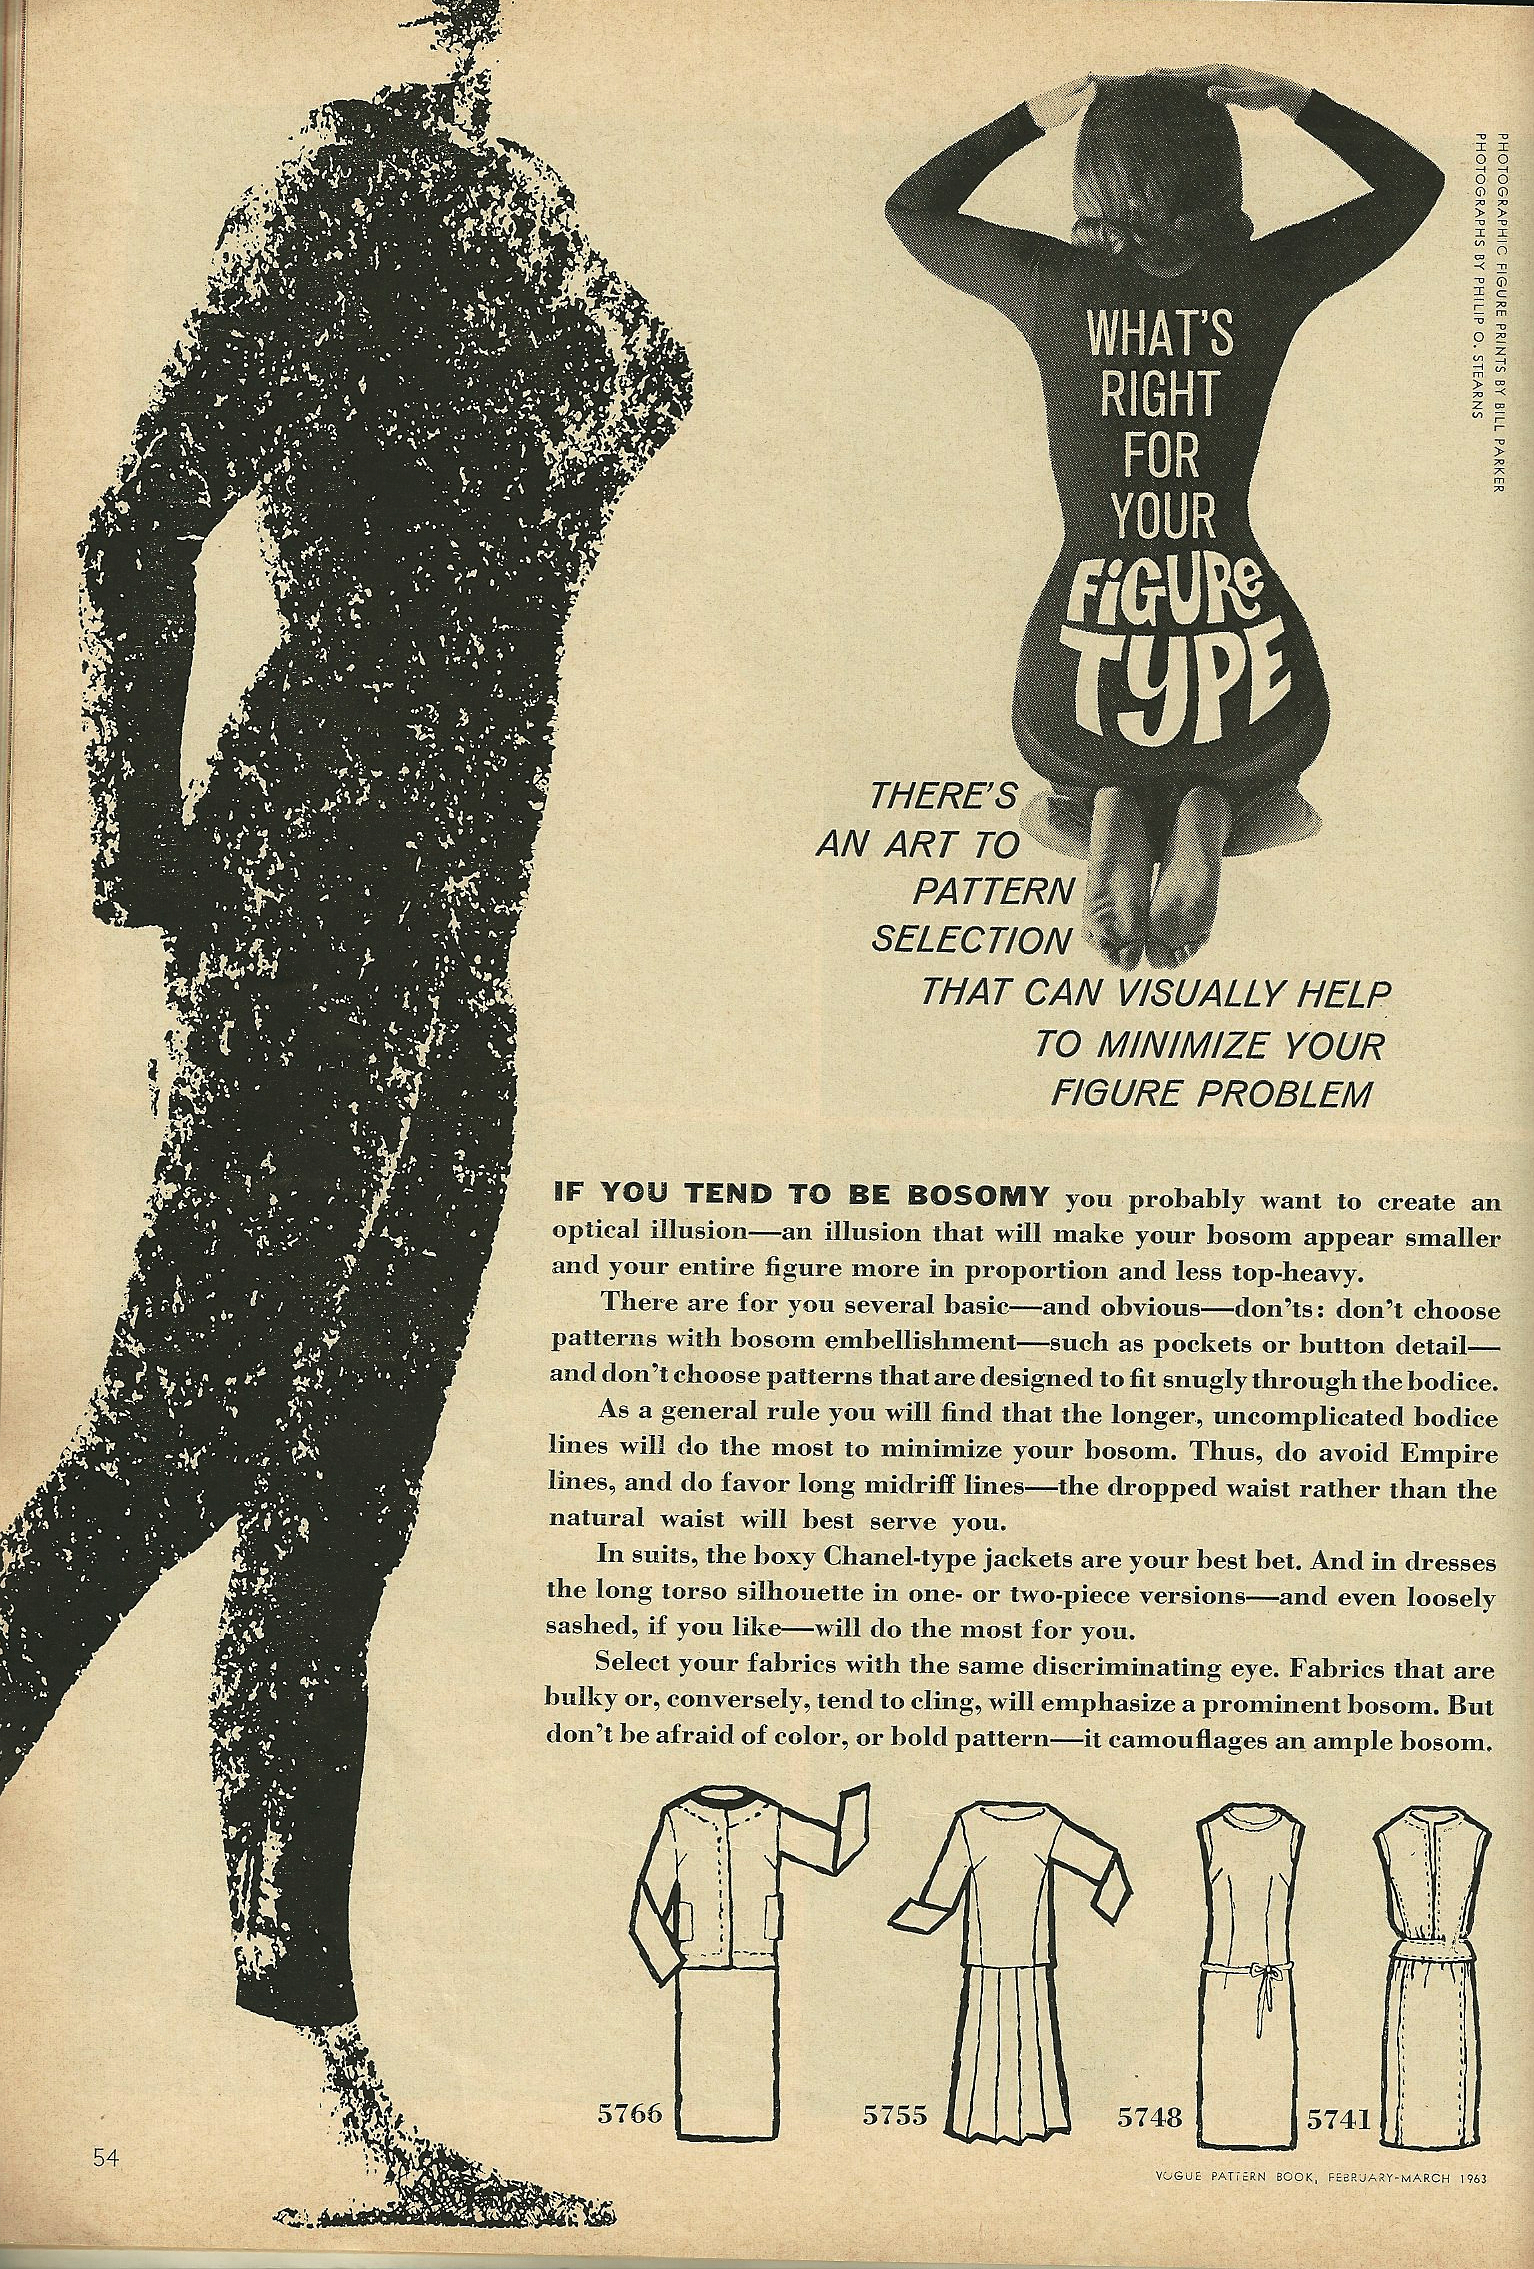
The definition of Haute couture from Wikipedia, the “free online encyclopedia”, deserves recognition for its clarity. To quote:
“Haute couture (French for ‘high sewing’ or ‘high dressmaking’ or ‘high fashion’) … refers to the creation of exclusive custom-fitted clothing.”
The definition continues (with my additions in italics and brackets, relating to the Classic French Jacket class, taught by Susan Khalje):
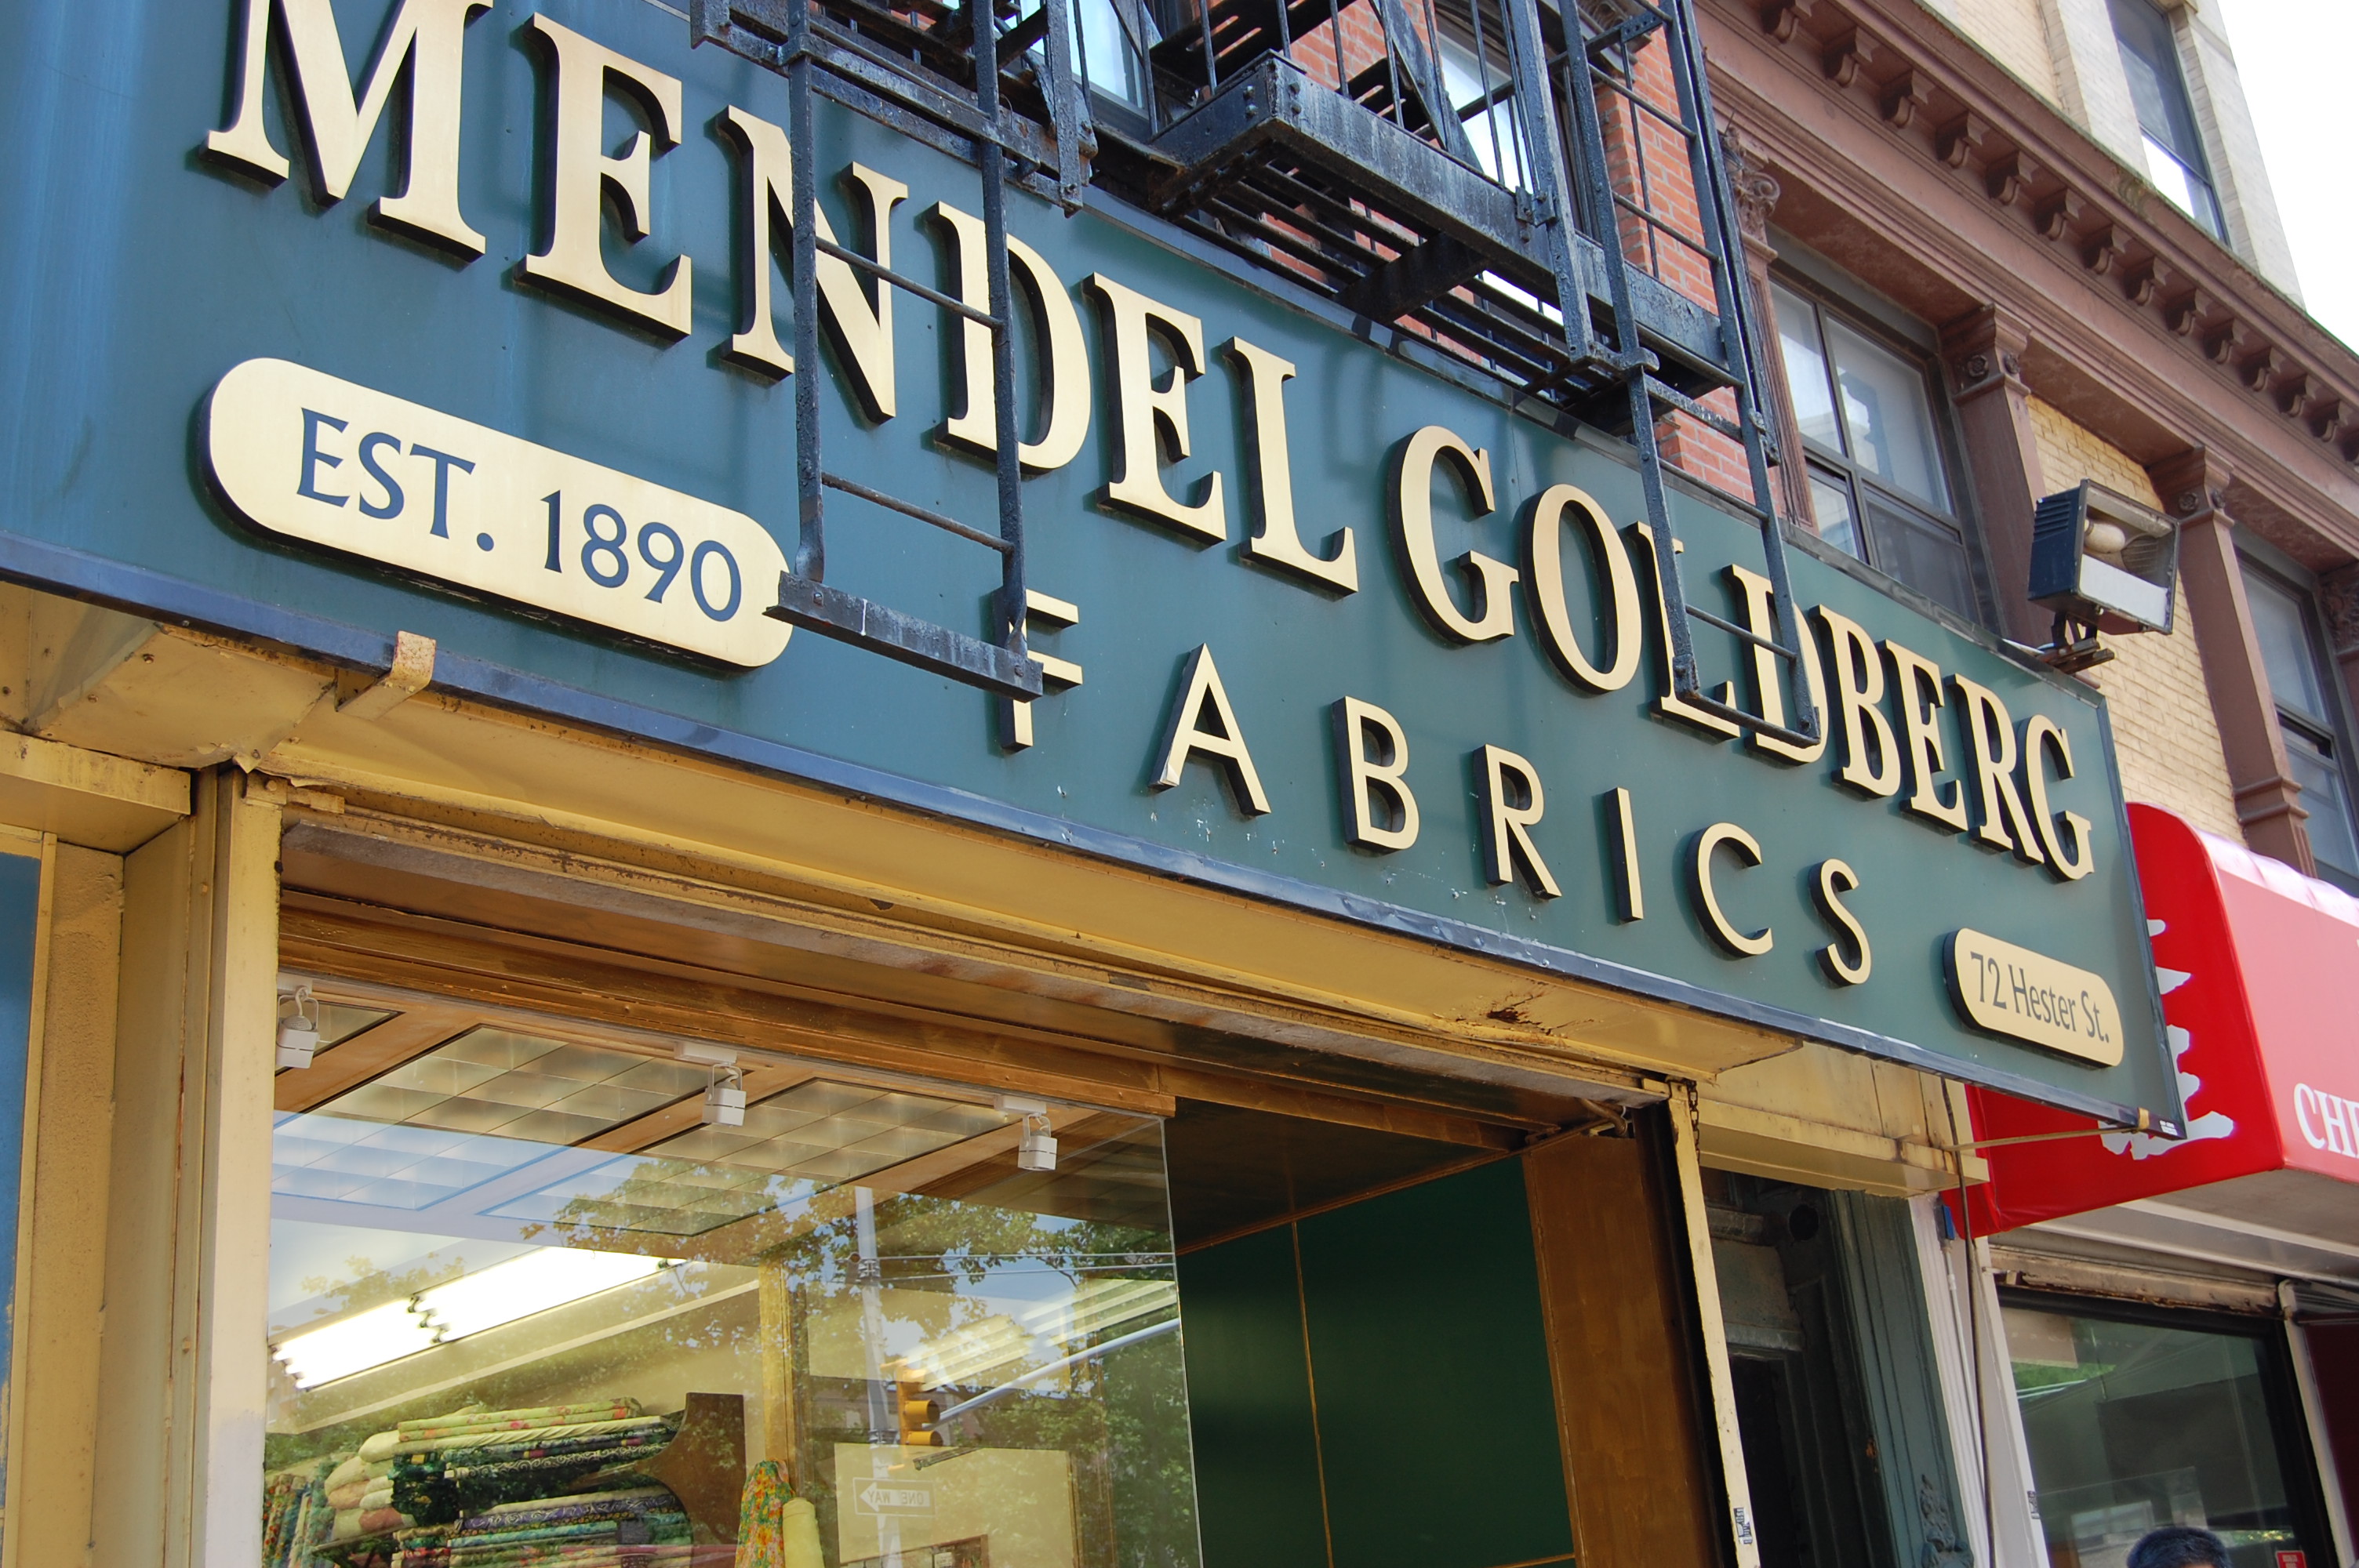
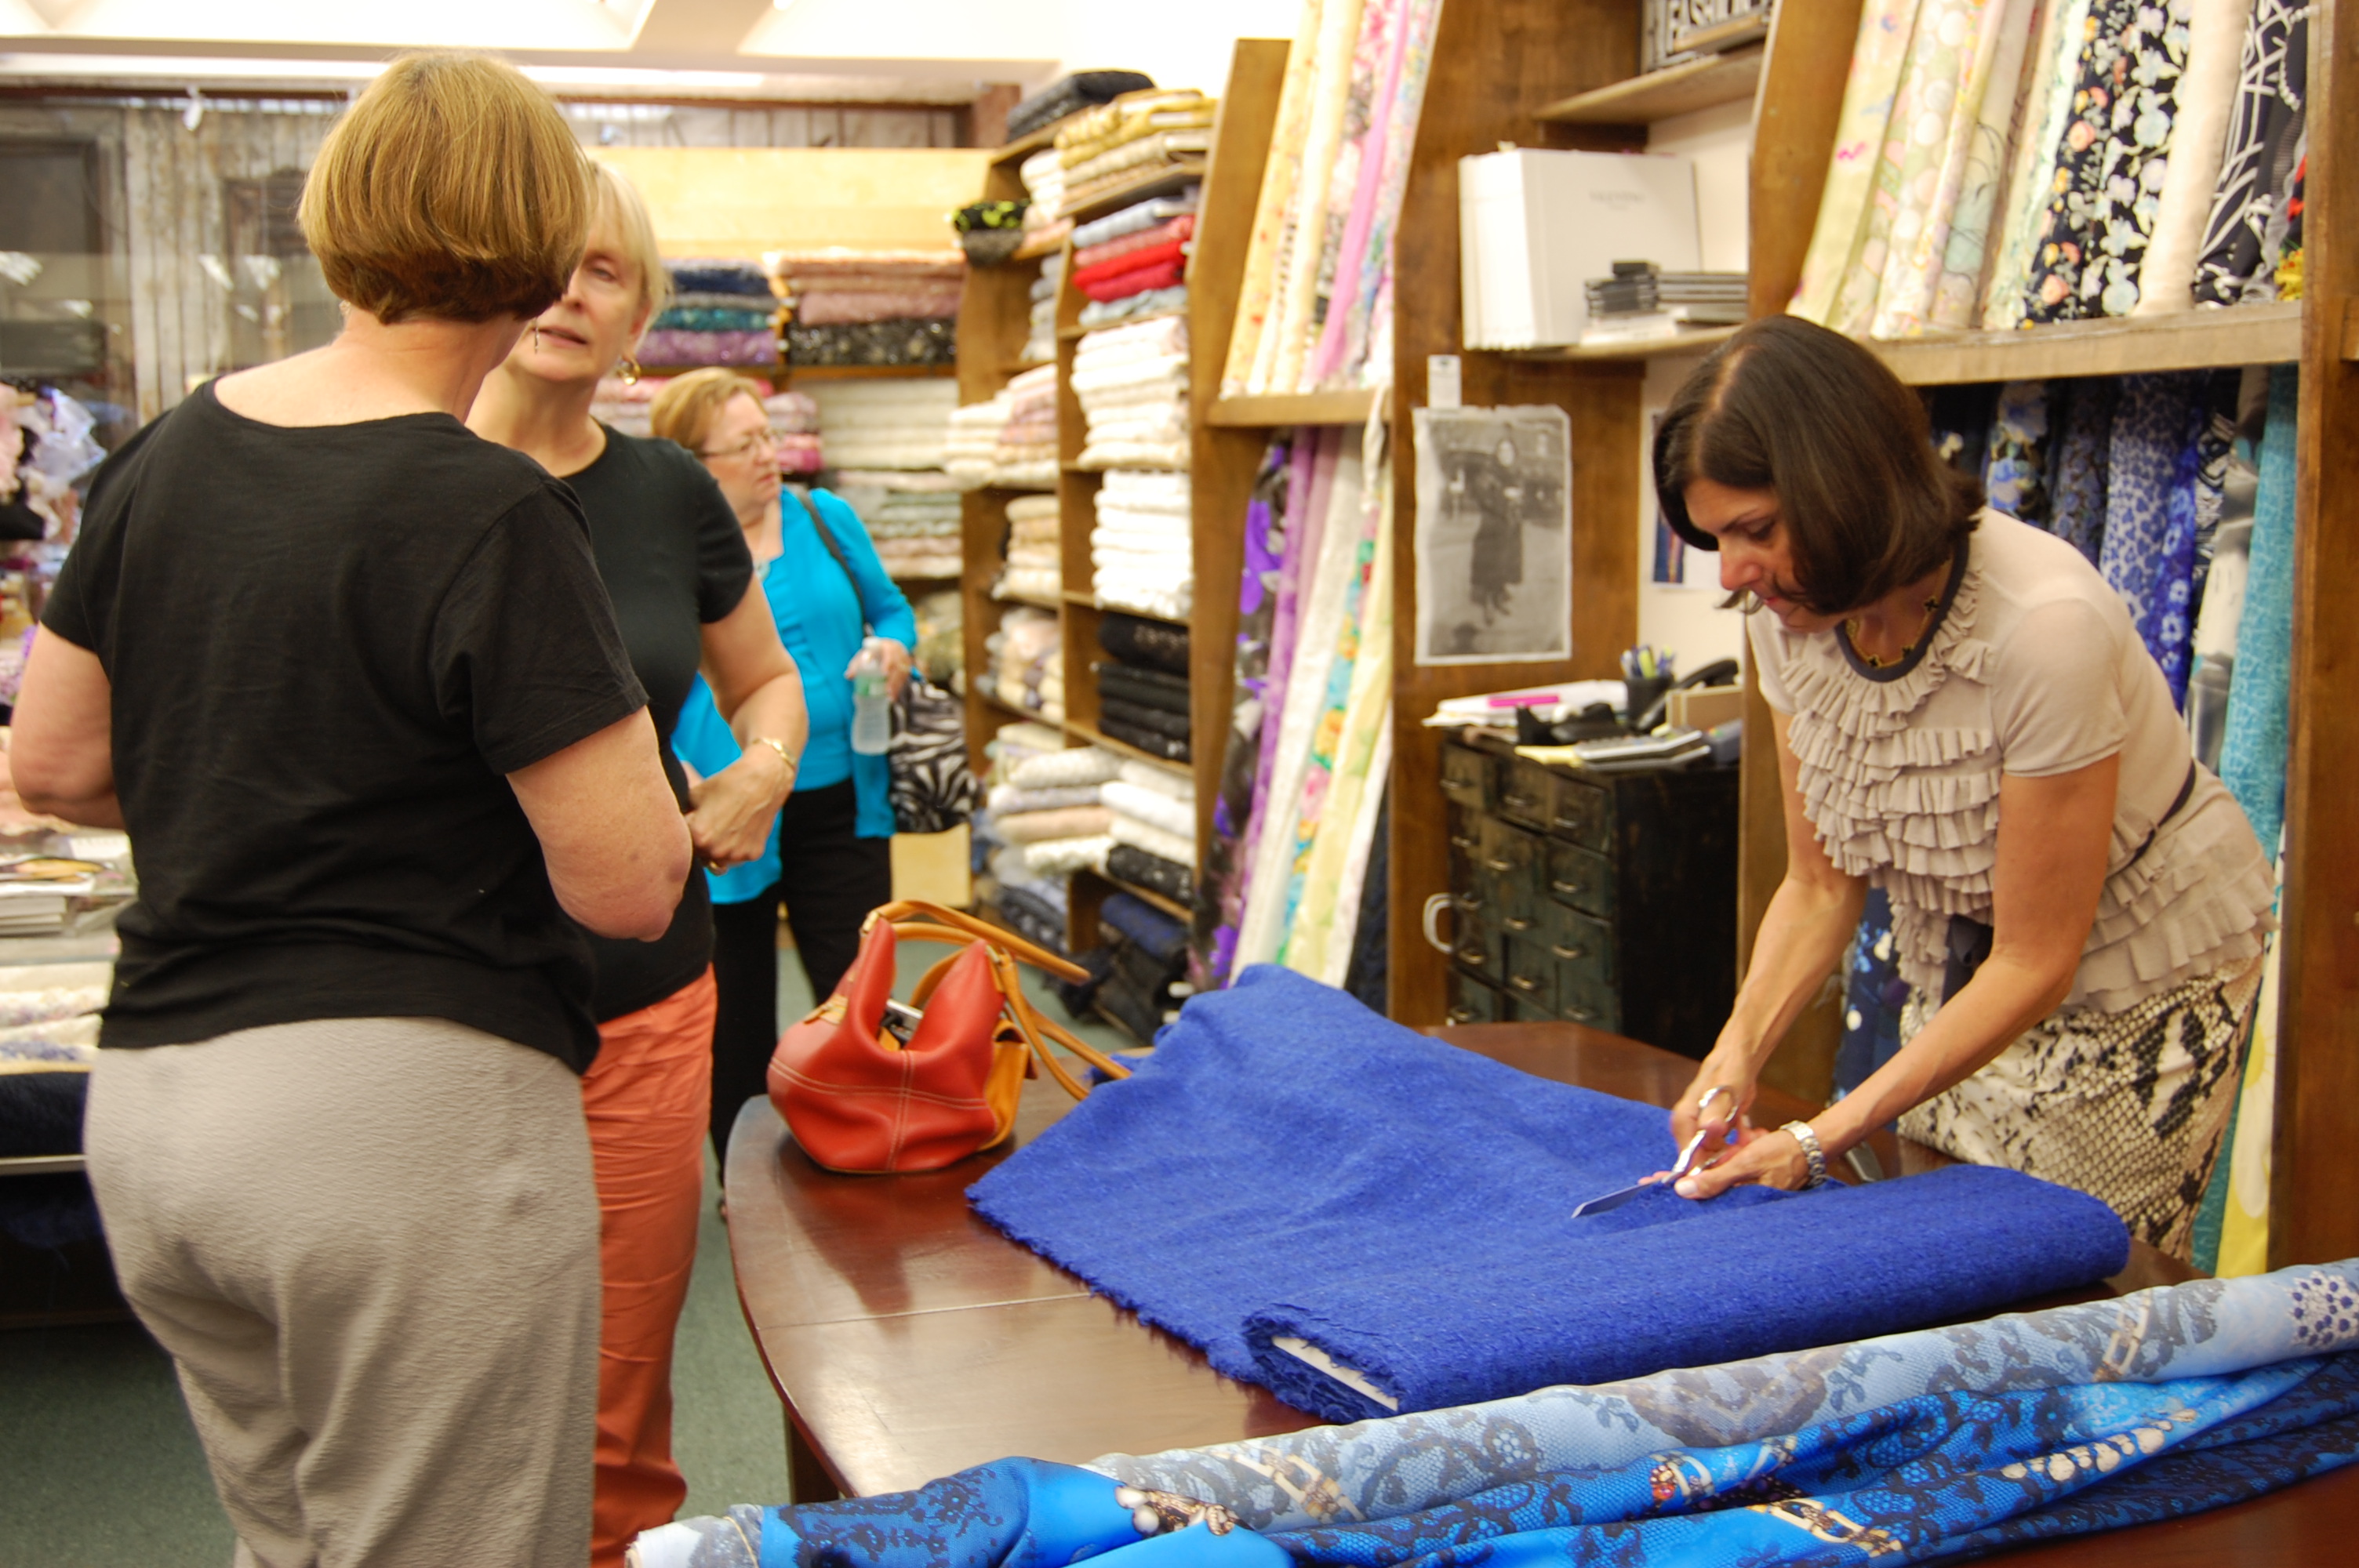
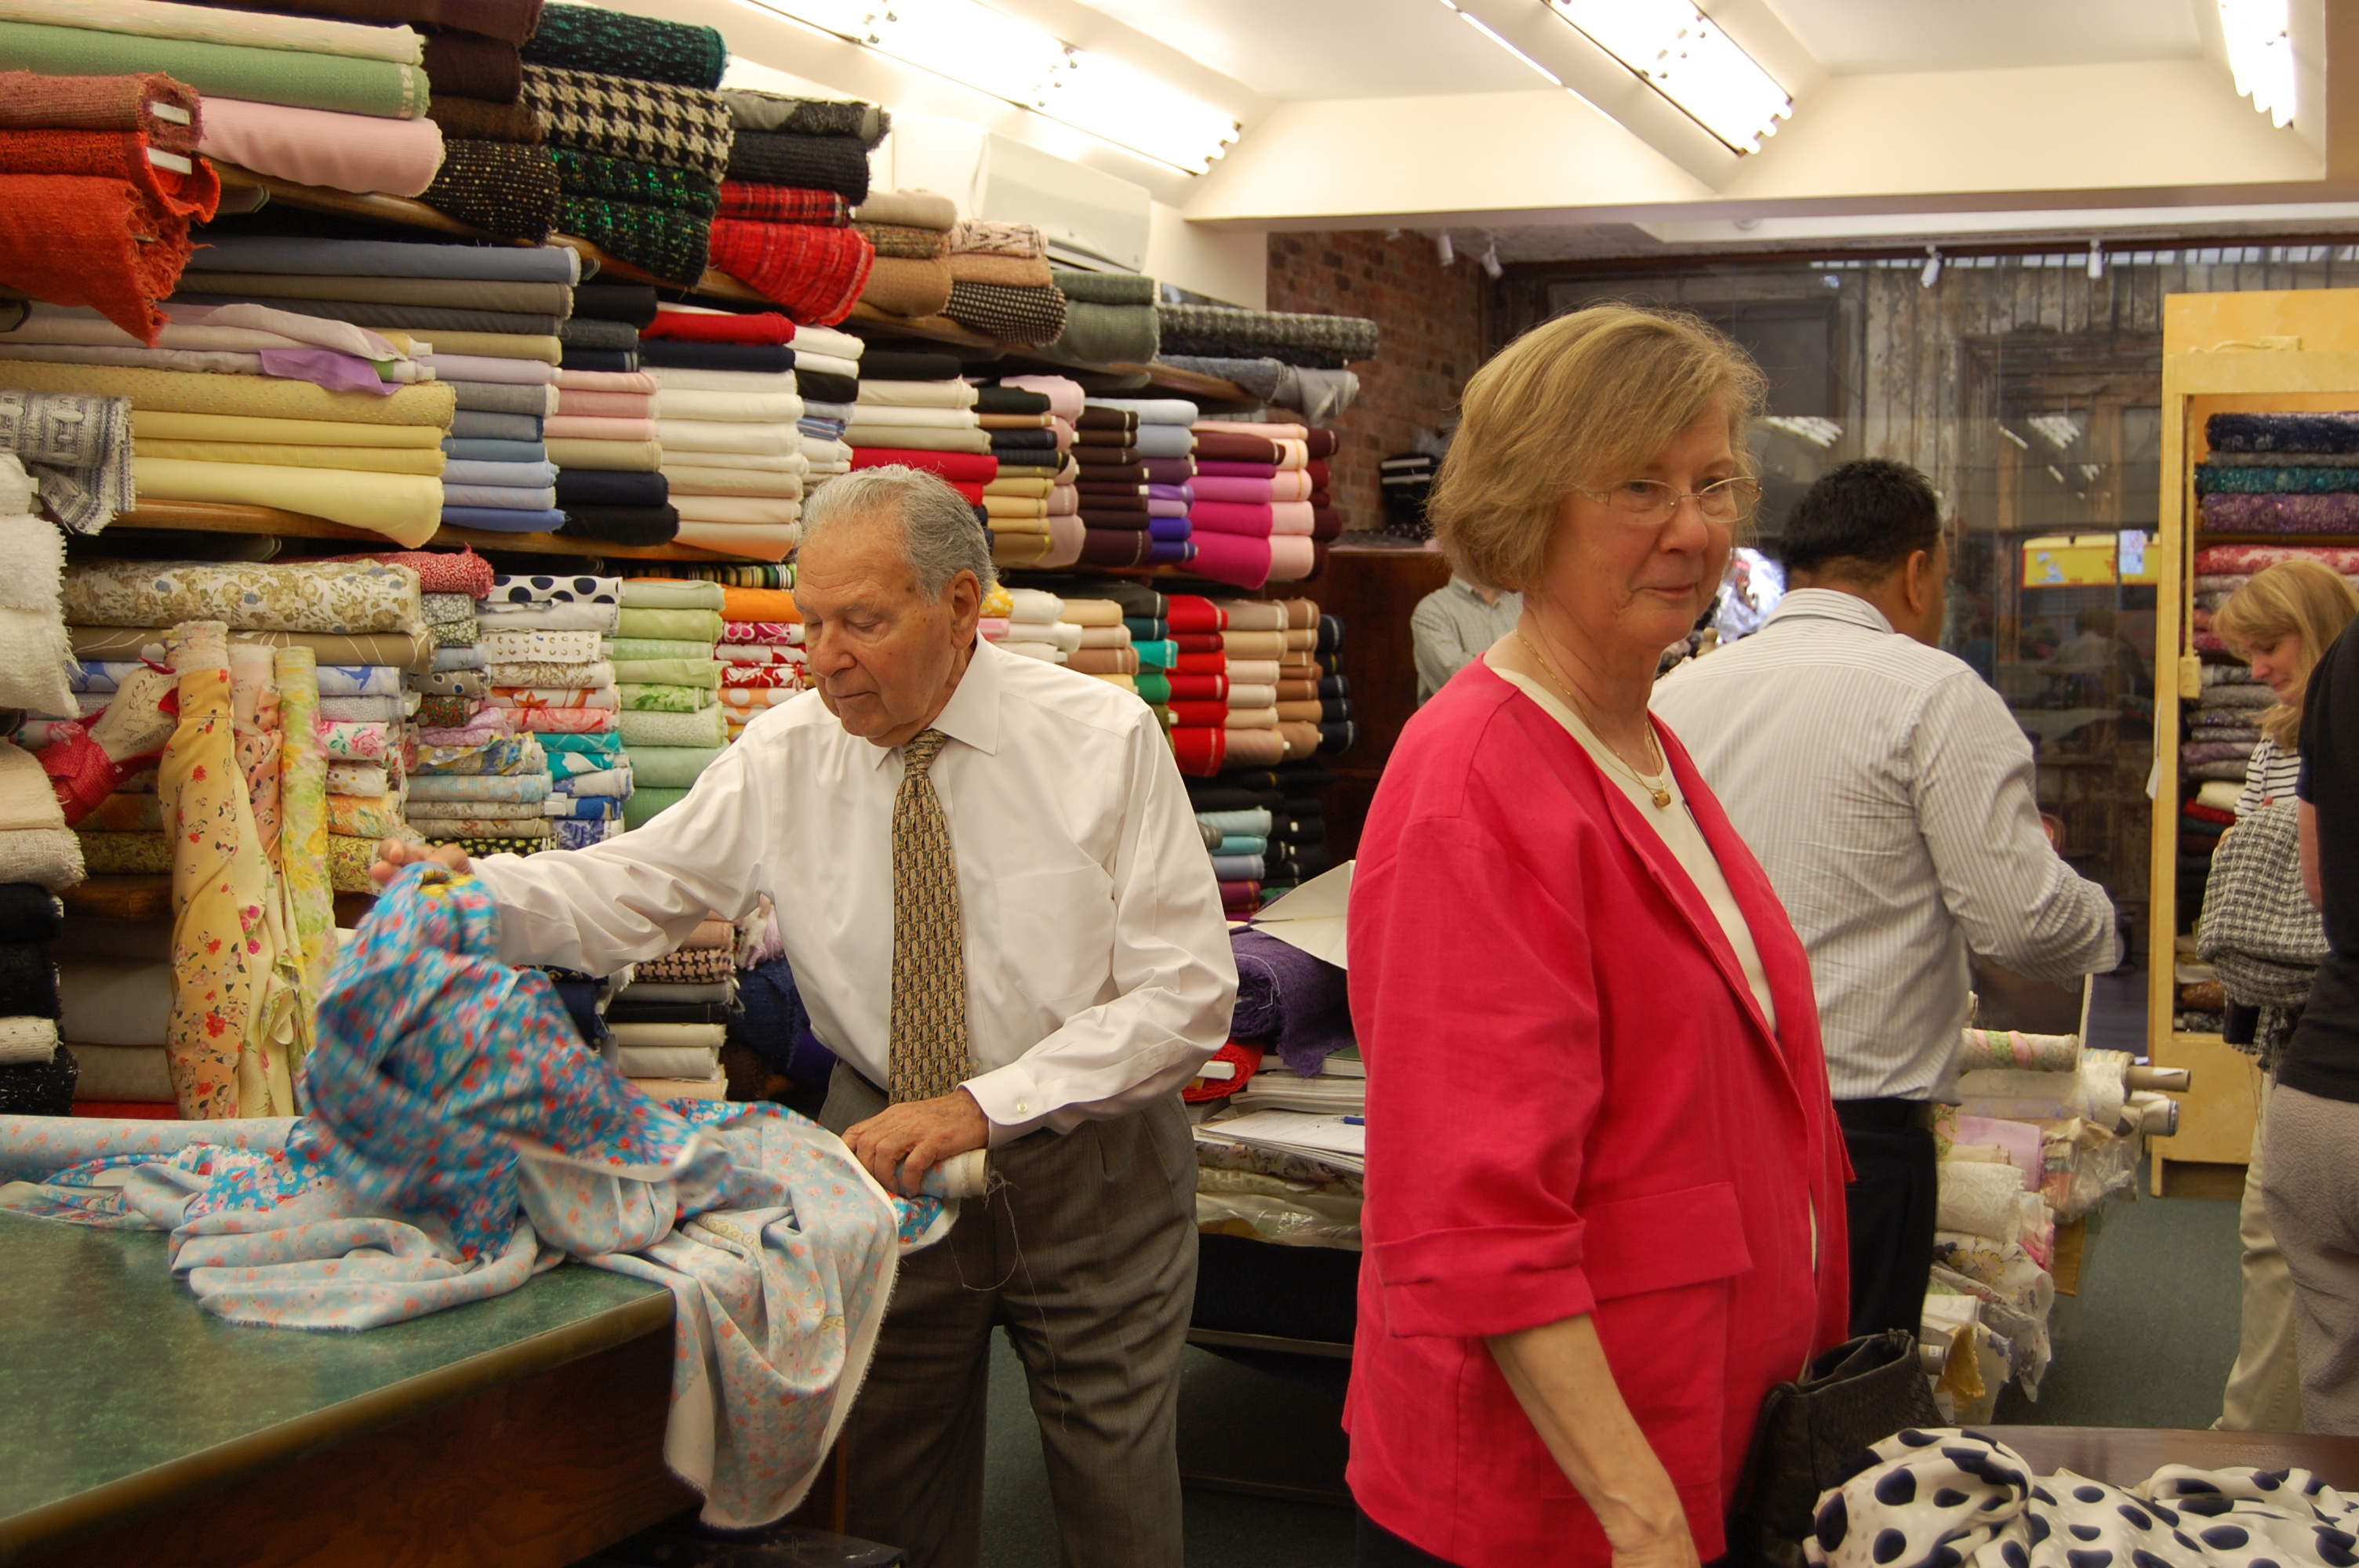
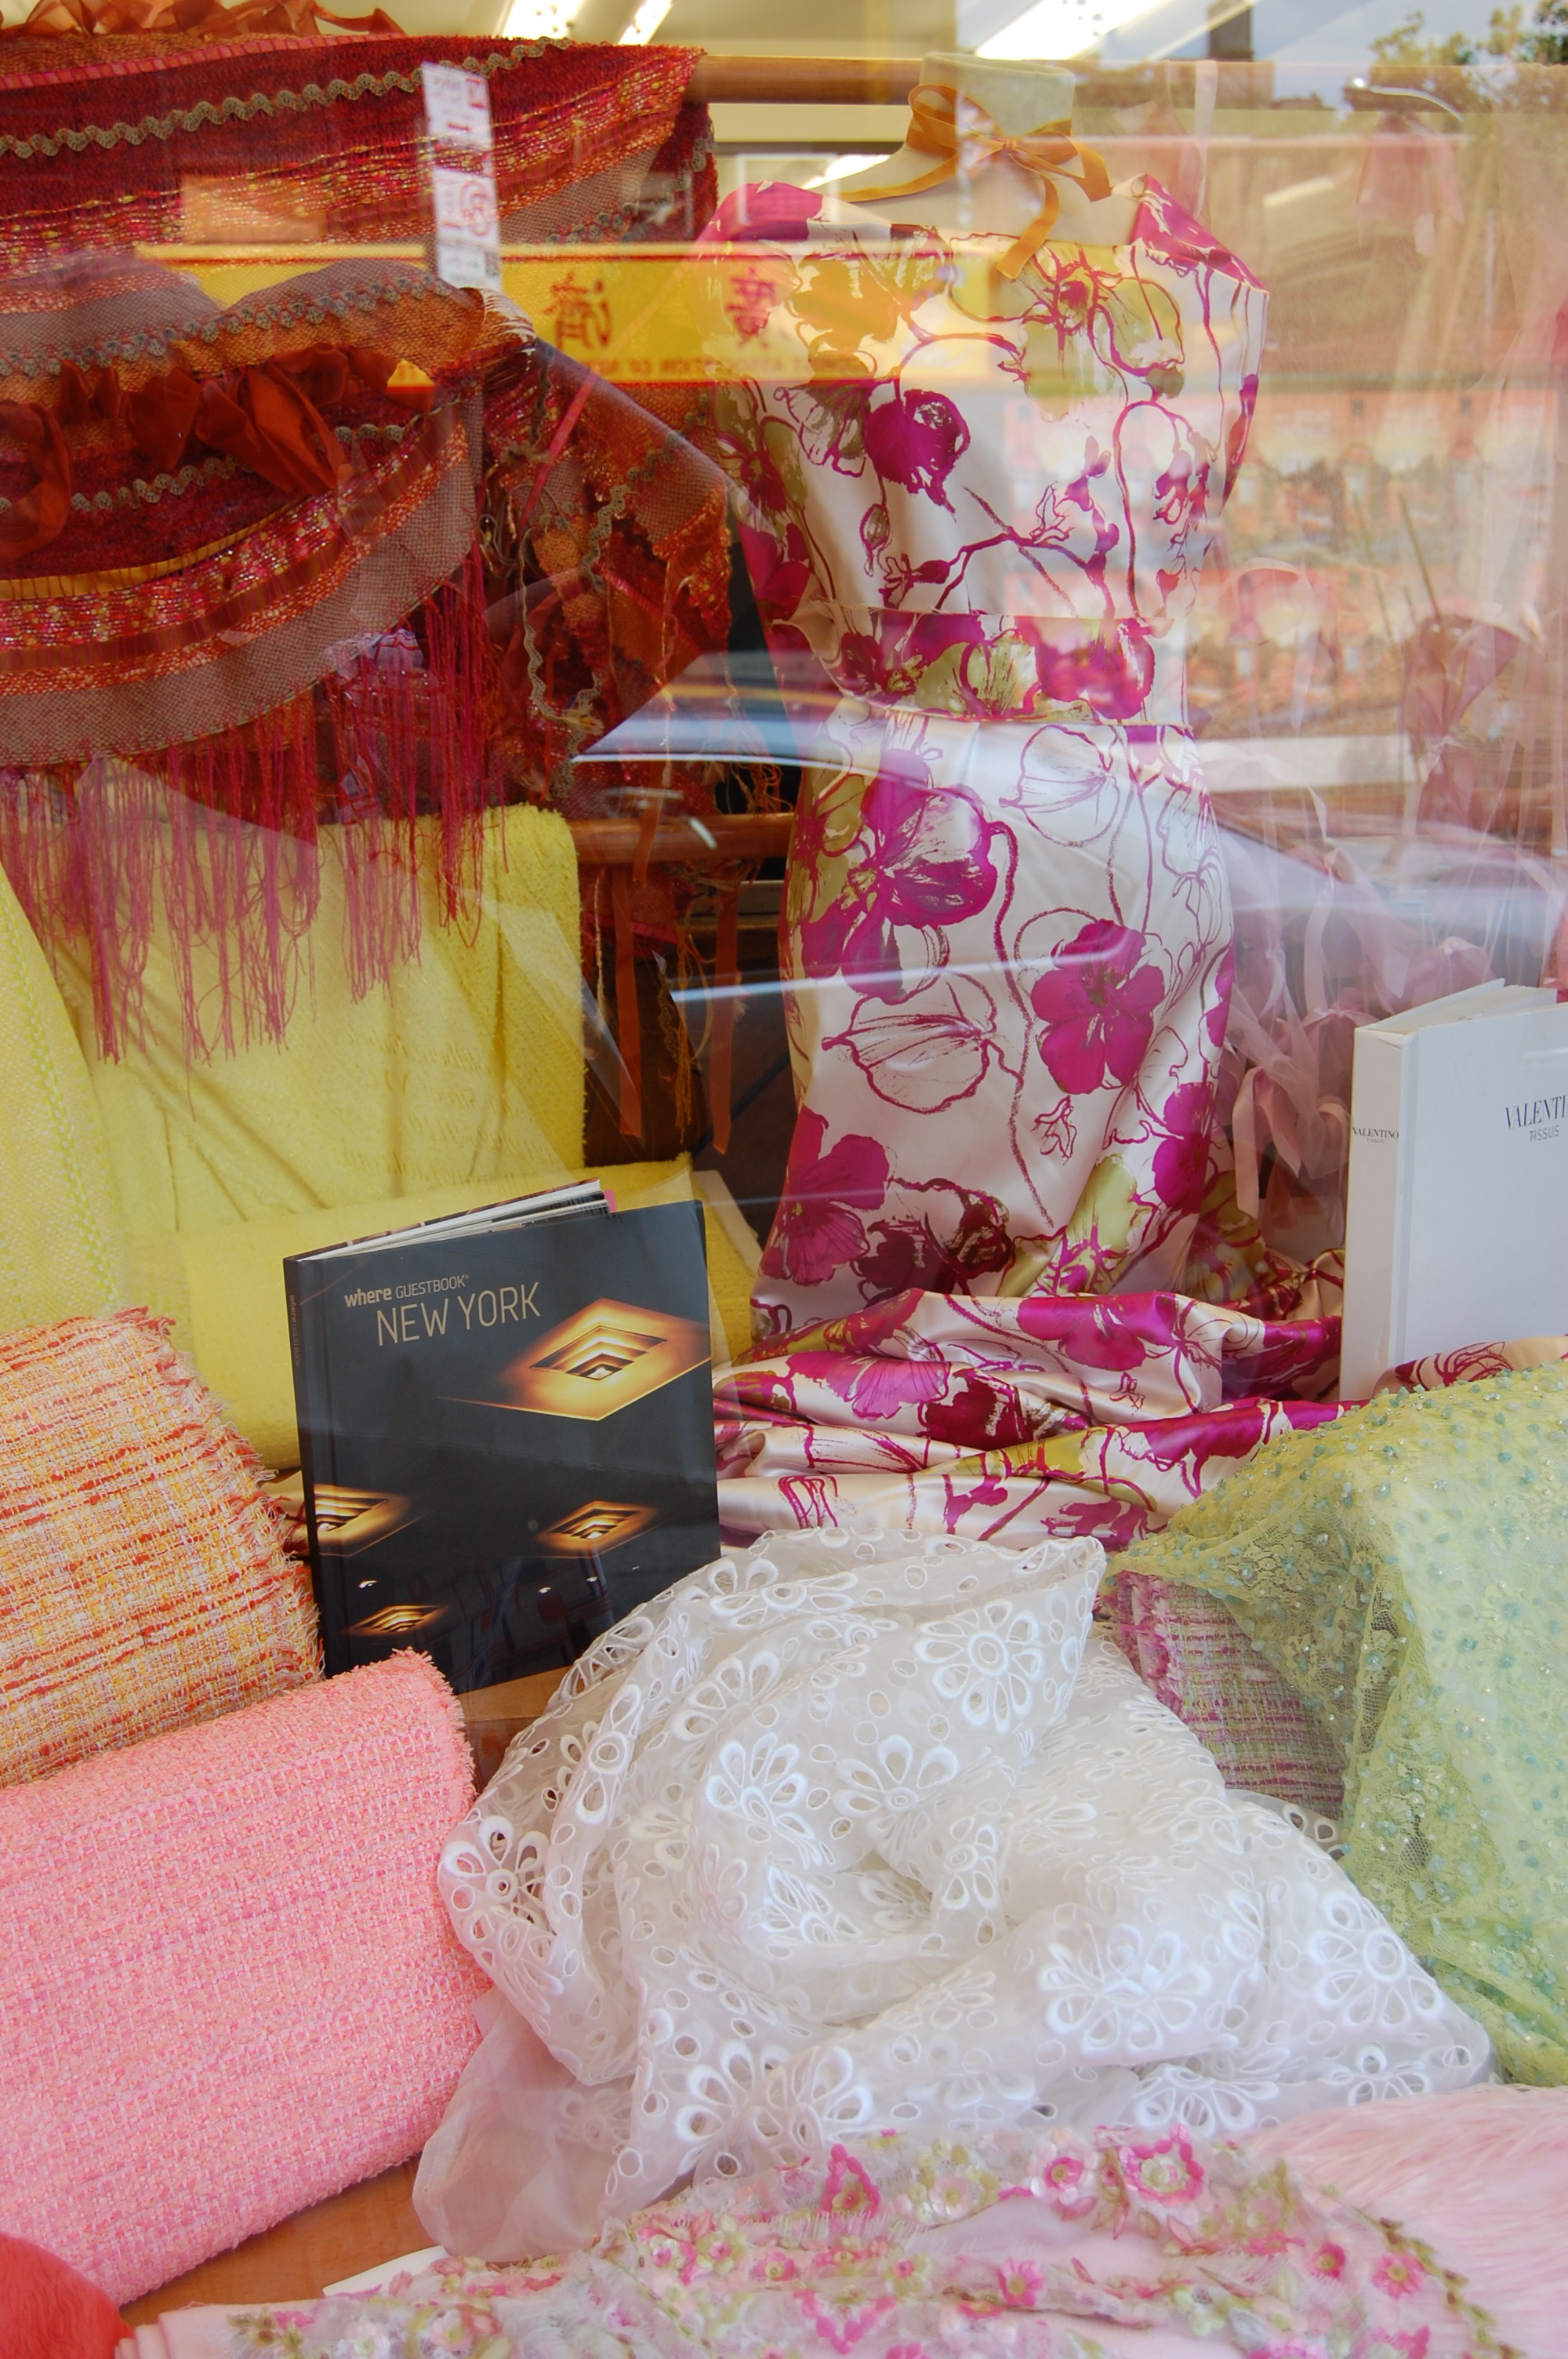
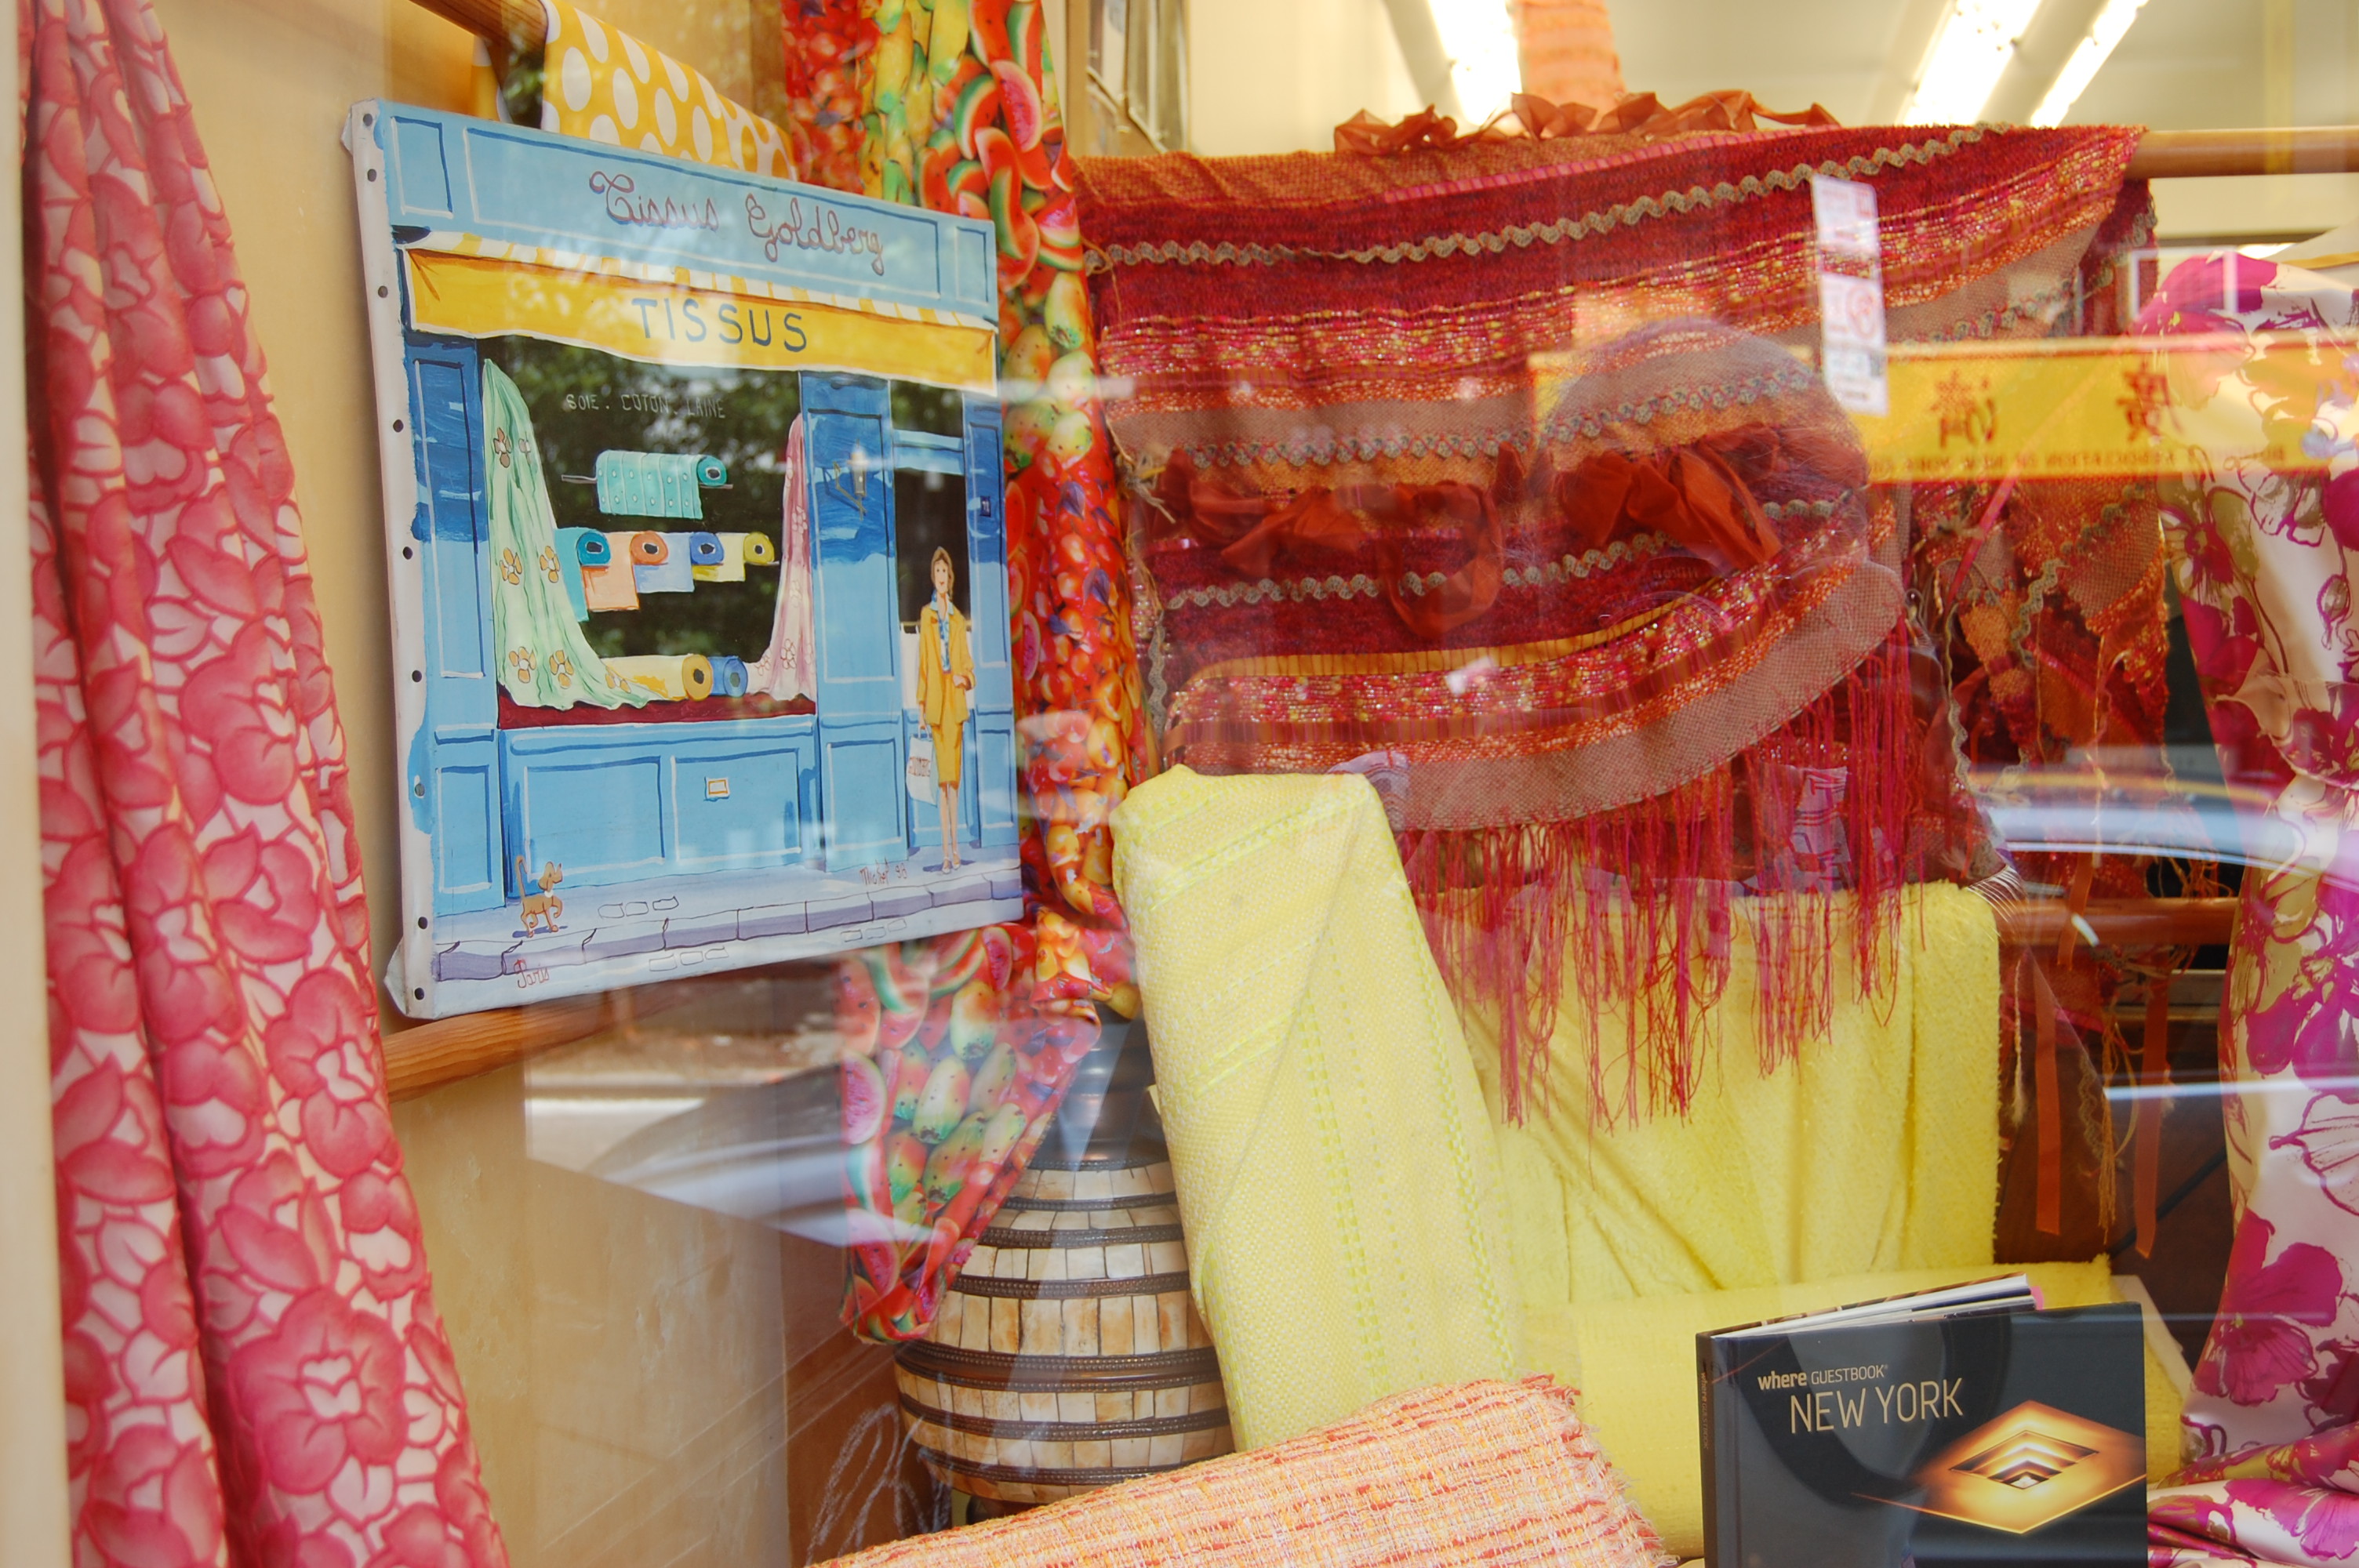
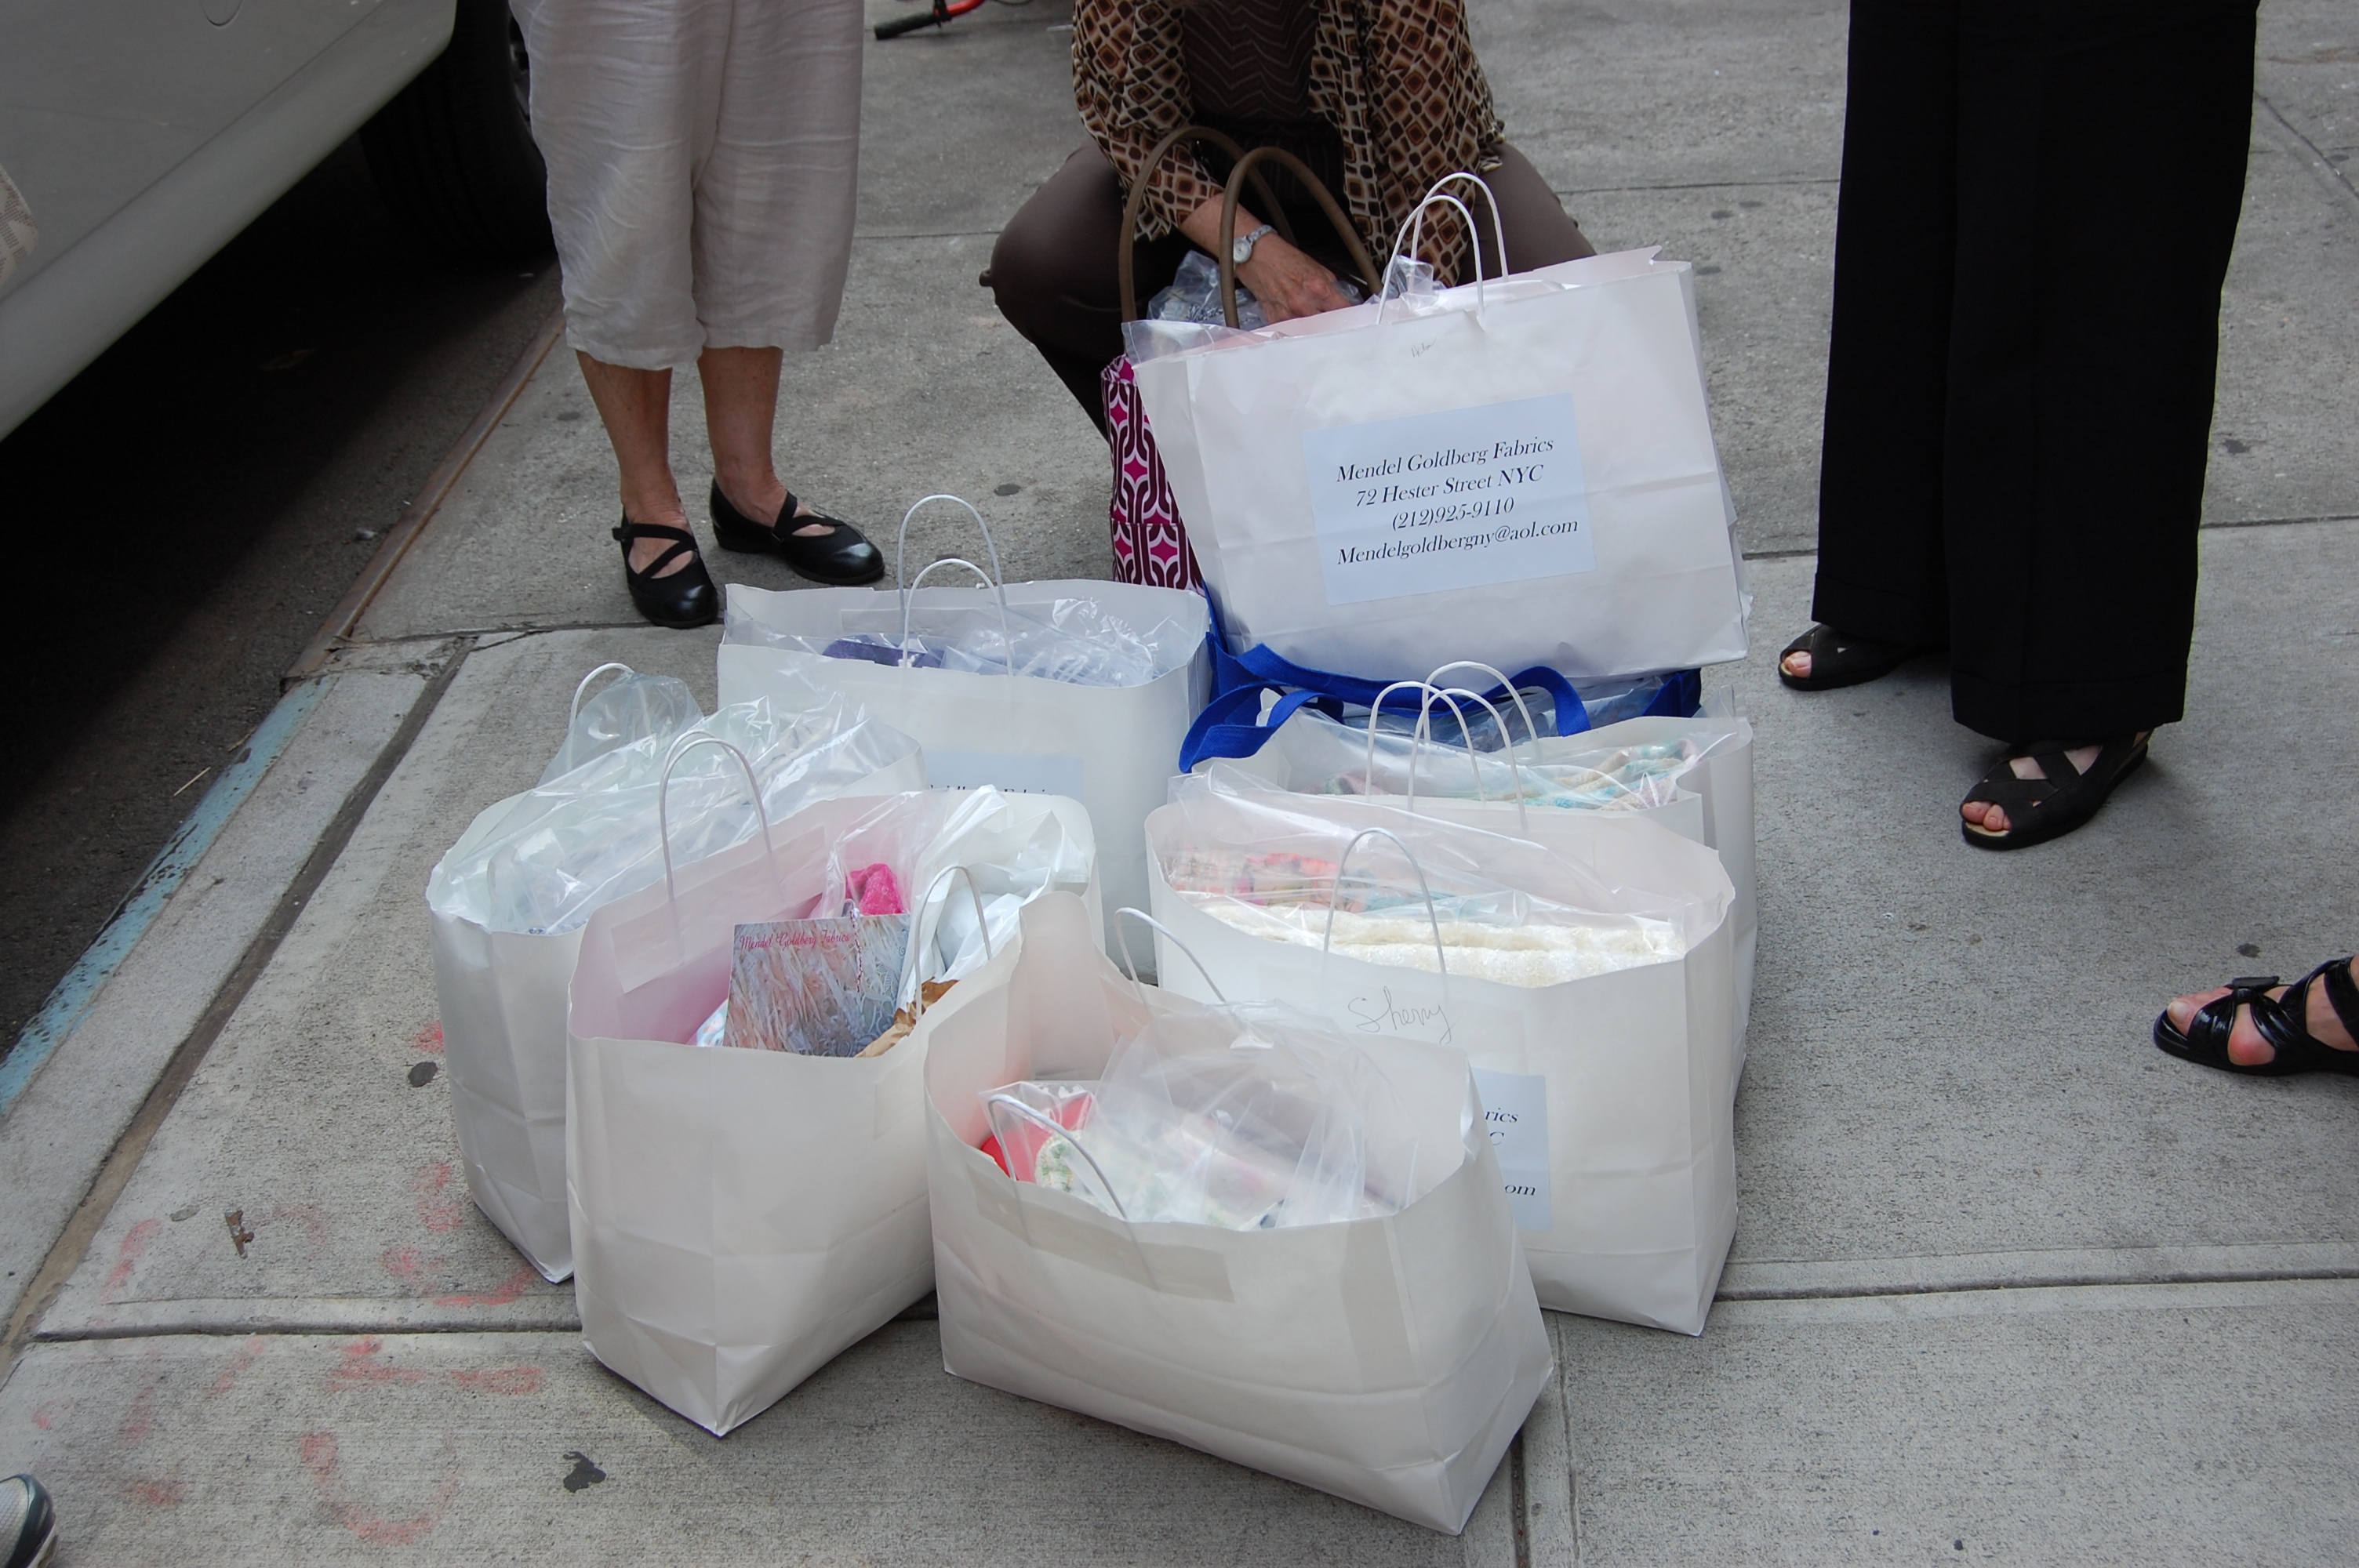
“Haute couture is made to order for a specific customer [that would be each of us in the class, choosing our own fabrics, trim and buttons], and it is usually made from high-quality, expensive fabric [the boucles and silks we purchased at Mendel Goldberg Fabrics certainly fit this description] and sewn with extreme attention to detail [check!] and finished by the most experienced and capable seamstresses [we are all much more experienced now that we have been under Susan’s tutelage for these projects, but, of course, constantly learning], often using time-consuming, hand-executed techniques [the majority of the work on one of these jackets is by hand, and yes, it is very time-consuming]. . . . An haute couture garment is made specifically for the wearer’s measurements and body stance [as our jackets were, expertly fitted on each of us by Susan].”
That fitting occurred in several parts. By now we each had the body of our jackets sewn together, and the next step was fitting our sleeve muslins onto those “vests” as we so fondly referred to them. All manner of changes needed to be made to those sleeve muslins – shoulders lengthened or shortened, bulk added or subtracted to the widths, armholes tightened or loosened, lengths of sleeves adjusted for full-length, bracelet length, or three-quarter (purely a personal choice, another part of the custom aspect).
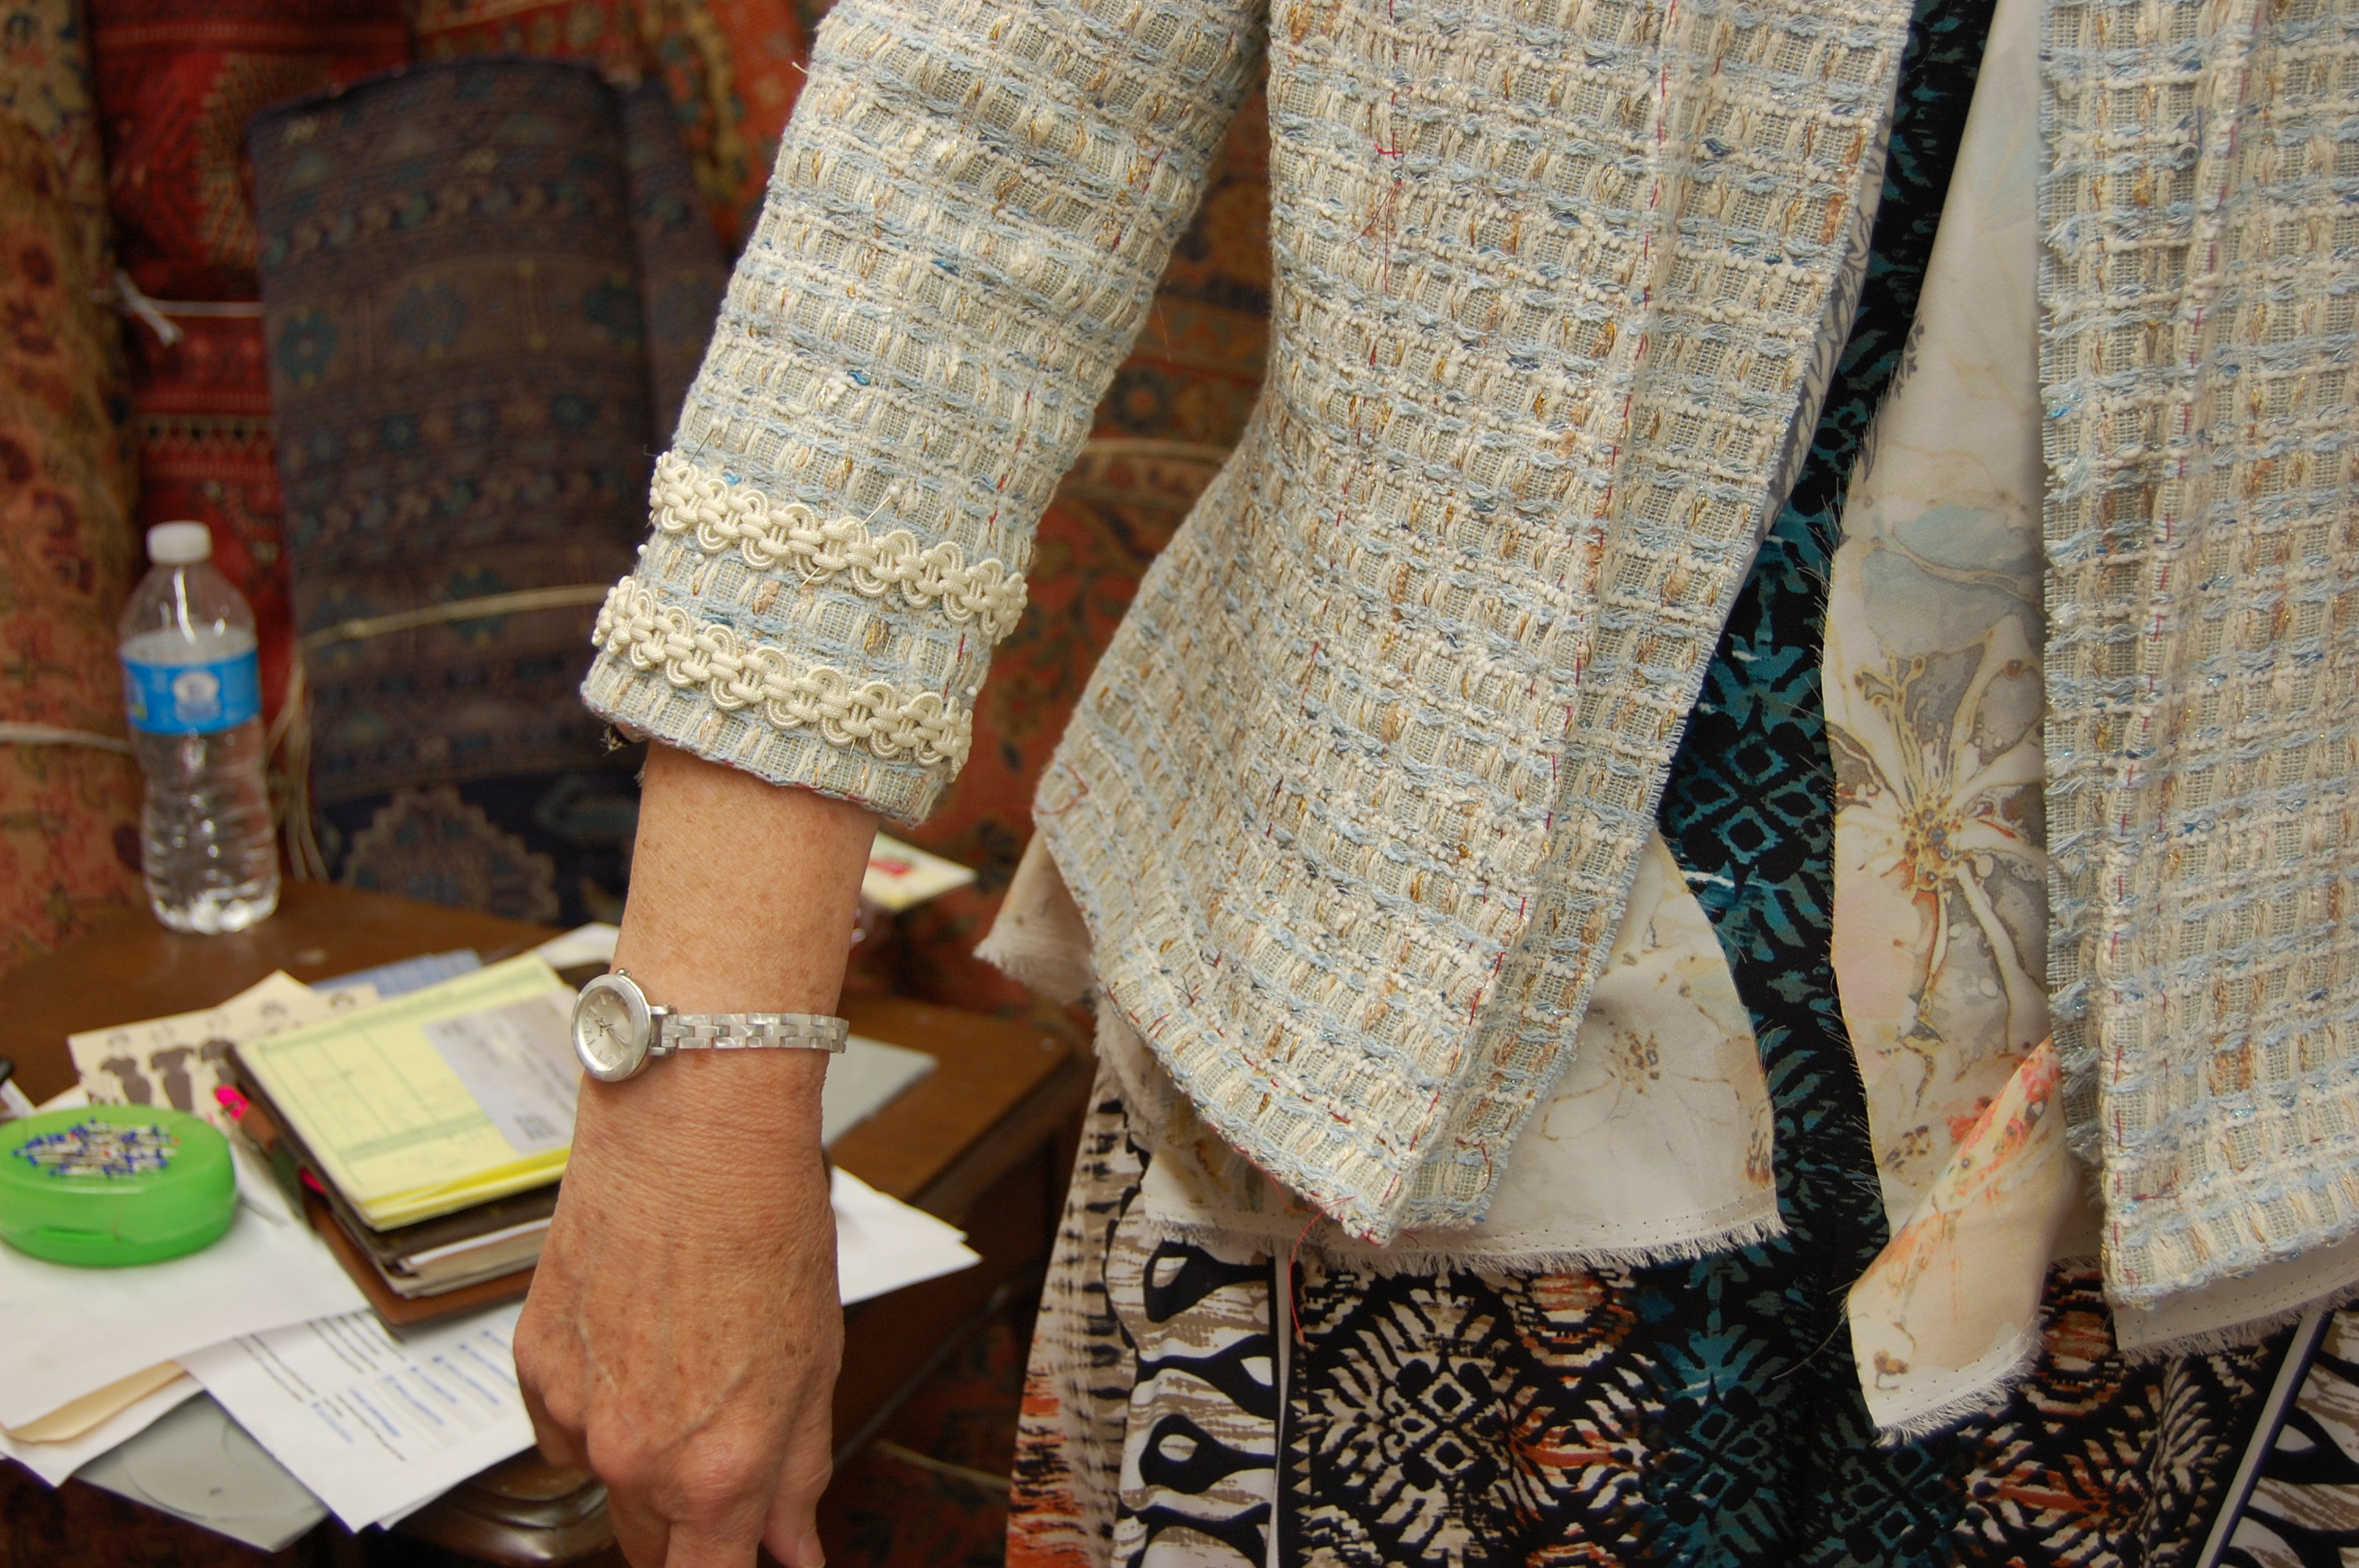
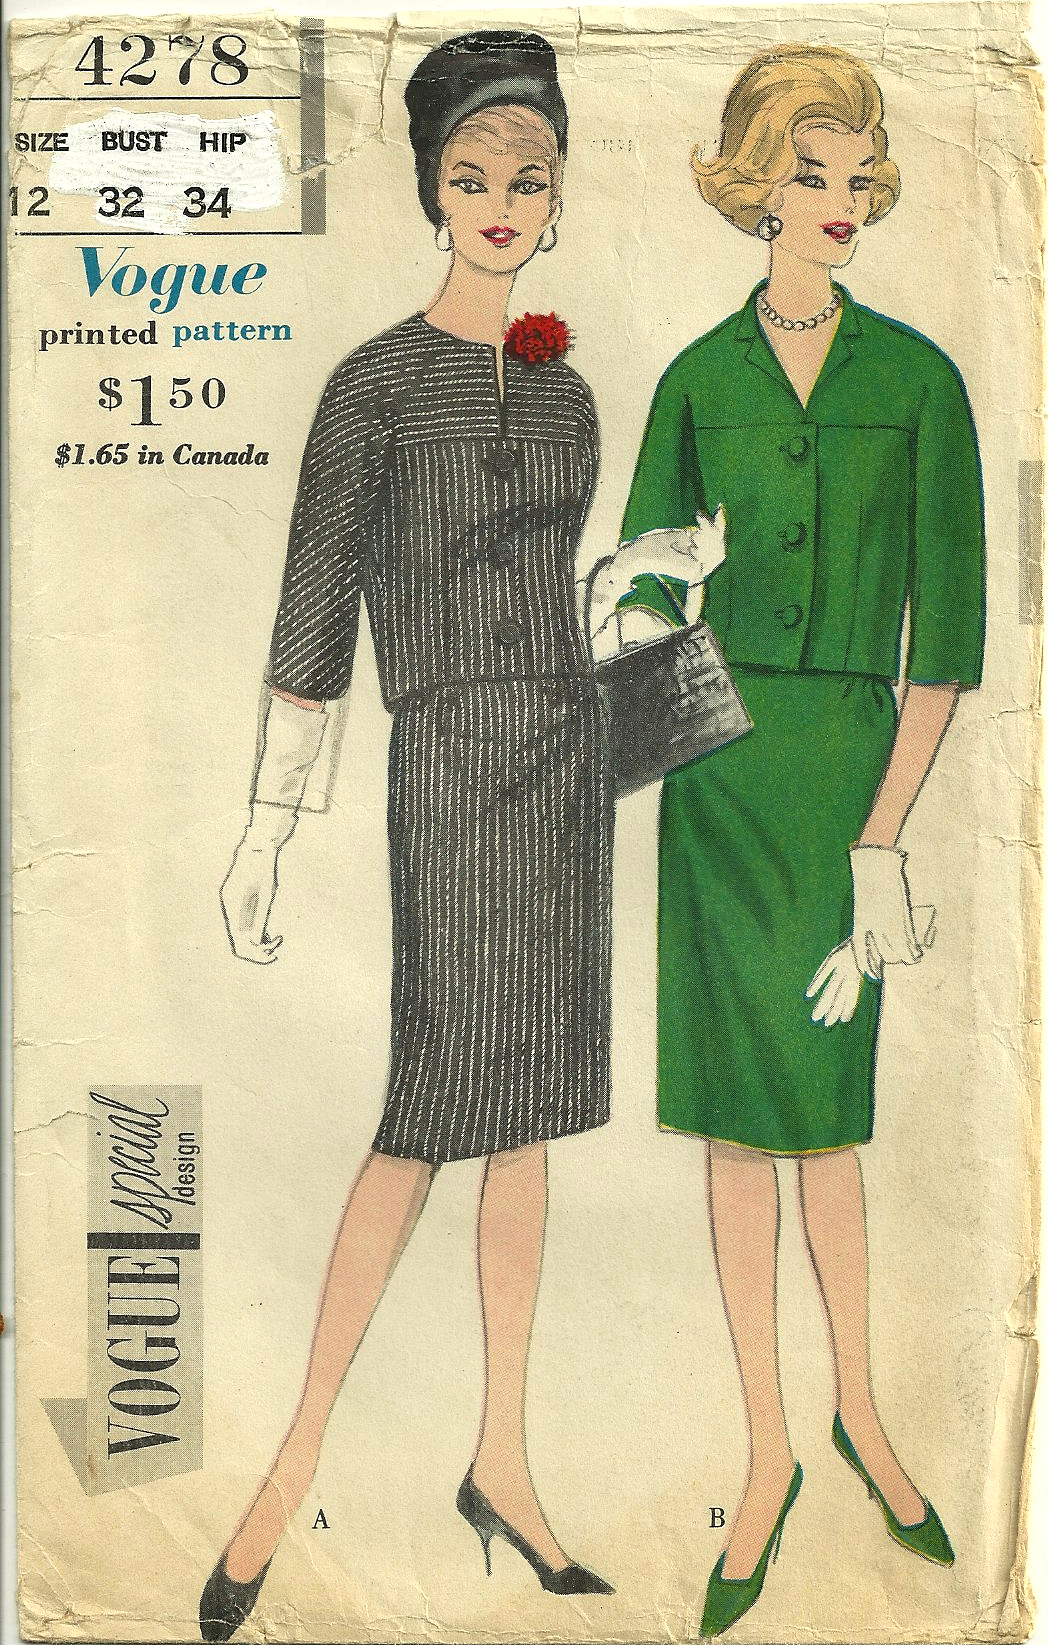
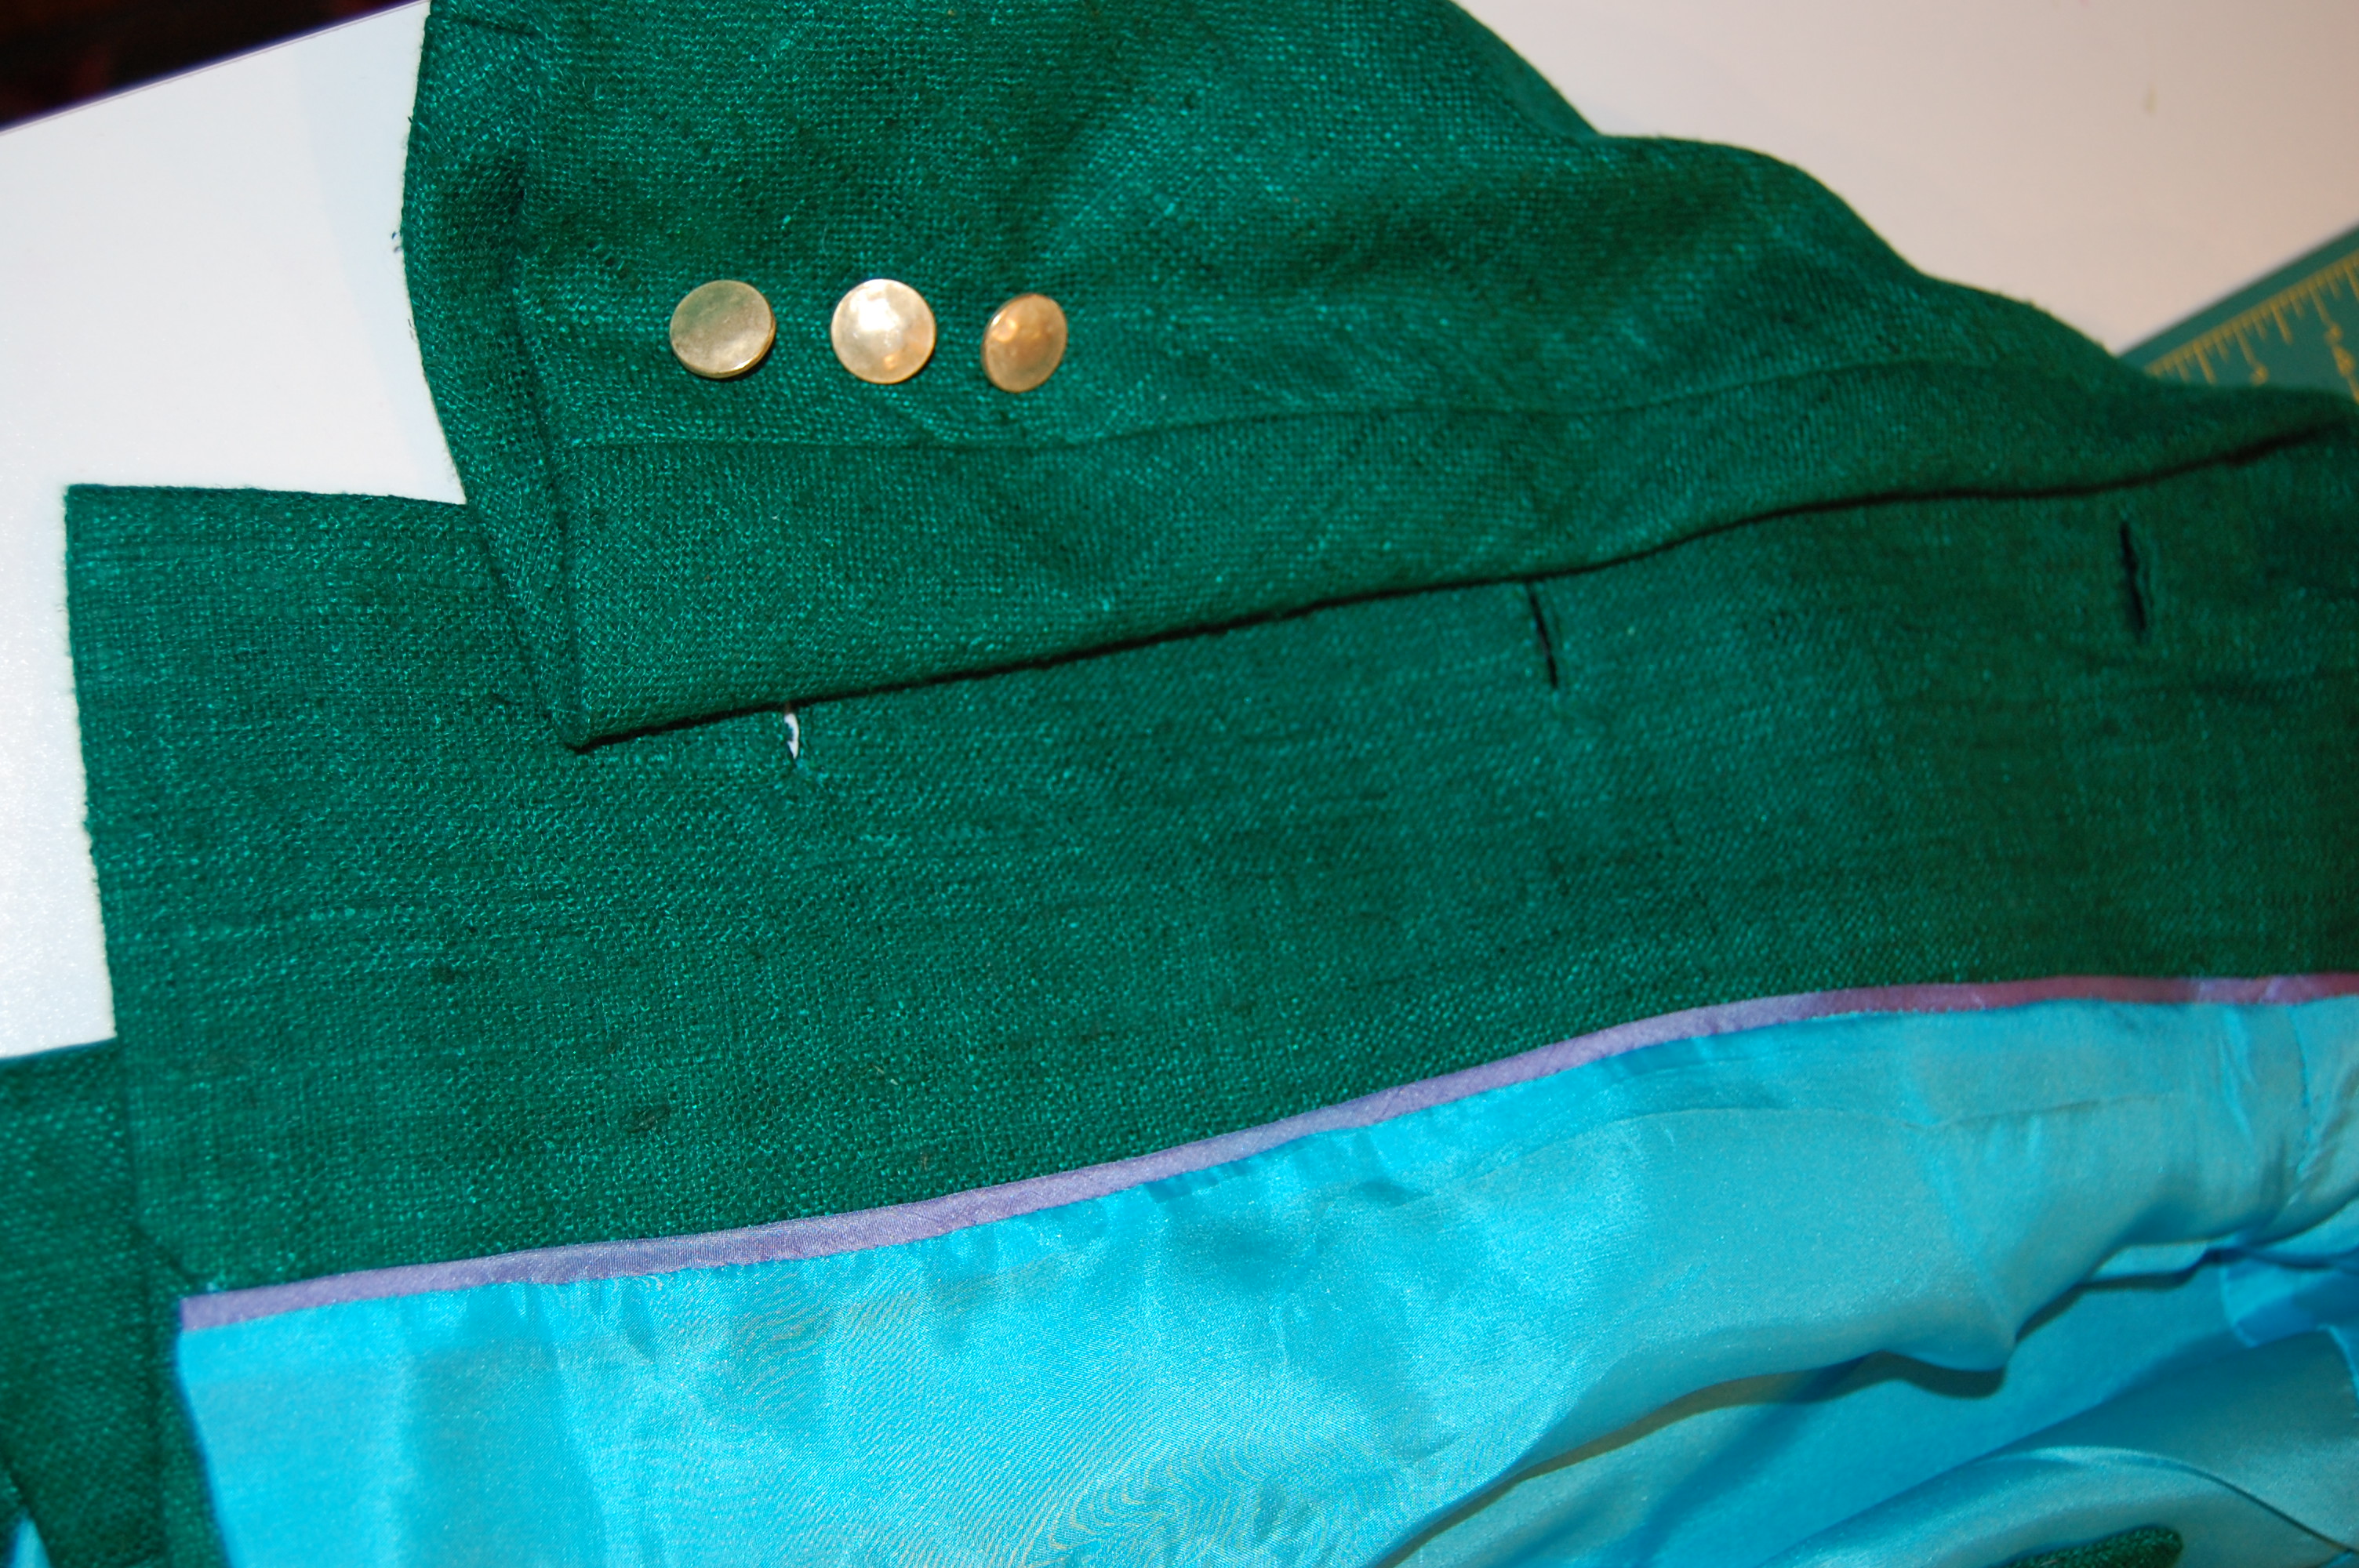
Lucia decided on three- quarter length sleeves, with no plackets, but double rows of trim.
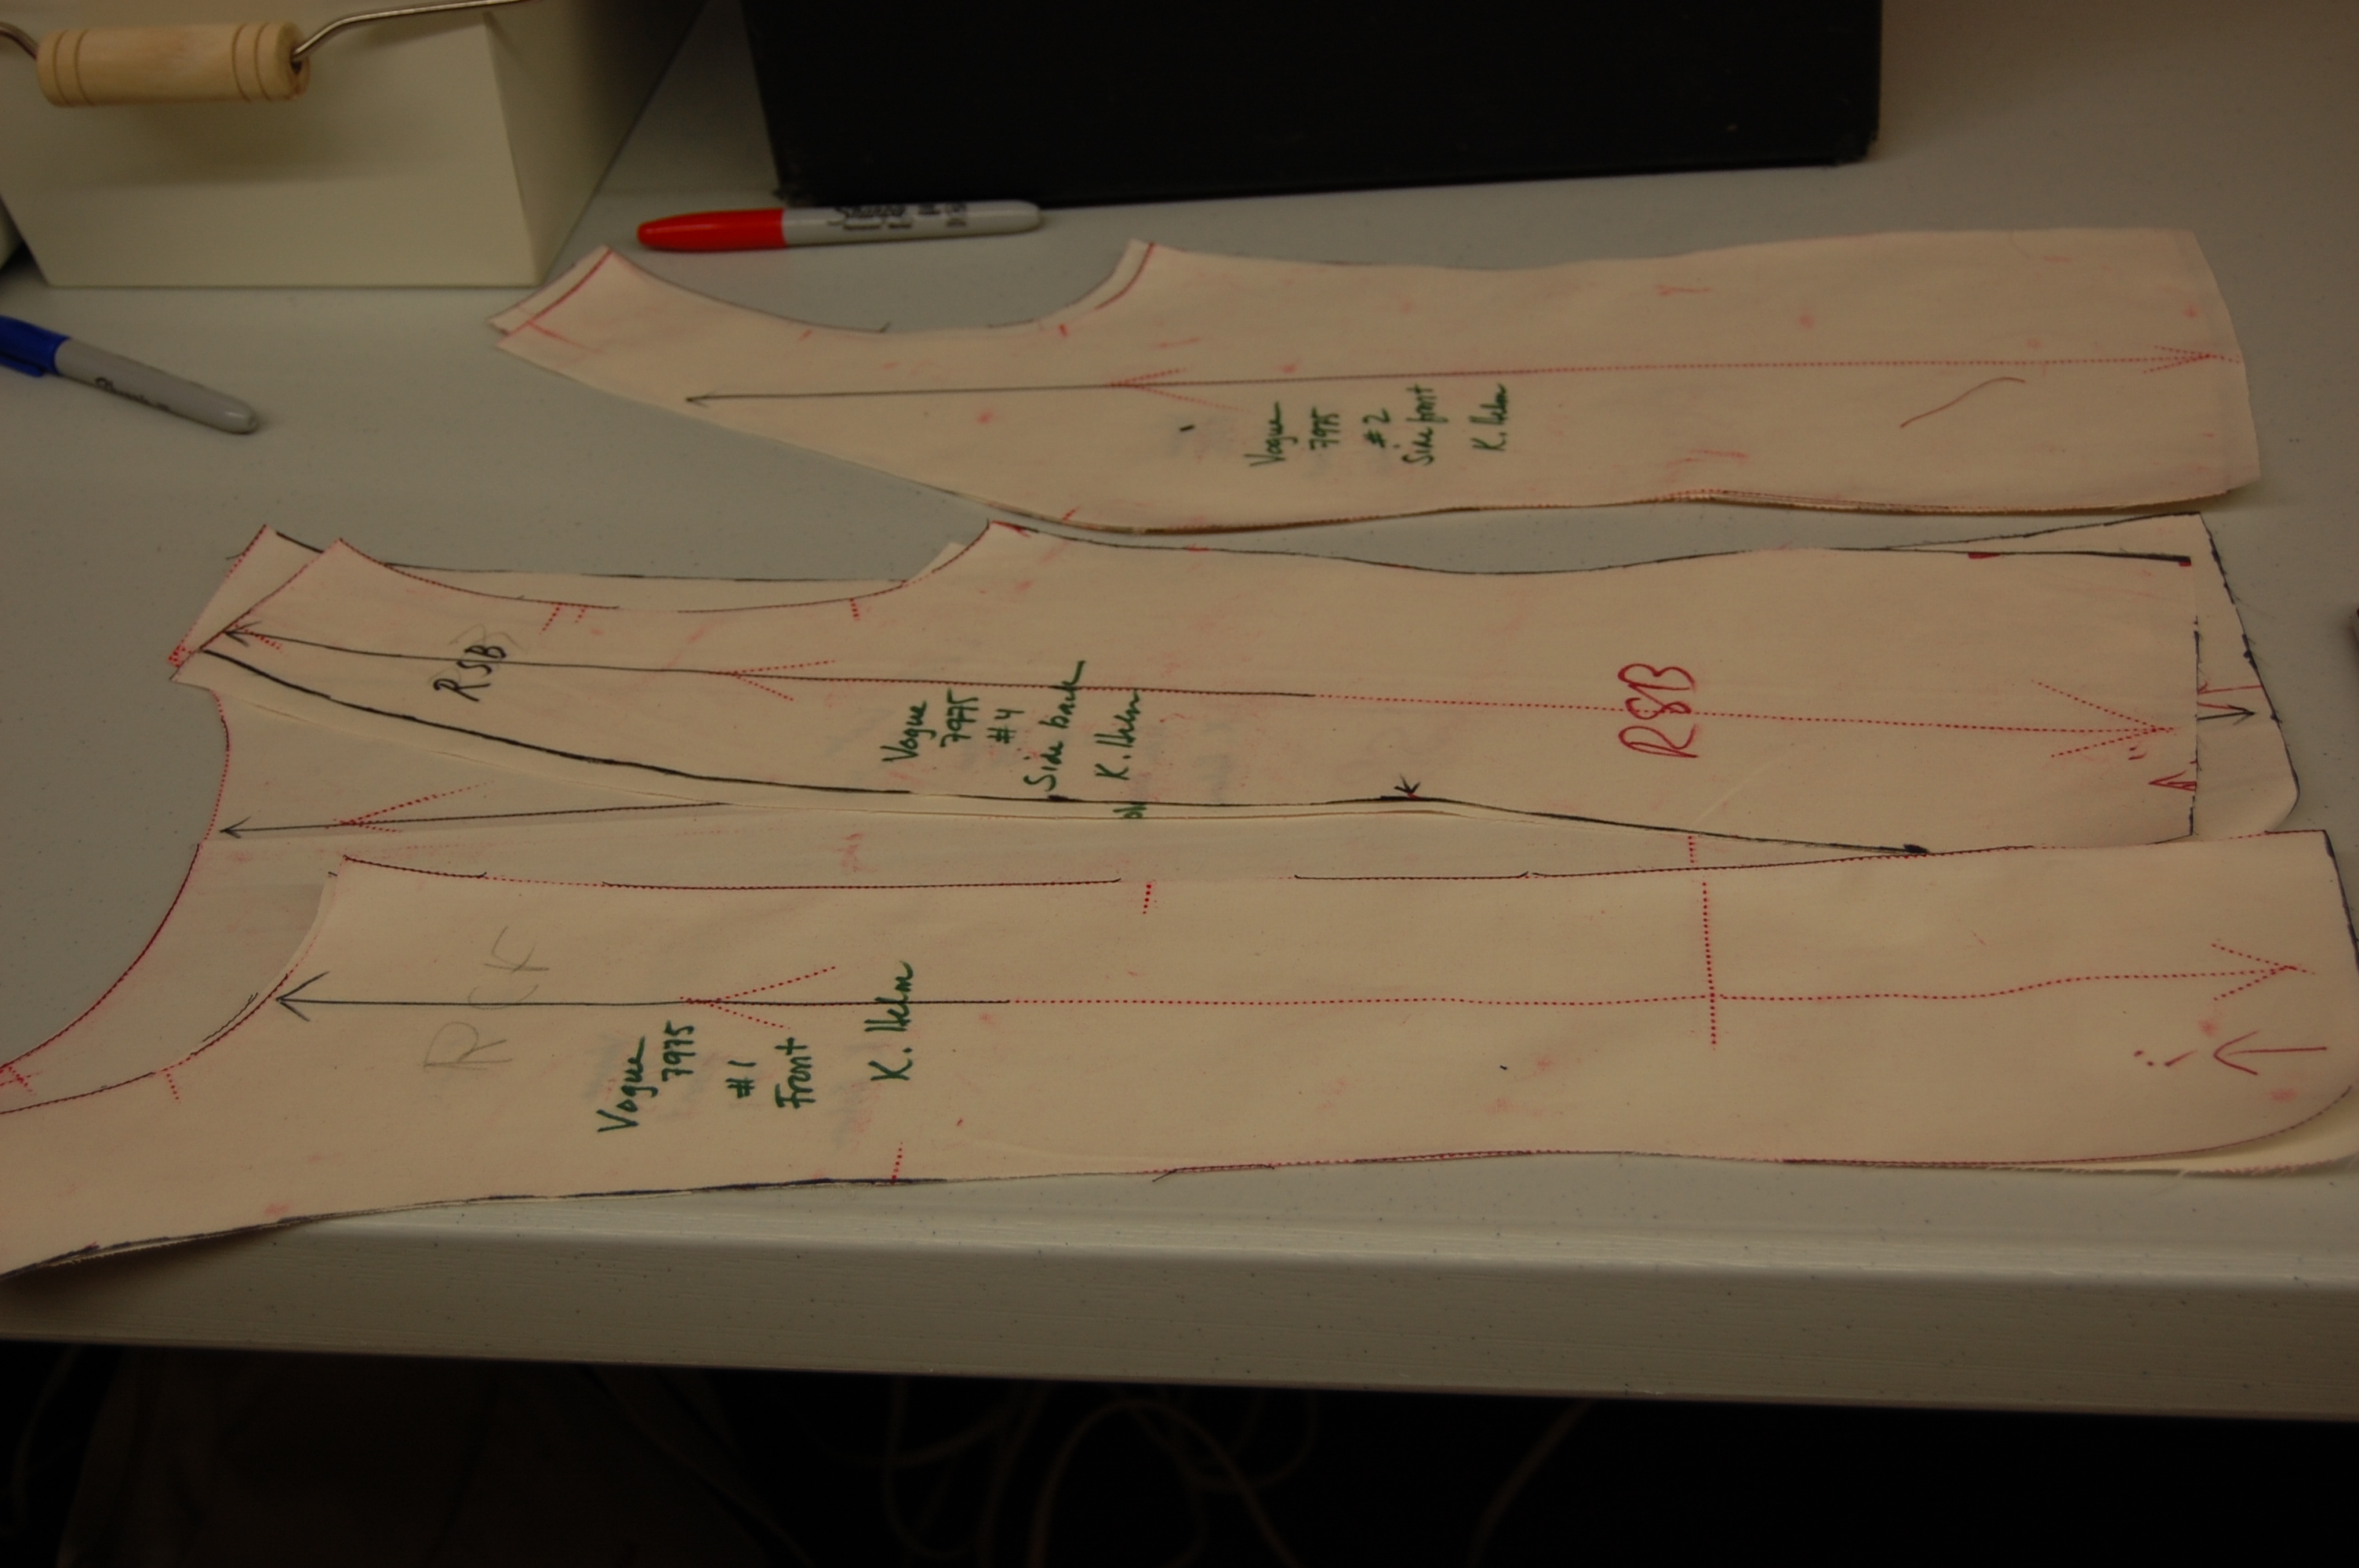
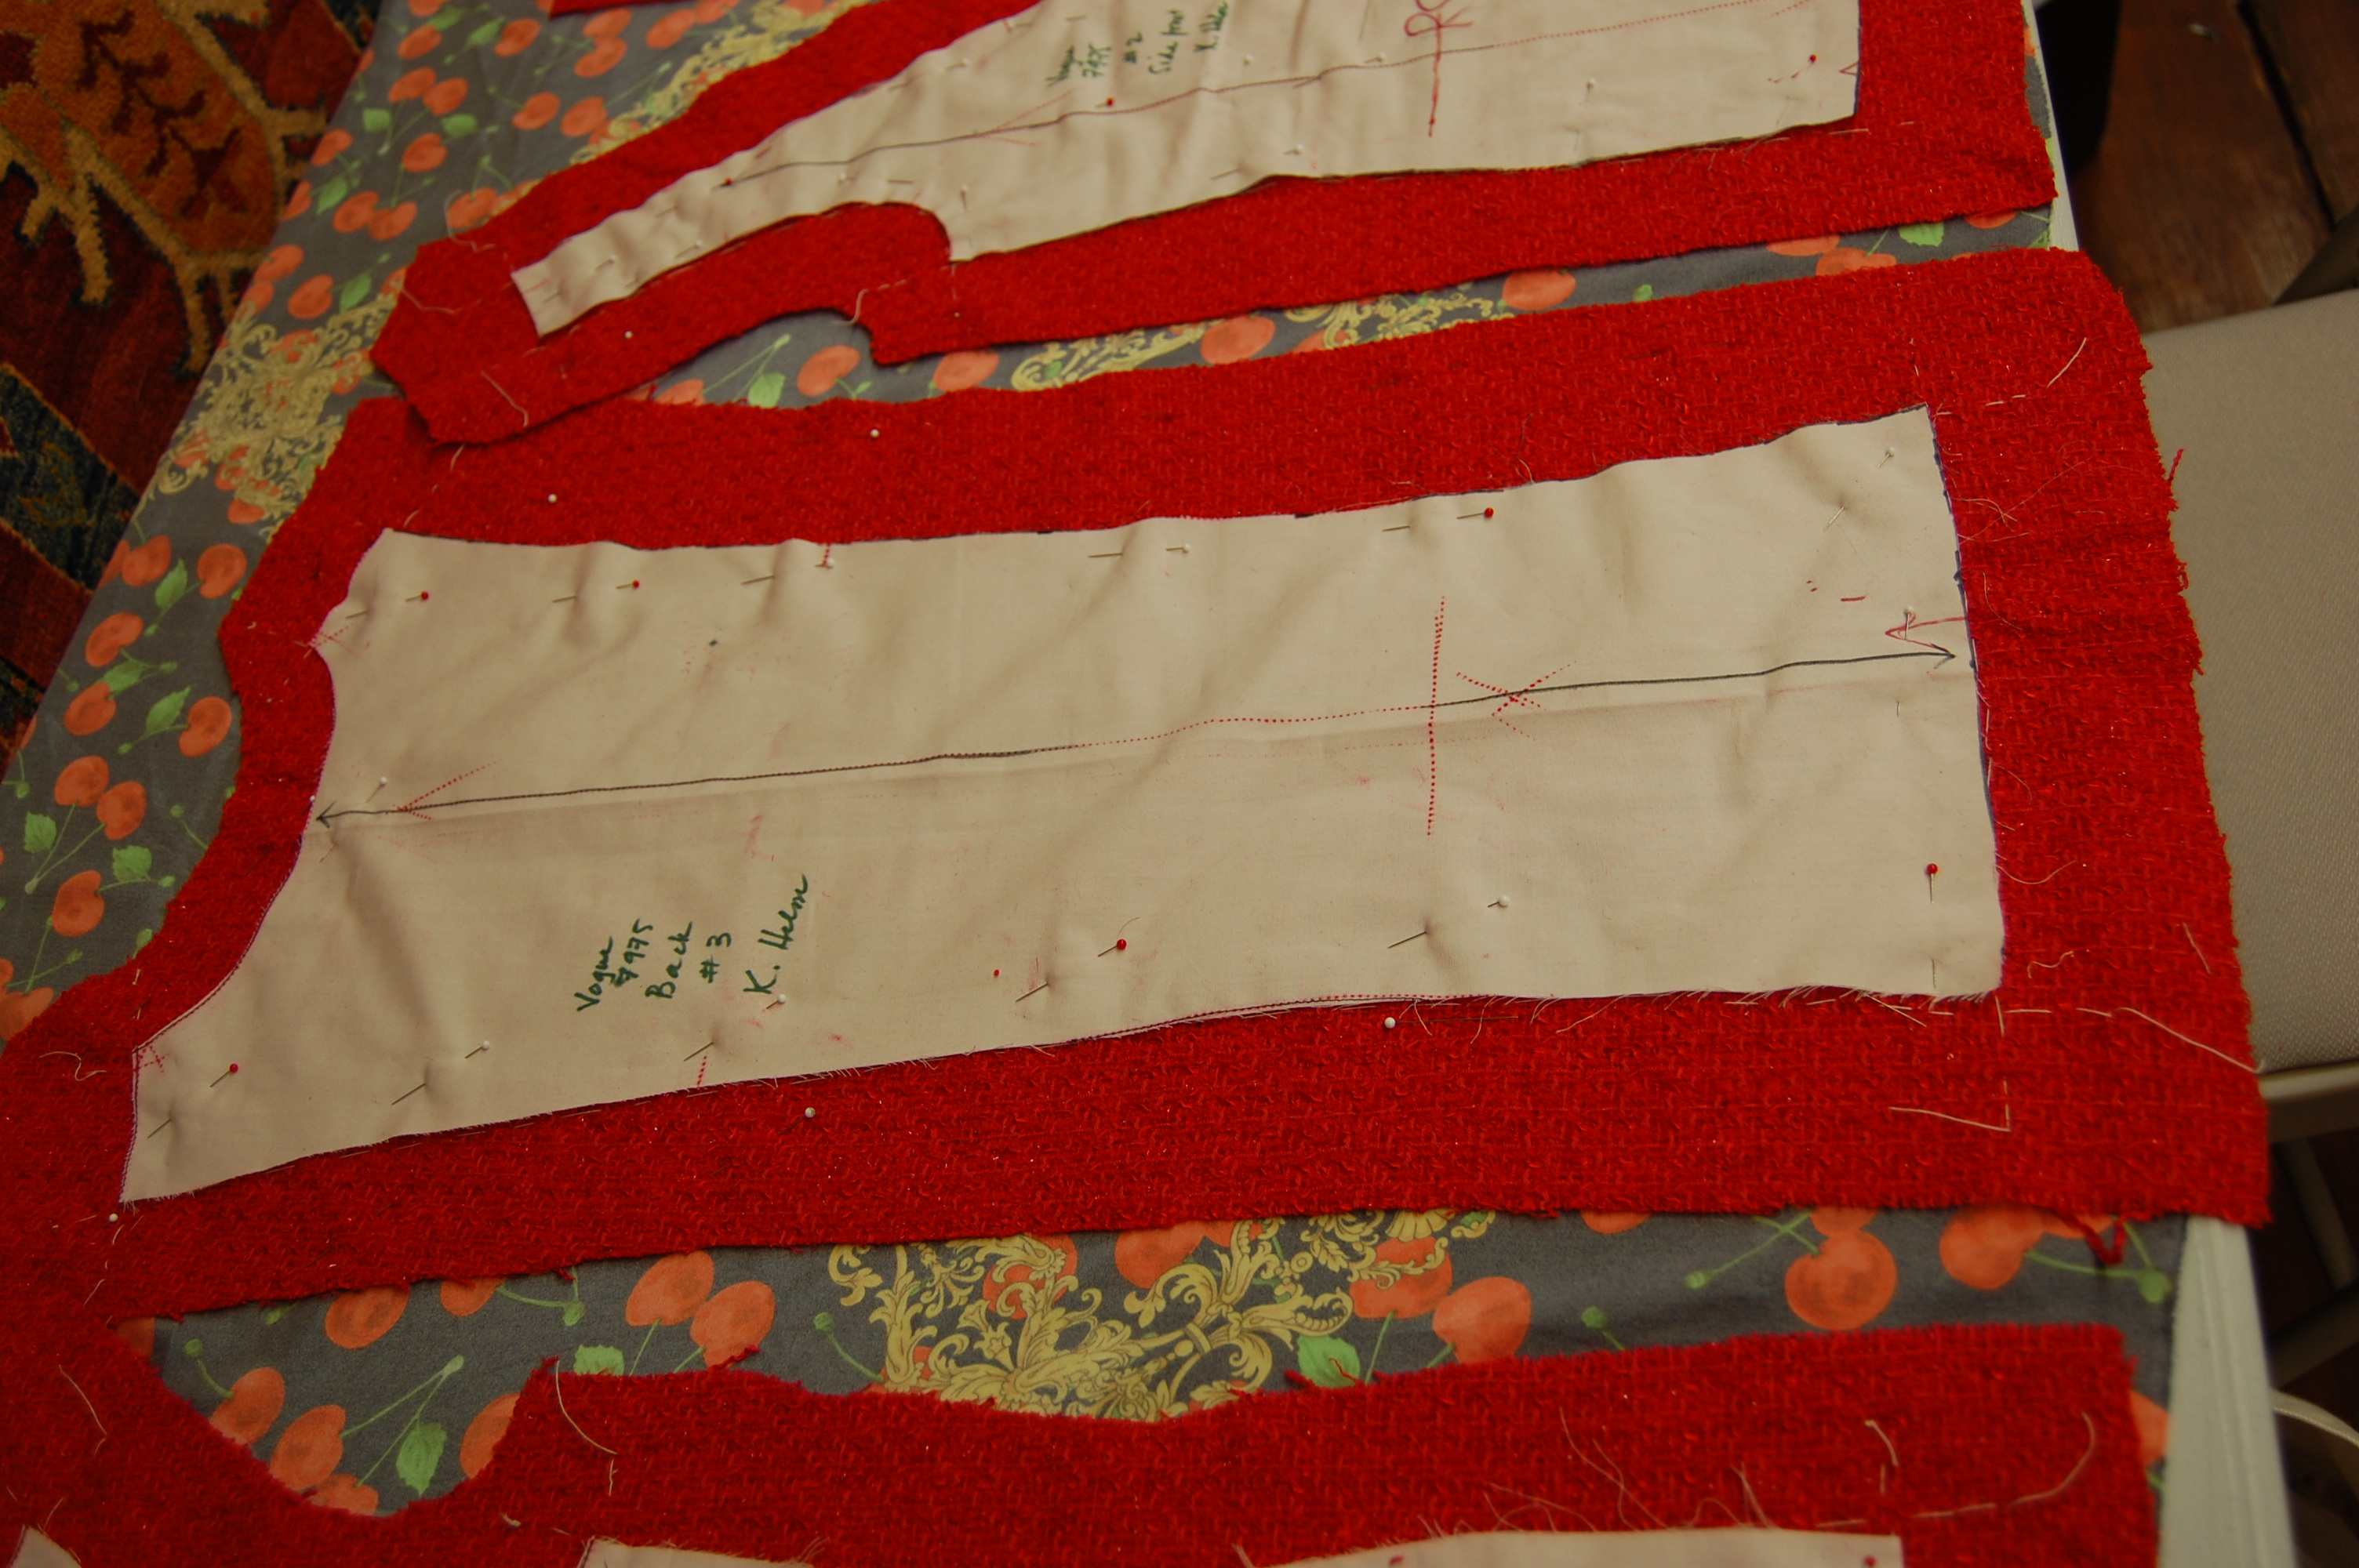
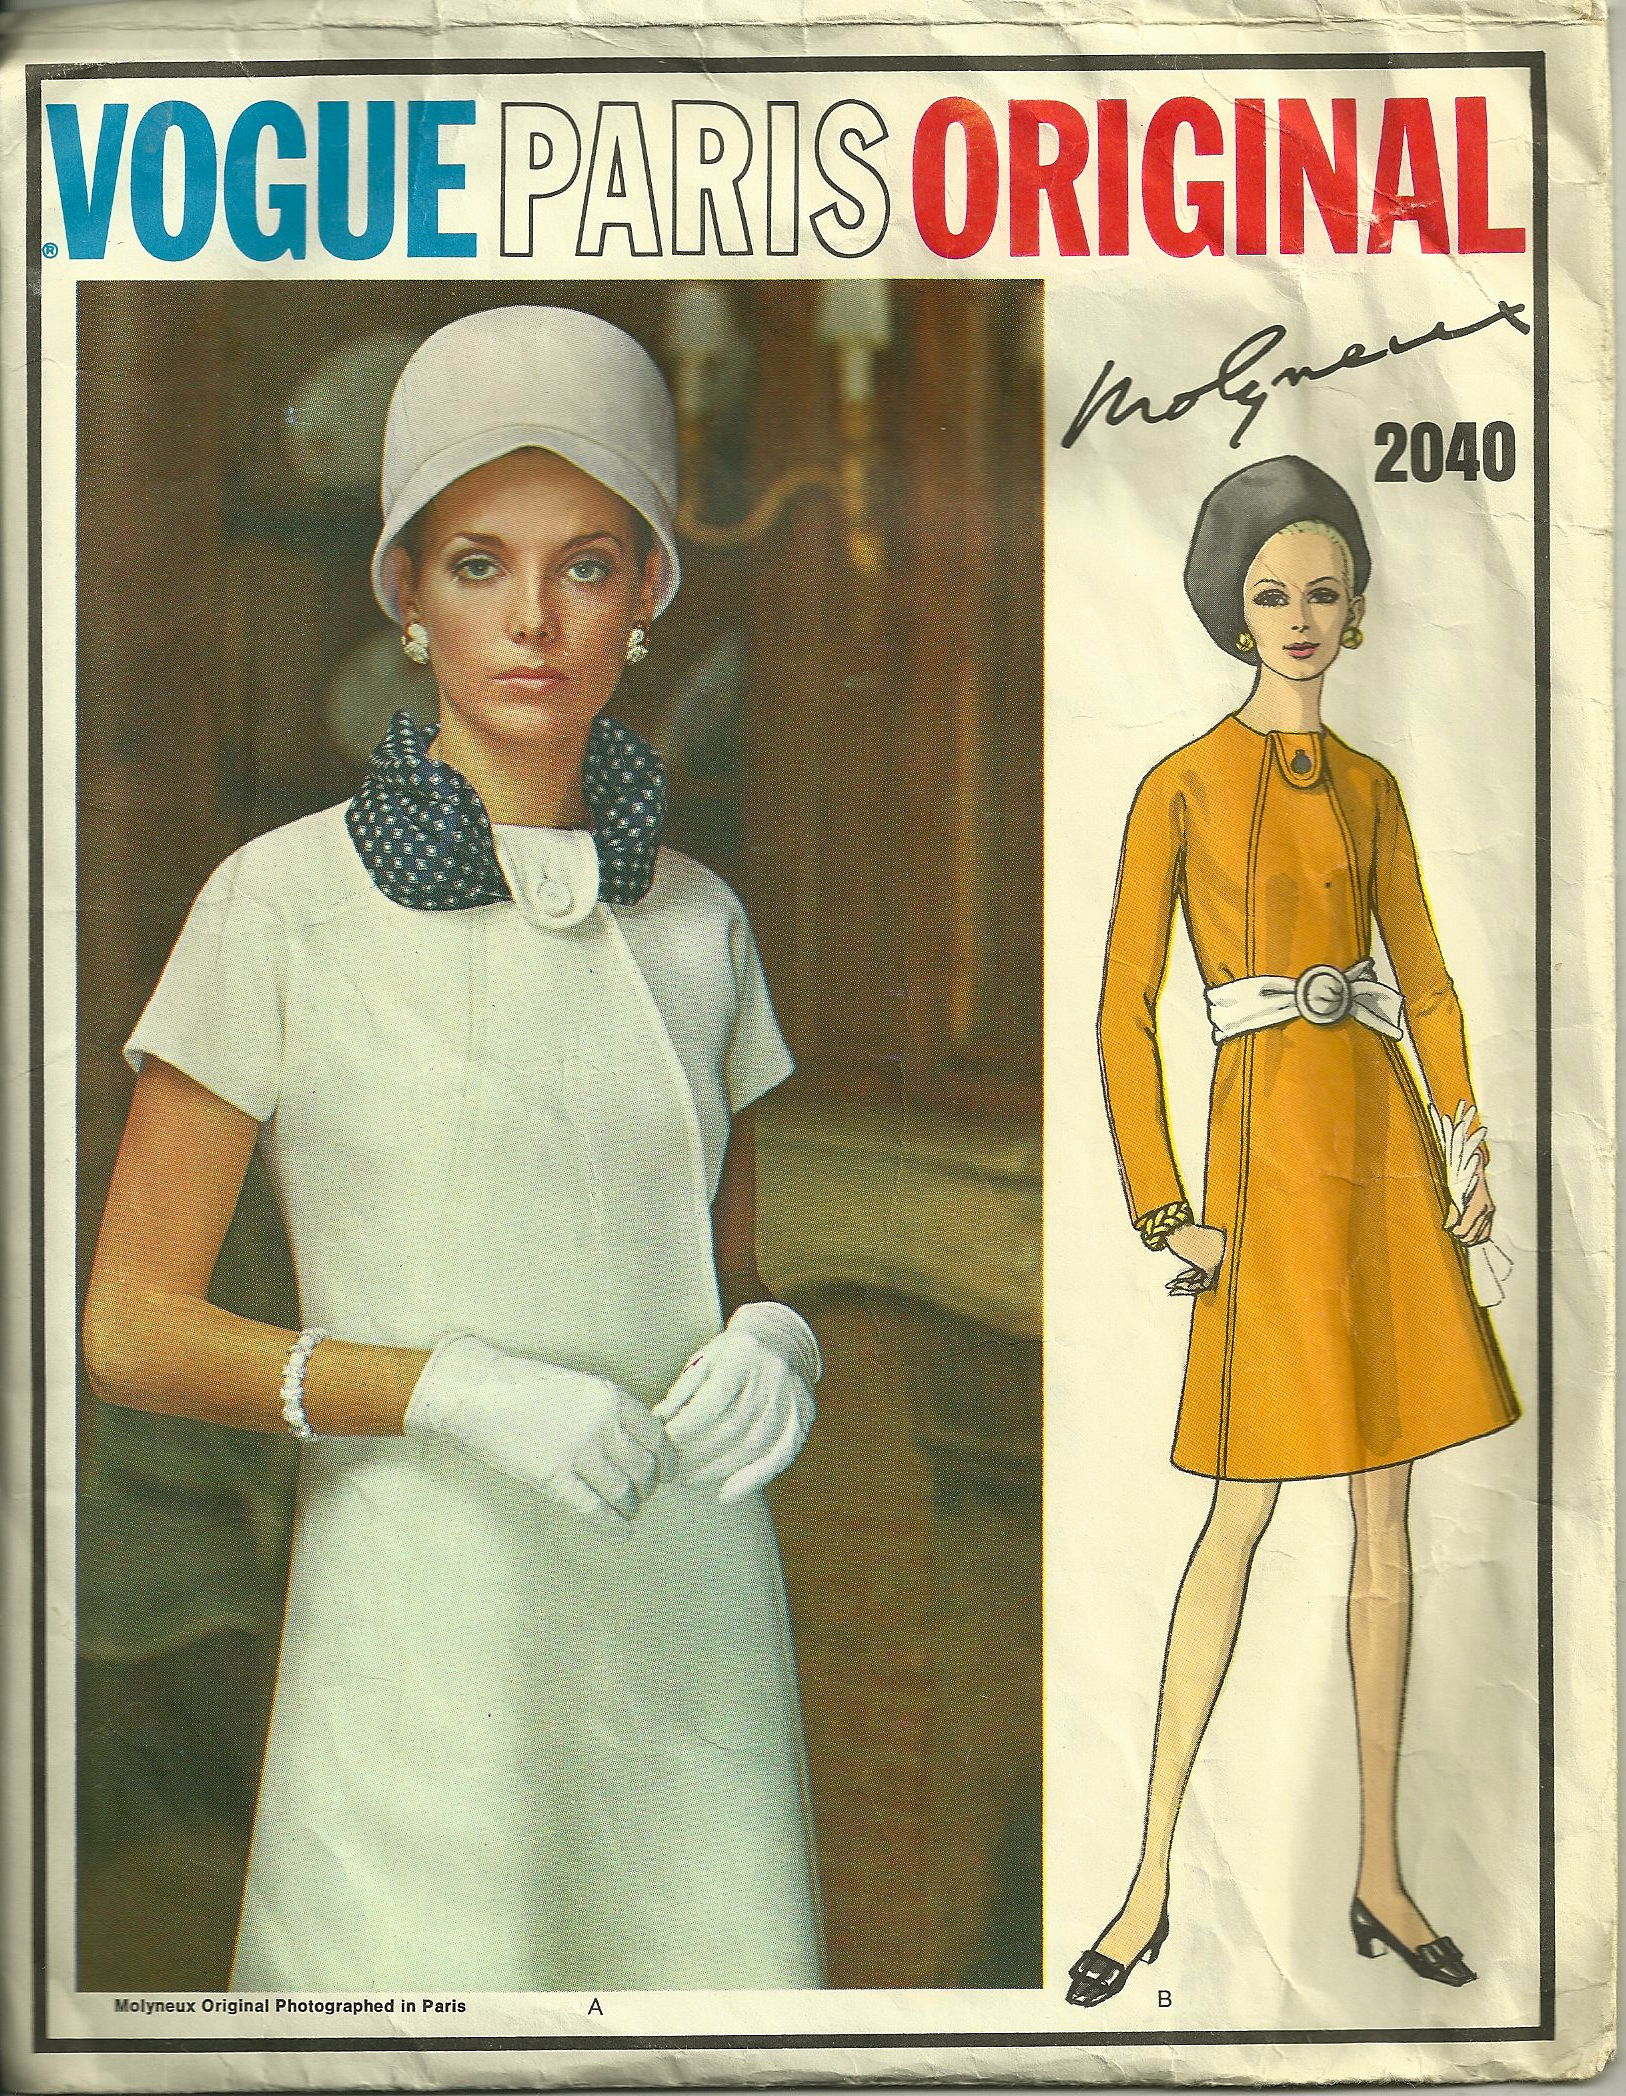
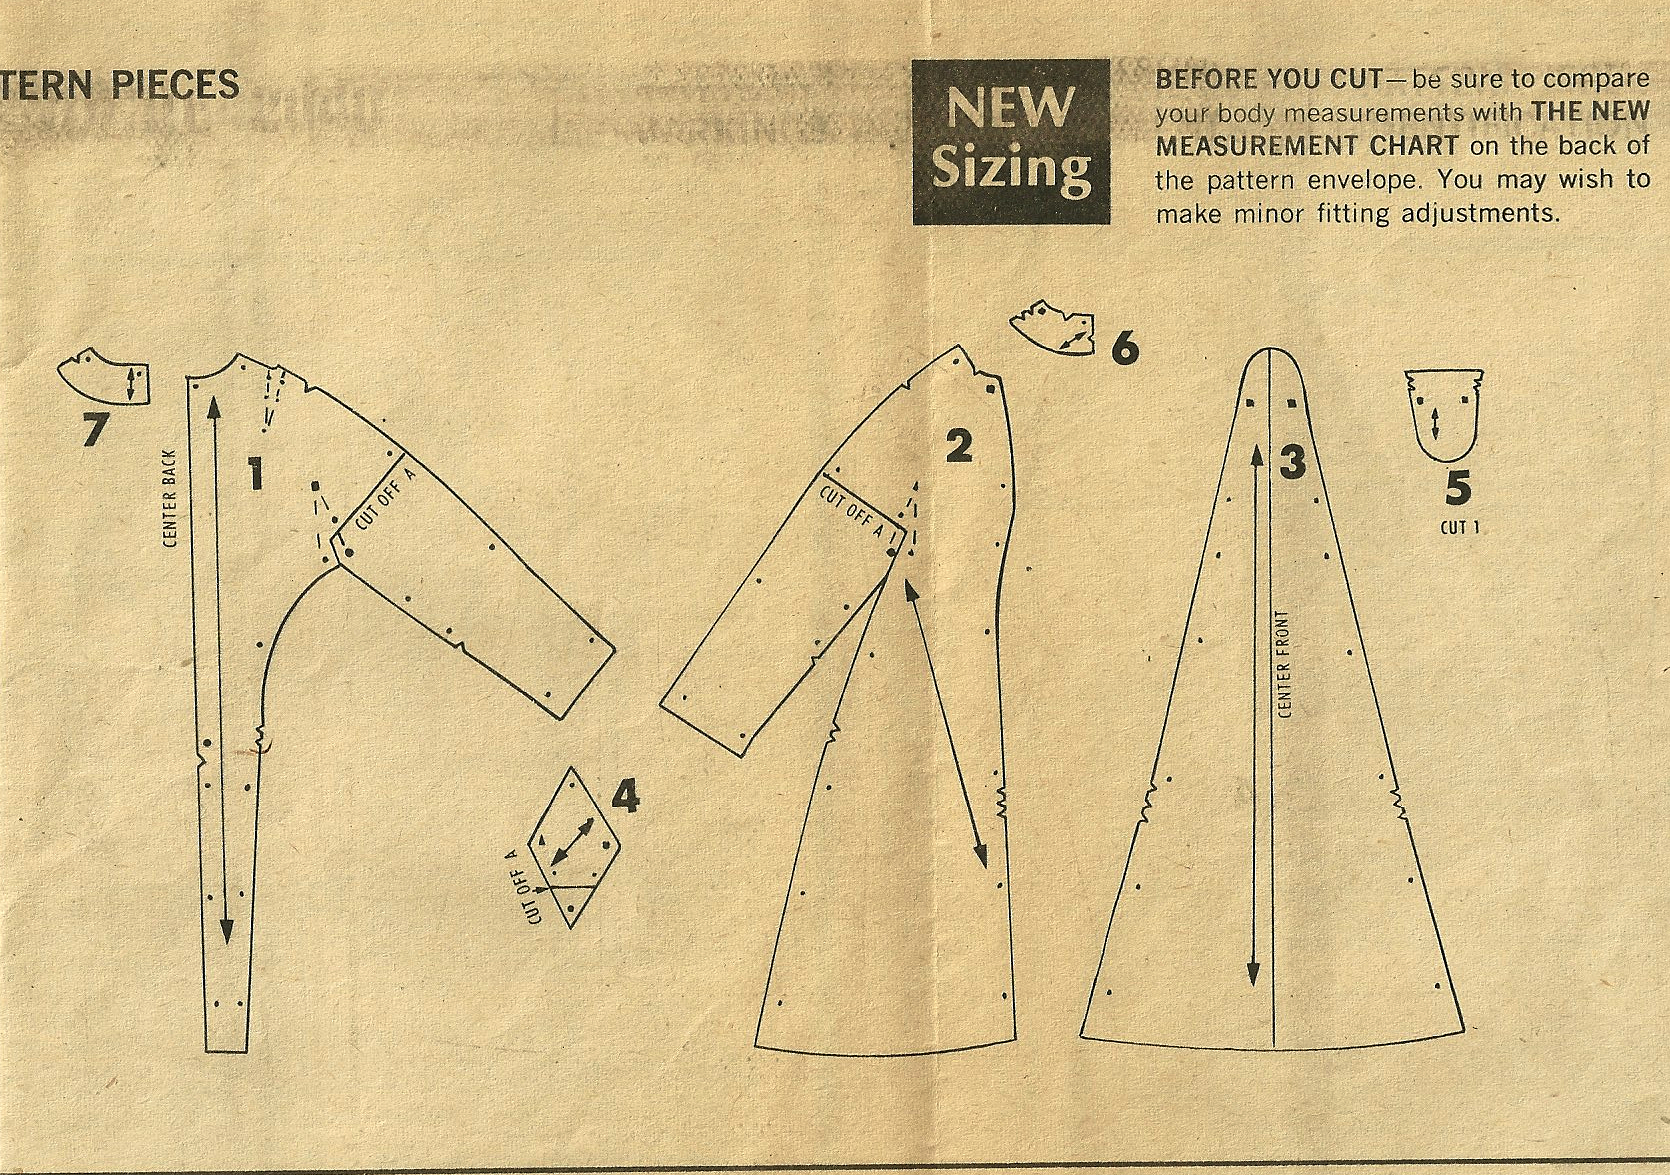
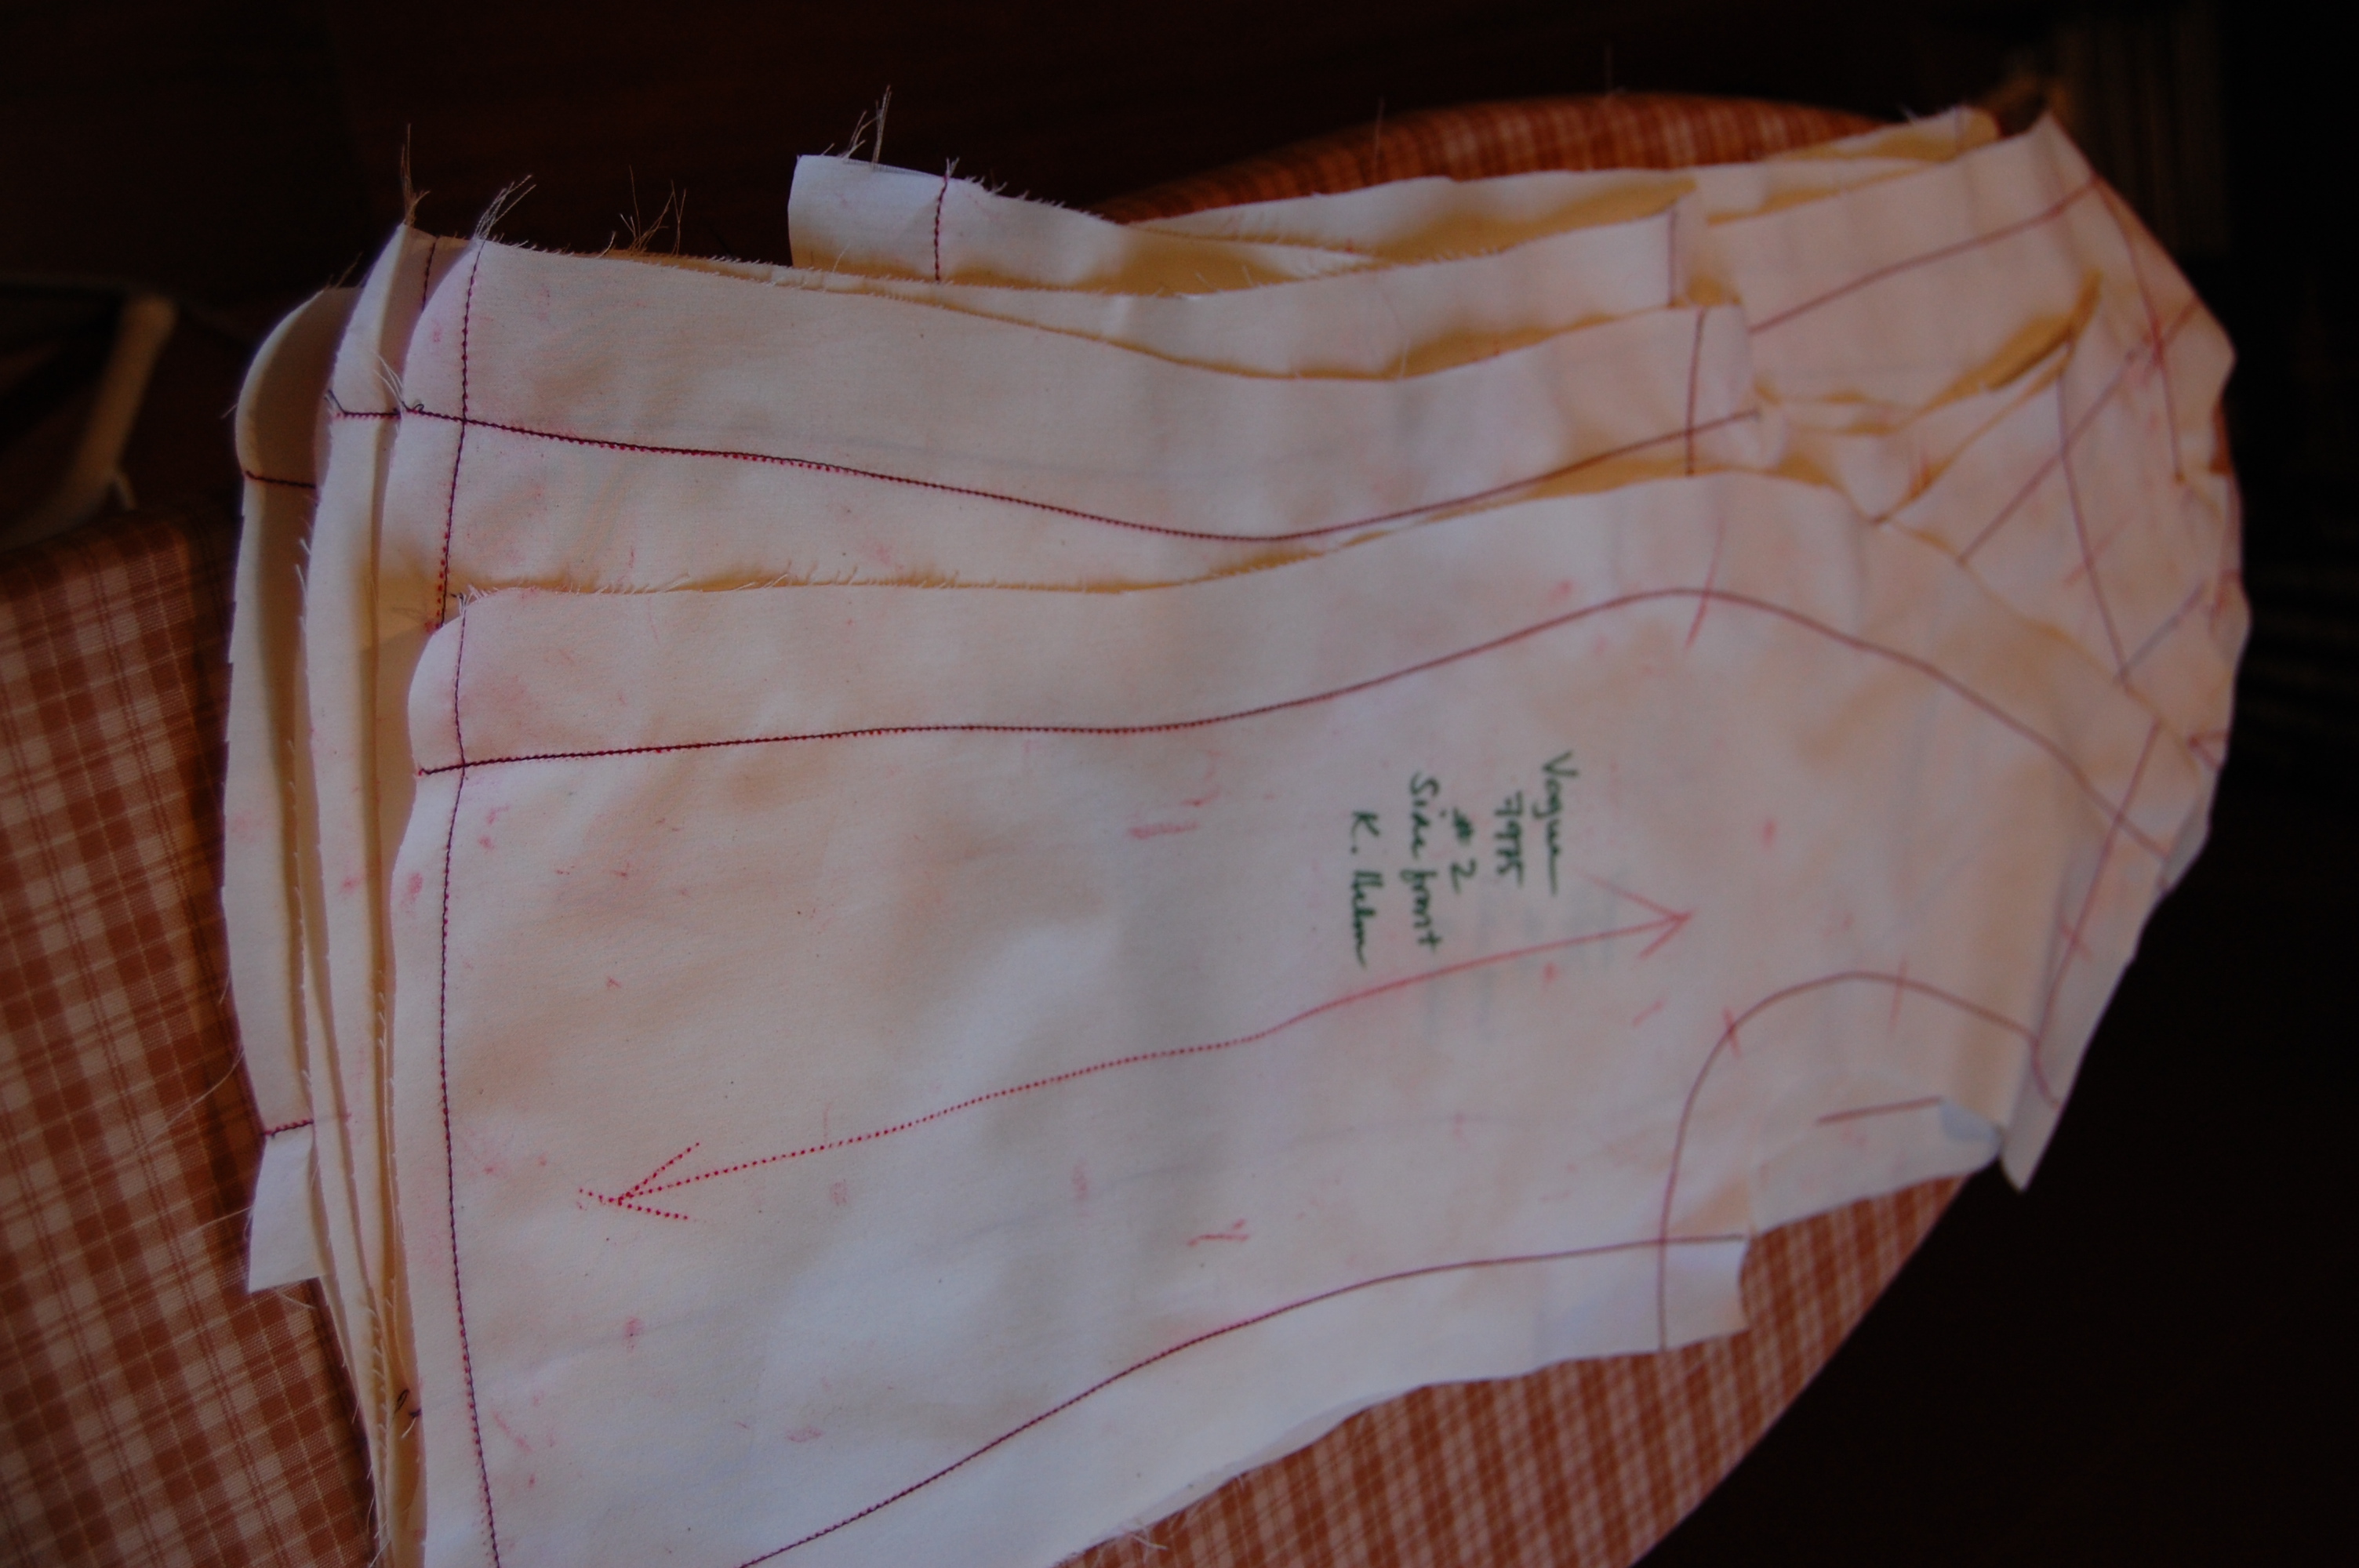
One of the elements of these jackets which makes them so custom is the unusual “sectioning” of the sleeves. The sleeve in the basic Vogue pattern is a two-piece sleeve. However, the sleeve in one of these classic French jackets is a three-piece sleeve. Once we had our muslin sleeves fitted, re-marked and taken apart, Susan showed us how to split the upper sleeve pattern piece into two sections, (1) to create a seam on the outer arm which facilitates fitting and helps to create shaping at the shoulder, and (2) allows for the addition and proper placement of a placket at the cuff for trim and buttons.
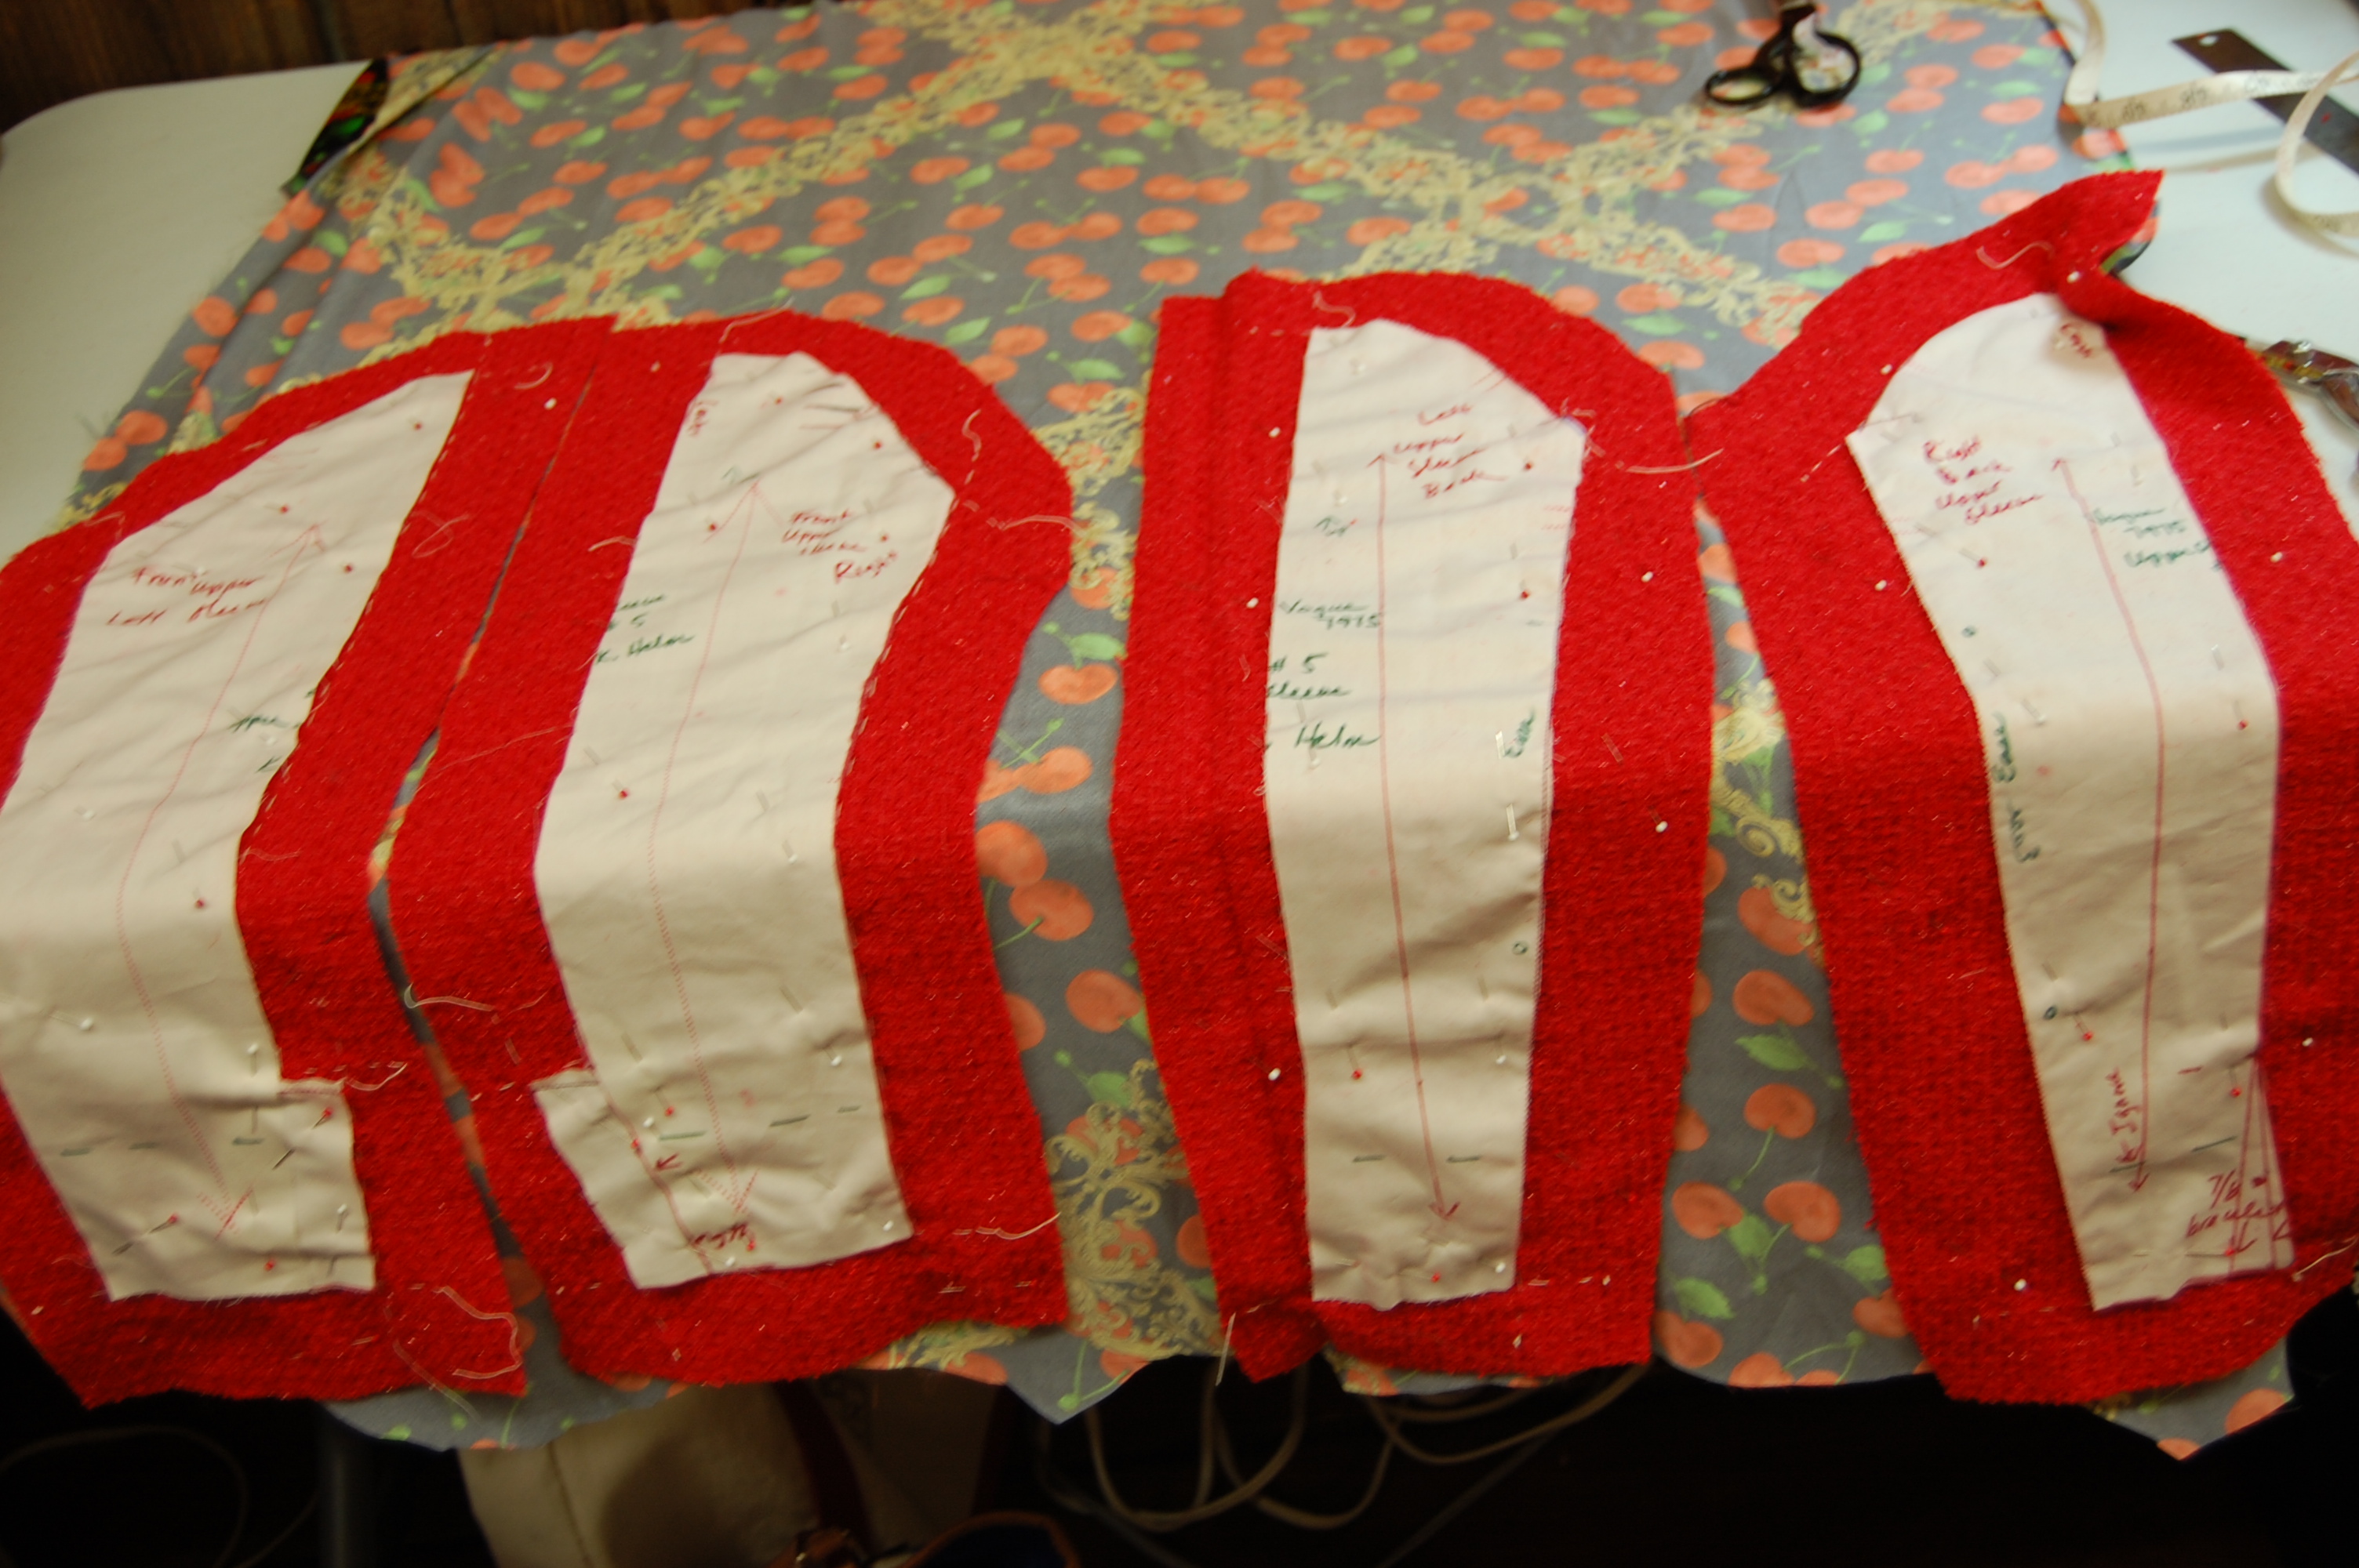
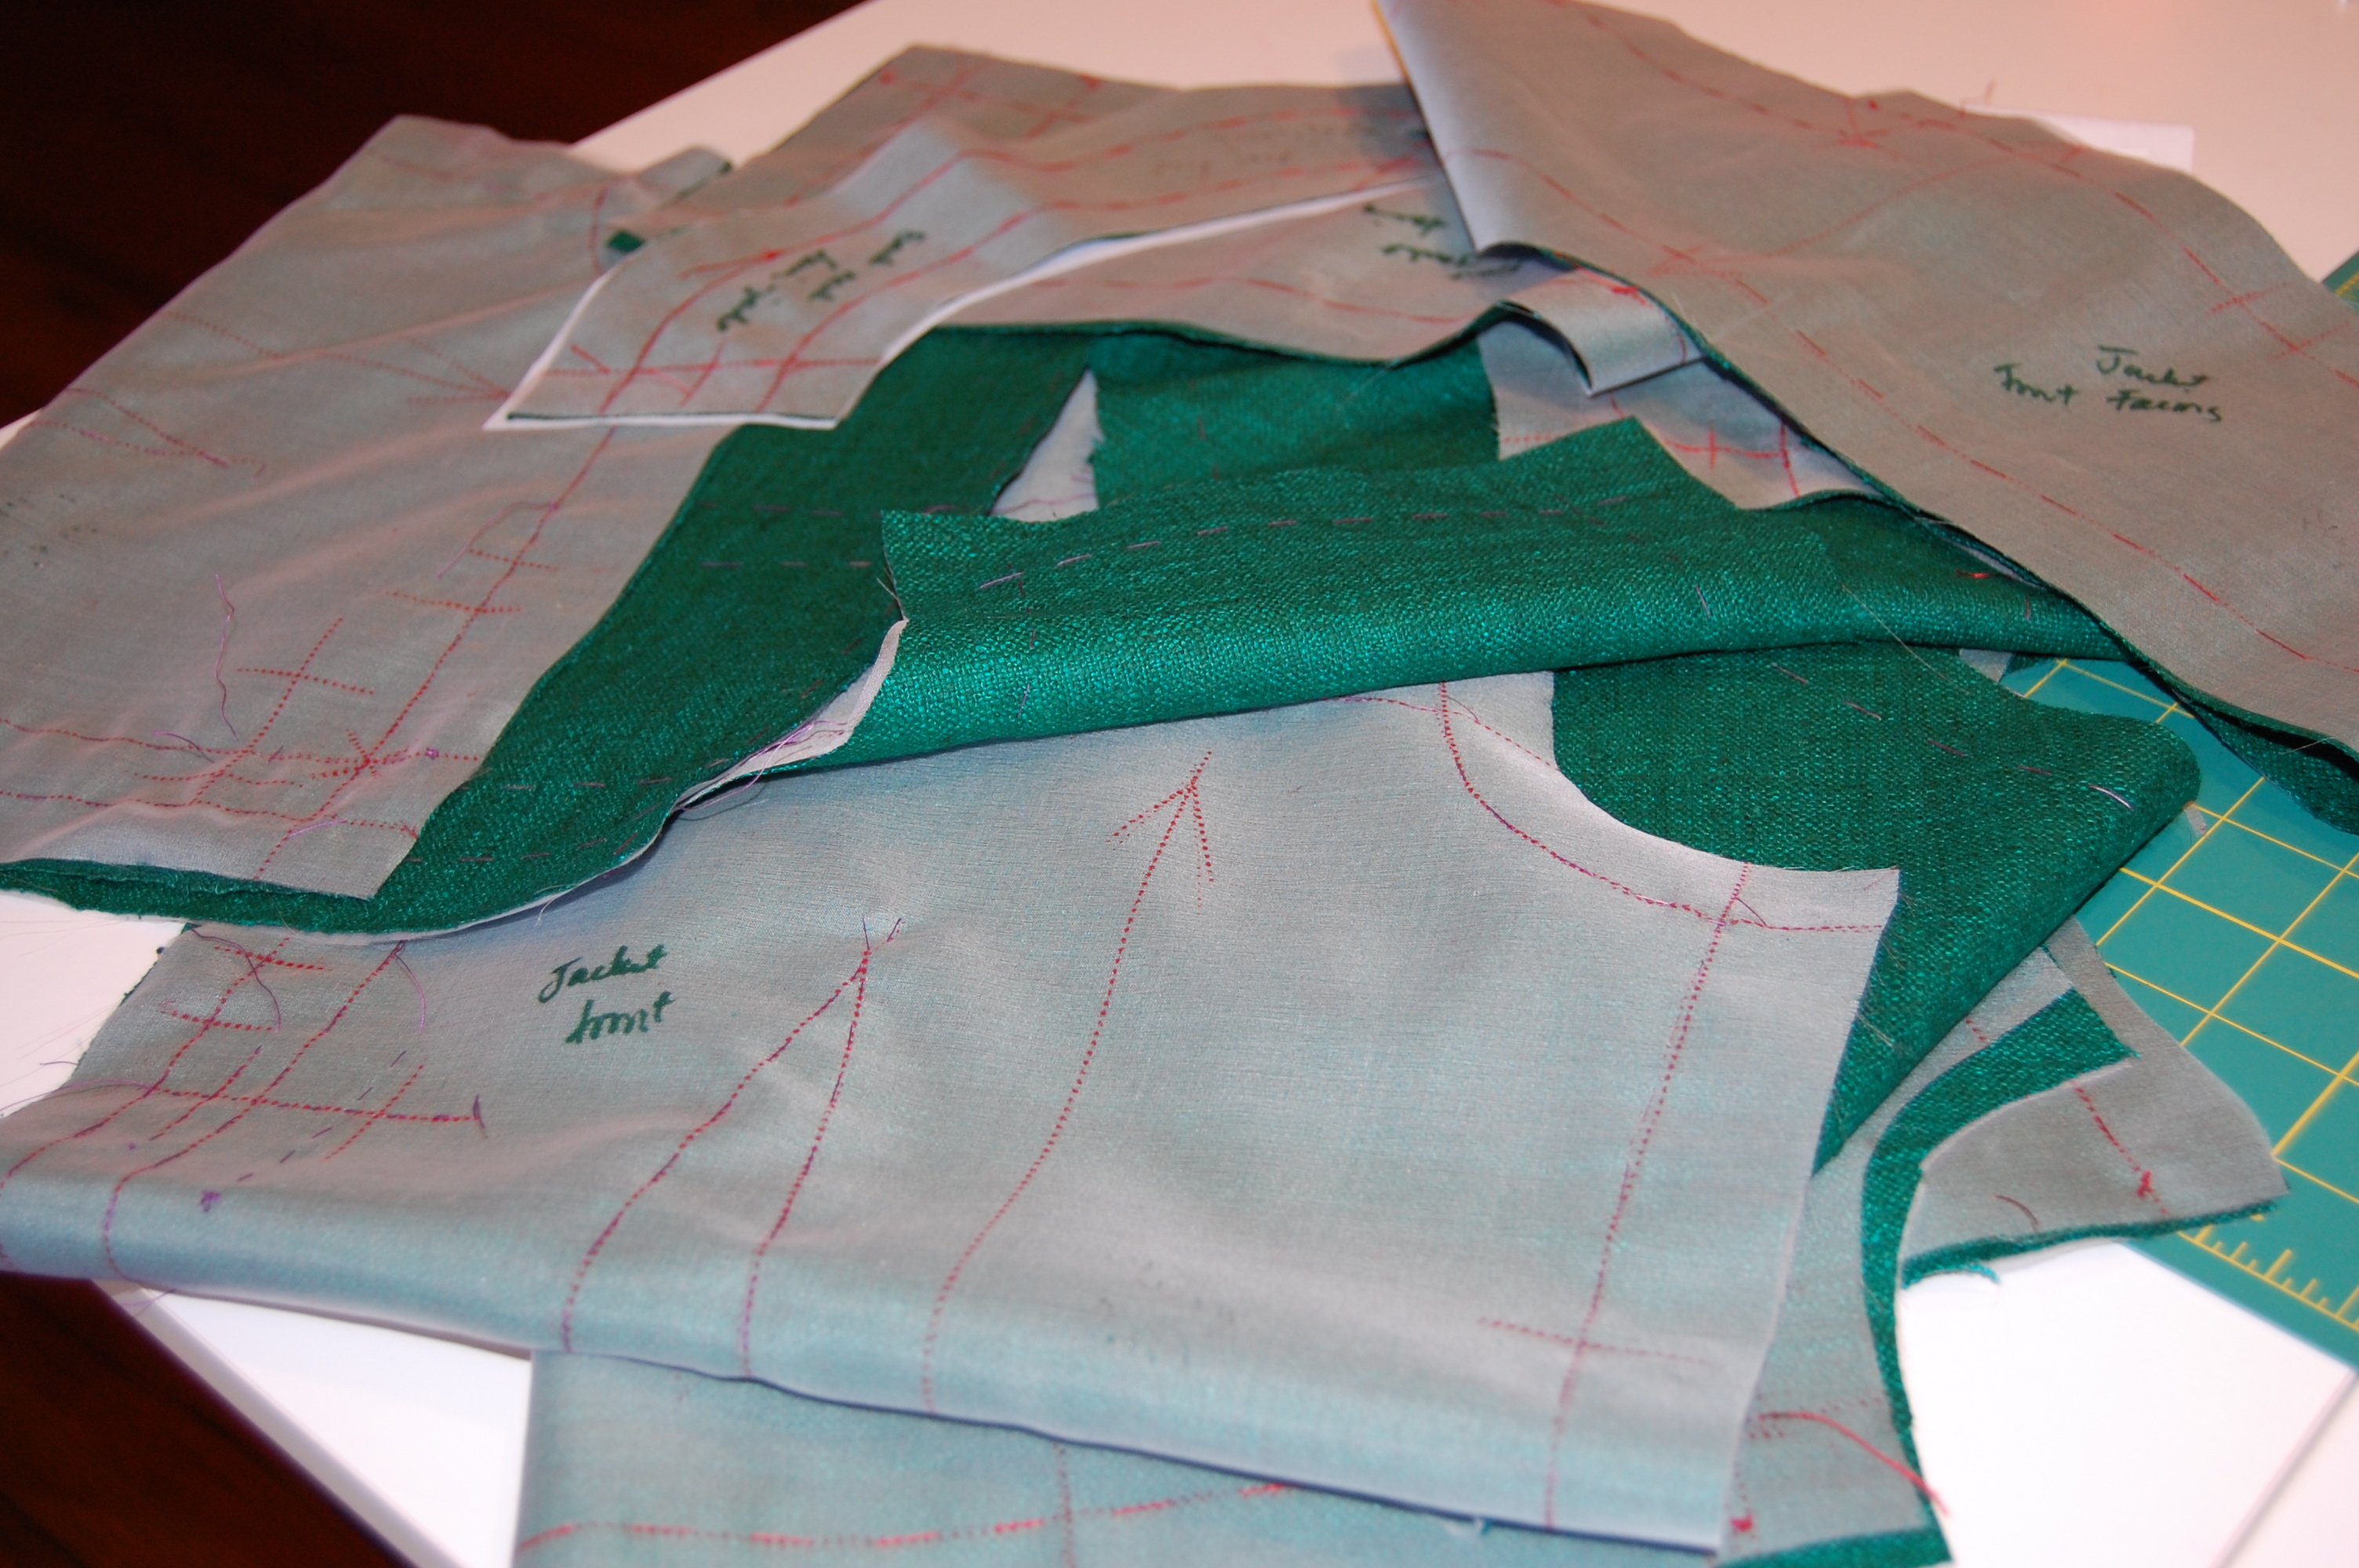
This photo shows the new pattern pieces for the top section of the sleeve. On the left, note the addition of “plackets”. For a close-up, click on the photo.
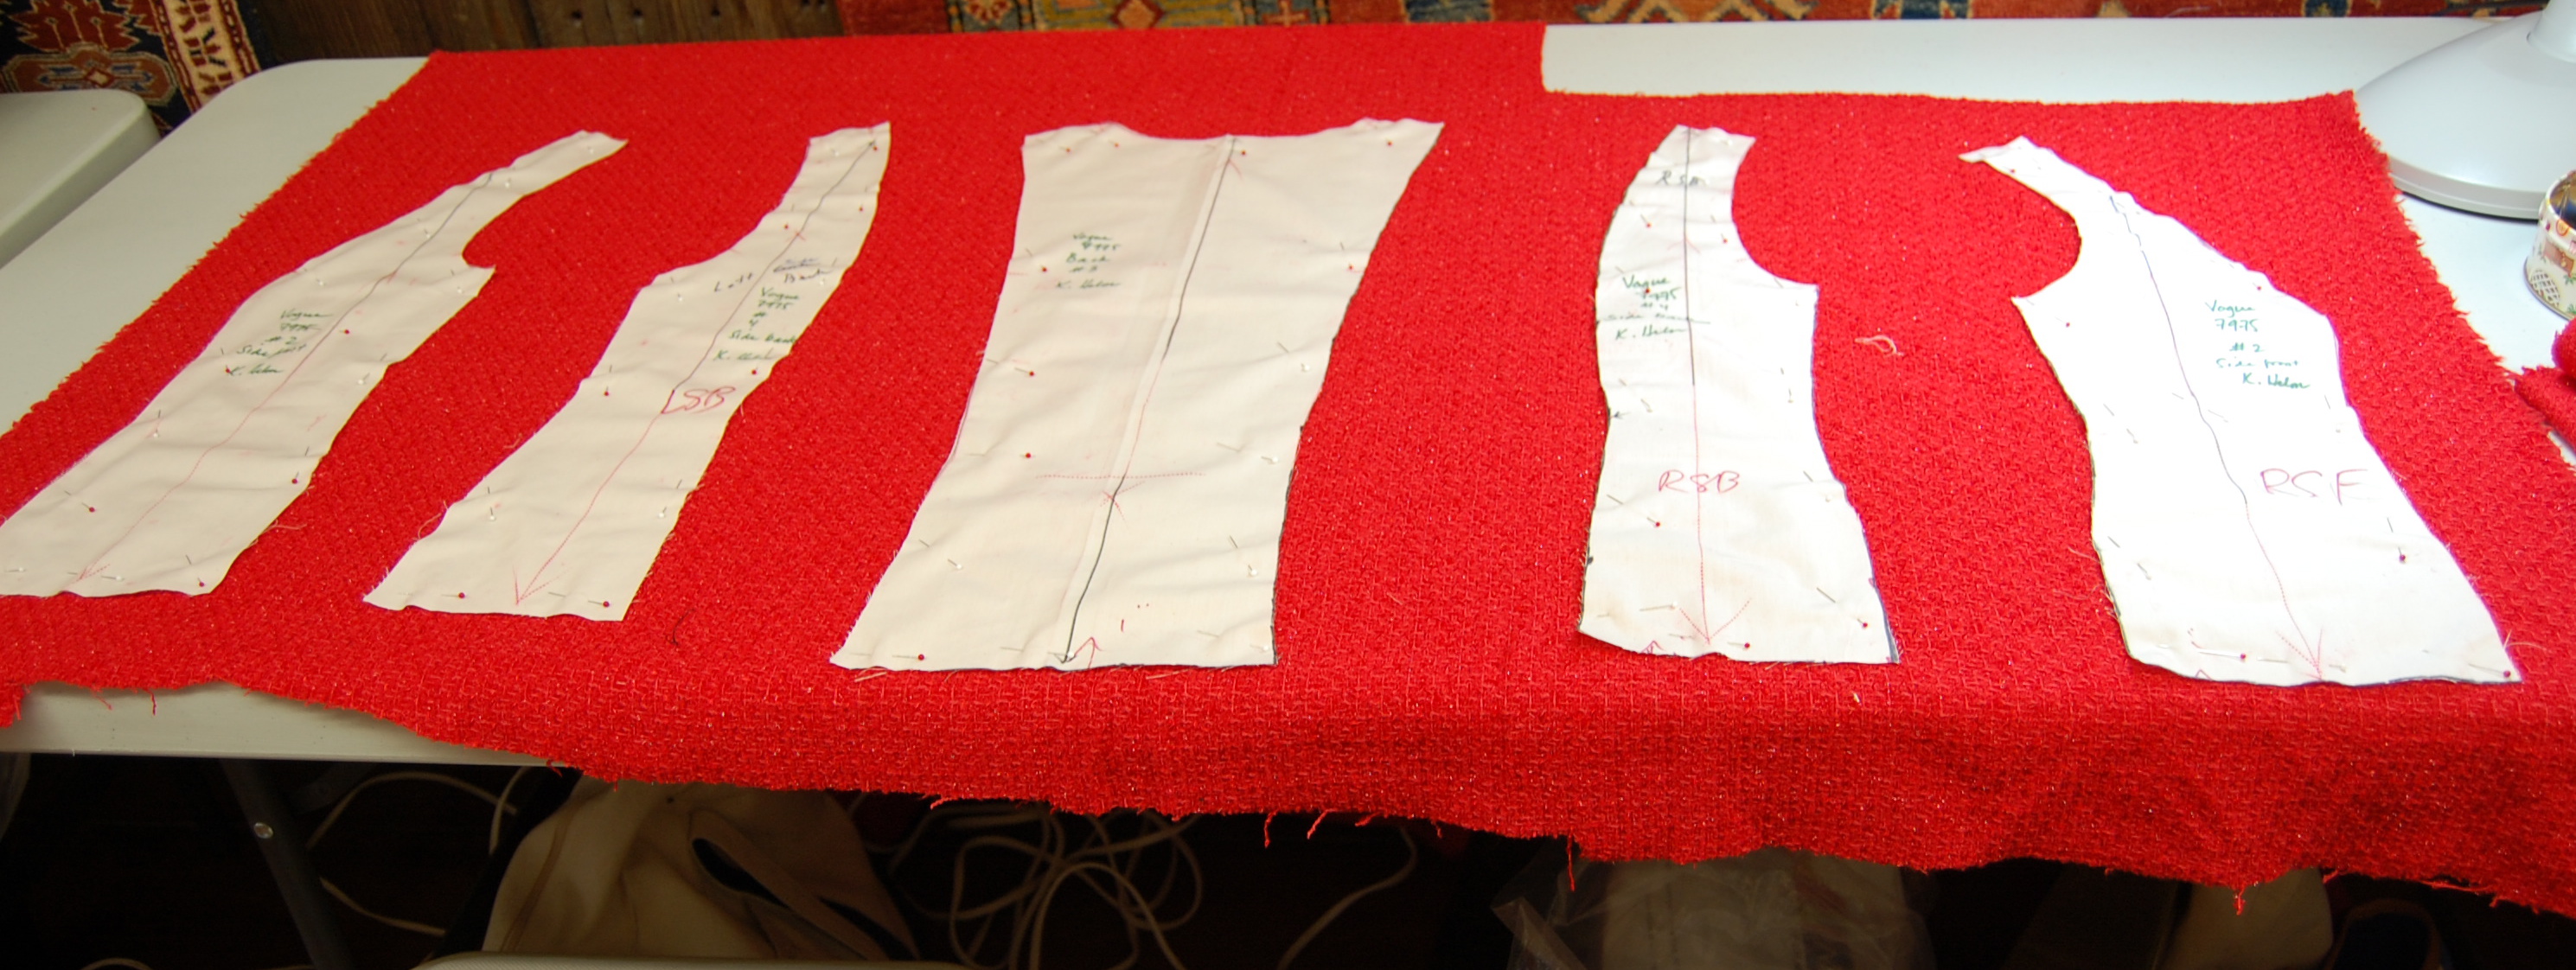
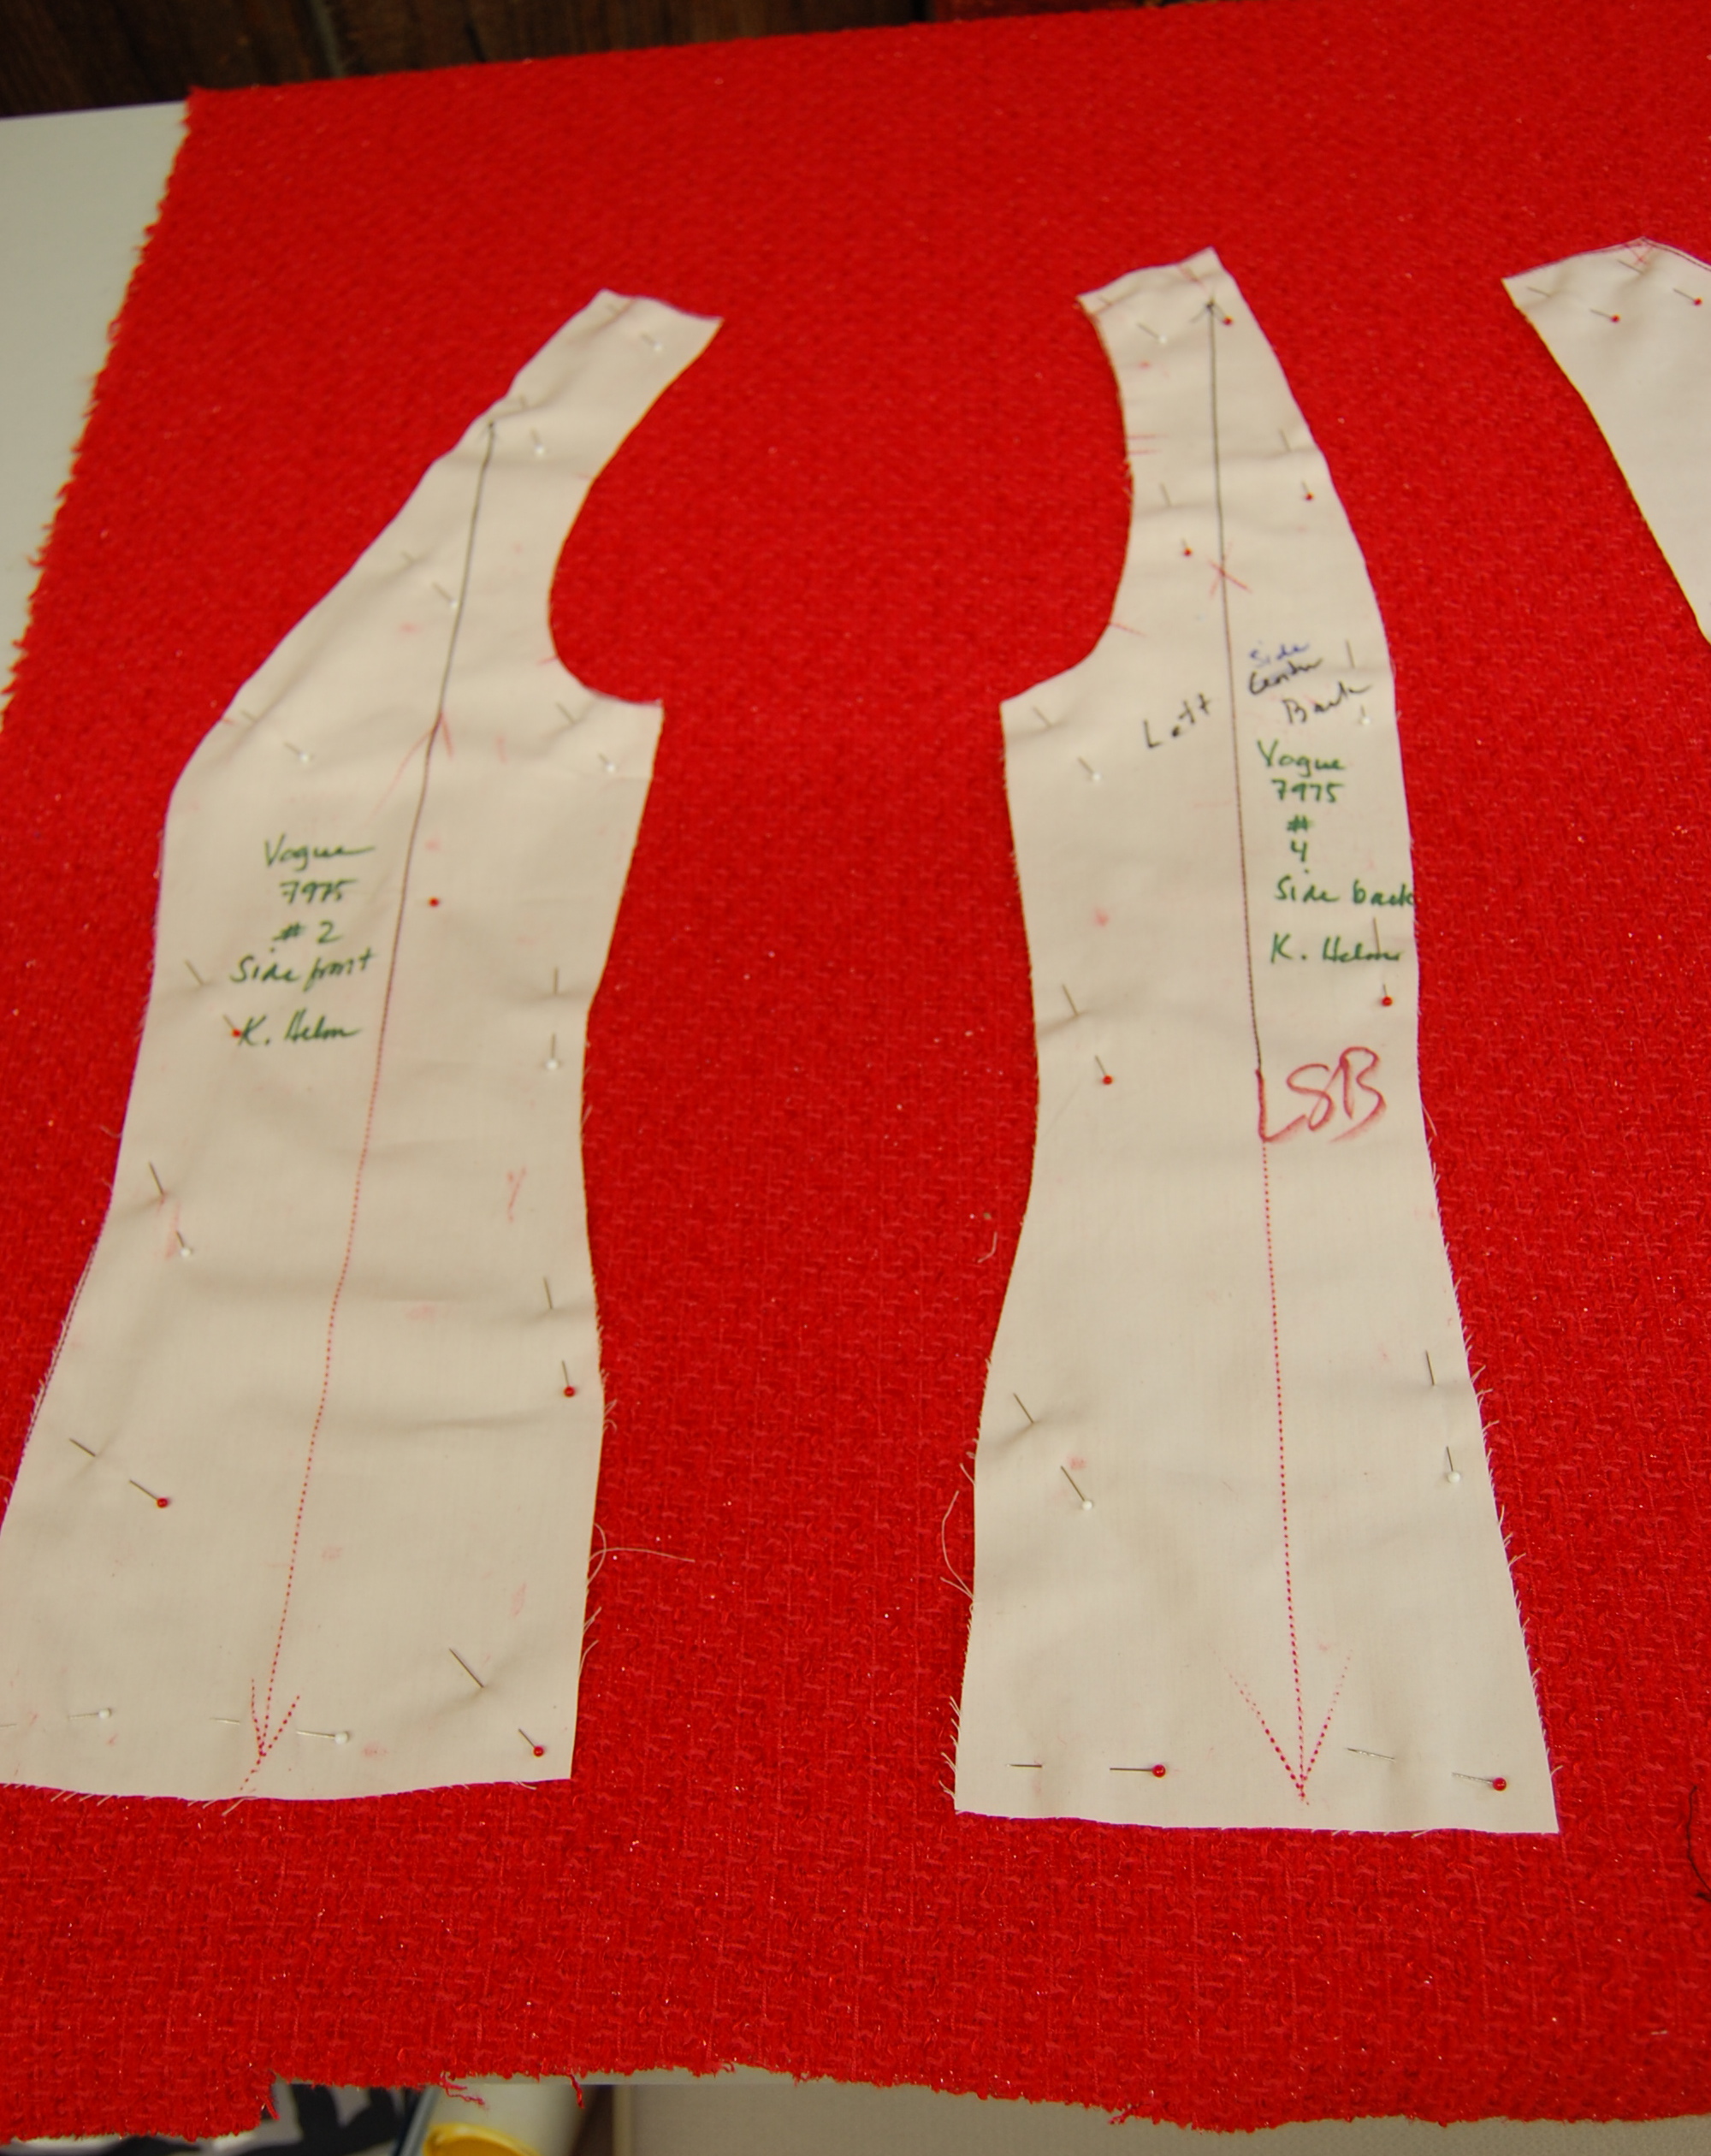
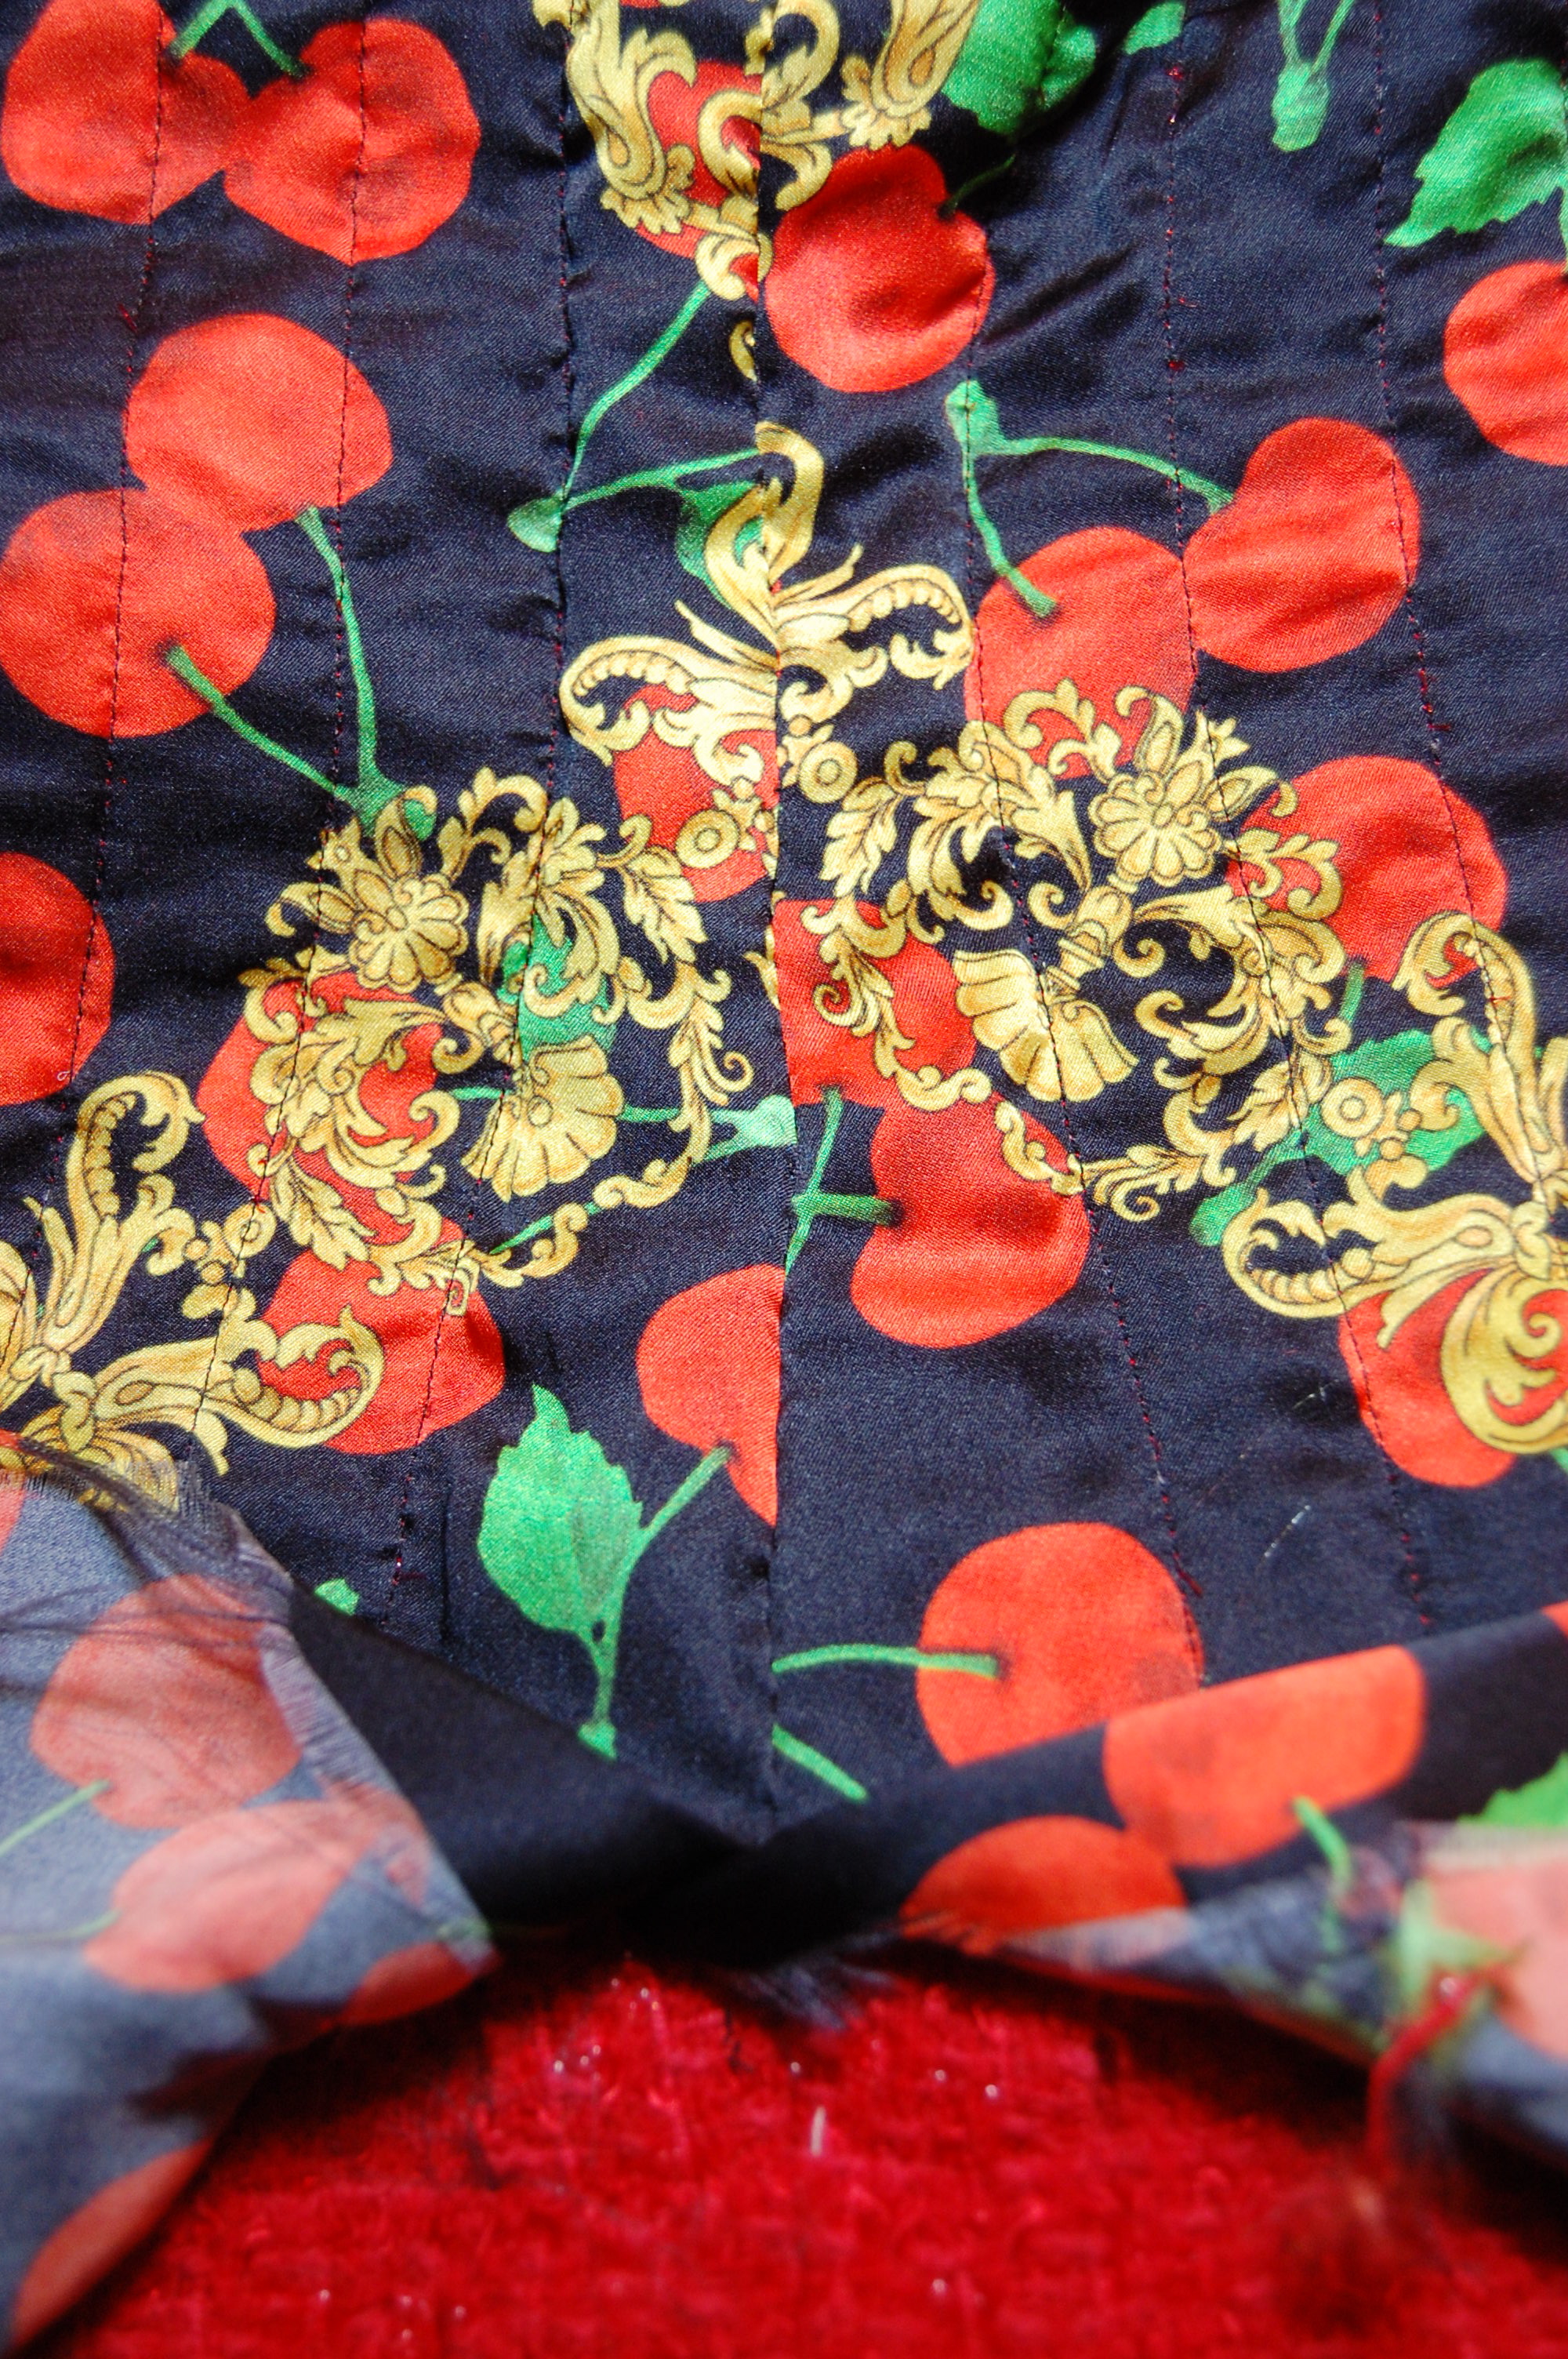
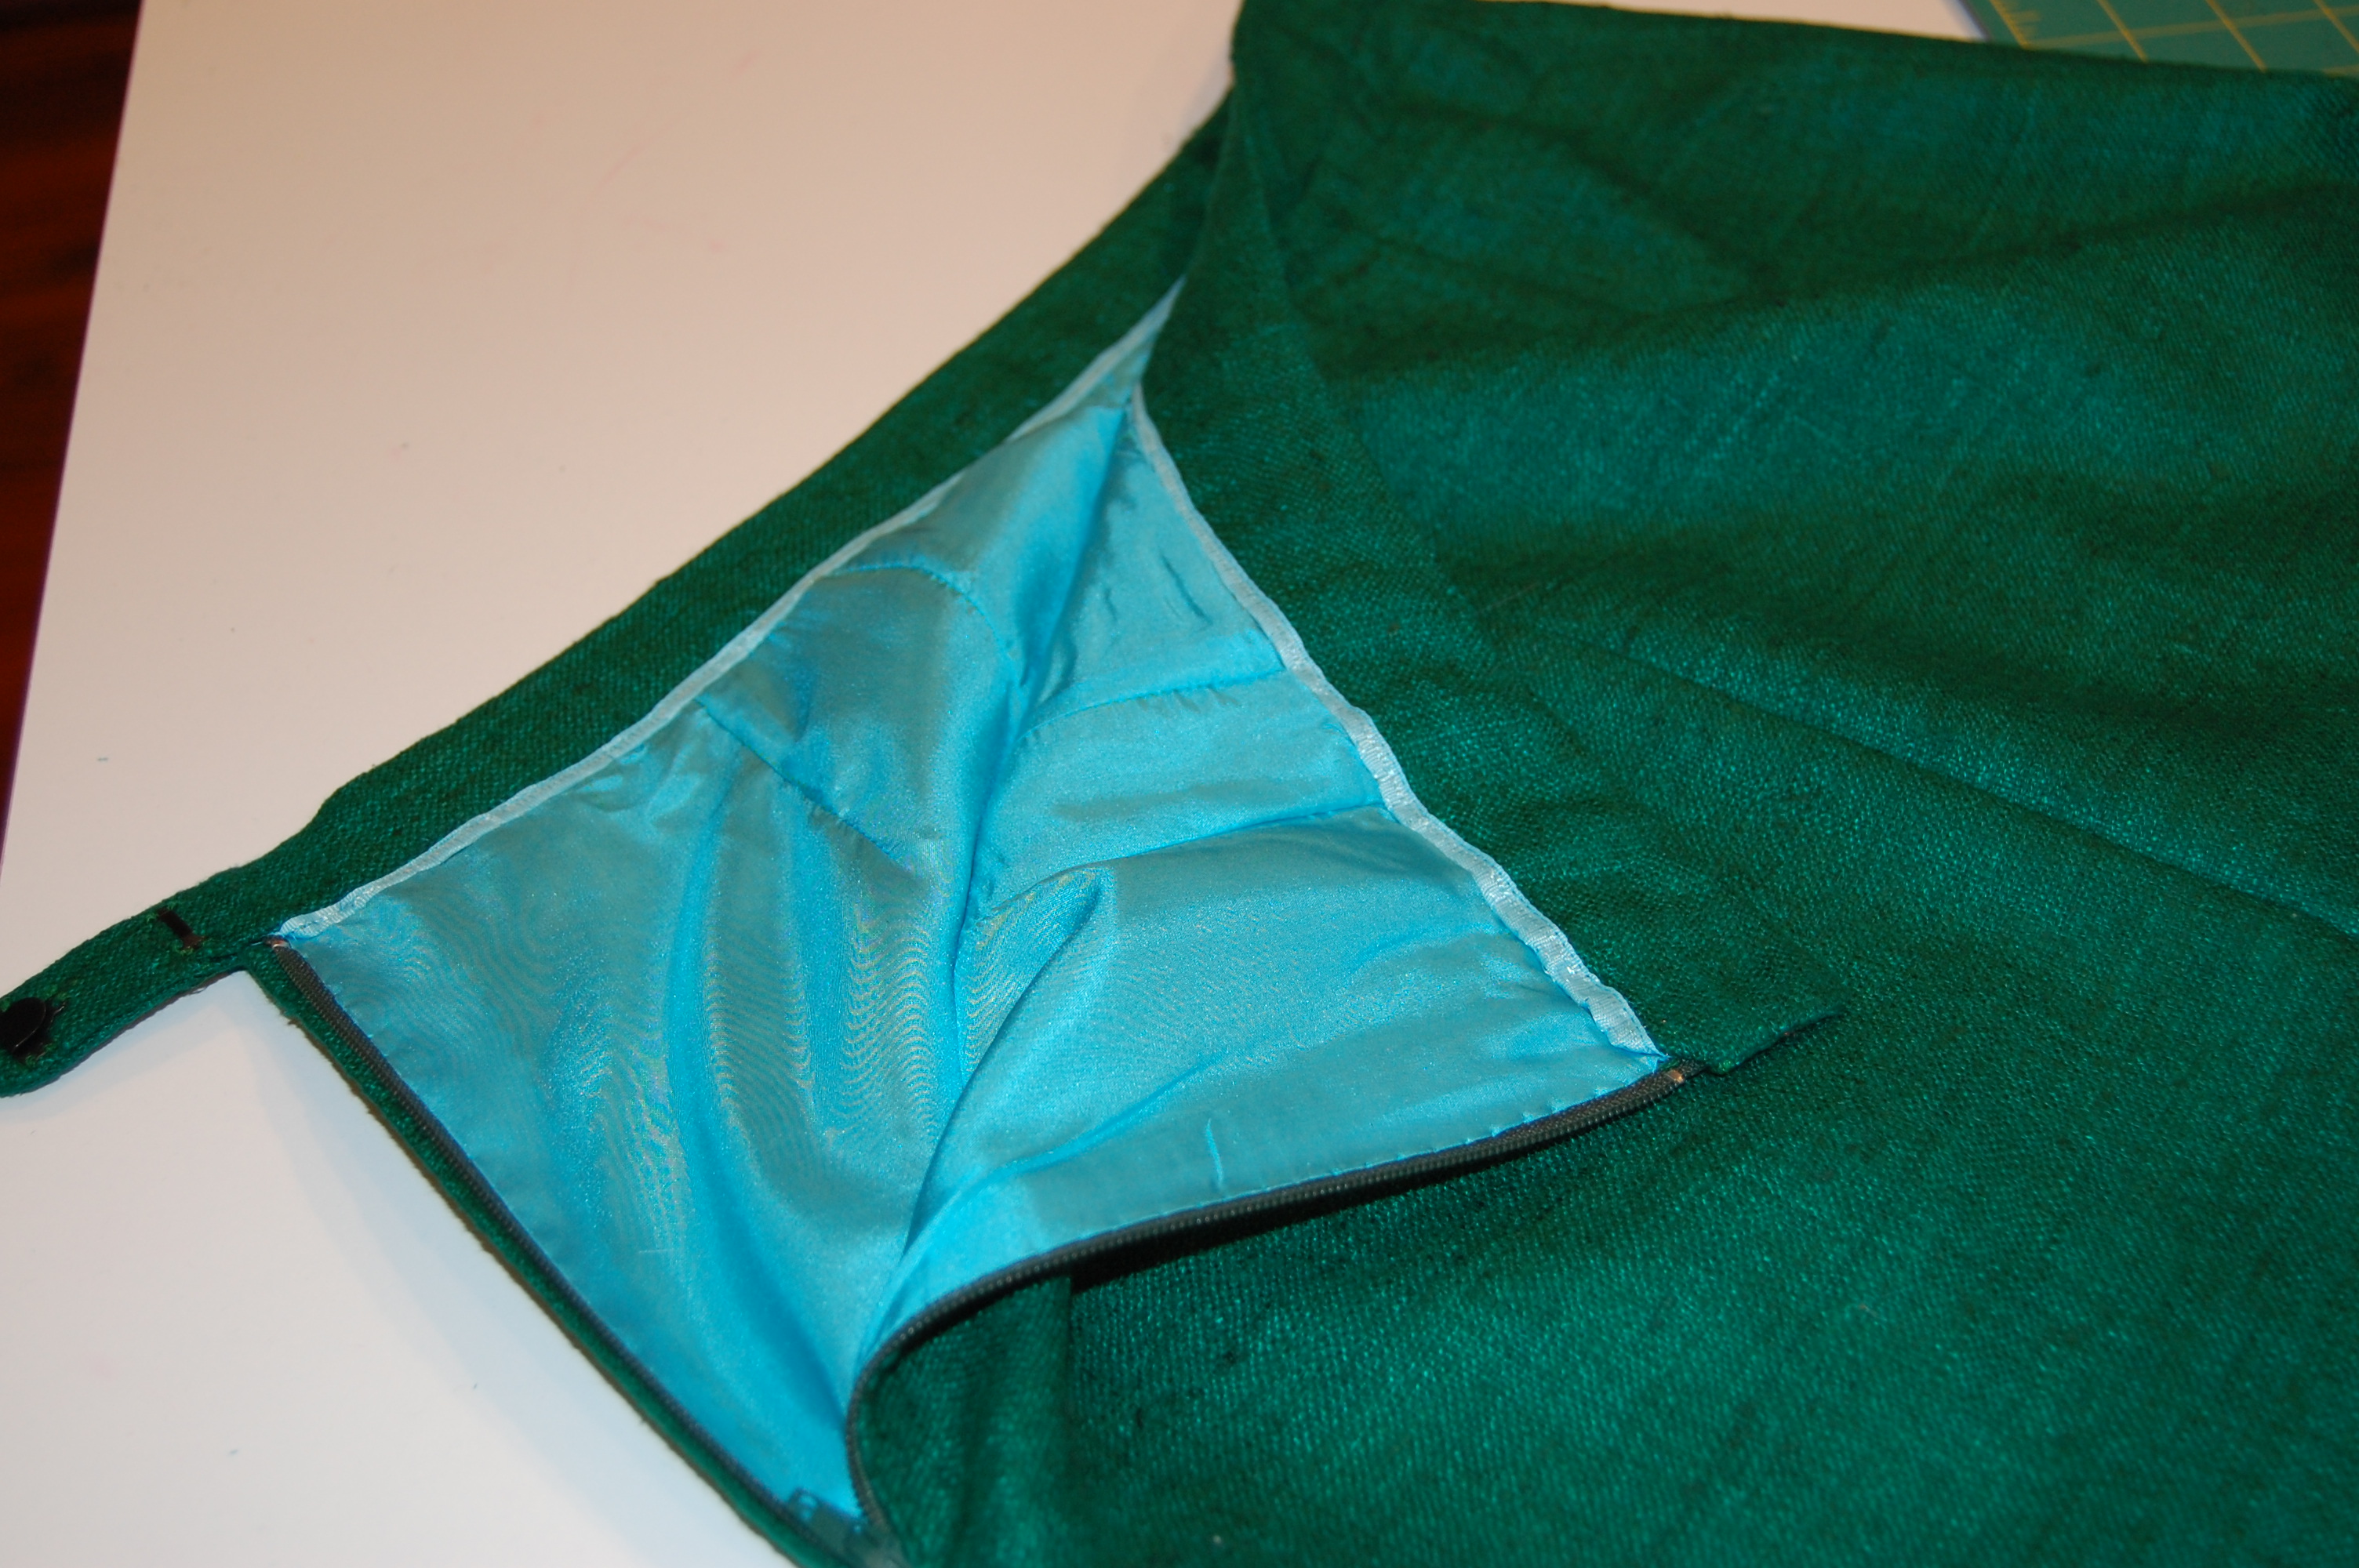
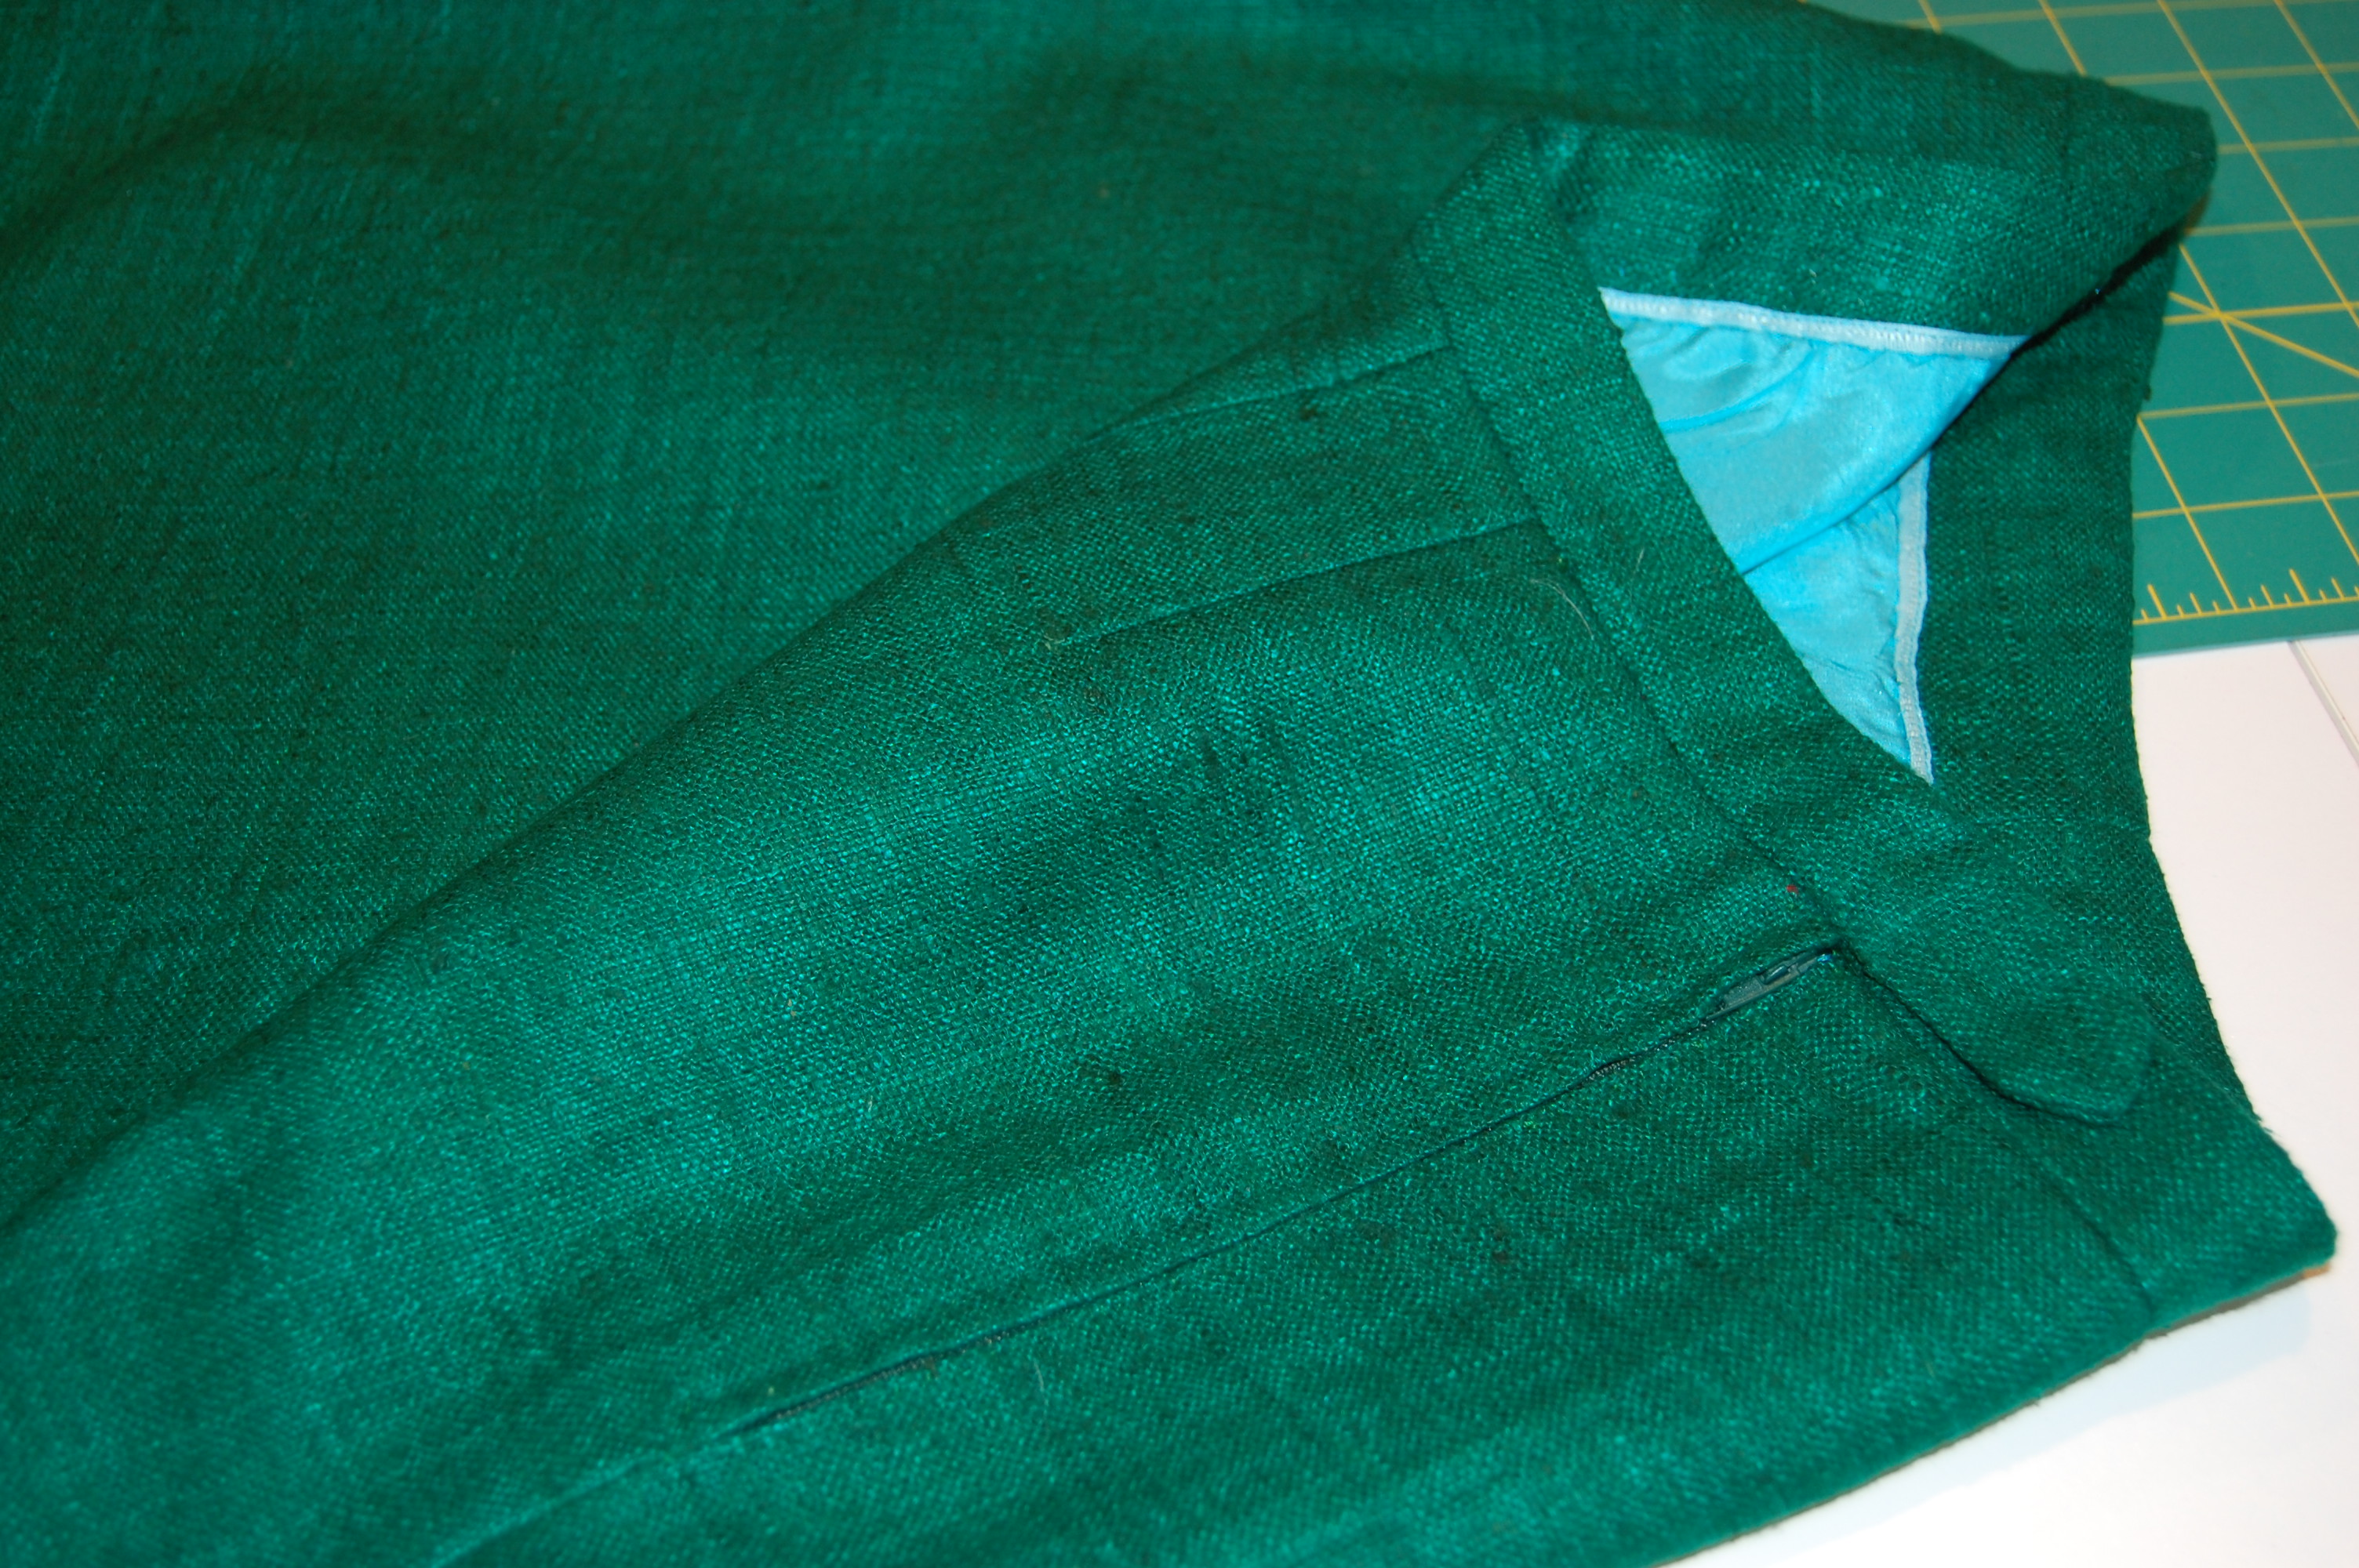
Once we had our new pattern pieces, we were able to cut out the fashion fabric and the lining and proceed with quilting the two layers together. After sewing the seams in the sleeves, we proceeded to finish the interior lining sections, paying special attention to the placket area.
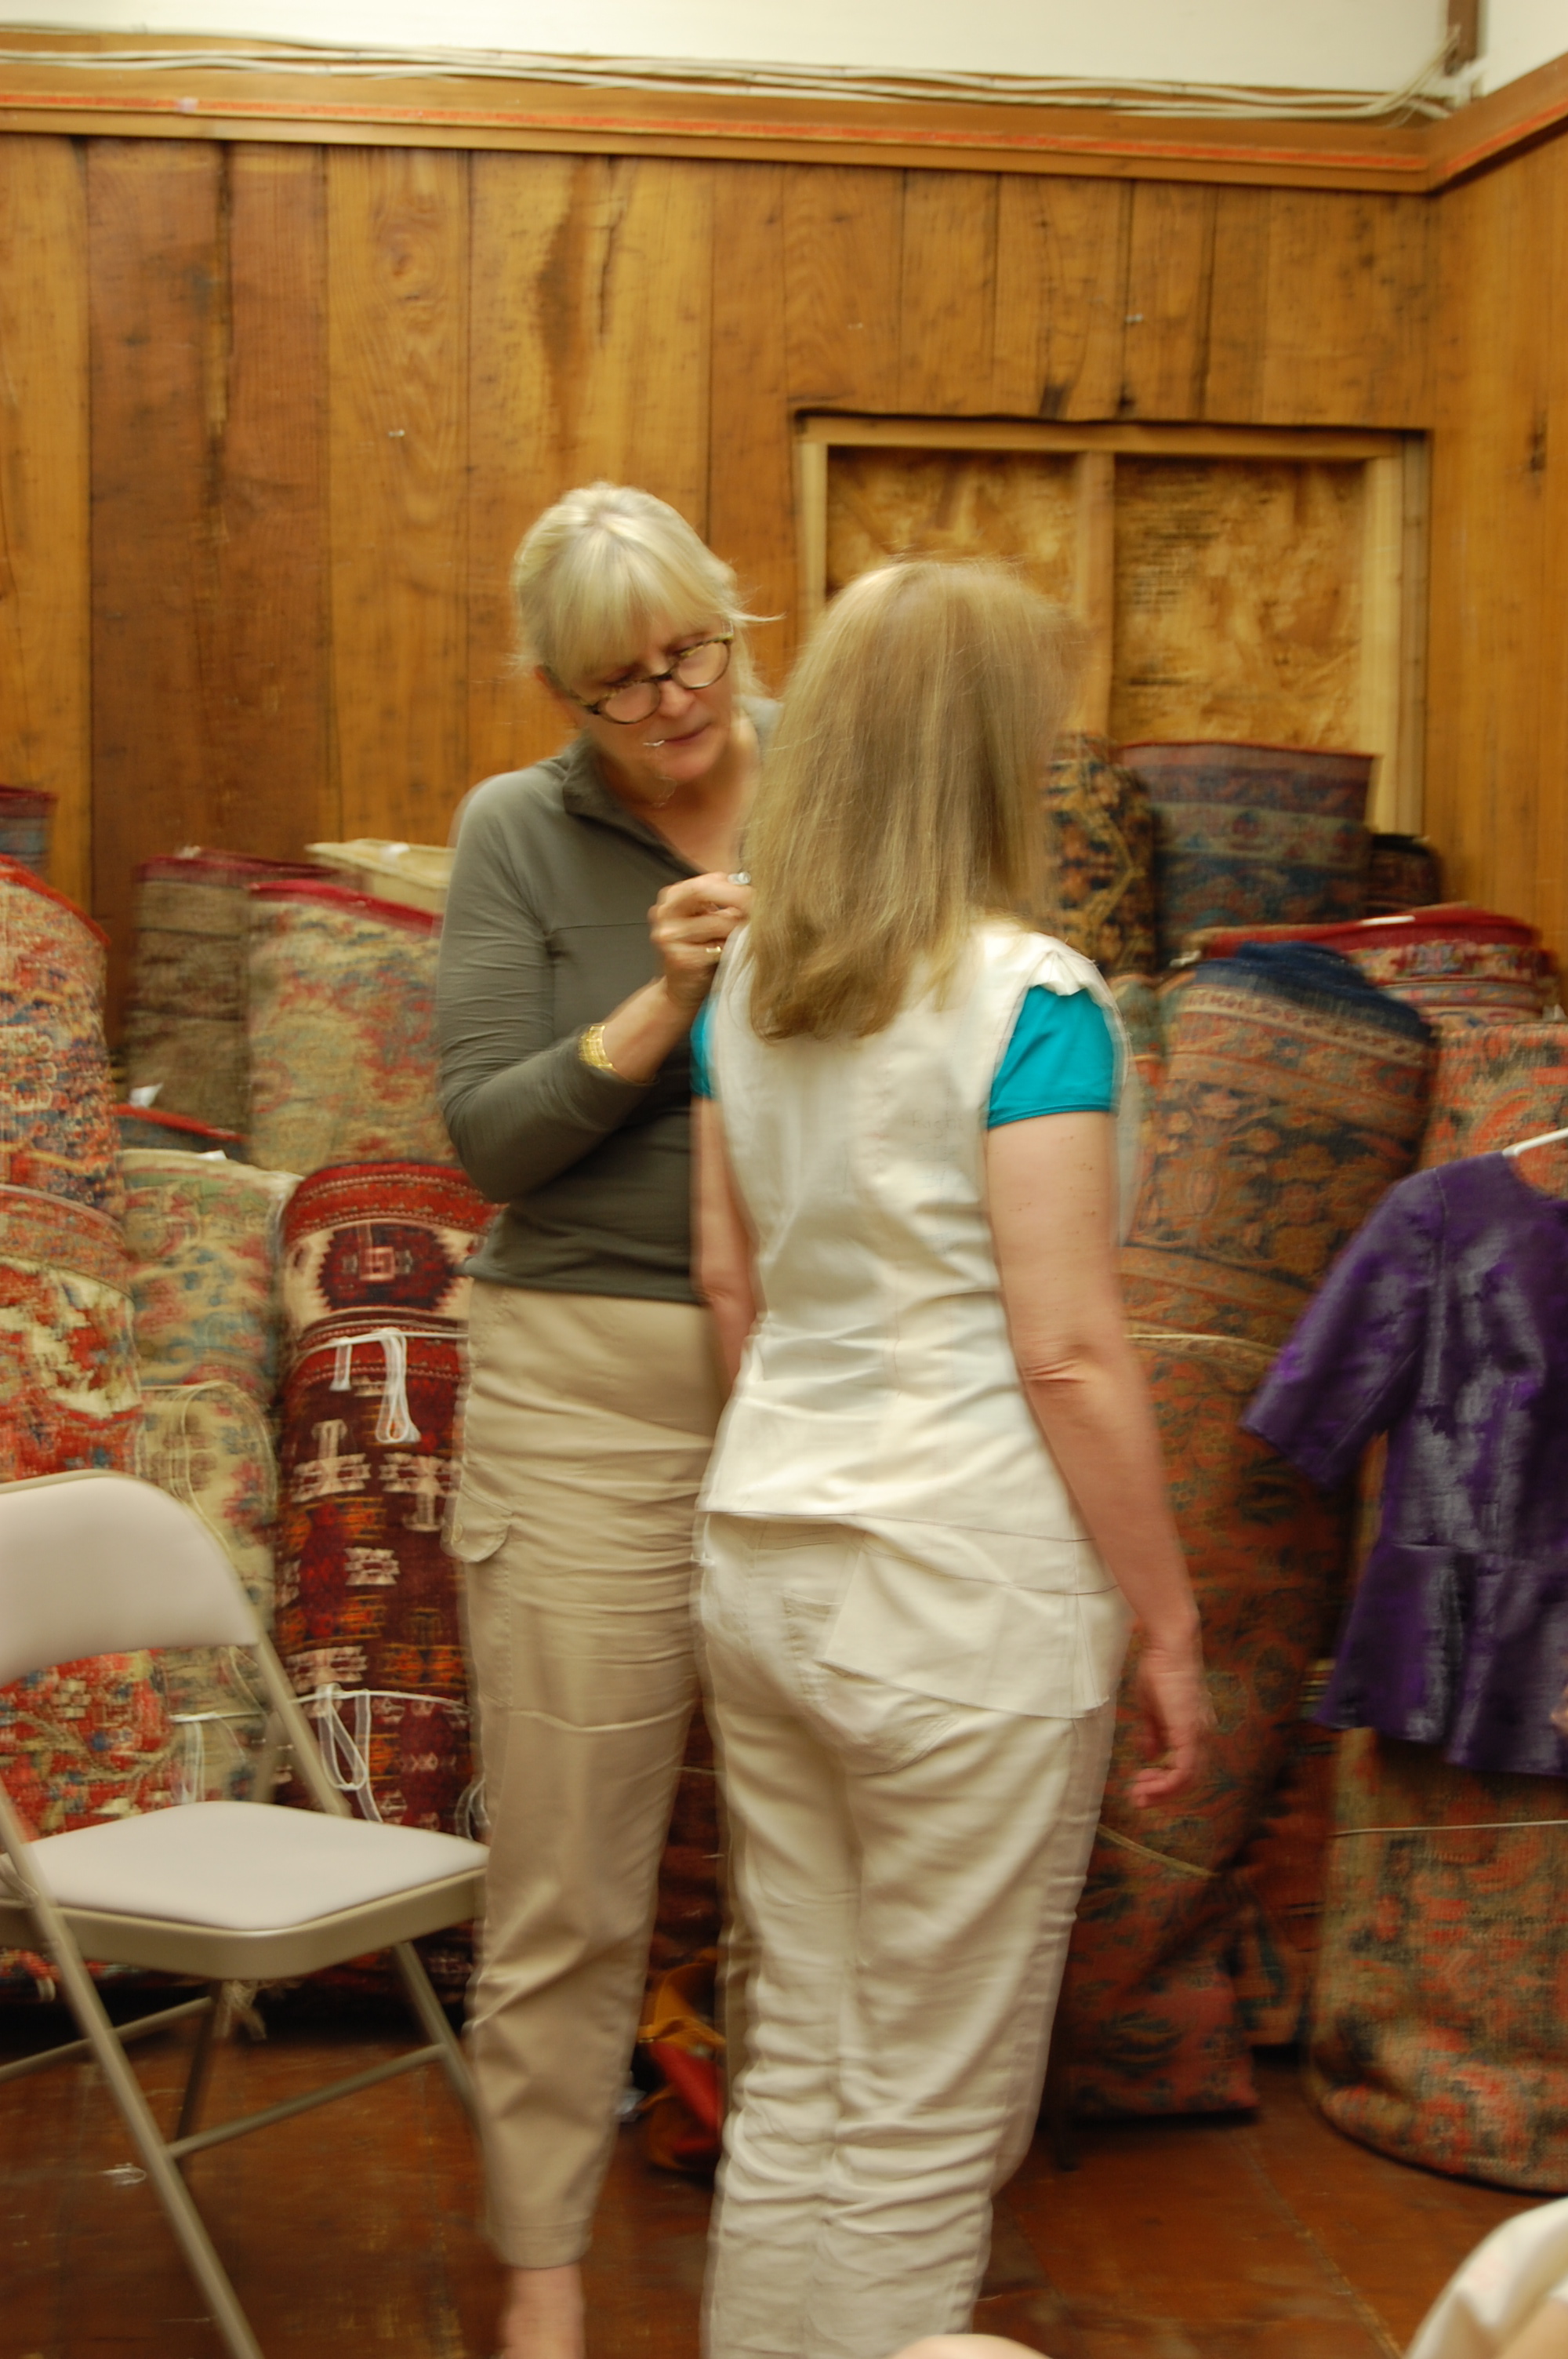
Then back we went to more fitting, specifically fitting our newly constructed sleeves onto the jacket. First the shoulder sections of the sleeves were pinned in place by Susan. That seam on each sleeve was sewn using a fell stitch (waxed, double thread), working on the outside of the jacket.
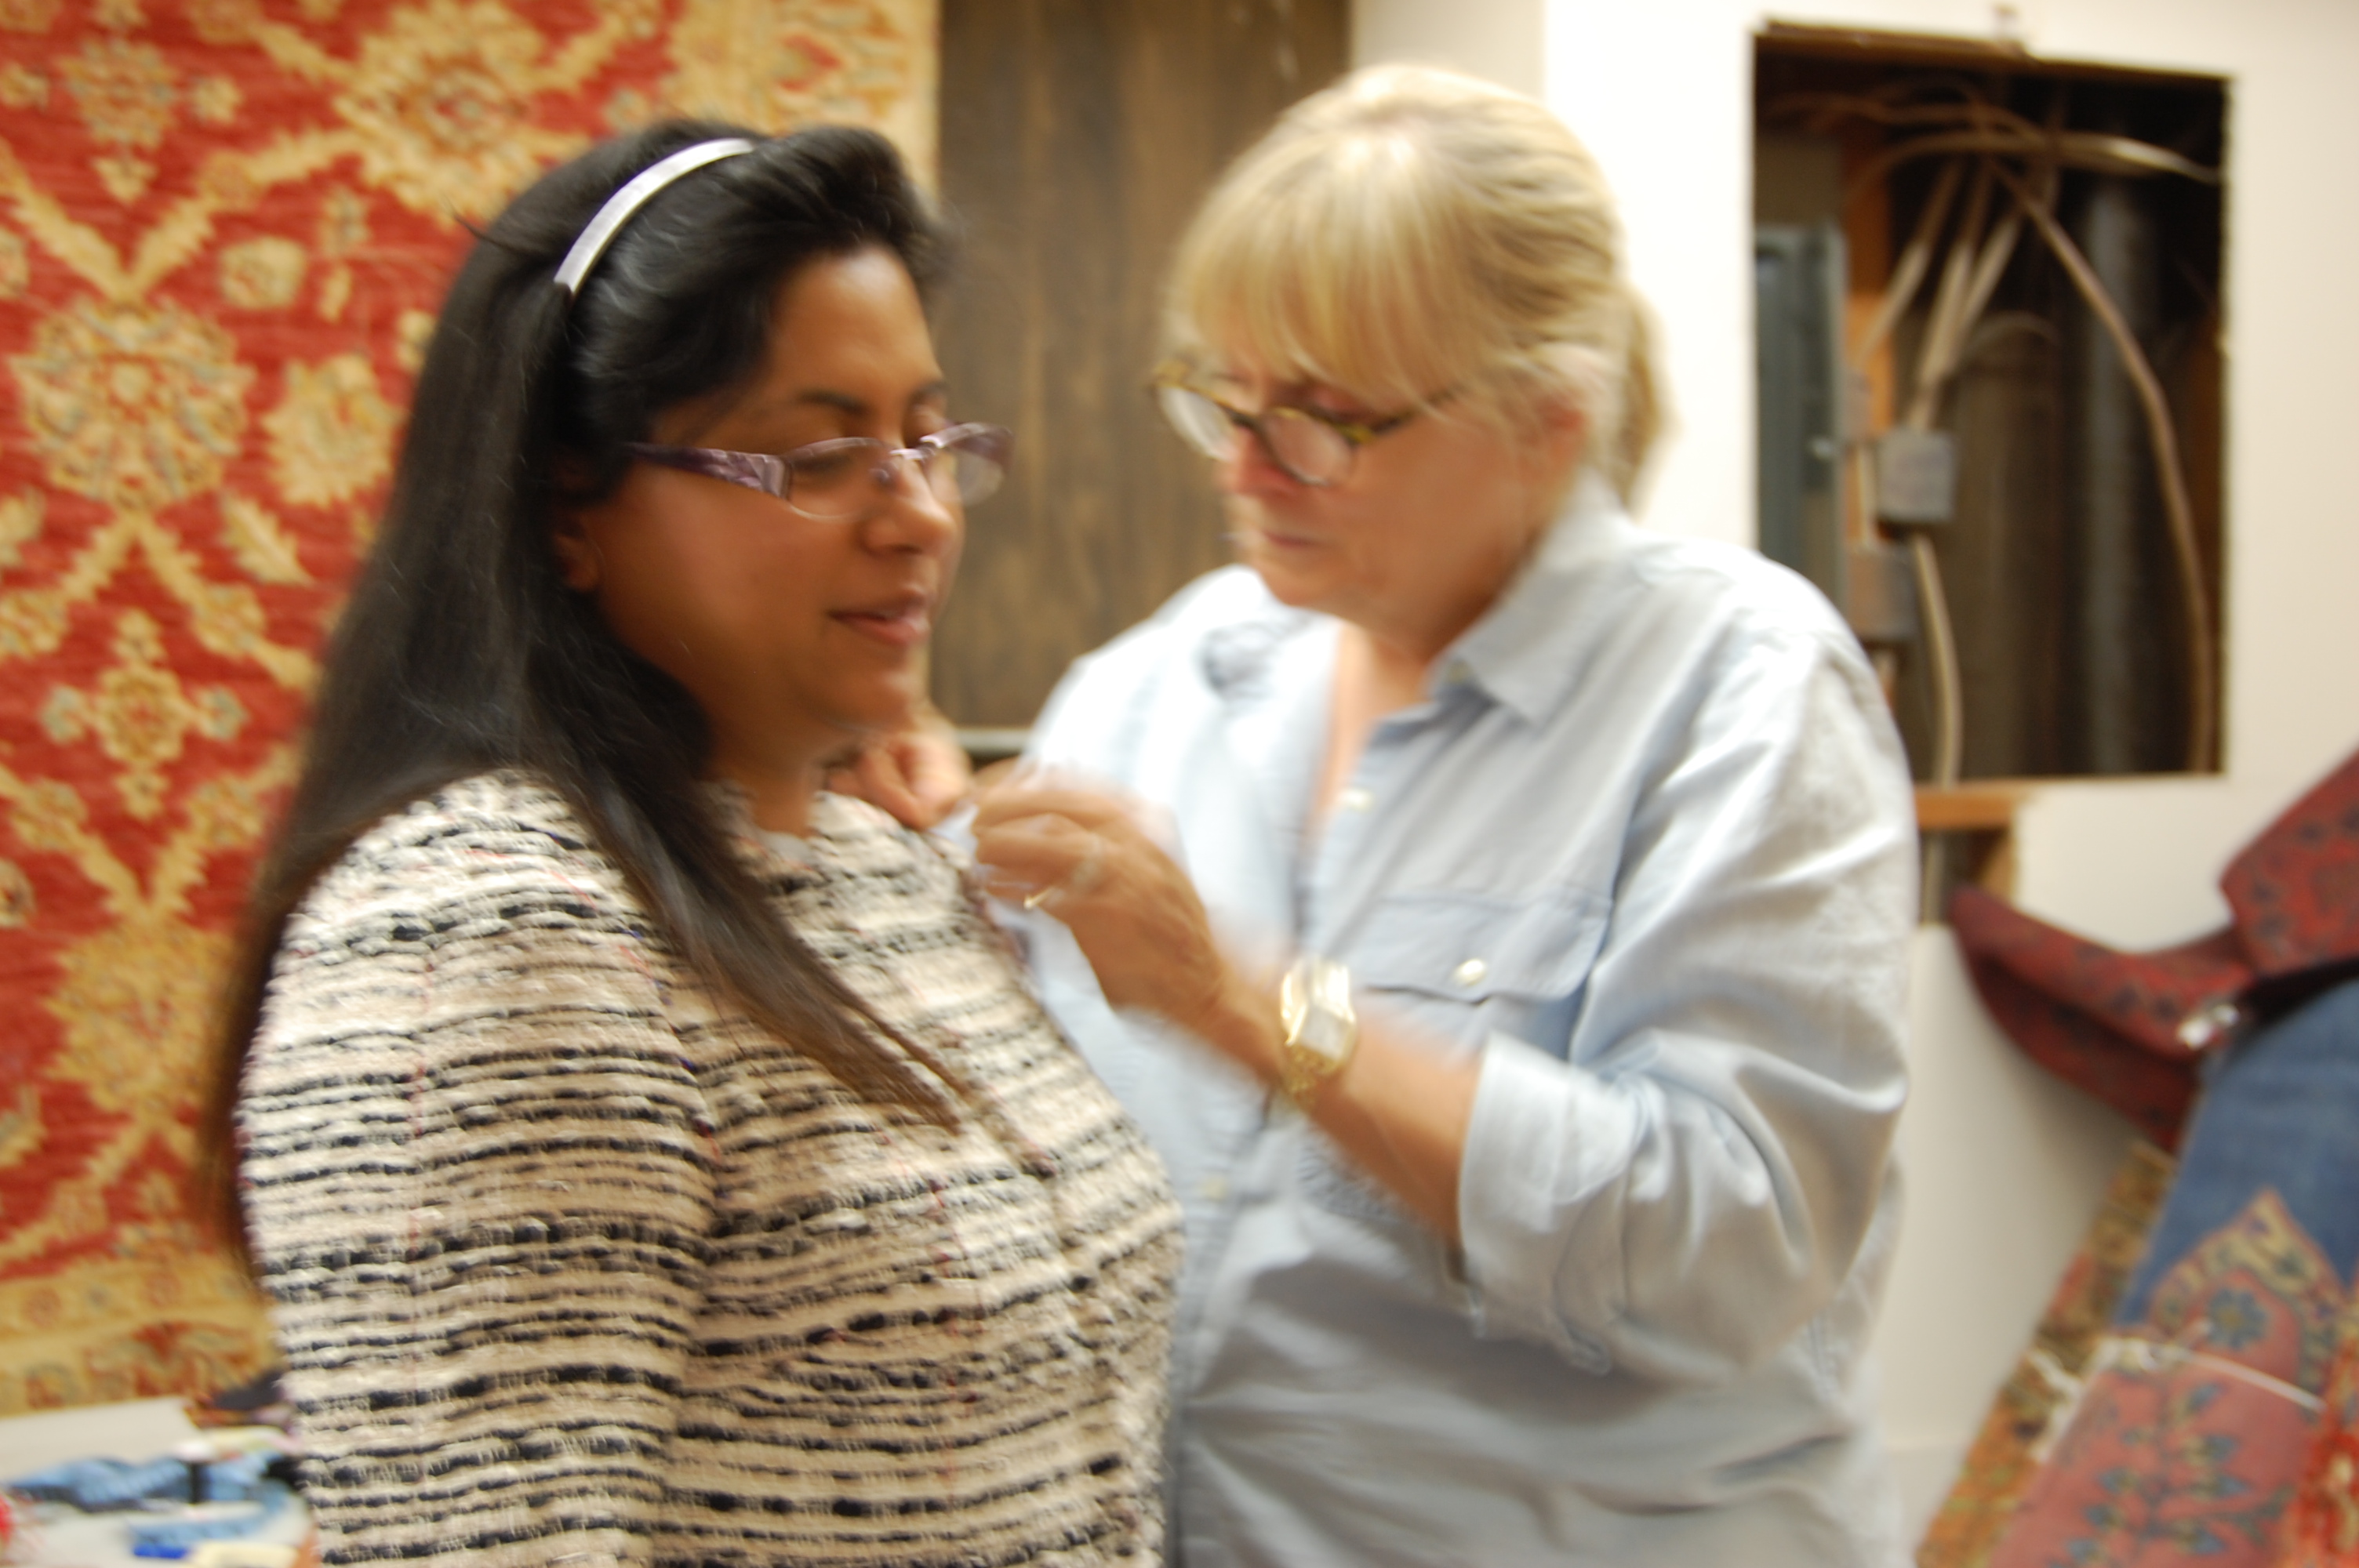
Susan fine-tunes the shoulders of Myra’s jacket.
Numerous fittings followed, redoing the stitching as required, sometimes numerous times. After the shoulder seam, we turned our attention to the lower armscye. This stitching was done with a backstitch on the inside seams – and yes, it was a process of trial and error (mostly error – or maybe I should say, “refinement”). Once my sleeves were sewn in place, with no buckling, no bulges, no gaps, fitting “seamlessly” with the body of the jacket, I felt like I had accomplished something close to miraculous!
Indeed, I finally reached this point on the final day of class. Now “all” I had remaining was:
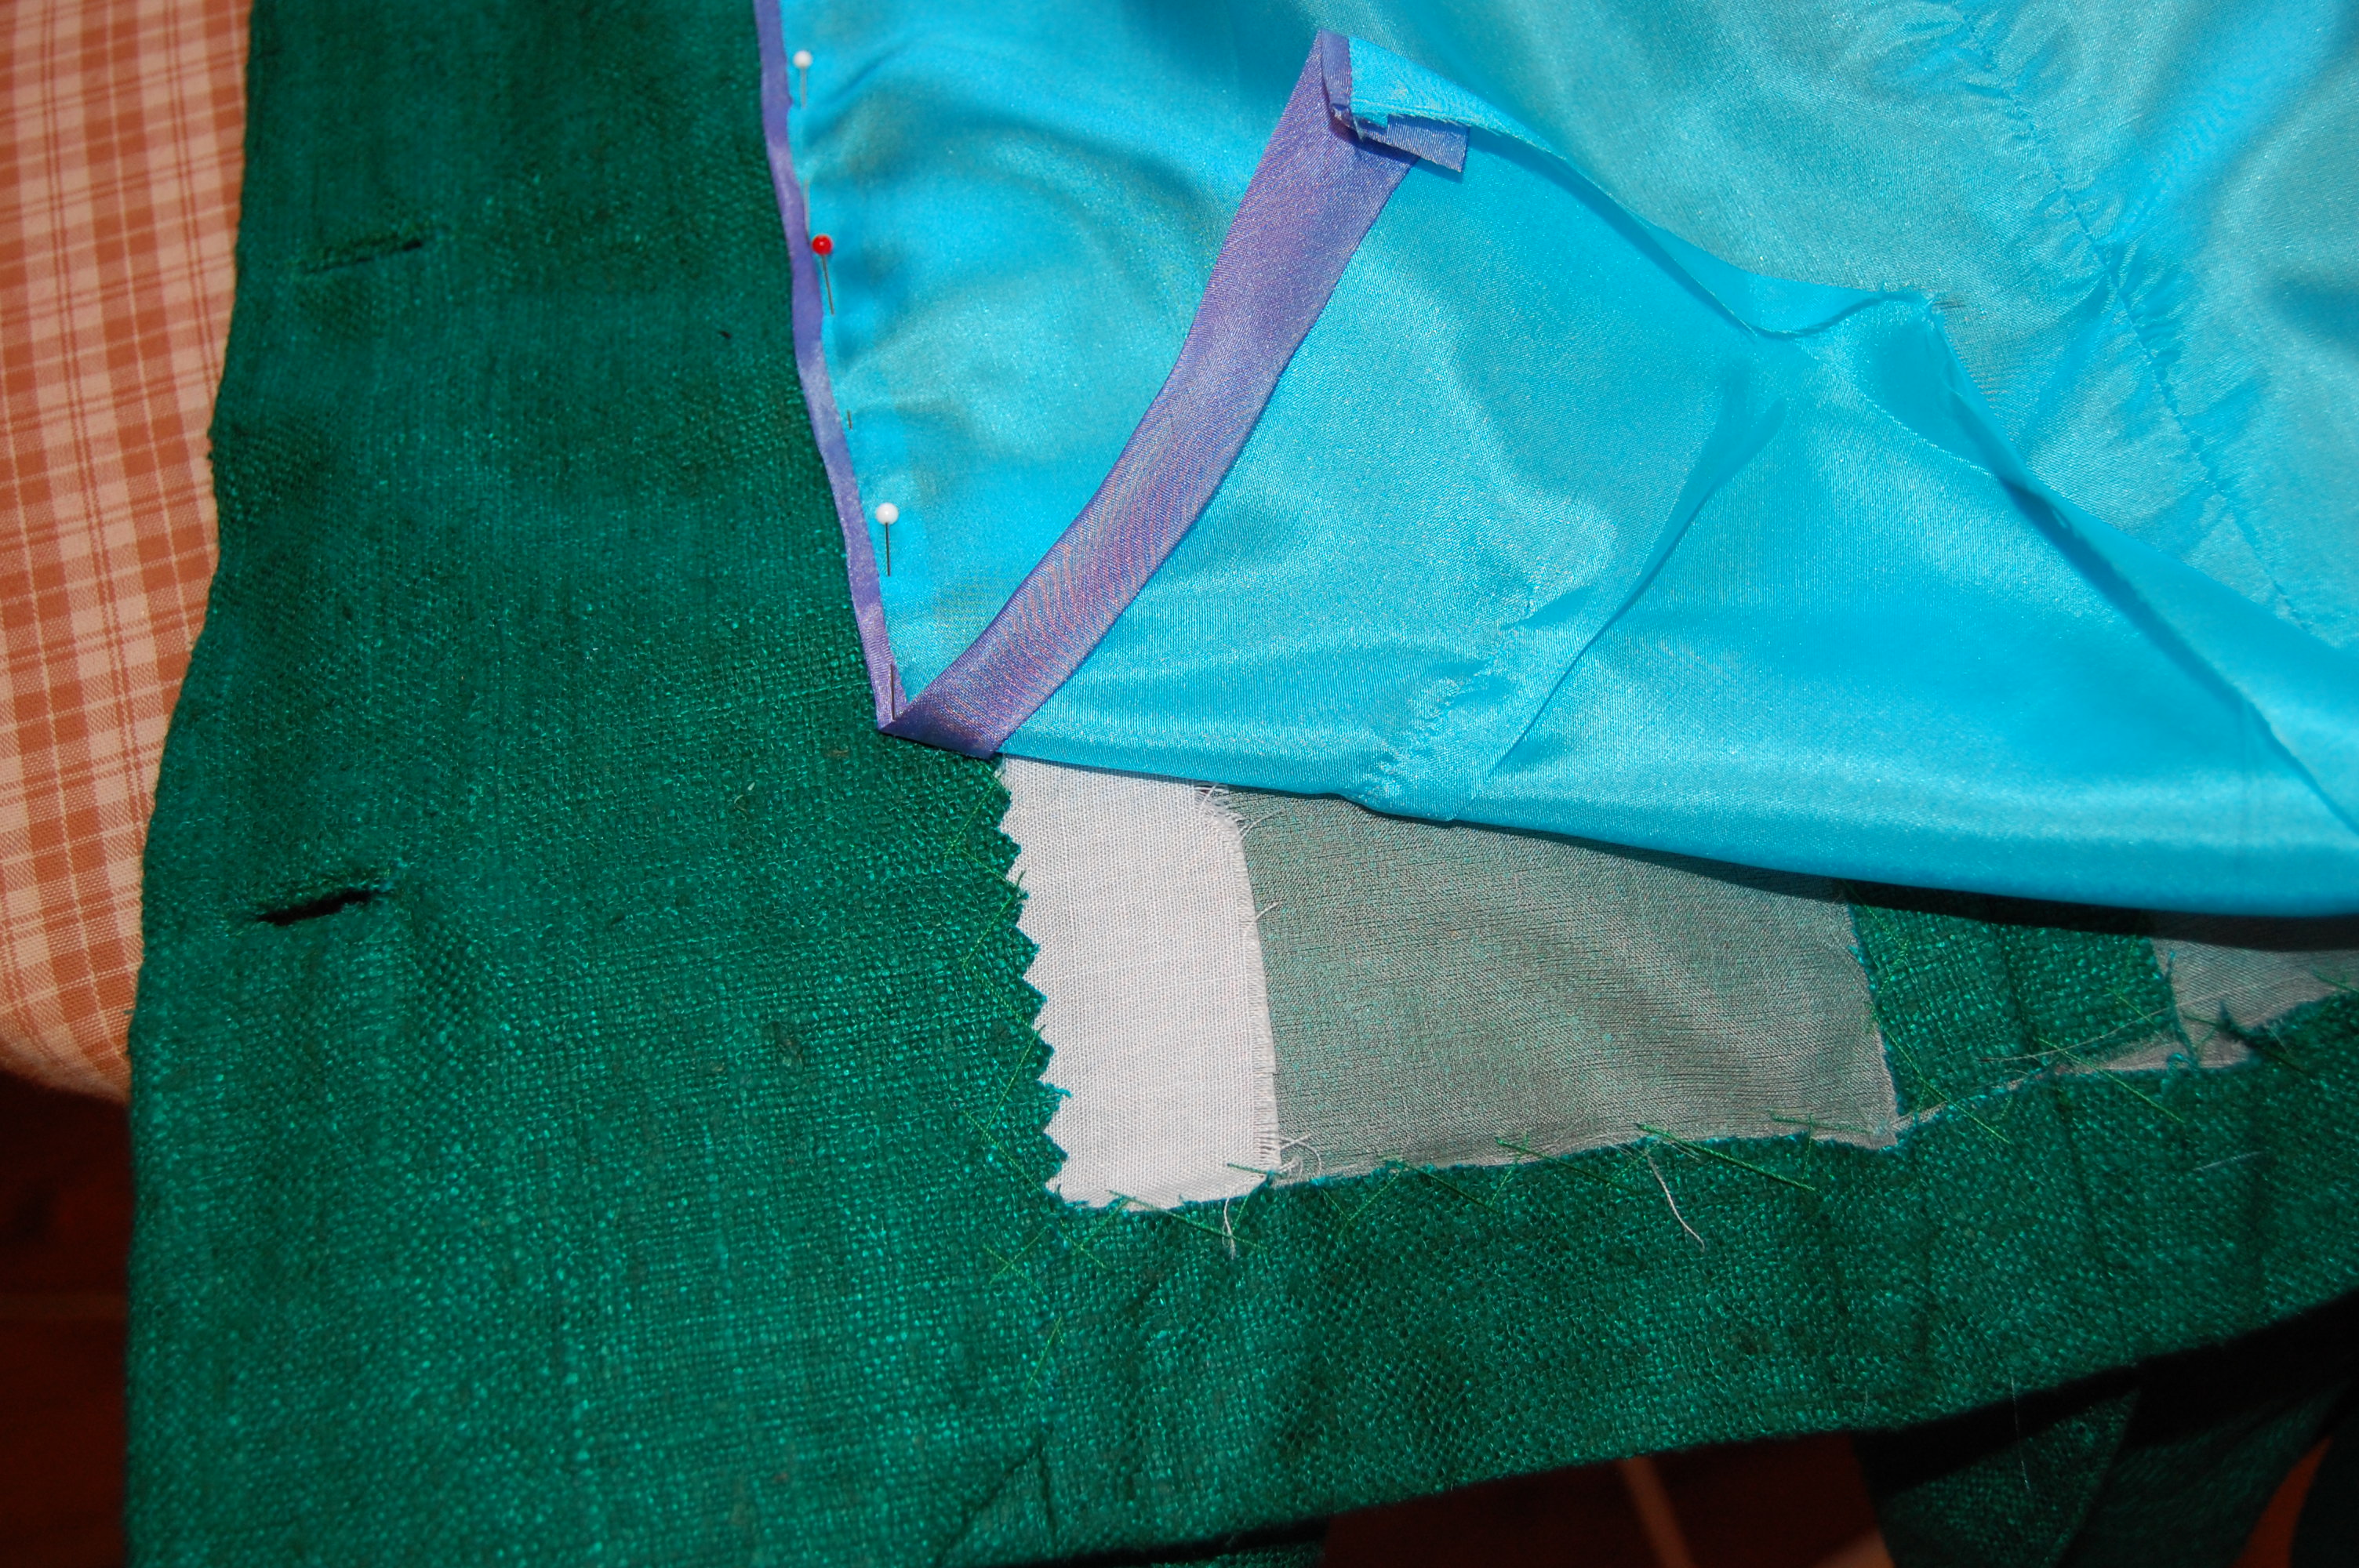
1) fitting and sewing the lining of the sleeves and the jacket in the armscye
2) putting the trim on the cuffs, and stitching the lining down to the edge
3) attaching the jacket hooks and eyes on the front edge of the jacket
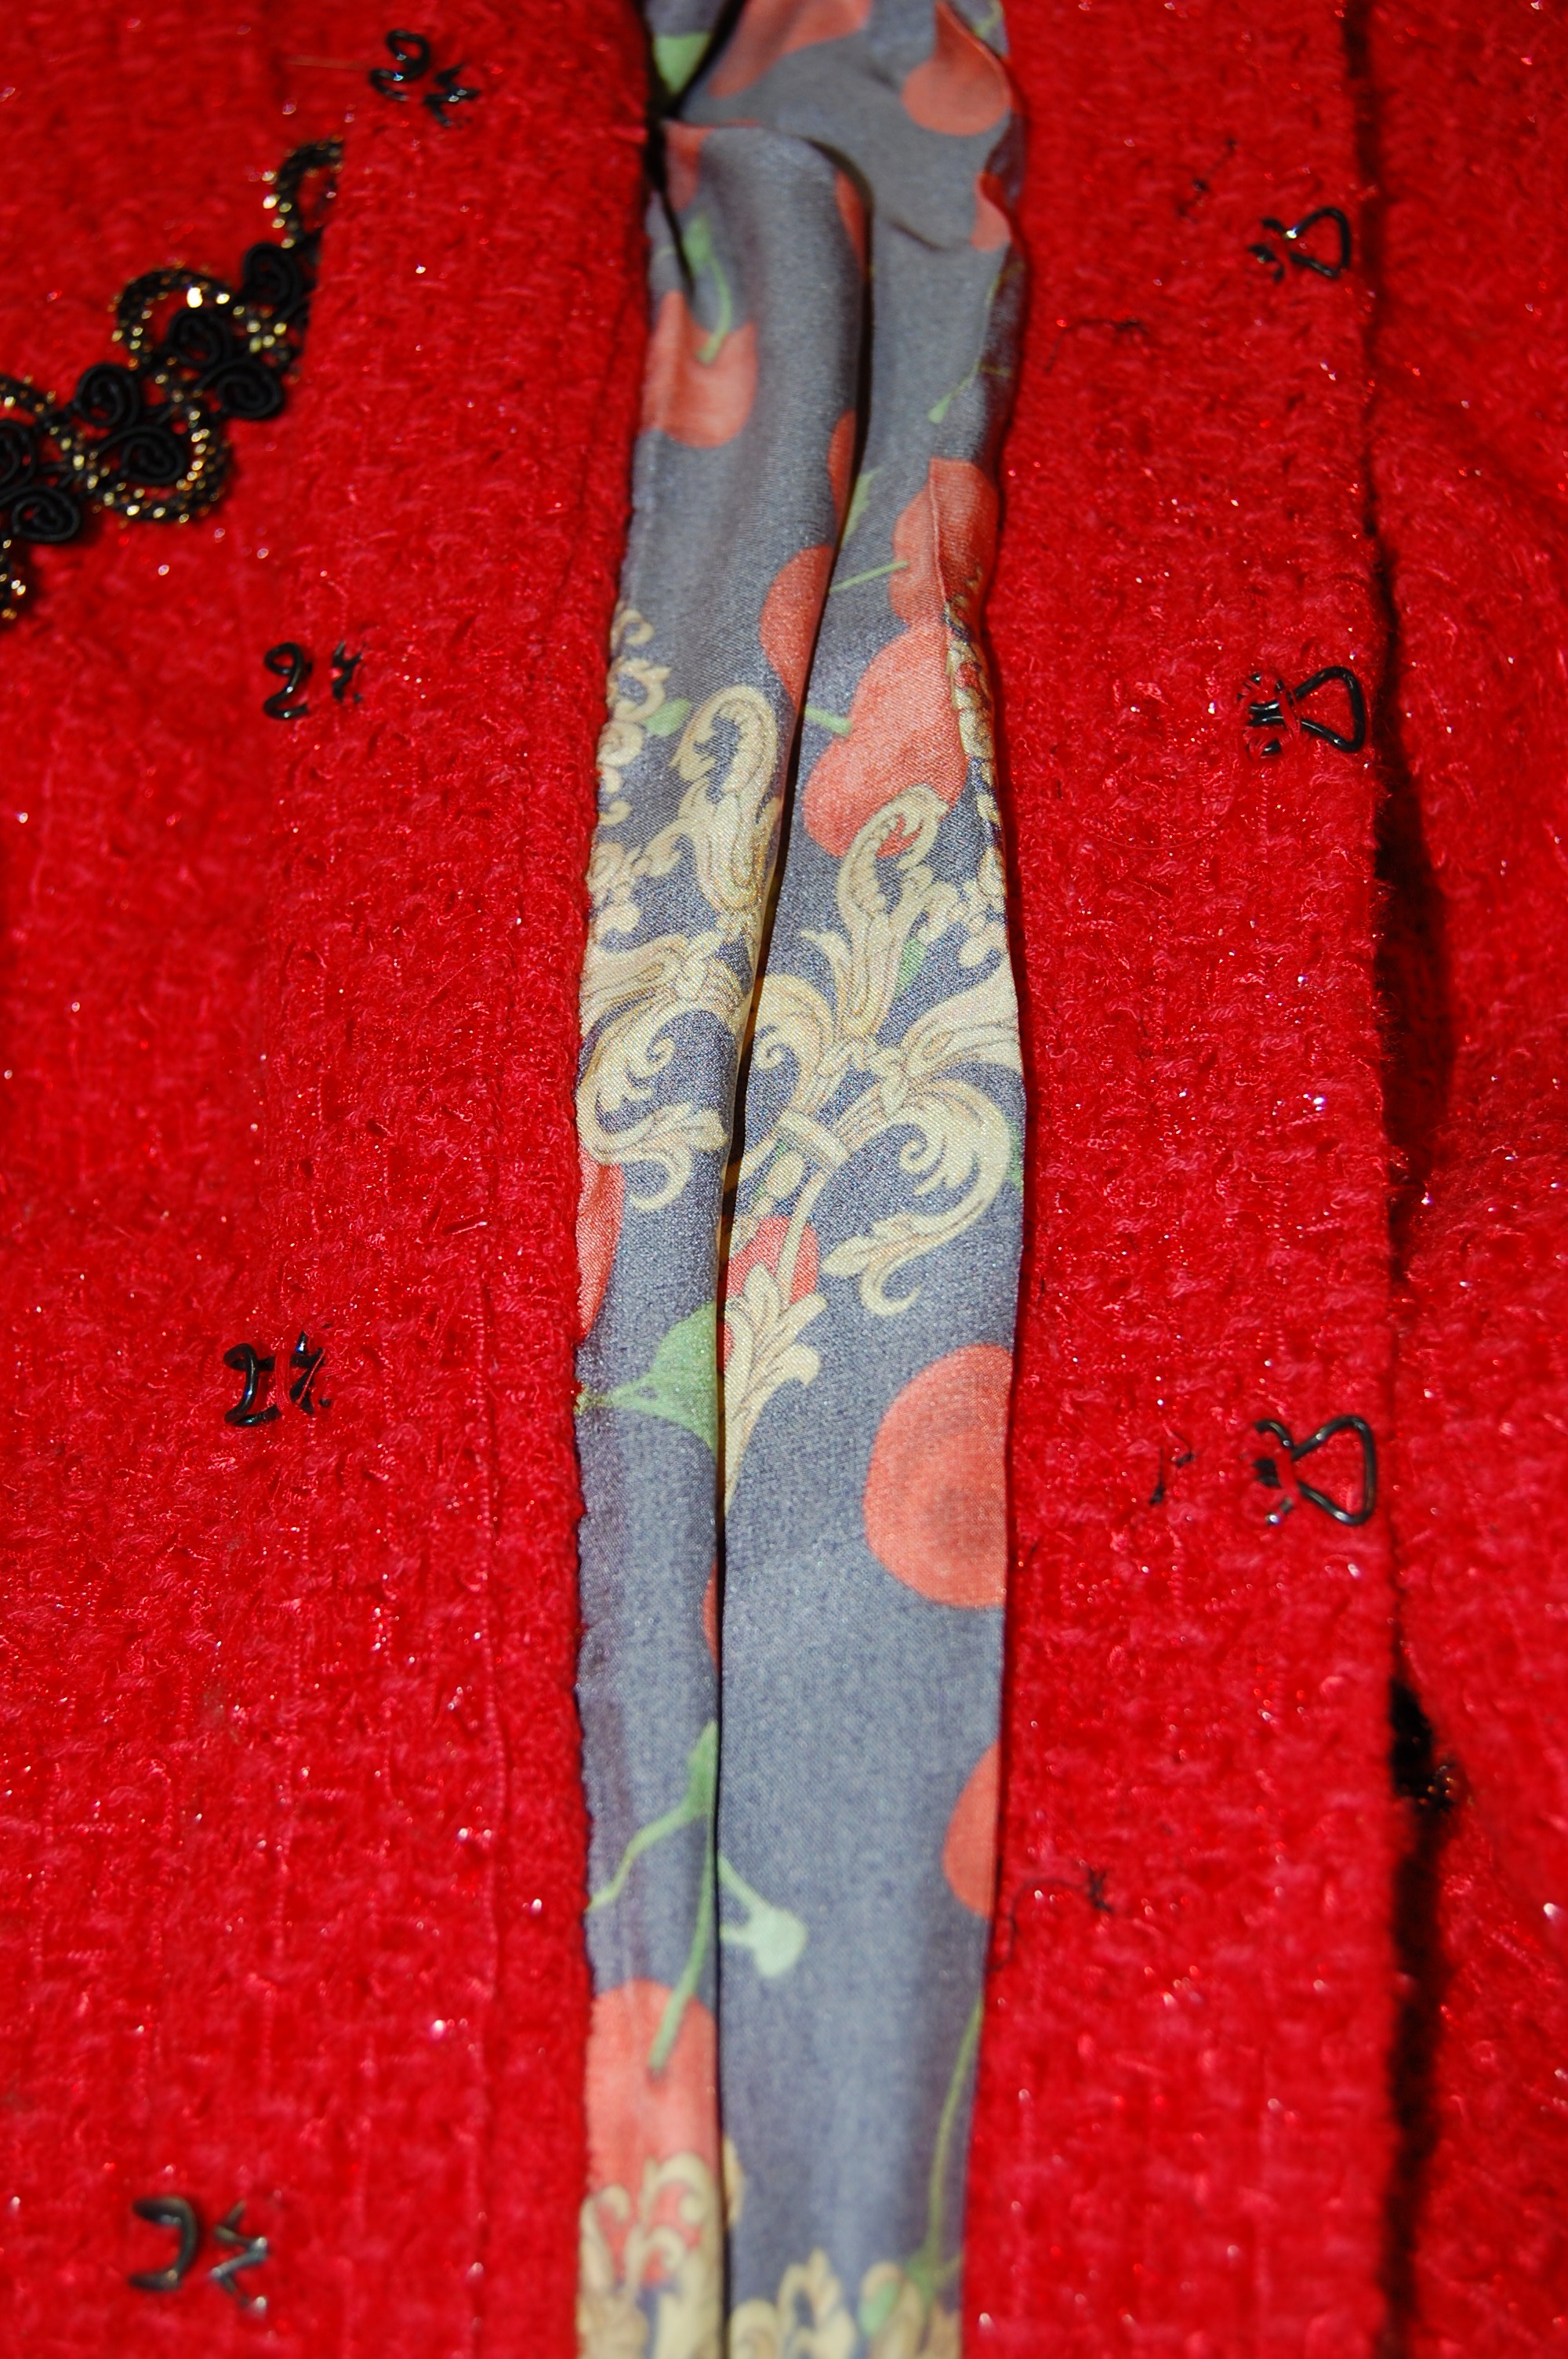
The hooks and eyes are placed on the front edges of the jacket, to insure an “abutted” closure.
4) putting the trim on the jacket edge, being careful to line it up properly, not too tight, not too loose. (I way-y-y underestimated the amount of time this would take me!)
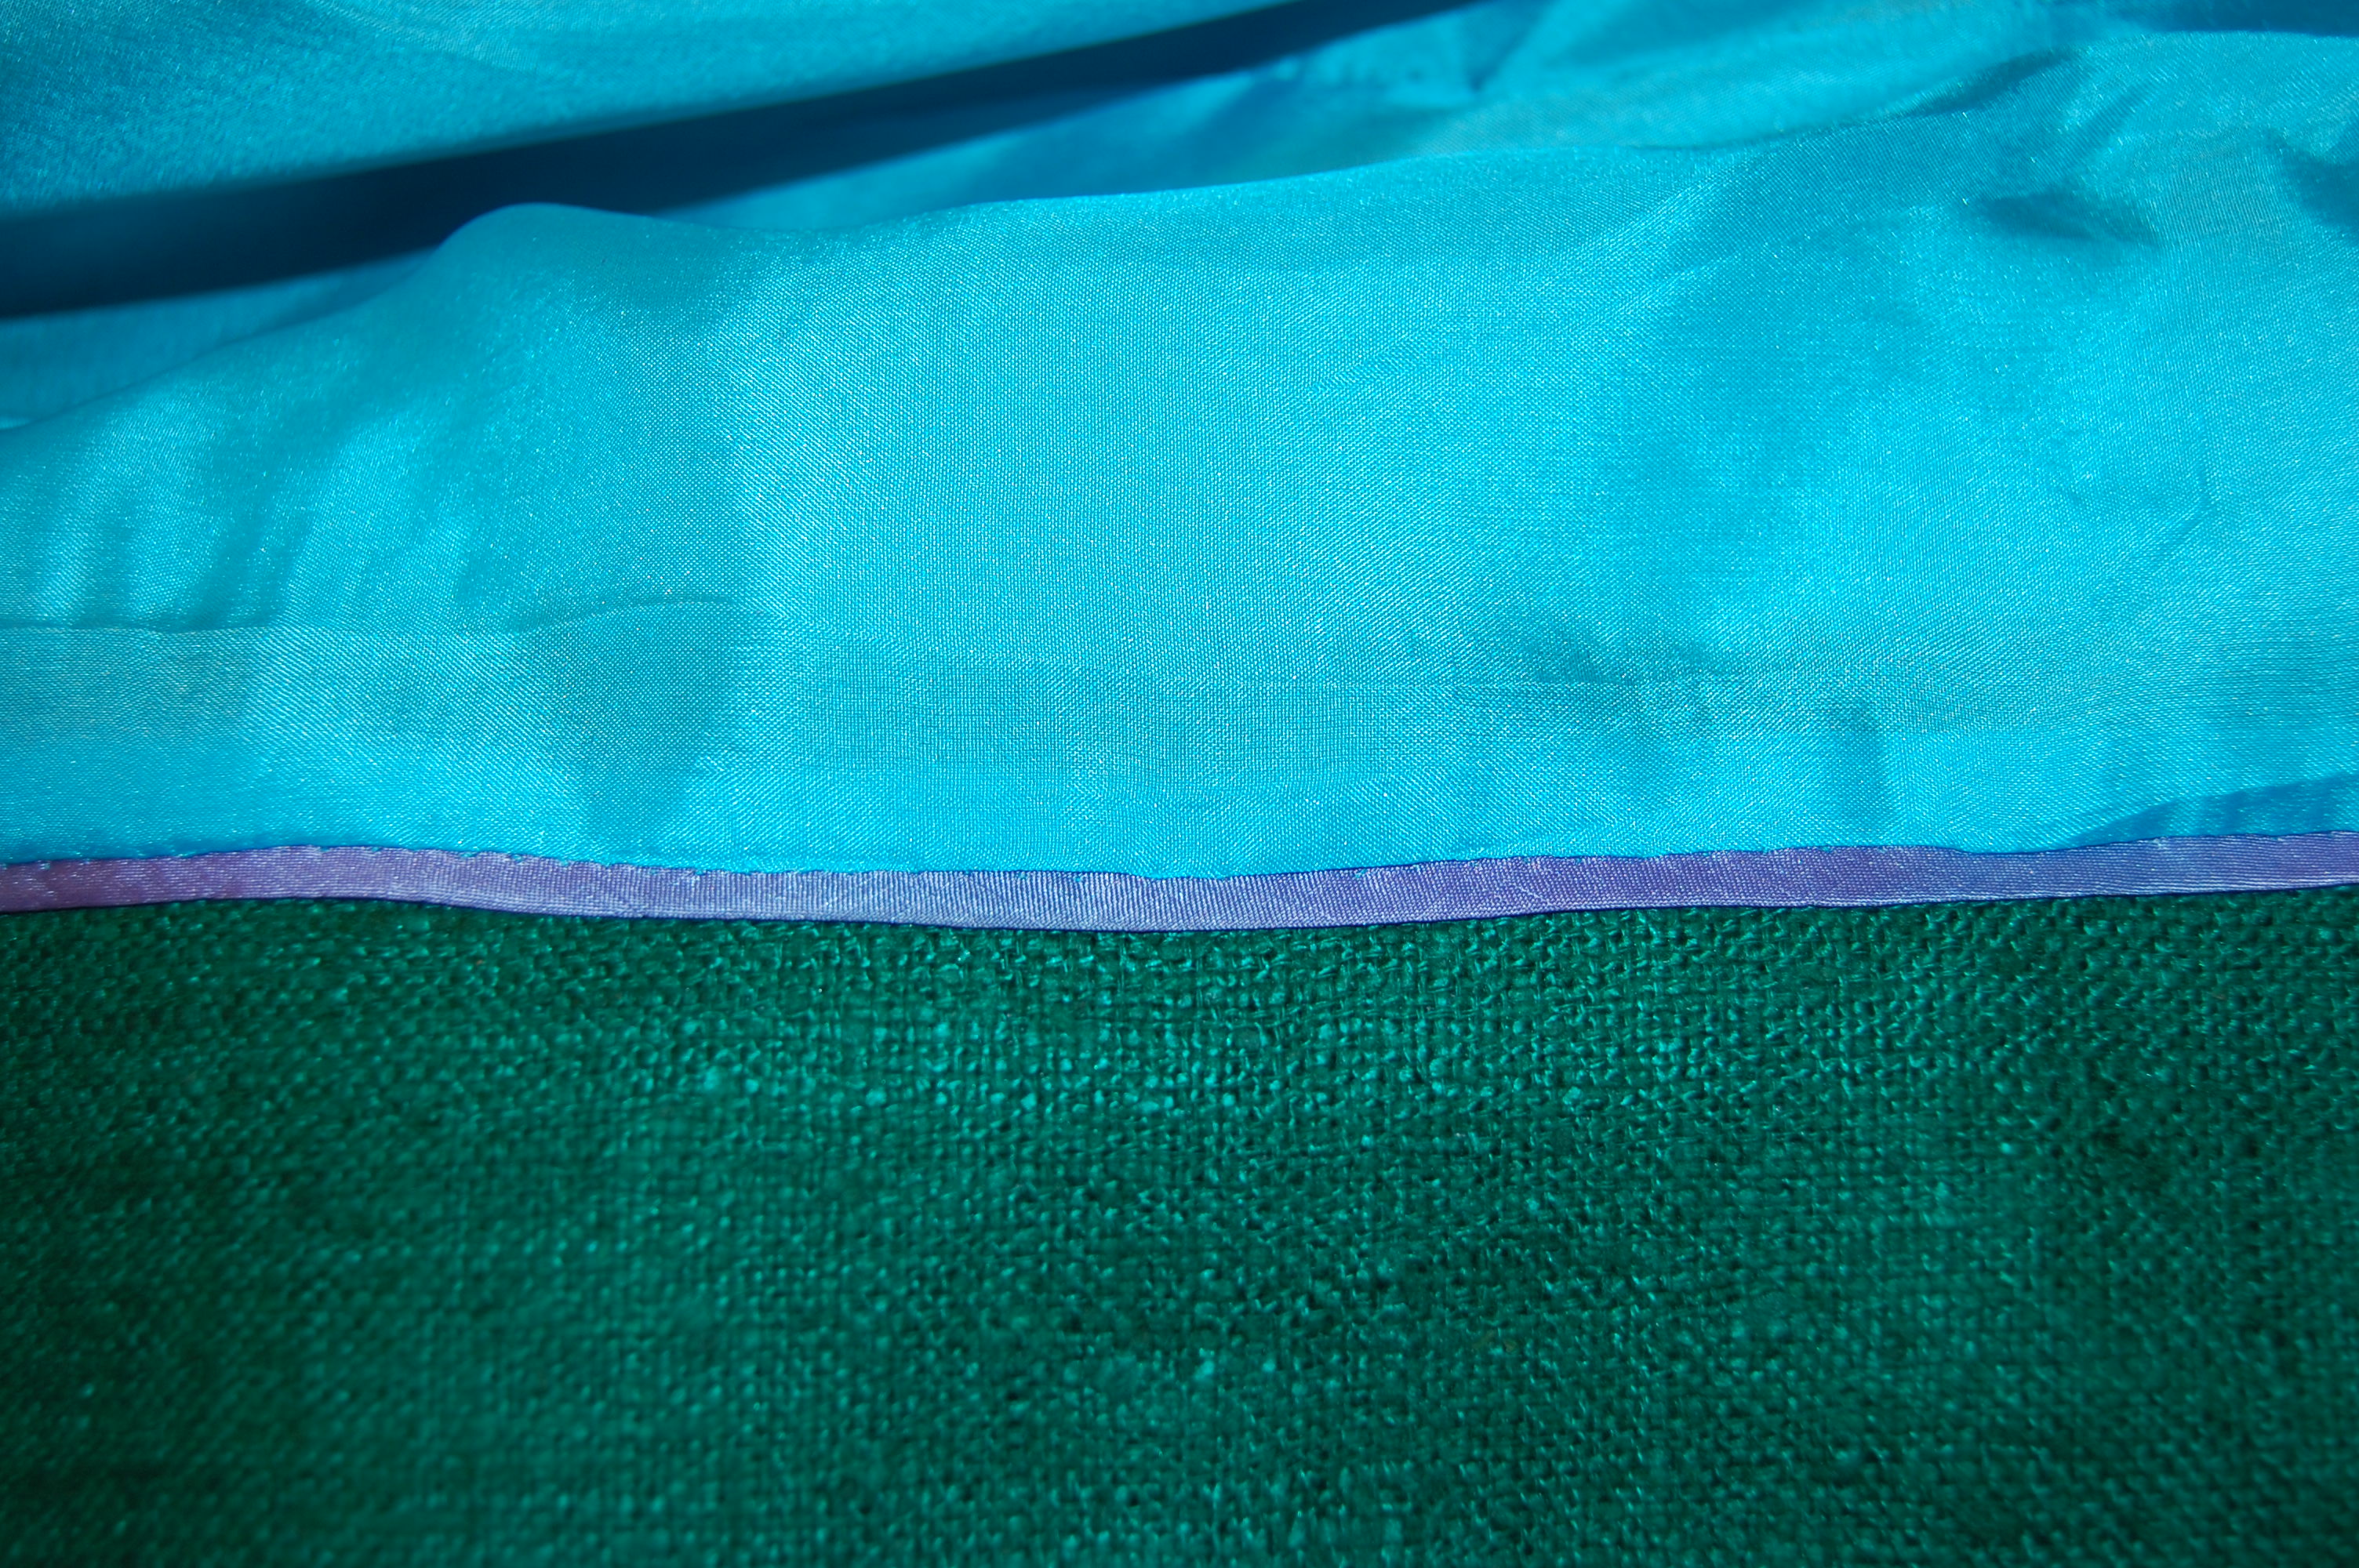
5) finishing the interior edges – by fell-stitching the lining to the edge of the jacket.
6) determining the size and placement of the pockets
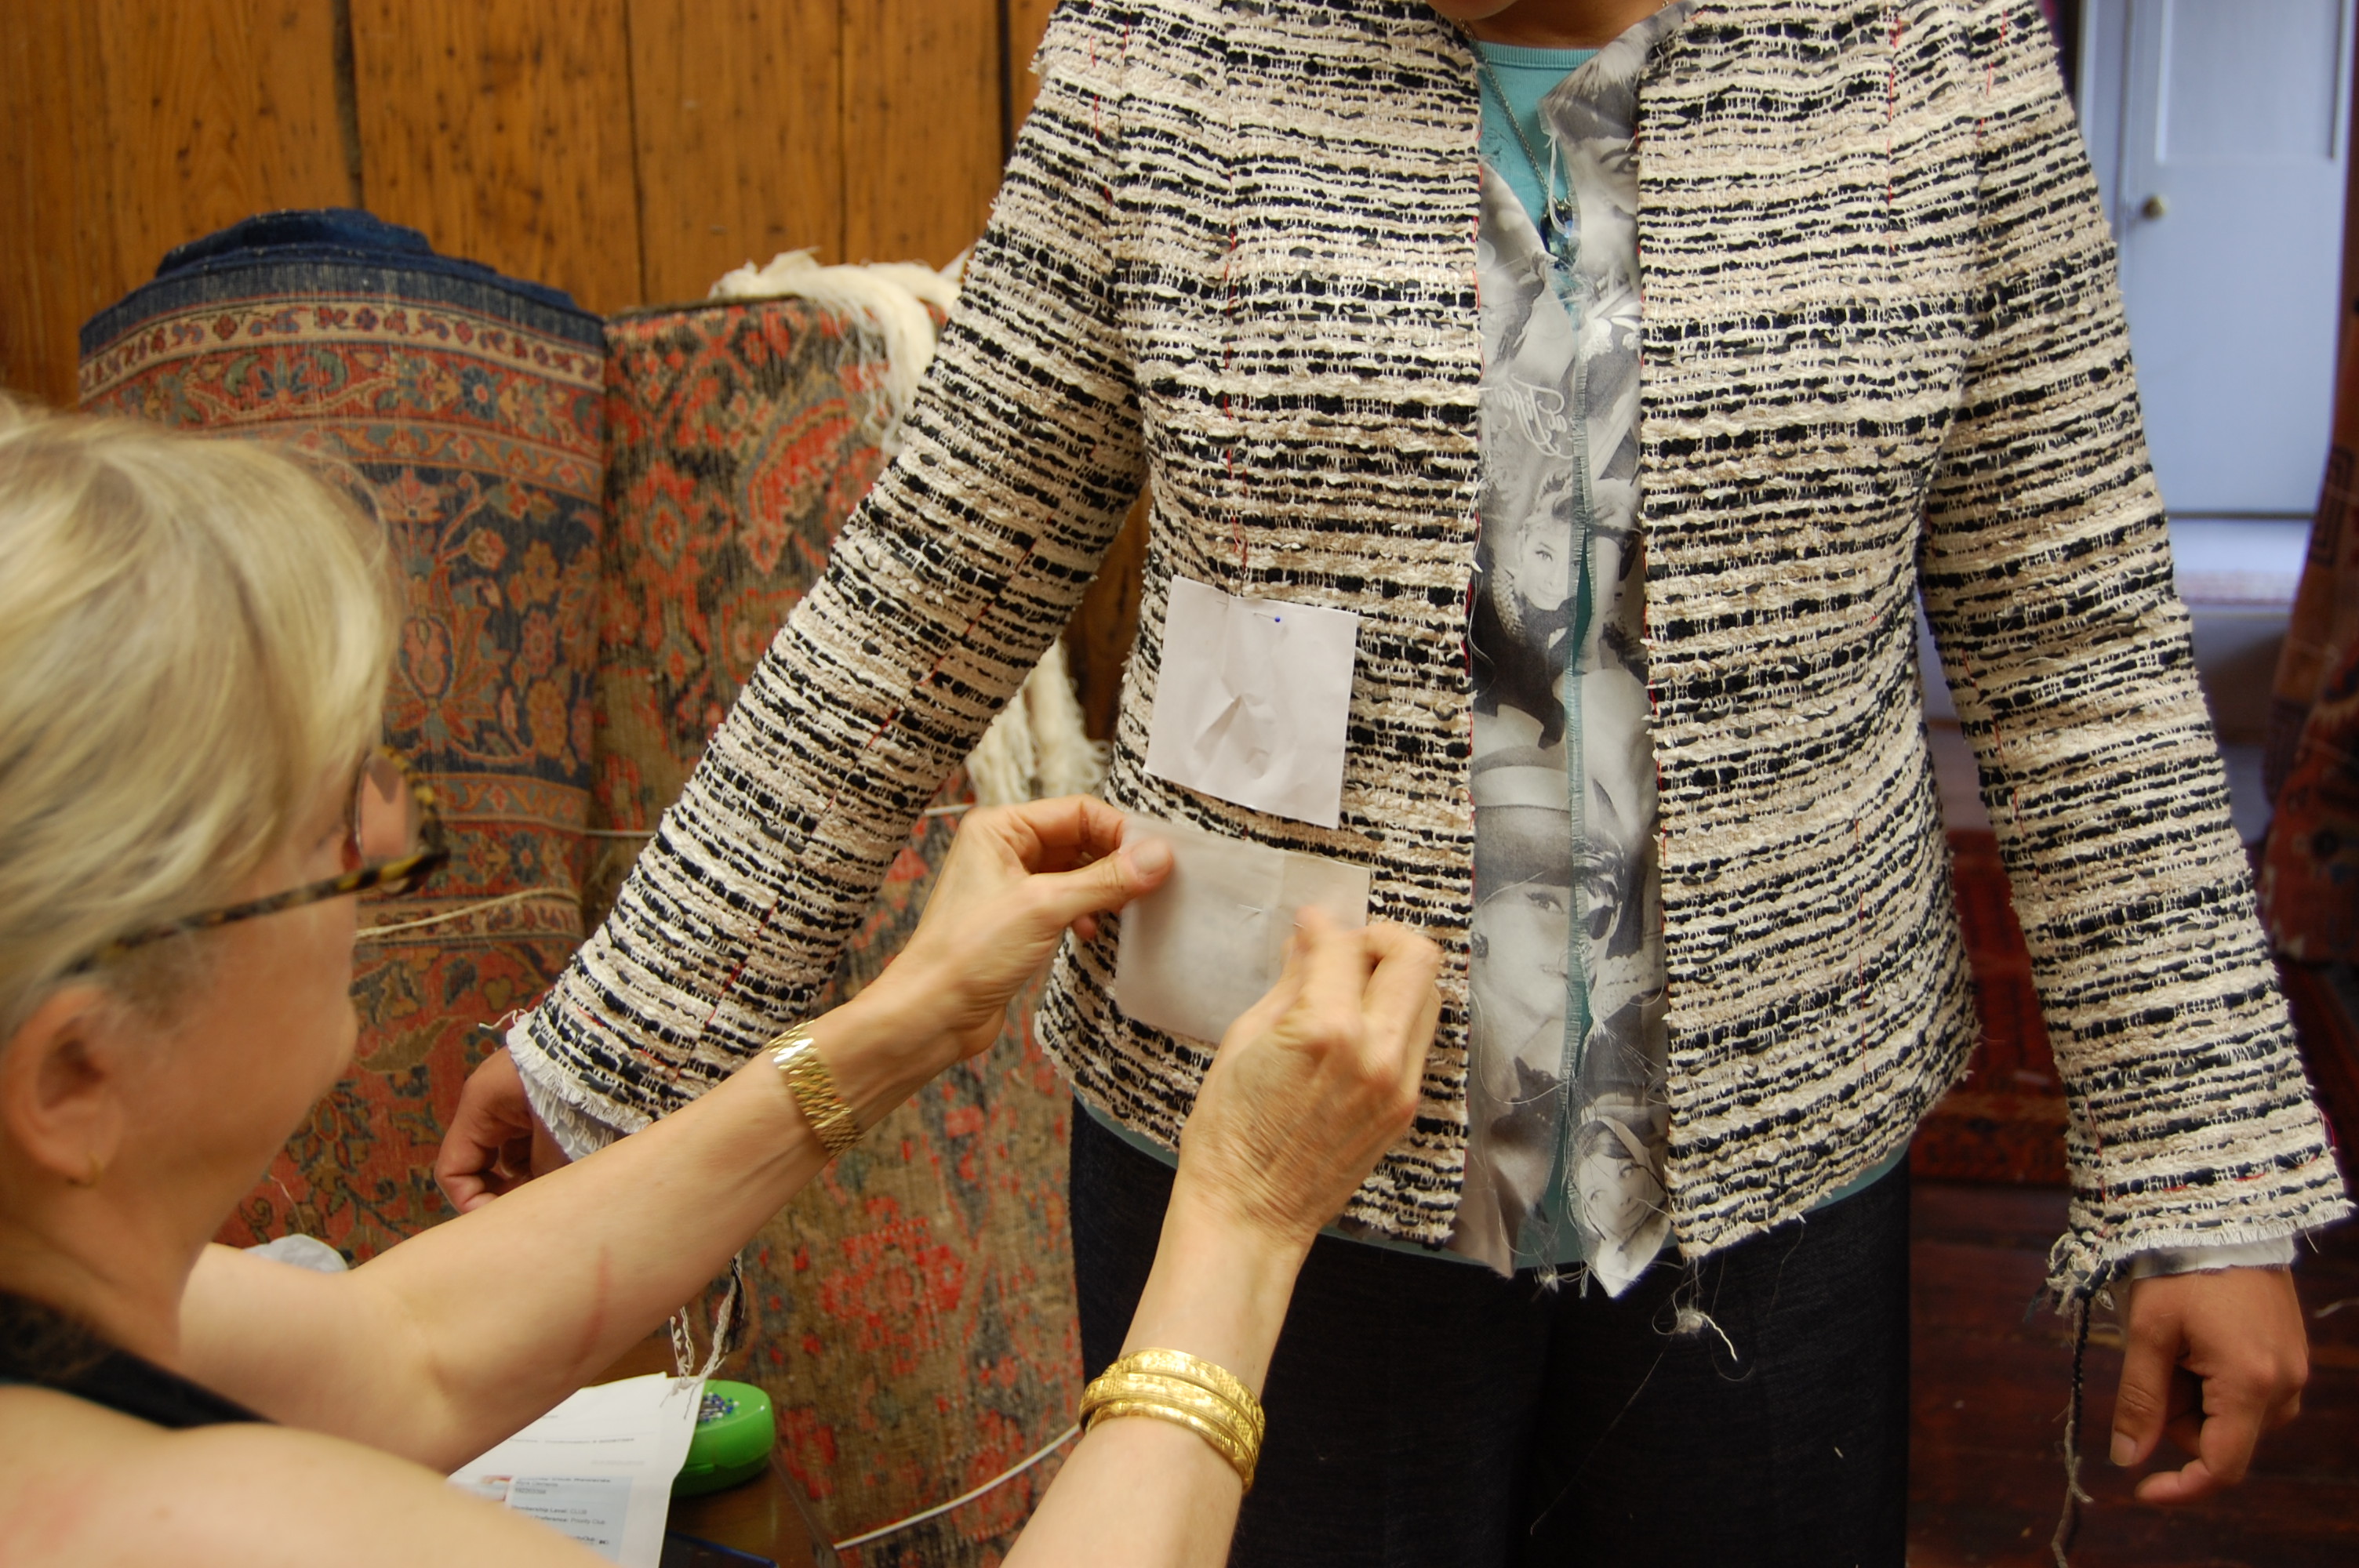
Susan helps Myra pin pocket templates onto her jacket.
7) making the pockets
8) attaching the pockets
9) sewing on the buttons – and –
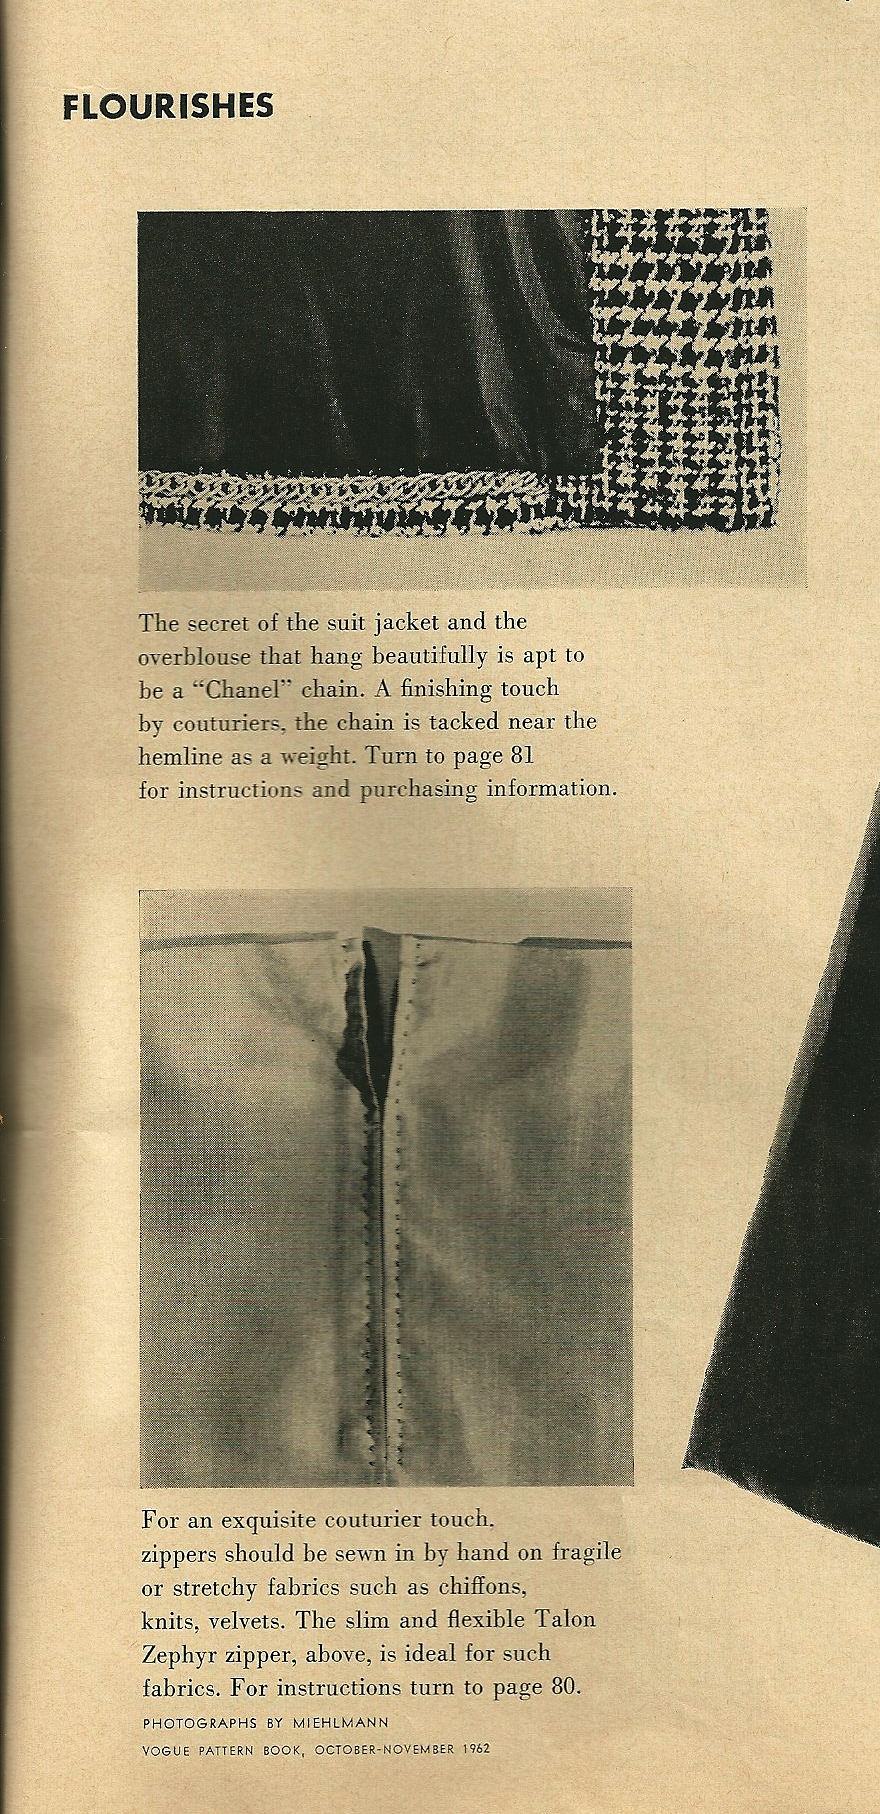
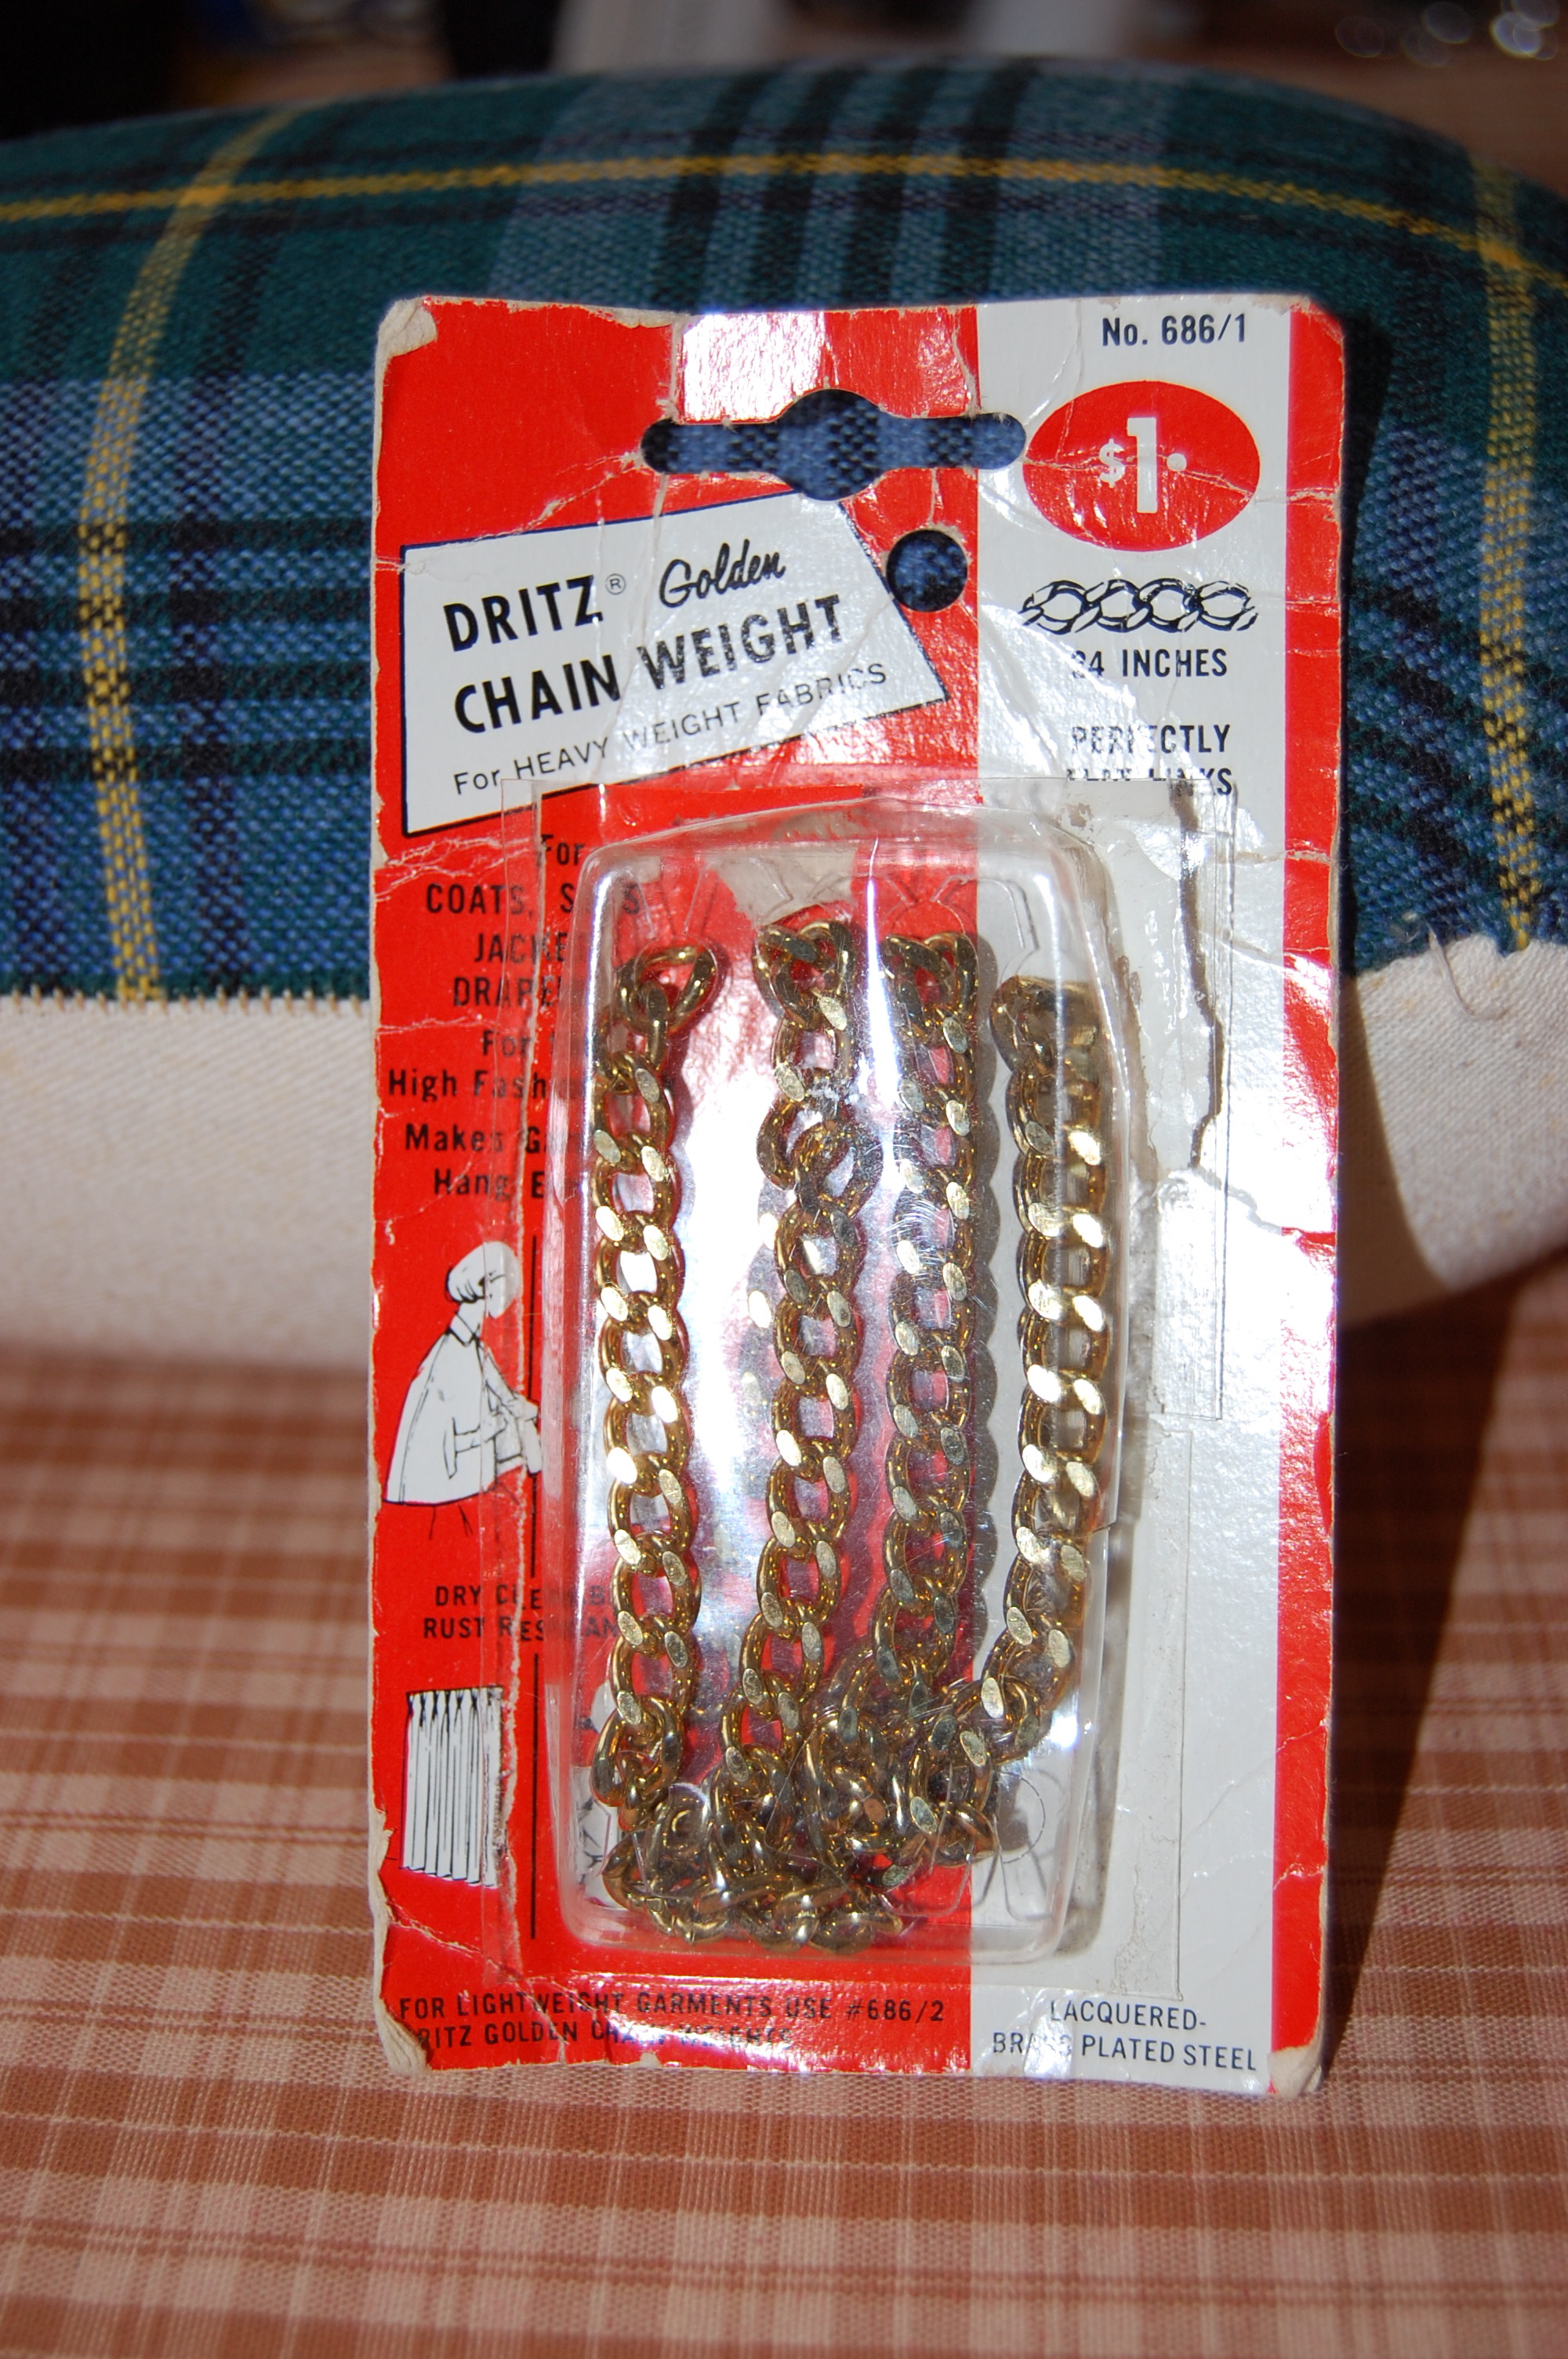
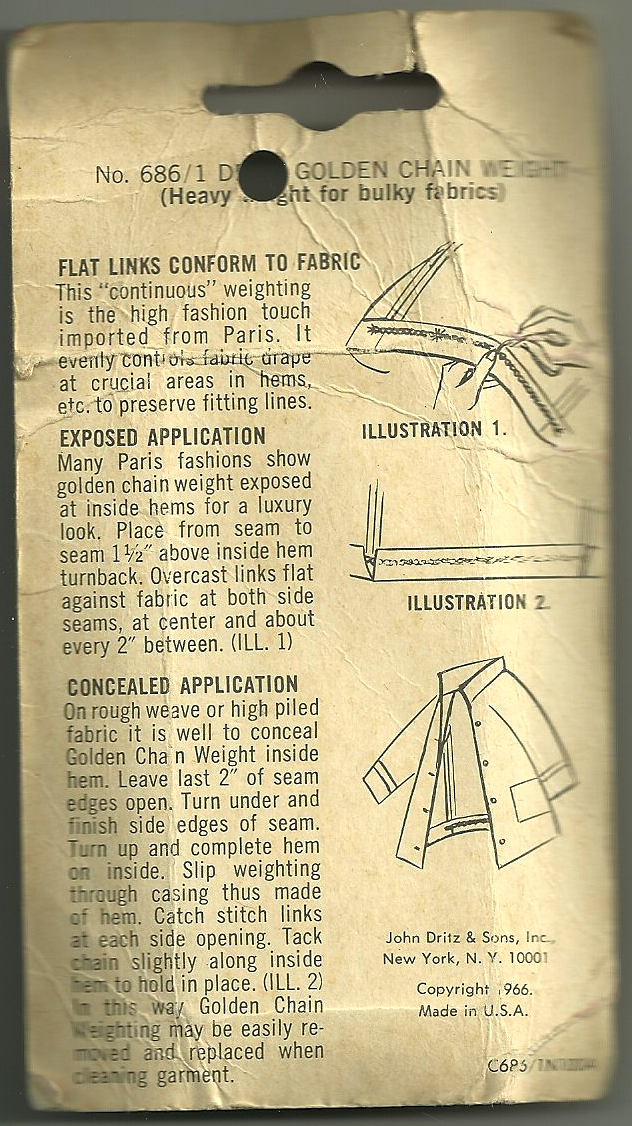
10) finally, sewing on the chain, which anchors the jacket, insuring that it will hang straight; its weight is a very subtle, lovely reminder of the “haute couture” aspect of this creation.
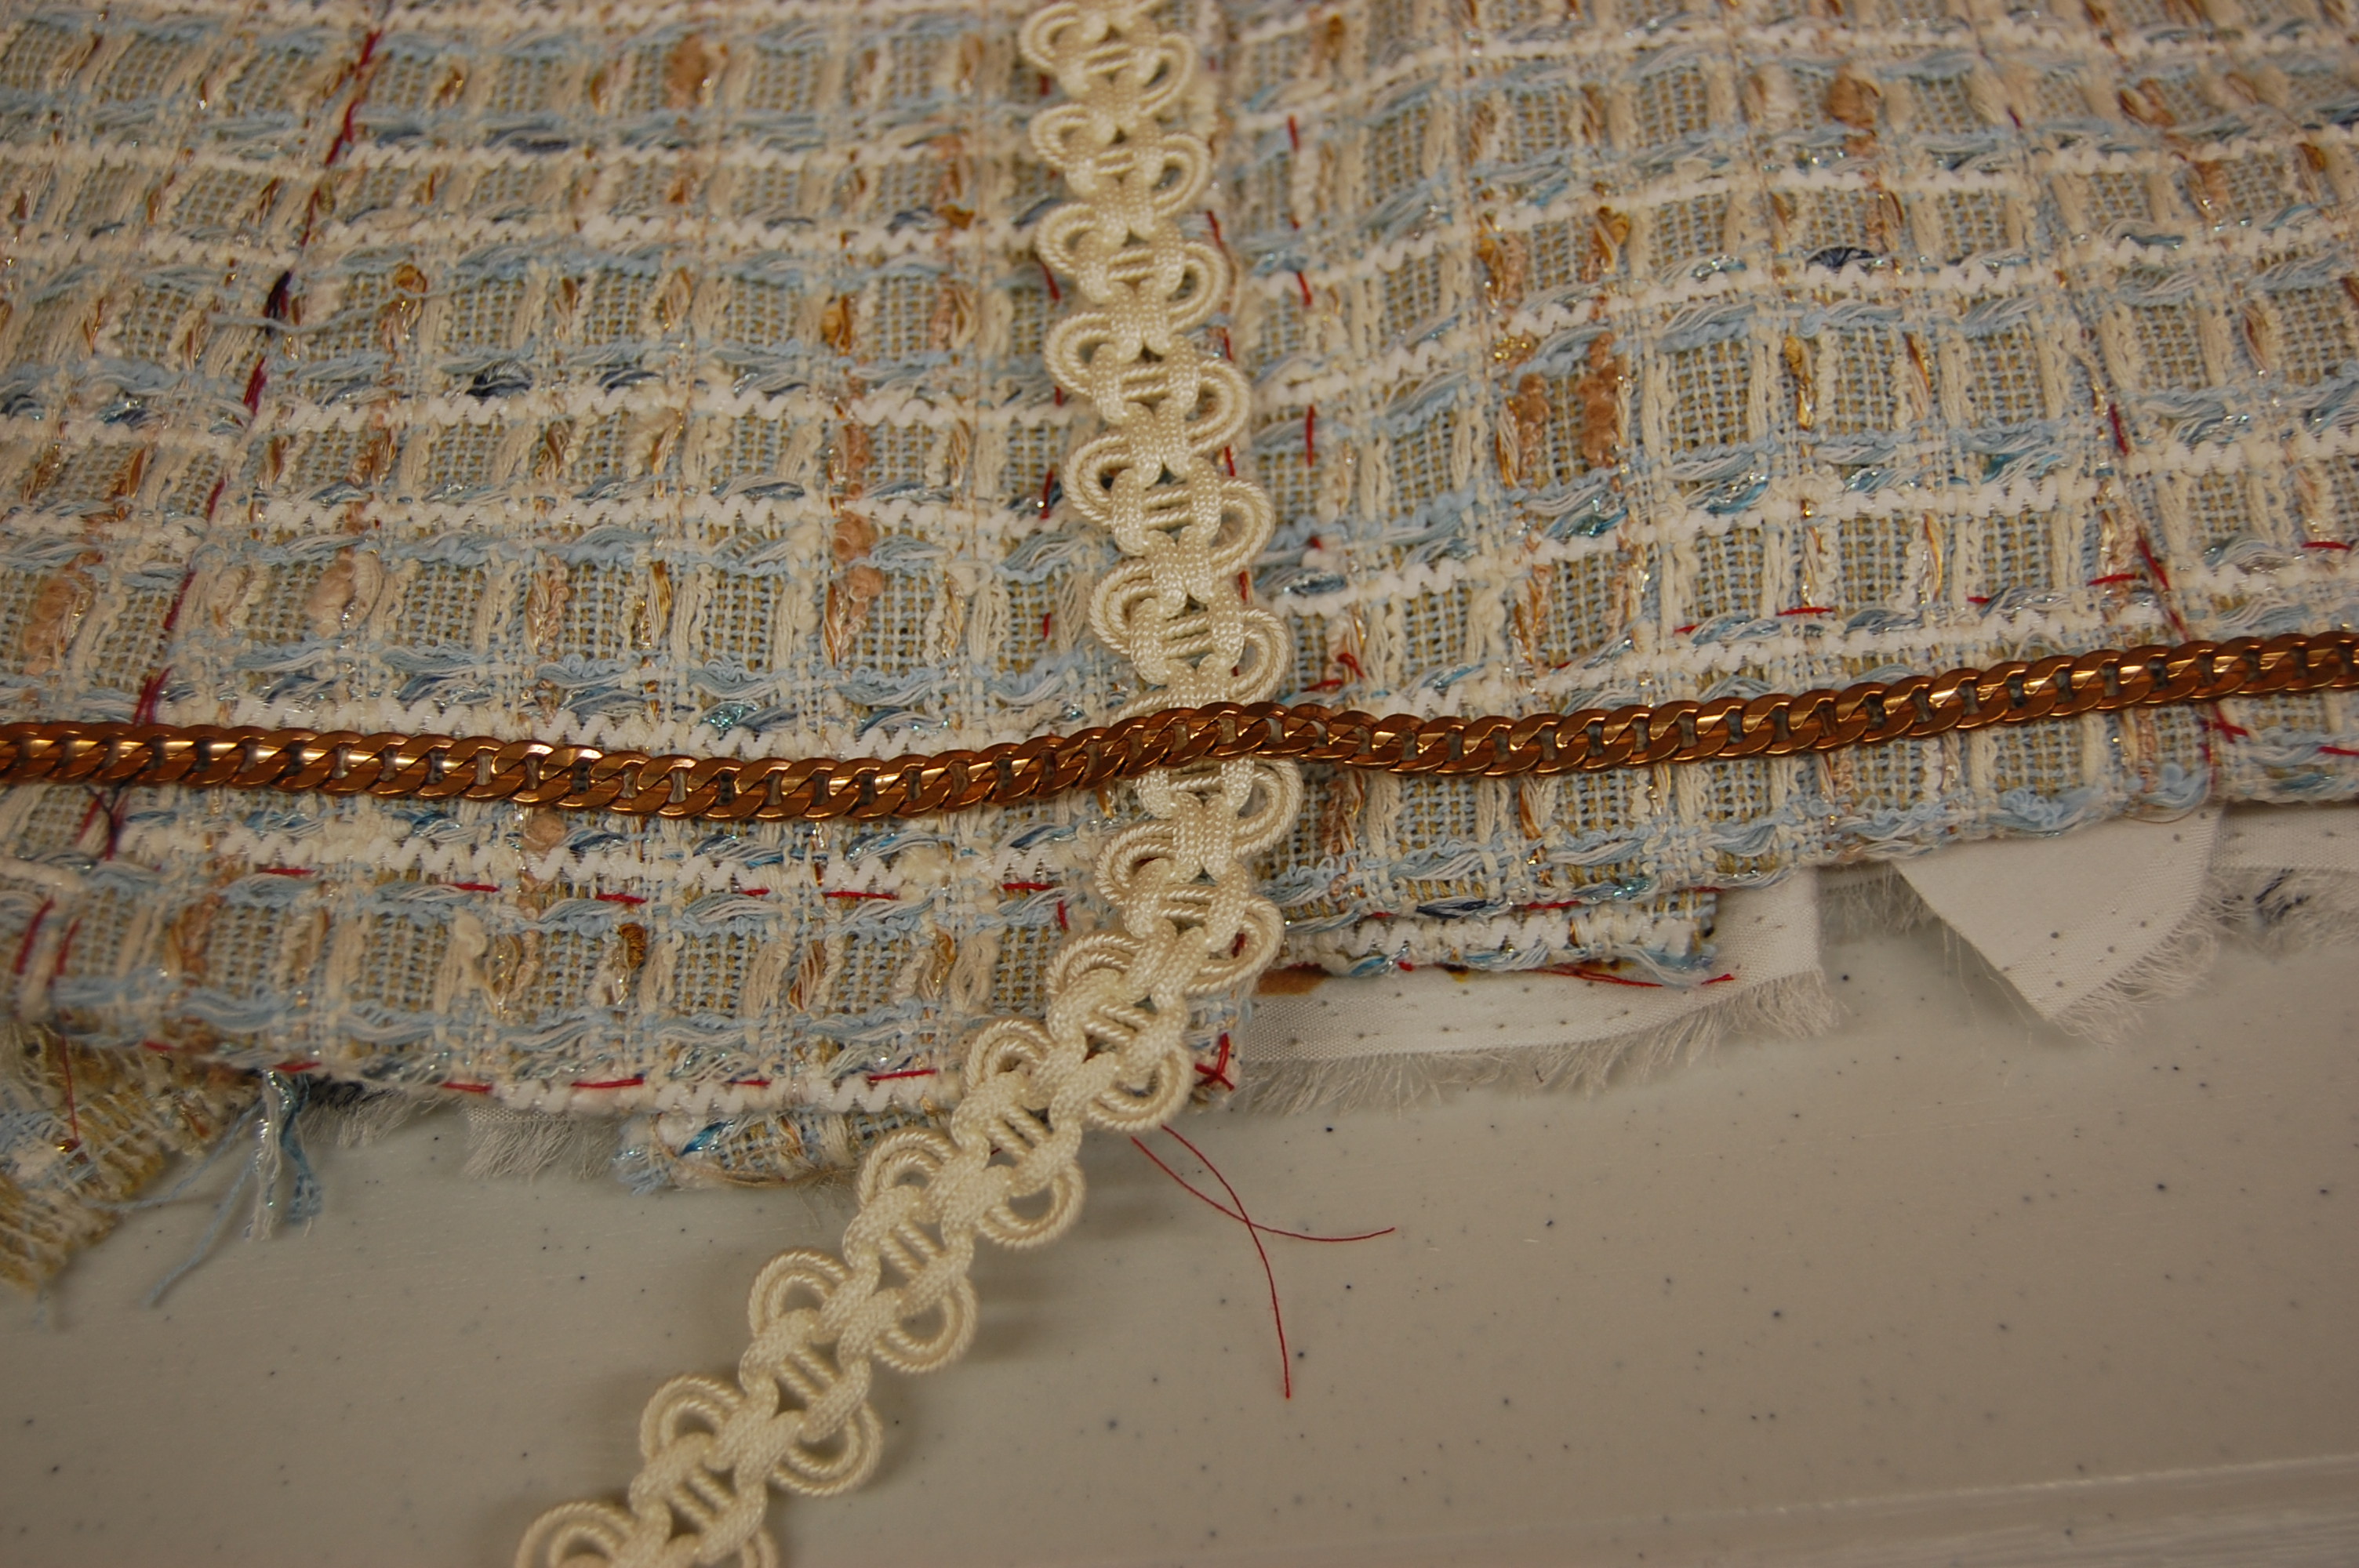
Lucia chose this “copper” colored chain . . .
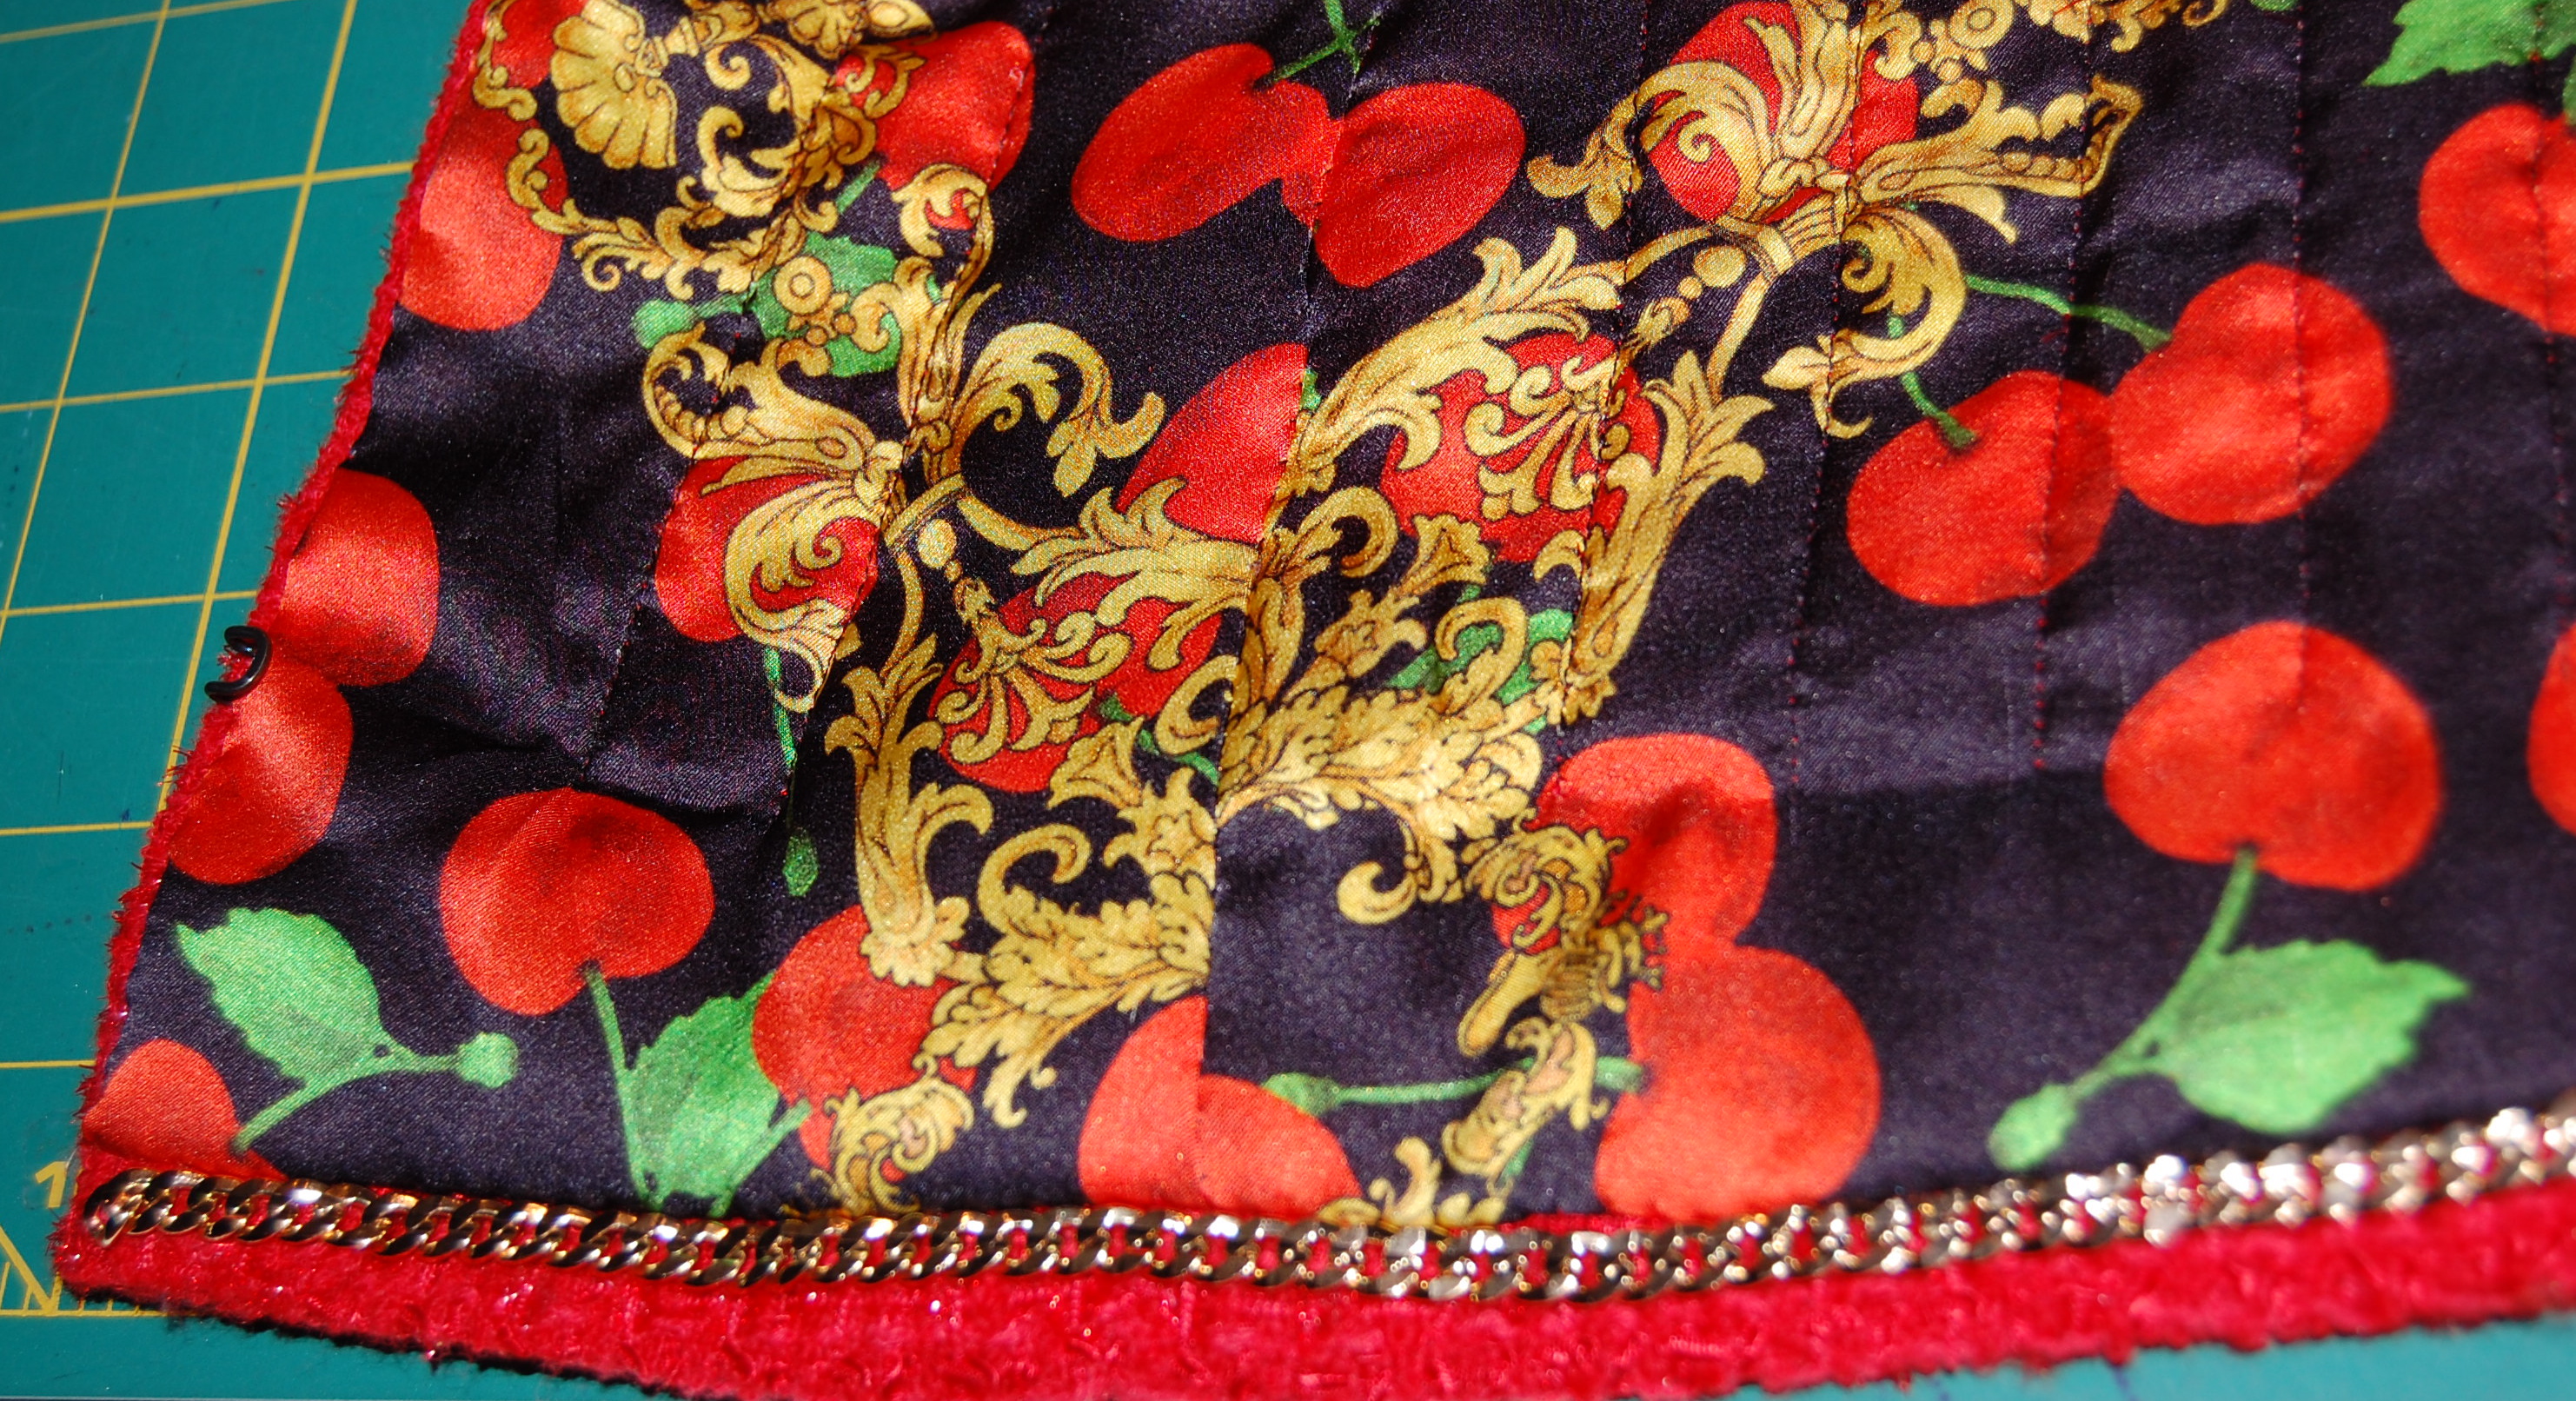
. . . while I chose a gold chain.
So, the excellent definition of “haute couture” in Wikipedia continues:
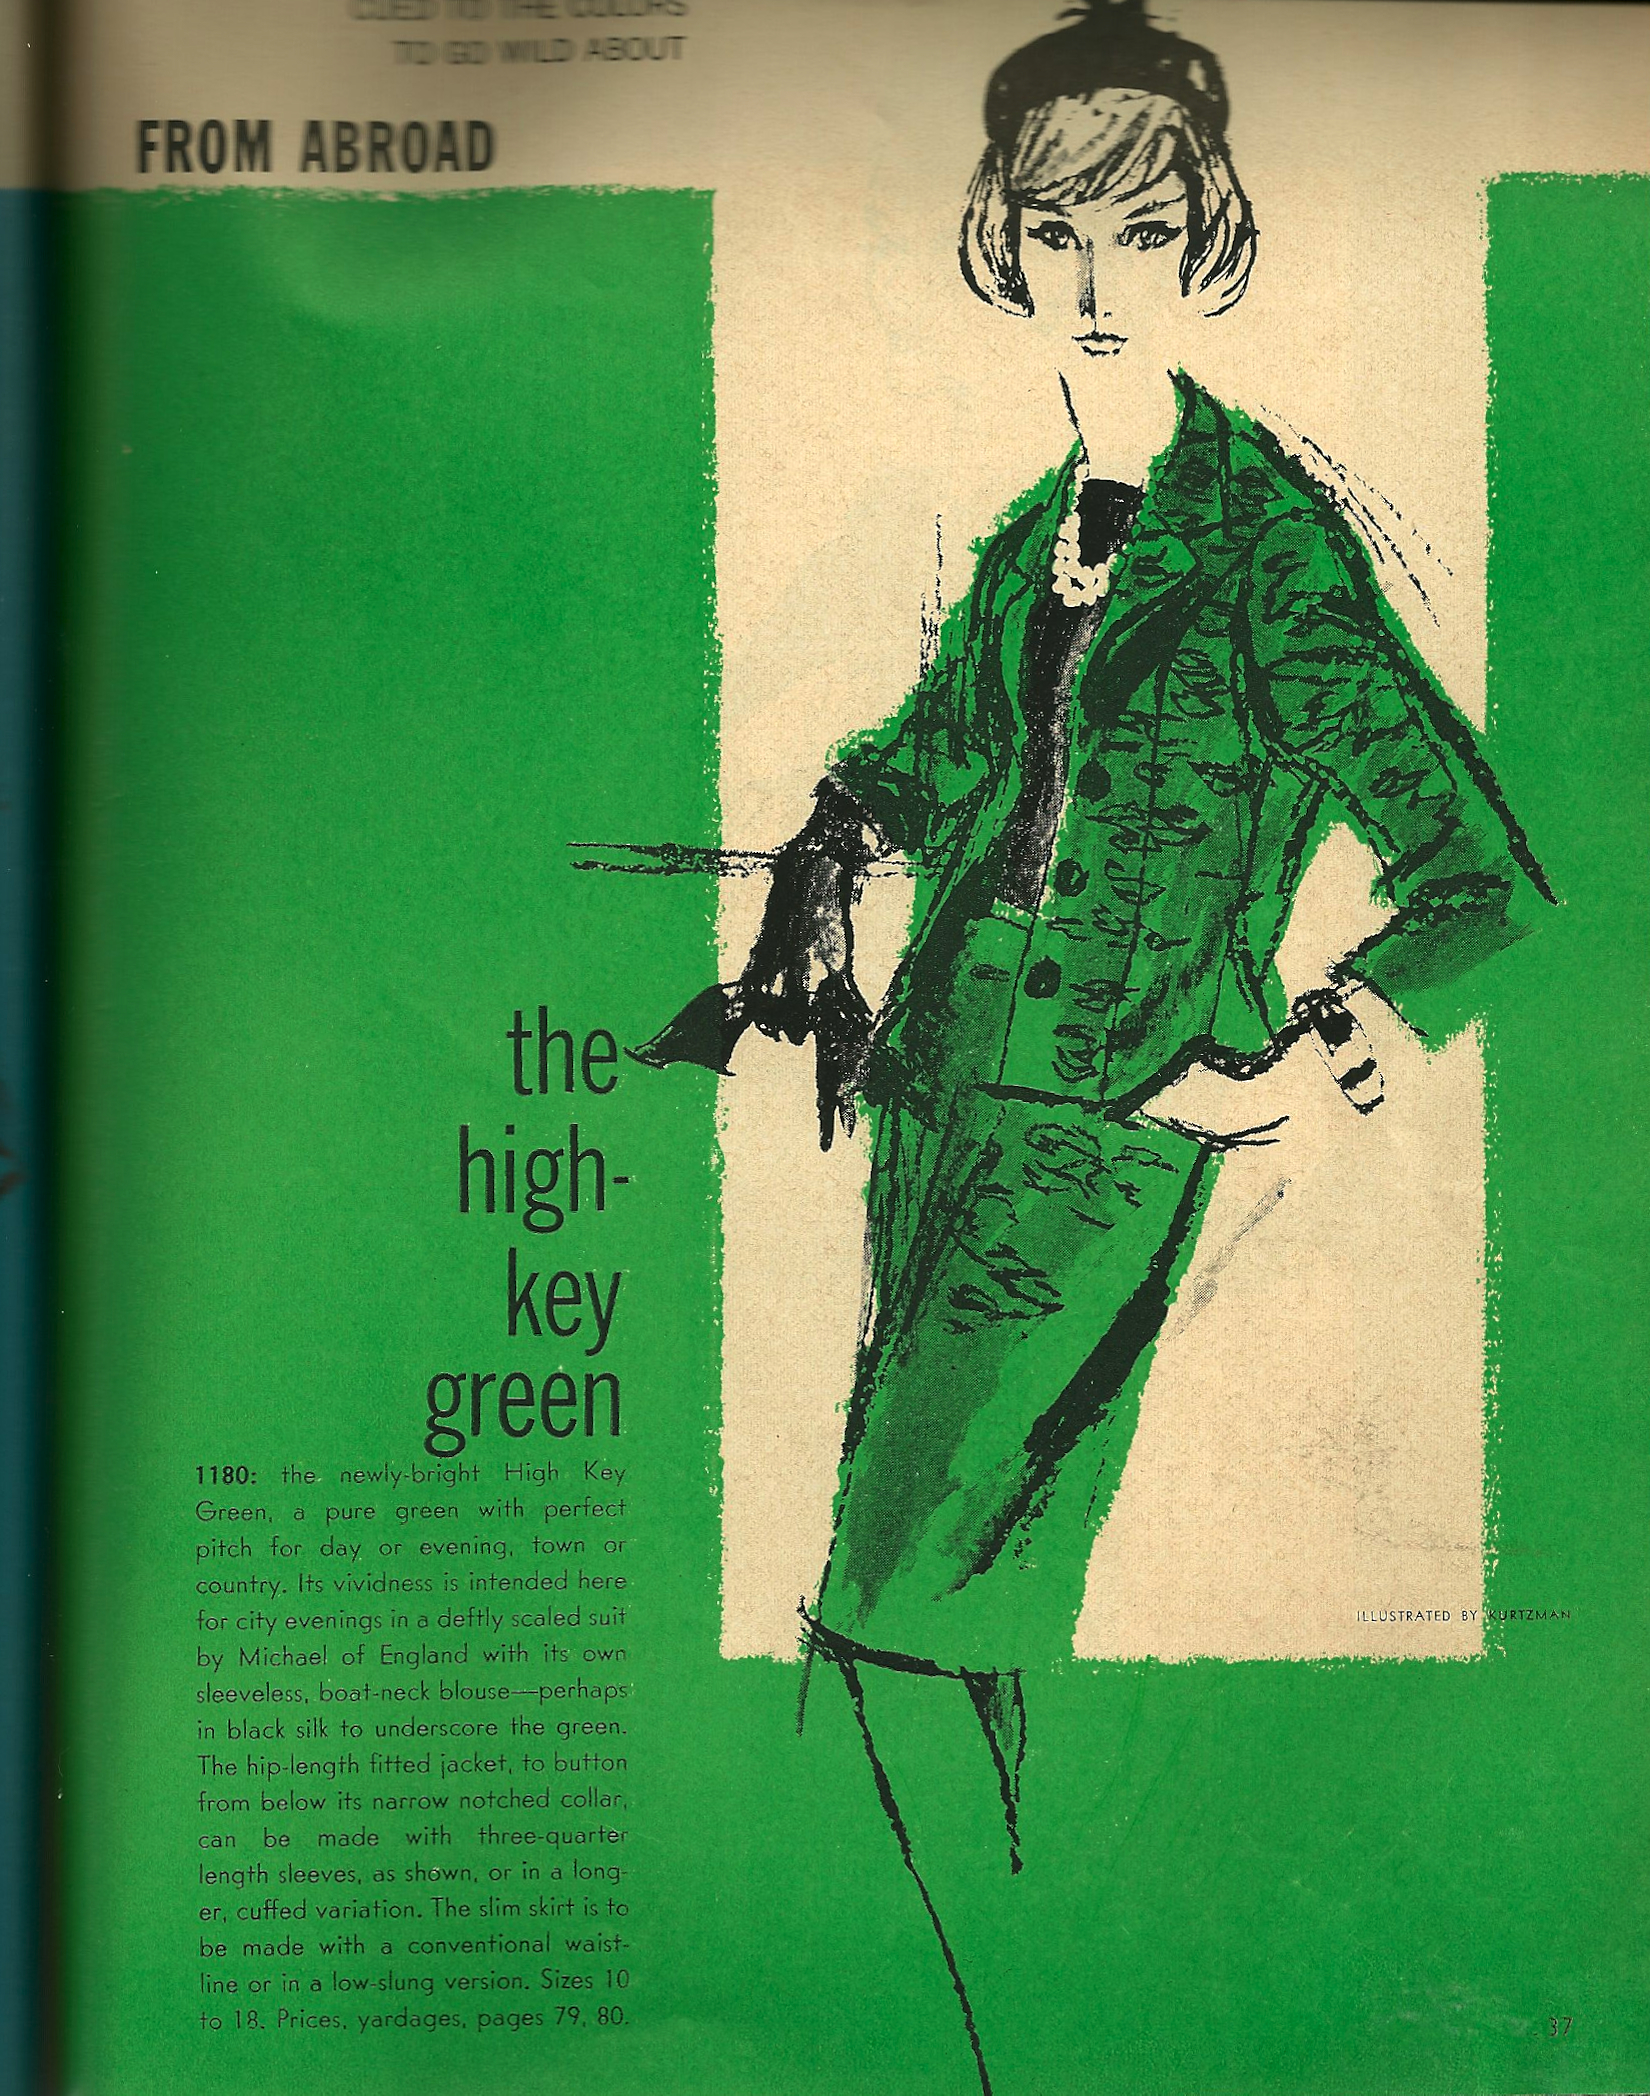
“. . . In modern France, haute couture is a ‘protected name’ that can be used only by firms that meet certain well-defined standards. However the term is also used loosely to describe all high fashion custom-fitted clothing, whether it is produced in Paris or in other fashion capitals such as London, Milan, New York, or Tokyo [or Baltimore! (my italics and brackets)].
Well, from Baltimore, we all returned to our respective homes across the country, where sewing rooms and spaces must look something like mine – scattered with bits and pieces of all that finish work on our Classic French Jackets!
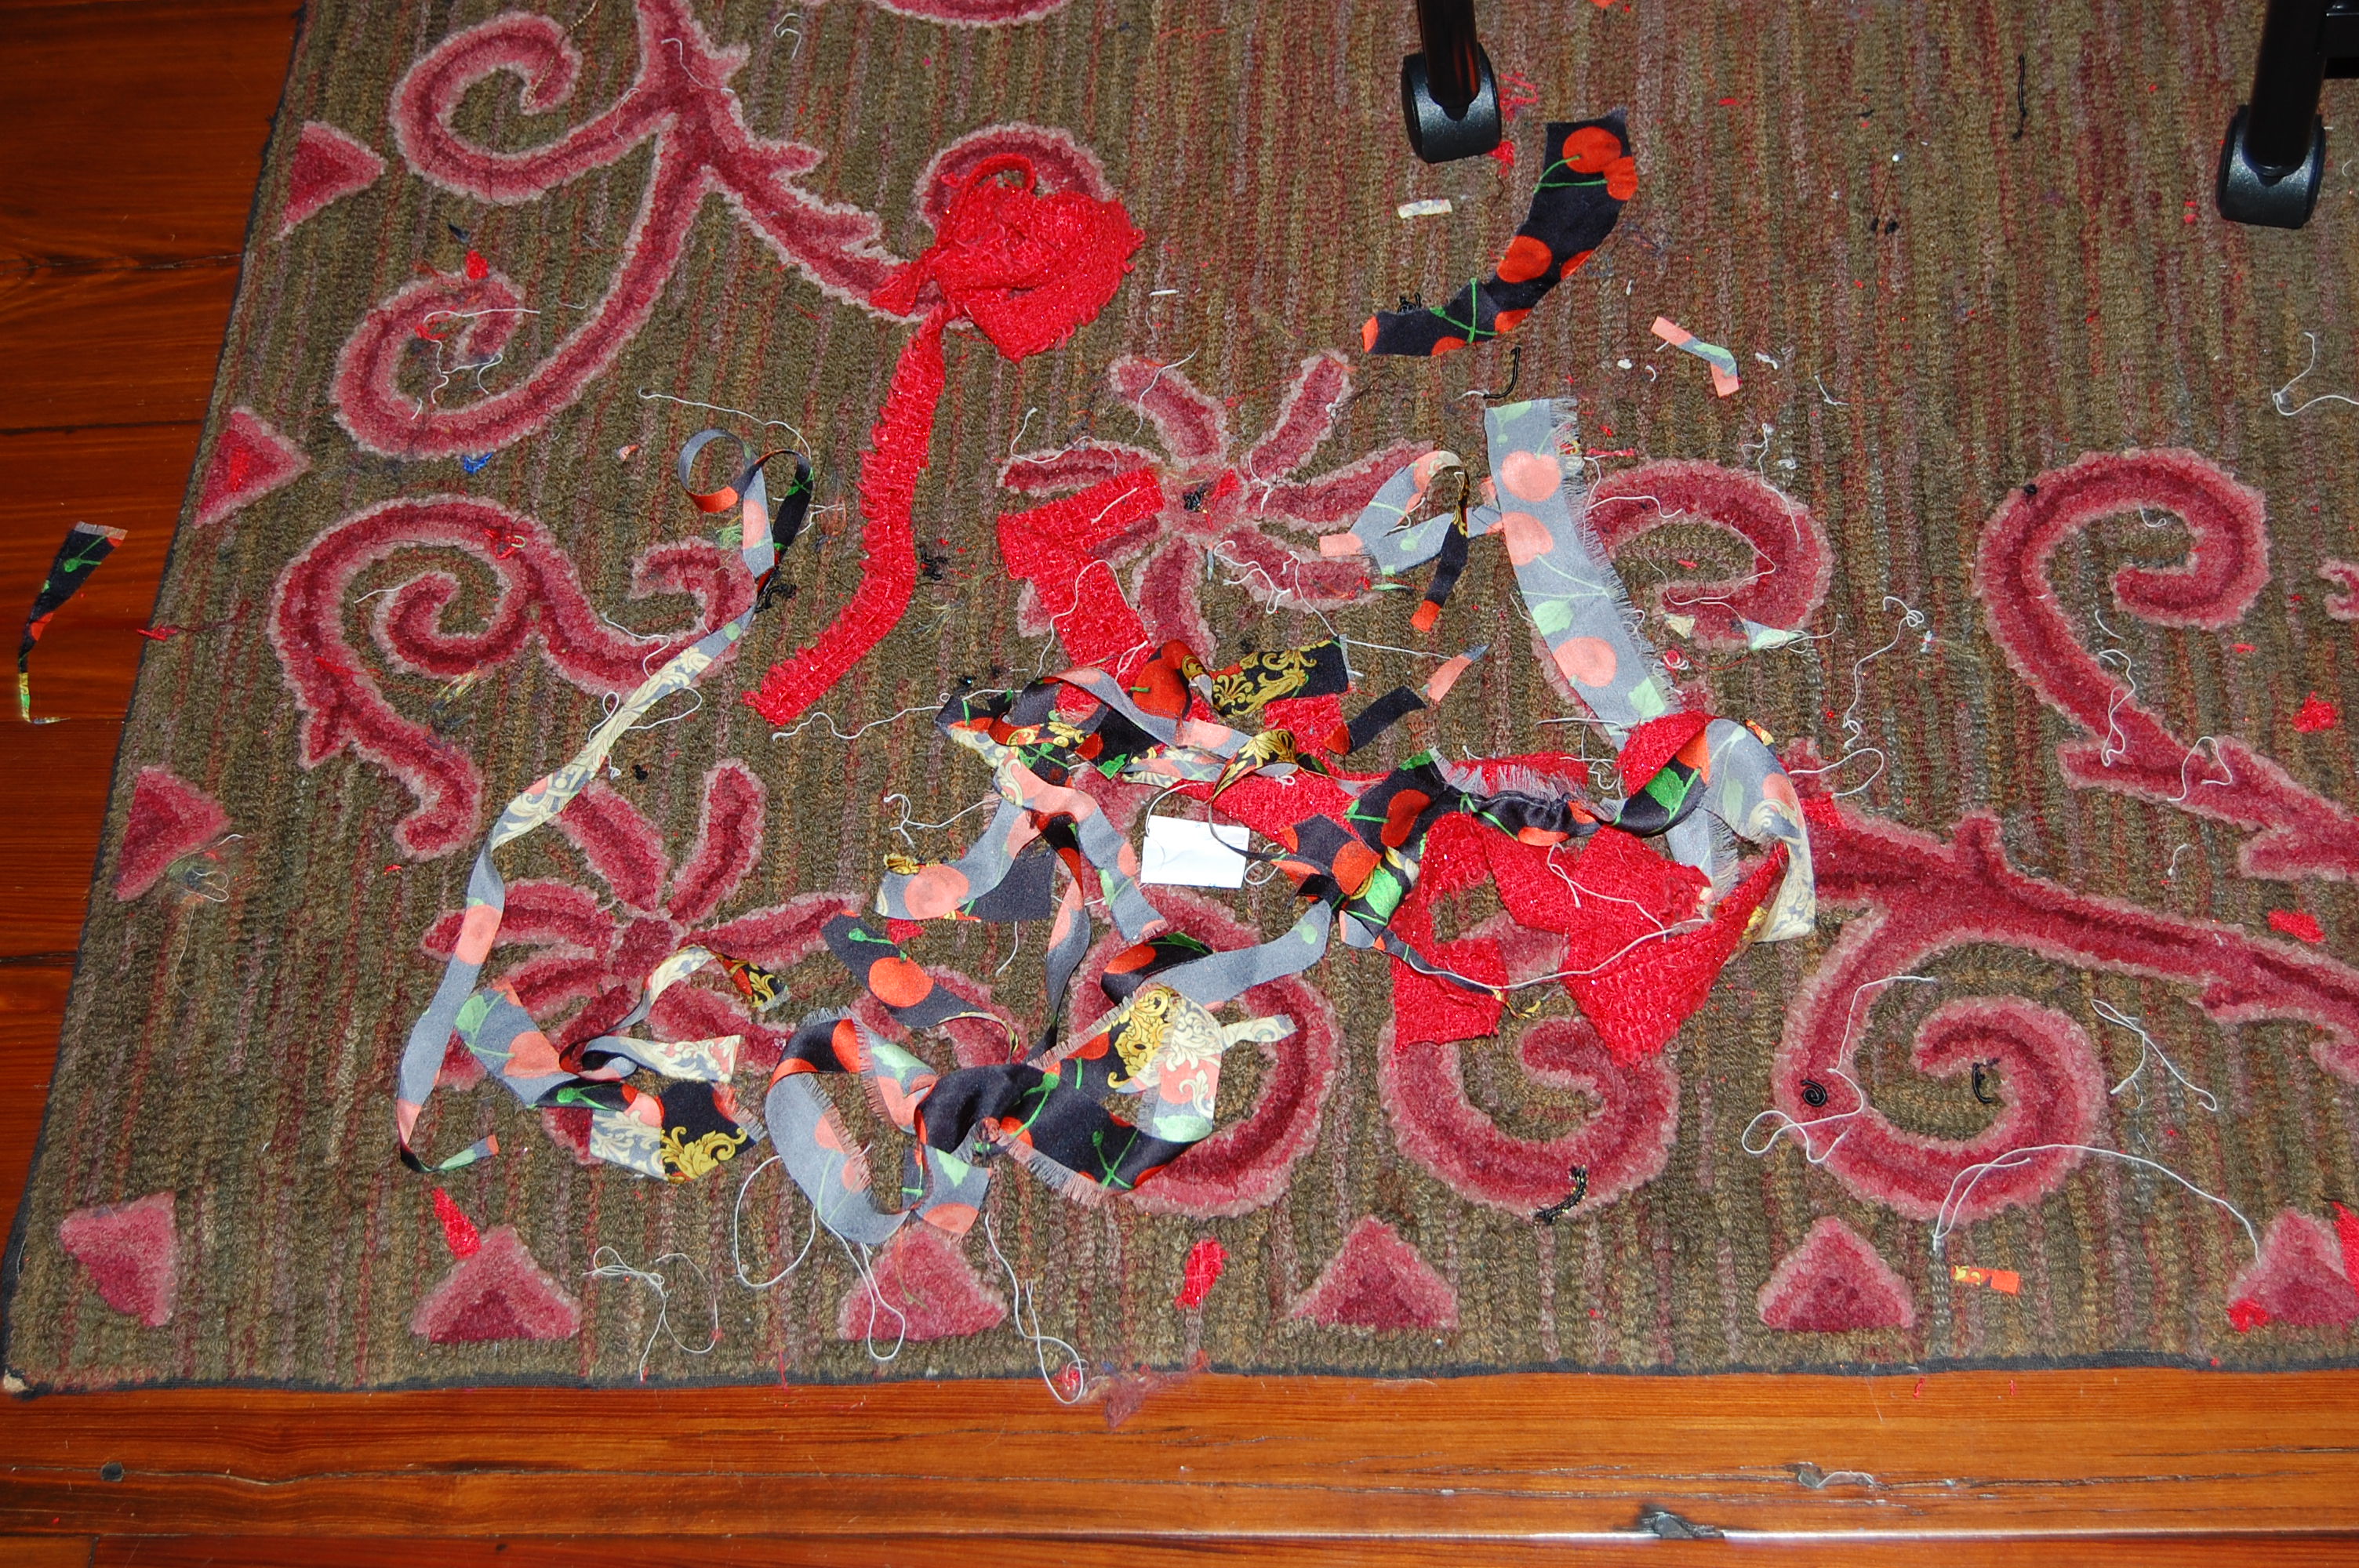
The hooked rug in my sewing room, covered with “cabbage” from my Classic French Jacket.
Part Three – Fashion Show! To be continued . . .