Sewing has lots of decisions with it, some more important than others. One of the decisions I face when making a two-piece suit (my current project) is: which part do I make first – the jacket or the skirt? Instruction sheets are divided on this, as some start with the skirt, others with the jacket. It would make sense, I guess, to start with the more difficult or more complicated half, which would most likely be the jacket. So why do I usually make the skirt first? Here’s what I think:
1) If the skirt and jacket are of the same fabric, making the skirt gives me “practice” with the feel of the fabric. This comes in handy when I’m turning facings or collars on the jacket.
2) I’ve made enough jackets to know that I’m always kind of exhausted when they’re finally finished. I’m not sure I’d want to be facing making the matching skirt, too, at that point in the process!
3) It’s easier and just plain better to make the final fitting of the jacket if it can be viewed with its accompanying skirt.
4) And finally, well . . . I can always wear the skirt if the jacket doesn’t get completed right away, right??
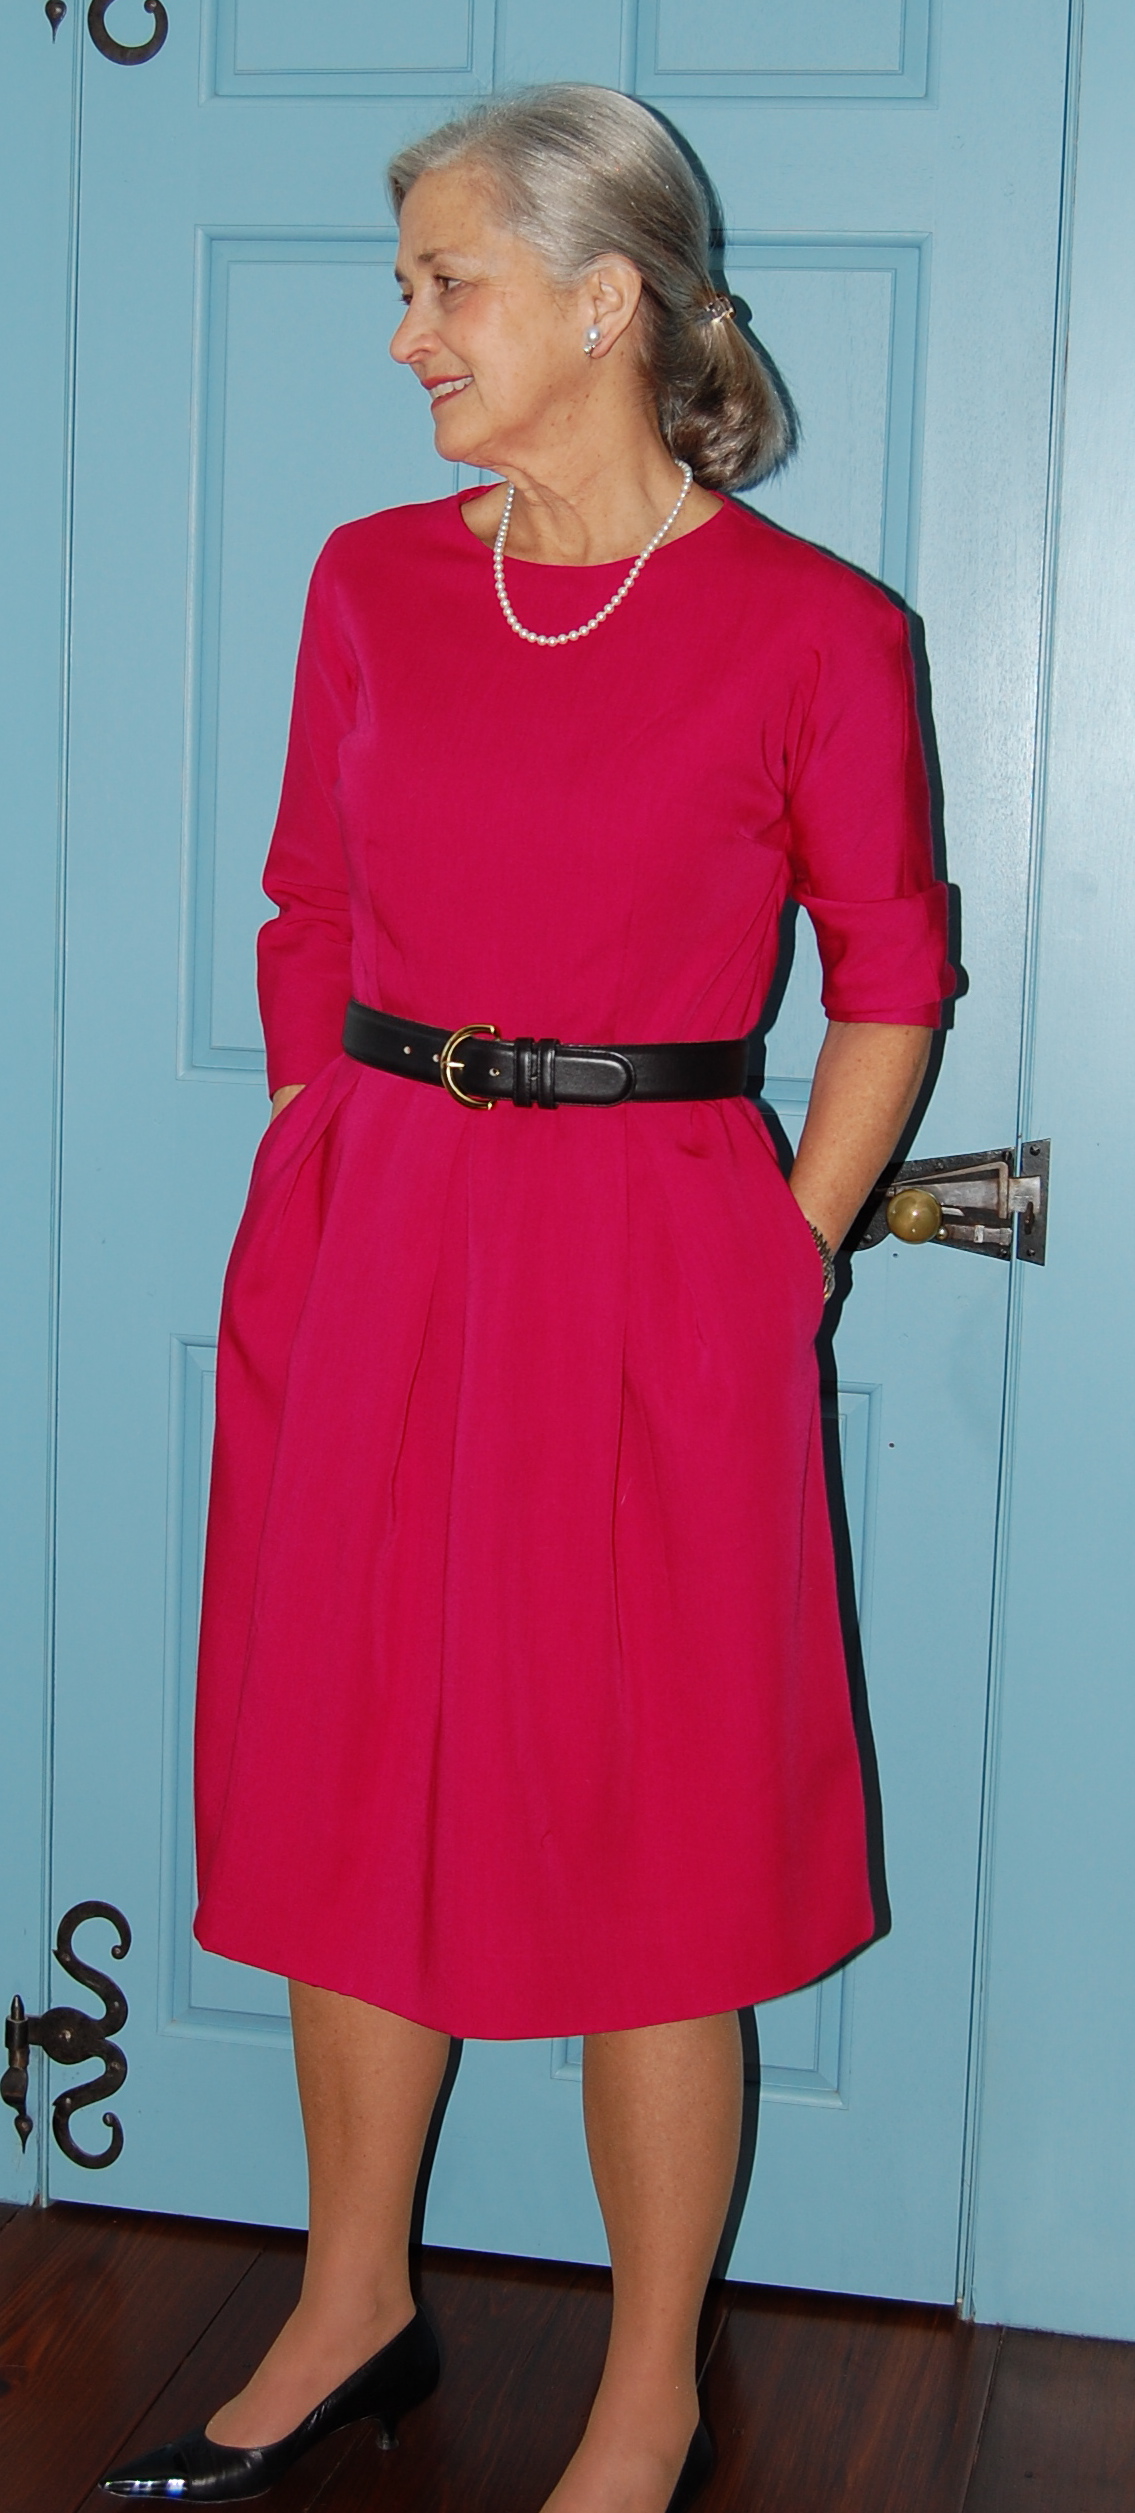
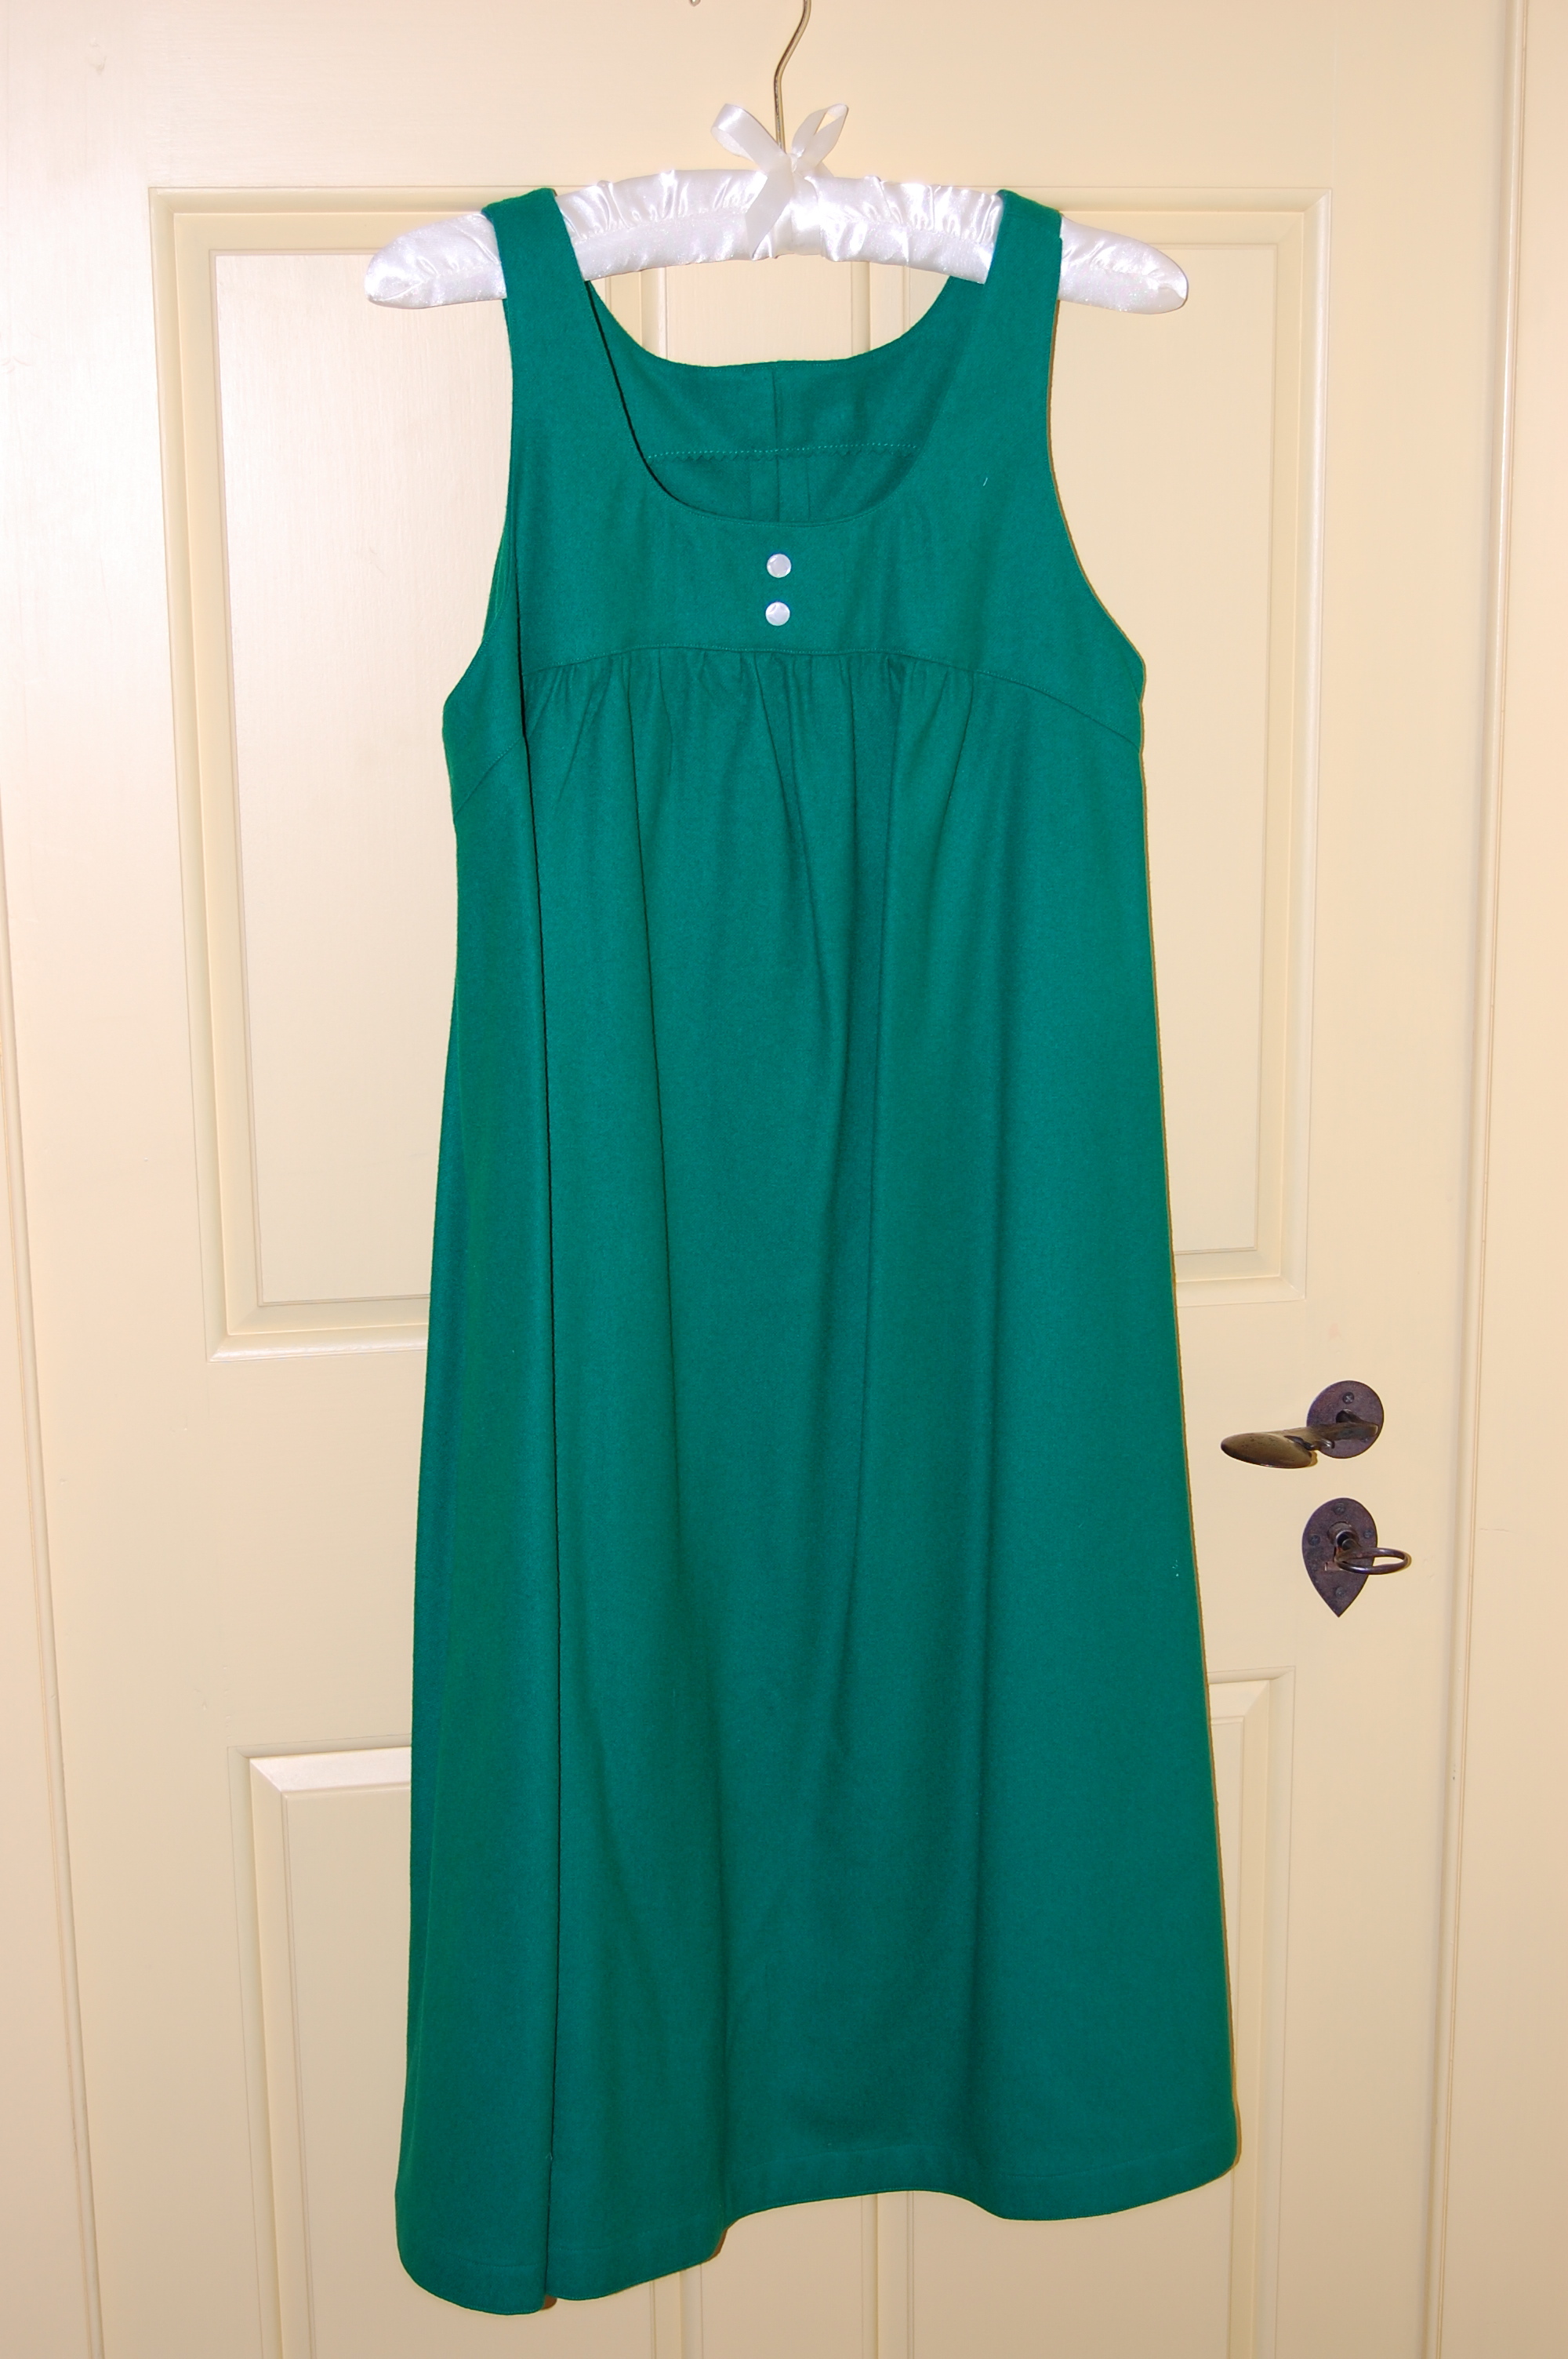
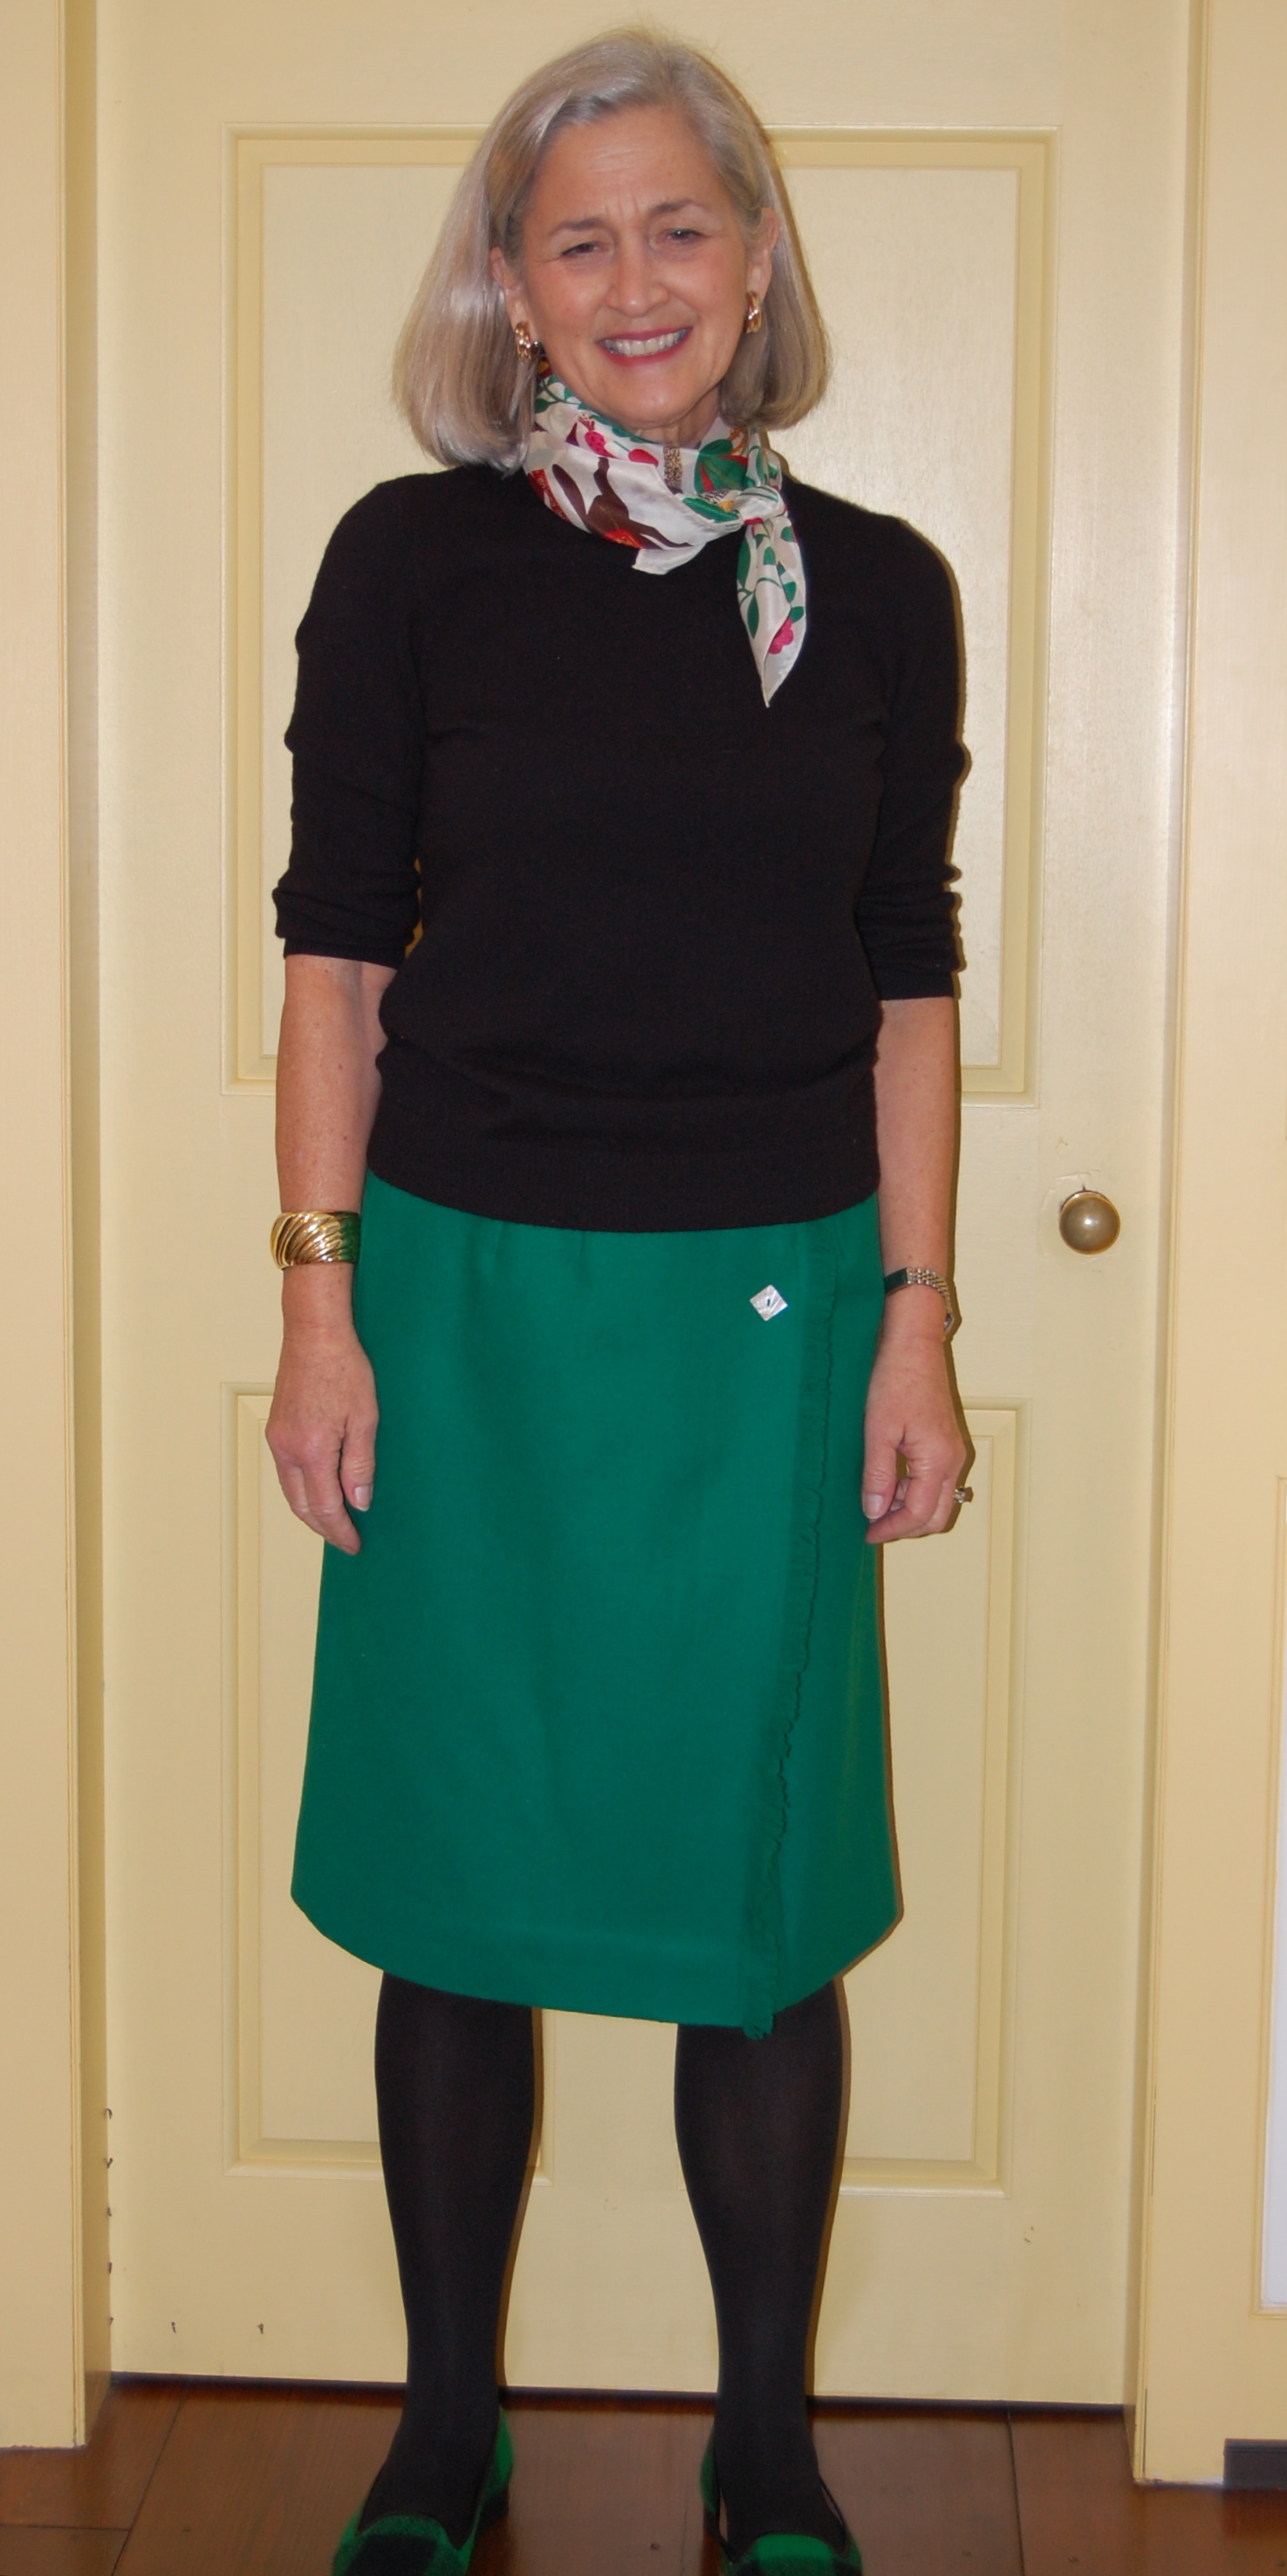
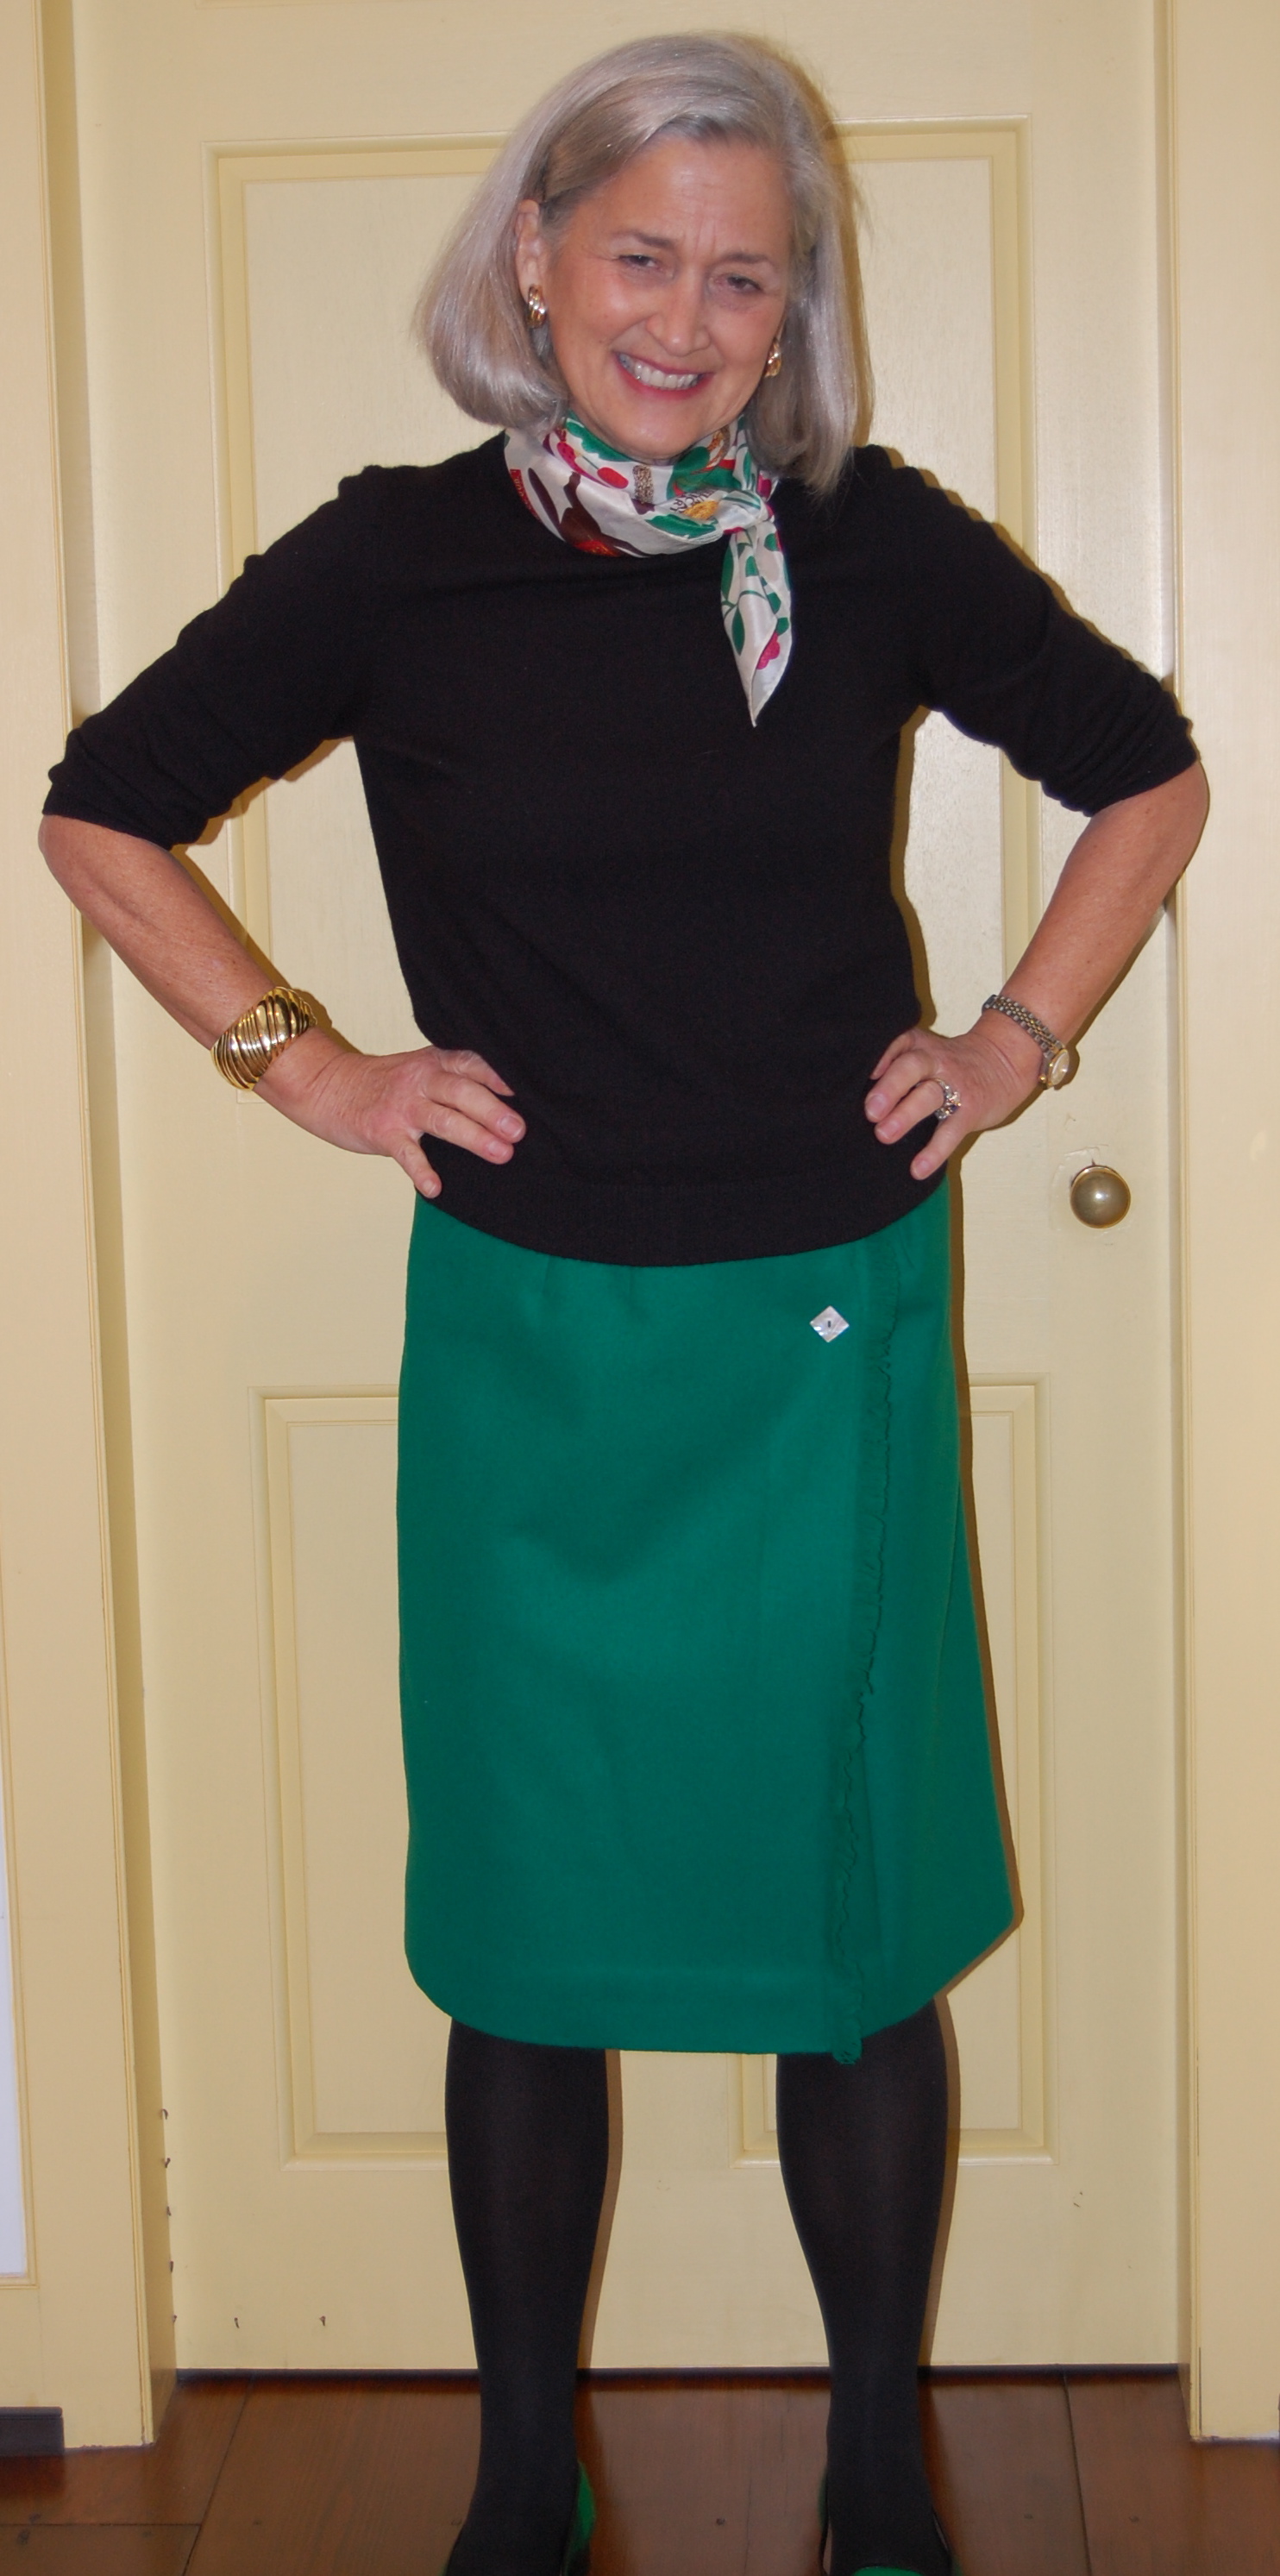
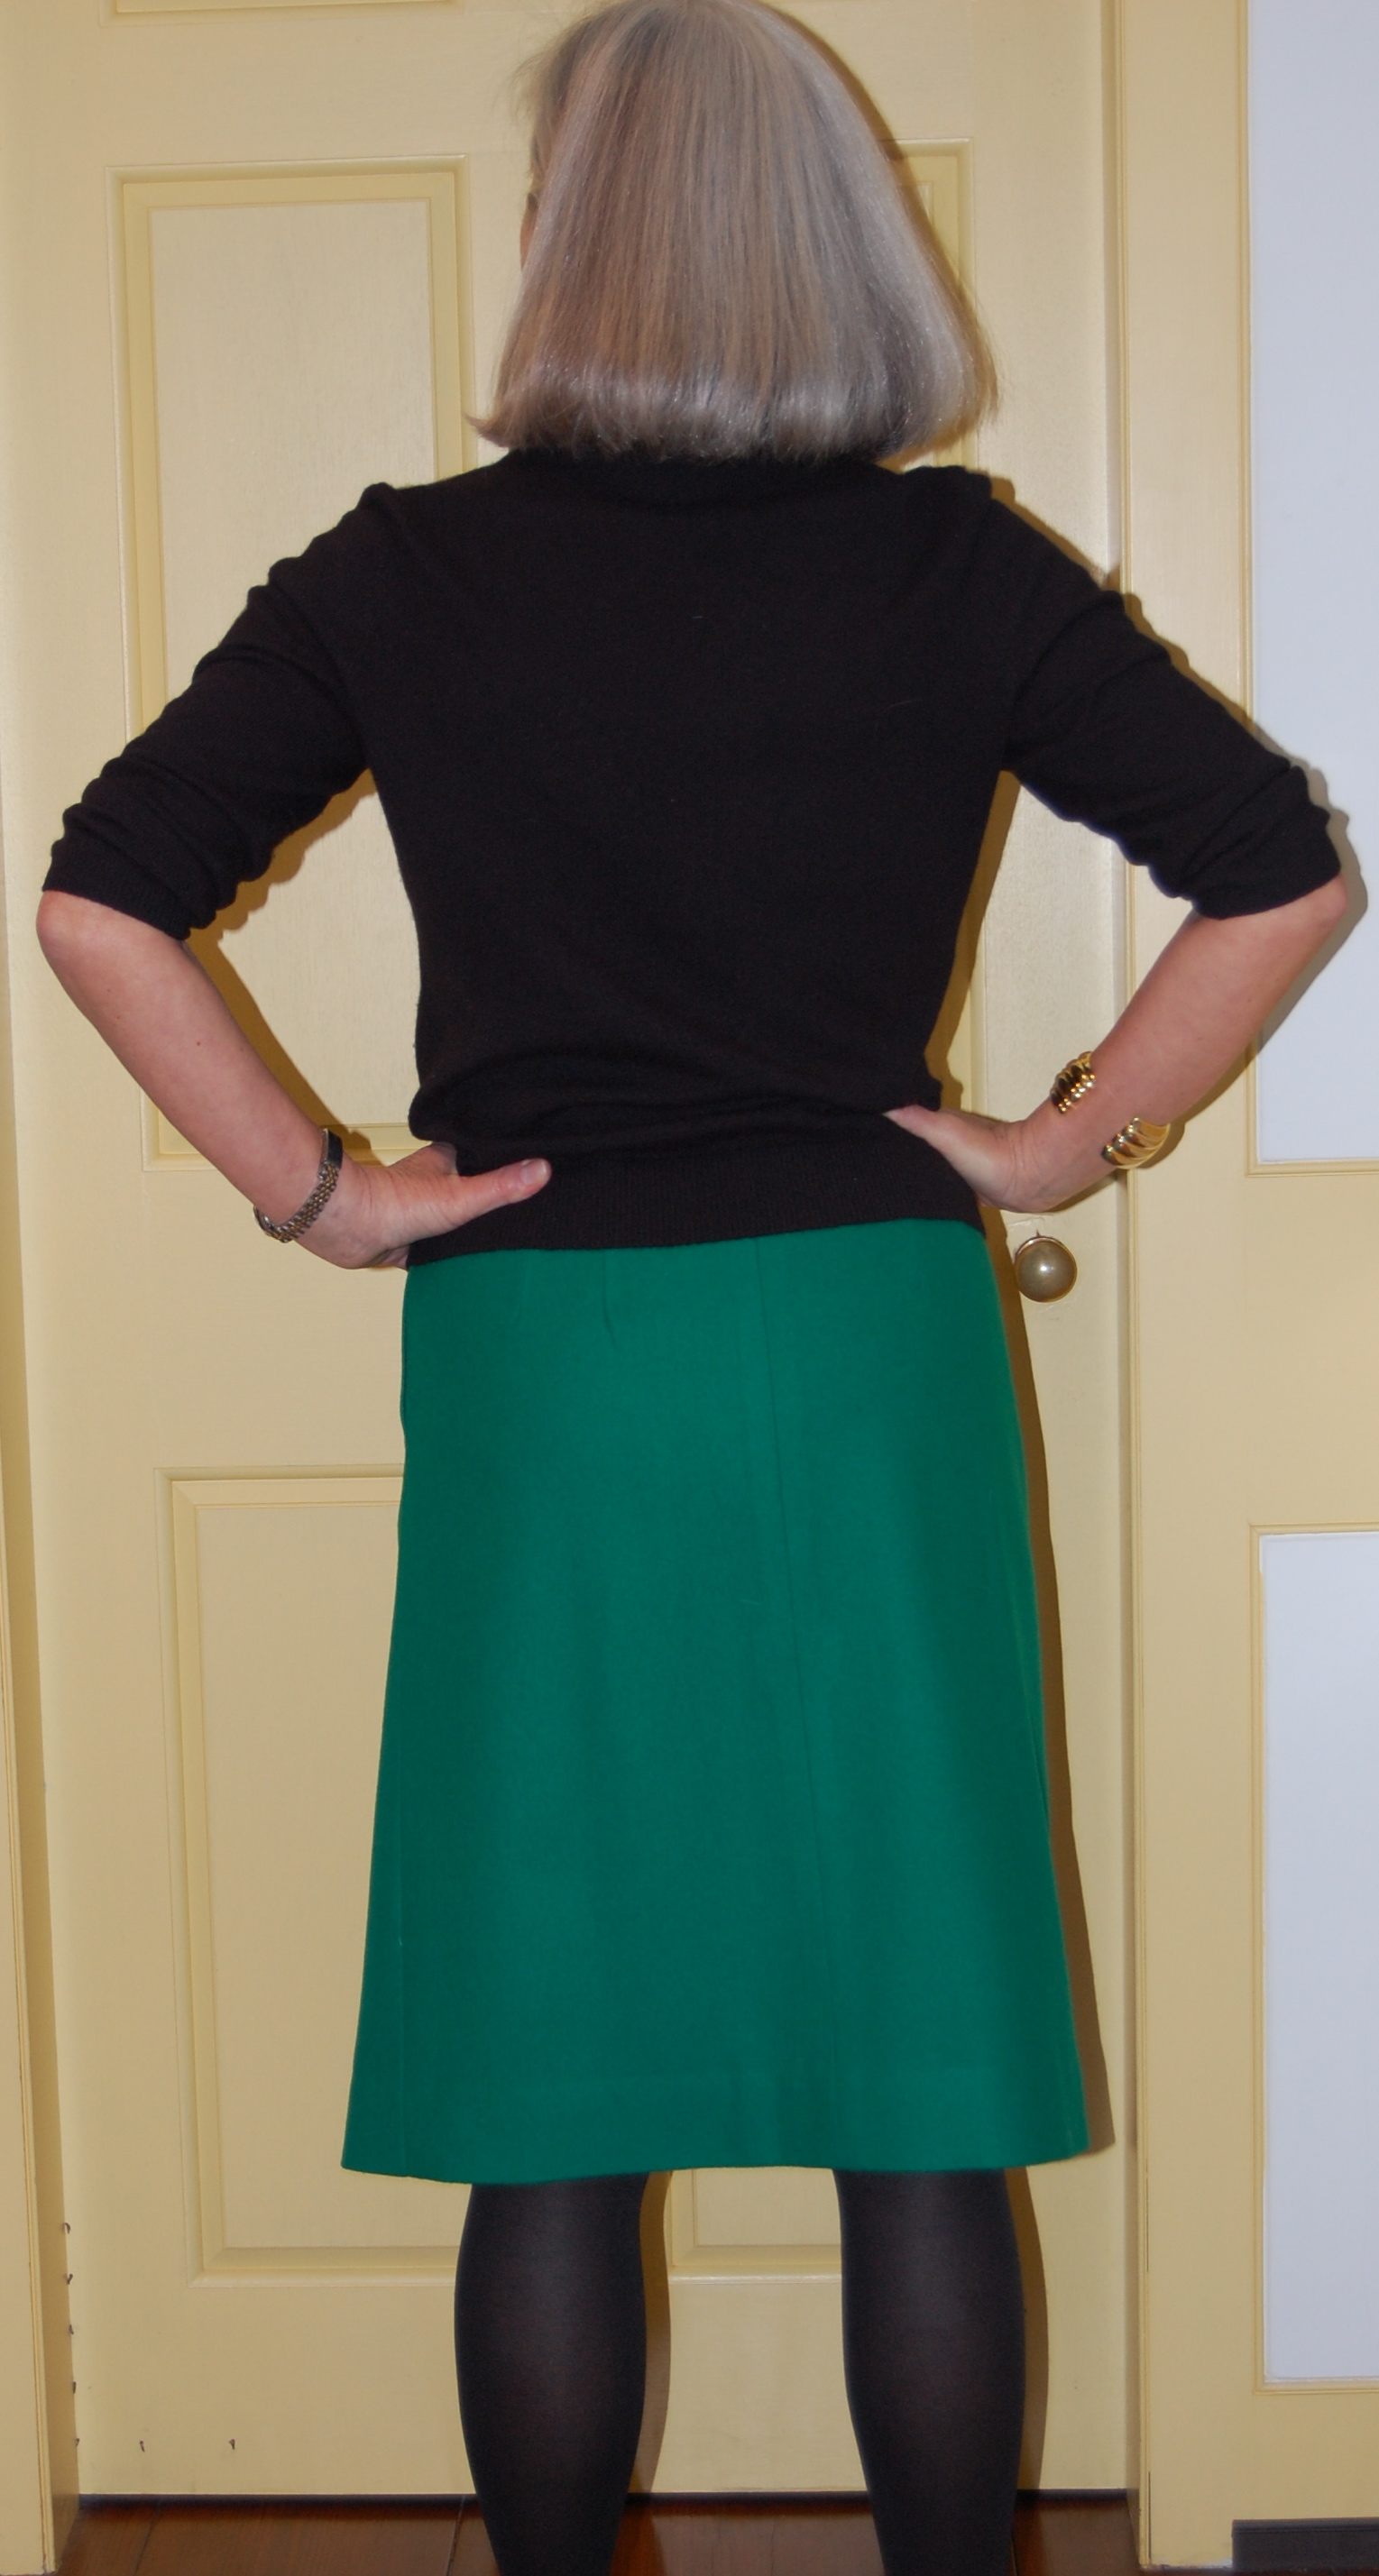
So – what about progress on my emerald green silk suit?
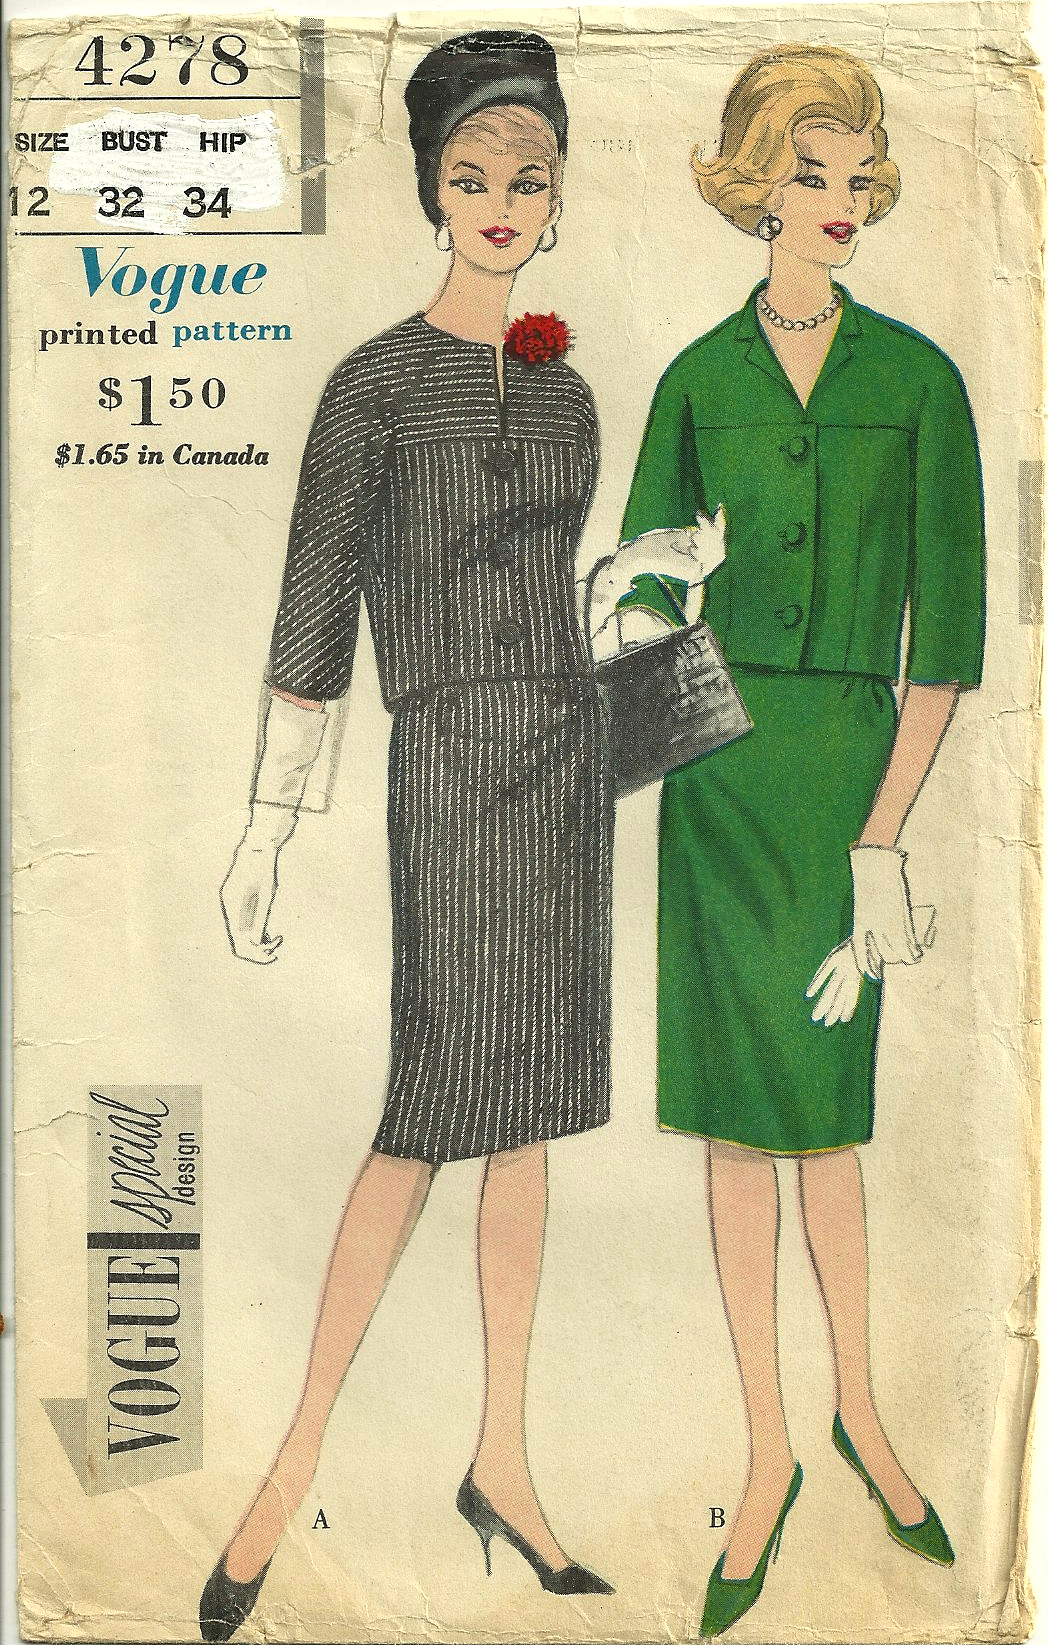
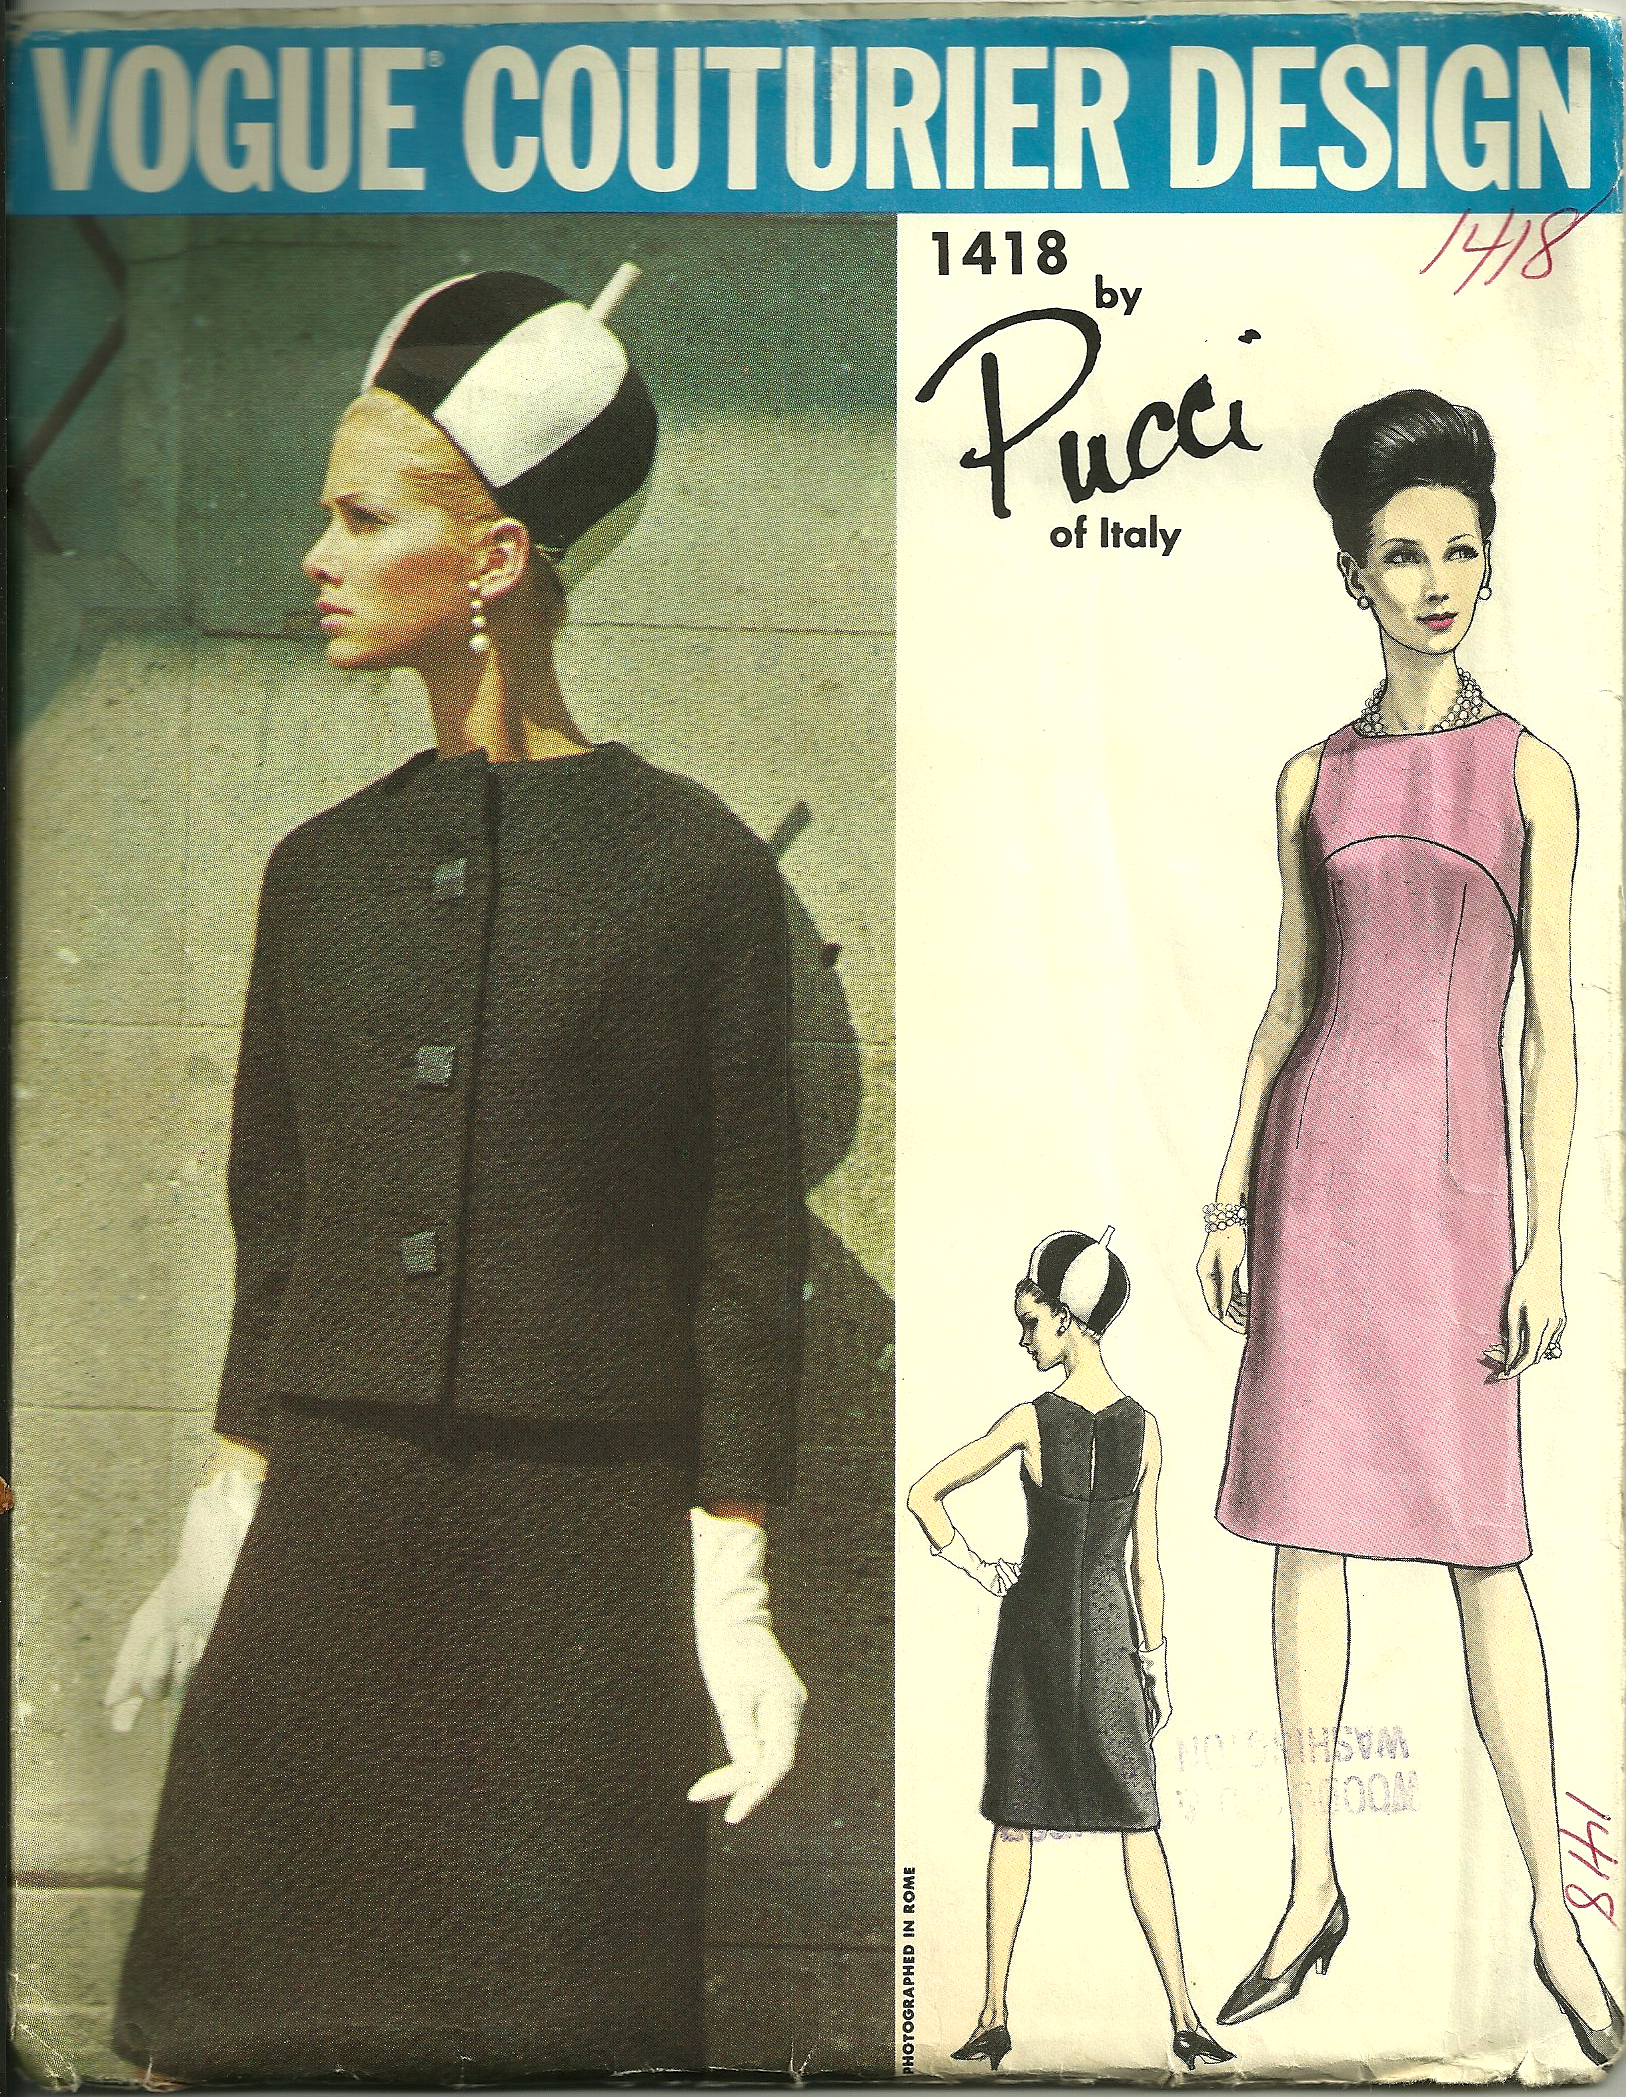
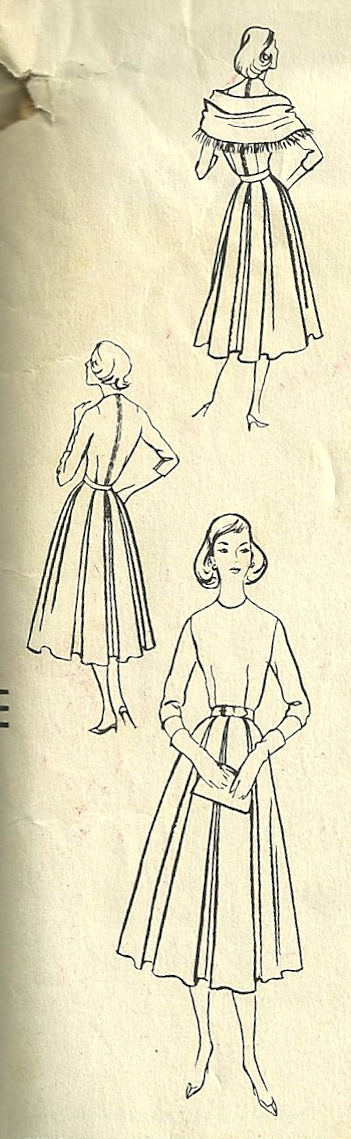
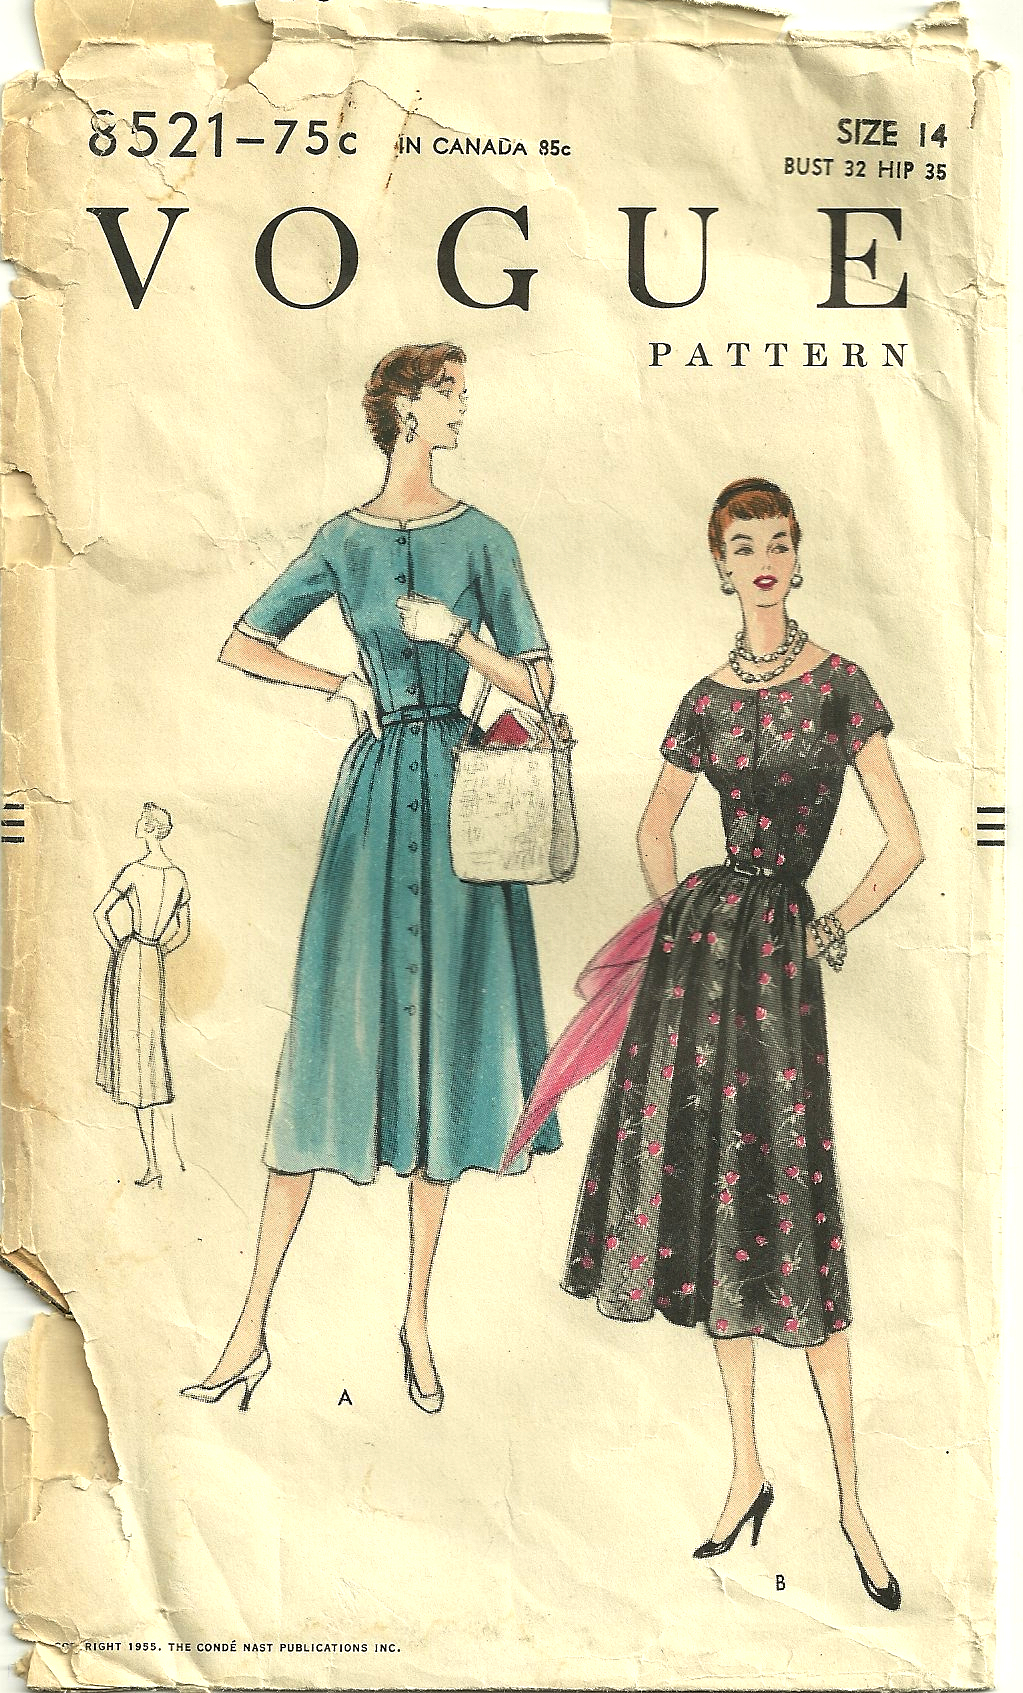
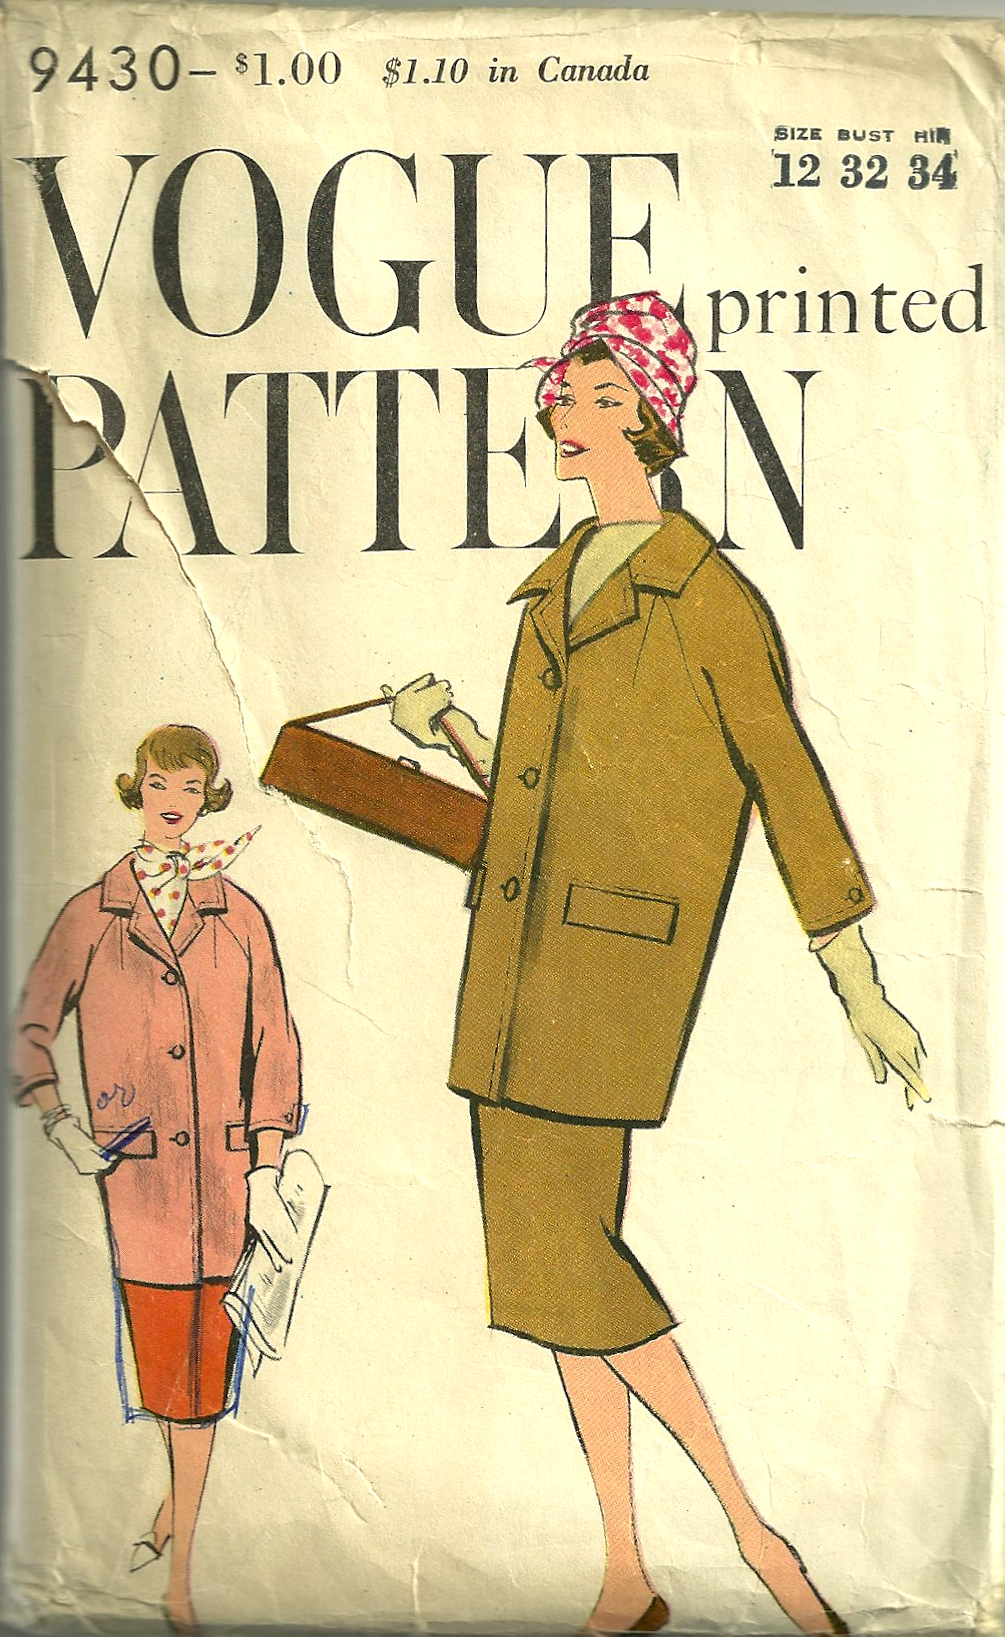
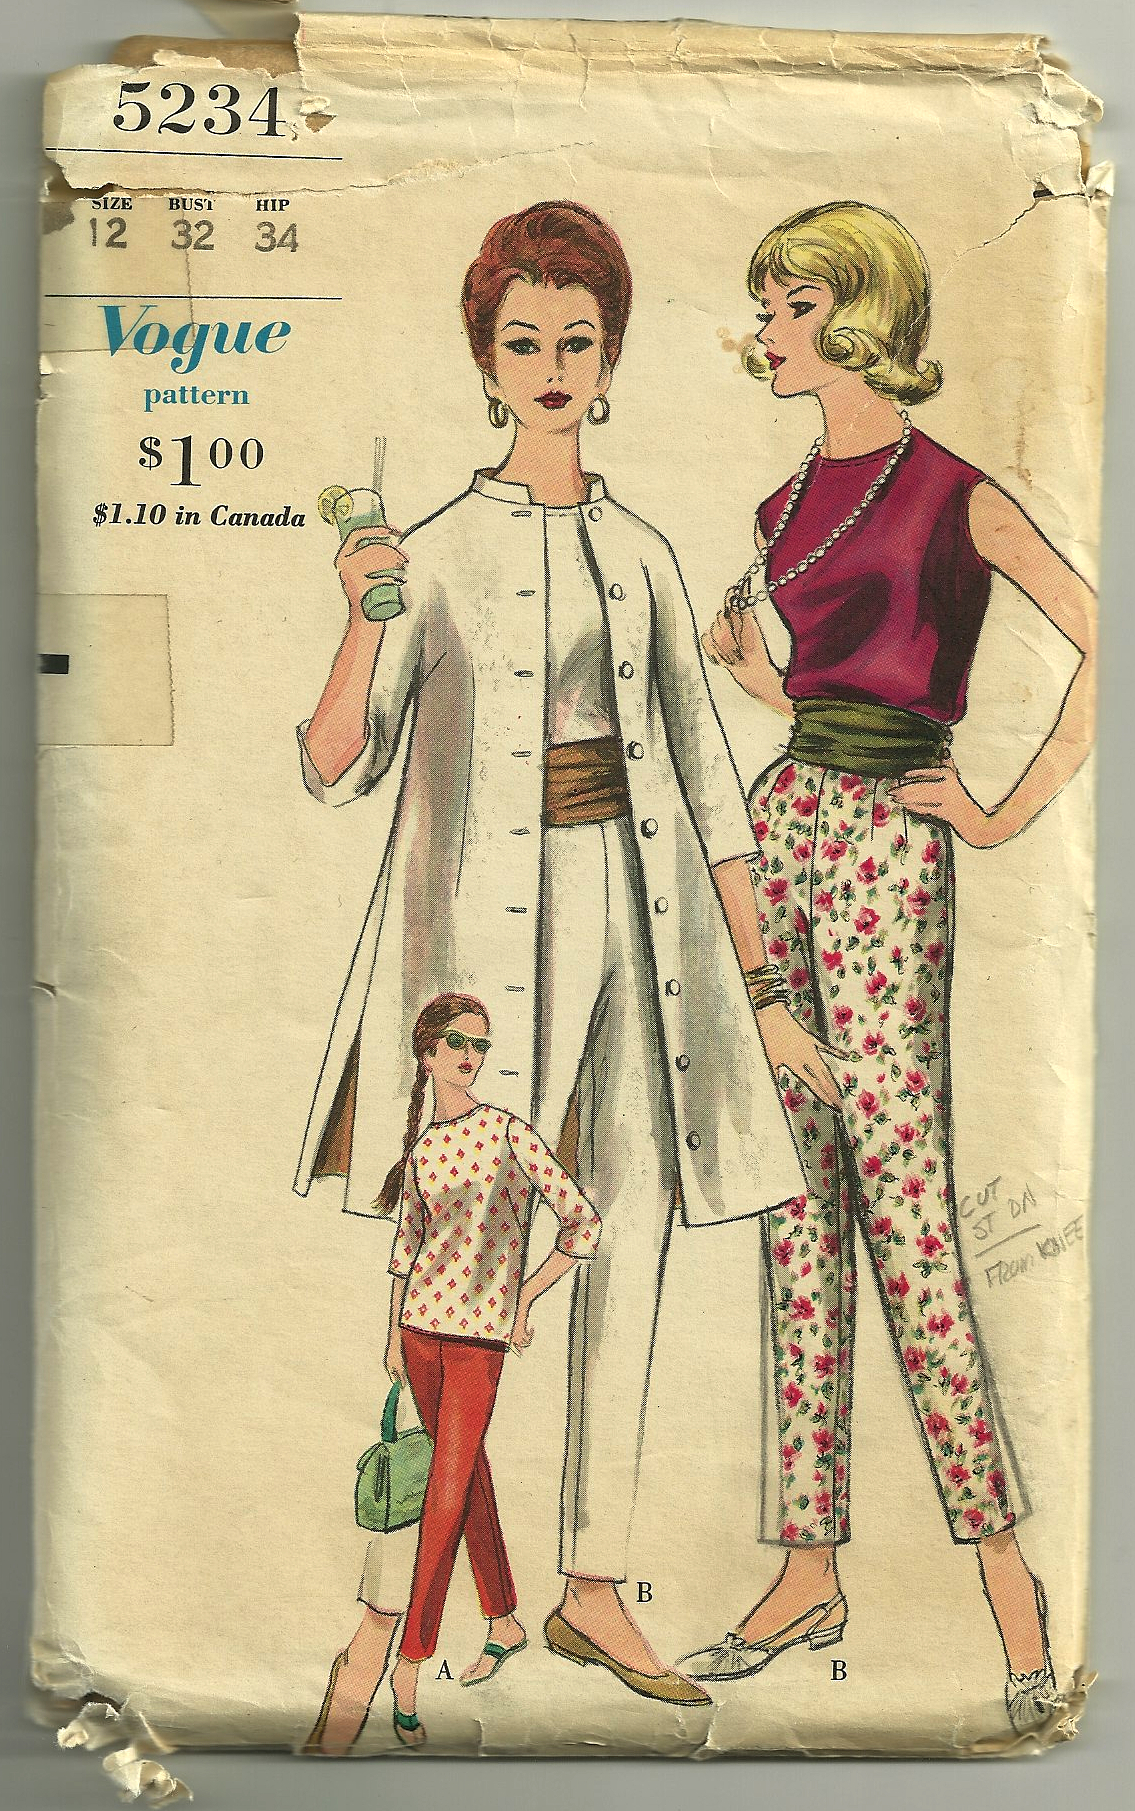
This is the pattern I am using (View B), as written about in a former post.
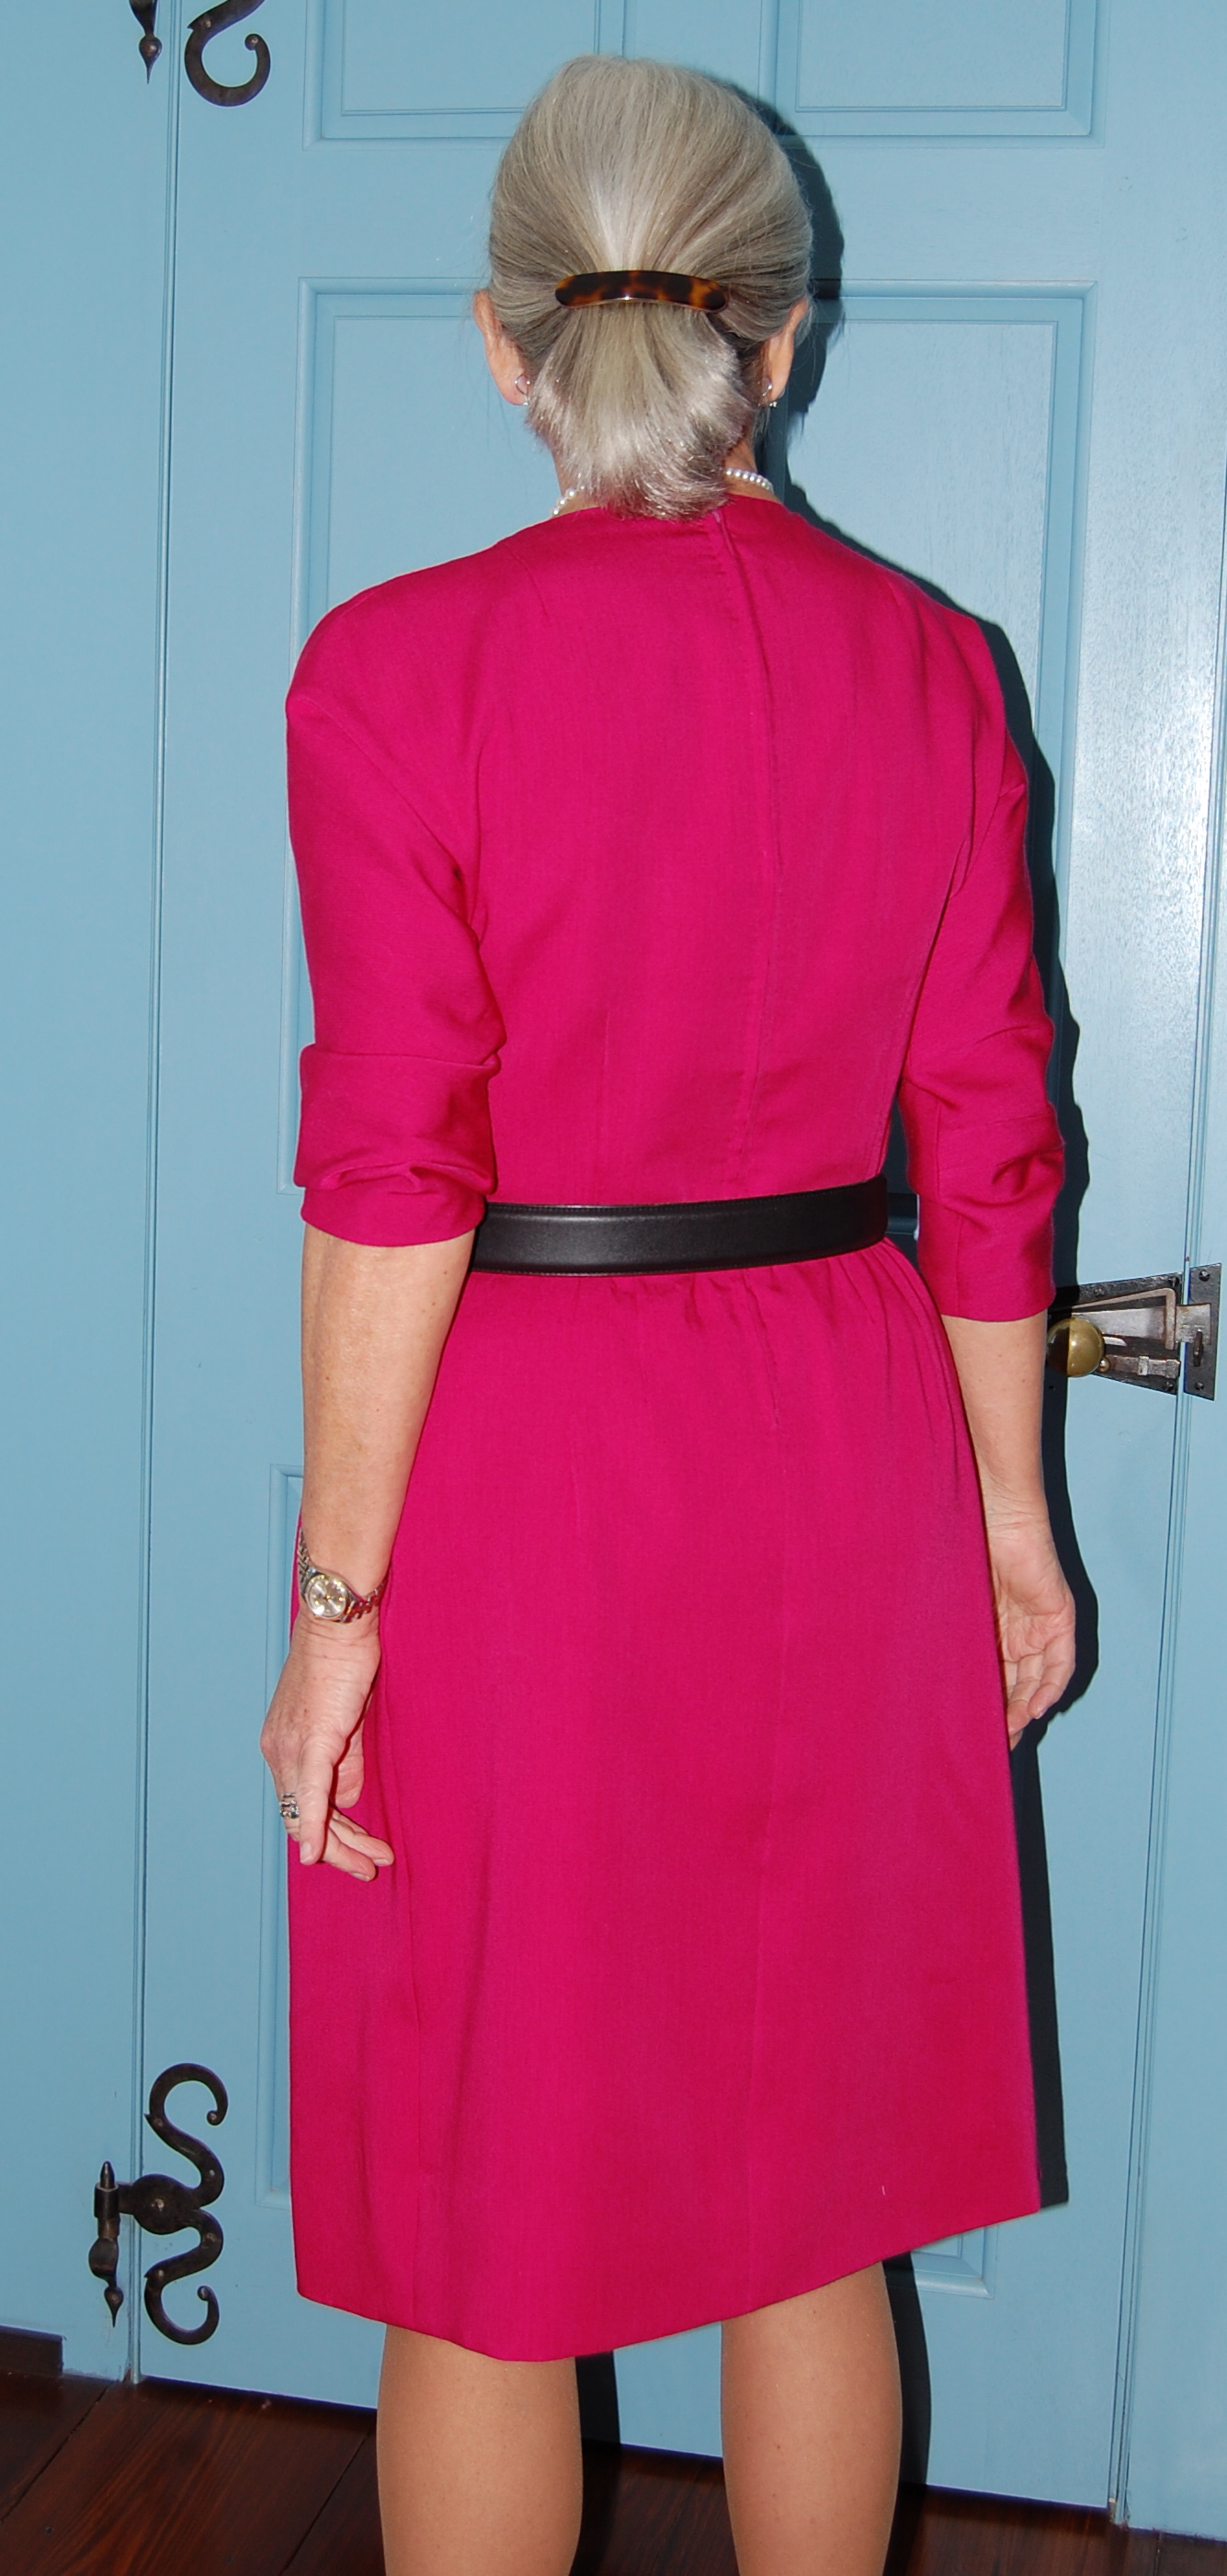
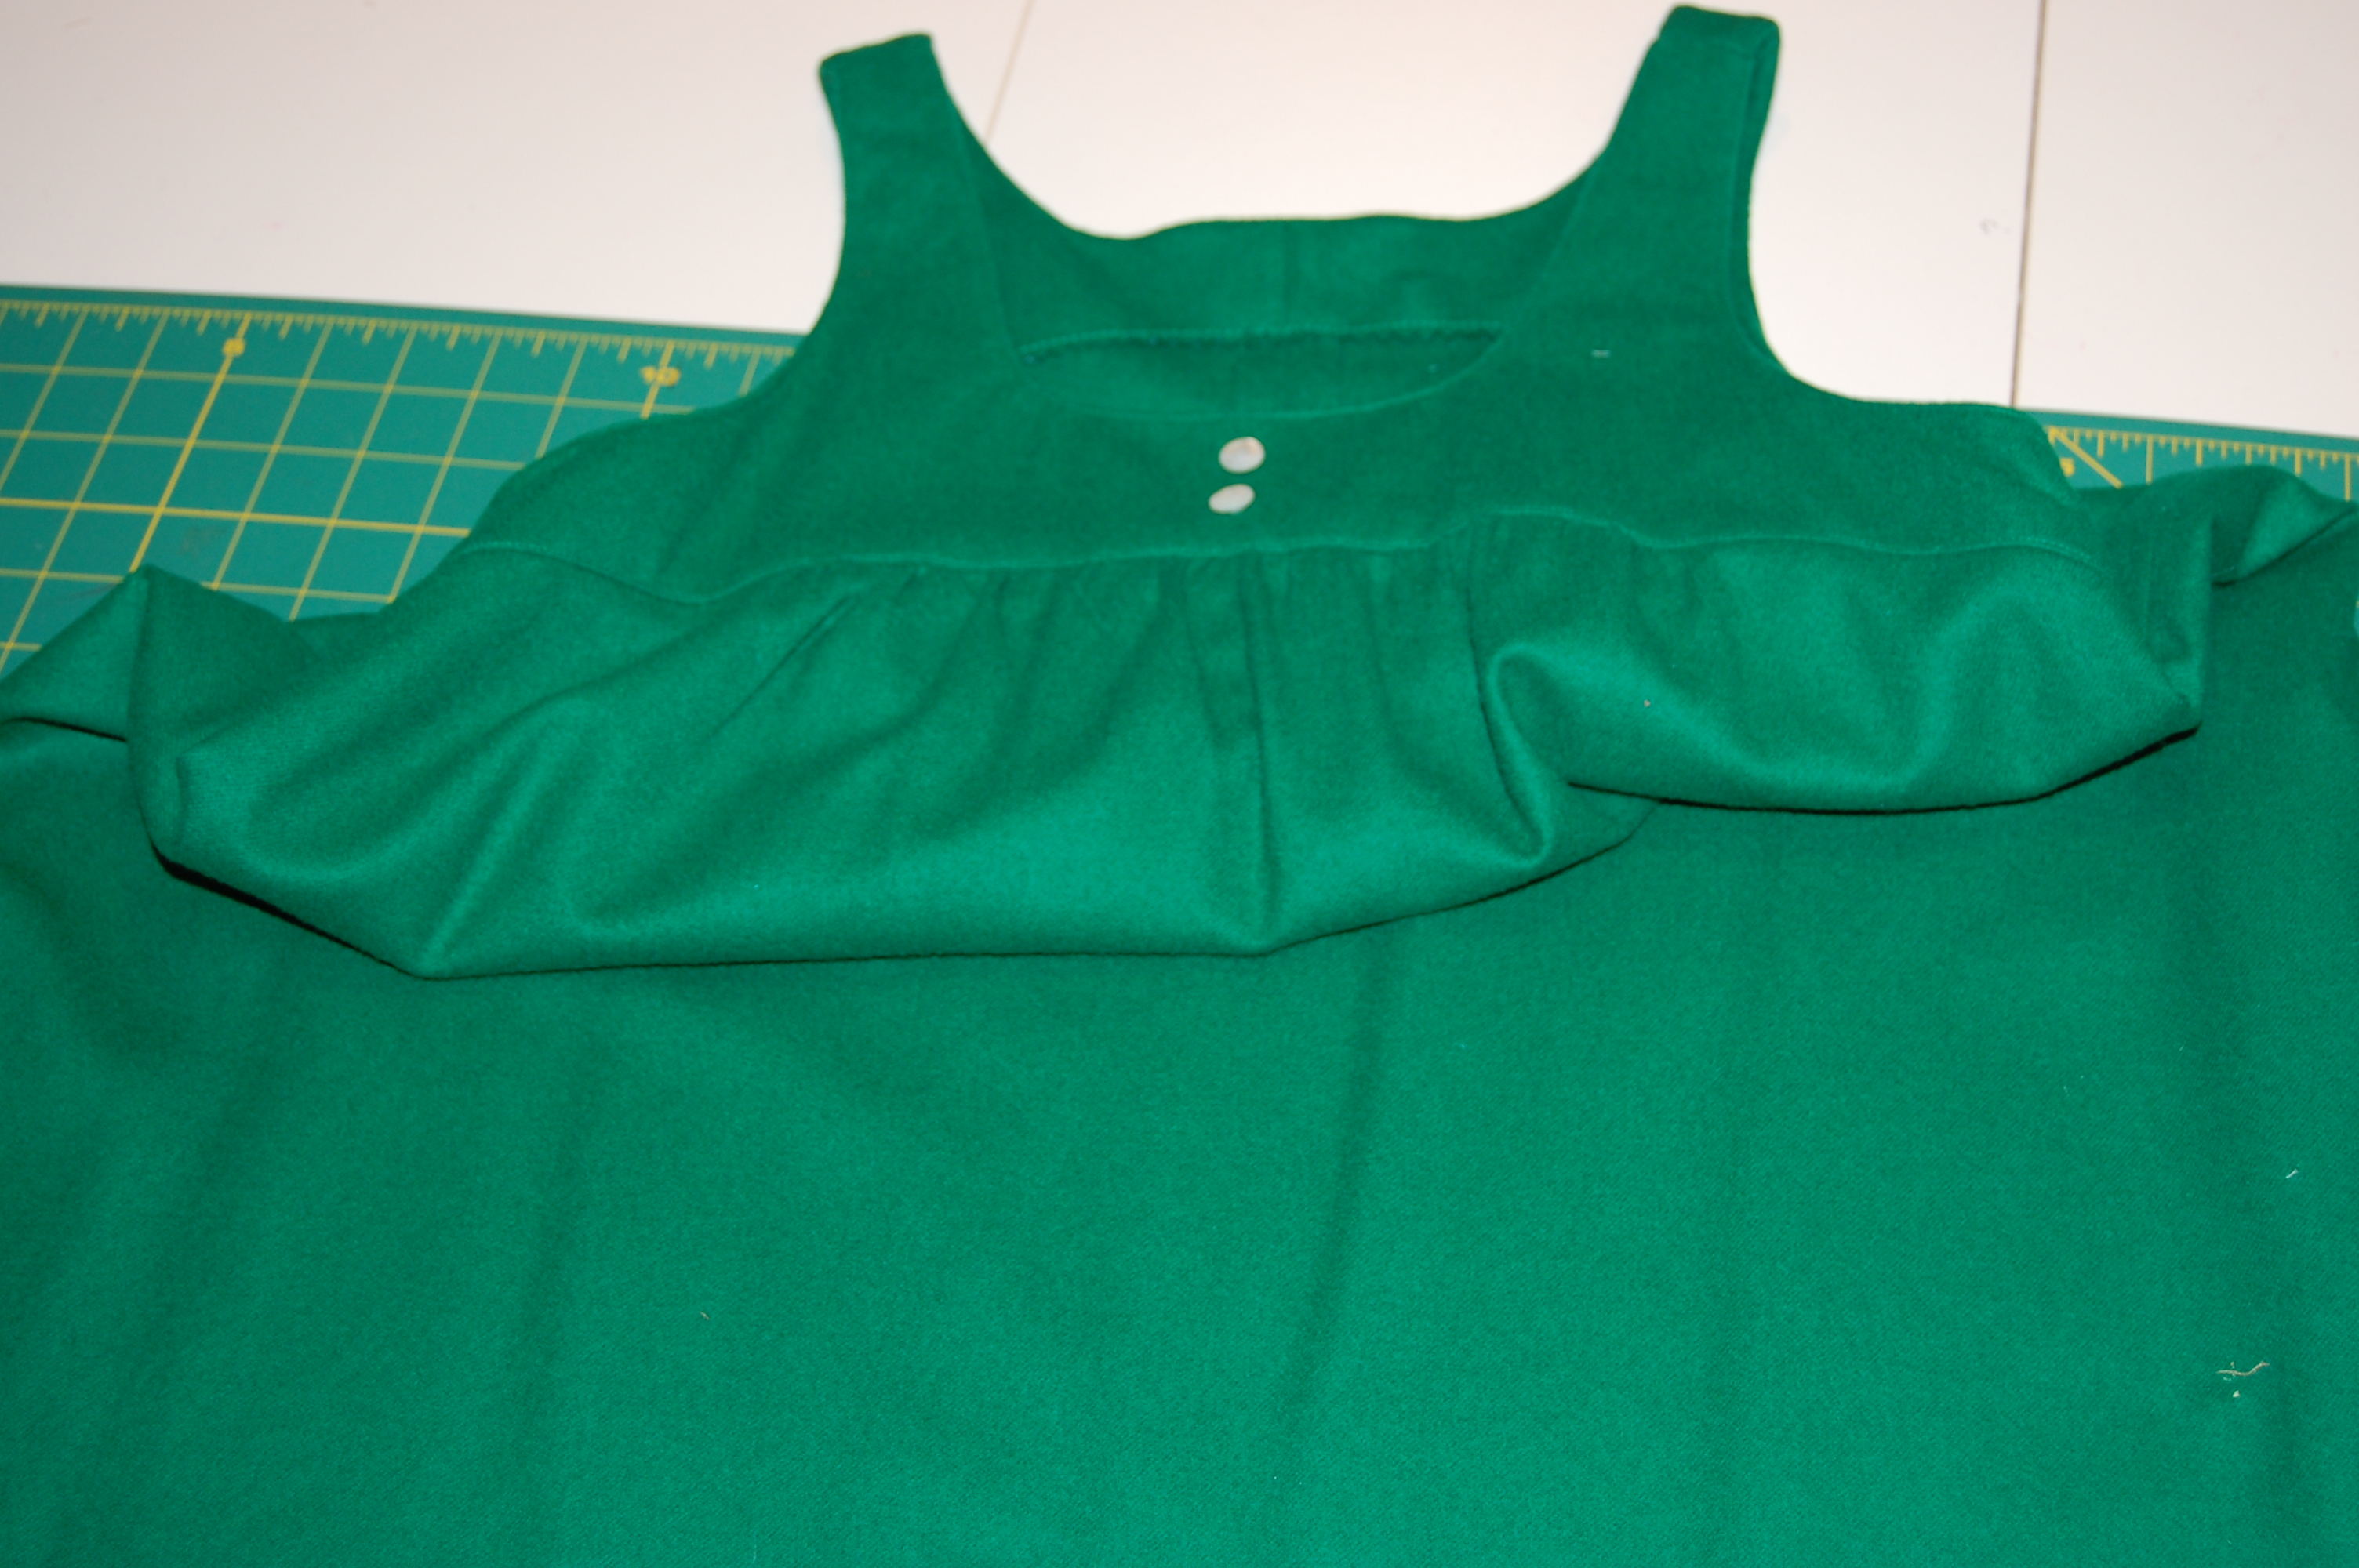
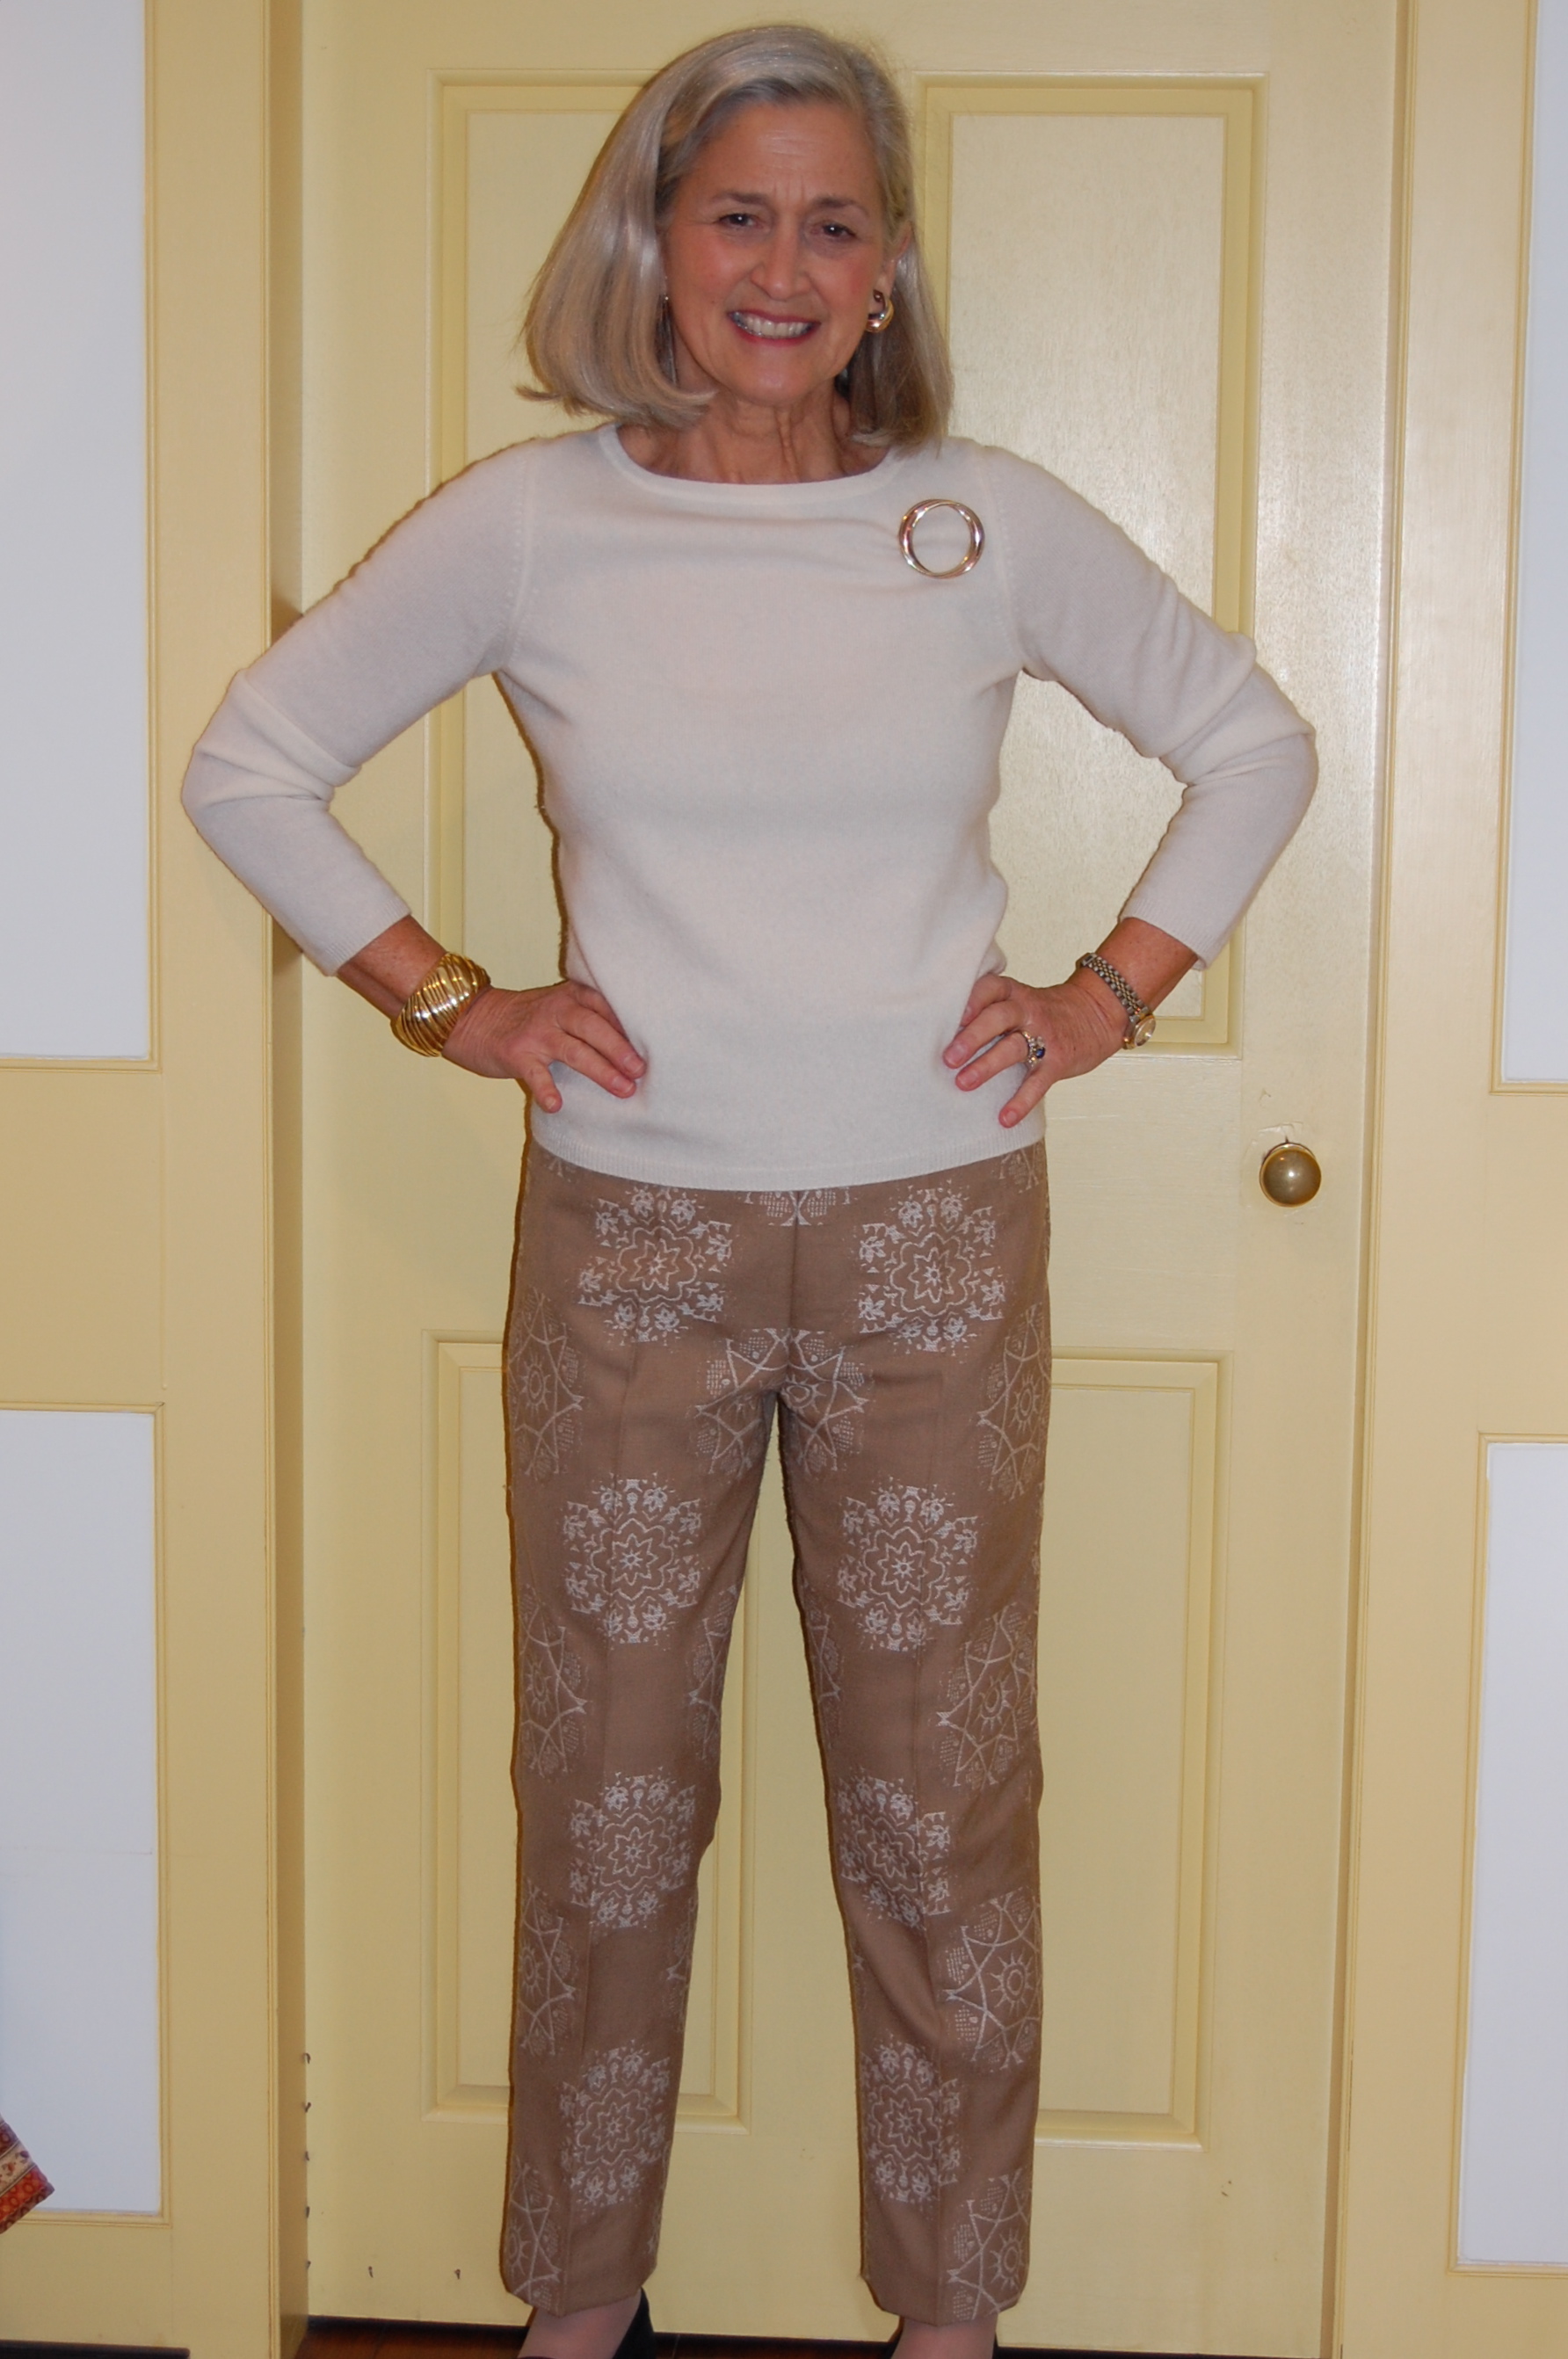
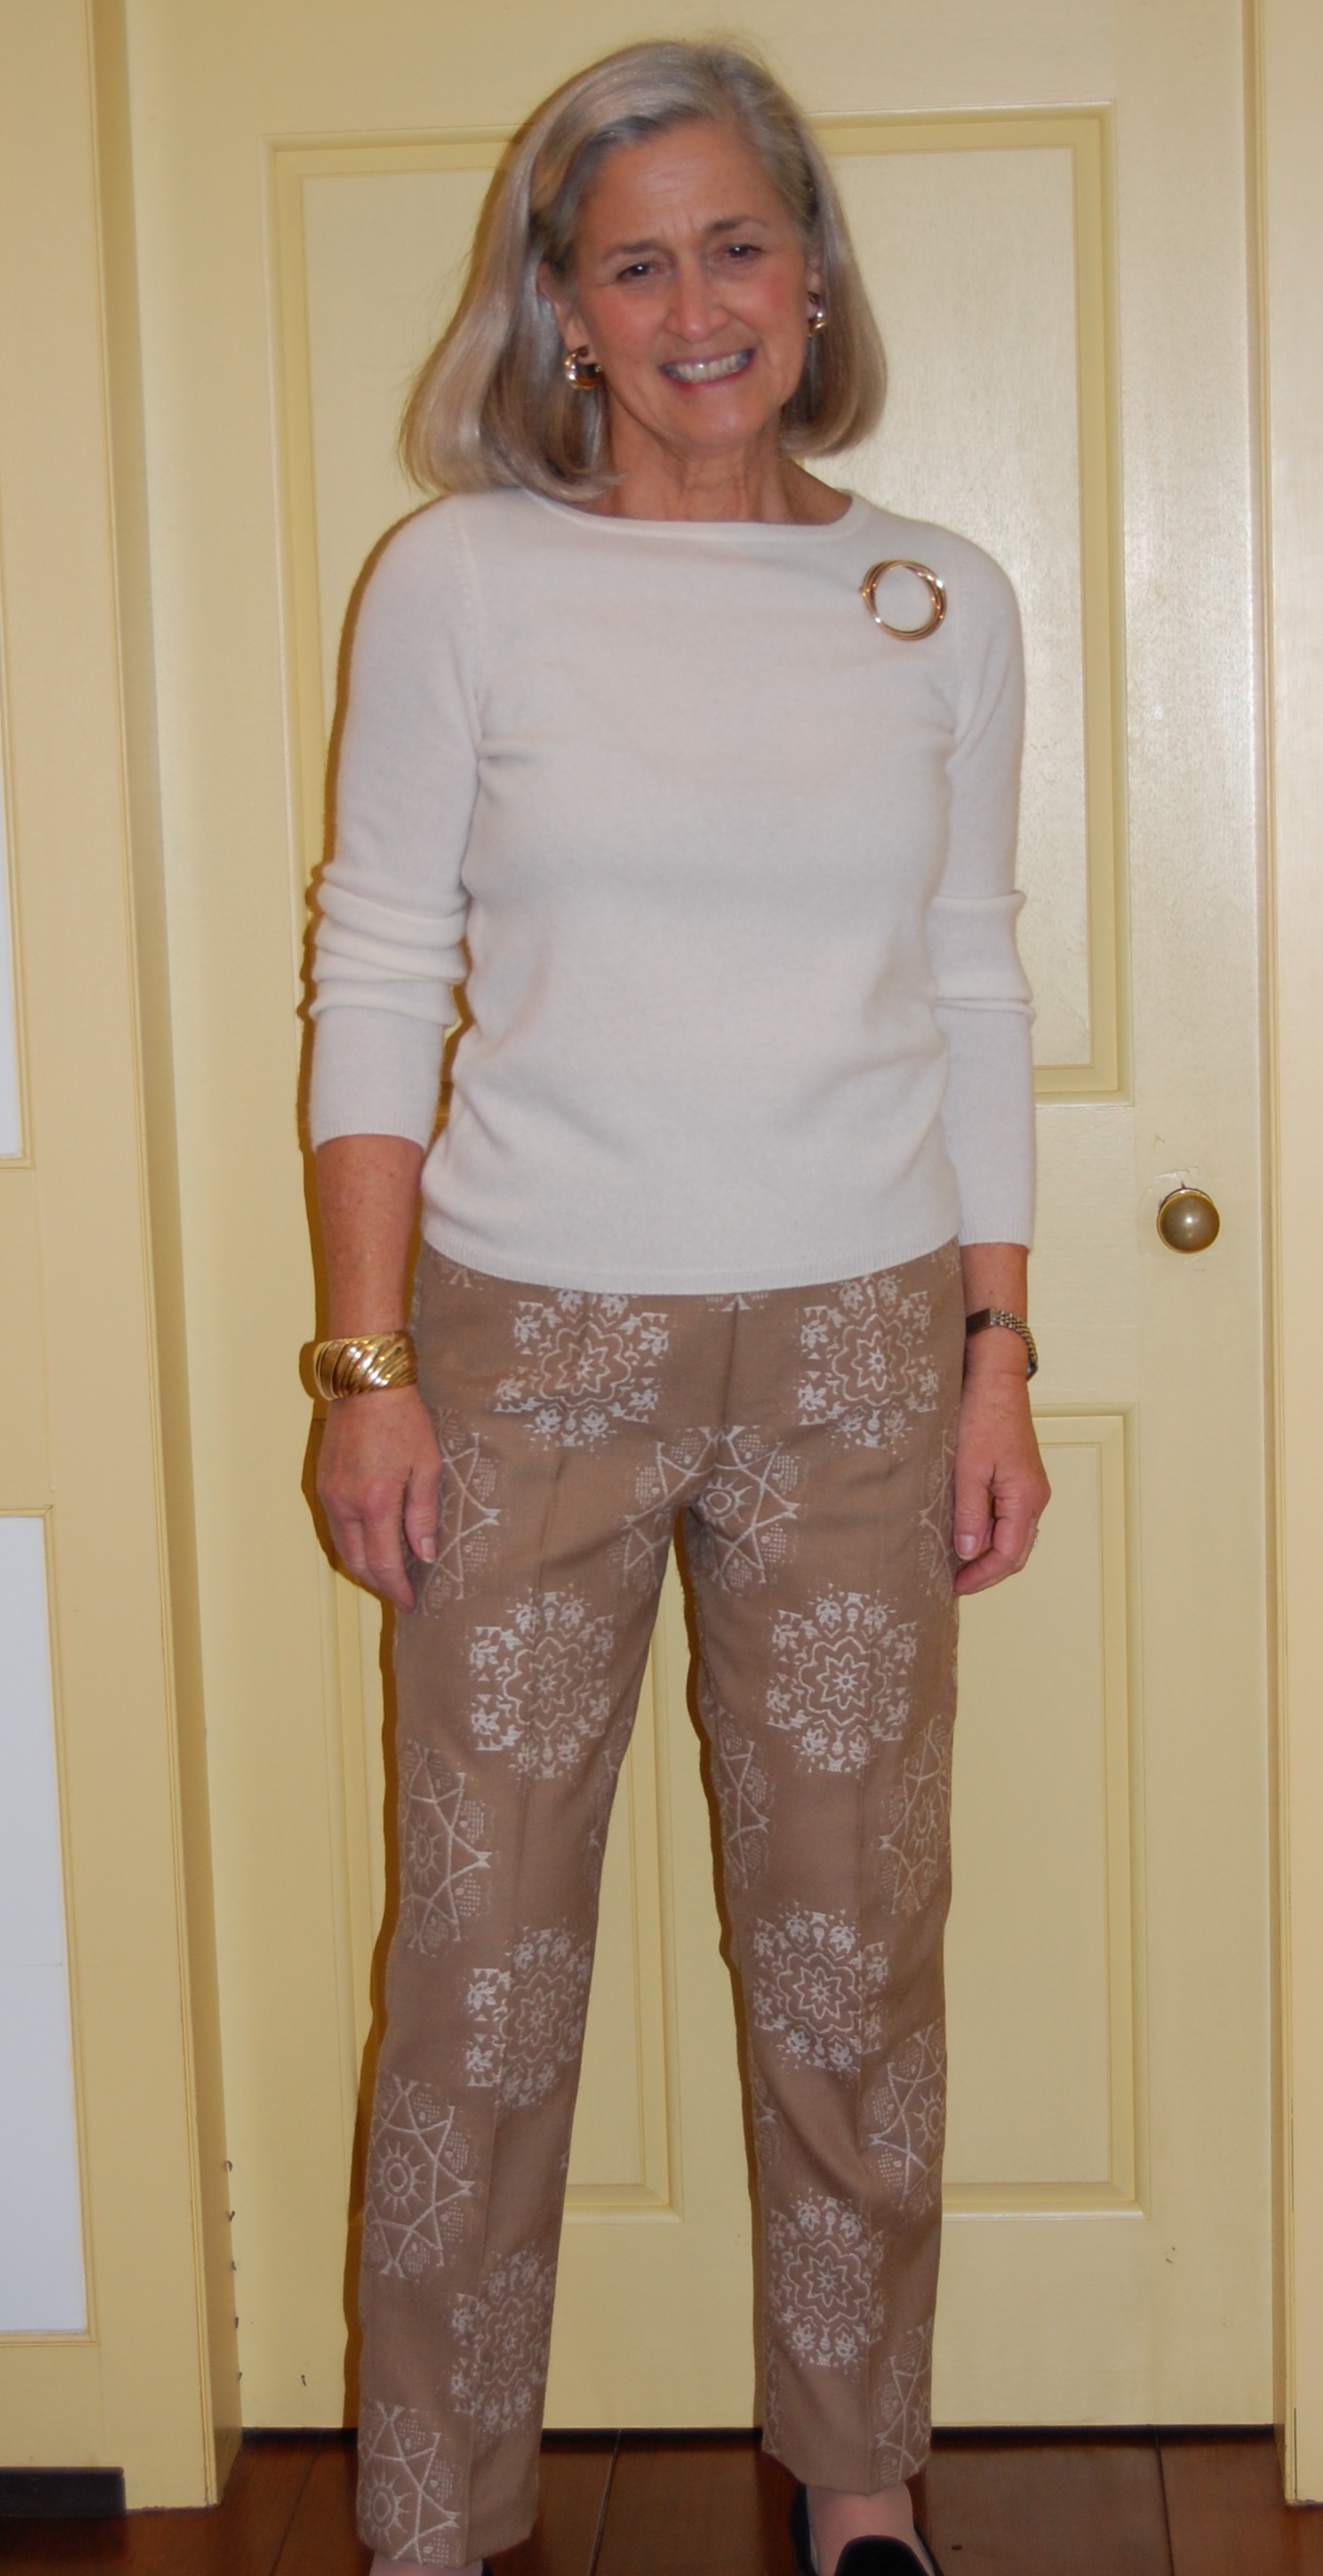
Yes, the skirt is finished, which allows me to give you a sneak preview.
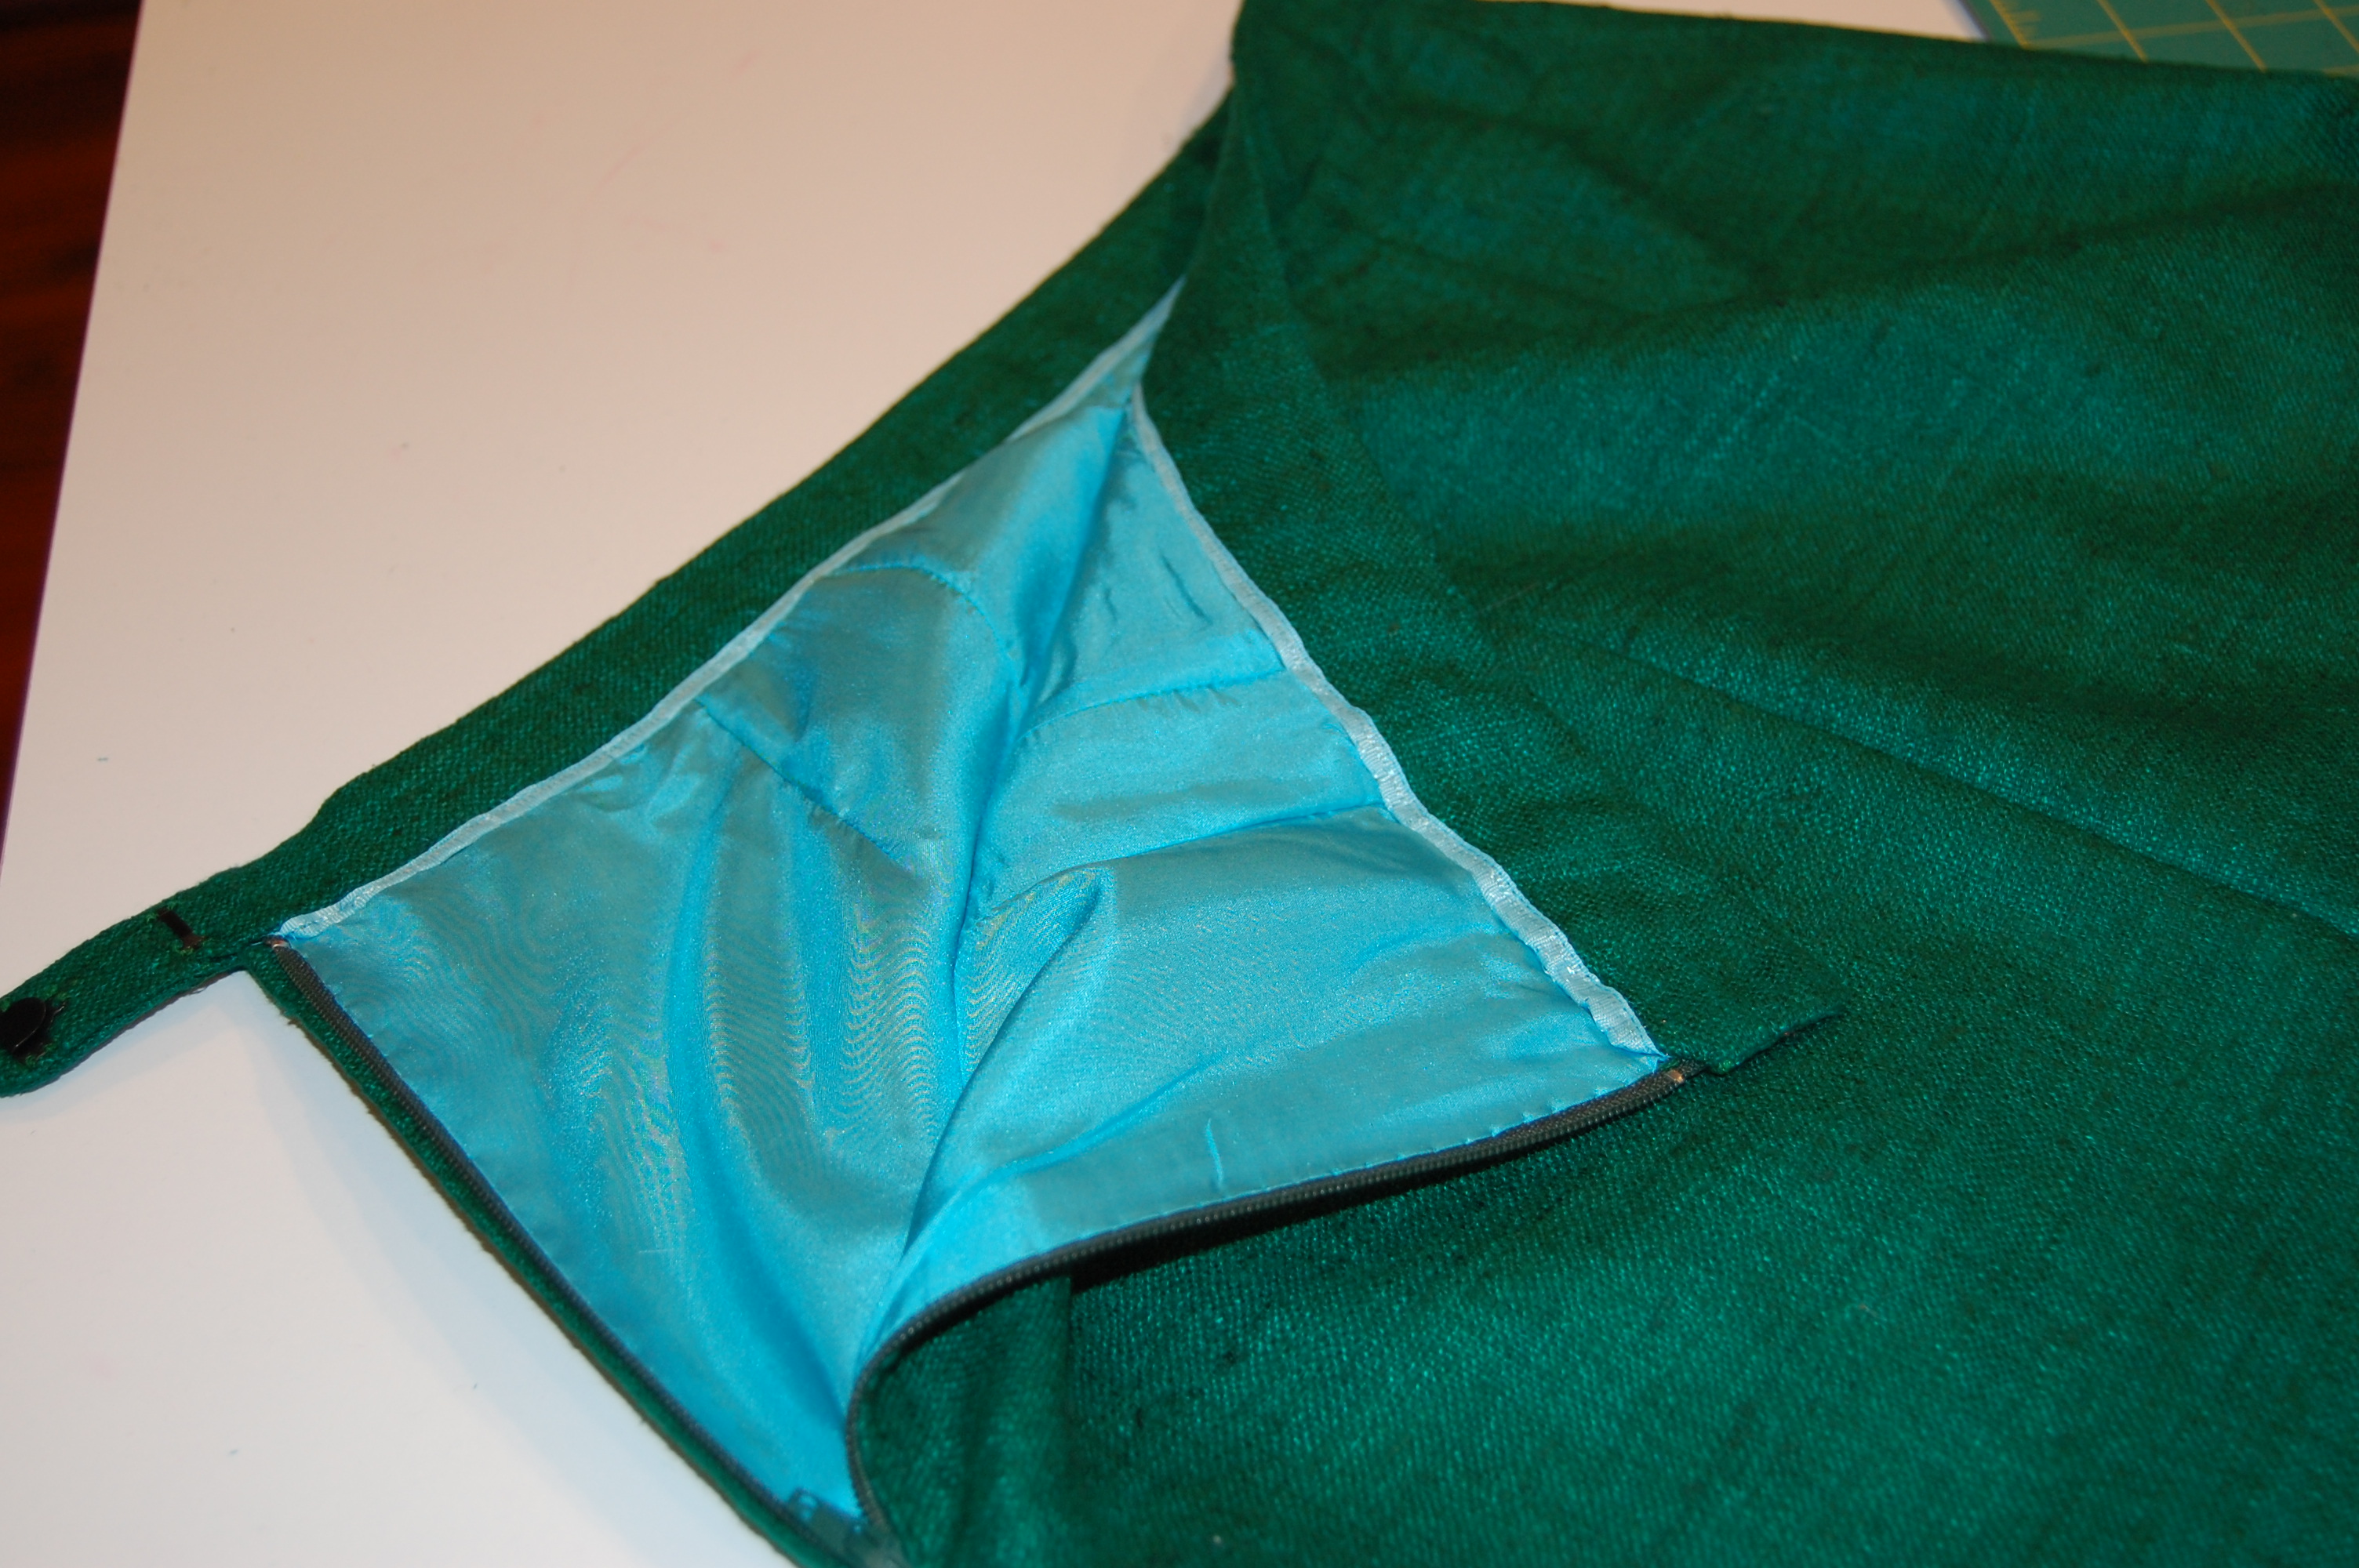
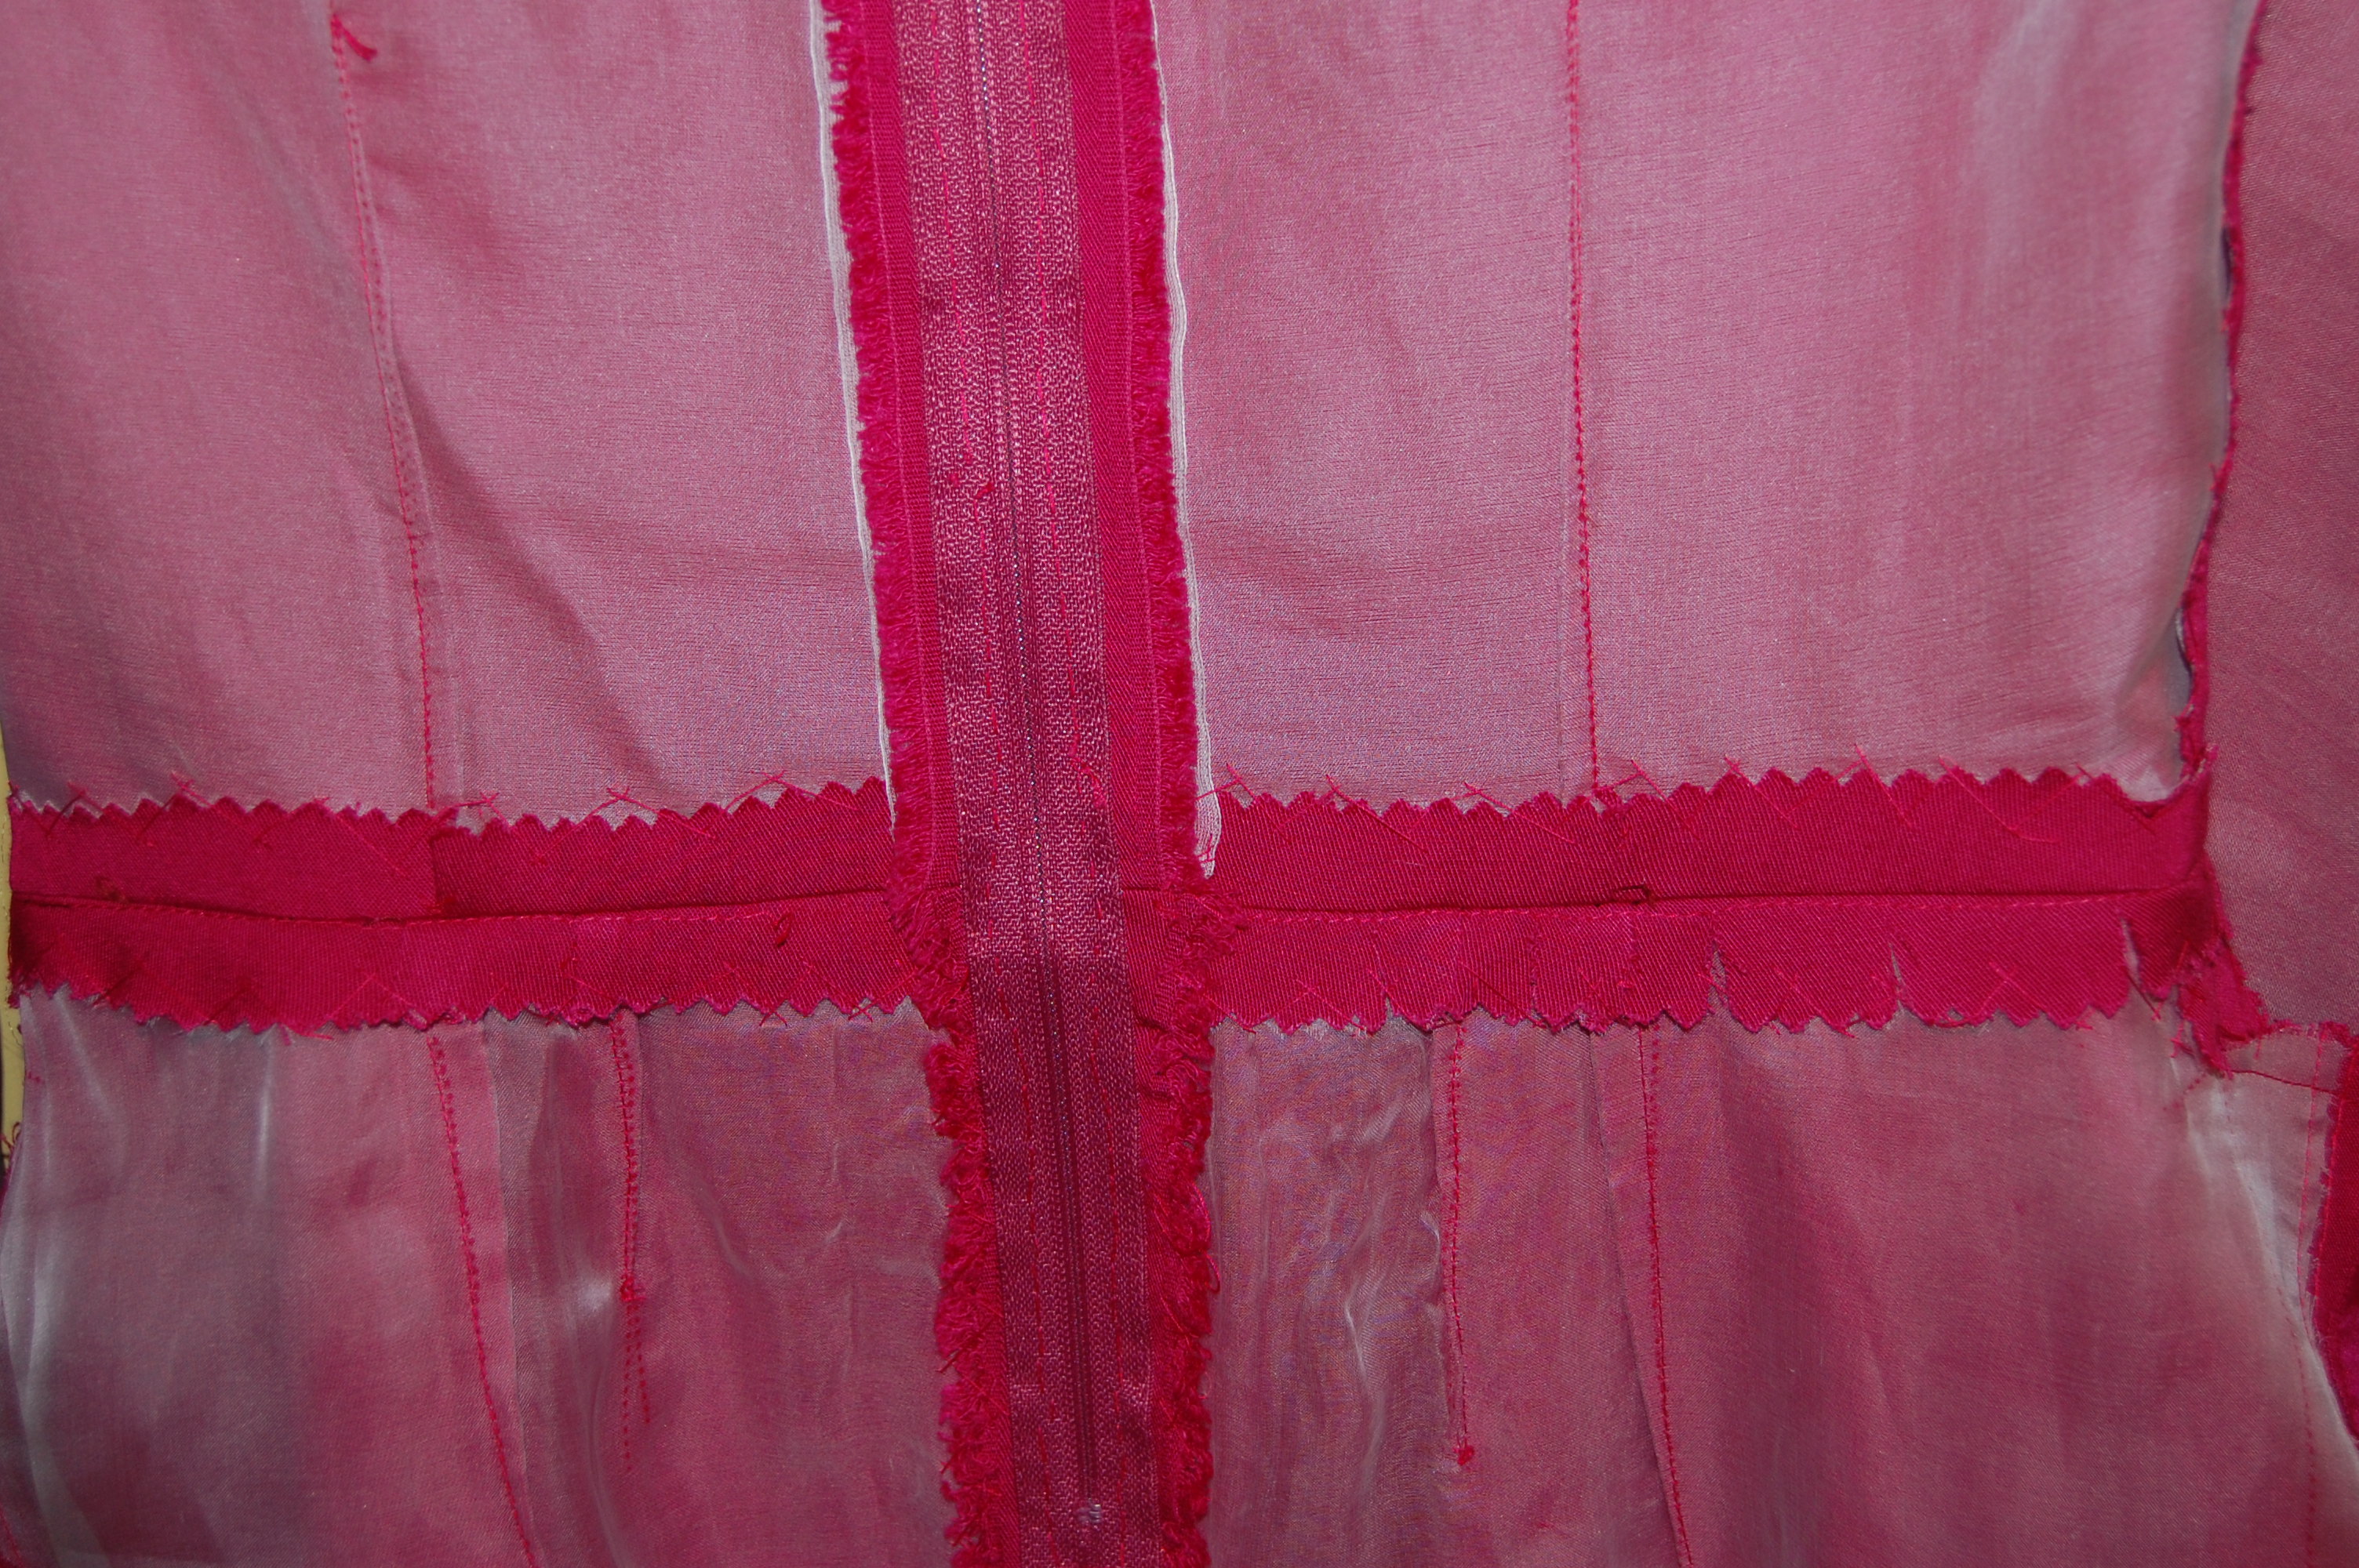
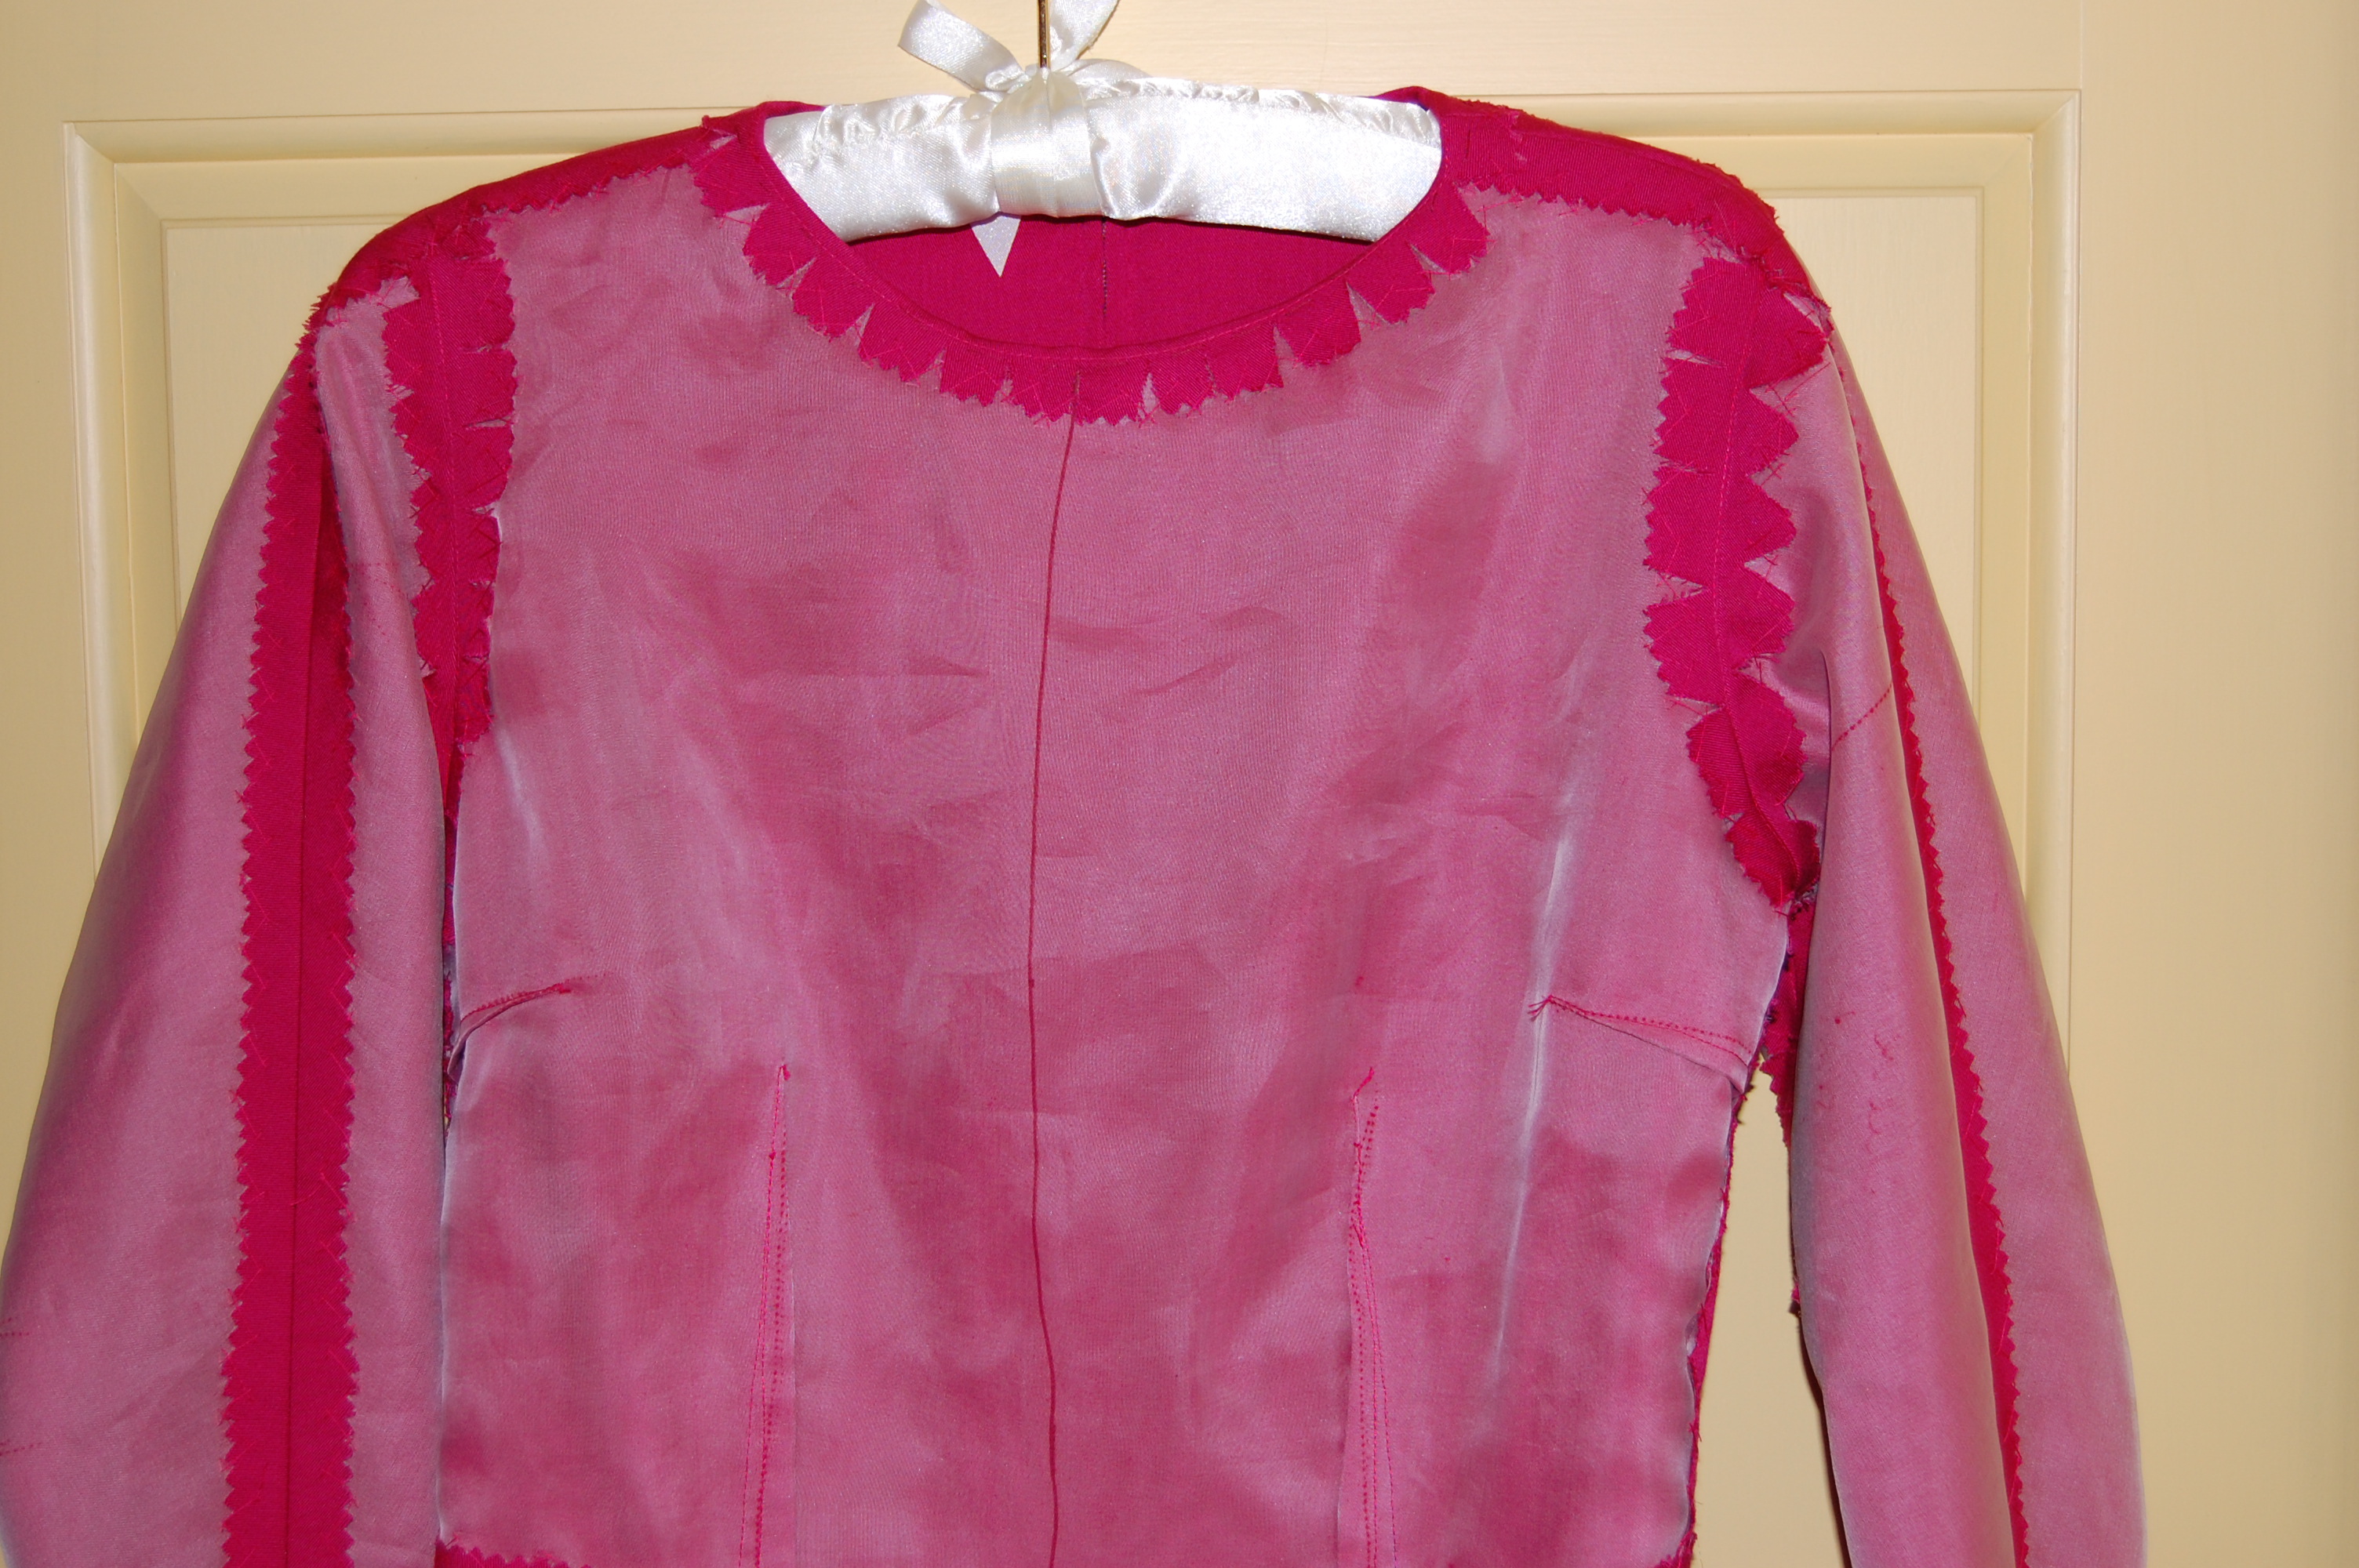
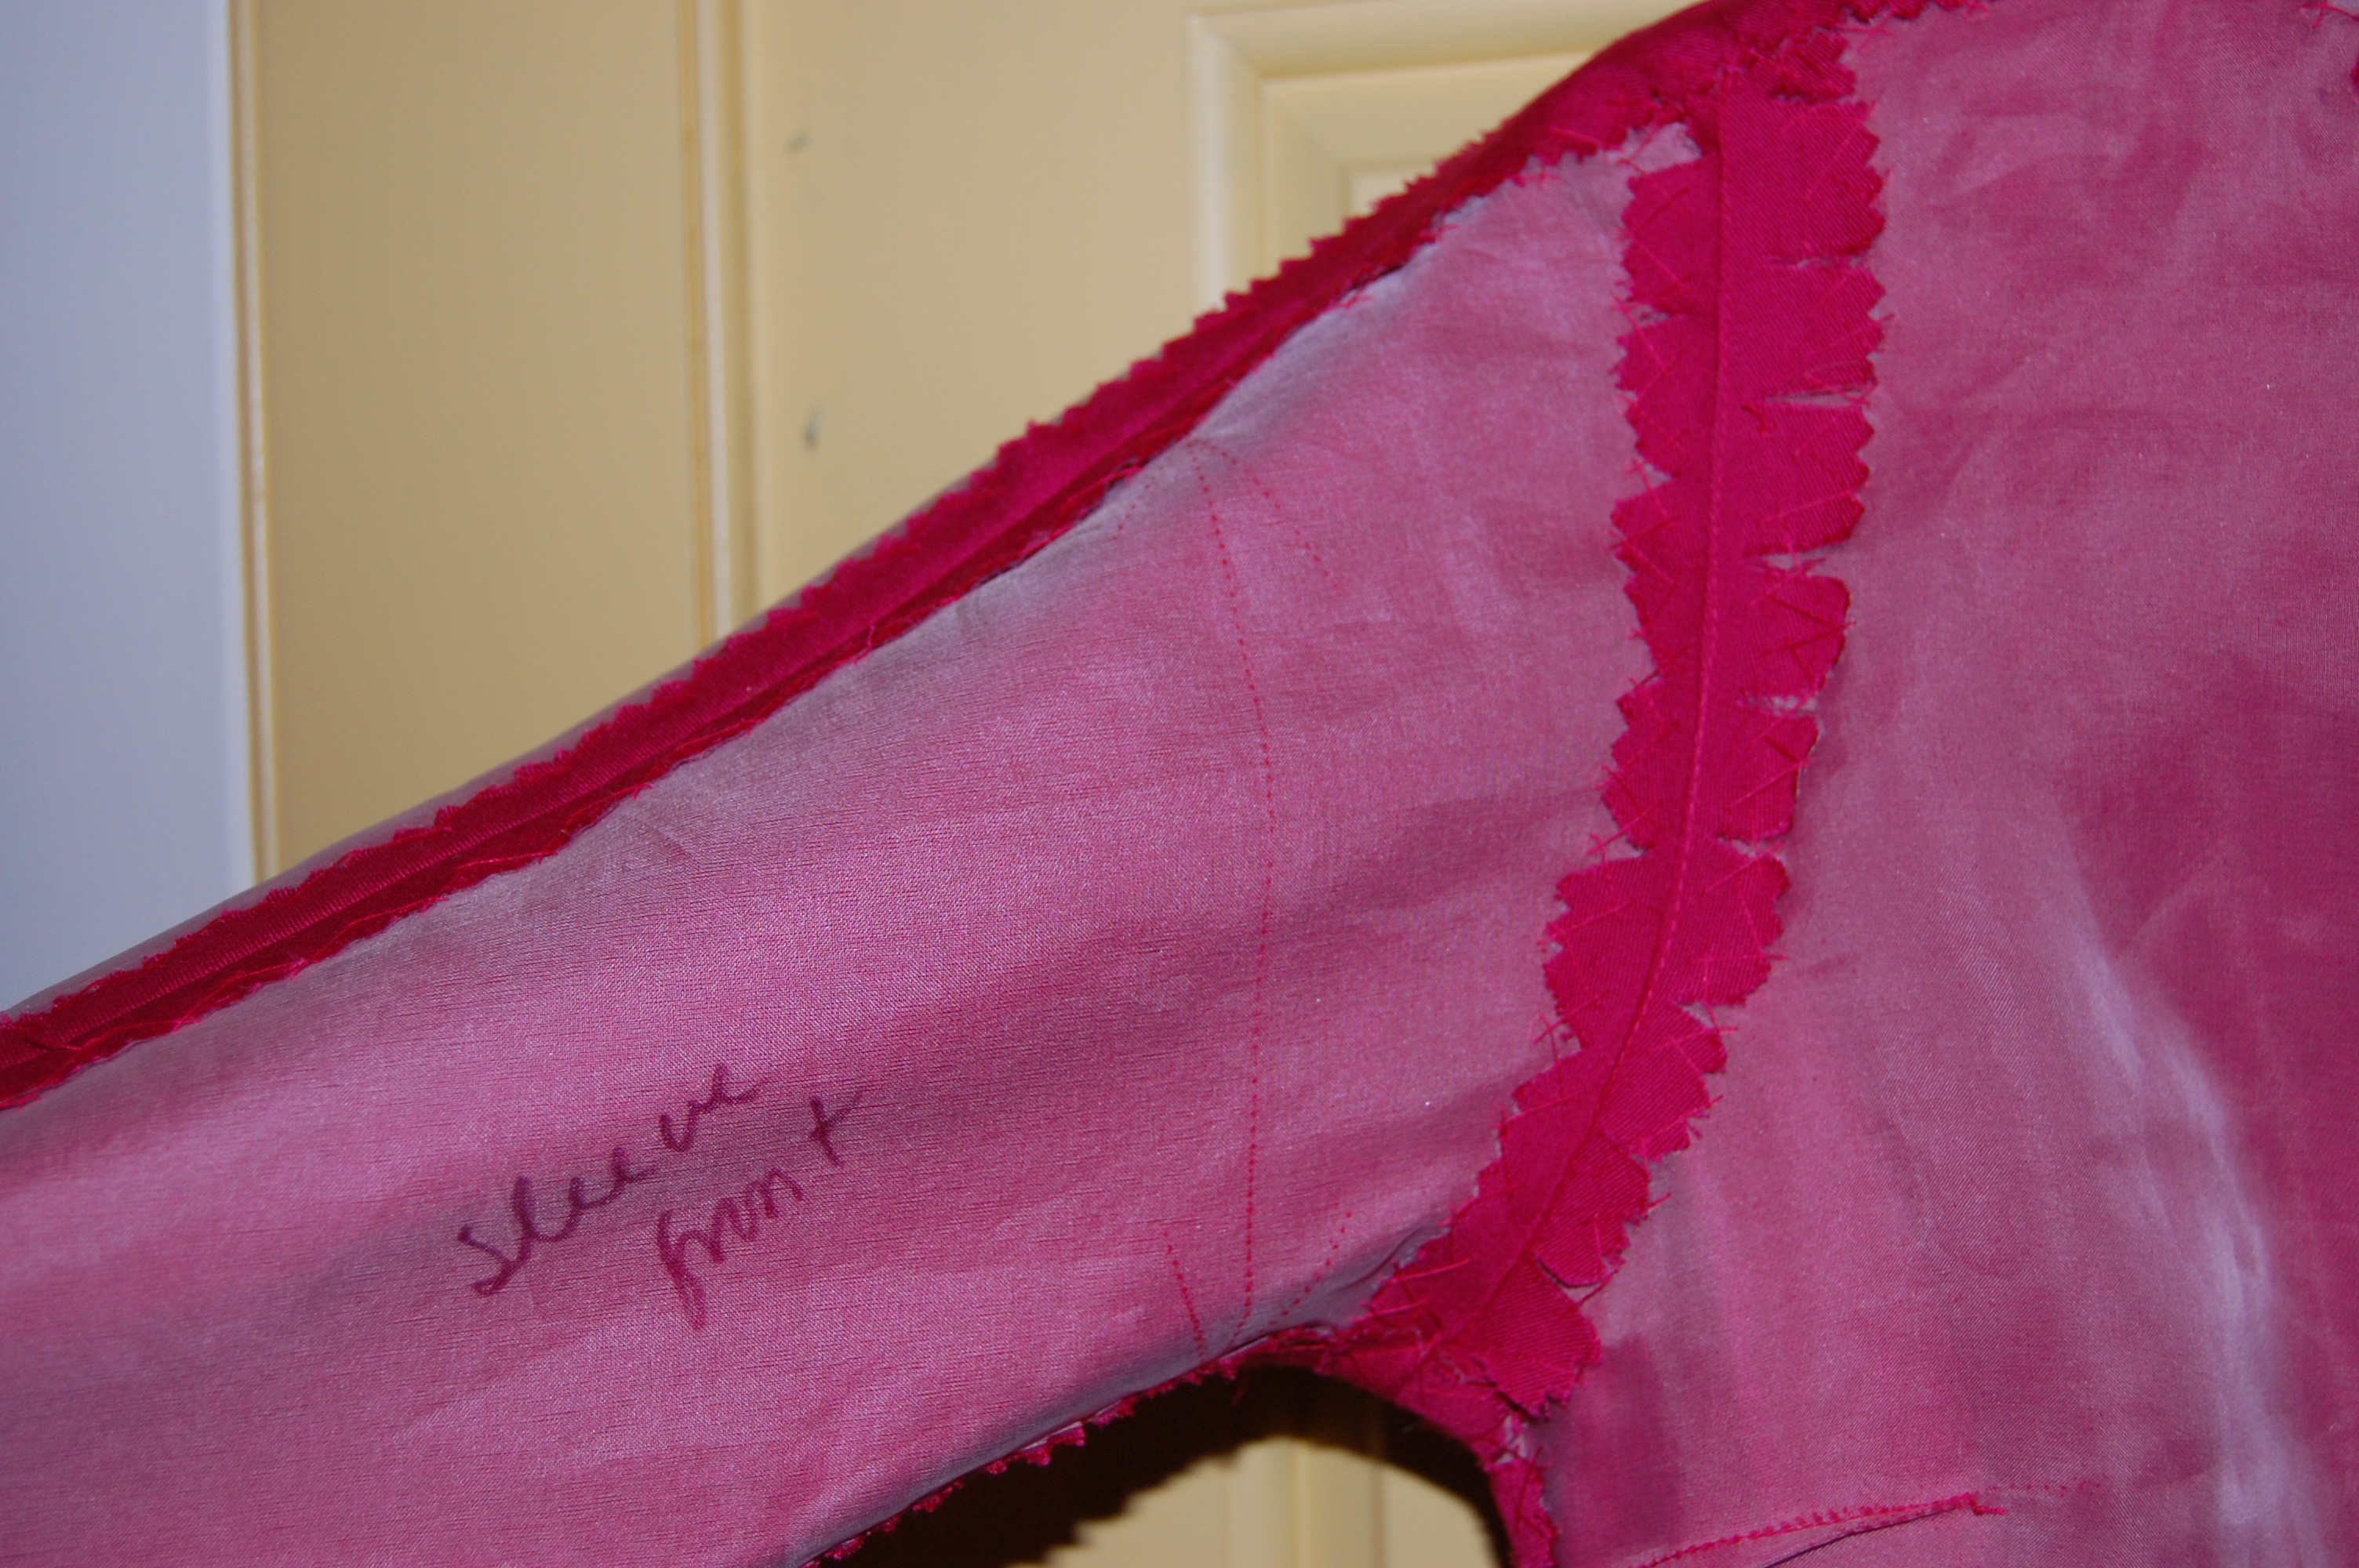
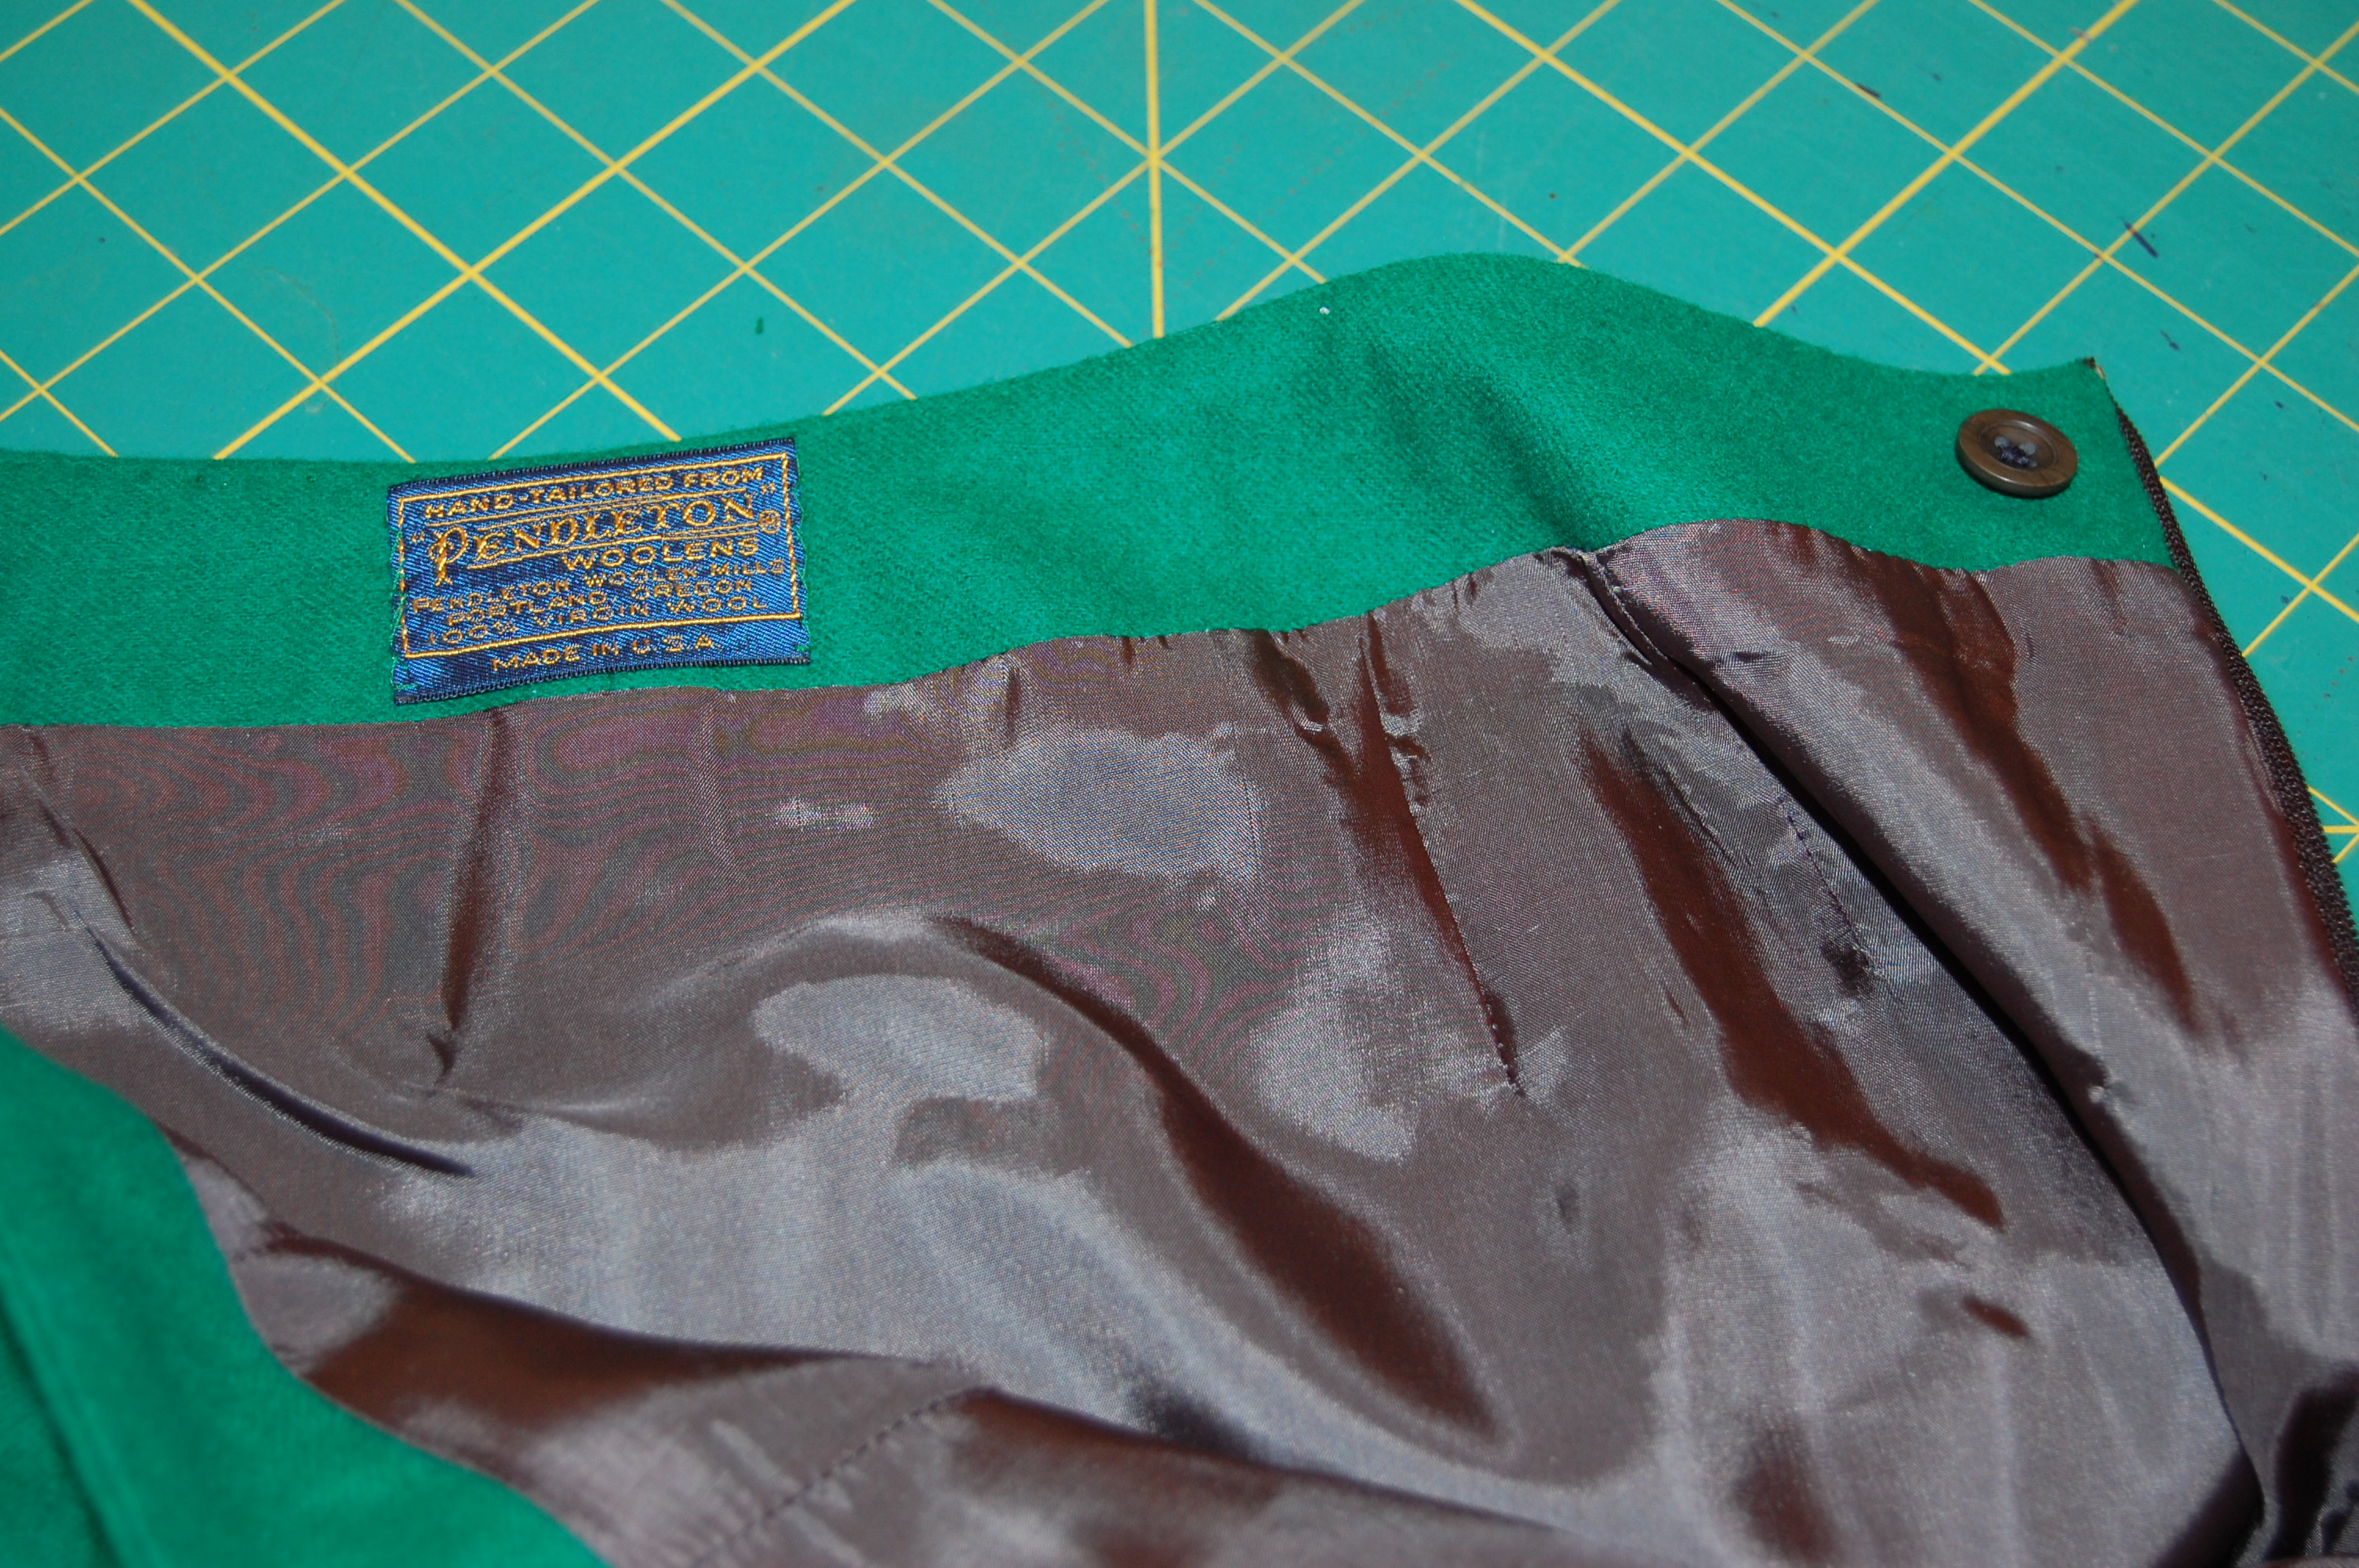
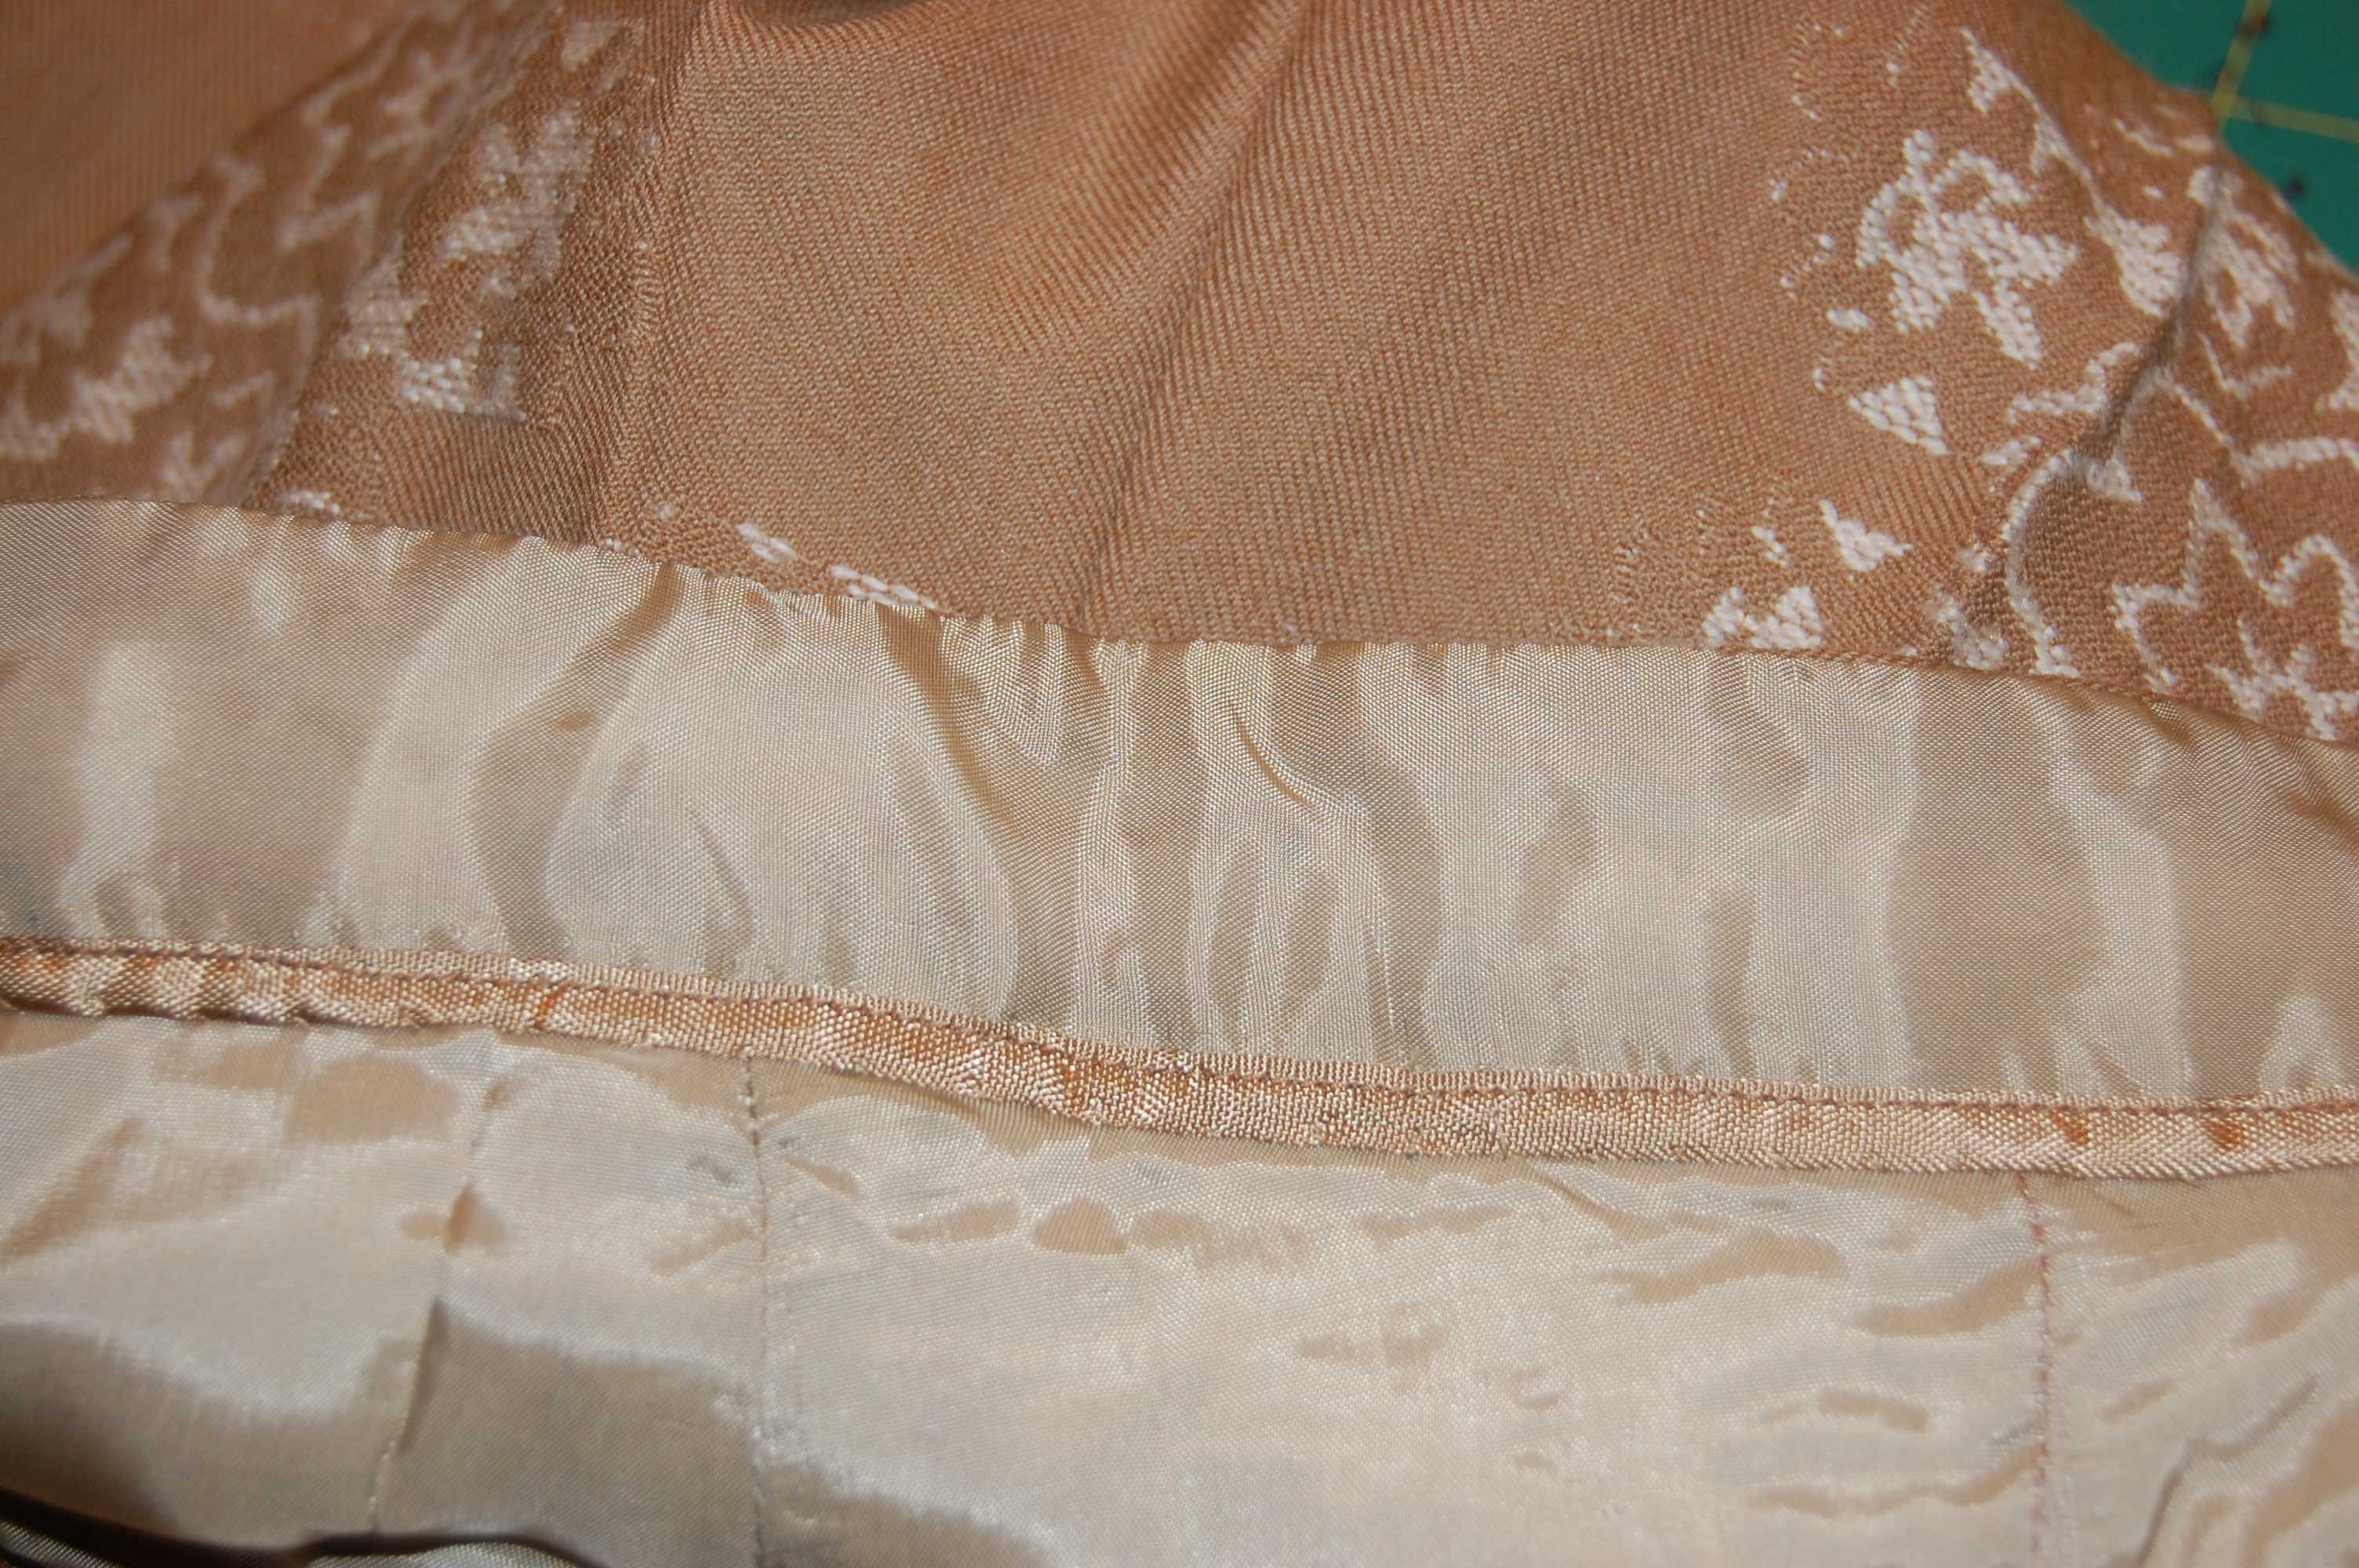
An interior view of the waistband and lining.
What do you think of that turquoise china silk lining? Failing to find a green lining fabric, which would coordinate or match, turned out to be an advantage. I had to choose something else – and, I must say, I love this combination.
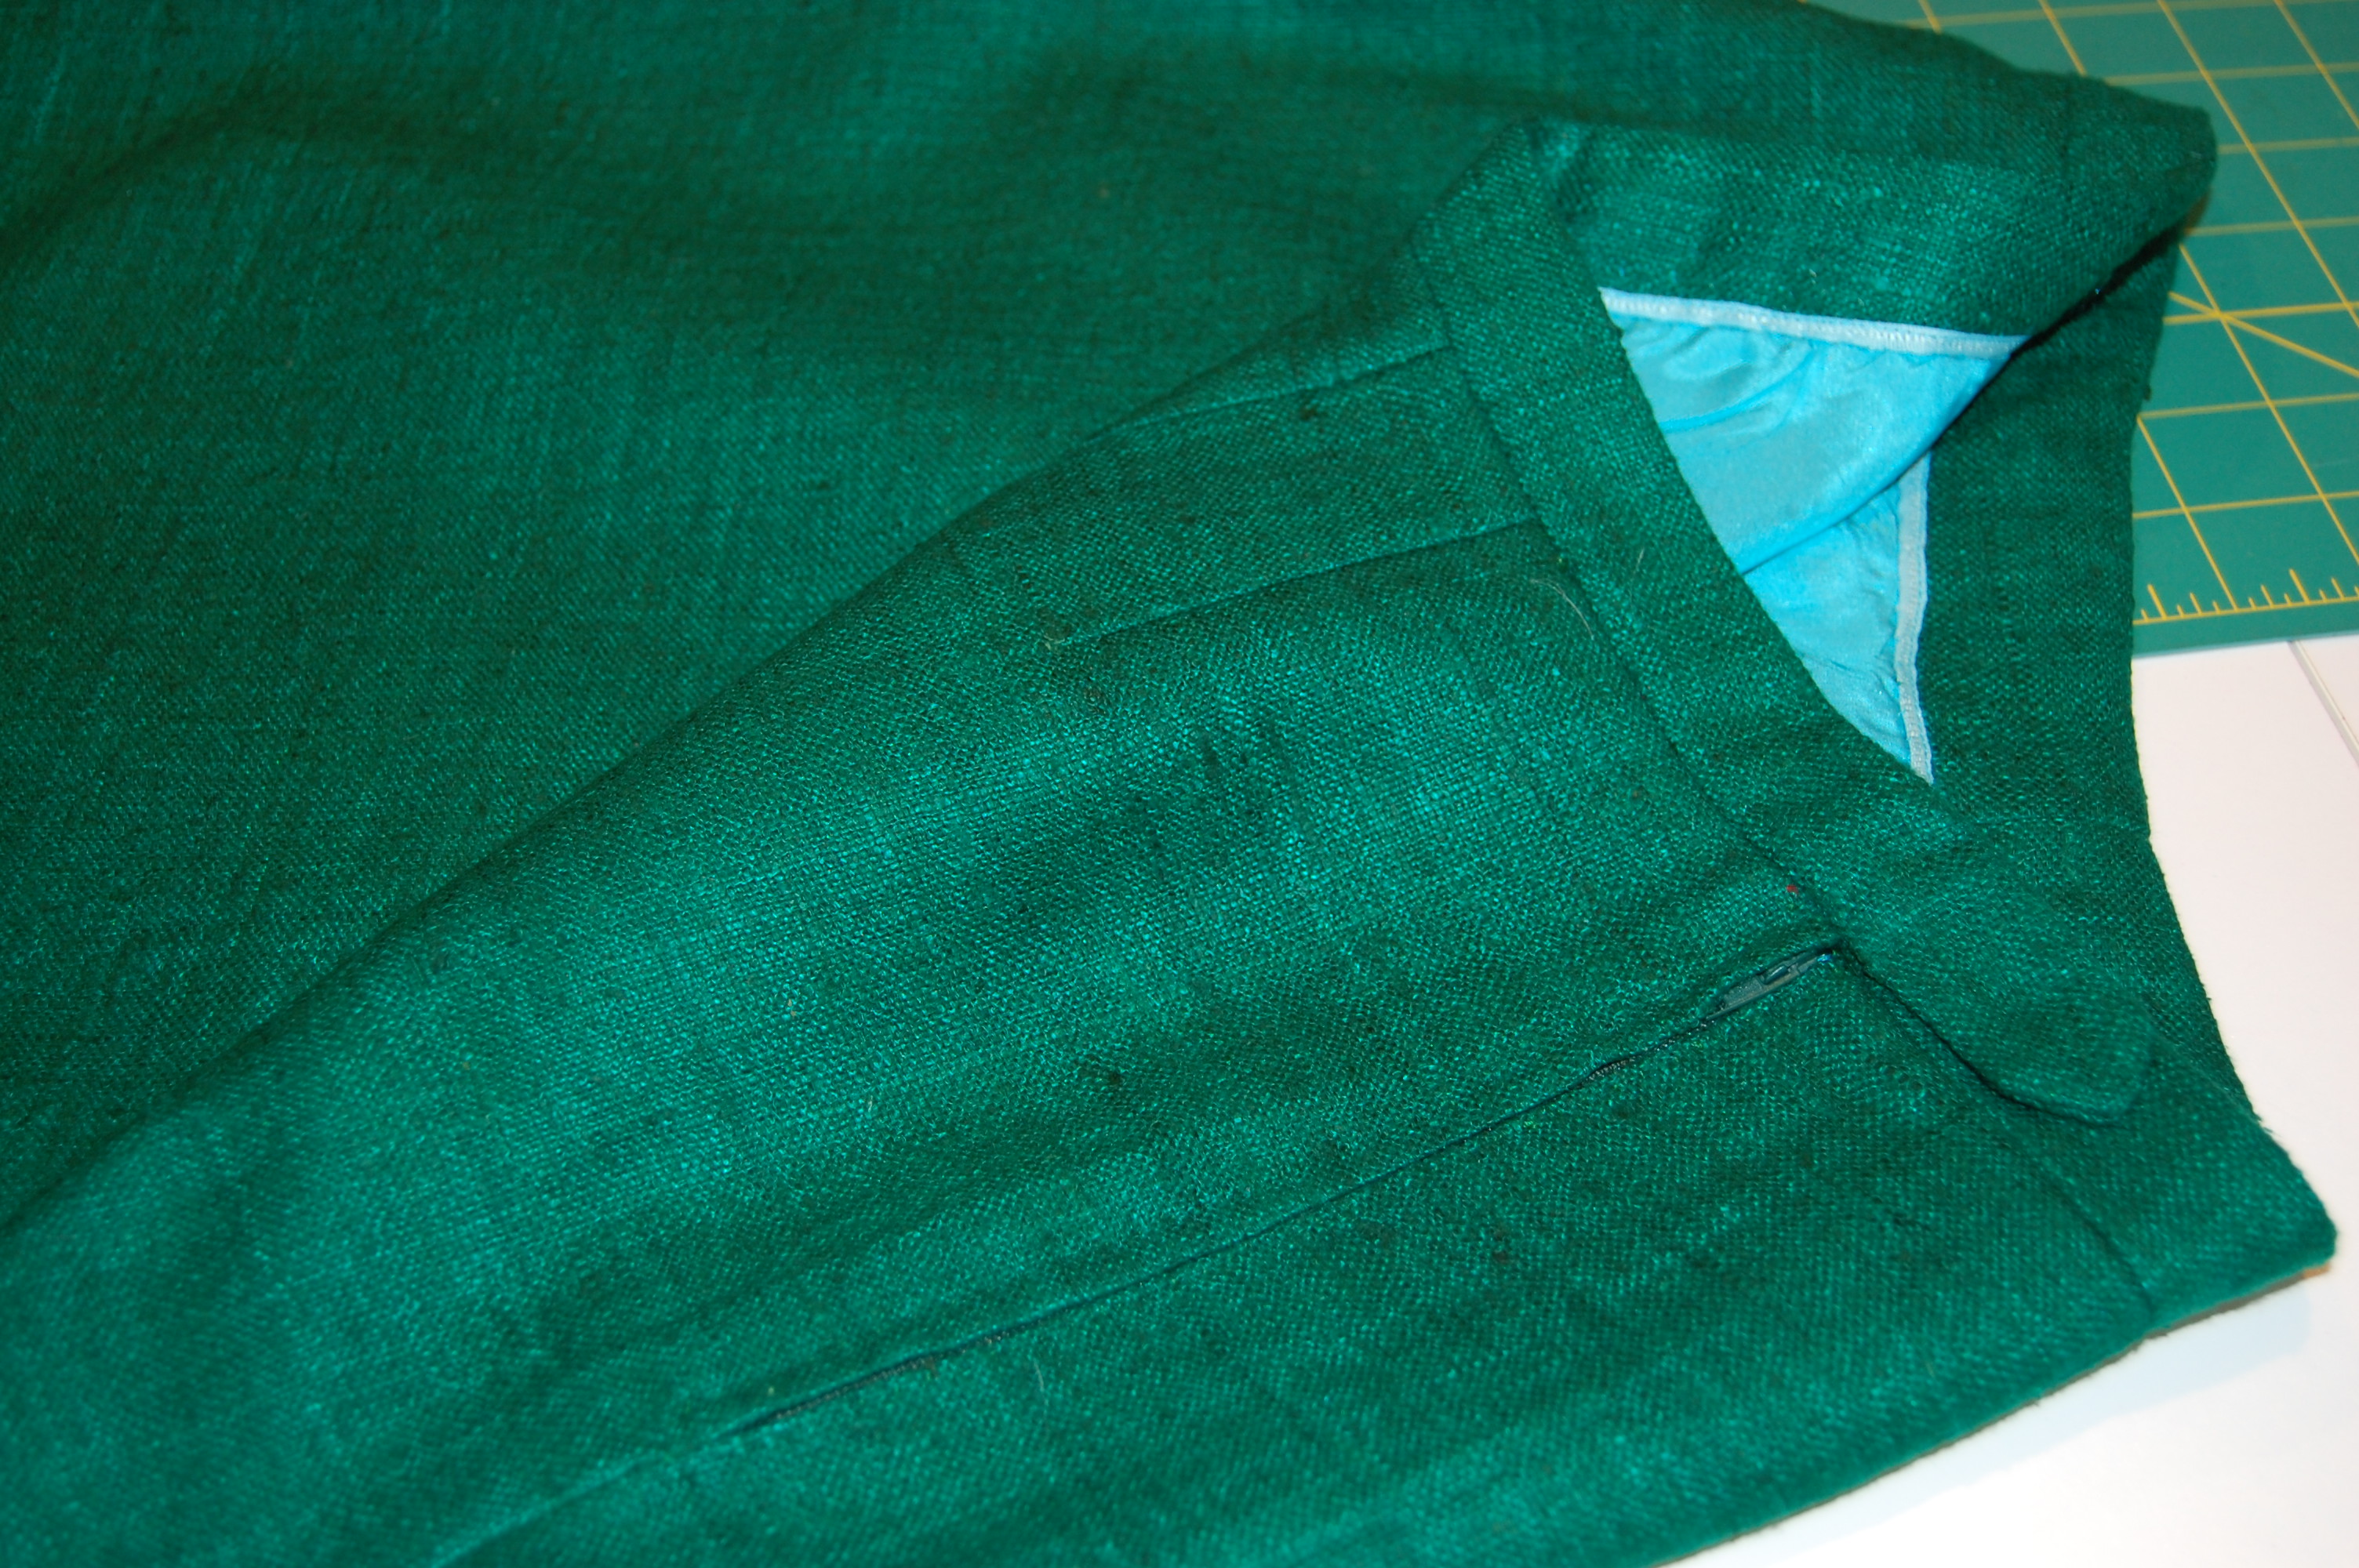
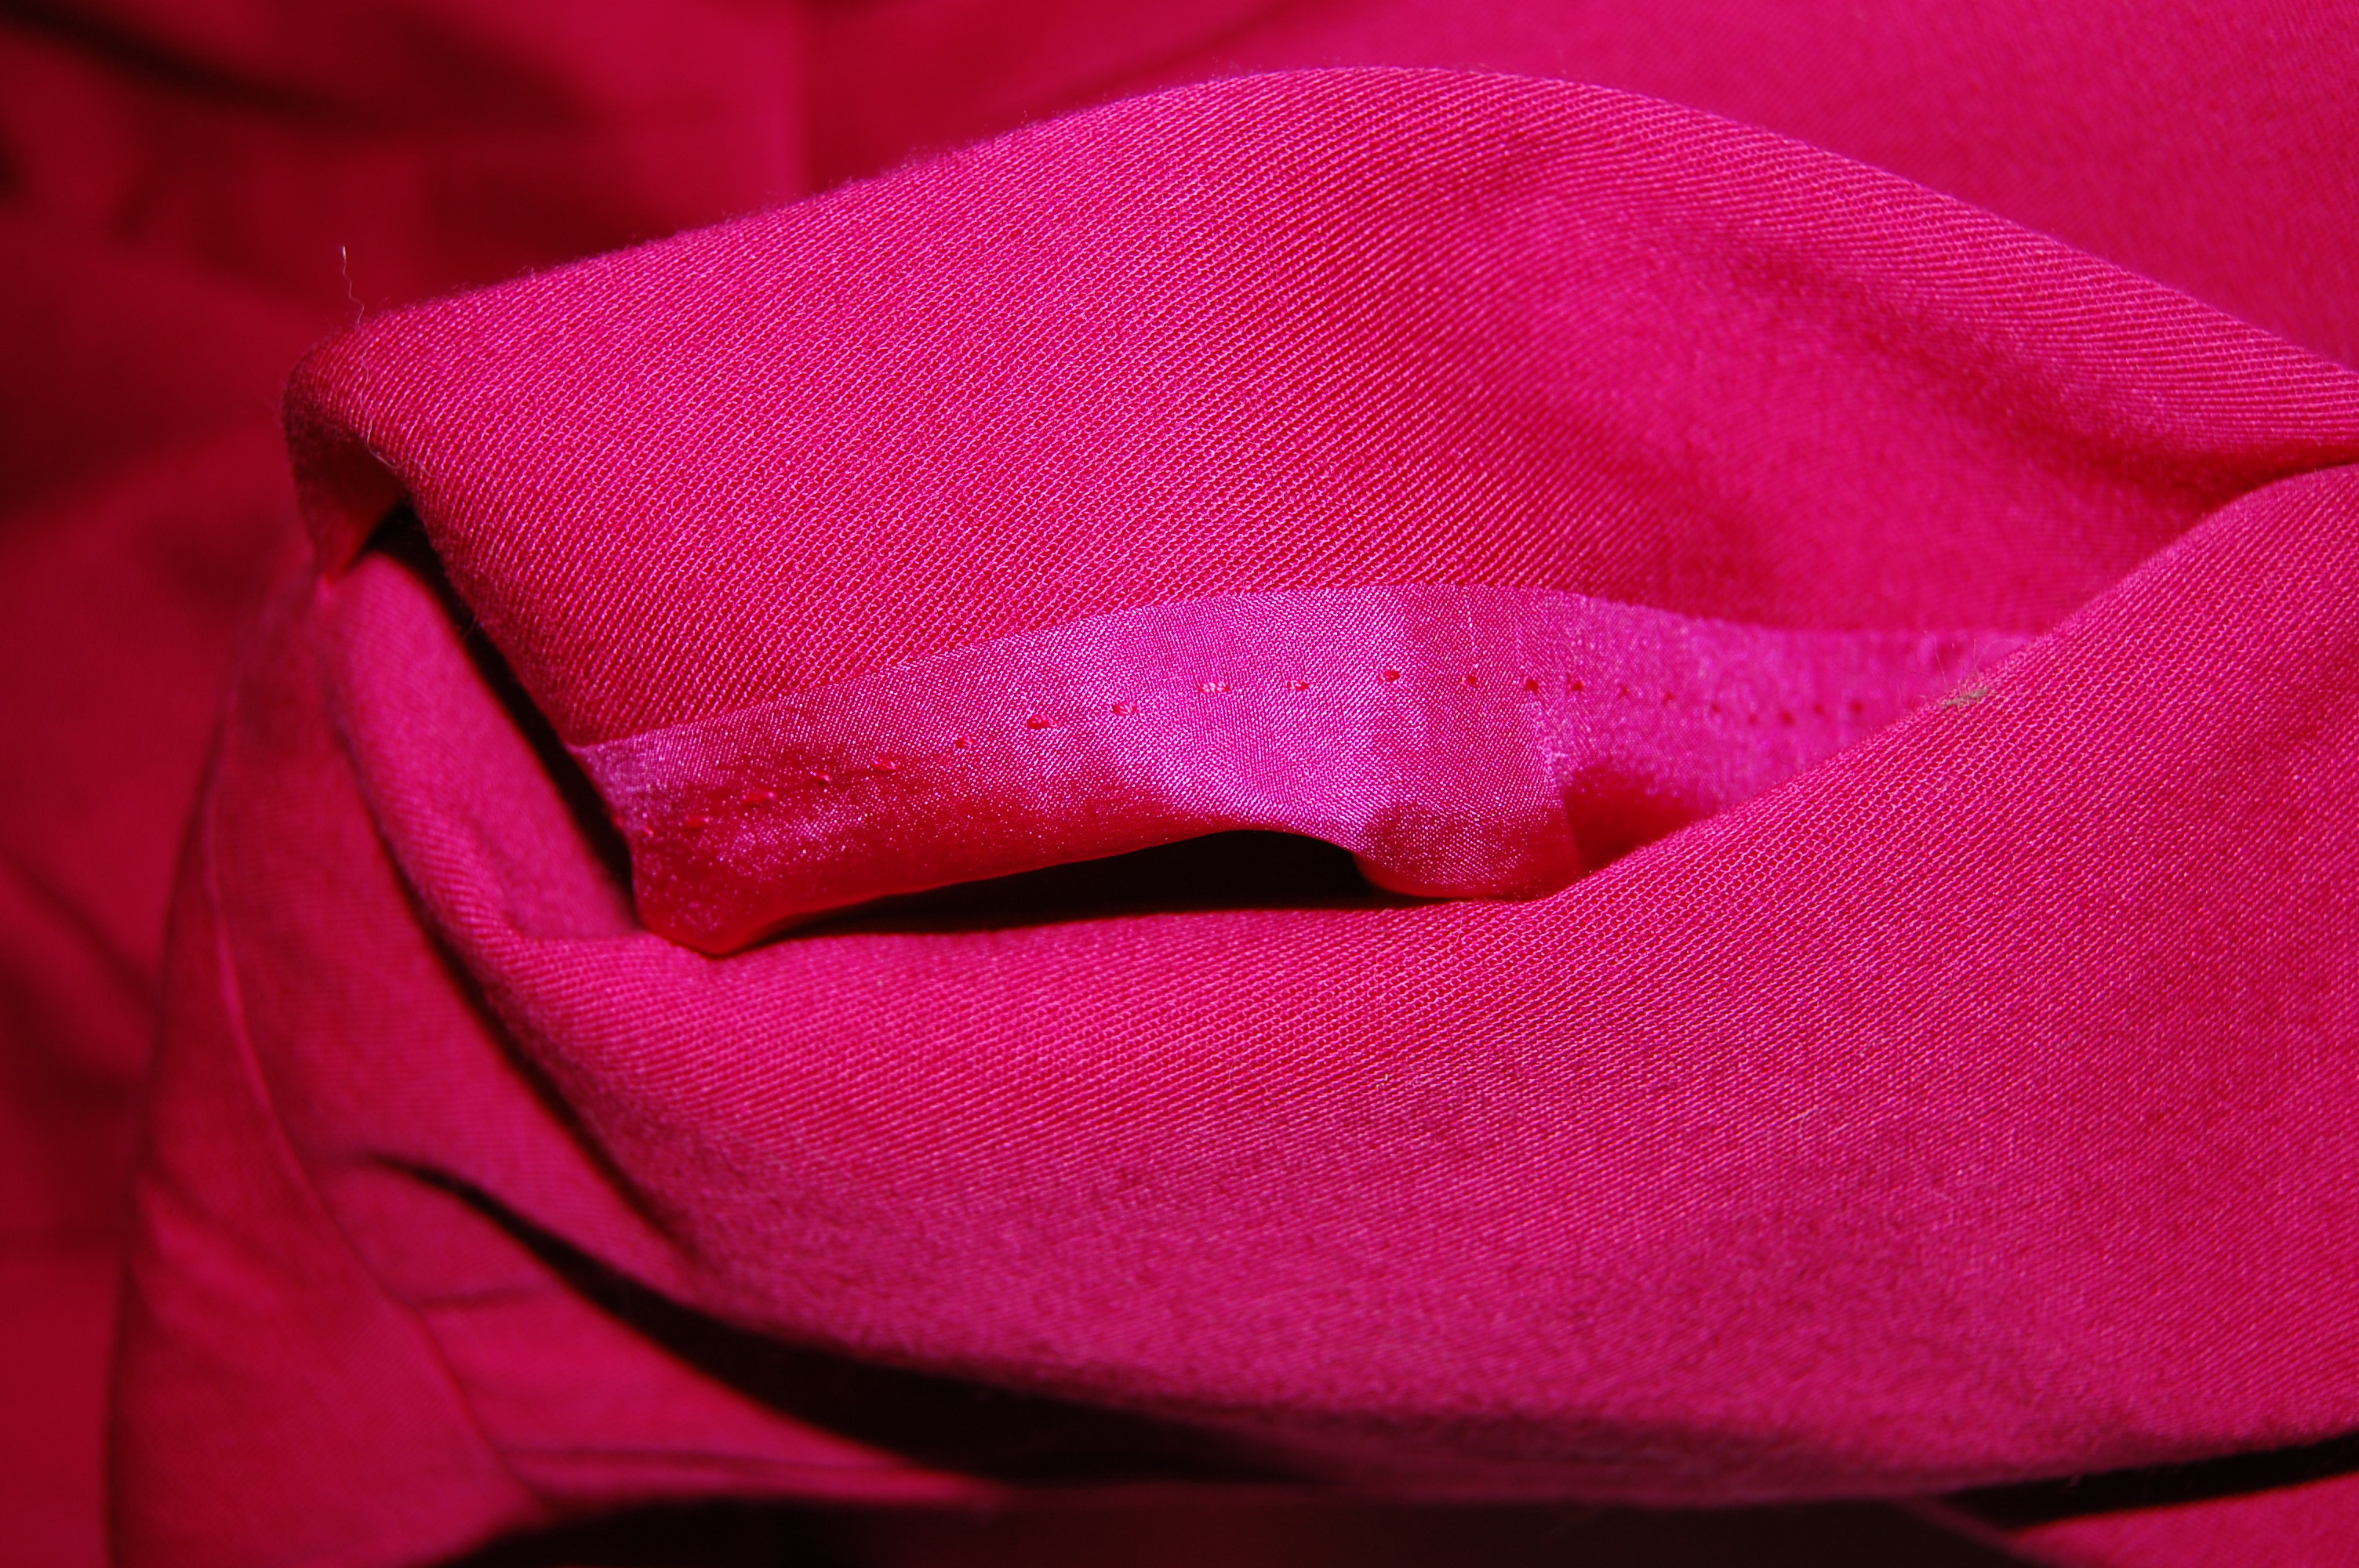
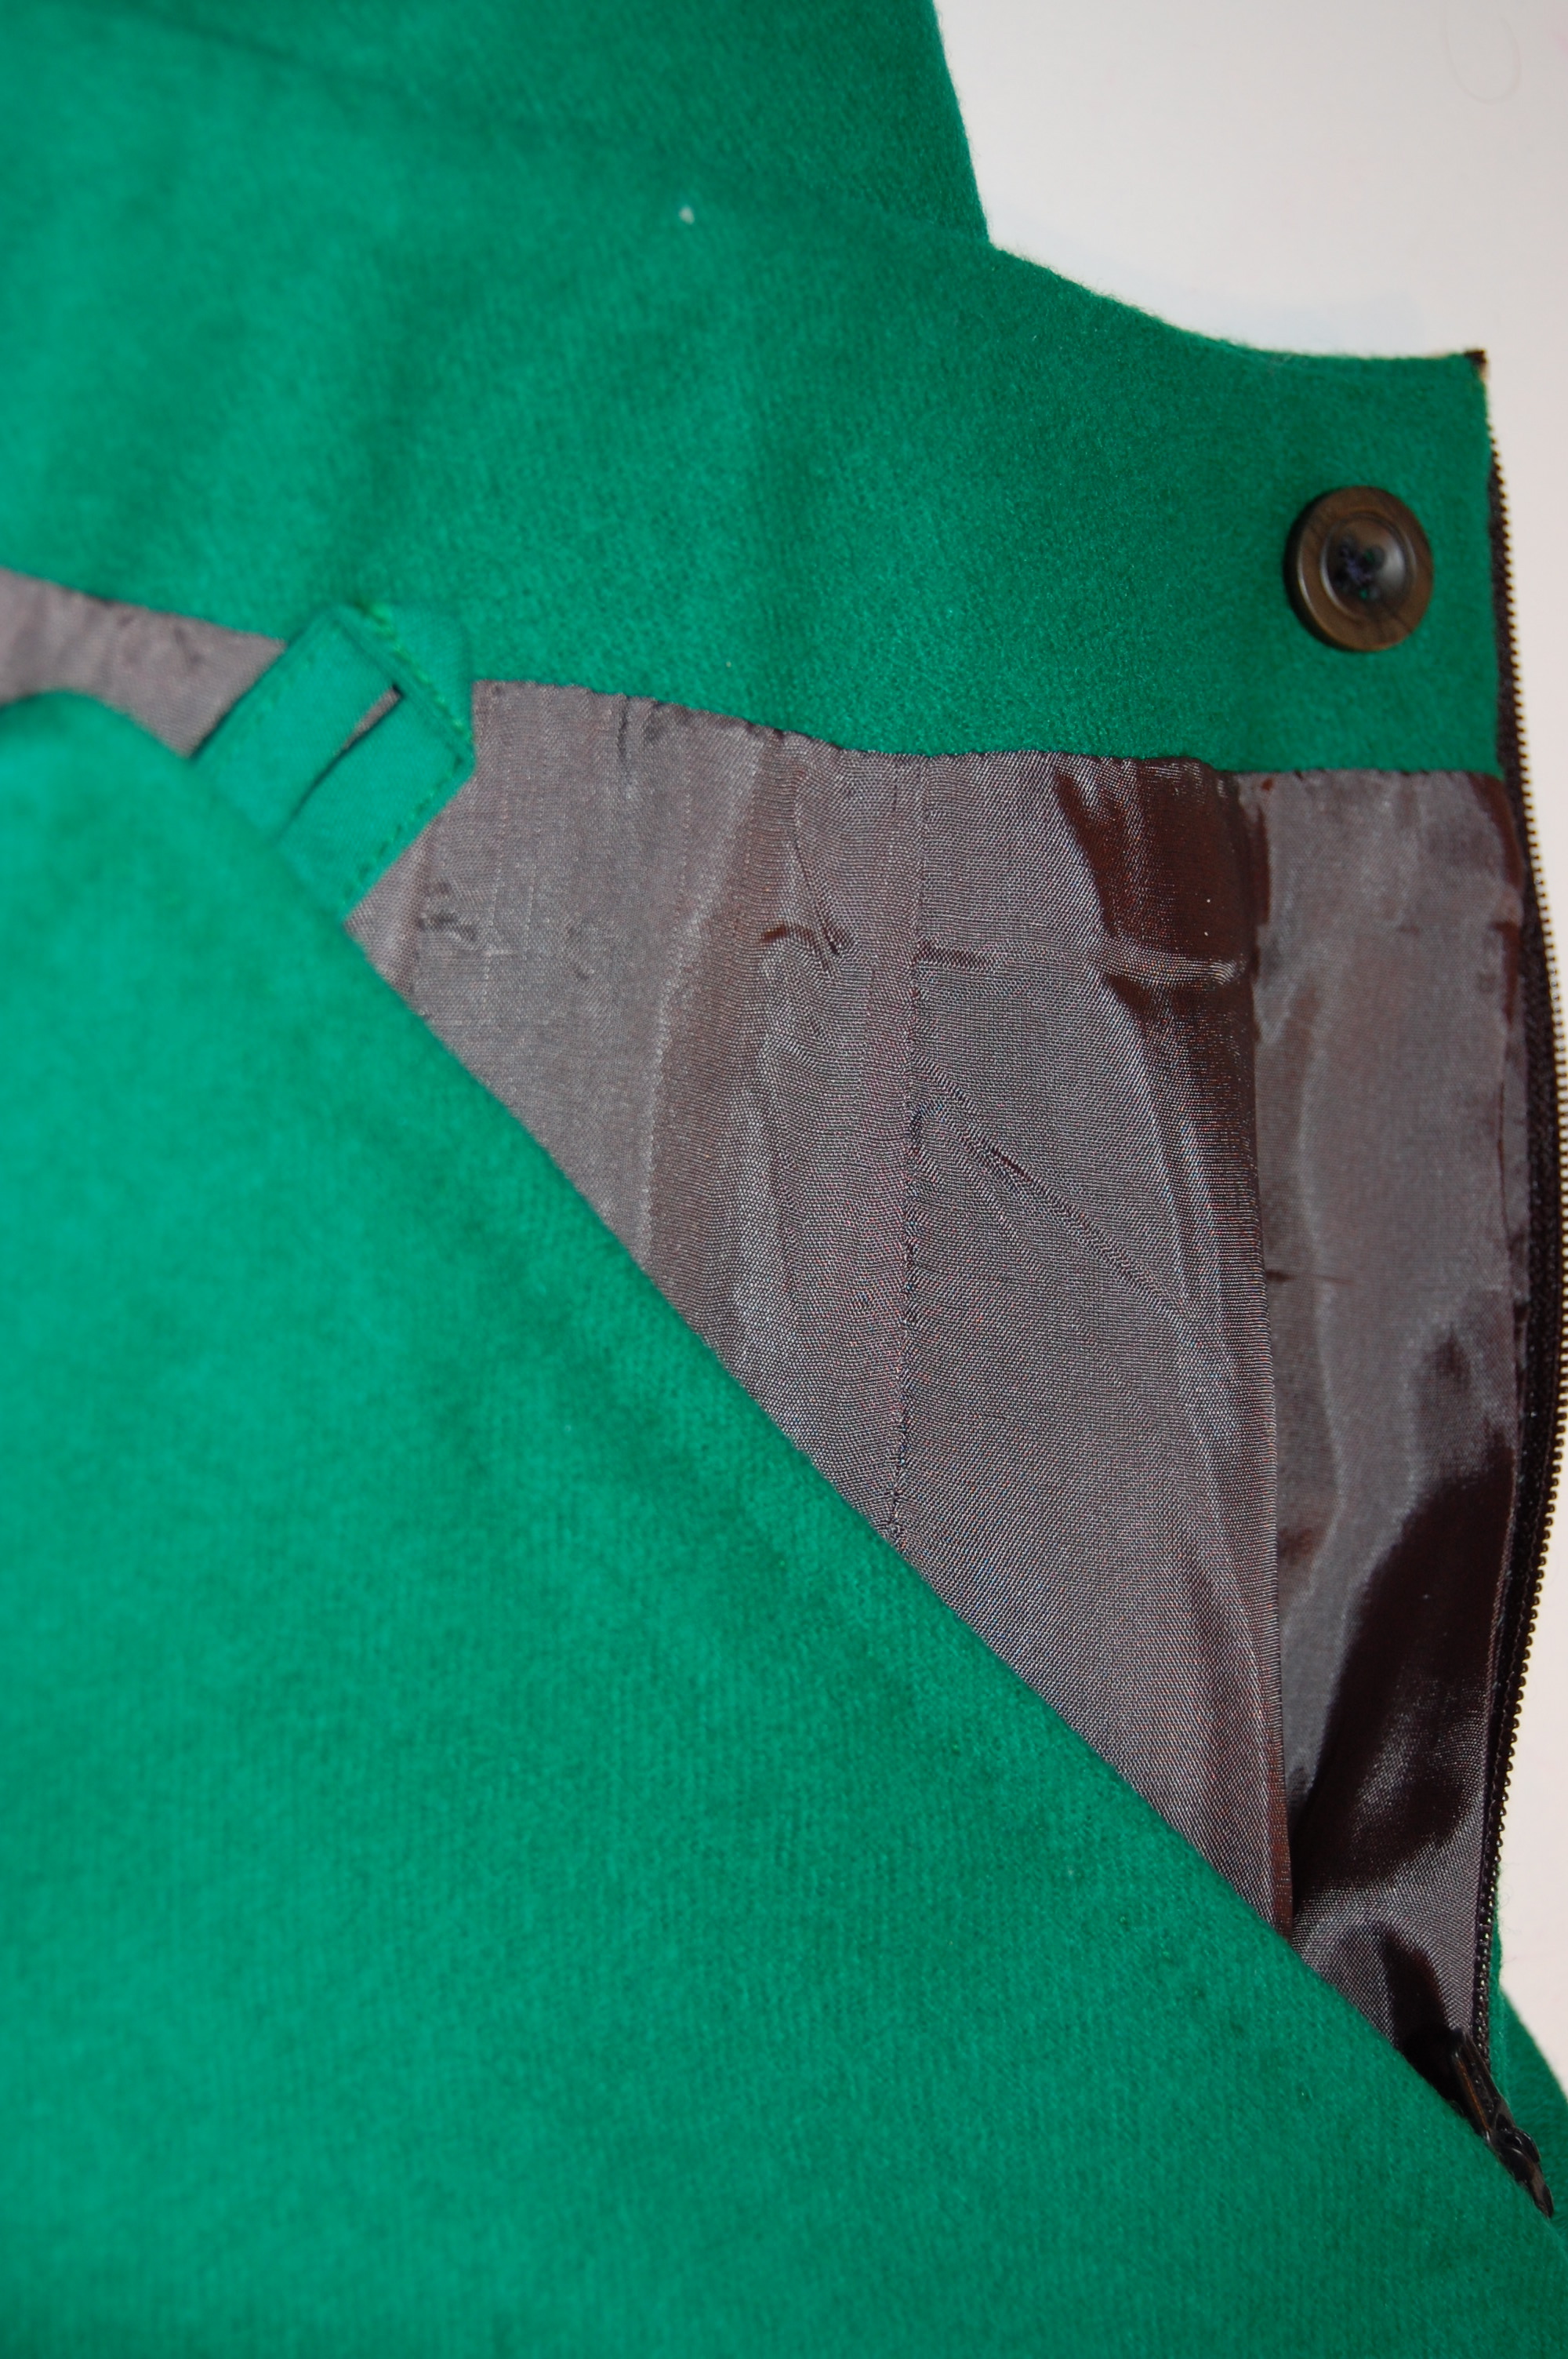
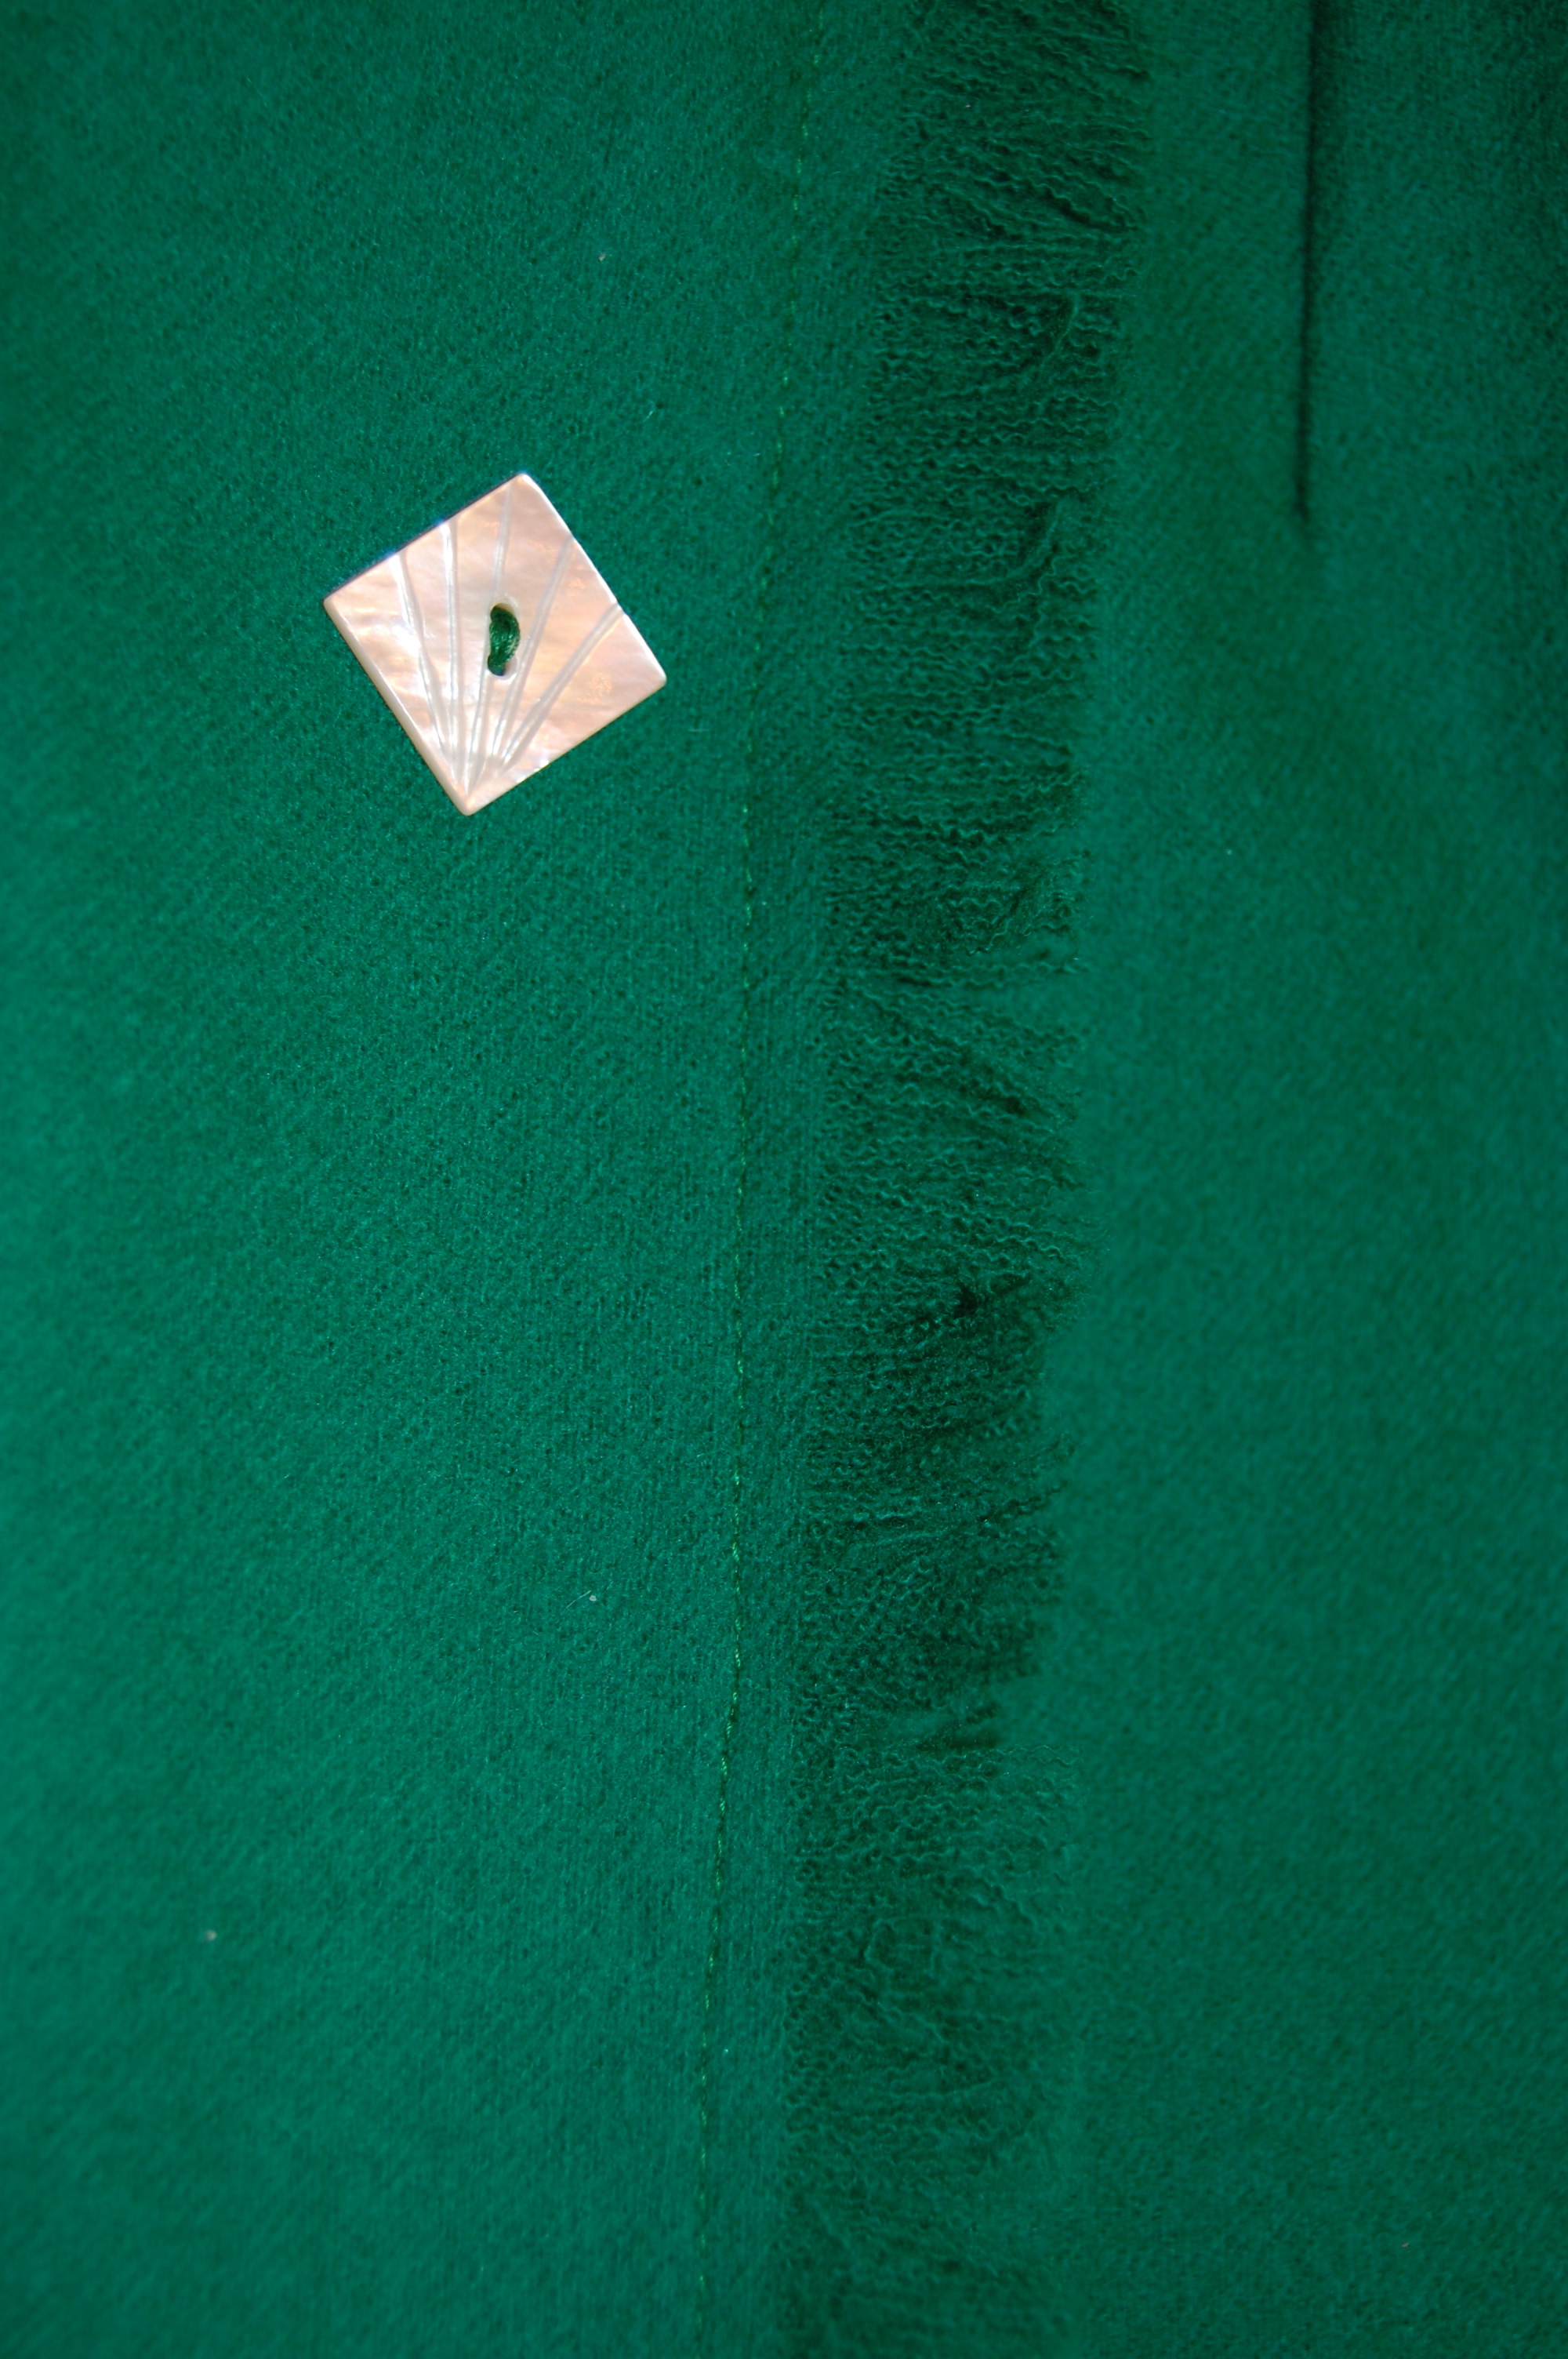
Here is a view of the hand-picked zipper.
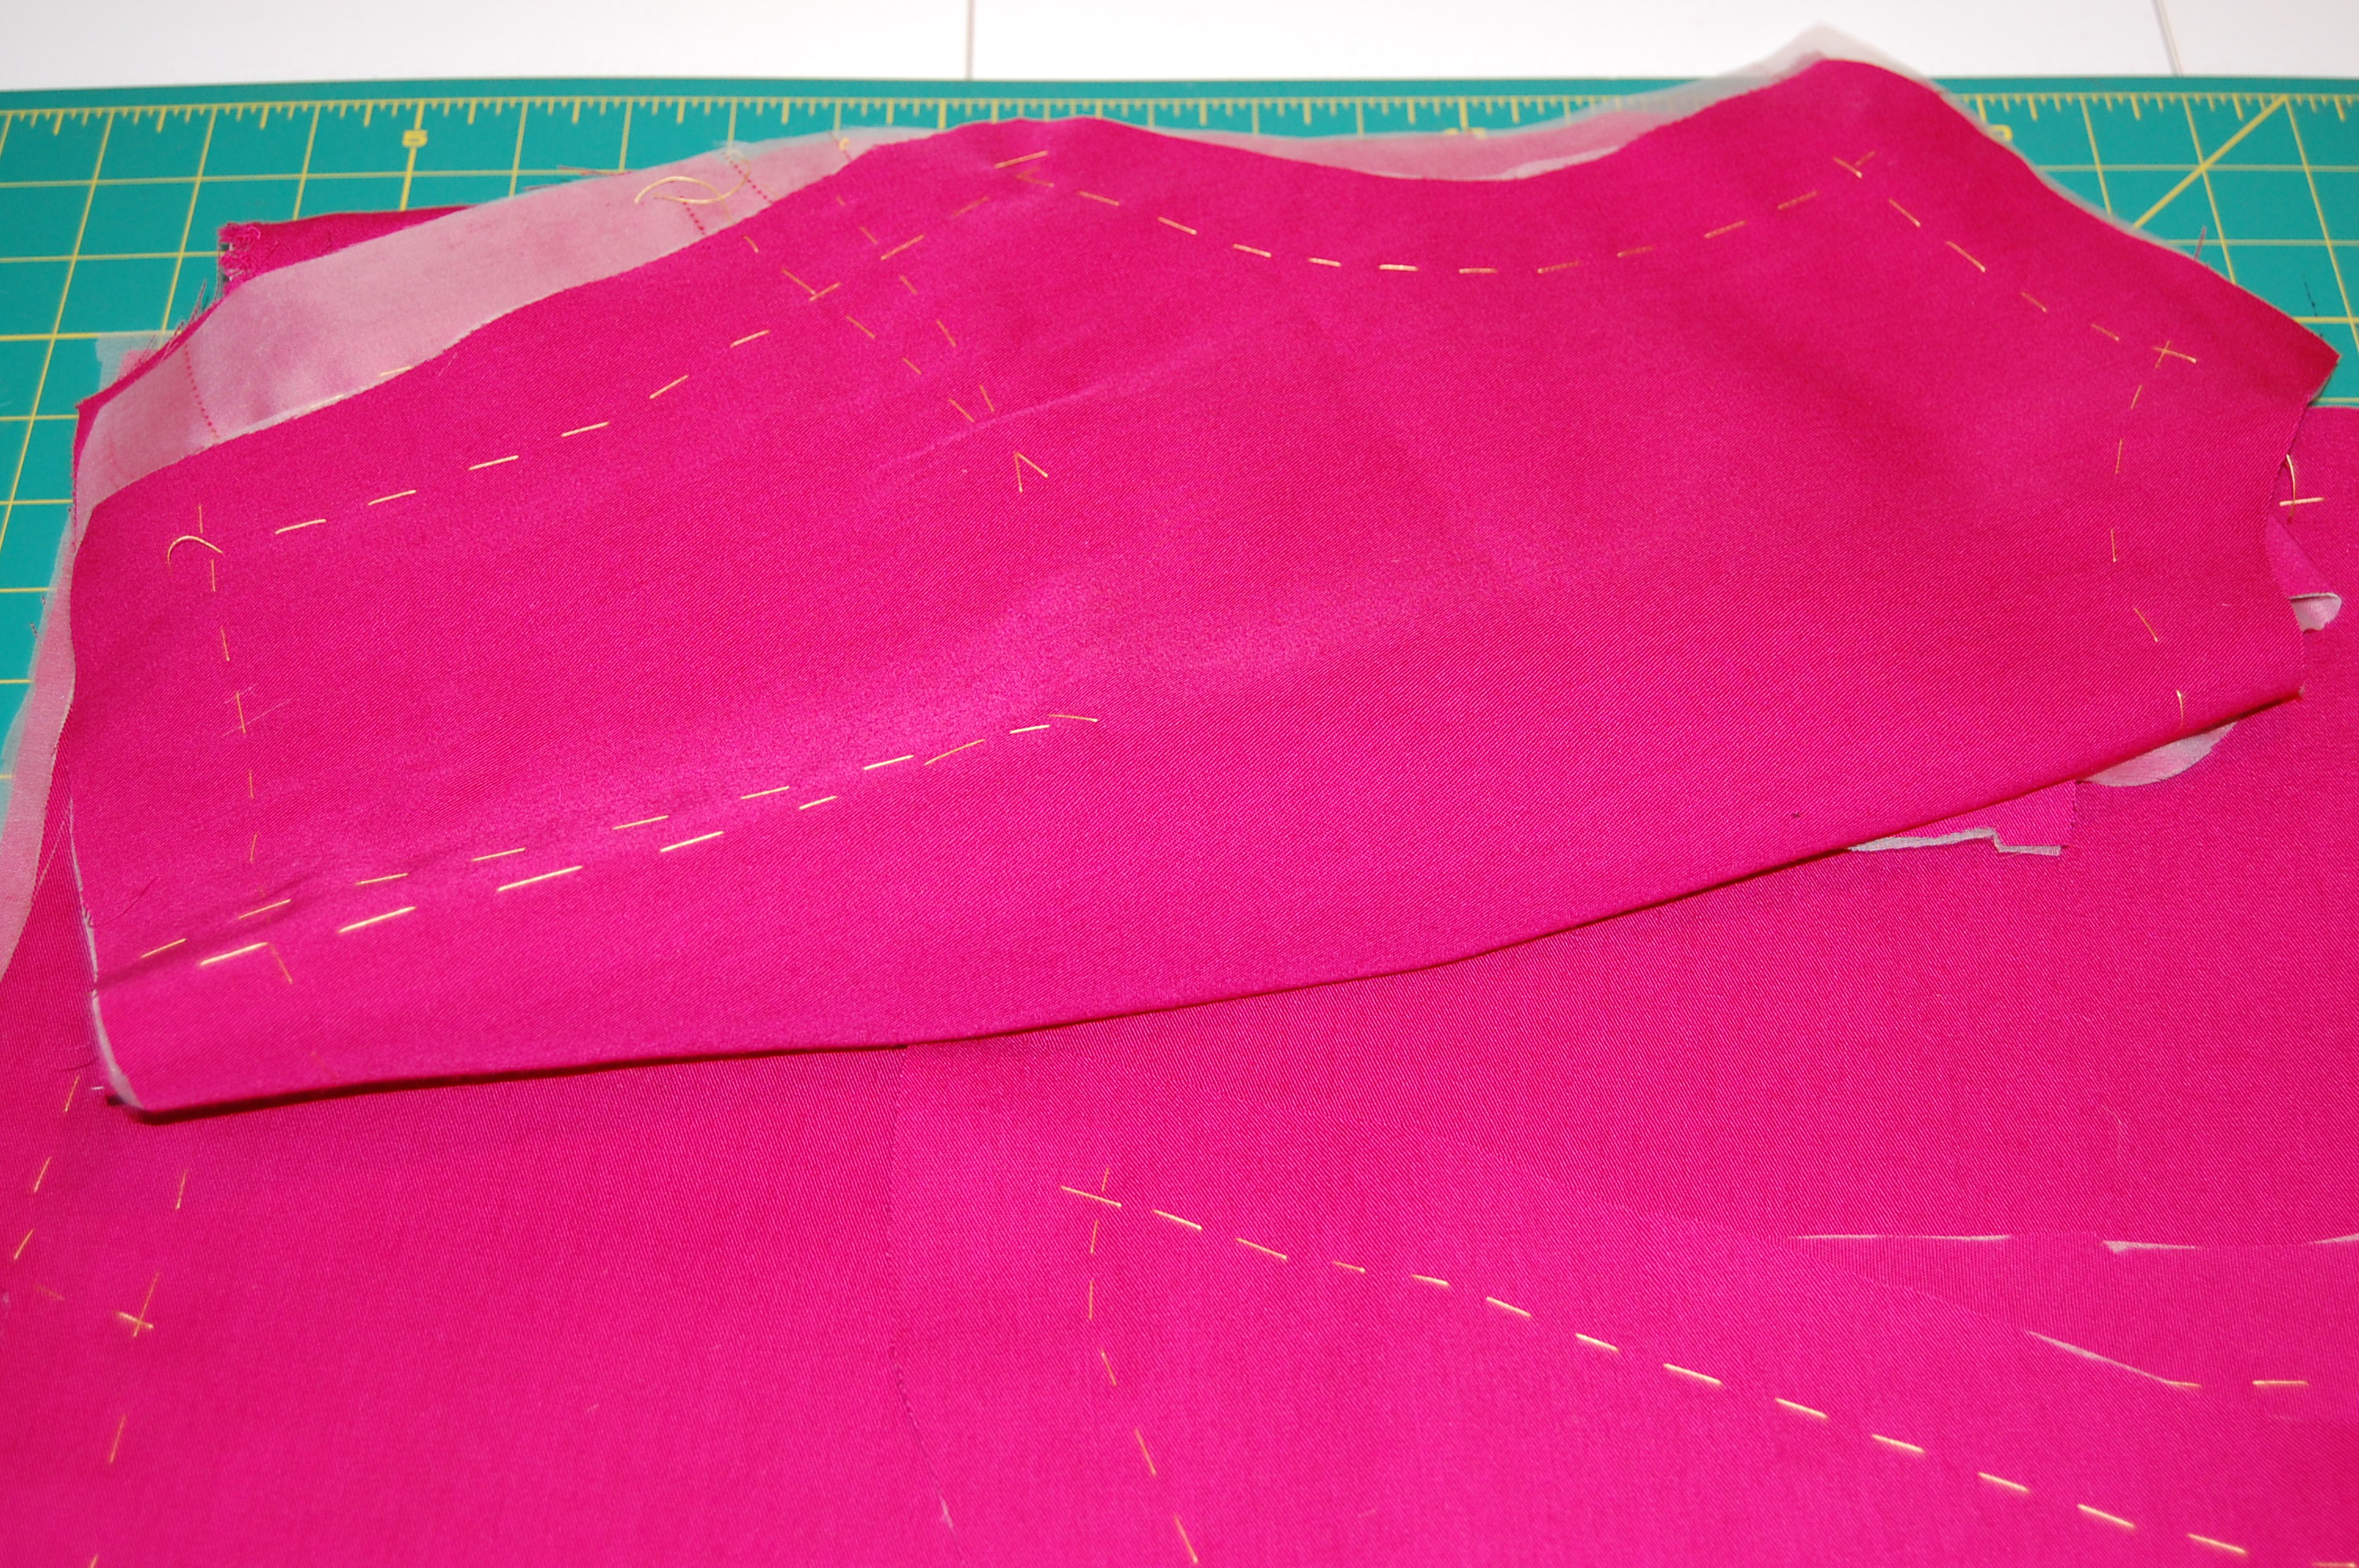
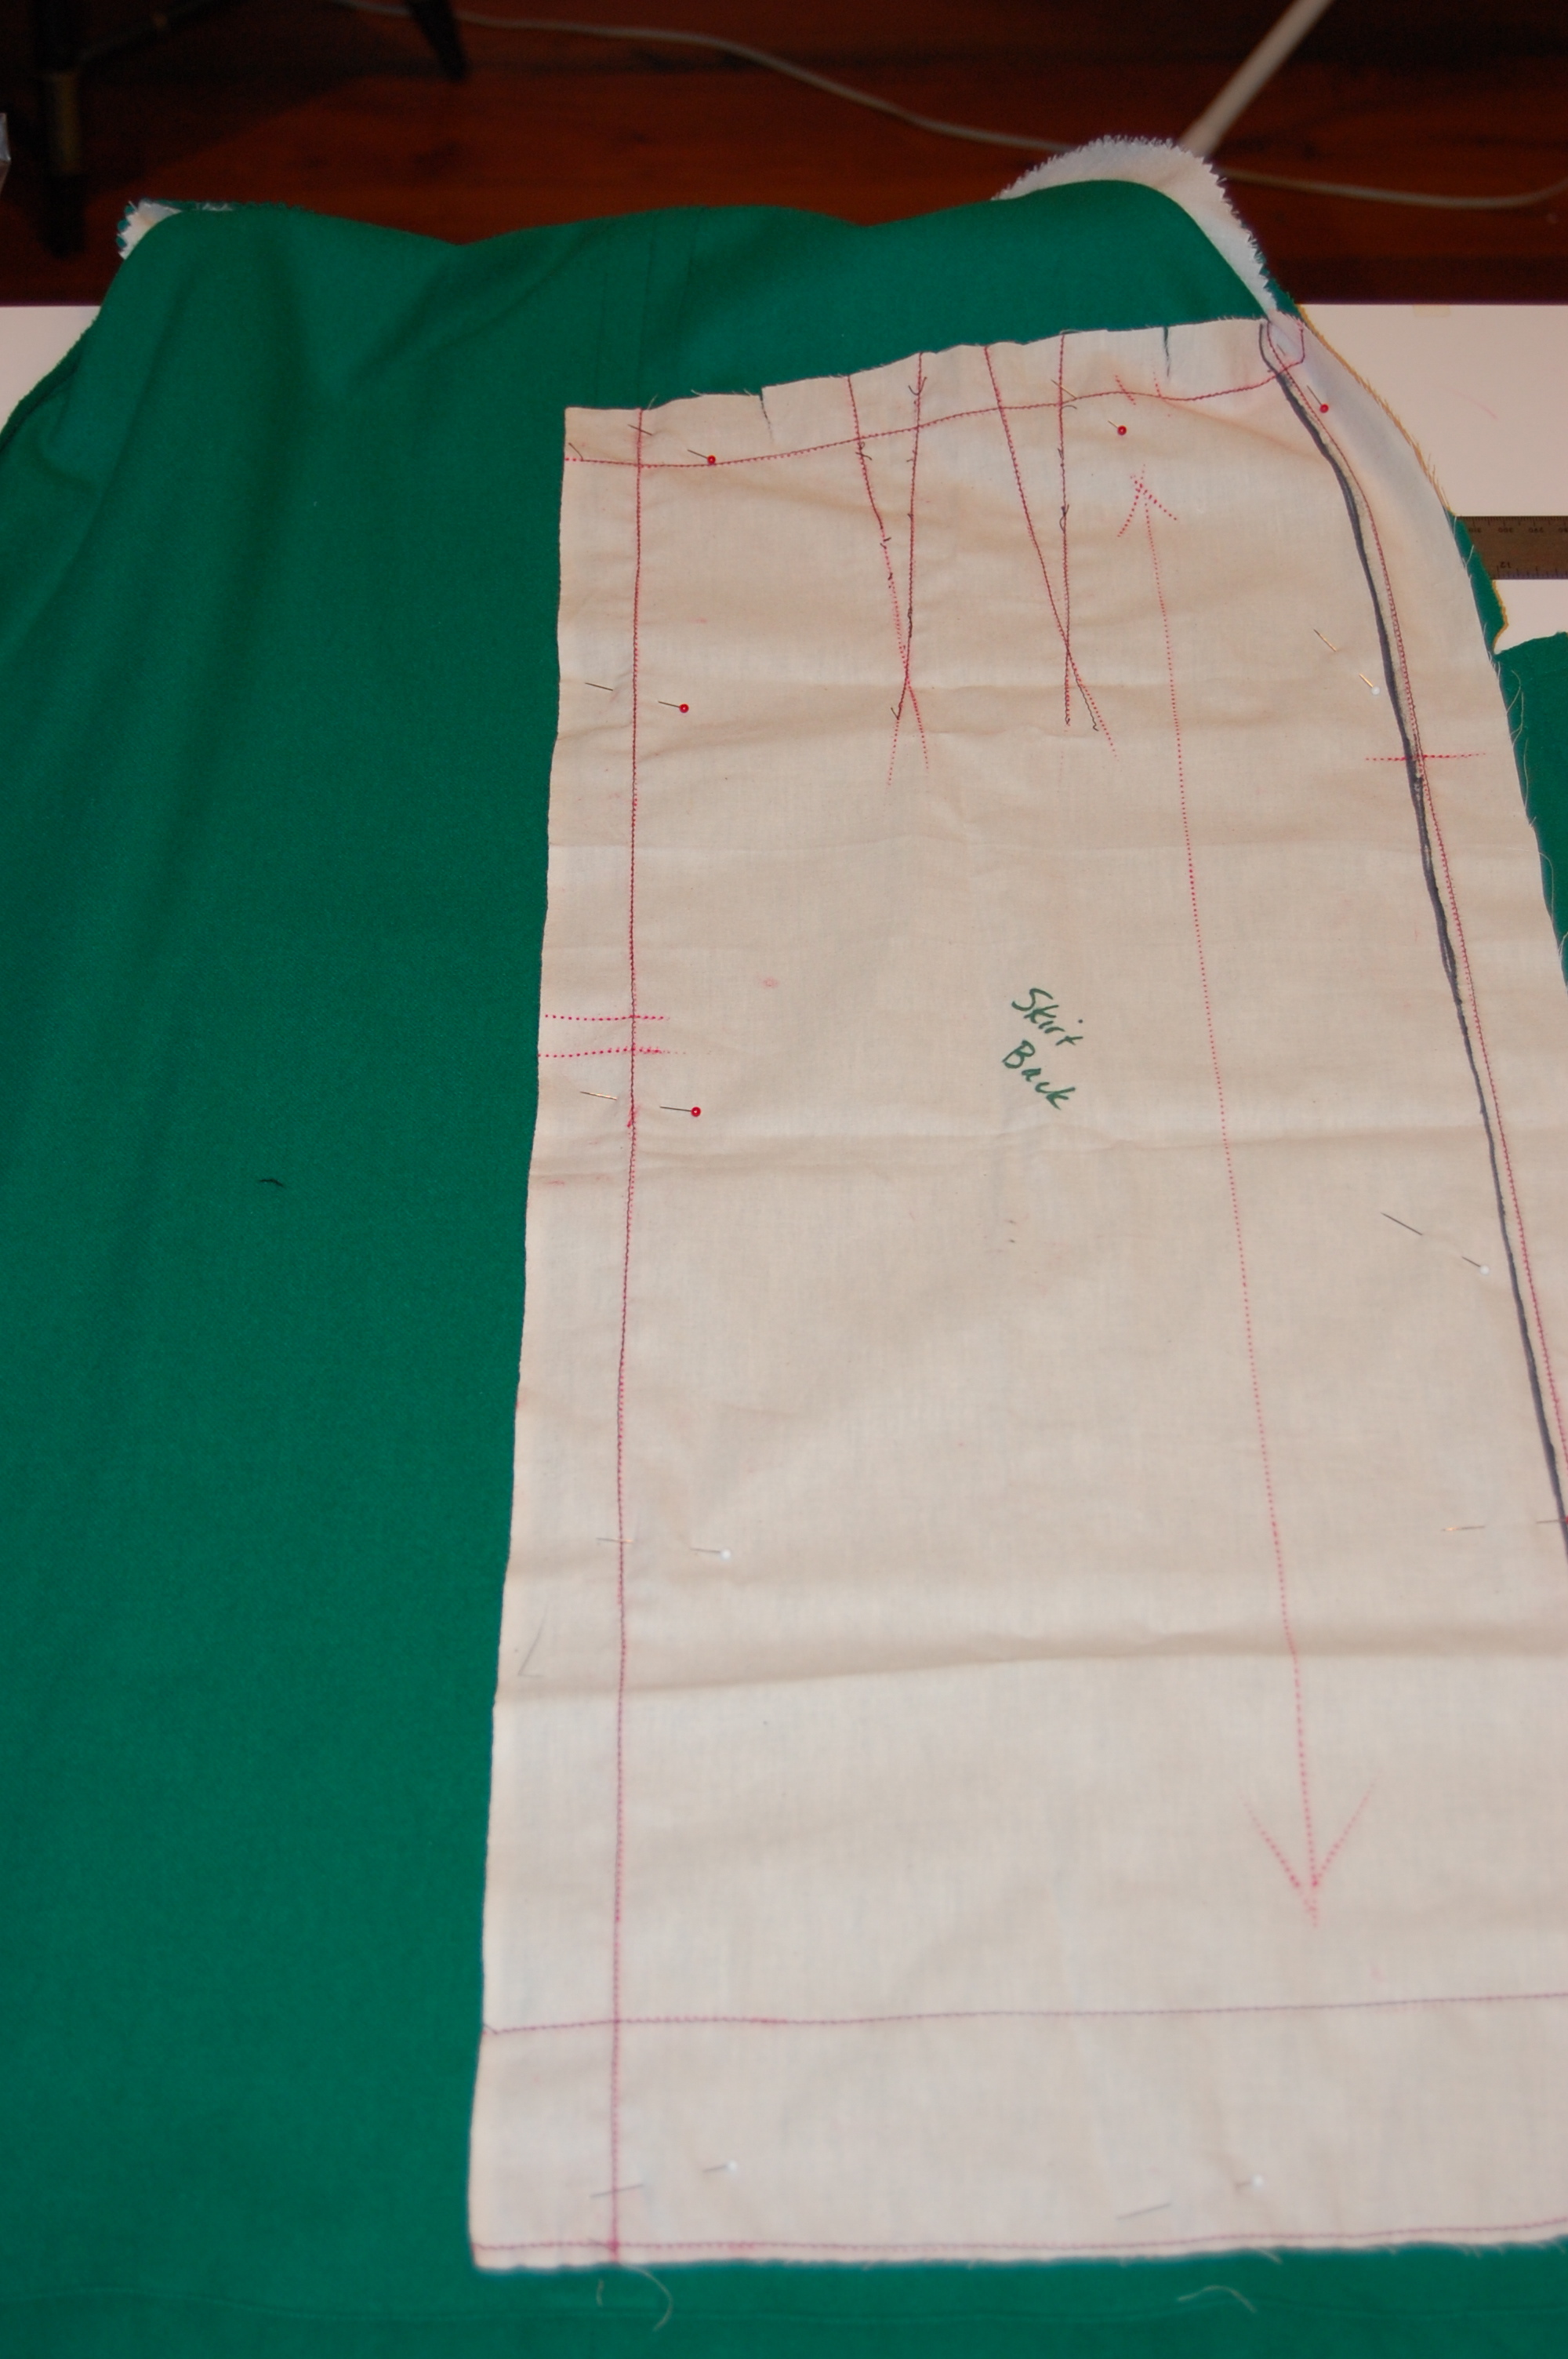
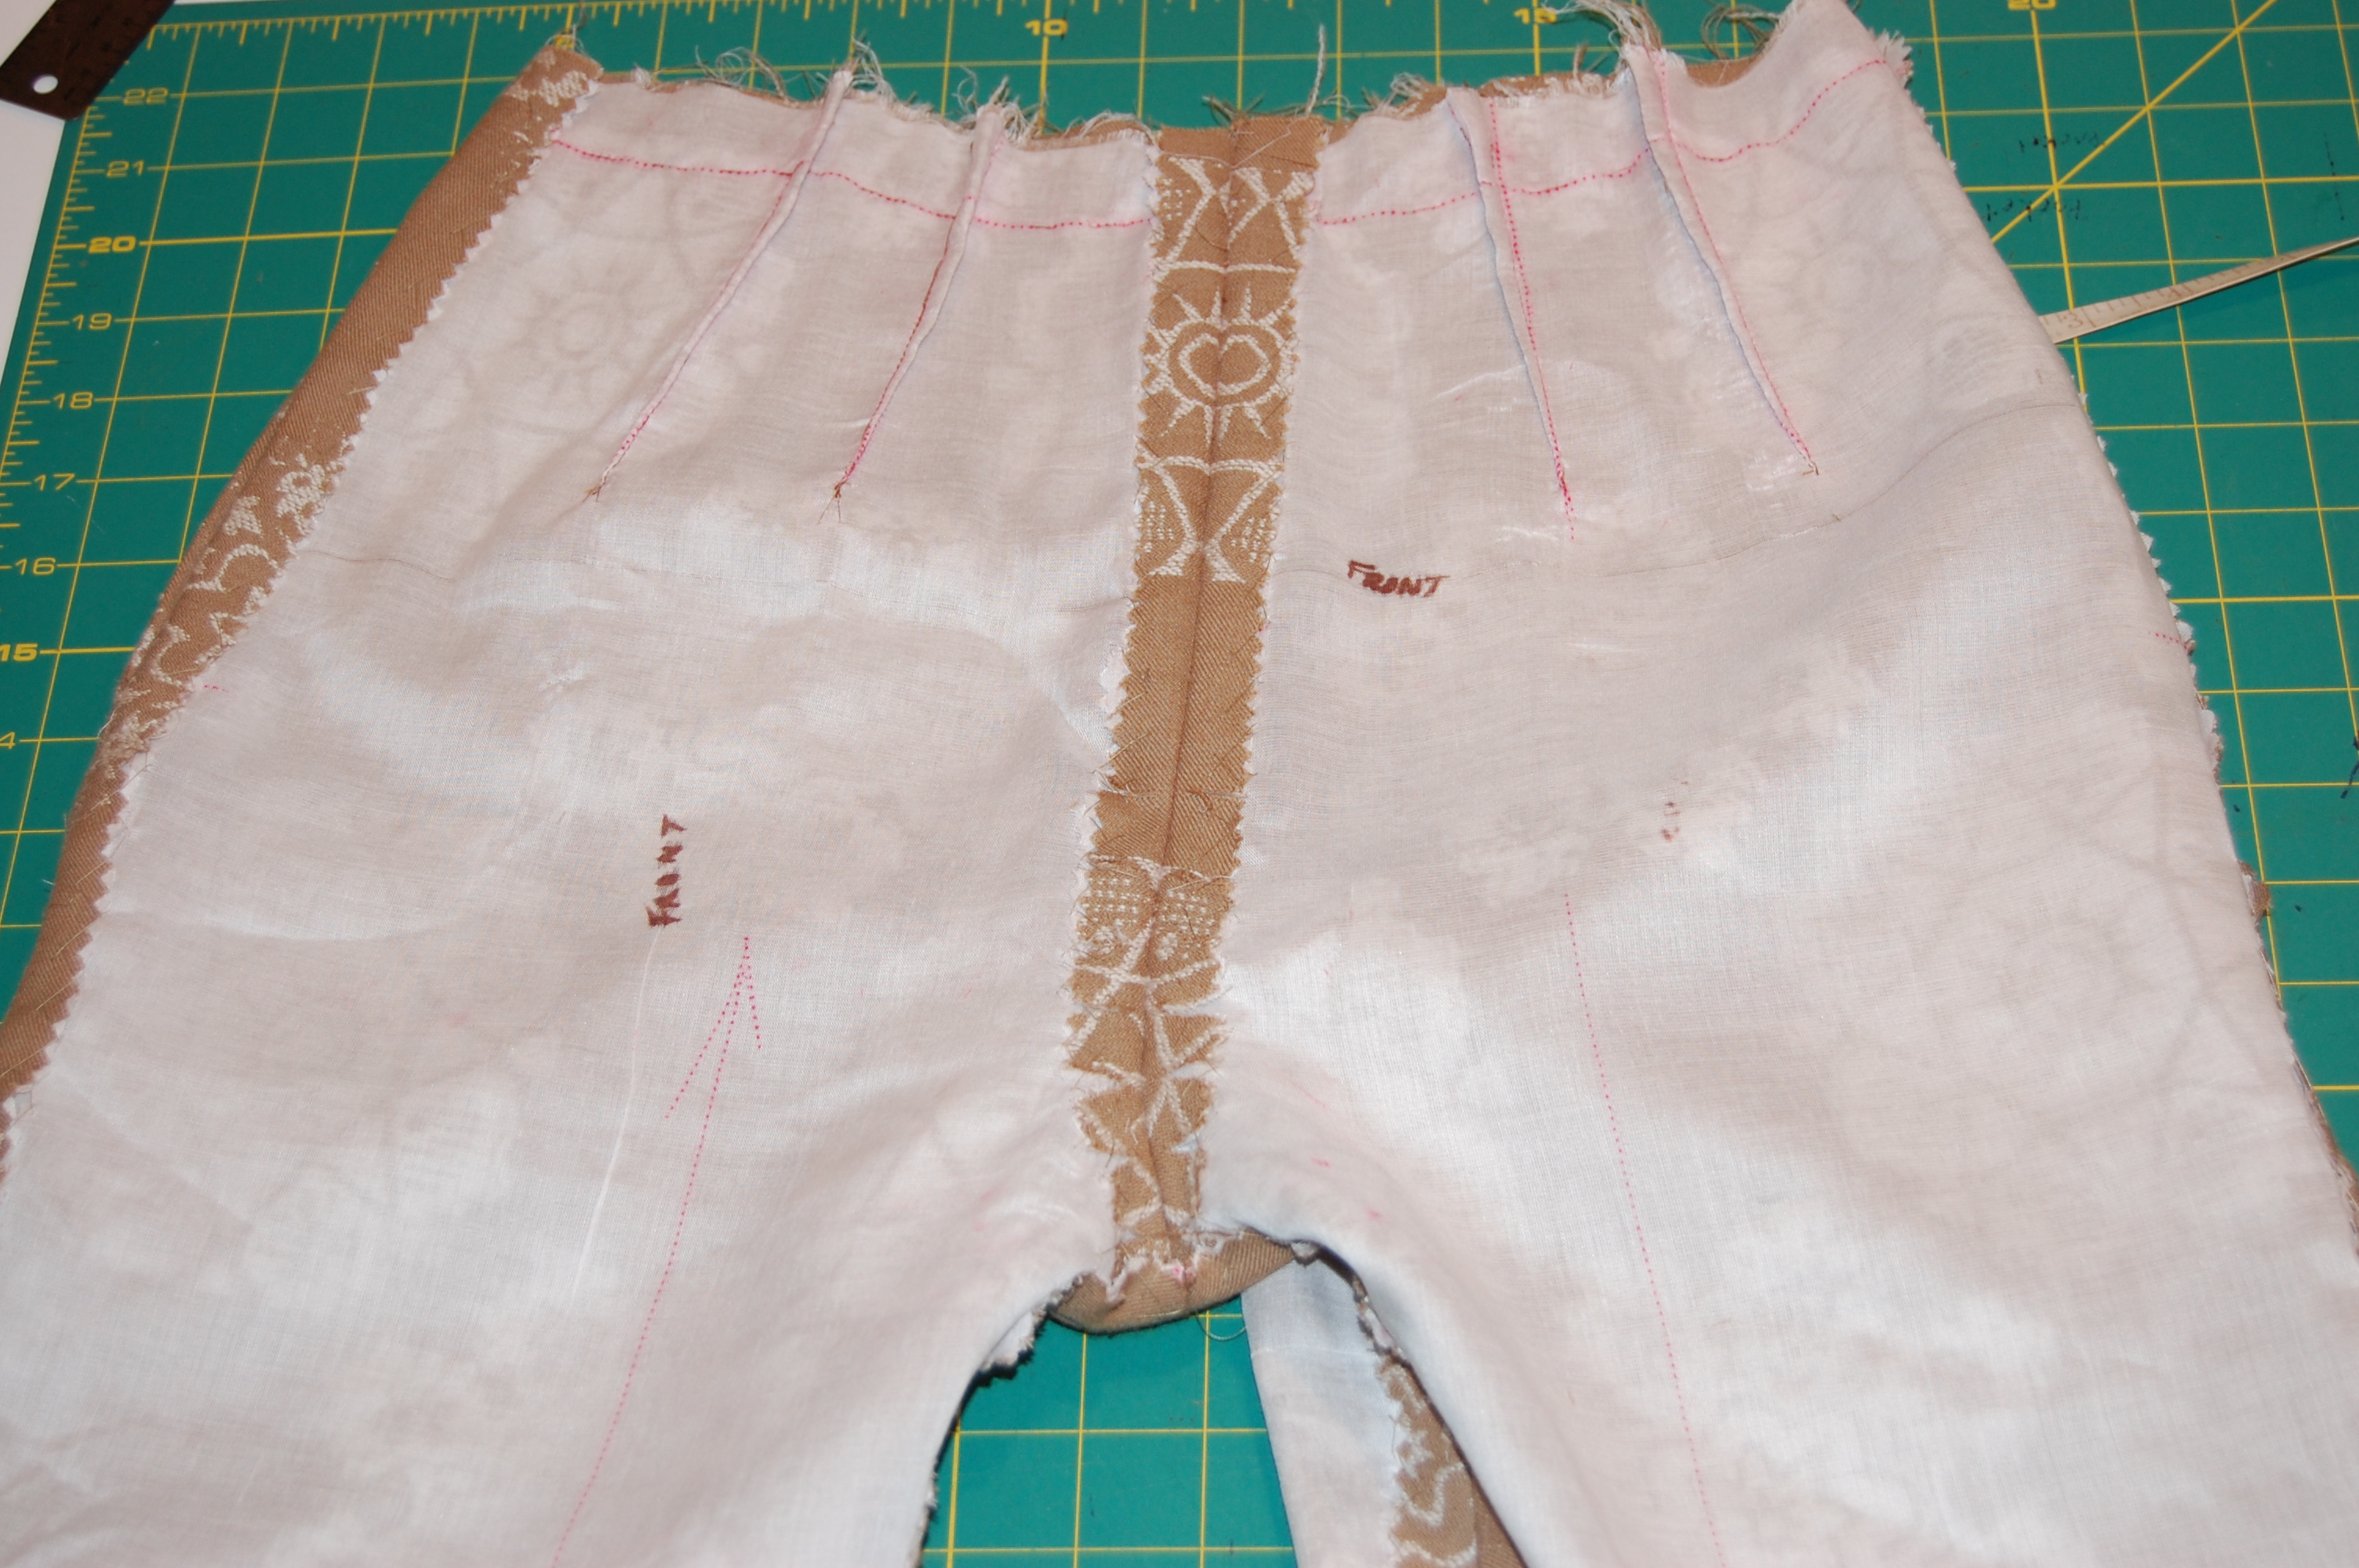
The jacket is still in pieces, but very controlled pieces they are! Here they are all ready to go:
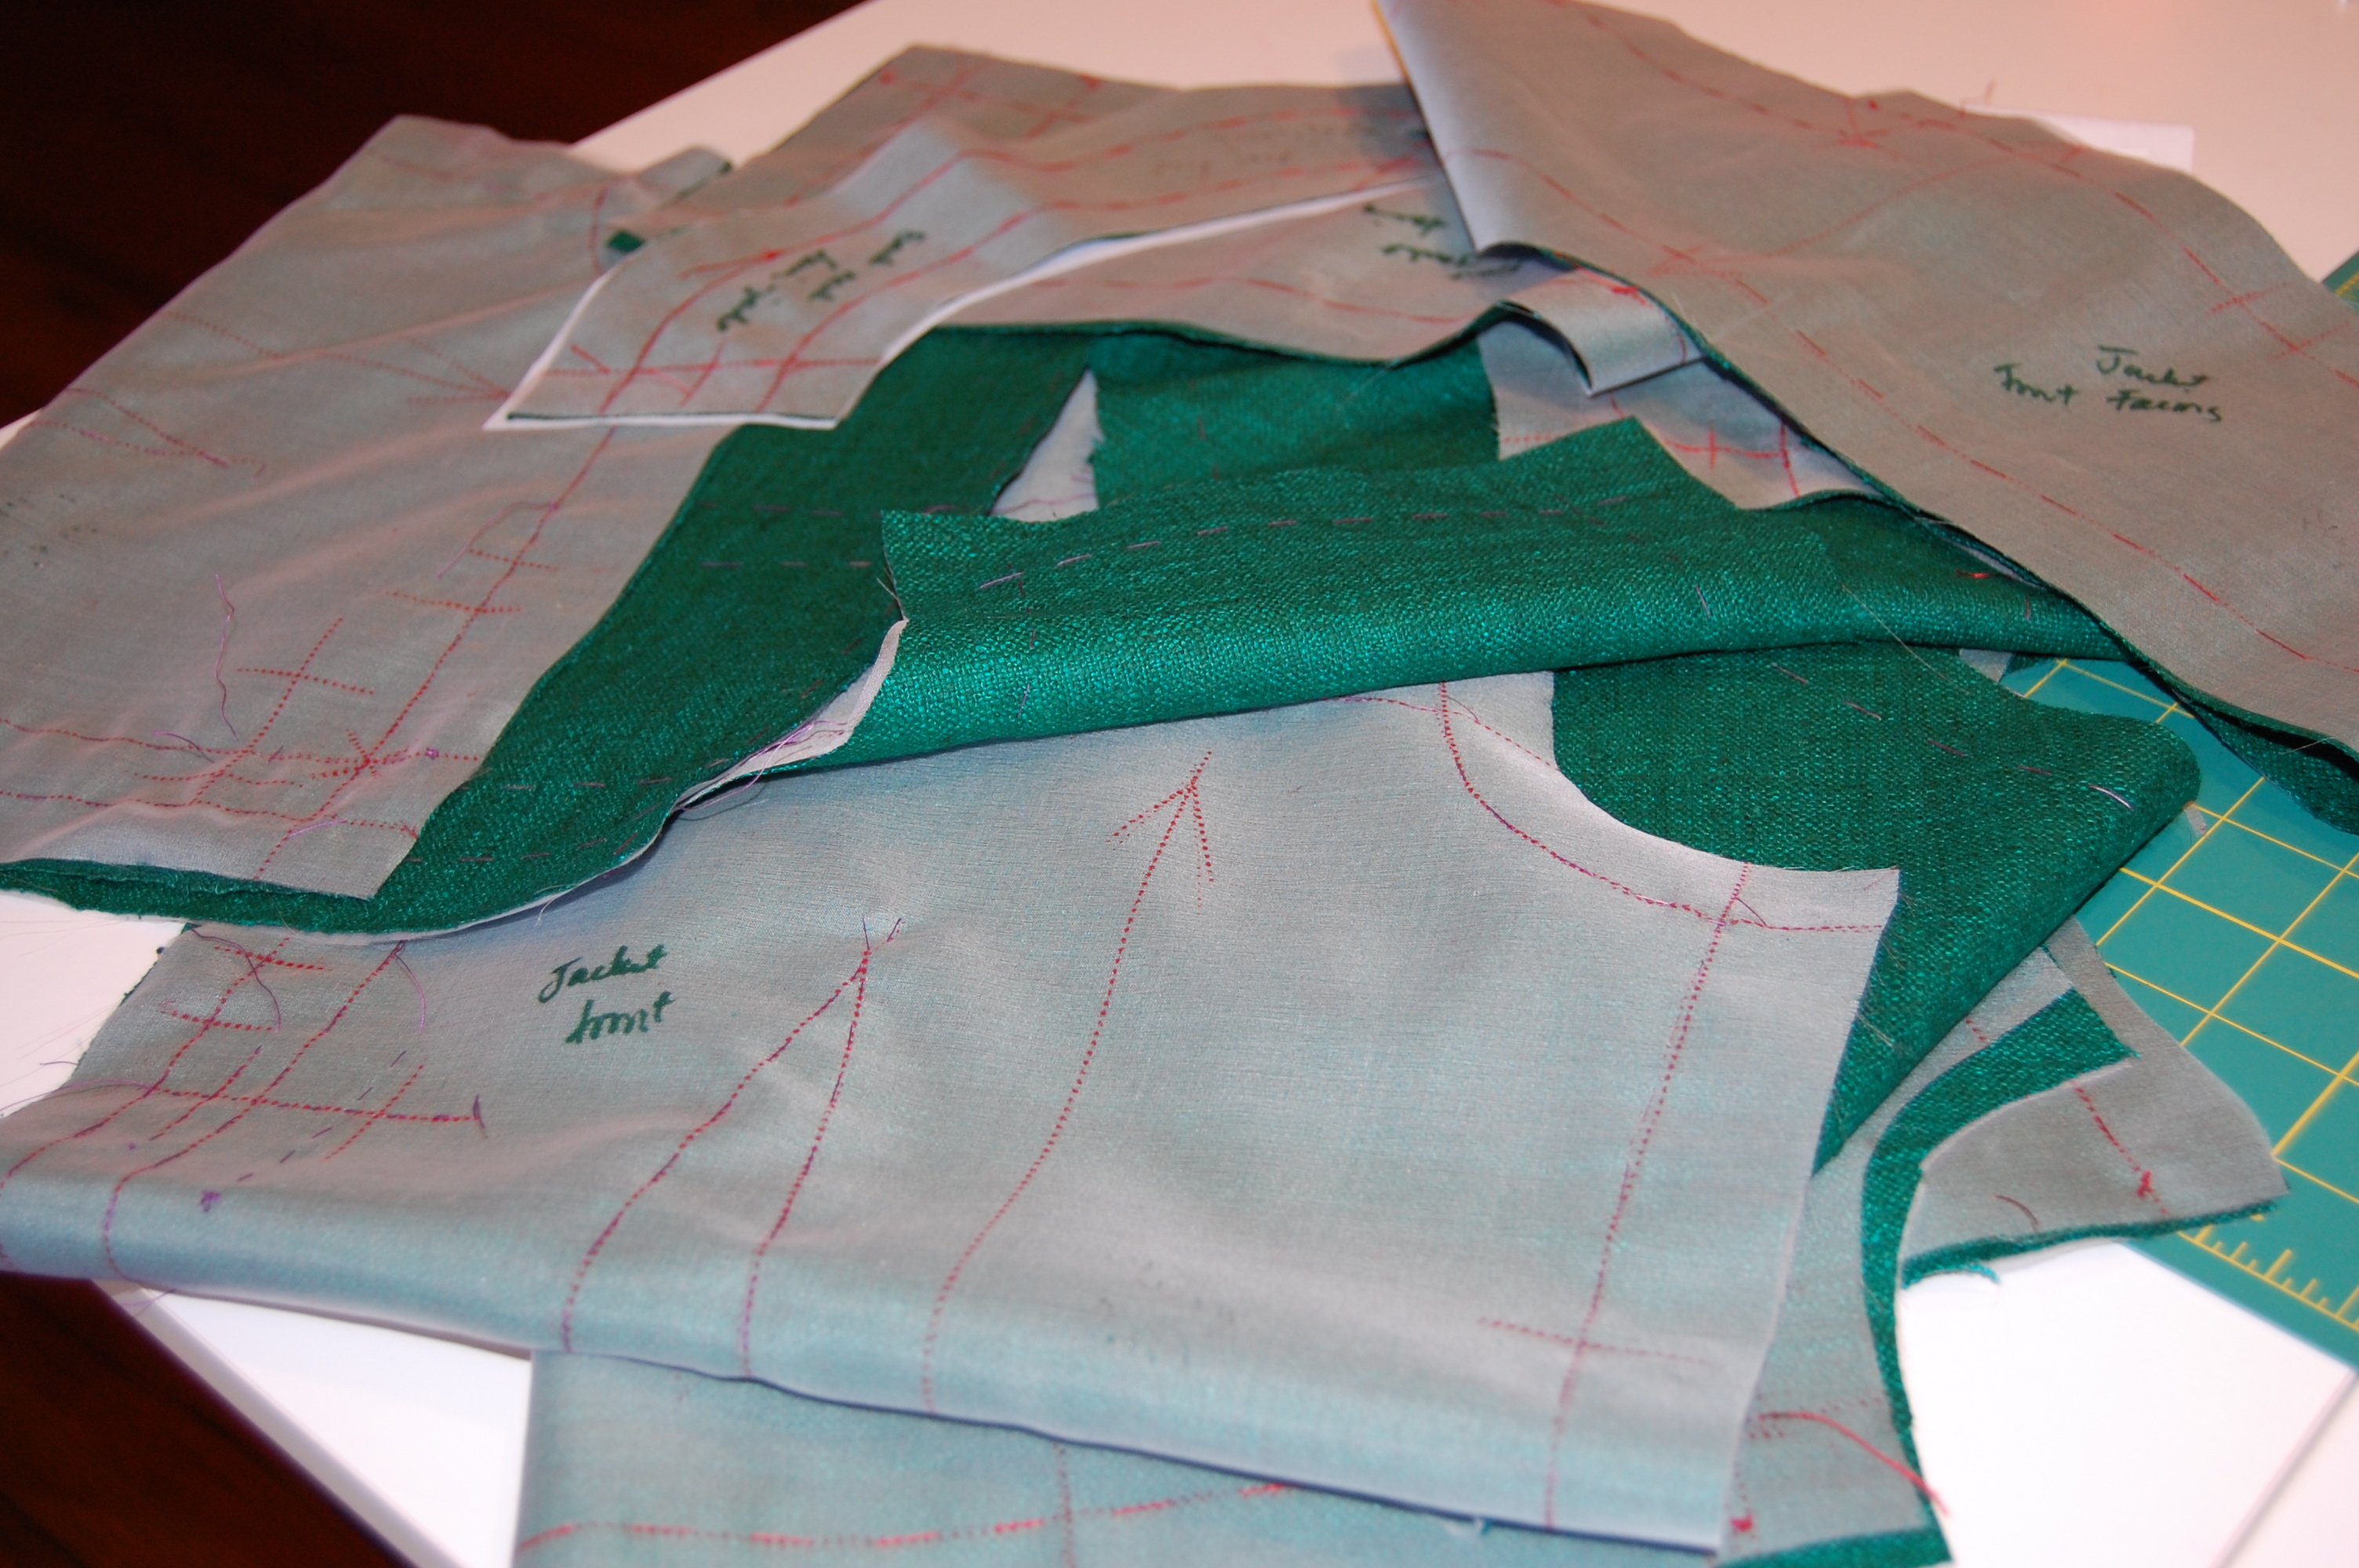
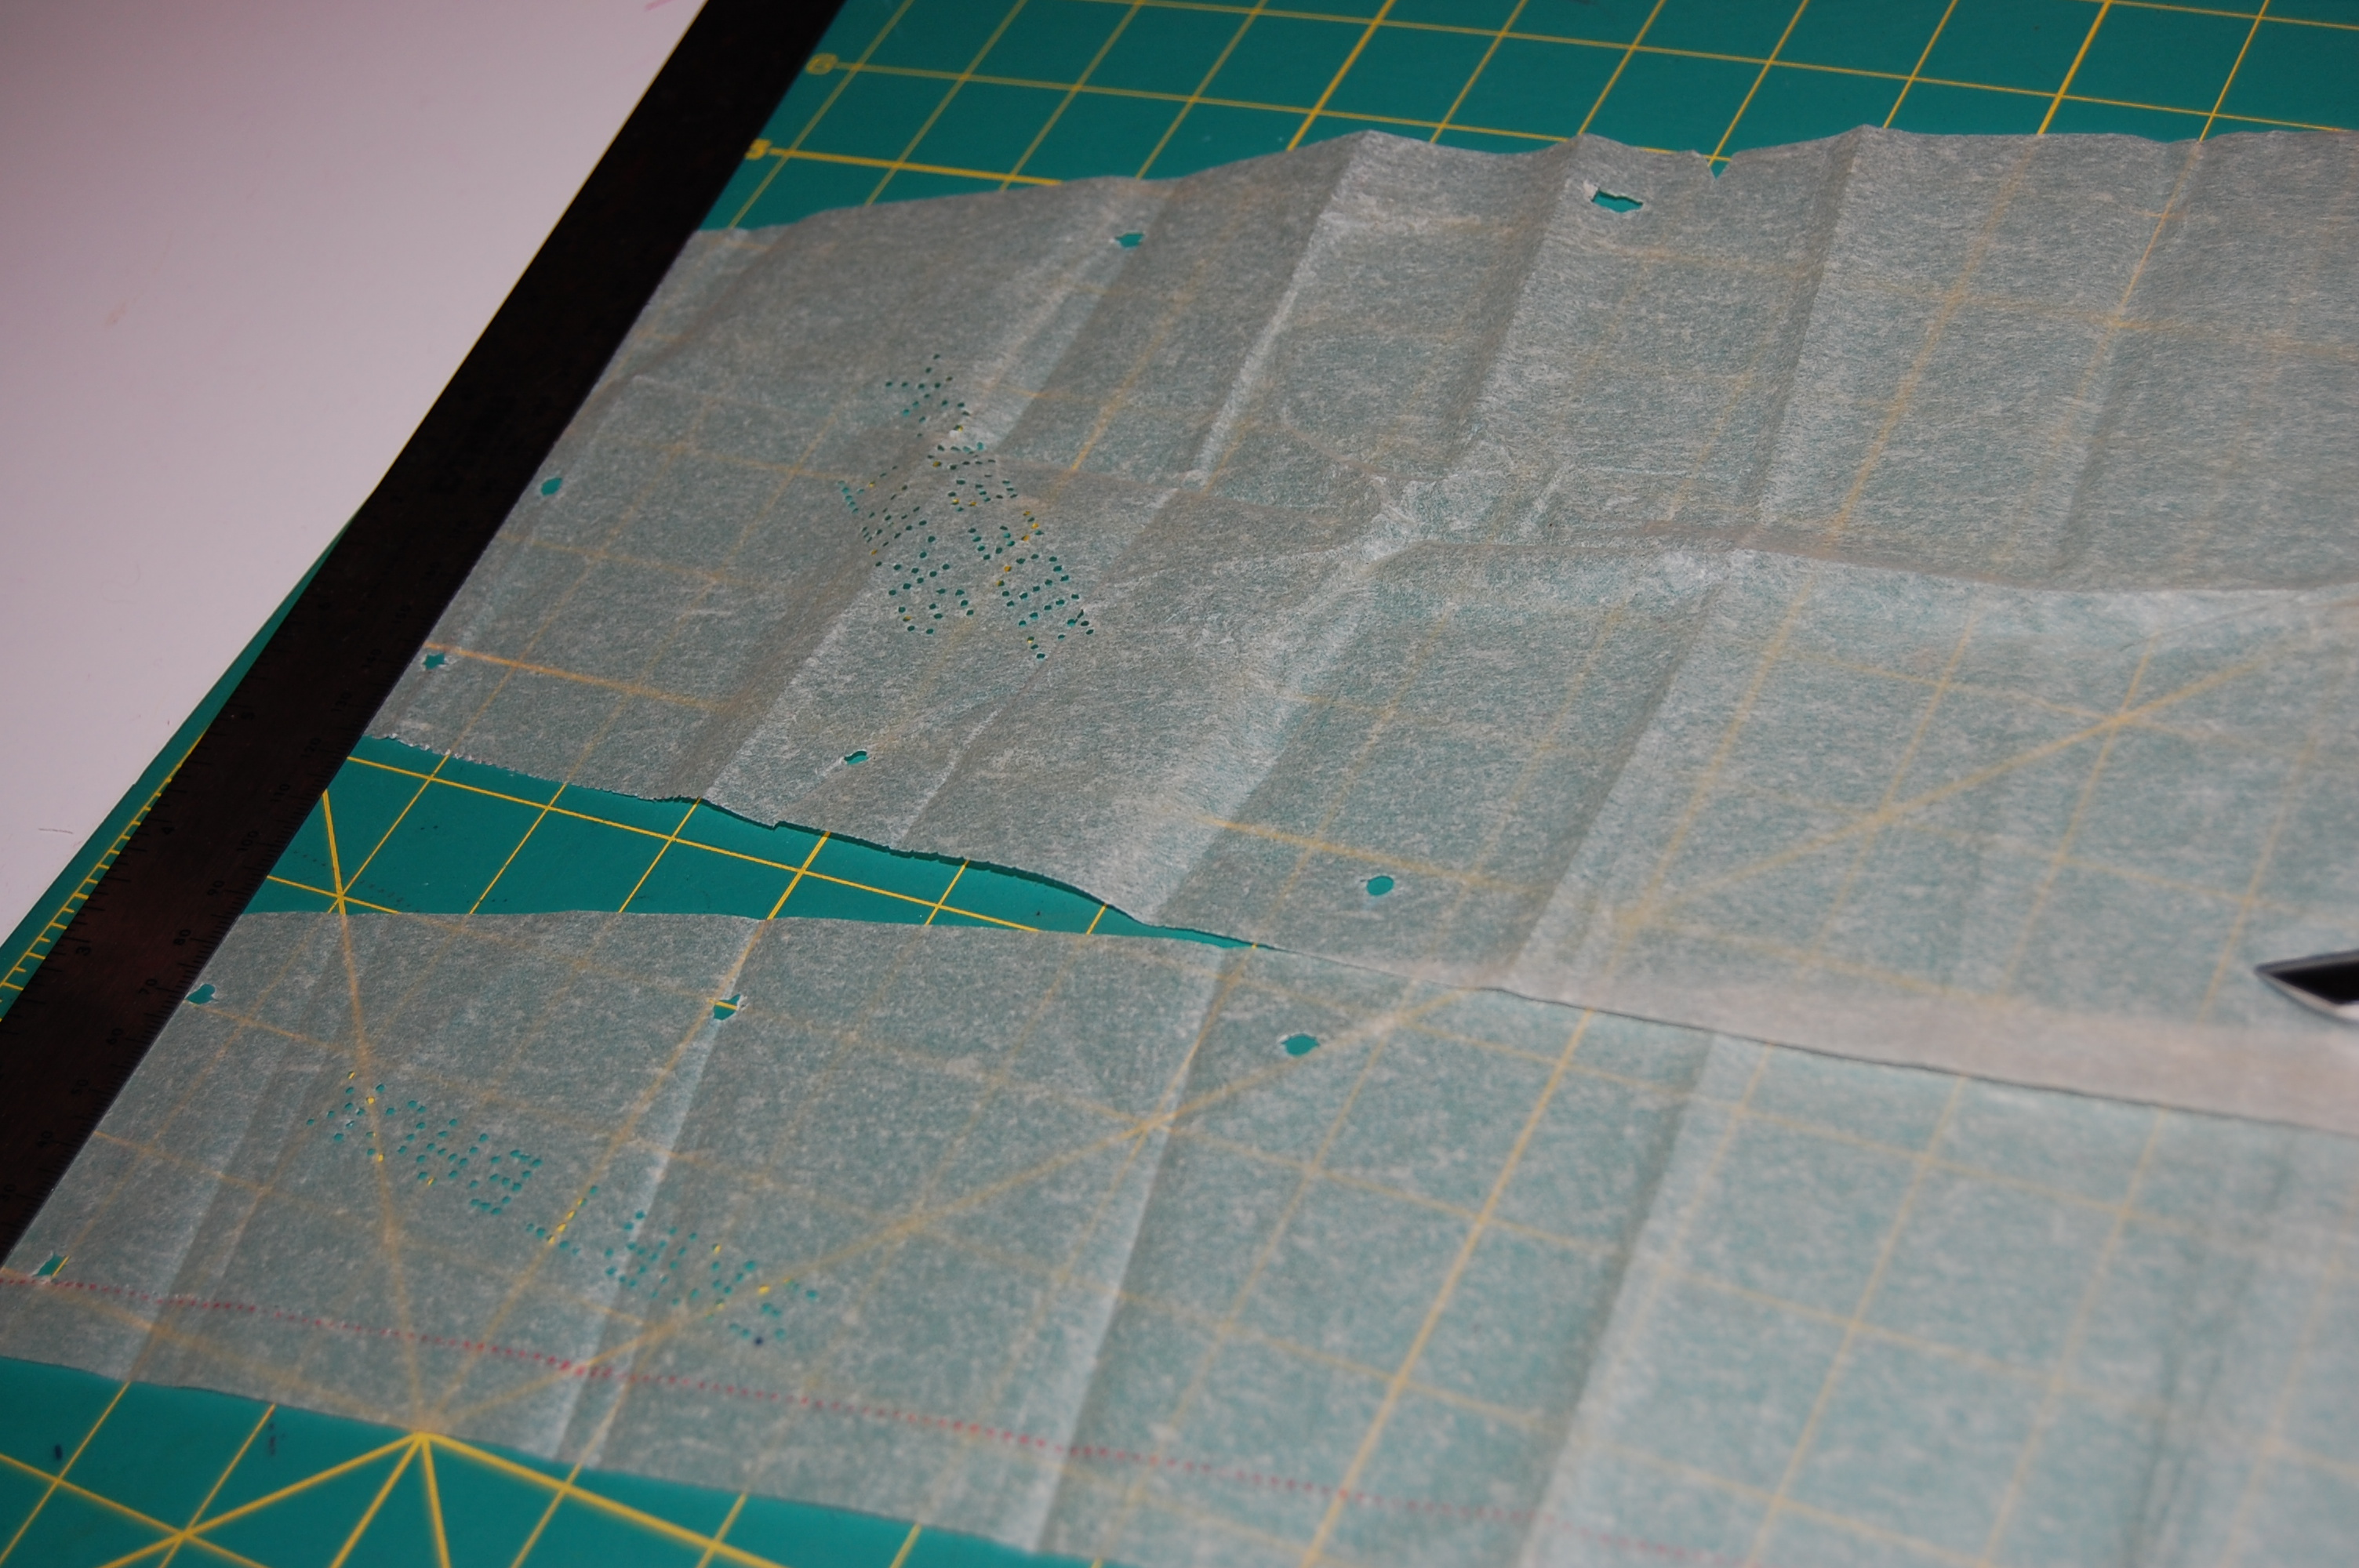
The silk organza underlining is all basted, interfacings cut, ready for sewing.
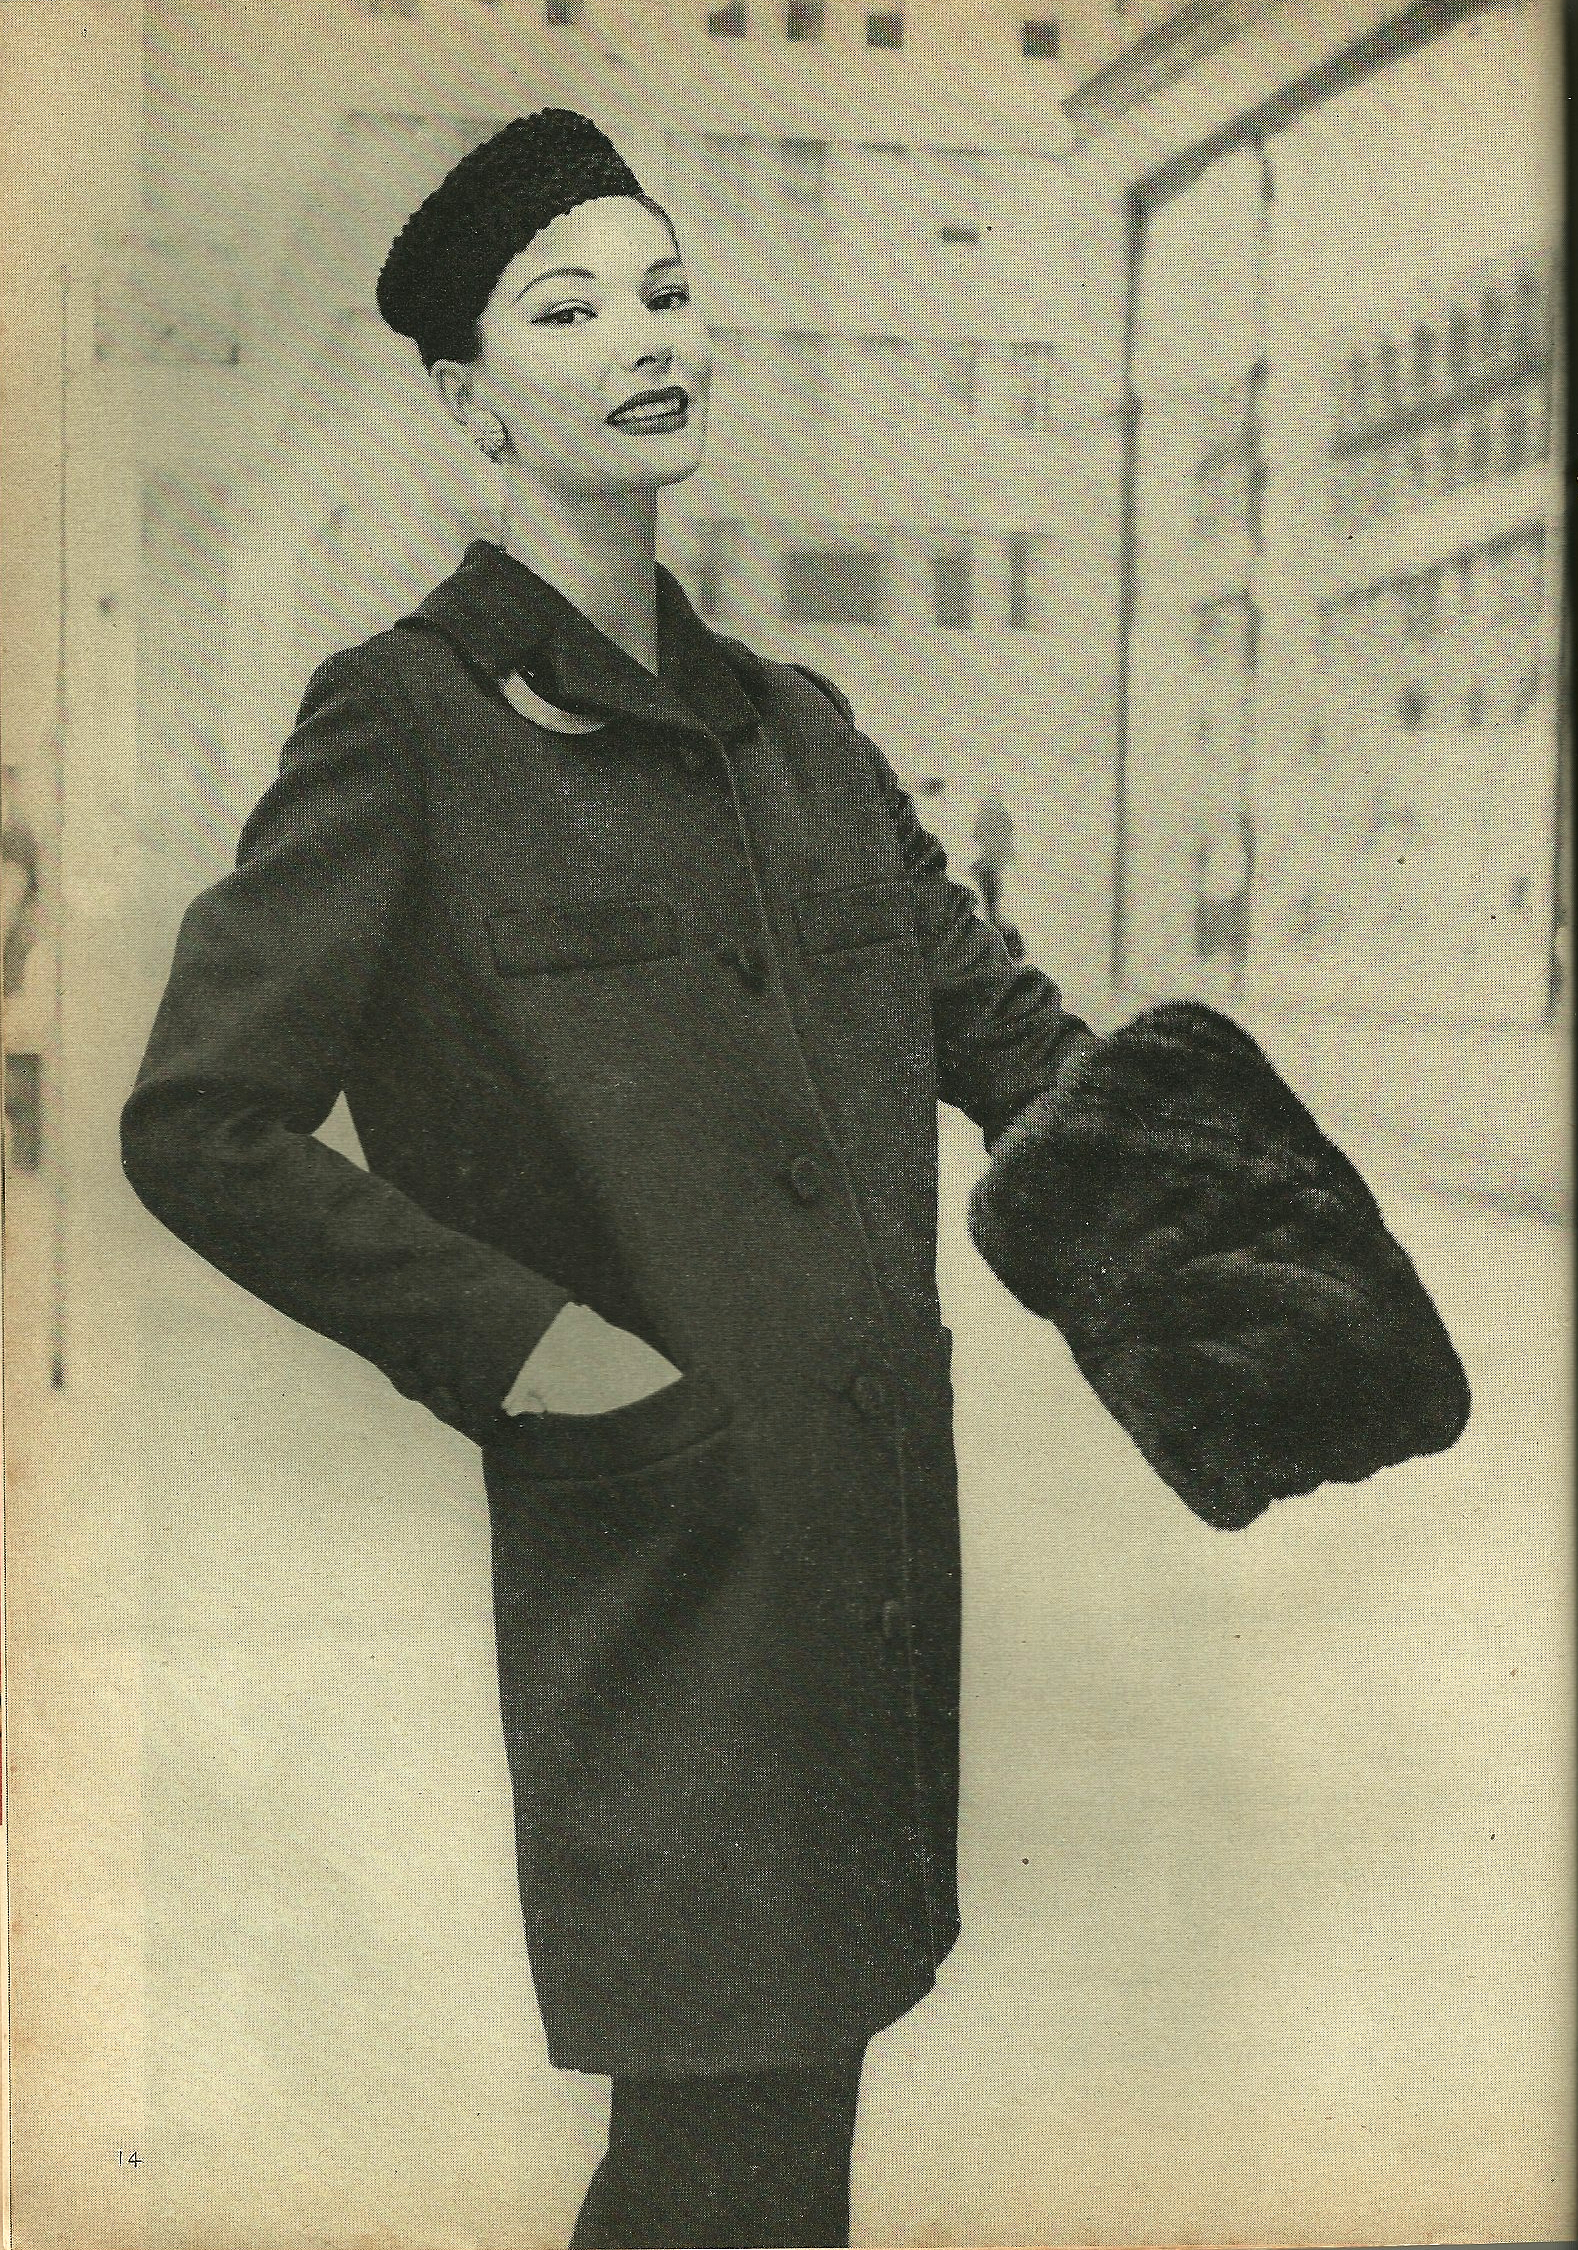
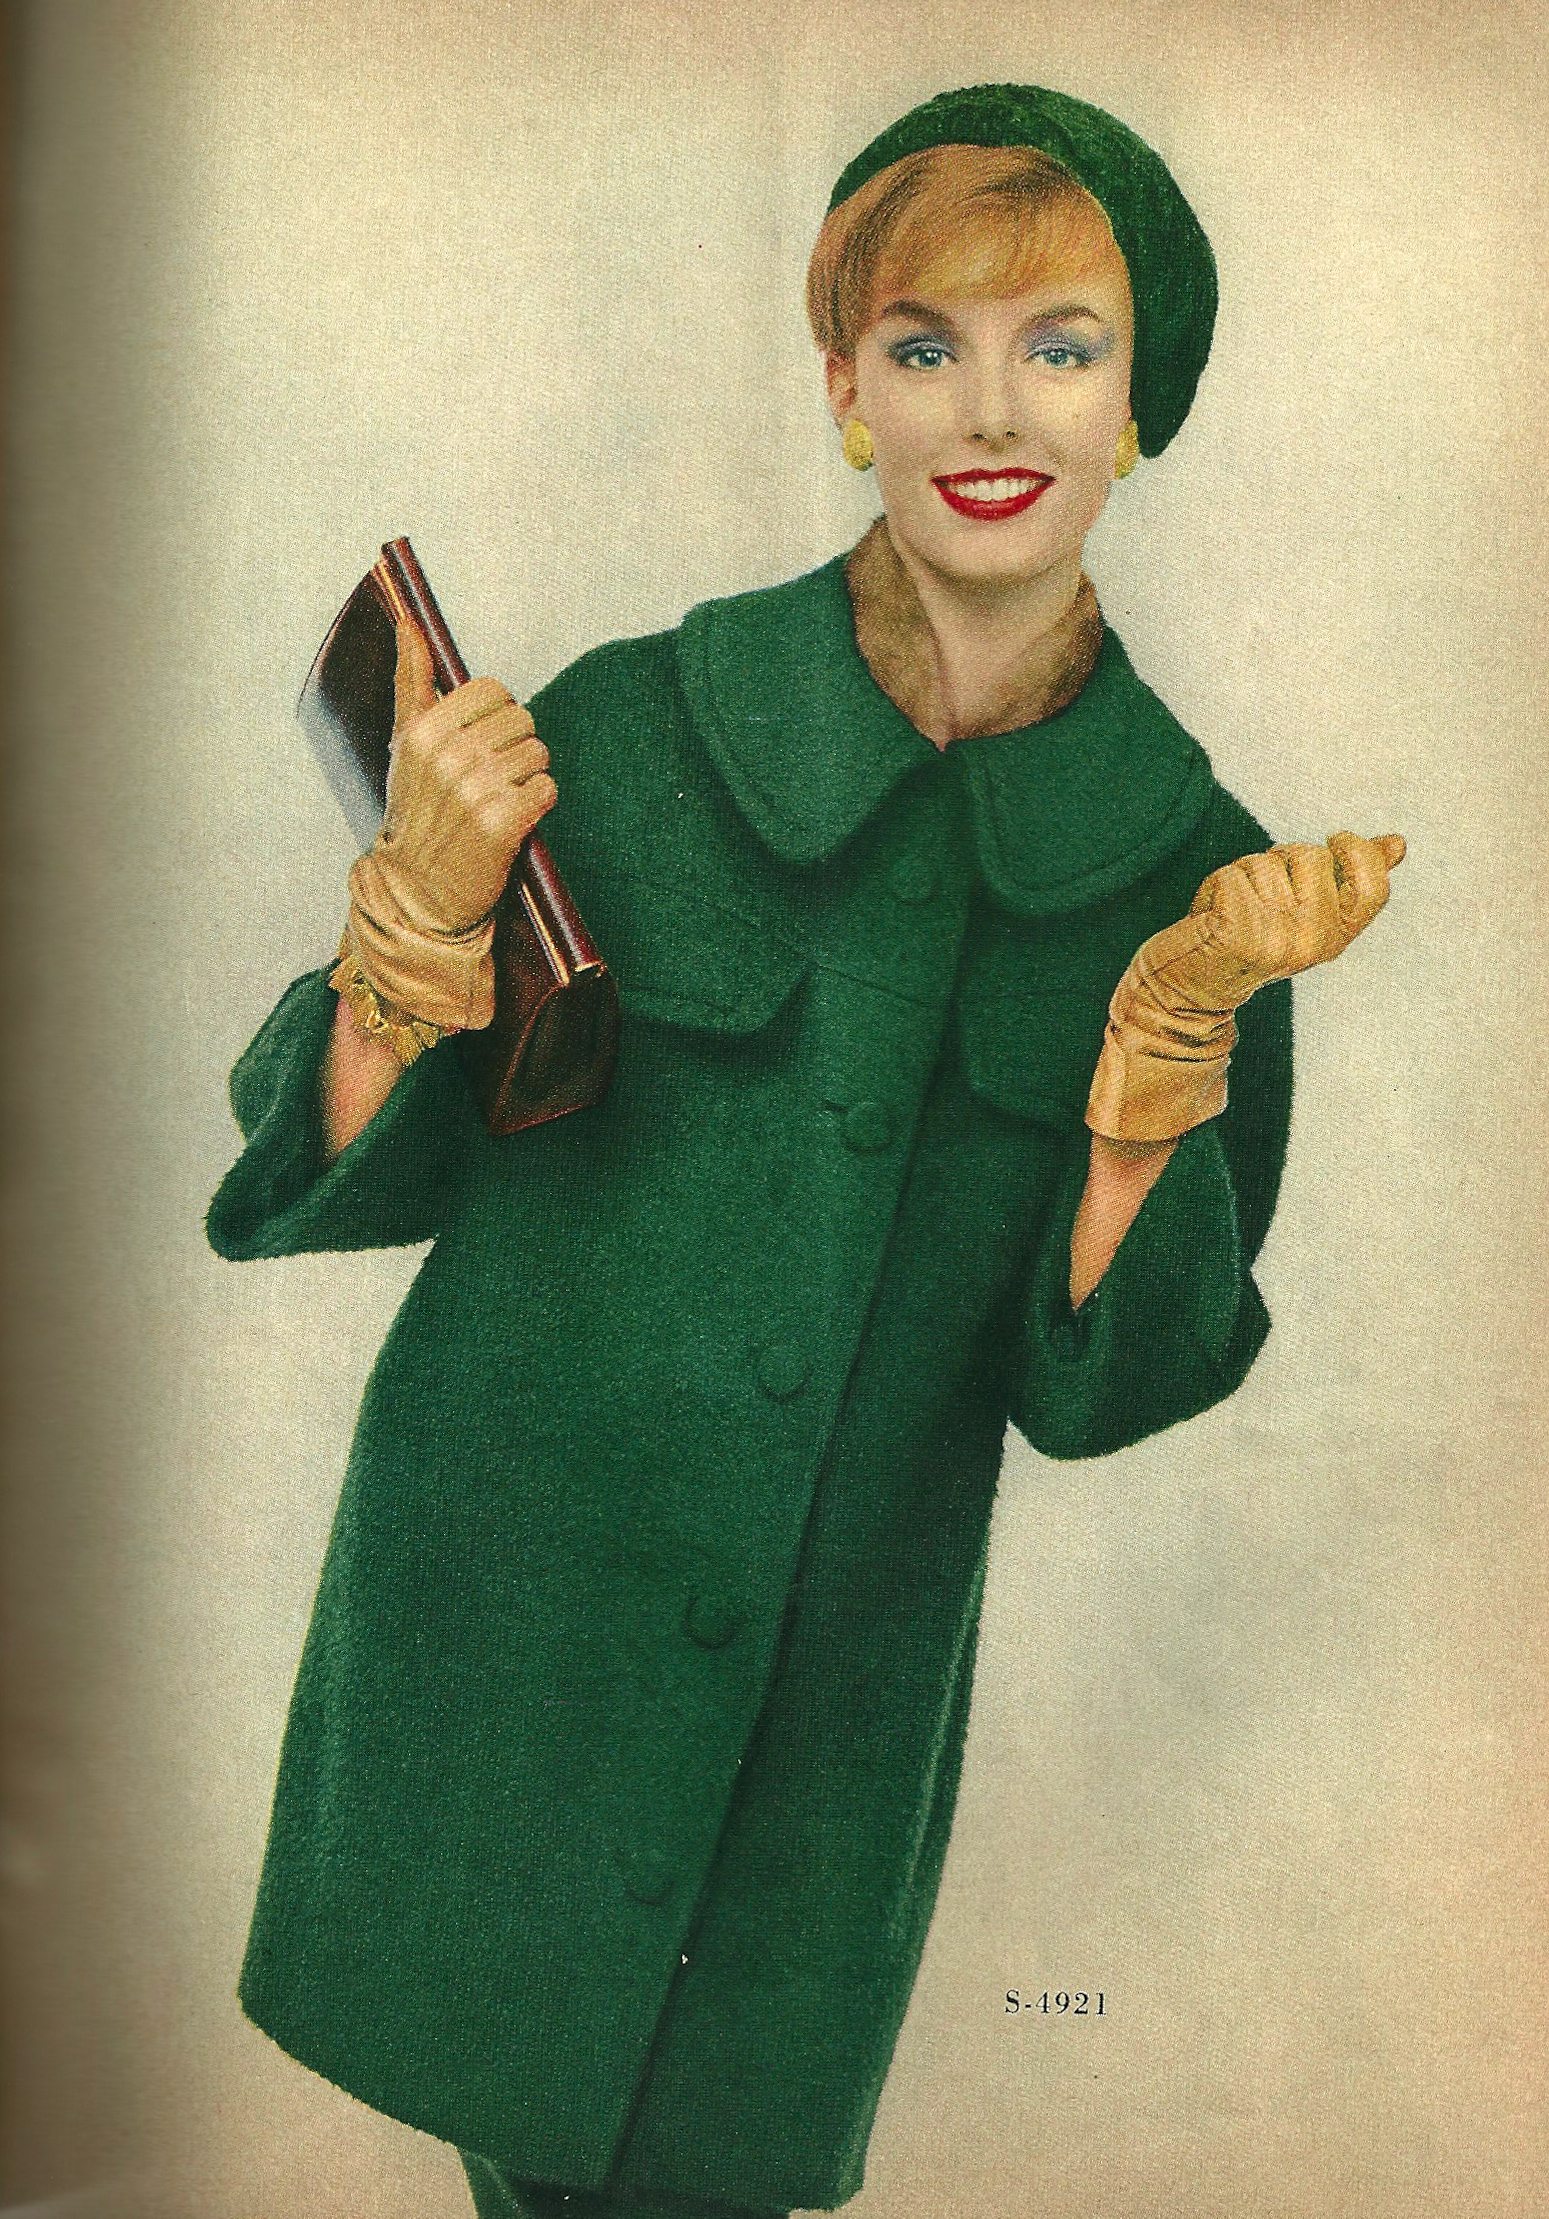
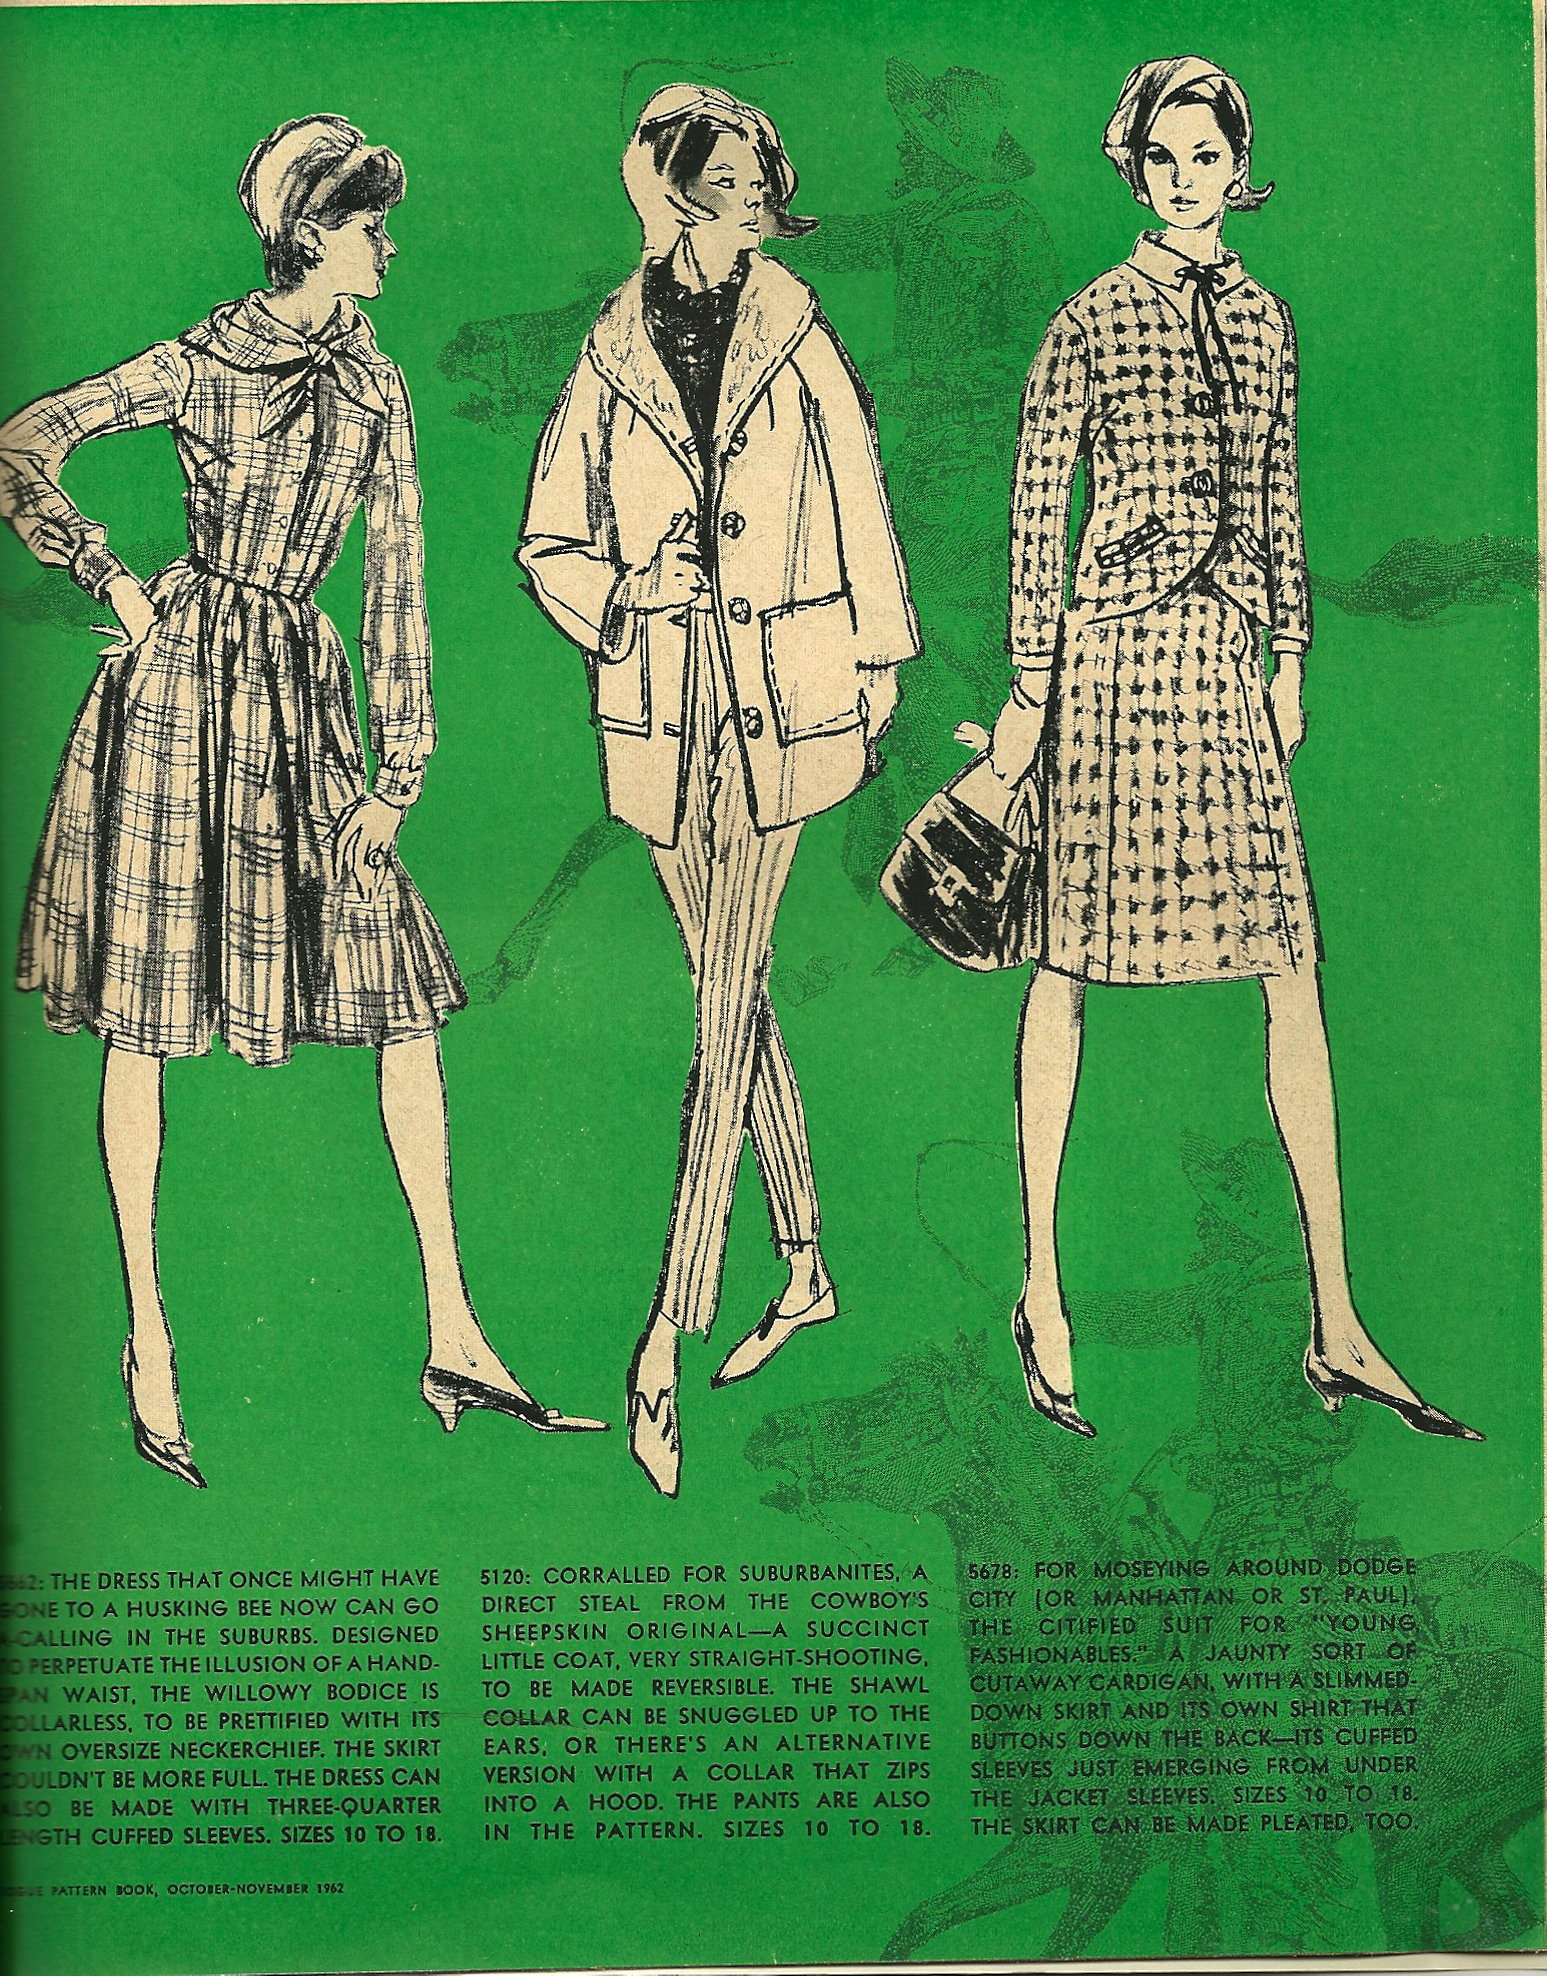
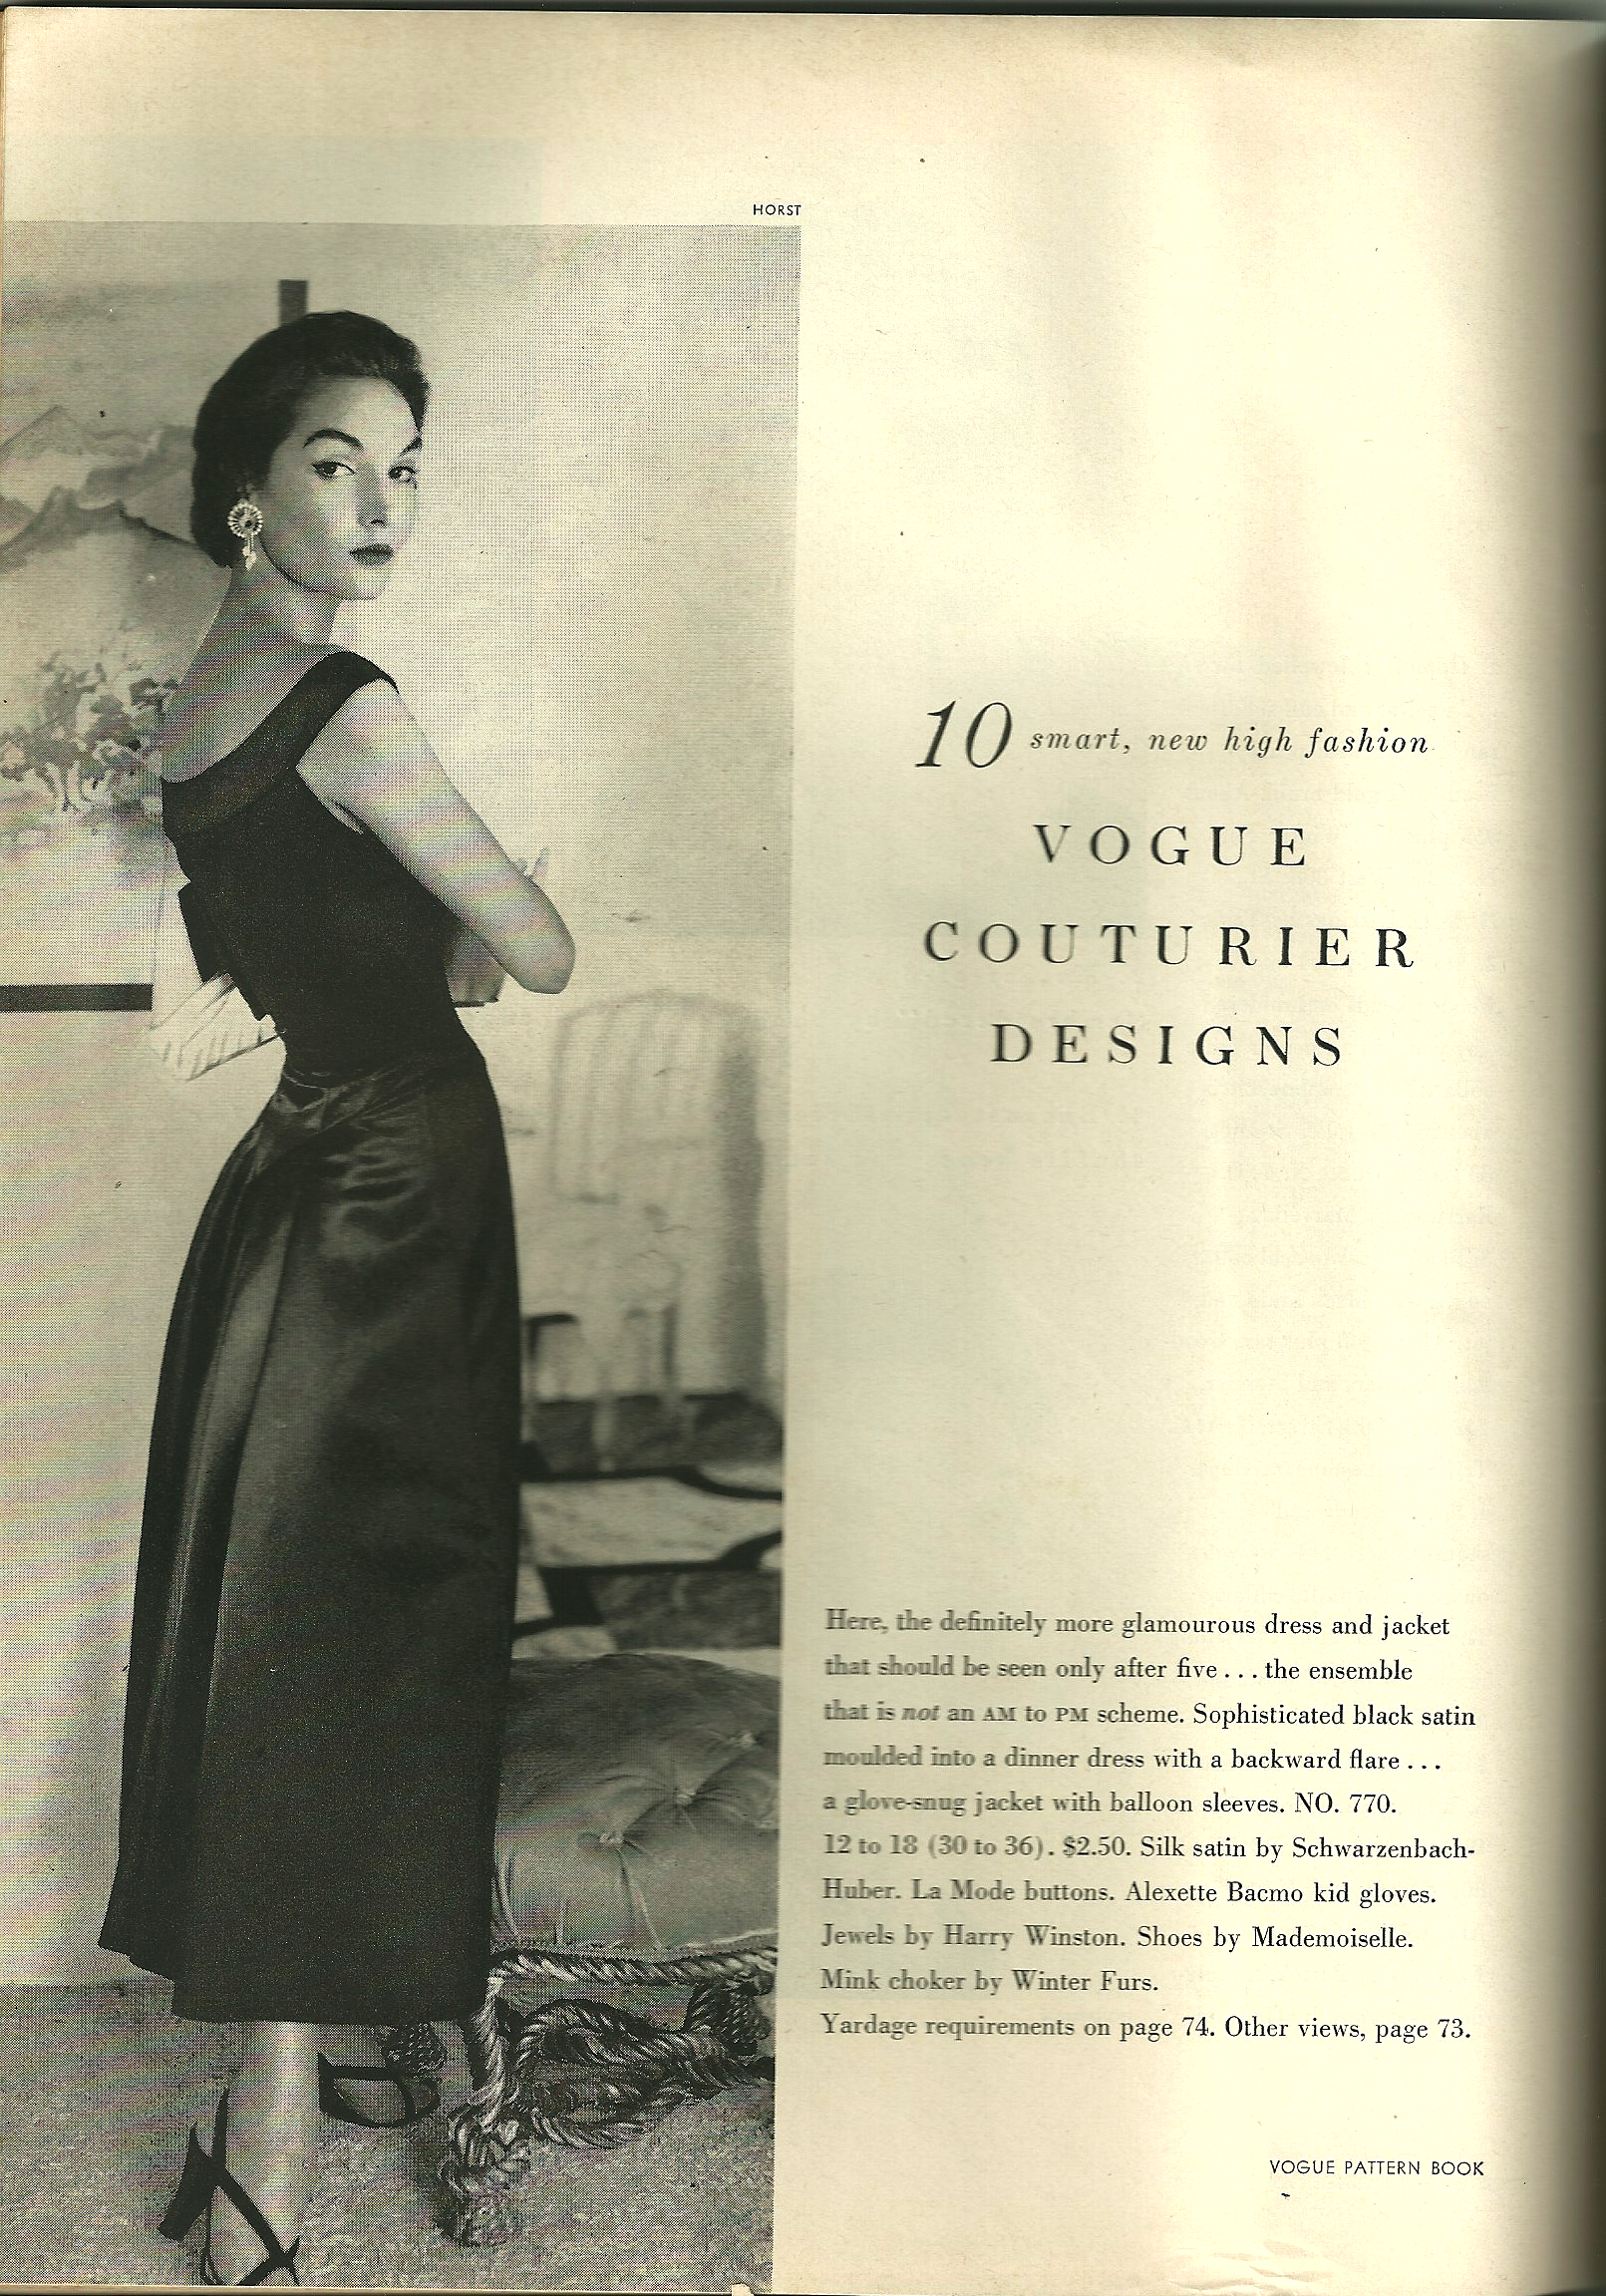
I am hoping that this suit will serve me similarly to the description of this green suit in the October/November 1962 Vogue Pattern Book Magazine:
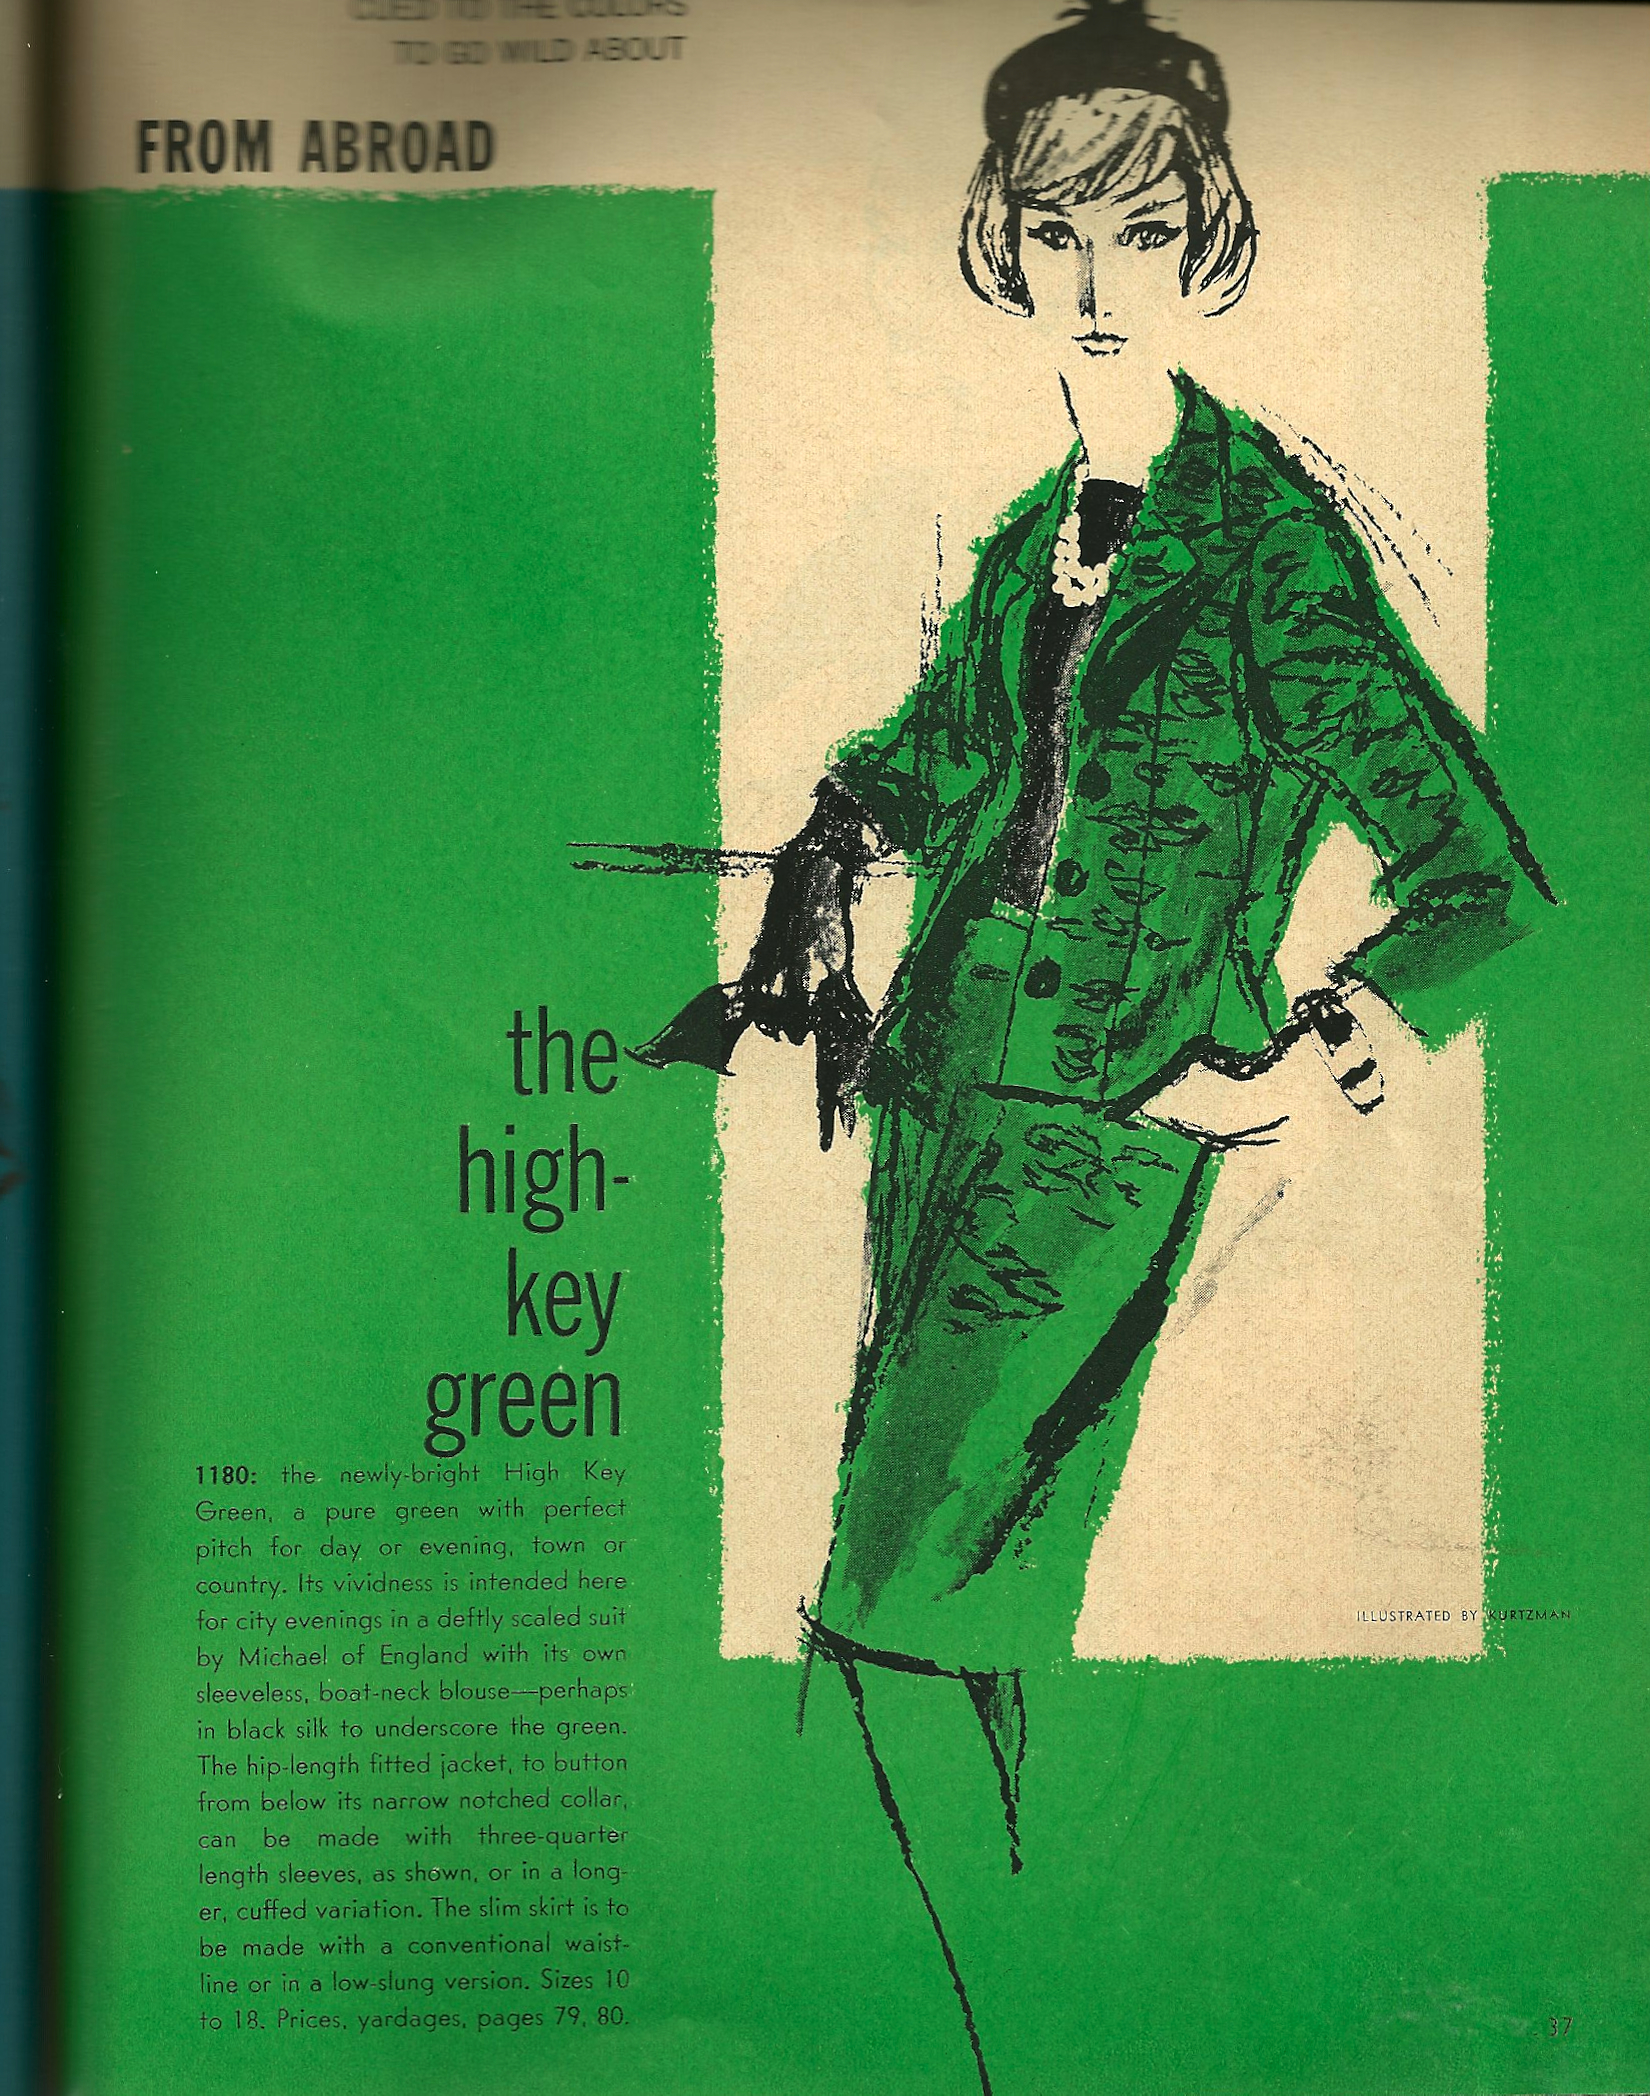
“Colors to go wild about” – in 1962 and in 2013.
To quote: “… a pure green with perfect pitch for day or evening, town or country.” This particular design is by Michael of England, but, like the Vogue pattern I am using, it has a fitted jacket with a narrow notched collar, and three-quarter sleeves.
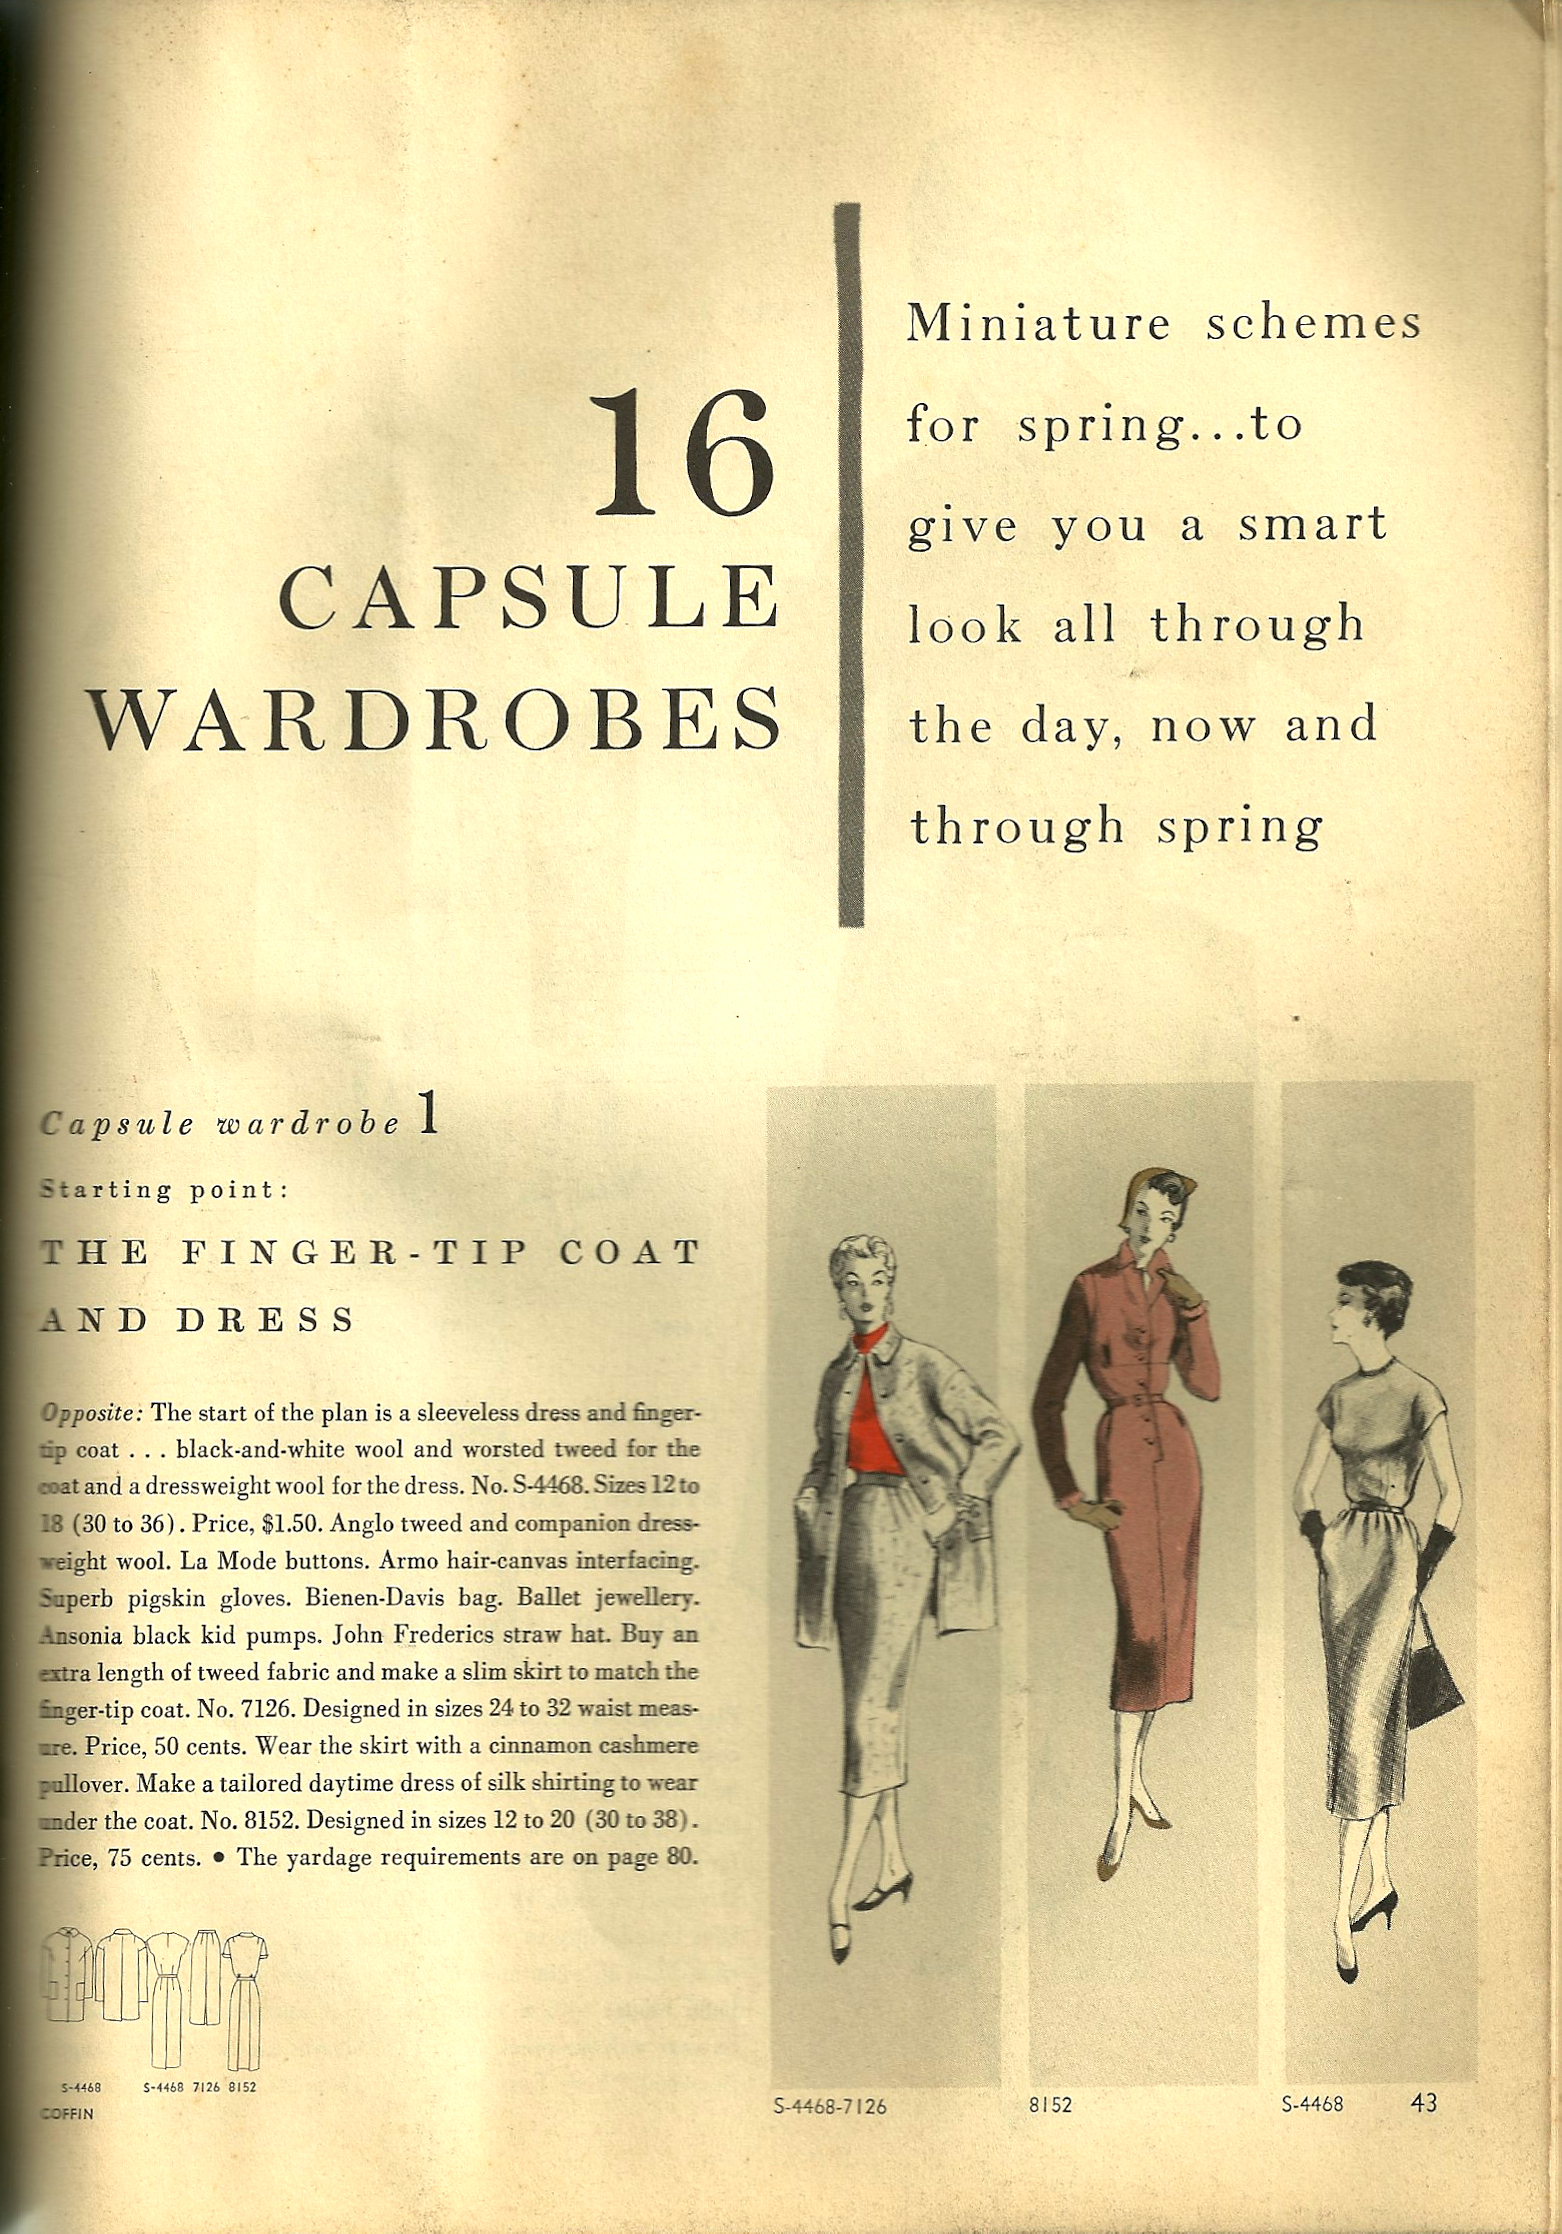
In the same issue of VPB Magazine, a letter to the editor caught my attention. Mrs. B. M. of the Bronx, New York, wrote: “… When I make a suit, I always buy extra fabric and also run up a slim dress. This lets the suit jacket do ‘double duty’ and I have both a suit and a jacket-dress, while having to make only one jacket. This saves me time and expense, and I enjoy having a variety of costumes that I can wear almost anywhere, in a fabric I love.”
Now I wonder what she made first – the jacket – or the skirt – or the dress? I’m exhausted just thinking about it!