“She had the loaded handbag of someone who camps out and seldom goes home, or who imagines life must be full of emergencies.” – Mavis Gallant
Actually, the handbag I took to San Francisco was small, tucked inside a larger tote bag – so that I could use my allotted “carry-on” space for an extra suitcase for fabric purchases. Off I went on February 1st for Susan Khalje’s Couture Sewing School held at The Sewing Workshop in San Francisco. I had carefully packed myriad sewing supplies and my prepared muslins, hoping to be ready for any contingency. Little could I have known that while I was to be sewing on the West Coast, the camping out (or really, camping in!) and the emergencies would be on the East Coast – with the county in Pennsylvania where we live especially hard-hit by a devastating ice storm. Our house was without power for 5 days, and knowing that my husband was dealing with downed trees, downed power lines, blocked roads, confused pets, a house getting colder and colder with each day, and limited means of communication, weighed on me mightily as I worked away on my color-blocked jacket.

Most of us in the class needed to purchase all our fabric or coordinating fabric or supplies for our intended projects, so off we went to Britex Fabrics on Monday after Susan had fitted most of our muslins. I had thought long and hard about what color combination I would like to have for this coat. Knowing that many, many hours of work would go into this project, and also realizing that this jacket could be a go-to piece of outerwear if I chose my fabrics carefully, I decided to look for more conservative colors. So – no hot pink and apricot orange, at least this time.
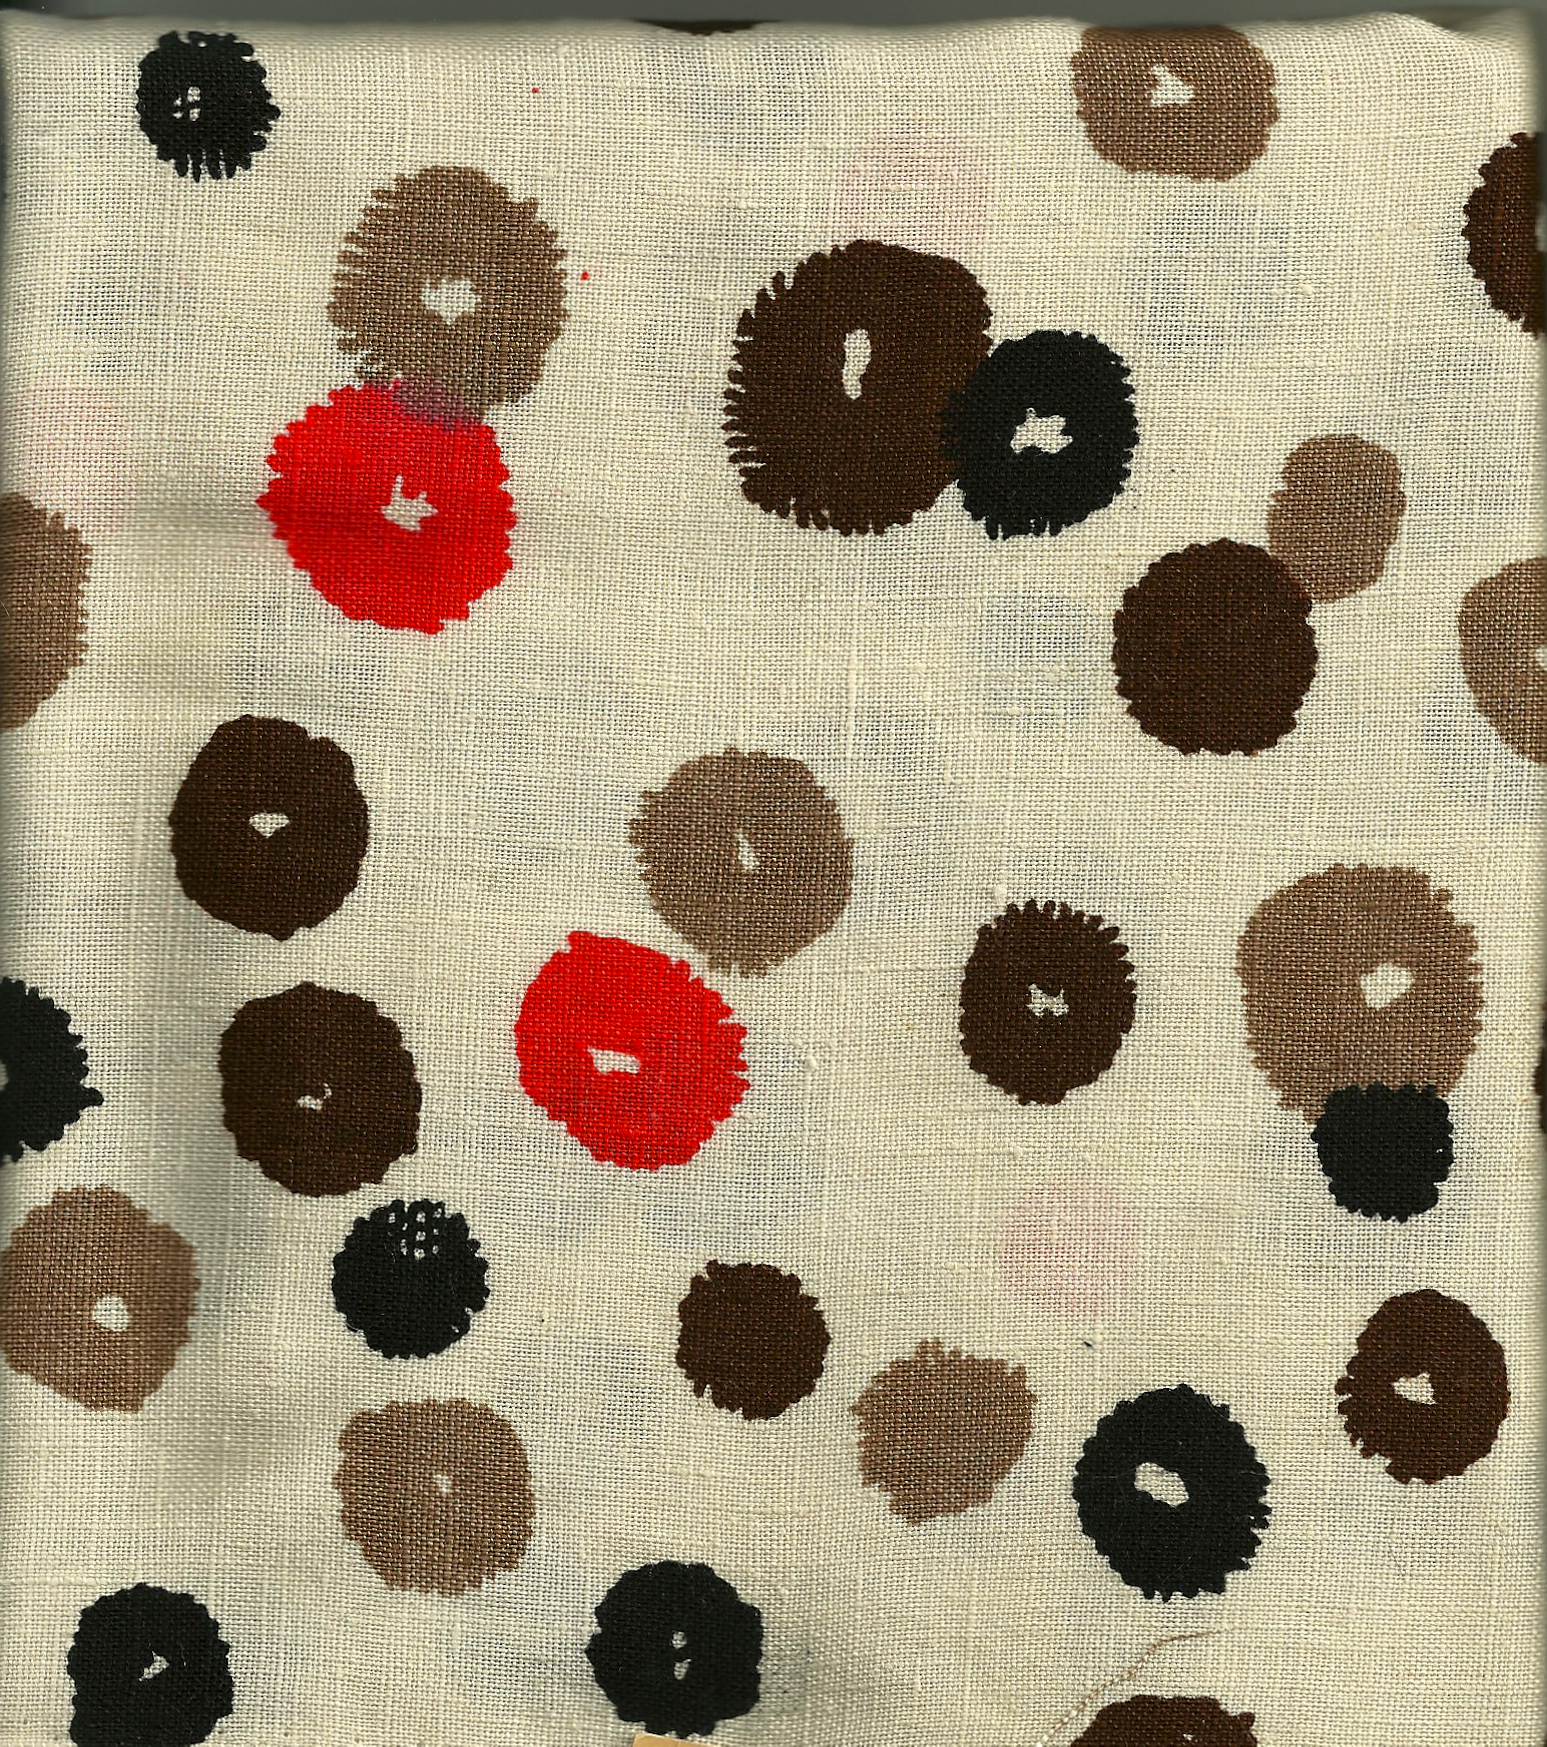
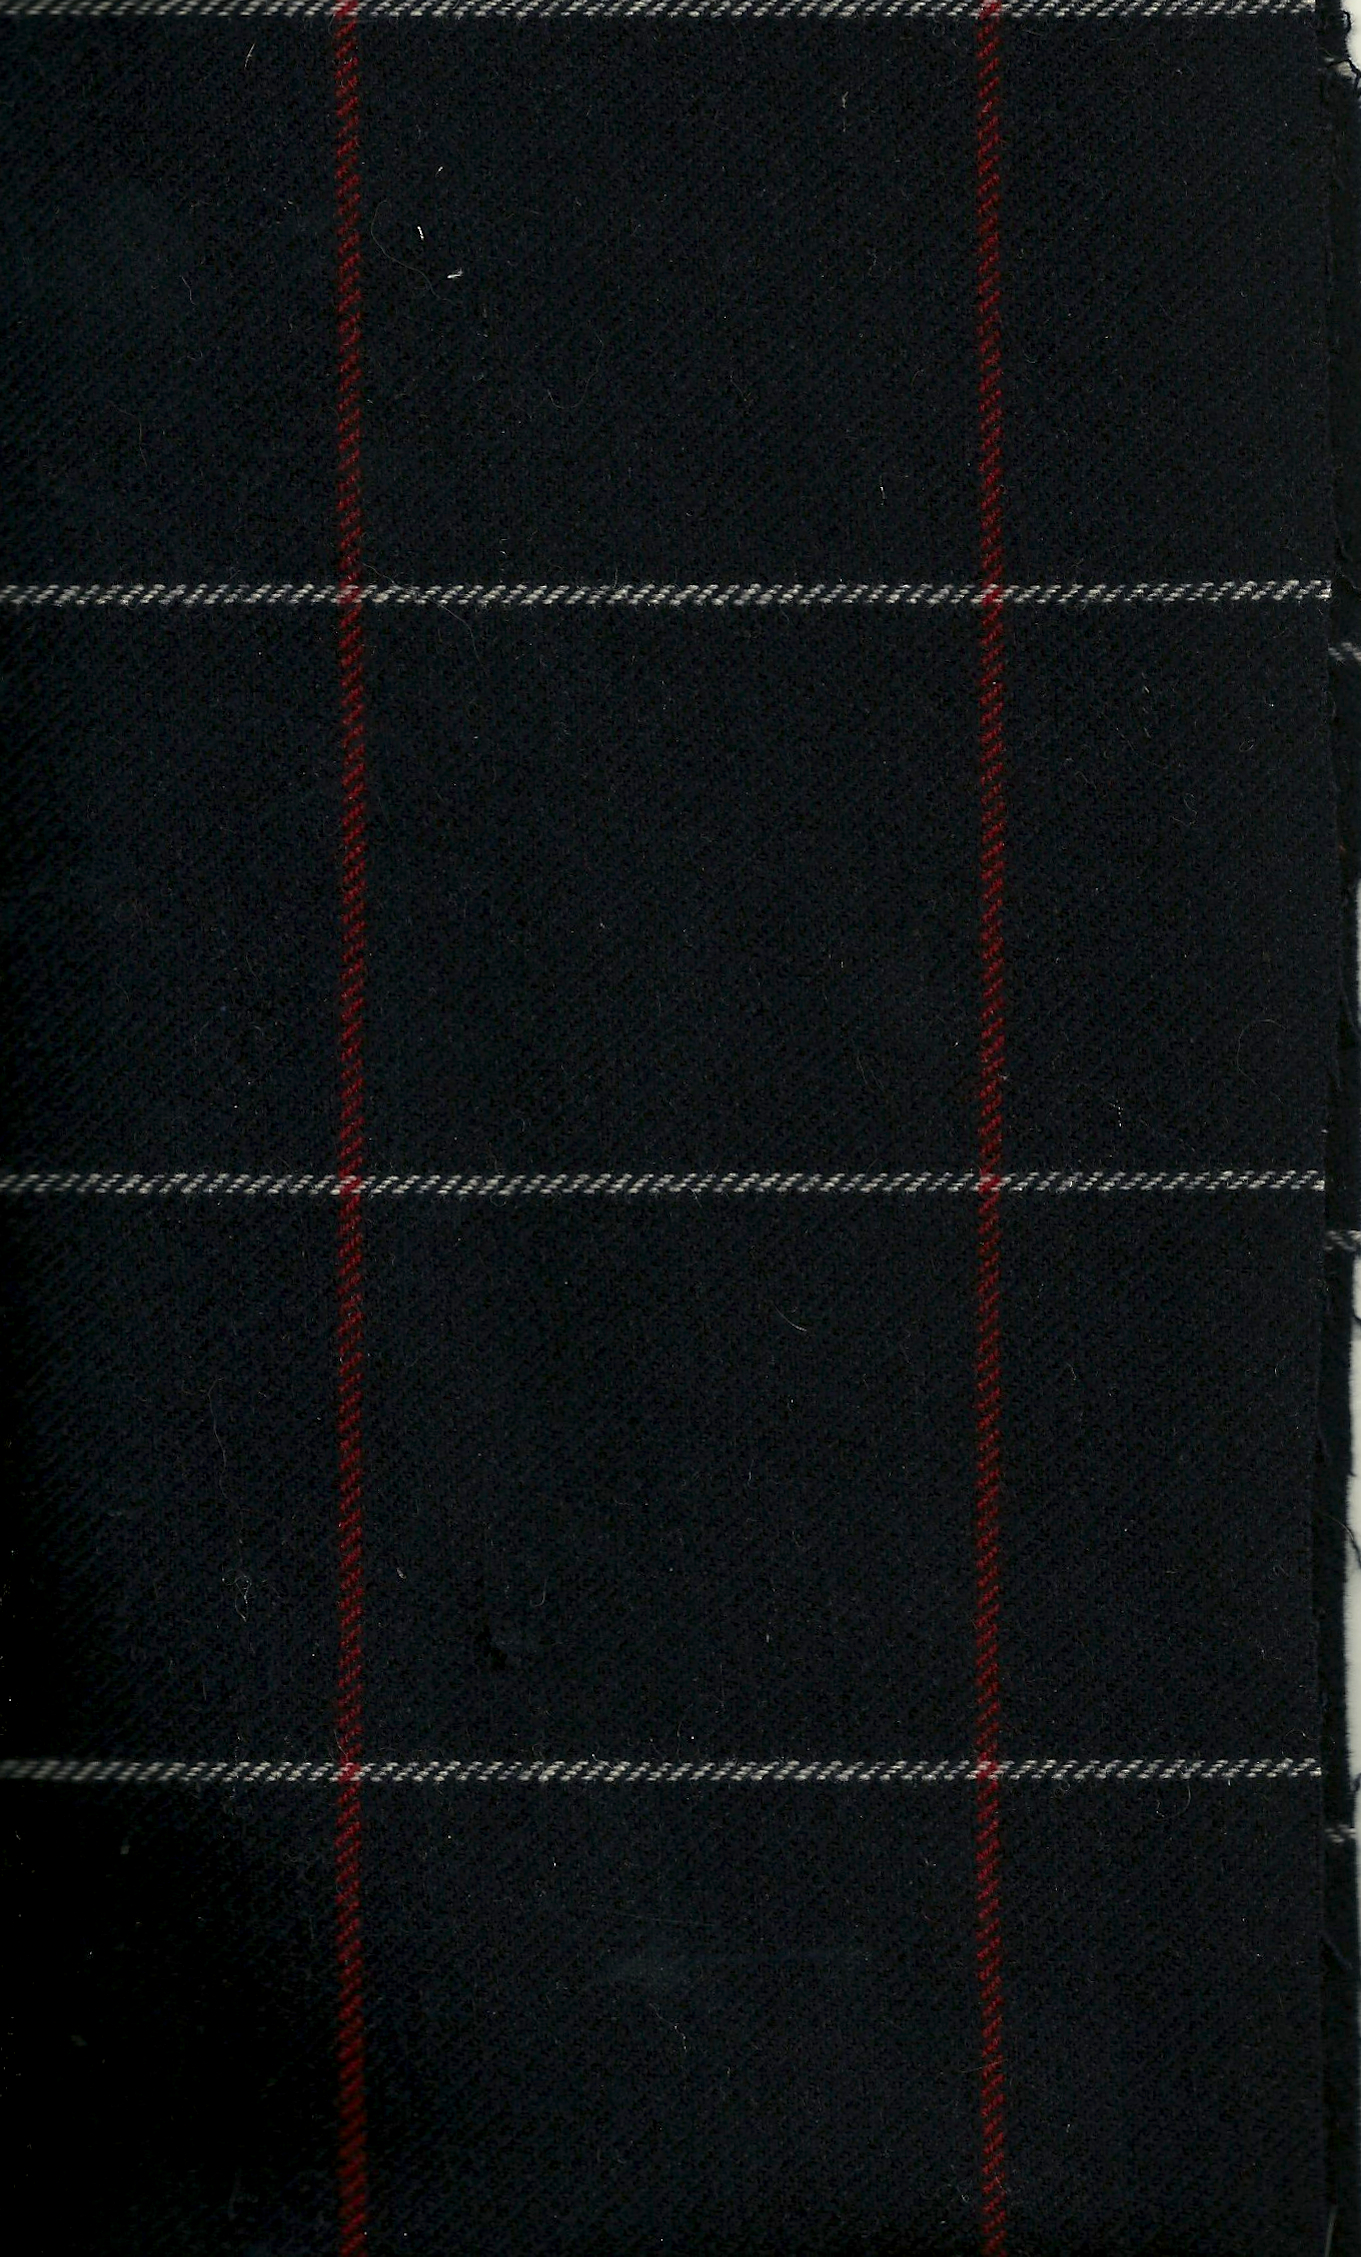
Britex carries an extensive selection of coating wools, so much so that it is definitely advantageous to be helped by one of their incredibly knowledgeable sales assistants. I was fortunate that Inna, who has such a trained and talented eye for color and texture, was able to assist me. We started with a lovely camel hair coating wool, which had a napped silky sheen on one side and was just the right heft for outerwear. First I wanted to look at pairing it with gray, but nothing in the gray family seemed to strike my fancy. Then we moved on to the navy blues – and there nestled in among the bolts was the perfect “medium” navy blue, also with a napped sheen on one side. It was a little heavier than the camel hair, but Susan felt confident we could make the two fabrics work together, especially because their colors complimented each other so perfectly.
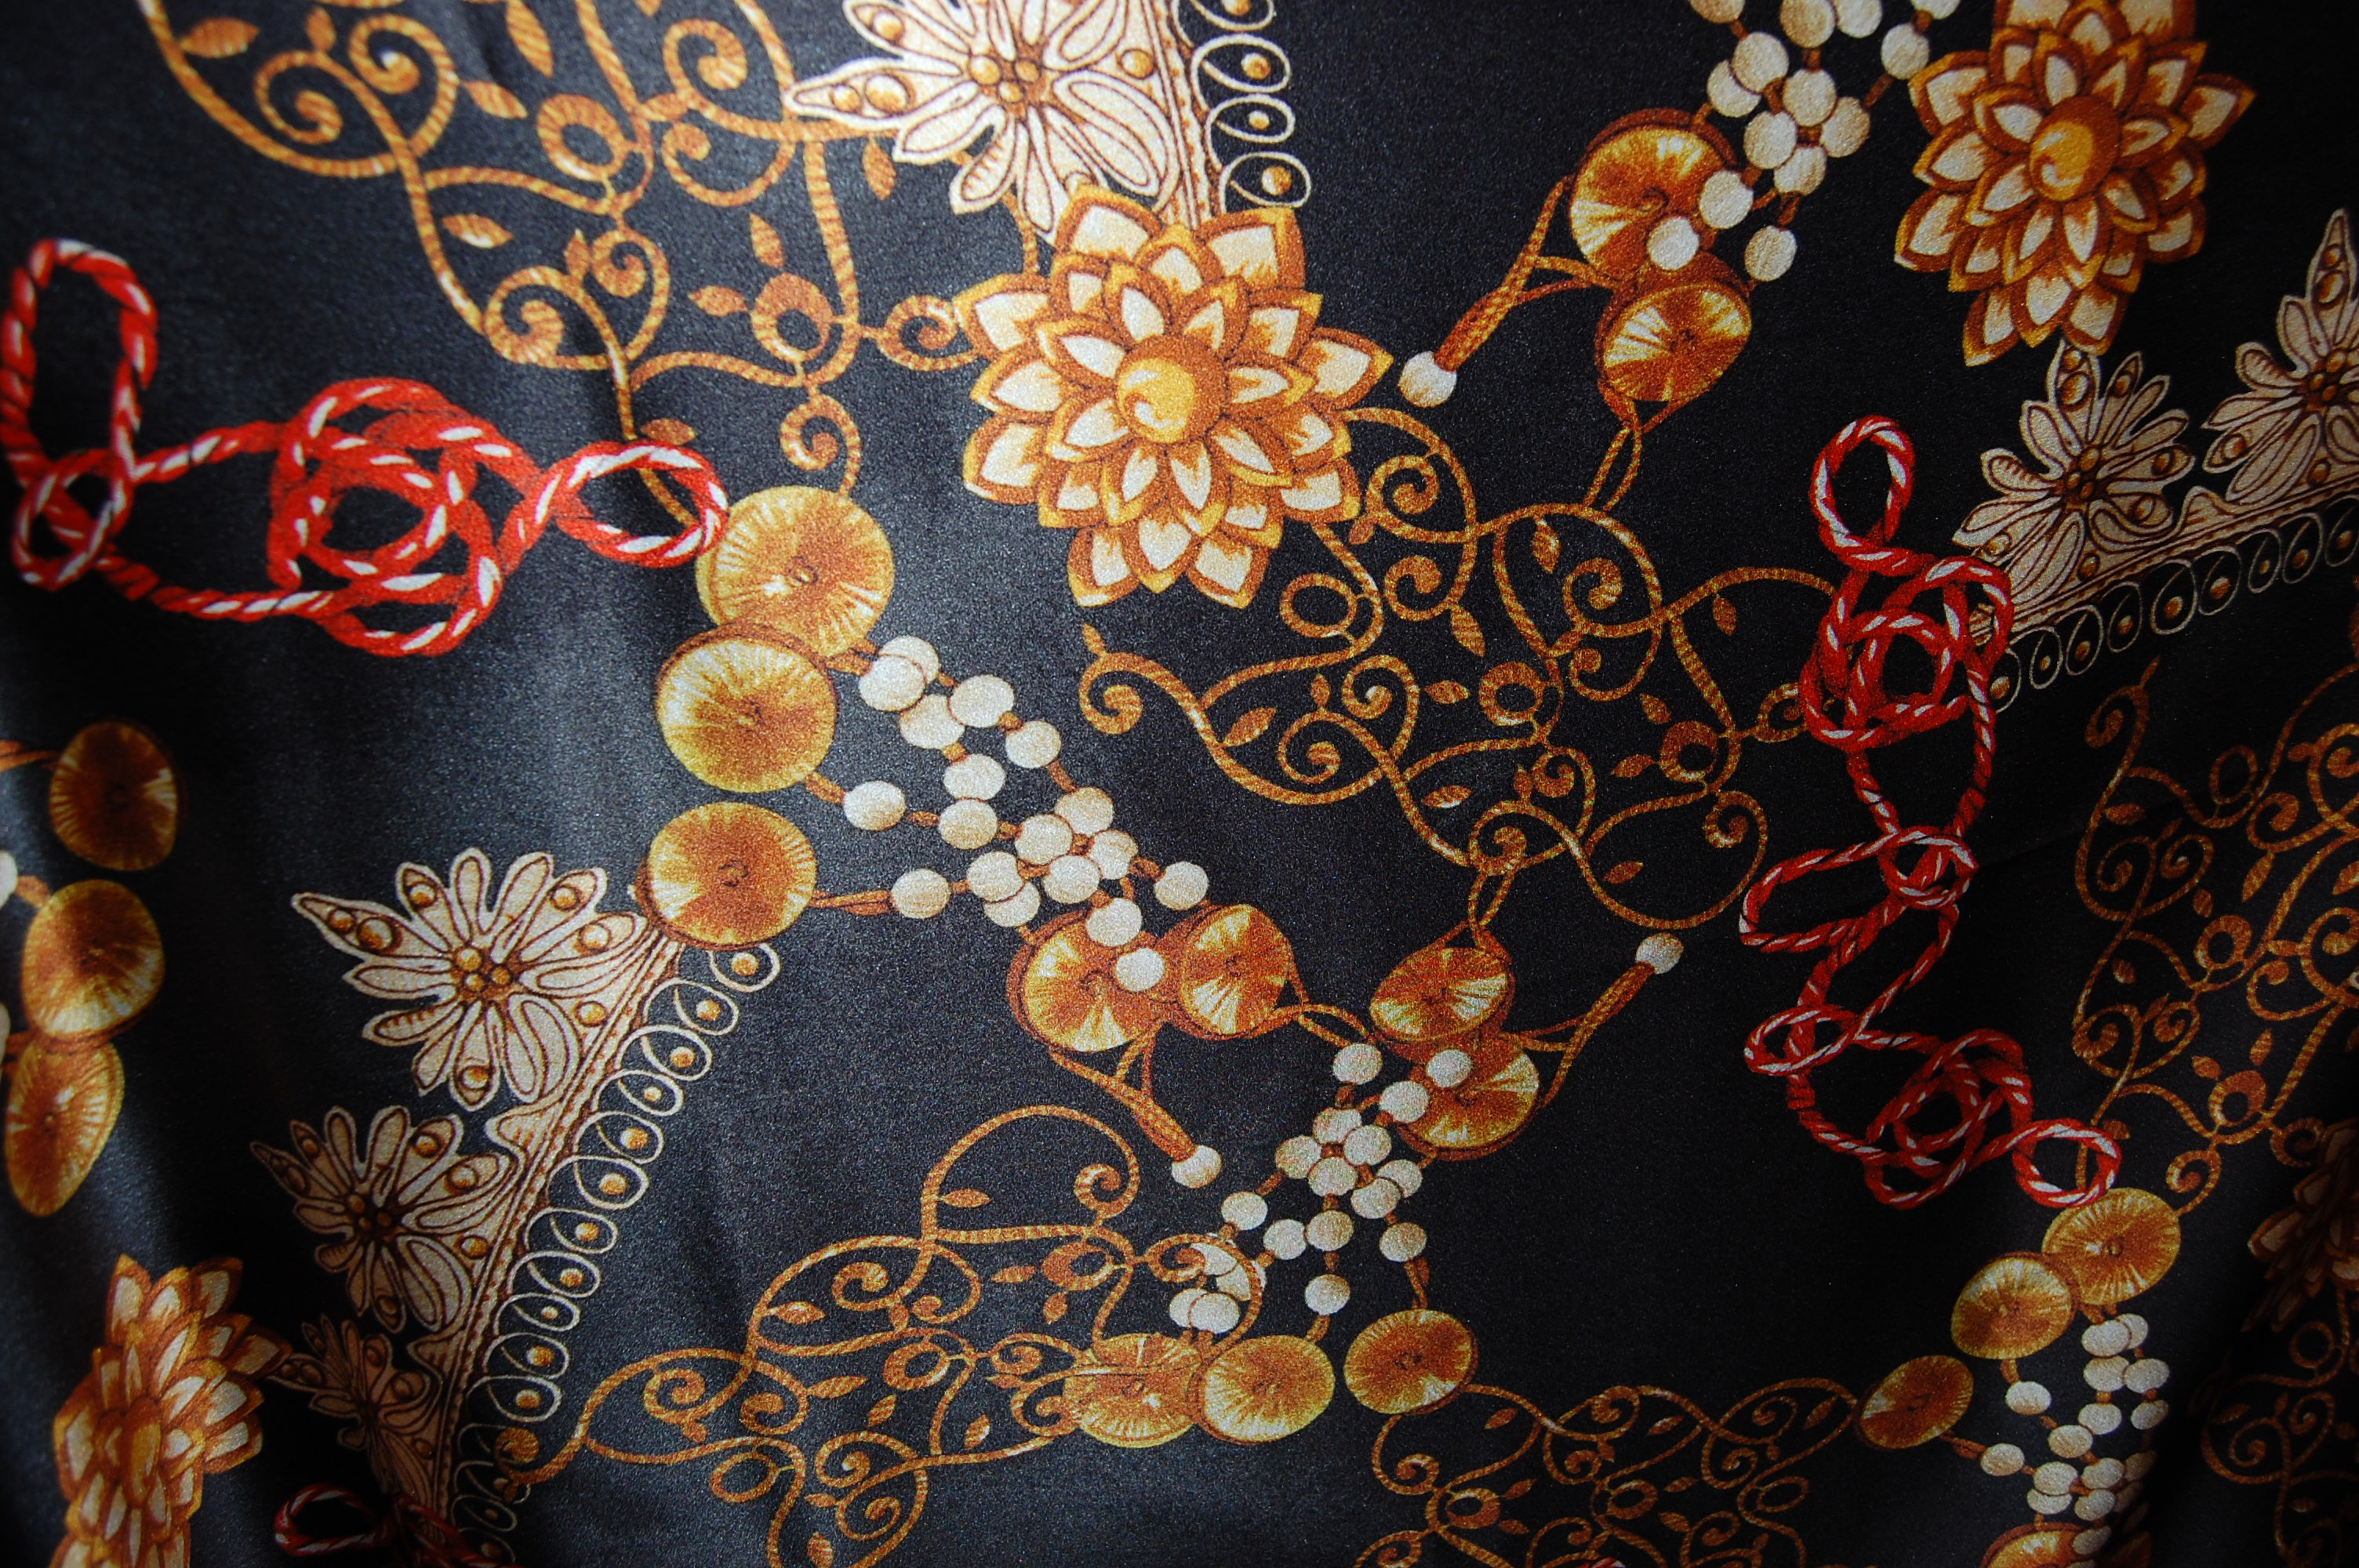
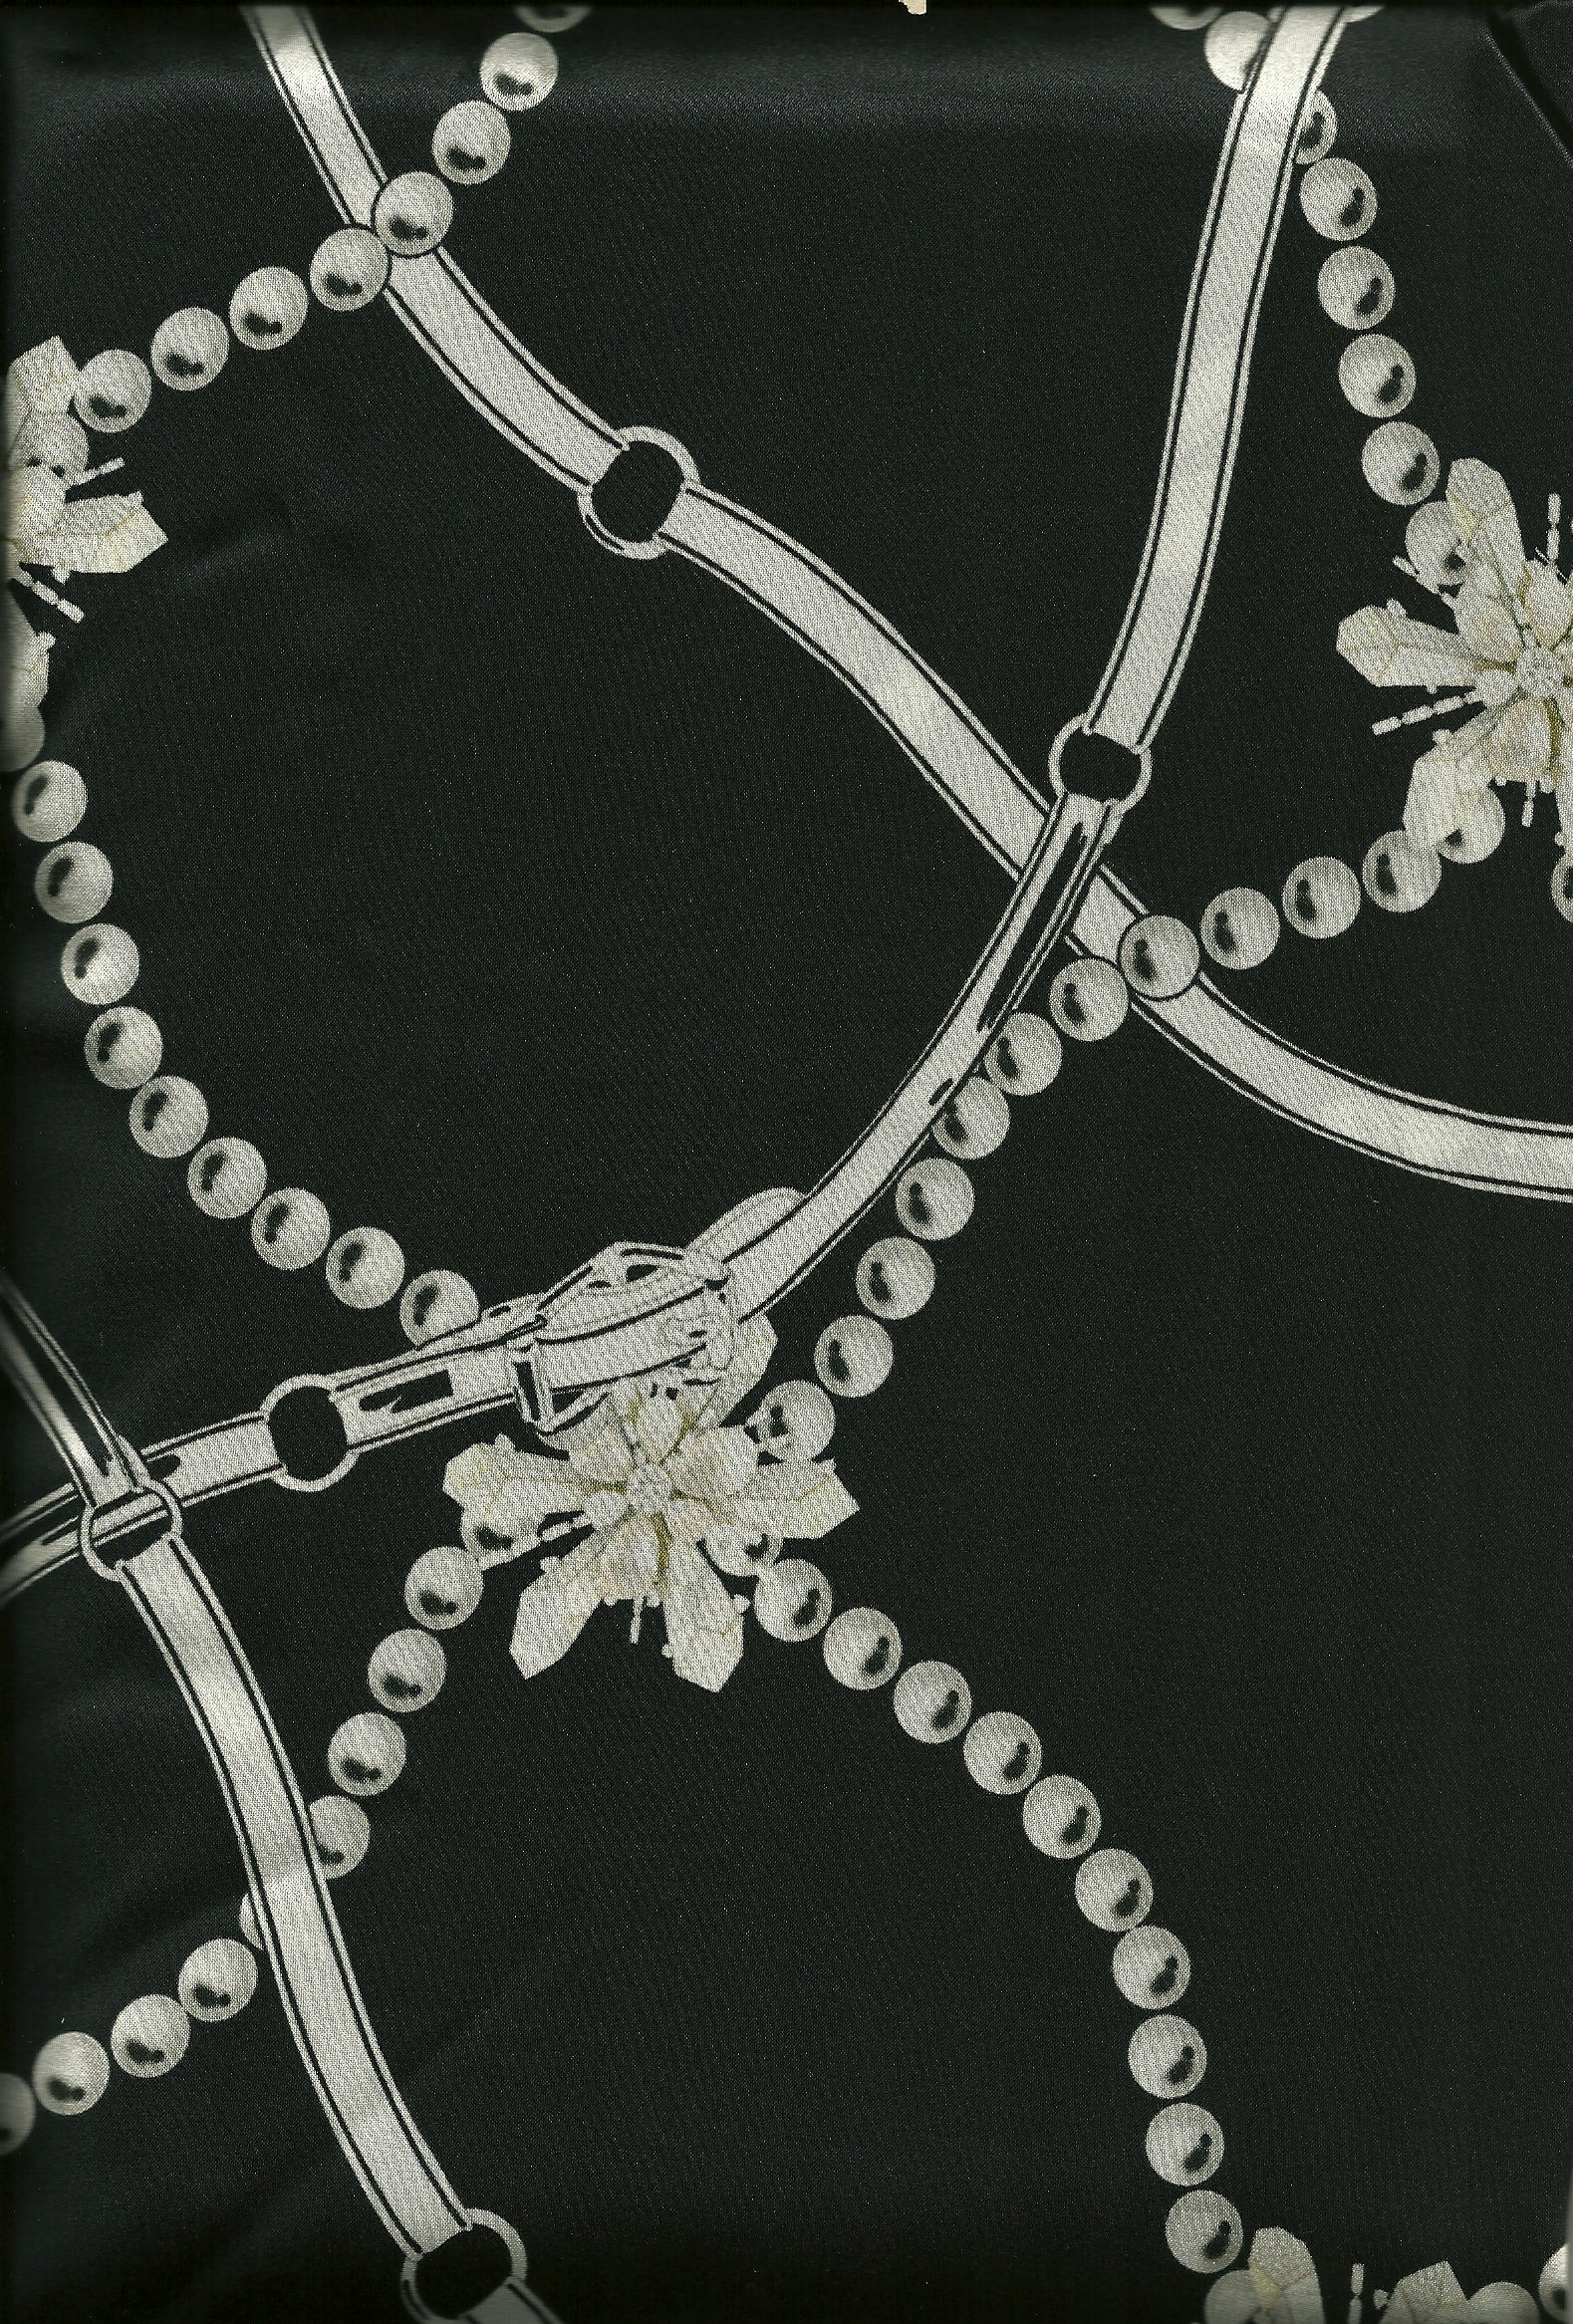
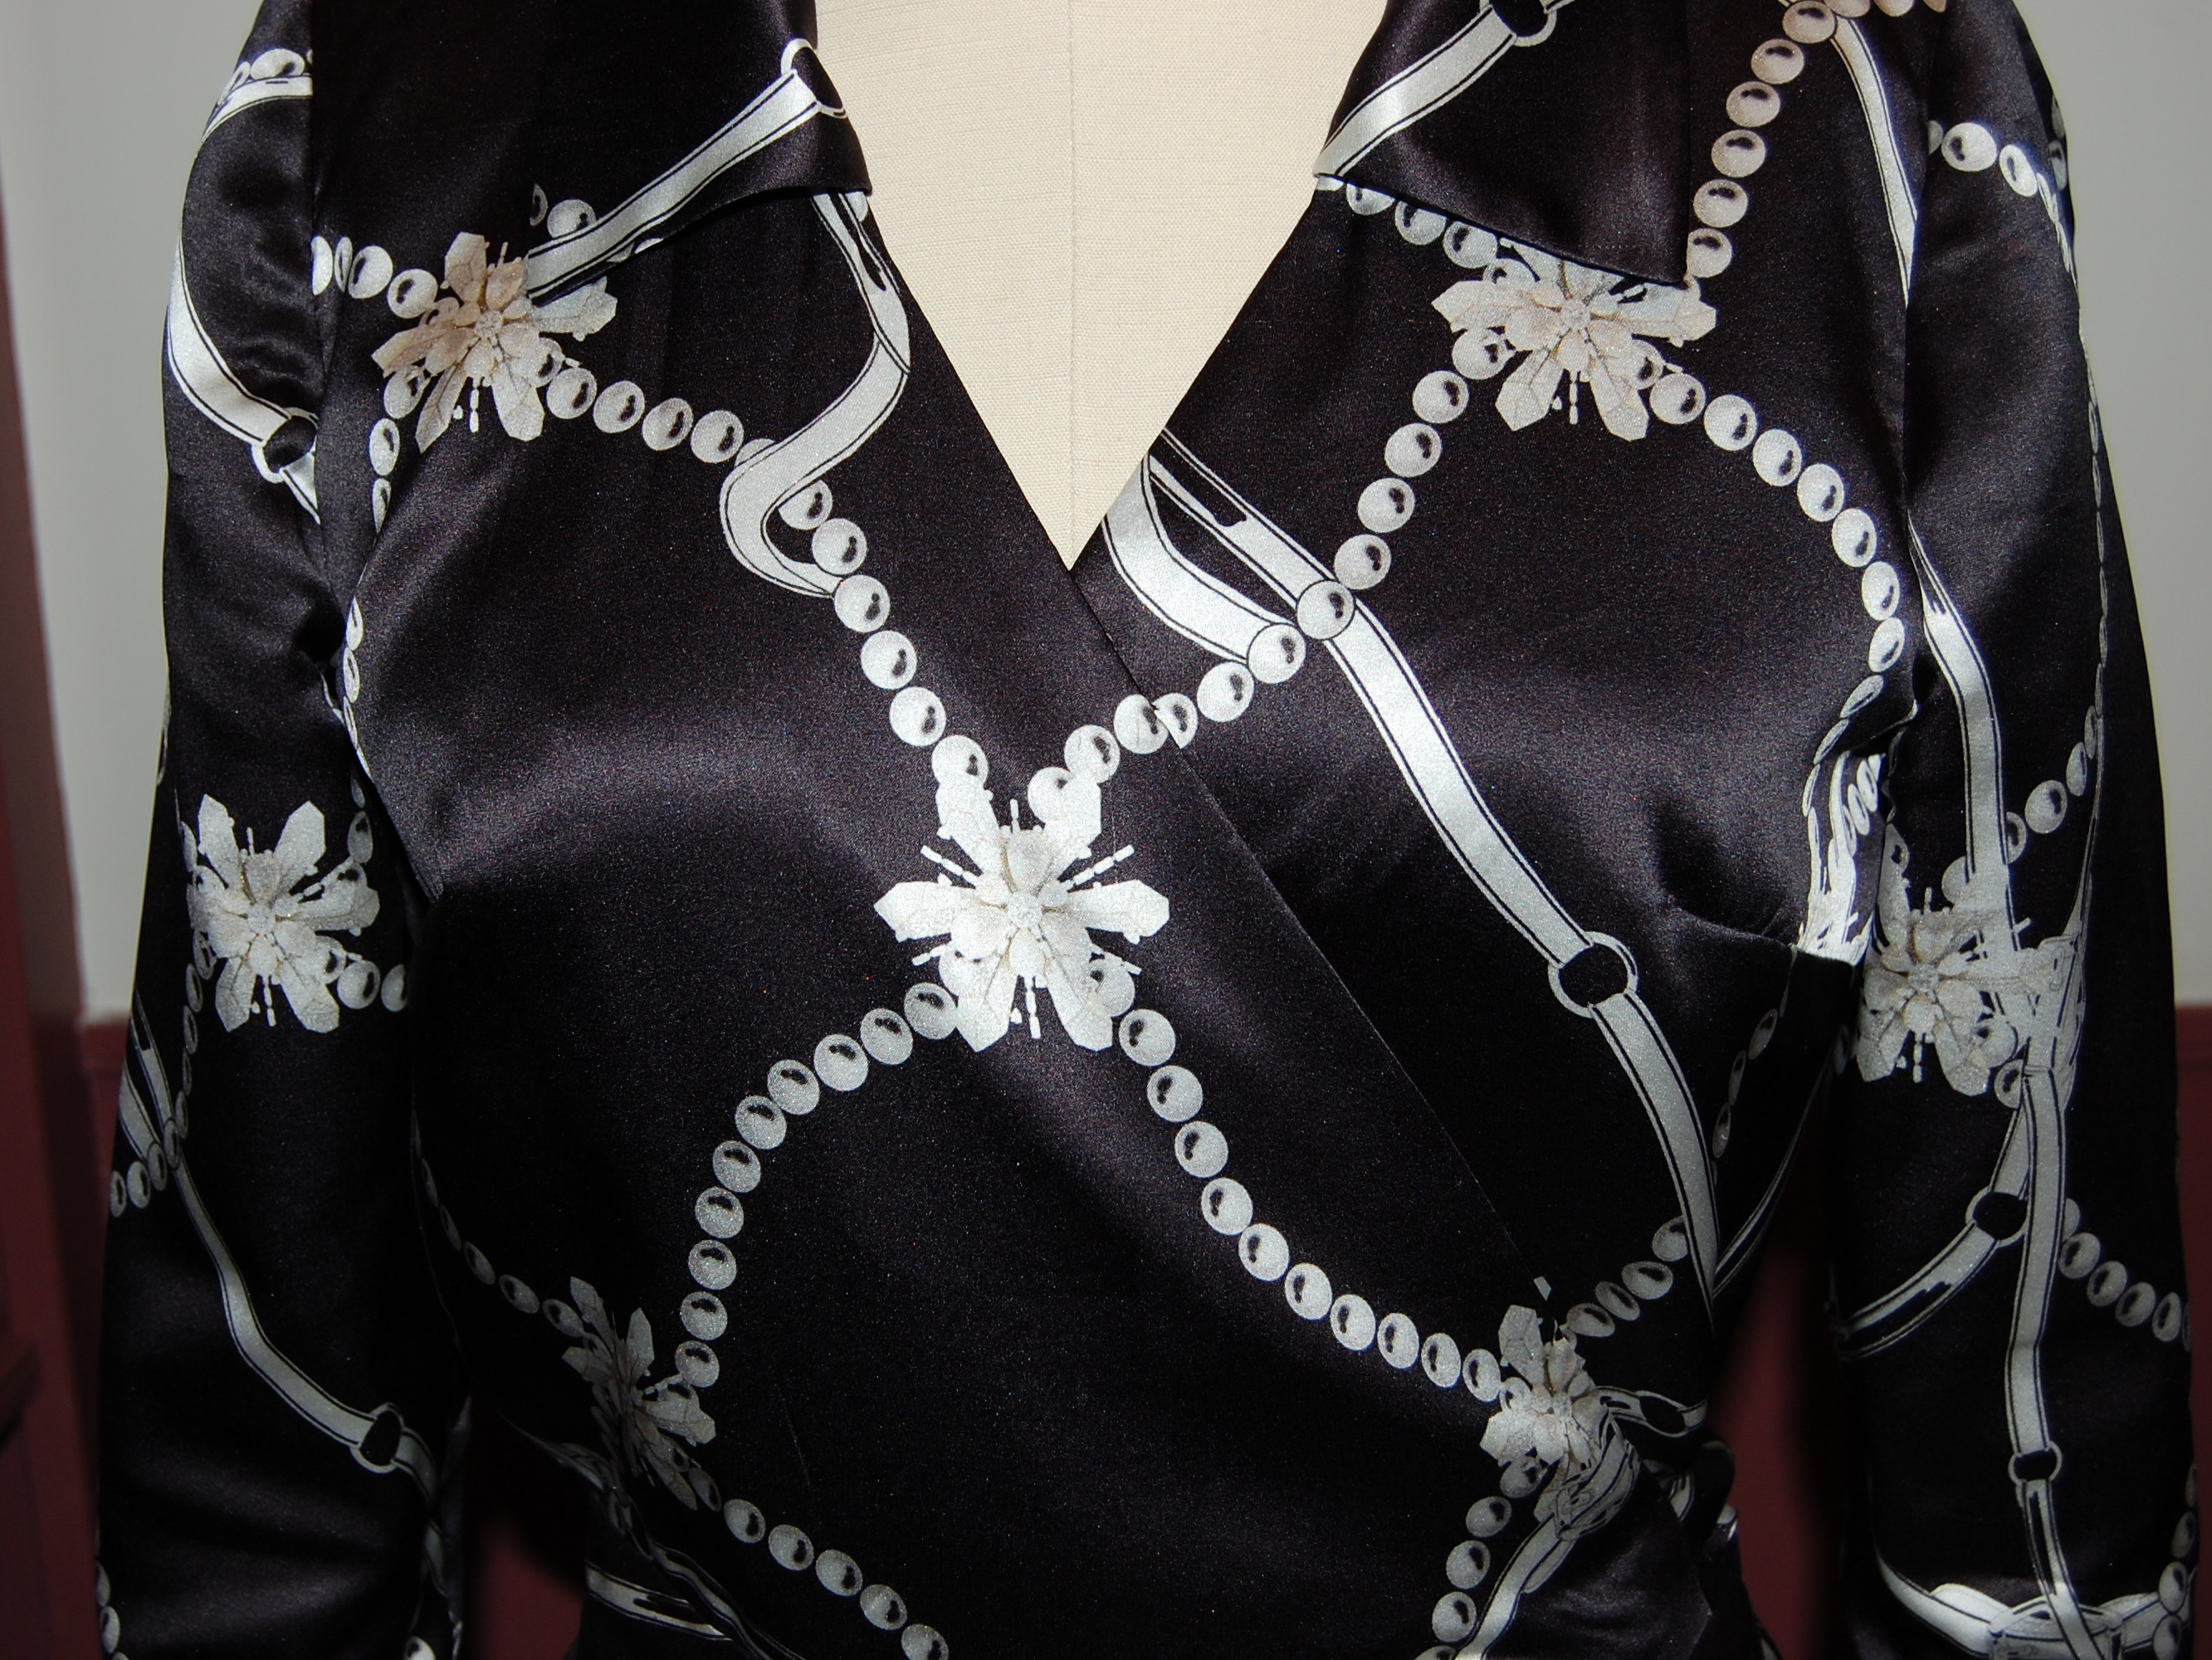
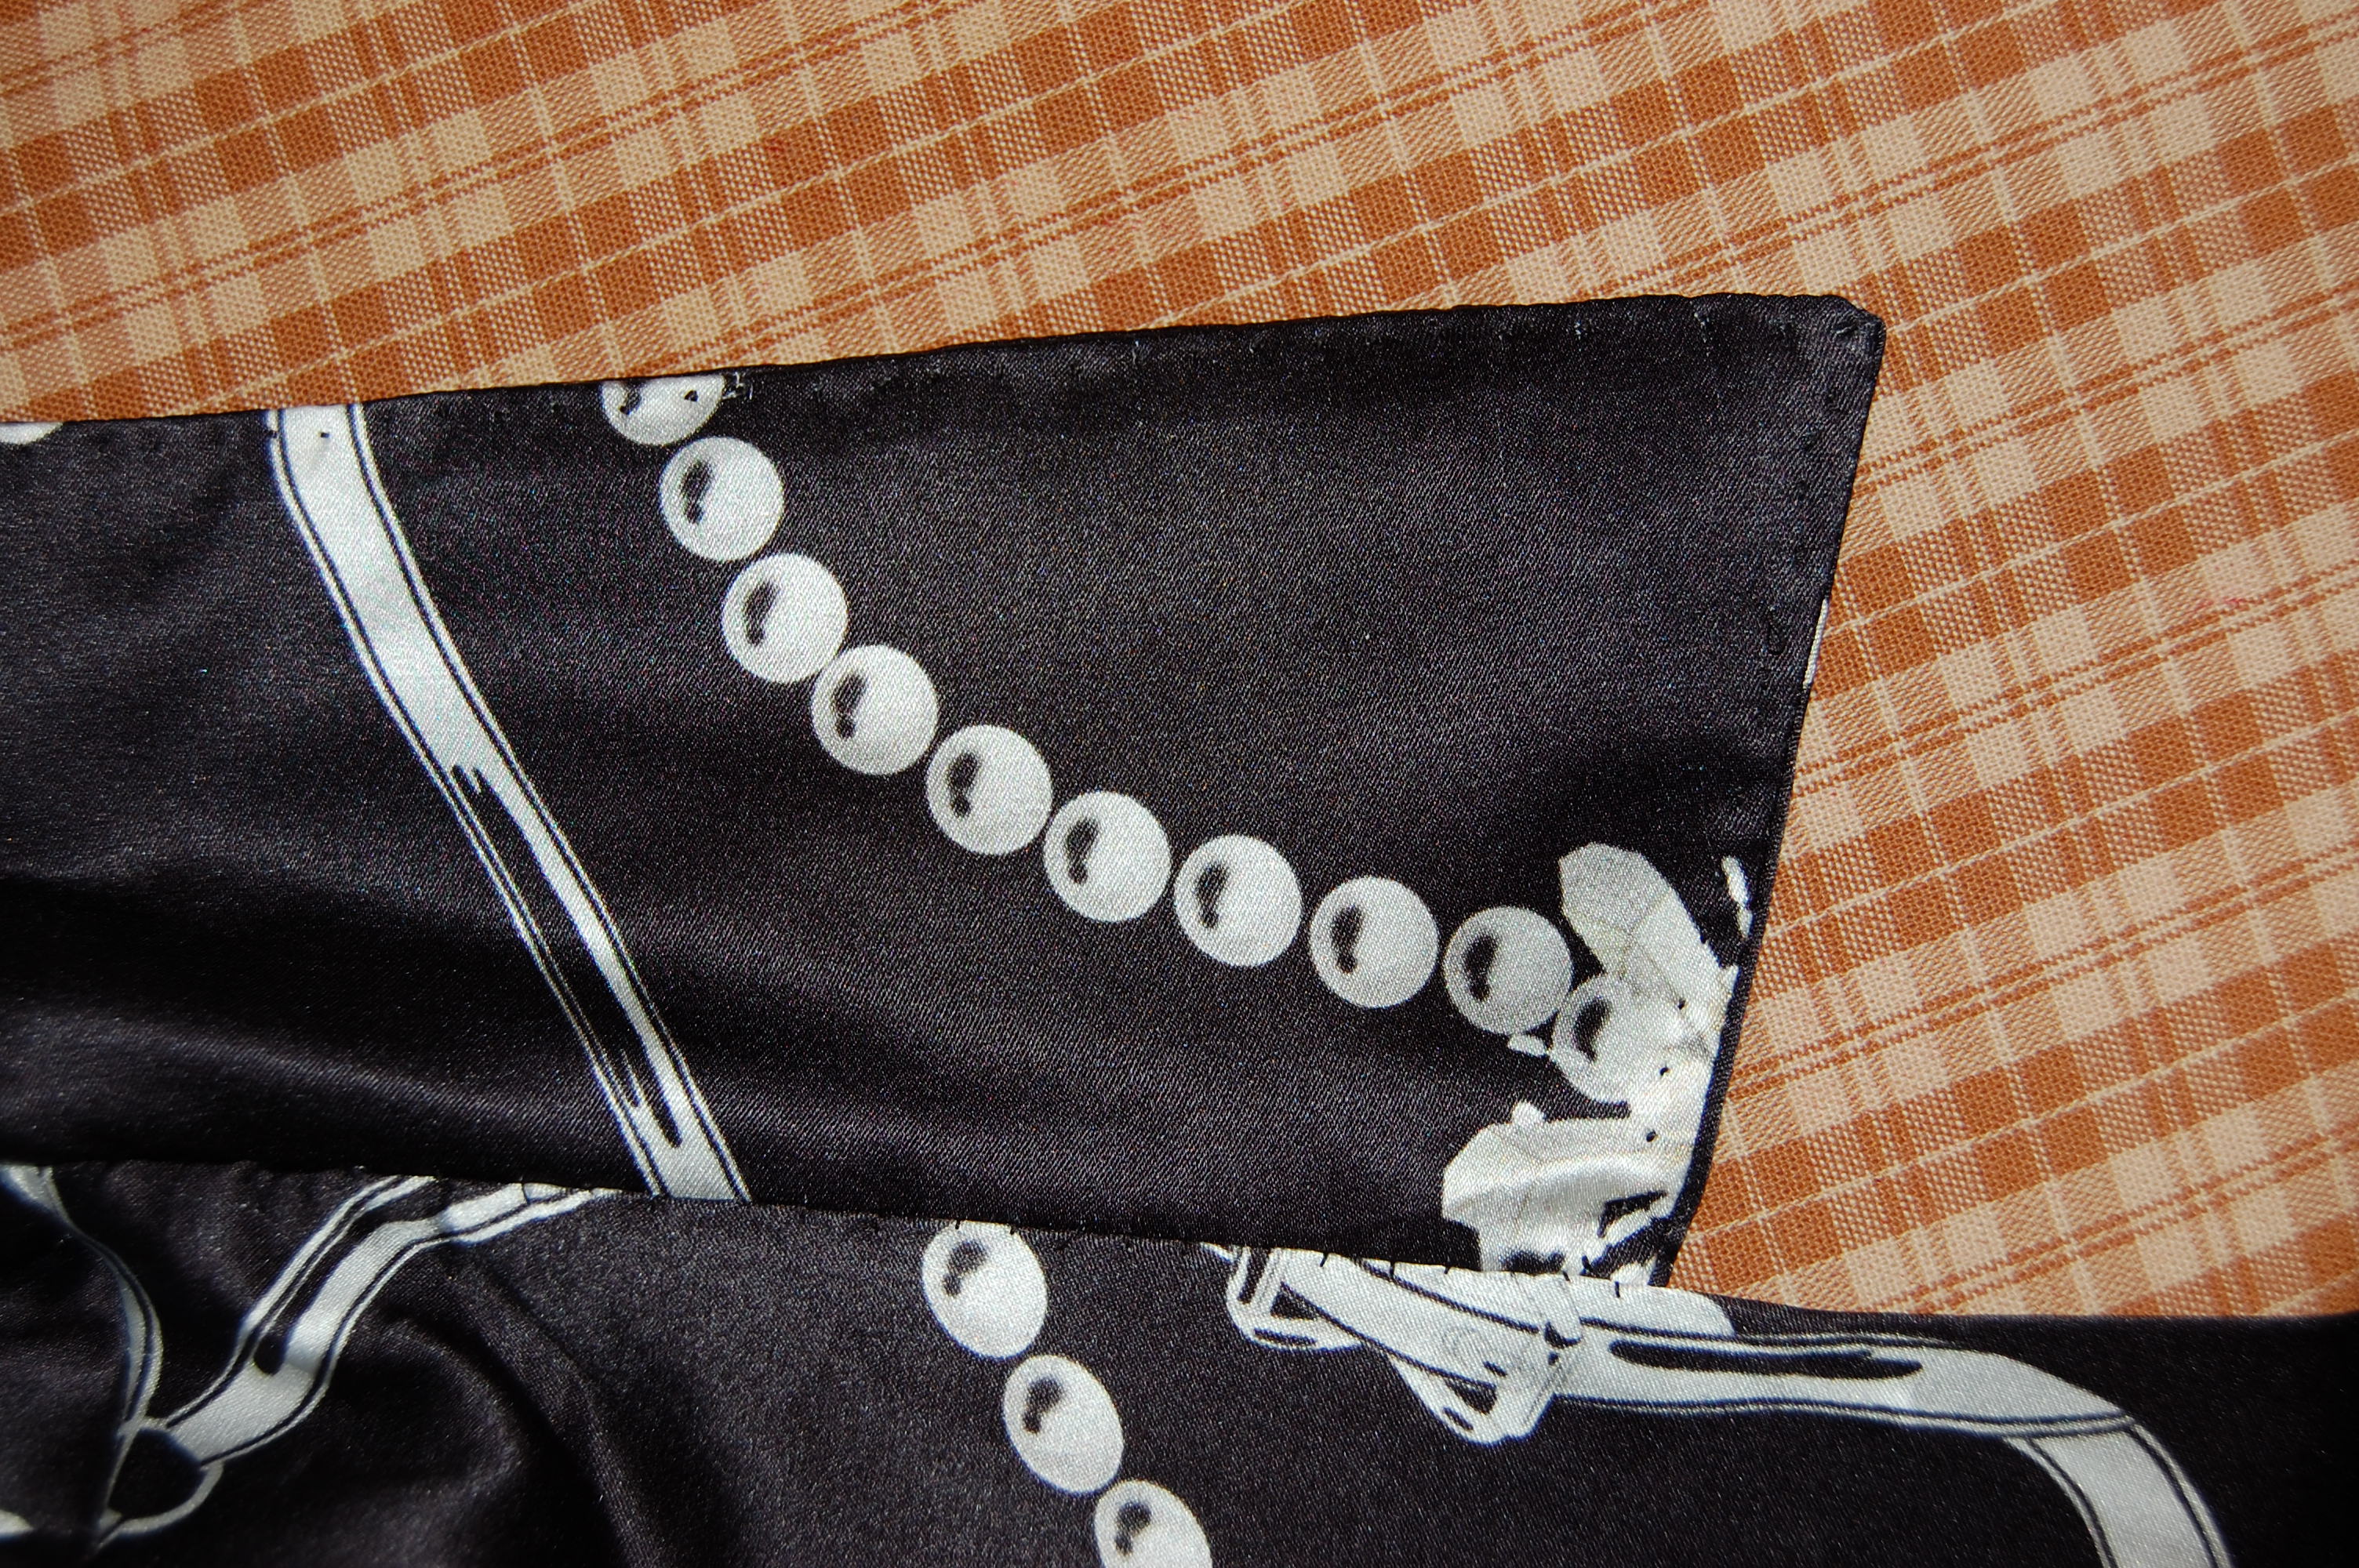
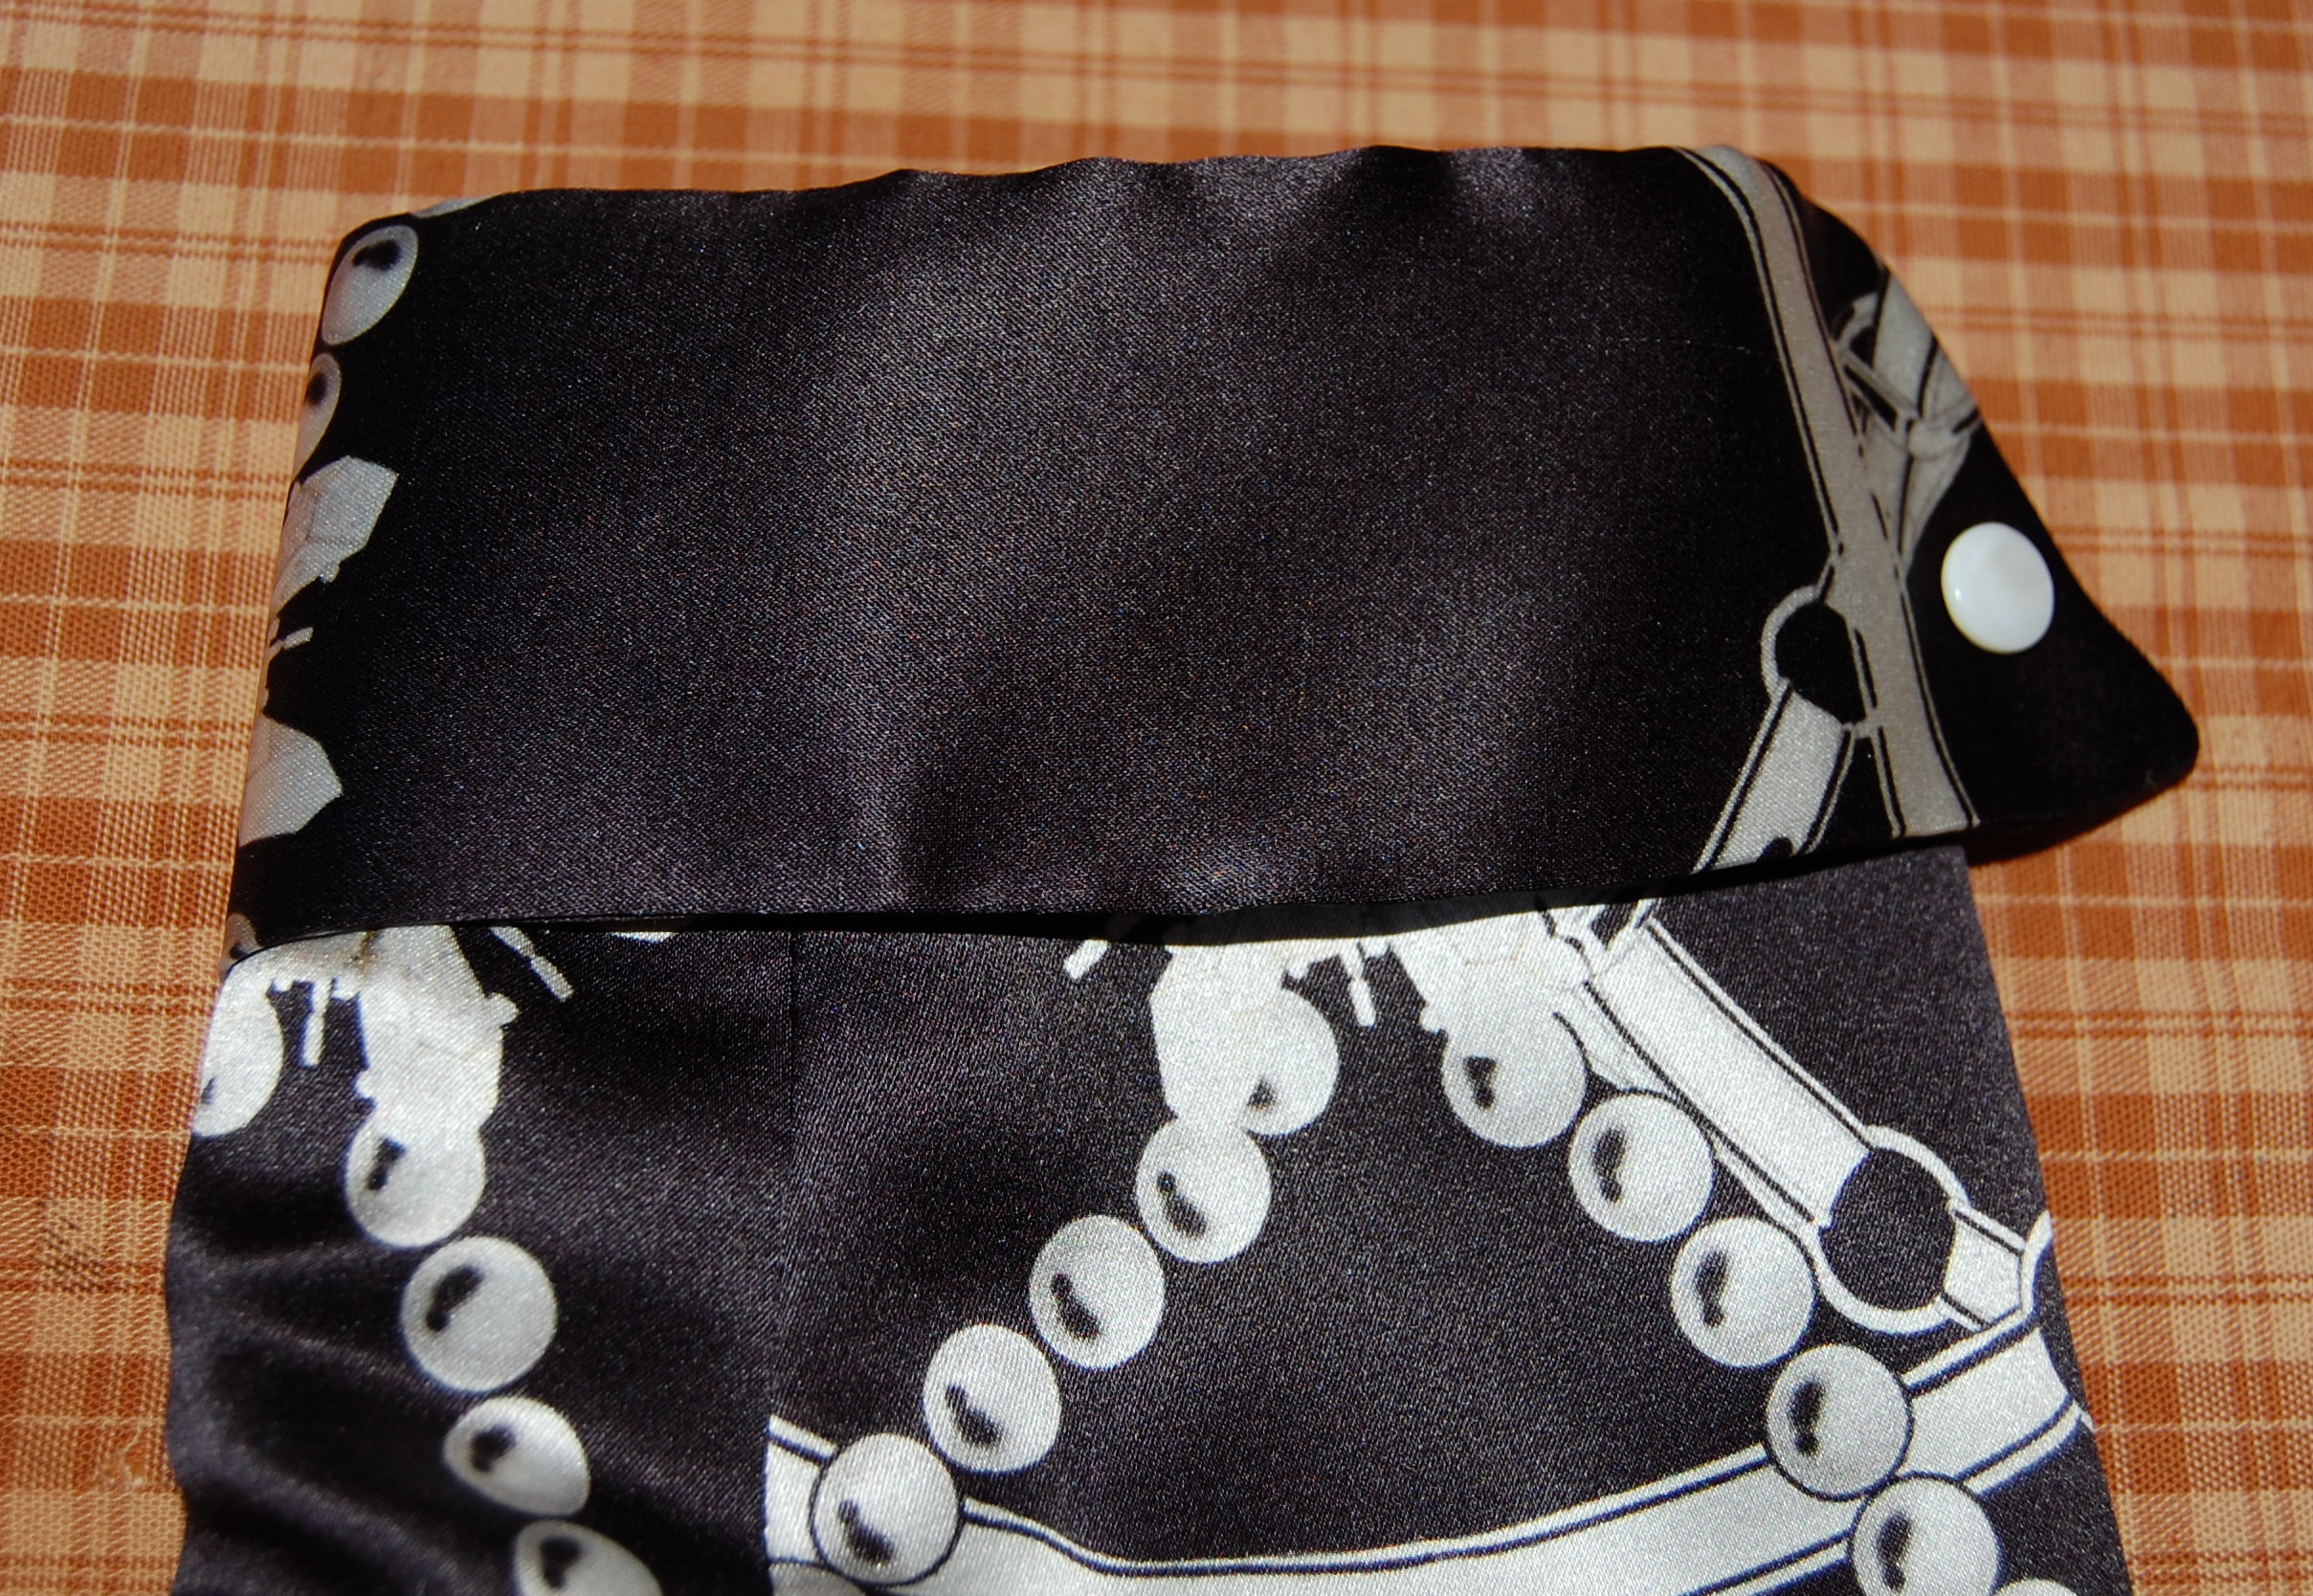
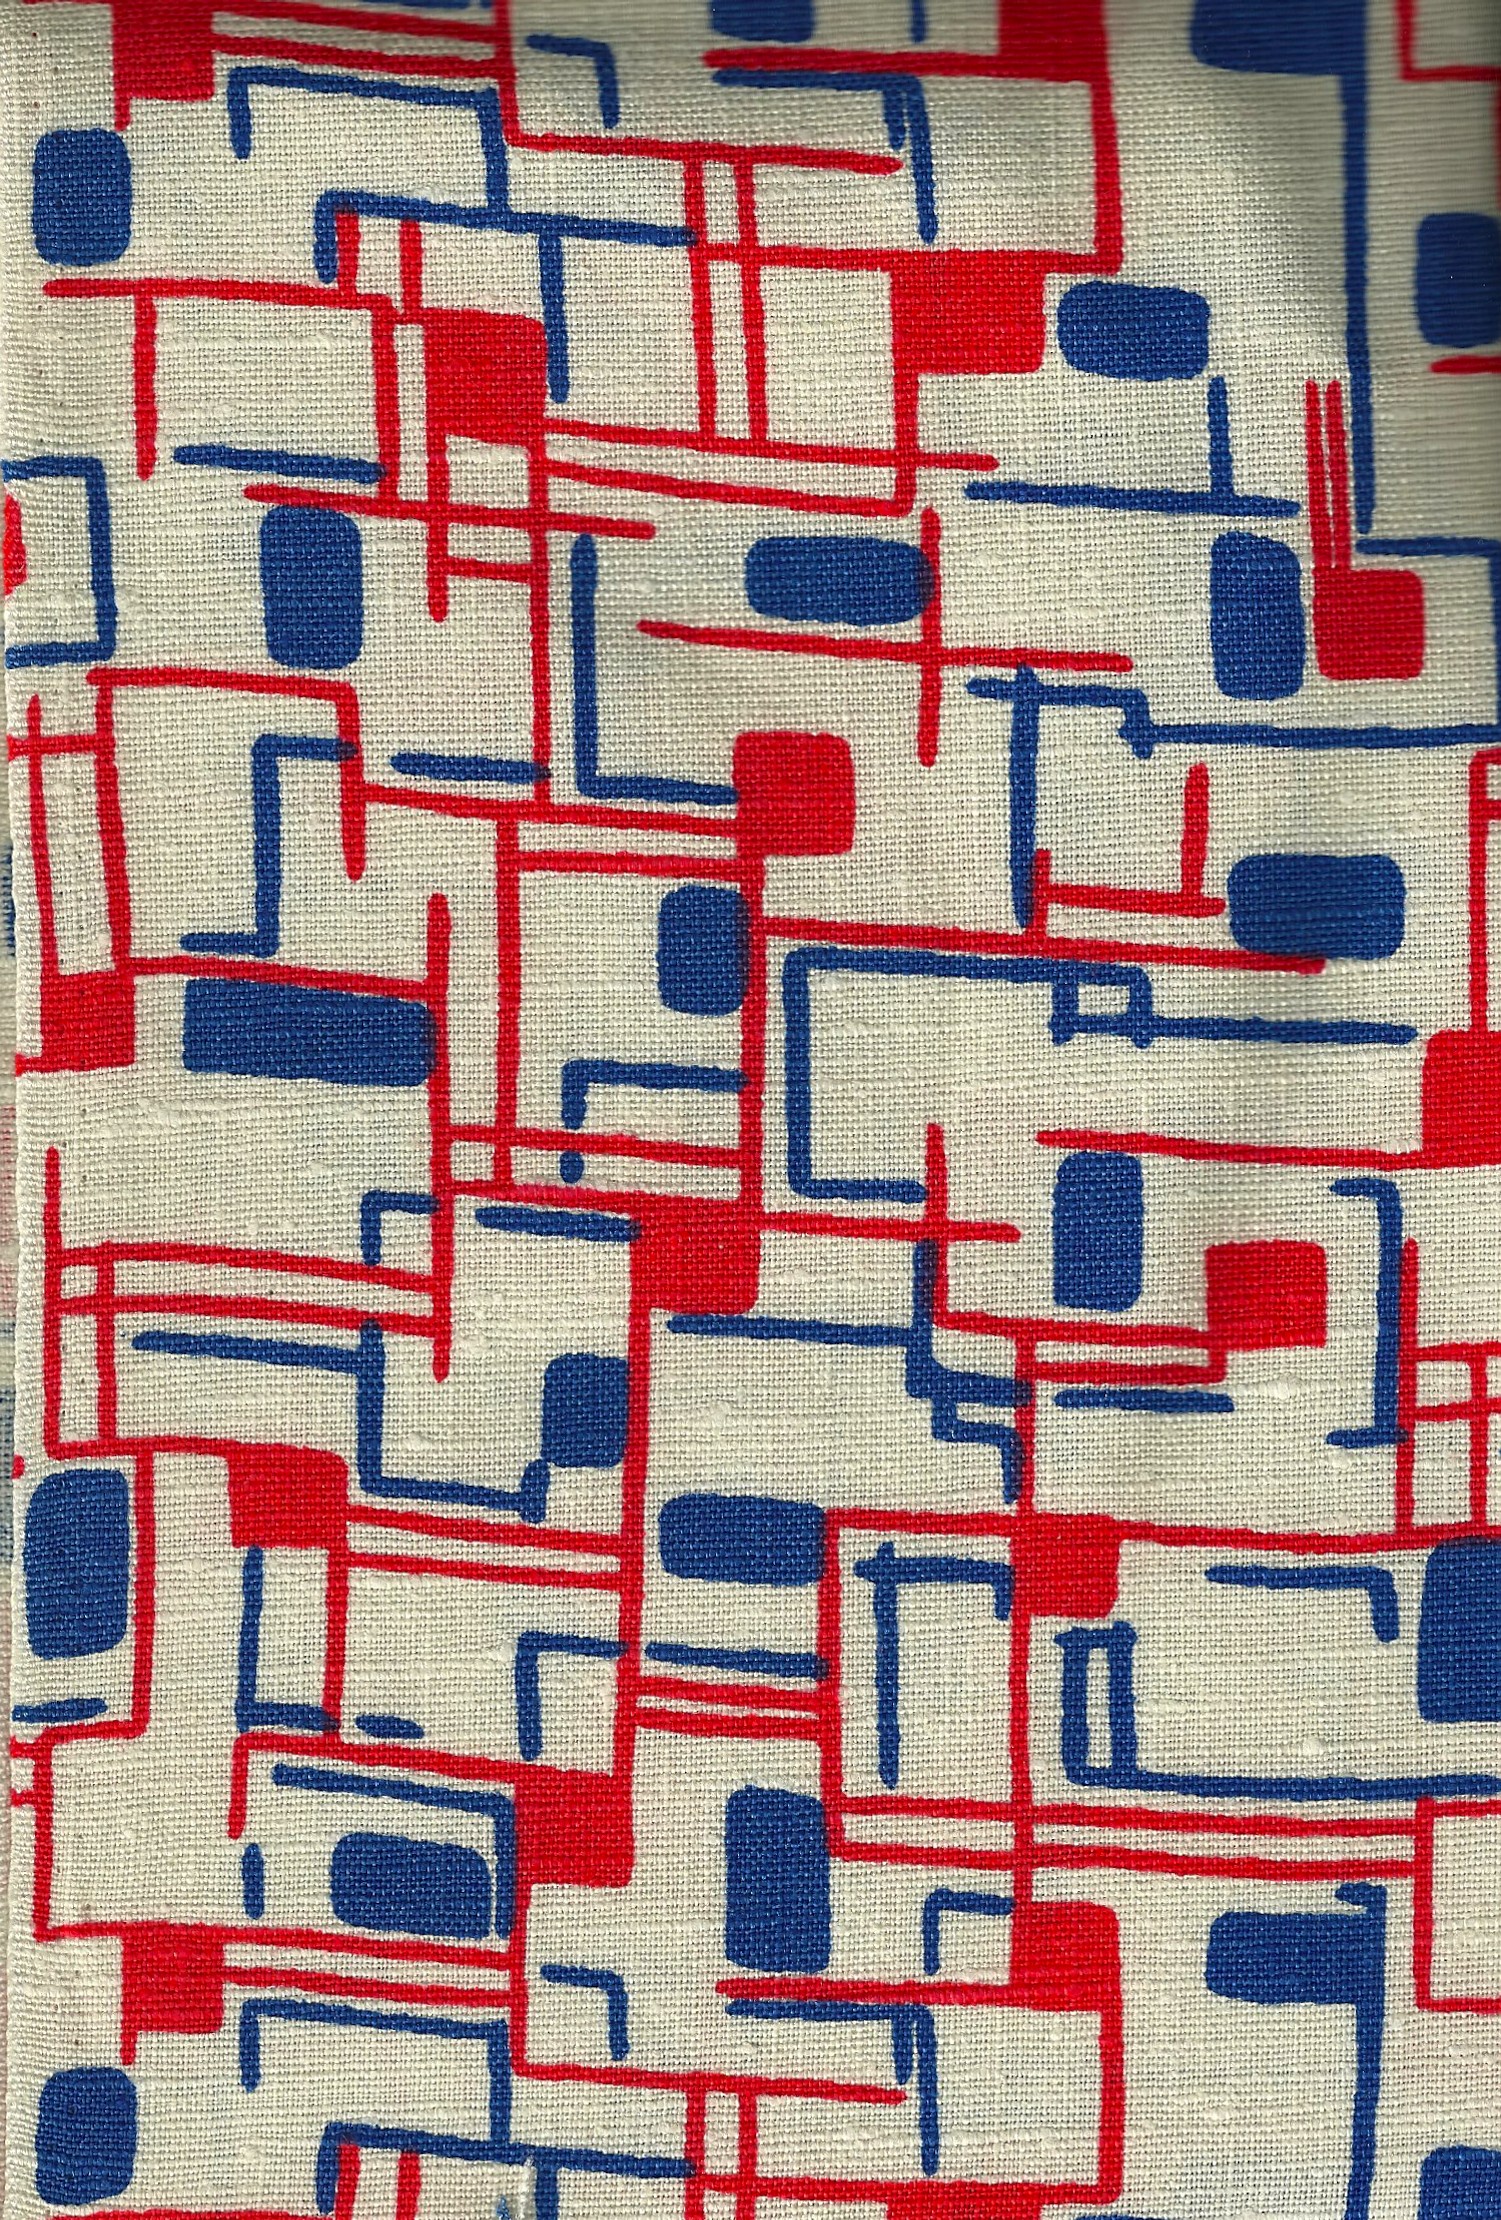
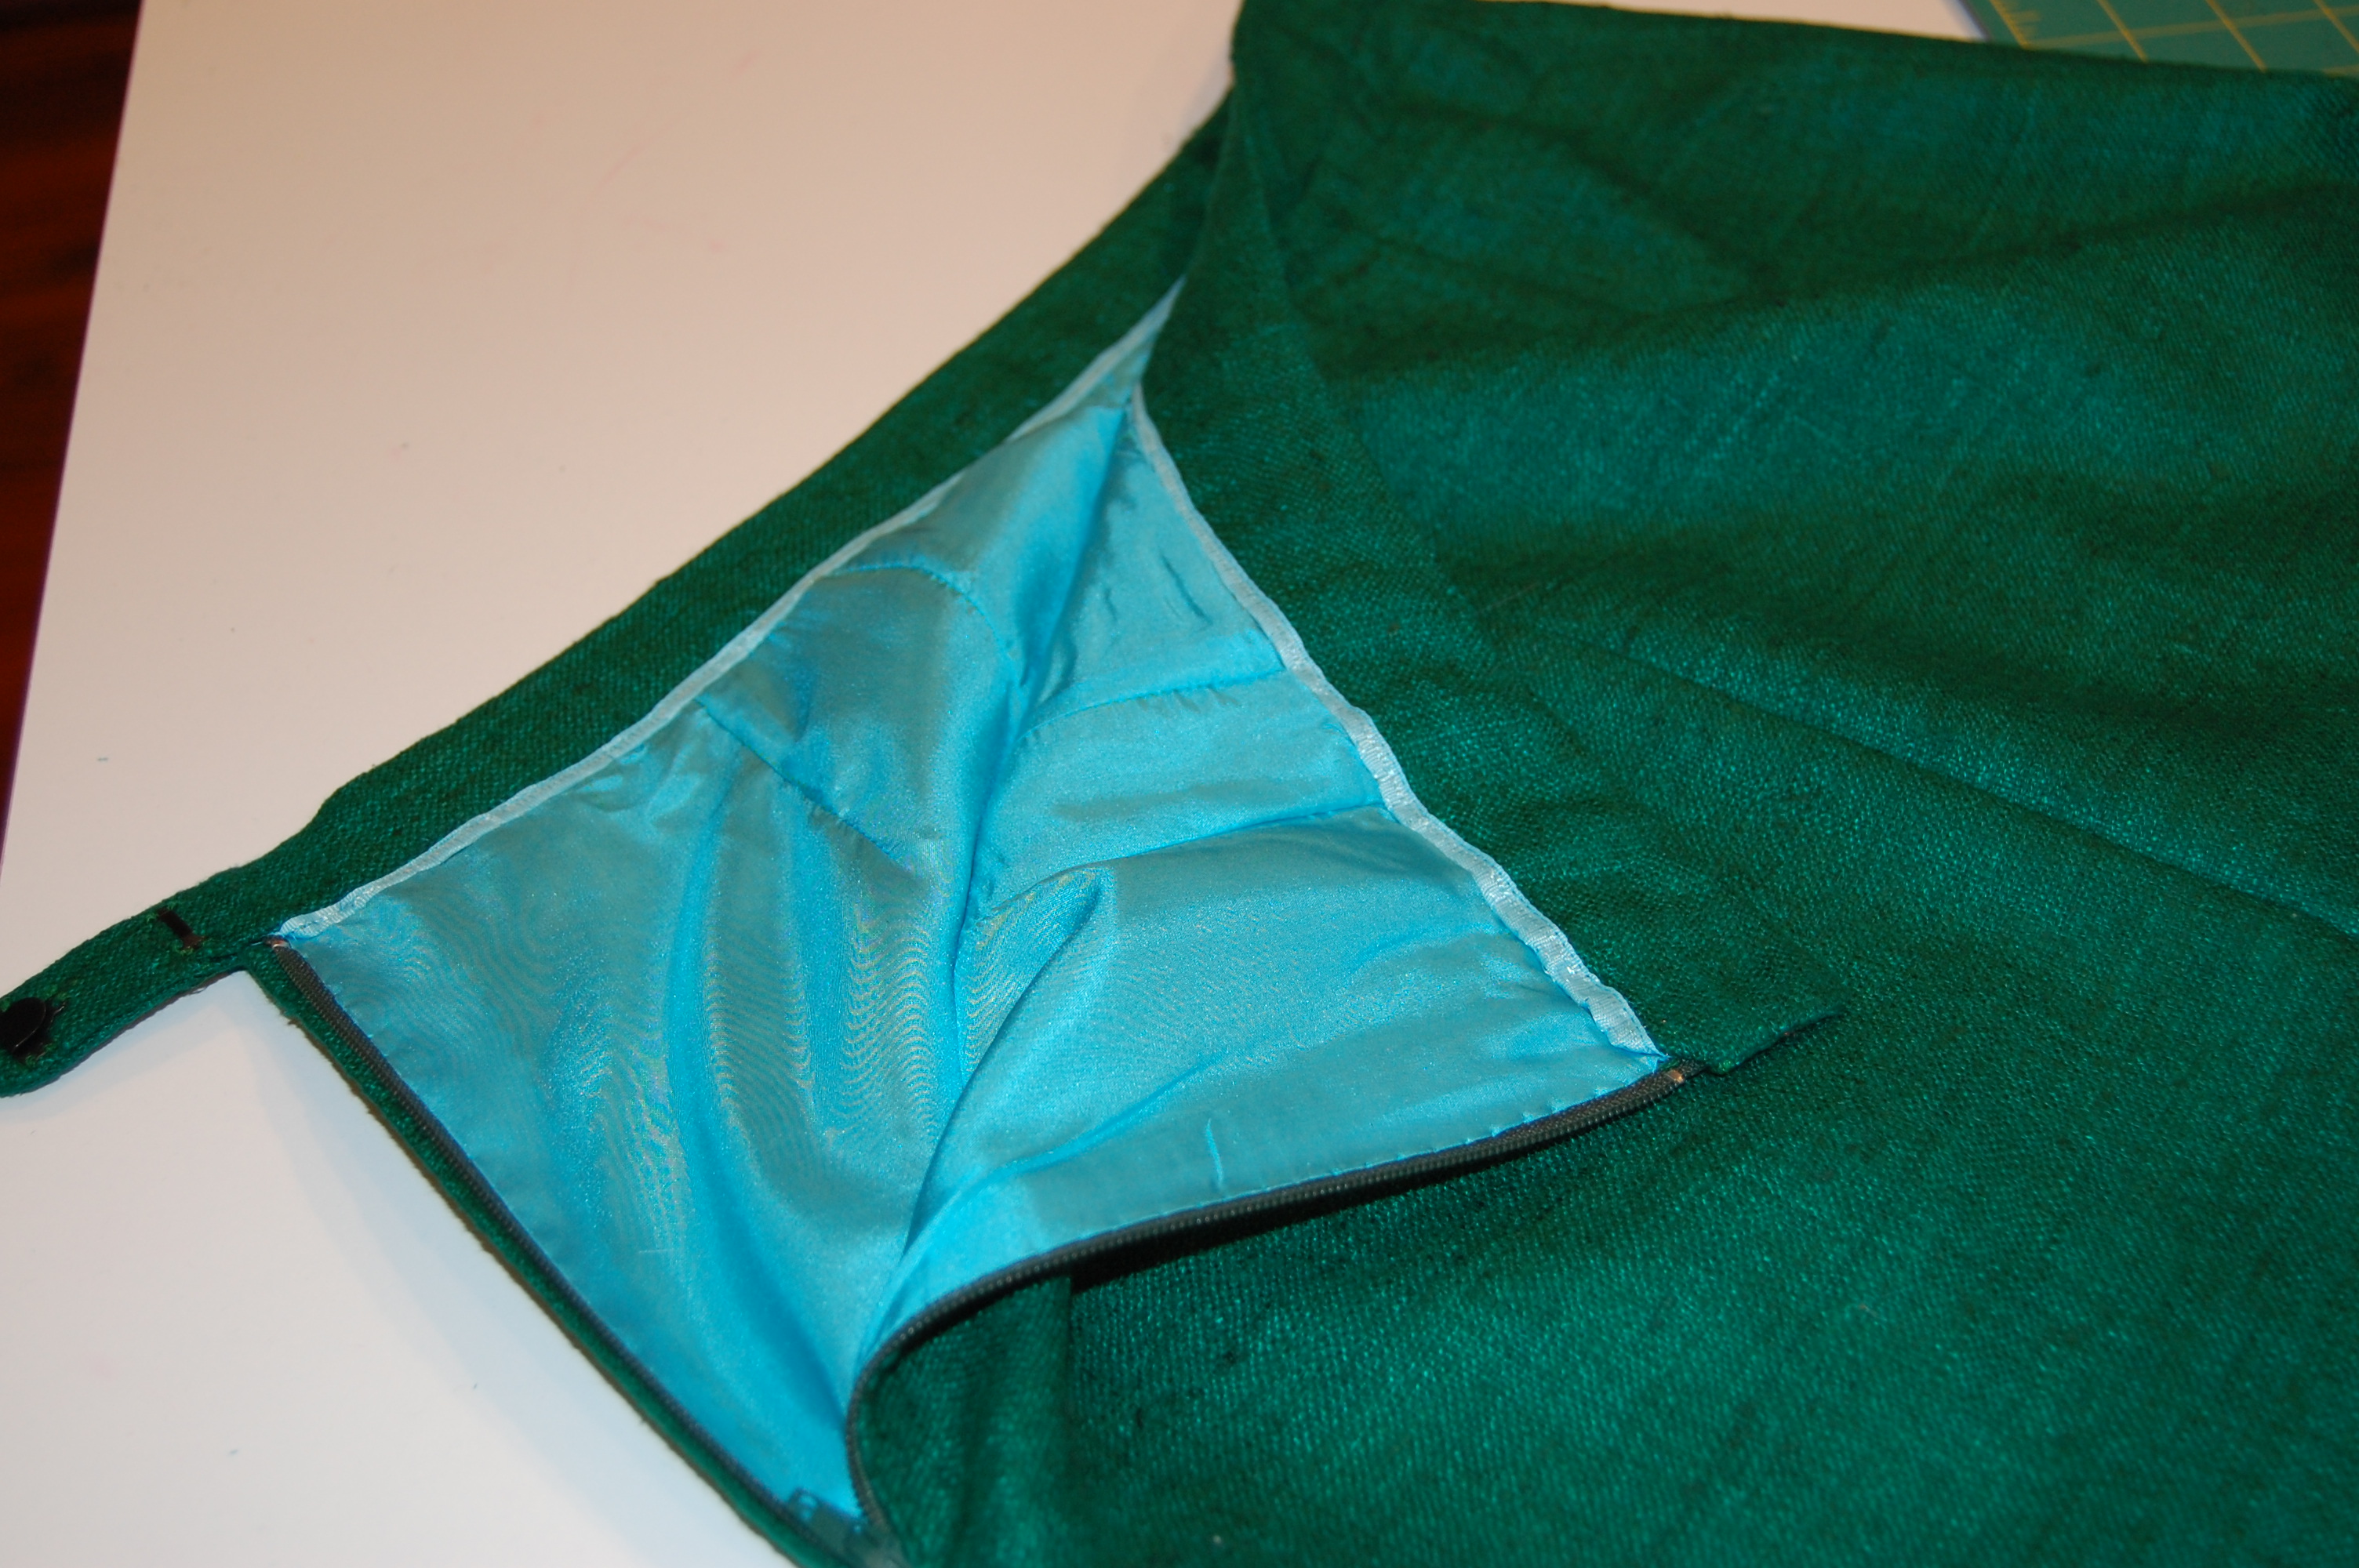
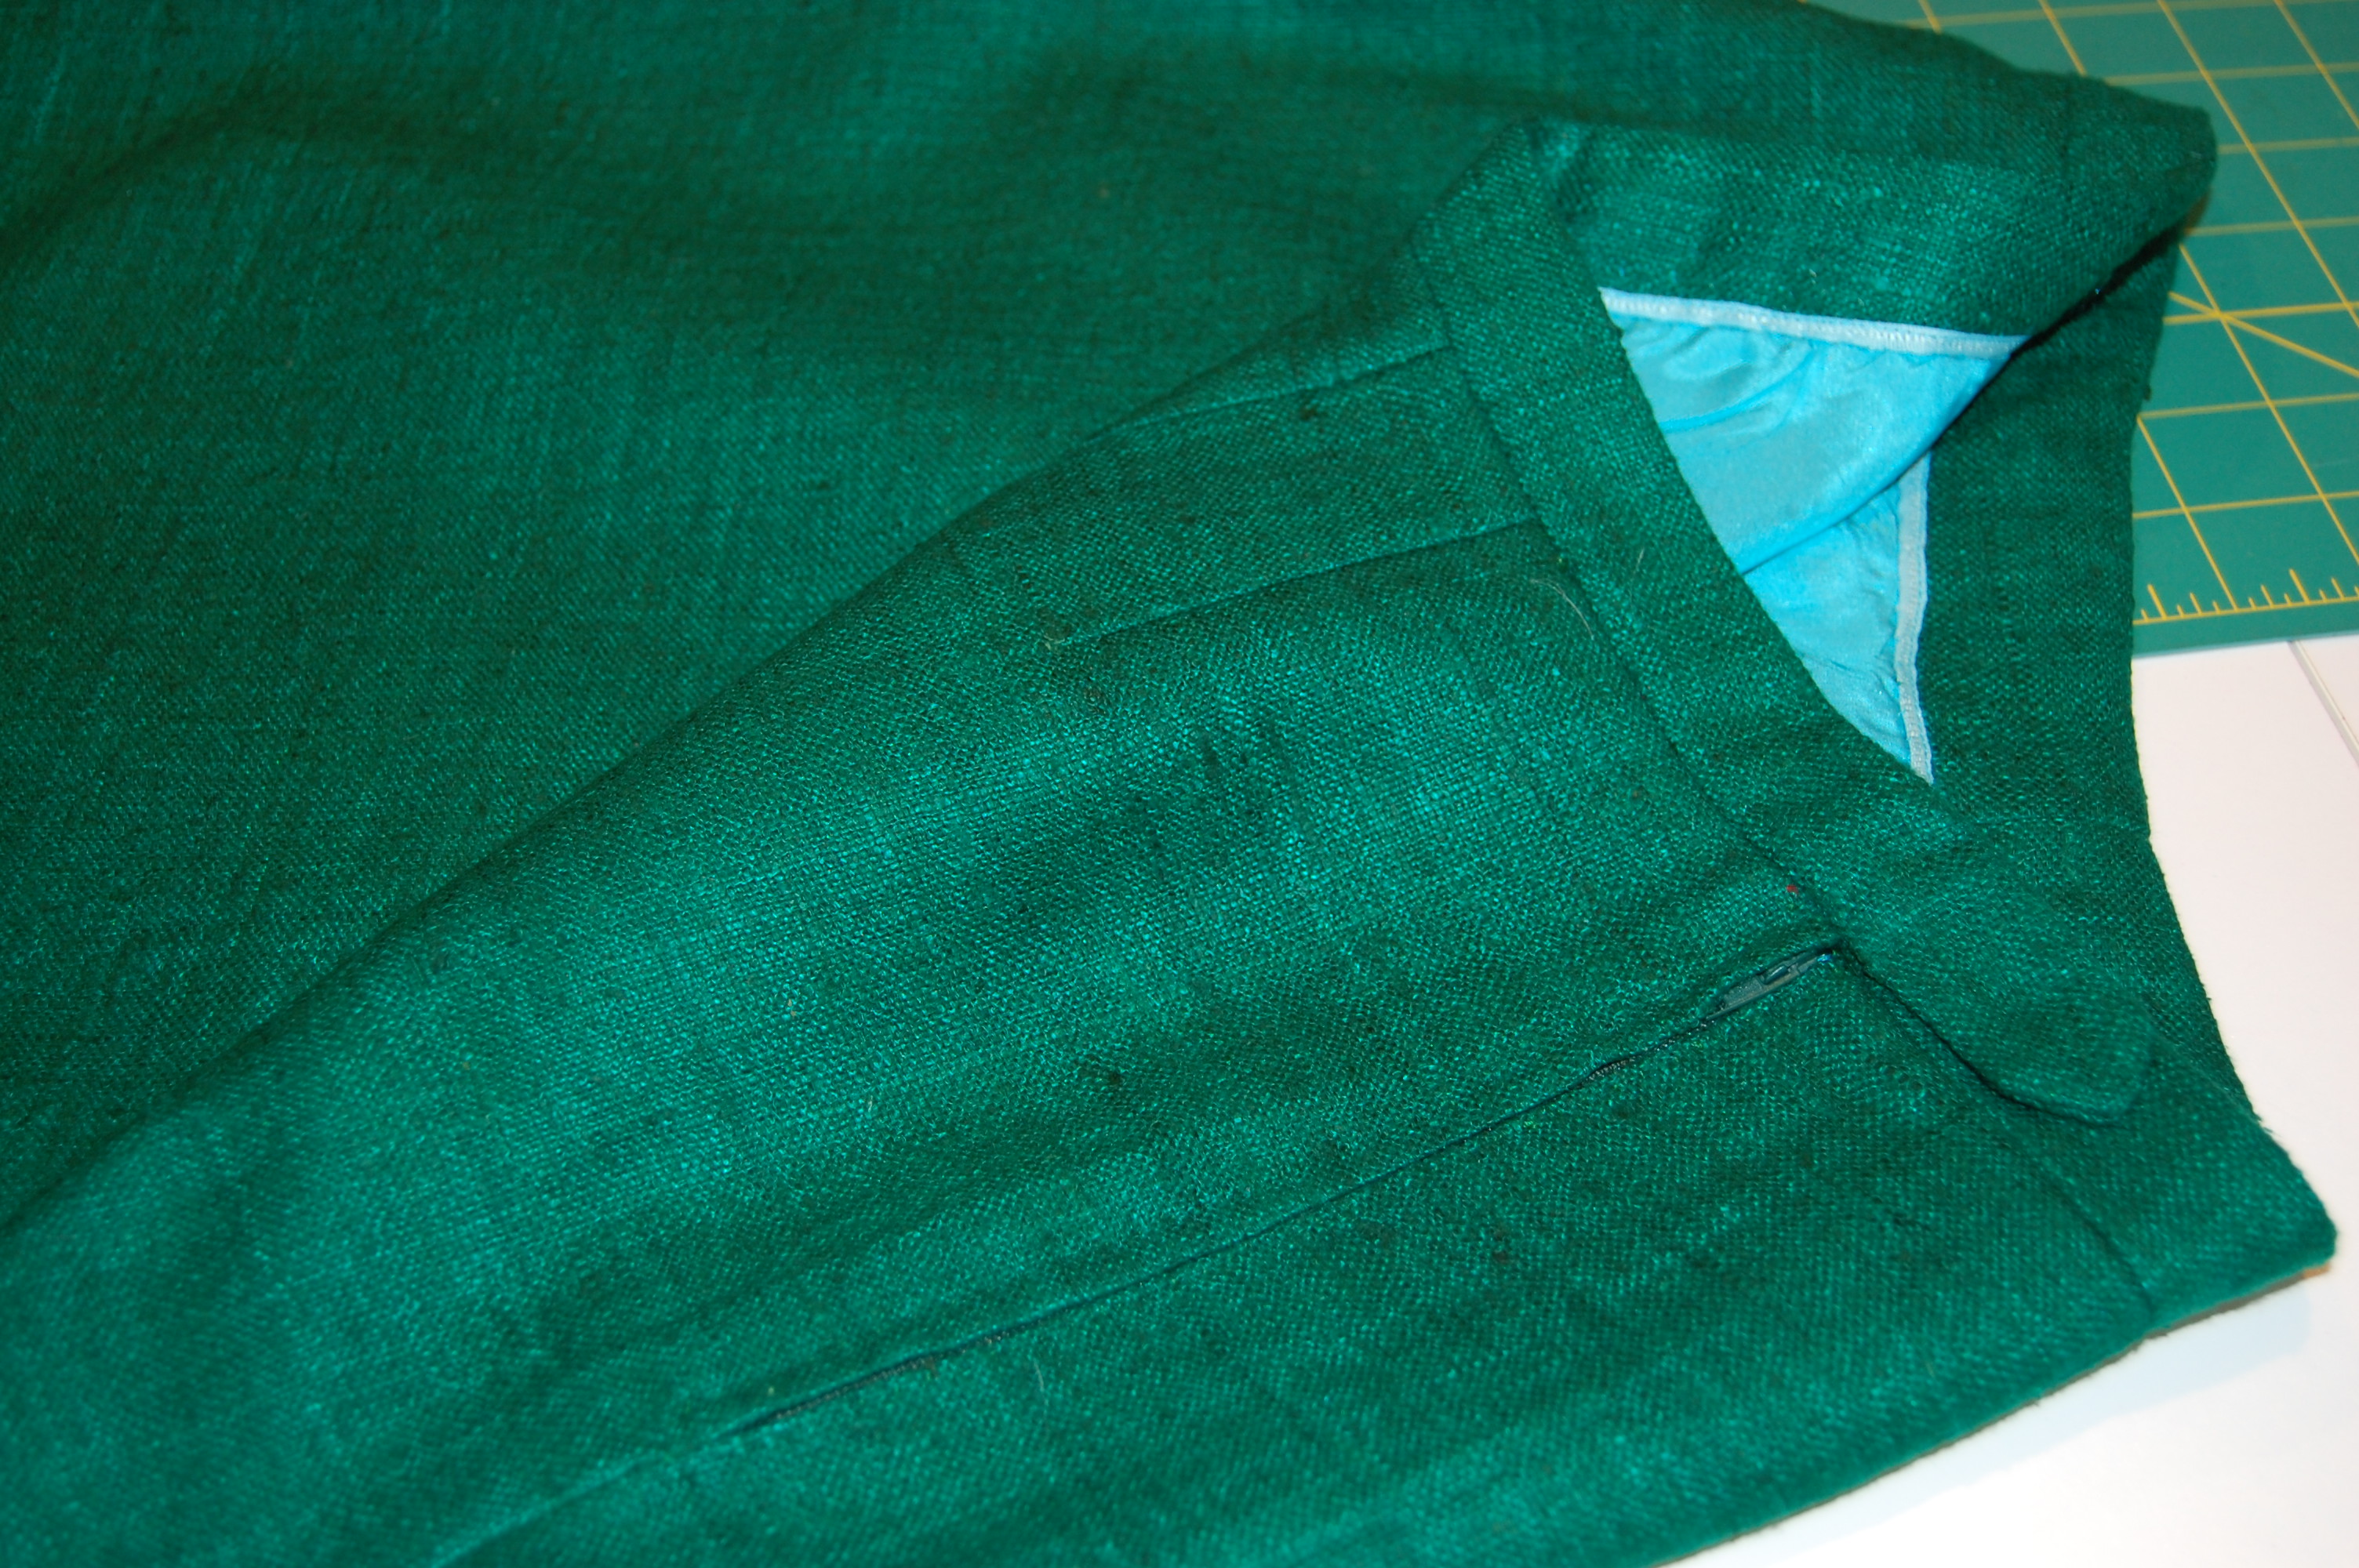
Silk lining fabric was next on the list, and I wanted something figured rather than plain. Inna pulled out a bolt of Italian charmeuse, which picked up the geometric feel of the jacket, and introduced a little red into the mix. I couldn’t be happier with it.

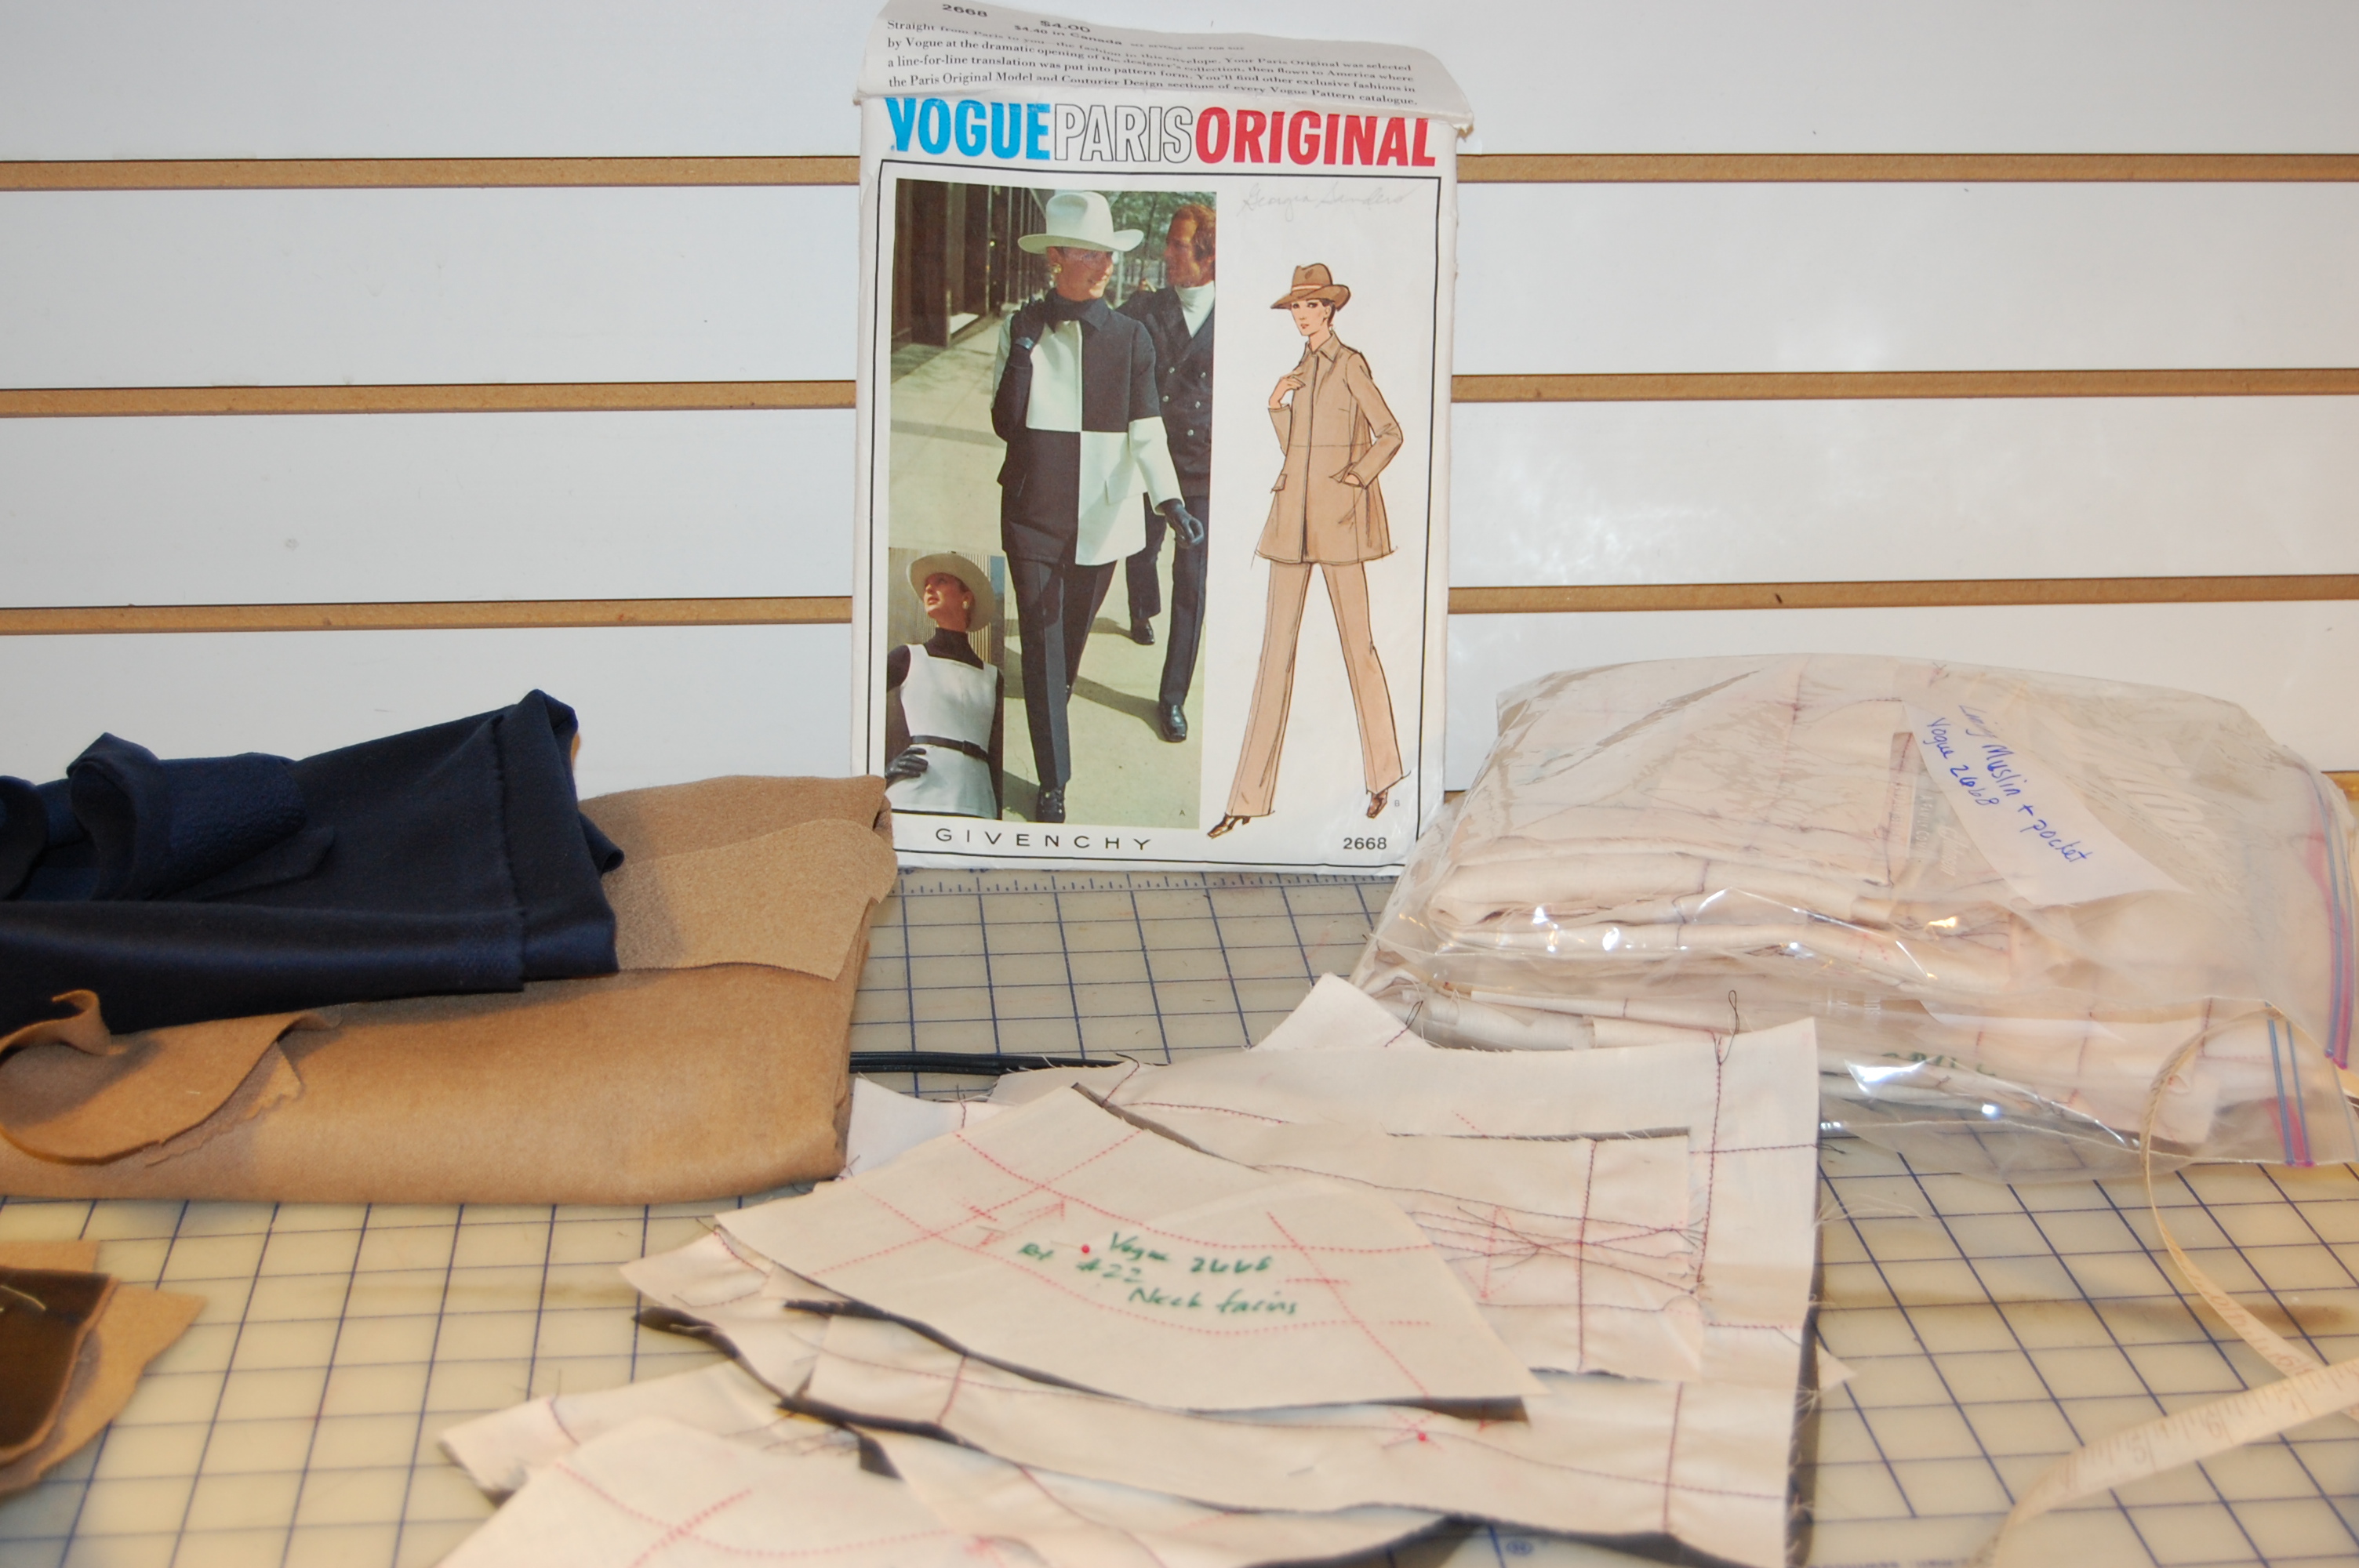
I am not so sure this photo gives the best sense of the colors of the fabrics, but you will see more in other photos.
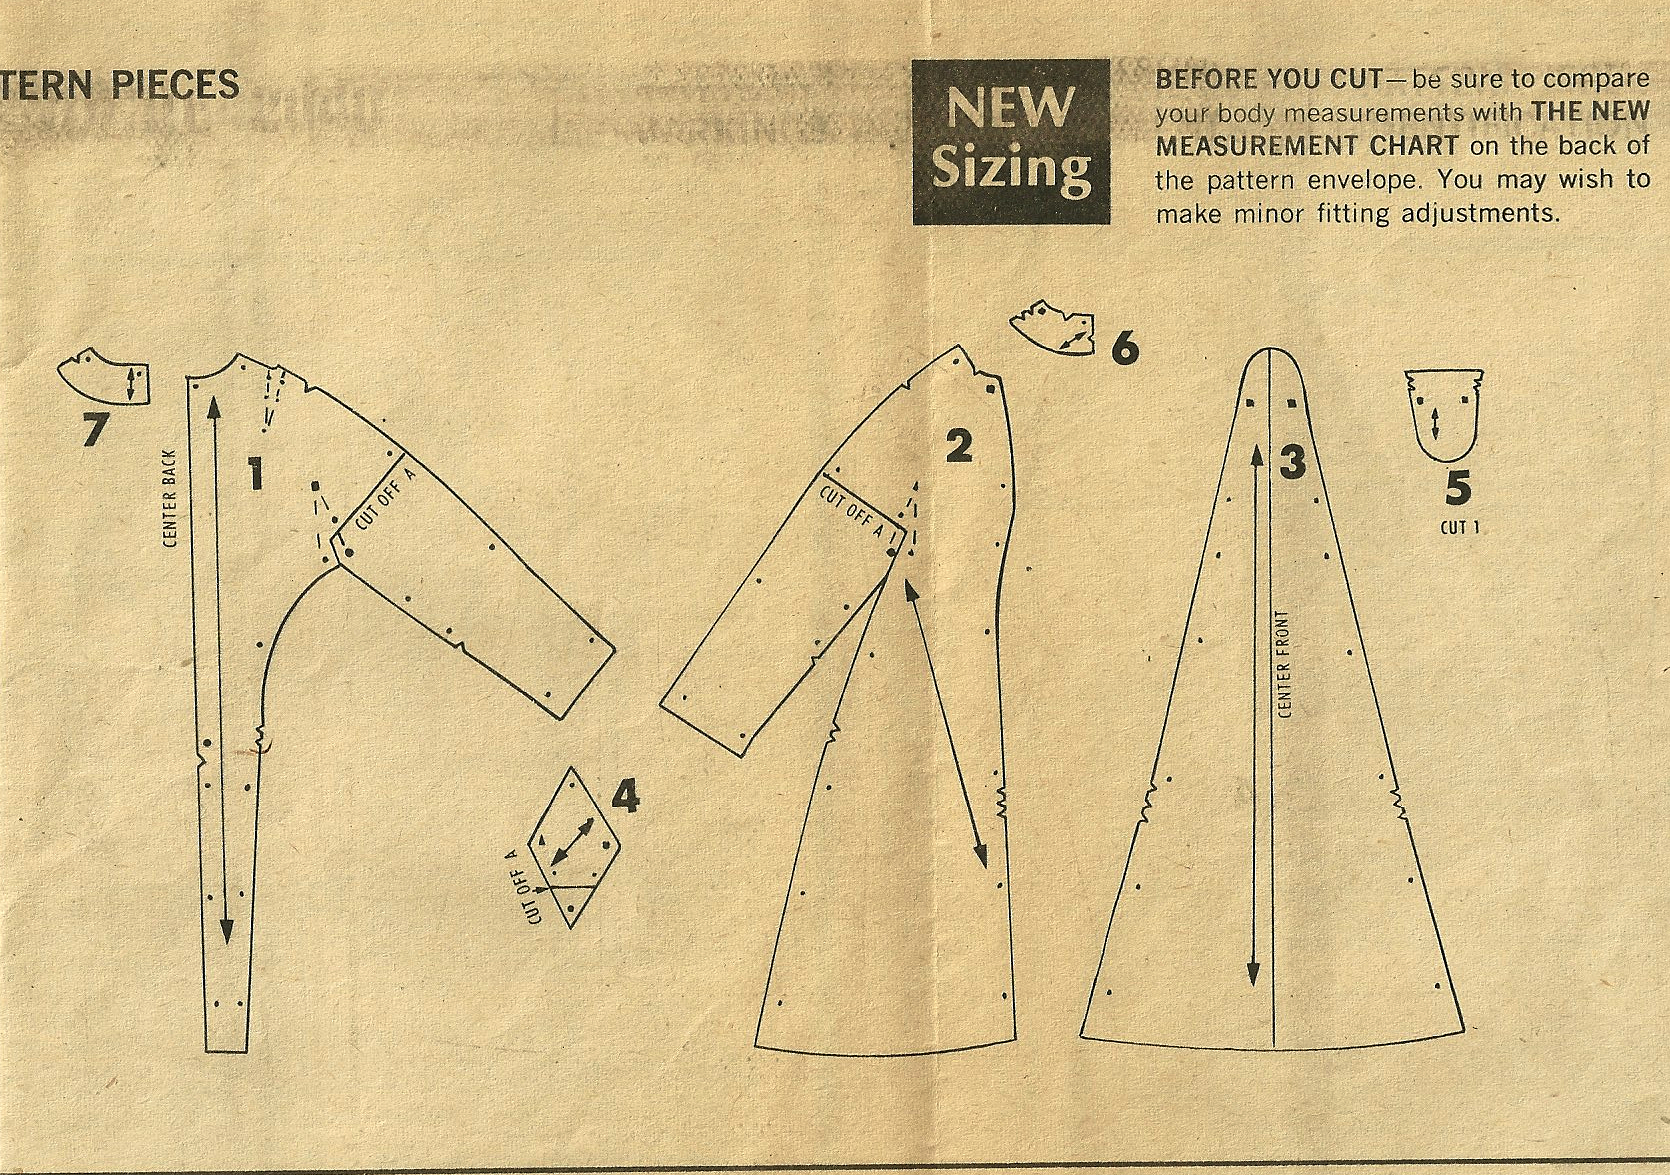
Back at The Sewing Workshop, armed with fabrics and enthusiasm, I spent the next two days cutting out the multi-, multi-pieced pattern (31 separate pieces, all of which would be cut in tandem, making 62 in all, not including the lining!), and basting the silk organza underlinings to each and every piece.
My well-lit and spacious work space at The Sewing Workshop.
Because of the color blocking, I needed to pay great attention to which piece was to be cut in blue and which piece in camel. Initially I went through and labeled each muslin piece “navy” or “camel”. Susan double-checked me, but then suggested that, because I absolutely could not make a costly mistake, that I pin the muslin pieces onto the available dress form in our studio. What a great idea, one of so many which I picked up from Susan and my classmates!
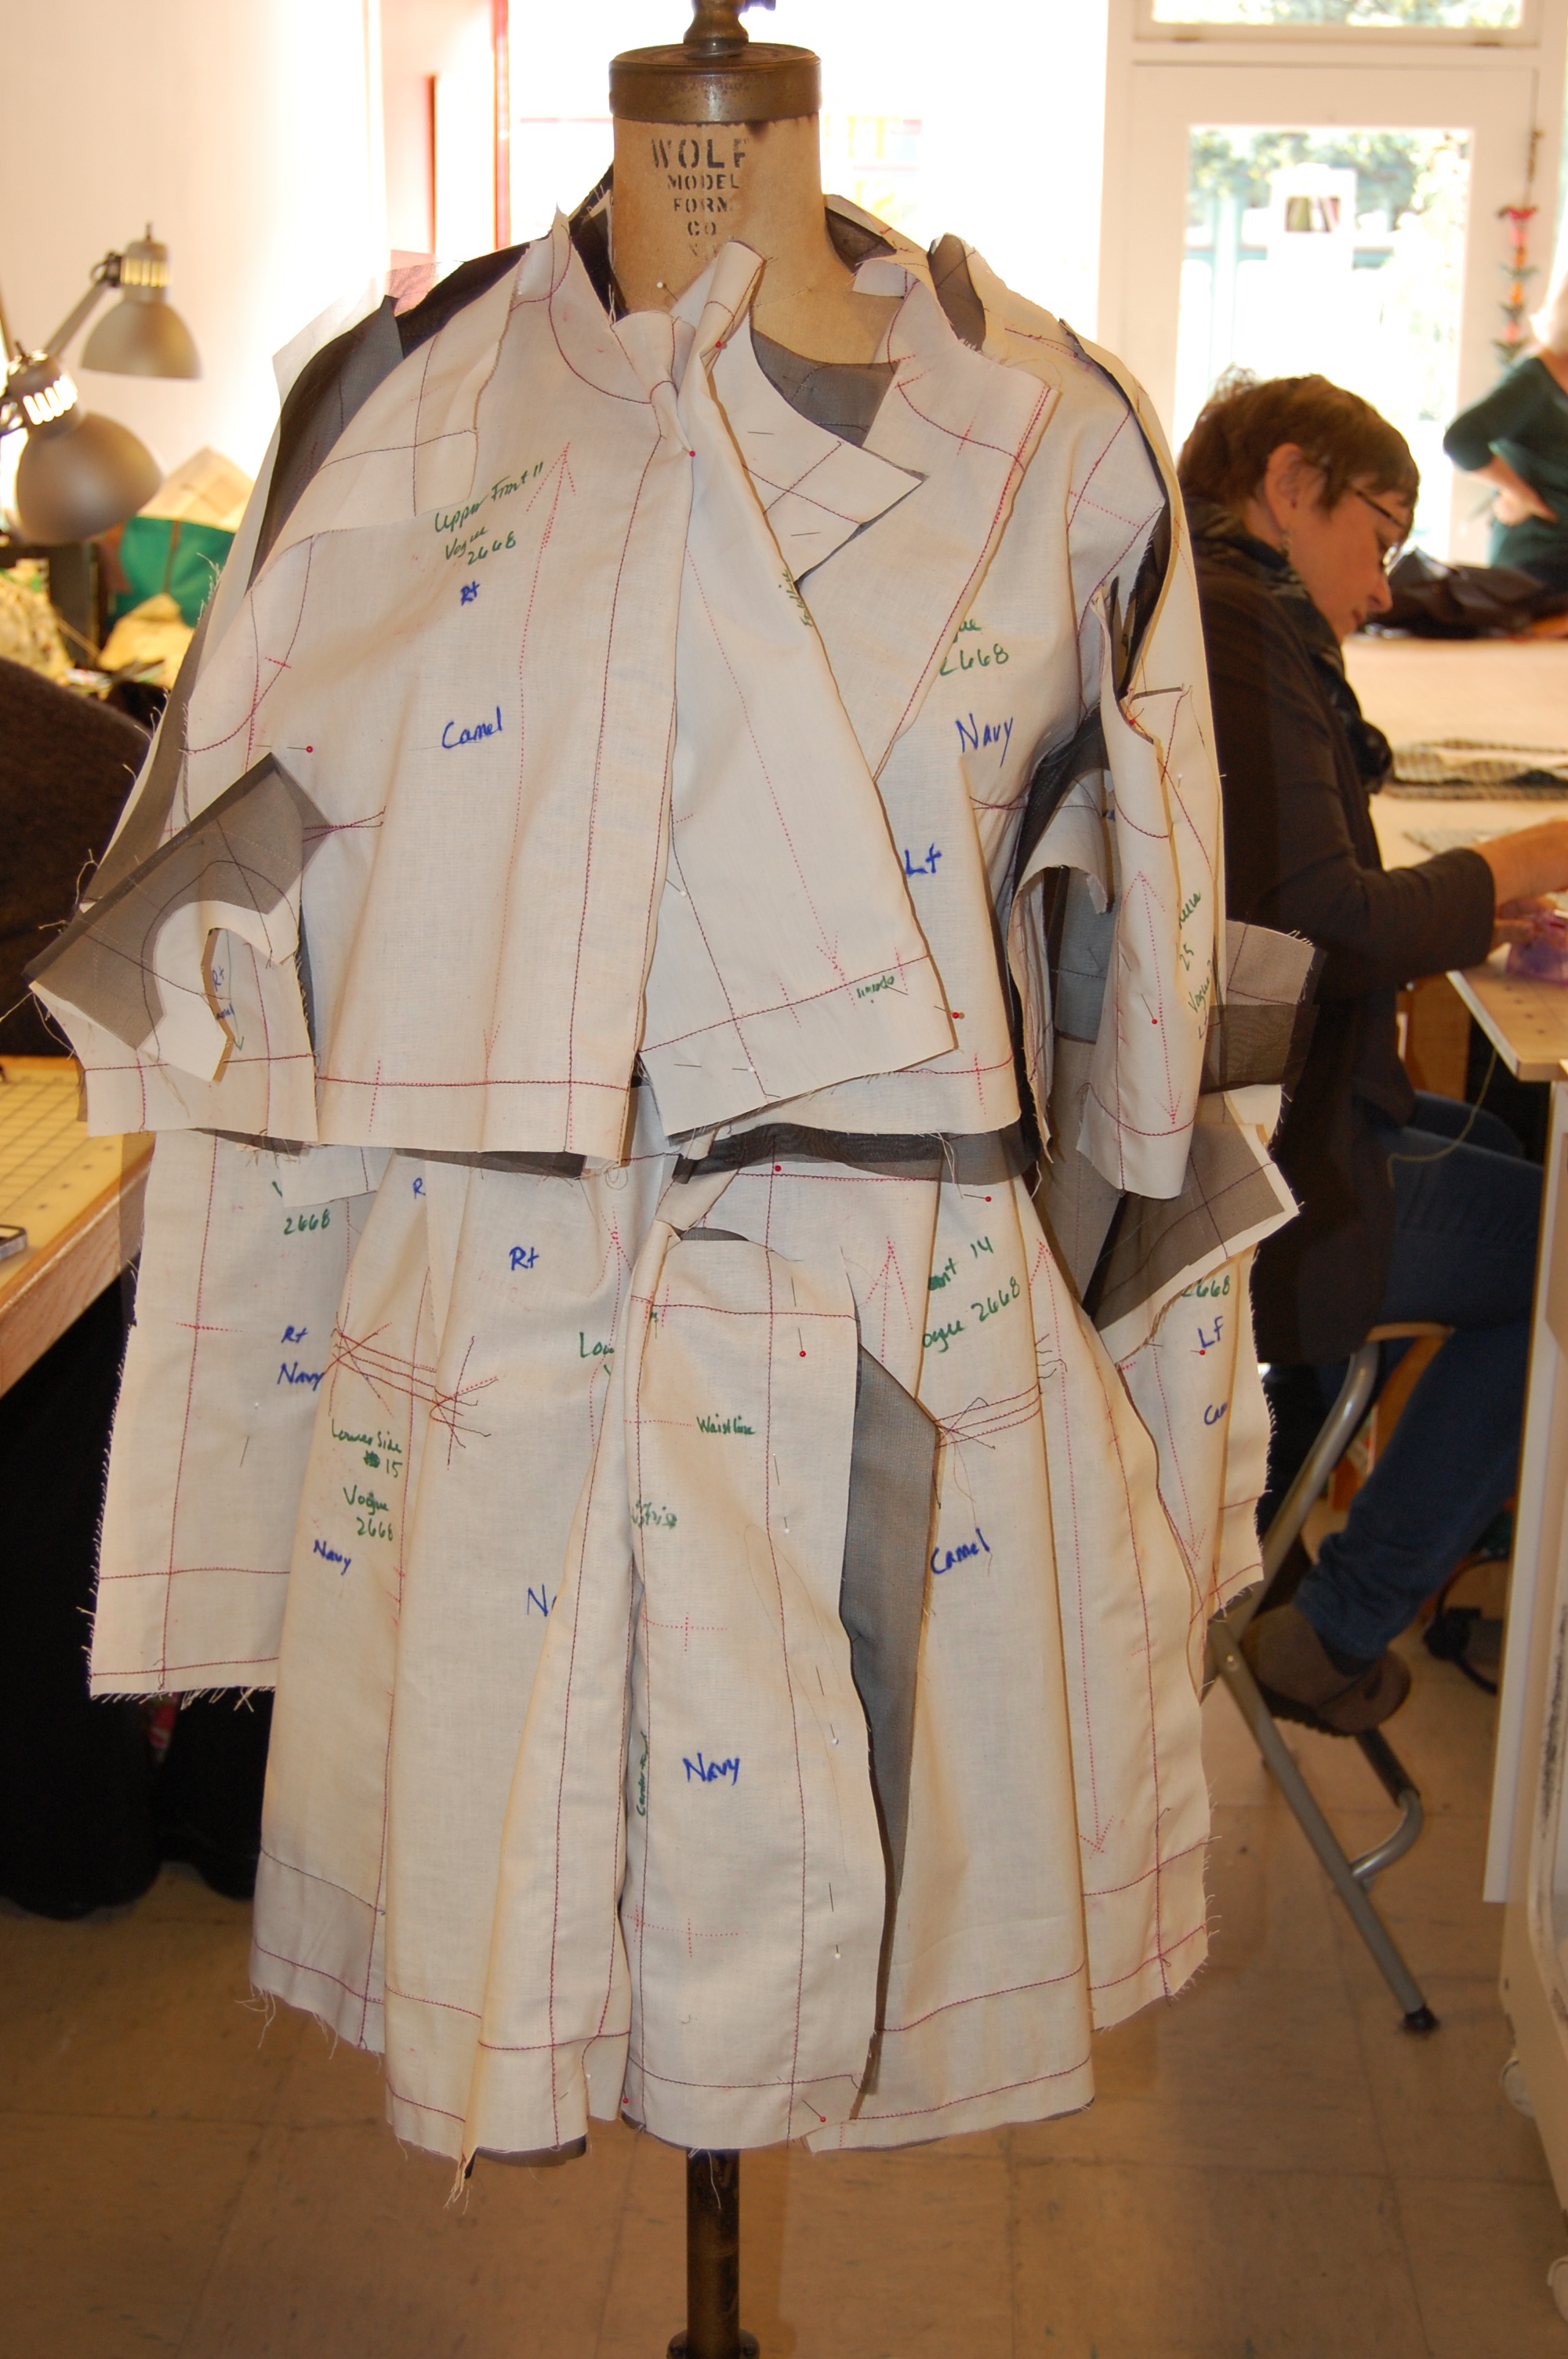
Here is the “front” of the jacket, pinned onto the dress form.
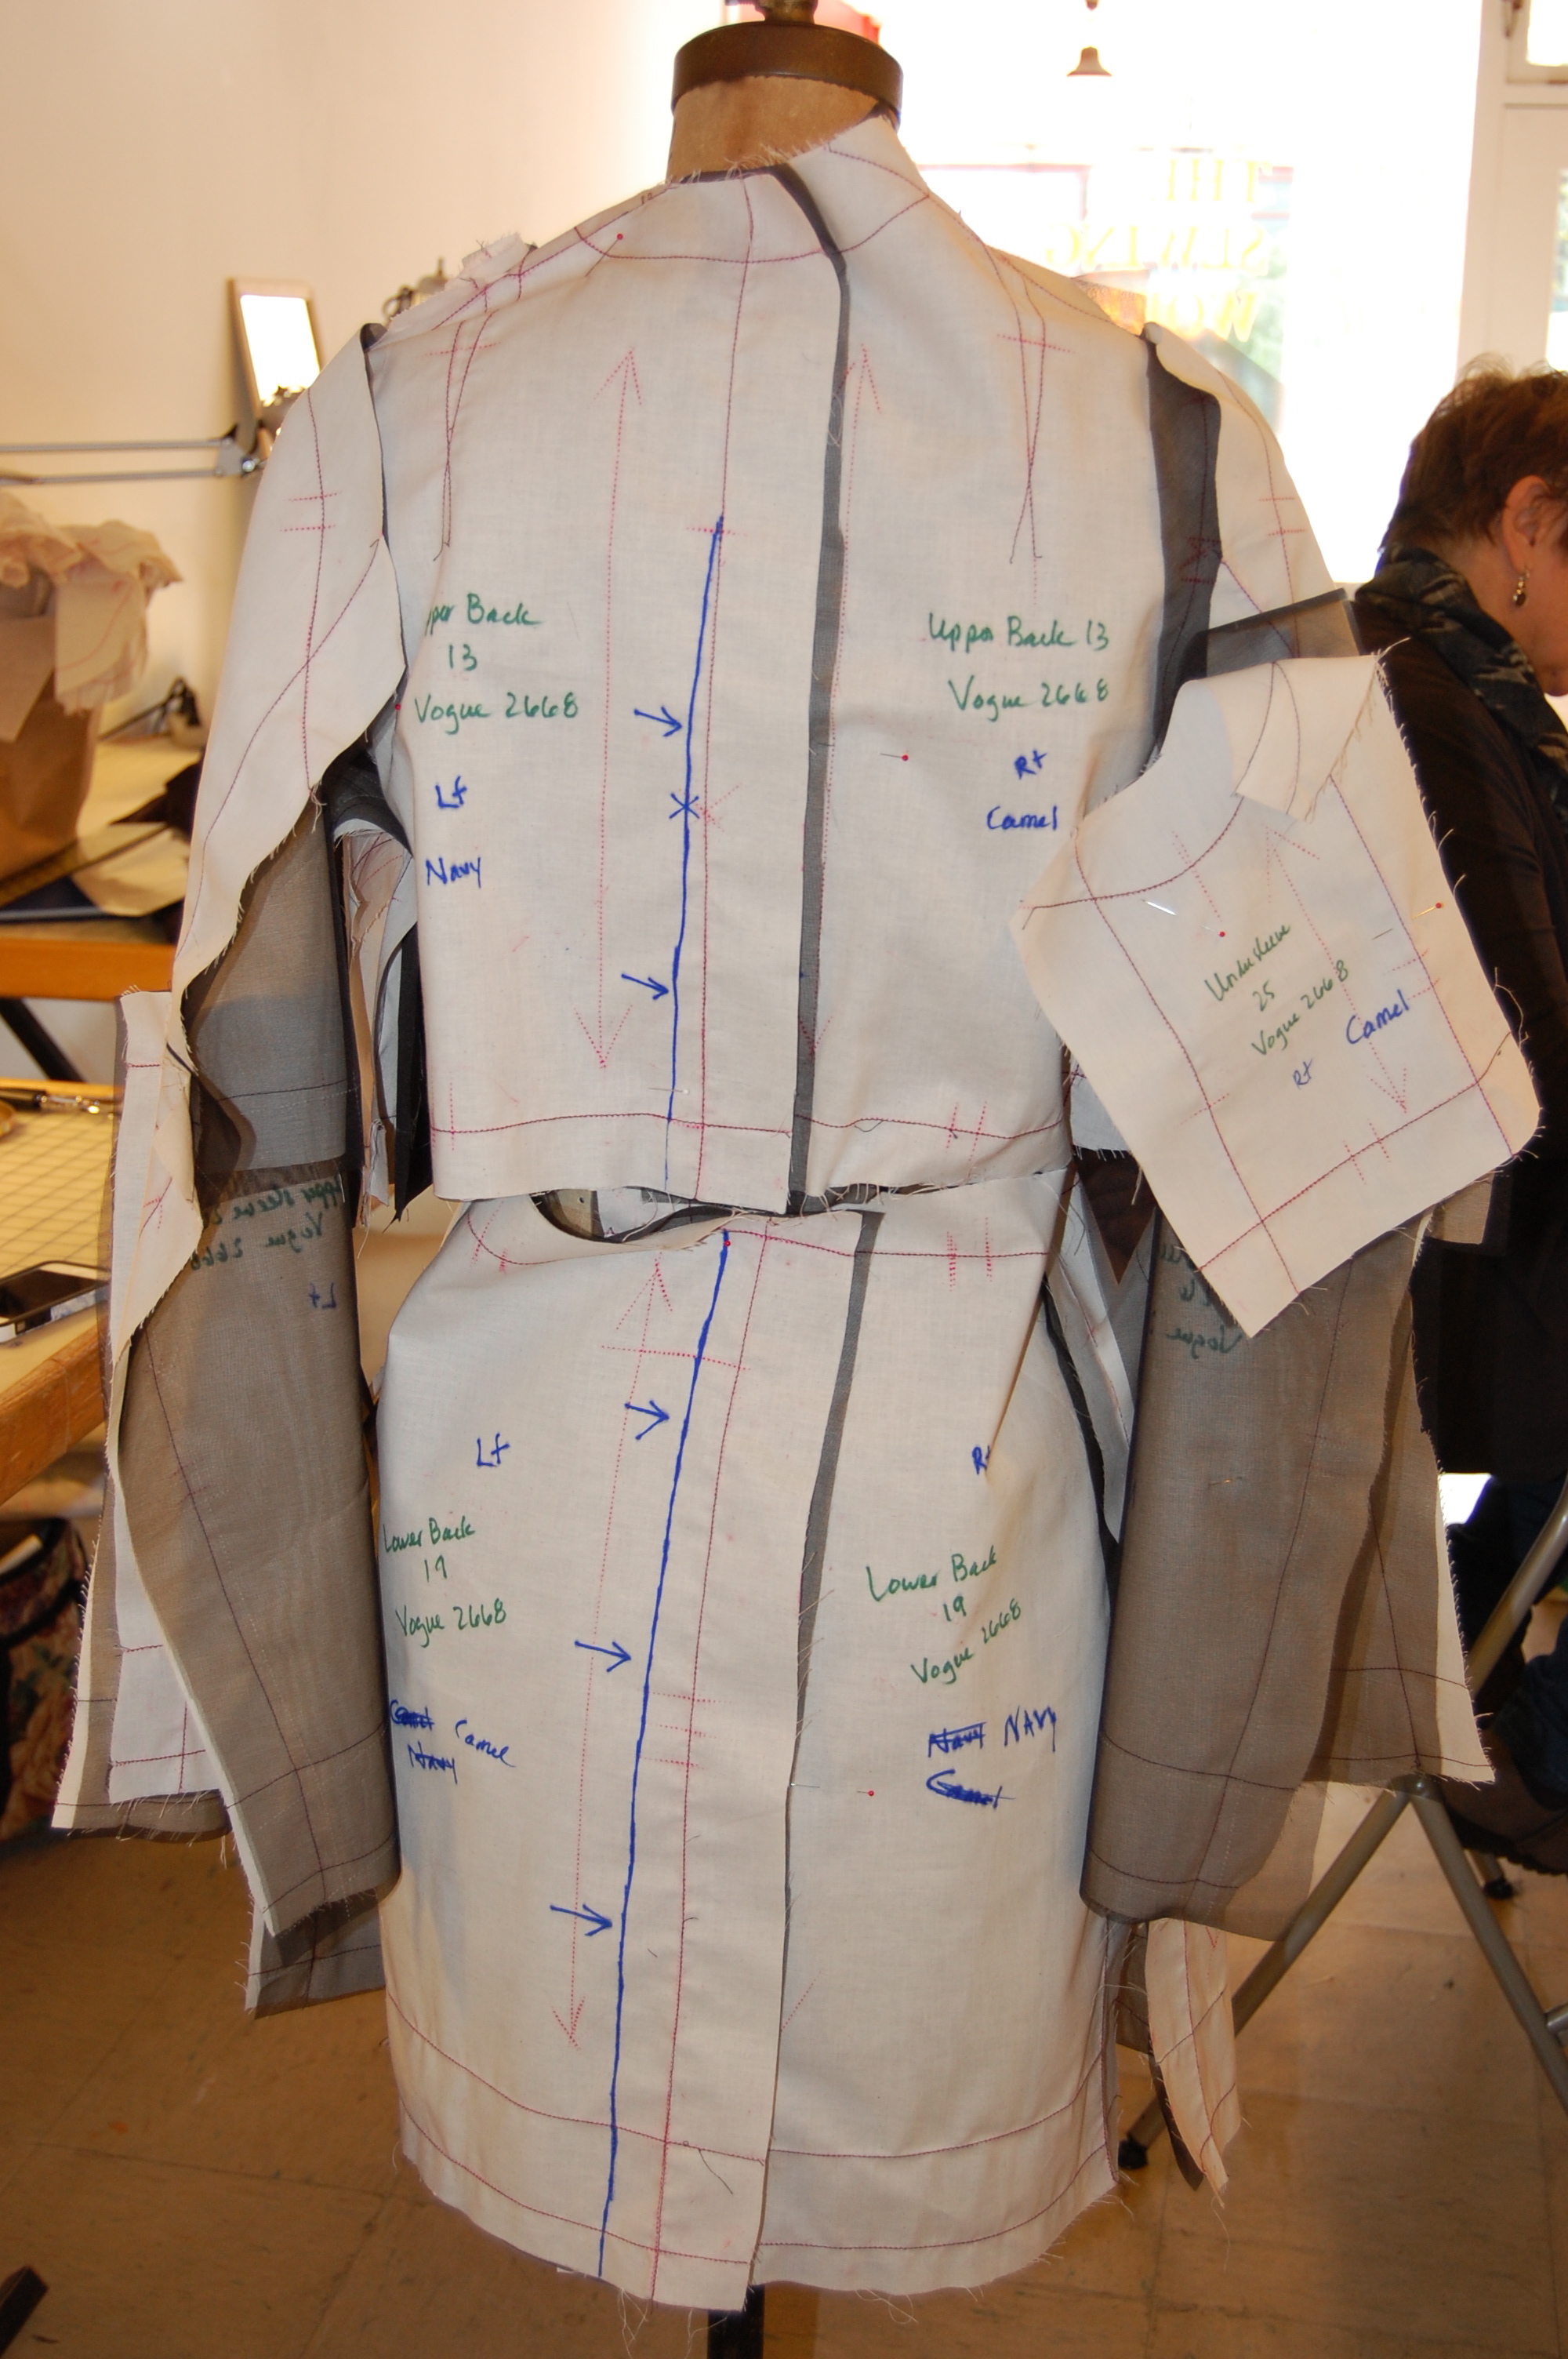
And here is the back.
Now, I felt confident and set about to cut my fashion fabric.
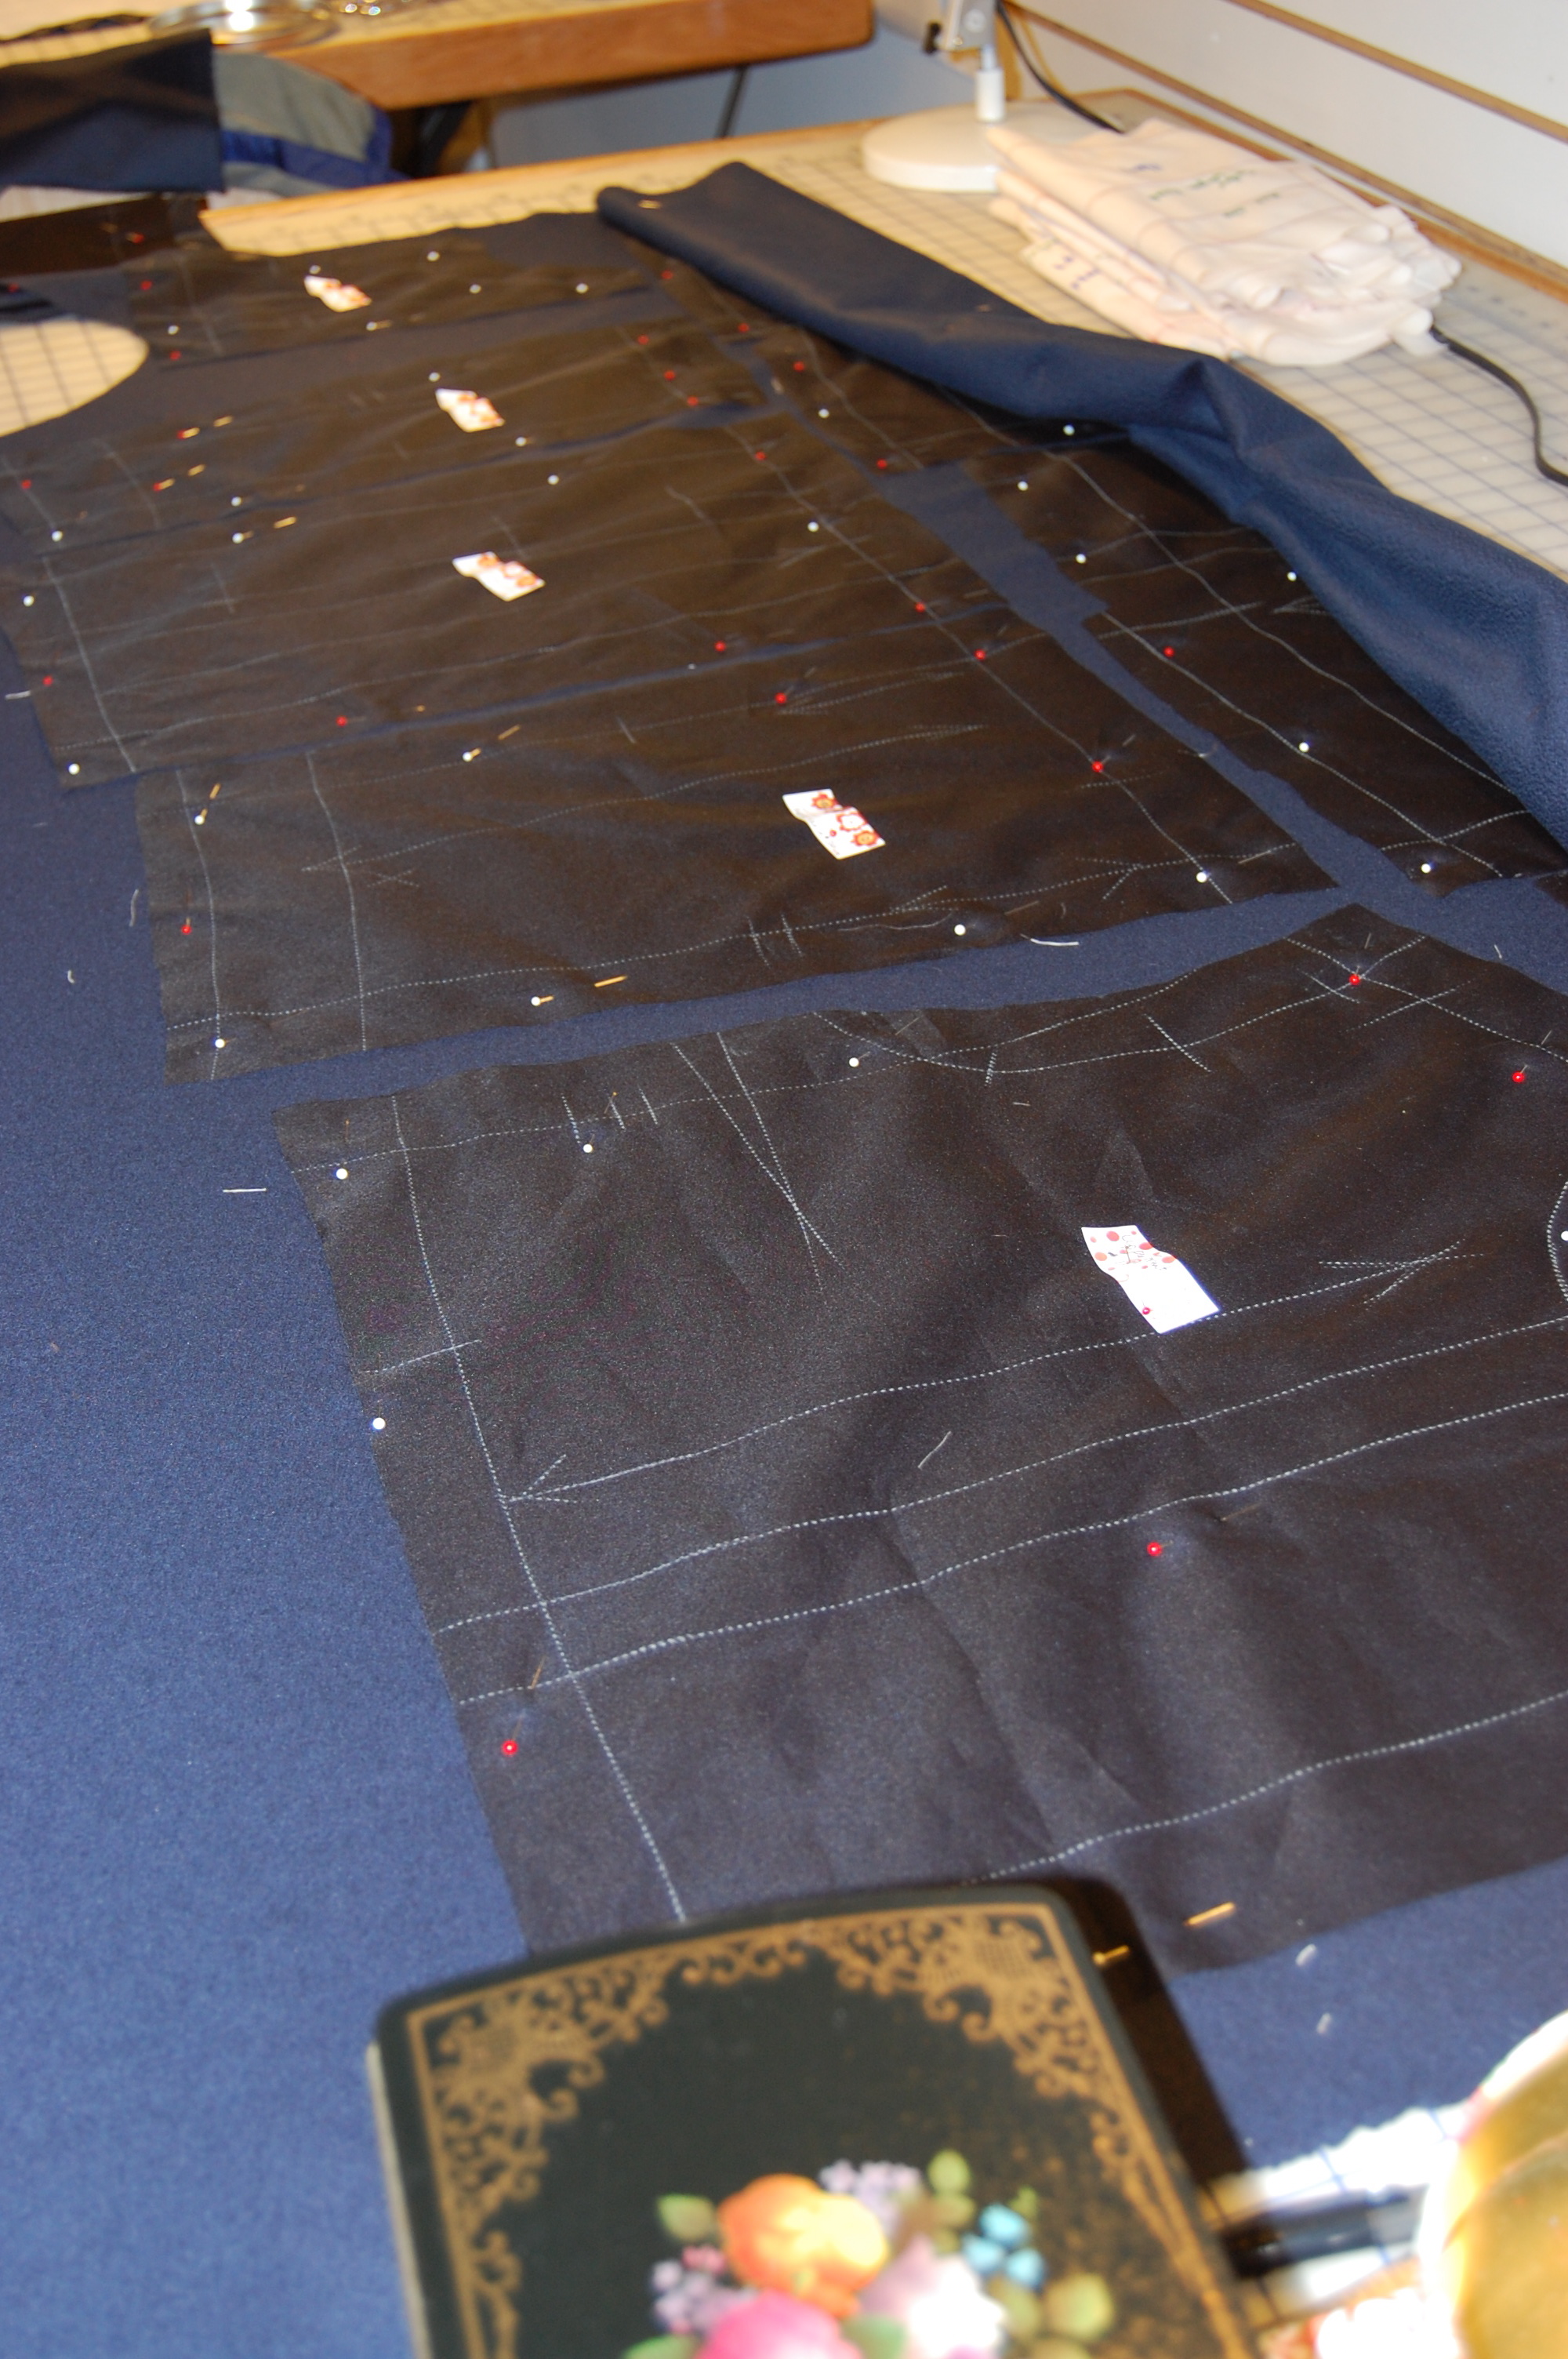
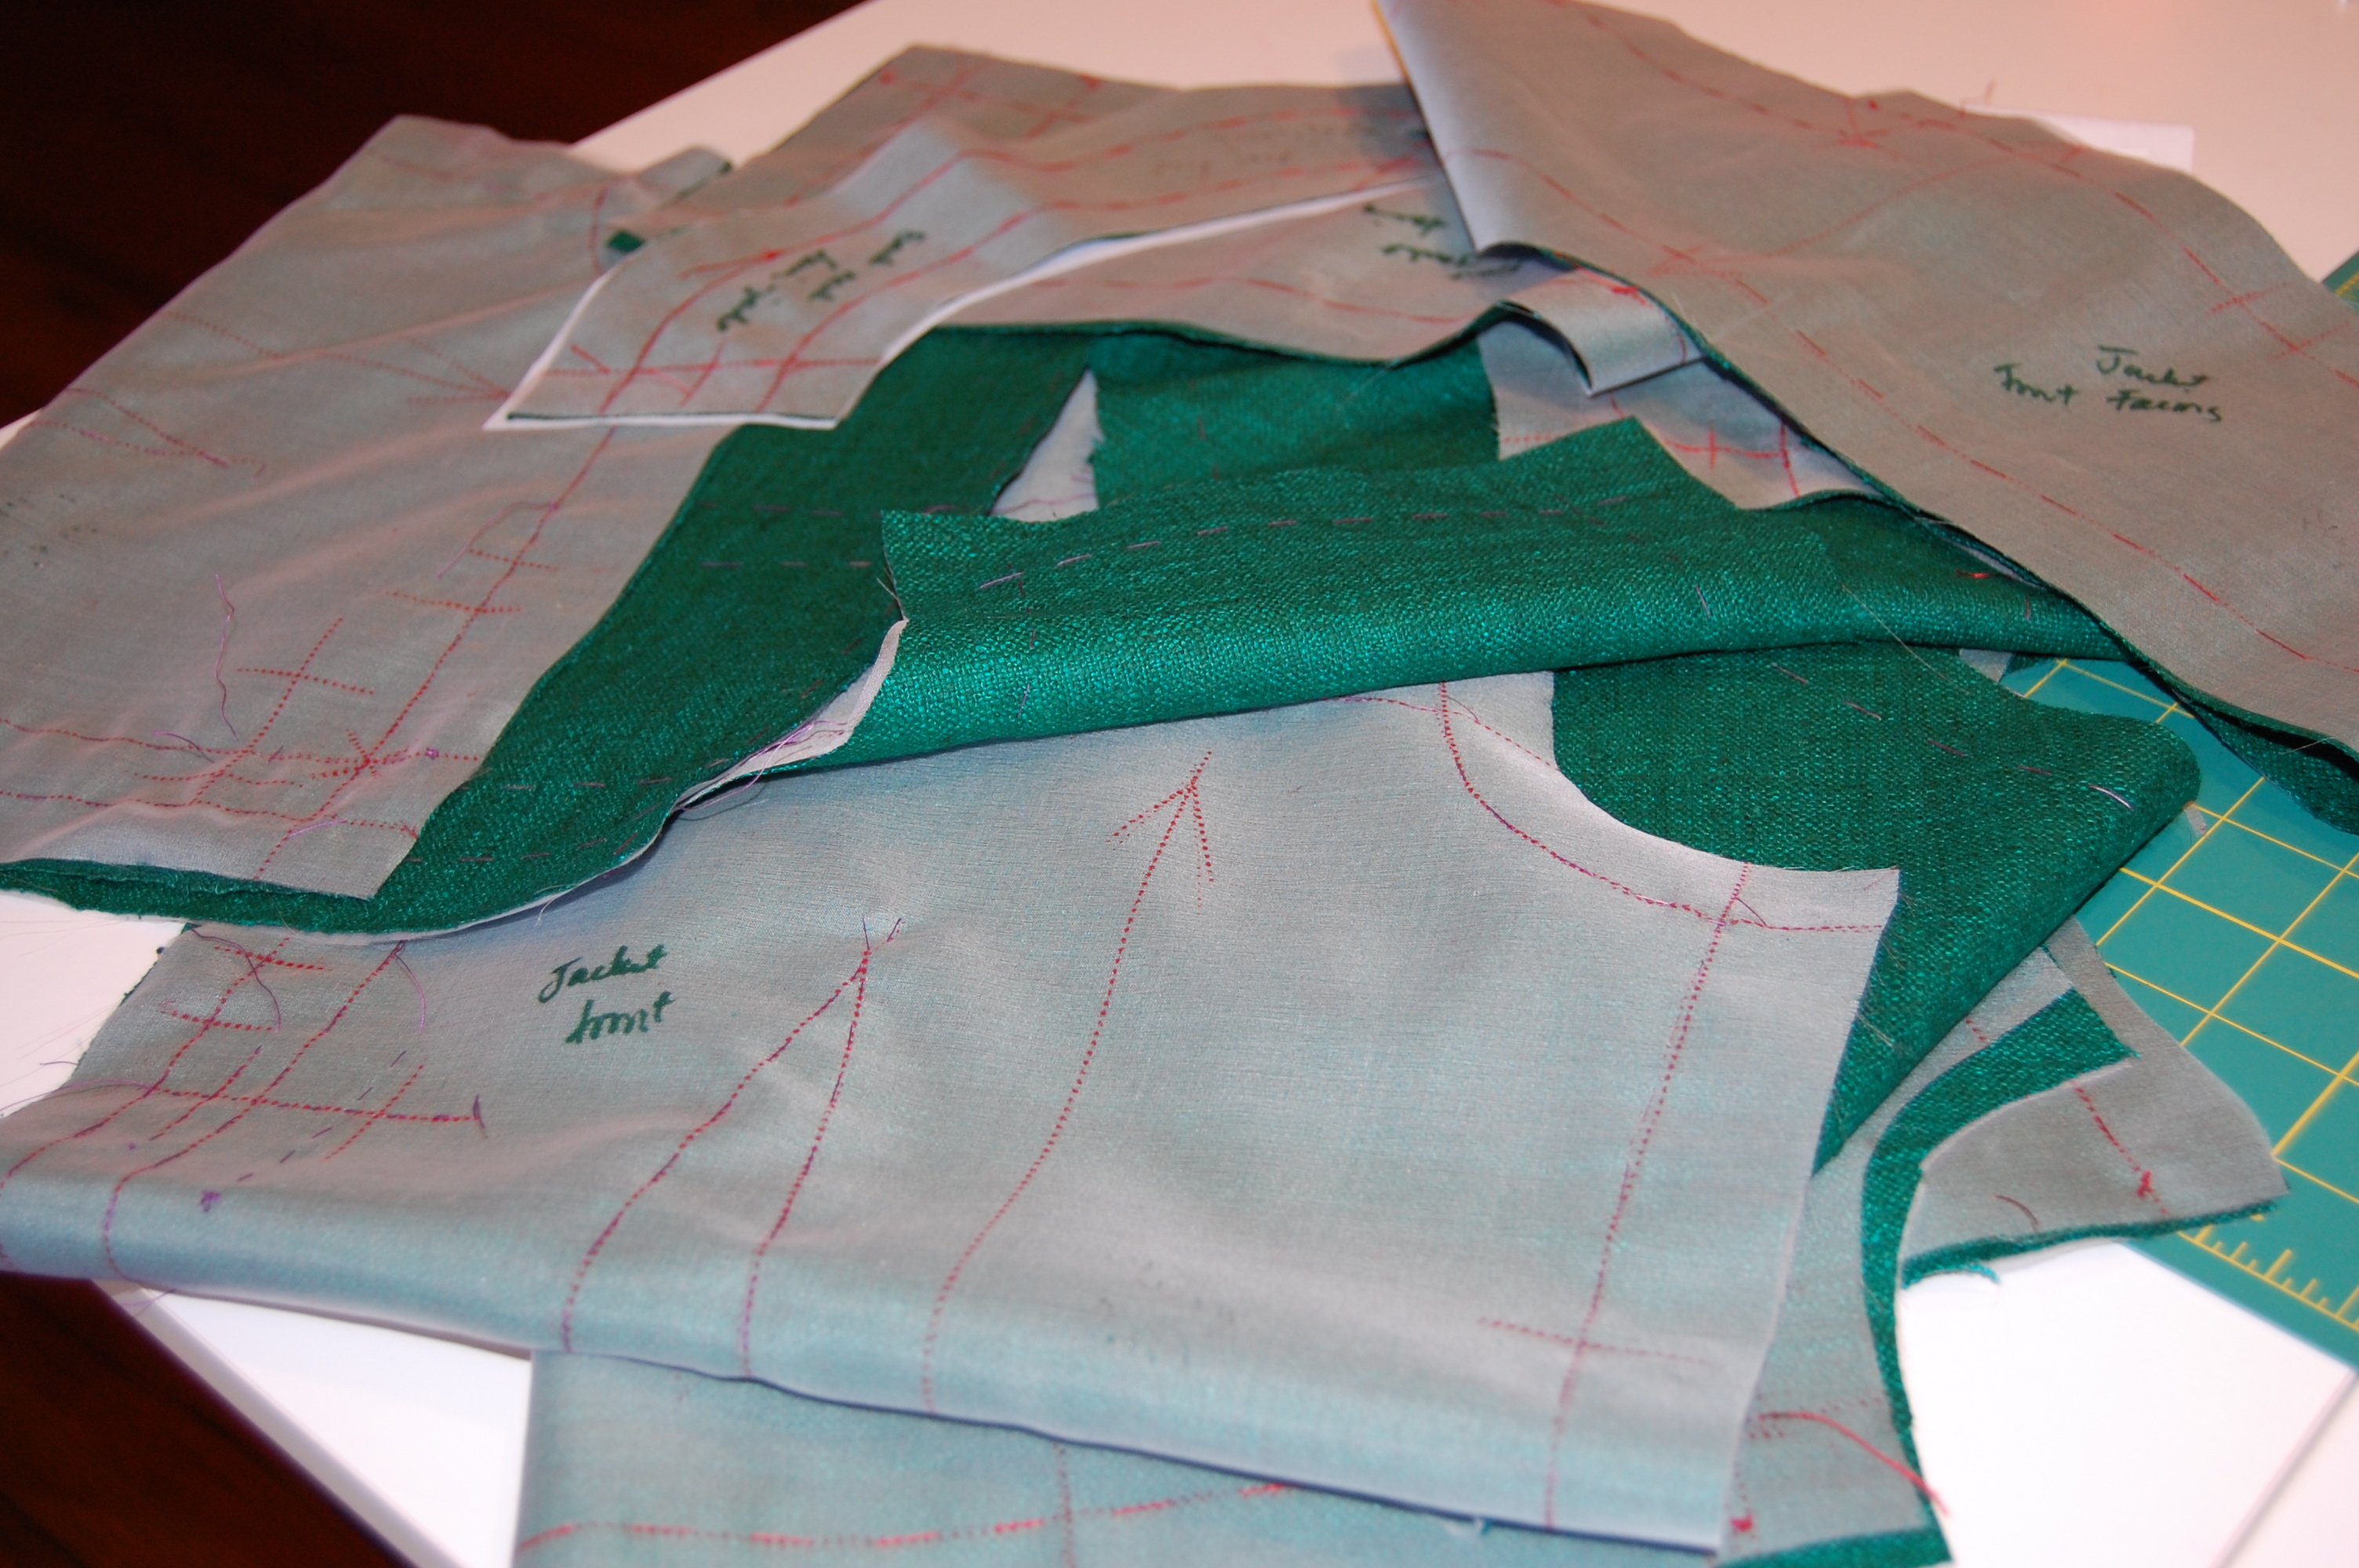
Here are the silk organza underlining pieces arranged on the blue fabric. I pinned a small tag on each piece, telling me each piece’s pattern number and description. A lot of the pieces look alike!
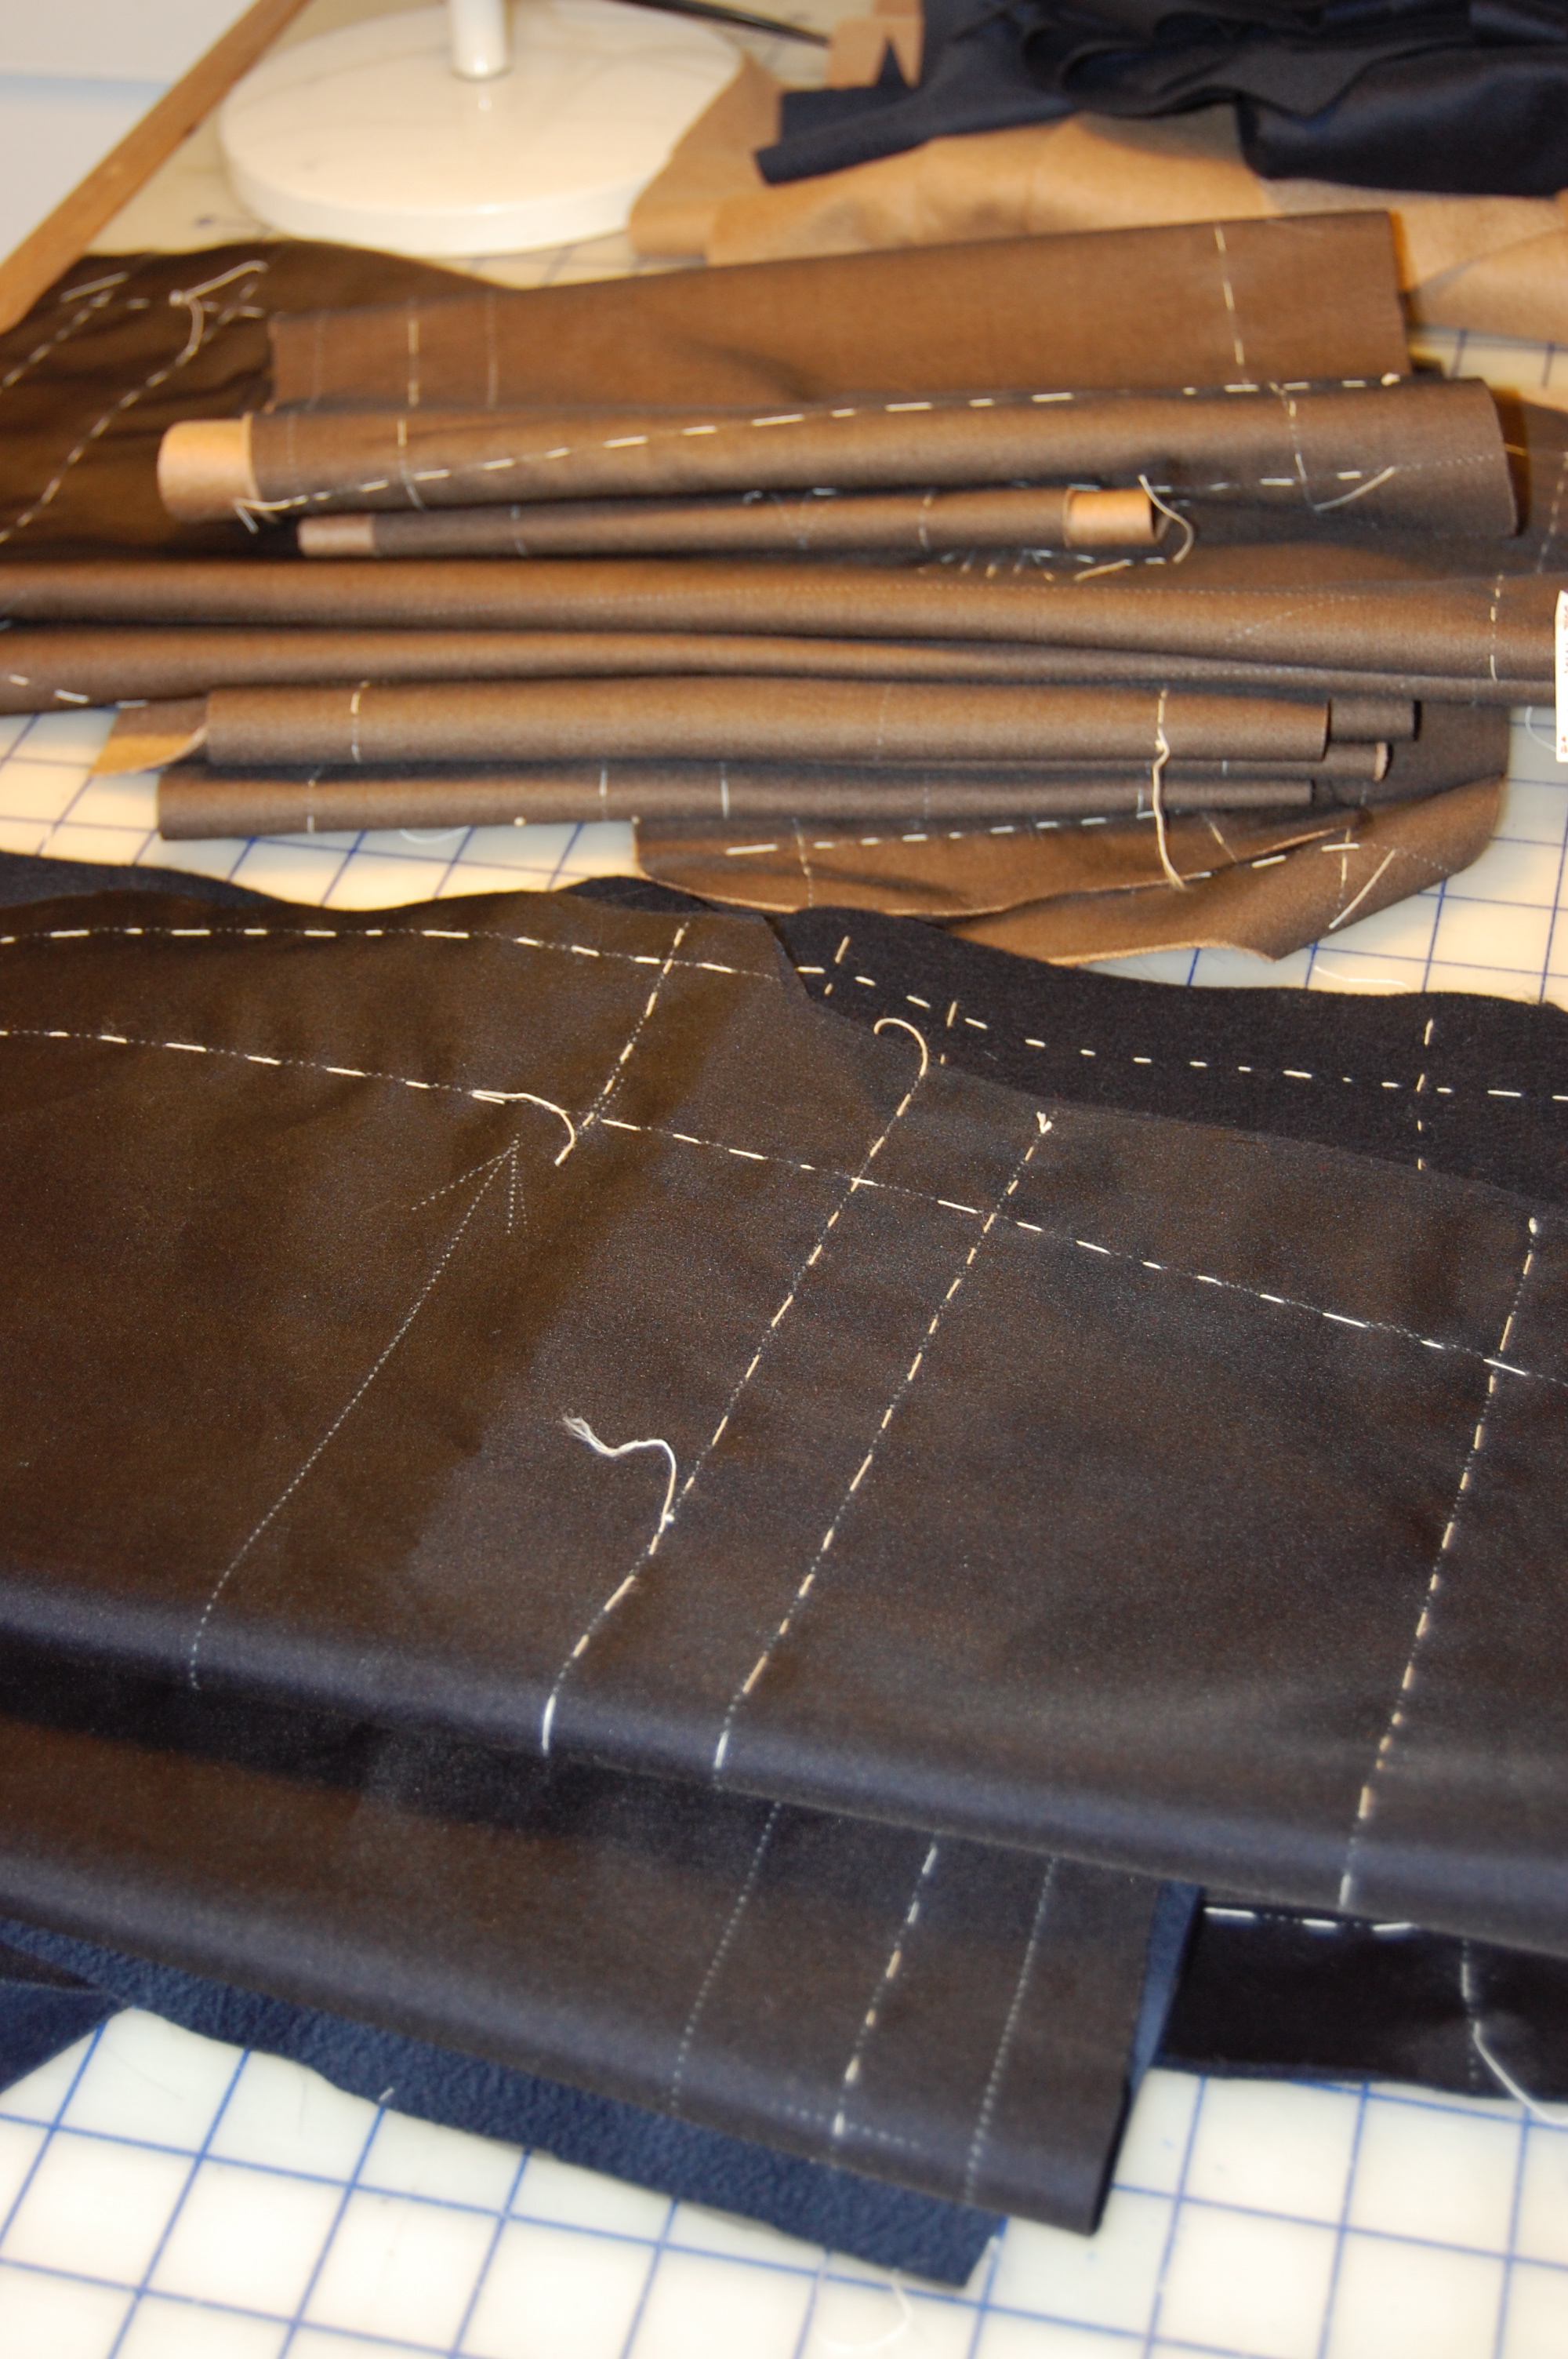
Two piles showing all underlinings basted onto the fashion fabric.
By this time, I was half-way through the 6-day class. I assessed my situation and determined the parts of the jacket construction upon which I wanted to get expert advice from Susan: treatment of the concealed fly front, flap pockets, rolled collar (all of which will be detailed in a future post). Now I had a plan, which seemed to be much more than anything that was happening back home in Pennsylvania.
My husband joked during one of our few cell-phone conversations, that he had a vision of the power in our house coming back on Sunday evening, February 9th, as he would be driving me home from the airport in Philadelphia. He was right. That is exactly what happened. I came home to a 39F degree house, but the lights were on, and soon the heat was, too. Almost a week later, it is still snowing and snowing – perfect sewing weather for this sojourner home from San Francisco.