Category Archives: vintage Vogue patterns from the 1960s

Panic and Patterns

Being away, as “on vacation” (or “on holiday” as many express it), can take its toll on sewing projects. If I have to leave a project in mid-stream, it seems to take even longer to get back to it and pick up where I left off. A recent trip to the western state of Wyoming necessitated that I abandon my current “Fall” dress at precisely the time of year when I need to complete it! And now I’ve run into some complications with it.

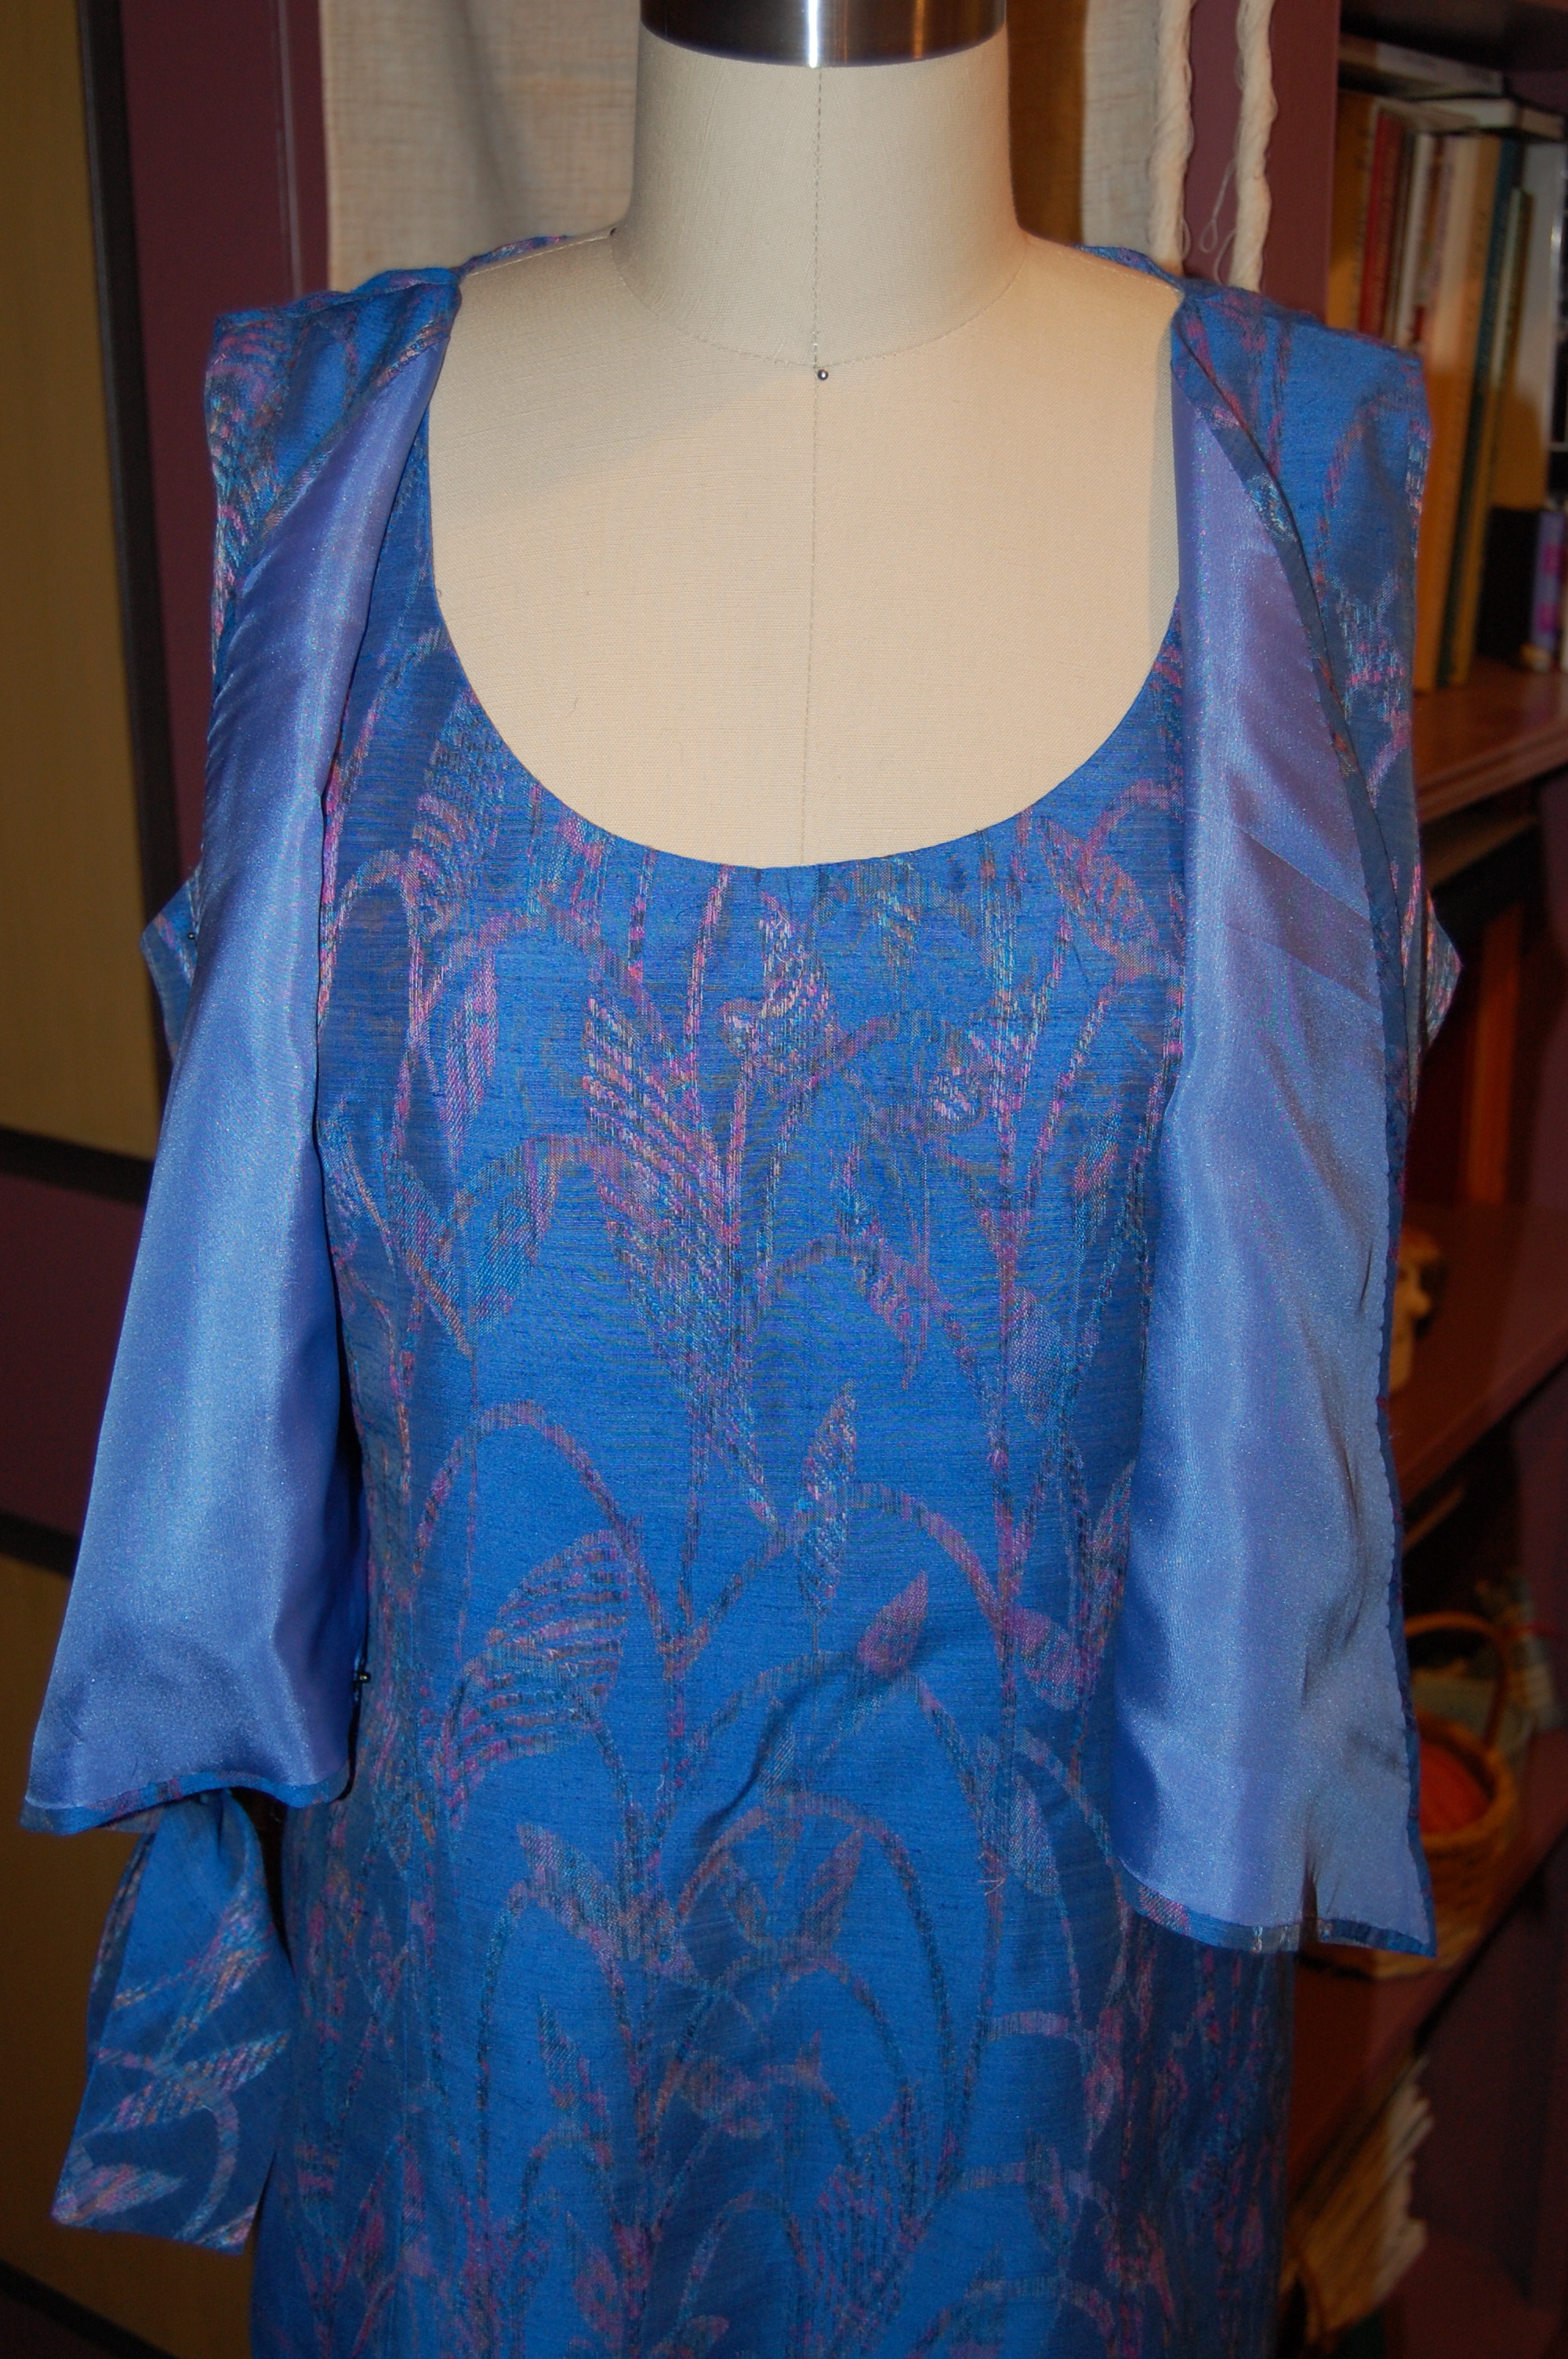
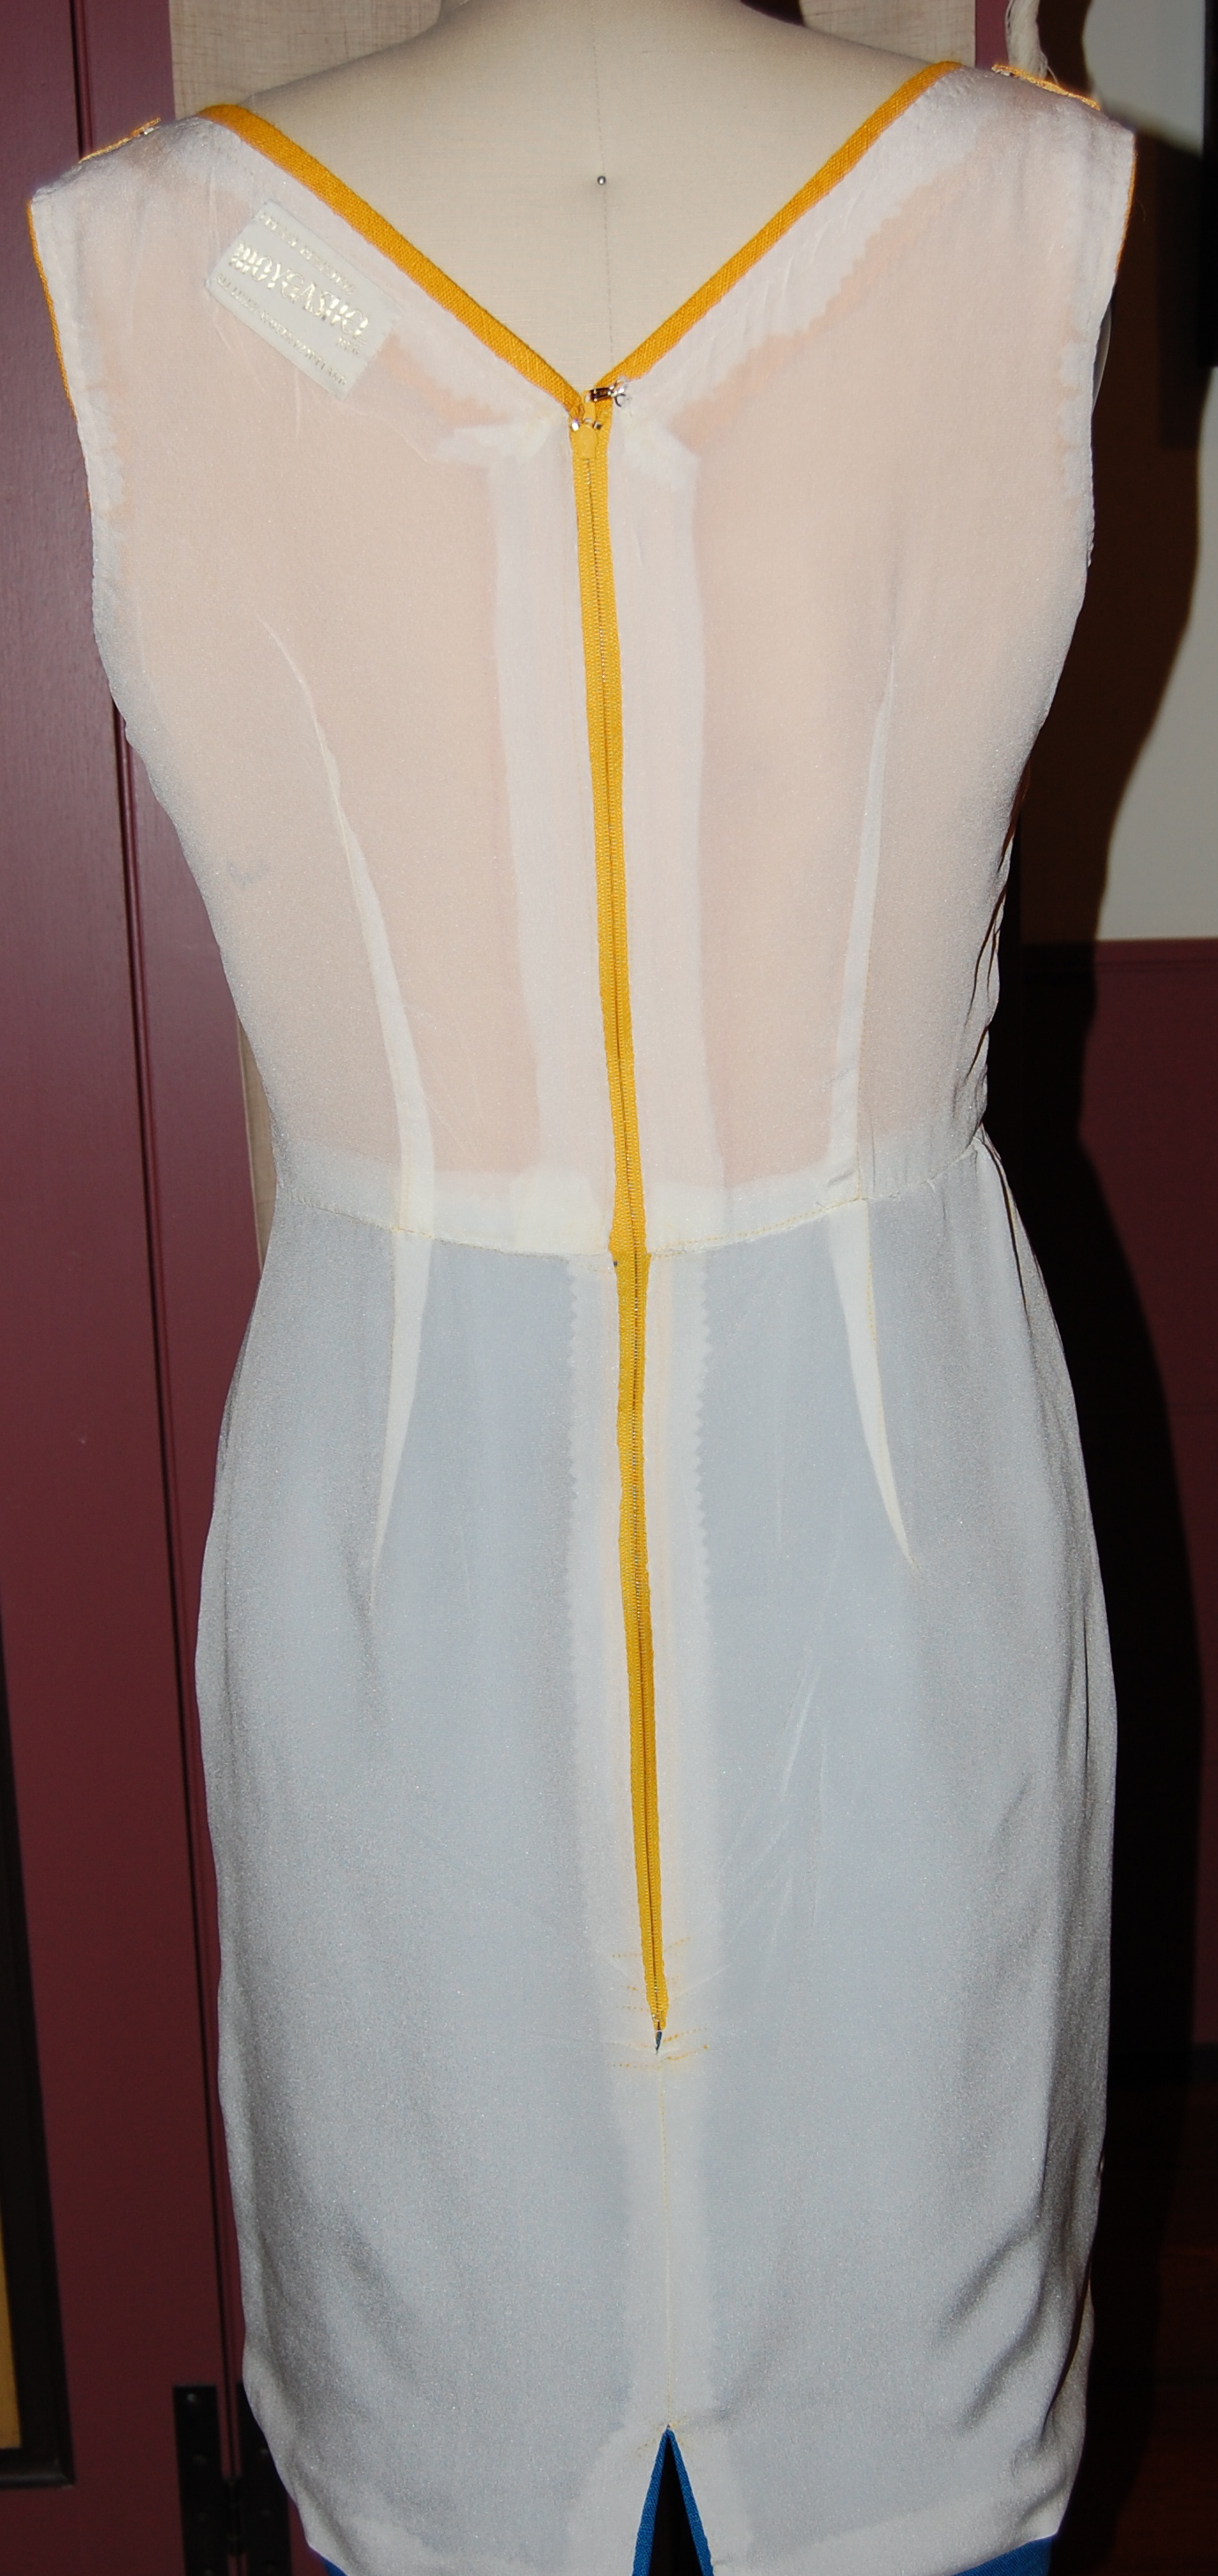
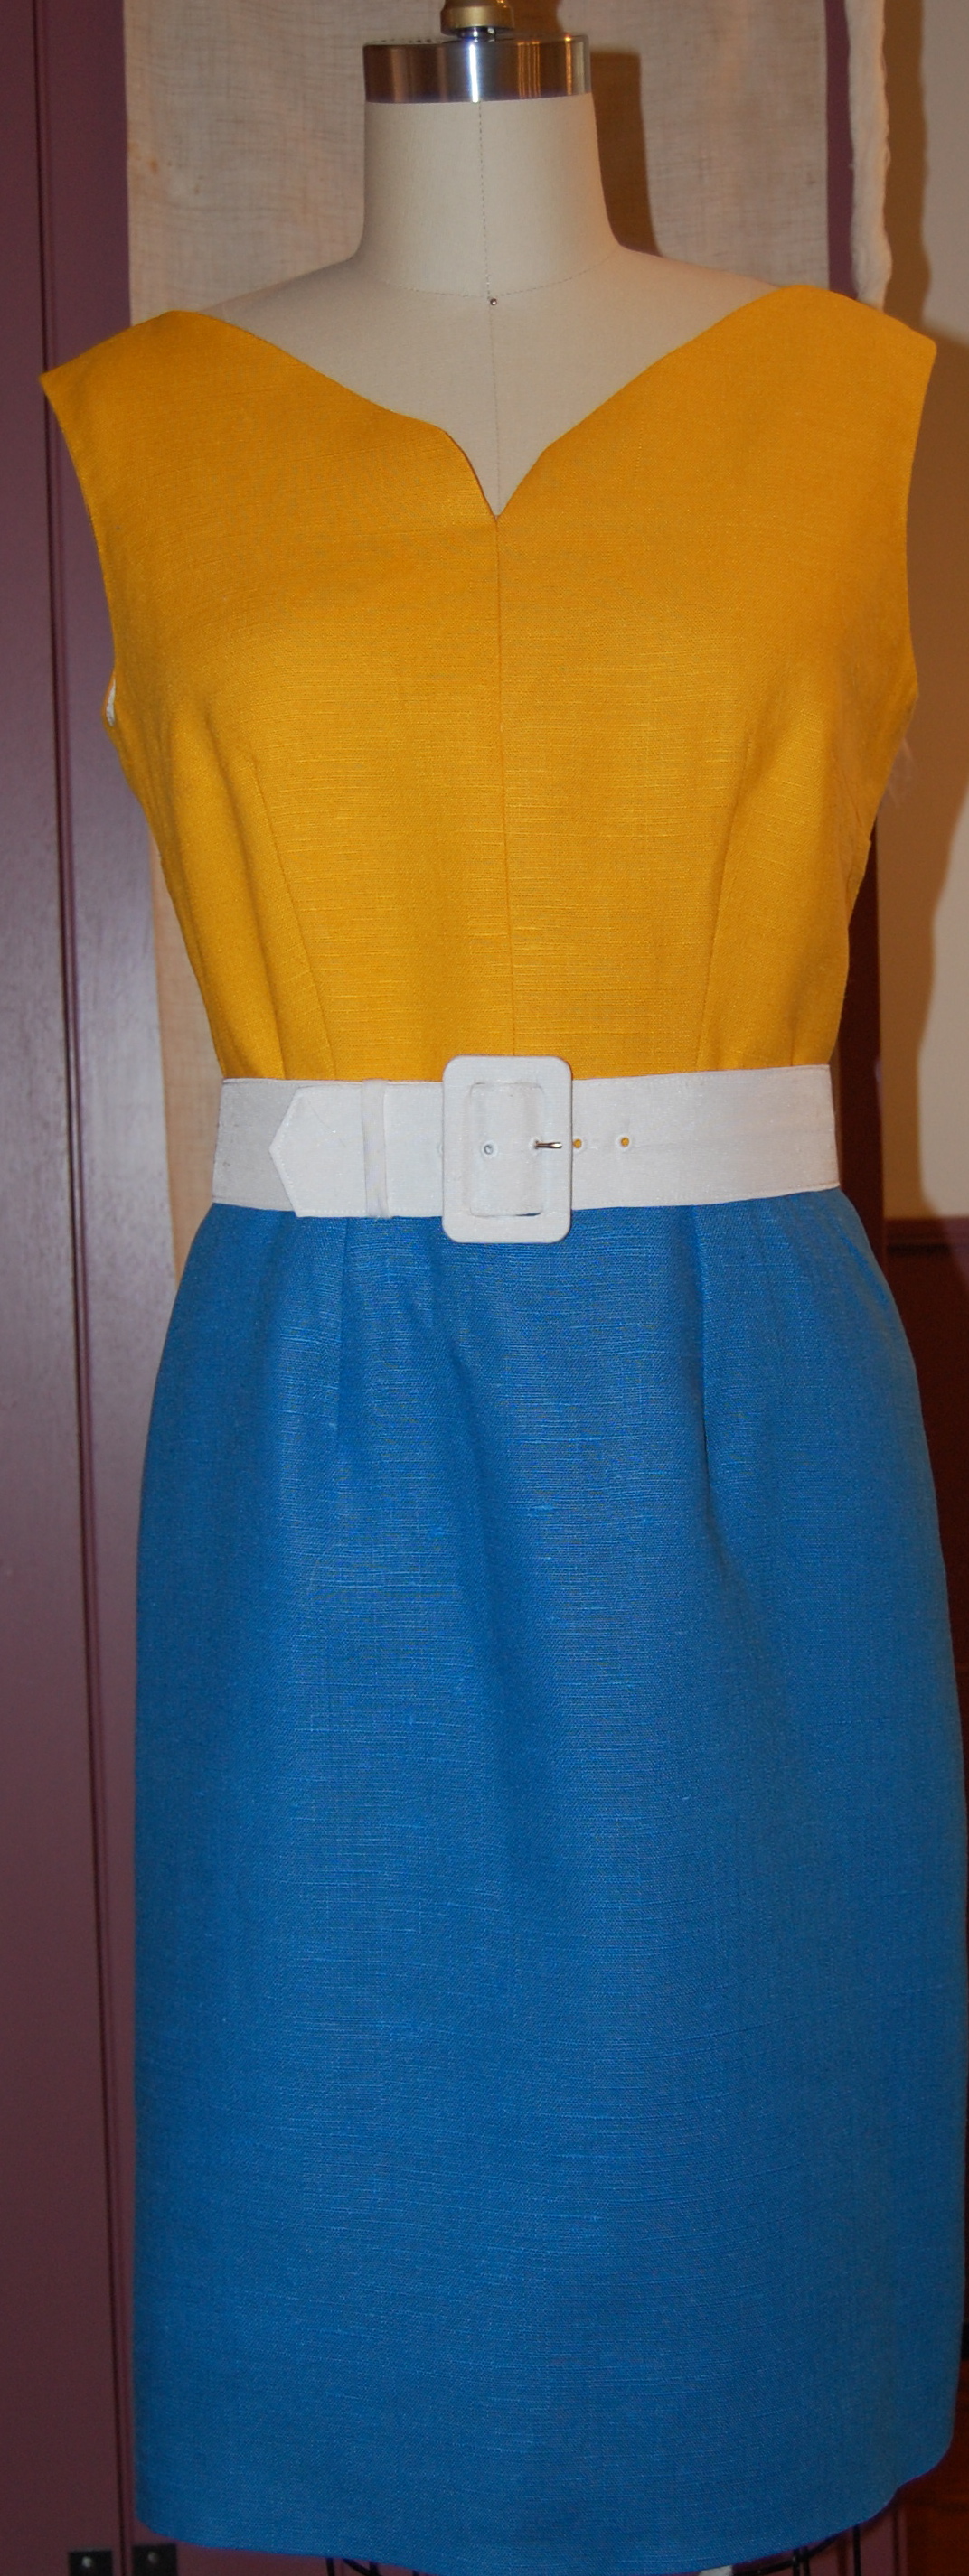
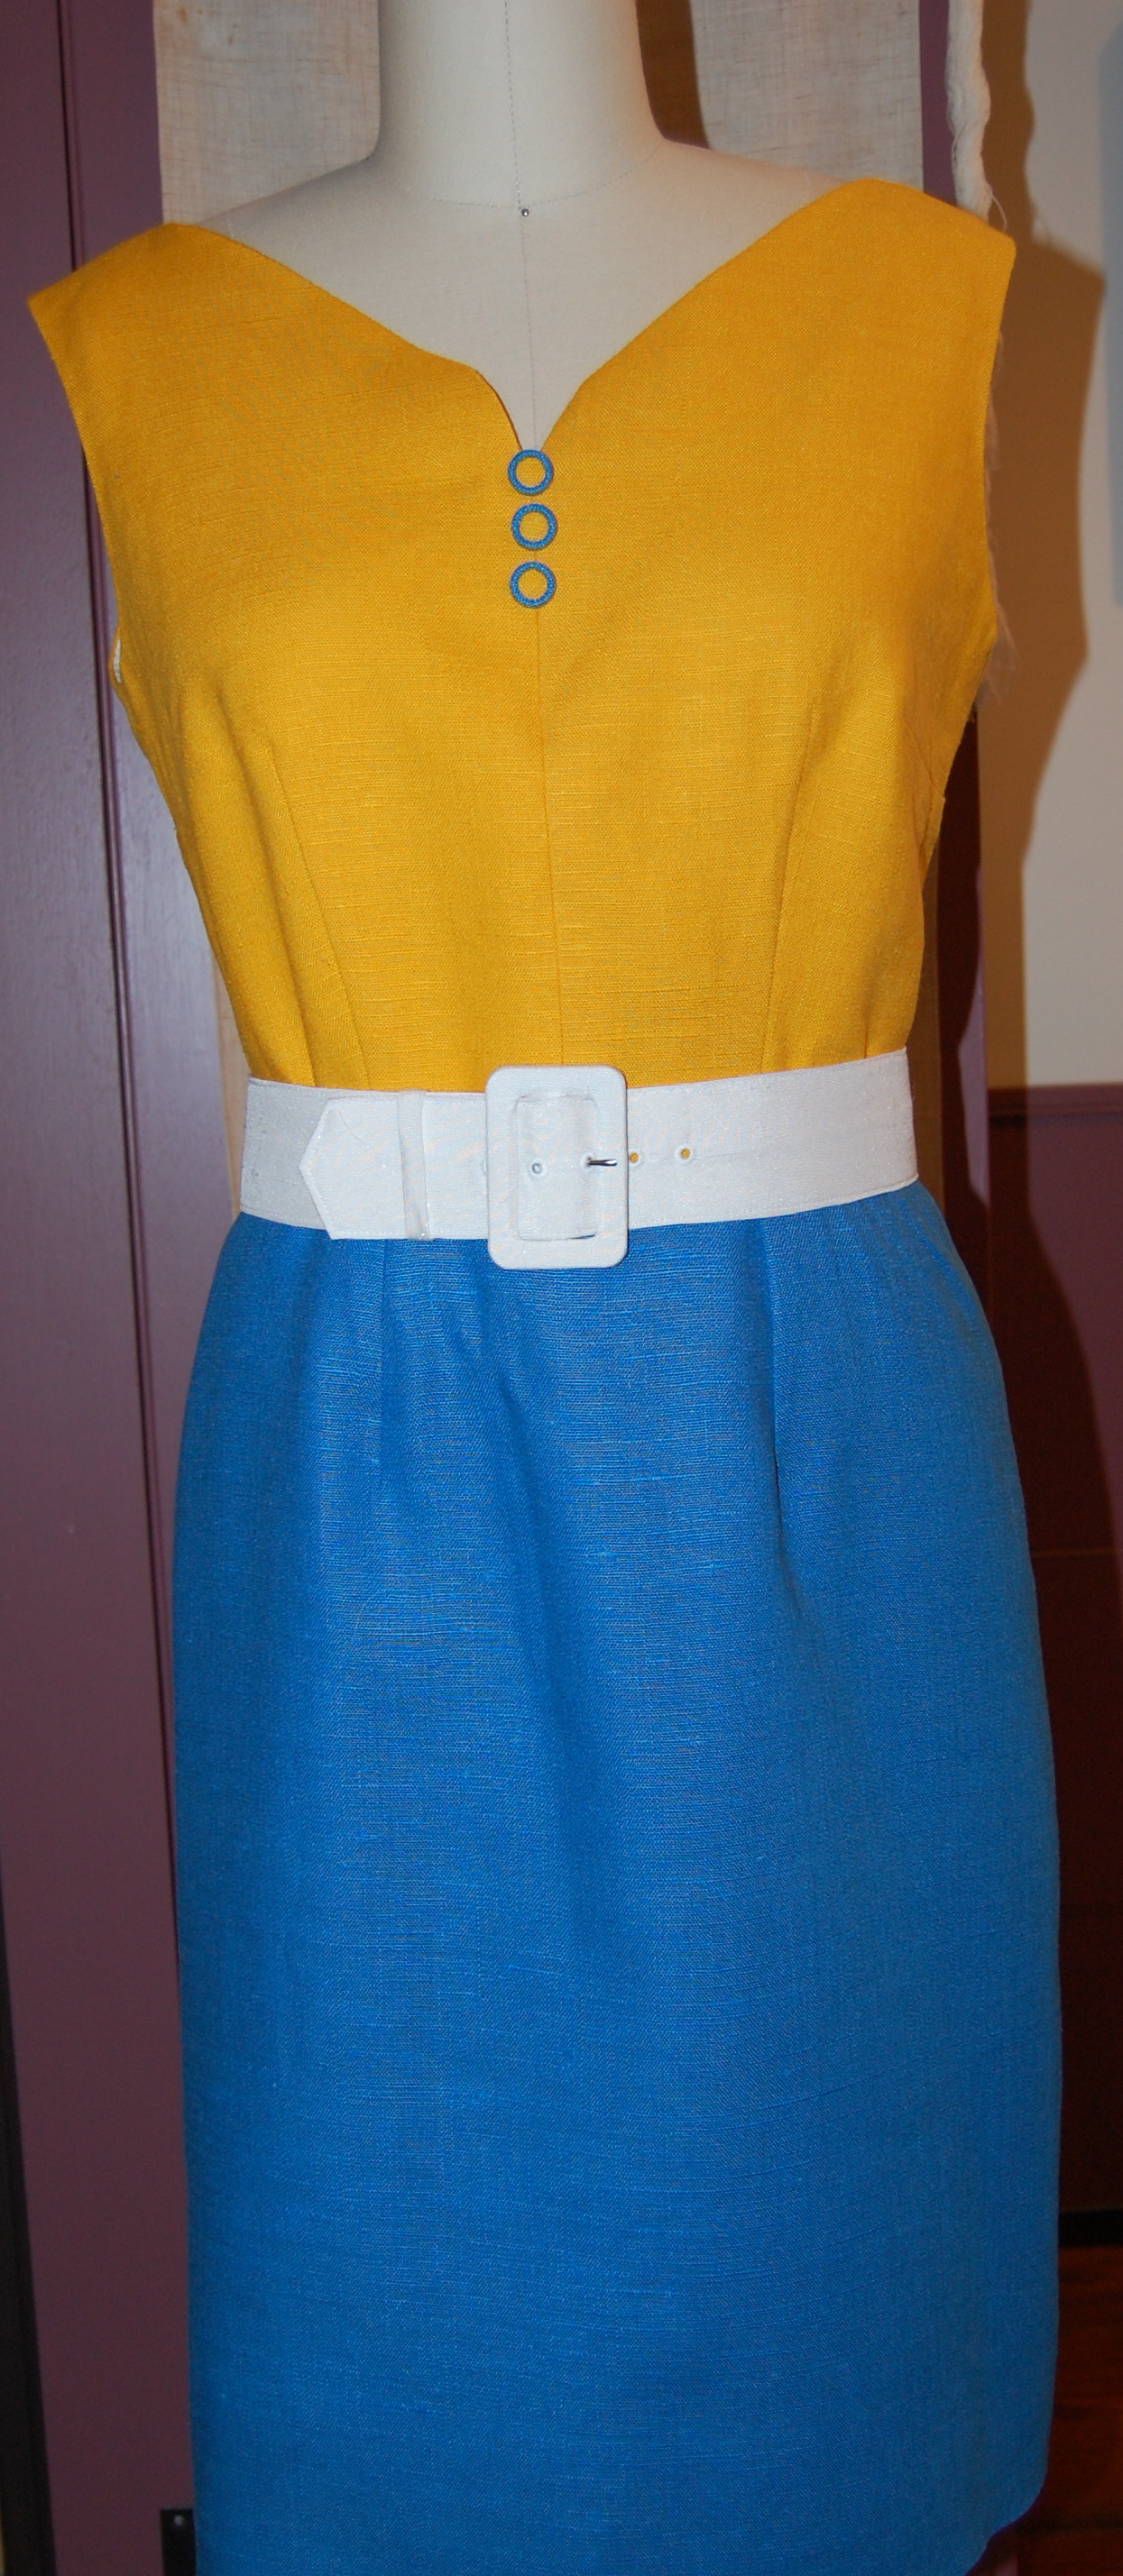
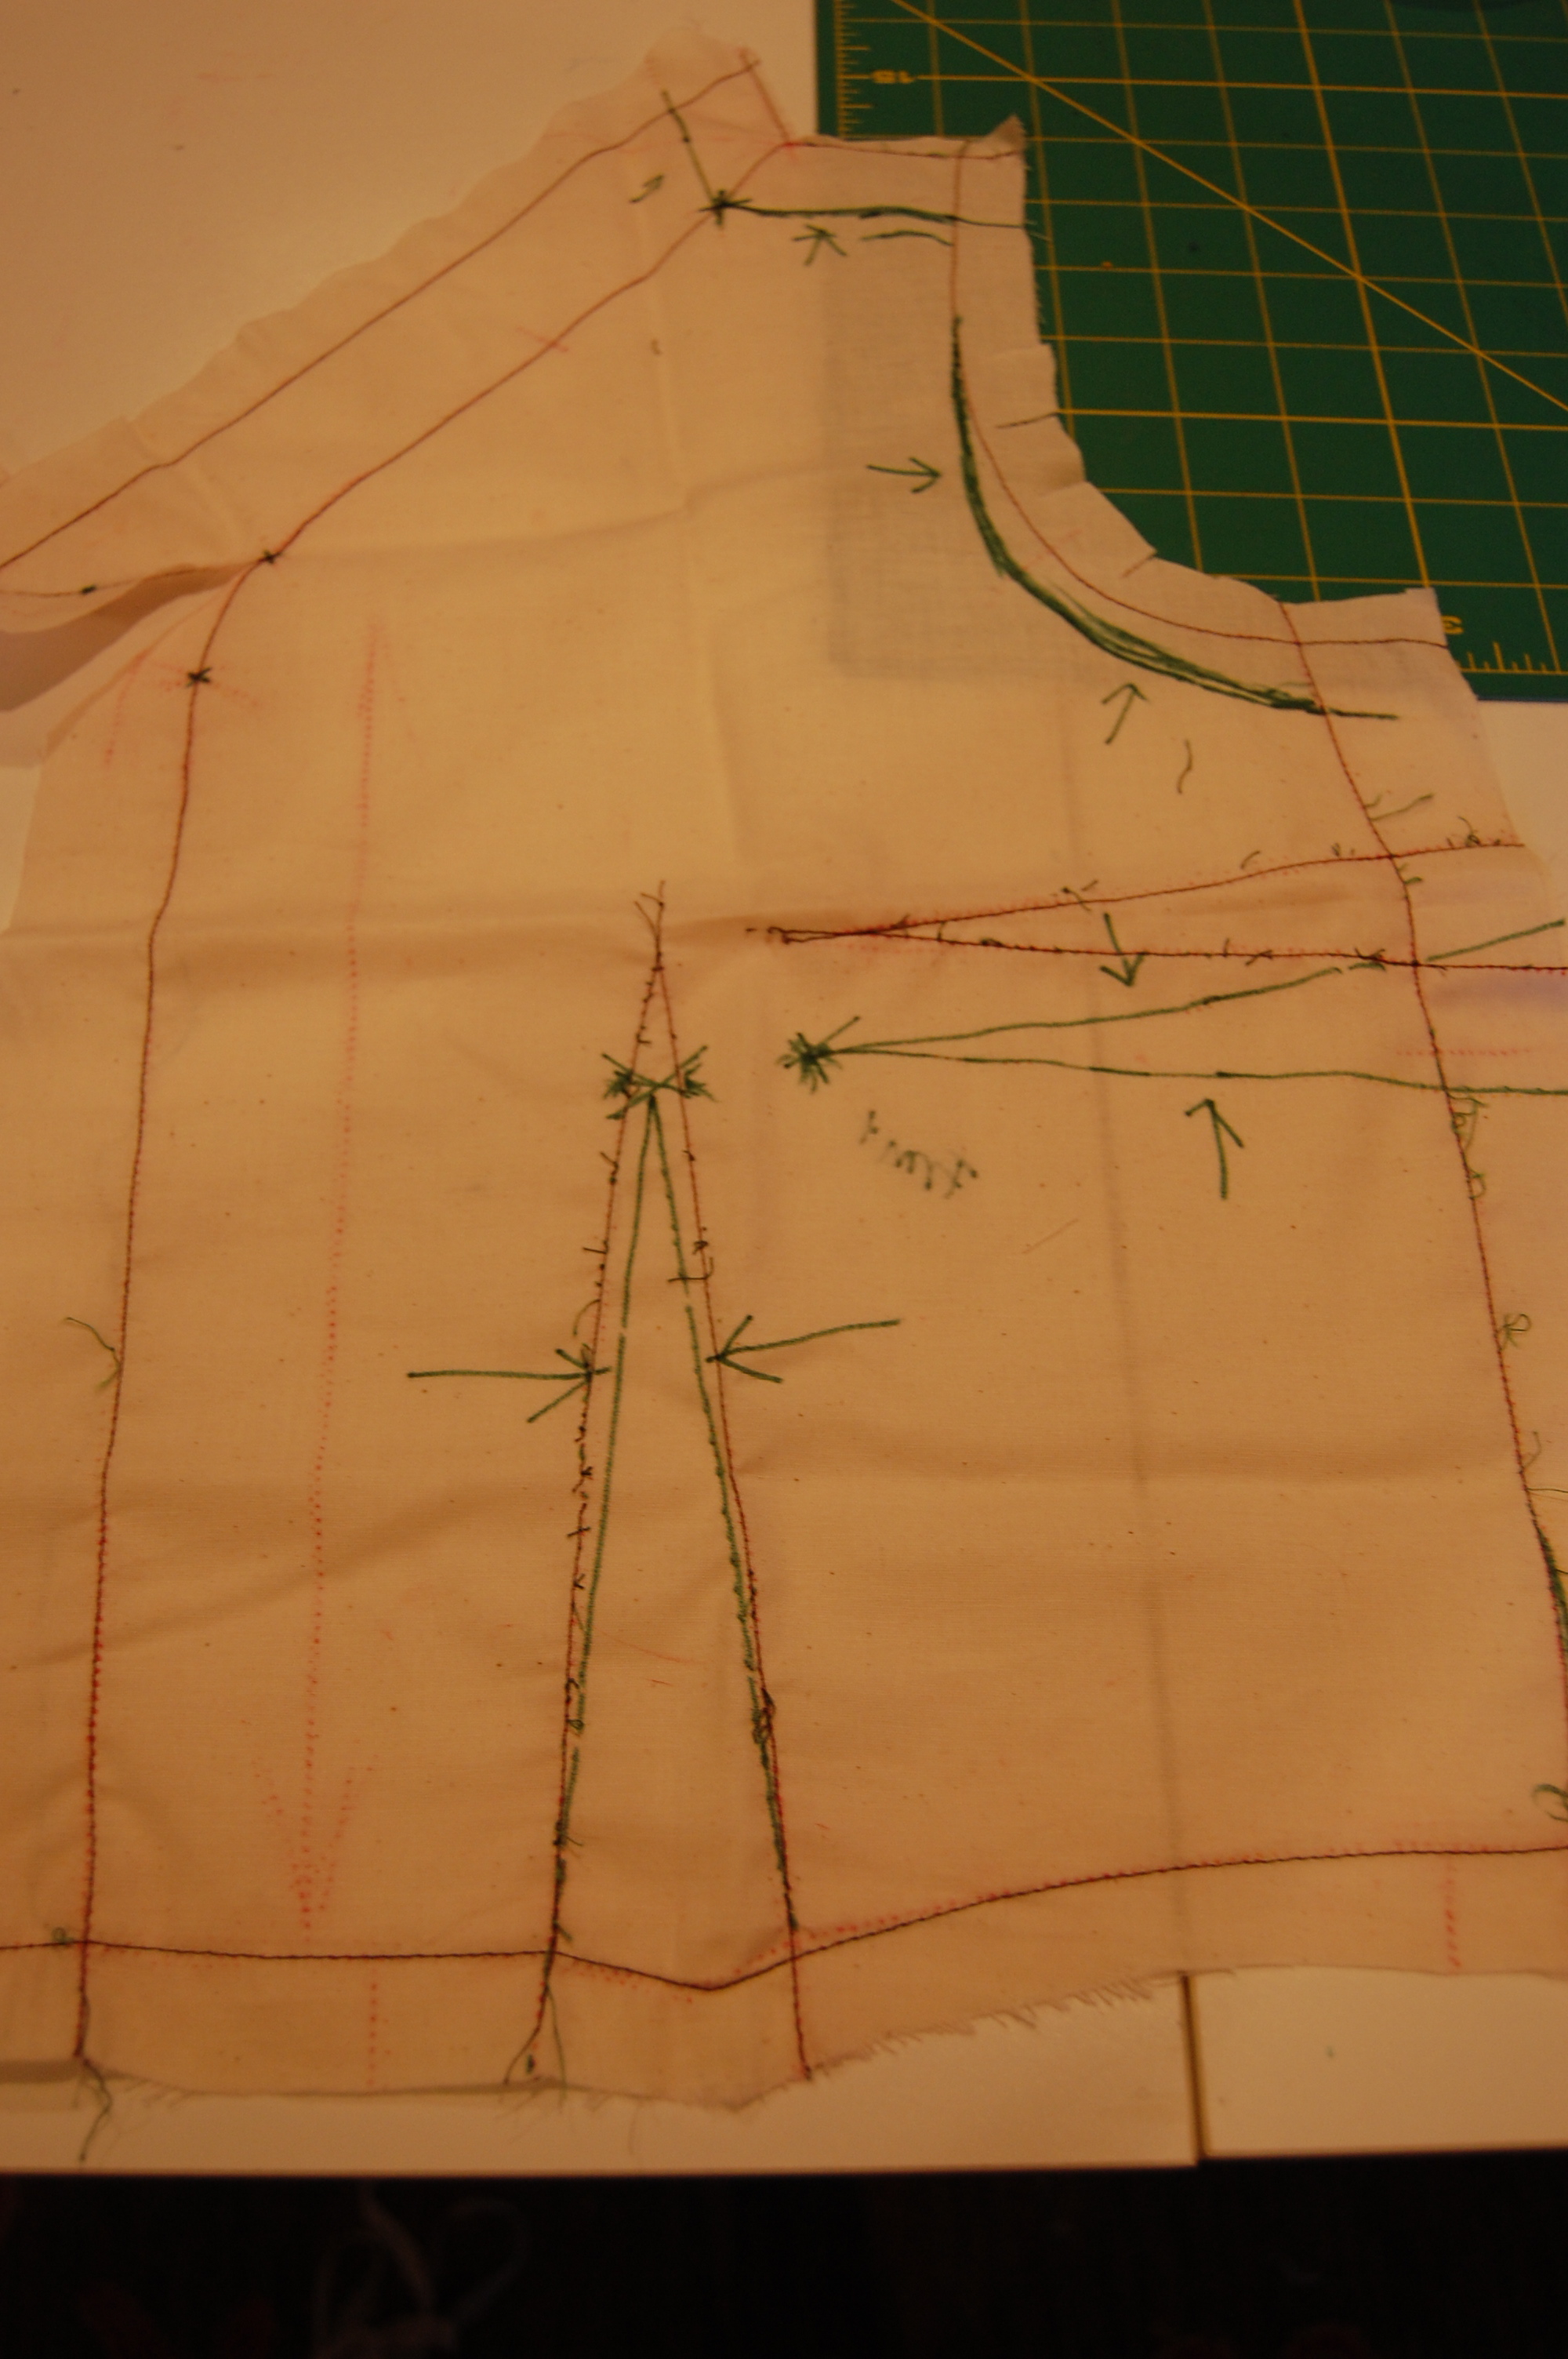
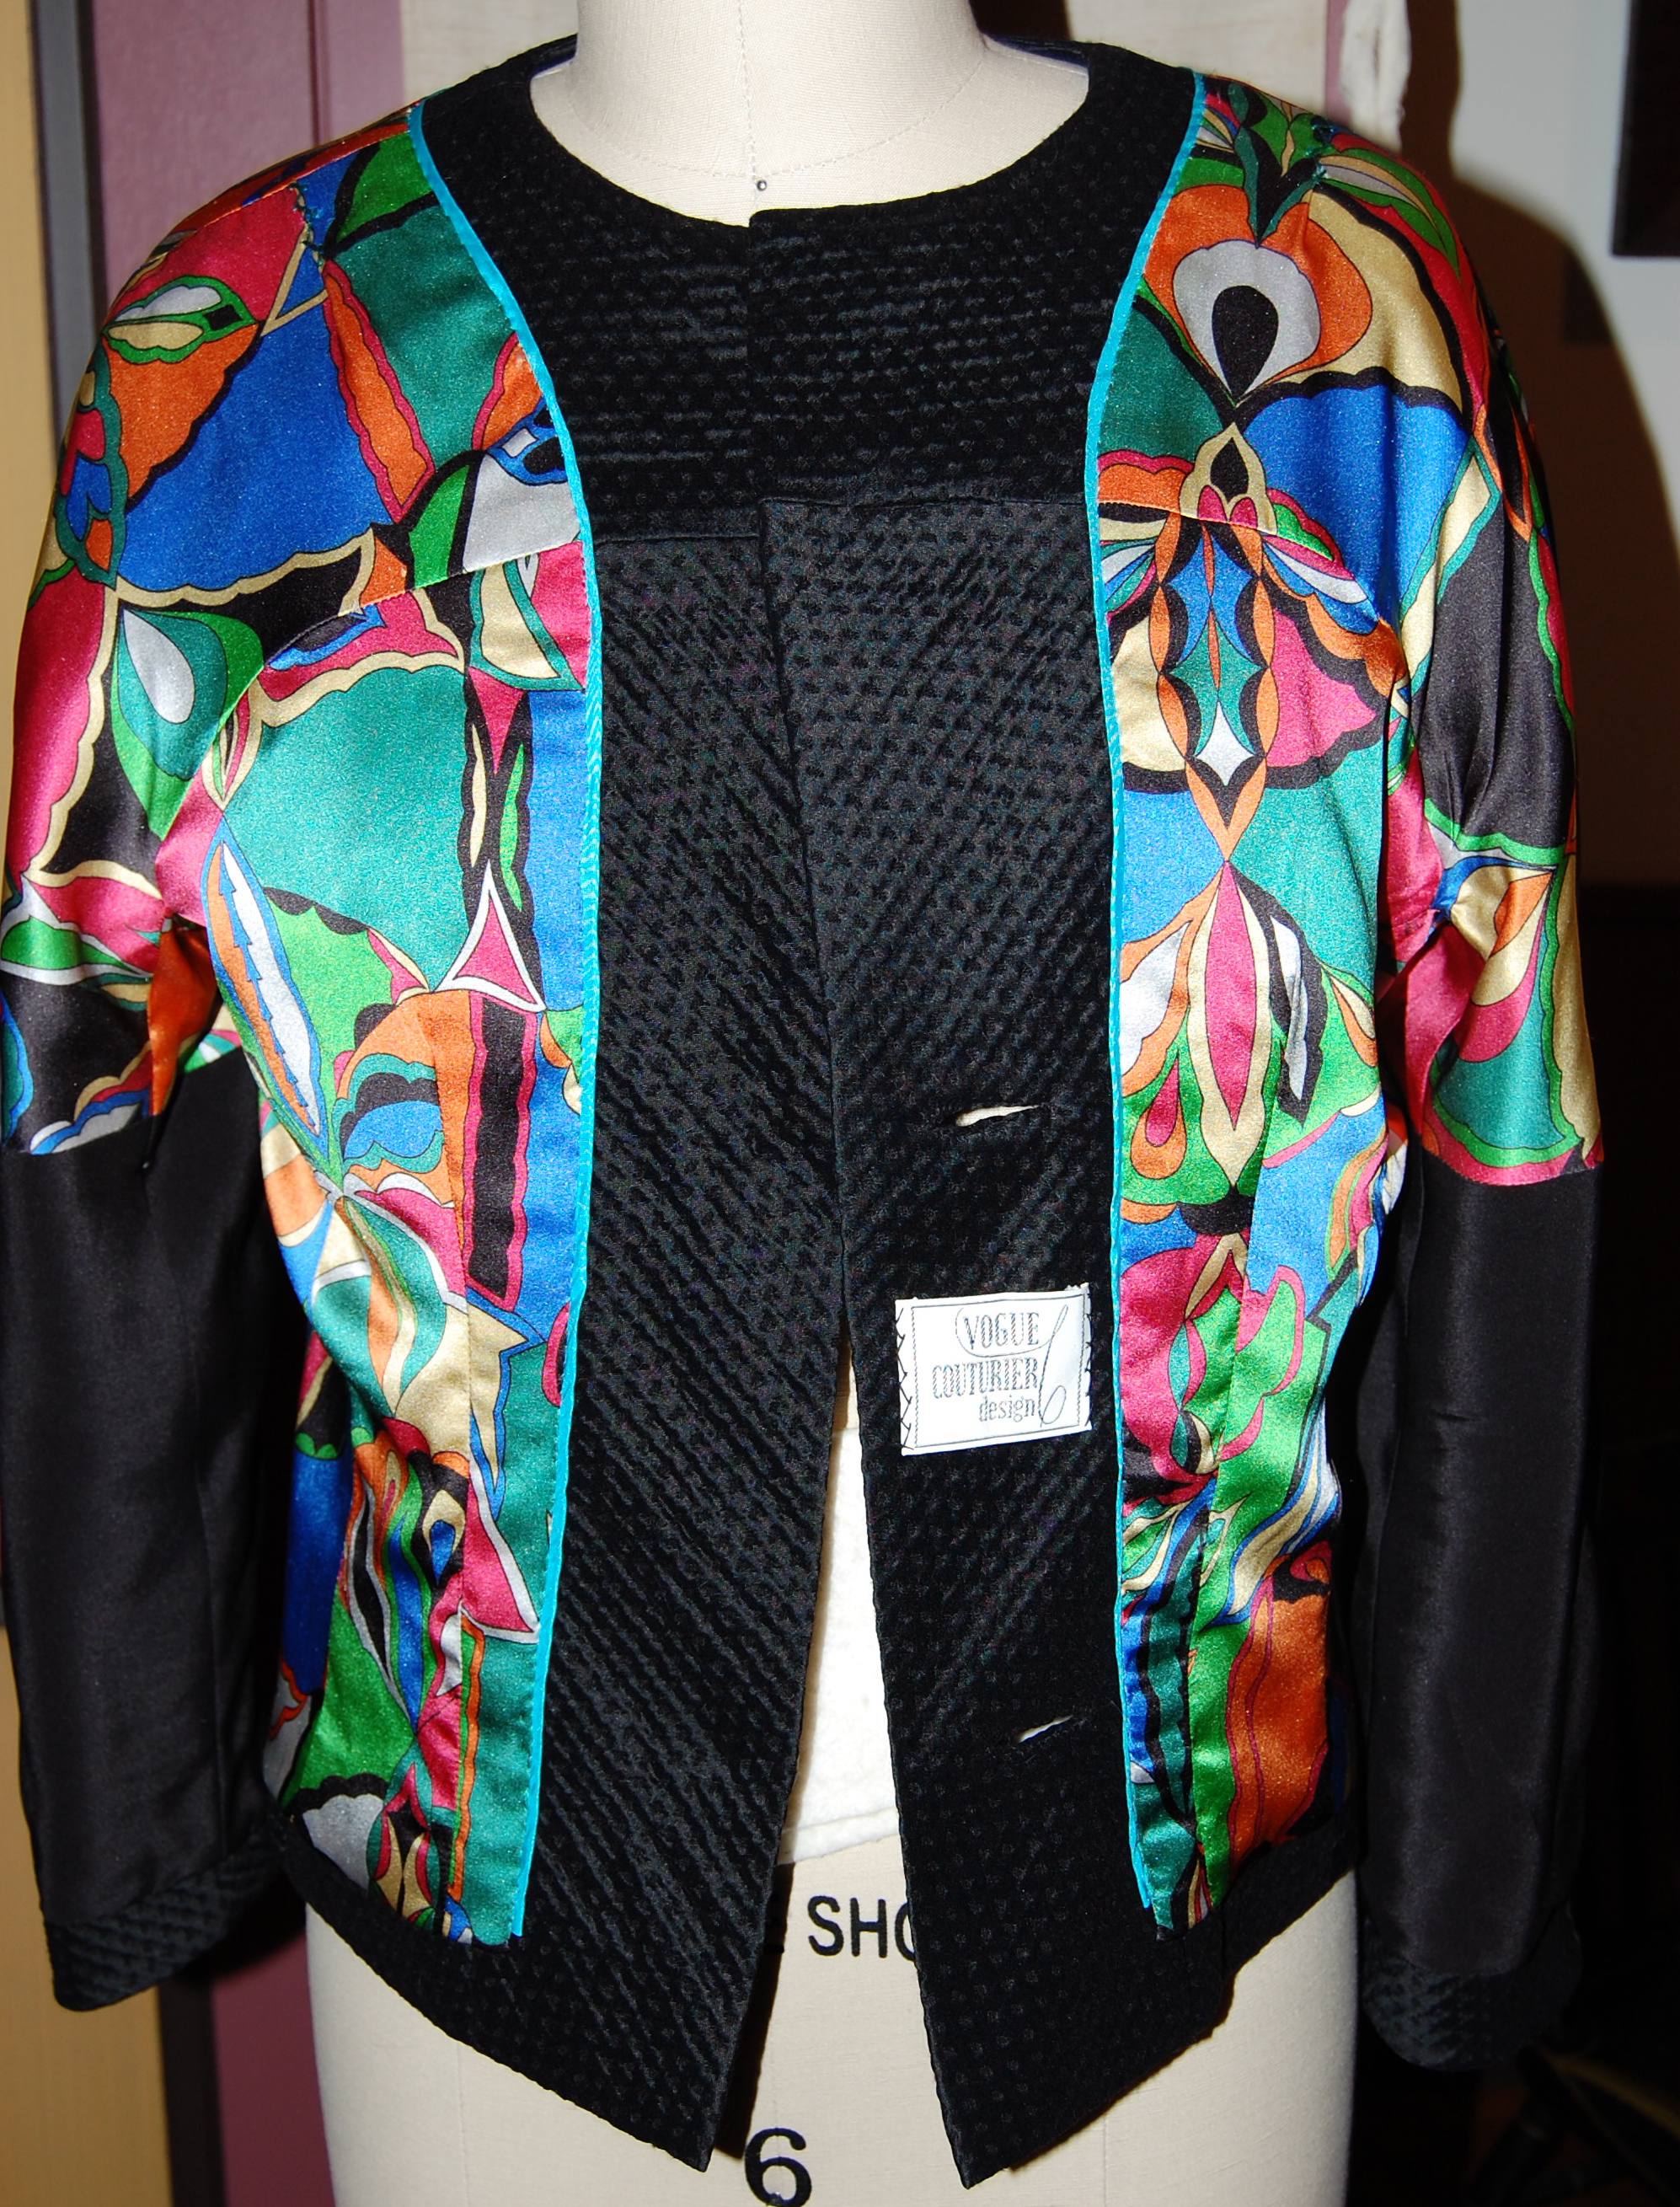
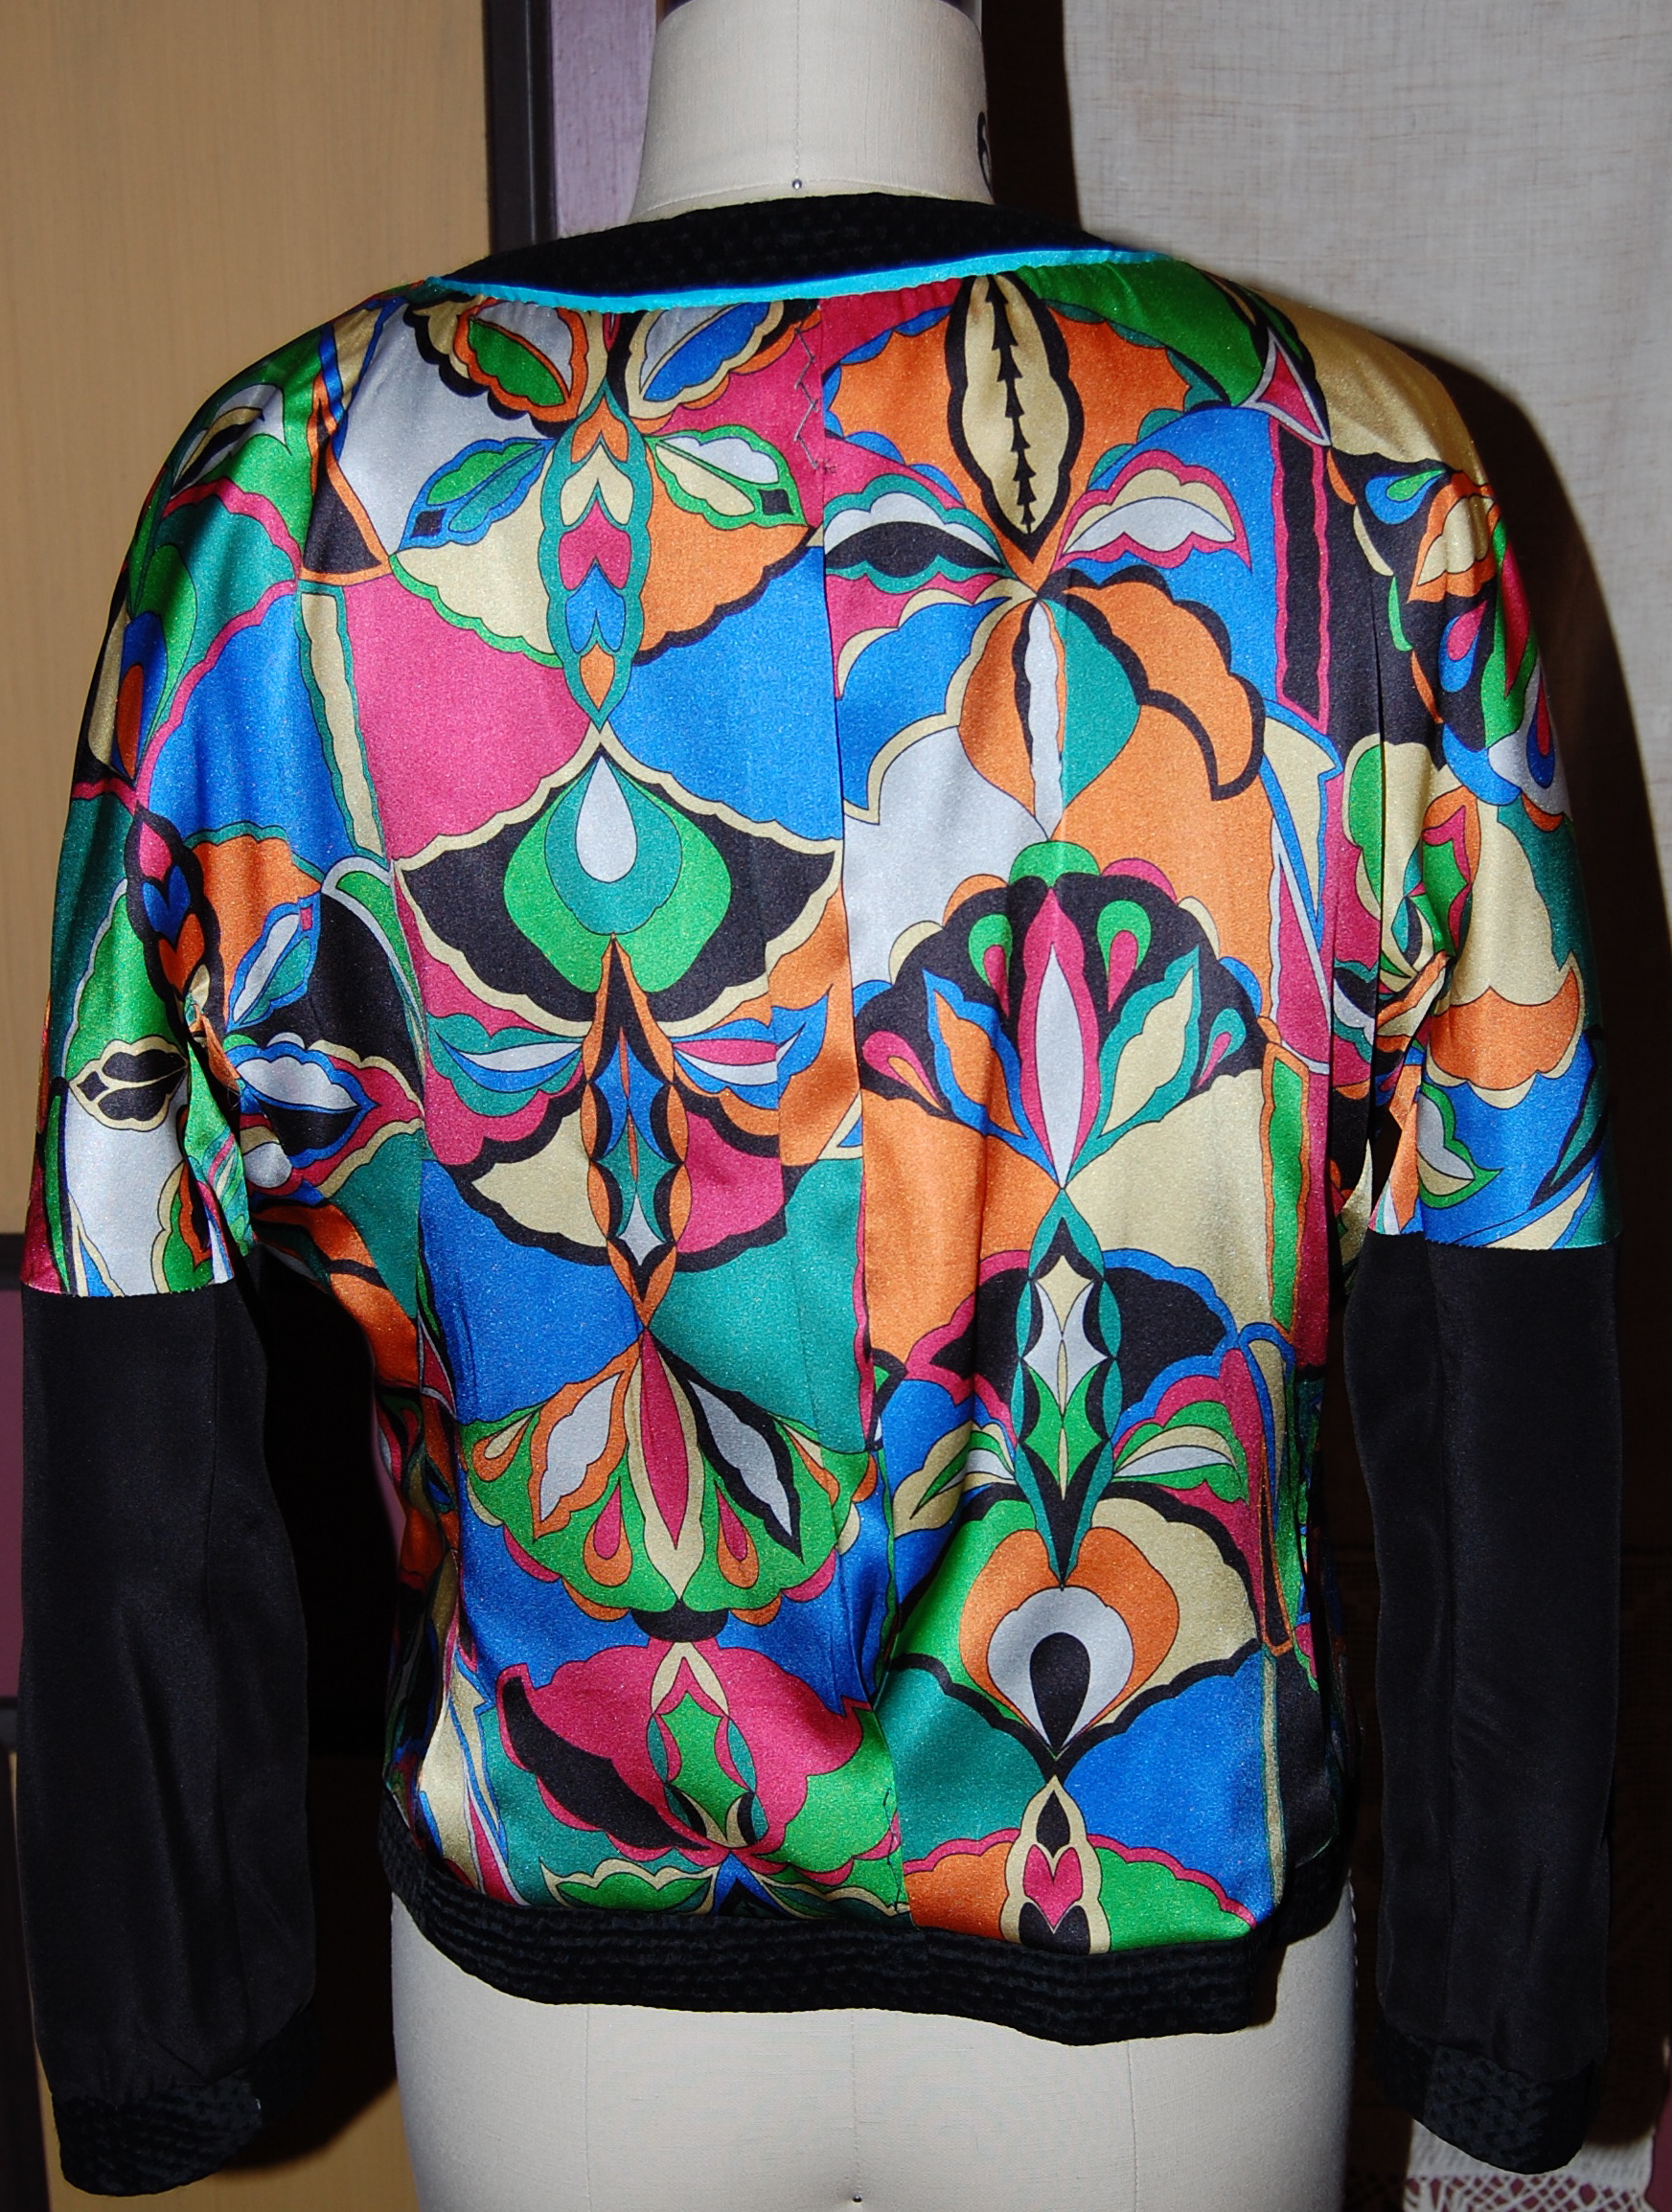
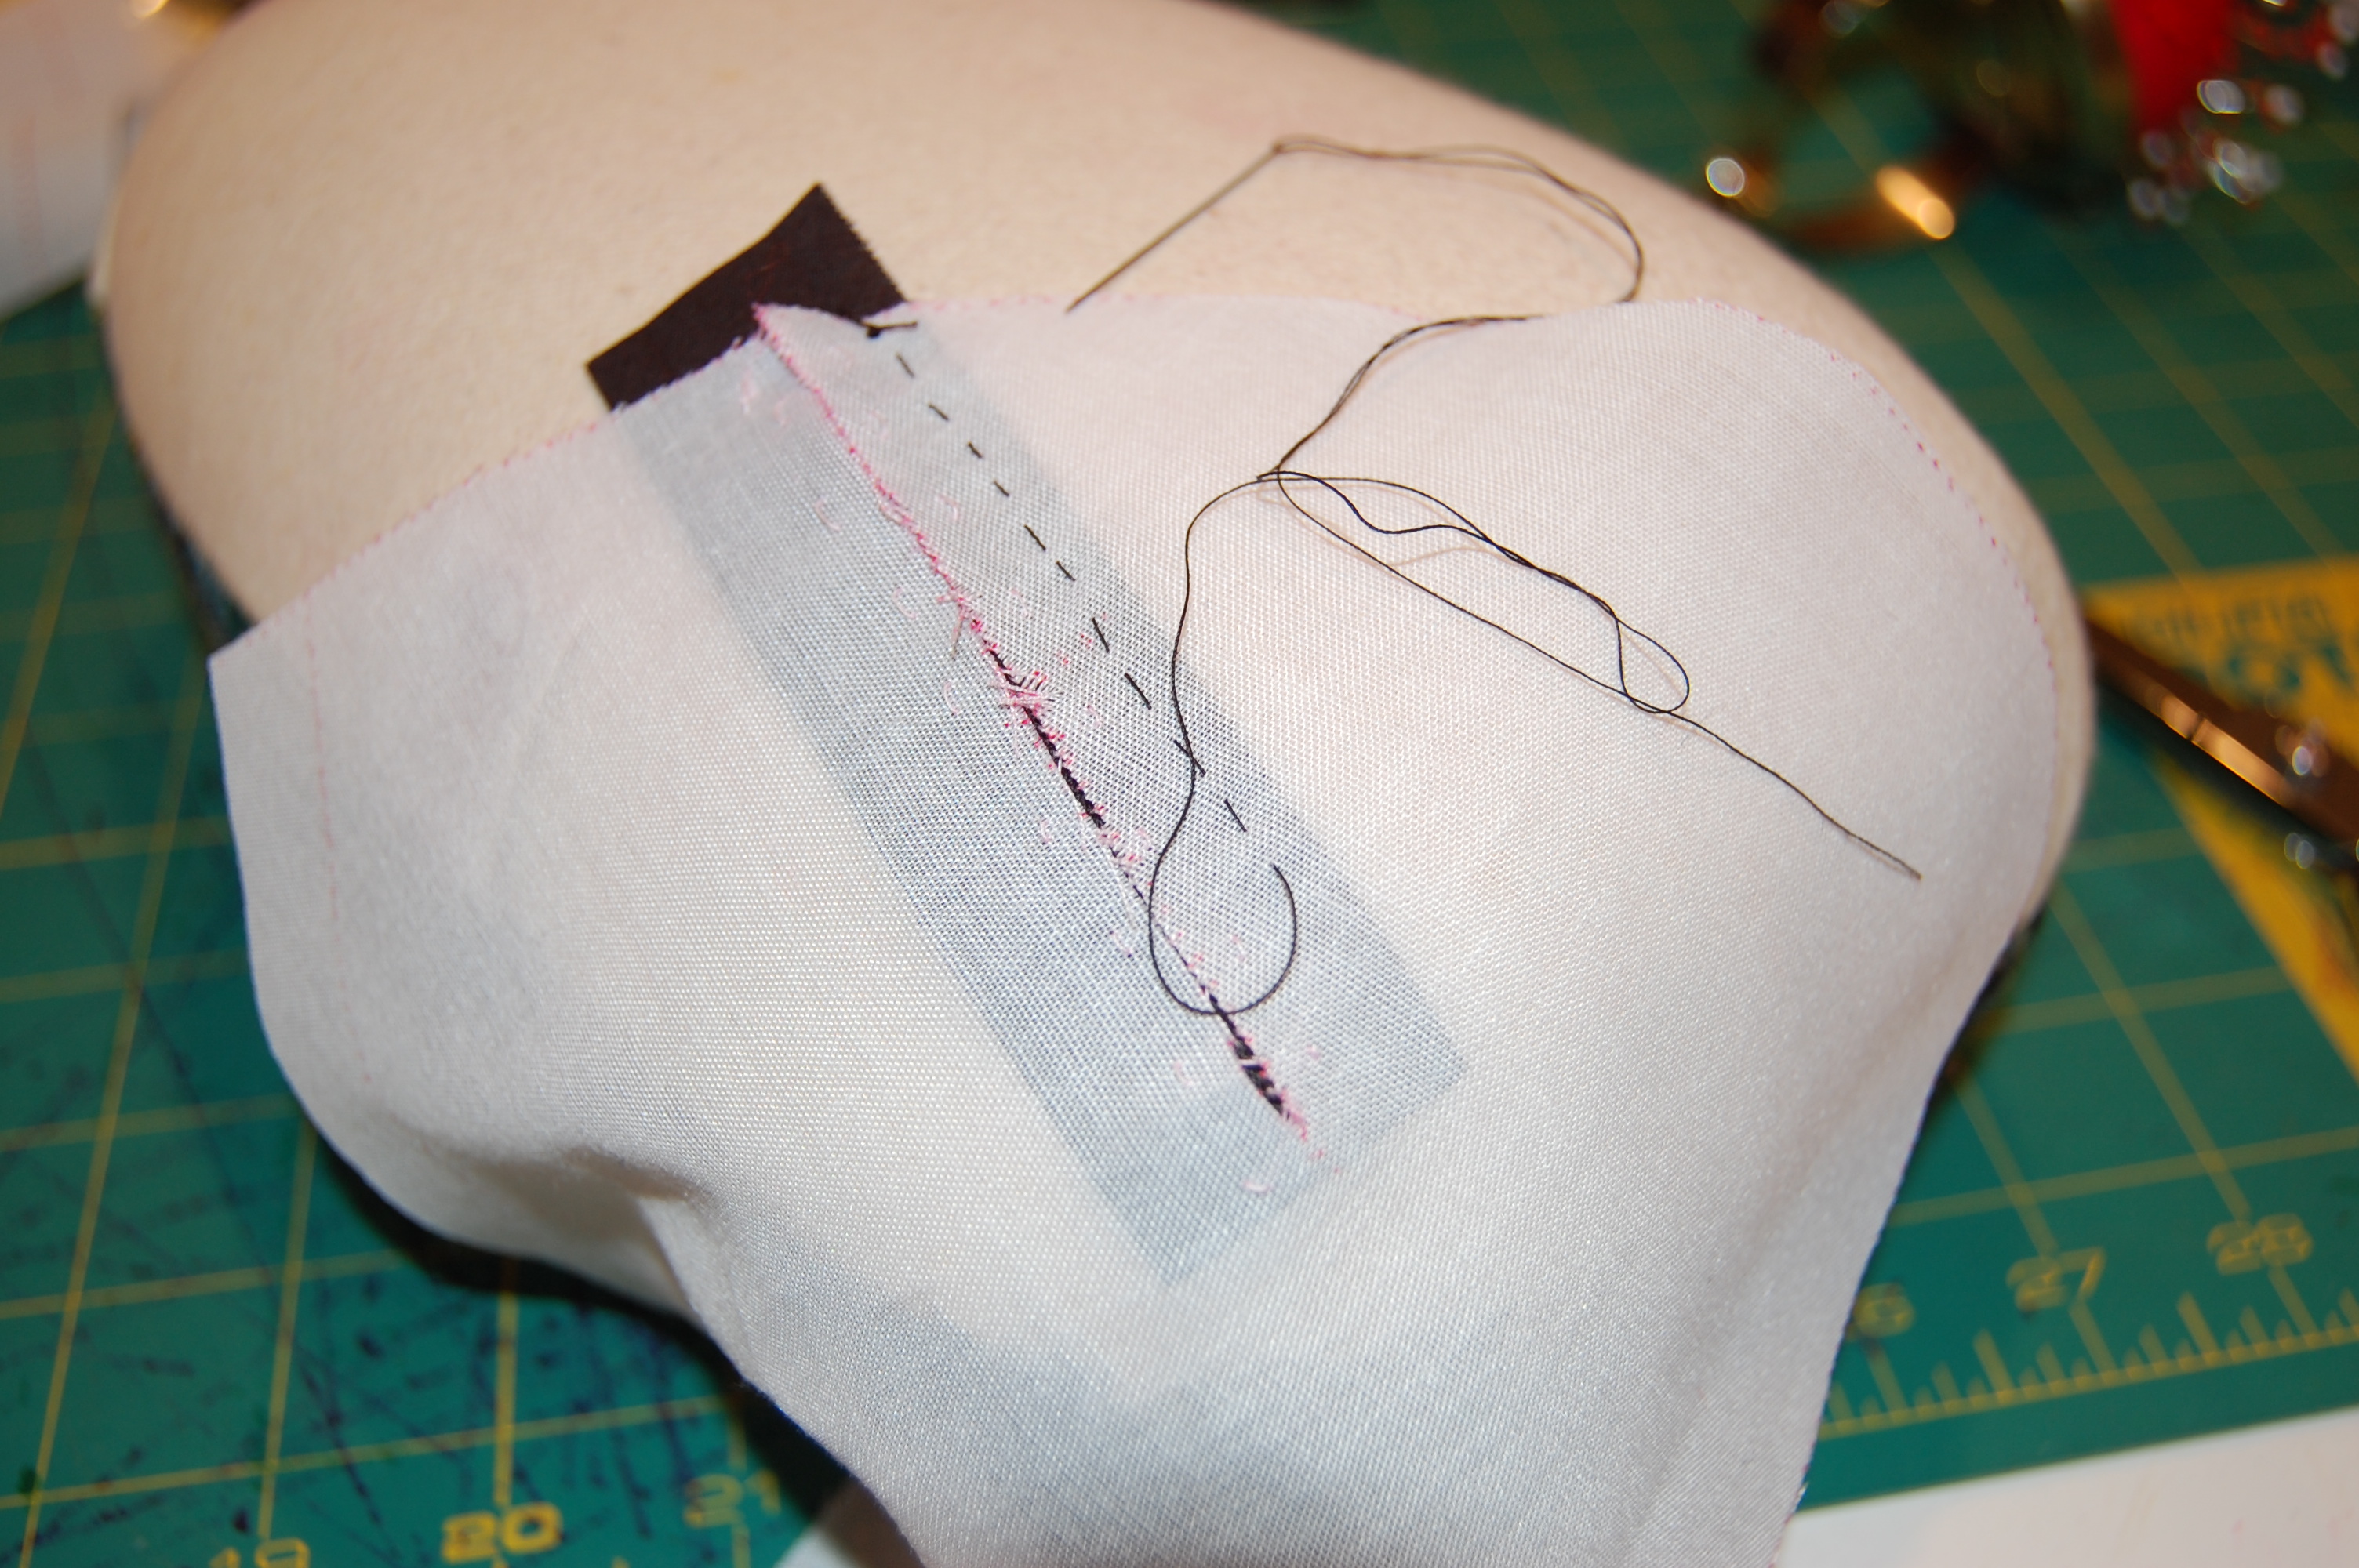
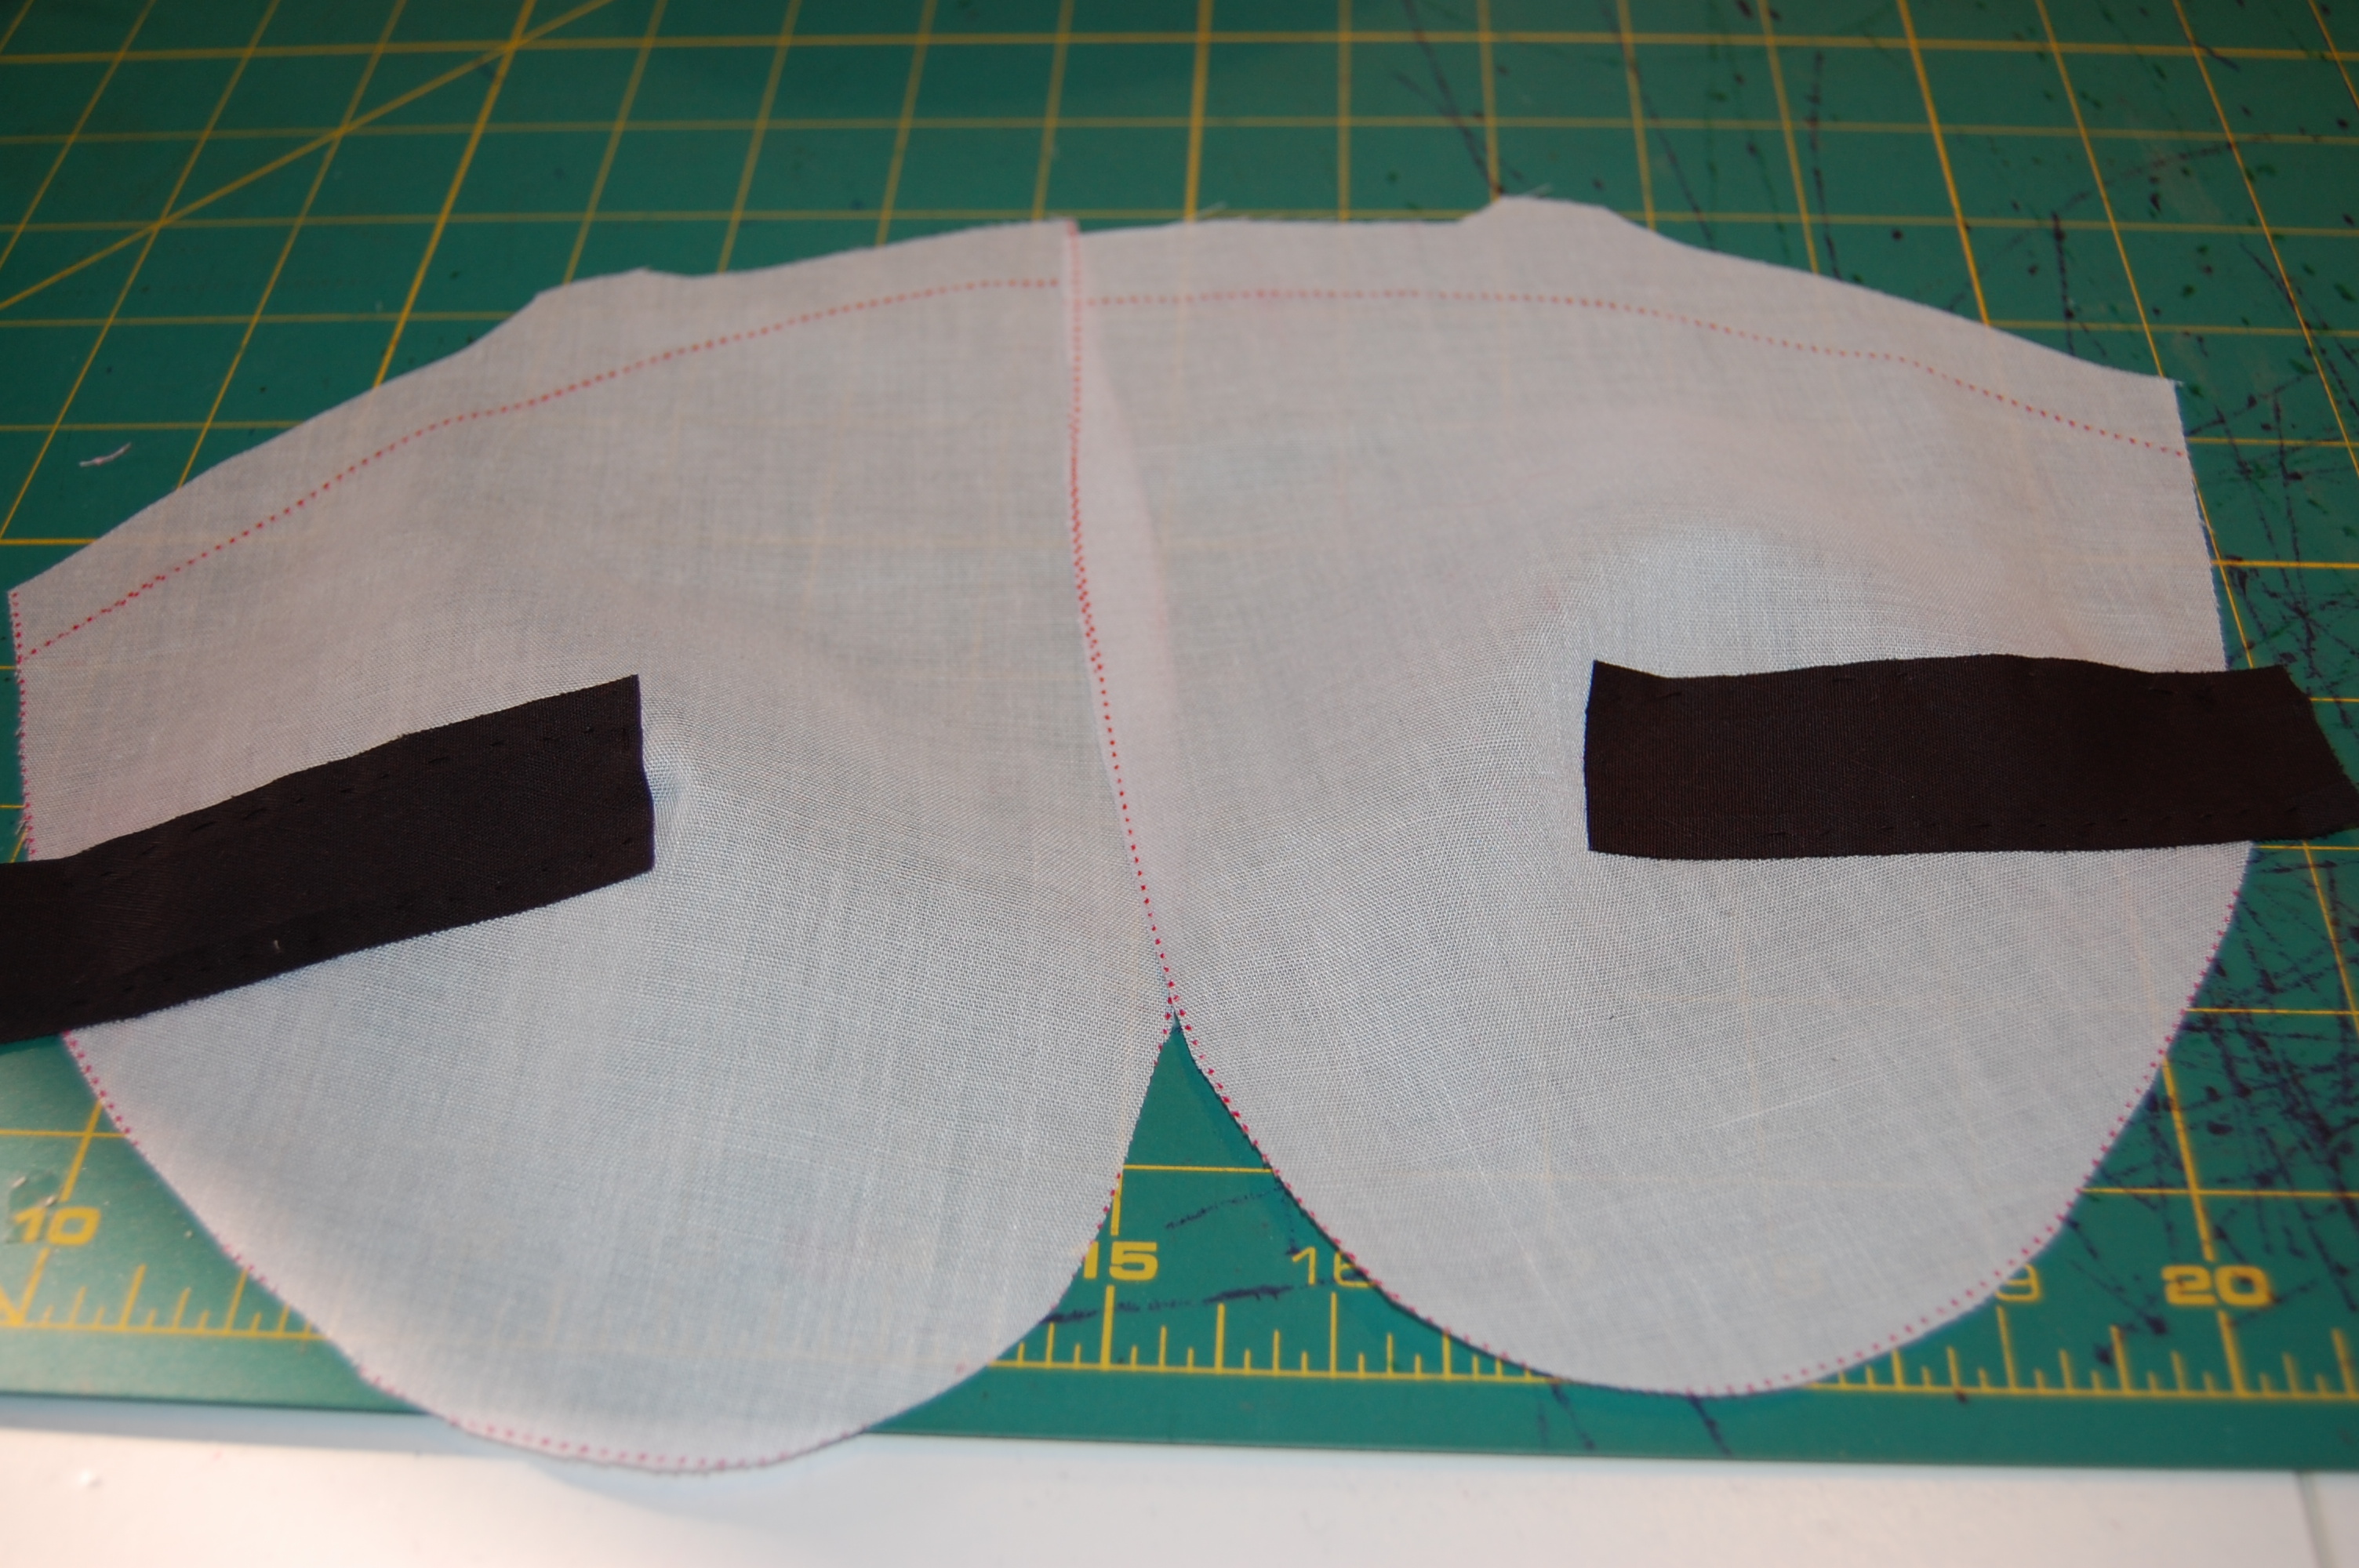
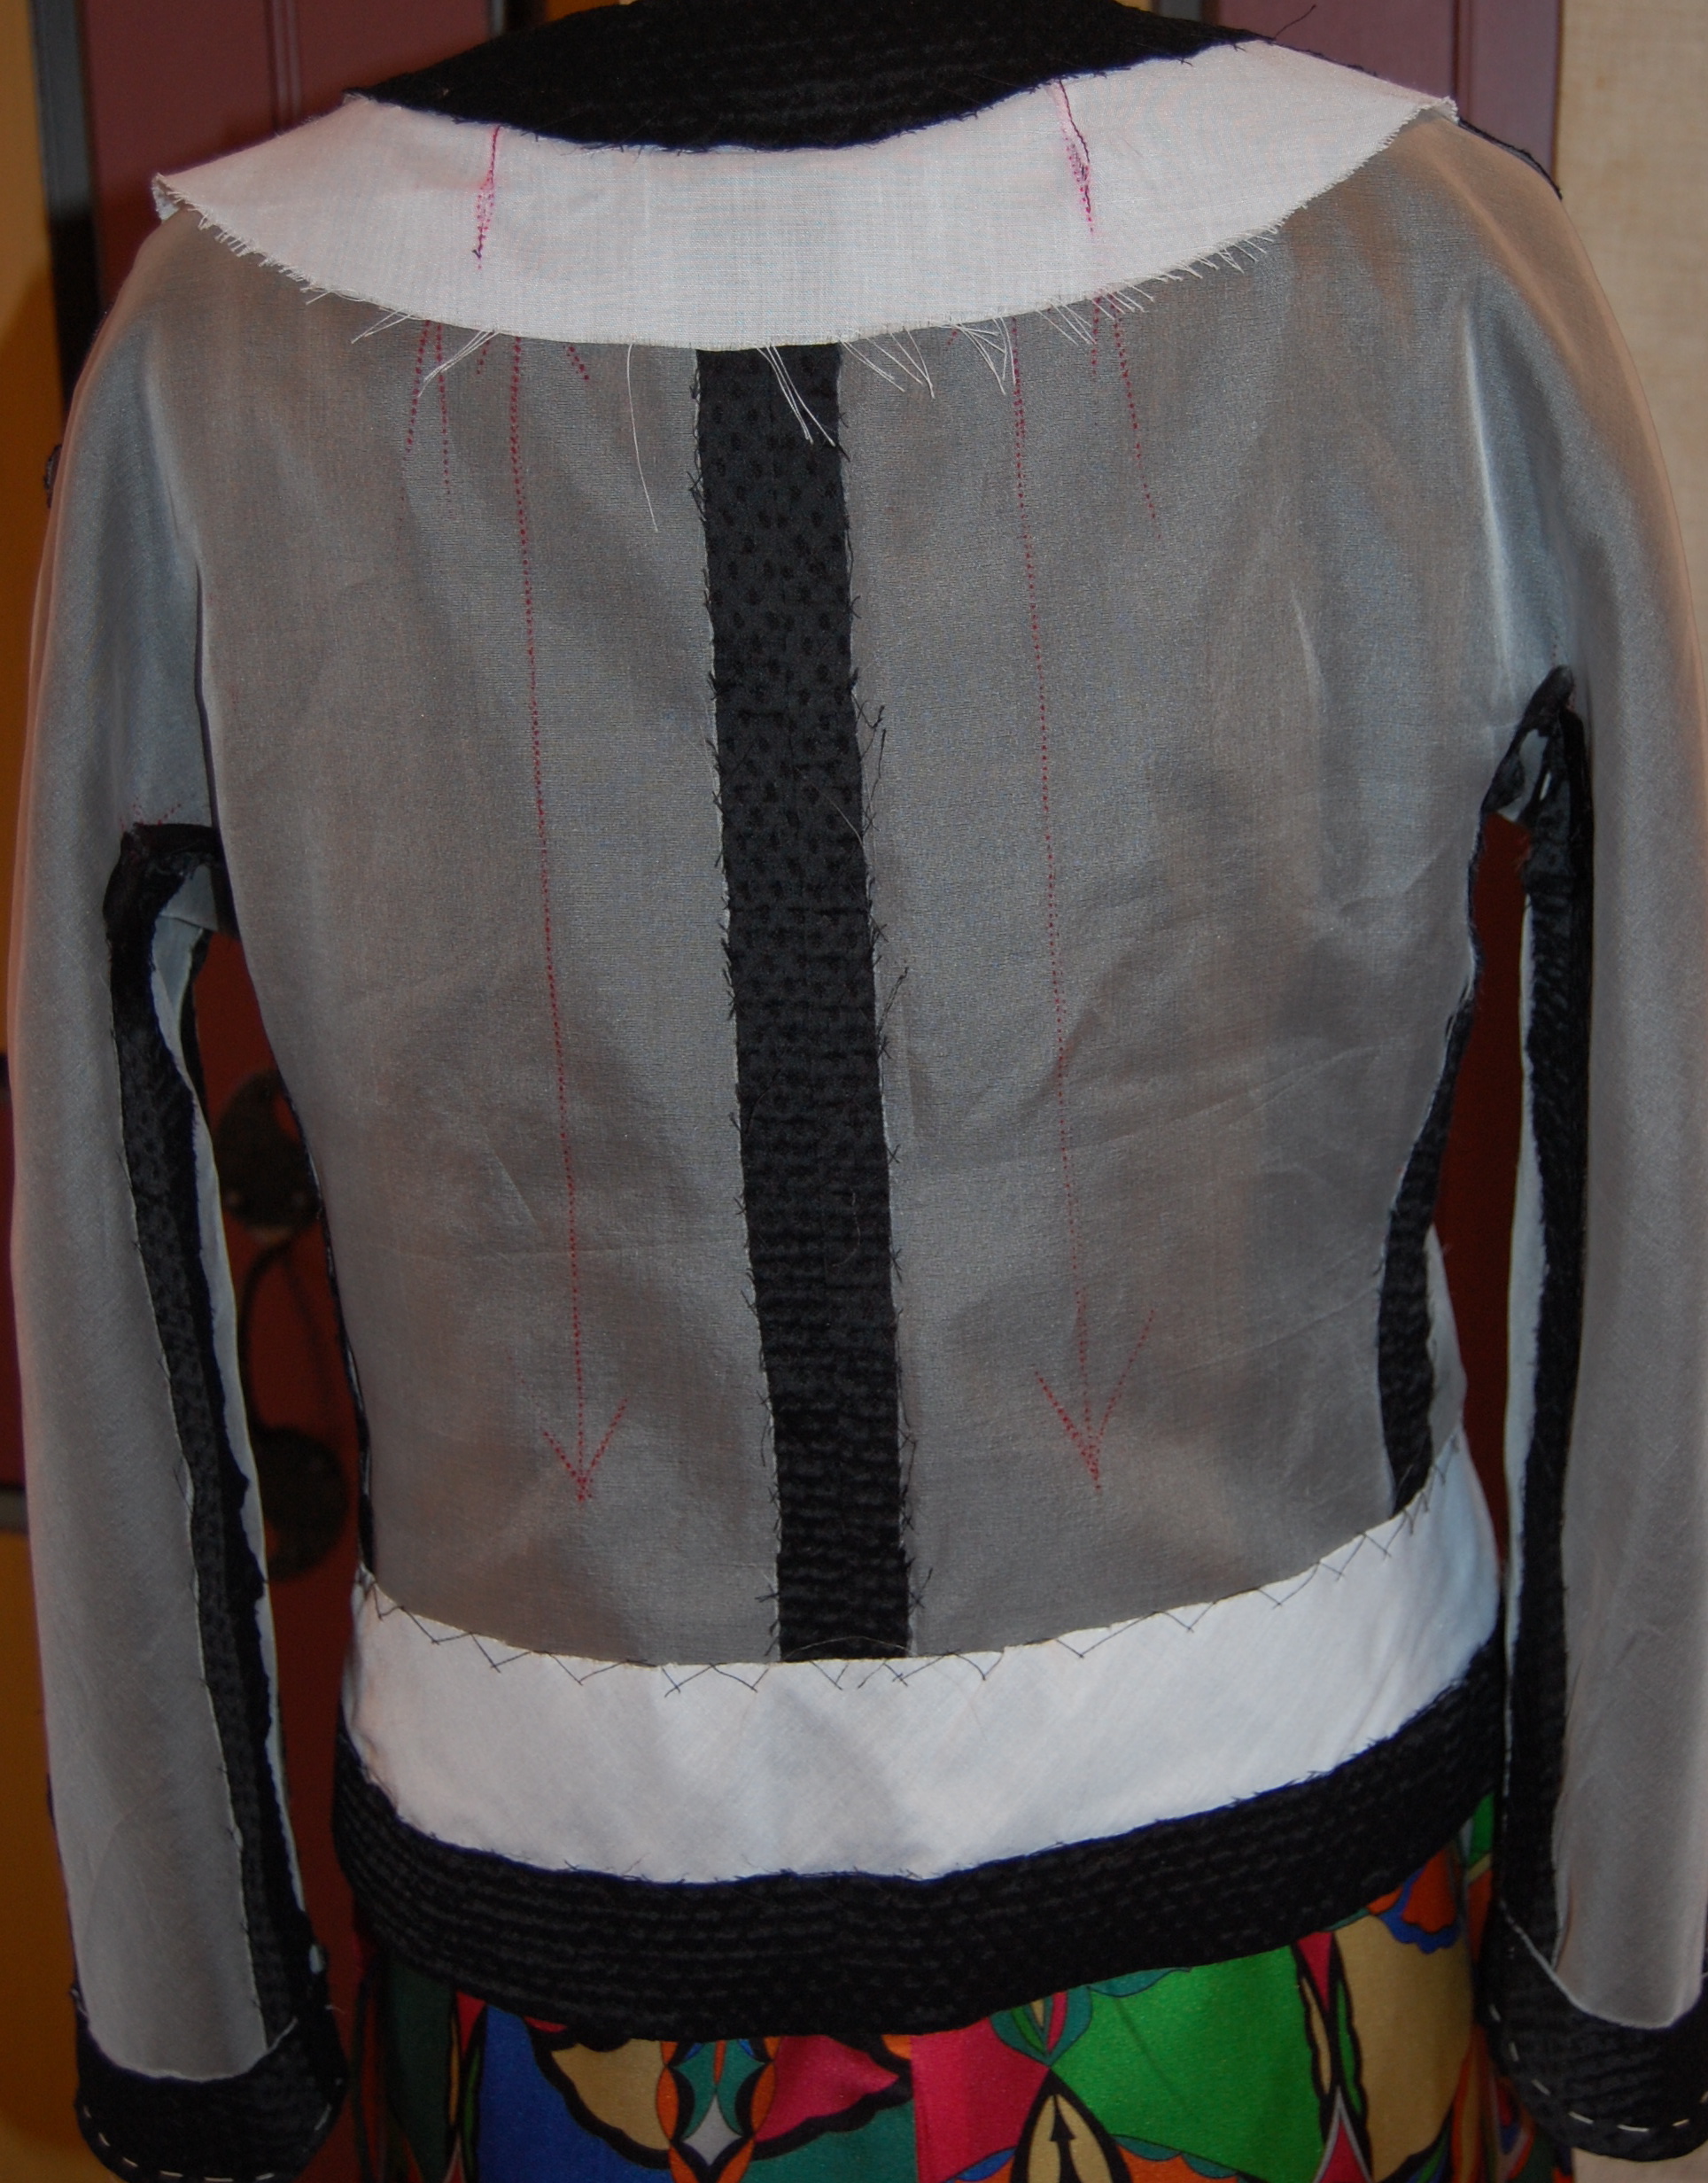
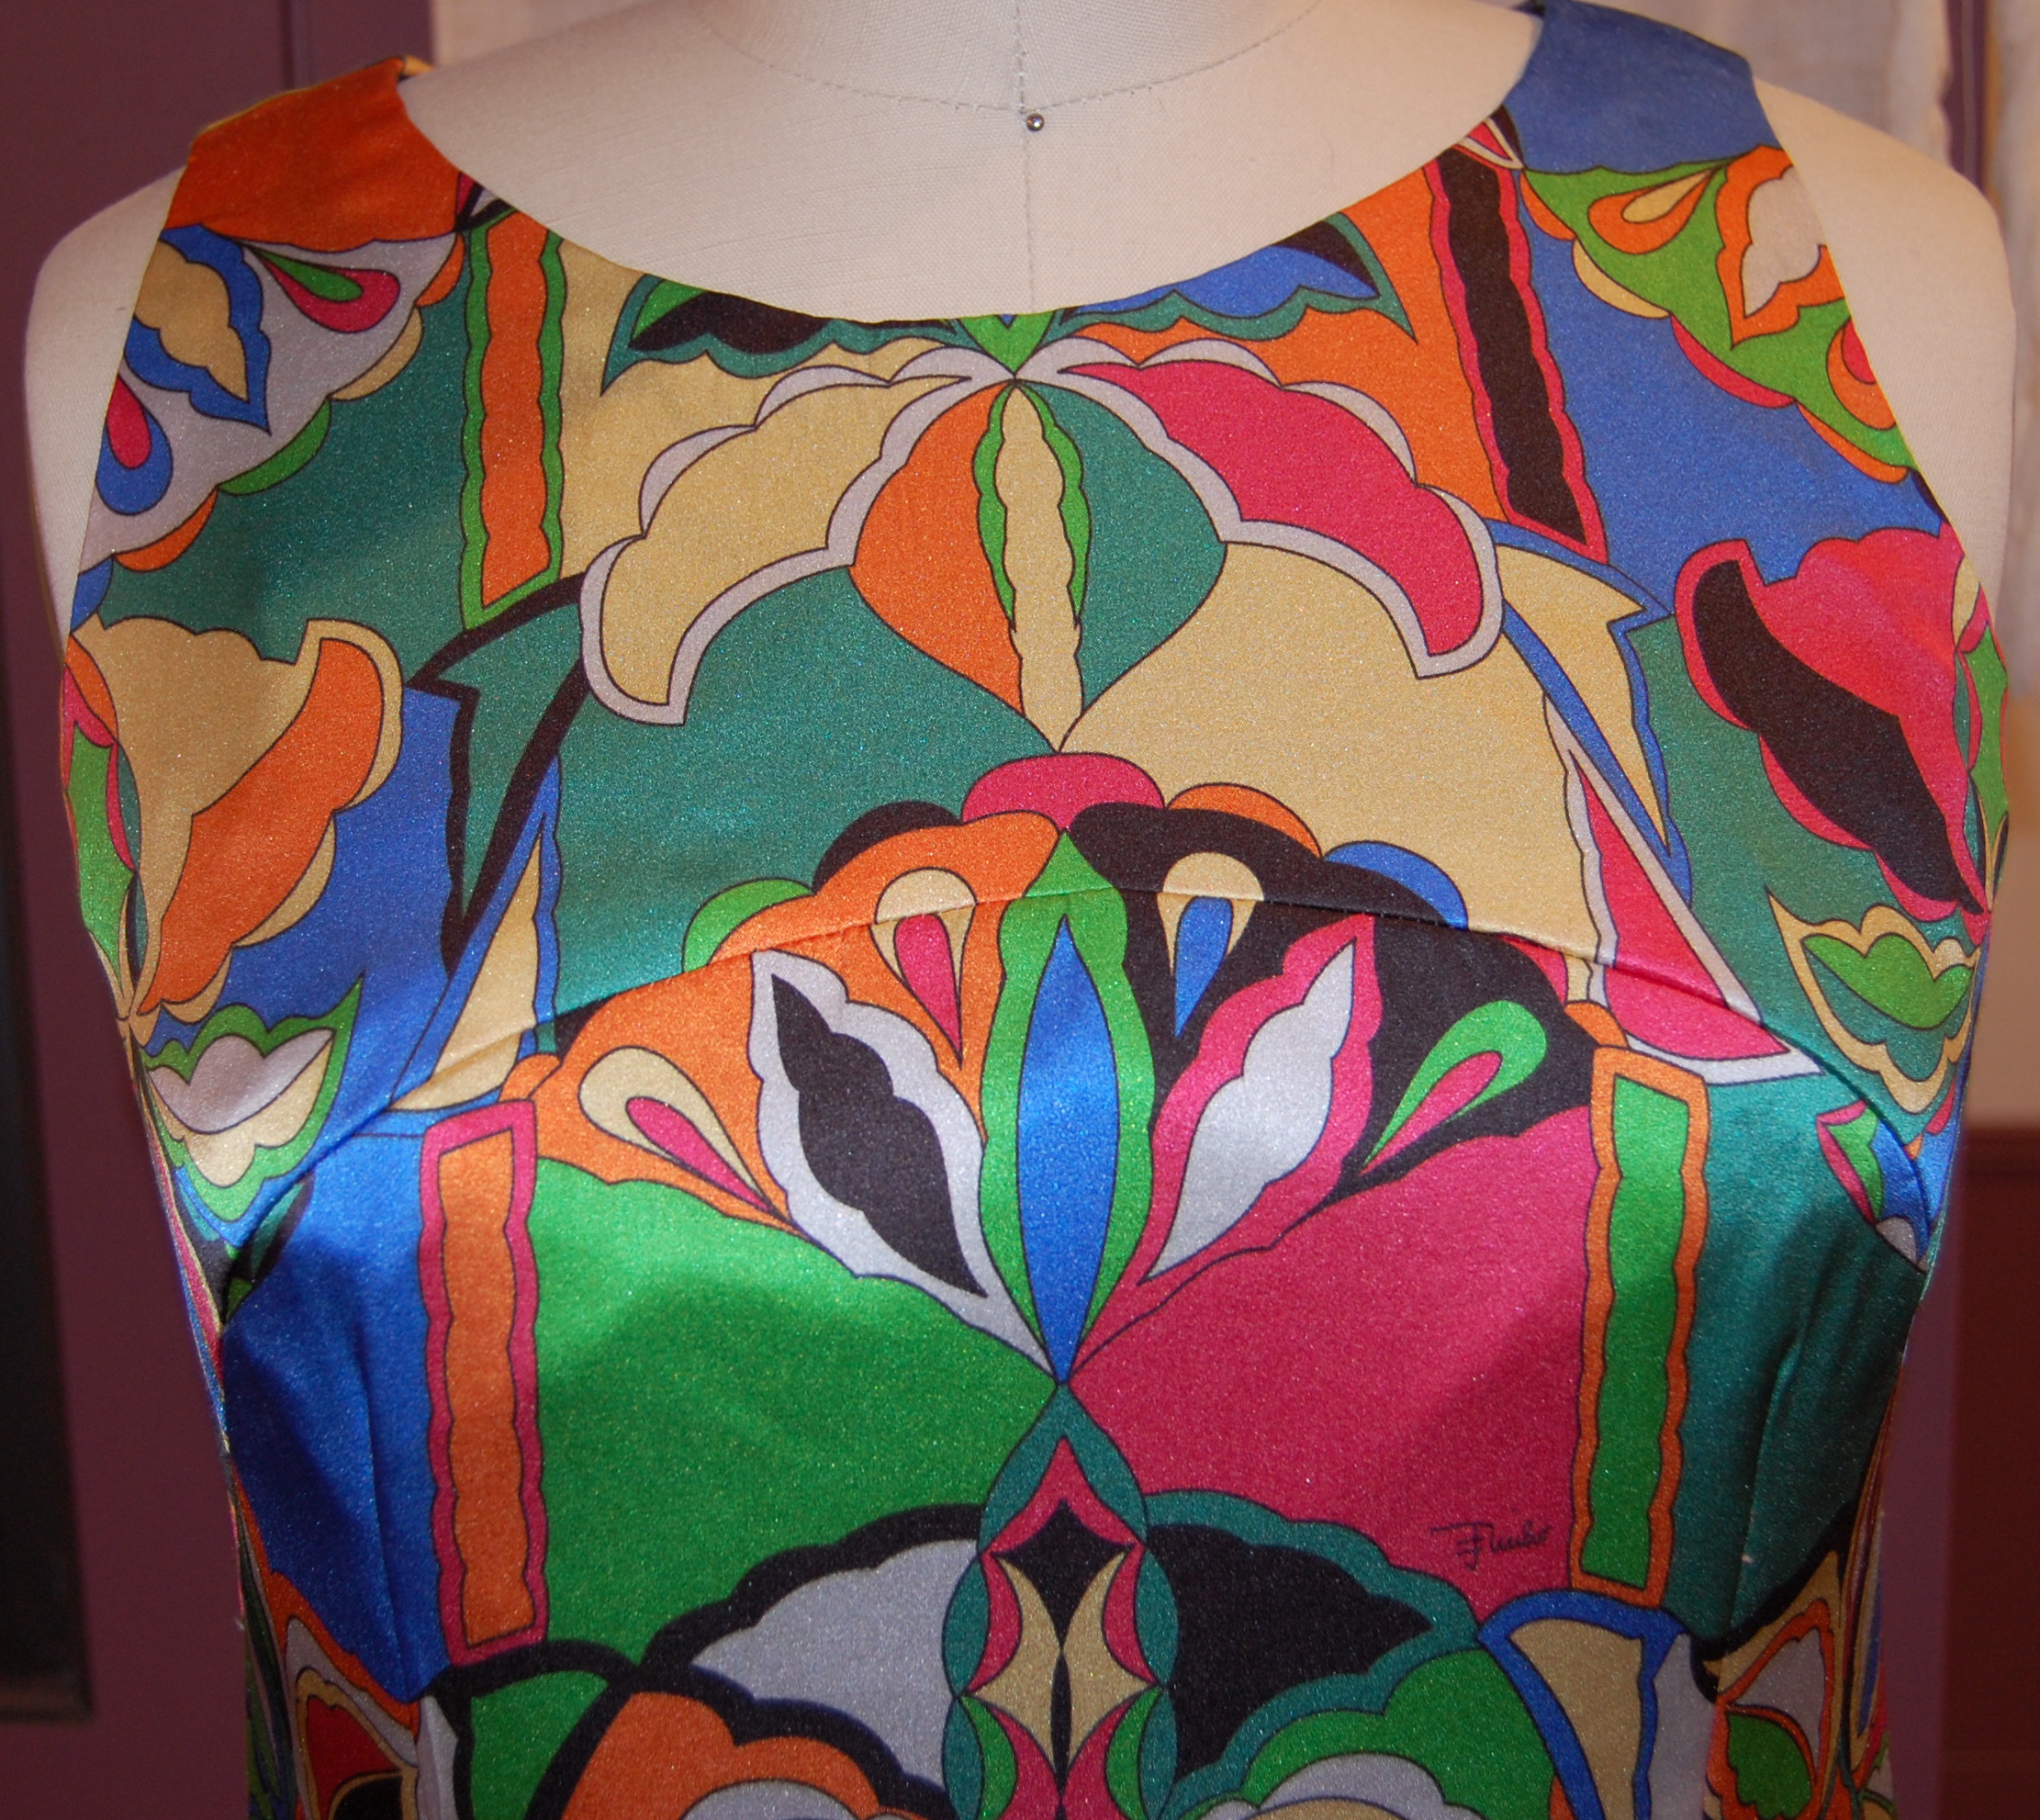
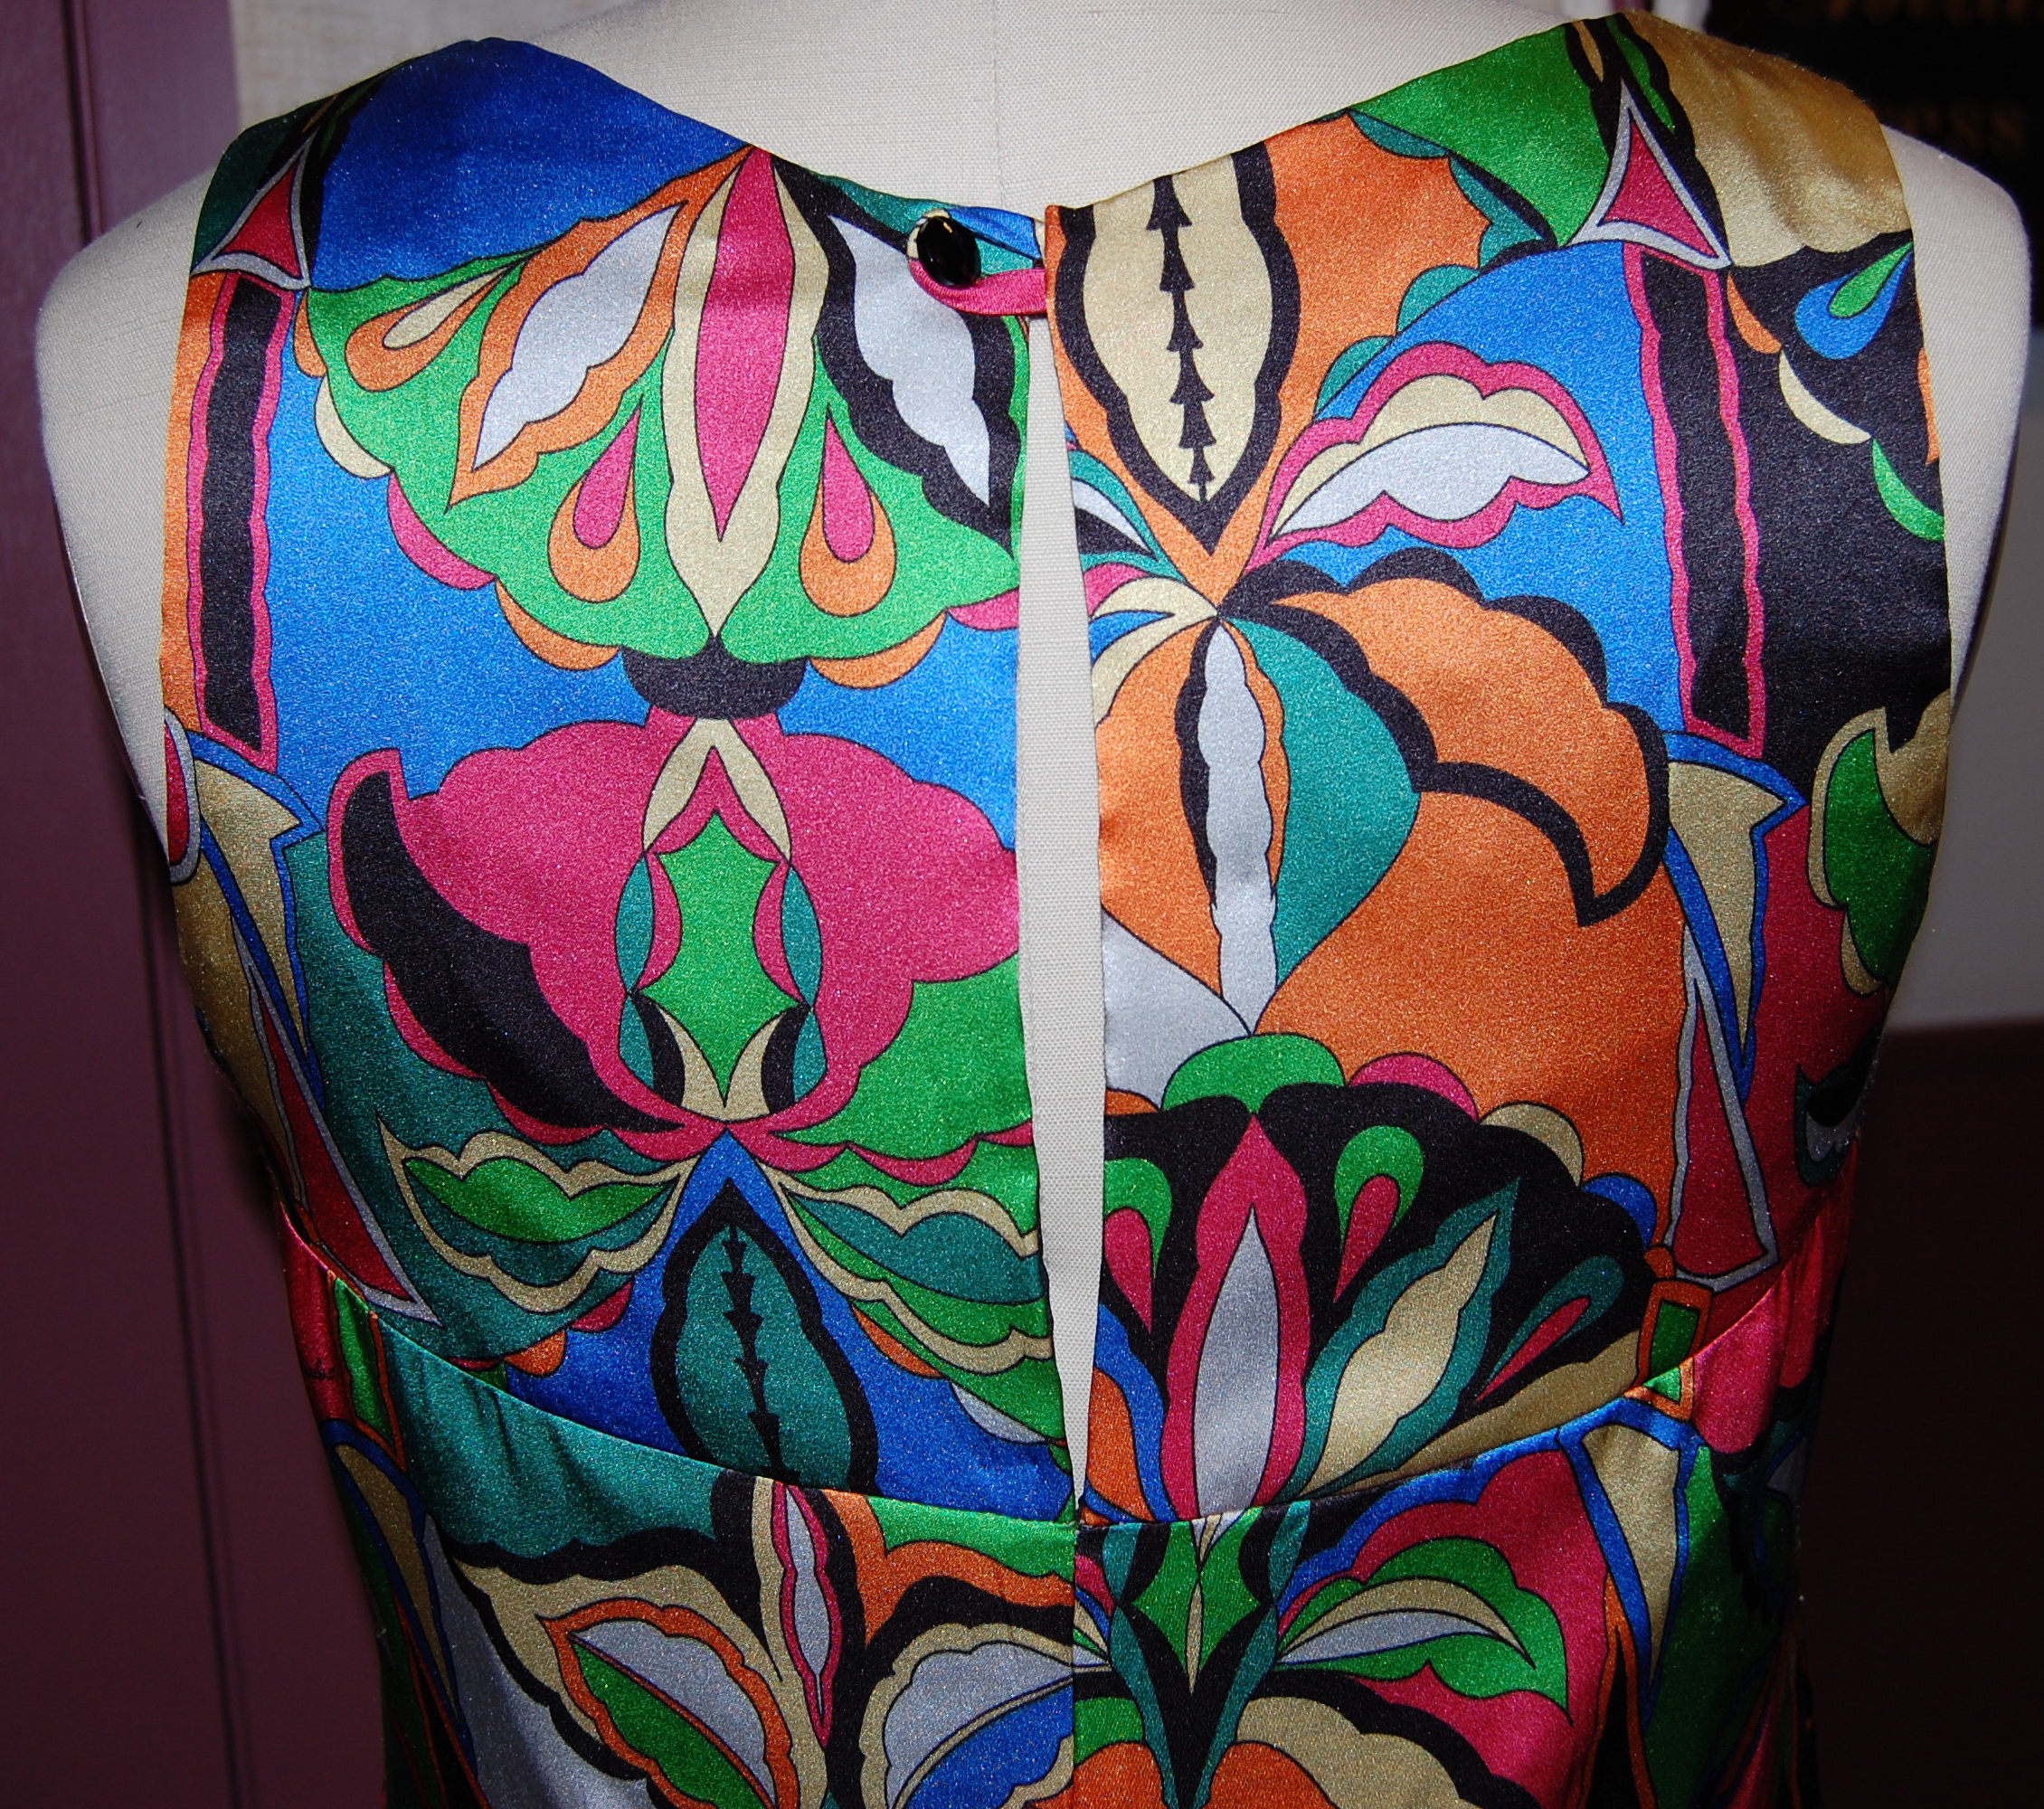
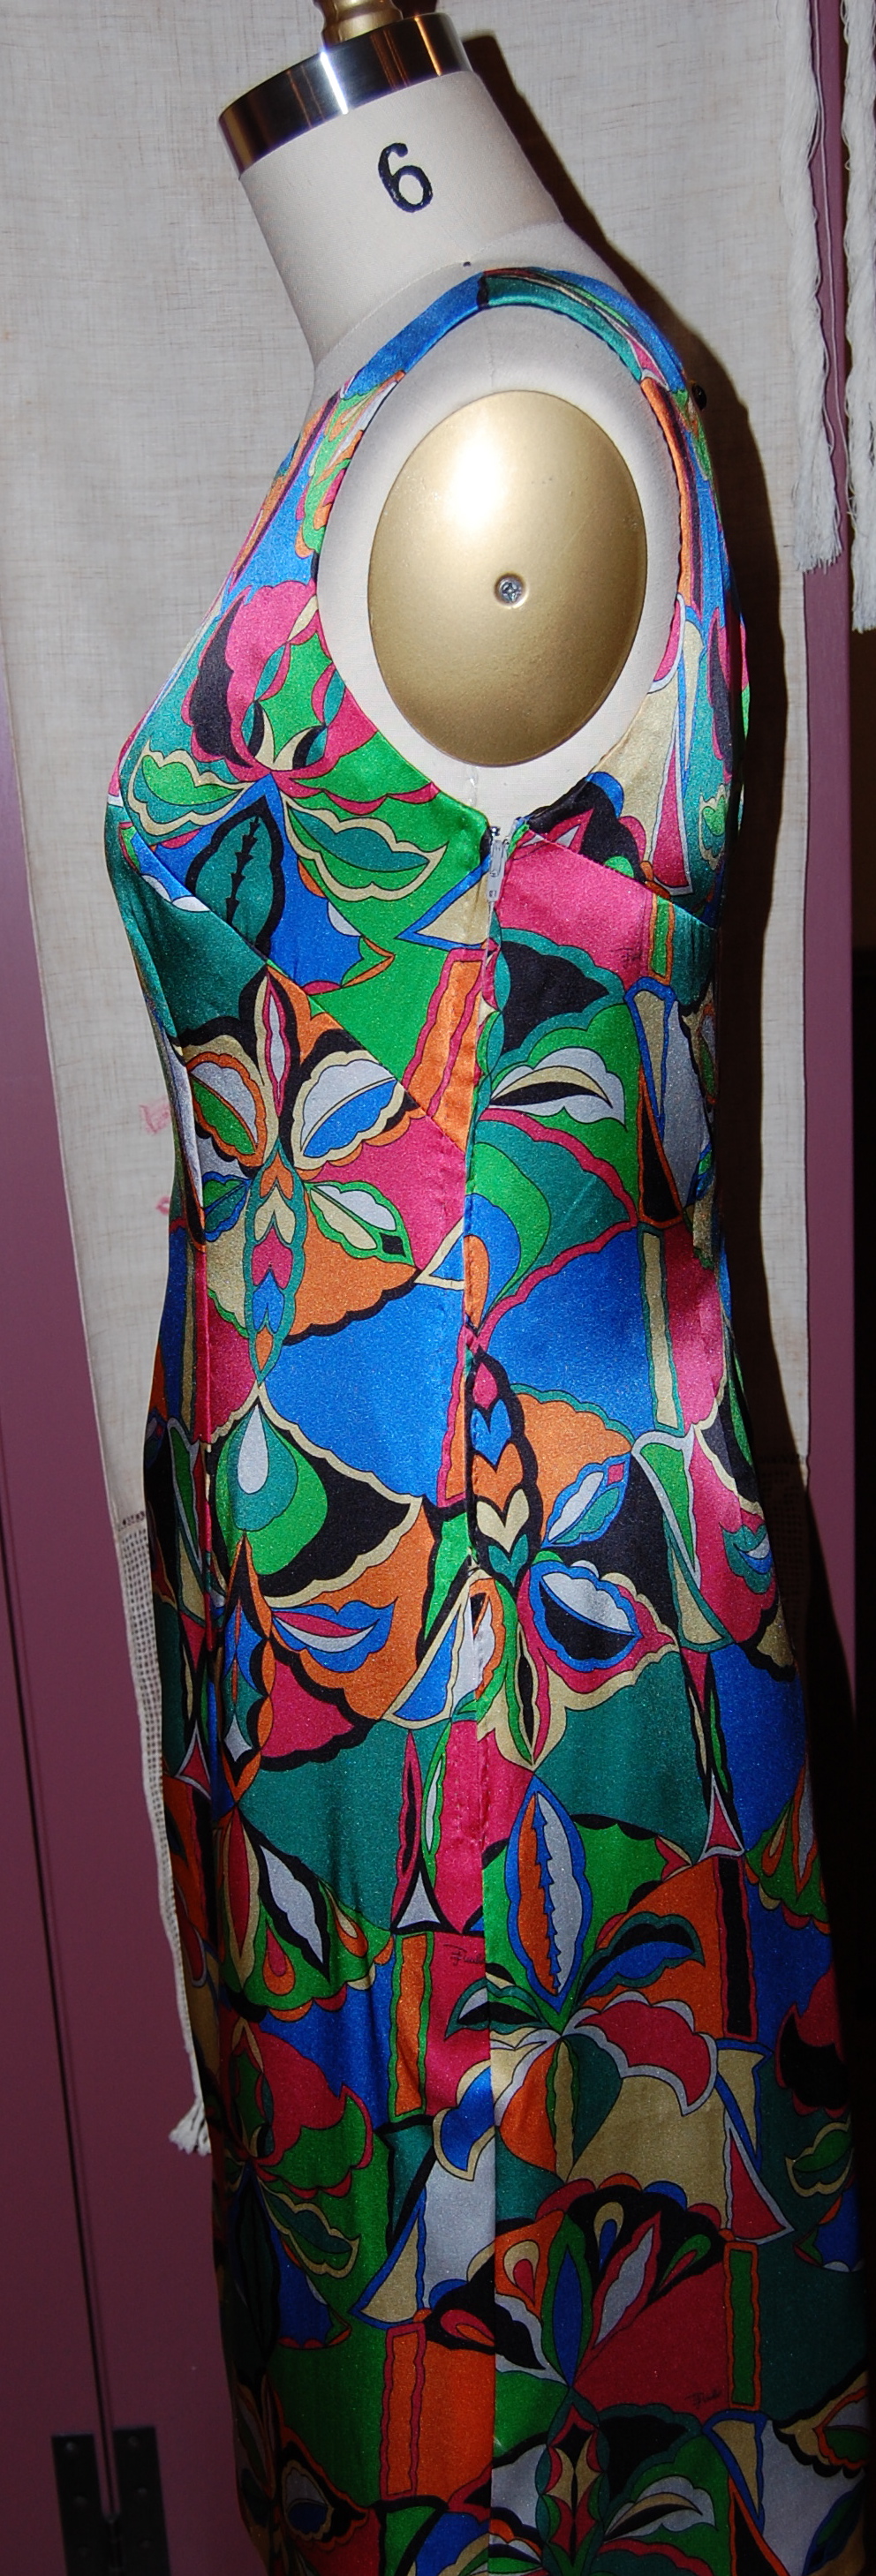
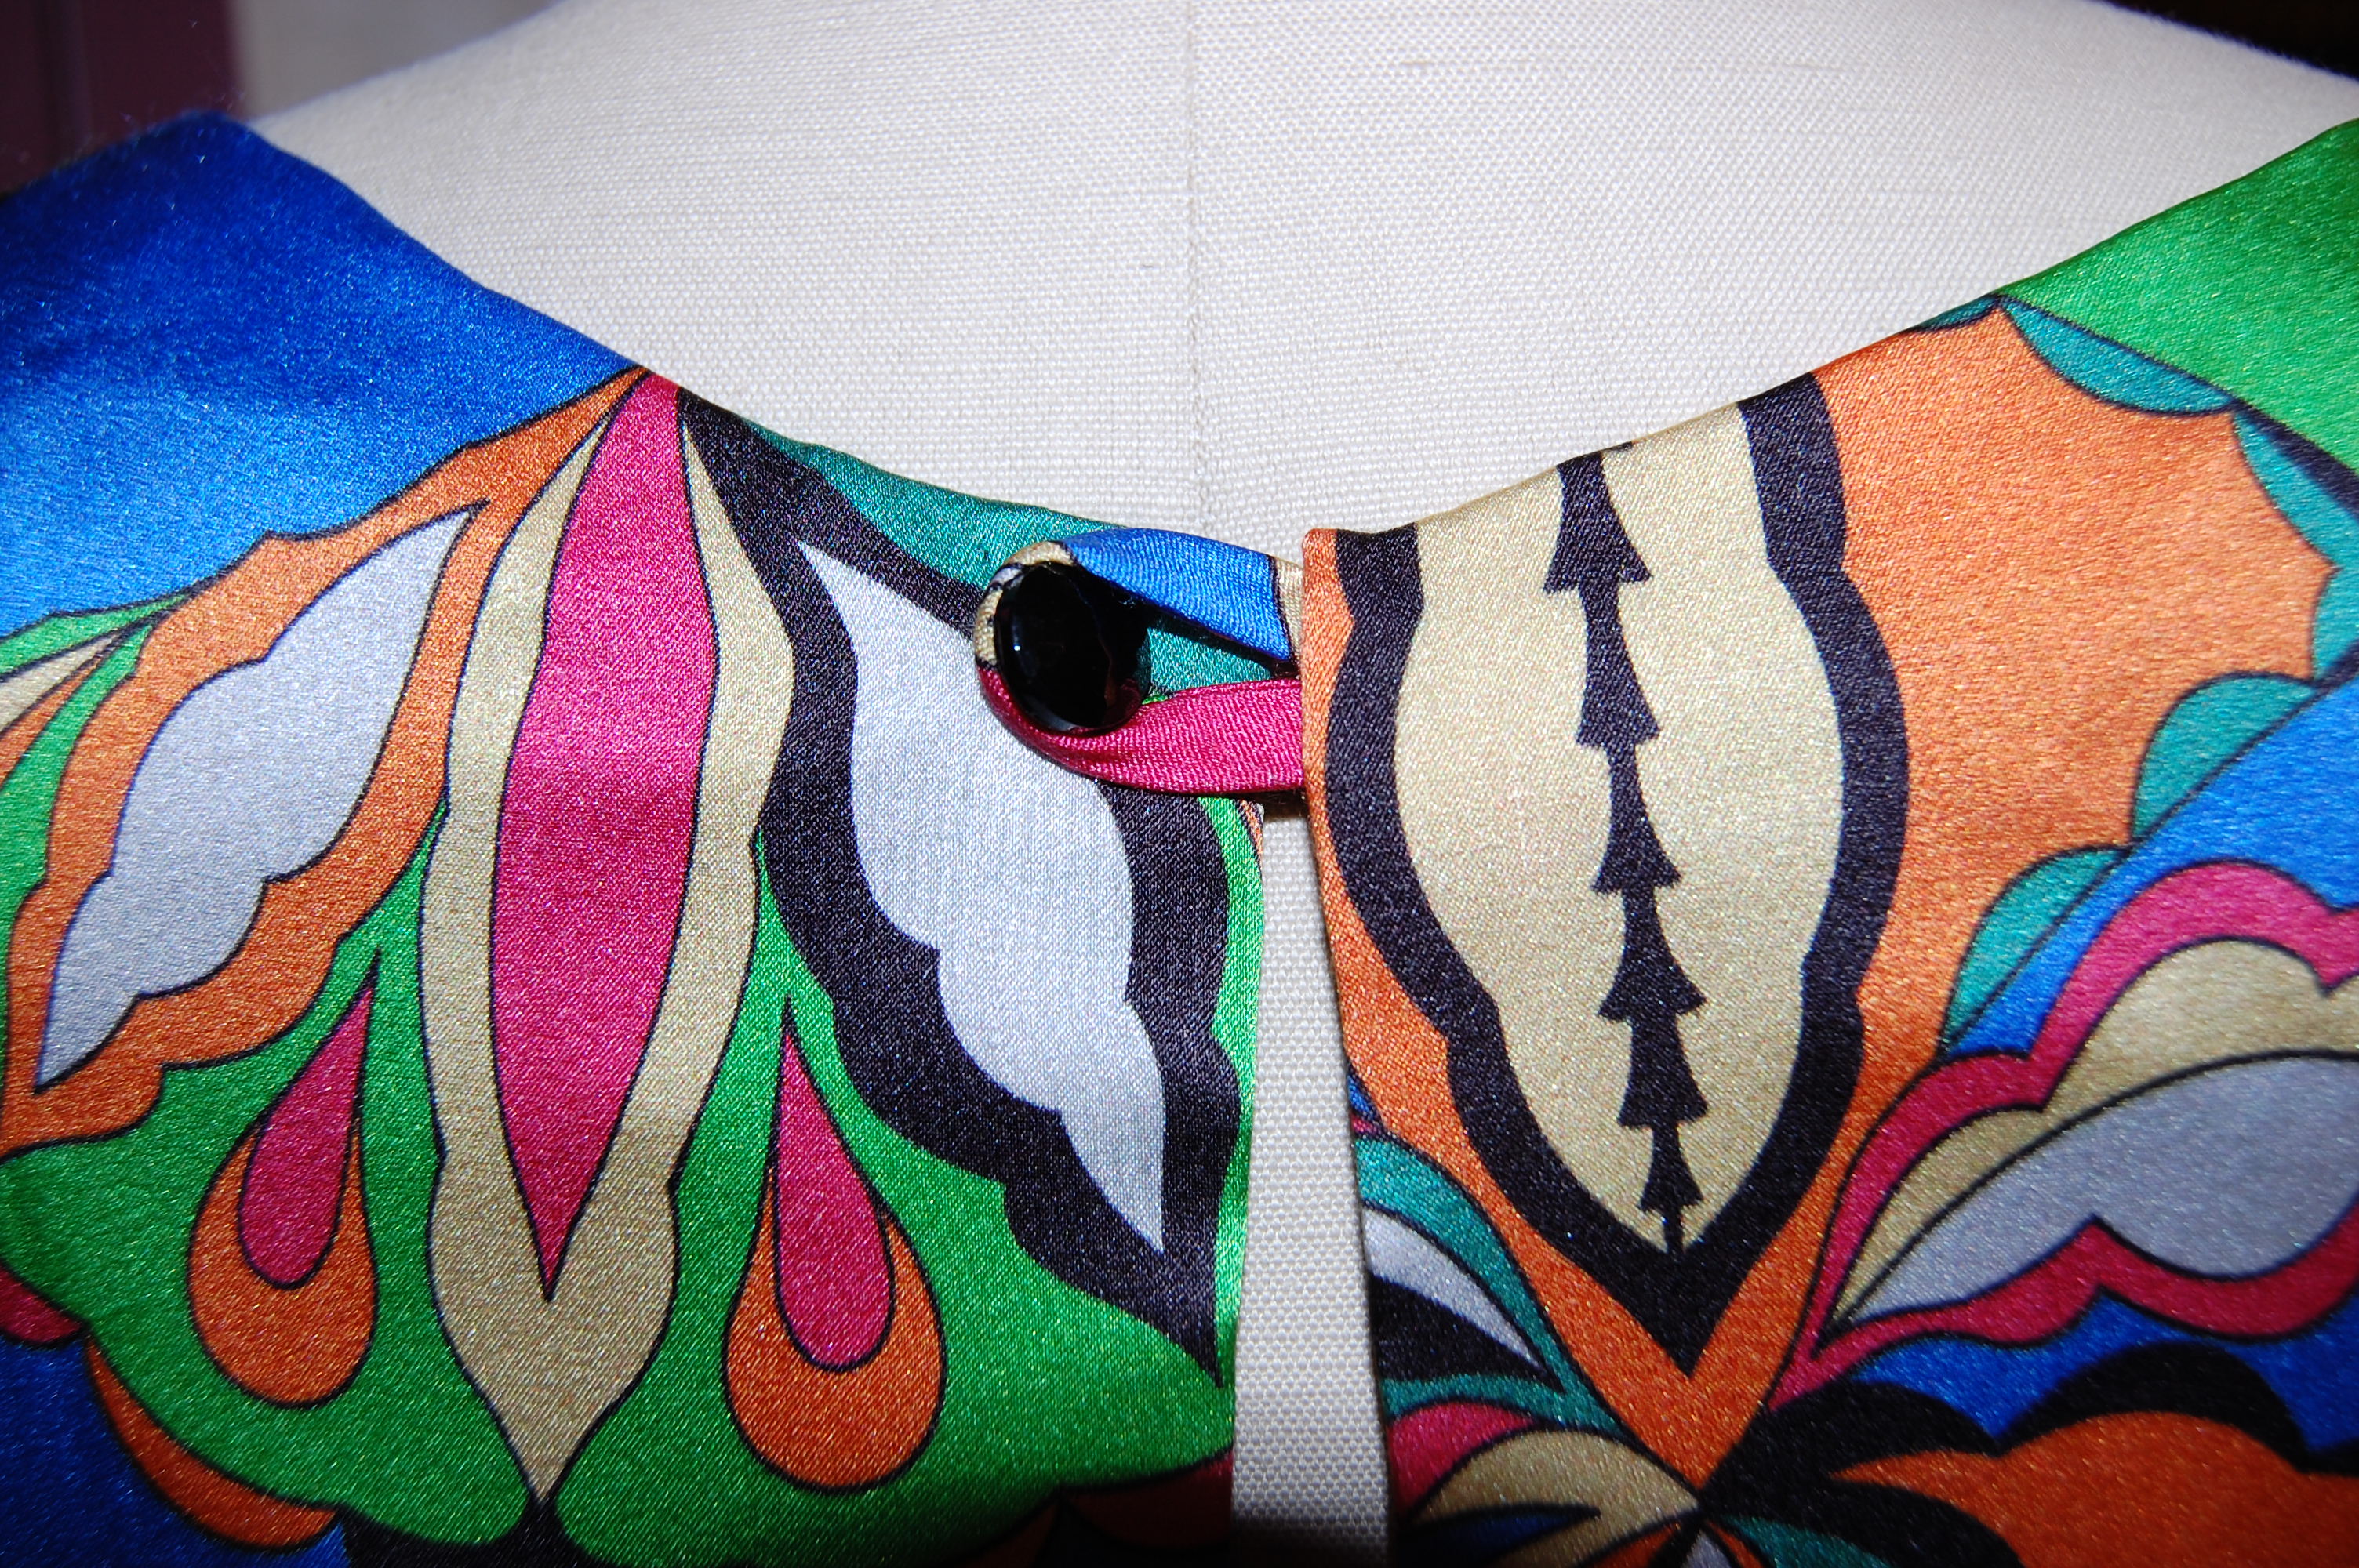
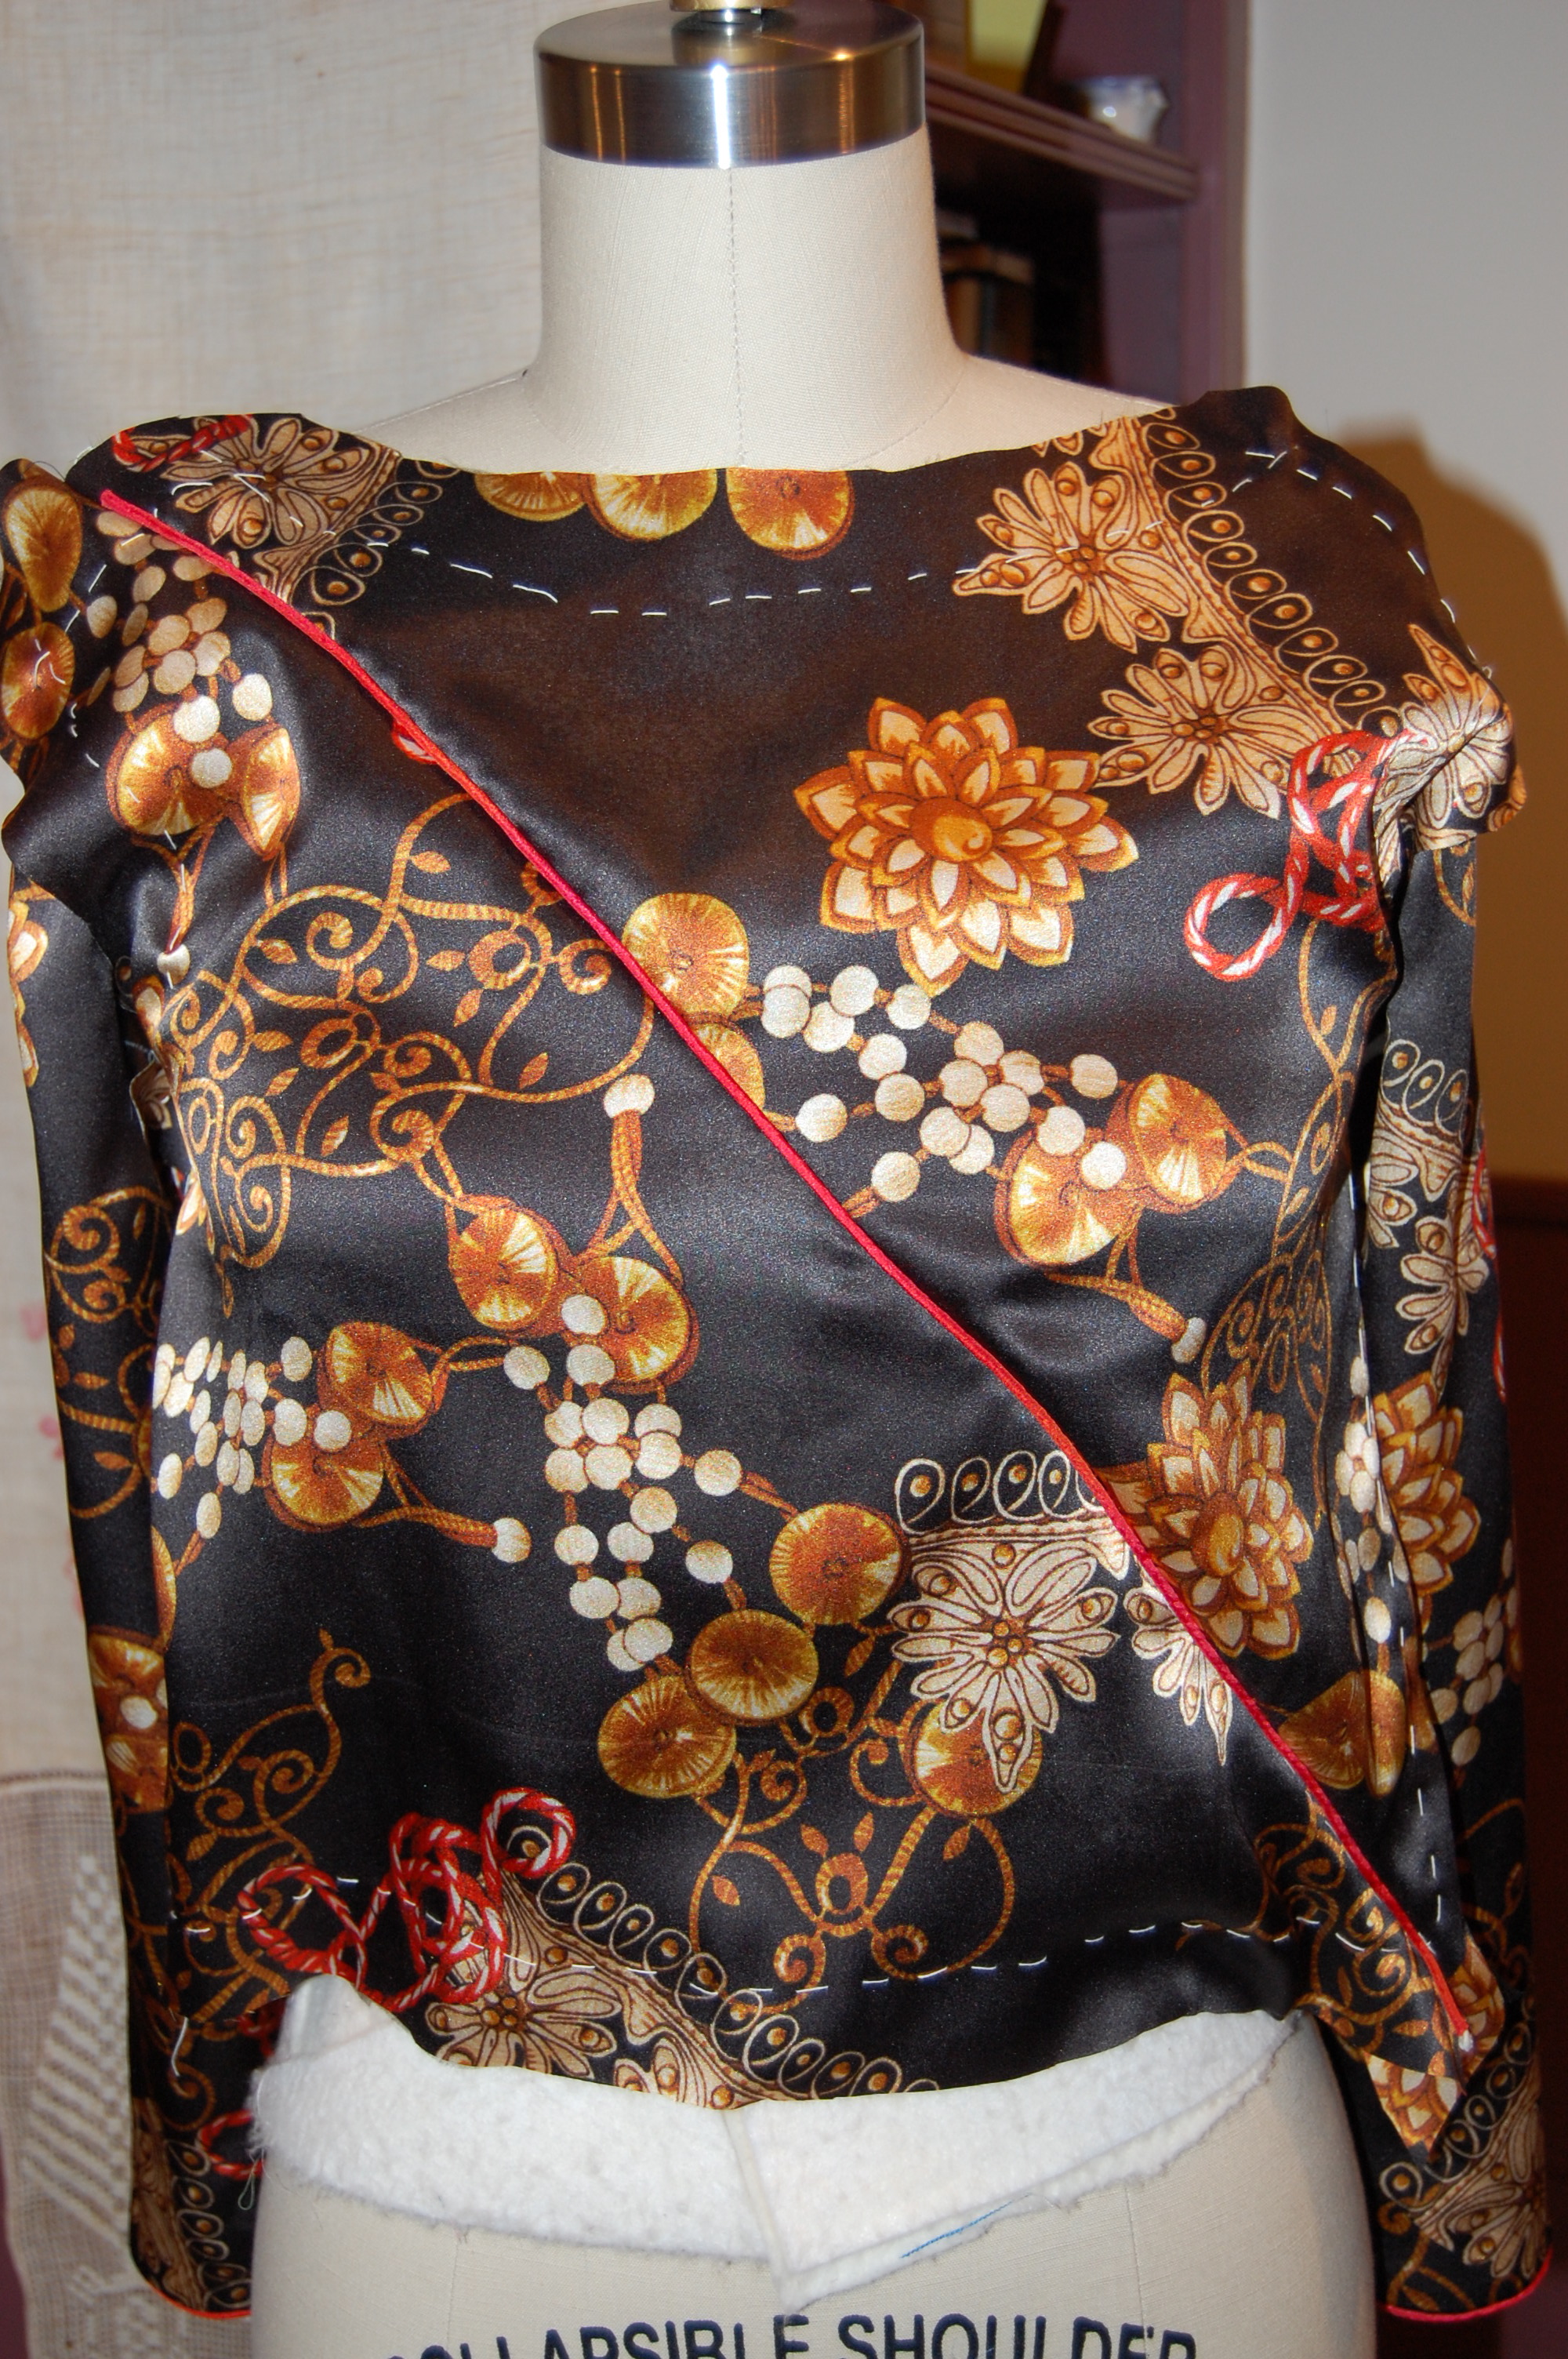
I guess you could say that panic has set in. Here is what the dress bodice looks like on my dress form:

Panic and patterns

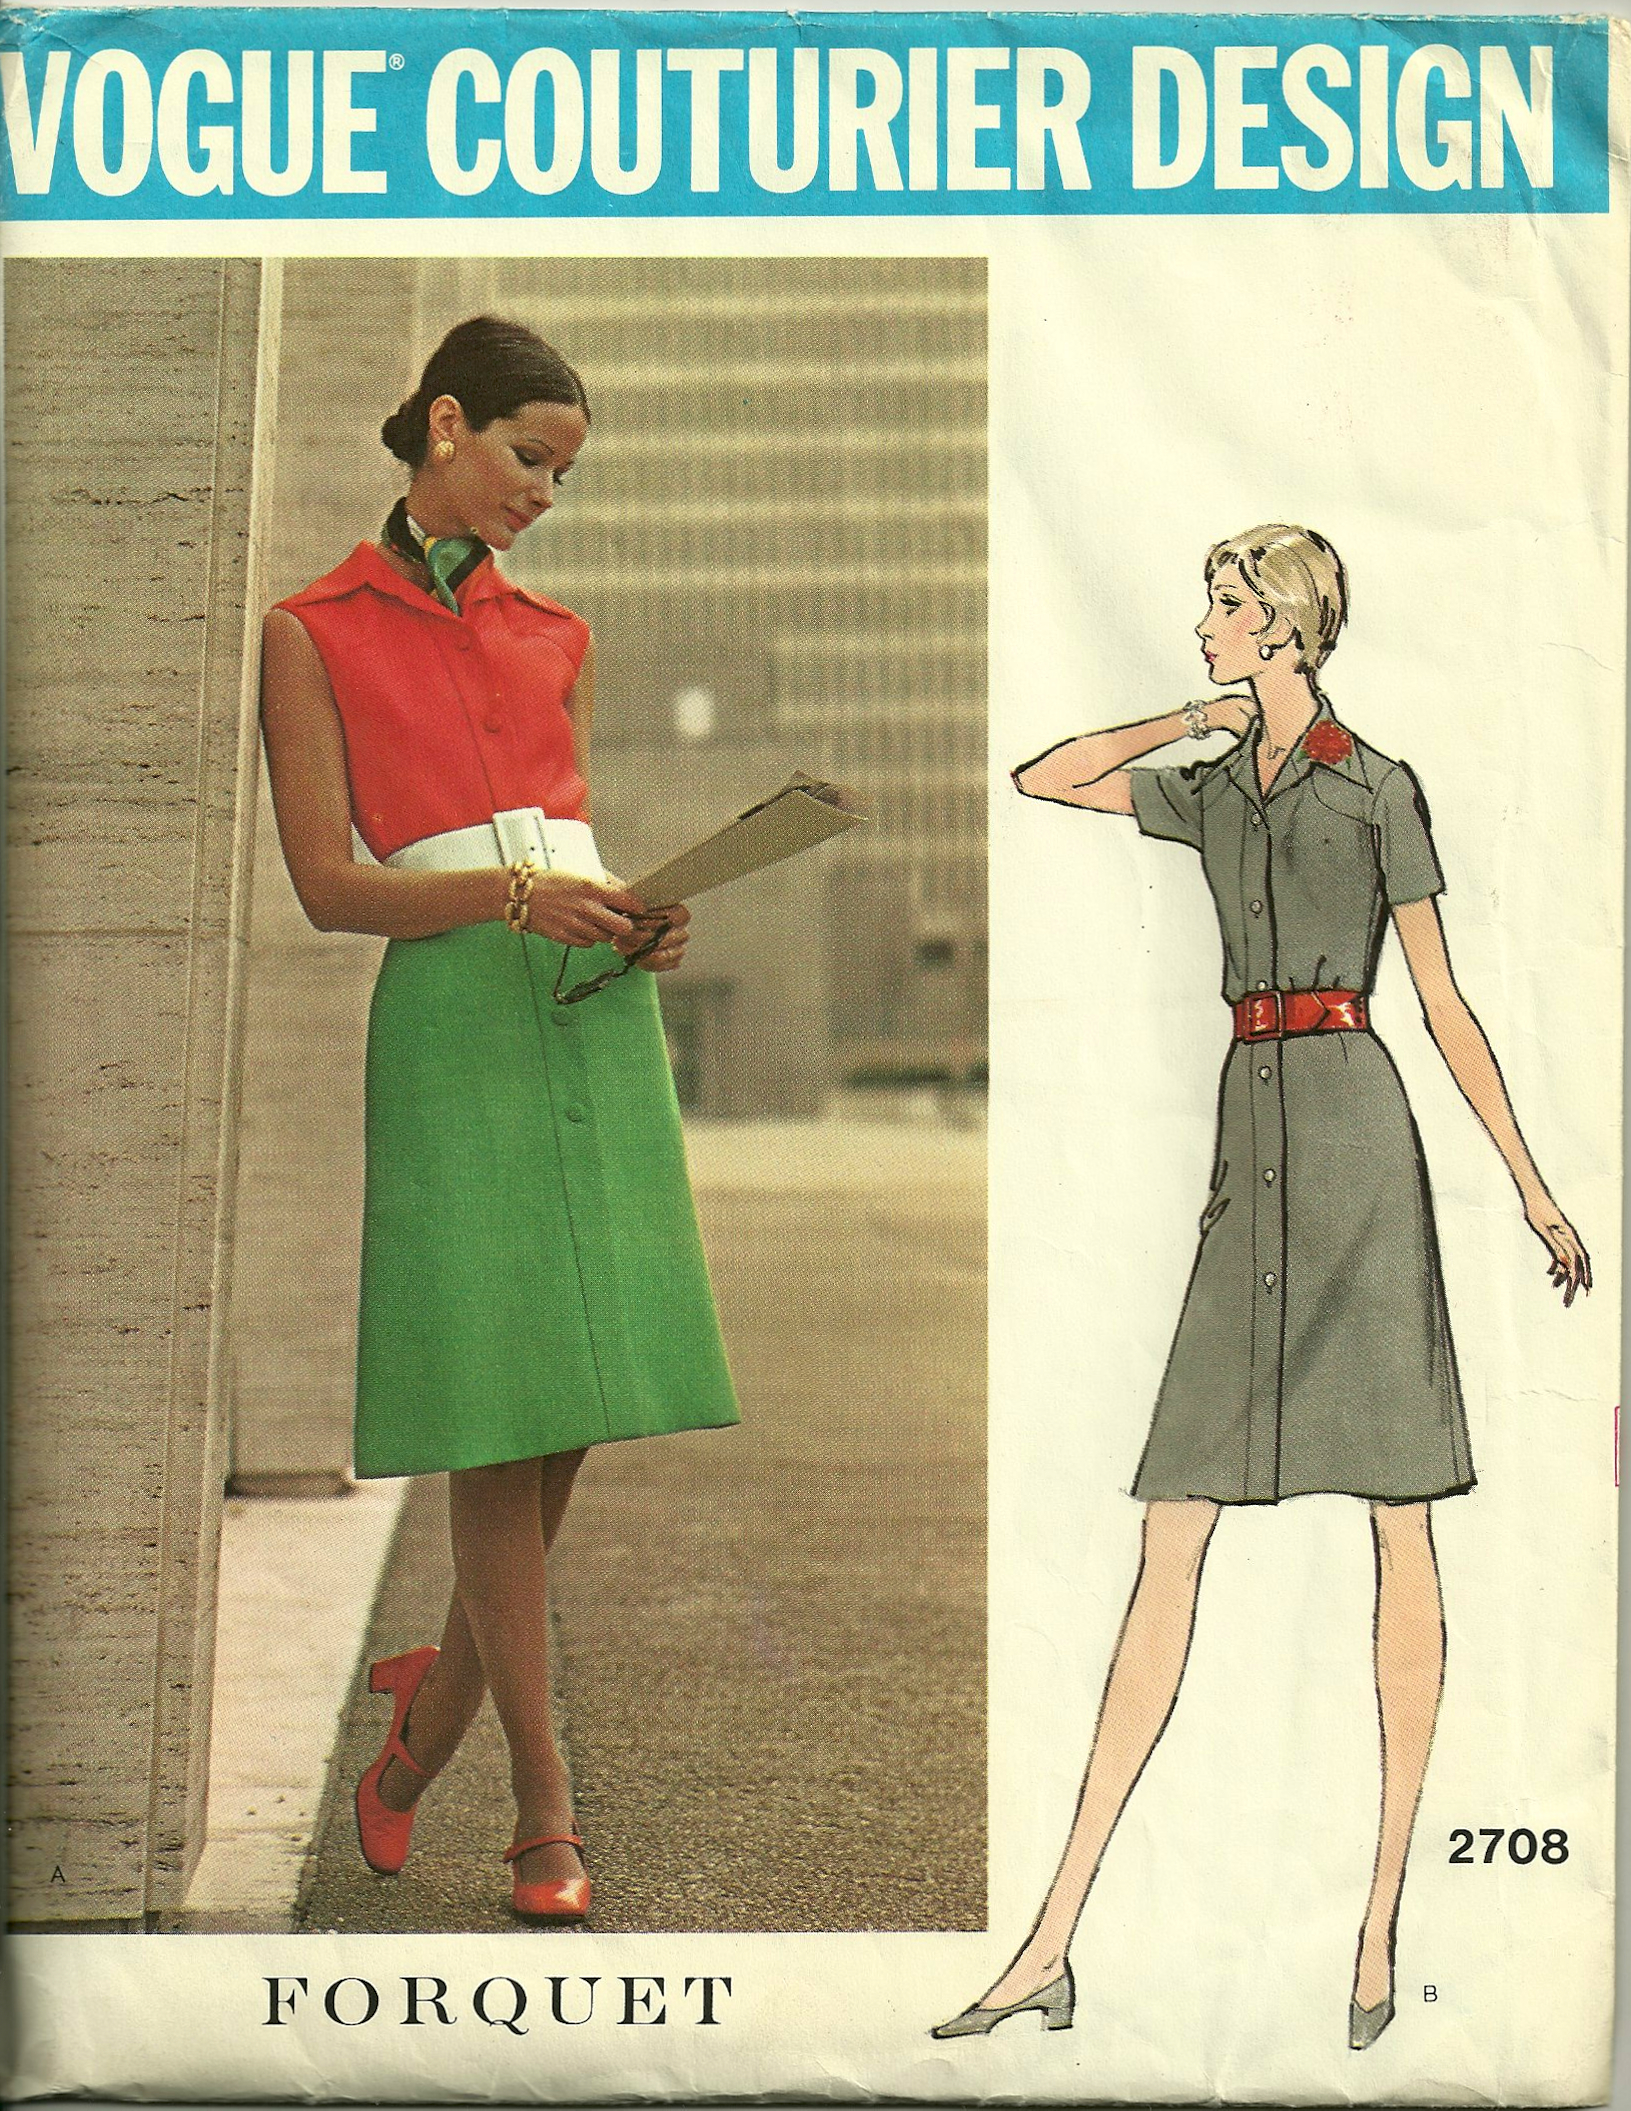
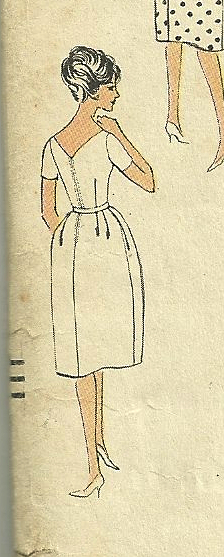
I am using vintage Vogue pattern 2718 for this dress.

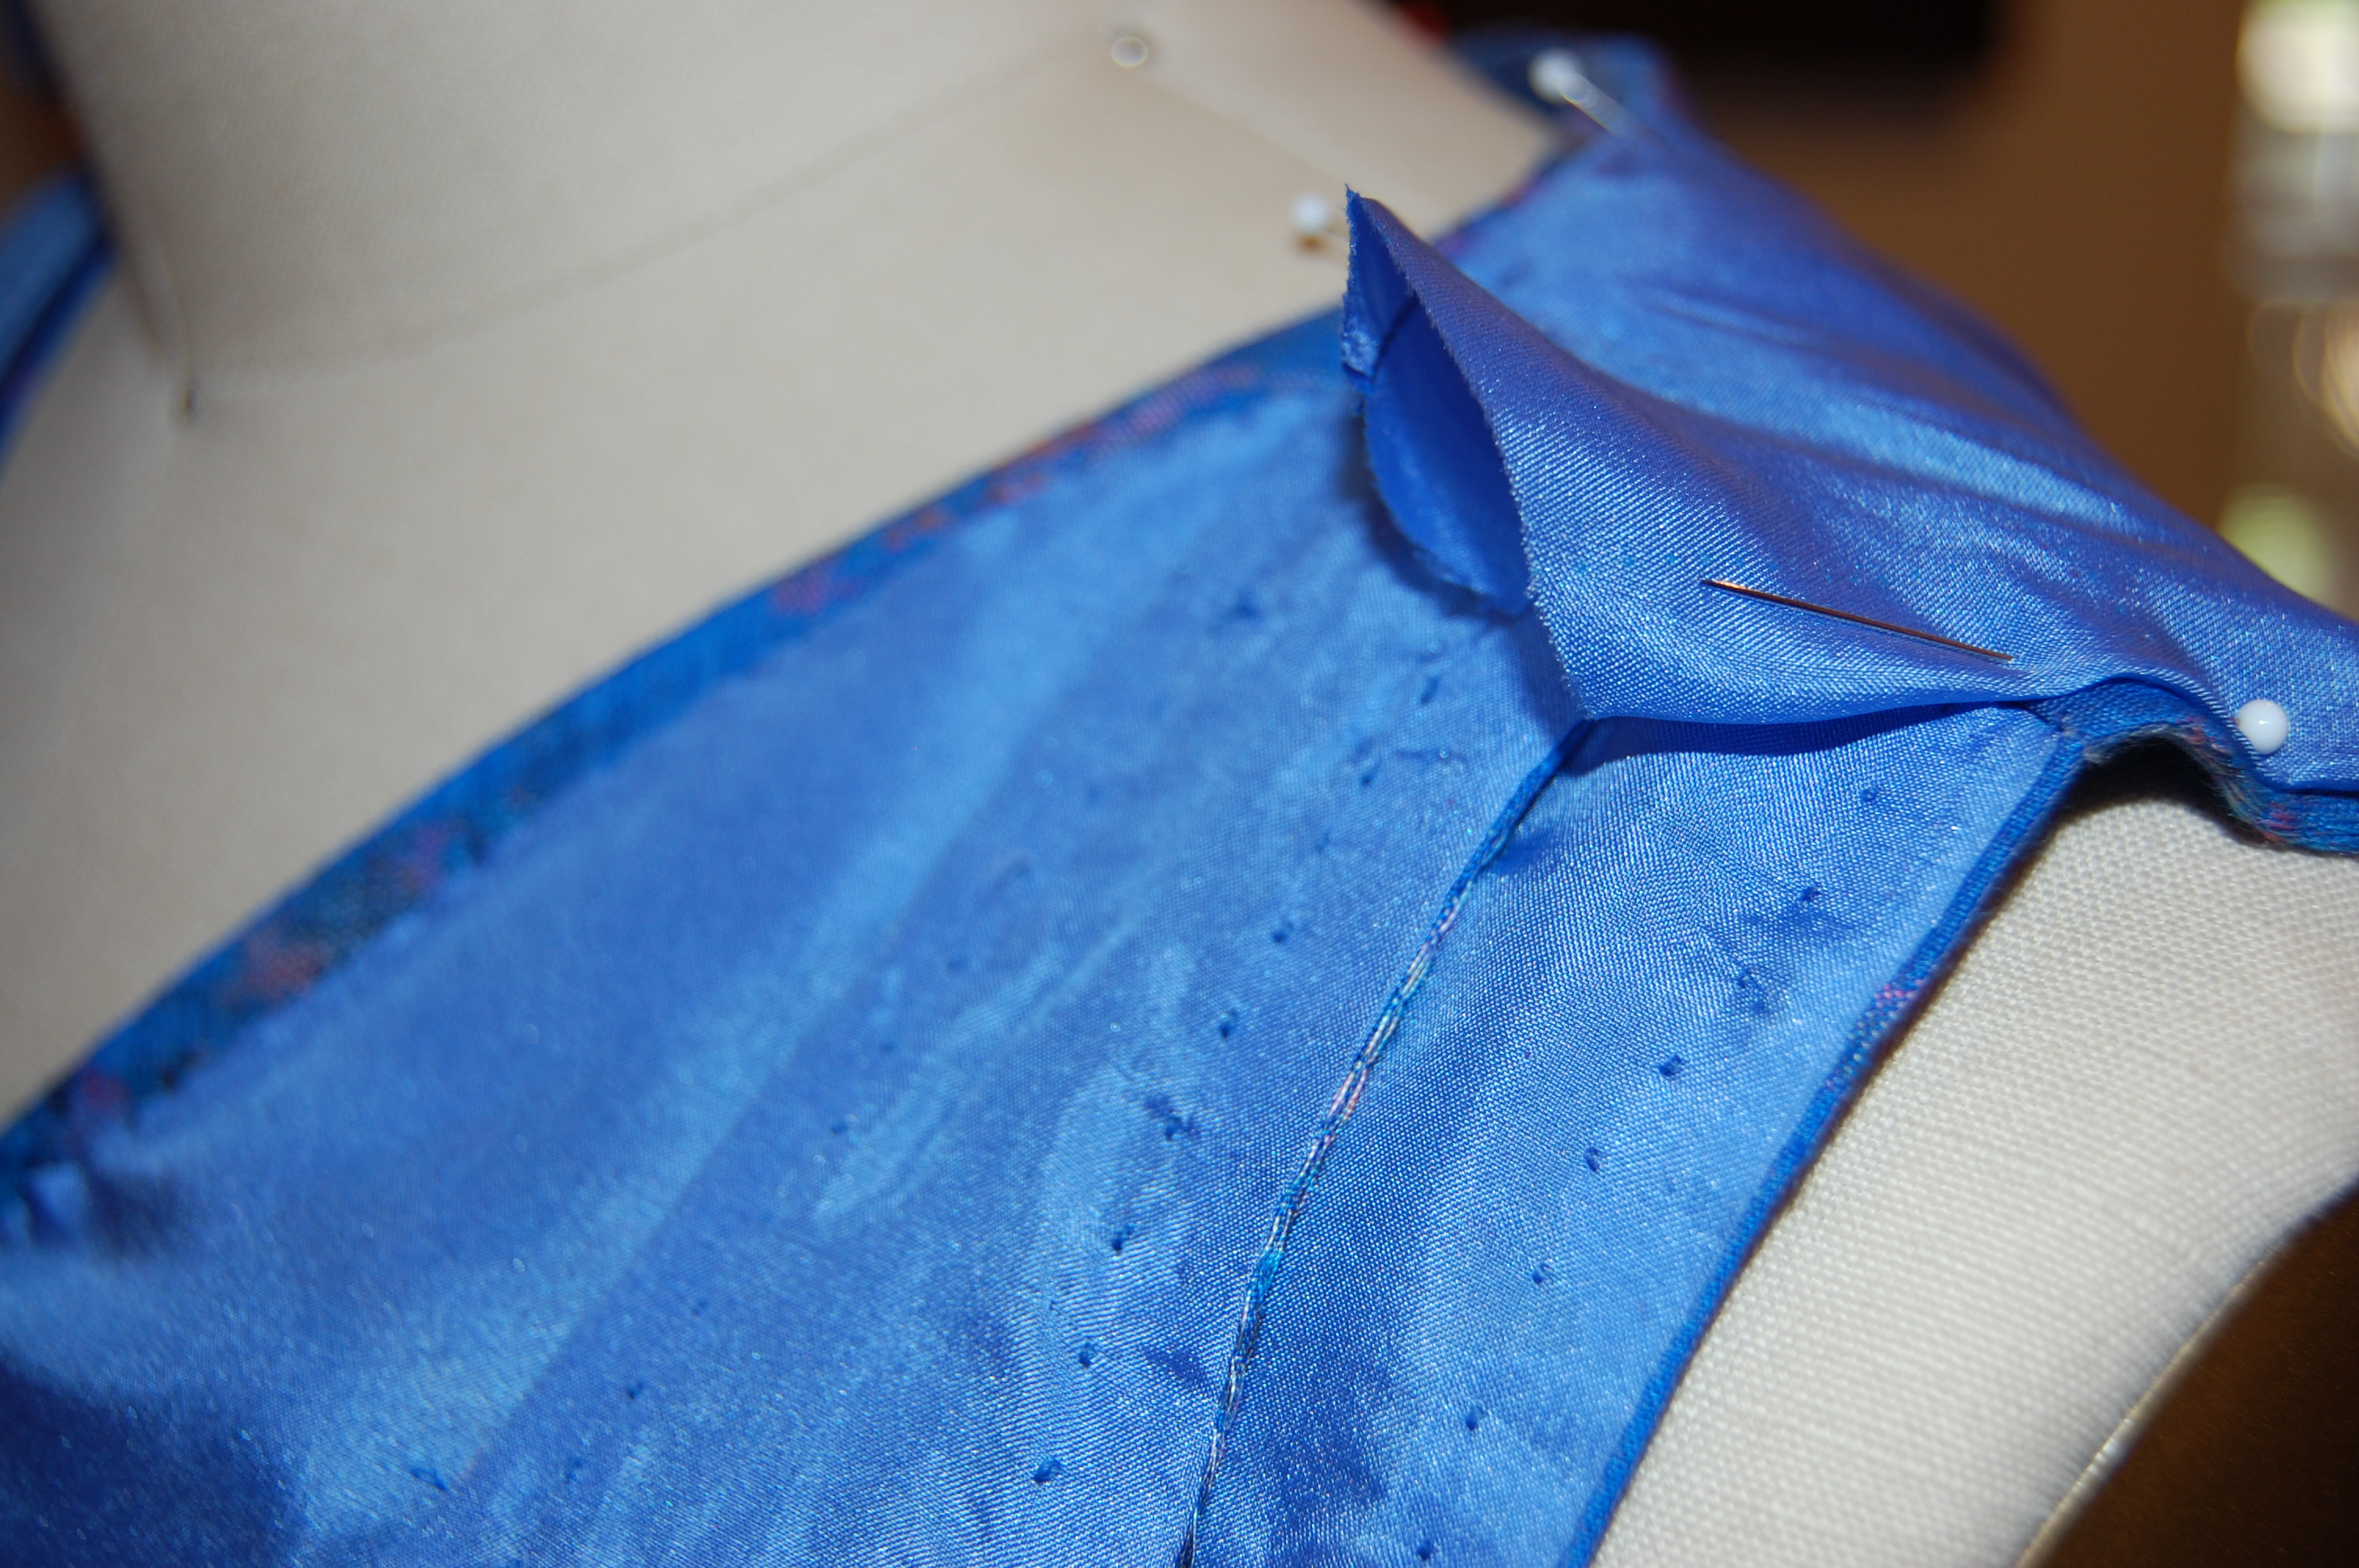
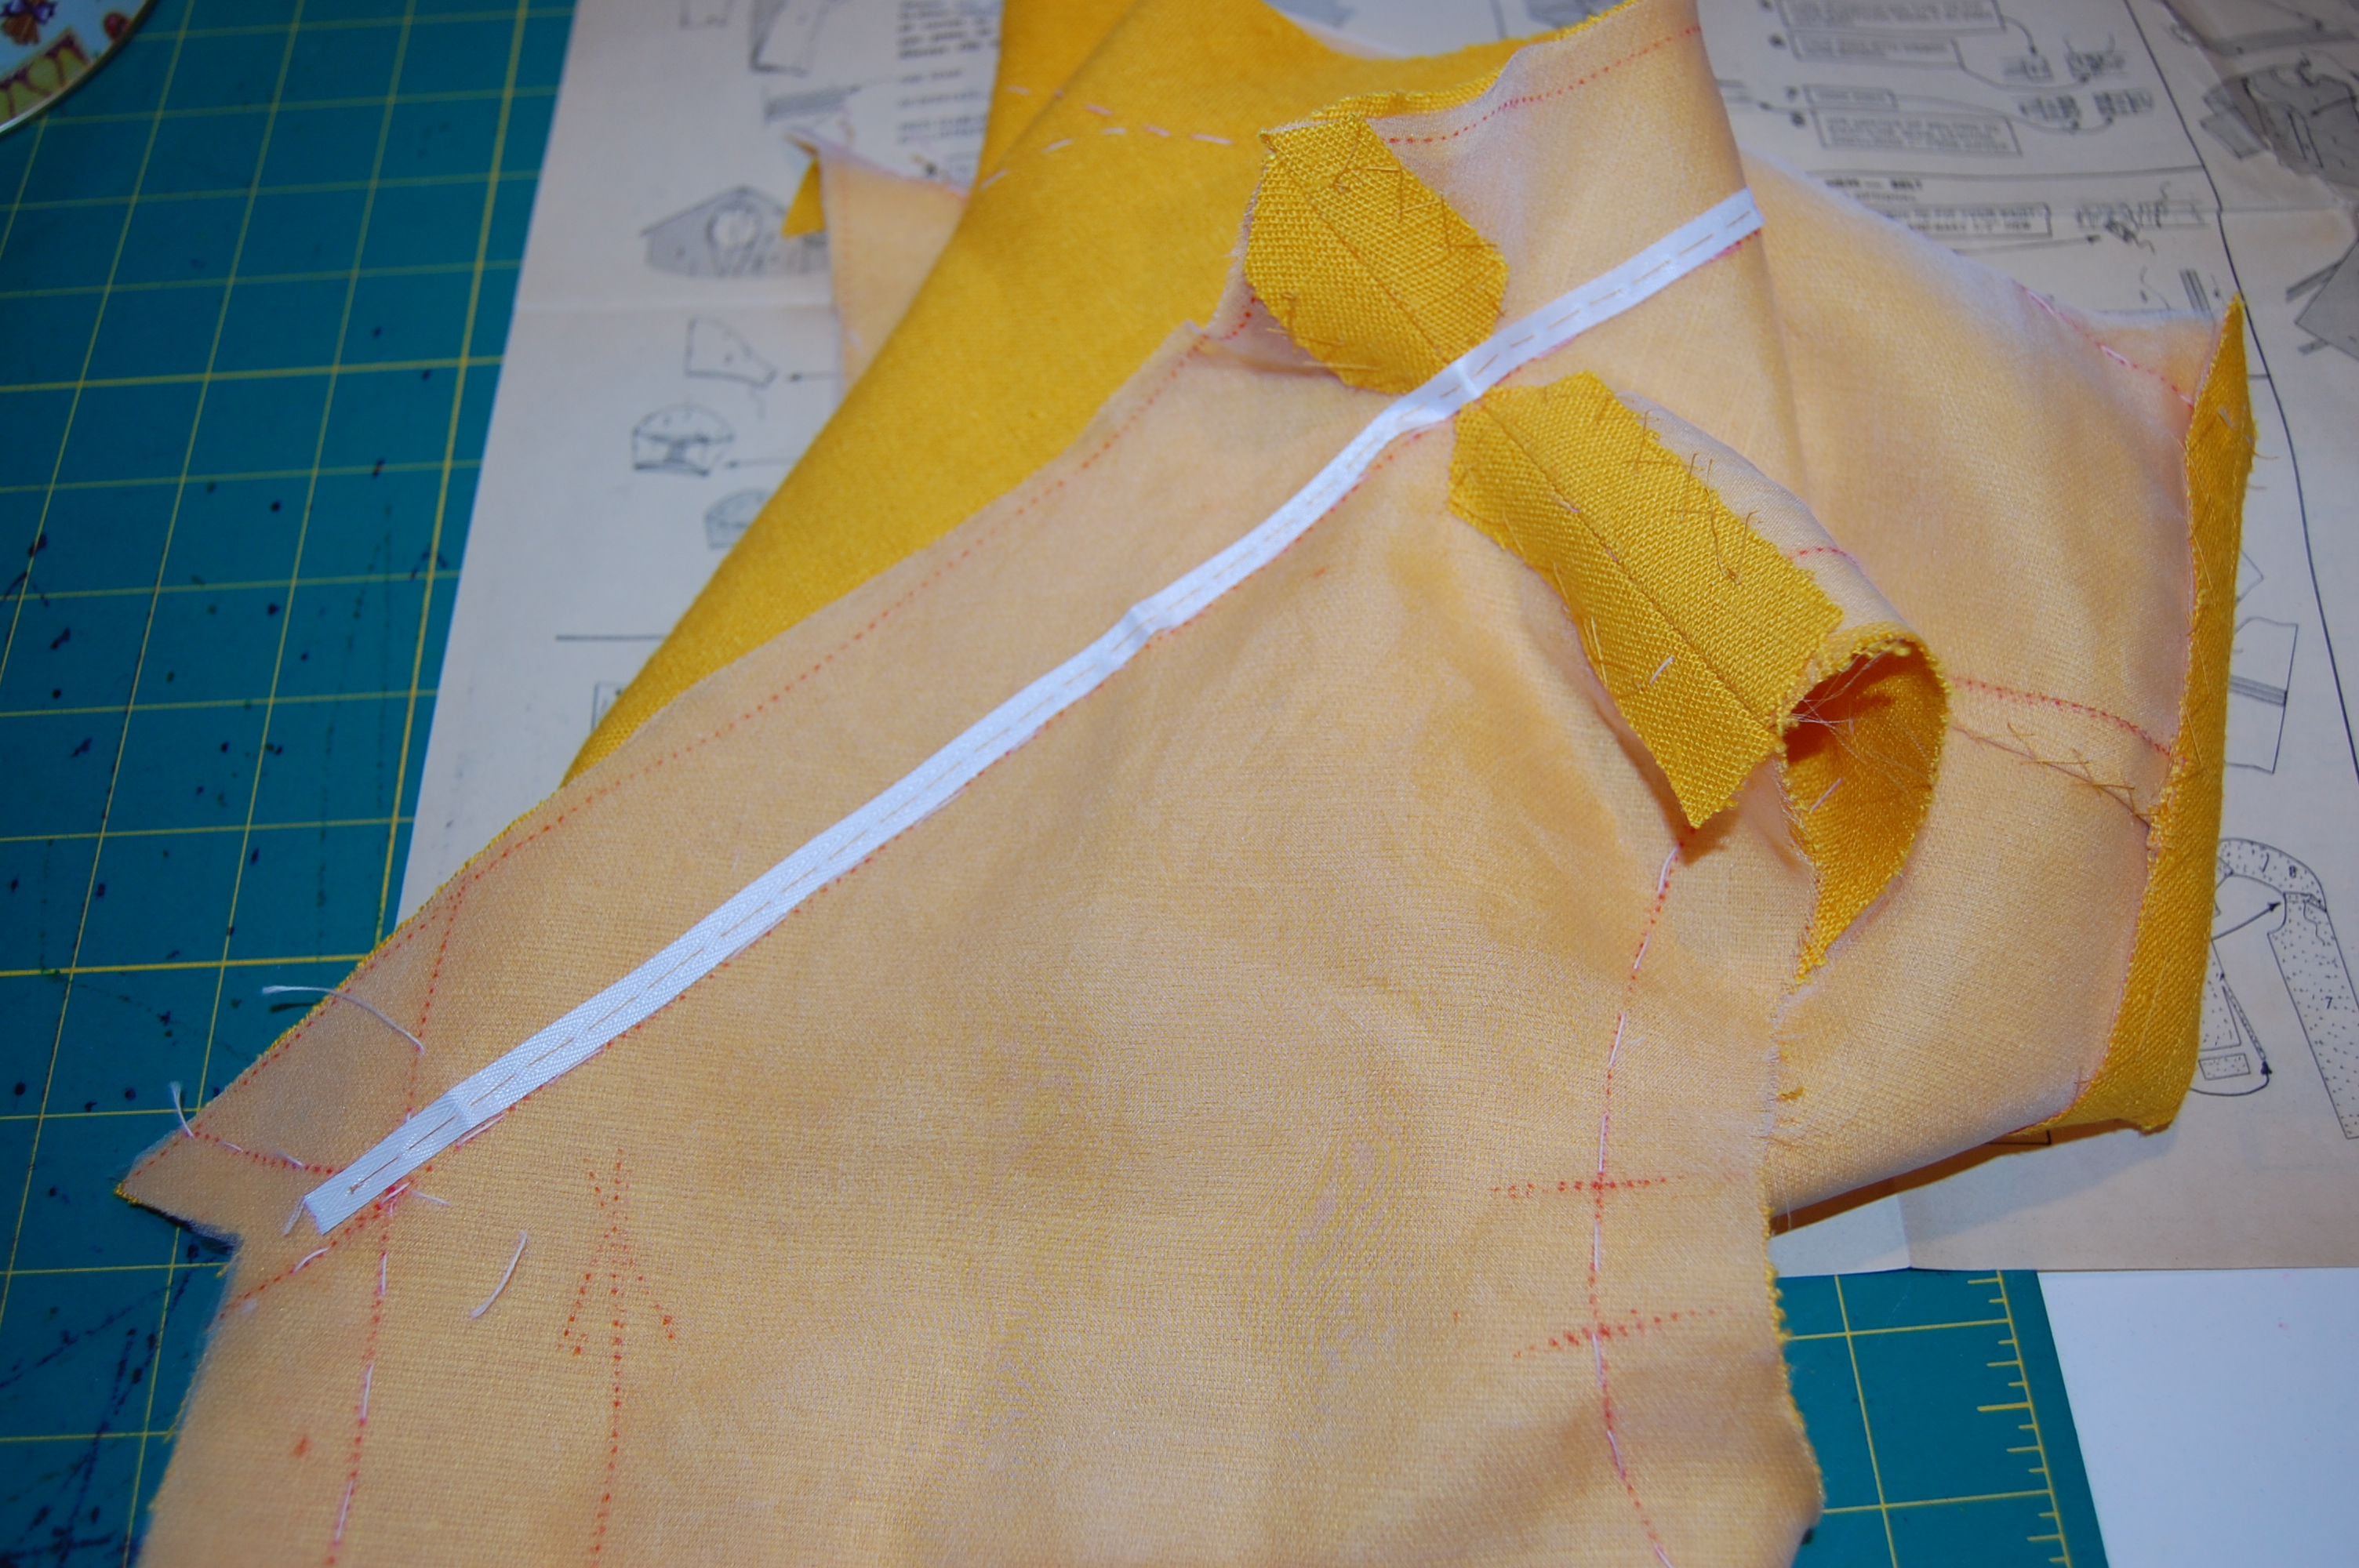
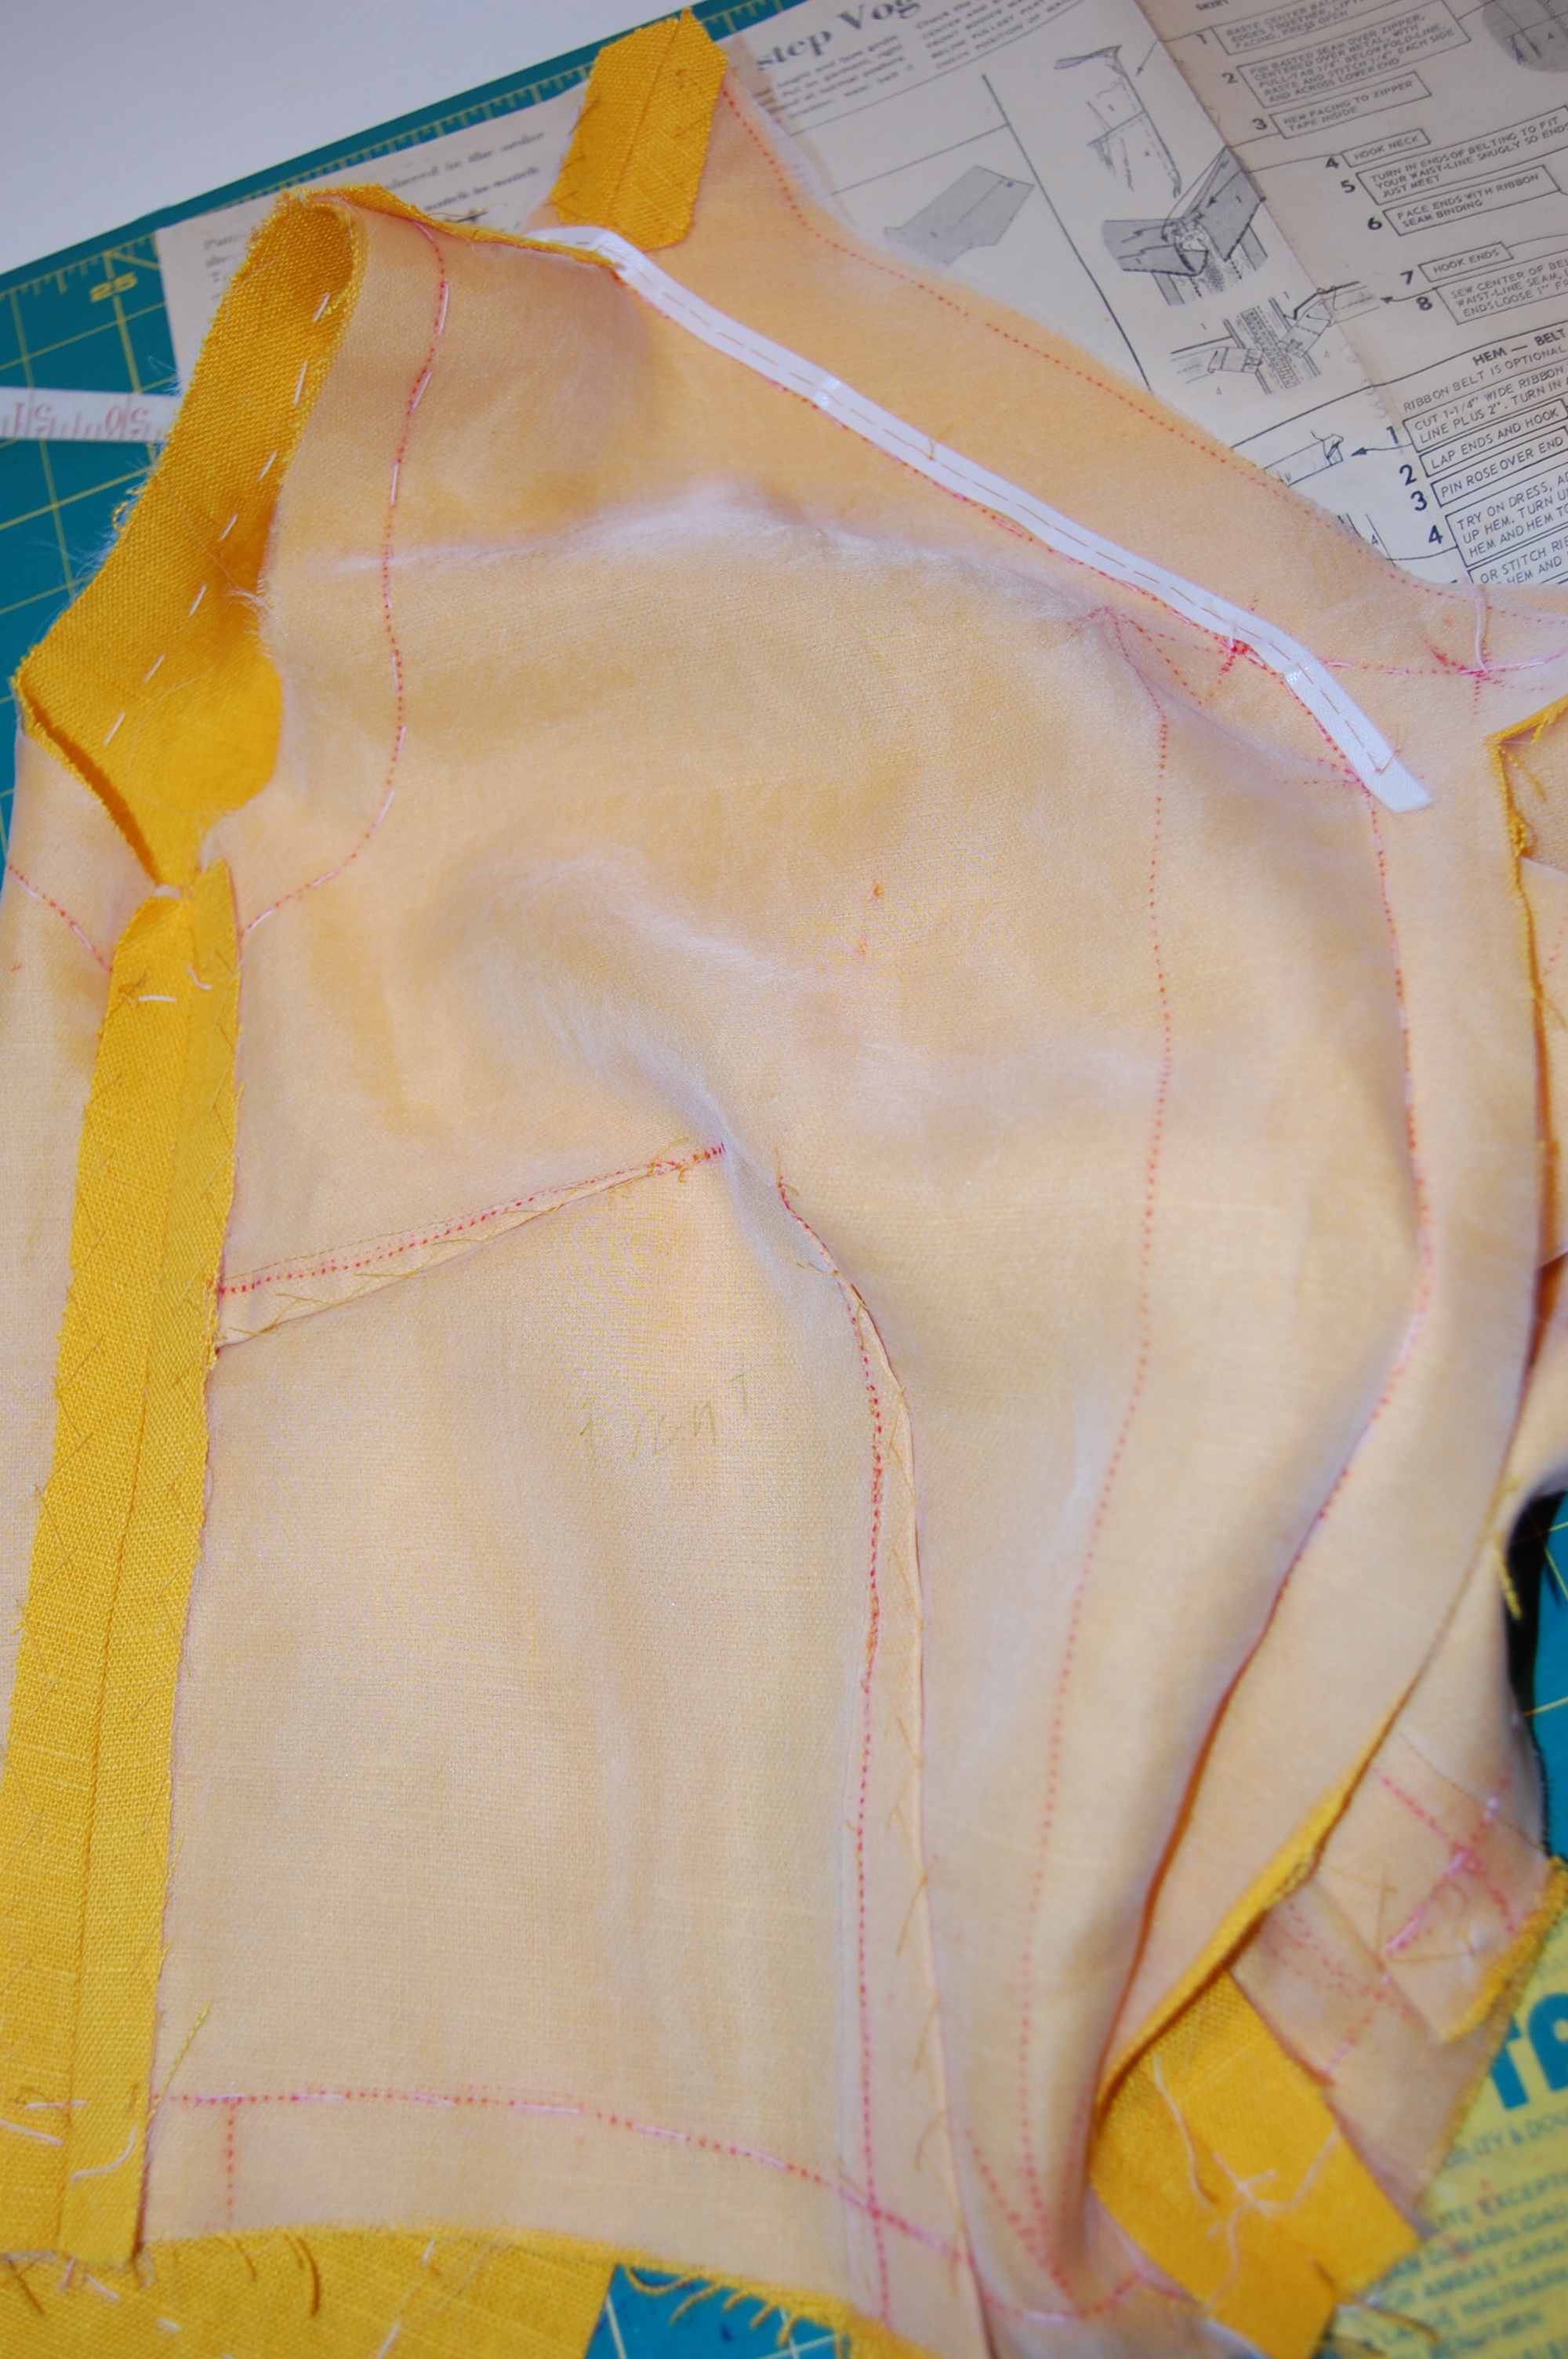
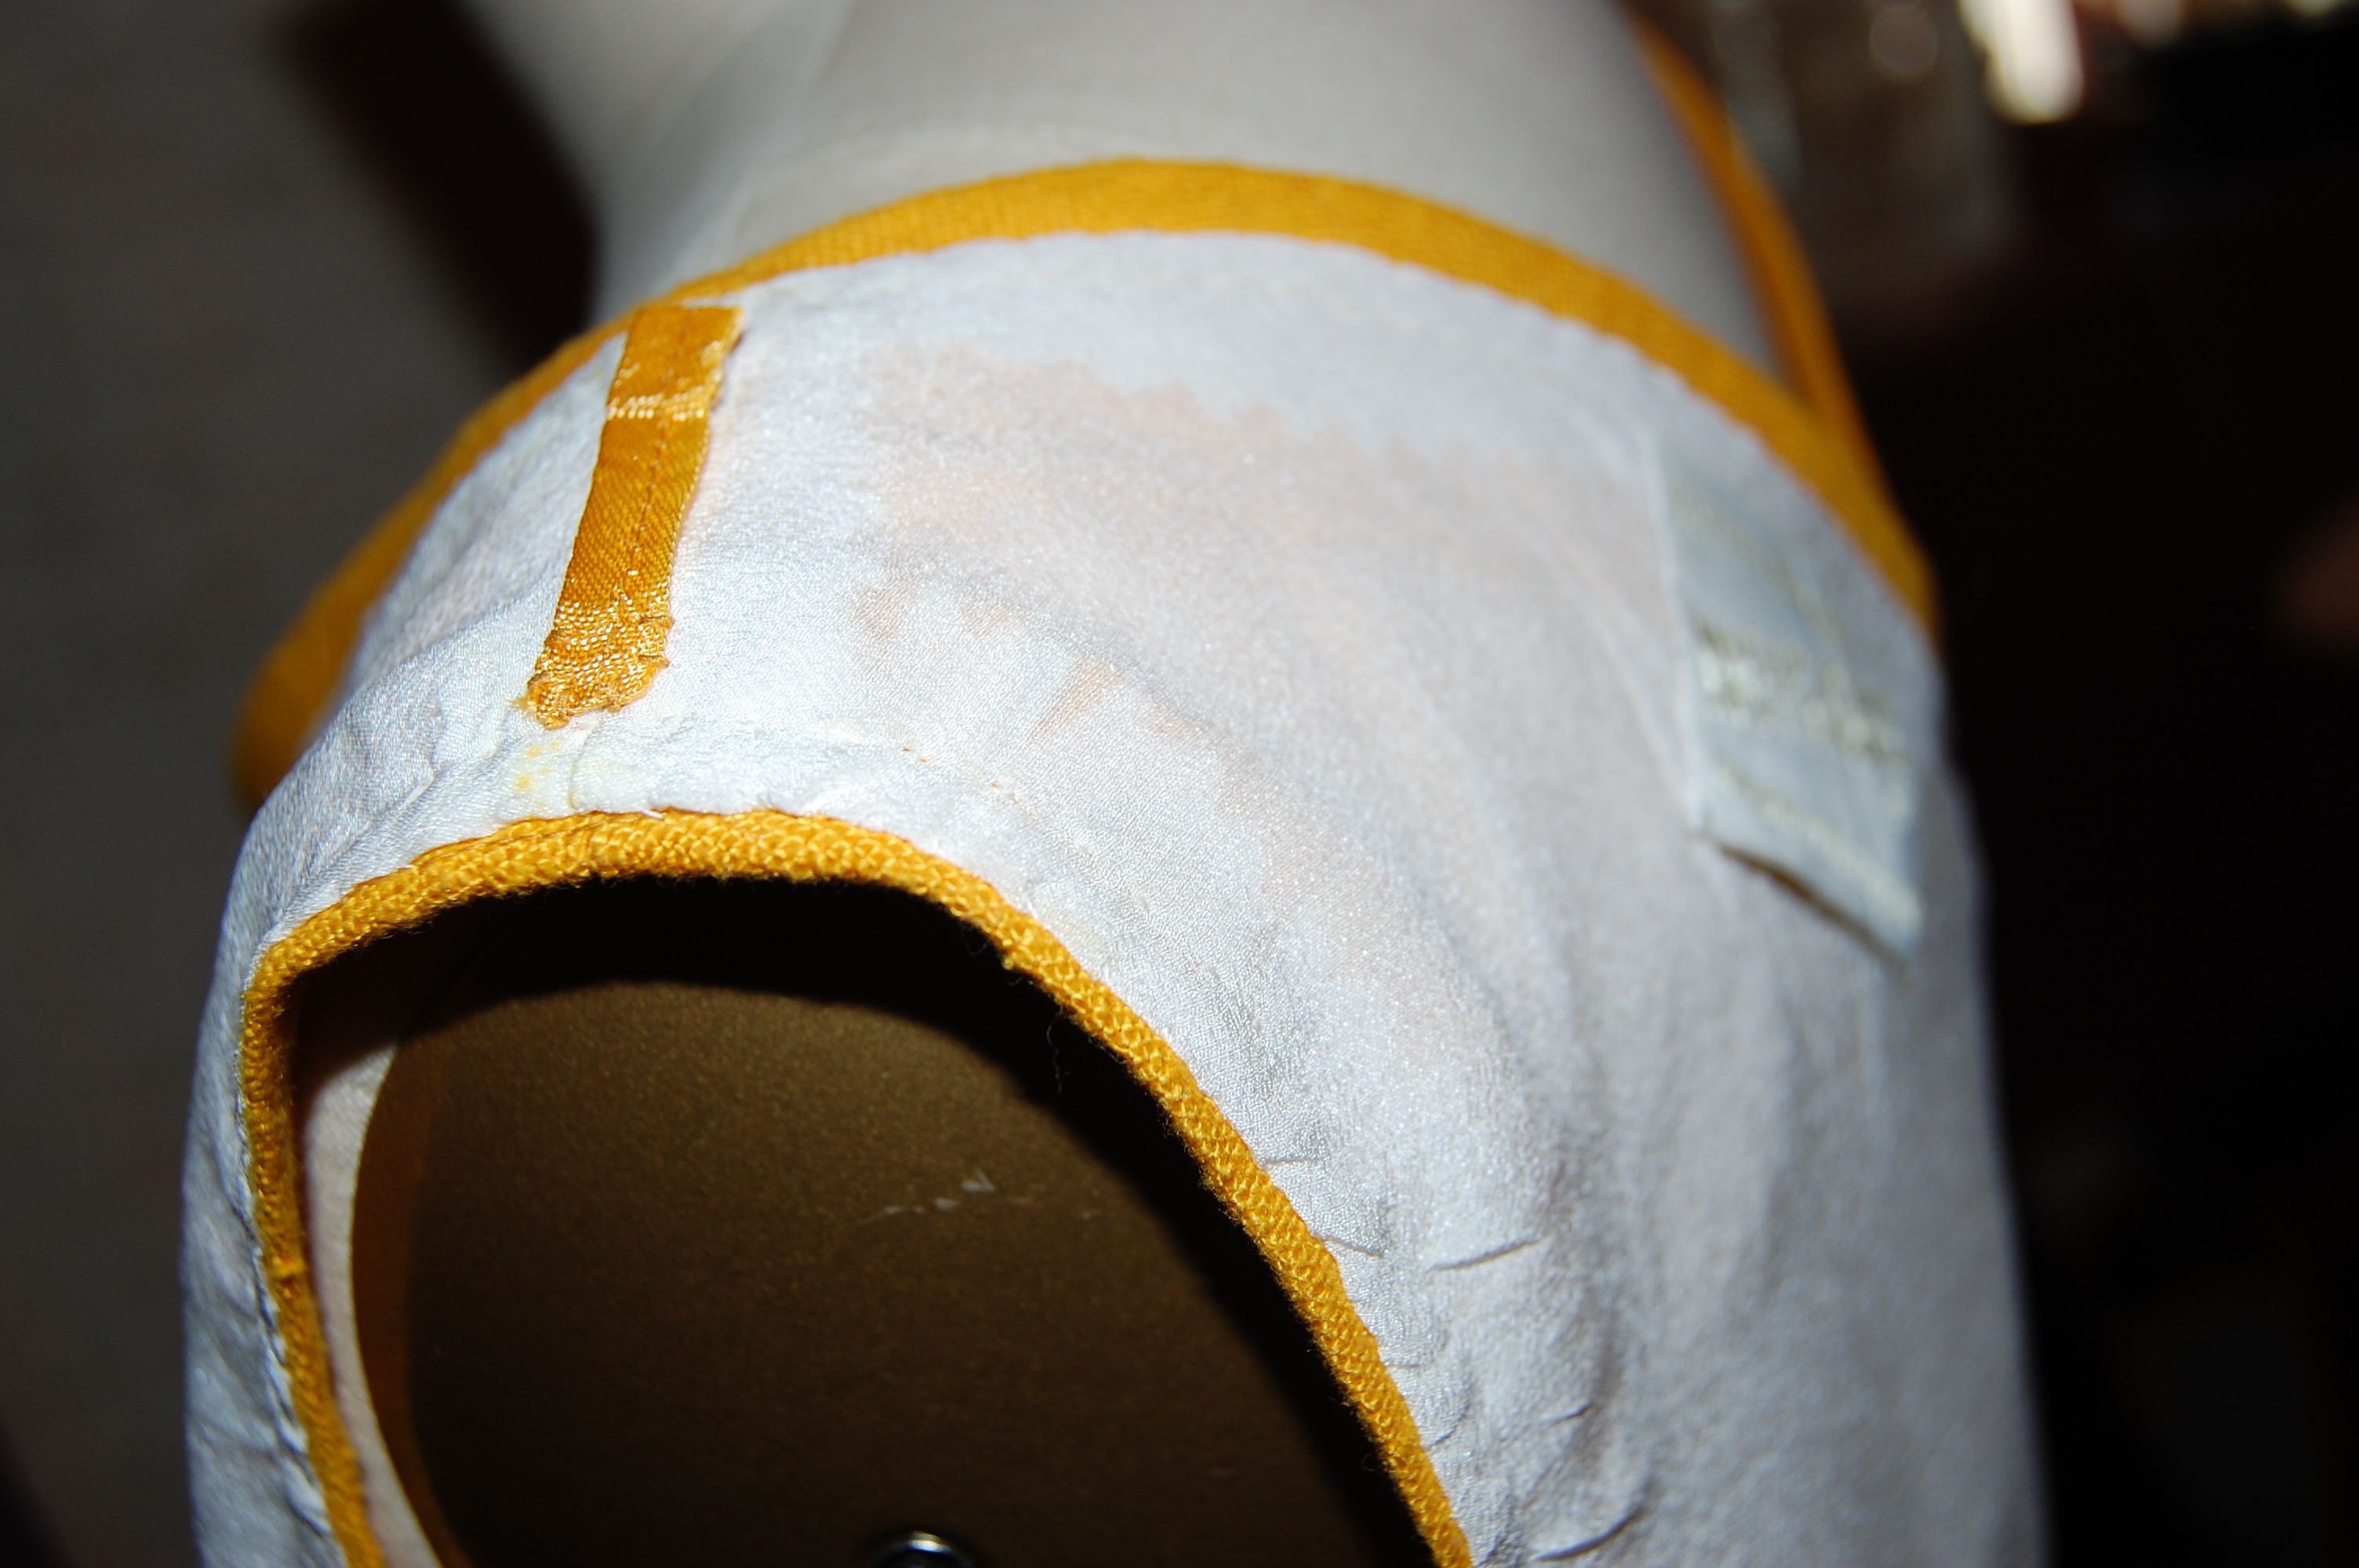
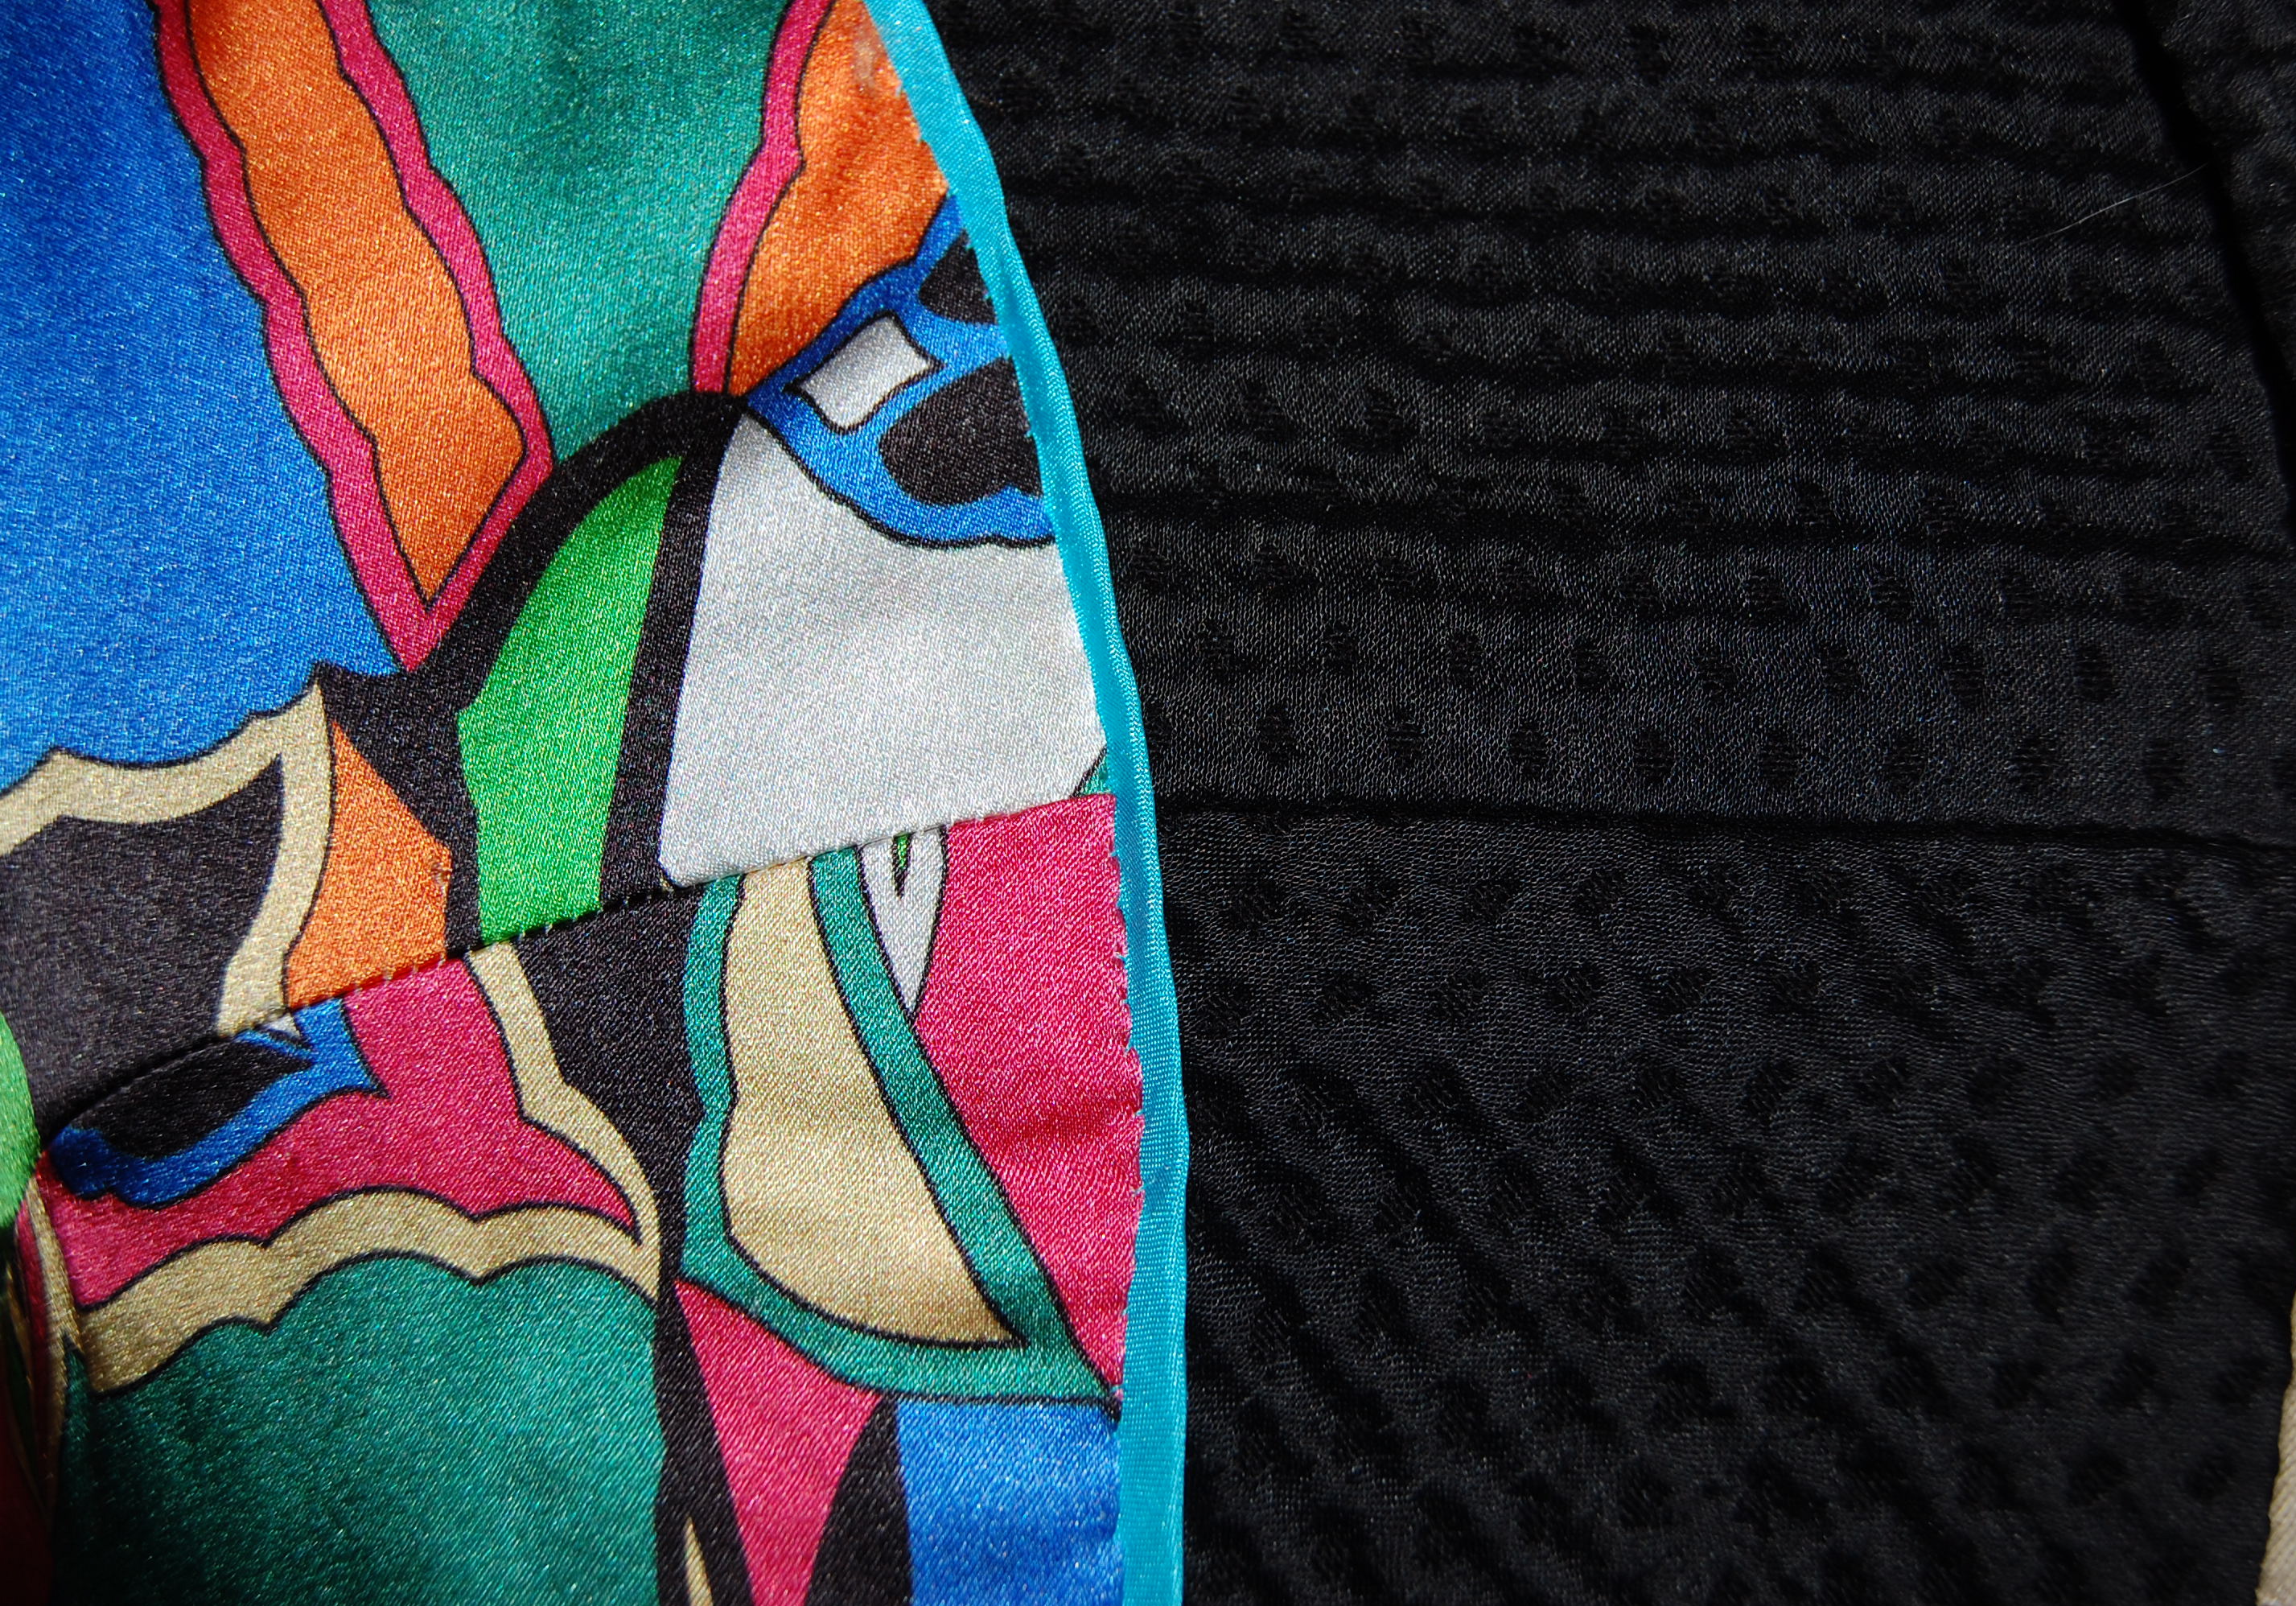
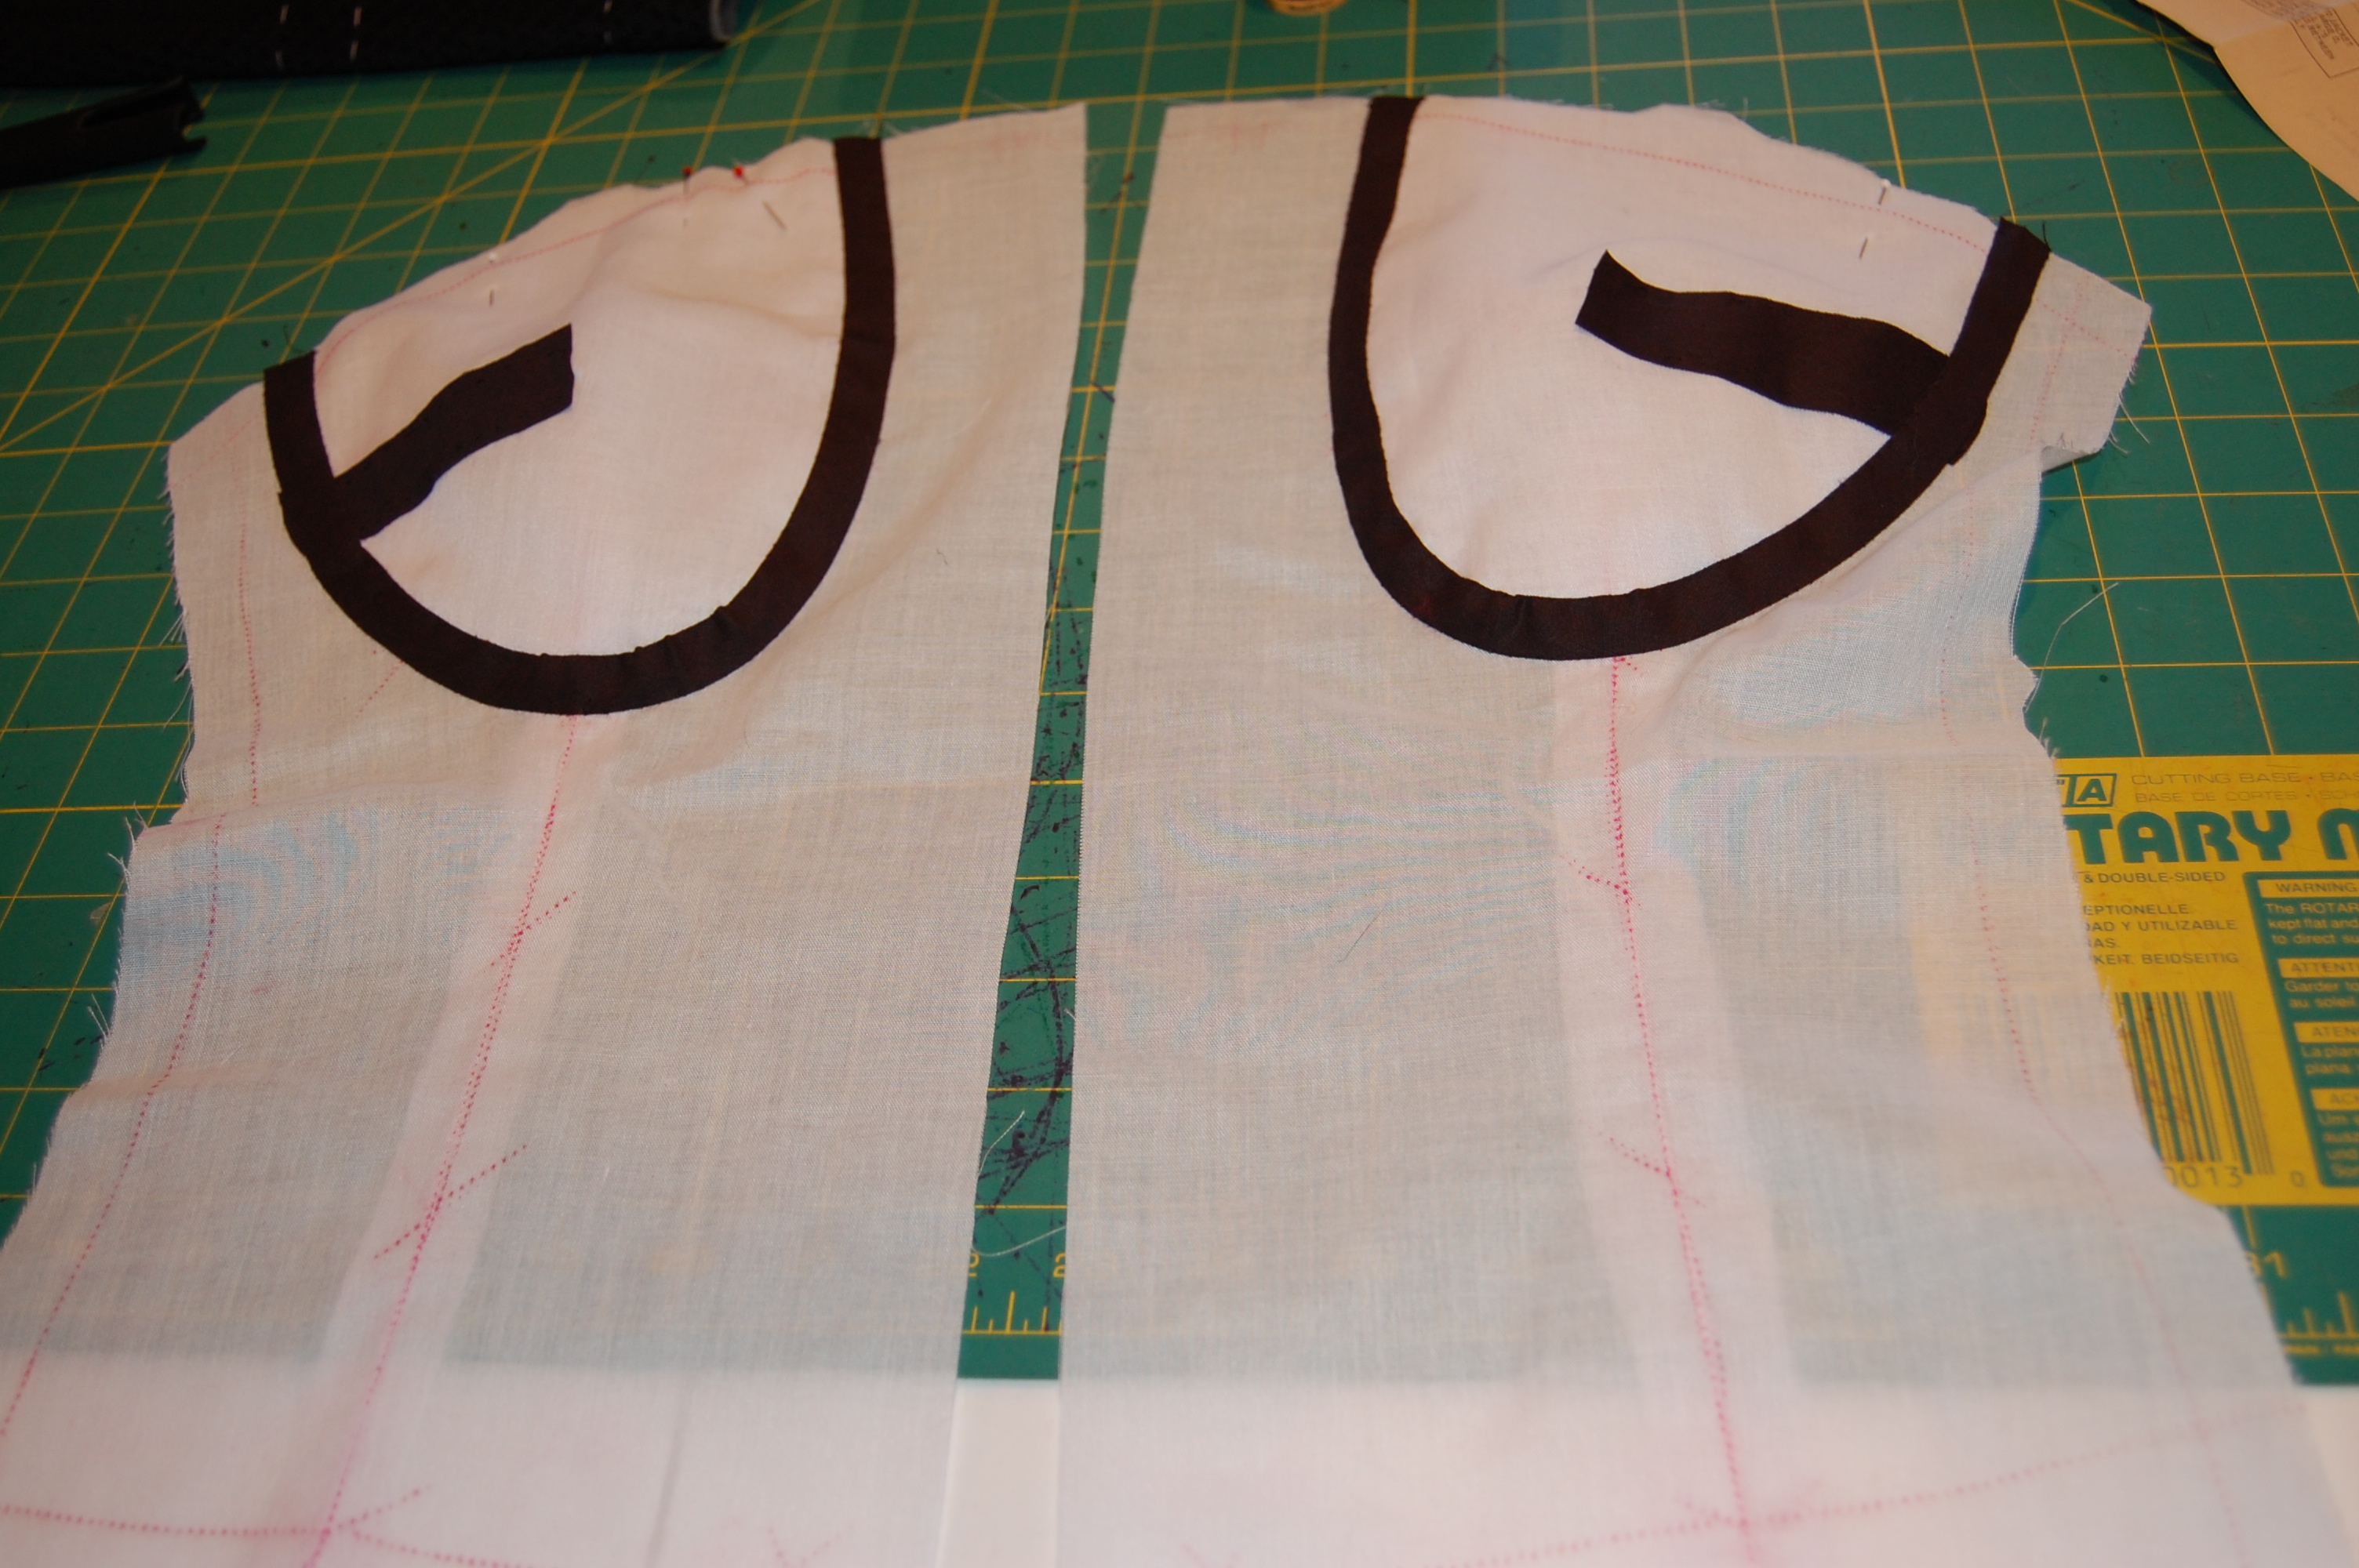
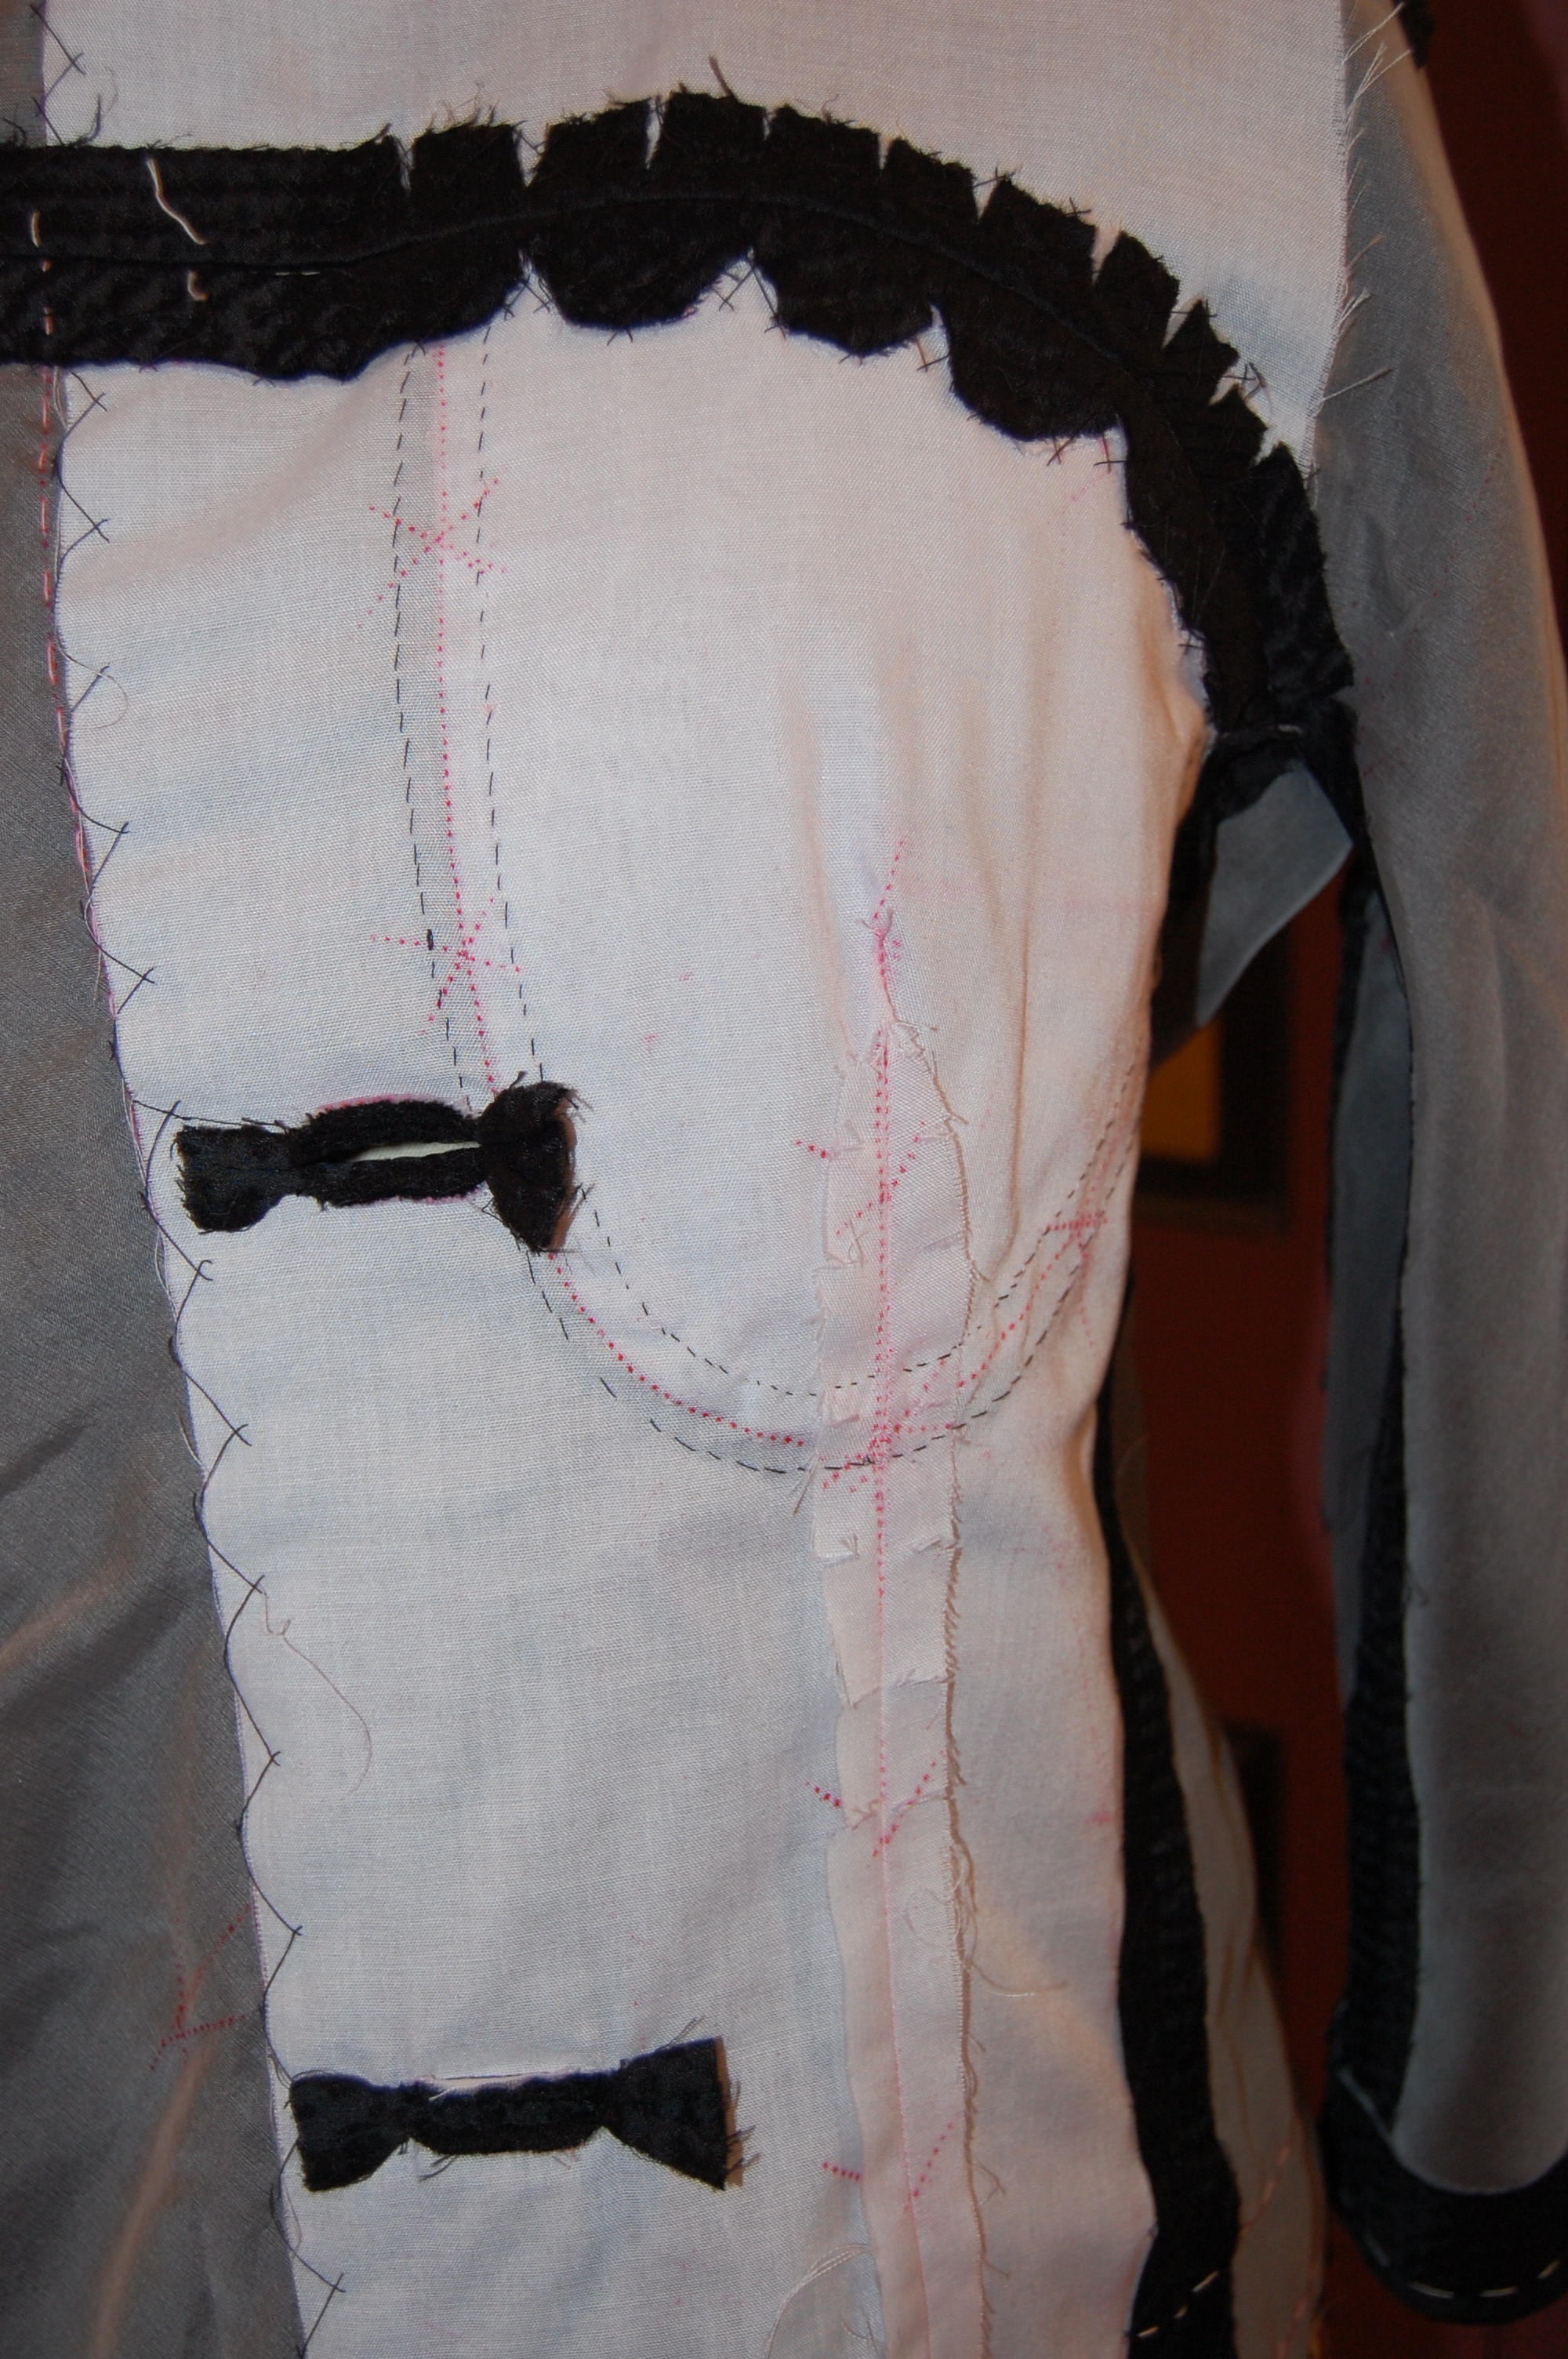
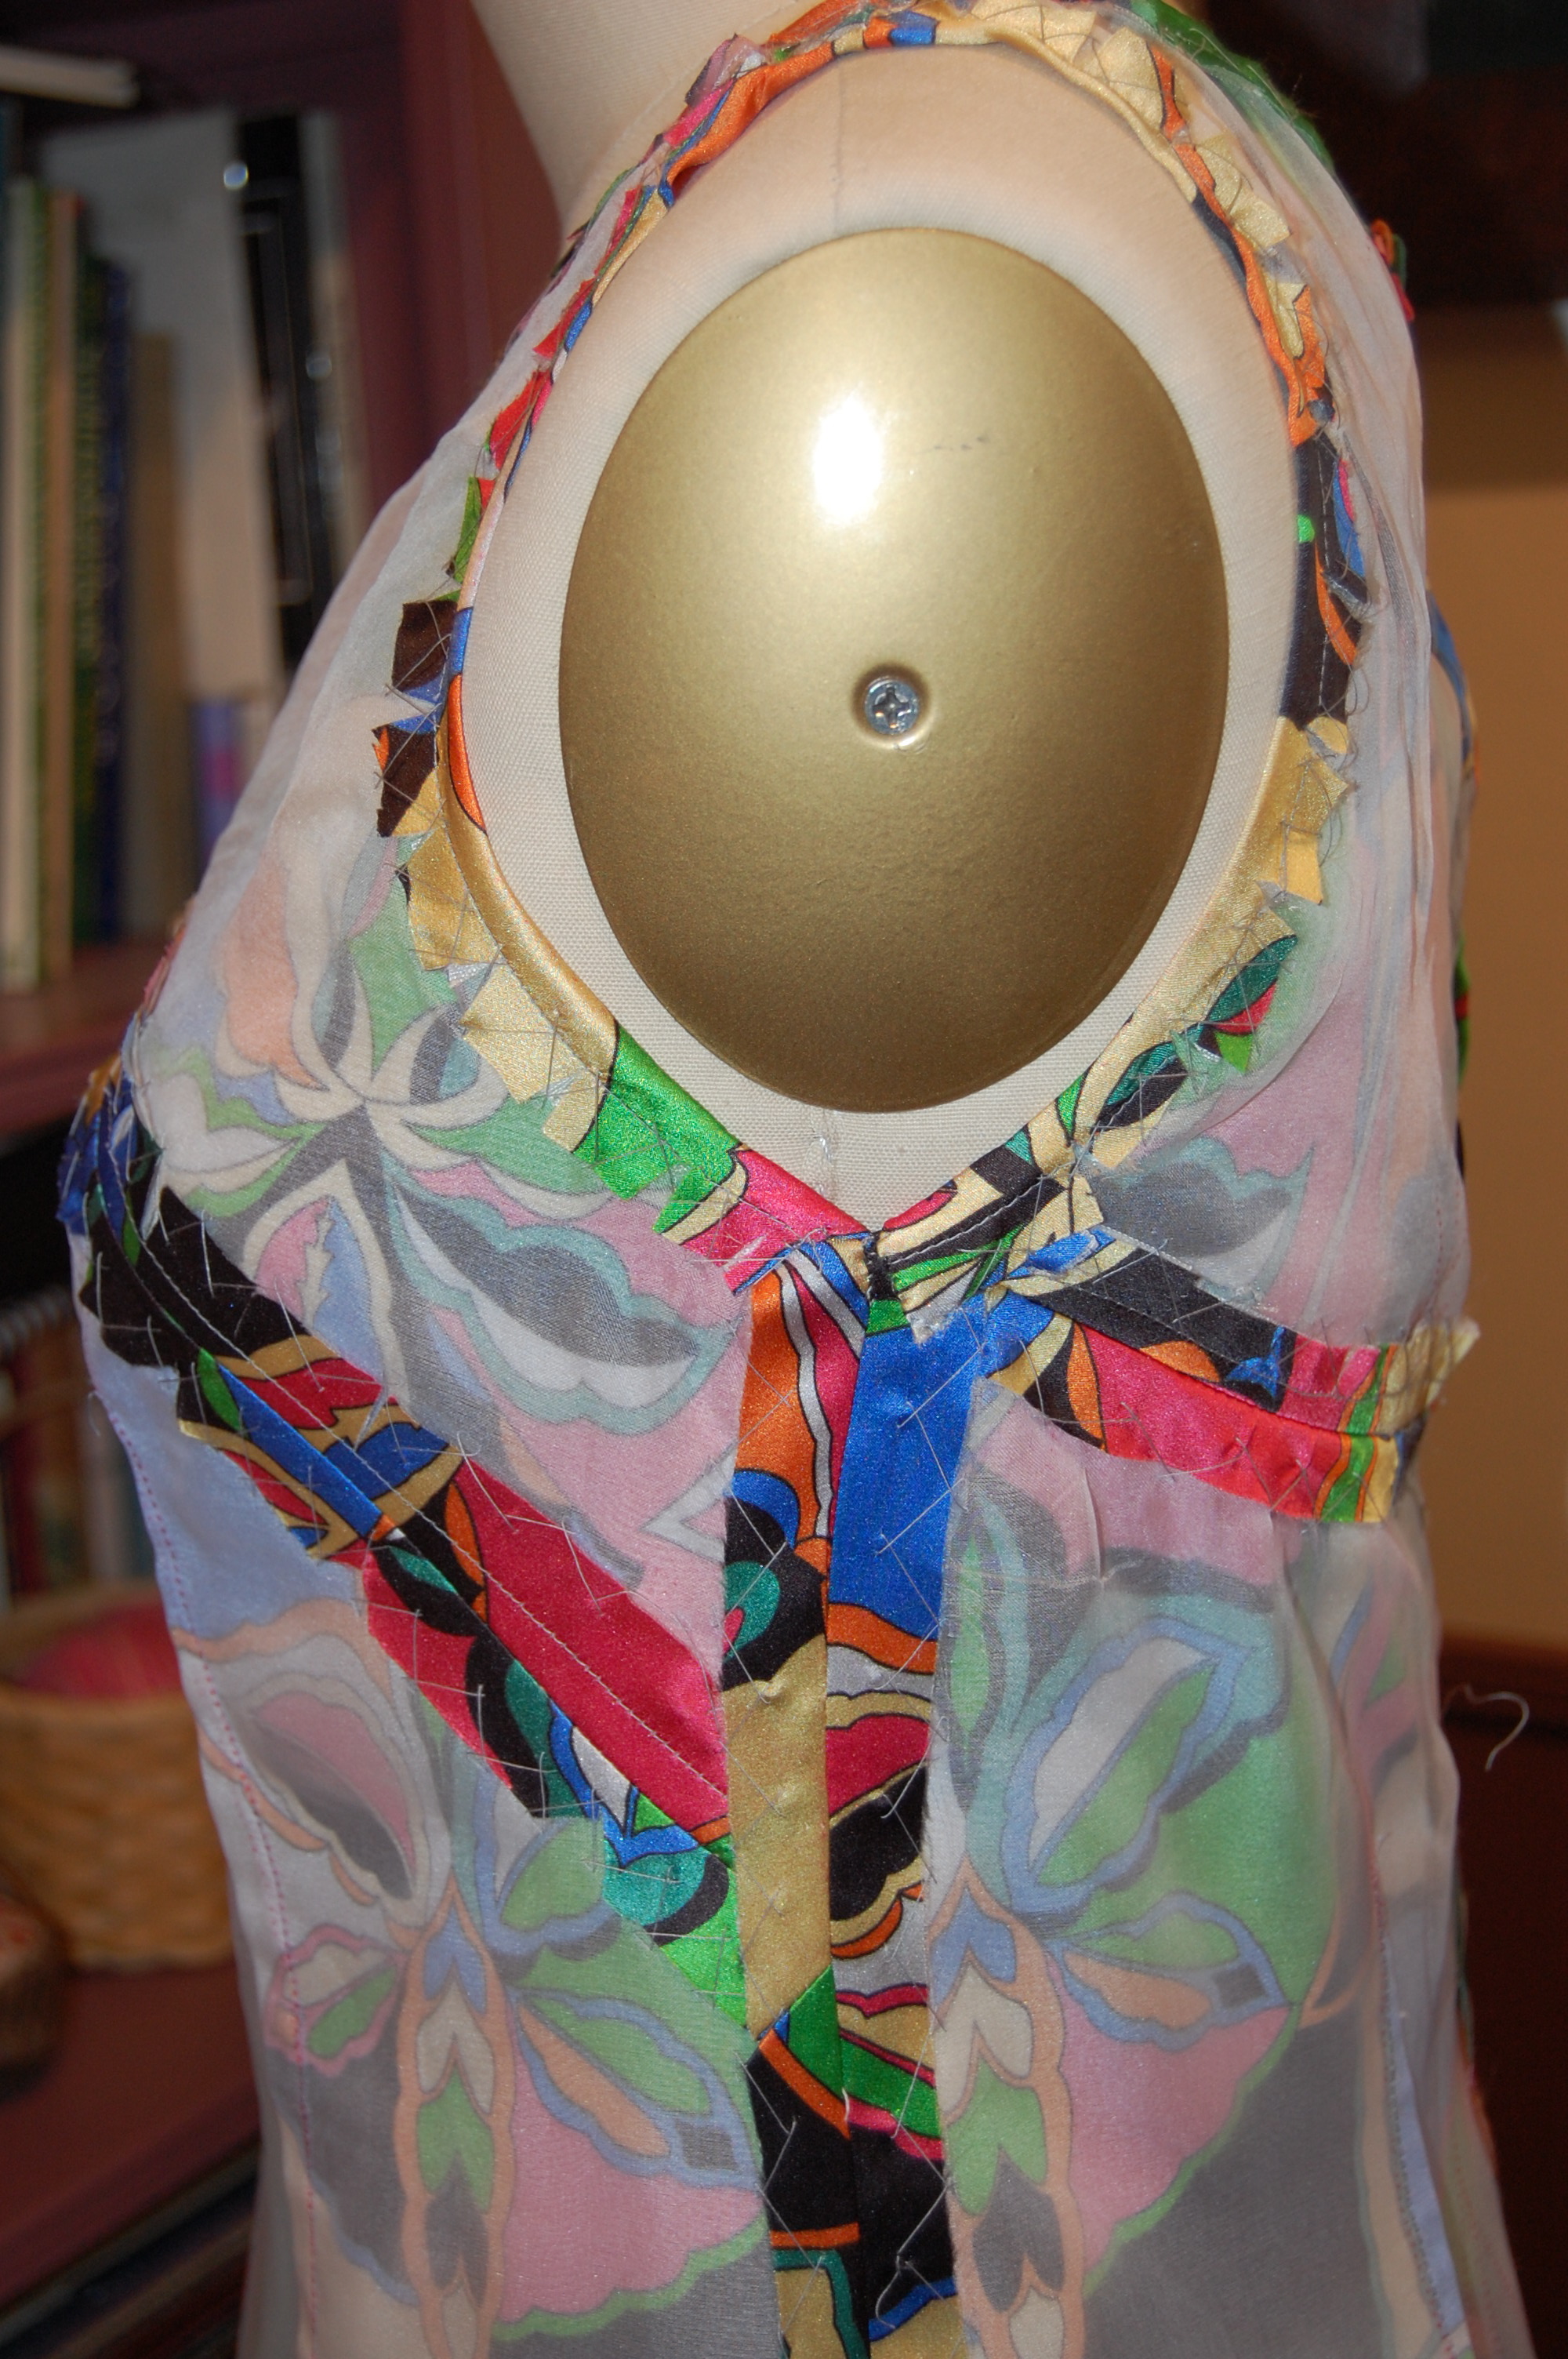
The fit seems okay. The neckline will need a little adjustment, but nothing out of the ordinary. The sleeves look good, and I am pleased with the piping so far. So what is the problem? When I try the bodice on, it looks awful. It pulls across the bust, it doesn’t want to move with me at all, and the front seems too short-waisted even though it measures perfectly for me when on the form. Worse still, this fabric is too dear (as in expensive) to put it aside or to think about abandoning this dress.

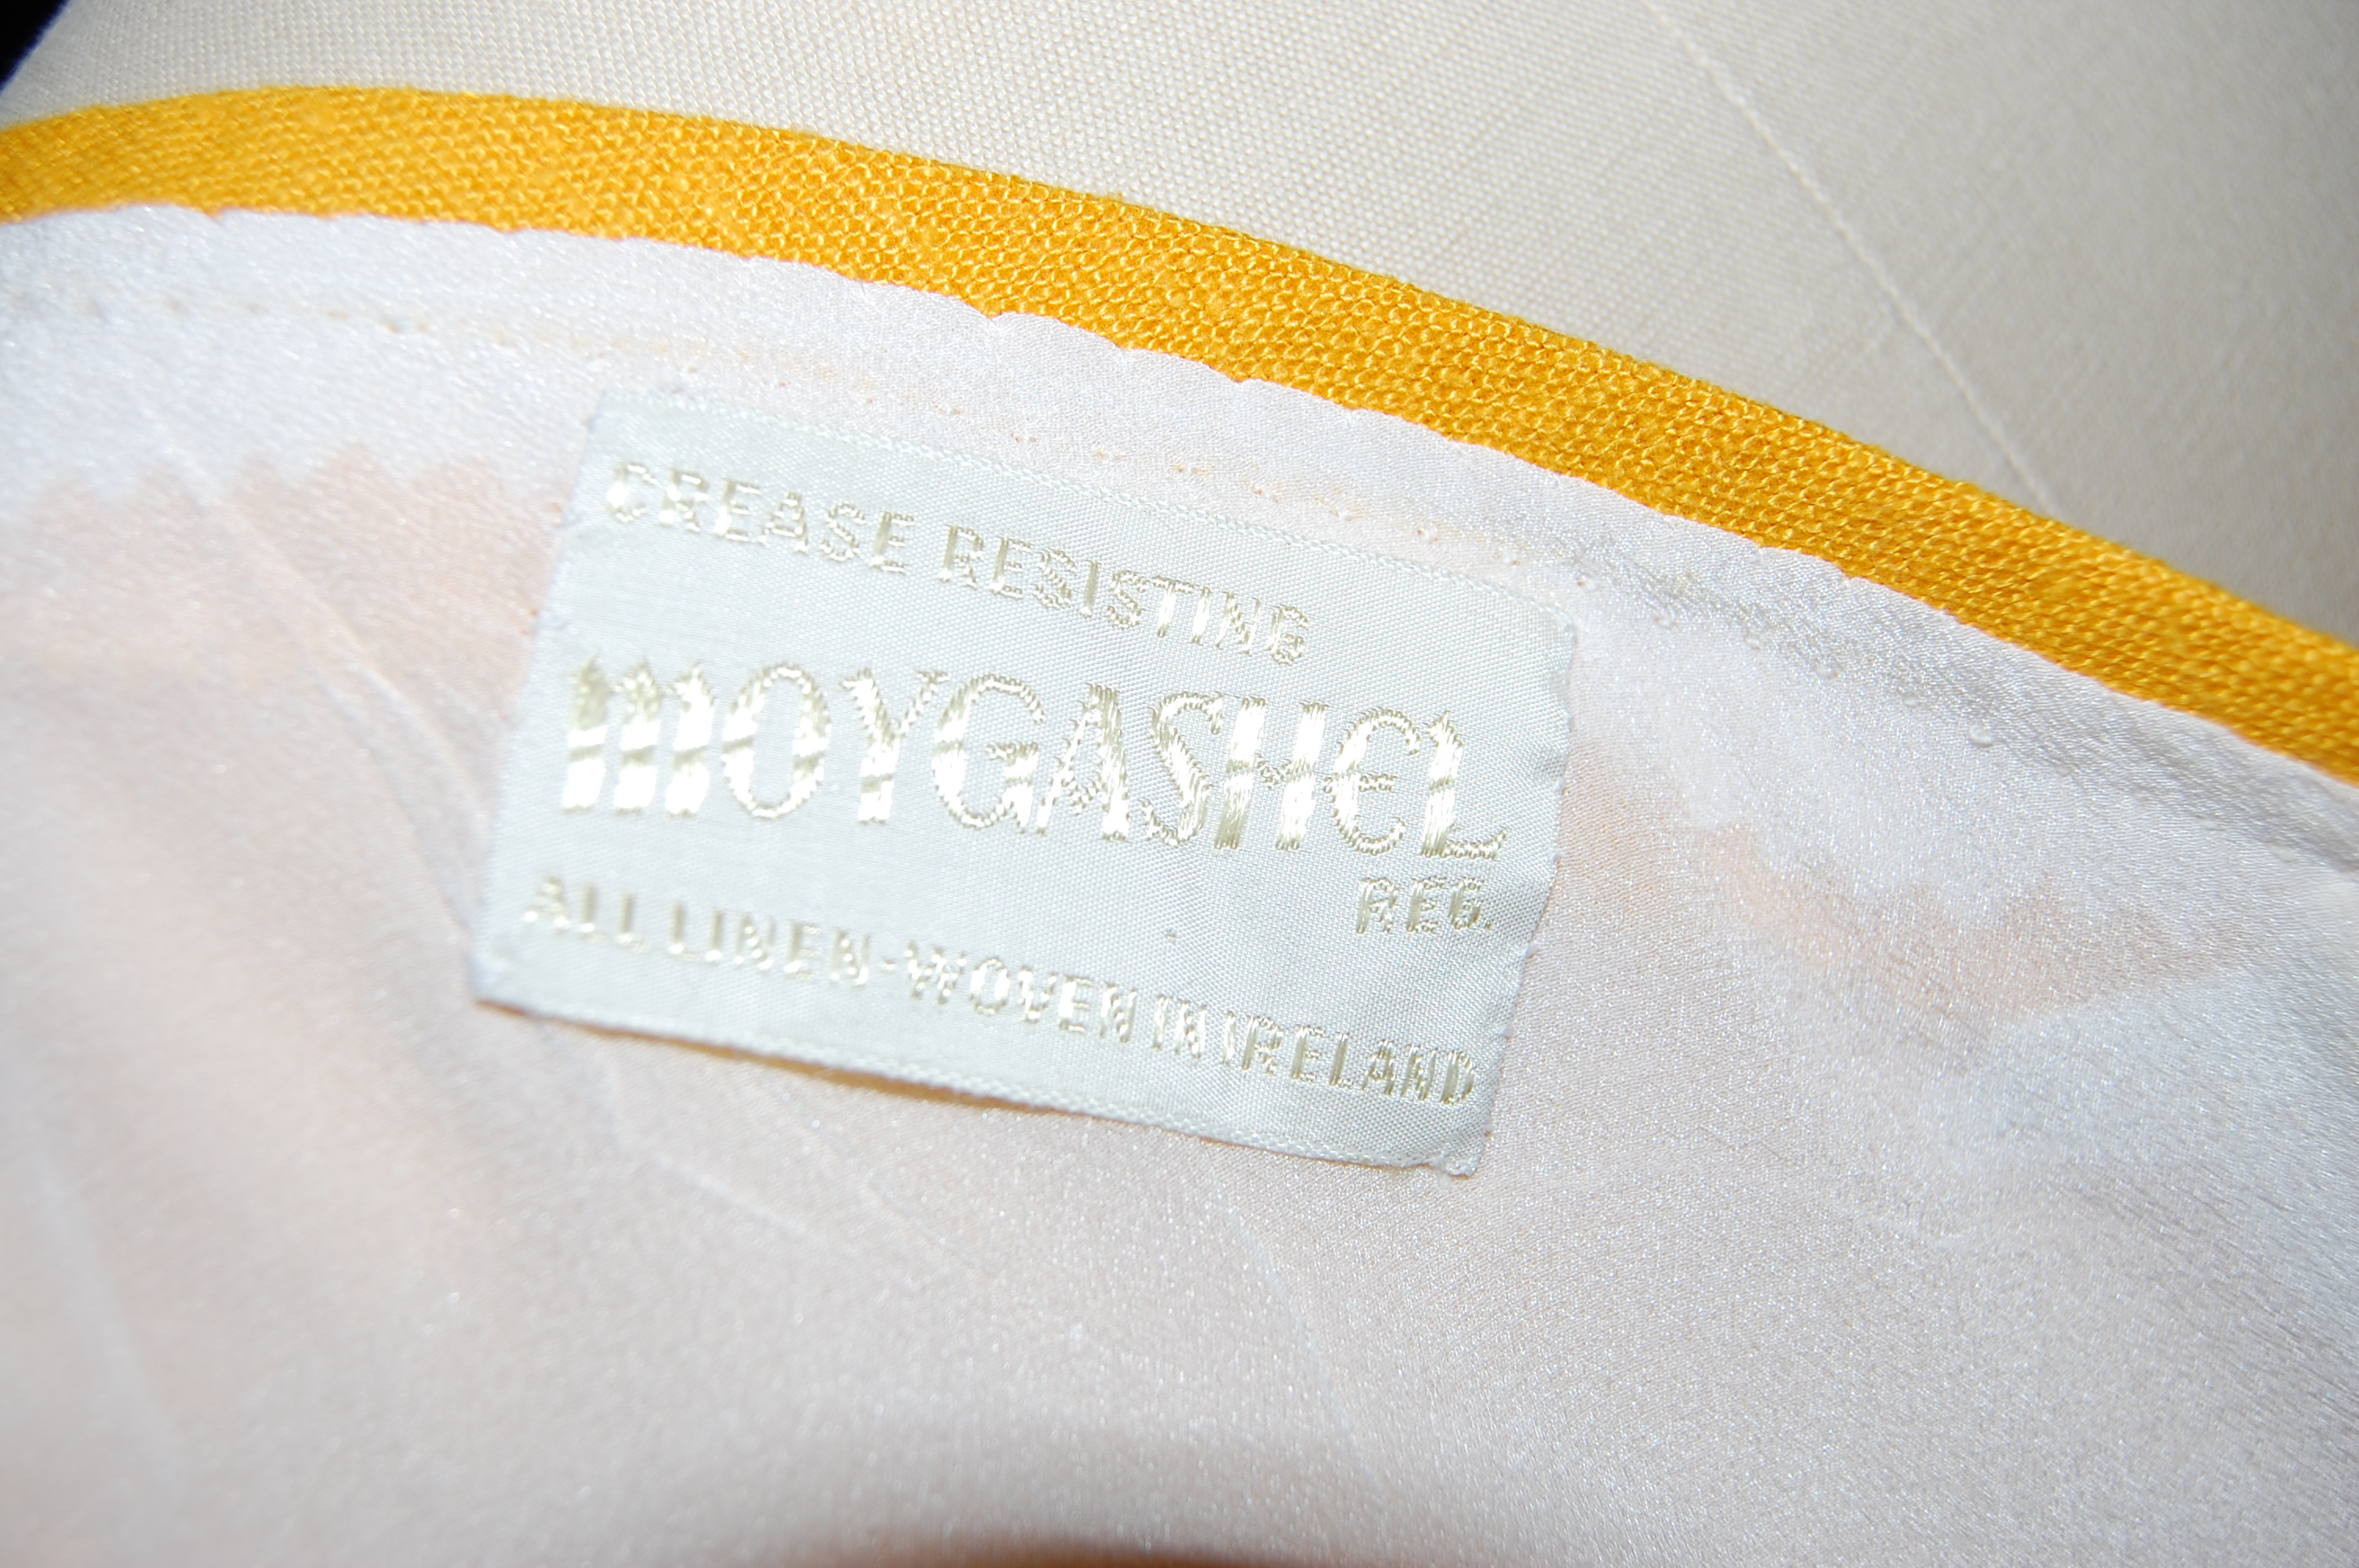
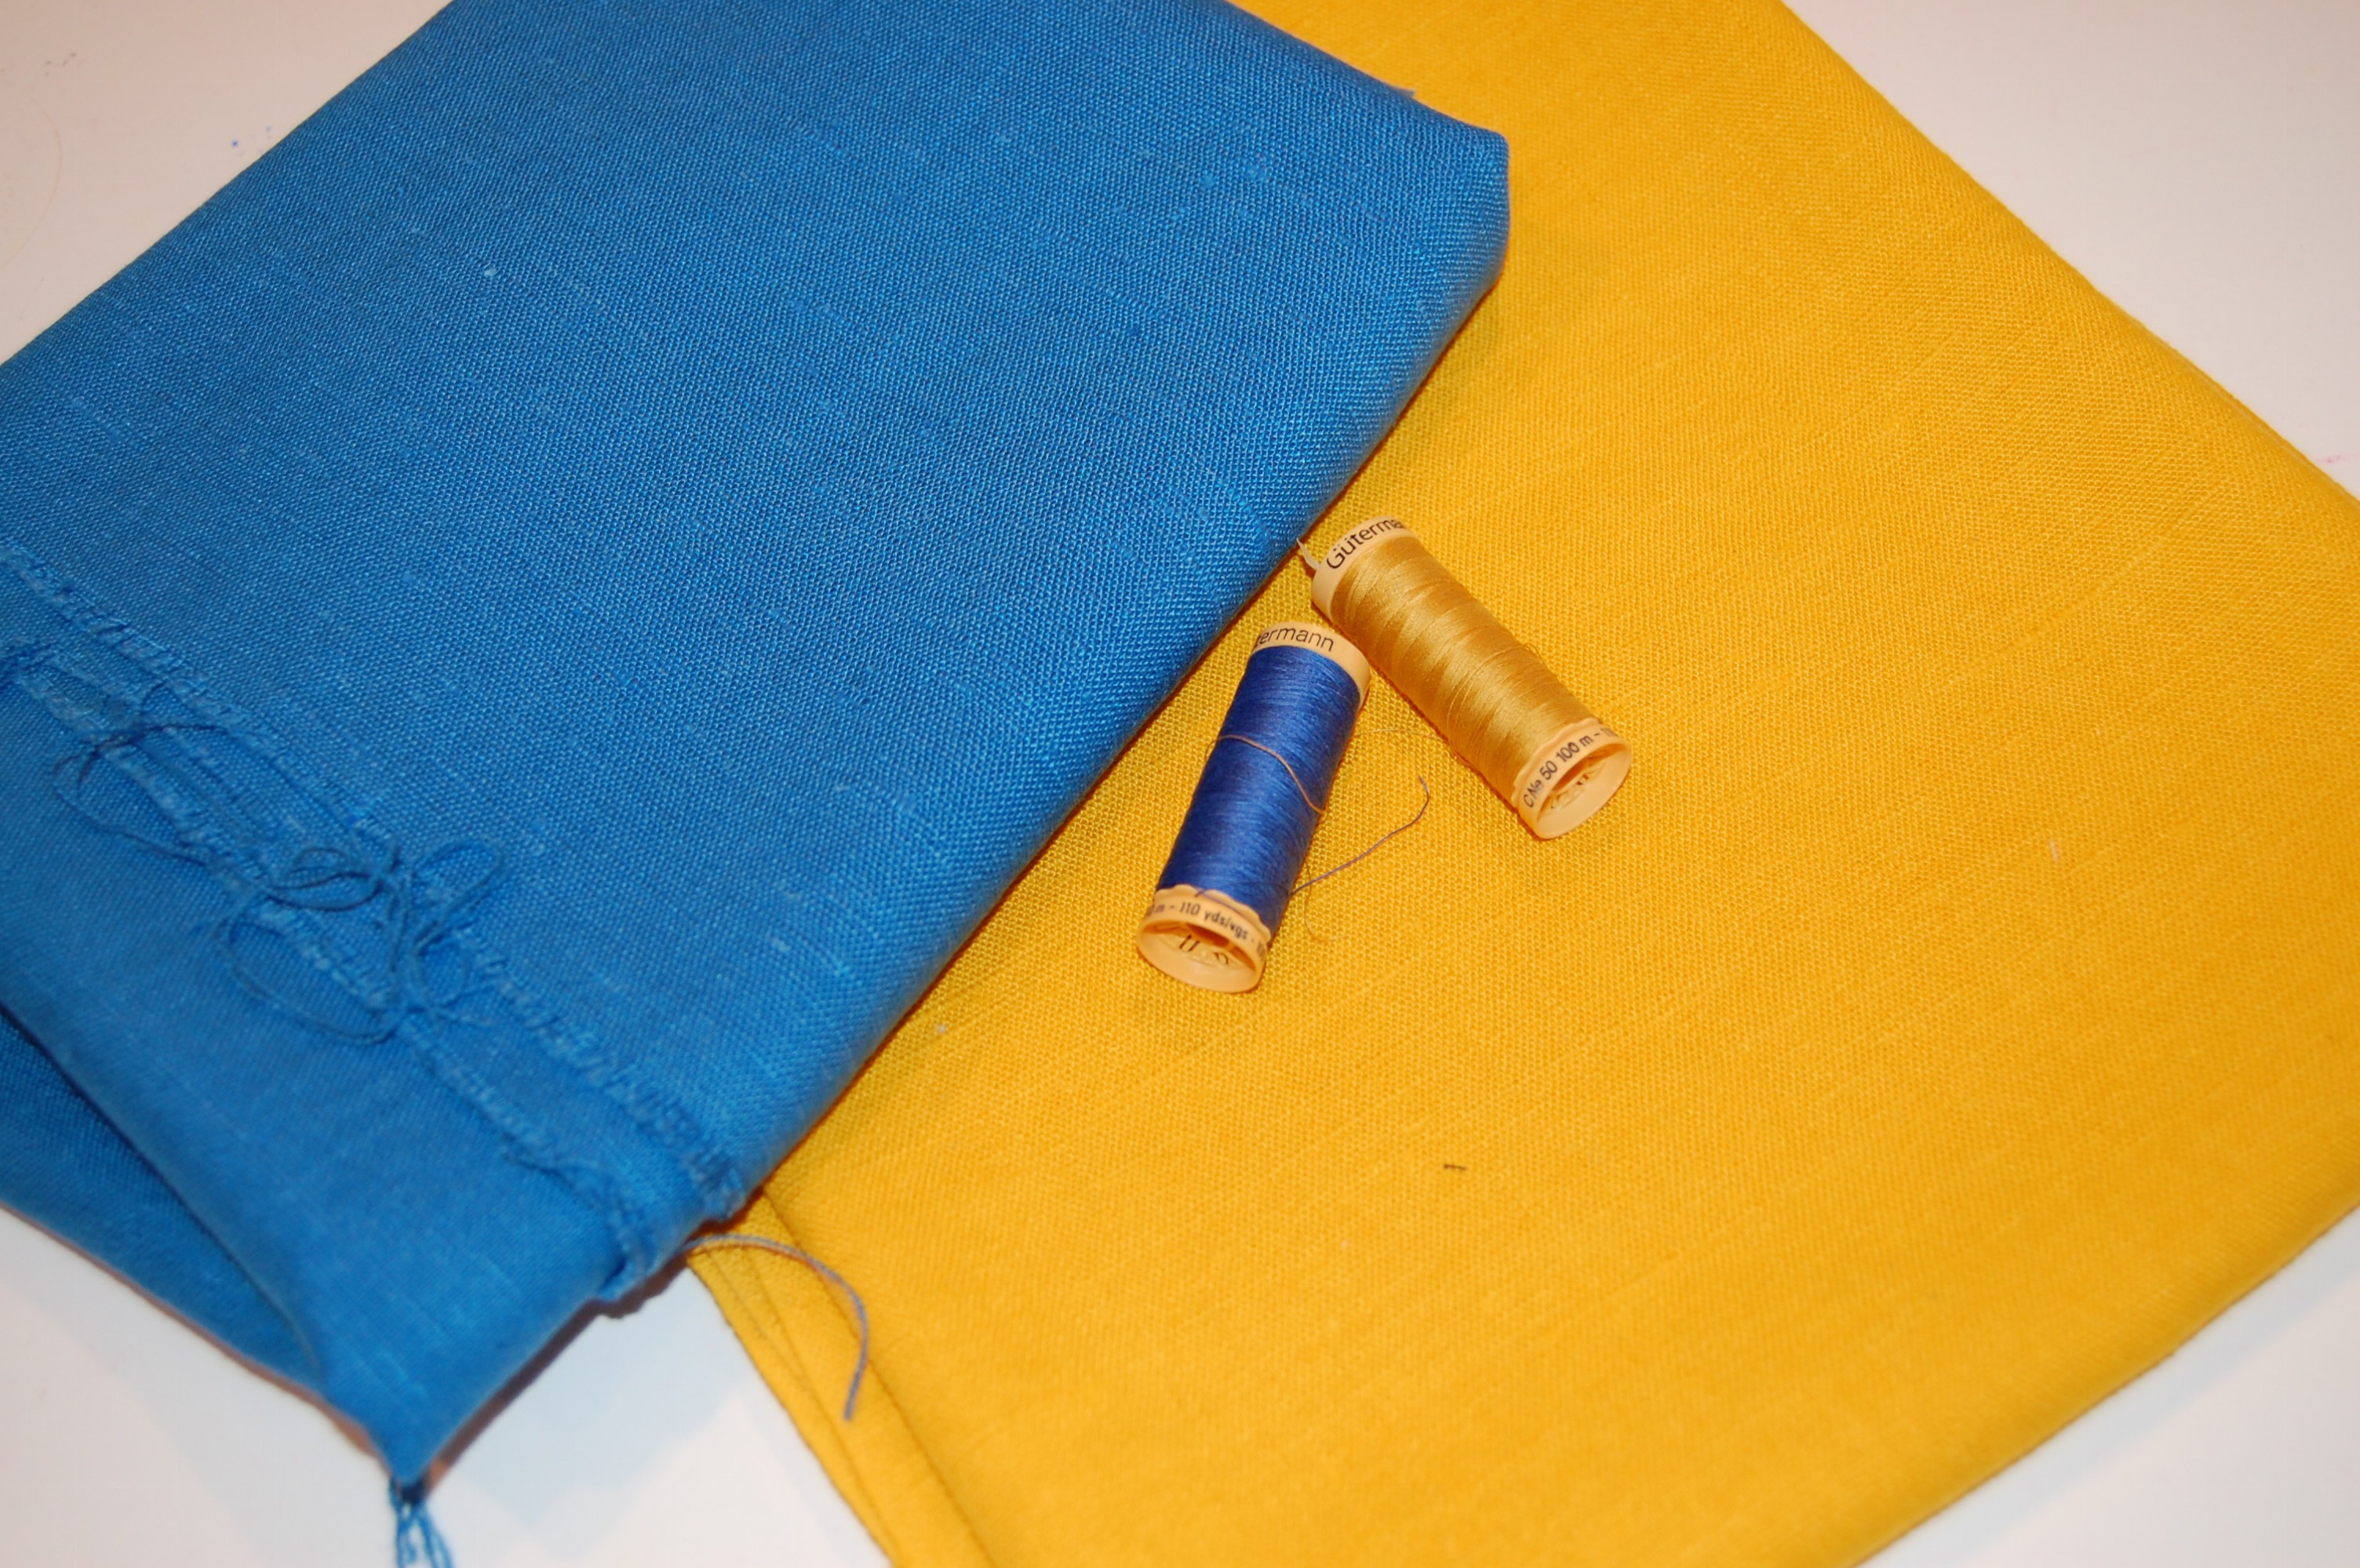
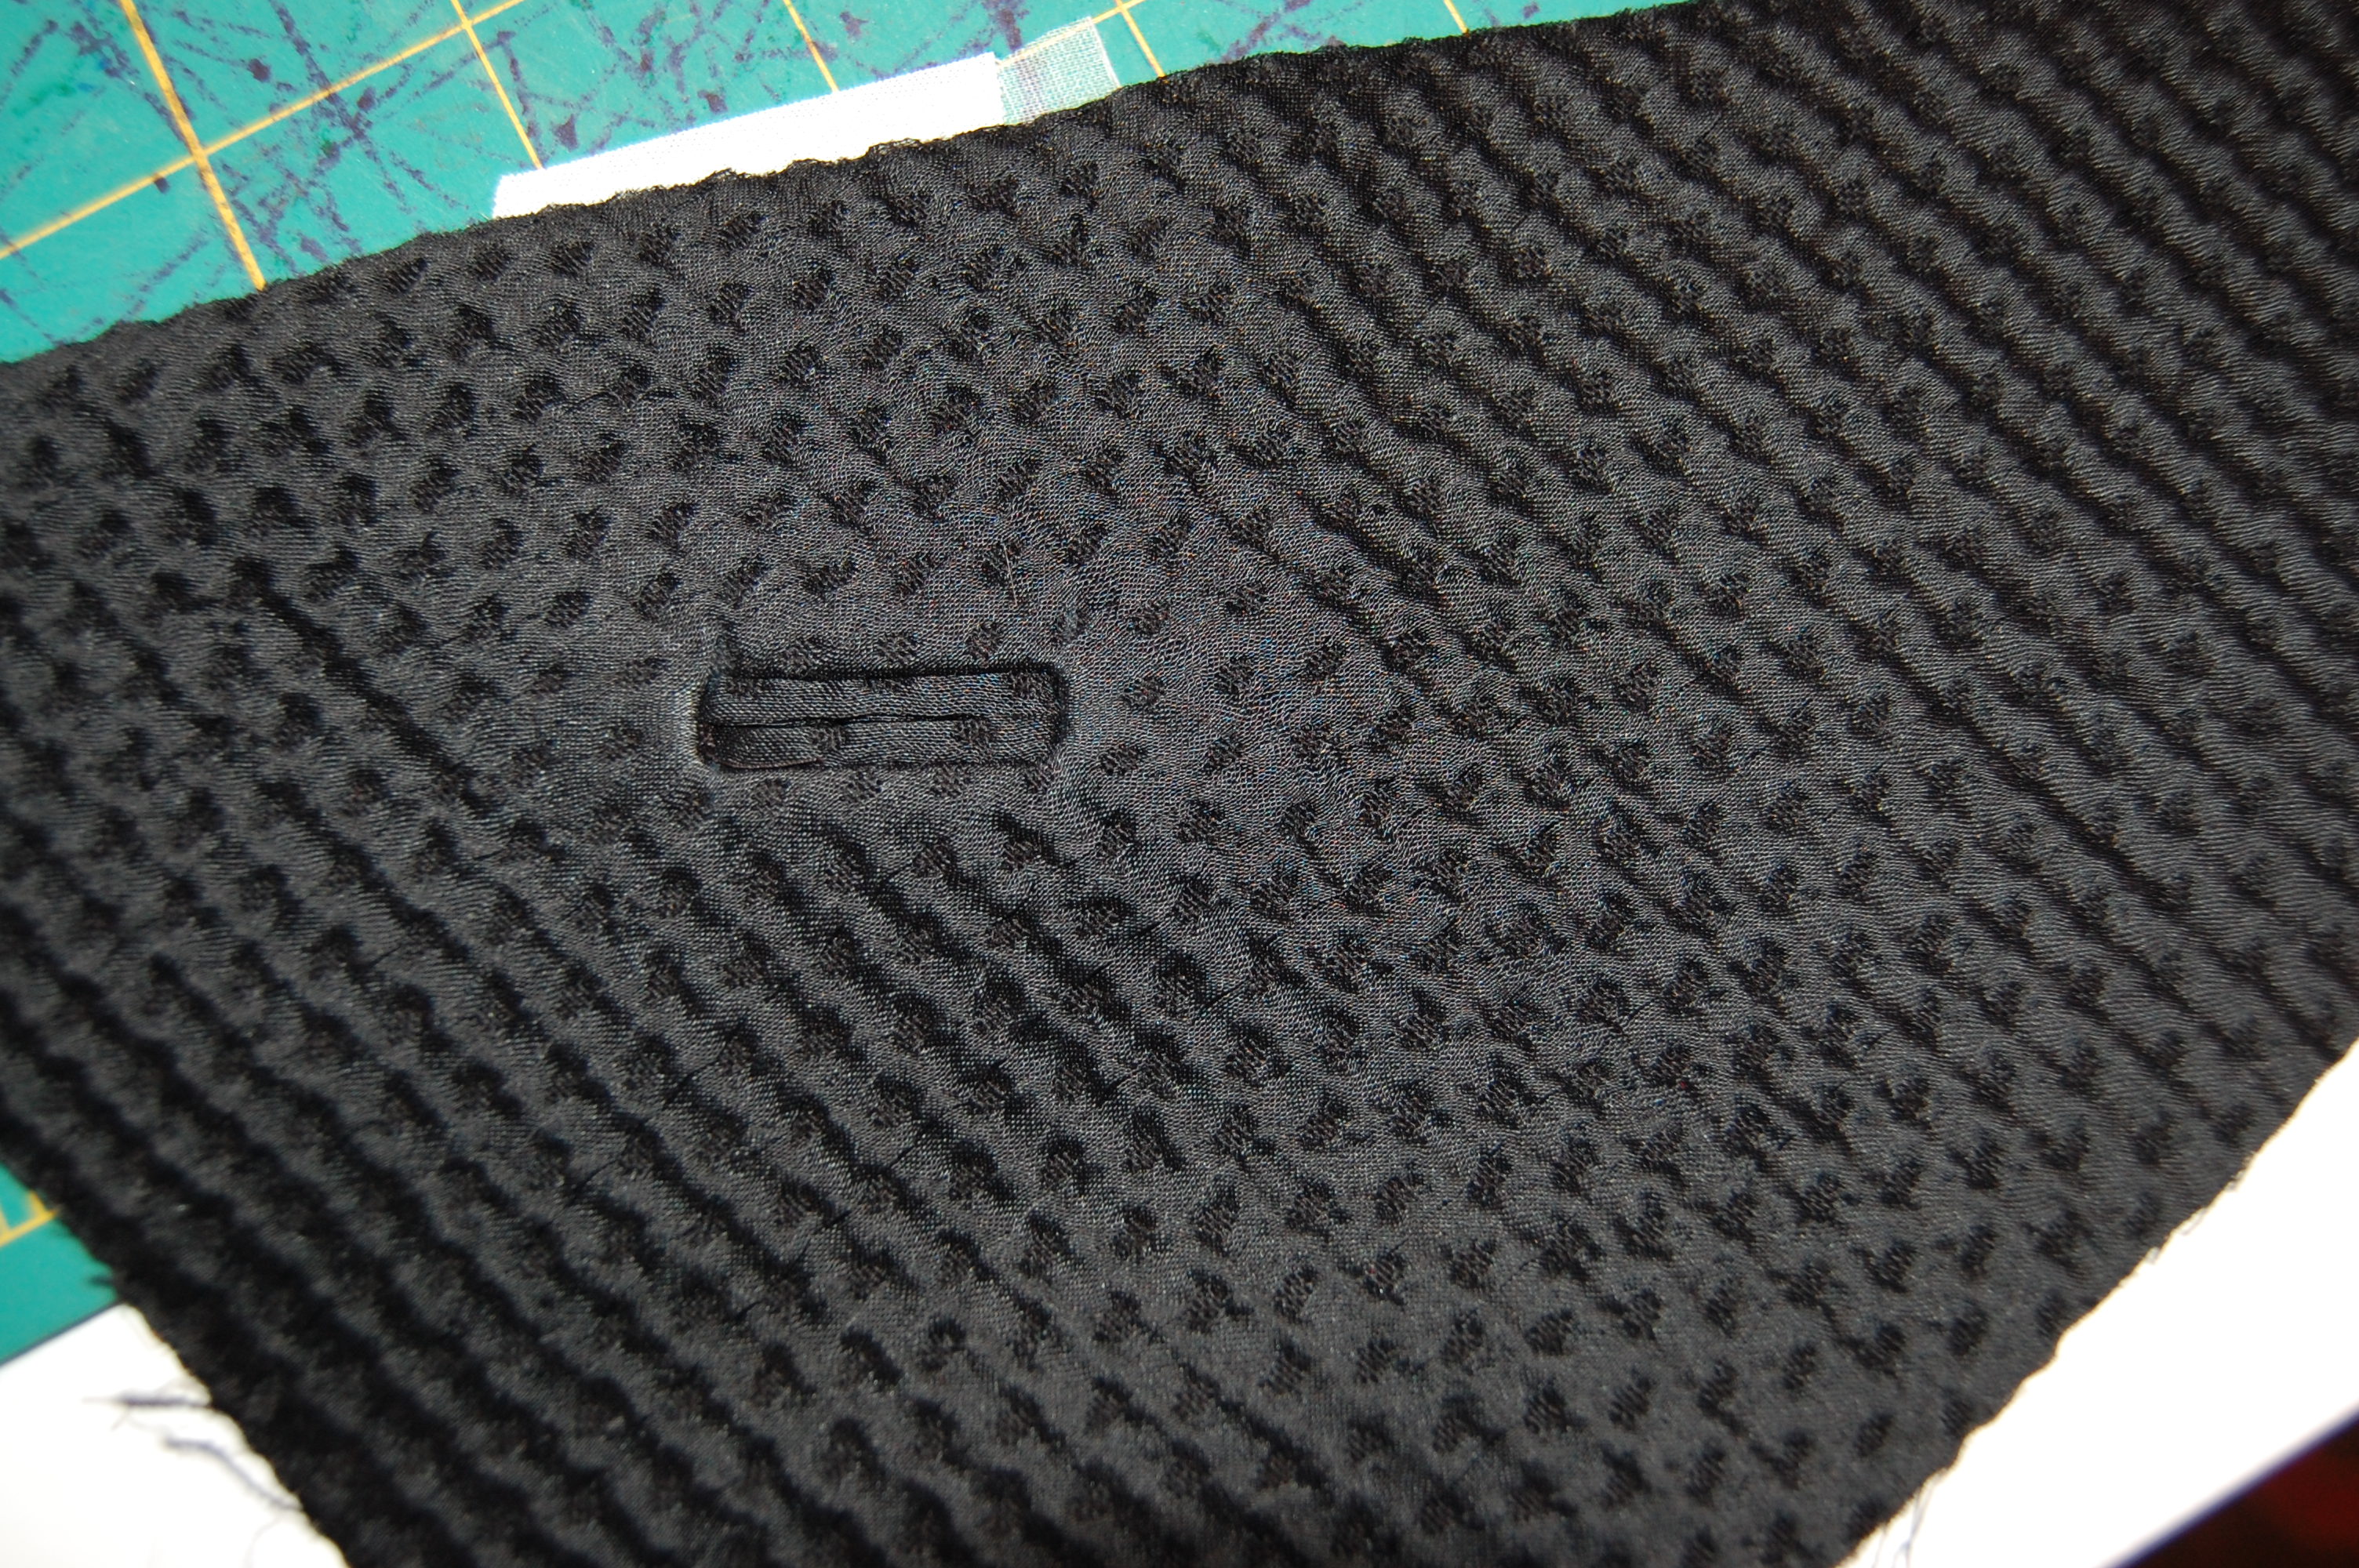
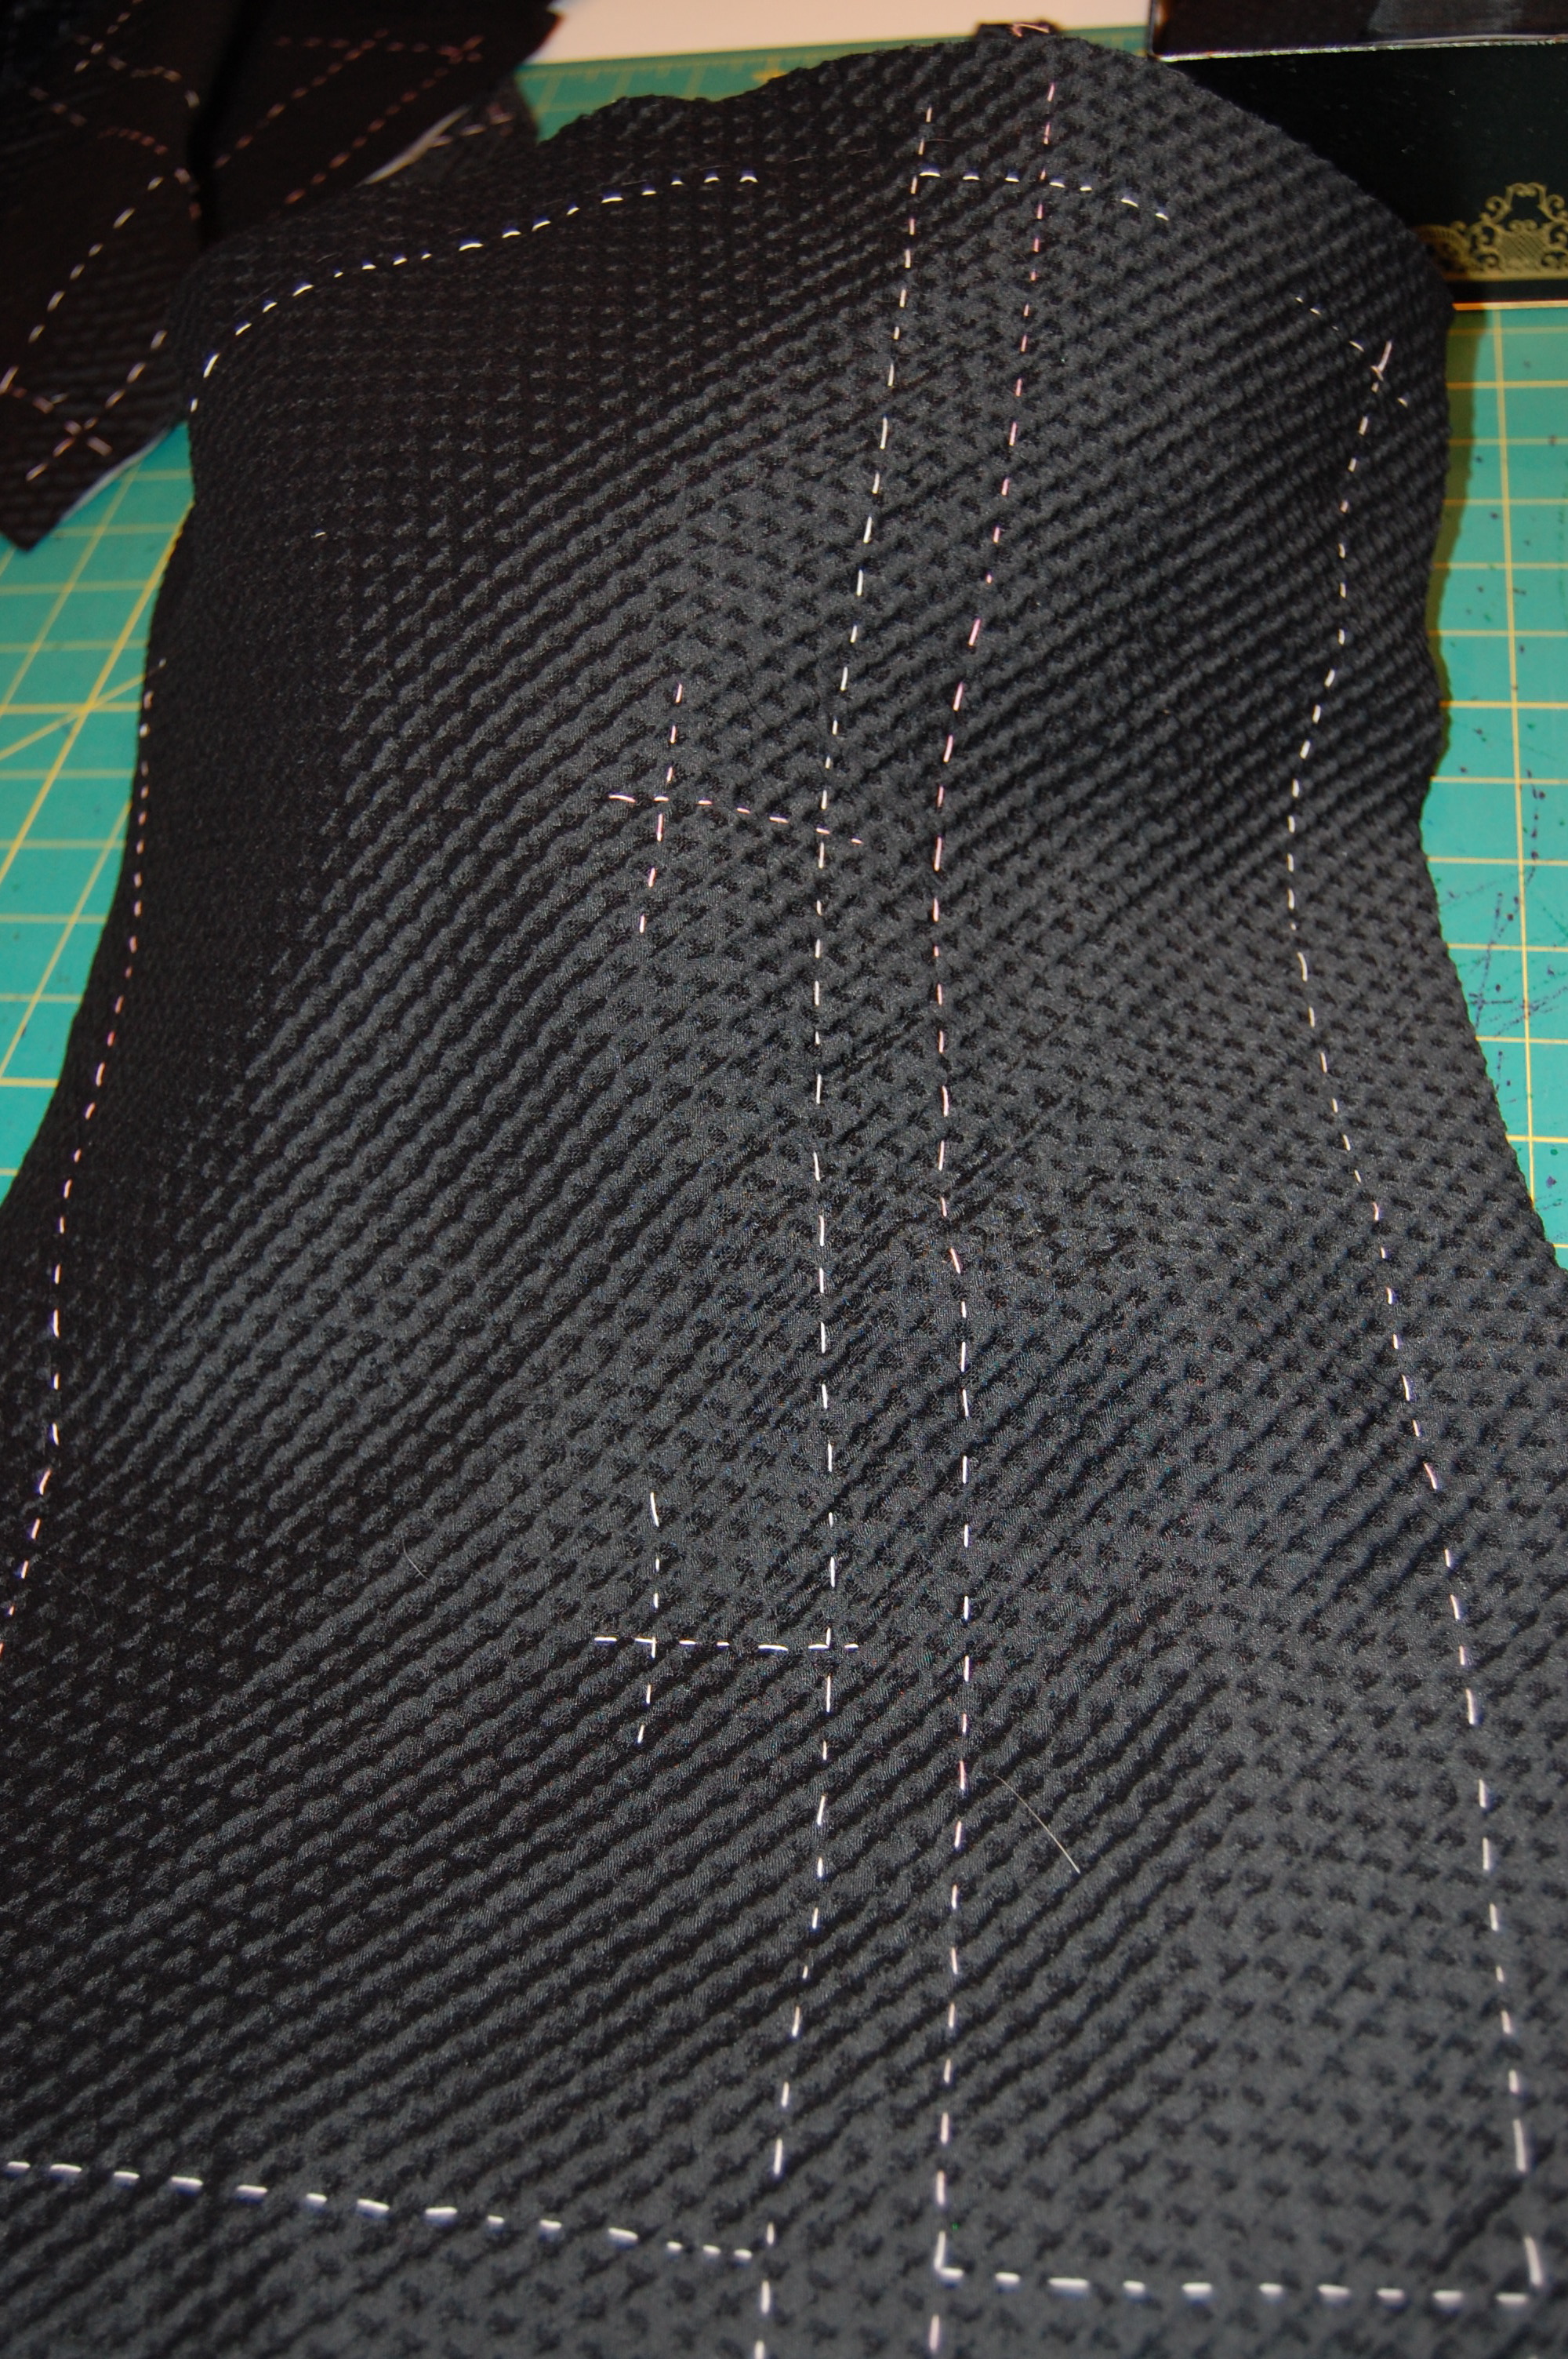
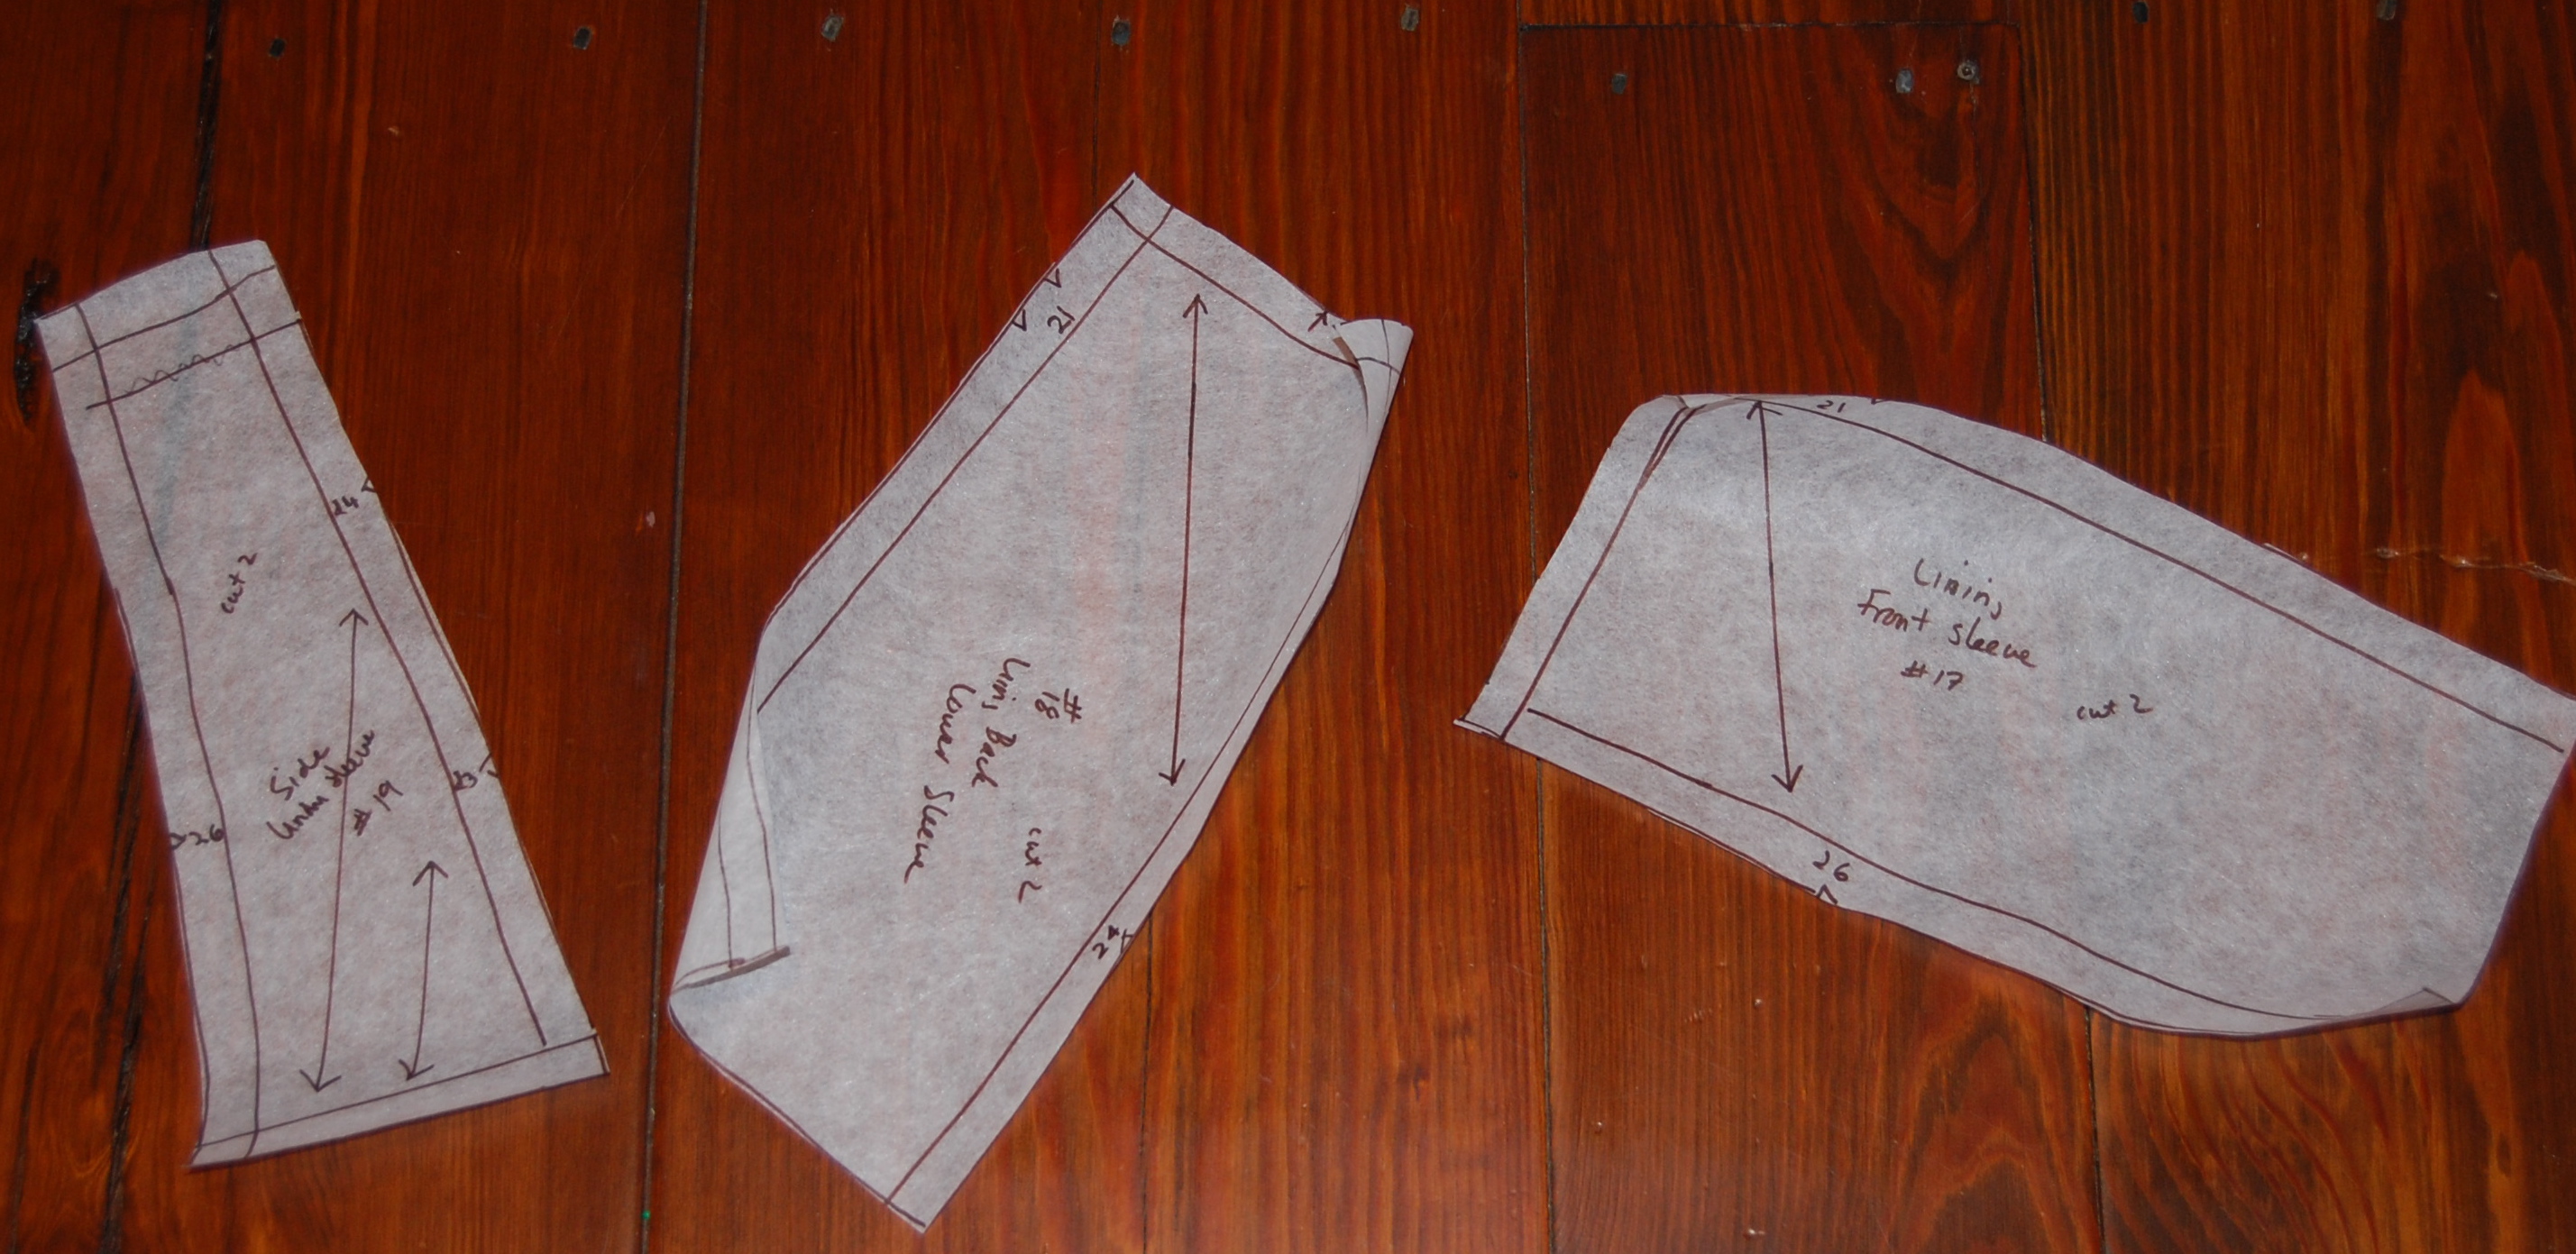
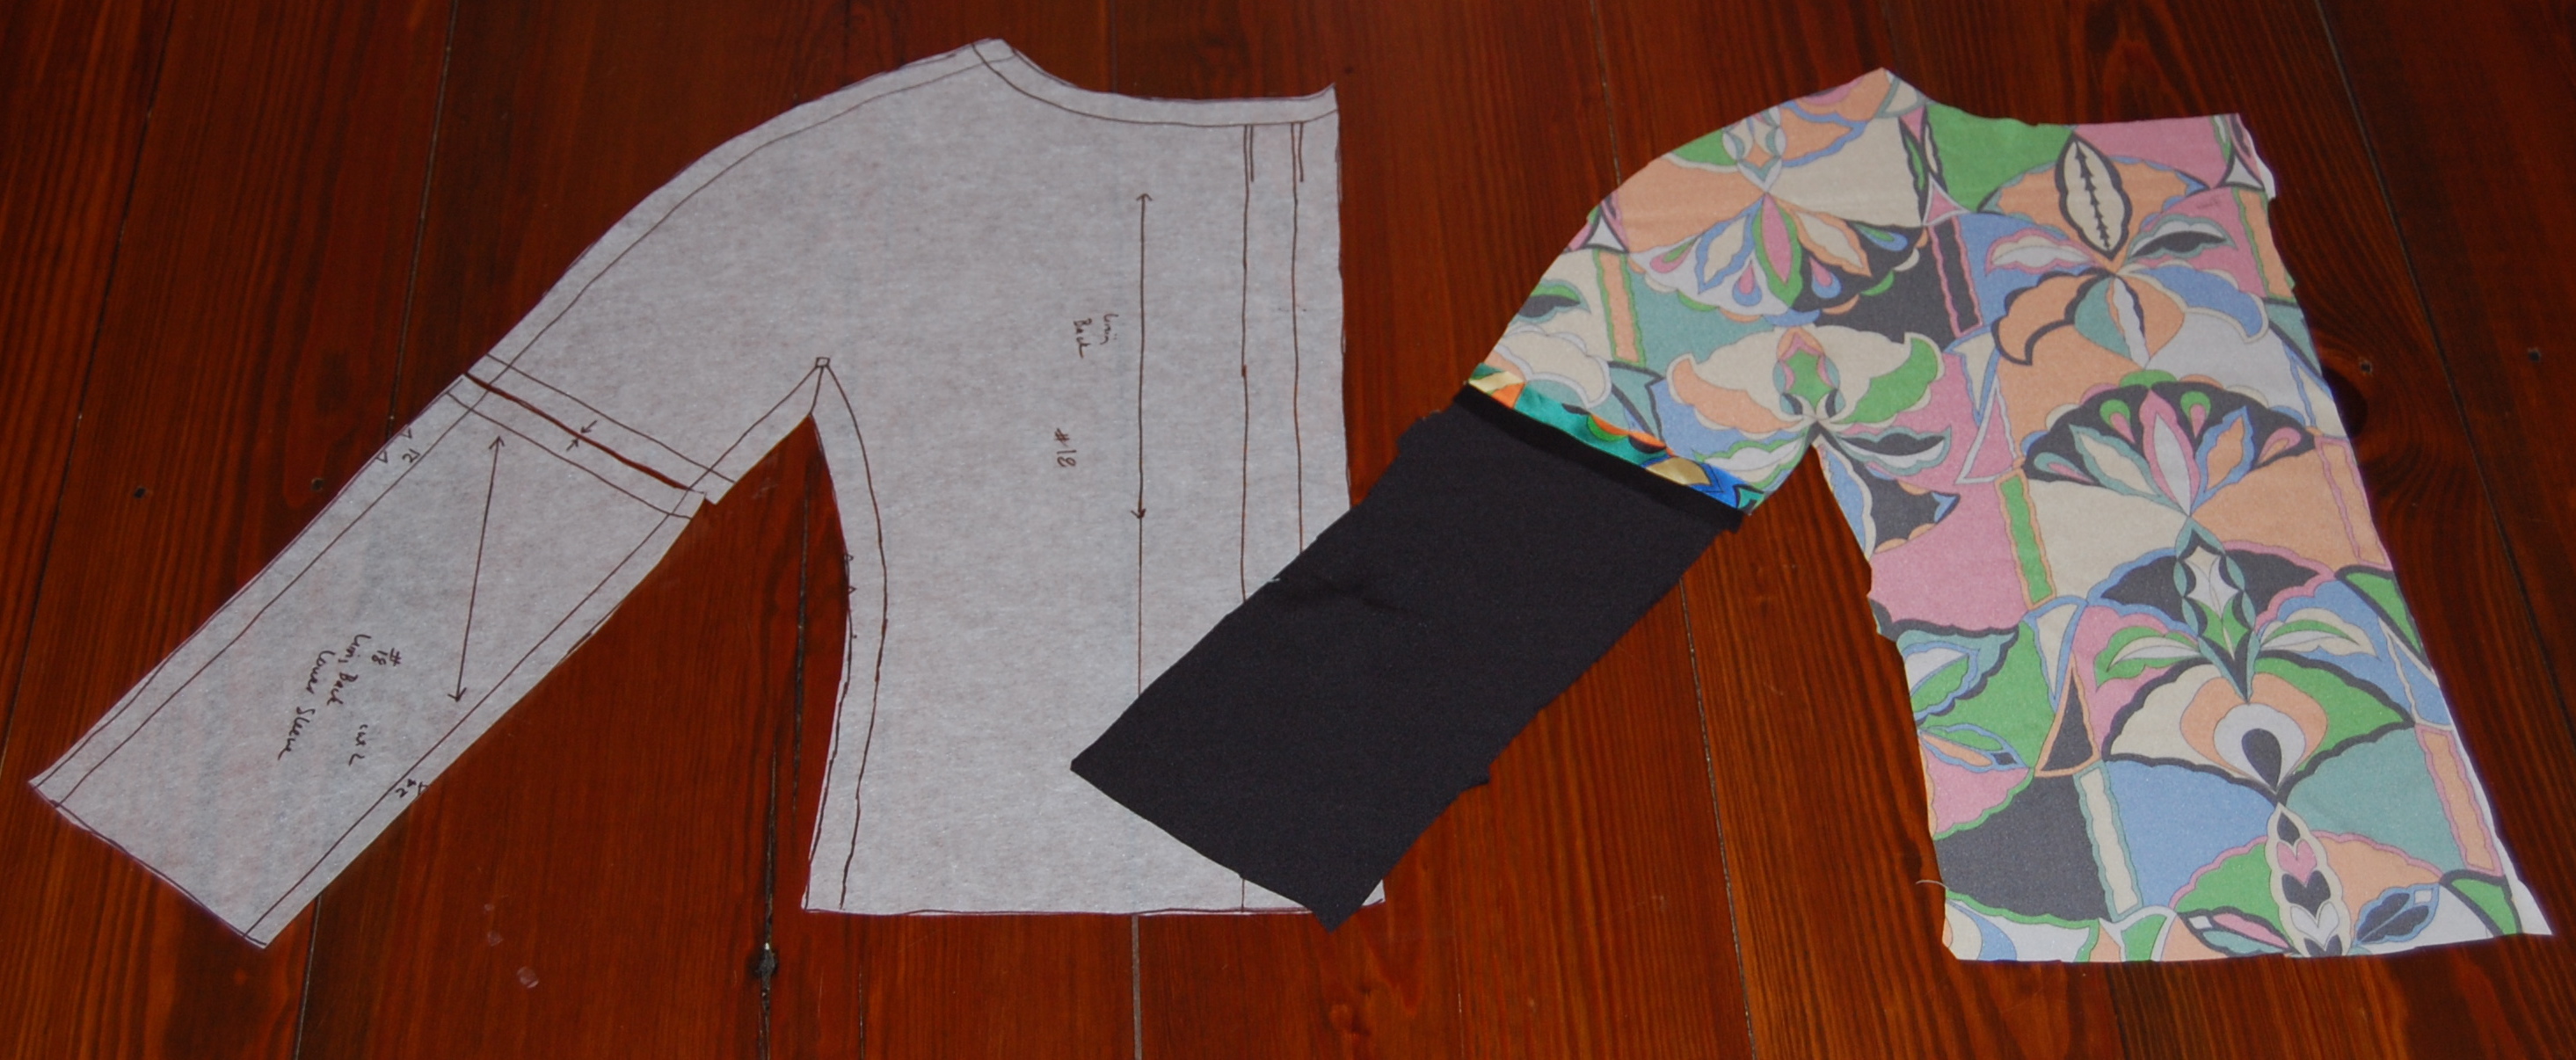
I think I know what is wrong, and it will take a great deal of effort to try to correct it – and hopefully it will be correctable! I insisted on using an underlining on this stretch silk fabric. I thought I could accommodate the stretch by cutting the underlining on the bias. Guess what? It doesn’t work. The bias pulls from underneath, restricting the stretch of the silk. What this means is that I am going to have to remove the underlining. It is not going to be fun to remove black underlining from black fabric, sewn together with black thread, is it?

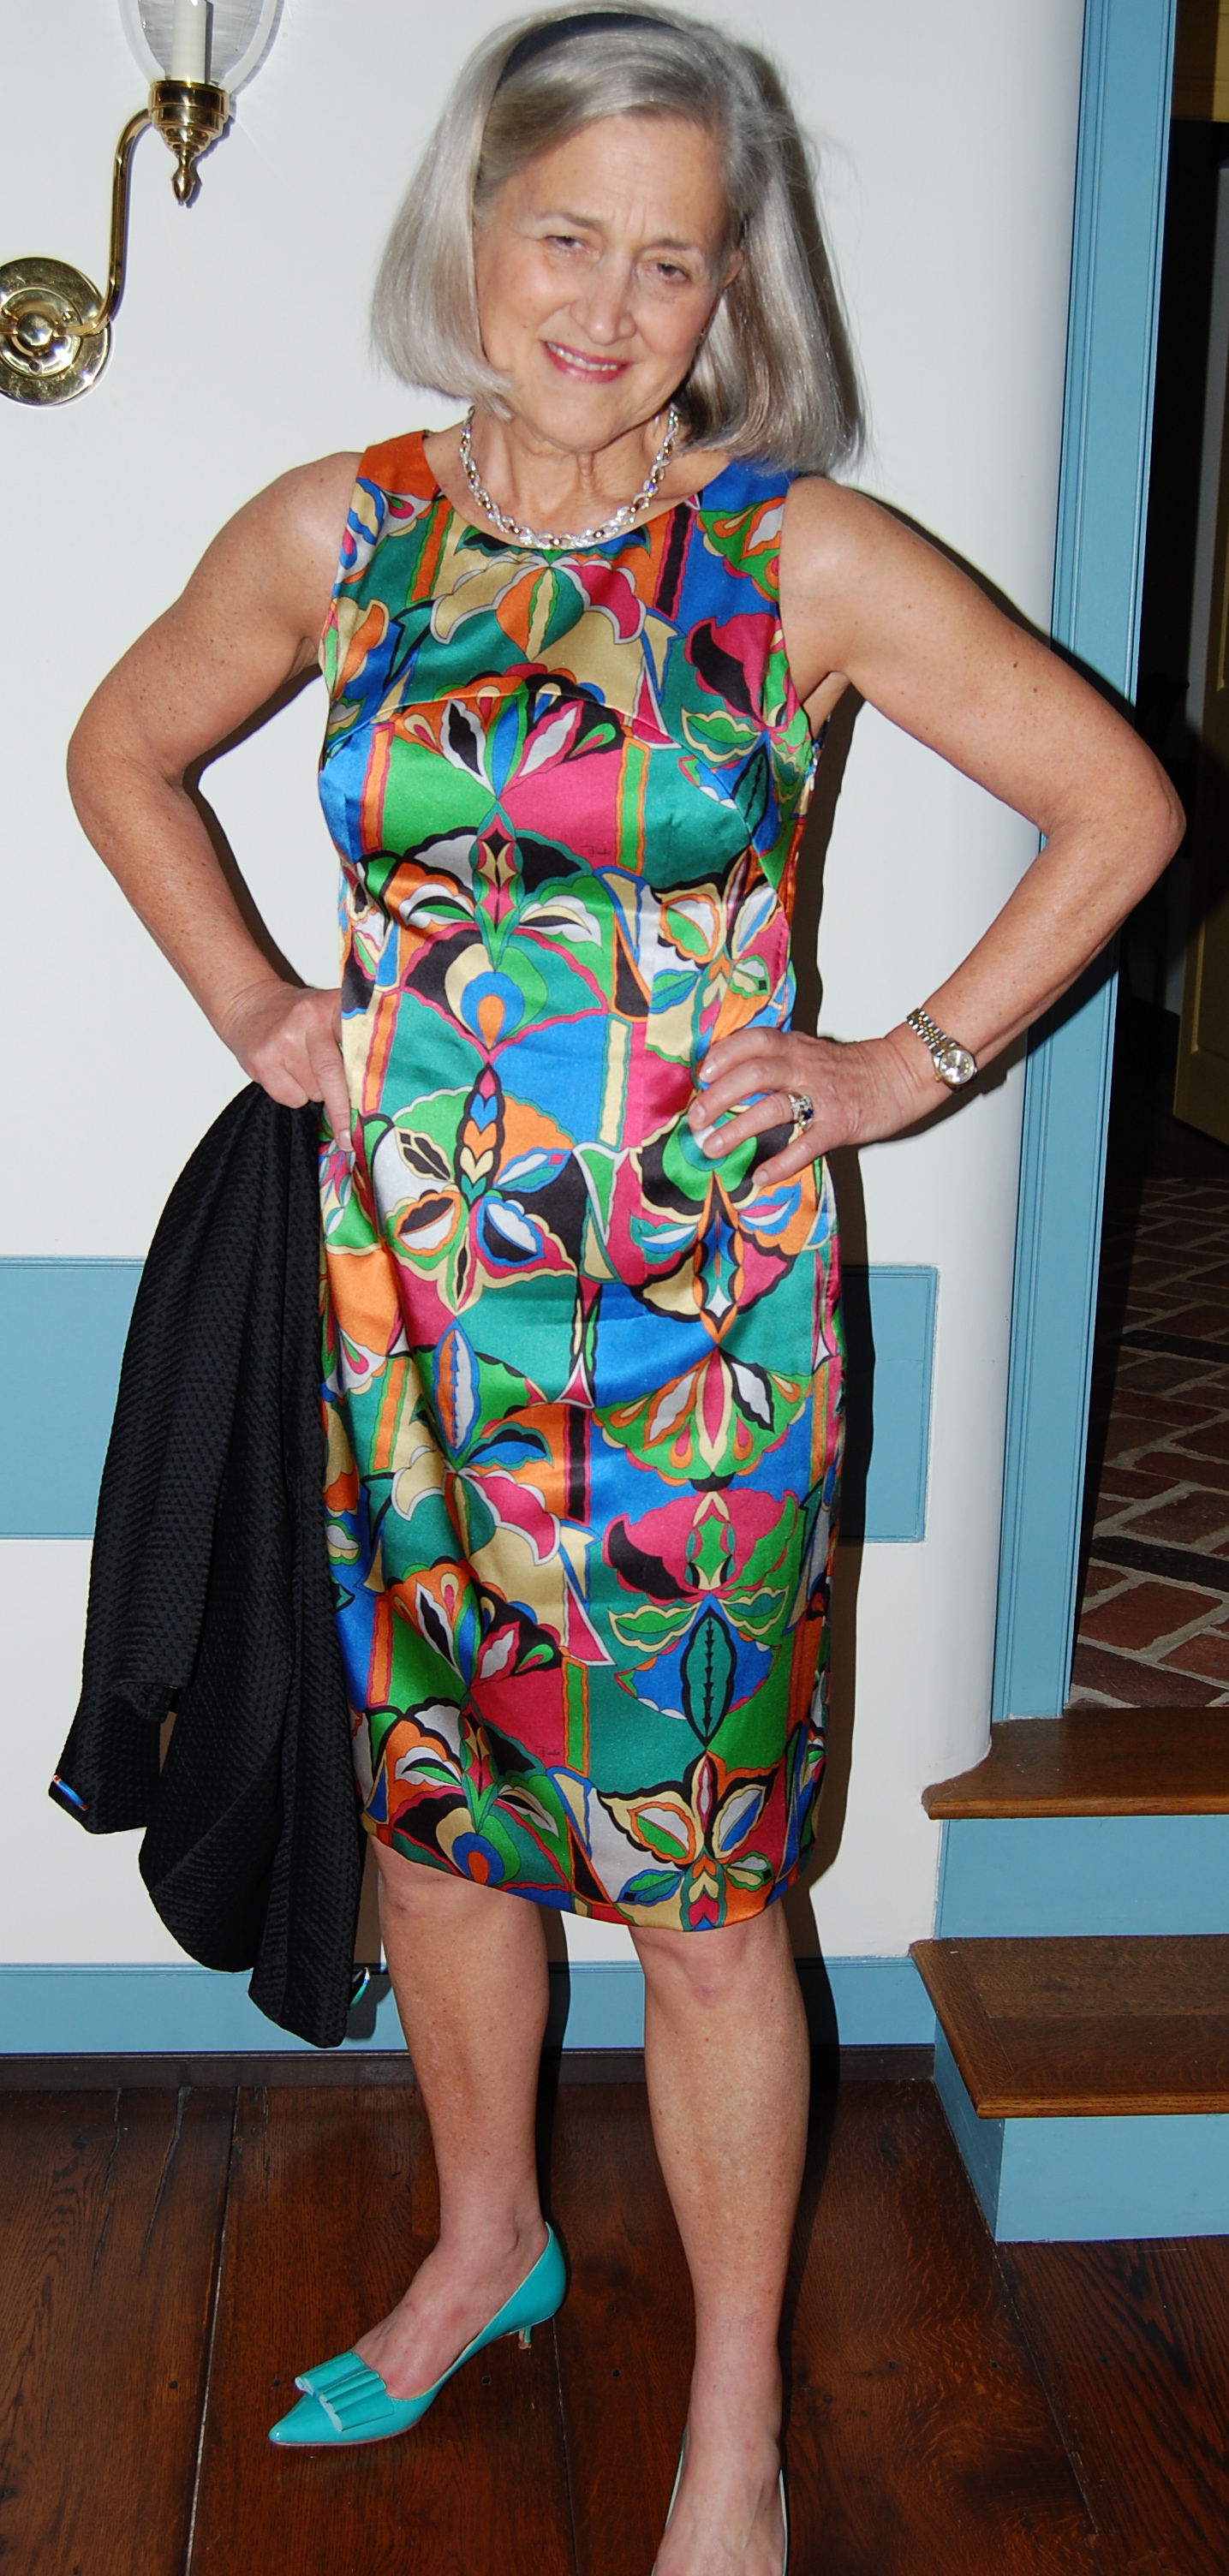
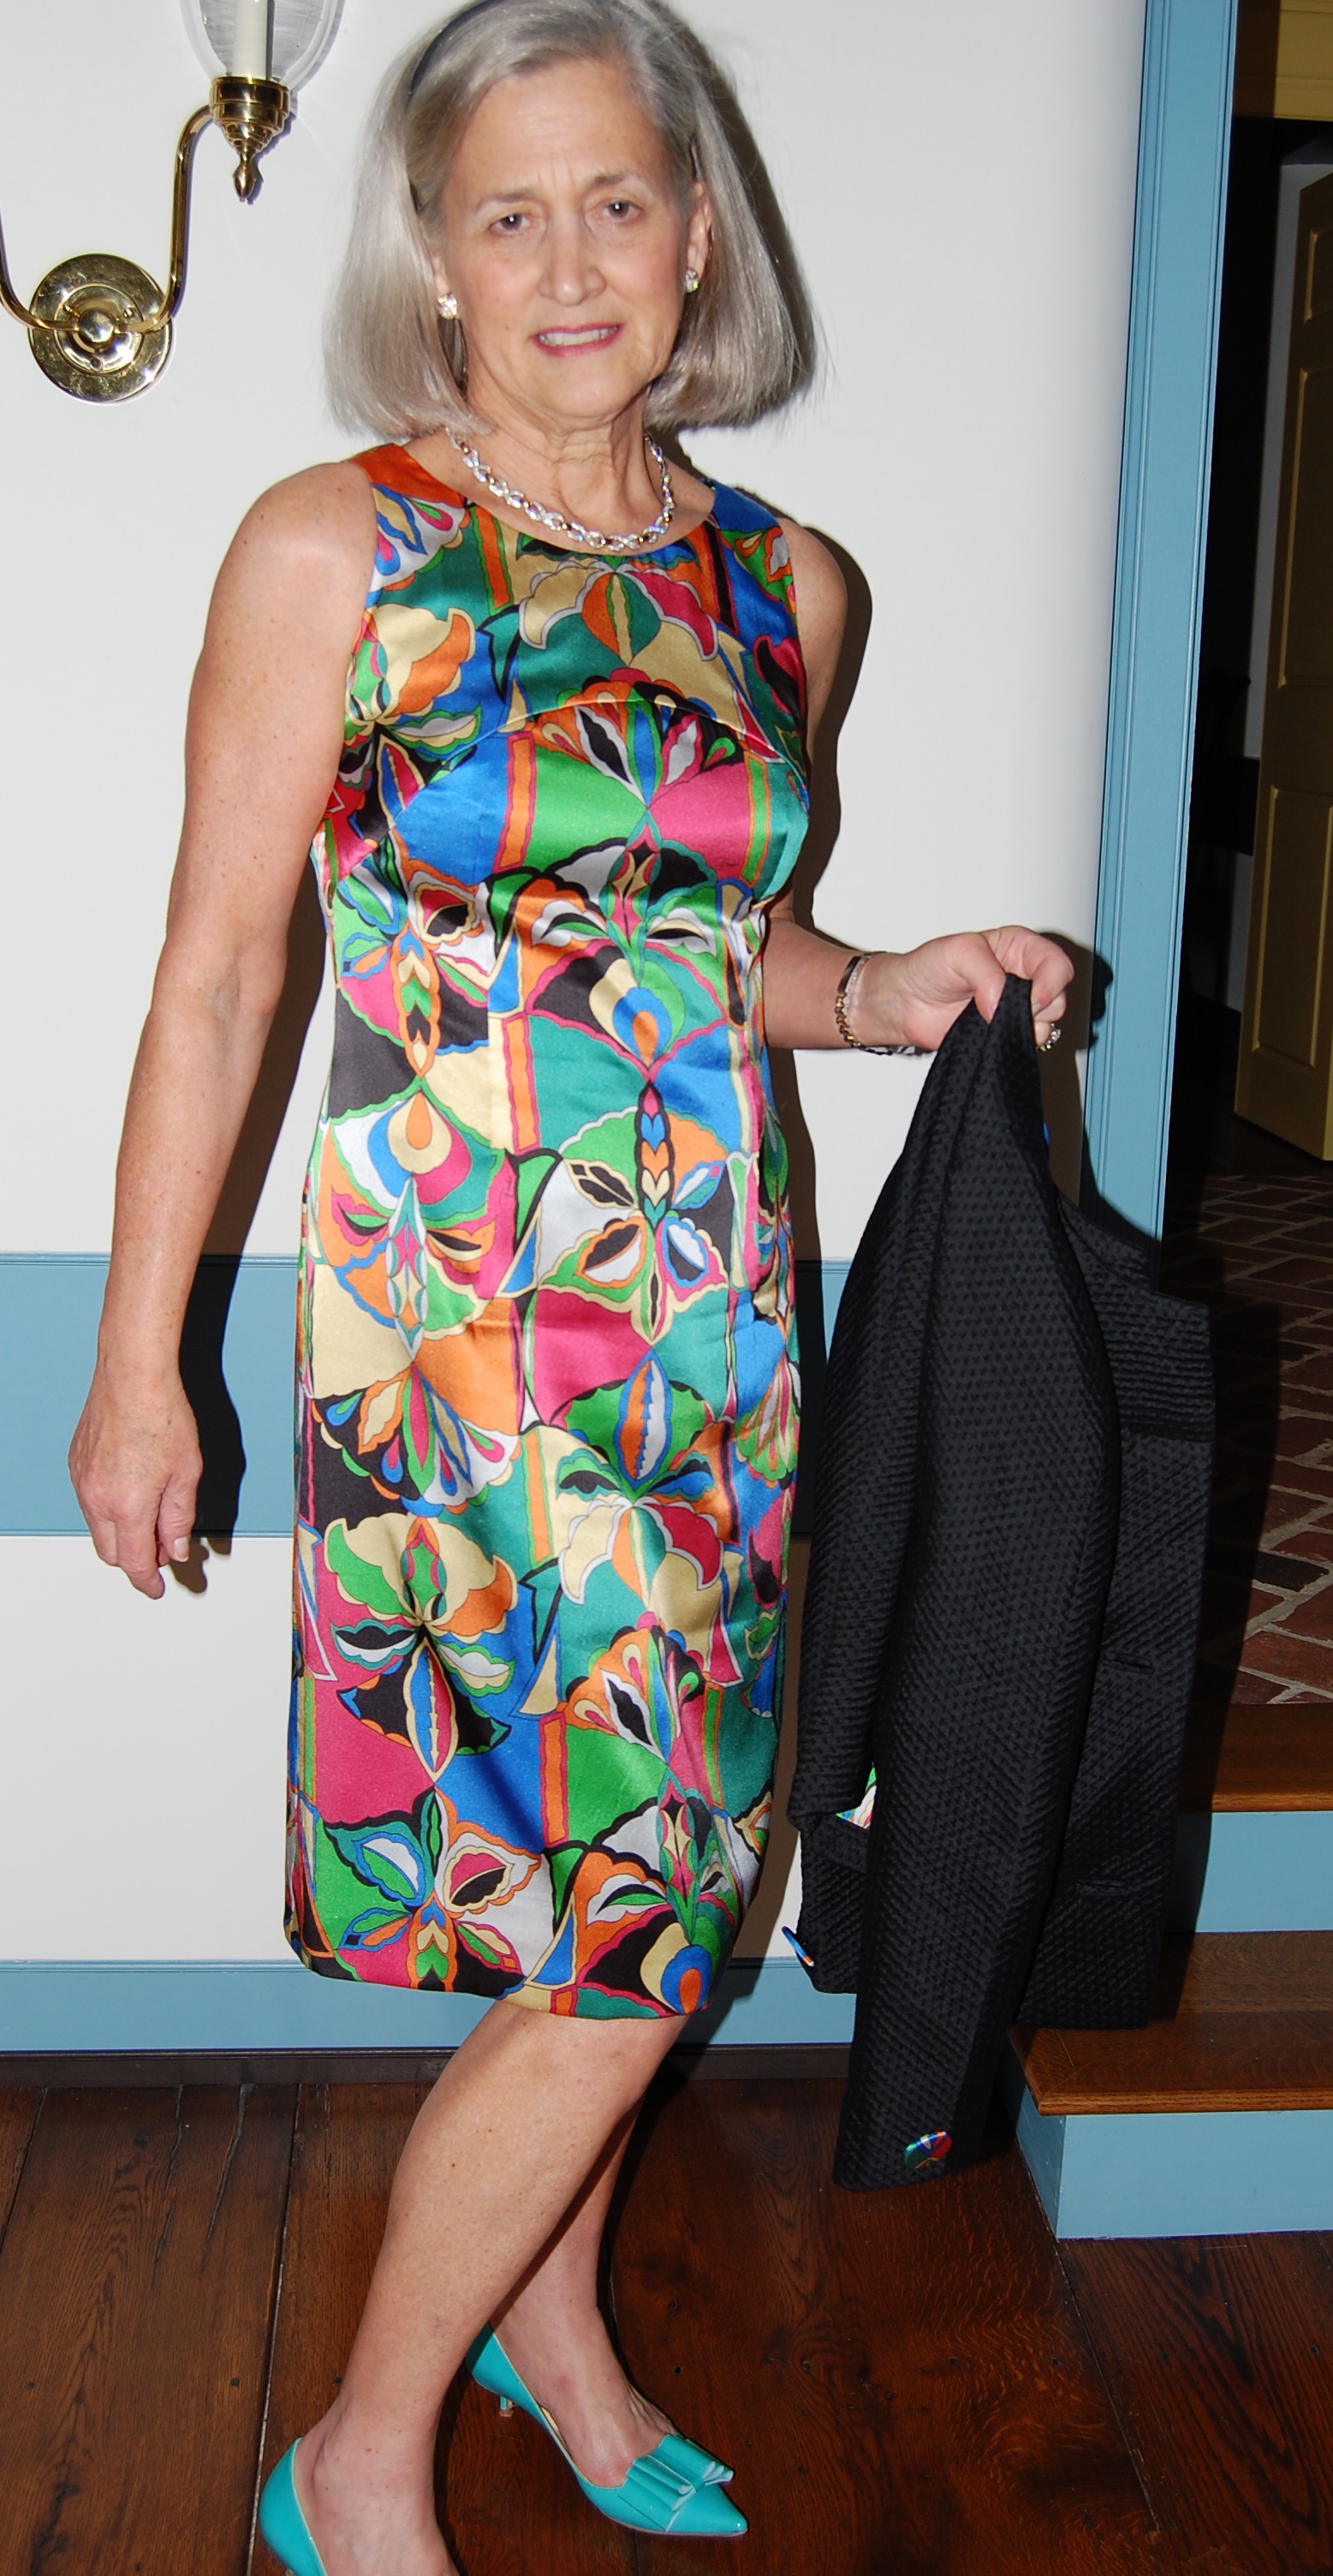
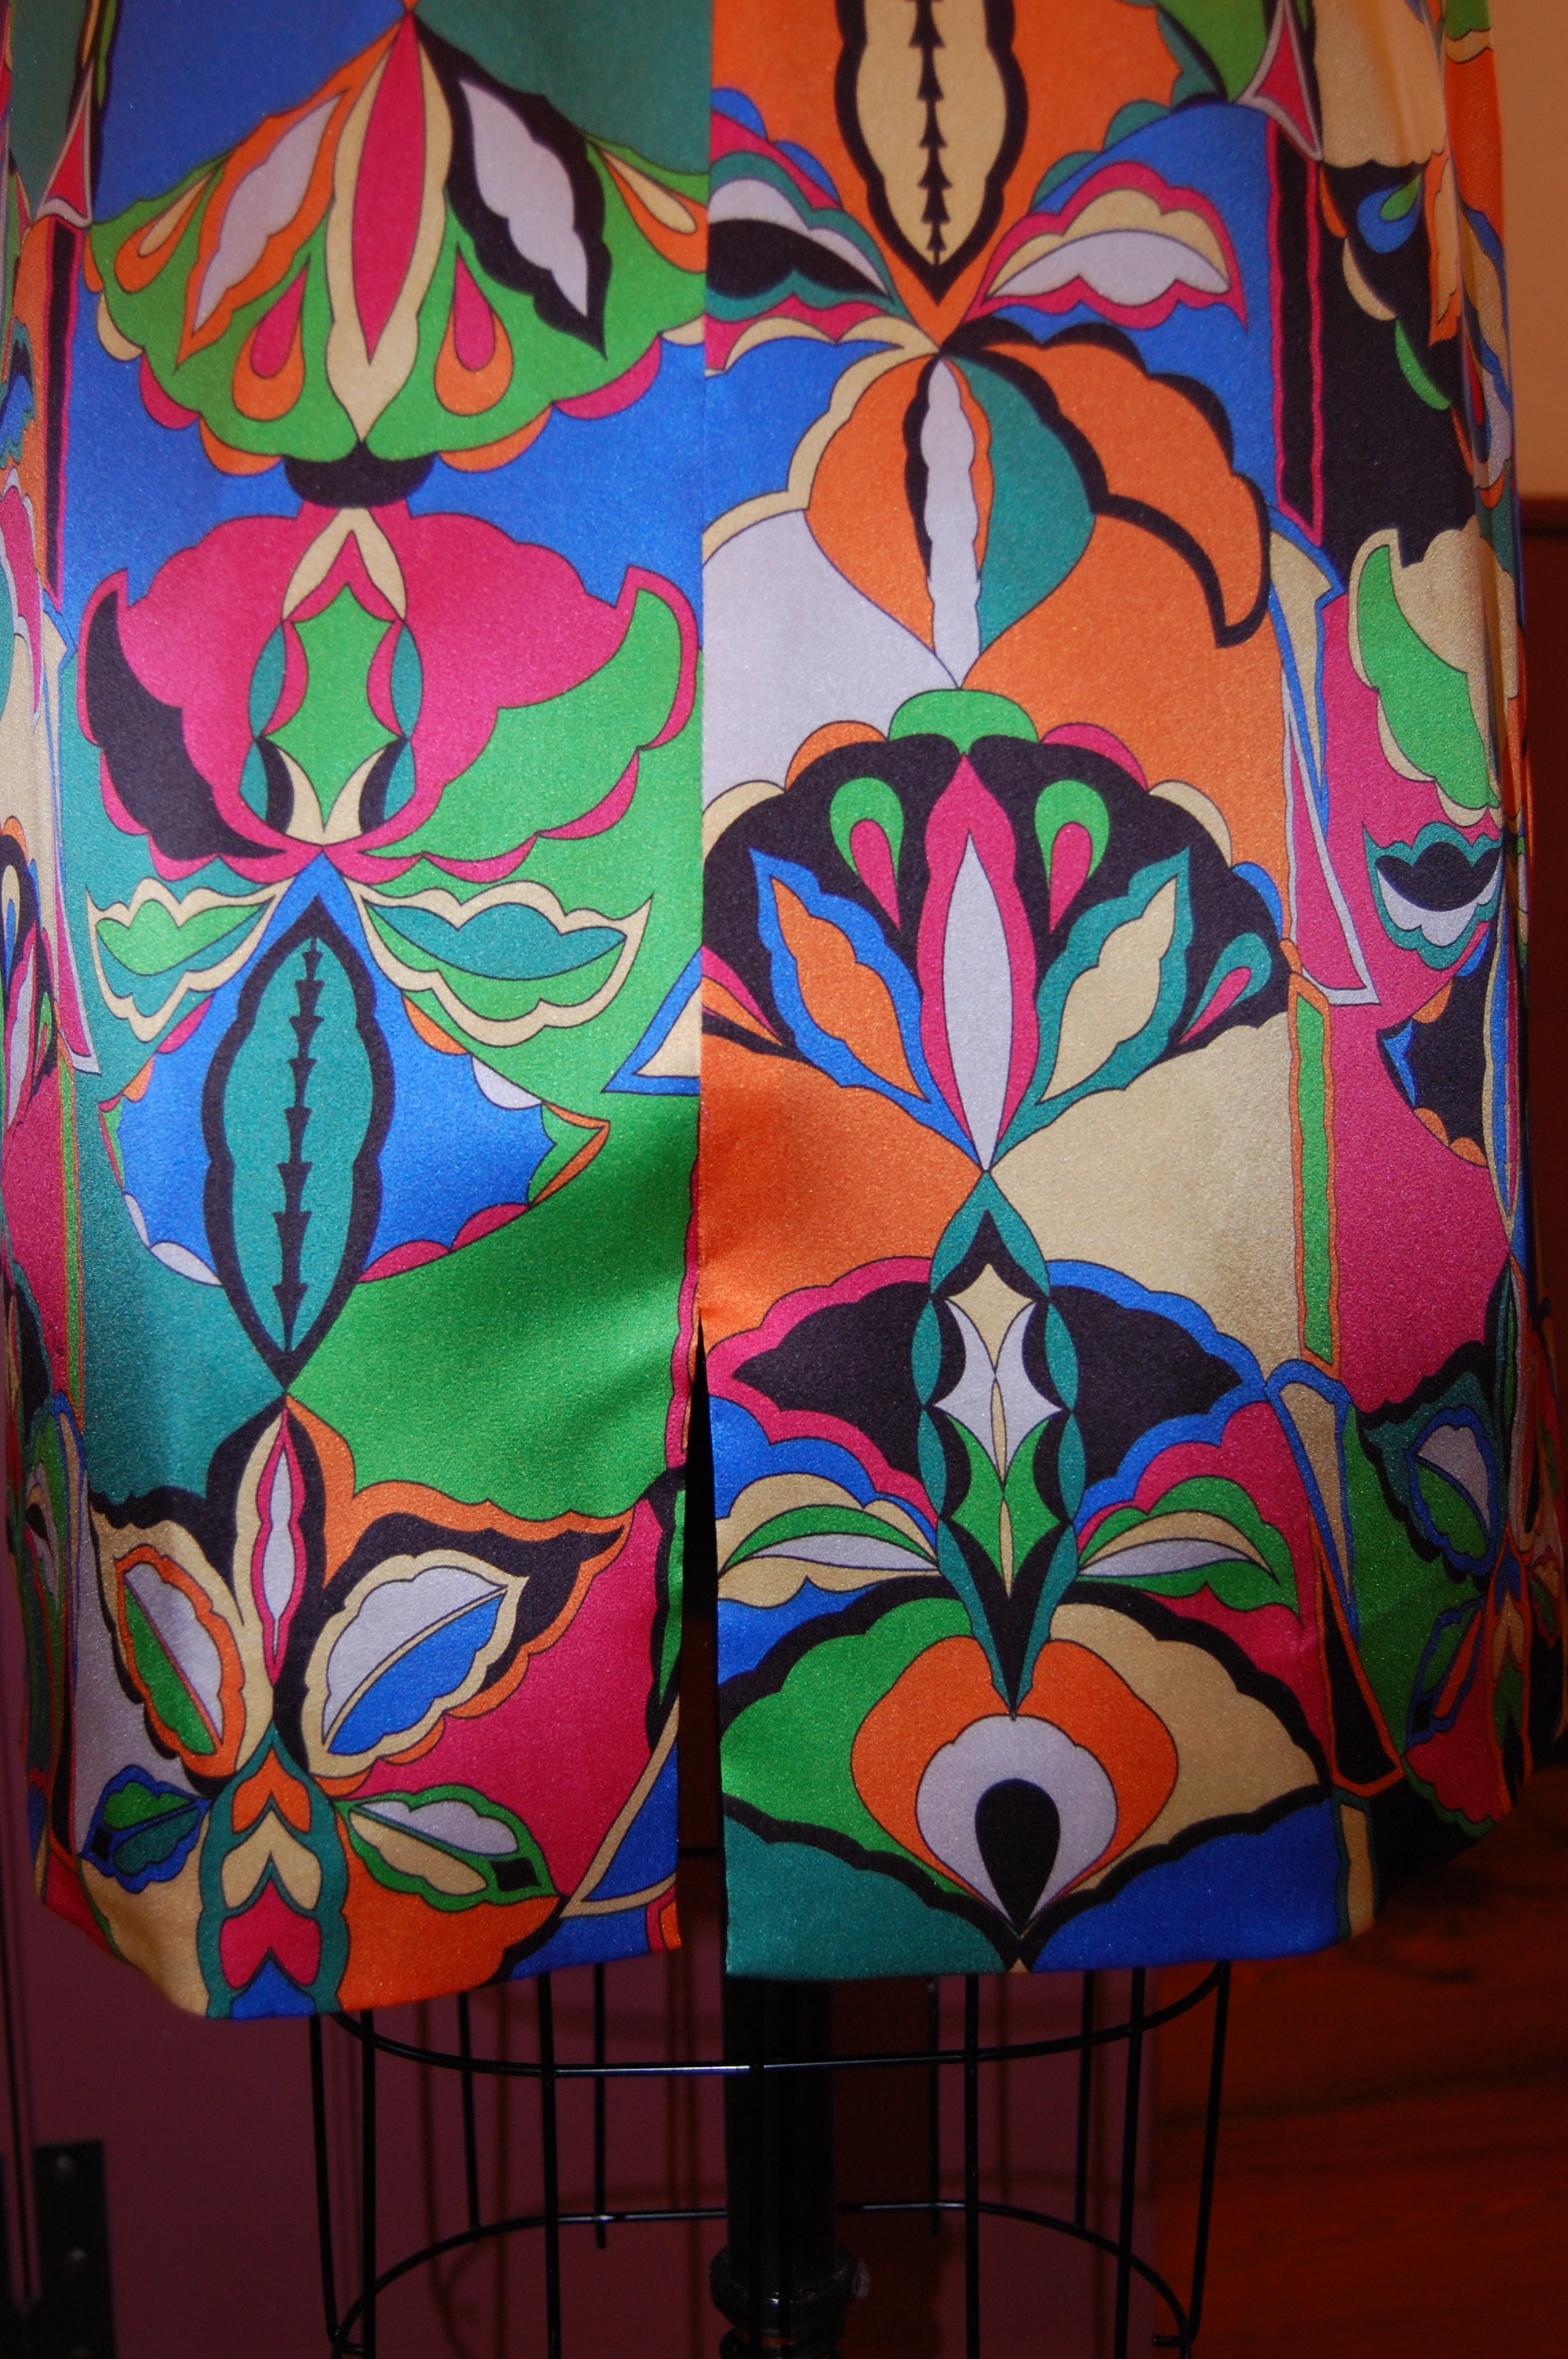
I have consoled myself with the thought that I can salvage this project by making a skirt instead of a dress, which may be what I end up doing. Needless to say, I am fighting my discouragement, and trying to stay focused so I can finish this and move on to something more fun.

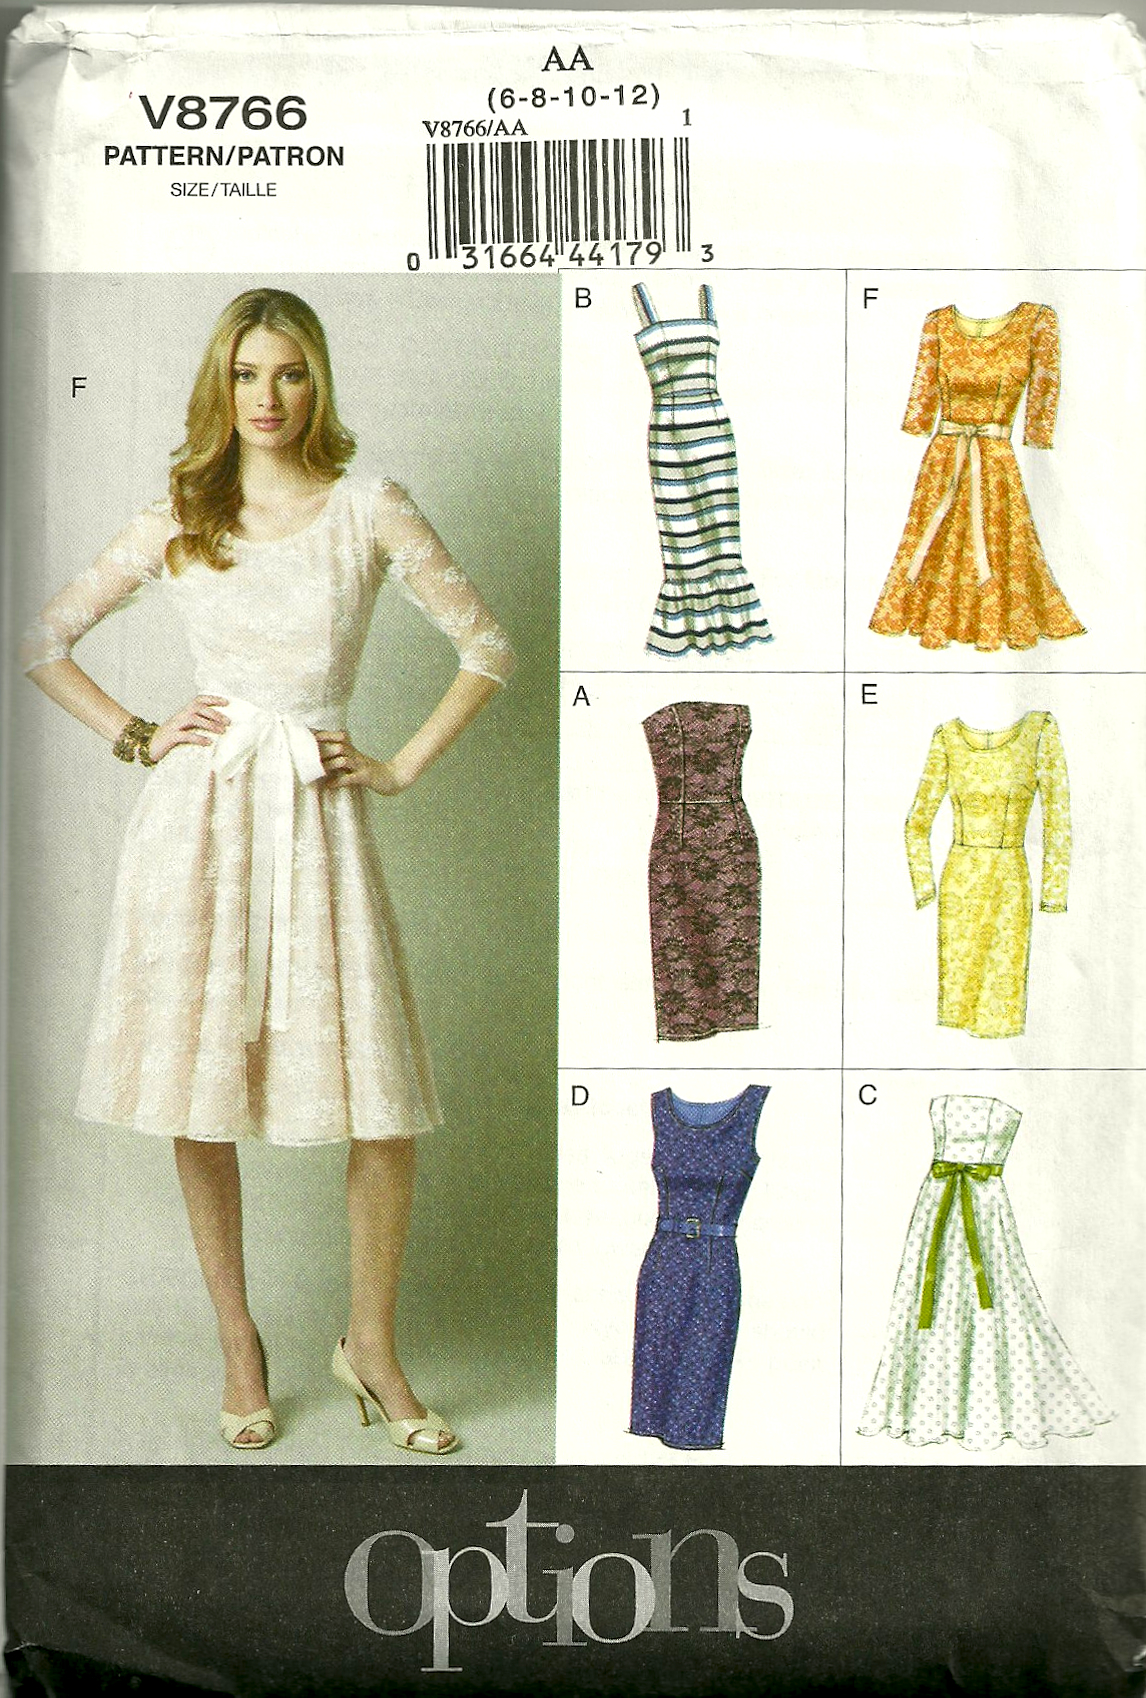
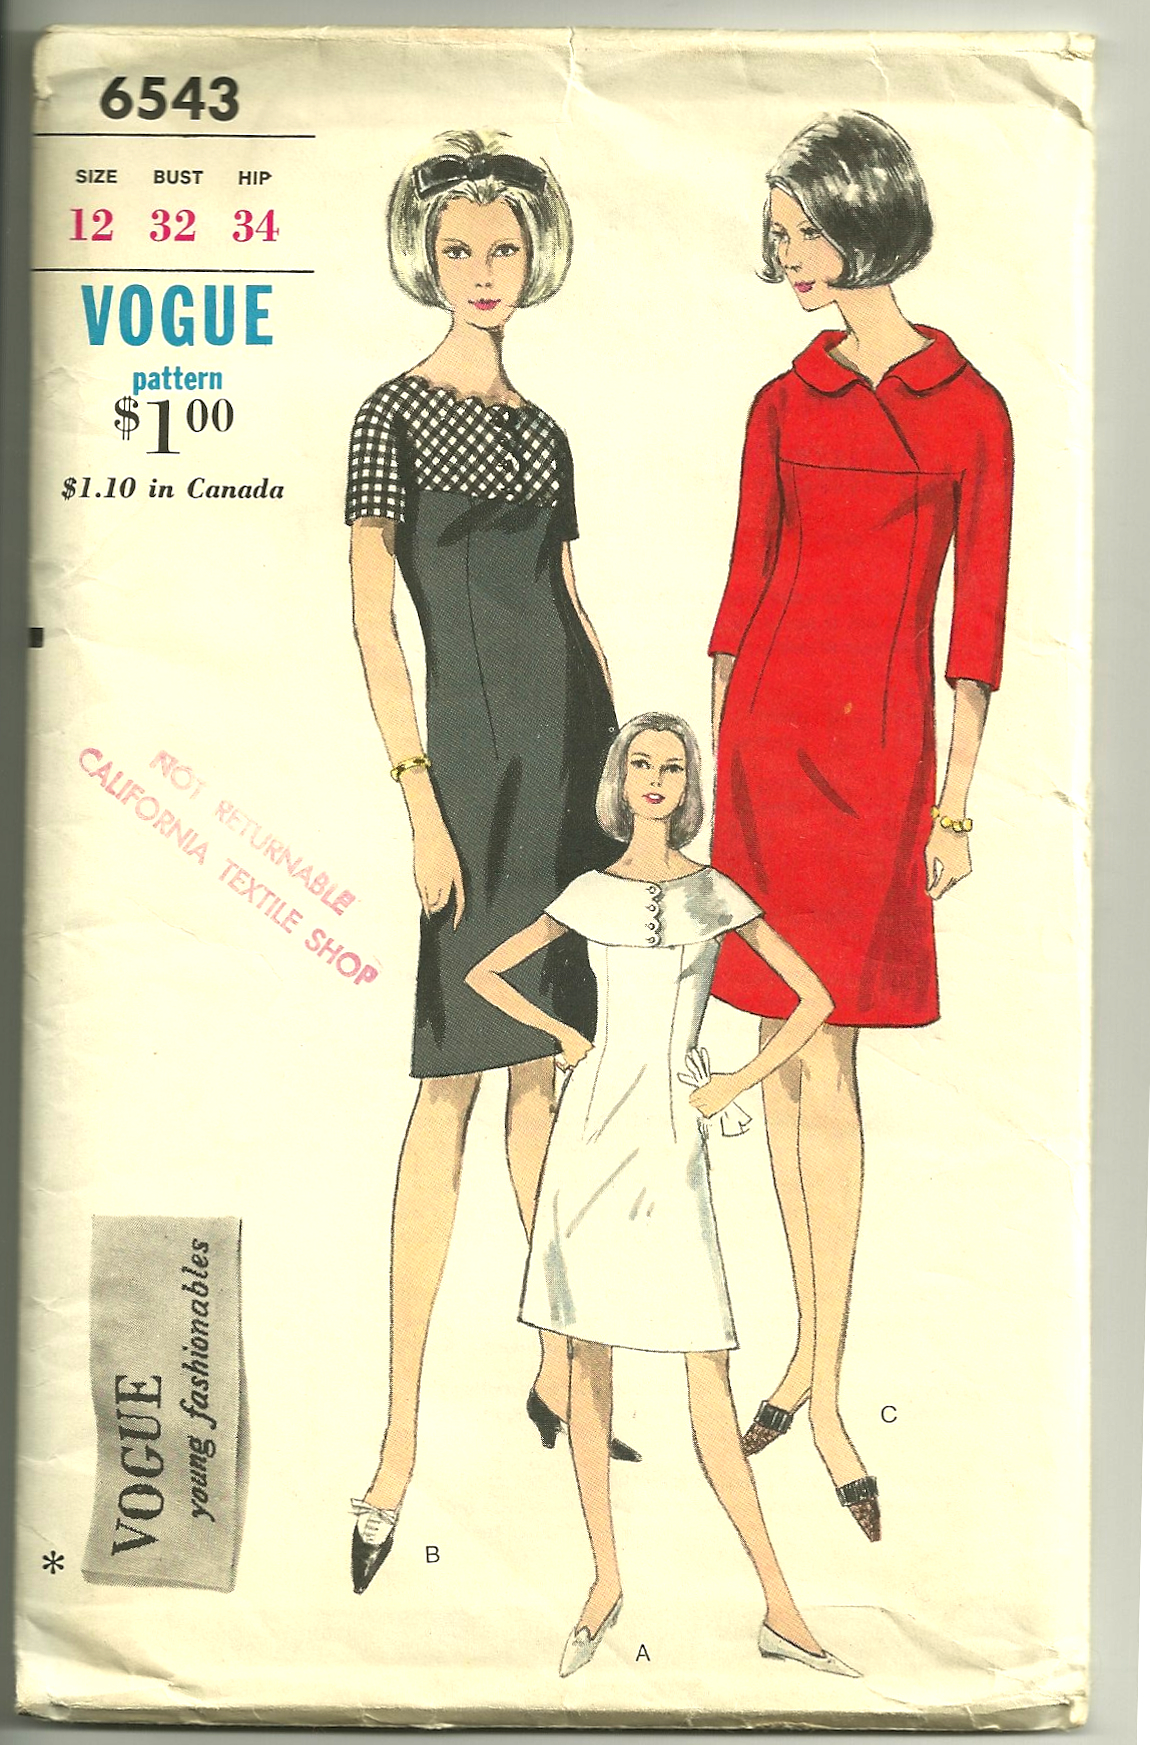
While traveling is not conducive to sewing, it doesn’t put a damper on looking at more patterns and fabrics online! Sometimes I go weeks without finding a pattern and then I’ll find several all bunched together in the space of a few days. You might be guessing that such was the case during the last few weeks. So while I am struggling with vintage Vogue 2718 right now, I look at my new acquisitions to give me encouragement for the future. Here are some of my “new” finds:

I was delighted to find this DvF pattern in my size, at a reasonable cost!  This one should see some fabric next Spring or Summer.

I was delighted to find this DvF pattern in my size, at a reasonable cost! This one should see some fabric next Spring or Summer.

DSC_0303

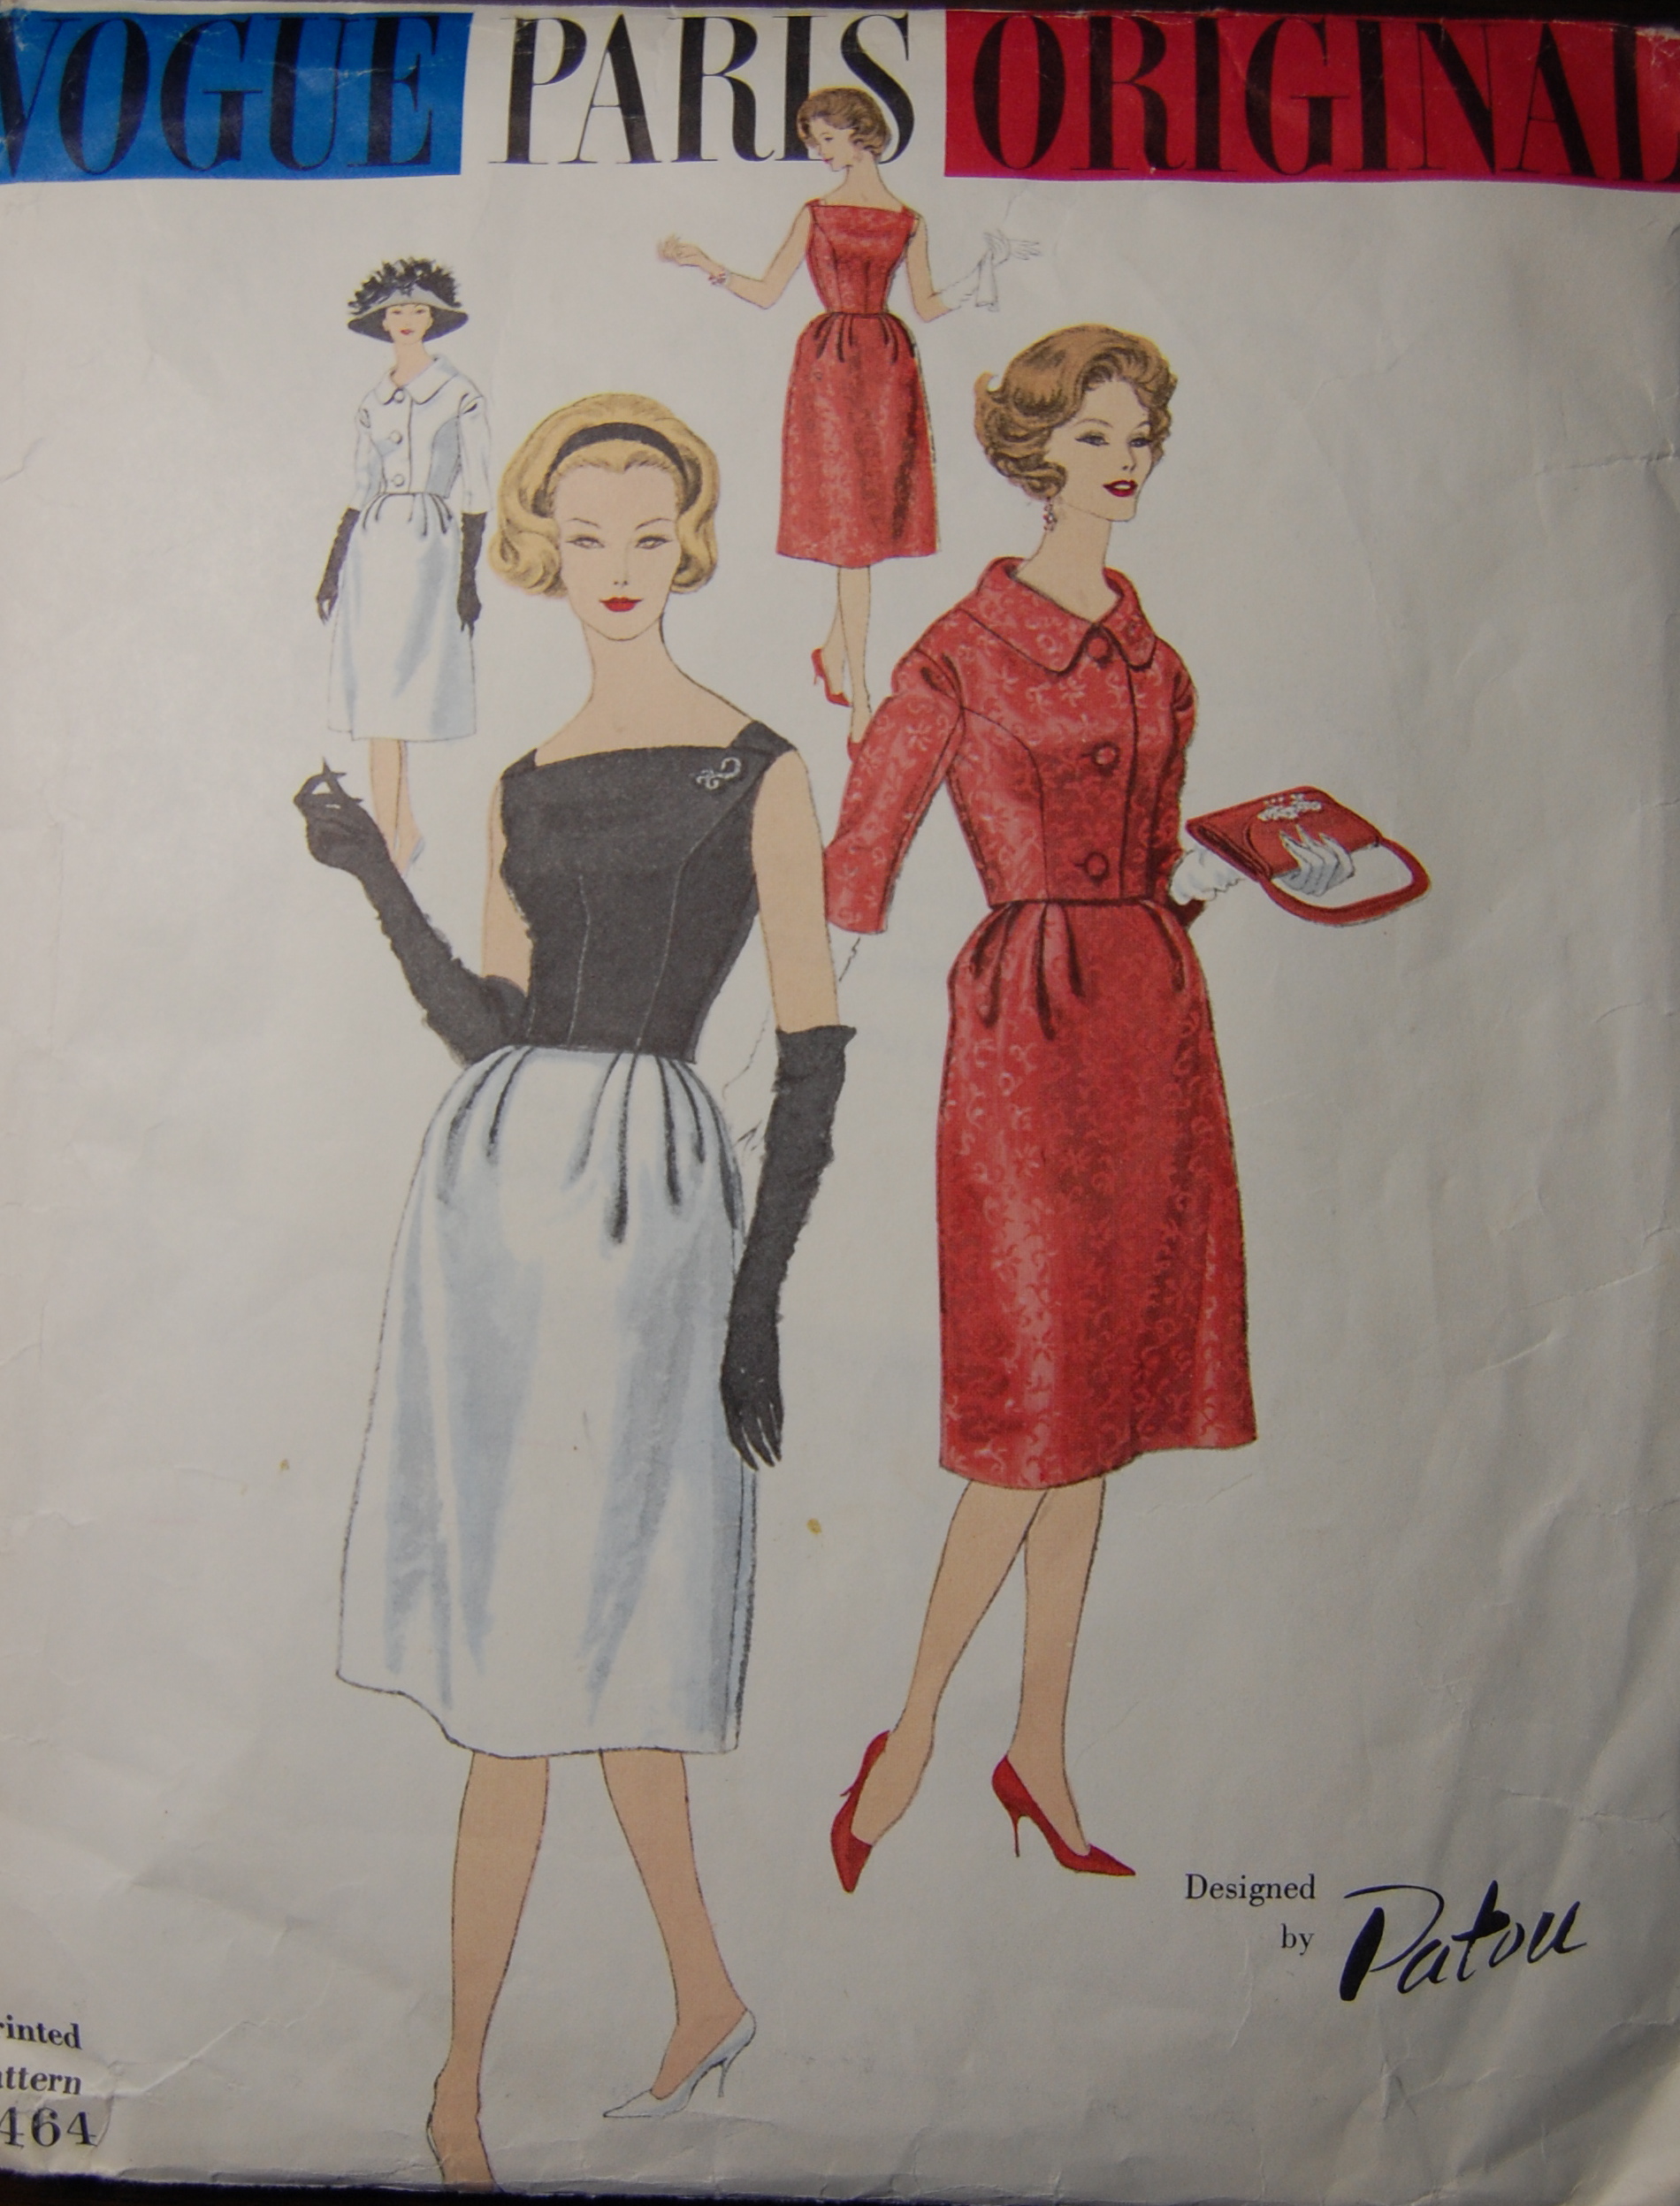
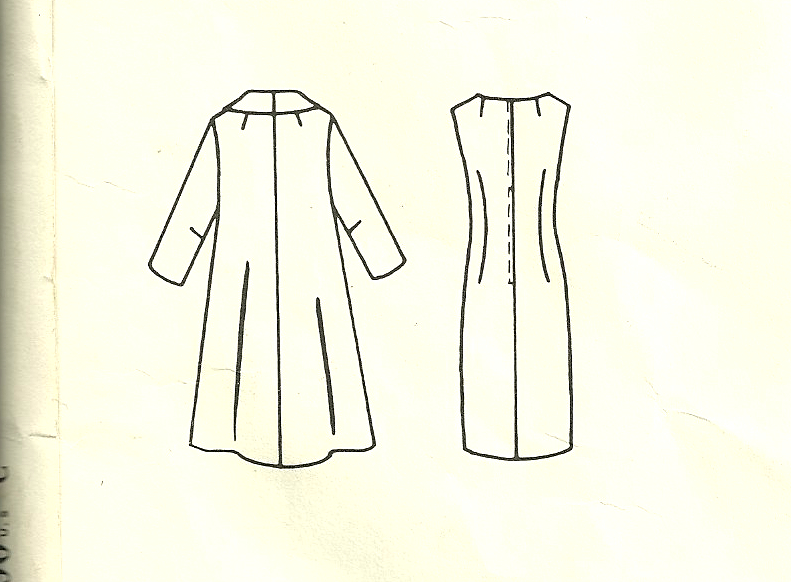
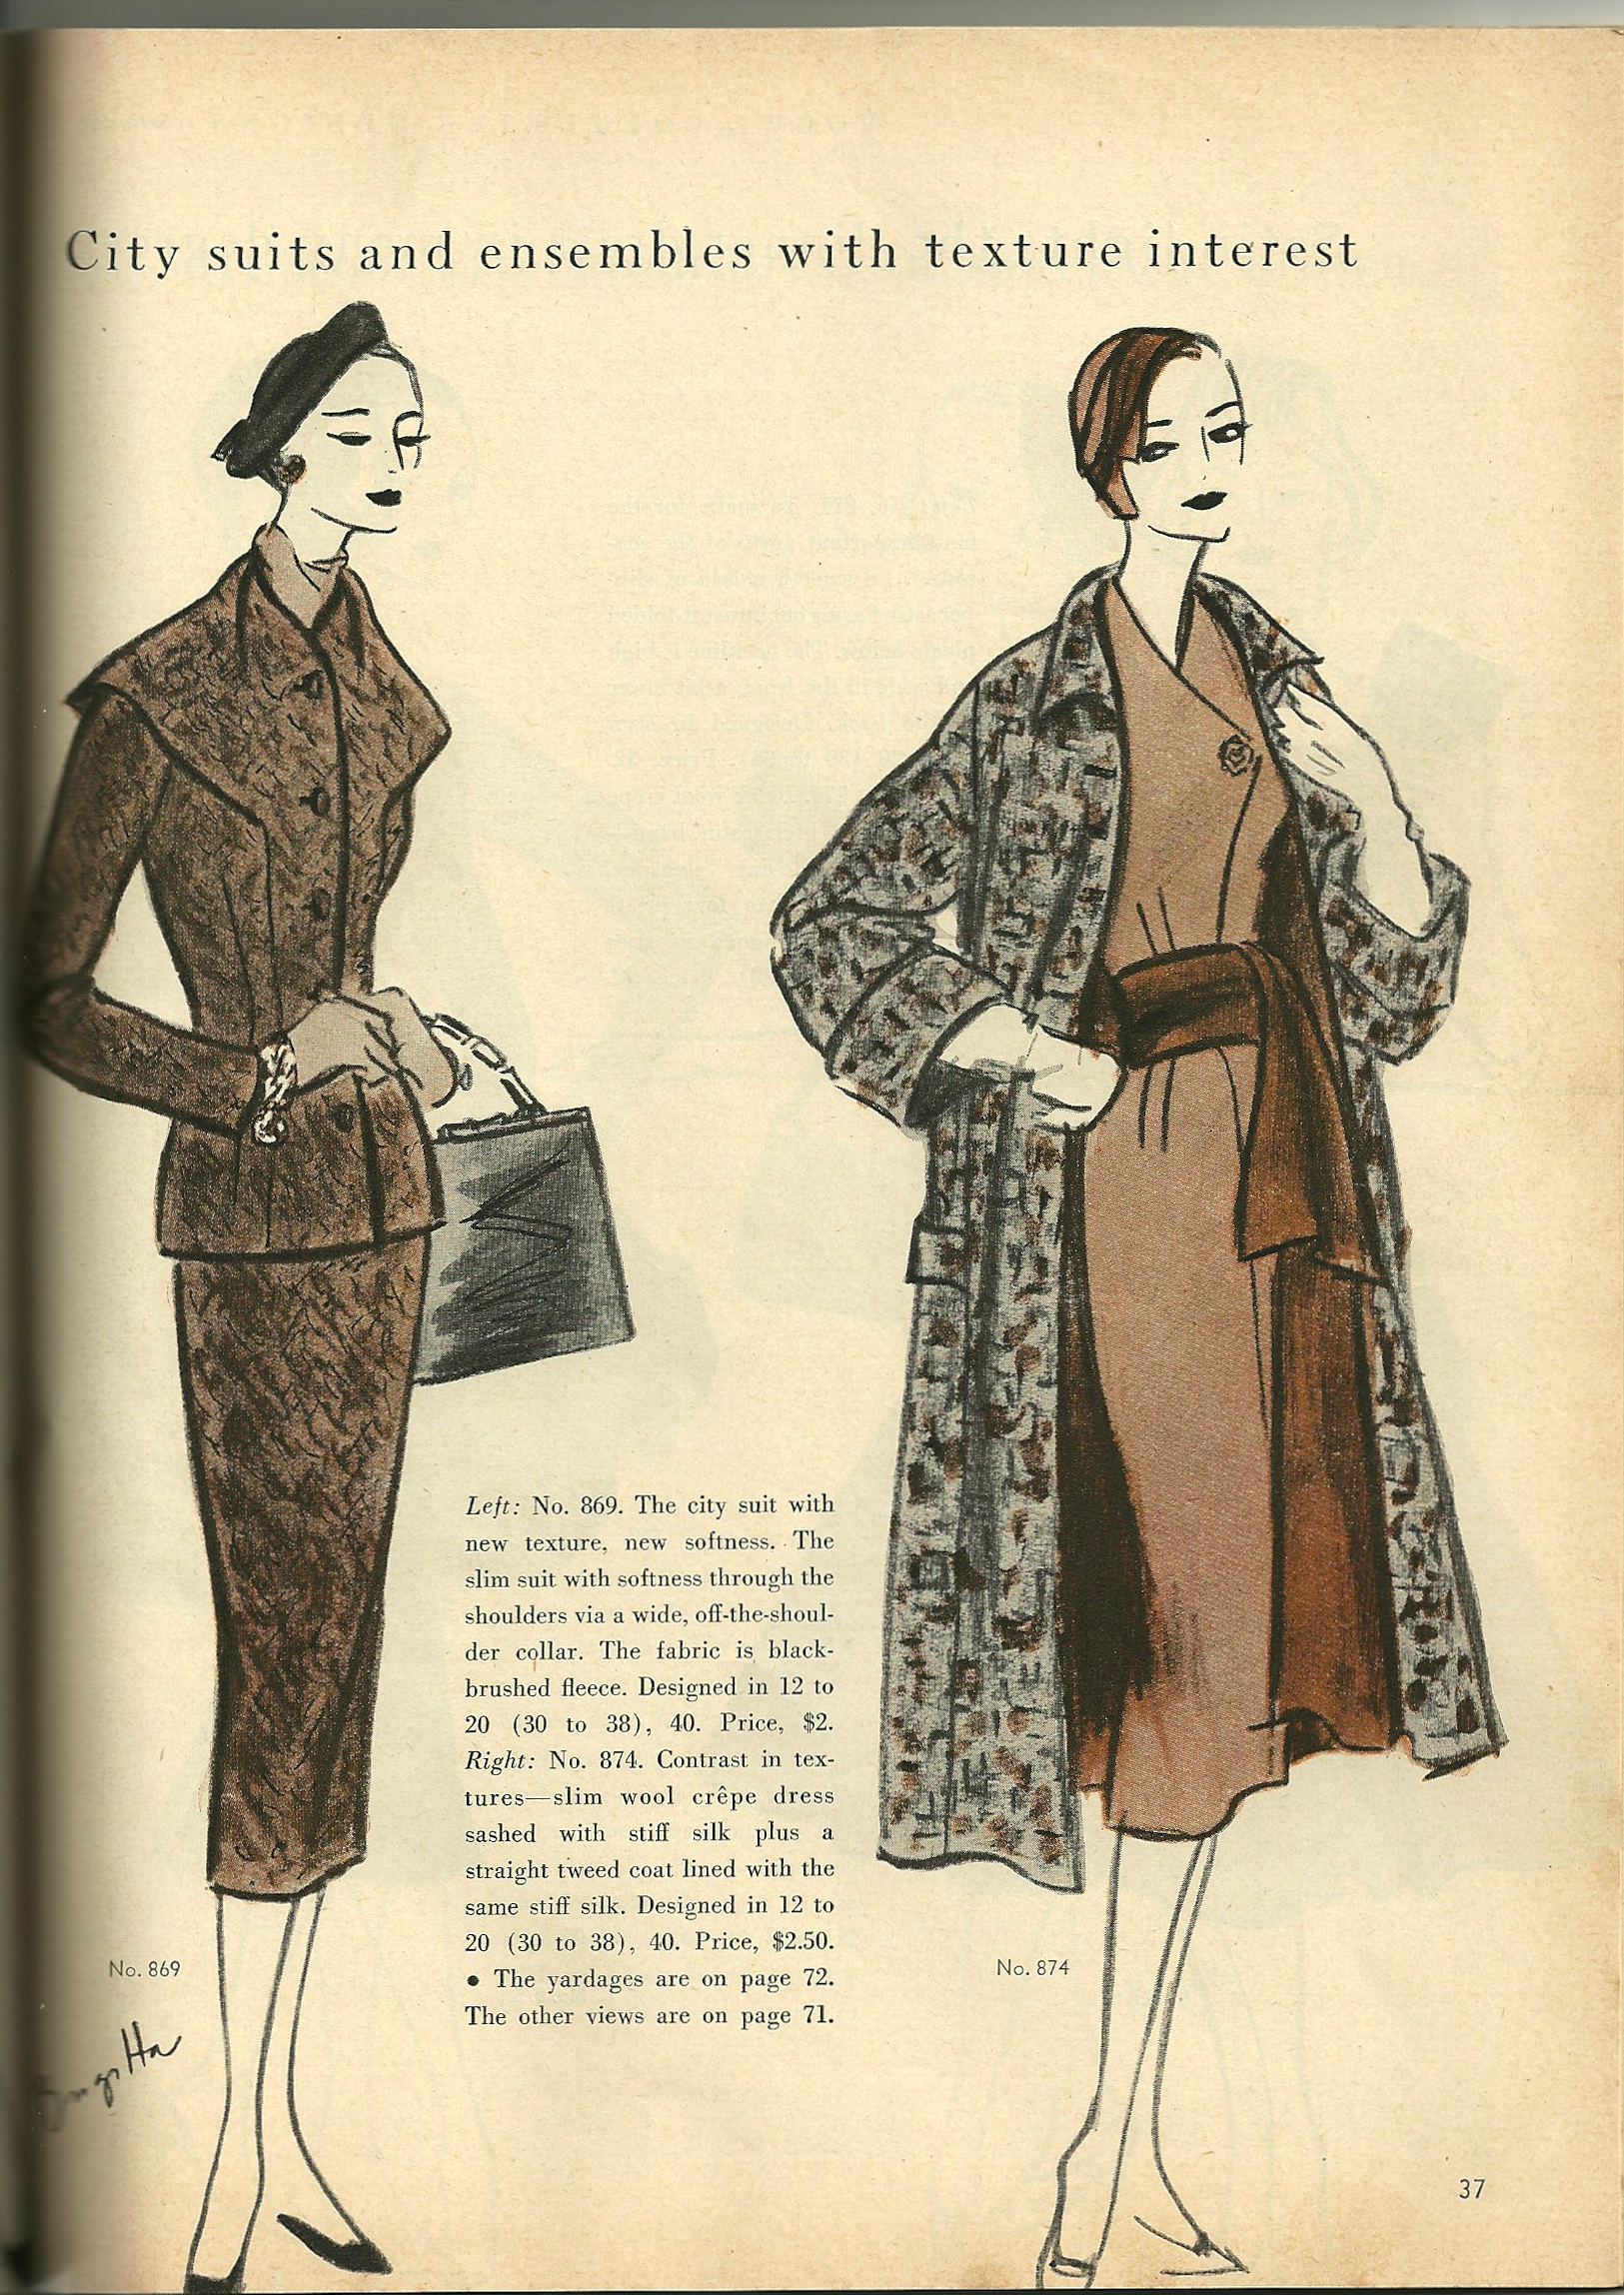
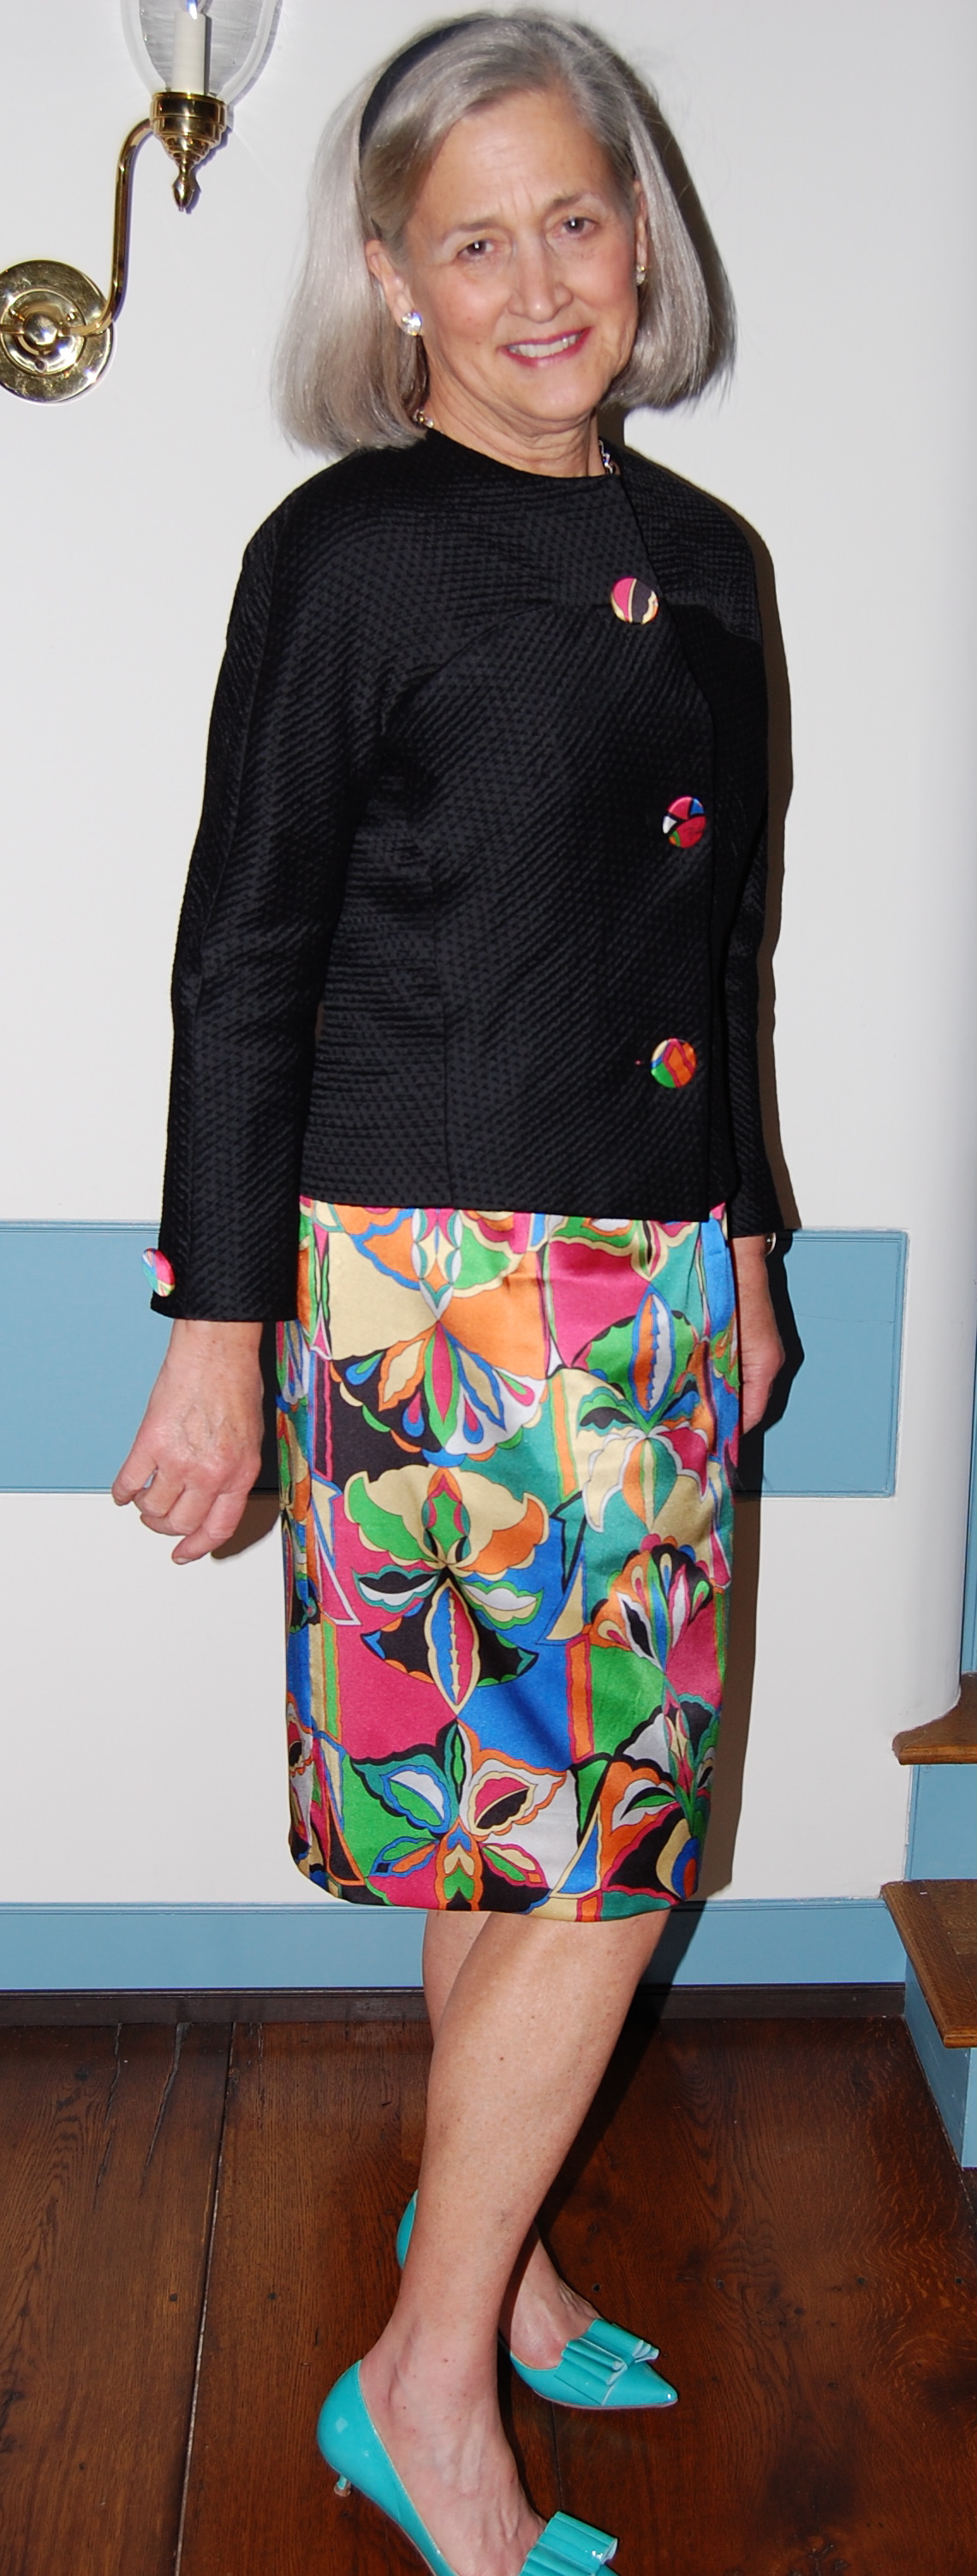
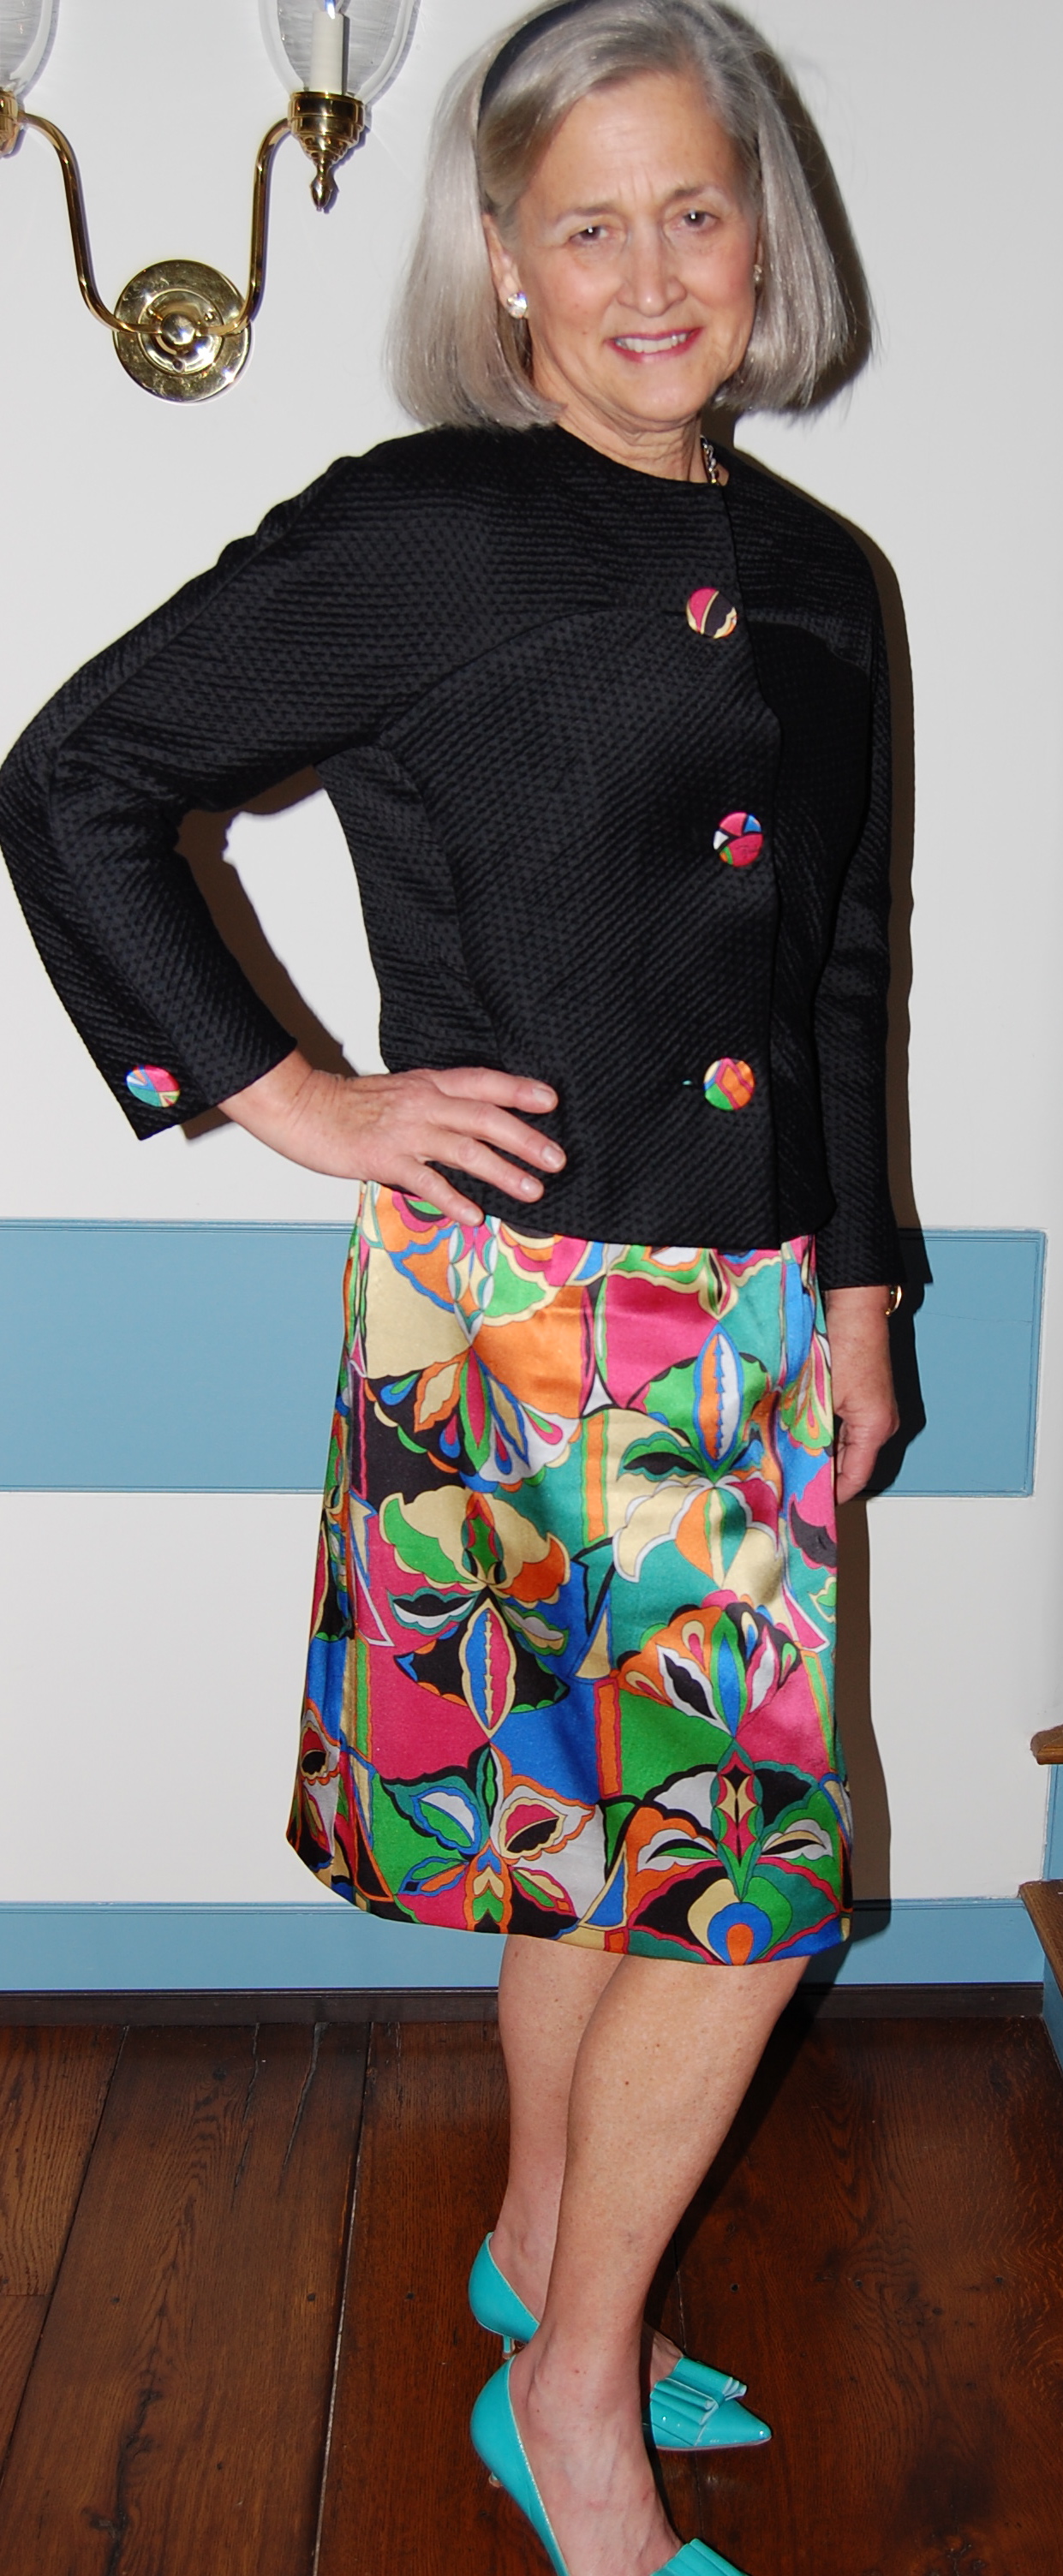
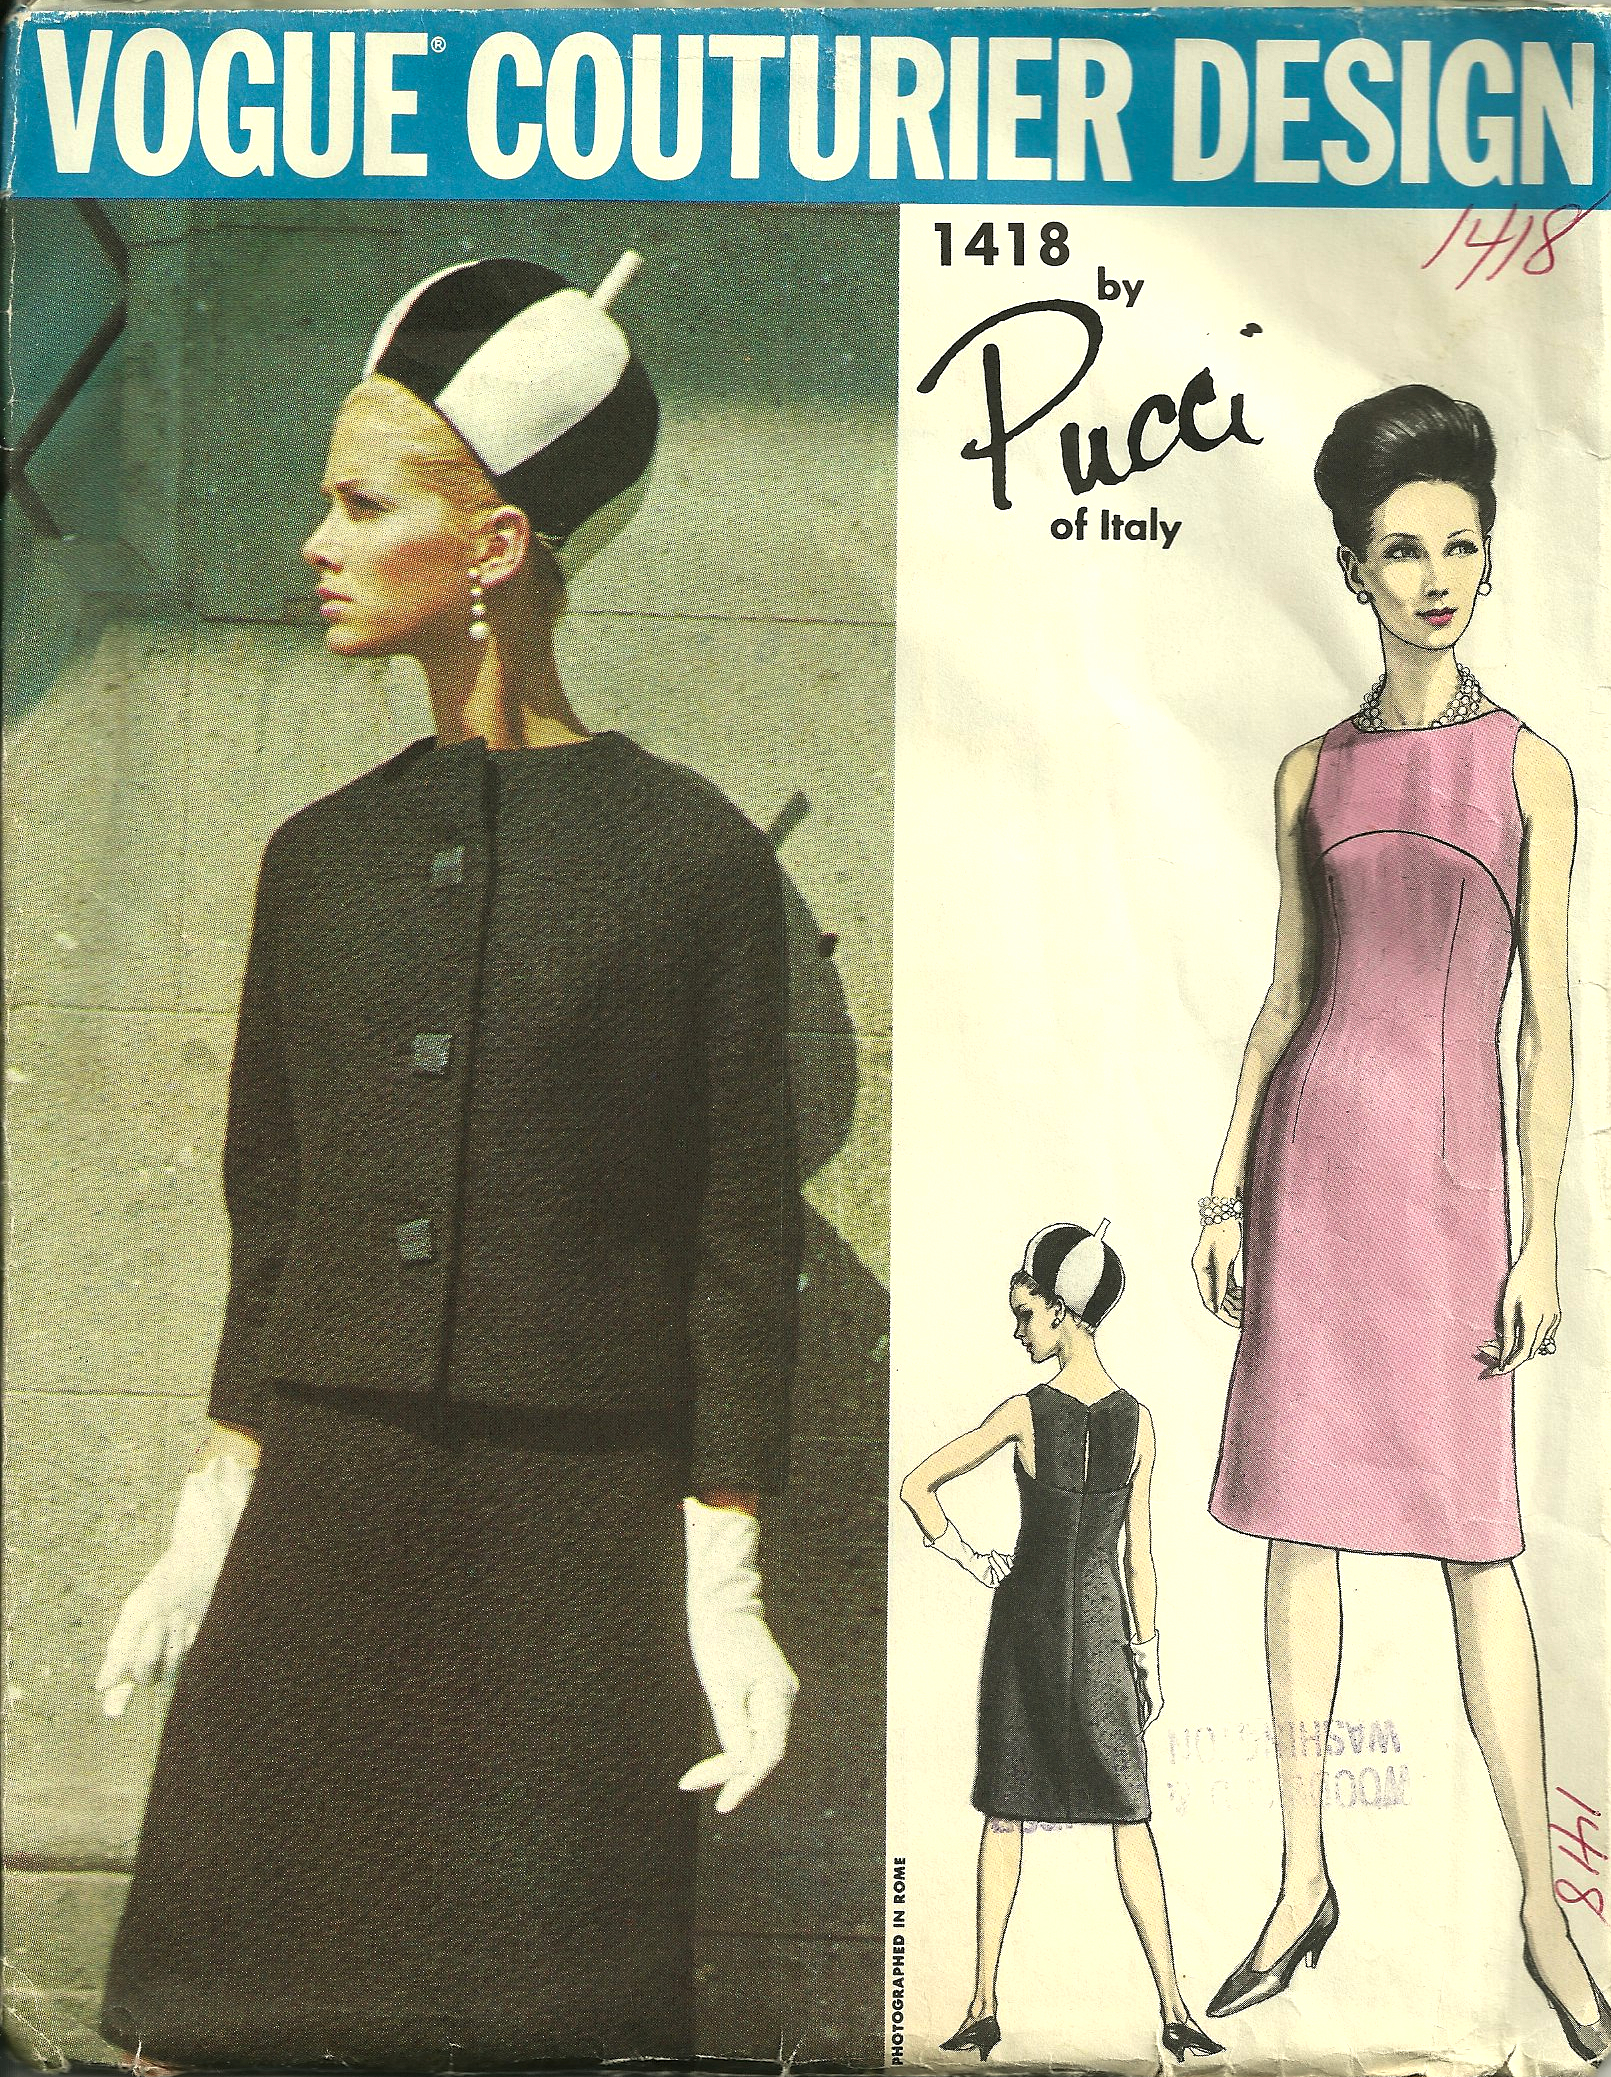
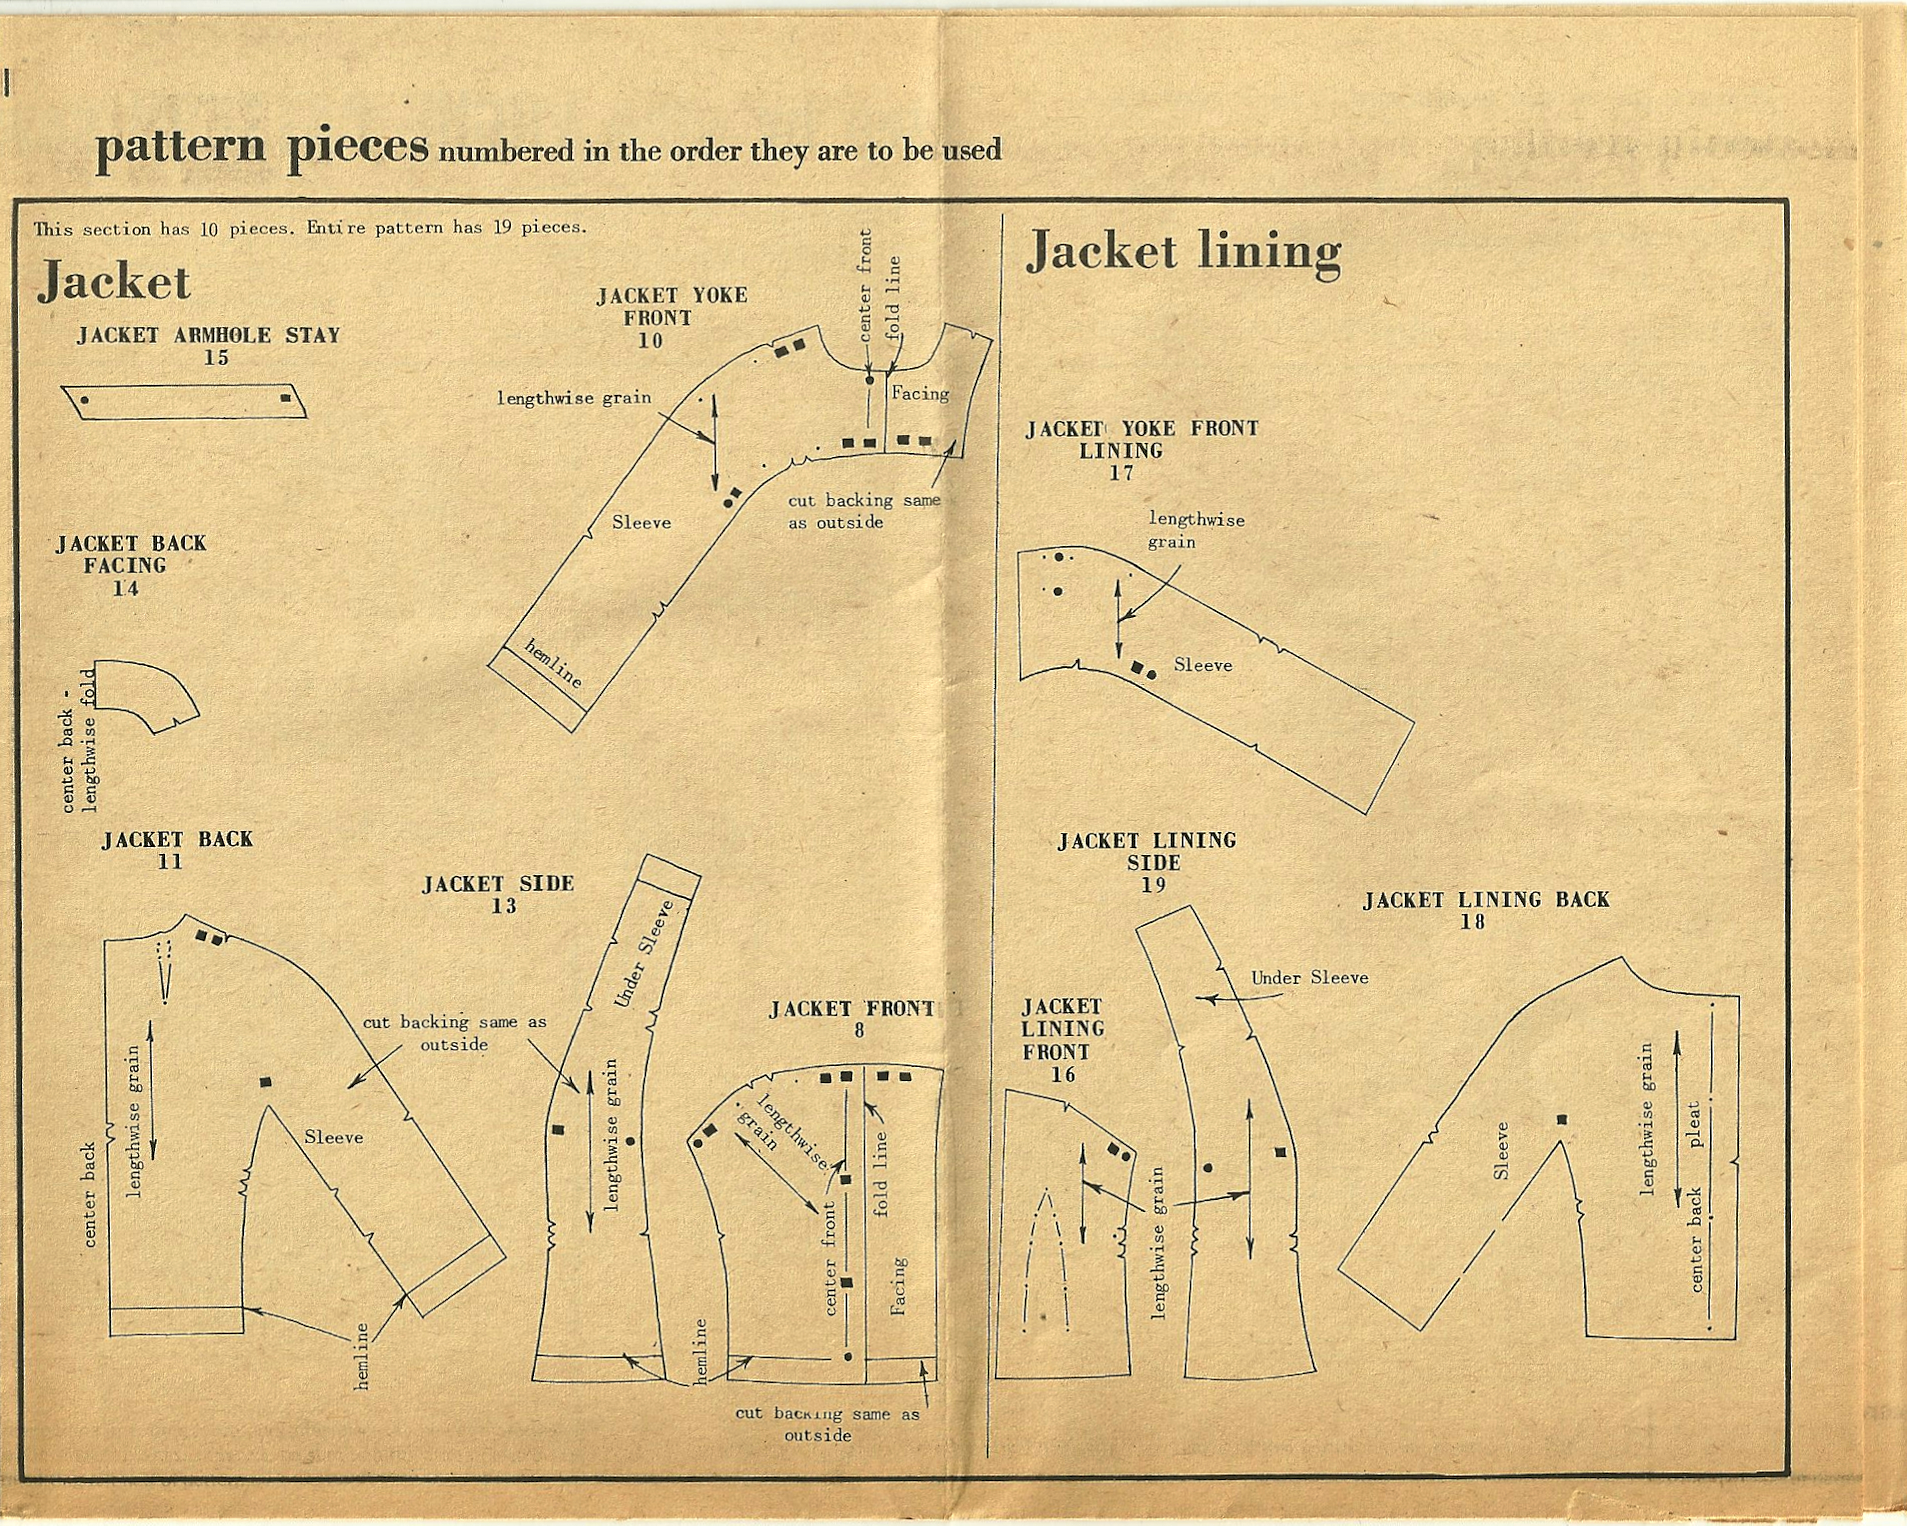
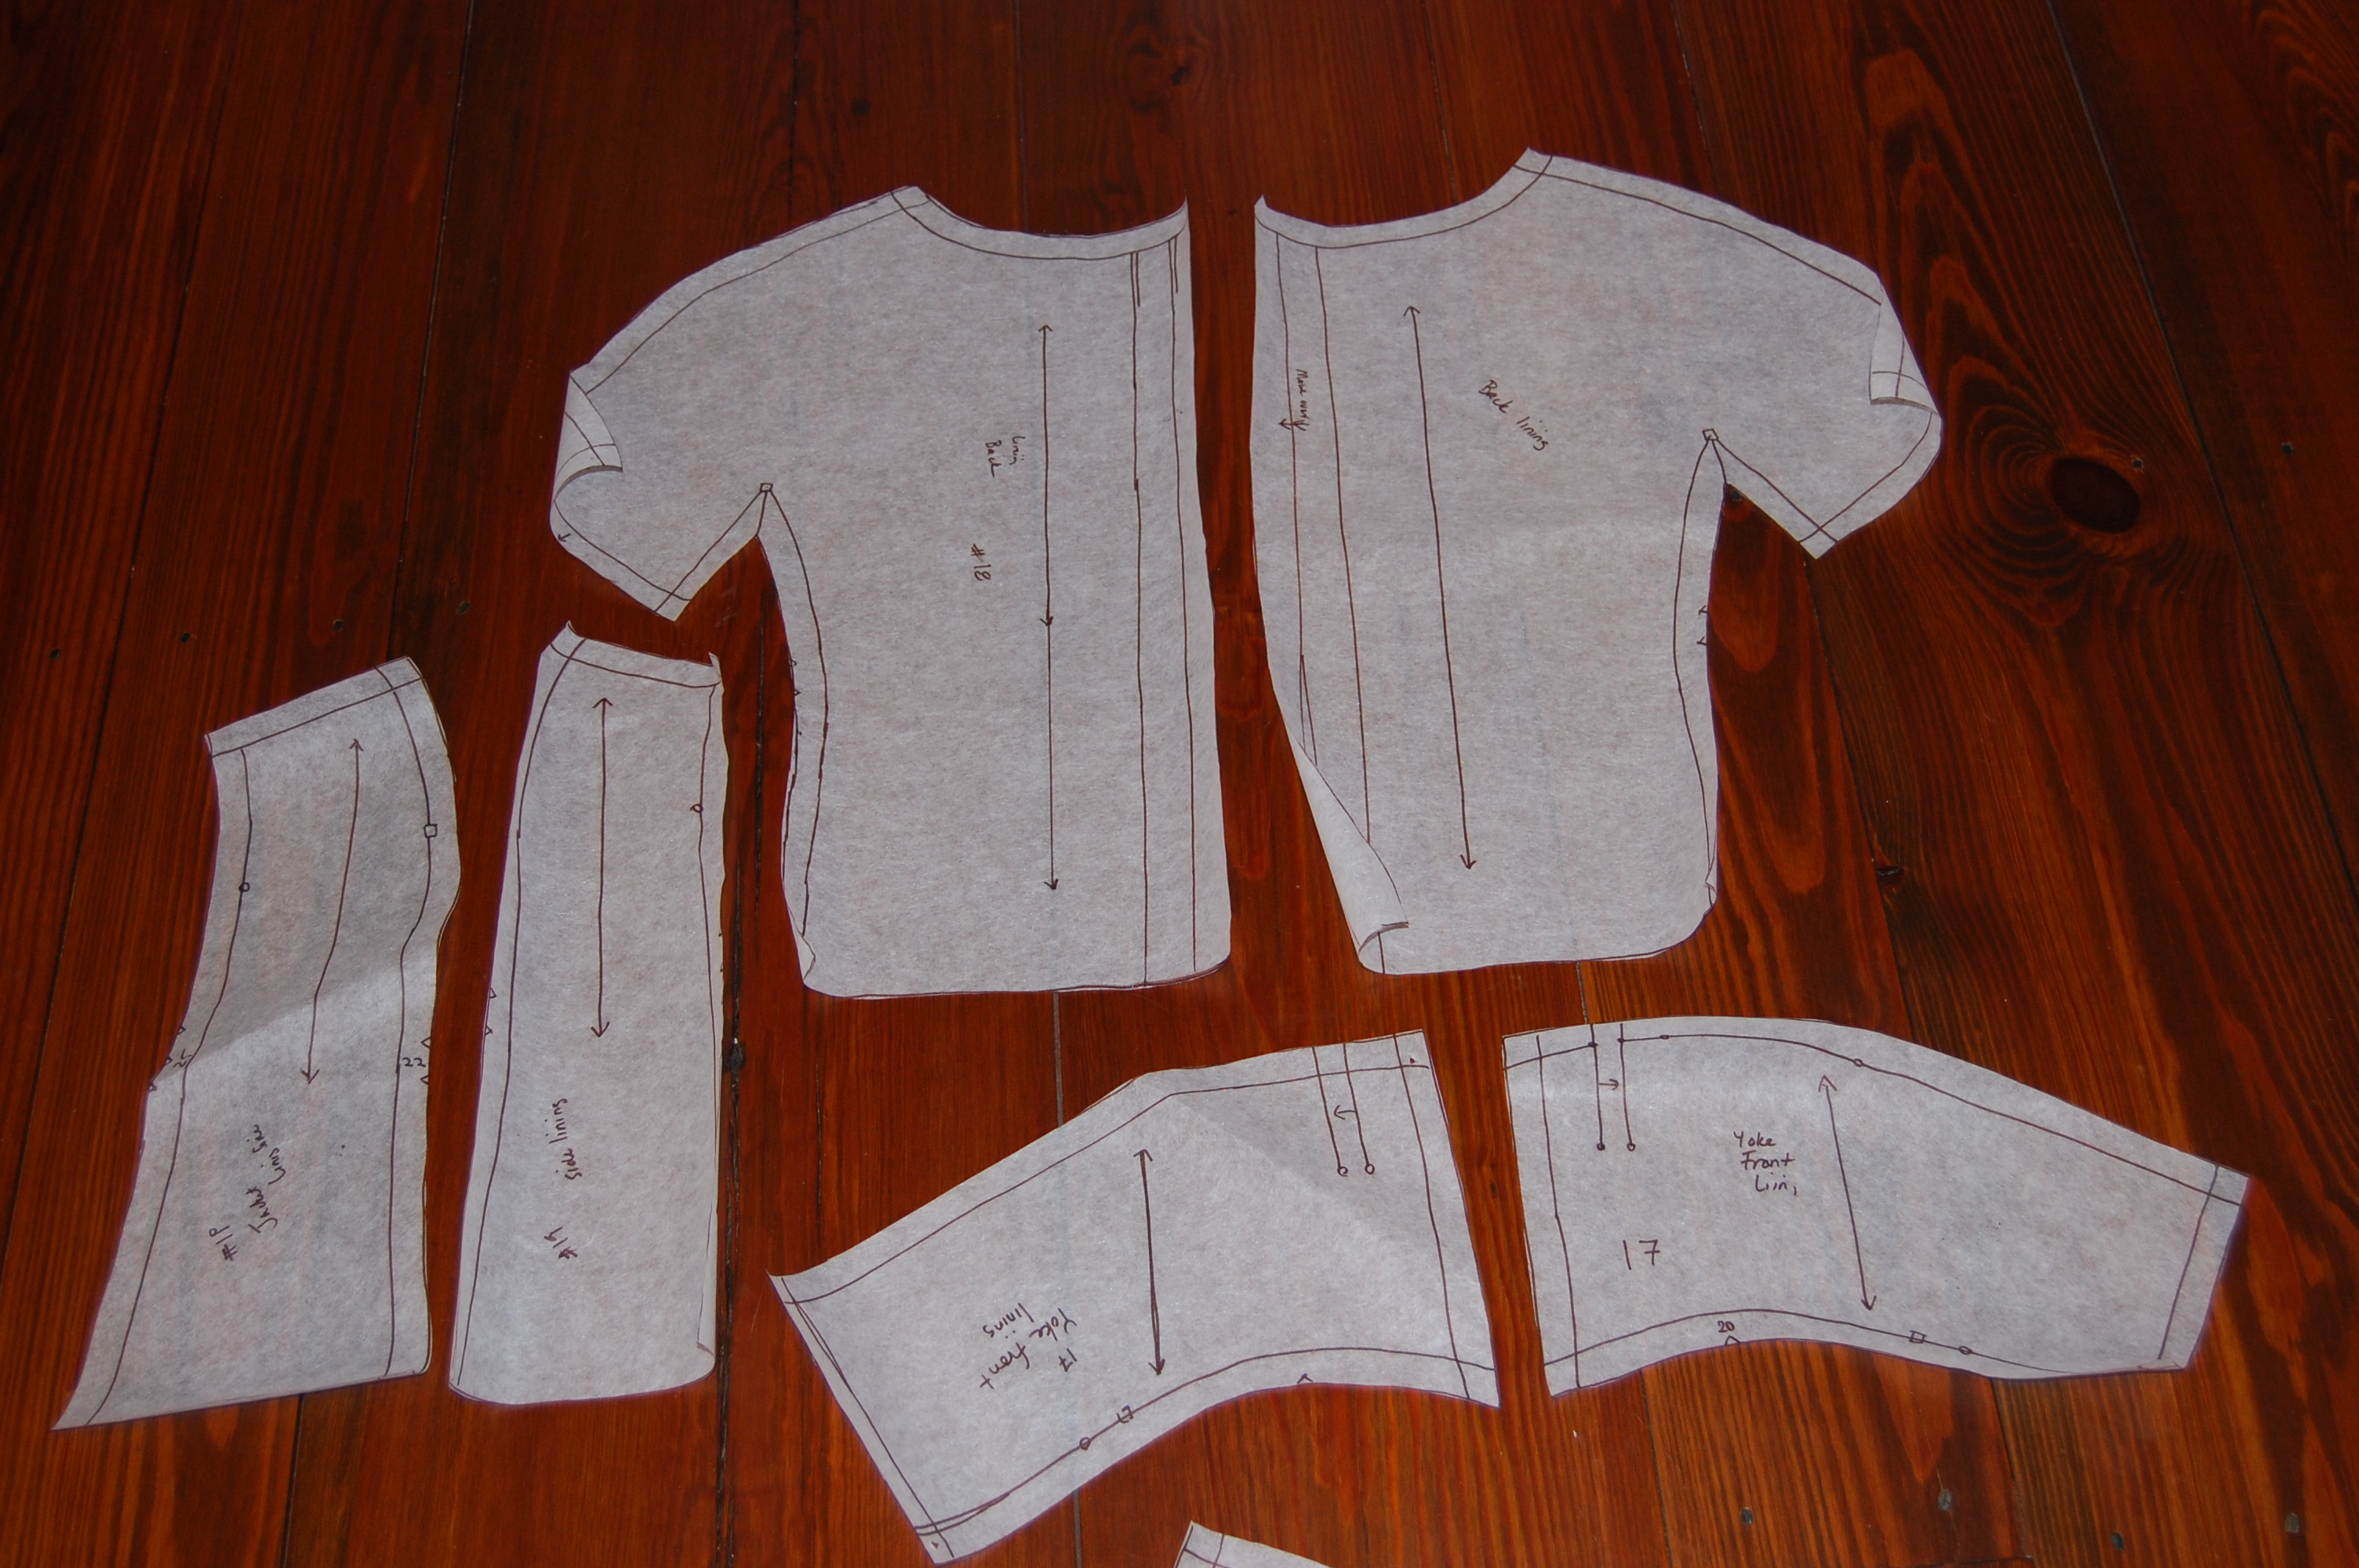
This one was too good to pass up, although I don’t have any plans for it right now. This looks like a dress, but it is really a skirt and top, paired with the jacket.

DSC_0304

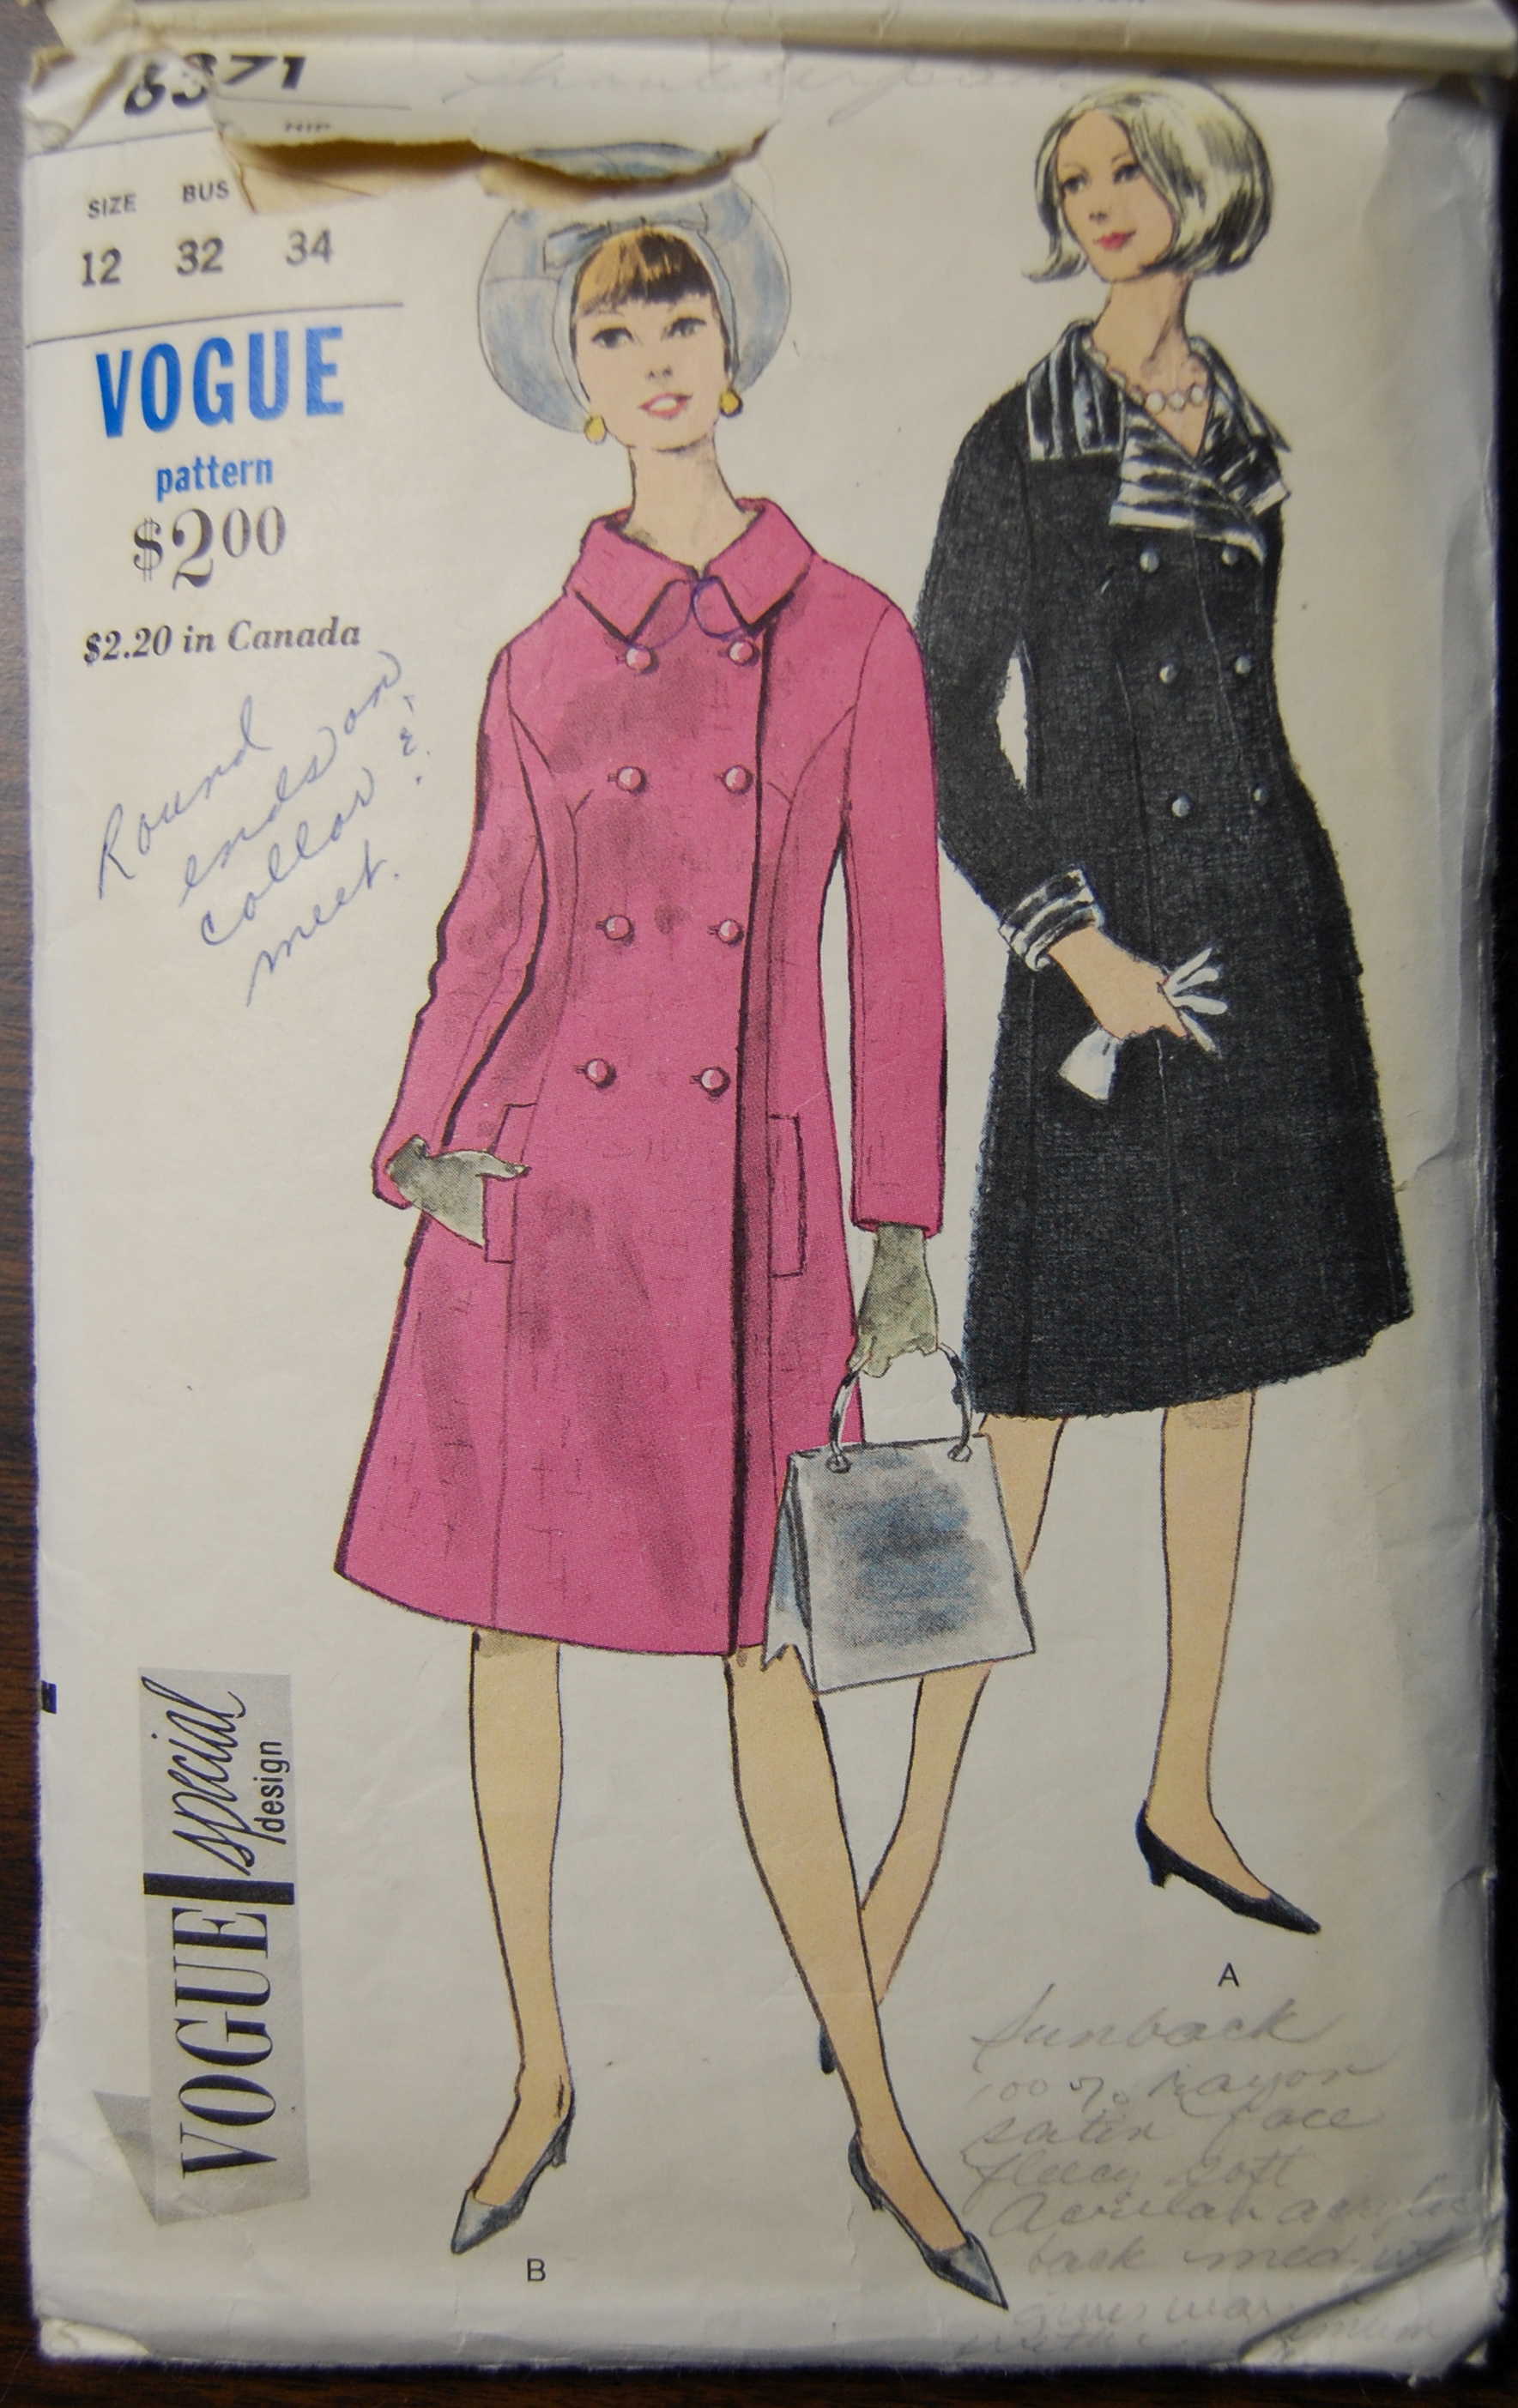
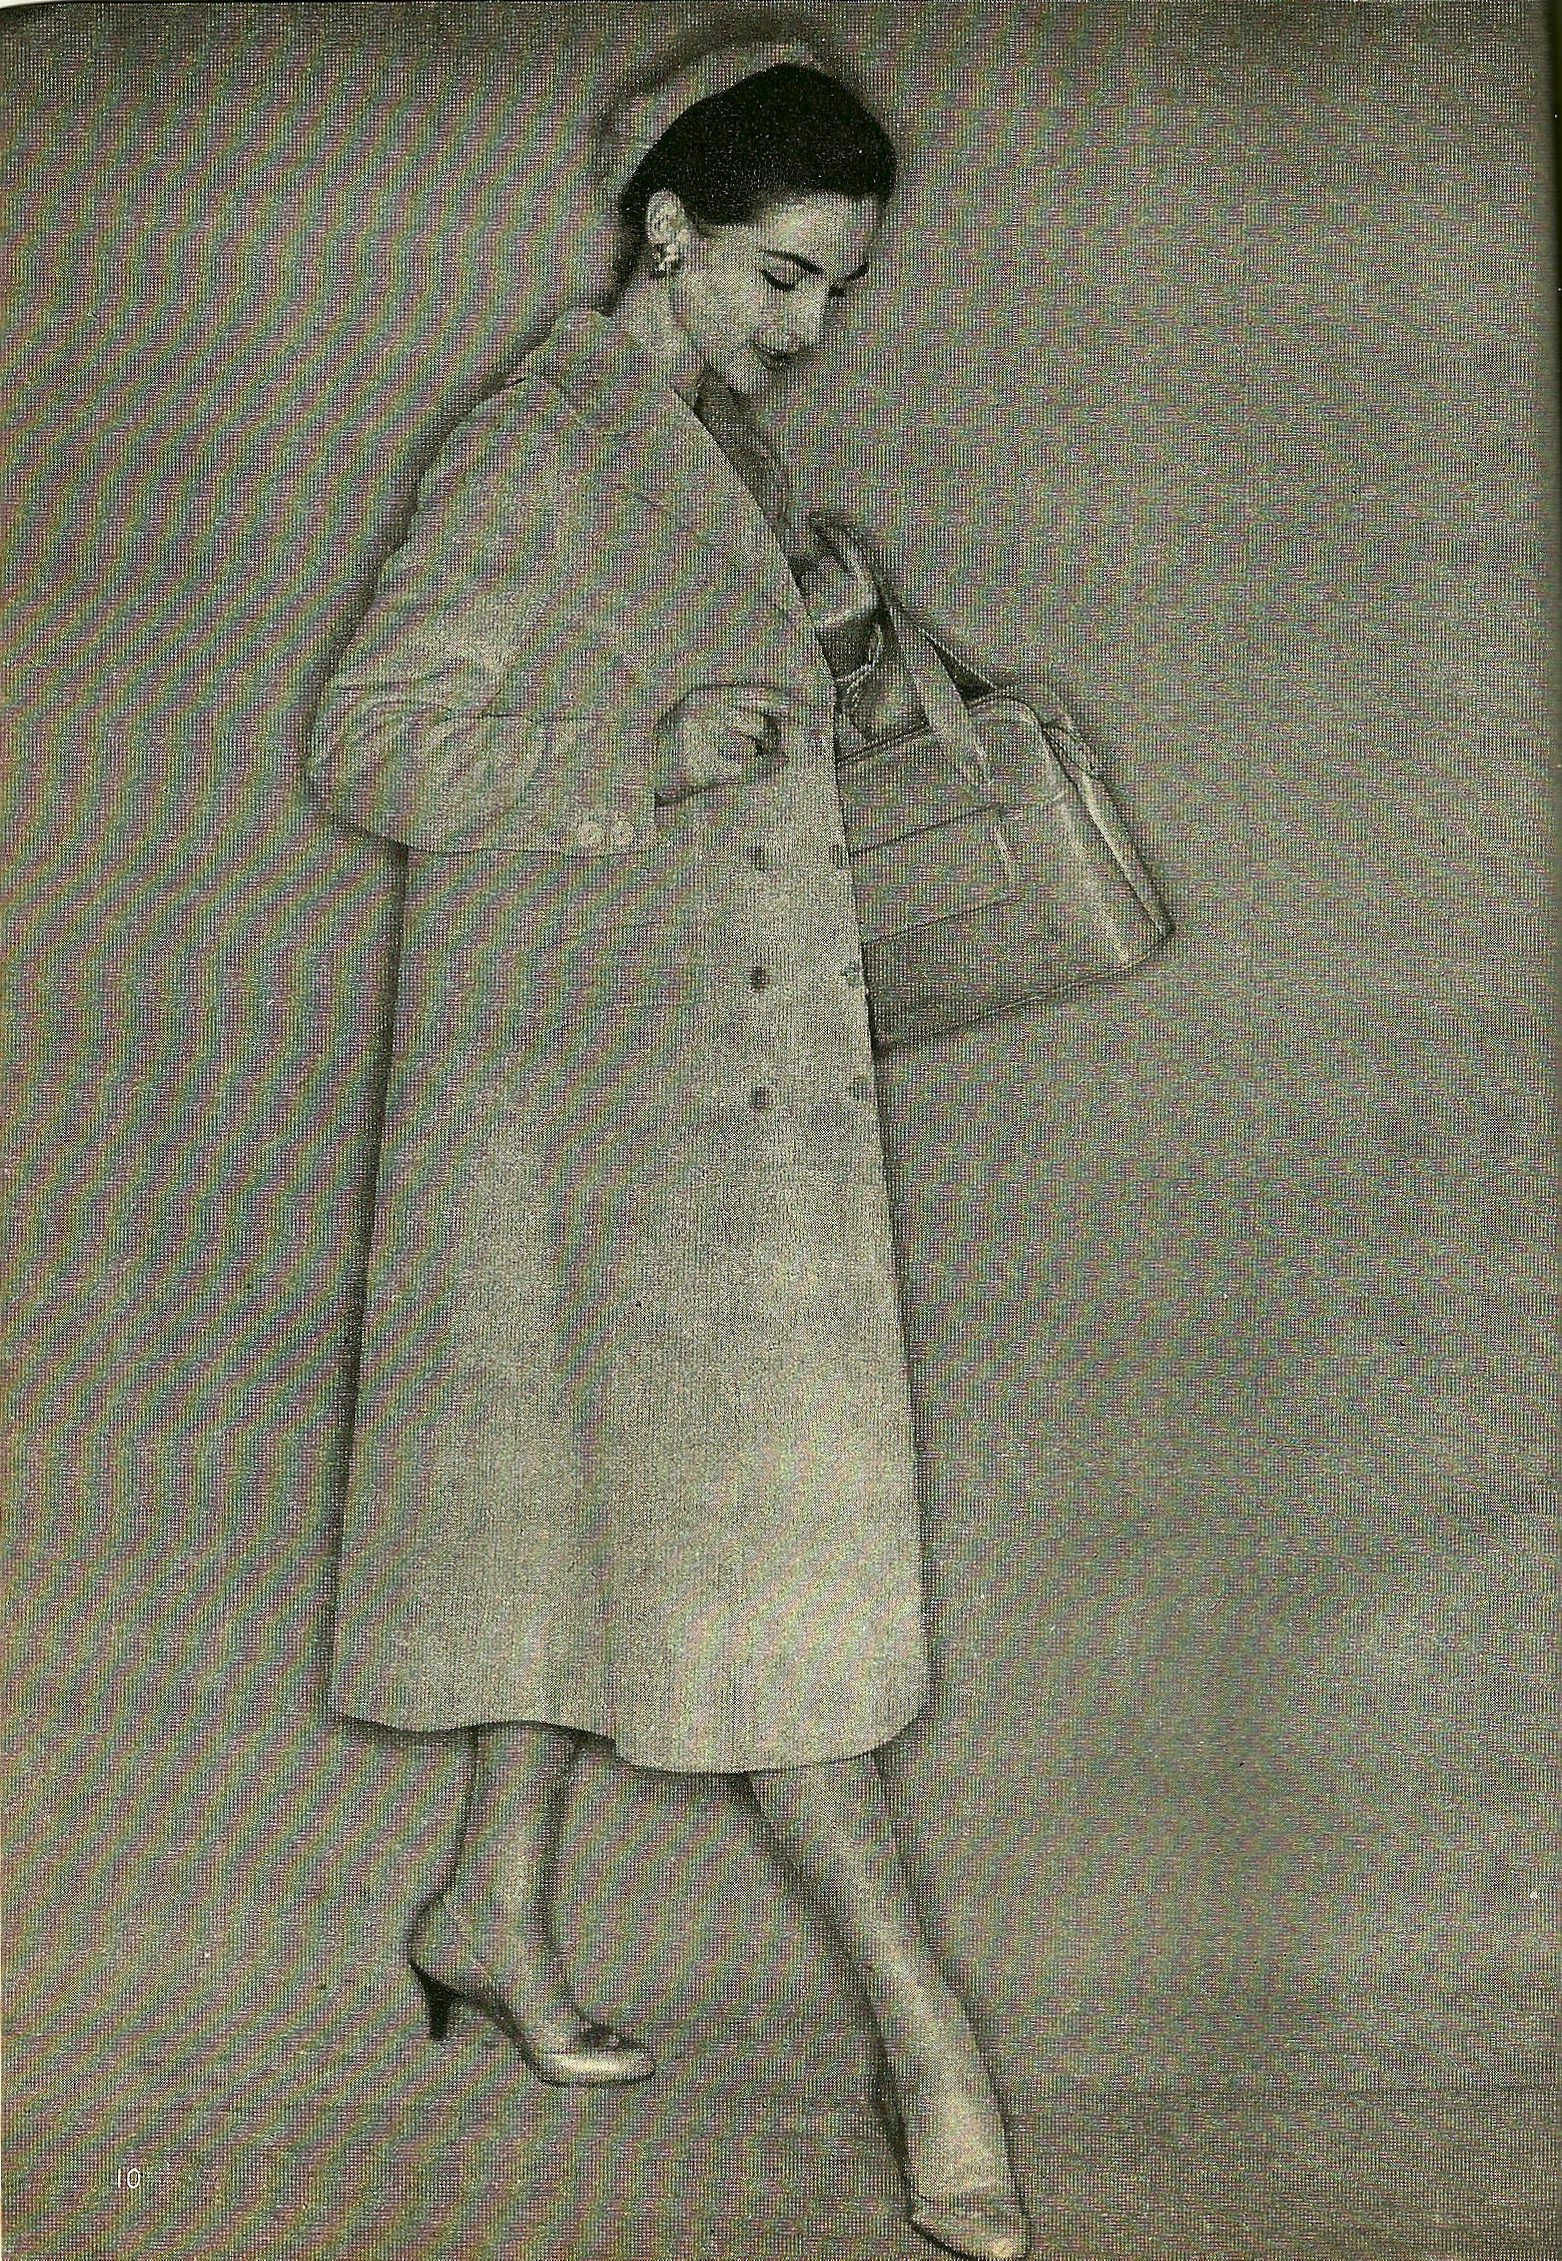
What can I say? I love coats.

DSC_0305

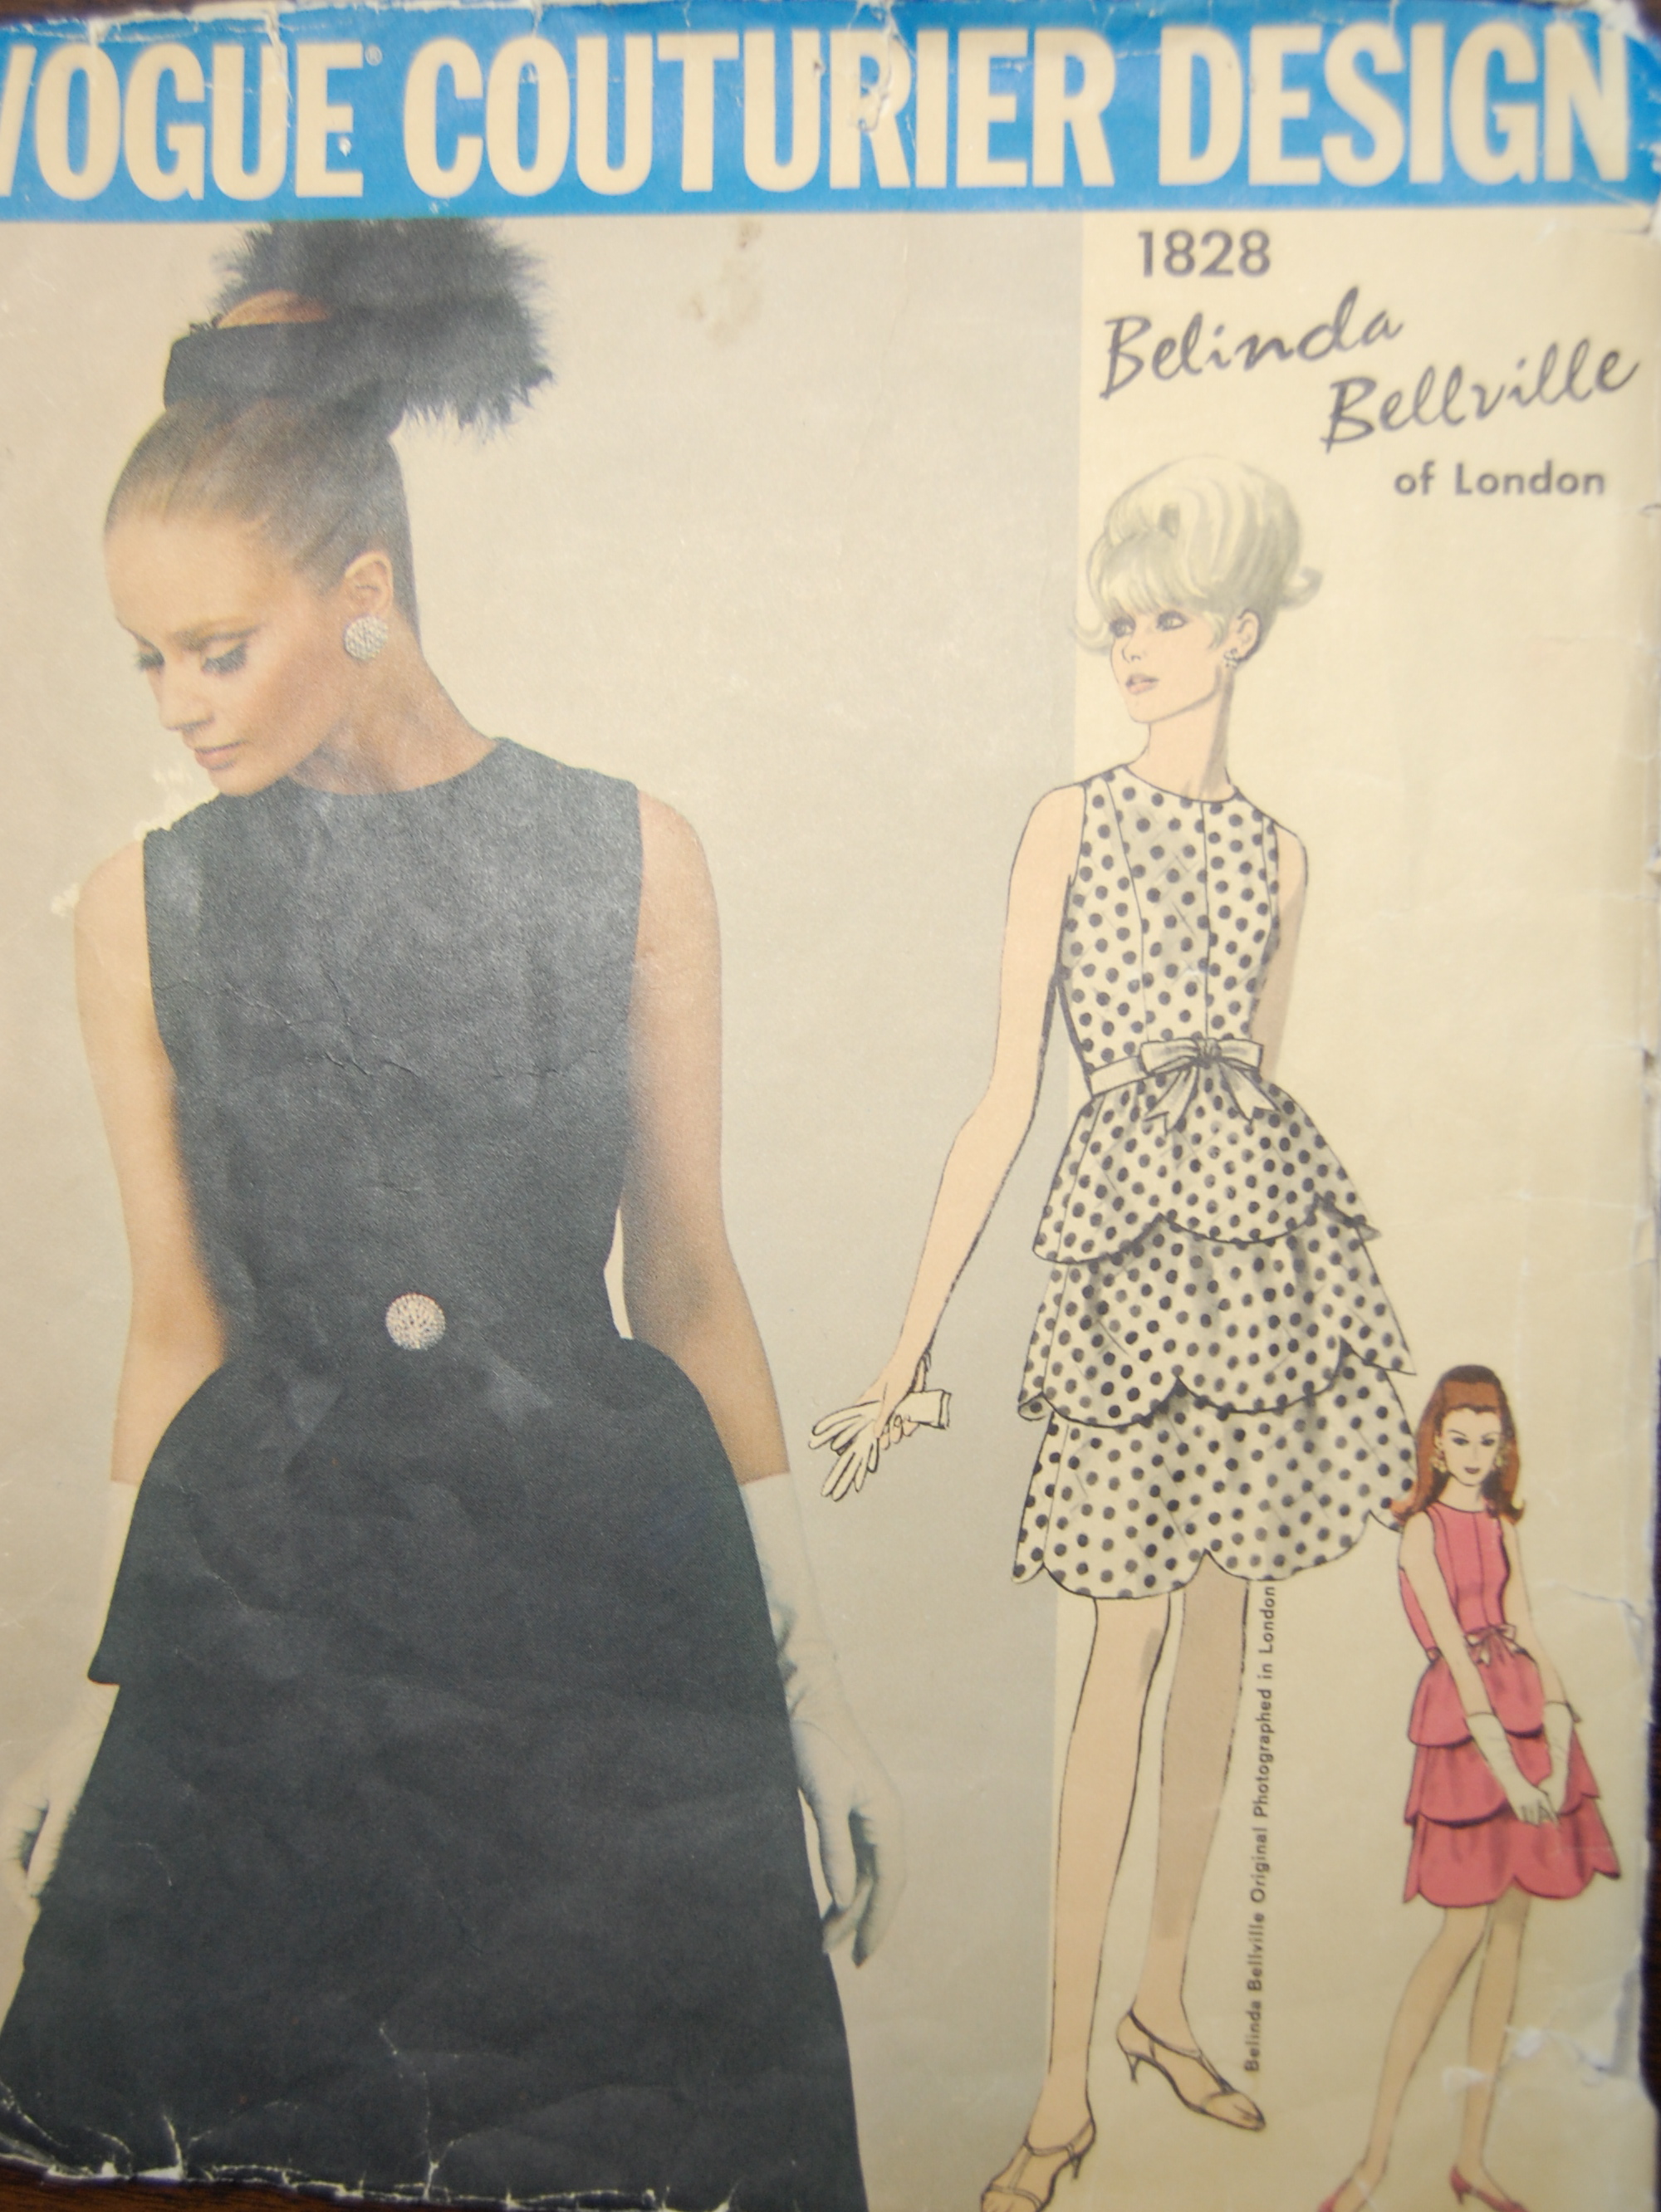
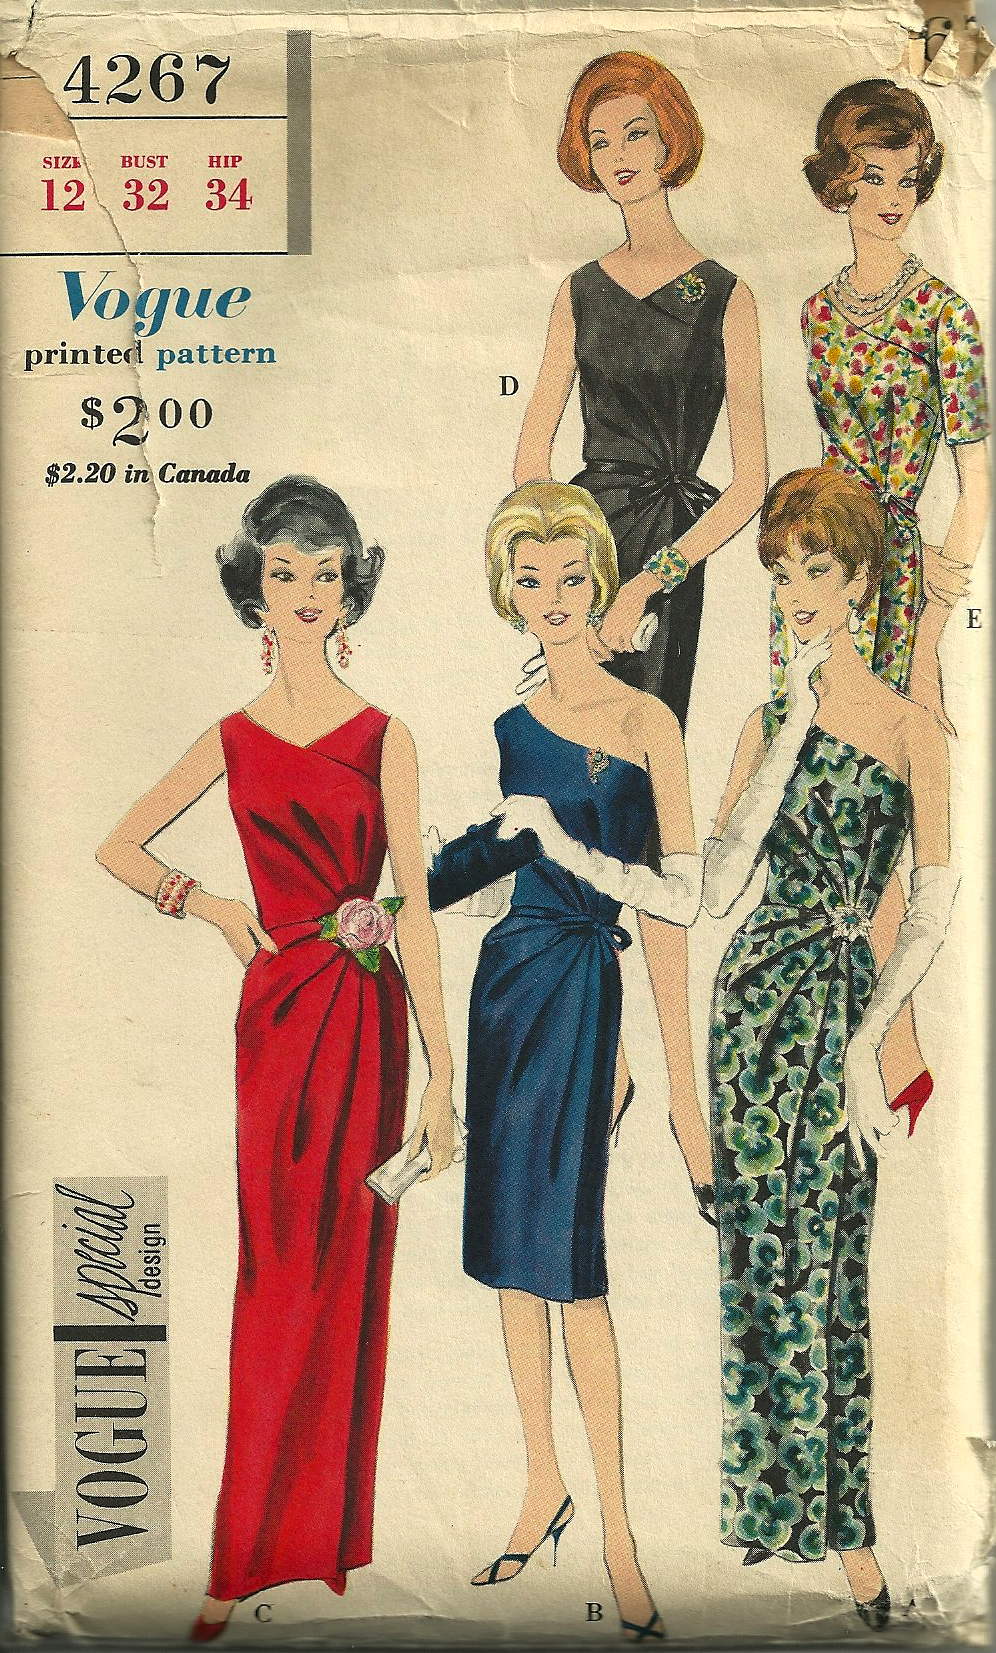
I have been on the search for this pattern for a long time. I hope I’ll have some reason to make this dress sometime soon…

DSC_0306

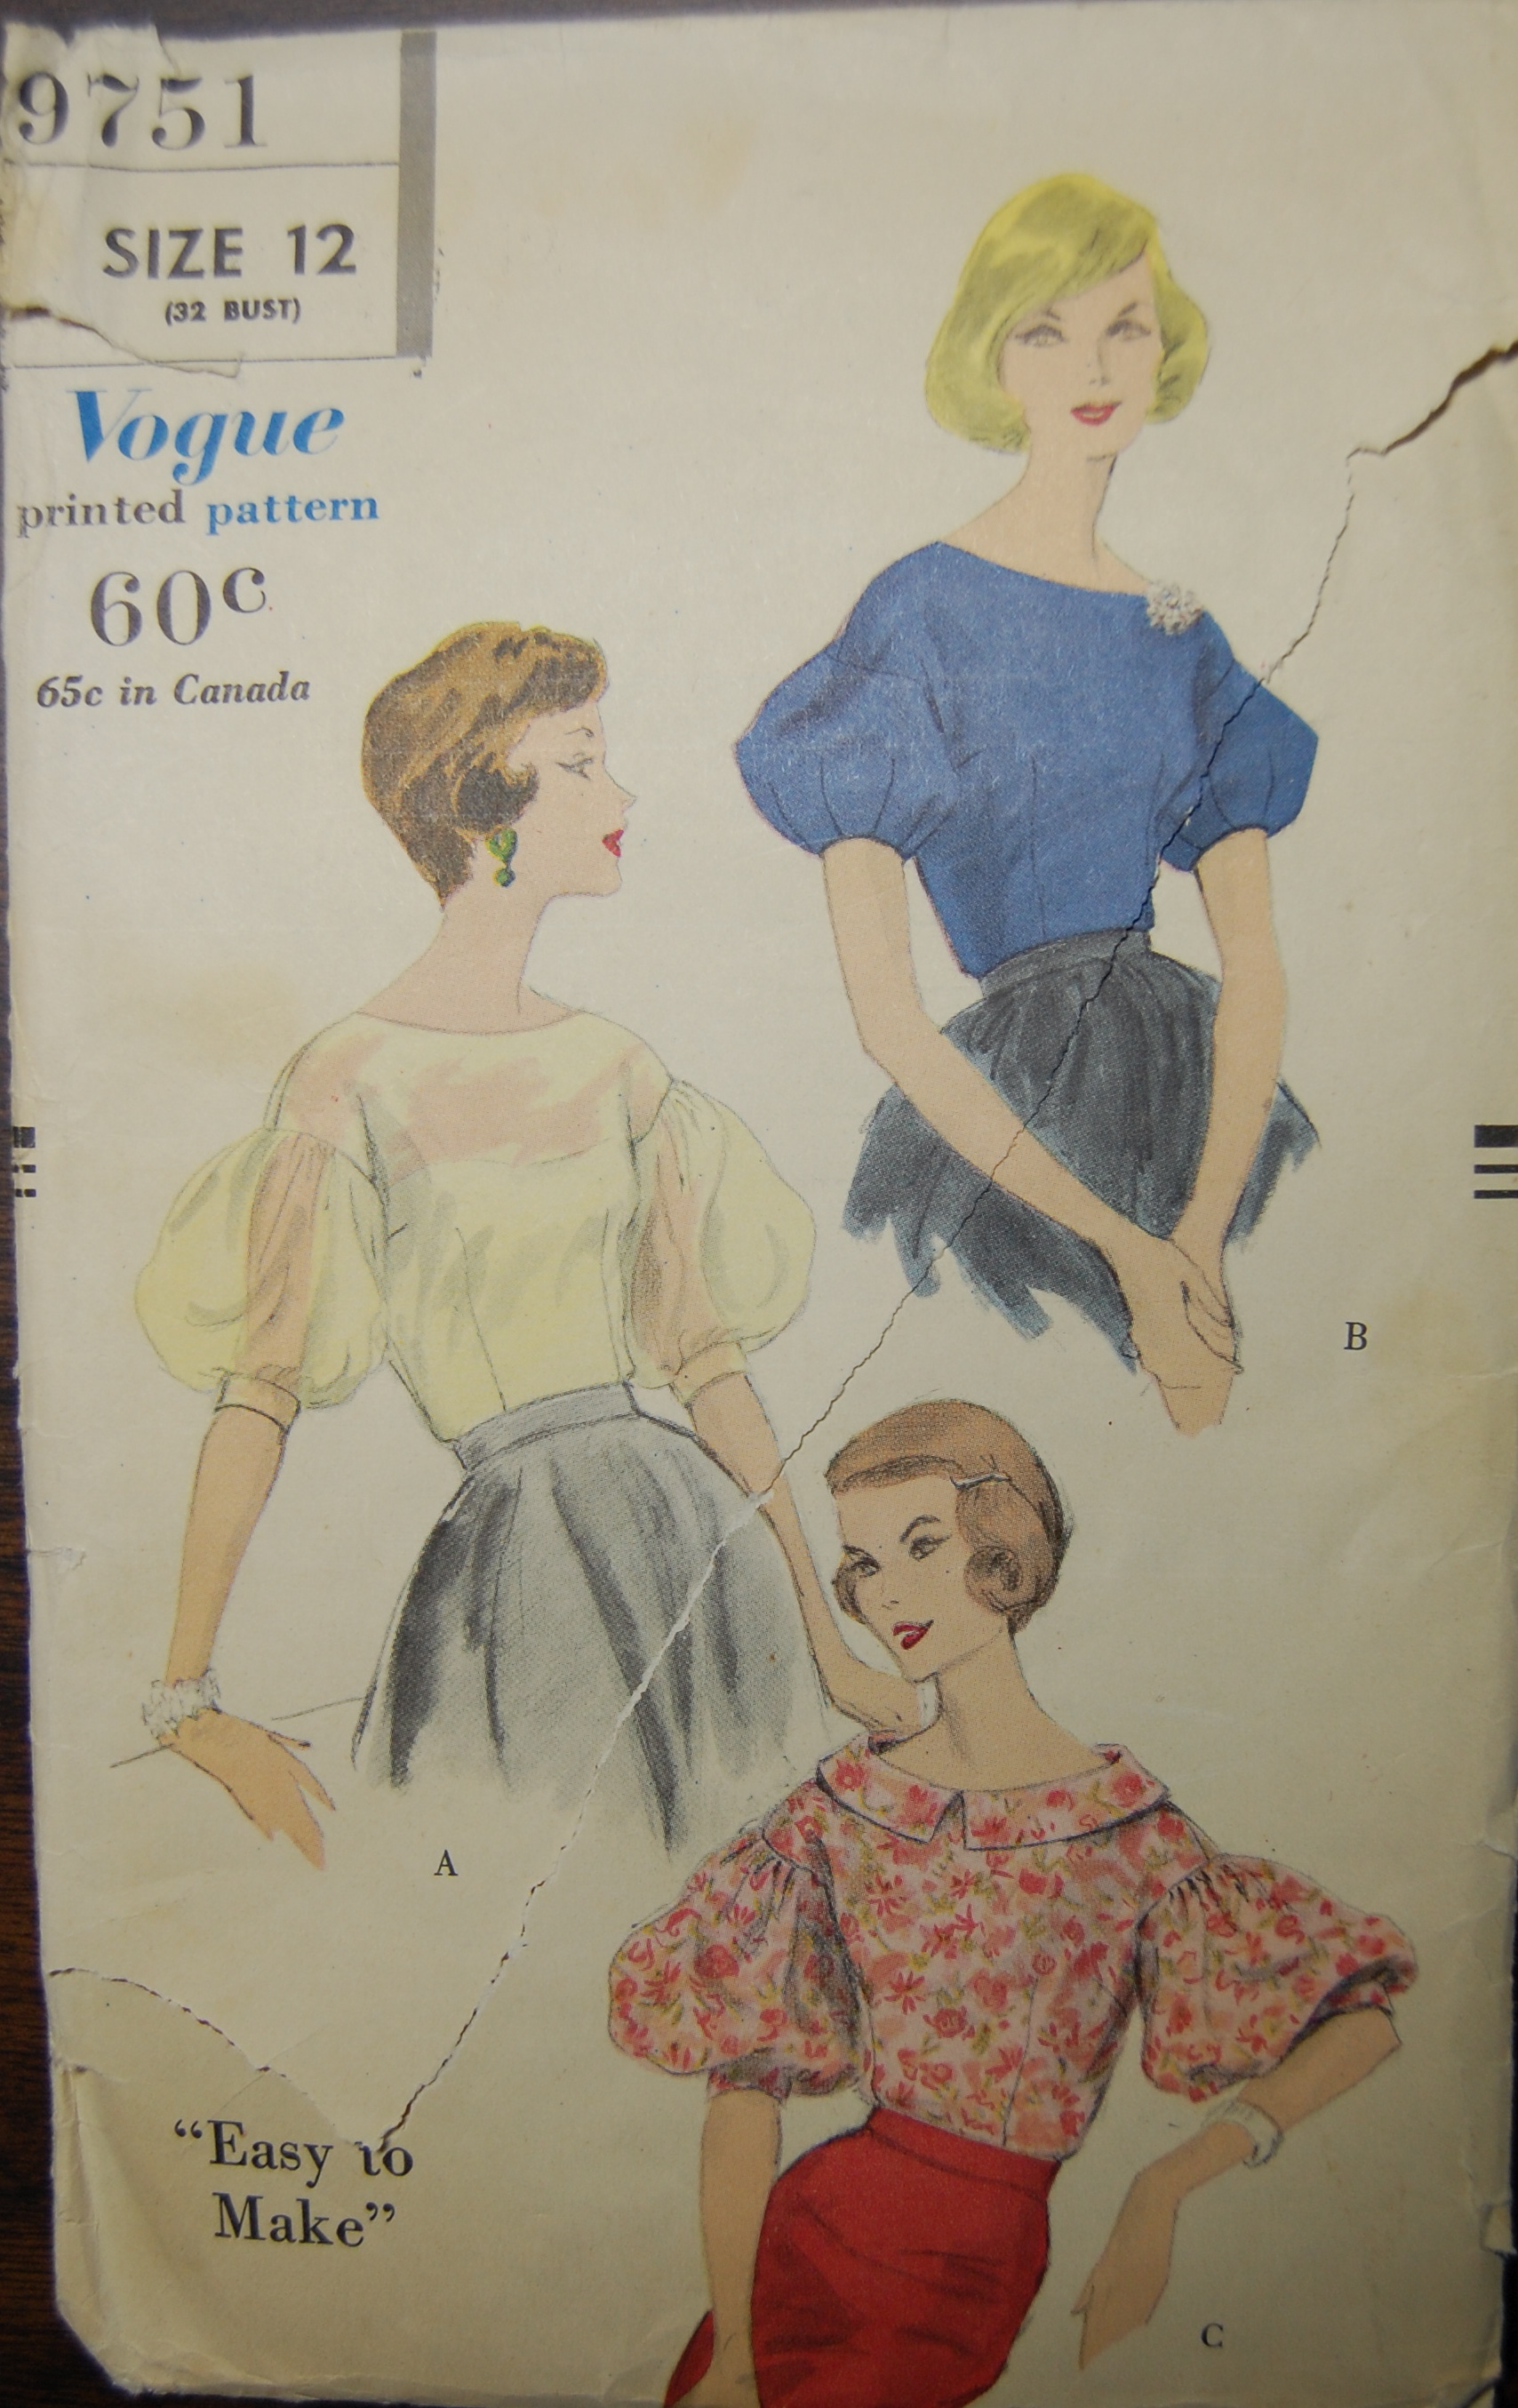
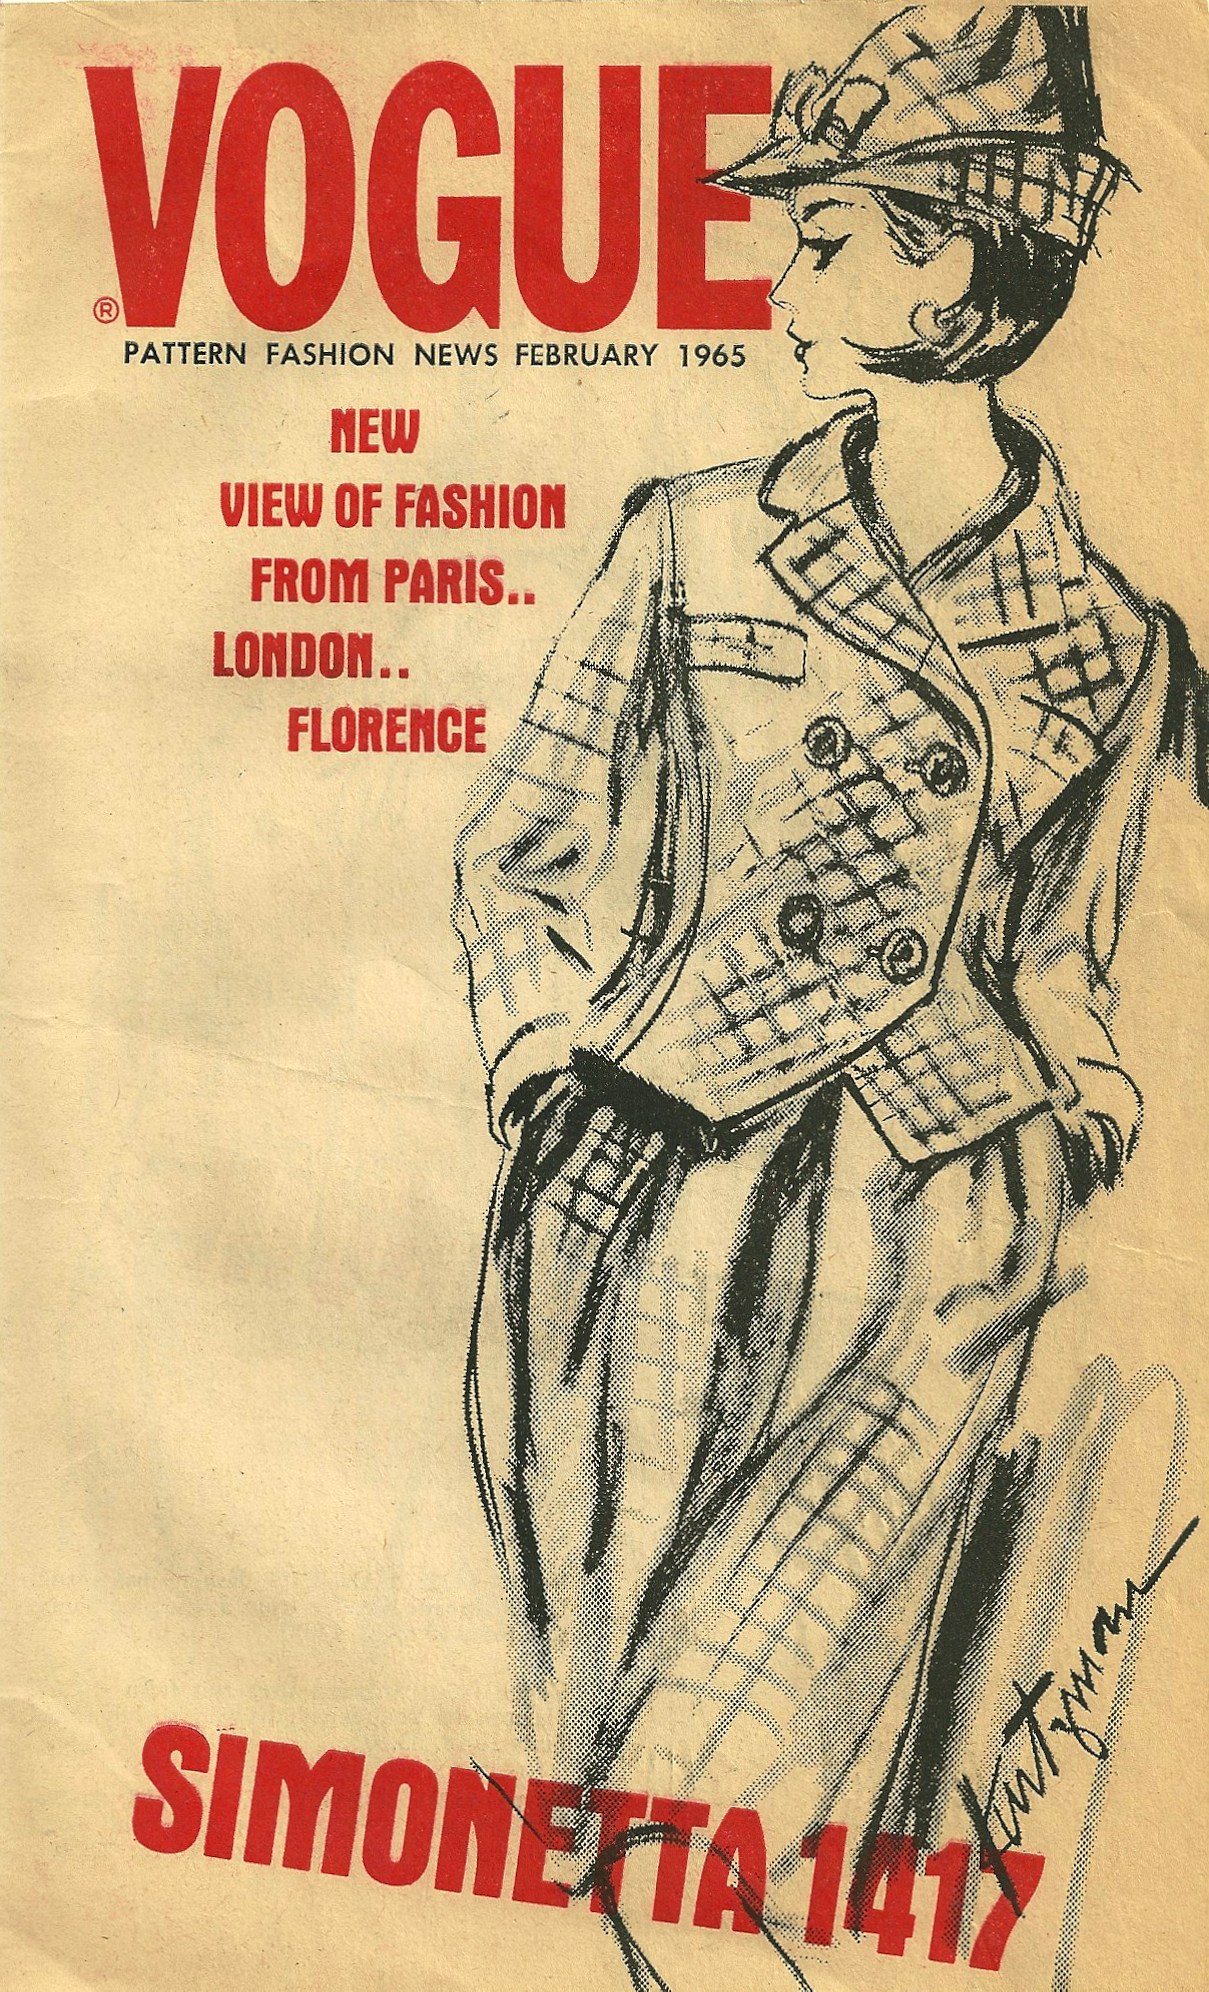
The sleeves on the blue version of this blouse are so pretty!

In addition to these new patterns, I just ordered two Marfy patterns, which should either add to my current sewing anxiety or help alleviate it. I hope it is the latter!

17 Comments

Filed under 1980's dress patterns, Blouse patterns from the 1950's, Coats, Cocktail dresses, piping, Uncategorized, vintage Vogue Designer patterns, vintage Vogue patterns from the 1950s, vintage Vogue patterns from the 1960s, vintage Vogue patterns from the 1970s, Wrap dresses

“Cheers!”

Cocktails in our home – and in our family – are always preceded by a toast of some sort. Usually a simple “Cheers!” will suffice, but sometimes the occasion calls for something more meaningful. One of the most memorable cocktail toasts I have ever heard was standard fare for one of my late mother-in-law’s good friends. By the time I met her, she was a little shaky, which made the toast even more charming. She would raise her trembly glass with great ceremony and declare “To our noble selves!”

As I was working on my latest project – yes, a cocktail dress – I thought about all the possible declarations we, as sewers, could add to the vocabulary of toasts. More about those thoughts later… First up is something to wear to that cocktail/dressy party!

This Vogue Designer pattern is from the early 1960s.

This Vogue Designer pattern is from the early 1960s.

The lengthy process of perfecting the muslin (toile) for my blue cocktail dress revealed a few minor changes I needed to make – four of them, to be exact.   You might be able to see on the pattern envelope, that the “overblouse” in the front actually hits about an inch above the waistline. This just did not look good on me, so I extended the length of those two over-lapping fronts an inch so that they would lay directly at my waist. Second, the under-dress, the top of which is not seen when being worn is cut low so that it does not show beneath the “V” of the overblouse. However, it was cut much lower than I needed, so I raised it a bit.

I thought the shoulders of the overblouse extended a little bit too wide, so I cut the top of the armscye in about ¾ of an inch, graduating it down to join the lower part of the armscye. And fourth – I added a slit at the lower back center seam to make walking easier. I seem to do this frequently with vintage patterns.

The pattern called for the fashion fabric to be underlined, but not lined.   I wanted to line the dress – and actually felt it was a necessity with the fabric I was using. Because of the unusual construction of the dress, I knew that this was going to be interesting – and that I was going to have to make it up as I went. To see what I mean about the unusual construction, take a look at the pattern instructions. The front of the “underdress” is sewn to the back of the dress at the side seams only to the waistline. The bodice part of the front “underdress” hangs loose while the two sections of the overblouse are first sewn to the dress back. Then that bodice is hand sewn in place.

To our sewing selves - pattern diagram

To line the dress, I first sewed the lining to the front underdress at the neck and the armscyes by machine. I under stitched these sections by hand, leaving about an inch free on either end.

Cheers

Next I lined the two front overblouse sections, stitching only the front armscyes by machine; I attached the rest of these linings by hand, using fell stitches.  Then I joined the overblouse sections to the (unlined at this point) dress back.

The front overblouse sections are attached to the side seams, but the front underdress is hanging loose, which does not show in this photo.

The front overblouse sections are attached to the side seams, but the front underdress is hanging loose, visible at the lower left.

I had pieces of dress and overblouse and lining hanging every which way! Any of you who have made a “Chanel” type jacket know how unruly the process is before the lining is seamed in place by hand. This reminded me of that. Somehow I would have to make order out of chaos!

To line the back dress section, I pinned the lining to the armscyes and neck and fell stitched in place by hand. Then I was able to sew each side seam on the machine. The shoulder seams were the final ones to finish, which I did by hand. Then it was only a matter of fell stitching the lining to the hand-picked zipper and understitching the neck and arm sections.

The shoulder seam encloses two finished layers in front.

The shoulder seam encloses two finished layers in front.

It worked! The lining fit perfectly and made for a pretty “insides”!

An inside look at the underdress and the overblouse.

An inside look at the underdress and the overblouse.

The pattern called for tacking the front overblouse sections to the underdress, but I decided to use snaps instead. Ironing this dress will be so much easier with the overblouse sections opened up. However, I did permanently tack the looped tie in place, as indicated in the pattern directions. There was much more hand sewing involved in this dress because of the added lining, but the process was so rewarding in the end.

DSC_1374

Cheers

I anticipate this dress being perfect for not only cocktails, but also weddings and other dressy occasions (particularly if I get the coat made, too!).

Cheers

DSC_1369


DSC_1362

Although I doubt I’ll be clinking my cocktail glass with many other dressmakers, I like the thought of a “virtual” toast with my fellow sewing enthusiasts. Some possibilities I have come up with are “To needle and thread” – or “To weft and to warp” – or “To scissors and seams” – or the one I think I prefer, with thanks to a lady from the past – “To our sew-able selves!”

40 Comments

Filed under Cocktail dresses, couture construction, hand-sewn zippers, sewing in silk, Uncategorized, underlinings, vintage Vogue Designer patterns, vintage Vogue patterns from the 1960s

The Search for the Perfect Blue

Do you ever have a specific color in mind when looking for fabric for a specific type of dress? I am usually open to changing my mind if something else wonderful appears, but this time I really, really wanted to find a blue fabric for a cocktail dress. I started out thinking I would like a pale or periwinkle blue silk to pair with white lace, having Susan Khalje’s new Cocktail Dress pattern in mind.

The version I was thinking I'd like to make is the third one, with lace for the top and bottom panels.

The version I was thinking I’d like to make is the third one, with lace for the top and bottom panels.

I sent off for swatches – and more swatches – and even more, but I couldn’t find what I was looking for. This is what happens when one lives in an area which is devoid of fine fabric stores. ARGH! Then I found this lovely lightweight silk/linen/viscose blend at Emma One Sock. The color was just what I had in mind and I loved the feel of the fabric. The delicate woven design within this fabric catches glimmers of light.

The subtle design is in shades of pink, green and peach.

The subtle design is in shades of pink, green and peach.

I really loved it. BUT – I knew it wouldn’t look good paired with lace. So-o-o-o, I thought to myself, maybe I’ll save the lace idea for another time. Maybe I should look at my pattern collection and see what other cocktail dress patterns might be more suitable.  I picked out two more designs and gave myself some thinking time.

Perfect Blue - Mattli pattern

View D would be my choice.

View D would be my choice.

Since the yardage needed was about the same for all the patterns, I felt confident ordering the fabric and making my decision after it arrived. Can you guess which design I finally chose – and why?

The Vogue Couturier Design by Jo Mattli was the winner. I felt like the vertical “stems” and “leaves” woven into the fabric would be shown to best advantage by a dress that did not have a whole lot going on in it in the way of seams and tucks and gathers. I also like the fact the Mattli design very cleverly gives the feel of a two-piece dress, but in reality, it is one-piece. In fact, only the front of the dress looks two-piece. Here is the back view:

Perfect Blue - thumbnail sketch of backs

The lightweight nature of this fabric also means that there will not be an excess amount of bulk in that double layered front. The fabric is ideal for underlining in silk organza, with a lining in luscious china silk which Emma One Sock helped to select for me.

I spent several days working on a muslin (toile) for the dress, making some subtle changes which I’ll cover in a future post. The dress itself is now “under construction”! Of course, the longer I work with this beautiful fabric, the more I wonder if I should order more of it….?   A coat with a lining to match the dress would be quite something, wouldn’t it? (Any coat would not be finished in time to wear to the early September event for which I am making this dress, but would I let a small detail like that keep me from a vision?) What do you think? Coat or no coat? And if I did make a coat, what color should it?


21 Comments

Filed under Uncategorized, underlinings, vintage Vogue Designer patterns, vintage Vogue patterns from the 1960s

Sometimes It’s All About the Shoes

Well, maybe it’s not entirely about the shoes, although they do promise to share a starring role with my just-completed yellow and blue linen dress.

All about the shoes

I first spied these lovelies on the Simply Soles website last winter, as part of the offerings for Spring/Summer shoes. Although I loved everything about them (the combination of colors, the fabric, the asymmetrical bow, the kitten heel, the brand – knowing from experience that Butter shoes are extremely comfortable), I decided not to purchase them. At that point in time, I had not yet bought the bittersweet yellow linen, so I had no reason to buy shoes with such a limited color palette. By the time I had a good reason to buy them, they were no longer available in my size.

All about the shoes However, the Simply Soles website allows one to request an email advice should the correctly sized shoe become available. Weeks went by, Summer arrived, and by then I had paired the recently purchased deep yellow linen with the pottery blue linen. Goodness, I could not stop thinking about those shoes and how perfect they would be with my envisioned dress. And then – they were suddenly available – in my size – and on sale!

All about the shoes

By this time I was already immersed in making my second linen dress of the Summer, so I planned for the blue and yellow linen to be number “3”. In the meantime, I happened upon more documentation of Moygashel linen, this one for the “yellow” piece. Those of you who follow this blog know how much I love to make these connections!

"... pure enchantment for sun places ... a forsythia linen dress ..."  and the source information in the back of this Vogue Pattern Book Magazine from February/March, 1968 credits Moygashel as the brand of linen.

“… pure enchantment for sun places … a forsythia linen dress …” and the source information in the back of this Vogue Pattern Book Magazine from February/March, 1968 credits Moygashel as the brand of linen.

Seeing an entire dress made out of the forsythia linen helped me to feel confident about having such a bright color as the bodice part of my planned dress.  As I stated in my last post, I decided to use the bodice from this early ‘60s’ Vogue pattern, pairing it with a slim skirt and a belt.

The neckline dips down to a slightly curved V, with a center seam.

The neckline dips down to a slightly curved V, with a center seam.

As this would be a dressier type of frock, and because I know how foolproof couture construction is (with silk organza underlining and crepe de chine lining), I proceeded using those techniques. The facings on the V-shape of the bodice front and back were cut as part of the pattern, instead of being separate pieces. I followed the instructions to reinforce the edges of the fold with ¼” twill tape.

I basted the twill tape just to the outside of the fold line on the "all-in-one" facing.

I basted the twill tape just to the outside of the fold line on the “all-in-one” facing.  This is the back bodice.

And this is the front bodice, showing the deep V and the center seam.

And this is the front bodice, showing the deep V and the center seam.

Normally, couture construction does not use facings, but in this application, they were indispensible. Then the rest of the dress proceeded without a hitch.

Here is the dress turned inside out.  I used a forsythia-yellow zipper as i thought it more important to match the bodice than the skirt of the dress.

Here is the dress turned inside out. I used a forsythia-yellow zipper as I thought it more important to match the bodice than the skirt of the dress.

Here is the shoulder with the crepe de chine fell-stitched and understitched in place around the shouilder.  Note the lingerie stay made with a folded piece of Hug Snug Rayon woven tape.

Here is an inside look at the crepe de chine fell-stitched and understitched in place around the shouilder. Note the lingerie stay made with a folded piece of Hug Snug rayon woven tape.

About halfway through the construction of the dress, I got the idea to have decorative buttons made – to compliment the front V of the neckline.

I sent scraps of my fabric off to Pat Mahoney in California to have these buttons made.  Sadly, Pat is retiring from her business at the end of August...

I sent scraps of my fabric off to Pat Mahoney in California to have these buttons made. Sadly, Pat is retiring from her business at the end of August…

I actually was not sure I was going to use them until I had finished the dress, but I think they add just the right amount of detail.

Here is the dress without the buttons . . .

Here is the dress without the buttons . . .

. . . and here is the dress with the buttons.  What do you think?  With or without?

. . . and here is the dress with the buttons. What do you think? With or without?

Another detail I was happy to add was the Moygashel linen label which had been attached to the forsythia yellow linen yardgoods.

I attached the label inside the back neckline.

I attached the label inside the back neckline.

The belt is also a Pat Mahoney product, made from a silk dupioni.

The belt is also a Pat Mahoney product, made from a silk dupioni.

All about the shoes

All about the shoes

I like the V-ed back!

I like the V-ed back!

Love those shoes!

Love those shoes!

To me, this dress is reminiscent of a 1950s’ “wiggle dress” – although I added a back slit so that I can walk easily, which I guess would have been “cheating” in the 1950s! I was delighted to make another 1950s’ connection when I saw this pair of Roger Vivier shoes for Christian Dior on Pinterest:

All about the shoes - Pinterest pin

The similarities with my shoes are remarkable! Now that I have one dress perfectly suited for my Christian Dior-inspired shoes, I will be looking for other “perfect pairings”. Who knows what fabric treasures will present themselves next Spring or Summer for just such an undertaking?


44 Comments

Filed under Buttons - choosing the right ones, couture construction, hand-sewn zippers, Linen, Moygashel linen, Shoes to make an outfit complete, The Conde Nast Publications, Uncategorized, underlinings, Vintage fabric, vintage Vogue patterns from the 1960s

“Good Wearing-Relationships”

This is a pattern I have long admired:

Good wearing-relationships - Forquet pattern

It is one of those patterns which is always in my mind when I am looking at or for fabric. Twice I have opened it up to survey its pieces and construction, and twice I have decided against it. To be fair, both times of rejection have been because of “not enough fabric”, but other factors have weighed in as well: 1) the collar is too “’70s-looking” and would have to be recut; 2) the skirt is A-line, a look I am just not excited about right now; and 3) the top part of the dress is “bloused” instead of darted, which adds more bulk to the waist than I can handle at this stage of my life.  However, with that said, I still love the look.   I love the strong contrasts of color, divided and punctuated with the wide white belt. I love the styling with the shoes matching the red bodice, the tidy neck scarf, the big ball earrings, and the classy bracelet. It is a memorable look. And – it served as inspiration for me as I recently paired two vintage pieces of contrasting Moygashel linen.

GGood wearing-relationships

When I purchased these fabrics – at different times – I had no intention of using them together.   But then, one day I put them together and liked what I saw. I knew from Vogue 2708 (above), that a white belt would add the necessary foil to those two strong colors. Further encouragement came happily from a two-piece dress in the June/July 1962 issue of Vogue Pattern Book Magazine using similar Moygashel linens:

"They're naturals - and we're not just talking about the cotton and linen fibers in the clothes on these pages , but the good wearing-relationships we have with them.  We like them; they like us - our 1962 shapes, science-bred colors, the places we go, our washing machines..."  The two-piece dress featured here was made from Moygashel linen,

From the description:  “They’re naturals – and we’re not just talking about the cotton and [Moygashel] linen fibers in the clothes on these pages , but the good wearing-relationships we have with them. We like them; they like us – our 1962 shapes, science-bred colors, the places we go, our washing machines…”

Now all I had to do was decide upon a pattern which would work with the one yard I had of the “bittersweet” yellow linen for the bodice and the one-and-one-quarter yards I had of the “pottery” blue linen for the skirt. (Fortunately, these linens are 45”wide, meaning that they were manufactured after the early-1960s.)

Initially I thought I would just go with View D of this current Vogue pattern:

Good wearing-relationships - new vogue pattern

But after having recently read Linda Przybyszewski‘s The Lost Art of Dress and being influenced by the discussion therein of the importance of fashion emphasizing one’s face, I thought I wanted a more interesting neckline. Off to my collection of vintage patterns I went, emerging with this one:

The neckline dips down to a slightly curved V, with a center seam.

The neckline dips down to a slightly curved V, with a center seam.

And the back is equally as pretty!

And the back is equally as pretty!

Now I had a plan. I would use the narrow skirt from the current Vogue pattern and the bodice from the vintage Vogue pattern, except that I would make it sleeveless. I had to work to line up the darts on the bodice and the skirt, moving them hither and yon several times. And then I had to deal with the positioning of the bust darts, always an issue for me with vintage patterns. The apices of the darts are always too high for me. (I’m sure it has much to do with the foundation garments which women wore in the ‘50s, ‘60s, and early ‘70s.) Simply moving the apices lower does not always work, as then I seem to have too much fullness above the bust and across the shoulders.   Of course, this is where making a muslin (toile) comes to the rescue. In this case, my first muslin had so many changes to it, that I had to transfer all my final markings to a new muslin. I also decided to underline the linen with silk organza and use true couture techniques to complete this dress.

Here is one side of the front from my first muslin.  I still had to make changes on the second muslin, but better on muslin than on the fashion fabric!

Here is one side of the front from my first muslin. I still had to make changes on the second muslin, but better on muslin than on the fashion fabric!

As I work on this dress I am in concurrence with further commentary from the 1962 VPB: speaking of “Naturals for our Time” (linens and cottons), the editors say, “Most of all, we want the real-life way they look – effortless, inspired by structure rather than detail [my emphasis], and naturally appealing now.” Actually, there is one important detail which will add to the “good wearing-relationship” I will have with this dress – but I’ll save that for my next post…

15 Comments

Filed under couture construction, Linen, Moygashel linen, The Conde Nast Publications, Uncategorized, underlinings, Vintage fabric, vintage Vogue Designer patterns, vintage Vogue patterns from the 1960s, vintage Vogue patterns from the 1970s, Vogue patterns

Fashion Past, Fashion Present

Many reviews of Linda Przbyszewski’s book The Lost Art of Dress: The Women Who Once Made America Stylish have been written. Two of the most recent ones are by Stephani Miller of Threads Magazine, and by Joy Landeira in the quarterly newsletter (Summer 2014) of the American Sewing Guild, Notions (available to members only). Both of these, plus many others give an excellent overview of the subject of the book. For those of you abroad and others who may not have been exposed to this book, here in a nutshell is the narrative: From 1900 – 1960, American women’s interest in fashion was shaped to a great degree by many professionals in the fields of Home Economics, Retailing, and Art. Following certain concepts espoused by these “Dress Doctors”, as the author calls them, average American women embraced style, grace, appropriateness, and practicality in their dress, making them paragons of American fashion.

Lost Art of Dress - cover

I found the book completely fascinating to read, learning much about the cultural and social history of this country during those six decades. Although the book is scholarly in its research, documentation, and overview, Linda is an engaging writer, infusing humor frequently, adding pointed commentary throughout, and, finally, extrapolating meaning from the “lessons” taught by the Dress Doctors for present seekers of style. As a dressmaker and frequent user of vintage patterns, I read the book looking for specific references, which would apply to my sewing and fashion sense, and to help me answer the question “Just exactly why do I find the fashions from the ‘50s, ‘60s, and ‘70s so captivating?” To say that I found much to savor is, indeed, an understatement.  However, certain “Aha” moments stood out for me, so that is what I will try to cover in my remarks here.

1) To be successful and enduring, fashion should emphasize one’s face. When I look at vintage patterns, so many of them have details at the neckline, or unusual and flattering collars, or necklines cut gracefully to frame the face. This seems like common sense, doesn’t it? Fashion should bring attention to one’s face – and therefore, one’s person – so that YOU are remembered rather than your attire (although the proper fashions can help you be remembered at your best). Jewelry is one way to help emphasize a face, but, of course, it should not overpower your countenance. Prior to 1965, wearing hats was commonplace, adding another point of emphasis to the face. Now we are not so lucky, save for some very special occasions.

2) Black is fine to wear for evening, but think again for day-time wear. While I am not naïve enough to think that black is going to leave the wardrobes of American women (after all, what is more classic than the Little Black Dress for after-five?), most of us would do well to consider adding more color to our fashion sewing and wearing. Color is a powerful enhancer to complexions (of all hues) and moods.

3) Older women were once considered at the apex of elegance and style. Women and girls younger than 30 were expected to dress in a more youthful manner that mimicked their elders, rather than the other way around! (Isn’t it interesting that 30 was considered the age at which women were expected to assume a more polished appearance?)   Vogue Pattern Book Magazine contained the occasional feature on young girls and college girls, and Vogue even had a pattern series called Young Fashionables. But the majority of their patterns were for the 30 – and – older crowd, showcasing models and fashions which were demure but elegant, feminine but refined.

Here is one "Young Fashionable" pattern, to illustrate the type of style designed for the younger than thirty age group.

Here is one “Young Fashionable” pattern, to illustrate the type of style designed for the younger-than-30 age group.

This page from the October/November 1955 Vogue Pattern Book Magazine shows many of the ingredients of a polished look, the norm among American women at that time.

This page from the October/November 1955 Vogue Pattern Book Magazine shows many of the ingredients of a polished look, the norm among American women at that time.

Even fashion illustration included all the elements of a polished look.  (From the same VPB magazine as above.)

Even fashion illustration included all the elements of a polished look. (From the same VPB magazine as above.)

4) The Dress Doctors were not only concerned with fashion, but also with how fashion could influence the rest of one’s life. First and foremost, one should buy, or sew one’s own attire, which is appropriate for the life one leads. Buying on impulse is rarely a good idea if the item you are buying has no use in your weekly or monthly calendar. Further, if you find a style or look which works for you, repeat it – easily accomplished by those of us who sew. And those of us who sew know that tweaking a pattern, adding or subtracting a detail, and choosing diverse fabrics can make any pattern look new. Hooray for us!

5) A final point – and it is about many women’s favorite fashion accessory — shoes. According to Linda Przbyszewski, shoes have taken on much more significance than they once did – and should. Shoes should never be the focal point of one’s outfit. They should be chosen to enhance the overall look and to be functional for the occasion for which you are dressing. Shoes used to be just one of the accessories adding to the complete outfit, along with gloves, hats, scarves, handbags, jewelry, and coats. As gloves and hats and coat “wardrobes” have receded from the recipe for a “fashionable look”, shoes have filled that gap for many of us.

The last chapter of the book is devoted to the “demise” of the Dress Doctors in the 1960s and ‘70s. The emphasis on “youth”, starting in the ‘60s, and the women’s liberation movement in the 1970s changed mainstream fashion dramatically. Not addressed in the book is the continuance of some of the standards, established by the Dress Doctors, by the pattern companies in these two decades. Although my experience is mostly with Vogue patterns, I continue to be inspired by many of the fashions, Designer and otherwise, featured in patterns during these two decades. Once again home dressmakers were at an advantage – and continue to be.

The author leaves the reader on a positive note, stressing lessons for all of us to be learned from the wisdom of the Dress Doctors, and crediting the home sewing movement NOW for the beginning of a return to standards and style in the art of dress. I look at this  as a responsibility.  How about you?

2 Comments

Filed under Book reviews, Little Black Dress, The Conde Nast Publications, Uncategorized, vintage Vogue patterns from the 1960s, Vogue patterns

Defying the passage of years?

Throughout the 1950s, copyright dates appeared on all Vogue patterns (or, at least that has been my observation). Copyright dates appear on some of the patterns from 1960-‘62, but after that, they are non-existent. It is always a thrill when I find a reference to, or picture of, a pattern, which I own or am working on, in one of The Conde Nast Publications, Inc. magazines or other printed materials. It is one sure way to date an otherwise undated vintage Vogue pattern.

So – you can imagine my delight when a small, 8-page Vogue Pattern Fashion News from February 1965 – which I recently purchased – featured the Emilio Pucci dress and jacket which has been my sewing focus for the past several weeks.

On the cover of this small "flyer", which was available for pick-up wherever Vogue patterns were sold, is the reference to fashion from Florence - as in Pucci's Florence!

On the cover of this small “flyer”, which was available for pick-up wherever Vogue patterns were sold, is the reference to fashion from Florence – as in Pucci’s Florence!

And here is the sketch of "my" Pucci pattern.

And here is the sketch of “my” Pucci pattern.

The brief caption gives an apt description of the Pucci pattern:

Pucci pattern - fashion news caption

And – I did indeed wear this dress (and jacket) to an “important party” just last weekend – to a beautiful wedding in Center City Philadelphia.


(This photo was not taken at the wedding...)

(This photo was not taken at the wedding…)

I was working diligently all last week to finish the jacket. Here are the details on what was transpiring in my sewing room:

First, I can tell you I was delighted that the pieced sleeve linings worked just as I had hoped they would. Here is the jacket turned inside out, showing the piecing on the lower sleeves.

Defyng the passage of years

Inside out, a back view.

Inside out, a back view.

And here is a photo inside the jacket, looking towards one sleeve, which shows that the piecing does not show! Hurray. I honestly don’t think anyone seeing the jacket slung over a chair is ever going to suspect that the Pucci lining fabric does not extend all the way down the sleeves.

Defying the passage of years

I also had the idea to add a narrow, bias, flat piping to the edge of the lining down the fronts and around the neckline. I found a turquoise silk in my fabric closet which seemed to keep with my “theme” of the turquoise under-stitching on the interior of the dress. This is one of those “dressmaker details” which just makes me happy.

Defying the passage of years

Another thing that makes me happy are the buttons! I picked out specific scraps of the silk, which featured designs I wanted to emphasize on the buttons. I sent them off to Pat Mahoney in Lodi, California, who returned them made into 1¼ inch buttons – flat and beautiful!

This is the button I chose for the top of the jacket.

This is the button I chose for the top of the jacket.  Notice the slot-seam-buttonhole.

The middle button - I couldn't resist featuring the Emilio signature on this one.

The middle button – I couldn’t resist featuring the Emilio signature on this one.

And the lower button.

And the lower button.

I decided to have two extra buttons made in case I wanted to add them to the sleeves.   And – add them, I did. I like the extra subtle  attention they bring to the jacket. (Another dressmaker detail – specifically, an added embellishment.)

Defying the passage of years

Defying the passage of years

I had the jacket finished when I suddenly remembered that a Vogue label had come with the pattern. Of course, I was delighted to sew it in place.

Defying the passage of years

Defying the passage of years

Defying the passage of years
 Defyng the passage of years

Defying the passage of years

There is something about using a pattern from 1965 that seems quite amazing to me. Yes, it is simple math, but think about this: 1965 was 49 years ago!   Is anyone who sees me in this dress and jacket going to think that it is sewn from a 49-year-old pattern? Somehow I doubt it. I think my secret is safe.


28 Comments

Filed under Buttons - choosing the right ones, couture construction, Dressmaker details, sewing in silk, Slot-seam buttonholes, The Conde Nast Publications, Uncategorized, vintage Vogue Designer patterns, vintage Vogue patterns from the 1960s

A Fascinating Foundation

Vogue patterns from the 1950s, ‘60s, and ‘70s never cease to amaze me. The intricacies of construction, the detailed instructions, and the artistic styling of so many of the patterns from those three decades make sewing from them such a pleasure. Each one is like a mini sewing lesson, neatly packaged with beautiful photos and/or sketches and precise line drawings.

Such has been the Emilio Pucci Designer pattern on which I am currently working.

Happy New Sewing Year - Pucci pattern

The unusual construction of the jacket caught my attention as I was trying to lay out its lining pattern pieces along with pattern pieces for the dress.  As I mentioned before, the front of the jacket is cut on the bias. However the interfacing and the lining pieces for the front are cut on the straight of grain. How, I wondered, is that going to work? The answer to that question is one of the most fascinating construction methods I have ever come across.

The interfacing and the lining both have deep darts to form the bust line. Of course, the jacket front, cut on the bias, is going to have built-in give for the bust. But in addition to that, there was a “cup-like” pattern piece for adding to the front interfacing, clearly with the goal of enhancing the bust line, and defining it.

The "cup-like" pattern piece is in the lower right.  Notice the large dart in the piece next to it.

The “cup-like” pattern piece is in the lower right. Notice the large dart in the piece next to it.

Here is the instruction page for assembling these interfacings. In effect, it is a process for making an interior bra.

Click on the diagram to read it more easily.

Here are my front interfacing pieces with the darts sewn.

Here are my front interfacing pieces with the darts sewn.

Here I am reinforcing the darts in the bust (cup) interfacings.

Here I am reinforcing the darts in the bust (cup) interfacings.

Here they are ready to be added to the base interfacing pieces.

Here they are ready to be added to the base interfacing pieces.

And here are the front interfacings assembled and ready to be attached.  Looks kind of risque, don't you think?

And here are the front interfacings assembled and ready to be attached. Looks kind of risque, don’t you think?

Note also the detailed instructions for making the bound buttonholes on the above instruction sheet. I did a practice run on a bound buttonhole, being careful to layer the fabrics exactly as they would be layered on the front of the jacket.

My sample buttonhole.

My sample buttonhole.

The right jacket front, marked for buttonhole placement.

The right jacket front, marked for buttonhole placement.

Another detailed instruction was given for the sharp angle under the sleeve. The instructions called for a 2” x 2” square of fabric to reinforce that corner. I used black organza.

The organza patch is sewn on the right side of the jacket and pressed to the inside.

The organza patch is sewn on the right side of the jacket and pressed to the inside.

The organza patch makes a very secure and precisely sewn  corner possible.

The organza patch makes a very secure and precisely sewn corner possible.

And here are just a couple of photos of the interior of the jacket with the rest of the interfacings attached.

The right front of the jacket, with buttonholes sewn.

The right front of the jacket, with buttonholes sewn.

Thje front of the jacket.  Note the "stays" made our of seam binding.  They are loose except where they are attached at the underarm and at the collar.

Thje front of the jacket. Note the “stays” made out of seam binding. They are loose except where they are attached at the underarm and at the neckline.

The back of the jacket - simple compared to the front!

The back of the jacket – simple compared to the front!

There is something else that never ceases to amaze me either about these sophisticated vintage Vogue patterns.   That is – how stylish and current so many of them are.   Here’s an example of what I mean. Take a look at these recent jackets from current designers.

I clipped this out of The Wall Street Journal sometime within the past year, but I unfortunately forgot to note the date.  Click on the photo for a close-up.

I clipped this out of The Wall Street Journal sometime within the past year, but I unfortunately forgot to note the date. Click on the photo for a close-up.

The article rightly makes the reference to Balenciaga, but look how similar these are to the Pucci jacket on which I am working.

A Fascinating foundation -picture of Pucci jacket

These thumbnail sketches  also help to show the similarity to the current jackets.

These thumbnail sketches also help to show the similarity to the current jackets.

Well! I am looking forward to sharing some more details about this outfit when I can show it completely finished – in my next post – and answering those nagging questions, “Did piecing the lower sleeves on the jacket lining actually work? Will anyone guess my secret?”


21 Comments

Filed under bound buttonholes, couture construction, kimono sleeves, Uncategorized, underlinings, vintage Vogue Designer patterns, vintage Vogue patterns from the 1960s, Vogue patterns

Presently Preferring Pucci

Once I get into a project, especially one that has some complicated decisions or construction to it, I tend to think about it during many of my non-sewing hours. (I wonder if other sewers/dressmakers do that?) Now that I have finished my Pucci dress, I’ll be spending both sewing and non-sewing hours on the jacket.

First, however, some details about the dress are in order.

The dress is finished!

The dress is finished!

There are a few design aspects of this dress which set it apart from a simple A-line or sheath dress.  Notable to me is the effect that the curved front yoke makes on the bustline. It gives it more definition than it would have with just darts.

If you look closely, you can see the yoke seam.

If you look closely, you can see the yoke seam.

The back yoke adds some “surprise” interest by being split in the middle. In addition, the back of the dress would not be quite so clean looking if the zipper were placed in the center back below the yoke. Its location on the side seam is one of those hallmarks of a carefully planned Designer pattern.

The "open" yoke on the back of the dress.

The “open” yoke on the back of the dress.

I made some changes to the dress, based on the muslin. My six alterations are:

1) I decided to incorporate curved armholes into the two back yoke sections. On a younger person, the more revealing back arm would be fine, but I was not so comfortable with it!  Please see the photo above.

2) I took out some of the A-line from the dress. I wouldn’t say I actually “pegged” it, as I left a slight taper, but the effect is now one of a straighter skirt, which I think is a bit more “current.”

A sdie view shows this alteration best.

A side view shows this alteration best.

3) Taking out some of the taper meant I had to give myself a bit more ease in the skirt, so I left a slit at the center back.

The center back slit at the hem line.

The center back slit at the hem line.

4) I added two small darts to the back sides at the waist, which adds some definition to it.

5) I lowered the neckline to accommodate a particular necklace that I want to wear with this outfit. Isn’t it just lovely that sewing allows us the ability to make these kind of custom alterations?

6) The pattern called for a hook and eye at the center back neck. I decided to add a loop and small button instead, although I added an interior hook and eye to help the back neck lay flat.  Adding this button and loop can definitely be called a “dressmaker detail”.

The button is one I have had in my button box for decades!  Its faceted surface seemed perfect for this dress.

The button is one I have had in my button box for decades! Its faceted surface seemed perfect for this dress.

Of course I underlined the dress with silk organza.

Preferring Pucci

This back view also shows the extended armhole line.

This back view also shows the extended armhole line.

And this side view shows how the front yoke adds definition to the bustline.

And this side view shows how the front yoke adds definition to the bustline.

Then I lined the dress in black crepe de chine, and under-stitched the neckline and armhole seams with turquoise silk buttonhole twist, just for fun.

The dress turned inside out.

The dress turned inside out.

Under-stitchibng in turquoise. No one will ever see it, but I love what it adds!

Under-stitching in turquoise. No one will ever see it, but I love what it adds!  Click on the photo for a close-up view.

So – that’s it!

Now here’s a phenomenon that seems to happen to me frequently. I’ll be using a mid-century designer pattern for a project, and I’ll come across a current magazine or newspaper article, which in one way or another relates to what I am sewing or planning to sew. So it was this past weekend, when I was catching up with reading the April WSJ. The Wall Street Journal Magazine, delivered the weekend before. Right there on page 84 was an article on Laudomia Pucci, Emilio’s daughter, entitled: Fortress of Fashion. It is a fascinating account of her commitment to preserve the “fashion legacy” of her father, by reinventing an ancestral estate in Tuscany into an accessible-and-preservation-minded archives. On view are fabrics and fashions, and “already Pucci has hosted several educational events… Two groups of students … have come to study sewing and print design…[would not this be wonderful?! – my addition].  Laudomia is hoping to extend the educational activities to international fashion schools for longer visits.”   Her goal is to encourage the “next generation … to find inspiration for innovative fashion.” Now this is a place where a Preference for Pucci is definitely a way of life!


26 Comments

Filed under Buttons - choosing the right ones, couture construction, Dressmaker details, sewing in silk, side-placed zippers, Uncategorized, underlinings, vintage Vogue Designer patterns, vintage Vogue patterns from the 1960s, Vogue patterns

Searching for Rumplestiltskin

Rarely do I not have enough fabric for a sewing project. I am one of those people who usually errs on the side of excess when I am buying fabric. Sometimes, however, I buy a piece for which I have no immediate plans, and therefore, no real idea what I will end up making. This, of course, was the case when I bought my Pucci silk. Little did I know I would be making a dress, and hoping to line its accompanying jacket in the same matching silk.

Pucci

I dutifully measured and calculated and figured there was a good chance I could eke it out. I had two things going for me: the silk was 60” wide, and I knew I would be taking about three inches off the length of the dress pattern (and still have a nice 3” hem). But I also had two things going against me: I would need to do some matching of the design on the dress, which could prove interesting with a print that seemed to change both its color and motif on a whim. More concerning was the fact that the jacket has kimono sleeves. Kimono sleeves usually require more fabric than set-in sleeves.

I wasn’t about to panic – yet. First I had to make muslins (toiles) of both the dress and the jacket. Both needed some fitting adjustments (mostly minor), which I will not go into now. One of the most helpful parts of making a muslin, at least for me, is the opportunity it gives me to get acquainted with the construction of whatever it is I am making.   In this case, the dress was very straightforward, but the jacket really intrigued me. No wonder, I thought, that the flap on the pattern envelope states “Emilio Pucci’s designs are distinguished by marvelous cut and construction.”

The vintage Vogue Designer patterns include a short statement about each featured designer on the pattern envelope flap.

The vintage Vogue Designer patterns include a short statement about each featured designer on the pattern envelope flaps.

Take a look at the pattern pieces for the jacket. The jacket front (#8) is cut on the diagonal while the accompanying lining front (#16) is cut on the straight of goods, with a deep dart to accommodate the fullness for the bust..

Click on the image for a clearer view of the pattern pieces.

Click on the image for a clearer view of the pattern pieces. Also, note the grain lines.

Now take a look at the jacket side (#13). It is both the jacket side and the under sleeve at the other end. Sewing the muslin together showed me how ingenious this construction is – and I’ll show more about this in another post.

But – back to that silk. Using my adjusted muslin as my pattern, I cut out the silk organza underling for the dress. So now I had all the dress pieces ready to place on the silk, spread out single layer on the dining room table. Then using the tissue pattern pieces for the jacket lining, I was able to eyeball my chances of having enough fabric. There was a thudding moment of truth when I knew in no uncertain terms that there was no way I was going to have enough fabric without making some change in plans.

Where was Rumplestiltskin and his magical spinning powers when I needed him? Alas, I knew I would have to make my own magic to solve this problem! And I could see only one way to make this work. I would have to piece the sleeves so that the lower half of them – the part you can’t really see – were in another fabric, the logical choice being, of course, the black crepe de chine that I would be using to line the dress.

I set about making new pattern pieces for the lining, separating each sleeve section at the “lengthen or shorten here” line and adding seam allowance for sewing the new “bottoms” on each of the three sections. Here are the new patterns for the lining, minus the sleeve ends:

DSC_1197 And here are the sleeve ends. Since I would be able to use the crepe de chine doubled for these pieces (no matching required!), I only needed to make one pattern for each lower sleeve, thus three pattern pieces instead of six:

Searching for Rumplestiltskin When I took my new “chopped off sleeve-ends” pattern back to my silk, I was able to fit everything on, including matching the dress yokes to the body of the dress. I checked and rechecked all the pieces. Then I took a leap of faith and cut it out. Although I am currently working on the dress, I wanted to see how the “new” sleeves, with their pieced ends, would look. So, here is one lining back section assembled, with its lower sleeve end added to it.

DSC_1199

Am I positive this will work and not look glaringly – like I didn’t have enough fabric? Not really.  I’ll know soon enough, however. In the meantime, I am enjoying every minute I spend with this Pucci silk.  Eat your heart out, Rumplestiltskin!


14 Comments

Filed under couture construction, kimono sleeves, sewing in silk, Uncategorized, underlinings, vintage Vogue Designer patterns, vintage Vogue patterns from the 1960s, Vogue patterns