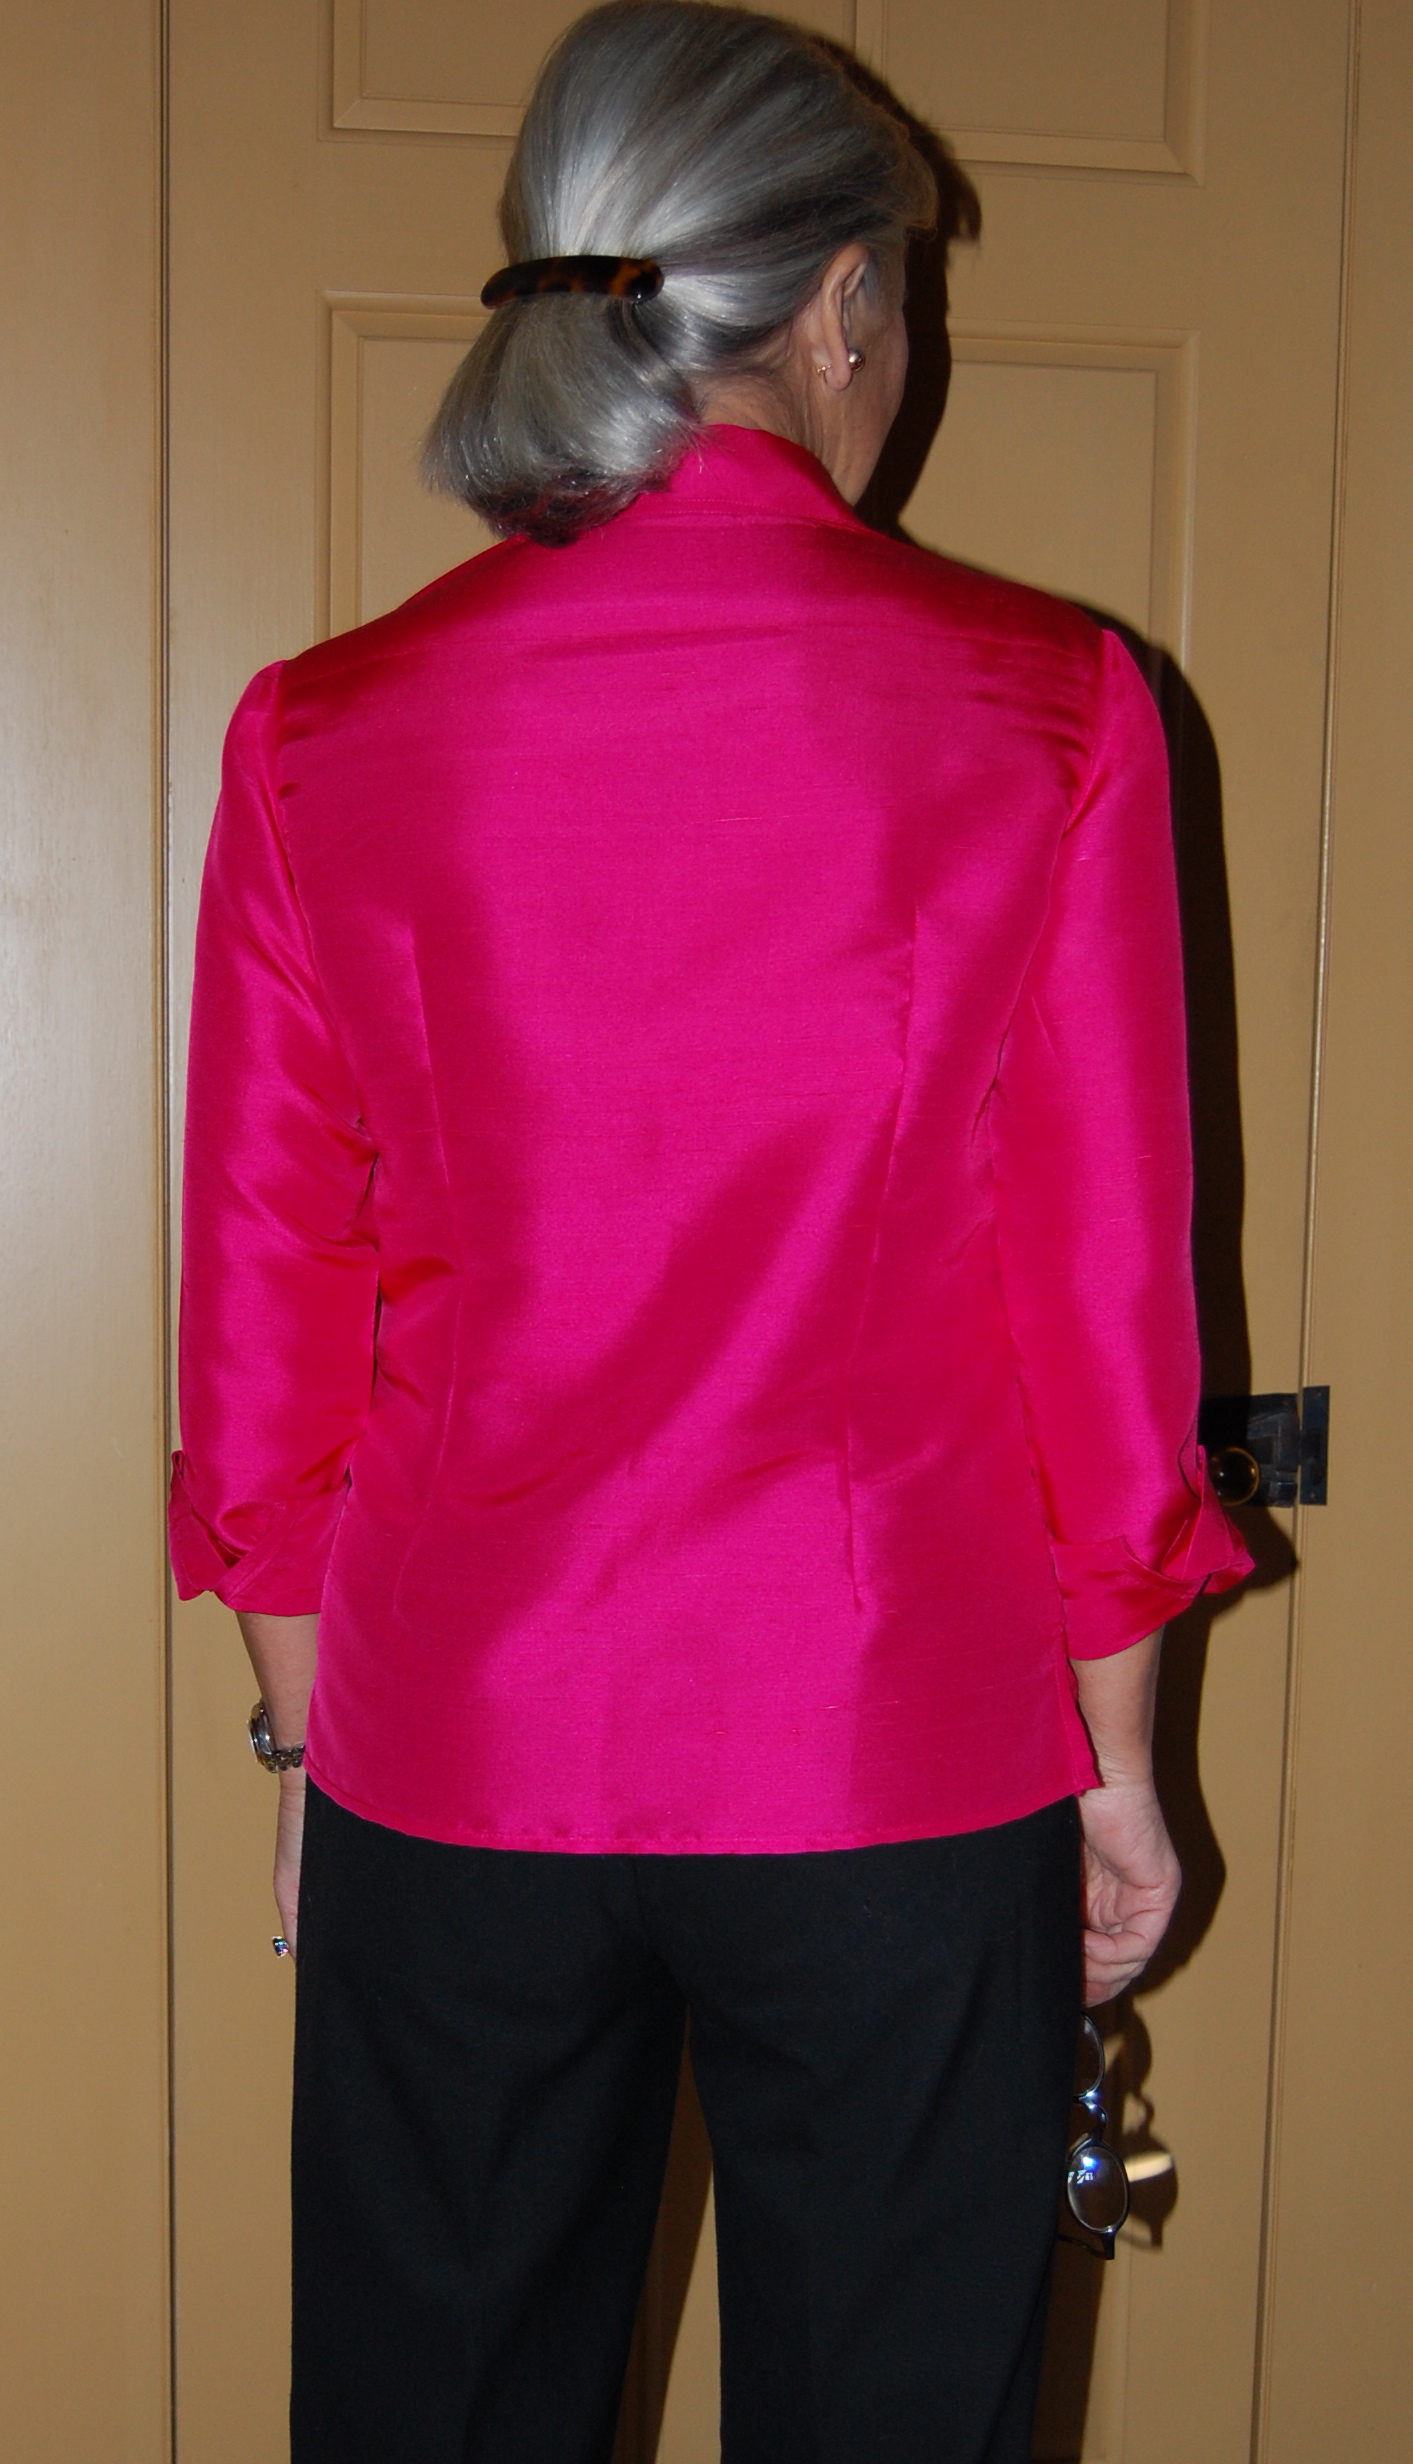
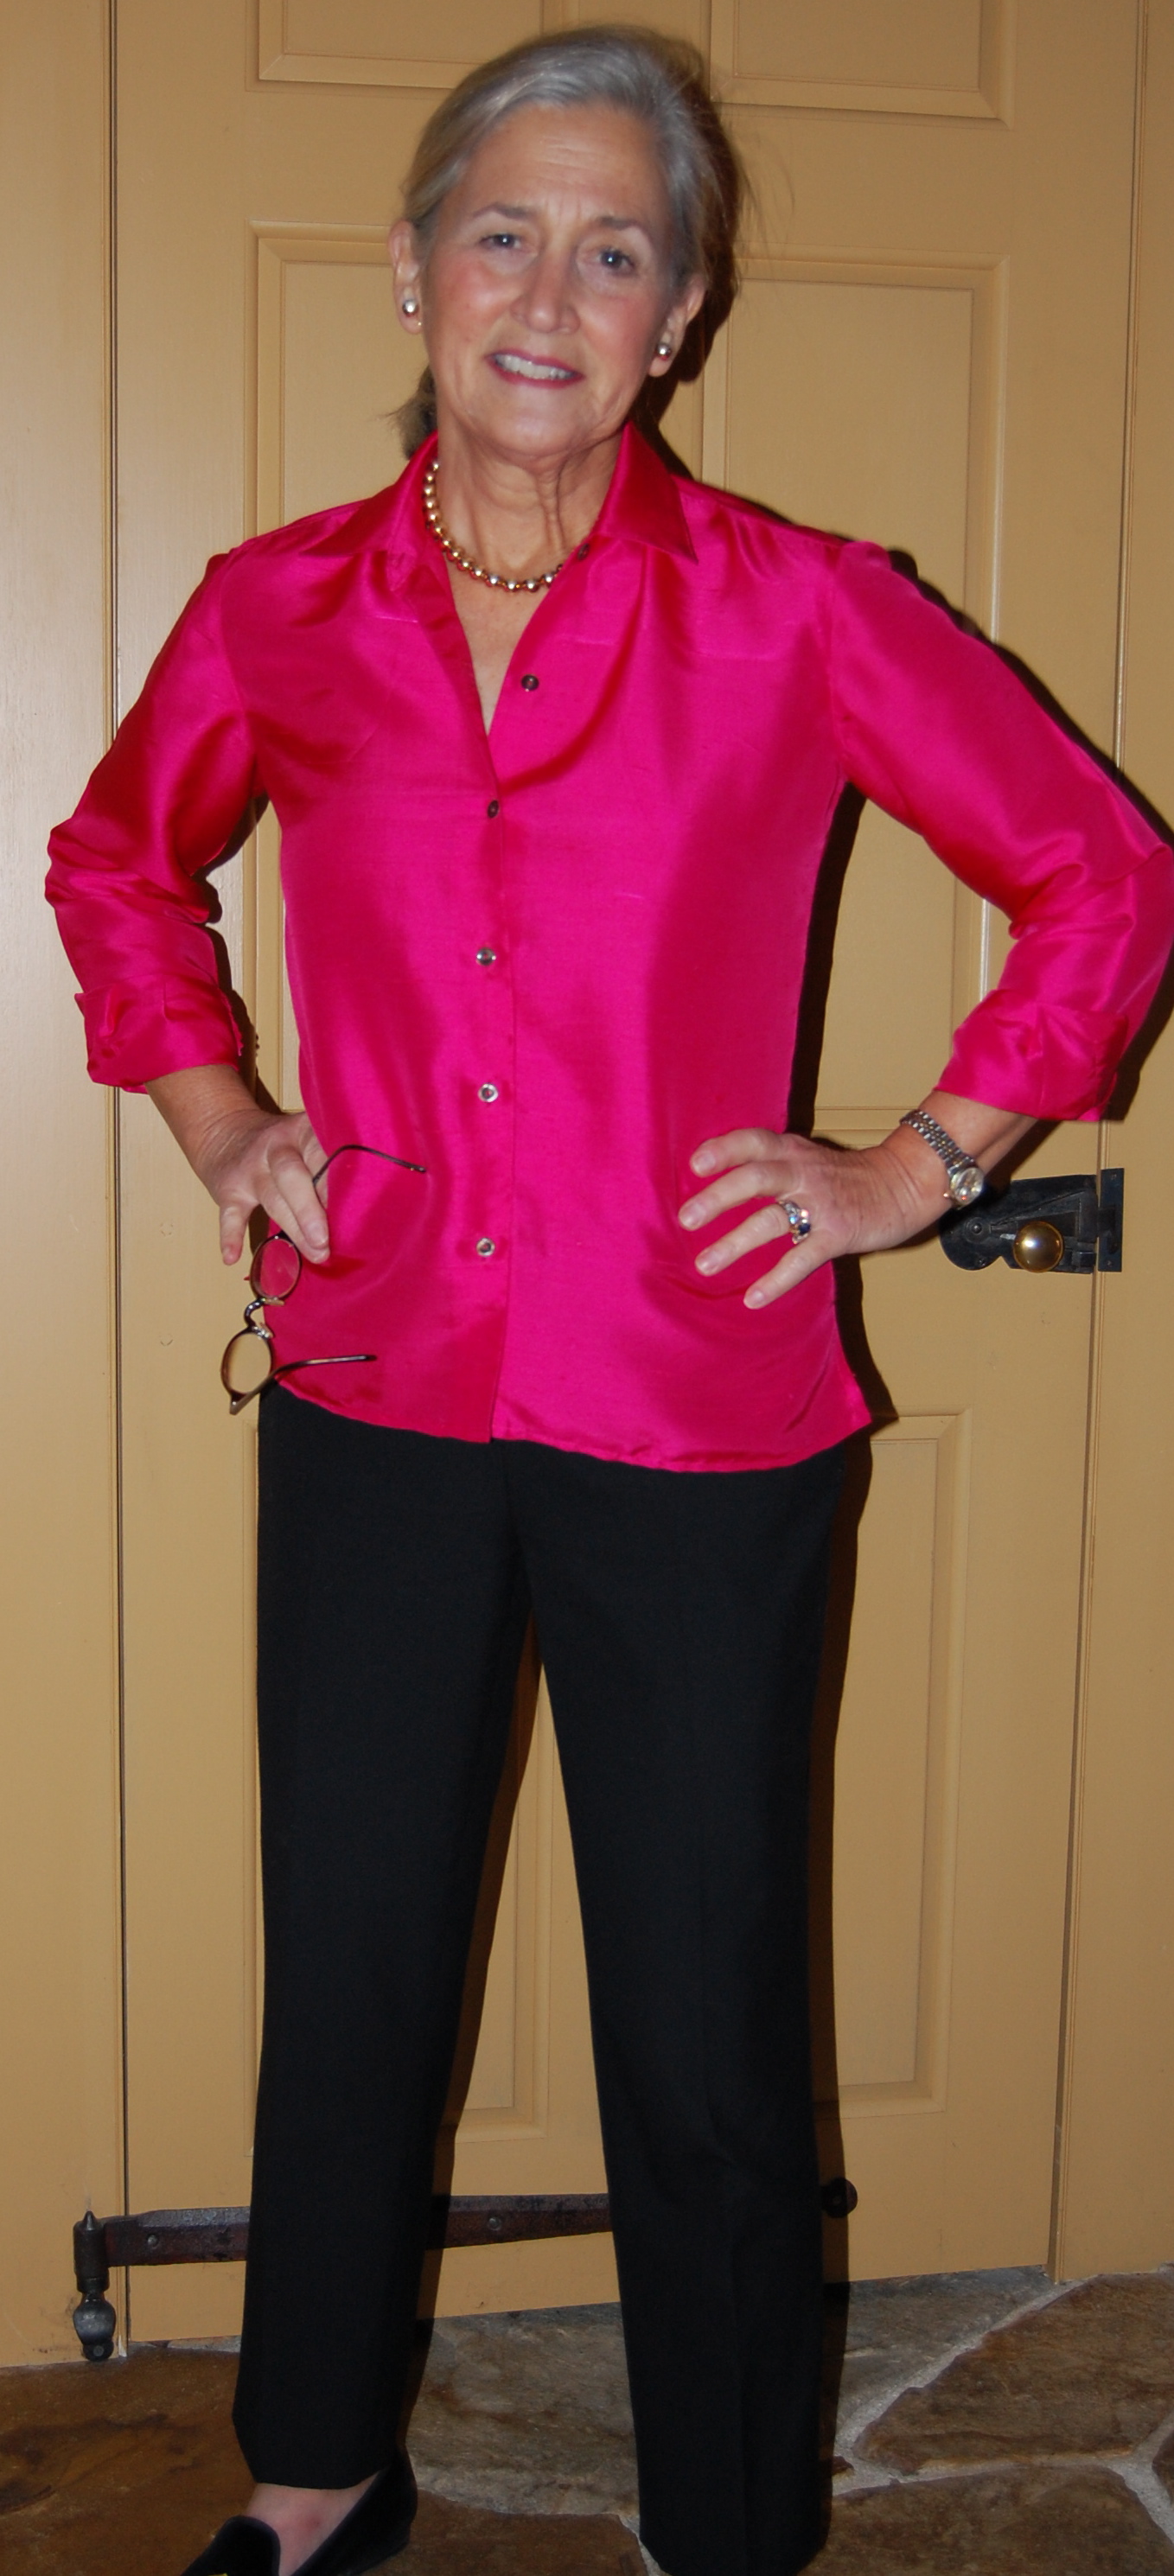
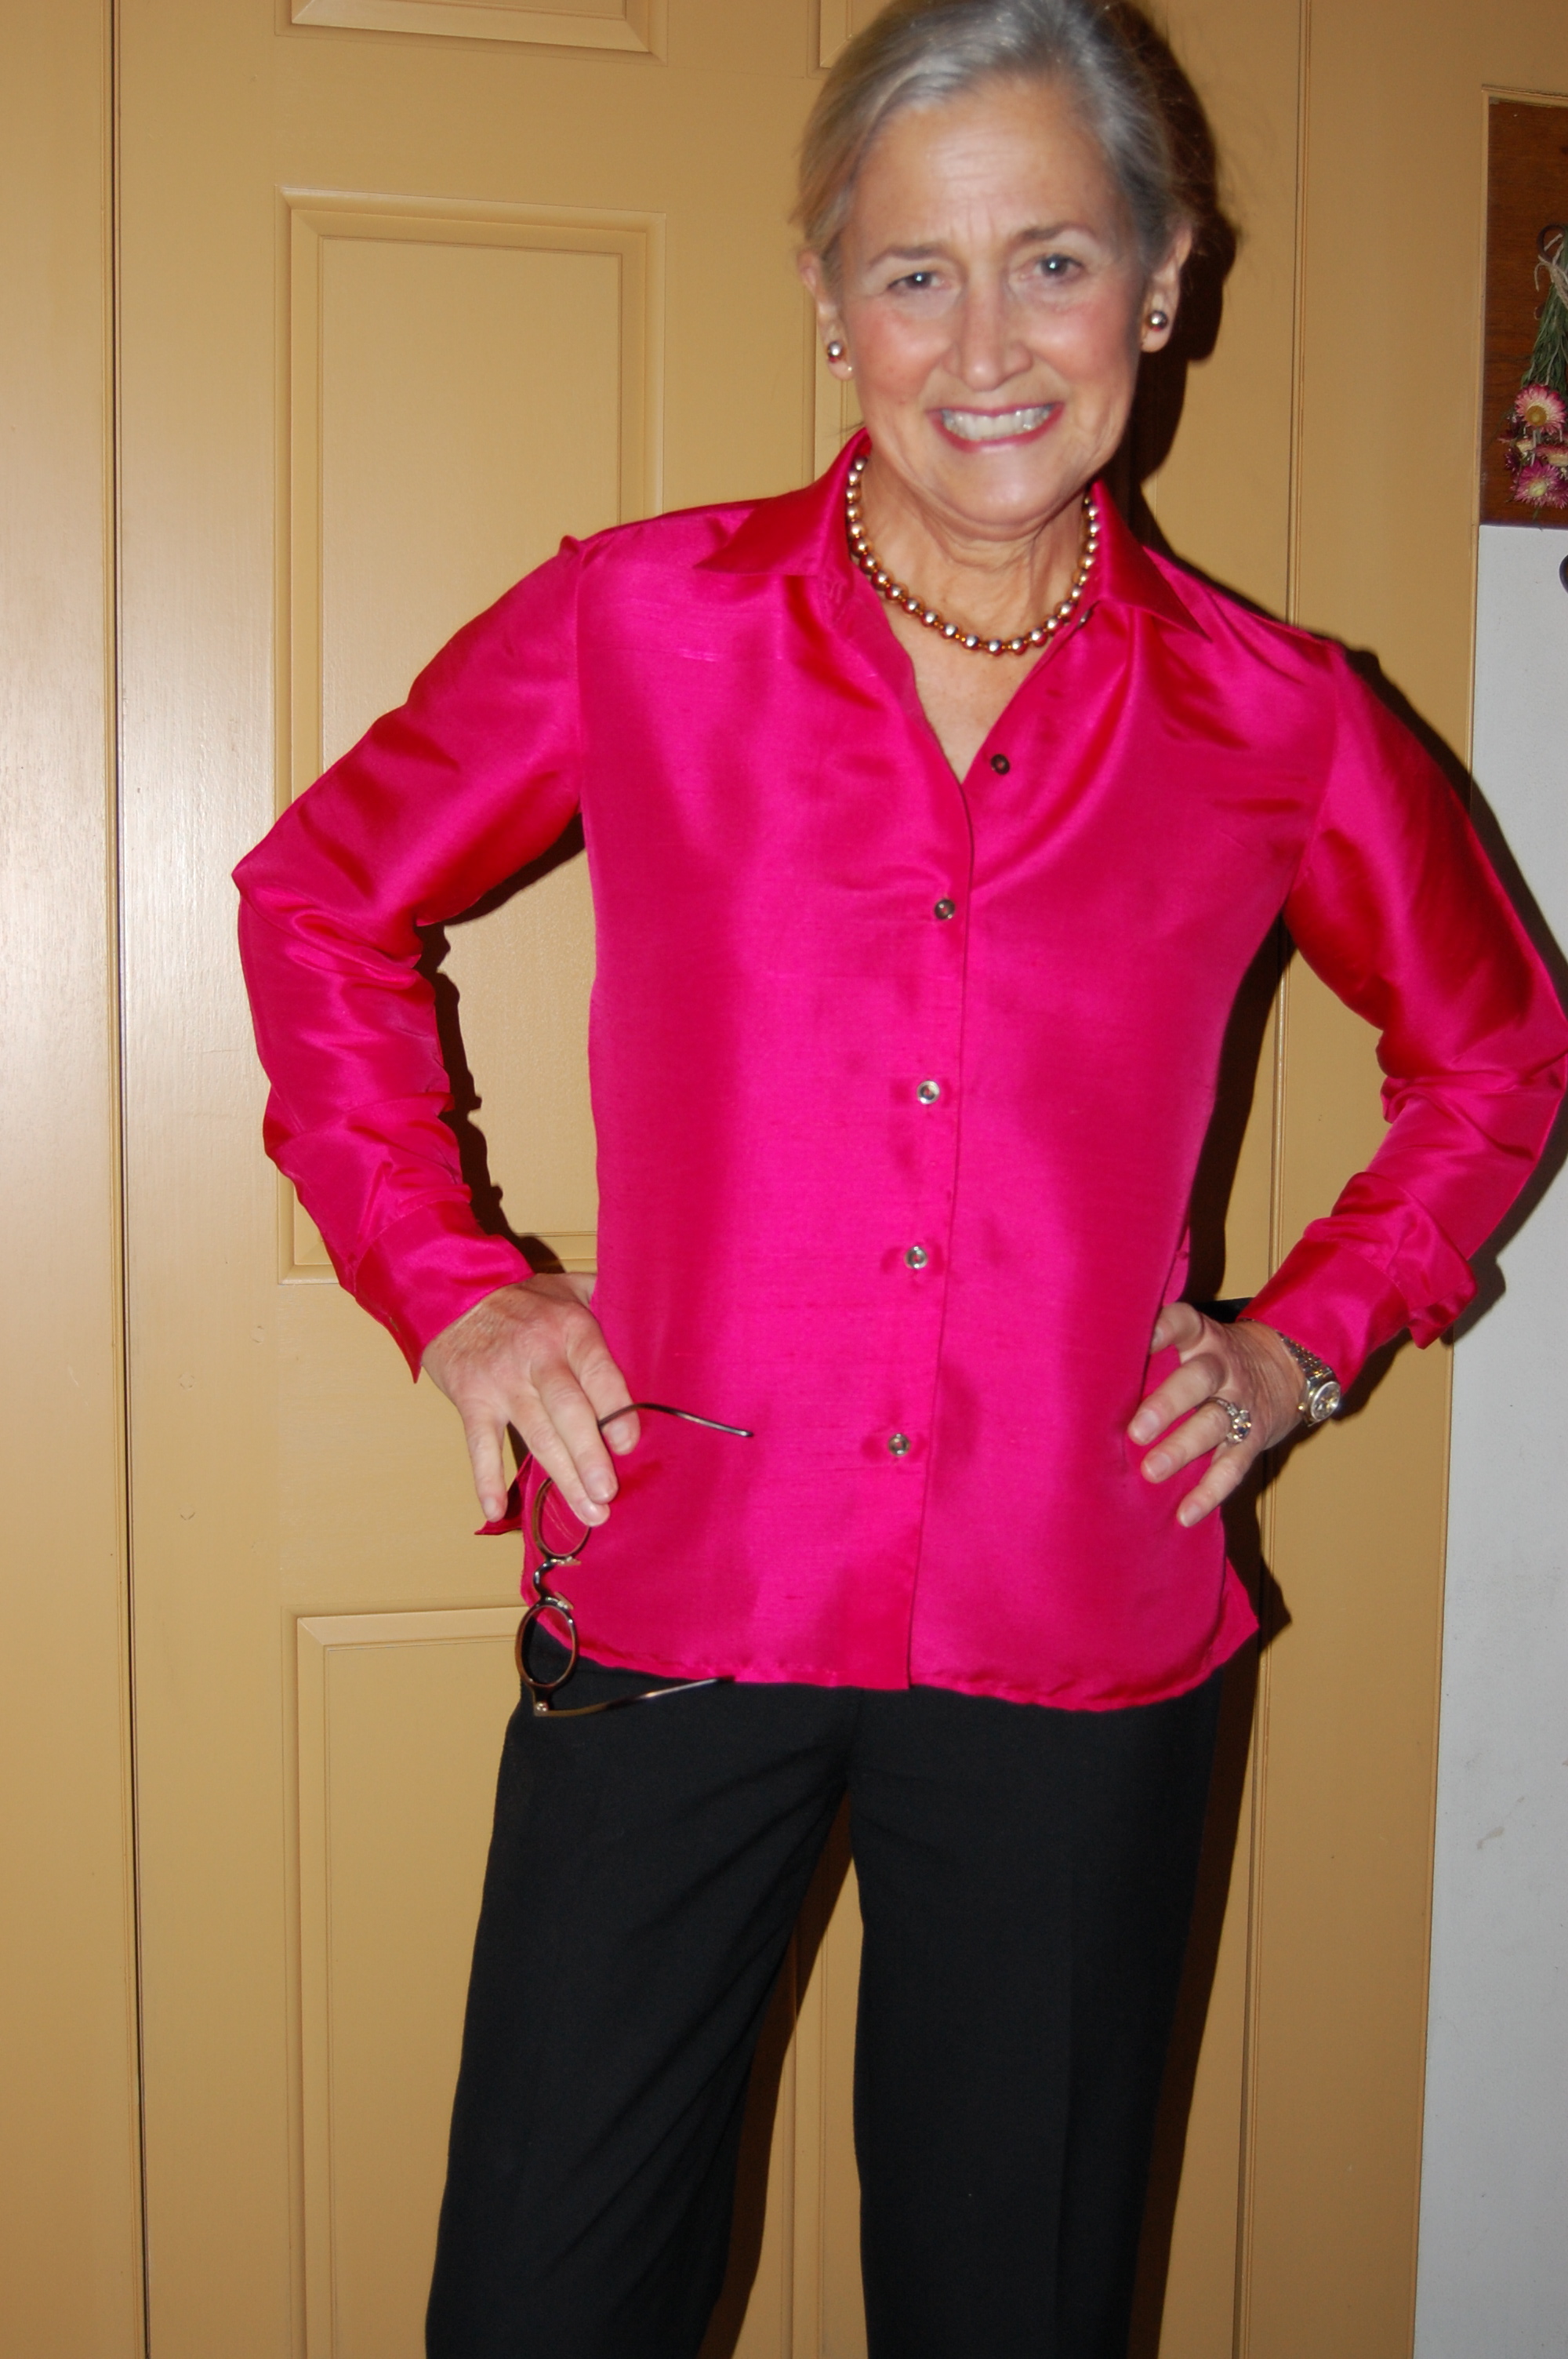
For a number of years now, Thursday evening has been “date night” for my husband and me. That’s what we call it, but it really just means that we always go out for drinks and dinner. It is always one of my favorite nights of the week. Part of the fun of it is the “standing reservation” we have at a favorite local “drinkery/eatery”, where we are always met by friendly staff and a “kitchen” that knows our favorite choices. Because we so often go to this same place, I like to mix up what I wear. I doubt anybody actually notices, but it is just one of those things which is important to me! Anyway, my new blouse is going to be a colorful, welcome addition to my Thursday night wardrobe.

Made from pink silk which I purchased in the 1980s.
As I stated in my last post (distanced from this one by a sojourn to California, from which I did not return empty-fabric-handed…!), I based this blouse on a RTW one I have worn for years. I always remember the good advice given on page 86 in 101 Things I learned in Fashion School (by Alfedo Cabrera with Matthew Frederick. Copyright 2010, Grand Central Publishing, New York, New York): “When in doubt, look in your closet. When unsure about how a garment you’ve designed should be constructed, look at your own wardrobe: We all have at least one pair of fly-front pants and a garment that buttons down the front. It doesn’t take much time or effort to pull it out and replicate or adapt what one sees.”
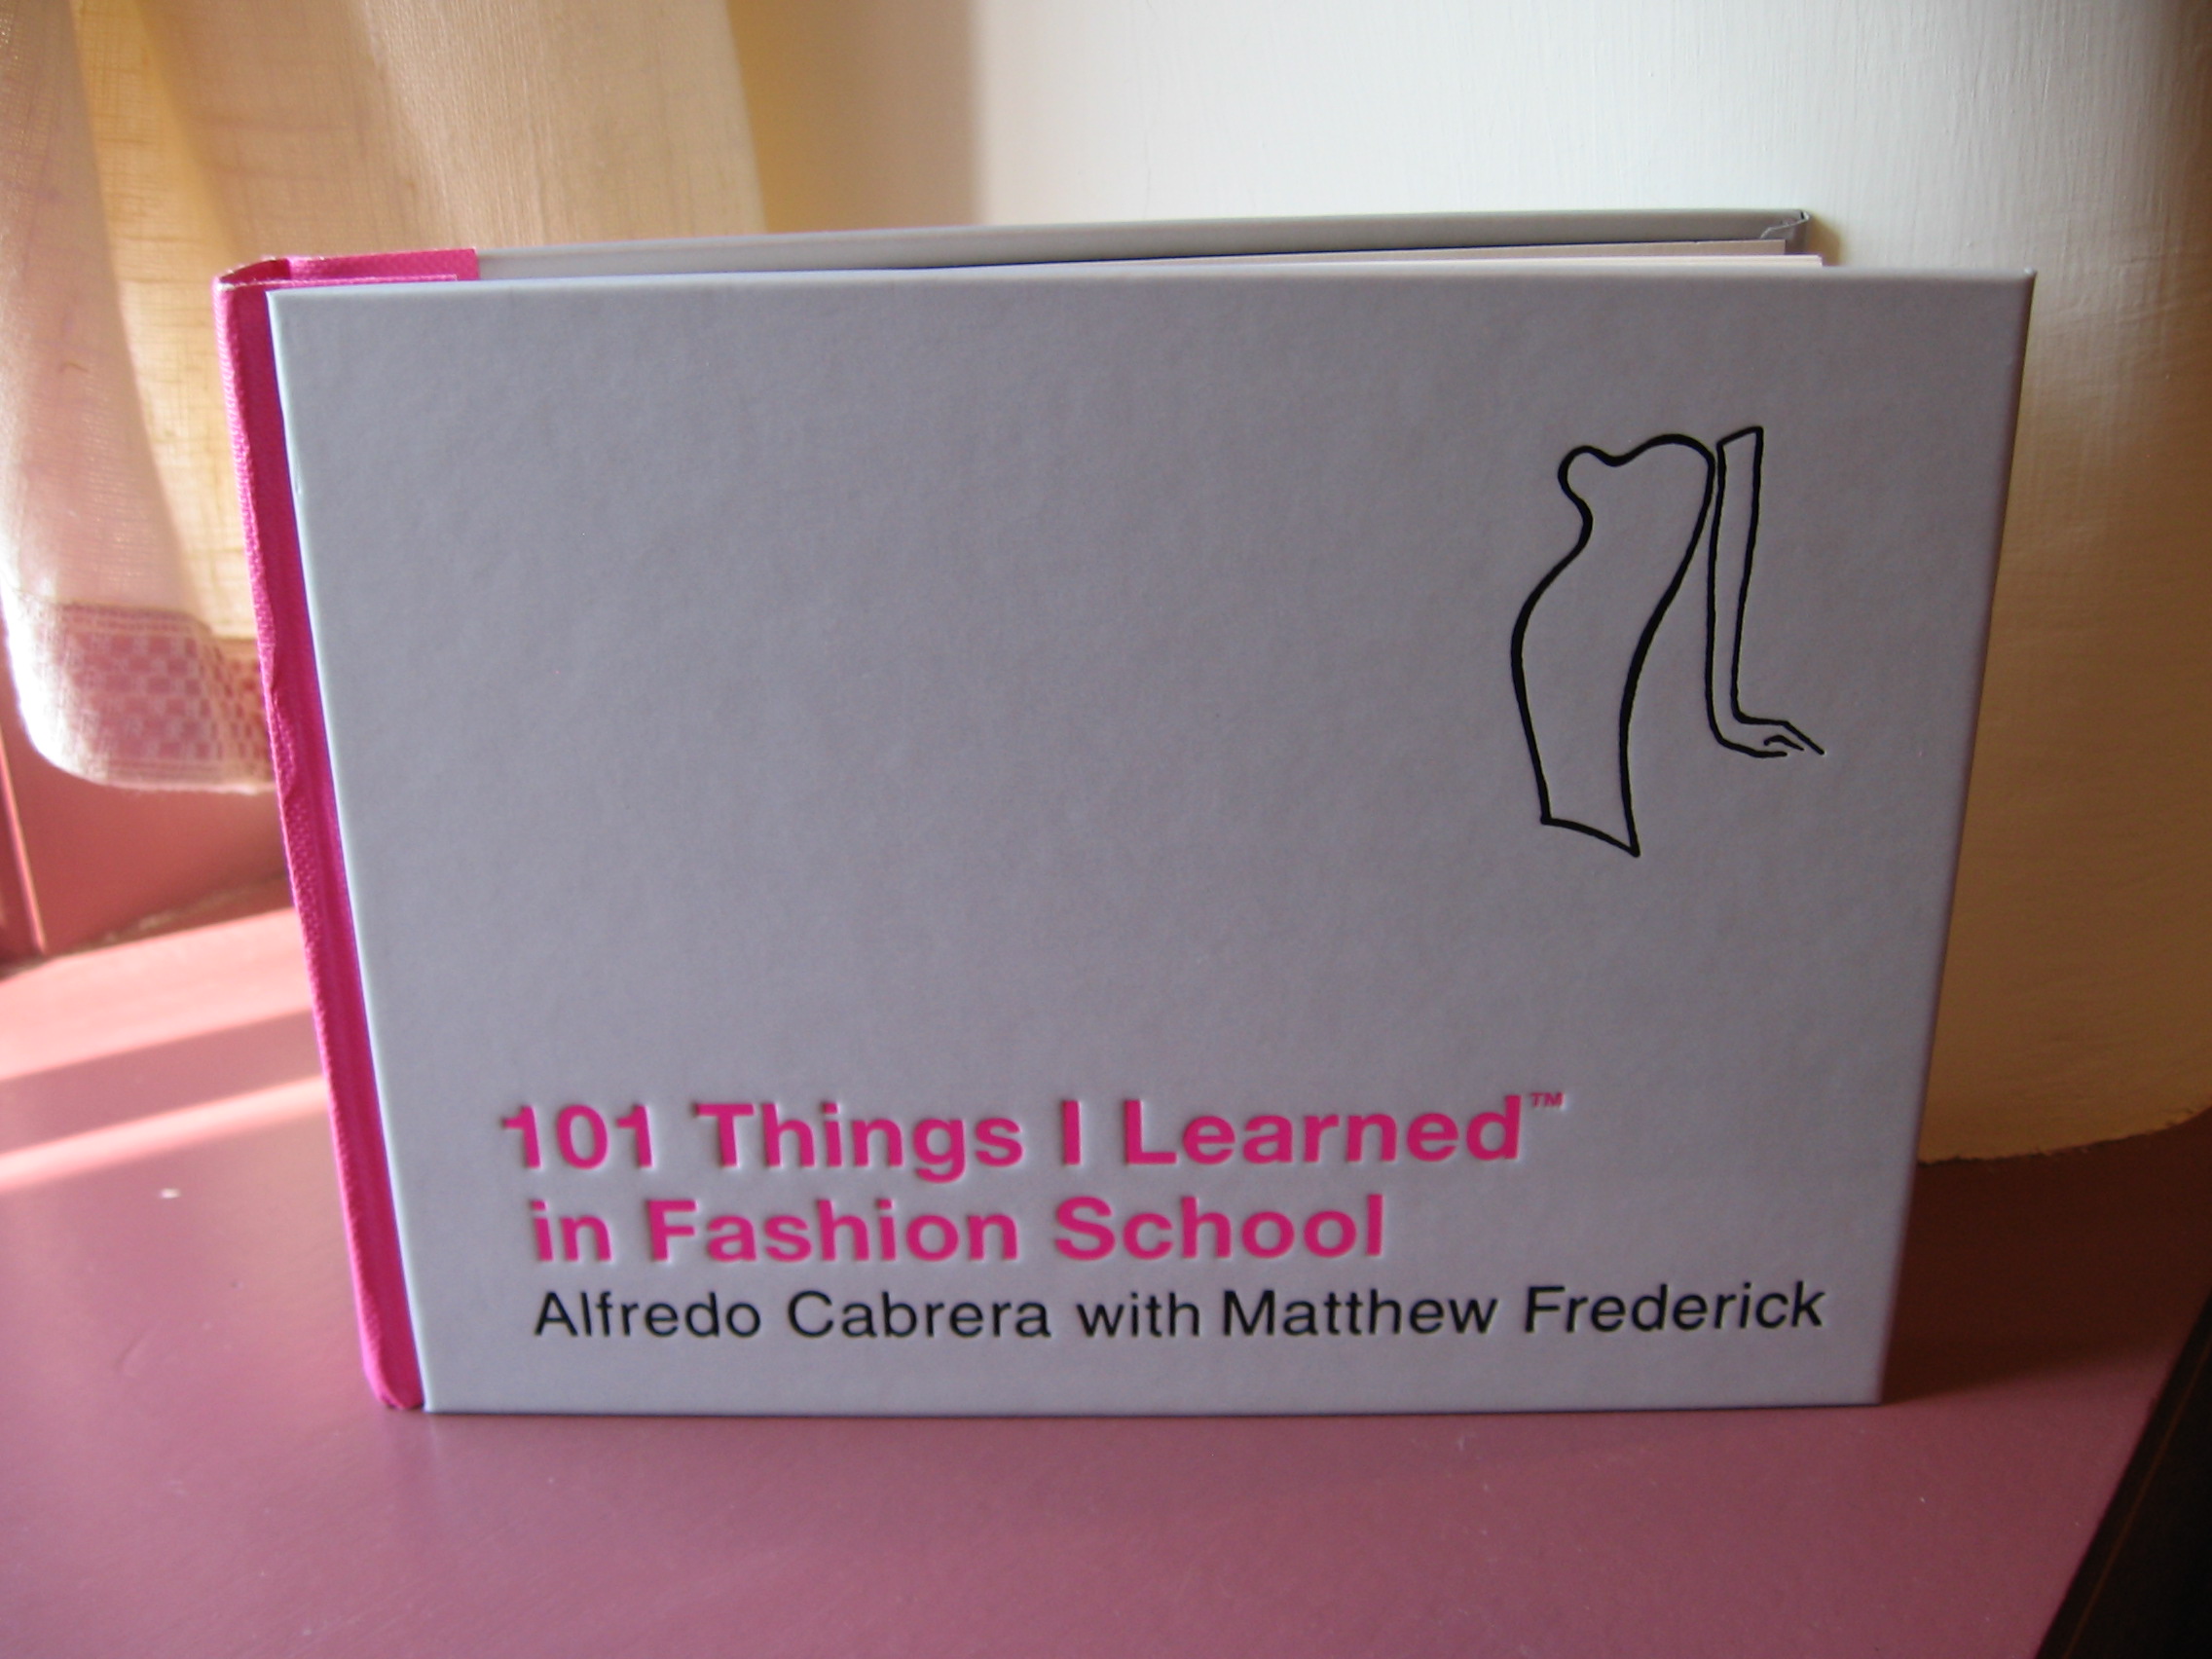
A little book filled with great information
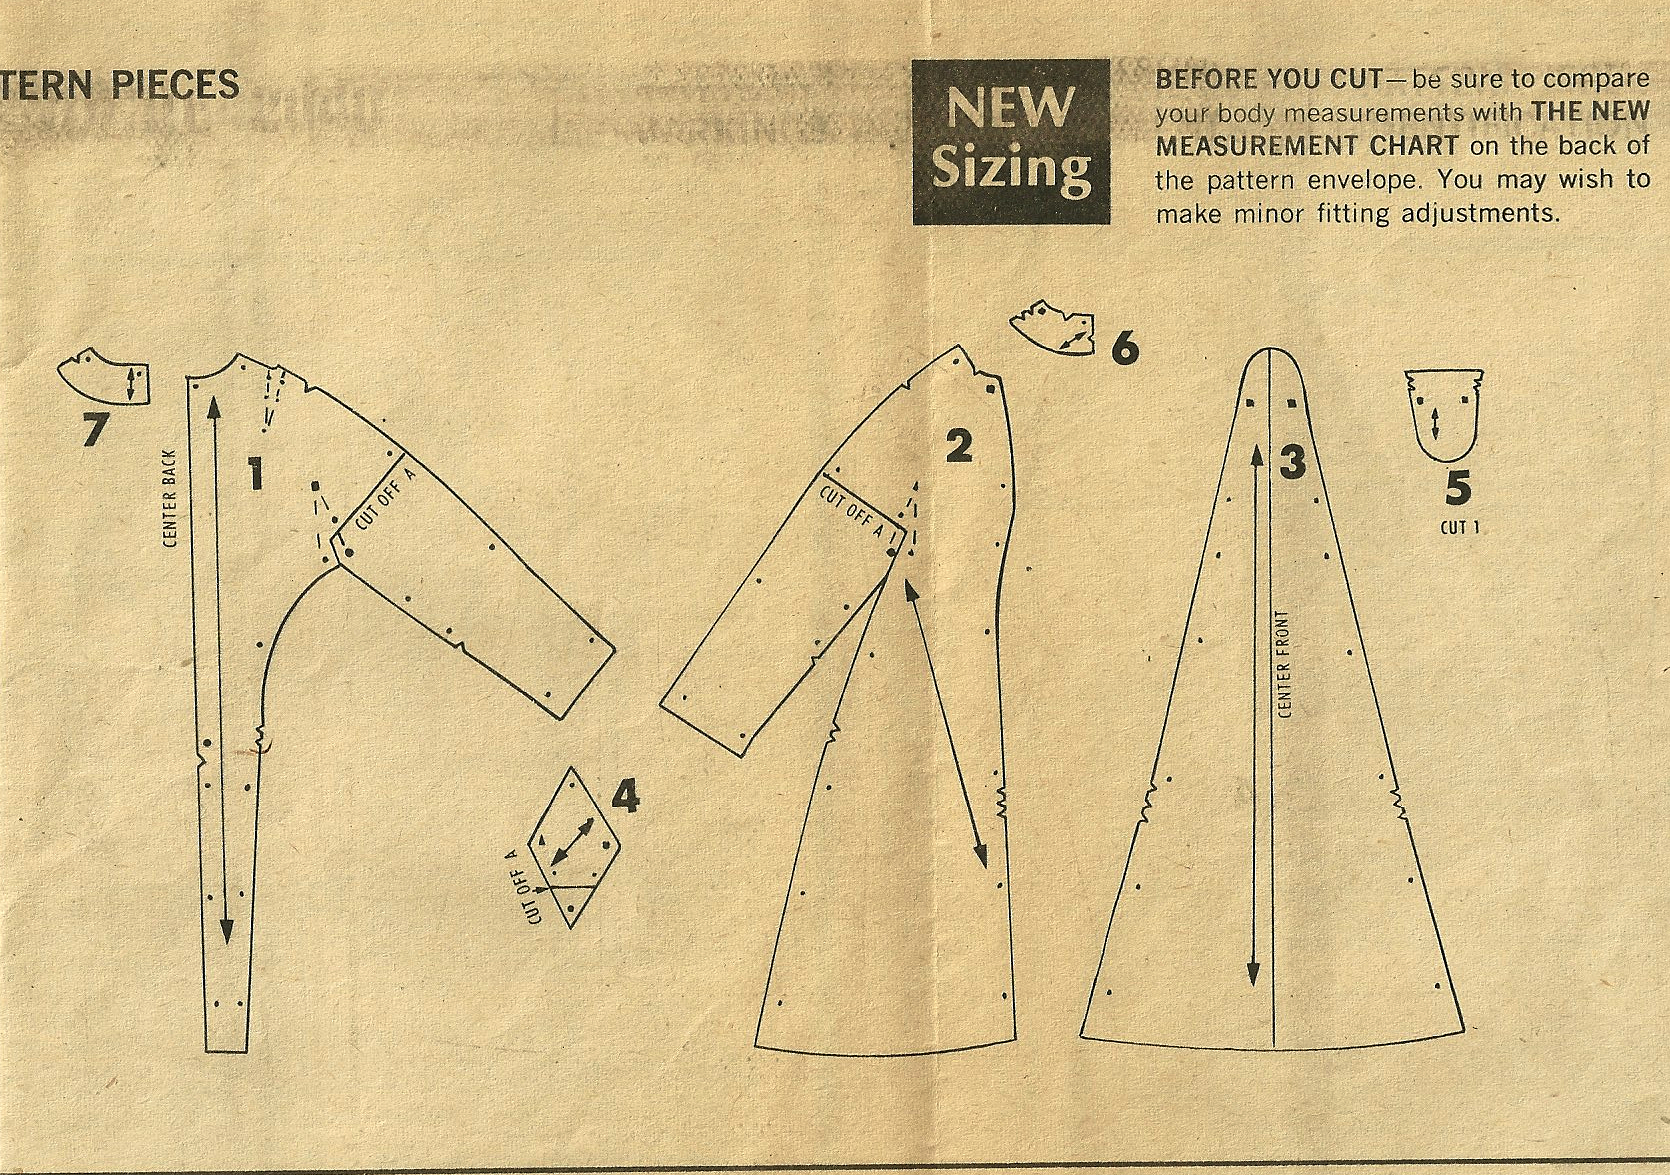
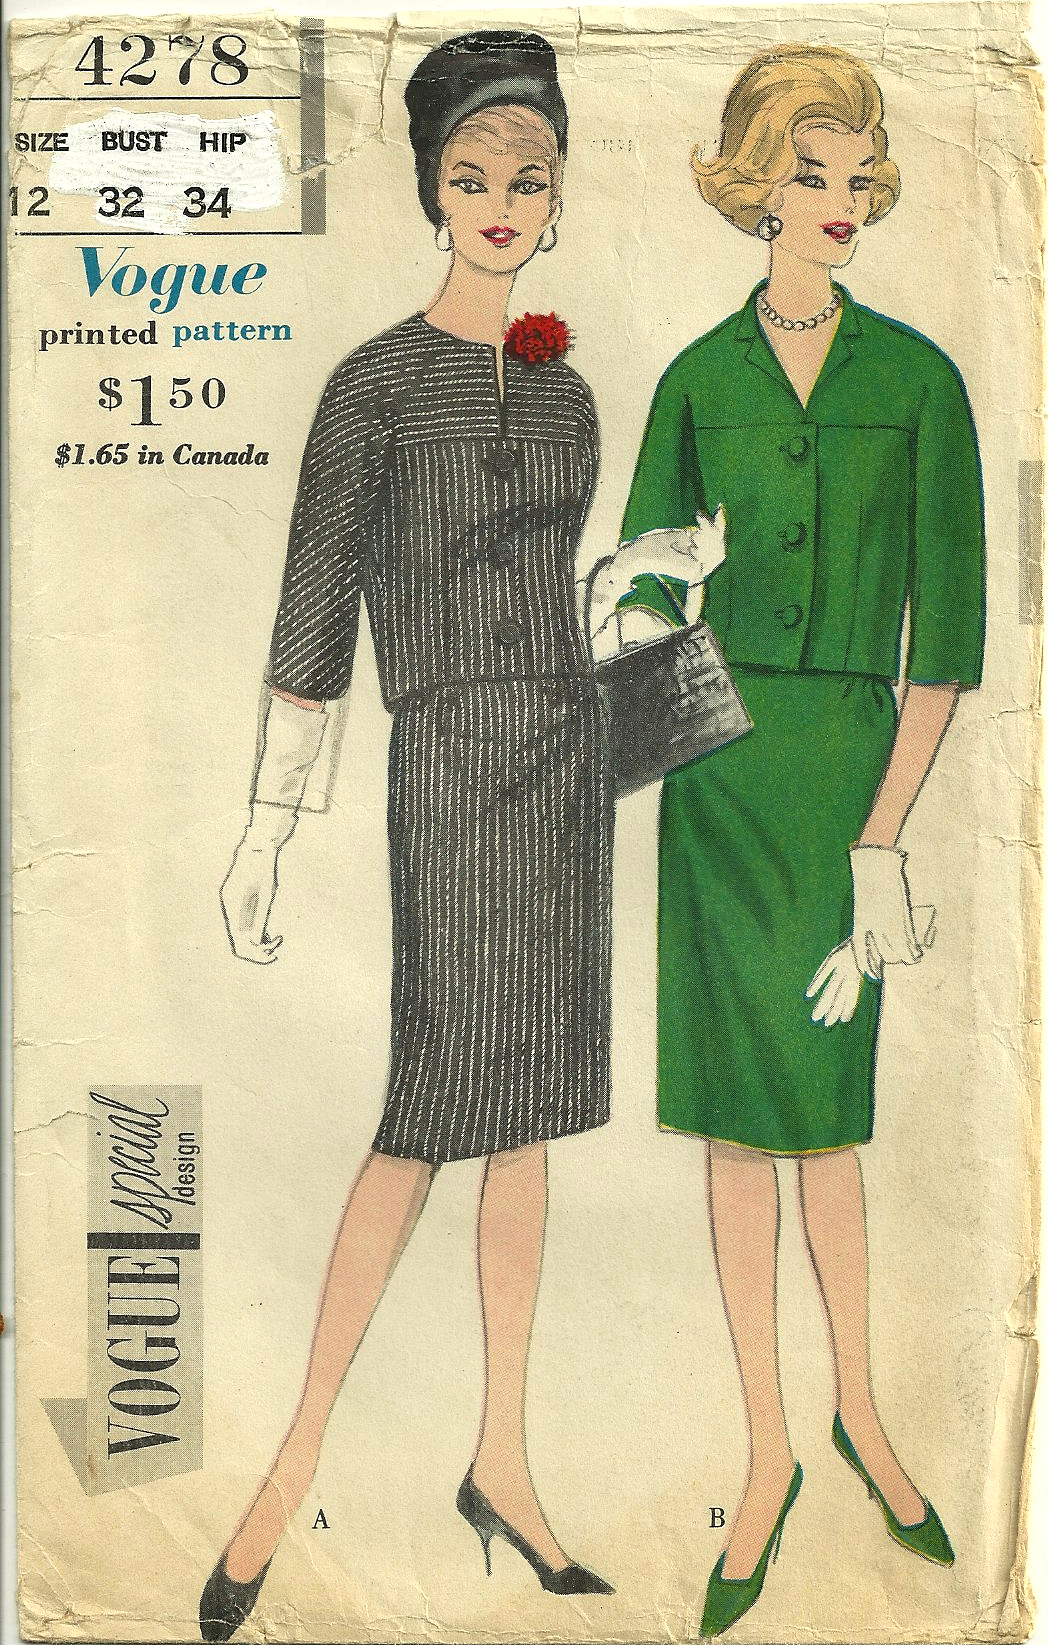
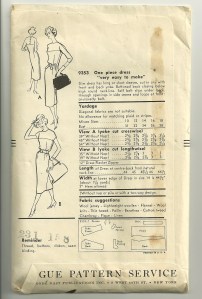
Of course, I wanted to start with a basic blouse pattern, which I could tweak to recreate my old favorite one. At this point, you might ask, “How difficult can it be to find a basic, long-sleeved, banded collar blouse pattern?” A lengthy search through my patterns produced exactly one with some of the lines I wanted. Just looking at it kind of made me cringe. But then I realized that, with certain changes, it would probably be just about perfect. Copyright 1972, this Simplicity pattern looks about as dated as it is, but its “bones” are still good!
 Among the details I needed to change:
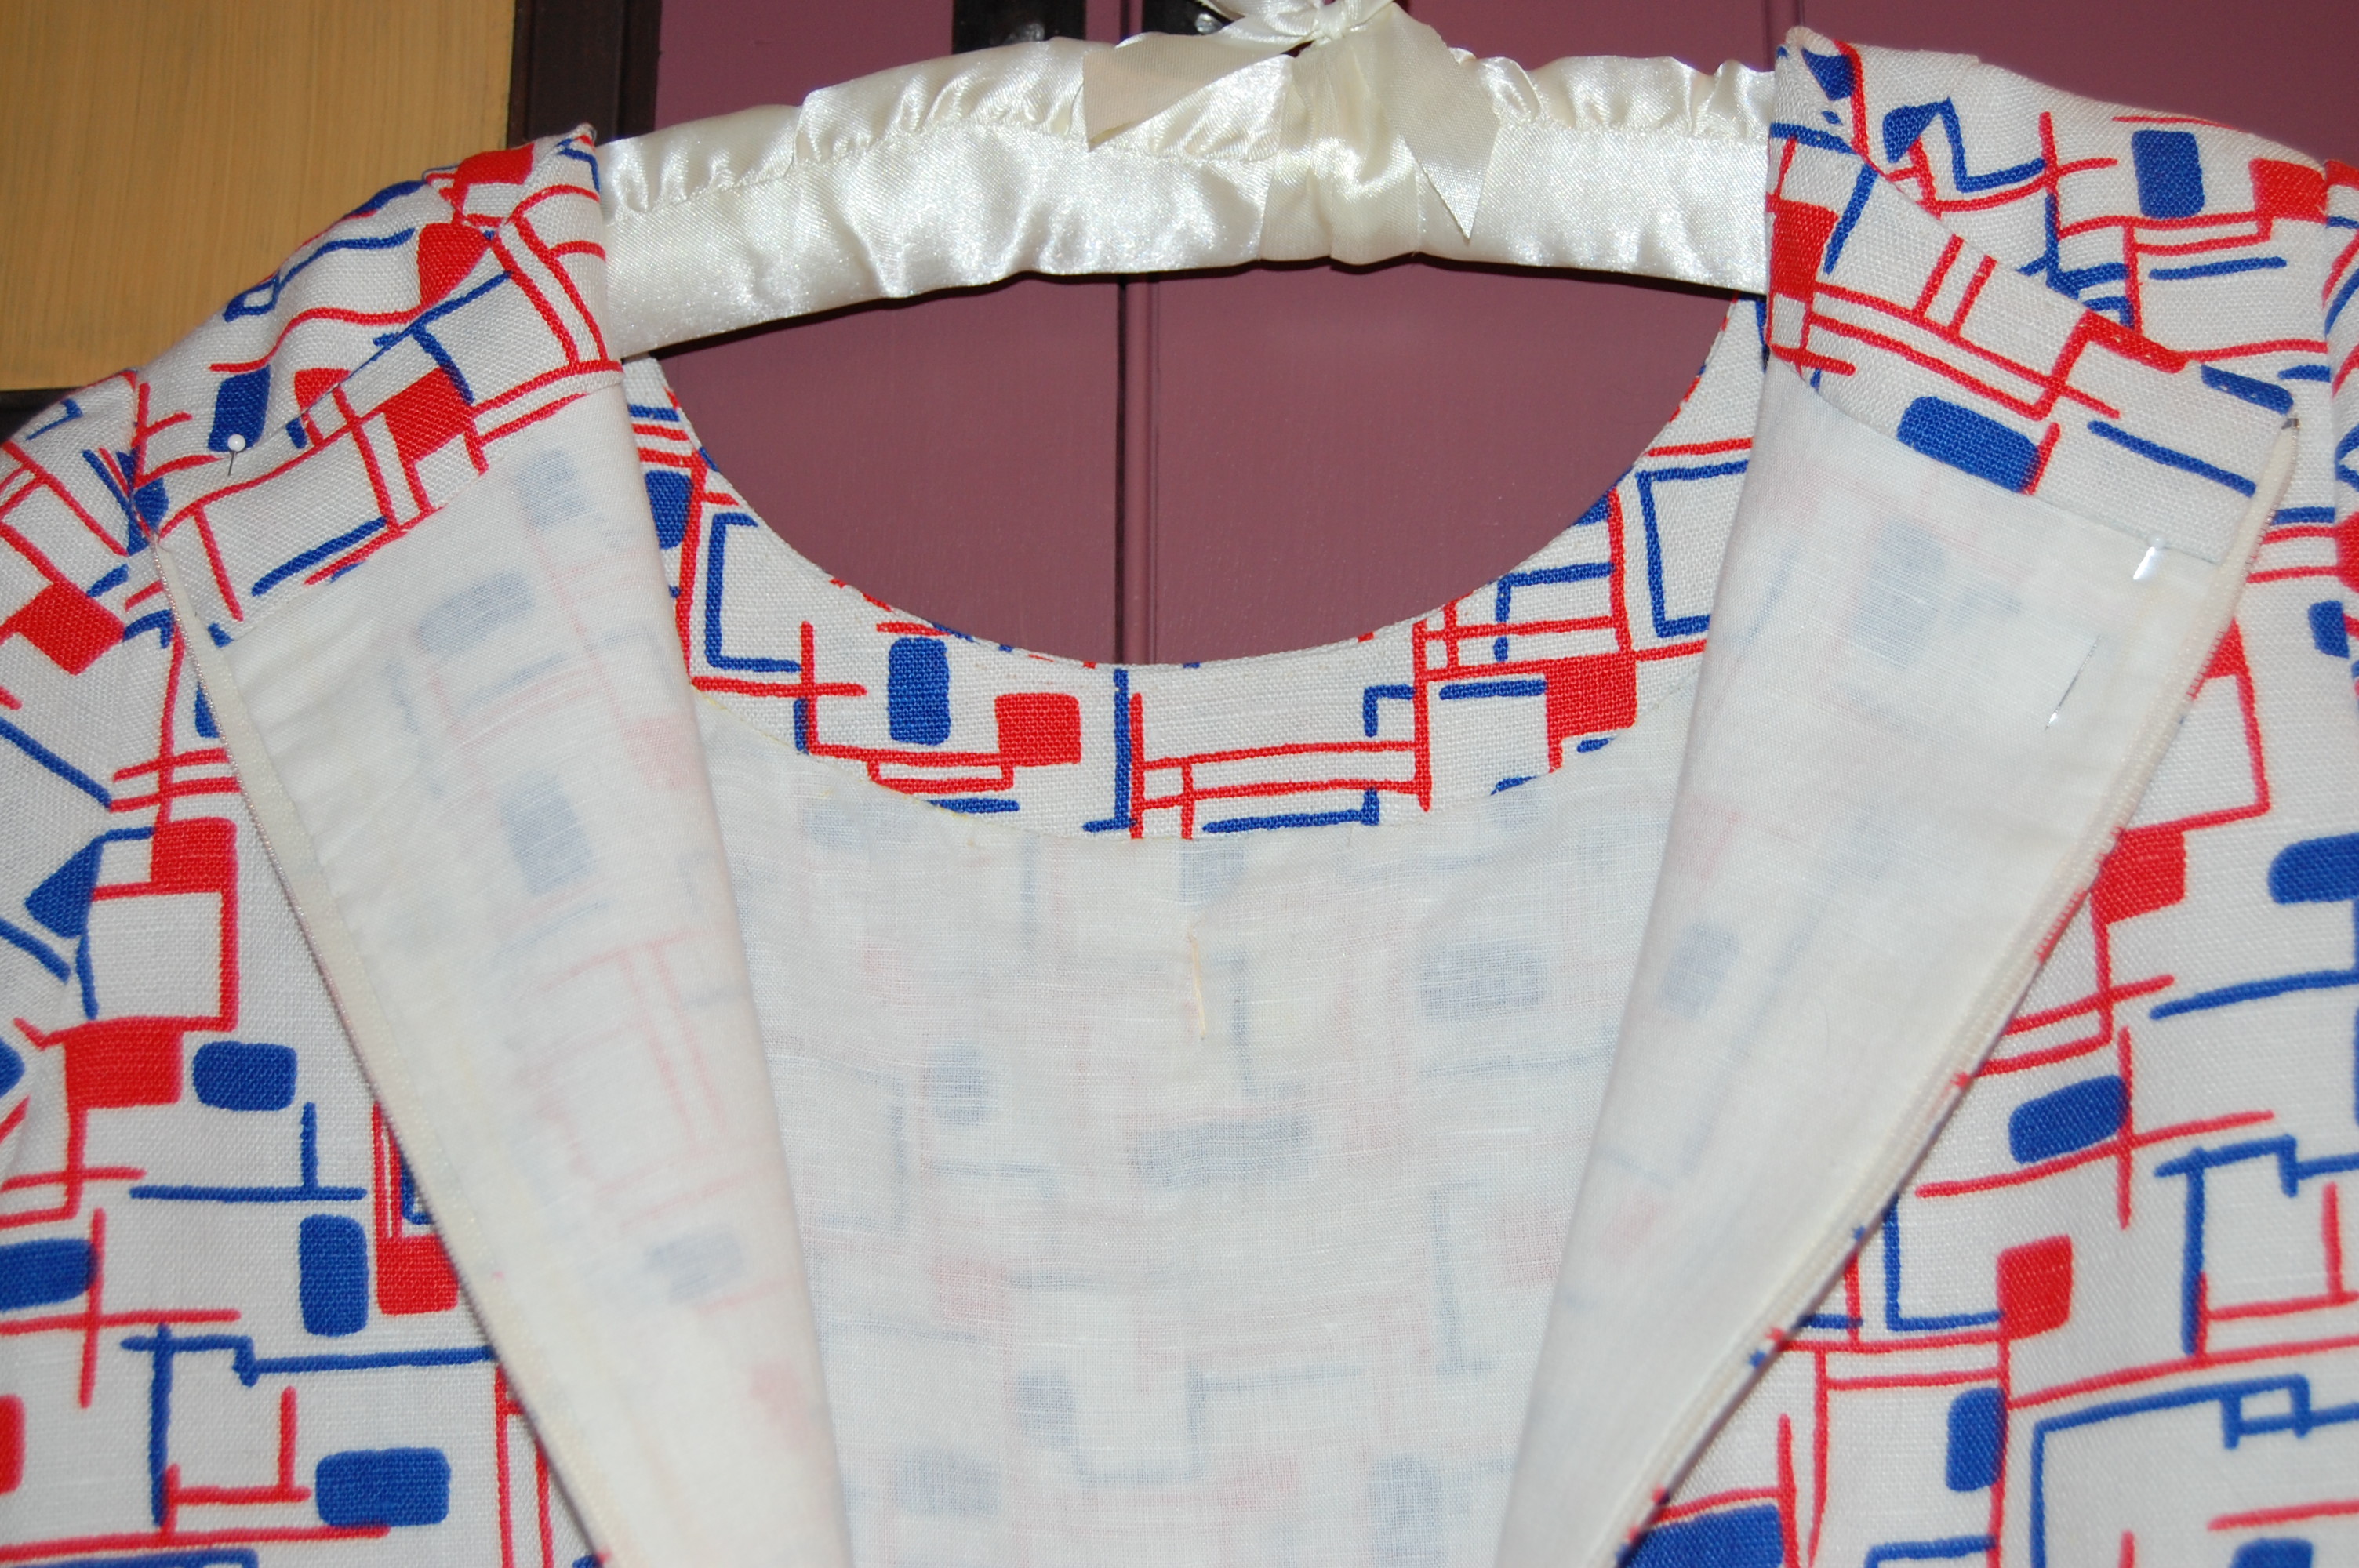
1) The collar band was much too wide, so I narrowed it by about 50%.
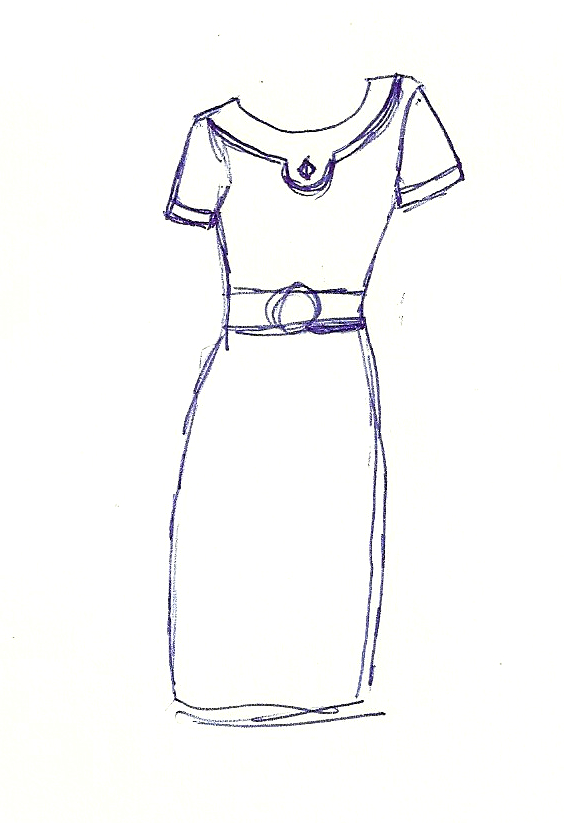
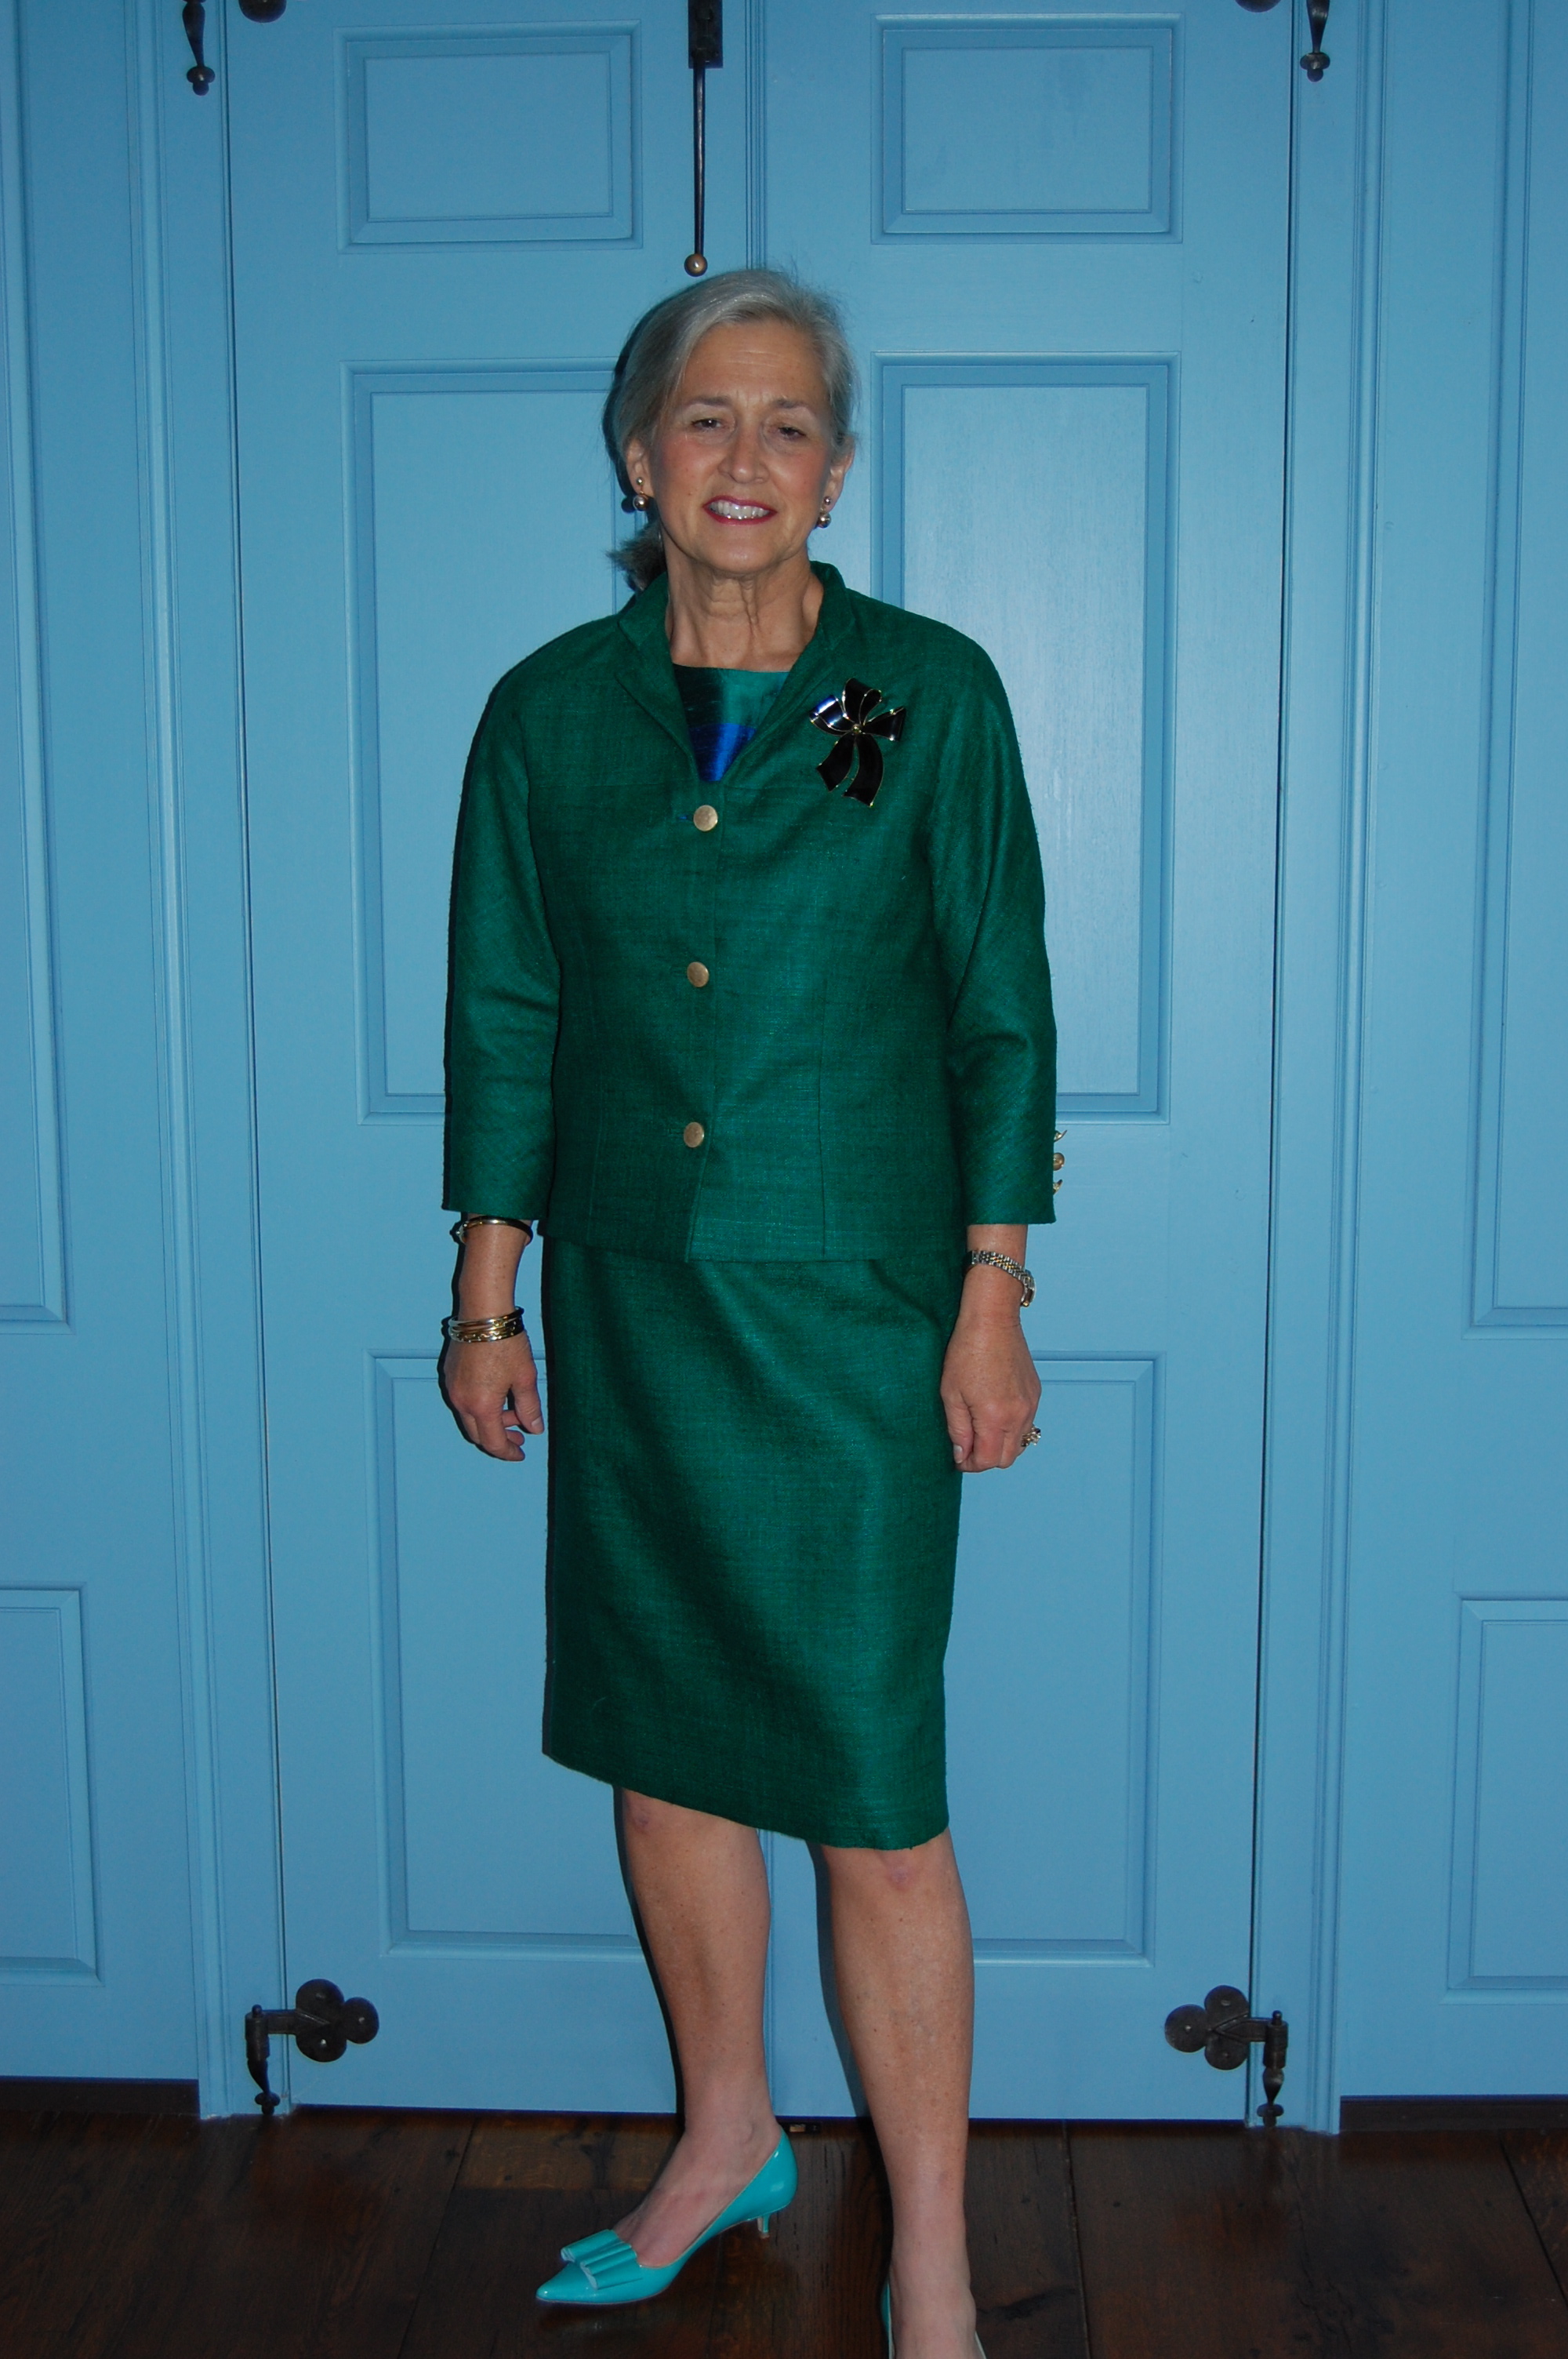
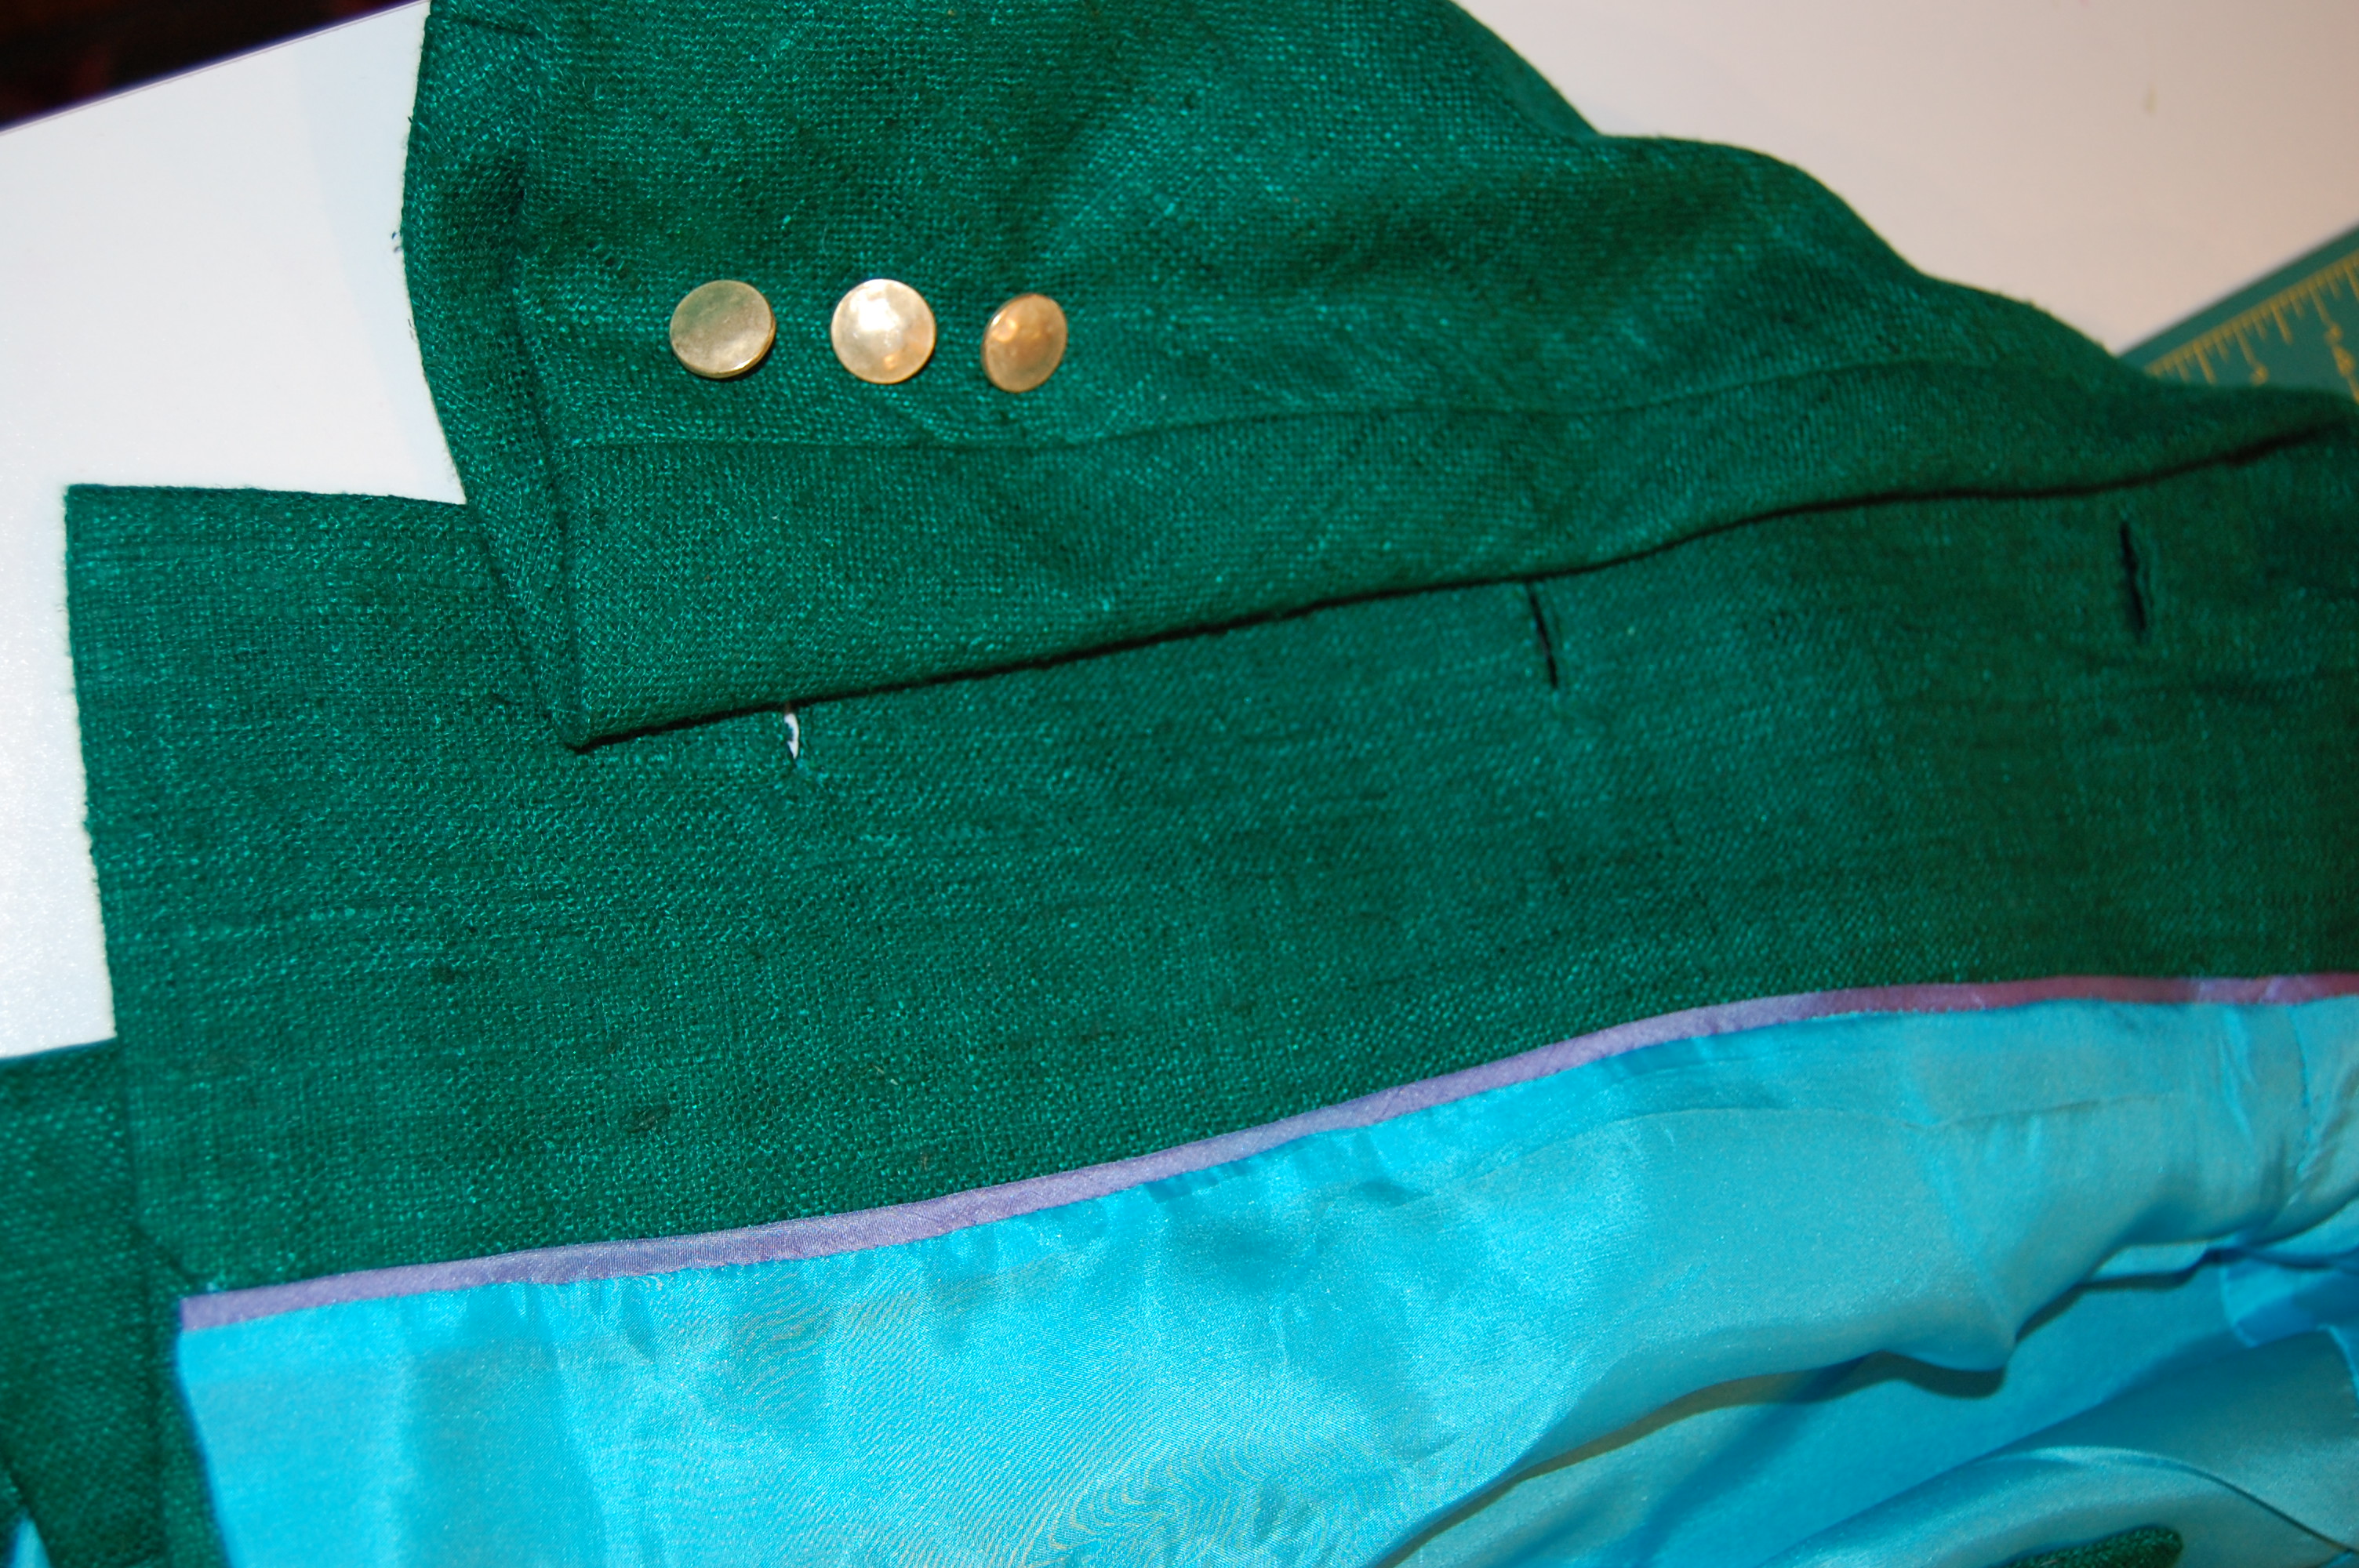
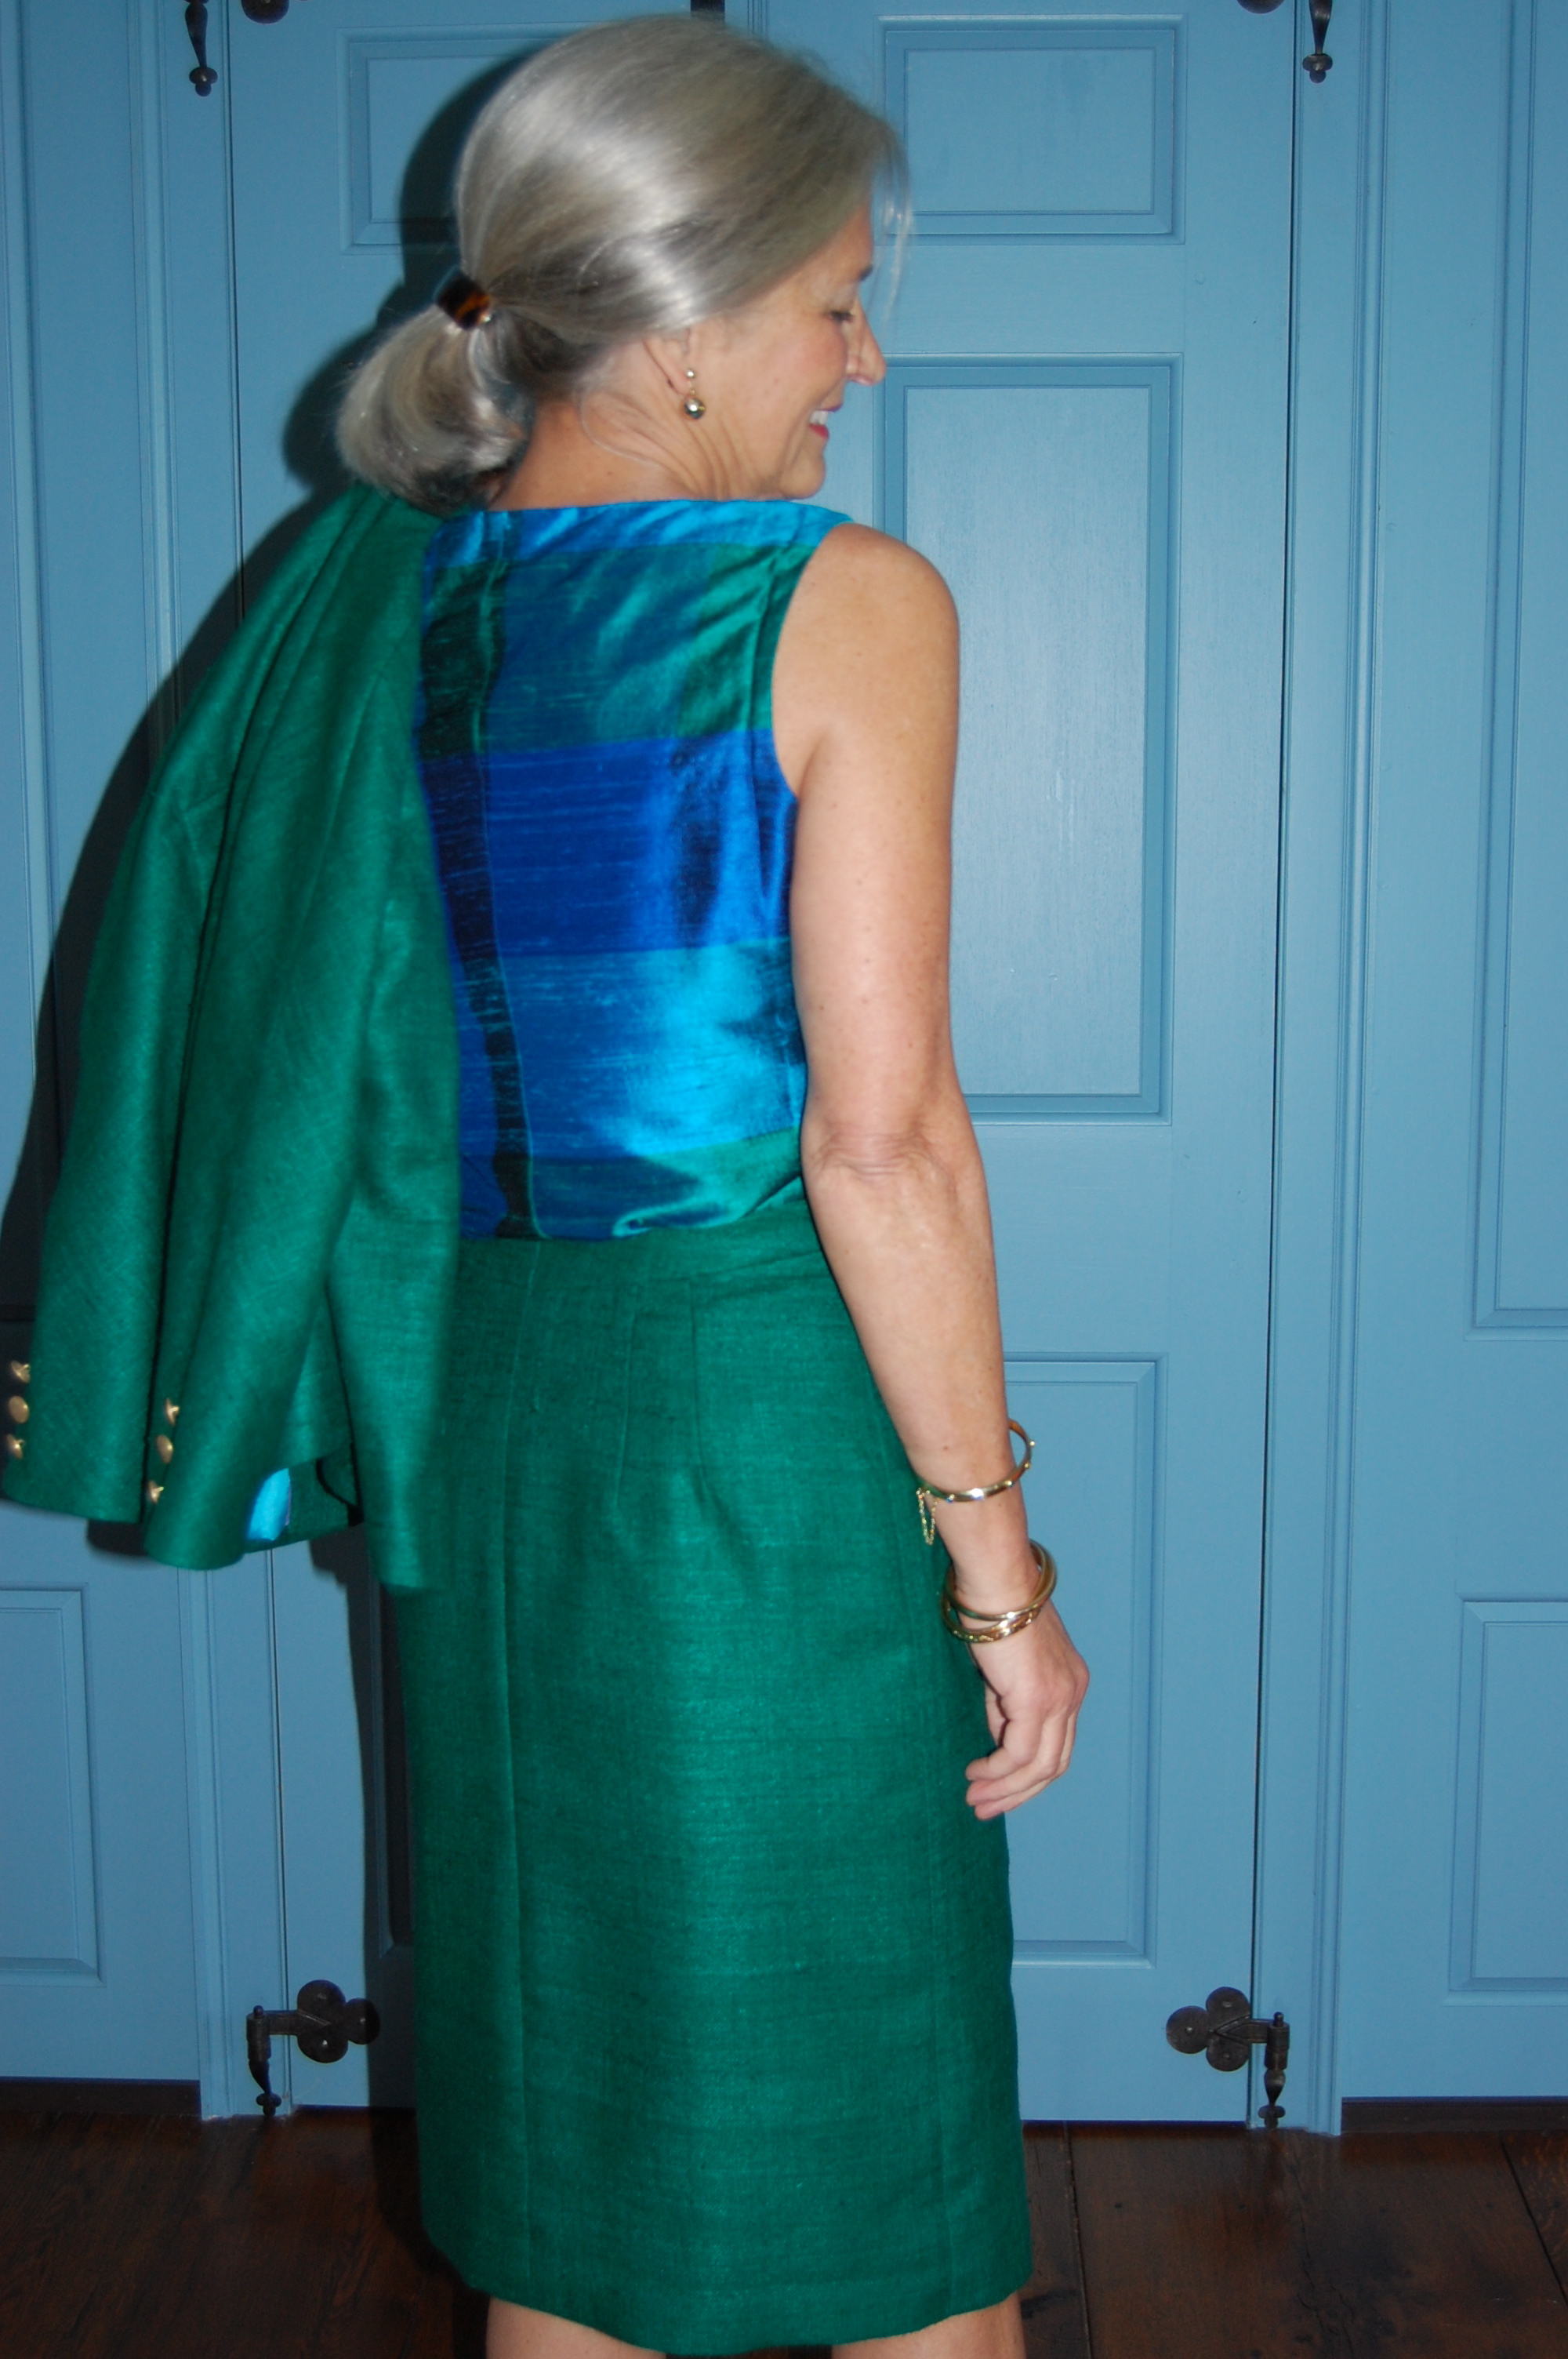
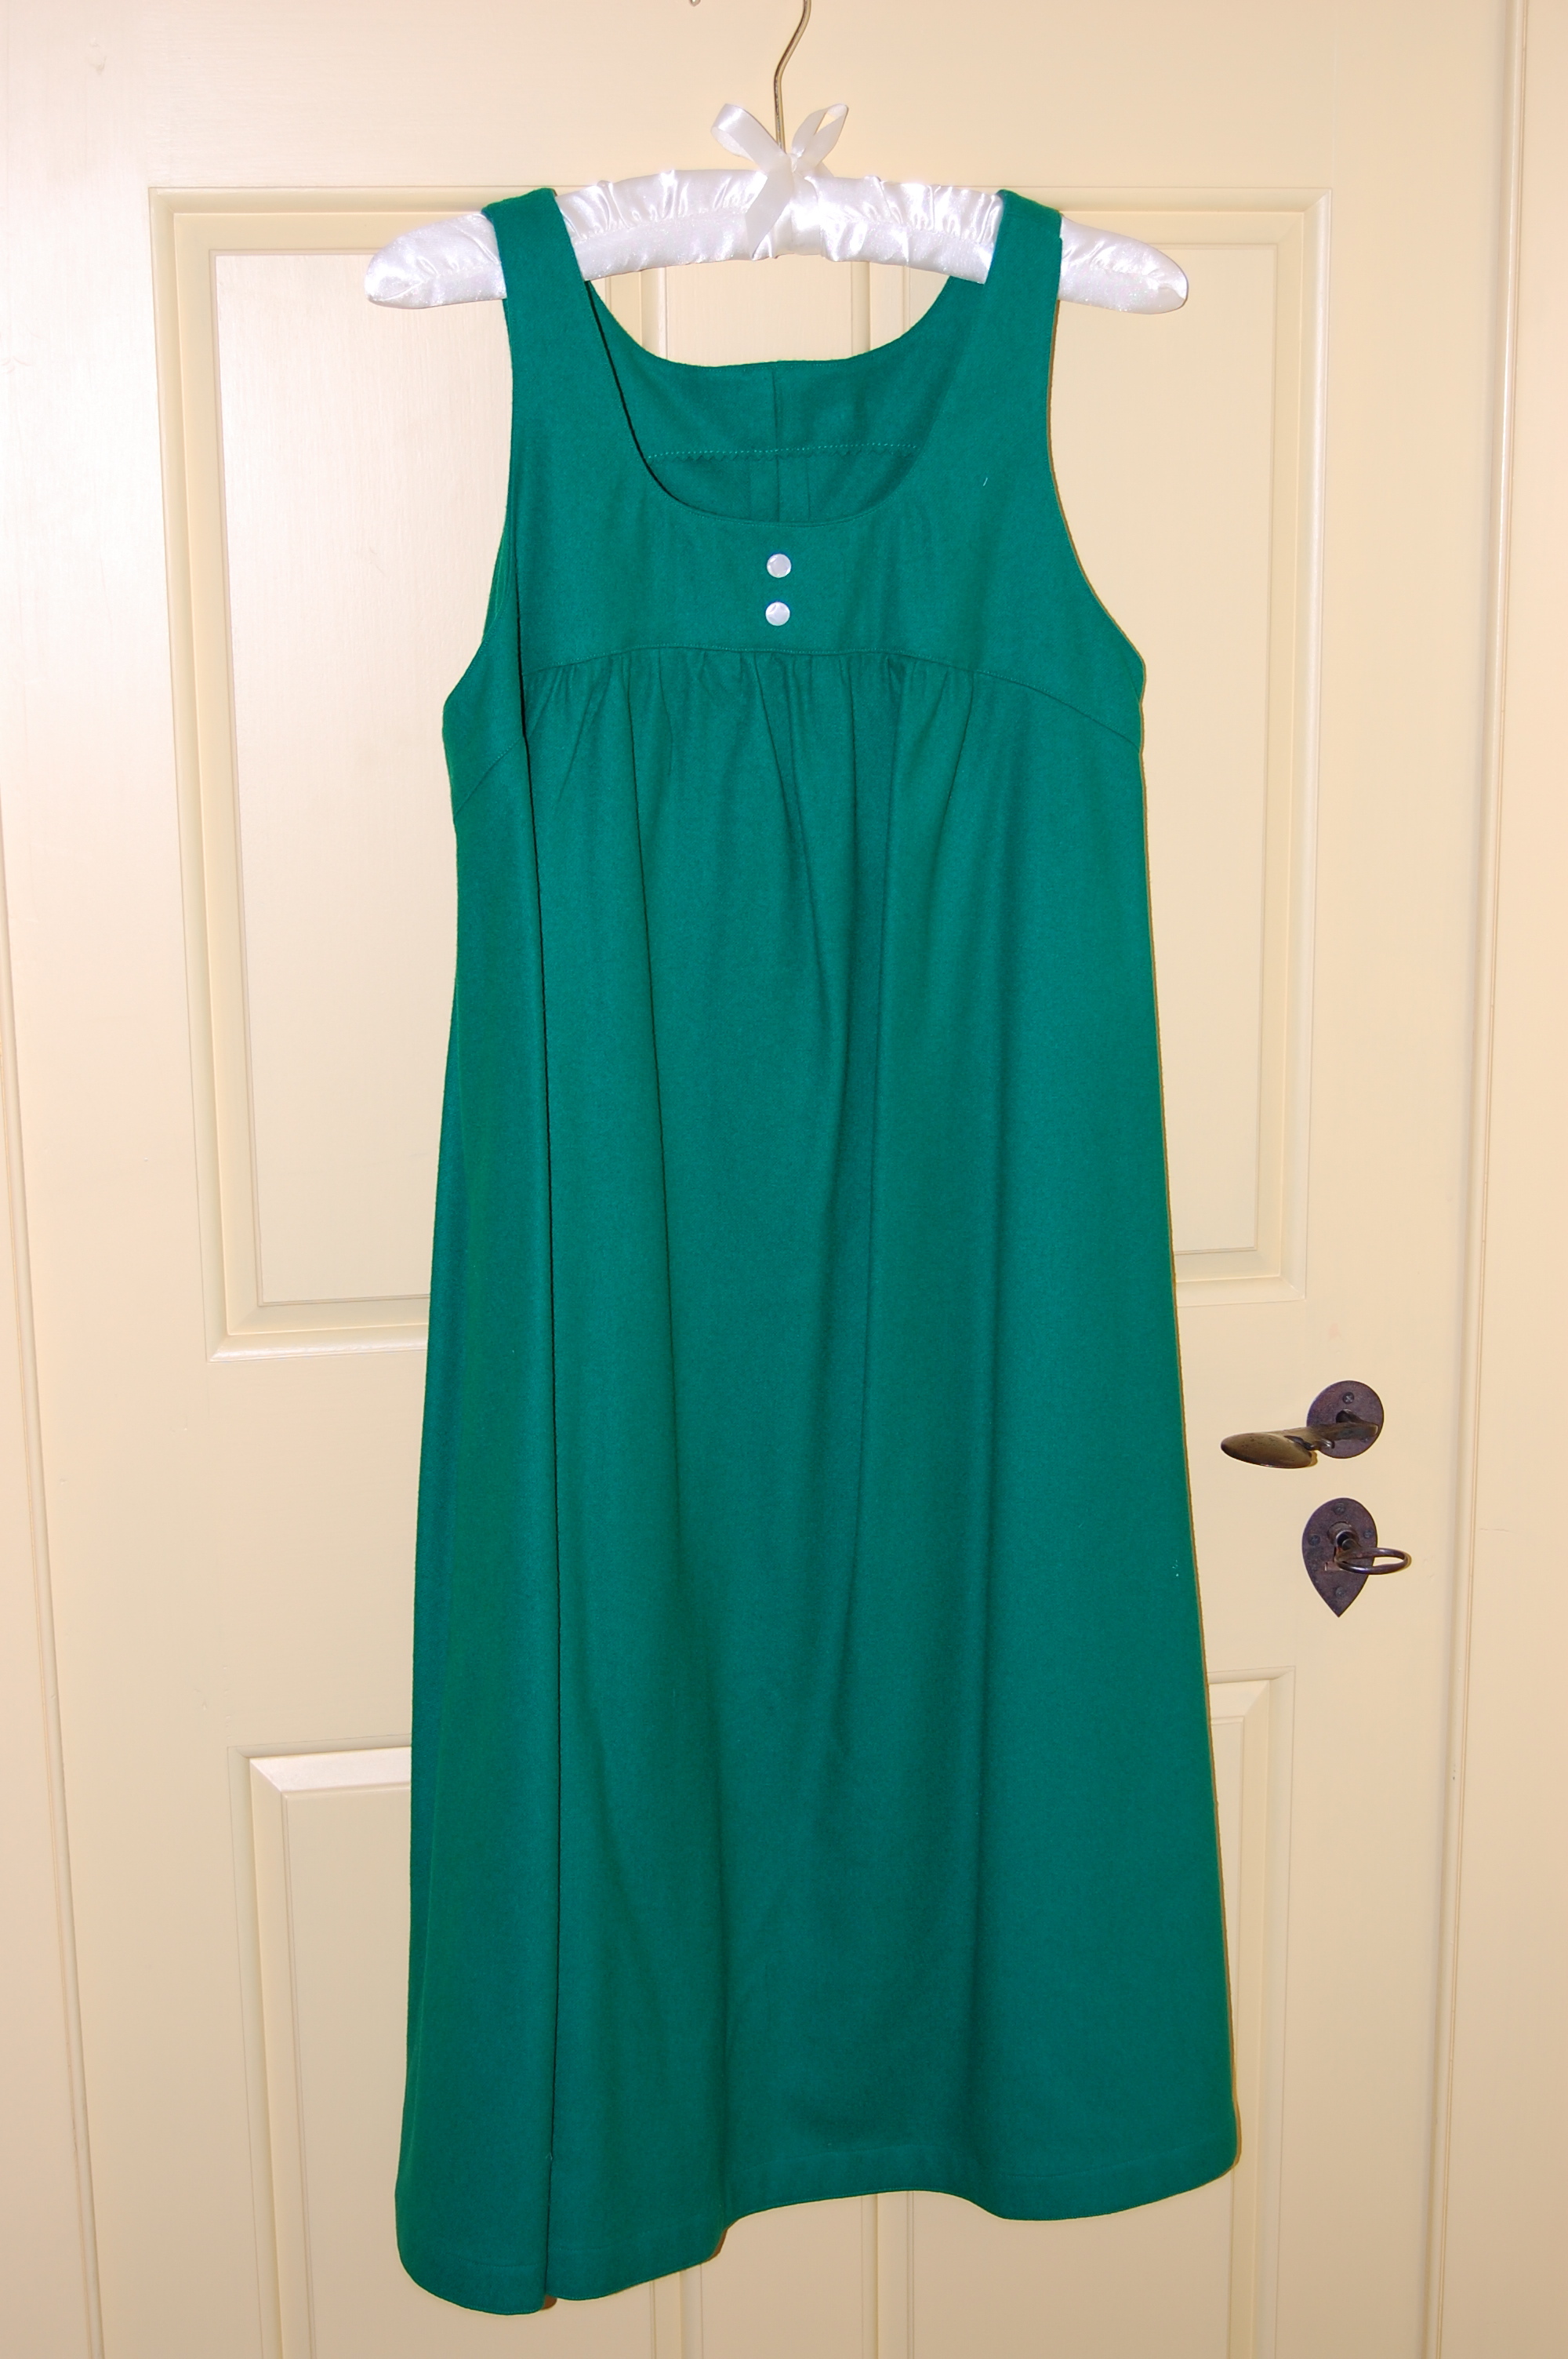
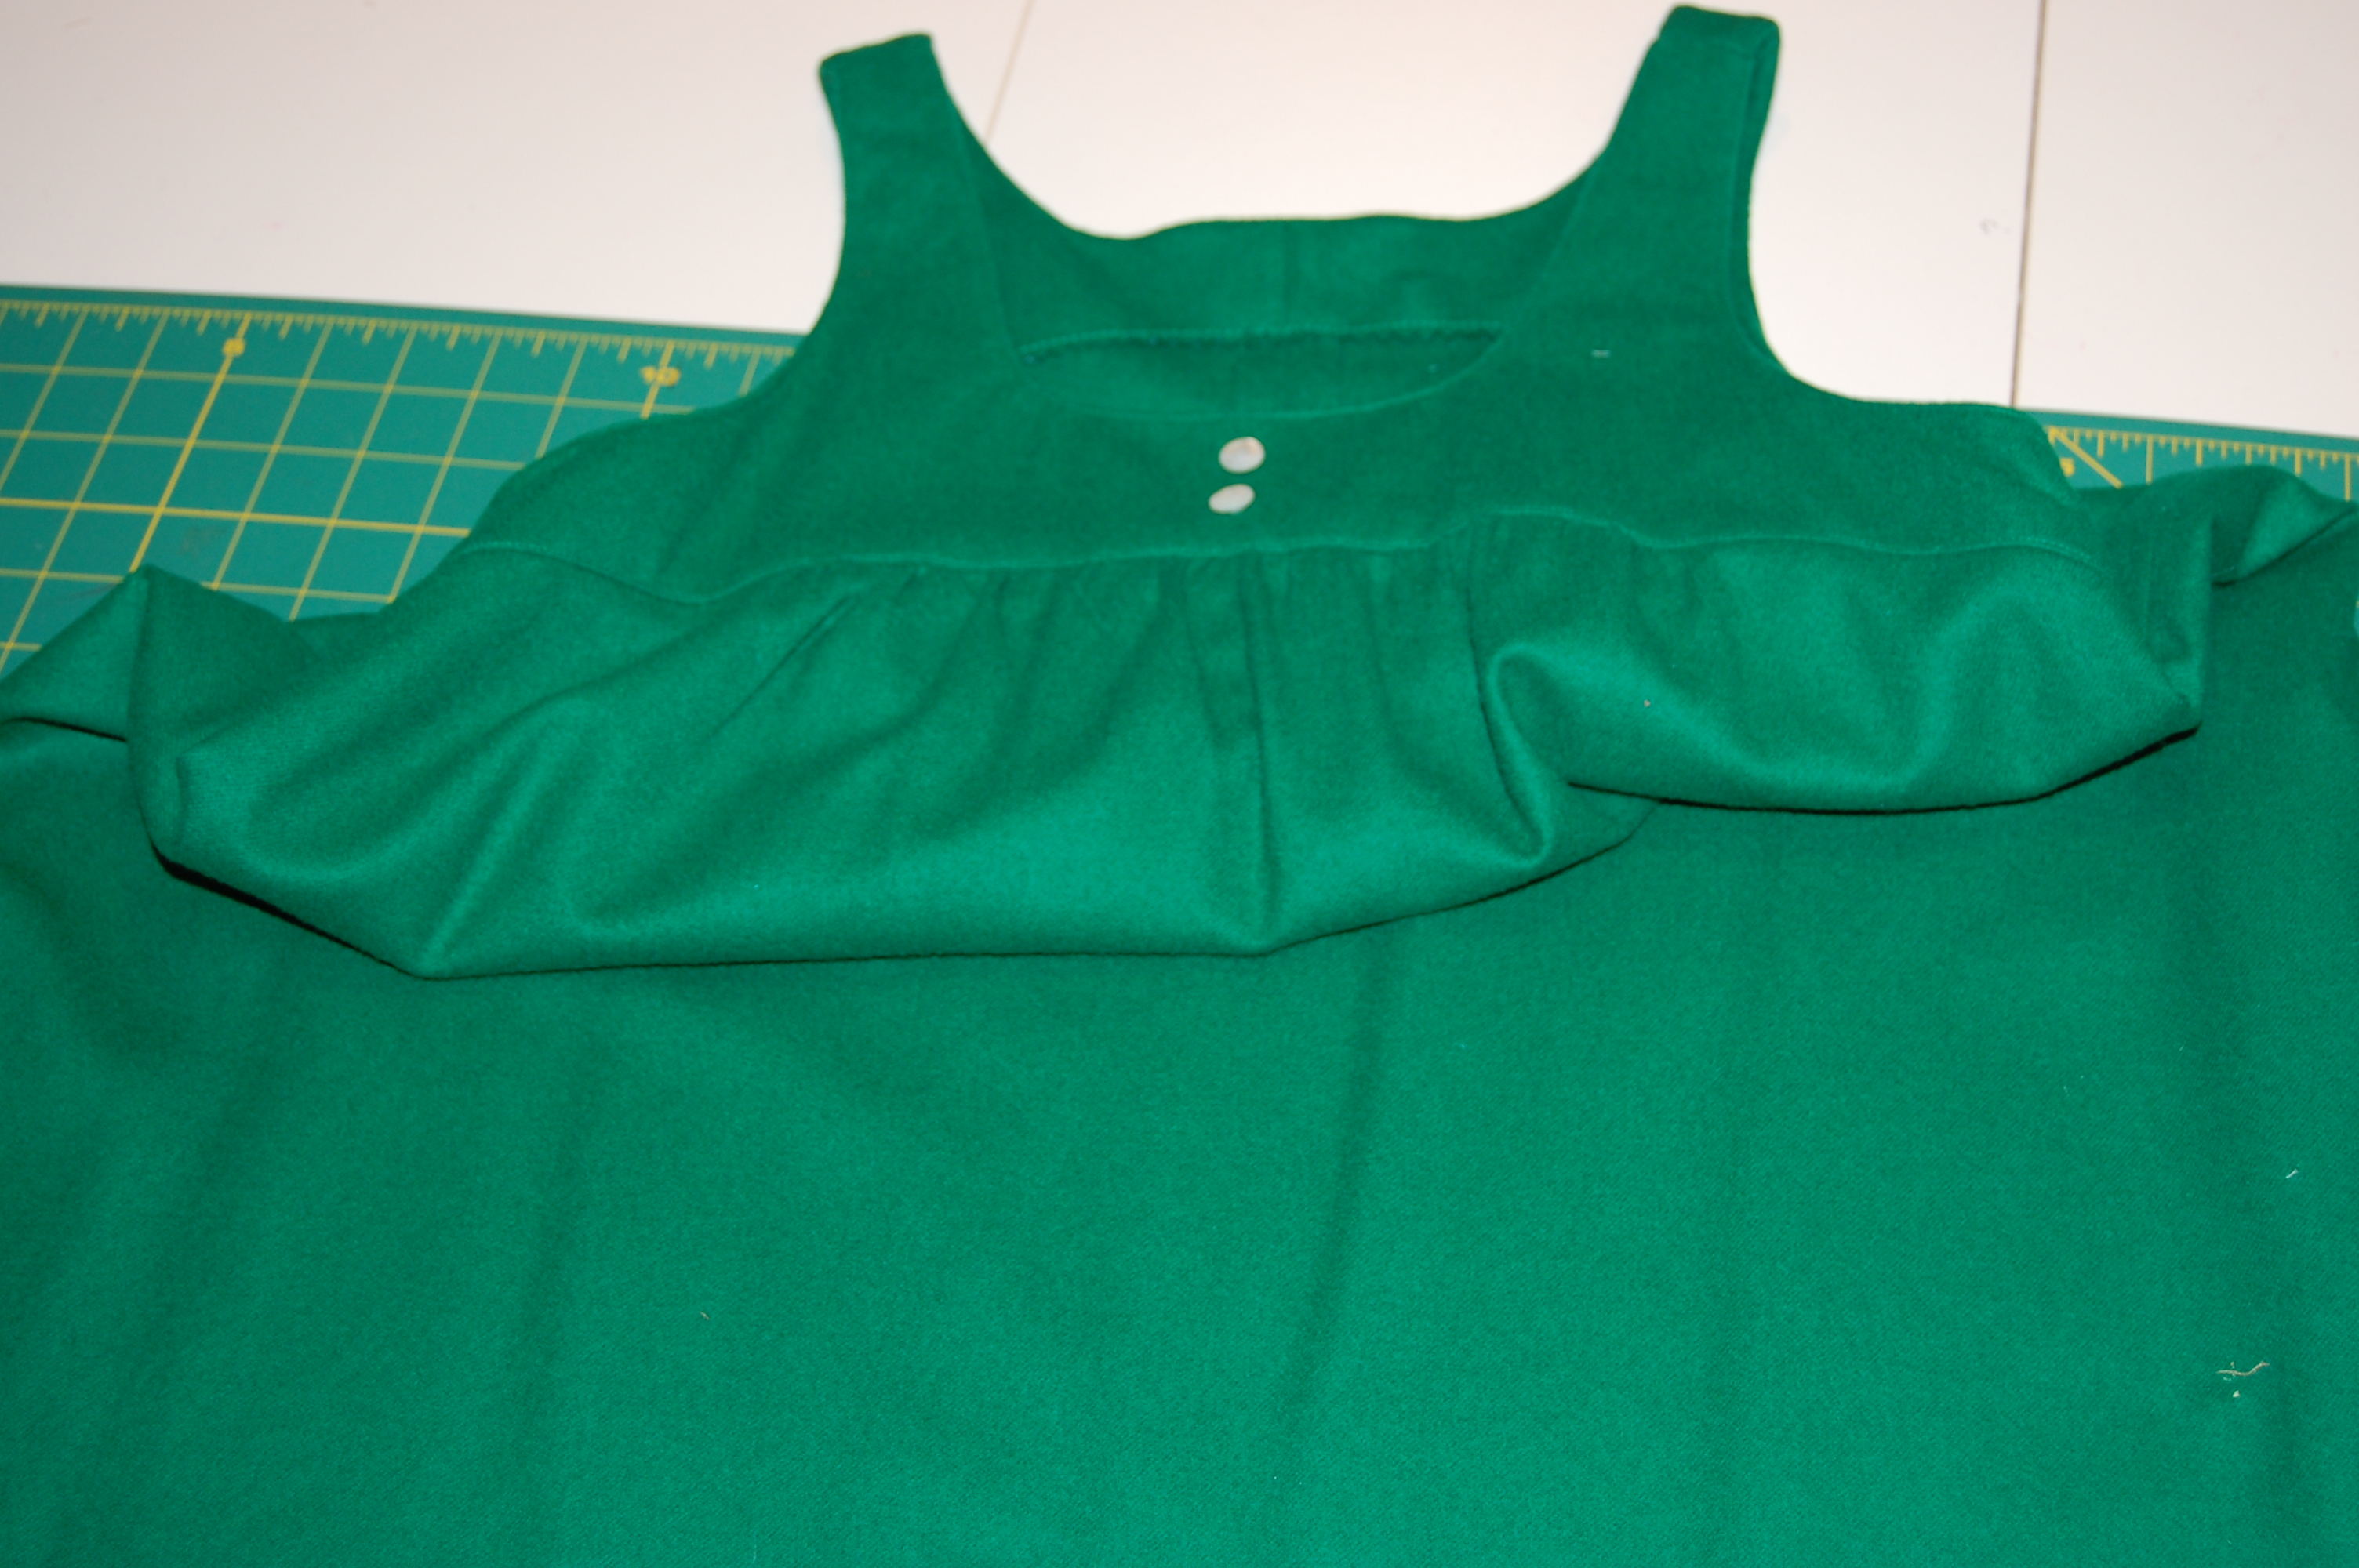
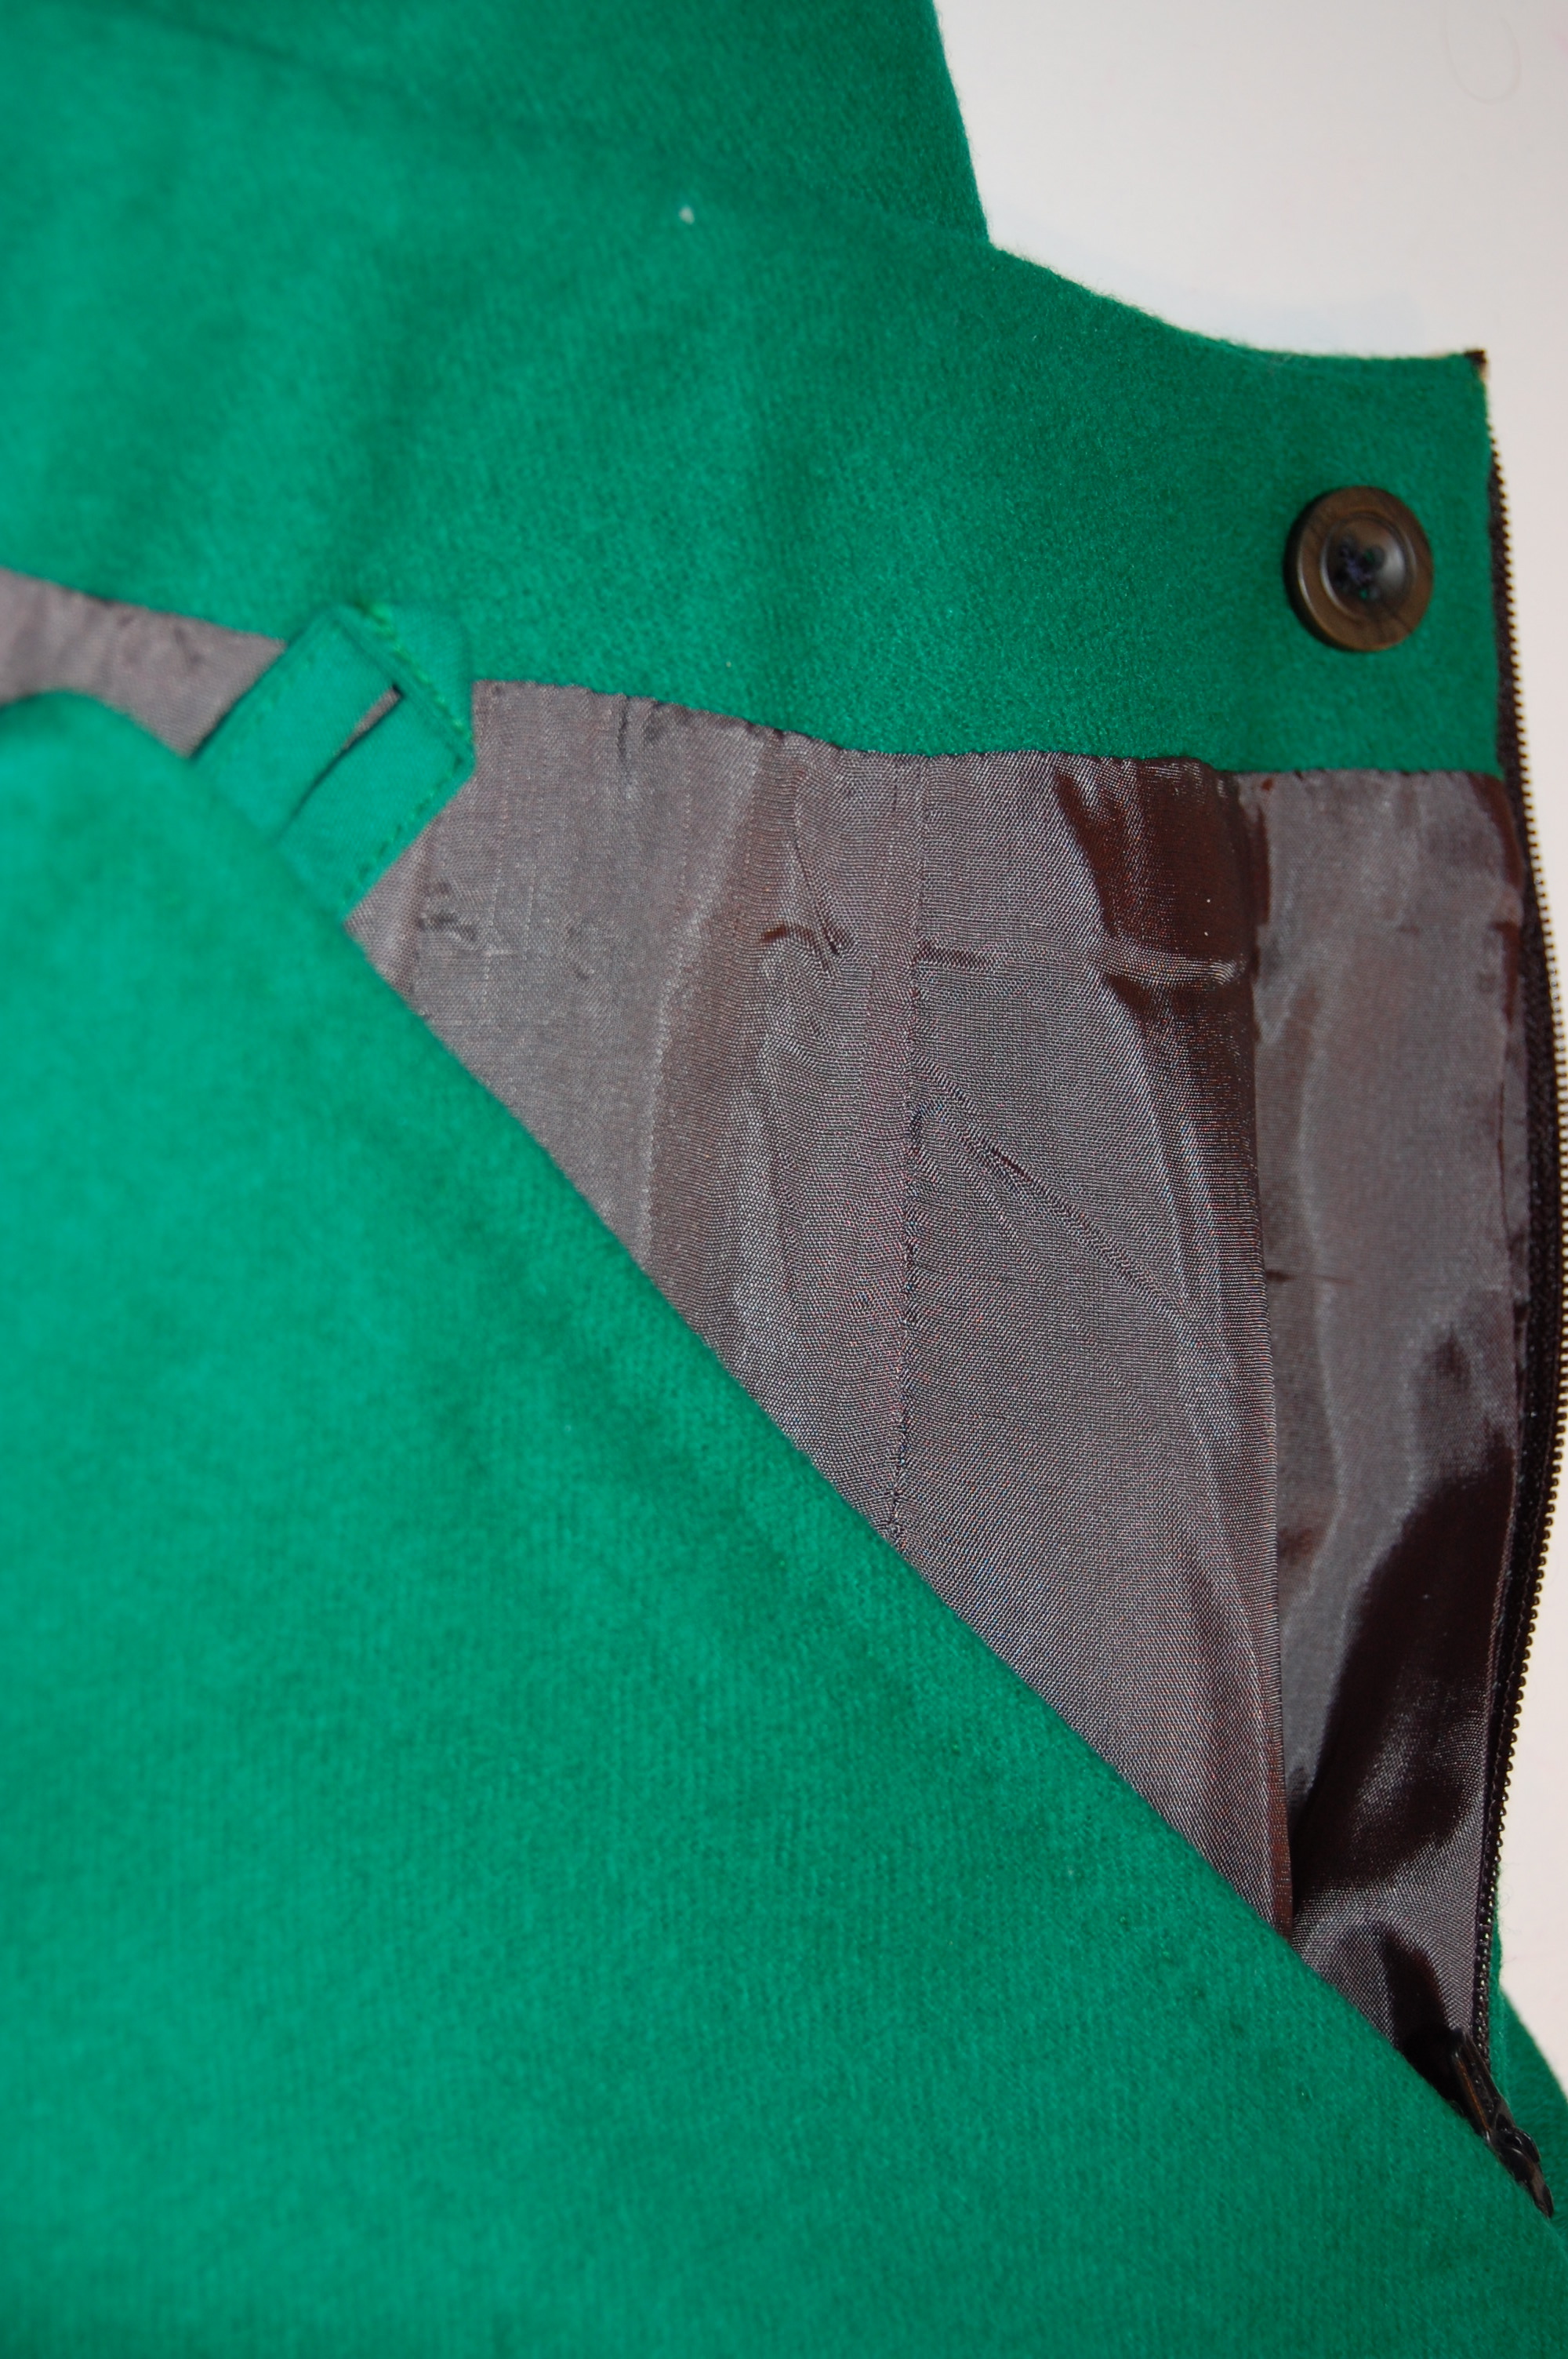
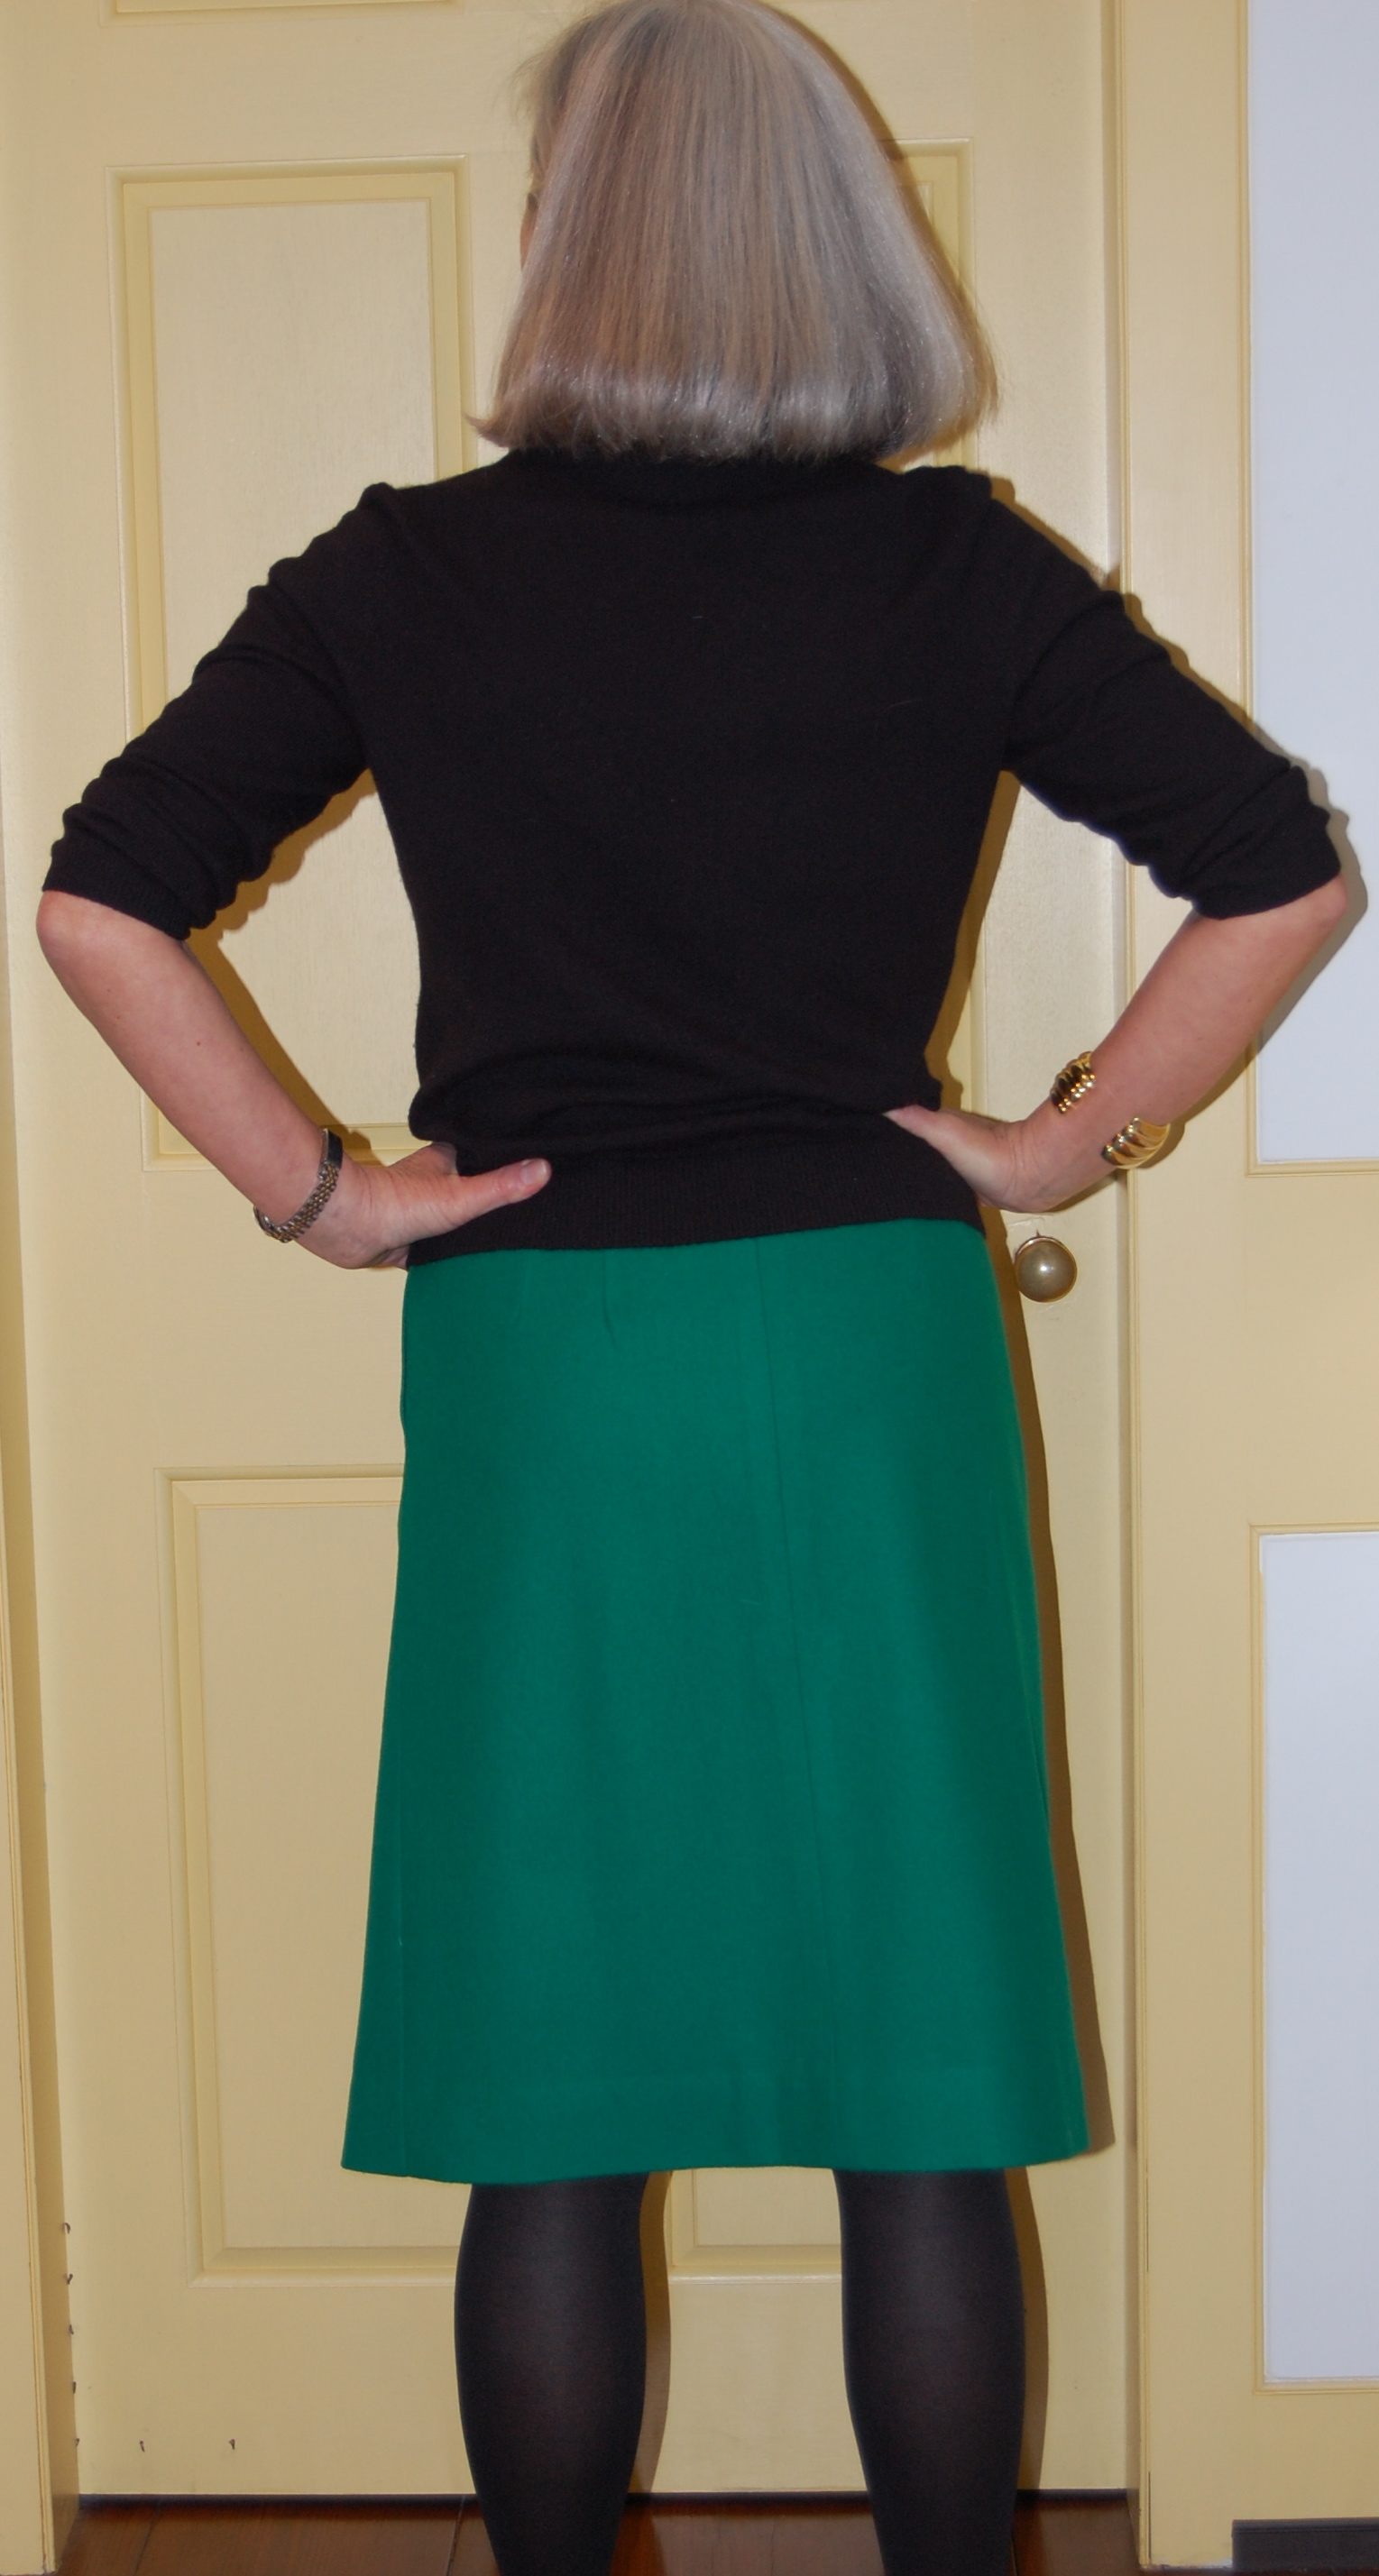
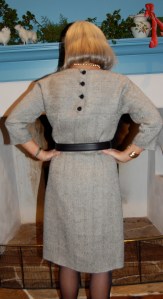
2) The collar was too big and too pointed, so I redrafted it to match the collar on my green blouse.

Changes to the collar band and the collar.
3) I eliminated the back yoke.
4) I made the front and back pieces a little straighter at the side seams, and then added two darts to the back to take in some of the fullness and make the blouse curve over the hips a little more flatteringly.
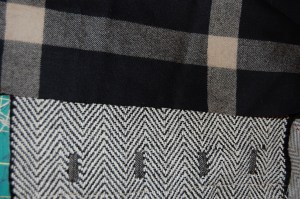
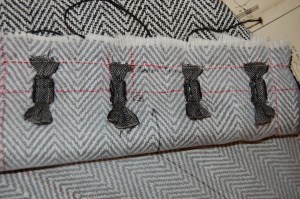
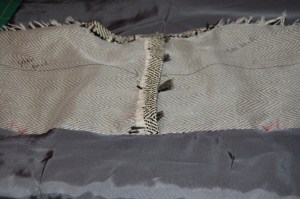
5) I loved the “sportshirt” sleeve plackets on my green blouse, so I went to my 1972 Vogue Sewing Book to find out how to add them to this blouse. I narrowed the cuffs, too.
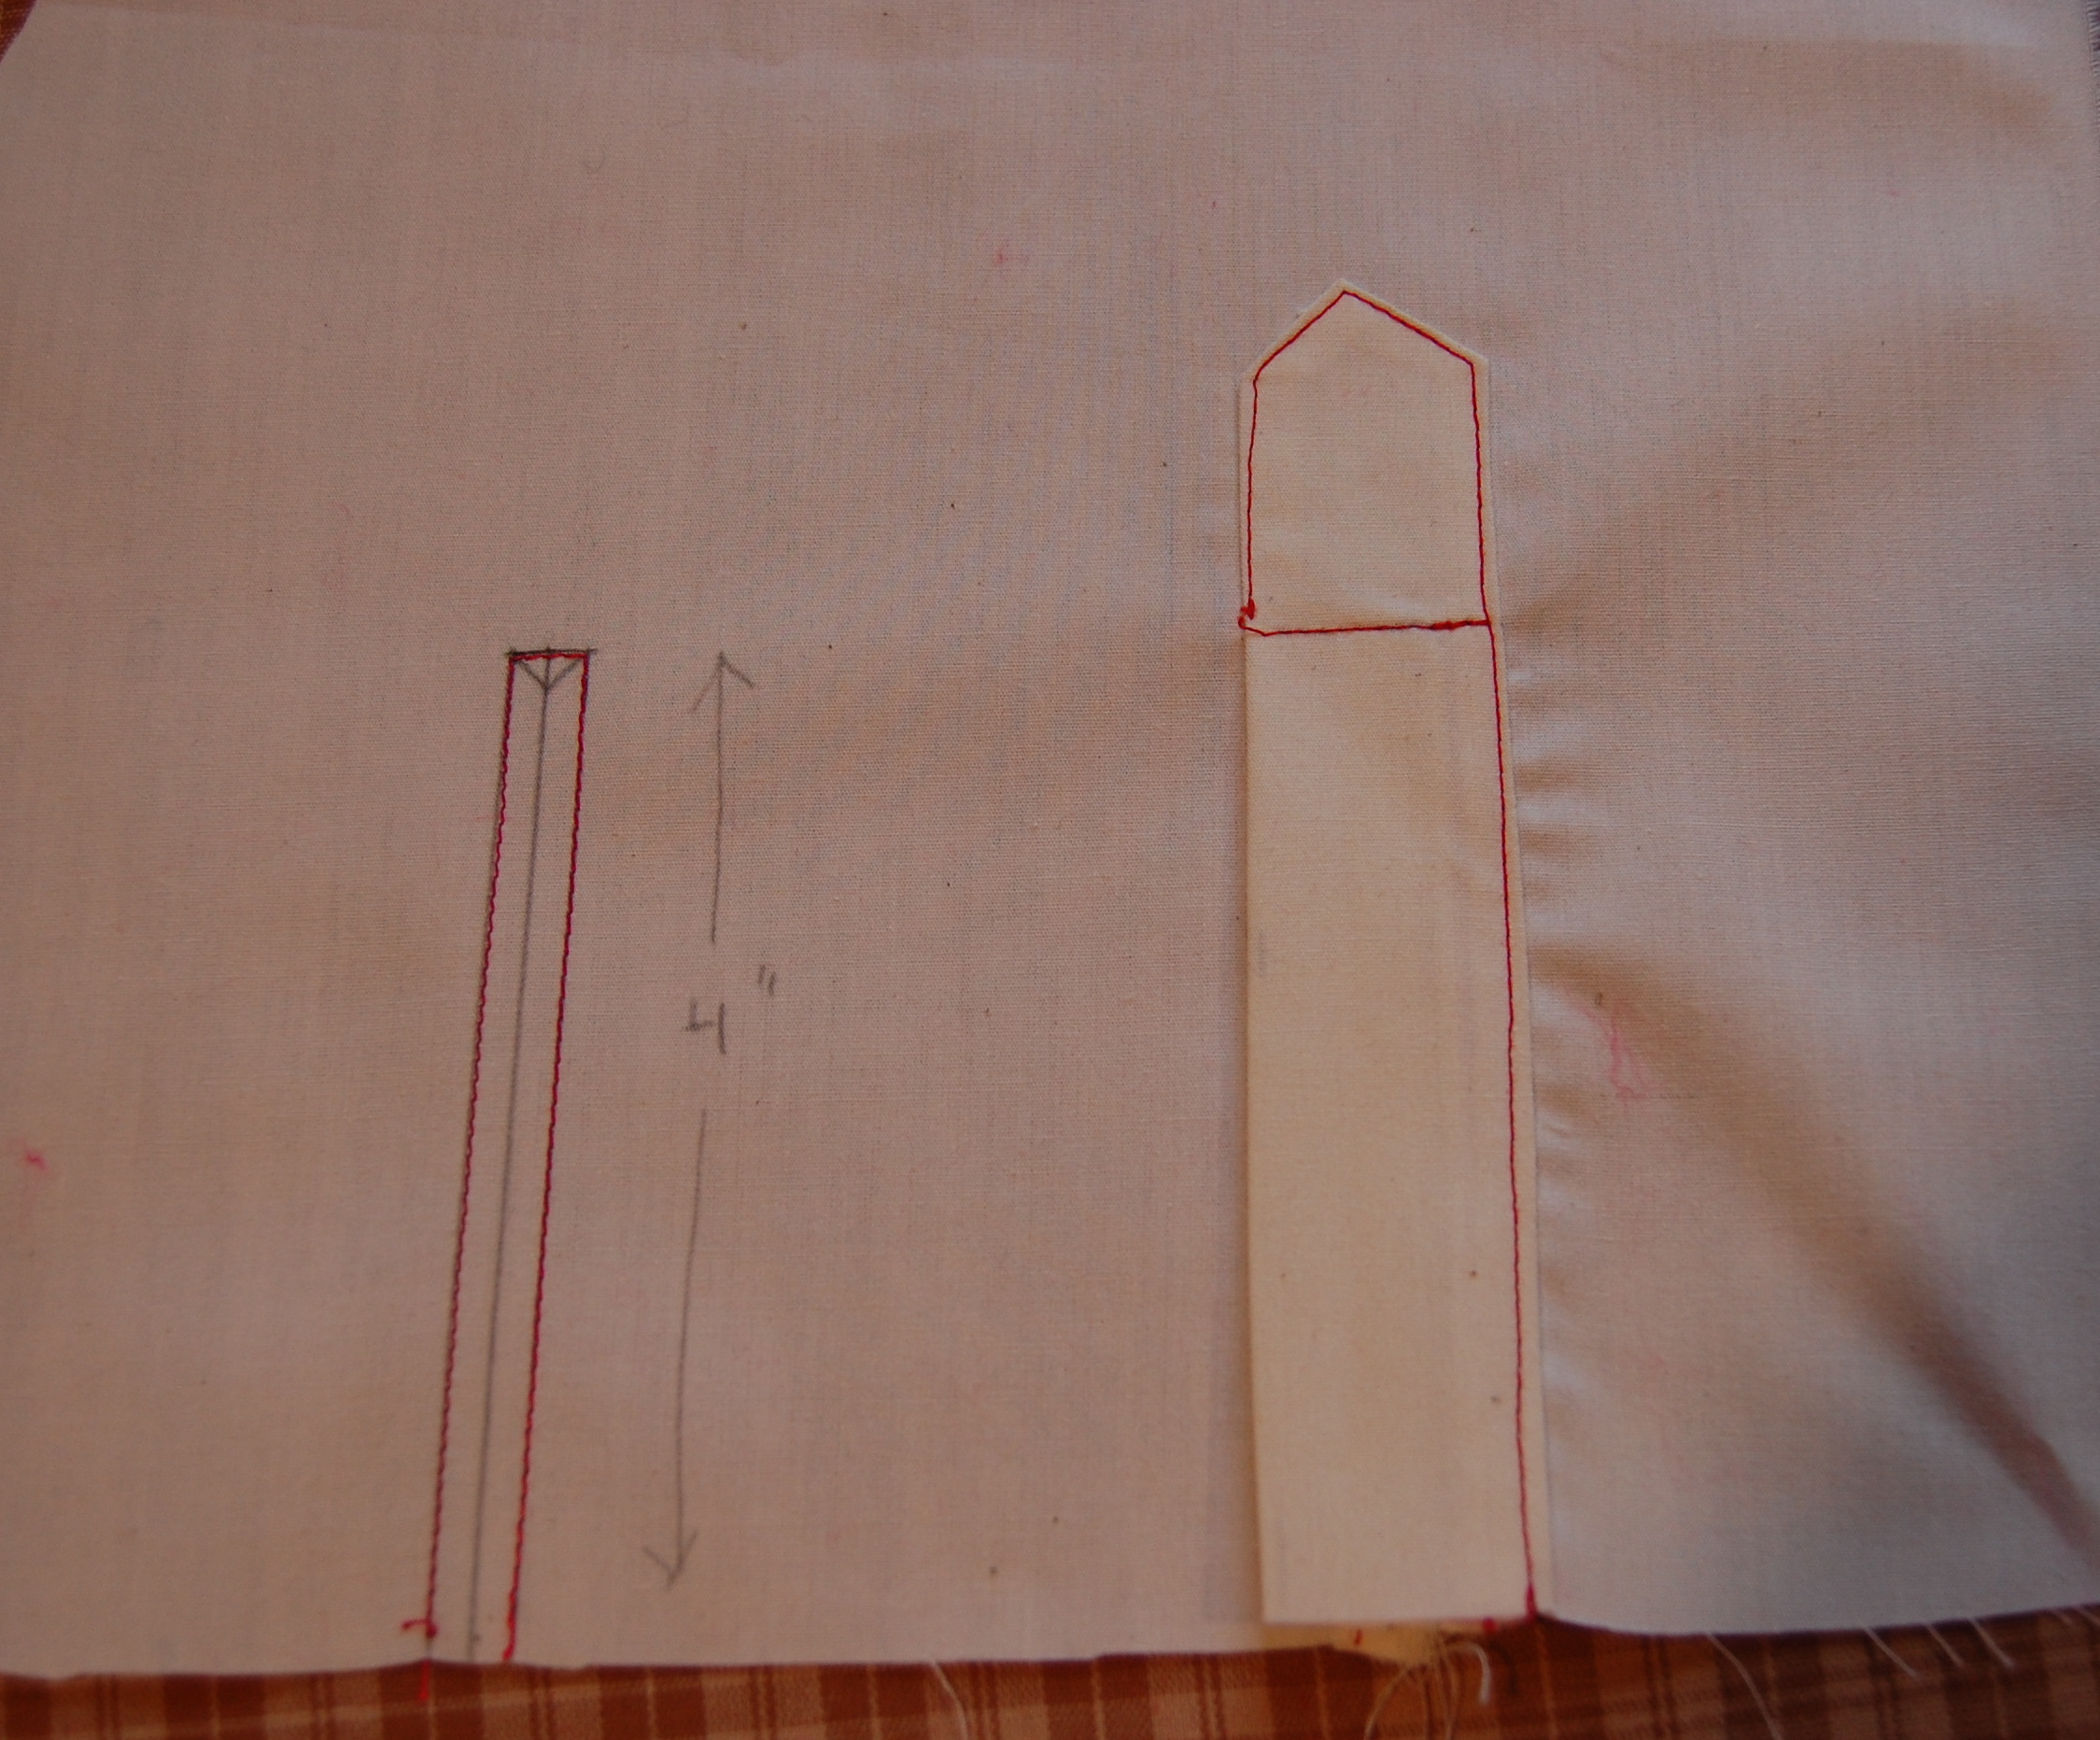
I practiced on muslin first!
I am fairly happy with how these plackets turned out. I can’t ever remember making this type of placket before, so I guess it was a first for me!
6) I eliminated the front button band.
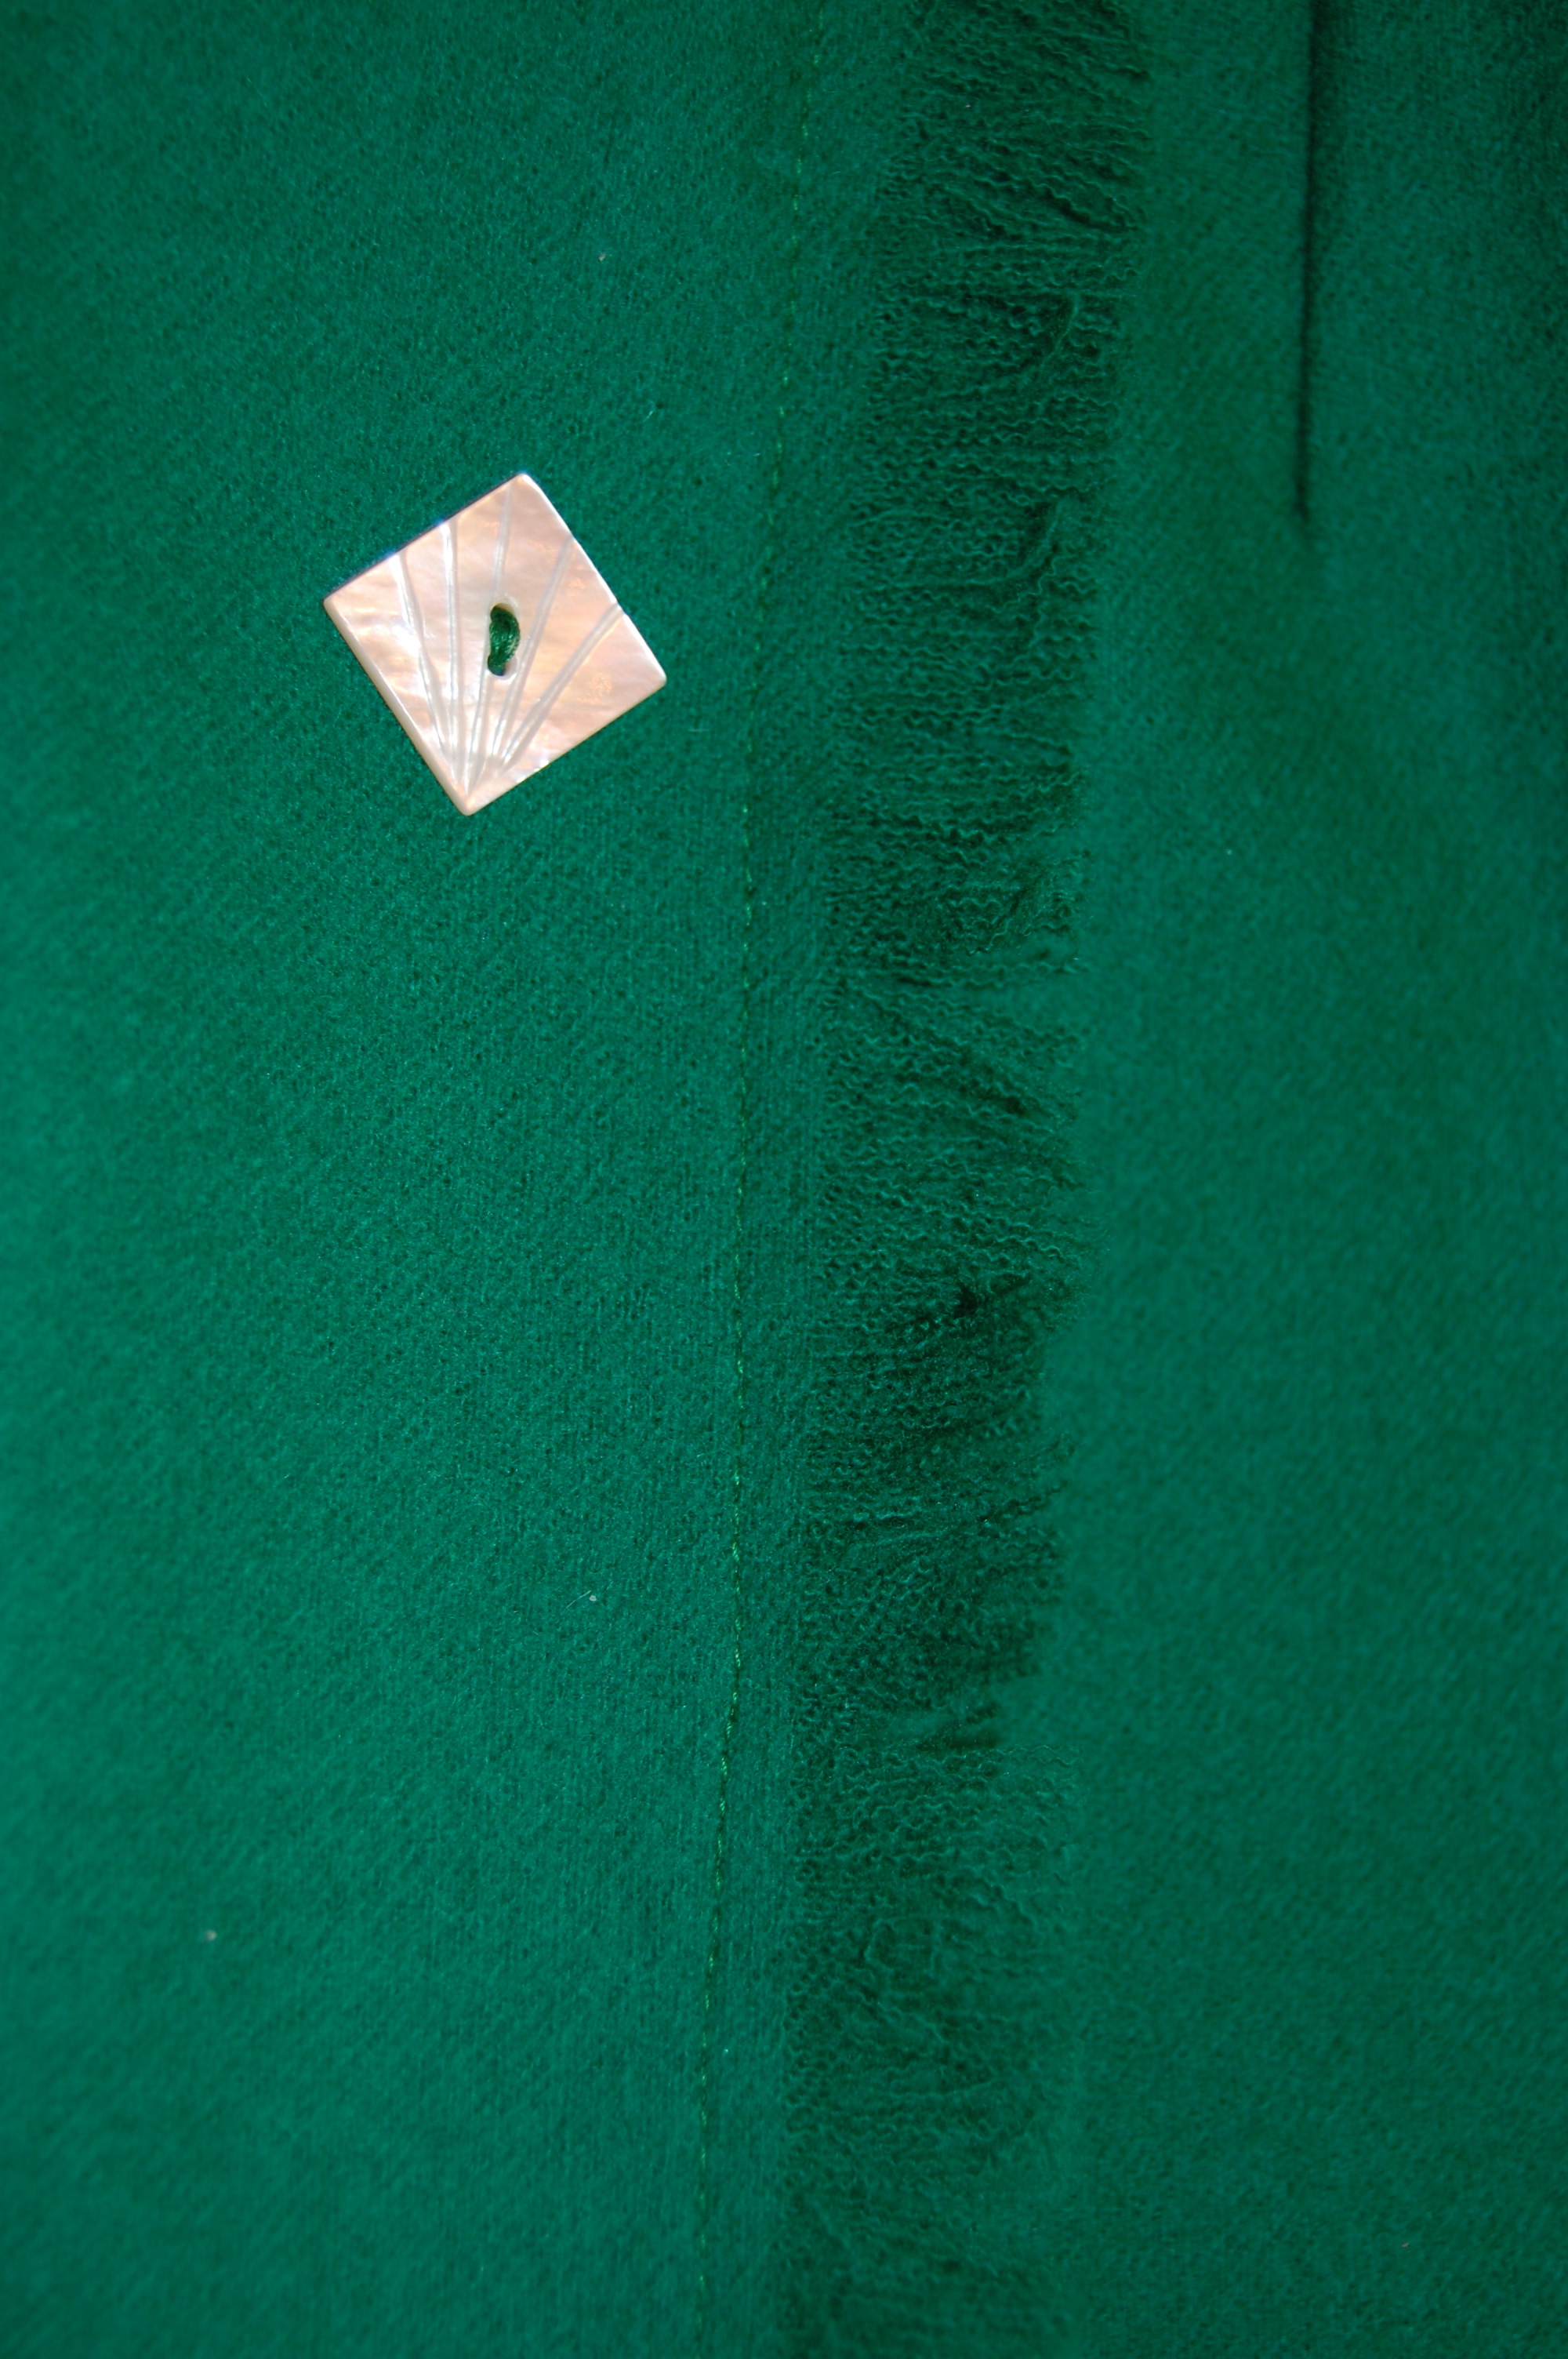
7) I added side slits and narrow topstitching to all the edges, just like on my green blouse.
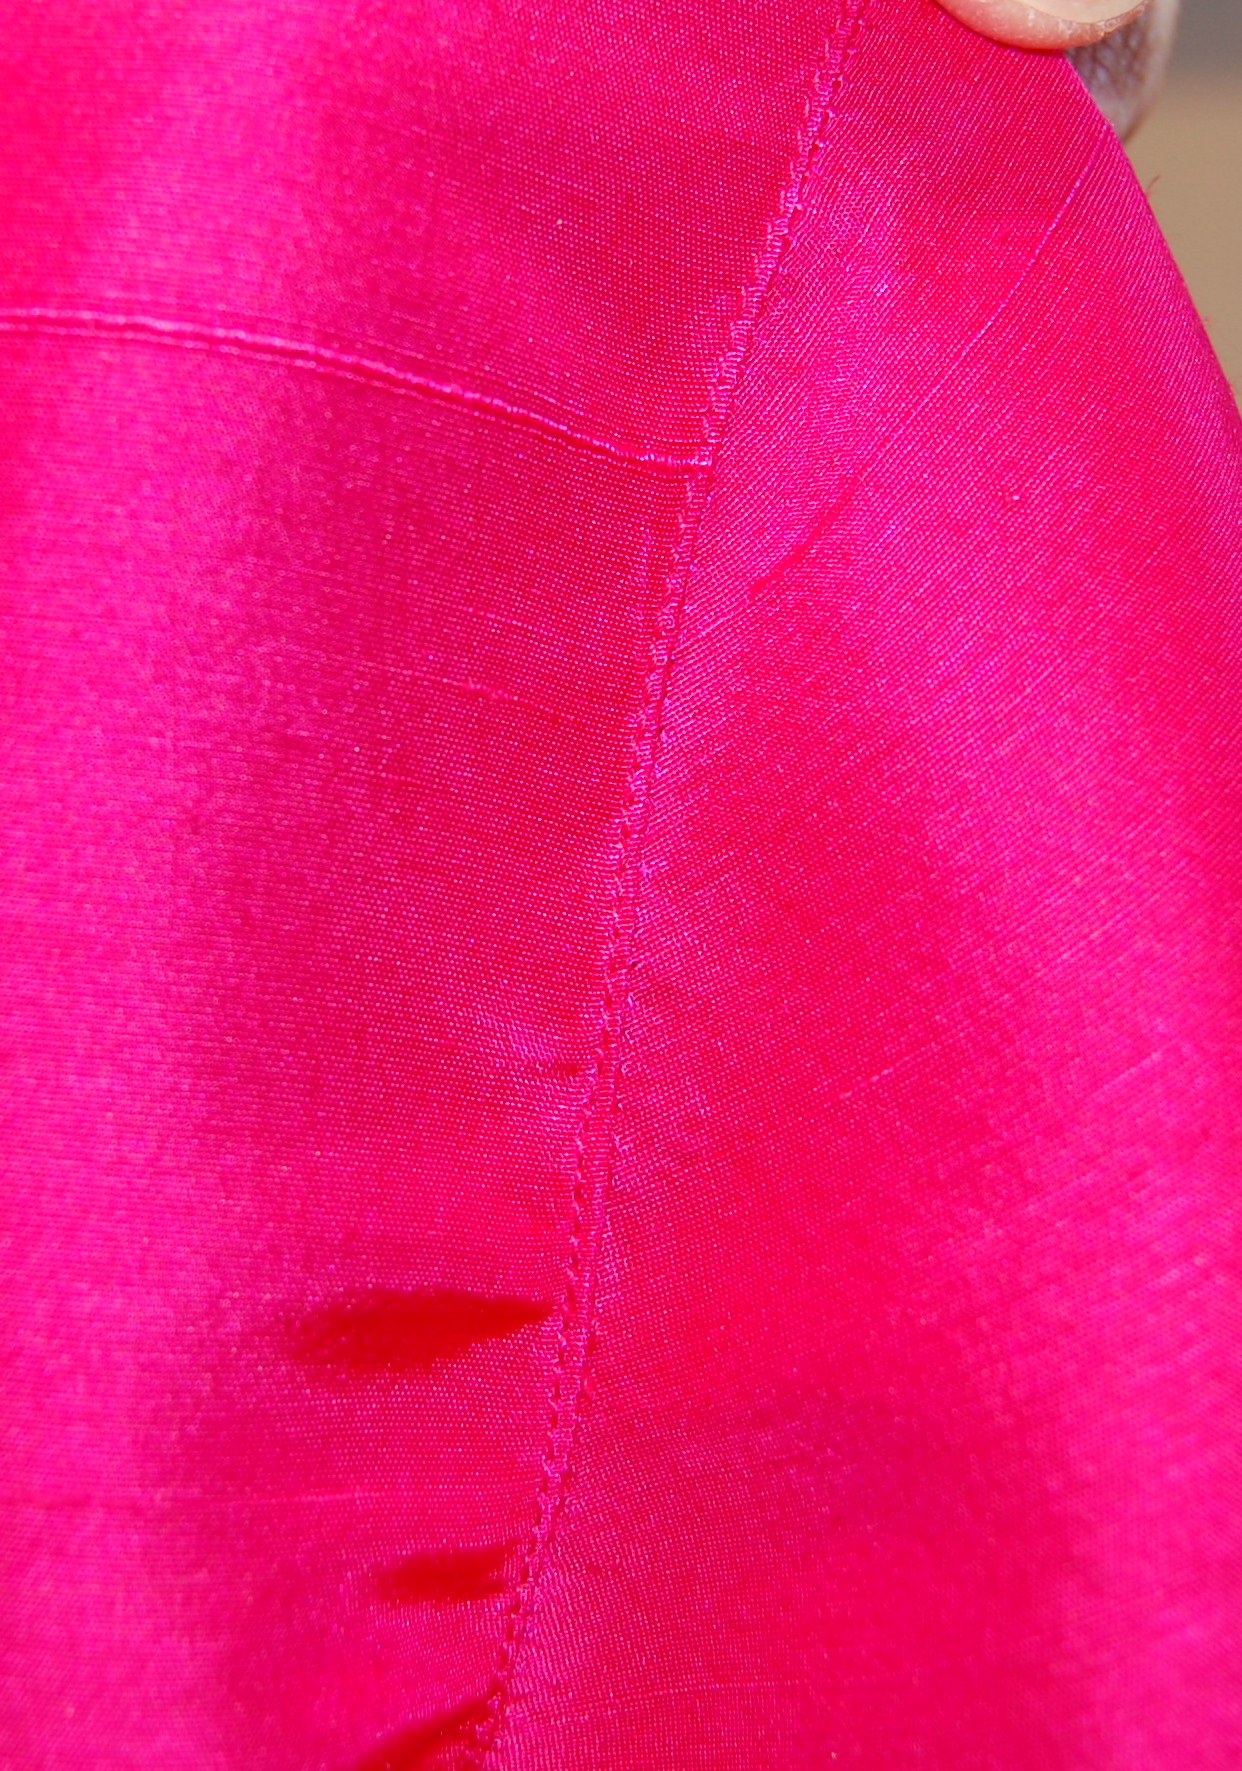
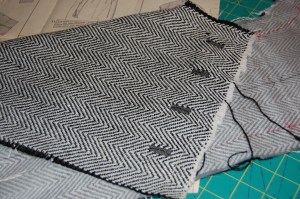
This shows the sleeve heading, which I narrowly topstitched. Click on the photo for a better look.
Here is the topstitching on the front edge.
Oh, there is more, but you get the idea. I made a permanent record of all these changes with a whole new set of pattern pieces.
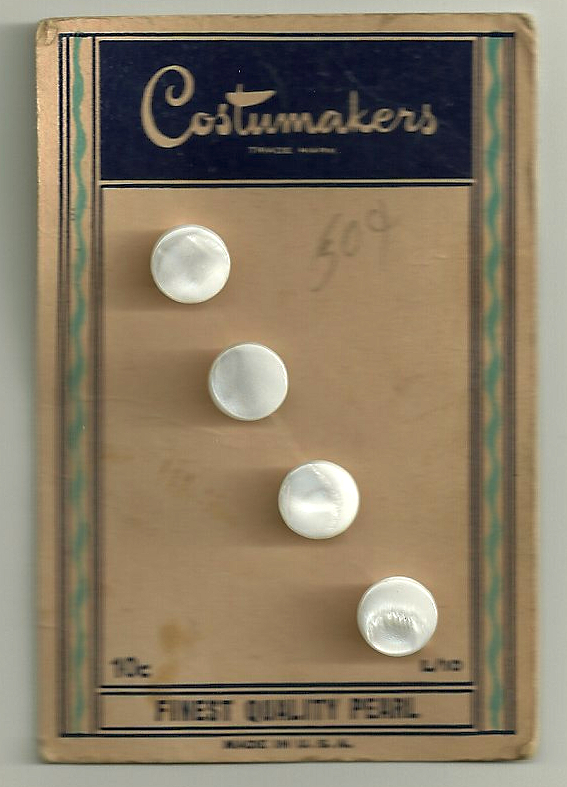
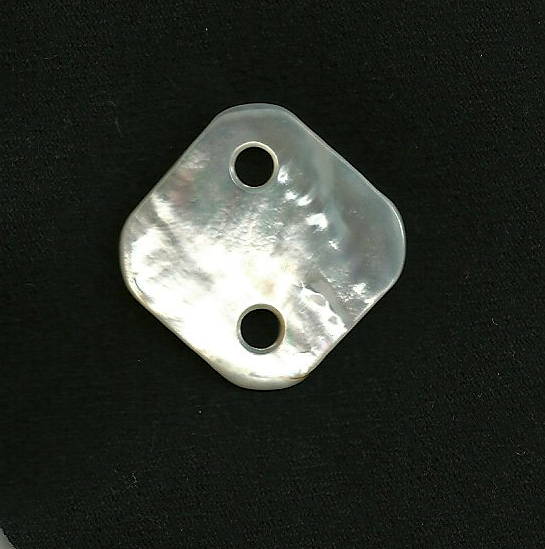
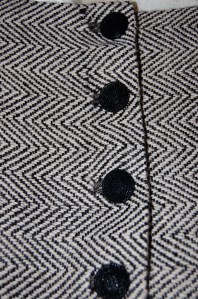
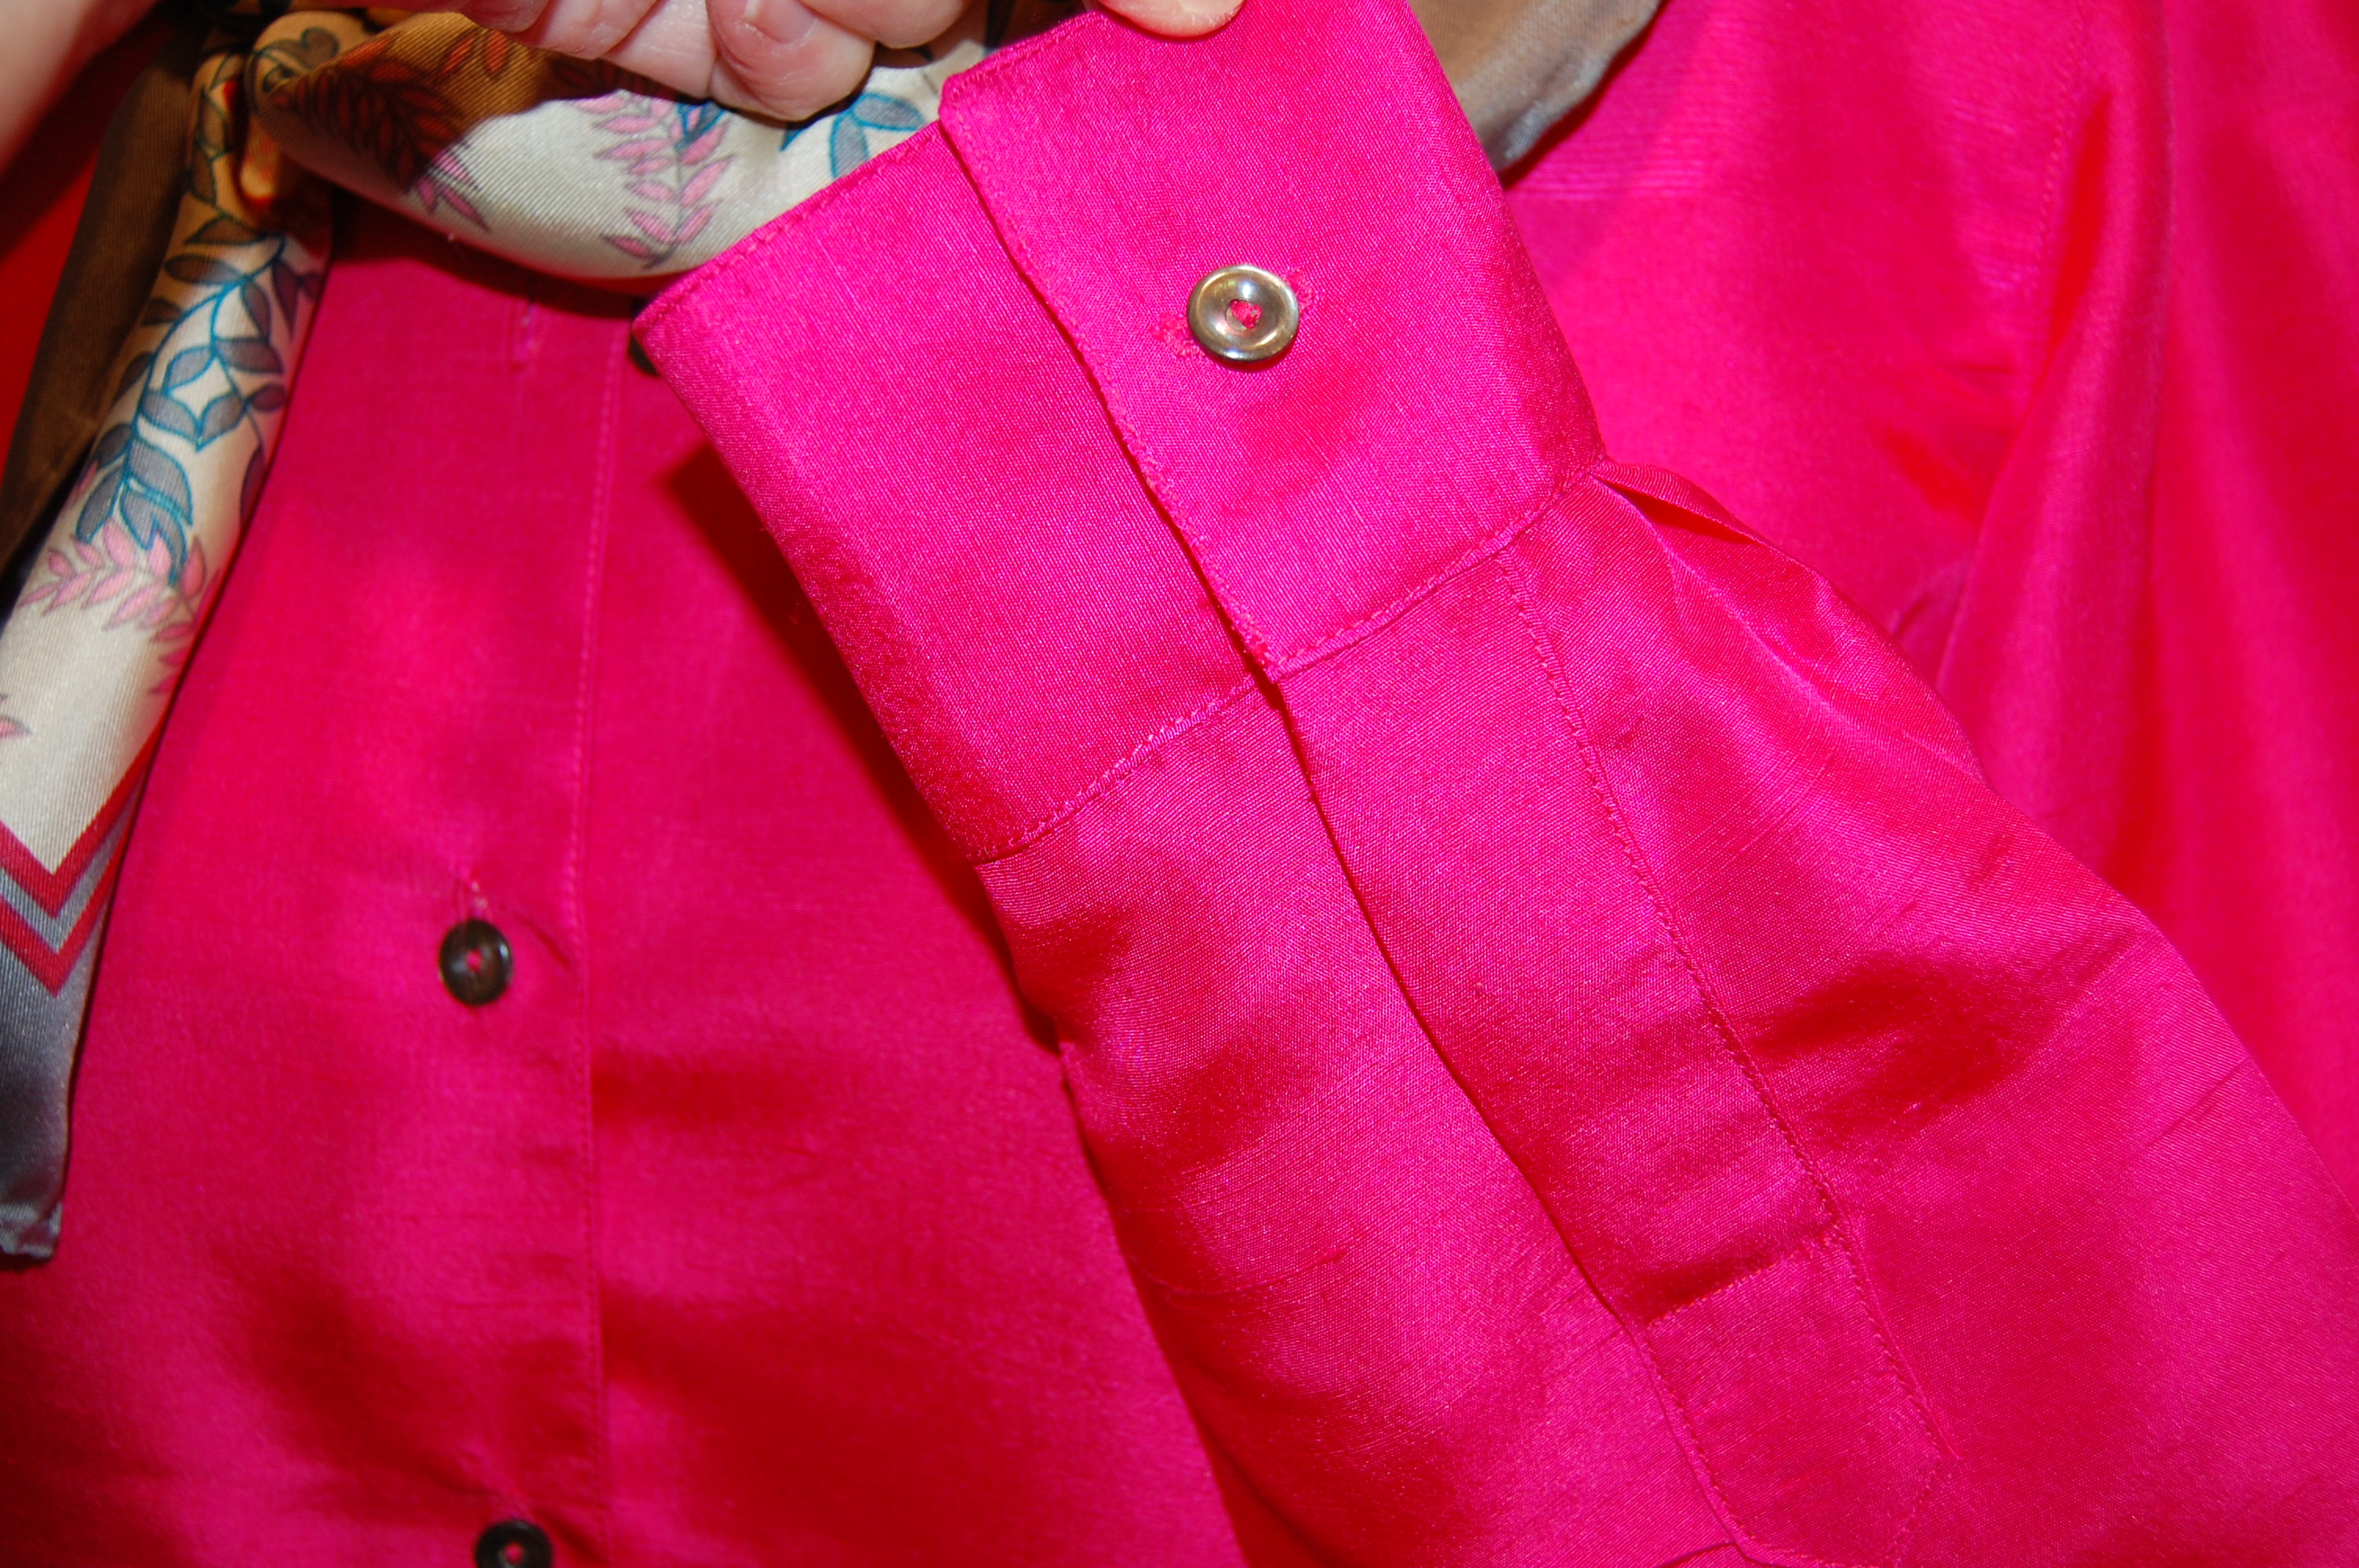
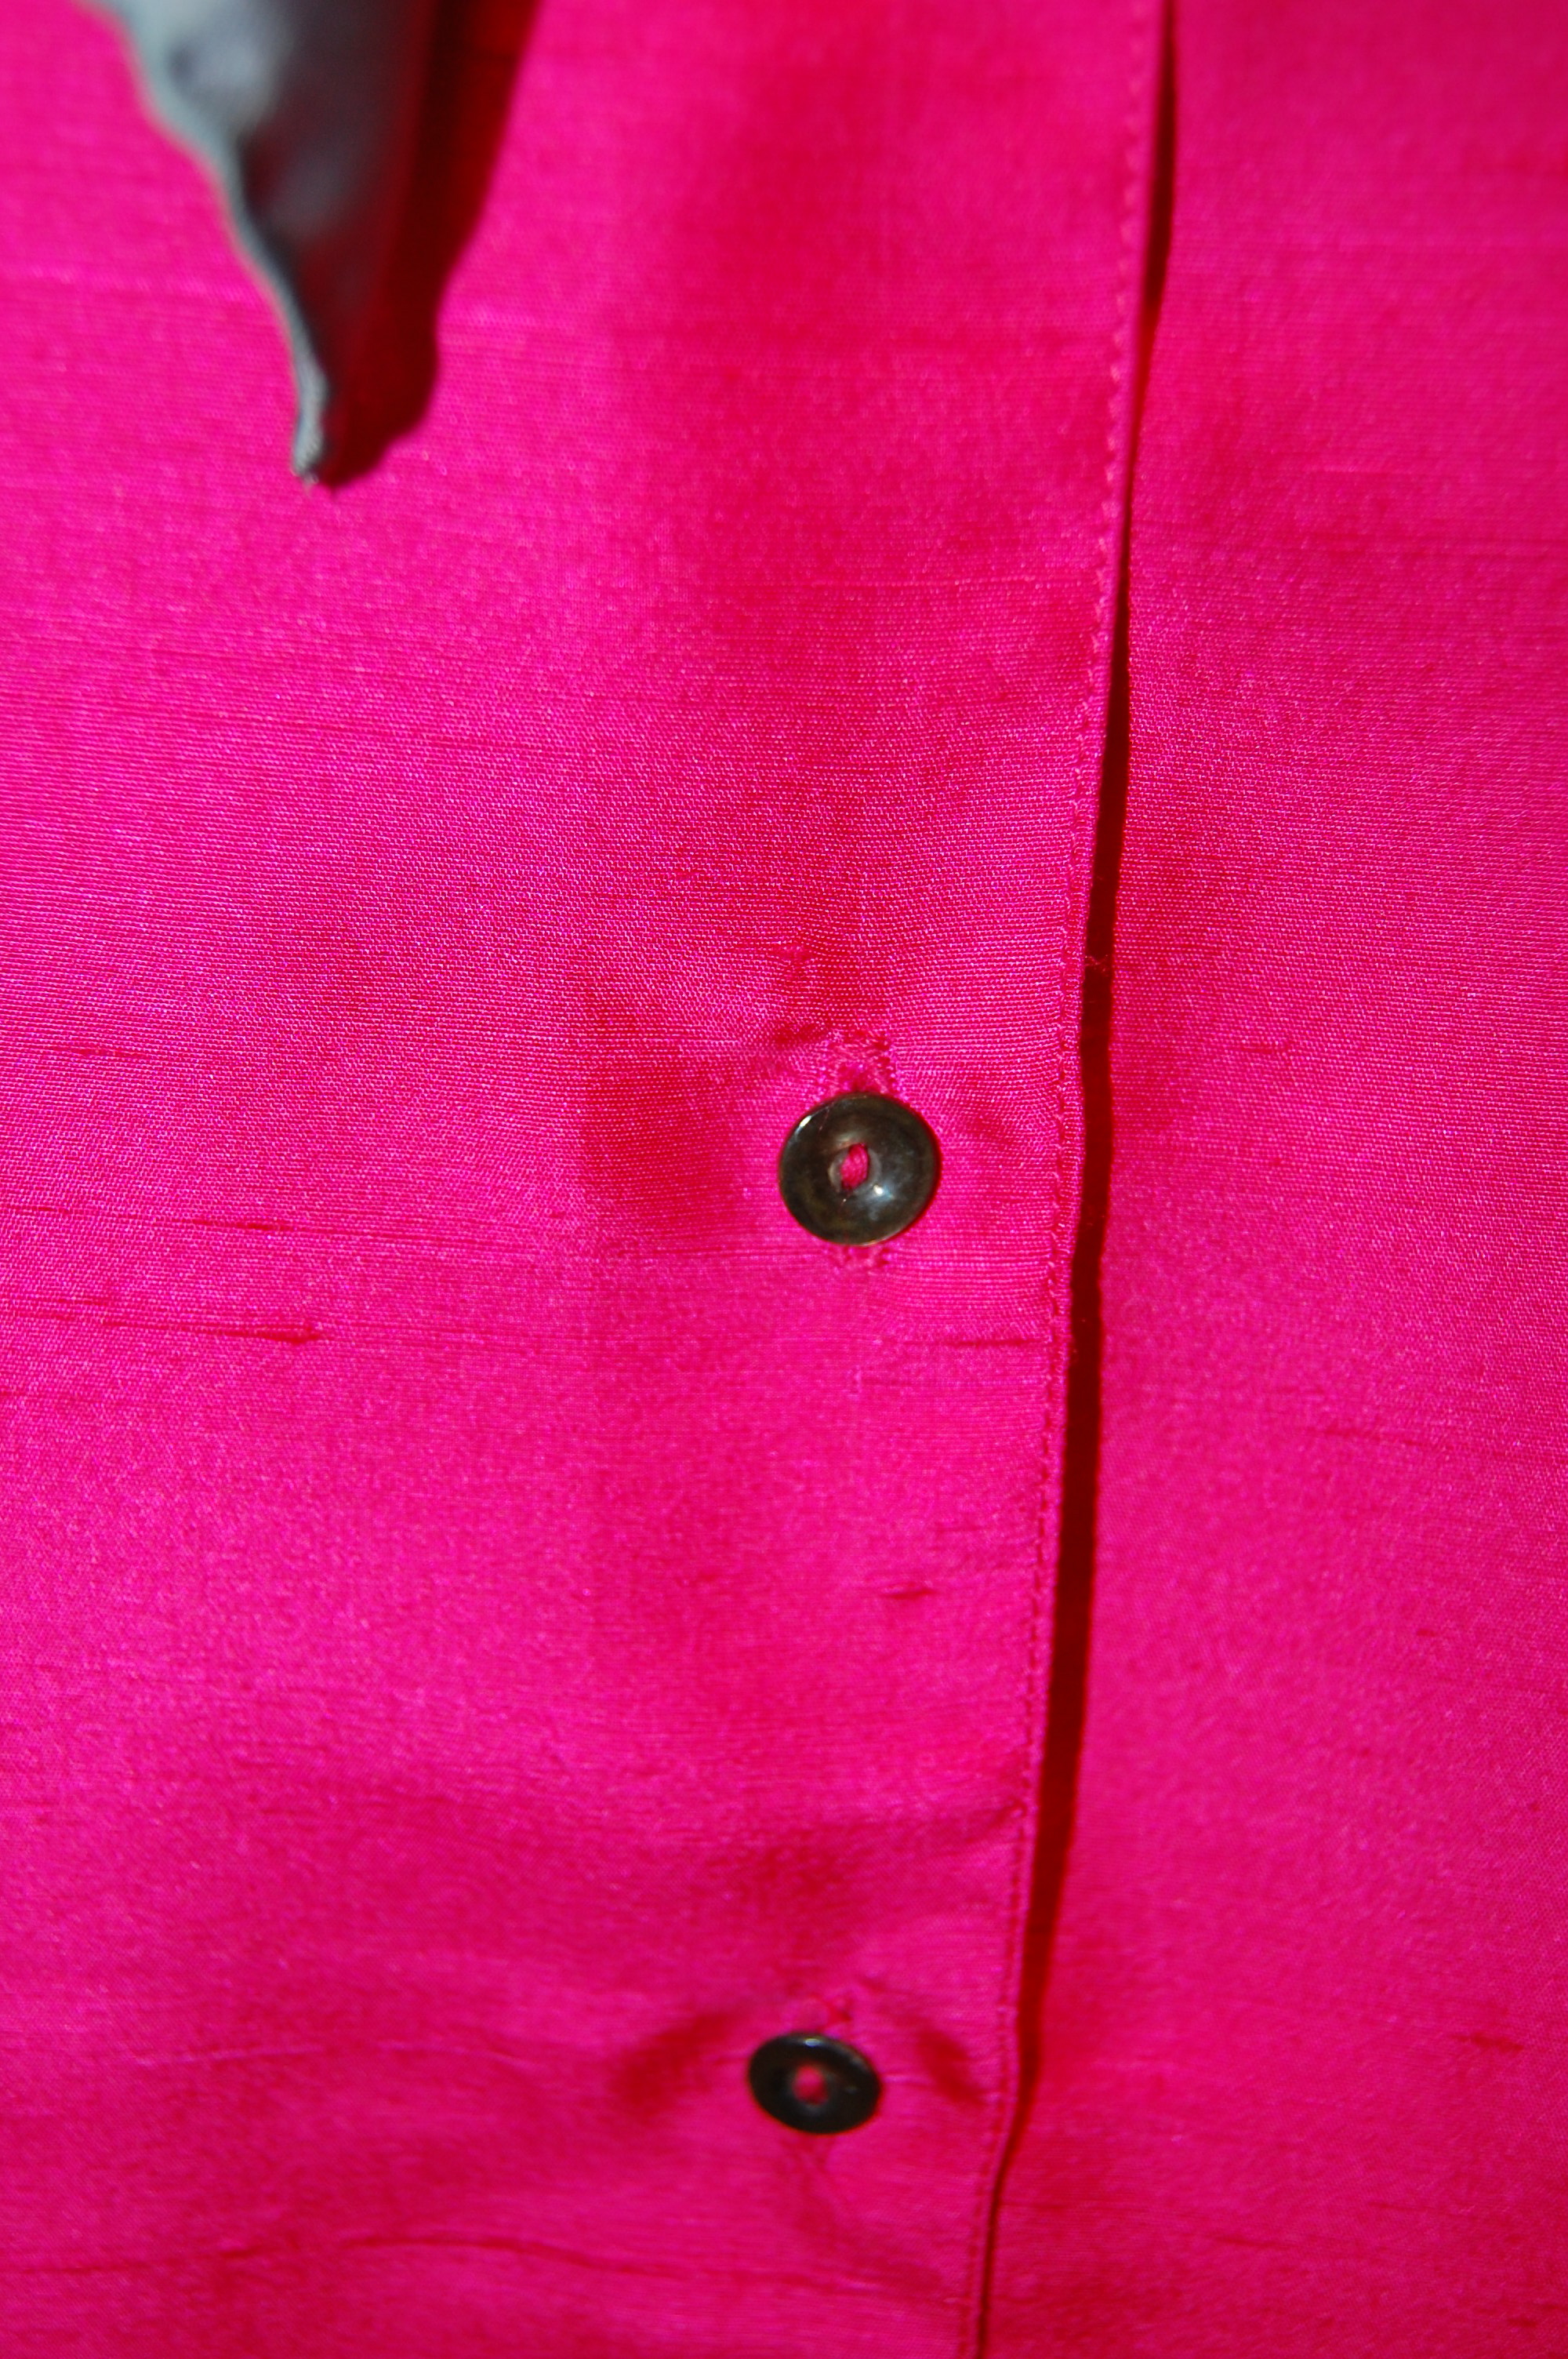
When it came to choosing buttons, I hoped to find some vintage ones to compliment the bright pink. I found this gray pearl set (picked up somewhere for 50 cents), and the iridescence in them shimmered a bit of pink.
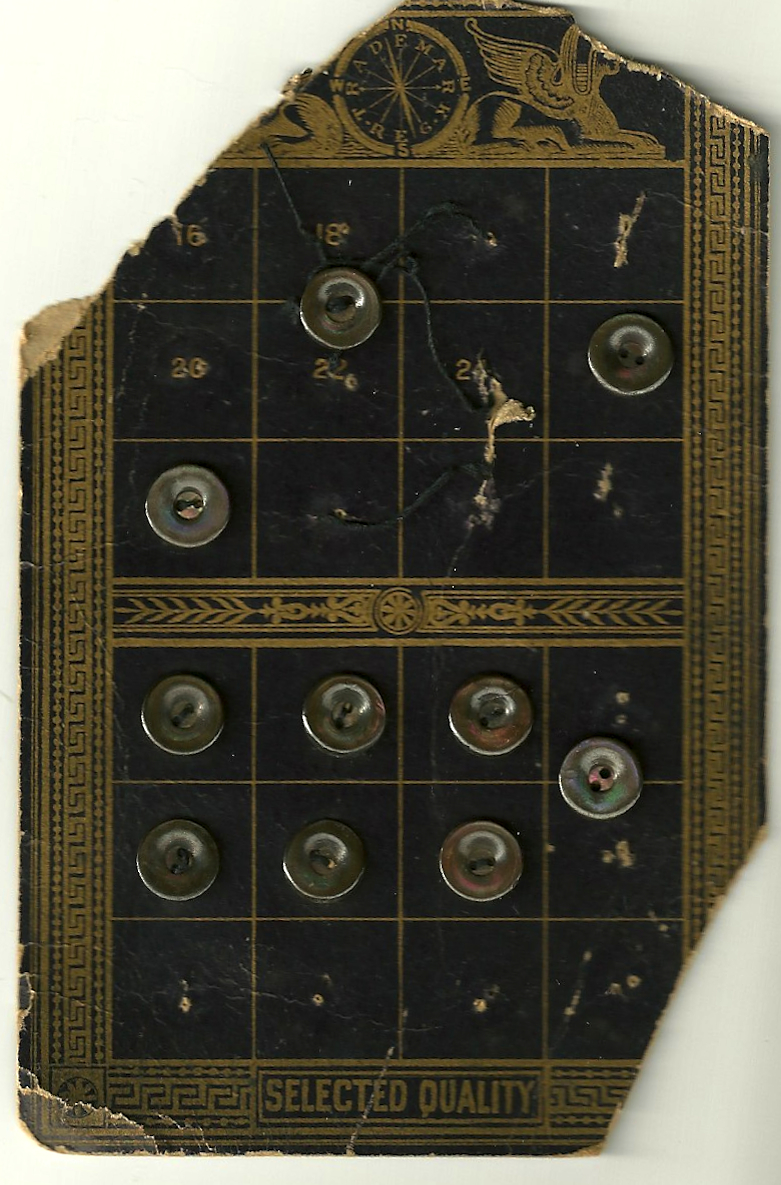
The holes on two of the buttons were a little off center, but fortunately, I only needed 8 of them!
The process of making this blouse was fun and low-stress: I interfaced the collar and cuffs with silk organza, of course, but other than that, there were no underlinings, no linings, no bound buttonholes to worry about!
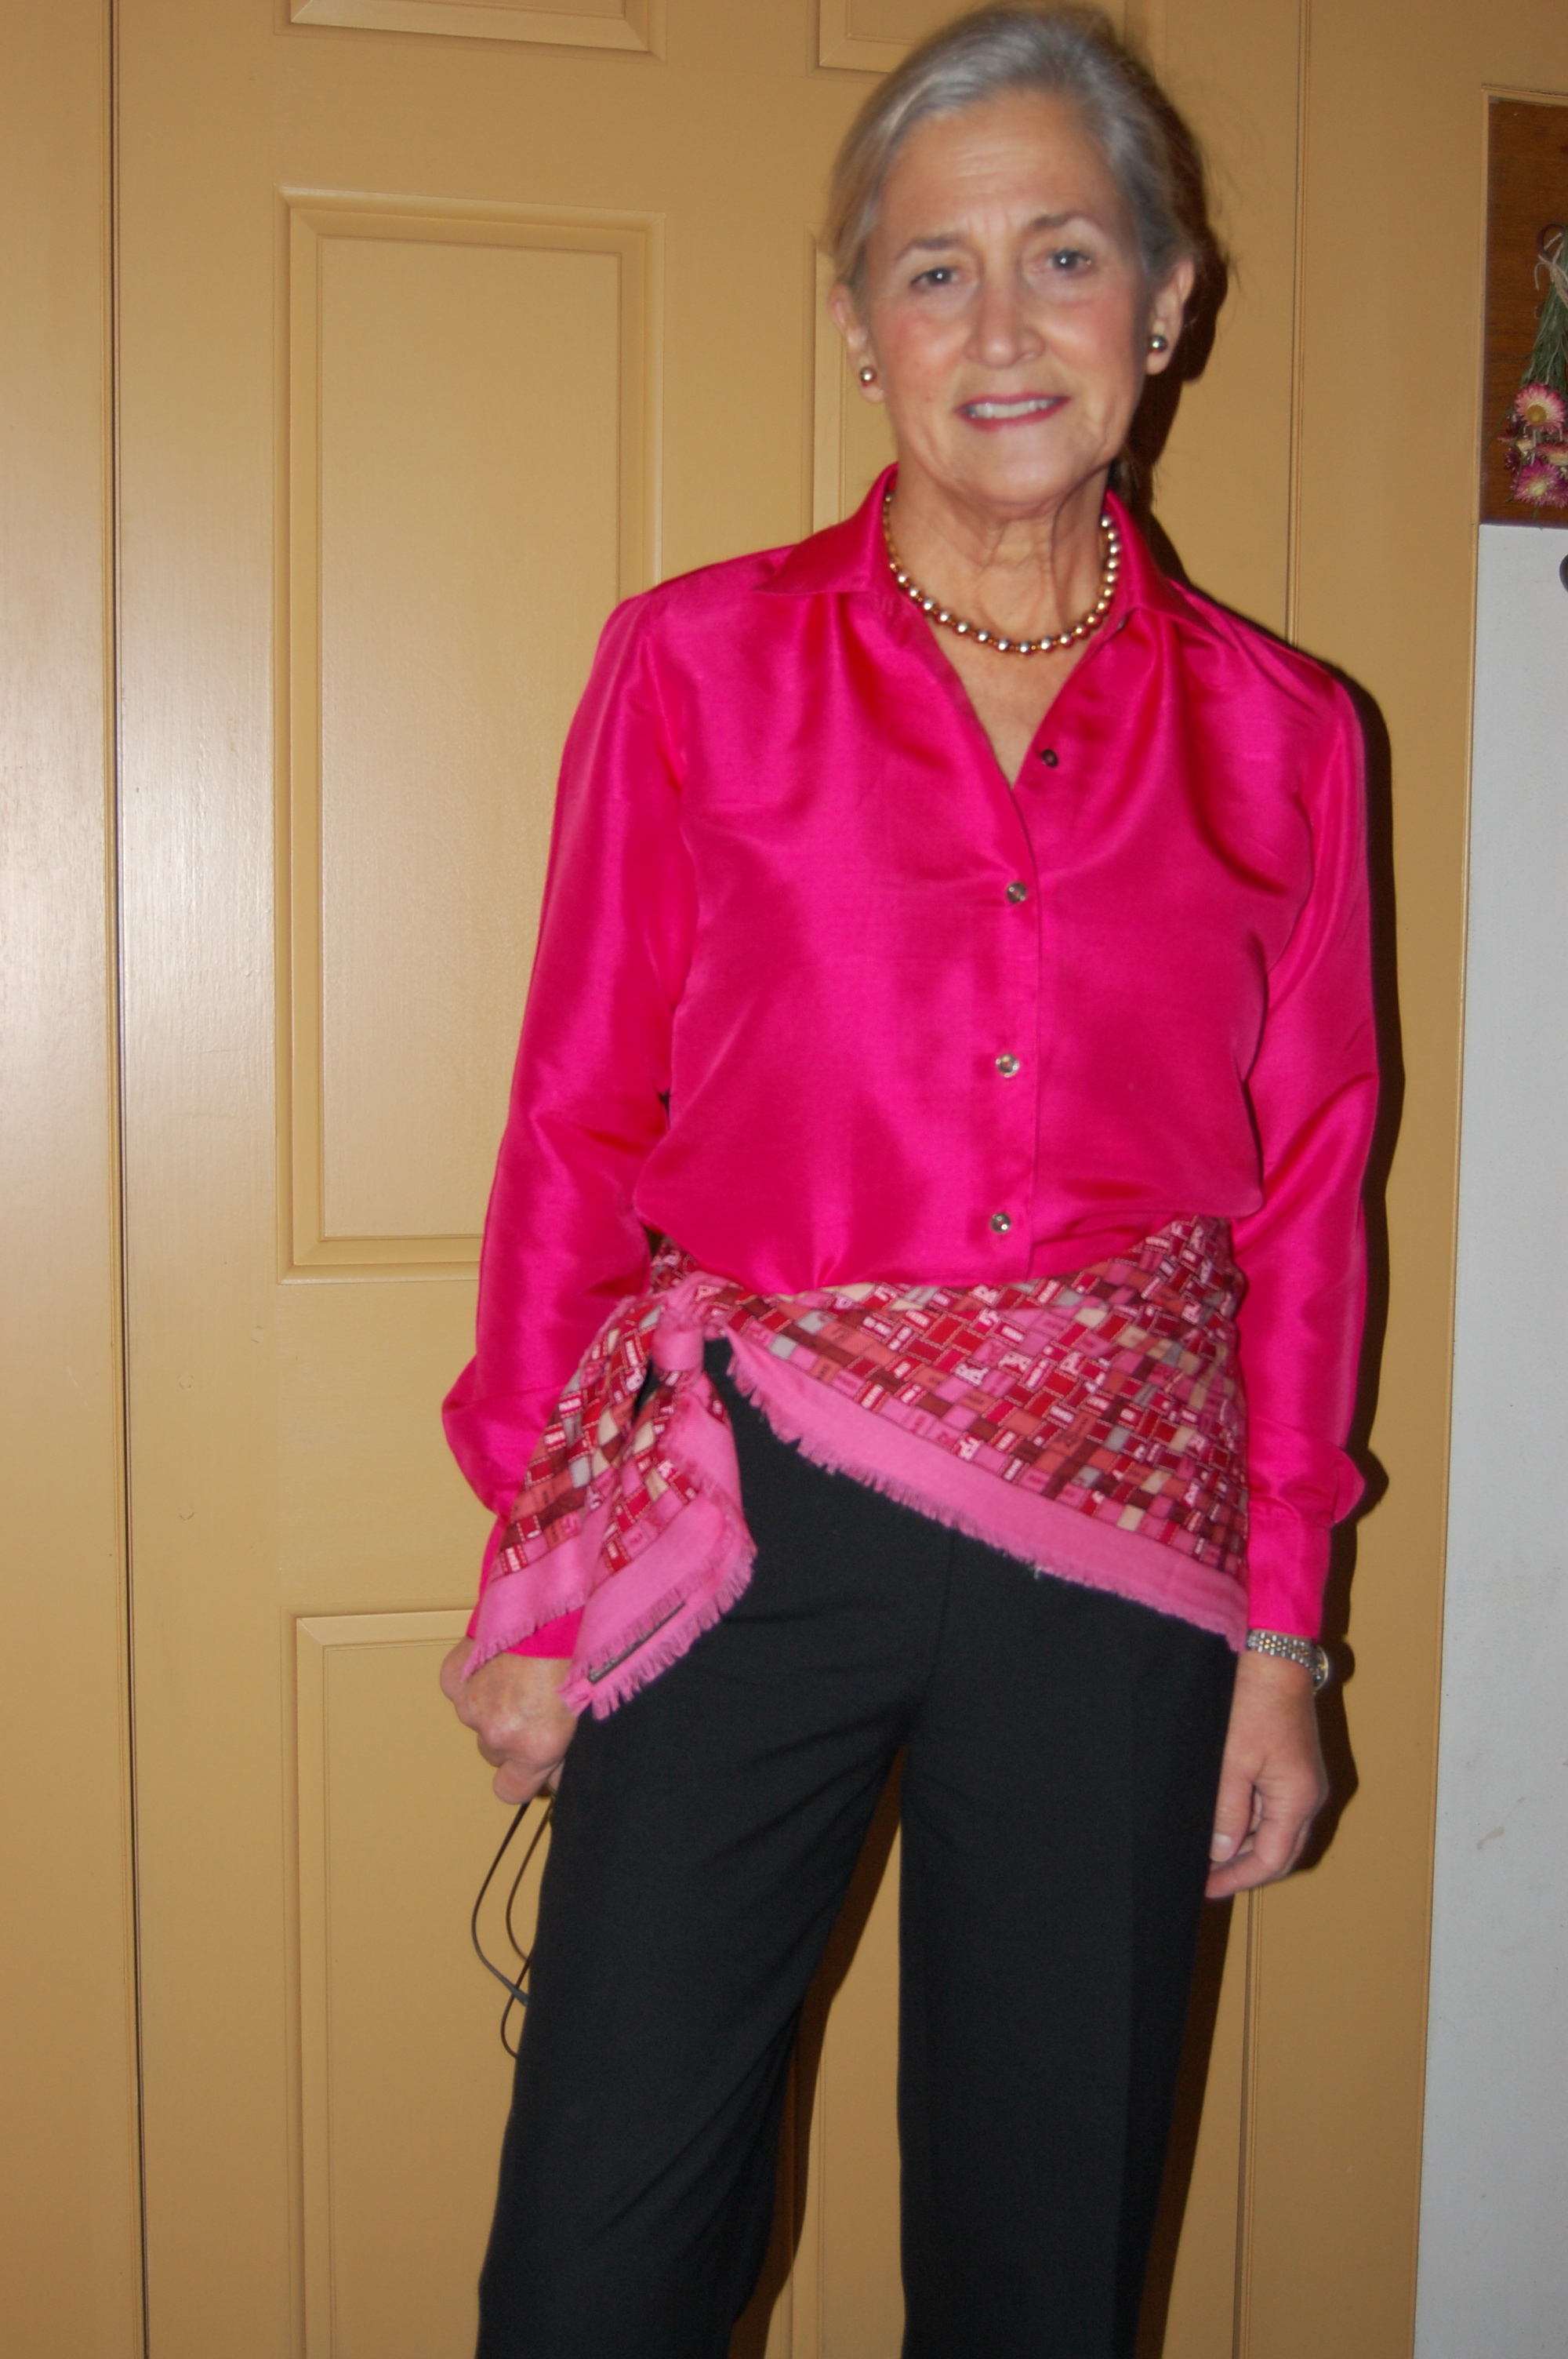
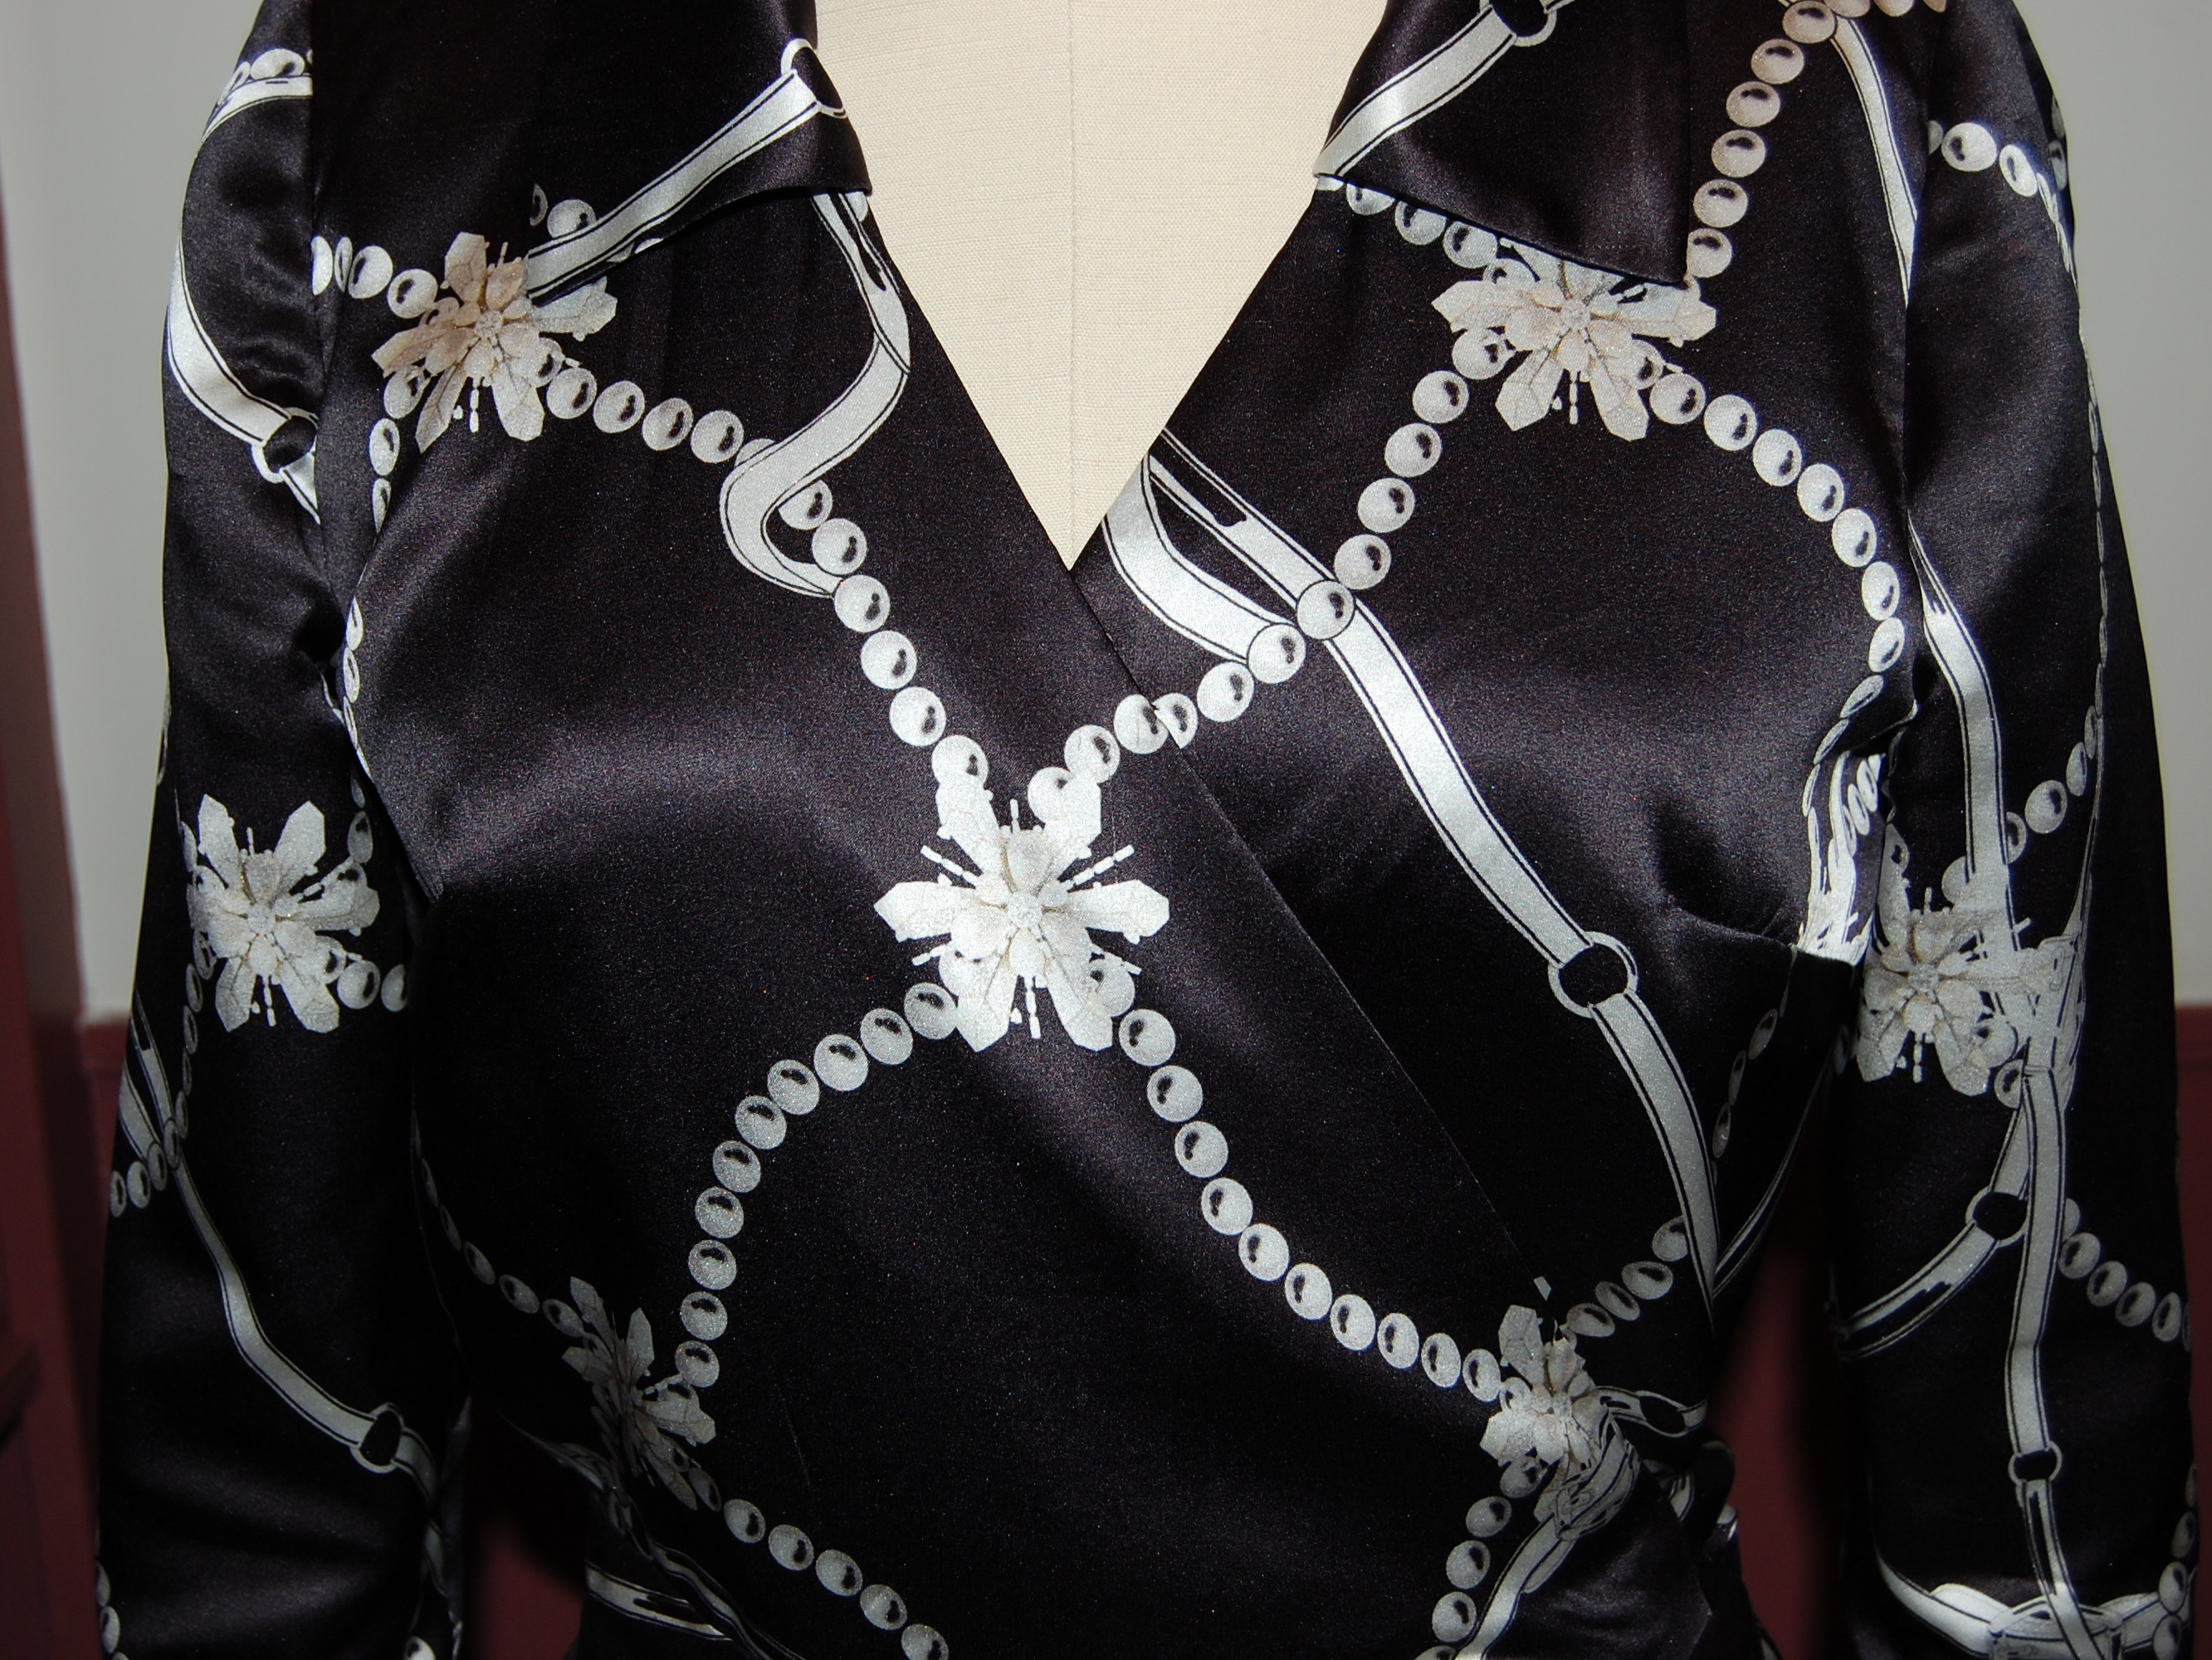
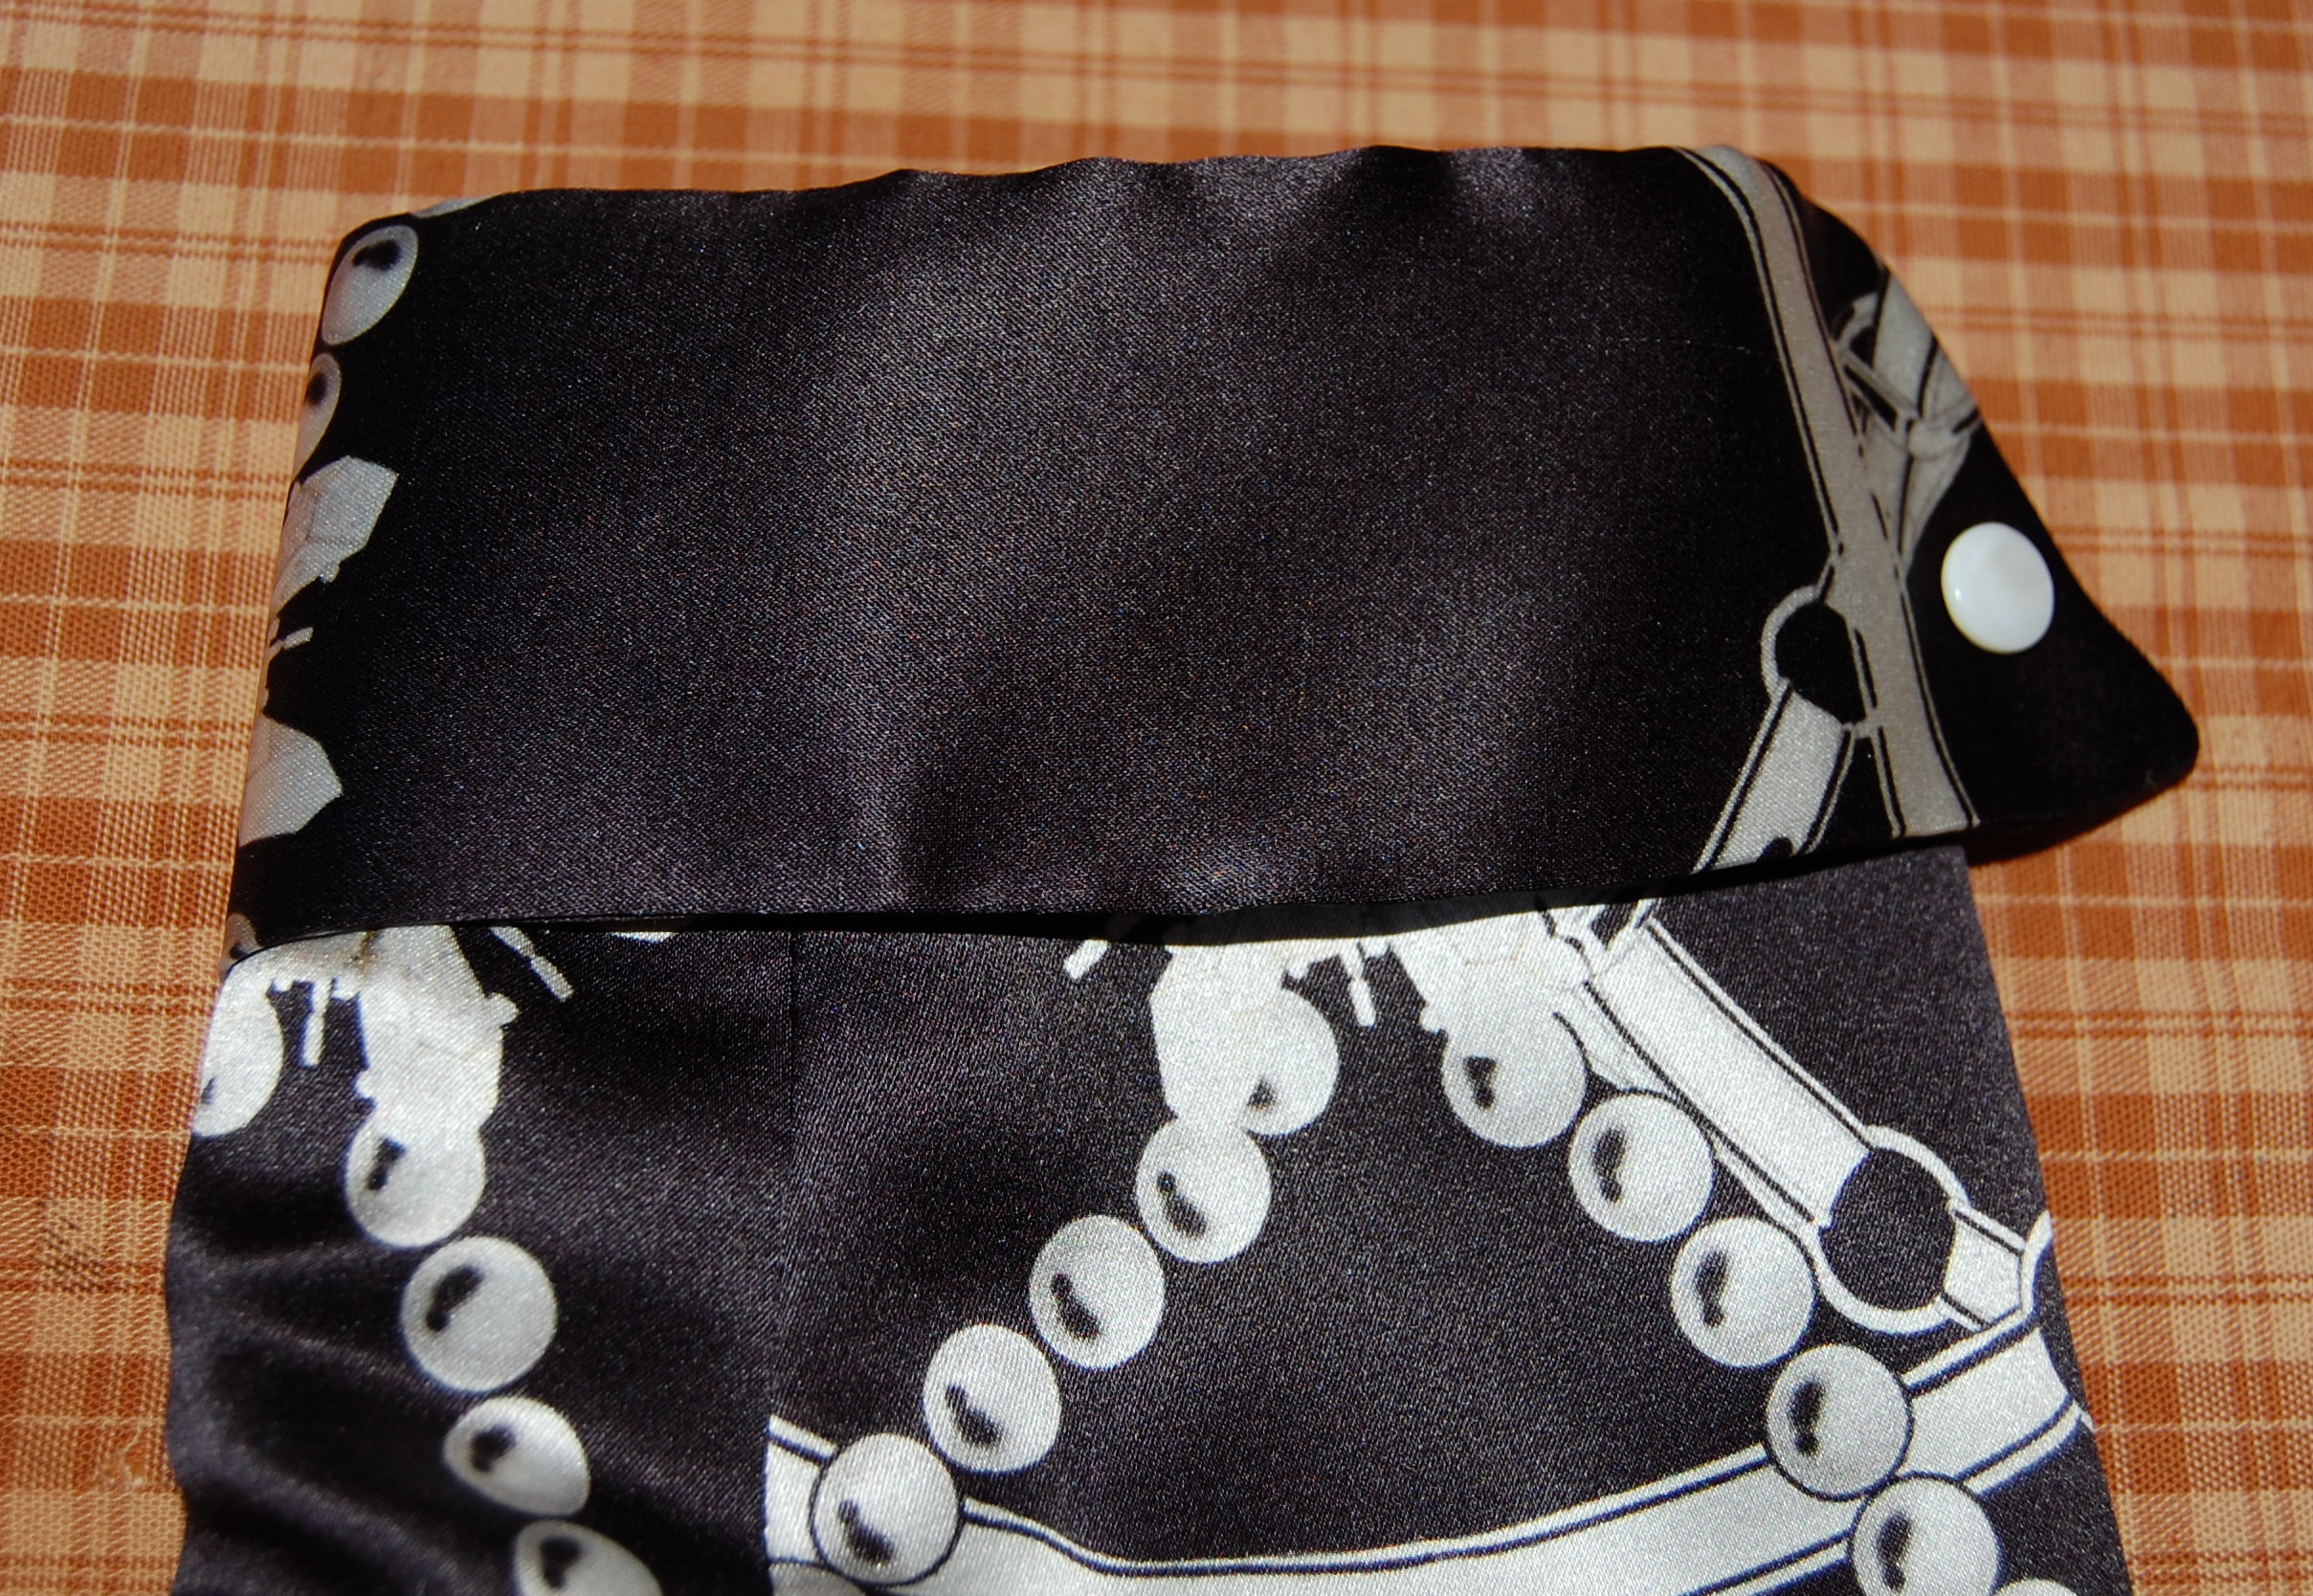
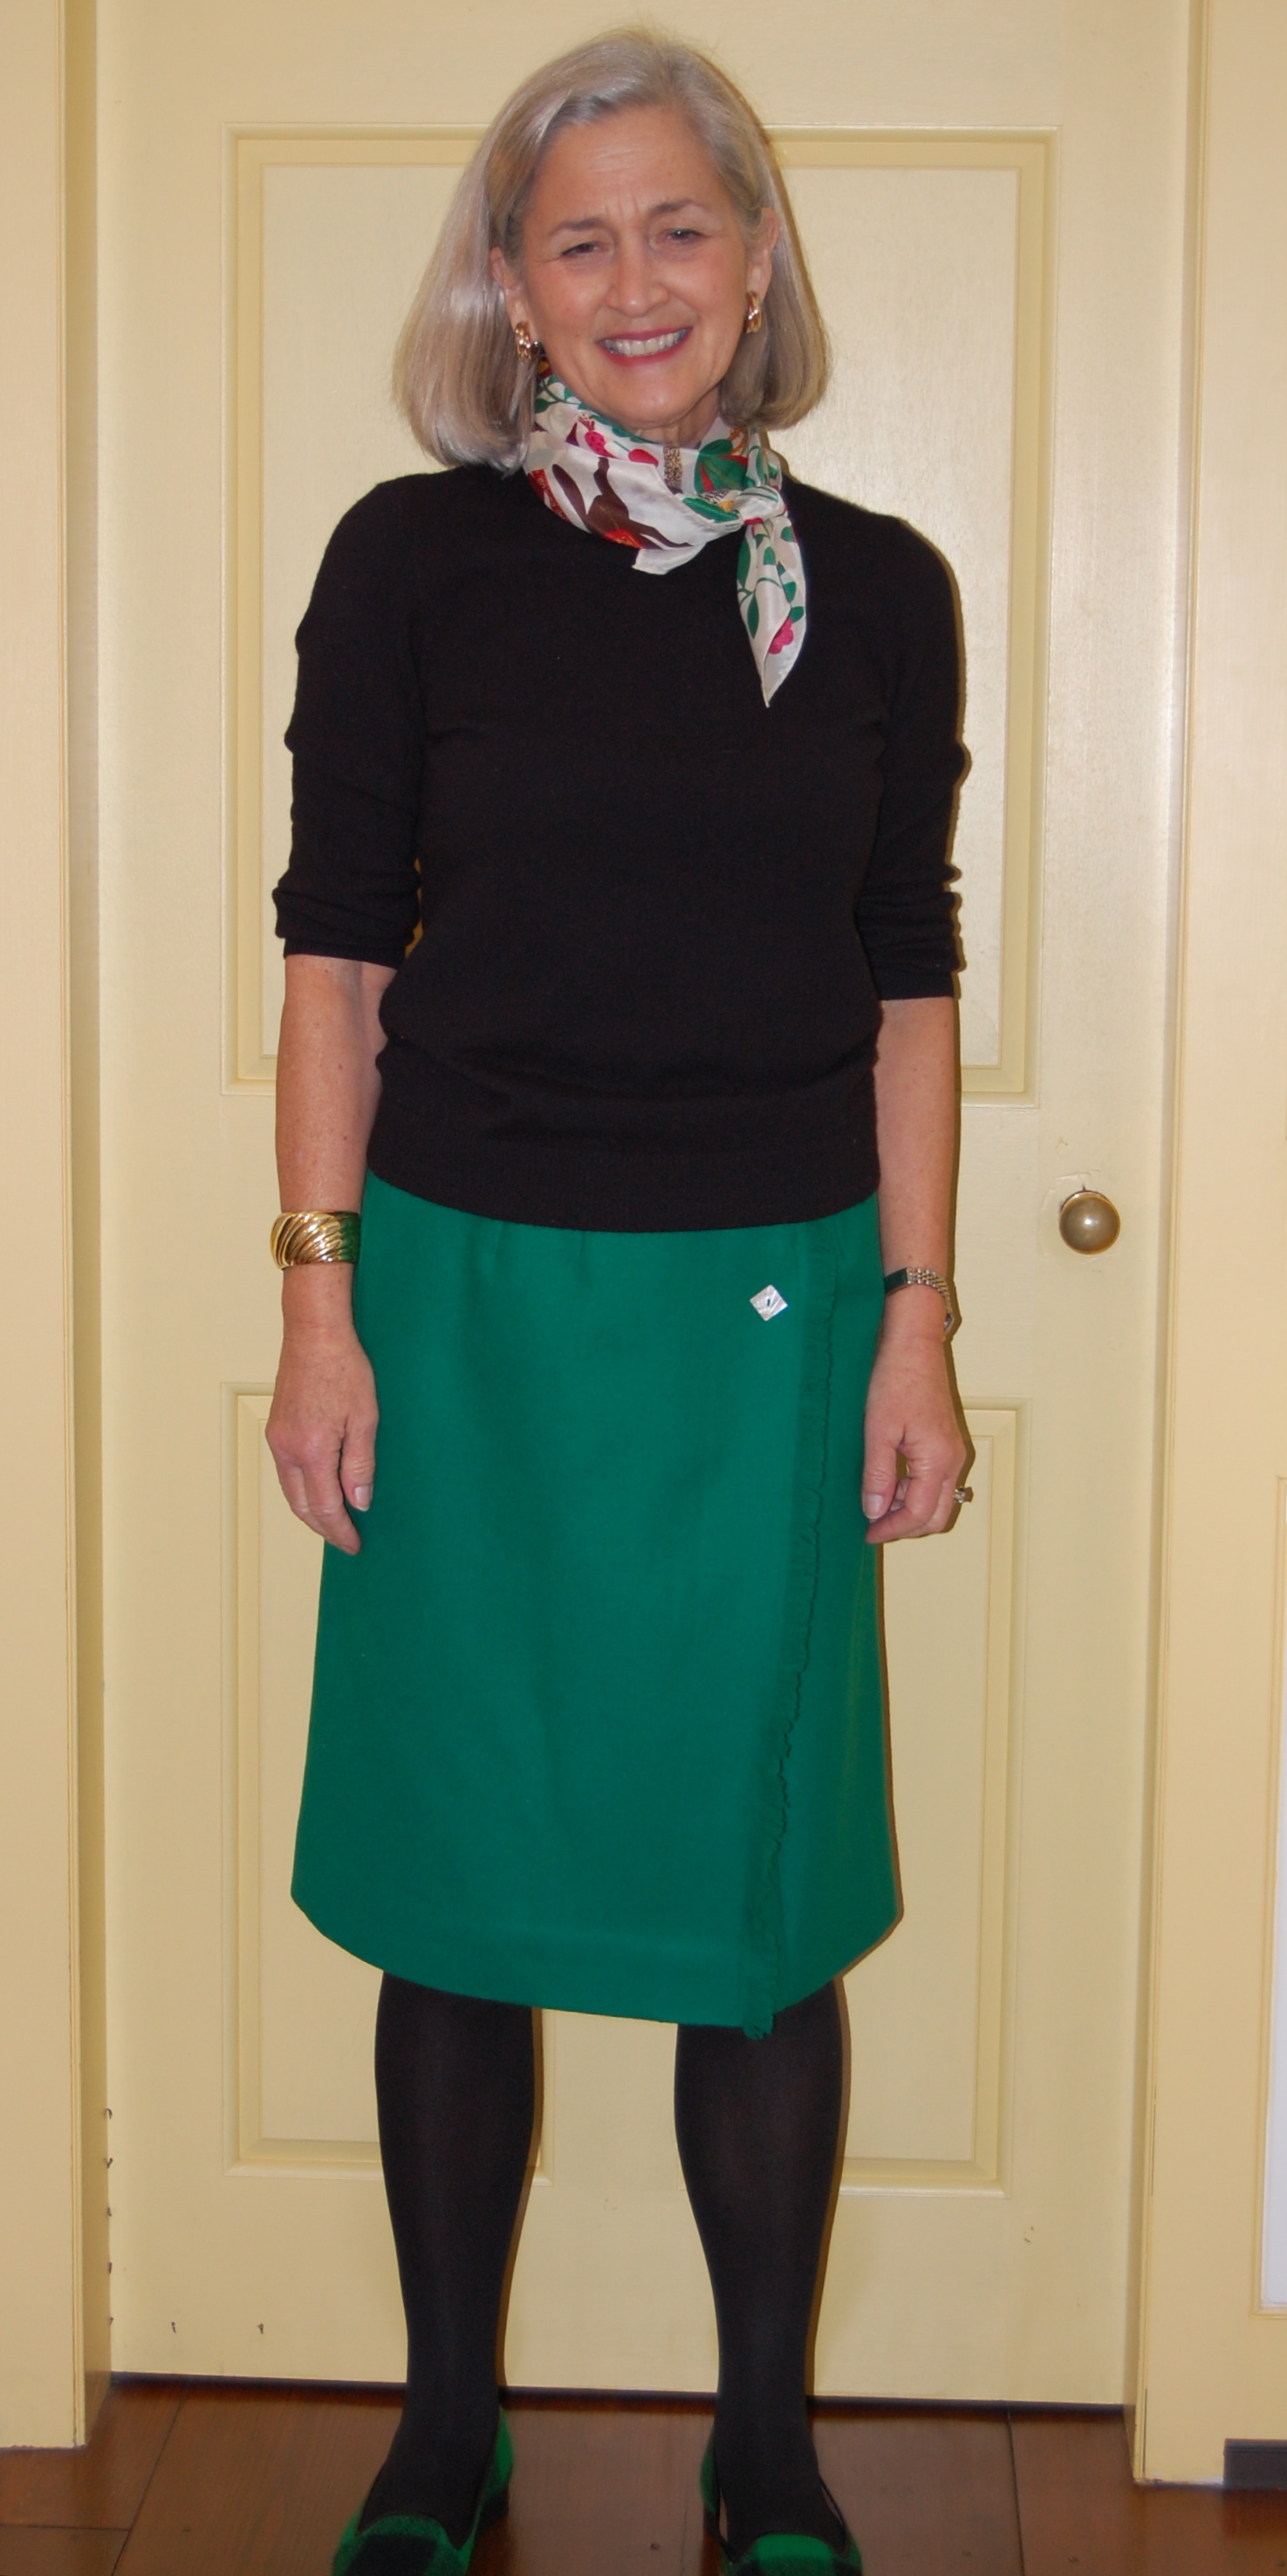
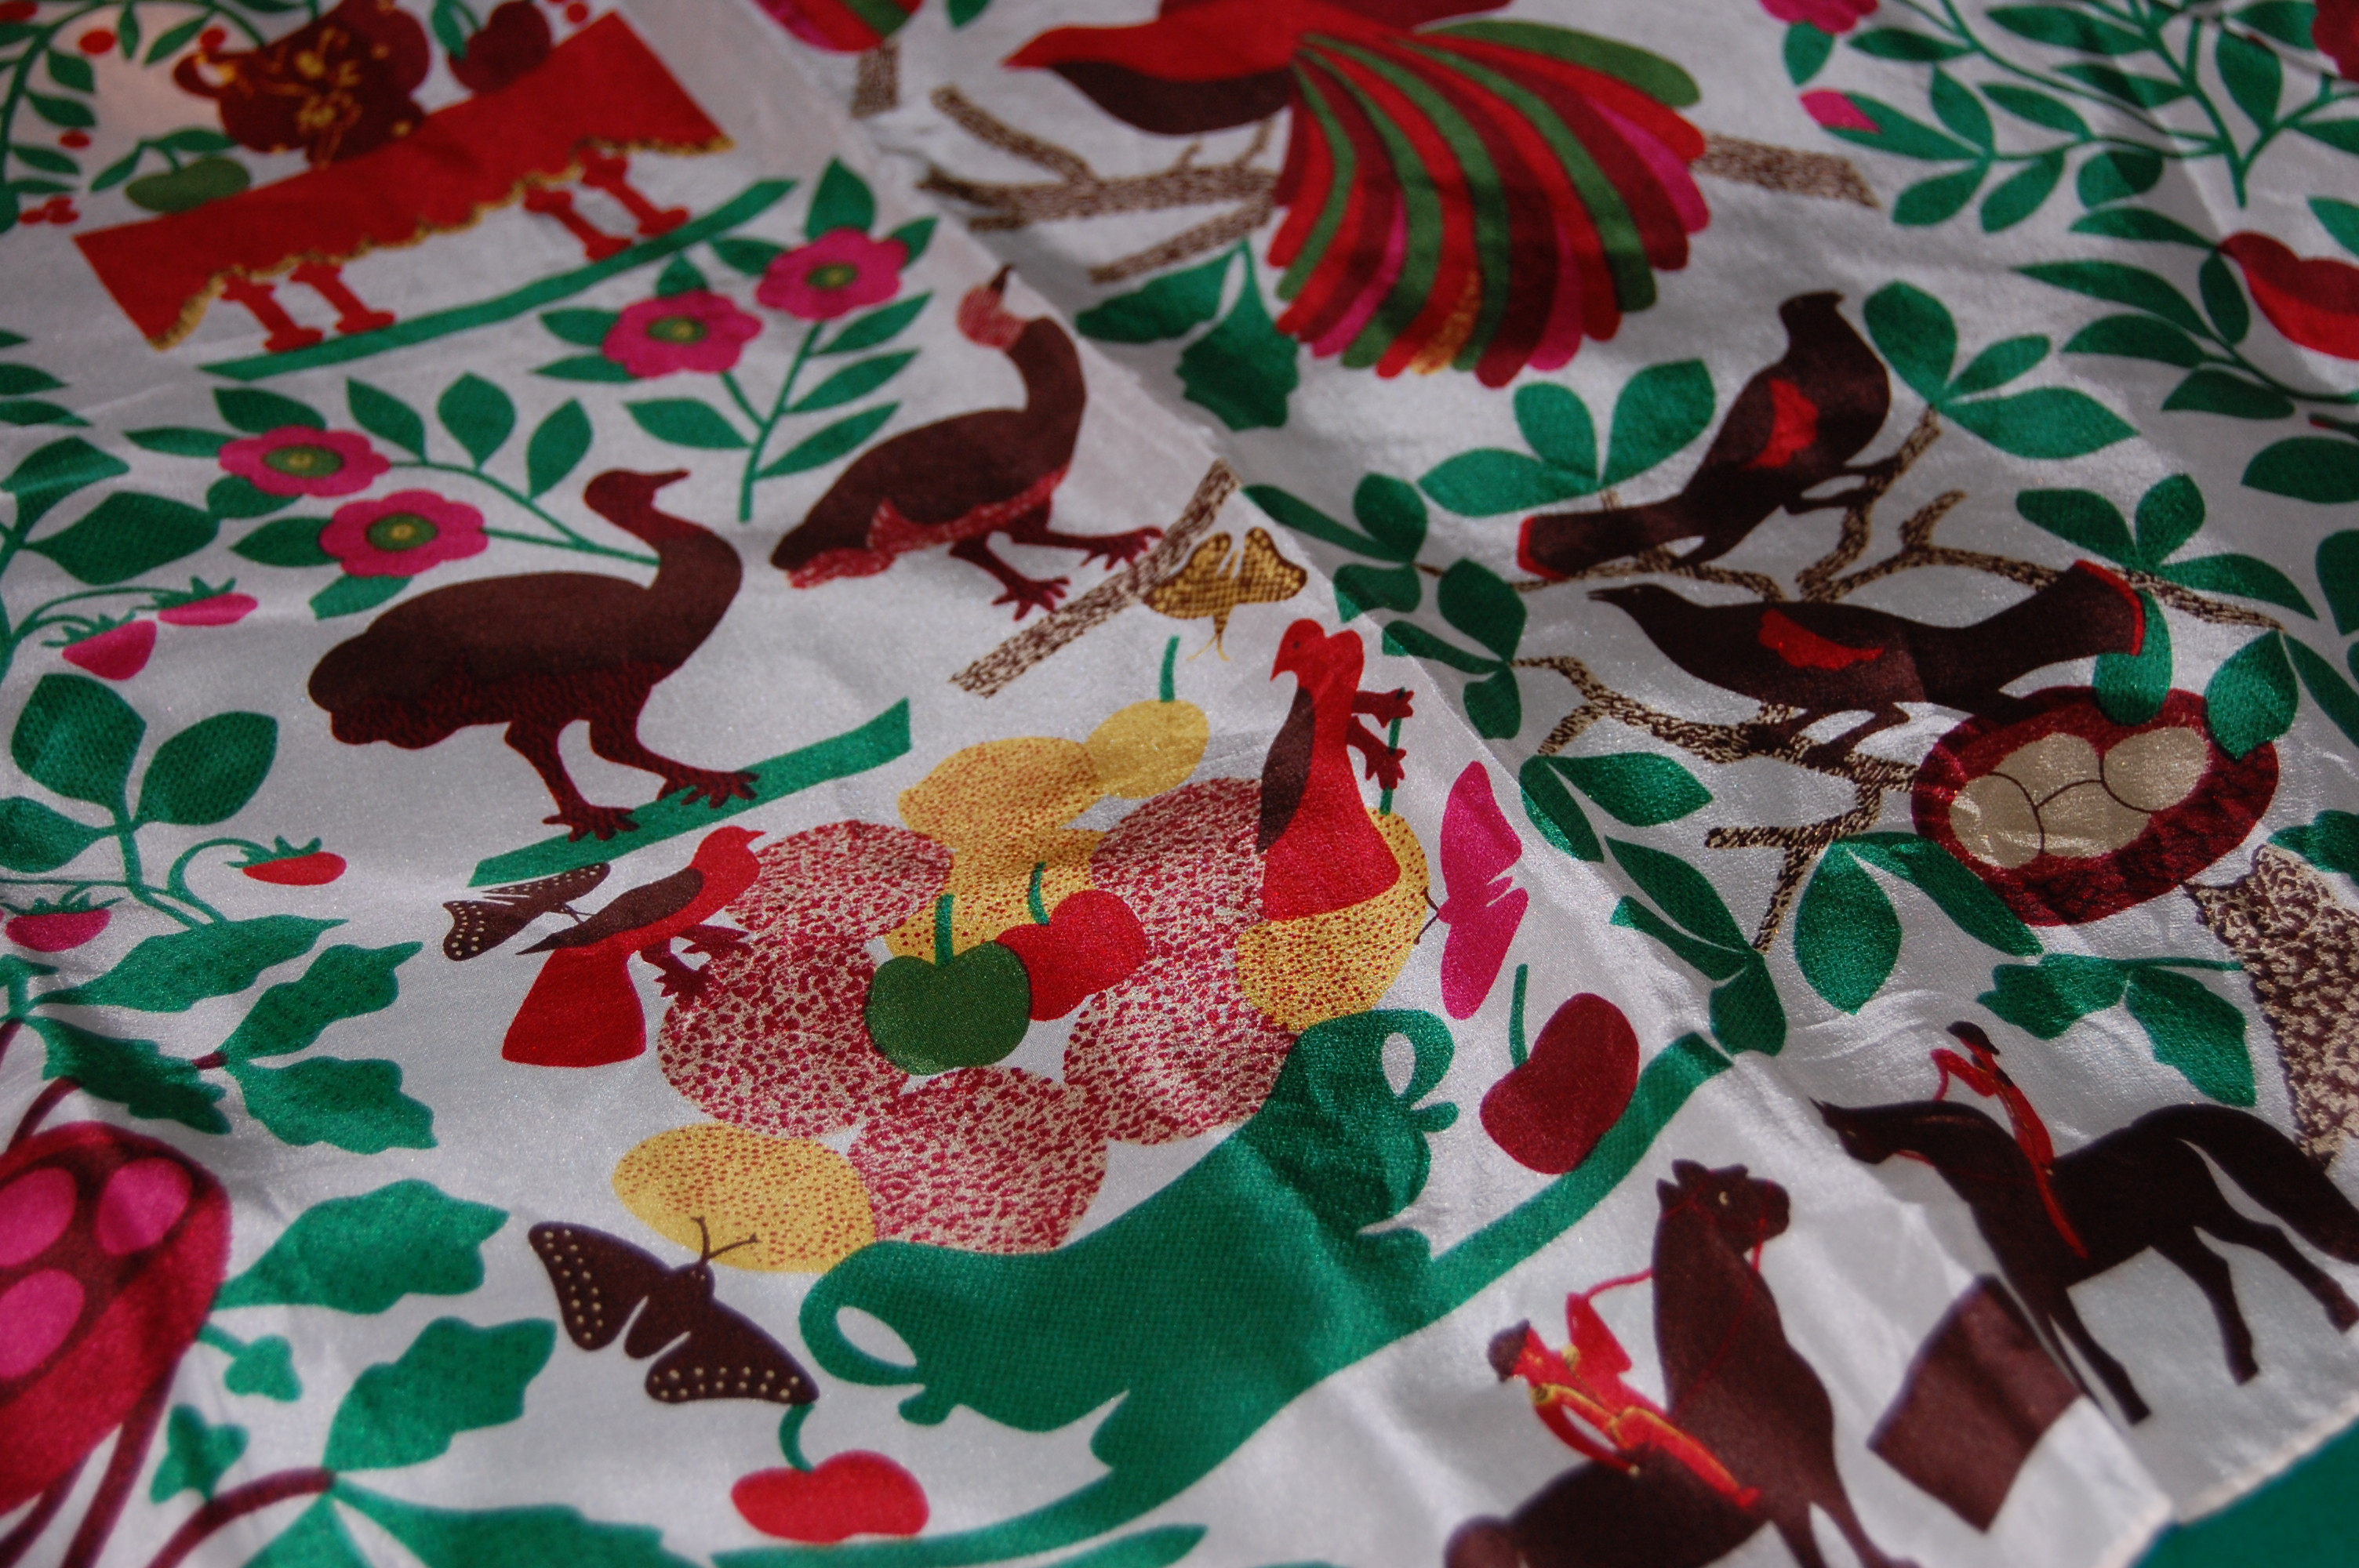
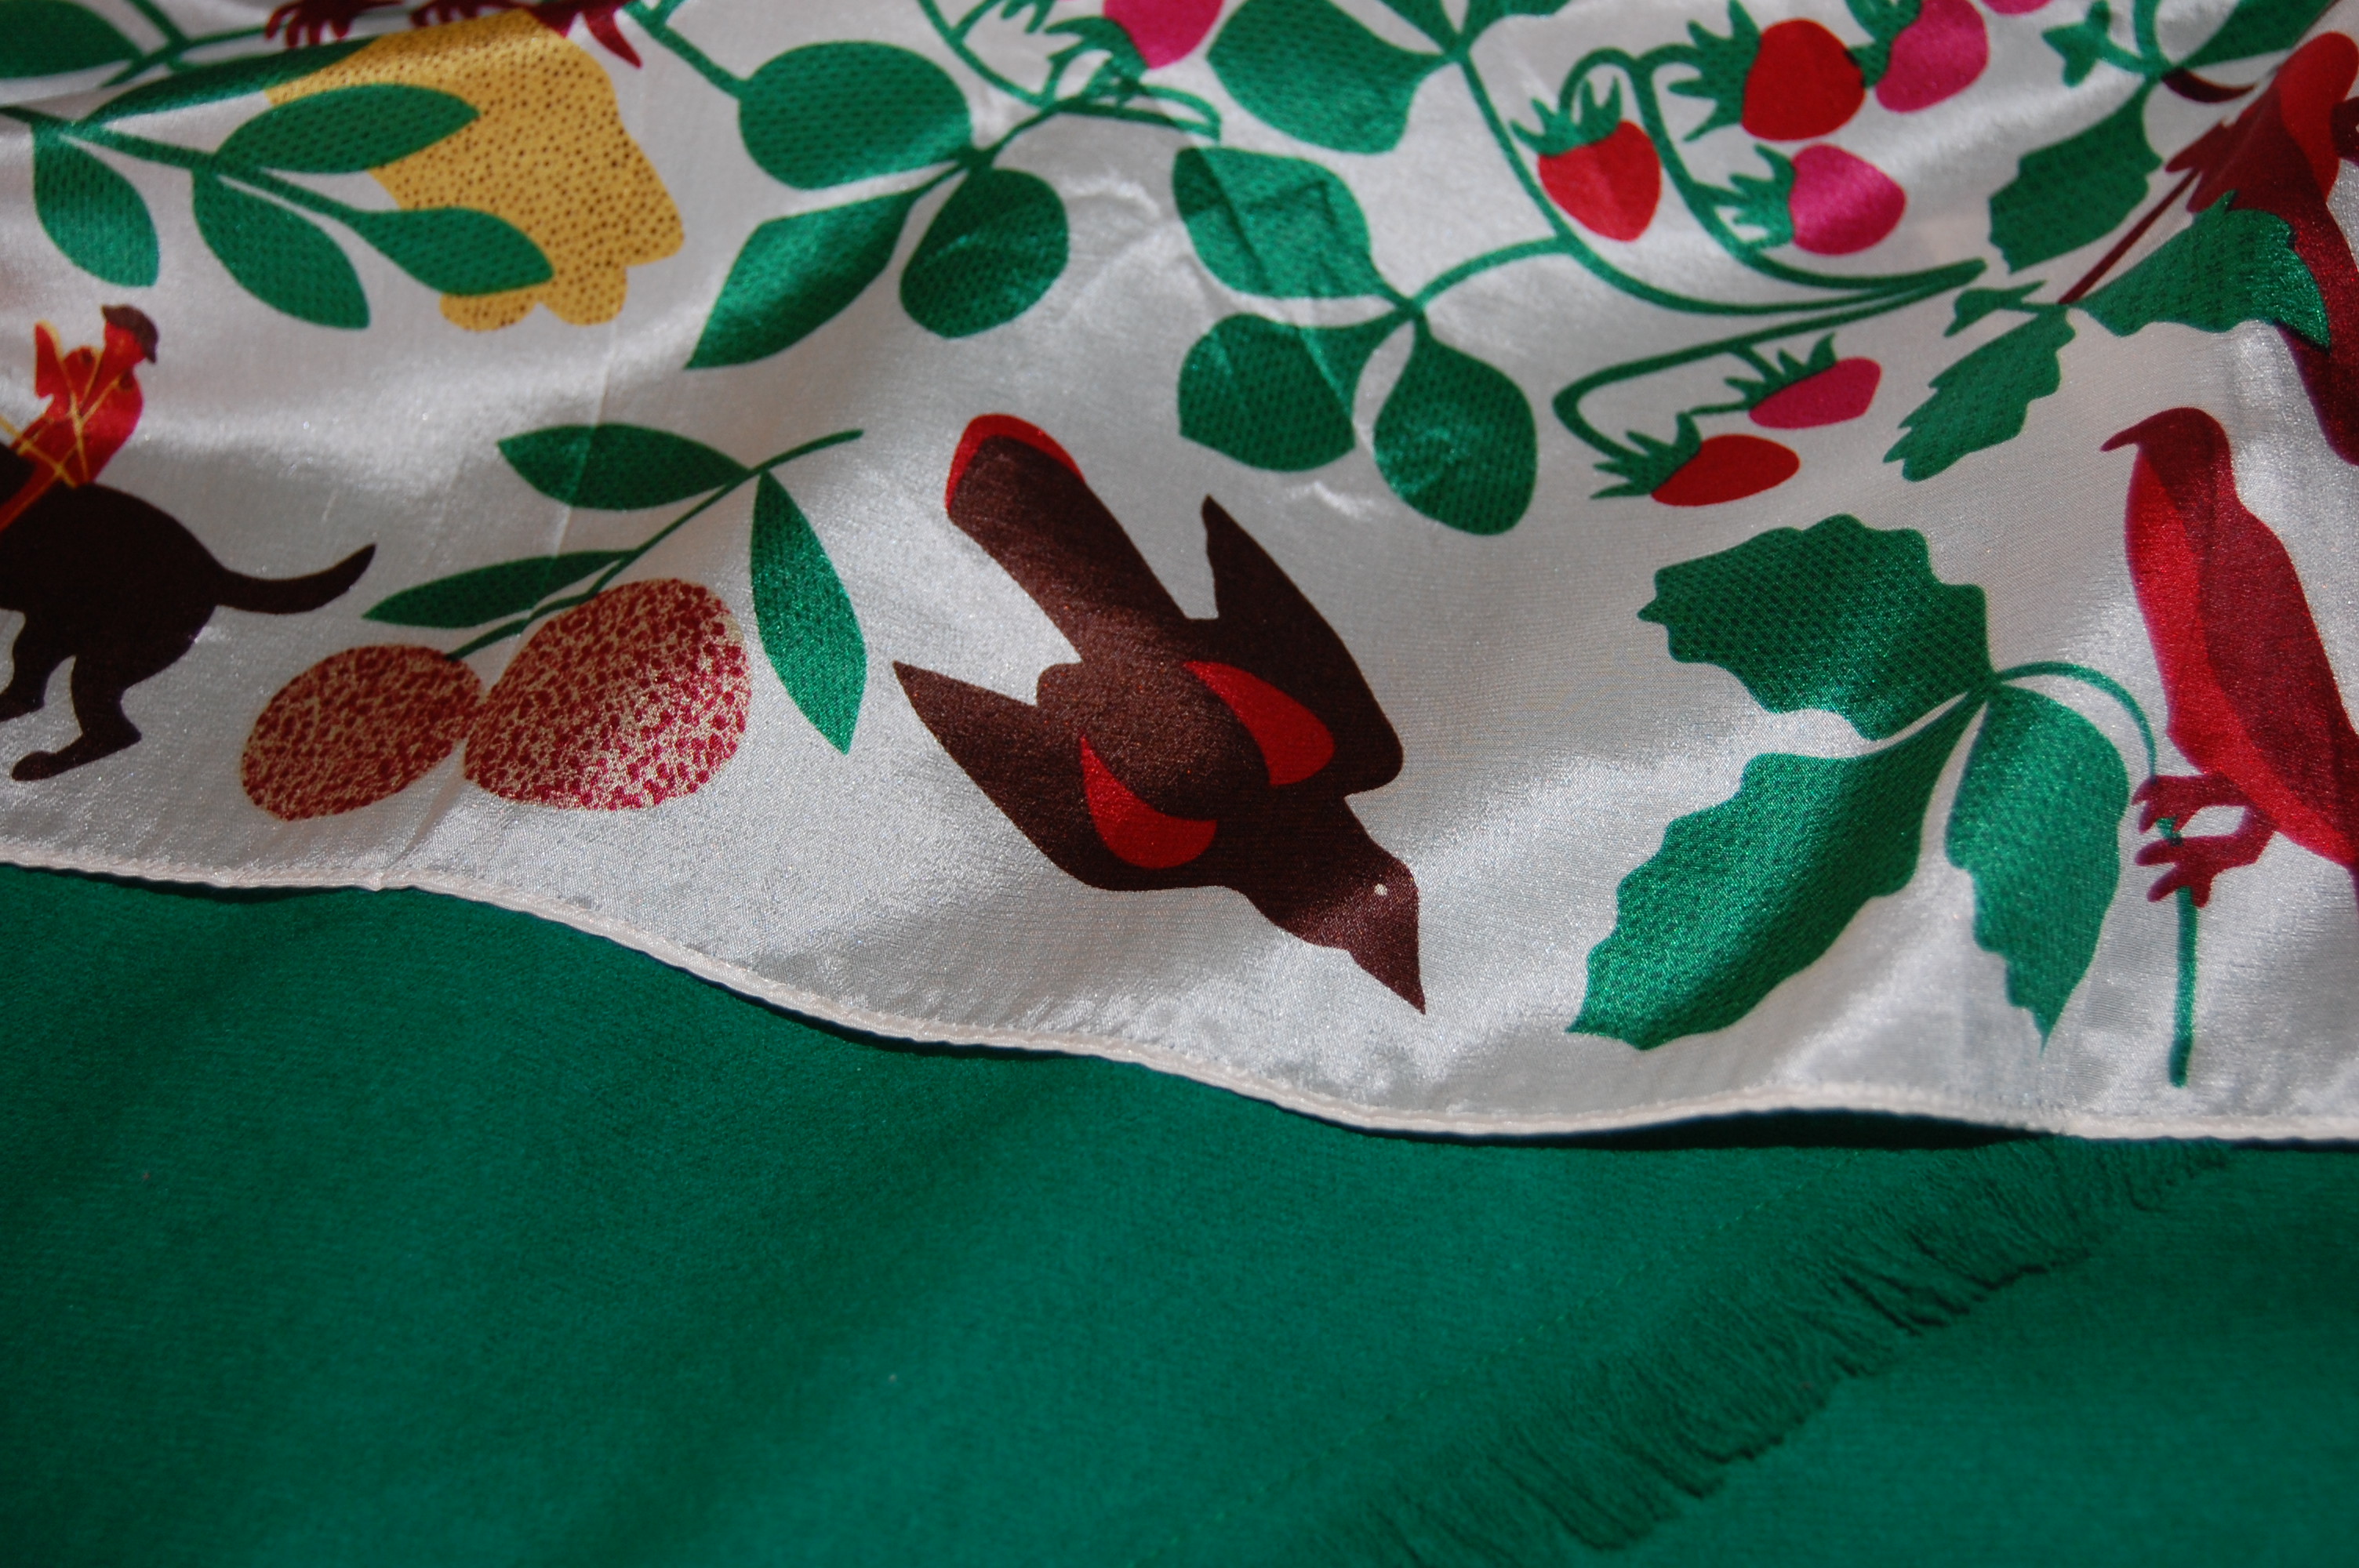
With a cashmere blend scarf, for a dressier look.
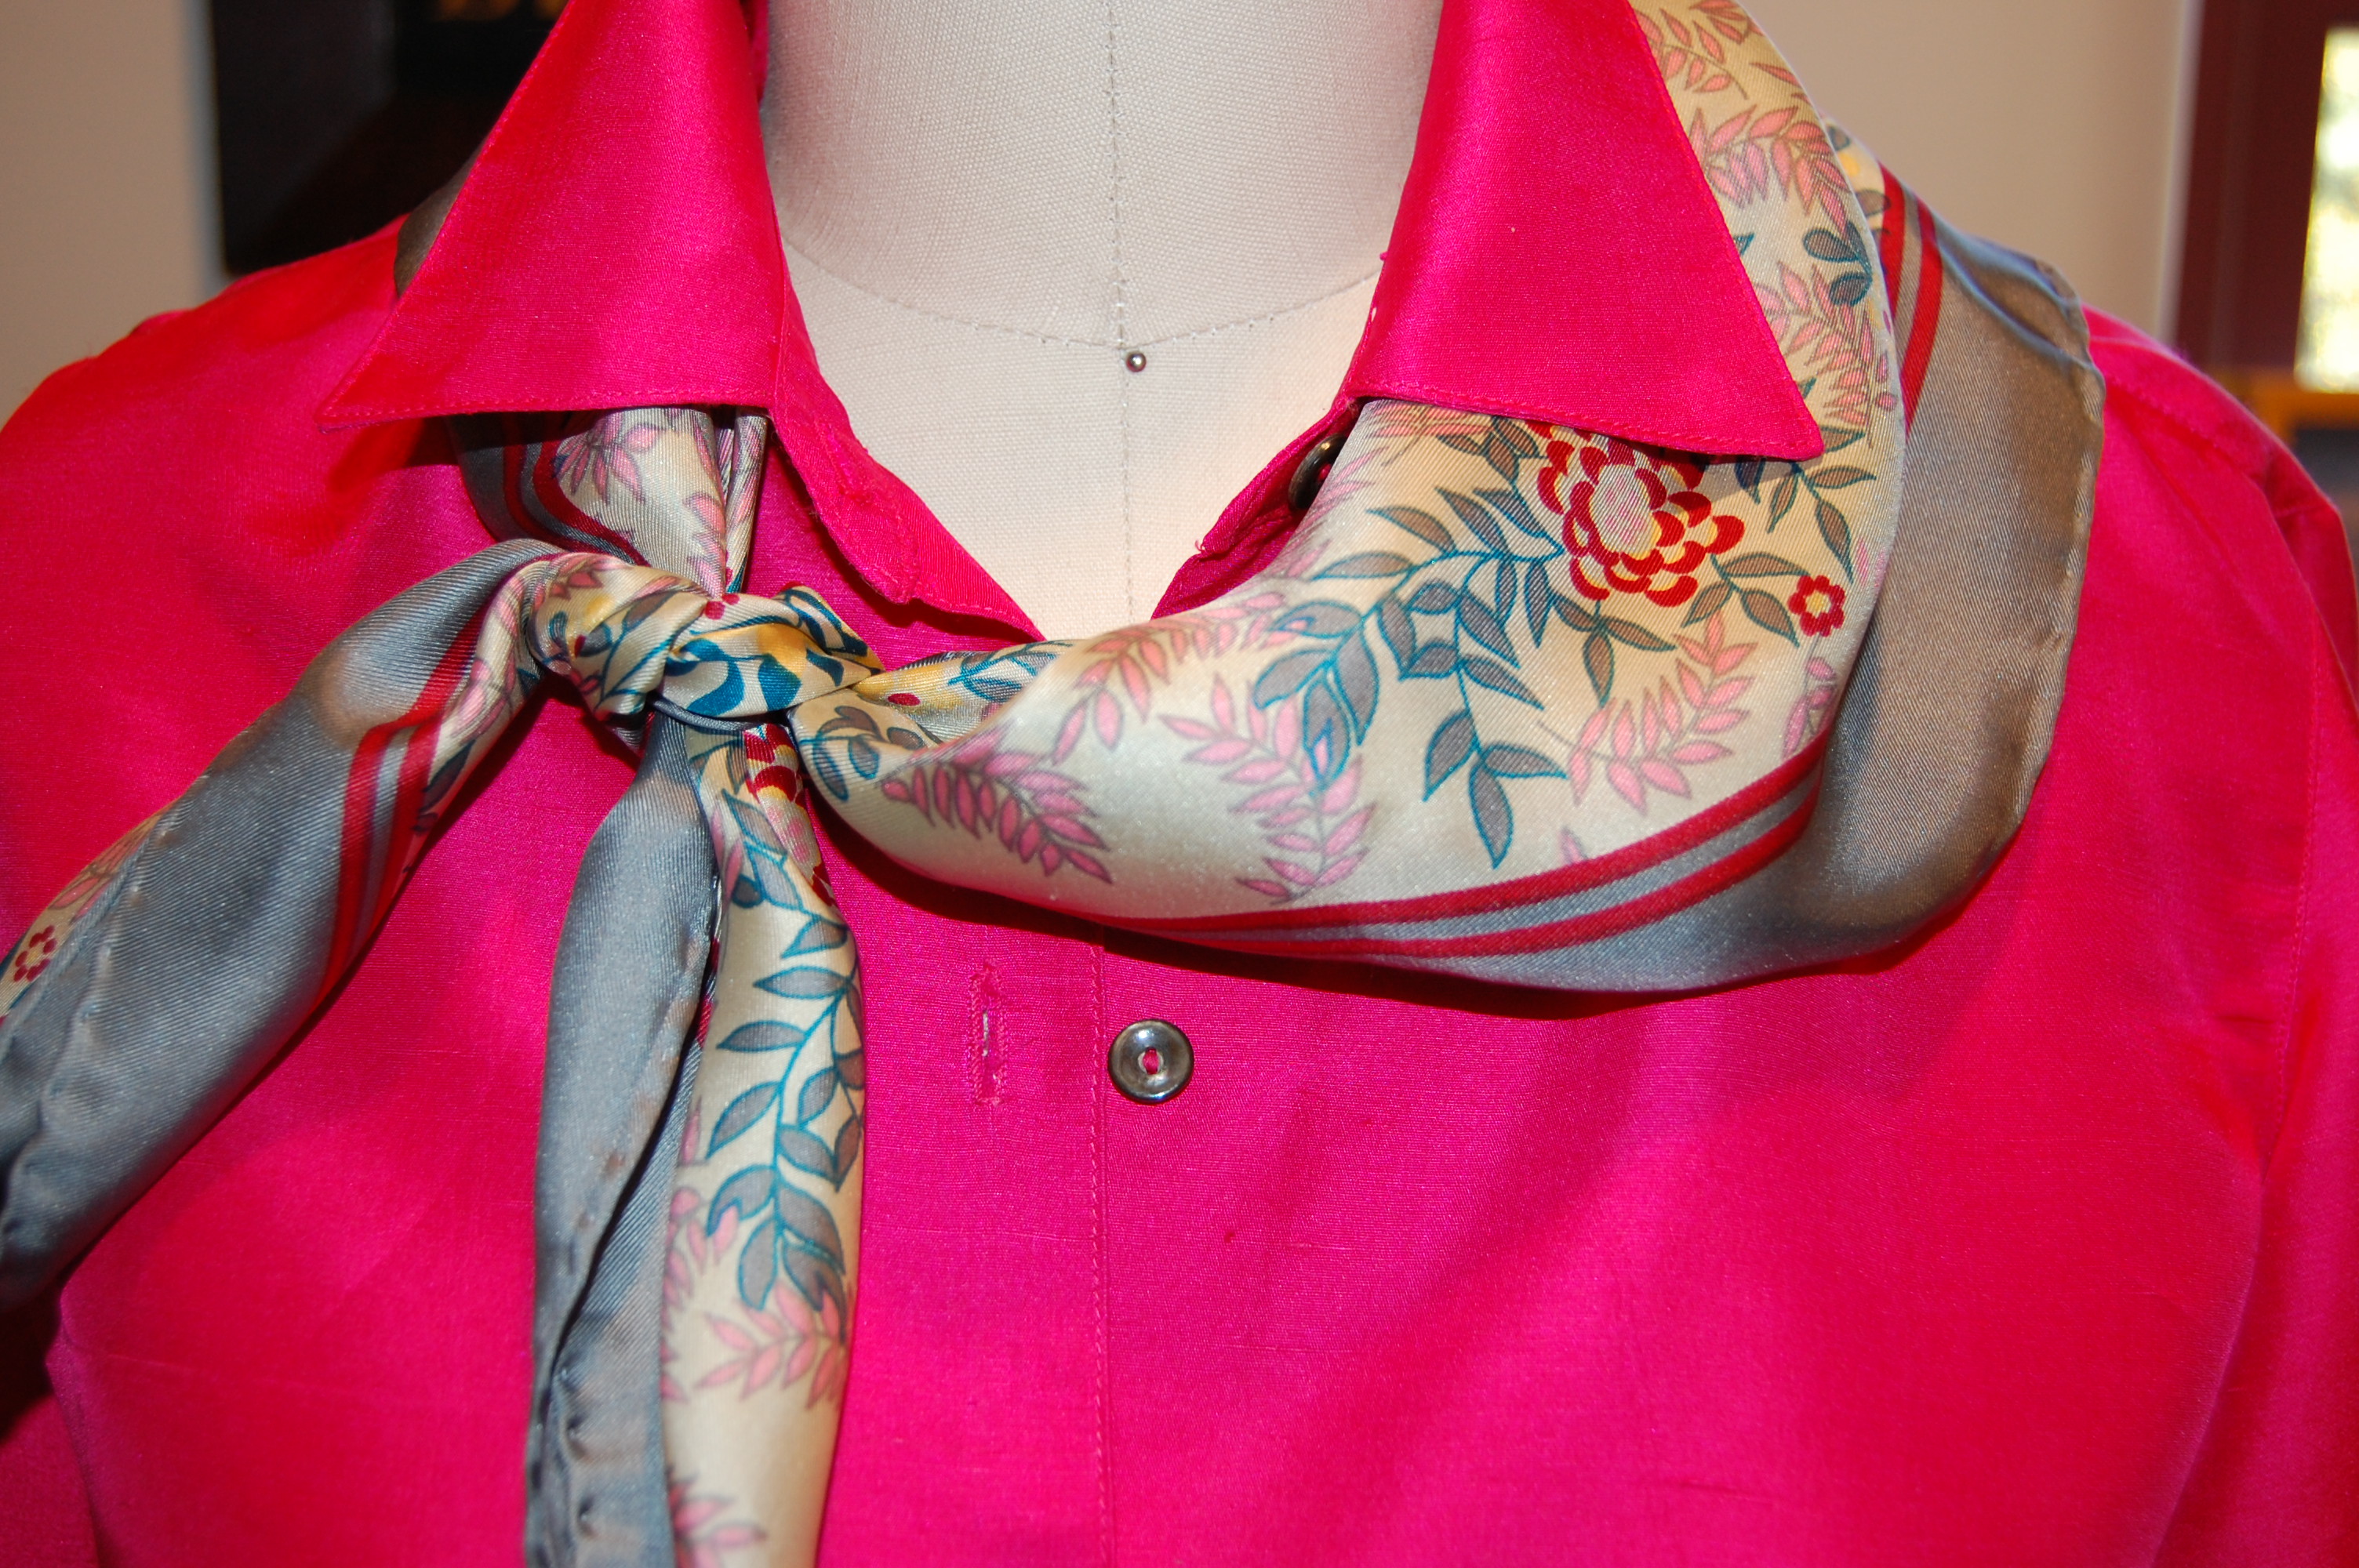
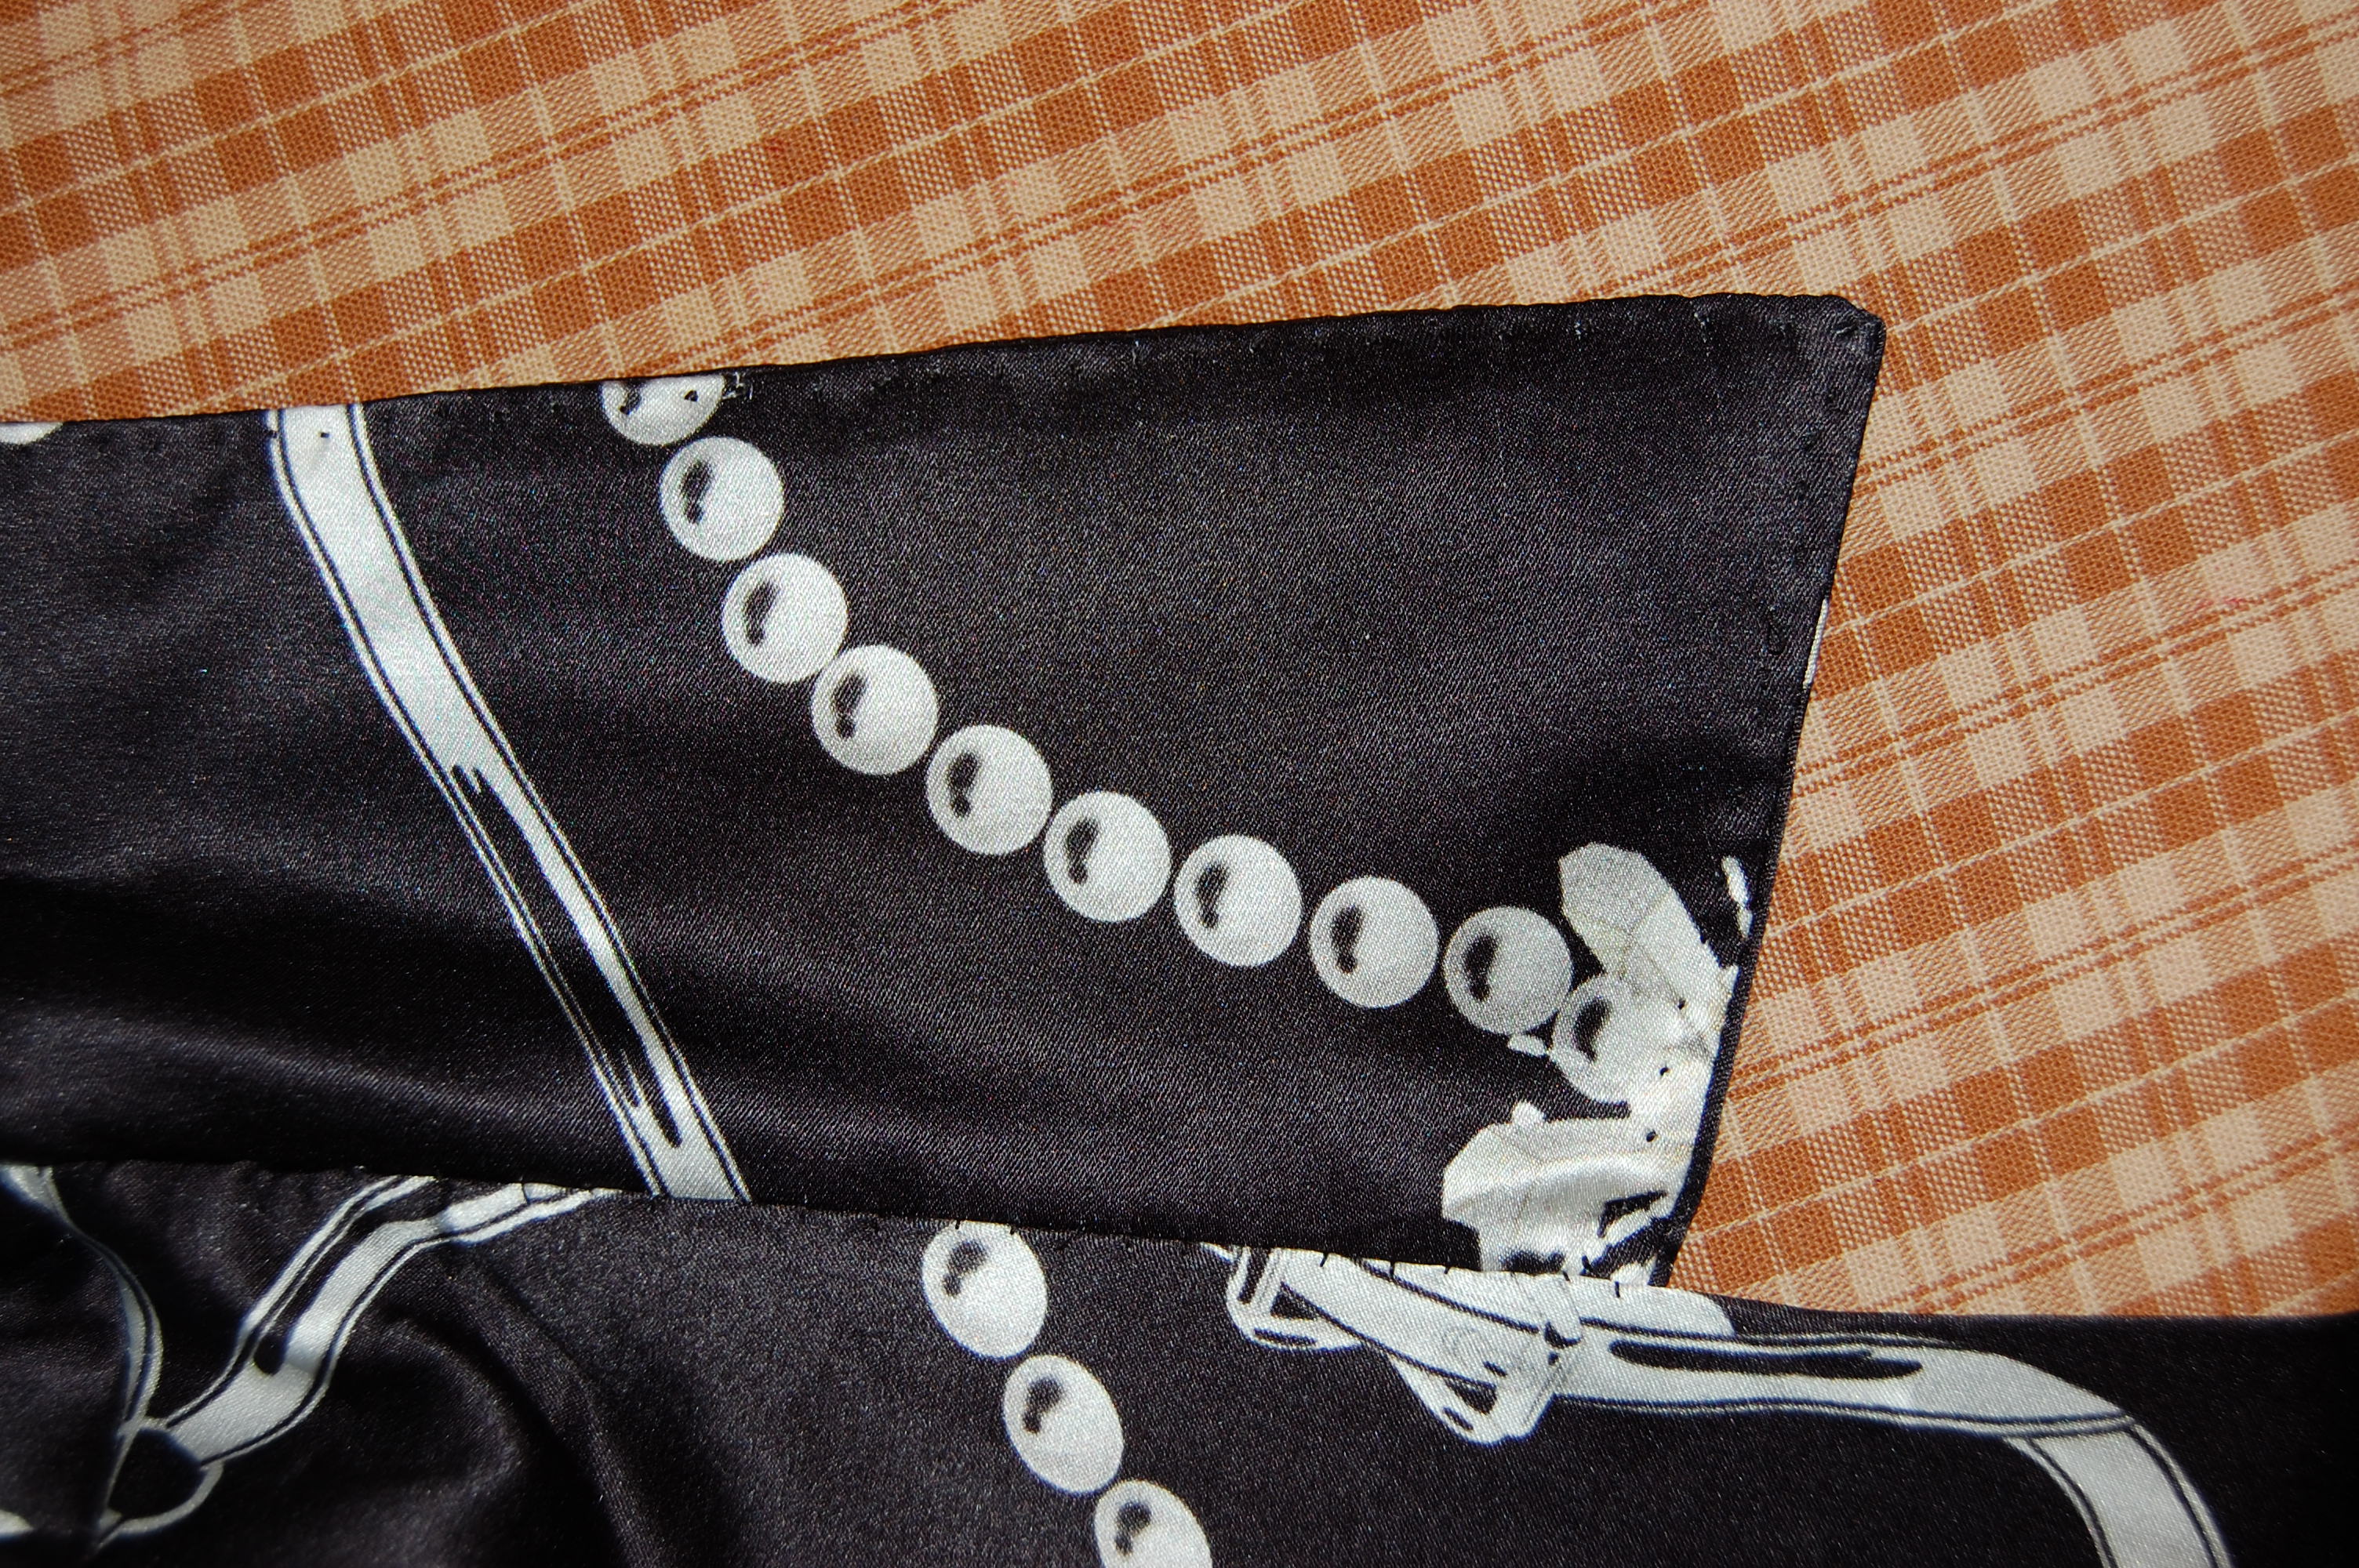
A vintage scarf to go with this vintage fabric!
I’m looking forward to wearing this blouse often, but especially for date night, which just so happens to make “date day” also fun and low stress: no dinner to plan and cook – which means more time in the sewing room!