The word “smart” has lots of different meanings. My desktop Webster’s lists 21 different connotations of this short, very effective word. I particularly like two of the ways this word was used when I was growing up in the ‘50s and ‘60s: those would be meanings #5: “neat or trim in appearance, as a person or garment”, and #6: “socially elegant; sophisticated or fashionable: the smart crowd”. With these definitions in mind, I looked for and quickly found some very pertinent examples of these meanings in two Vogue Pattern Book Magazines from 1953 and 1954:
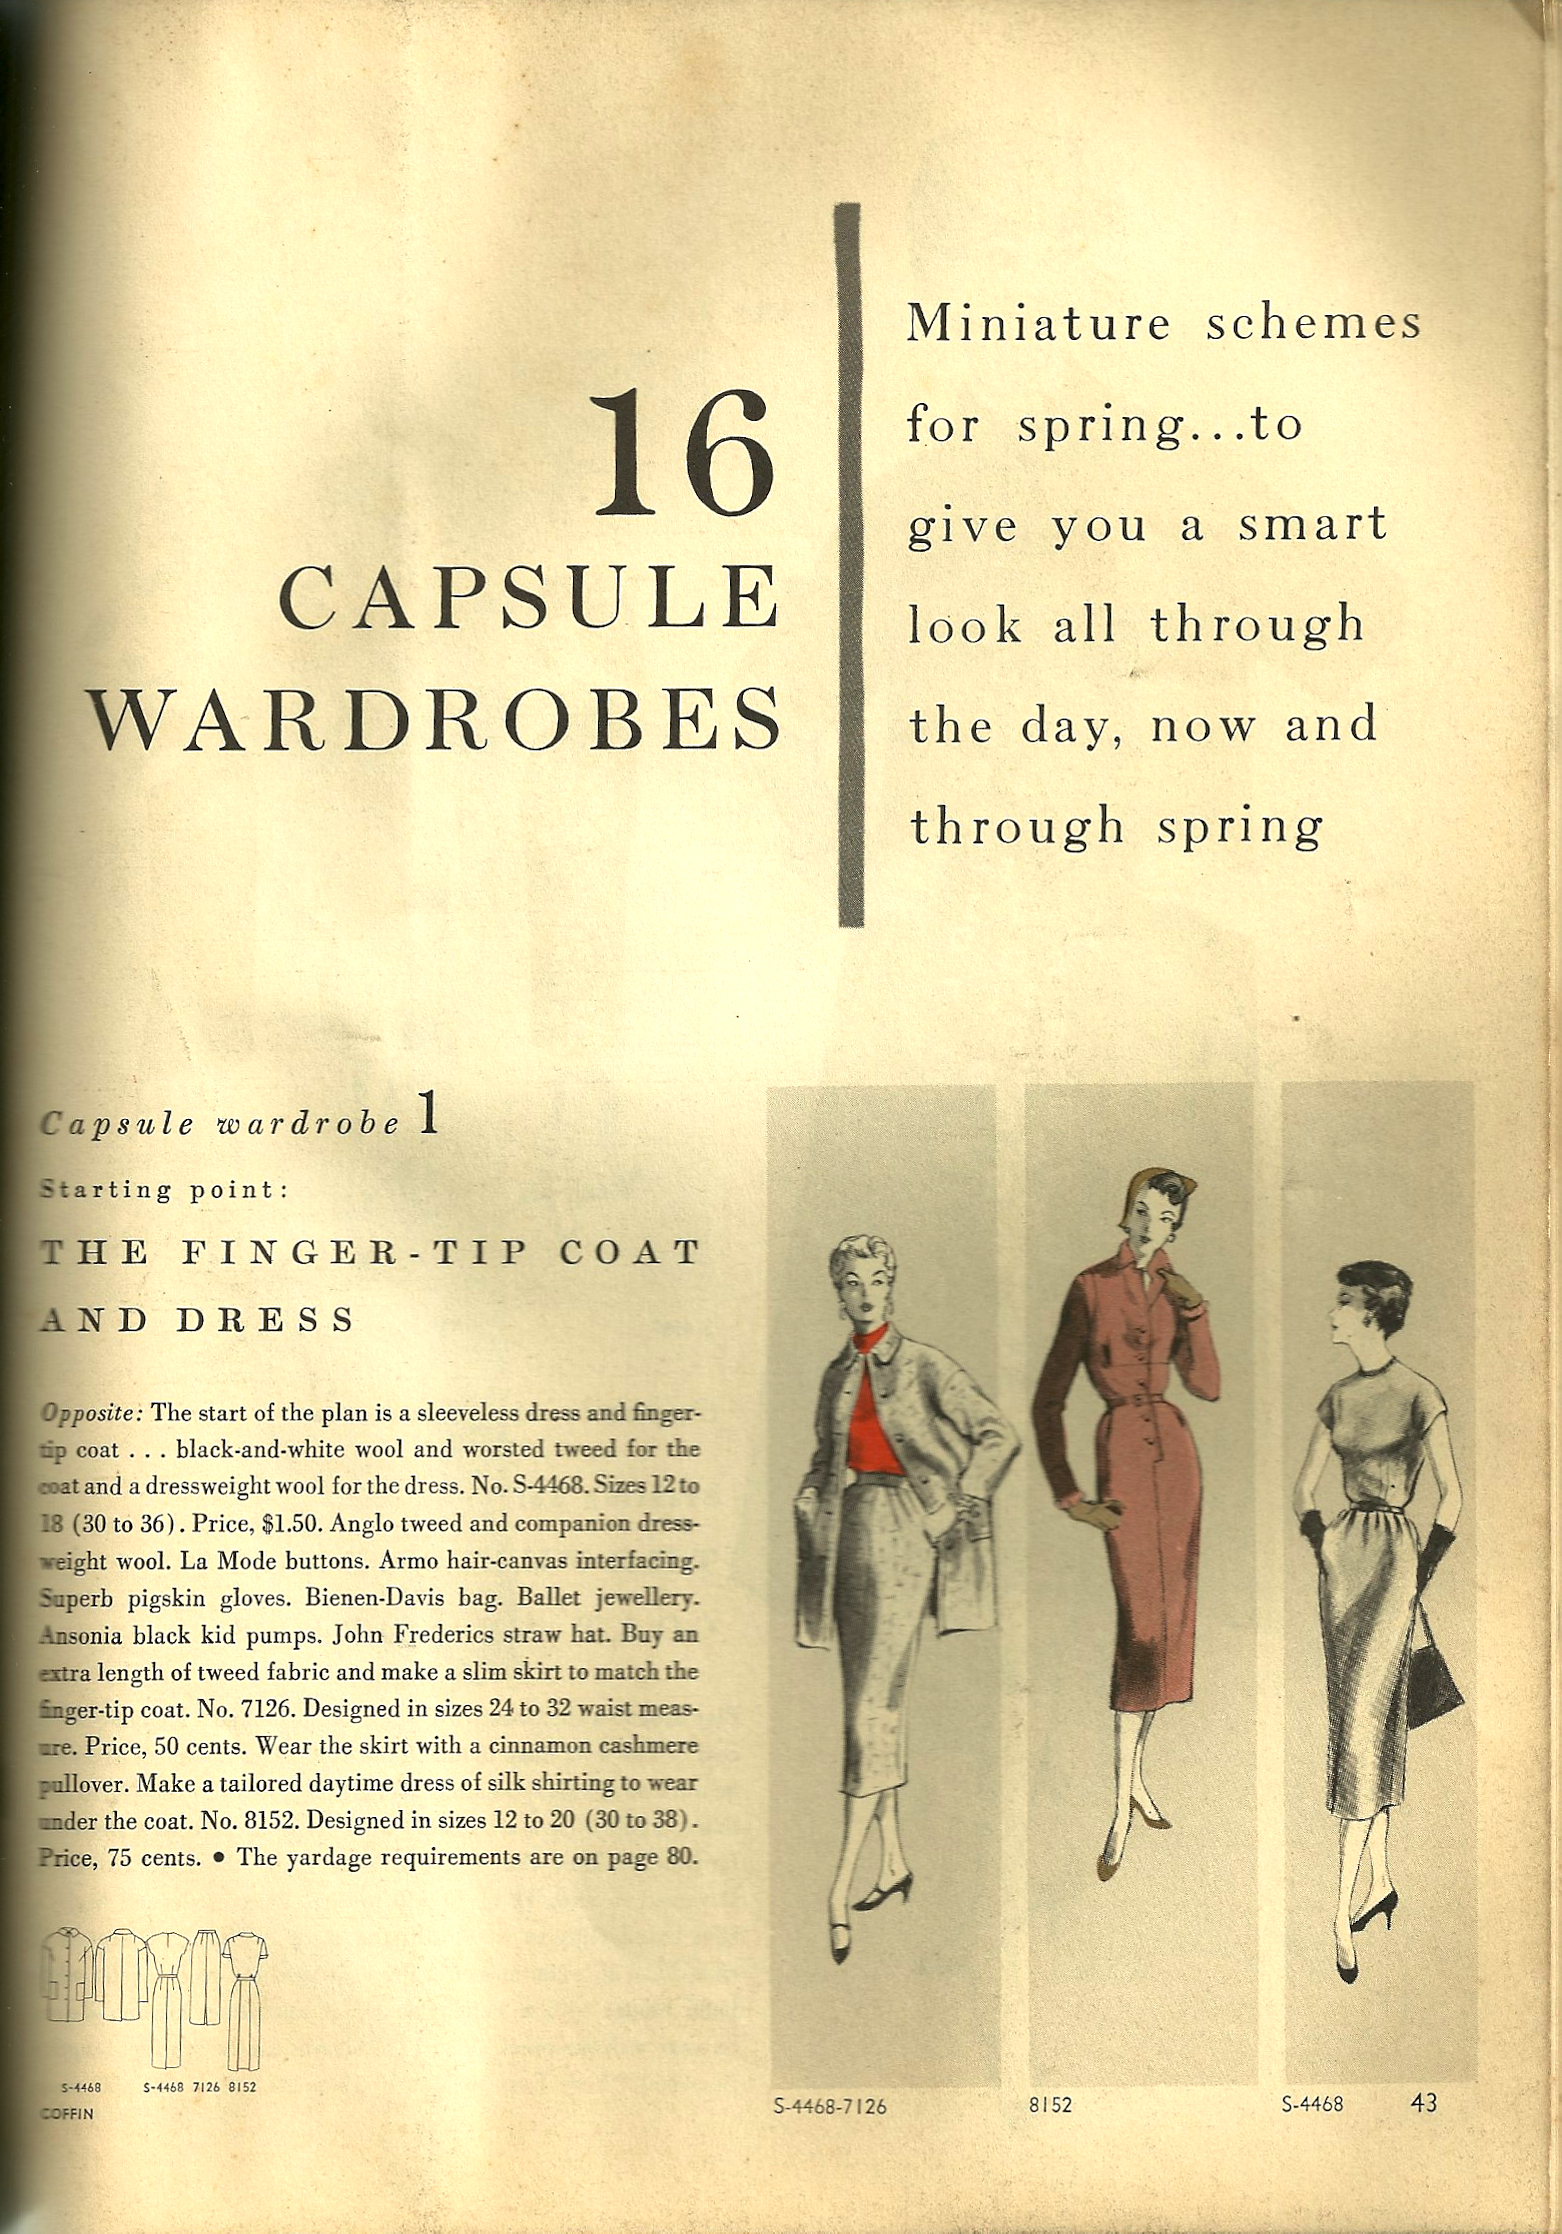
The February/March issue of Vogue Pattern Book Magazine 1954 gives the reader ideas for a “smart look all through the day, now and through spring.”
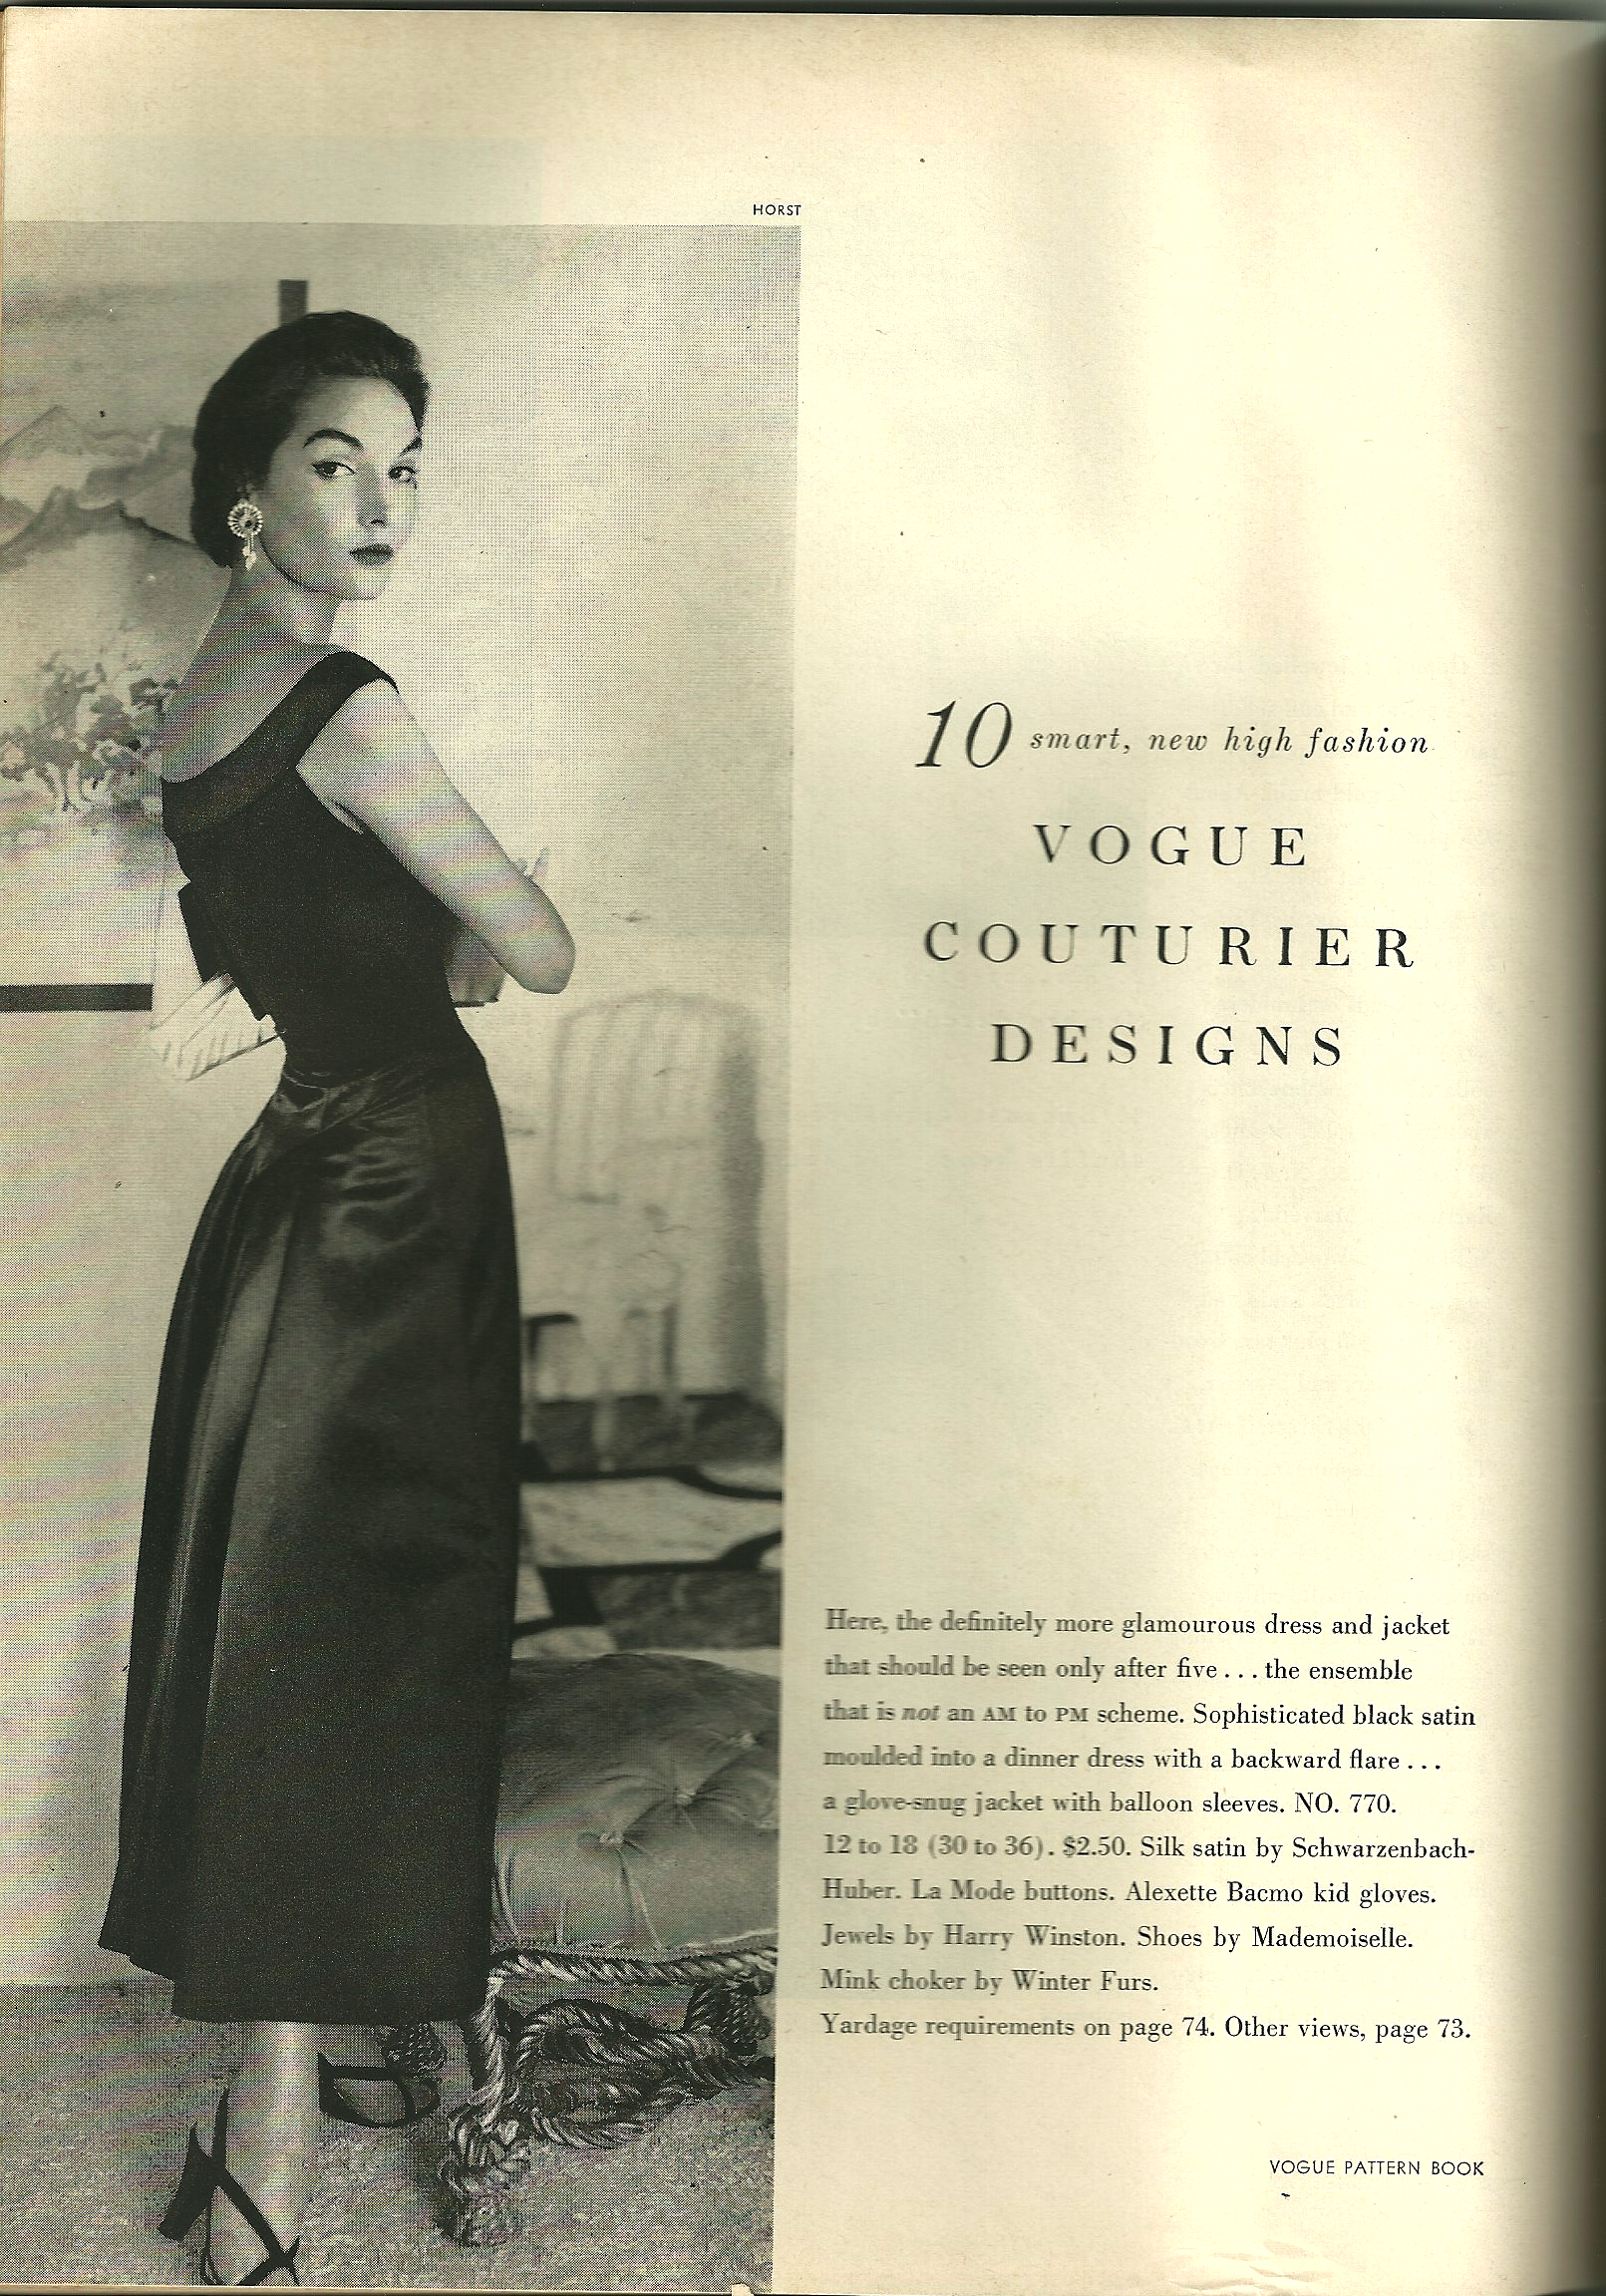
The VPB magazine from October/November 1953 featured “10 smart, new high fashion Vogue Couturier Designs.”
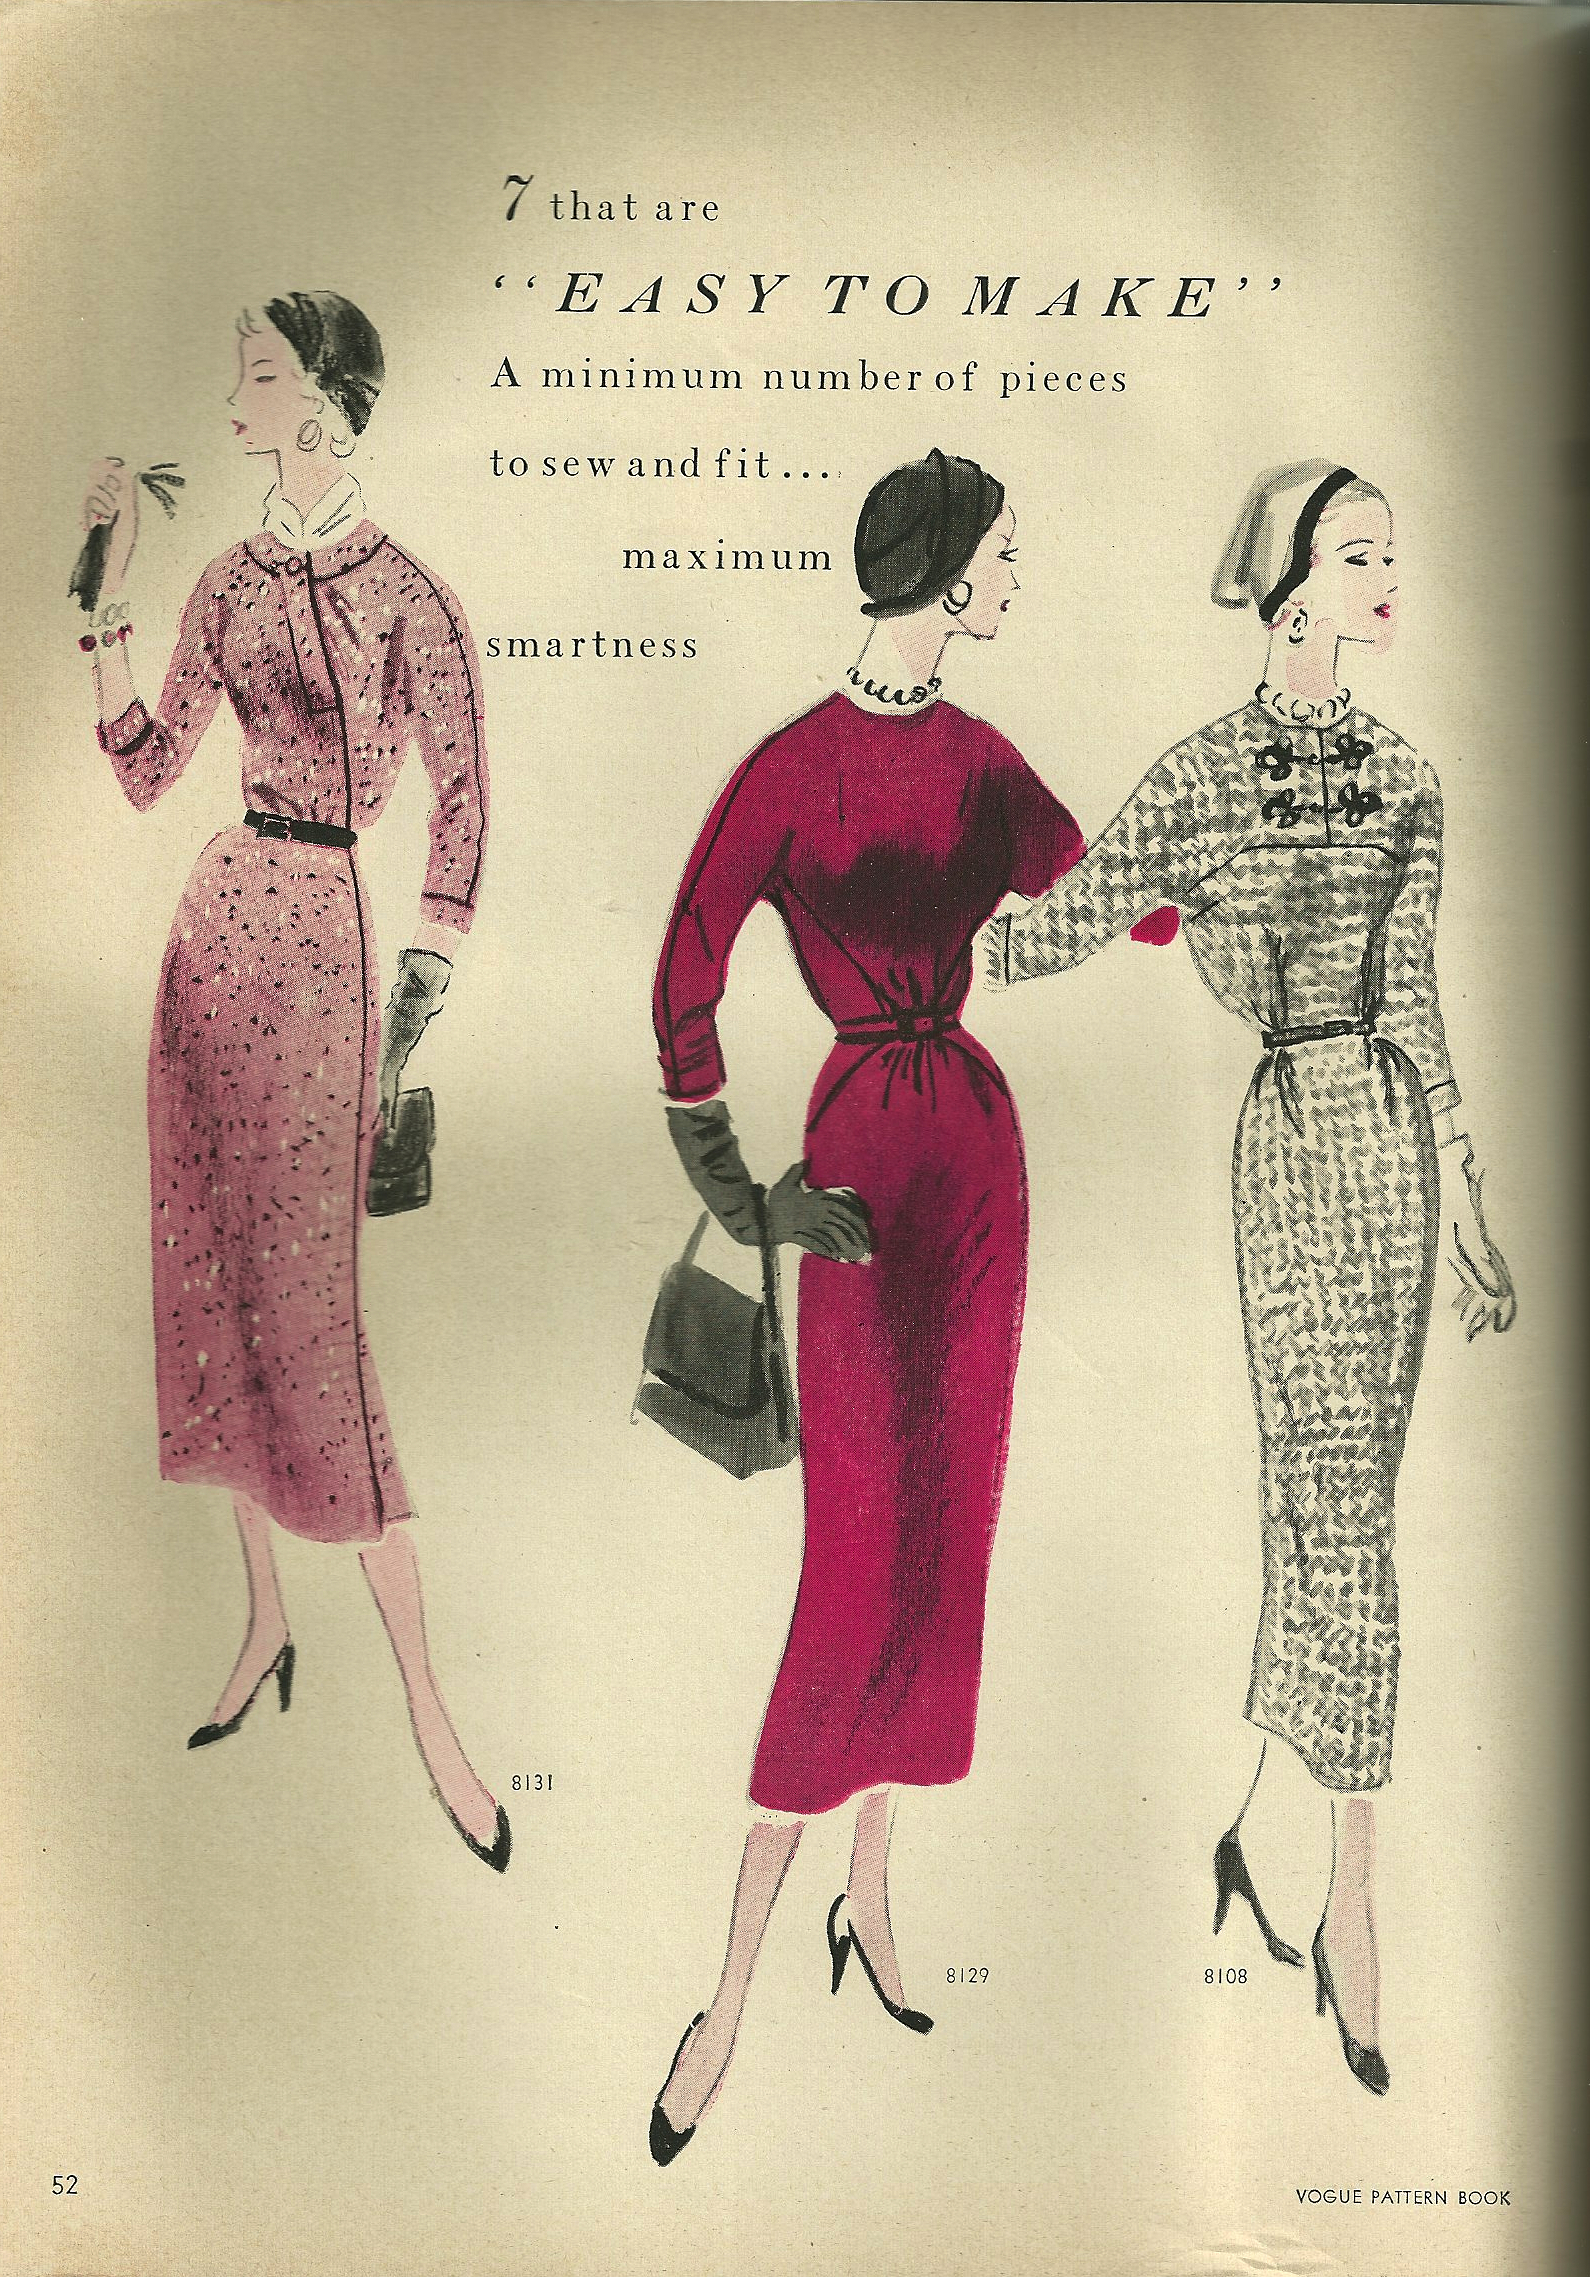
I love this caption from the same issue: fashions with ” a minimum number of pieces to sew and fit … maximum smartness.”
Well, in thinking about some of my sewing goals and aspirations for 2013, I kept coming back to this word – SMART – and decided it would be very useful to use as a guideline, with each letter of the word reminding me of some of what I hope to accomplish. SO …
S is for SKILLS. This year I am concentrating on learning new ones, practicing and perfecting ones that I have and taking advantage of at least two classes to help me develop my skills as a dressmaker. So far, I am enrolled in Craftsy’s “Sewing with Silks: The Liberty Blouse” on-line course (not started yet), and I will be spending a week in Baltimore with Susan Khalje for The Classic French Jacket Class. Perhaps other classes will wiggle their way into the year as well!
M is for MARKING AND MEASURING my progress and accomplishments, my mistakes (hopefully not too many!), and my plans and intentions. This is, of course, where “Fifty Dresses” comes in. Writing this blog helps me focus more on the process than I would normally – and that’s both instructive and rewarding. So thank you from the bottom of my heart to all of you who follow along, make comments, give me encouragement, and share your sewing insights and ideas through your own blogs or other online presence. Thinking, reading and writing about sewing is almost as much fun as sewing itself.
A is for ART. Sewing is so much more than a “hobby” or a way to build a wardrobe (albeit slowly!). It really is an art form, and the more I sew, the more I realize and appreciate this fact. Some of my creations will no doubt be like simple sketches – quick and easy to make and even easier to throw on for a trip to the grocery store – while one or two others perhaps will rise closer to “masterpiece” level (I can dream) – made with finest fabrics and specialized techniques, intended for special occasions. Good art should be taken seriously and seriously enjoyed, don’t you think?
R is for REALISTIC, as in having realistic goals of what I can and cannot accomplish in a set amount of time. This is the part I have trouble with. I always think I can sew faster than I can. Although I am sure I will always plan more than I can possibly accomplish, I am going to try to set more realistic goals (keeping a separate, working list of intended projects to help me focus) in the context of what I know will be a busy year in other aspects of my life.
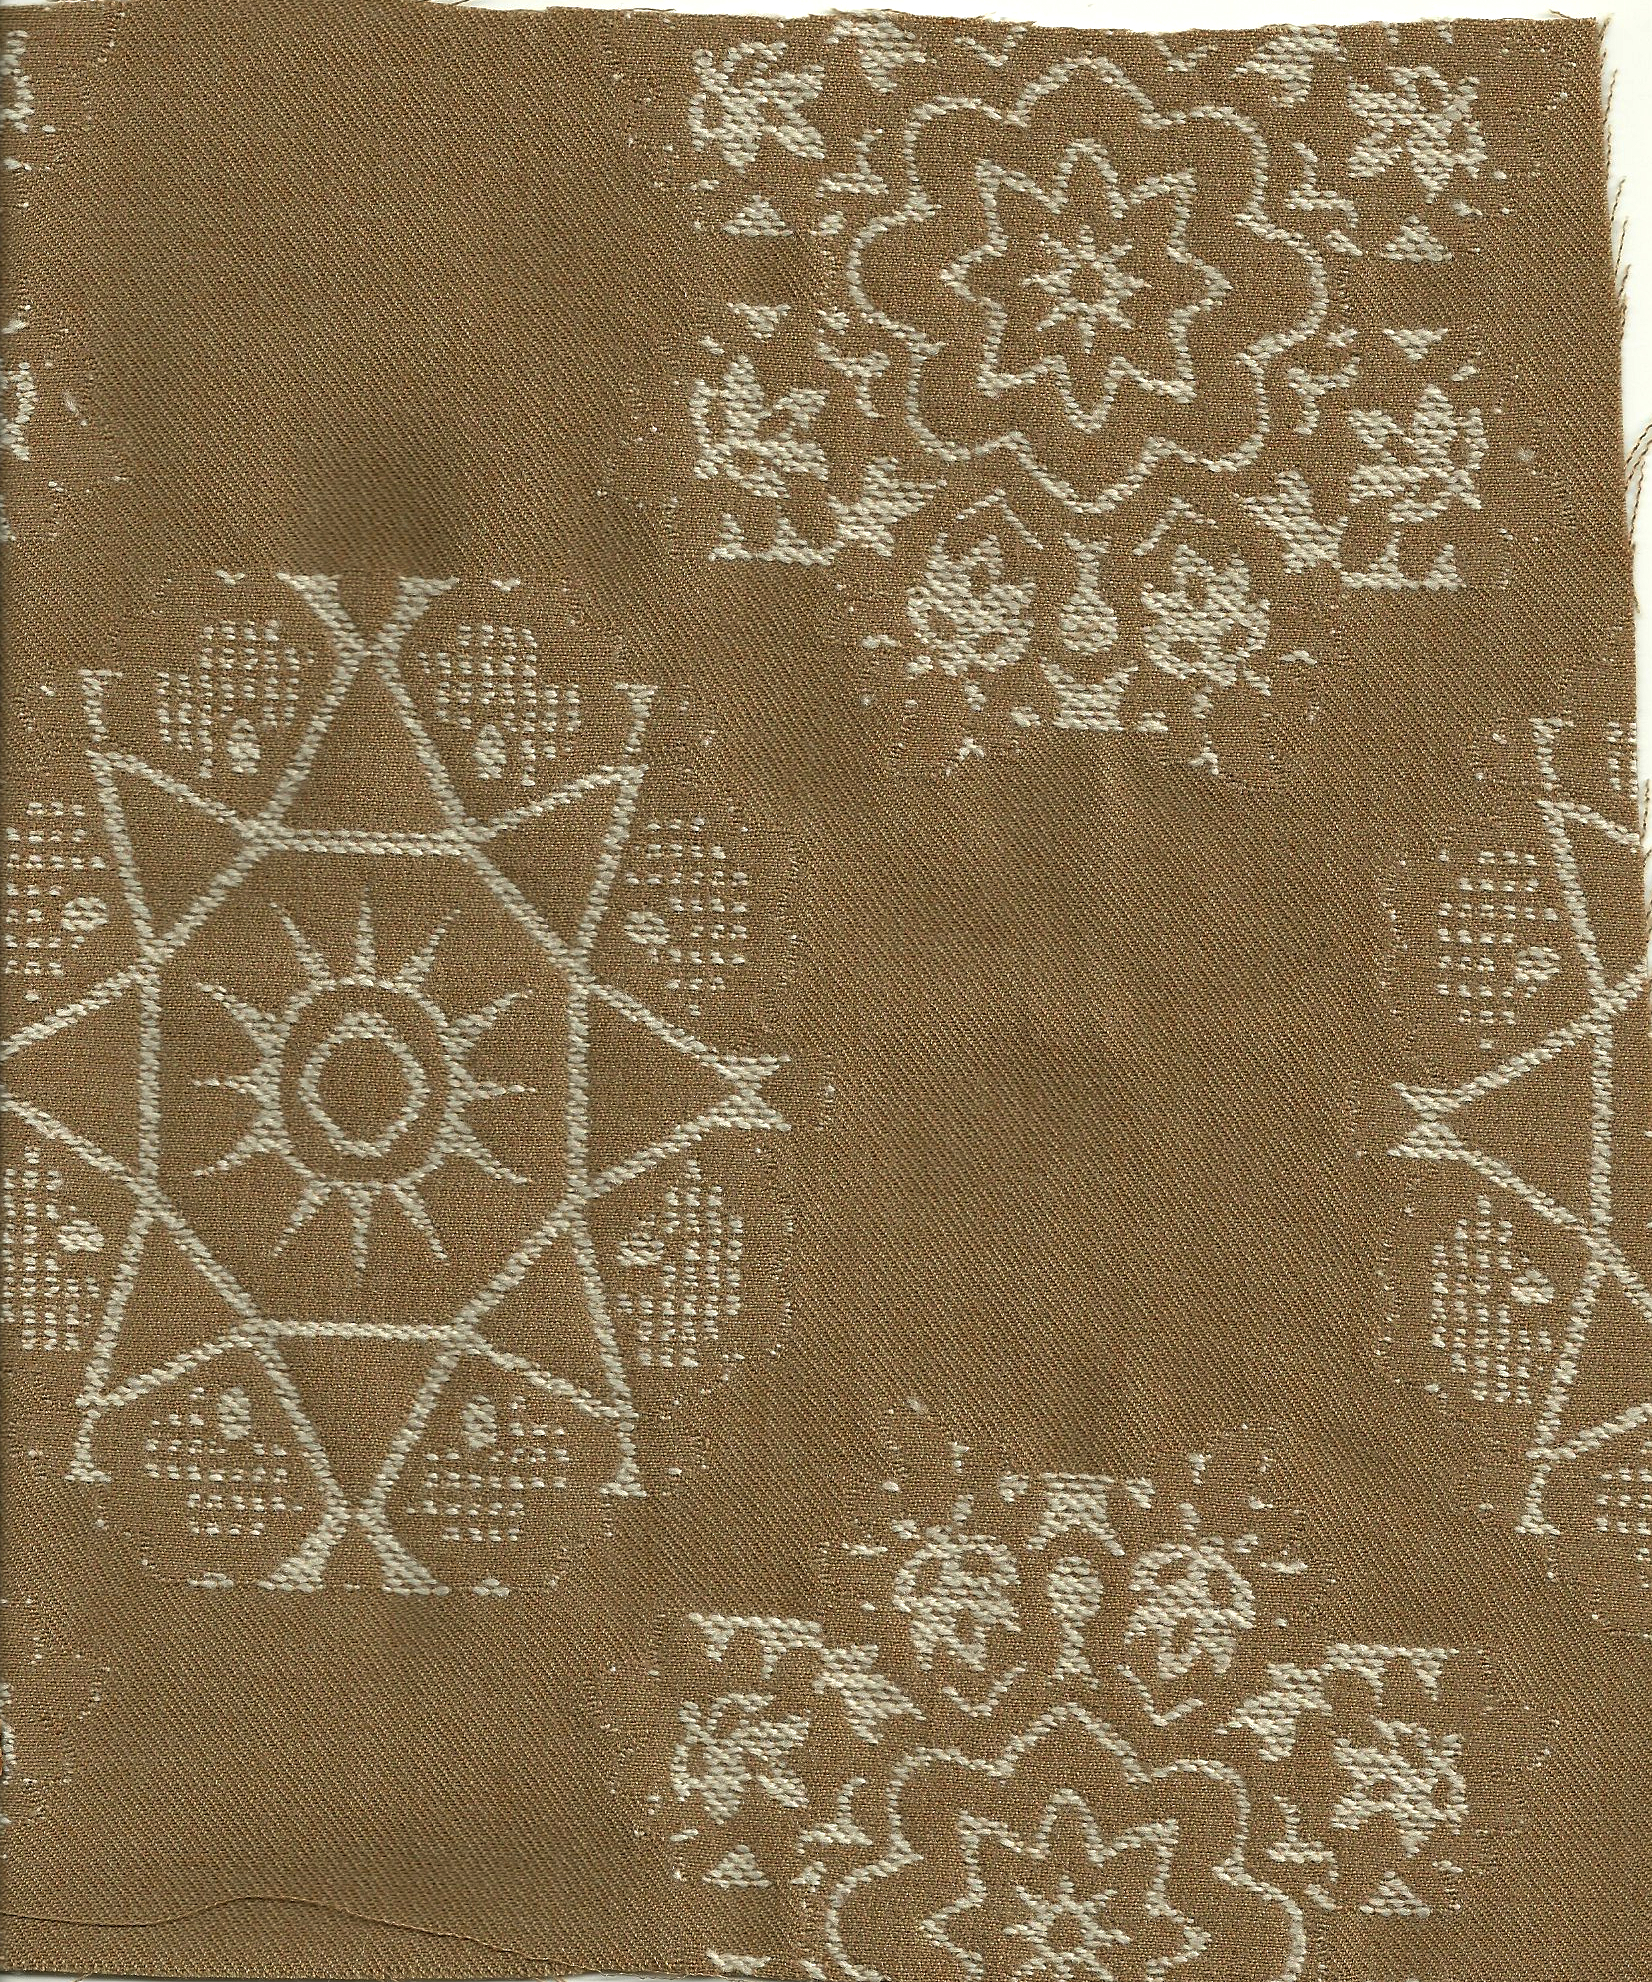
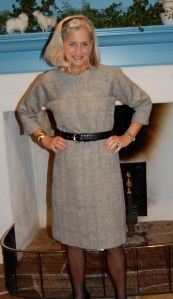
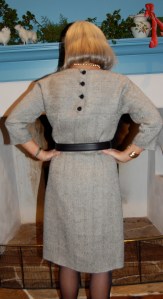
T is for TIMELESS. This may be my favorite part of the acronym. Timeless is the look that I am always striving for in the clothing I make. Using vintage patterns for the most part allows me to choose styles that really have stood the test of time – and which often have a restrained classicism to them that suits my sensibility.
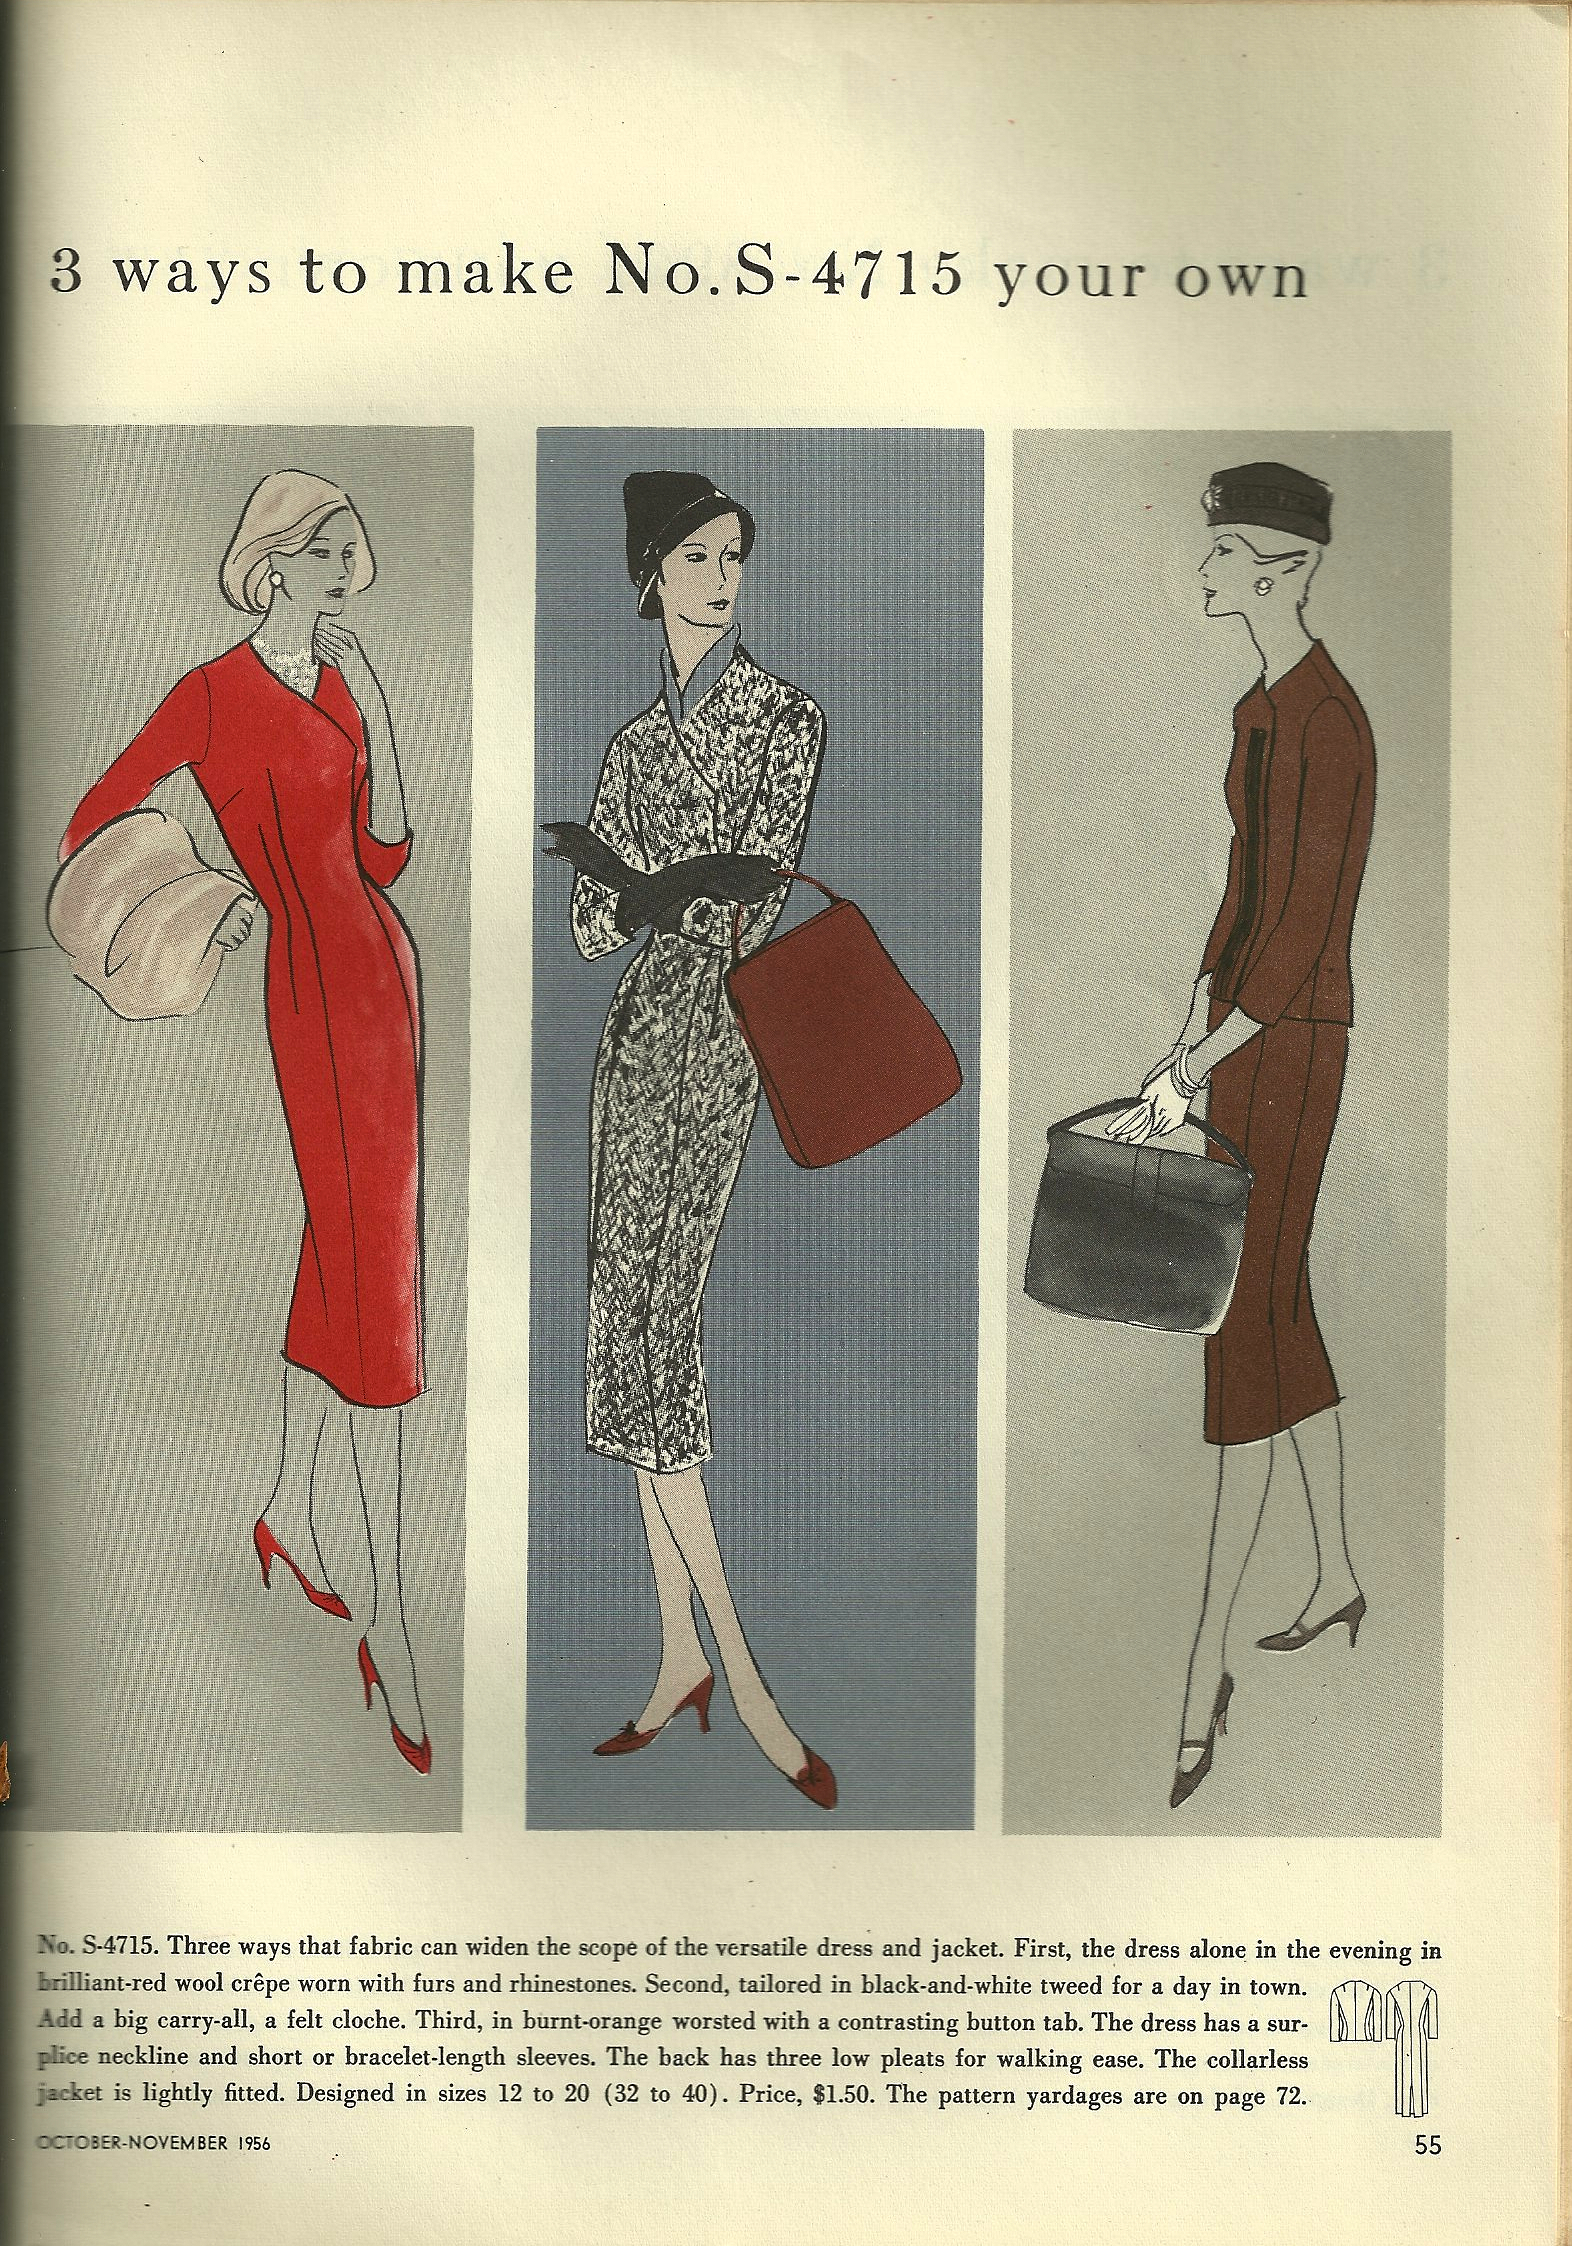
Sketches in Vogue Pattern Book Magazine from October/November 1956 show styles which look very au courant, from the clothing to the hair to the shoes and accessories. I’d like to be that lady in red!
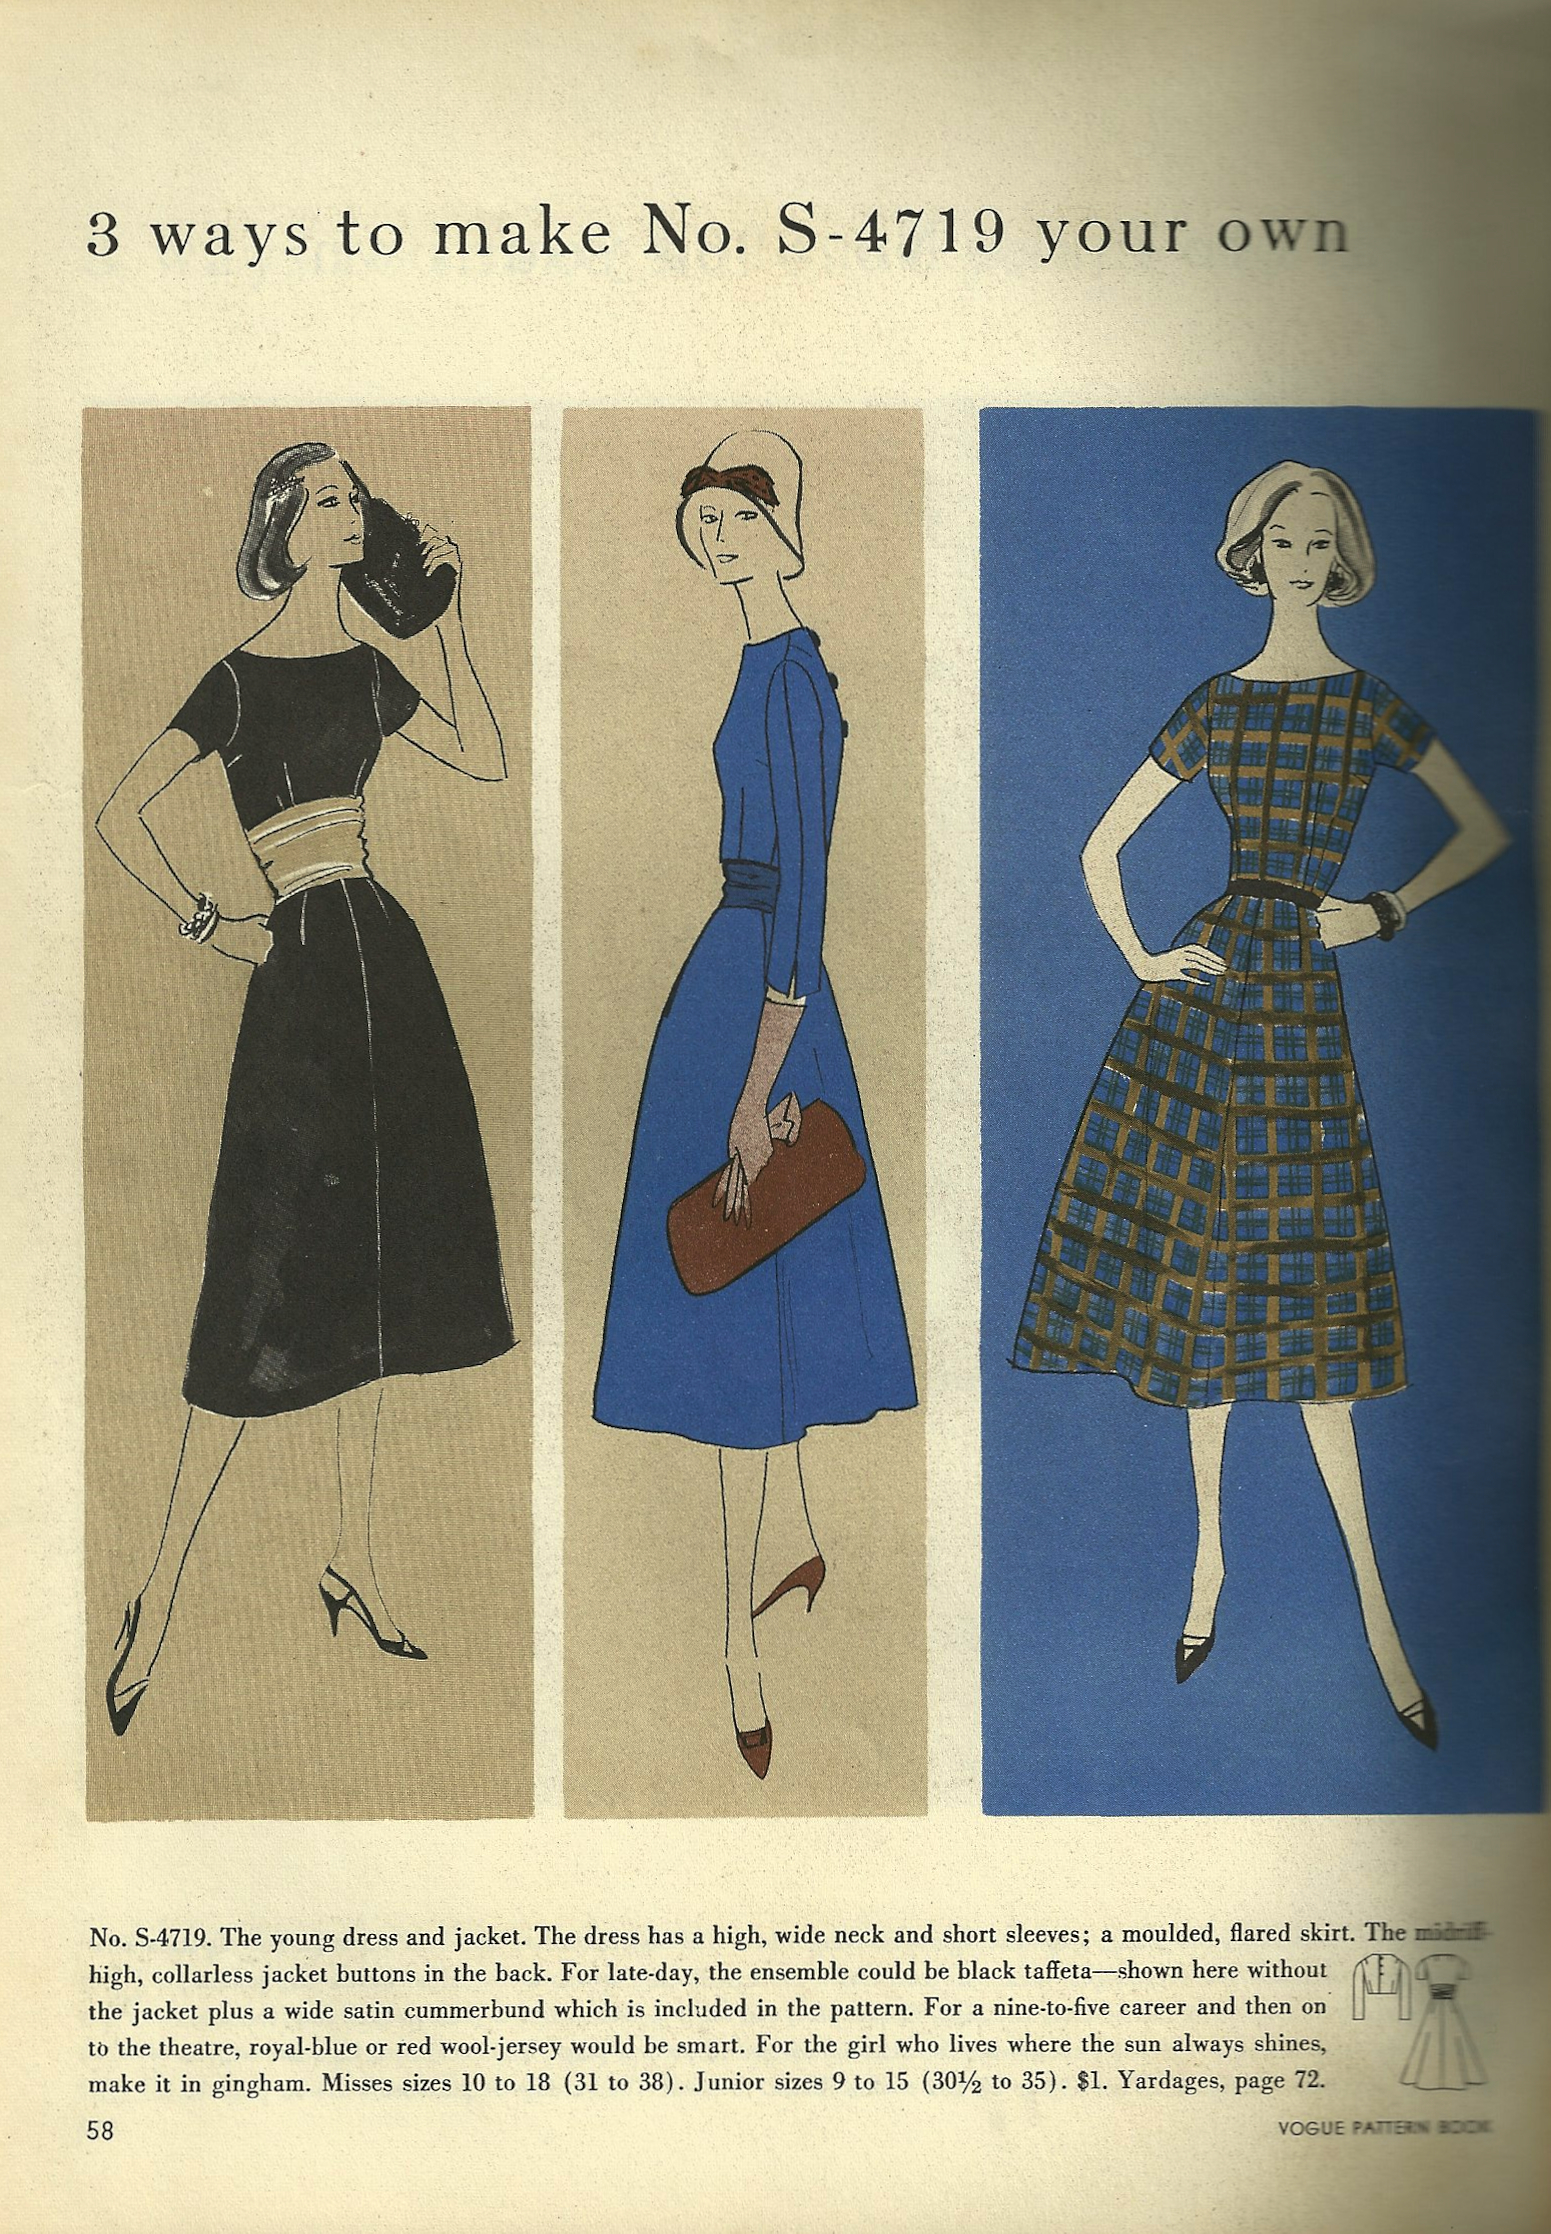
How stylish are these looks from the same magazine?
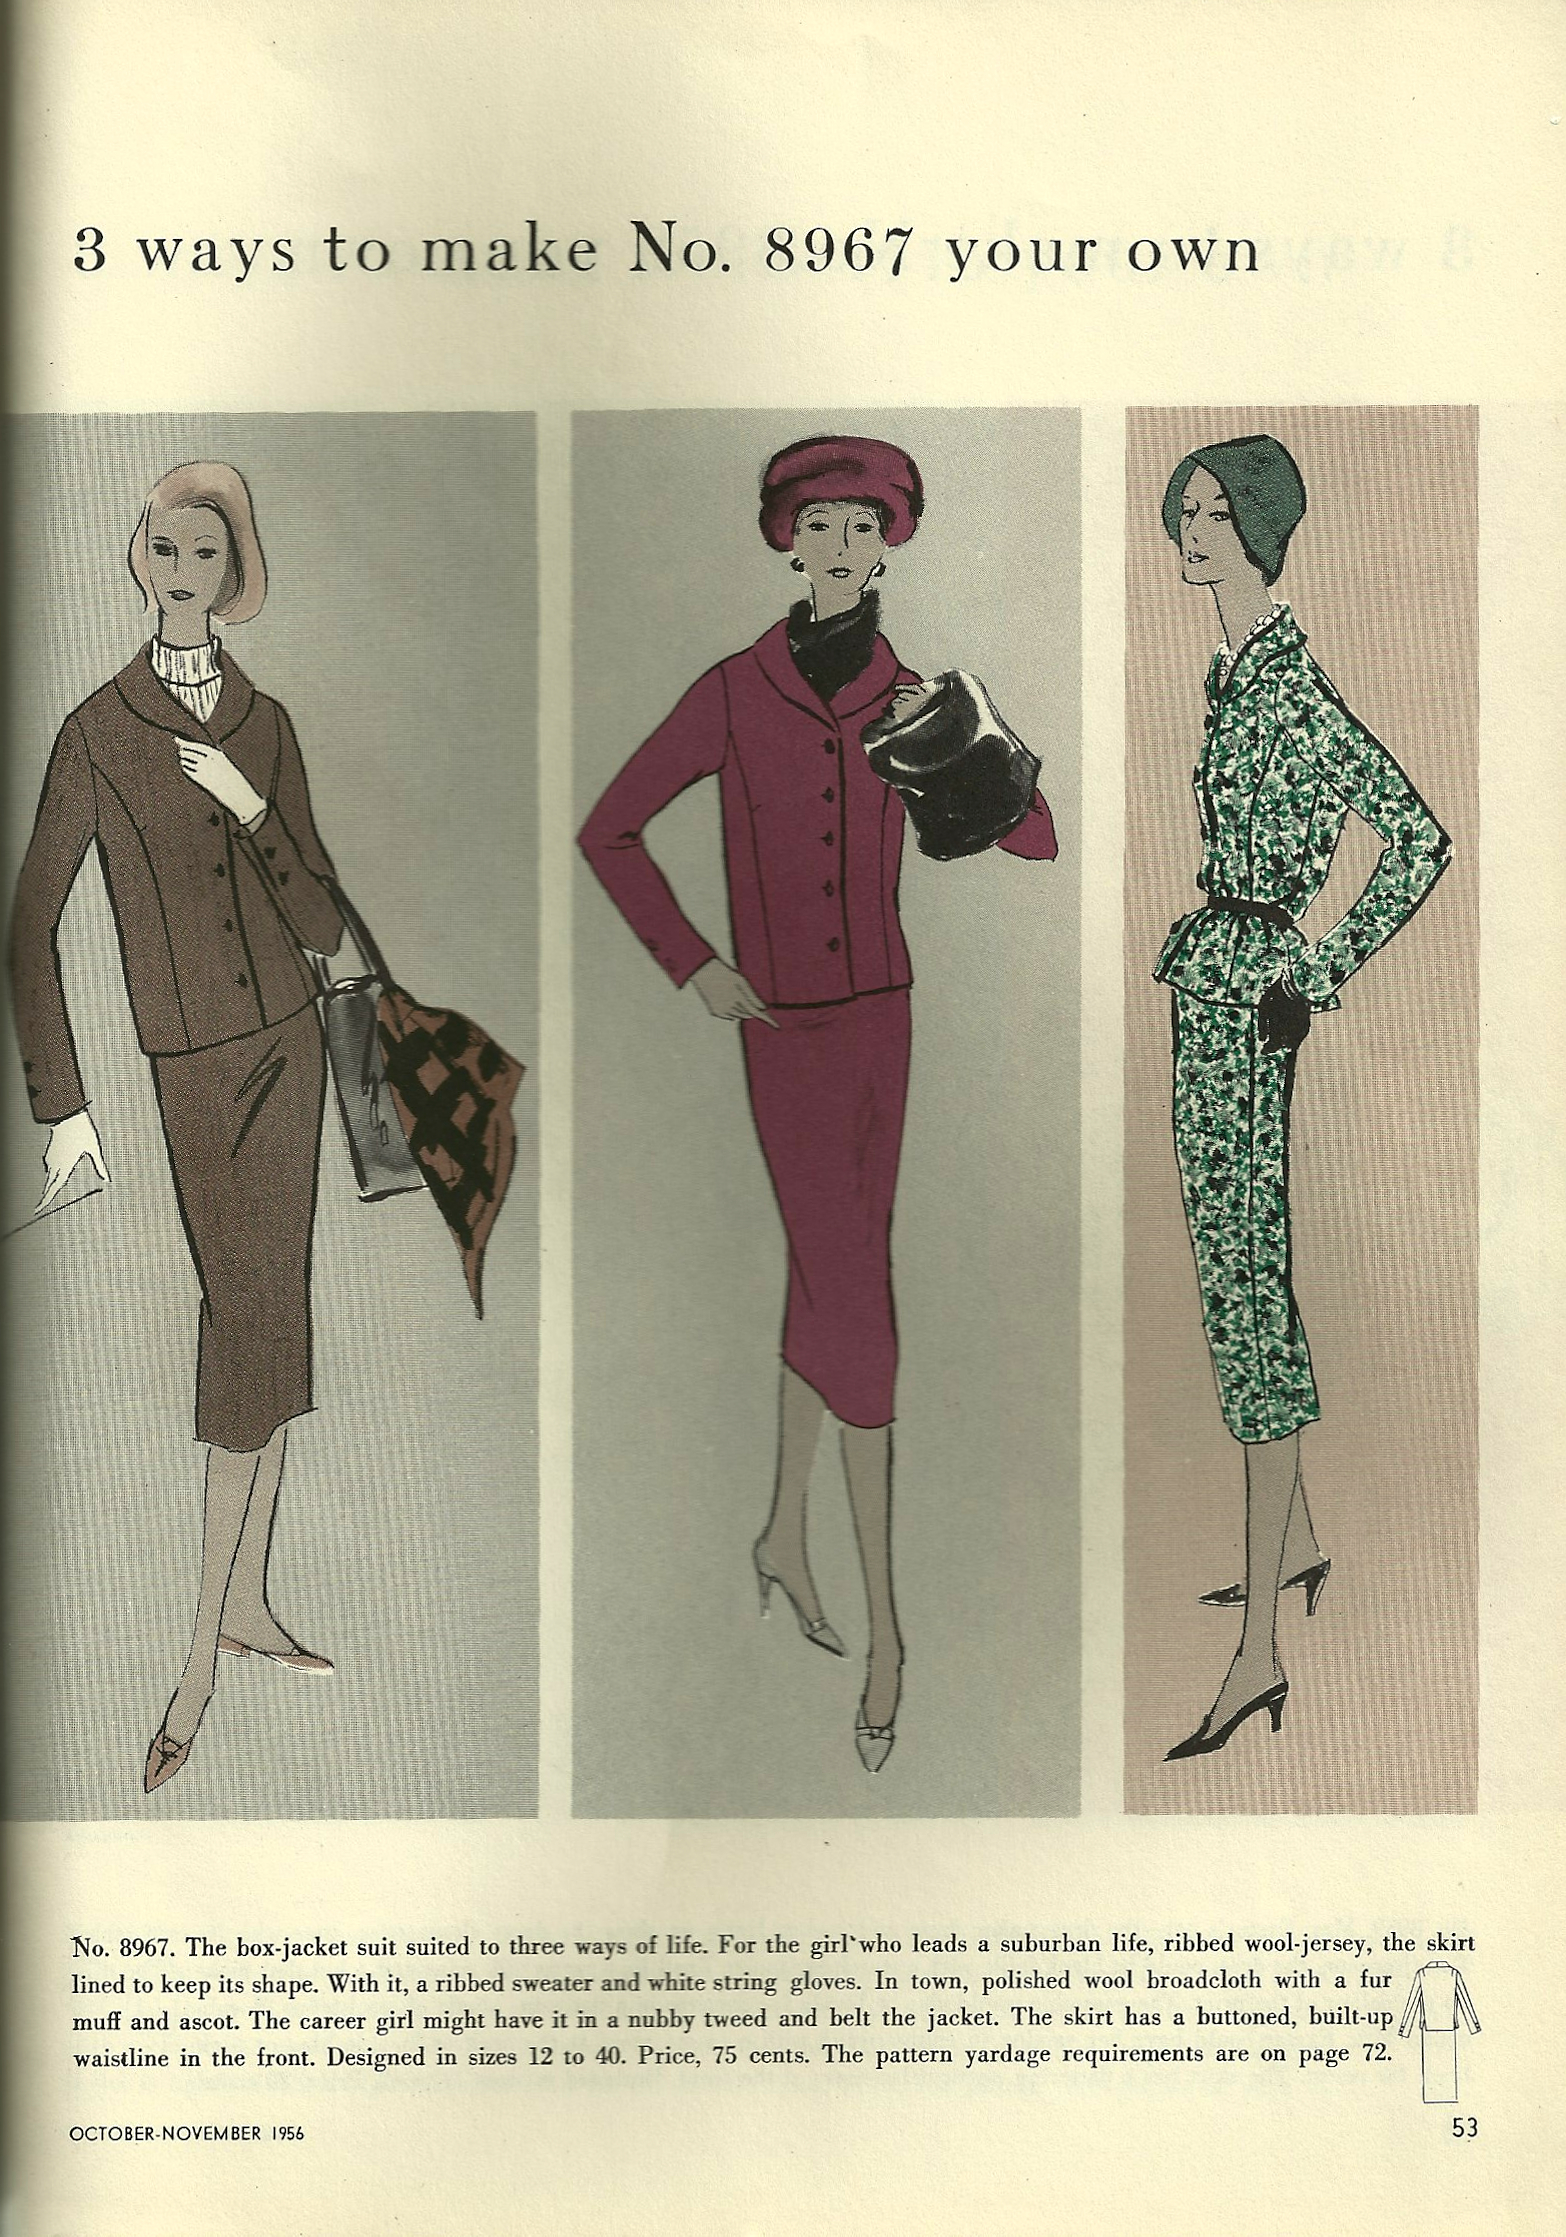
And a box-jacket suit is always in vogue.
It’s fun to see current color and style trends, which harken back to 40, 50, or 60 years ago. Then to make them, using vintage patterns, with newfound construction knowledge, in some of the beautiful fabrics available today, is the best of many worlds. Not only SMART, but lucky, too, in 2013!