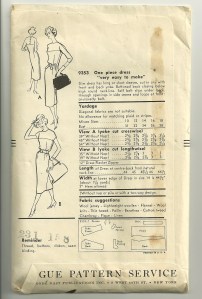
I’m sure I never would have entertained the thought of remaking/repurposing this dress –
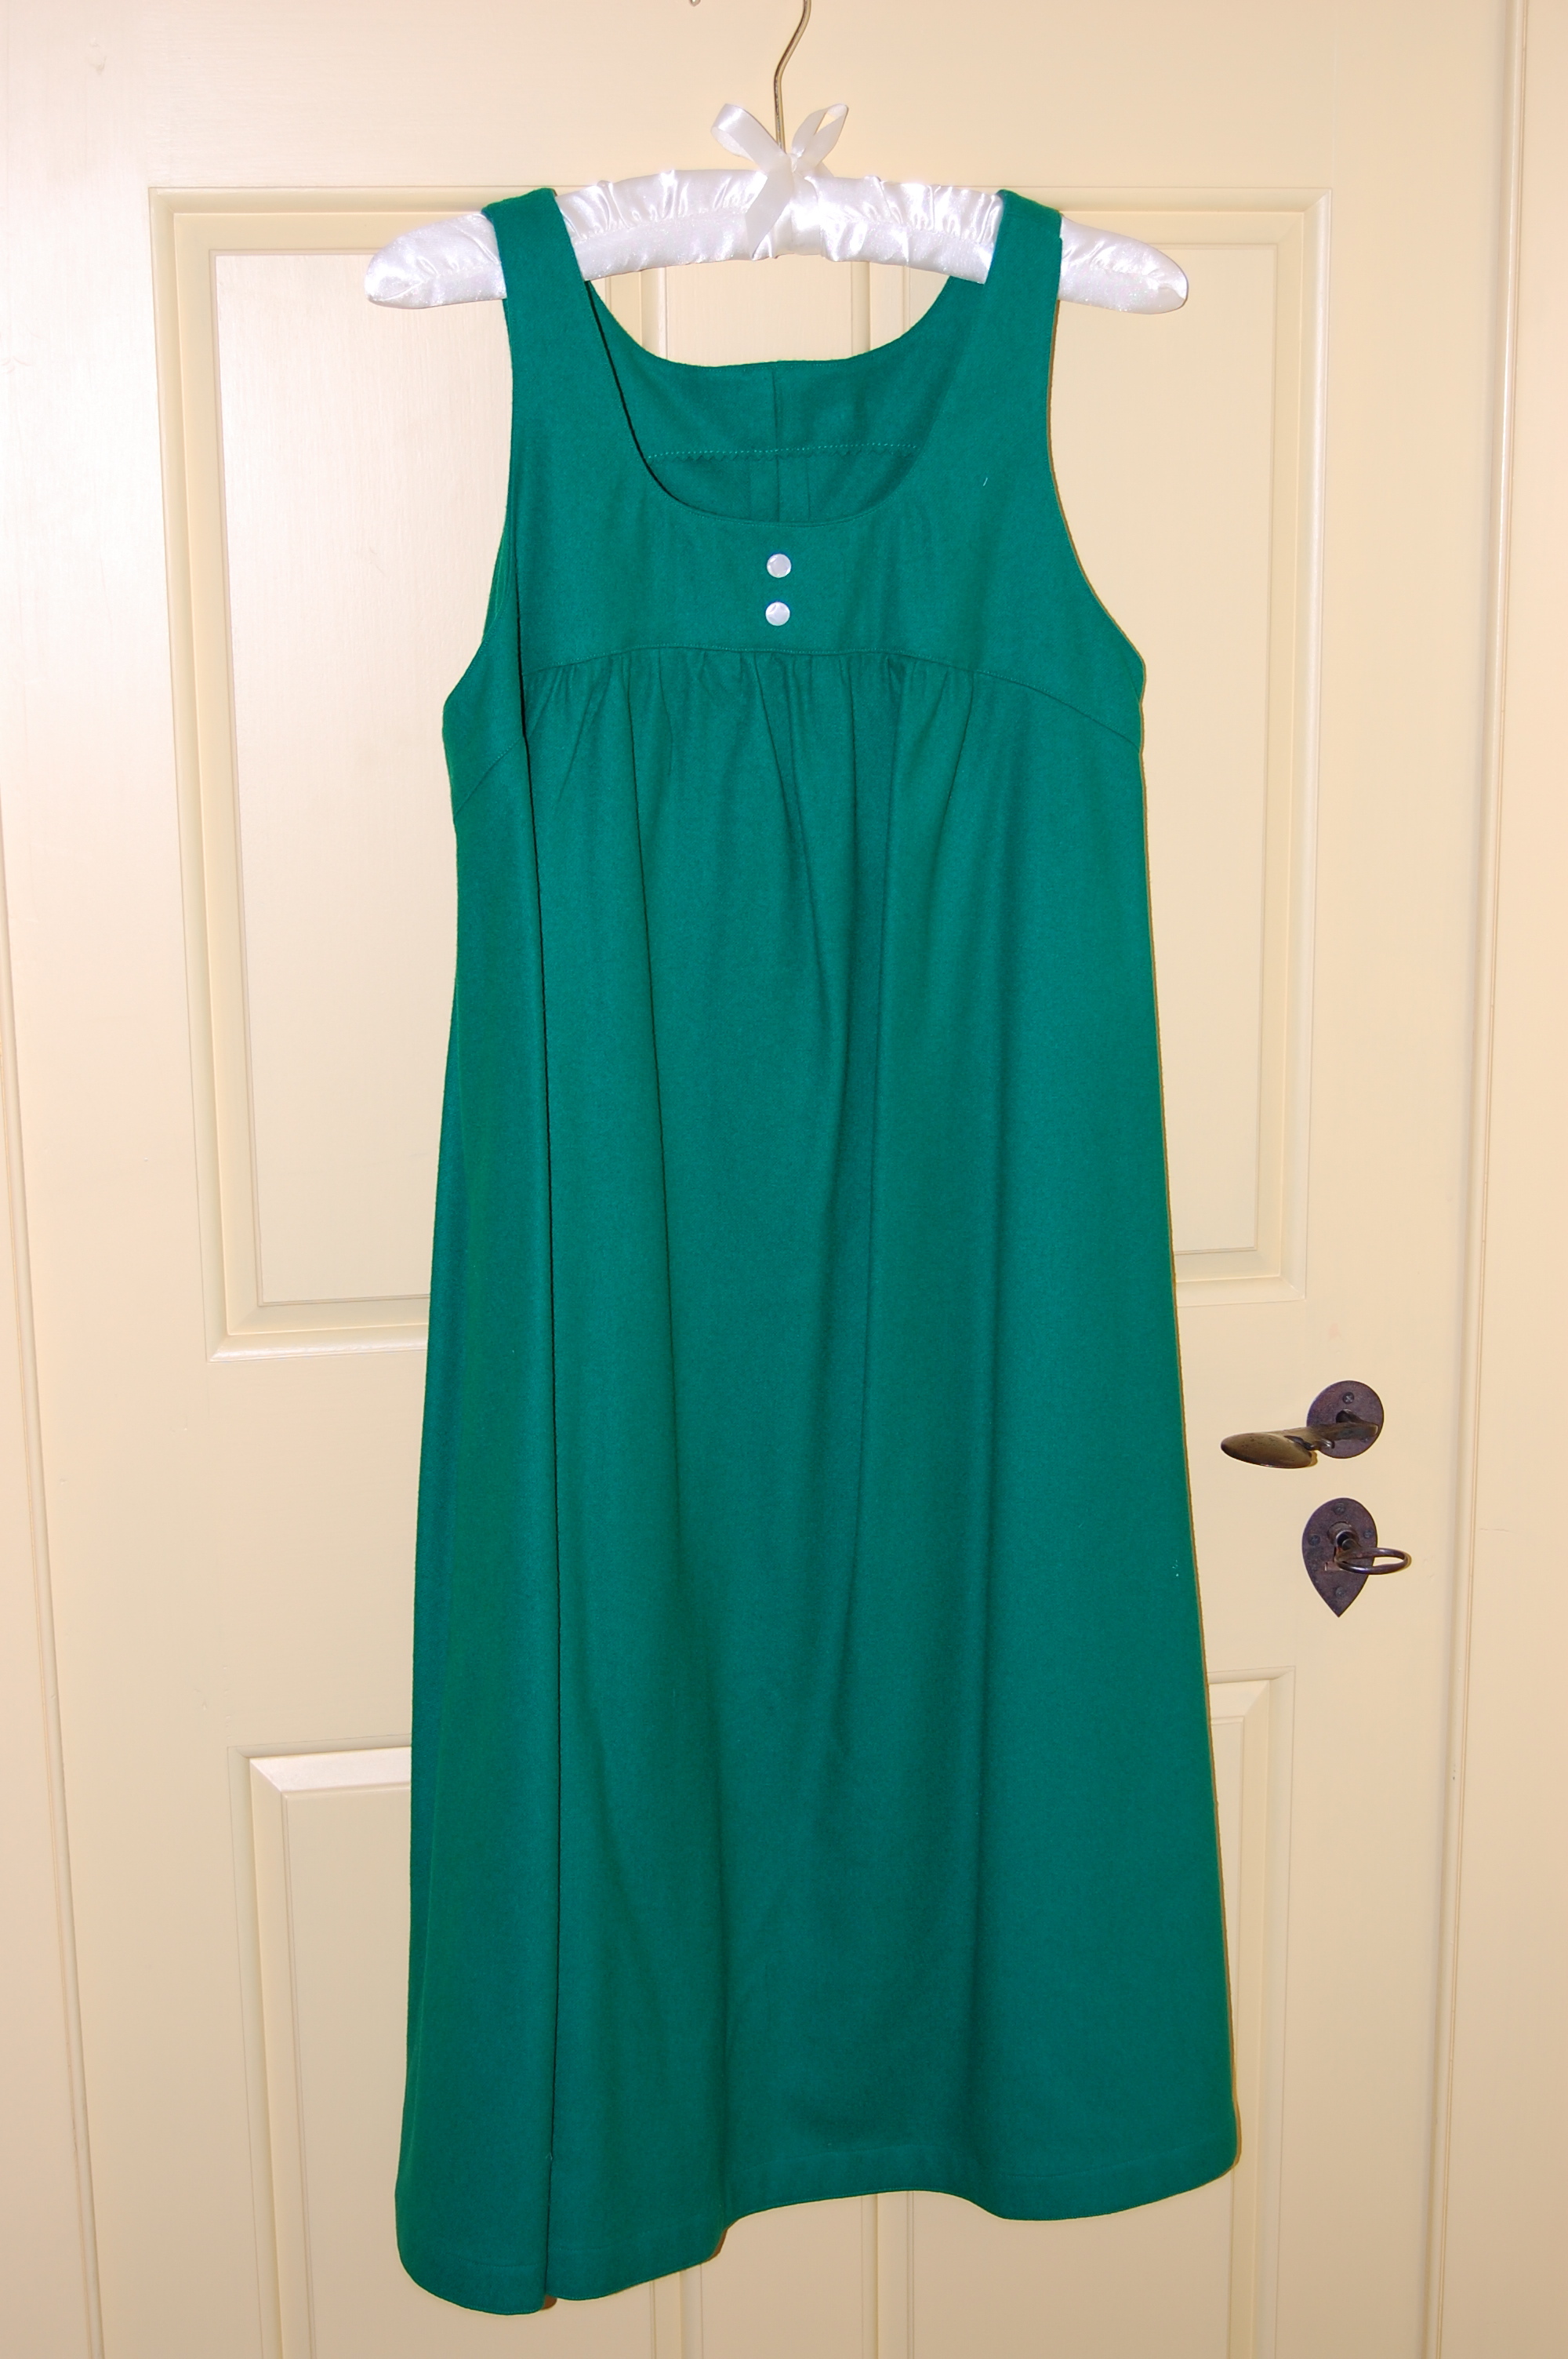
I made this maternity dress in the Fall of 1980 while pregnant with our first child. The fabric is US-made Pendleton wool.
– had Emerald Green not emerged as THE color of 2013. As it was, it seemed silly not to take advantage of this opportunity to make a skirt in a color I love, from a dress that would not be worn again, and which already carried sentimental memories. So I told myself repeatedly, “Do this.” And so I did it, but not without much mental anguish.
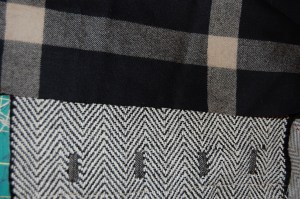
Before I did any ripping of seams or cutting of fabric, I needed to decide what kind of a skirt I could make, knowing that, even with a maternity tent-style dress, the usable expanse of fabric was limited. It seemed fairly obvious that a pencil or A-line skirt was about the extent of the possibilities. But I wanted some kind of a focal point on it, too. I kept thinking about the fringed Pendleton wool skirt that I had remade, thinking that fringe on this green one would be quite nice as well. I did a little testing on an inside seam of the dress and determined the wool was so tightly woven, that any “fringing” would have to be somewhat minimal. It also seemed to be easier to unravel the threads working up and down rather than across. I figured if I could wiggle out enough fabric to add one overlap (or pleat) at the side front, I could fringe that edge and get the focal point I wanted.
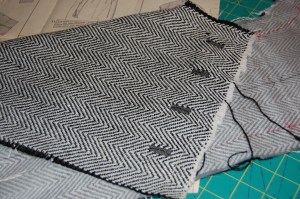
With this plan in mind, I now had to face cutting apart – and into – this dress, which I so clearly remembered making and wearing over 31 years ago. Honestly, for a couple of days I really couldn’t face this. My practical side finally triumphed when I decided I would first separate just the side seams on the dress. If I chickened out at that point, I could always sew it back together, right? Right! And so I snipped and snipped and pretty soon I had two usable sections of wool.
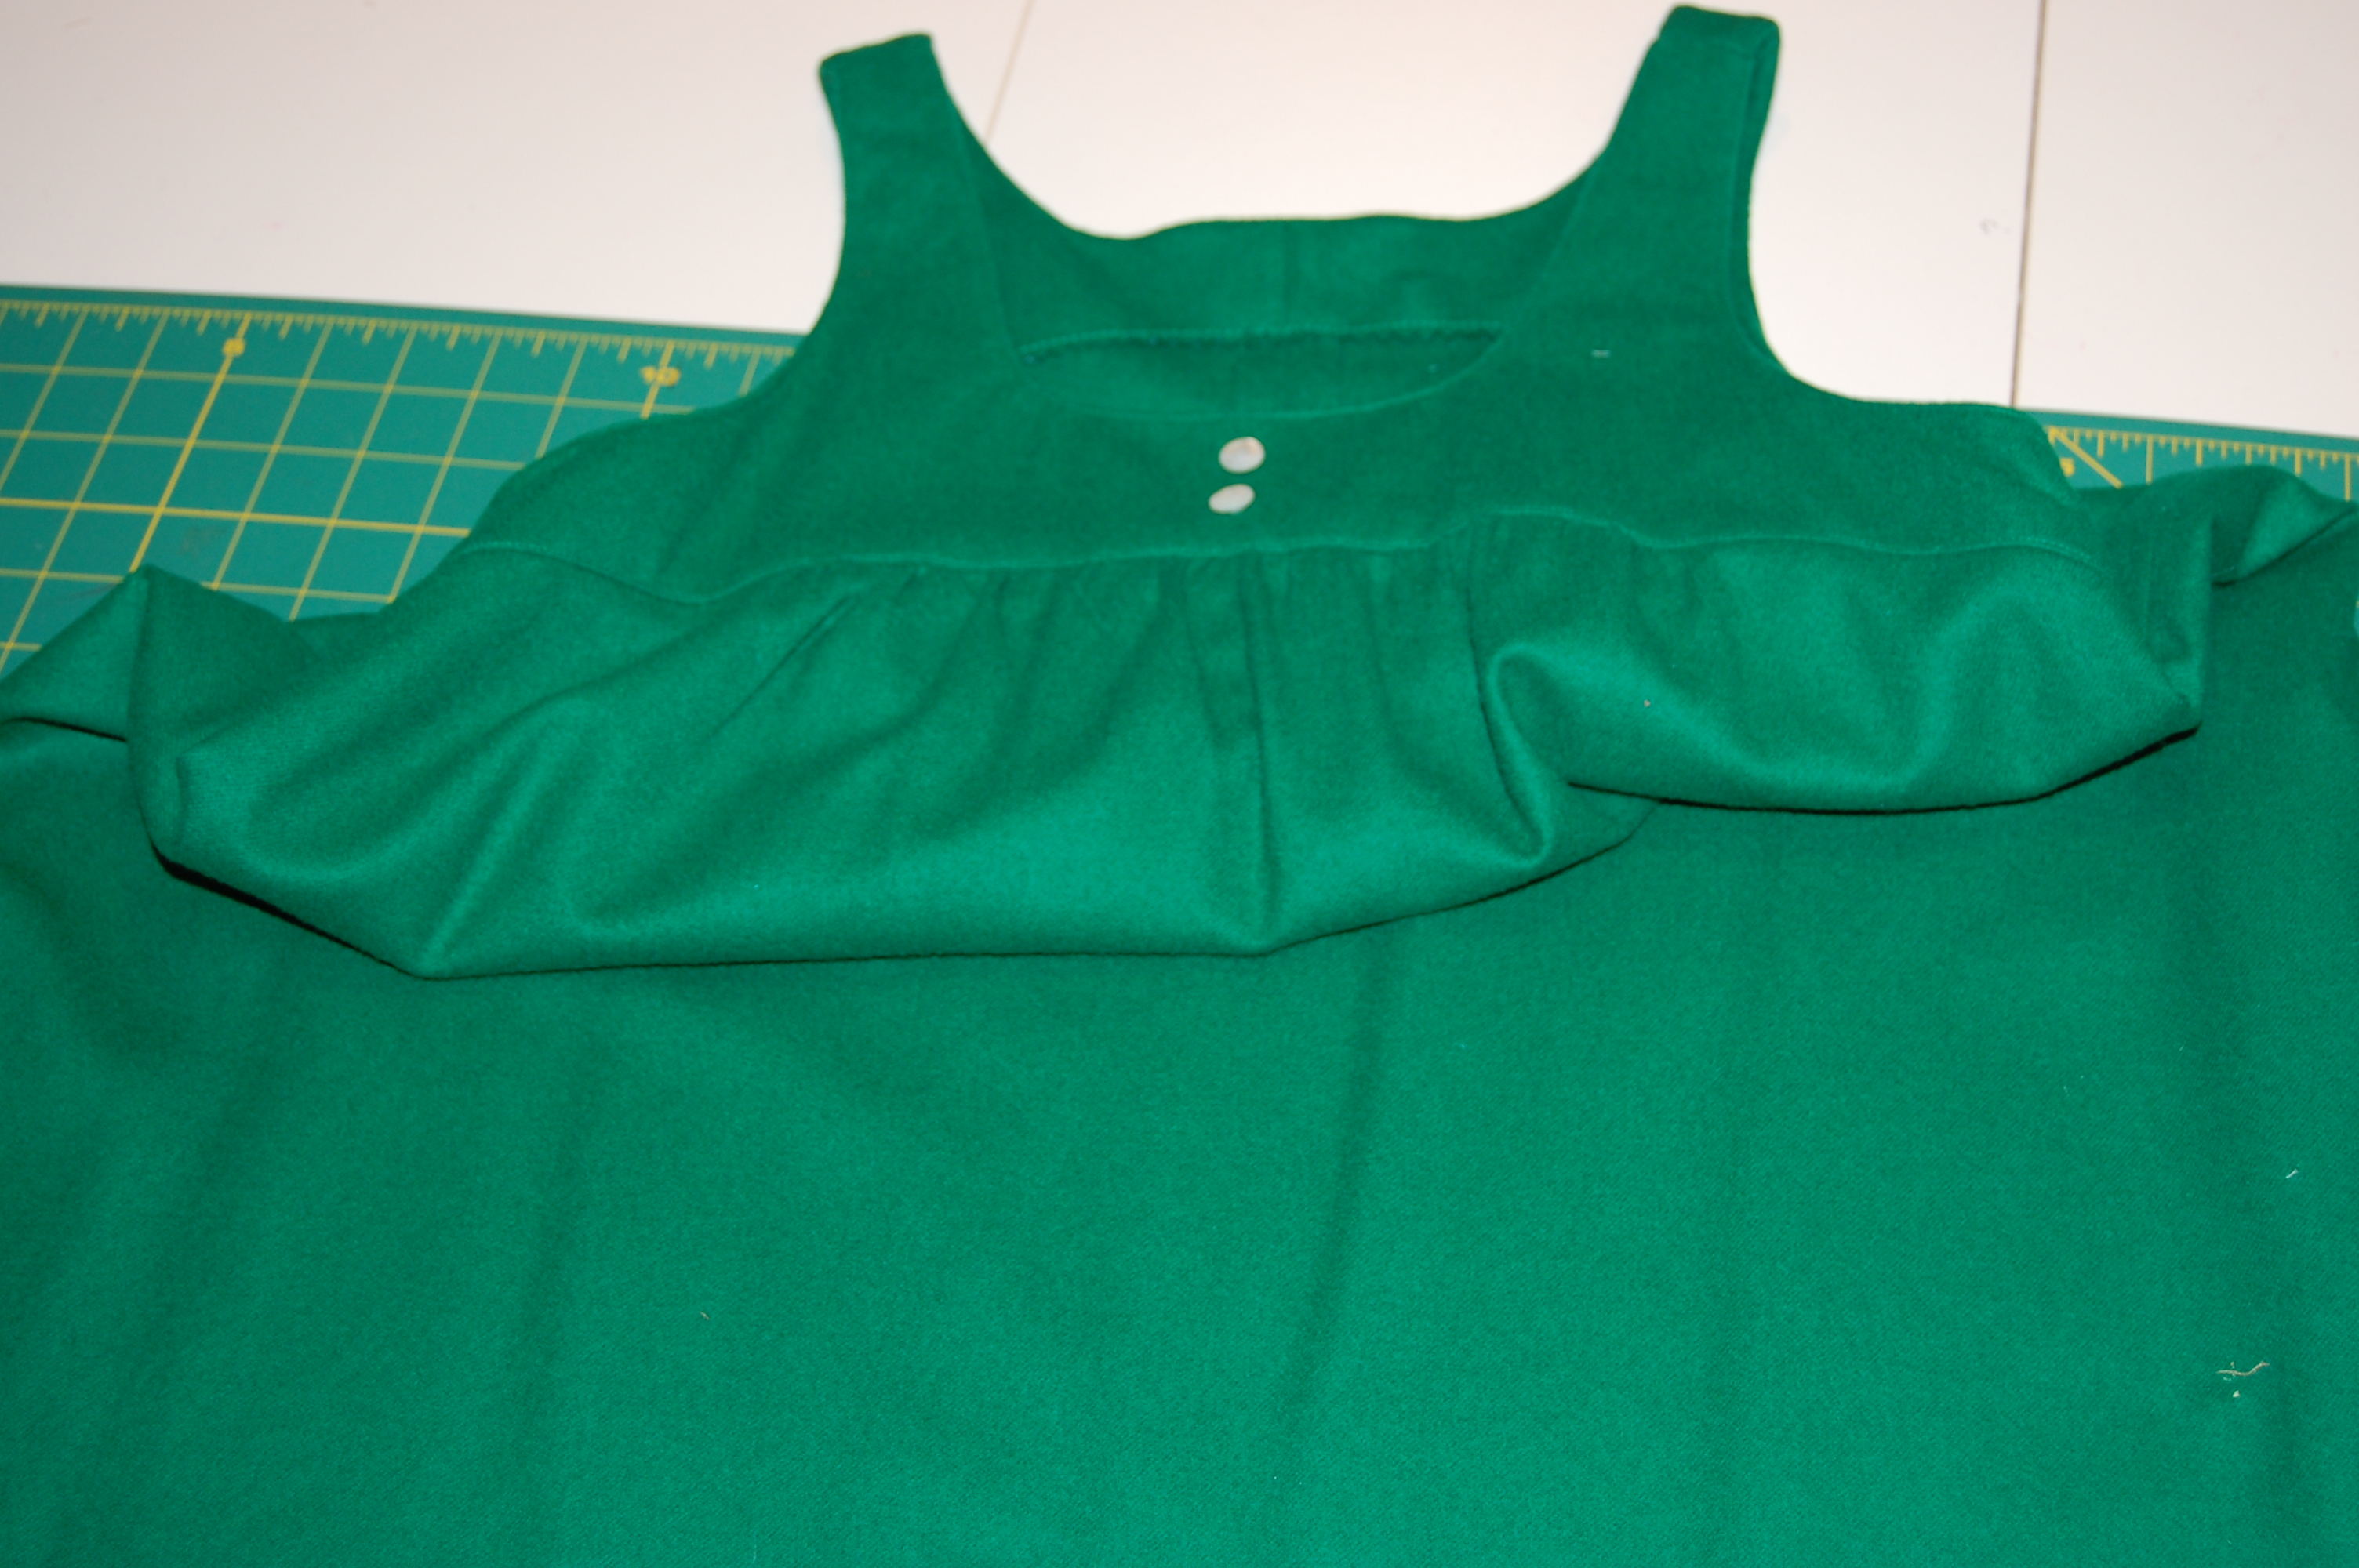
The dress with the side seams separated.
Then – somehow, miraculously, I was suddenly okay with the thought of cutting into this dress. The back part of the skirt pattern fit perfectly on the back section of the dress – it was even already seamed for me.
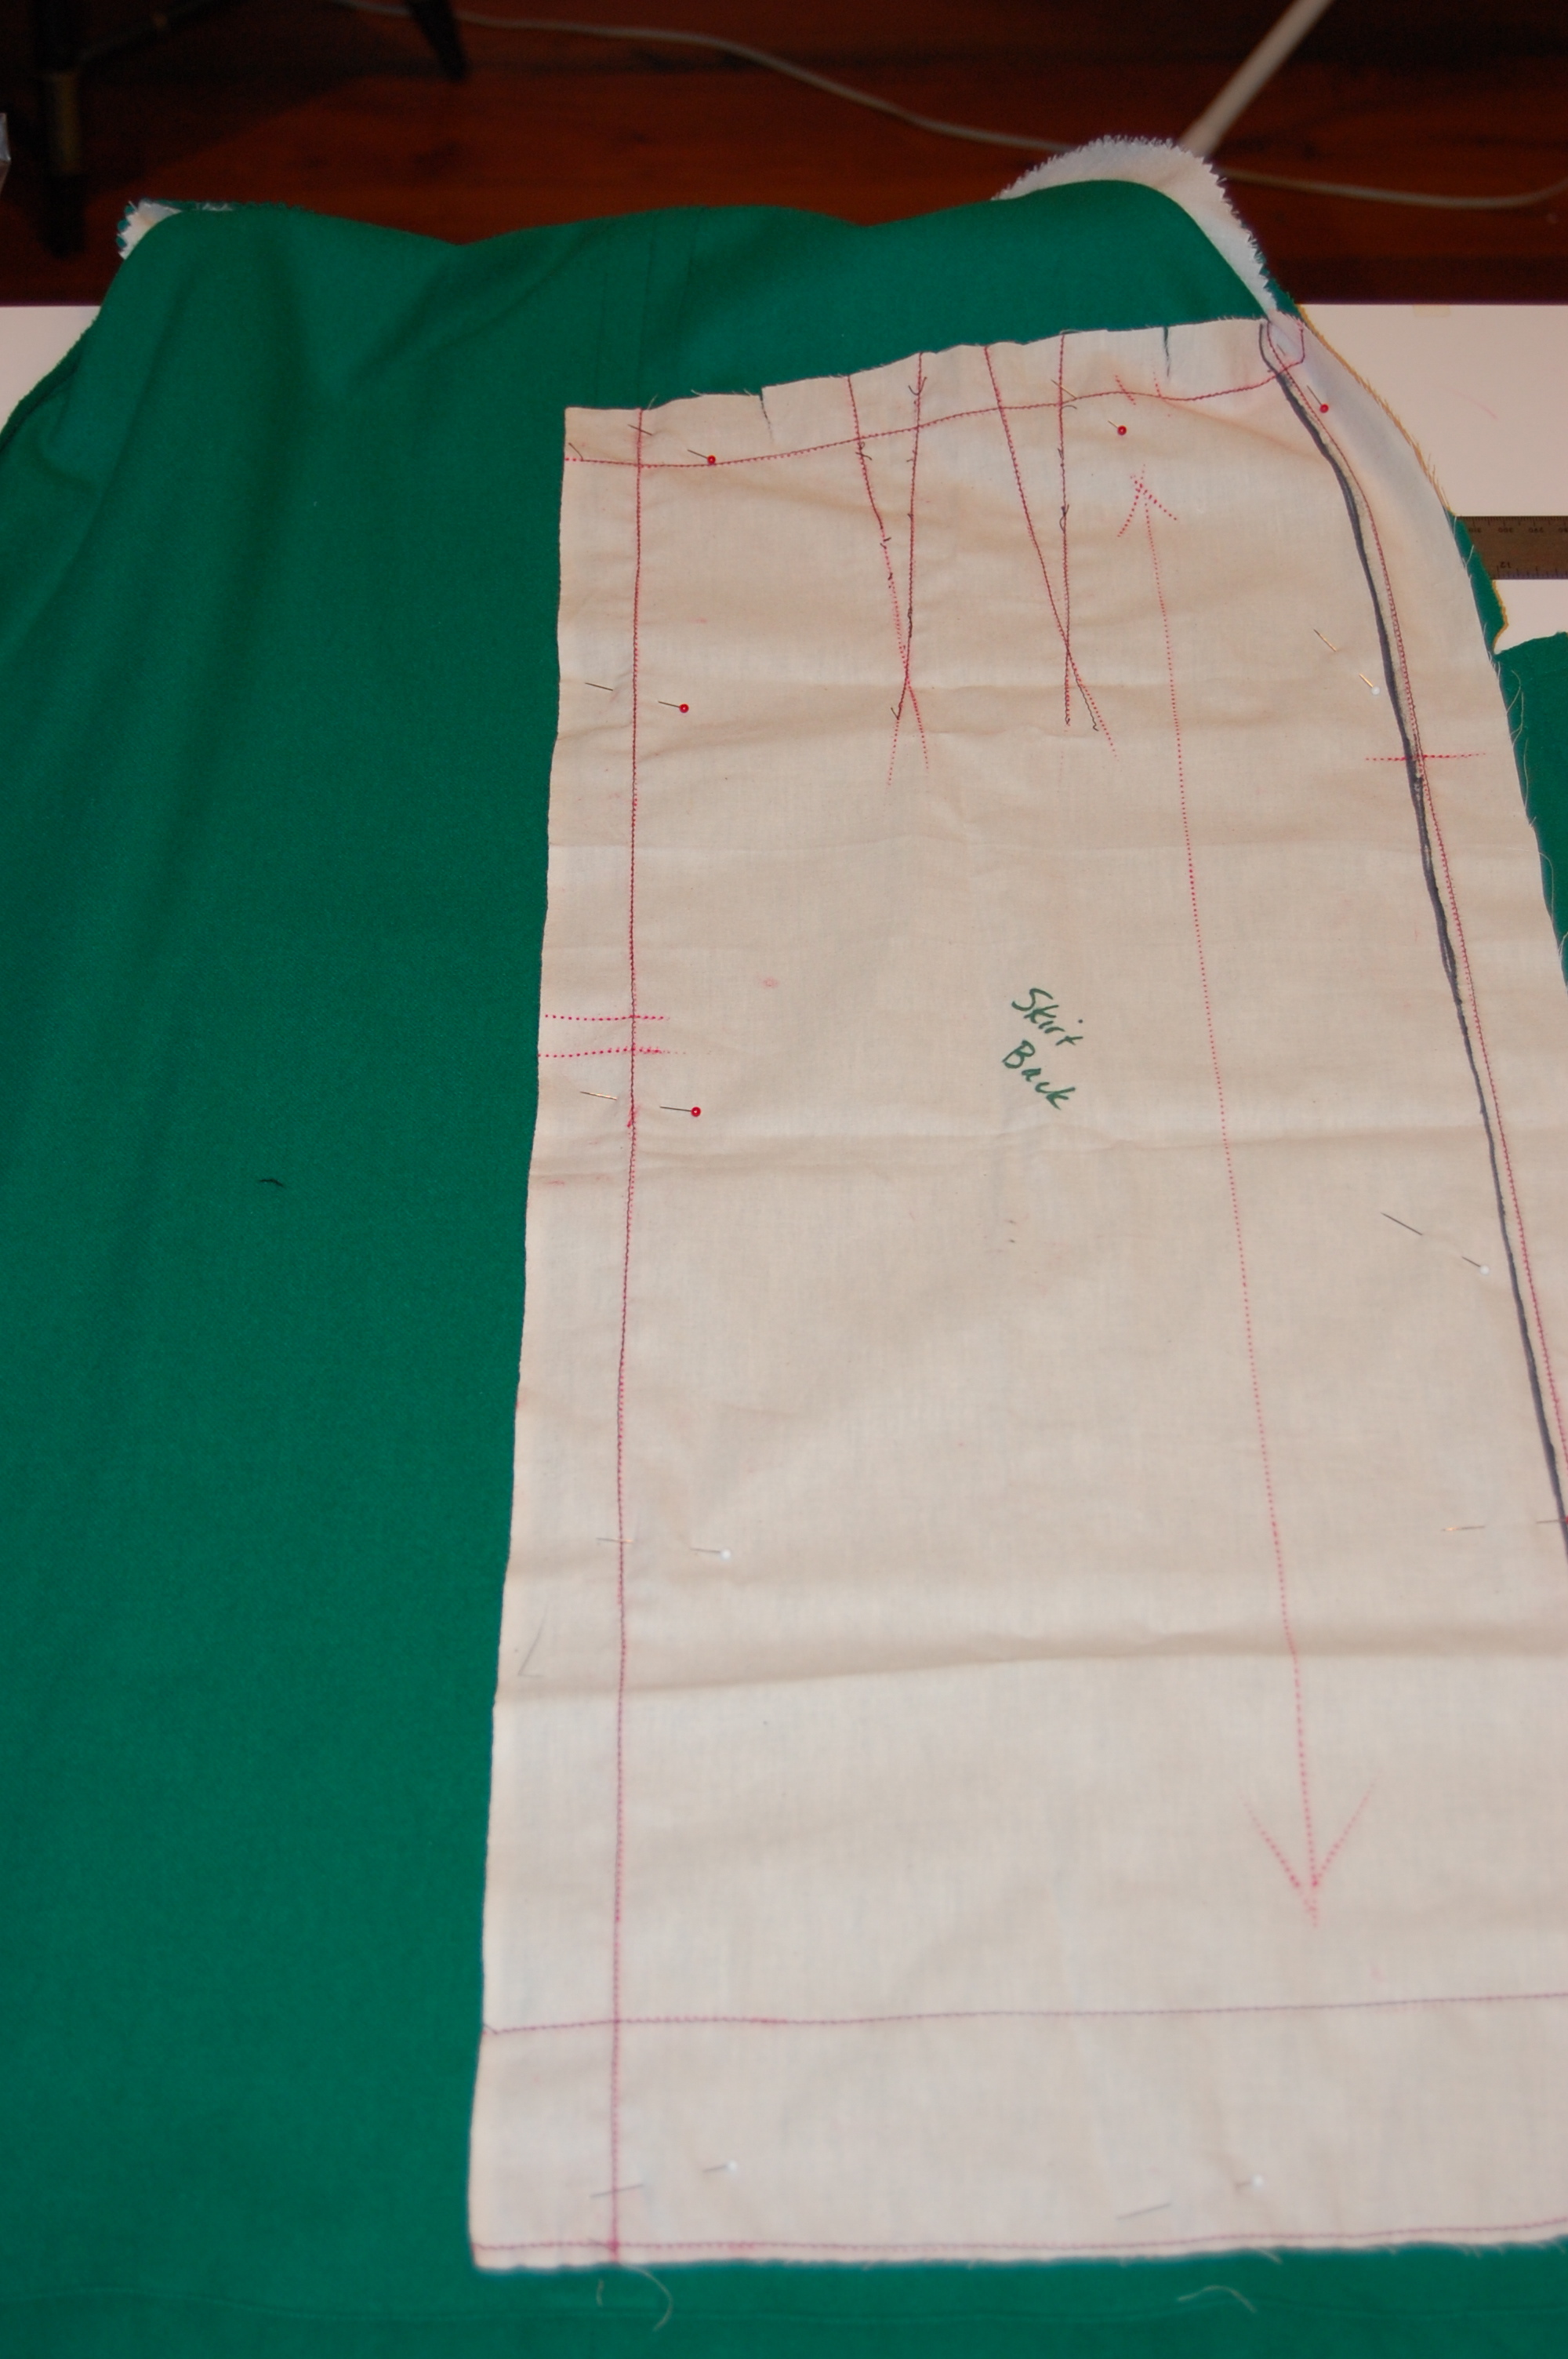
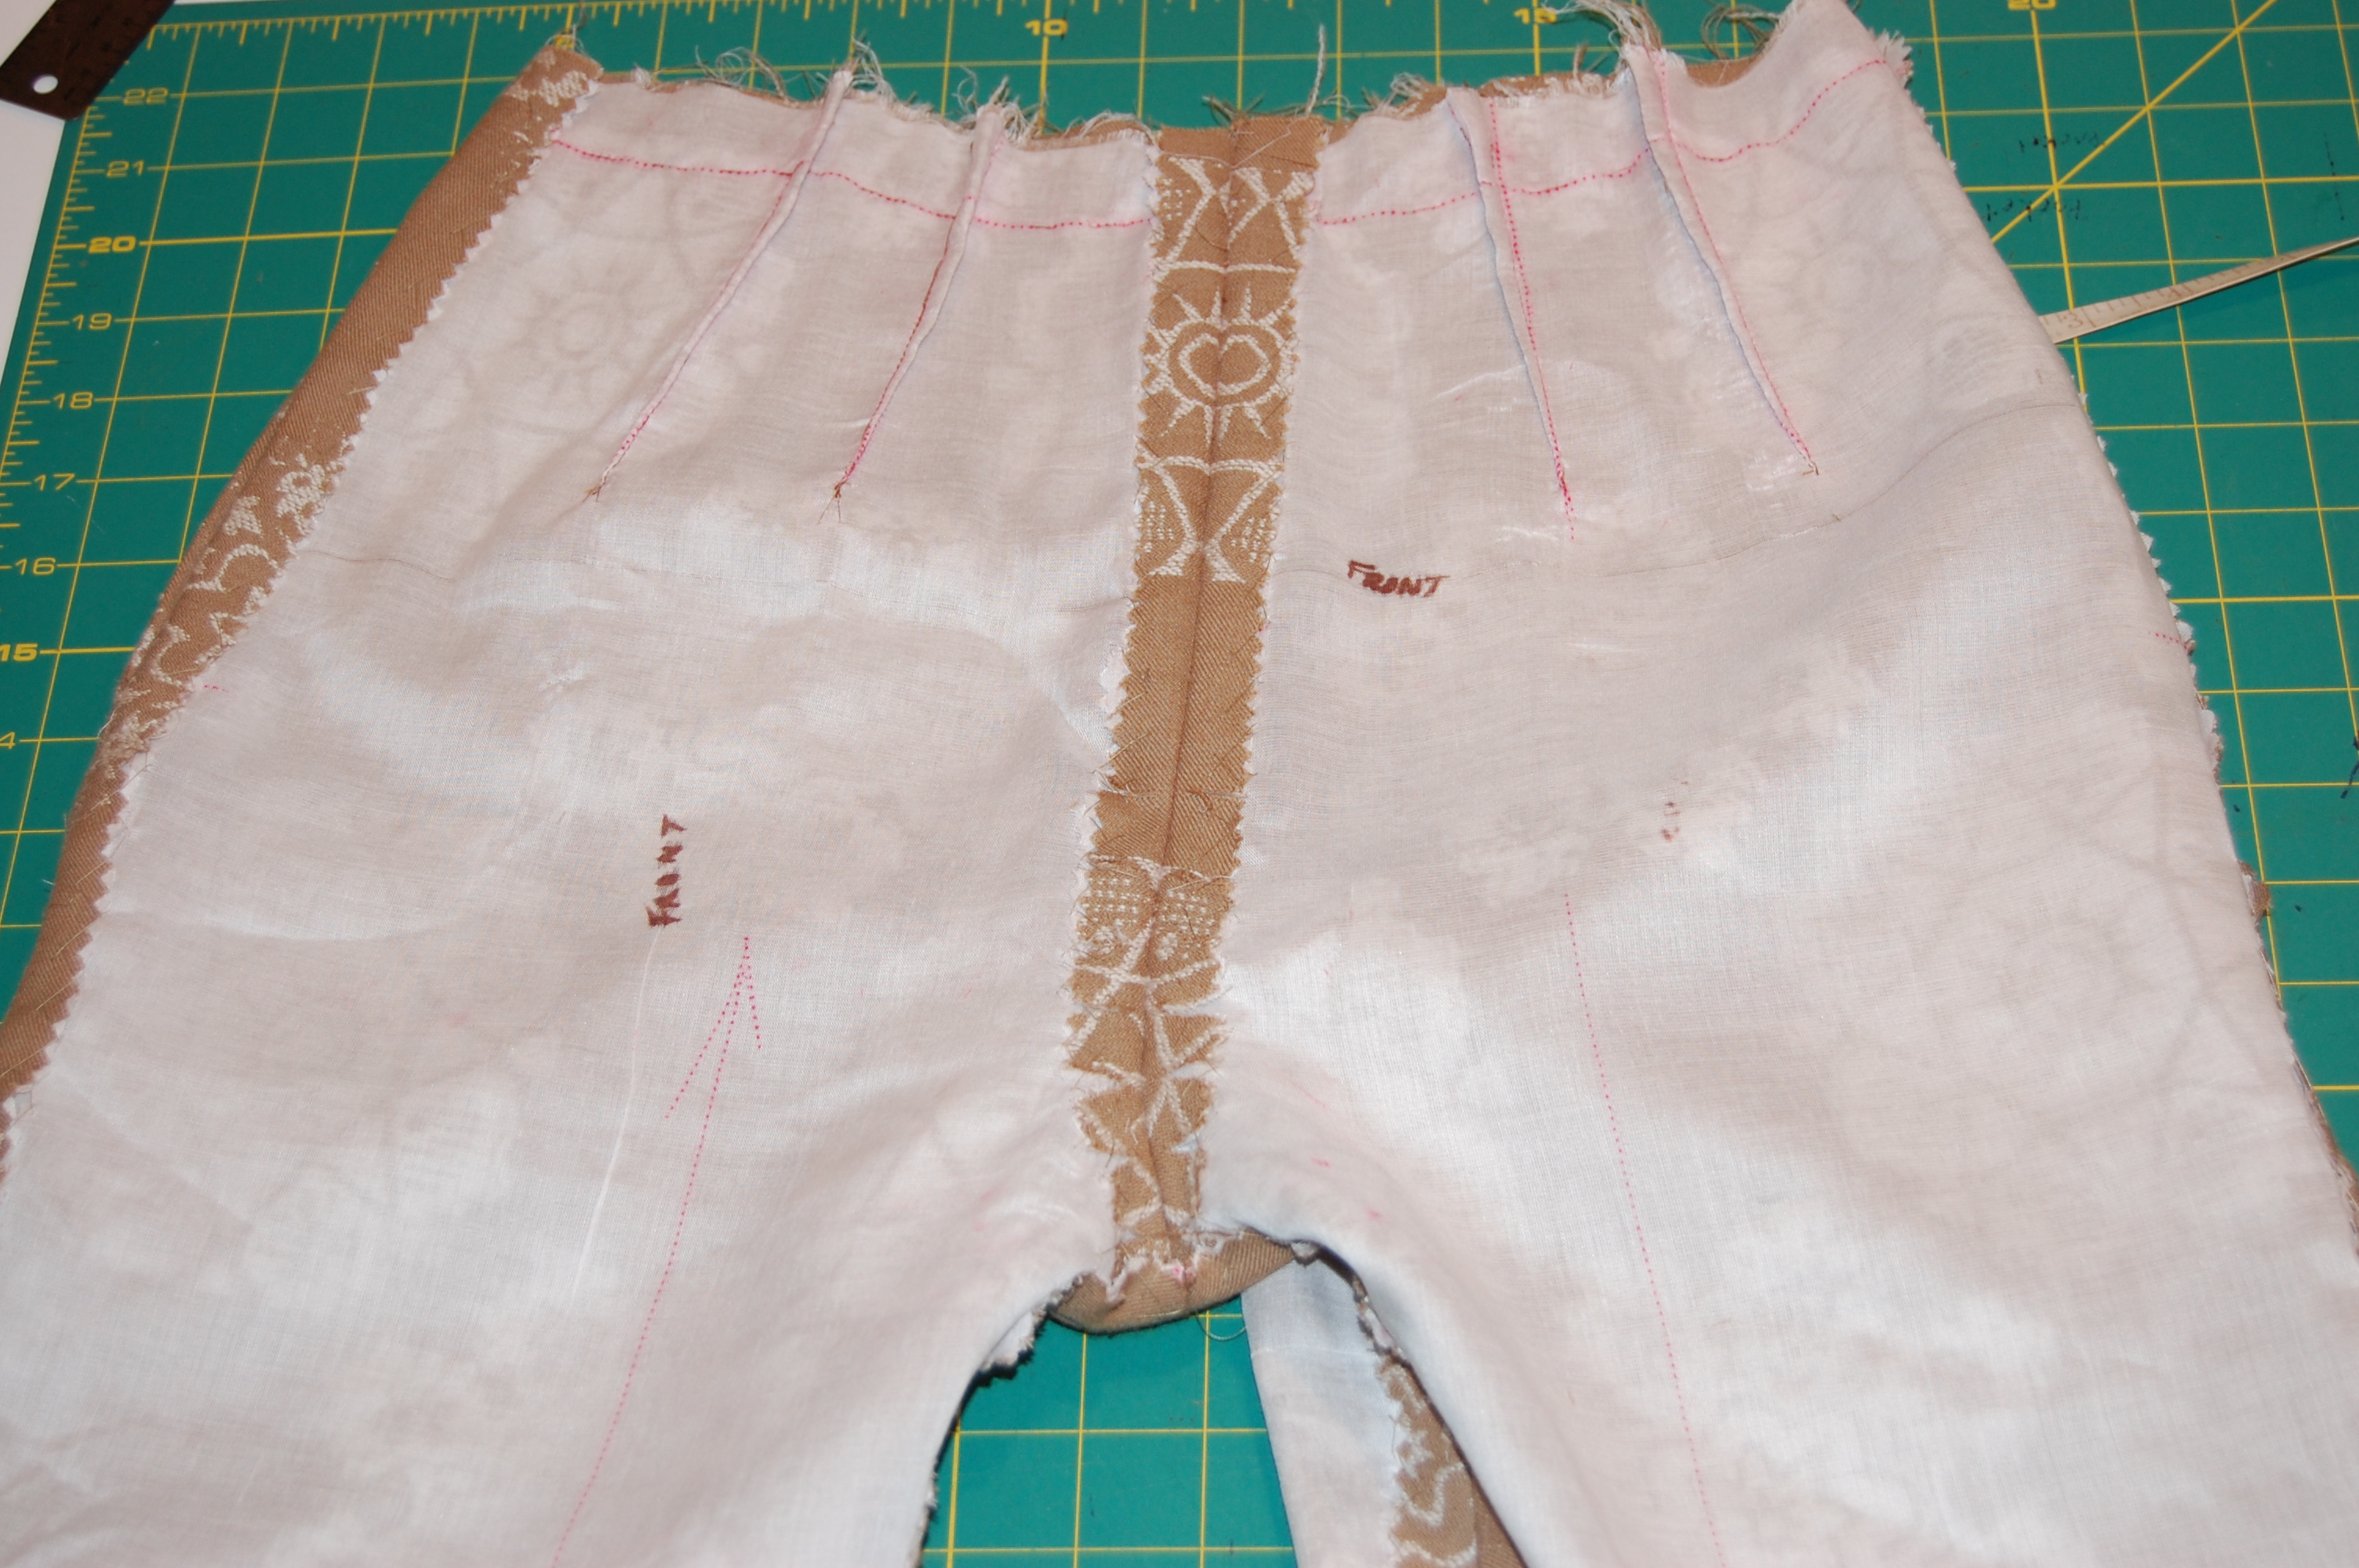
My muslin pattern positioned on the back of the dress.
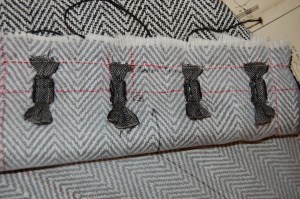
The front part of the dress gave me enough room to make a new two-piece front, with a pleat on the left side. I cut out the pieces and set about to fringing. Re-runs of Downton Abbey helped tremendously with this – I pulled and picked and created fluffy little towers of green threads while totally absorbed in another time and place.
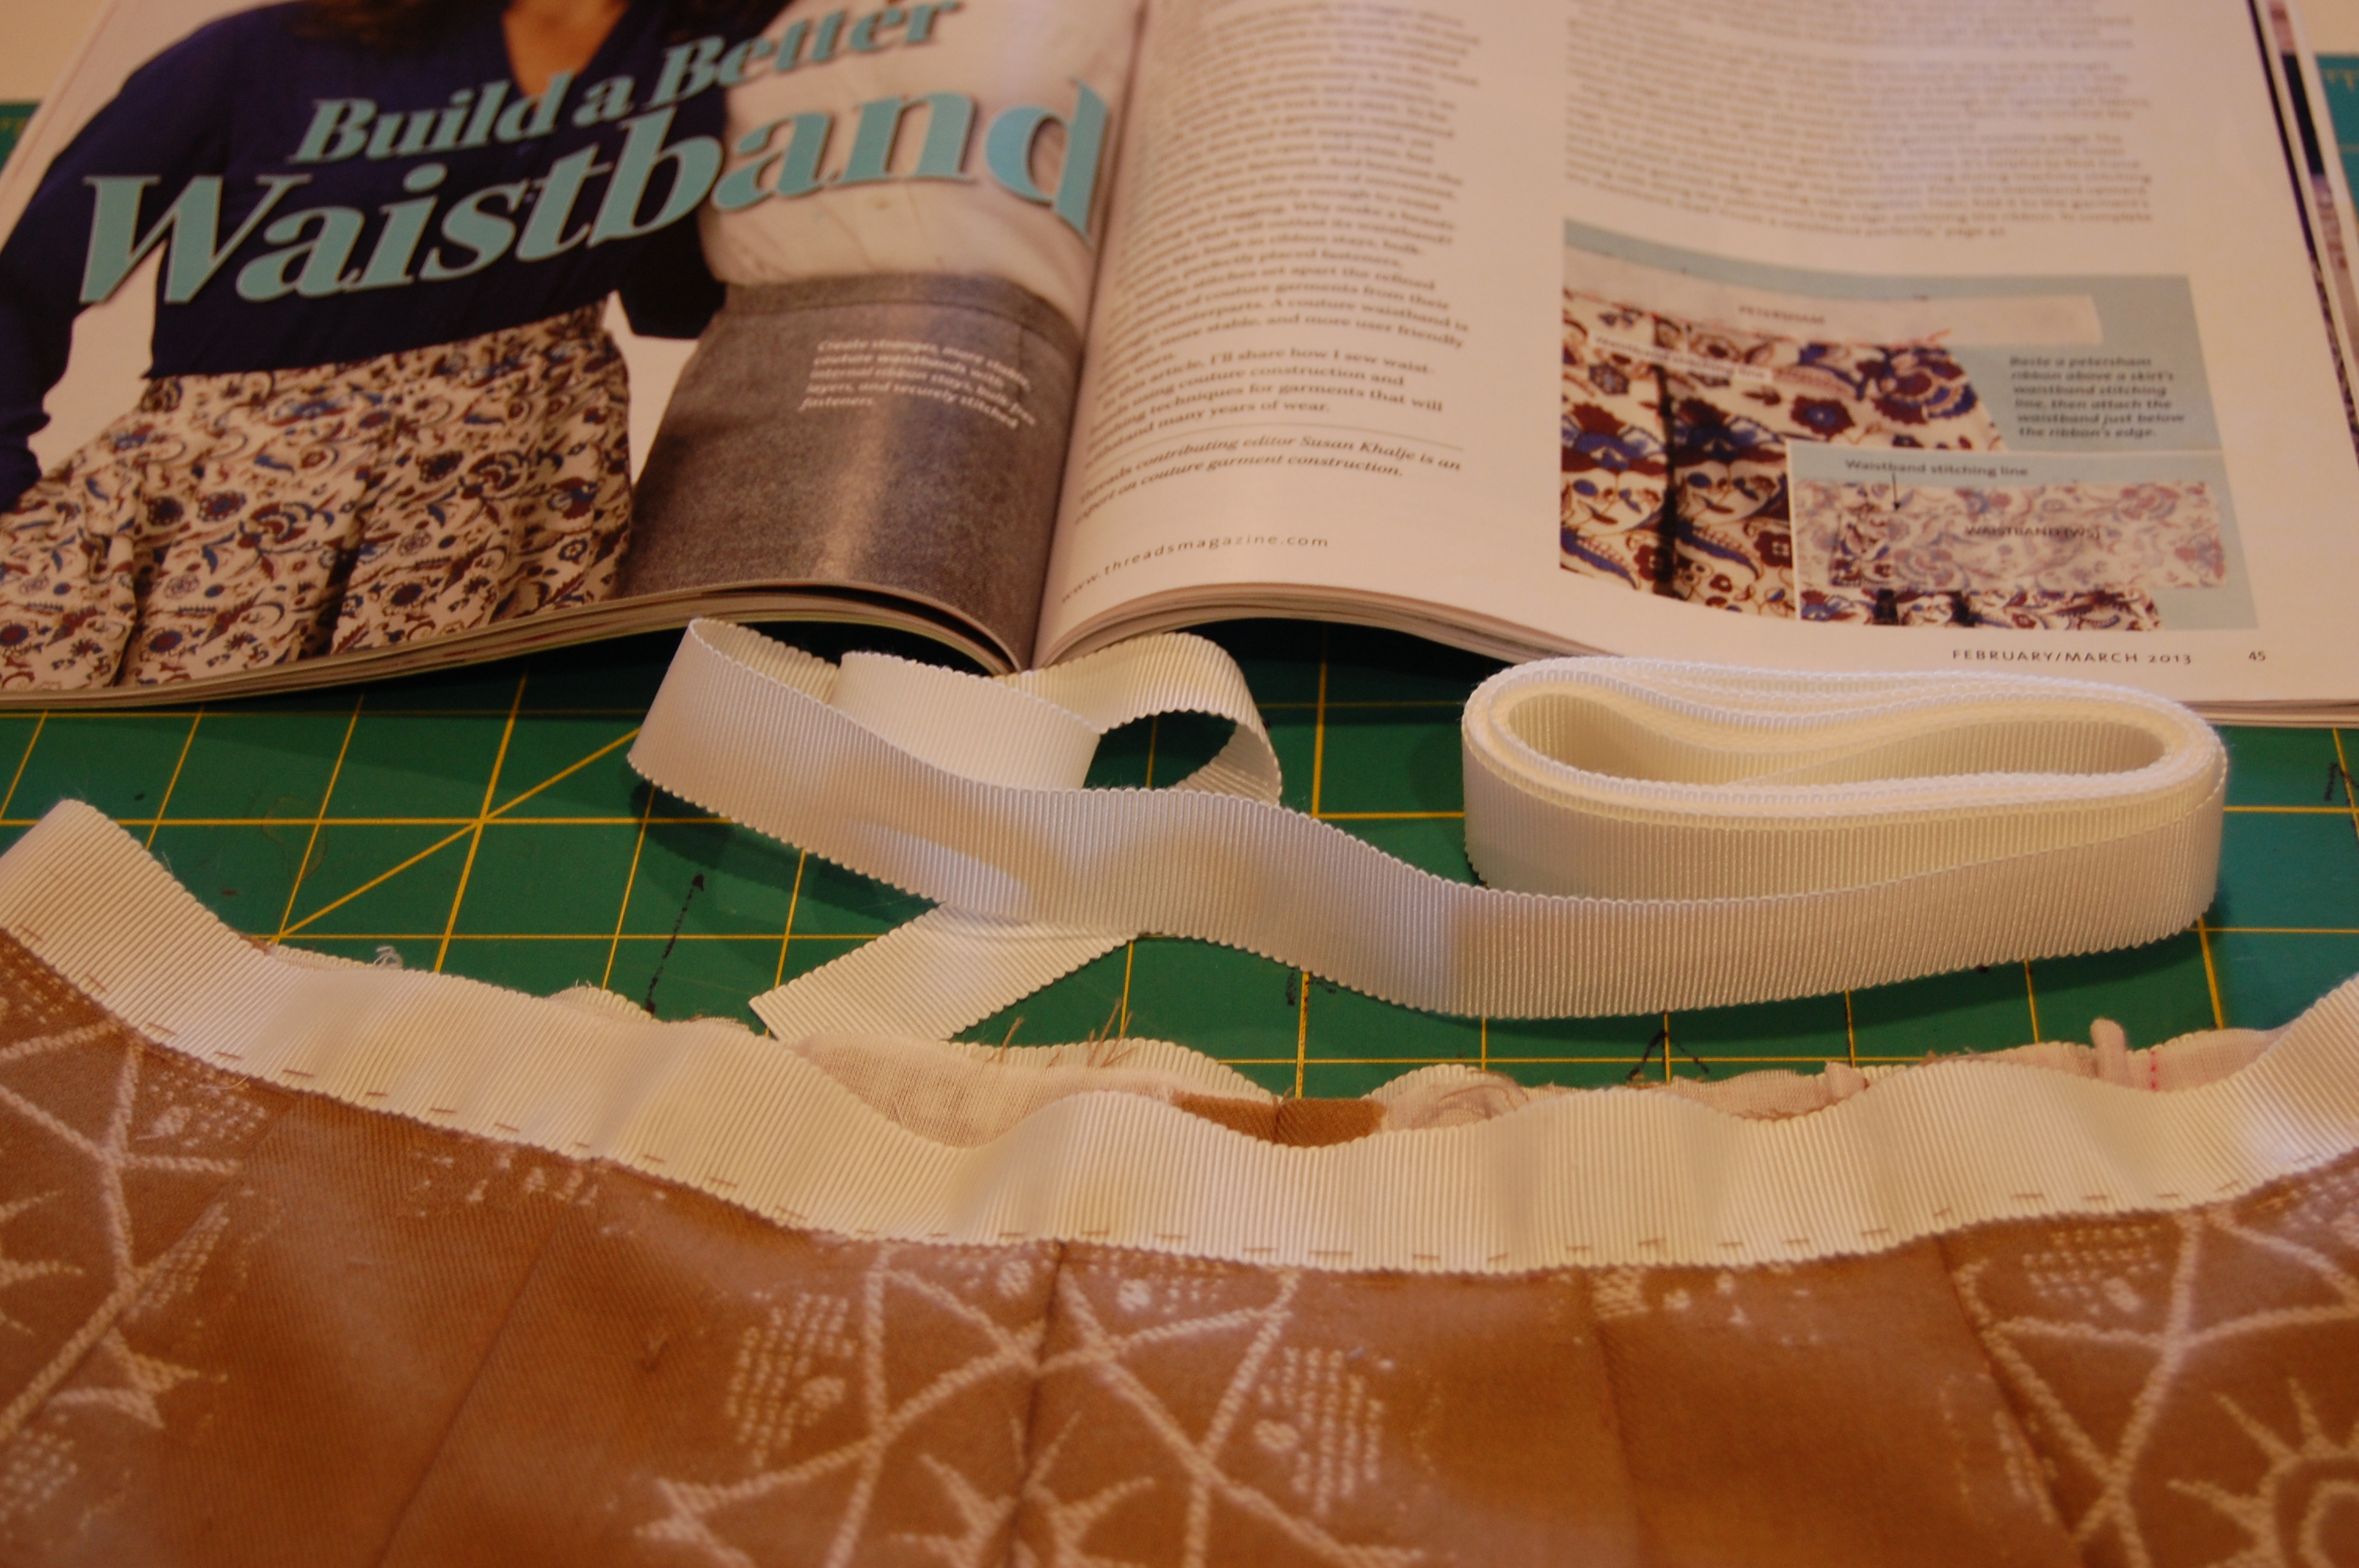
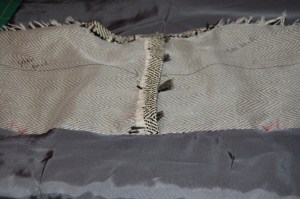
Then it was back to the sewing room to sew this baby (pardon the bad pun) together. There was not enough fabric to fashion a waistband on the straight of grain, so I opted to make an inside pieced-together facing instead.
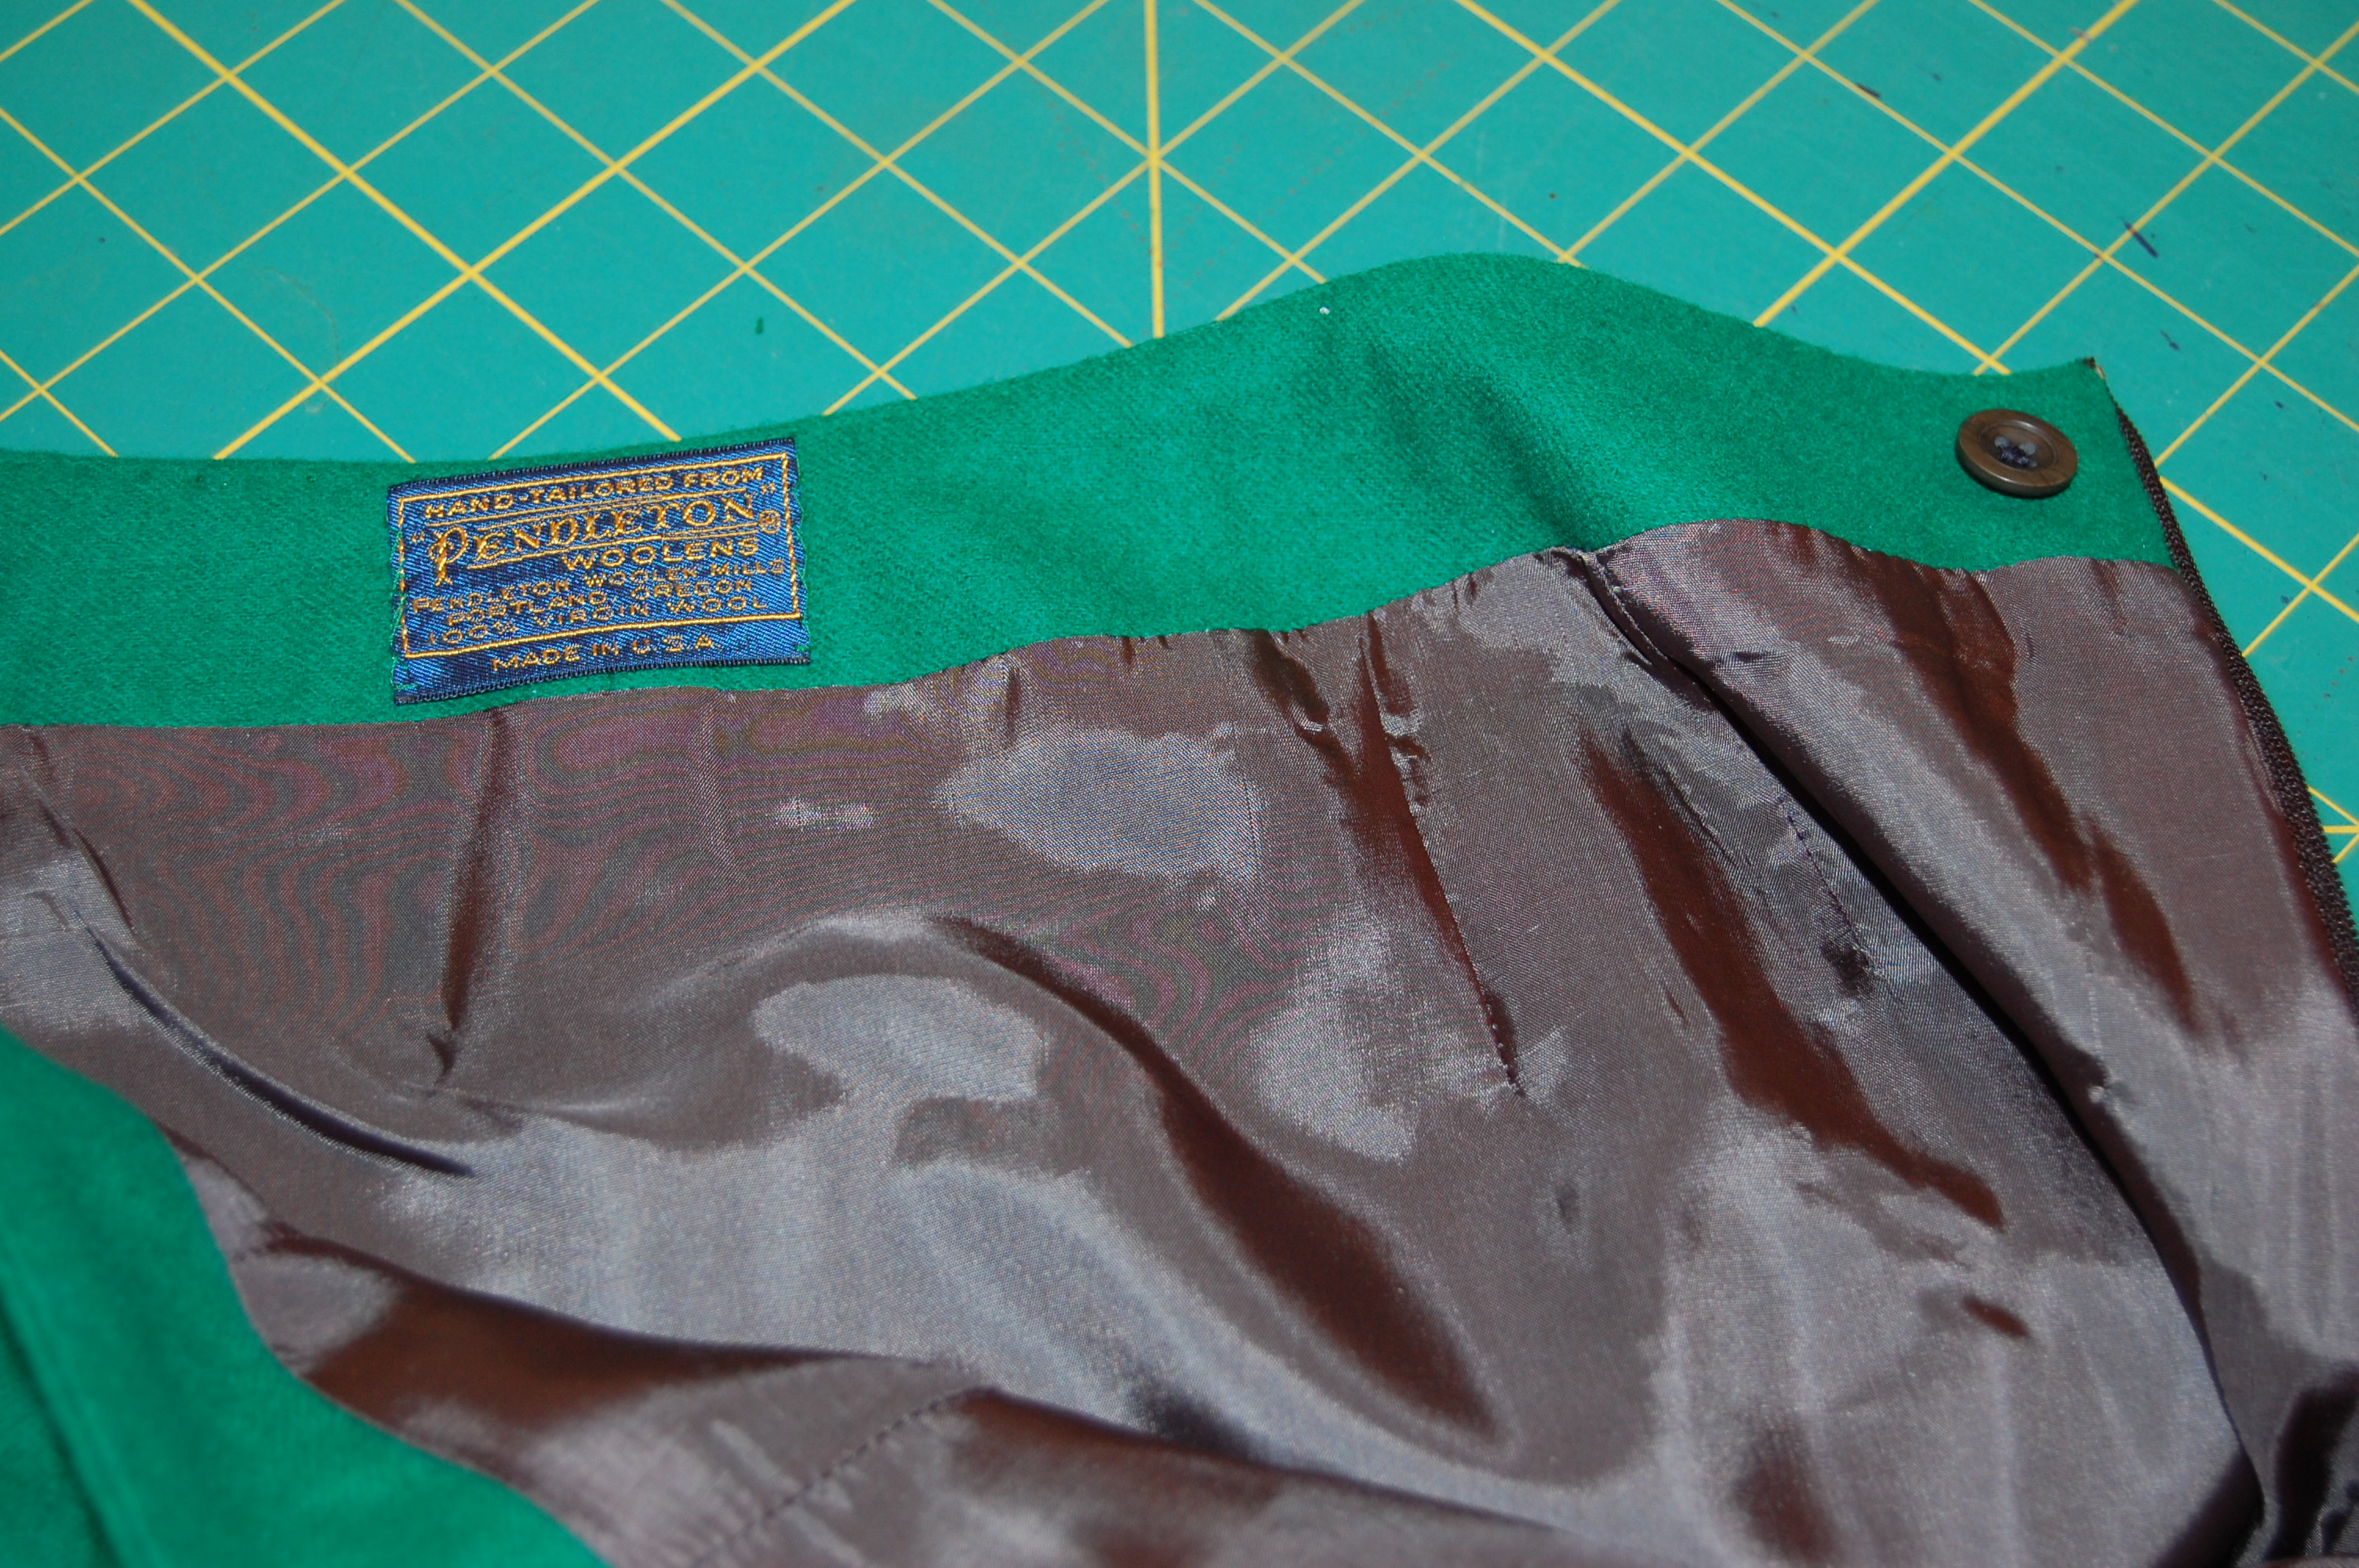
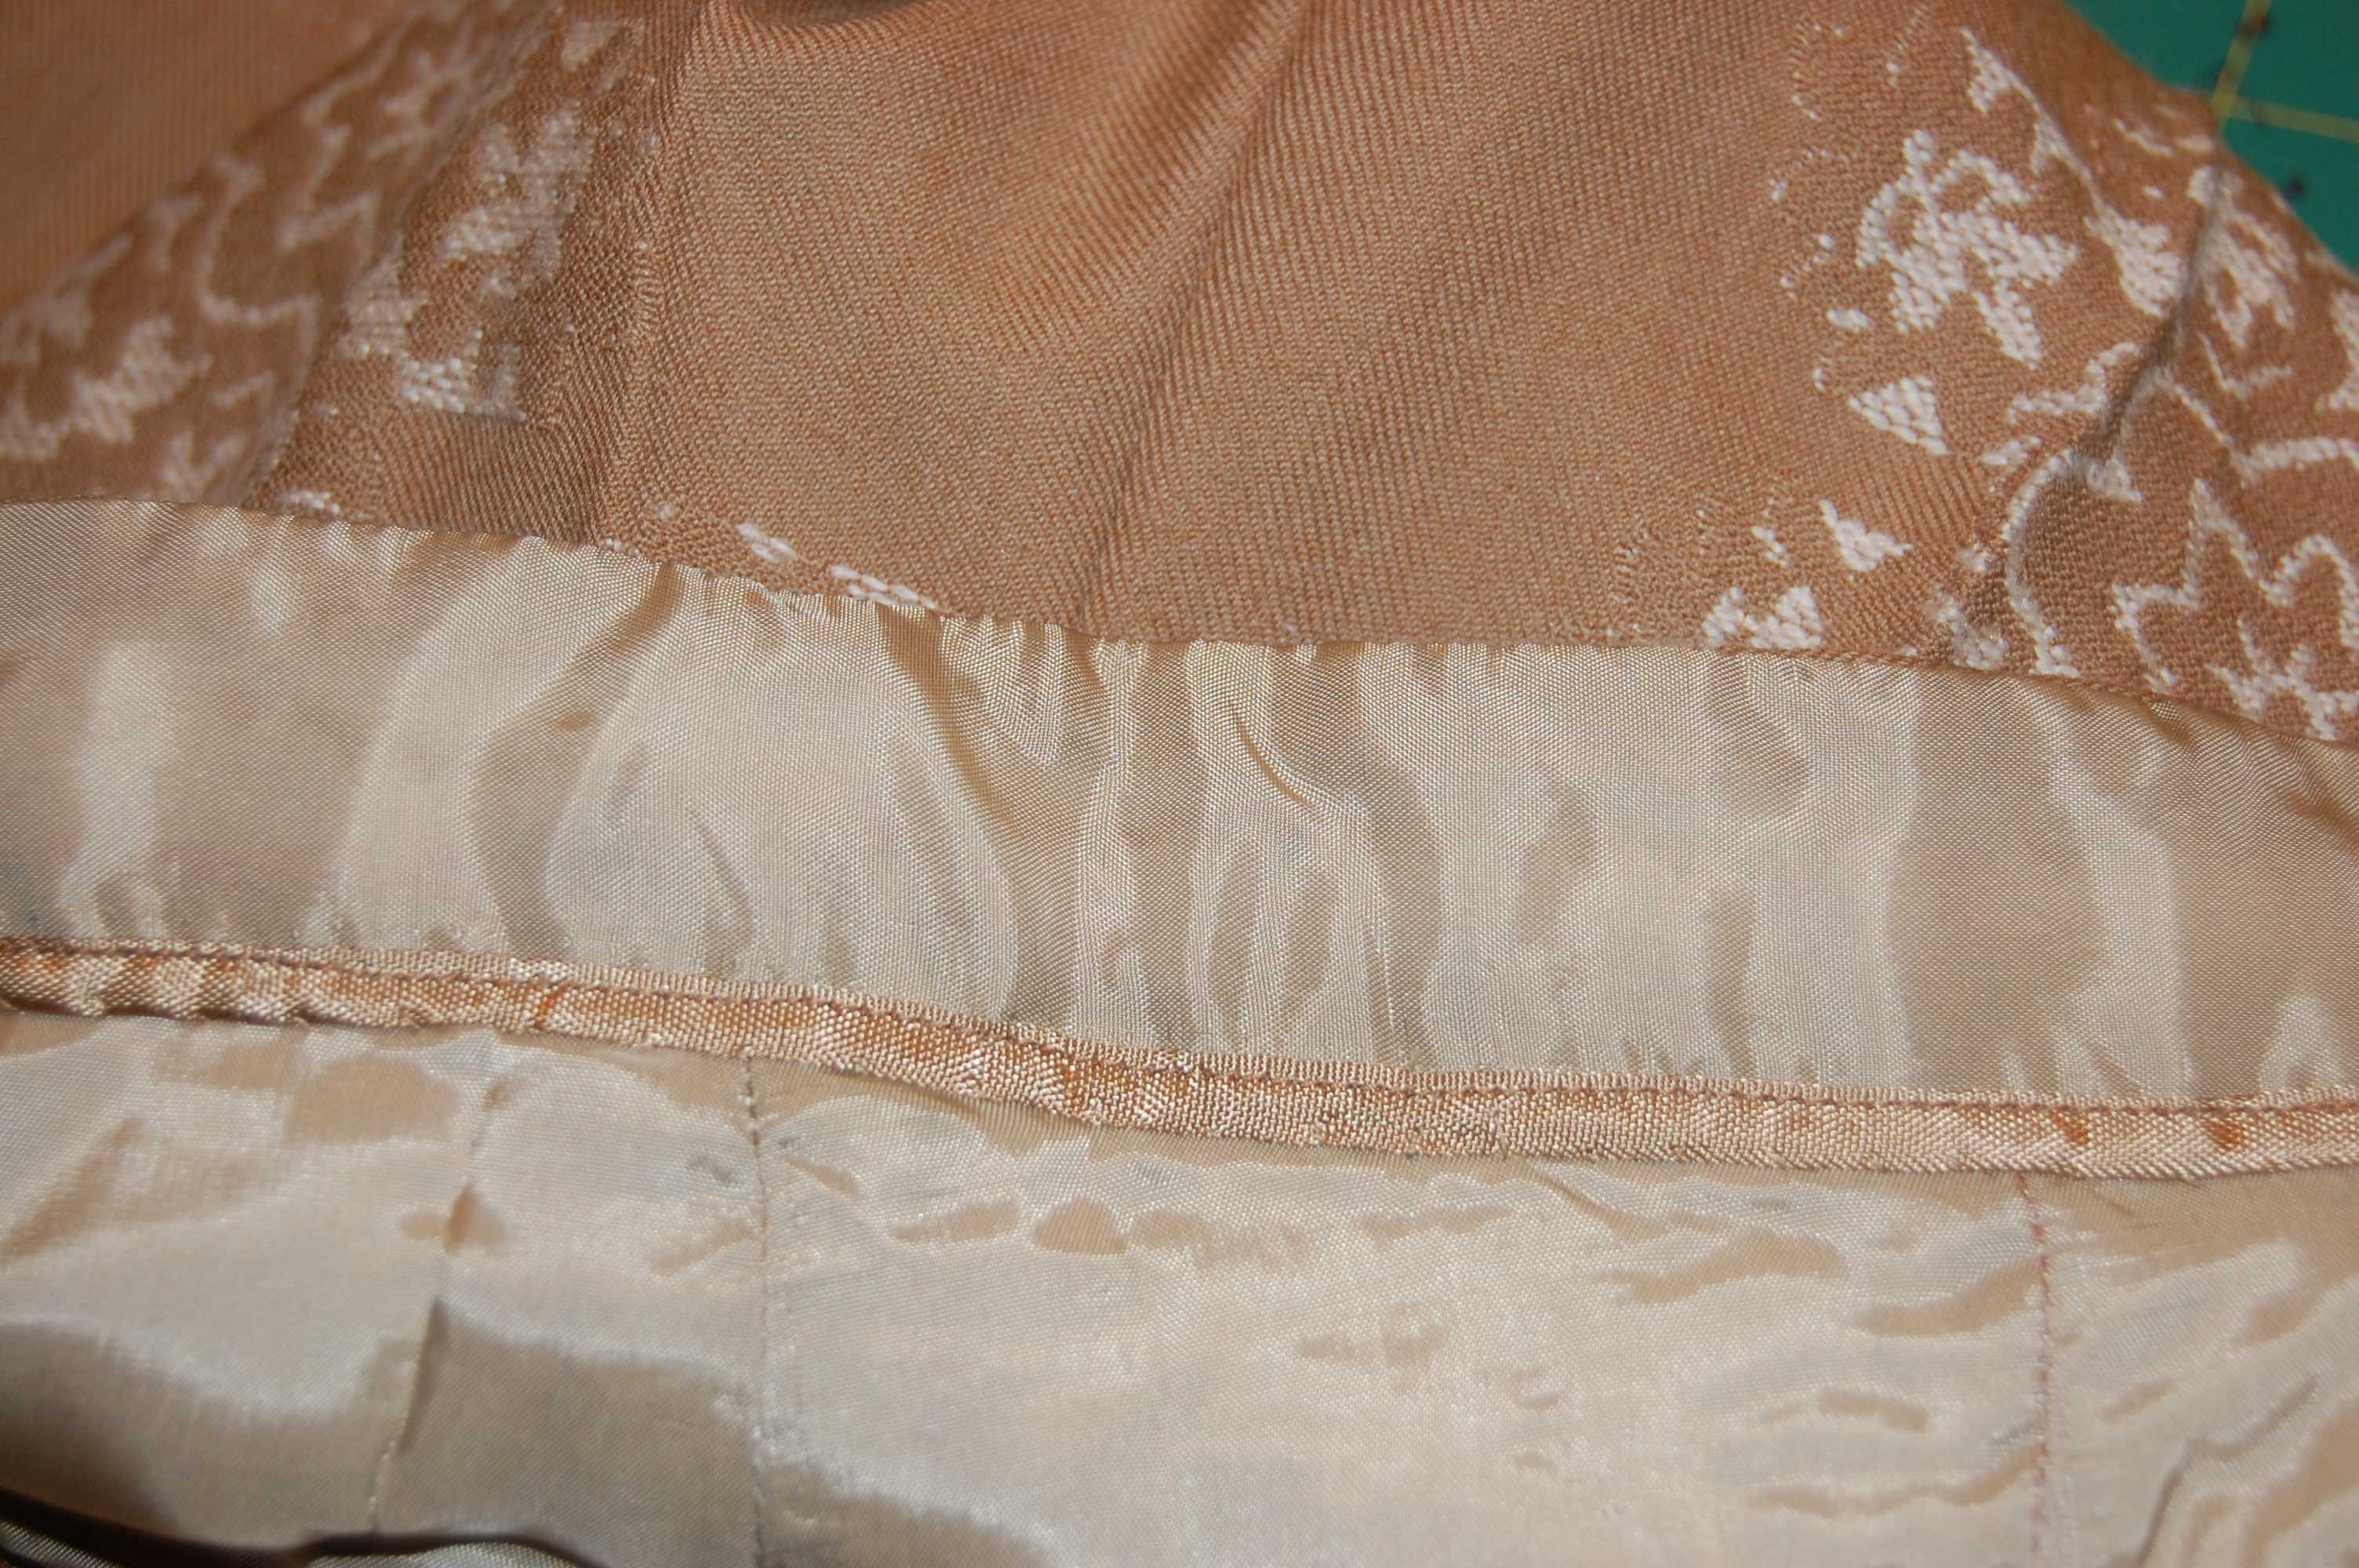
The facing at the waistline. I attached the 31-year-old Pendleton label in place after all these years!
Then I made a button tab out of bias tape which I just happened to have on hand in emerald green. What I could not find was a 7” zipper in emerald, nor lining fabric in emerald. Guess the manufacturers of such items did not get the memo from Pantone about the color of the year! So I ended up with a black zipper and dark gray Bemberg lining fabric.
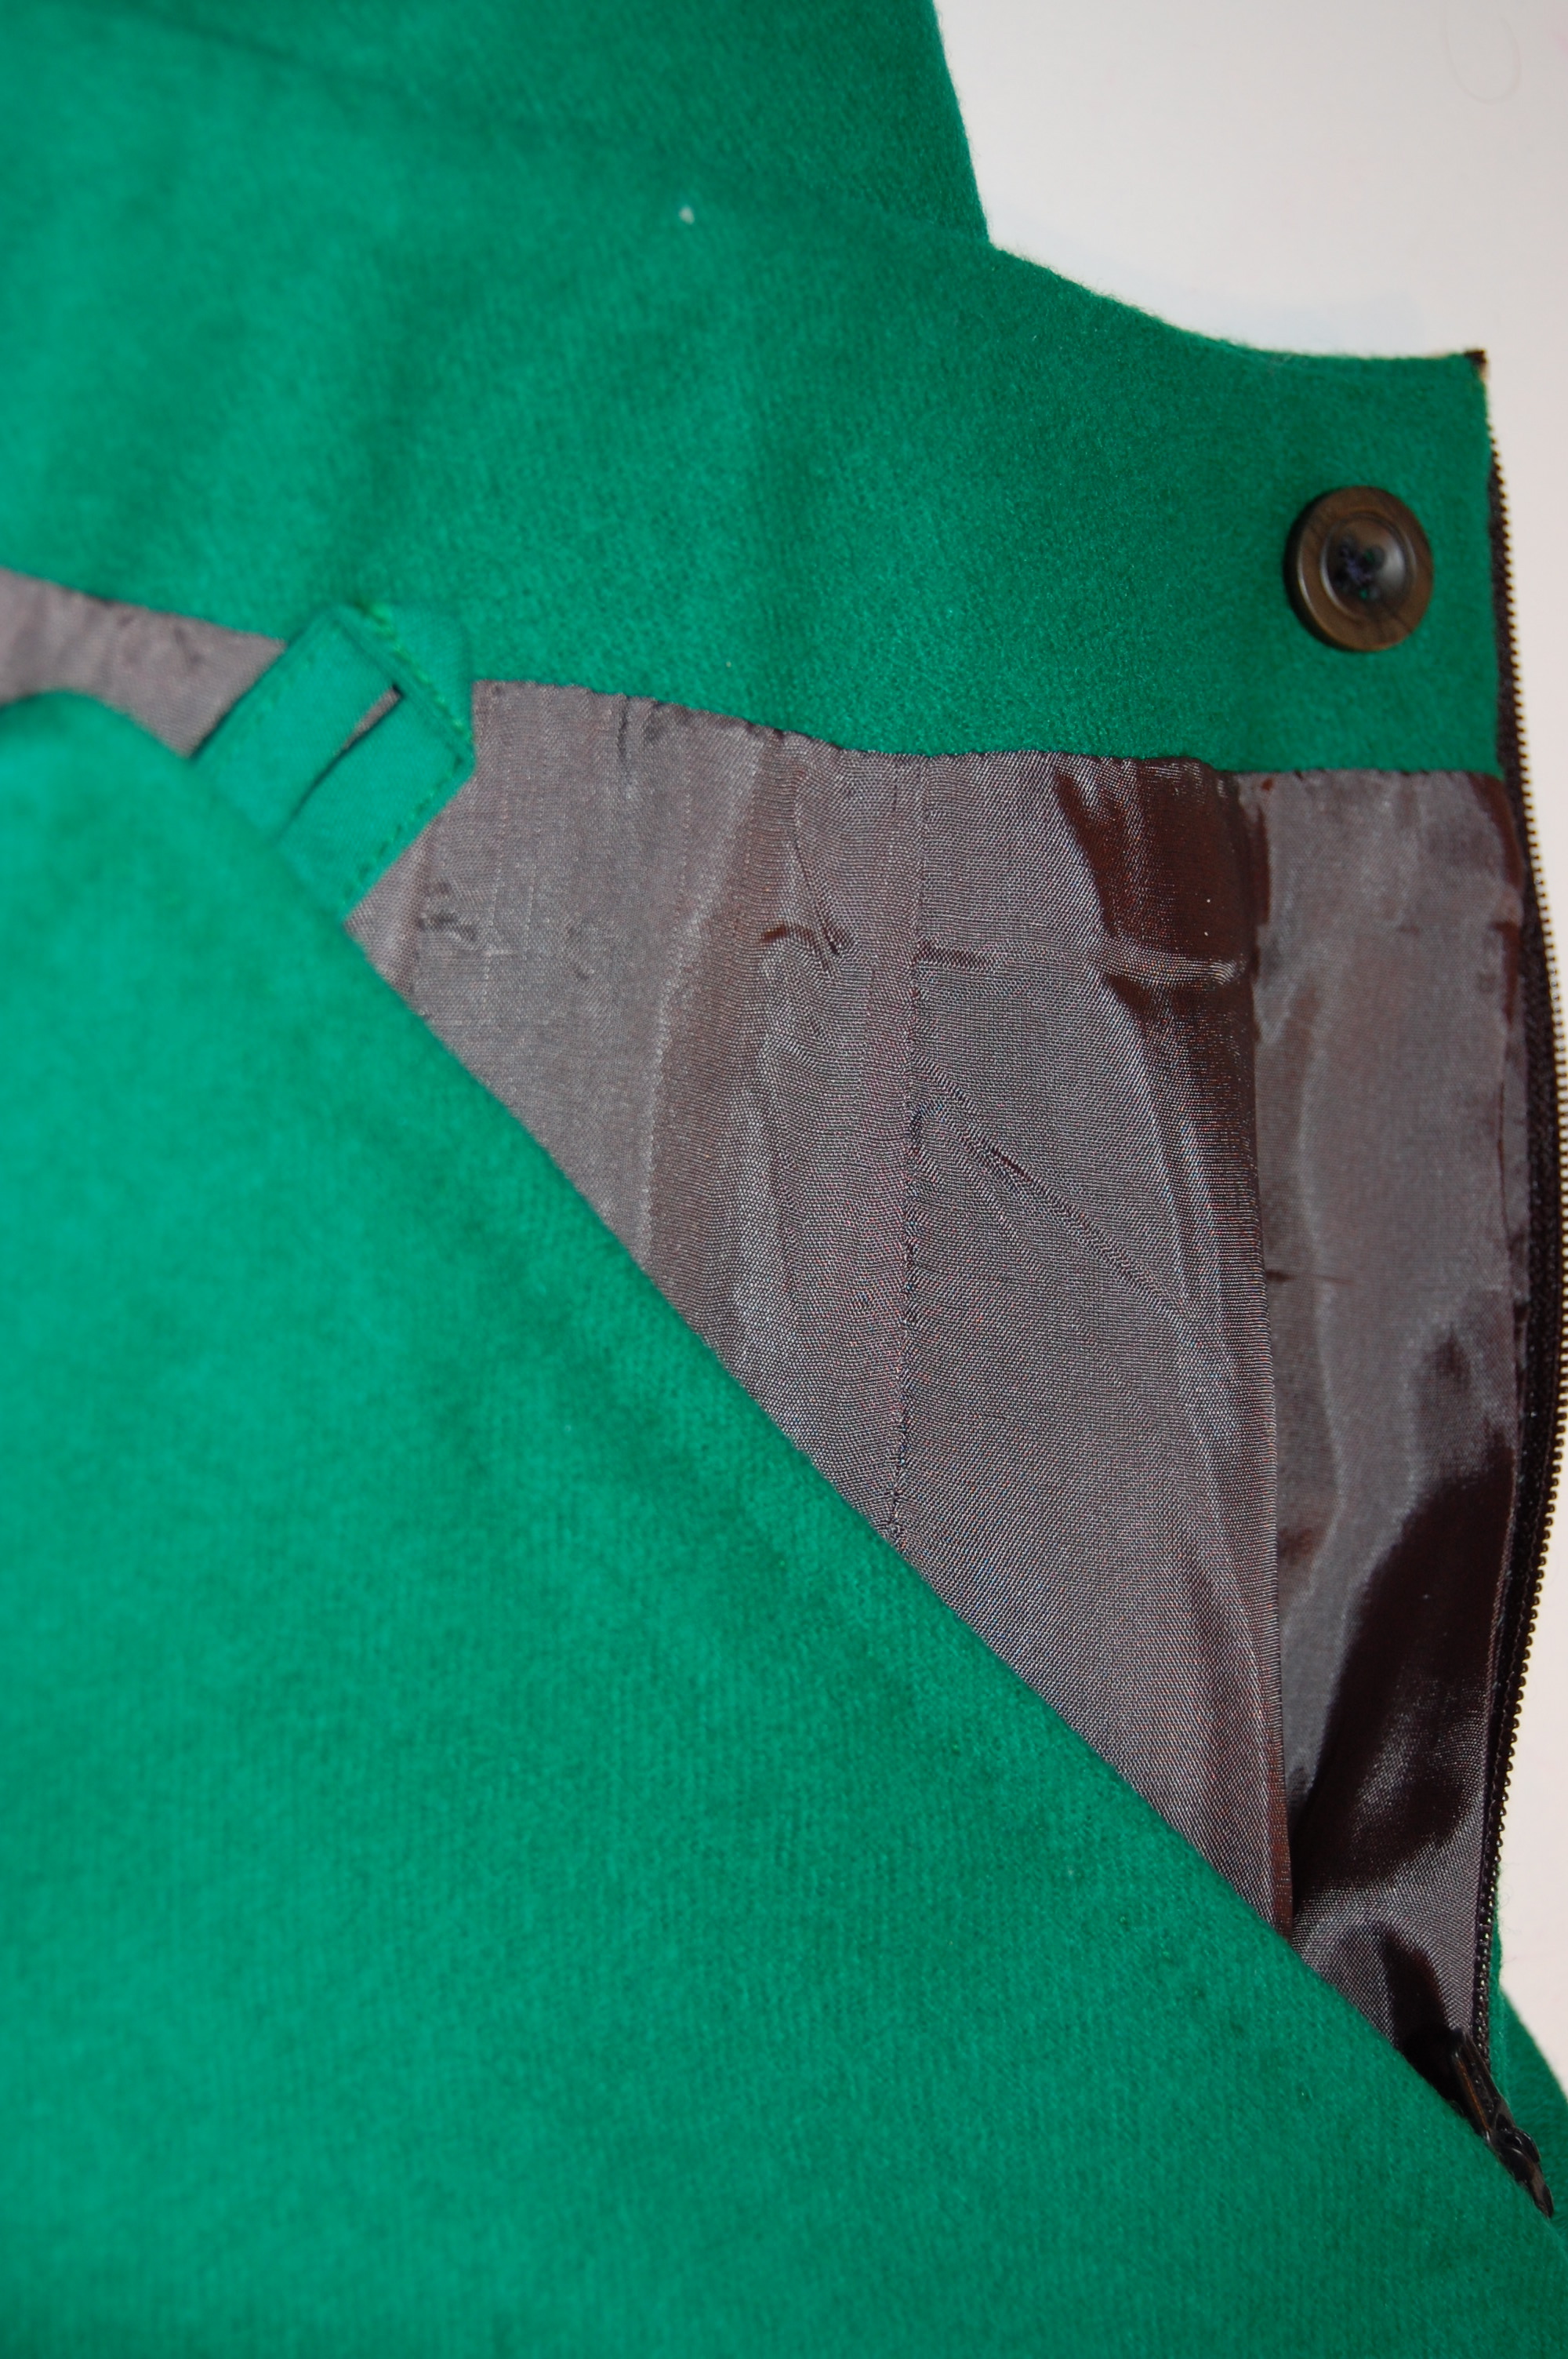
The black zipper and gray lining are okay, I think…
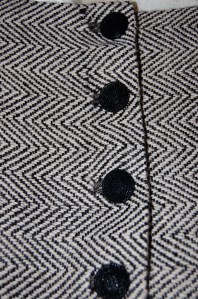
I went round and round with a decision about buttons to hold the top part of the pleat in place. I found several single buttons in my button box, which I really liked, but I really needed two or three. A trip to Joann’s yielded some pale gray pearl buttons which would have been lovely, except that one broke after I got home when I was taking it off the card! So I still have to resolve the button issue – as right now I have exactly one button on the skirt, although I do like its diamond shape quite well…
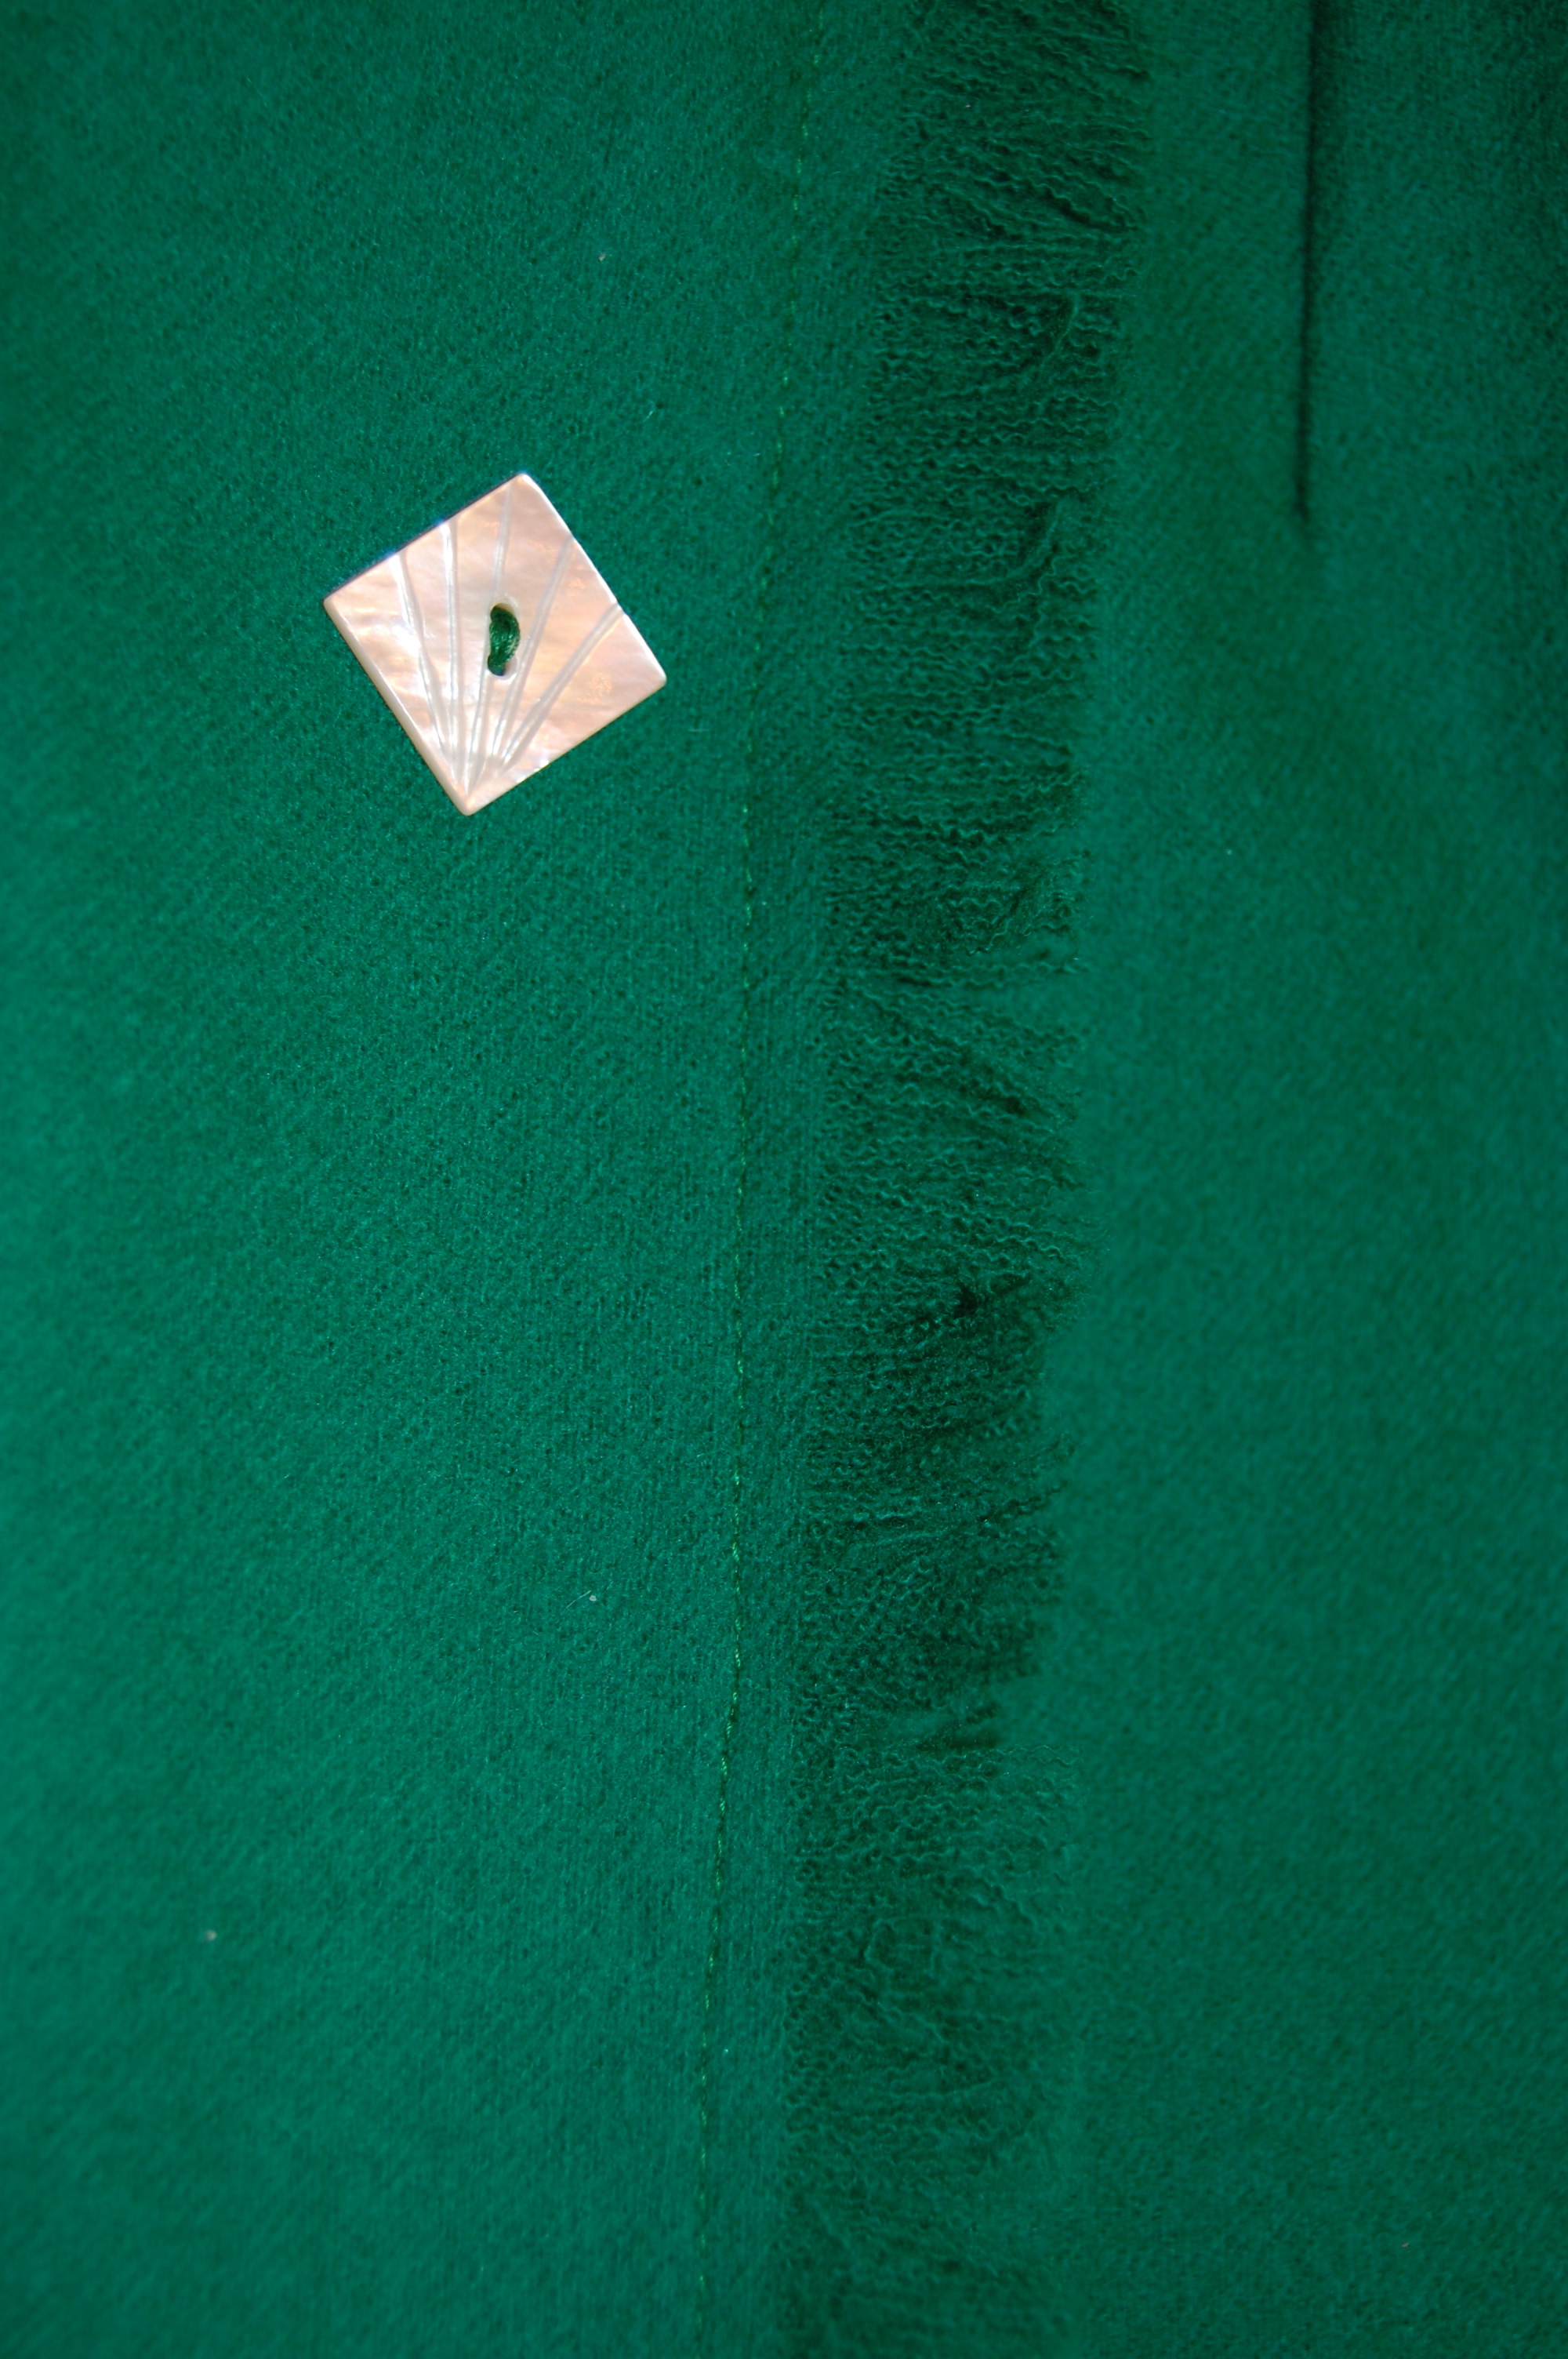
The fringe detail on the pleat – and the single button. Sure wish I had another one of these!
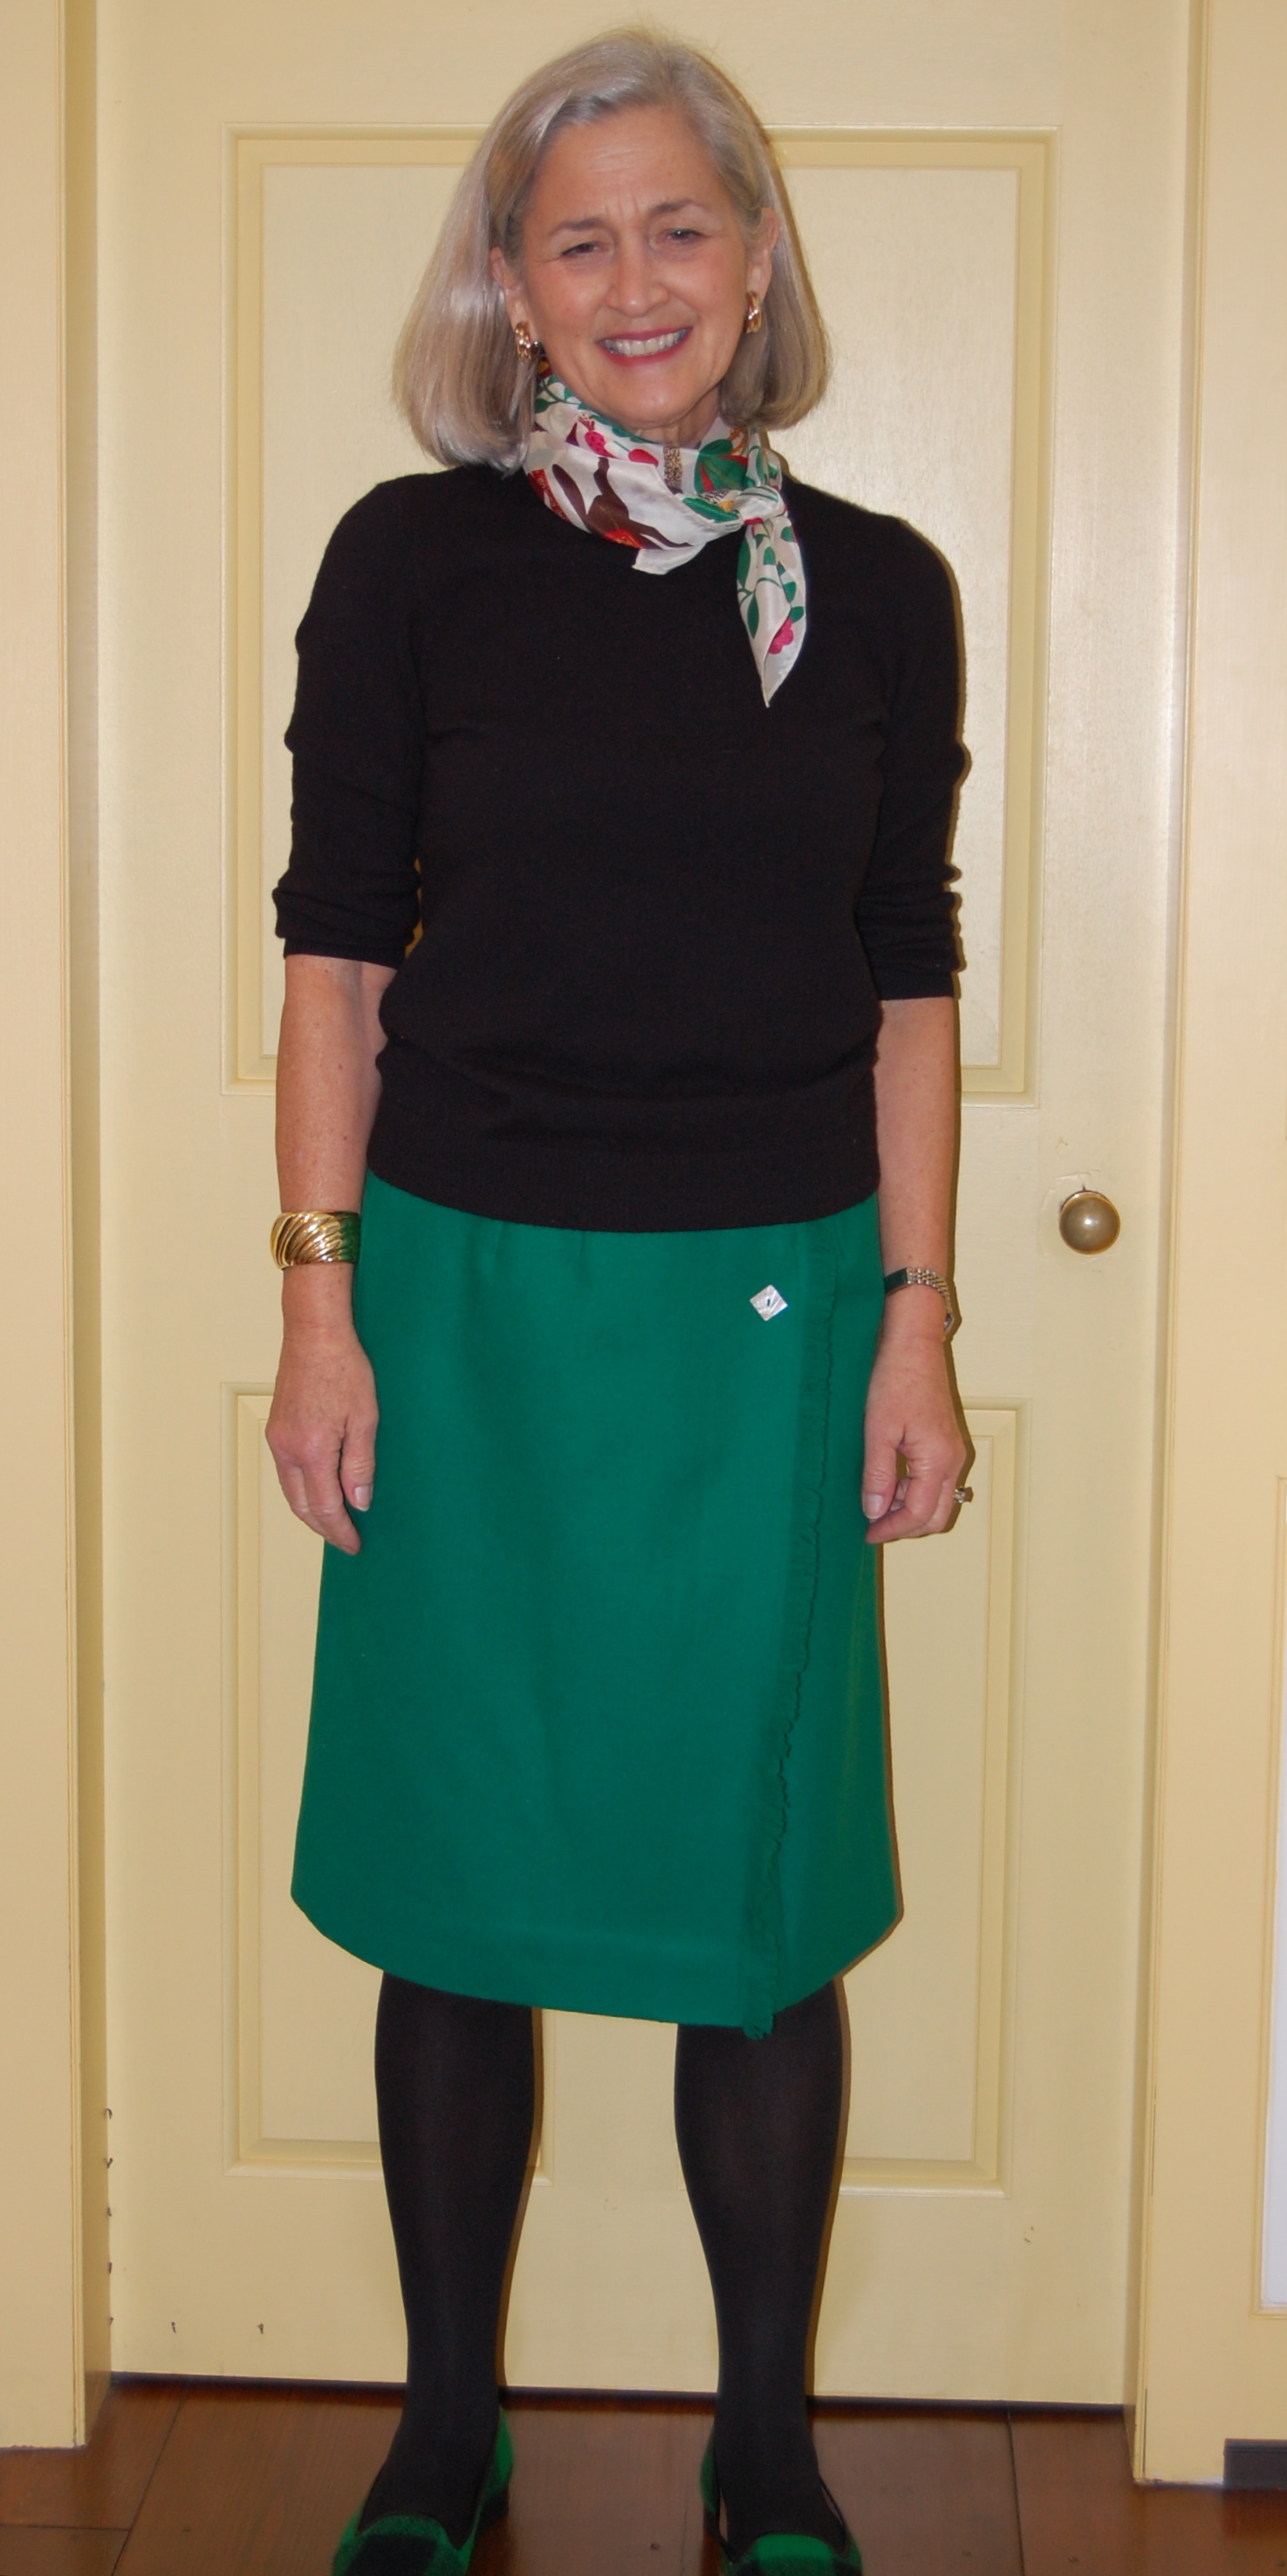
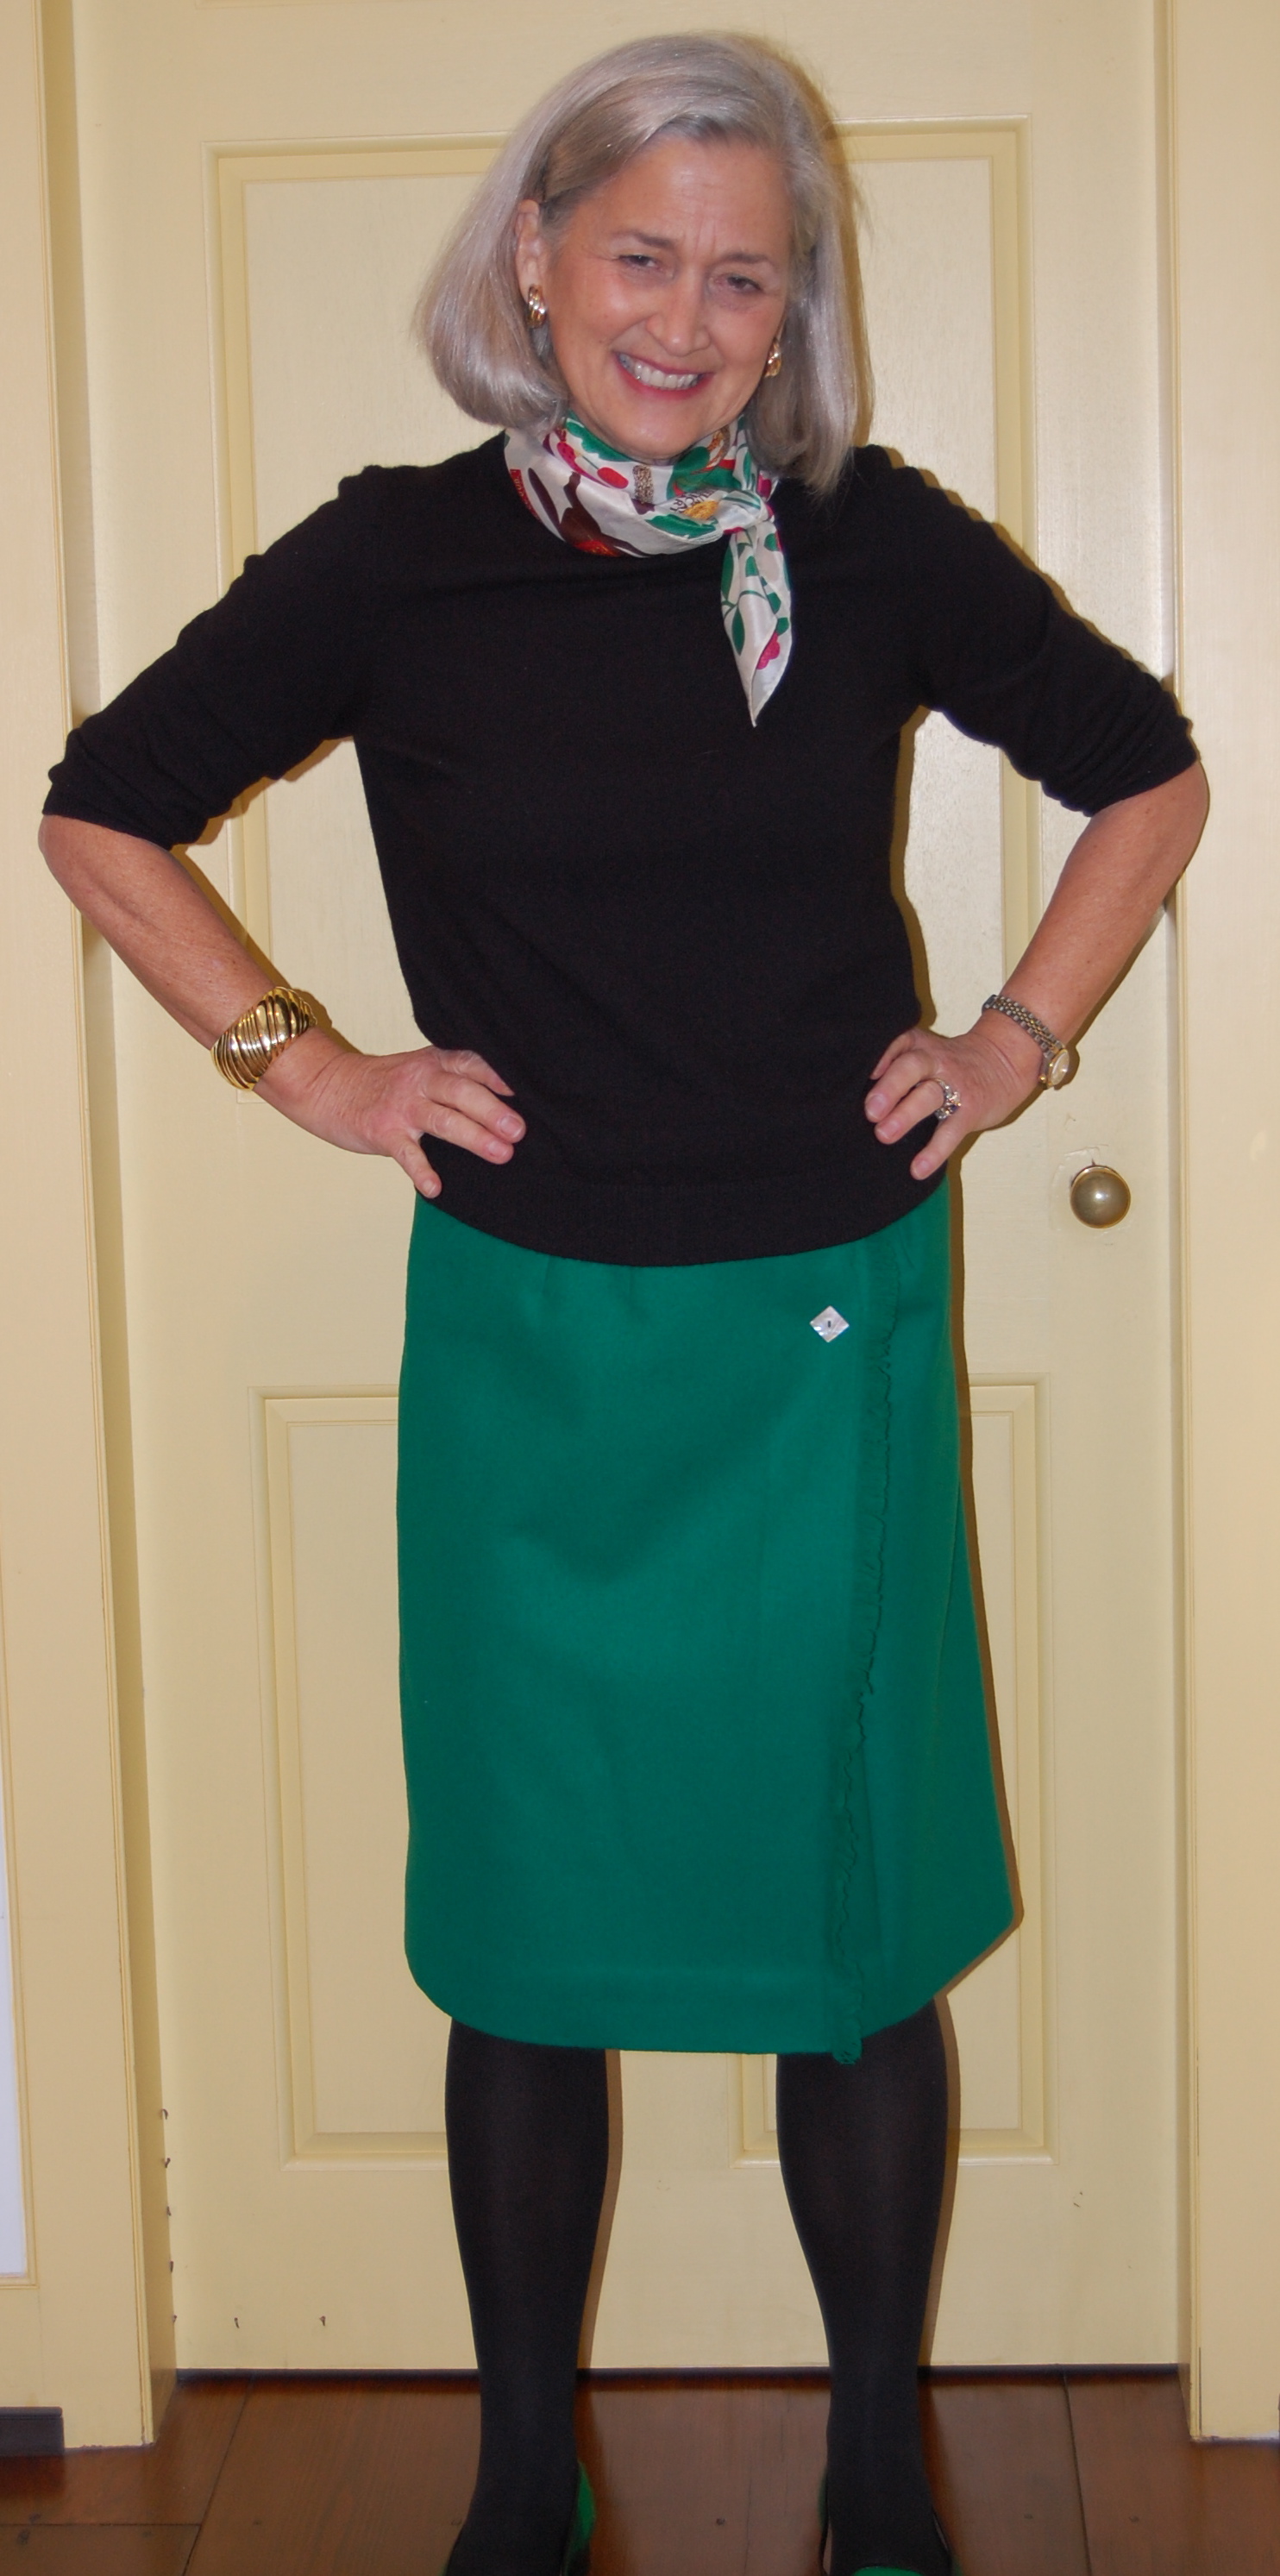
It’s finished (except for the button issue, of course!).
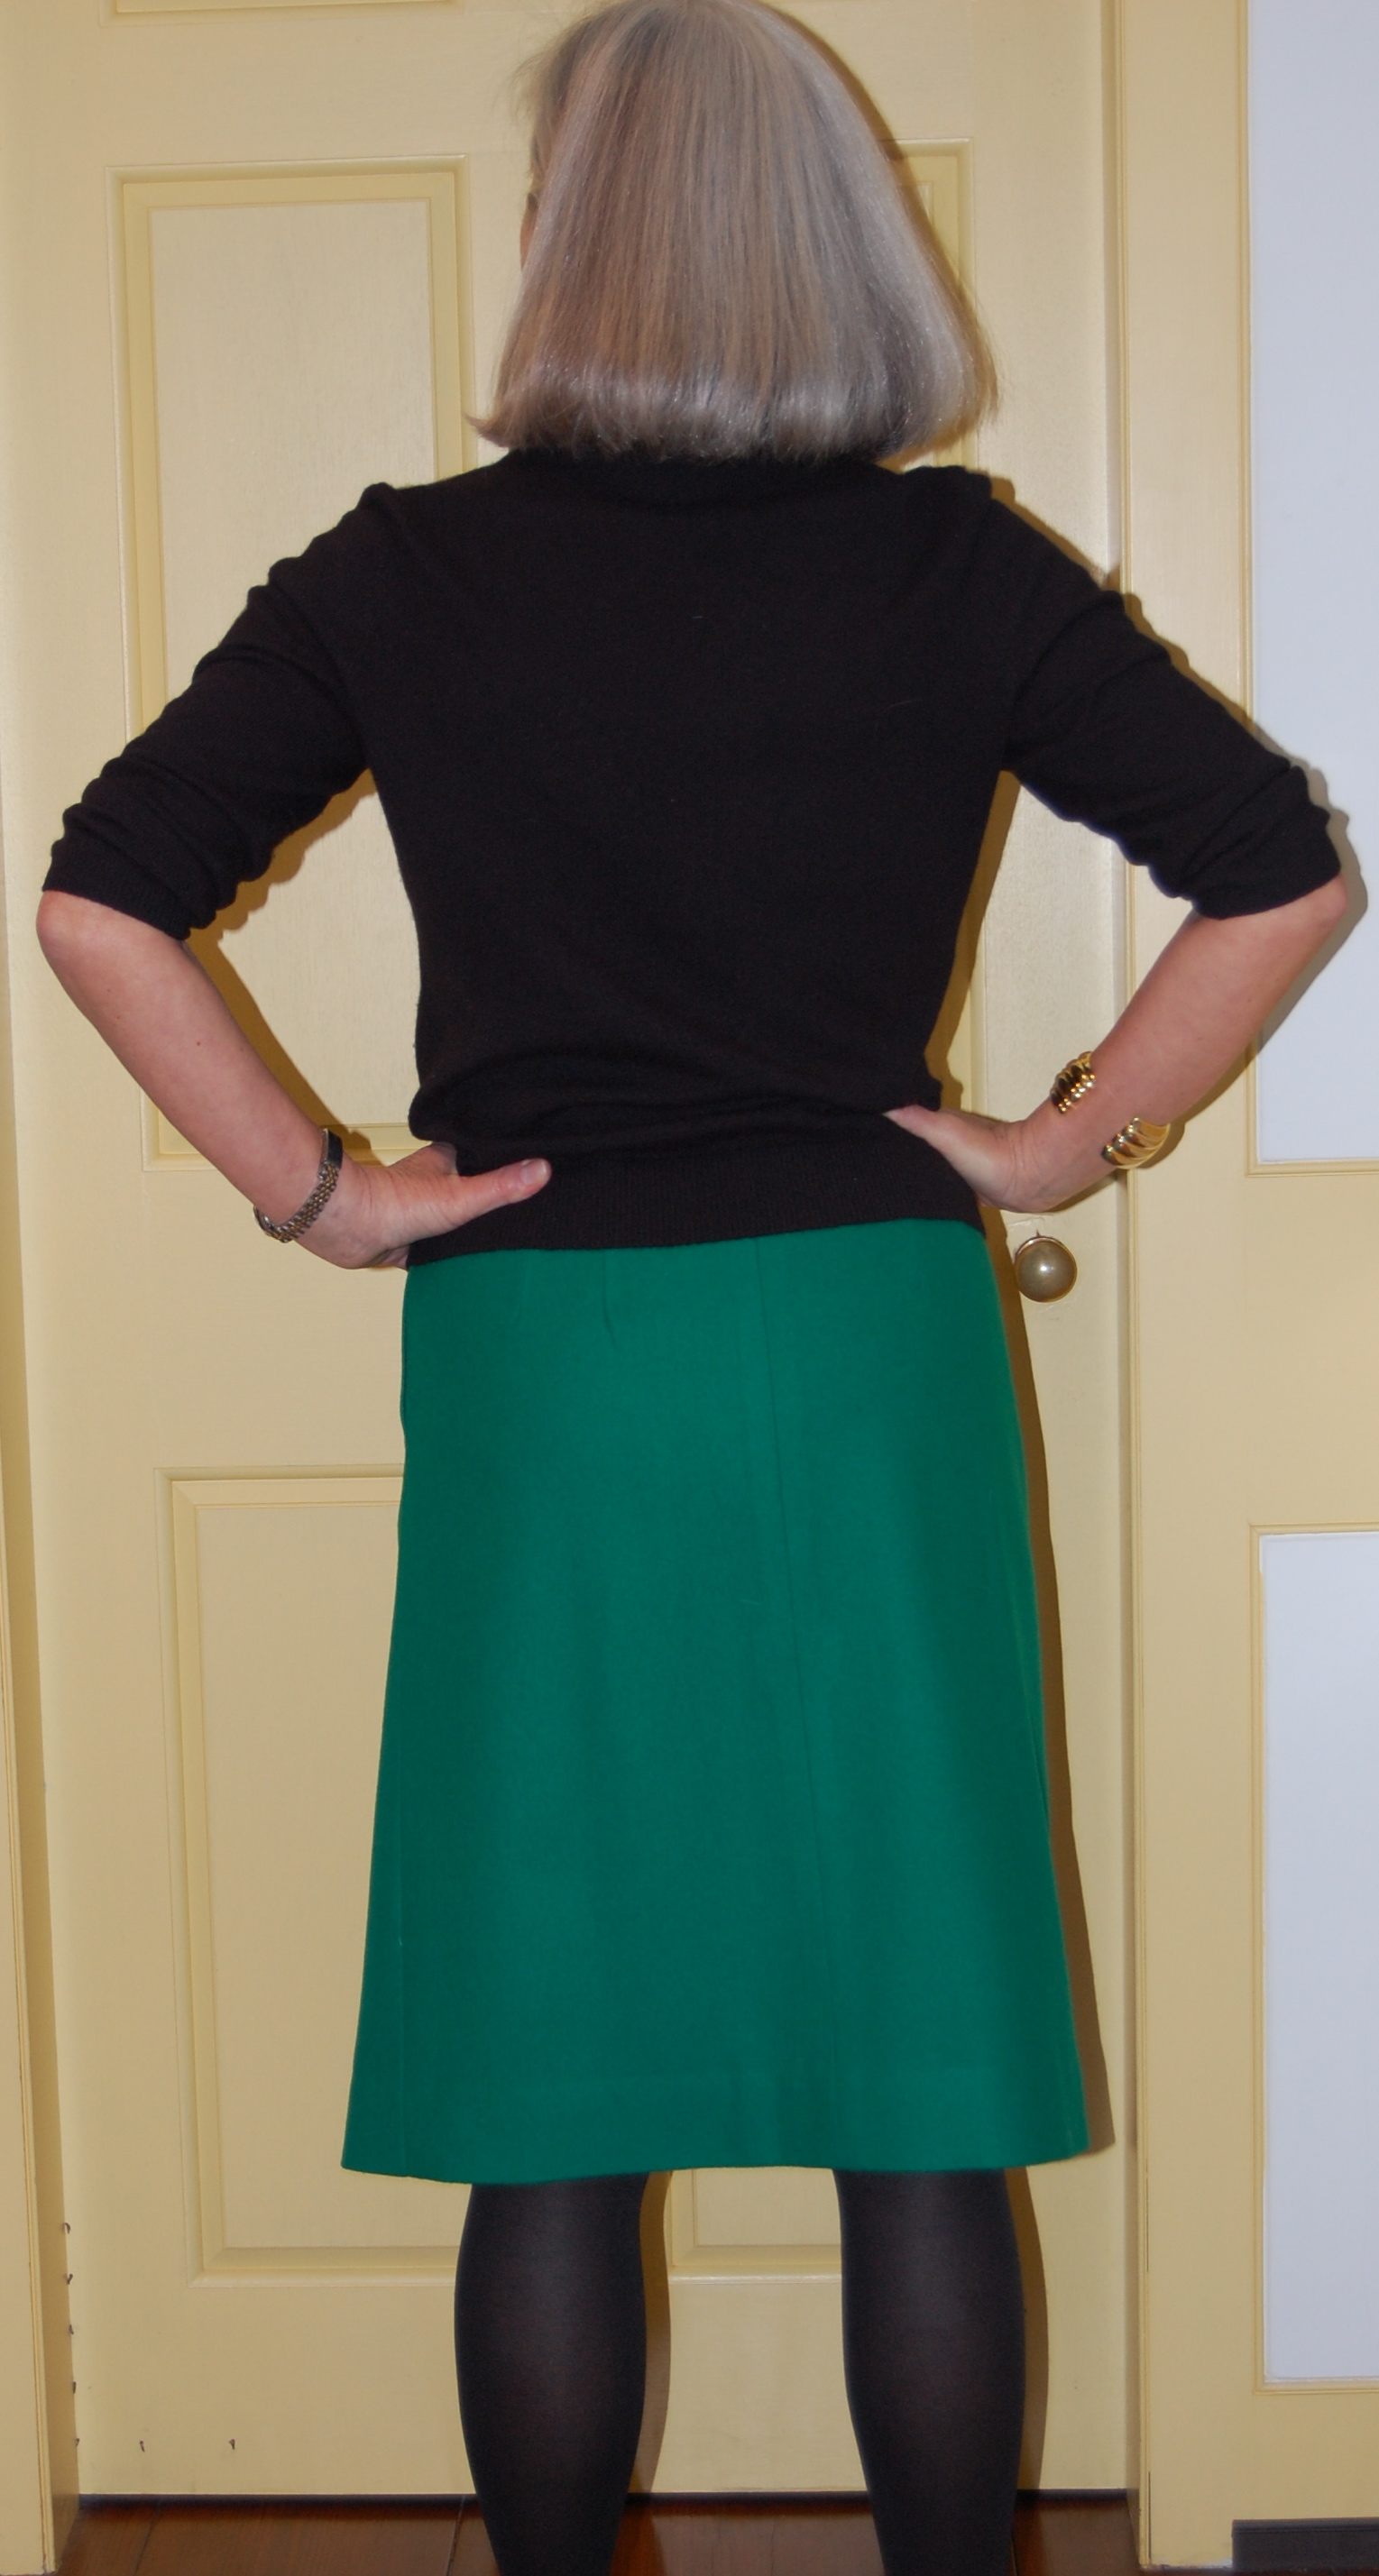
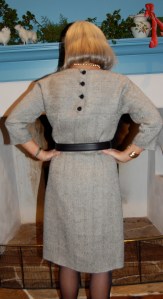
The back view.
Thinking back on this project, I believe the signs were there, telling me to make this skirt. Consider that I found these Stubbs and Wootton shoes – green and black Buffalo Check to go with my Pendleton wool:
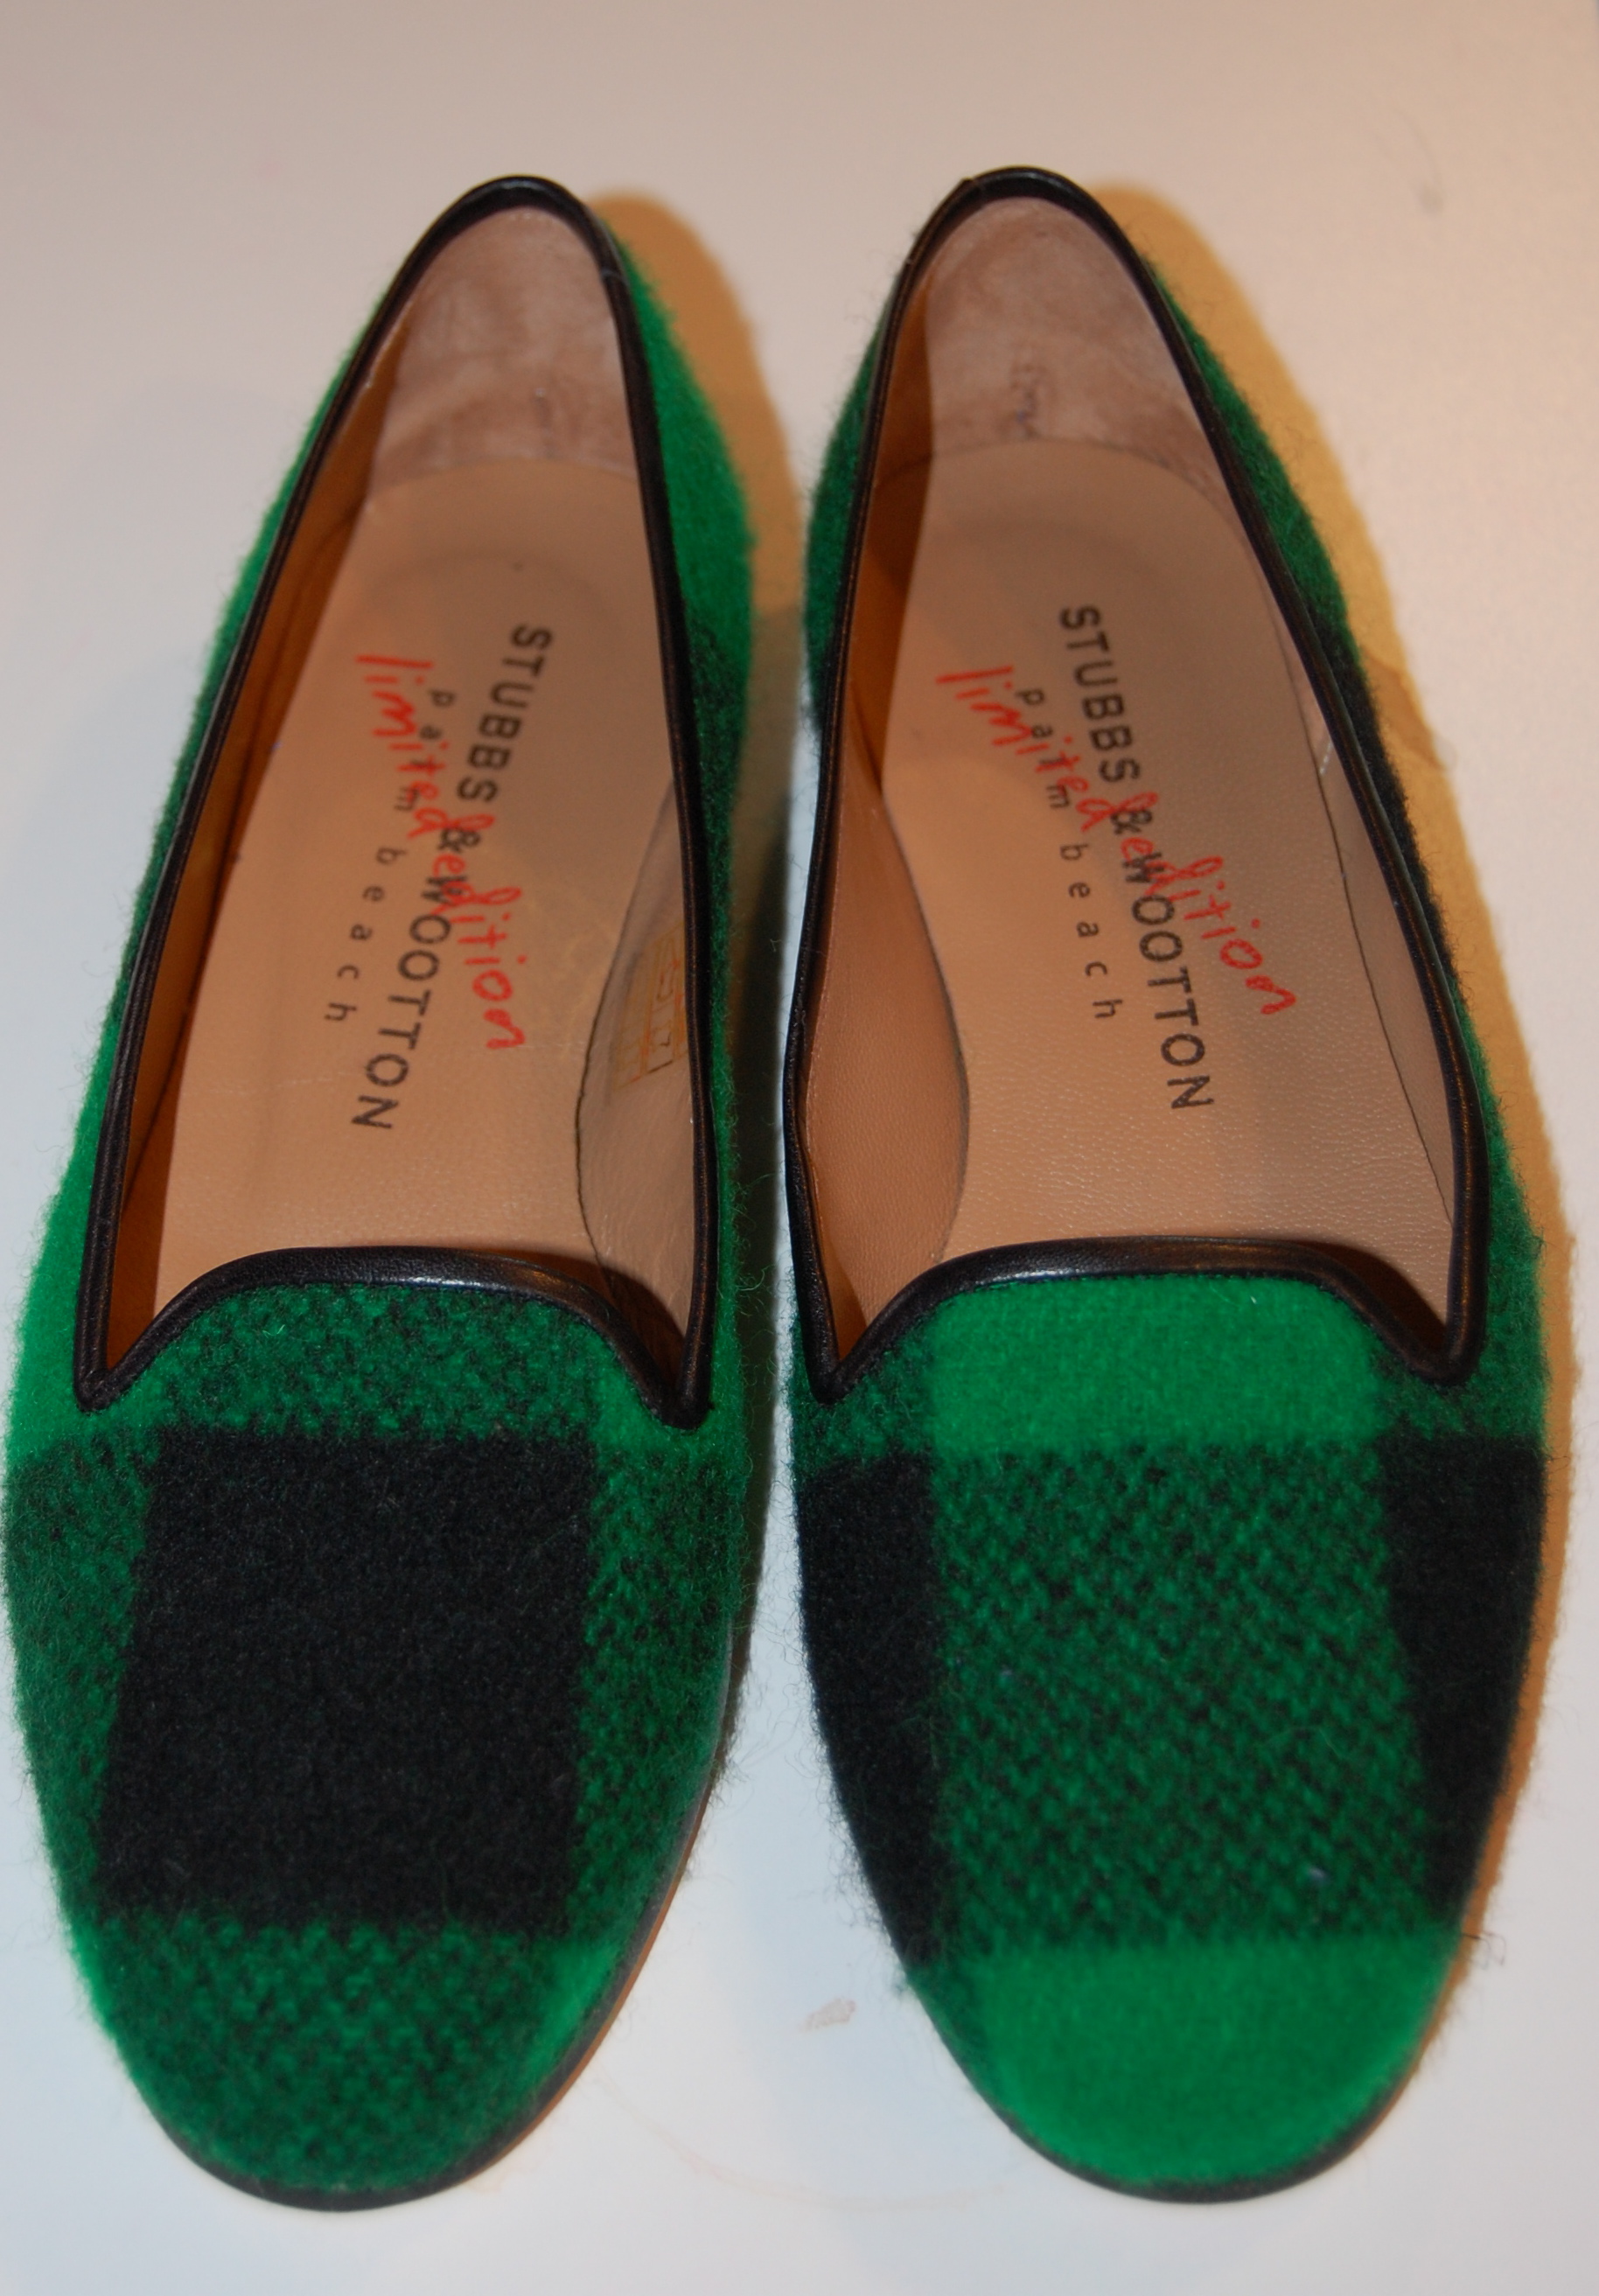
How I love these comfy flats!
And among my collection of silk scarves was this scarf, purchased in the 1980’s from the Museum of American Folk Art, featuring one of their quilts in predominant colors of pink and – yes, Emerald Green.
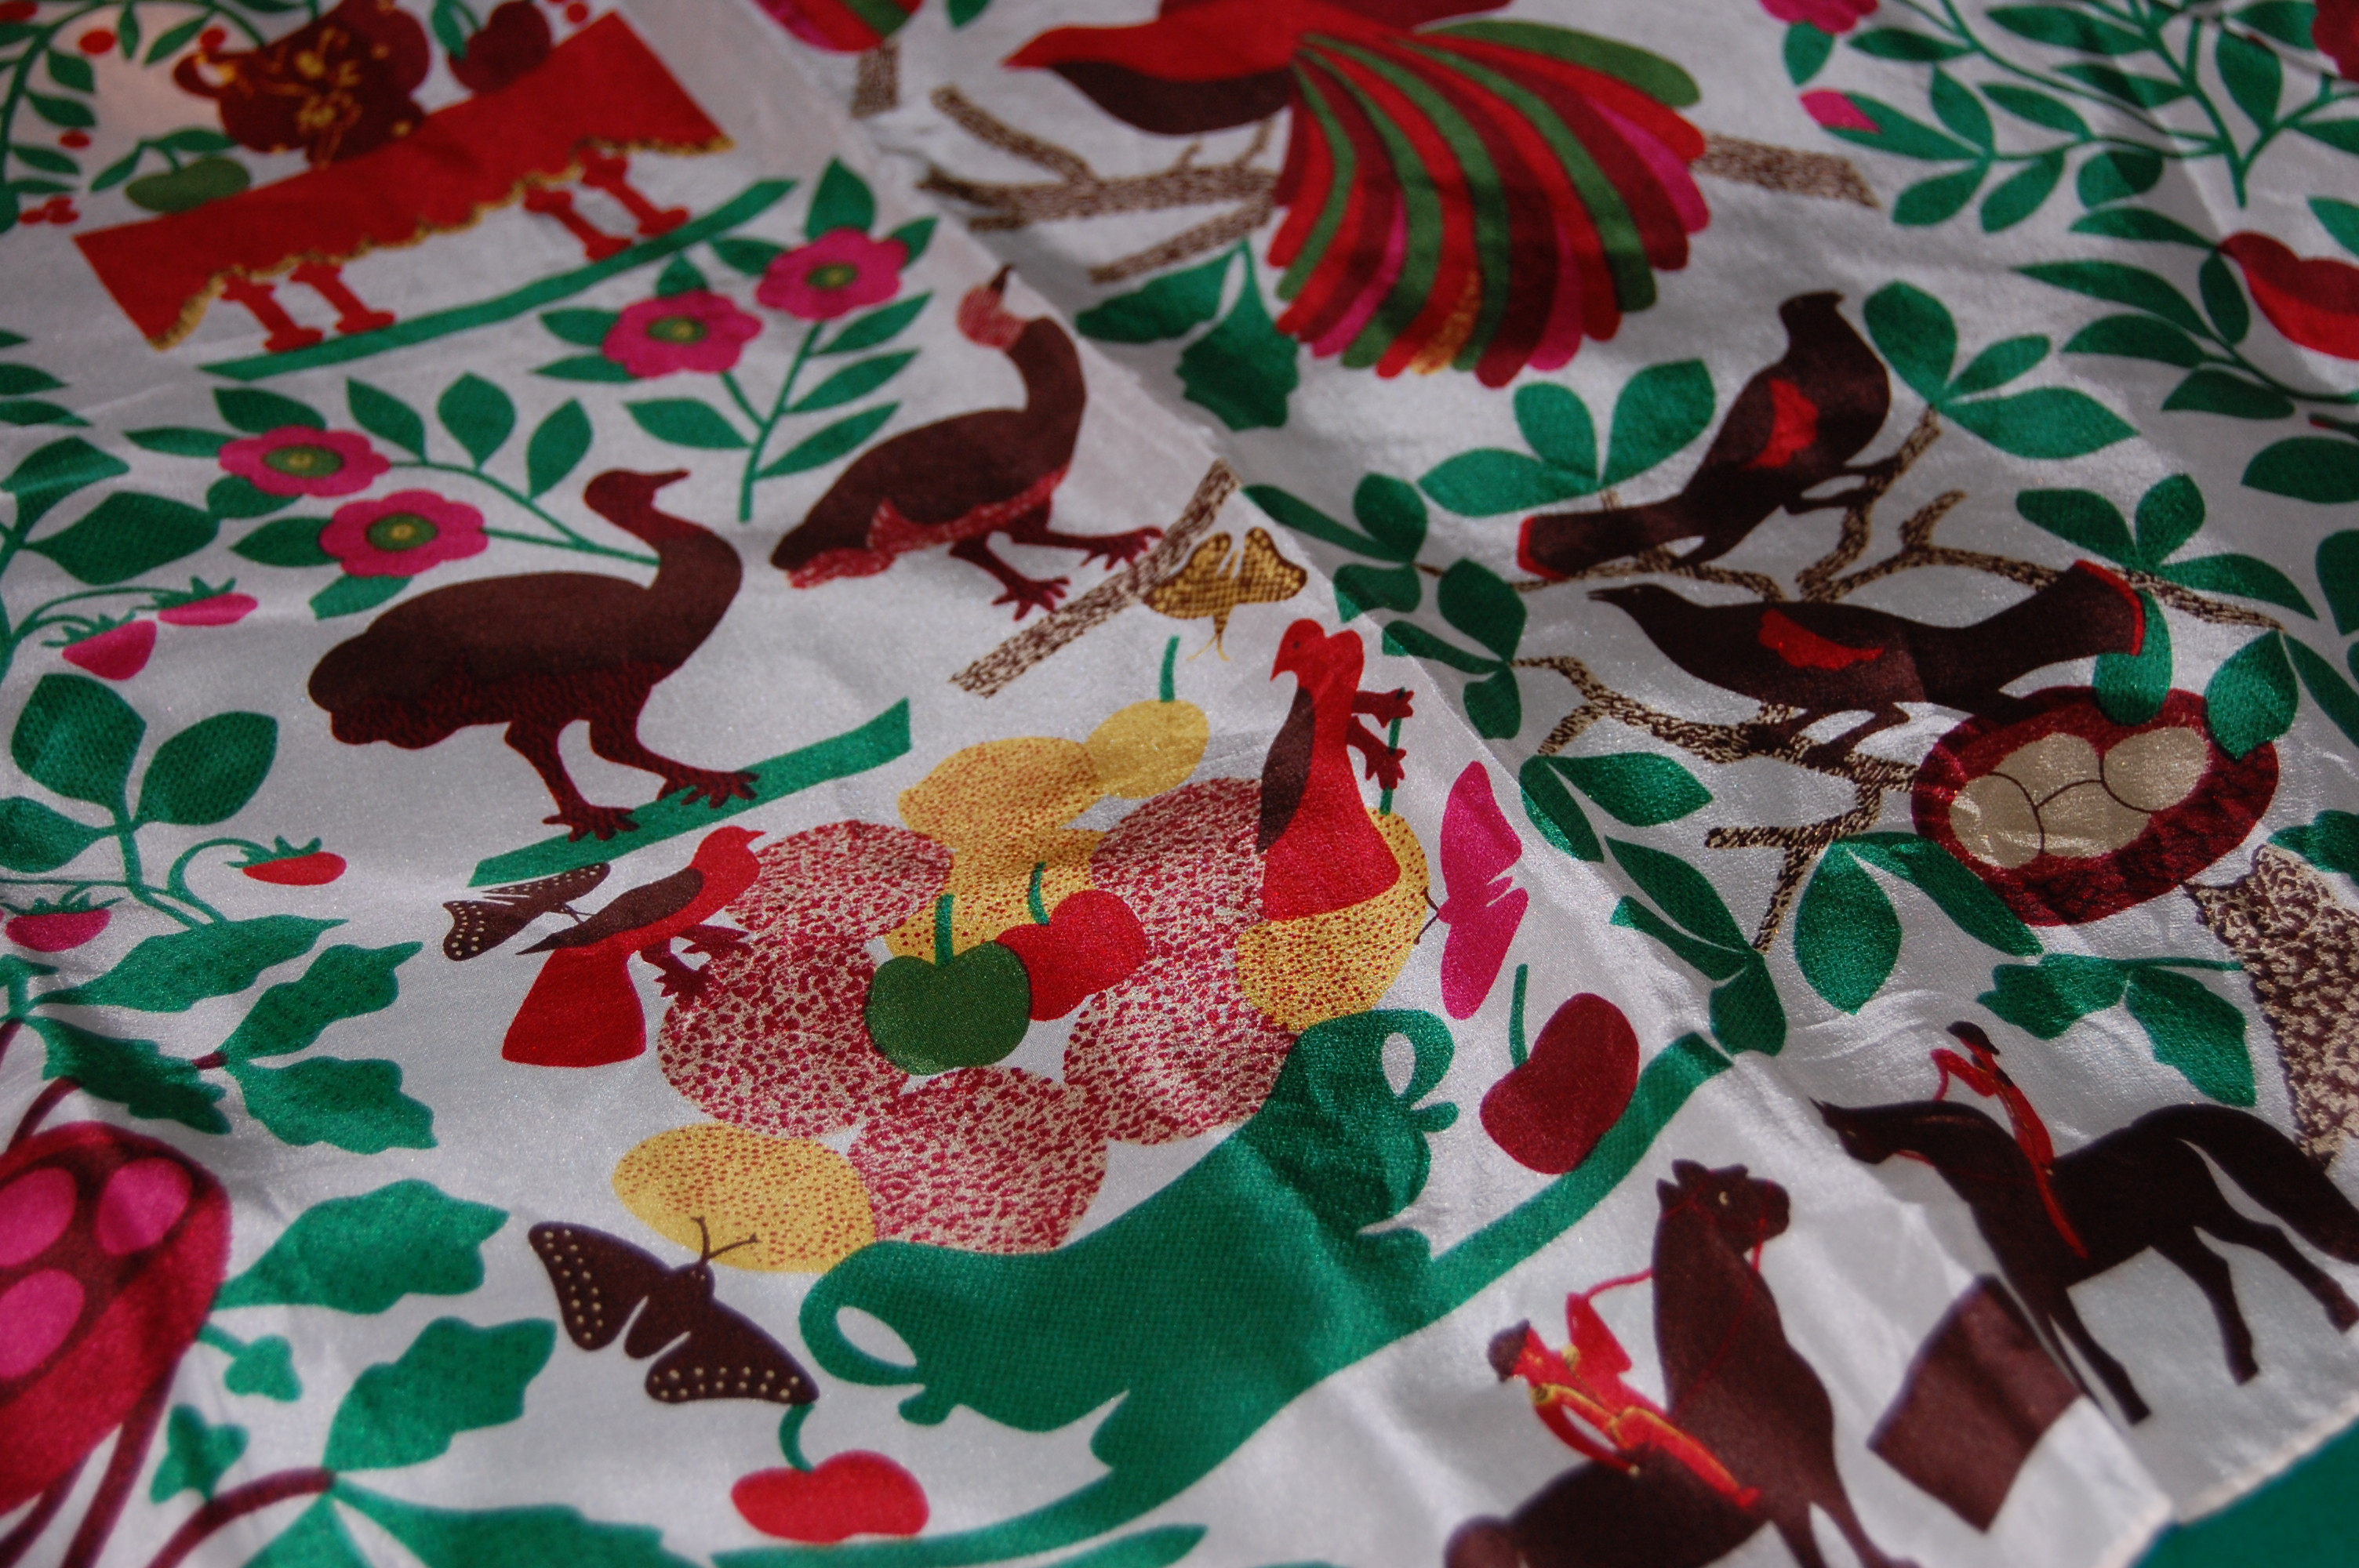
The green in this scarf could not be more perfect.
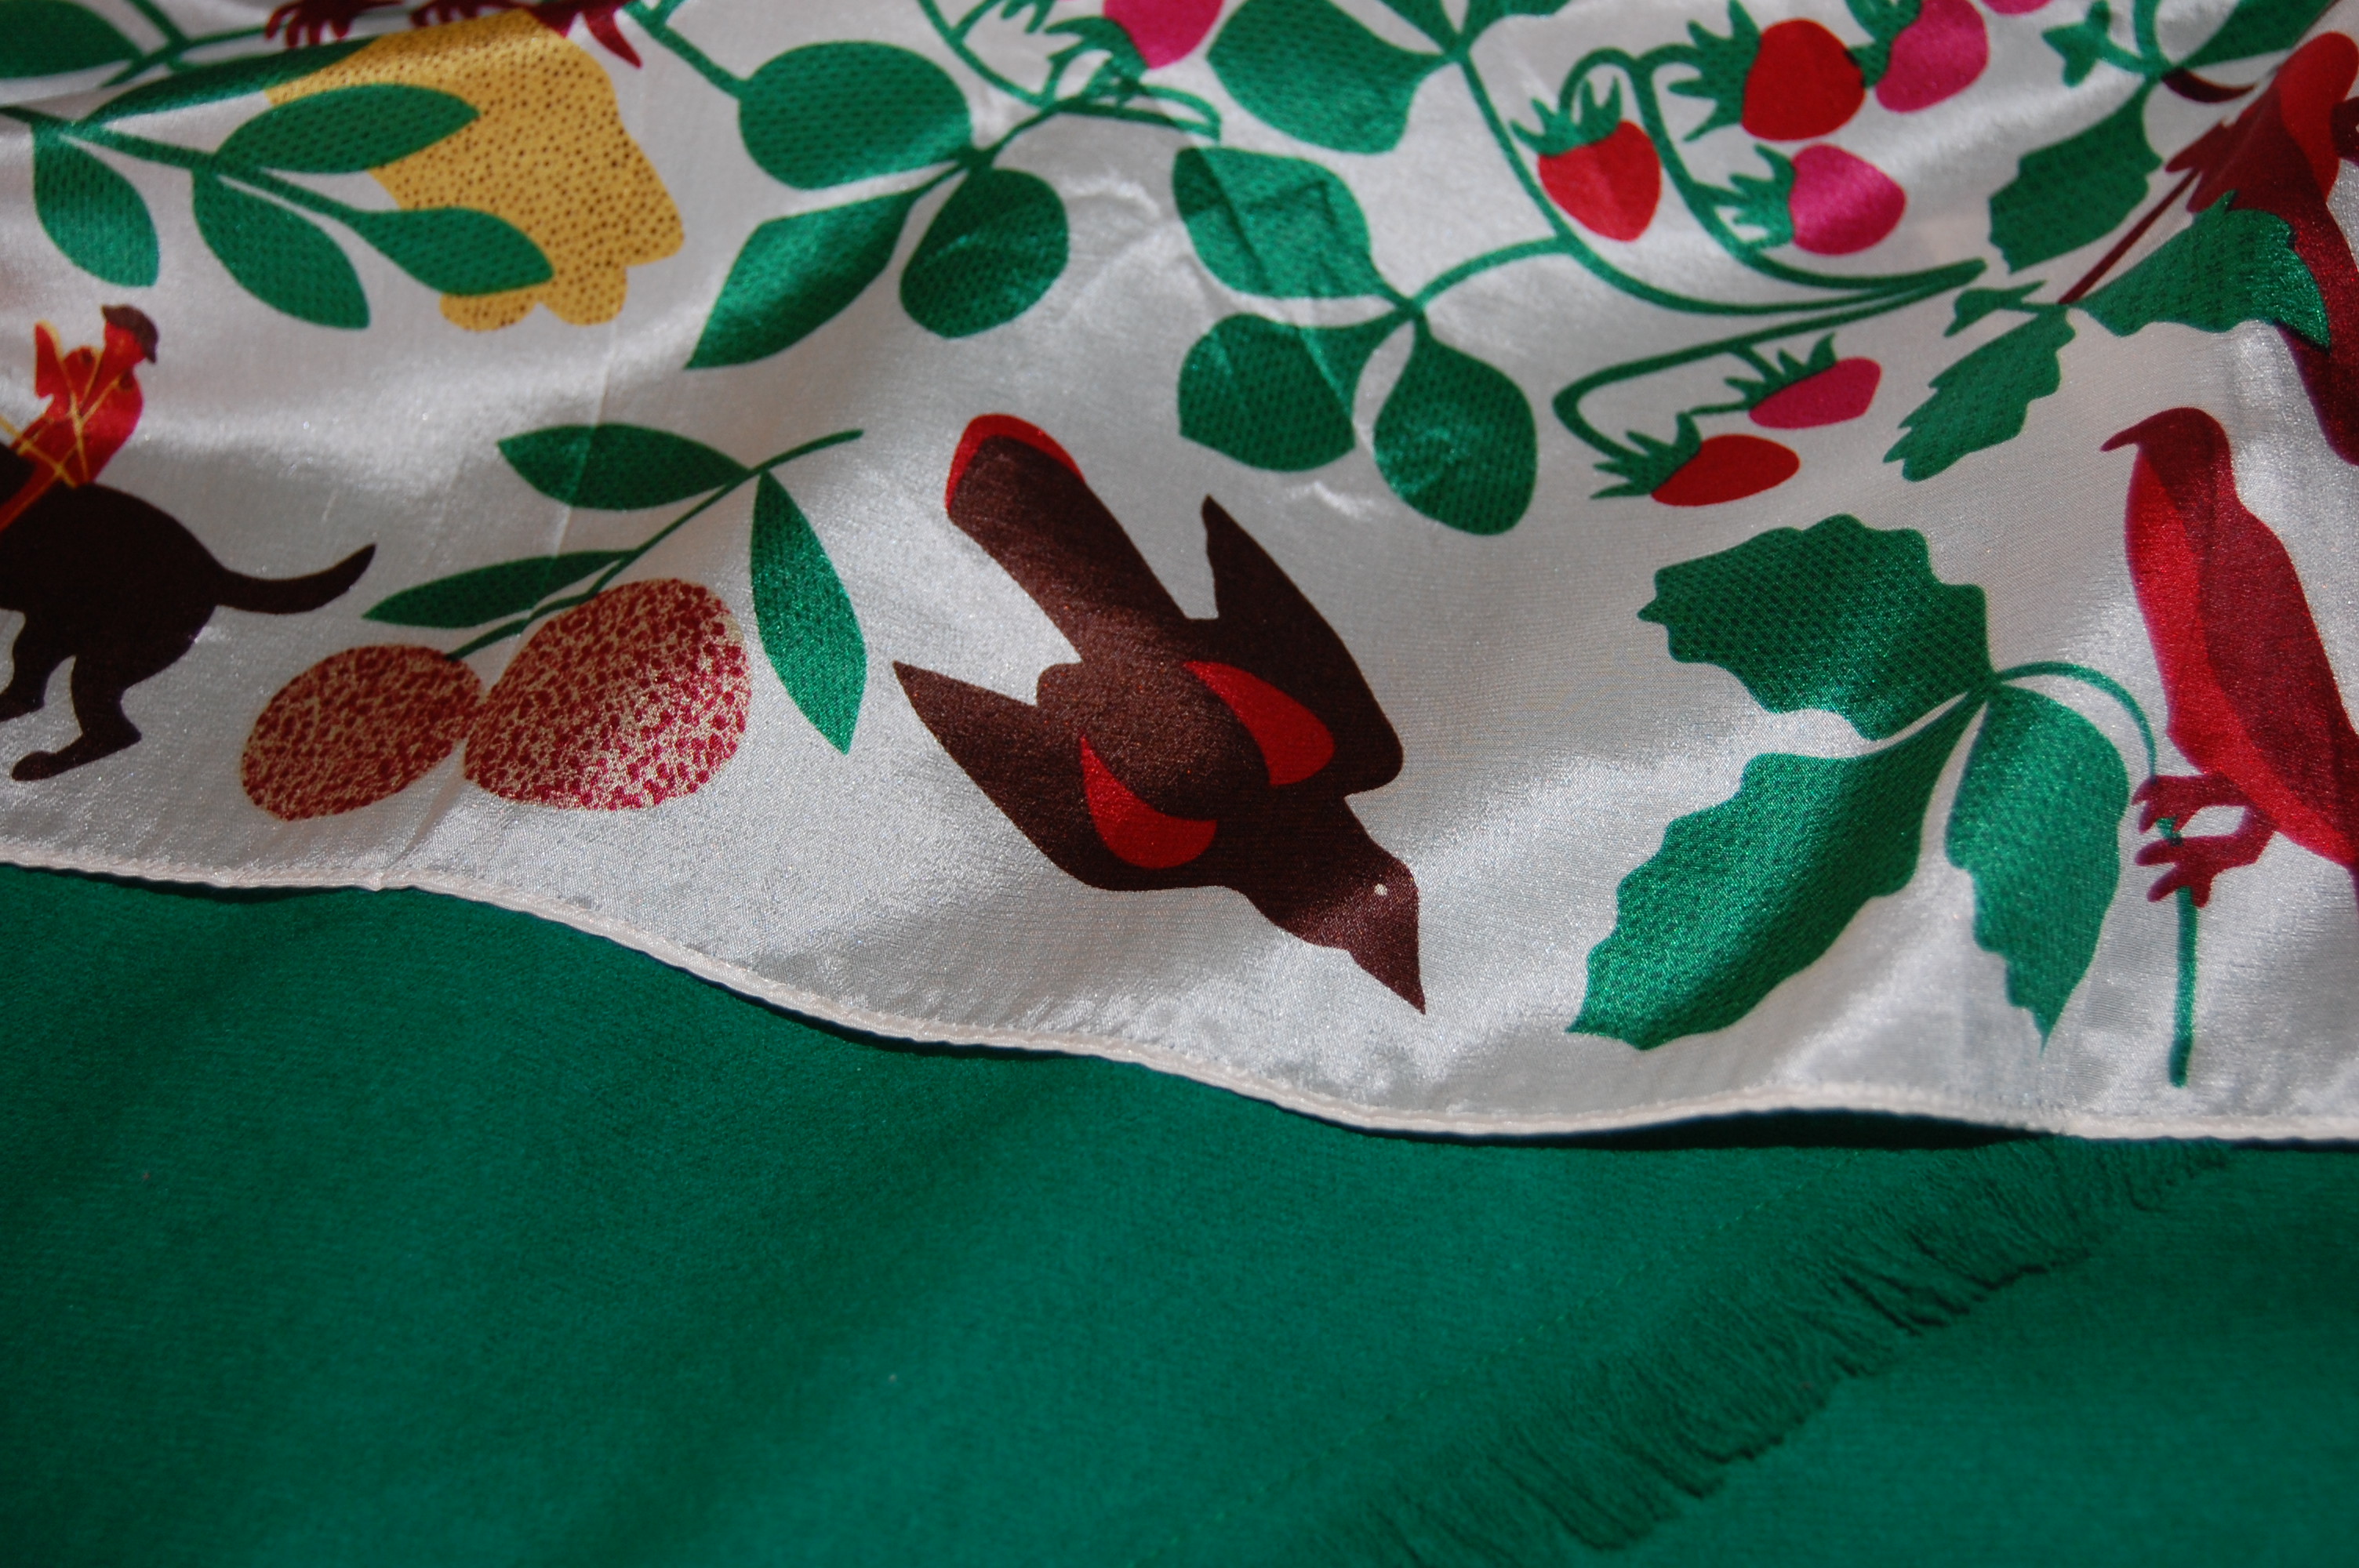
A detail of the scarf on top of the skirt.
So – where do I envision wearing this skirt? How about to a baby shower for my daughter, now expecting her own little one? After all, she herself was once sheltered by these warm woolen threads of green – and love.