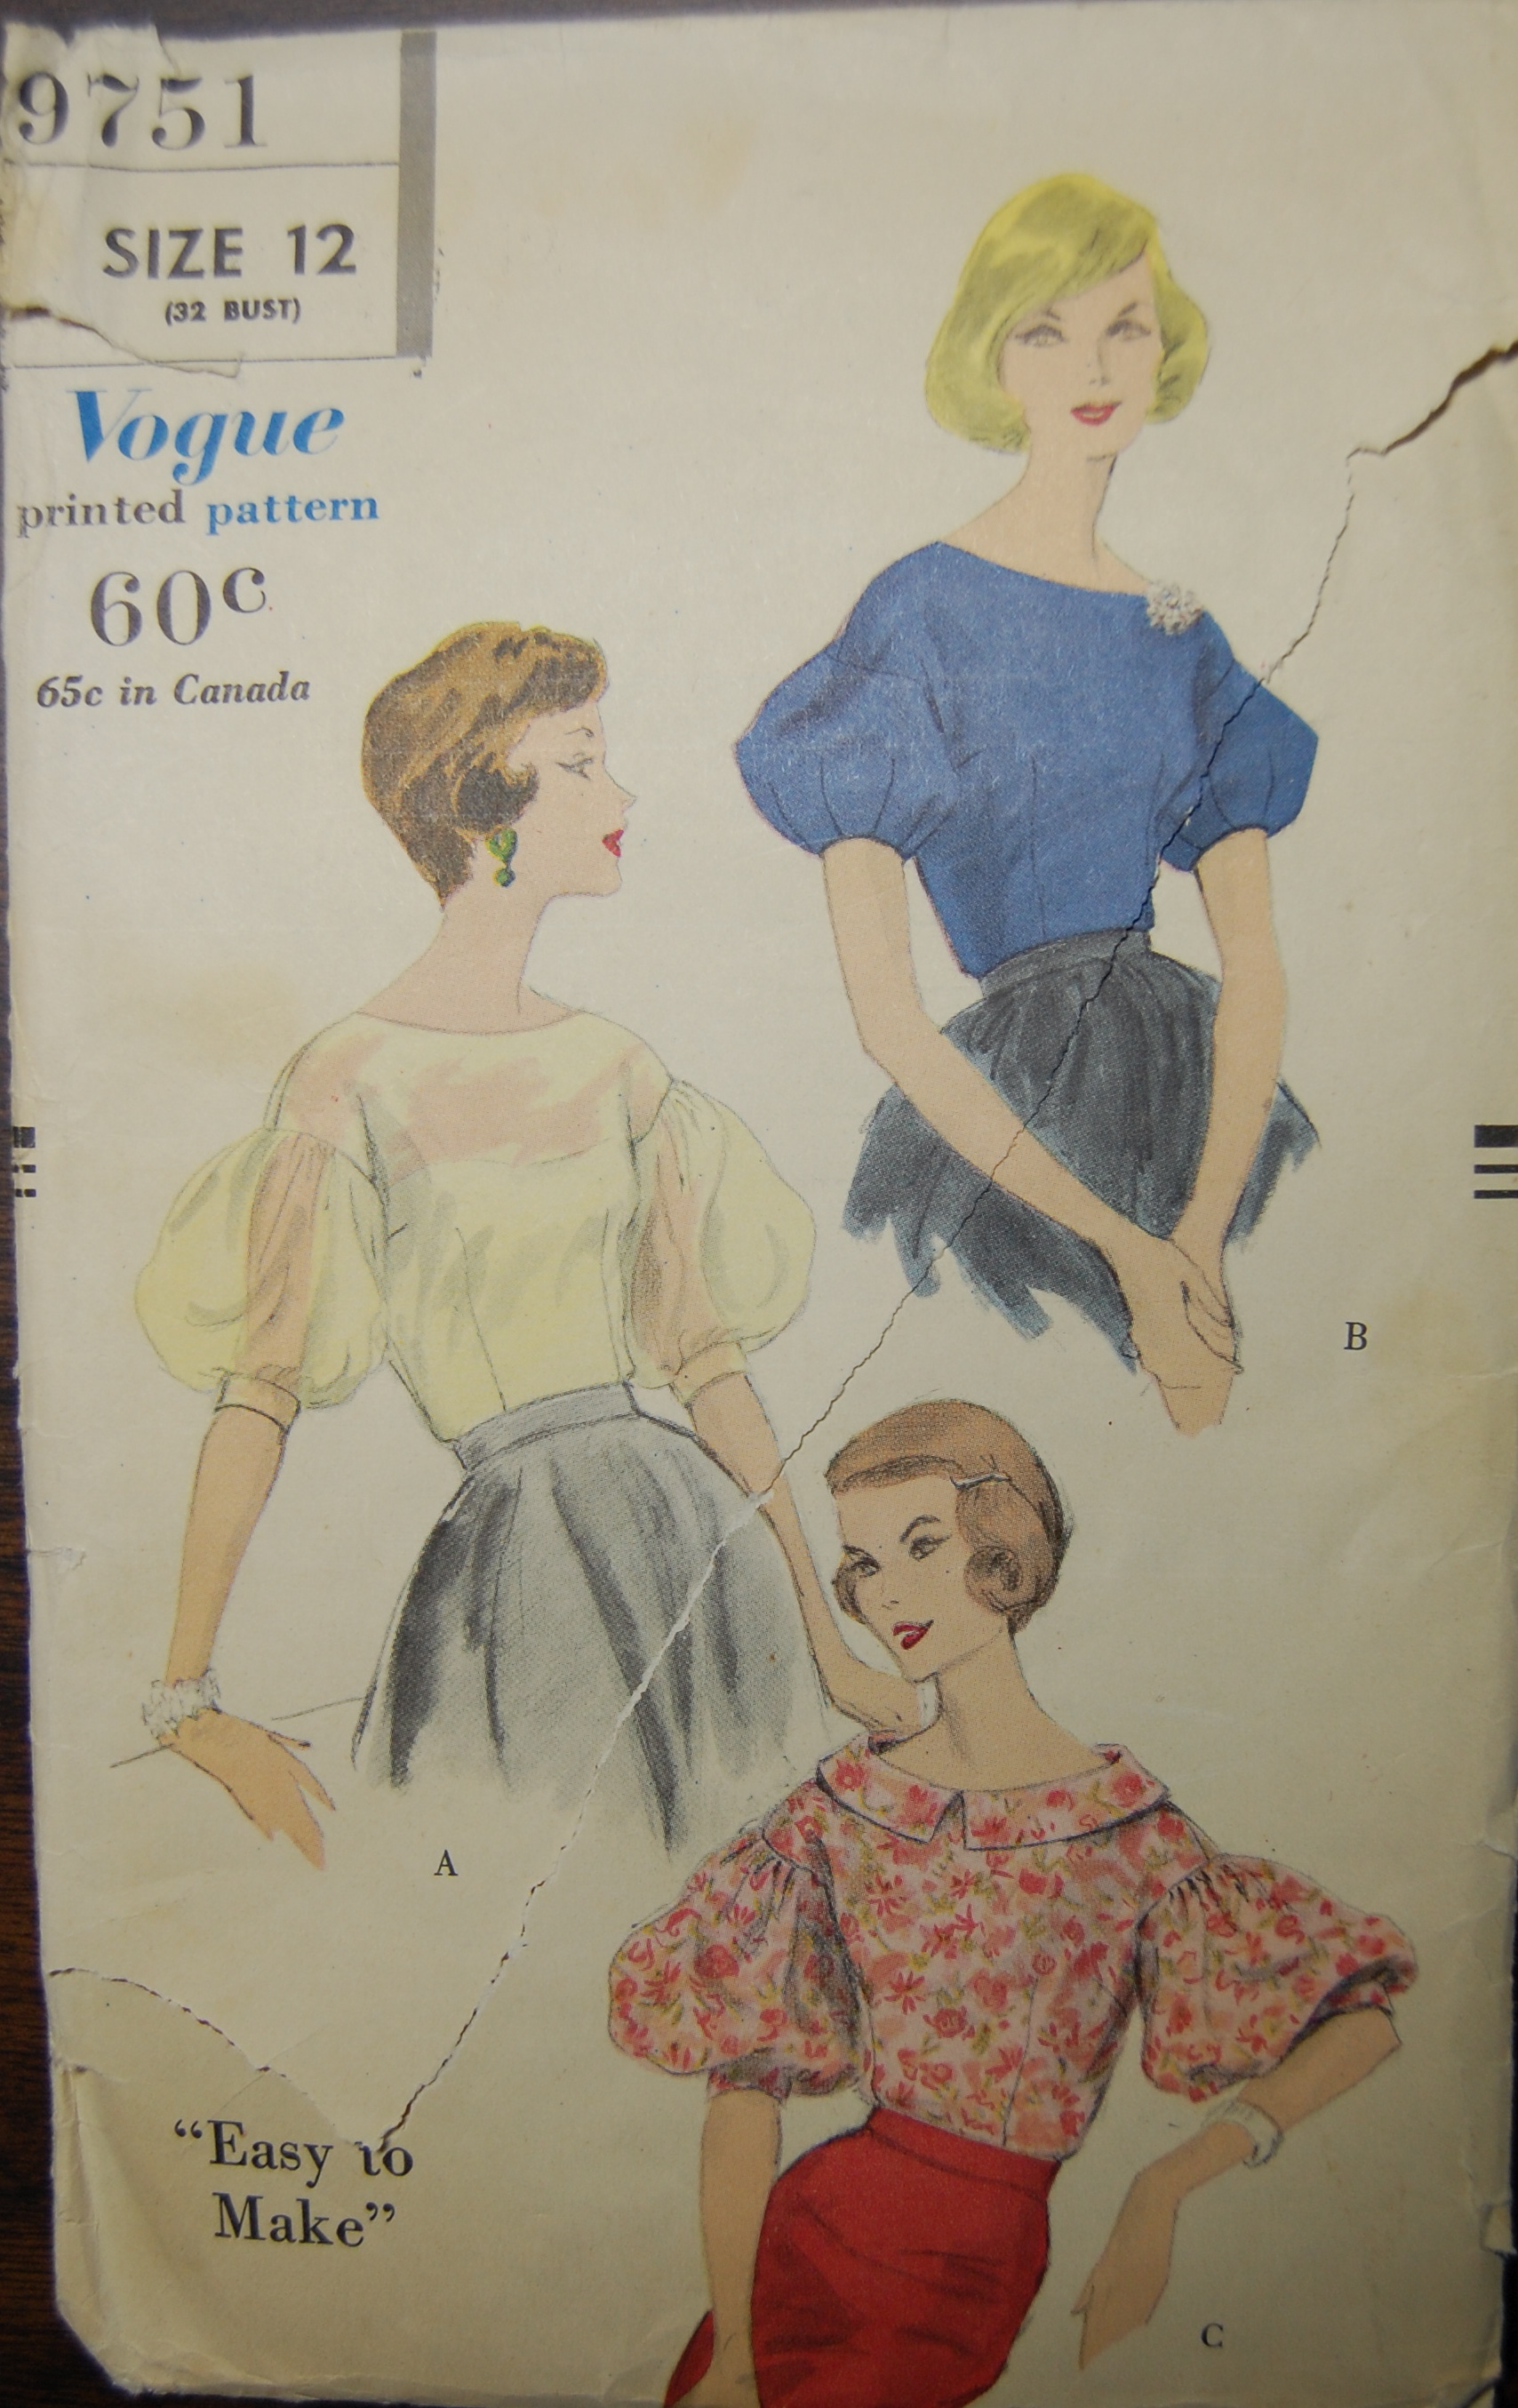
Has there ever been a more iconic cover for a pattern/sewing magazine?

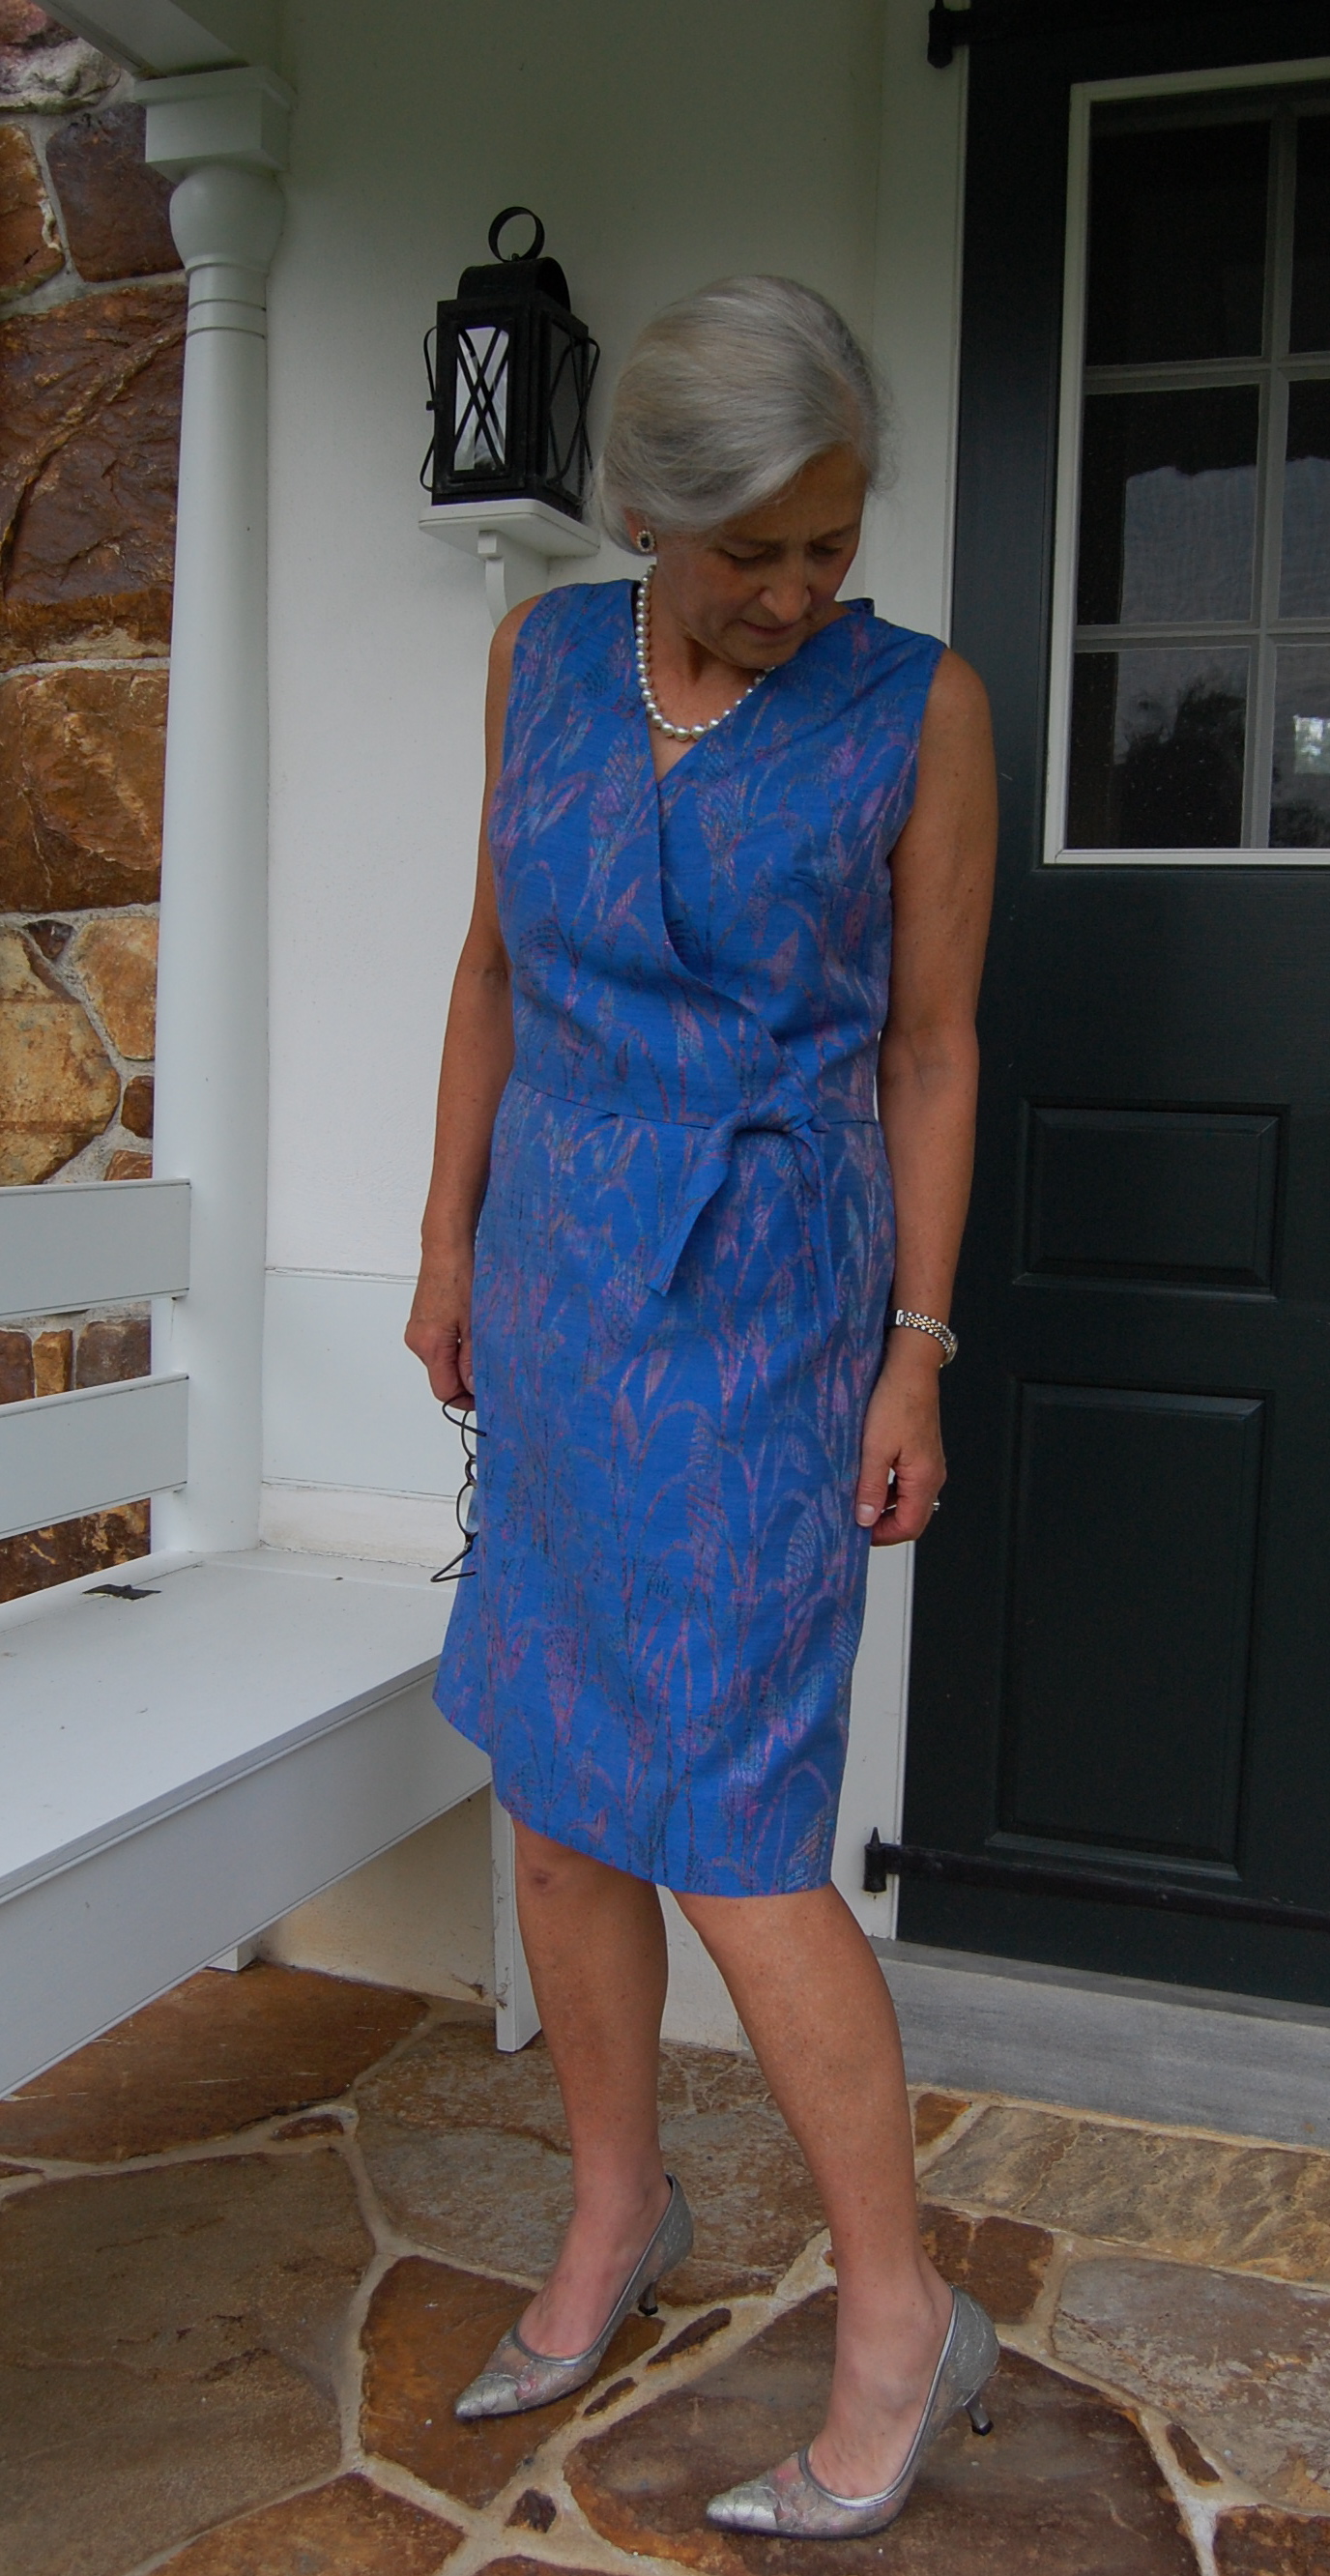
Instantly recognizable in her classic wrap dress, Diane von Furstenberg was featured in this September/October 1976 issue of Vogue Pattern Book Magazine. Her dress dynasty had begun in 1970, driven by her “dedication to dresses that fulfill a woman’s fashion needs from career time to cocktails…” As her business grew over the next few years, it seemed that everyone wanted one of her dresses in their wardrobe. I was no different. You can only imagine my surprise and absolute delight when my husband gave me a DvF dress for Christmas in 1975. Although I have, over the years, discarded most of my dresses from earlier times, this one still hangs in my cedar closet:

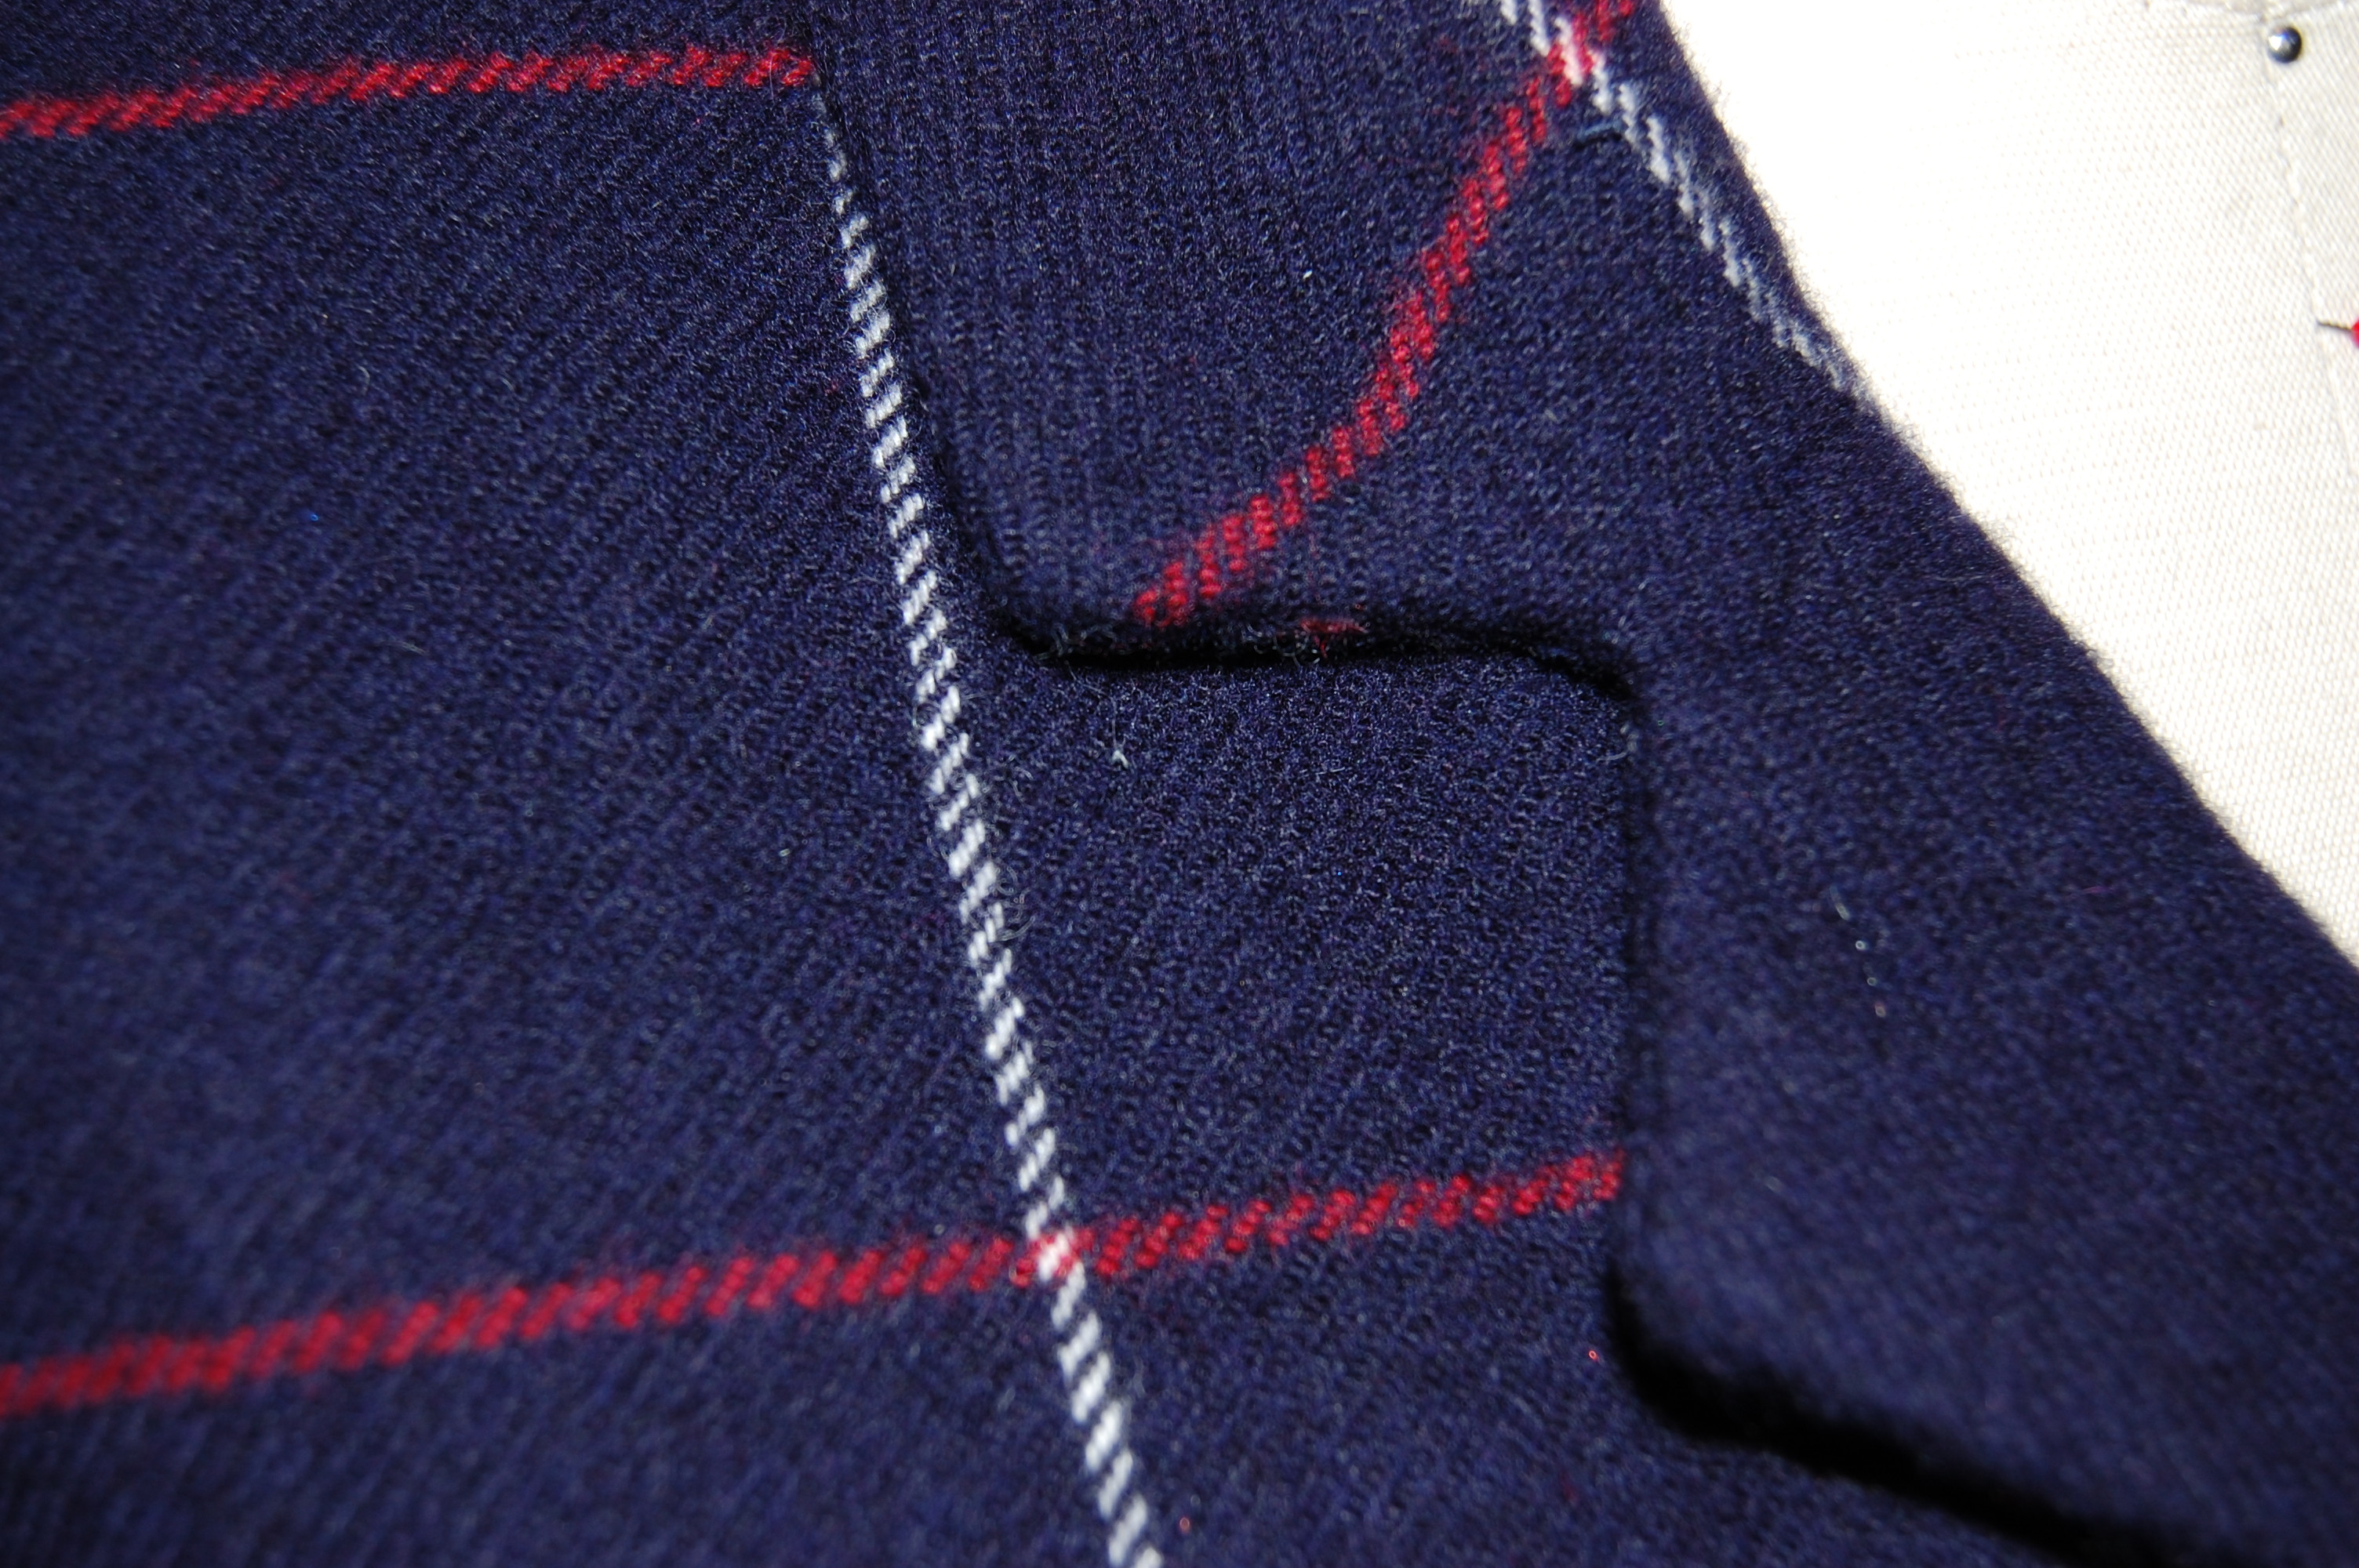
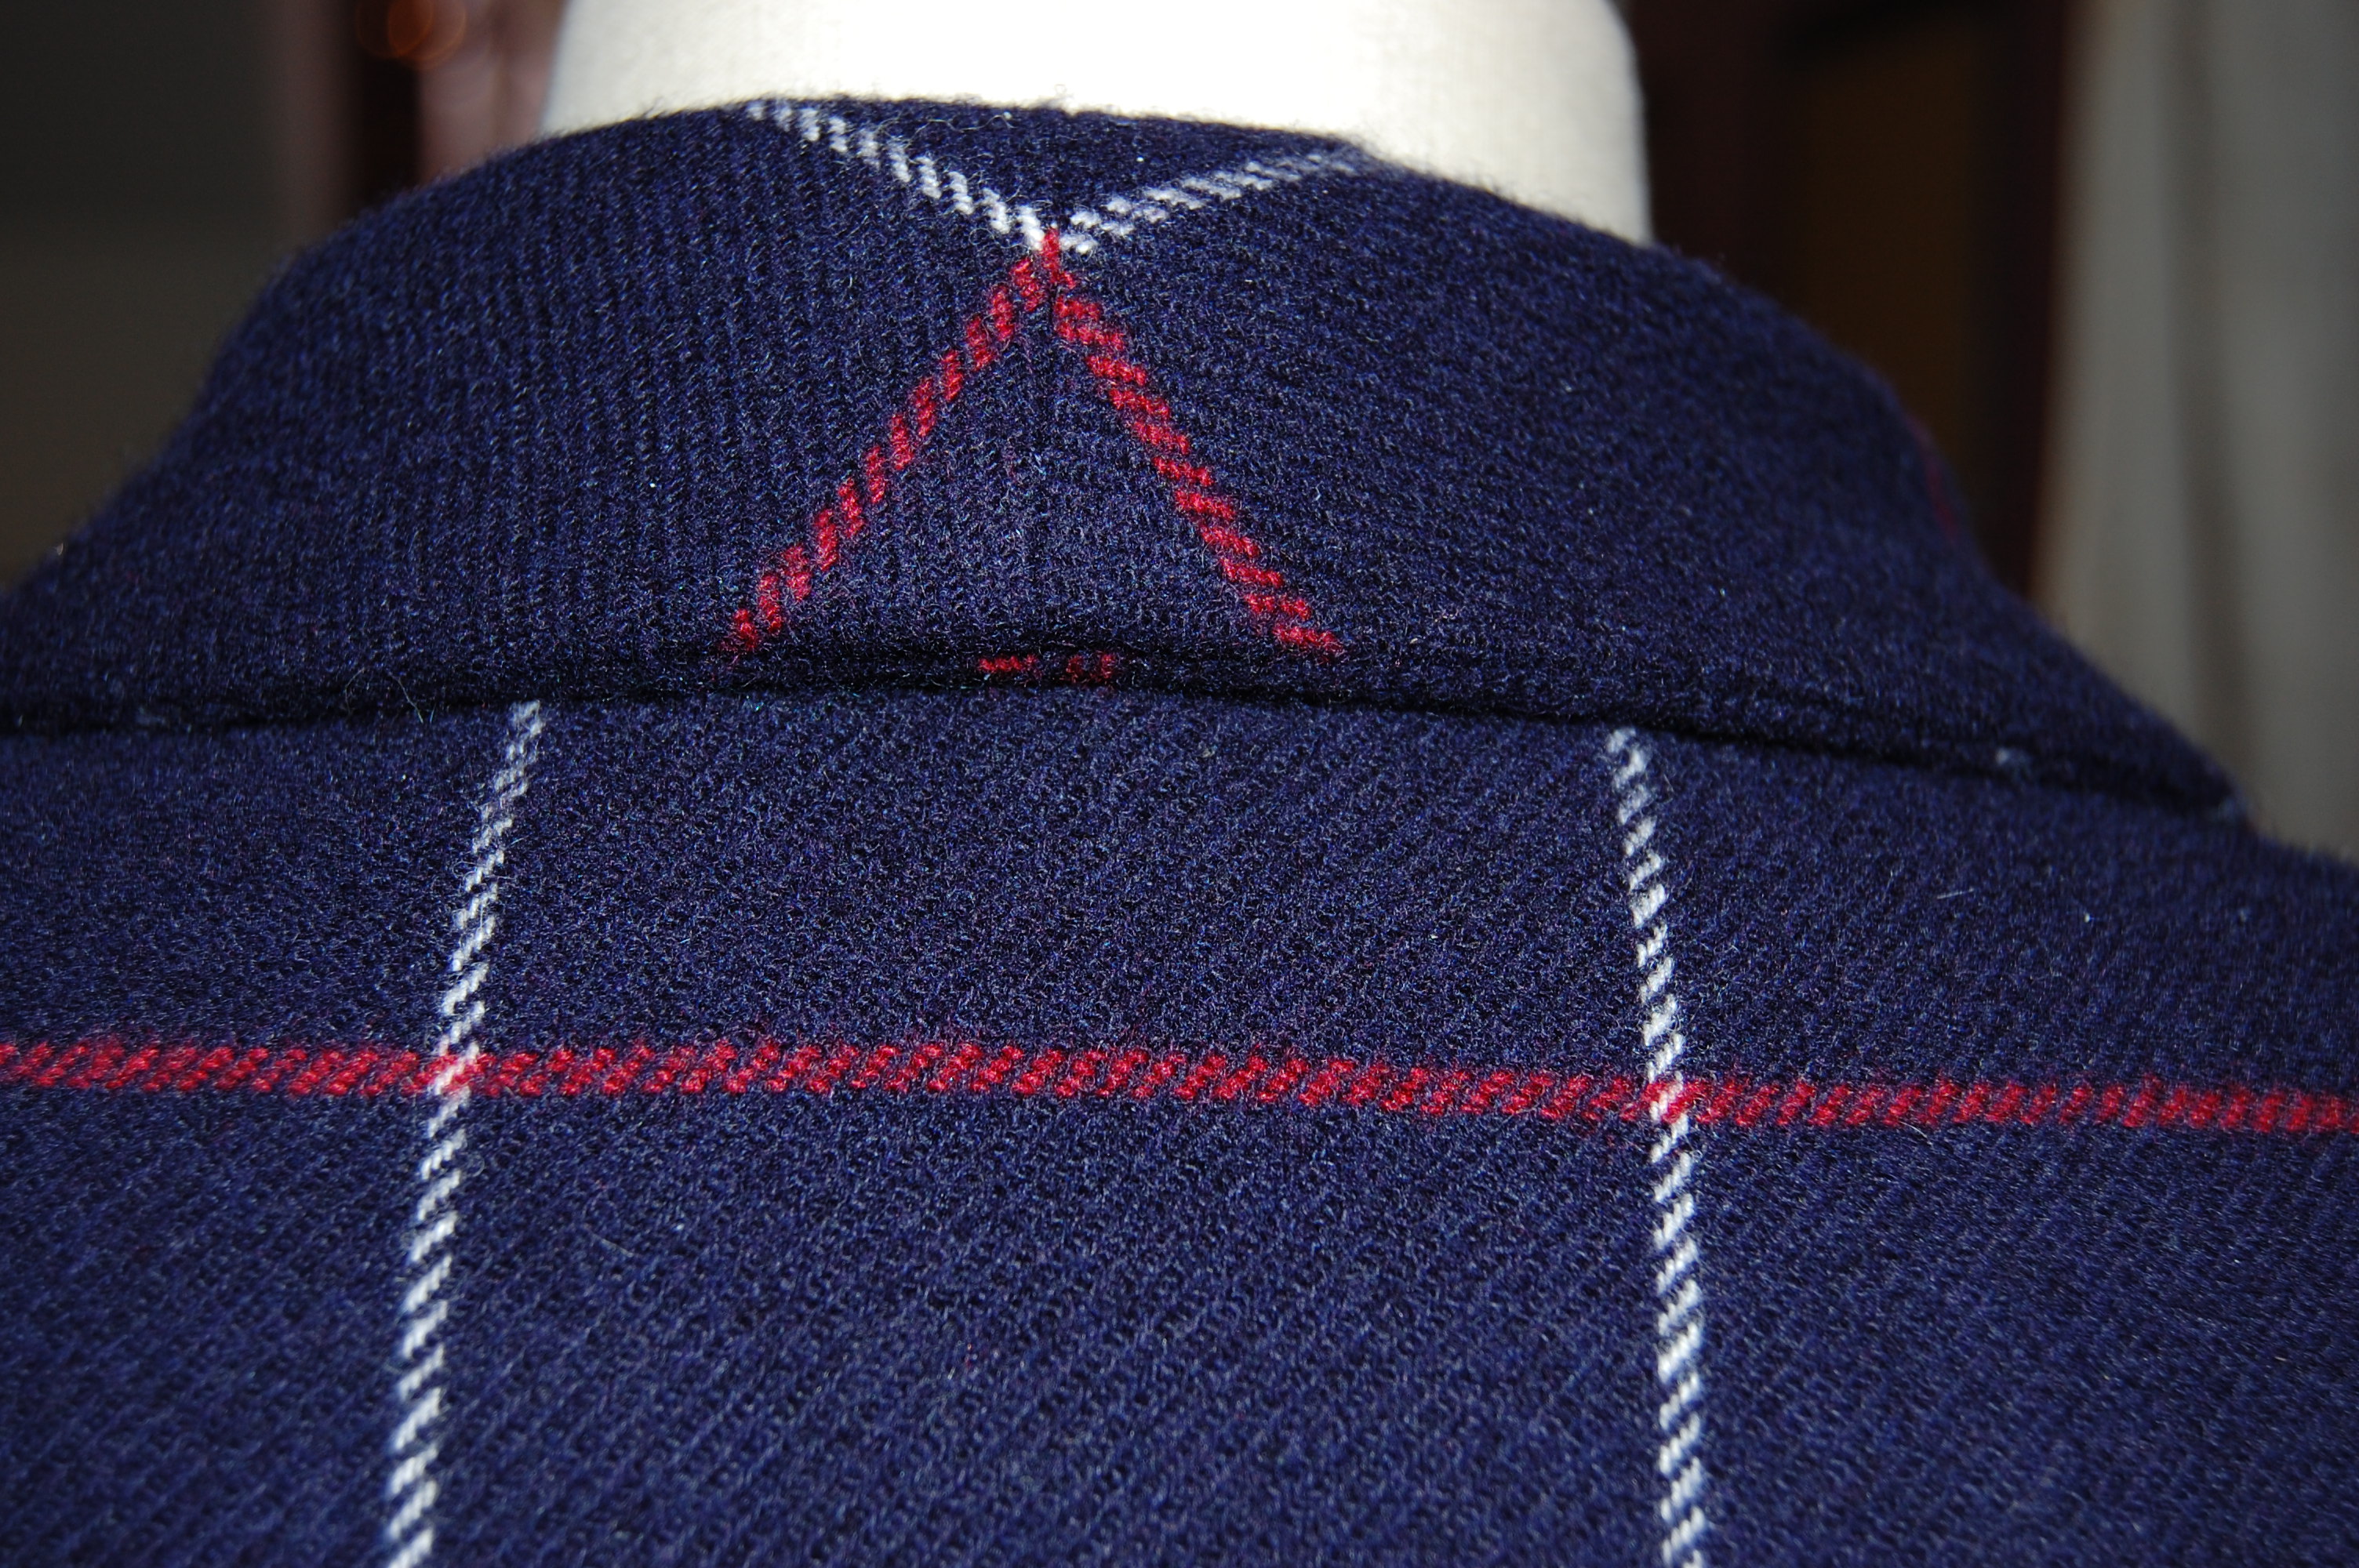
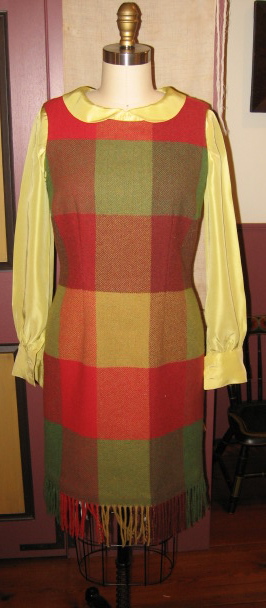
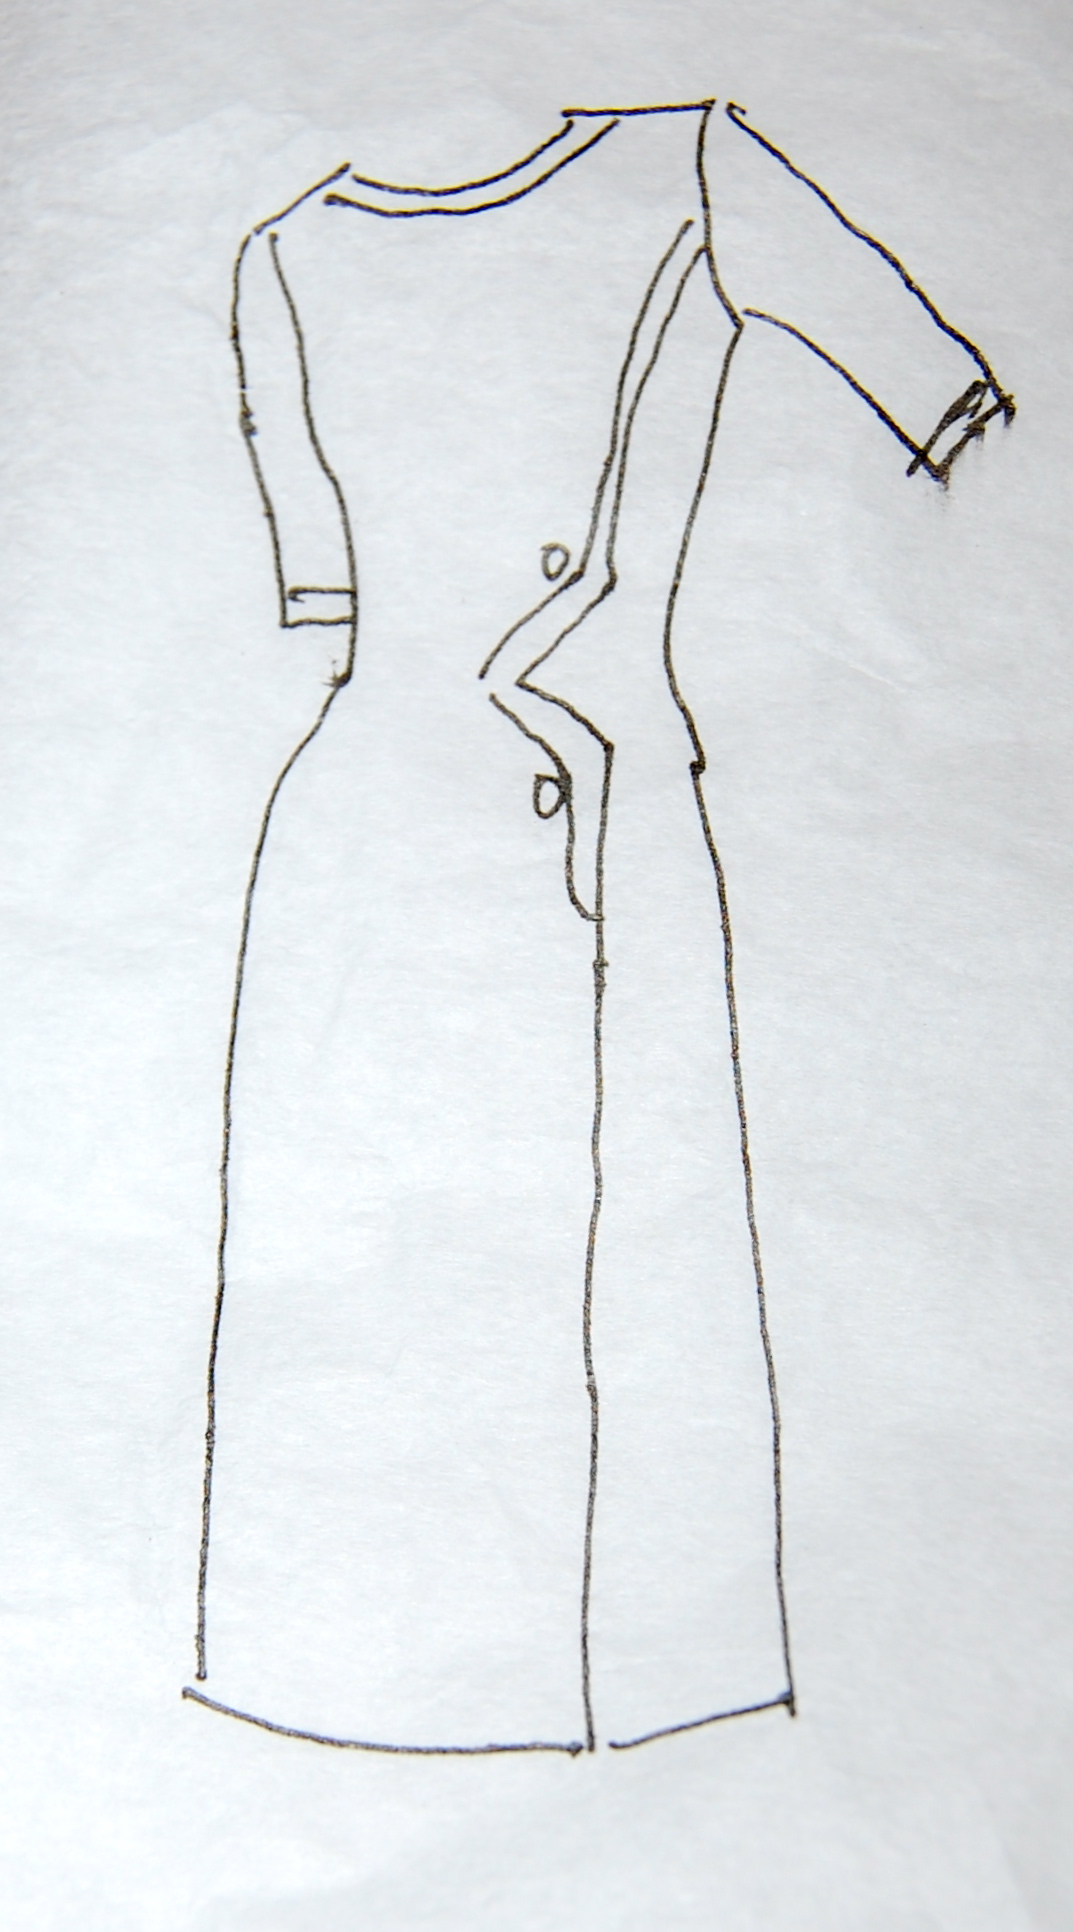
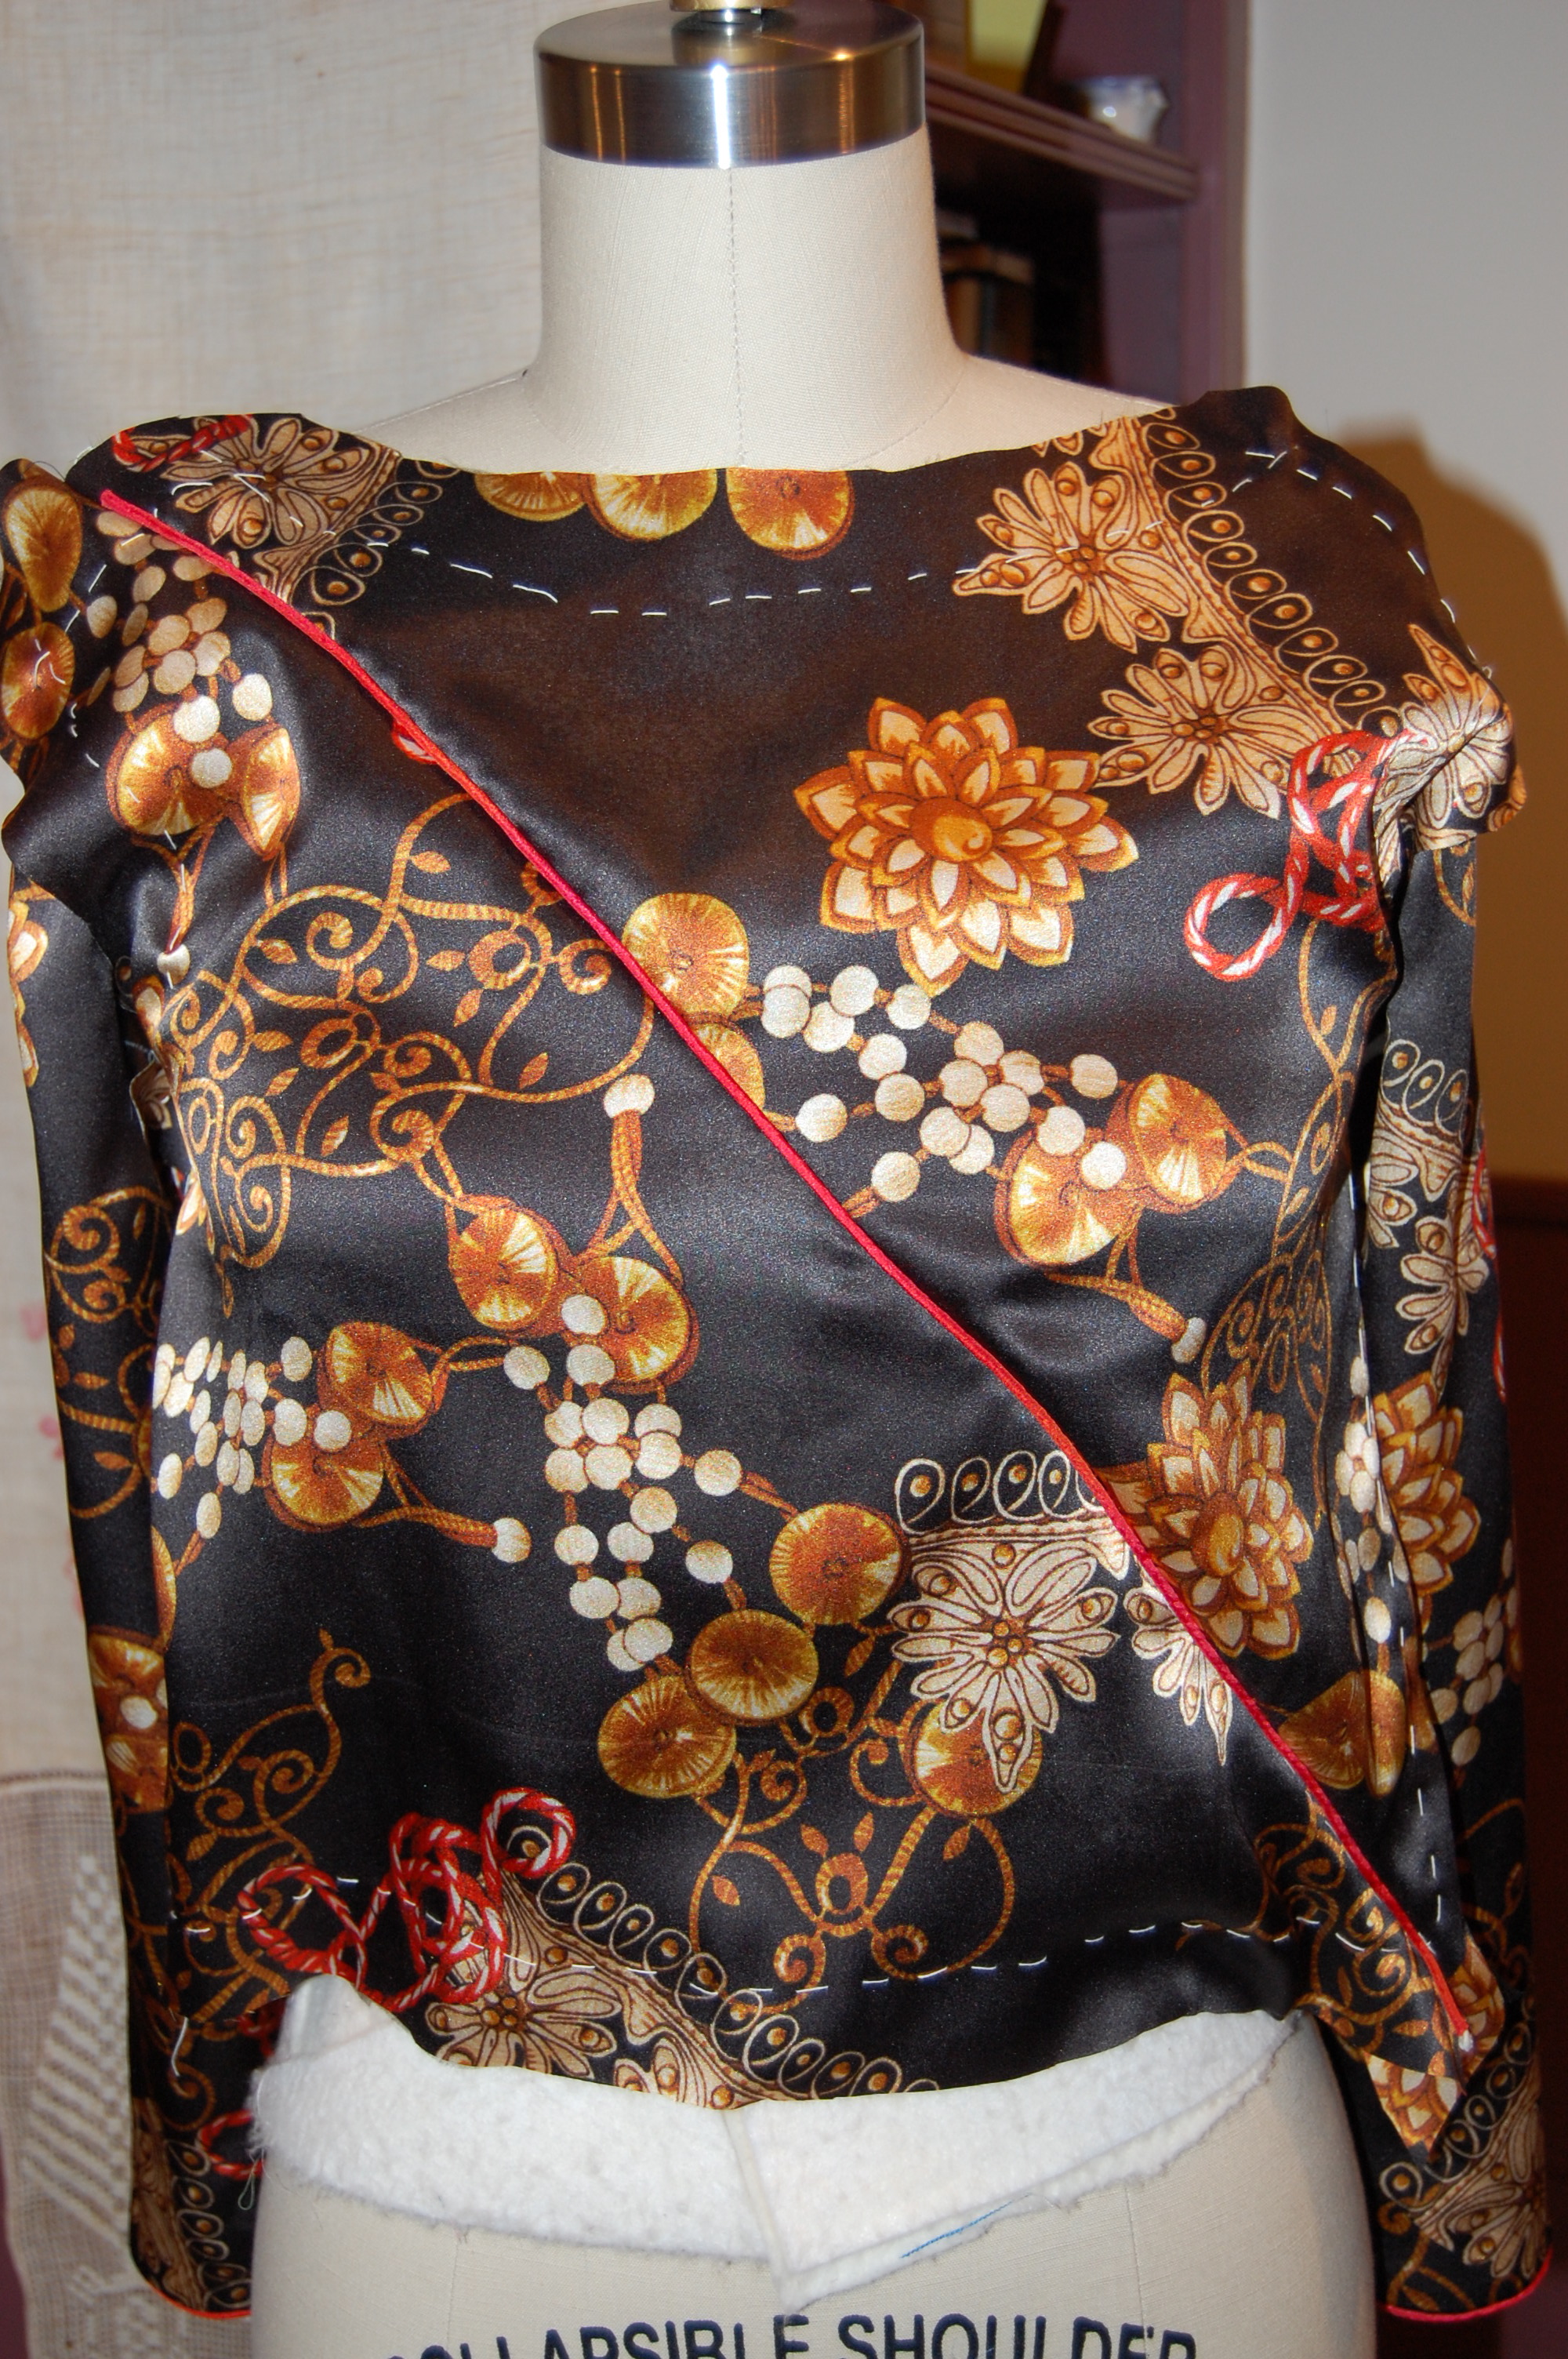
Long sleeved and with a separate tie belt.
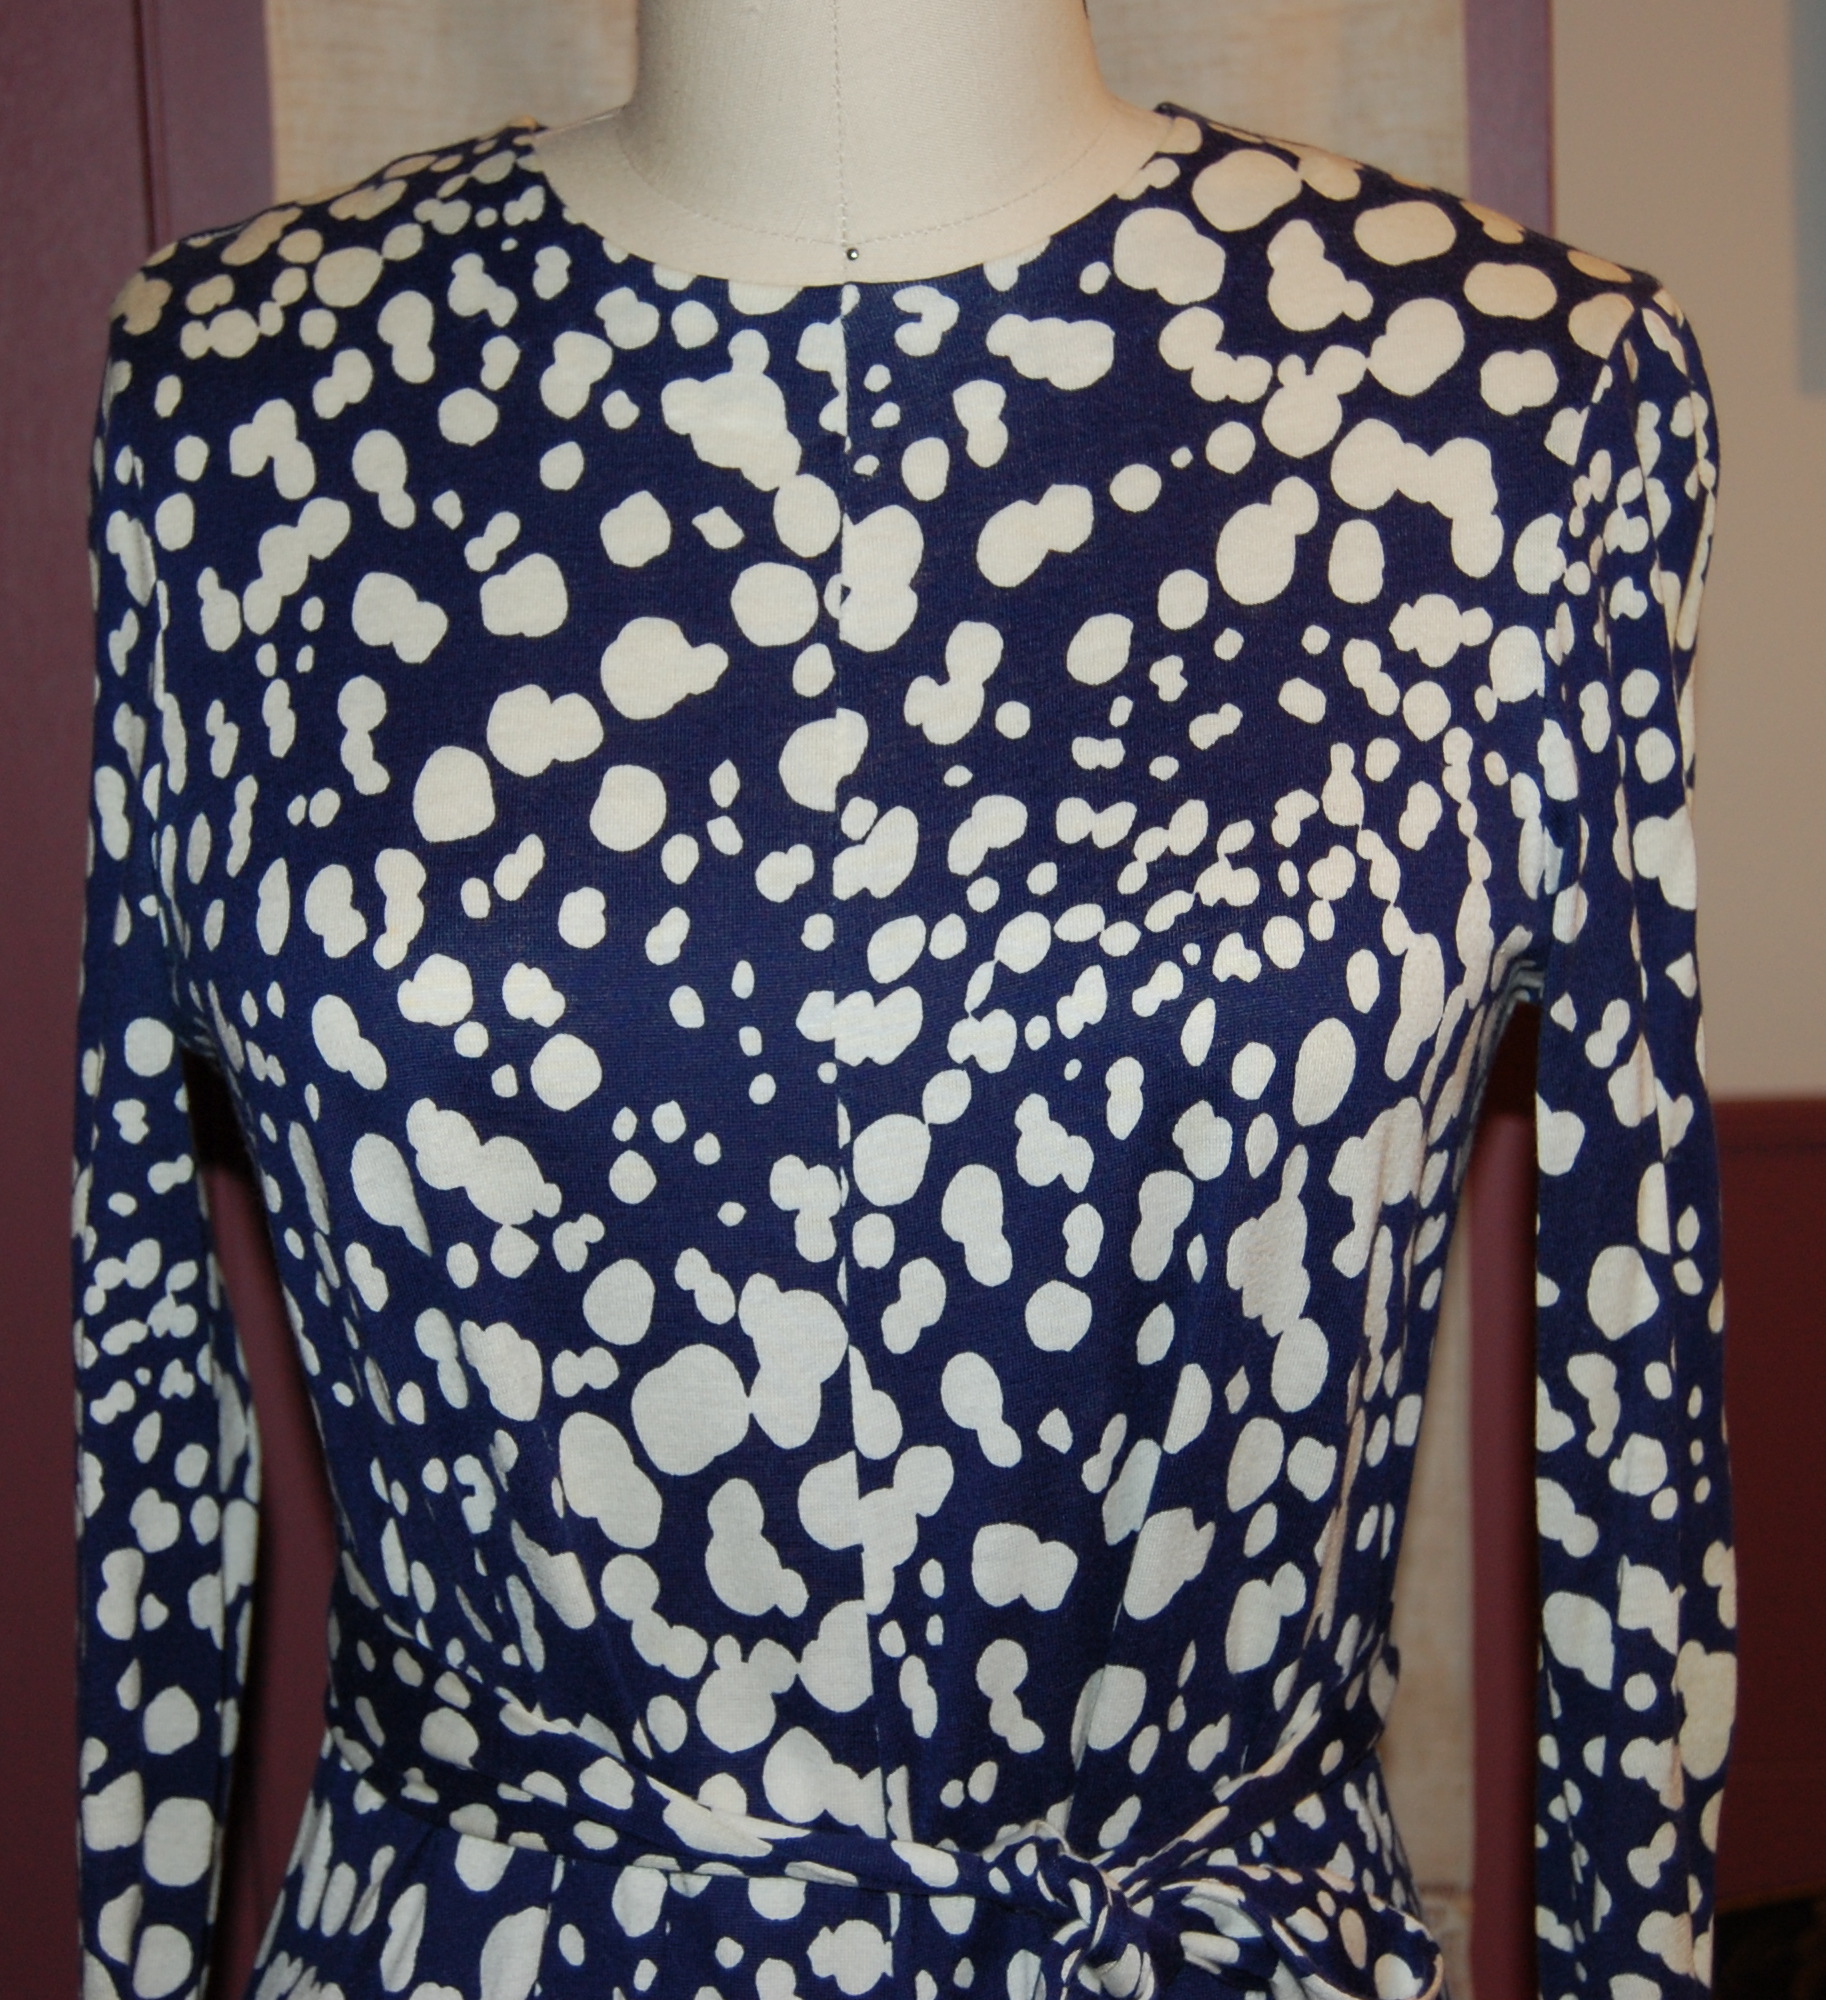
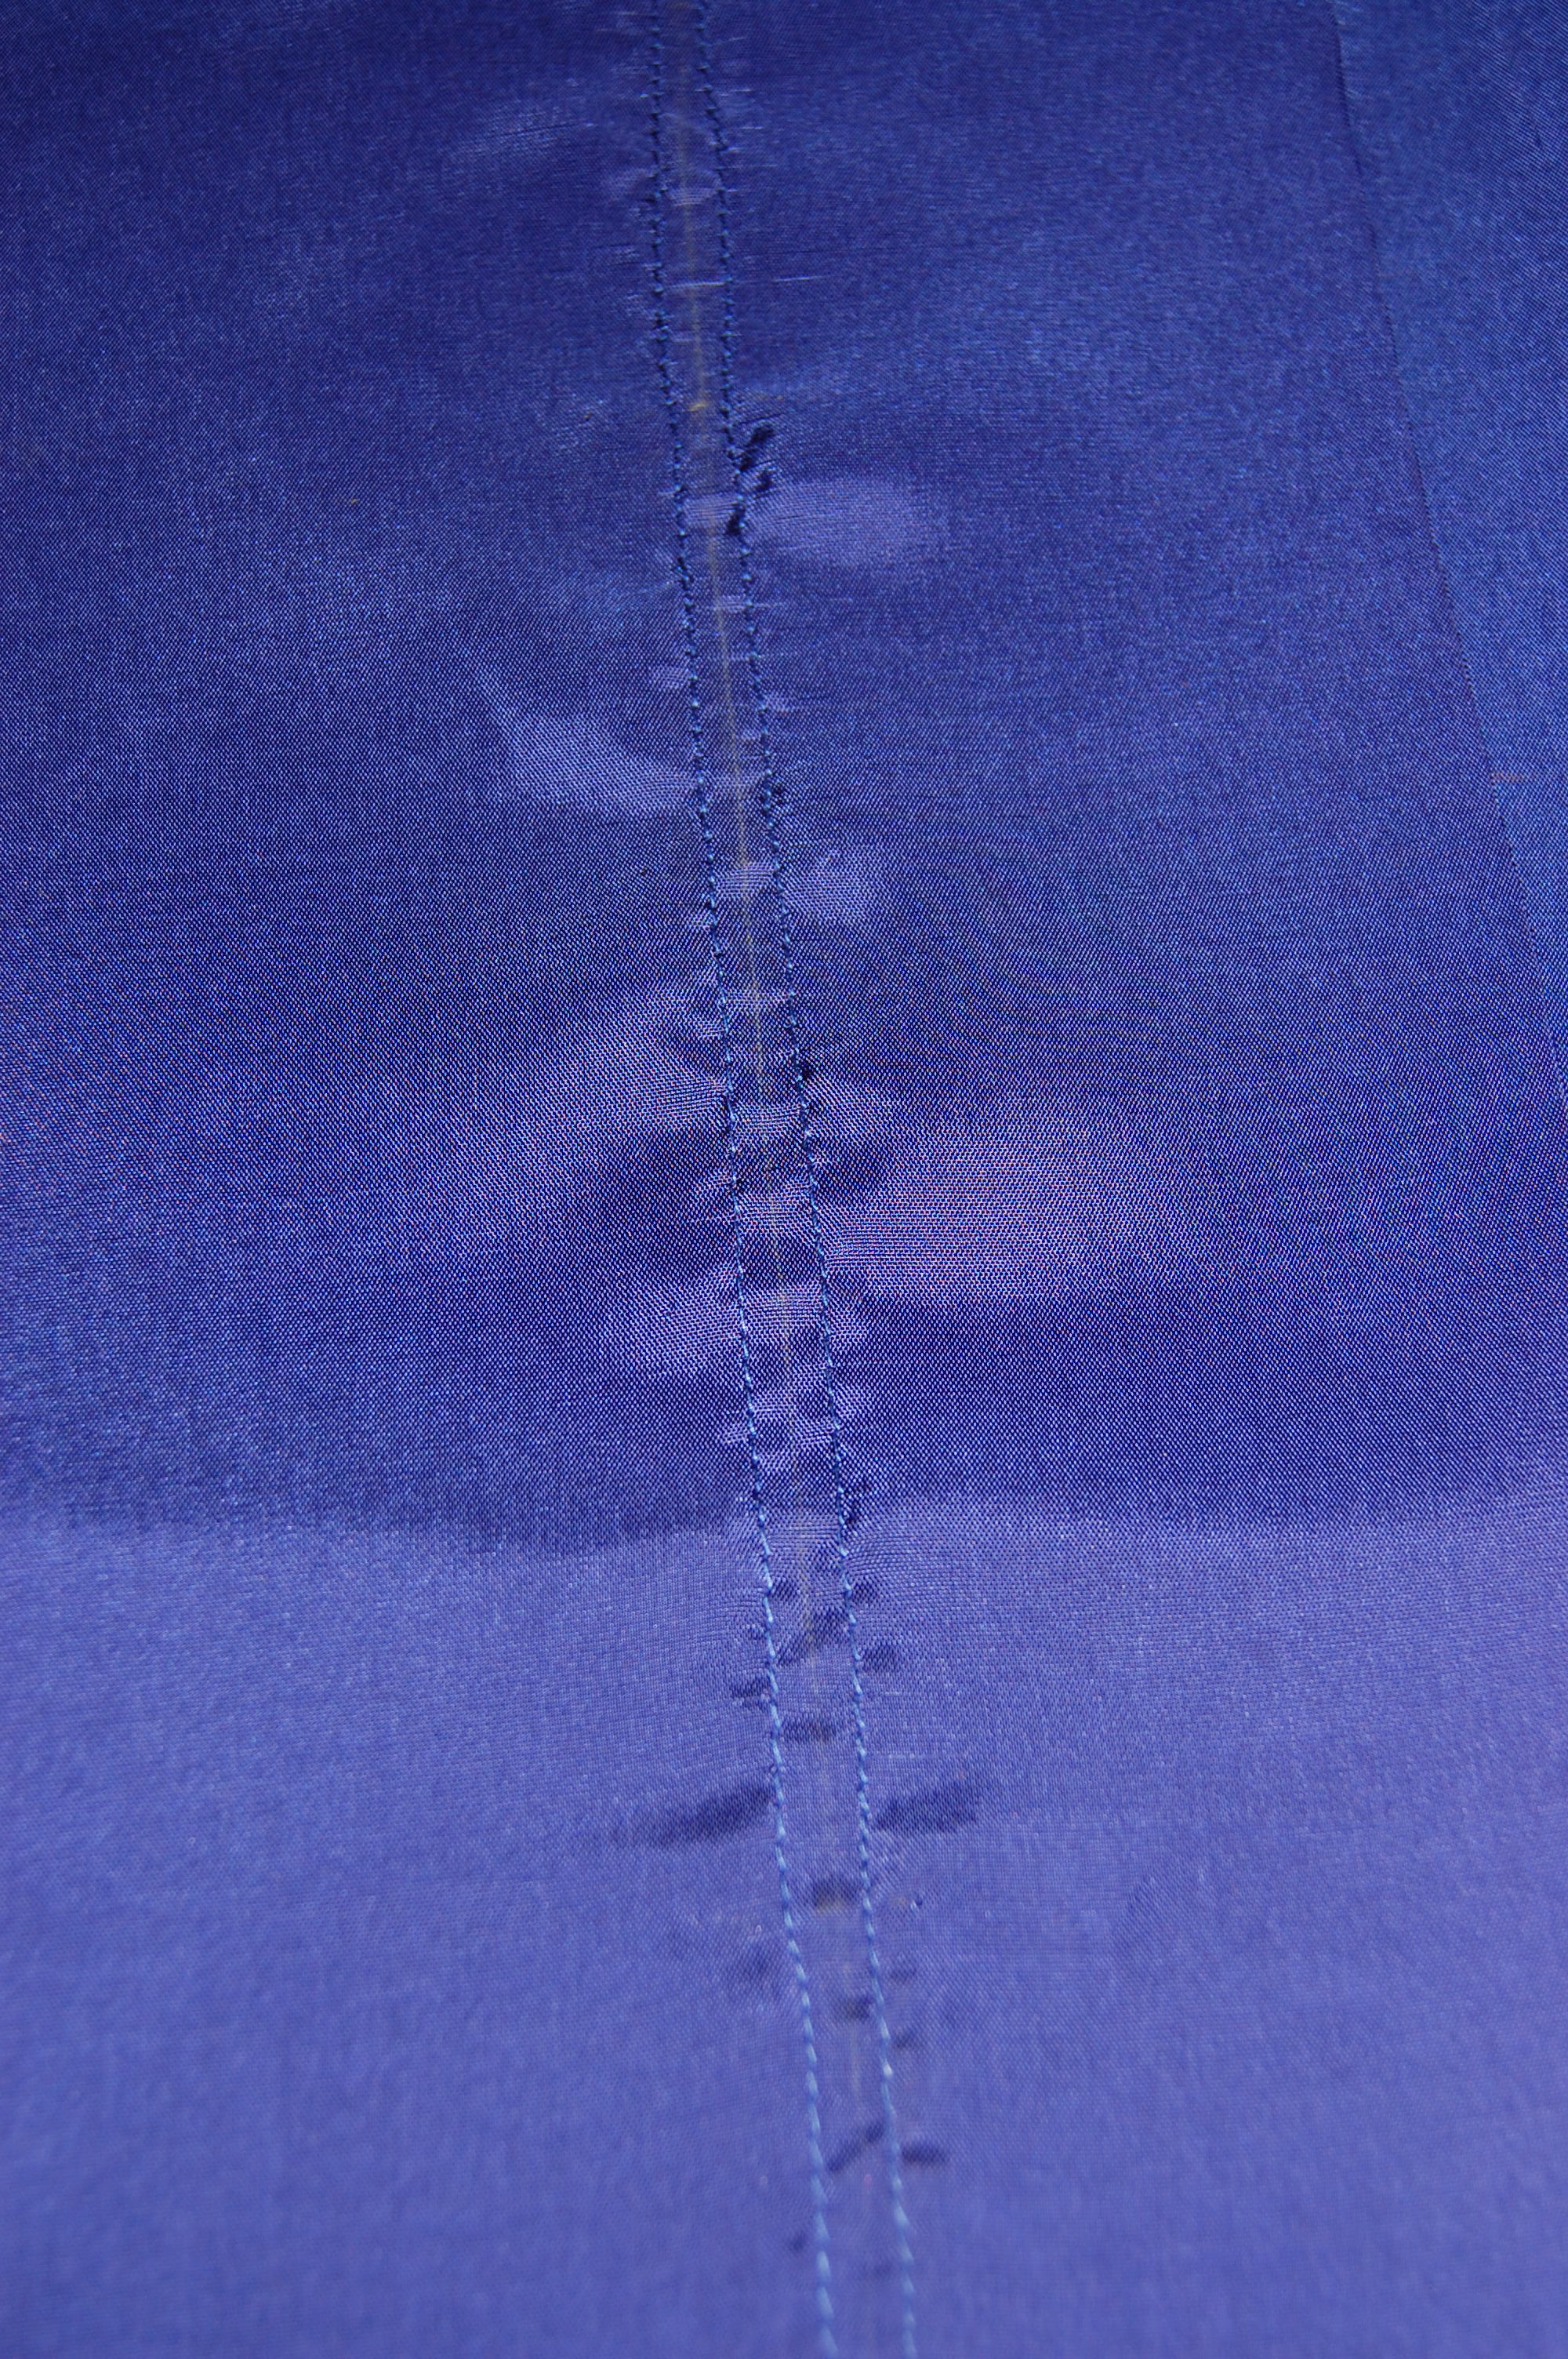
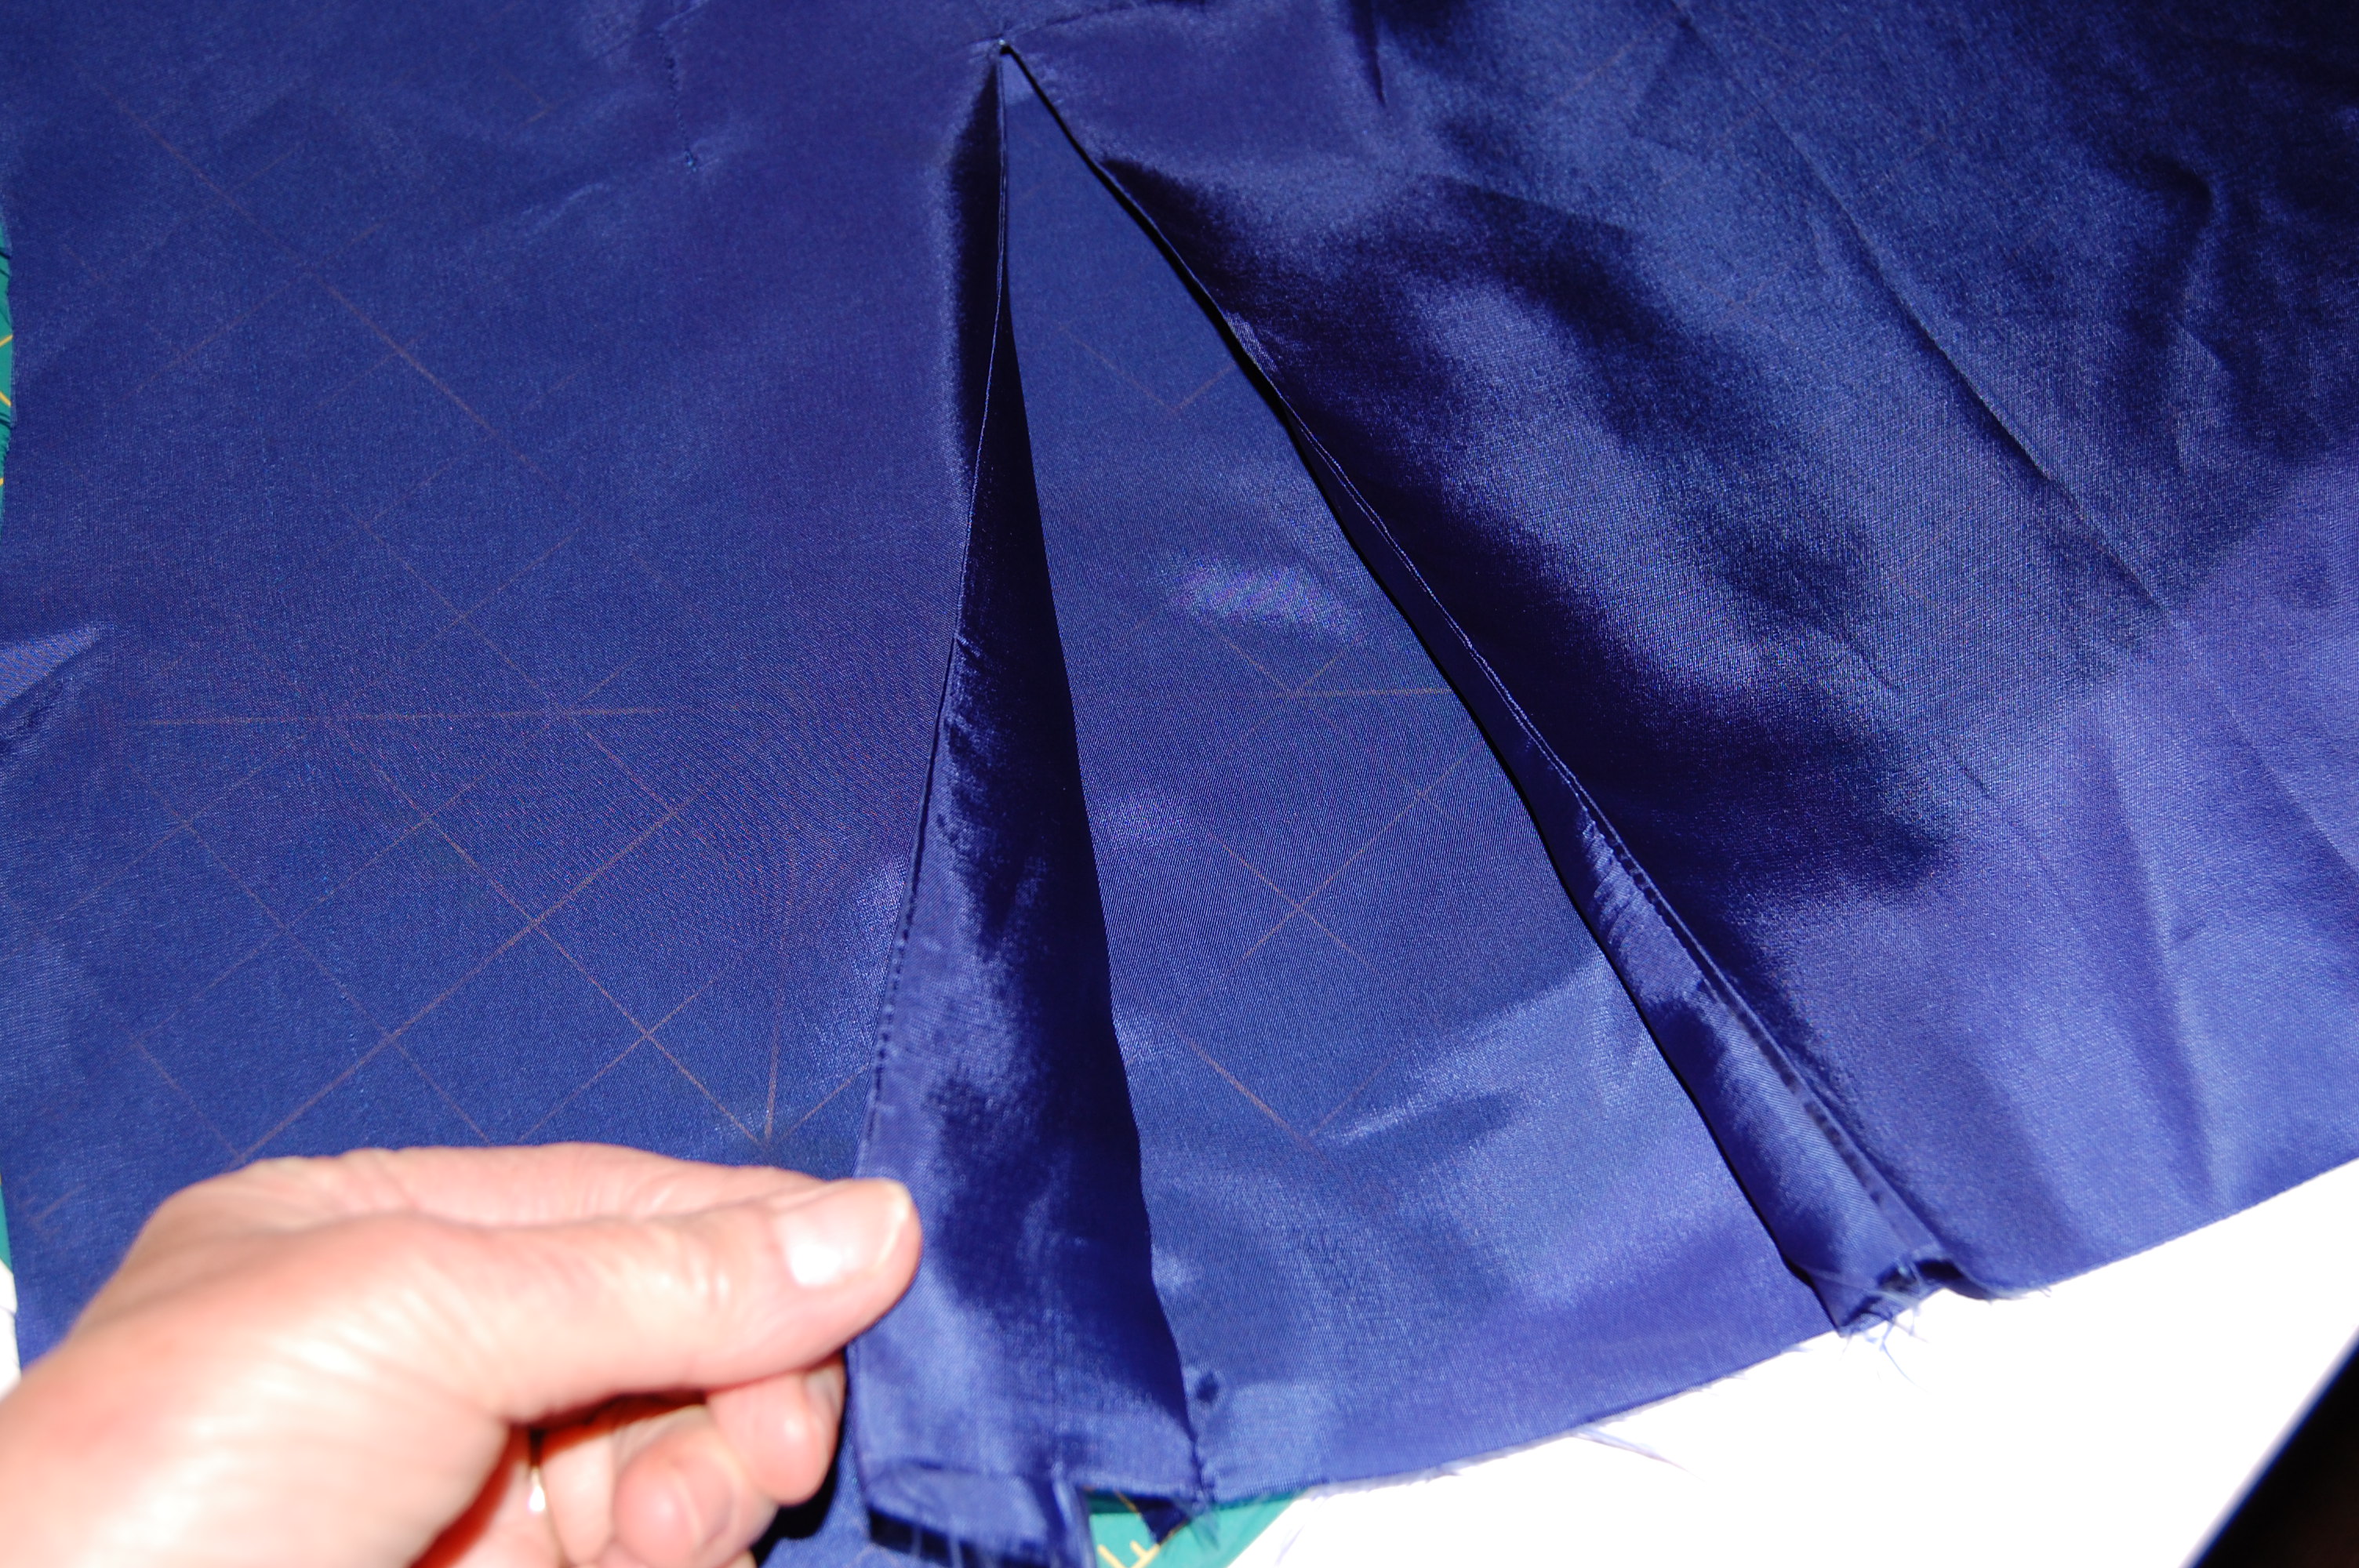
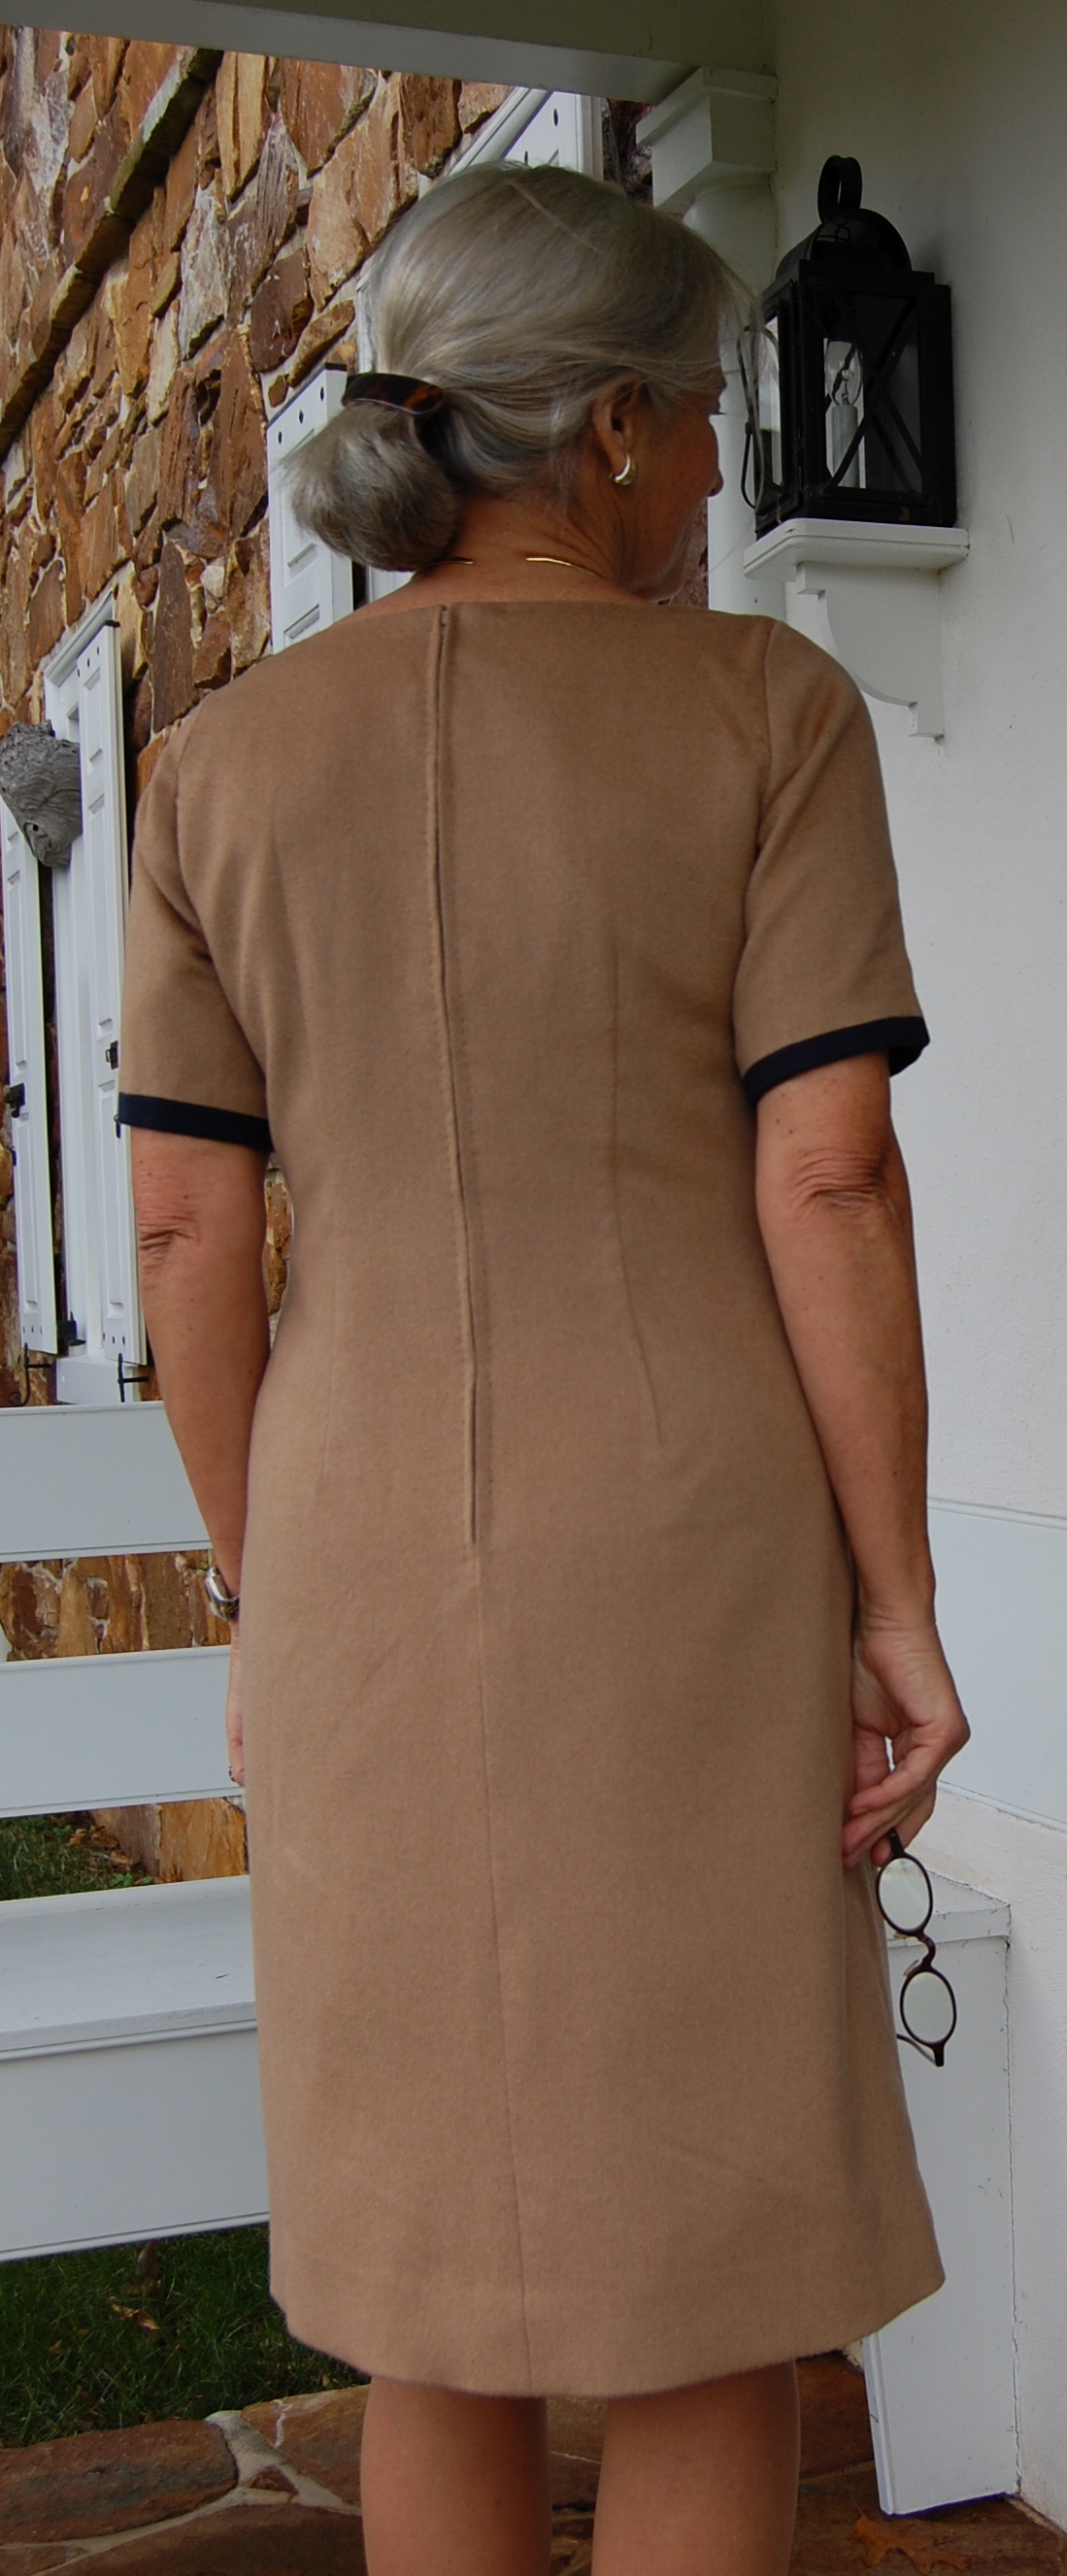
There is a center front seam to this dress which helps to make the skirt flow beautifully.
The label gives some fascinating information. It gives the composition of the fabric, – 50% cotton and 50% rayon. Interestingly, it includes an “umlaut” over the “u” in Furstenberg, which seems to have been dropped shortly thereafter. And the size 10 would now be a size 6 in USA standards!

By 1976, Vogue Patterns had entered into a partnership with DvF, with exclusive rights to offer her dress patterns for sale. This was such a smart thing to do for both Vogue Patterns and the Princess – as they referred to her. Even better was when Diane von Furstenberg-designed printed fabric was available in bolts at your local fabric store. I remember having a difficult time finding these yard goods – they sold out so quickly as home dressmakers rushed to make their own genuine DvF wrap dresses. Vogue Pattern Magazine summed it all up quite nicely:
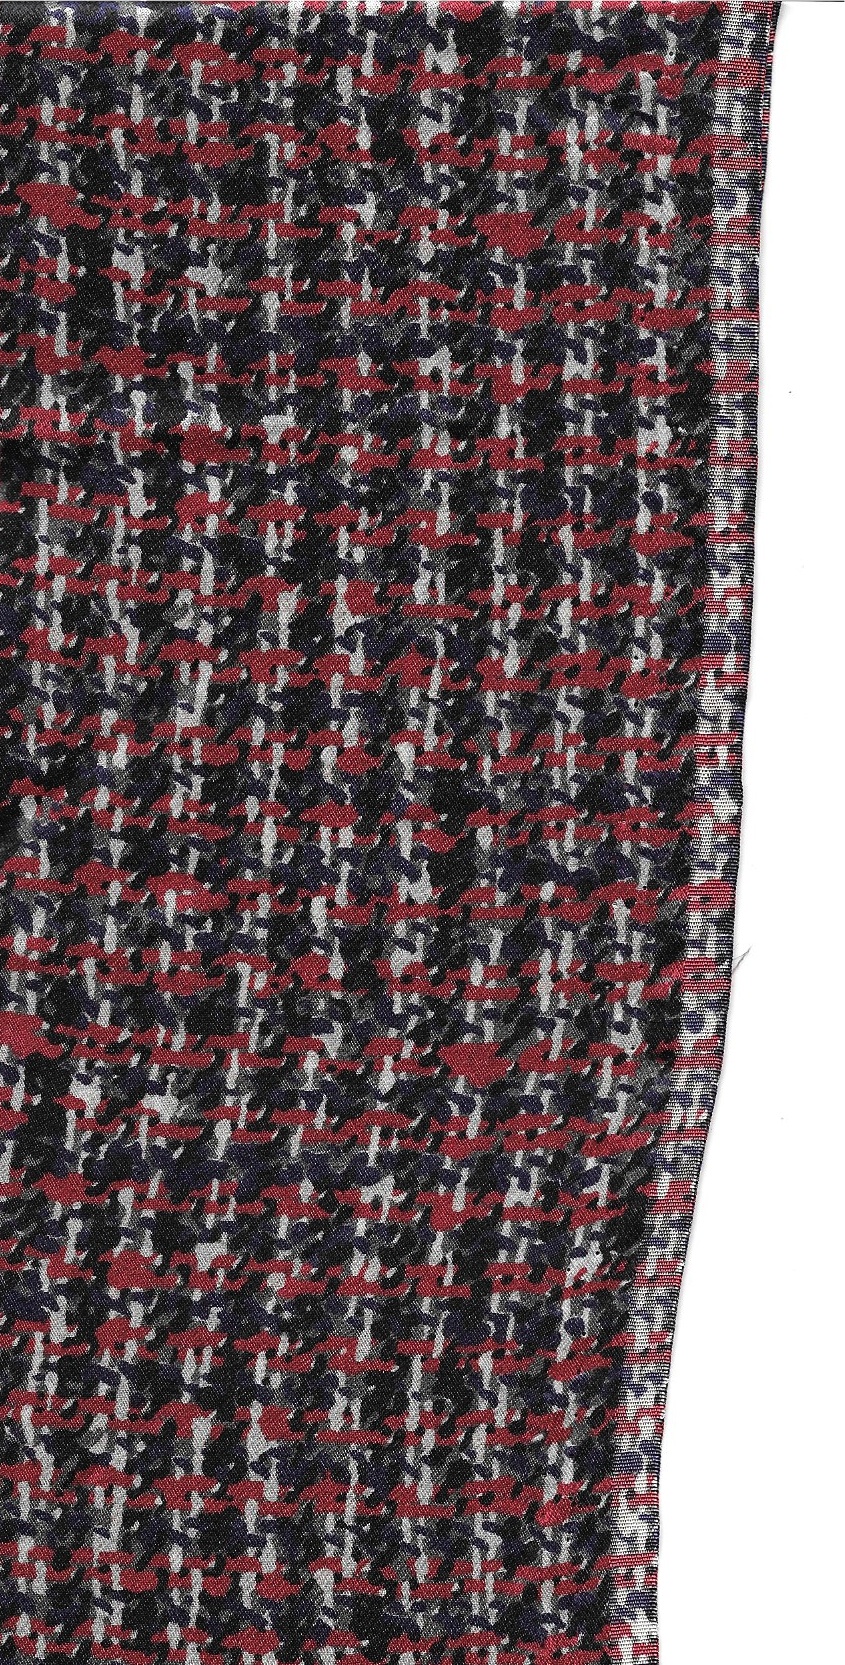
“Almost as important as the designs are the Diane-designed prints which turn her very flattering basic designs into that very special Von Furstenberg look. That is why, we are doubly pleased to tell you that, thanks to Cohama, you can make your Vogue Von Furstenberg in authentic Von Furstenberg prints.” First available in October 1976, many of these prints are still recognizable today as DvF prints, and they still look fresh and stylish!
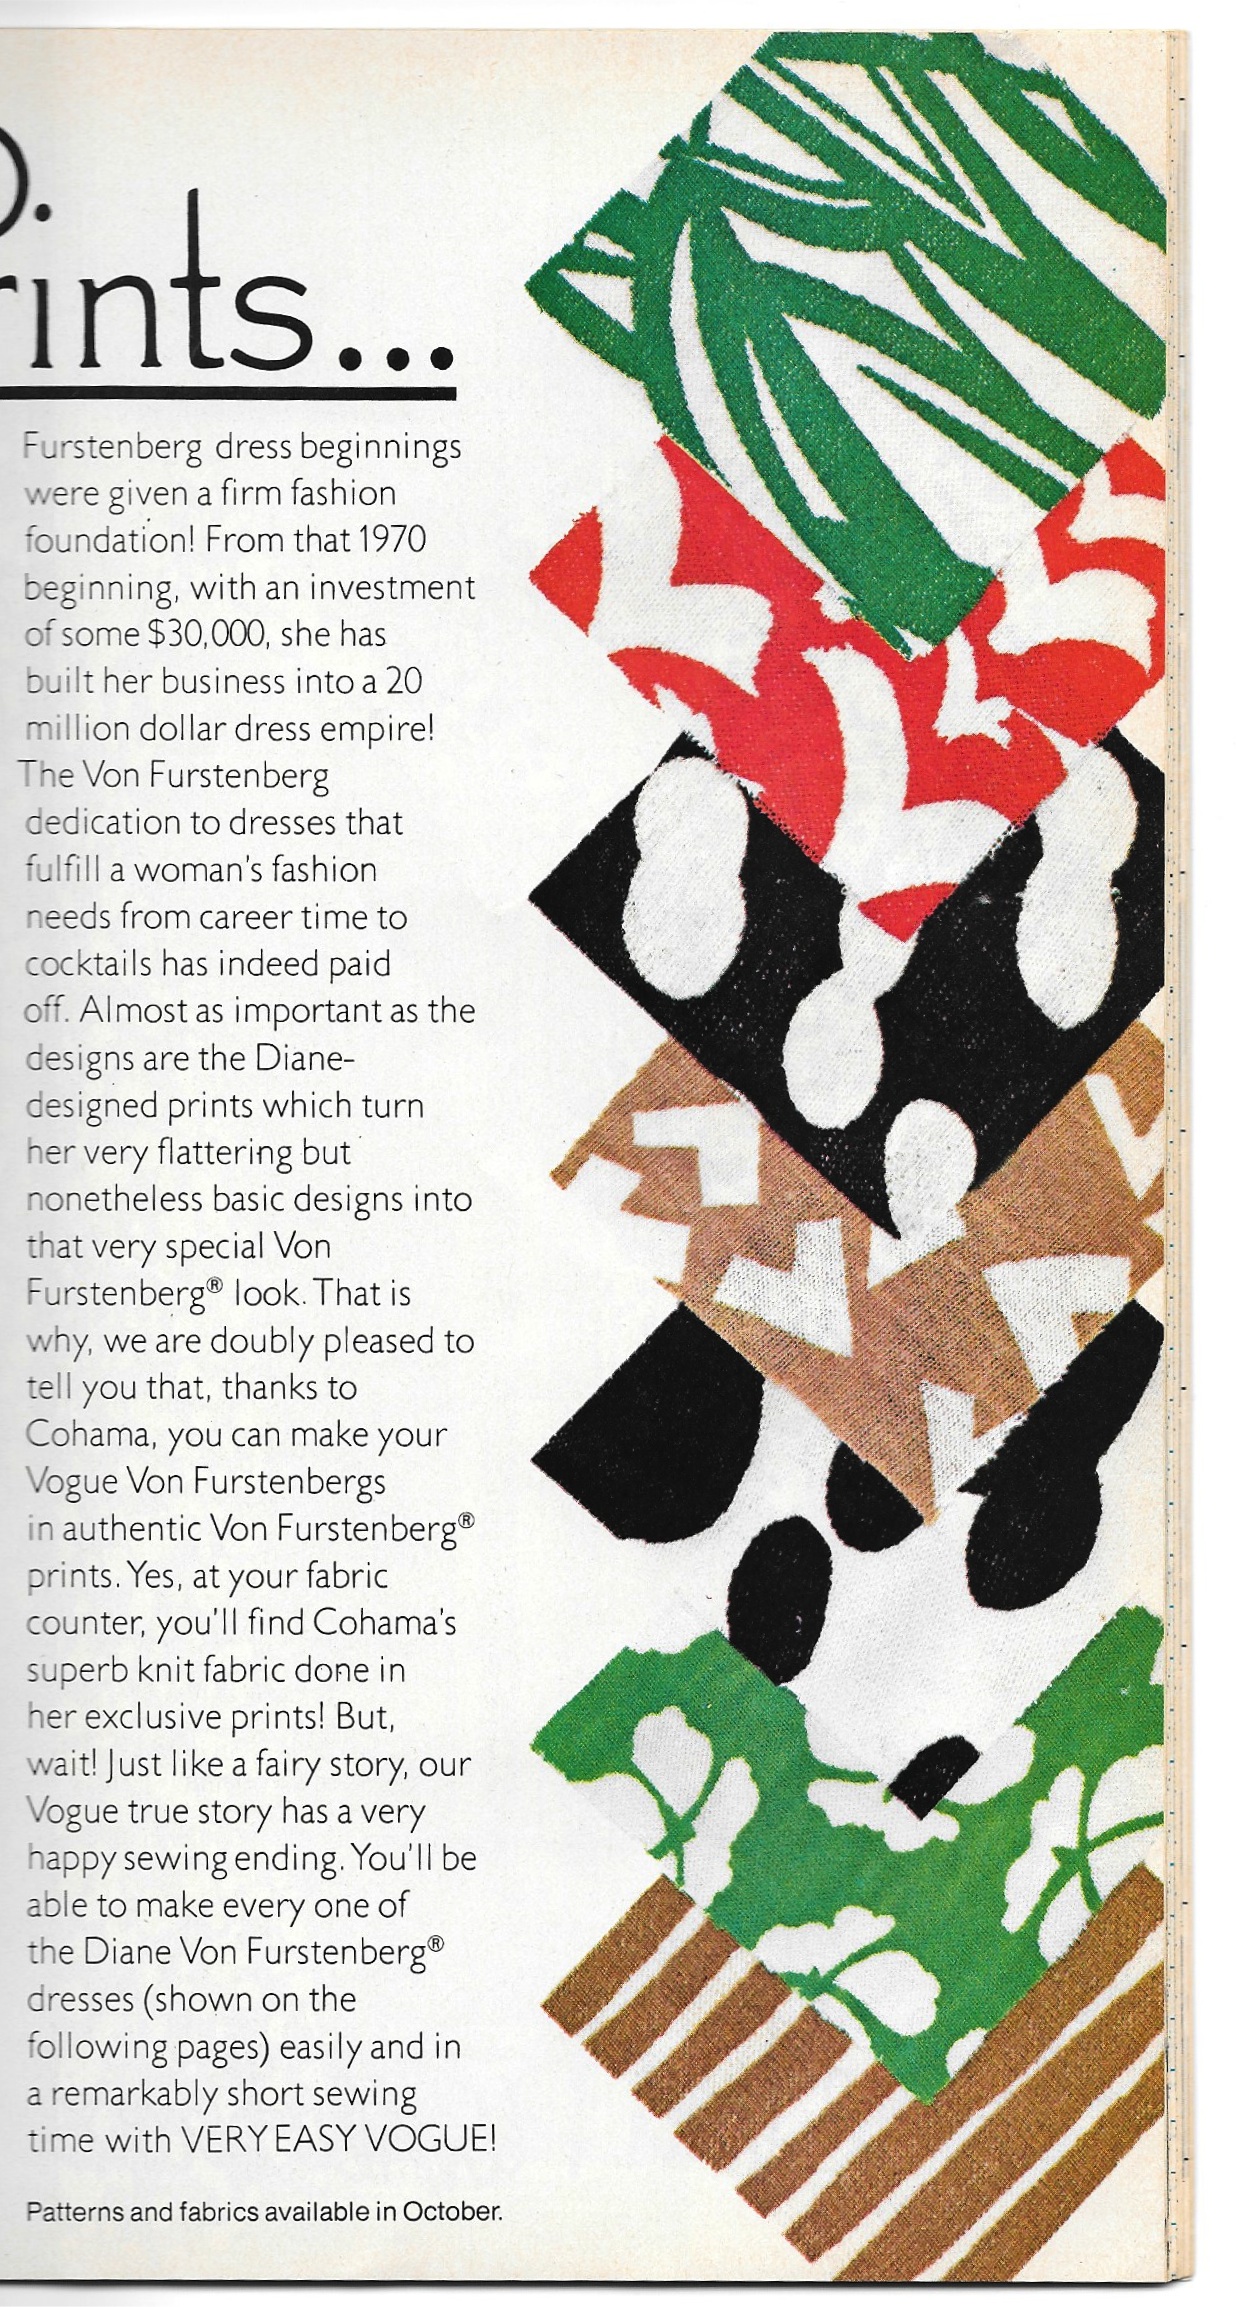
A sampling of some DvF fabrics.

Here is the editor-in-chief of Vogue Pattern Magazine, Judy Espinar, with Diane von Furstenberg.

Another beautiful print!
I might not have been able to get my hands on any of that Cohama fabric back in the 1970s, but thanks to this blog and one of my readers with unused DvF yardages, I have been able to fulfill a long-held wish, having purchased two lengths of the Cohama fabric a number of months ago.
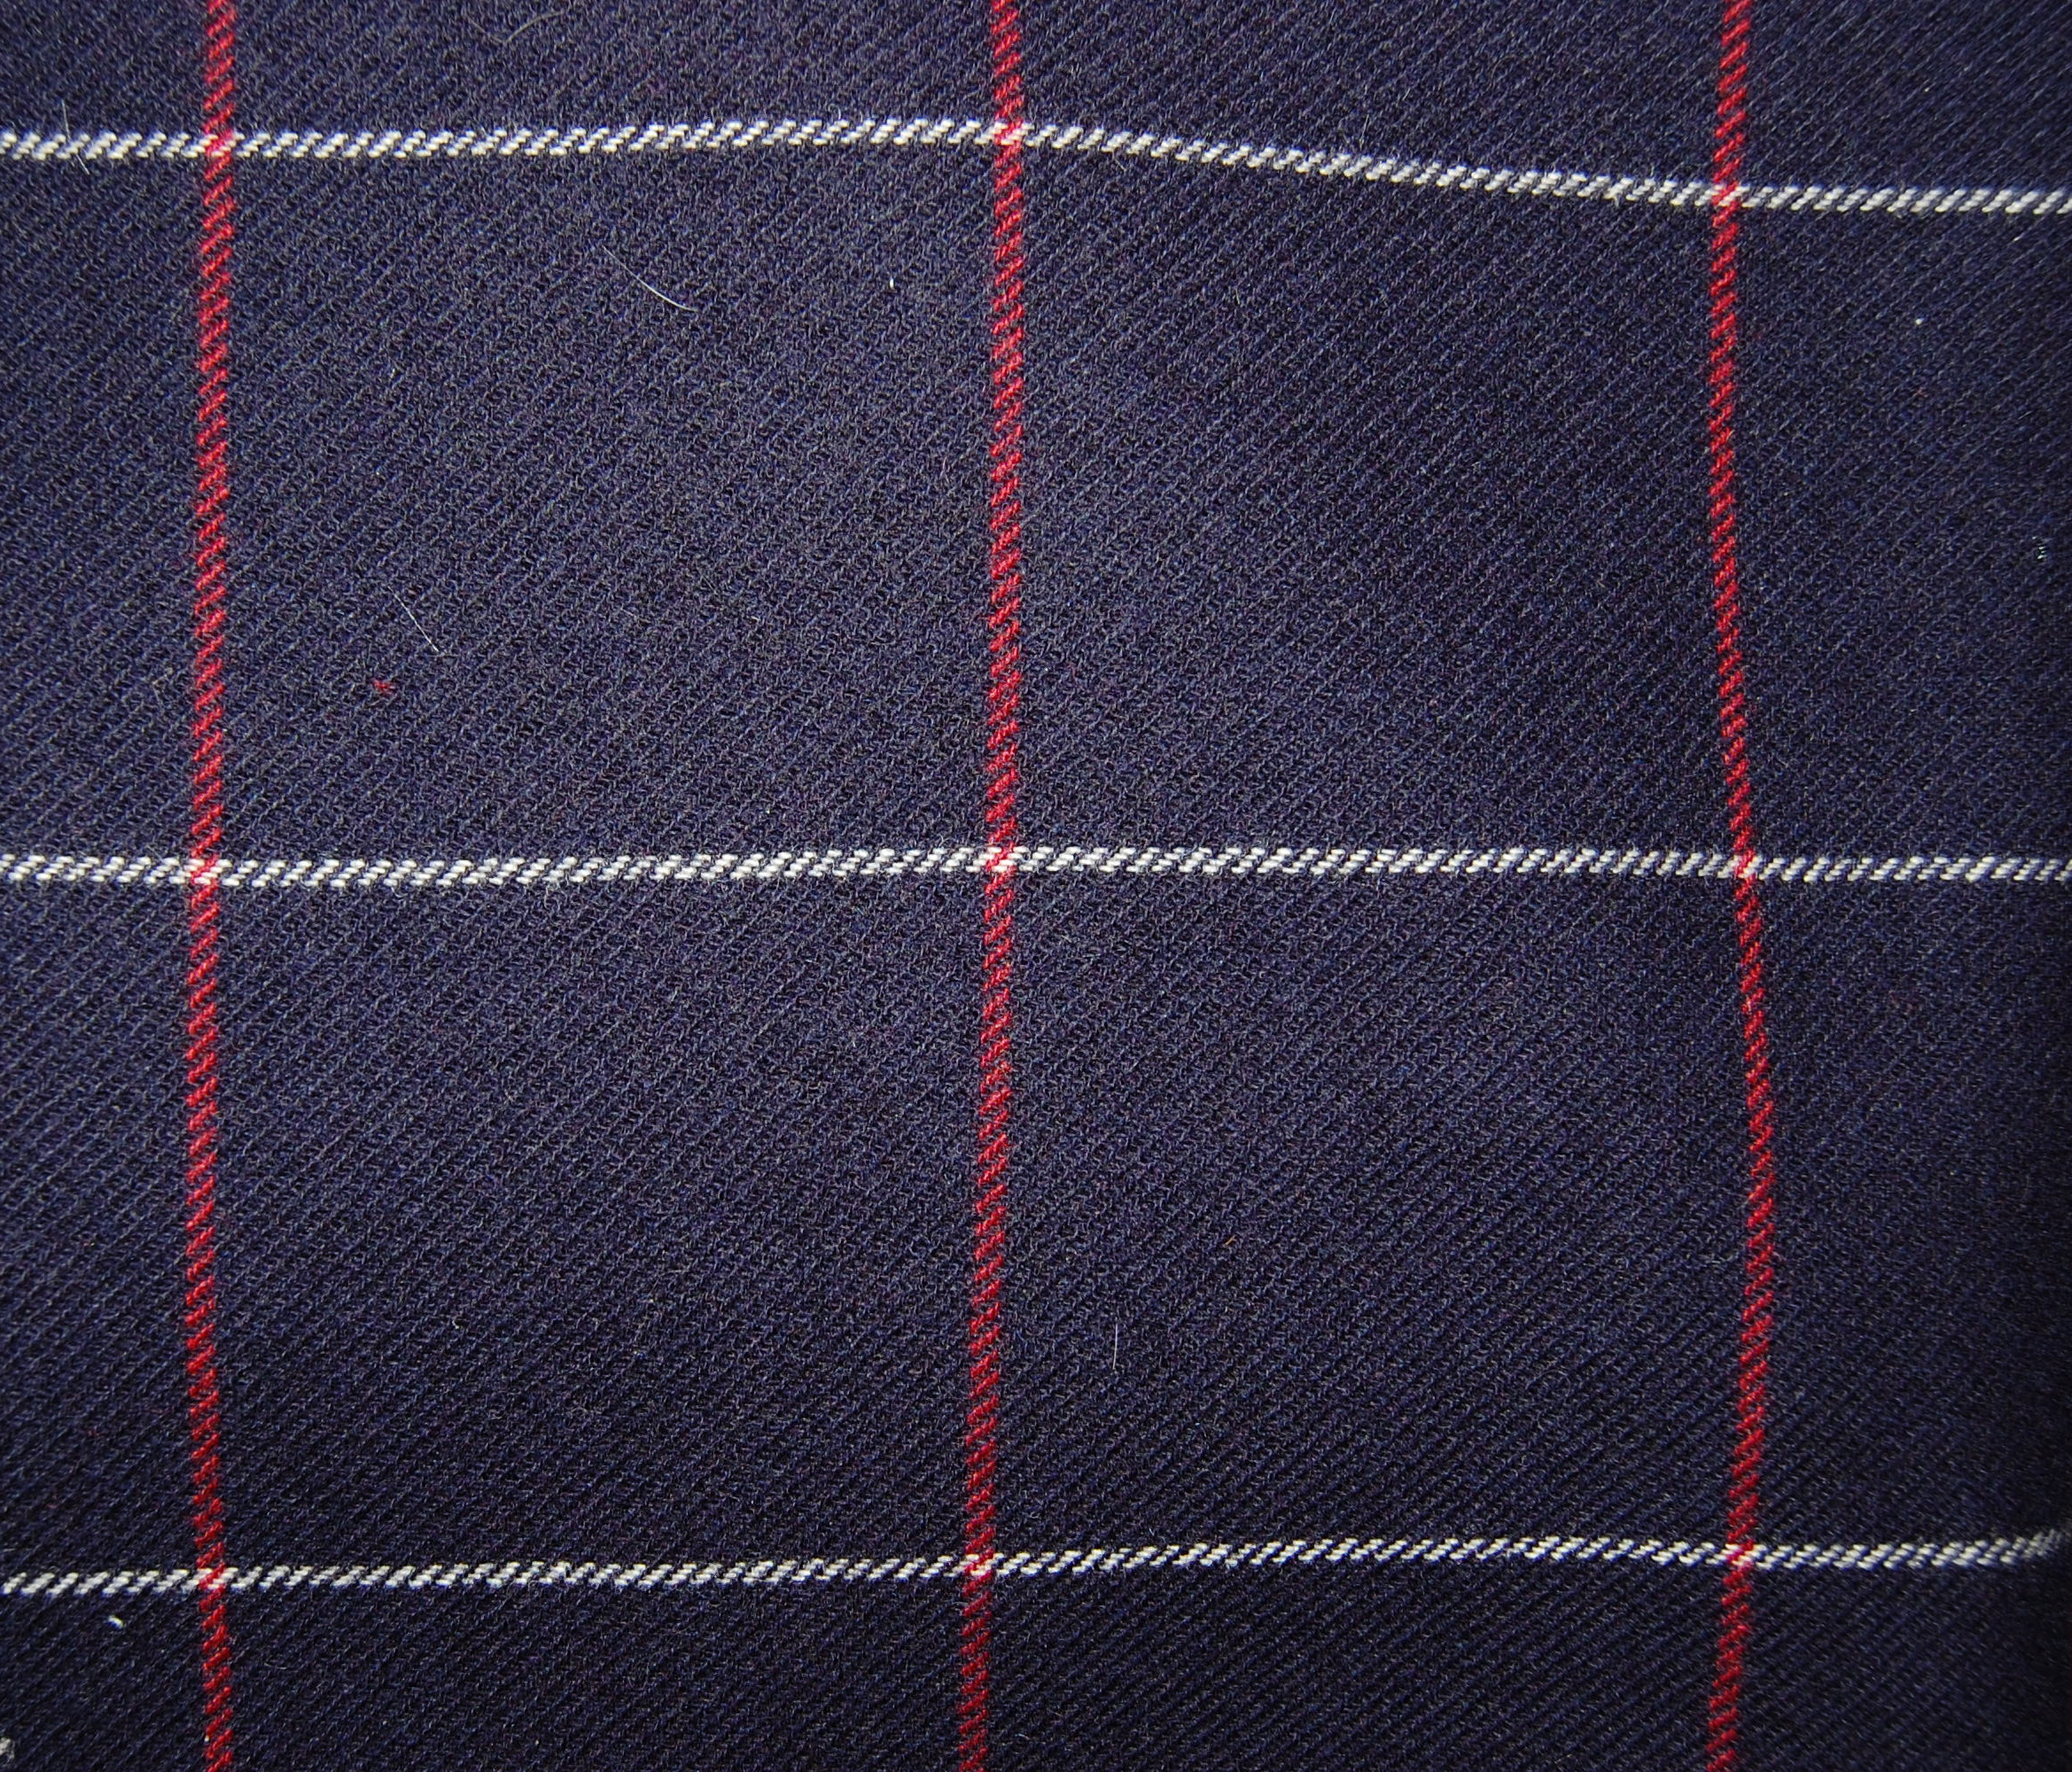
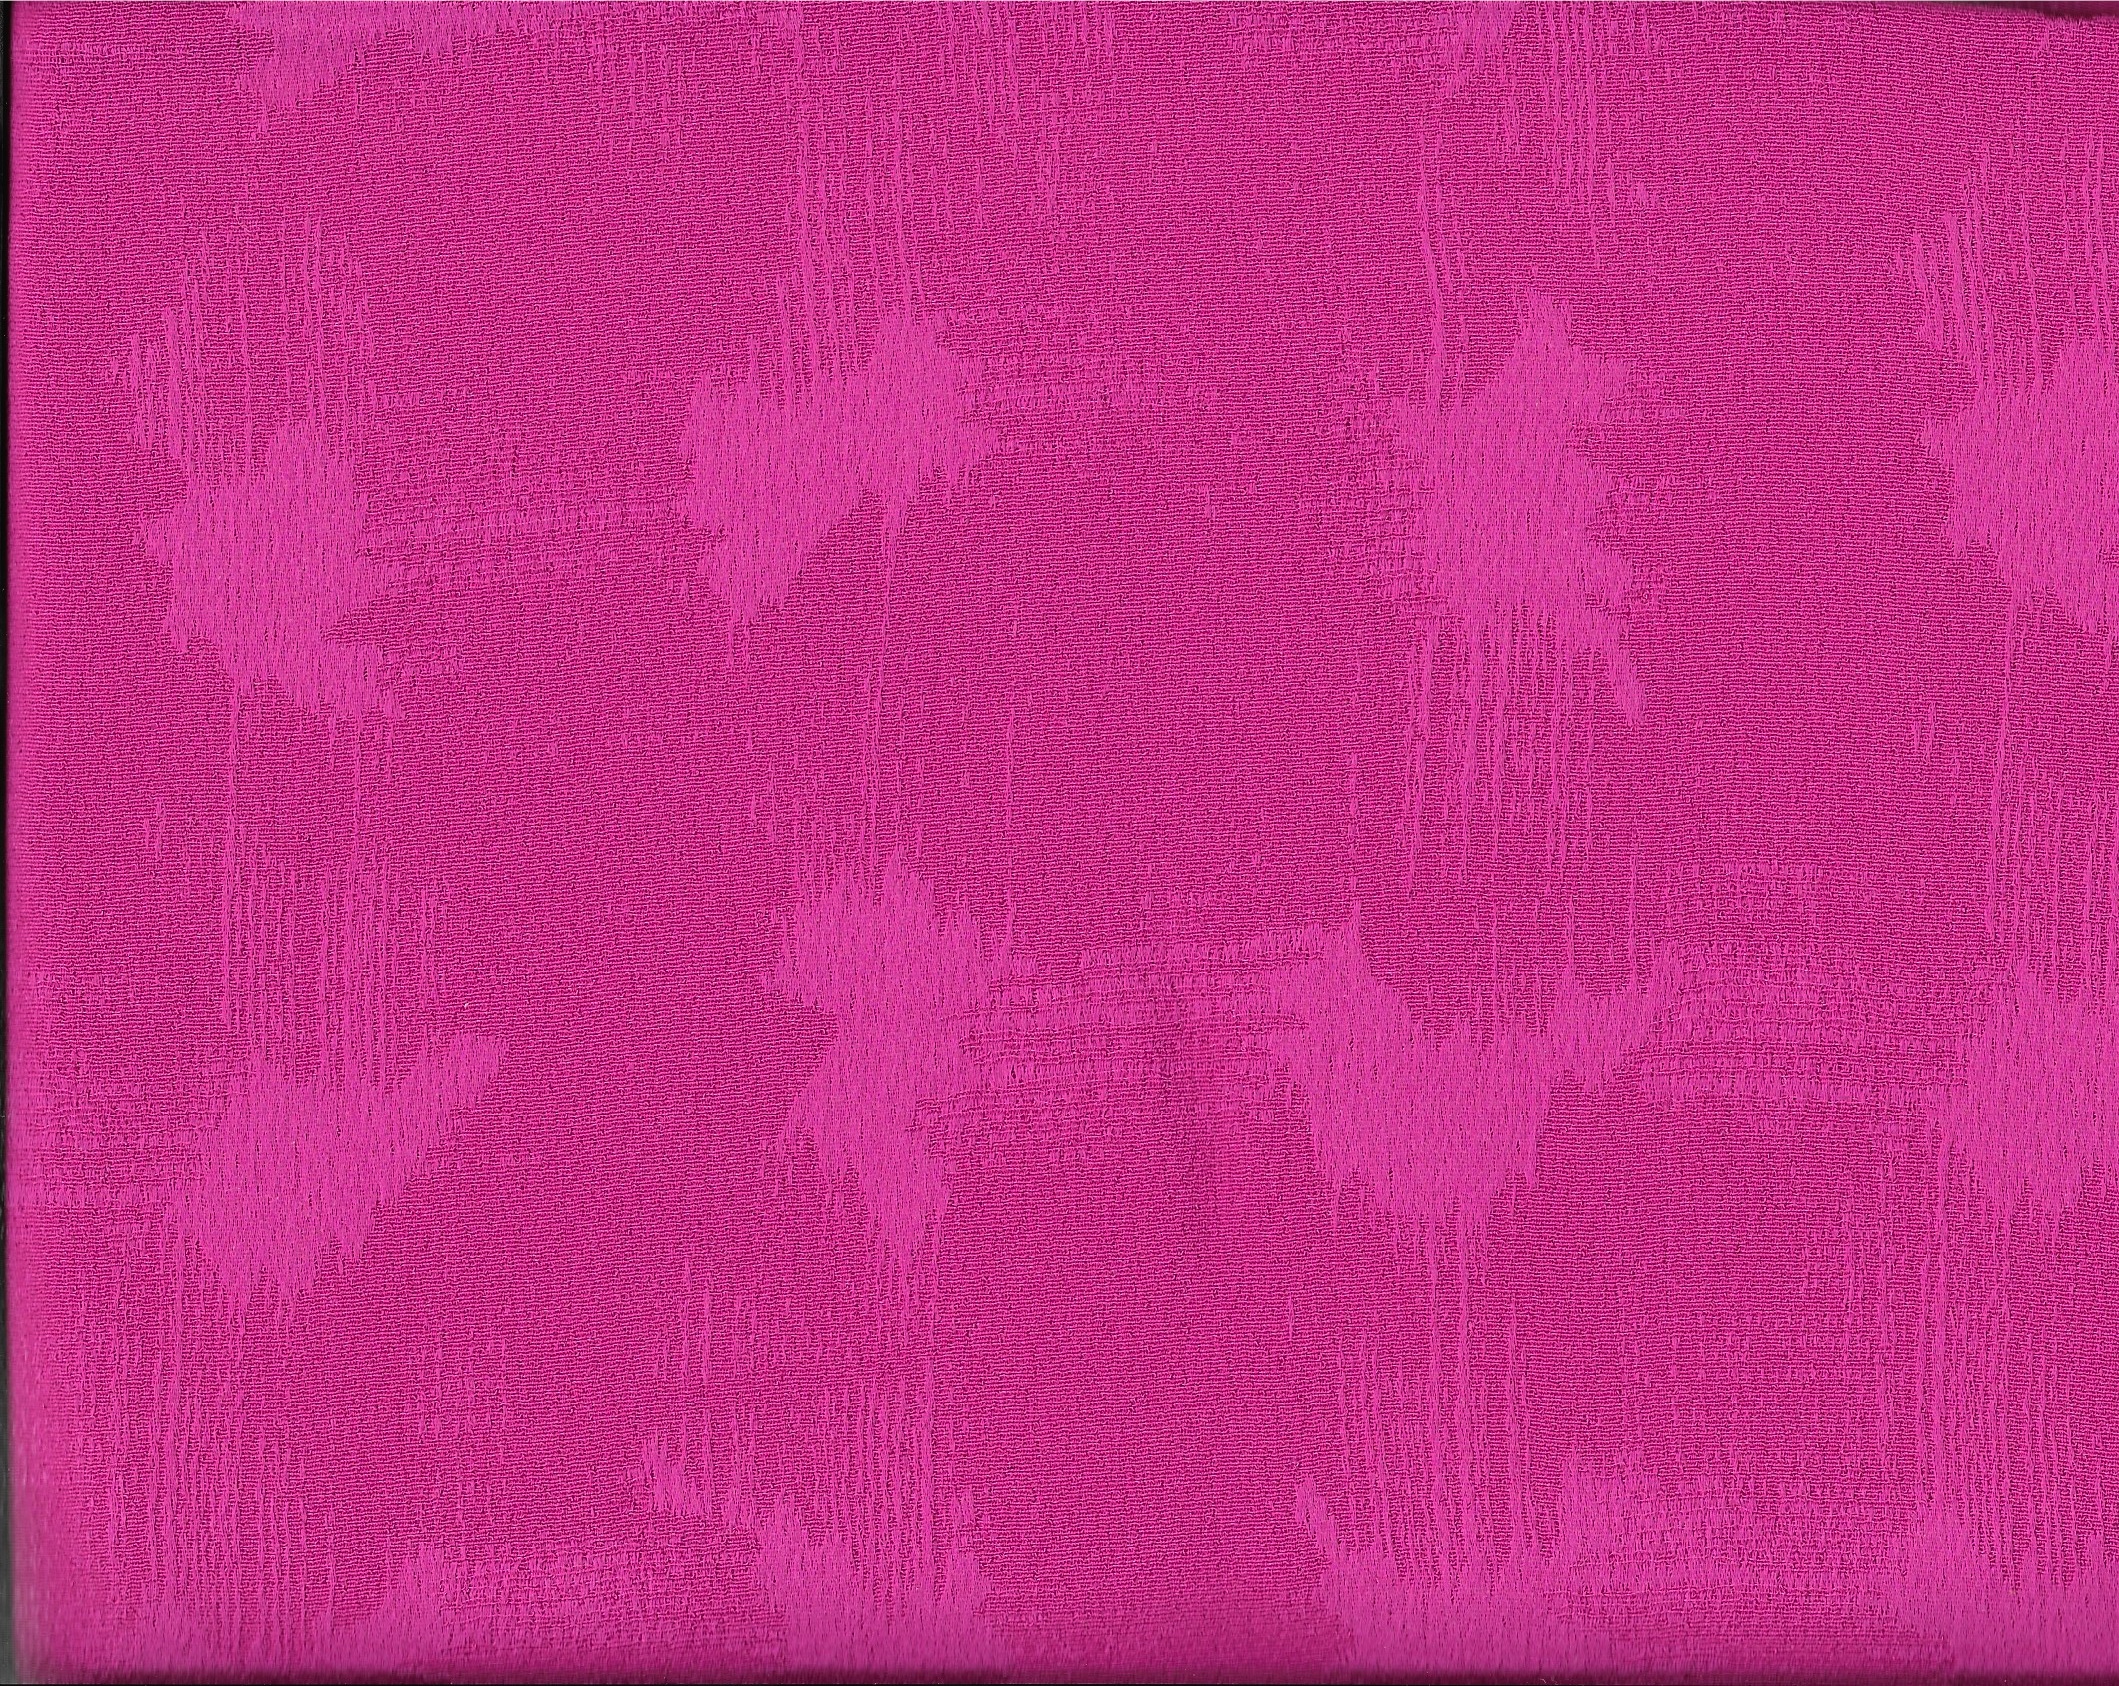
A DvF wrap dress seemed to be the perfect follow-up to my last complicated project, and so I retrieved this fabric from my fabric storage closet:
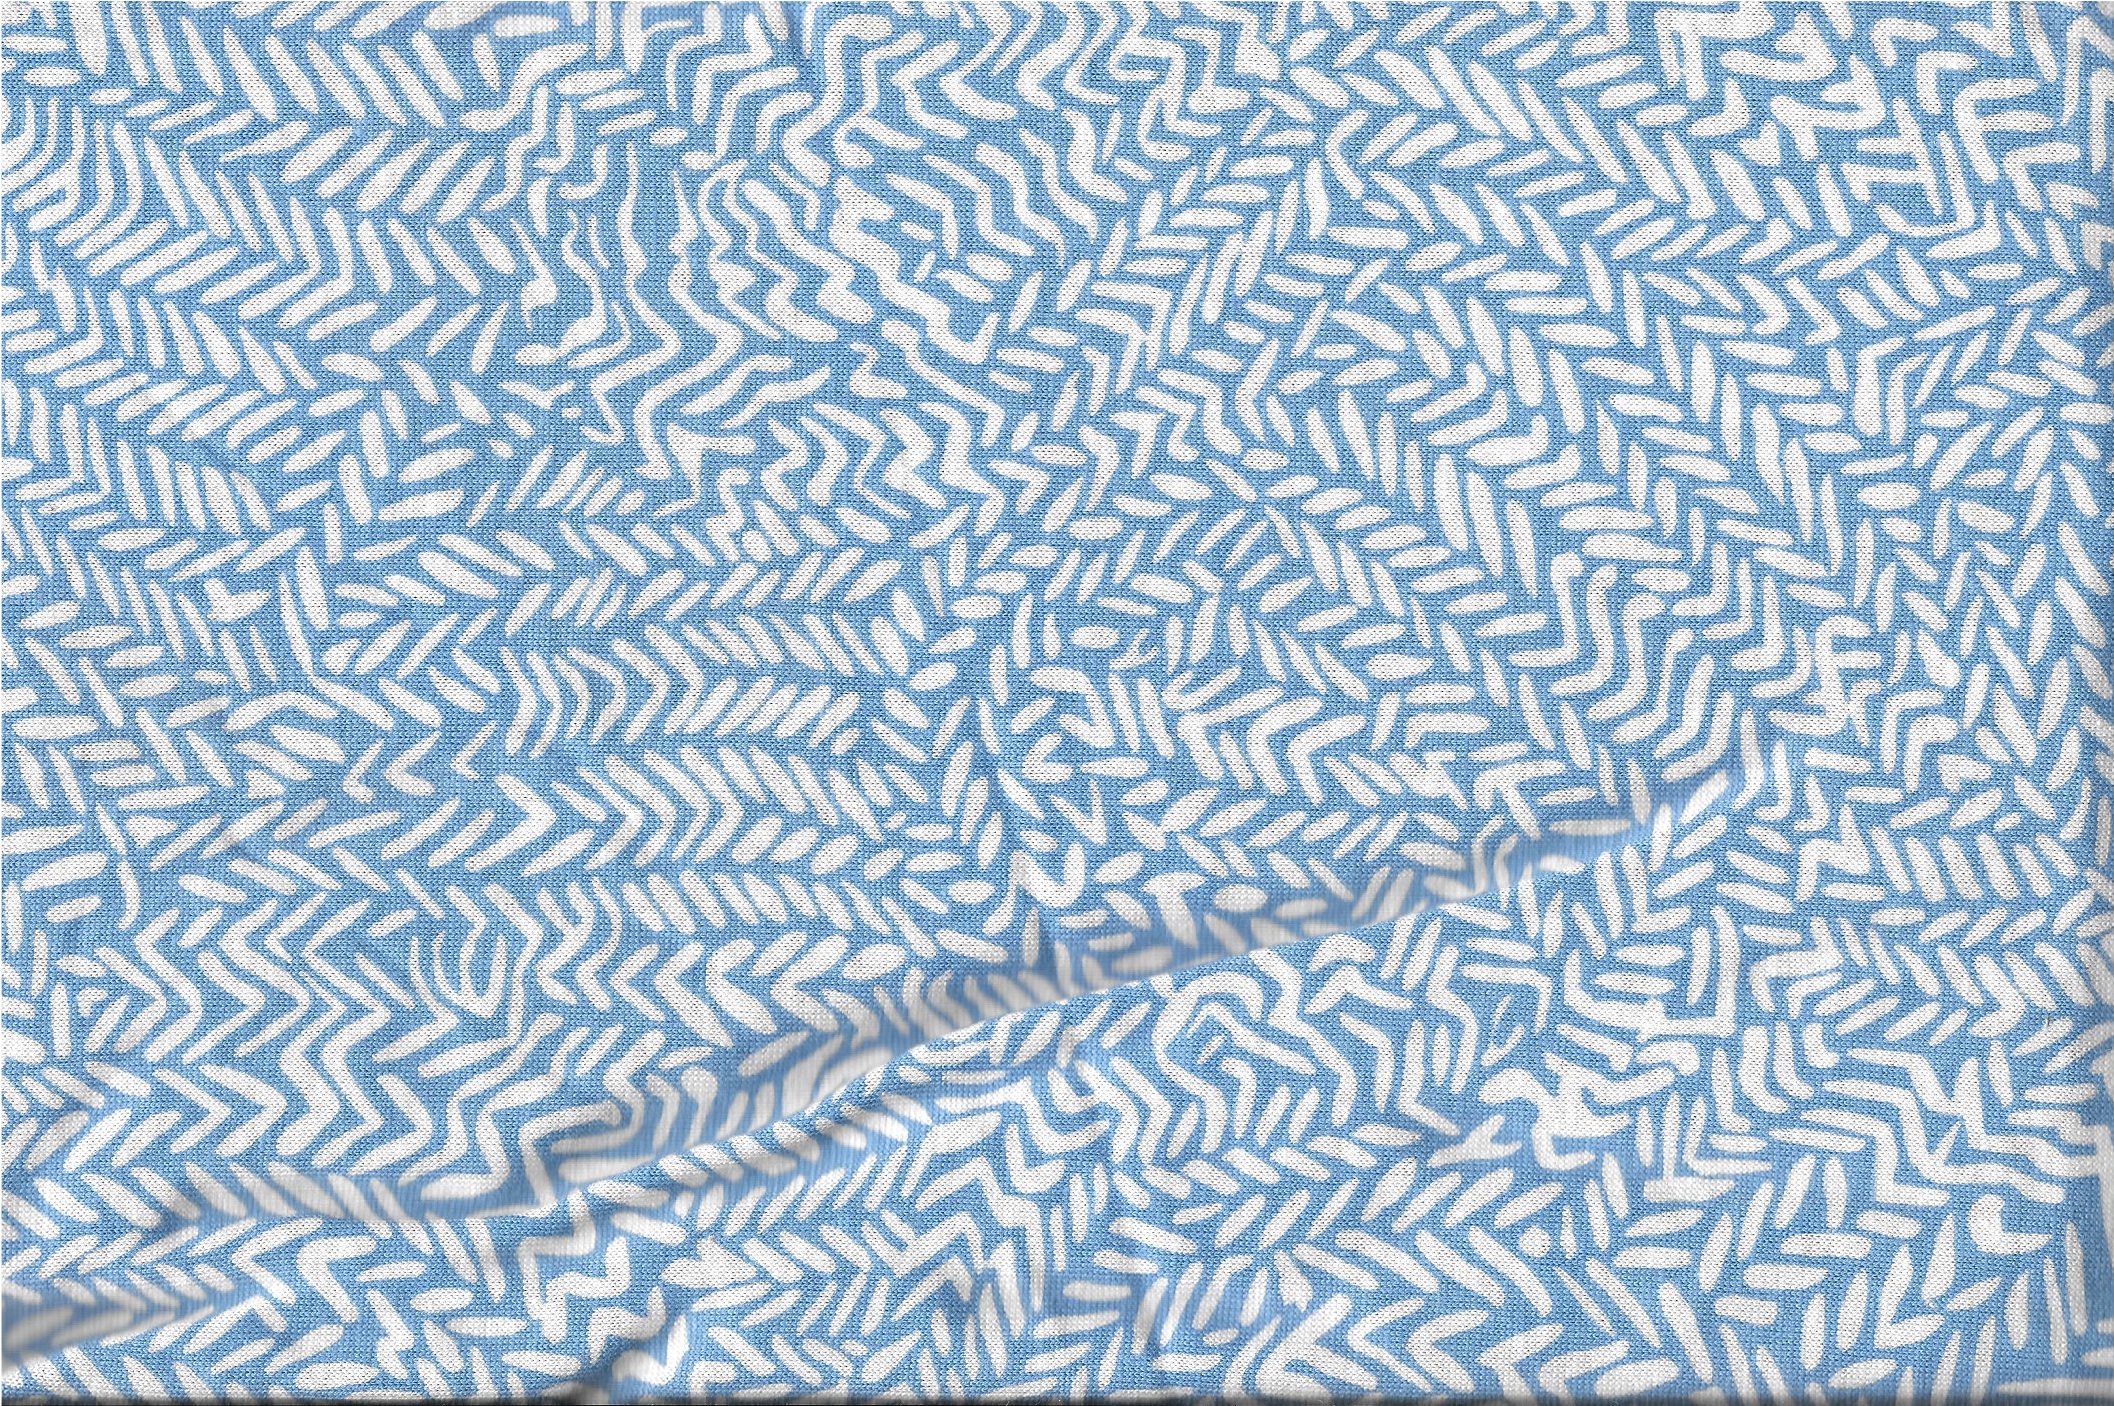
I washed it in cold water, gentle cycle, and it came out fresh and like new. I was struck by the quality of the knit fabric, and of course, wanted to know its composition. This is another time when the vintage Vogue Pattern Magazines come in so handy. Each featured pattern is pictured in thumb-nail size in a detailed Patterns Guide in the back of the magazine, giving information on fabrics, accessories, yardages needed, etc. Quickly I was able to determine that the Cohama fabric is Avril II rayon/cotton knit. This fabric is lighter in weight than my “store-bought” DvF dress. It is tightly knit, silky soft, and, like my “store-bought” dress, it cannot be “seen through,” making it easy to wear!

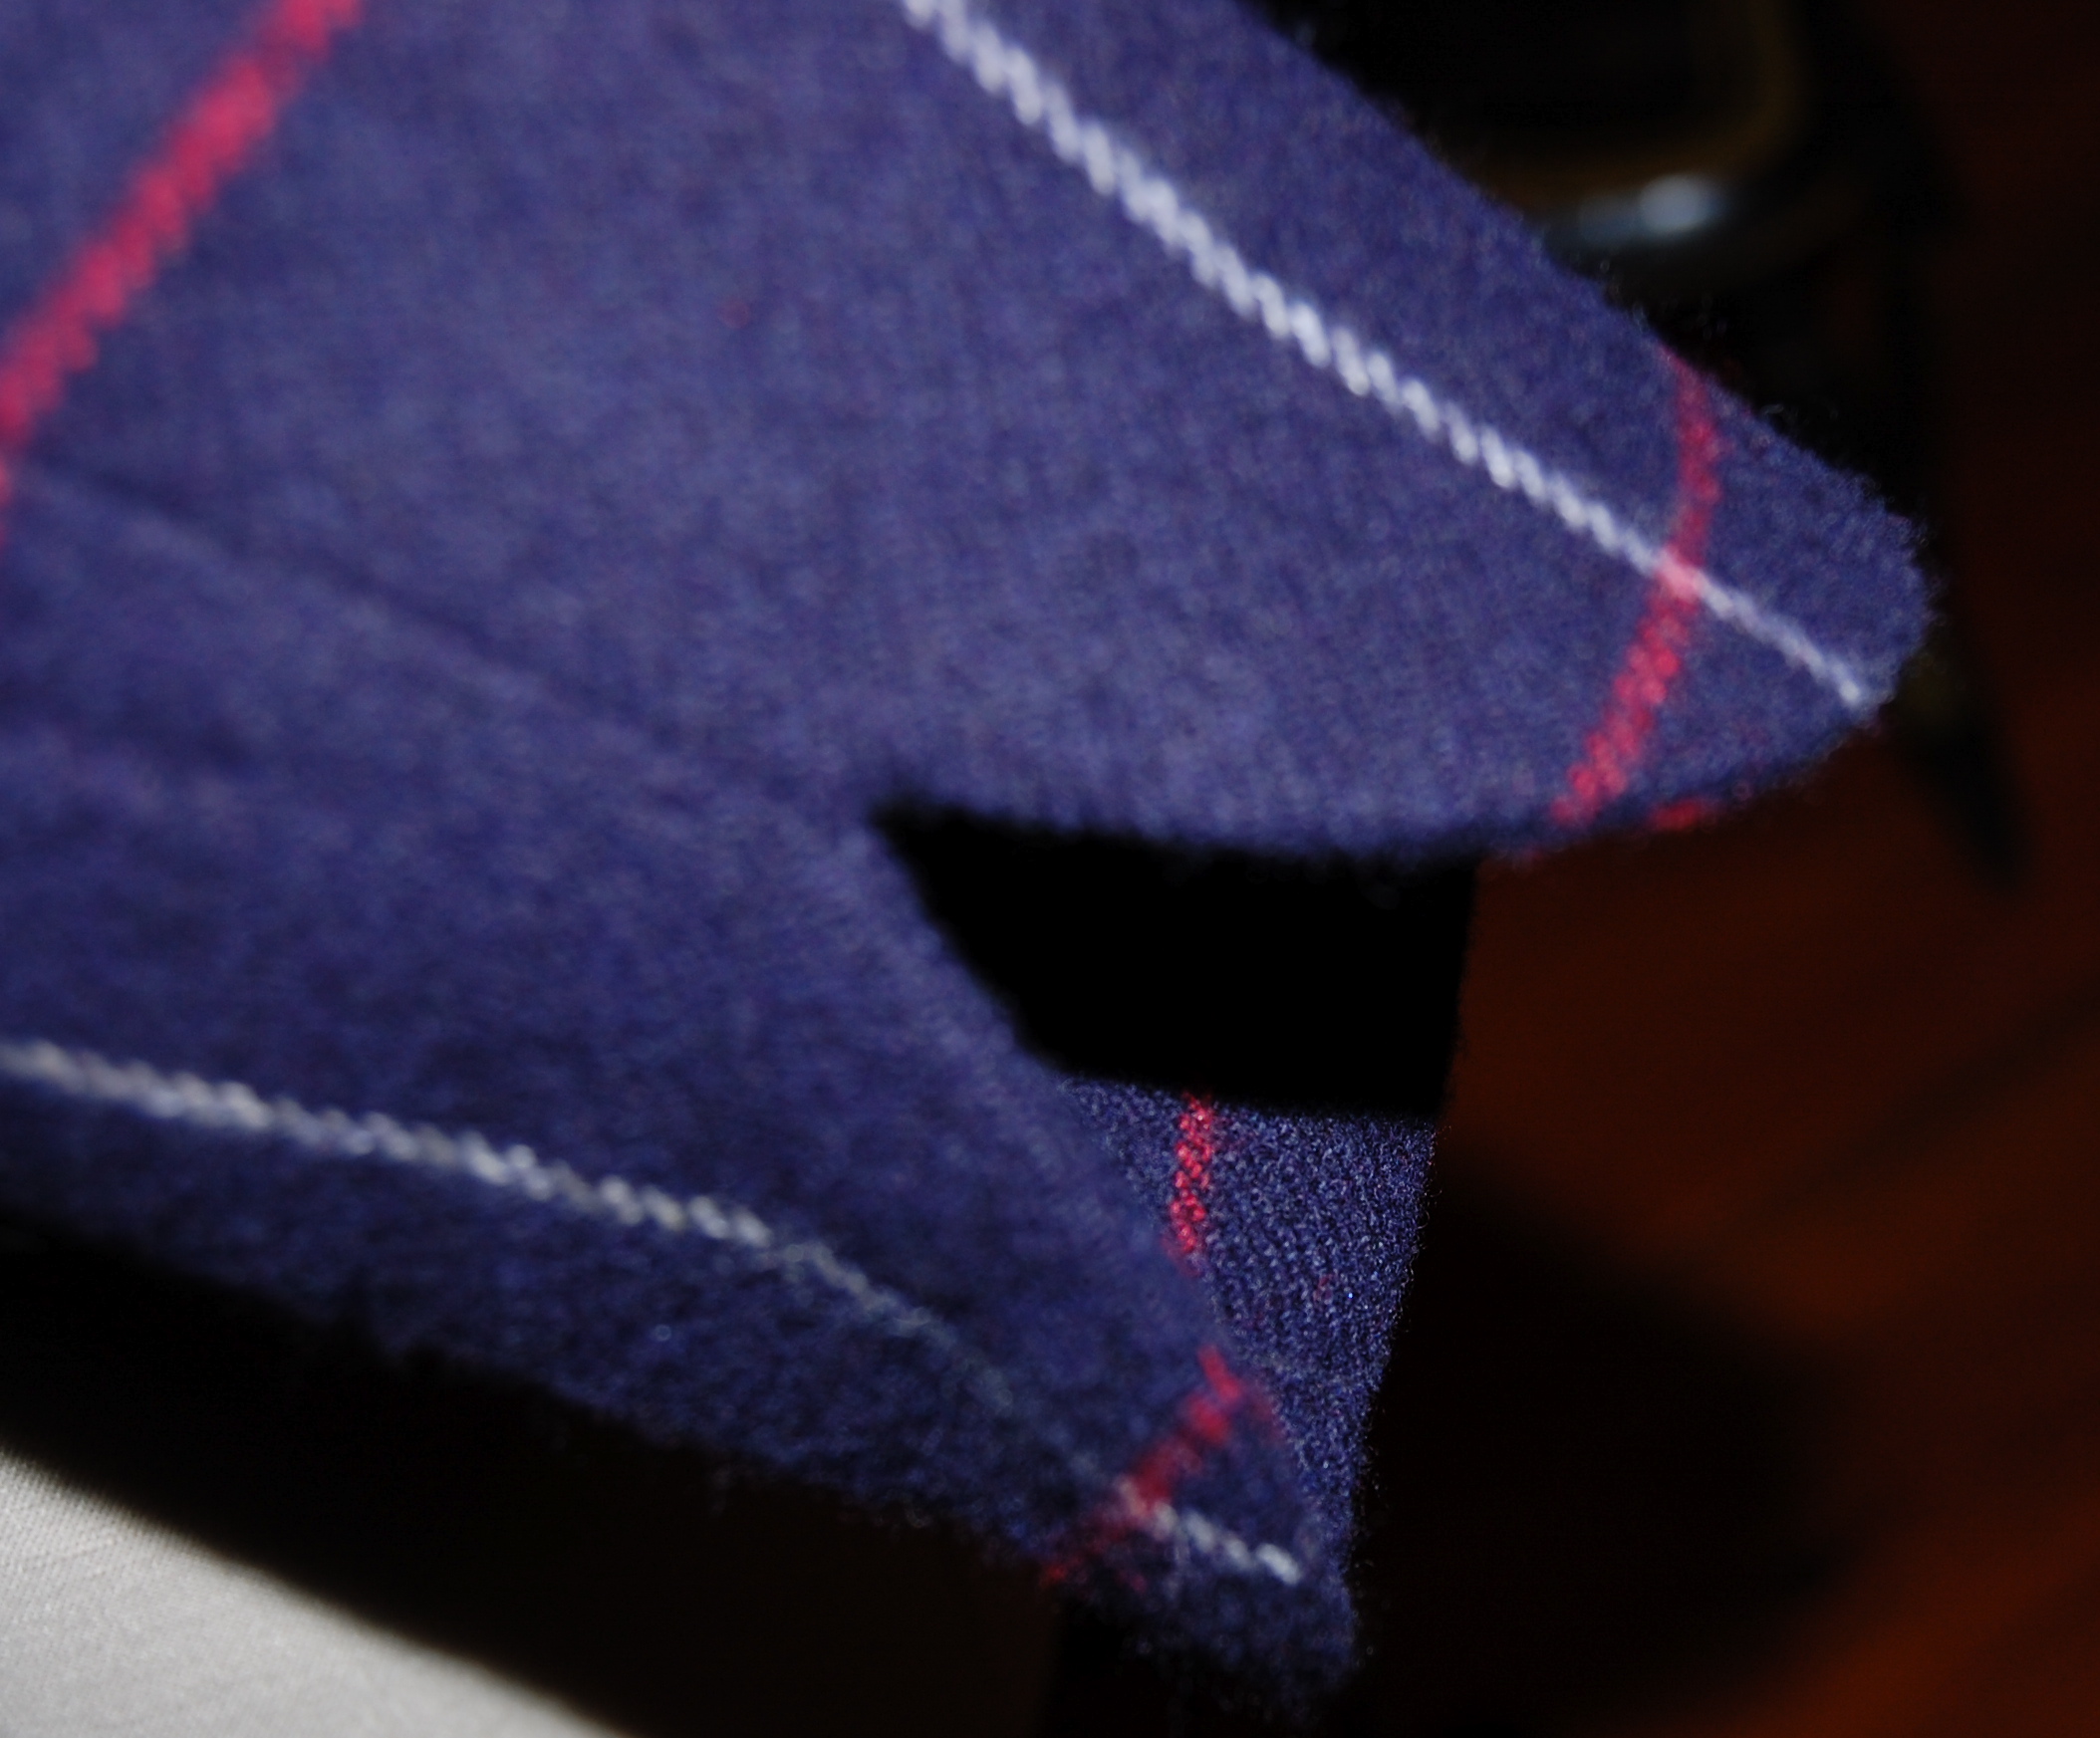
Along the selvedge – the mark of an authentic DvF print!
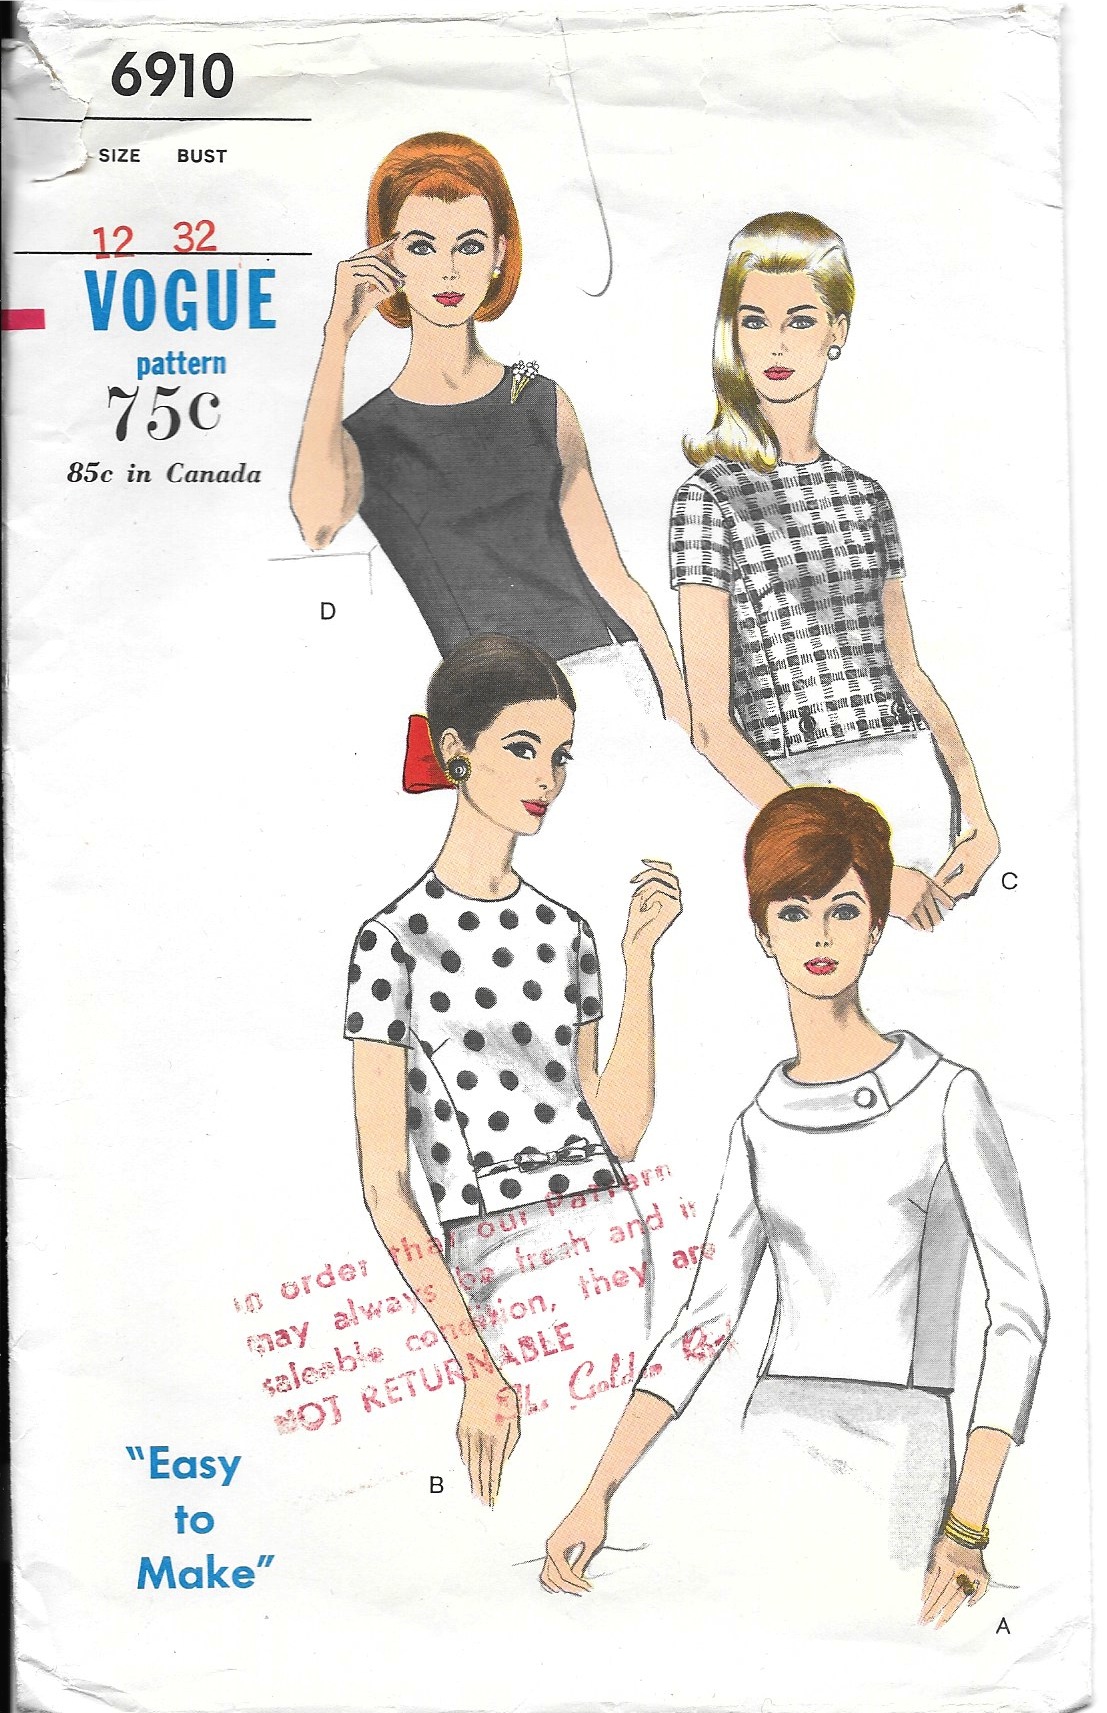
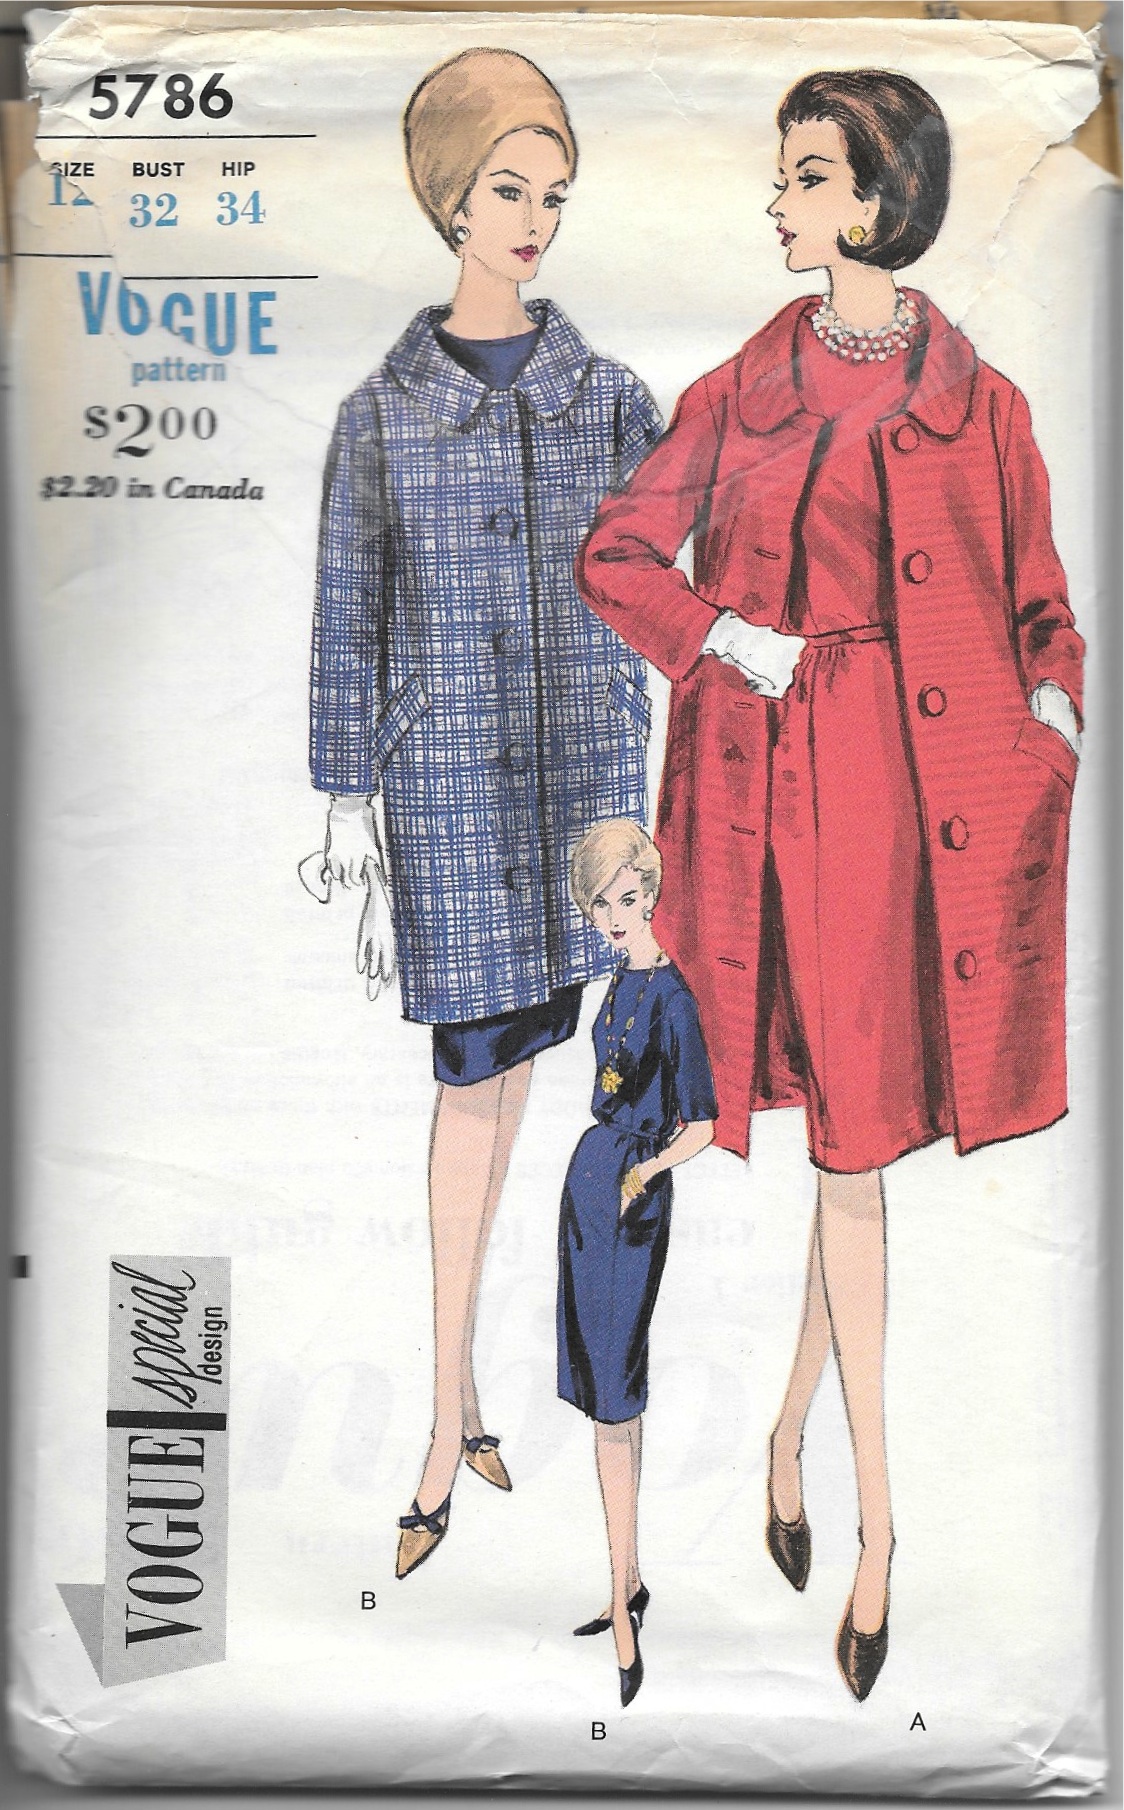
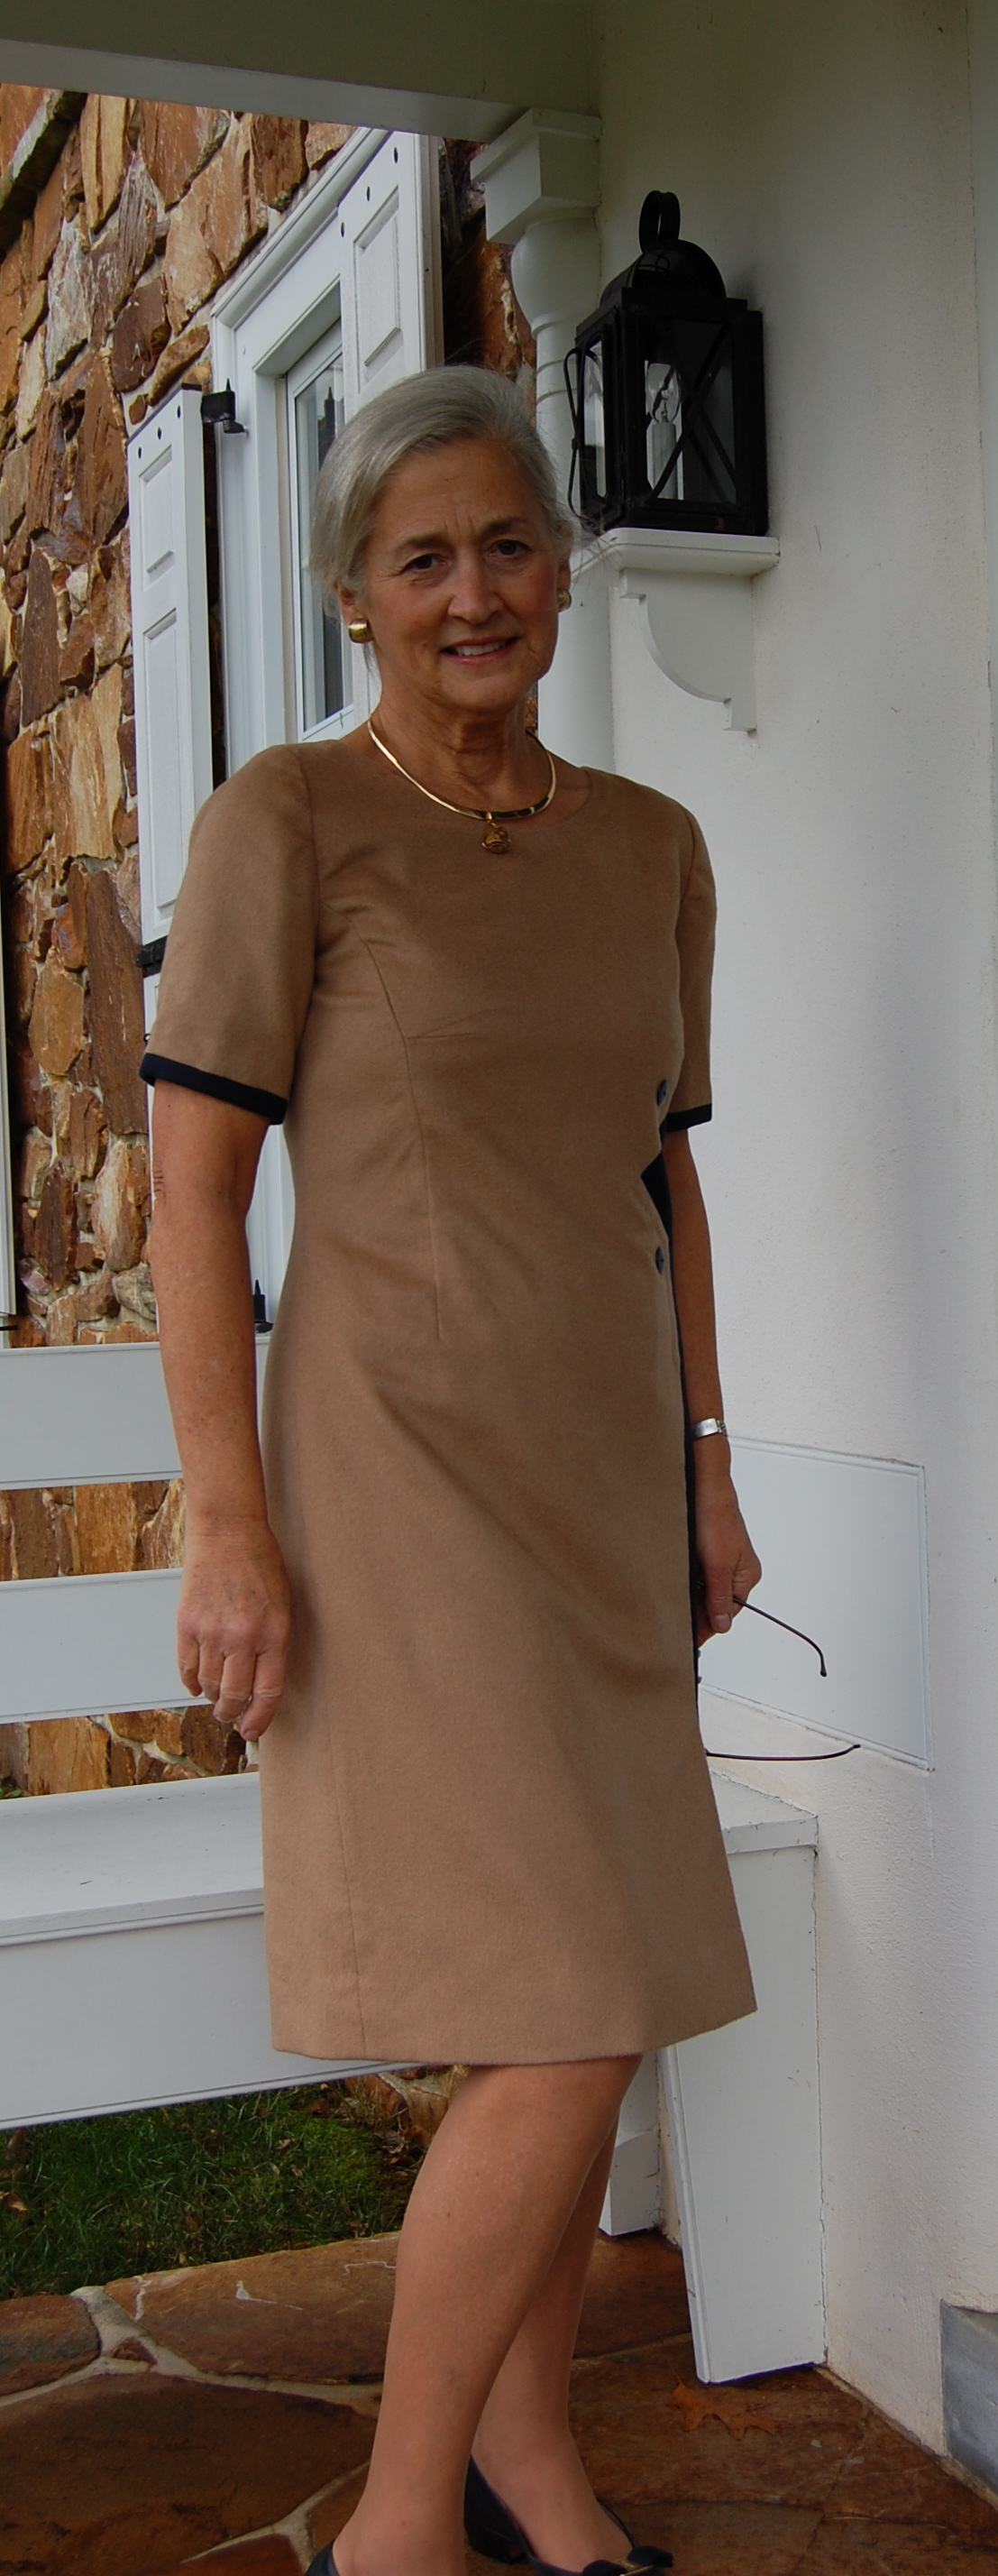
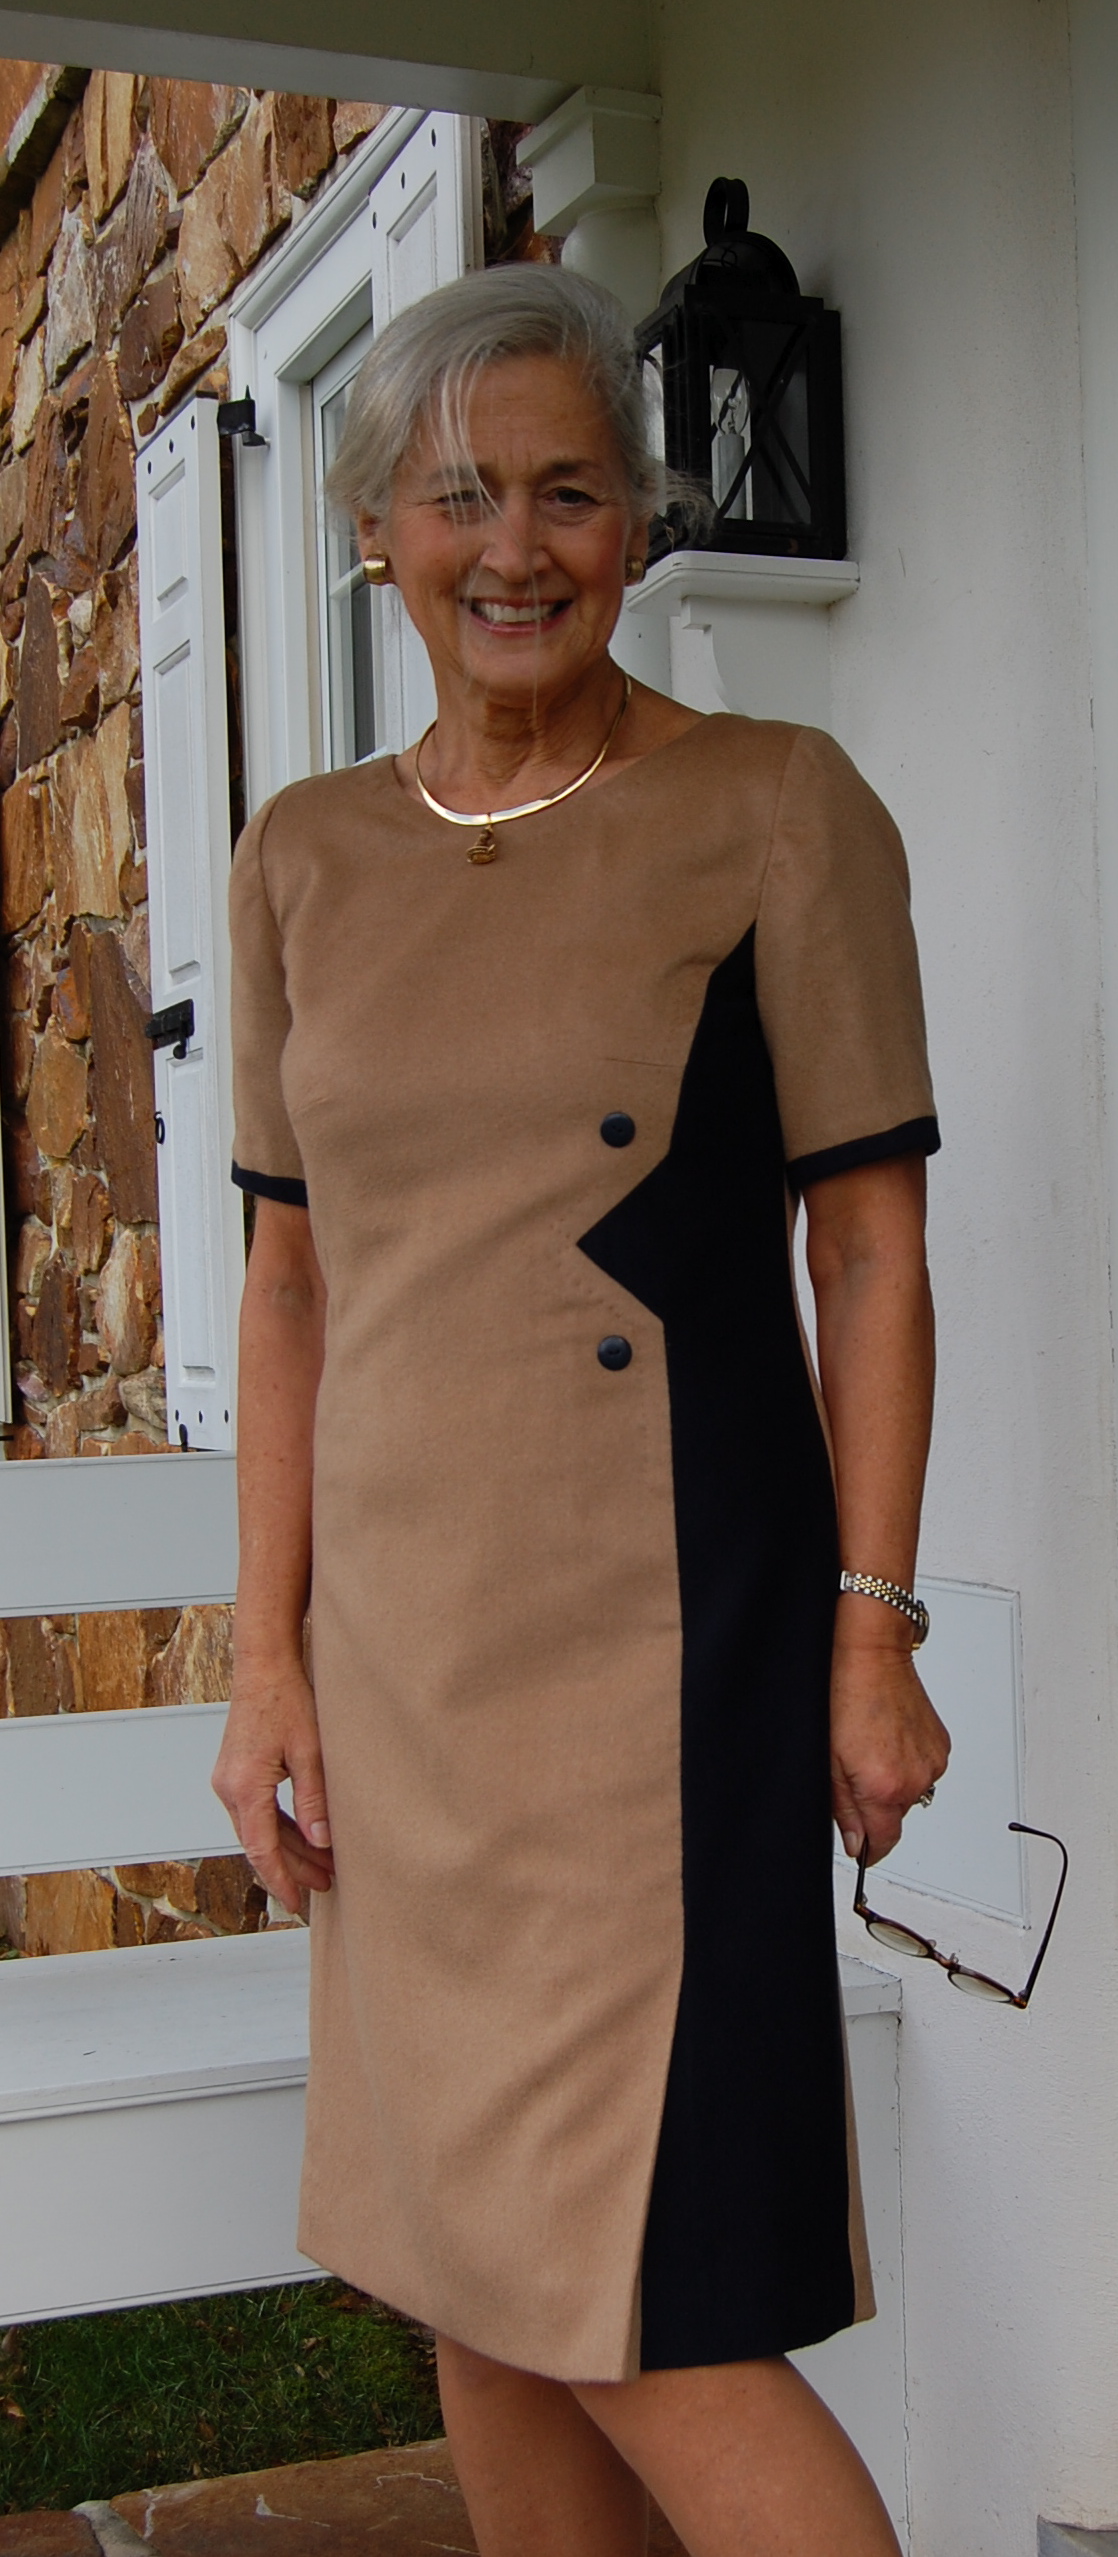
I had already made a dress from this pattern three years ago. I have enjoyed wearing it, although the fabric is a bit heavy for the design. So I thought it would be good to make it again, this time in my authentic DvF print.

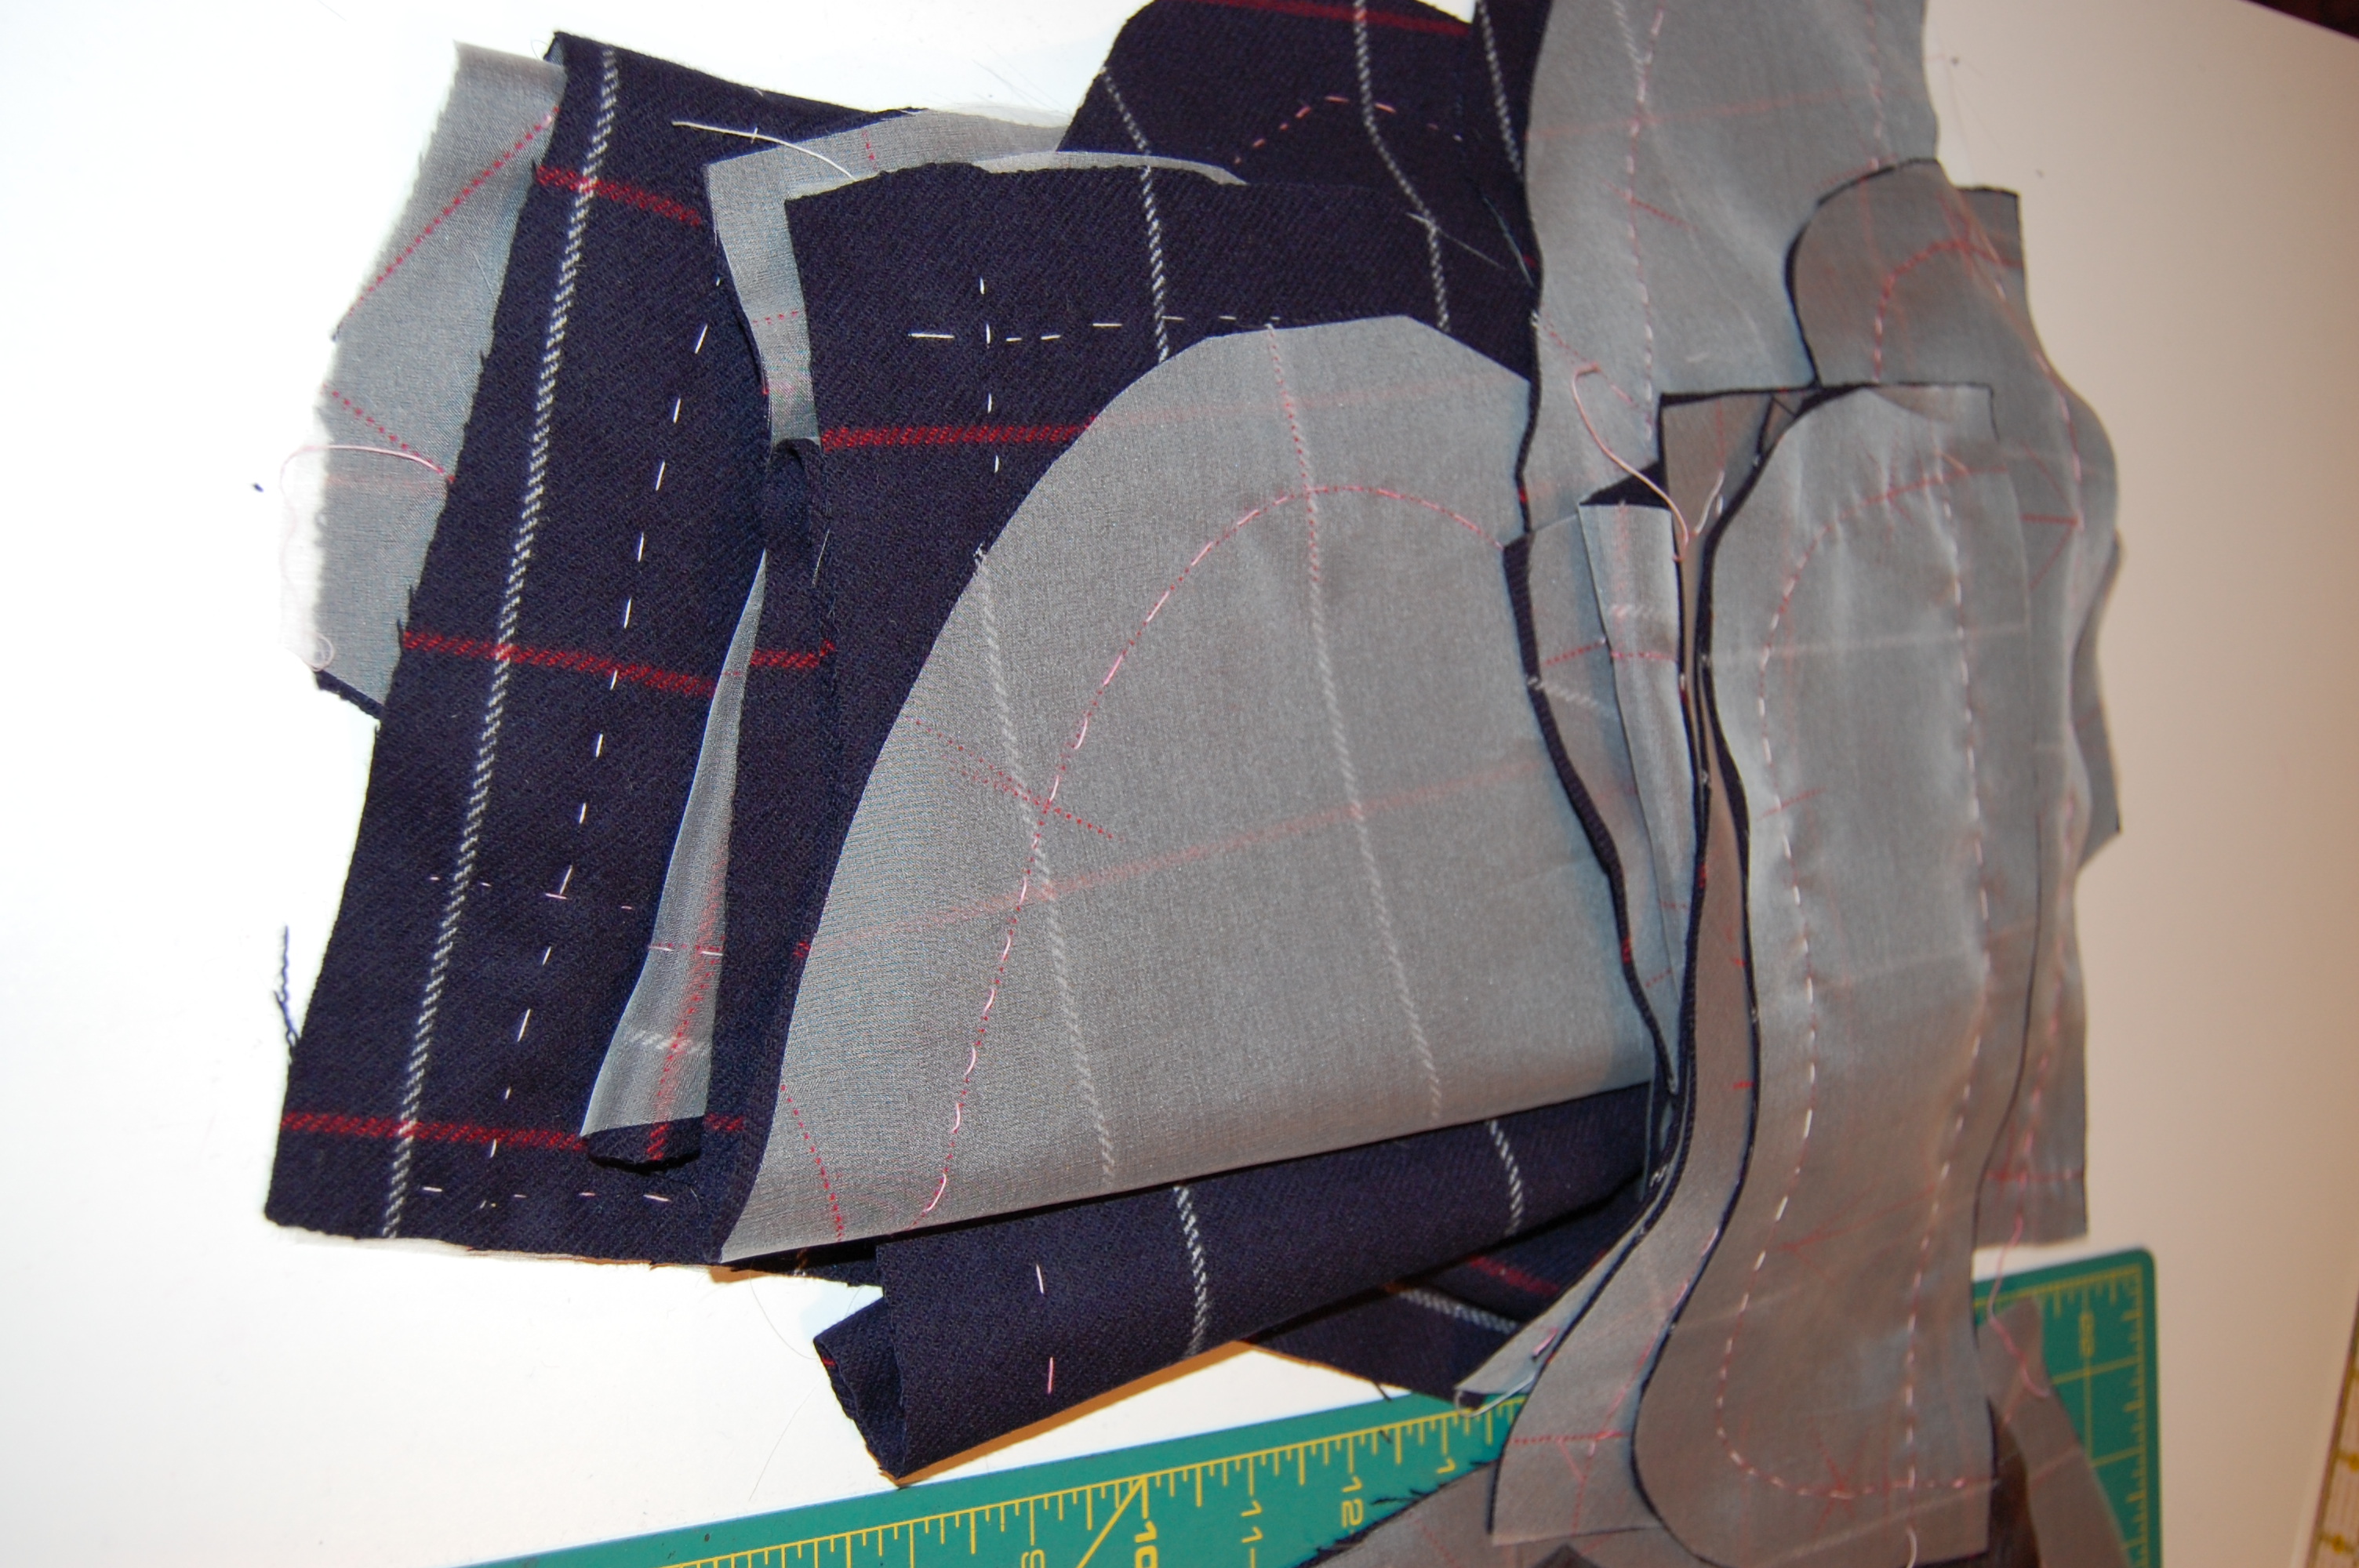
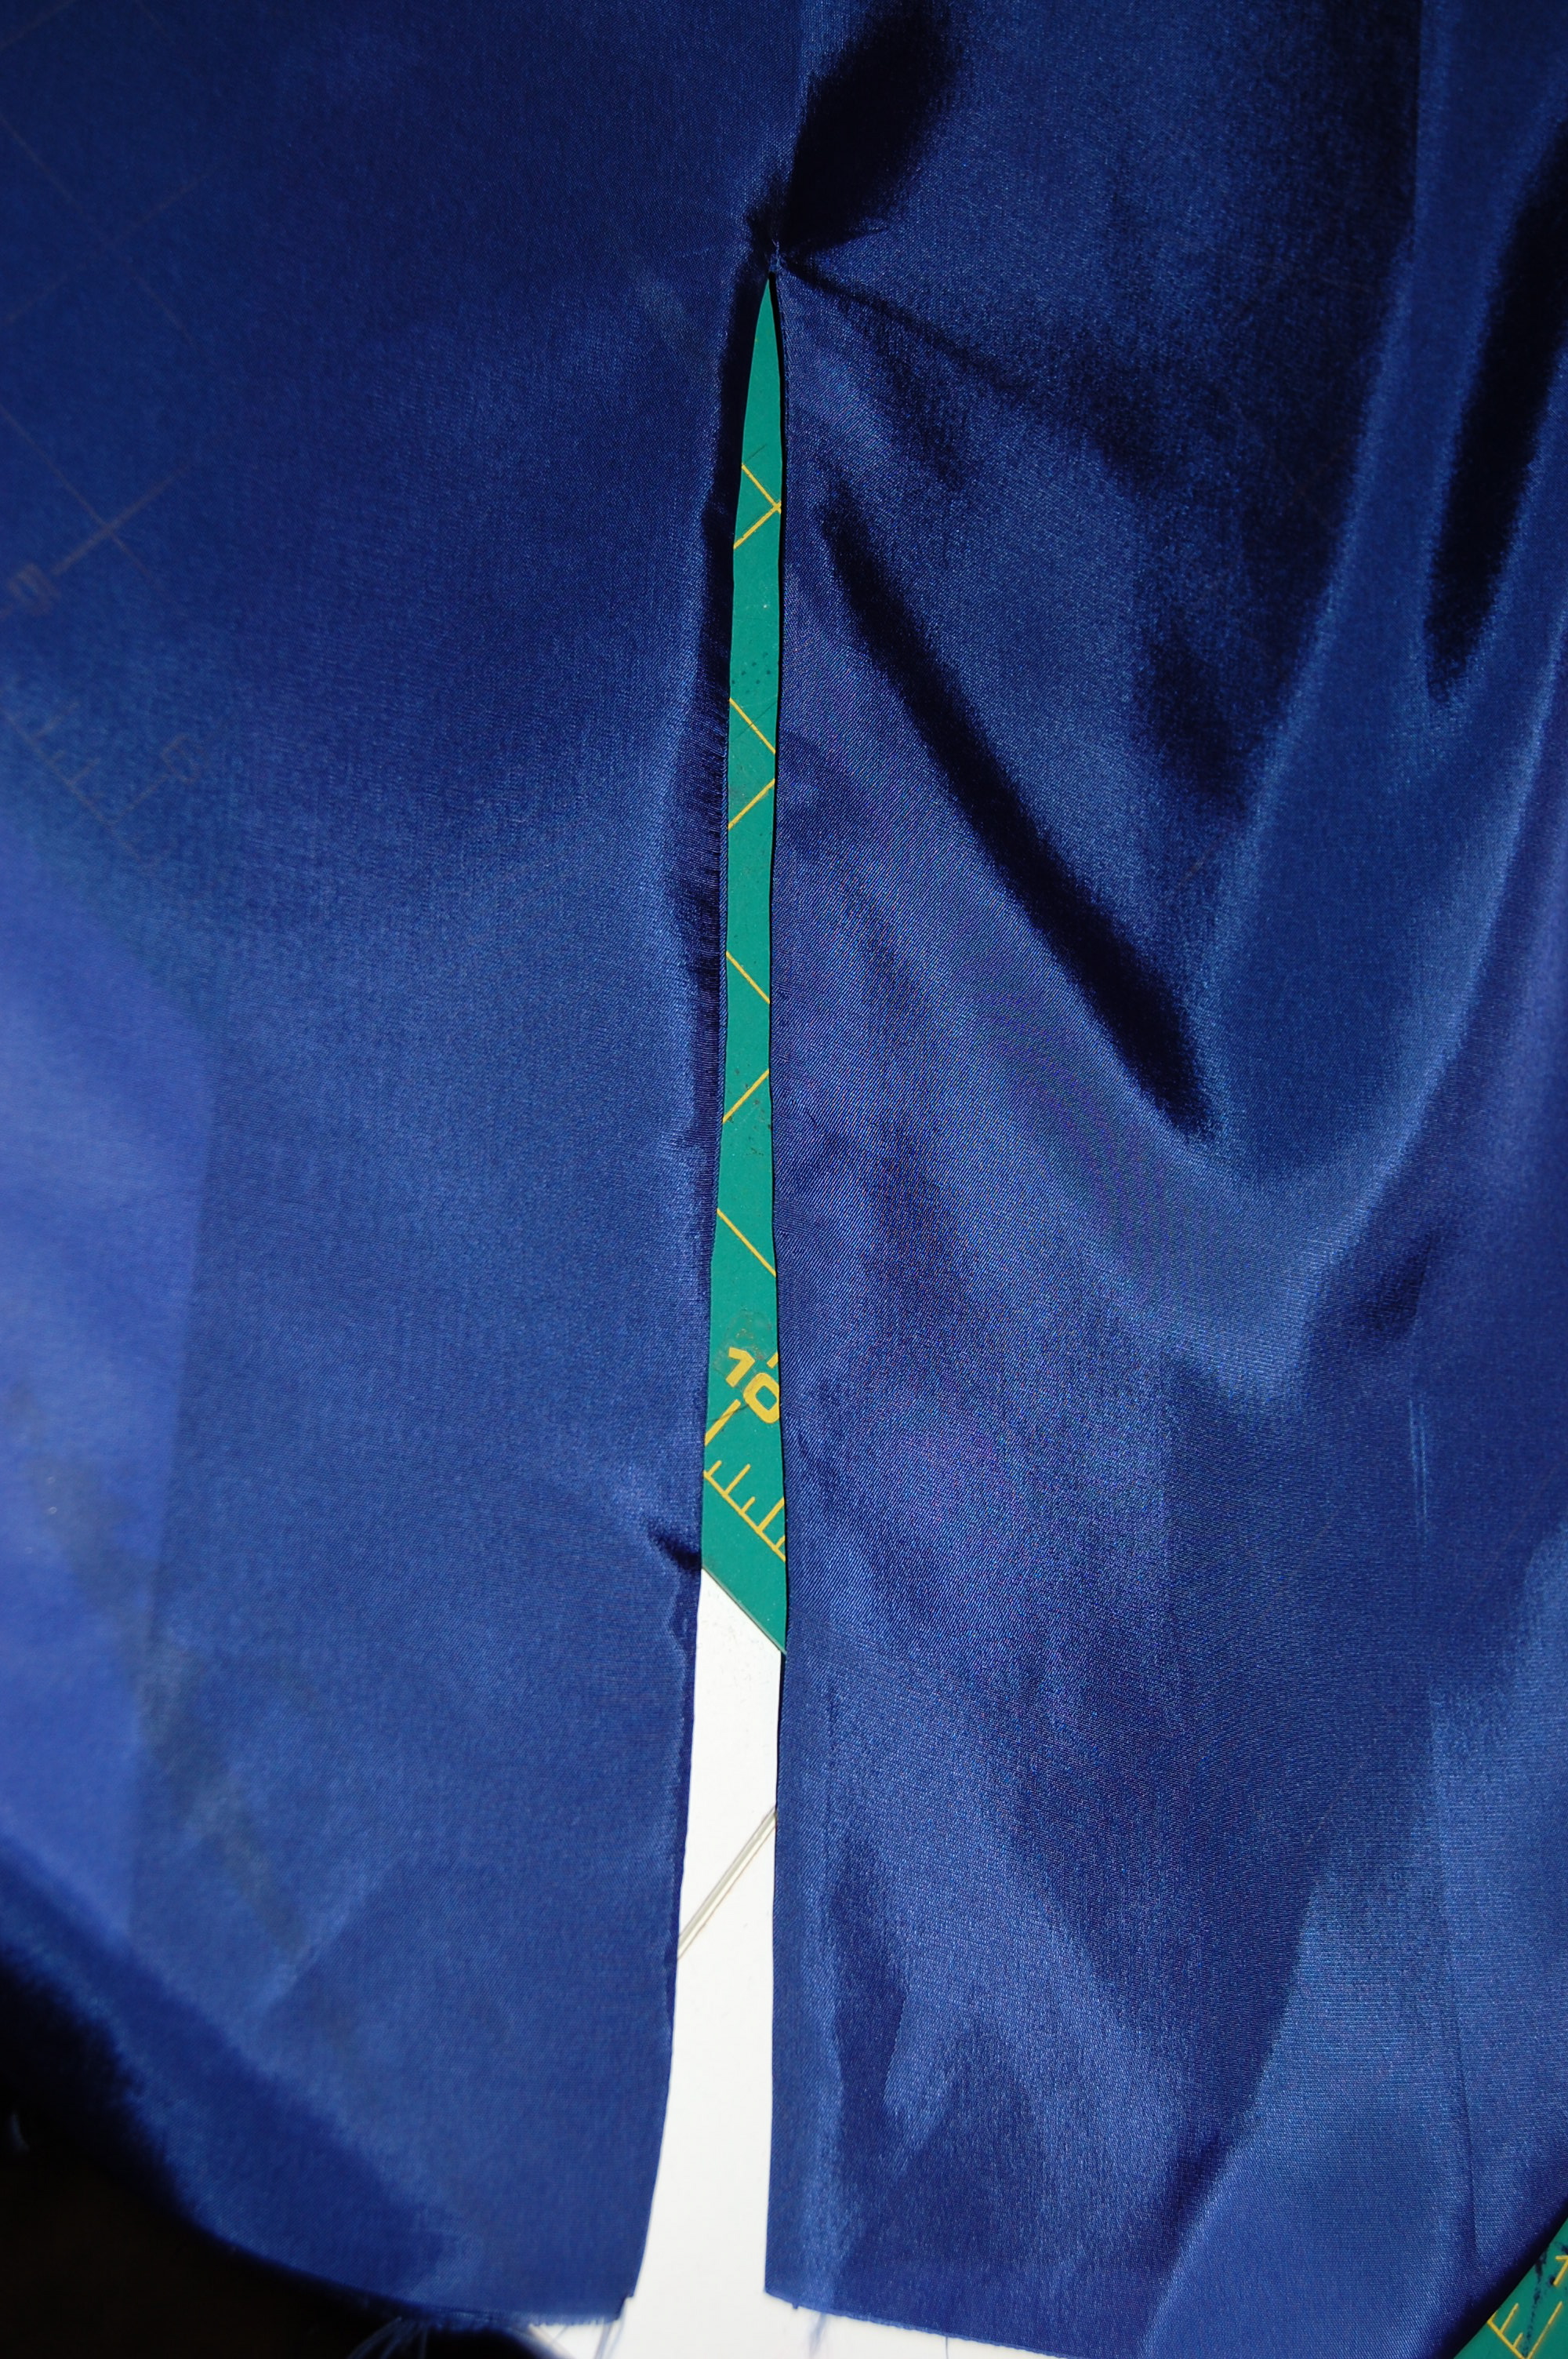
I also determined that I had just enough fabric to squeak out this dress in the short sleeveless version. These wrap dresses take an enormous amount of fabric! It makes sense when you think about the overlapping necessary to make the dress wearable. When I spread out my fabric, I thought to myself, “Oh, I have lots of this – no problem!” I should have learned by now not to think such things! It quickly became apparent that I would have to be creative (again!) in my lay-out if I were to be able to make this dress.
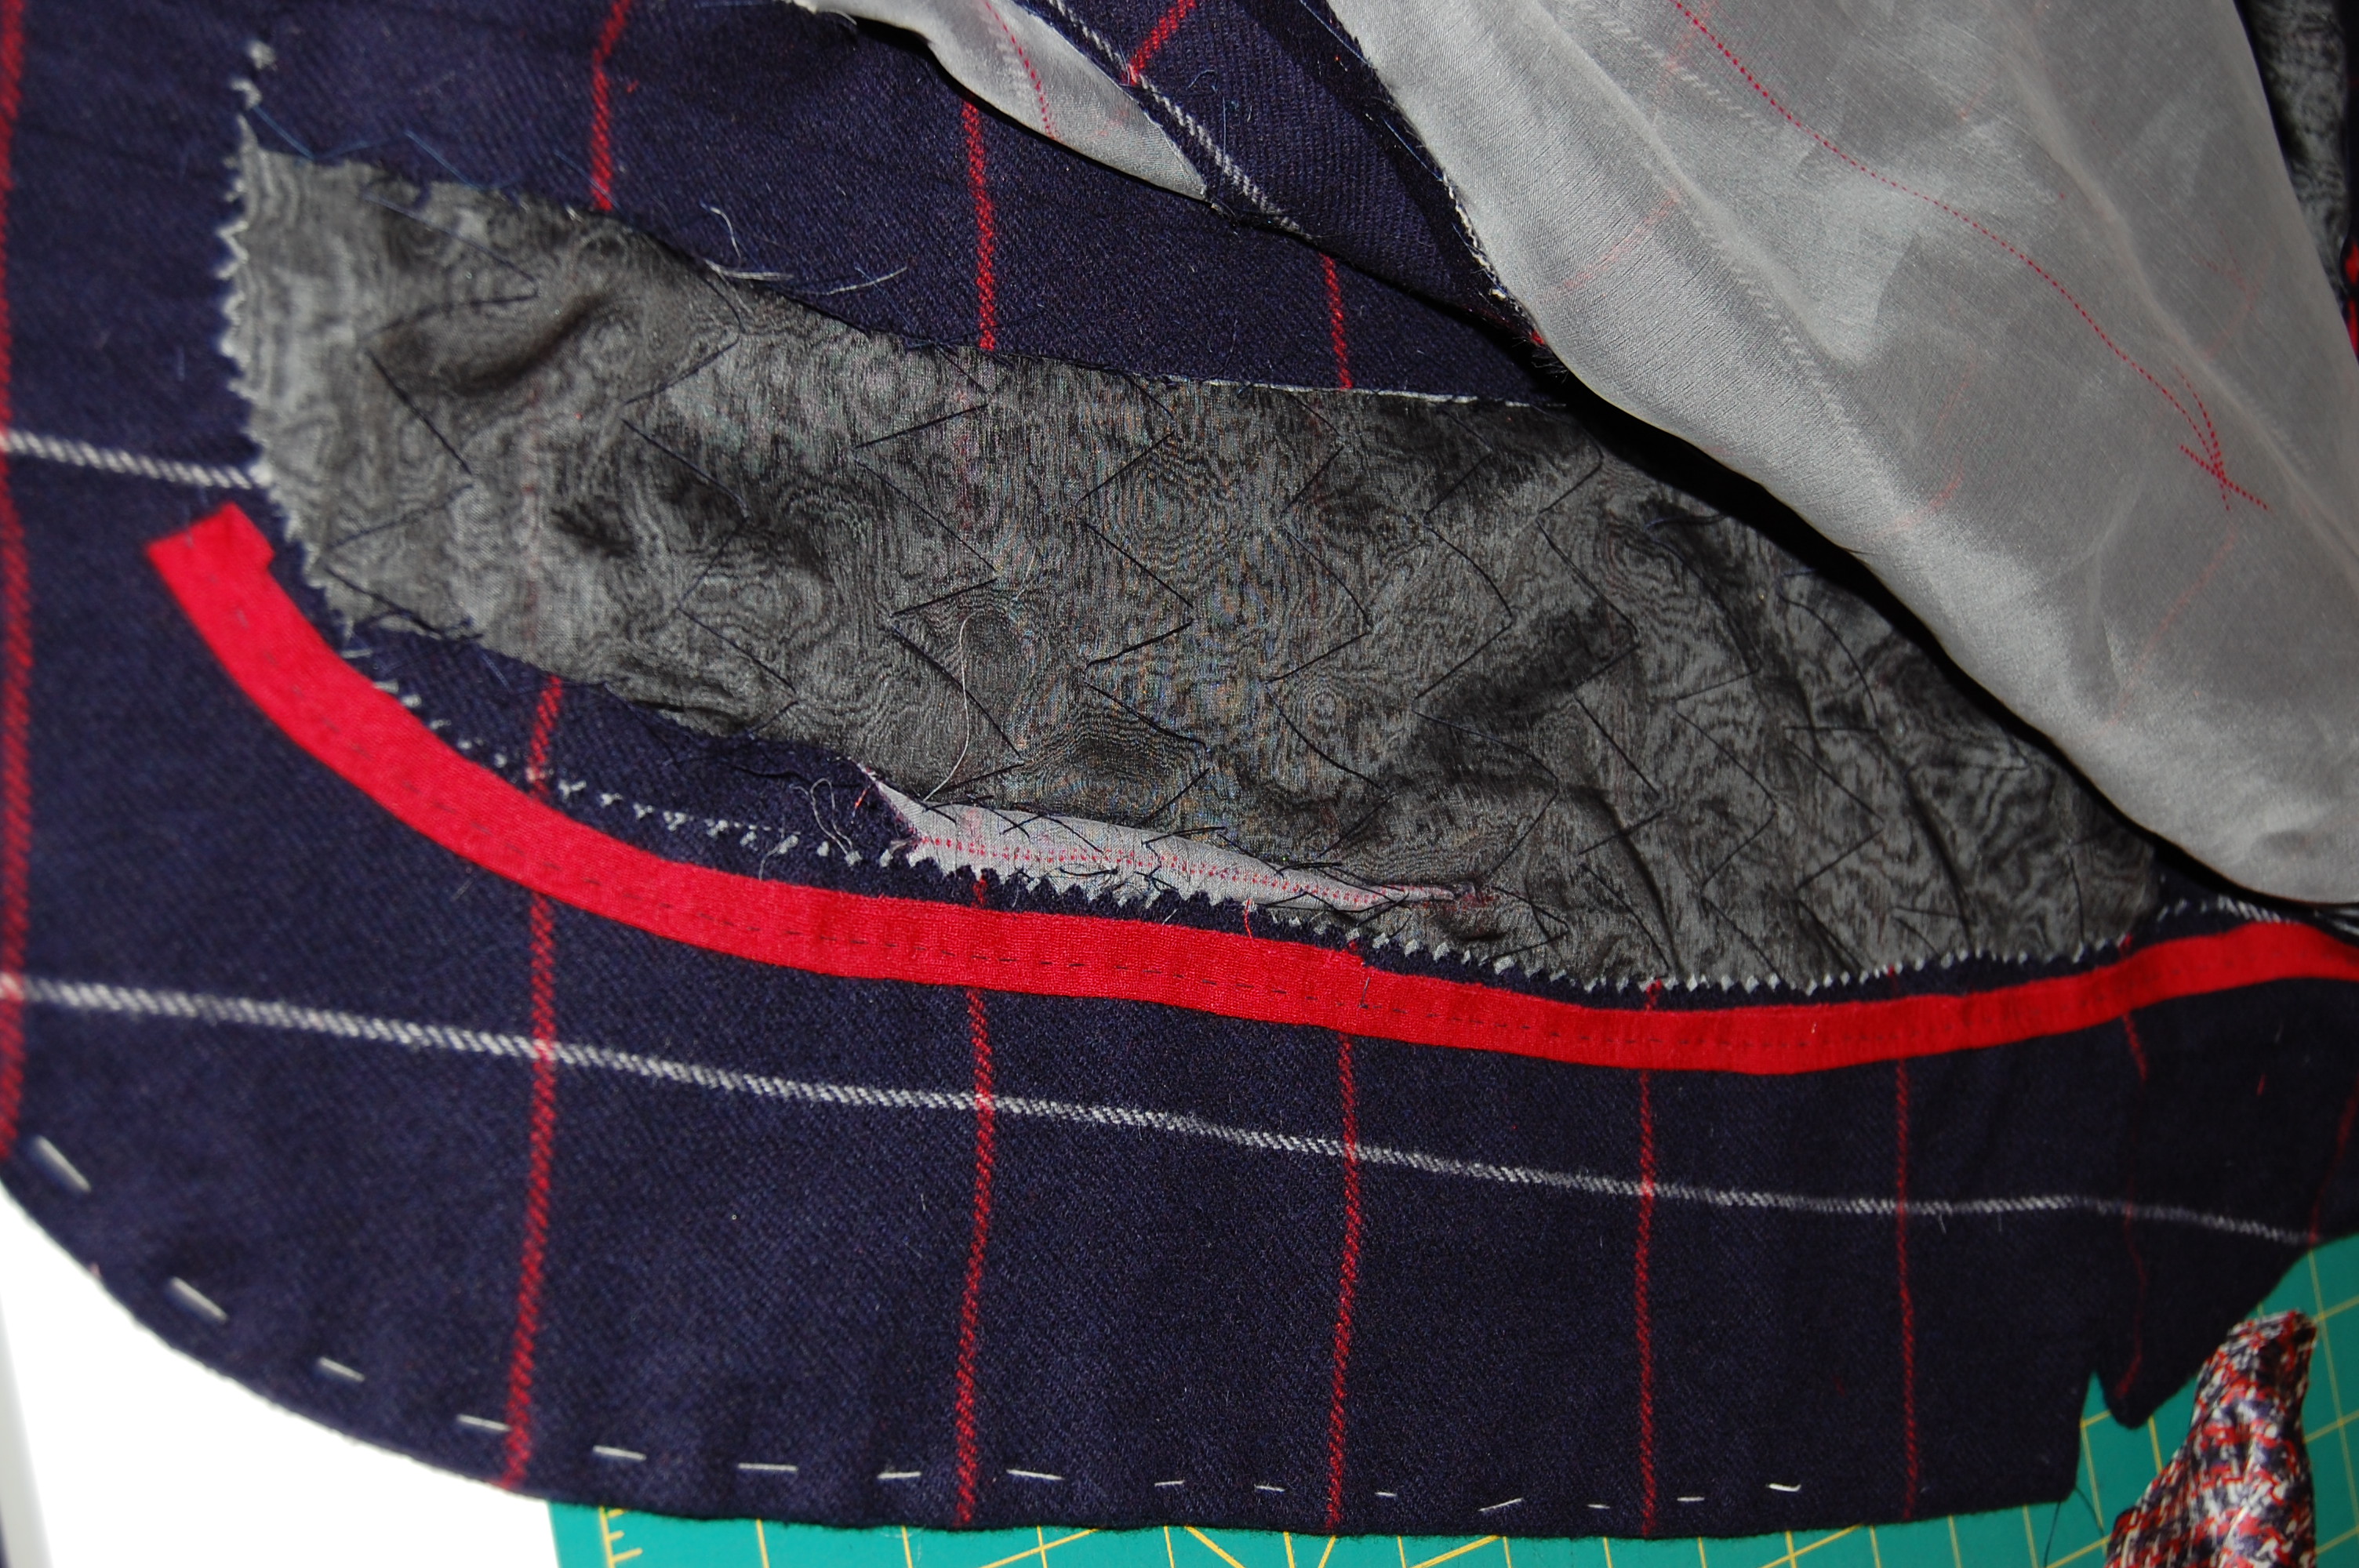
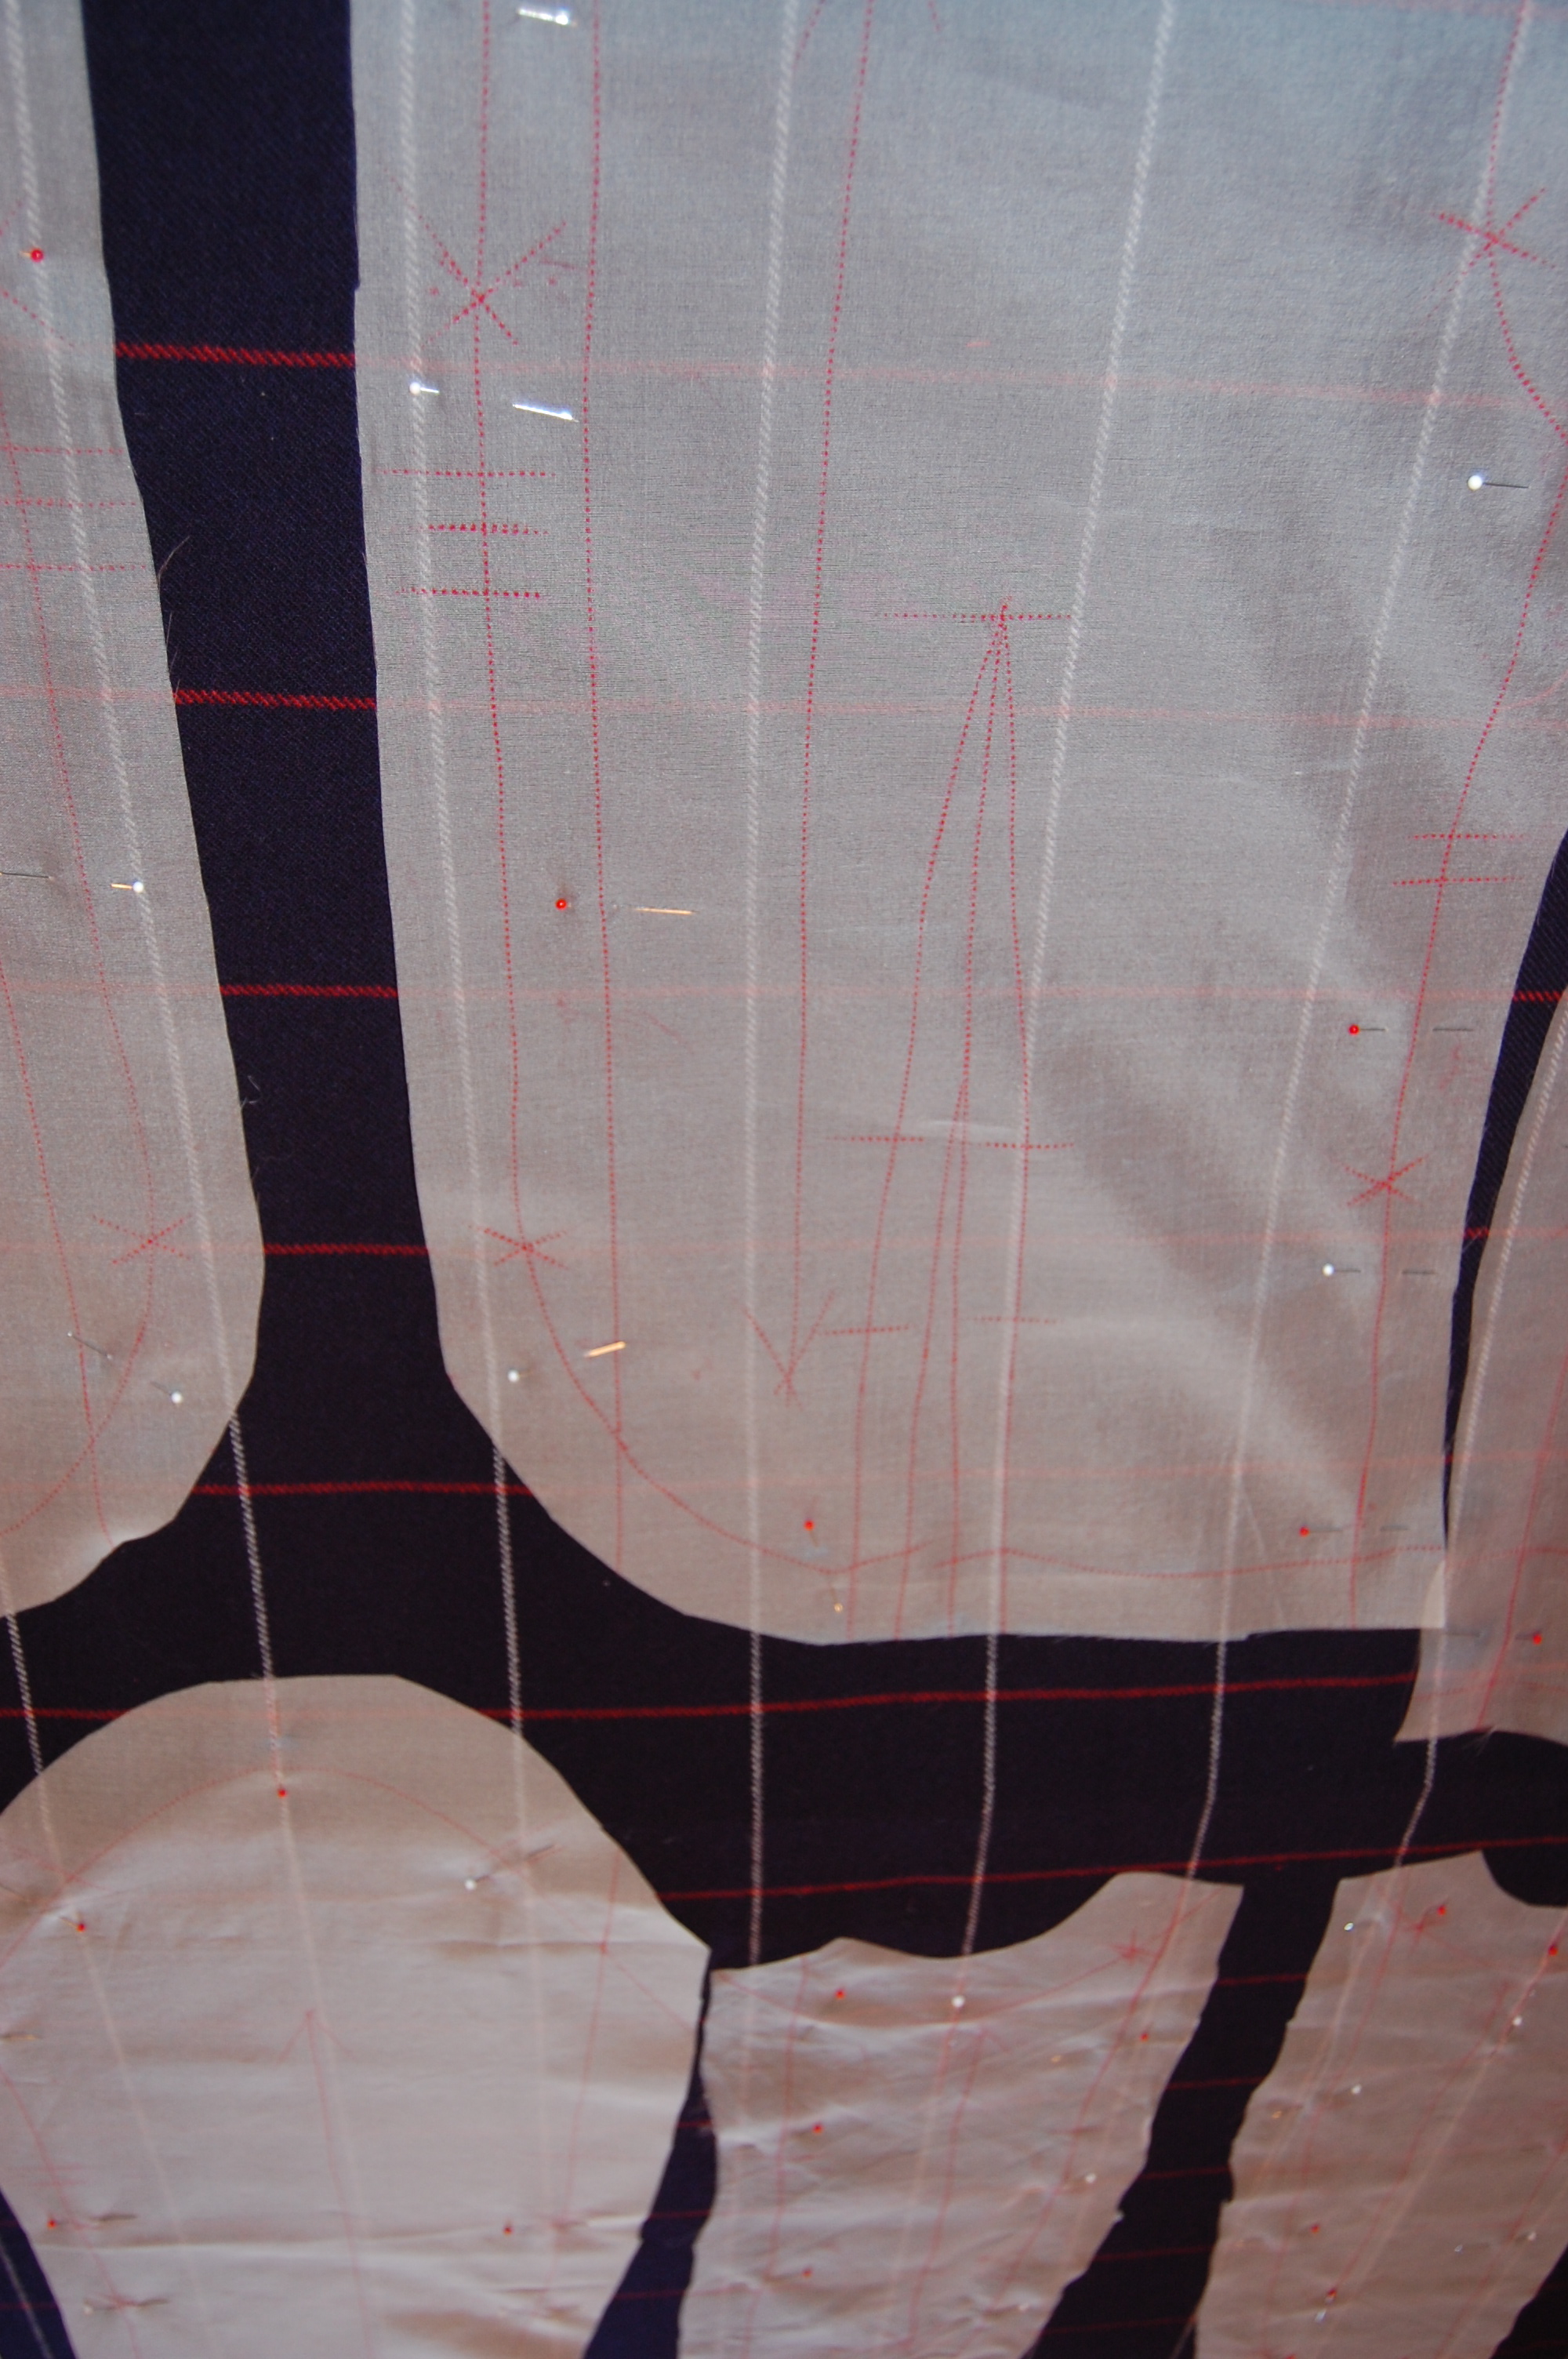
First I made a muslin pattern with separate pieces for the reverses. This was so I could lay the pattern pieces out singly, not folded. Ever since sewing with Susan Khalje’s couture techniques, this is how I like to cut my fabric anyway, so I am accustomed to this extra step. But this time, I cut off the seam allowances (except on the long belt pieces), just as you would do when you are making a classic French jacket.
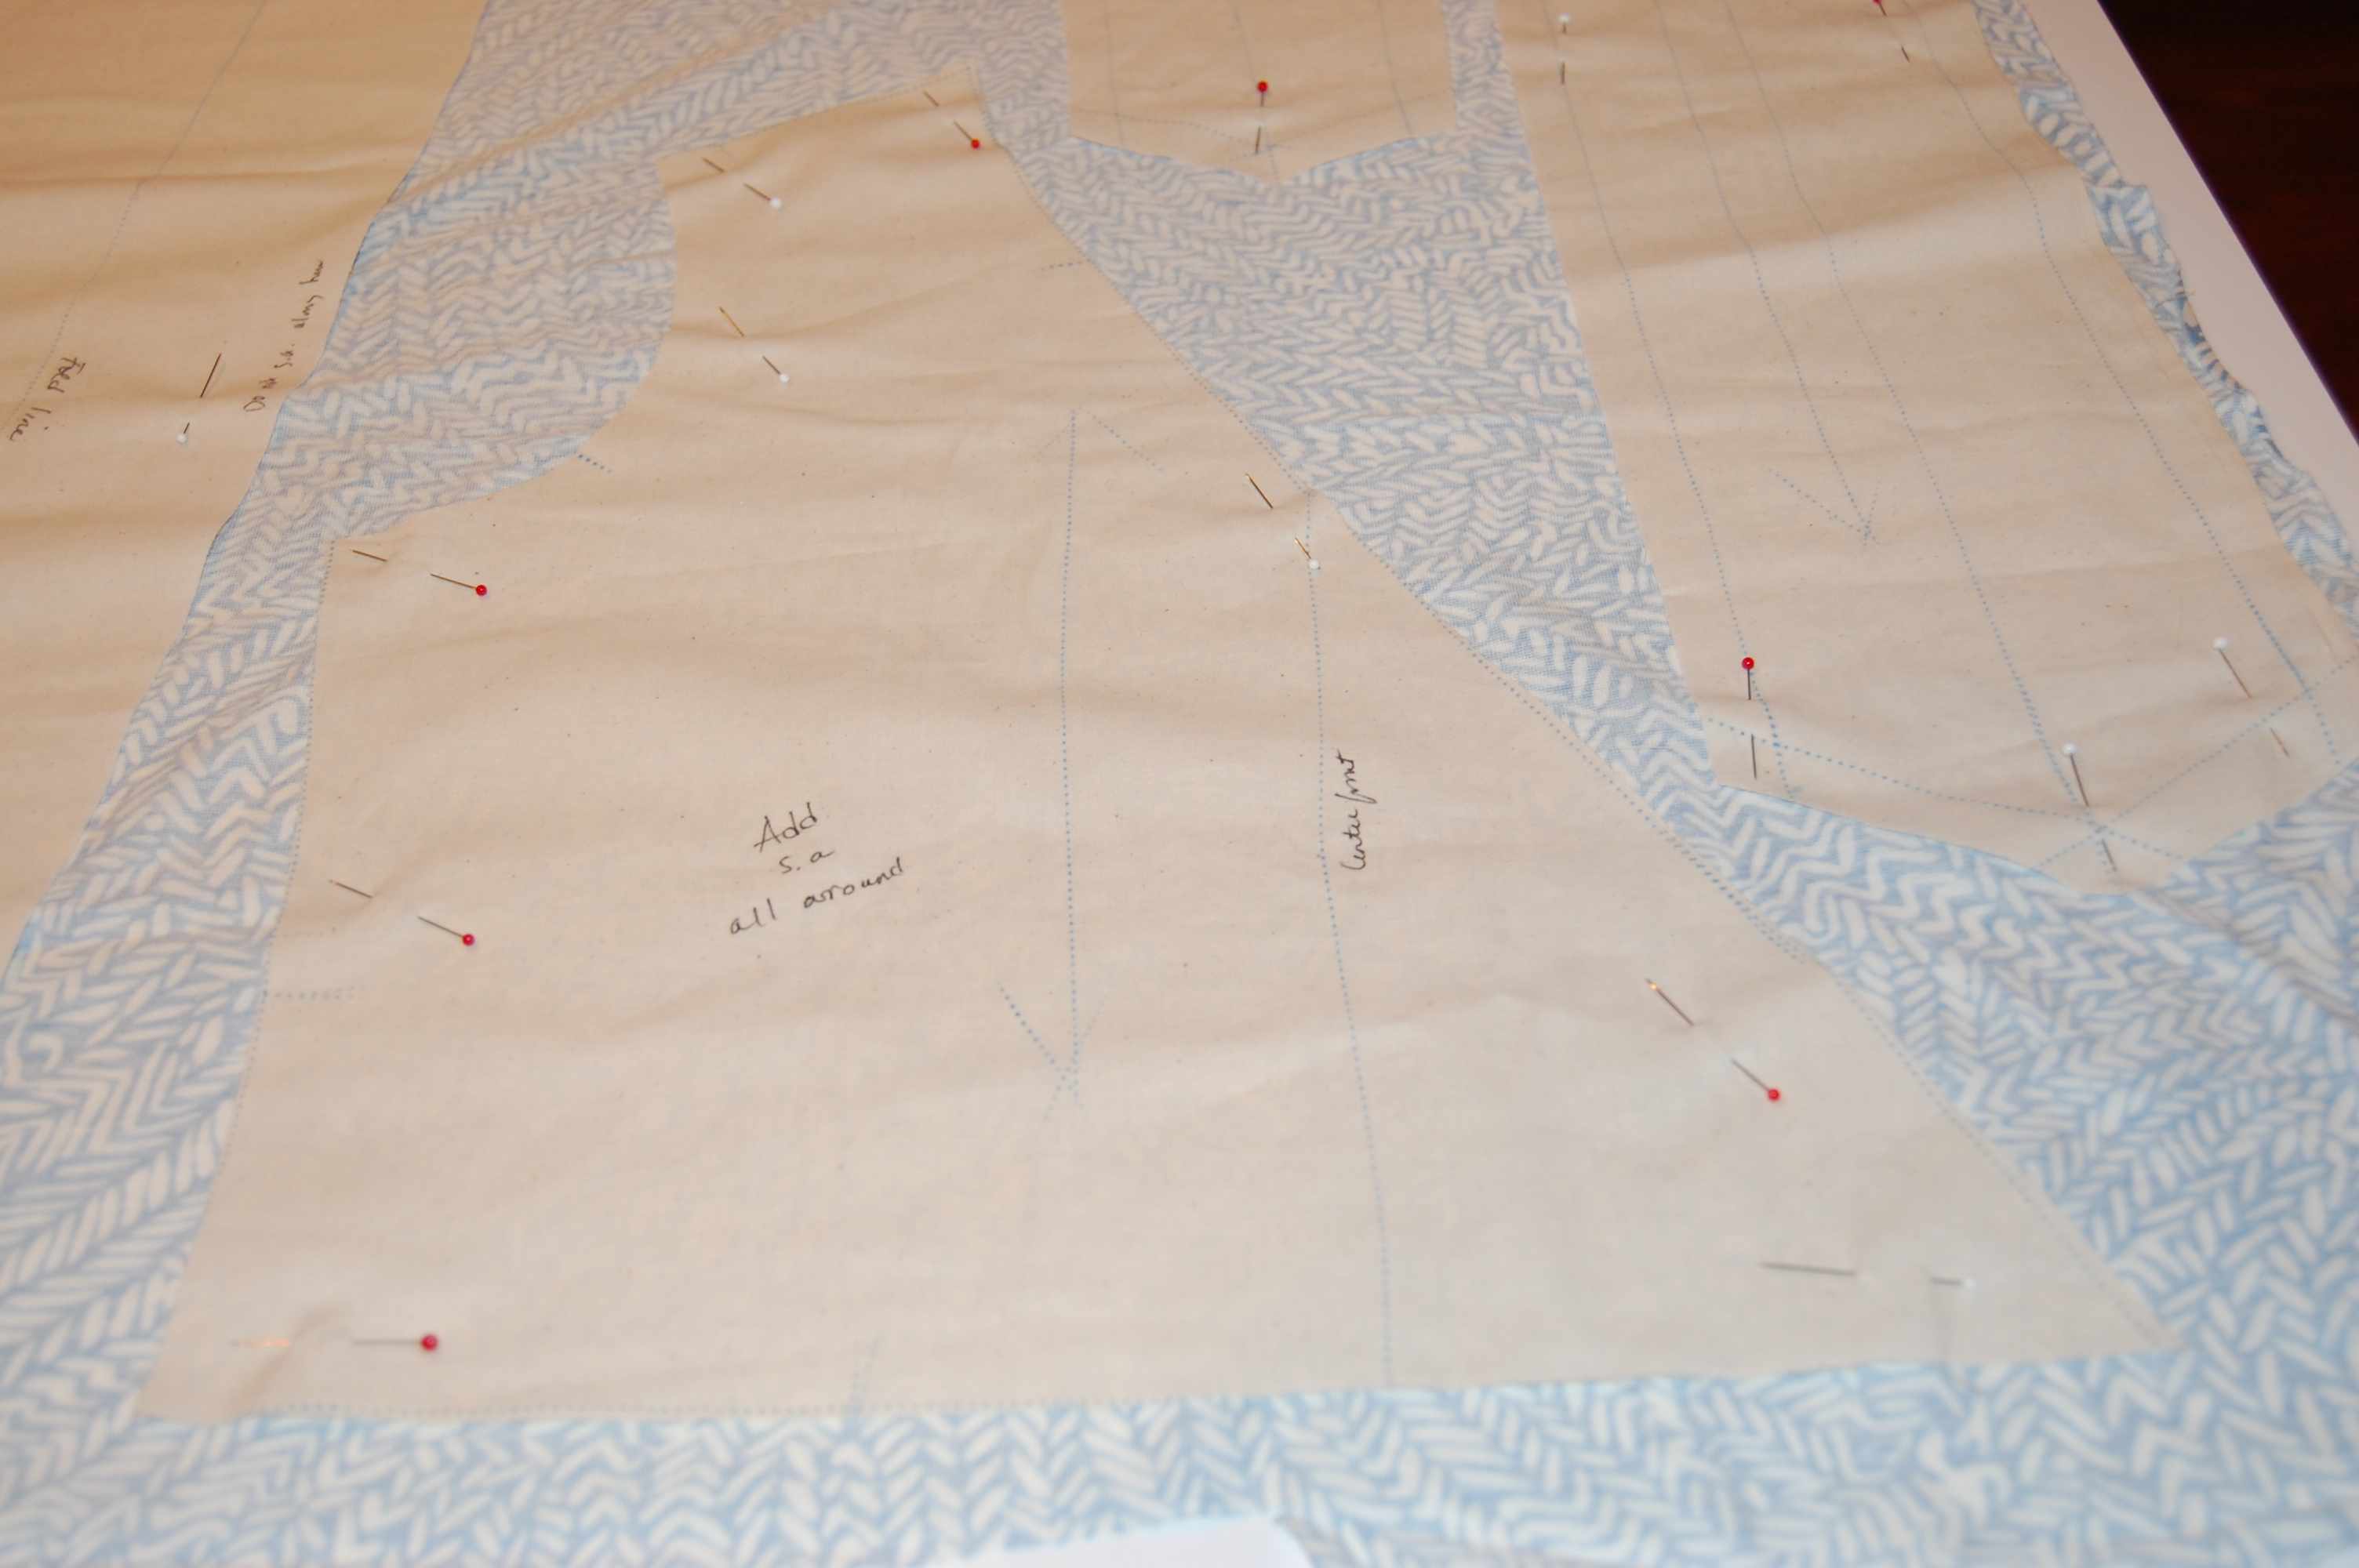
Showing a partial lay-out
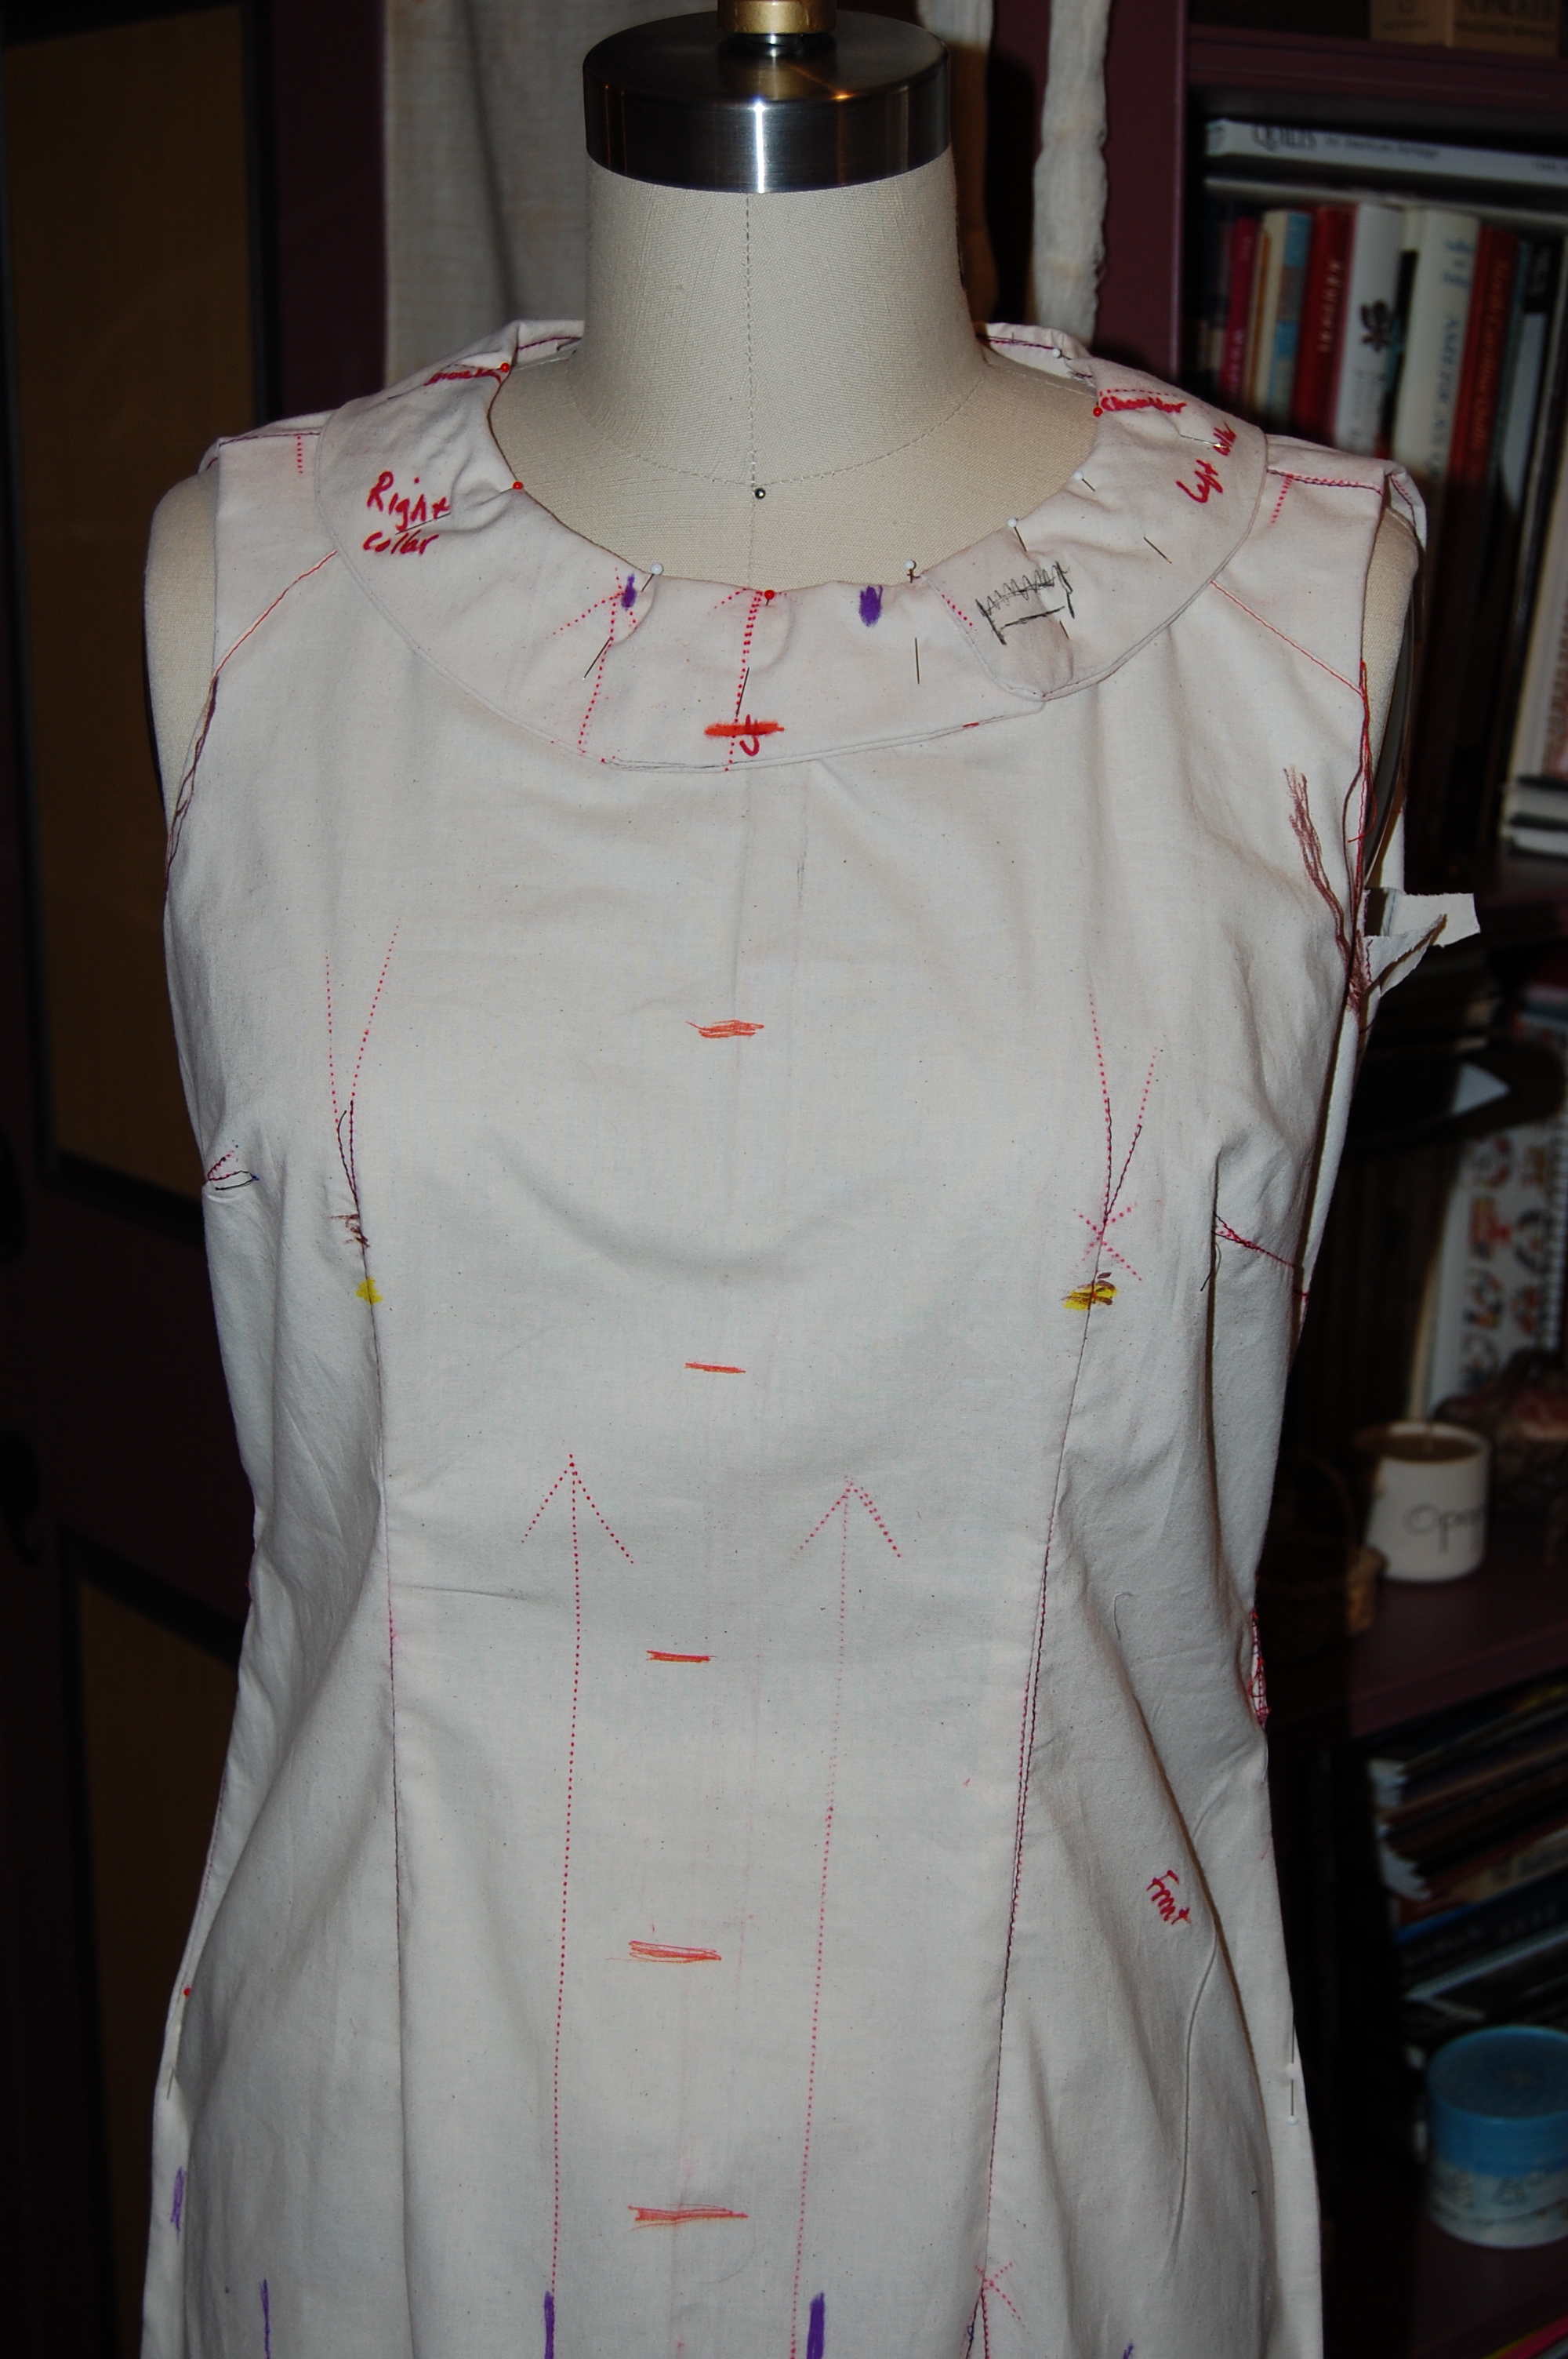
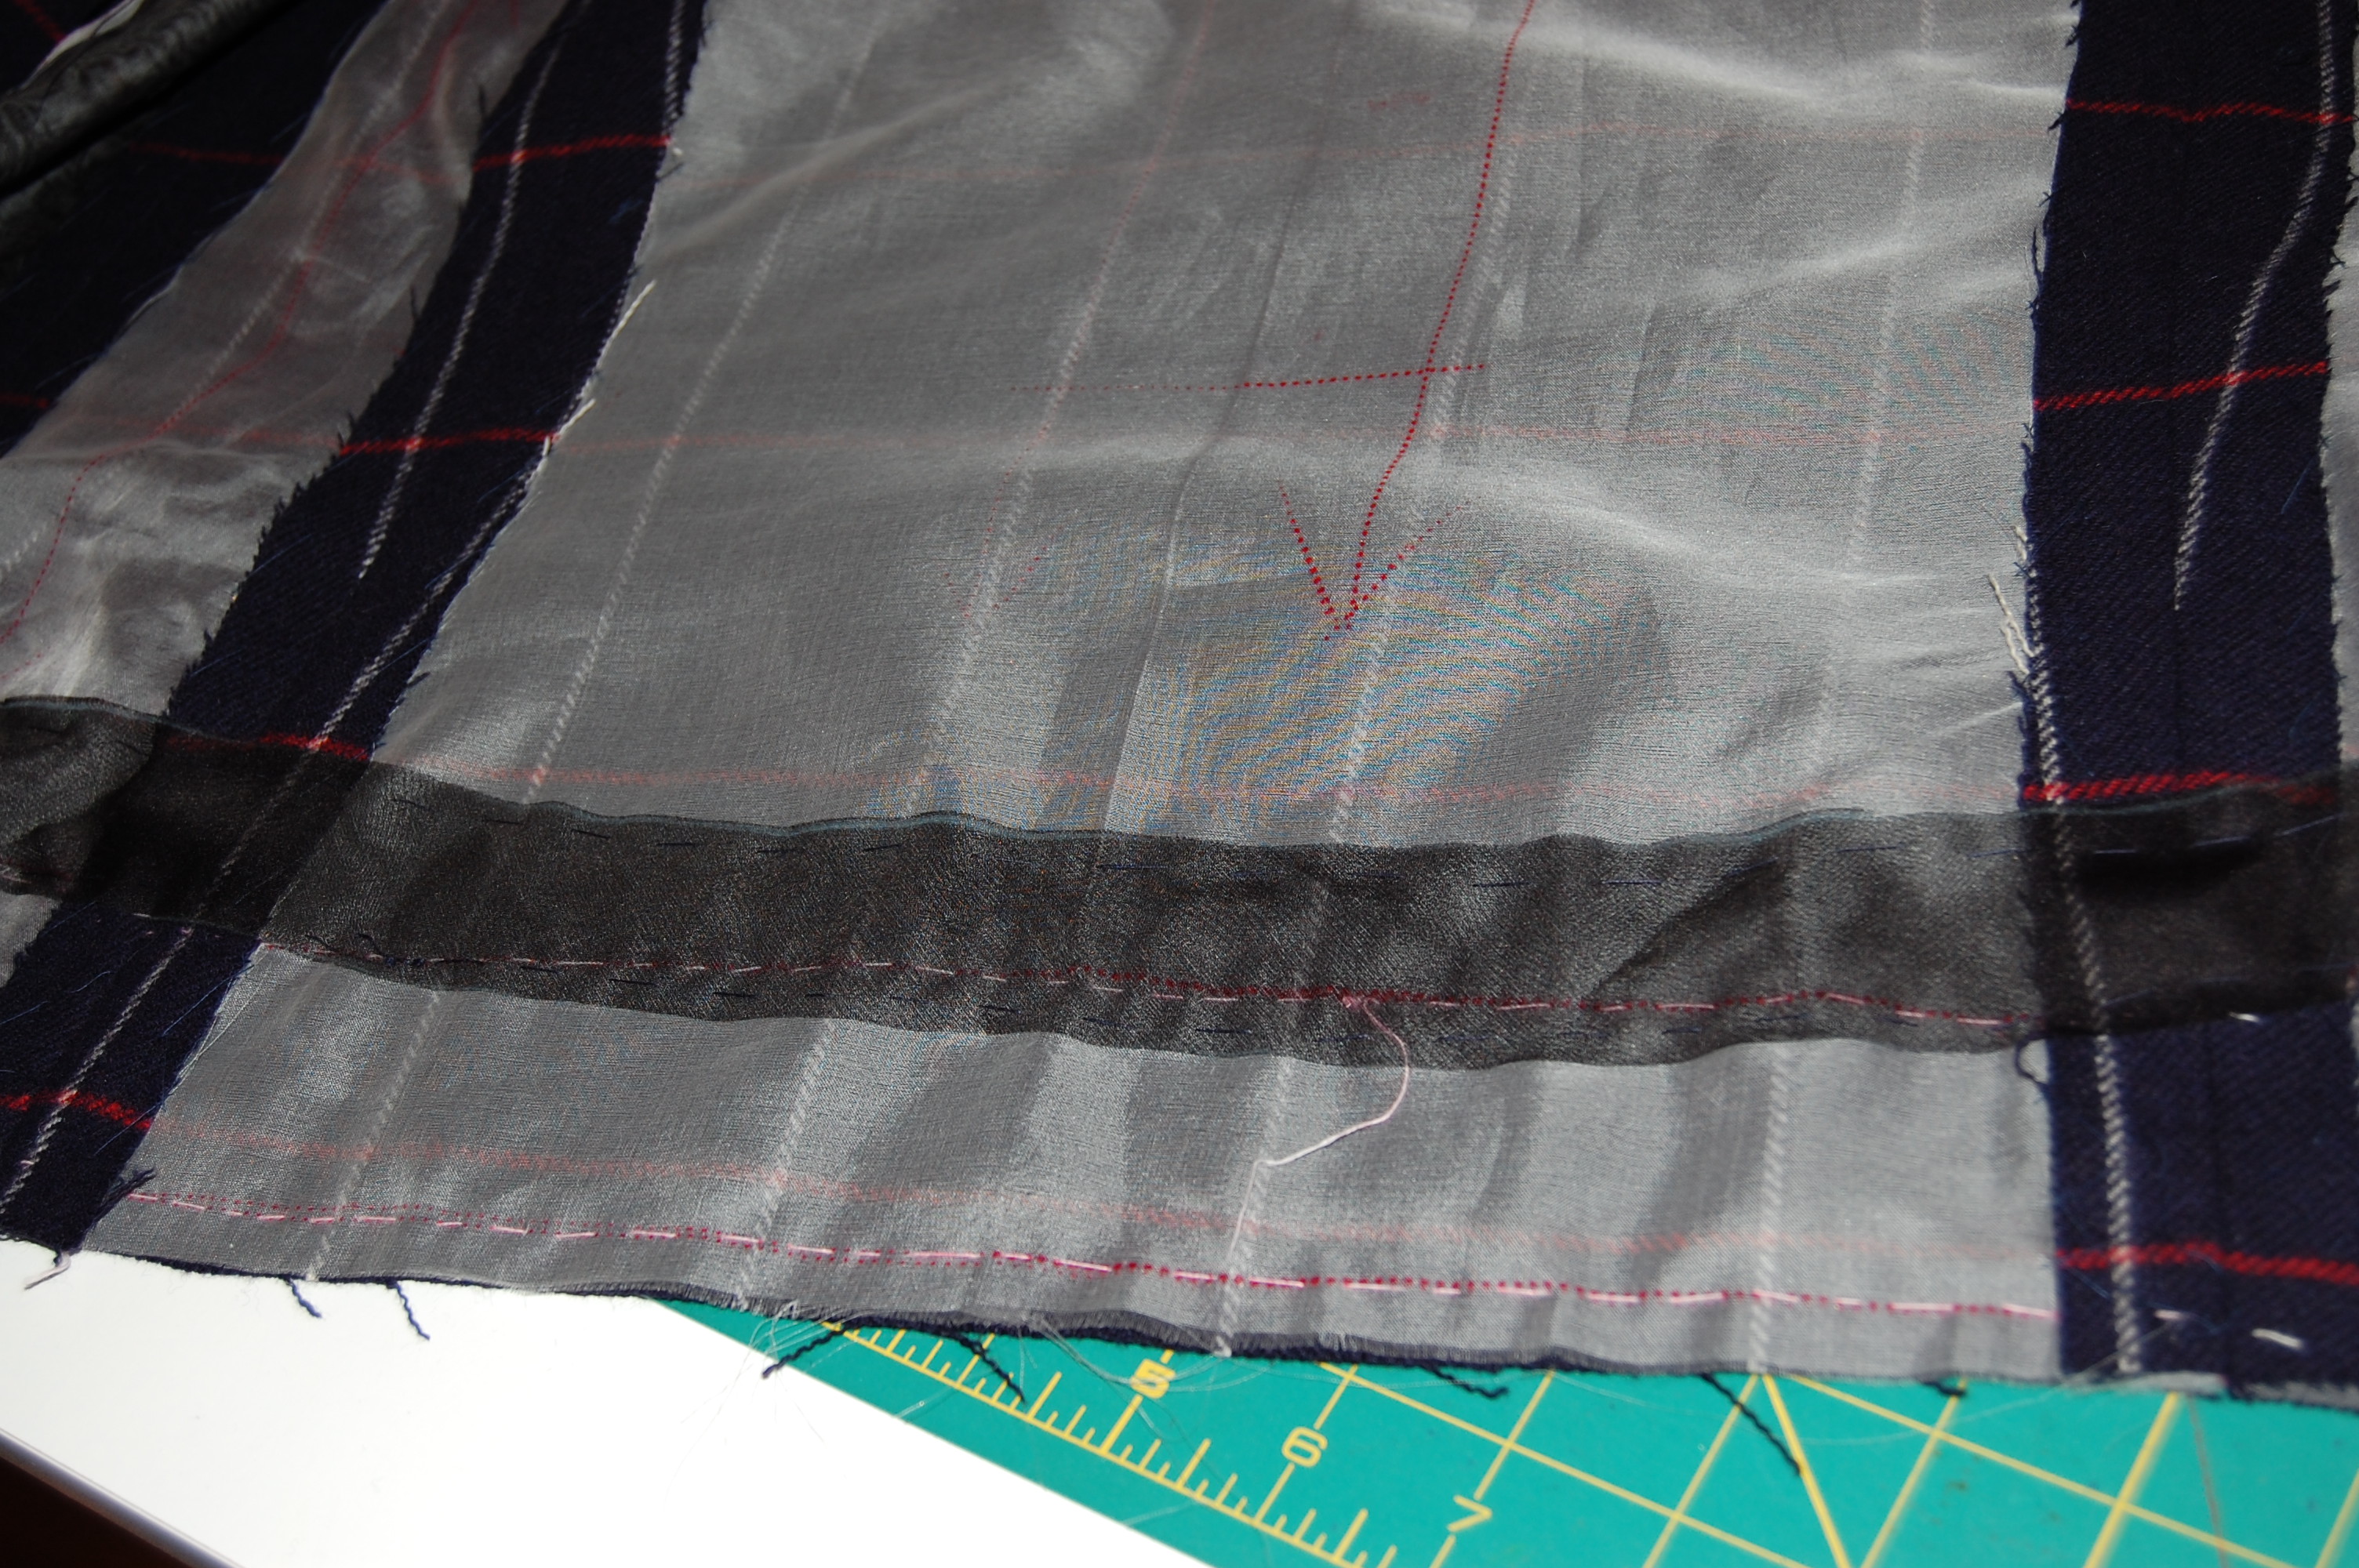
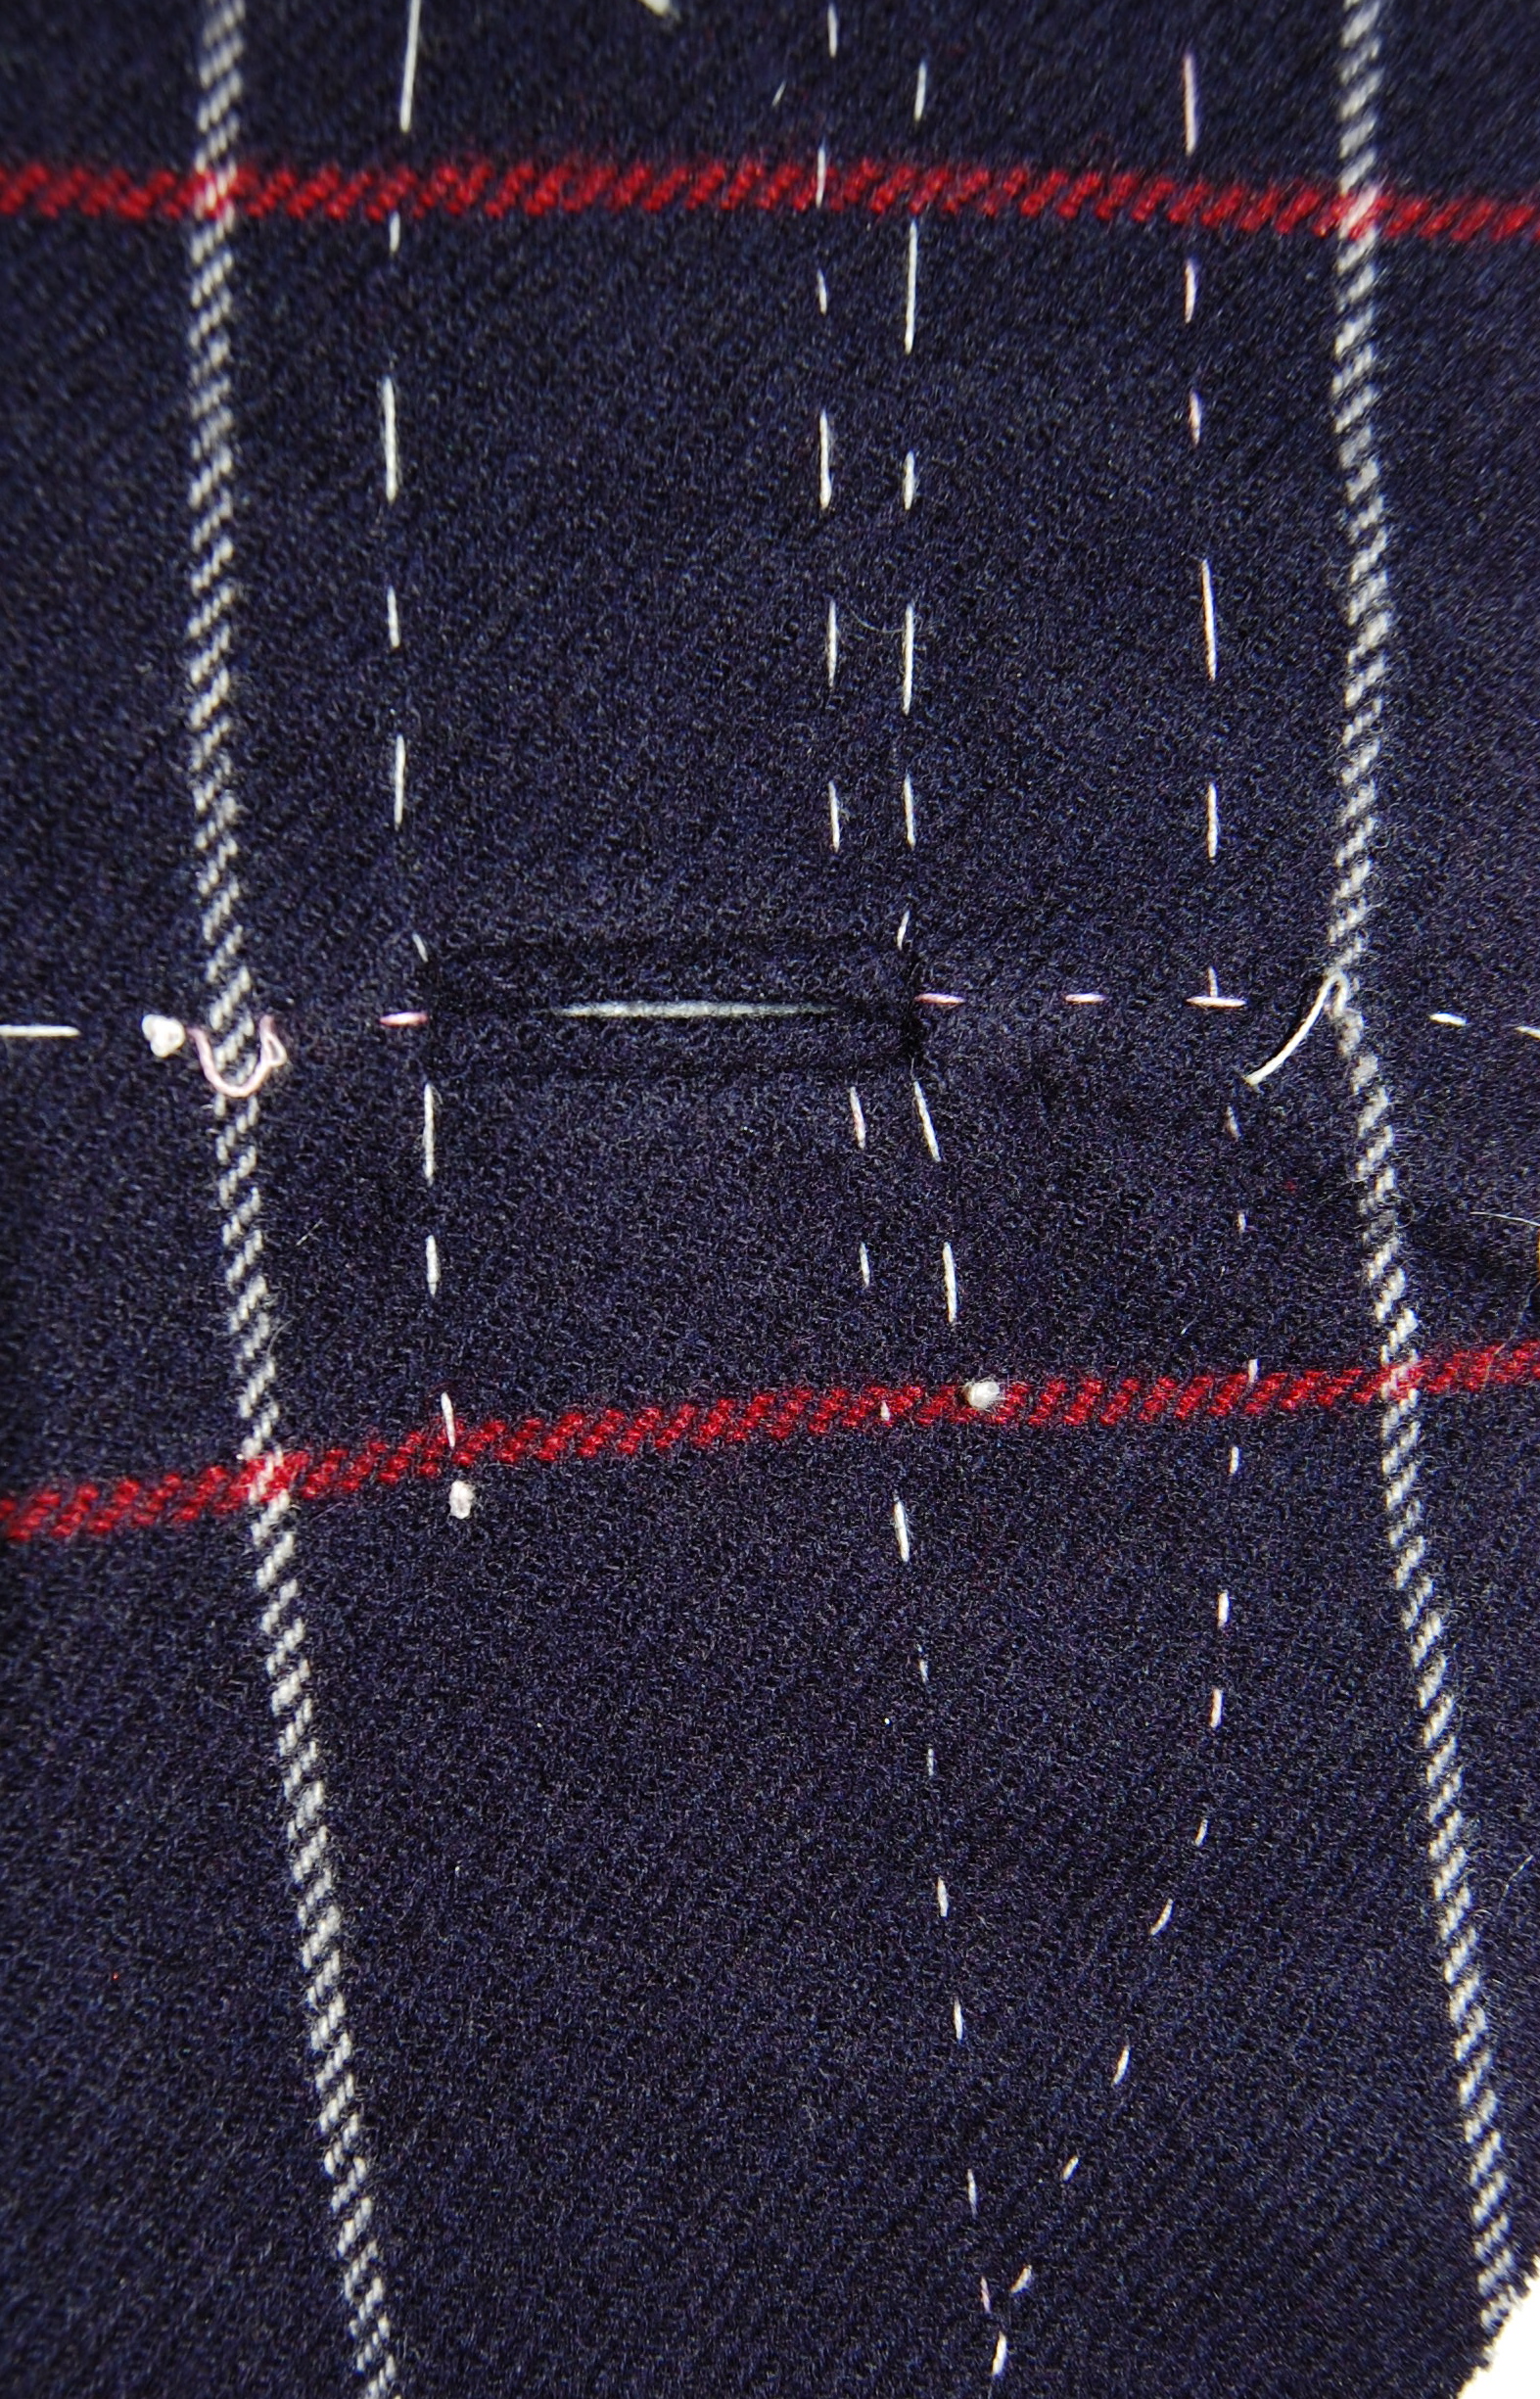
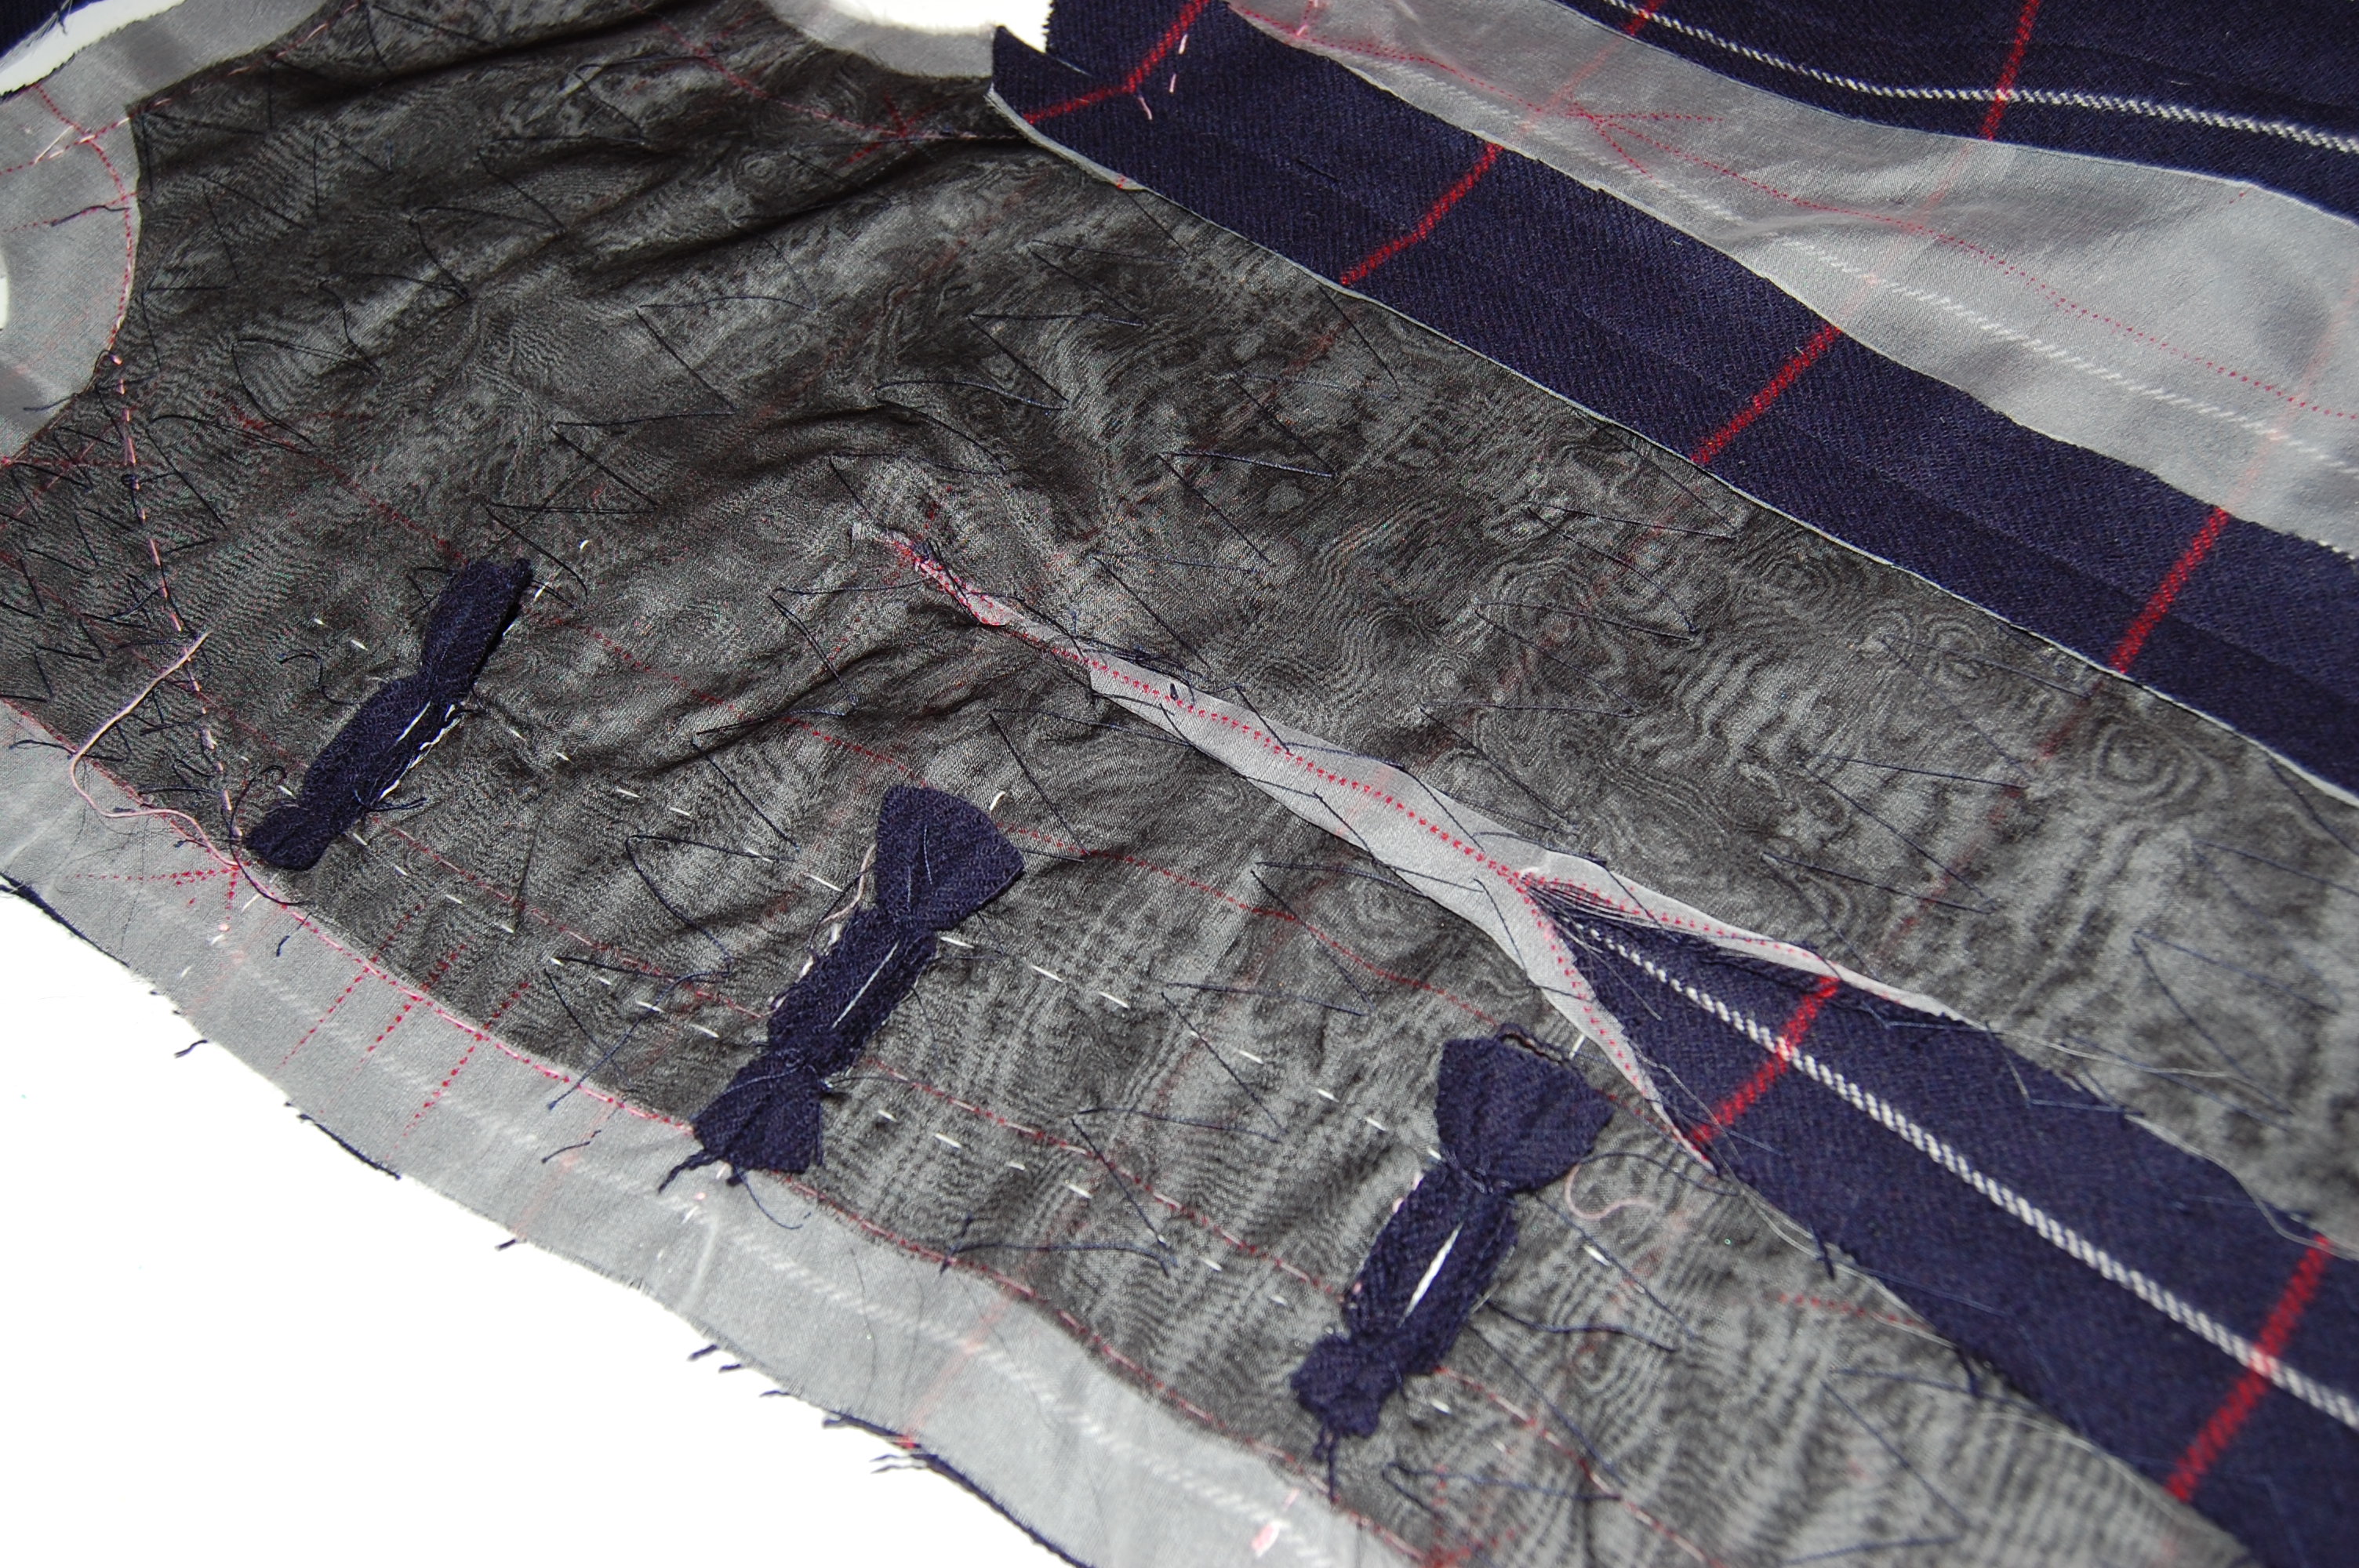
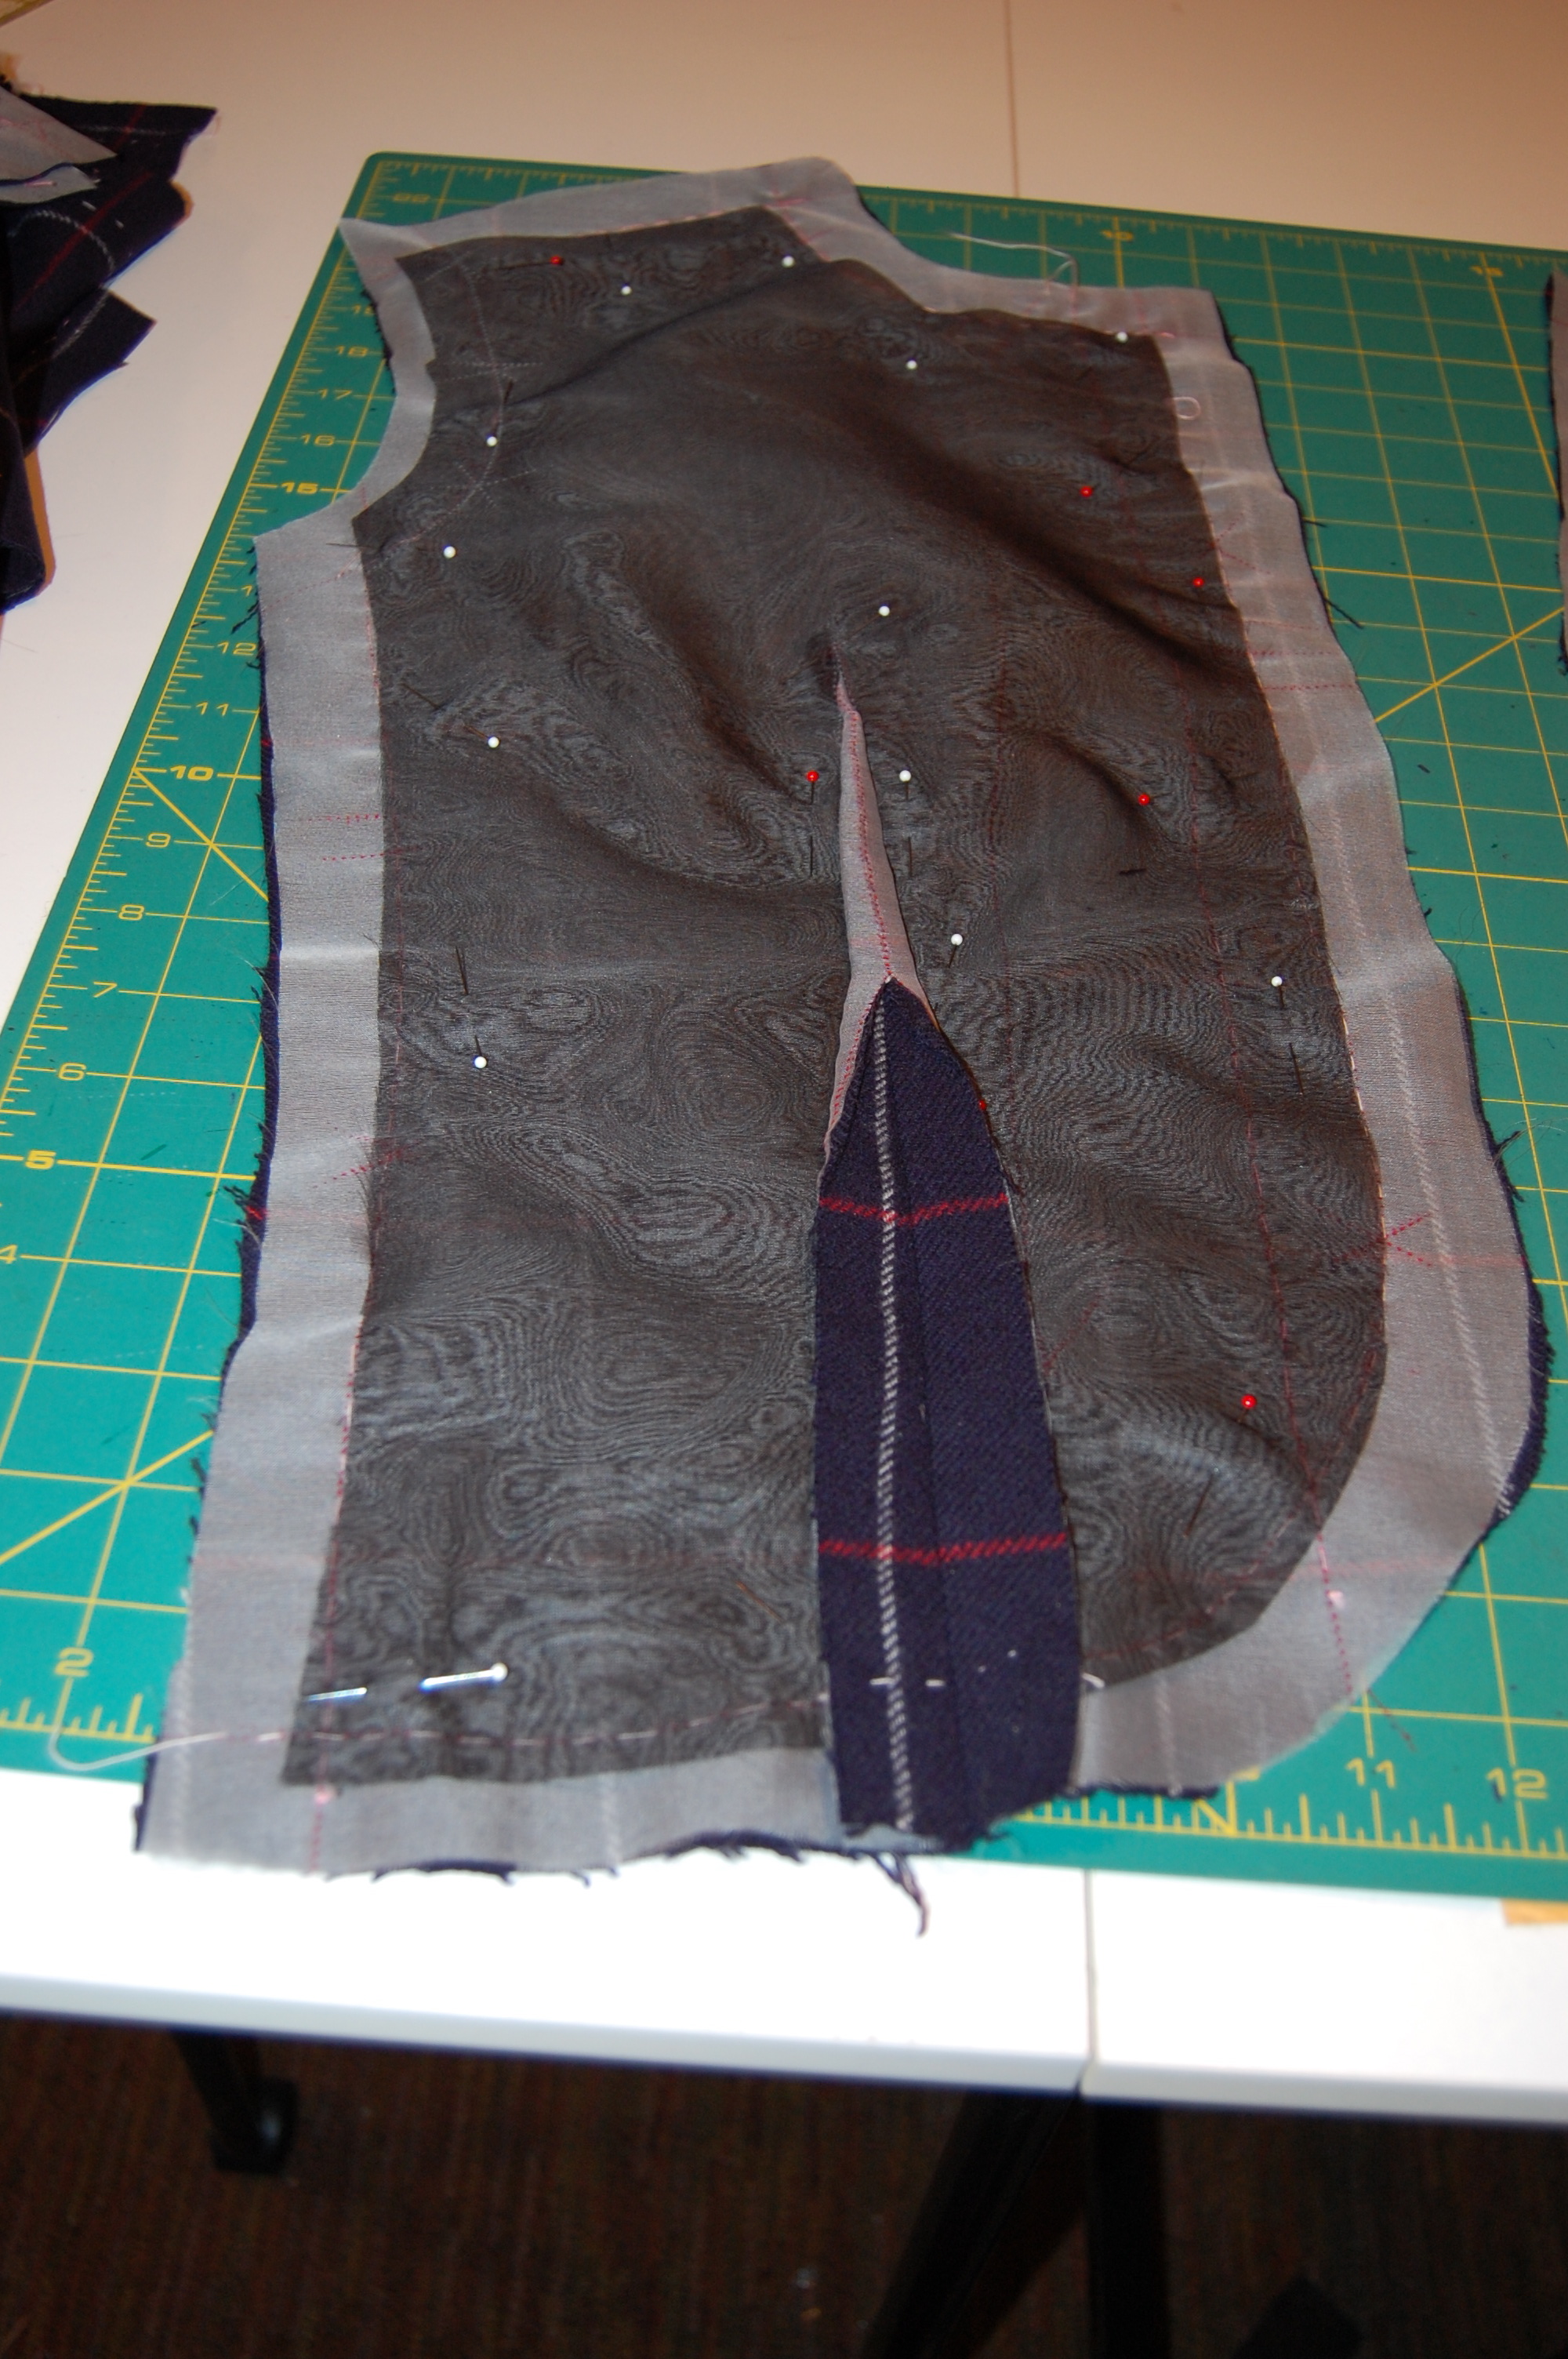
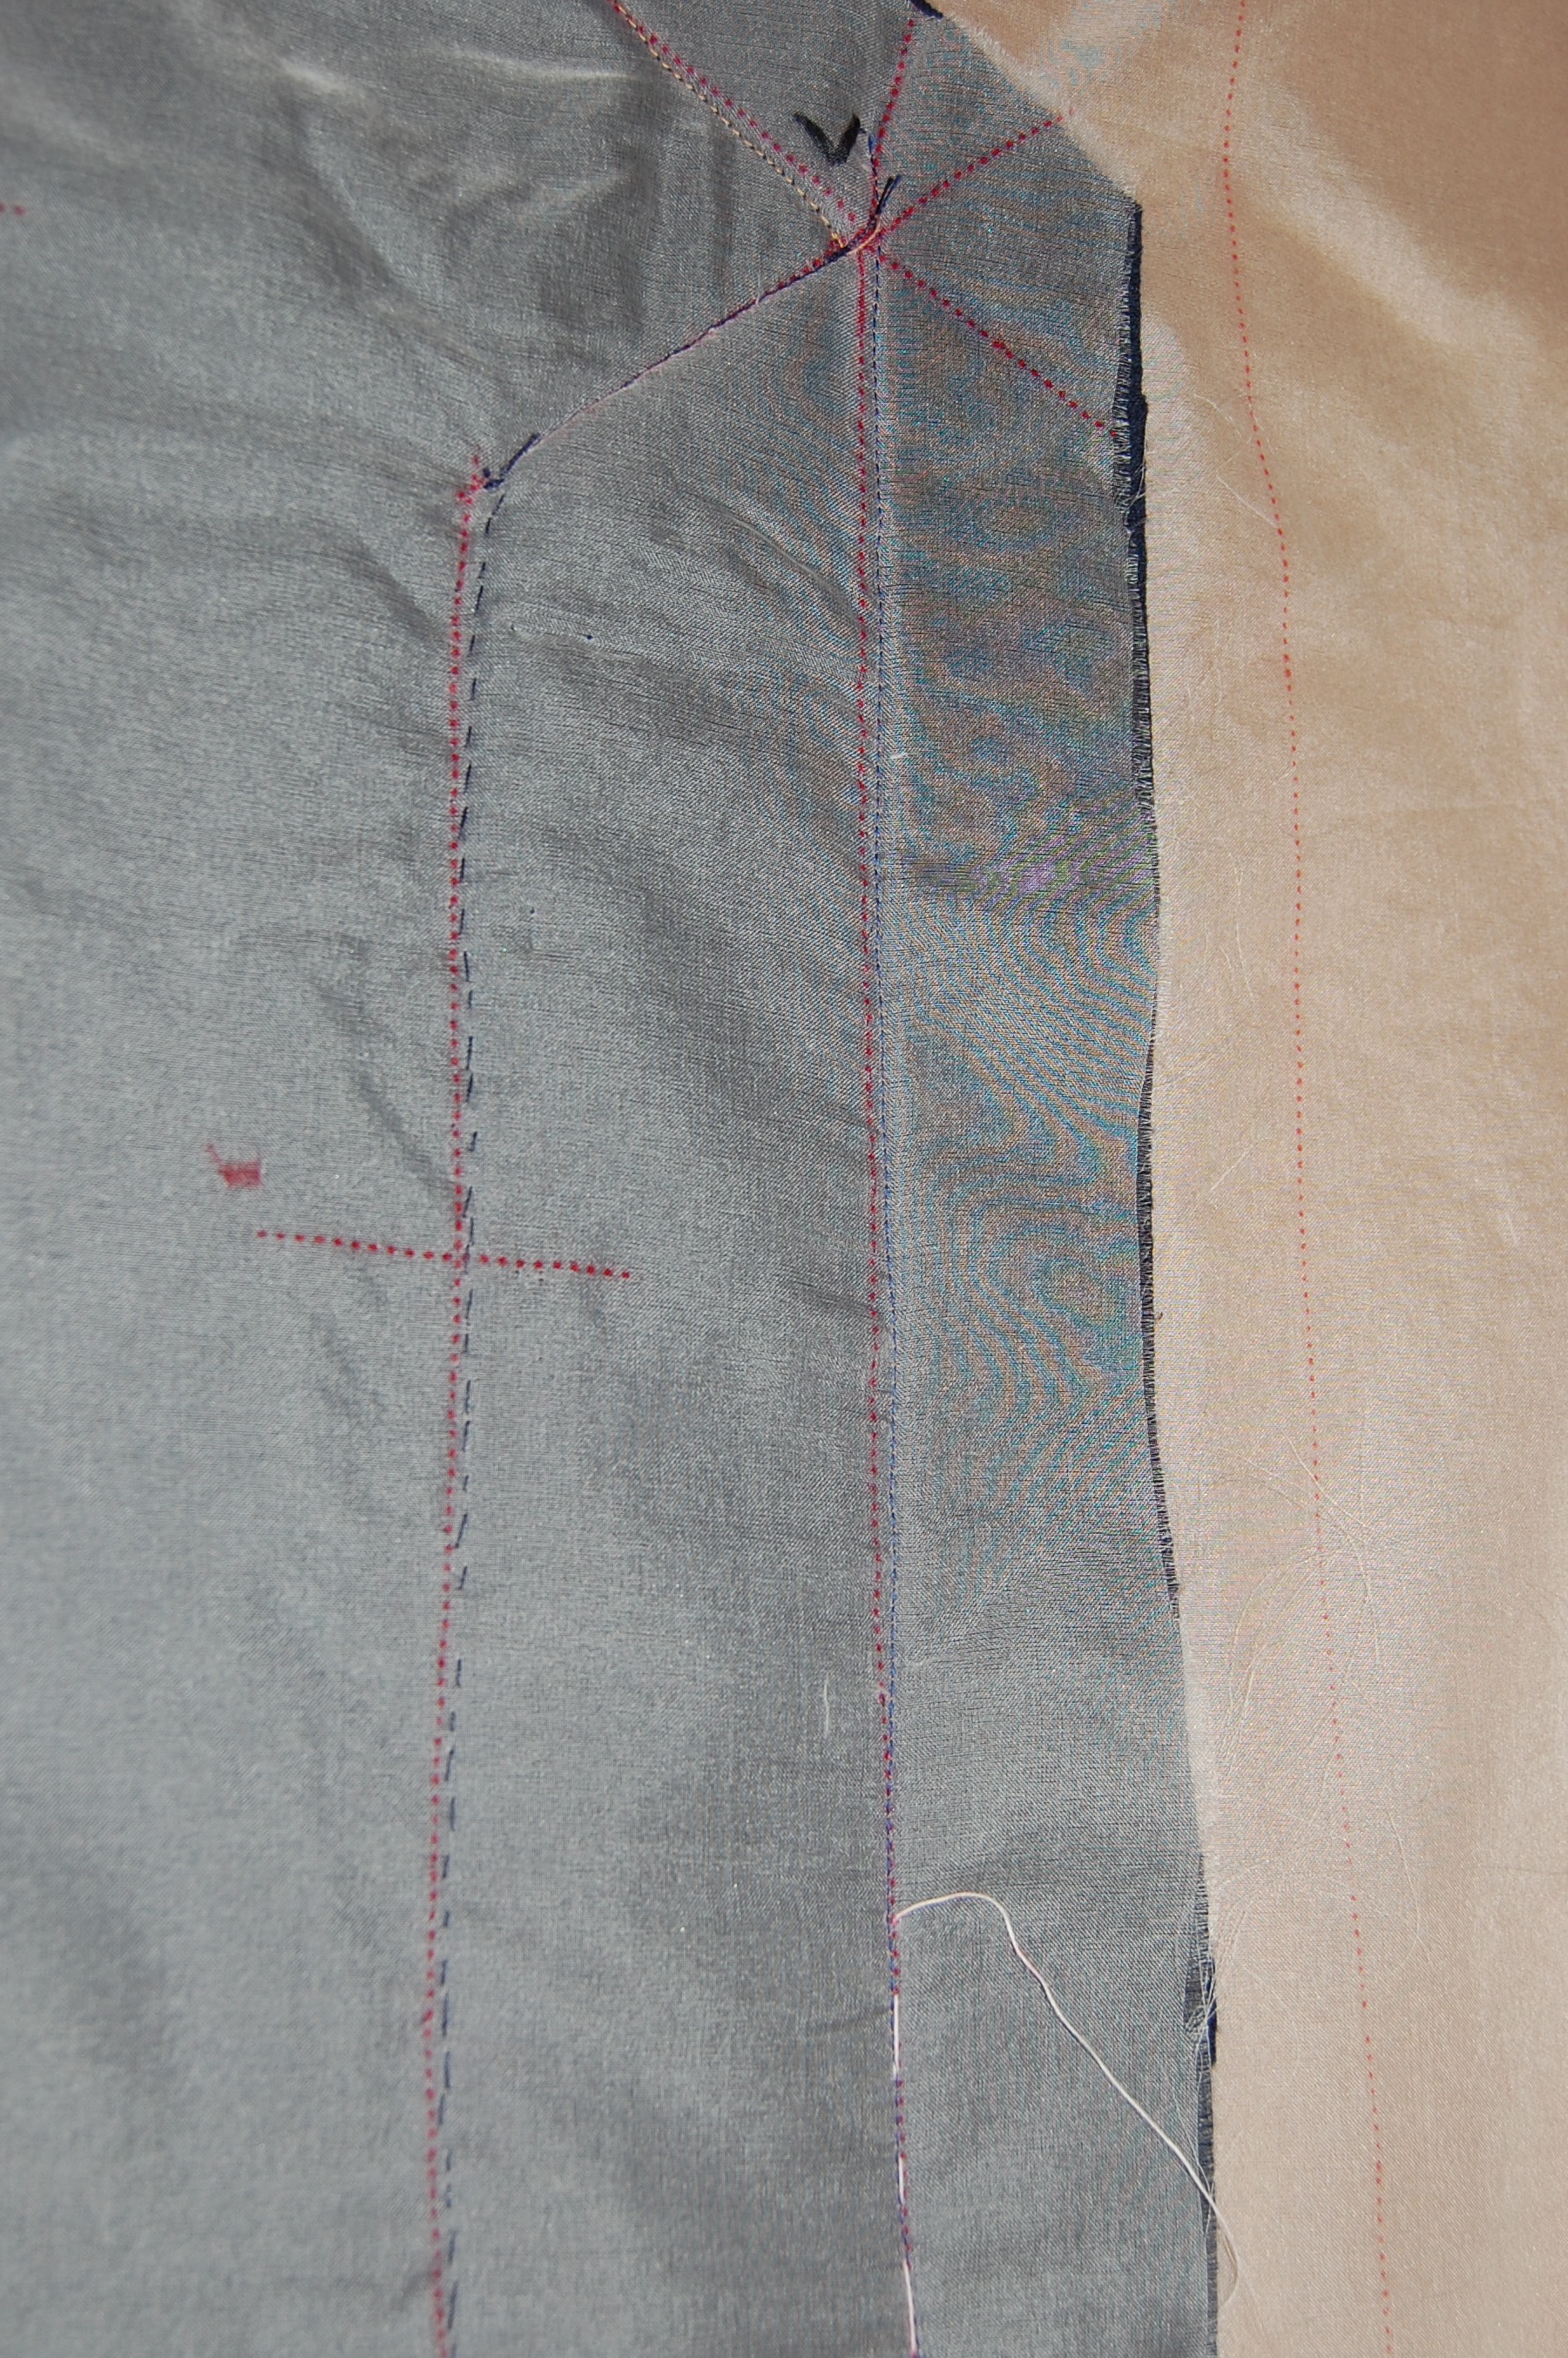
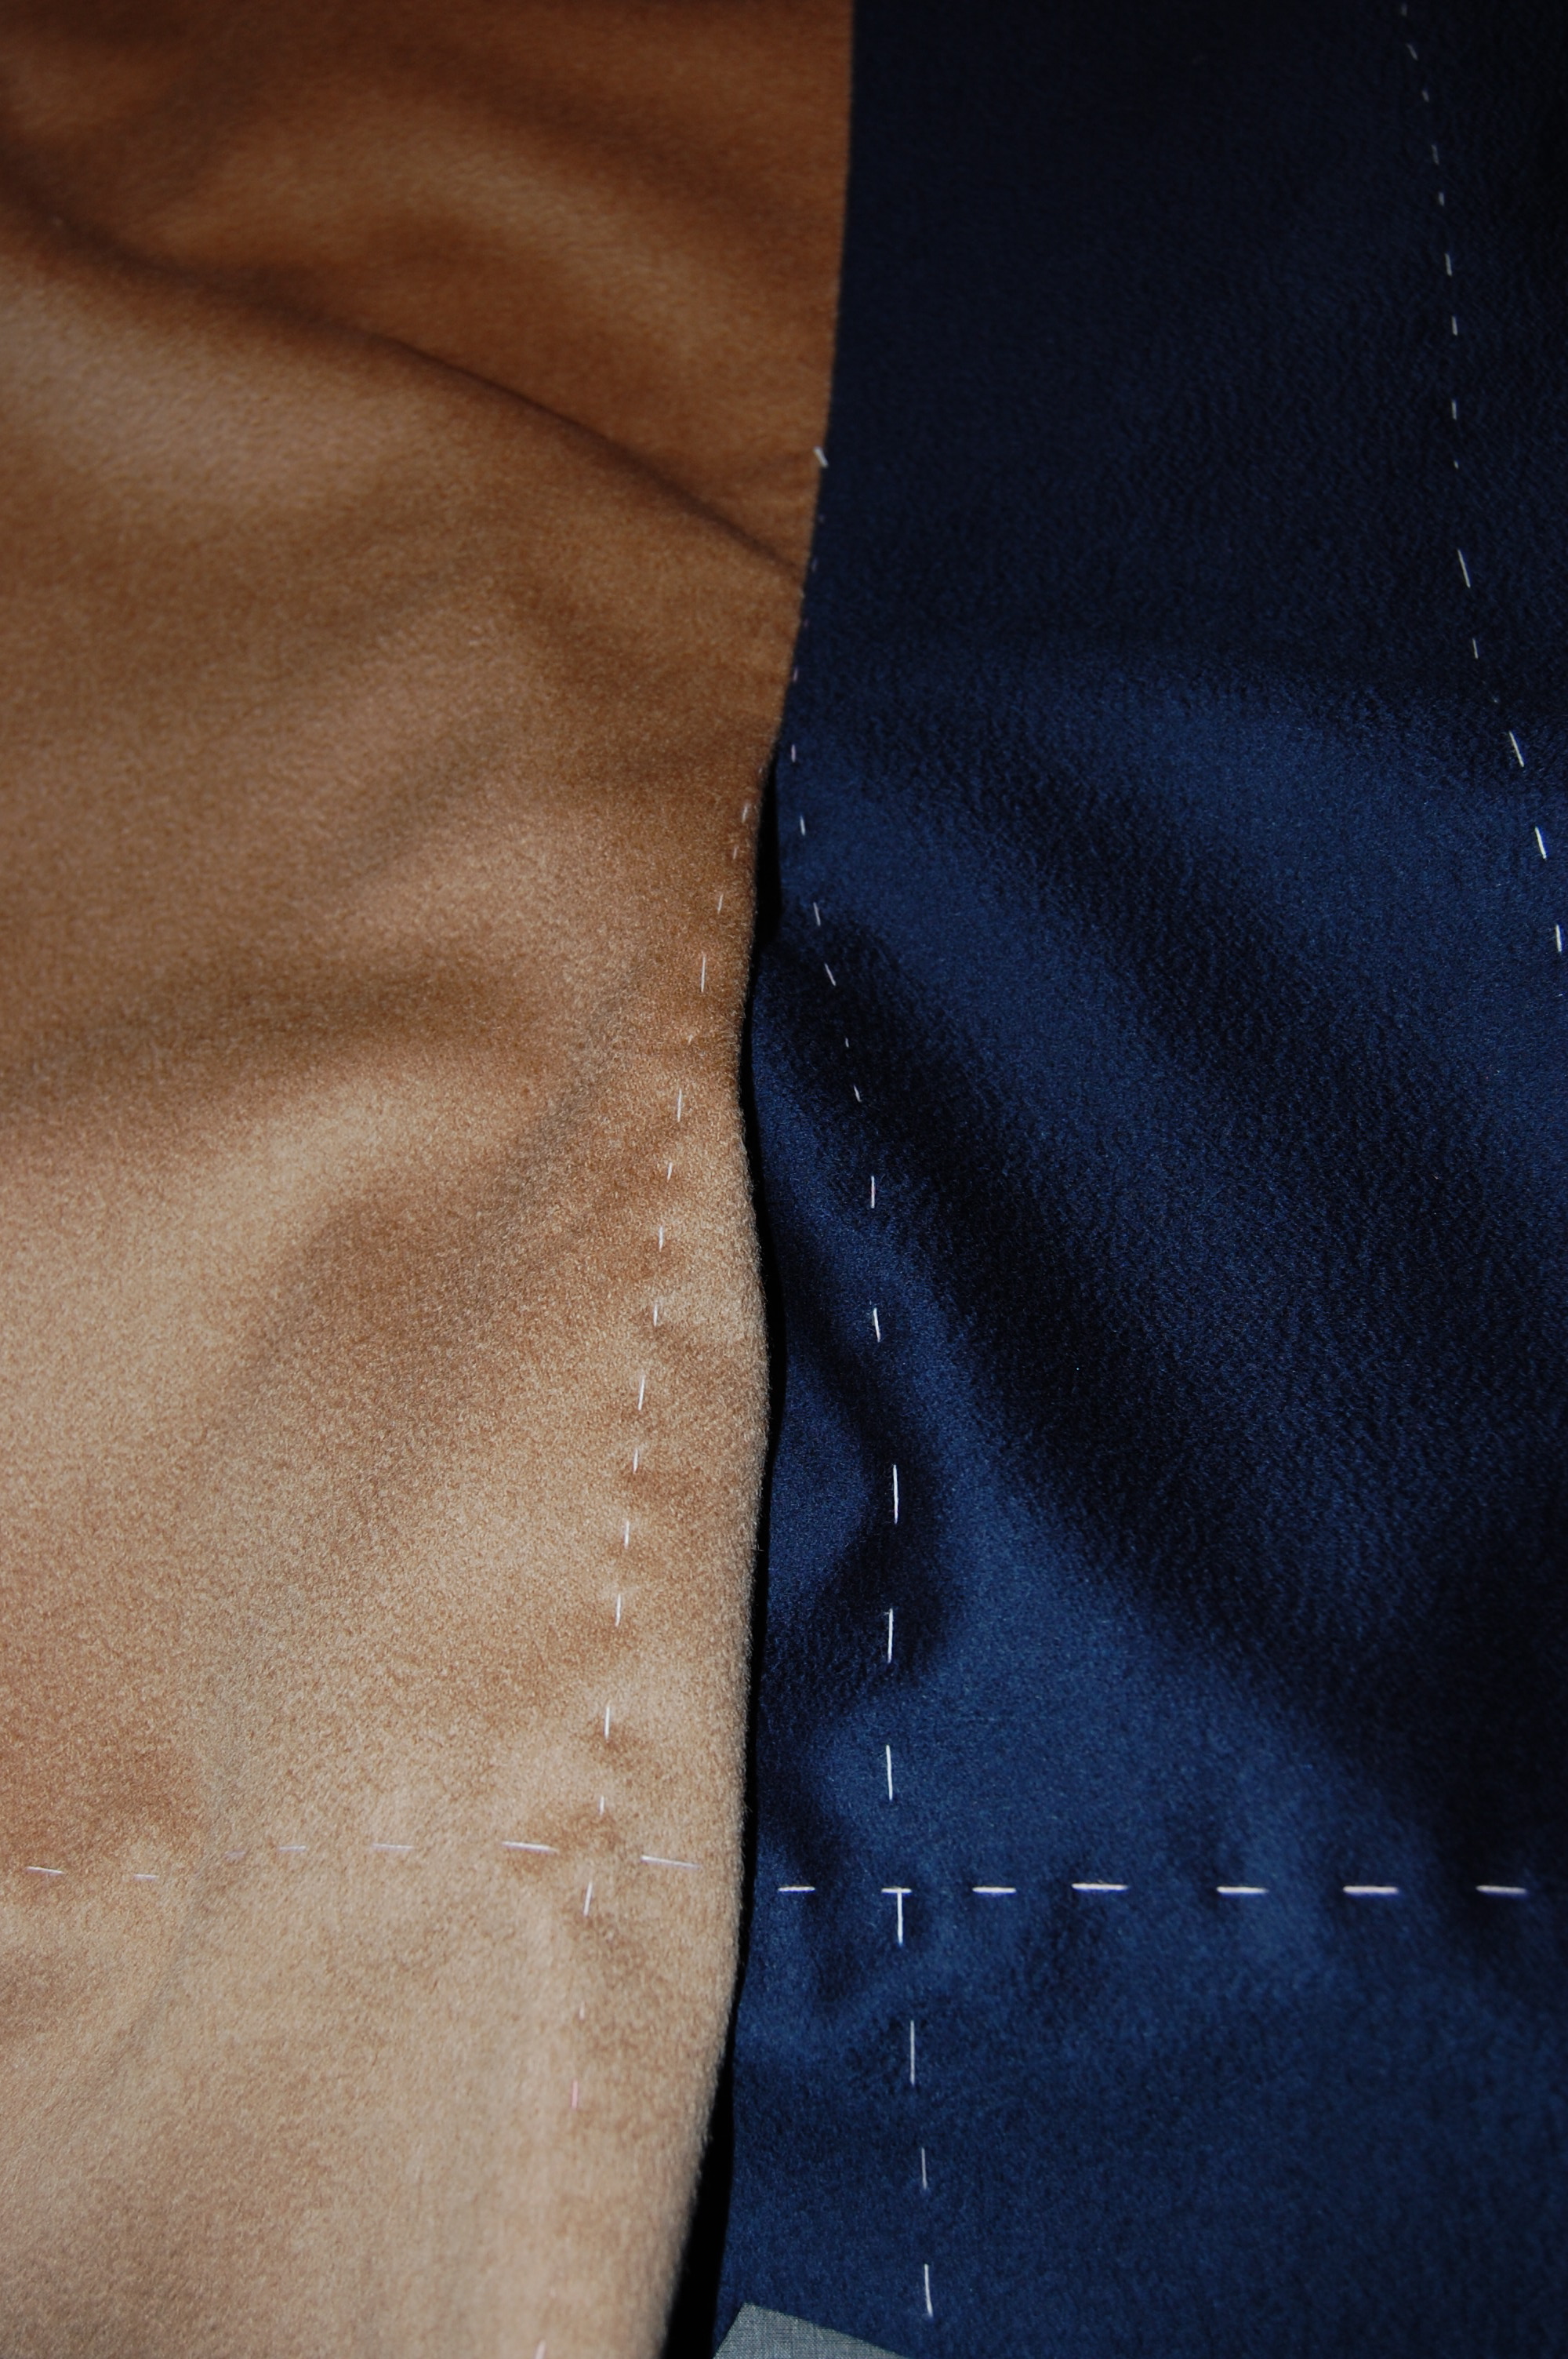
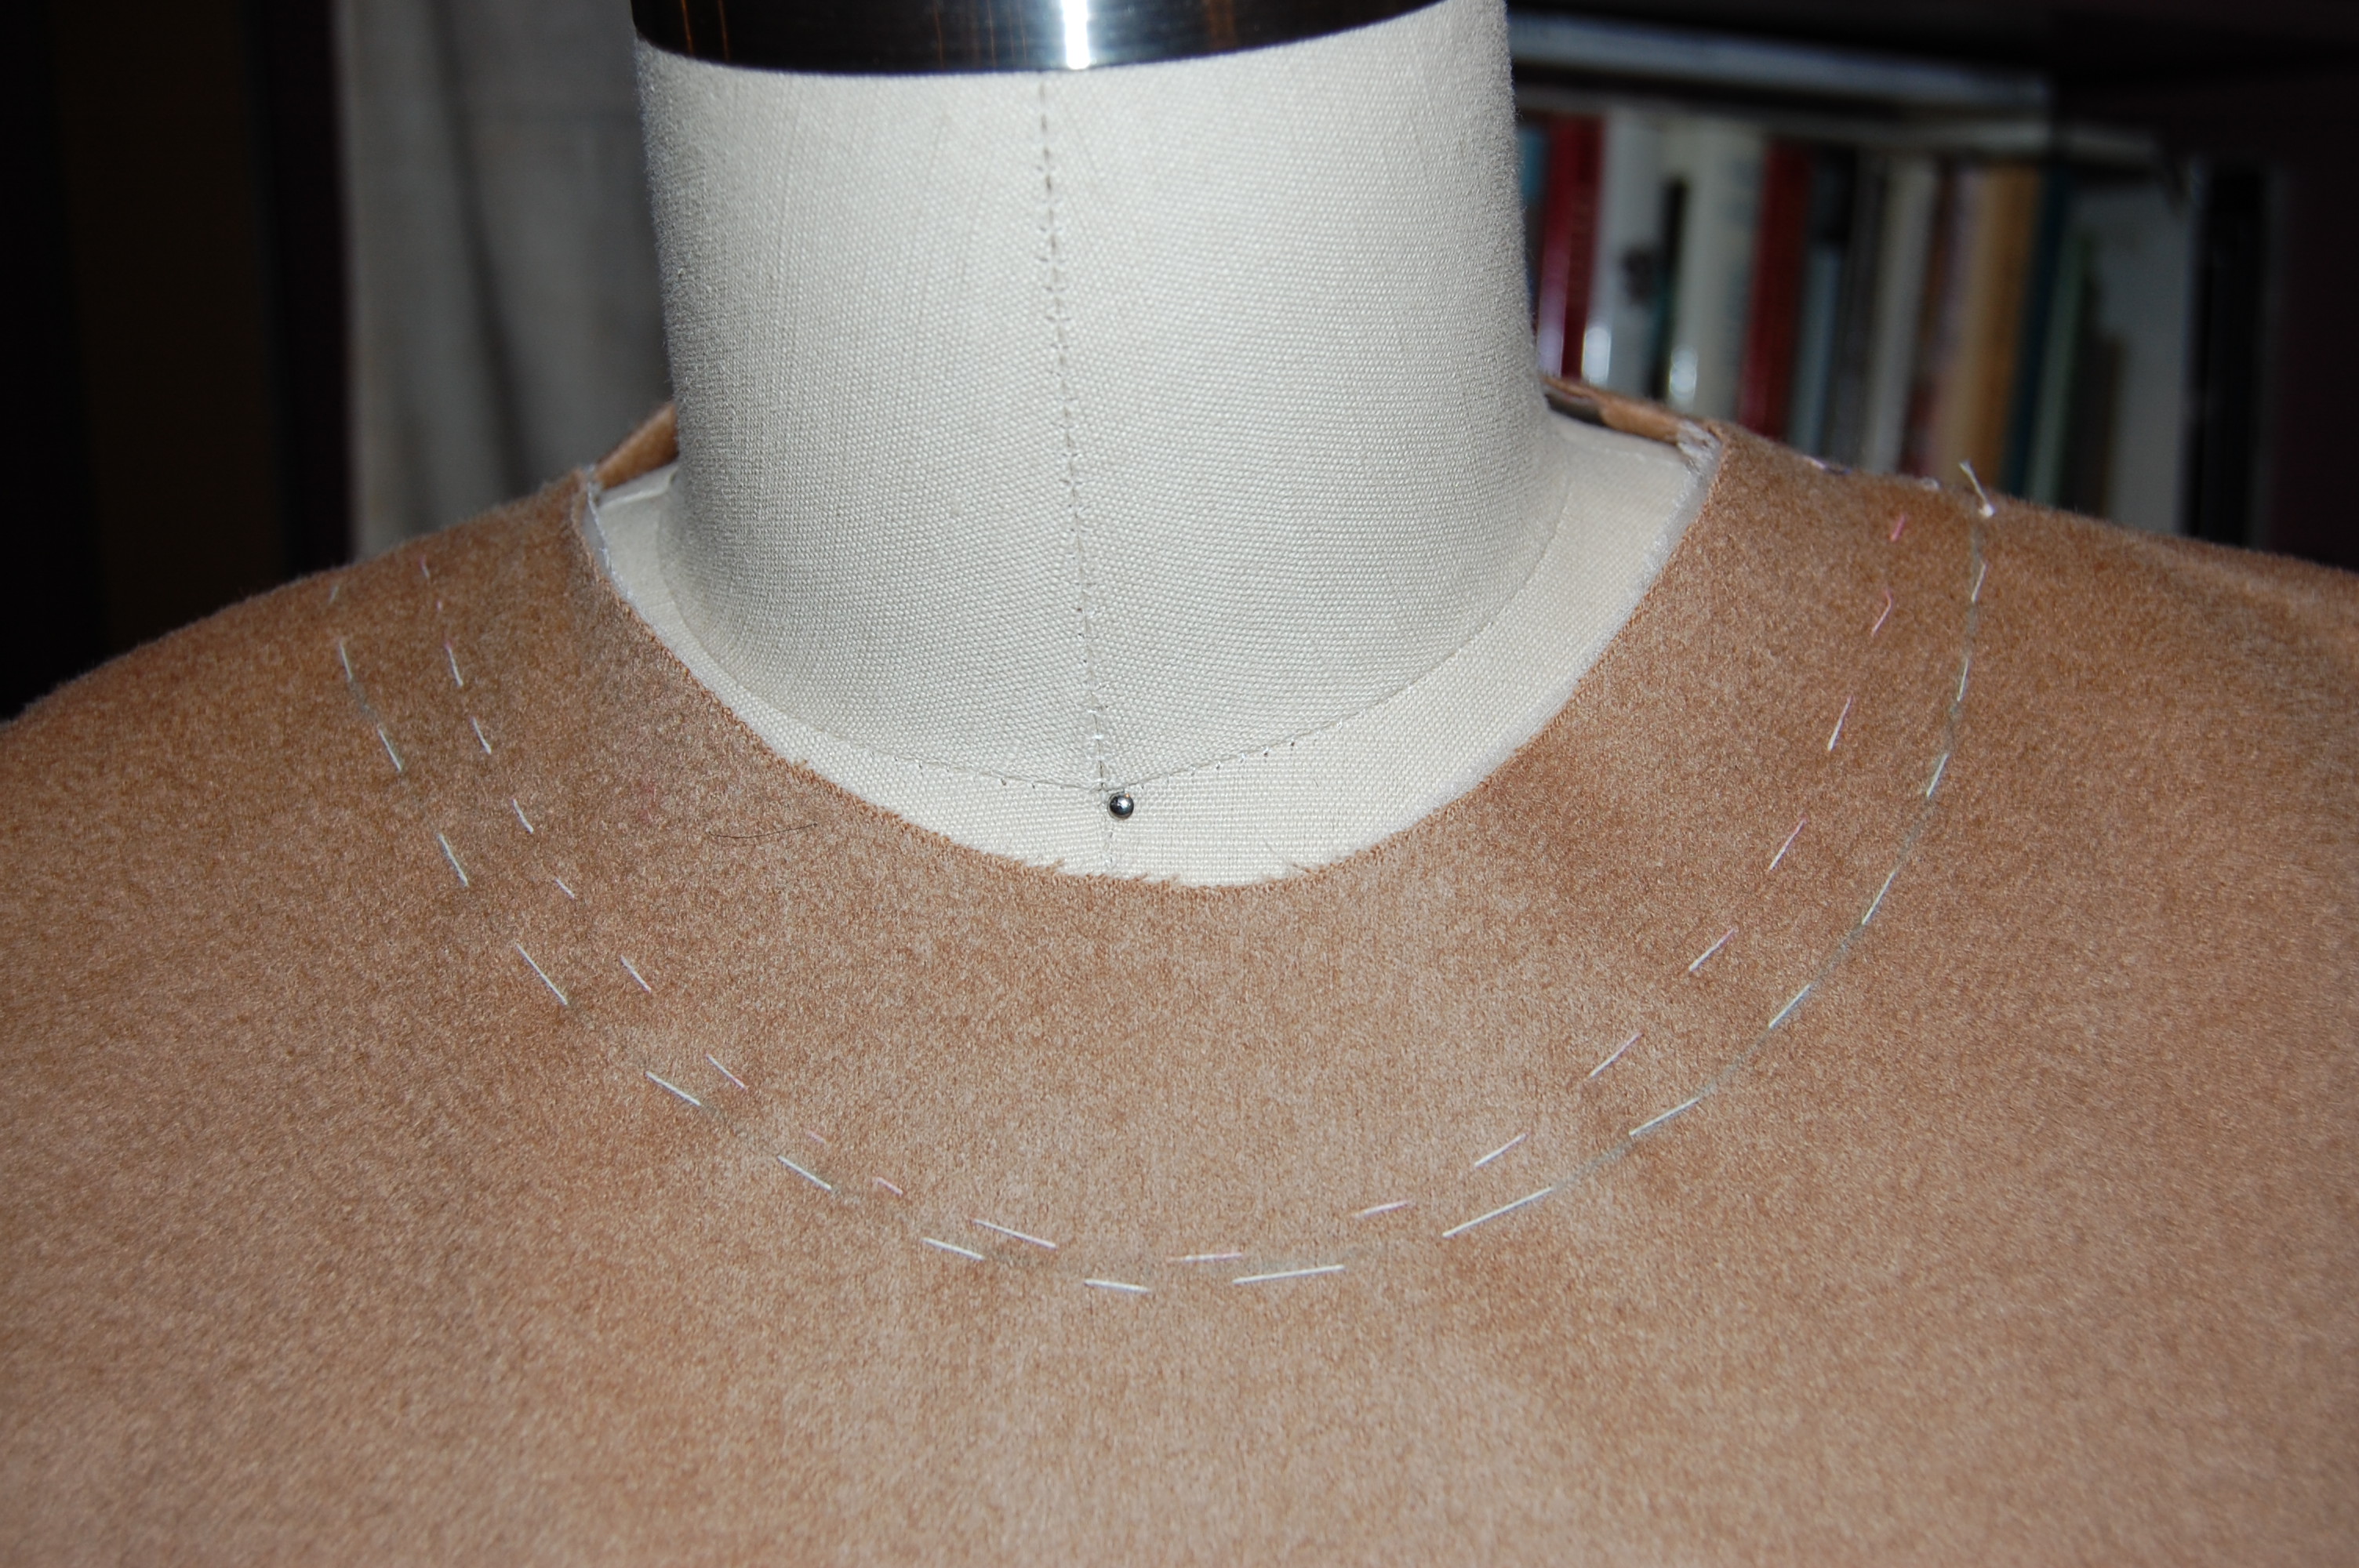
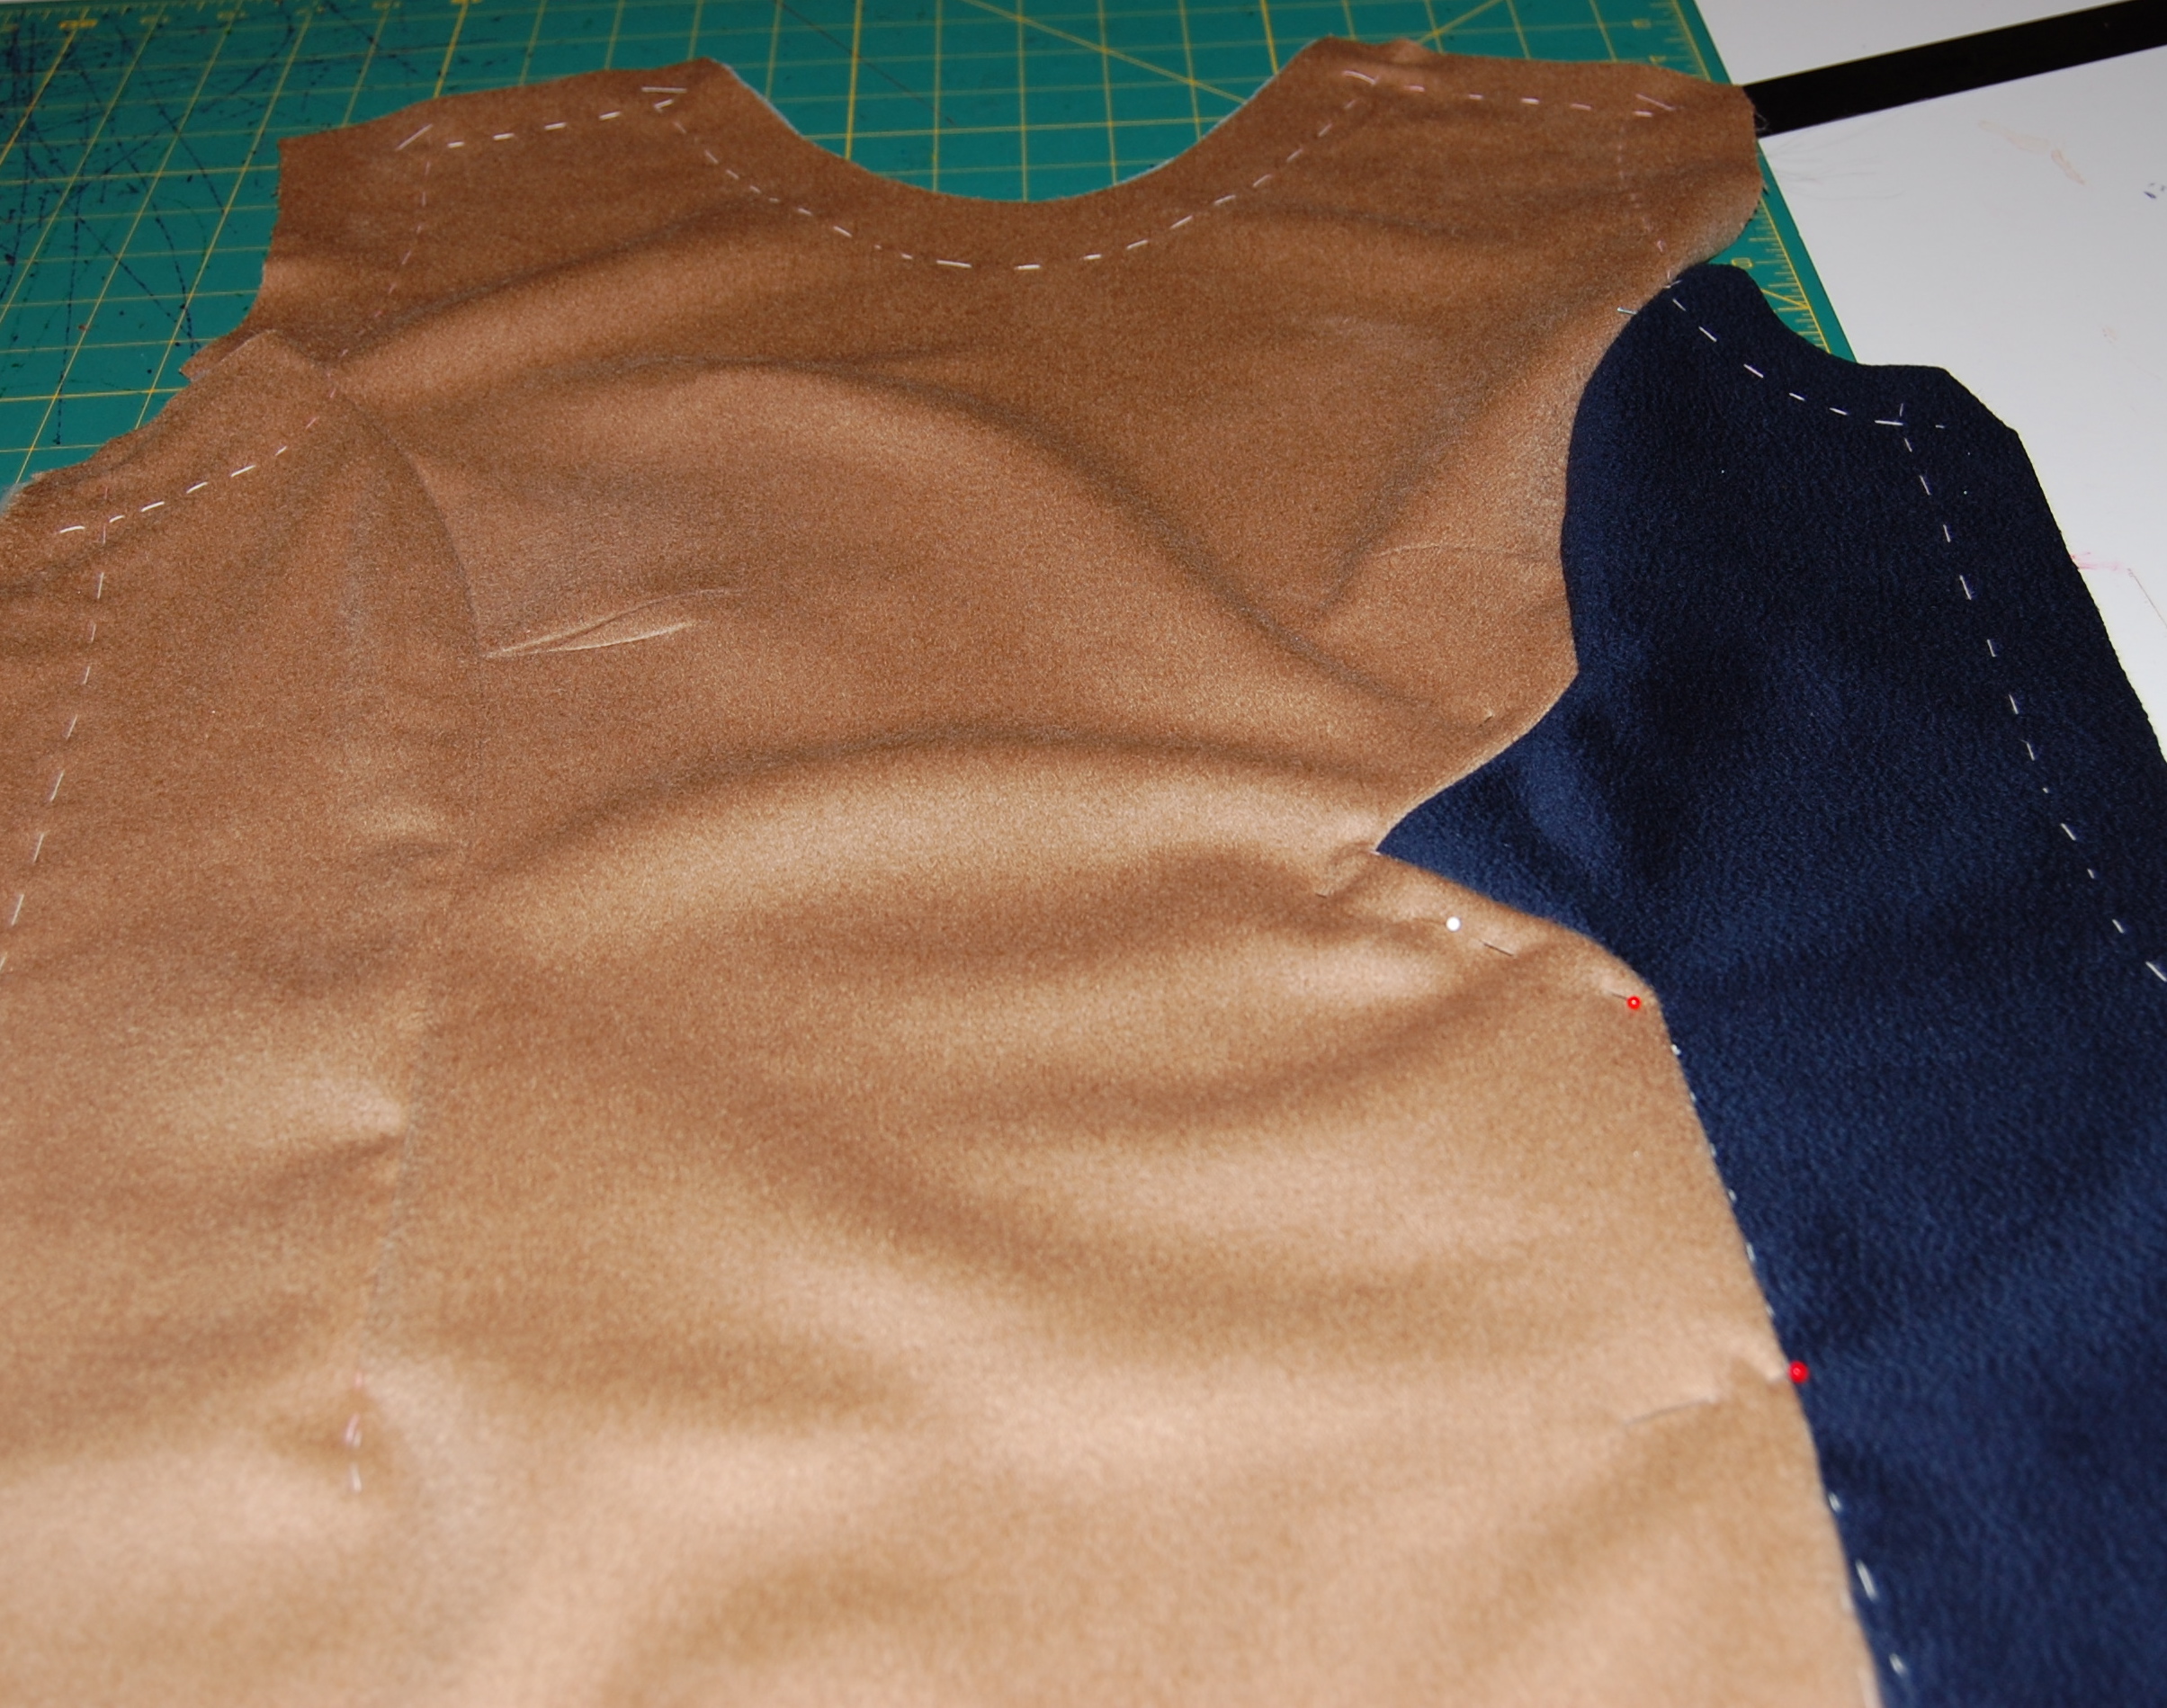
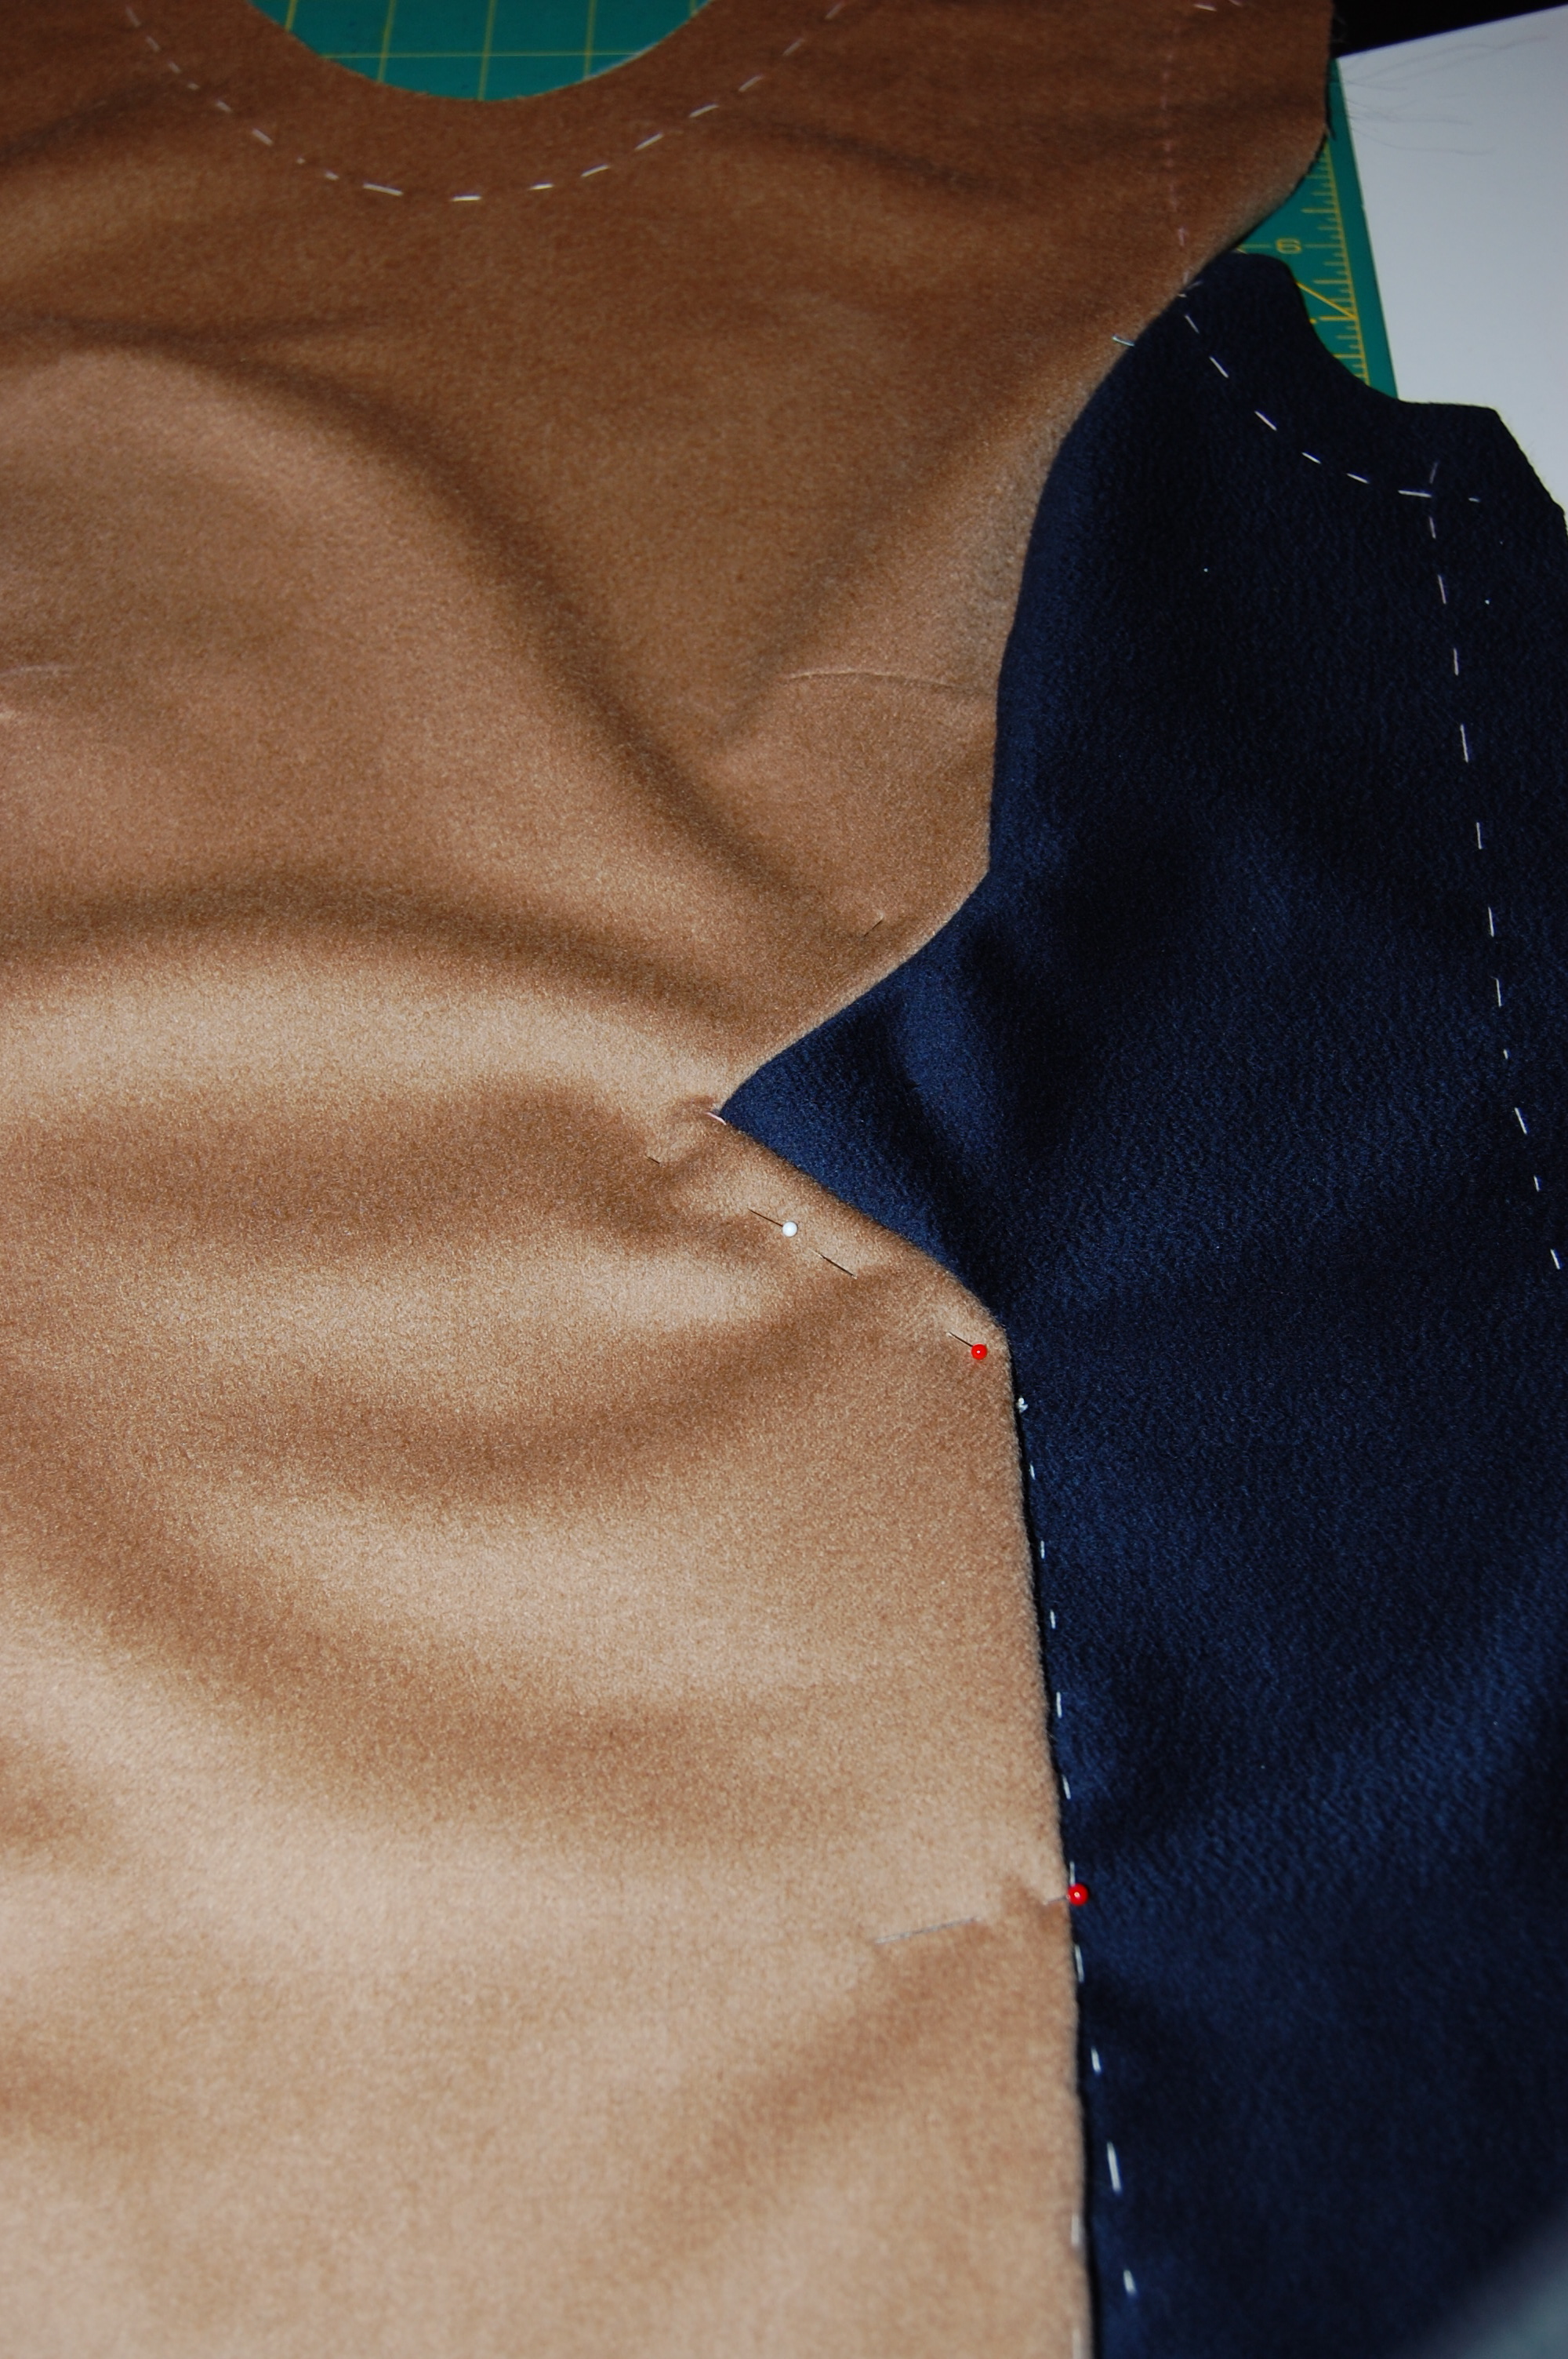
With a French jacket, you are leaving huge seam allowances (usually as much as 2” all around). With this, my seam allowances had to be much smaller and in some cases a bit less than 5/8” in order to fit all the pieces on the fabric. I had to really concentrate when I was cutting out the pieces, remembering to add seam allowances by “eyeballing” them. Now I am in the process of thread-tracing around each piece of the muslin pattern, to set my sewing line. This seems like a lot of extra work – and it is – but I determined this to be the only fool-proof way to make it work! (I did not want to using tracing paper and wheel to mark the seam lines, as I would risk markings showing up on the right sides.)
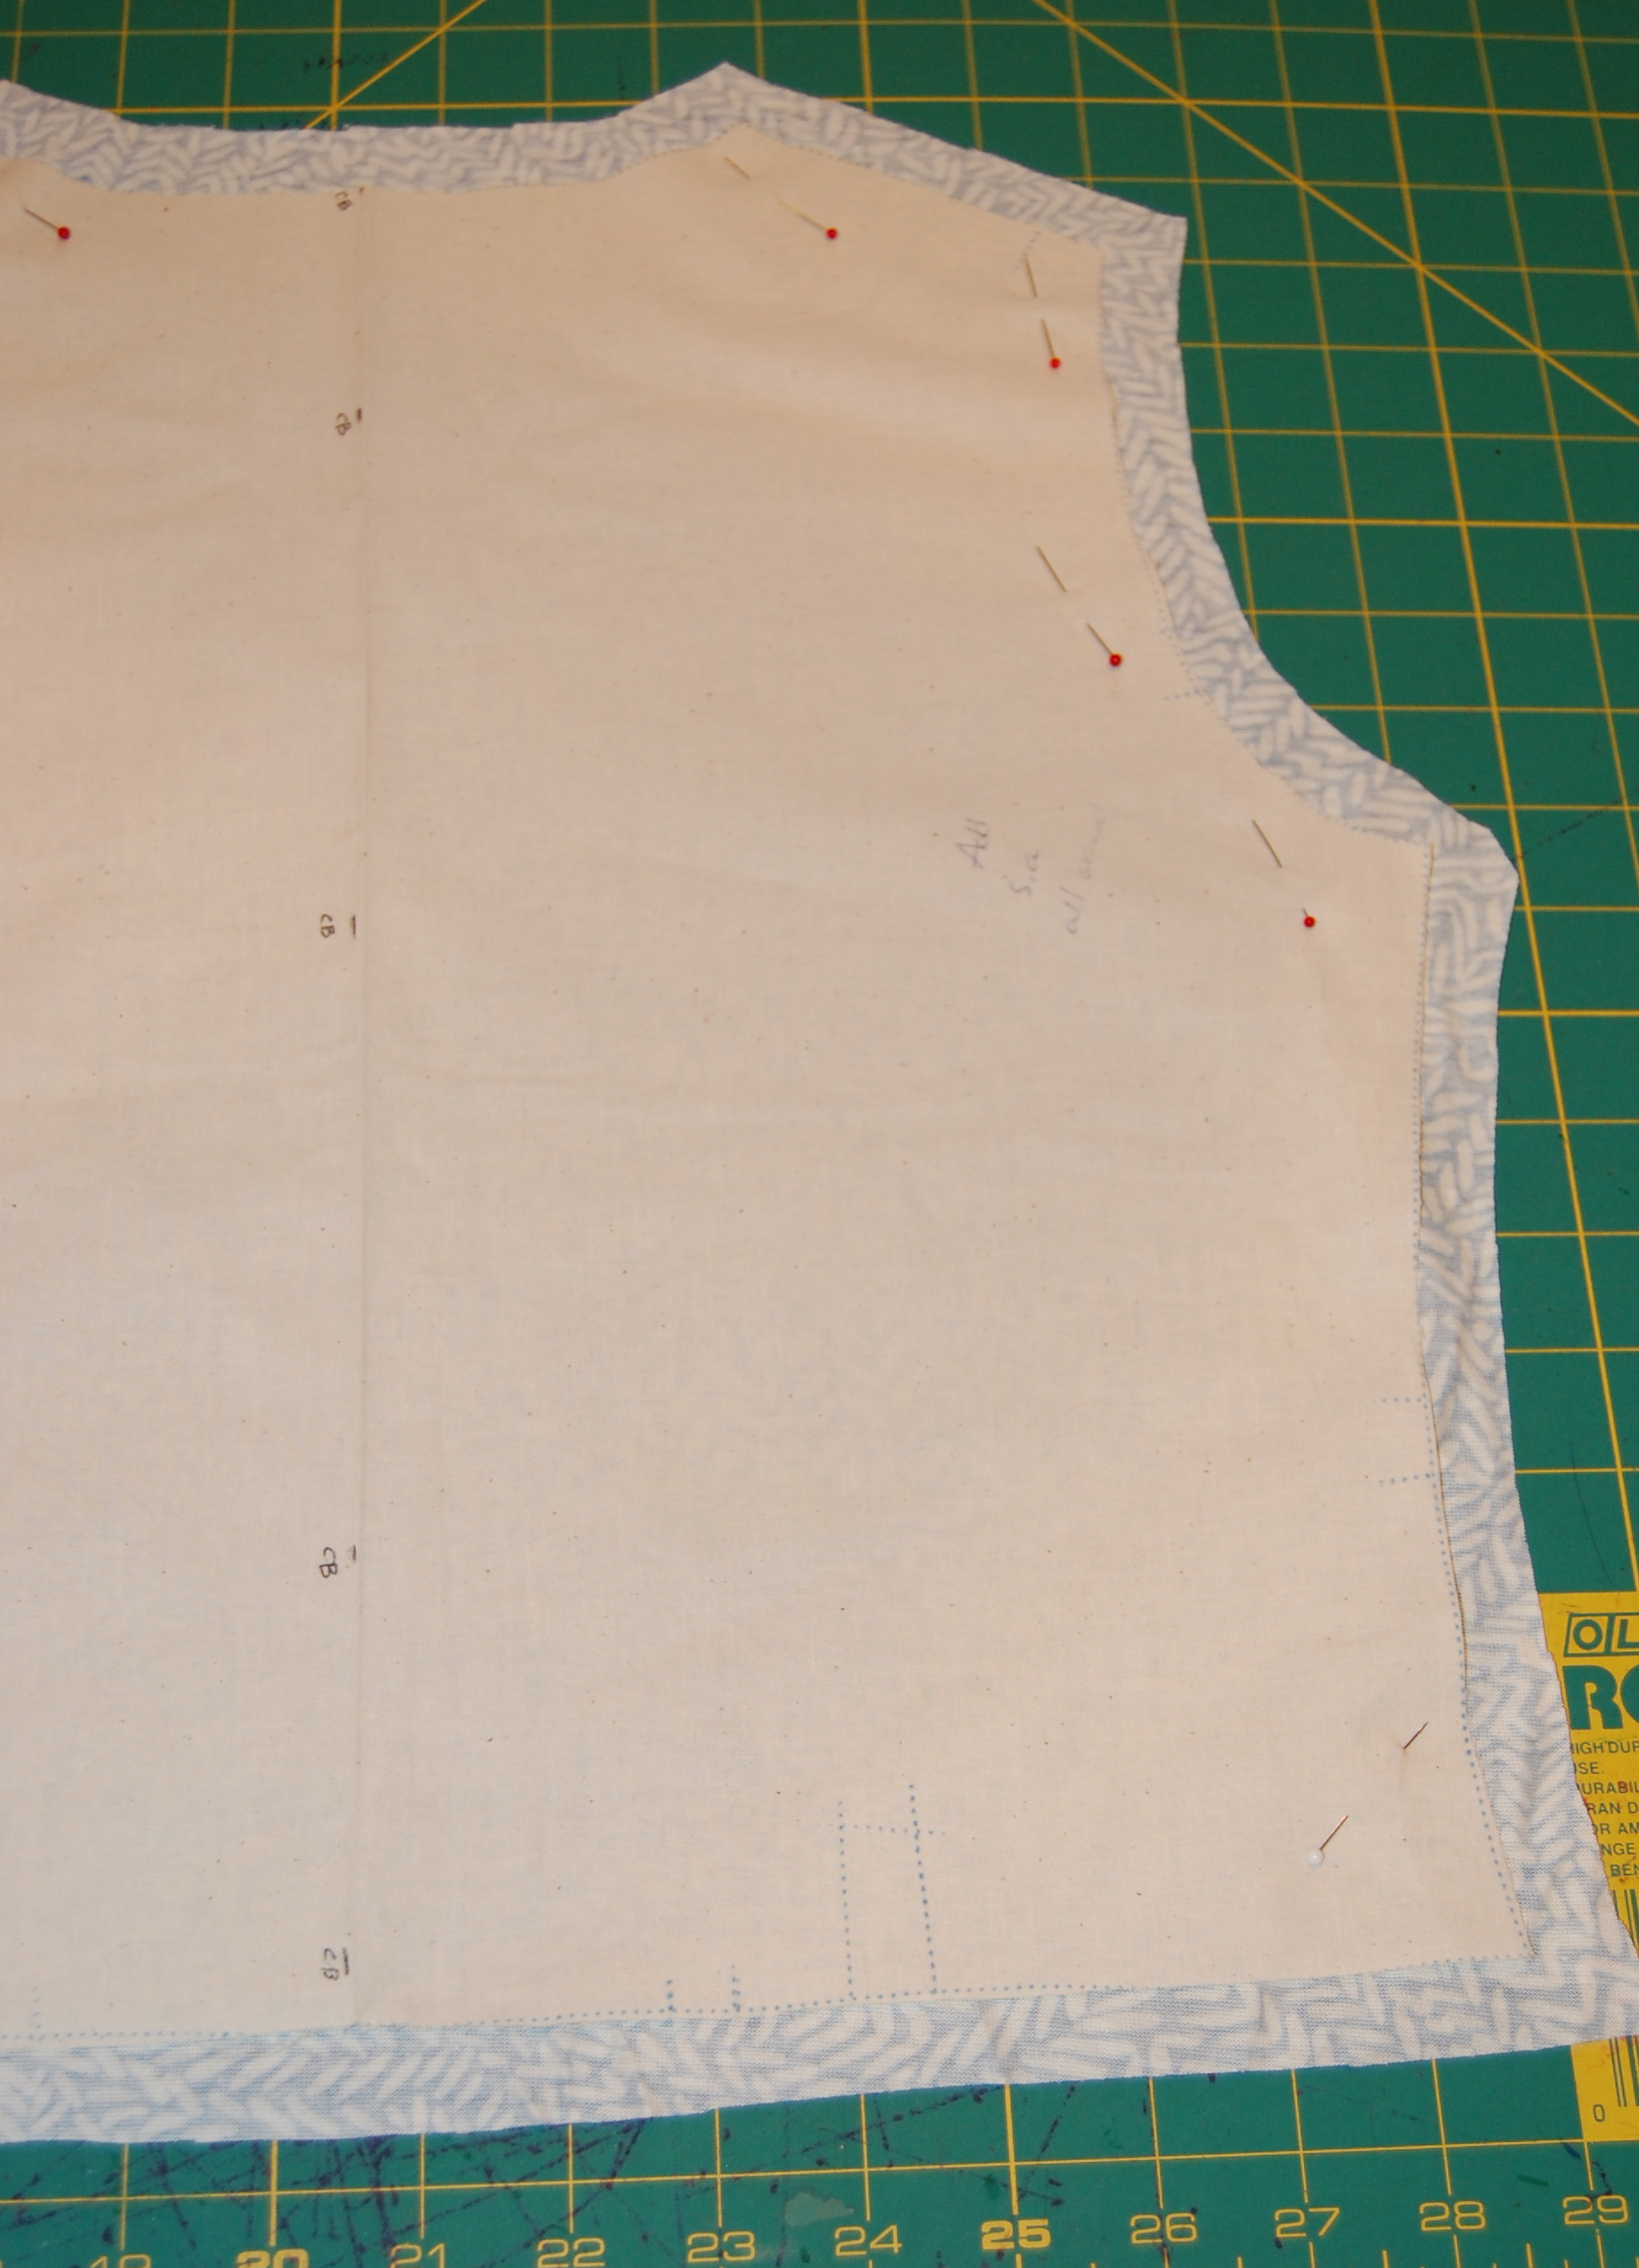
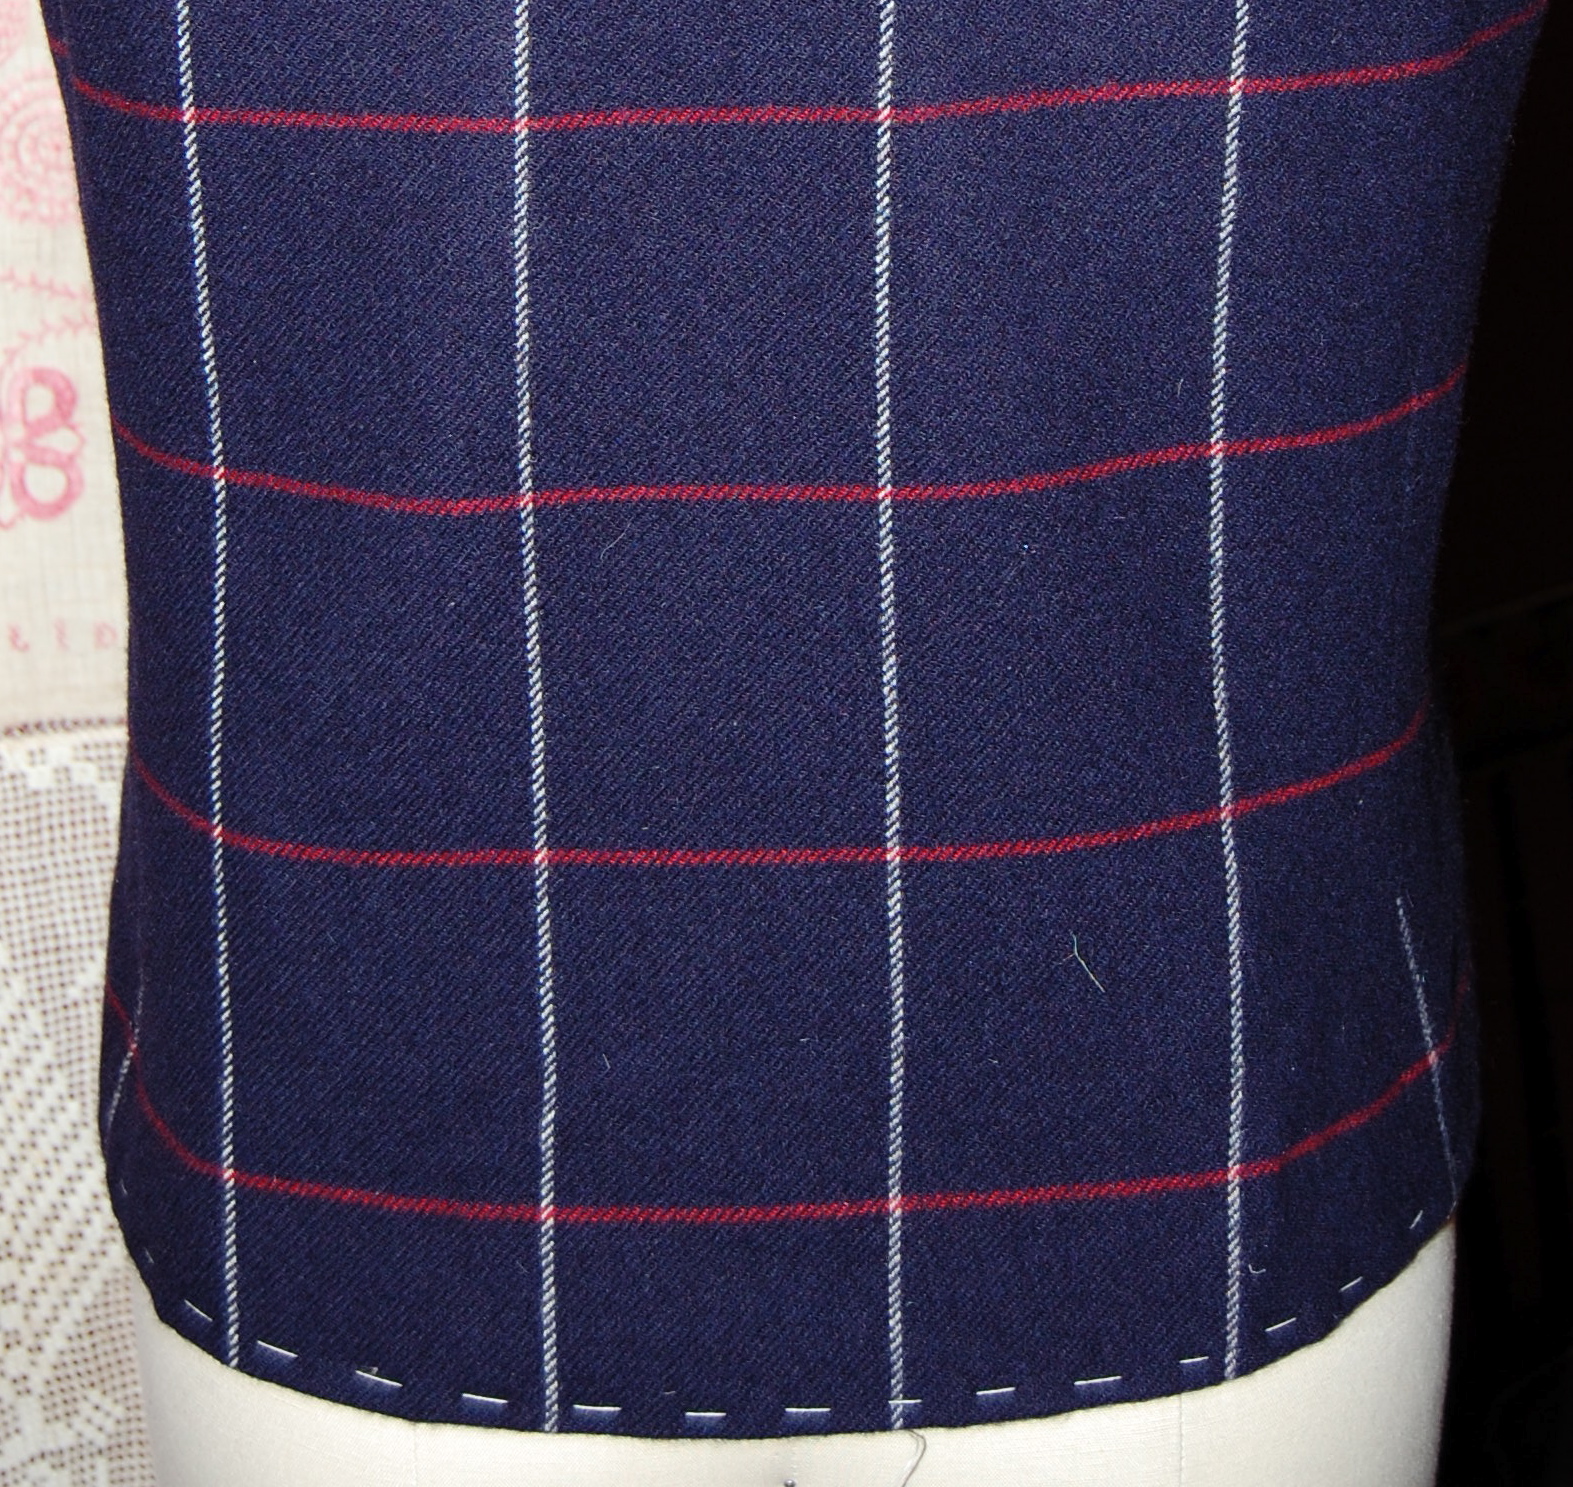
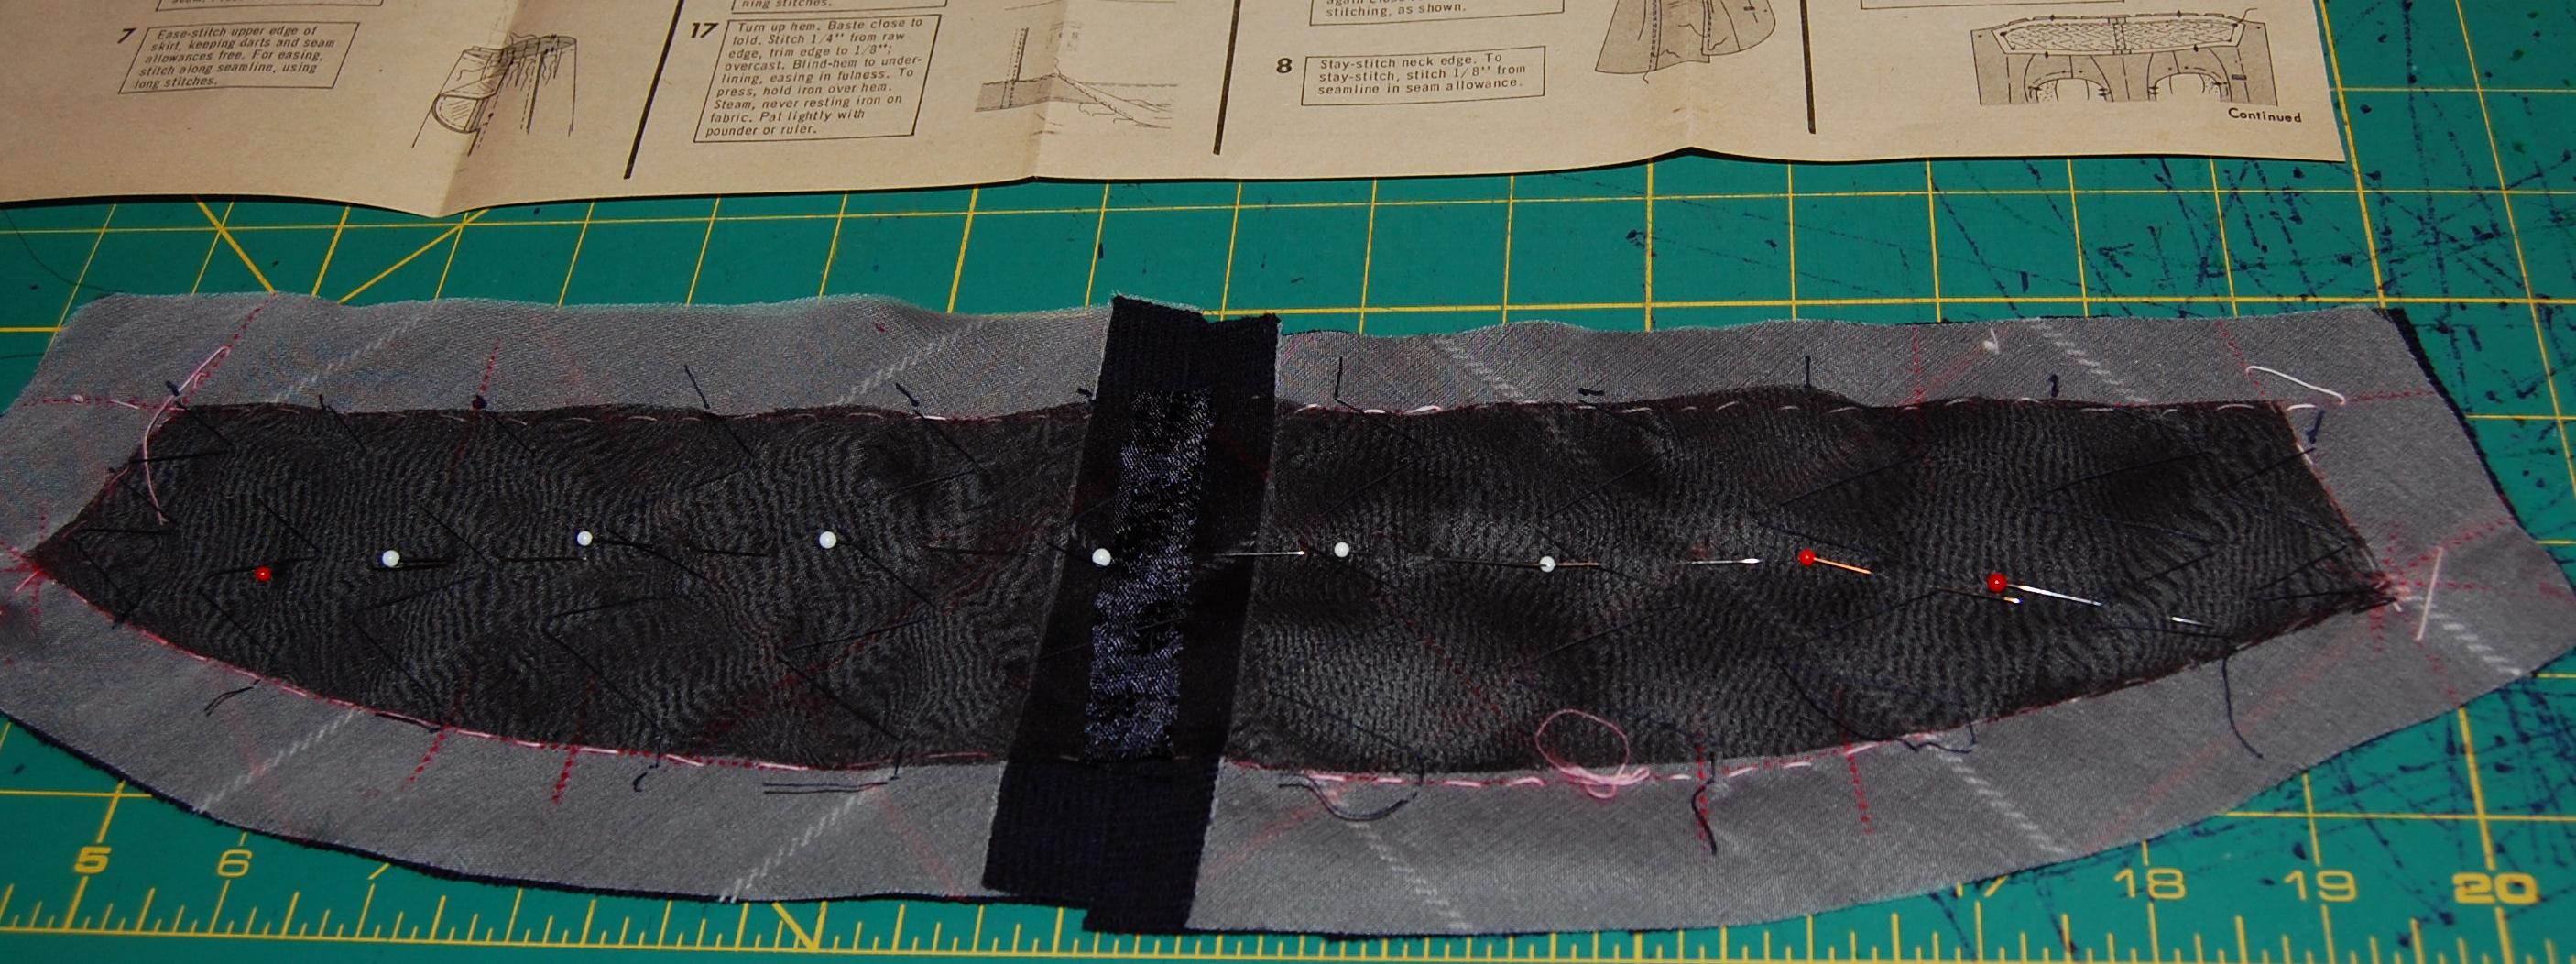
The back bodice piece, ready for thread tracing on the sewing lines.
I am excited about this dress! Since I have already made this pattern once, I know what needs to be tweaked. And – I am excited that I do not have to line it, it has no buttons or buttonholes, and I know it will be easy-wearing. That, to me, is a formula for fashion sewing success.