Those of you who are sewing bloggers and/or readers of sewing blogs are probably aware of a “survey” of sorts which is quietly and slowing making the rounds of those of us who share this interest. The survey is a simple list of questions which explores the relationship between sewing and one’s blog. I have been enjoying reading other bloggers’ thoughts on this relationship, most recently those of Mel of Poppykettle. Mel is surely world famous by now for her exquisite wedding gown which, of course, she made, as well as the gowns for her attendants. Now, I have never met Mel (although I hope to someday!), but I can tell she is just as charming and fun and genuine as the delightful blog which she writes. Knowing this made it even more flattering for me that she nominated me to expound on these same questions. So, I “accepted” the mission and here goes…
What am I working on?
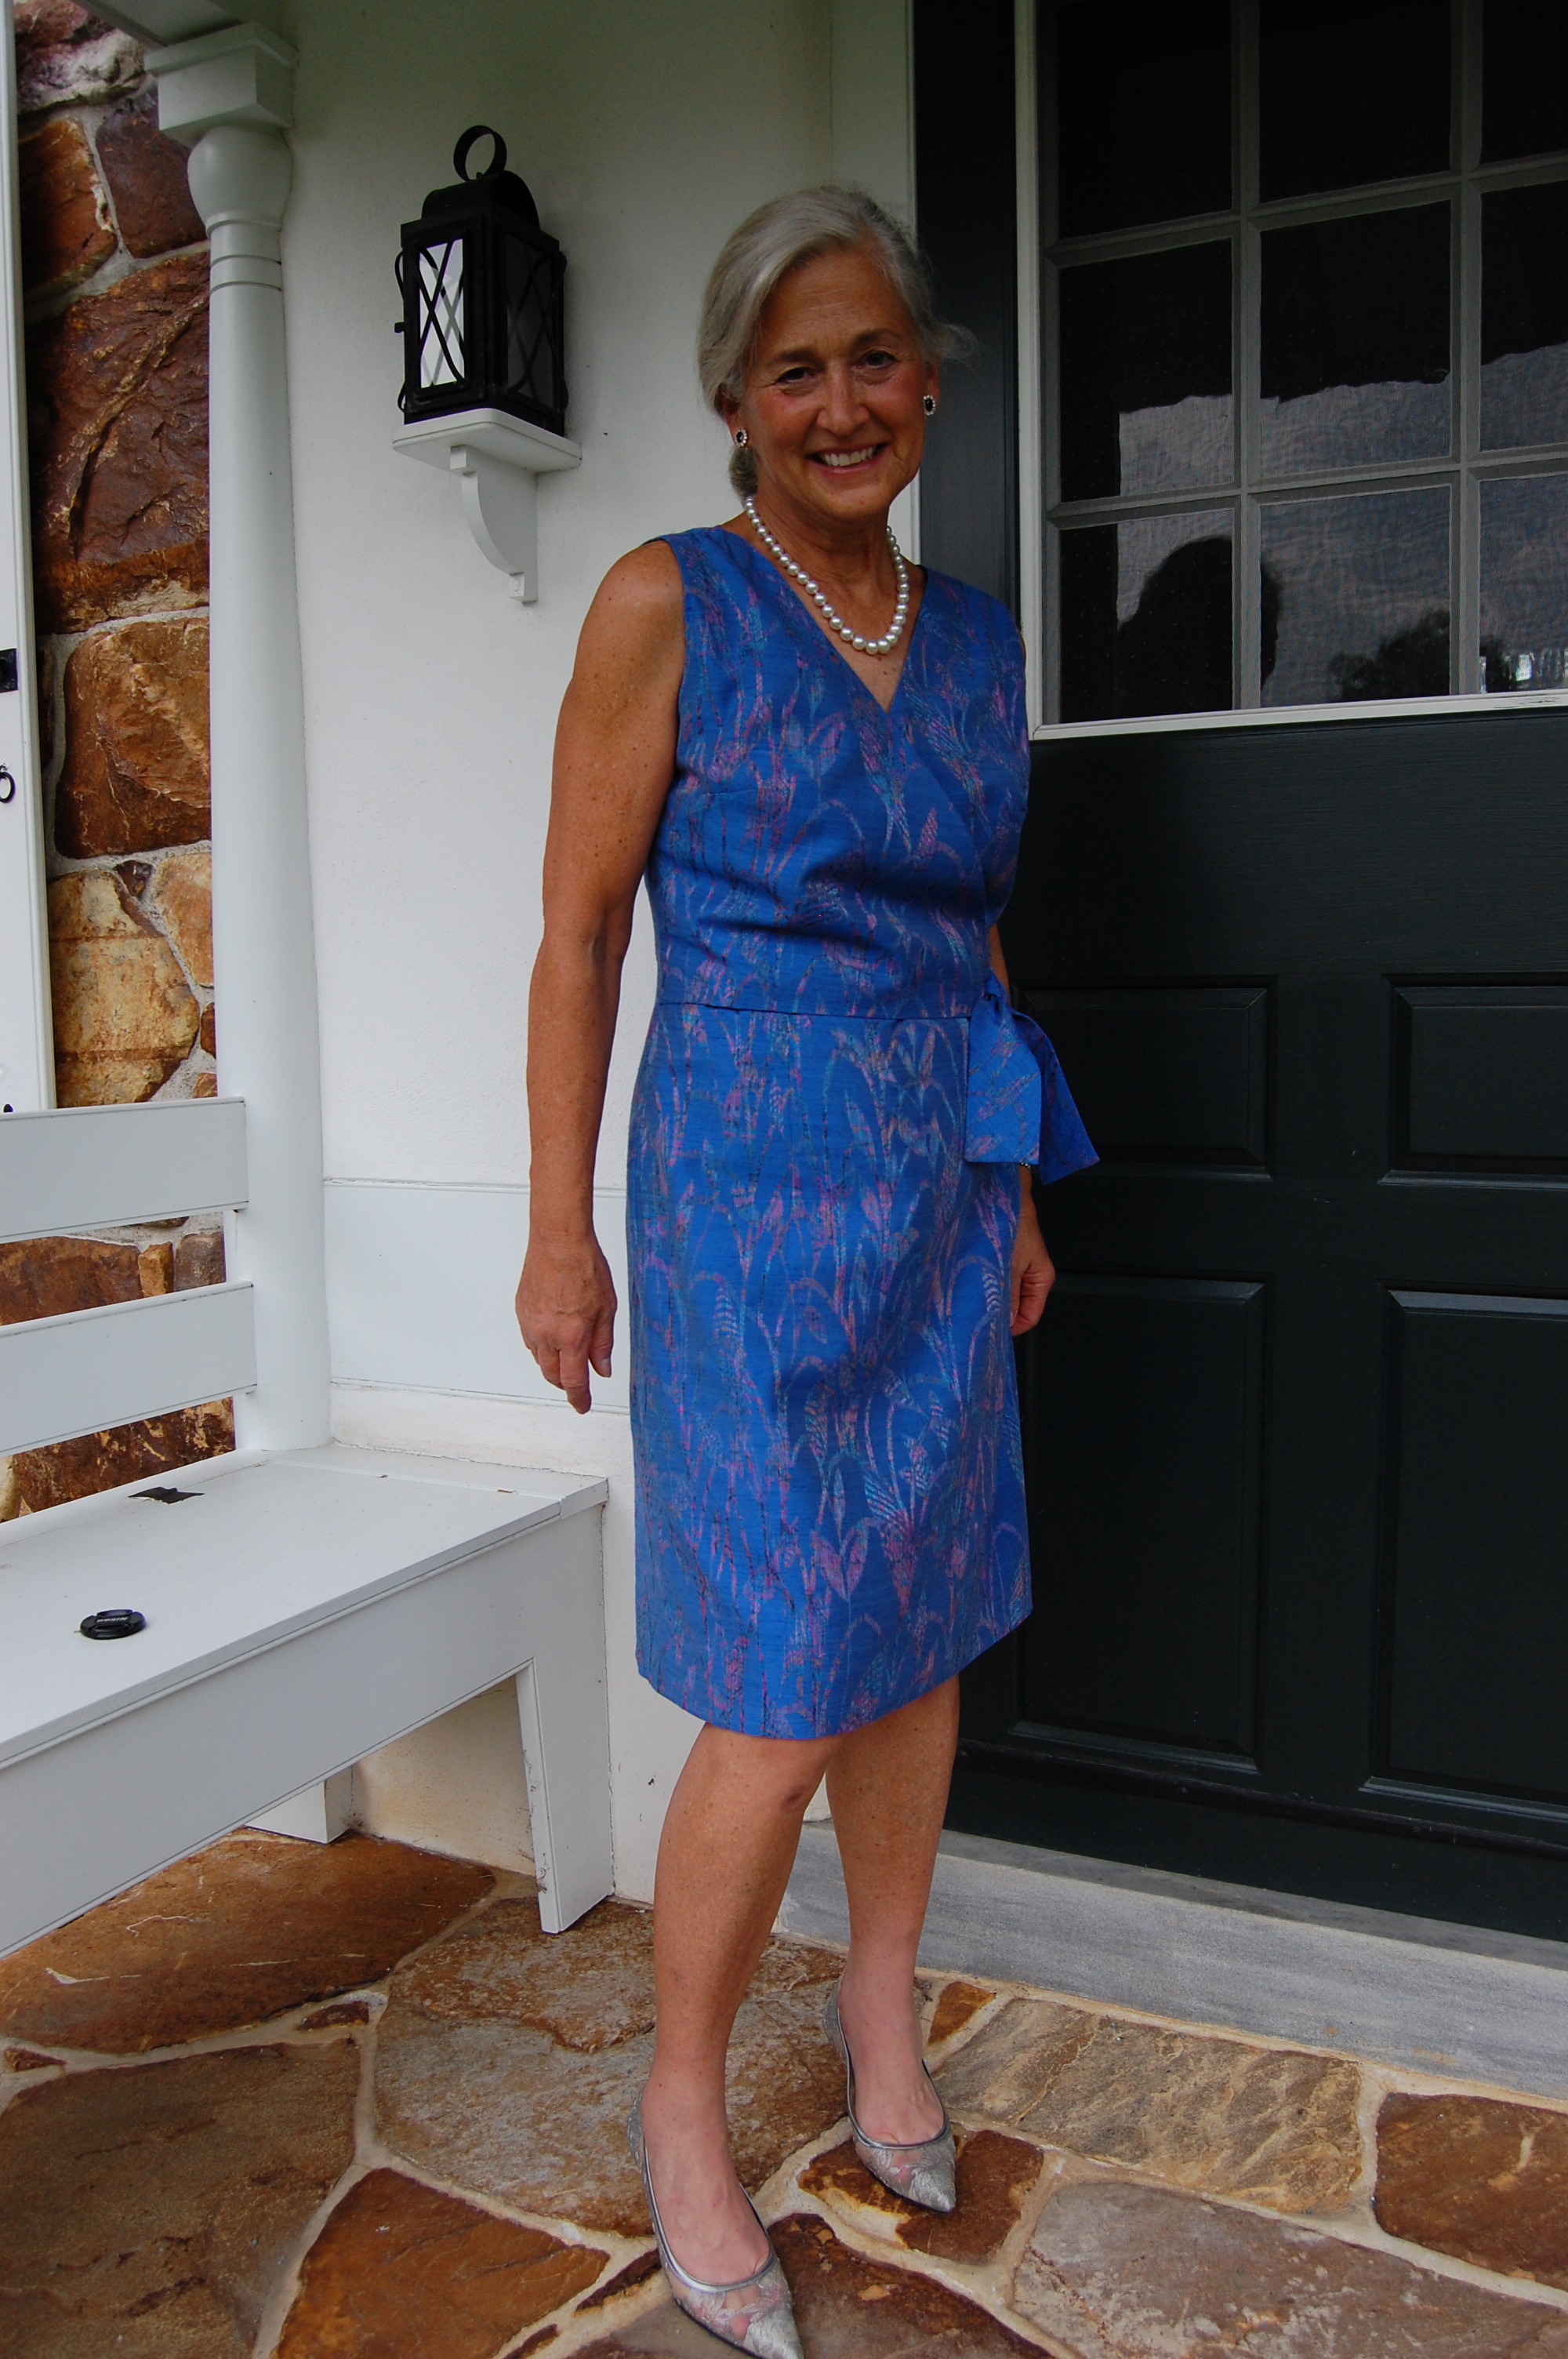
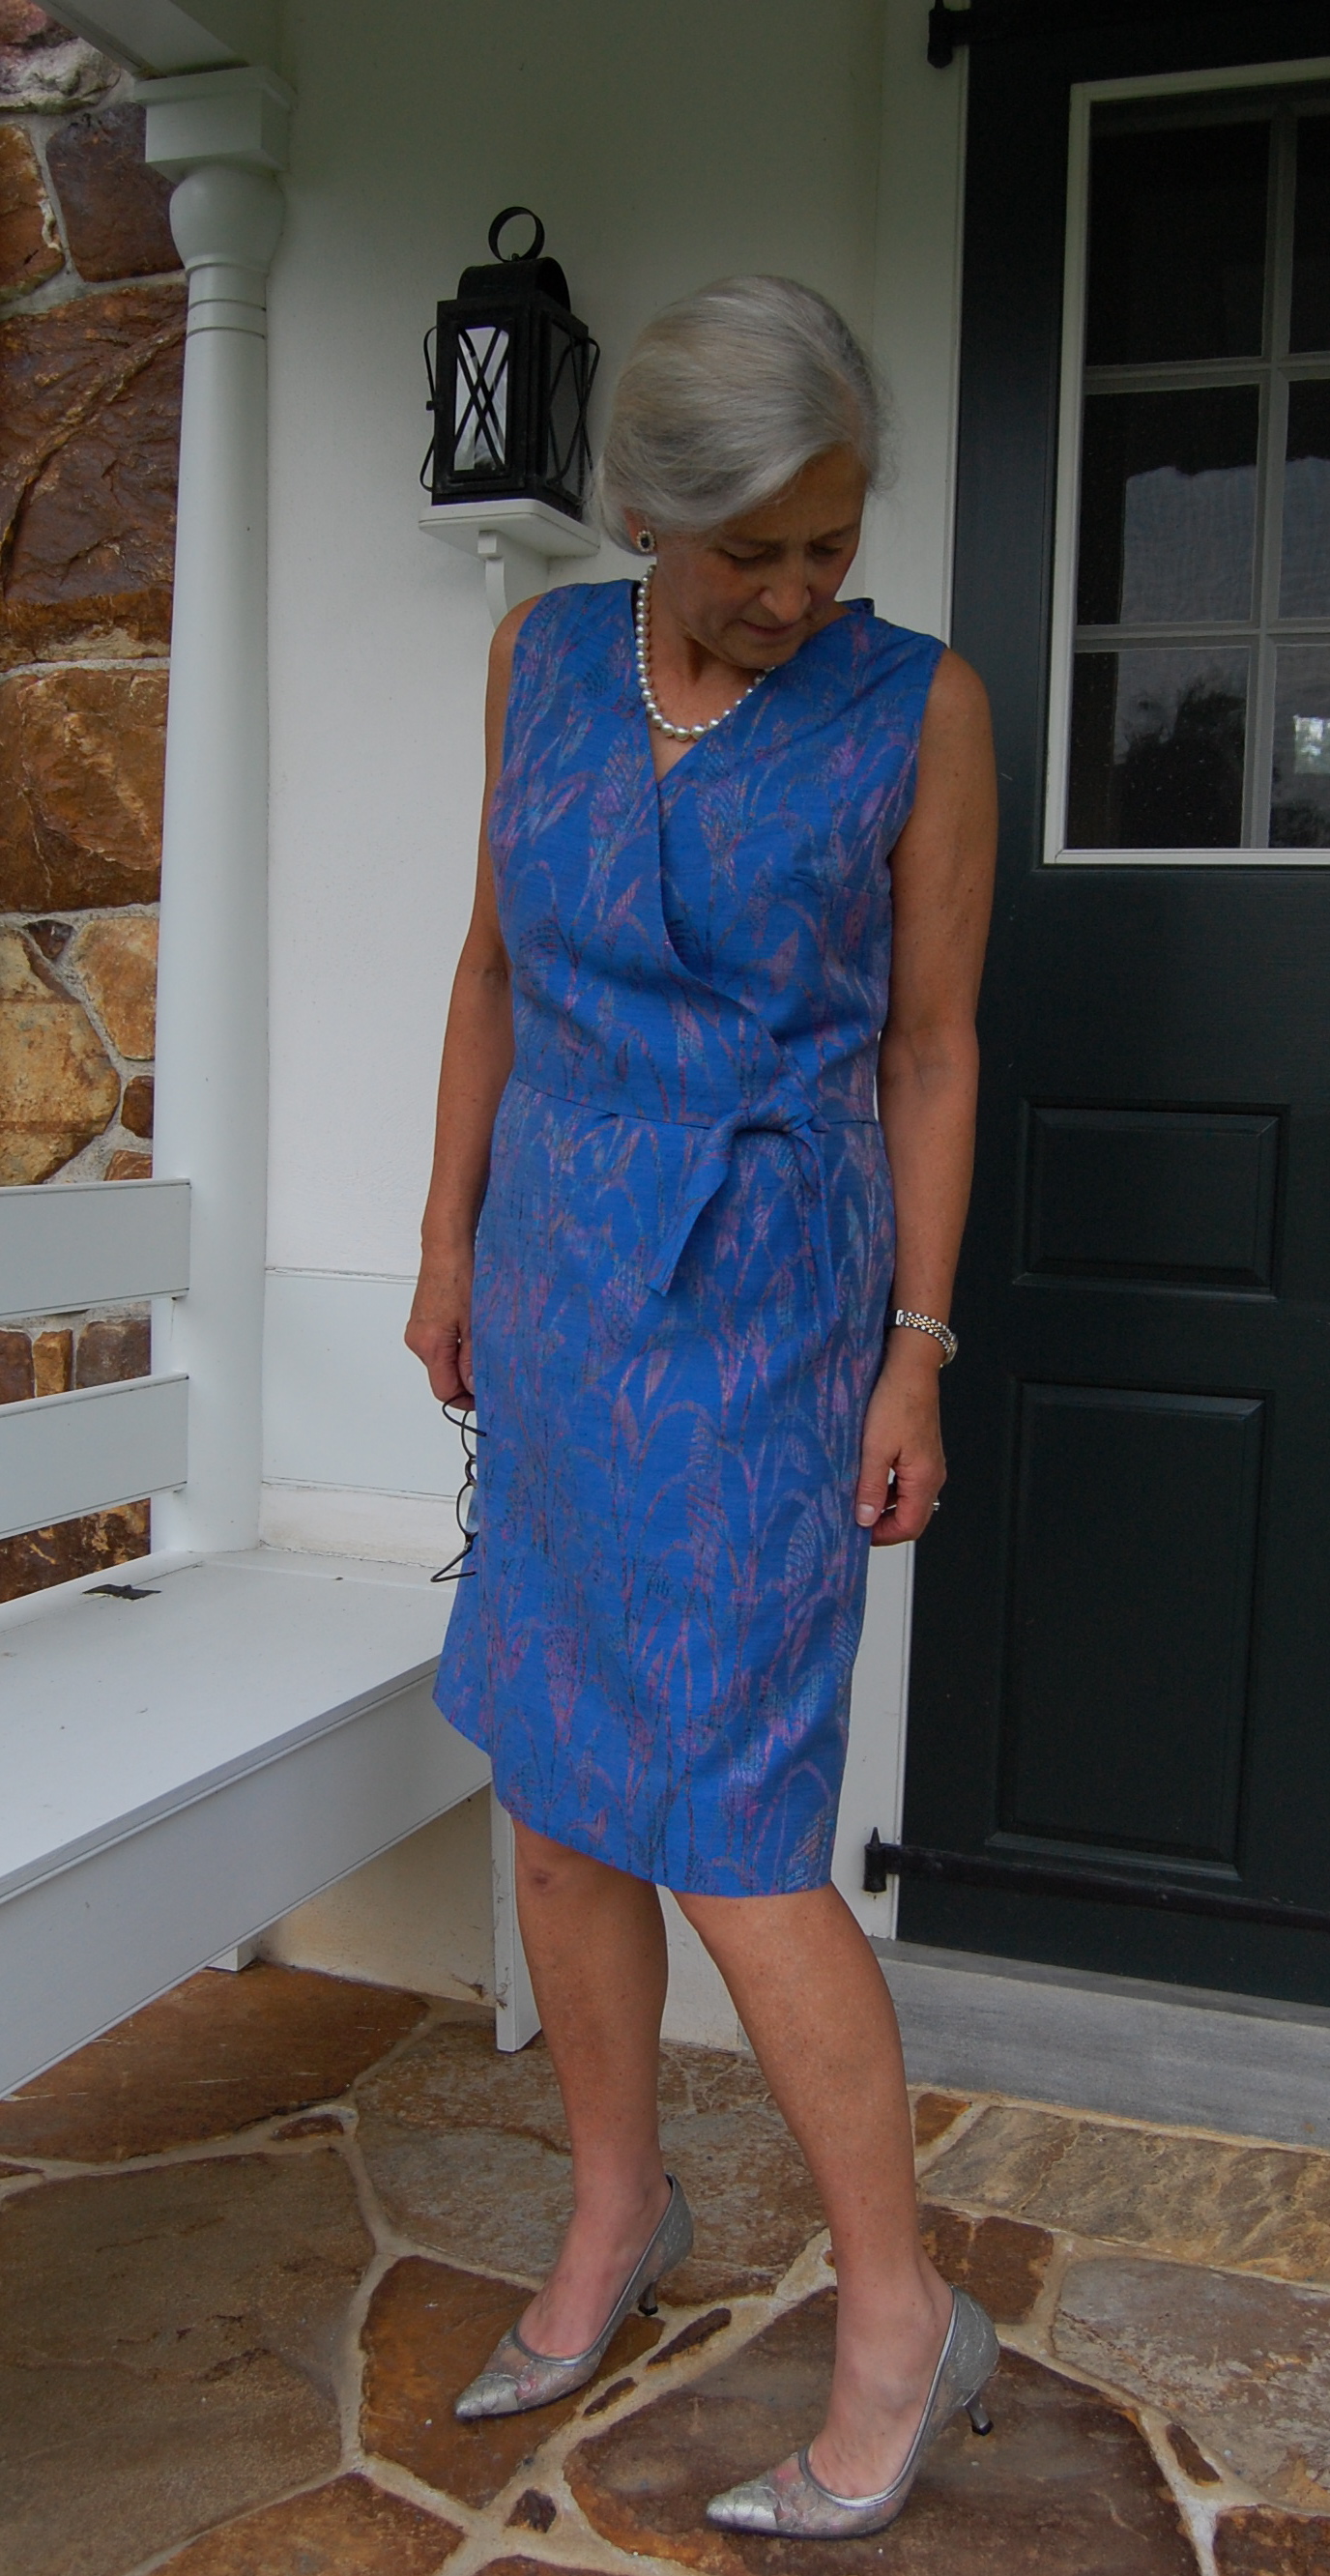
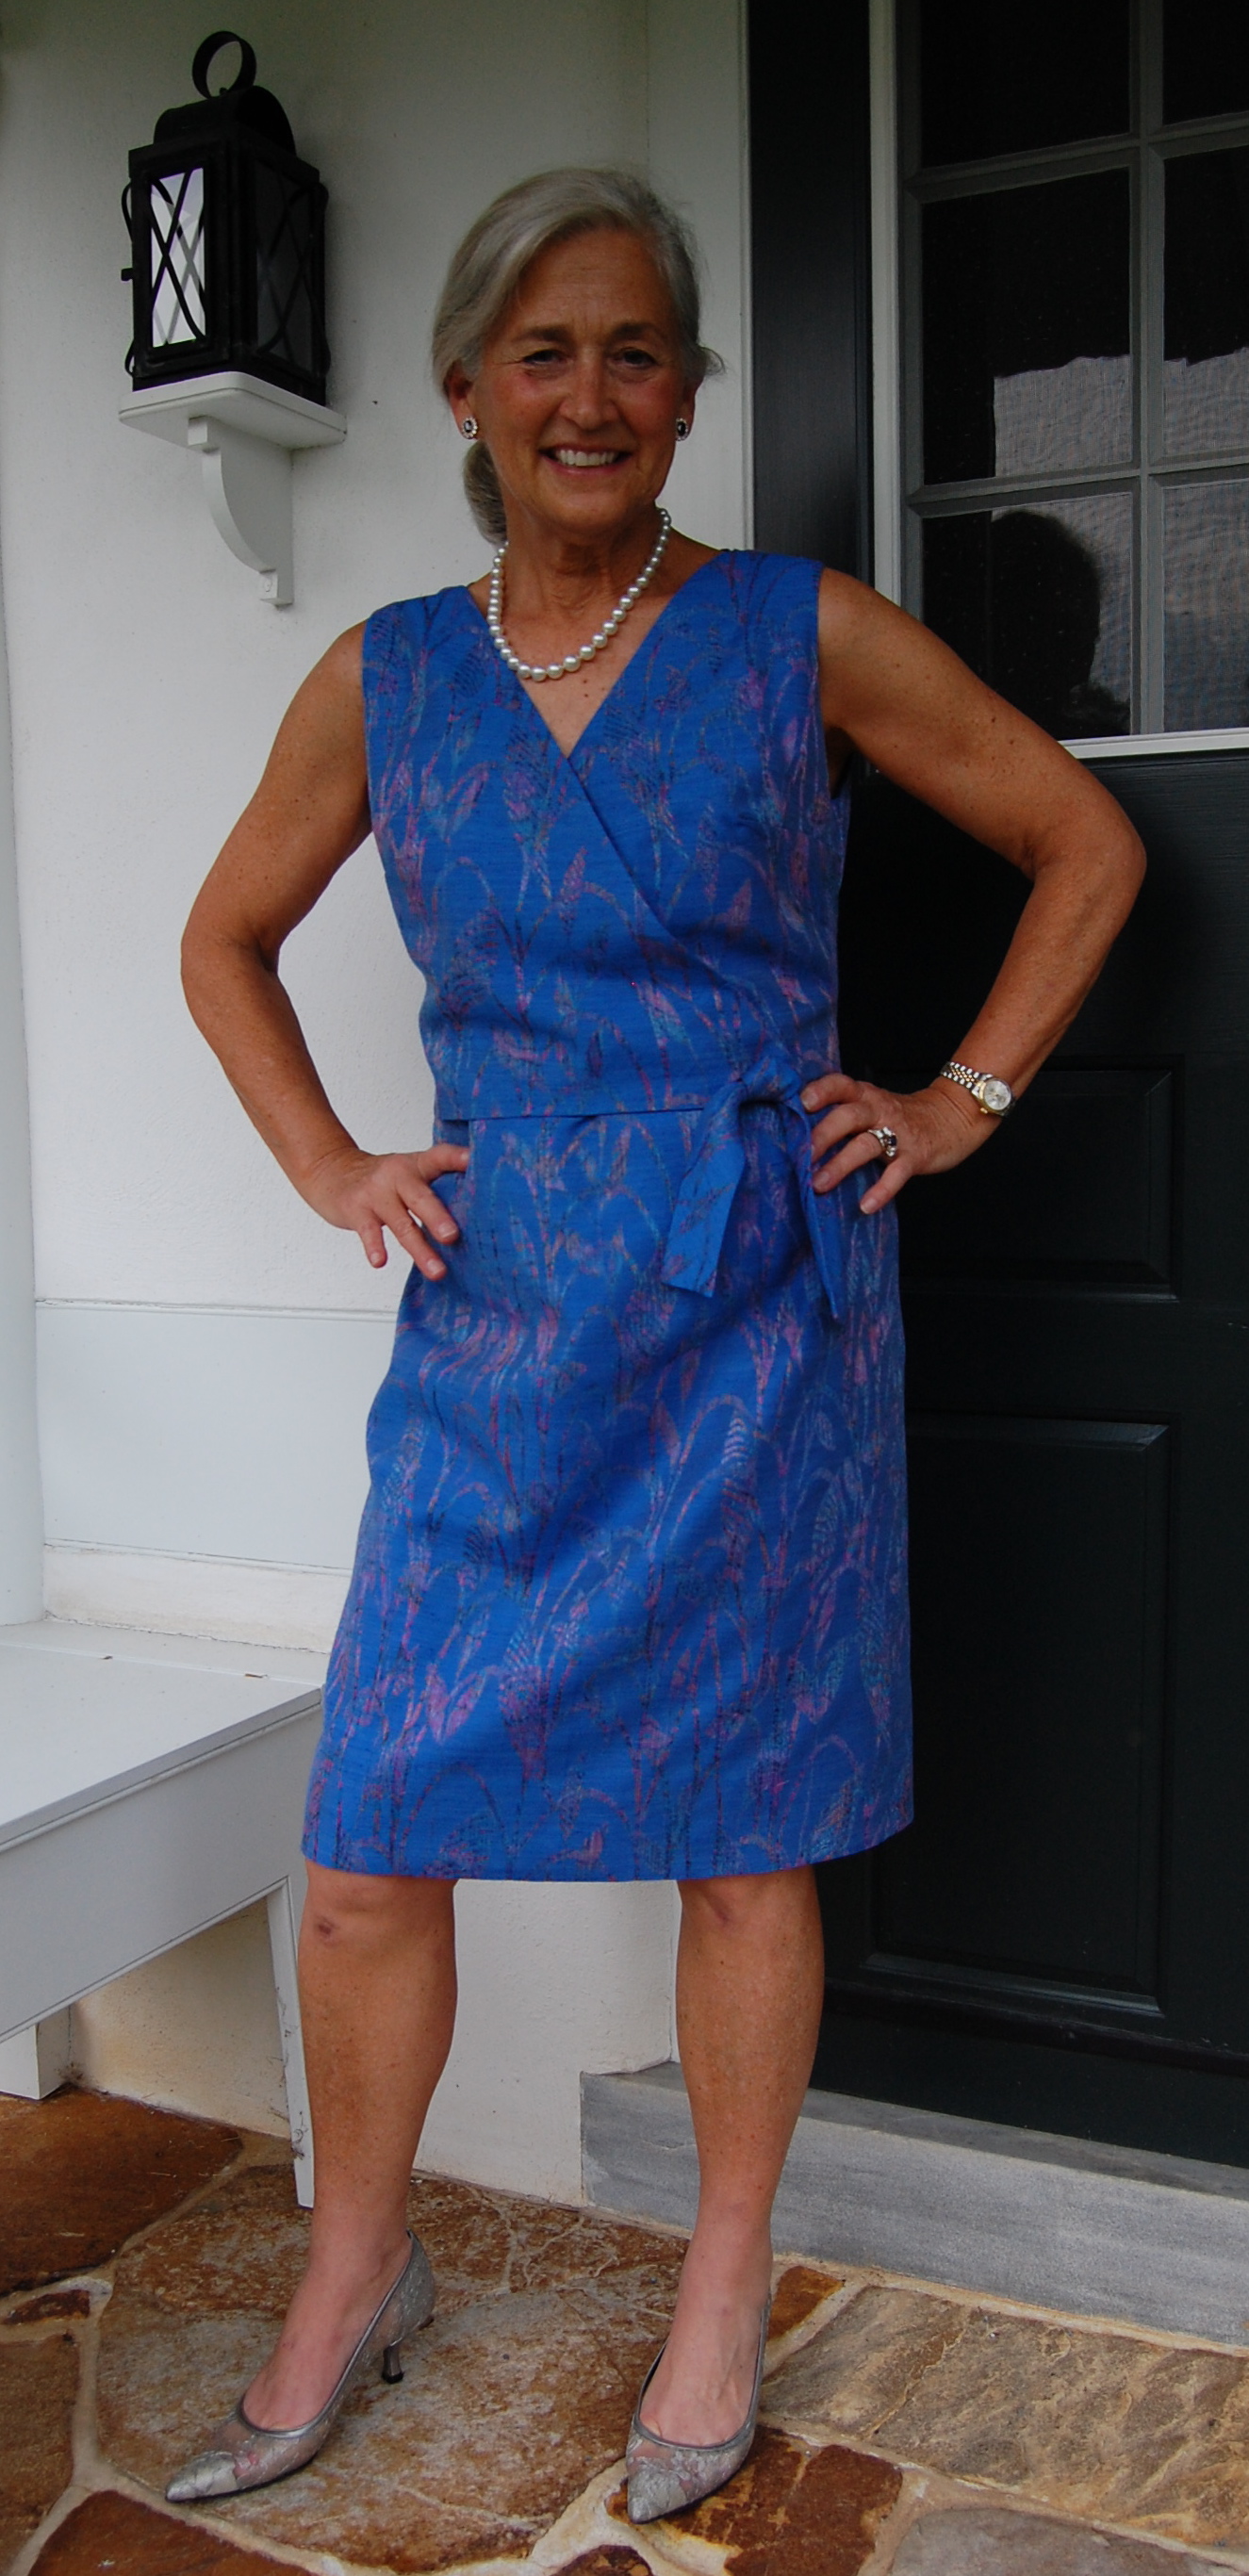
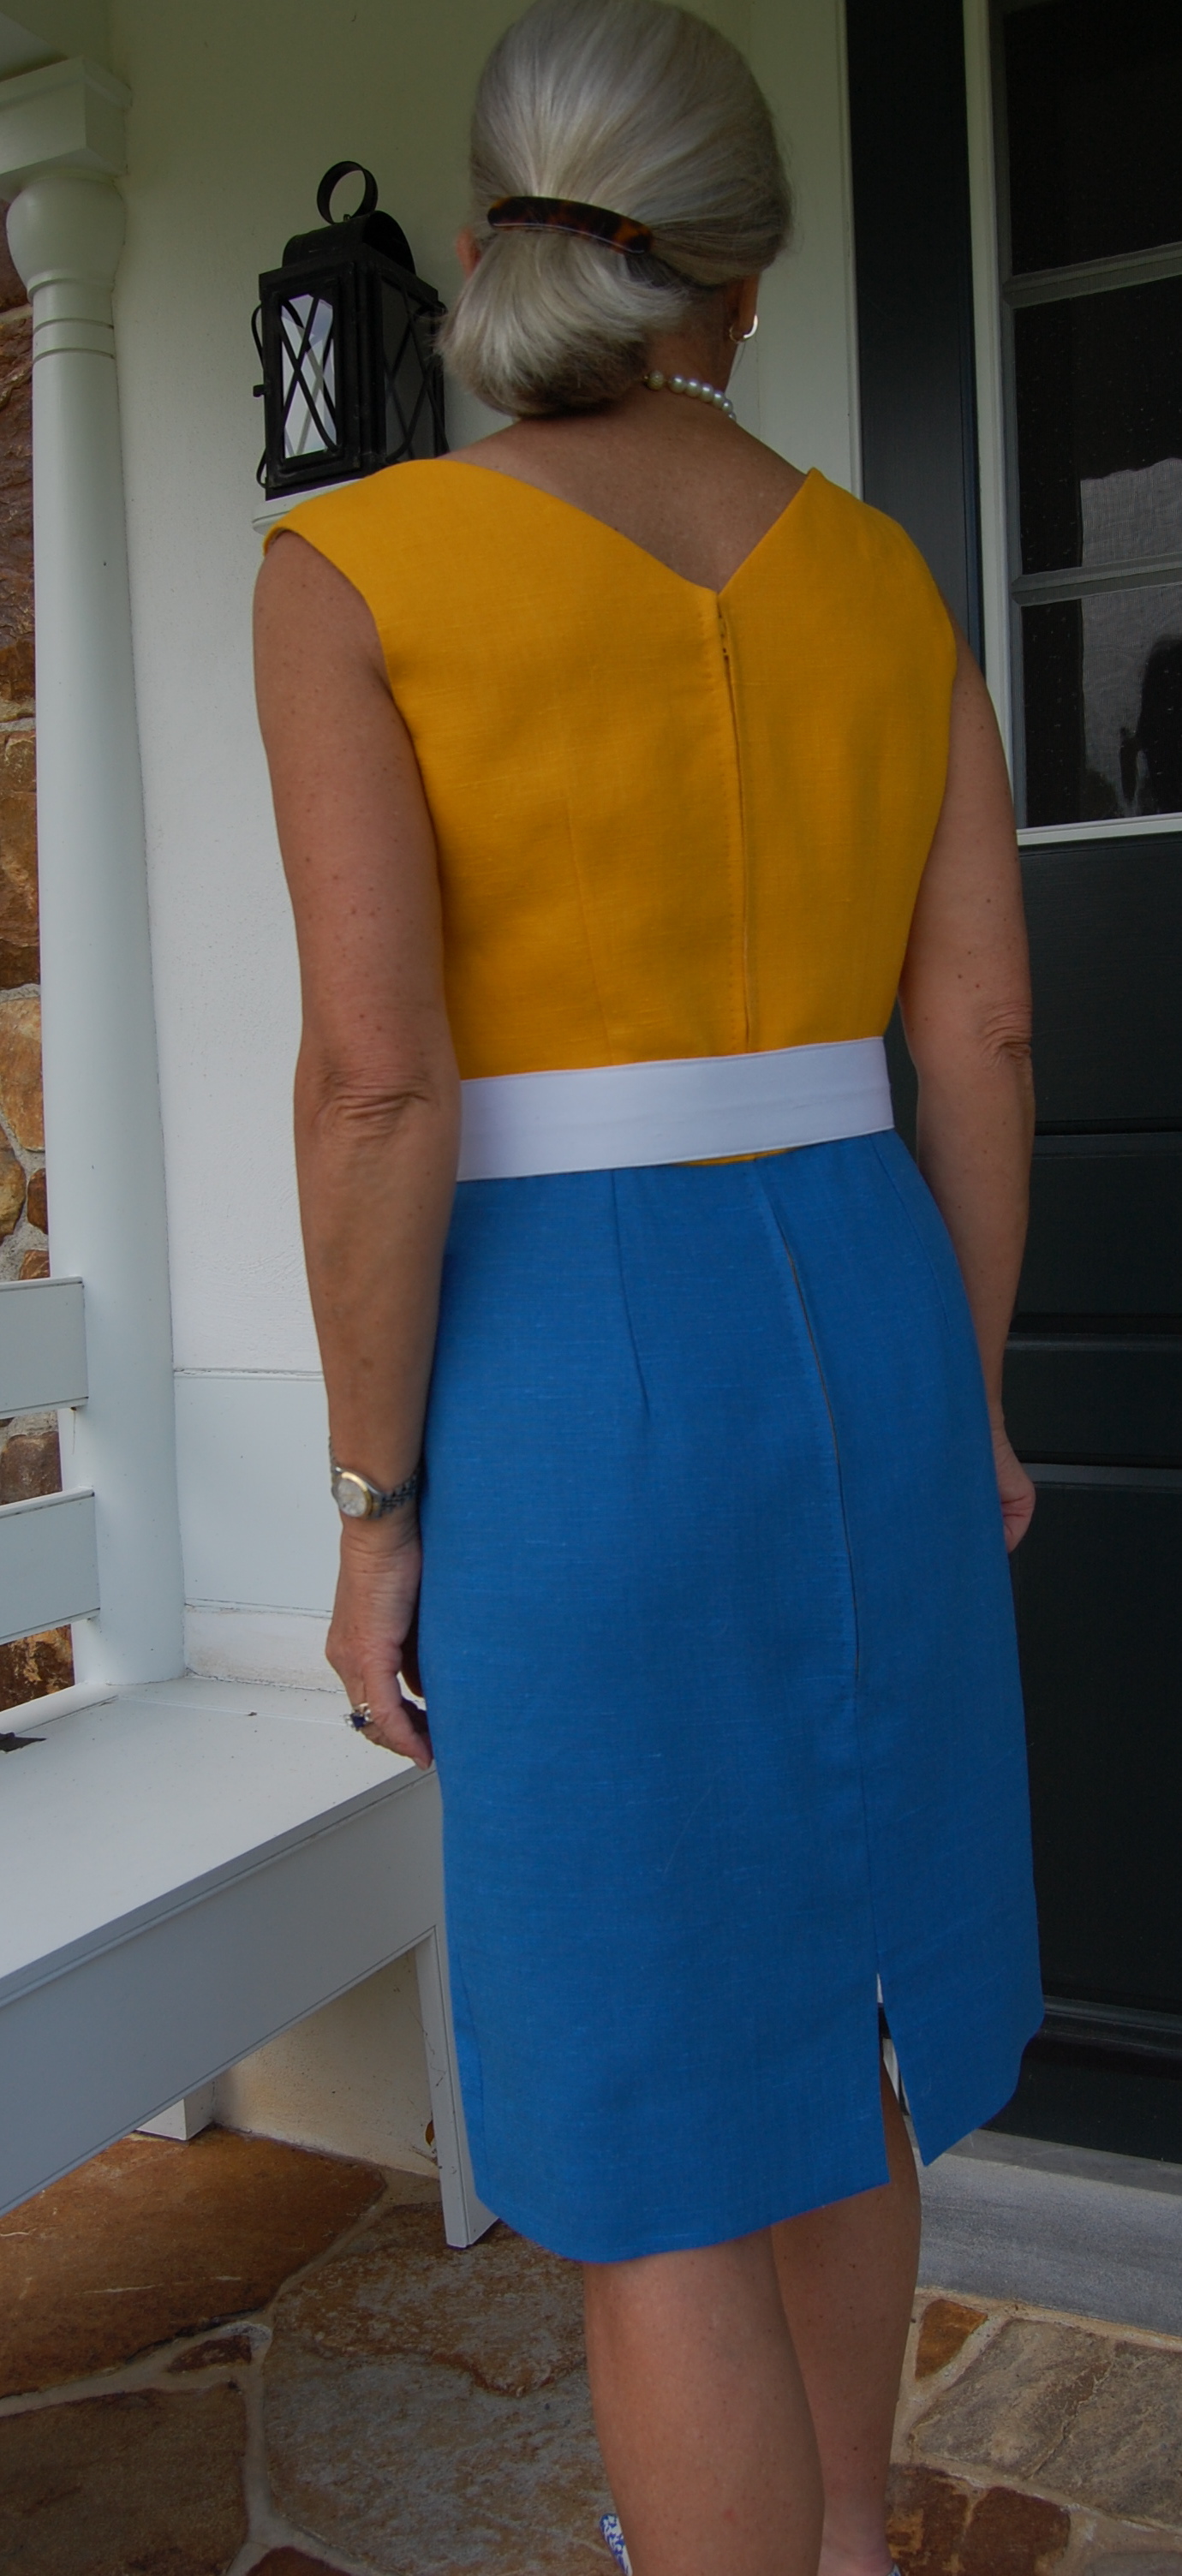
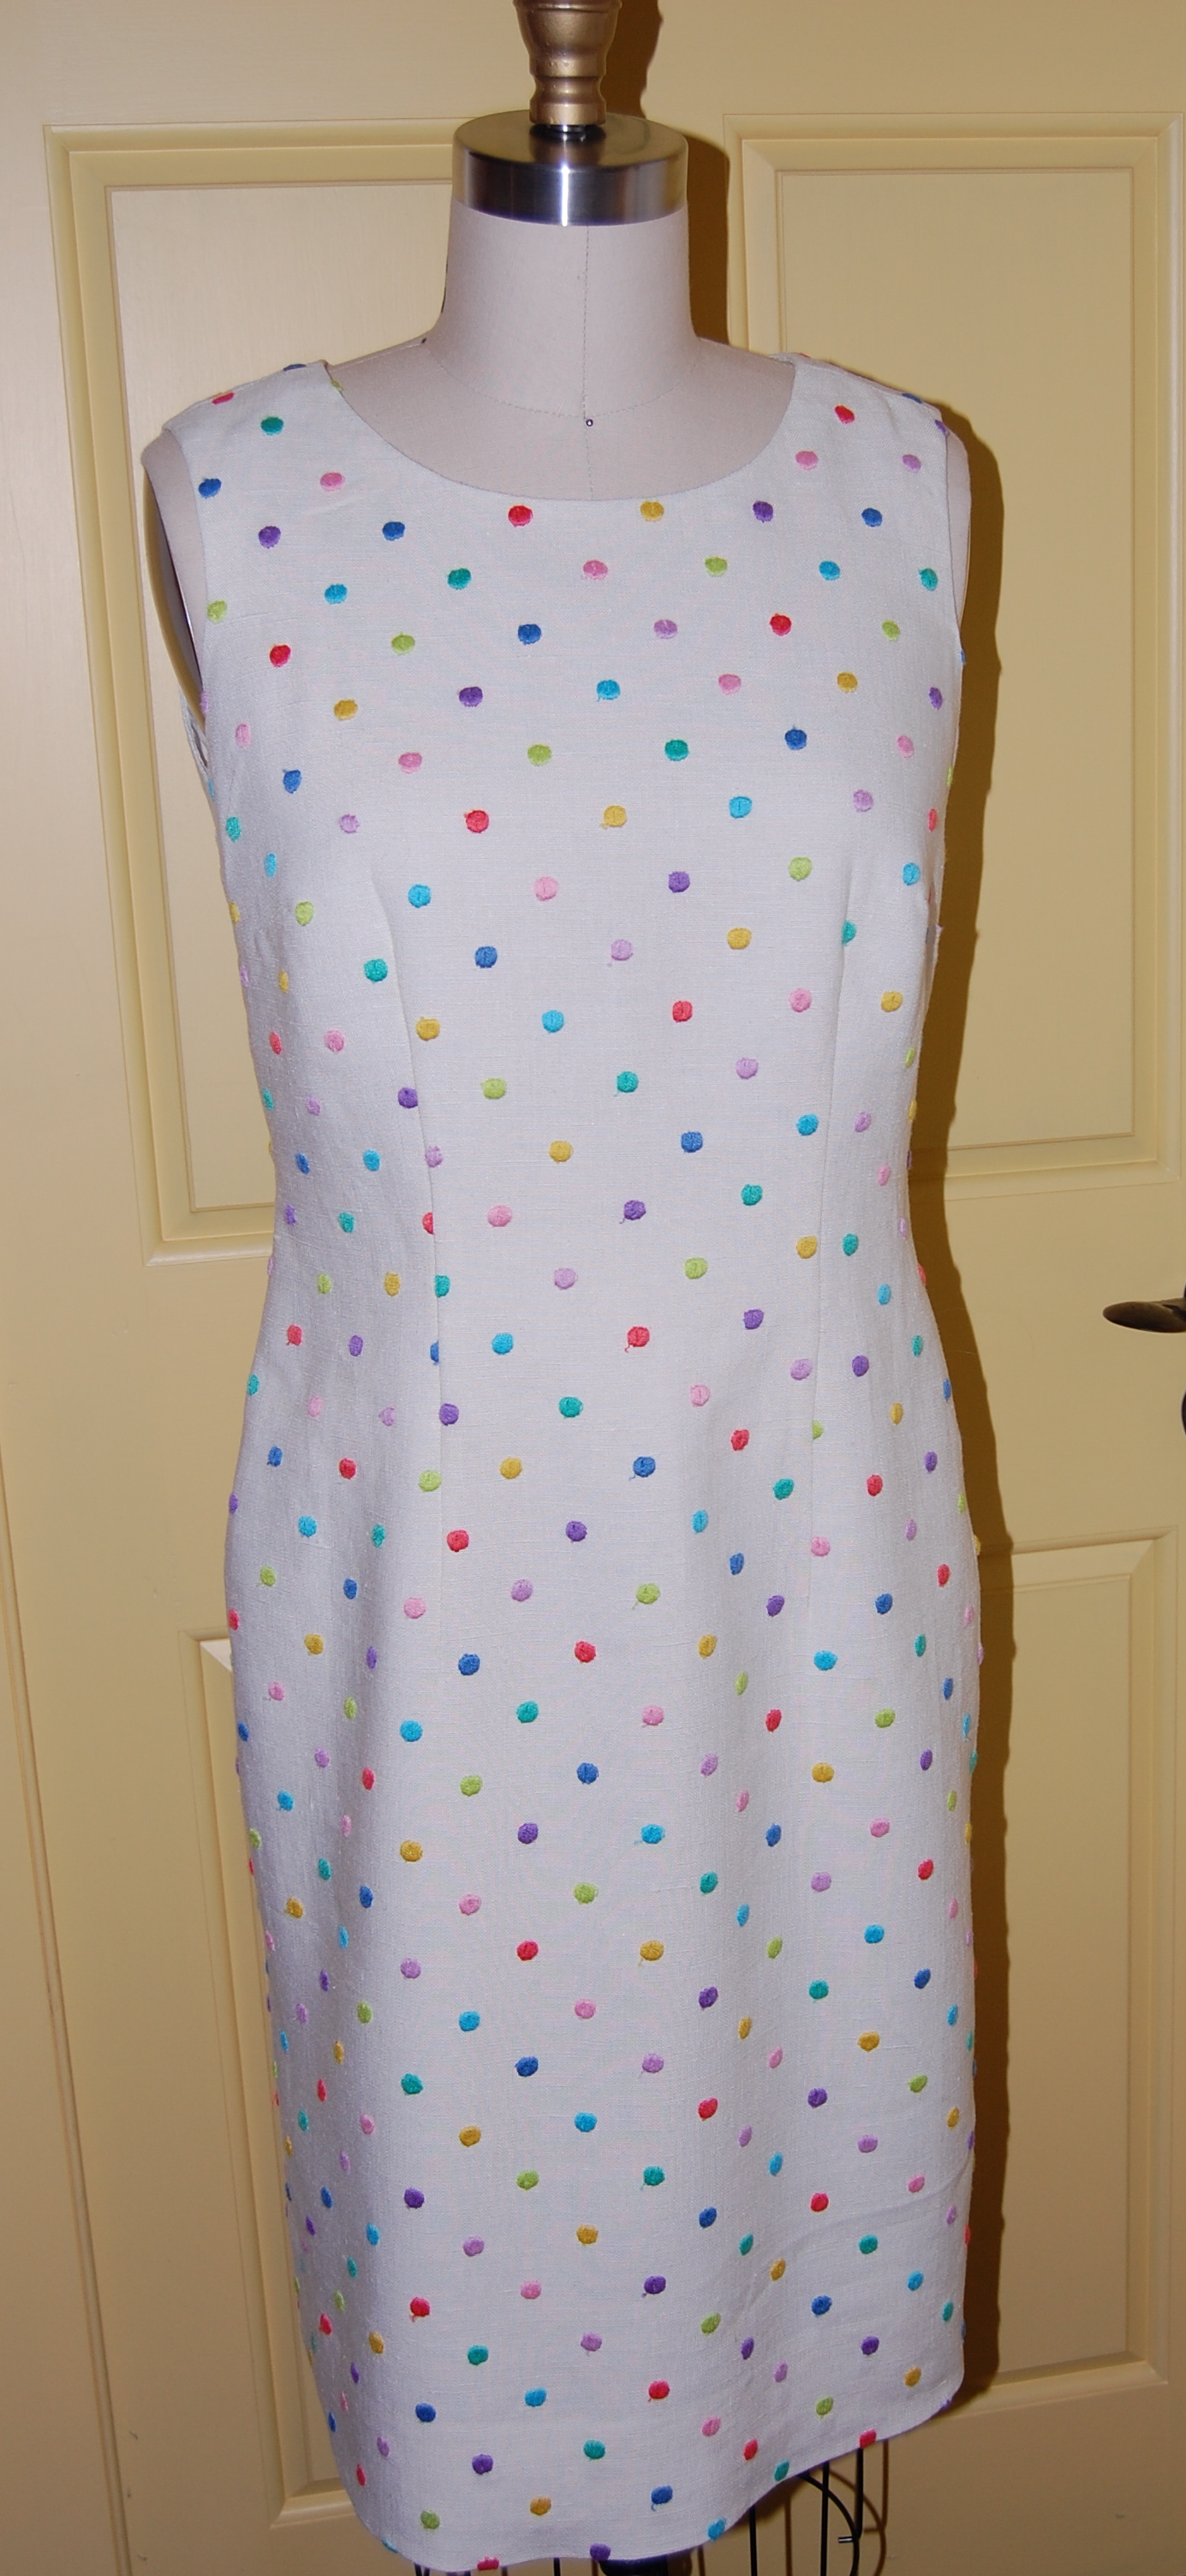
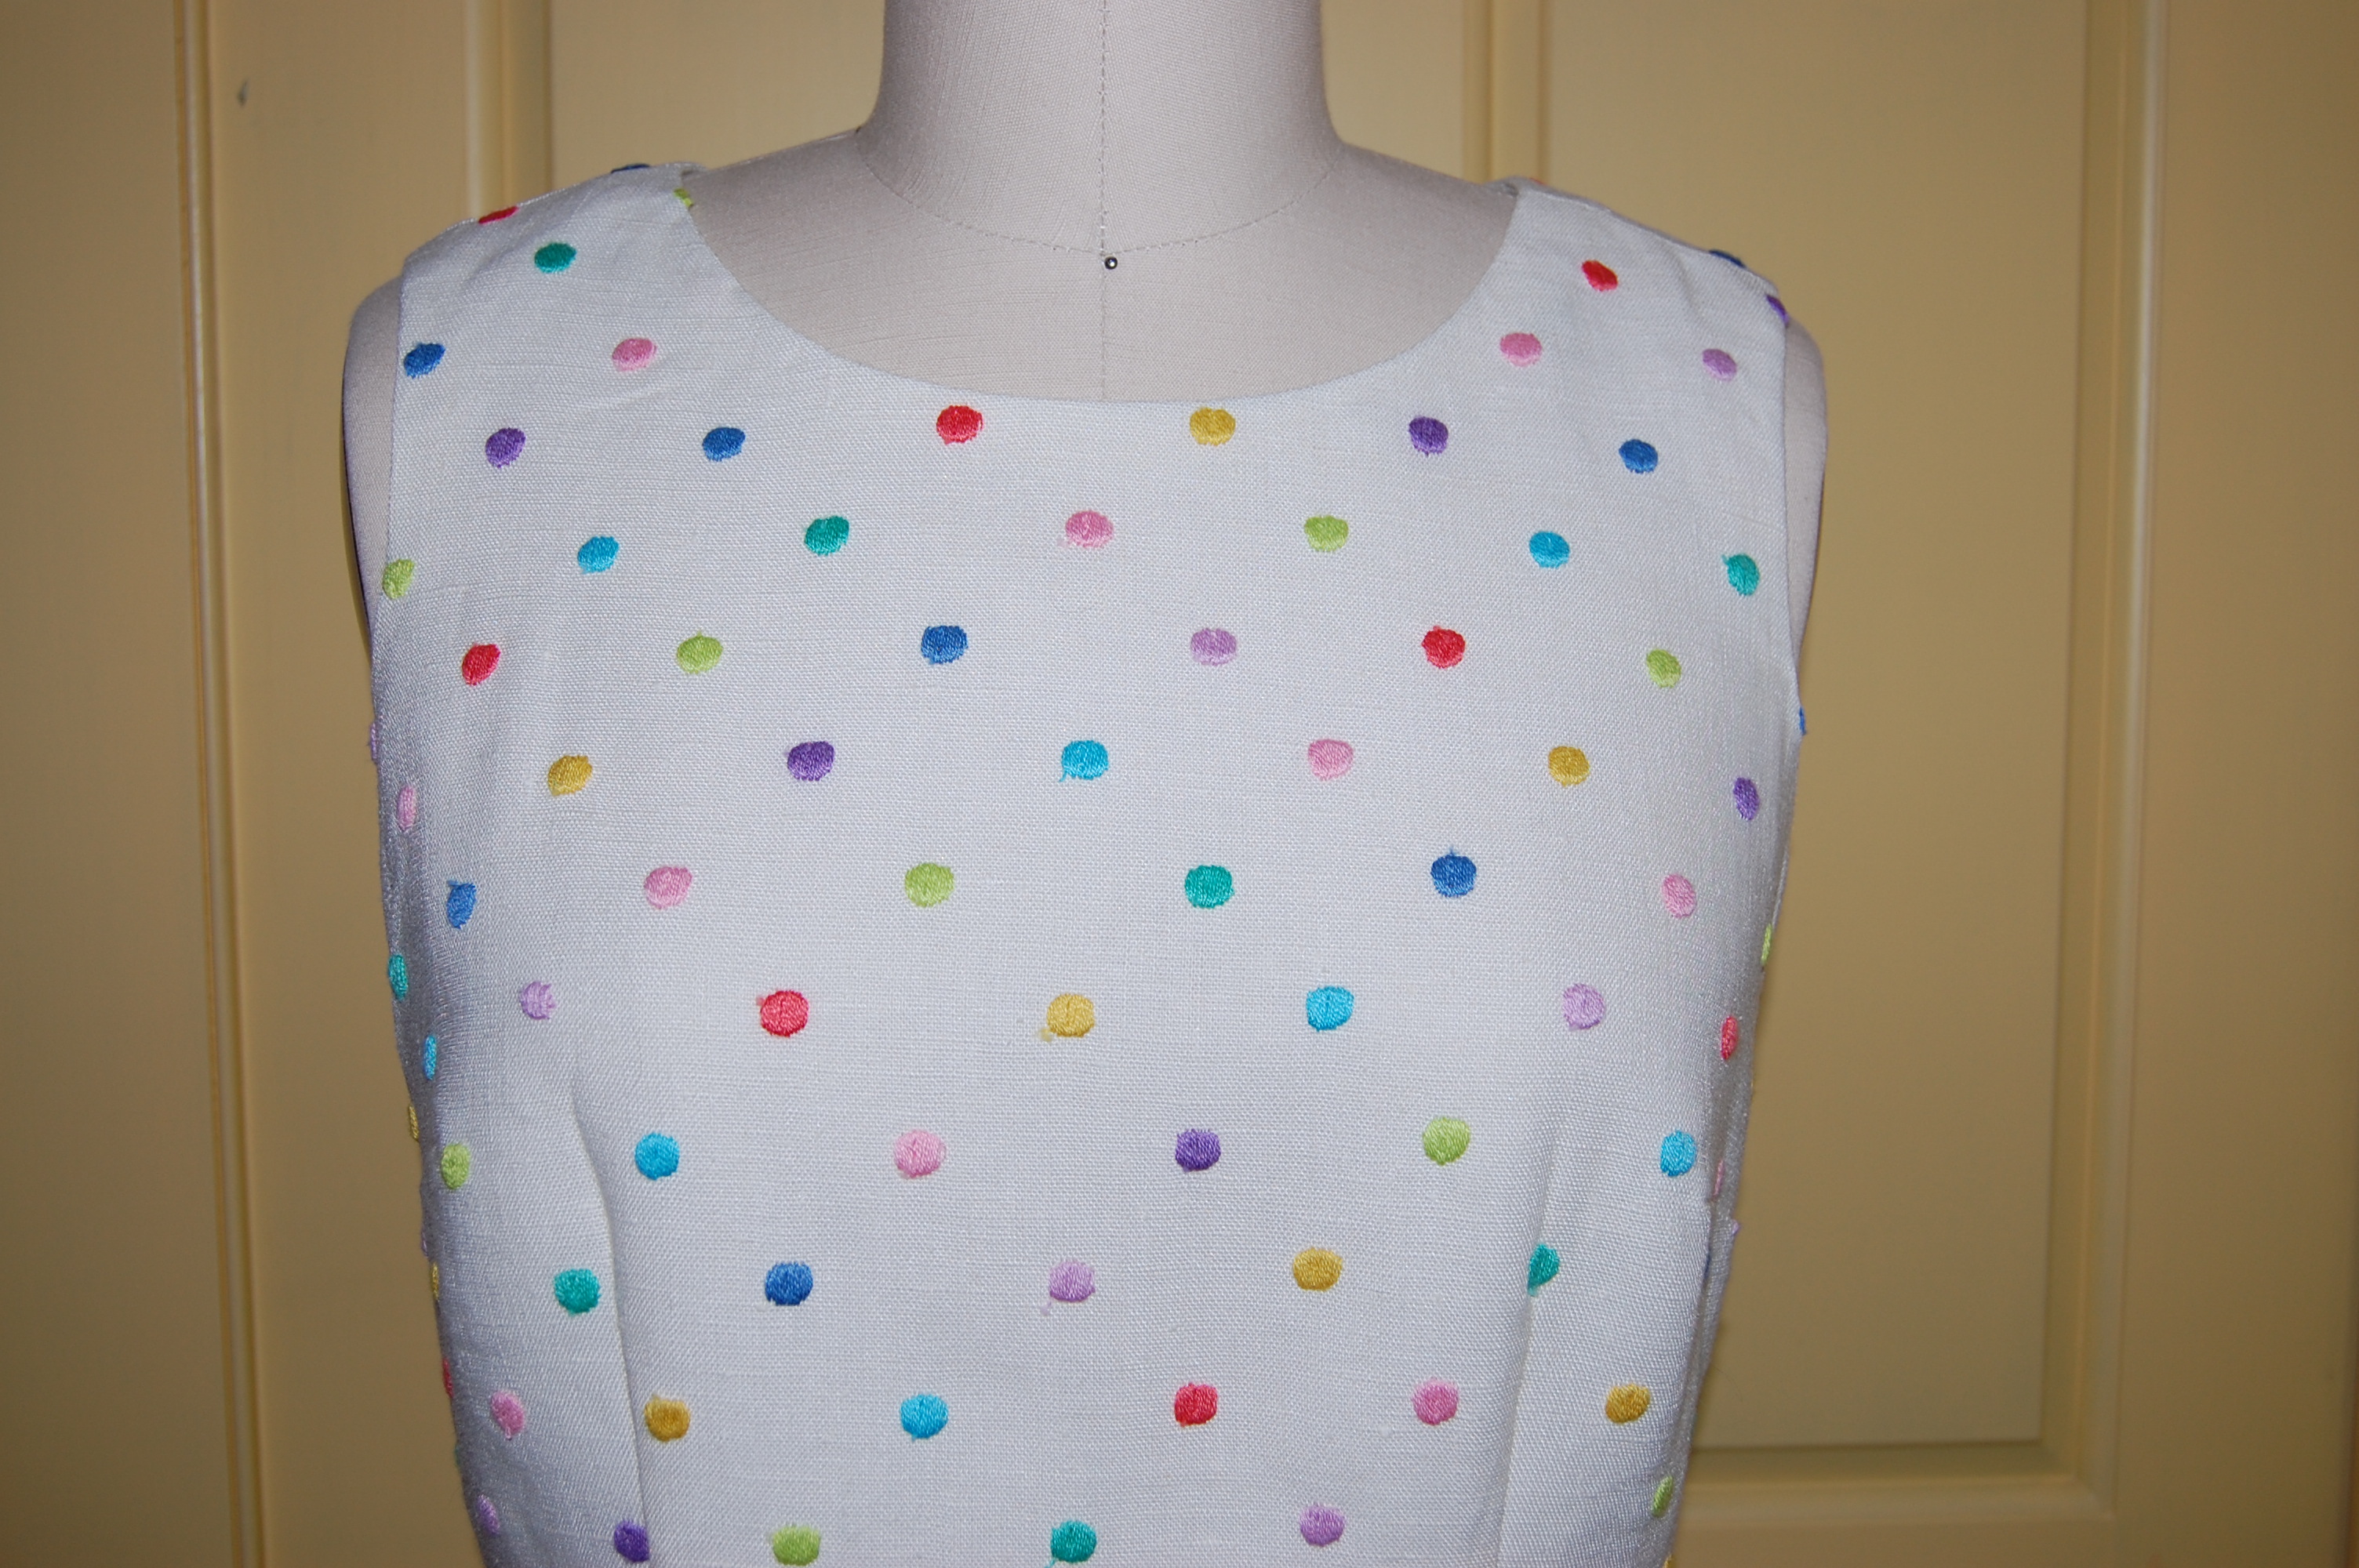
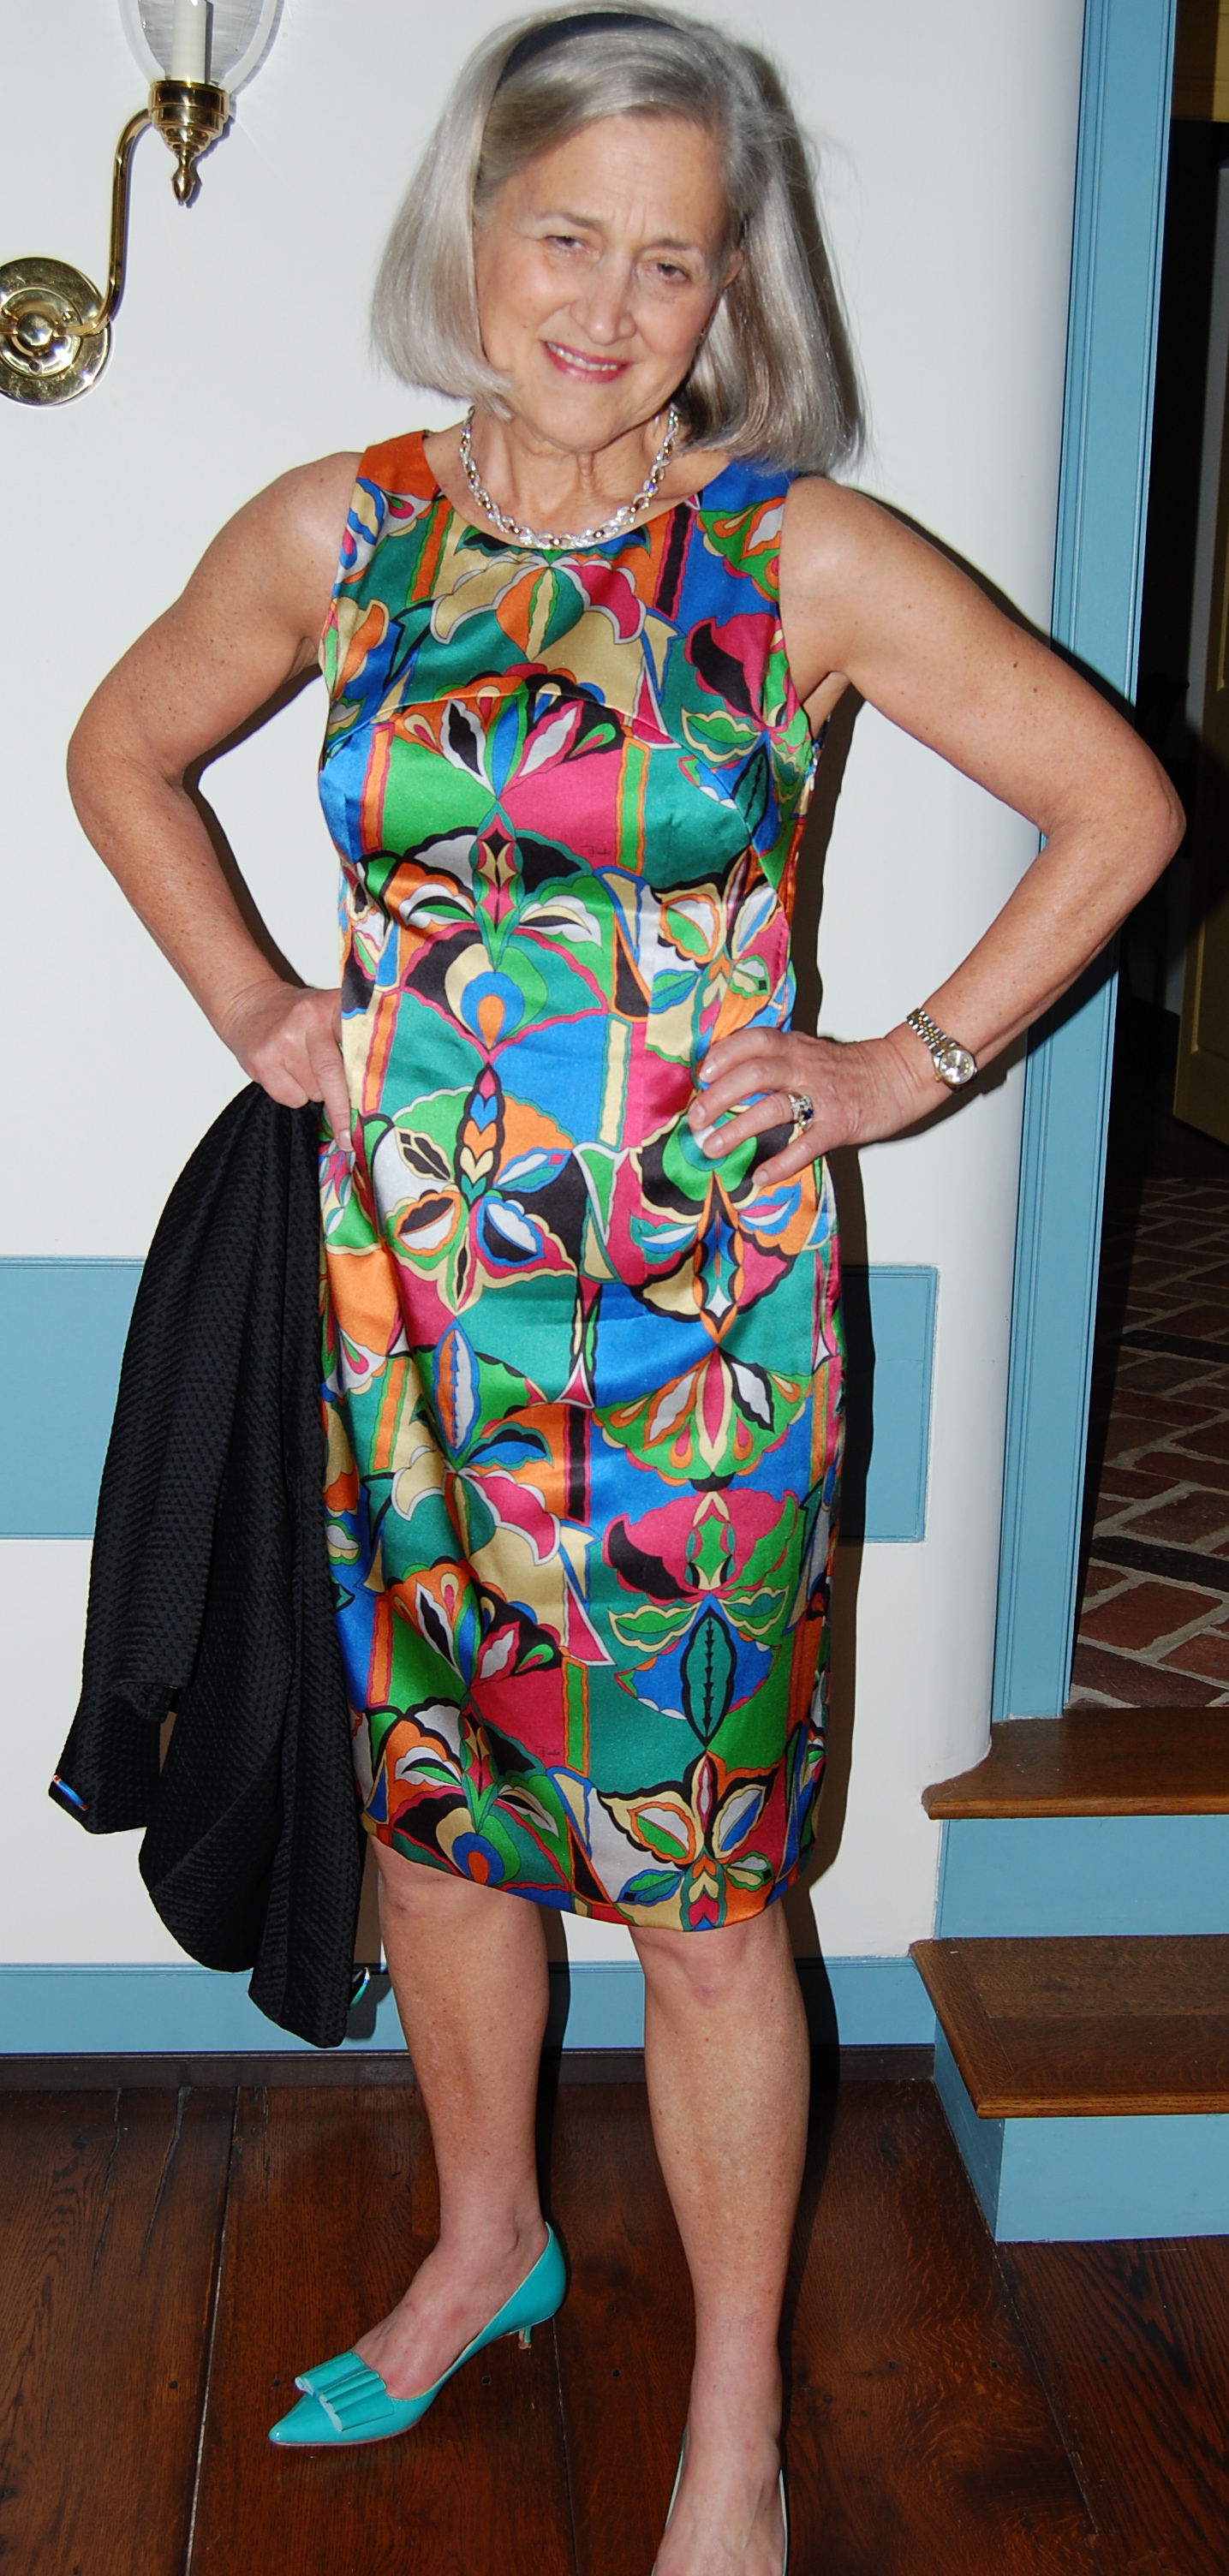
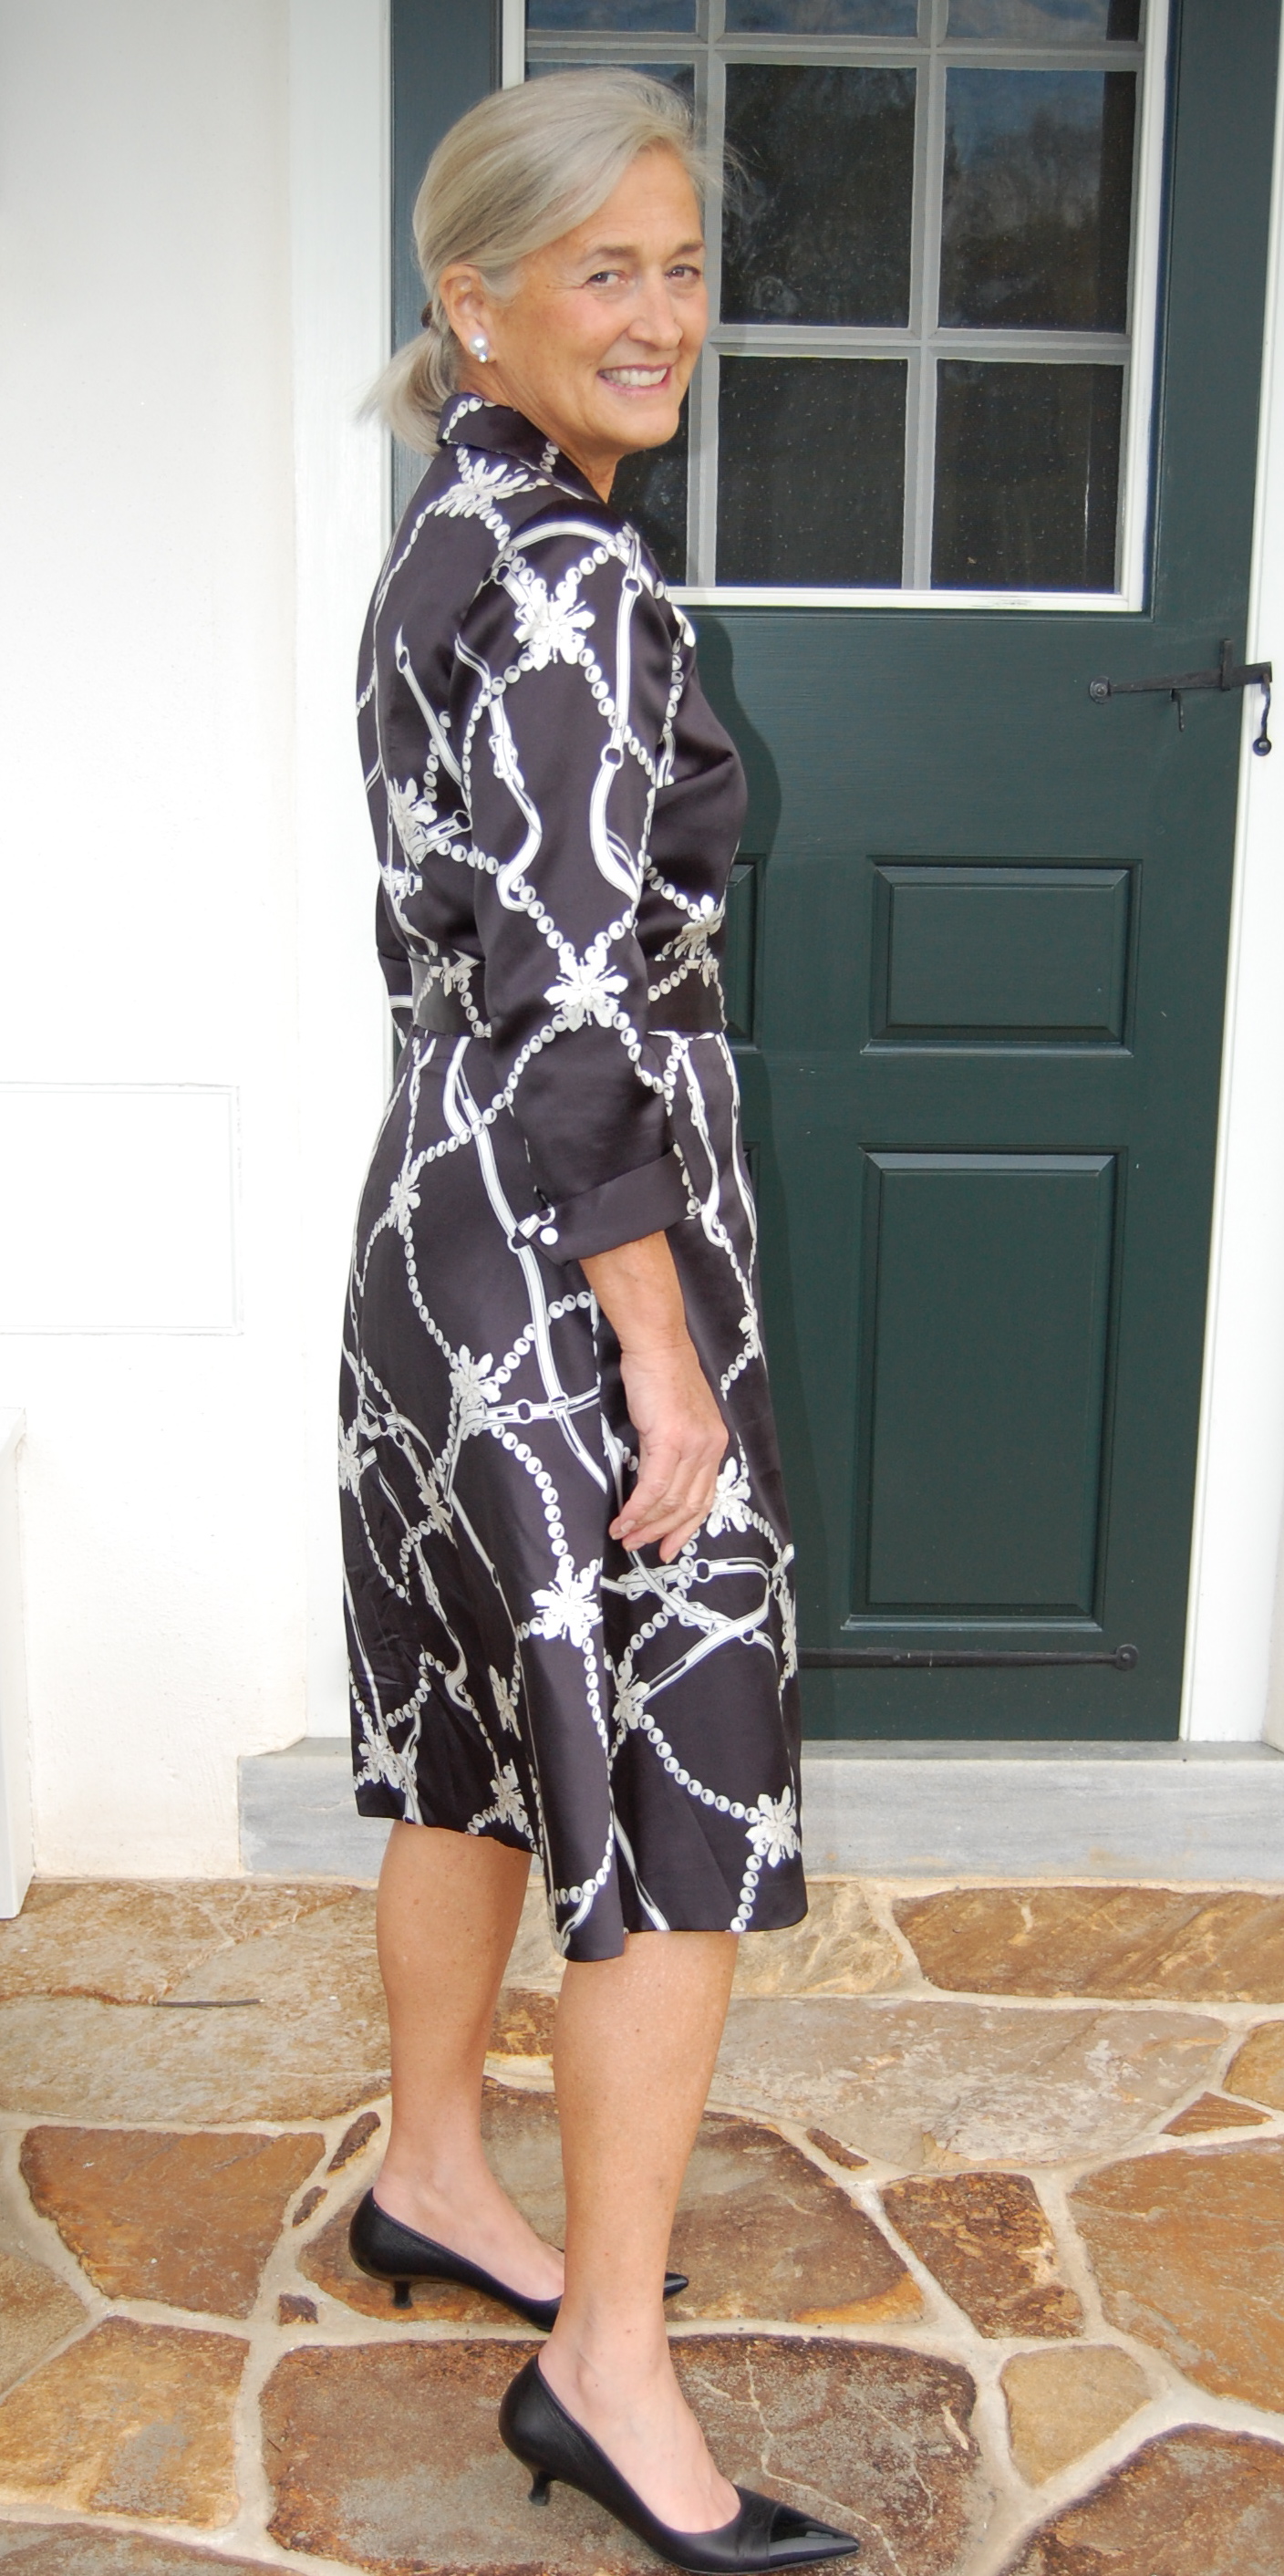
As the sun-filled days steadily get shorter and shorter here in the northeastern part of the United States, and the morning and evening air begins to shiver a bit, I have mentally packed away my Summer sewing and am switching over to my favorite season of all – Autumn. As much as I love this time of year, I find that my wardrobe generally is sparse for Fall apparel. Last year, I made a Diane von Furstenberg knock-off wrap dress that was – and still is, of course – perfect for Fall.
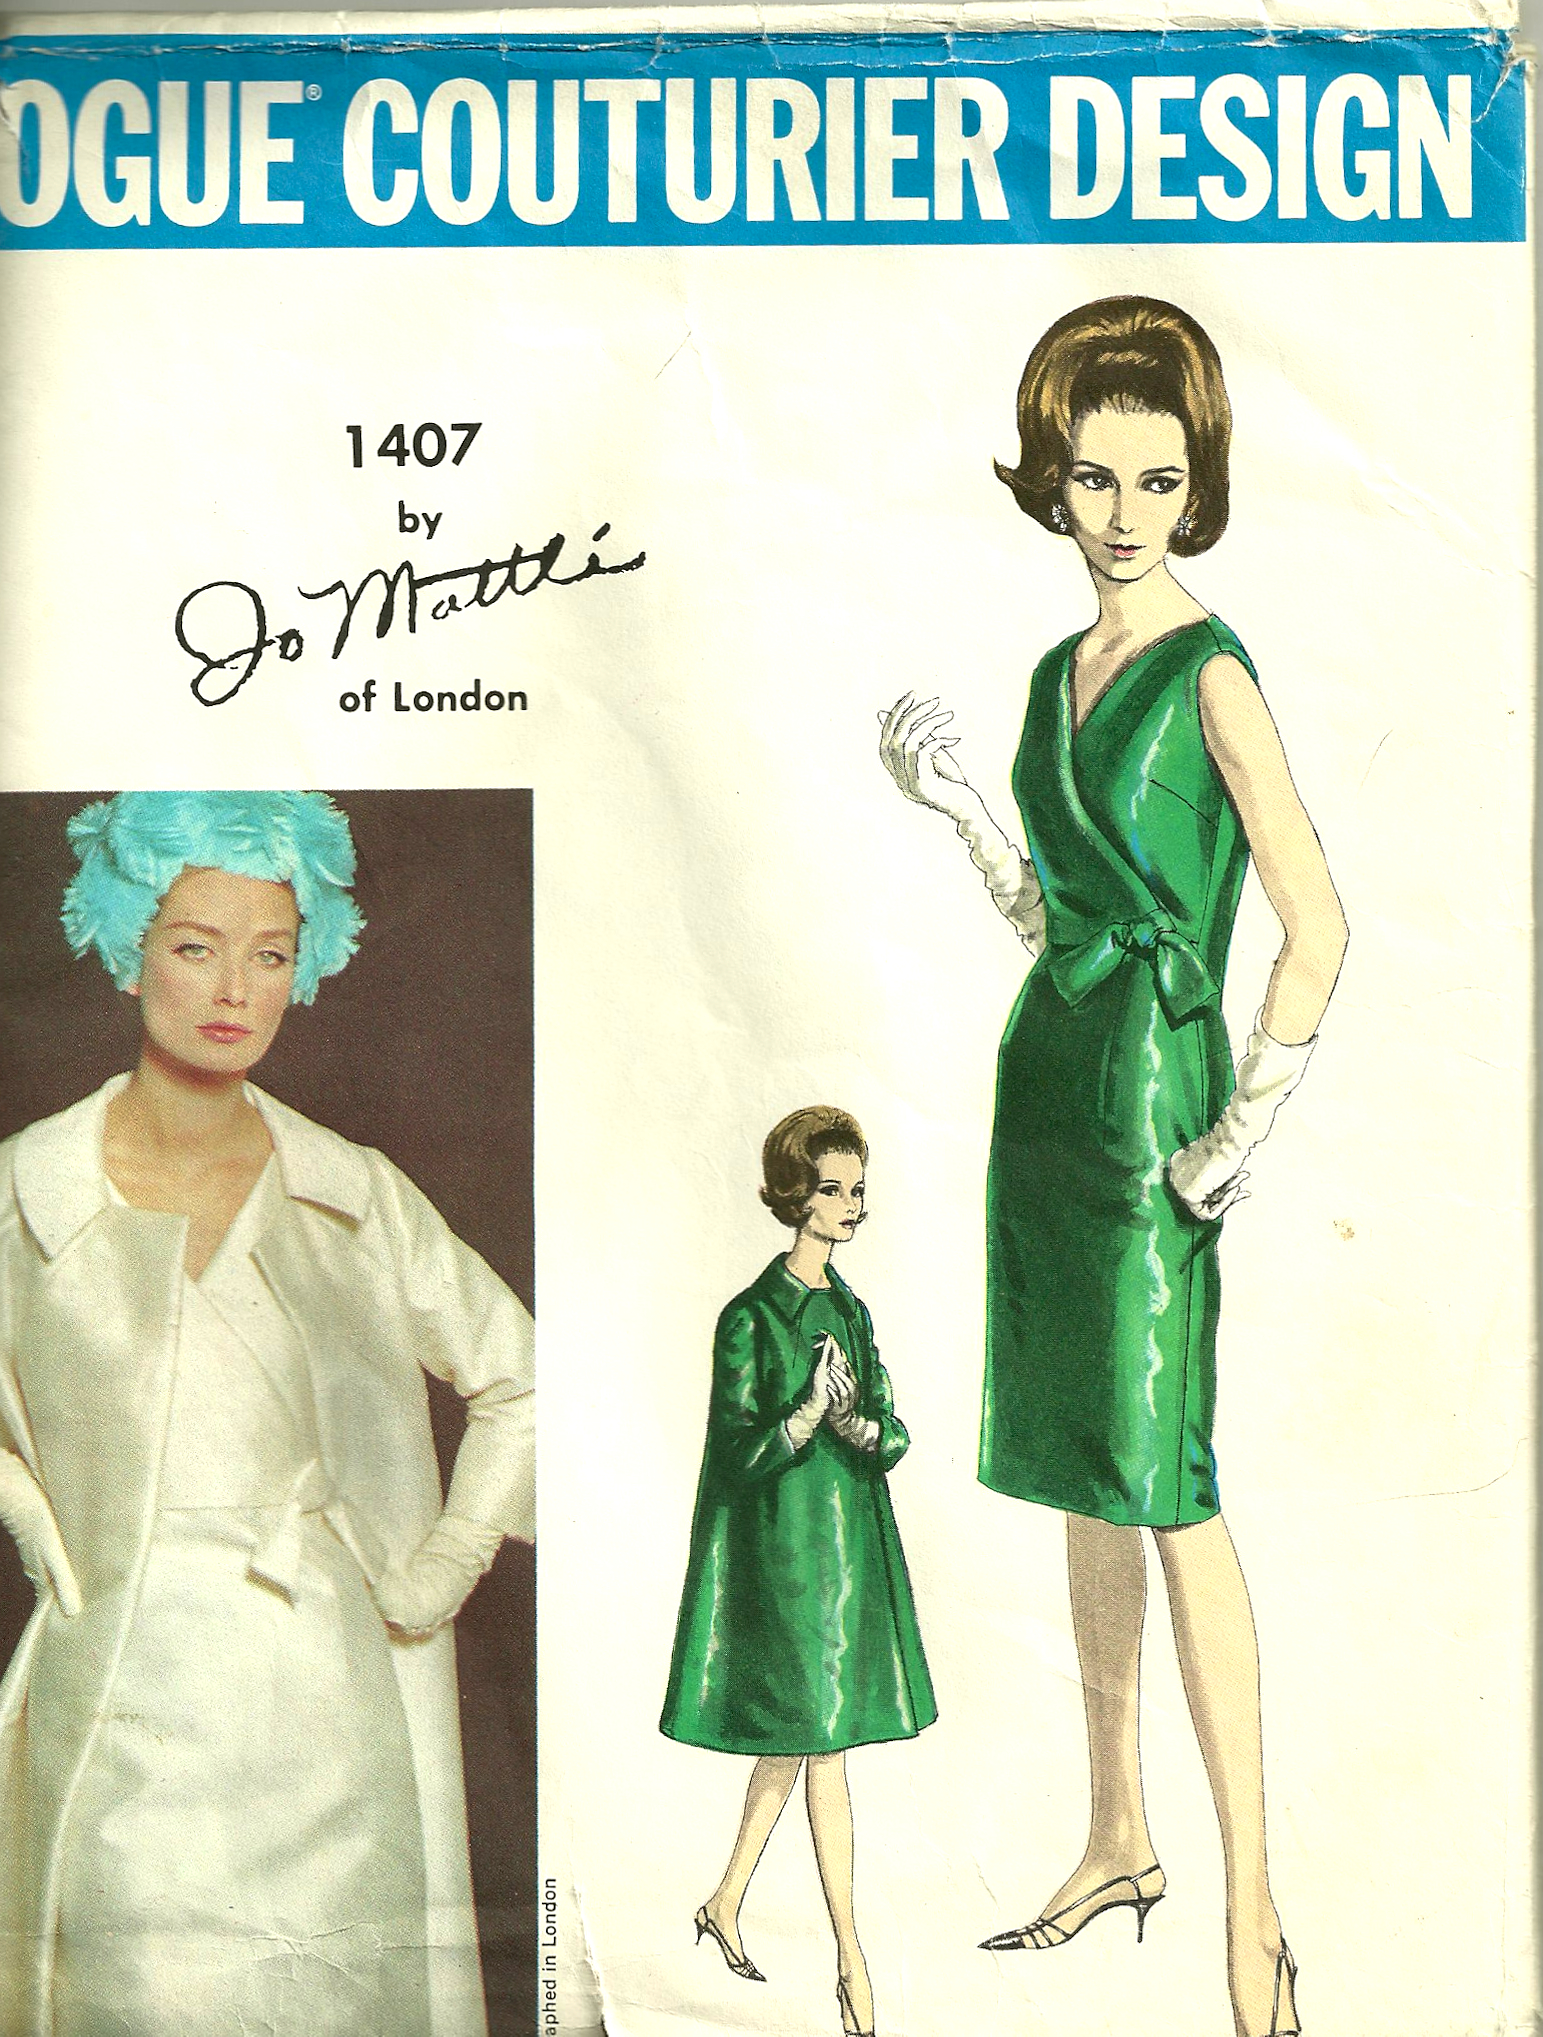
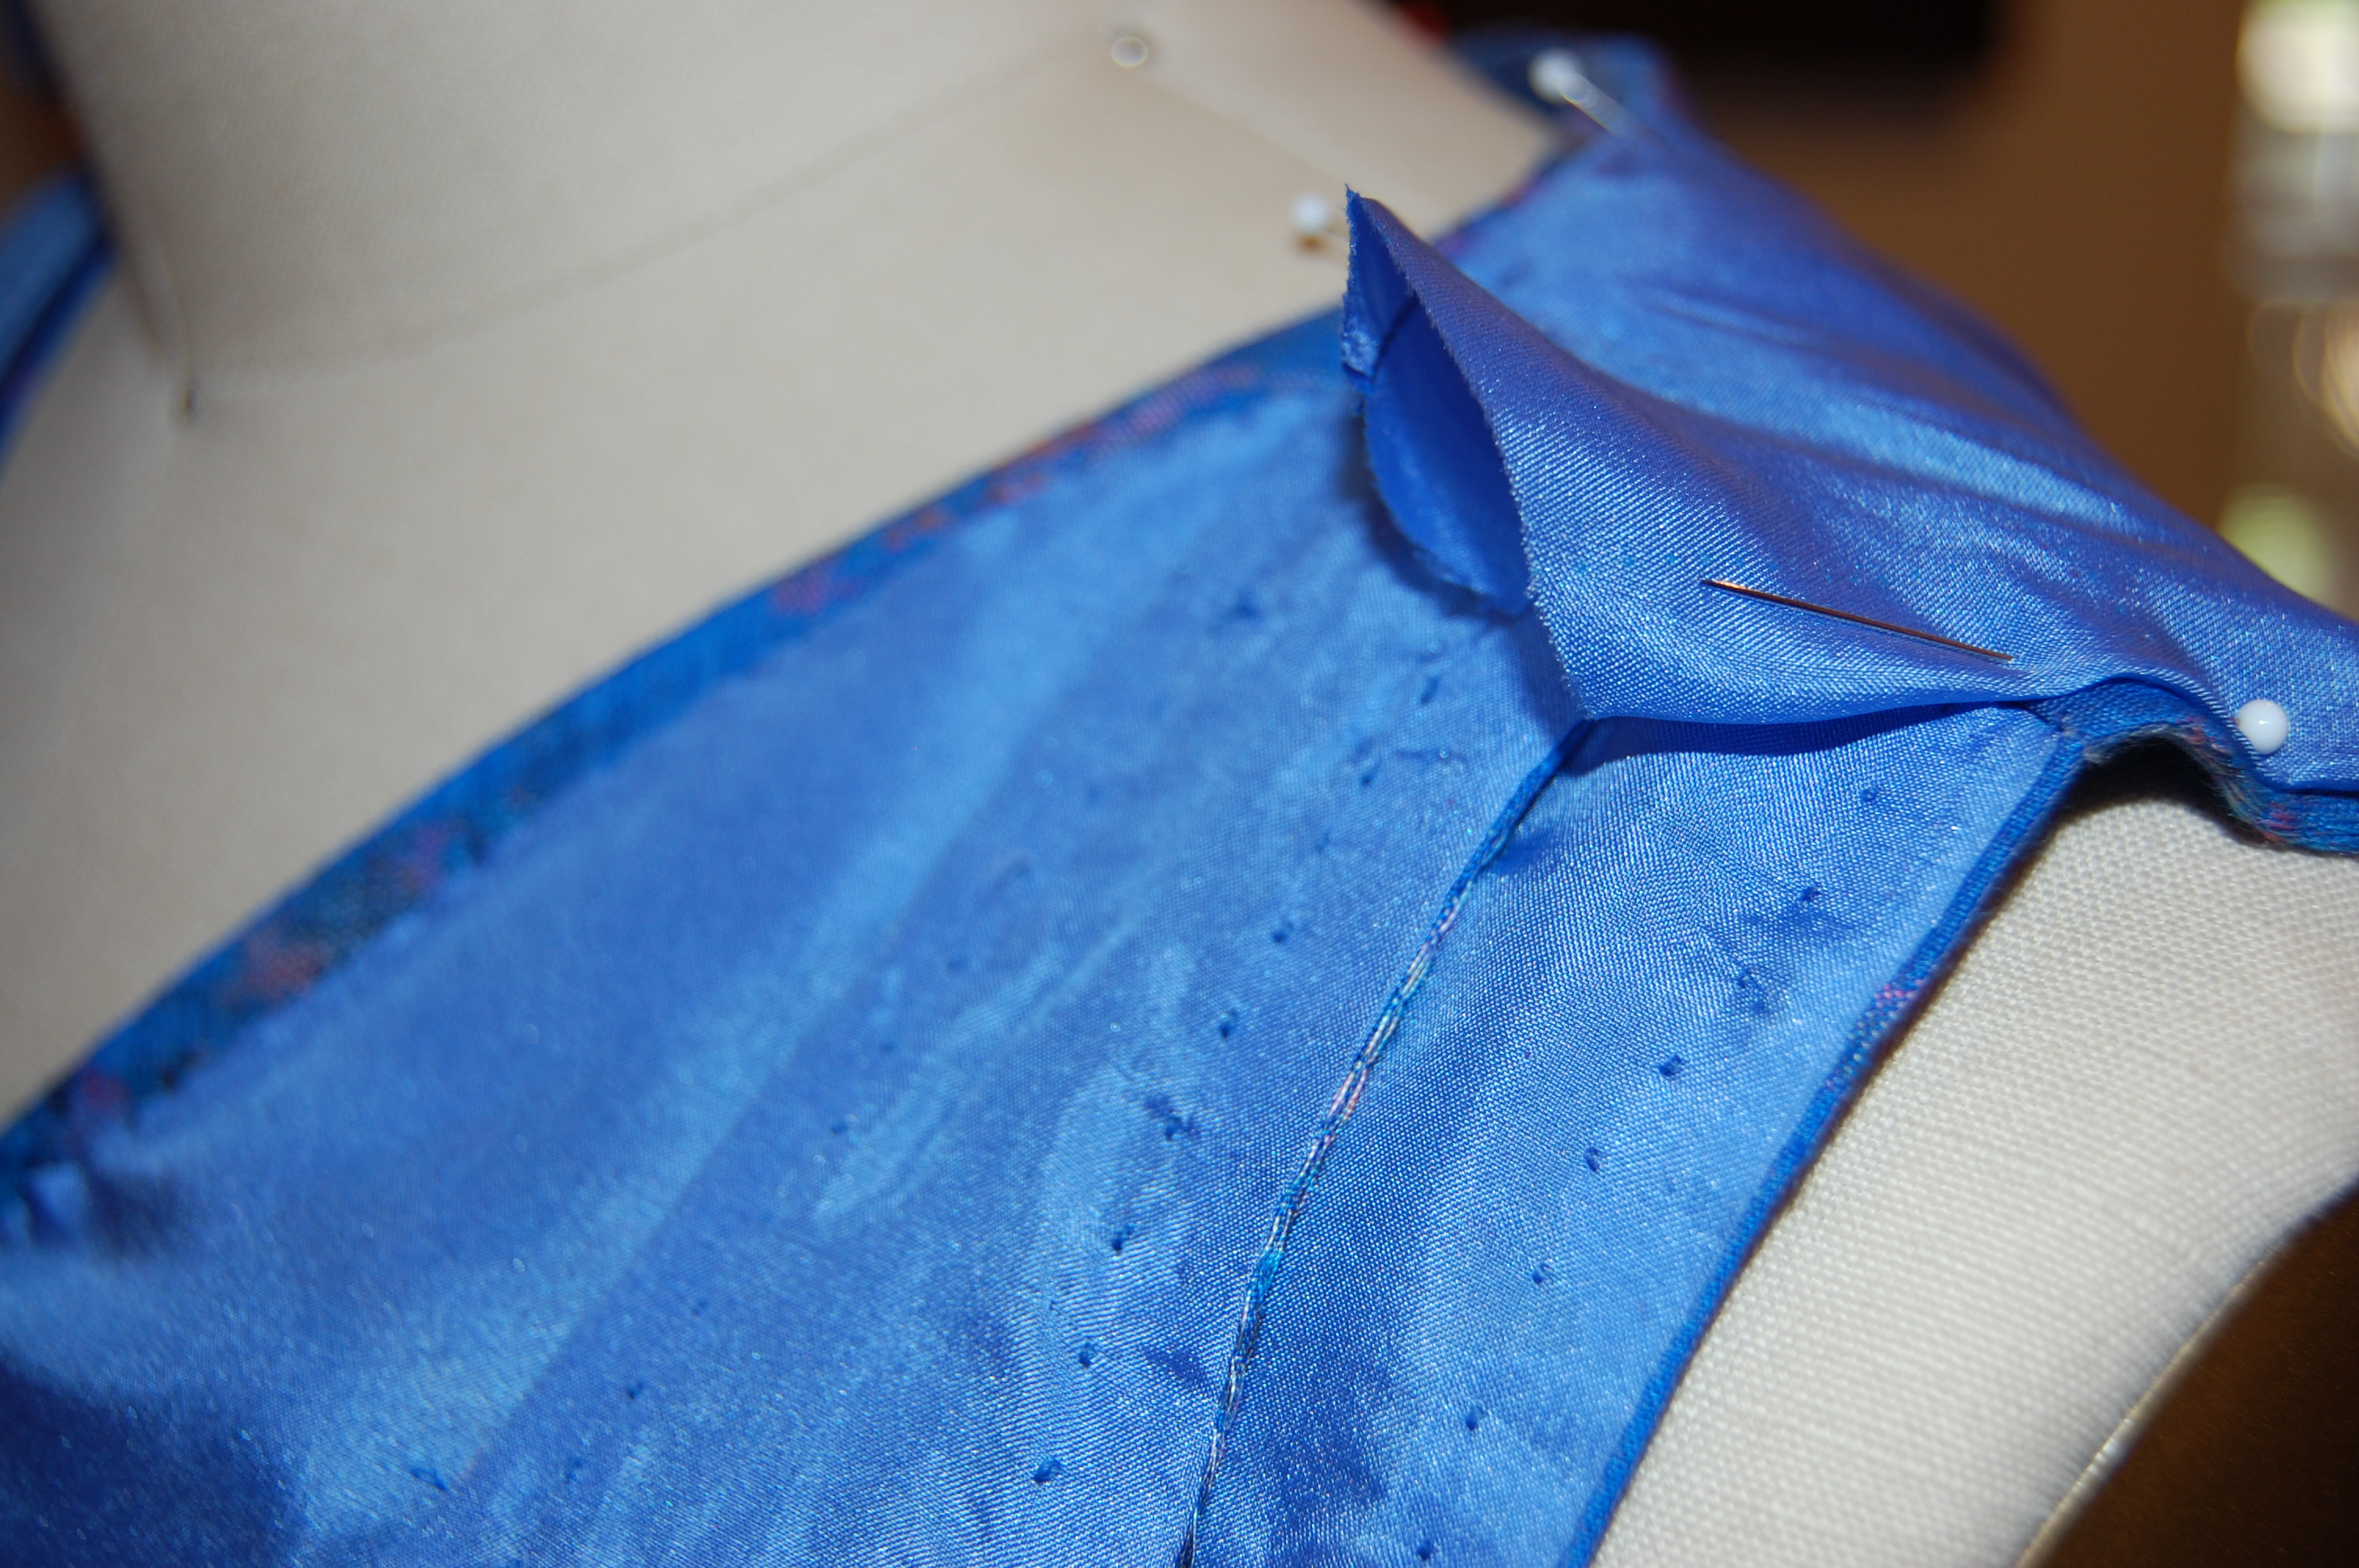
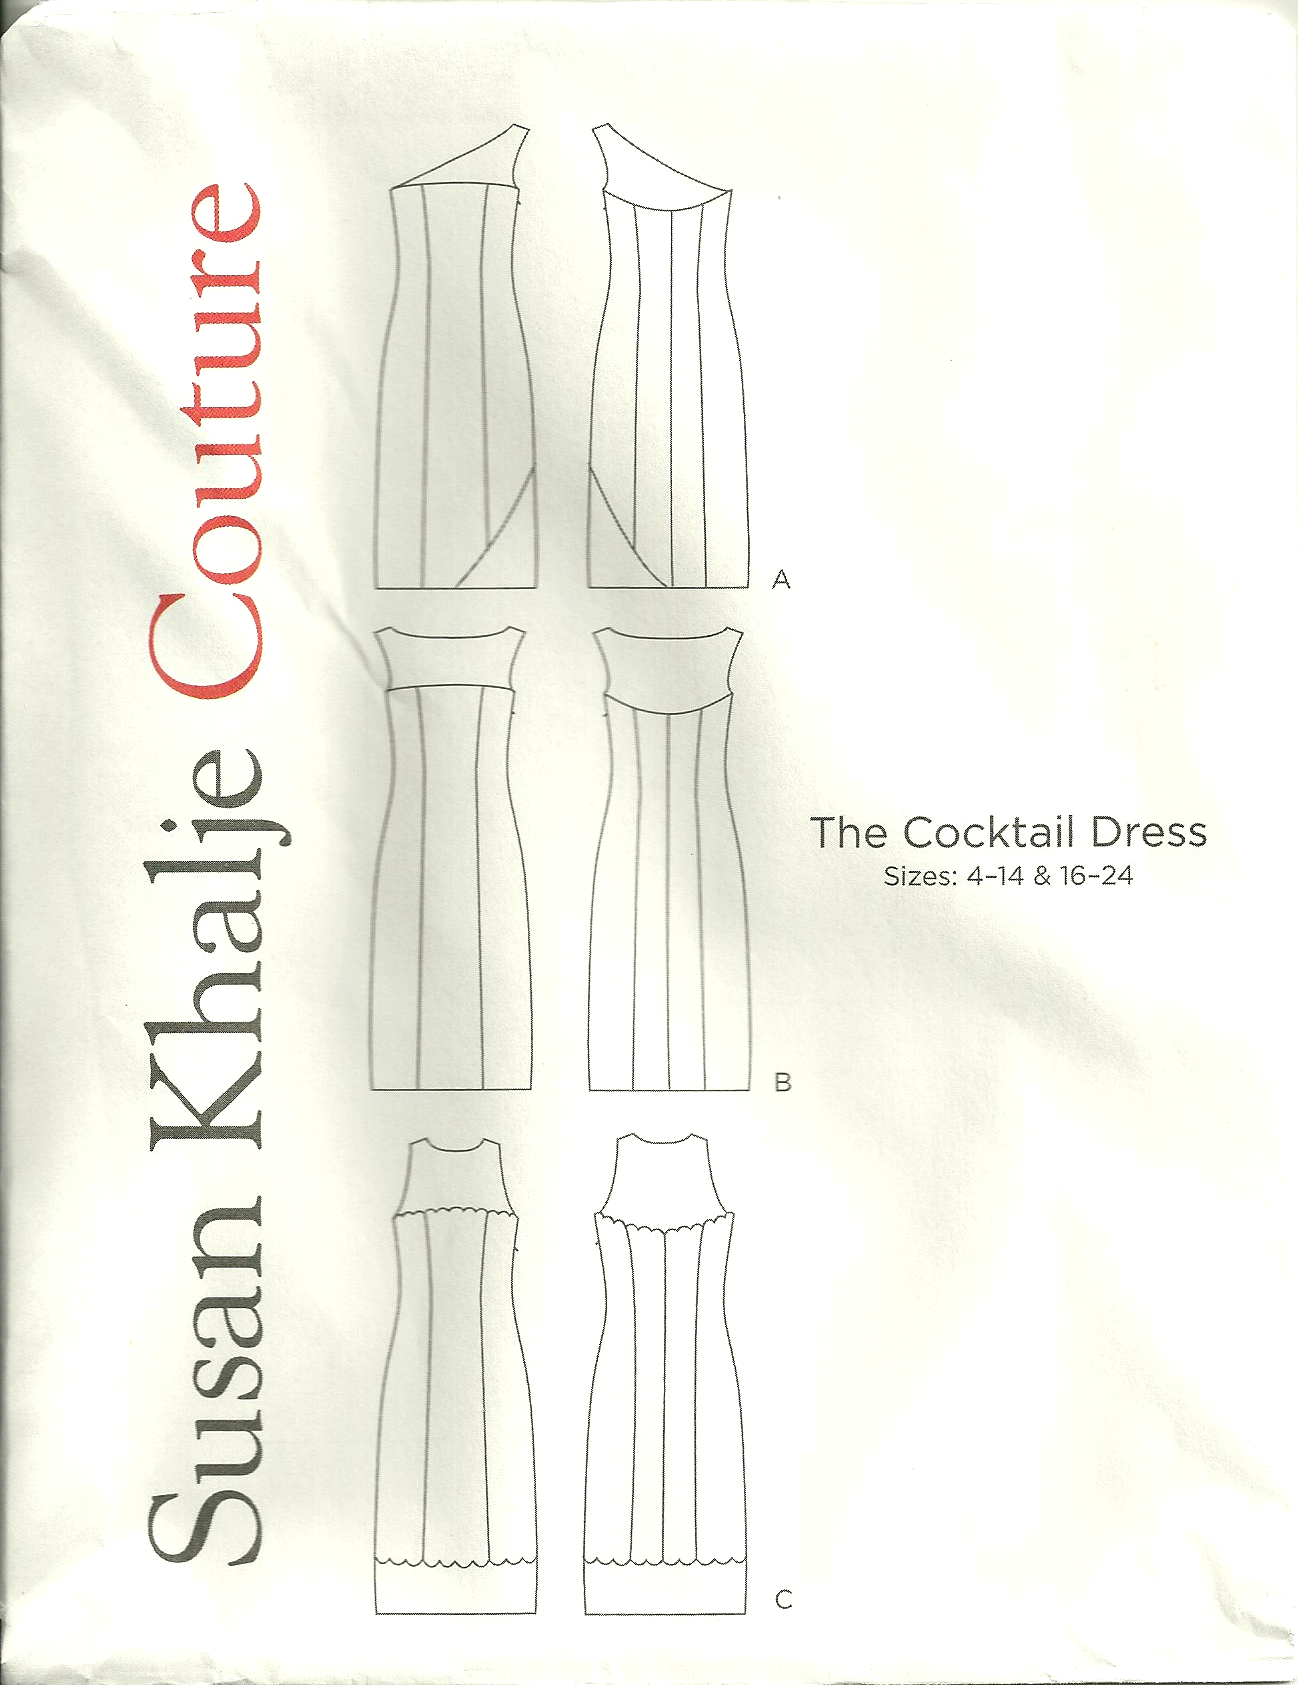
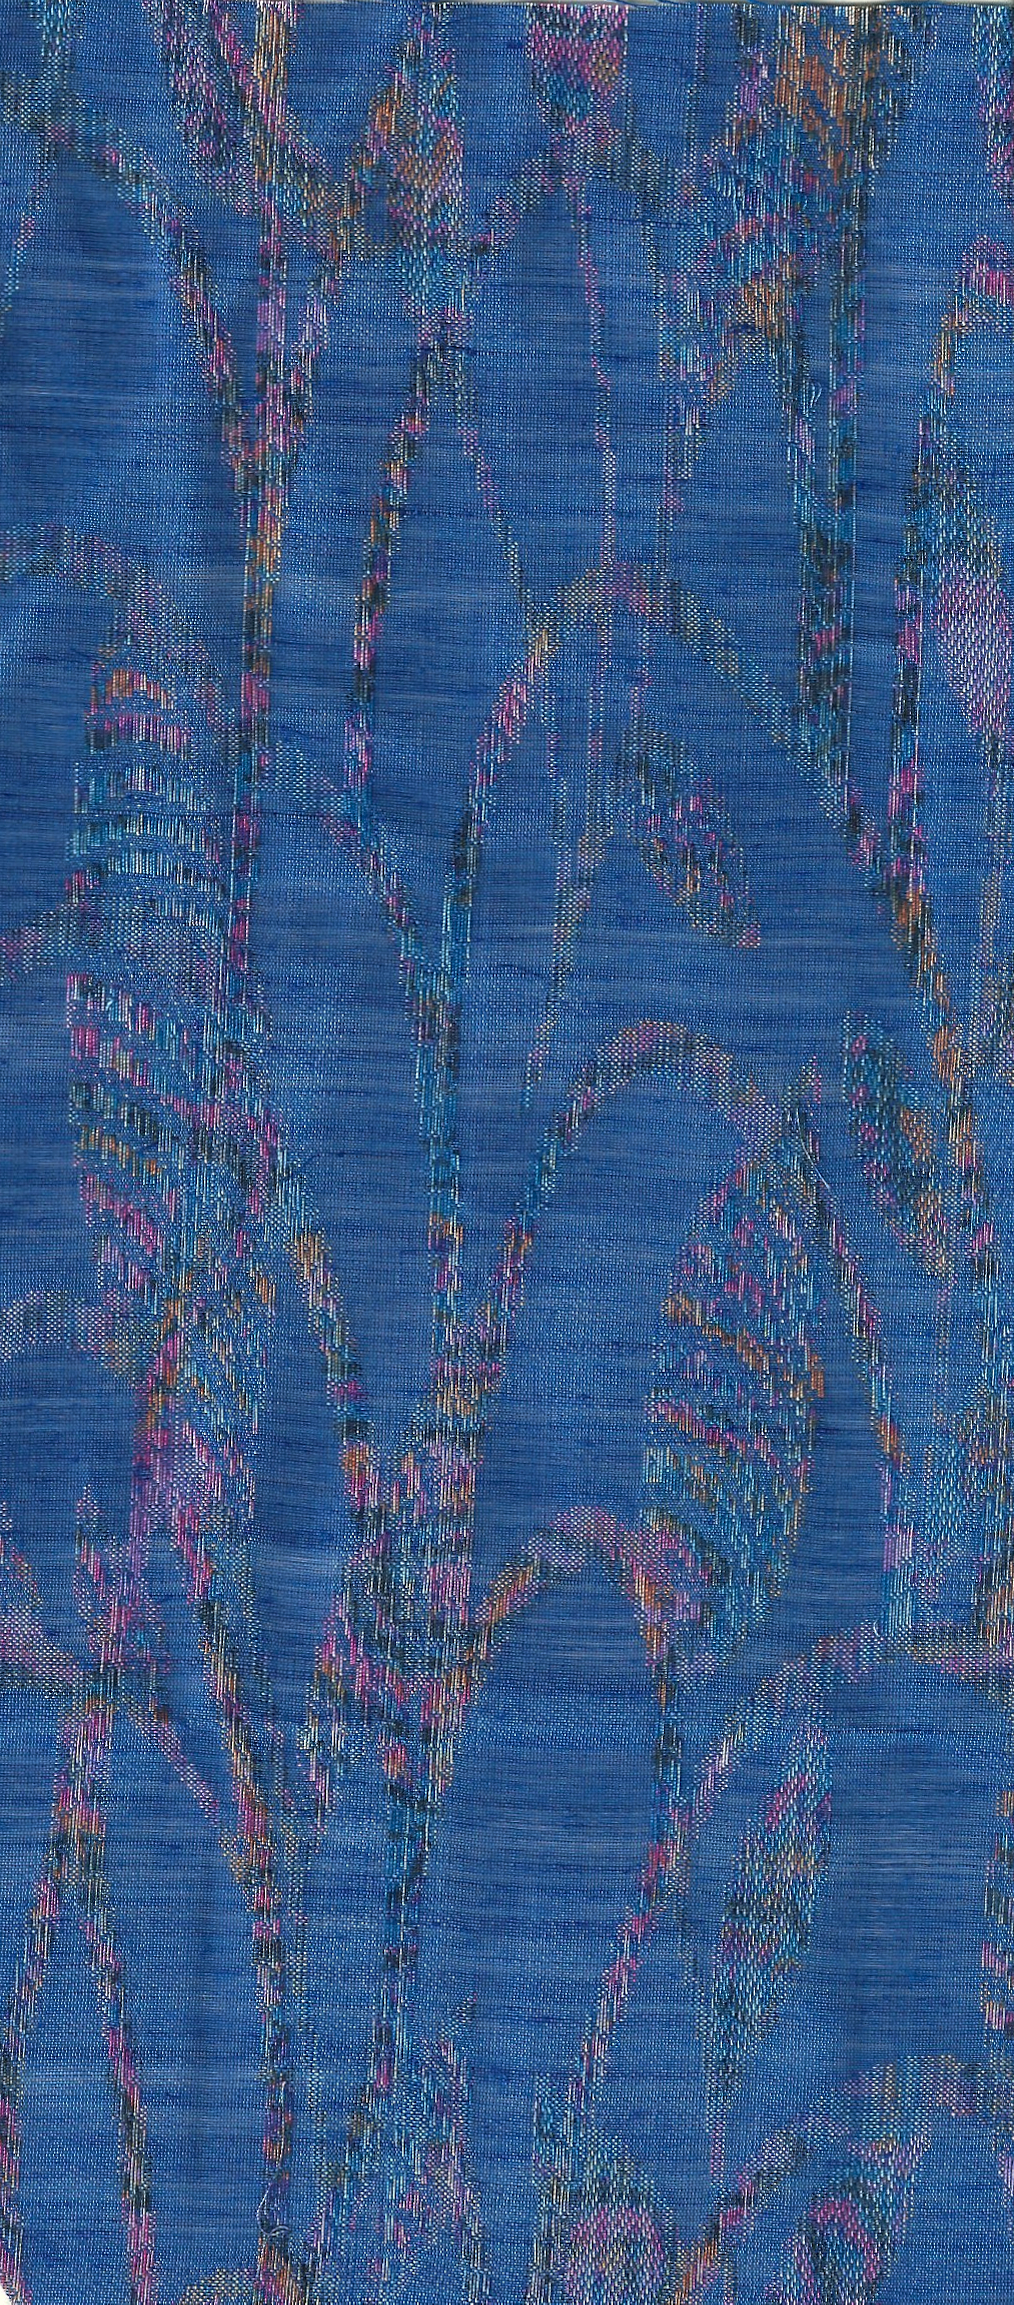
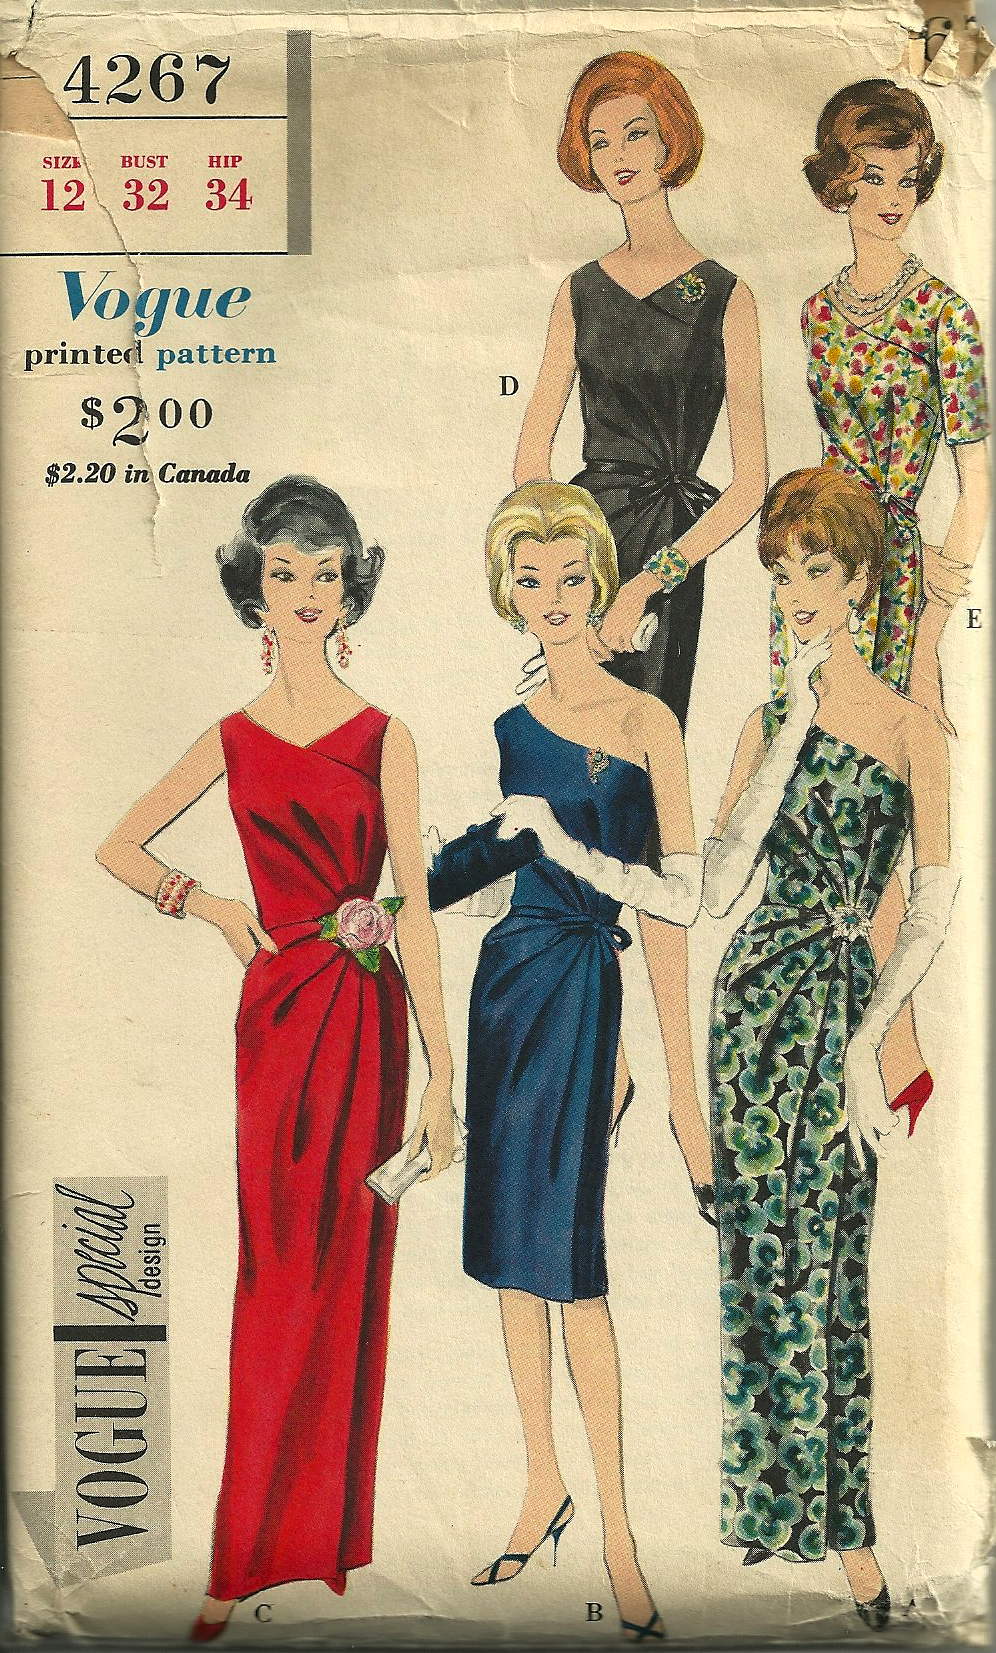
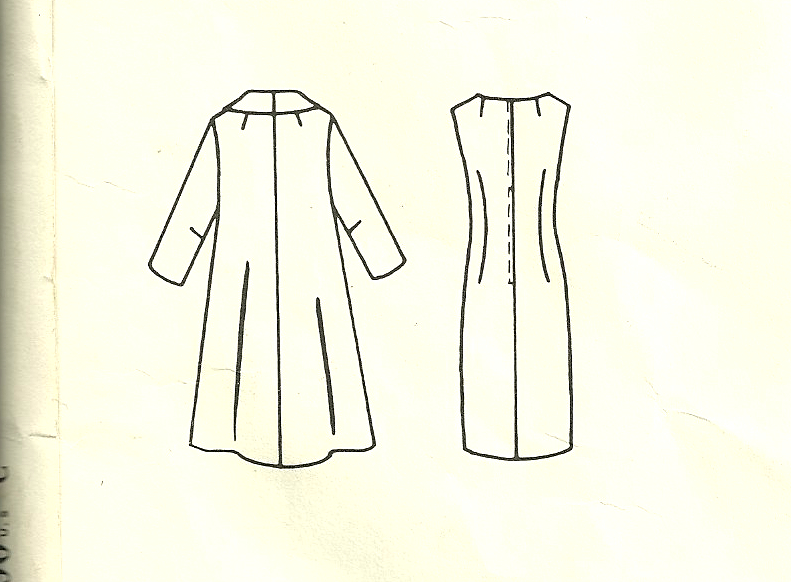
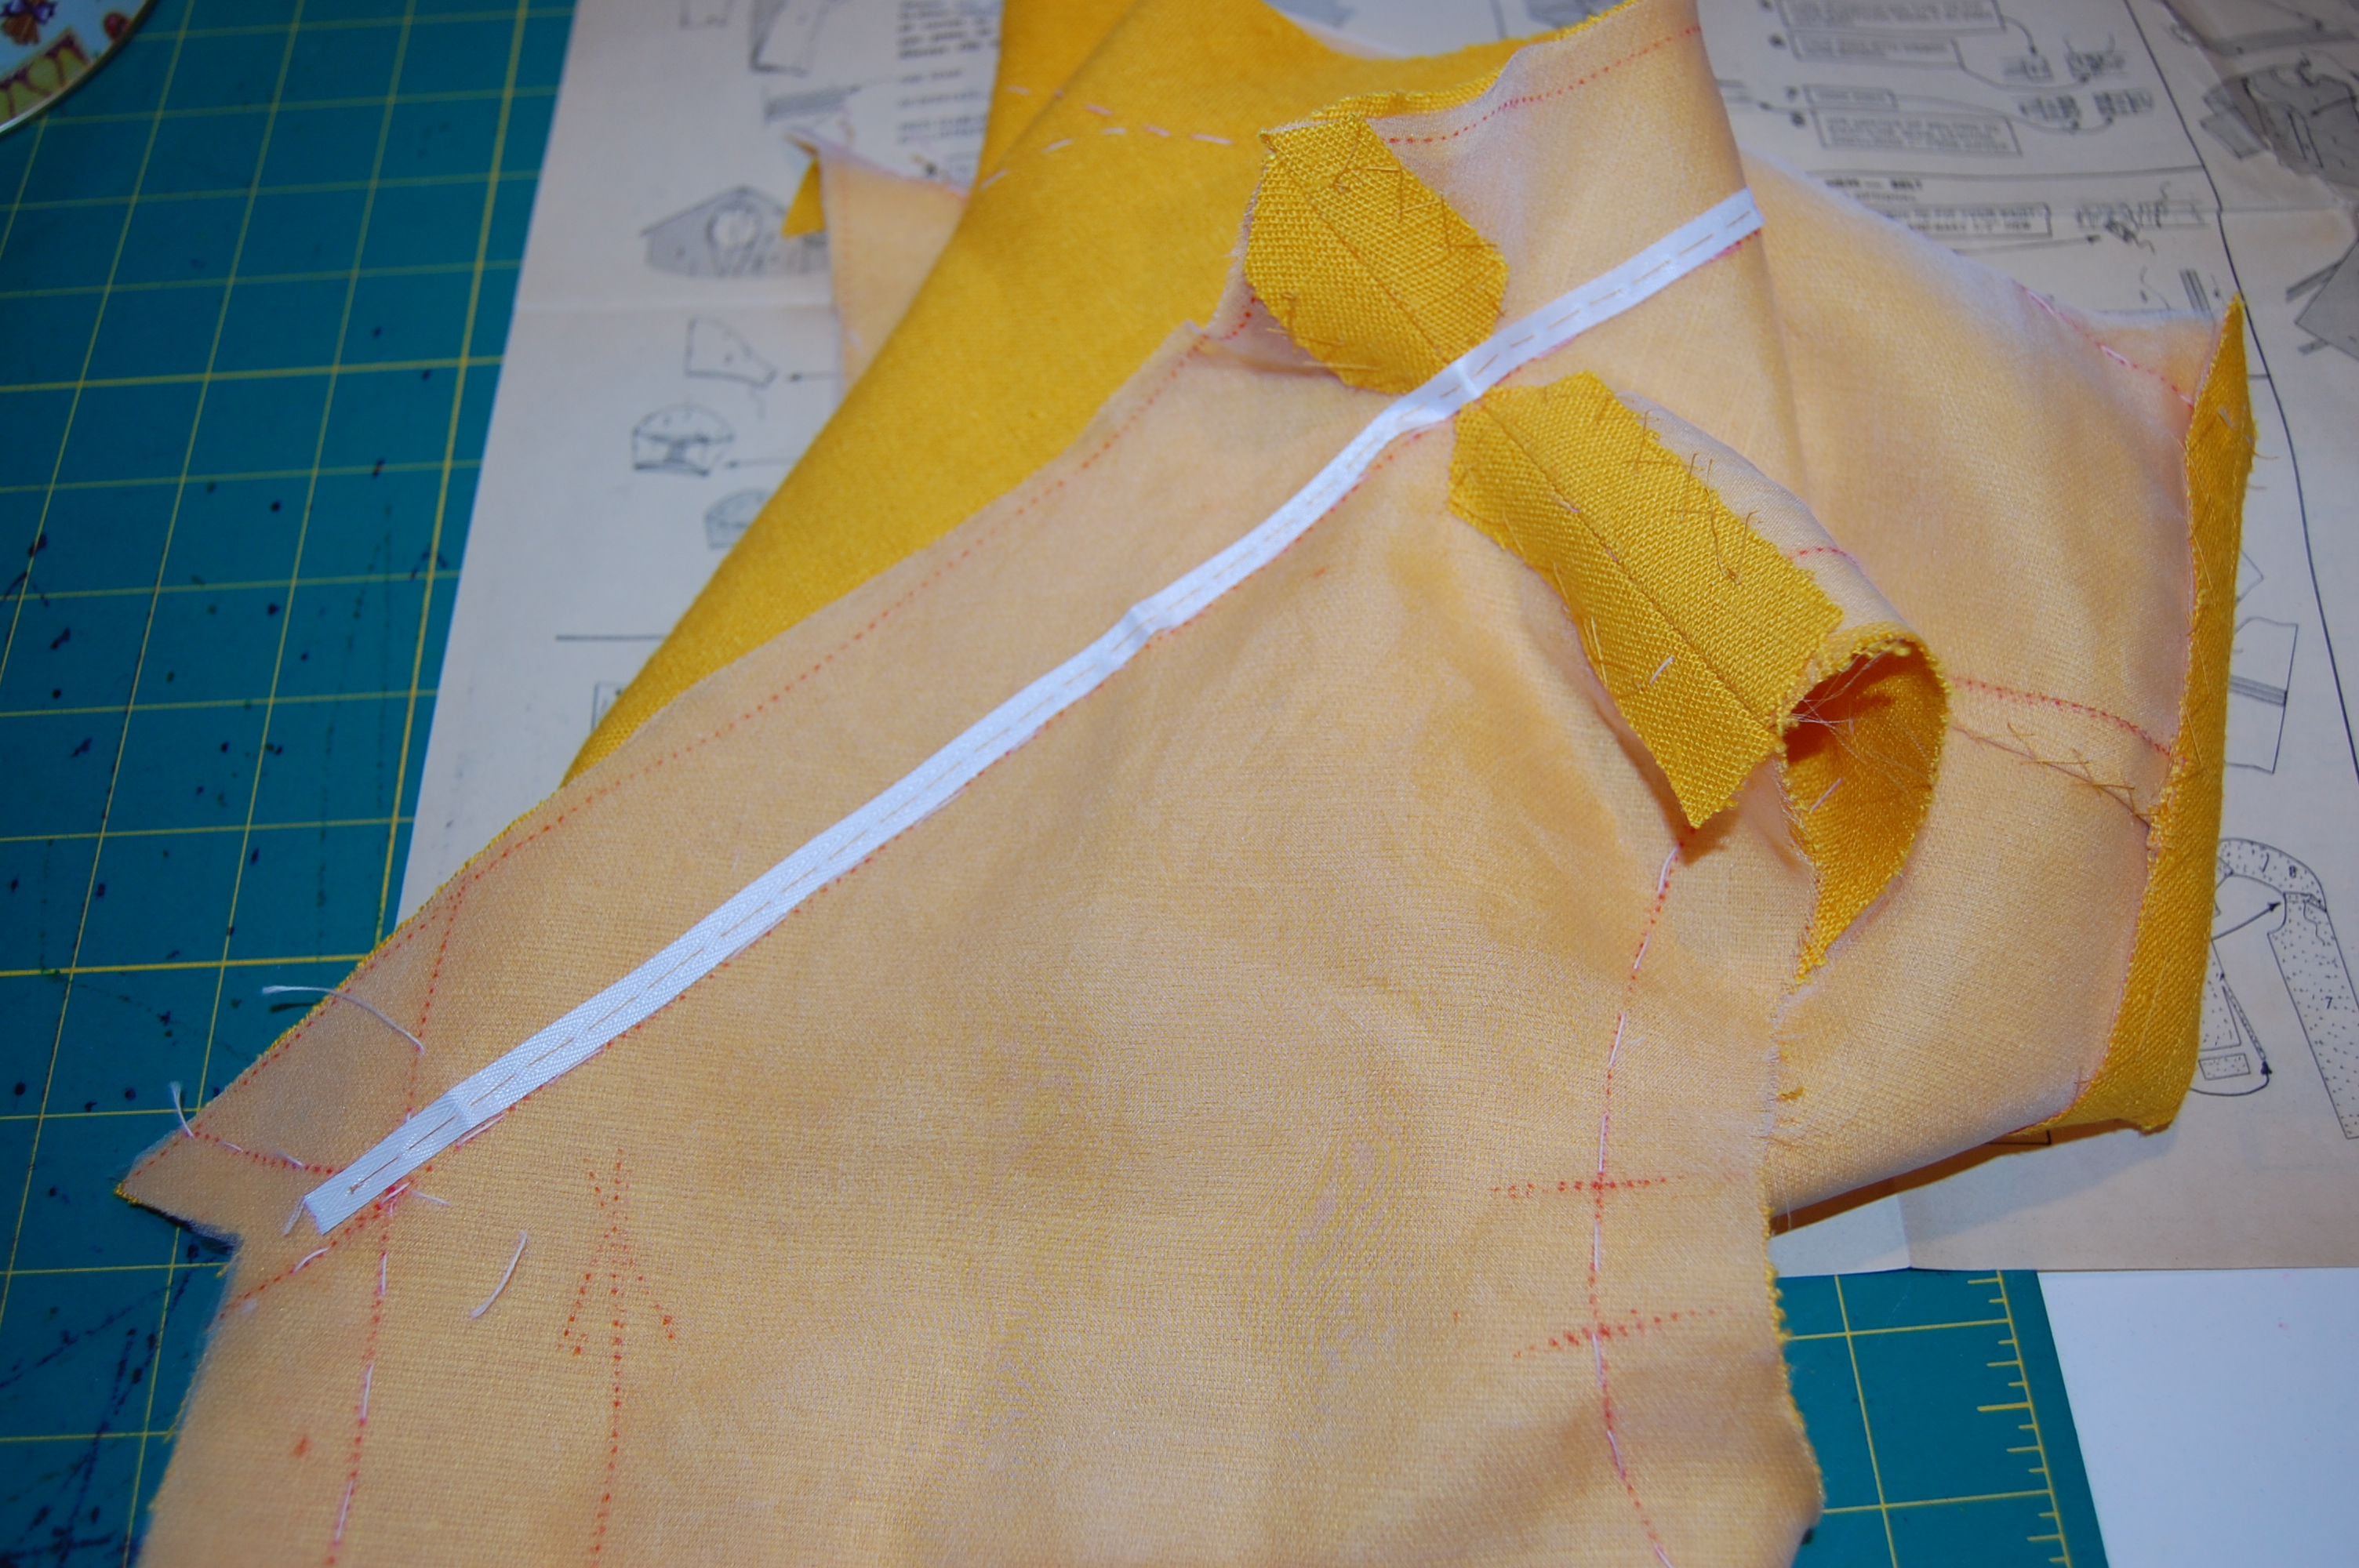
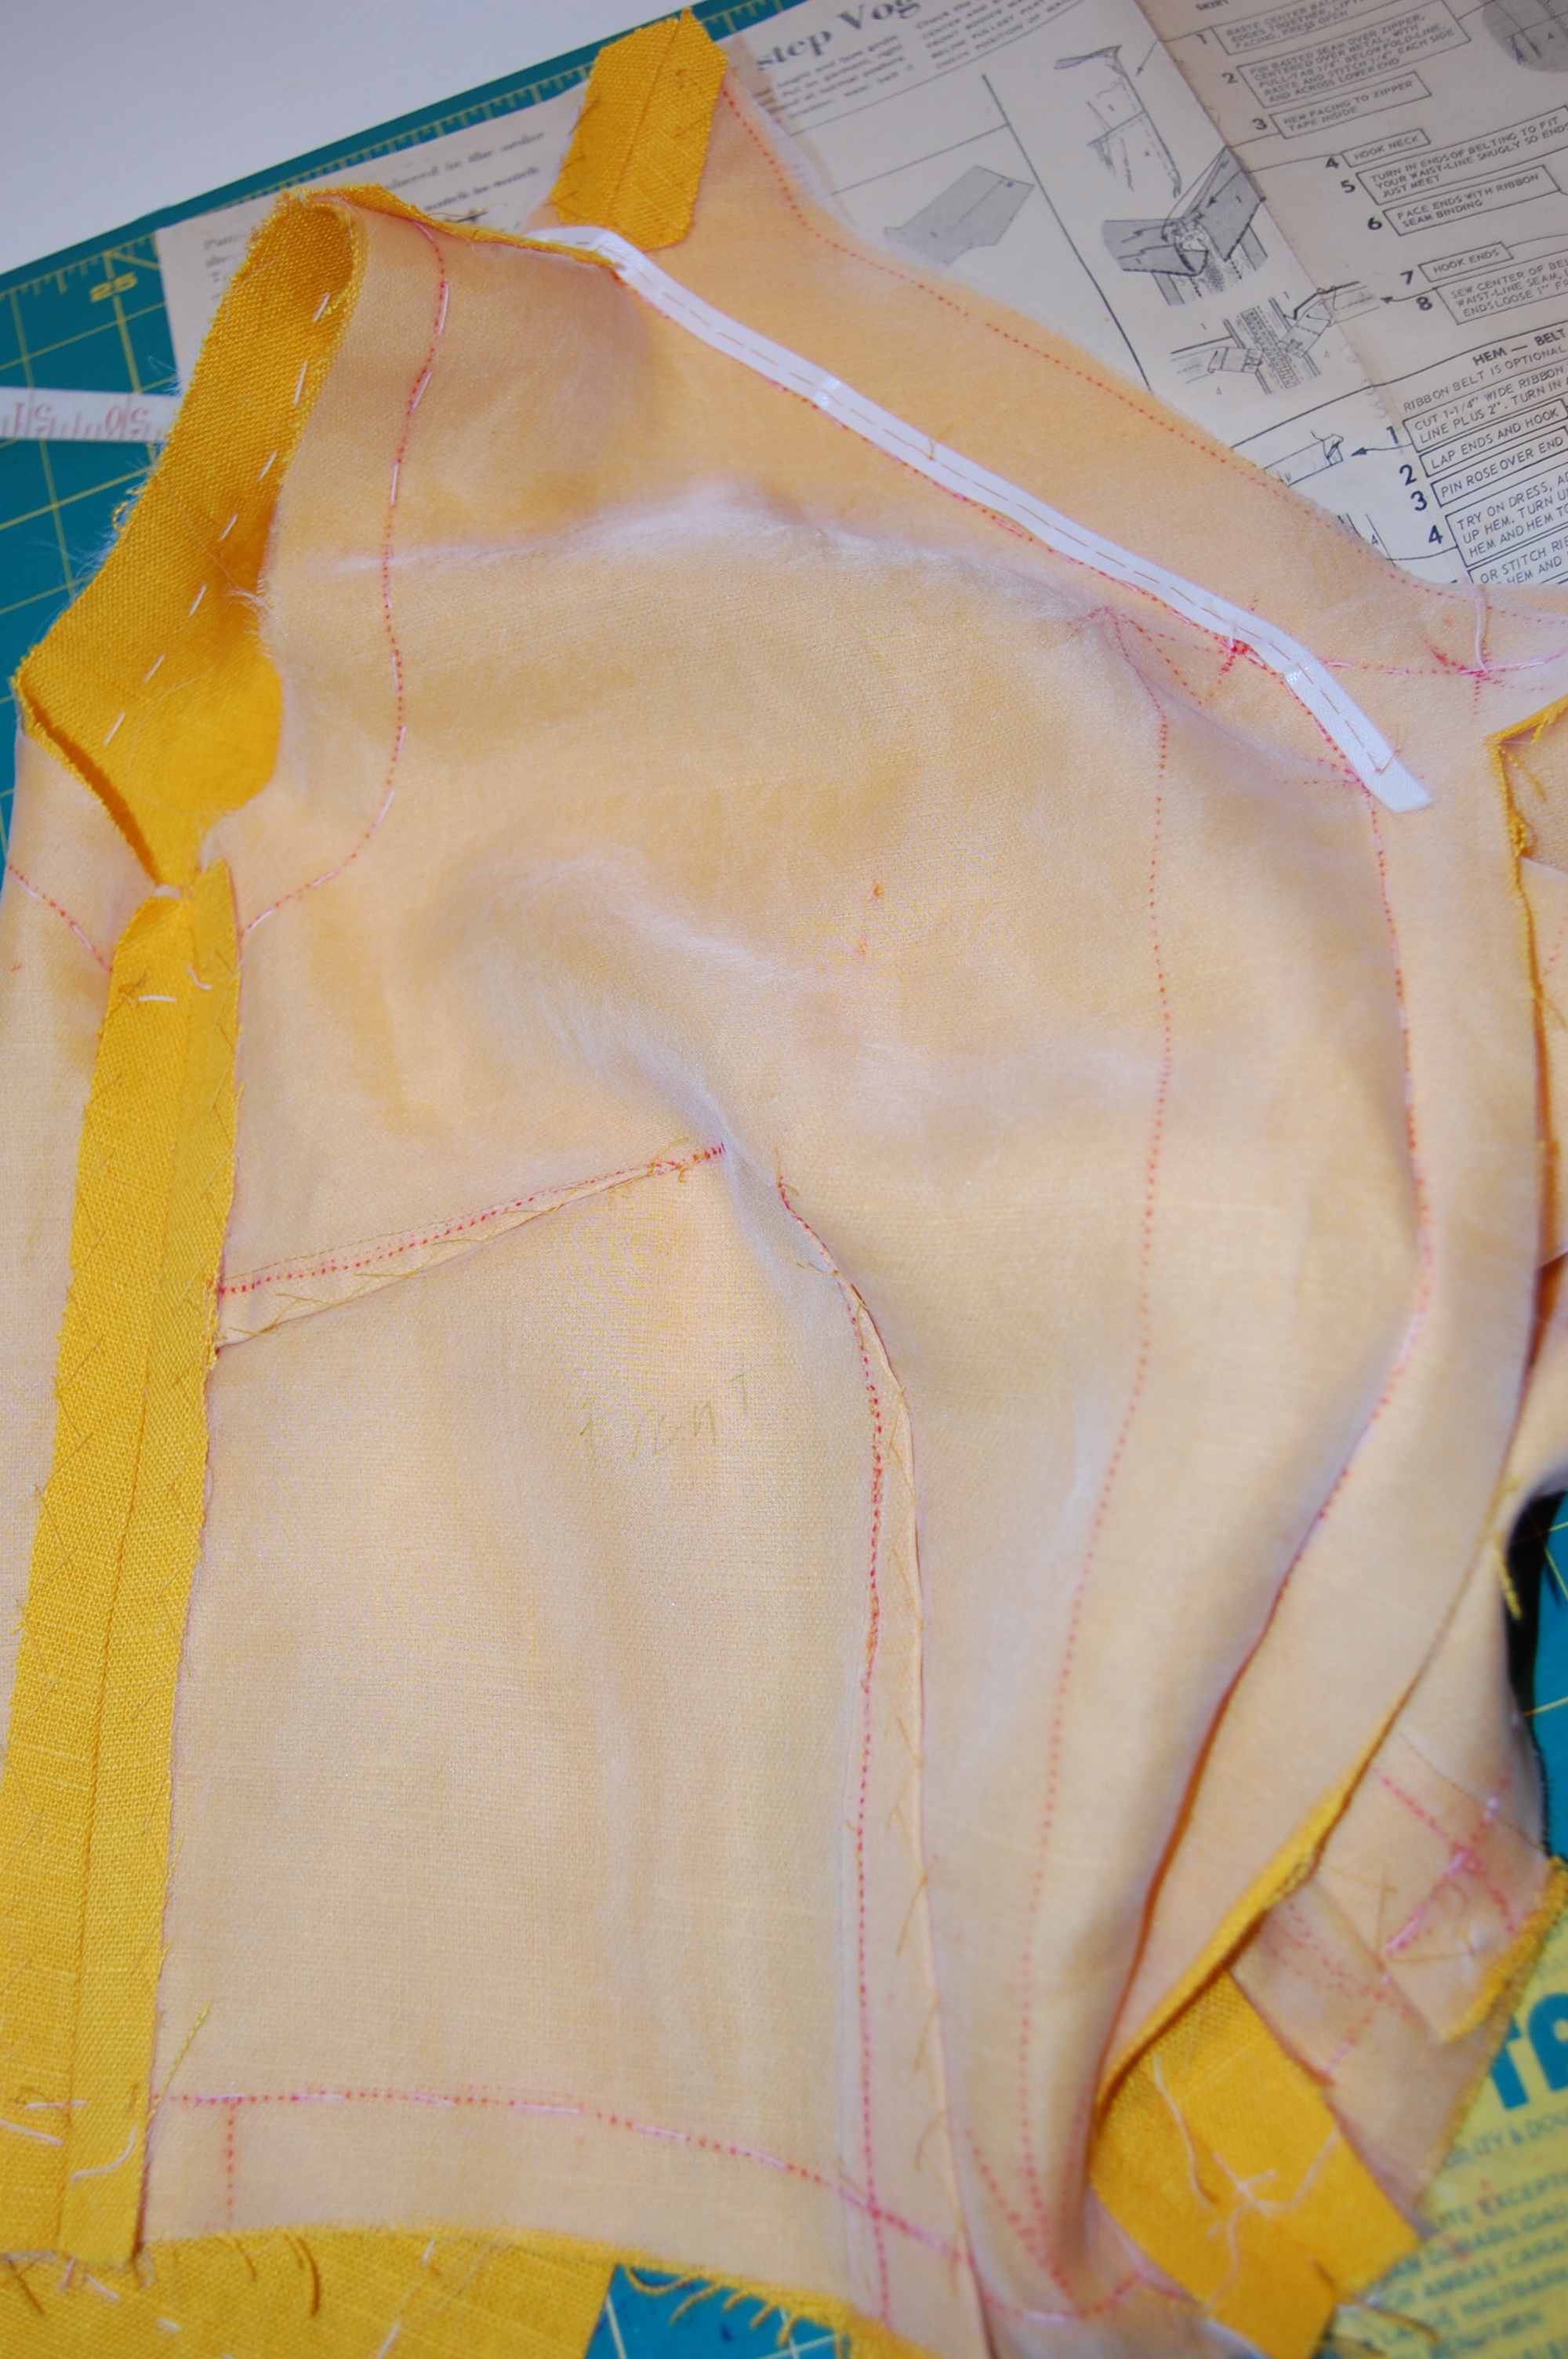
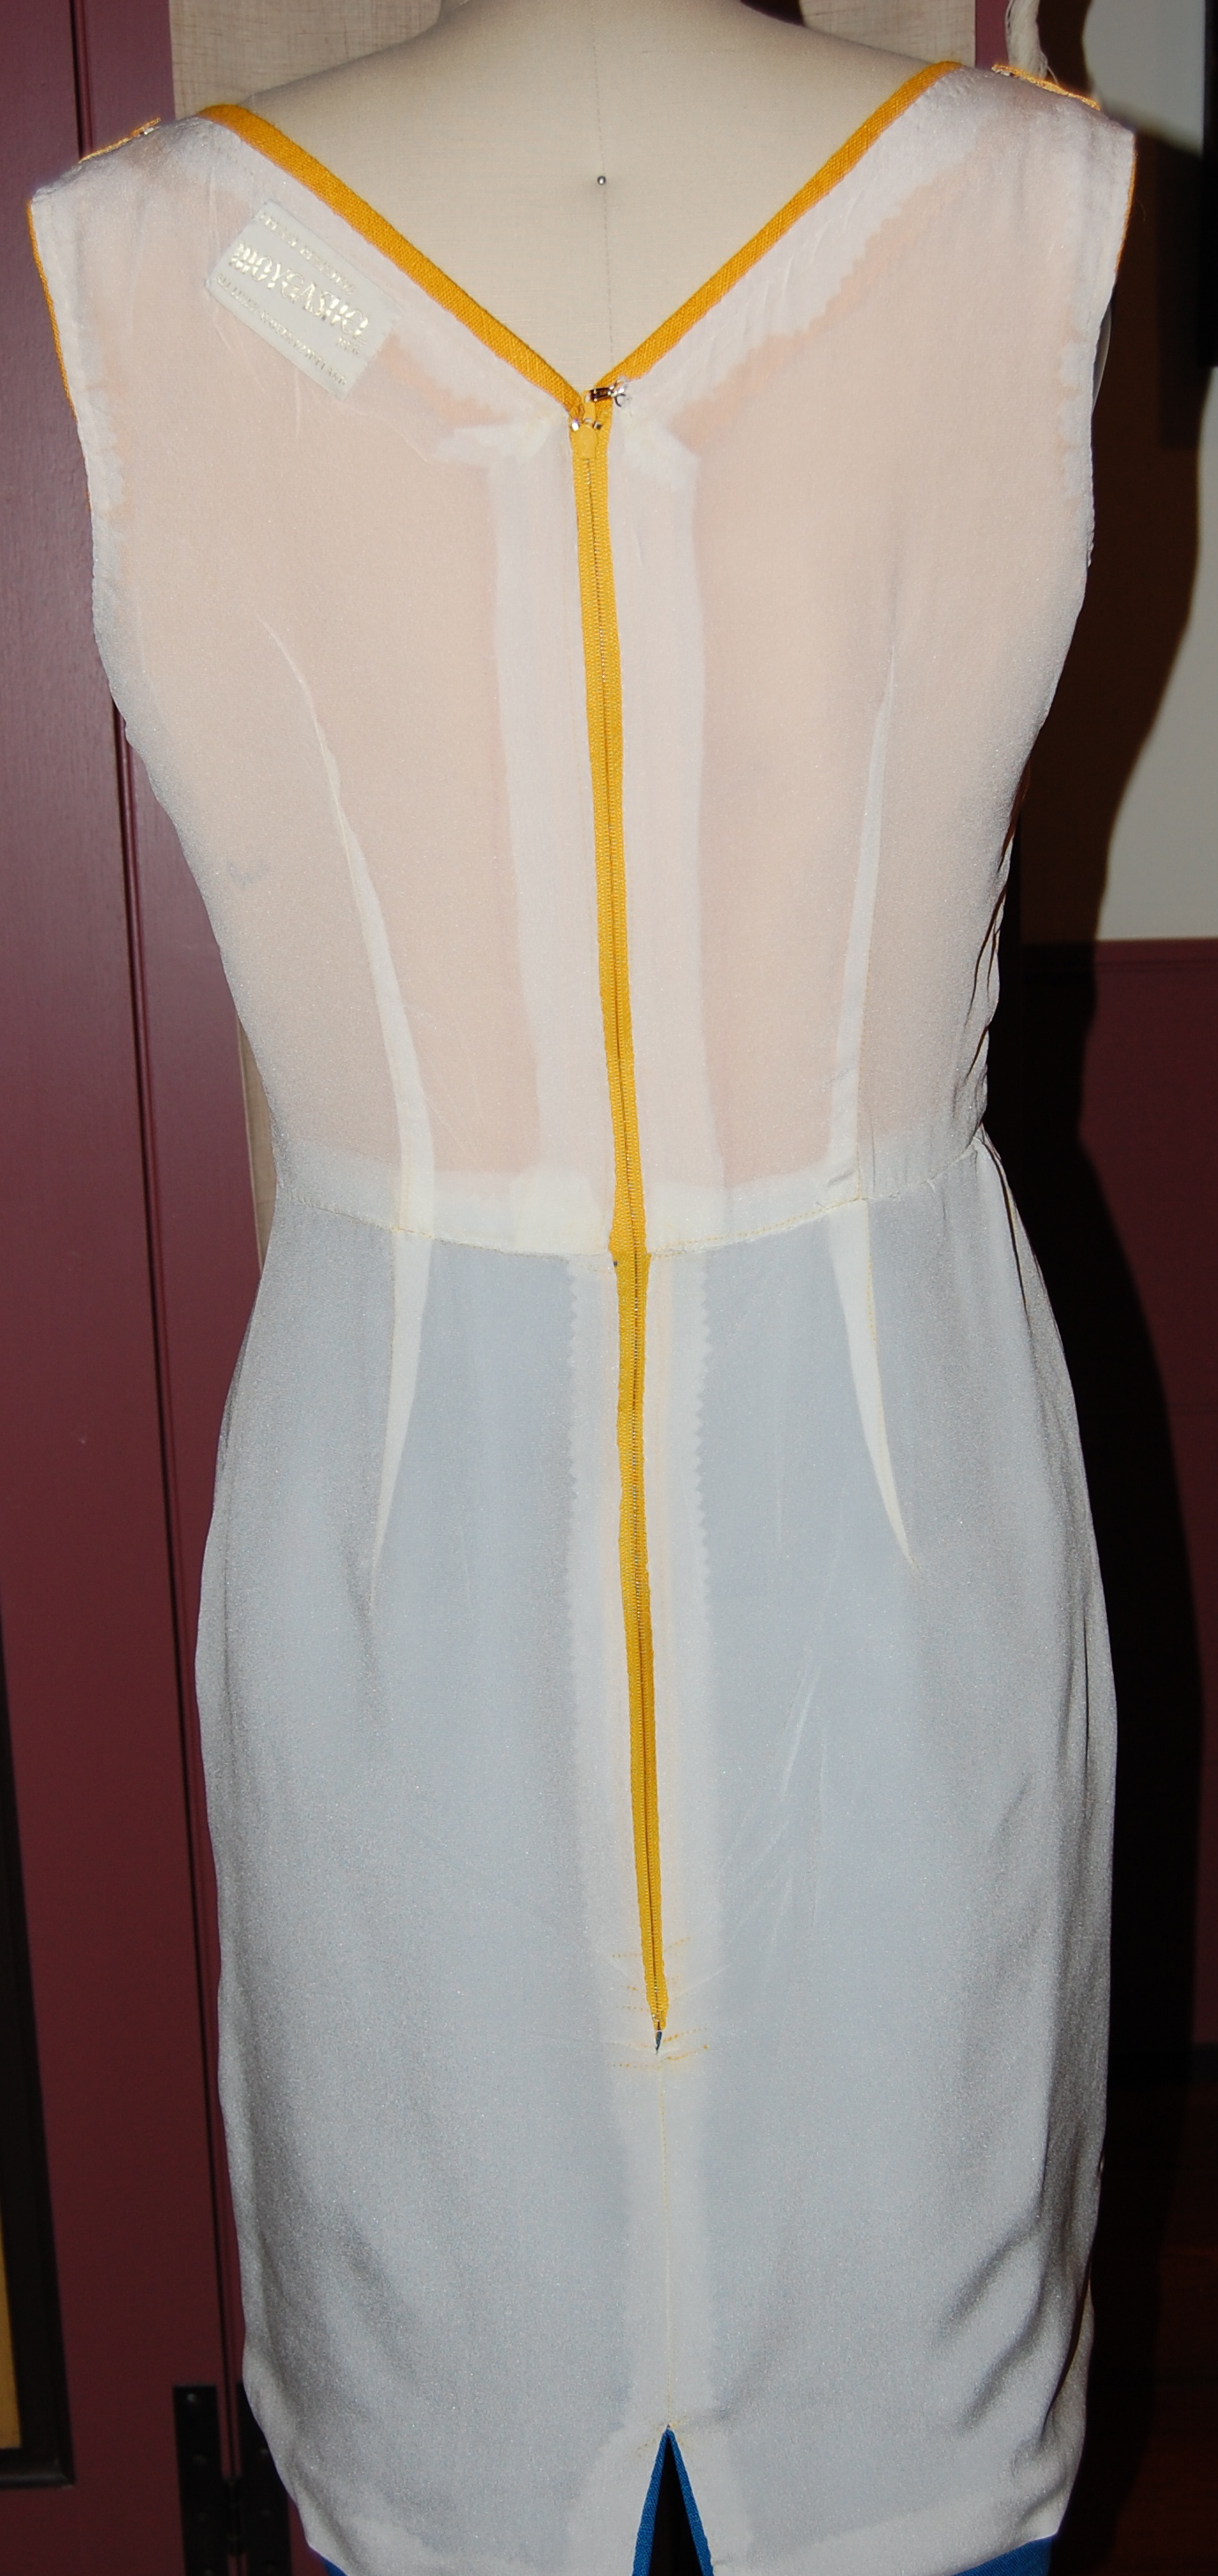
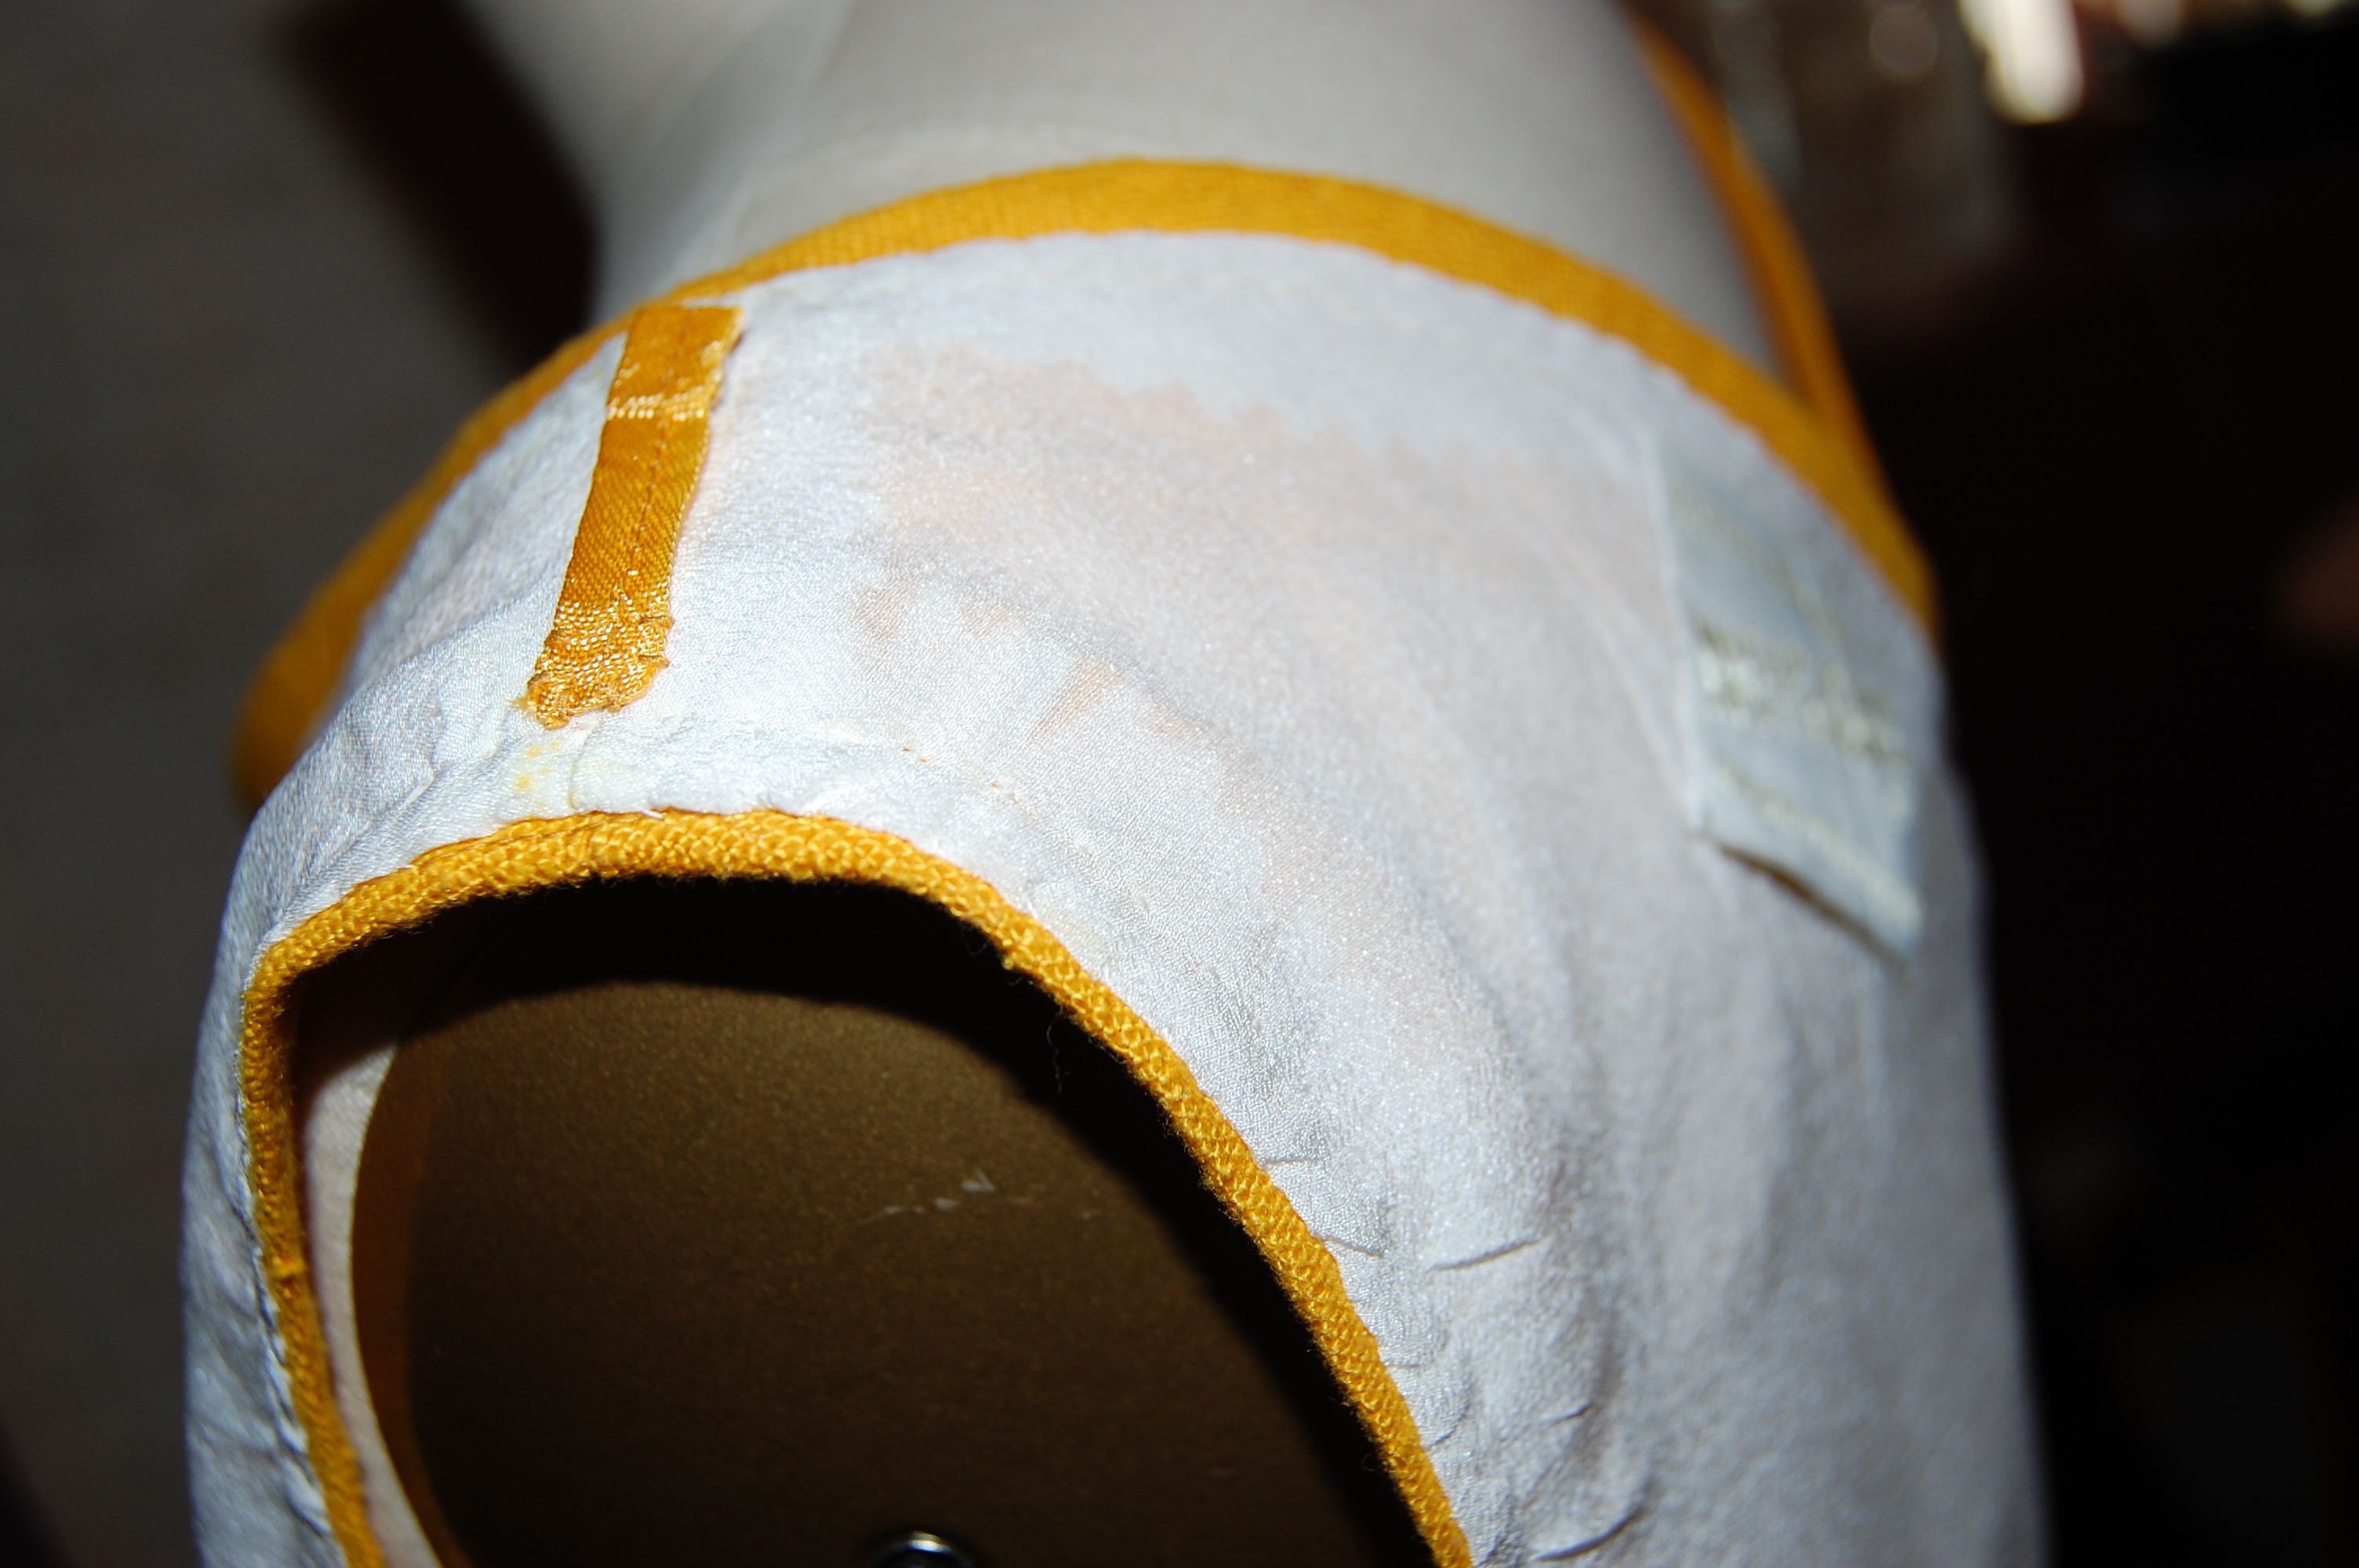
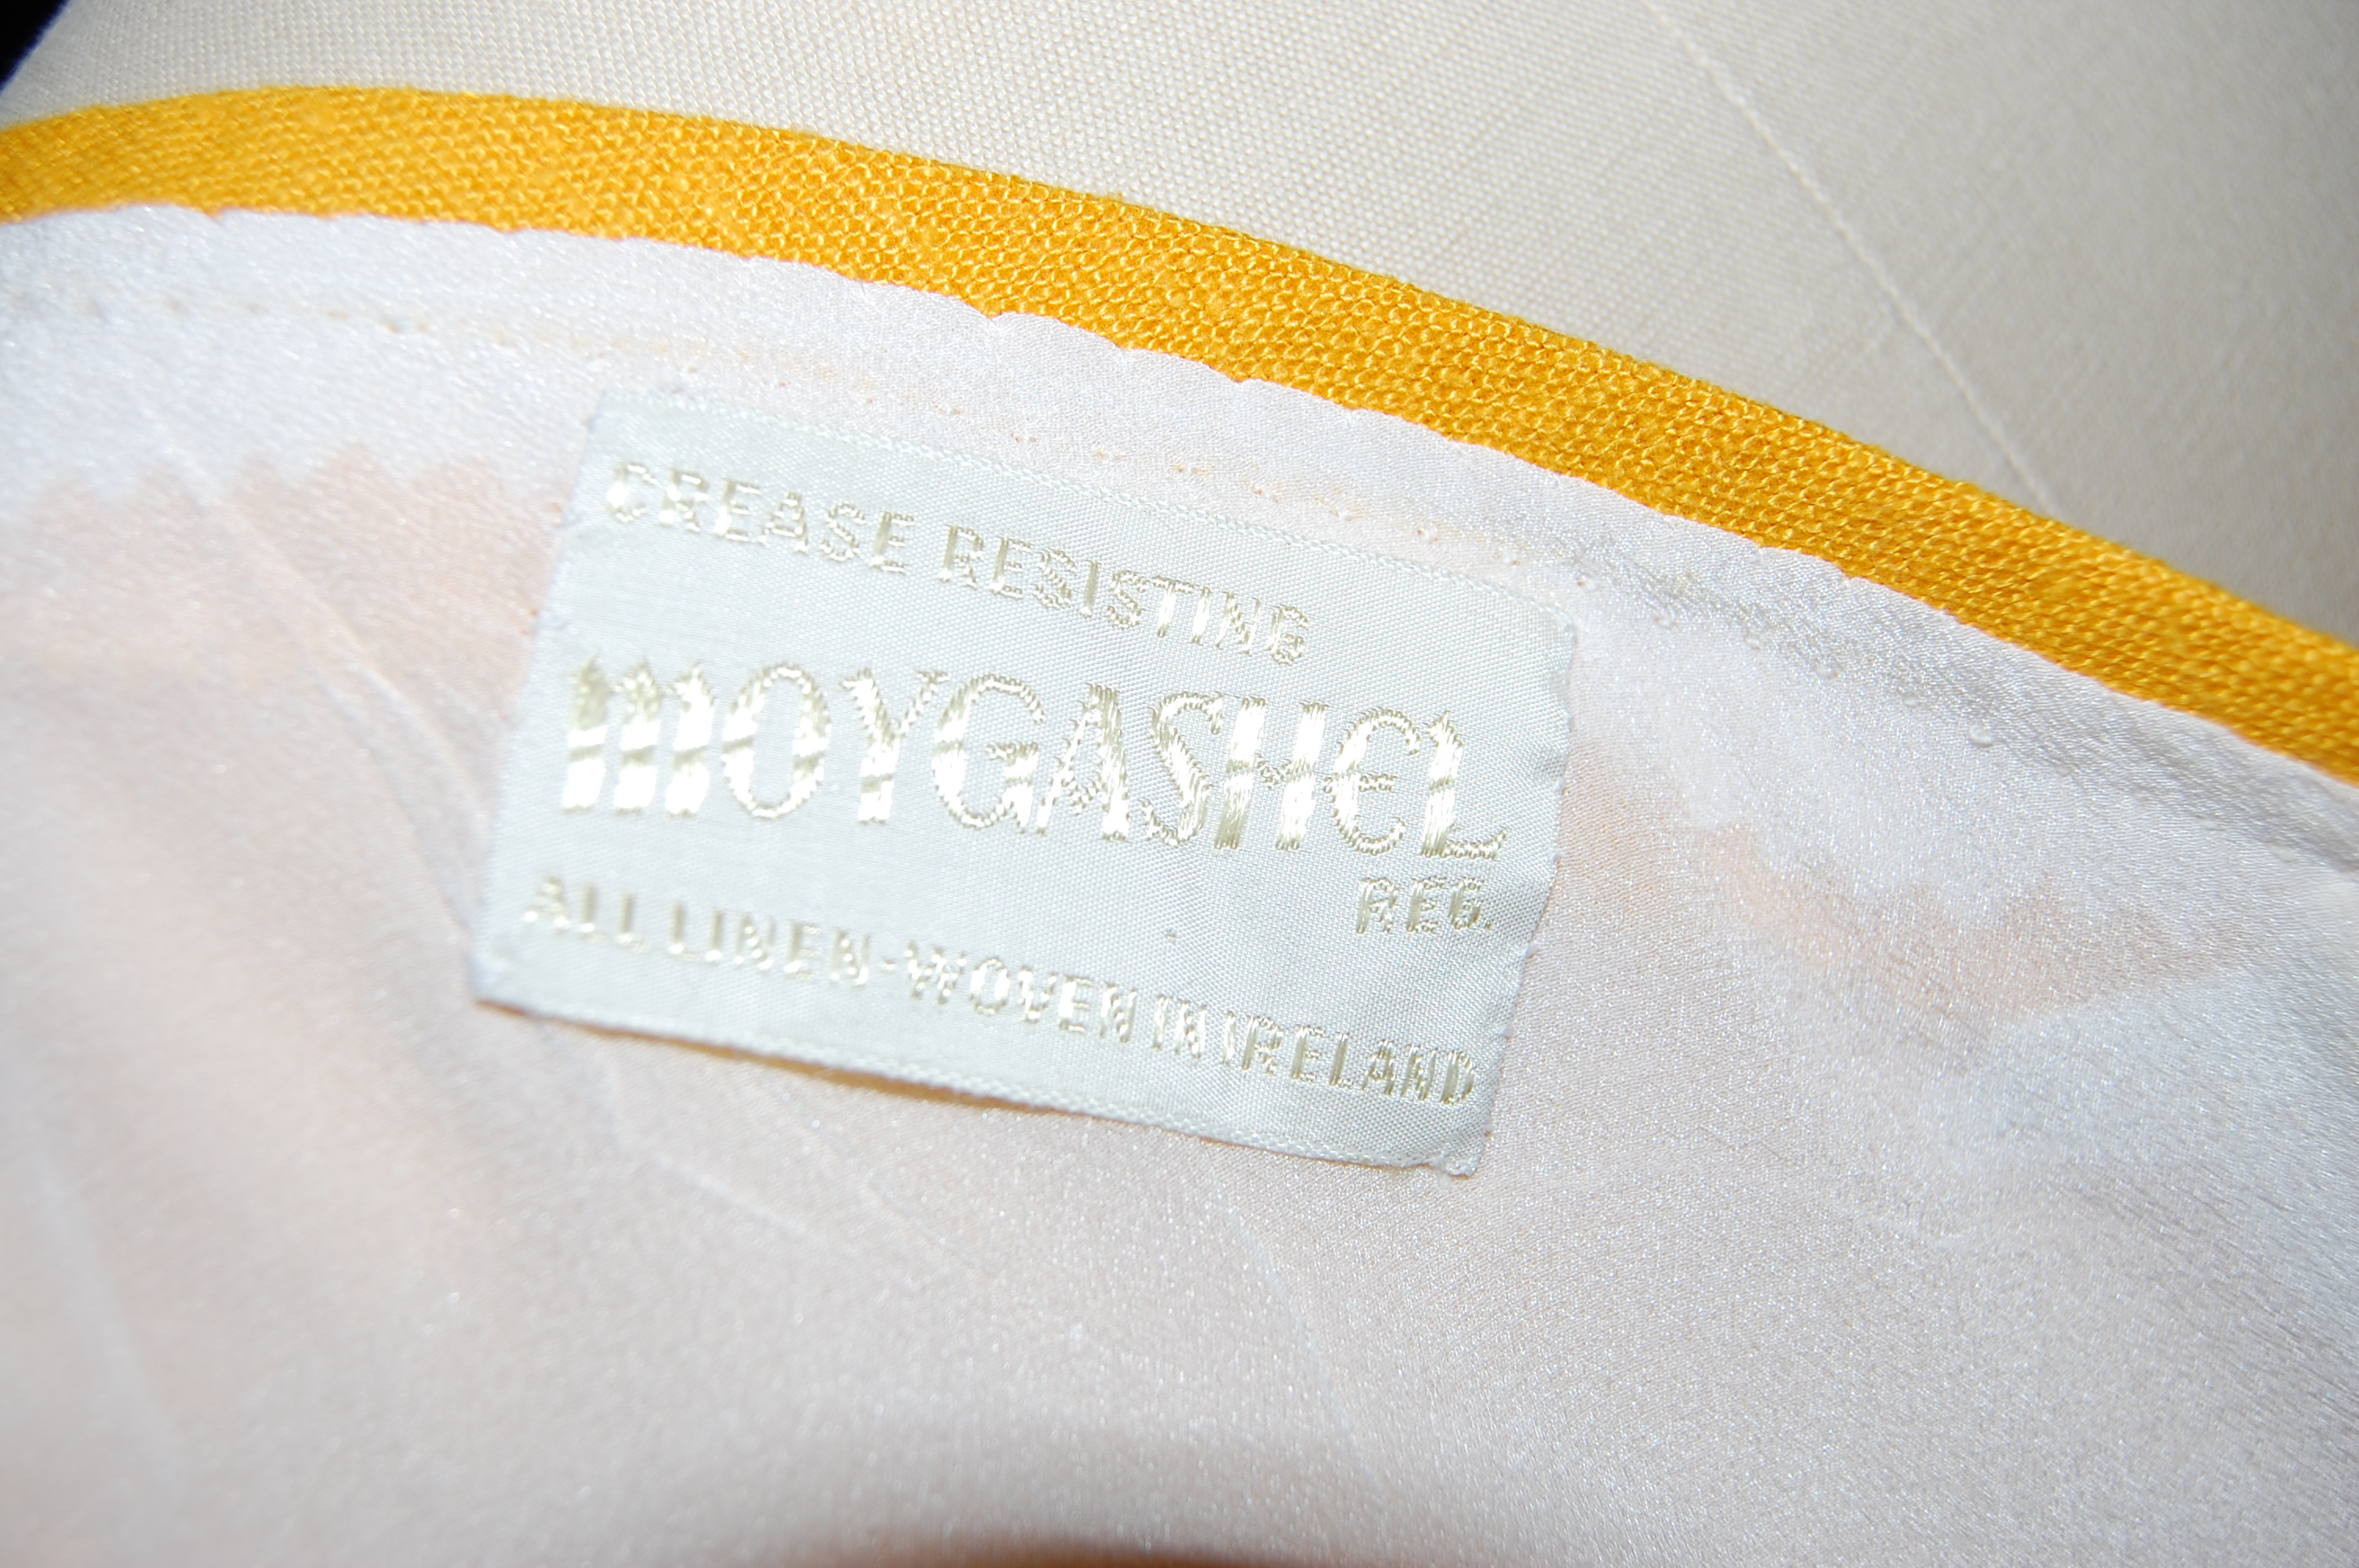
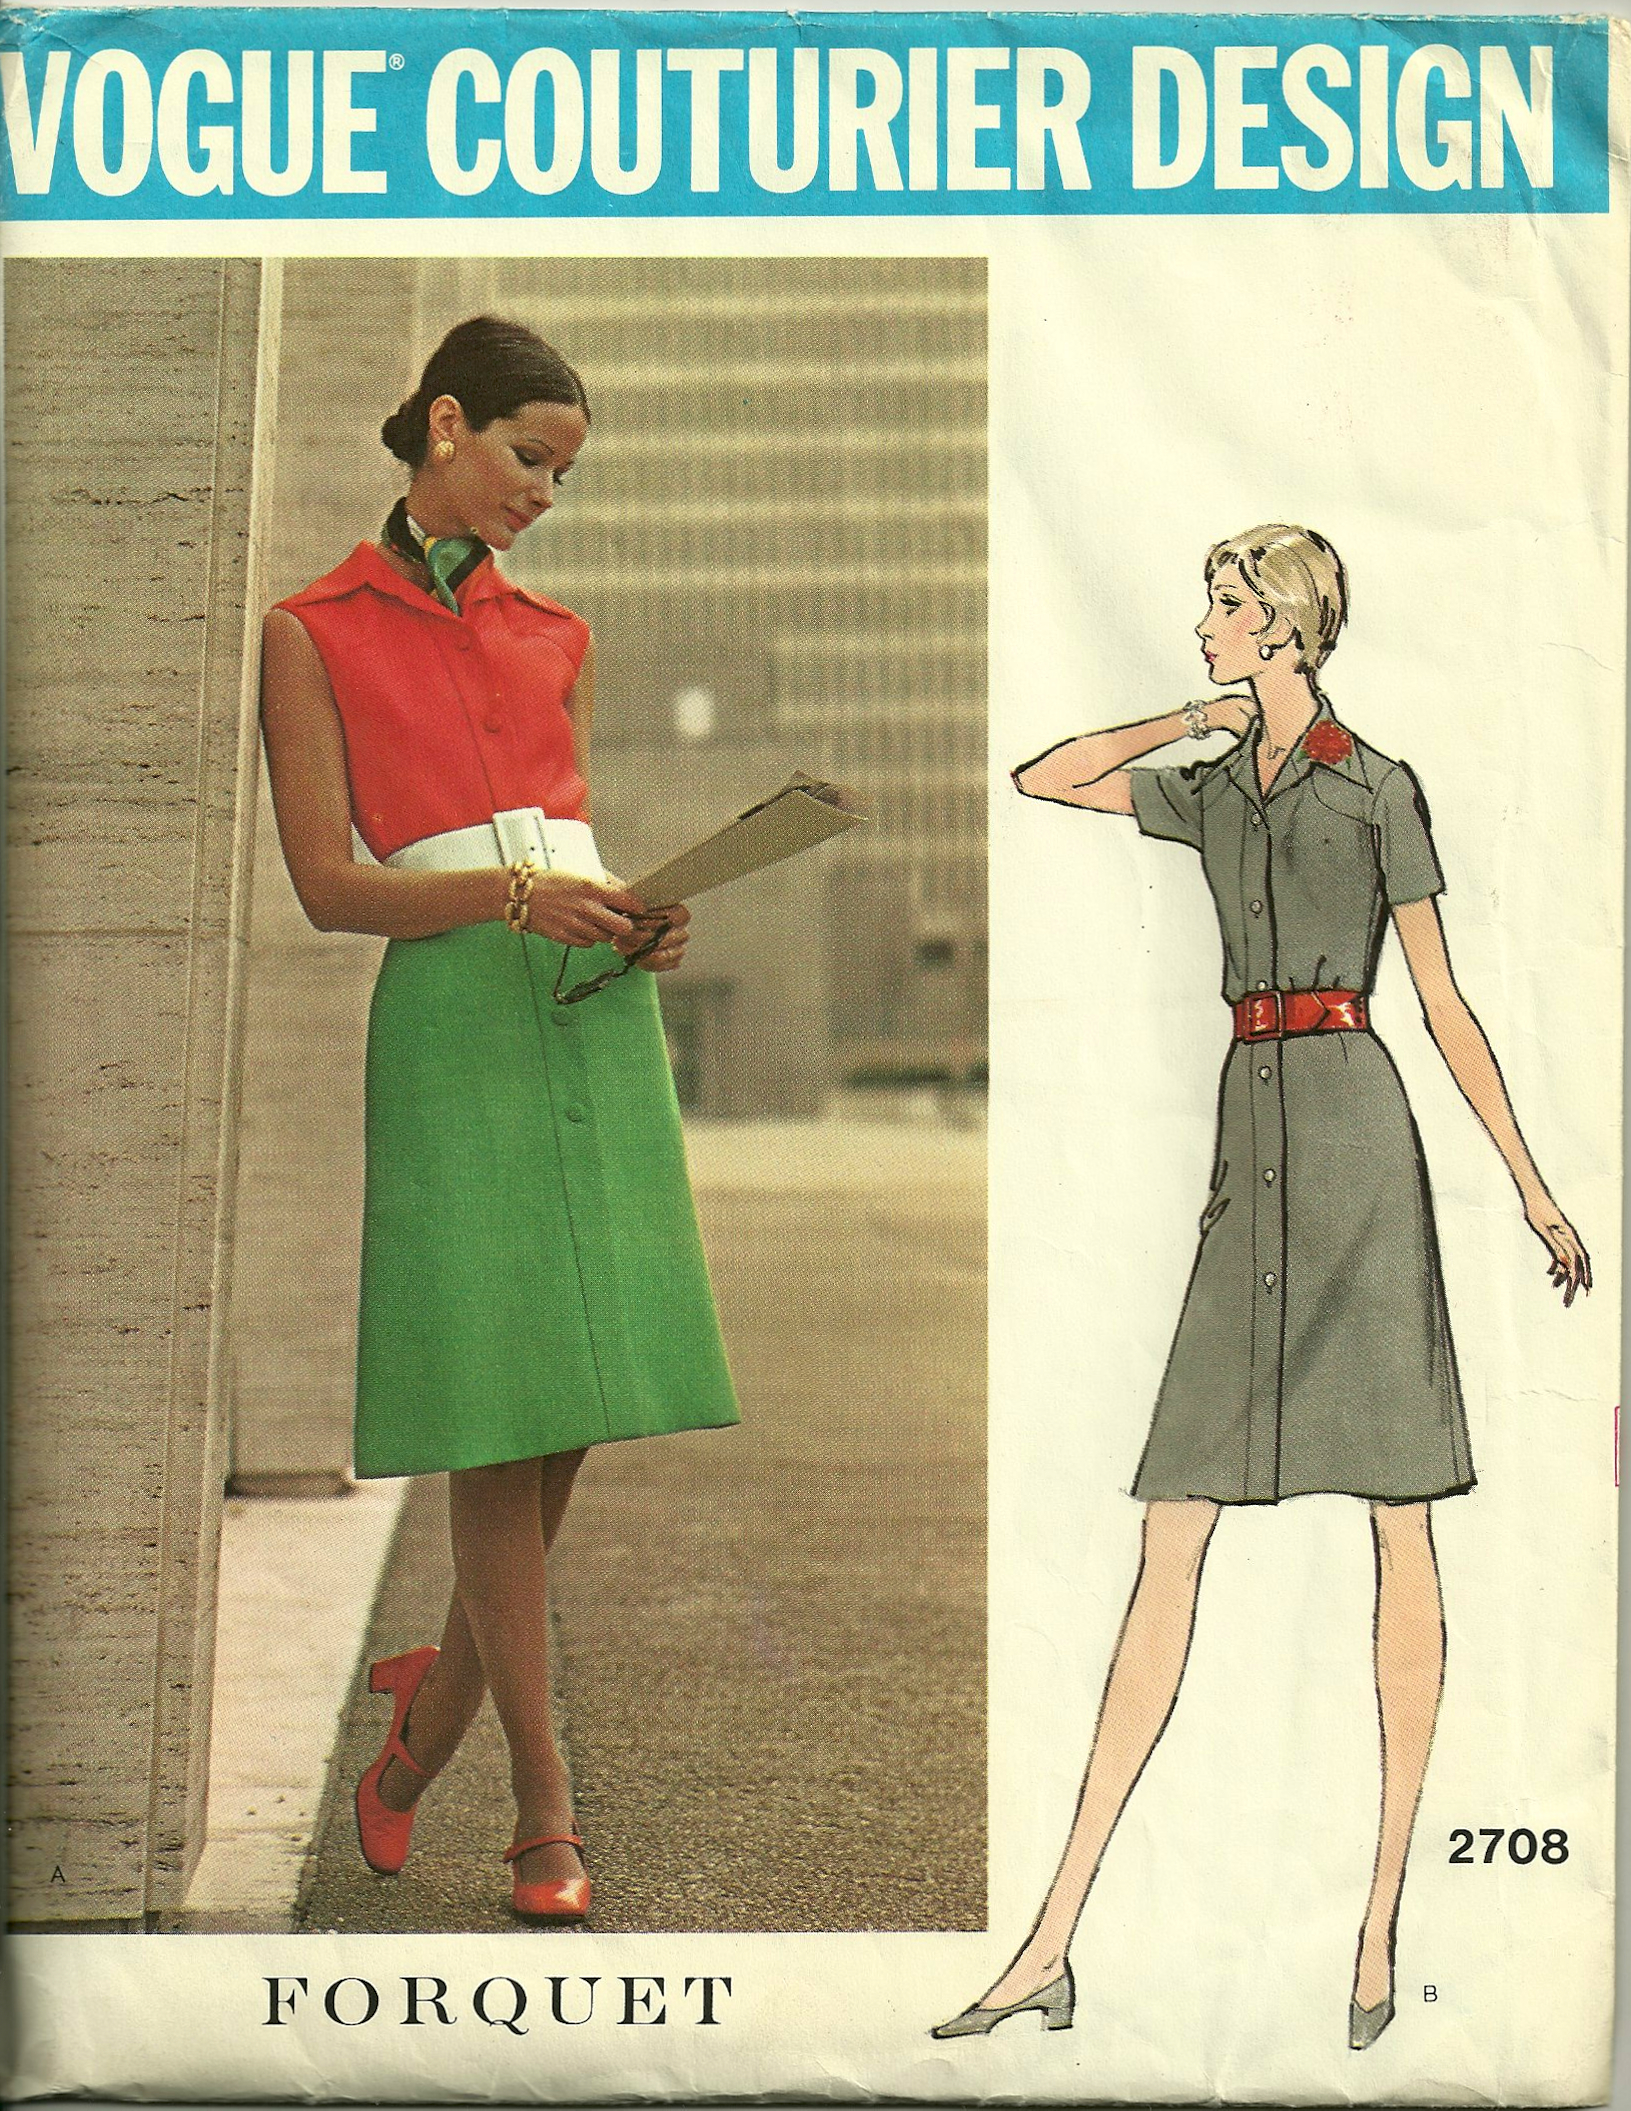
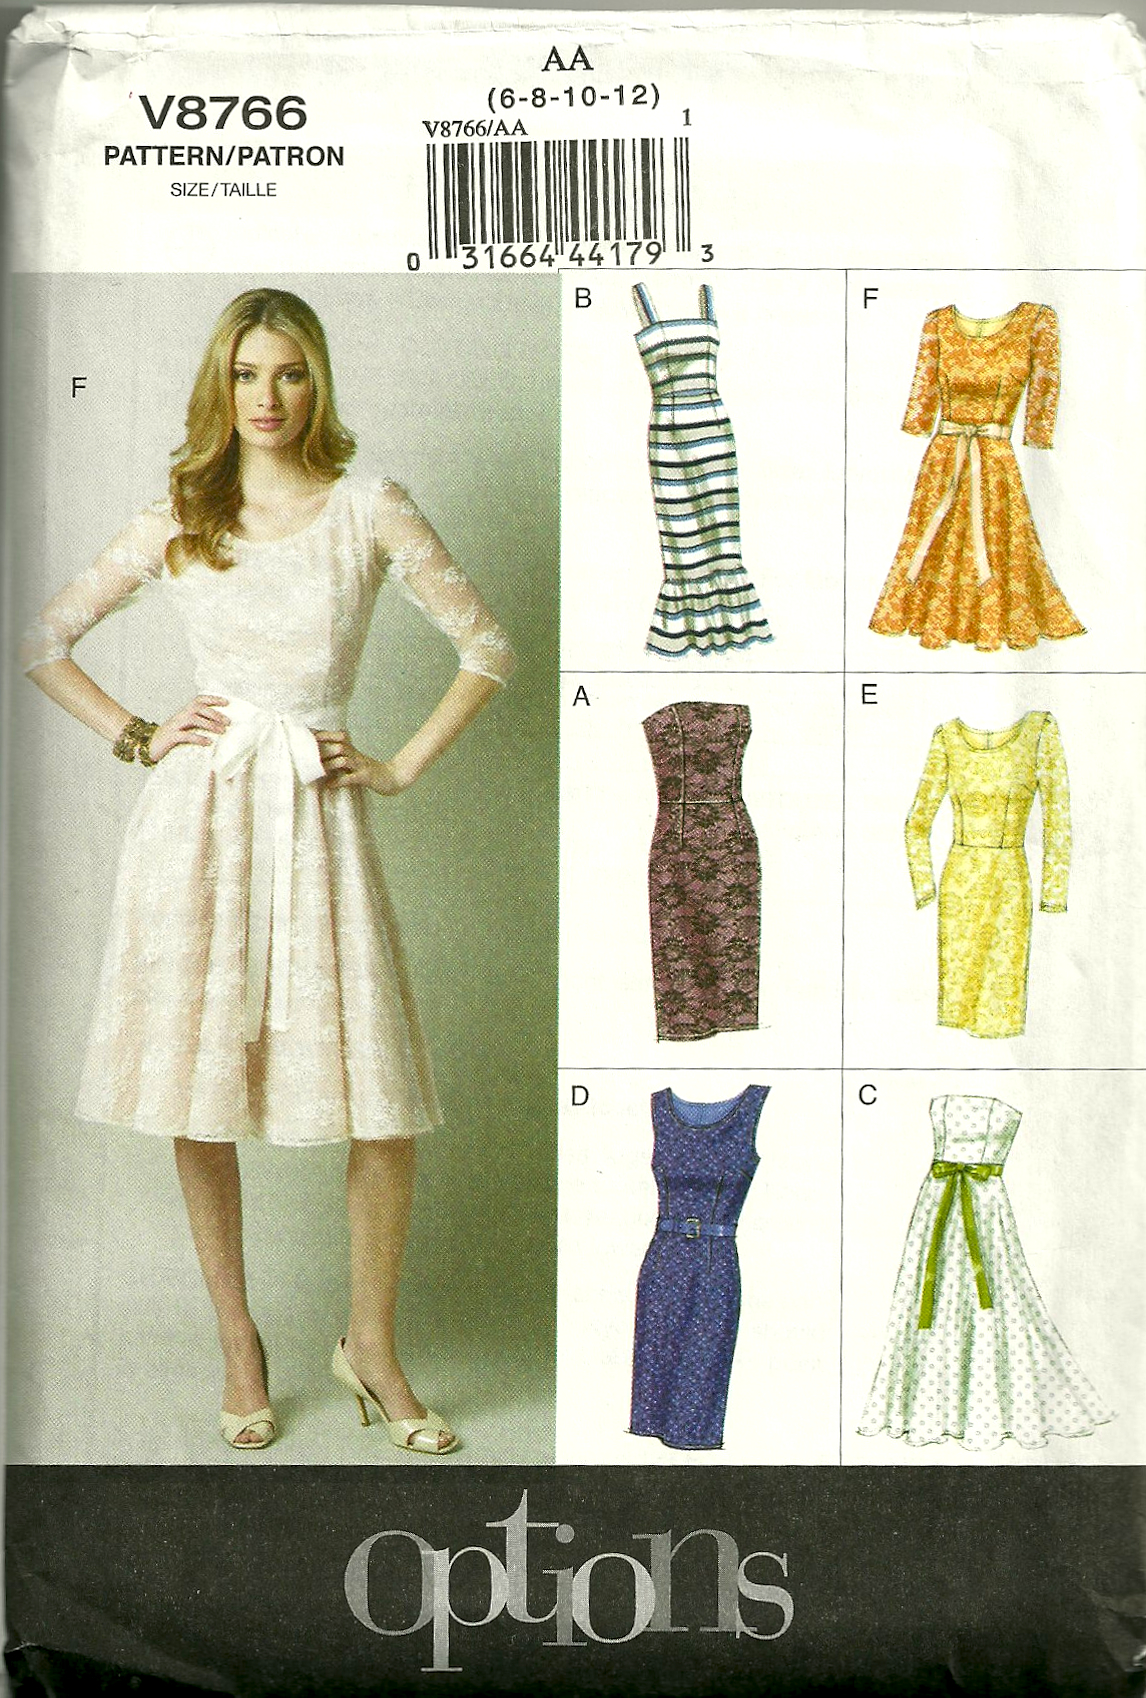
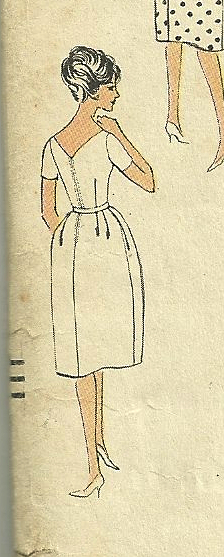
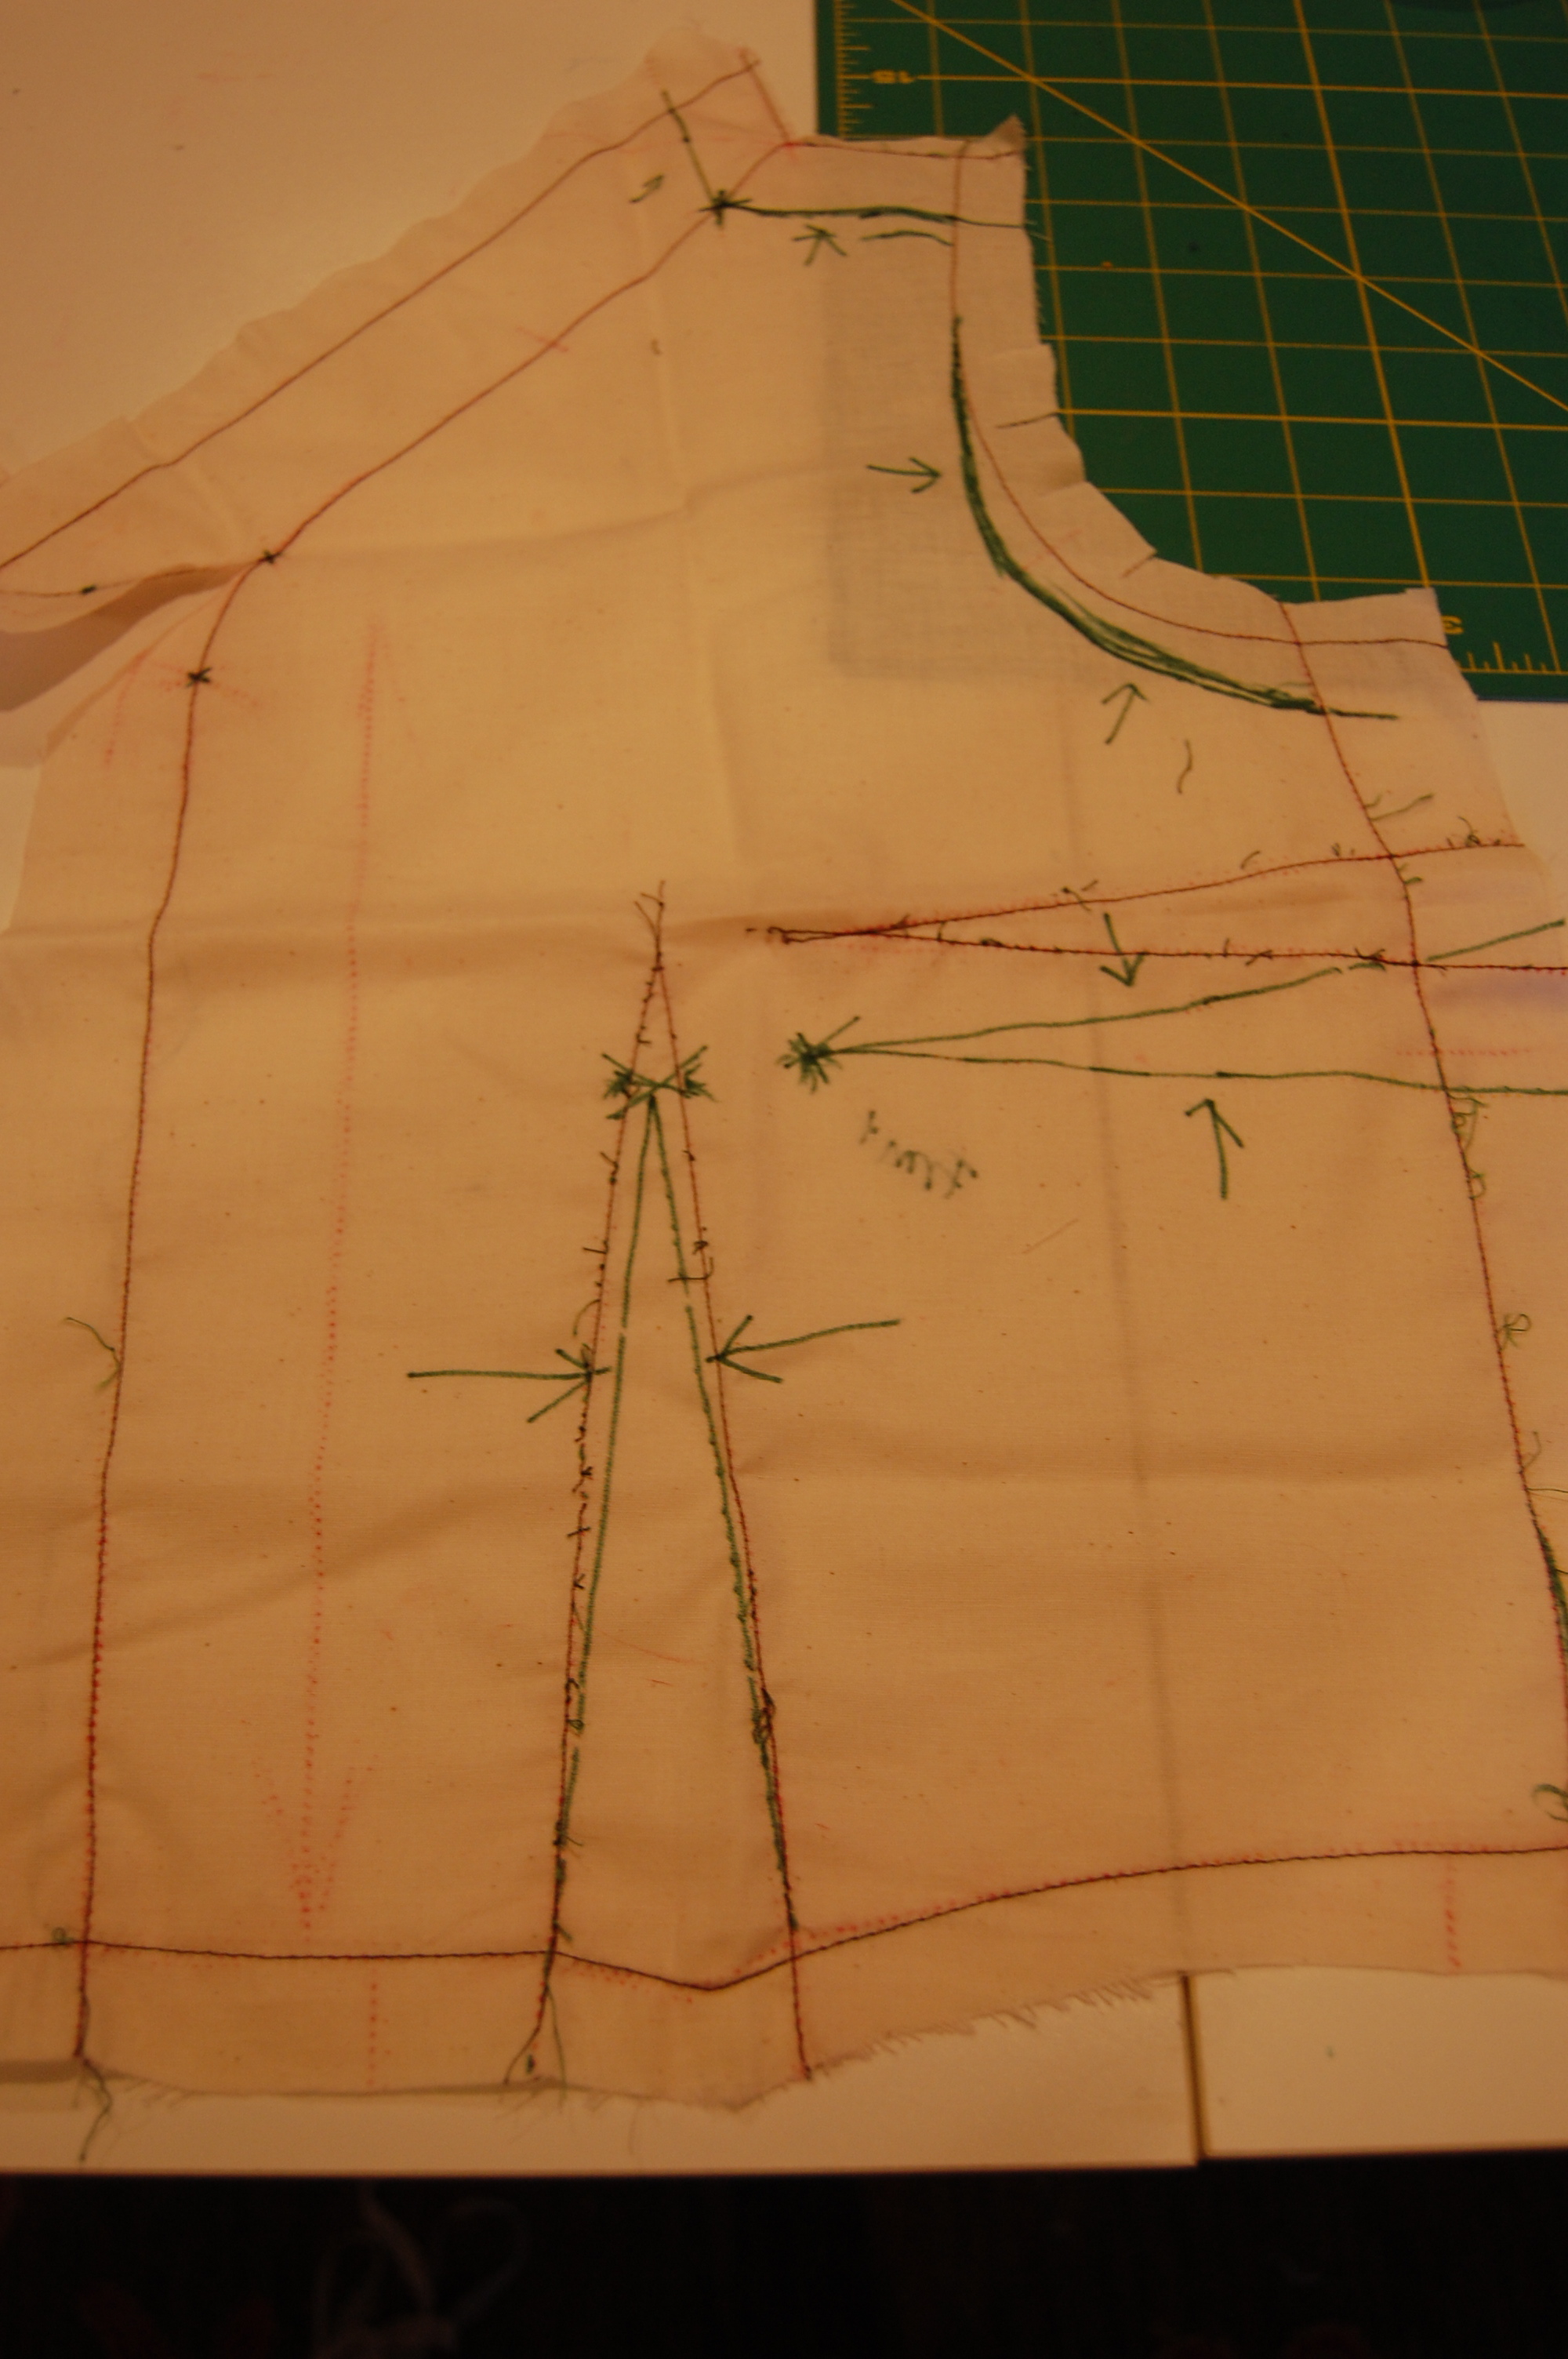
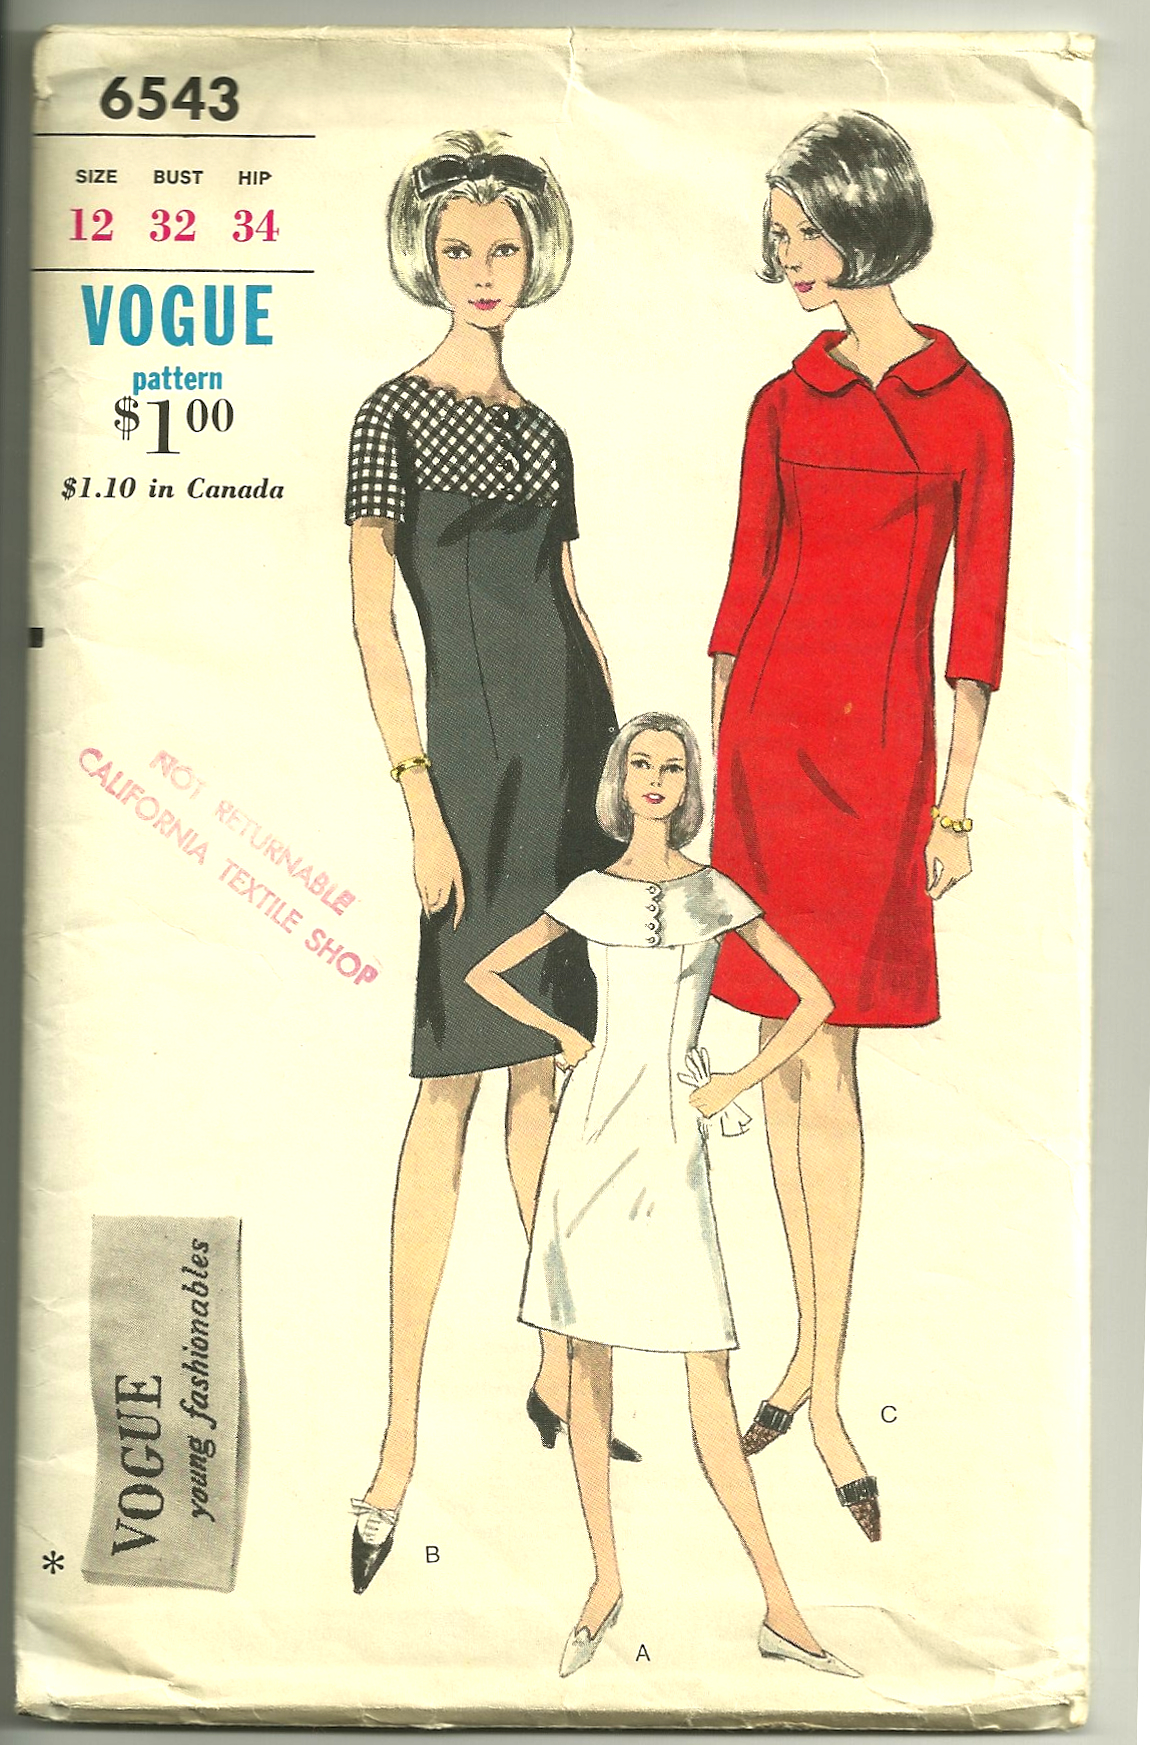
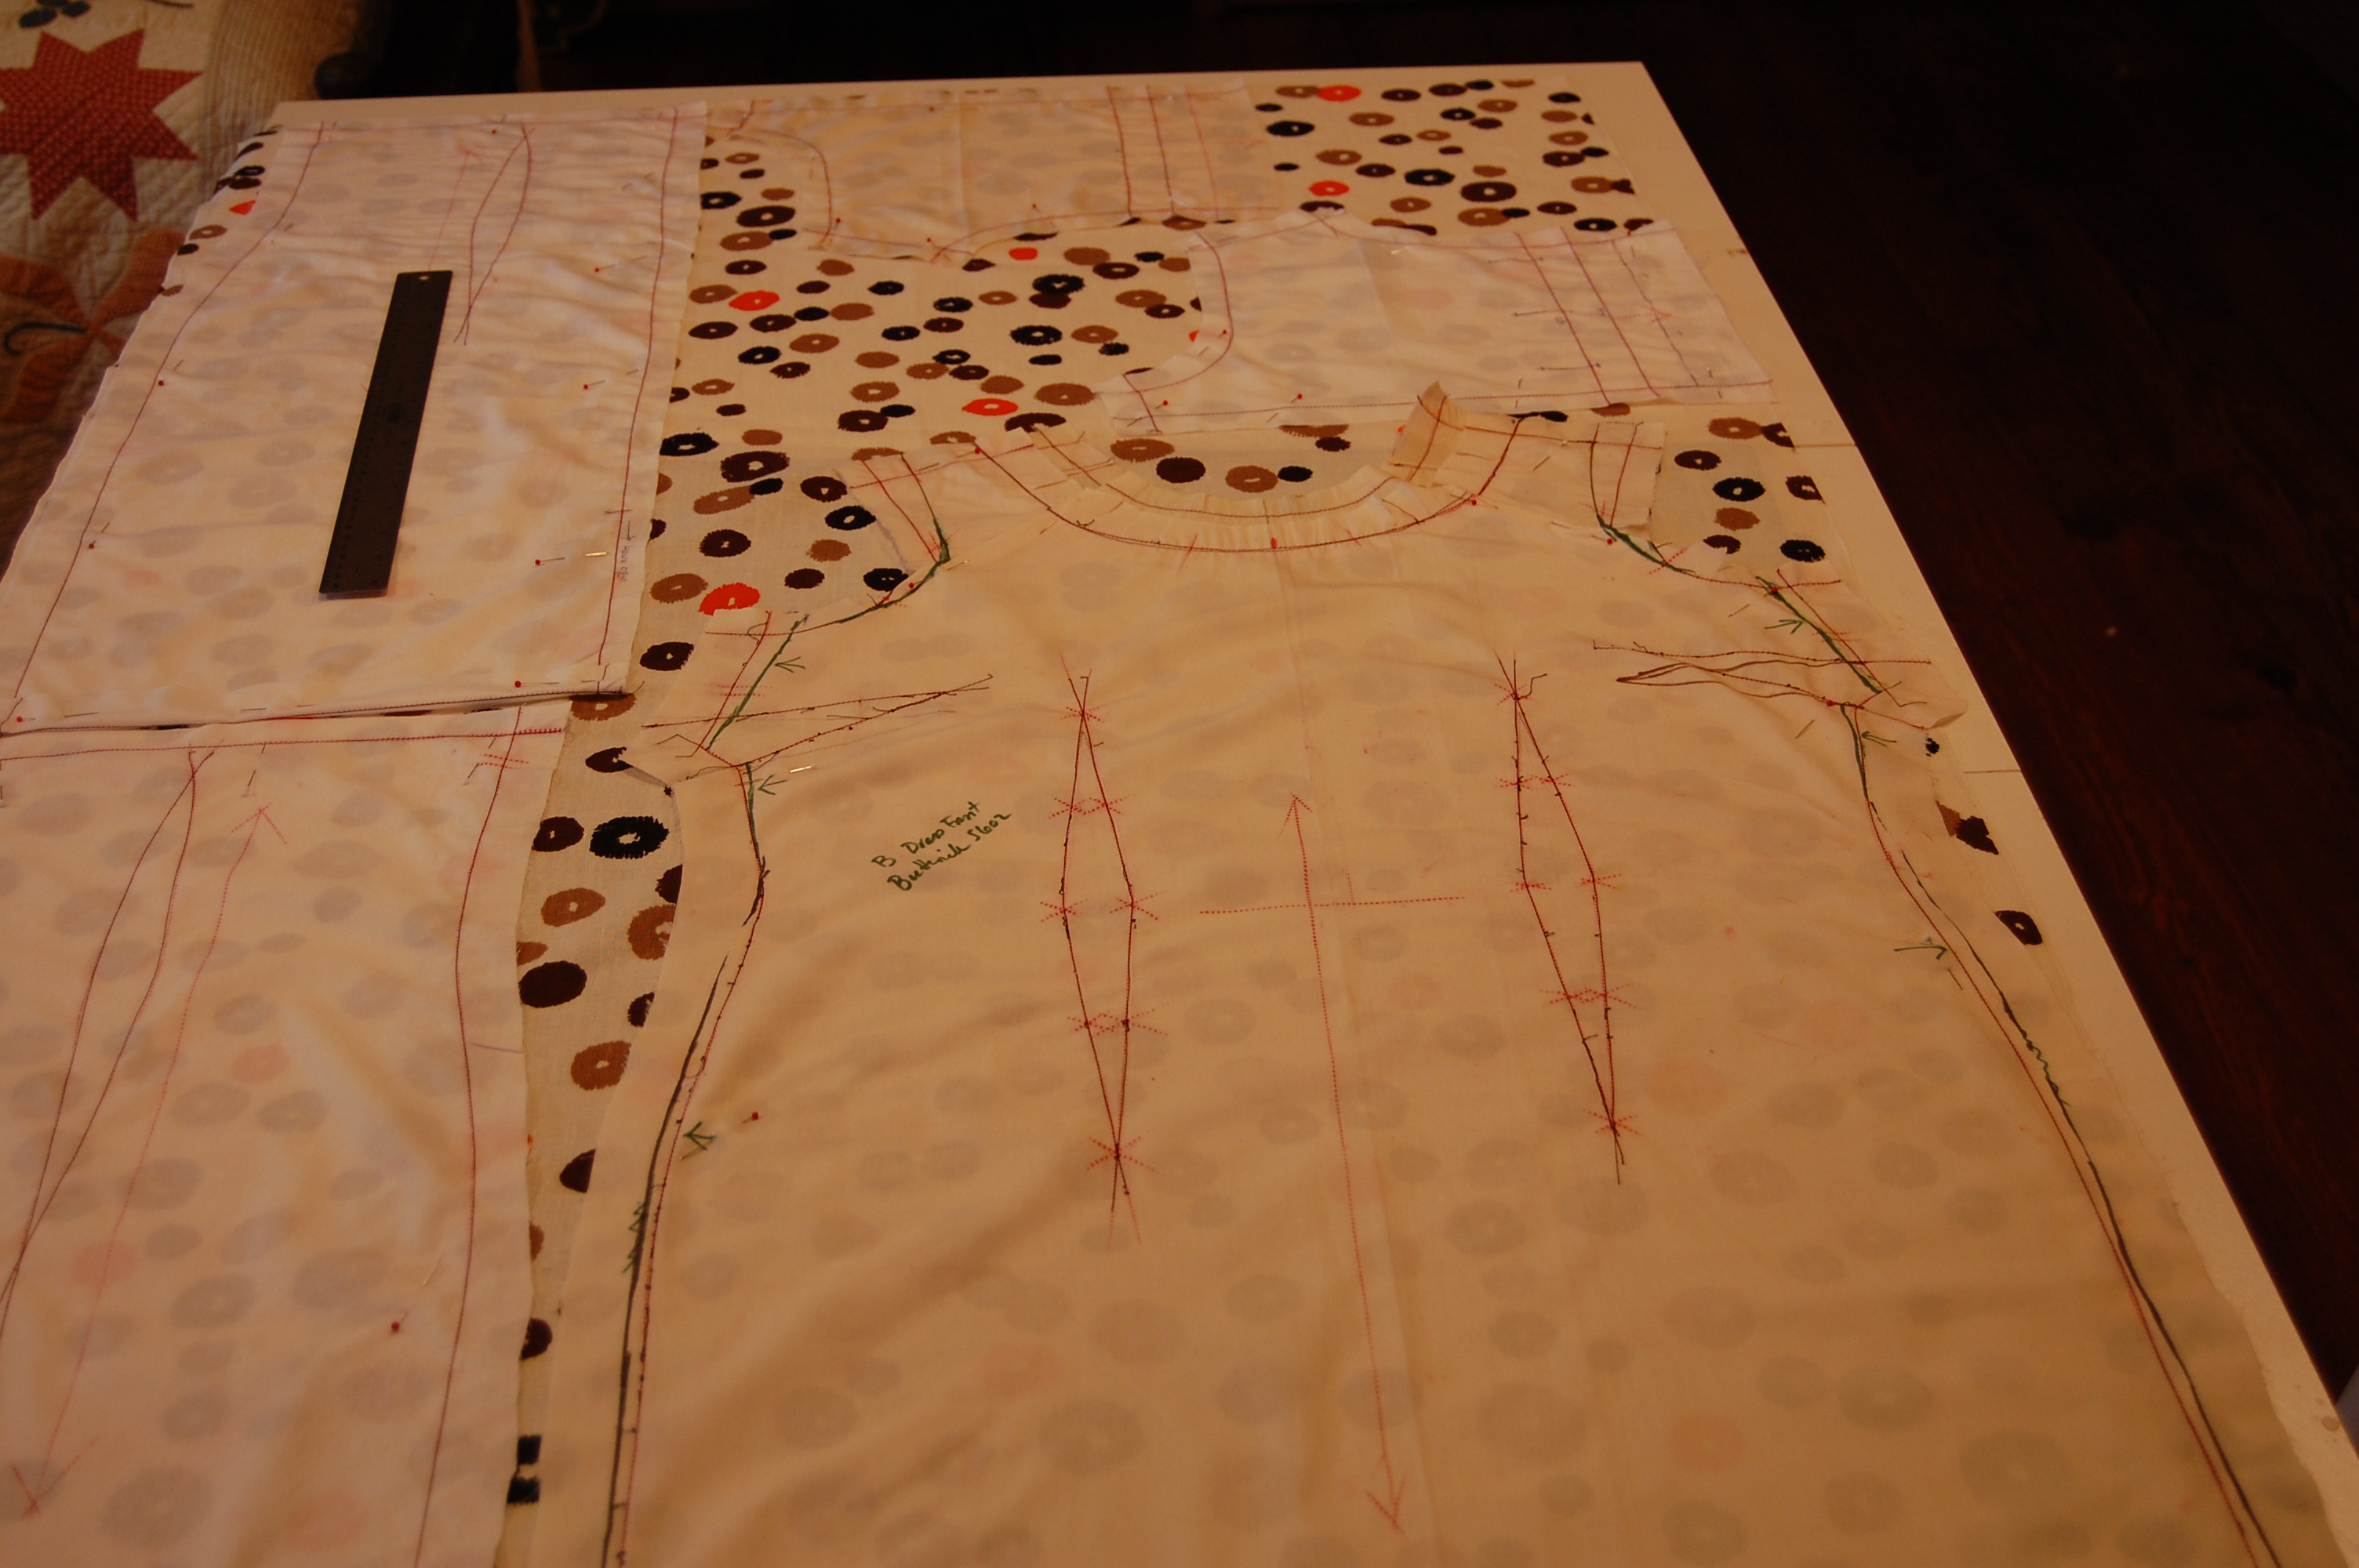
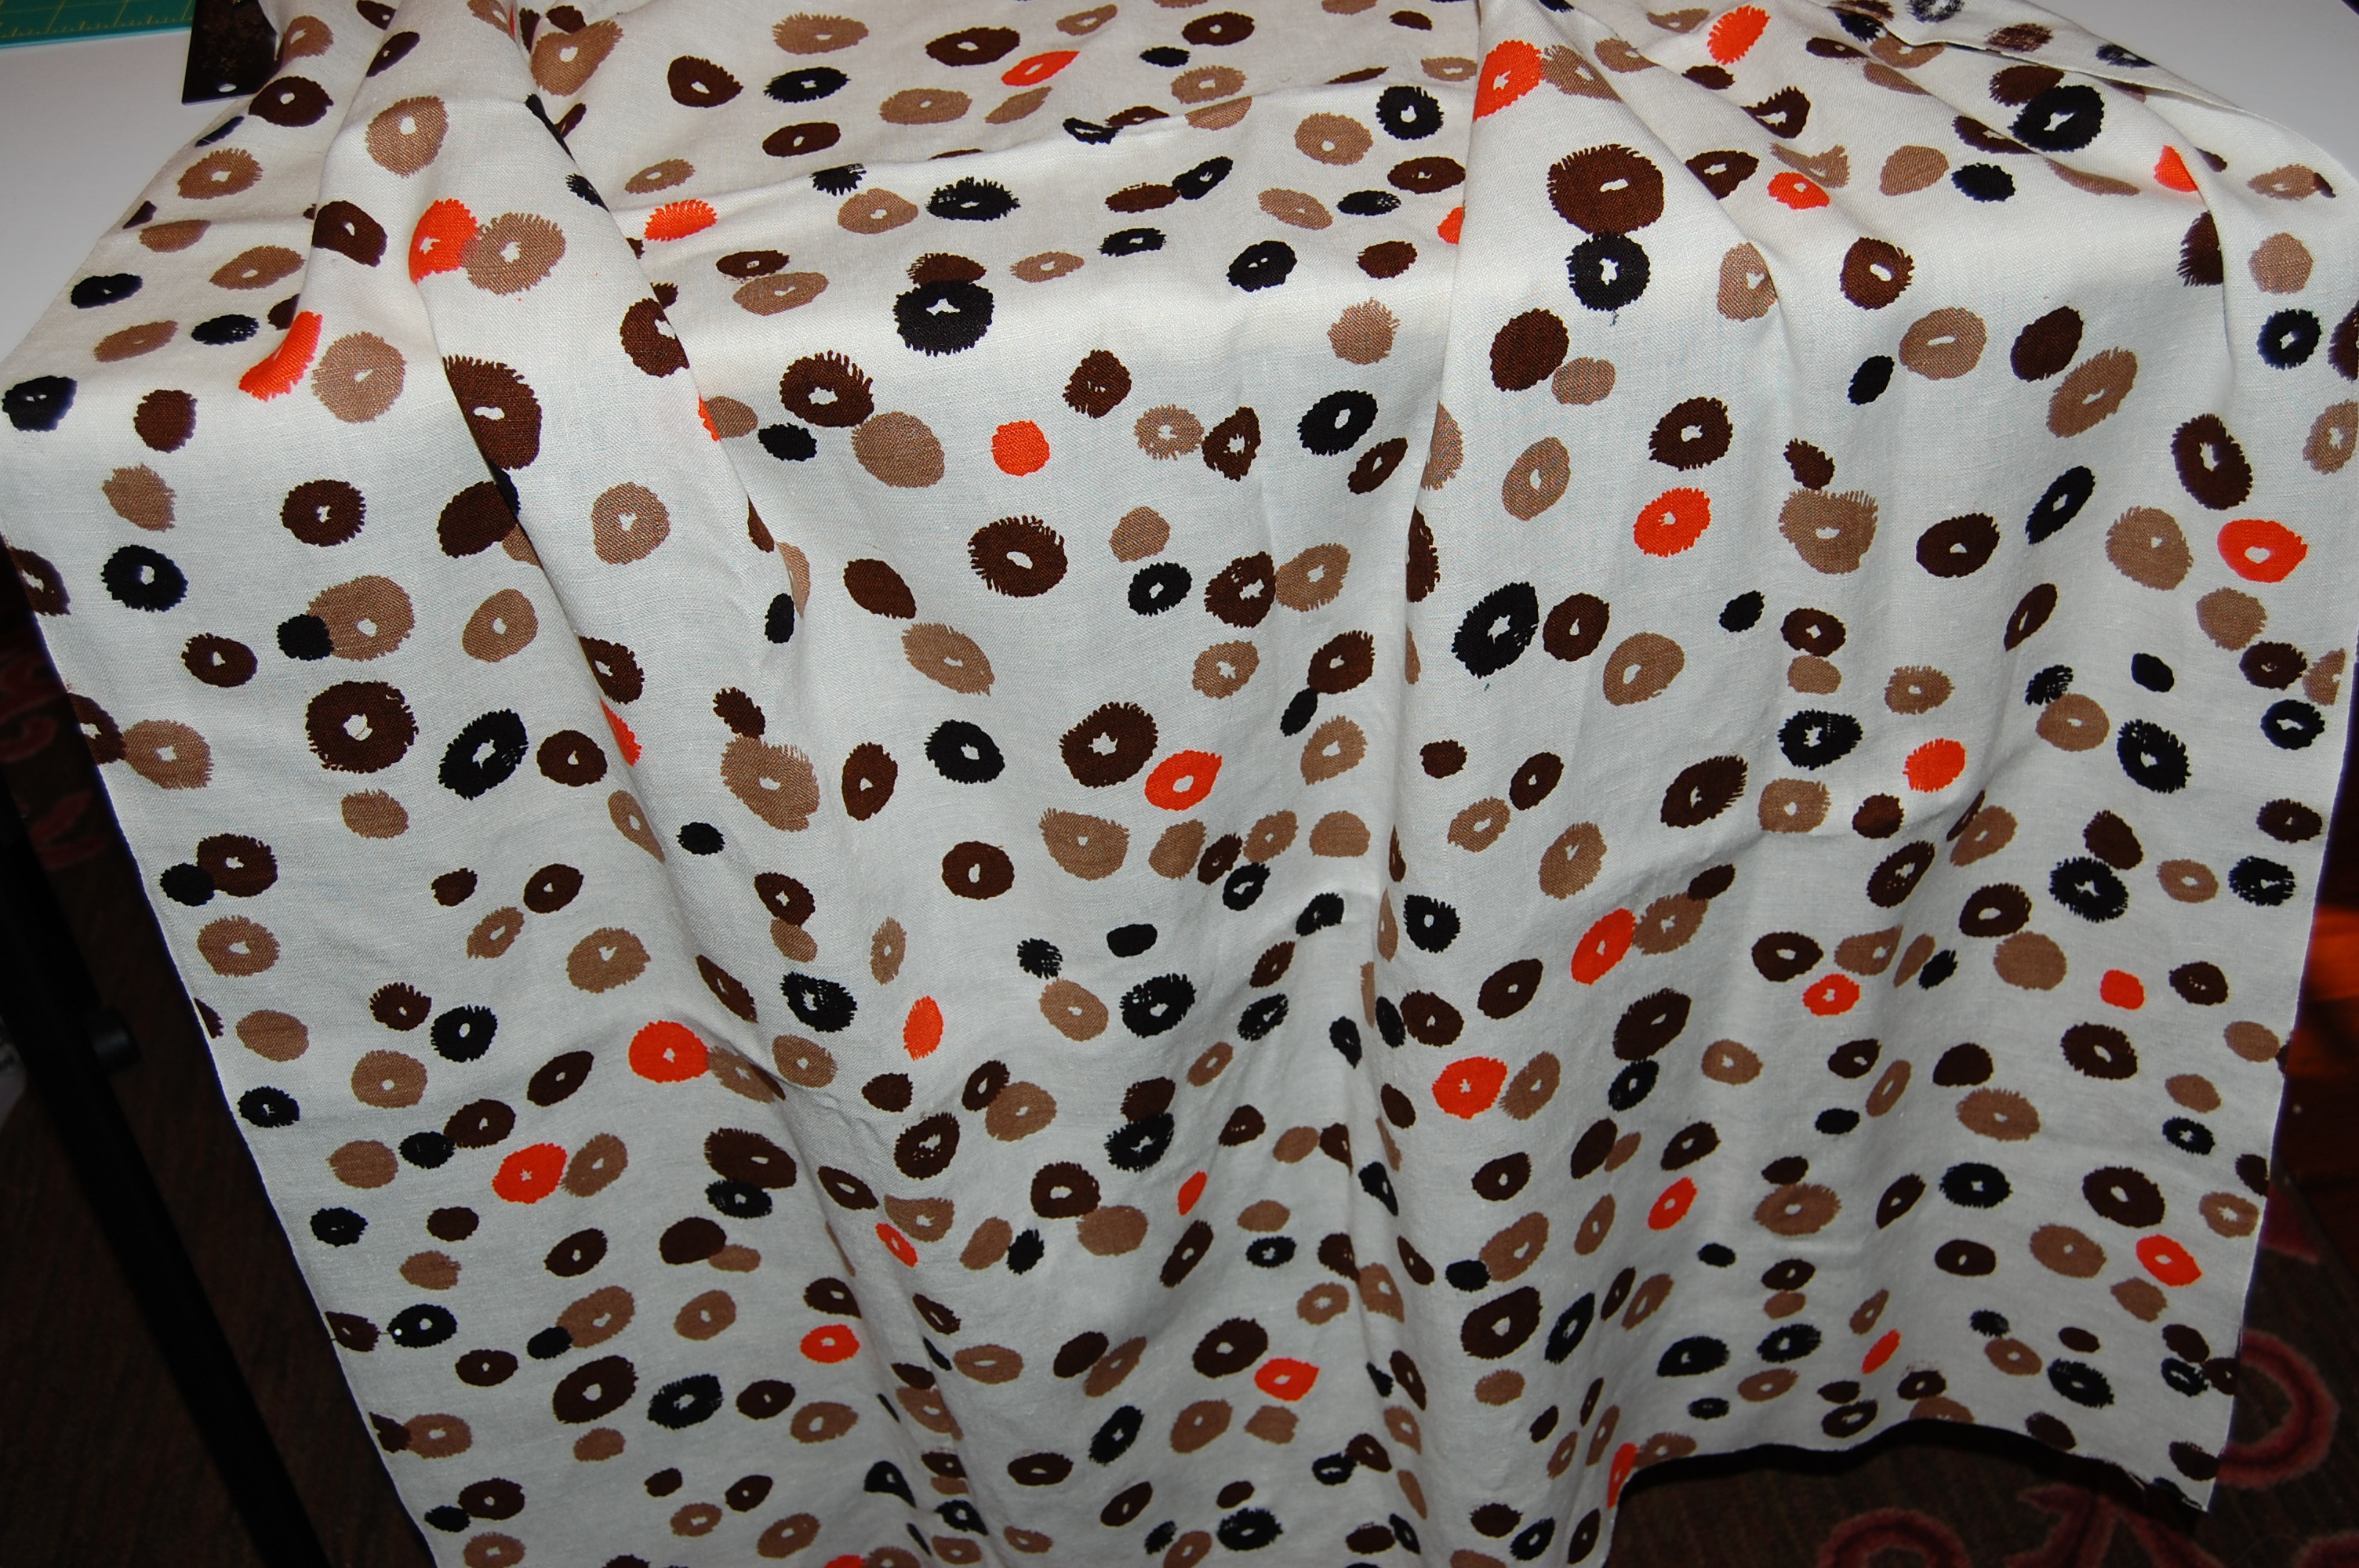
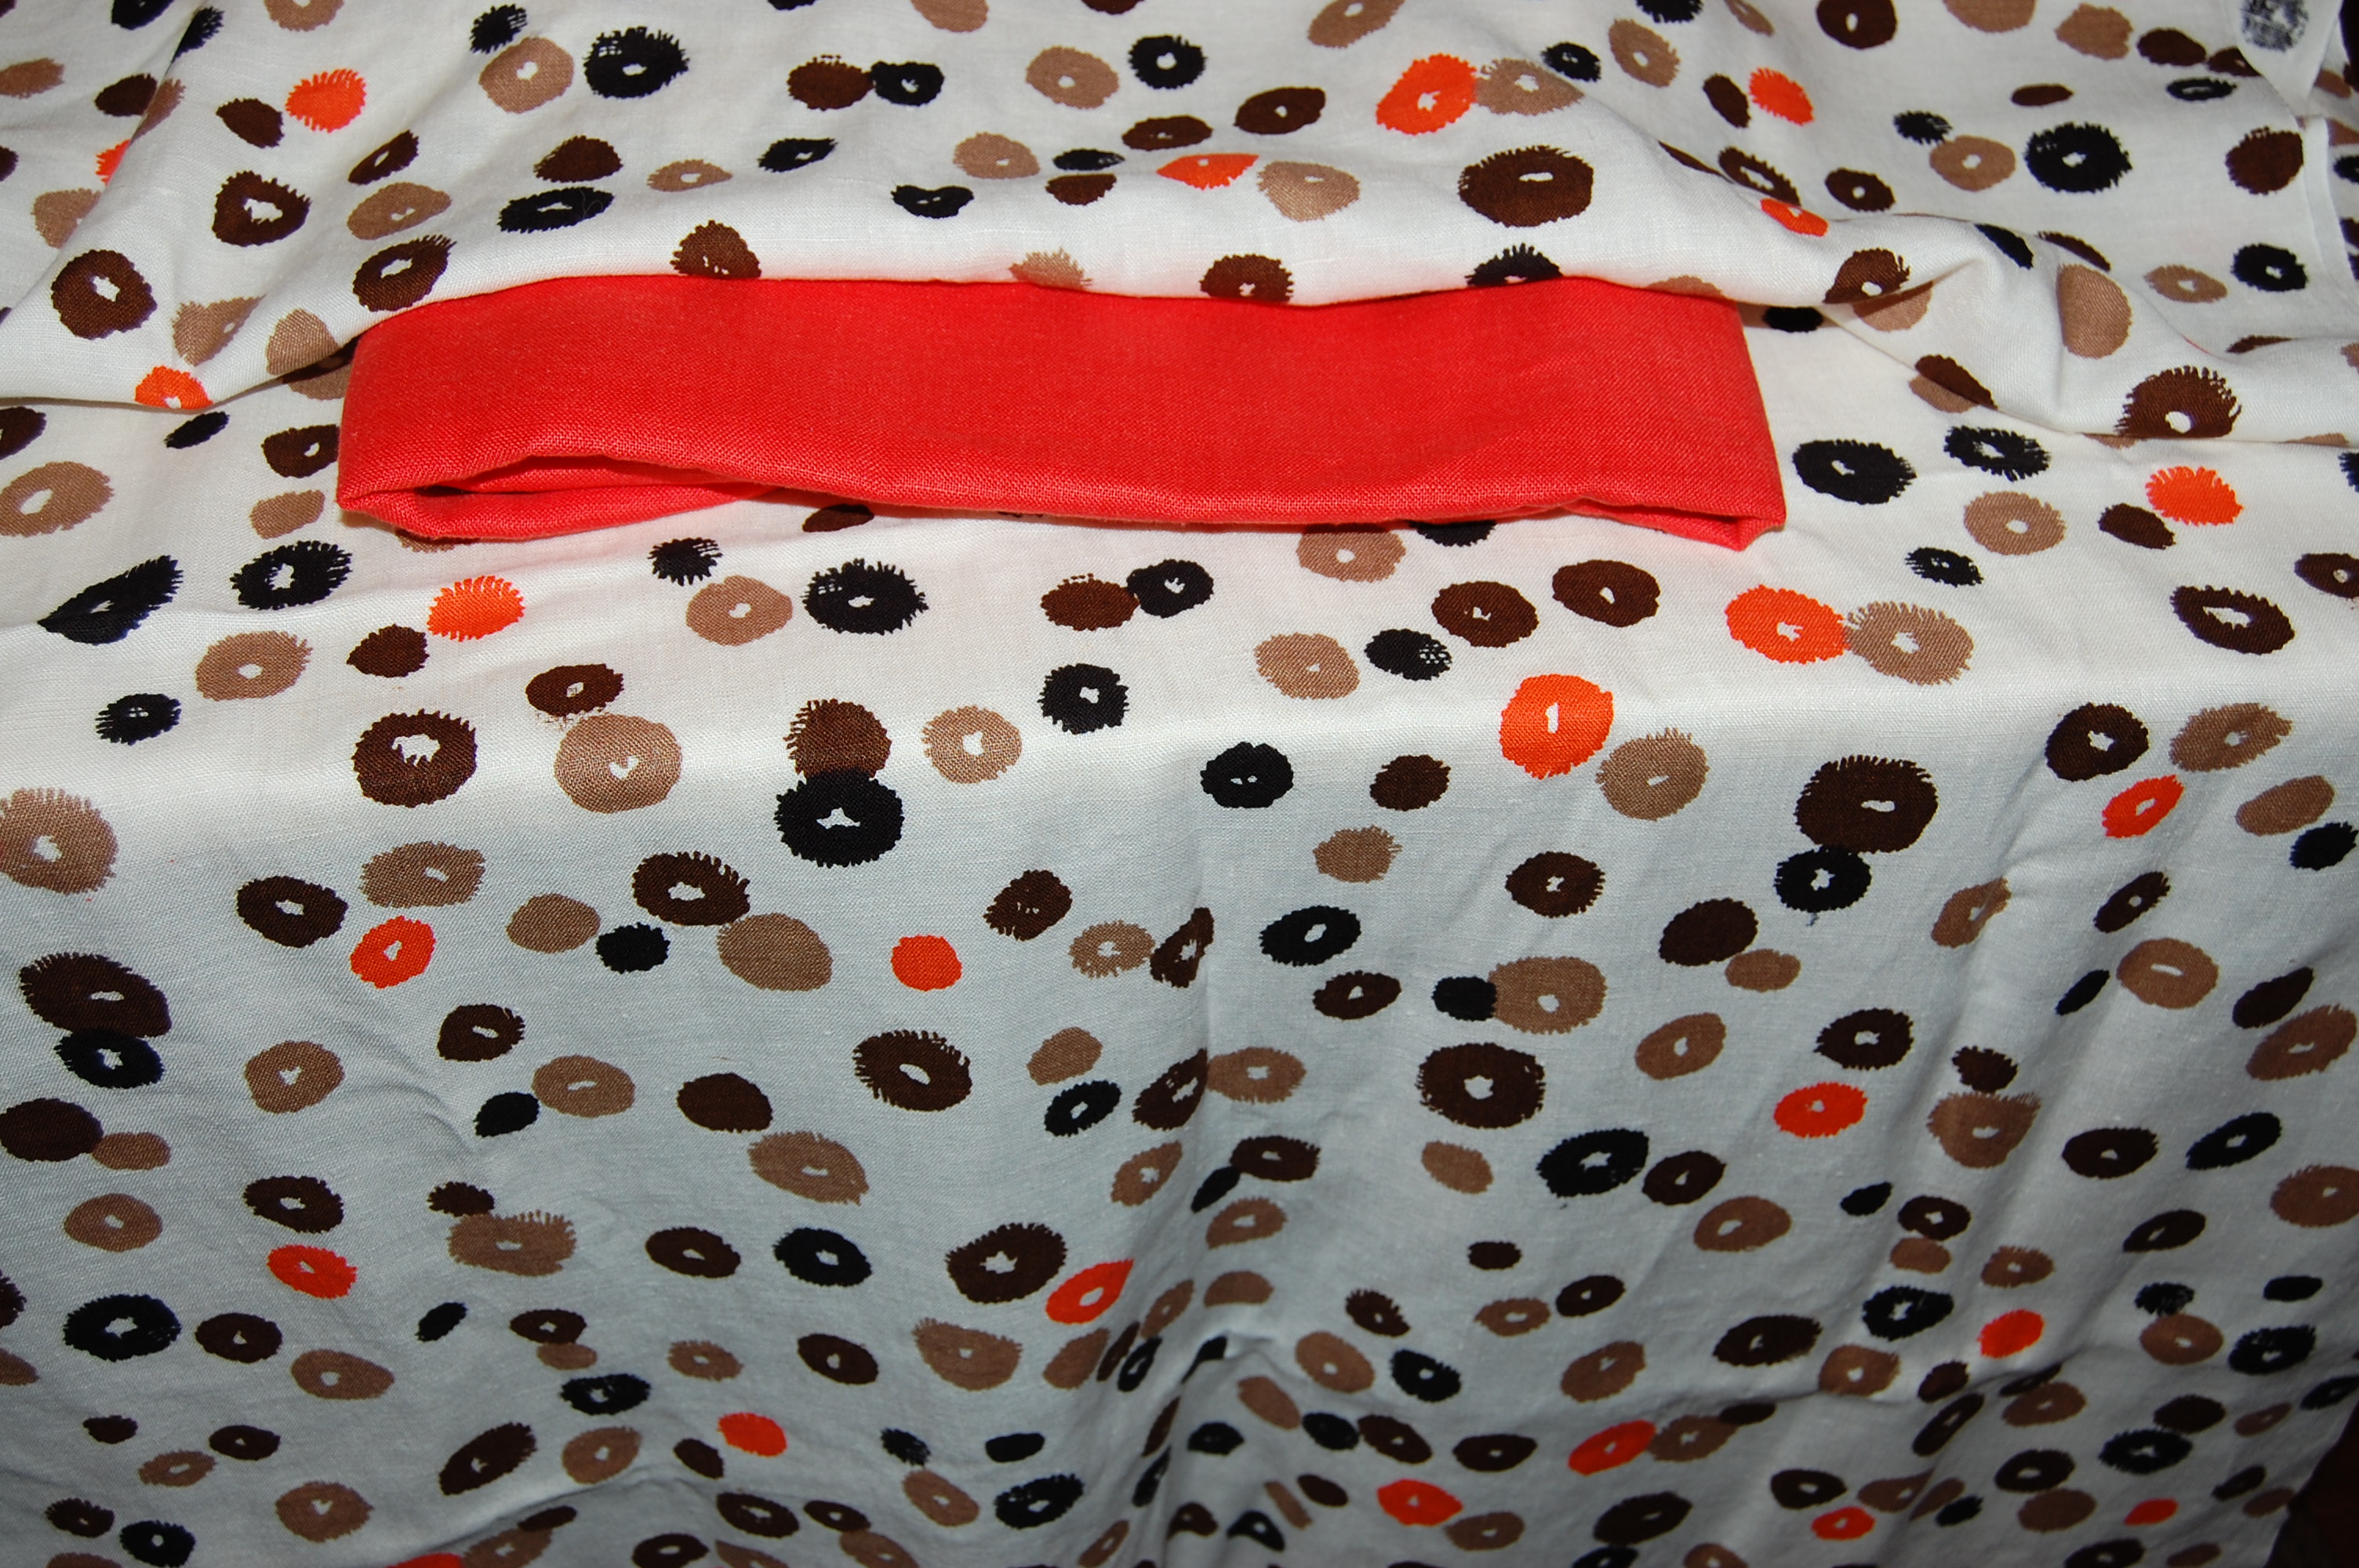
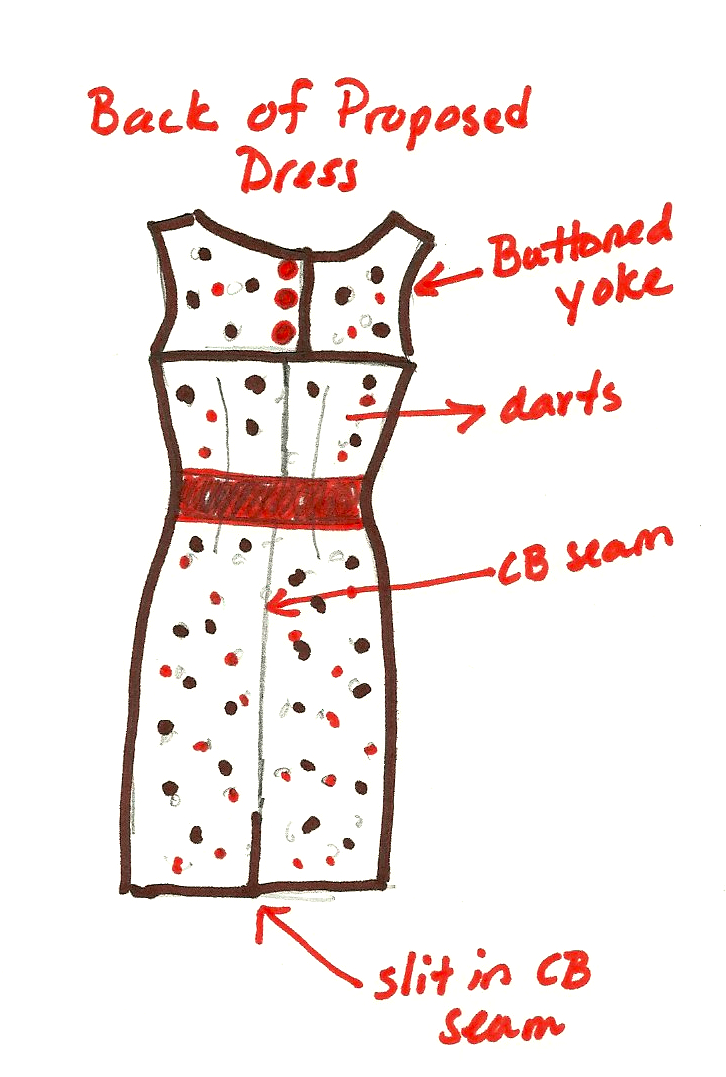
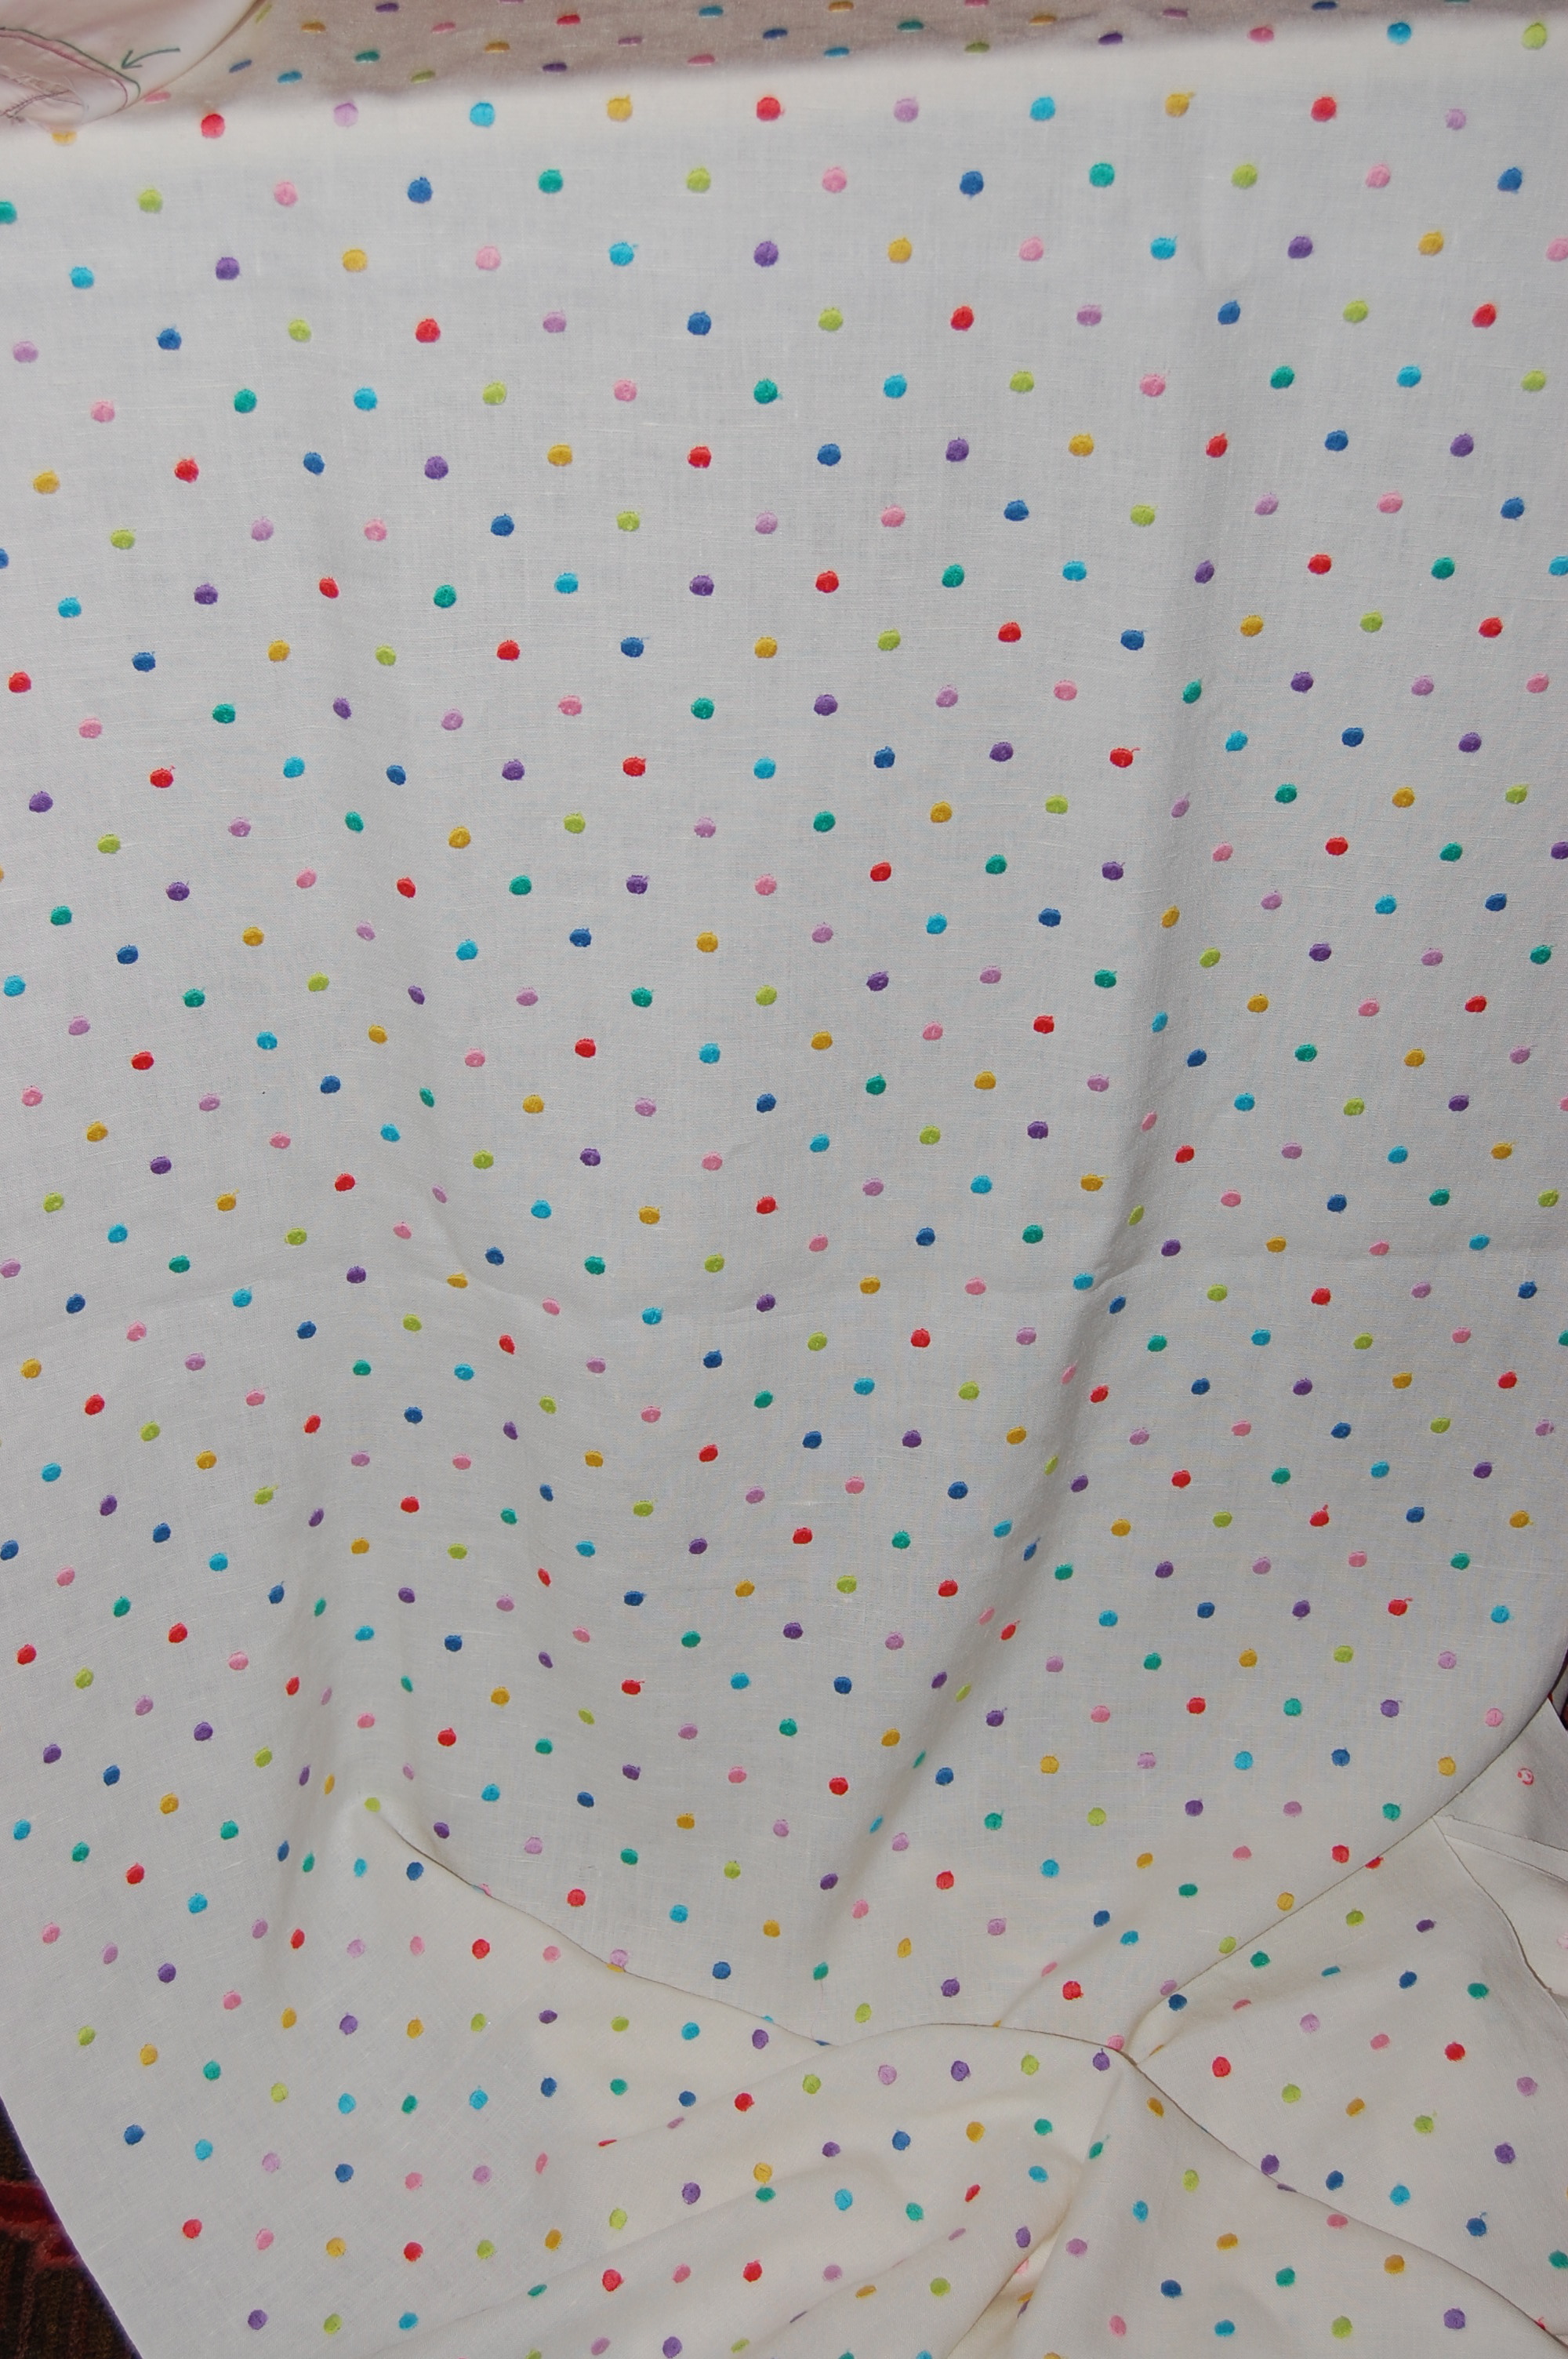
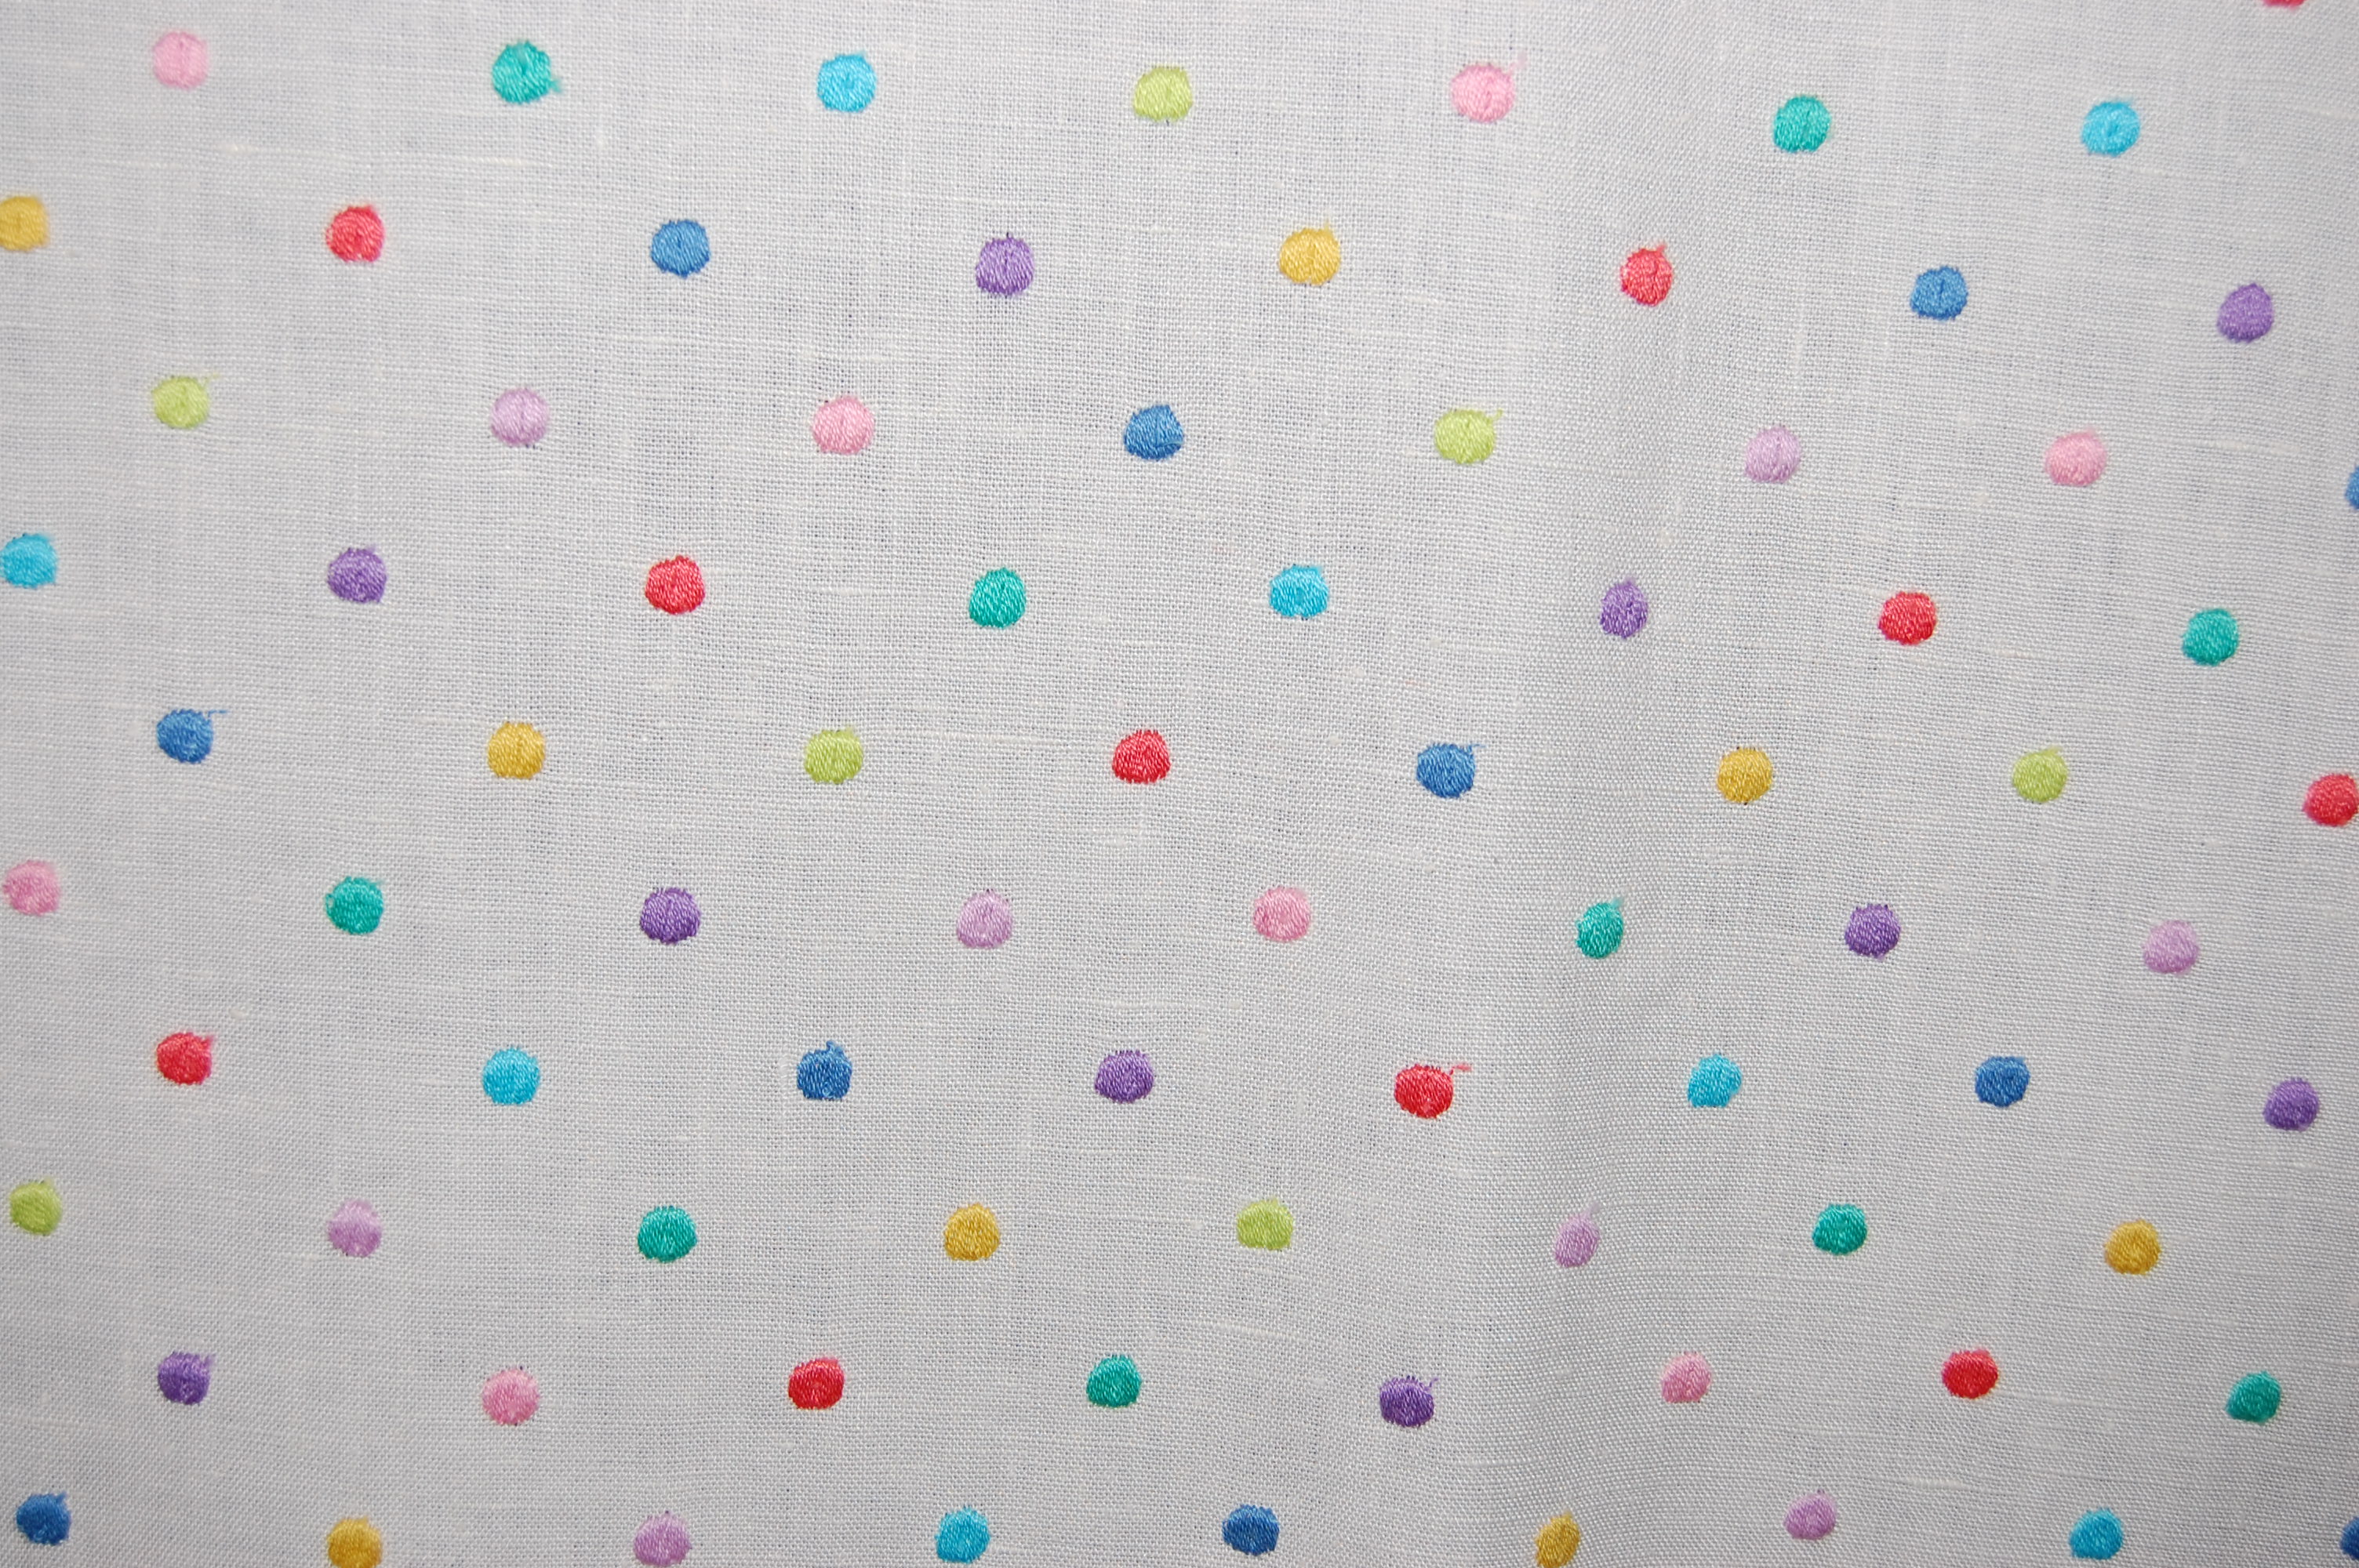
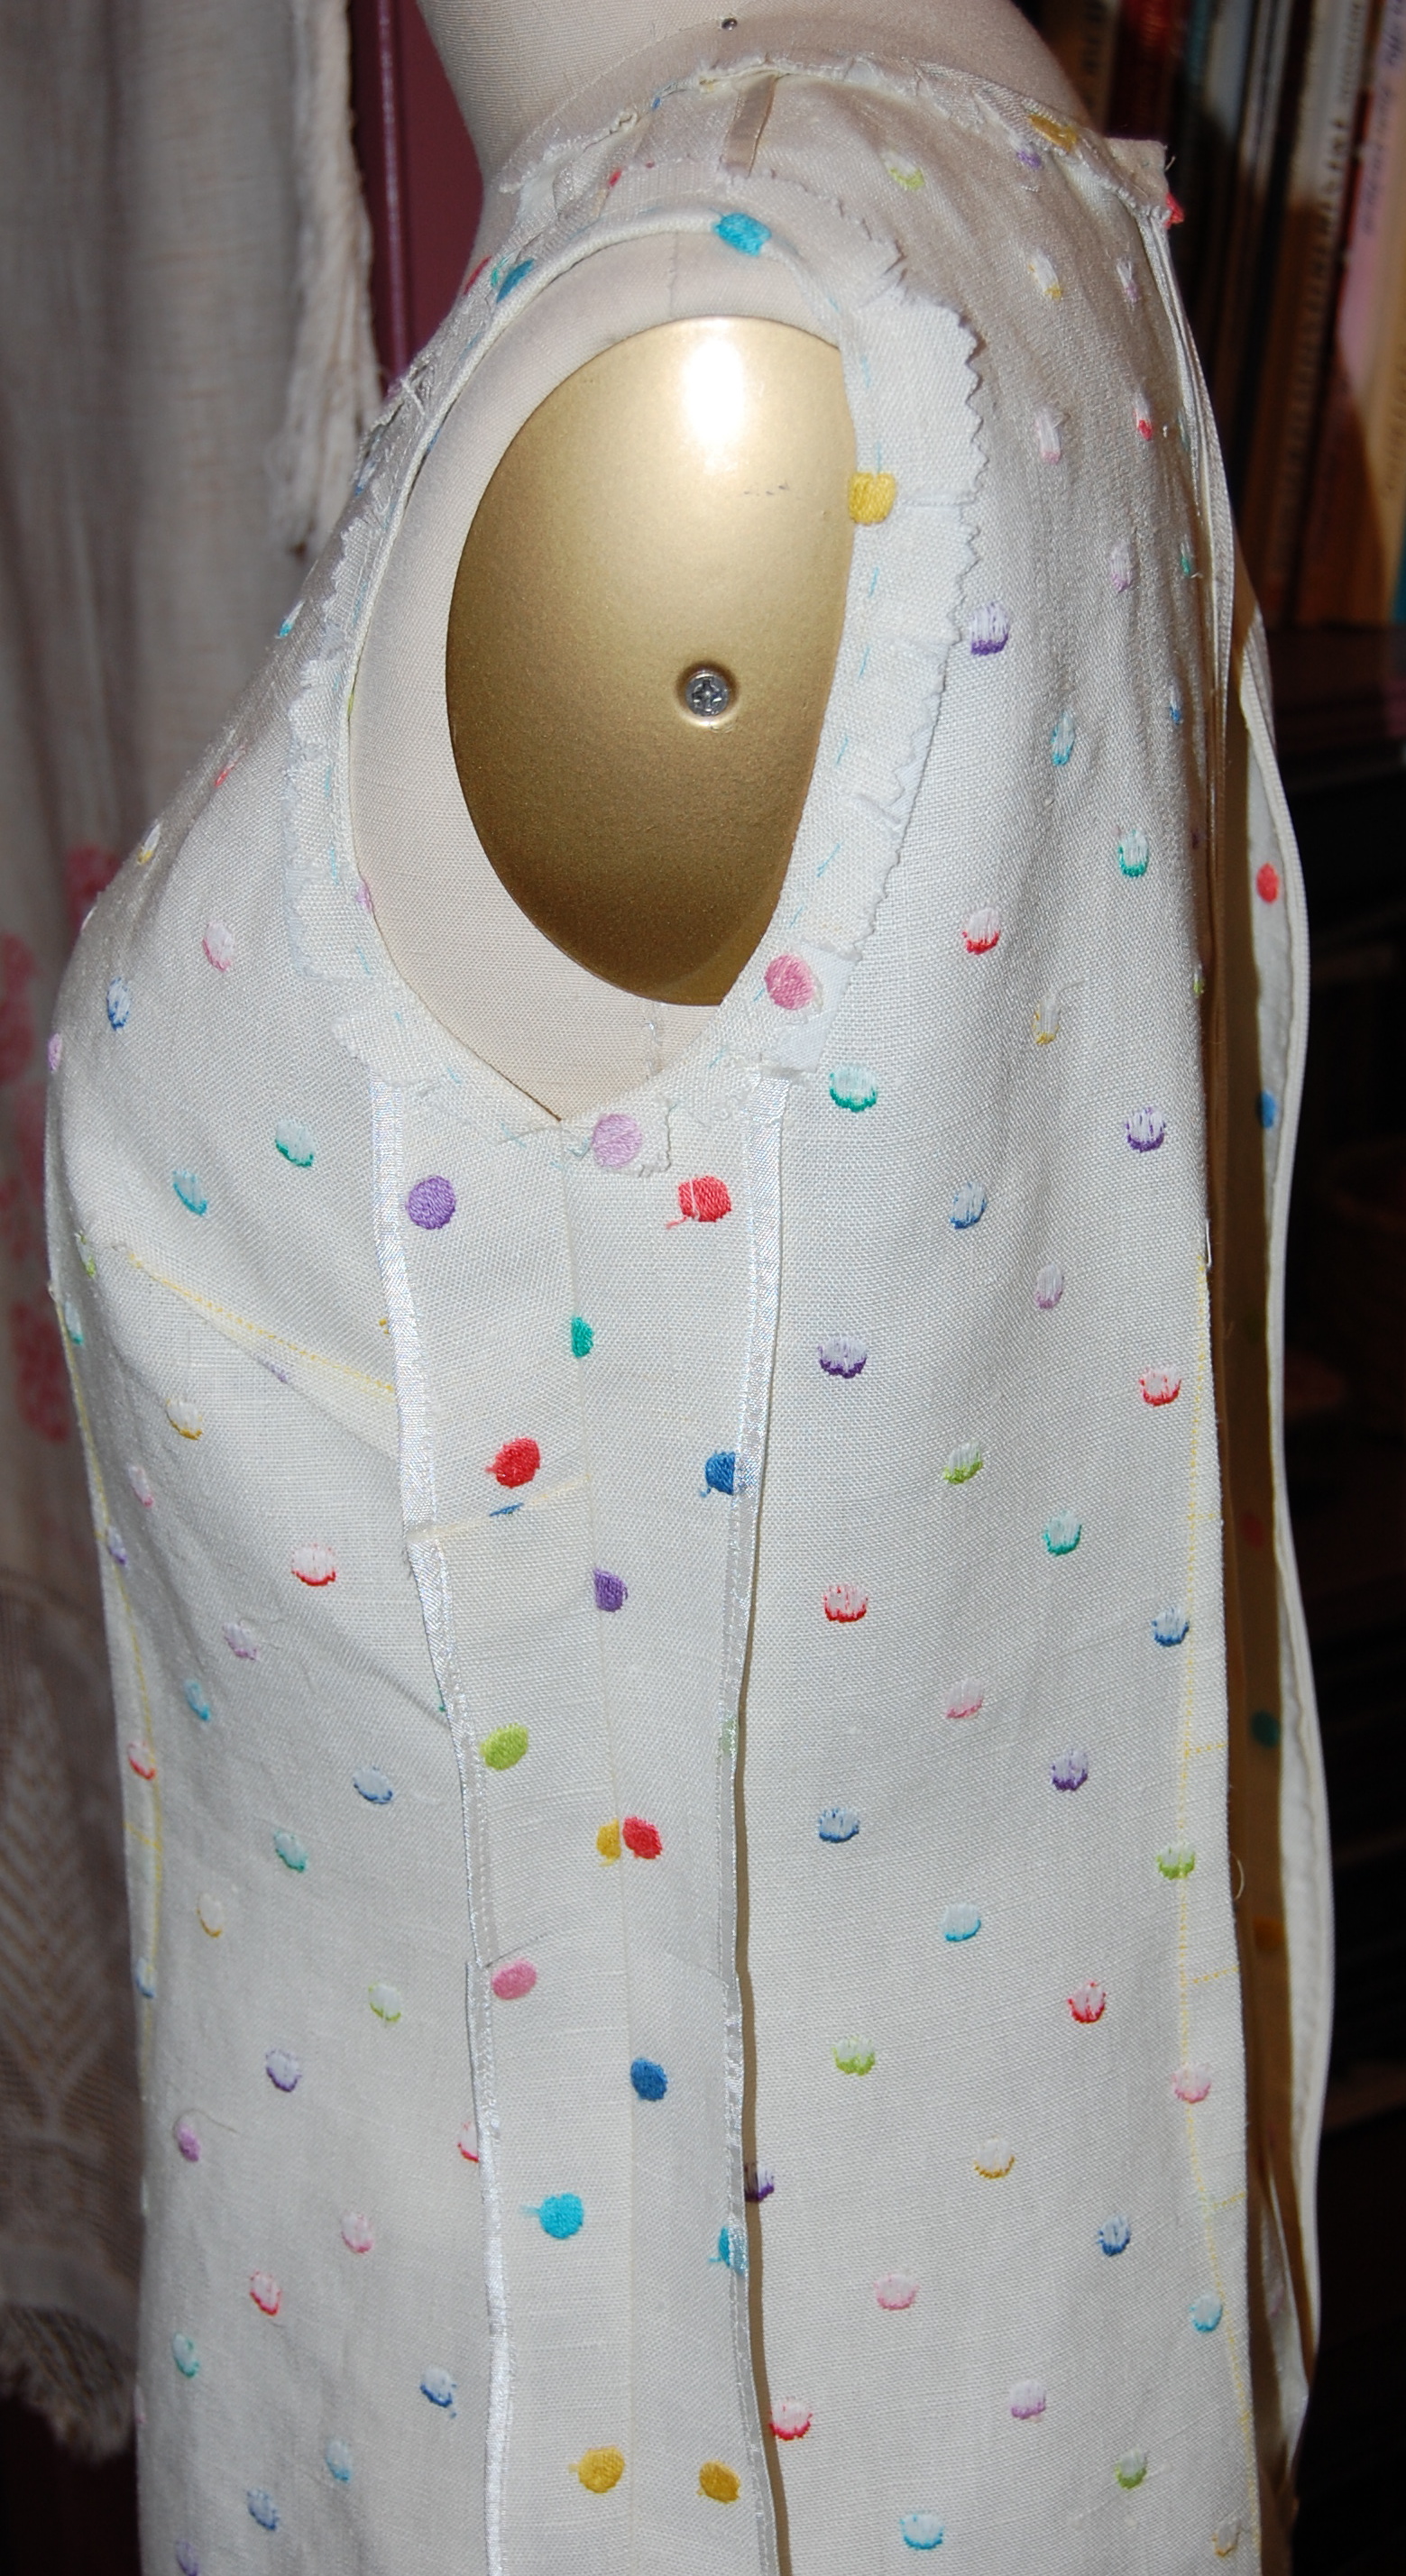
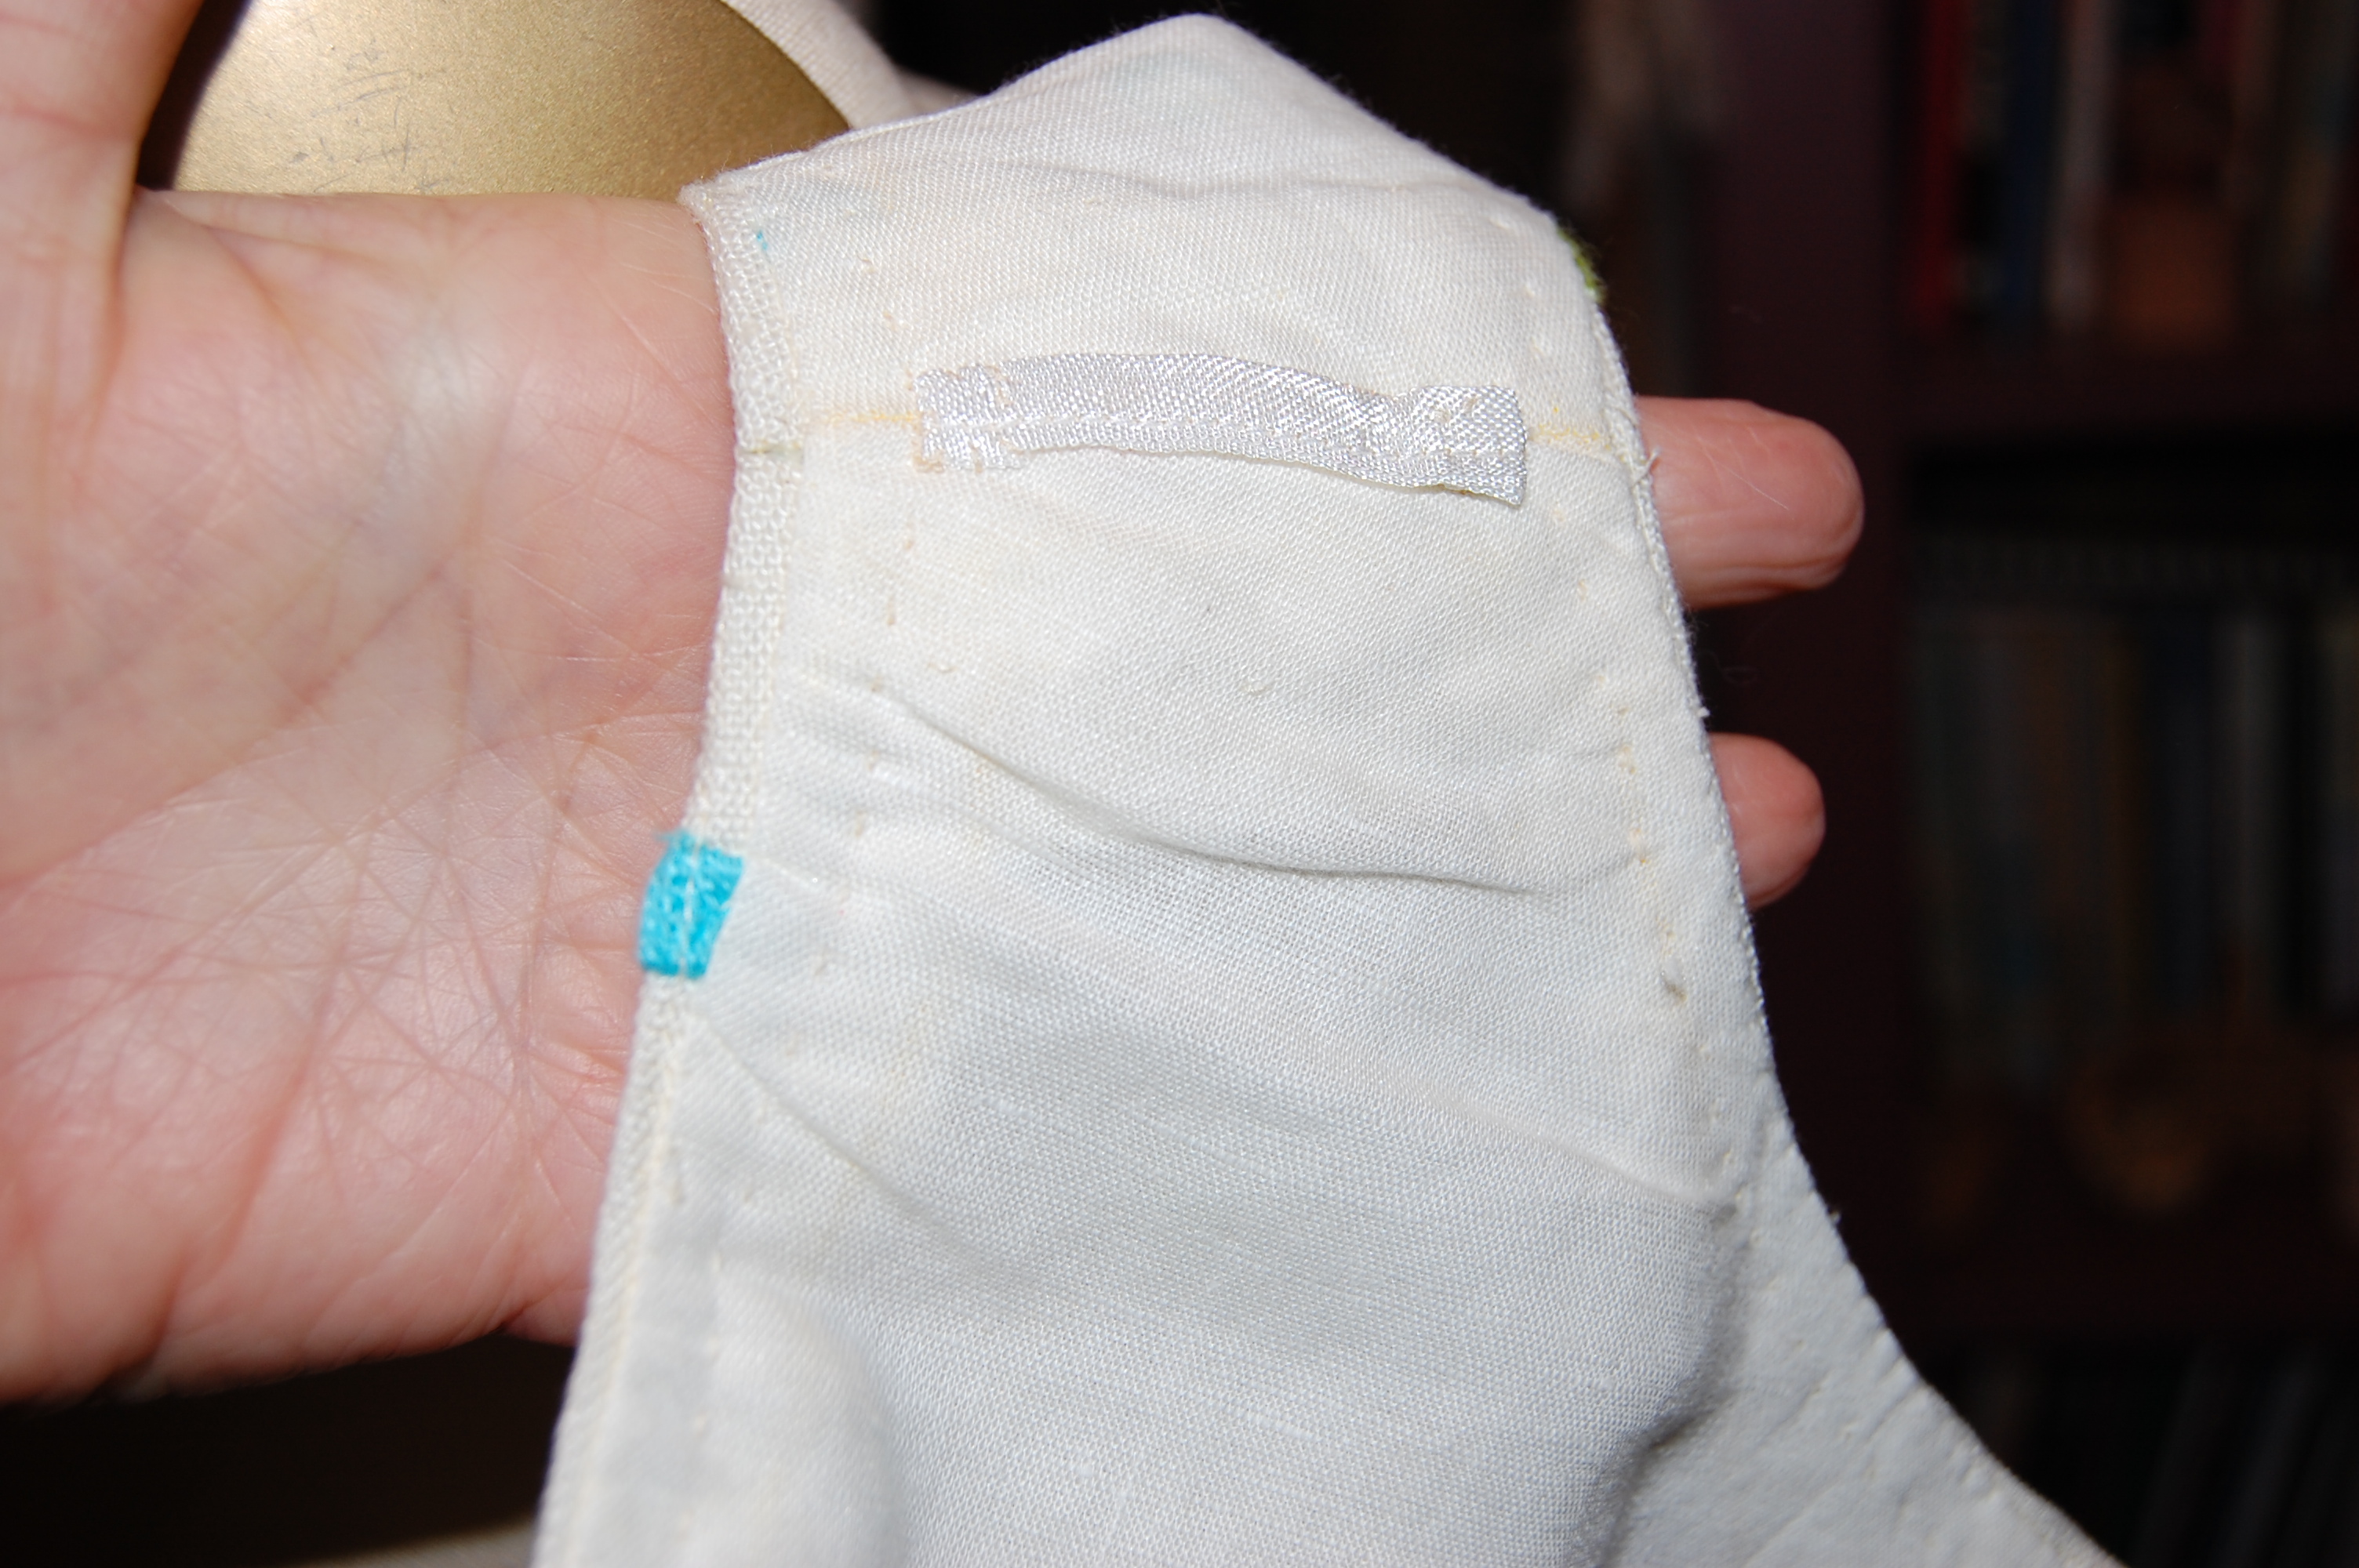
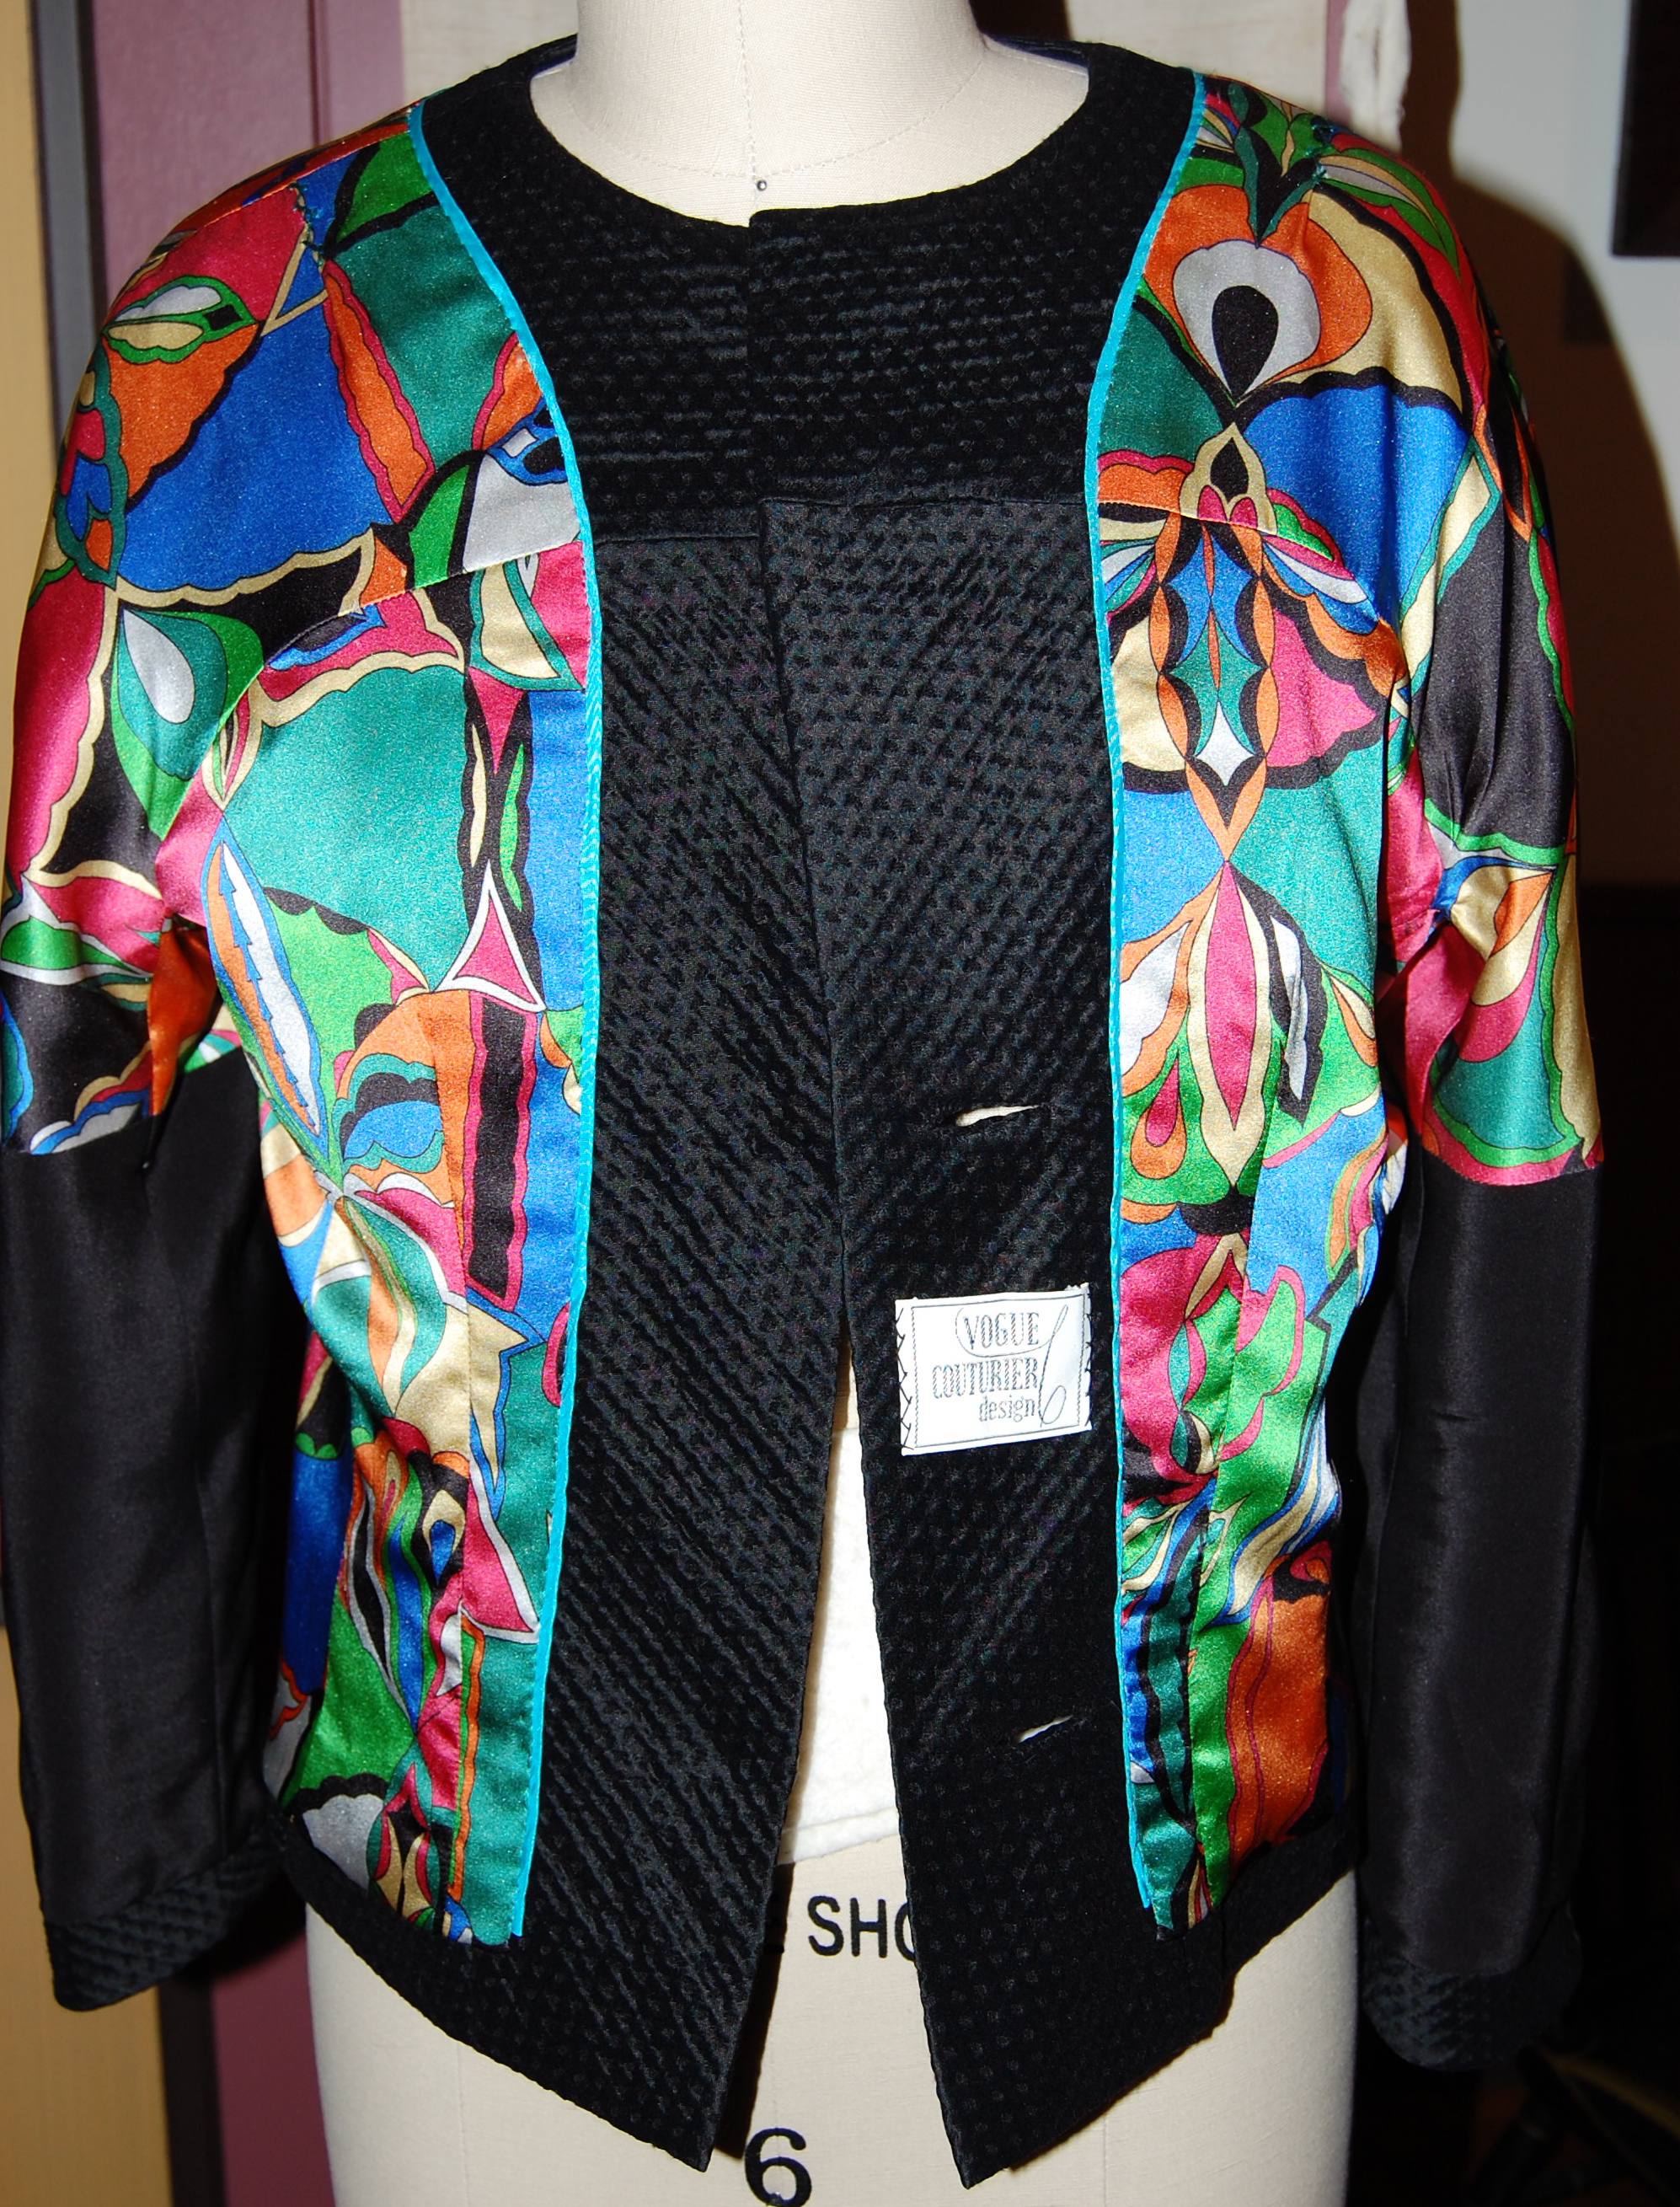
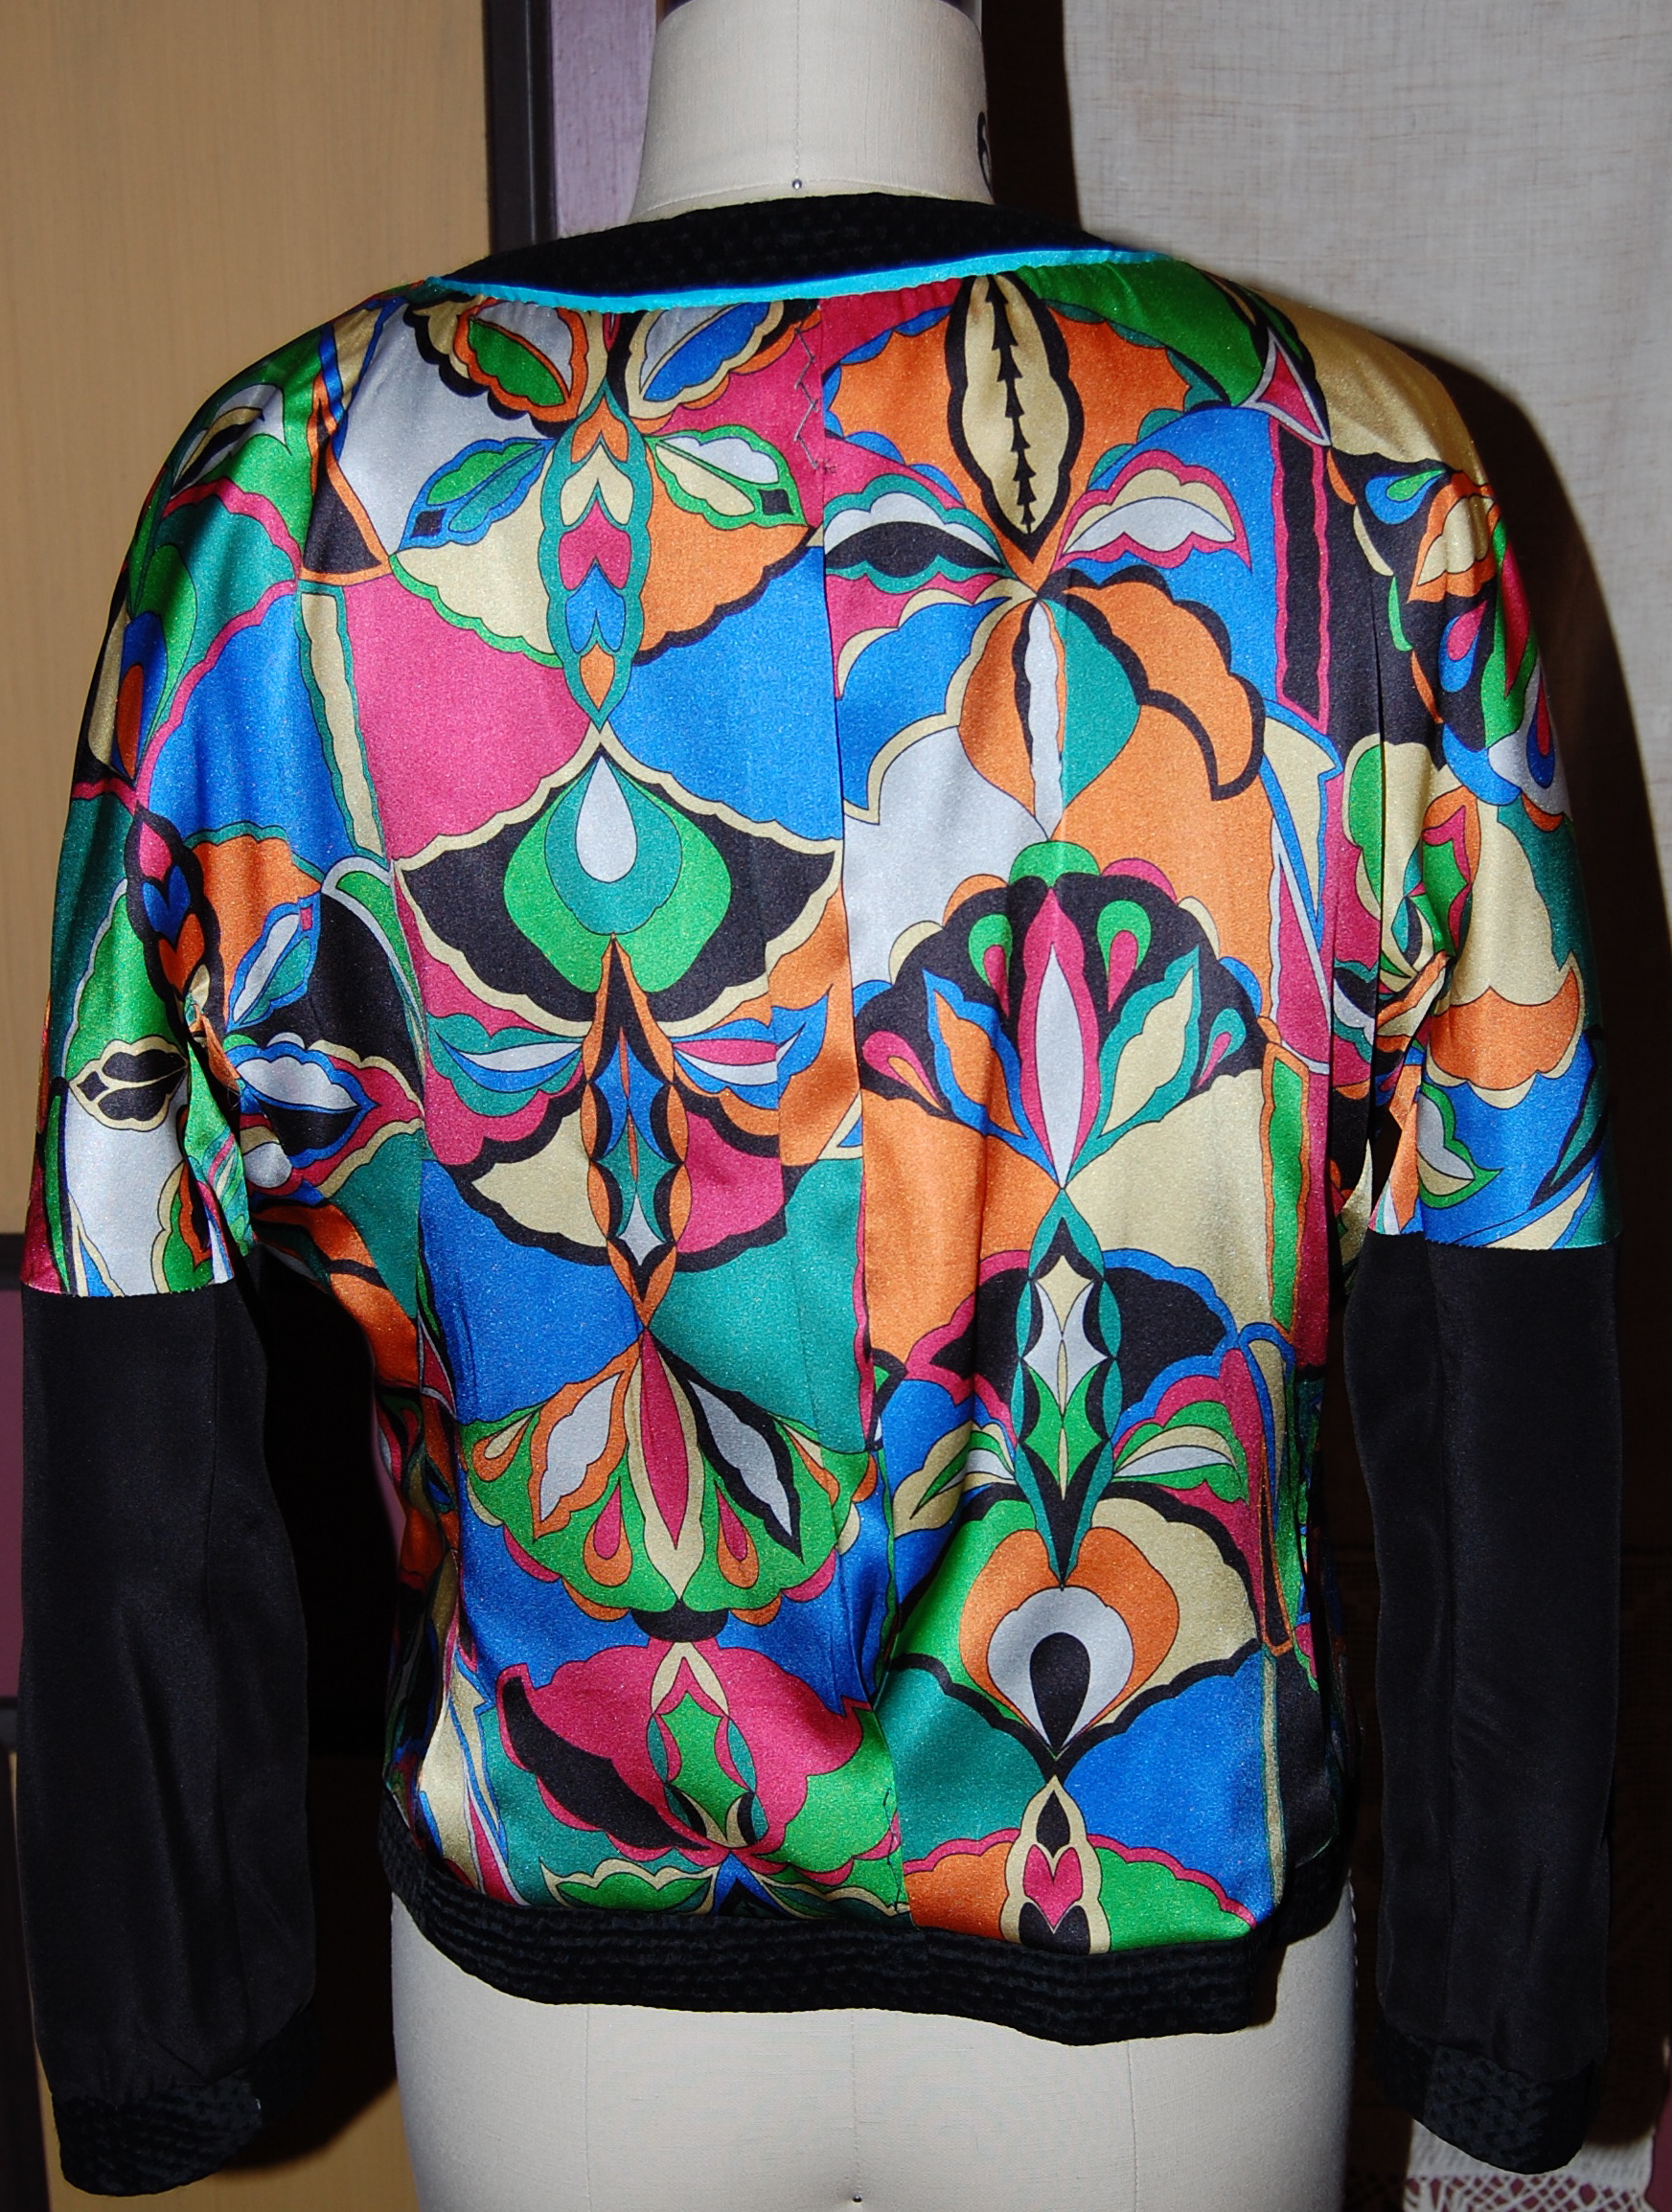
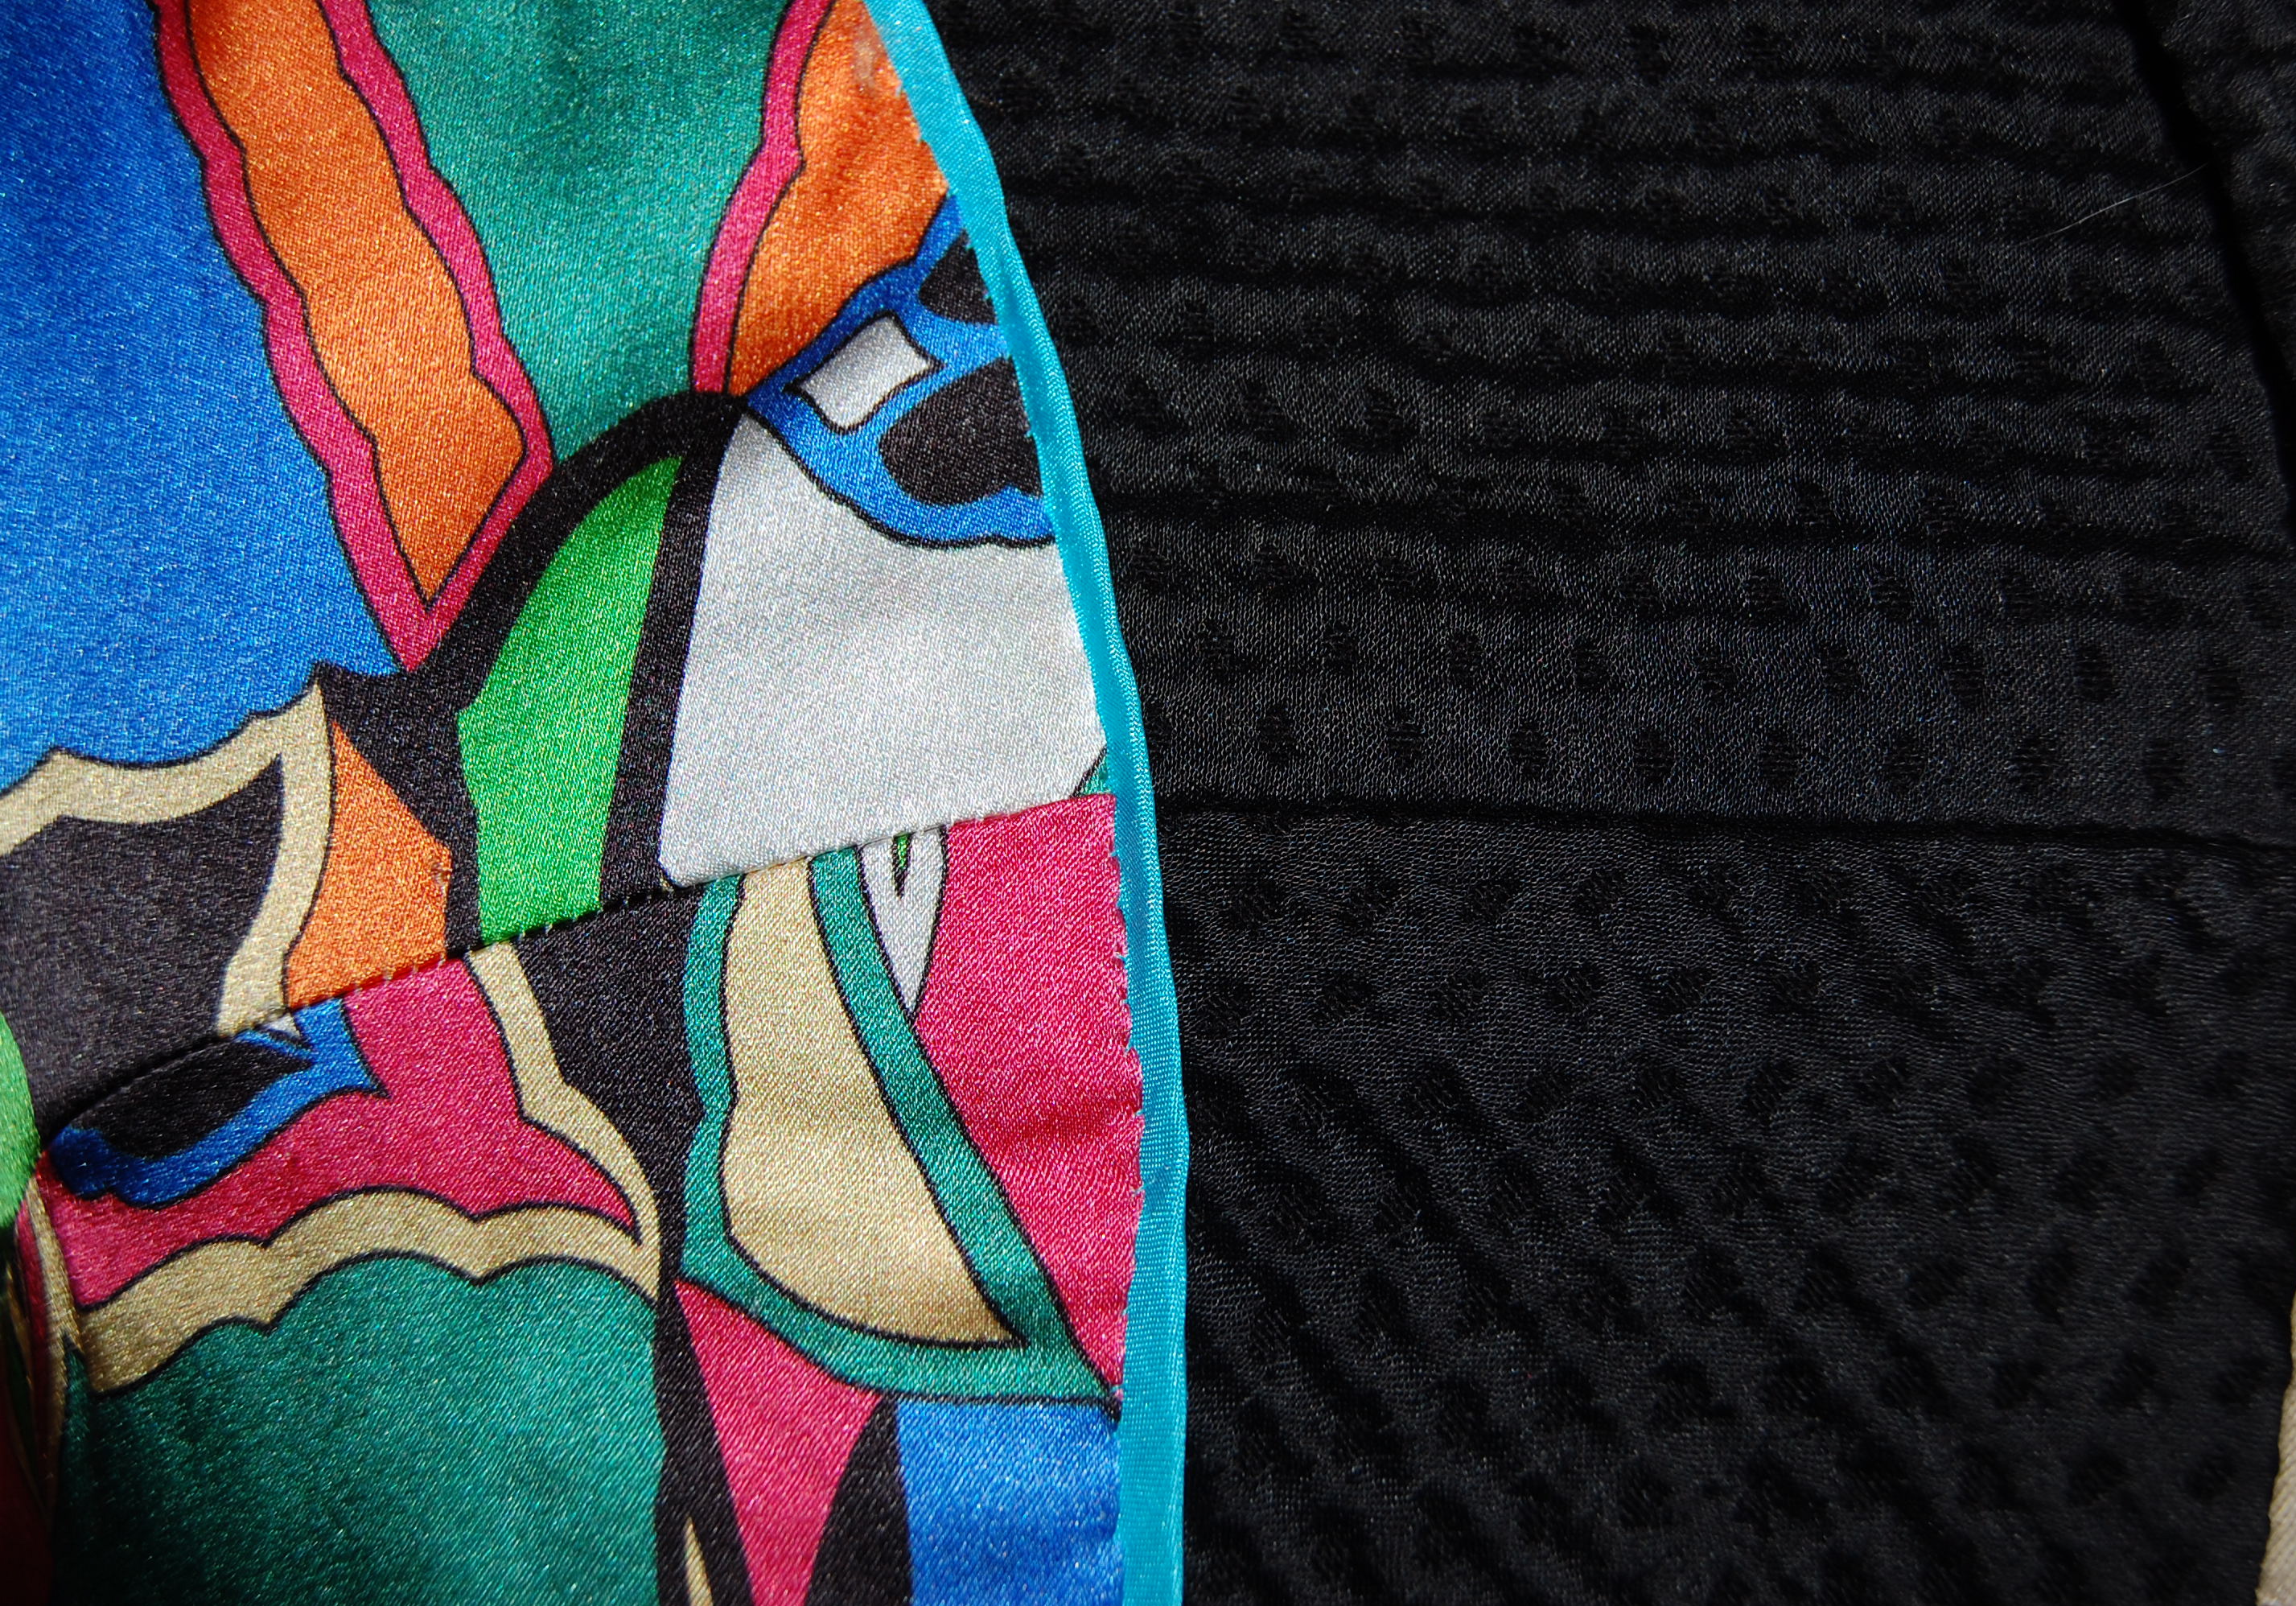
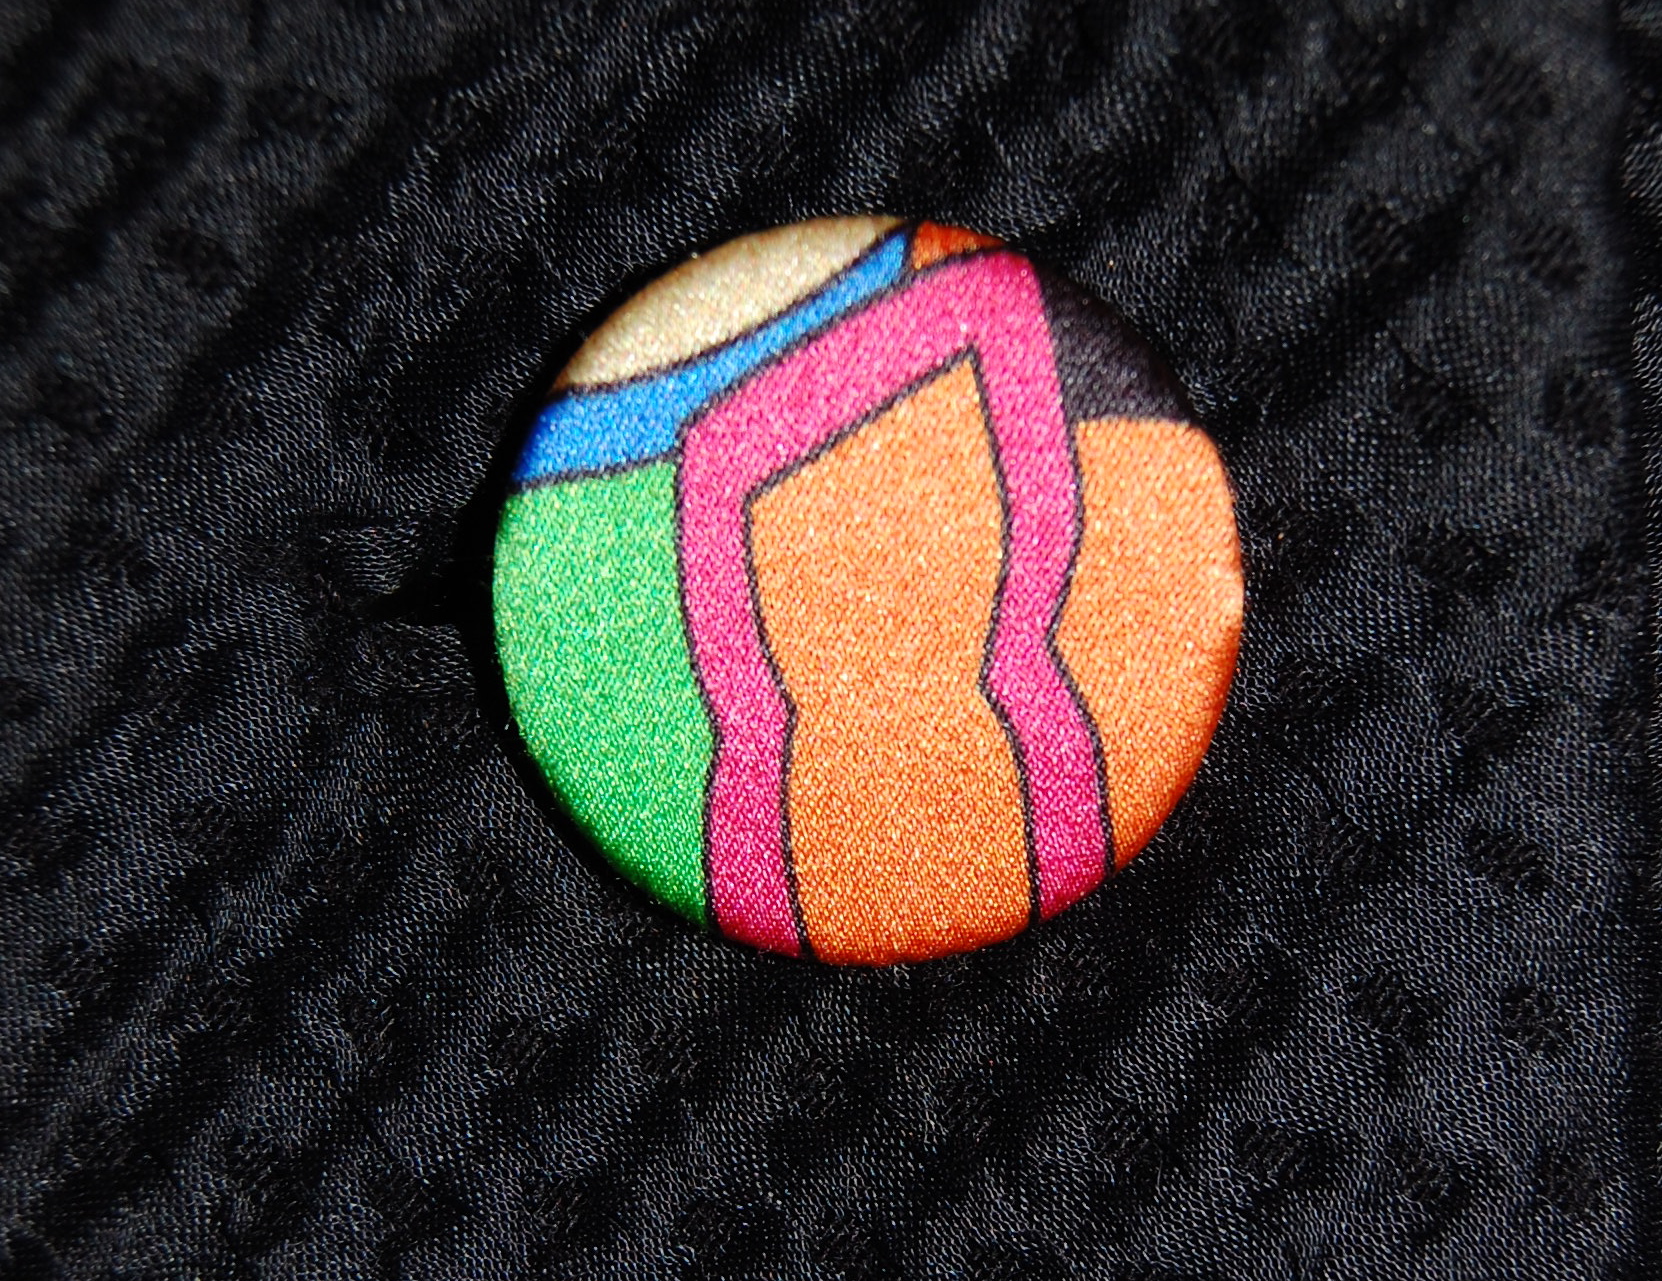
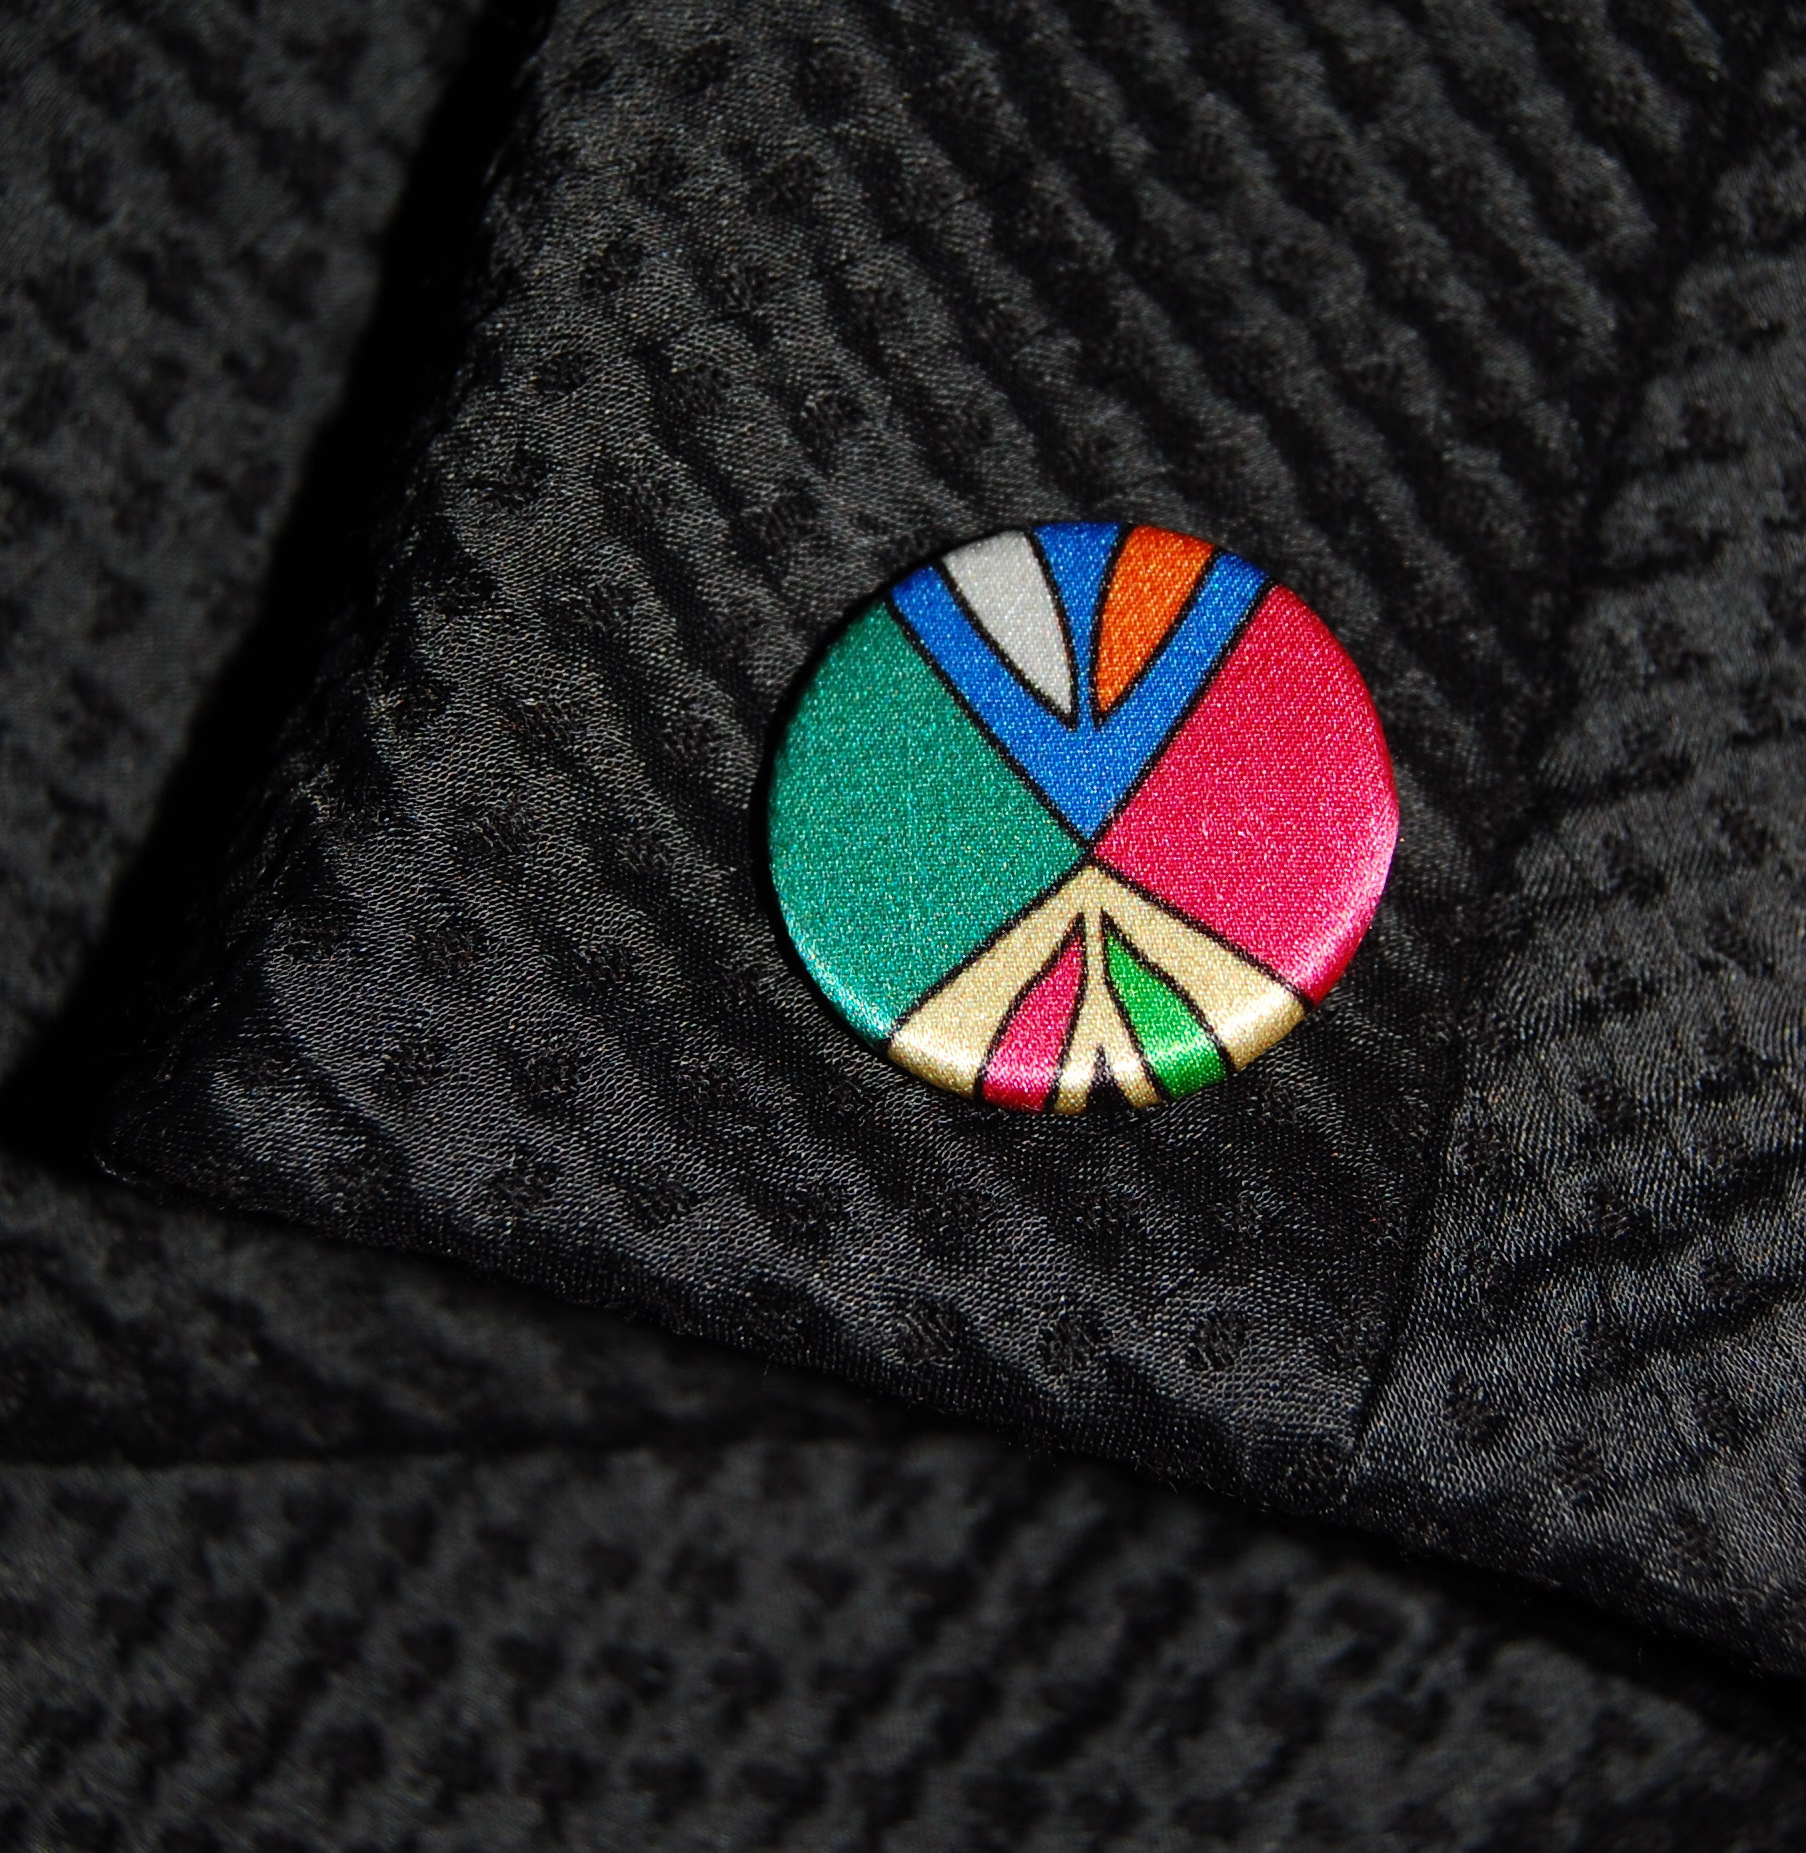
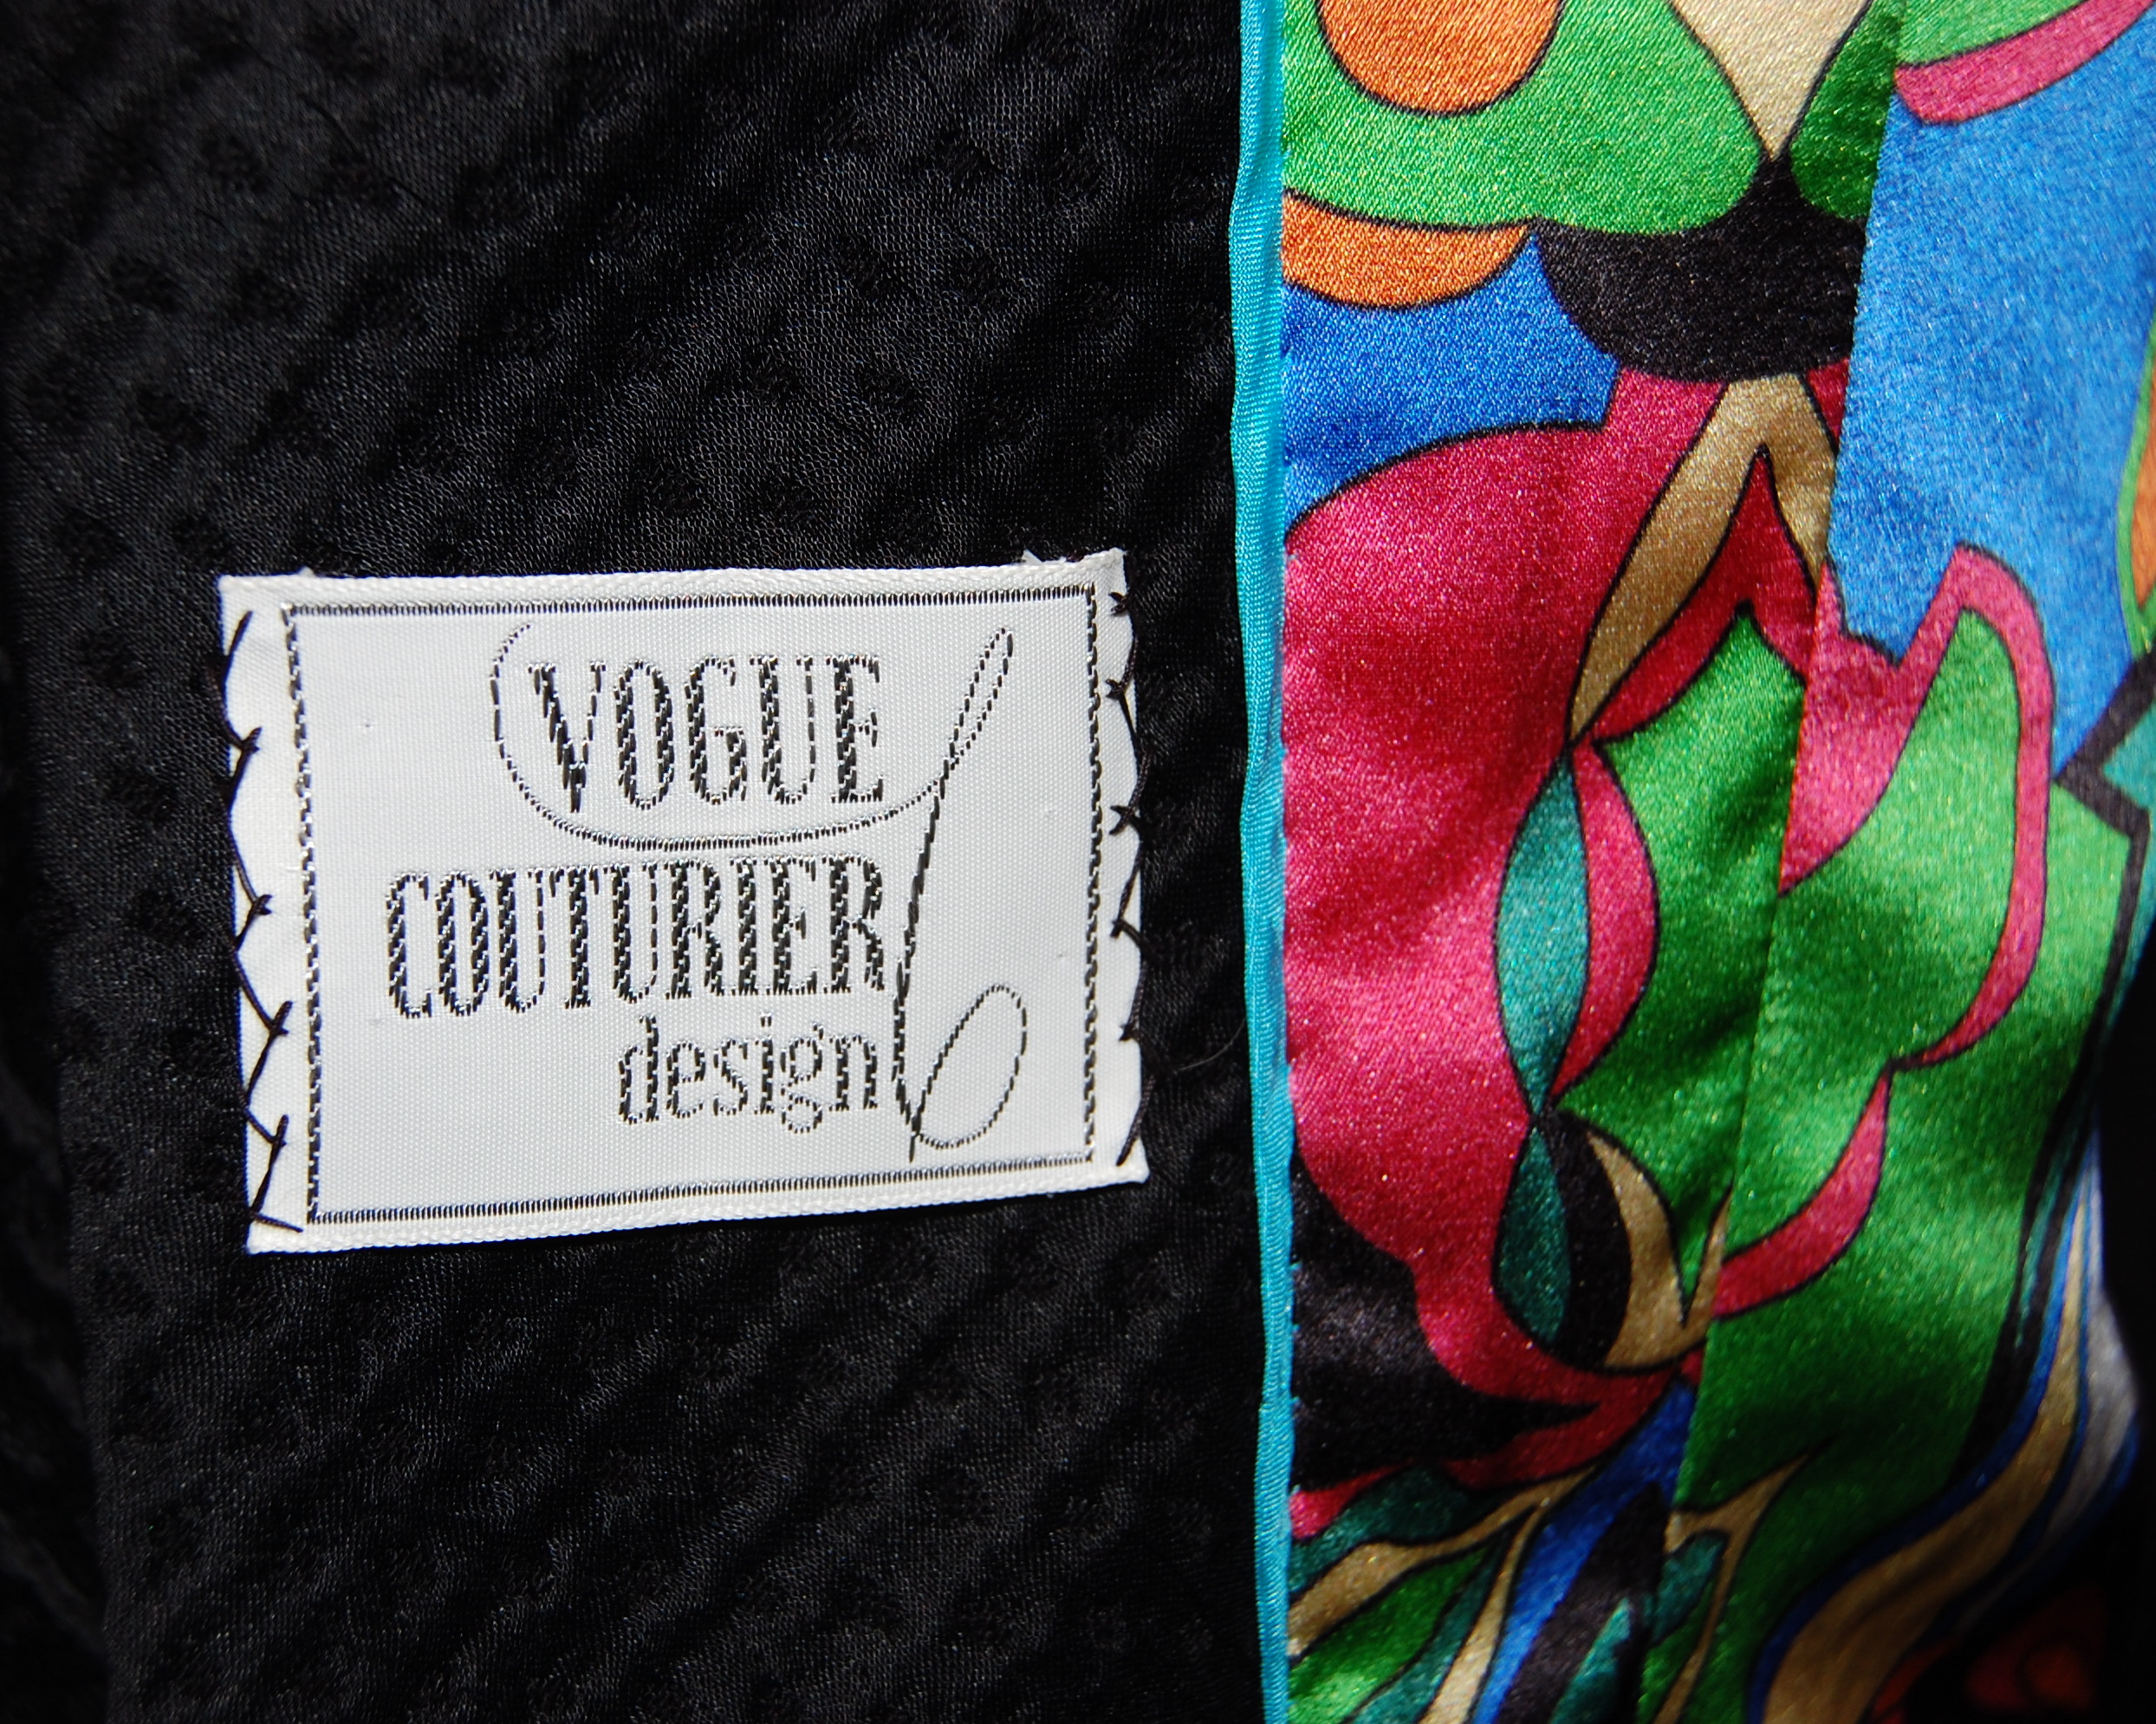
 So it should come to no one’s surprise that I want to add one or two more Fall-appropriate dresses this year. I have just begun work on the muslin for a silk dress, using a Vogue pattern from the 1980s (which is somewhat of a shock, since I consider that decade, for the most part, a vast fashion desert!) The silk is Italian, purchased from Mendel Goldberg in New York City. This dress should be ideal for Autumn, assuming I finish it before we’ve moved into Winter!
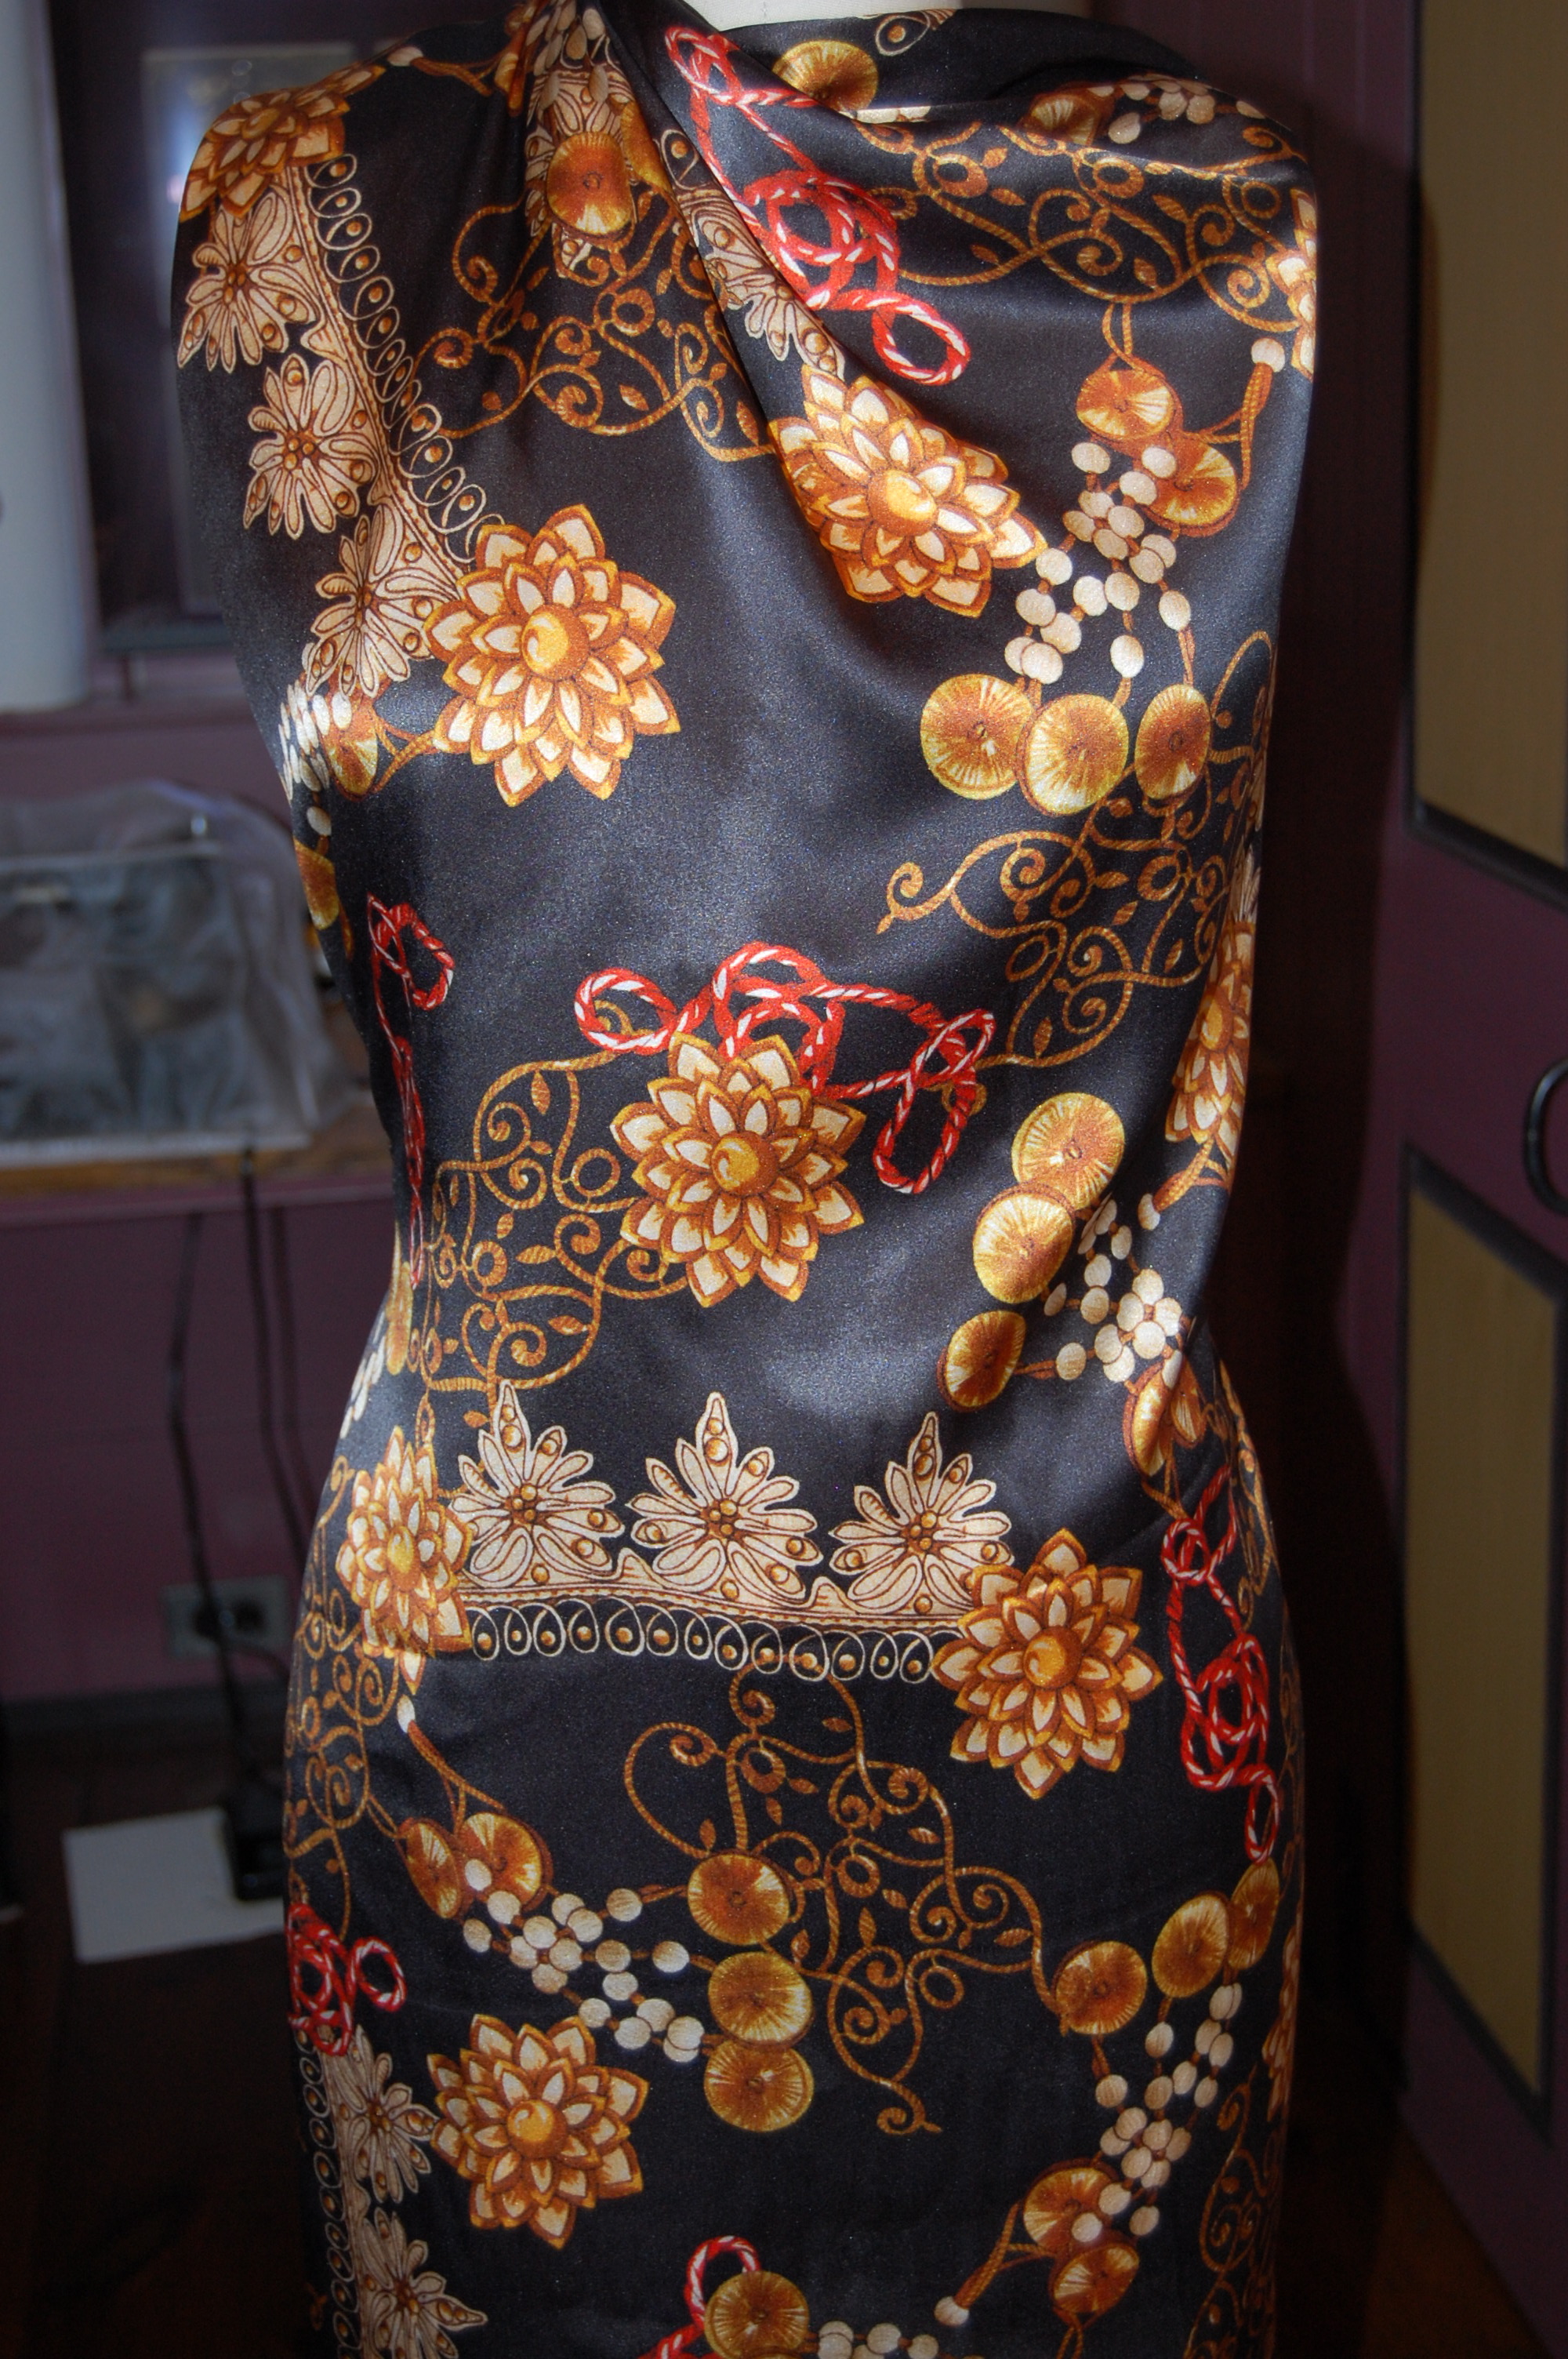
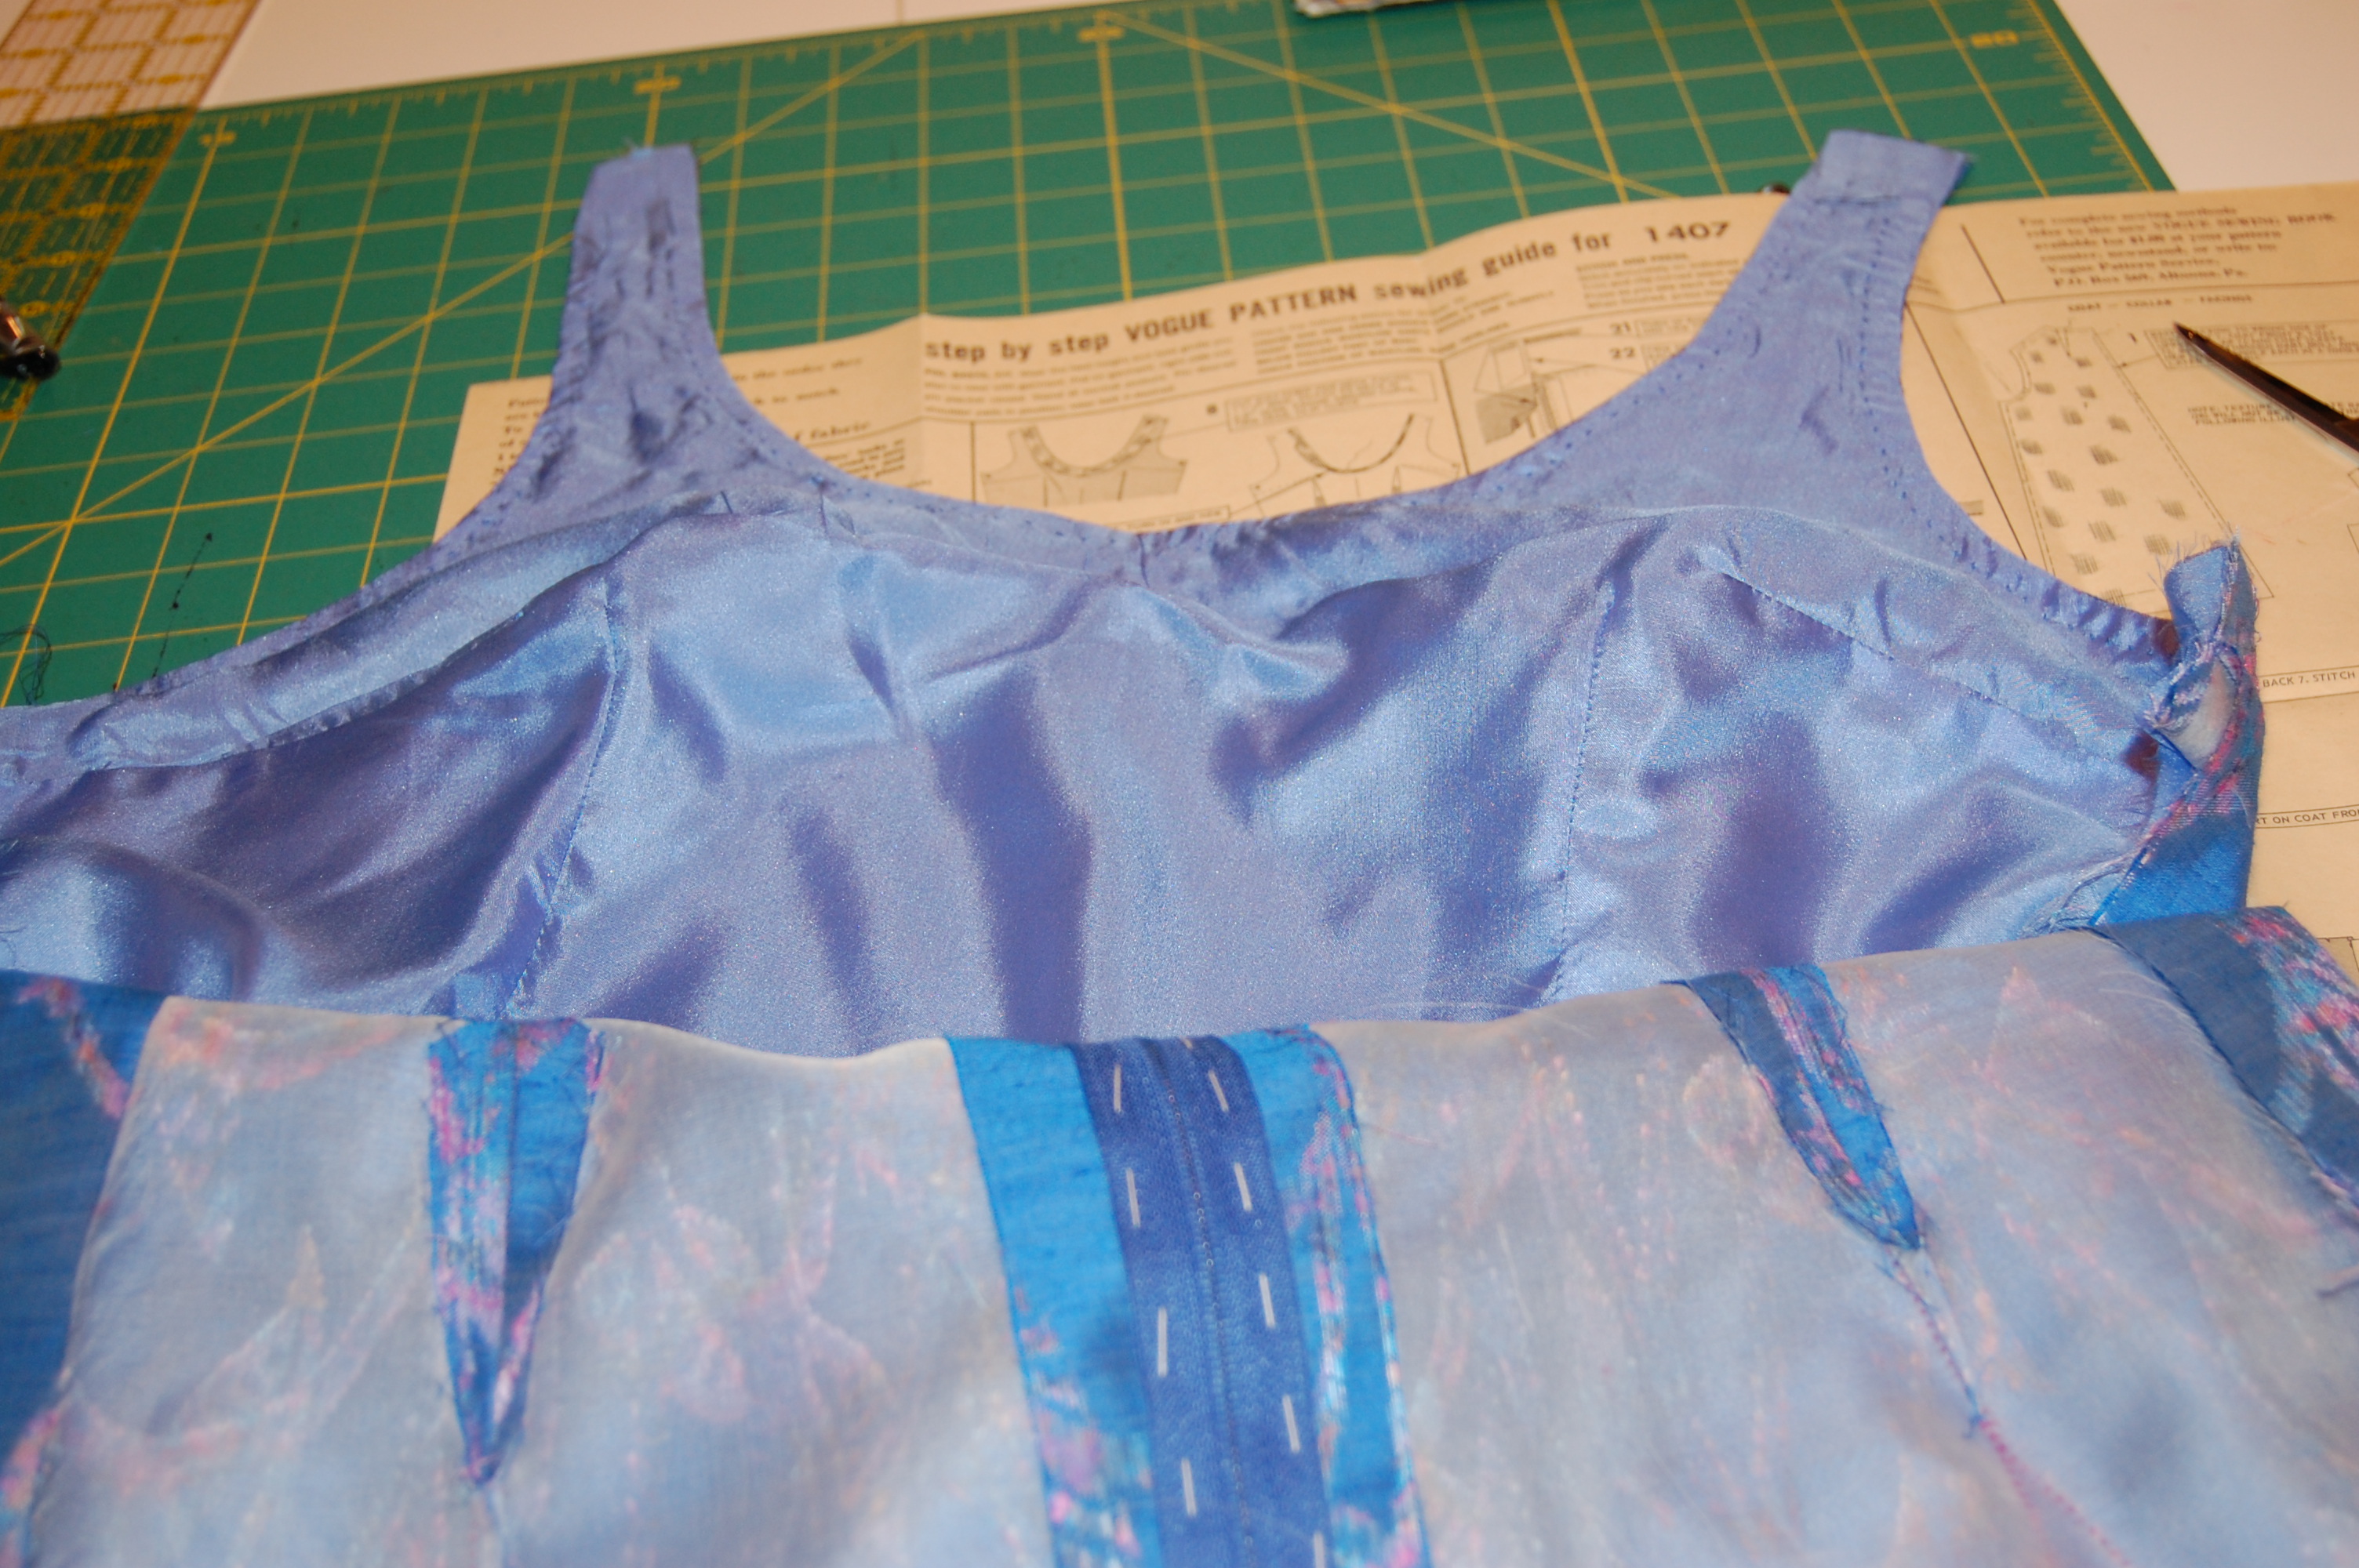
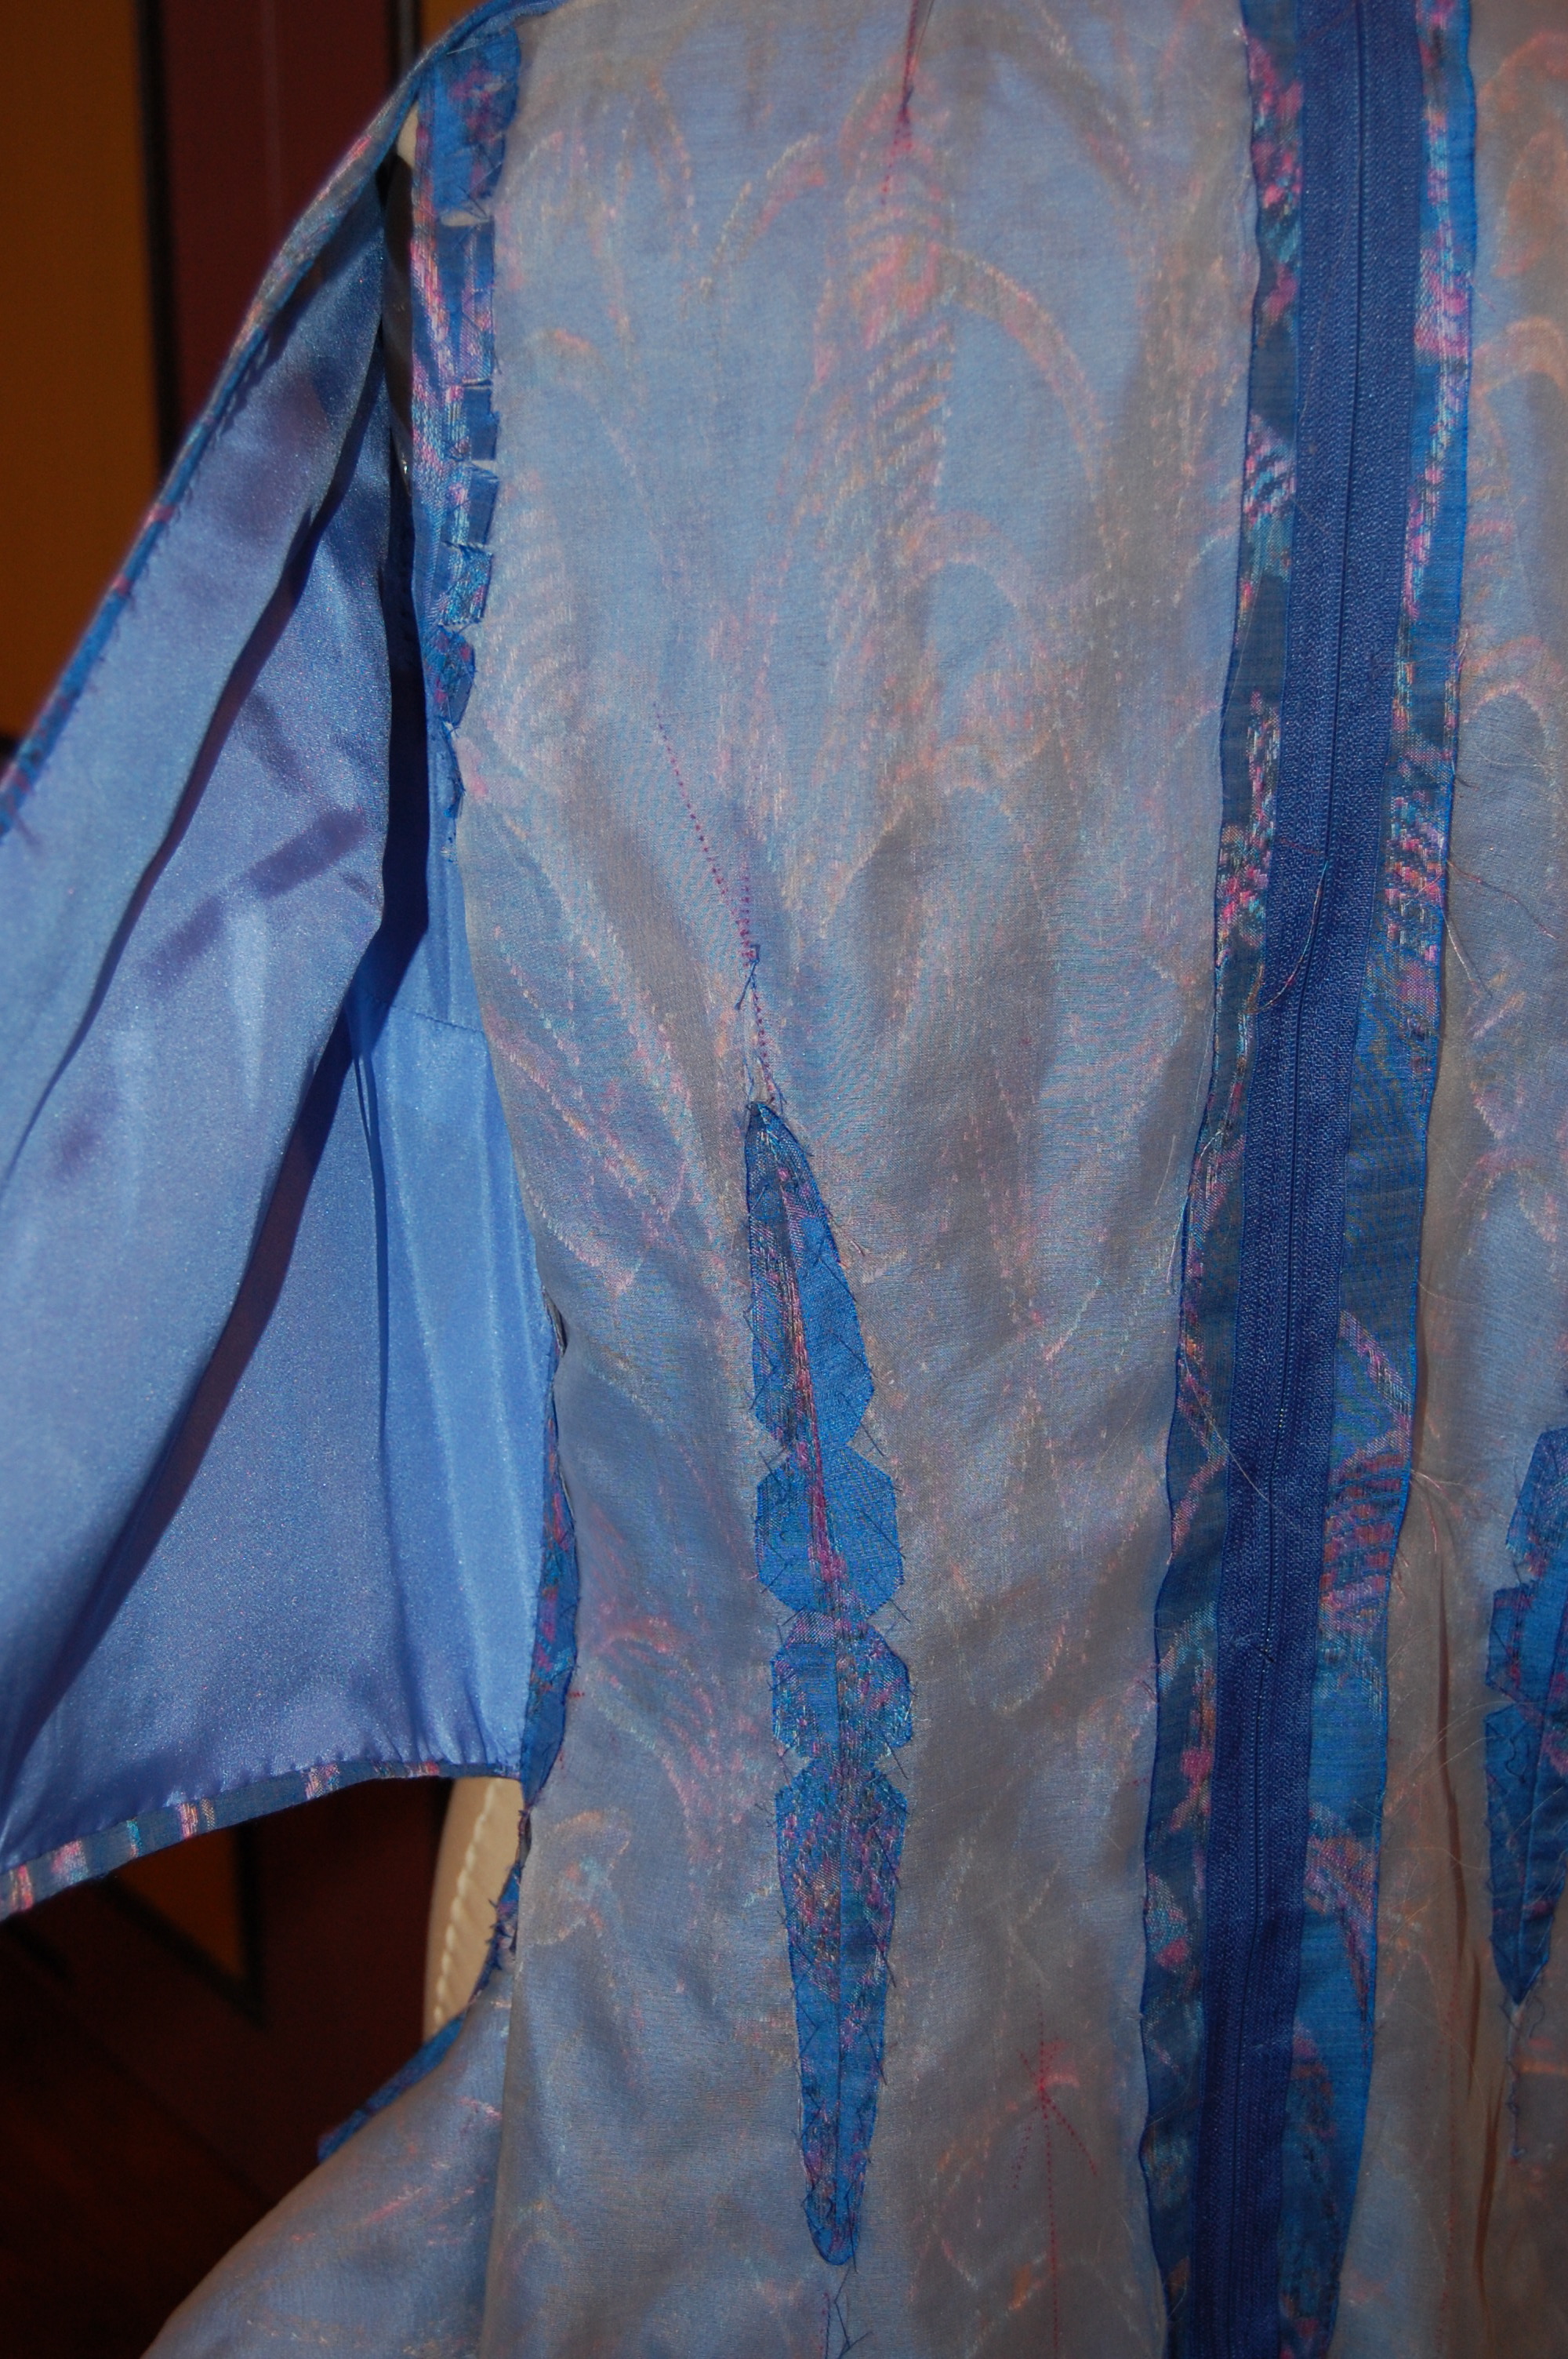
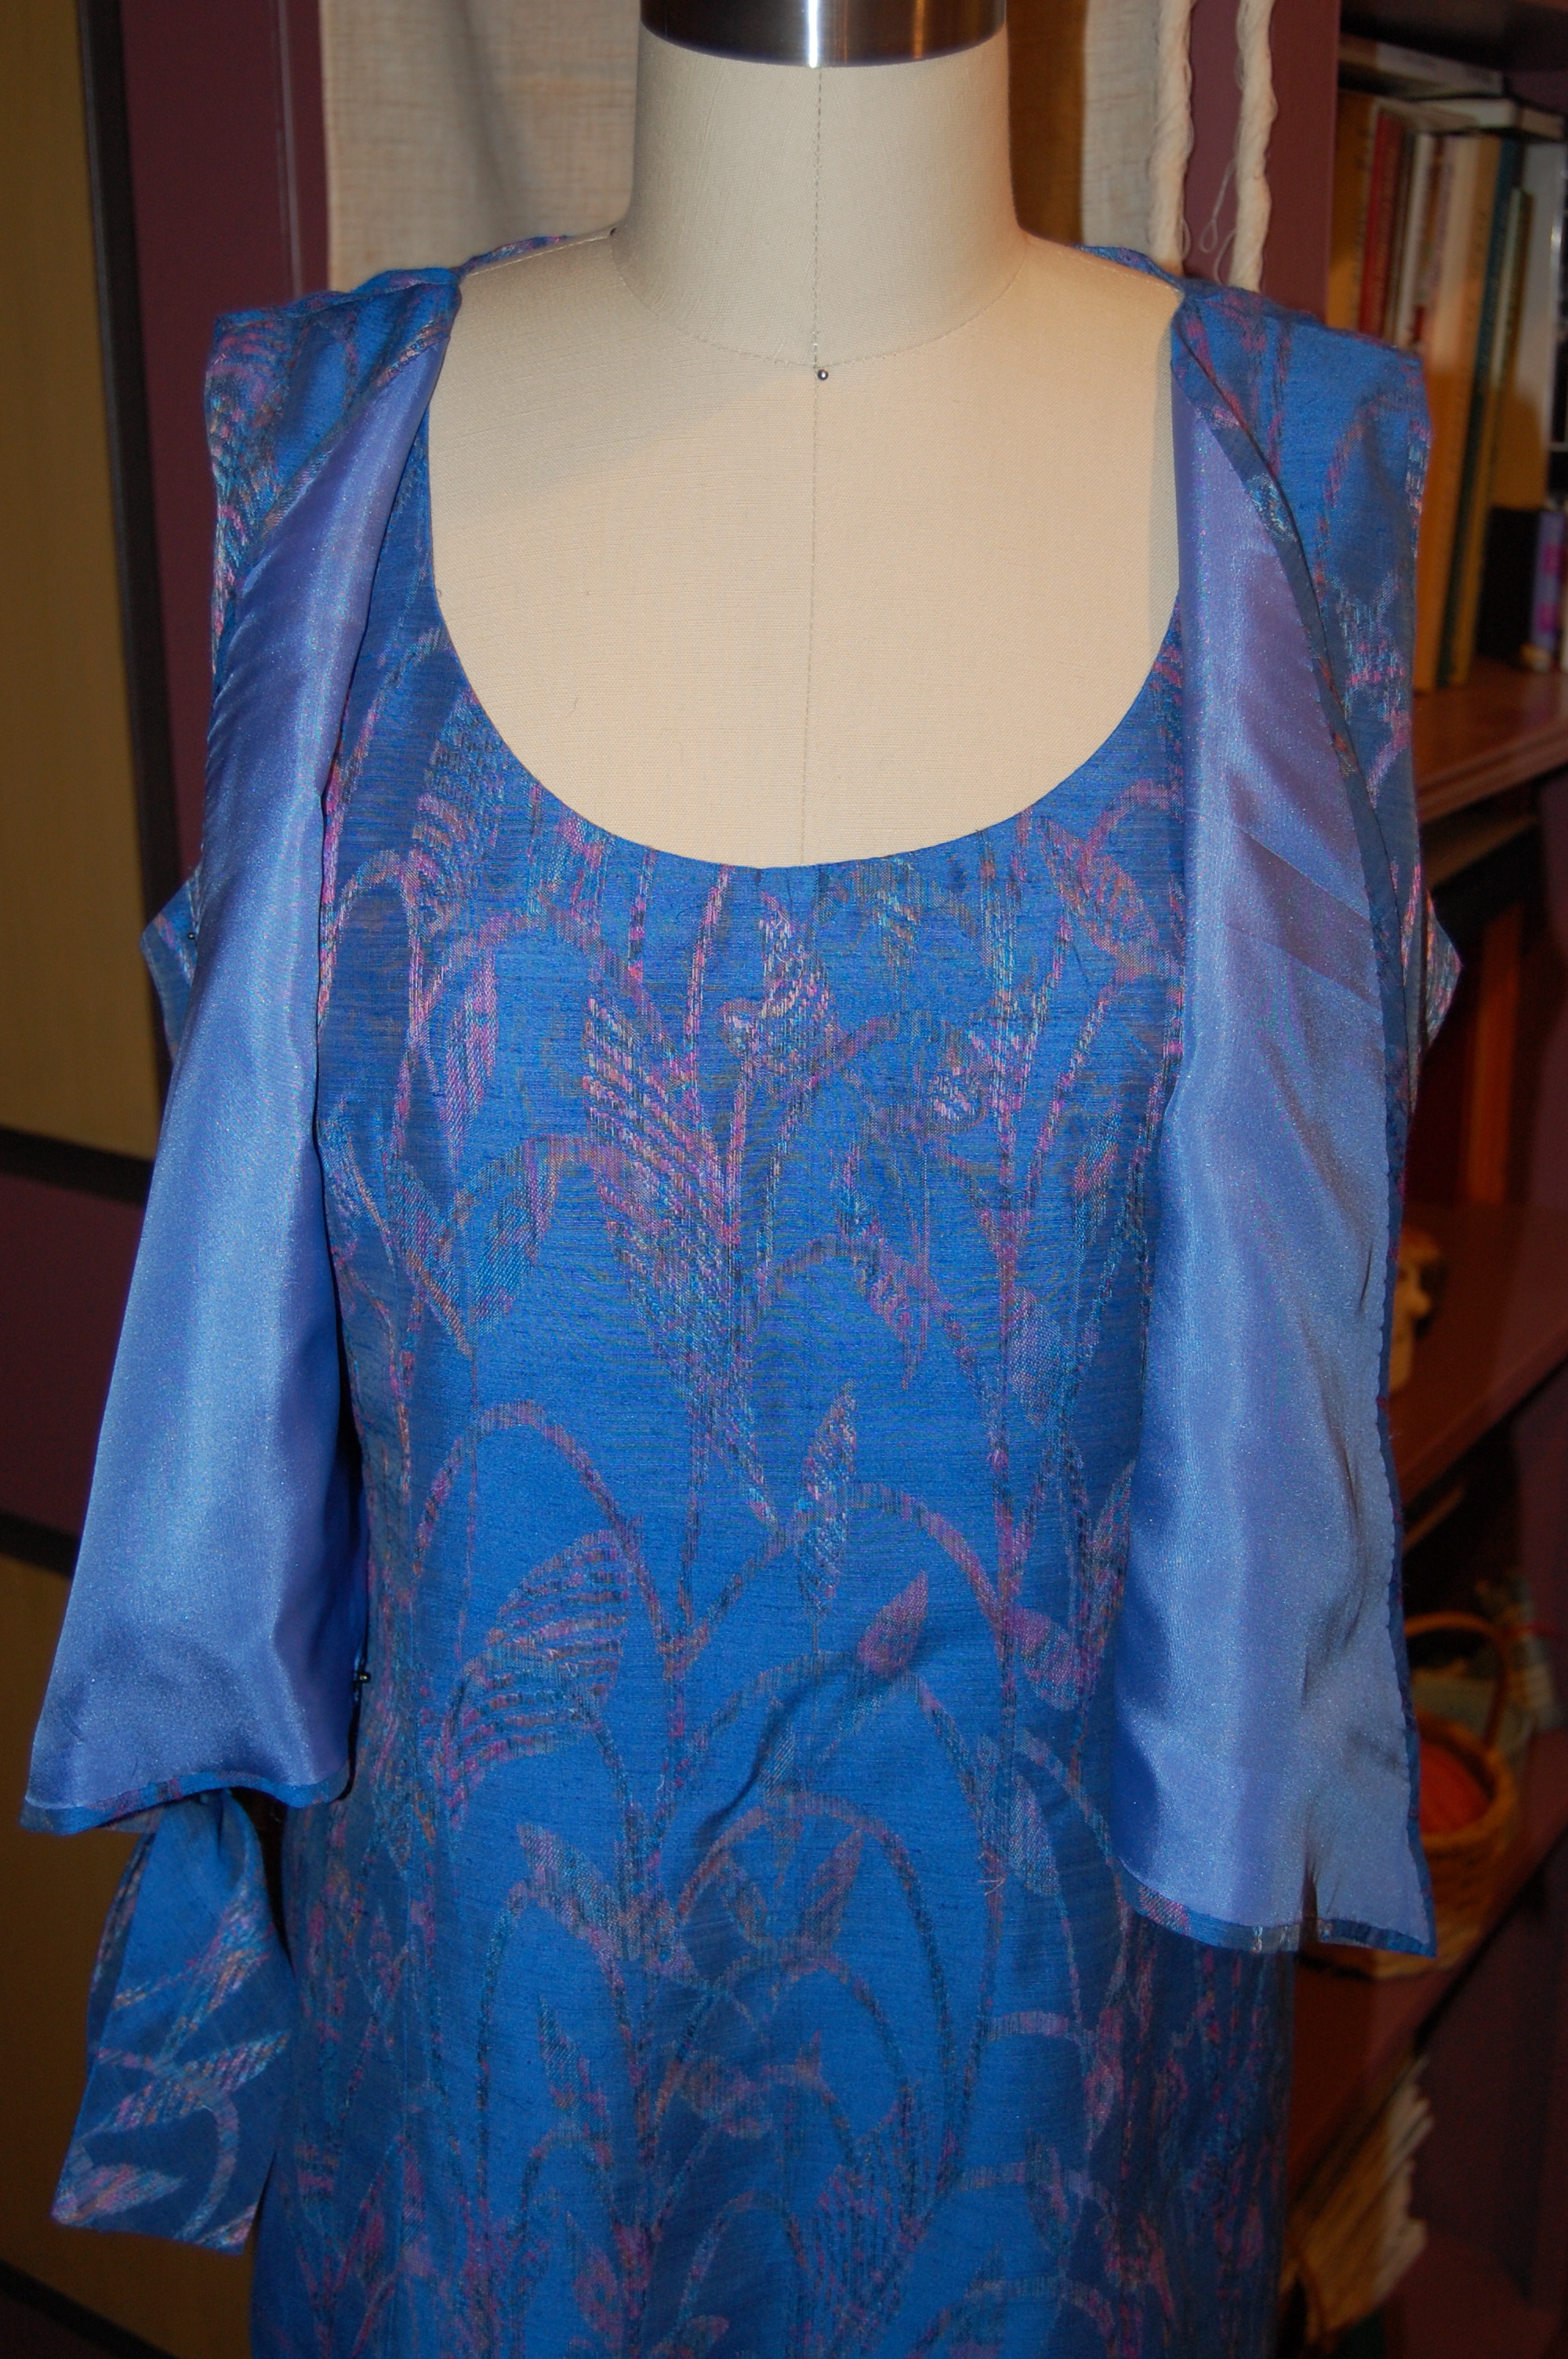
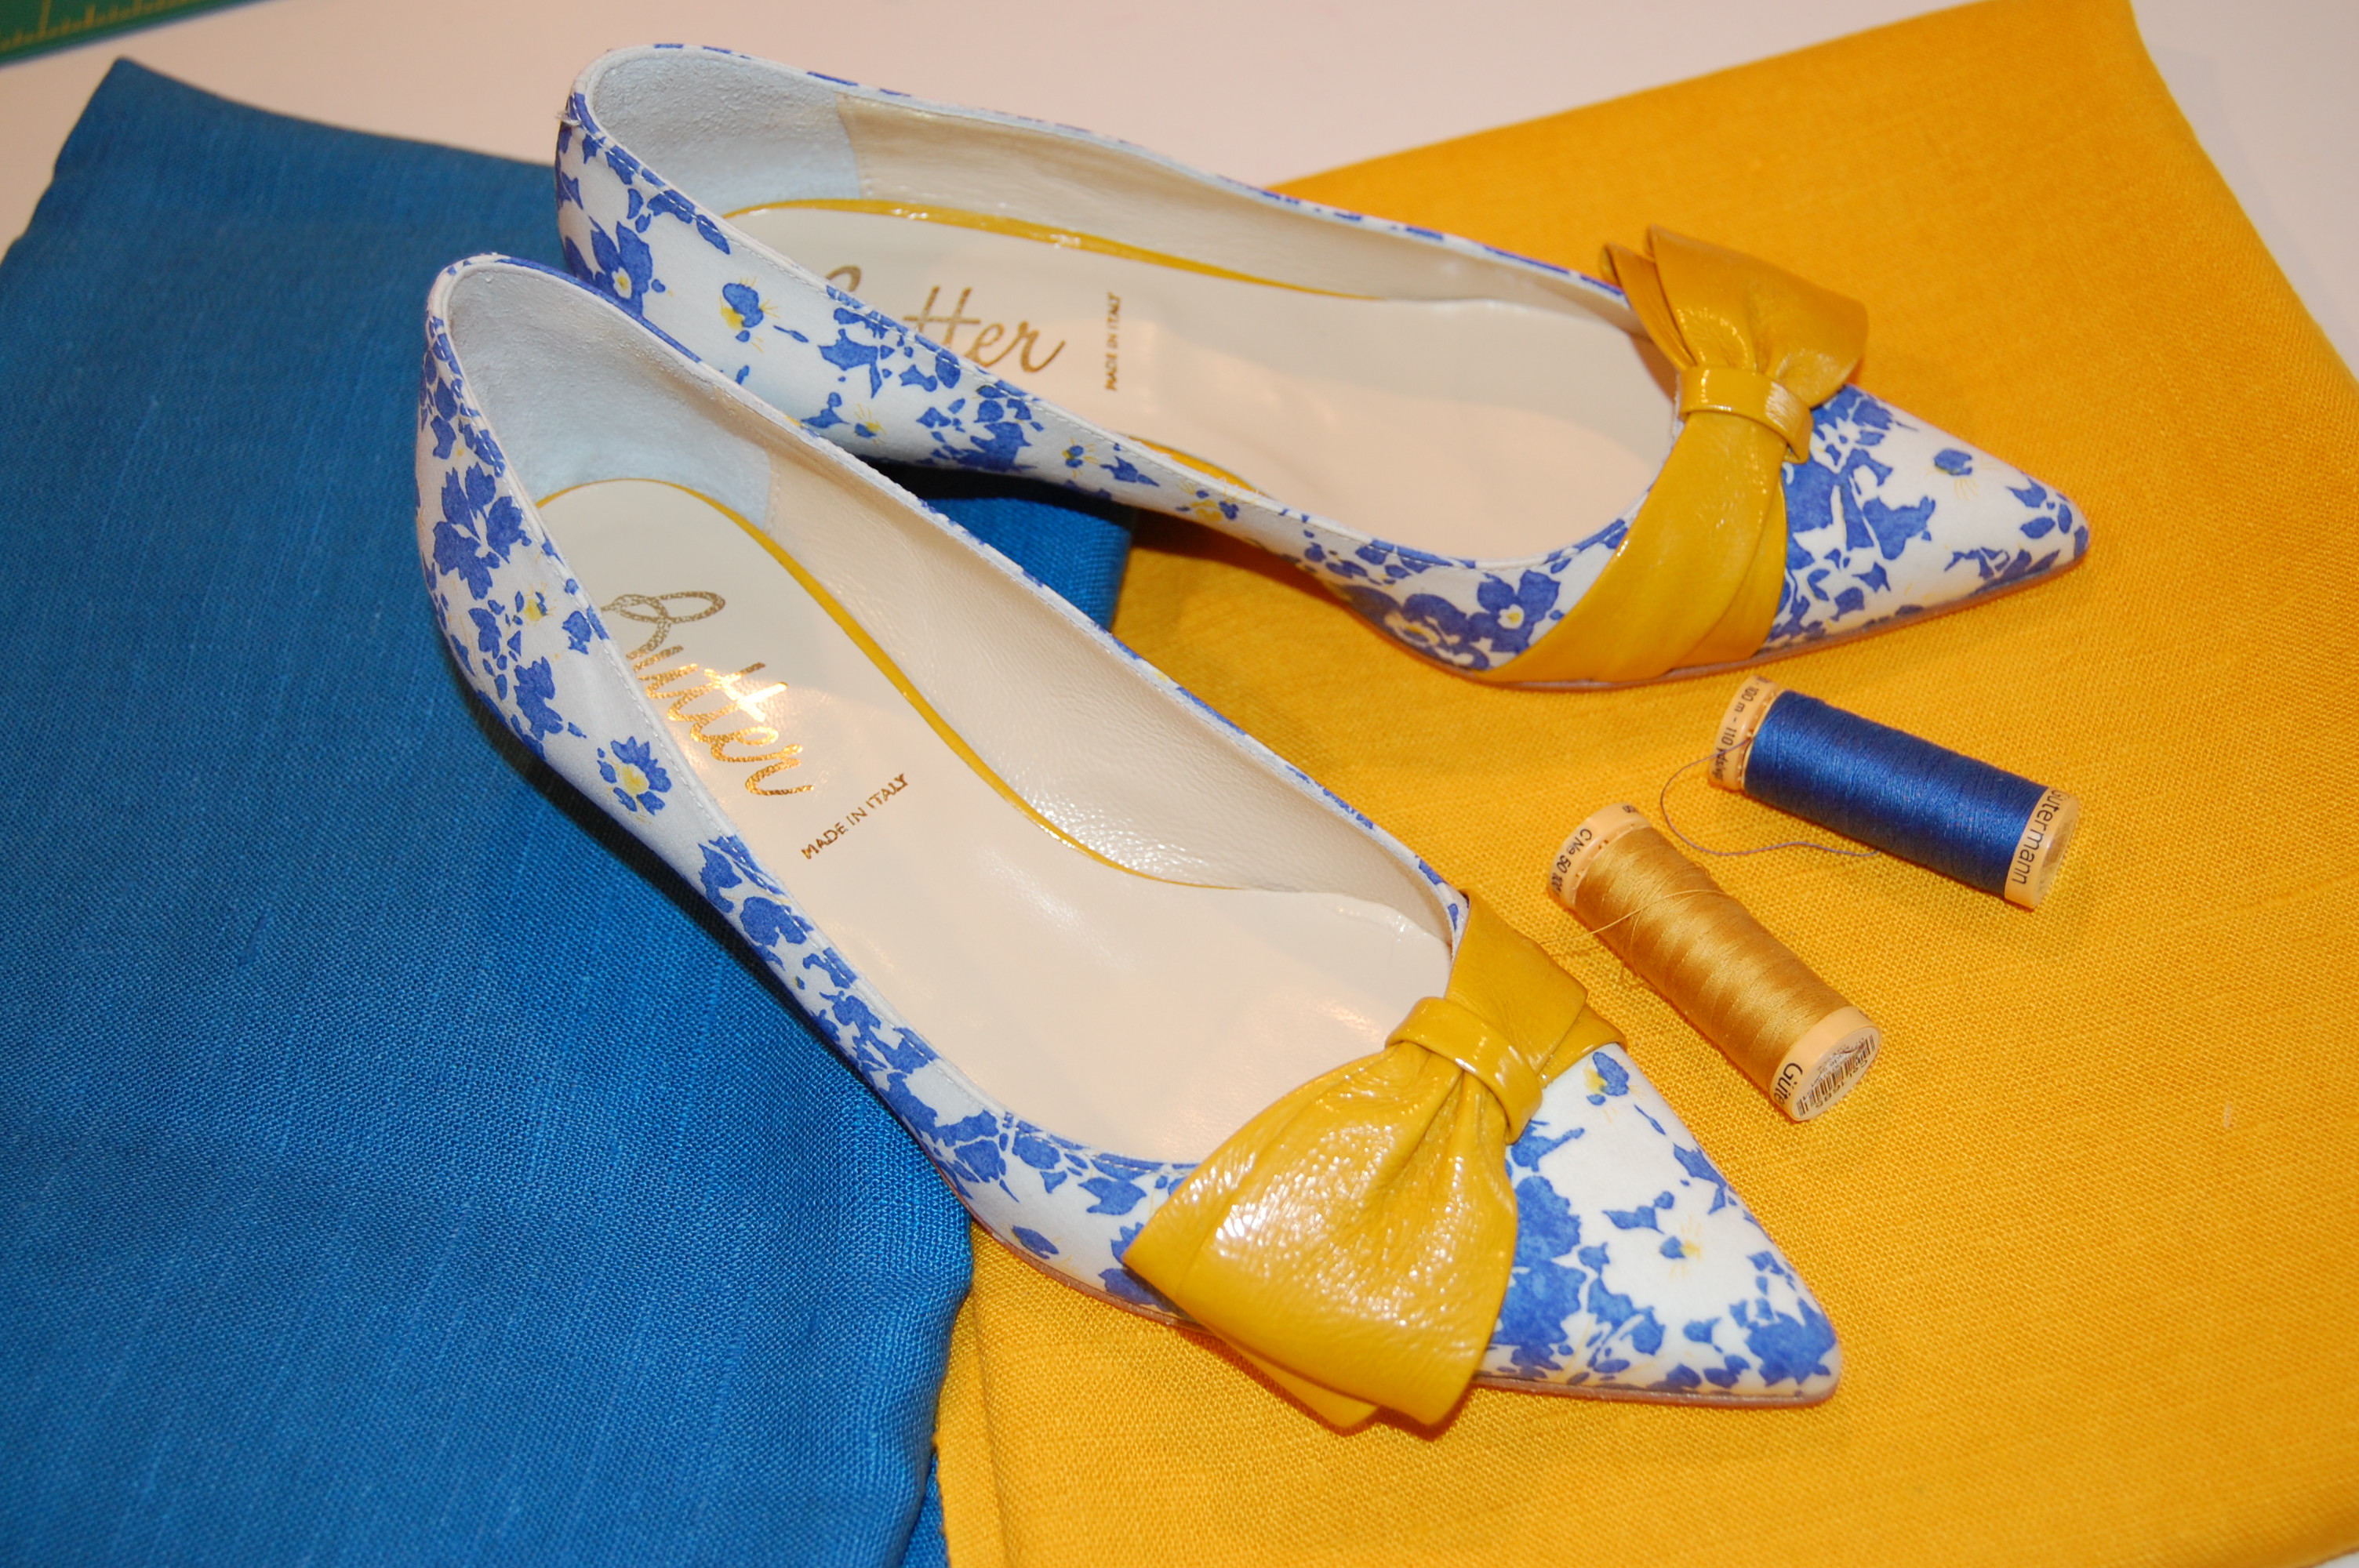
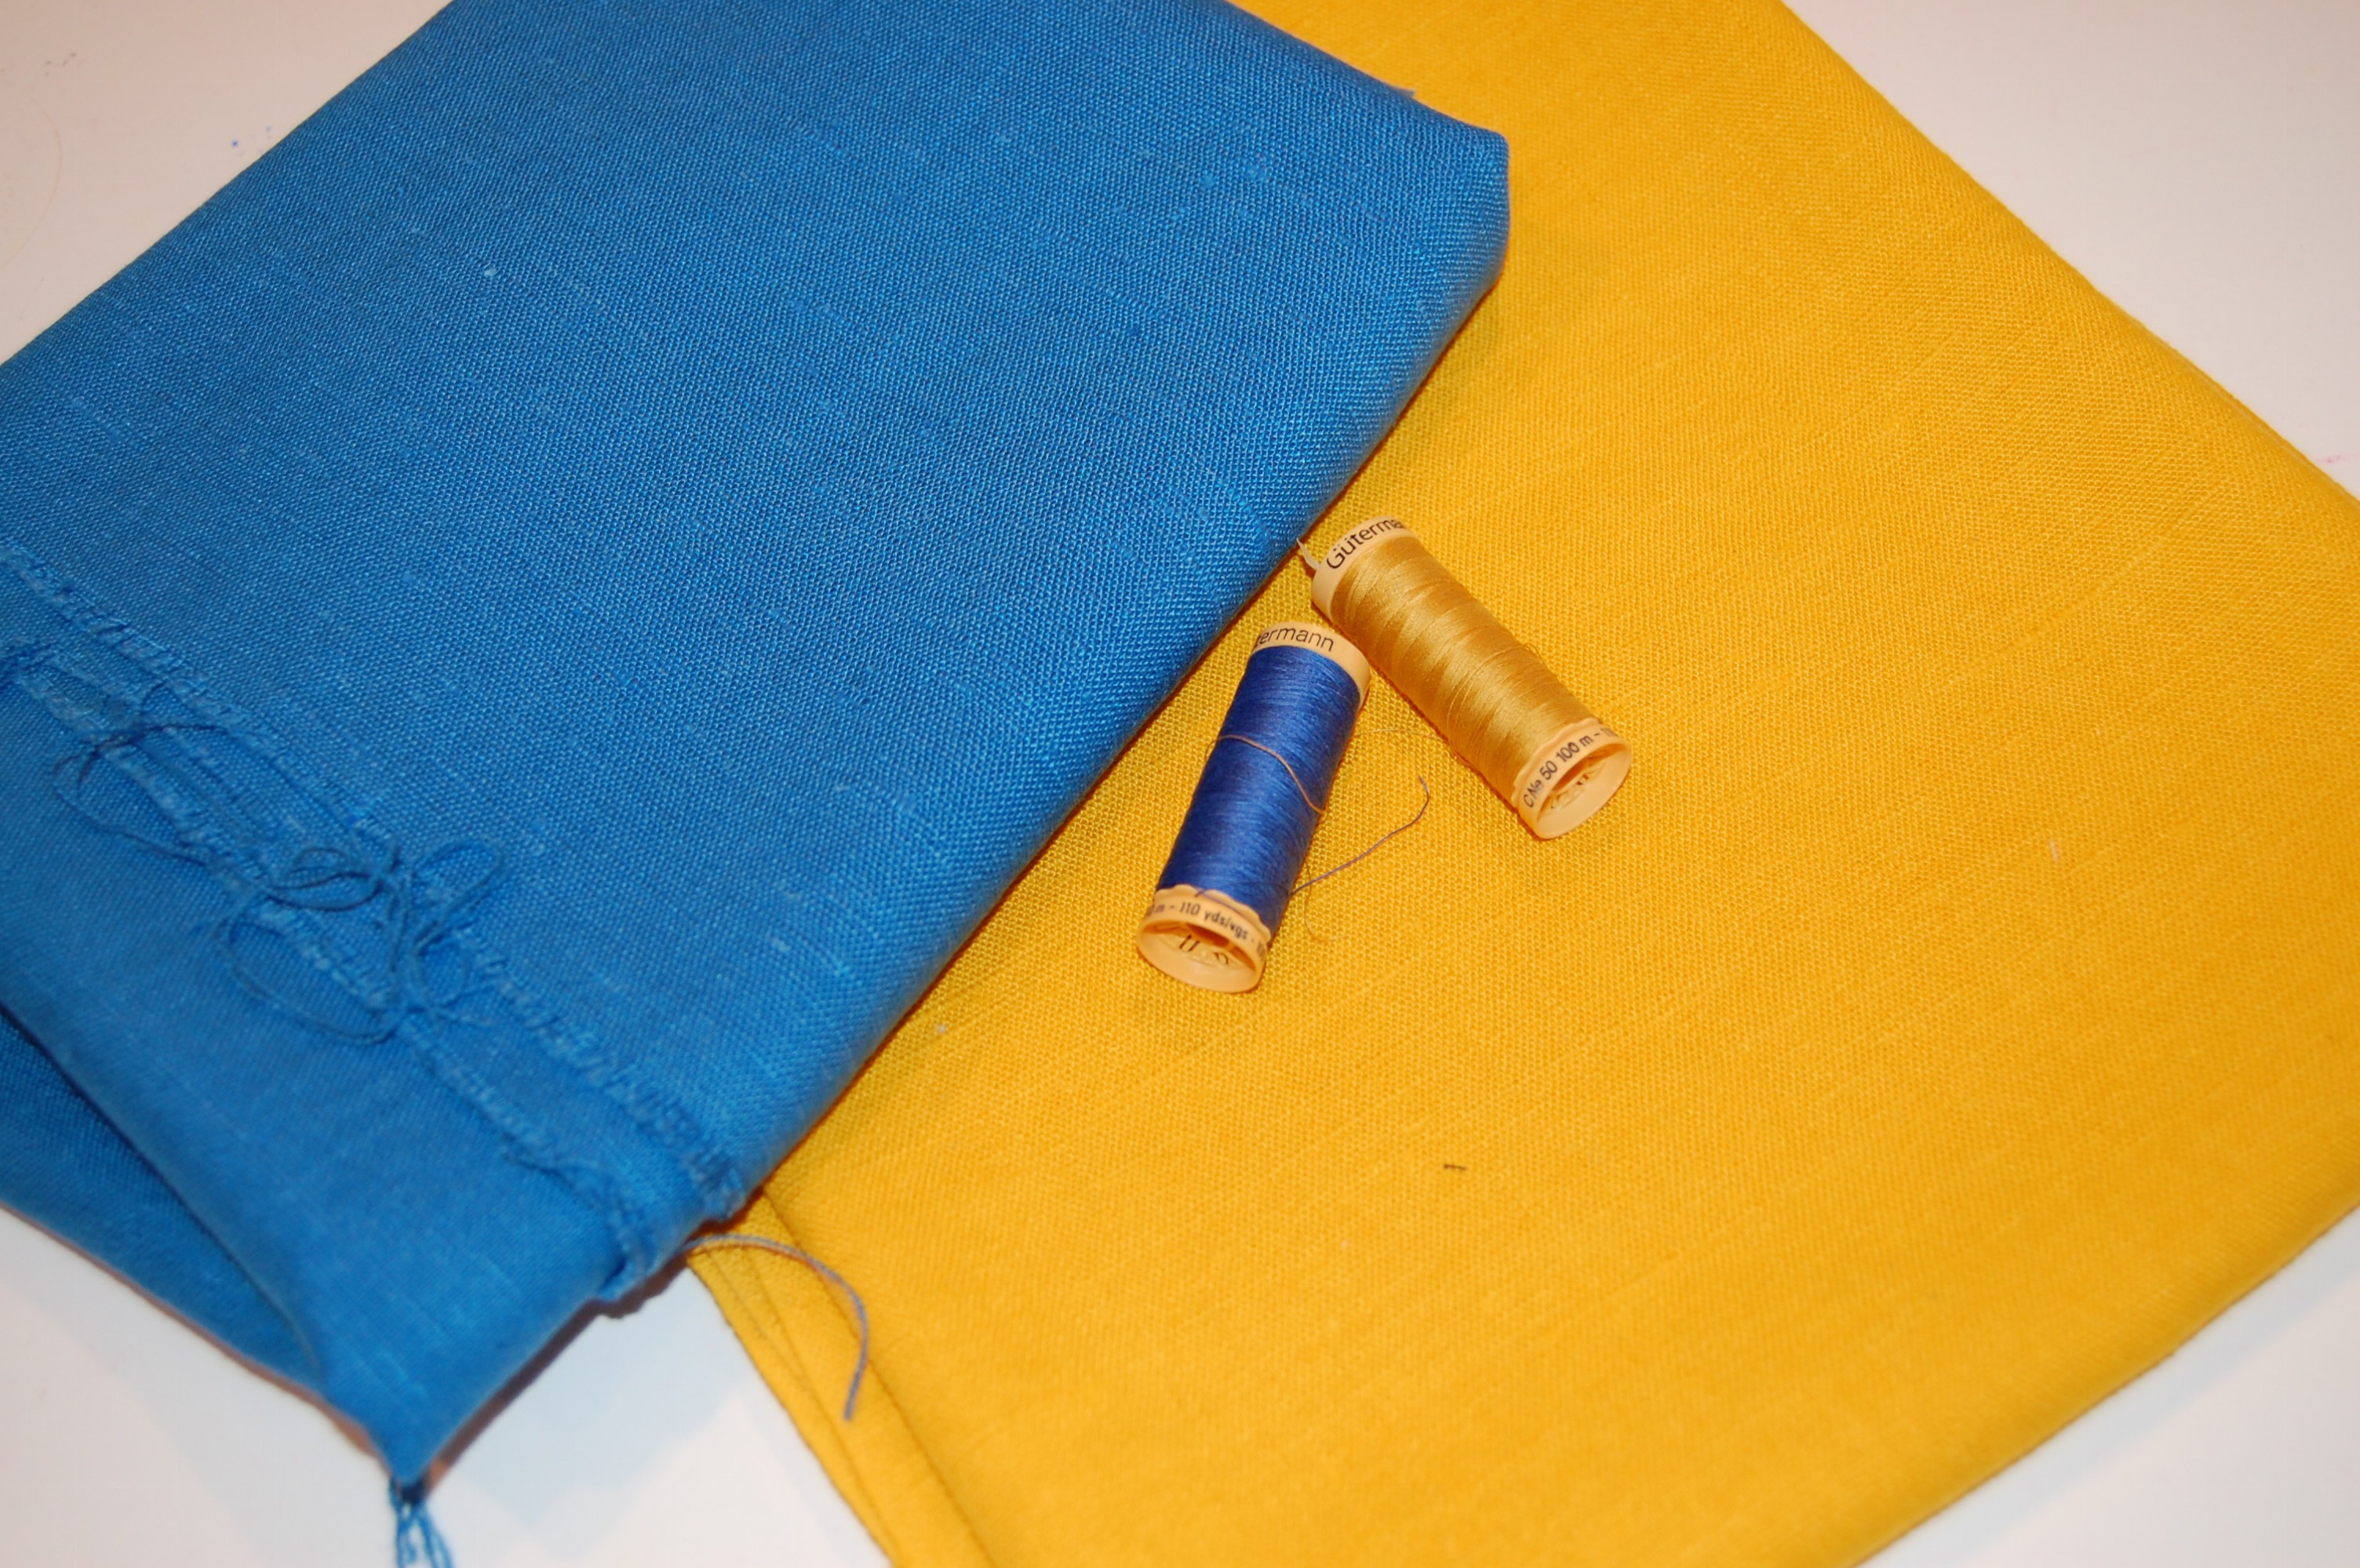
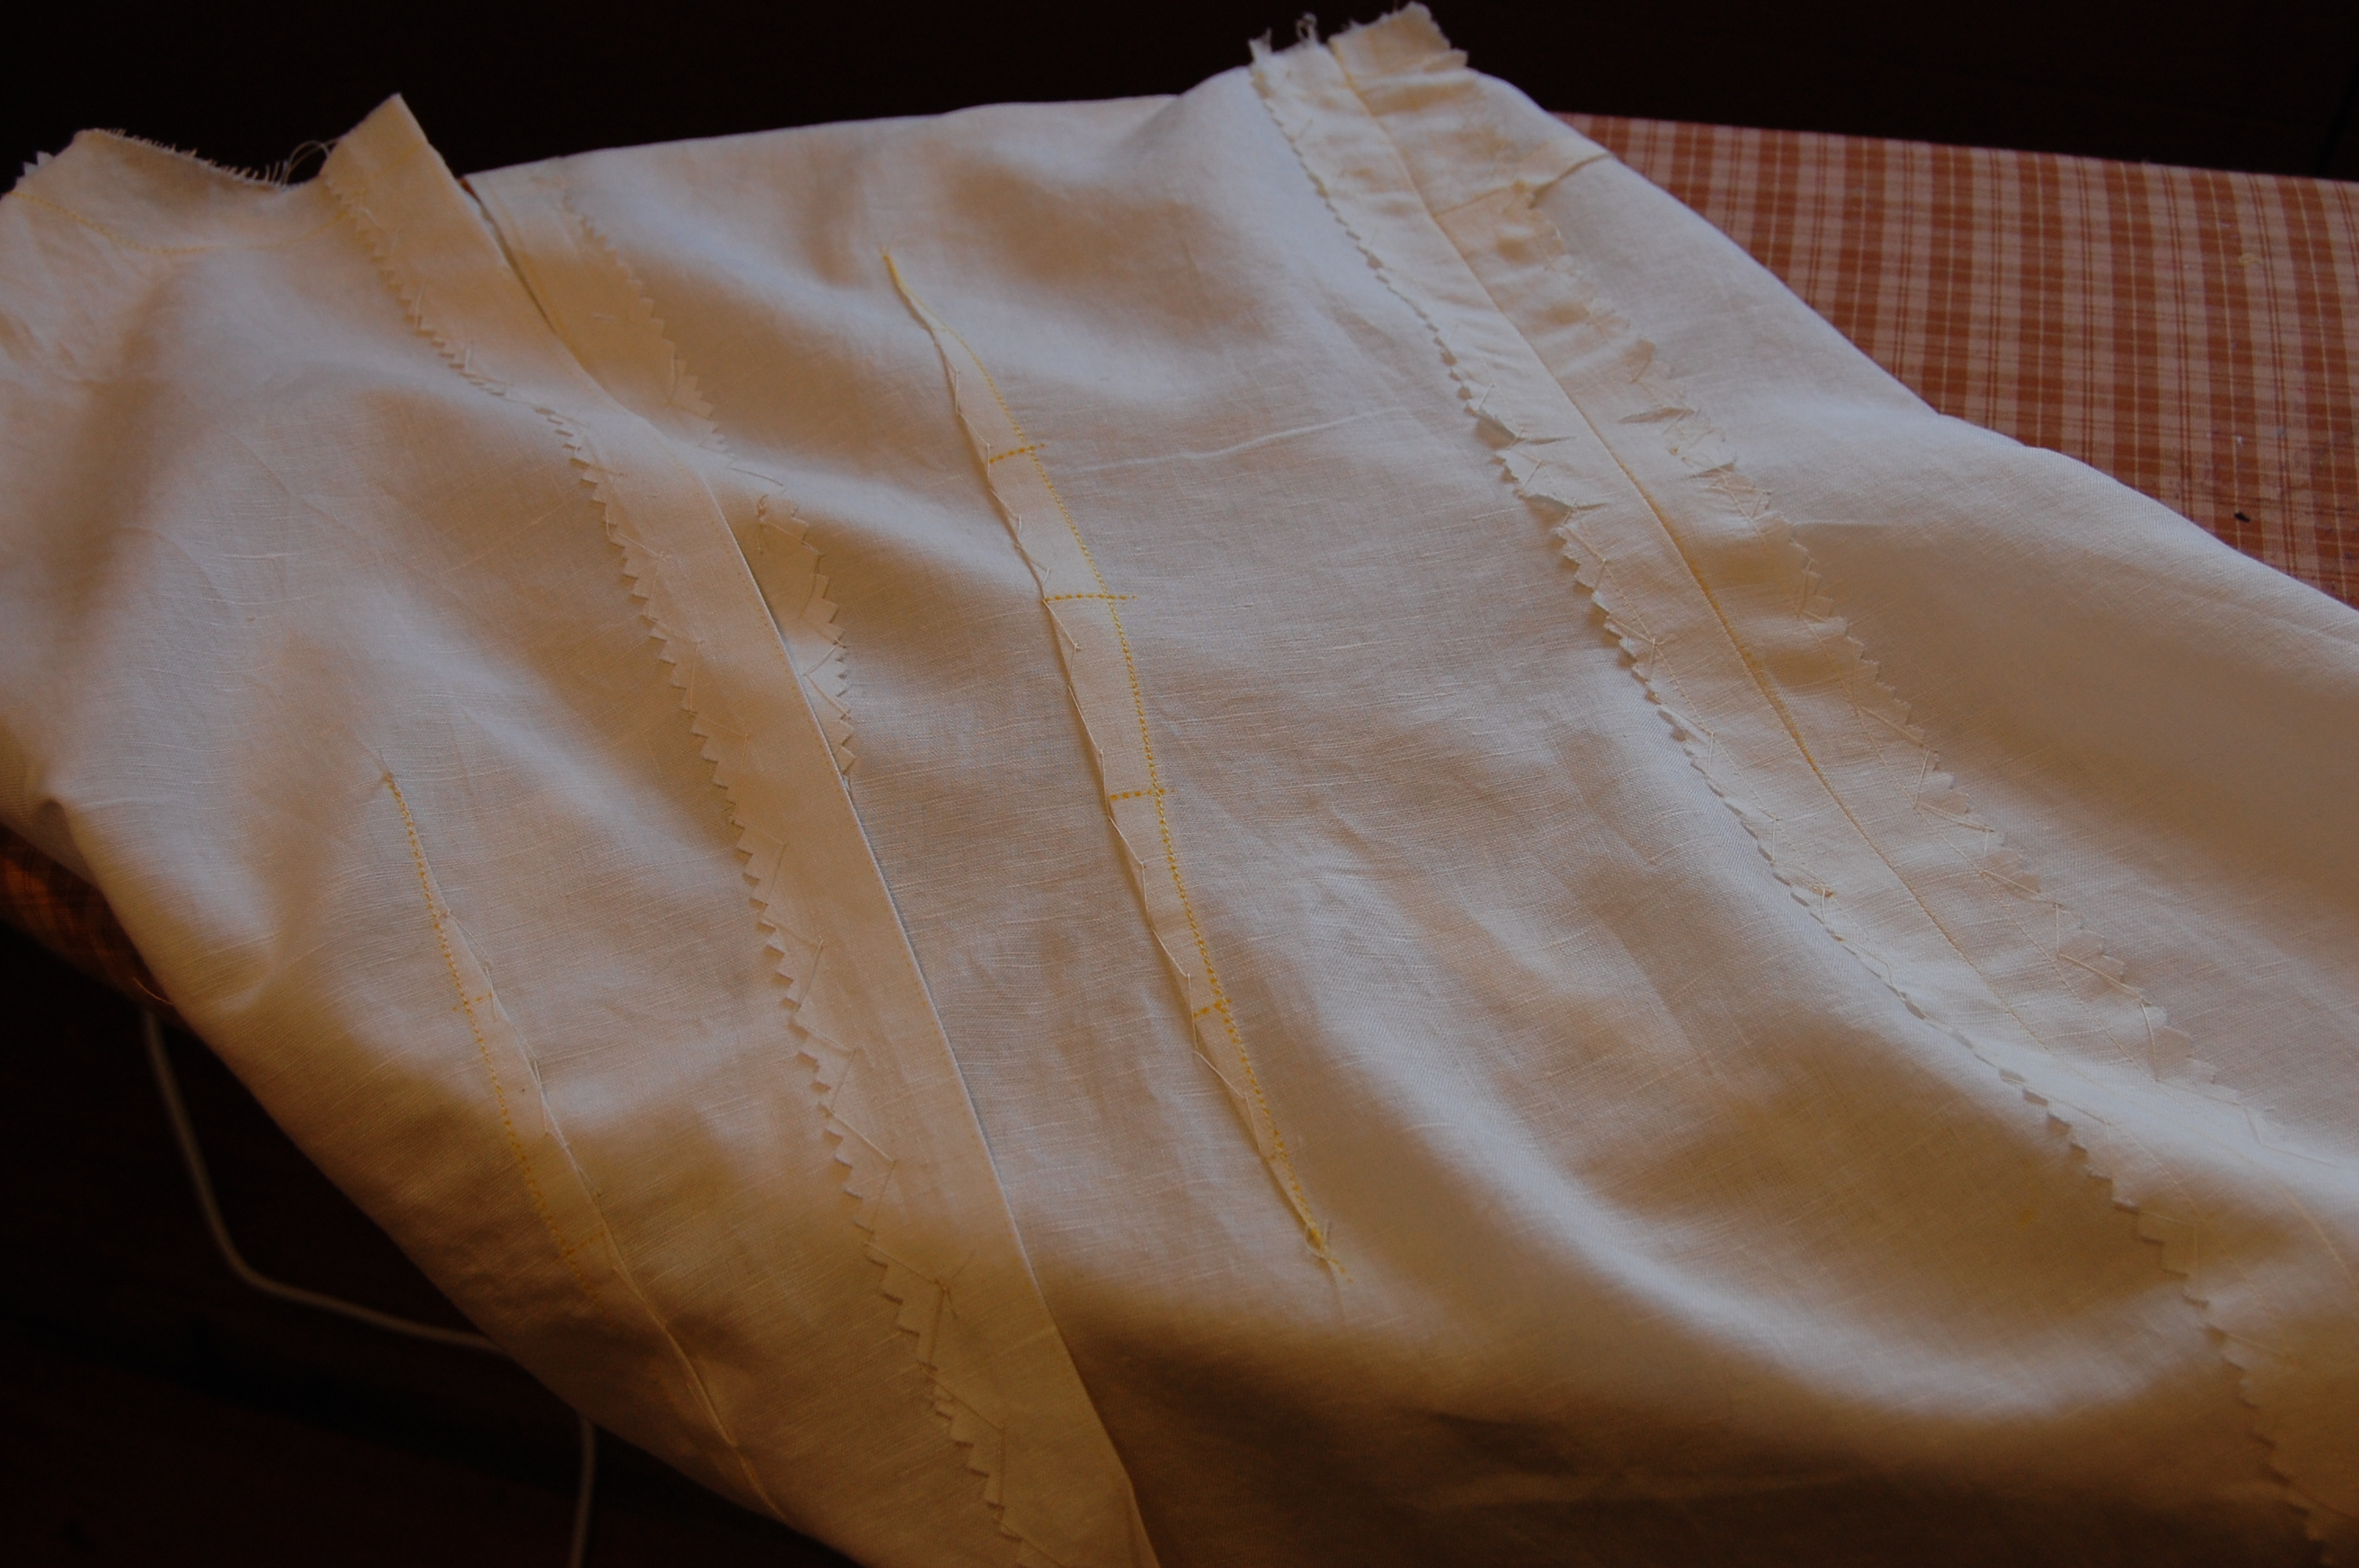
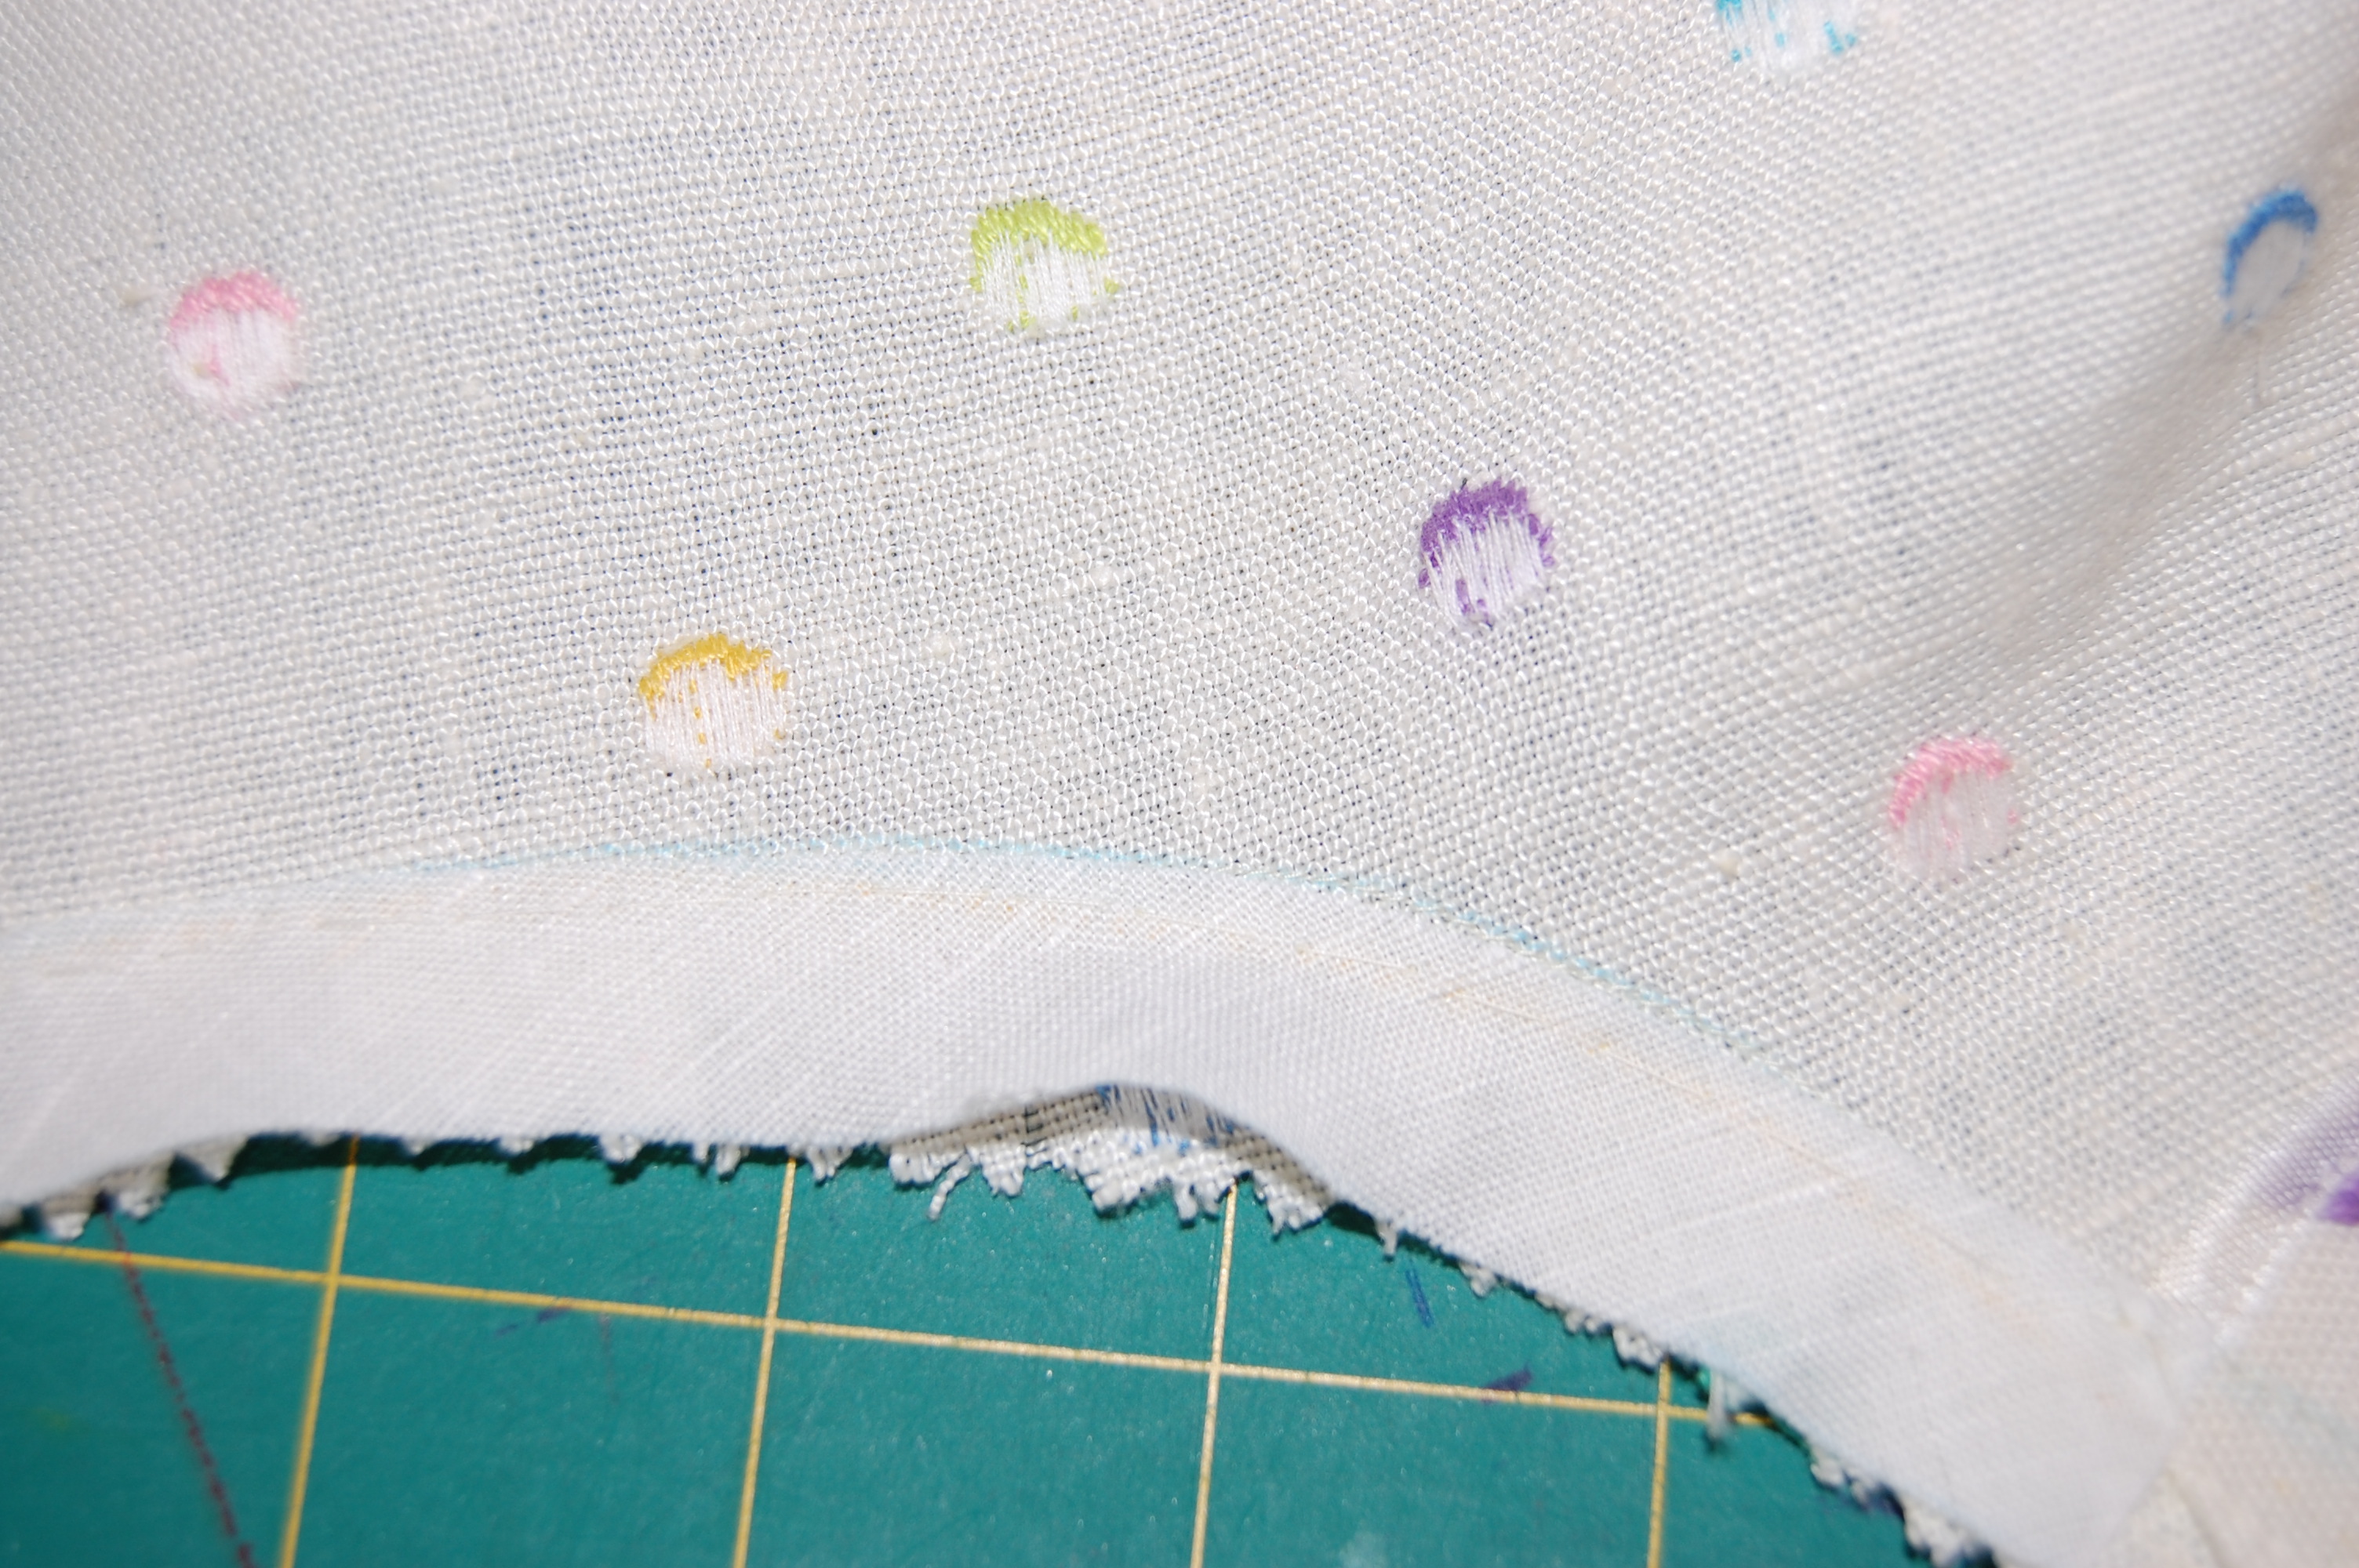
Fabric for my current project.
Why do I write?
Now that is a good question! Unfortunately for you, my readers, the answer to that has multiple parts, and I hope I won’t bore you! First and foremost, I really, really love to write. I like to put words together. I like to try to make sentences clear but colorful and evocative. (I am not nearly as good at “explaining” procedures or techniques, although I know I need to do so occasionally.)
Second, I love to tell a story. I’m not sure how it happens, but it often seems that my sewing projects have inherent stories to them. Sometimes it’s about the pattern, sometimes it’s about the fabric, sometimes it’s about a long-fulfilled sewing dream of mine (left over from the ‘50s, ‘60s or ‘70s!), sometimes it’s about the accessories, and sometimes it’s a combination of all of these things. Writing and telling stories about my sewing helps to give it another layer of meaning.
Third, writing and sewing are very, very similar. Both involve great expanses of solitary endeavor, engineering (of words or patterns and cloth), creativity, sense of style, striving for excellence of technique, and tenacity. However, both have a friendly and supportive communal aspect to them as well, when shared with others of the same interest. And – both sewing and writing are goal-oriented pursuits, perfect for my personality type!
Finally, I must give credit to my daughter, Susanna, who gave me the inspiration to start a sewing blog. An exceptional writer, Susanna had her own blog for a while, and her encouragement to me made all the difference.
How does my blog differ from others of its genre?
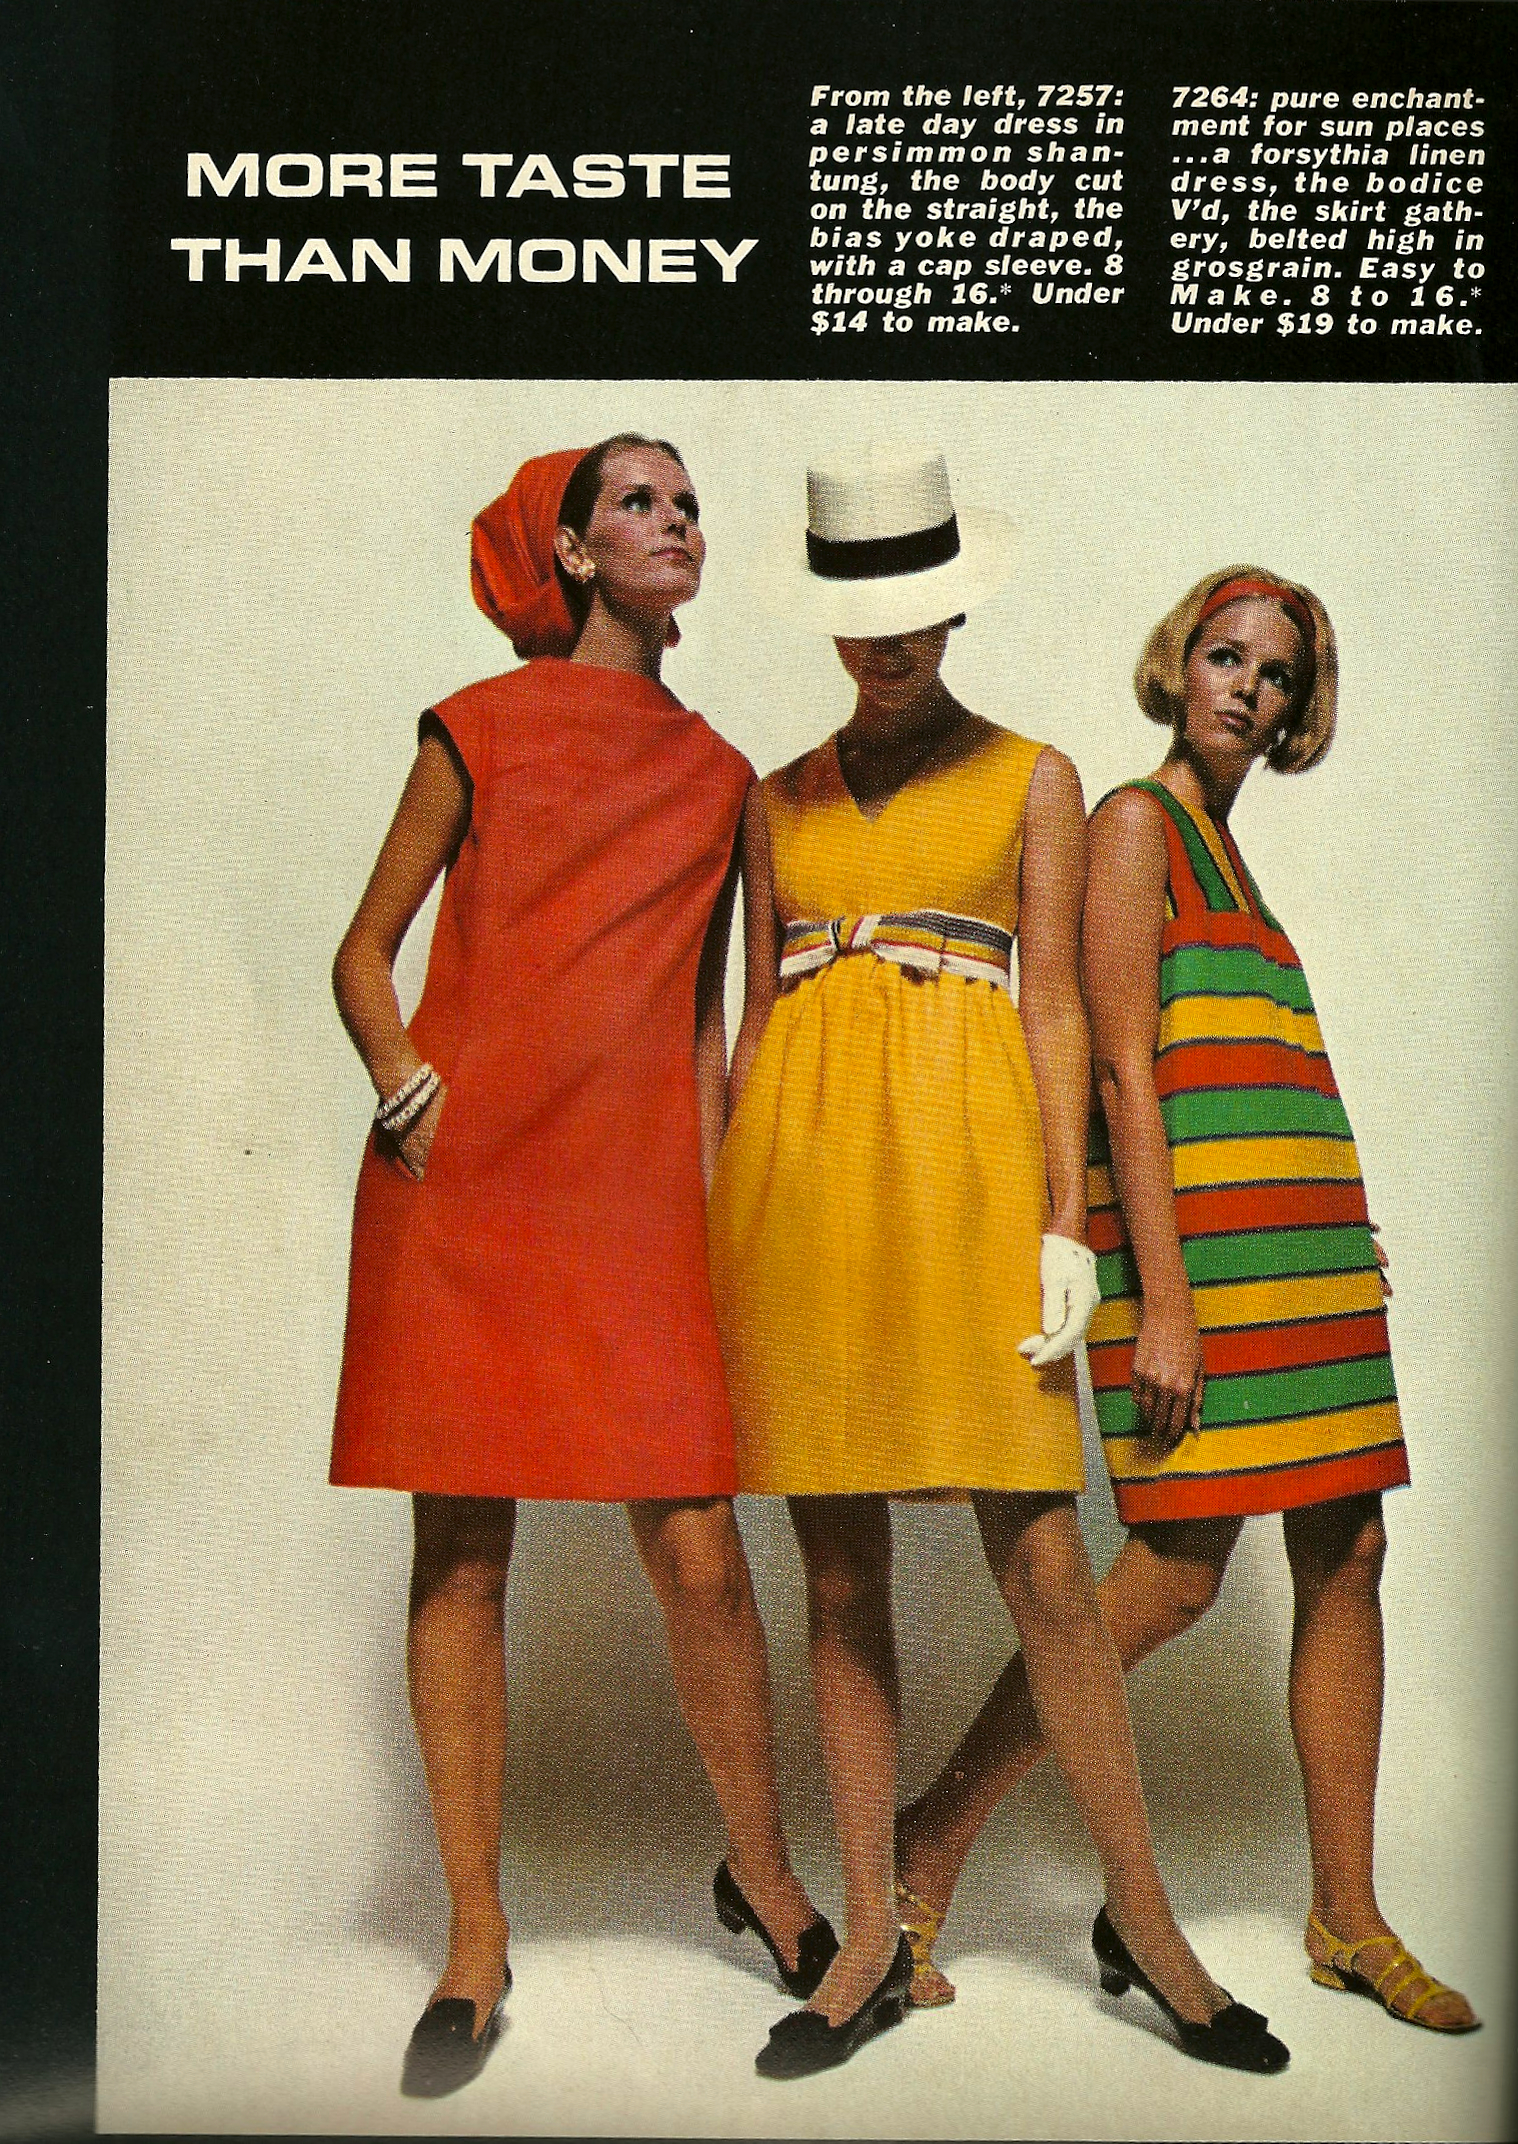
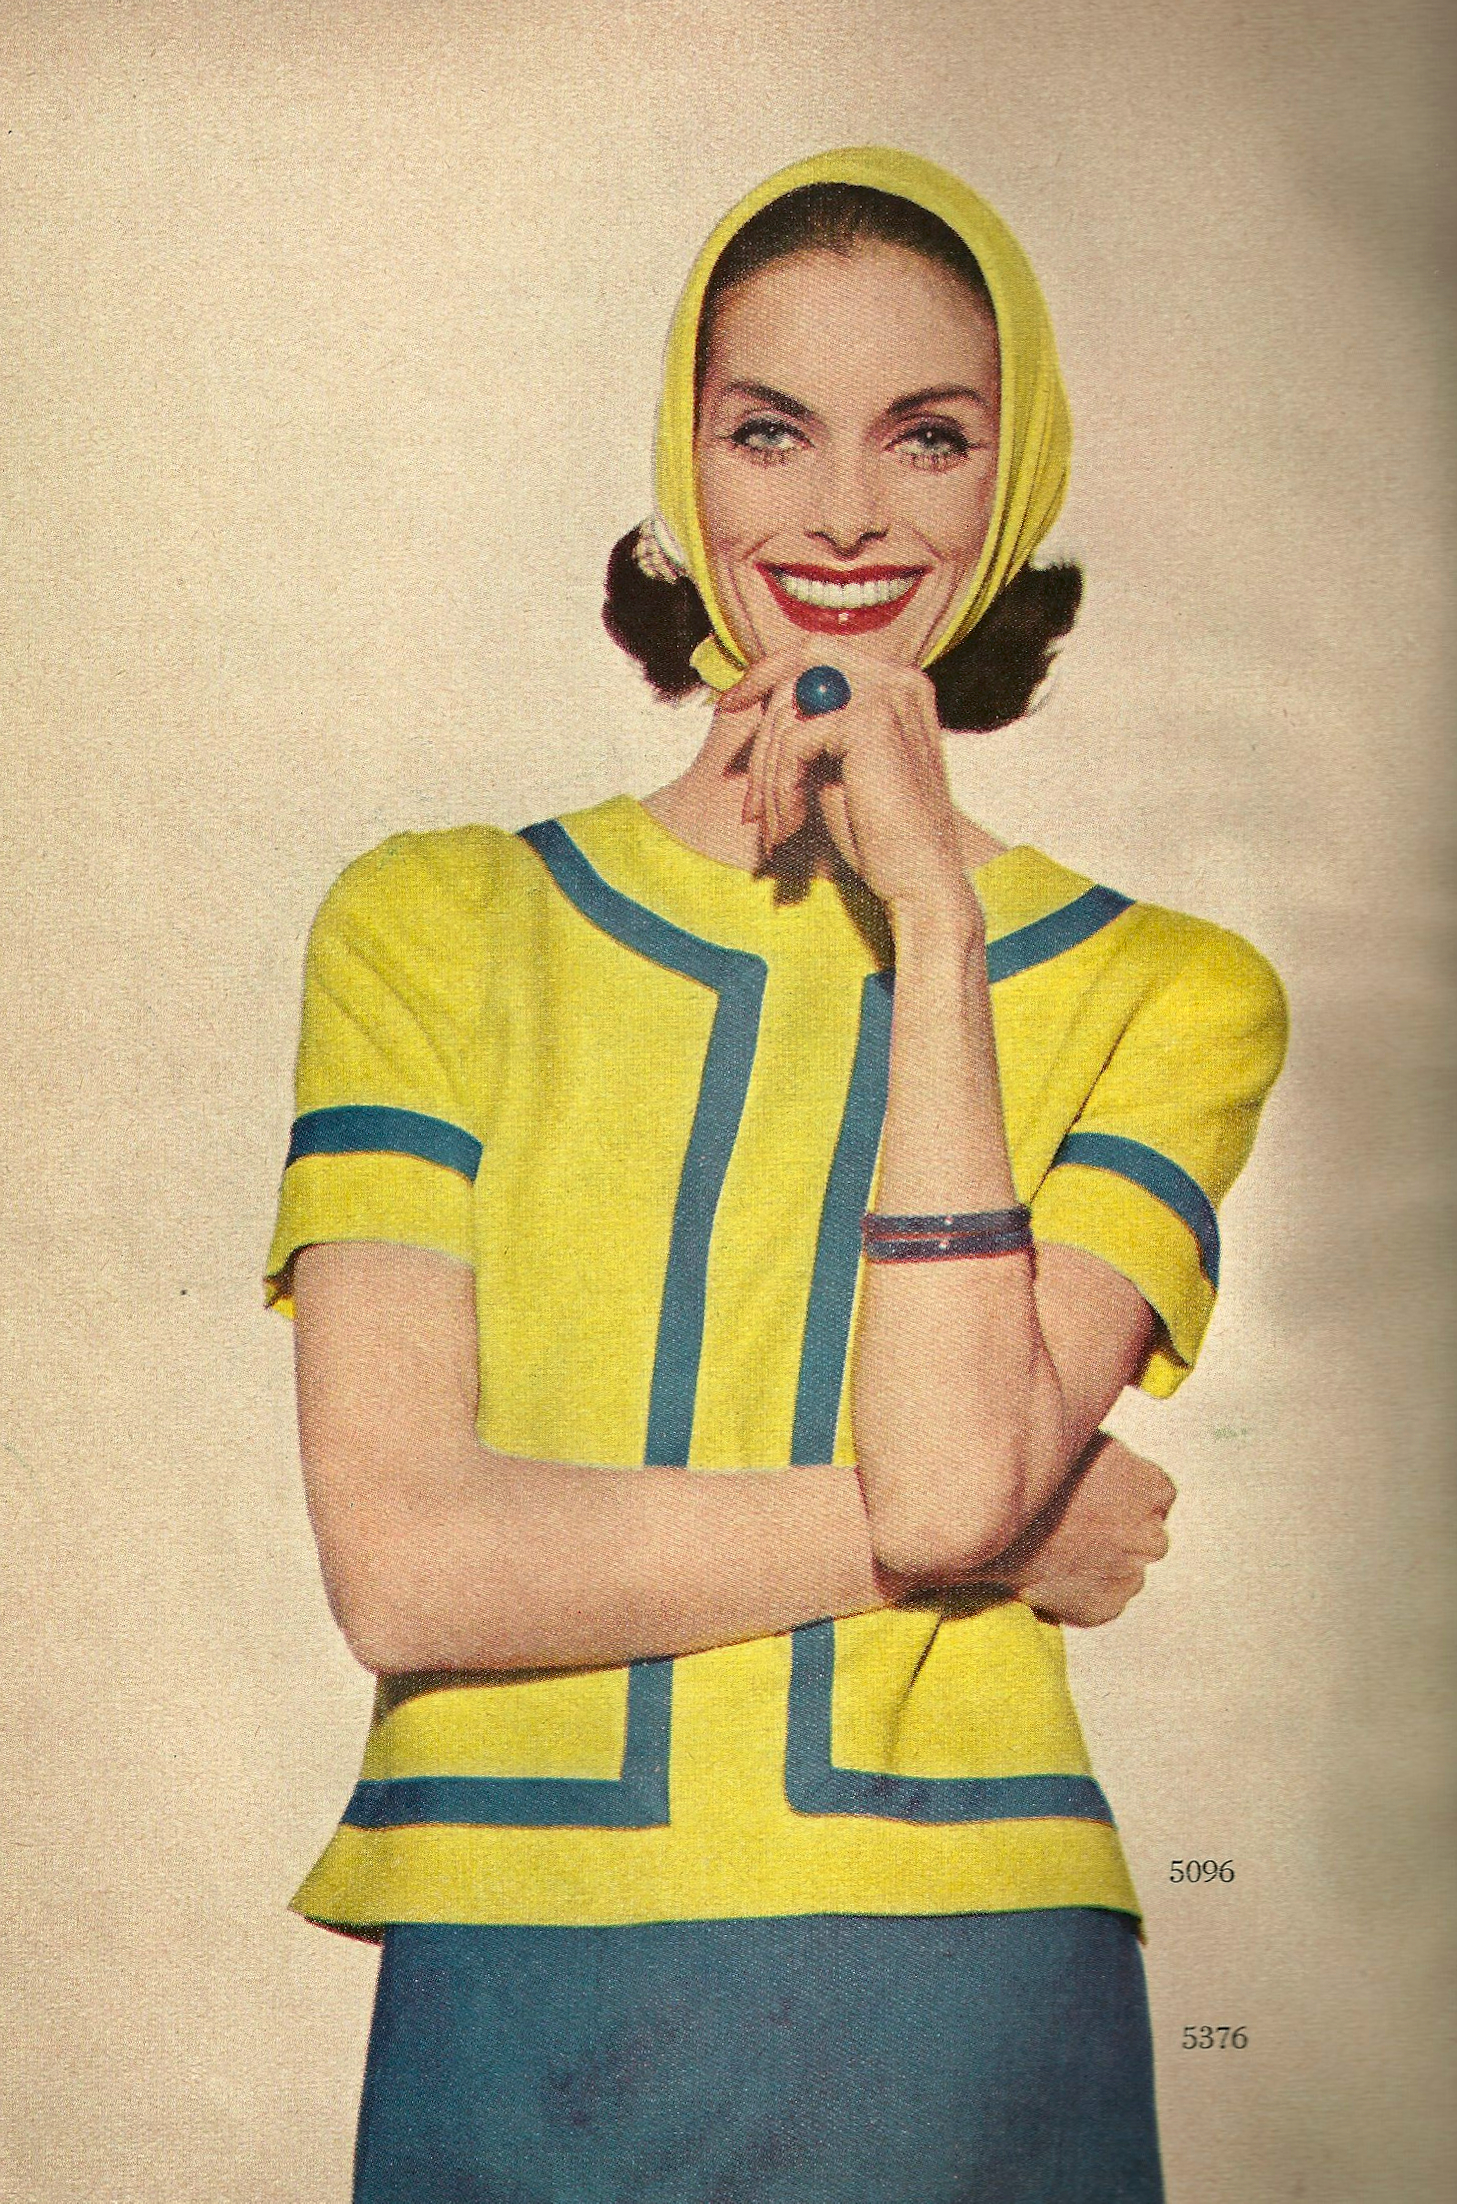
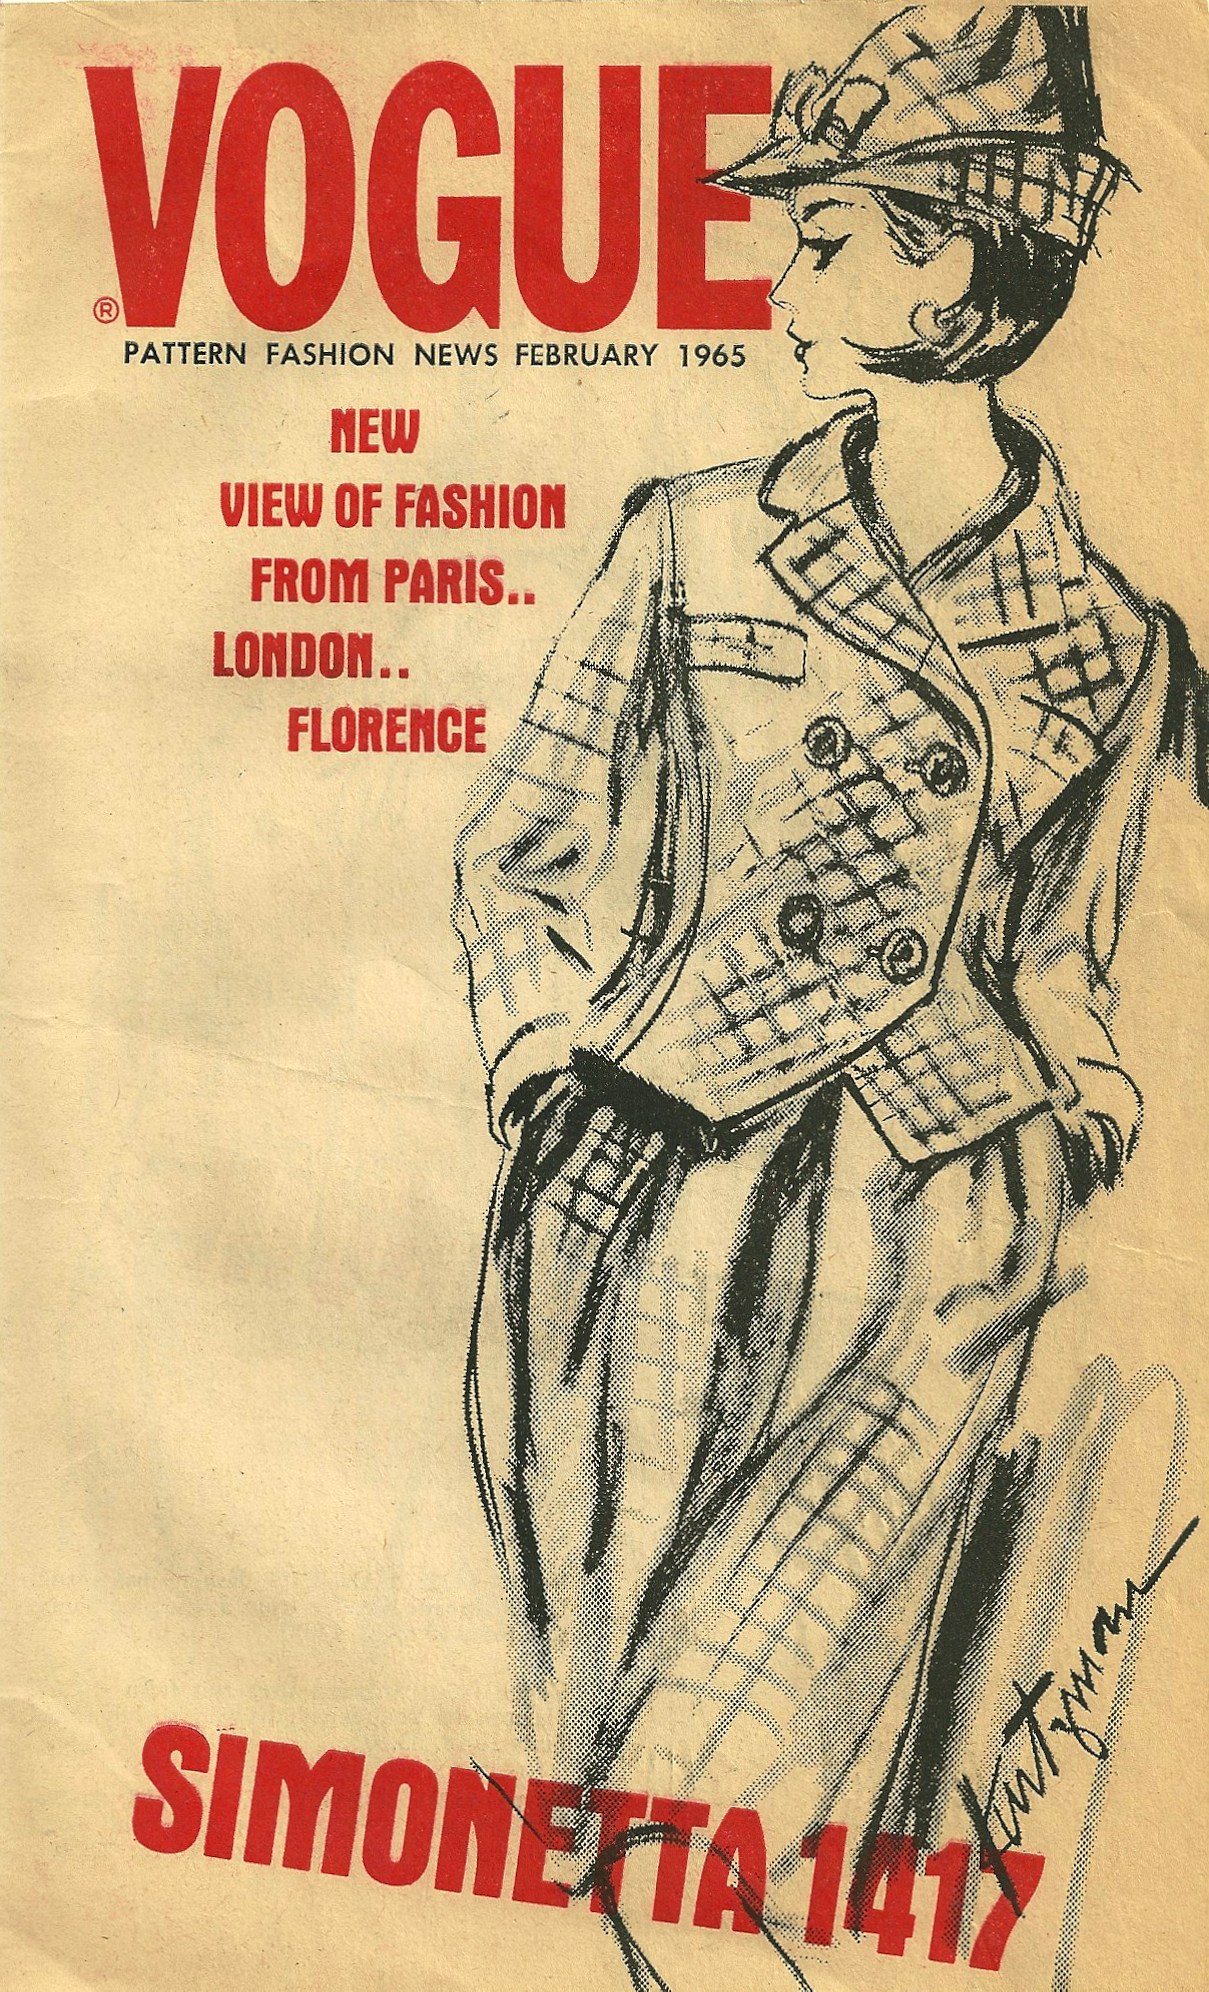
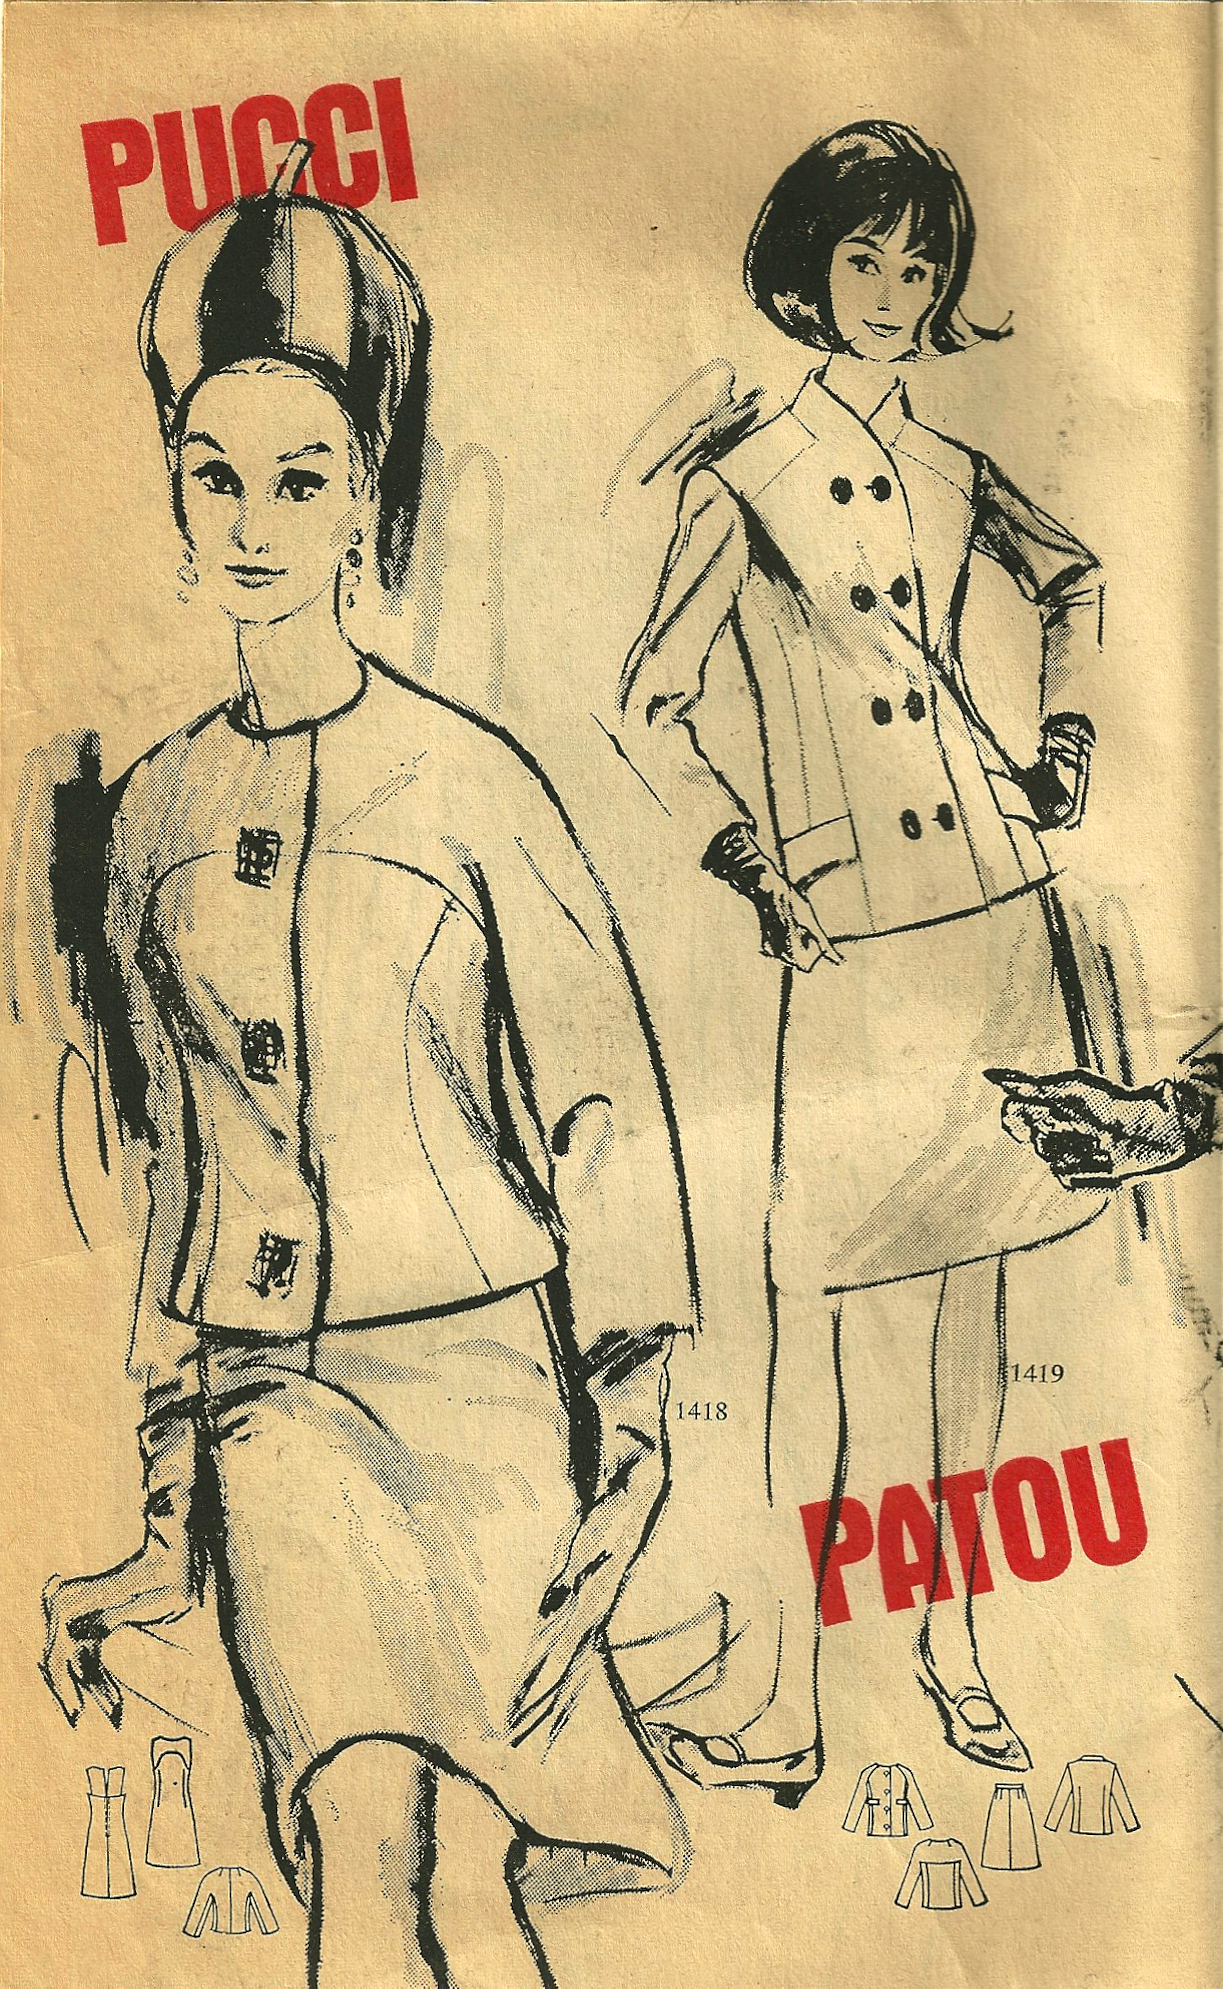
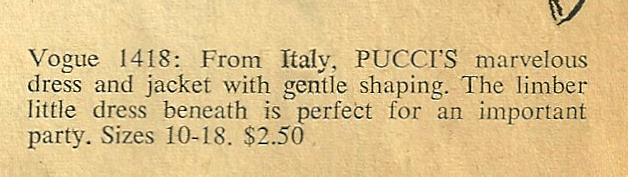
Answering this question reminds me of the beginning sentence of Tolstoy’s Anna Karenina: “All happy families are alike; each unhappy family is unhappy in its own way.” Except that there is nothing unhappy about sewing blogs! I think my interest in the fashions and vintage patterns of the ‘50s, ‘60s, and ‘70s helps to differentiate my blog from many others. I really enjoy making connections between mid-century fashions and the fashions of today. The fact that I can make a dress using a 50-year-old pattern (or 50-year-old fabric!) and have it look totally current continues to amaze me – and sharing this excitement hopefully makes my blog just a little bit unique.
How does my writing process work?
I wish I had a magic formula to share! Fortunately, sewing is a slow process, at least for me, so I have lots of time to think about writing while I stitch away. I sometimes make notes to myself (and take photos, of course) while sewing and sometimes I wish I had made notes and taken more photos! I usually try to do a little research on the pattern (or fabric) I am using, to help “tell the story”. I actually often start with a title for my post, which can sometimes take a lot of thought and time. That small detail usually sets the narrative for me, so that I am able to proceed with the story. One thing I try to do is keep my posts to a reasonable length (a guideline I am not following right now…). Because of this, I do a lot of editing during and after the writing process.
Nominate!
Now comes the fun part – and difficult part, too. Fun because I can nominate two fellow sewing bloggers to participate in this same survey, and difficult because there are so many interesting and talented bloggers about whom I would love to learn more. However, two talented dressmakers whose blog posts I never want to miss are my nominees: Janene of ooobop and Brooke of Custom Style. Of course, you, Janene and Brooke, are under no obligation to participate, but I do hope you will accept the “mission”!