Sometimes in life – and in sewing – you have to alter your plans to accommodate the situation at hand.
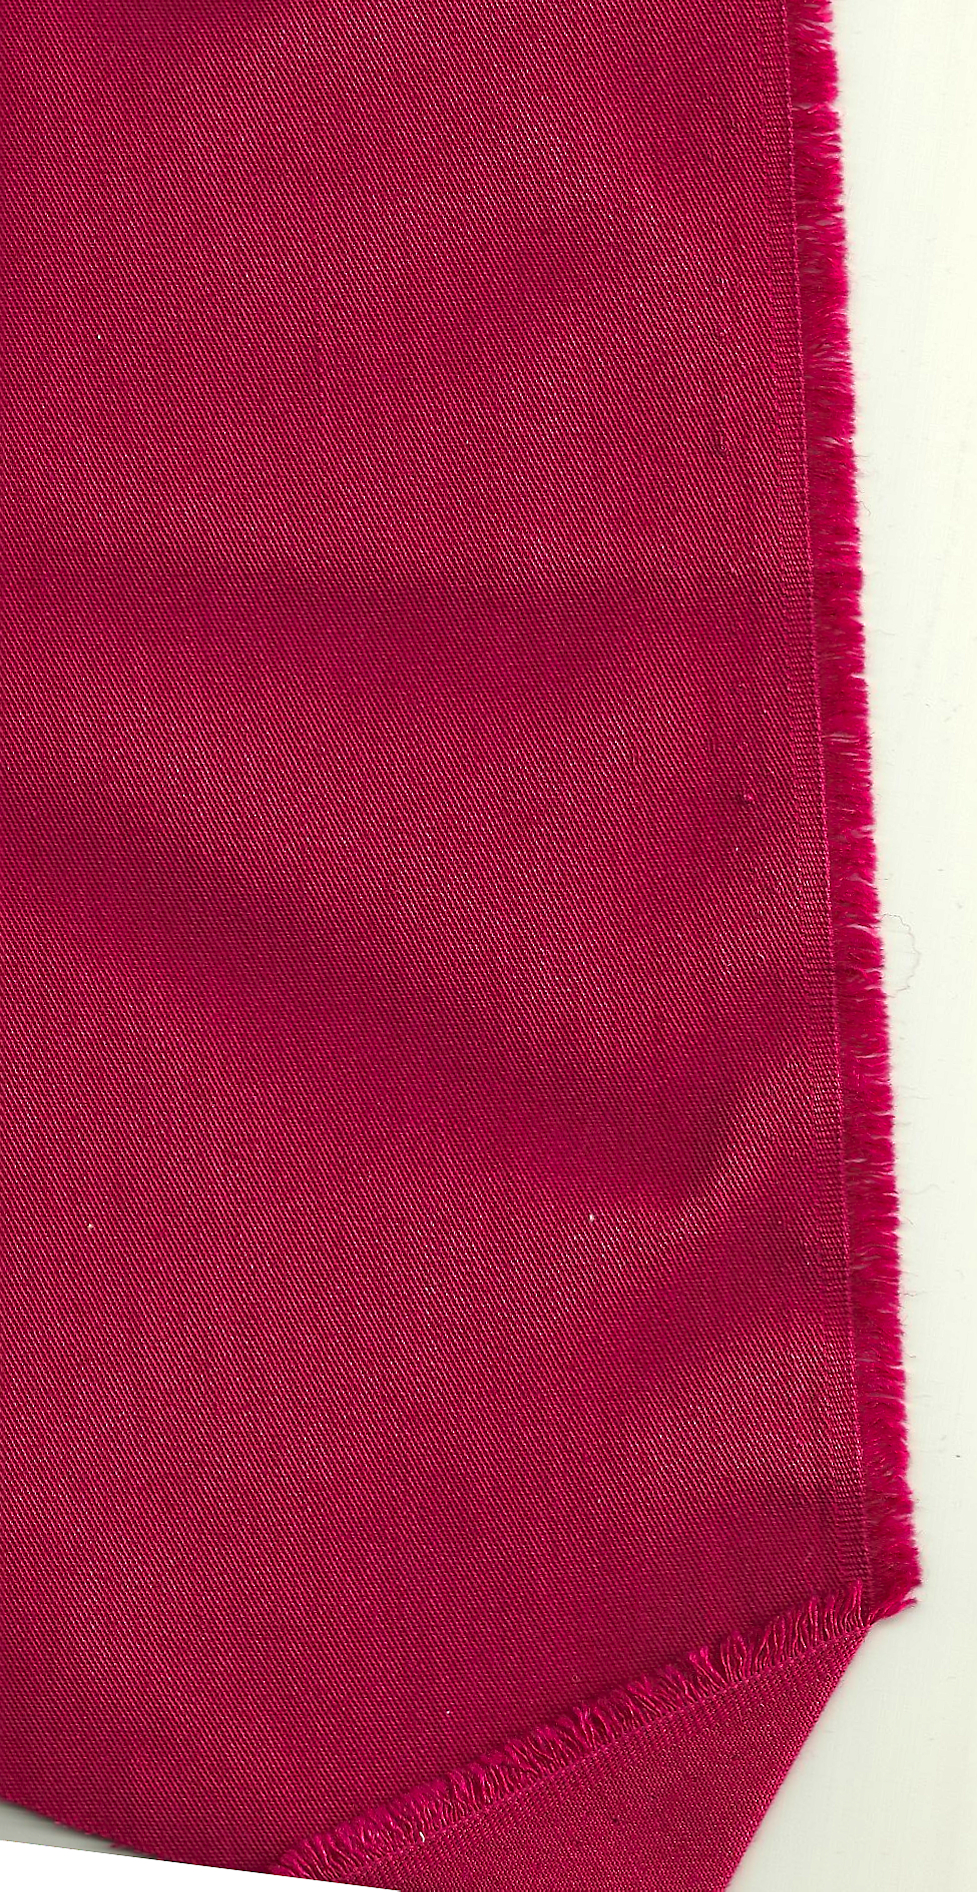
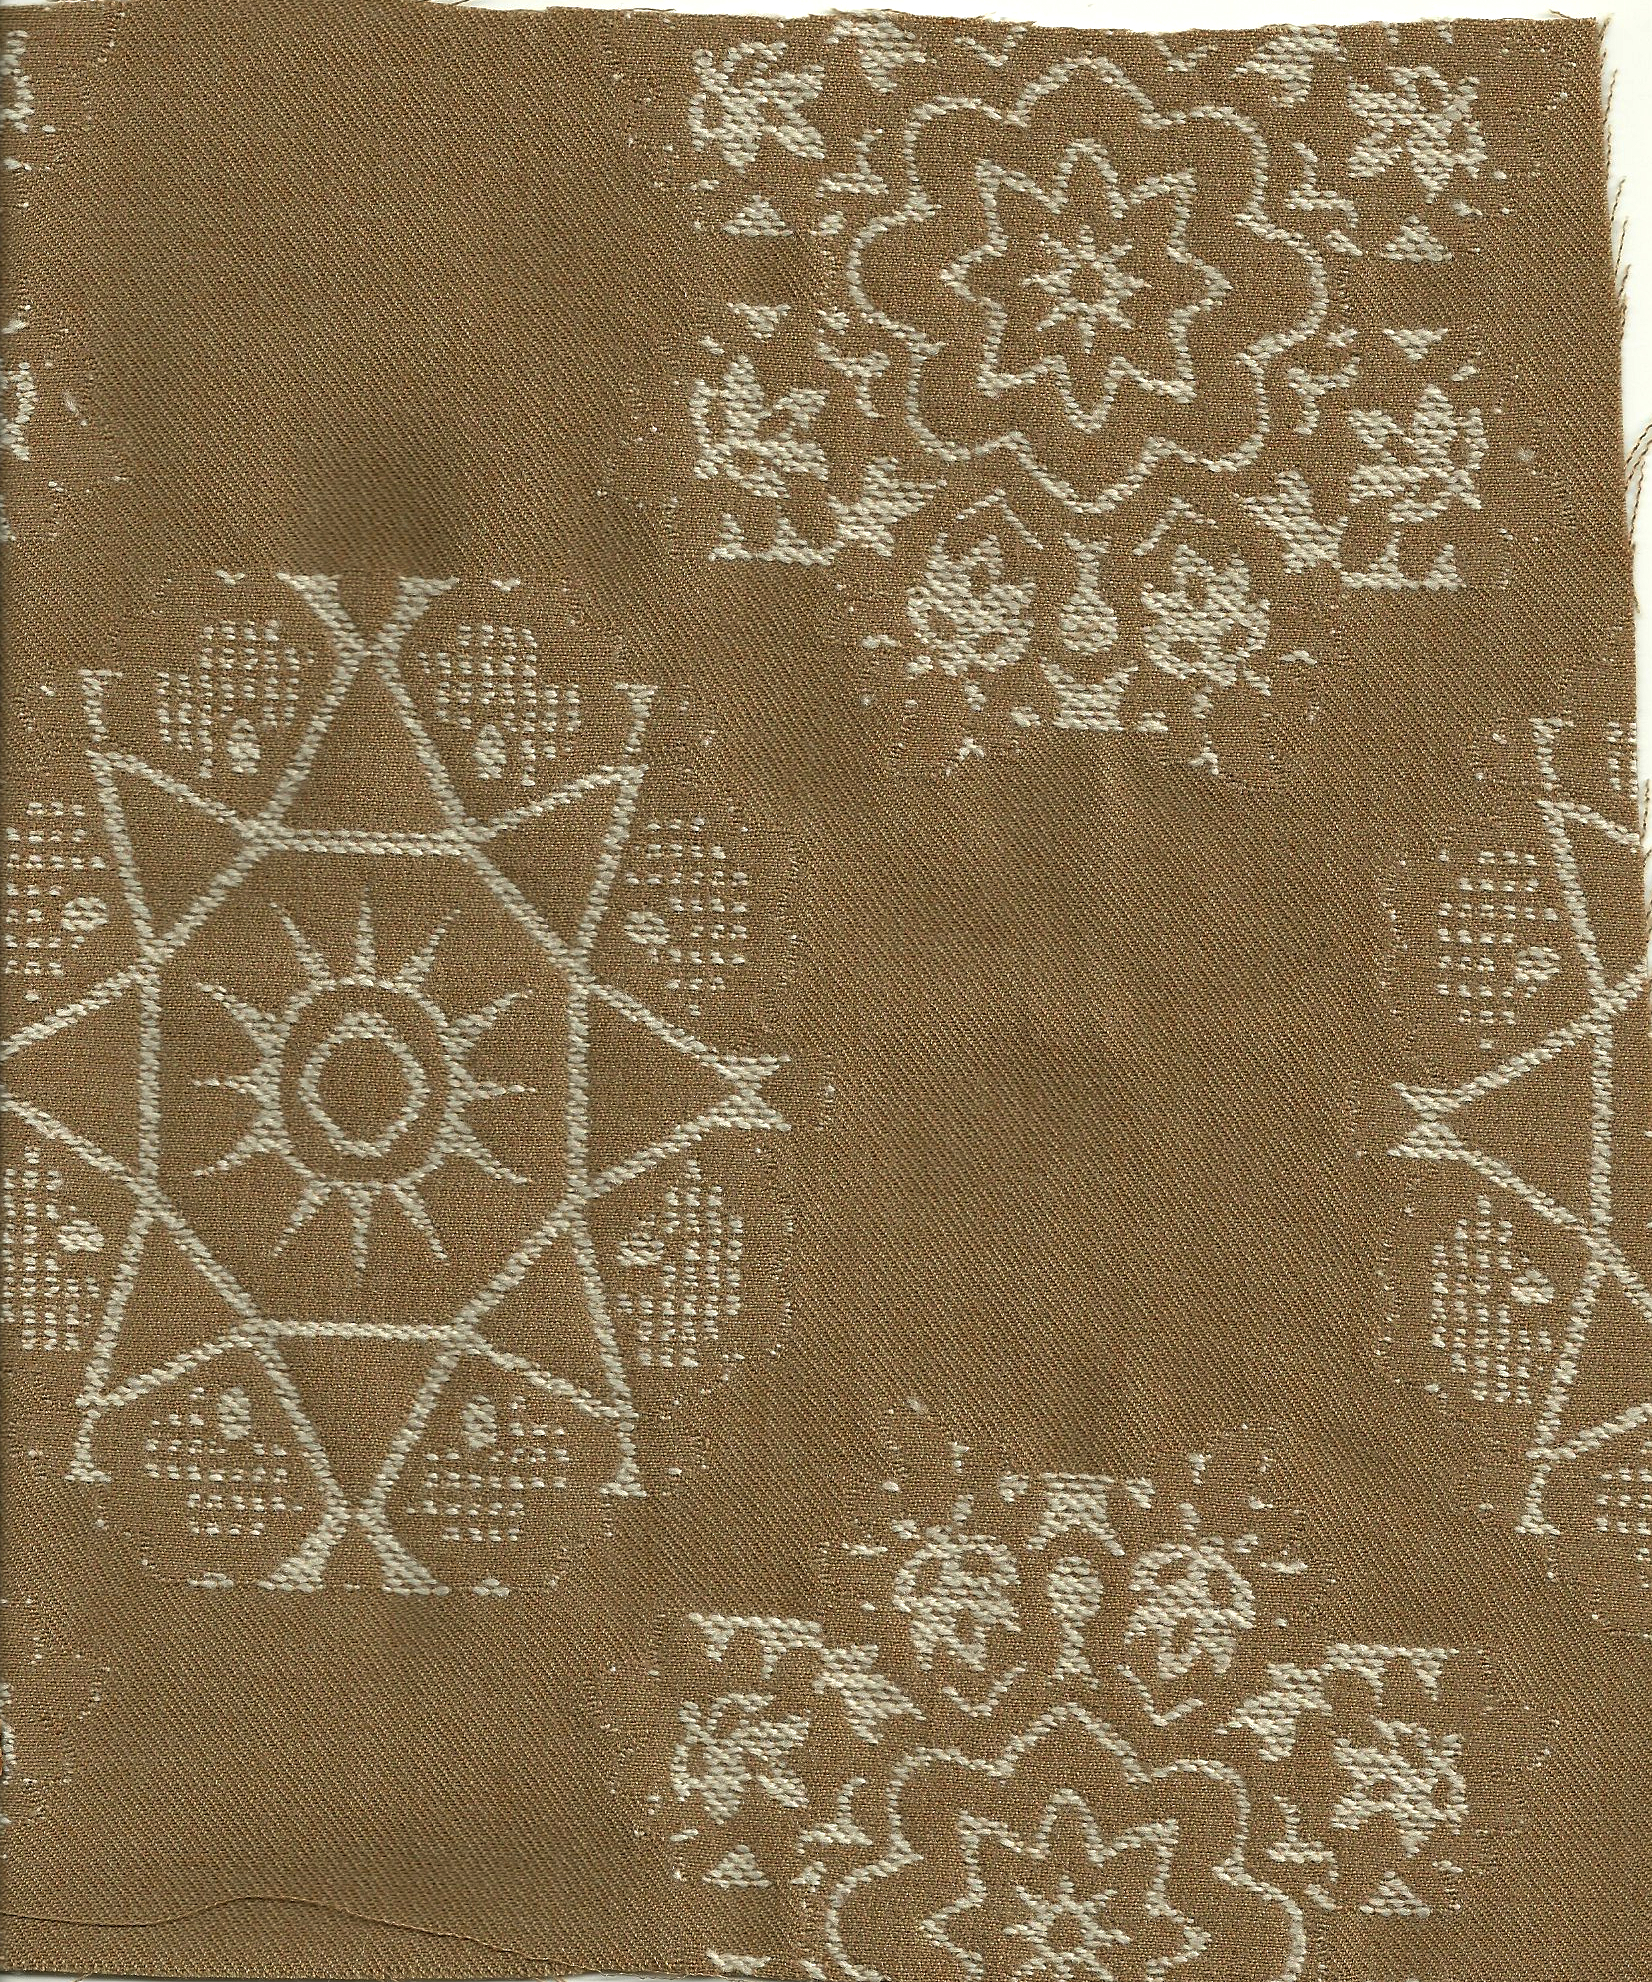
This is the situation I found myself in: I had my heart set on pairing a favorite vintage Vogue Designer pattern with a piece of vintage Moygashel linen I had found in an Etsy shop. They are both likely from the early 1970s and seemed destined to be together.
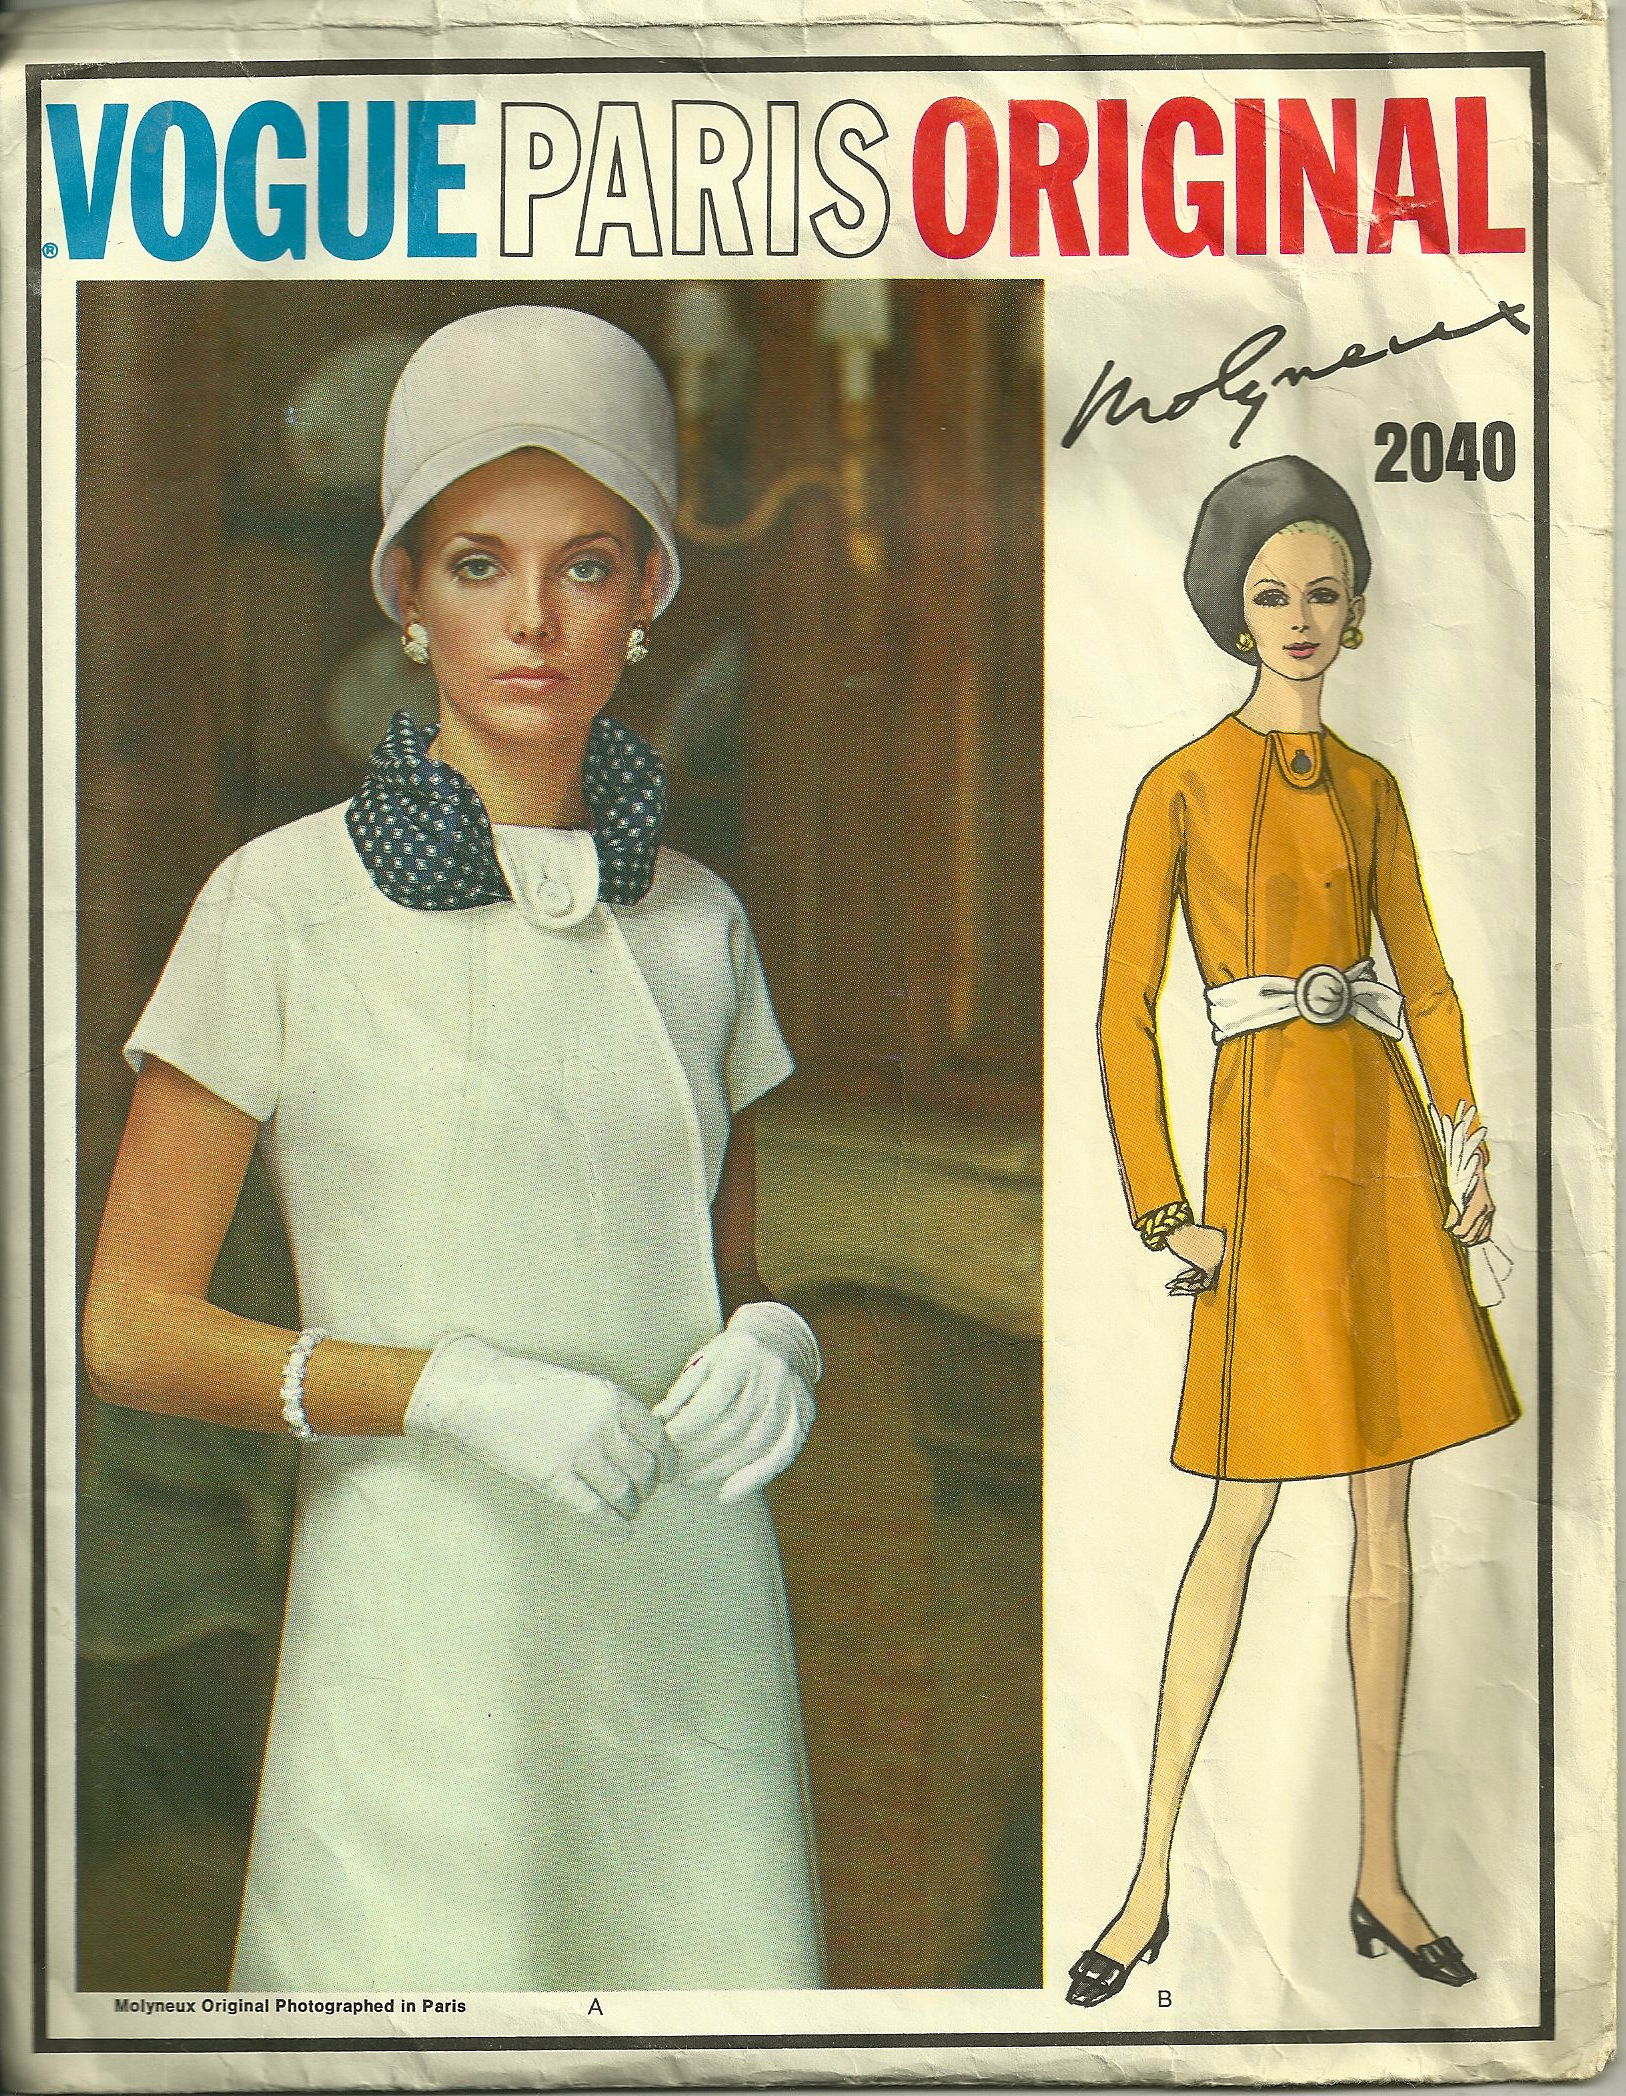
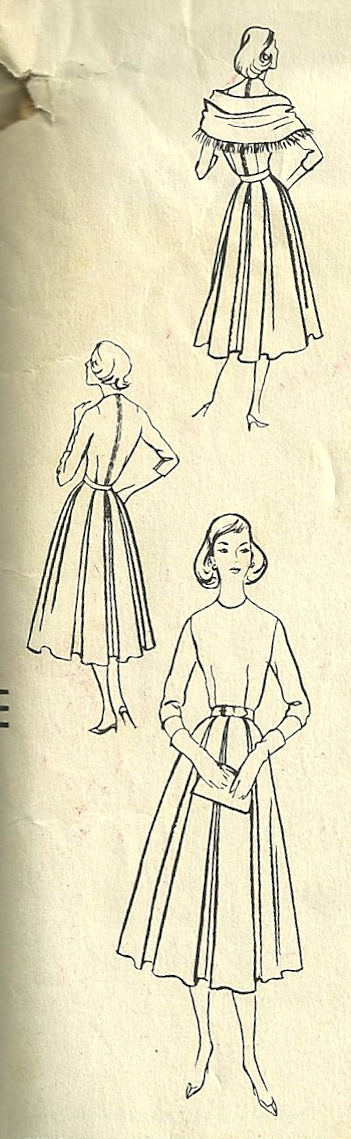
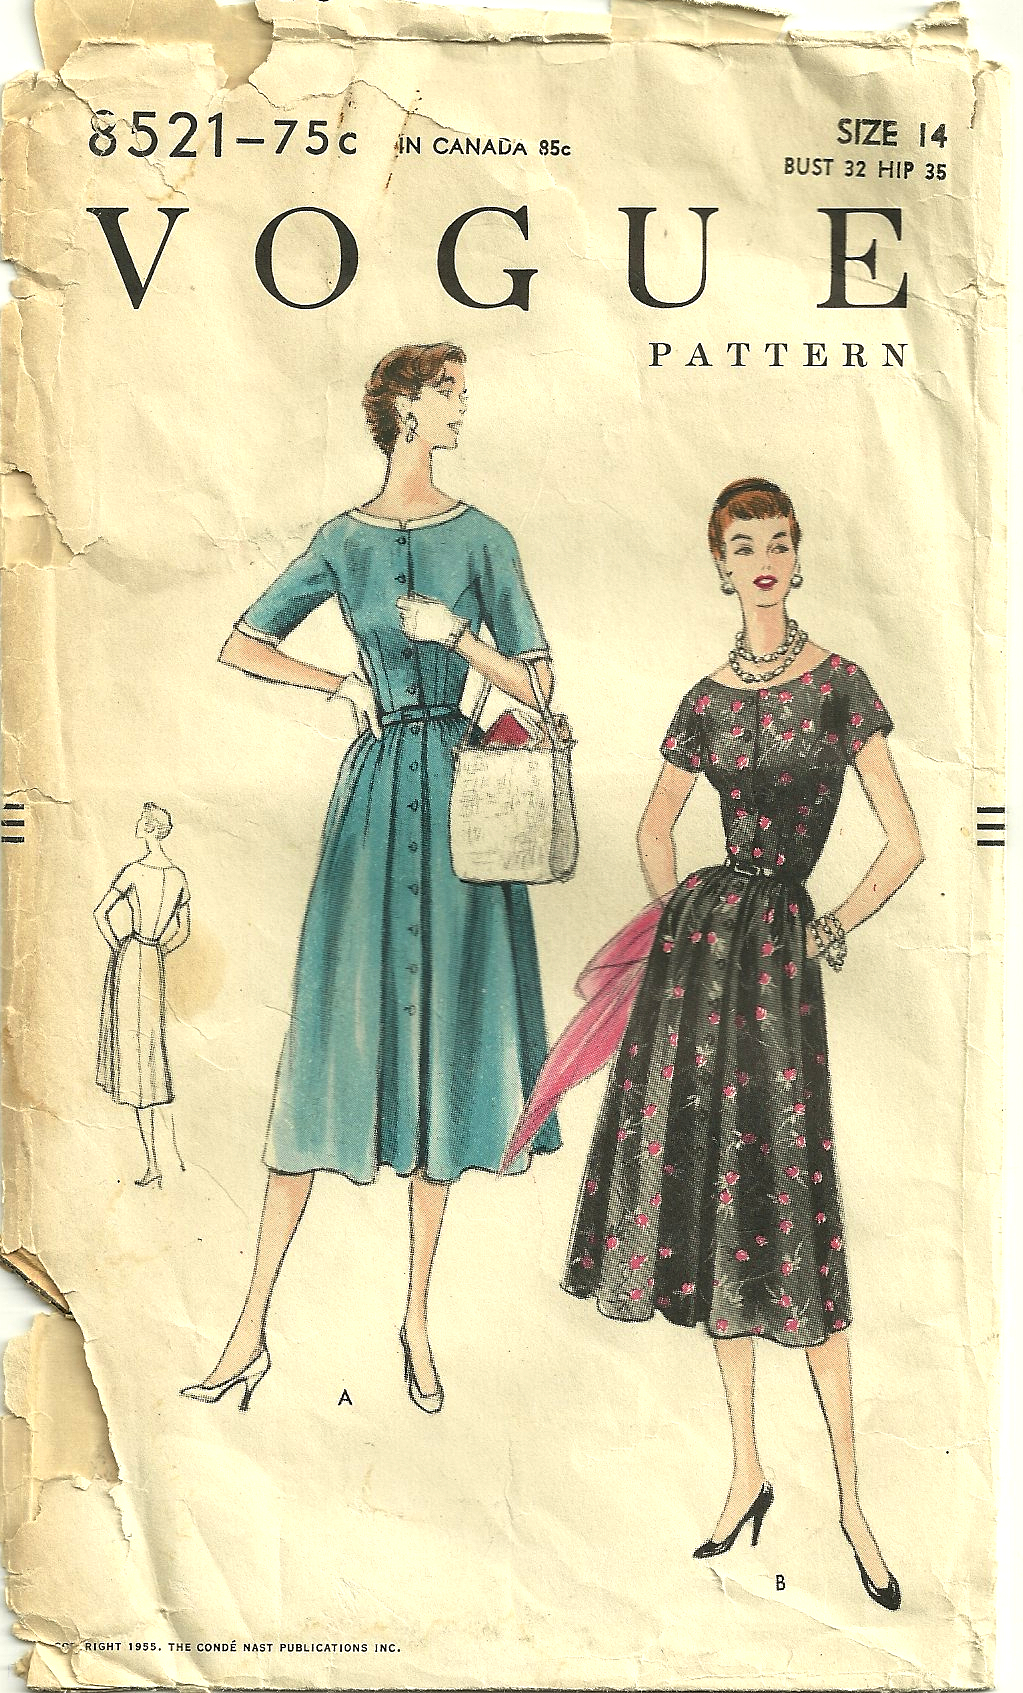
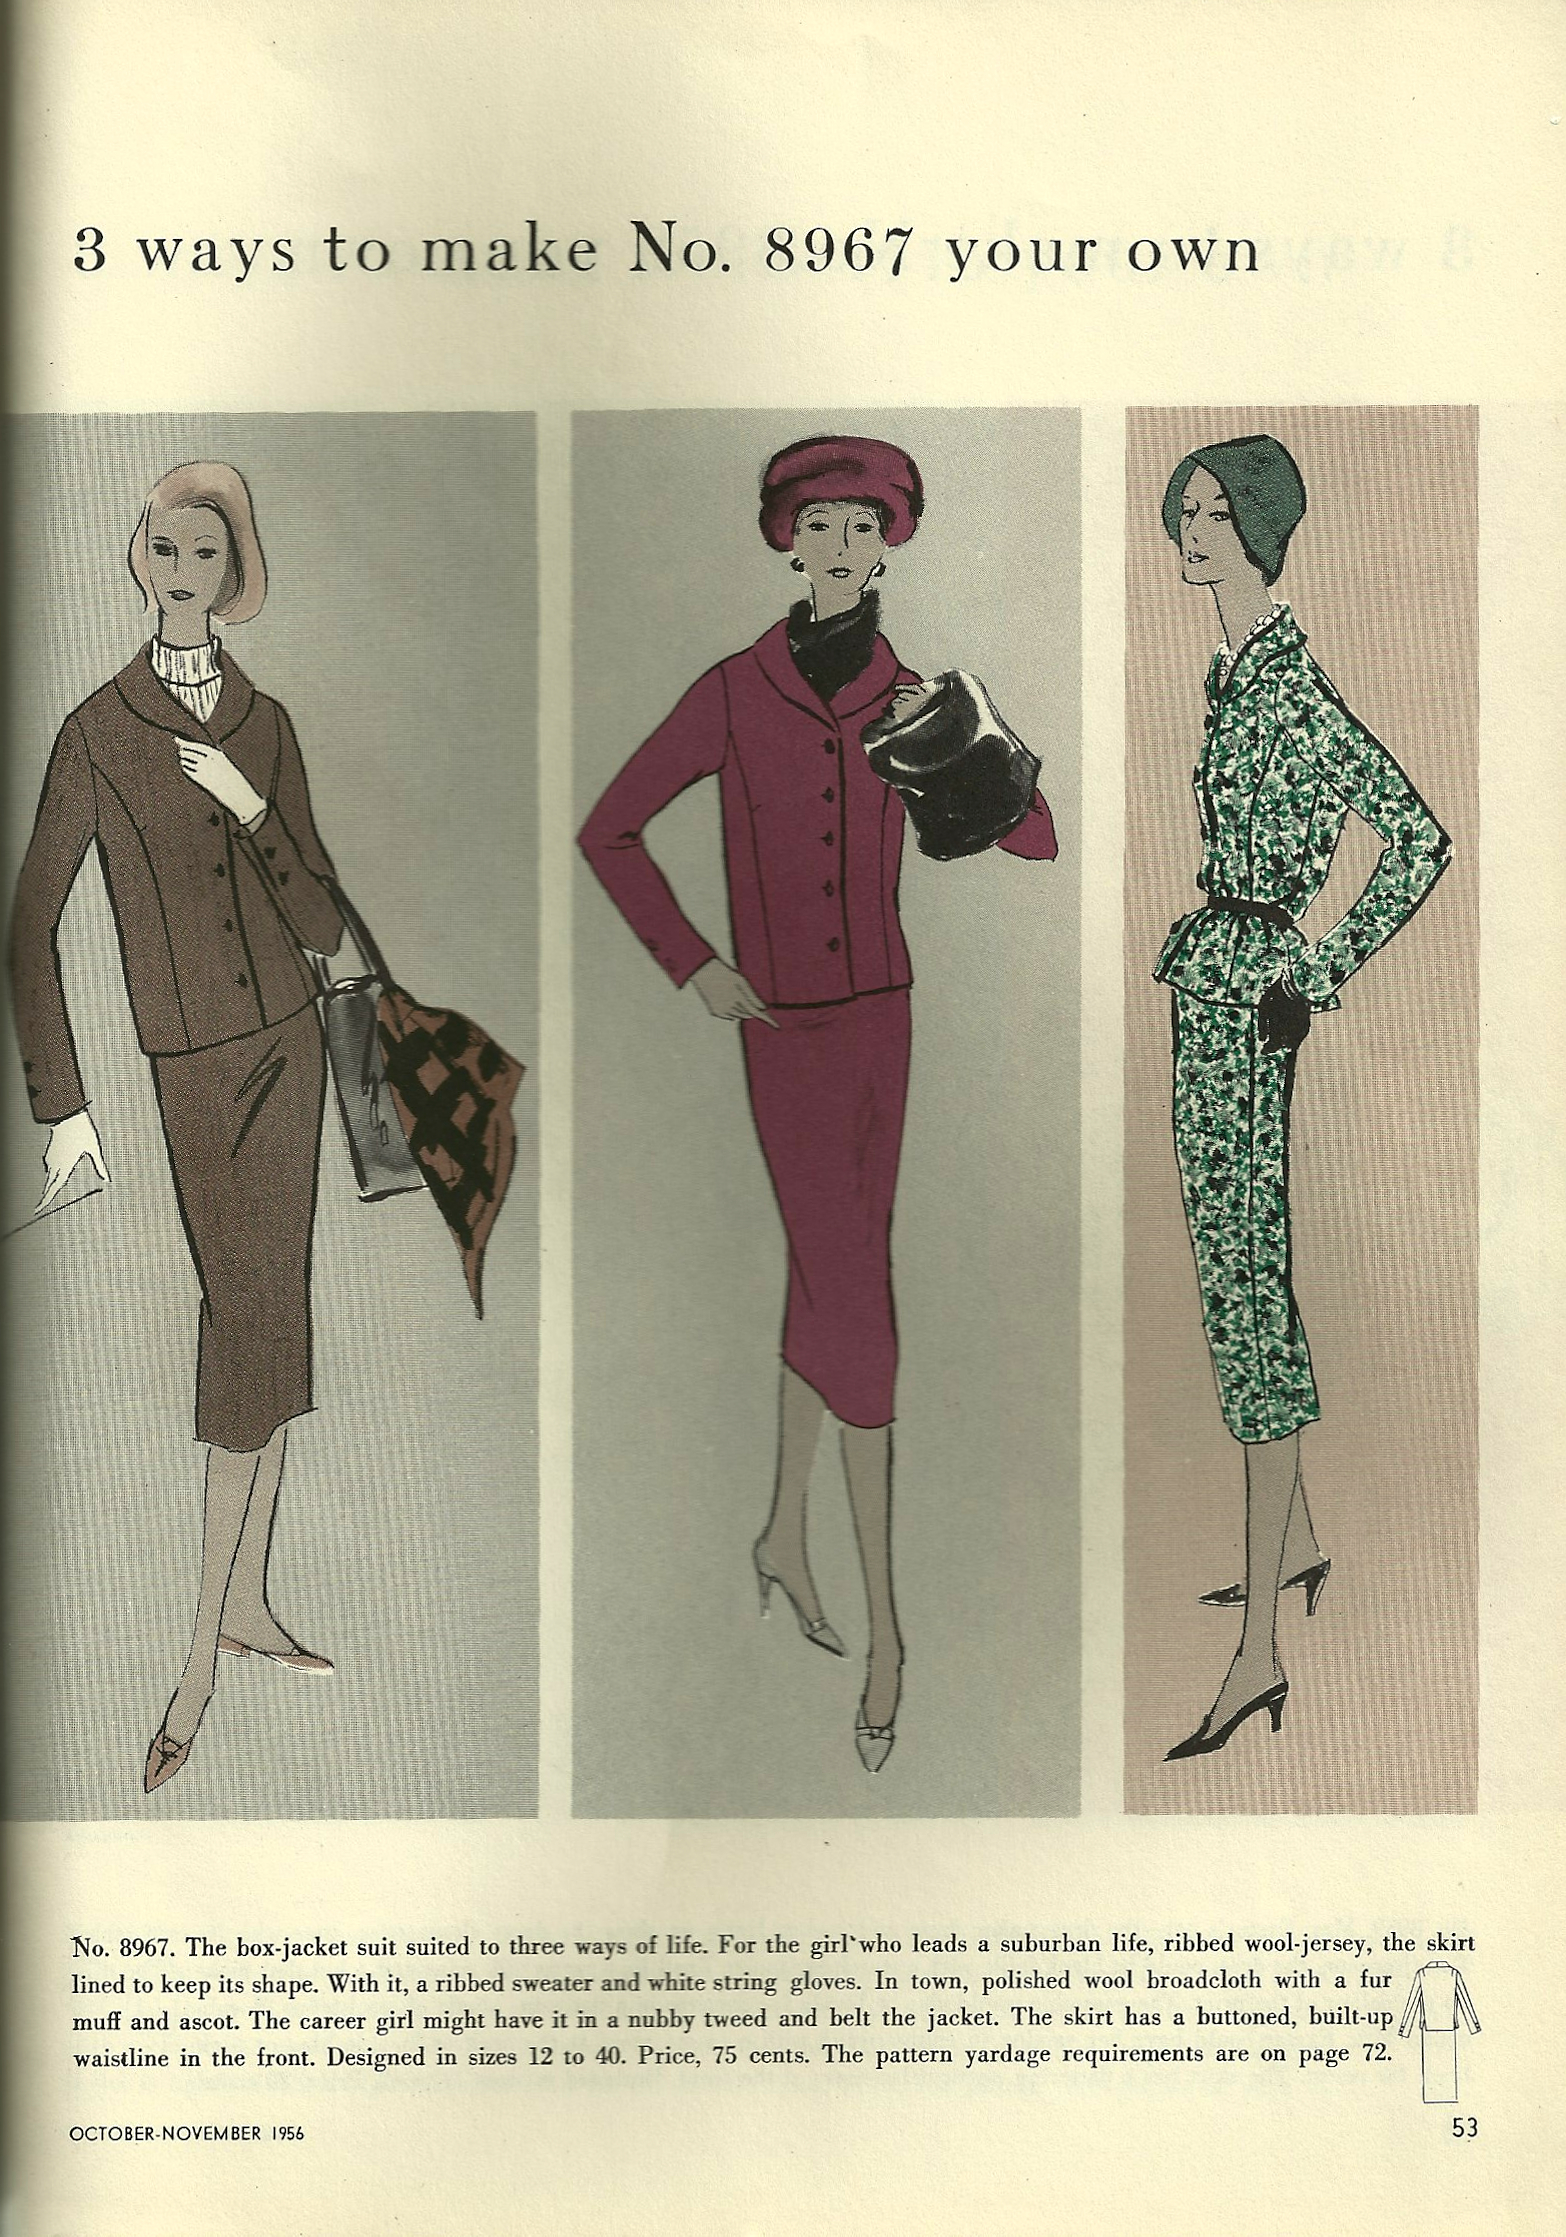
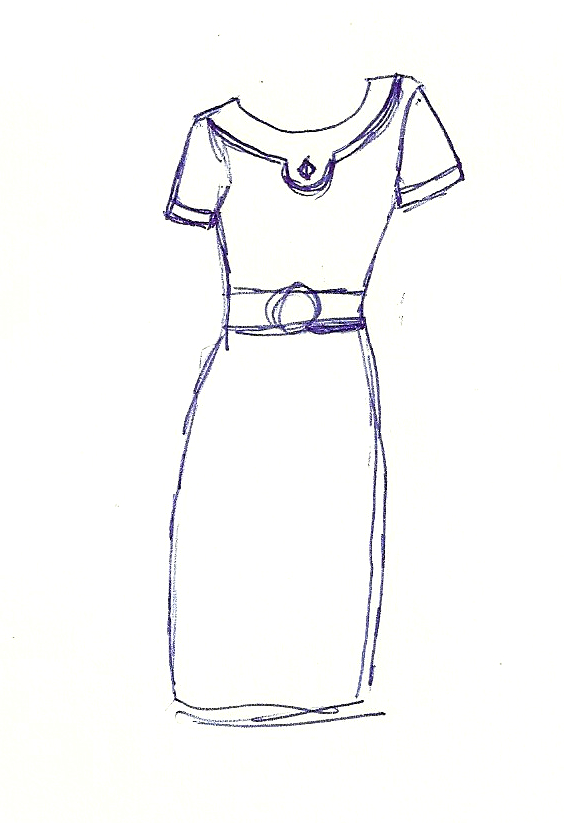
Molyneux has always been one of my favorite designers. My thought was to make the dress with short sleeves, but with a belt as shown in View B.
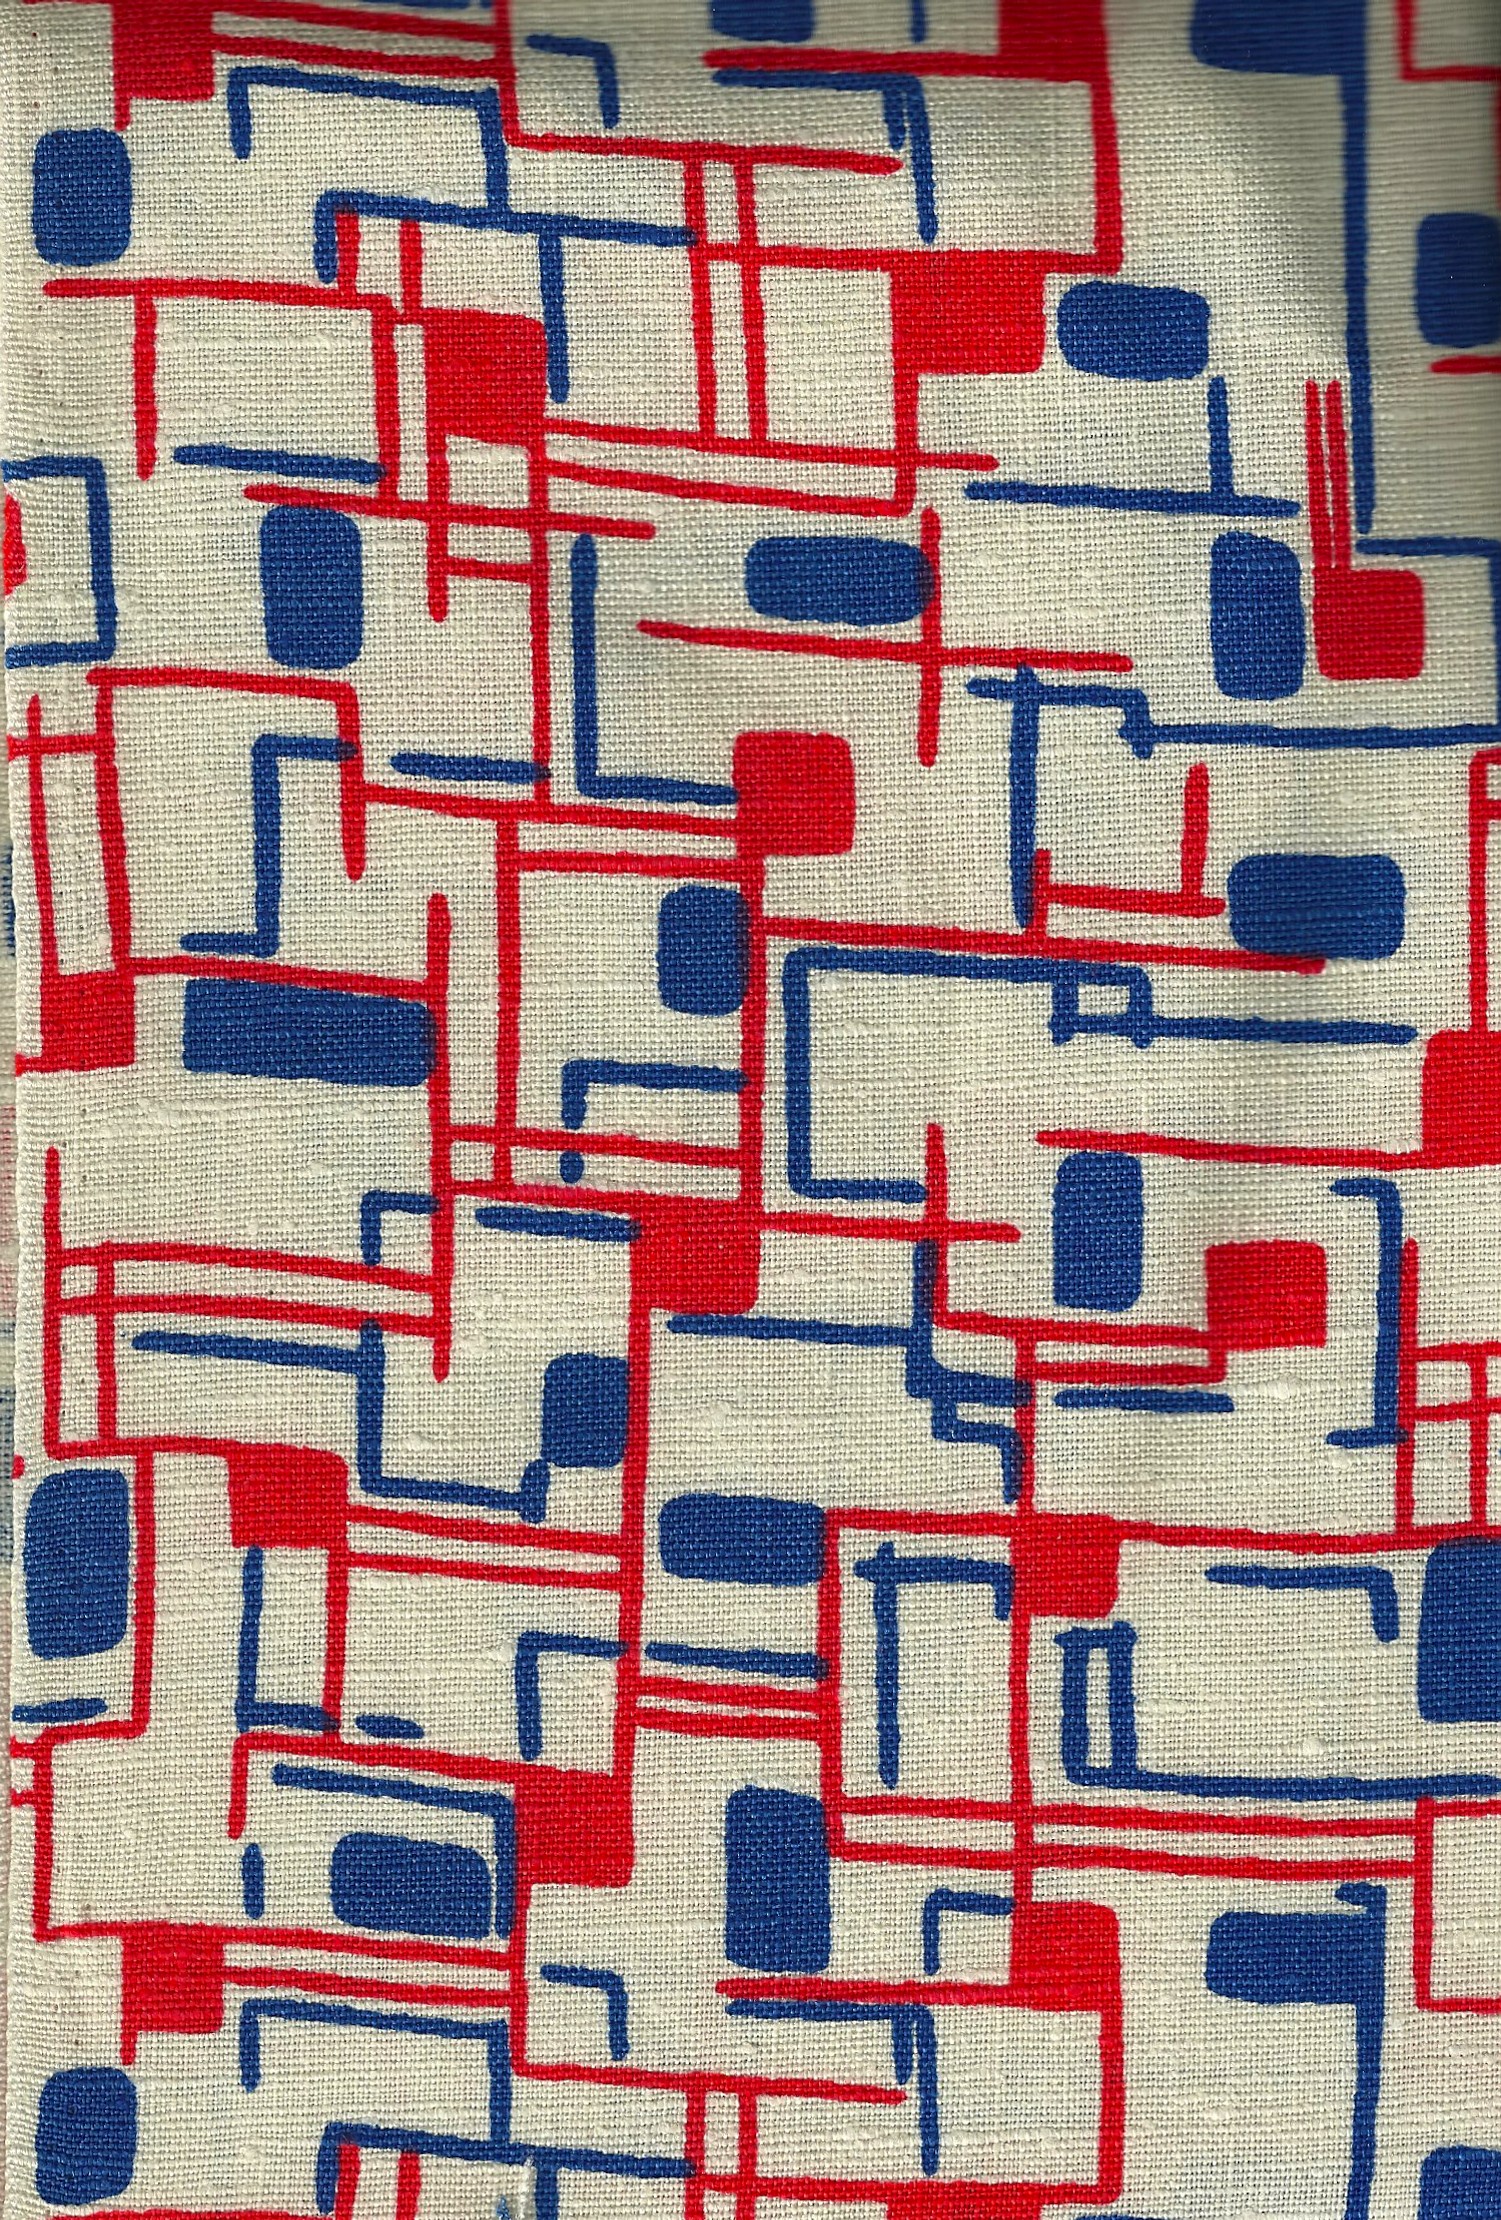
My best guess is that this Moygashel linen is from the very early ’70s.
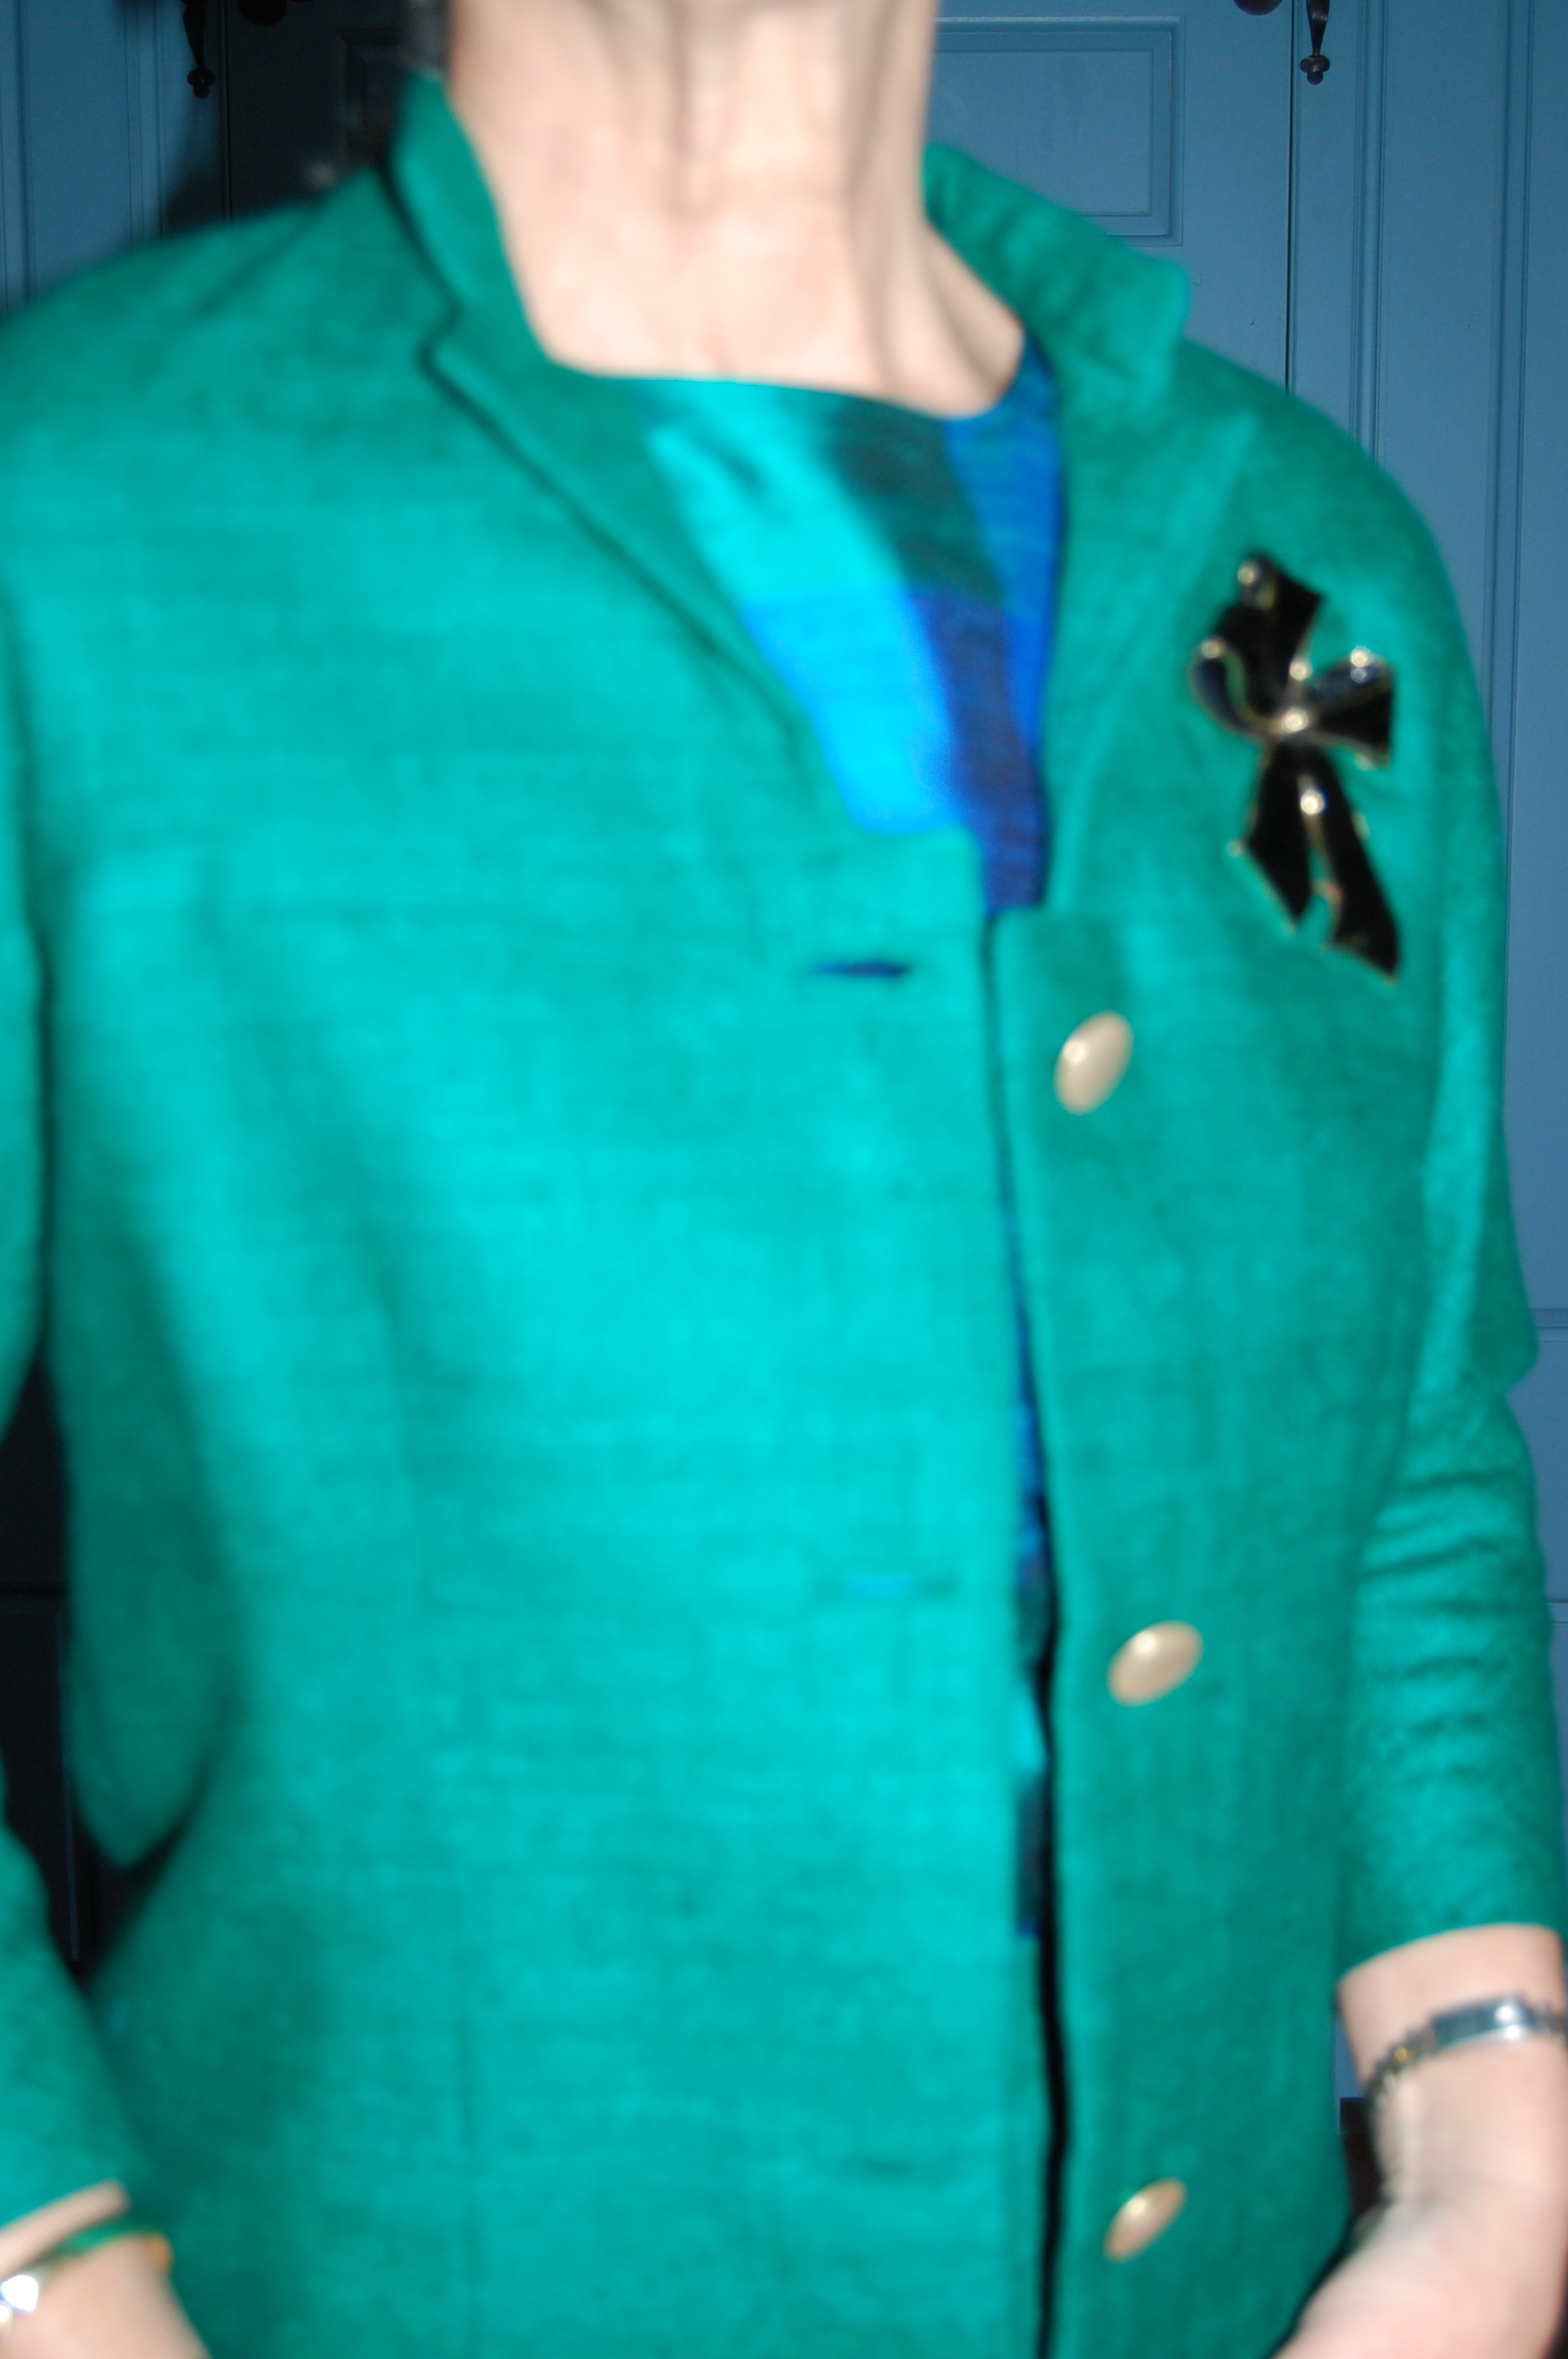
To make this pairing of fabric and pattern even more enticing, I was given this amazing pearl button by my dear friend Nancy C. (Thanks, Nancy!)
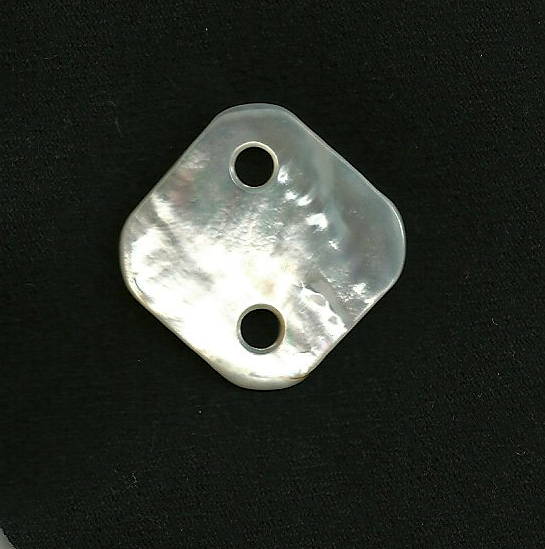
I love this unique button!
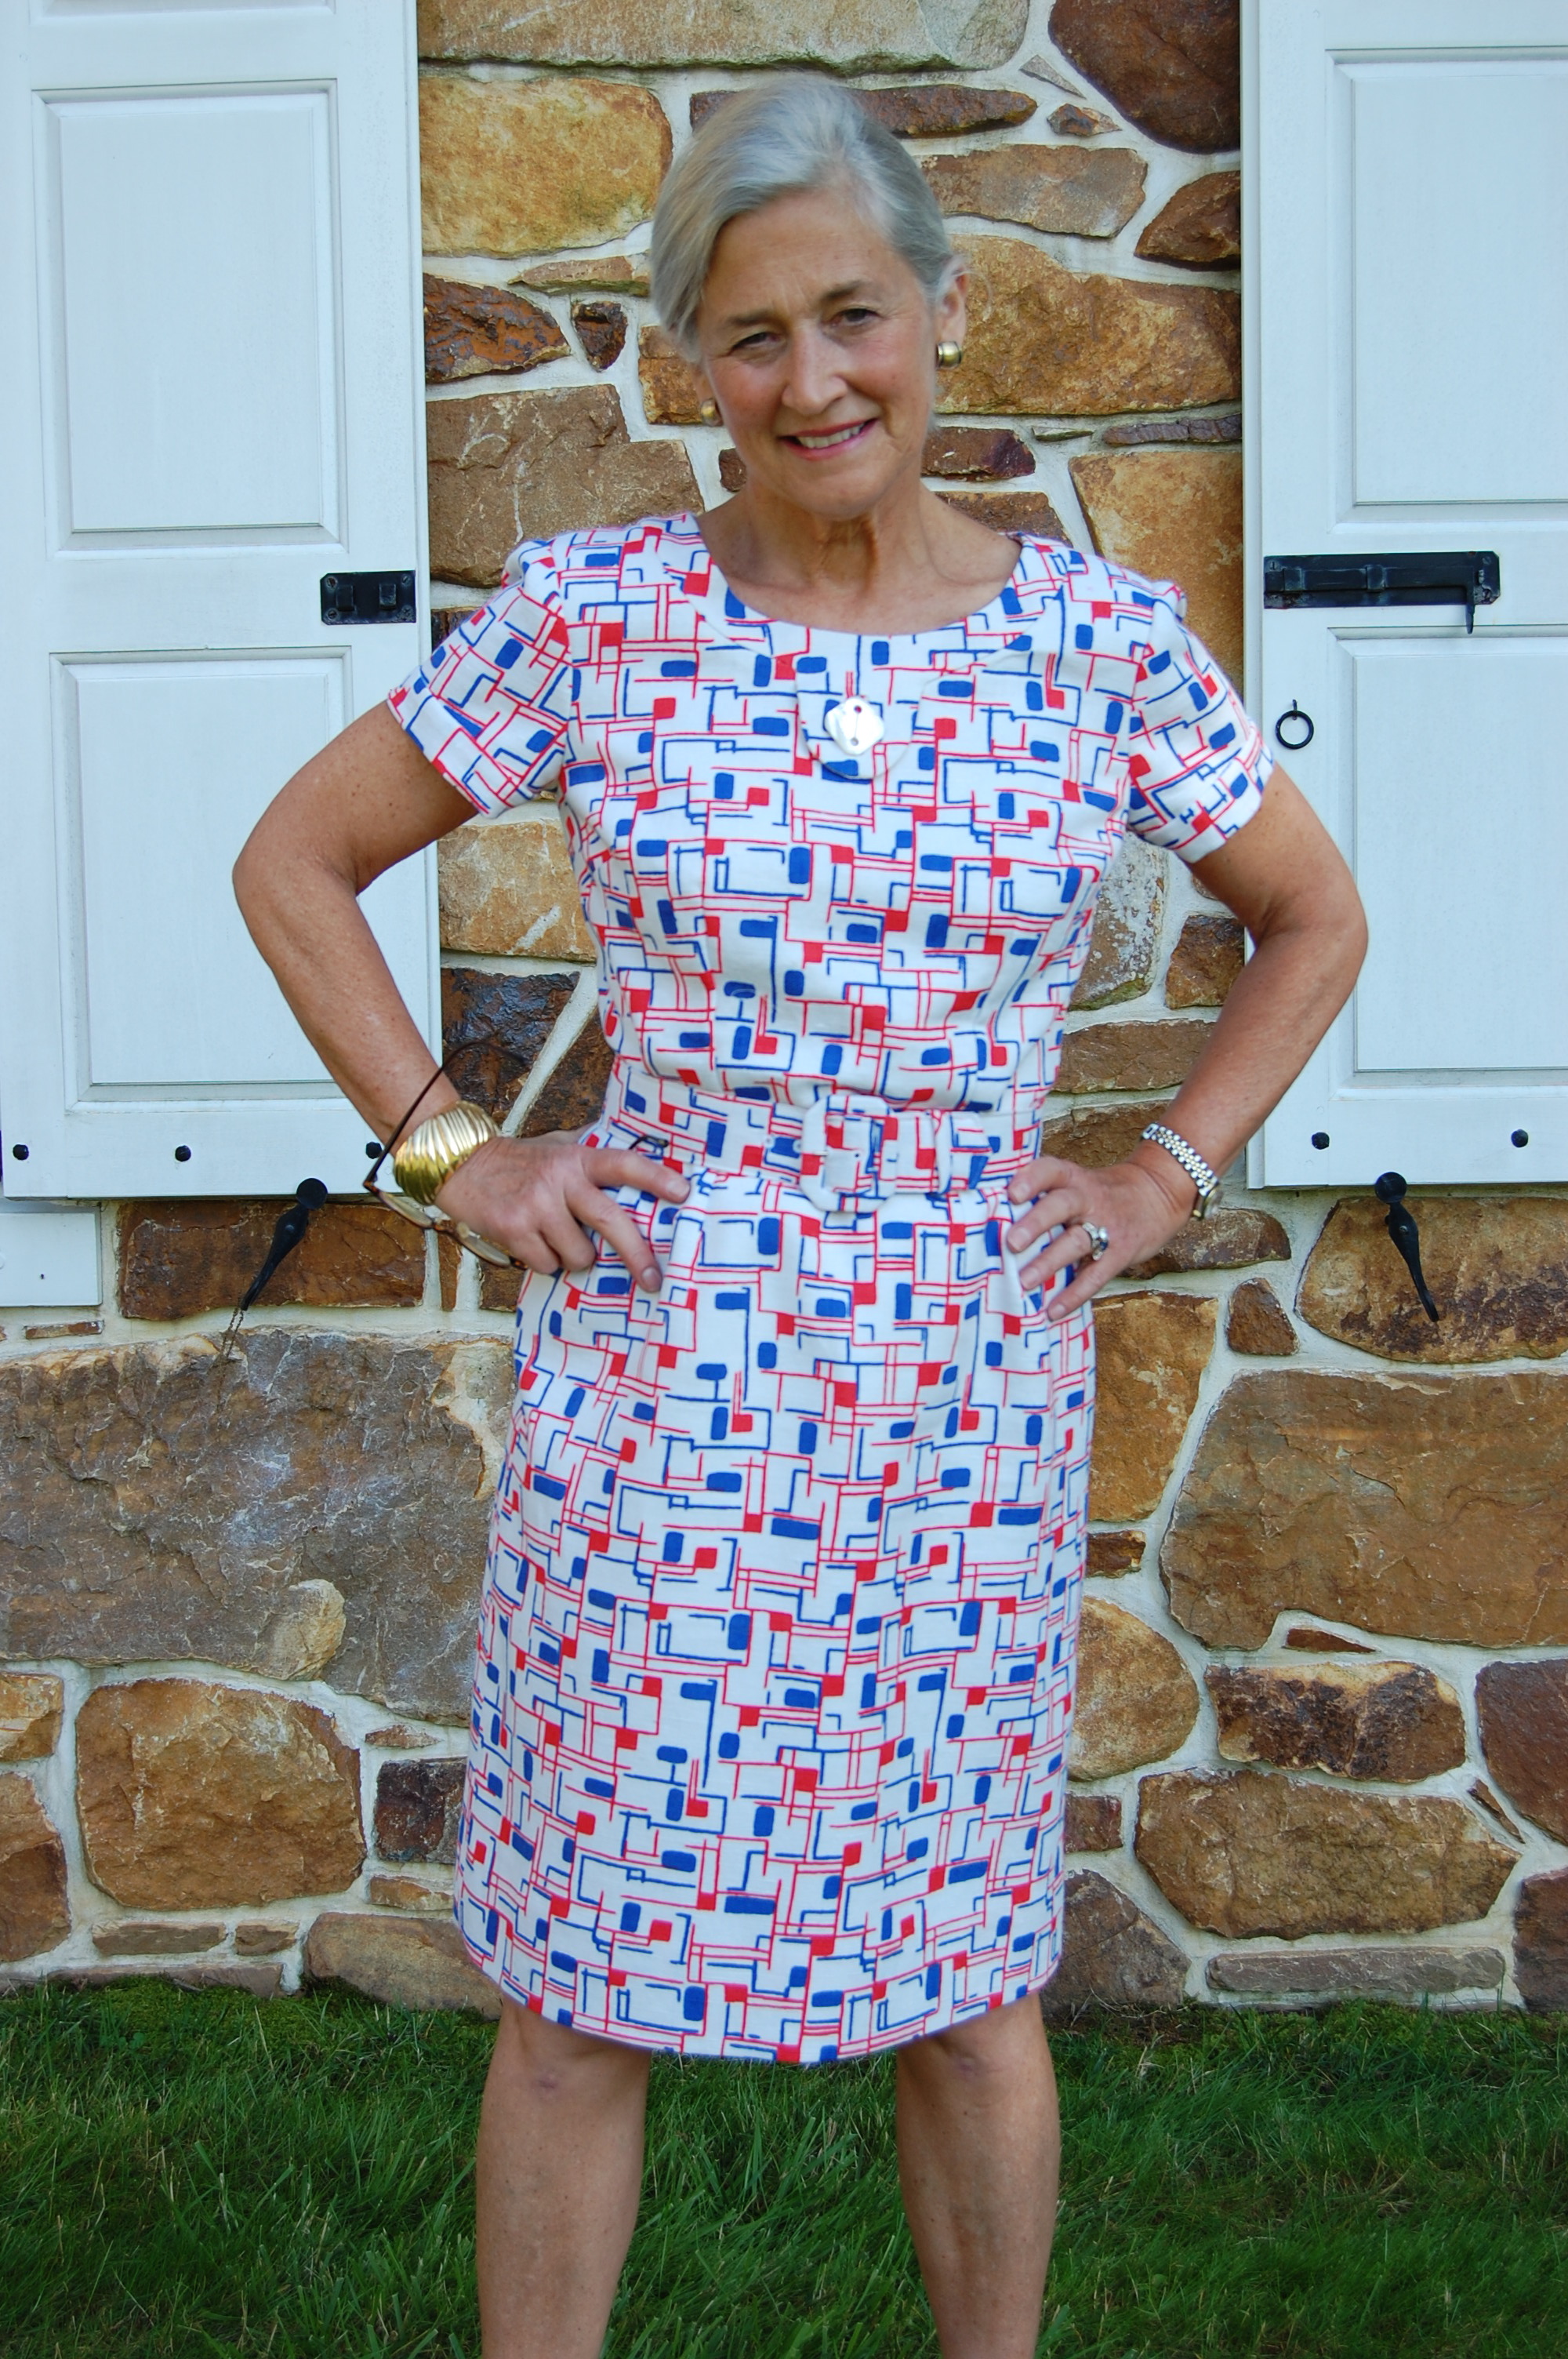
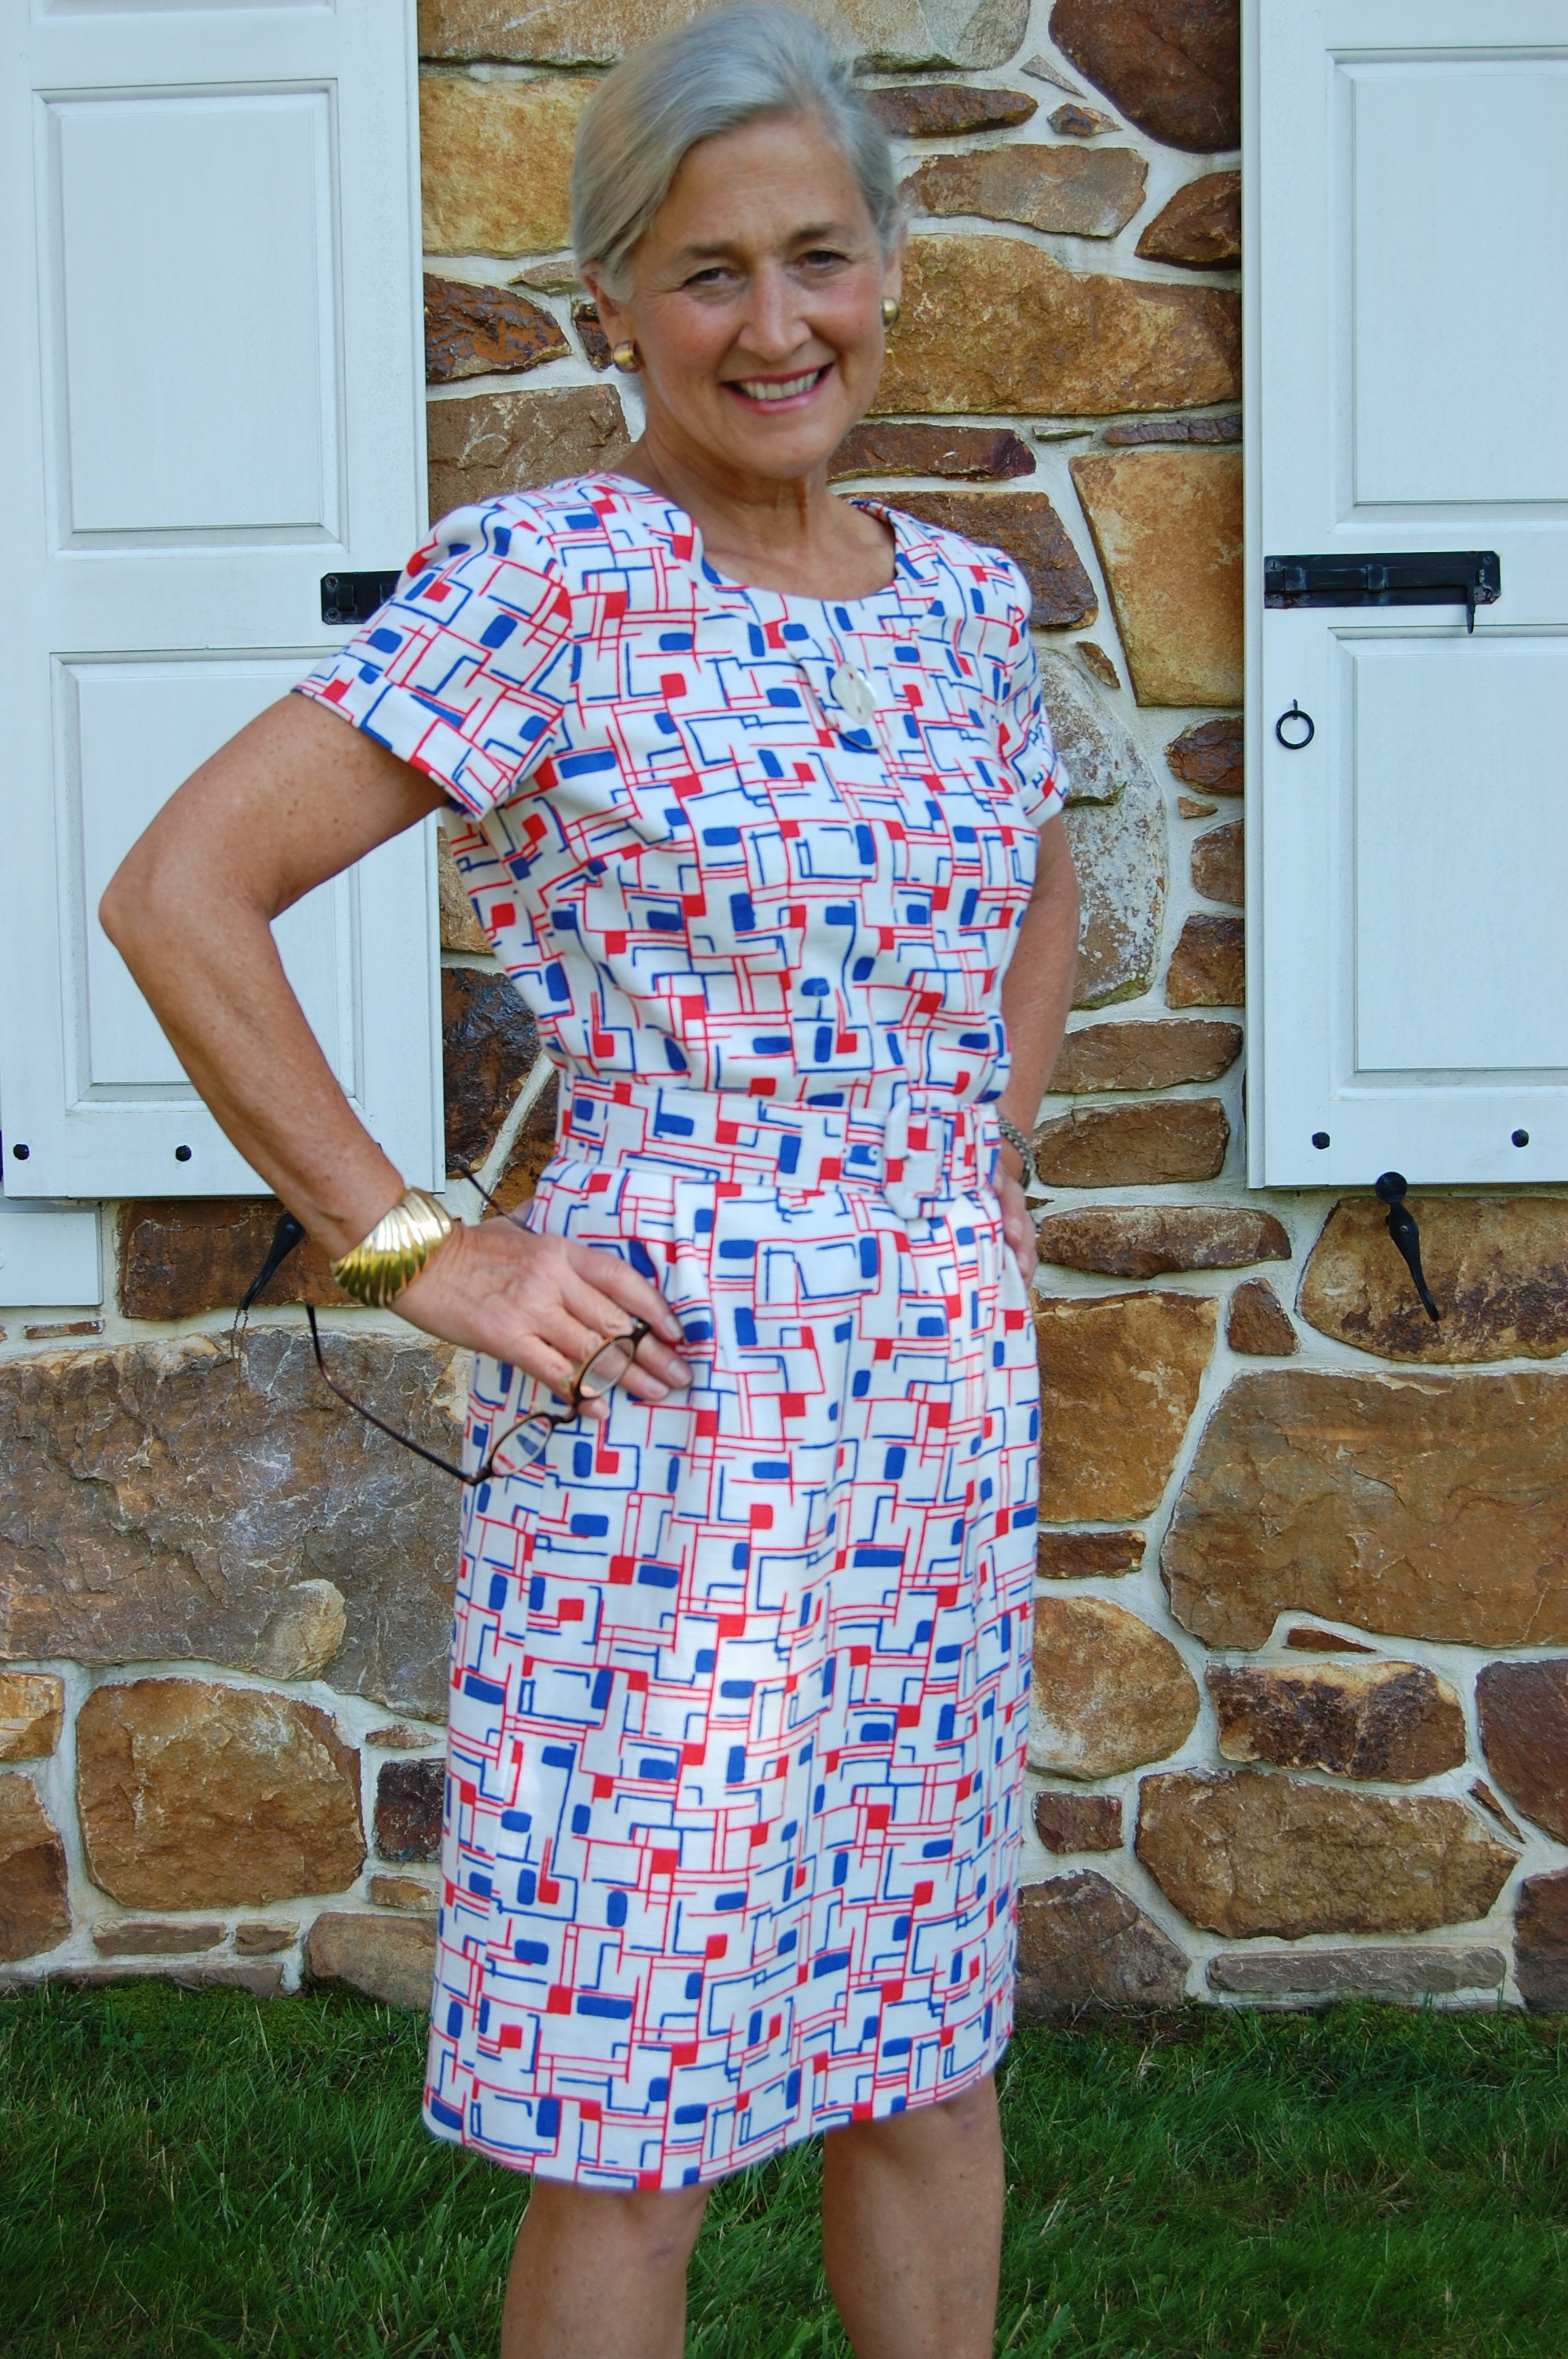
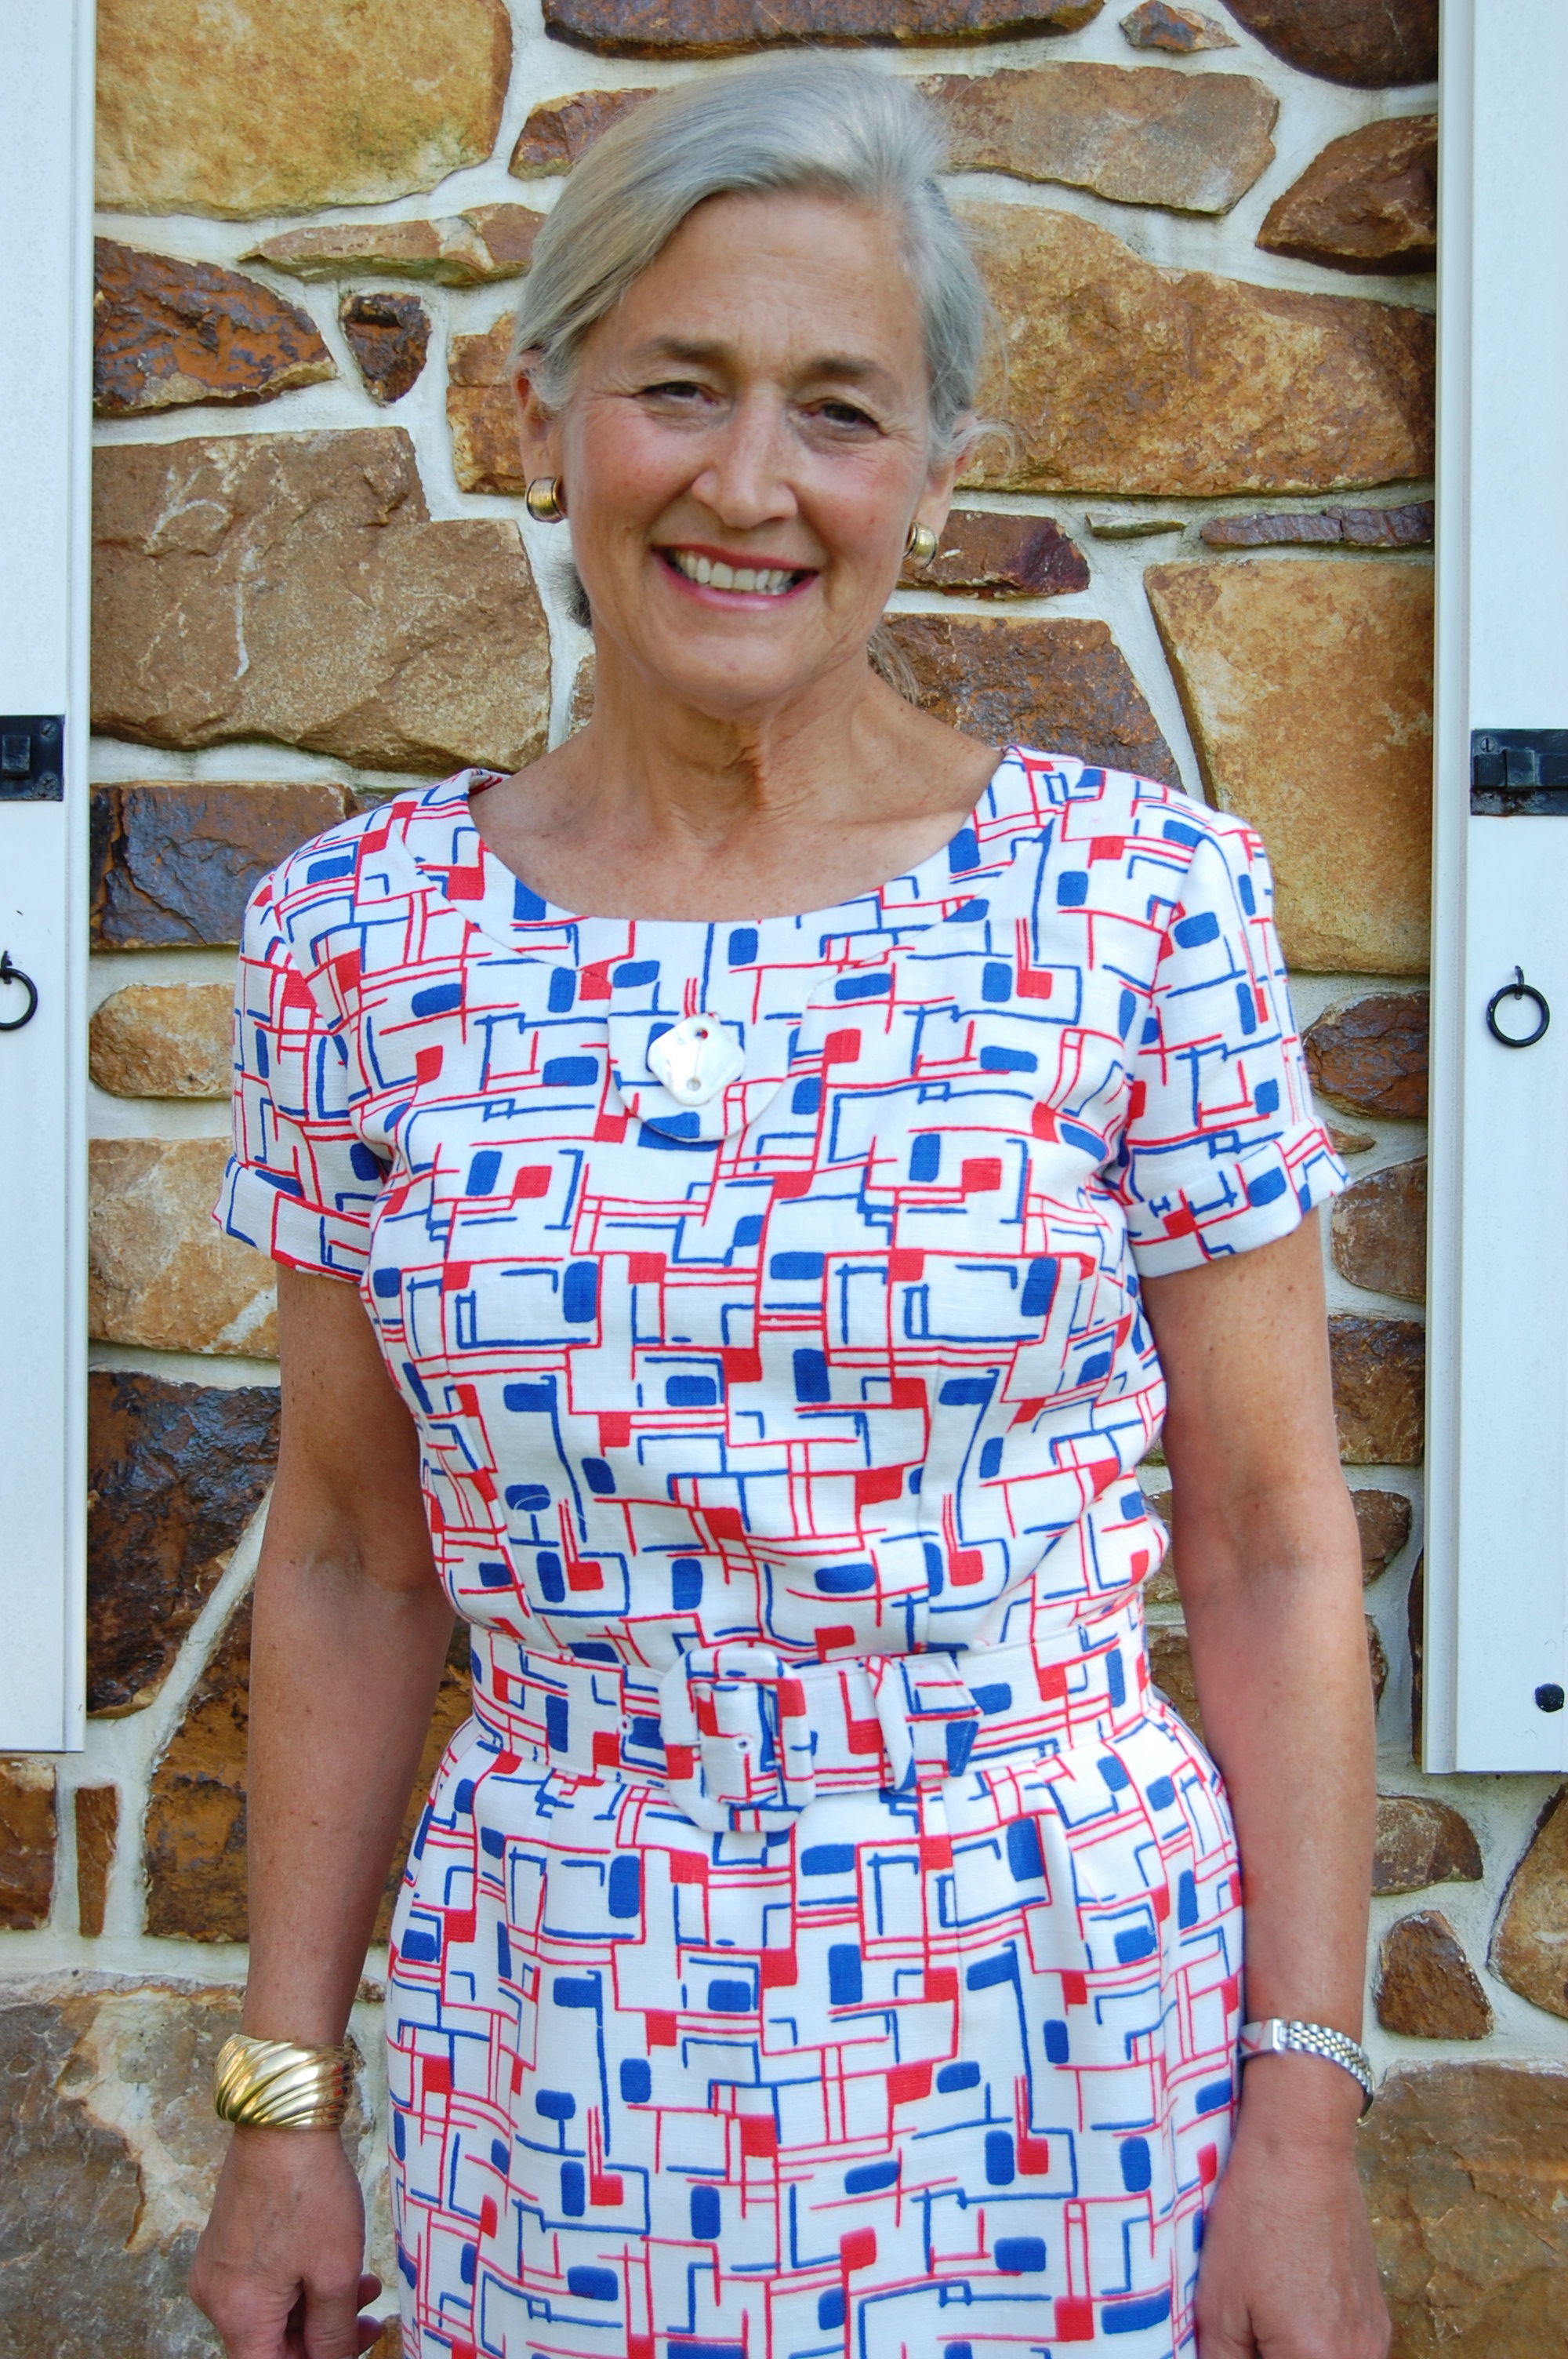
The square shape of the button – and its largeness (1 3/16” square) – and the fact that I had exactly one of these beauties – made it seem custom made for the design of the fabric and the tab featured on the pattern.
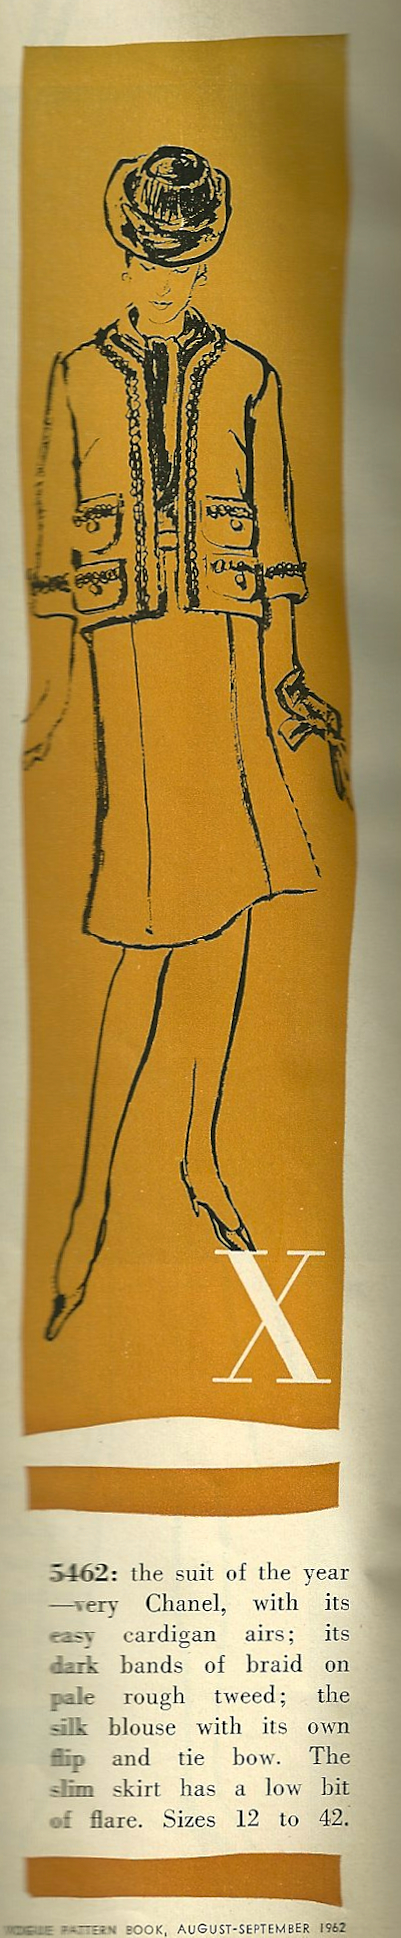
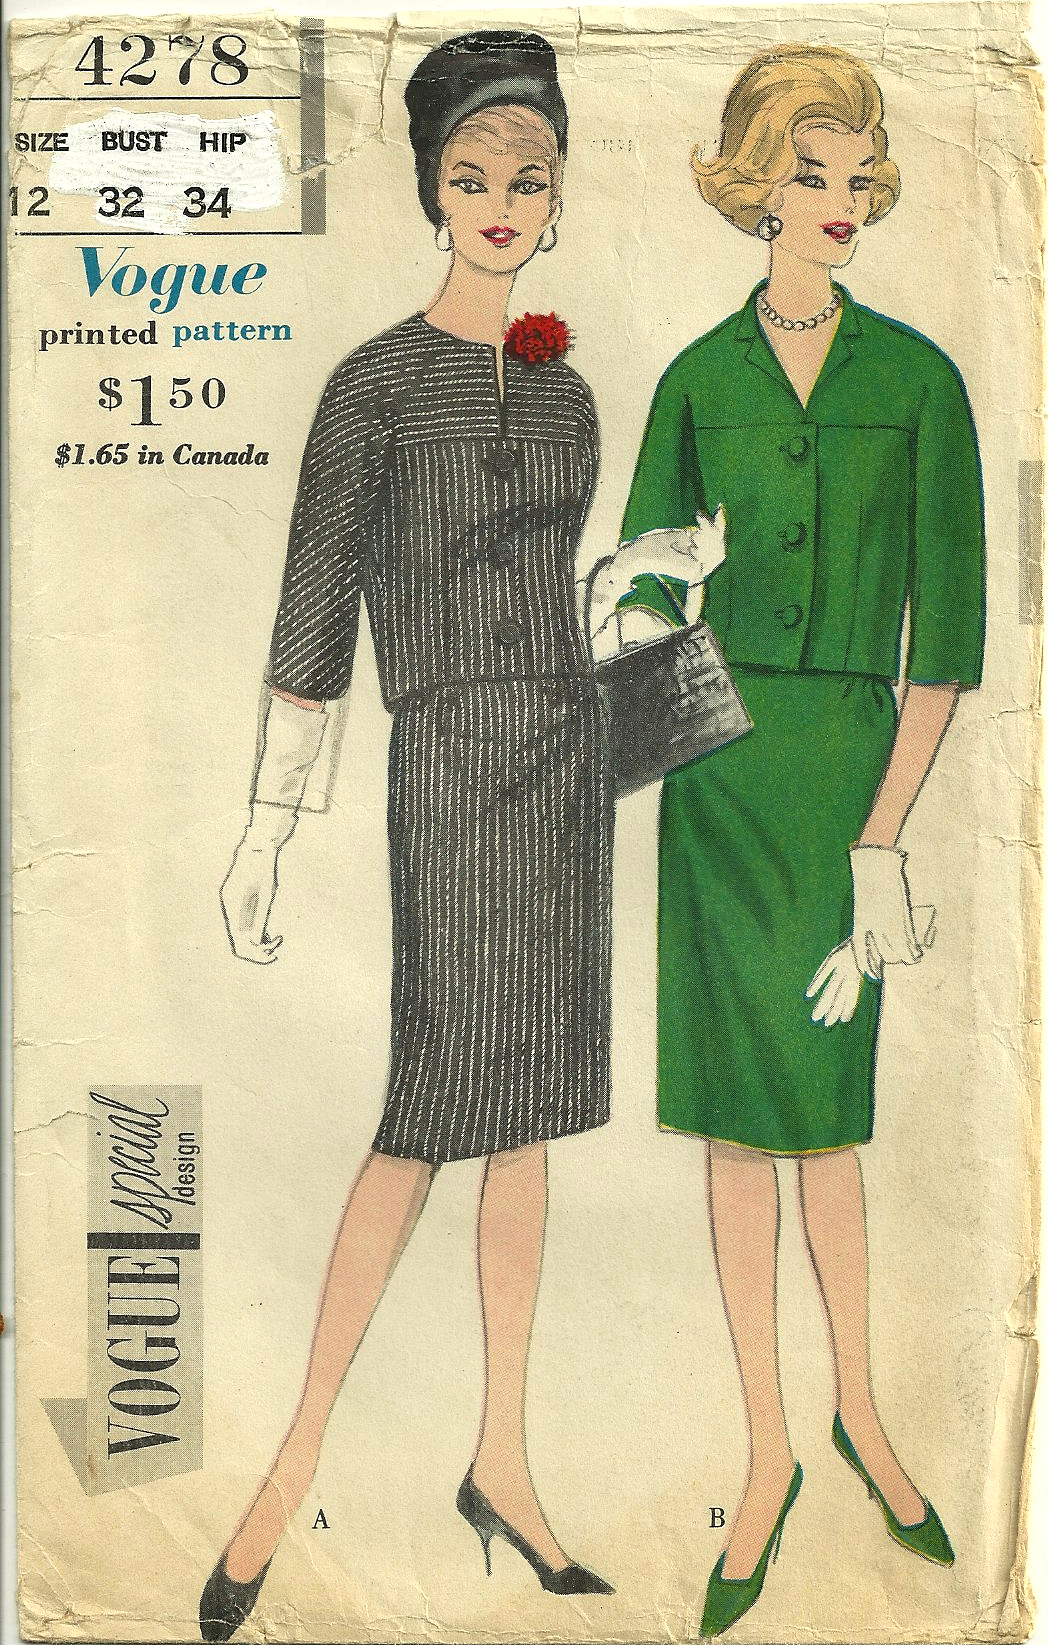
I couldn’t wait to get started! I pulled out all the pattern pieces, ironed them flat, ready to make a muslin – and then the “uh-oh” moment struck. The “straight of grains” on the pattern pieces could not have signaled more trouble if they had been flashing in bright red. I grabbed the pattern envelope – and right there in plain English was stated: “Not suitable for obvious plaids.” (Why won’t I learn to read those envelopes more closely???) While this fabric is not a plaid, it reads like a plaid. My heart sank – as I realized very quickly that I absolutely could not use this pattern for this fabric. It just would not work. End of discussion.
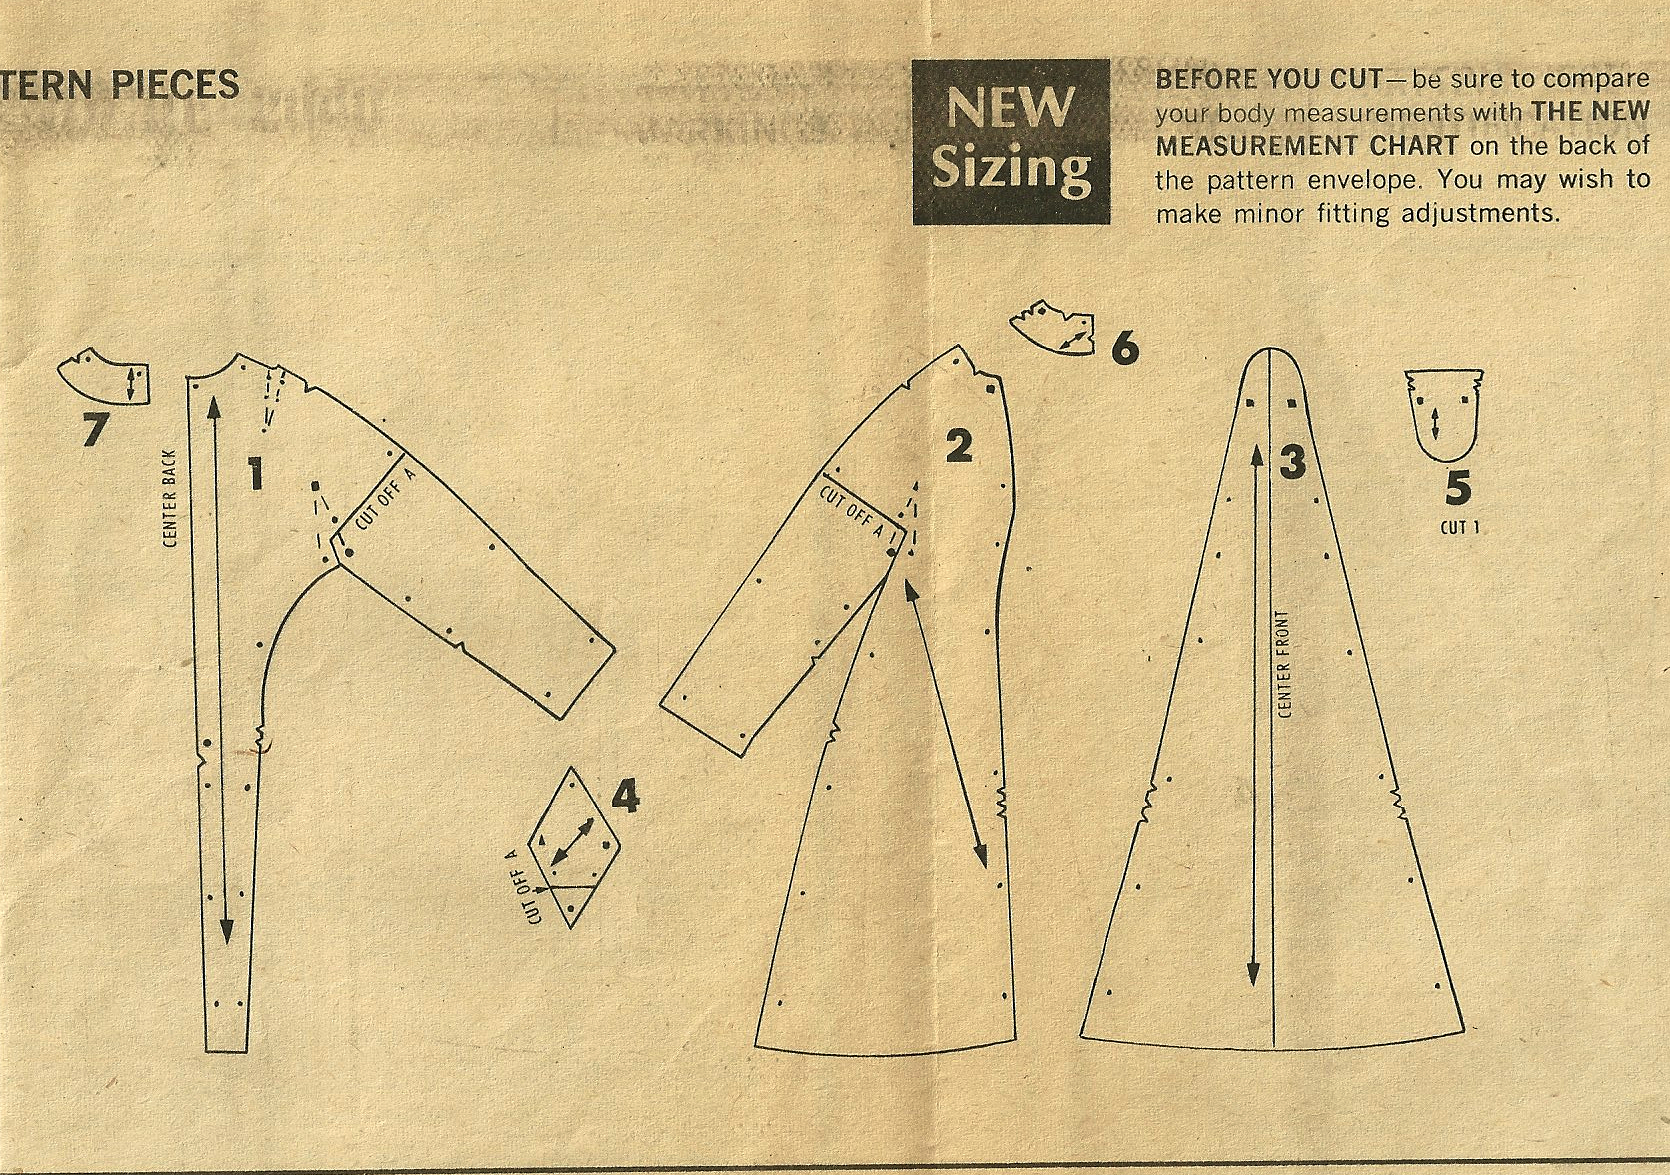
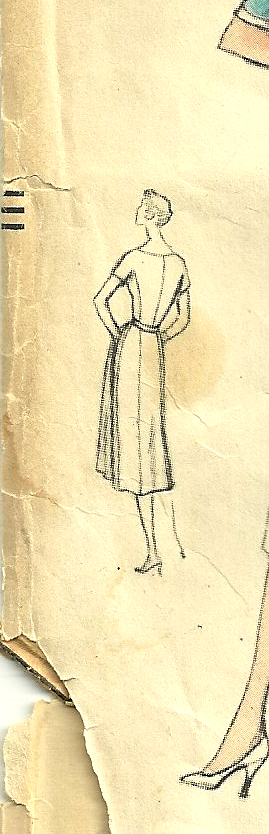
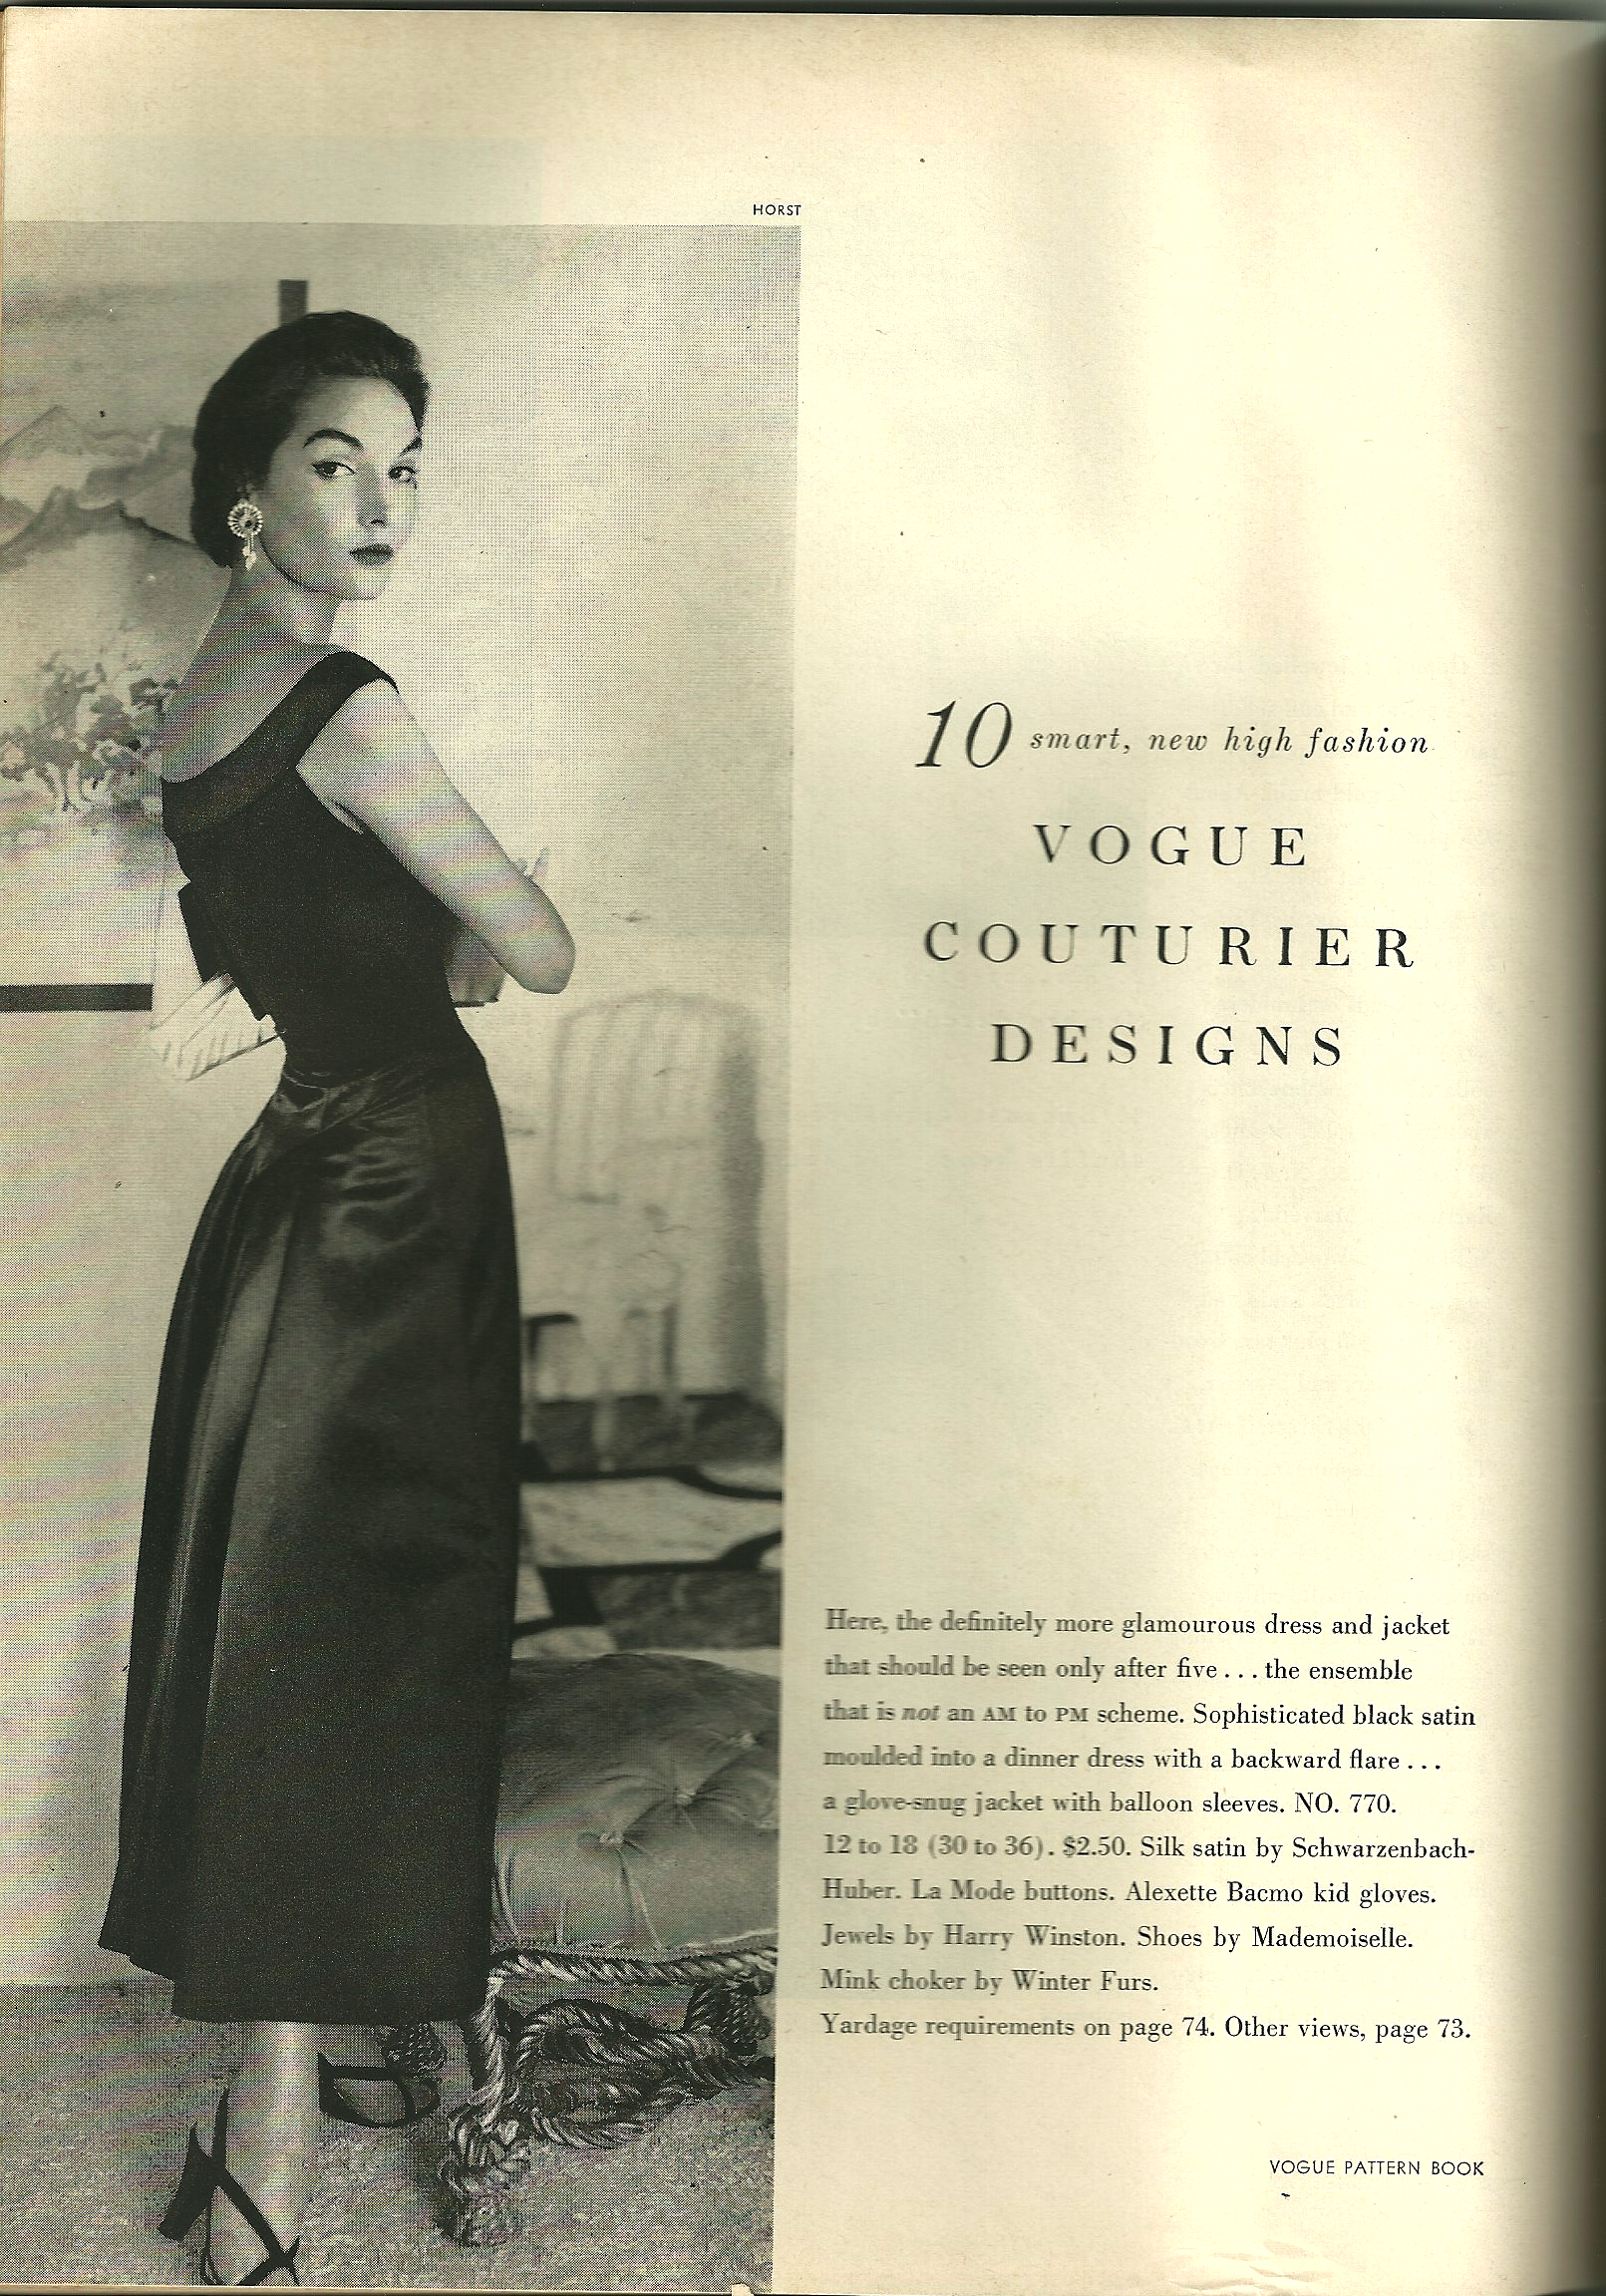
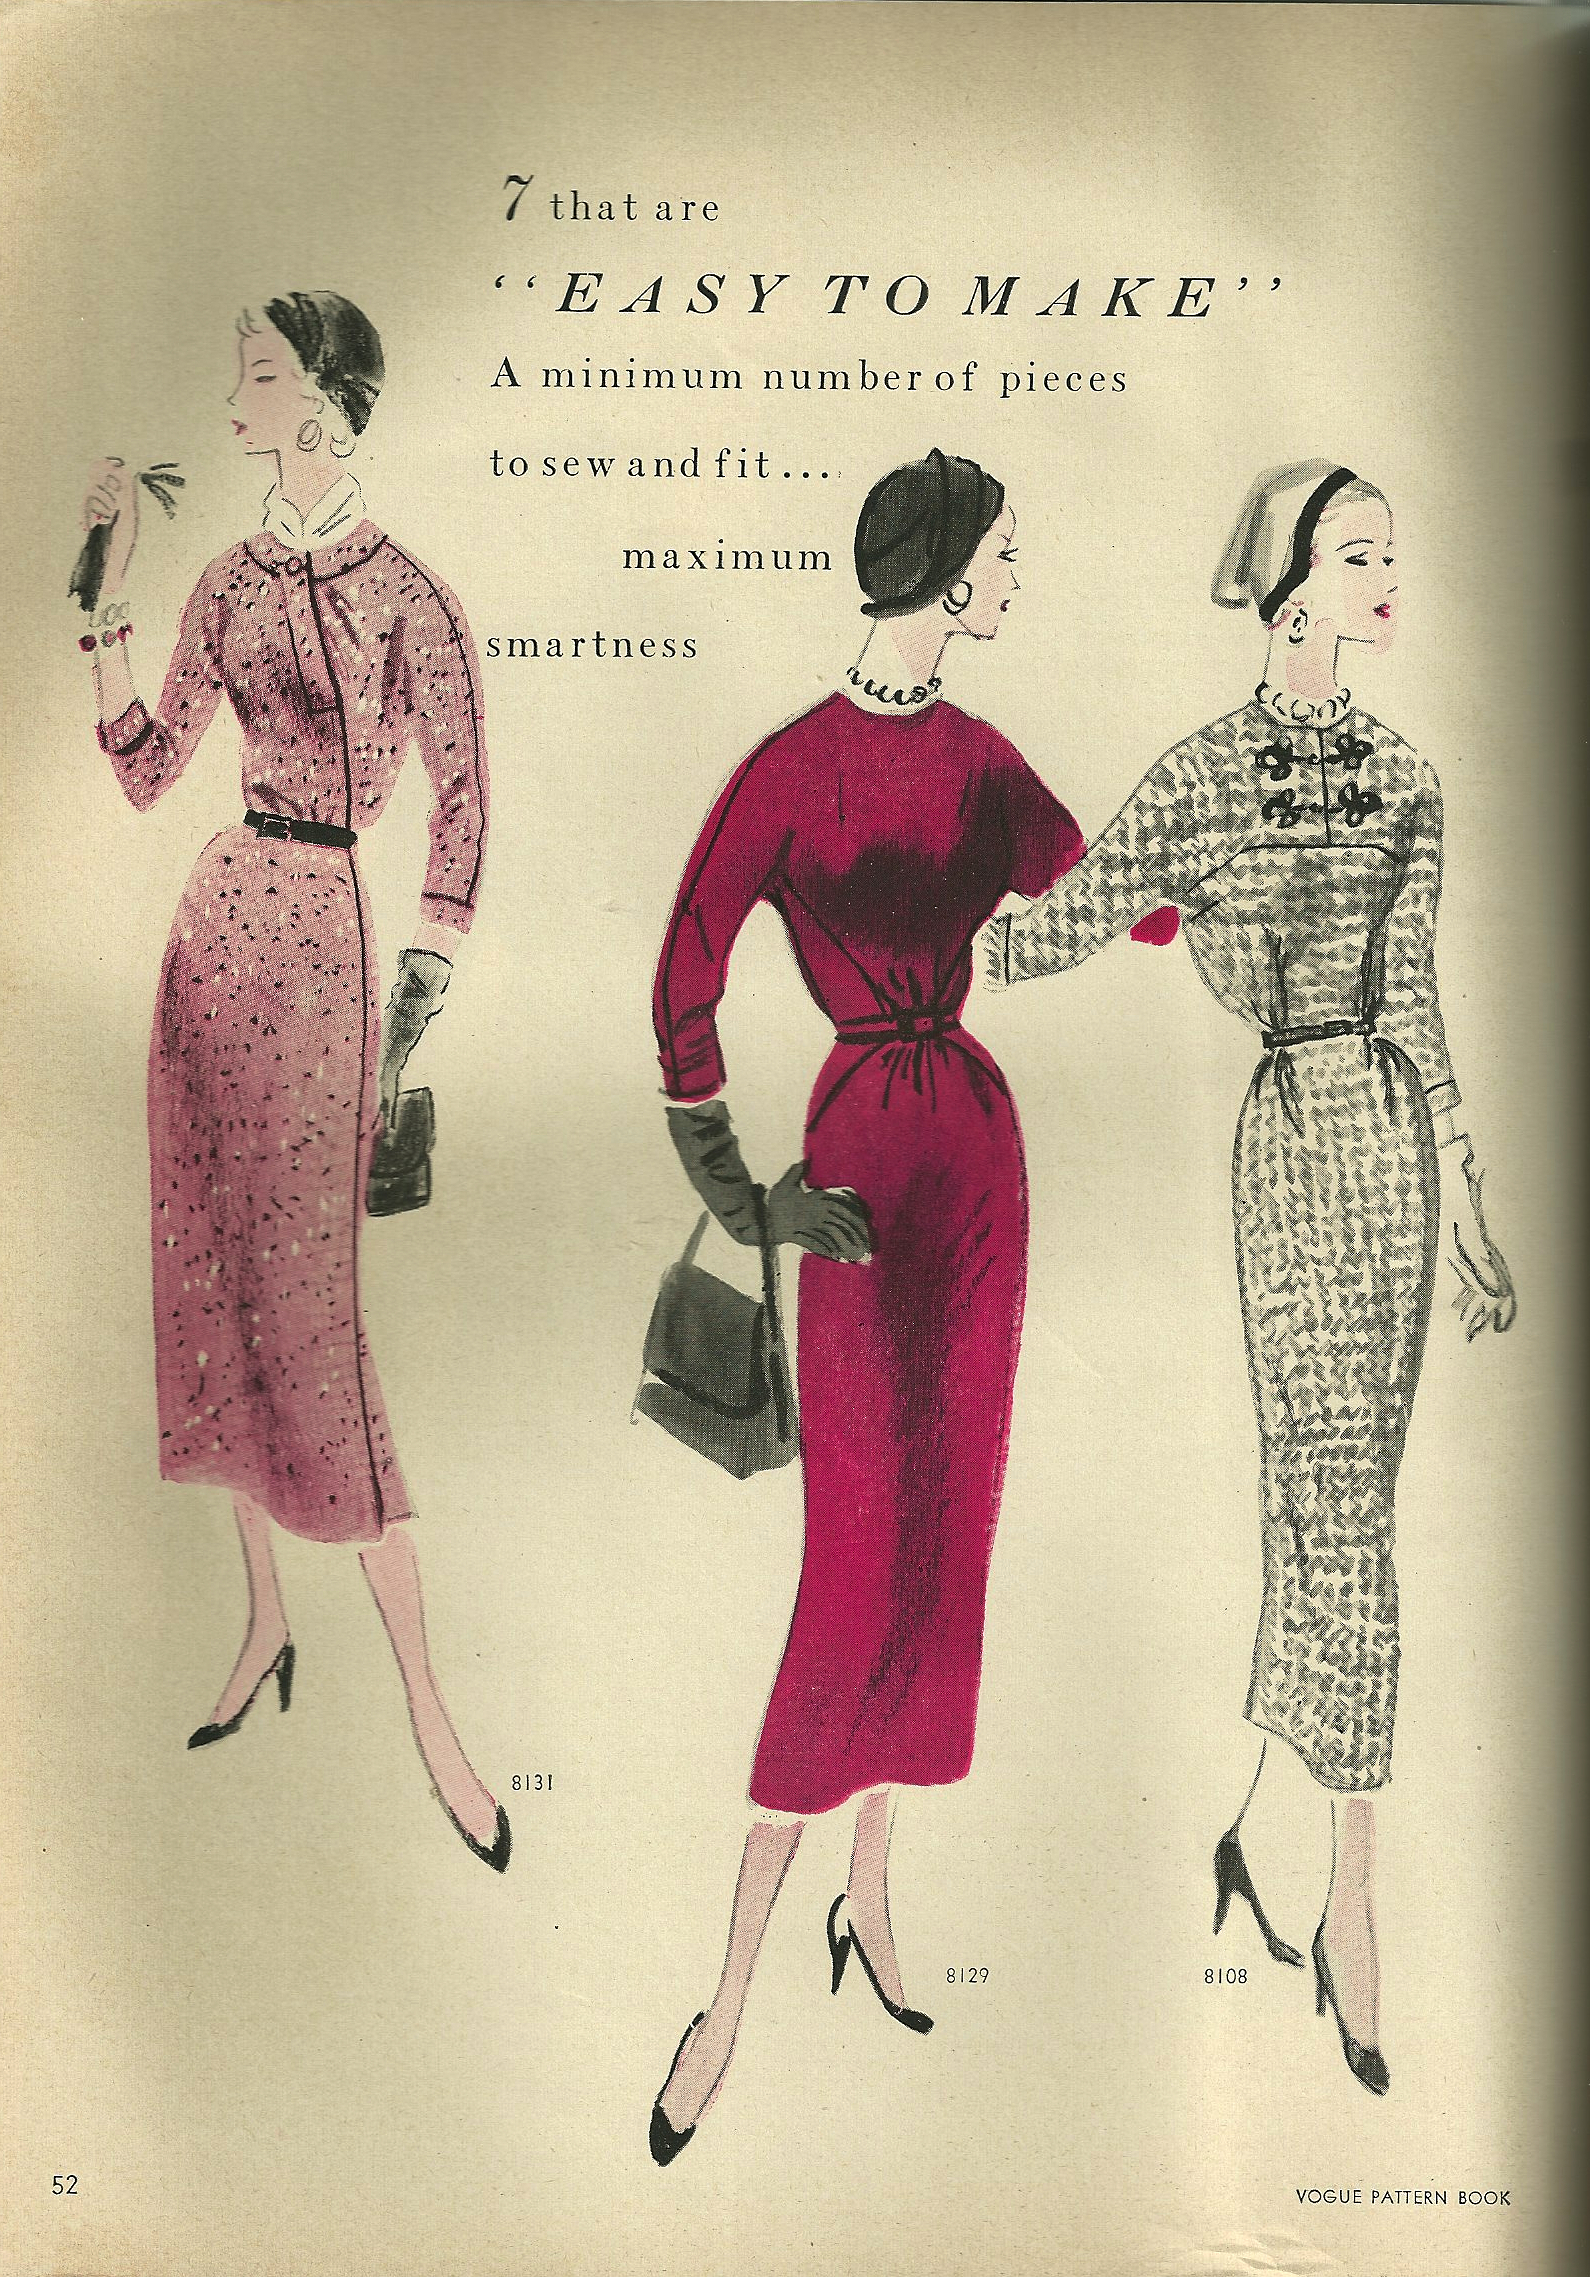
If you look carefully at these line drawings, it’s obvious that “plaids” will not work.
I took a few deep breaths – and went back to my vintage pattern file. None of my other vintage patterns would do. I had my vision for this fabric and no pattern came even remotely close. It was then I decided I would have to adapt a new pattern to achieve the look I wanted. Once I made this decision (Plan B, as in “it BETTER work!”), I began to see the advantages, and the possibilities for an even better look than I originally thought.
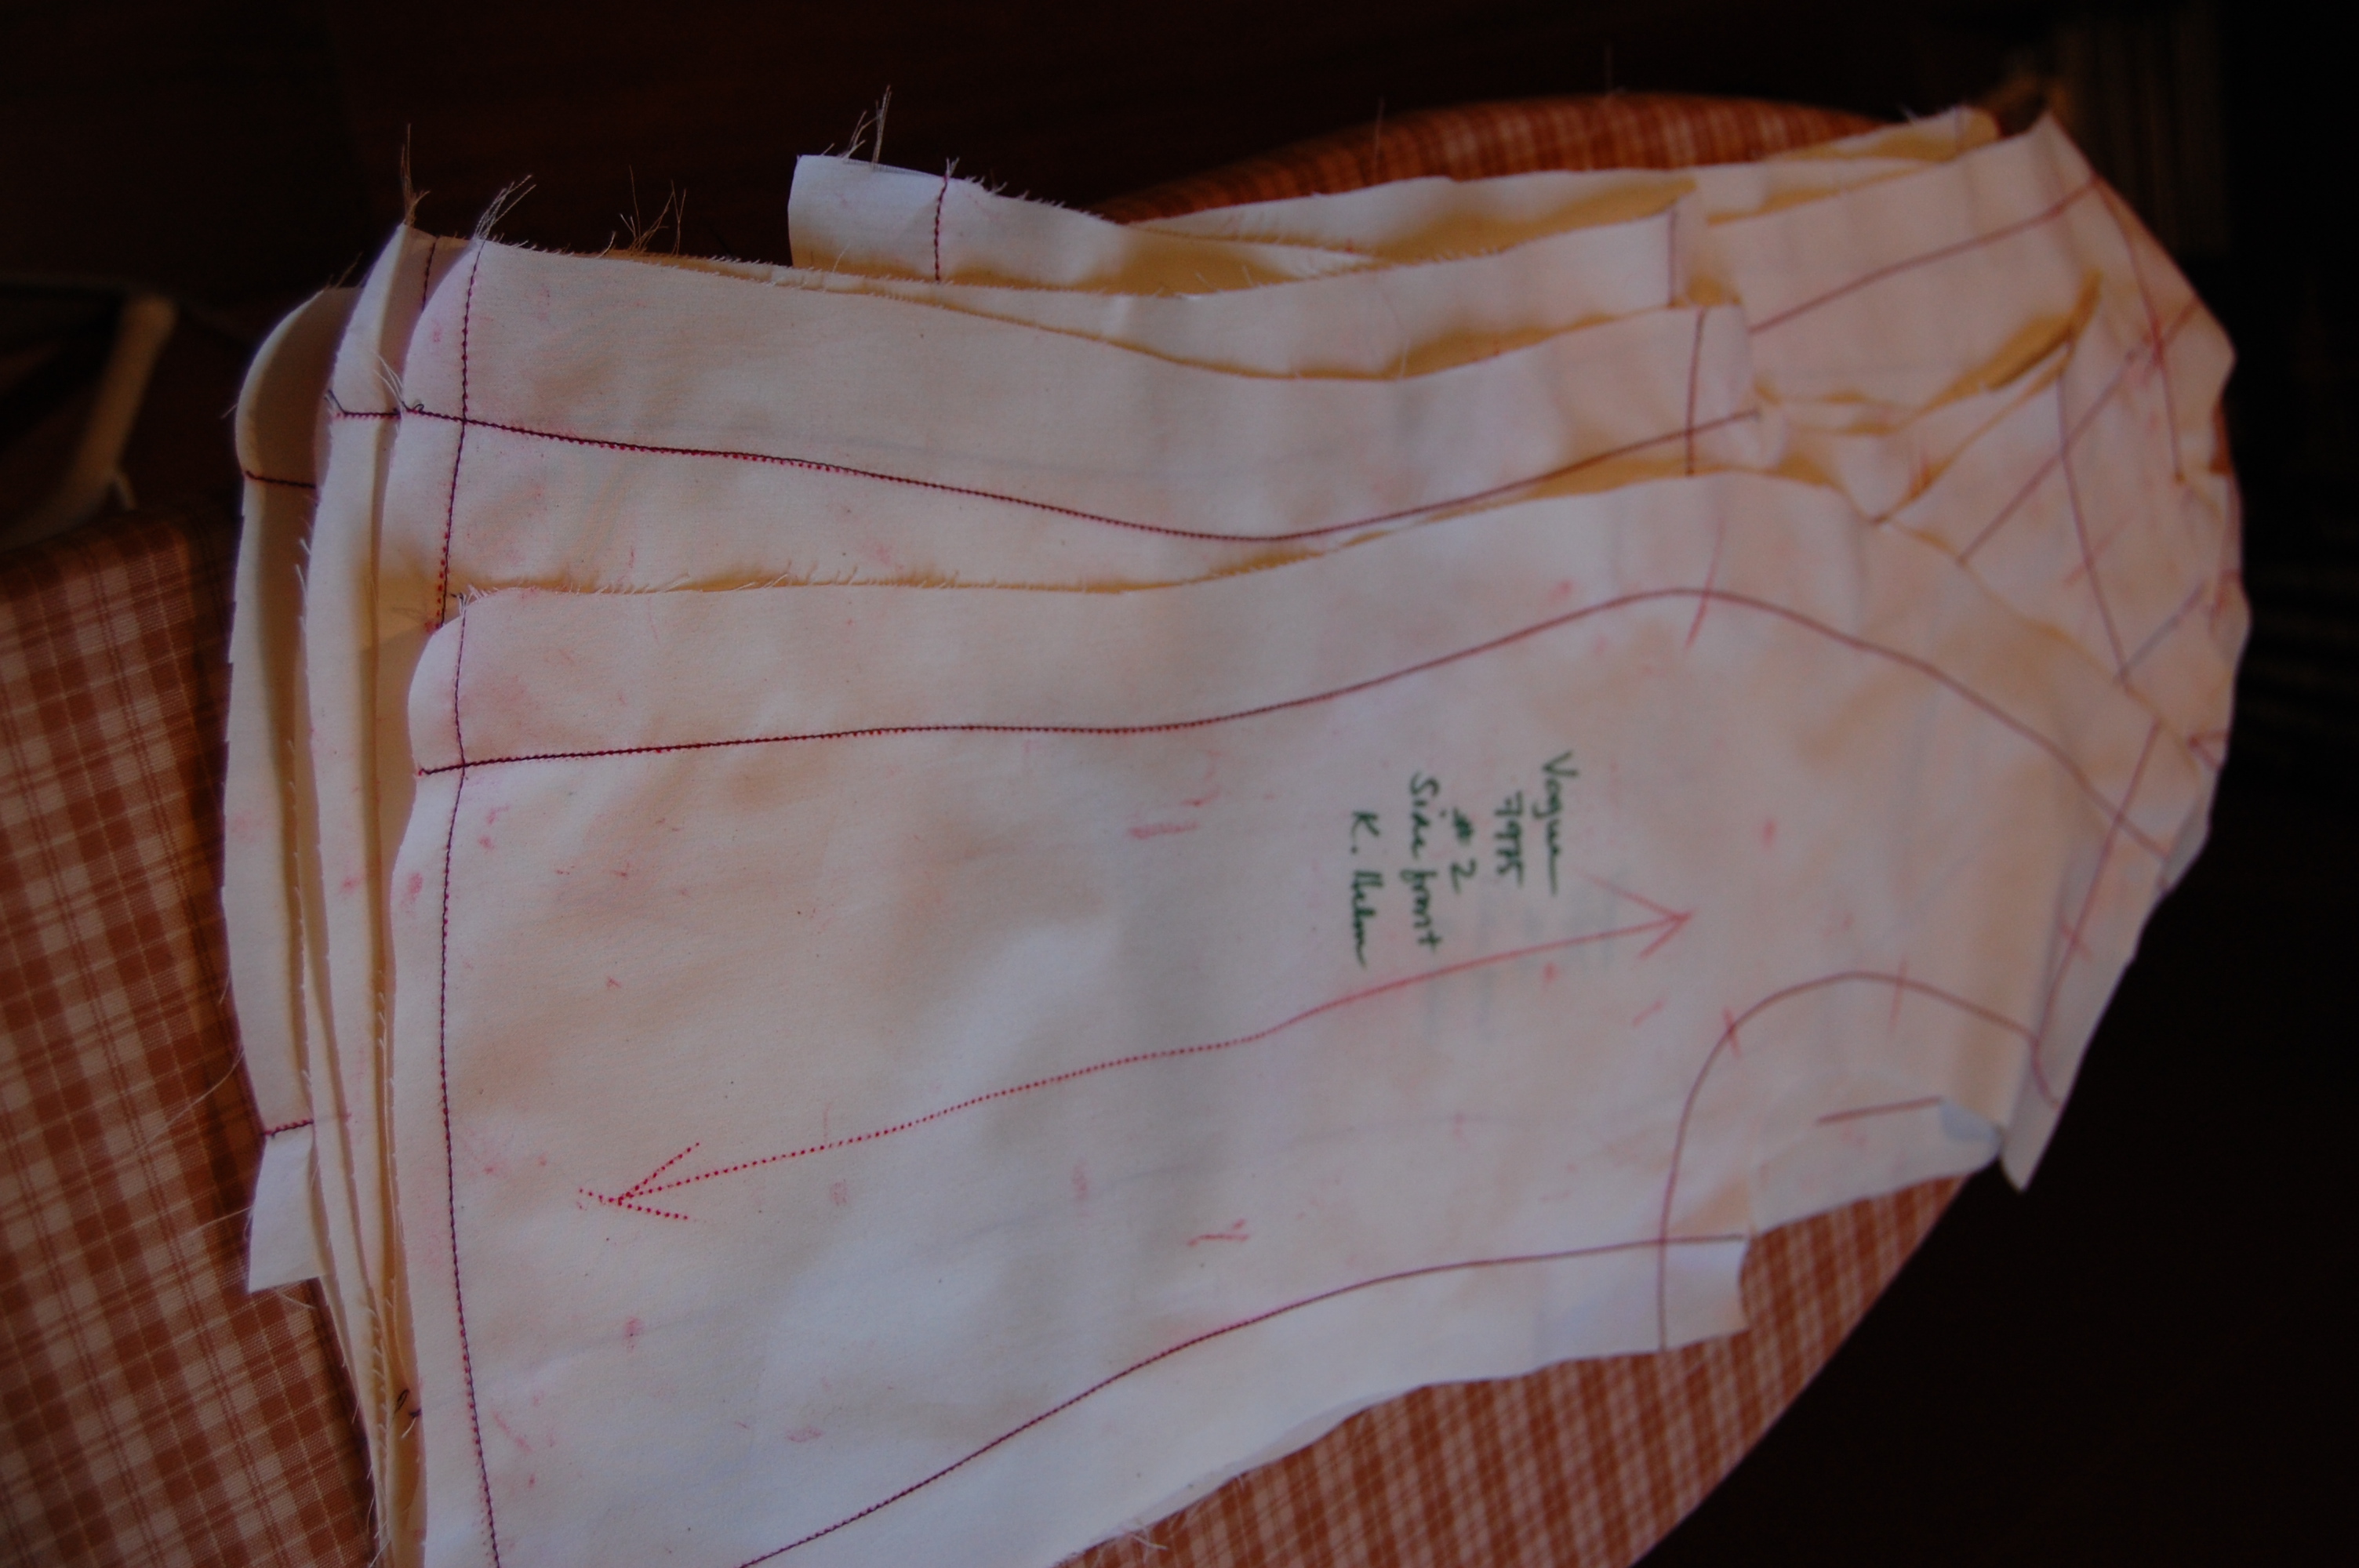
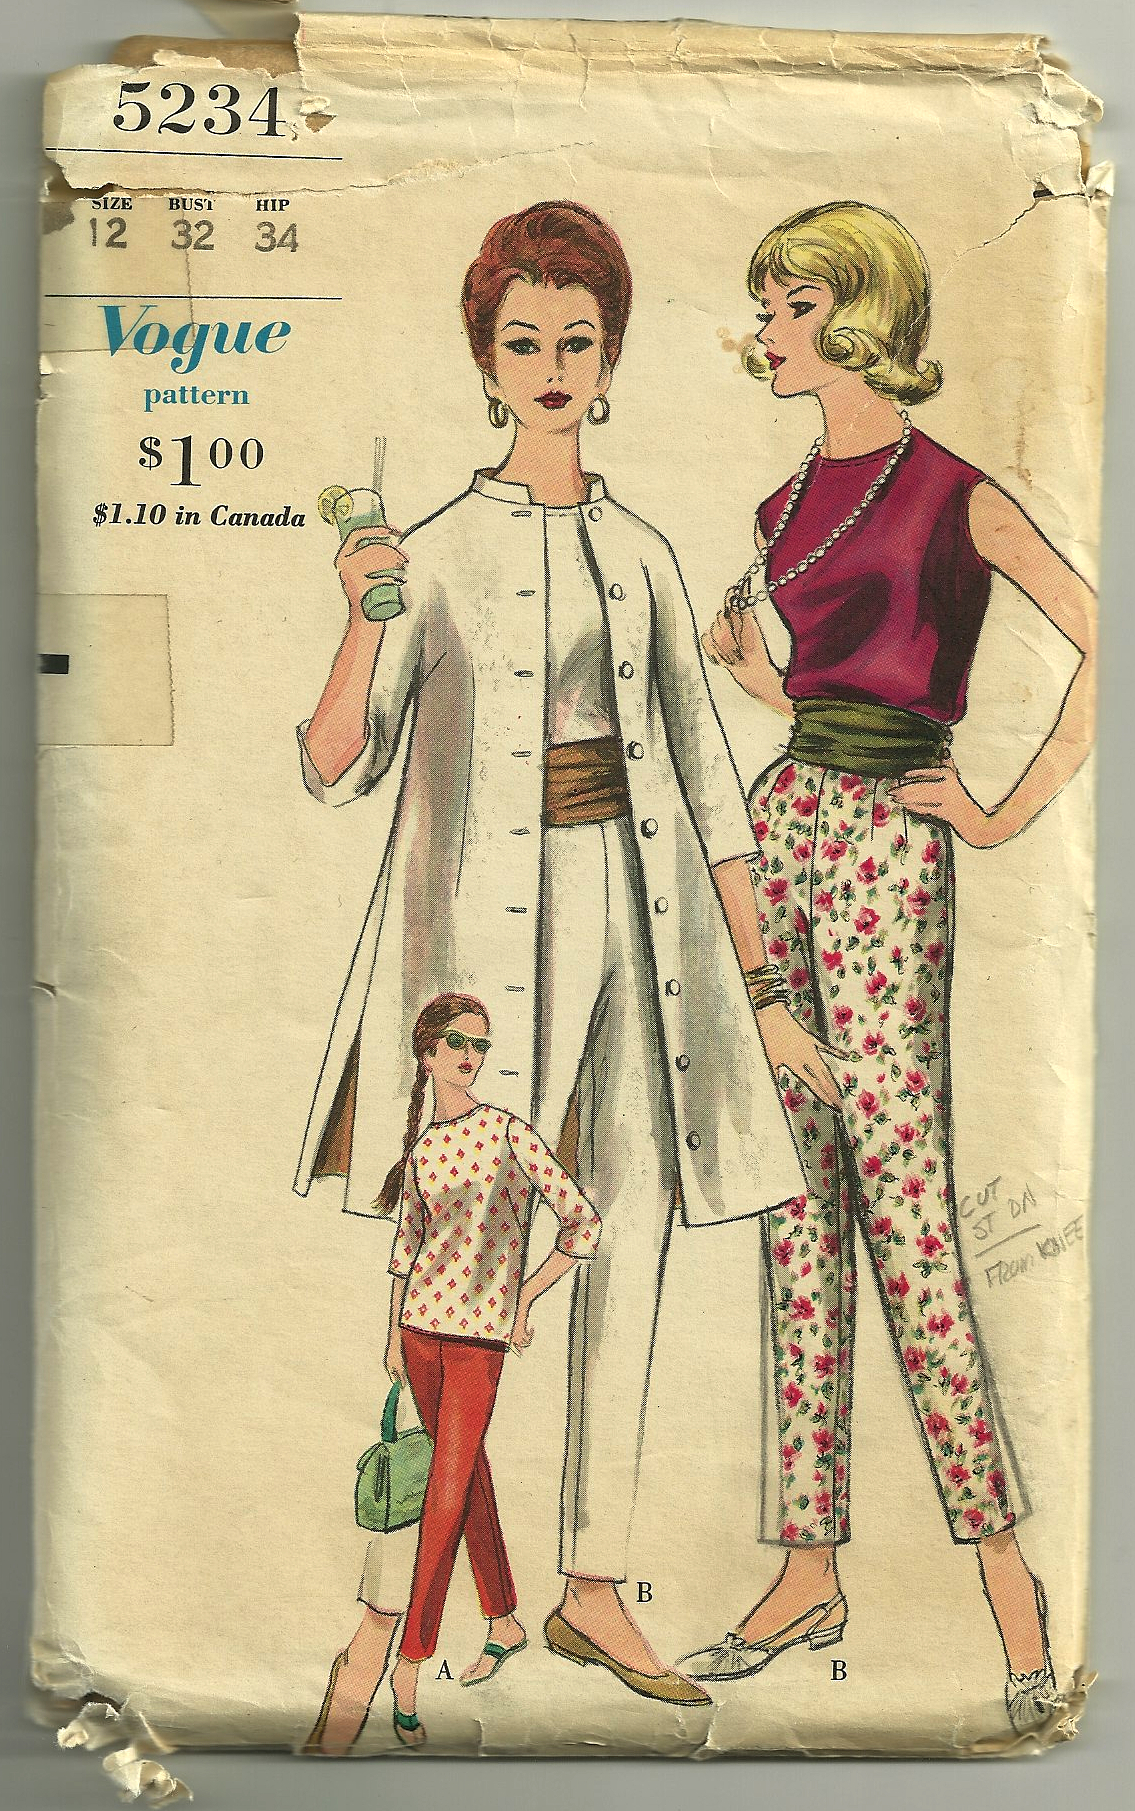
The first thing that went right was having this pattern in my “new pattern” file:

I picked up this pattern a few months ago as I thought it looked very versatile.
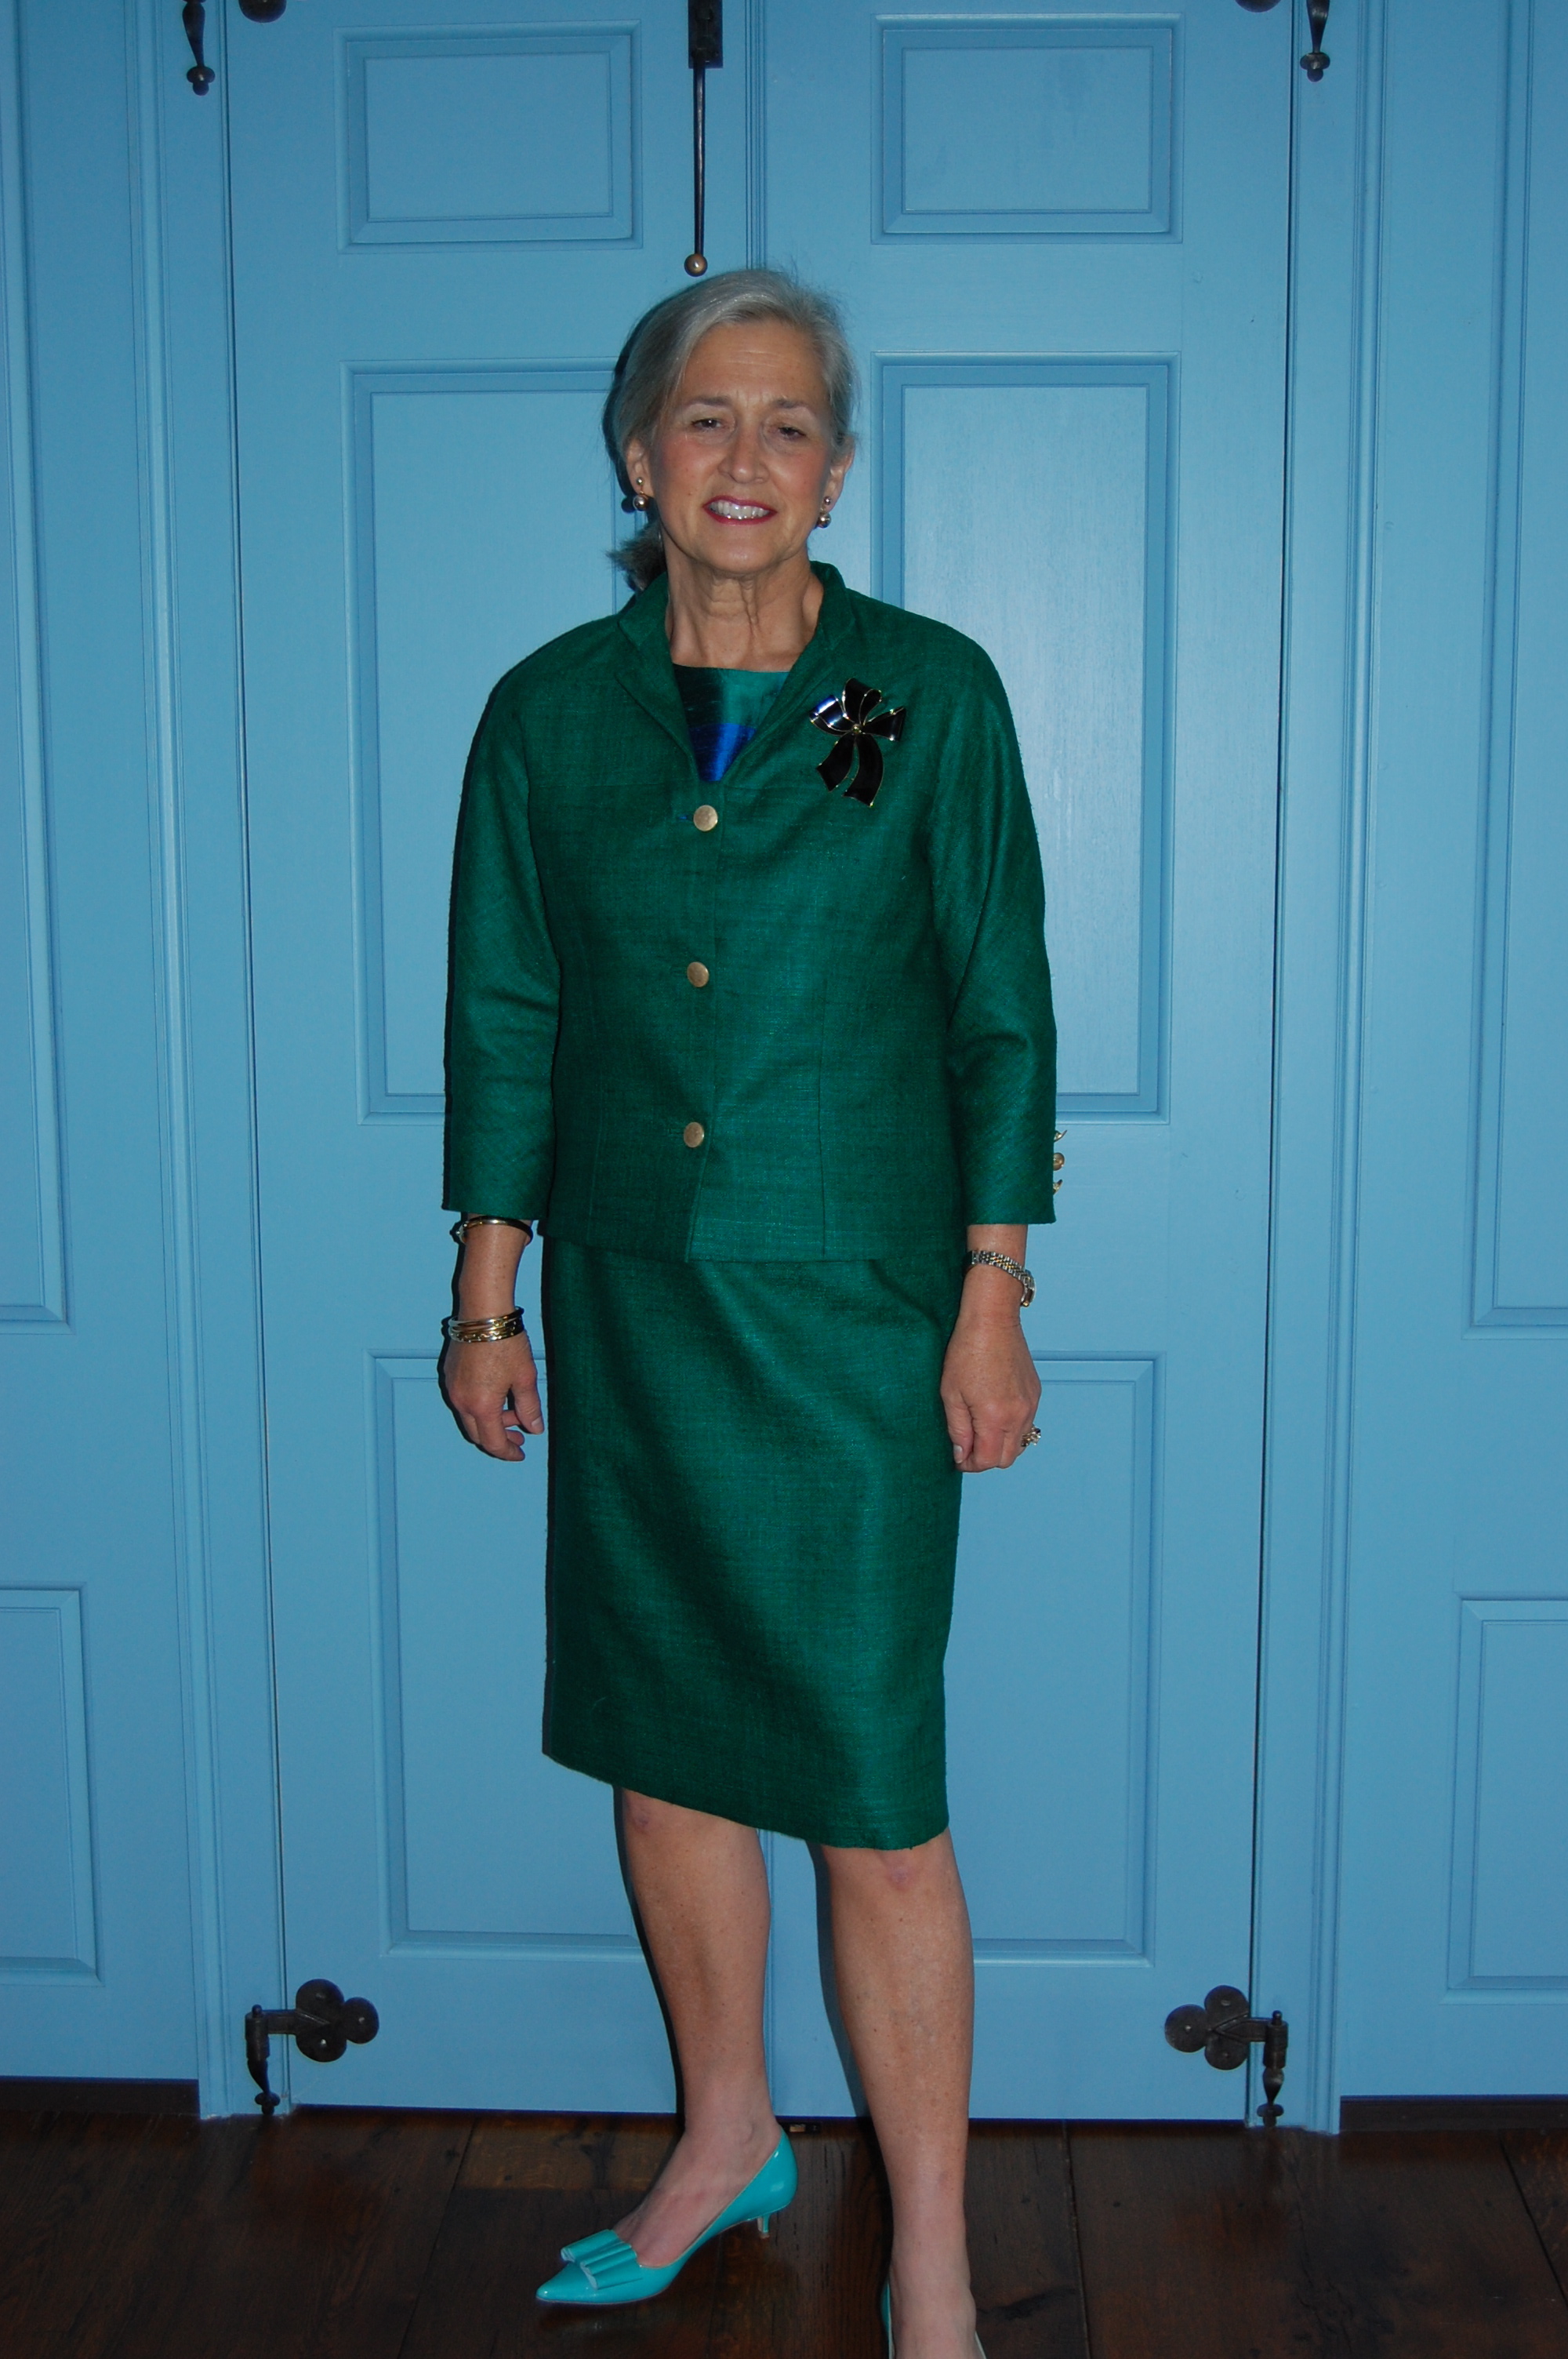
I figured if I used View B, I could alter the neck band to incorporate a center tab. I wanted to belt it, but I happily thought the tapered darts at the mid-section, front and back, would help create less bulk at the waist (and that’s always welcome). I liked the shape of the neck (and had actually planned to widen and lower the neckline on the vintage Vogue….). I would have to lengthen it, but I had plenty of fabric. I also like the banded sleeves. To envision the look, I did a quick sketch:
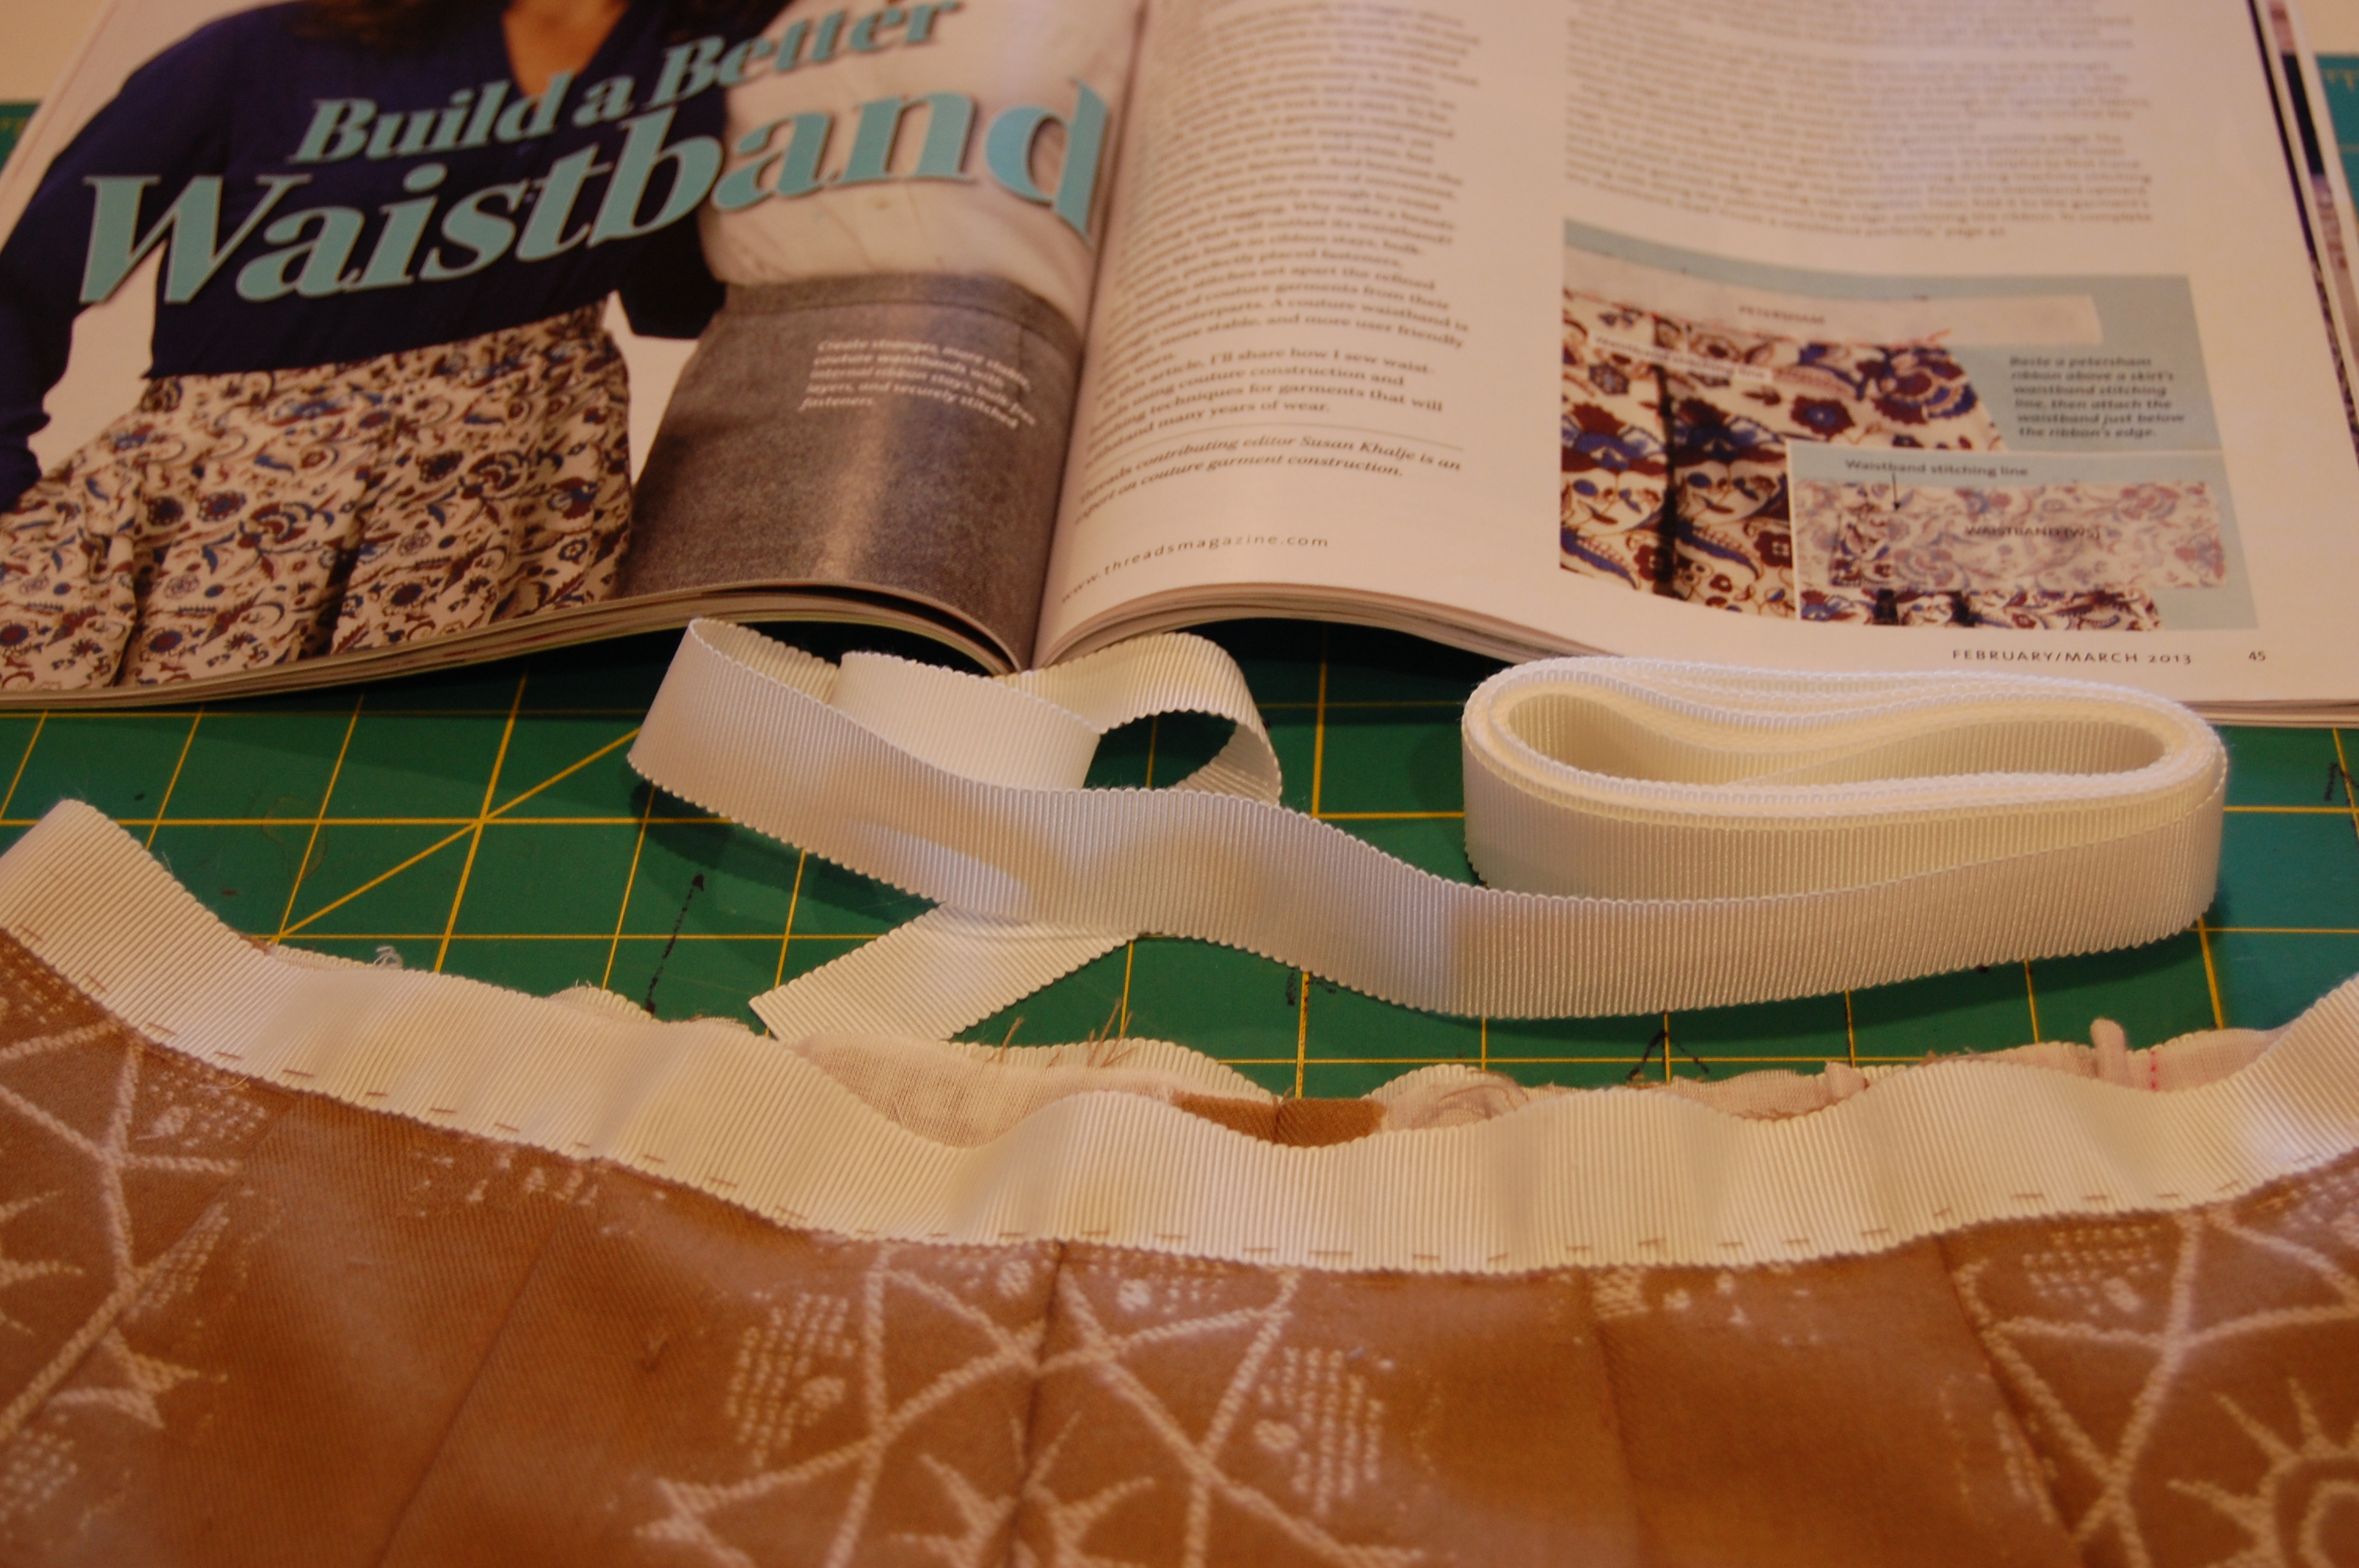
More about the belt later – it was ready before the dress was even cut out.
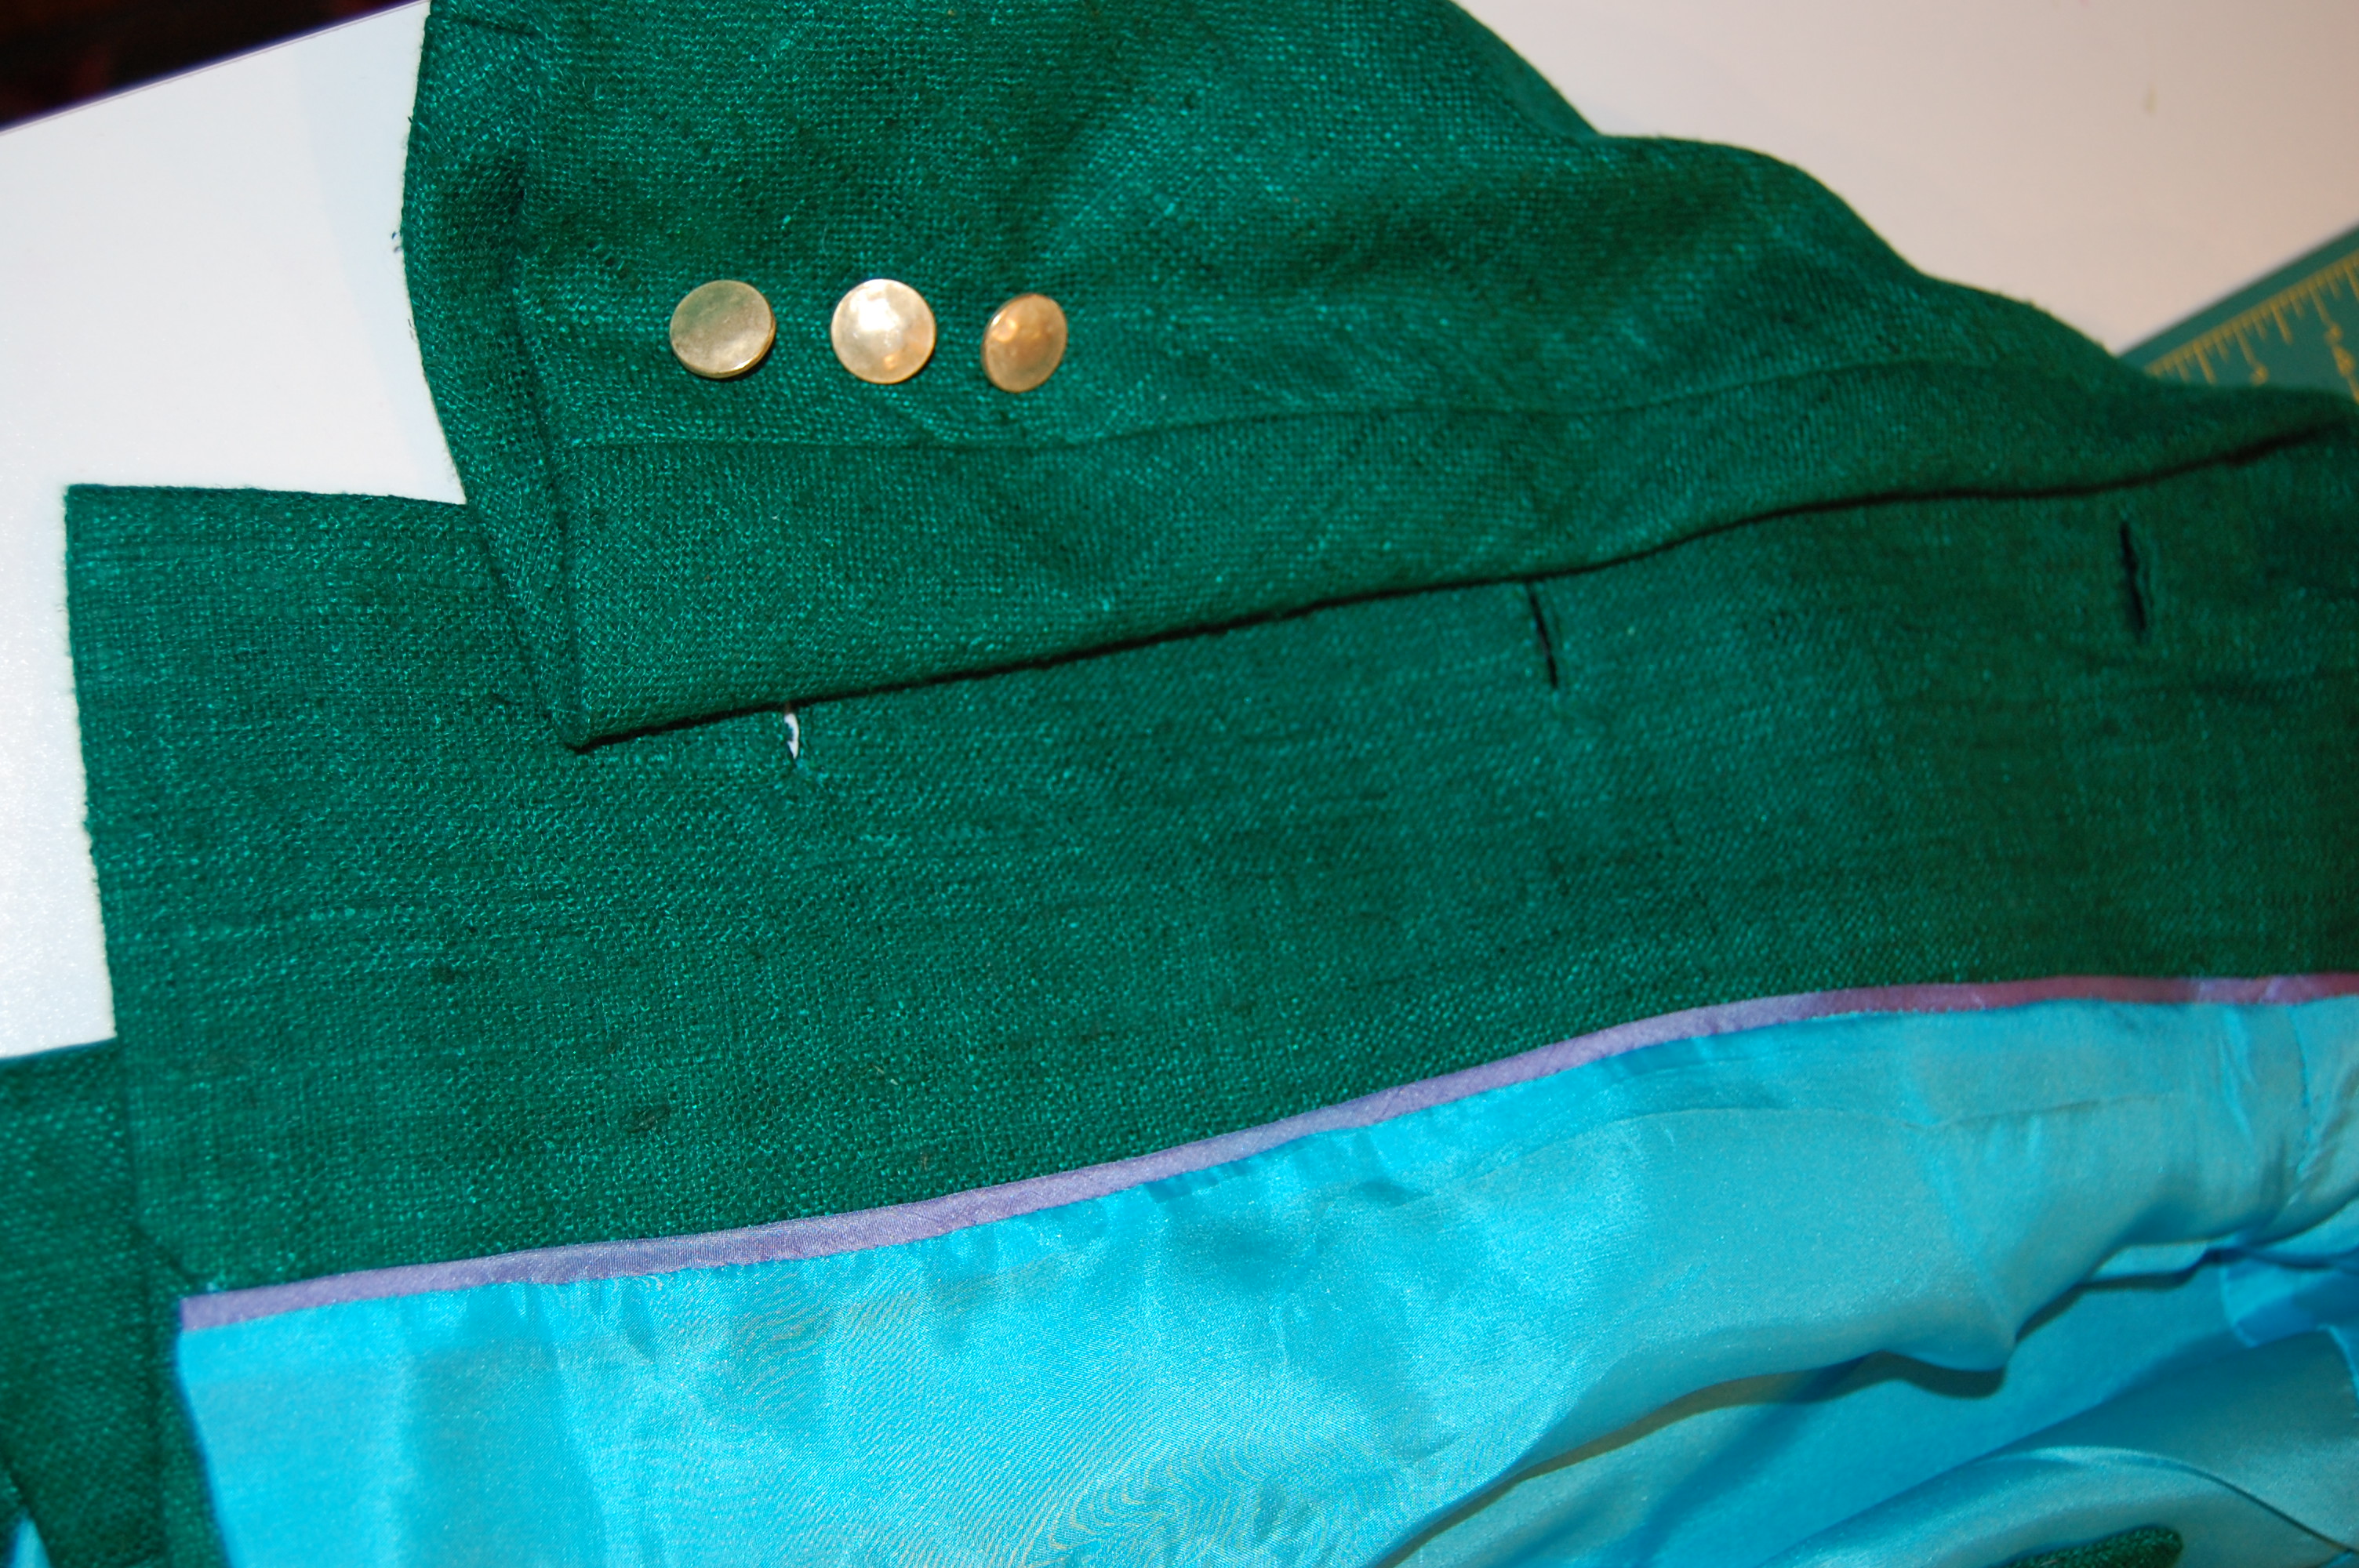
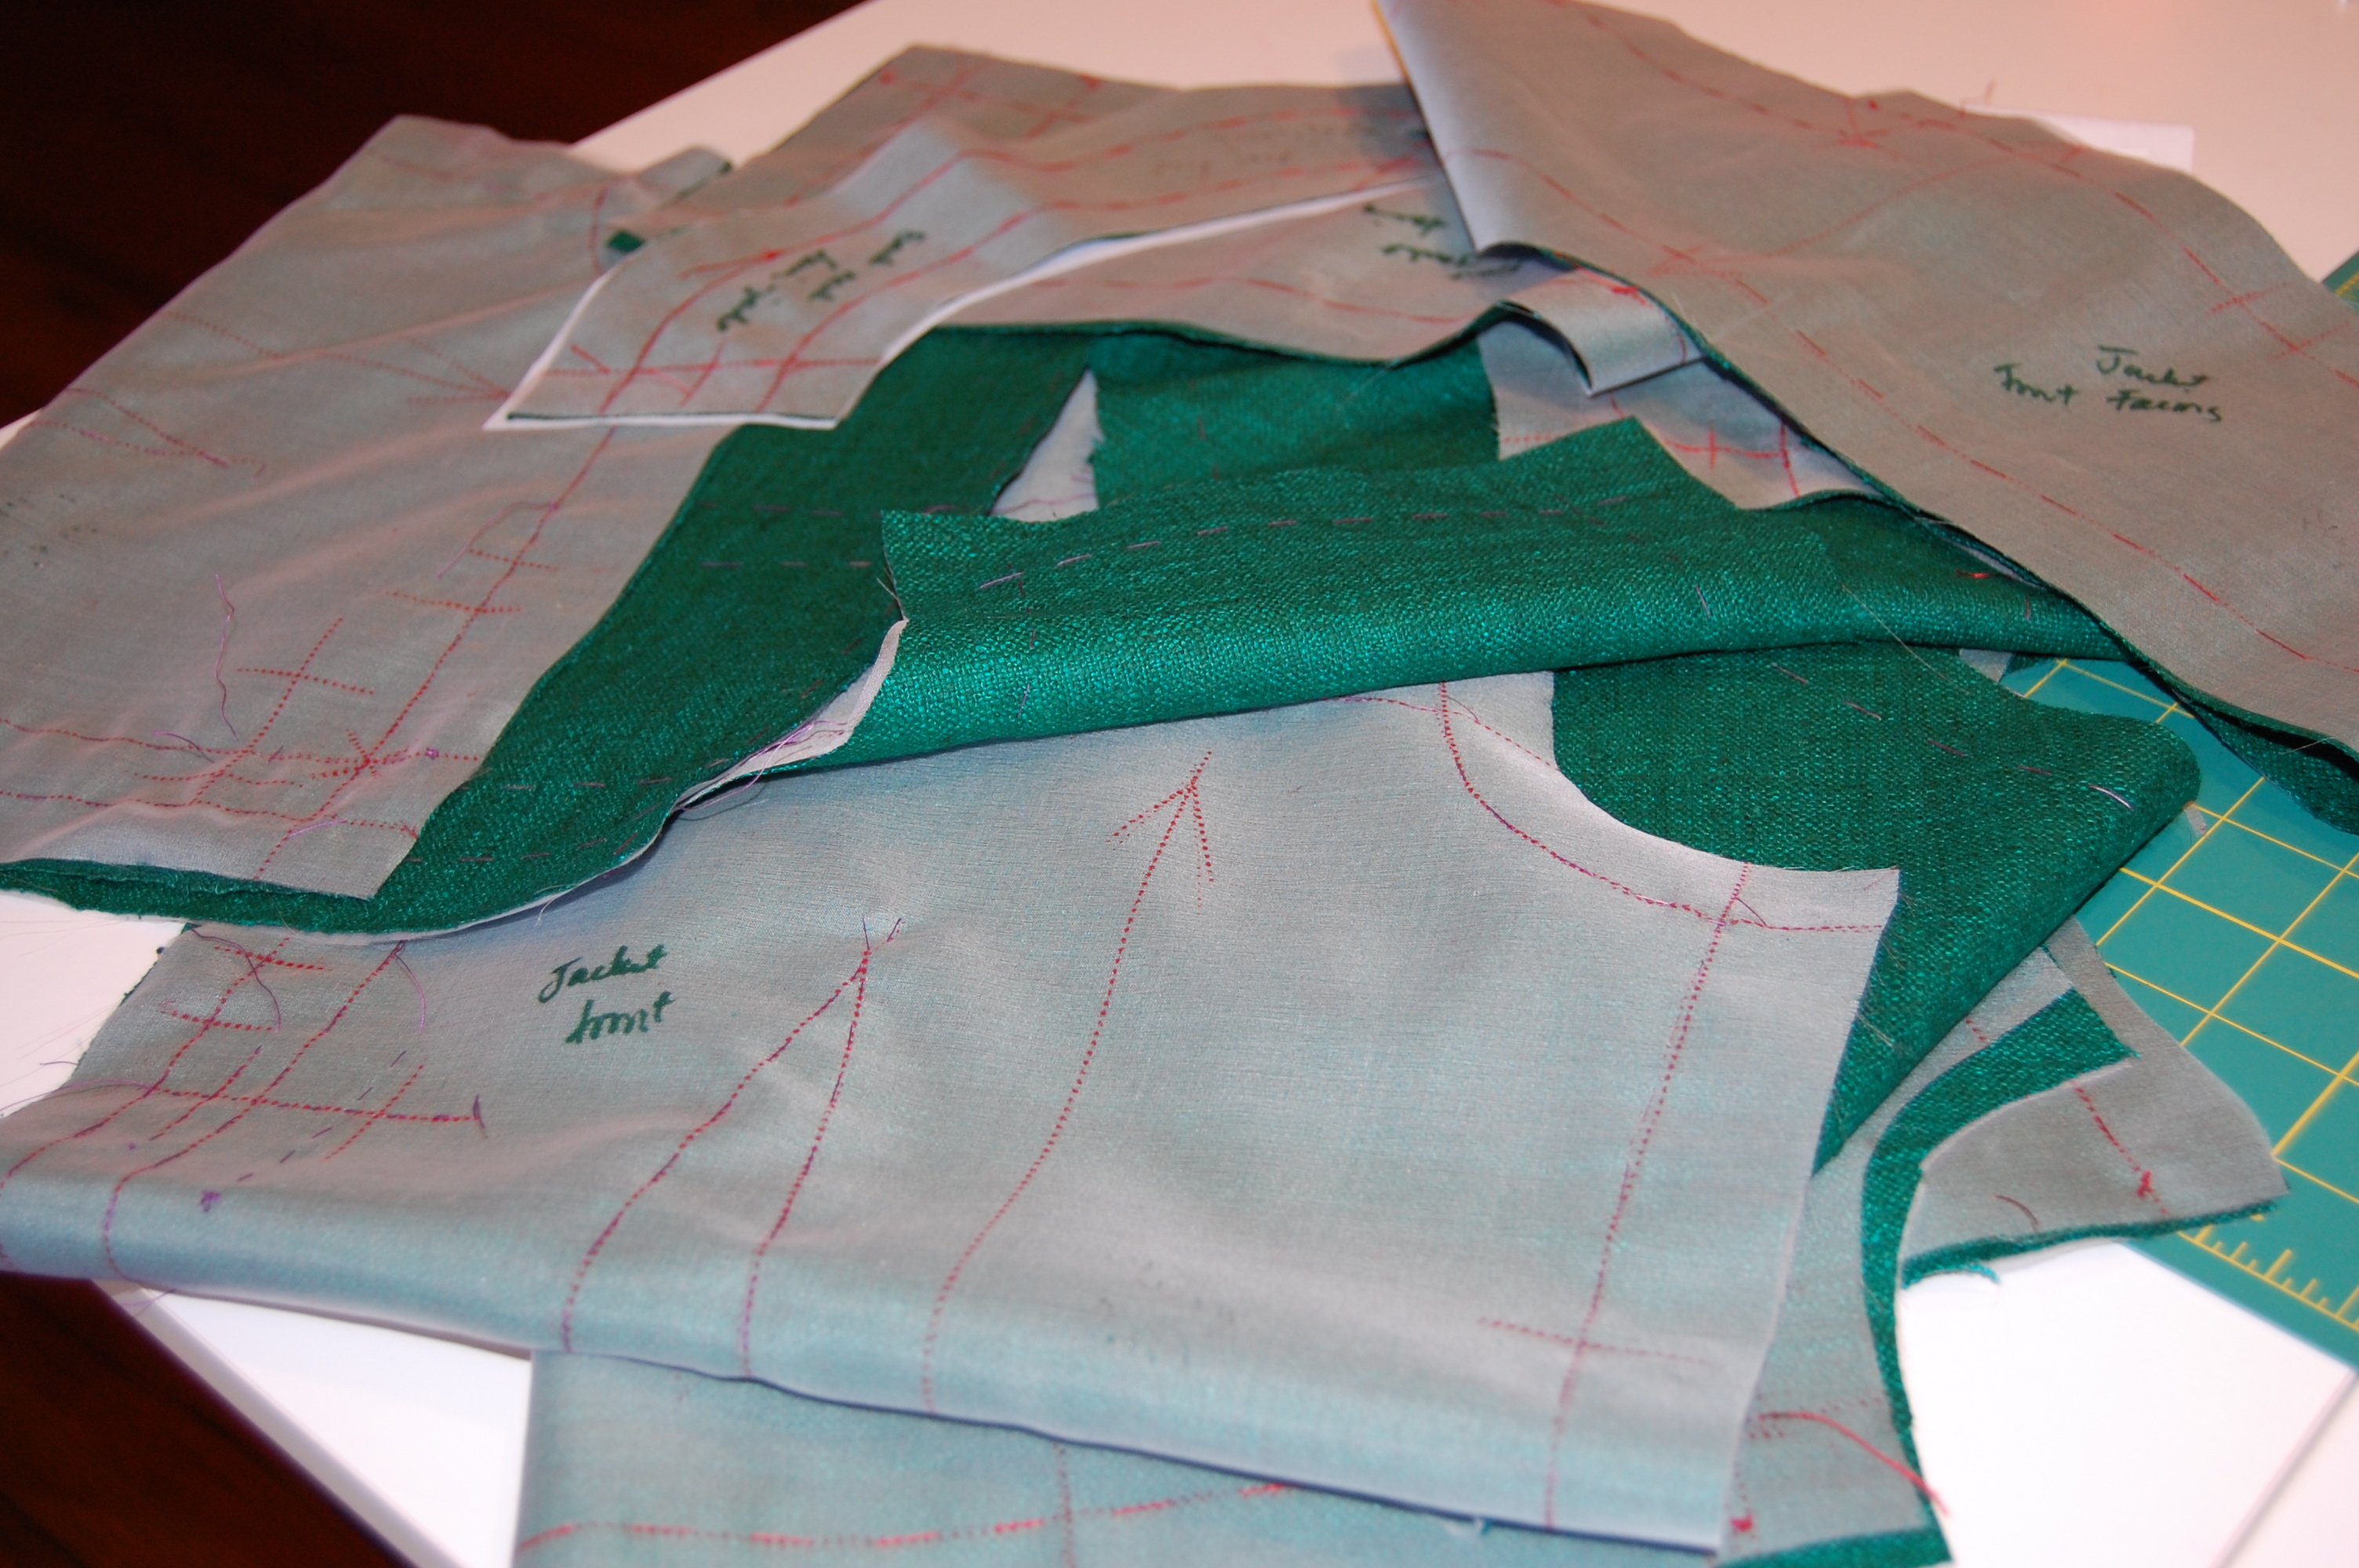
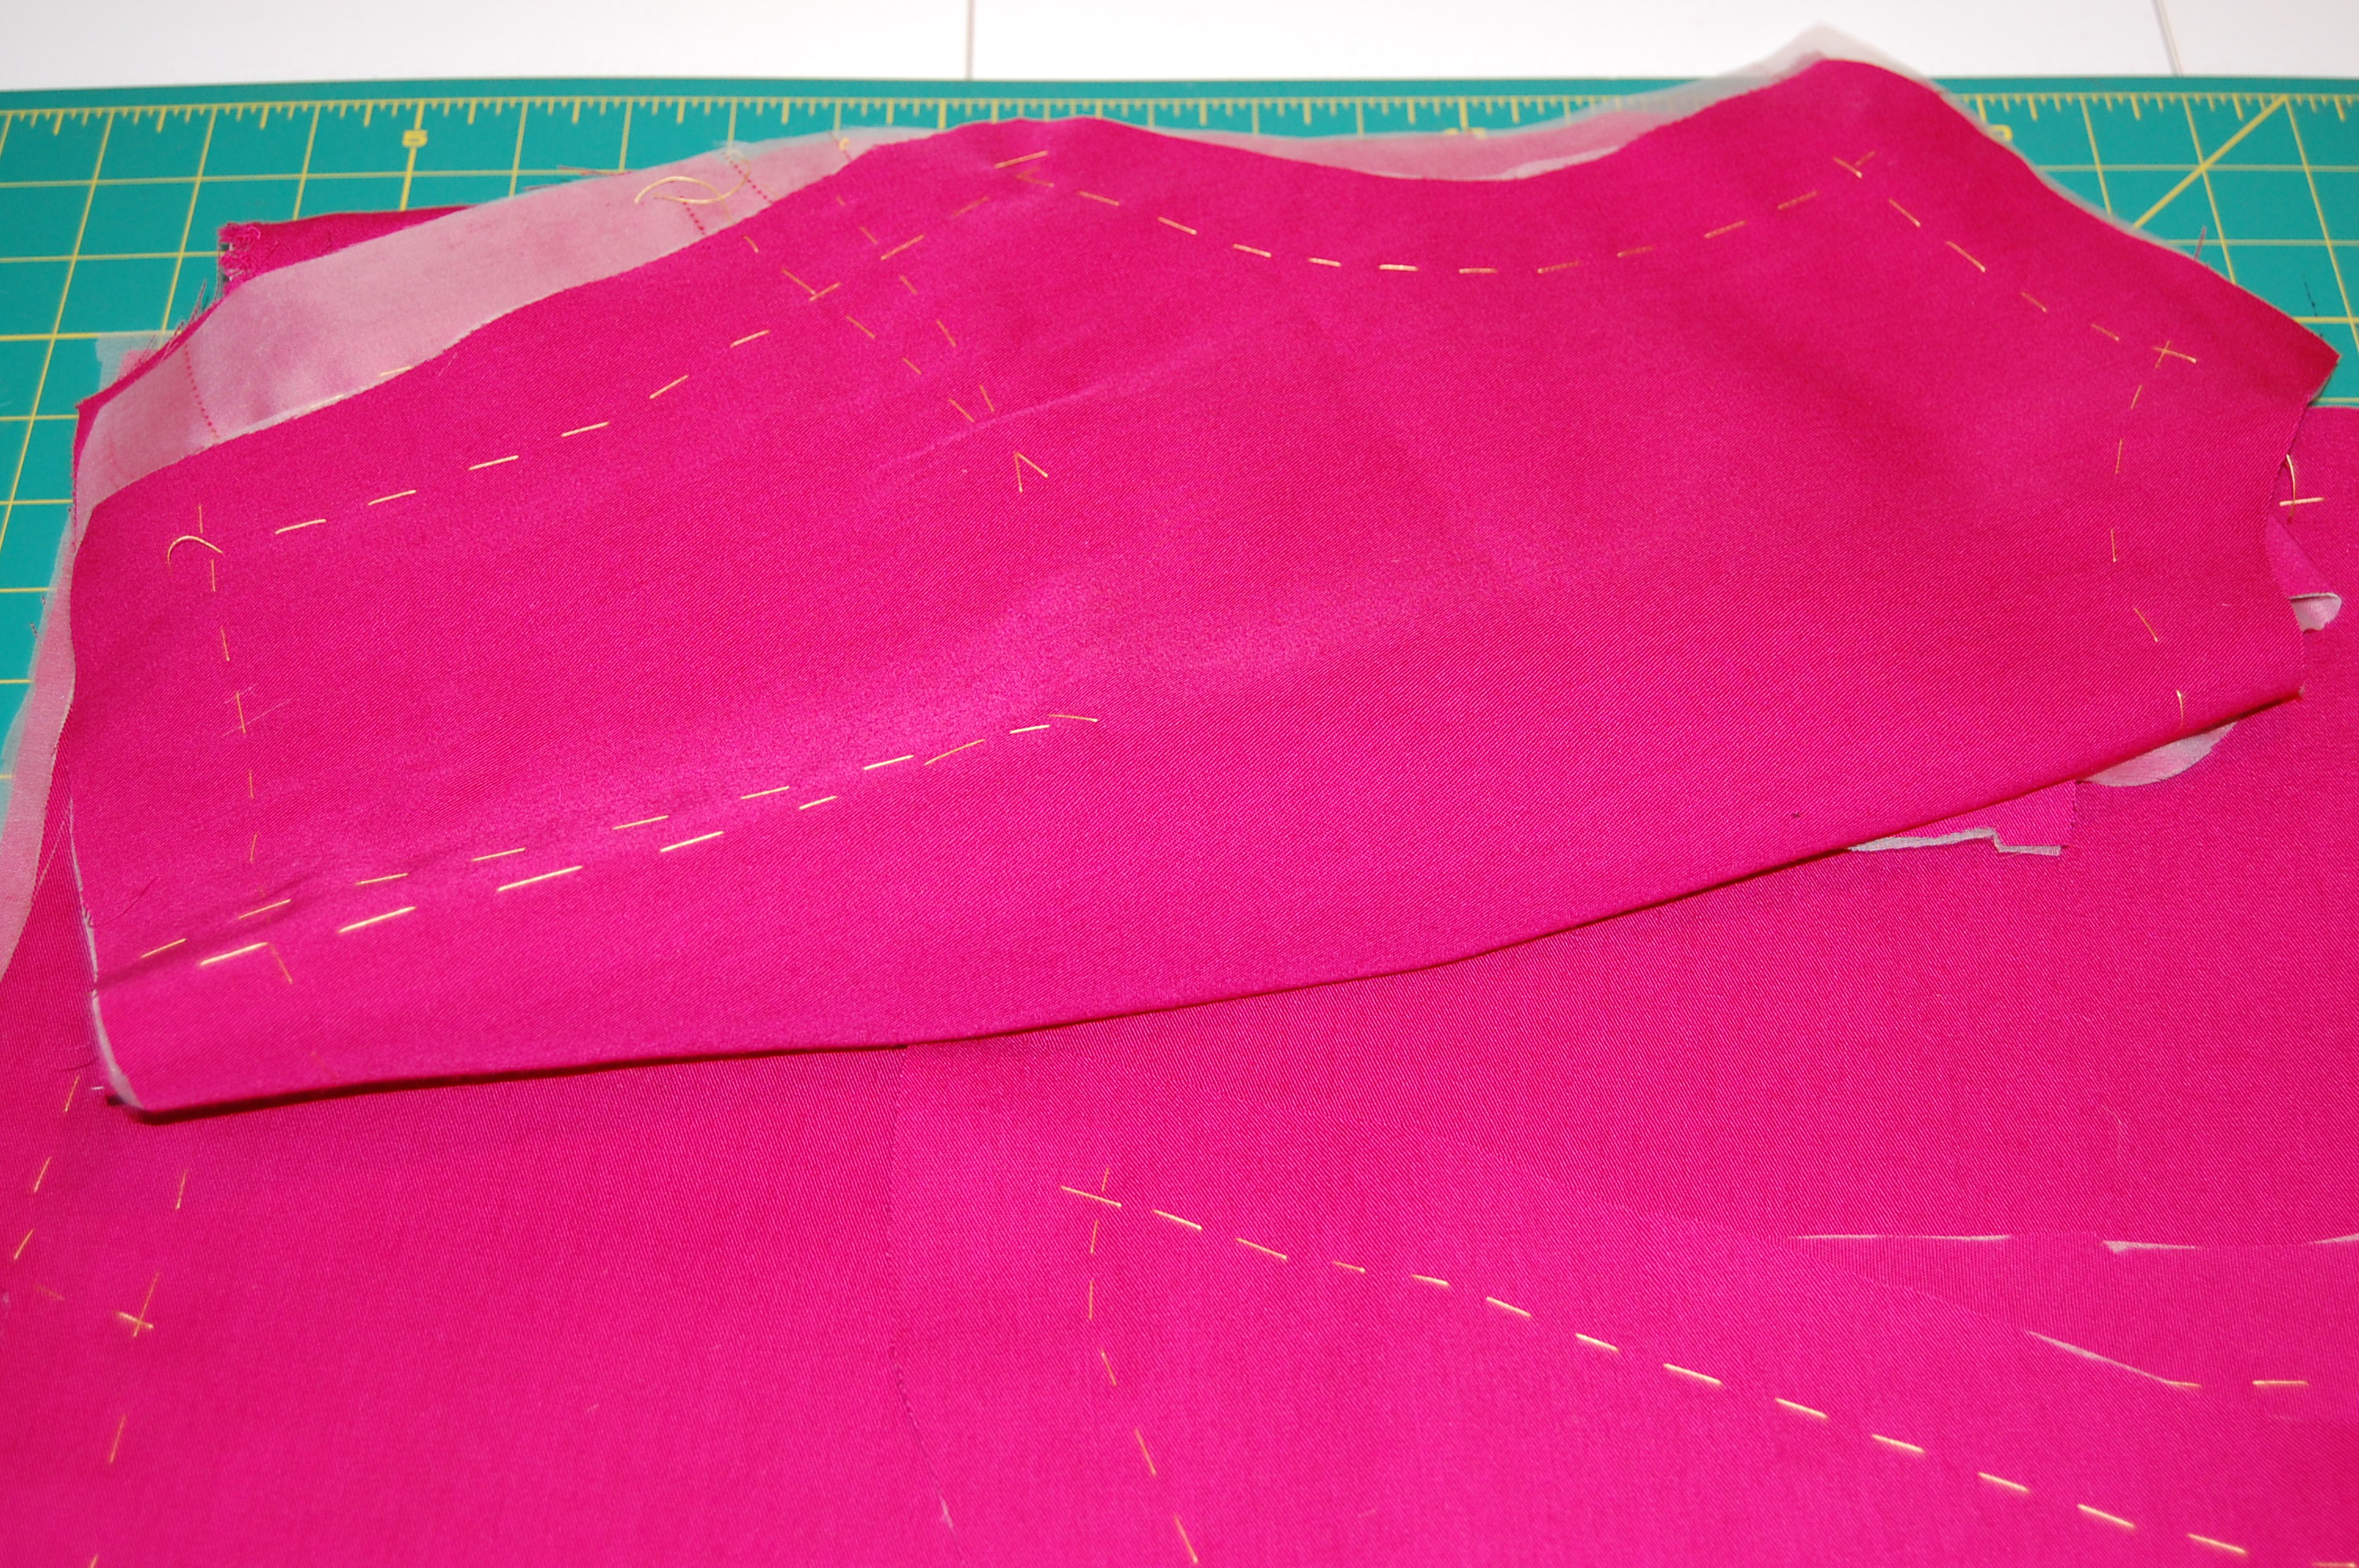
Then I set about adding the 1970’s tab to the neckband. I actually used the pattern piece for the original tab facing so that I could get the correct size and look.

I placed the old pattern piece onto the new neckband.

Then I made a new pattern piece.
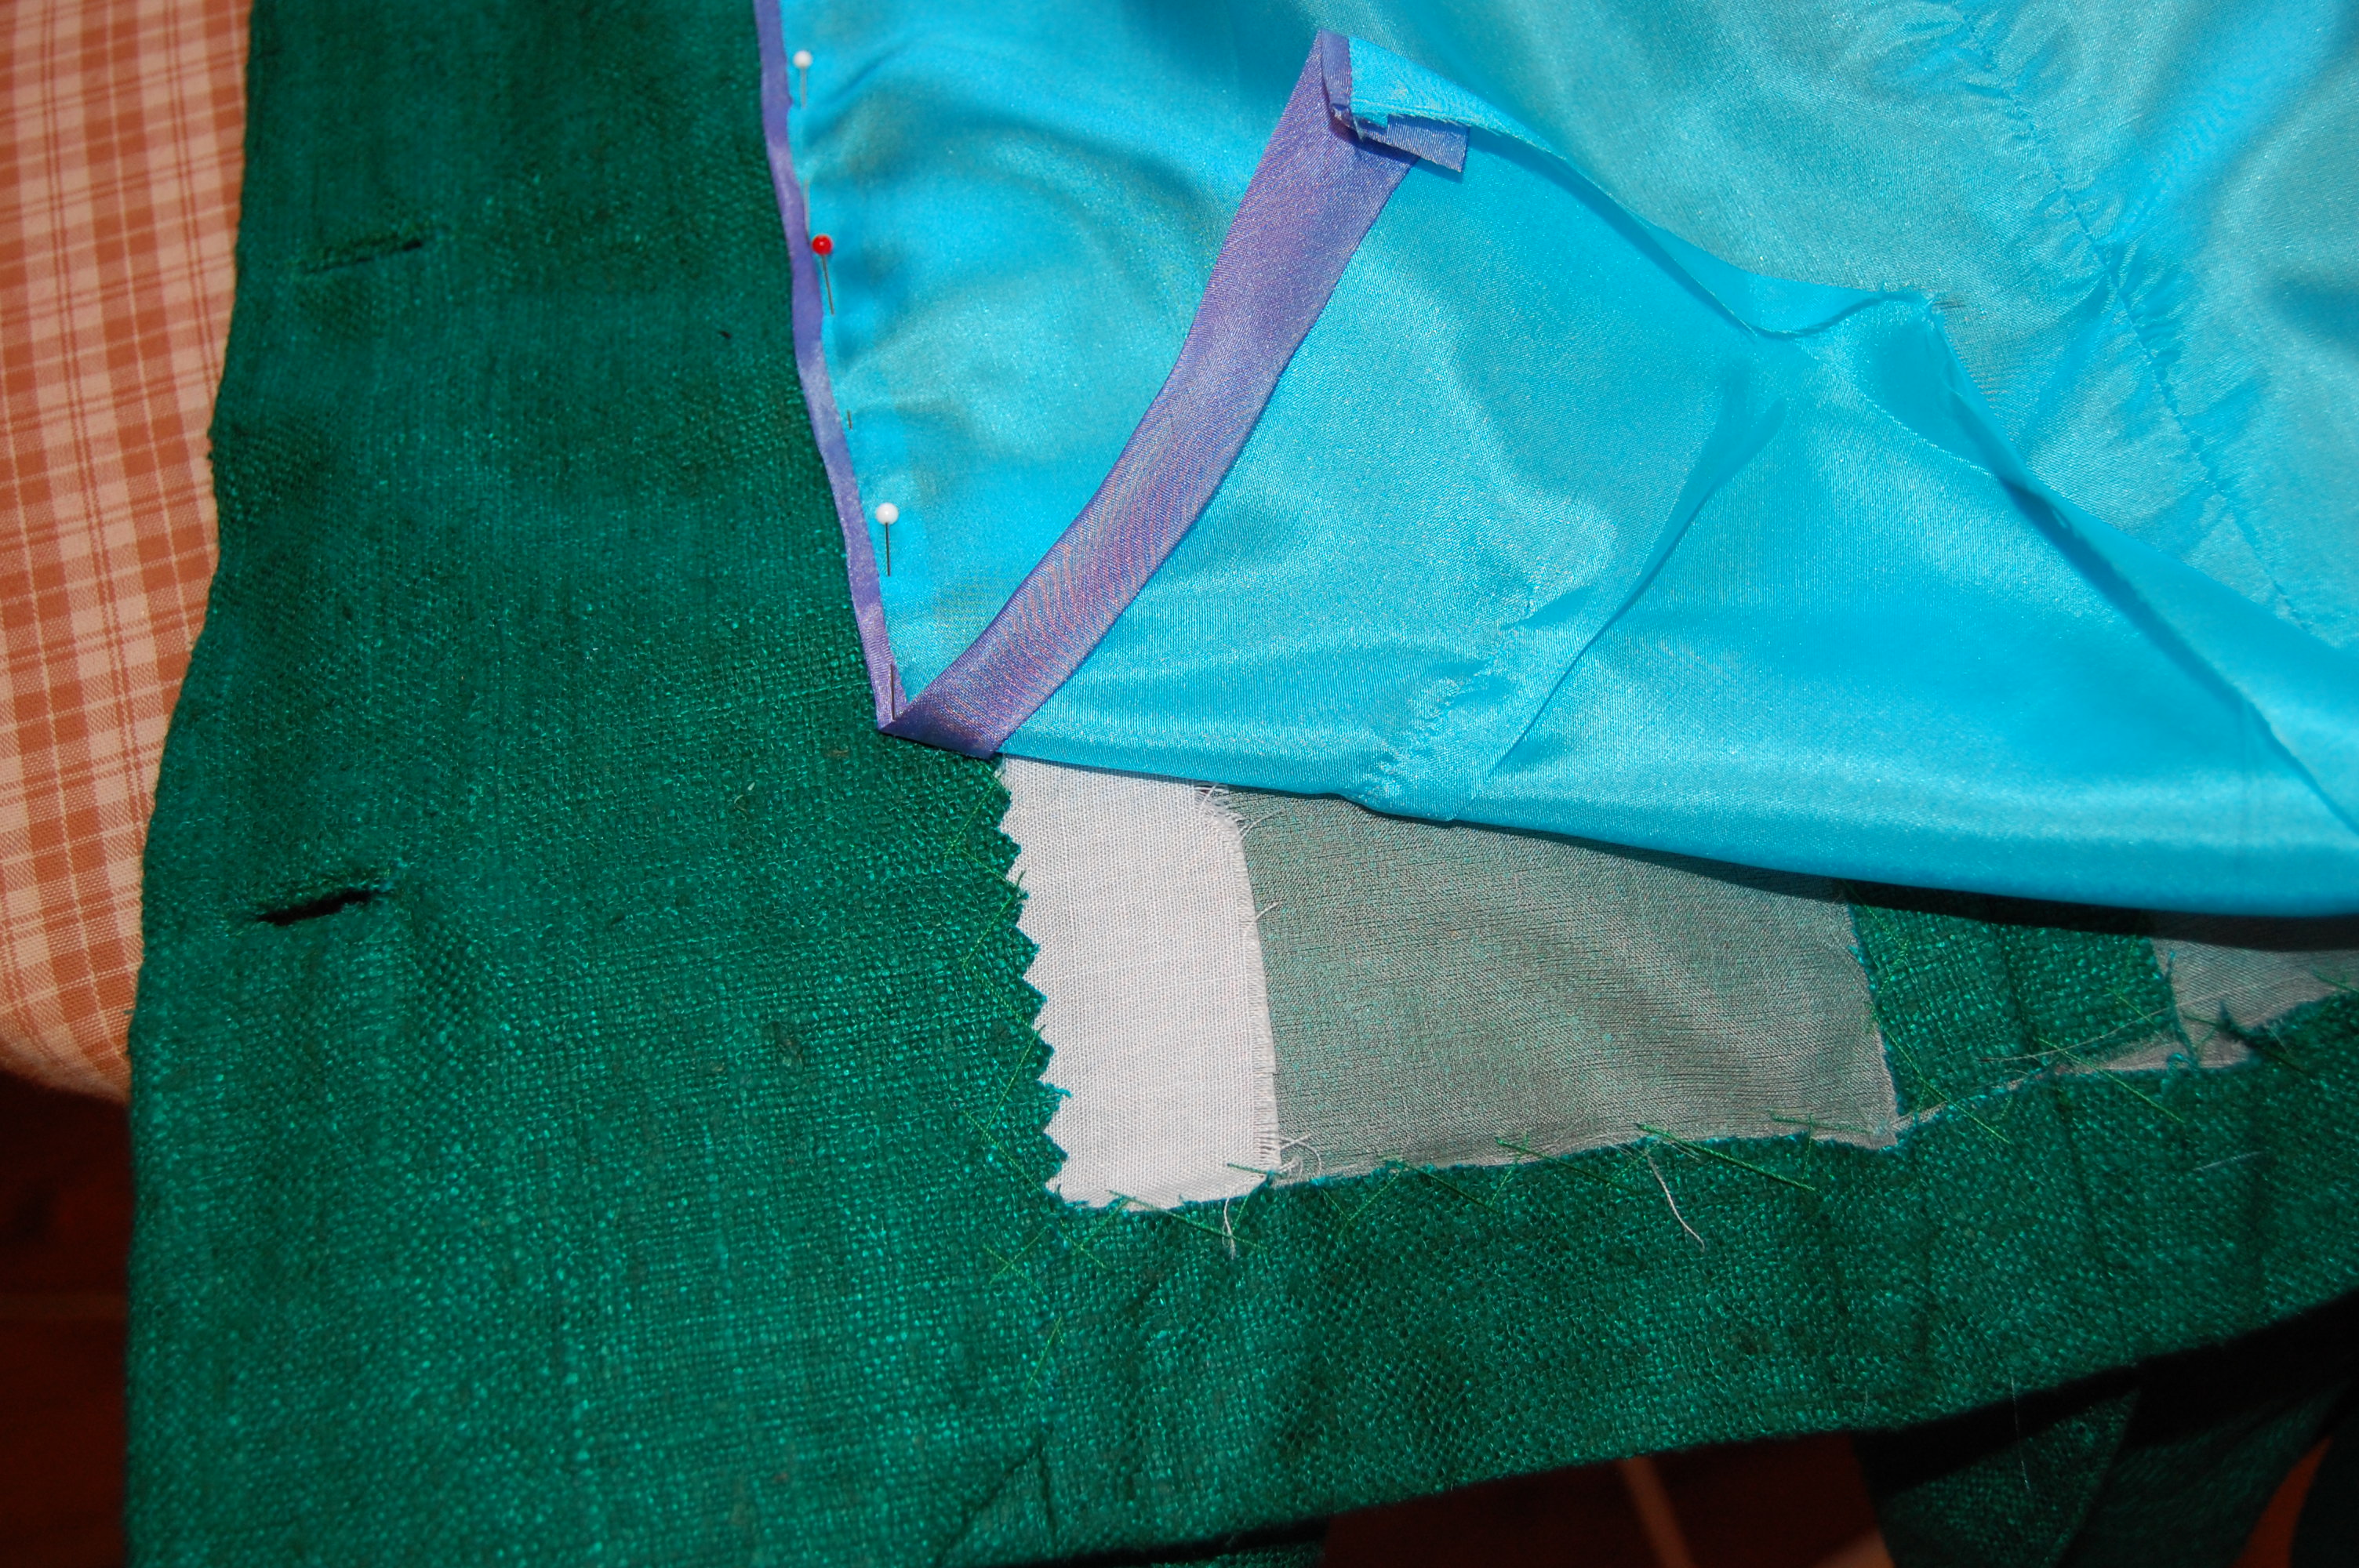
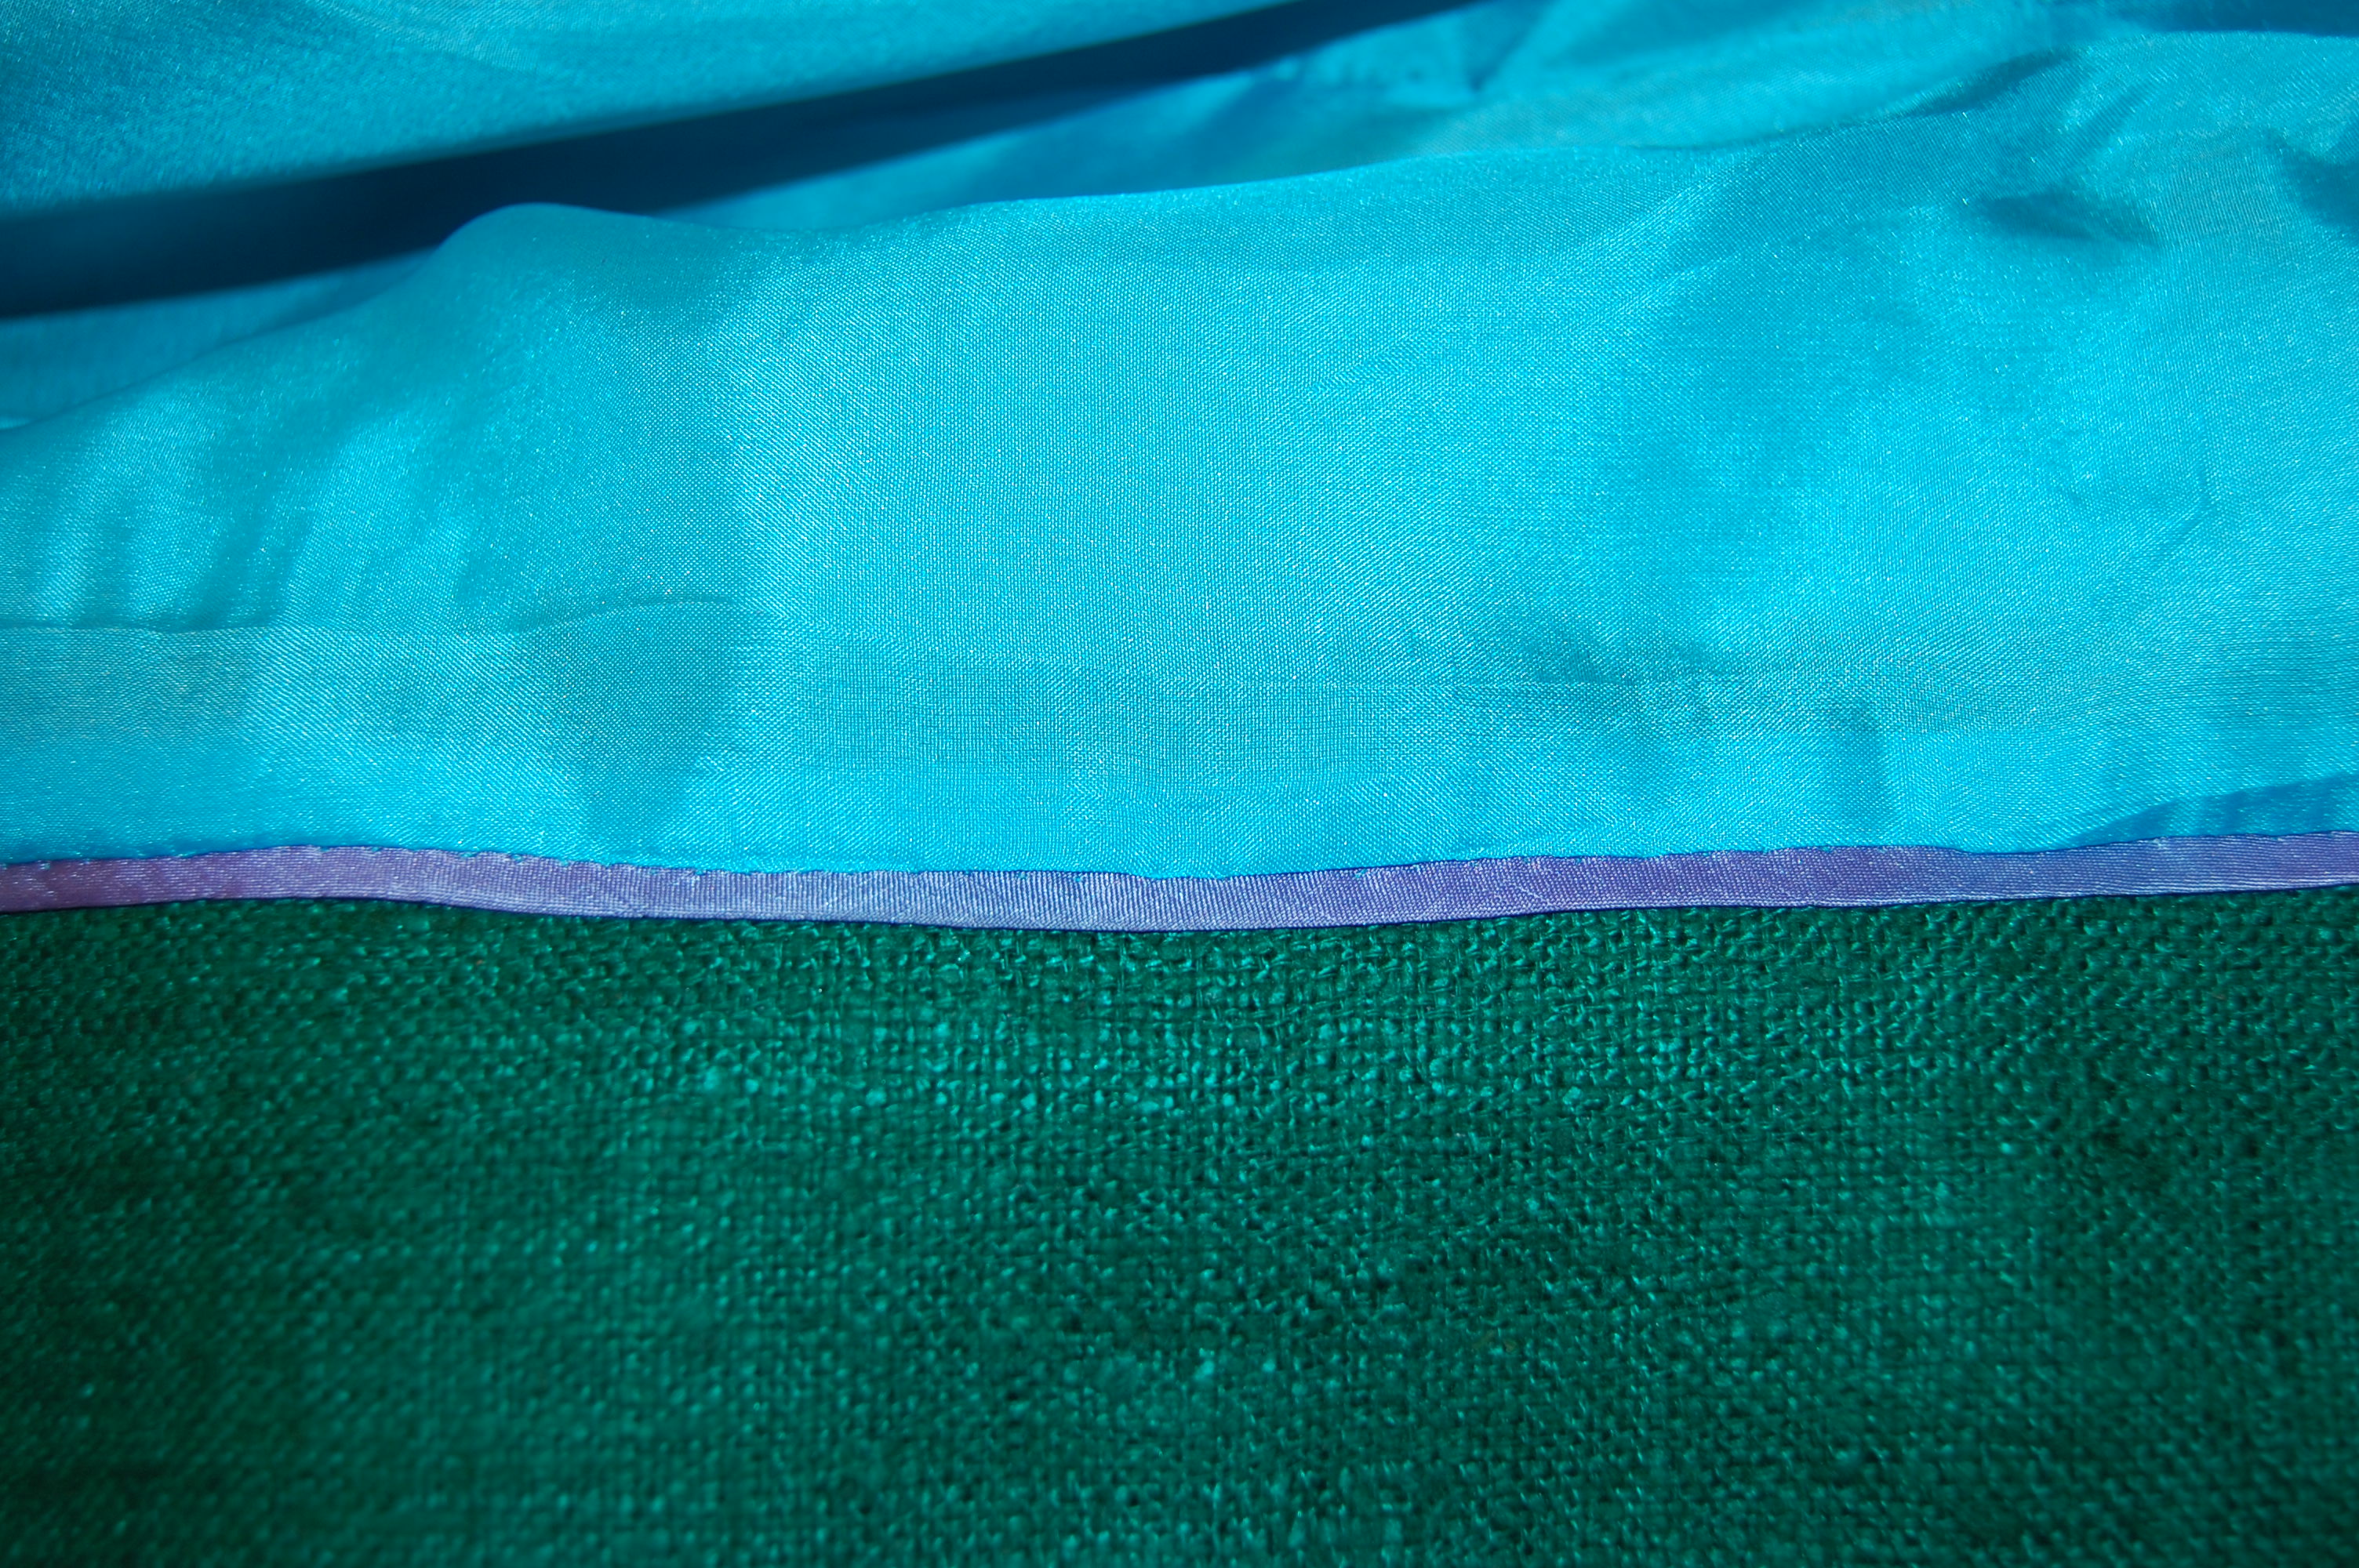
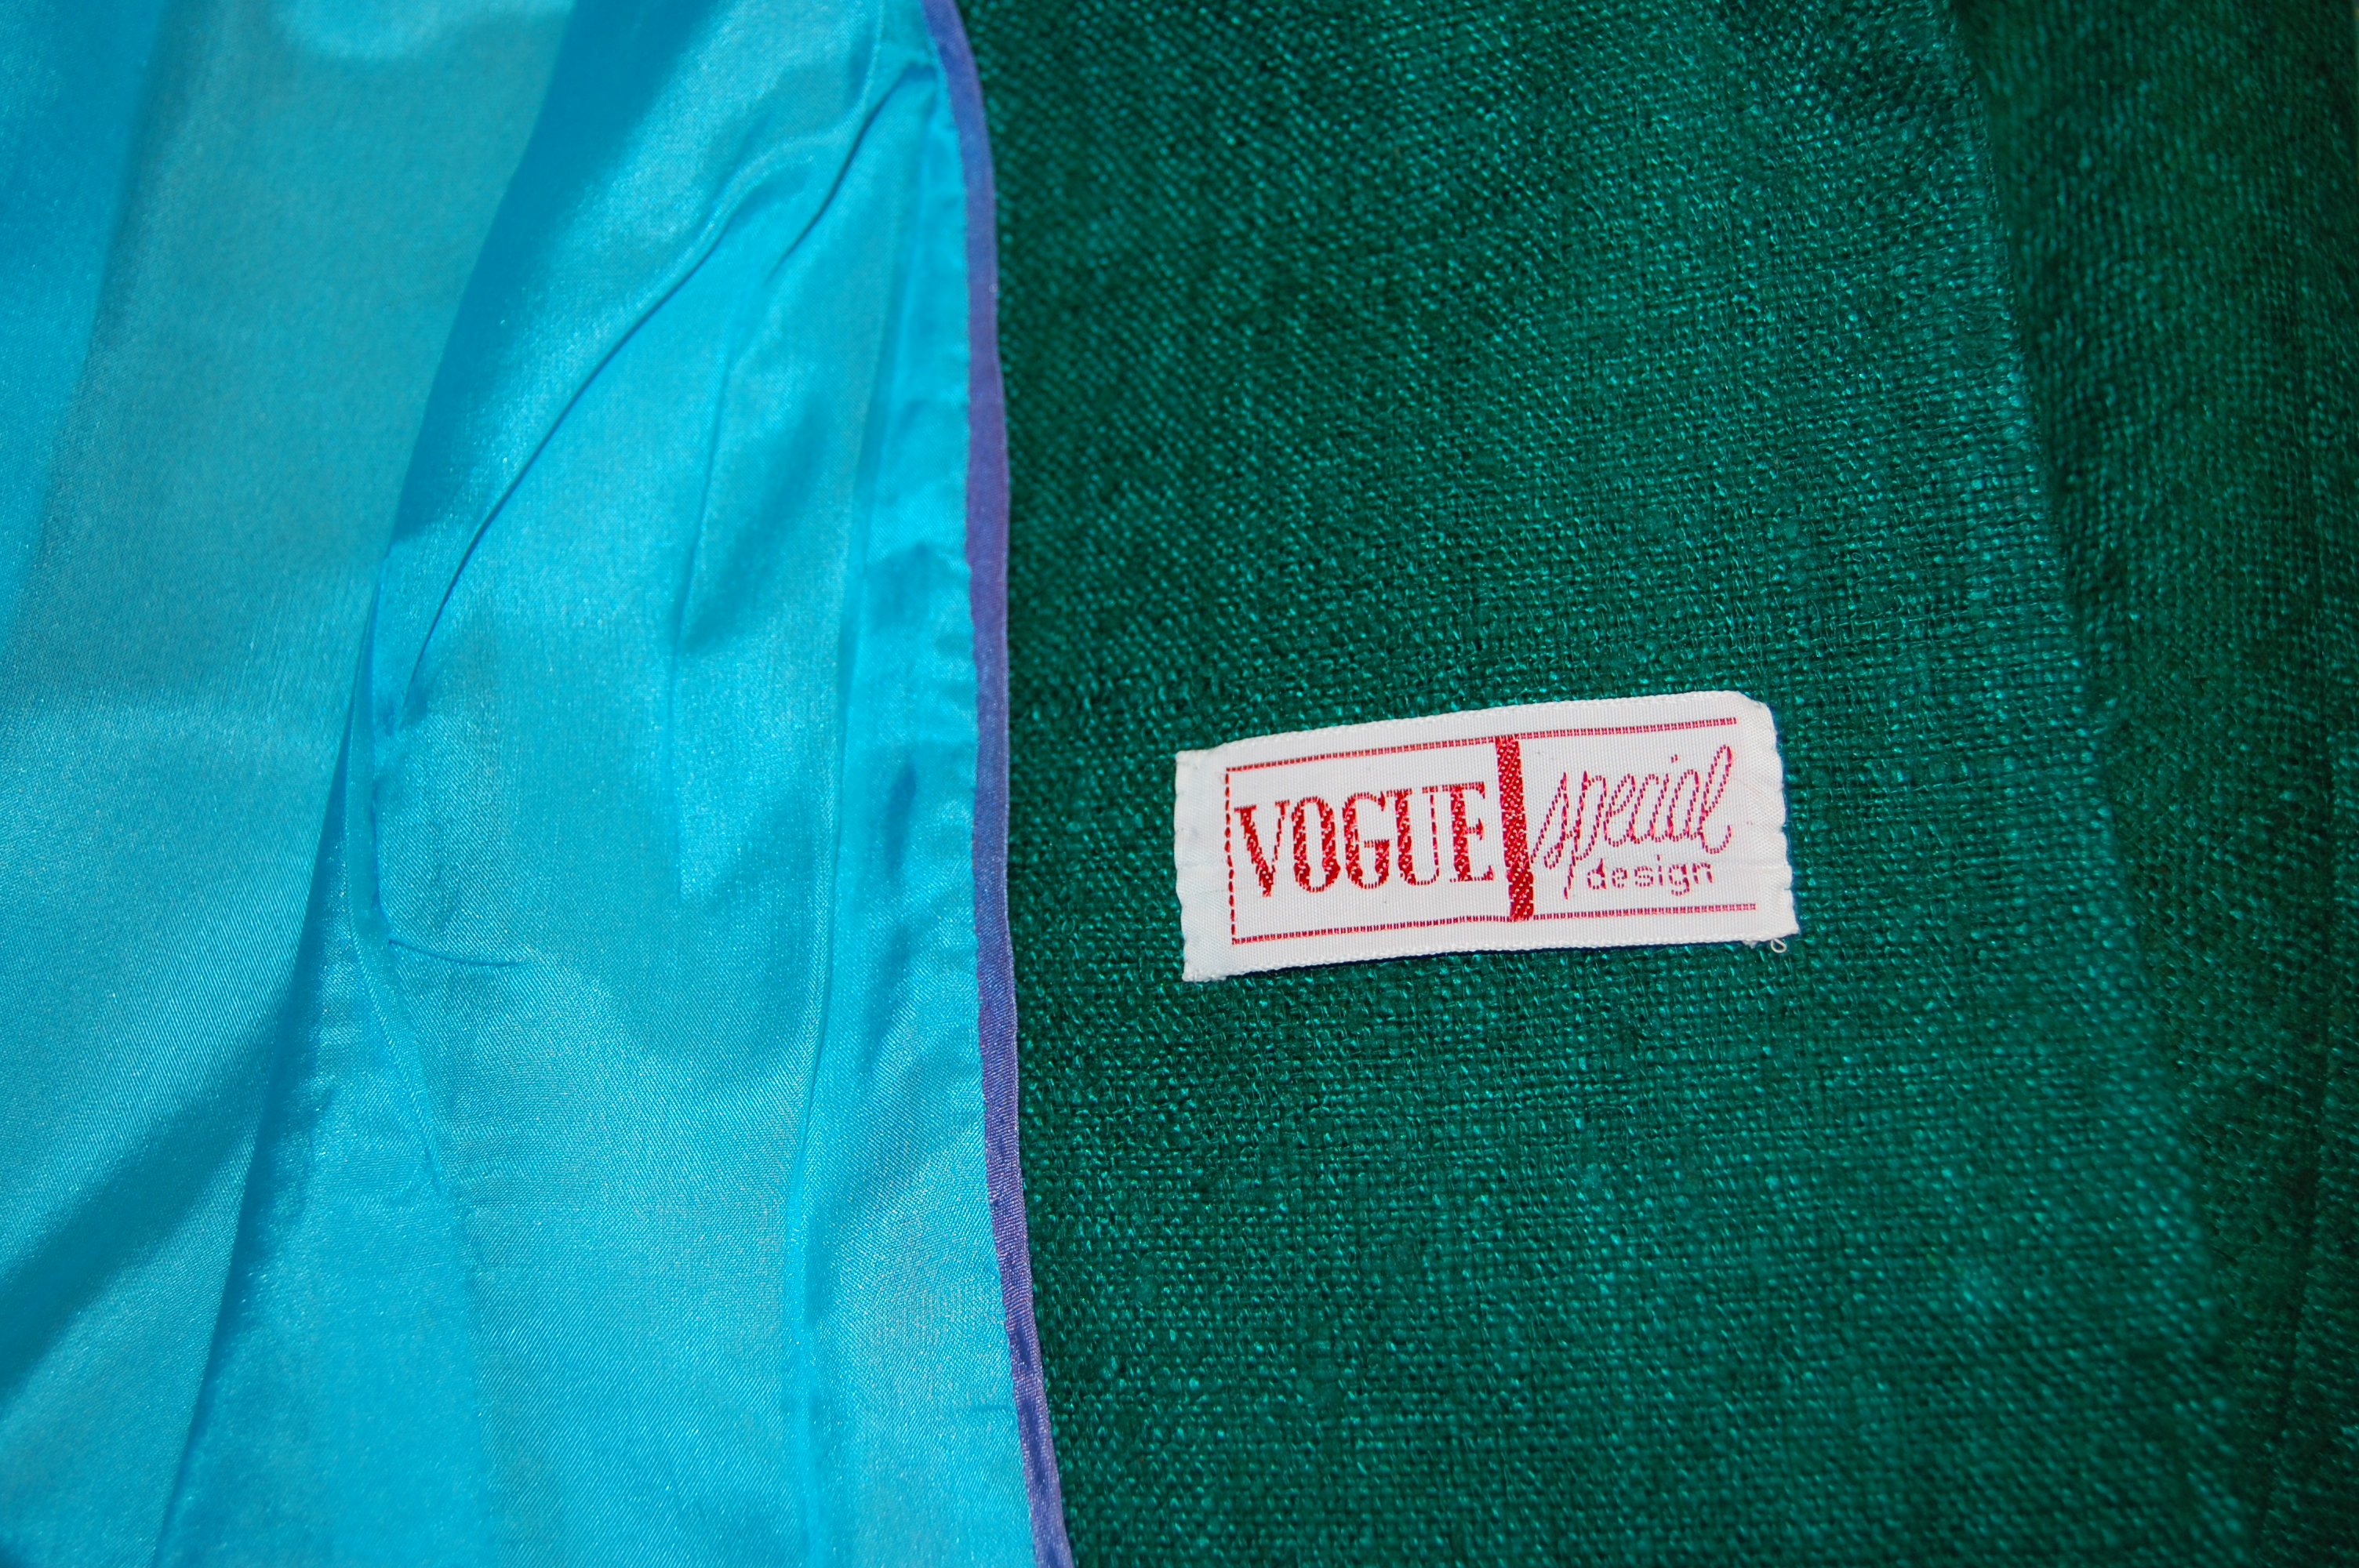
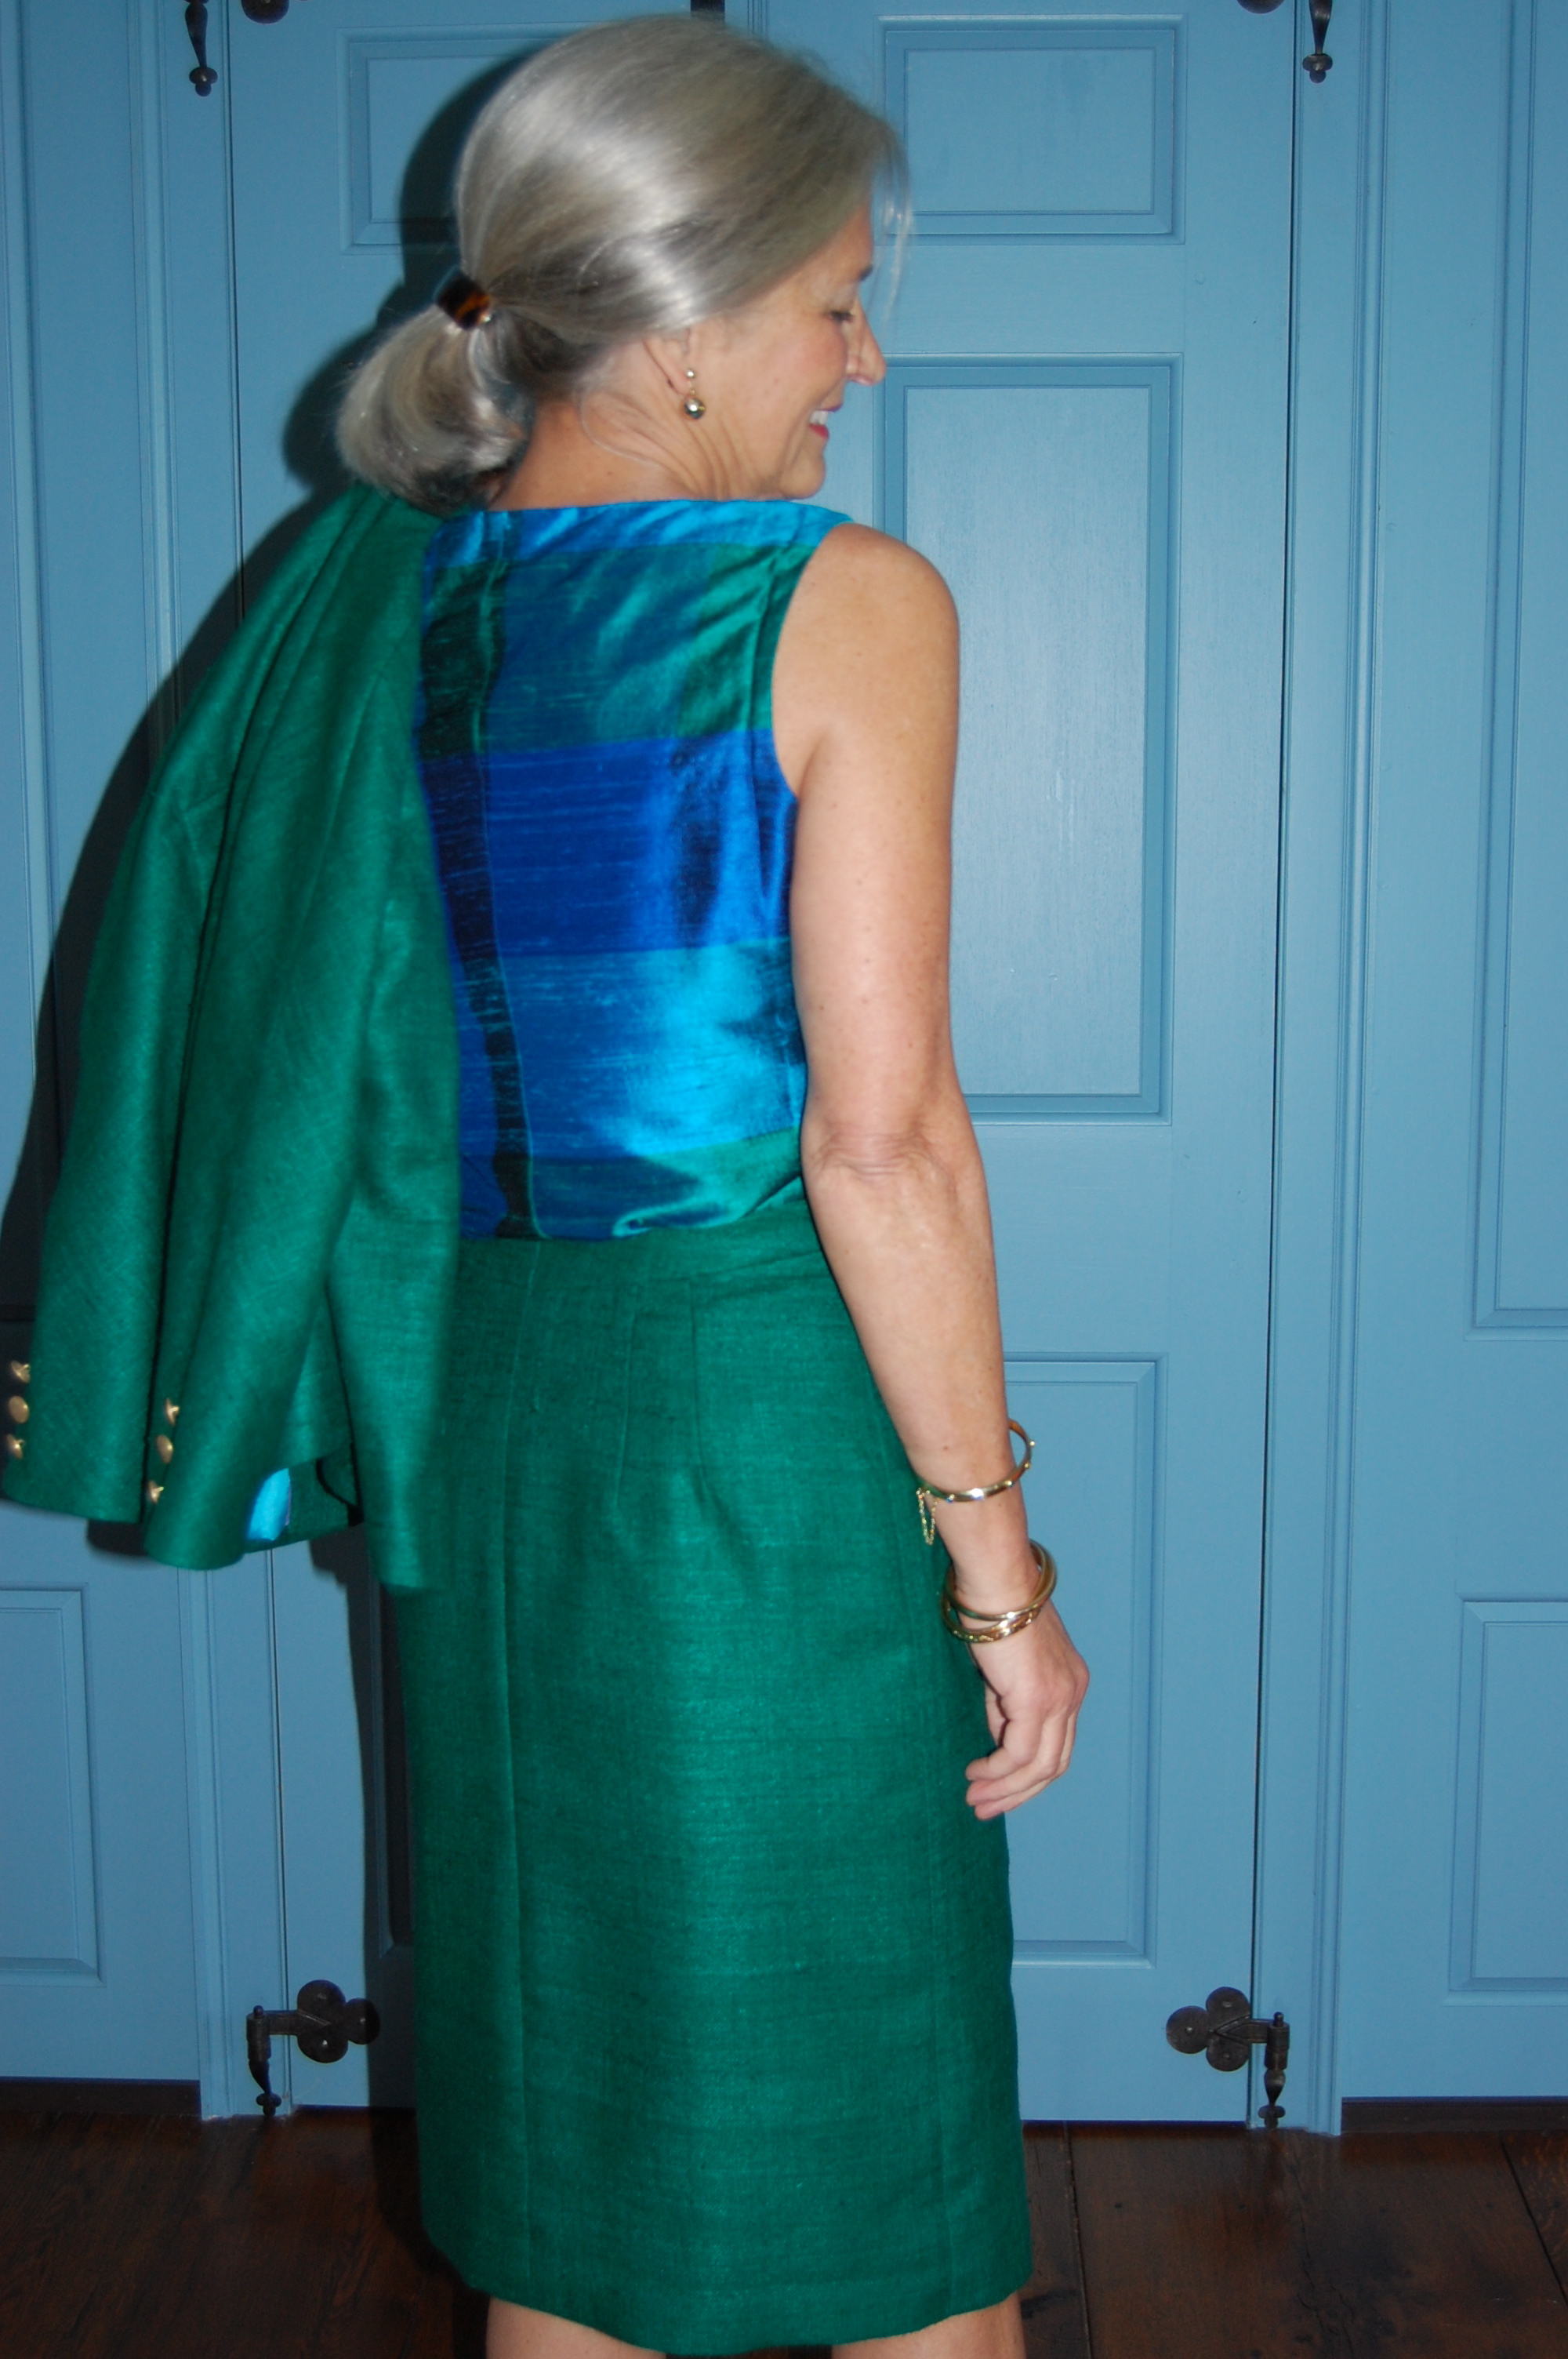
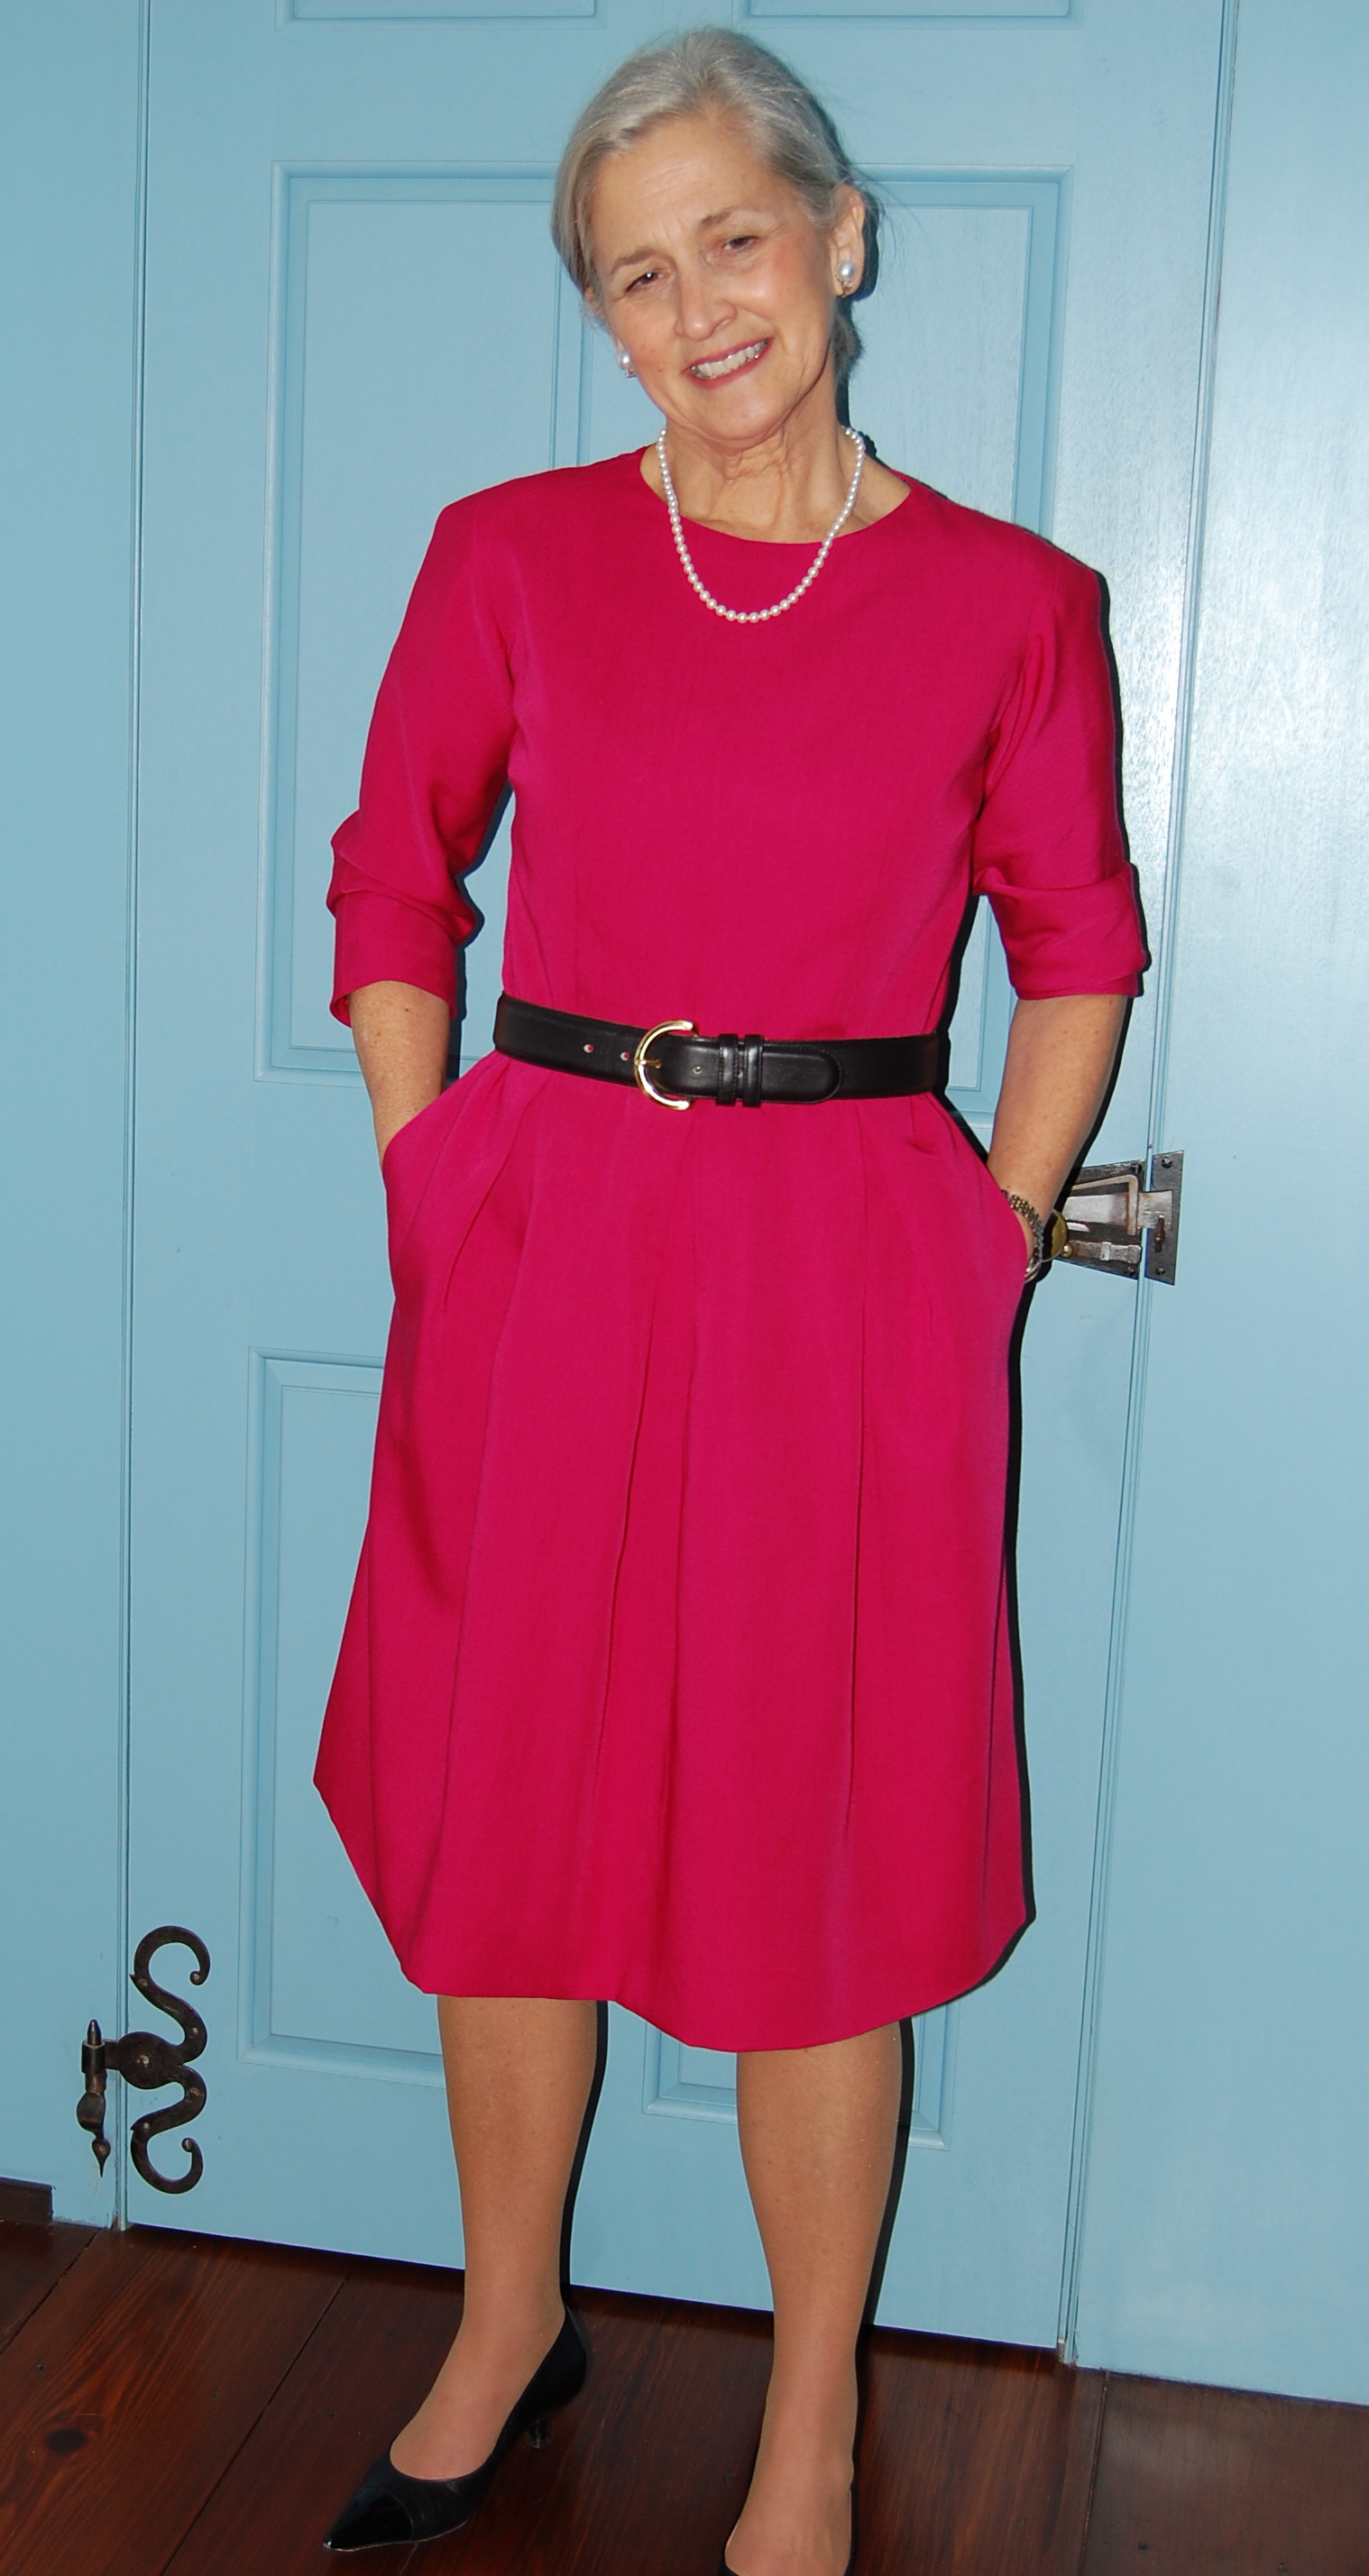
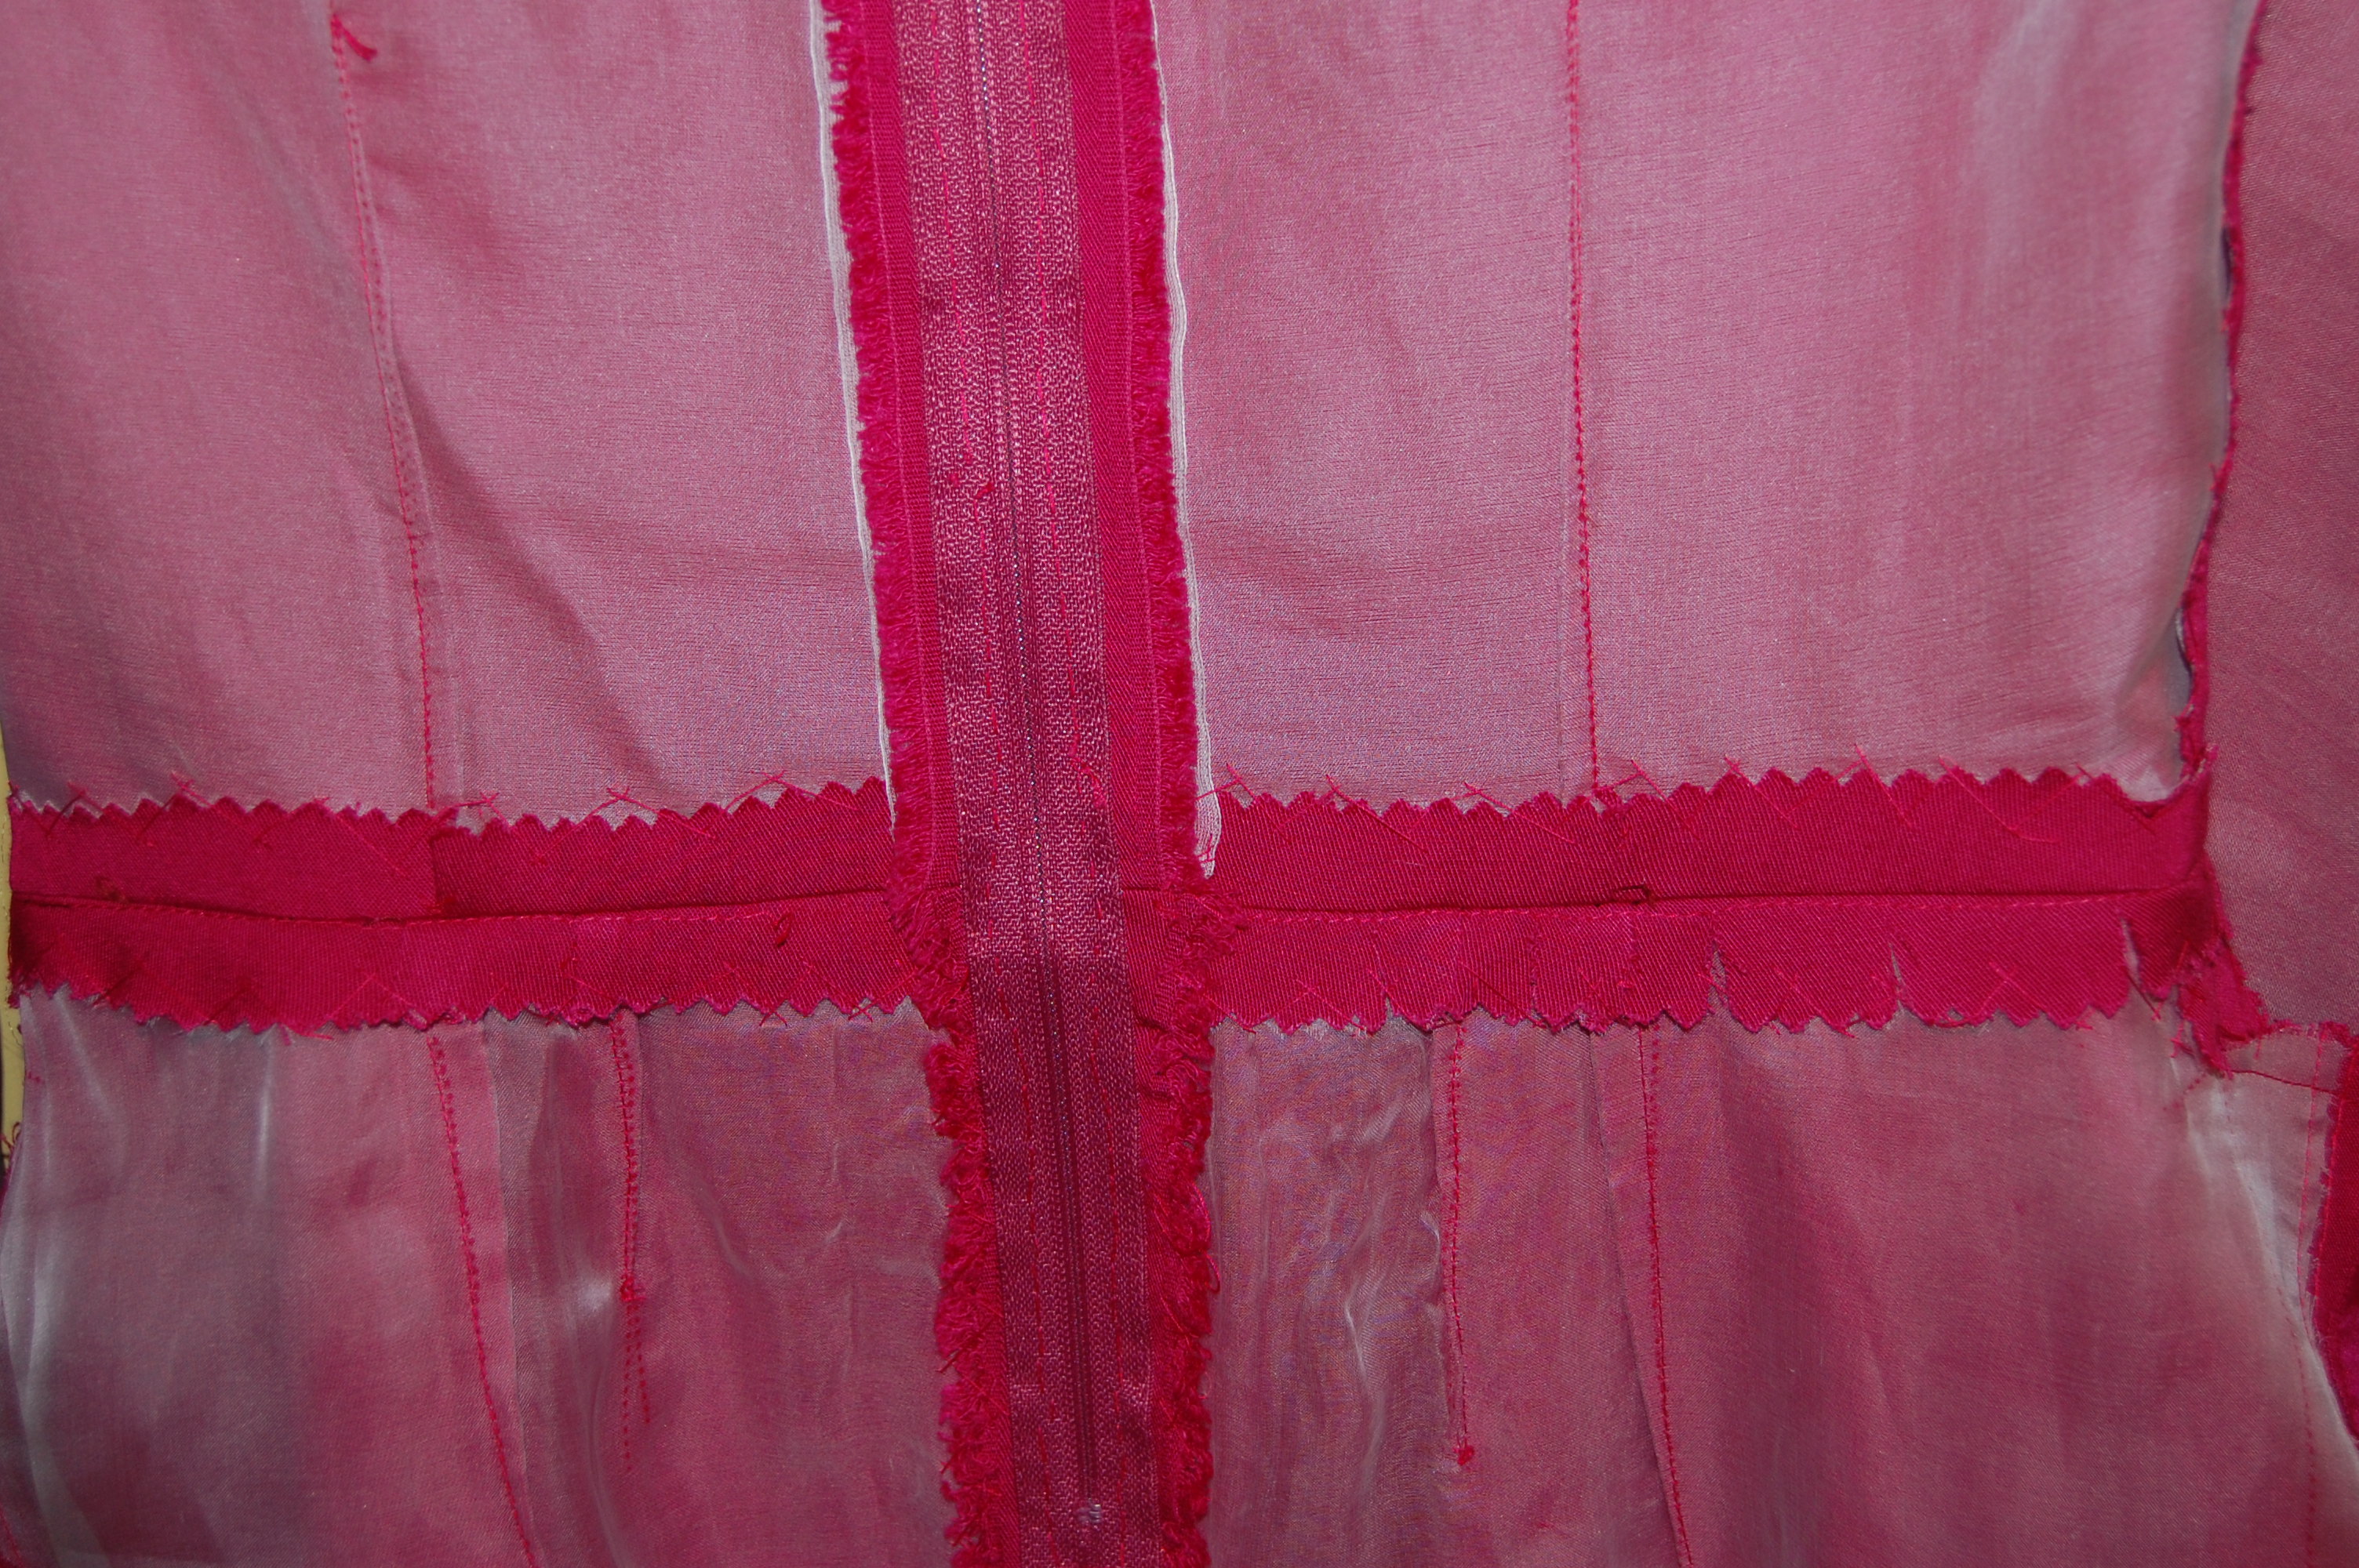
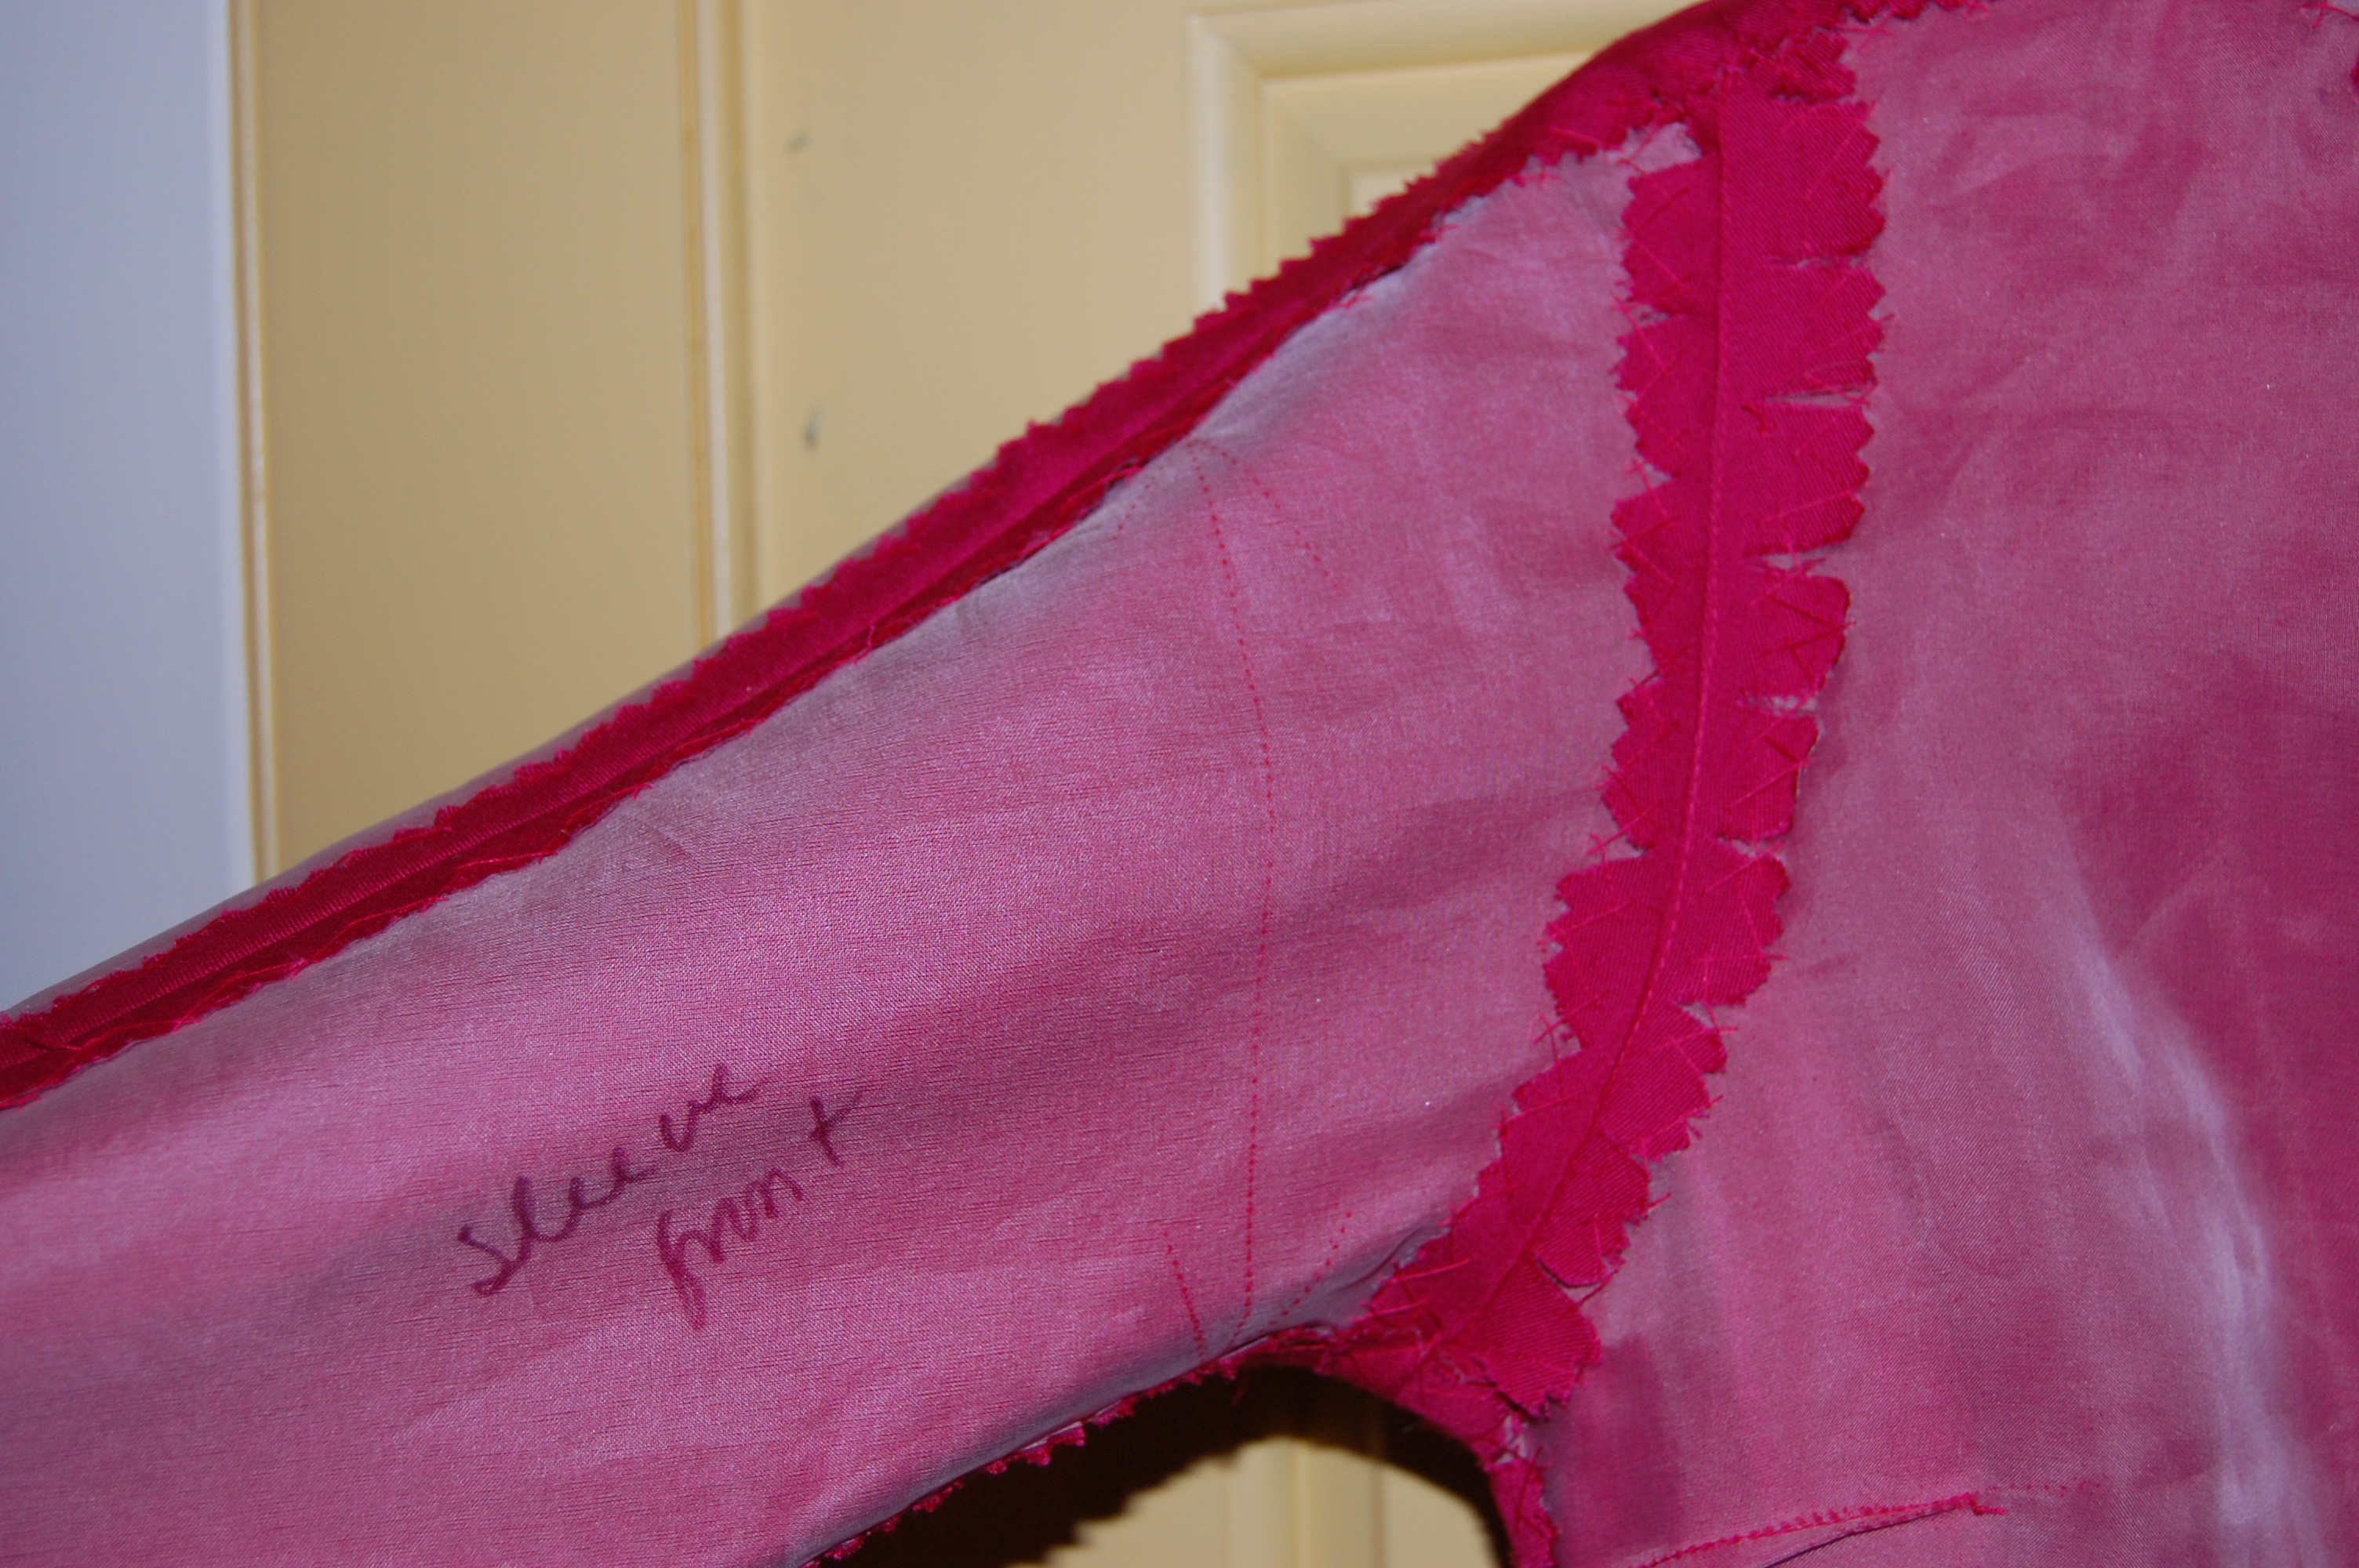
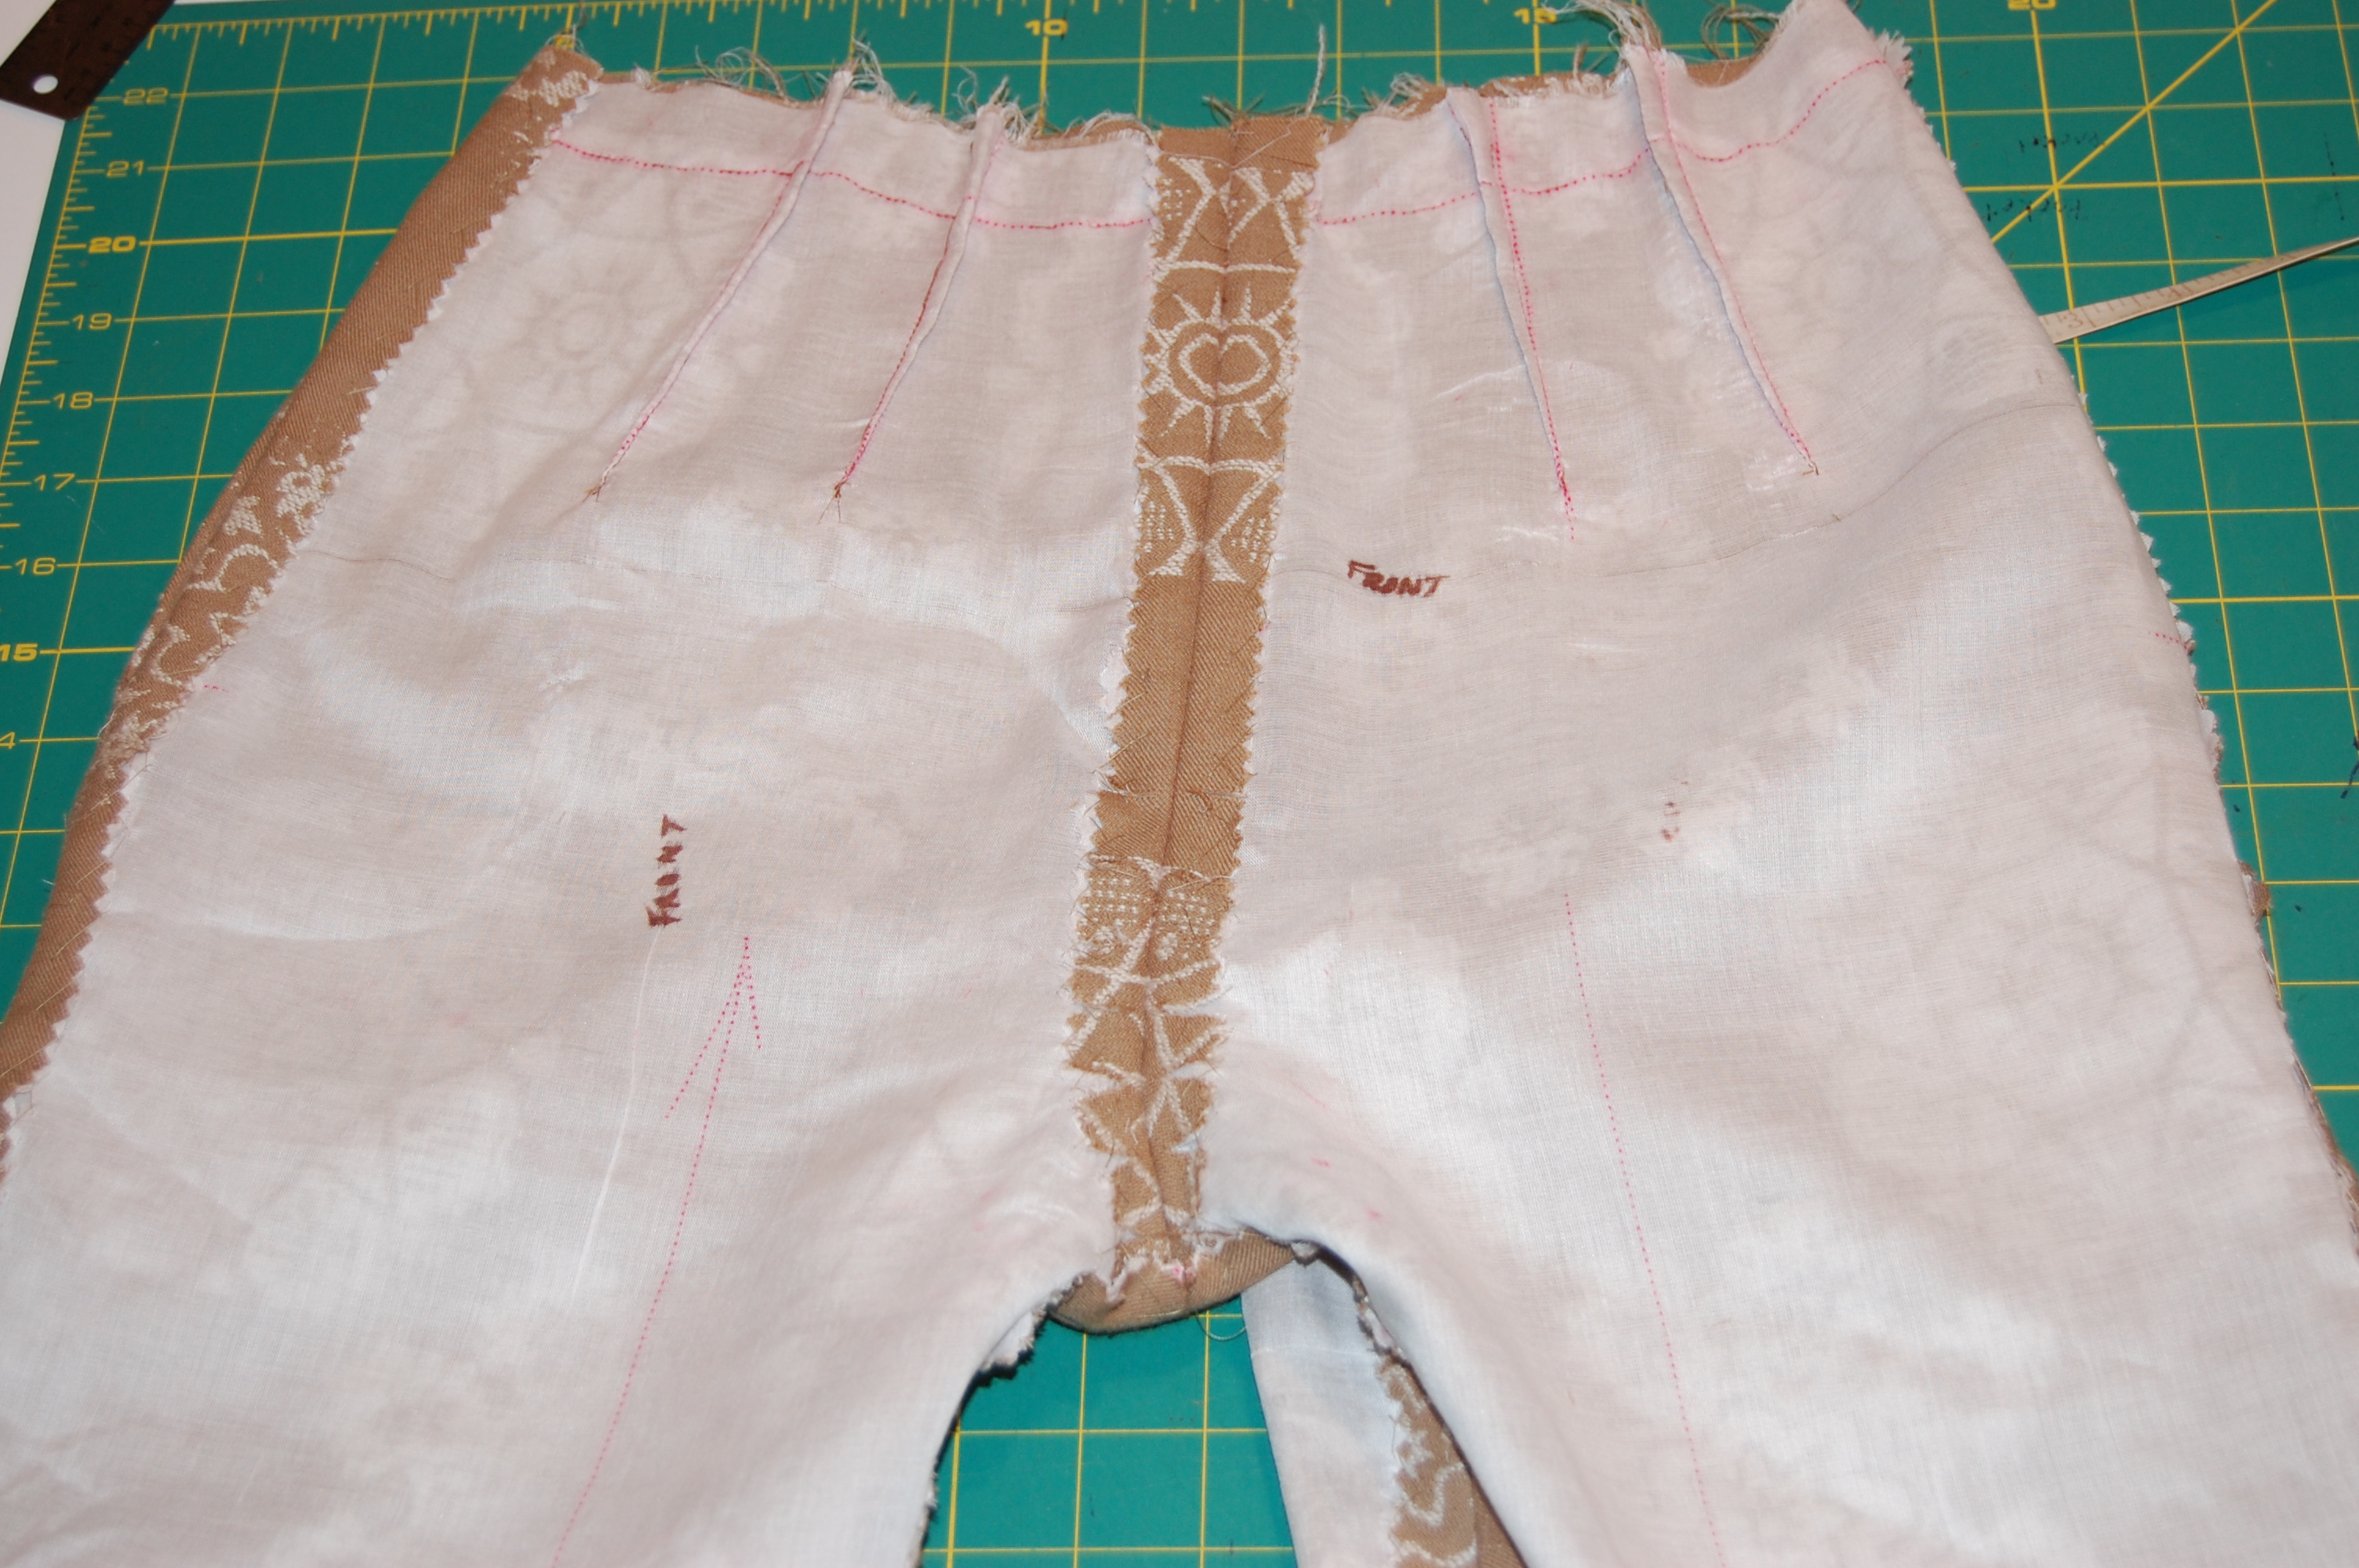
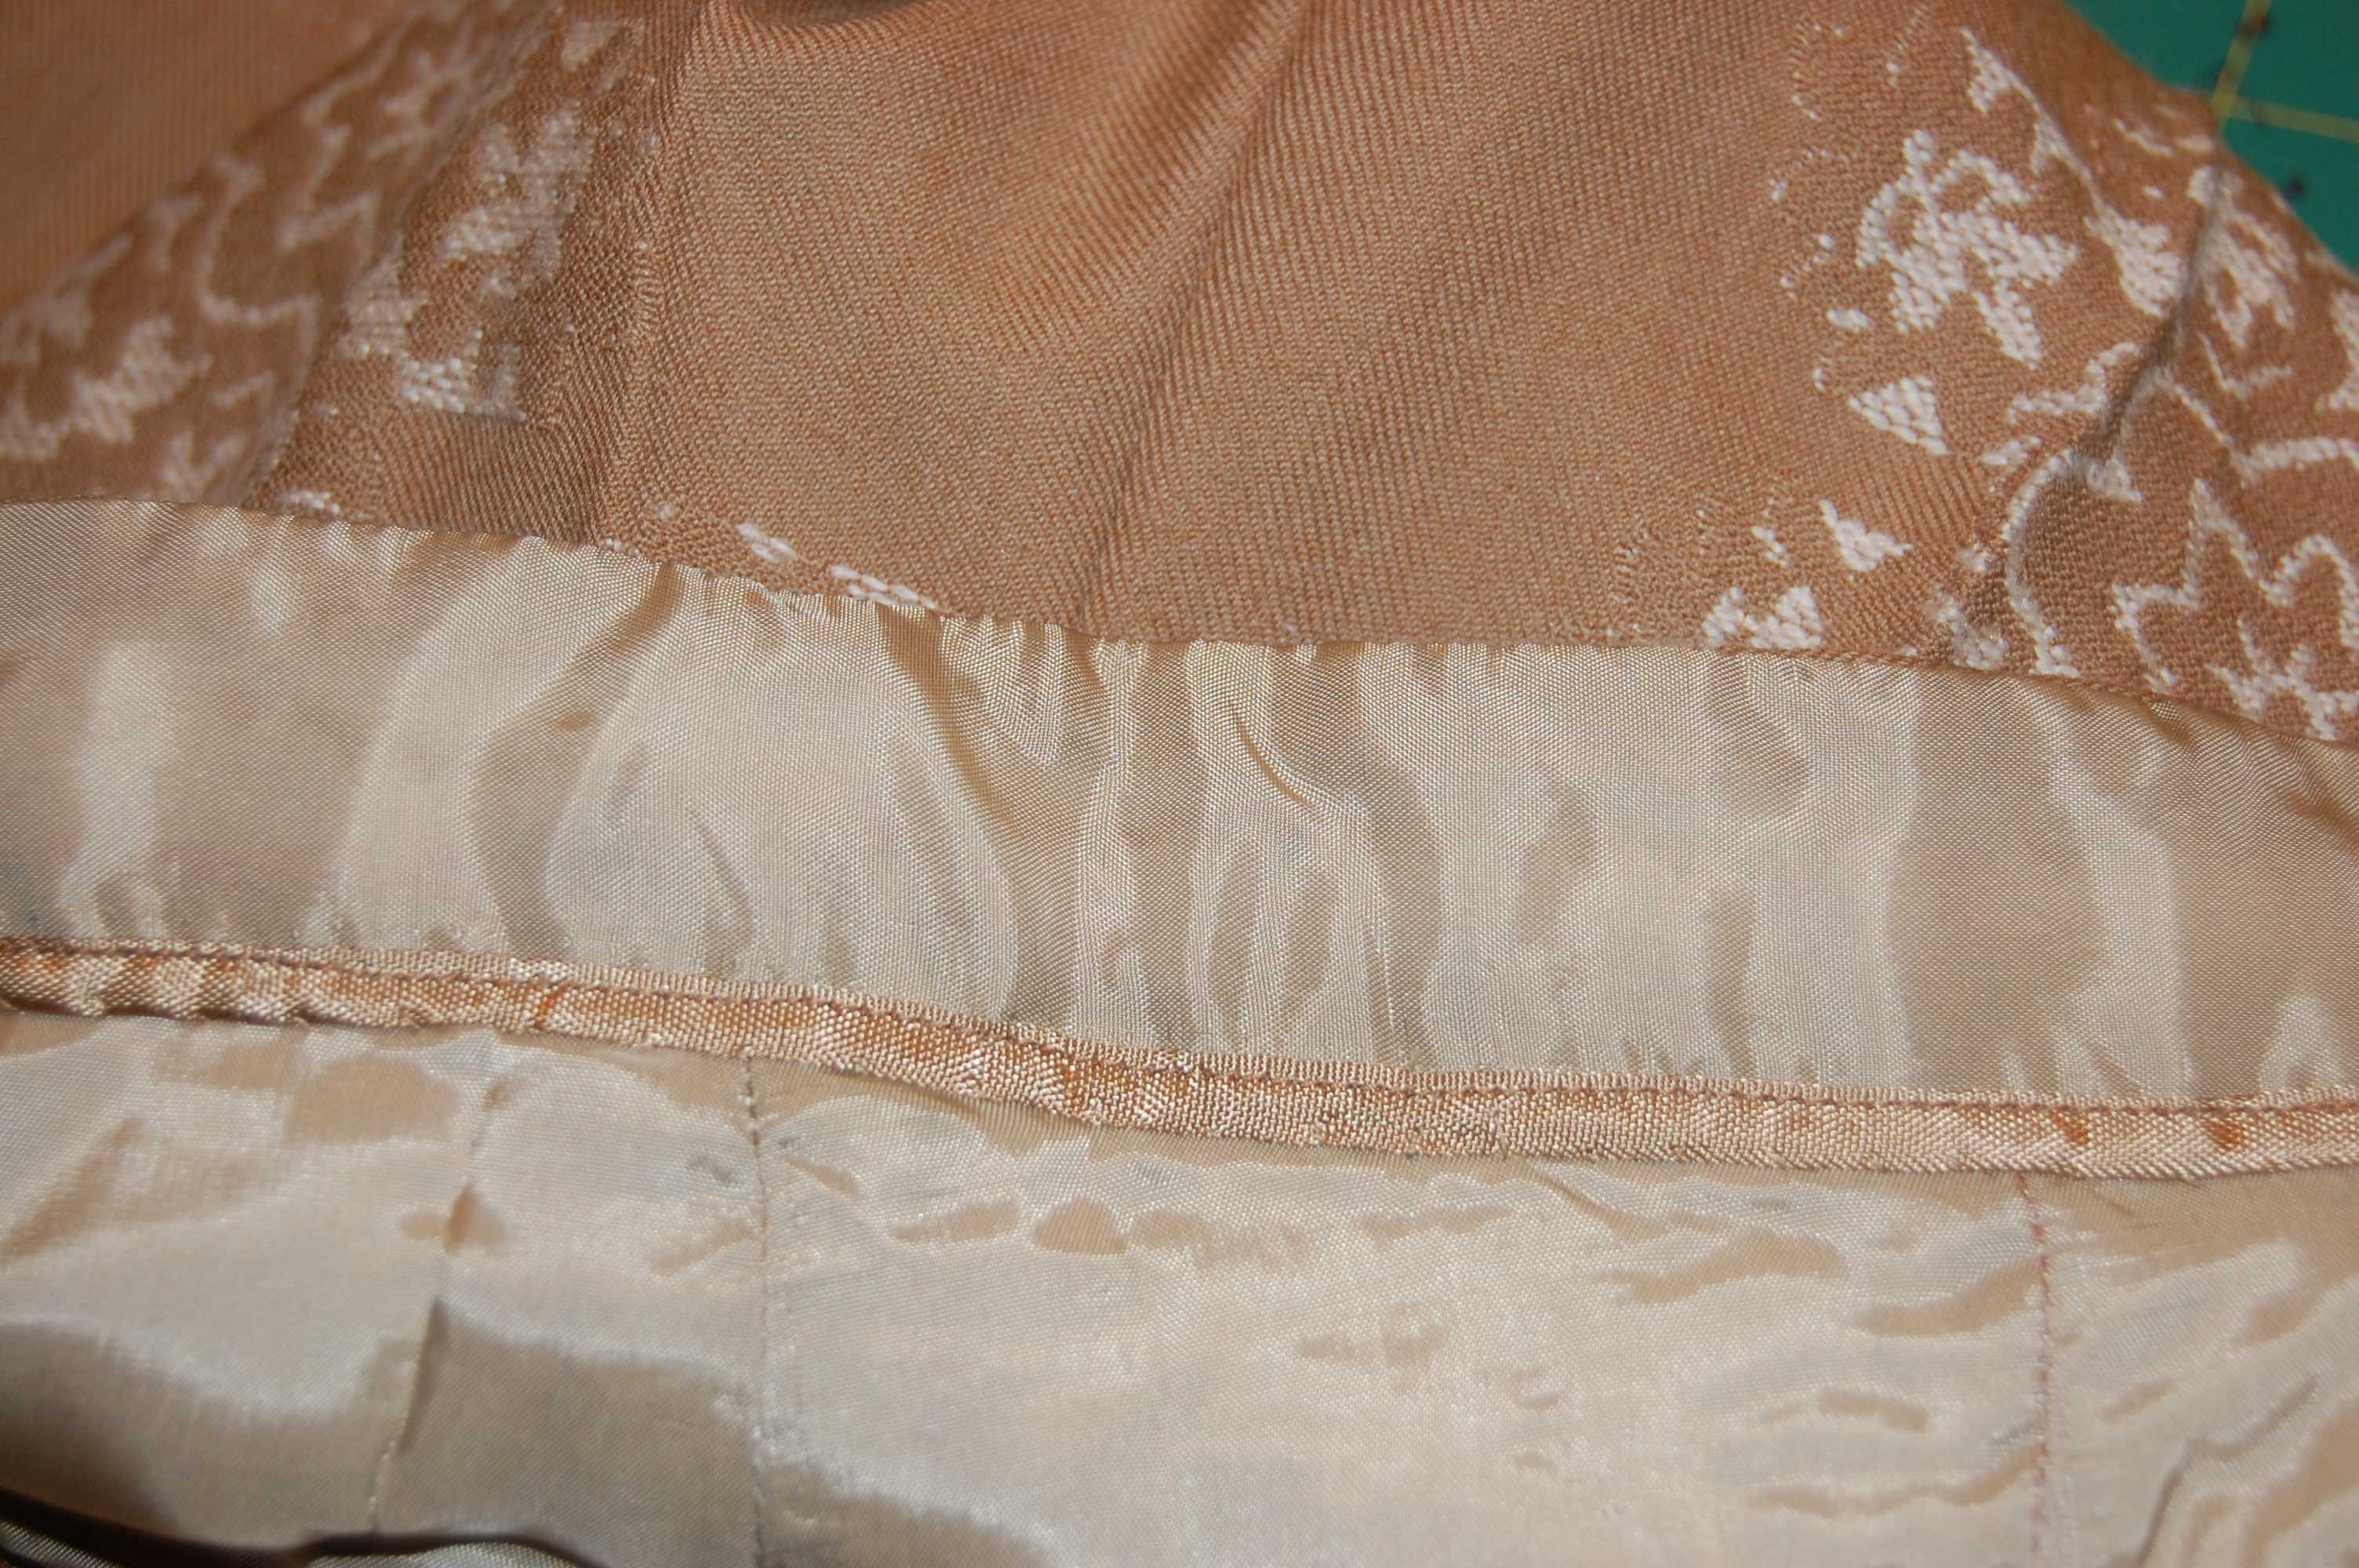
I made my muslin and then proceeded to use some couture techniques, but not all I normally would. For one thing, I did not want to underline this linen fabric with silk organza (to preserve the breathability of the linen and keep it as light as possible). The pattern called for the dress (but not the sleeves) to be lined. I used a very lightweight cotton/linen blend for this which worked beautifully. I also decided to use the facings included in the pattern (usually eliminated with couture sewing), and I’m really happy with that decision.
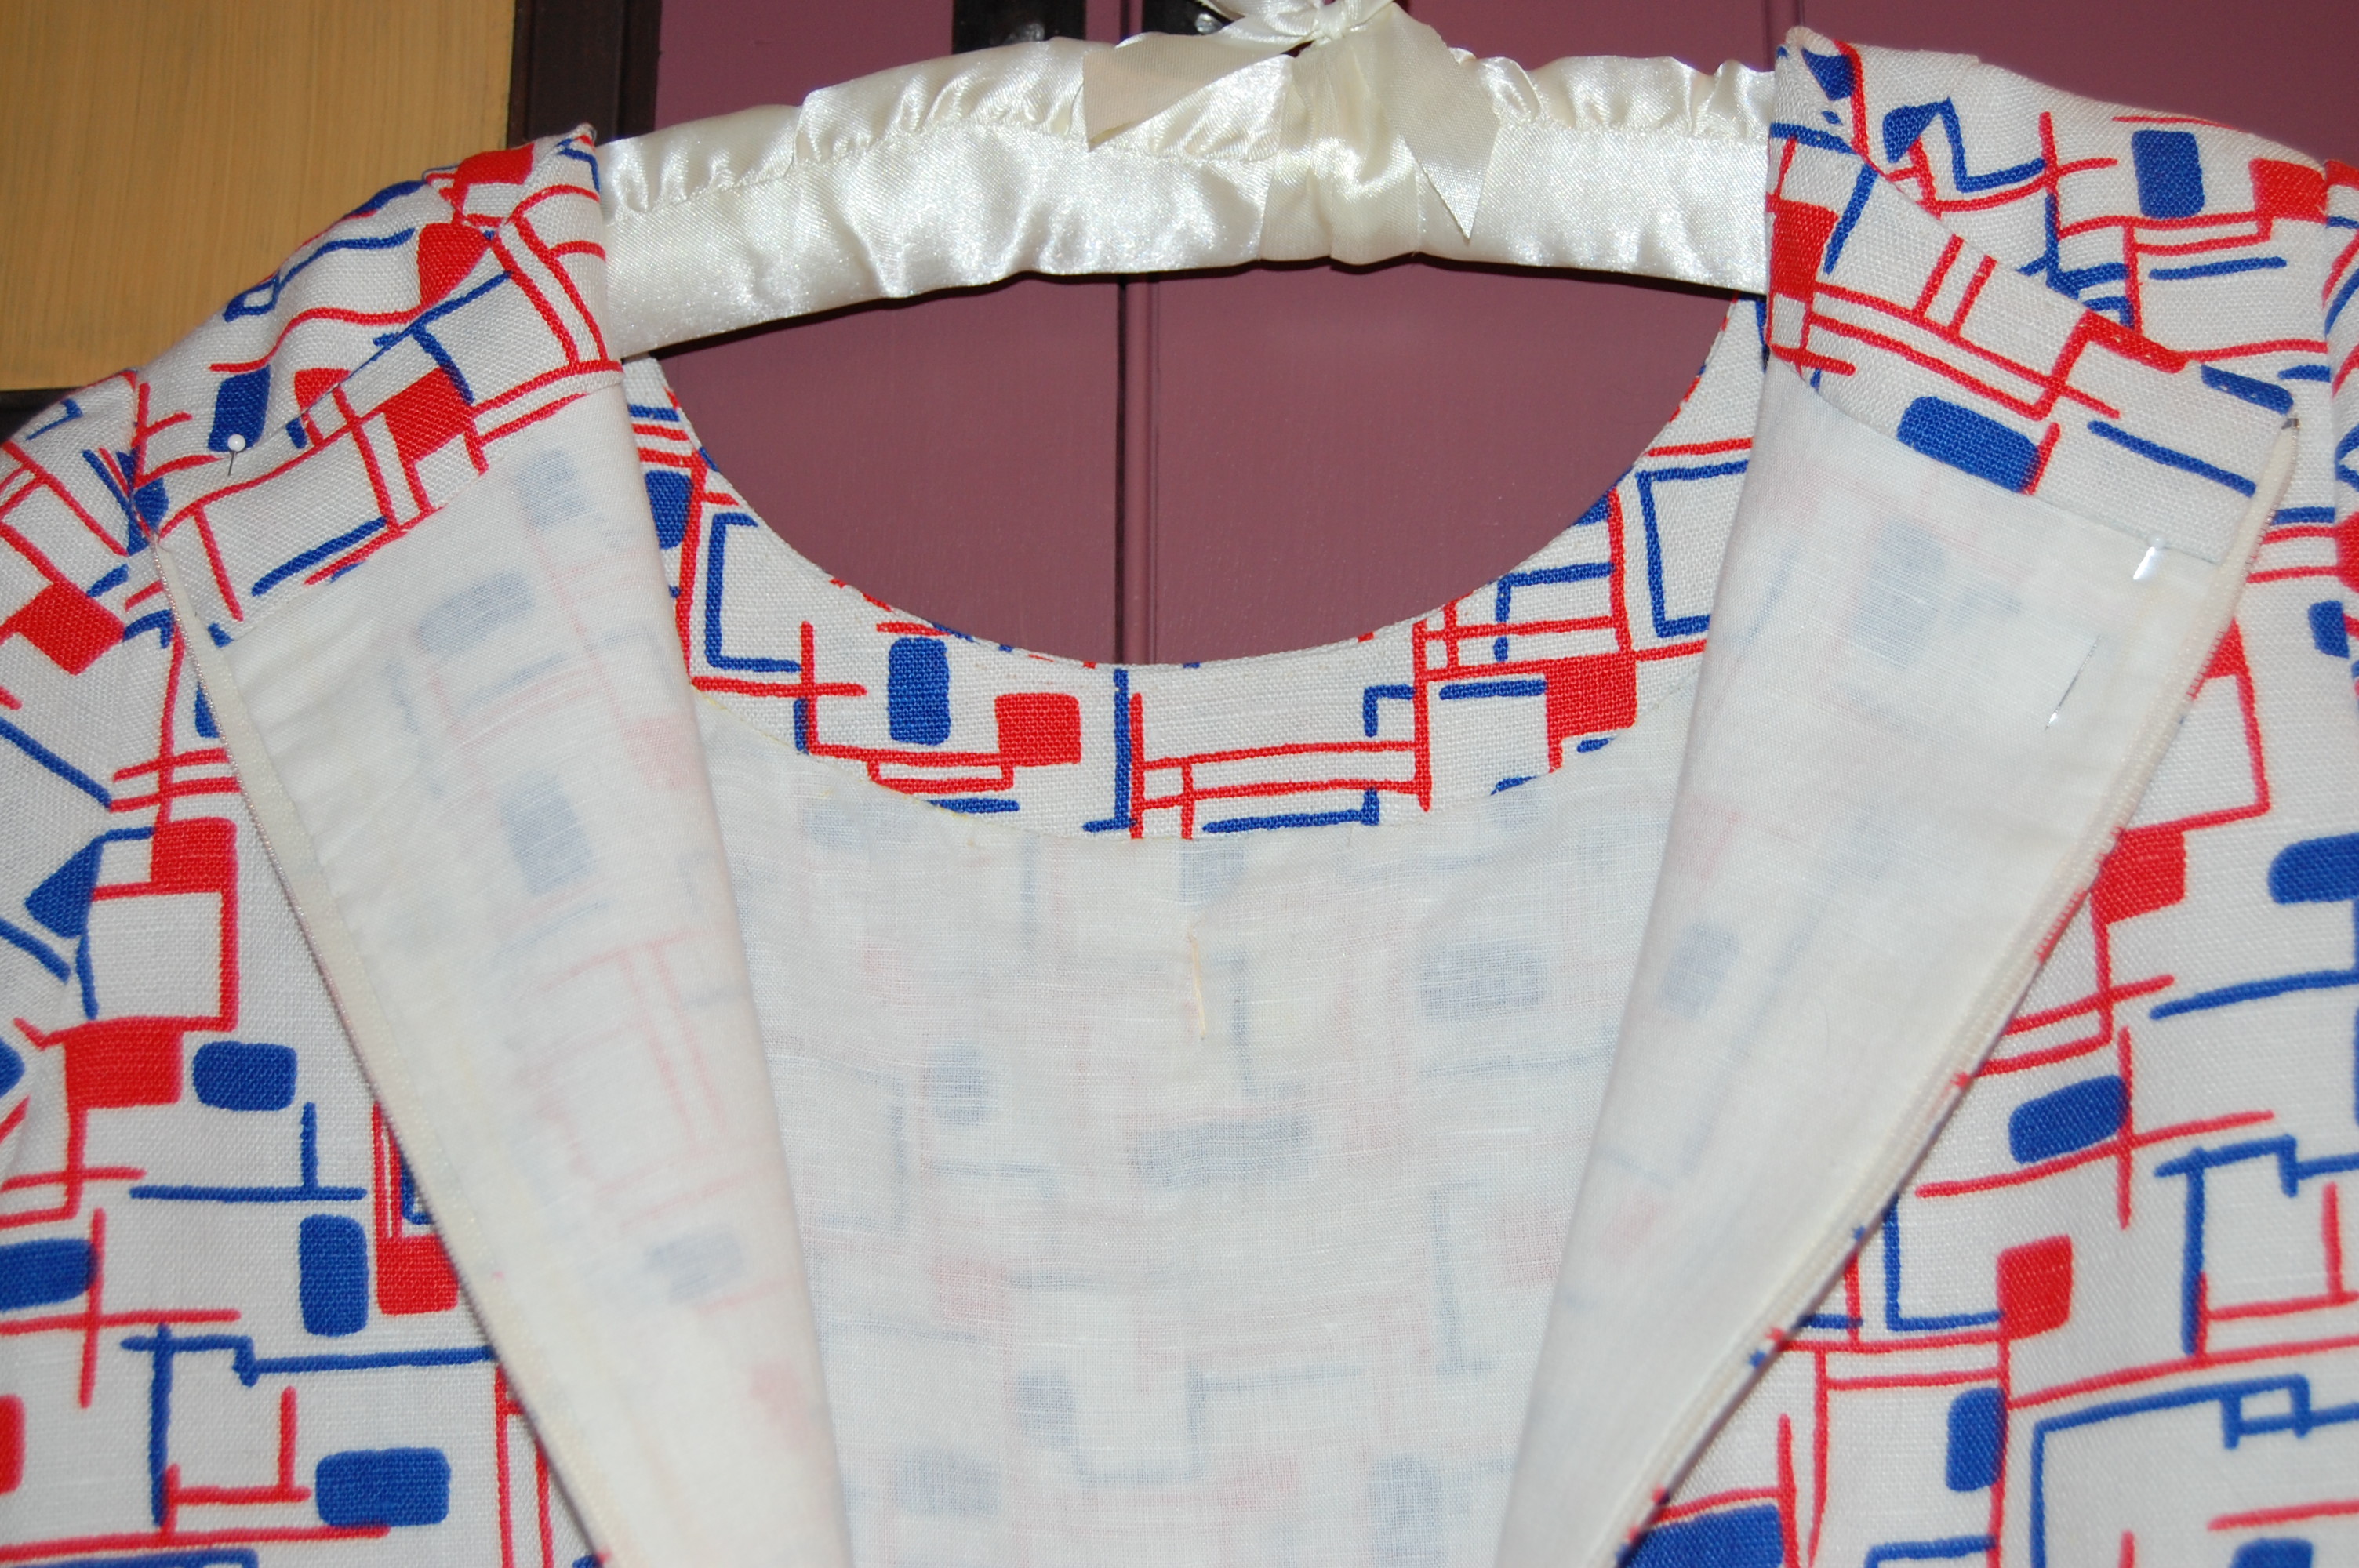
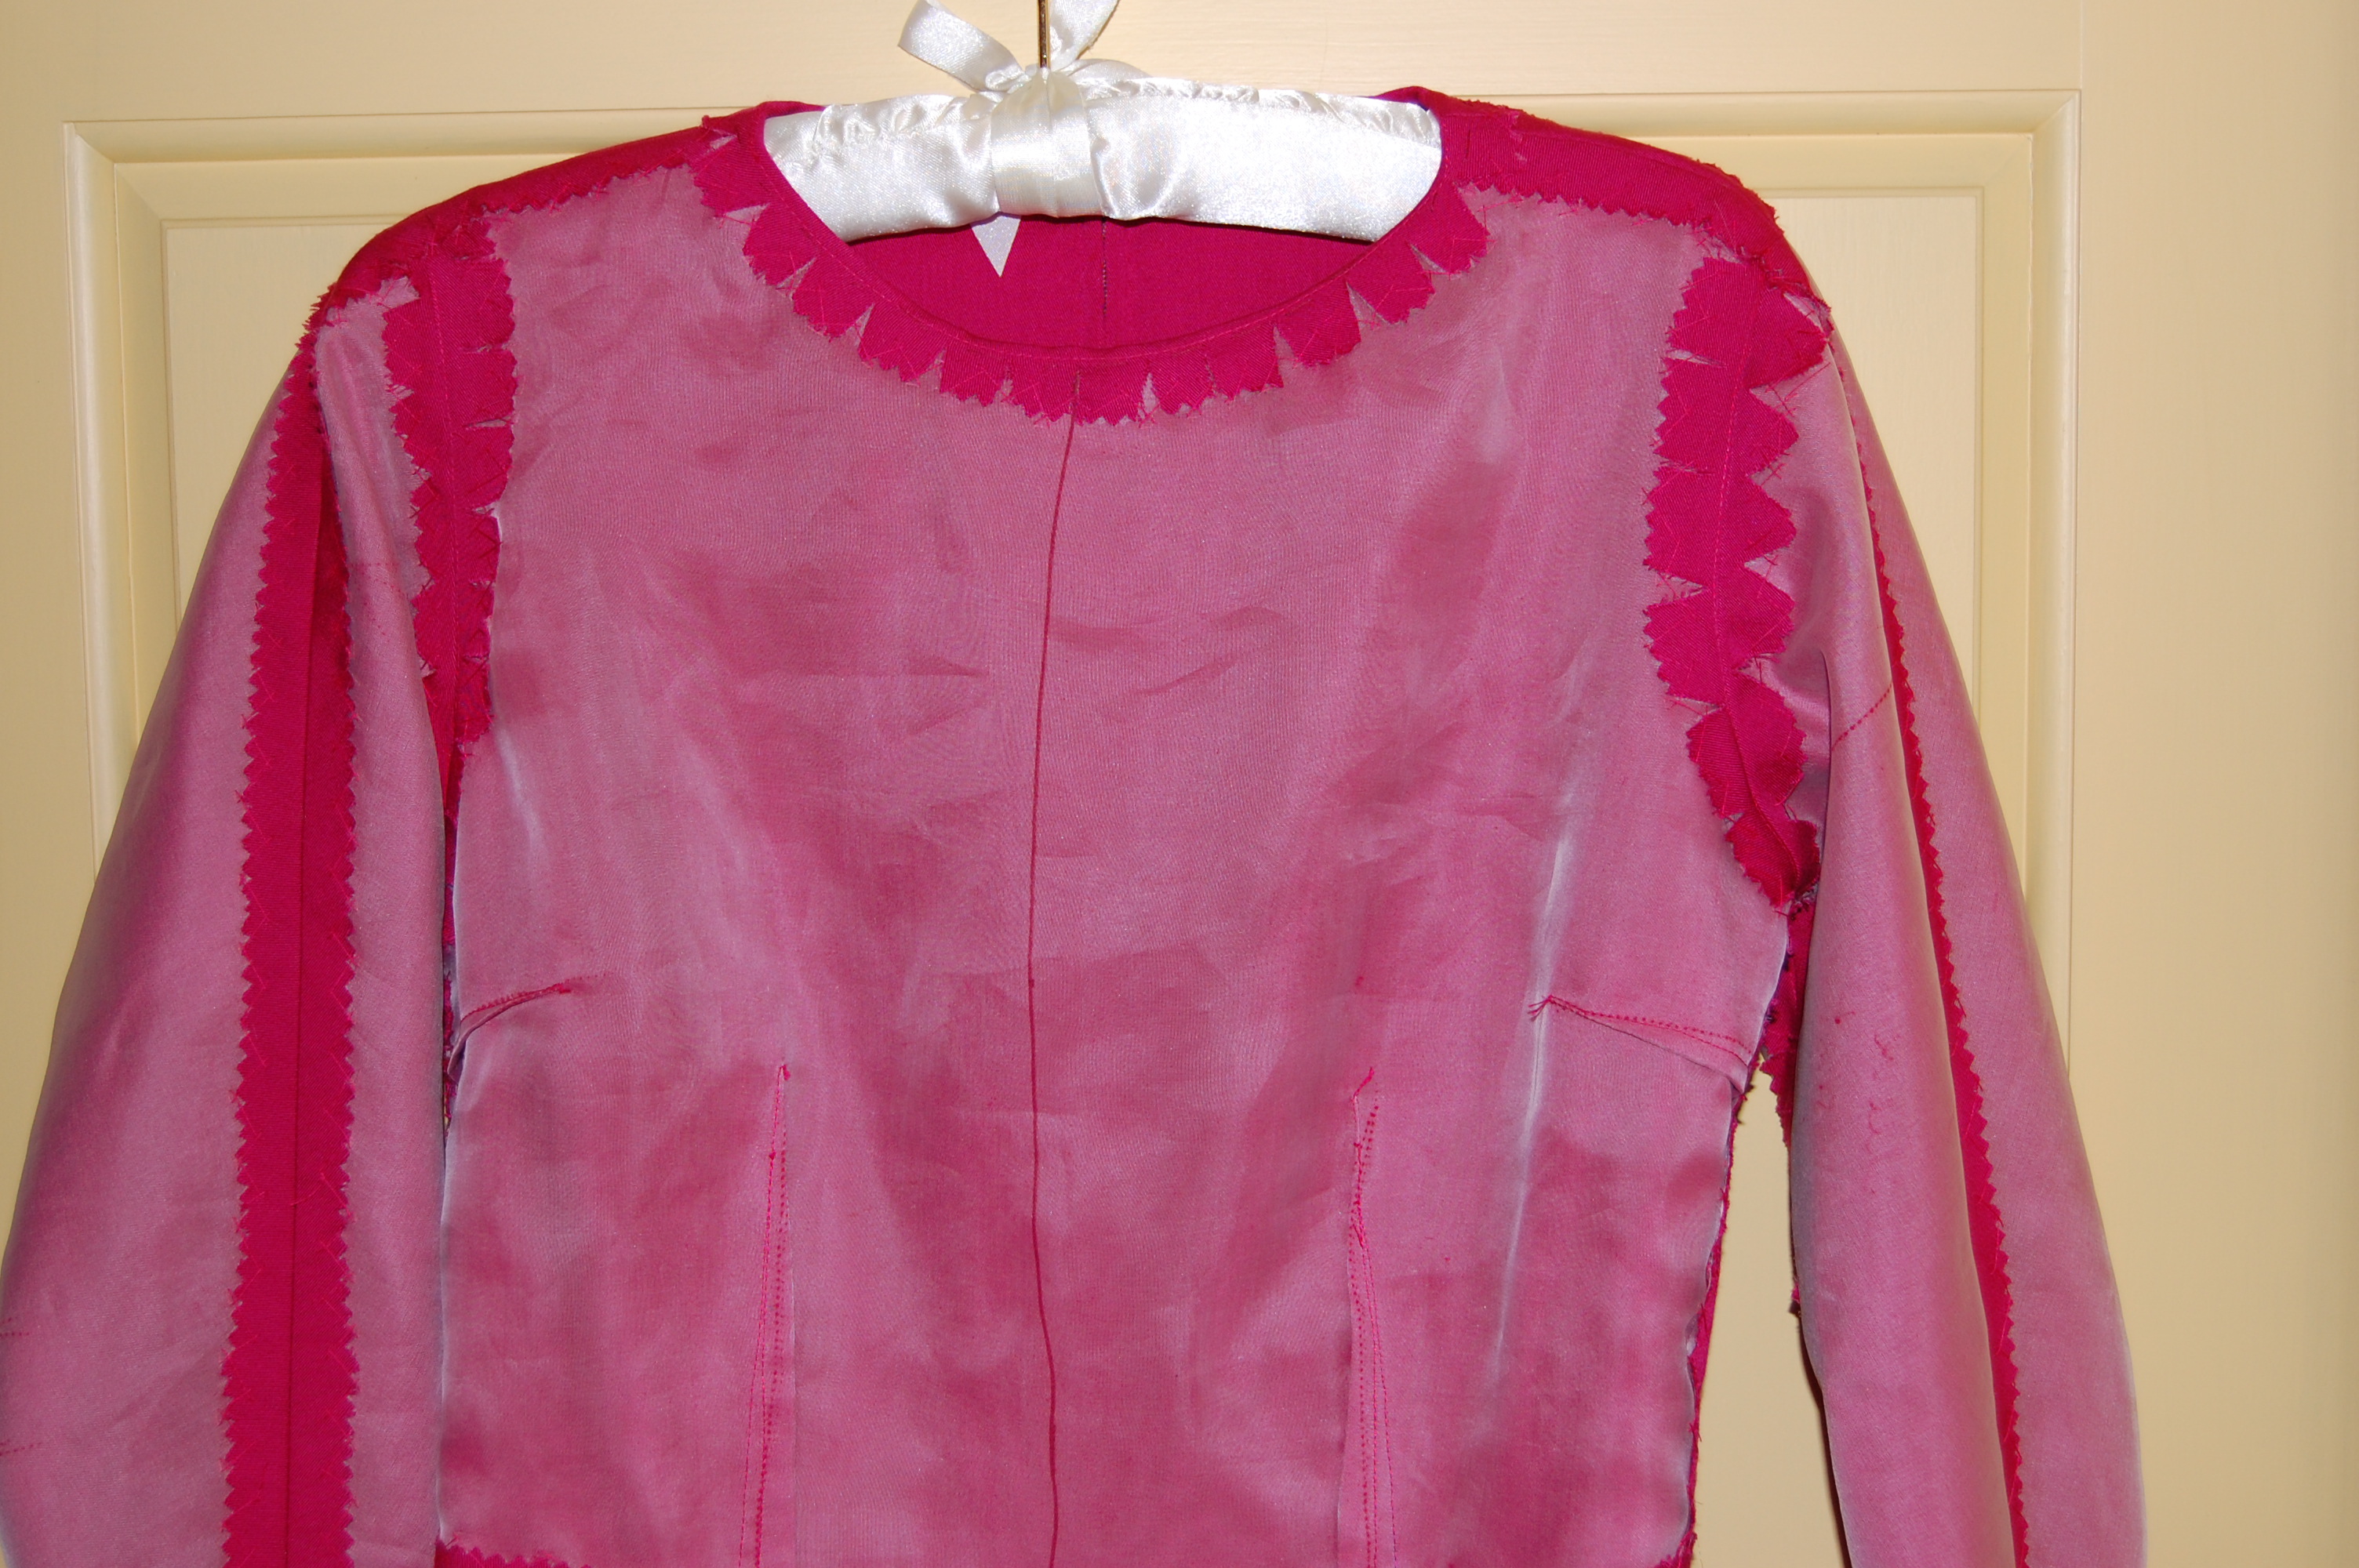
This photo shows the neck facing and the off-white lining I used for the body of the dress.
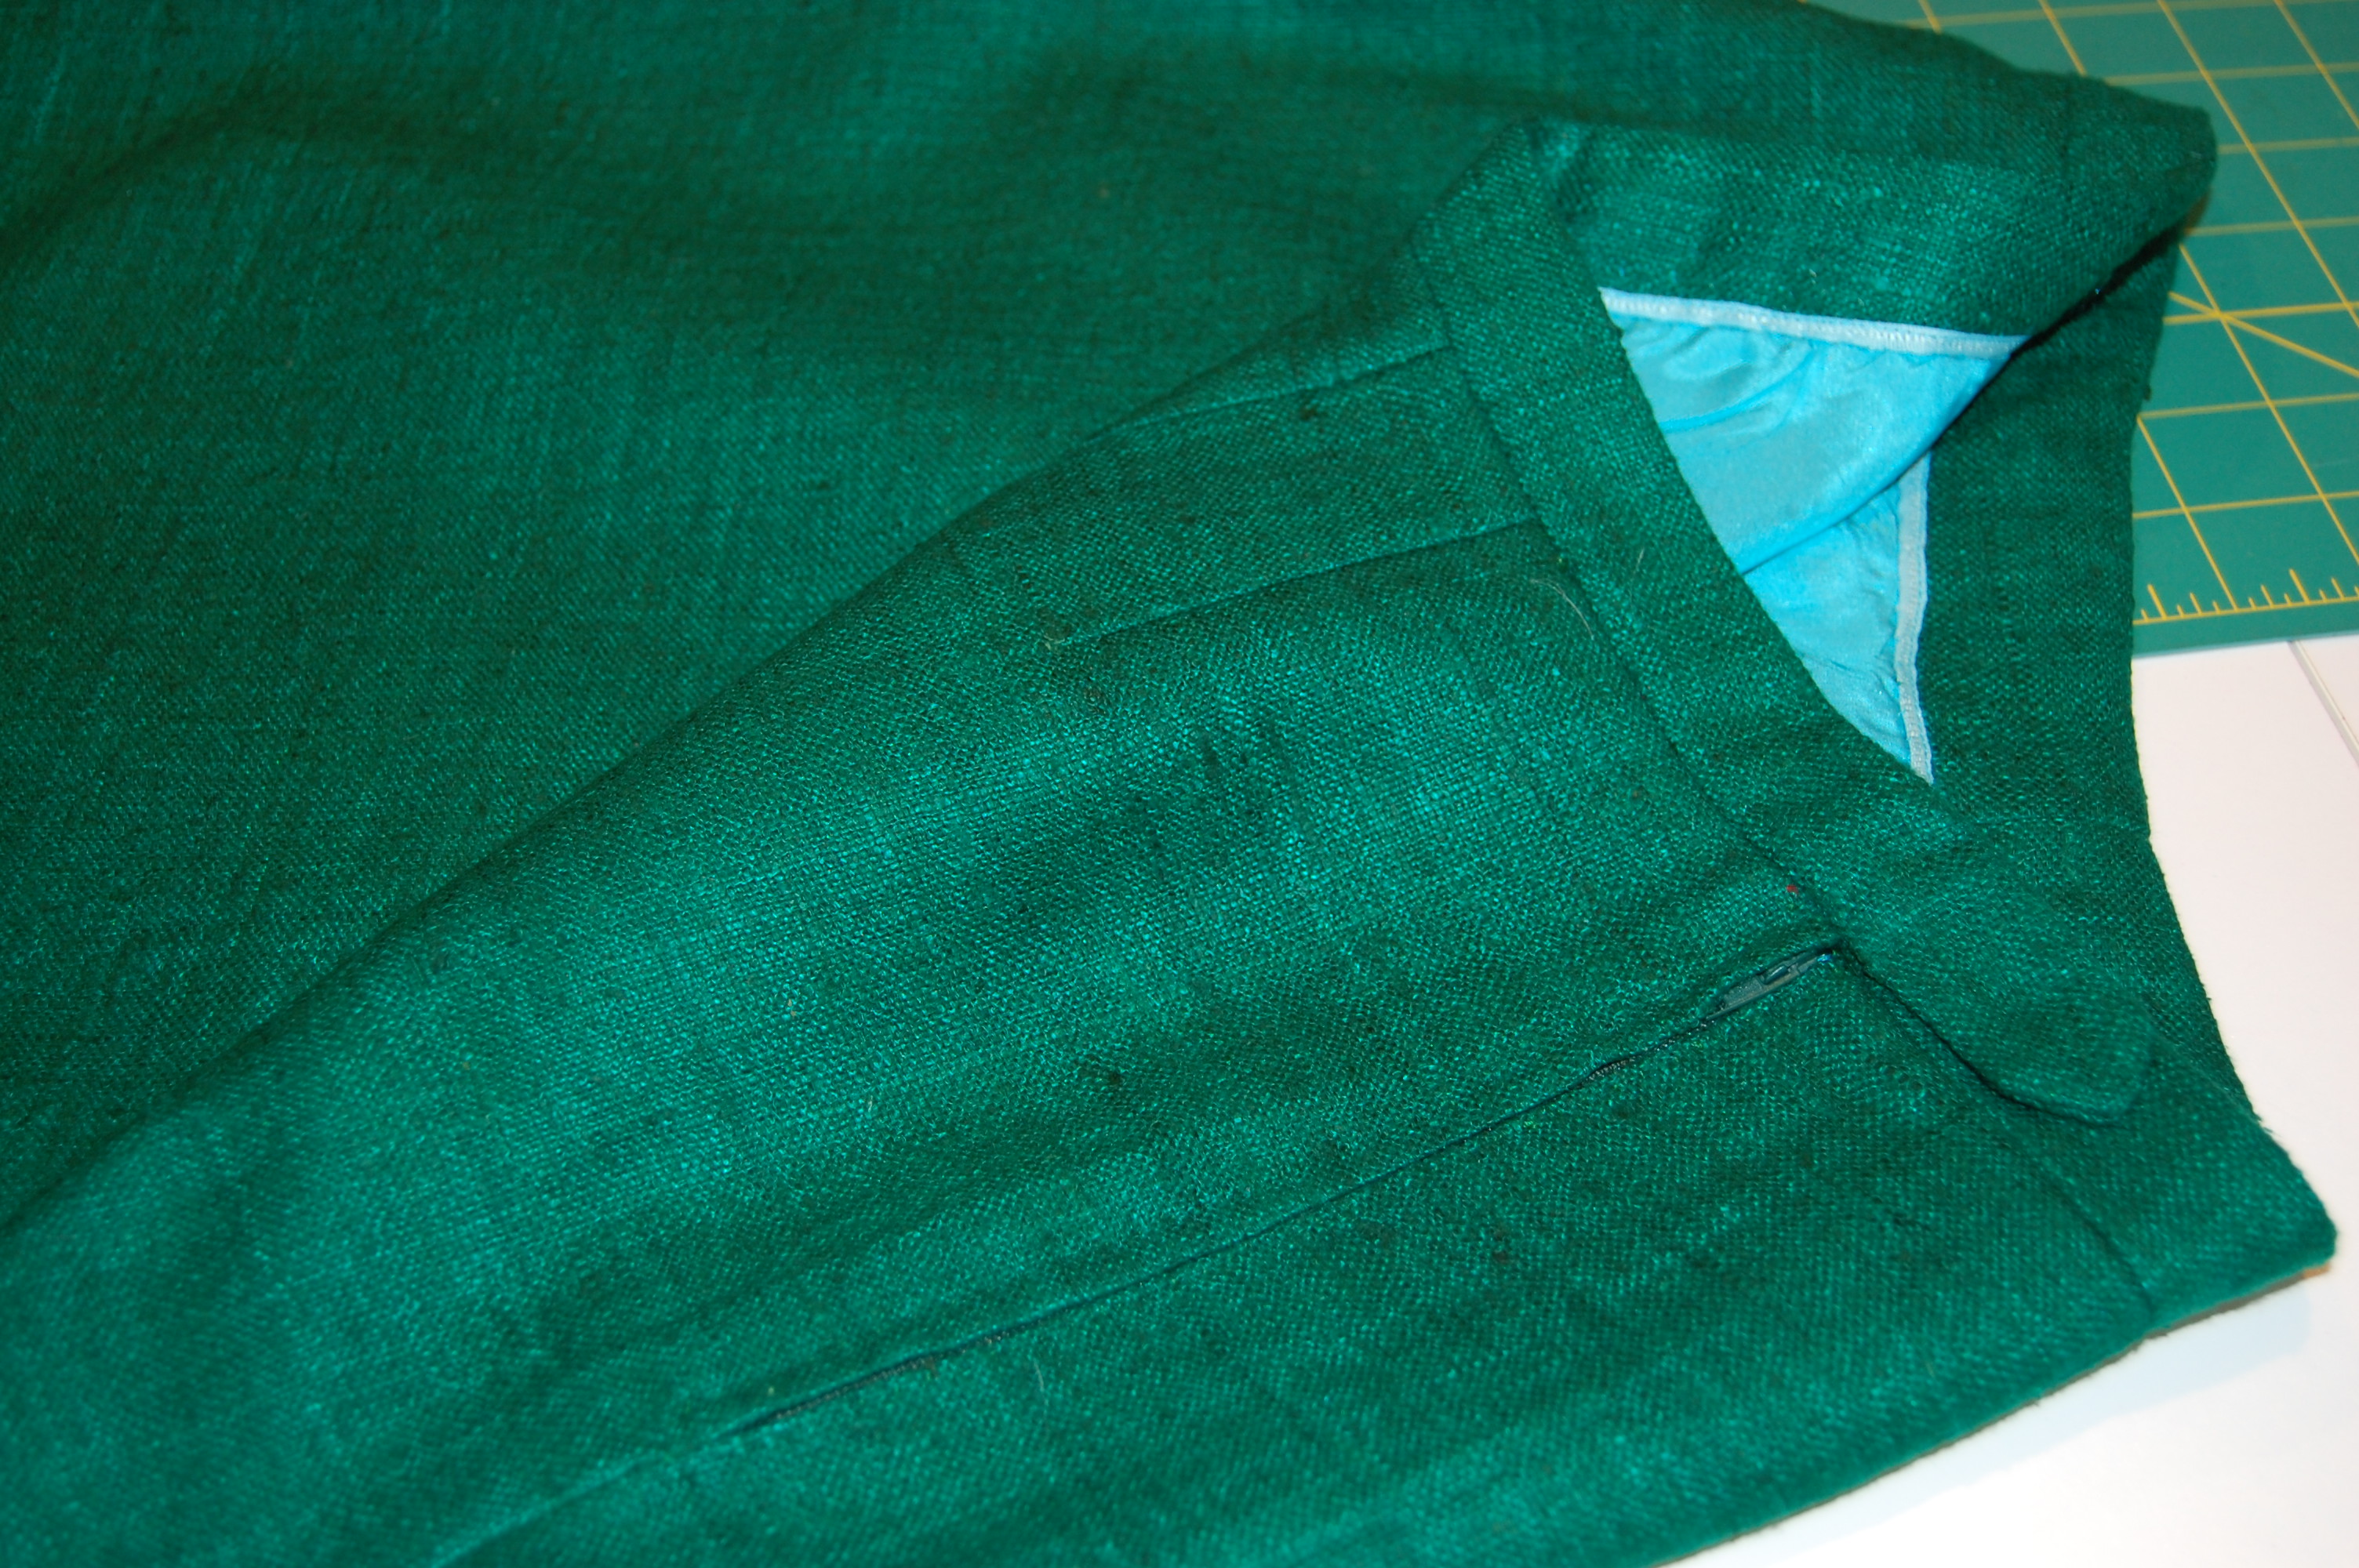
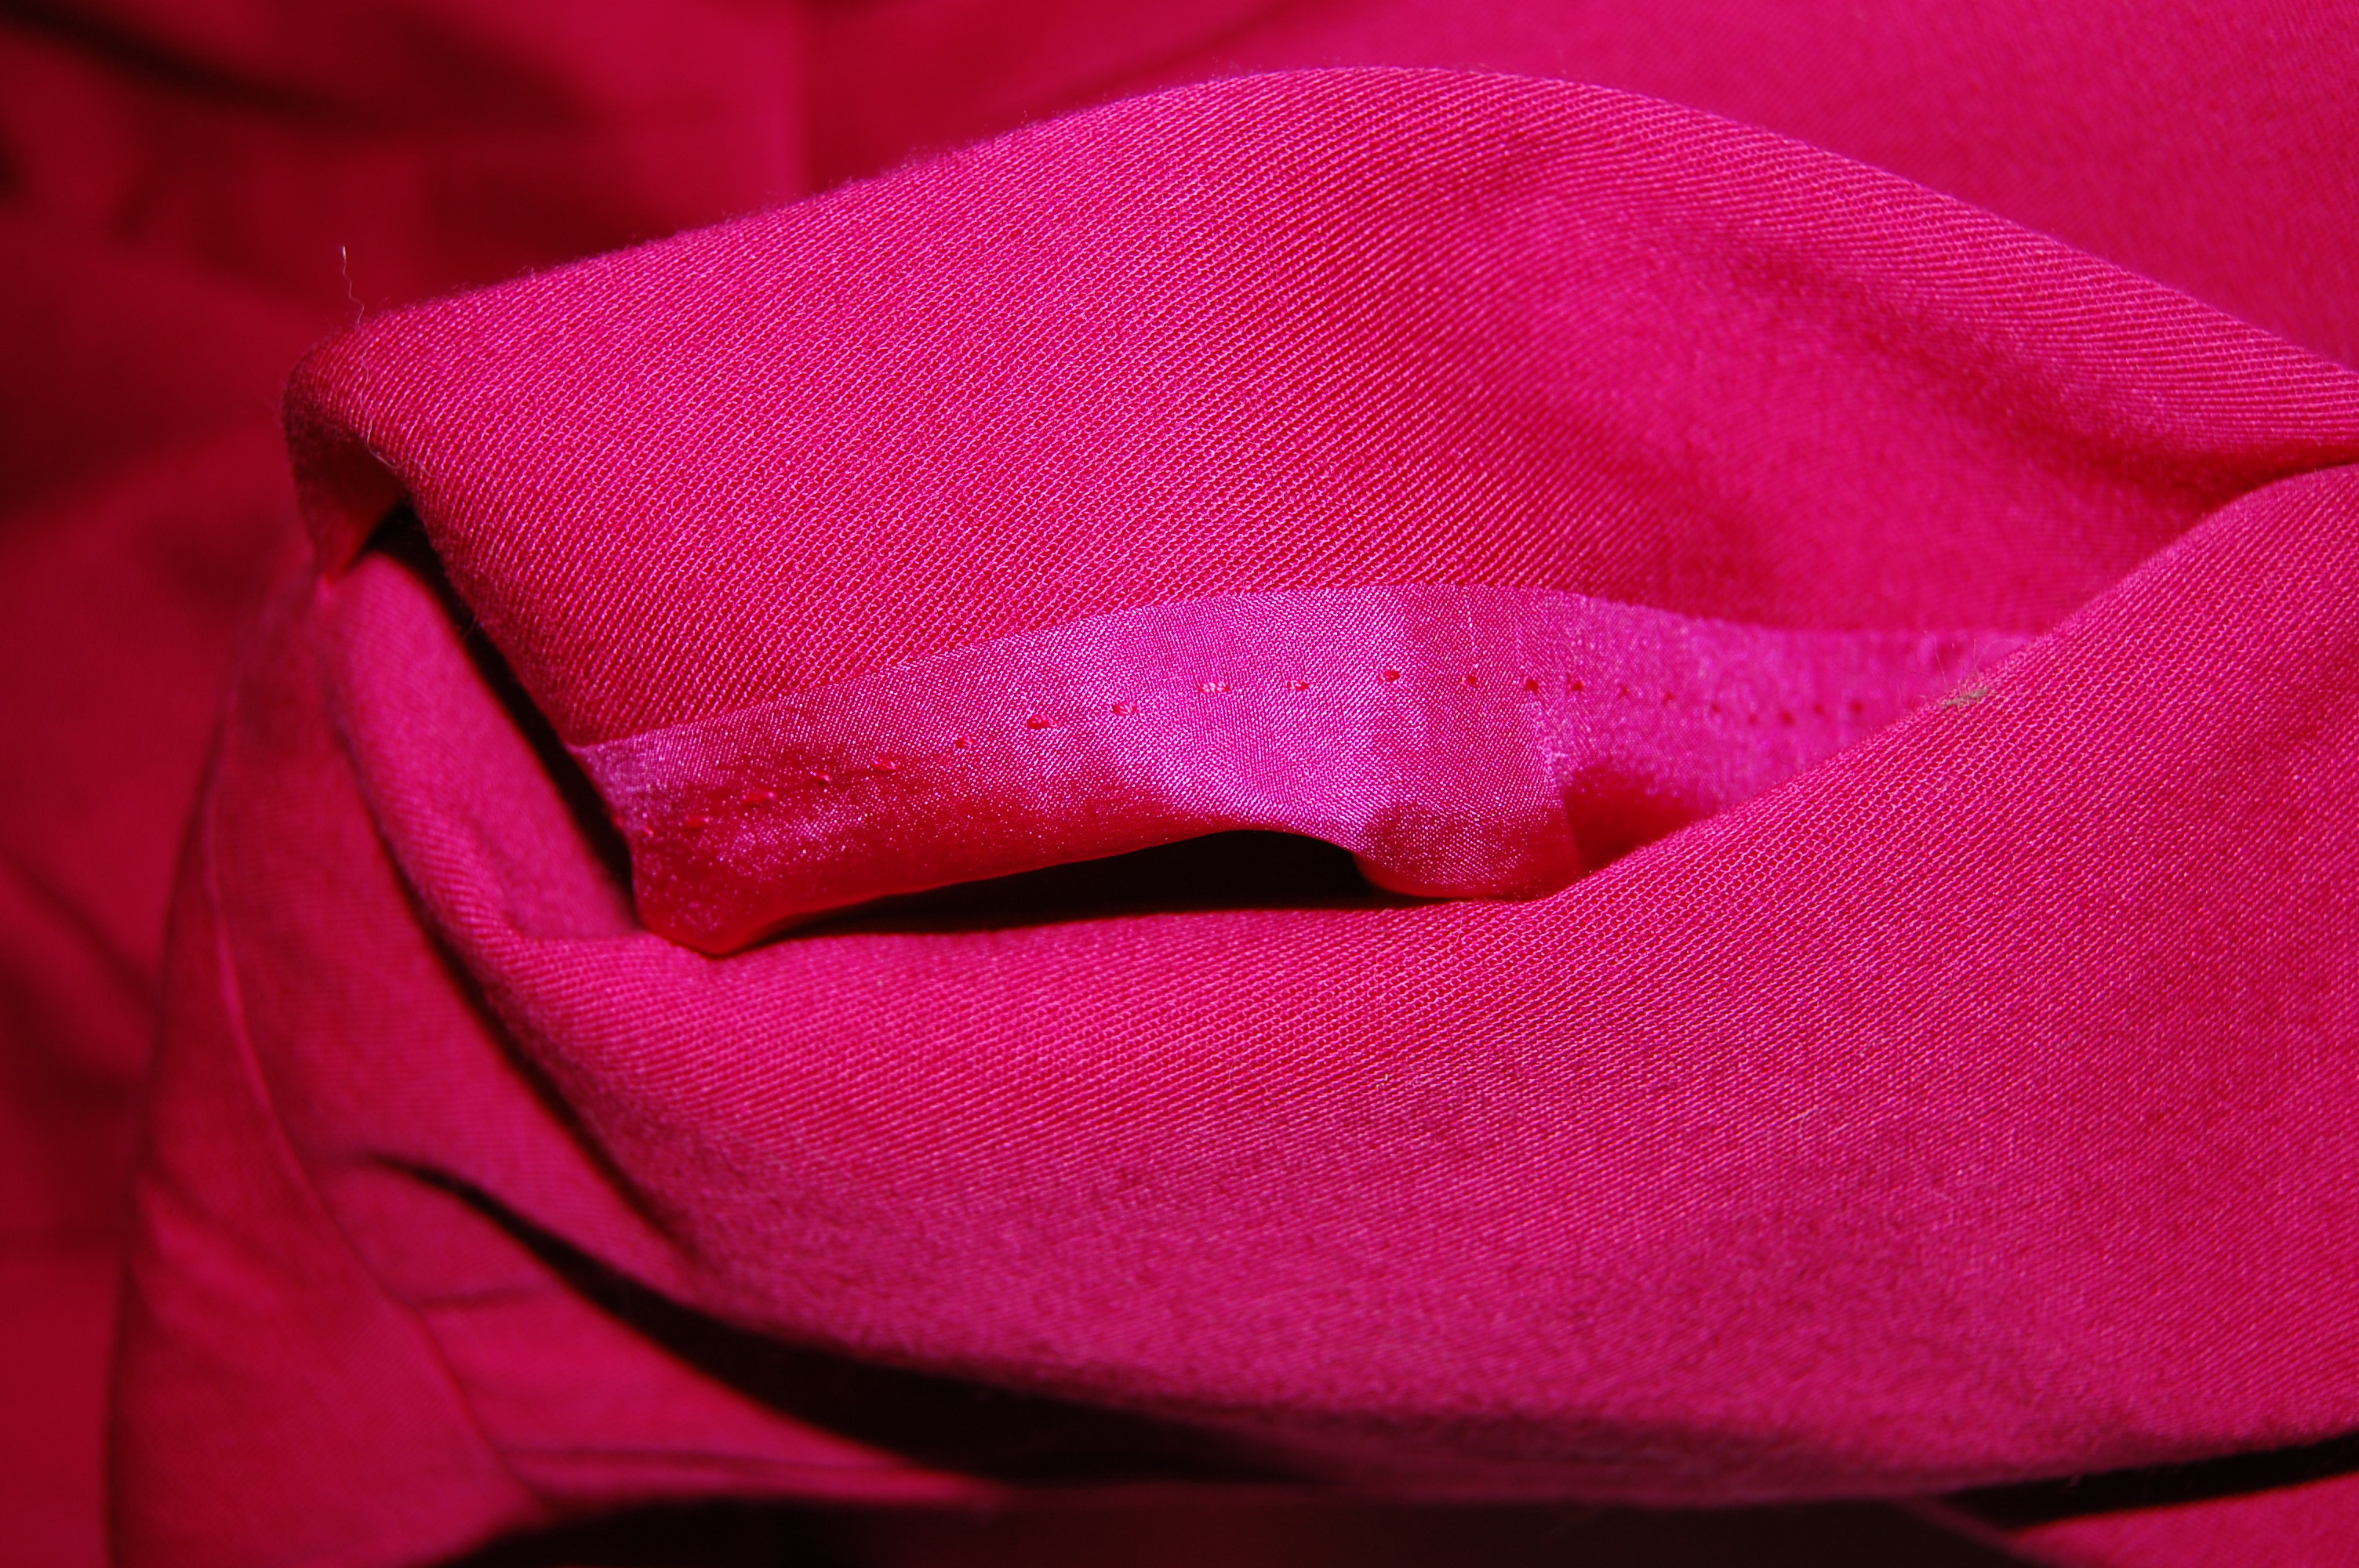
I hand-picked the zipper, understitched the facings by hand, and sewed the hem oh-so-carefully so that my stitches would not show (one of the disadvantages of not using an underlining is that there is no layer to sew the hem to, except for the actual fashion fabric). I made a bound buttonhole for that big lovely button (the original Vogue pattern calls for a bound buttonhole).
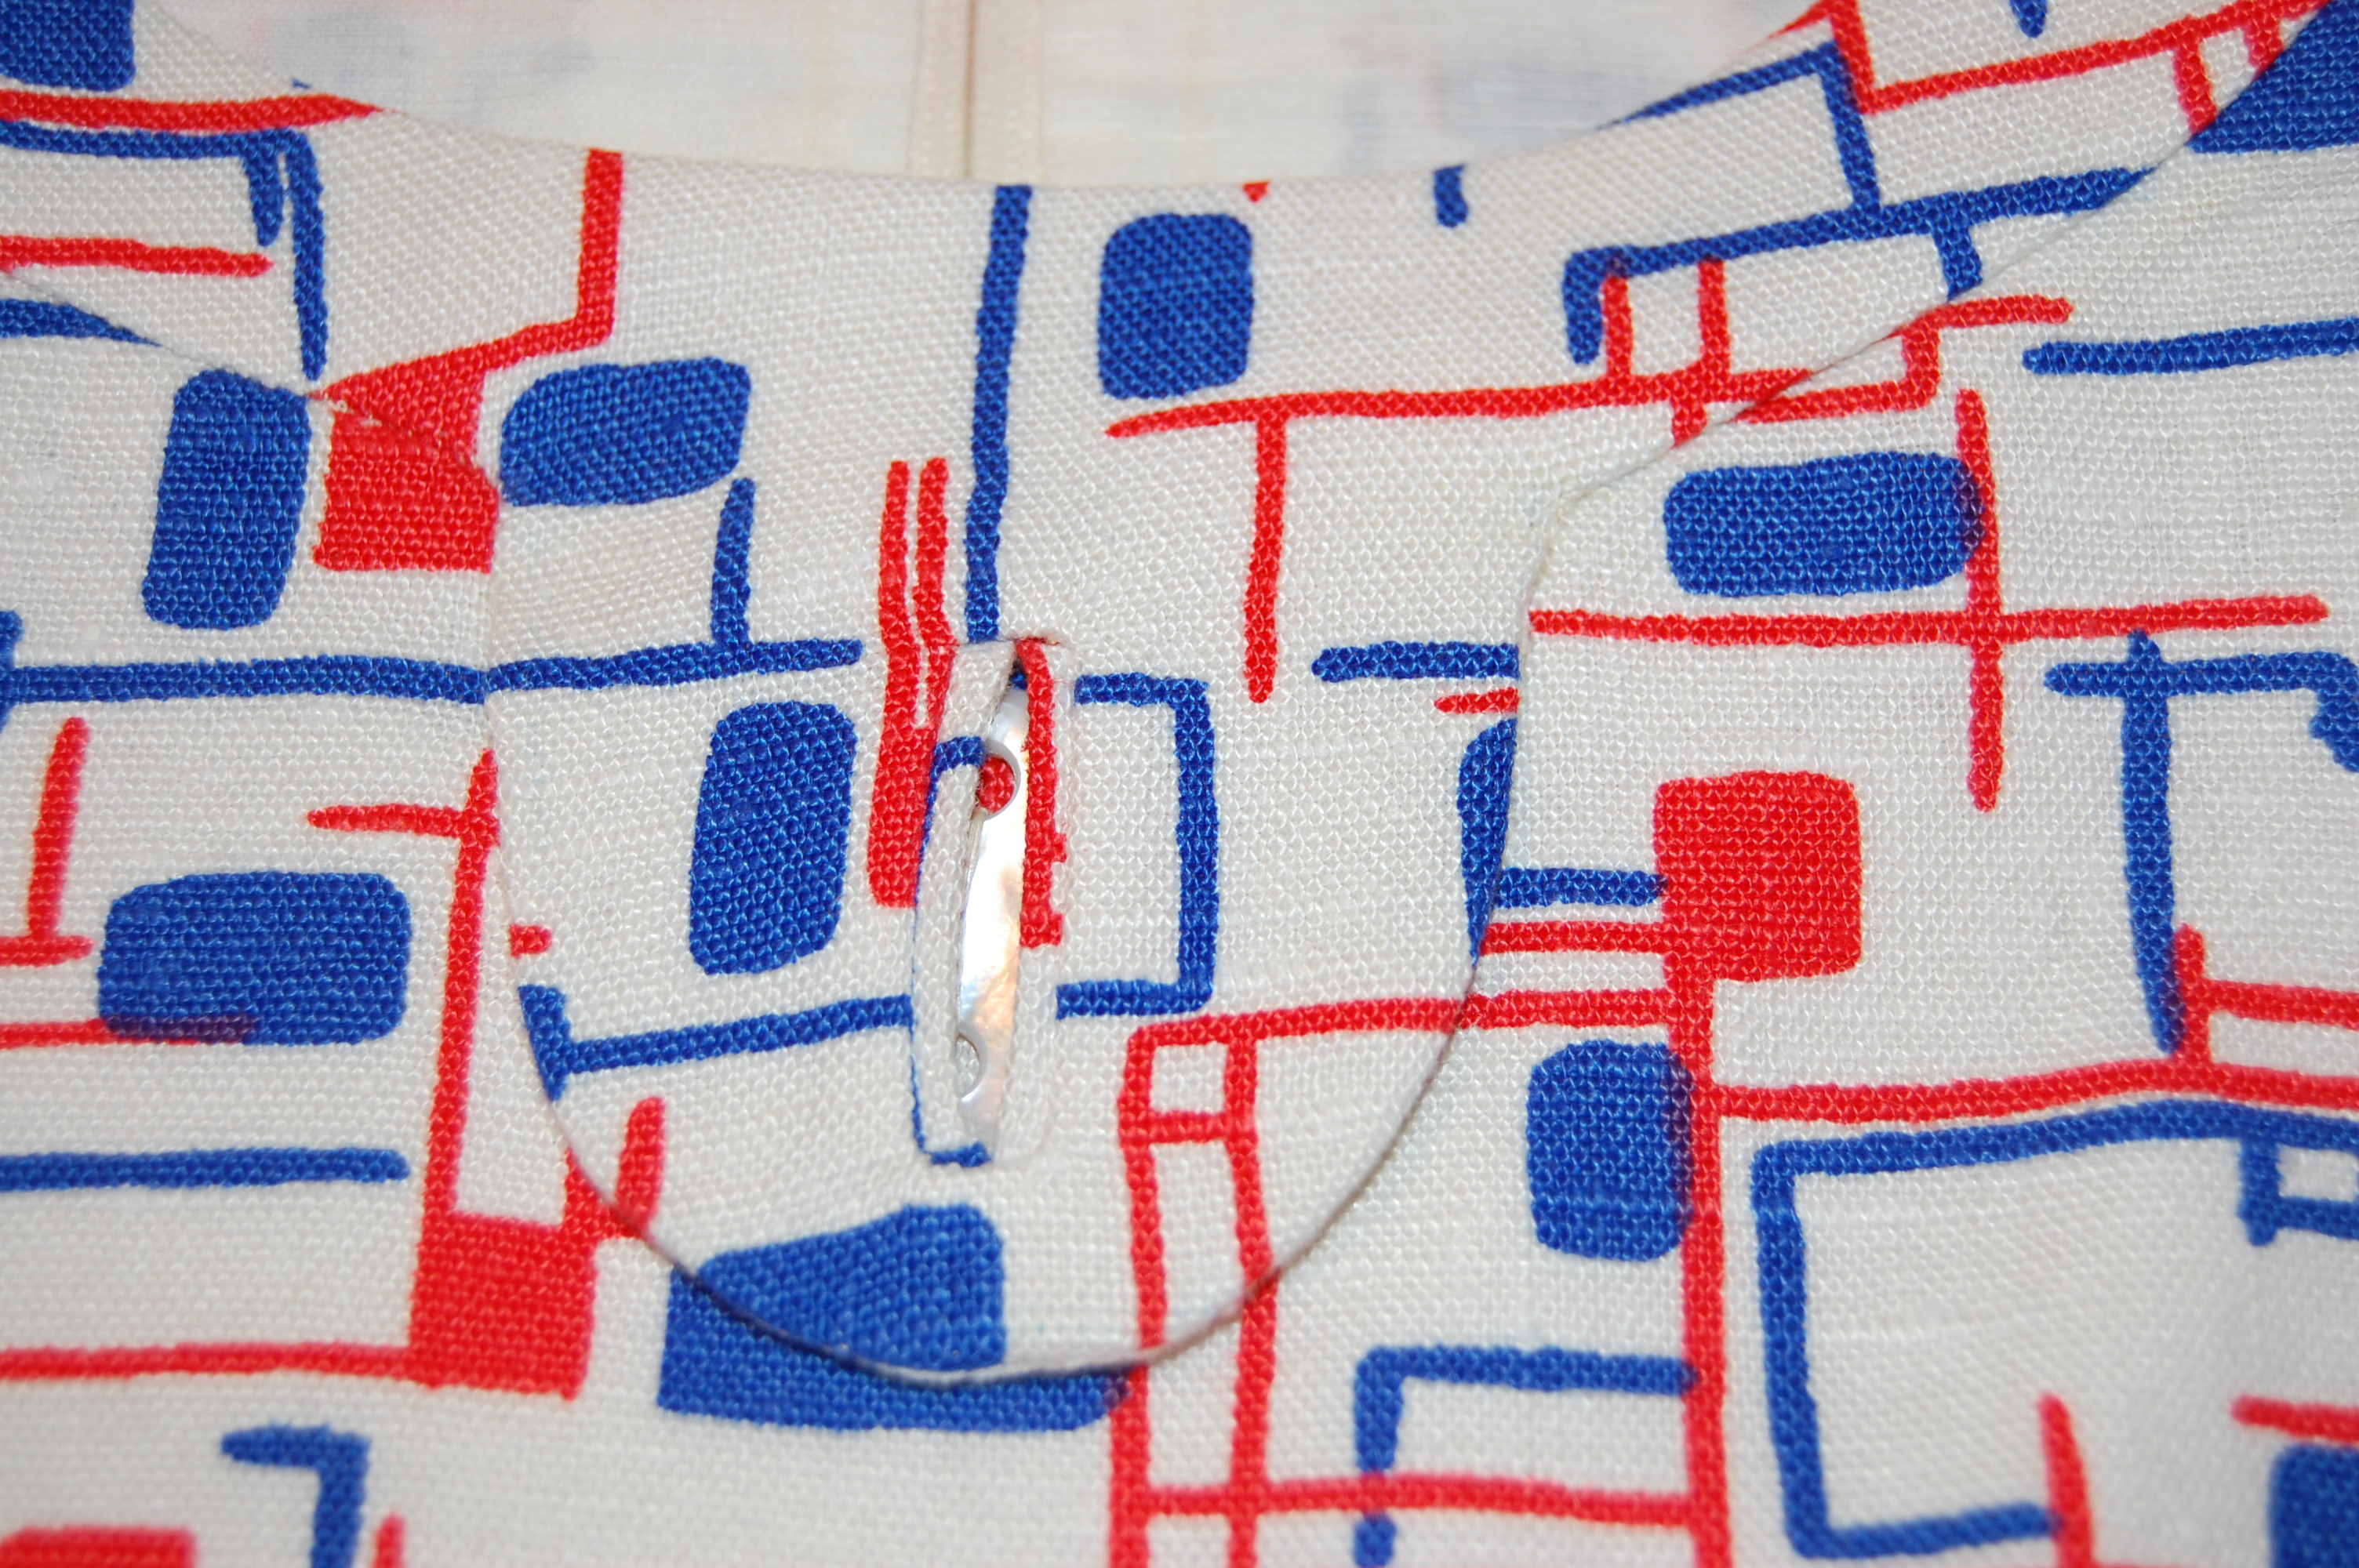
Here’s the buttonhole, with the button peeking through!
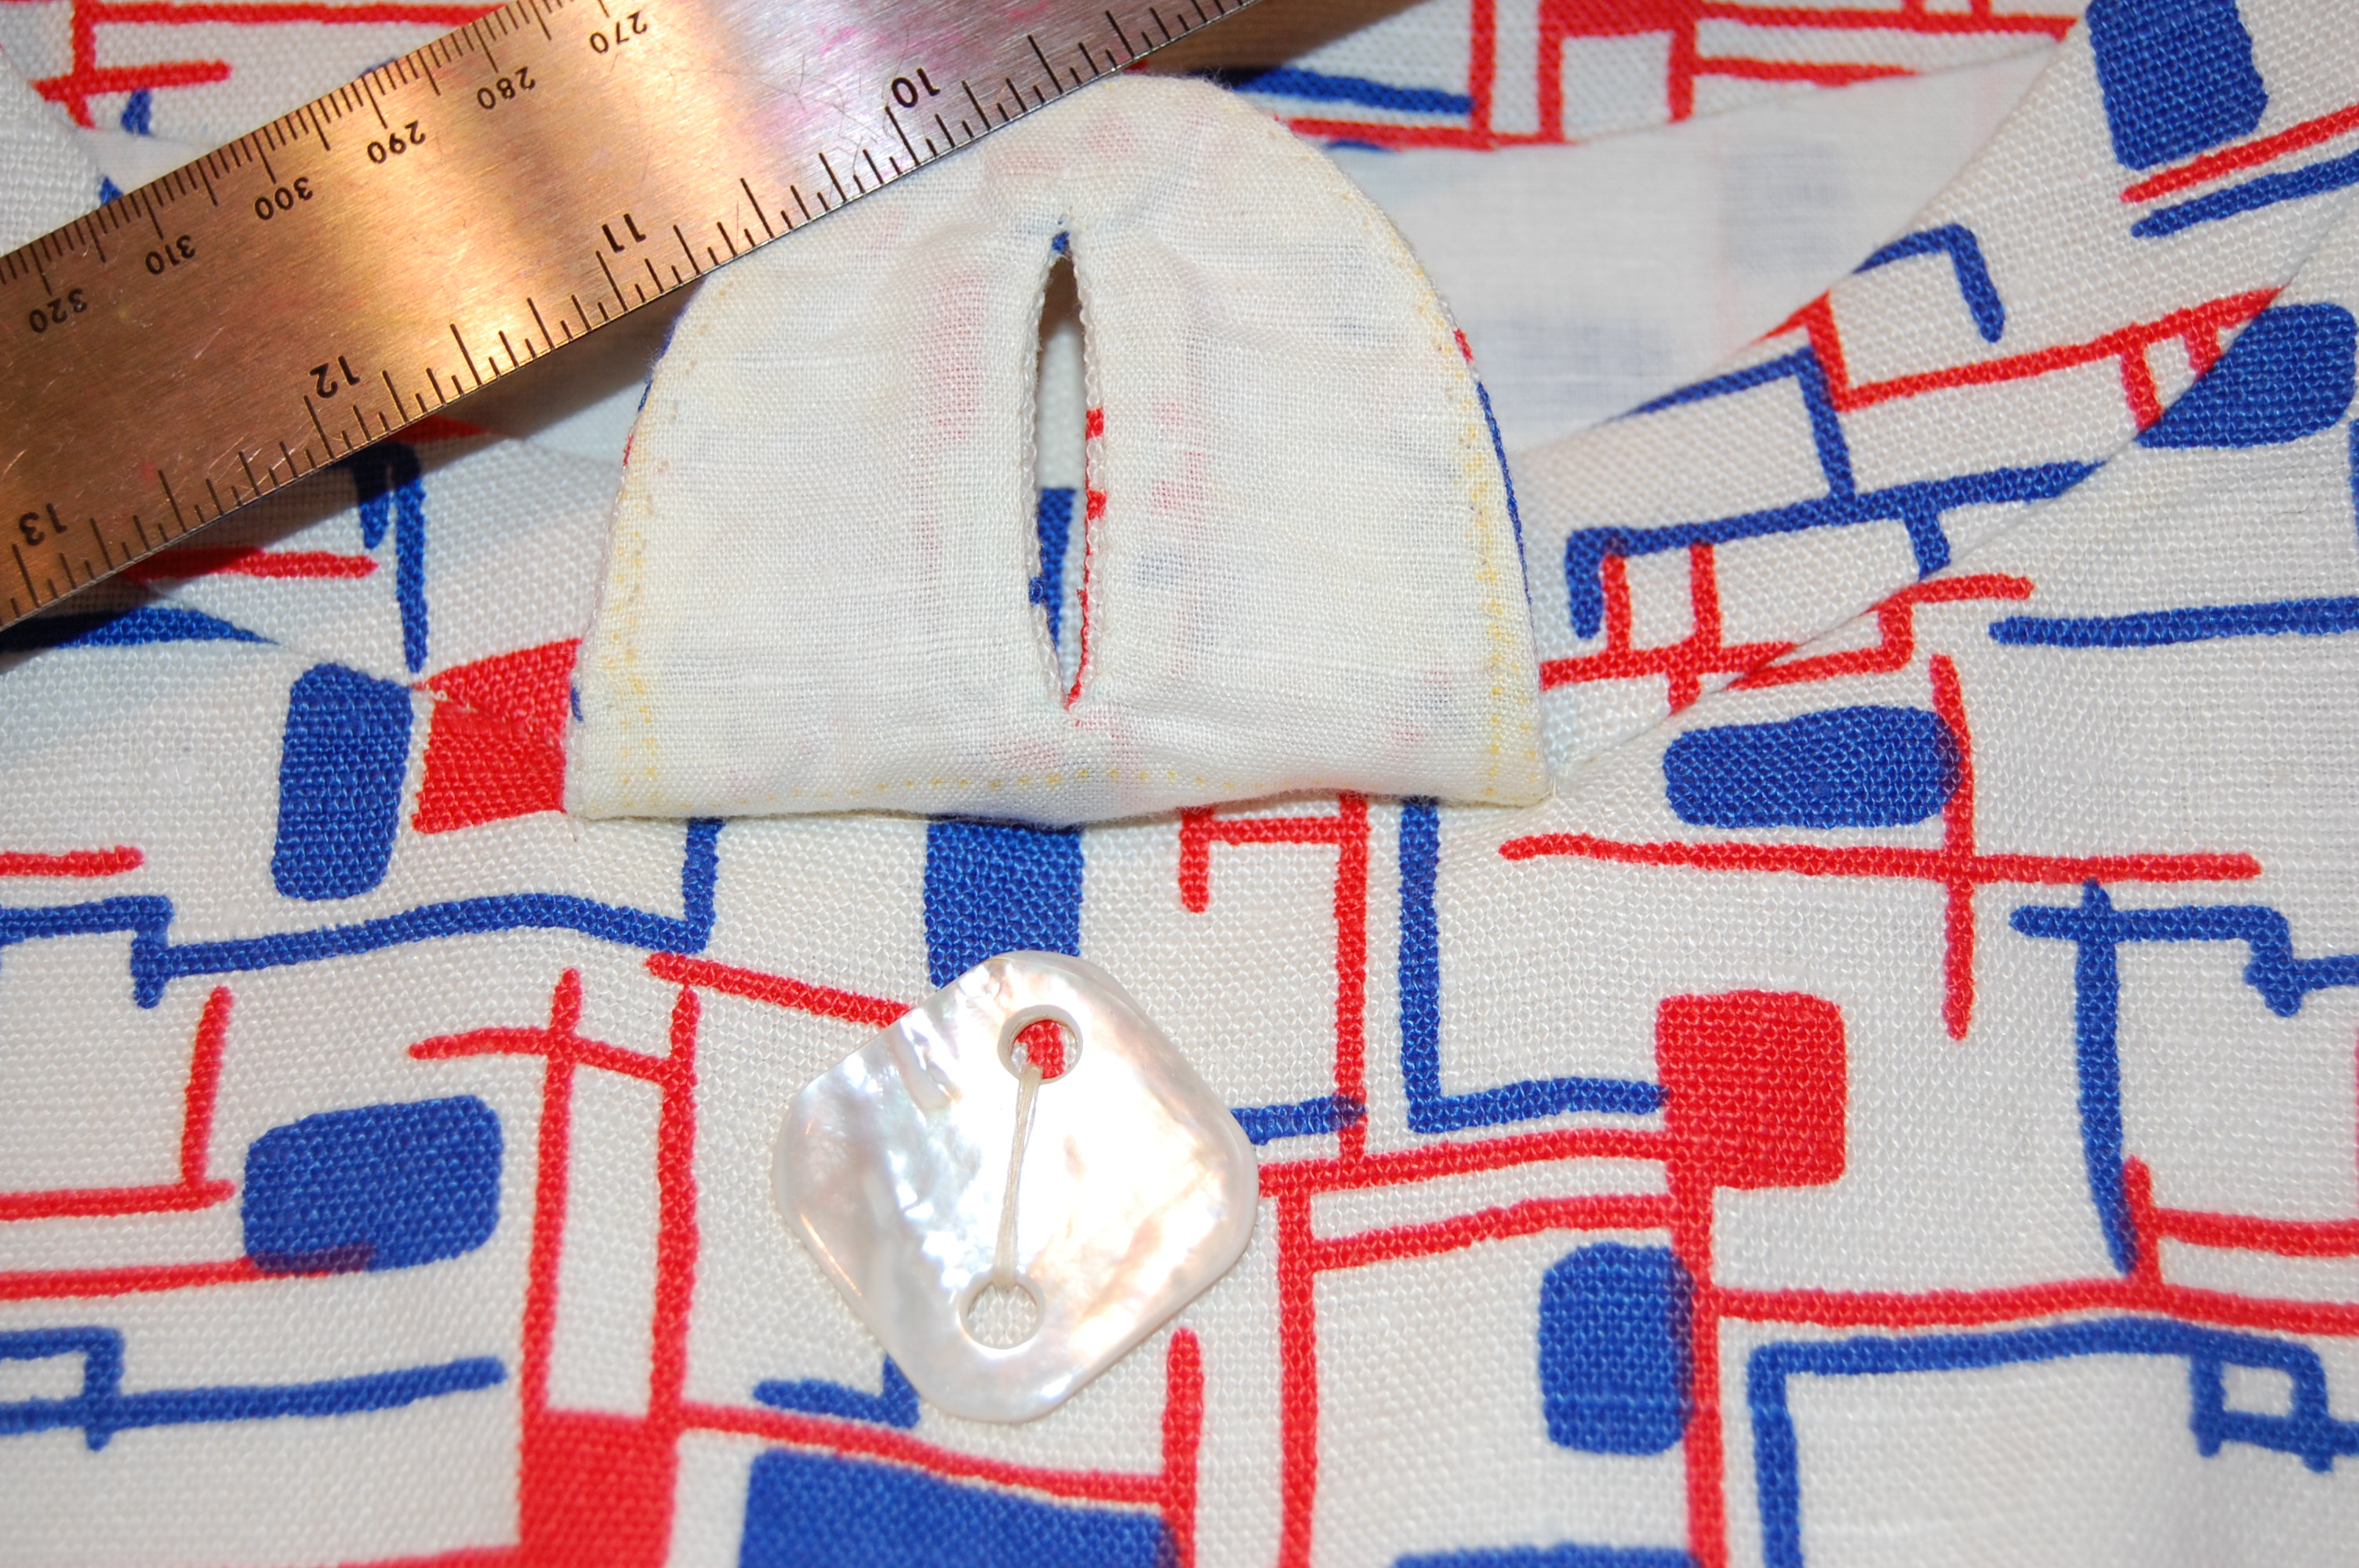
The underside of the tab.
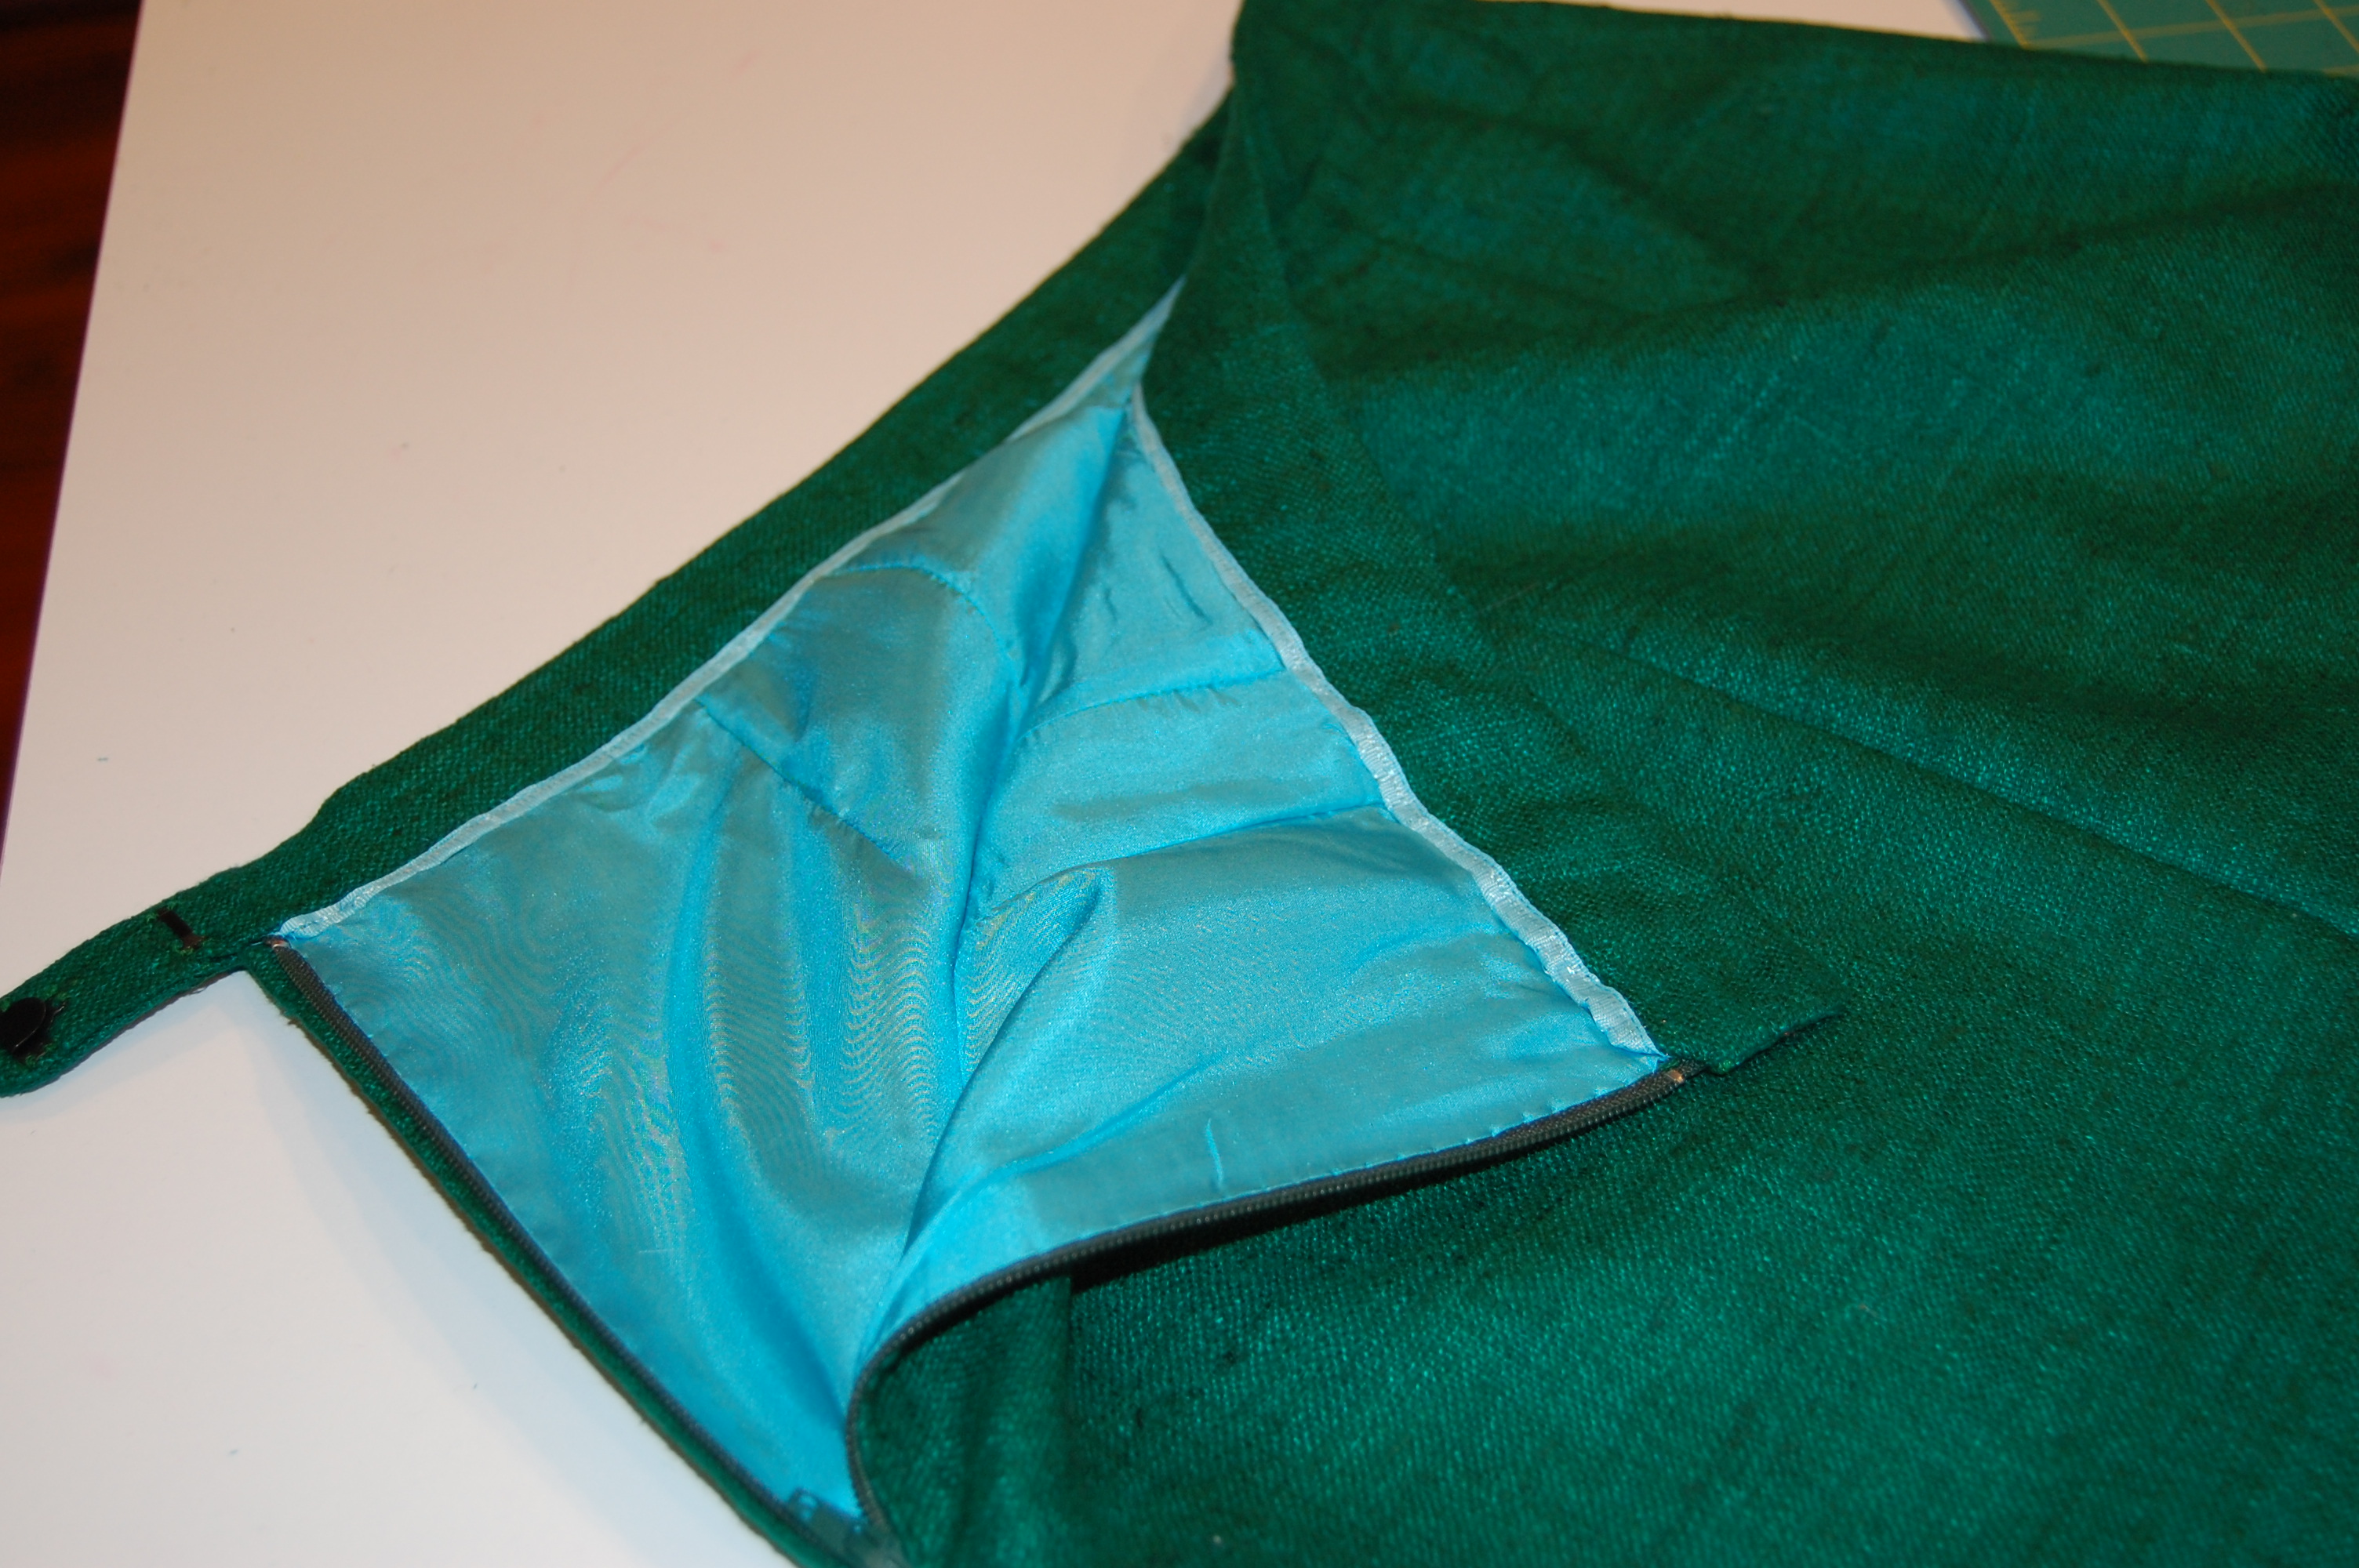
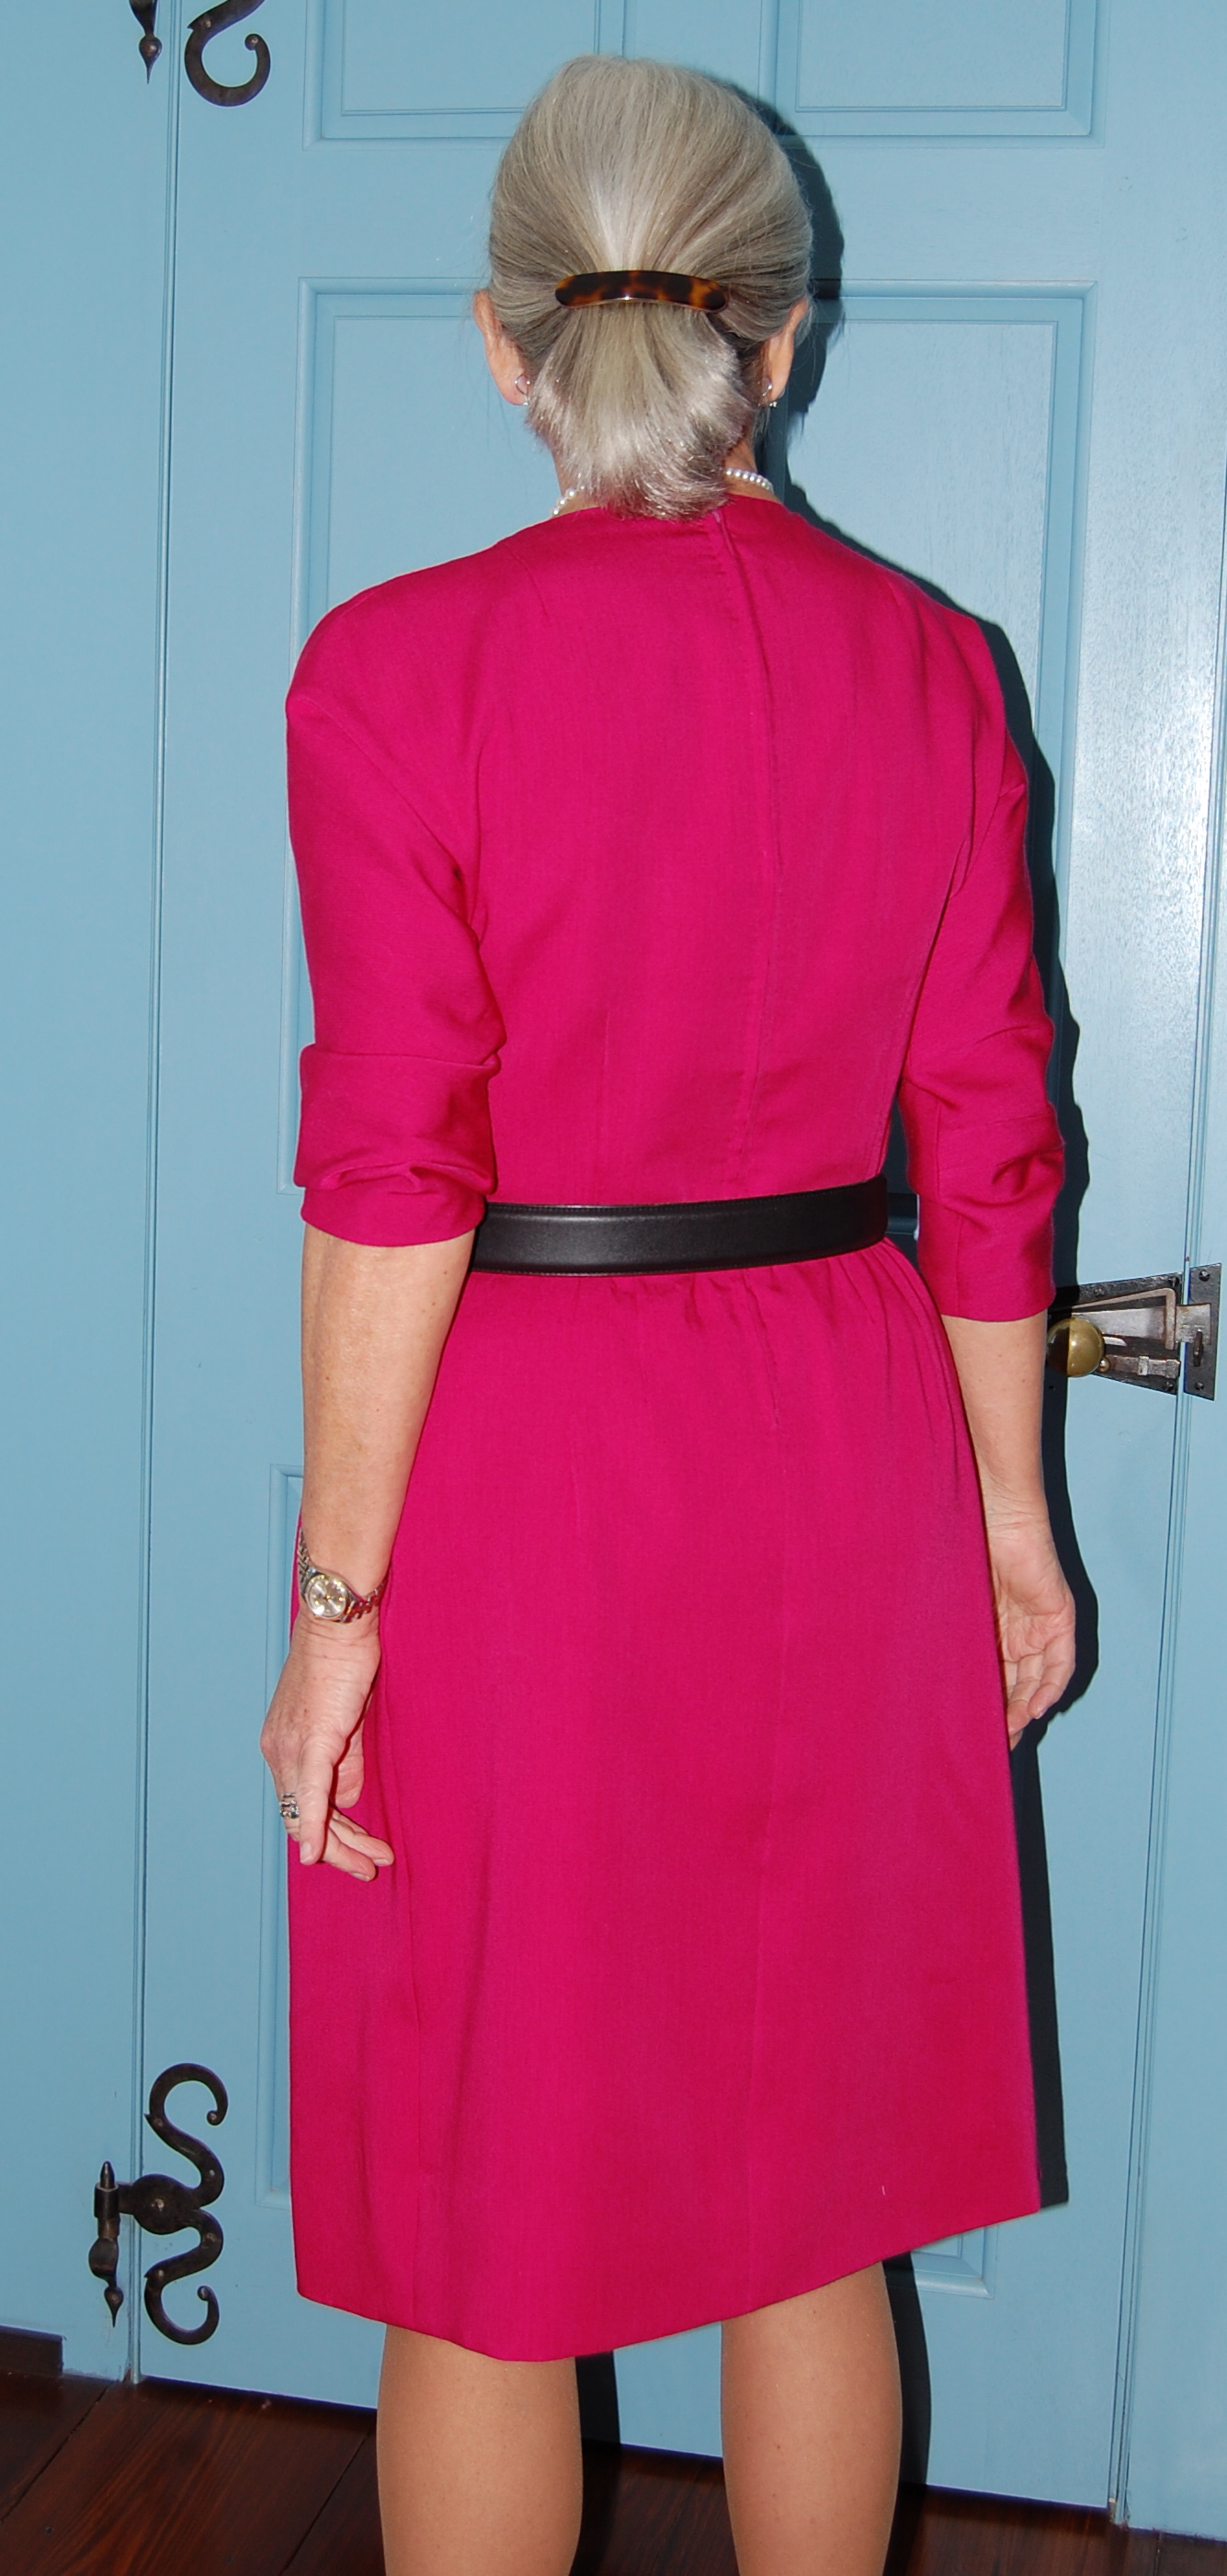
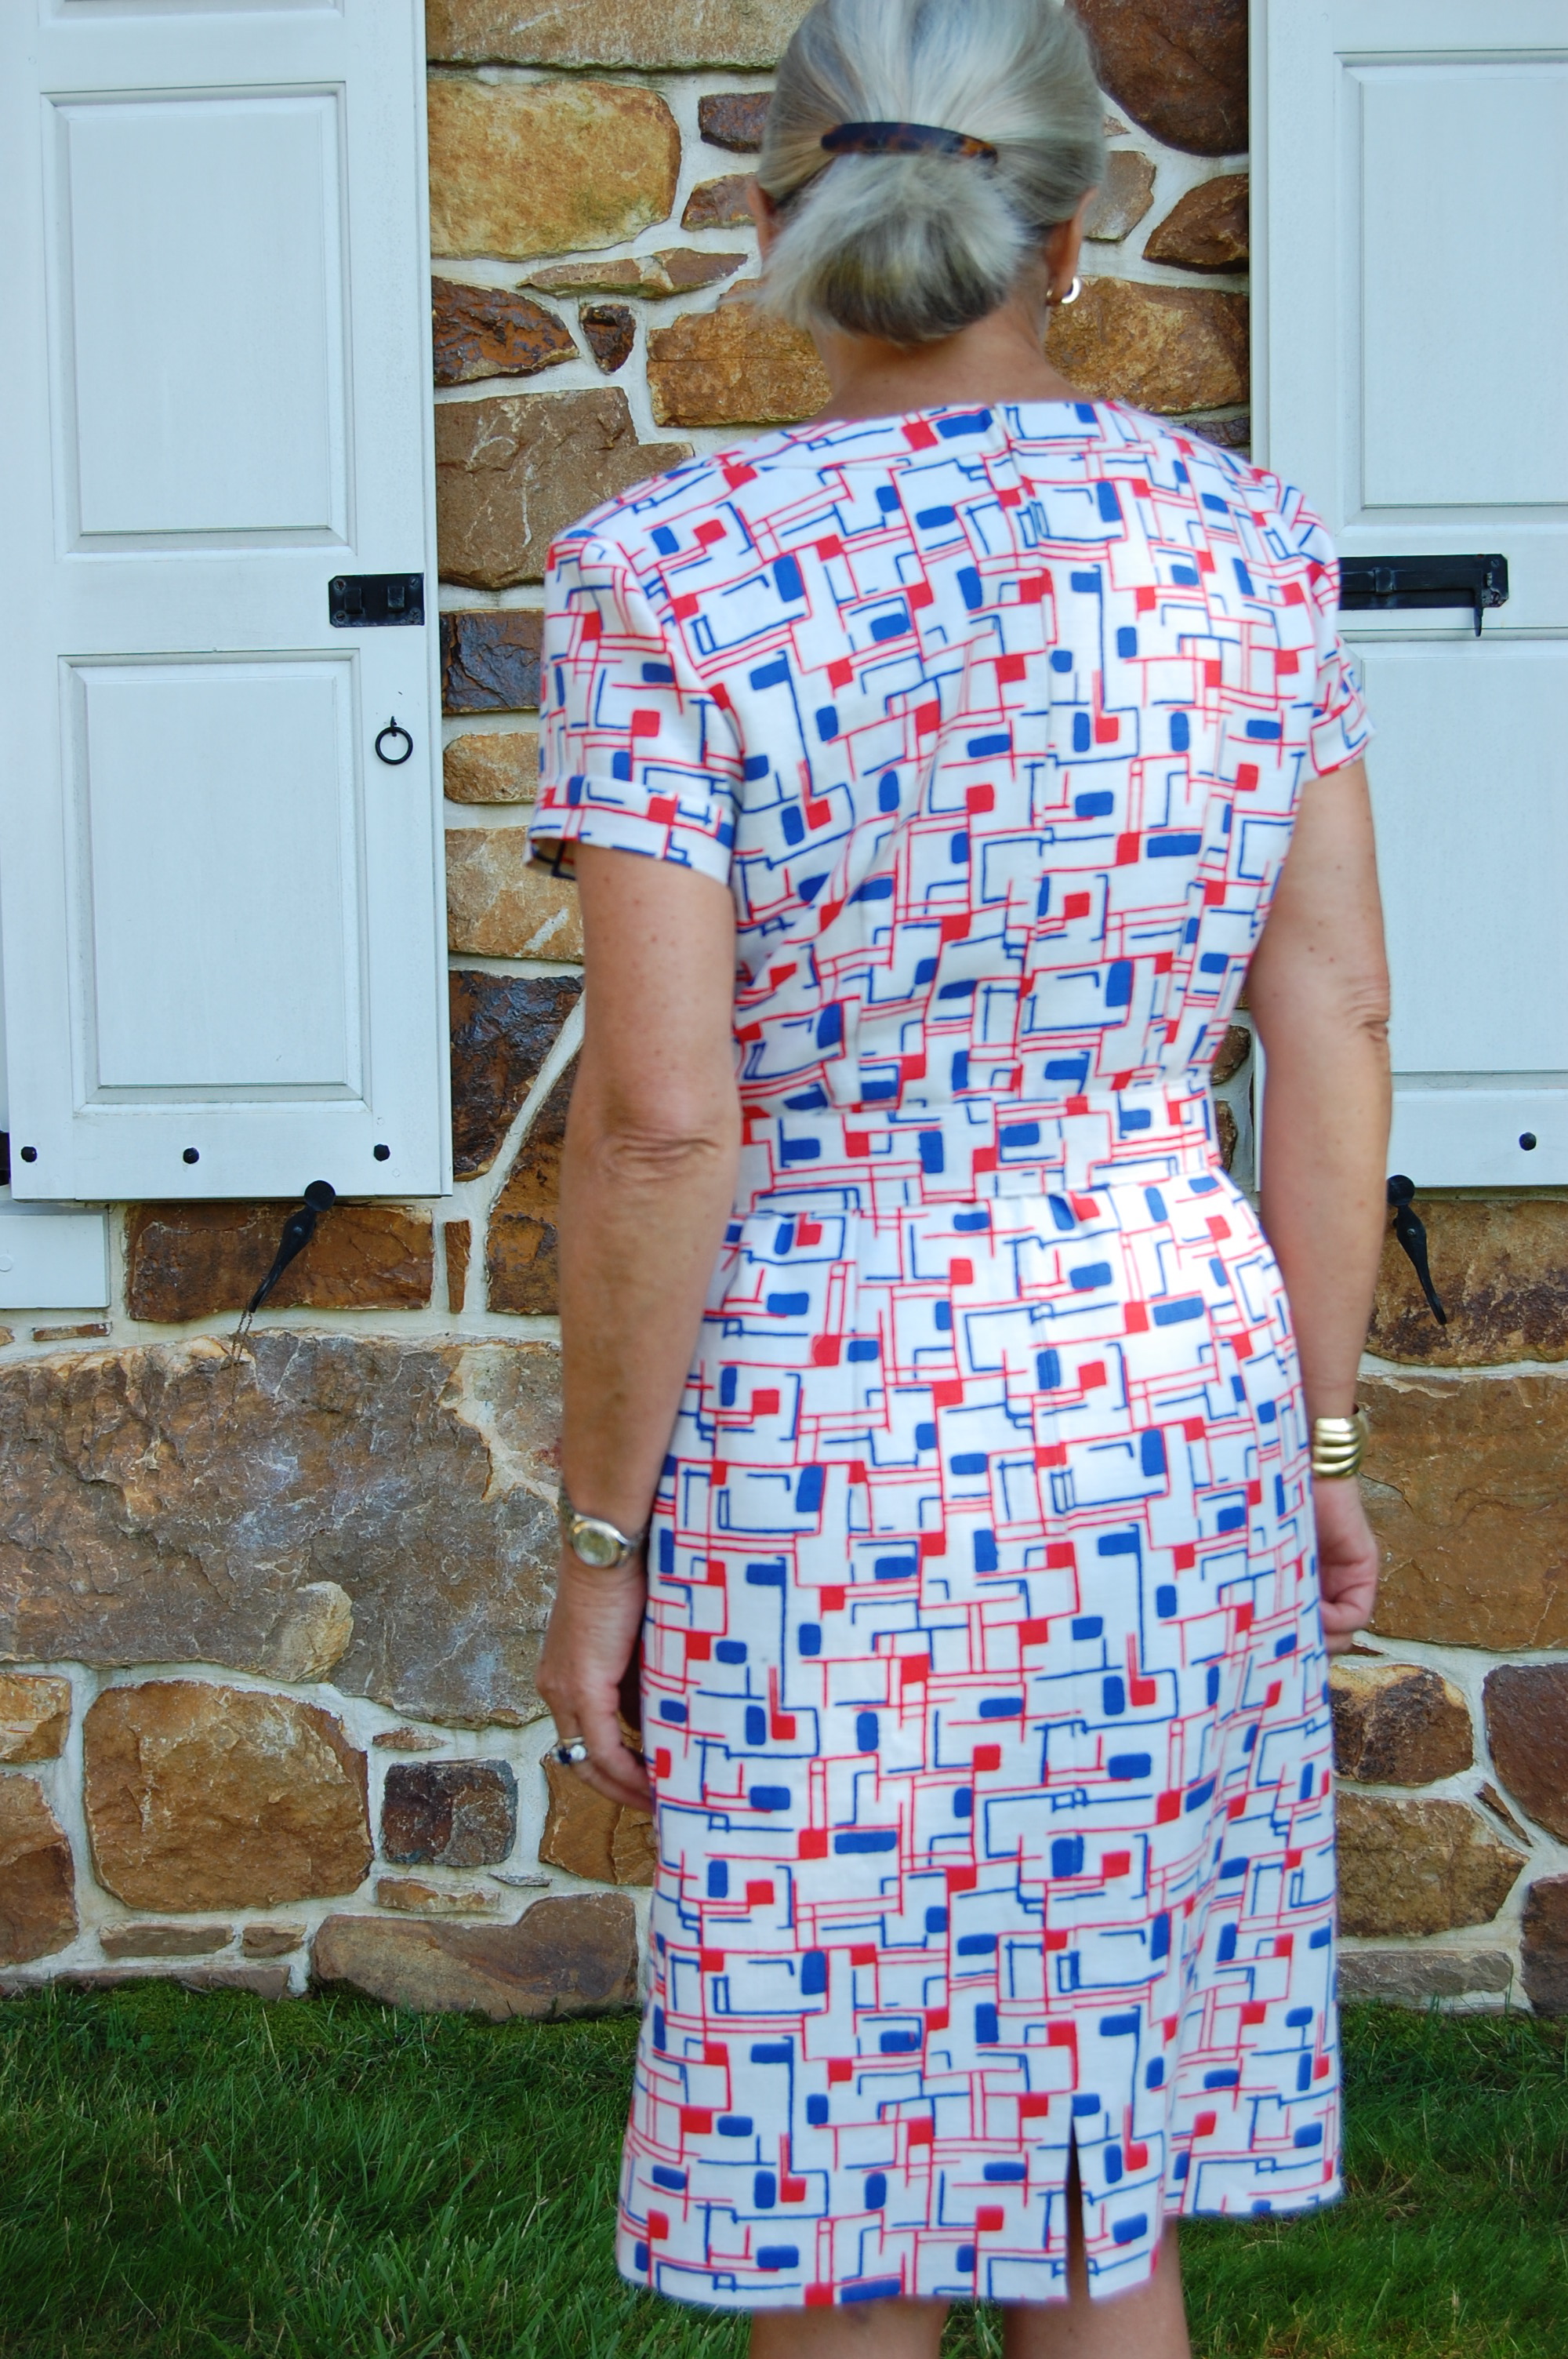
I also added a slit to the back seam as once I lengthened the dress, I thought I might need the extra wiggle room.

A quick look at the slit I added to the back center seam.
I had the belt made by Pat Mahoney of Pat’s Custom Belts and Buckles. What a great decision! I could never make as neat a belt and buckle as she does.
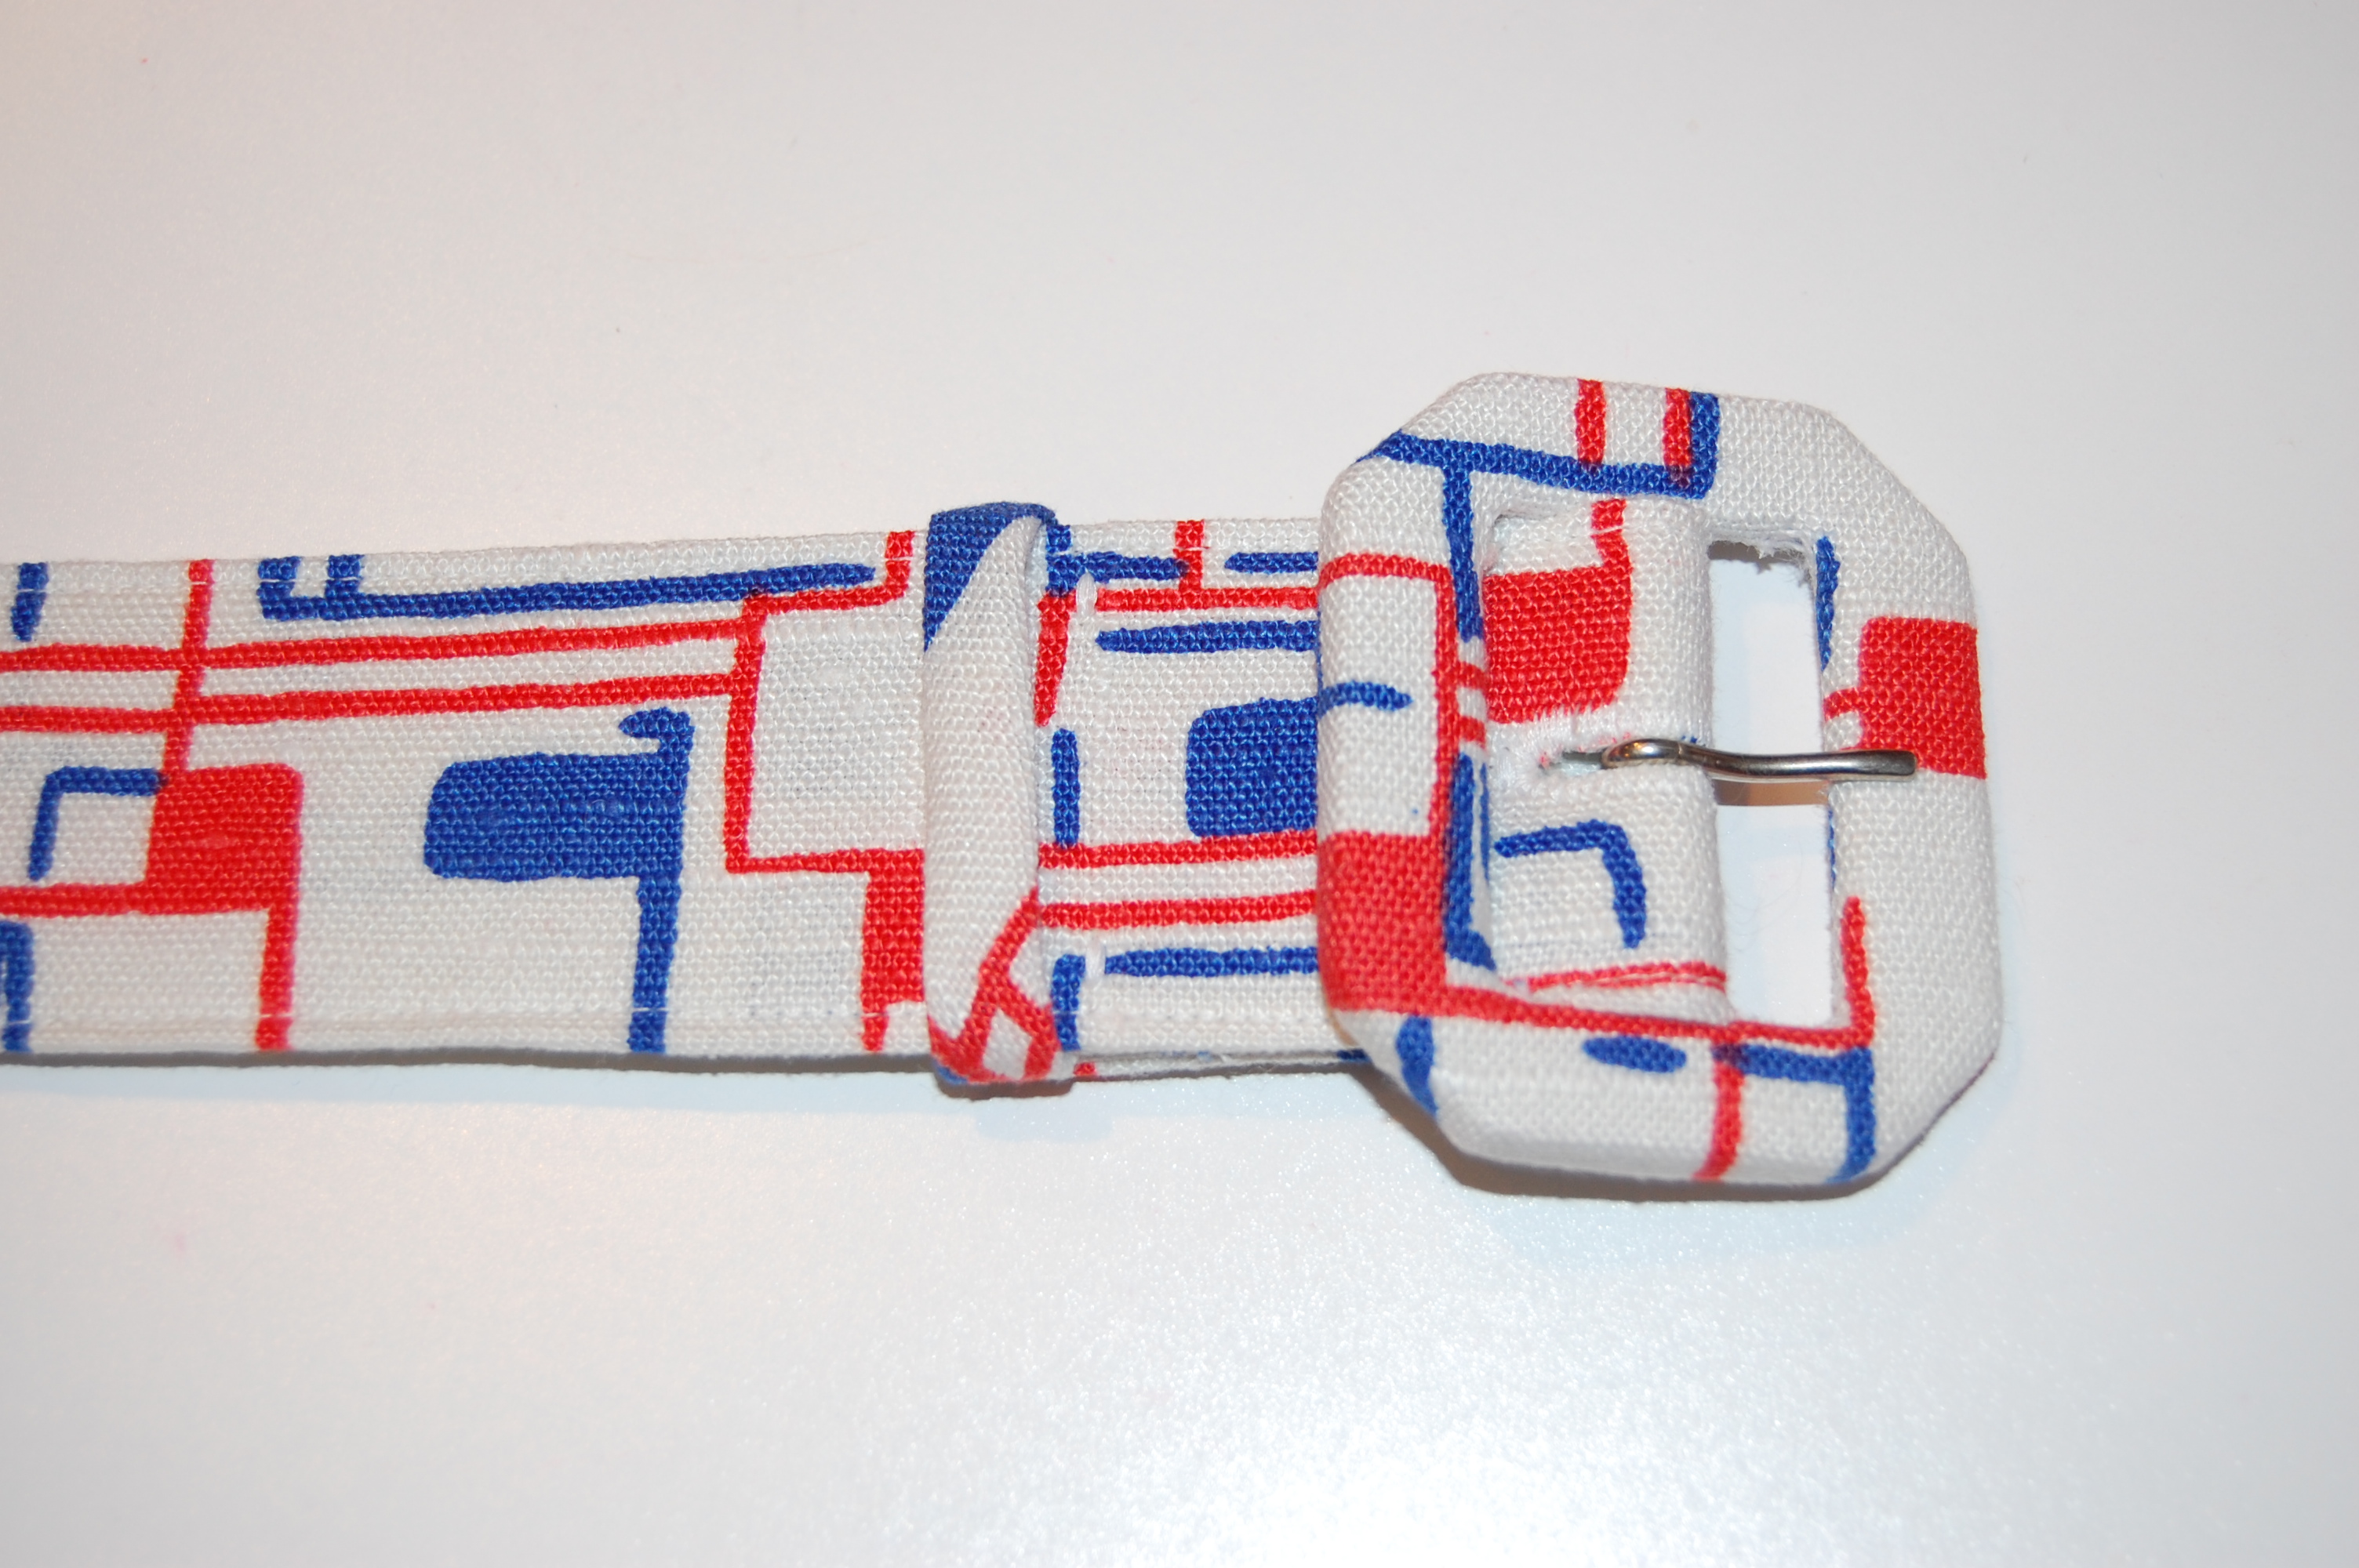
Pat Mahoney does not have a website, but she can be contacted at: 209-369-5410; 537 York Street, P.O. Box 335, Lodi, California 95241, USA.
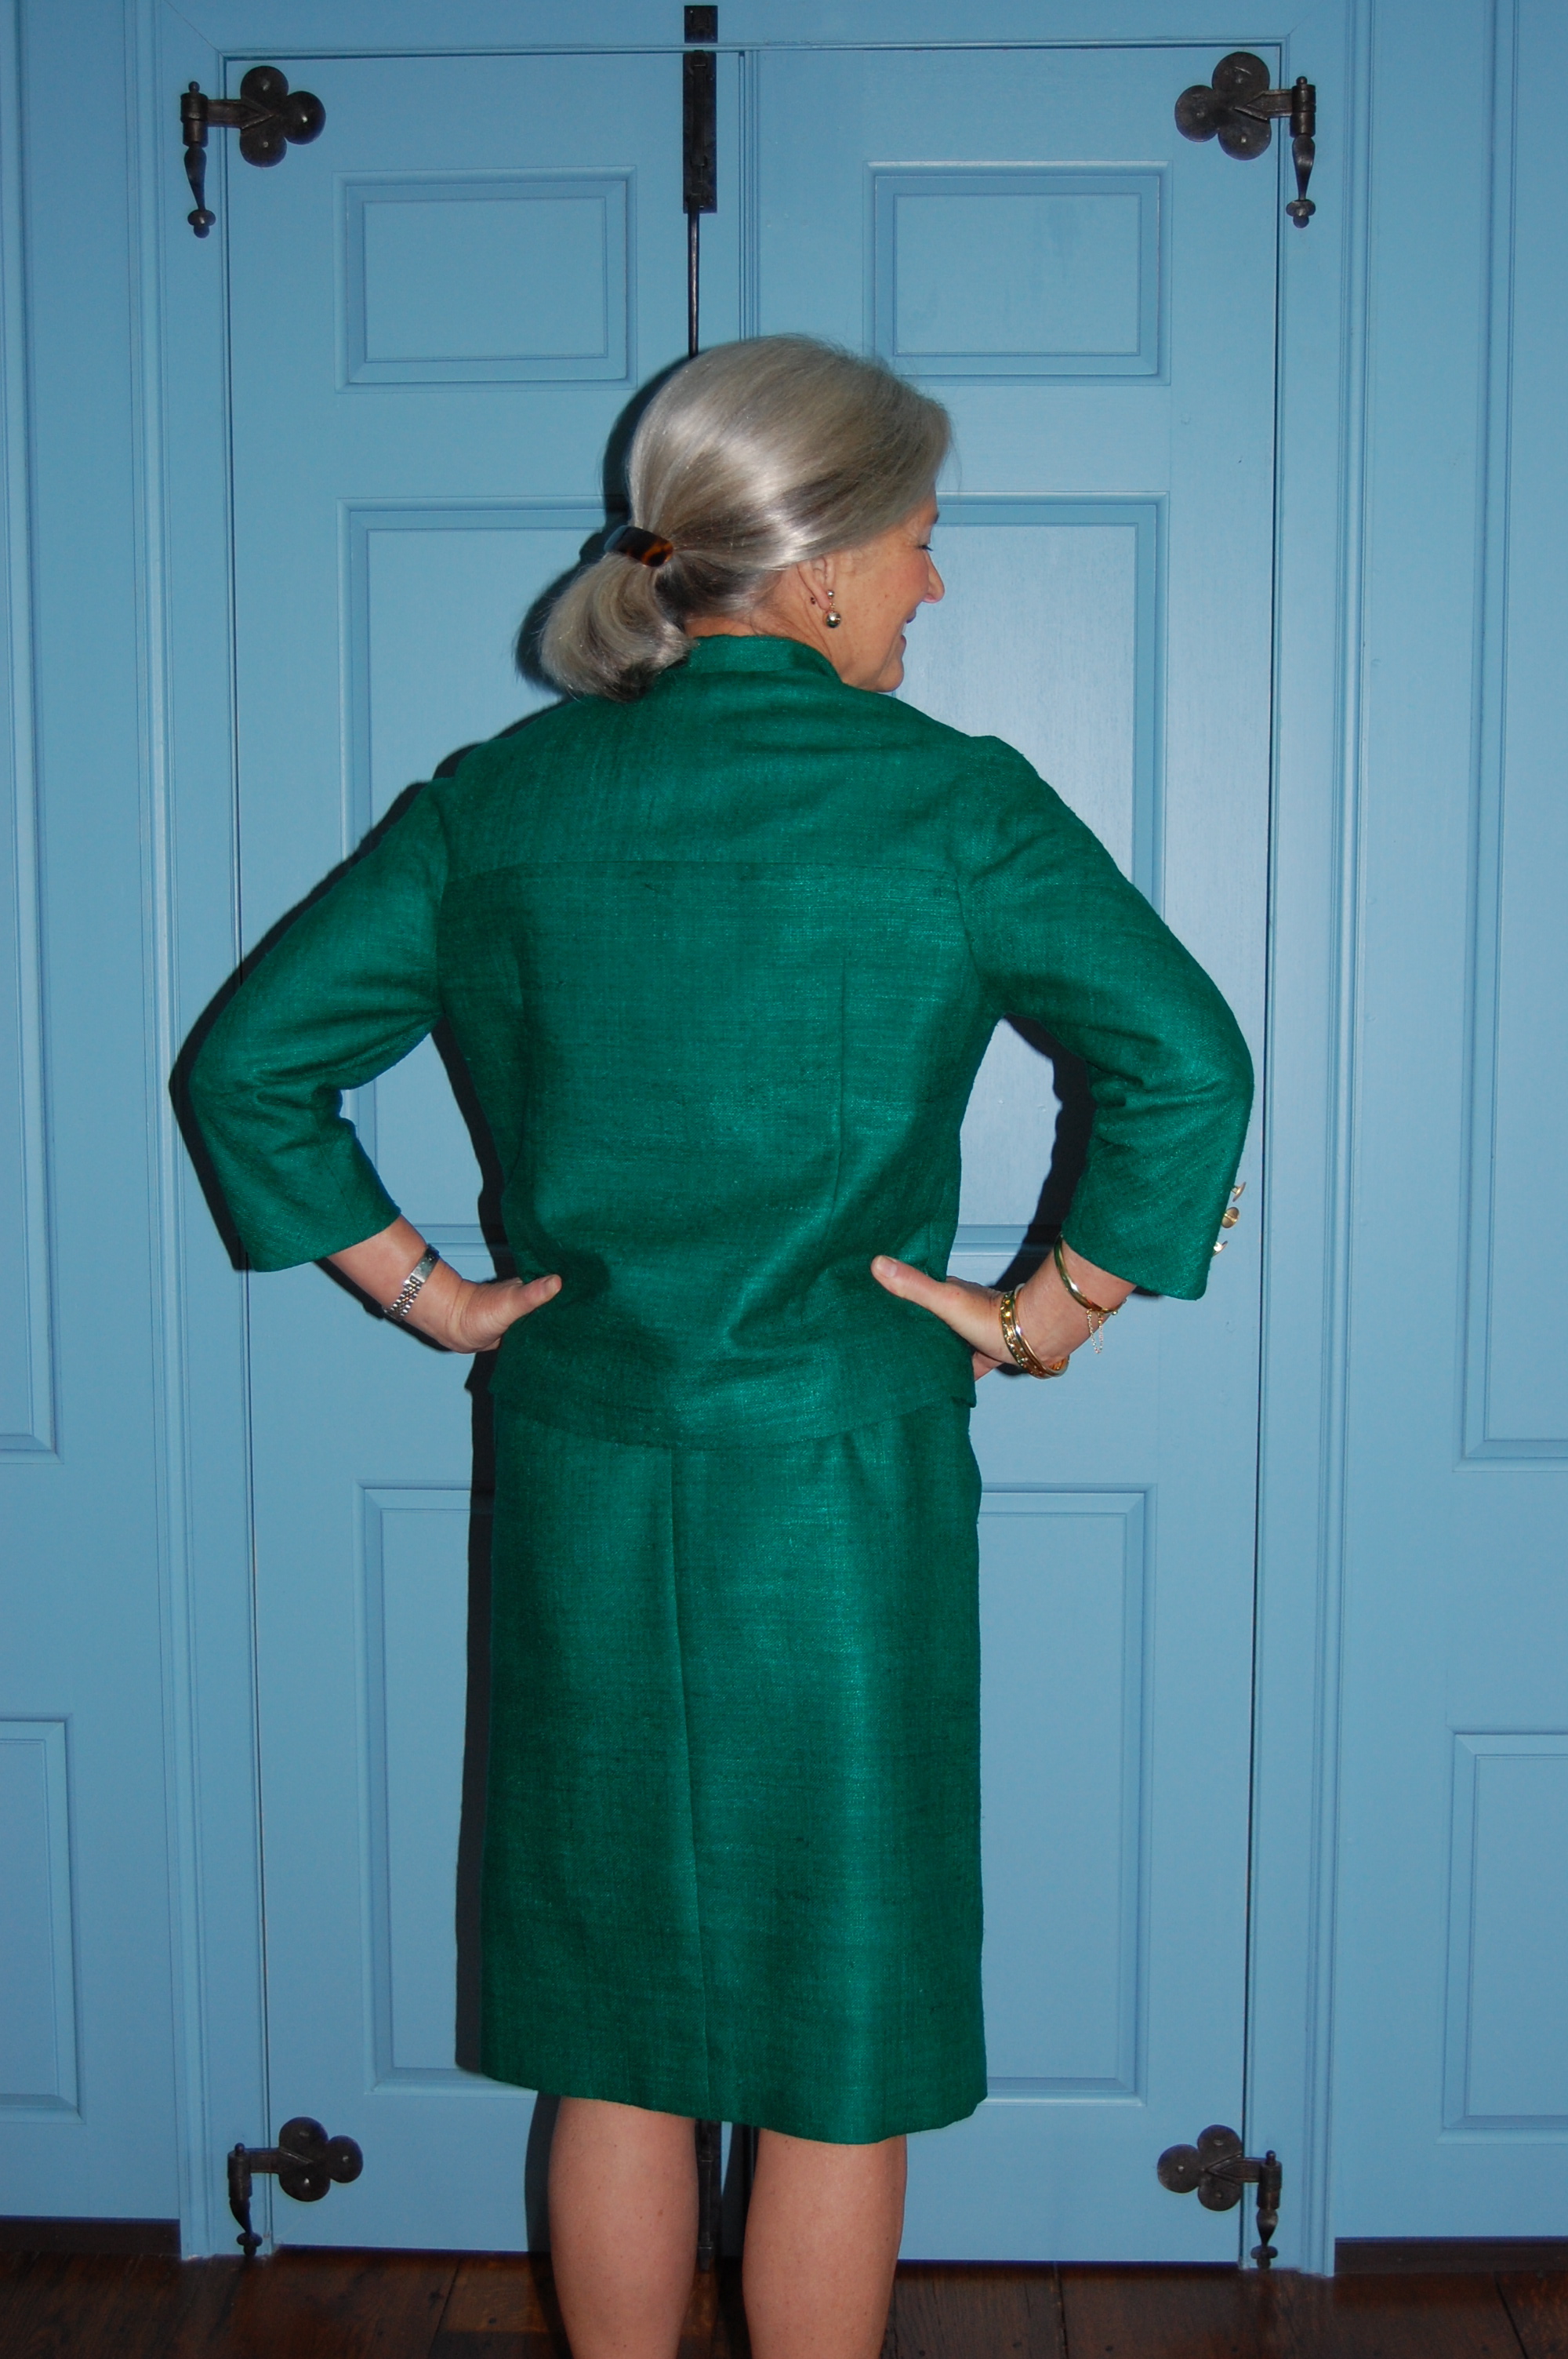
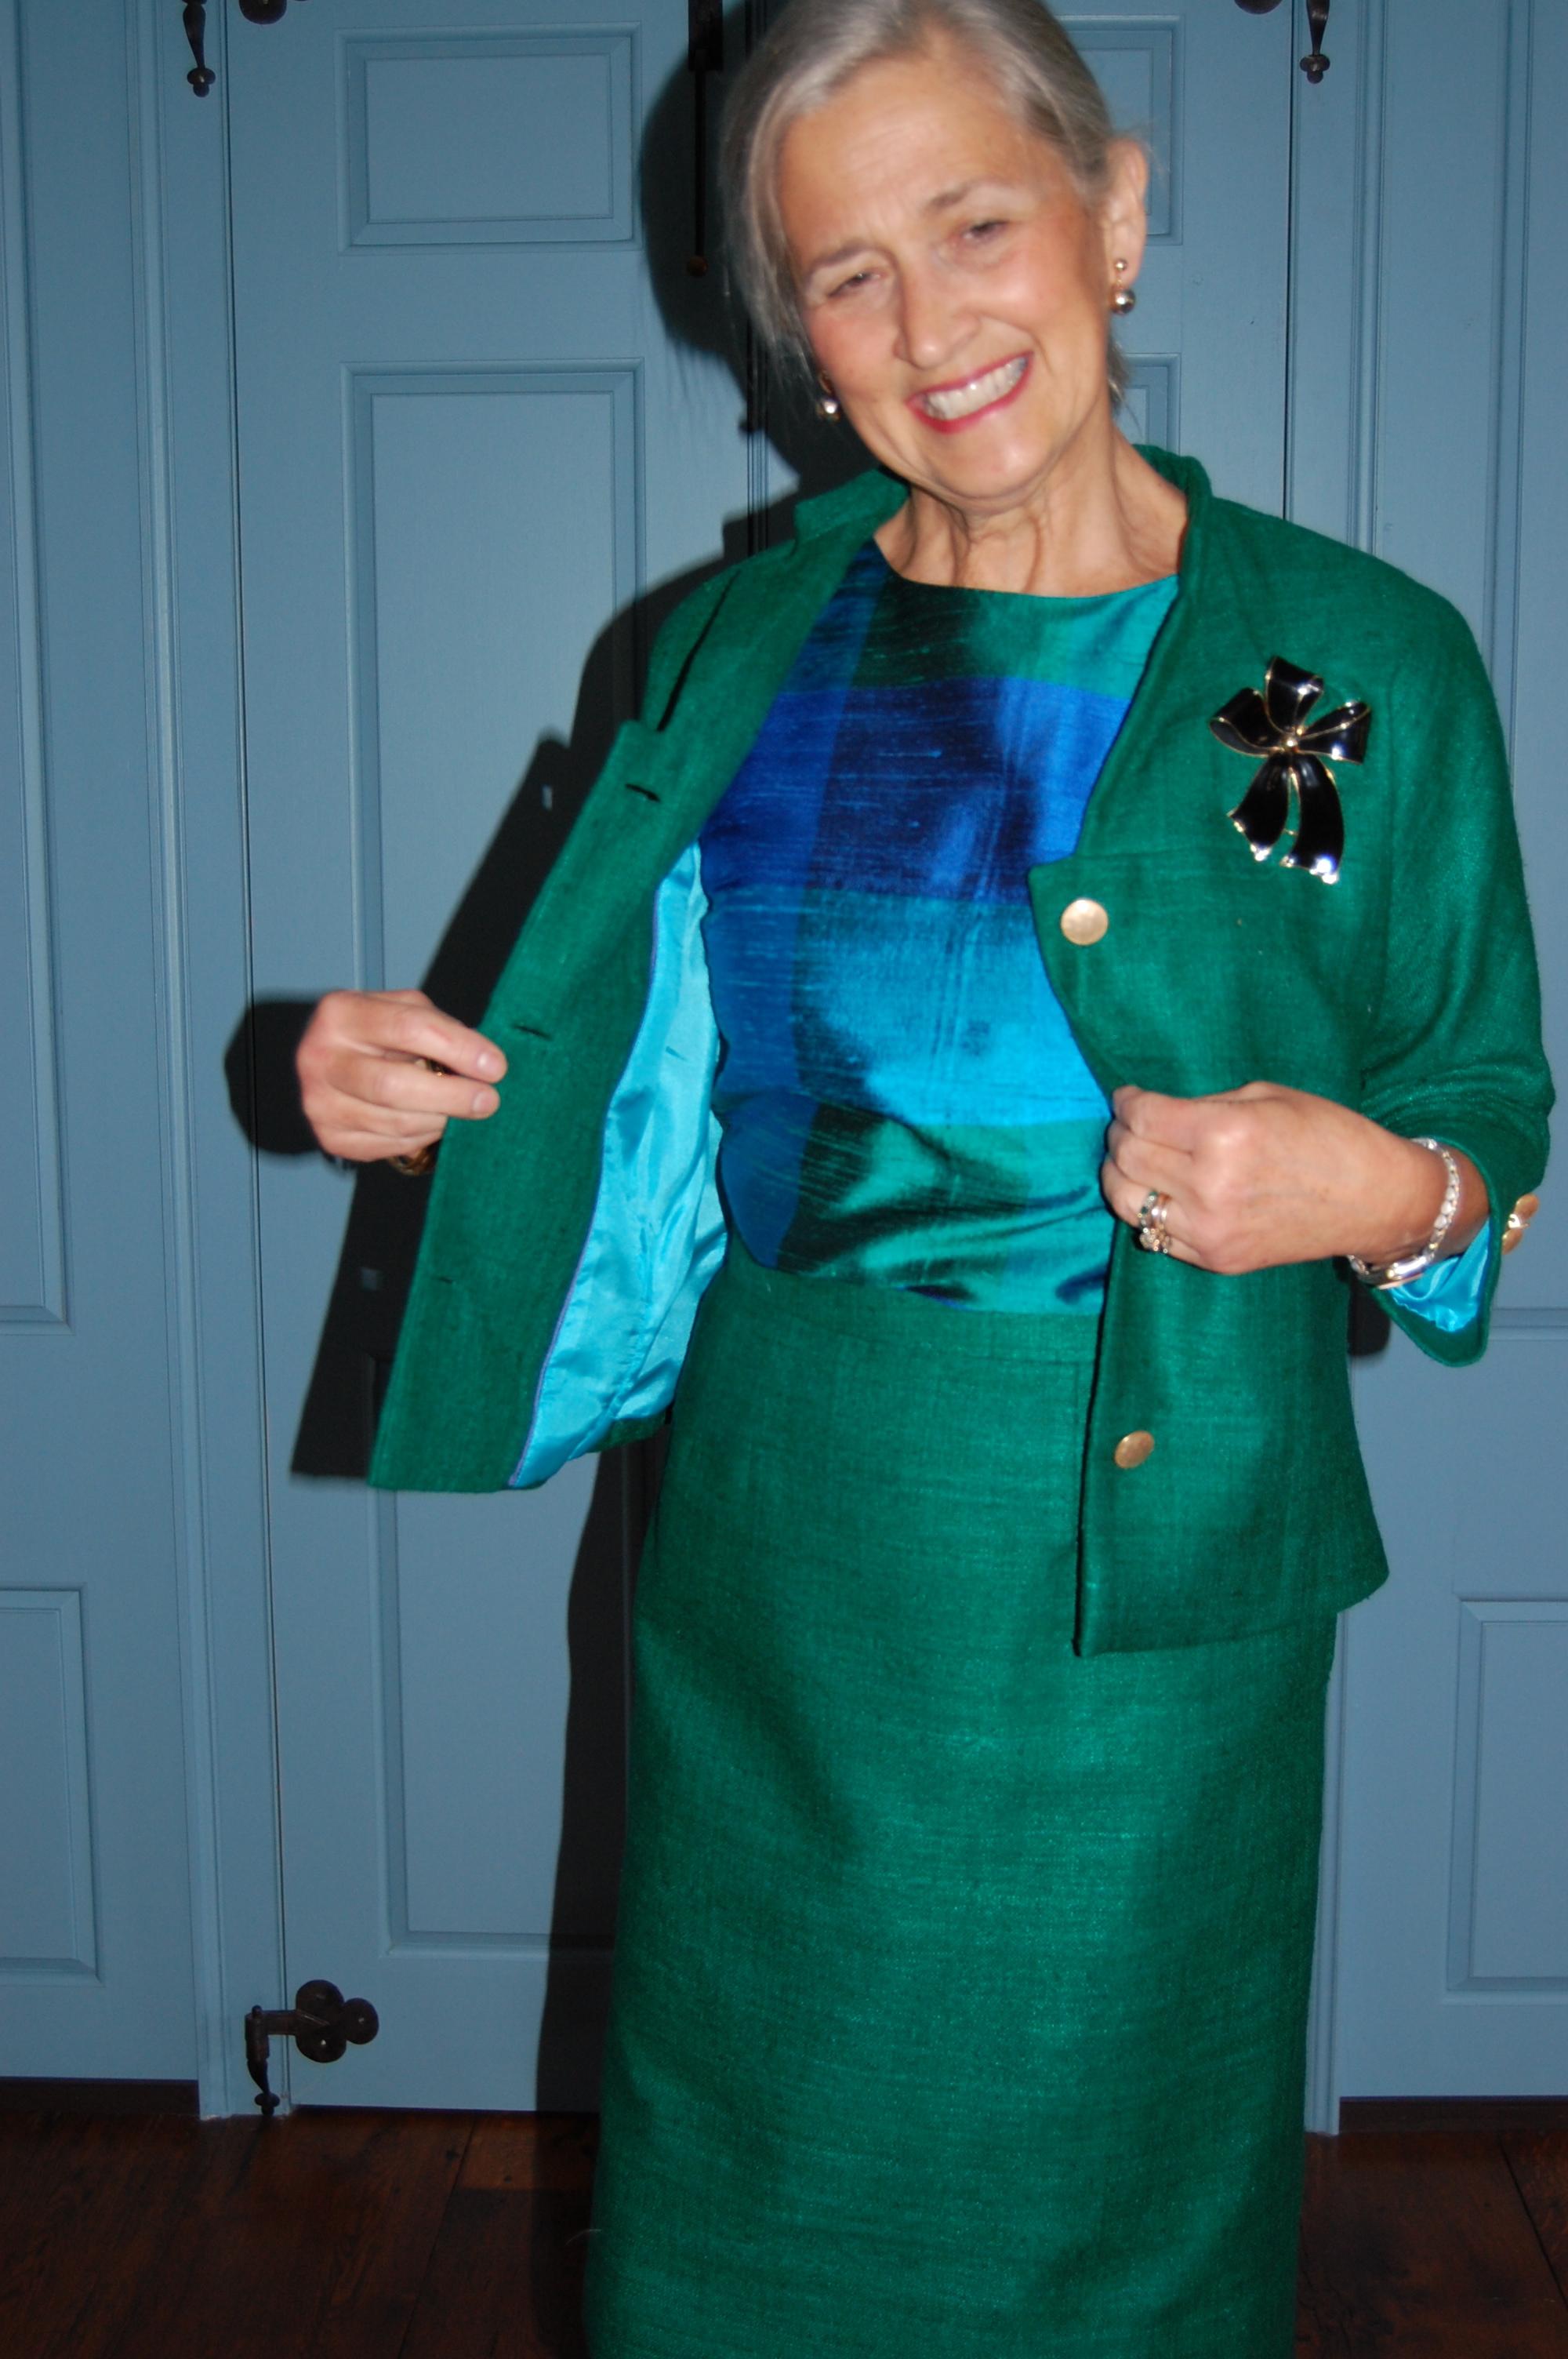
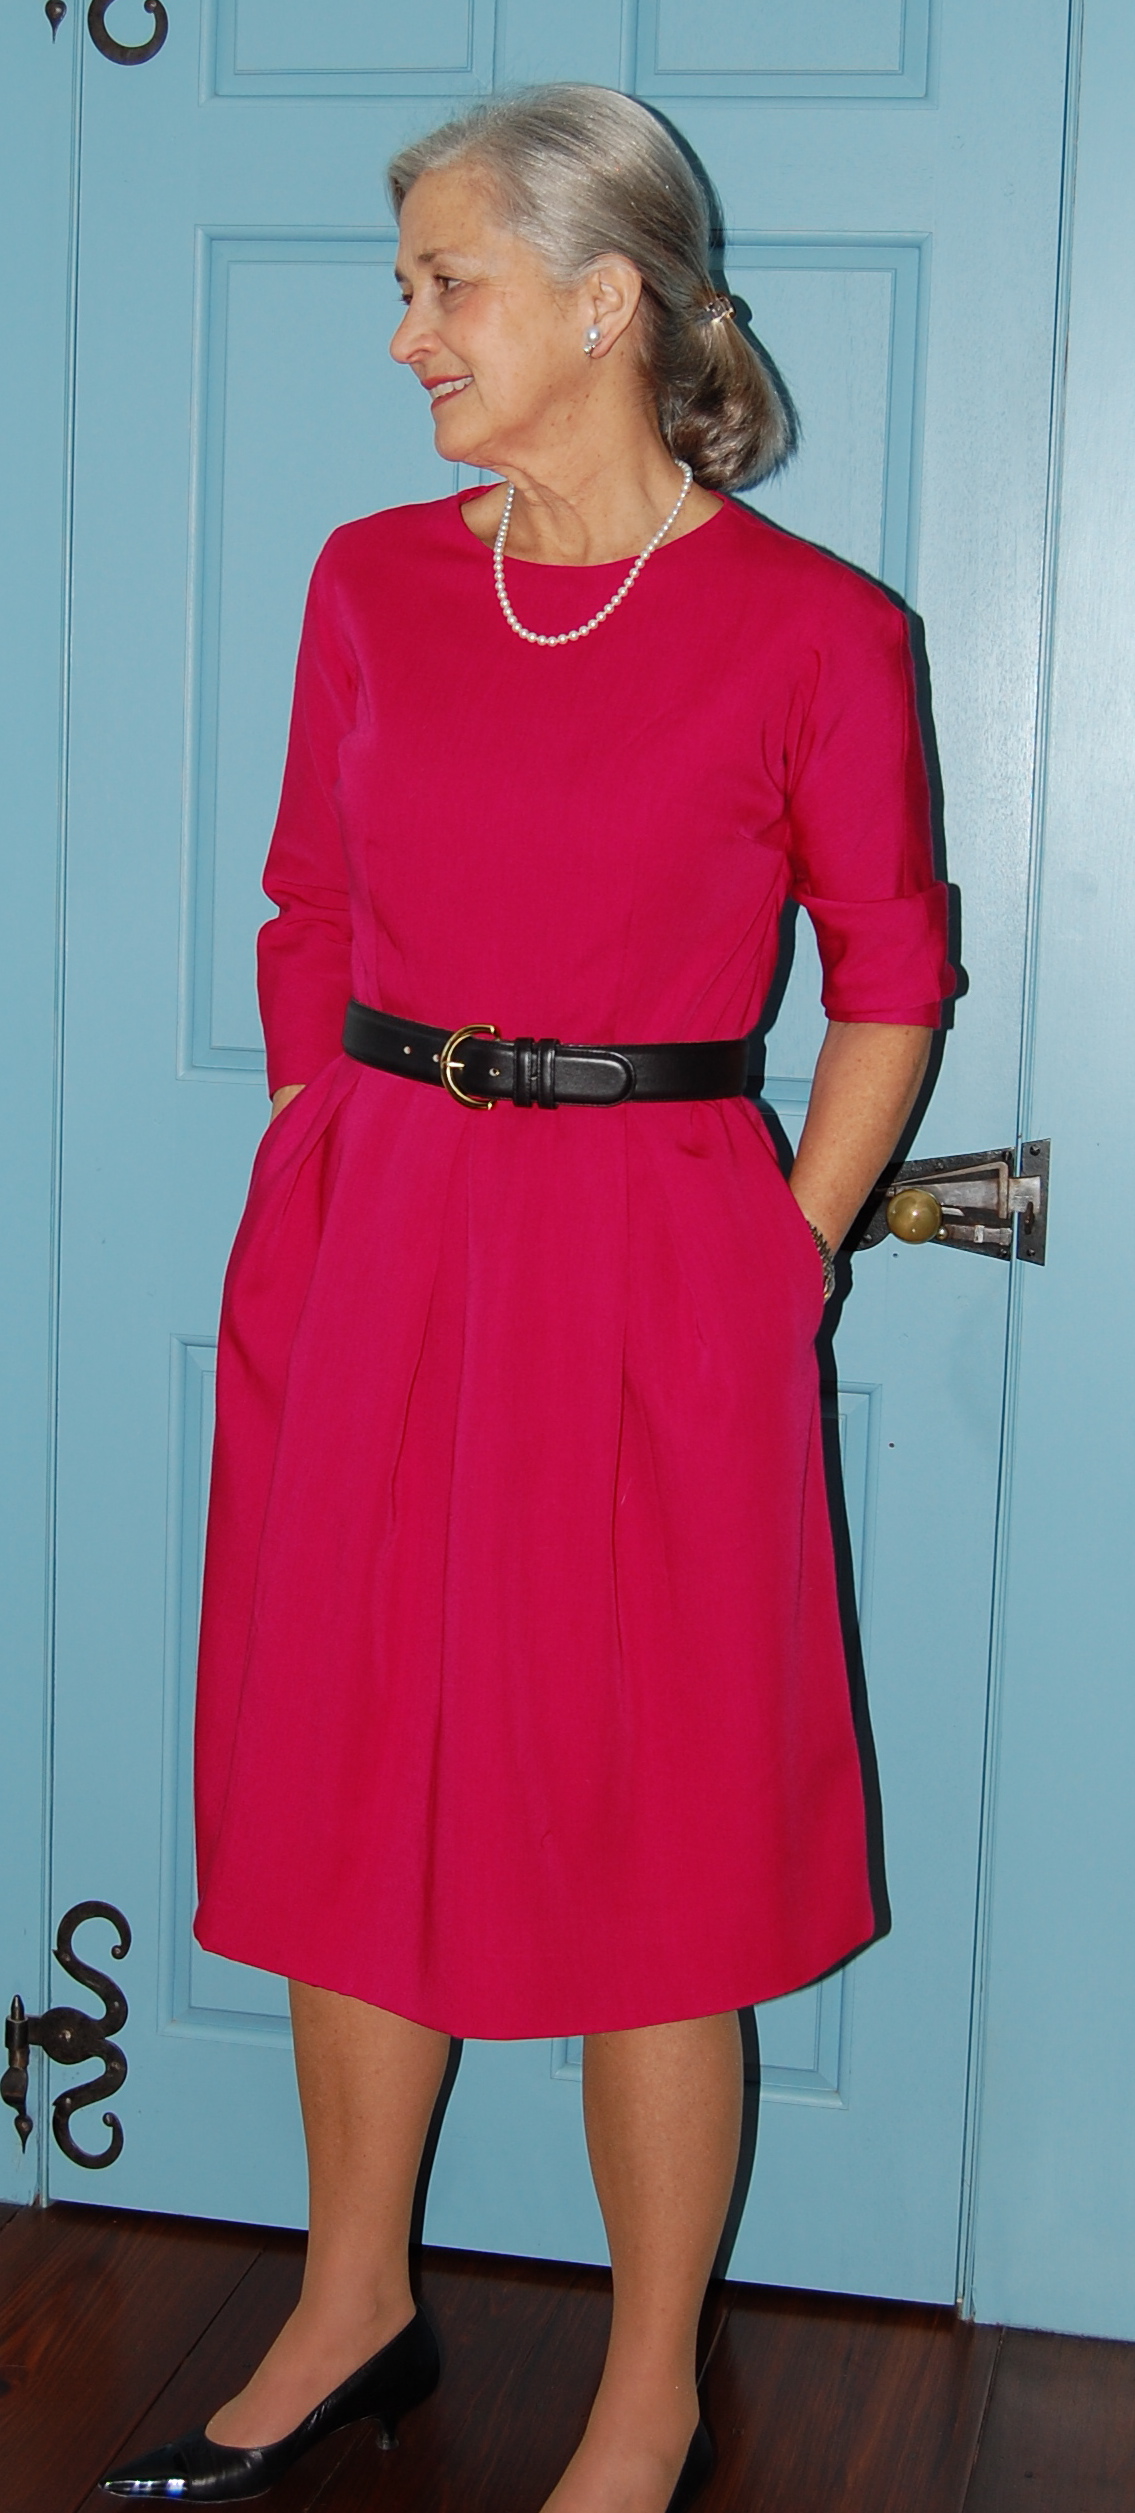
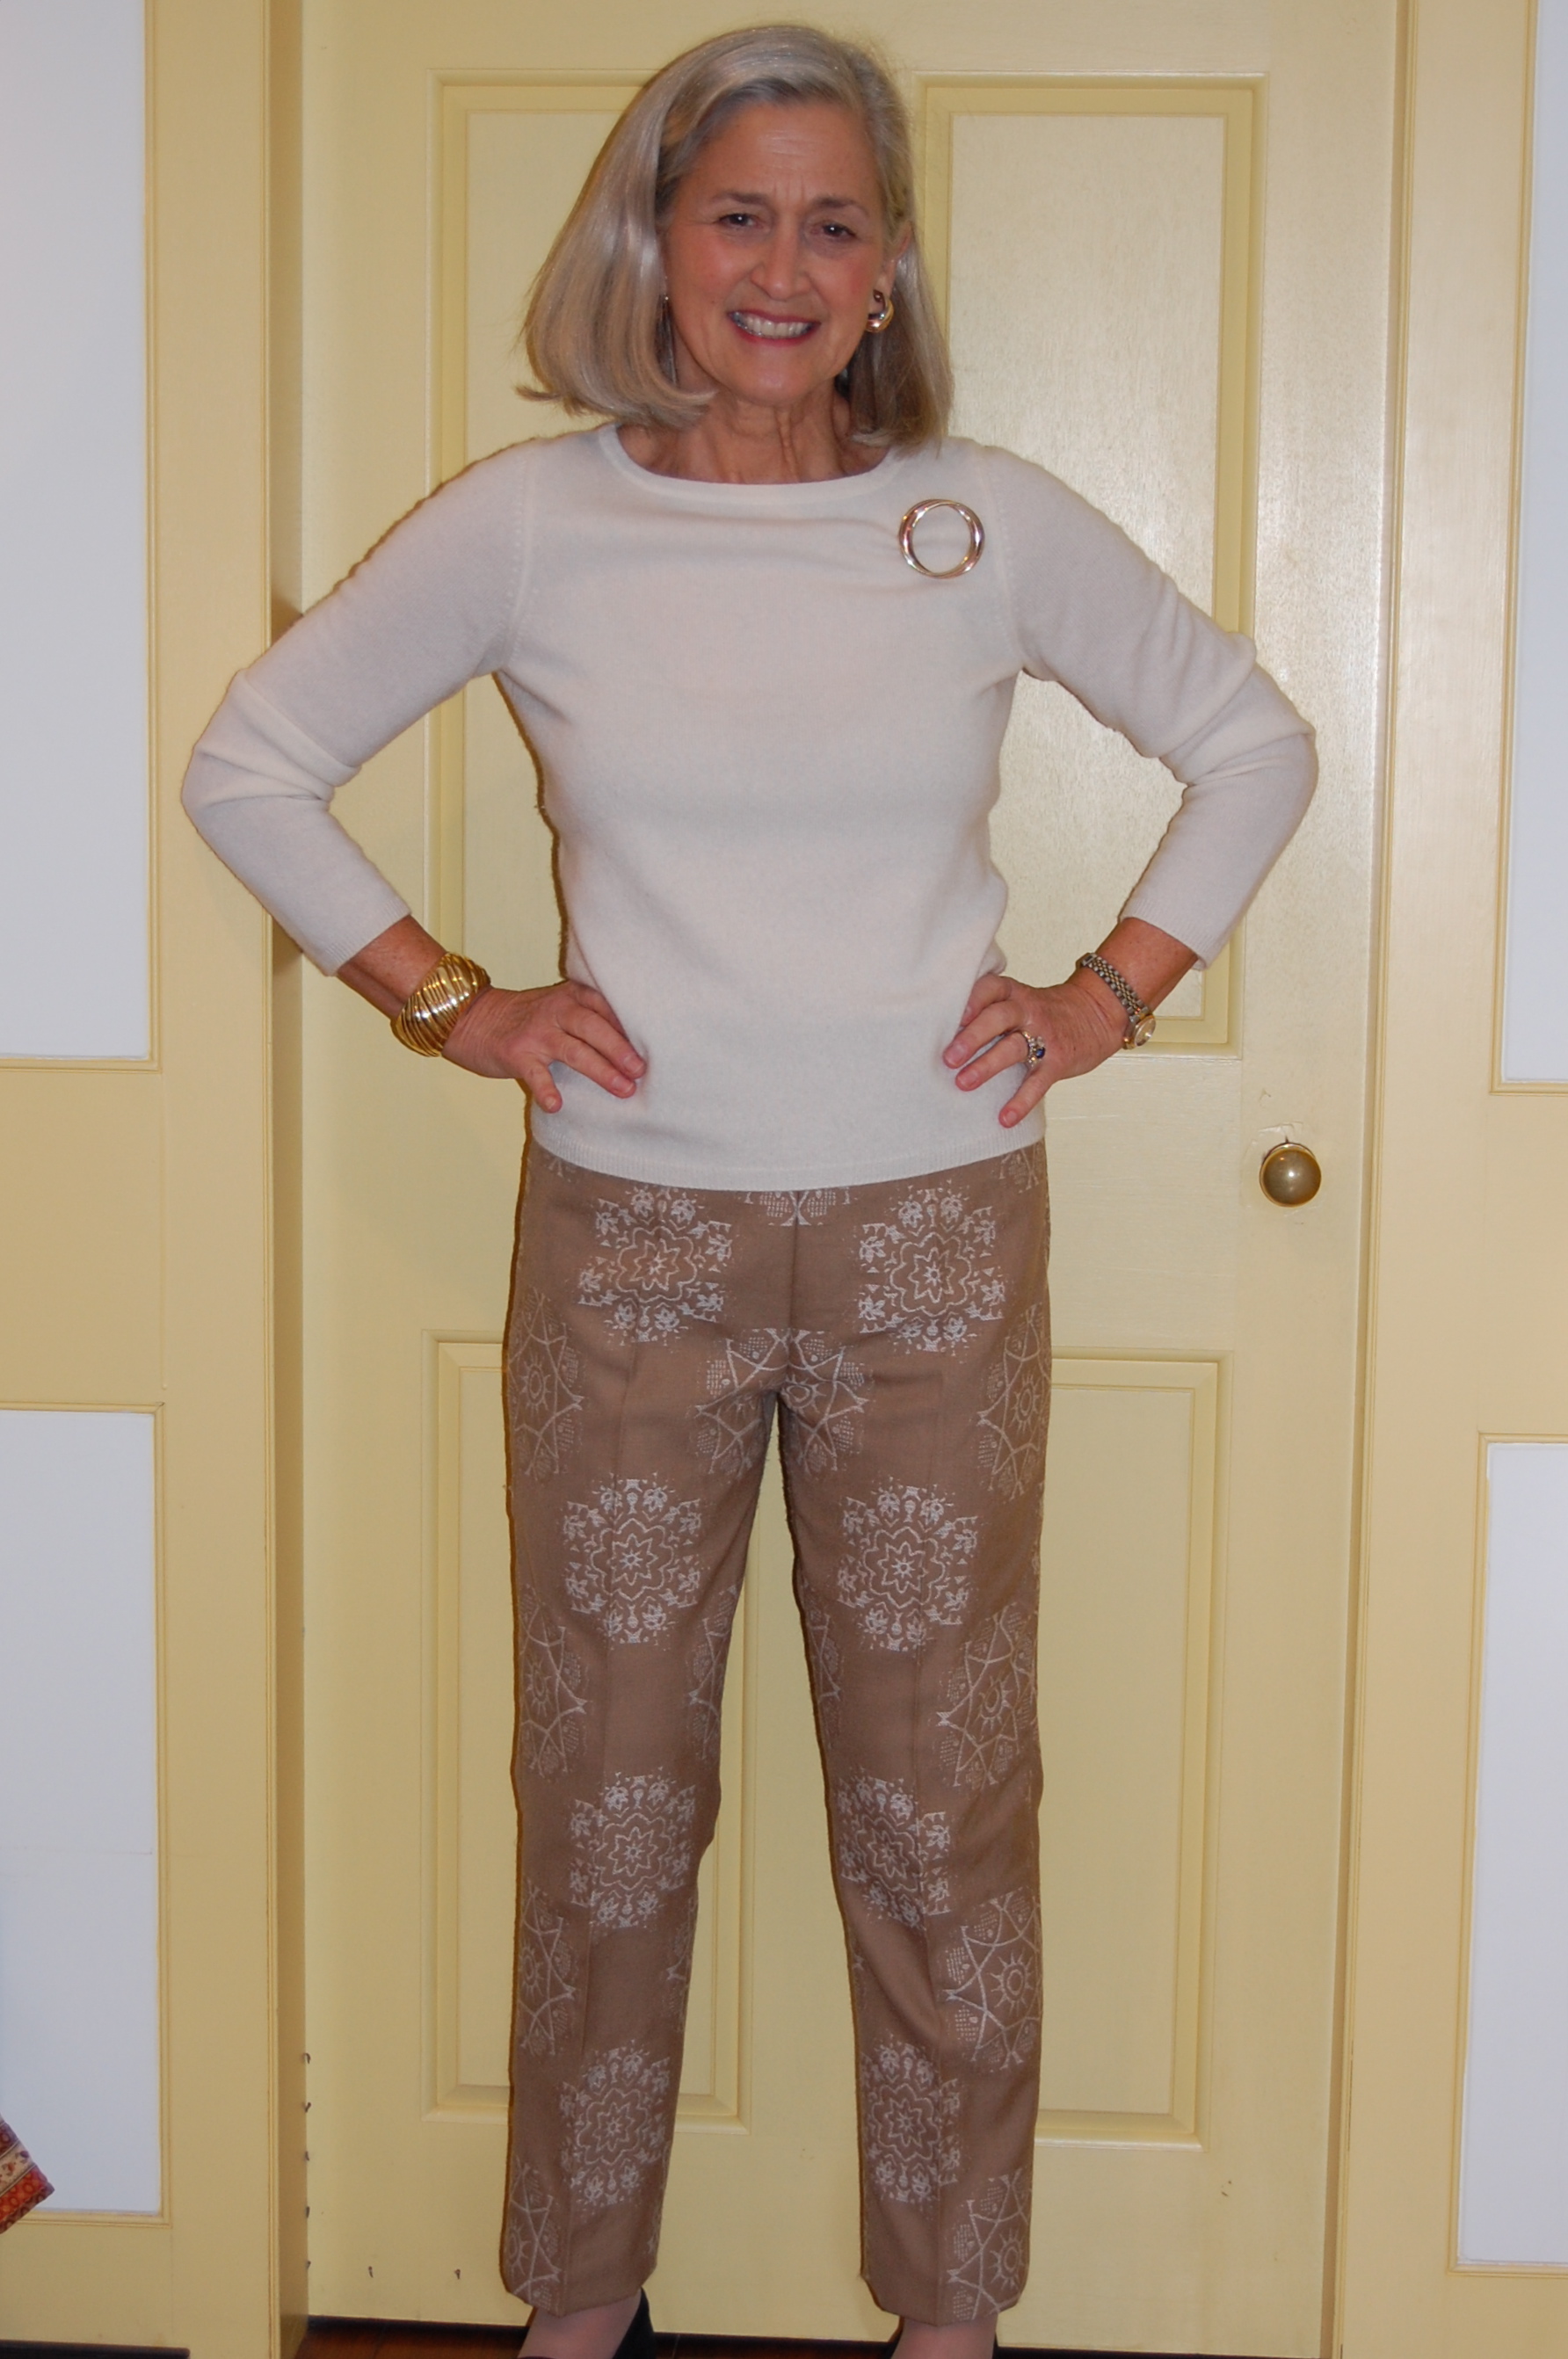
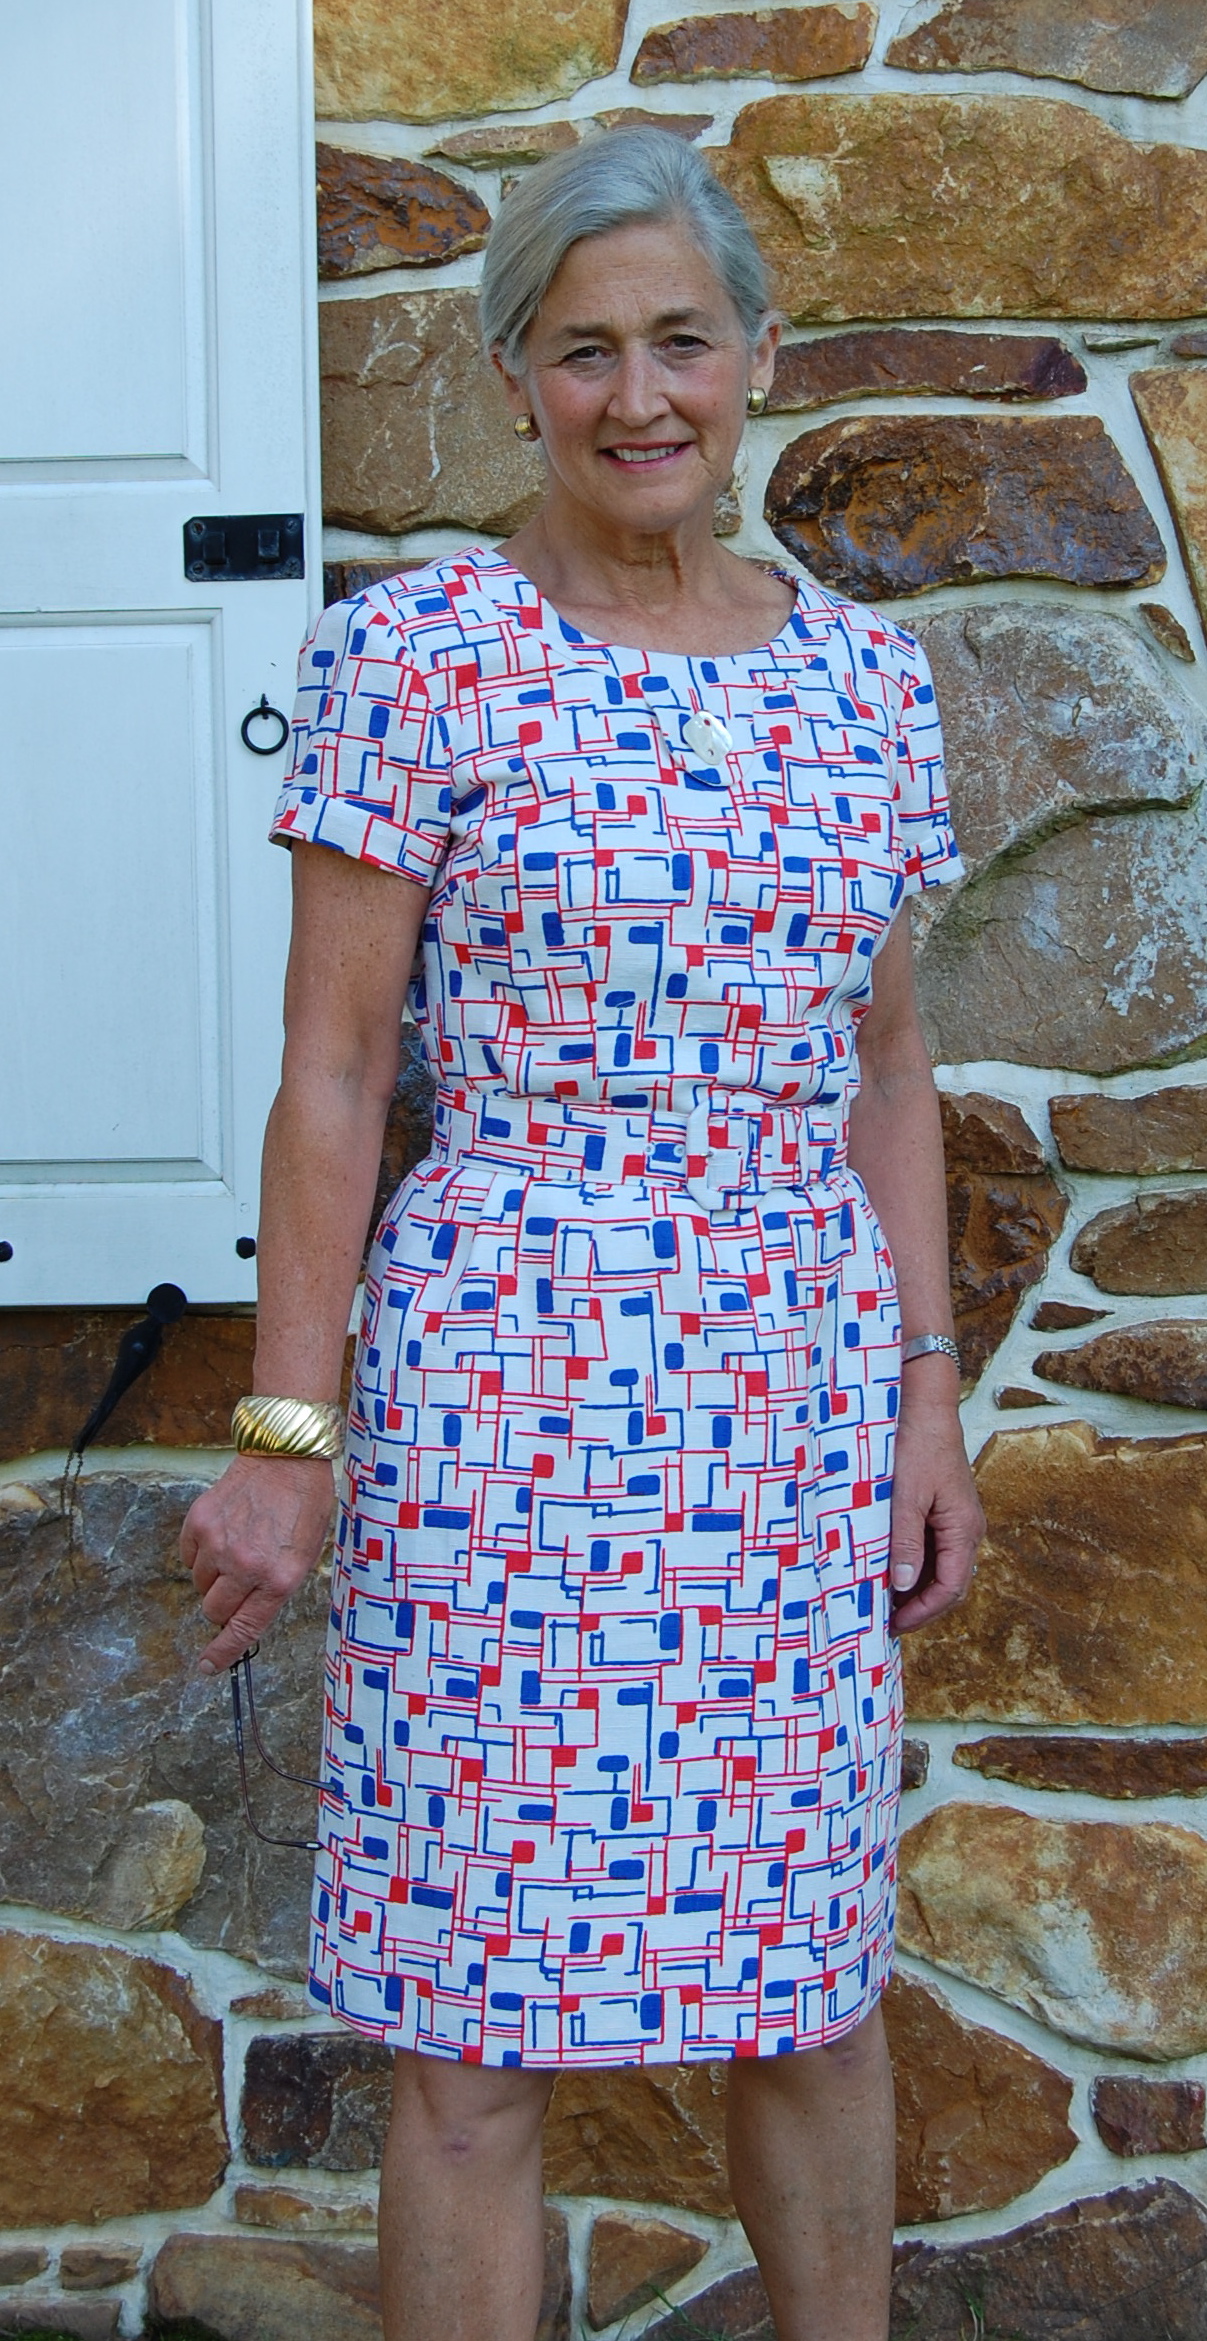
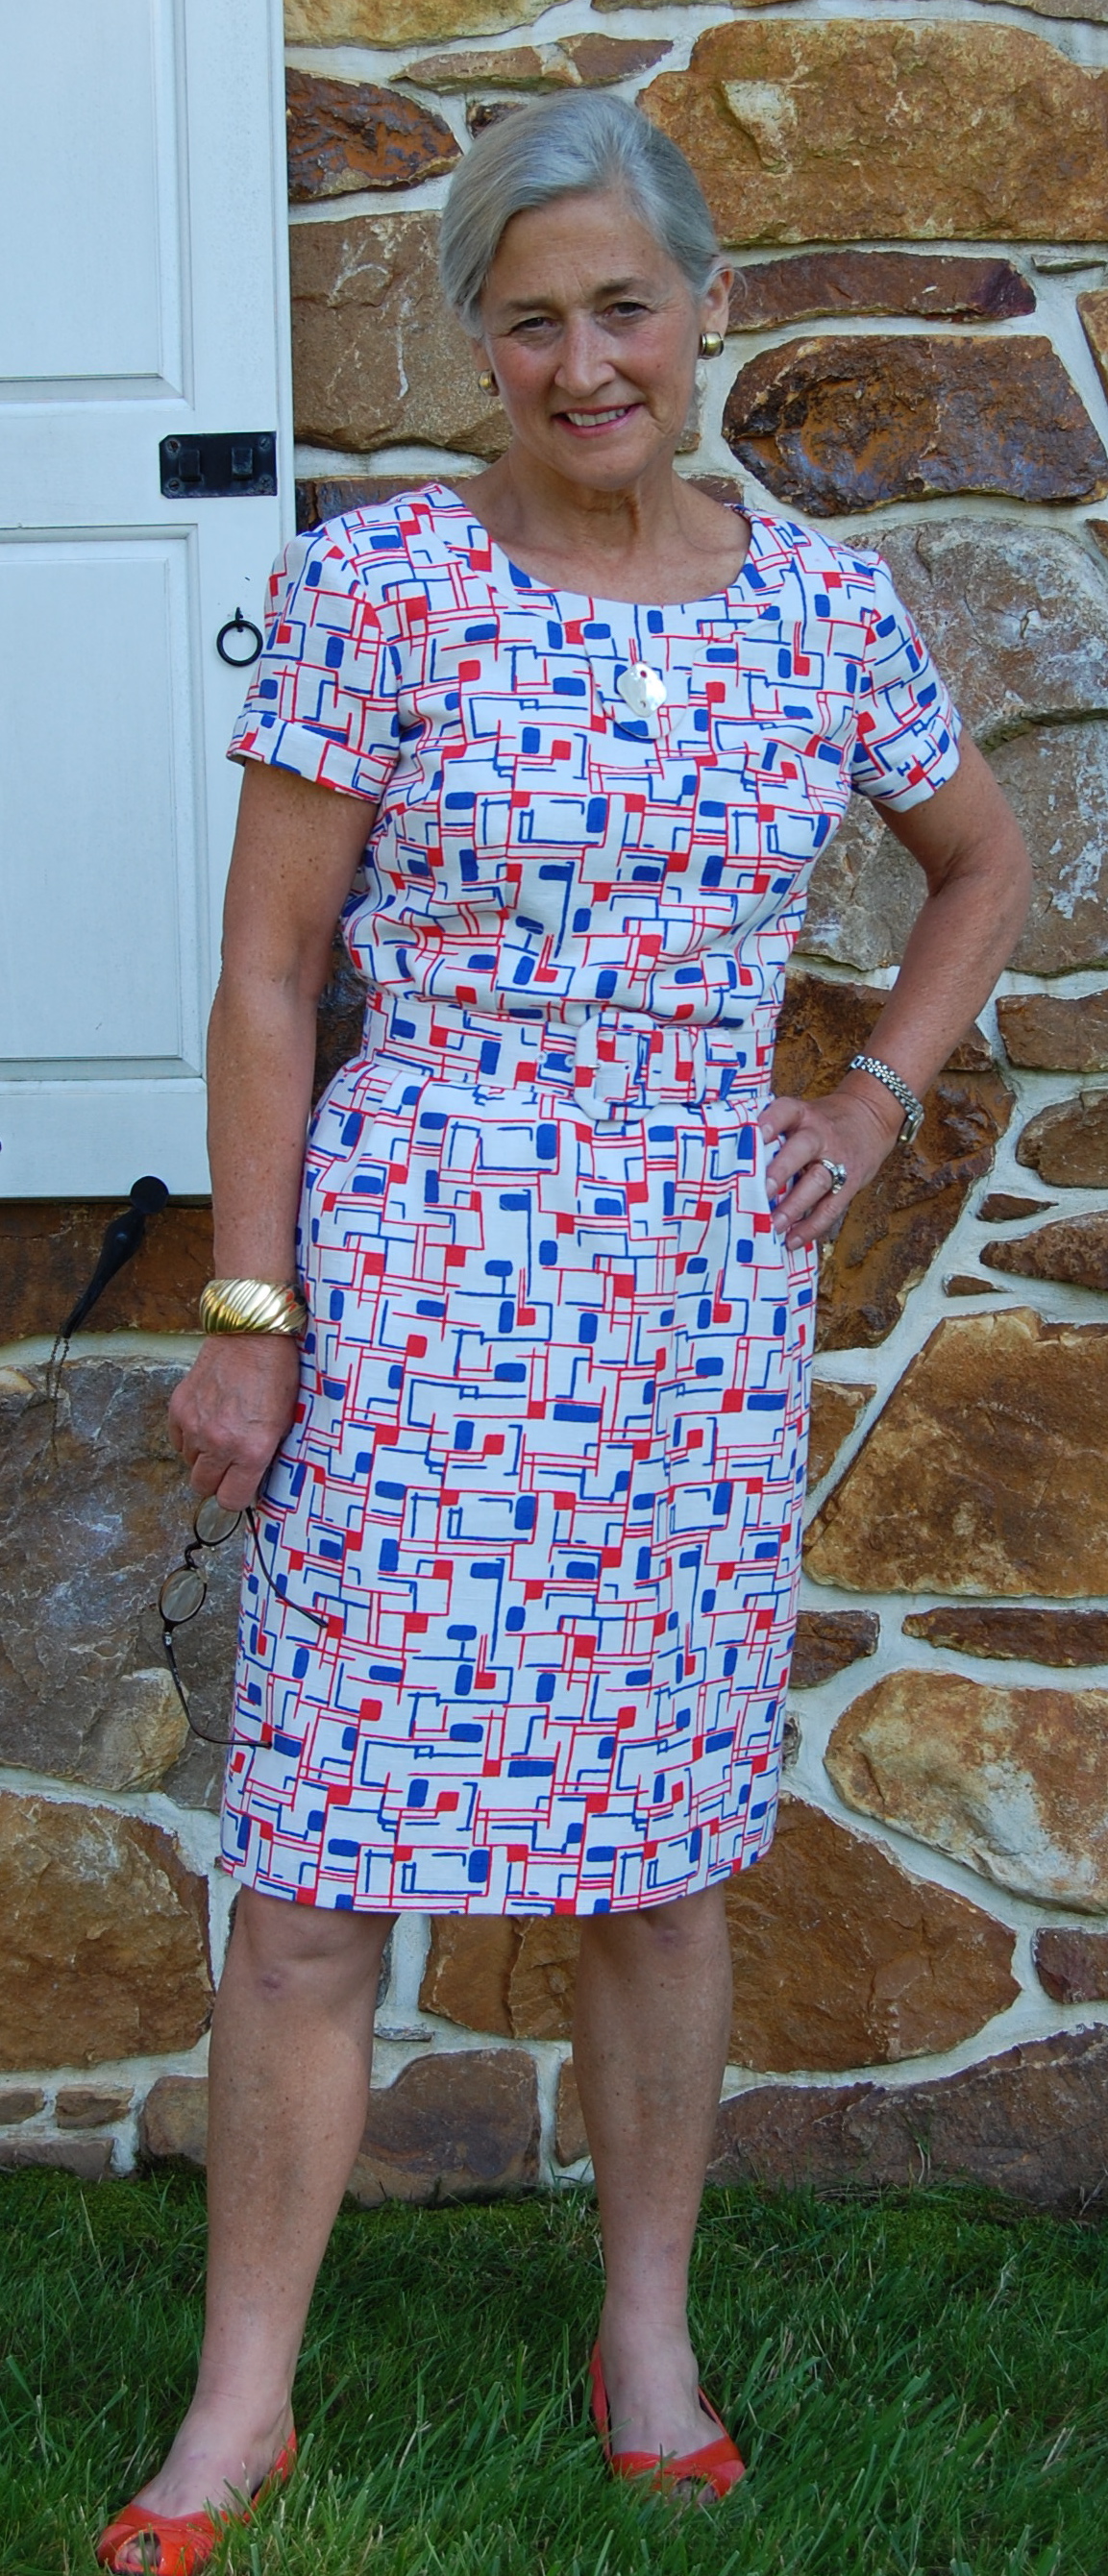
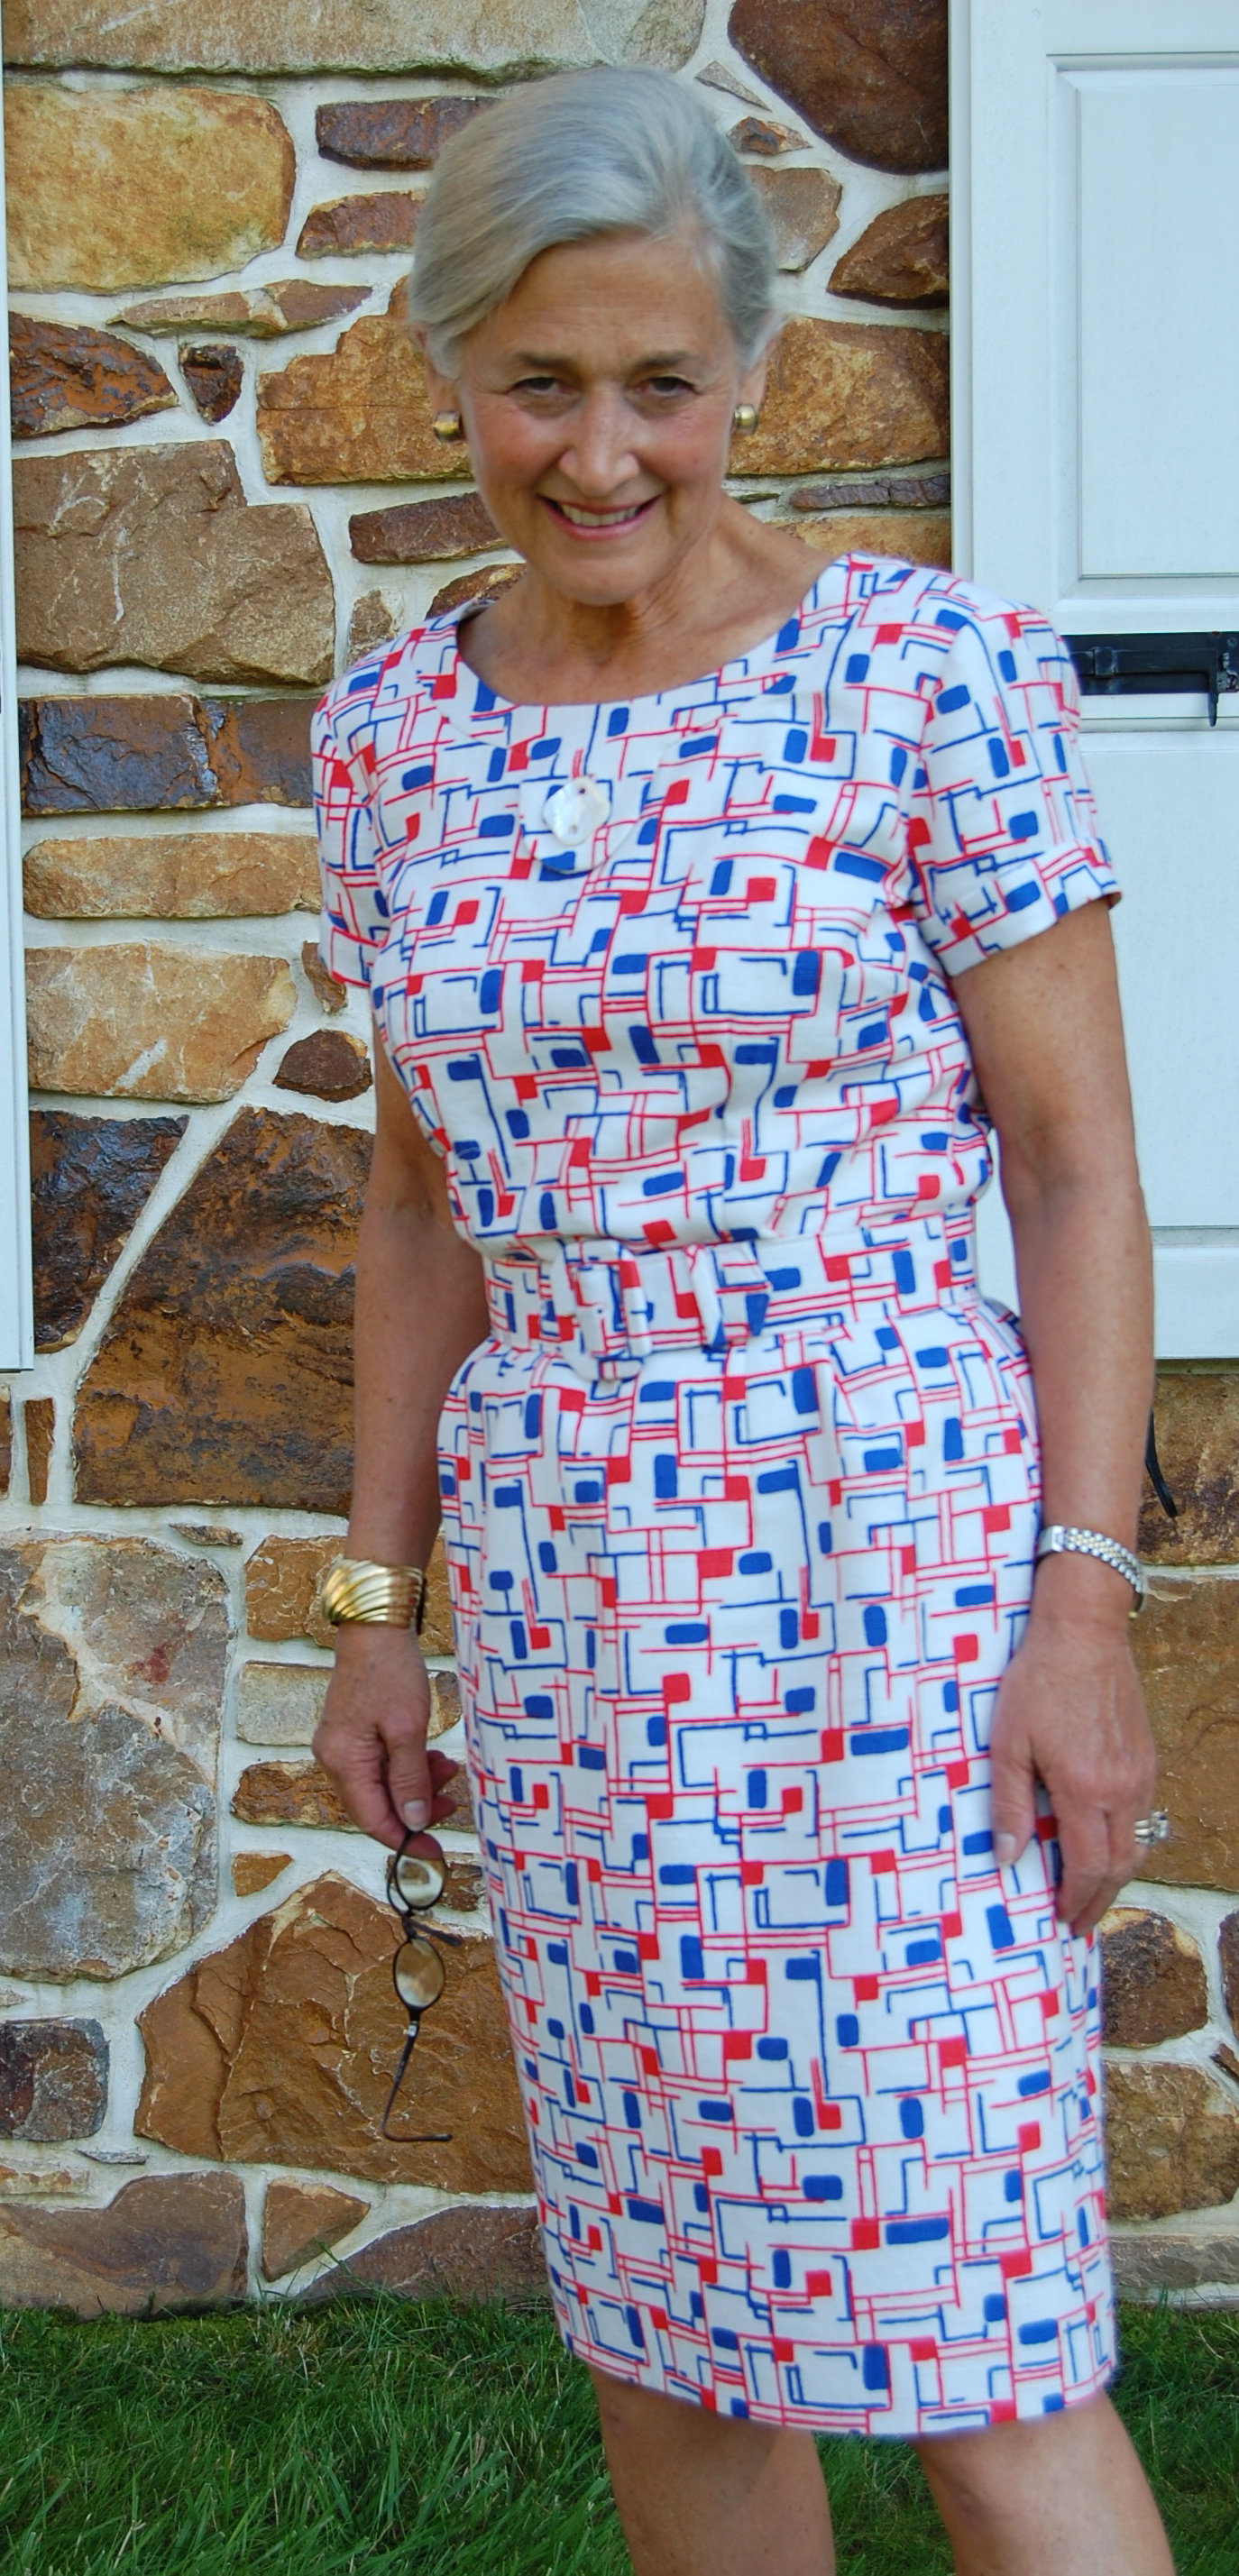
Here is the finished dress.
I am bound and determined to make a summer dress using that vintage Vogue pattern. But – now I know I’ll have to use a plain fabric for best results (maybe a solid linen…). It will, however, have to wait for another Summer, as I have other projects in mind!
Making this dress has reminded me that sometimes Plan B turns out to be the BEST plan of all.