Cocktails in our home – and in our family – are always preceded by a toast of some sort. Usually a simple “Cheers!” will suffice, but sometimes the occasion calls for something more meaningful. One of the most memorable cocktail toasts I have ever heard was standard fare for one of my late mother-in-law’s good friends. By the time I met her, she was a little shaky, which made the toast even more charming. She would raise her trembly glass with great ceremony and declare “To our noble selves!”
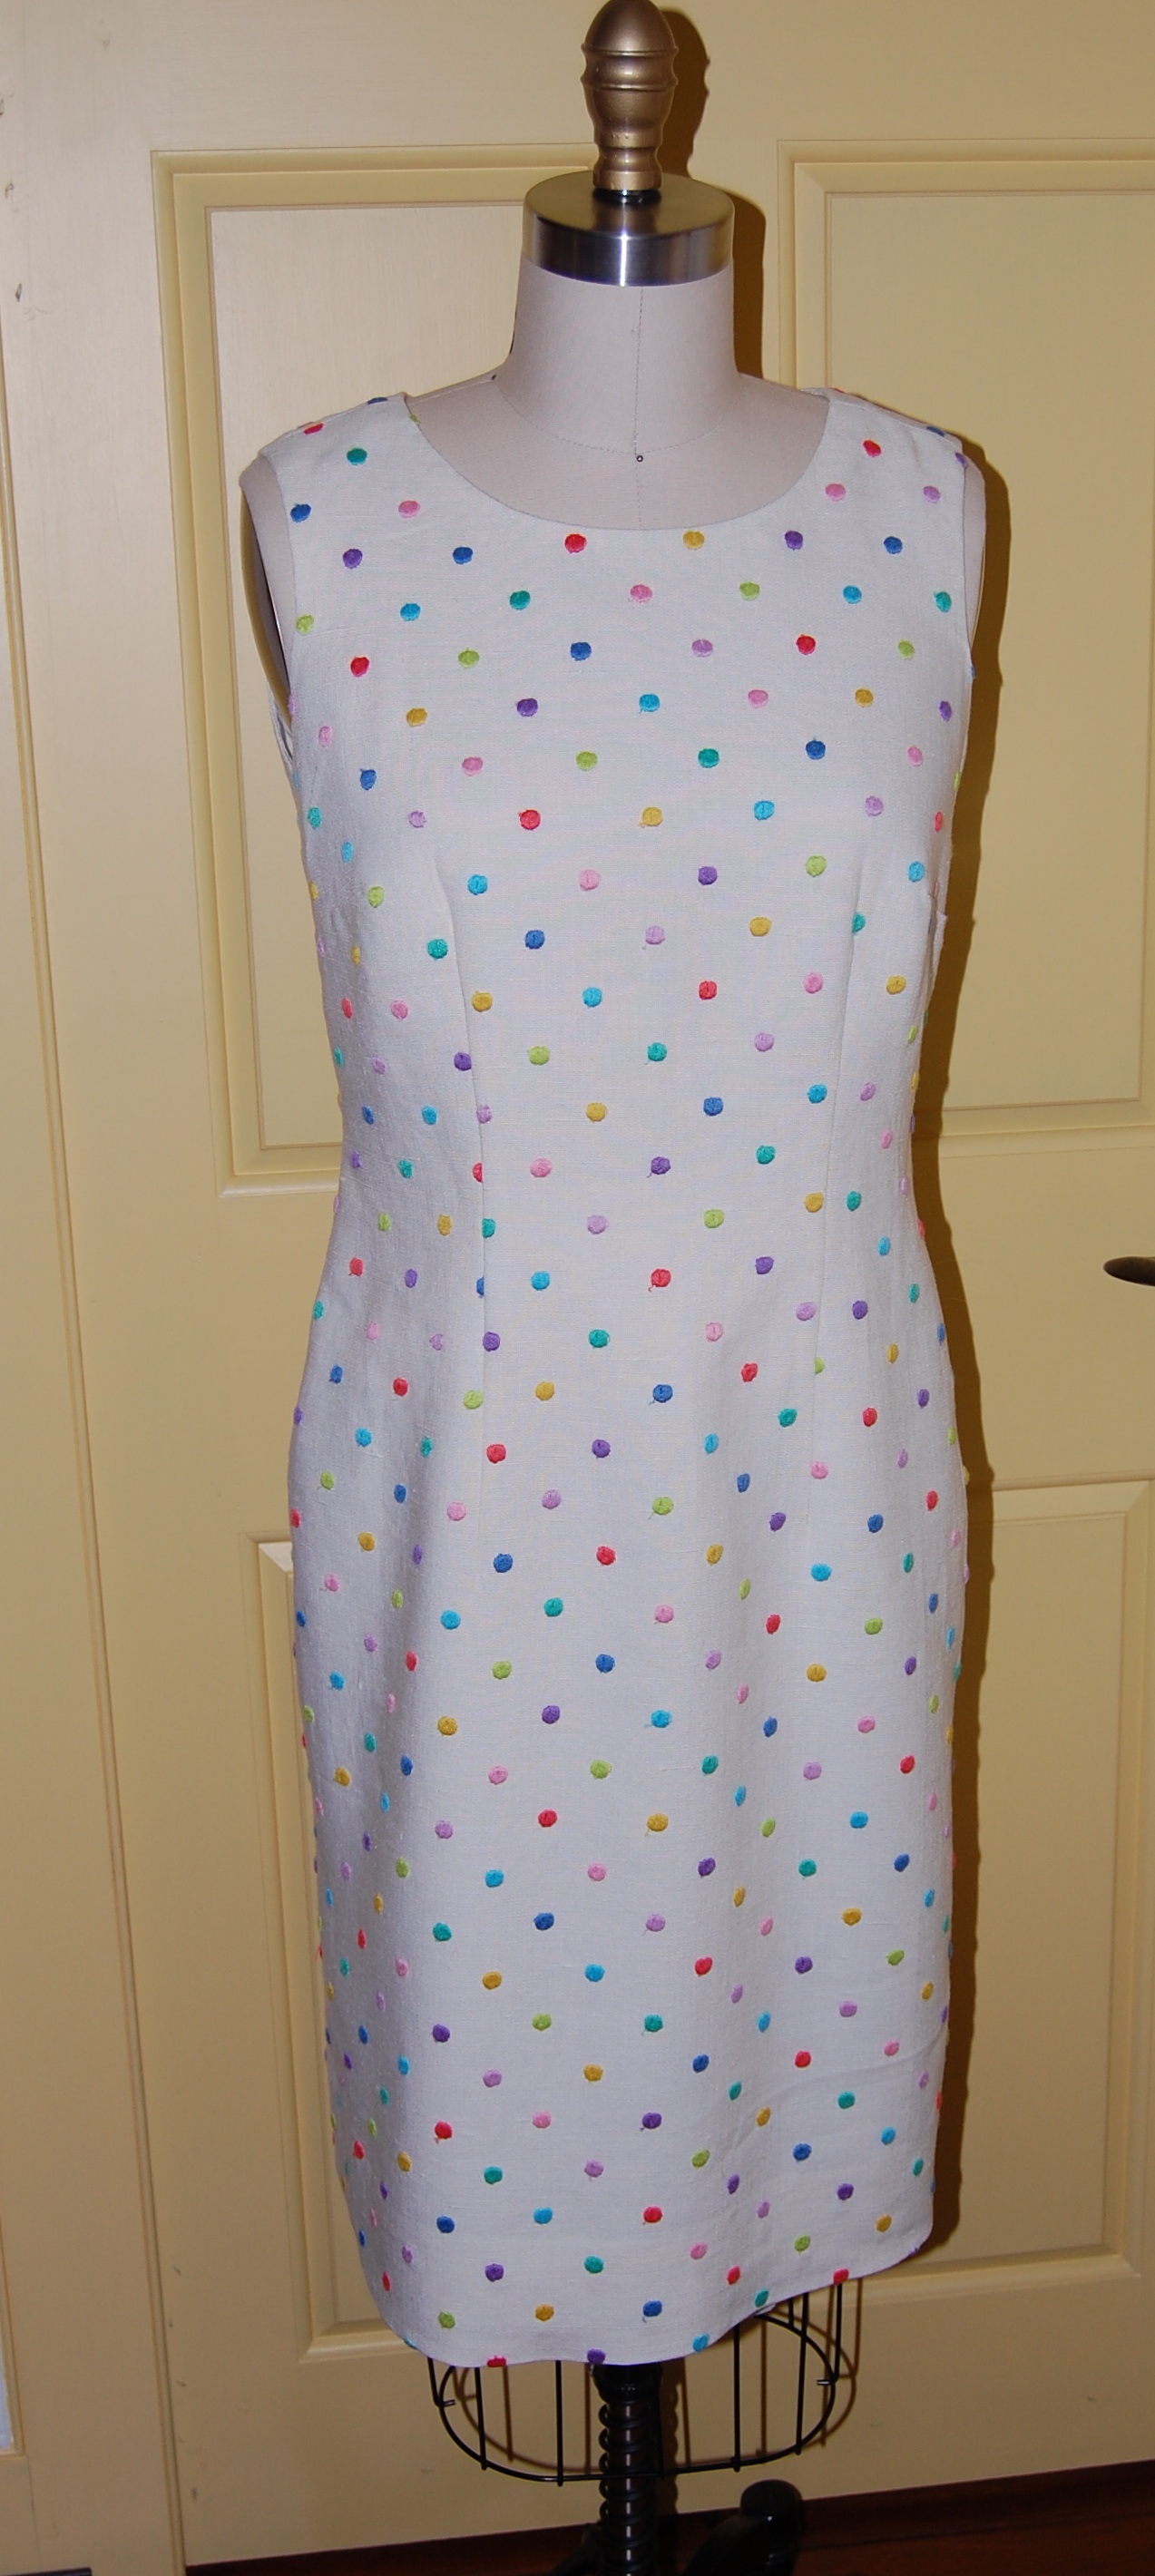
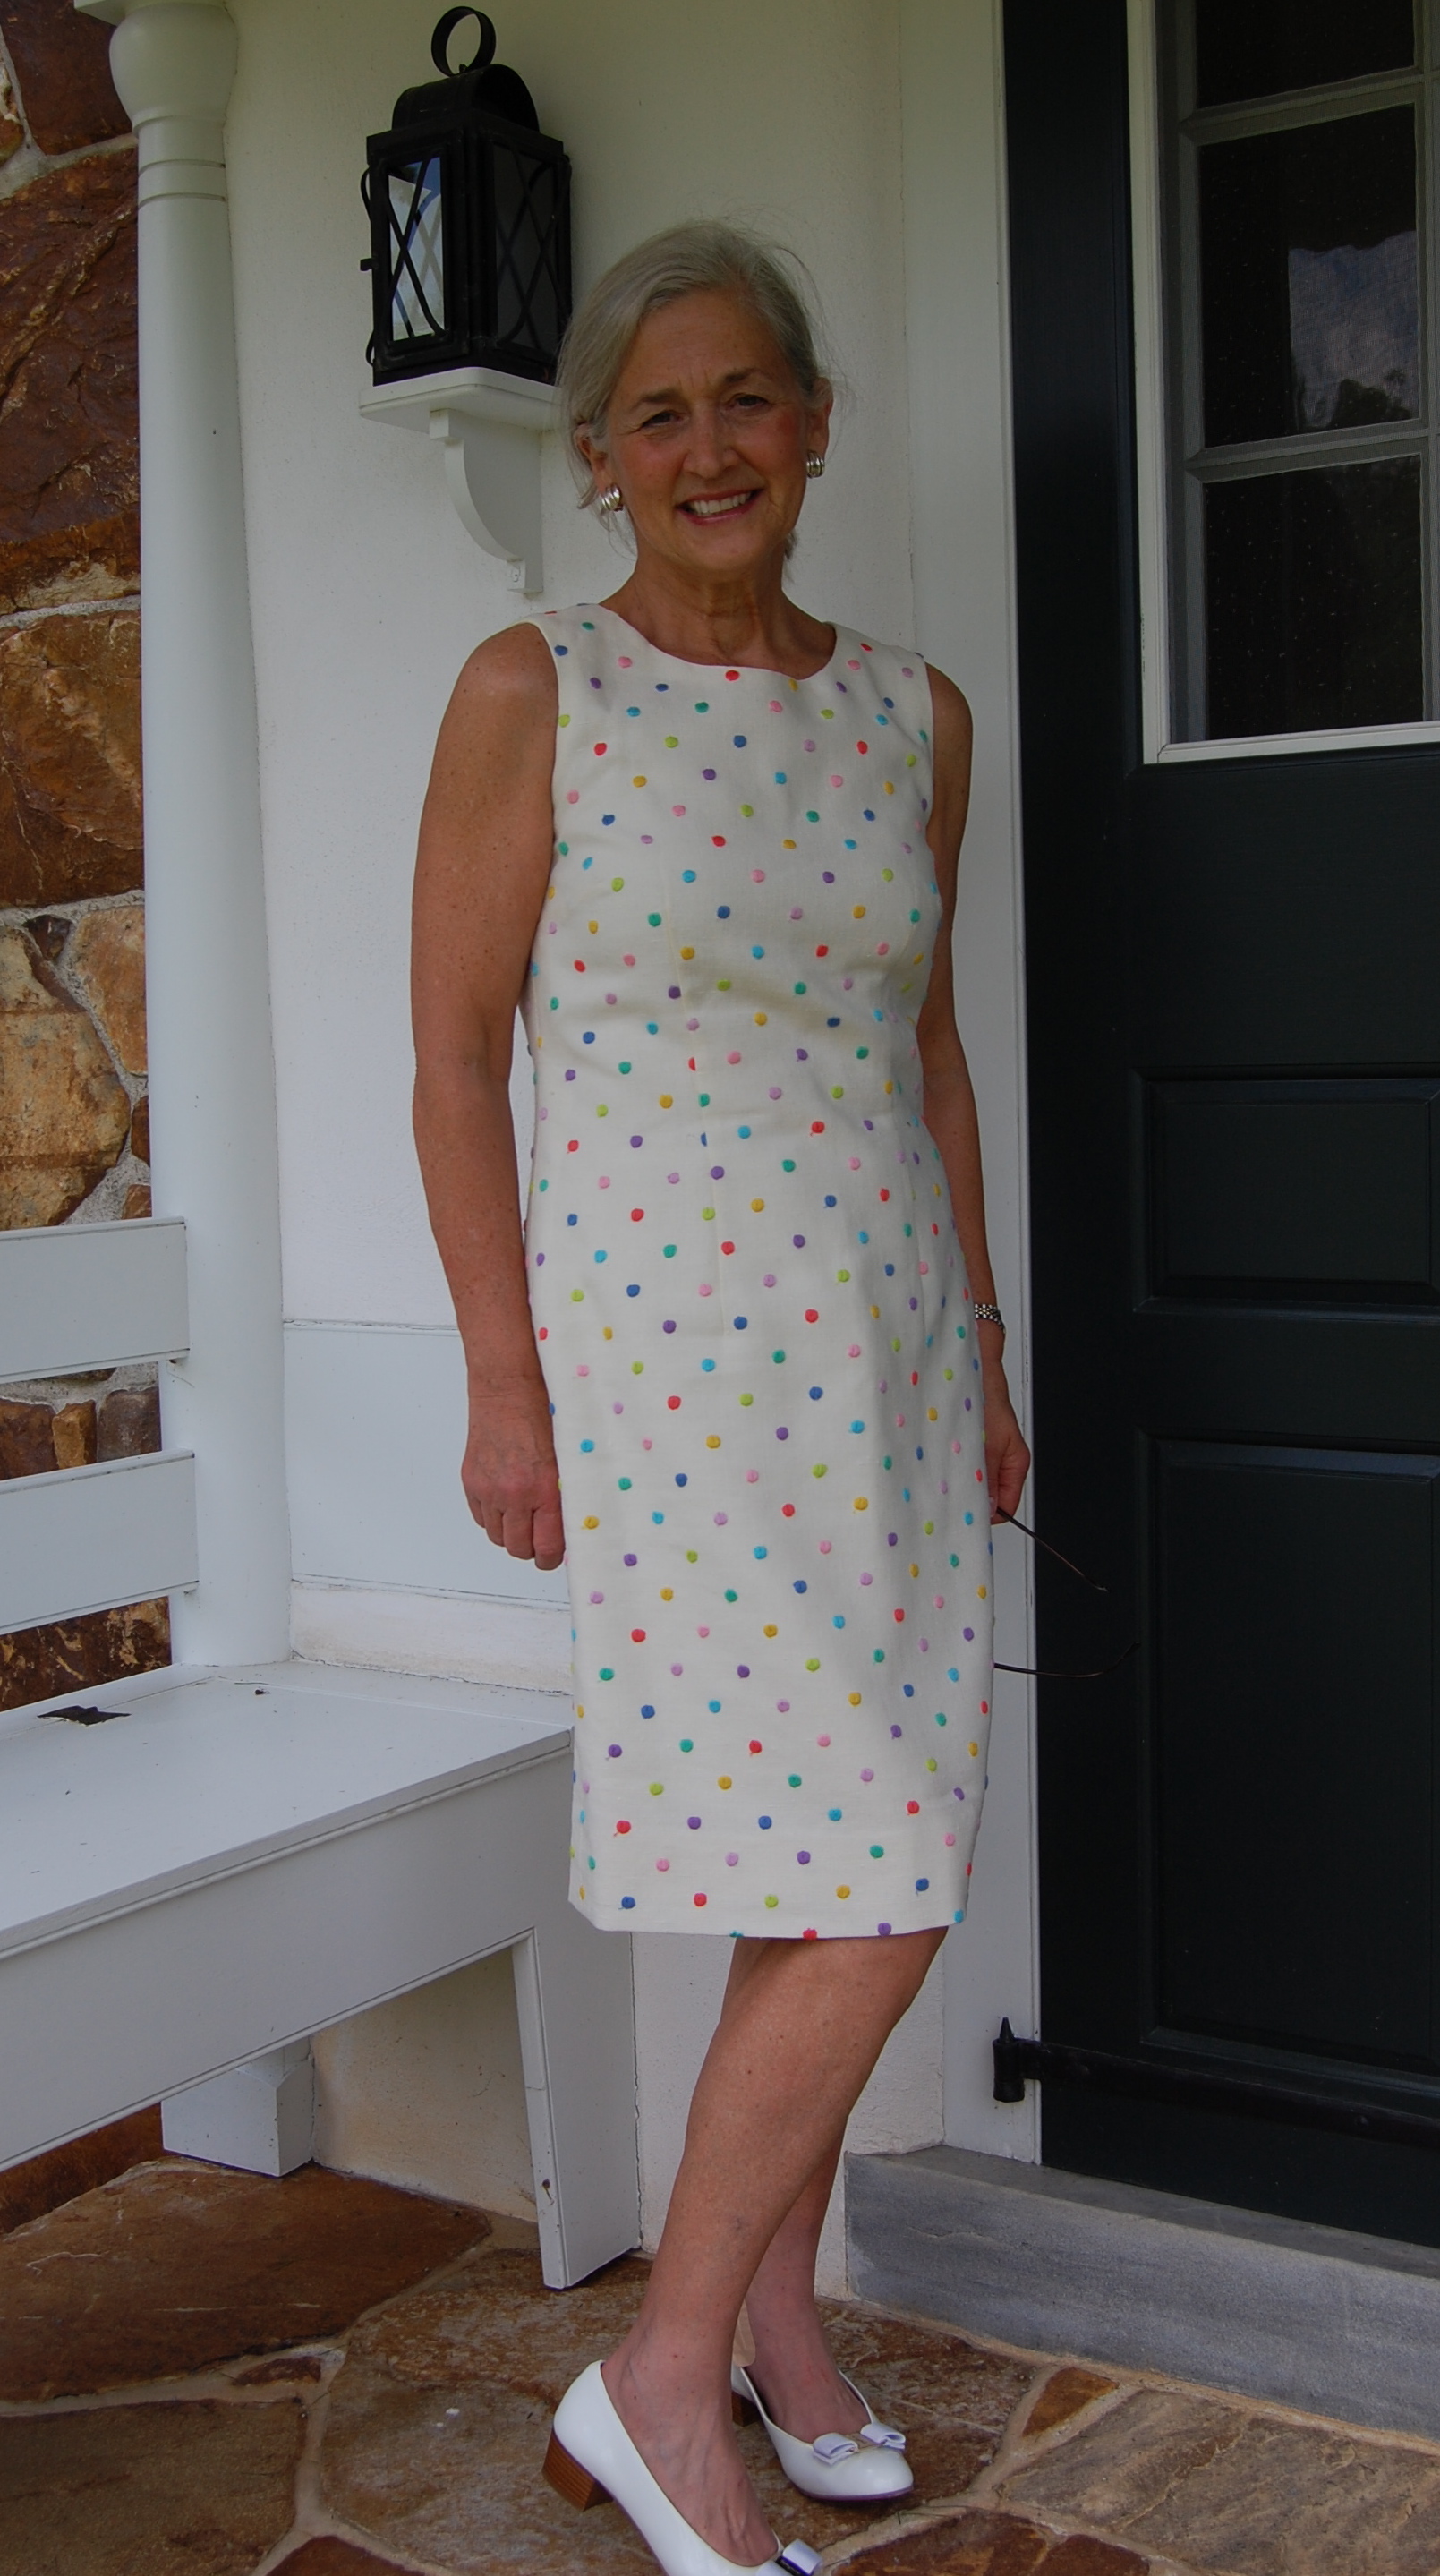
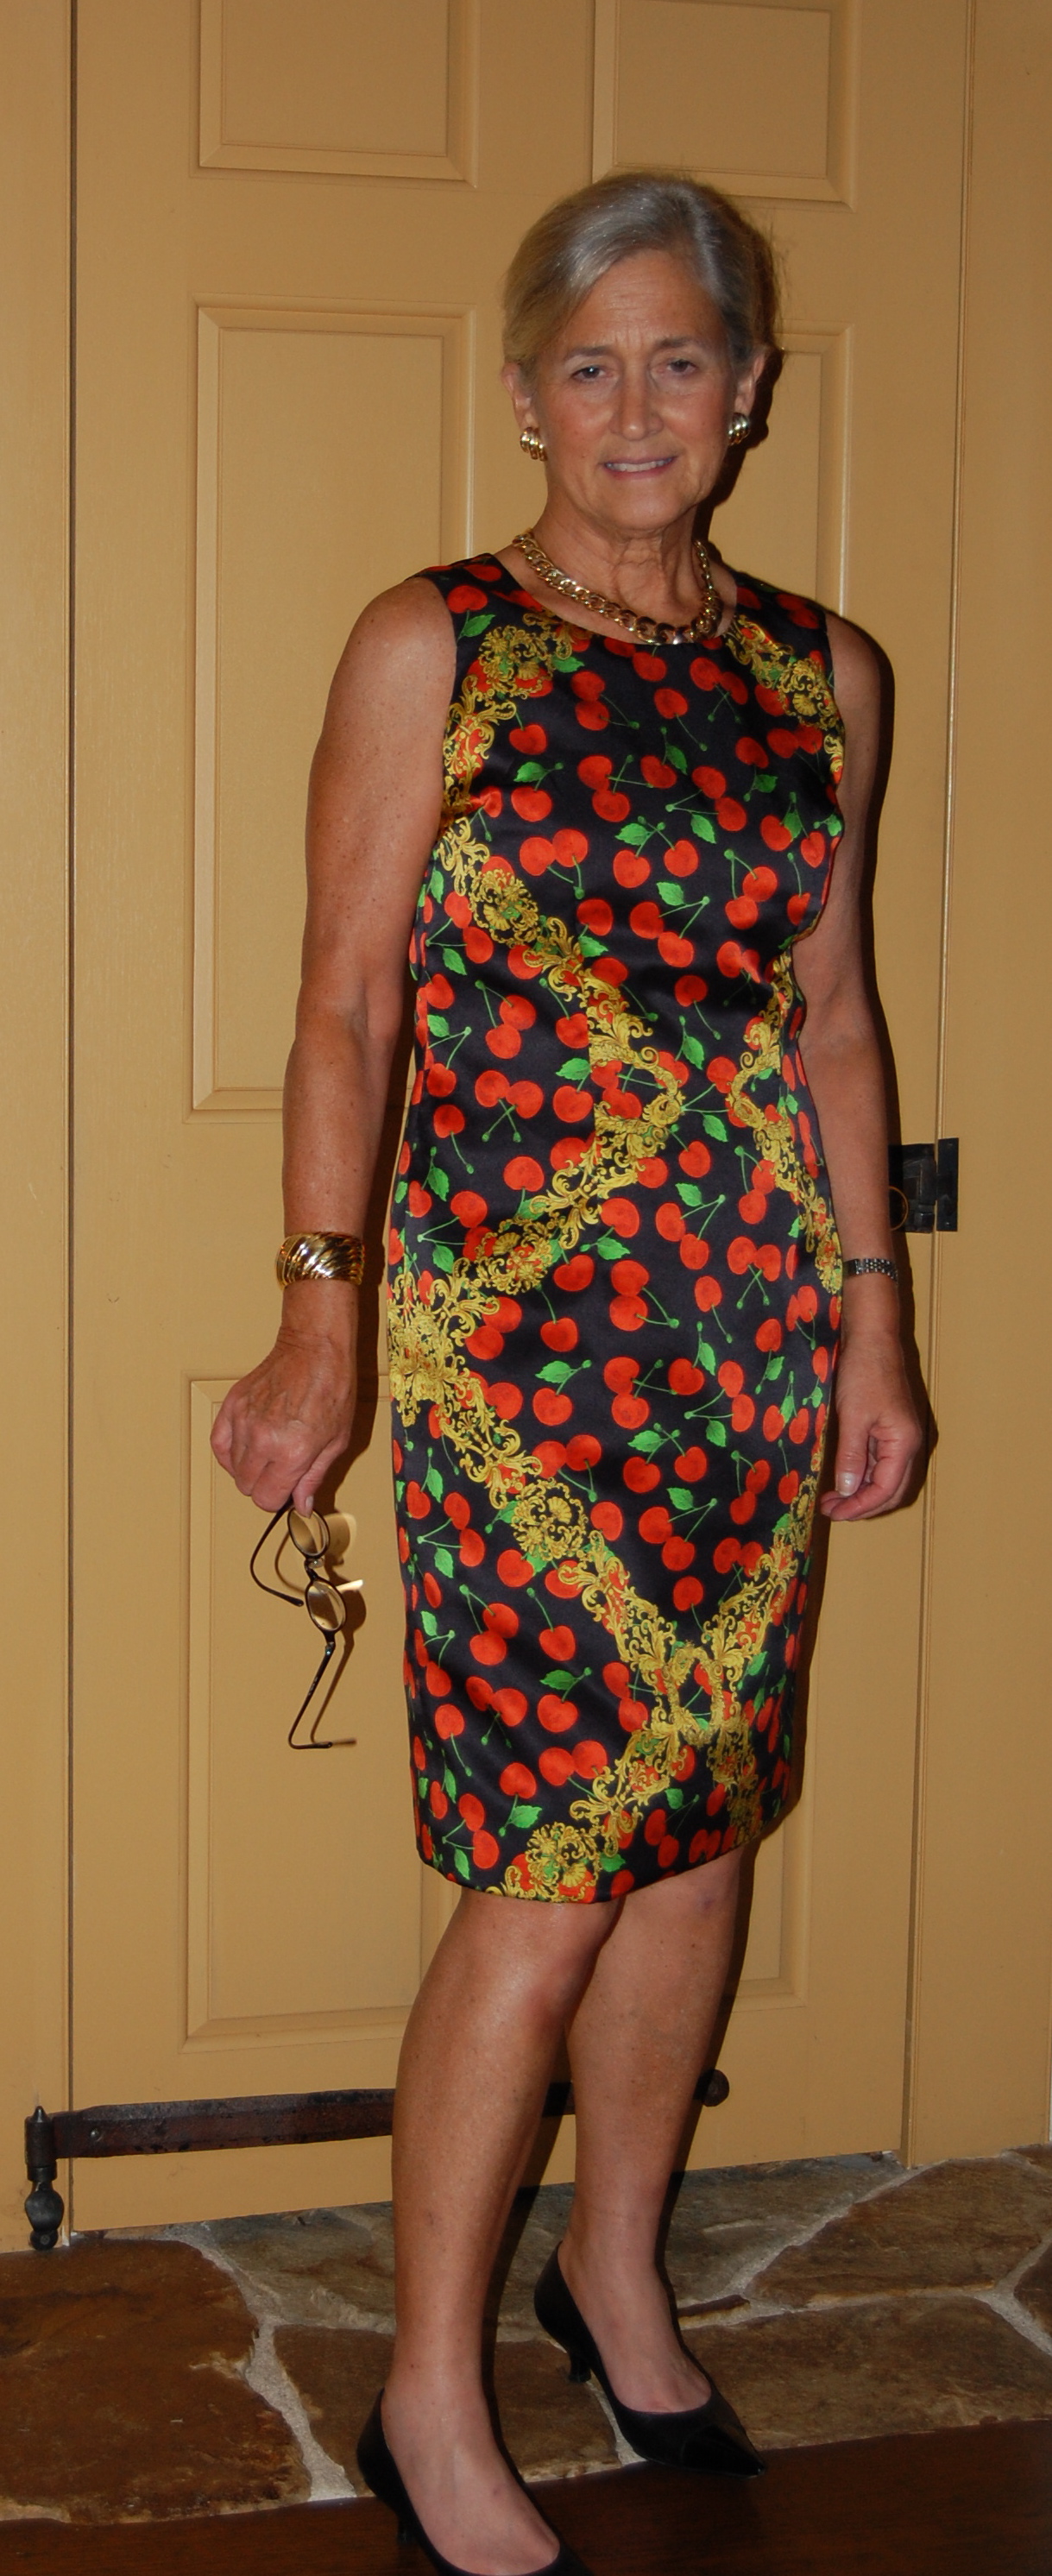
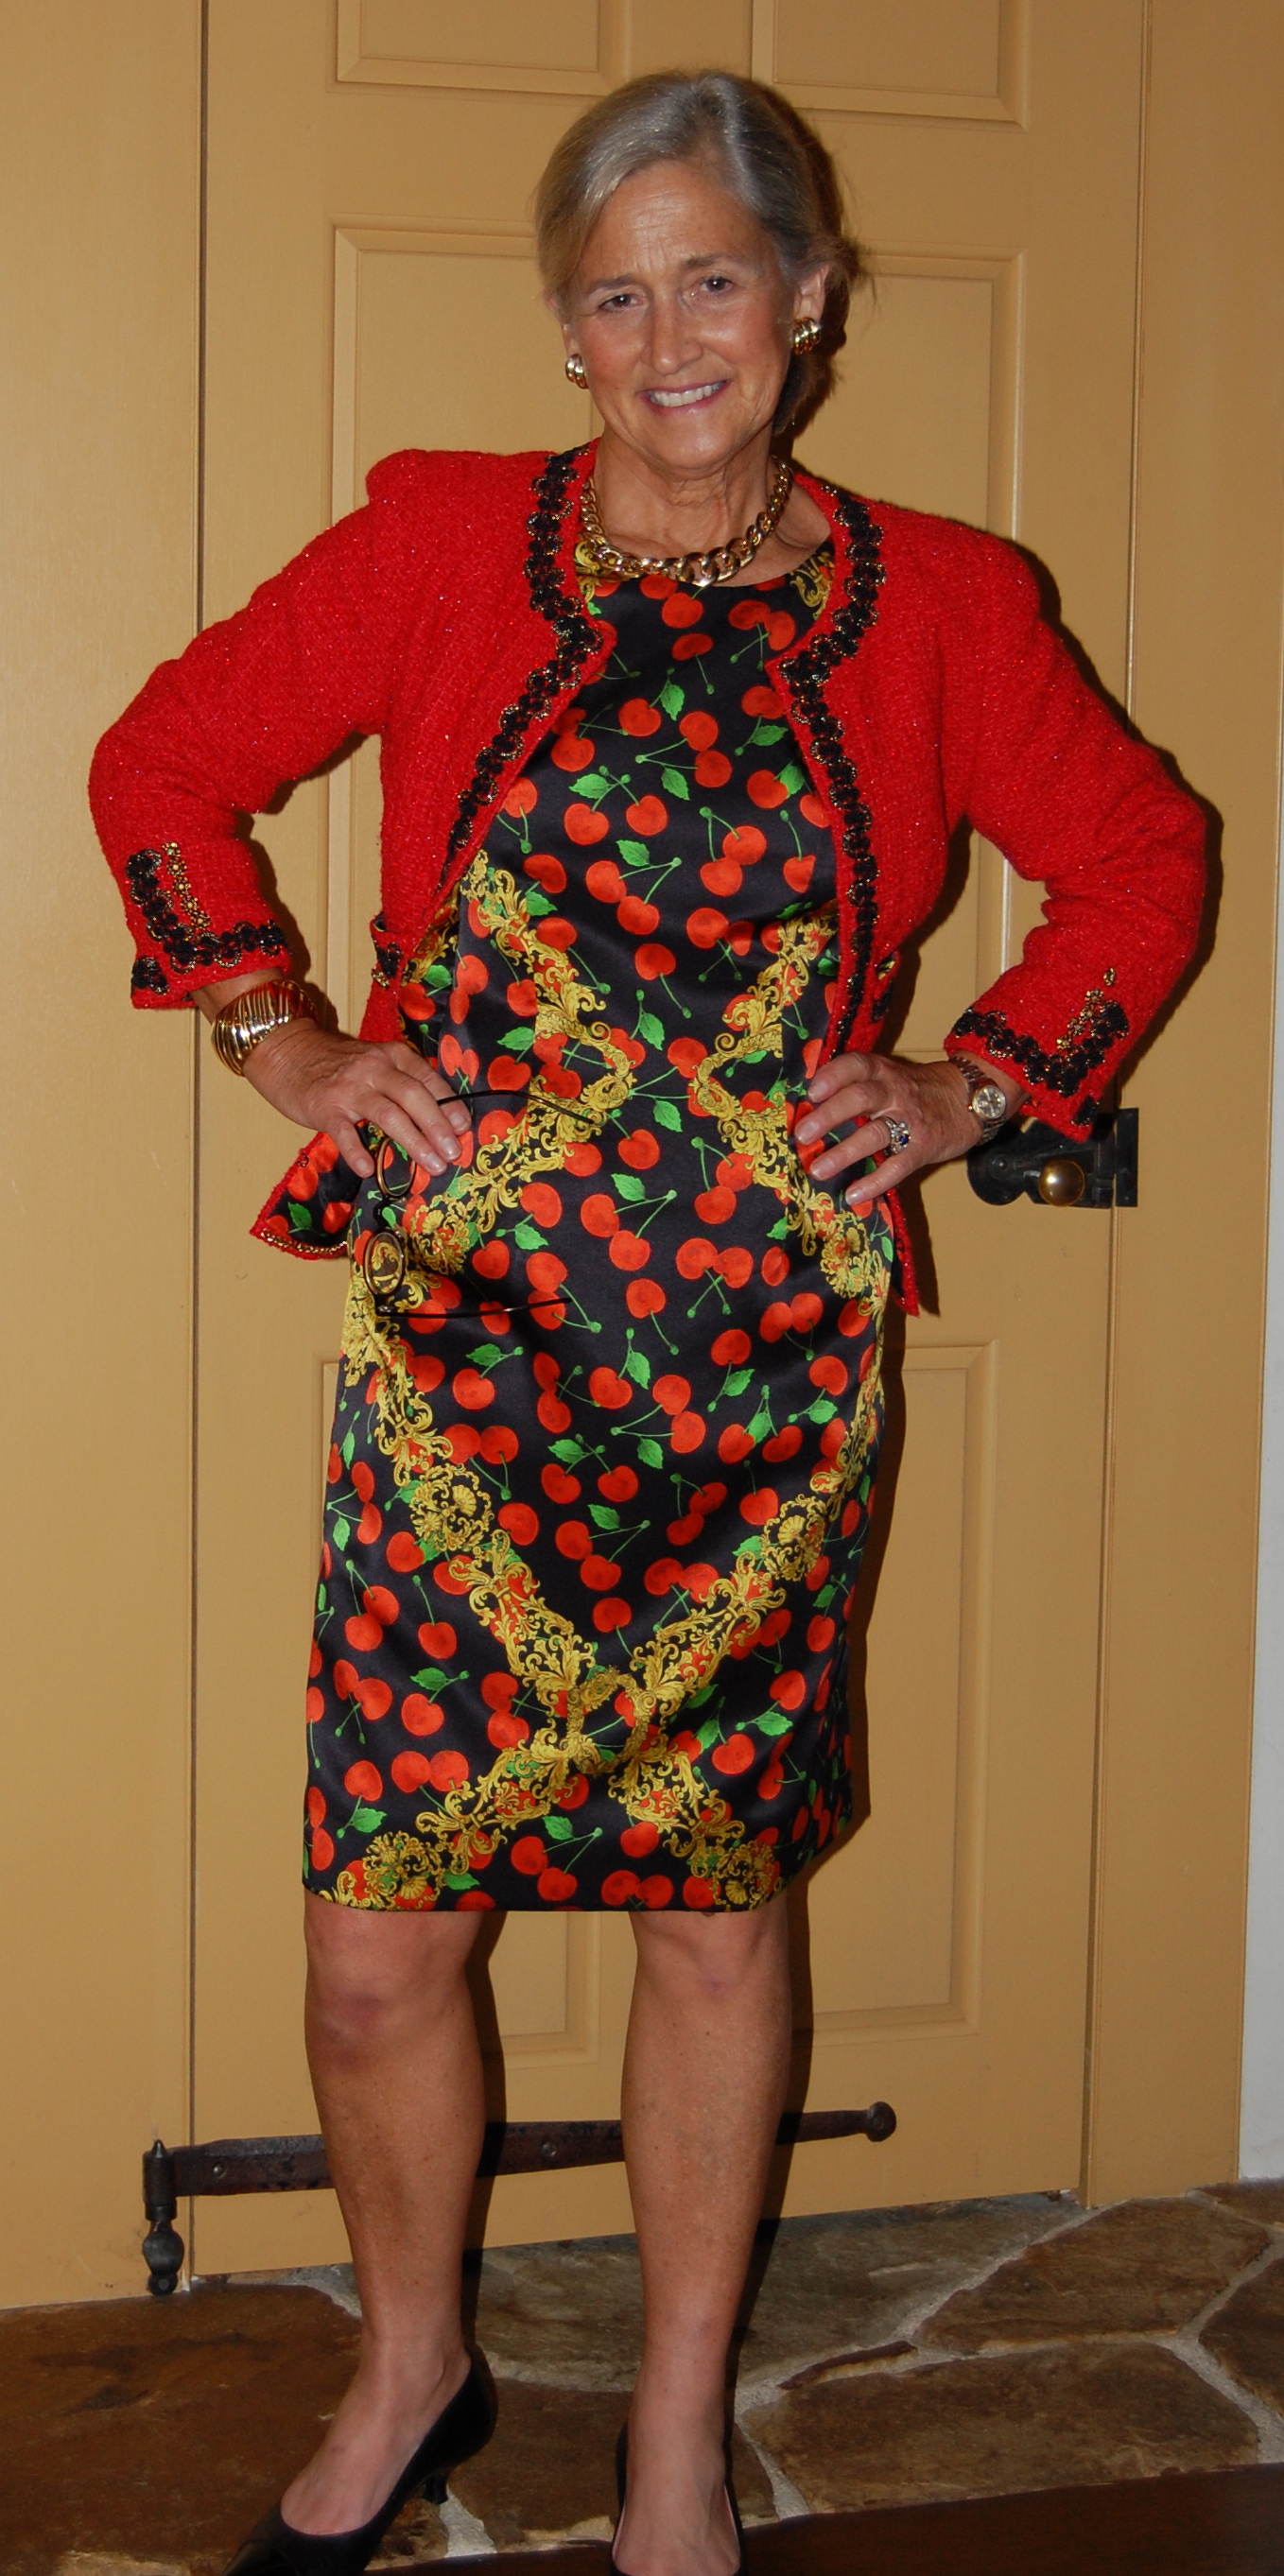
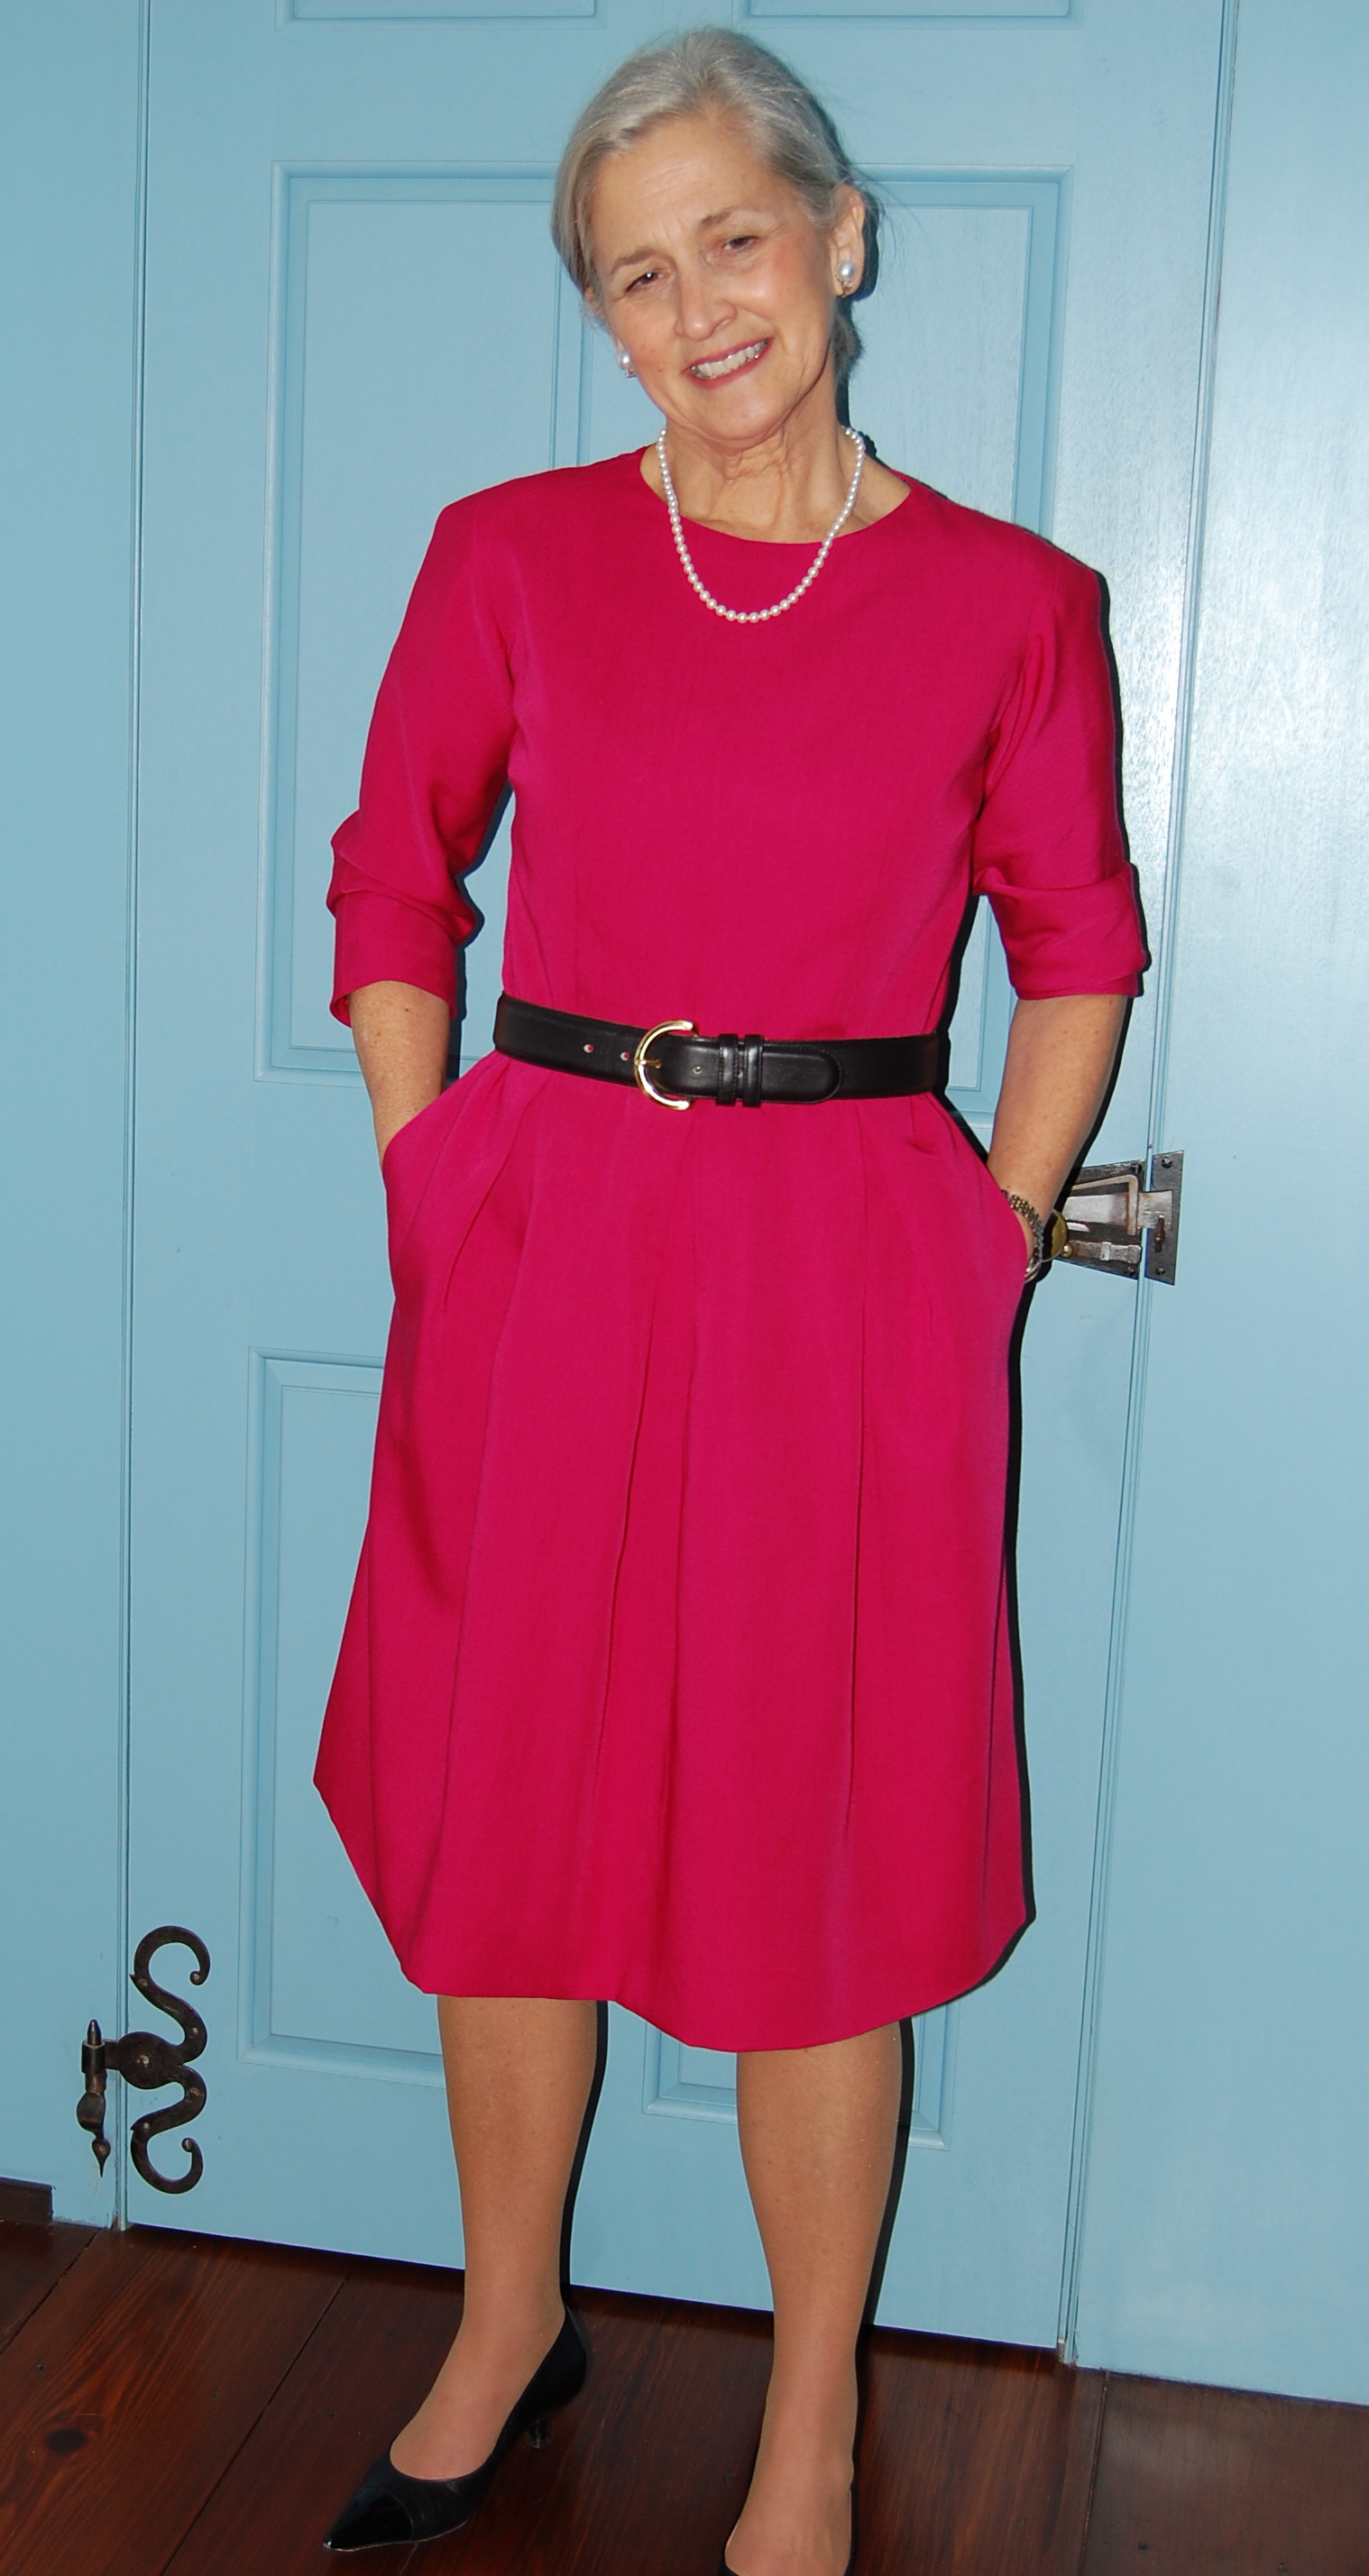
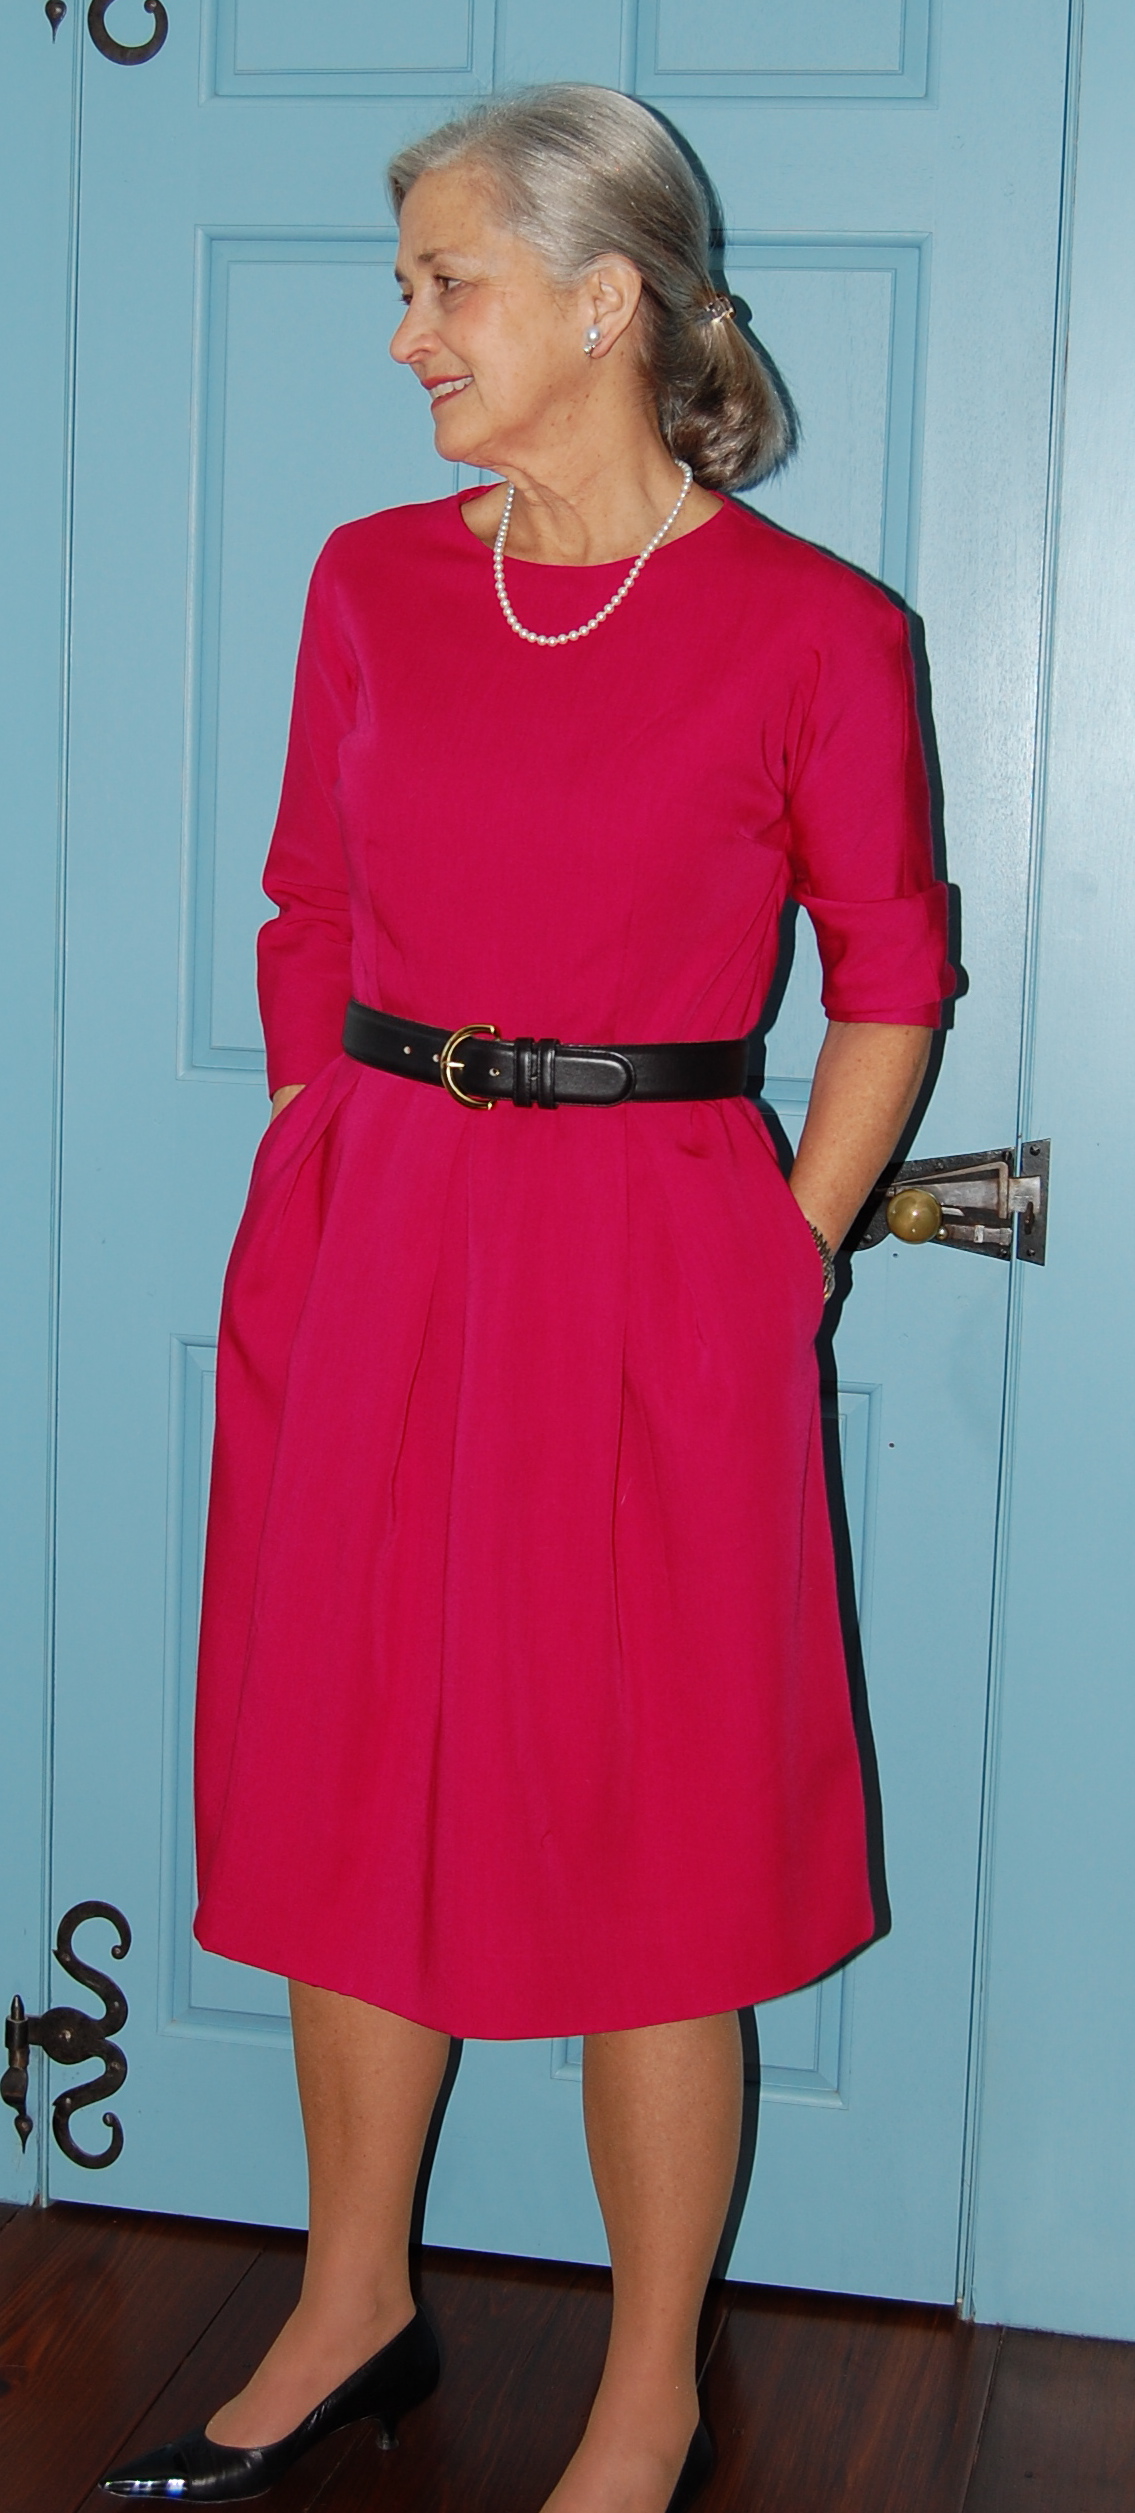
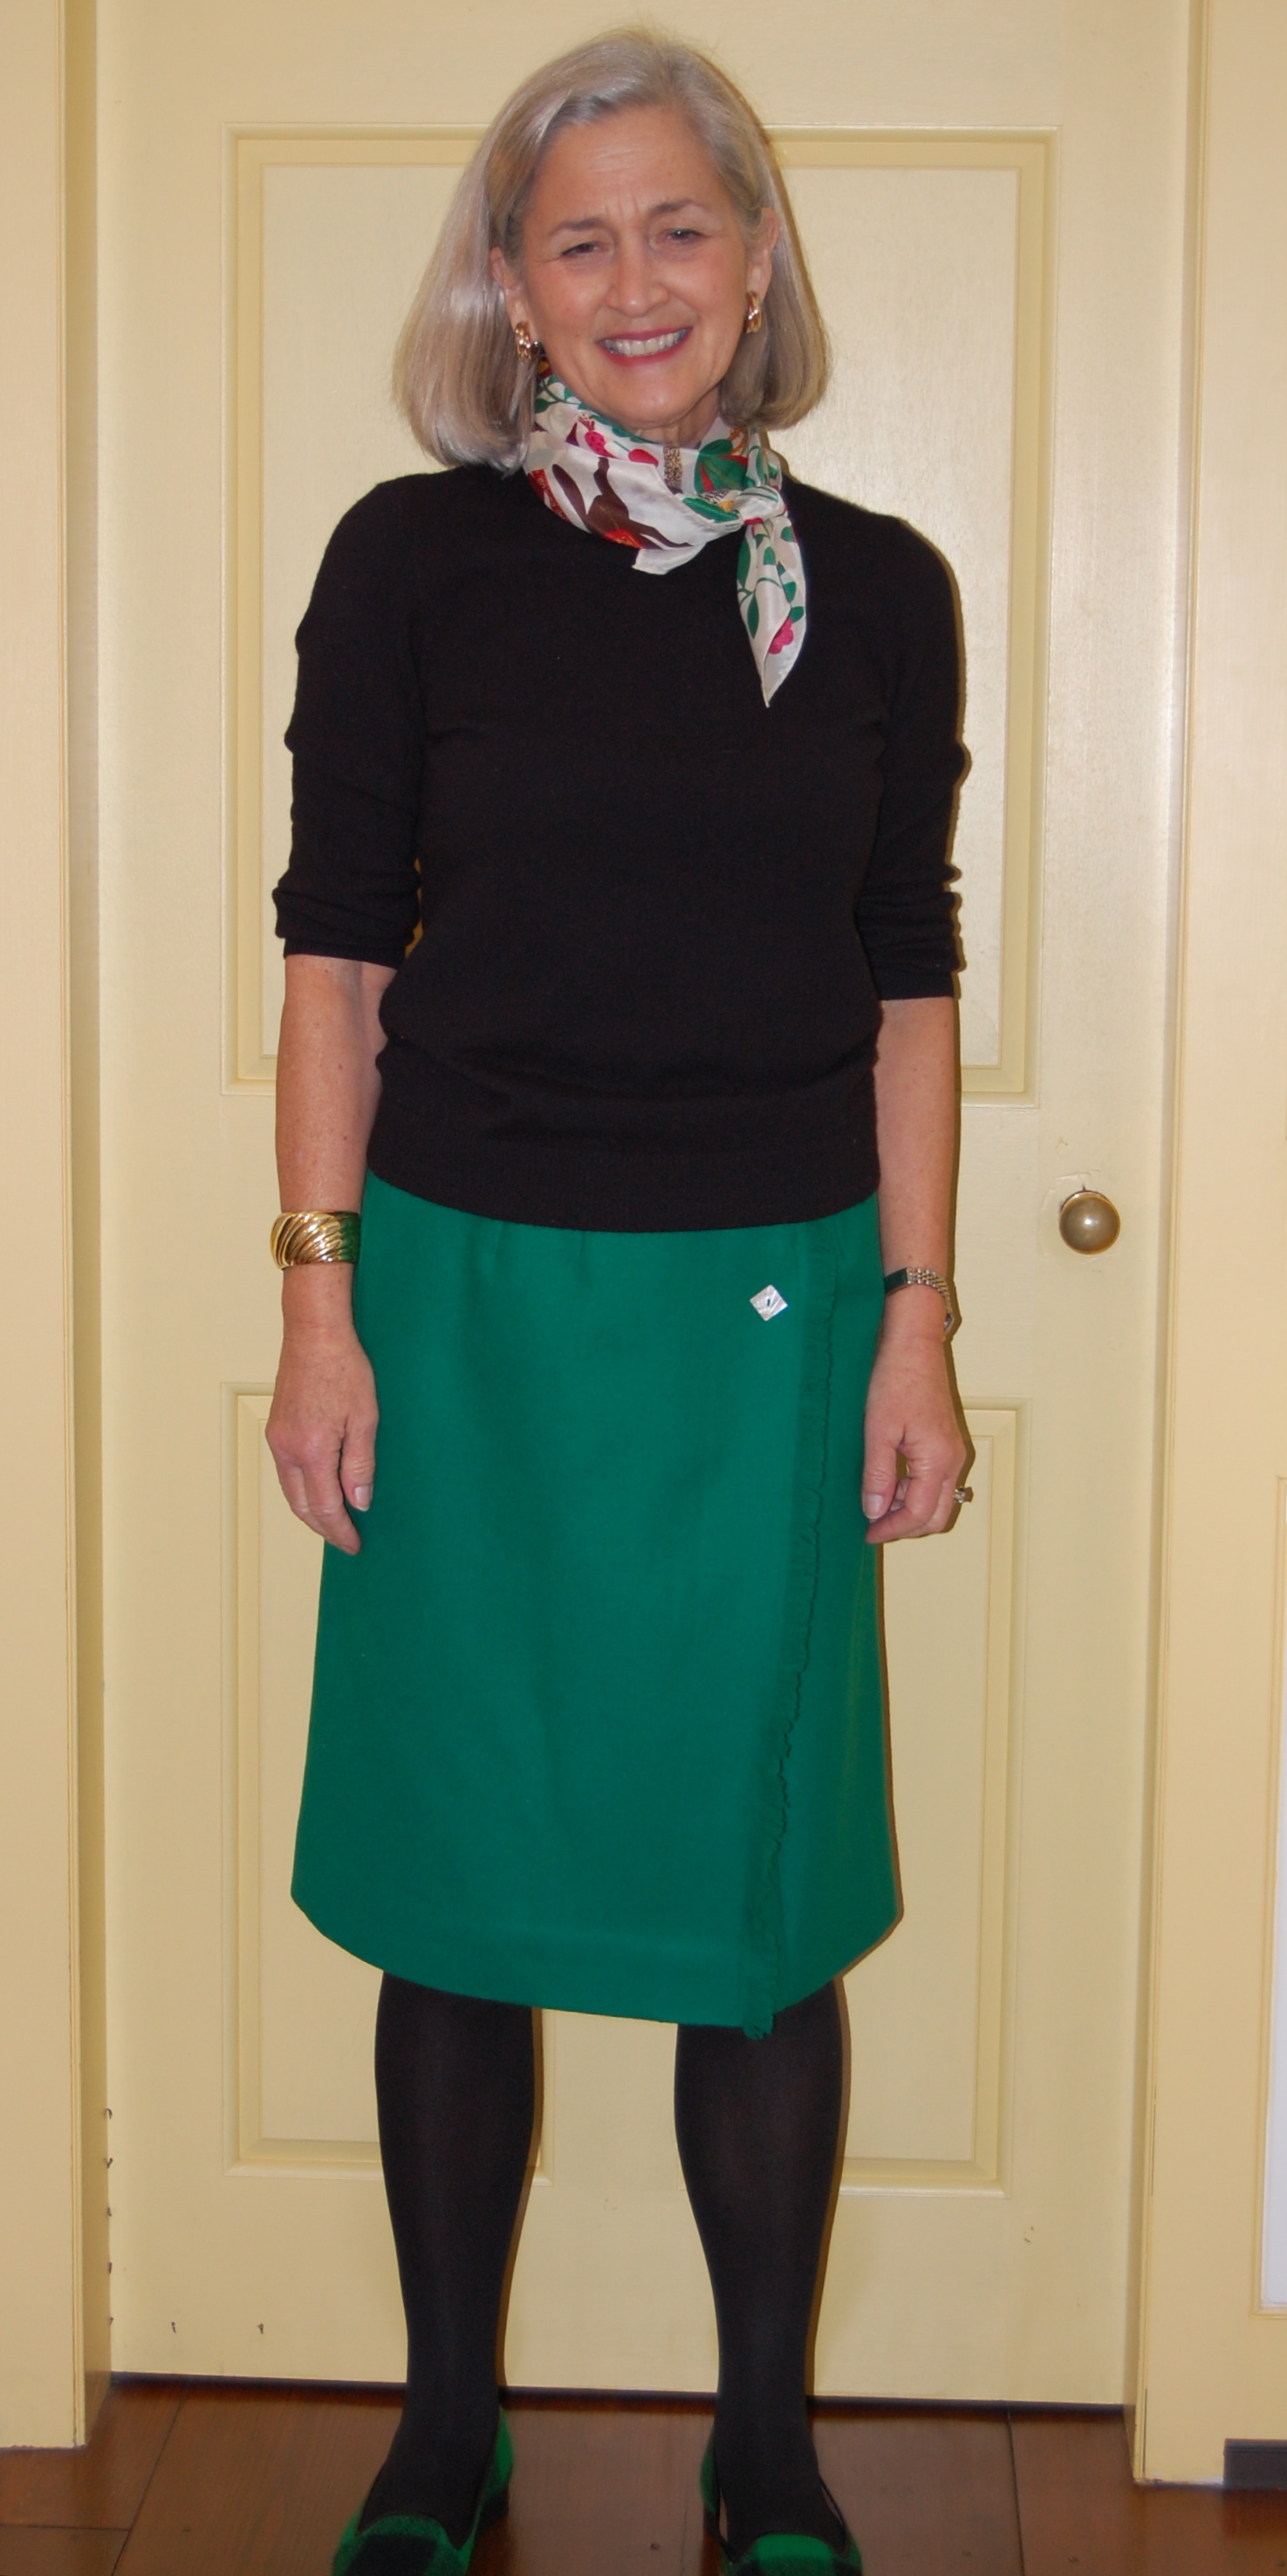
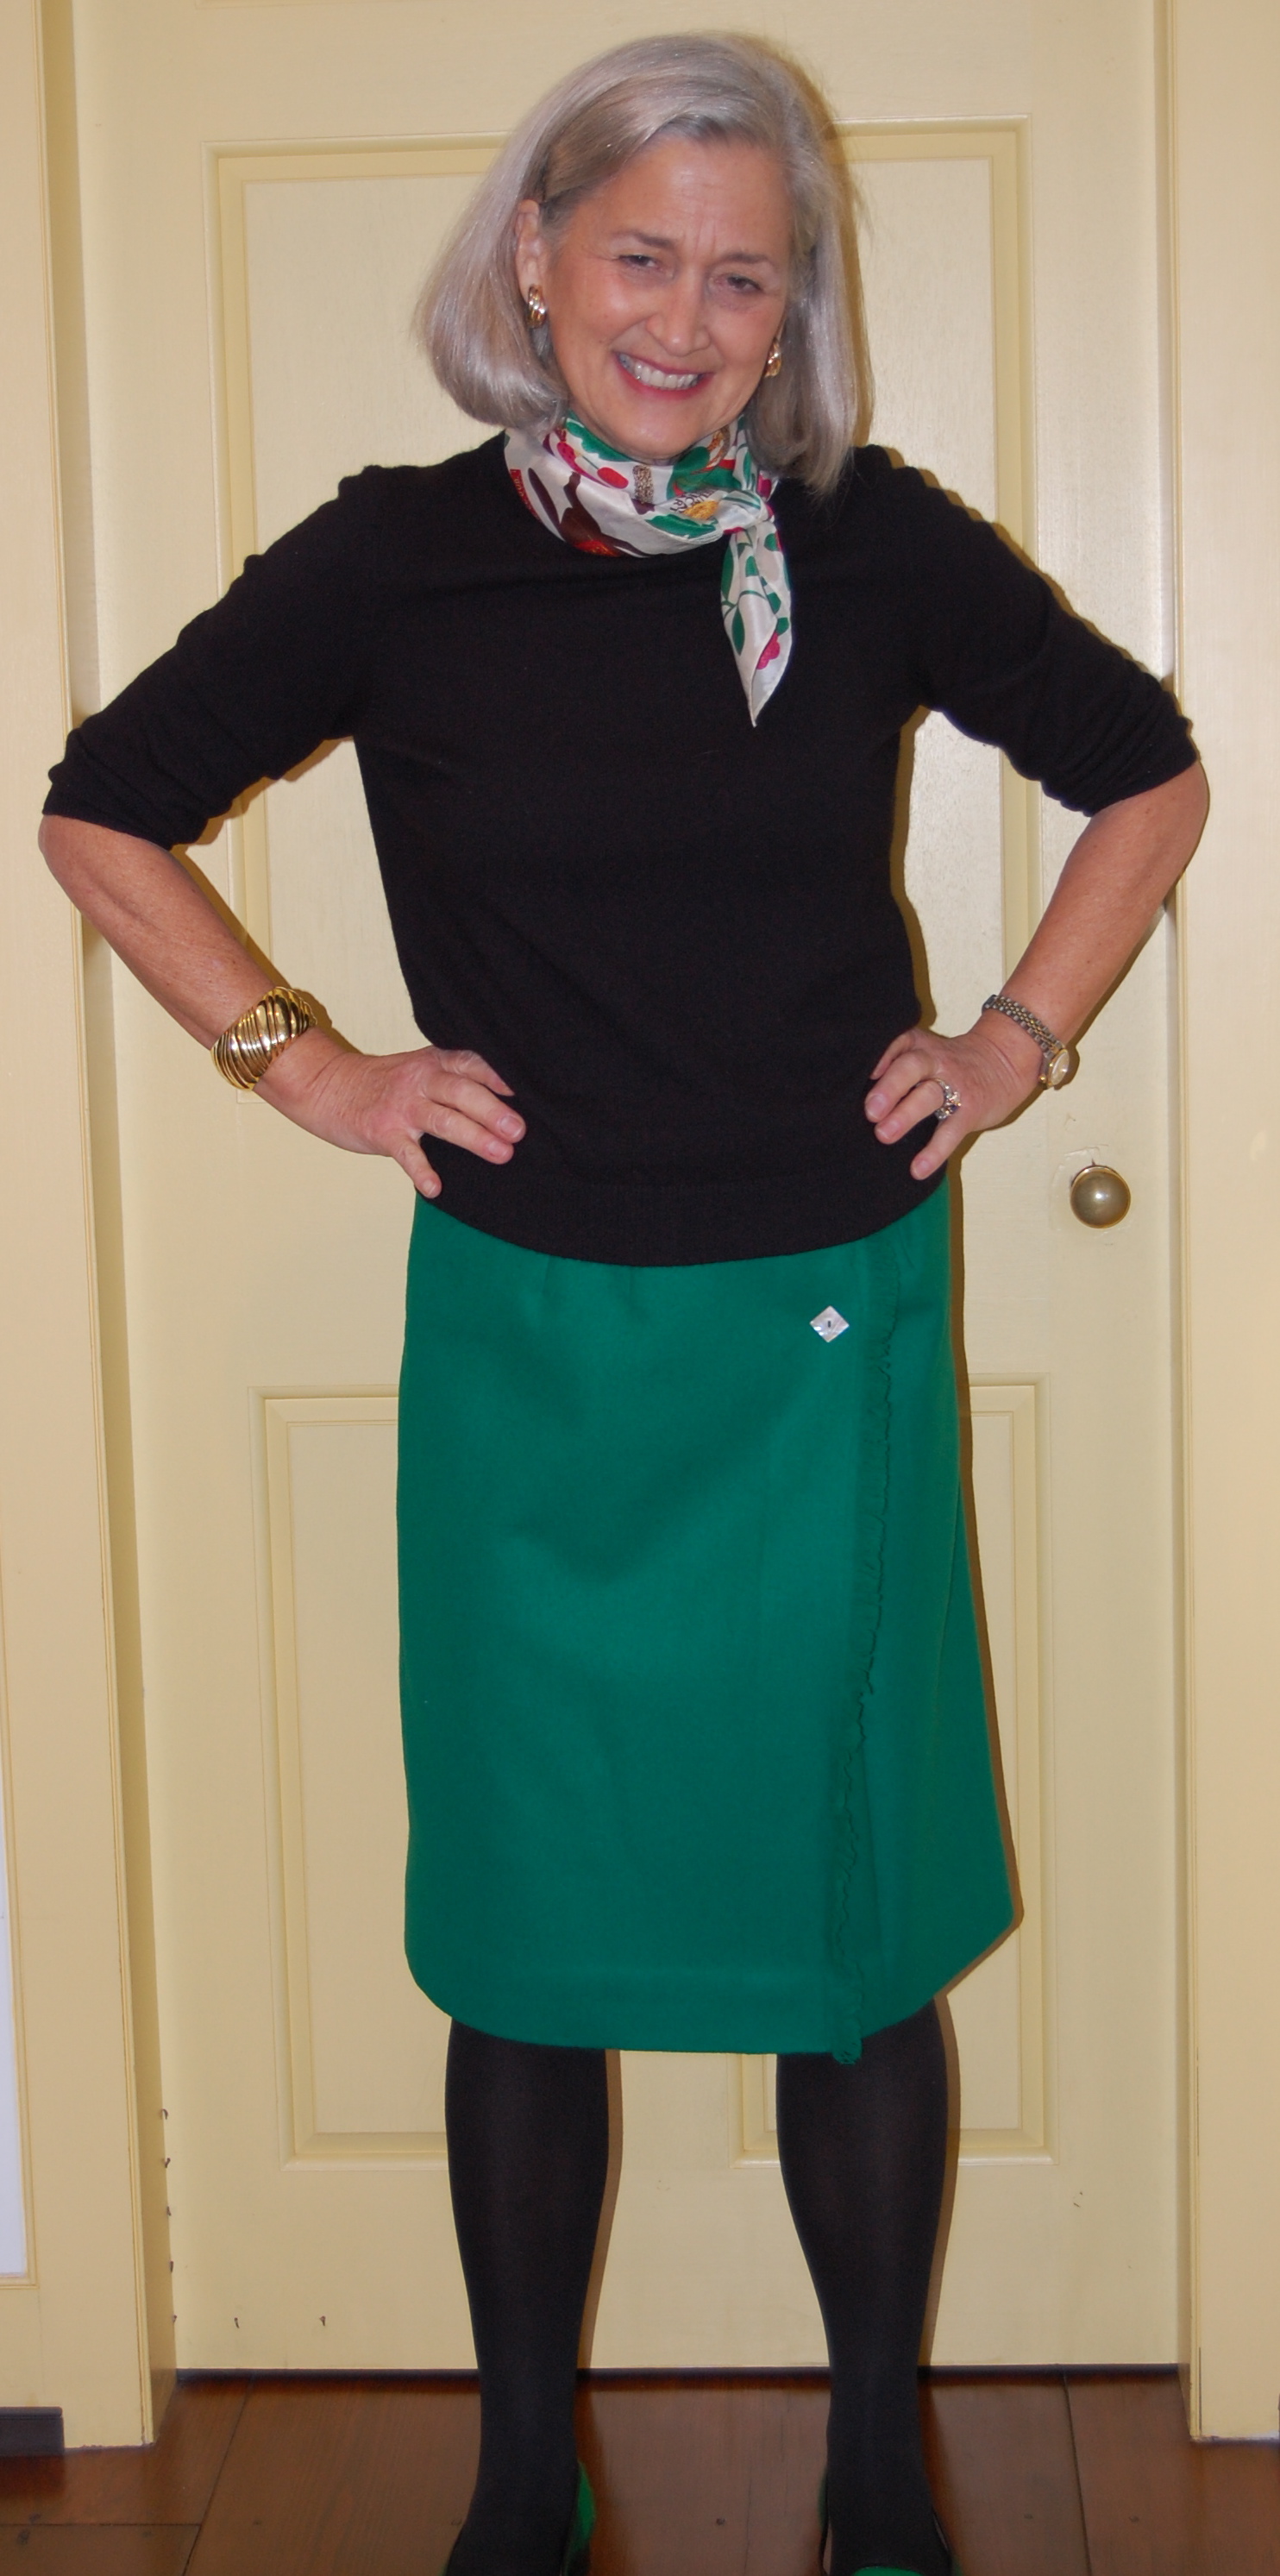
As I was working on my latest project – yes, a cocktail dress – I thought about all the possible declarations we, as sewers, could add to the vocabulary of toasts. More about those thoughts later… First up is something to wear to that cocktail/dressy party!
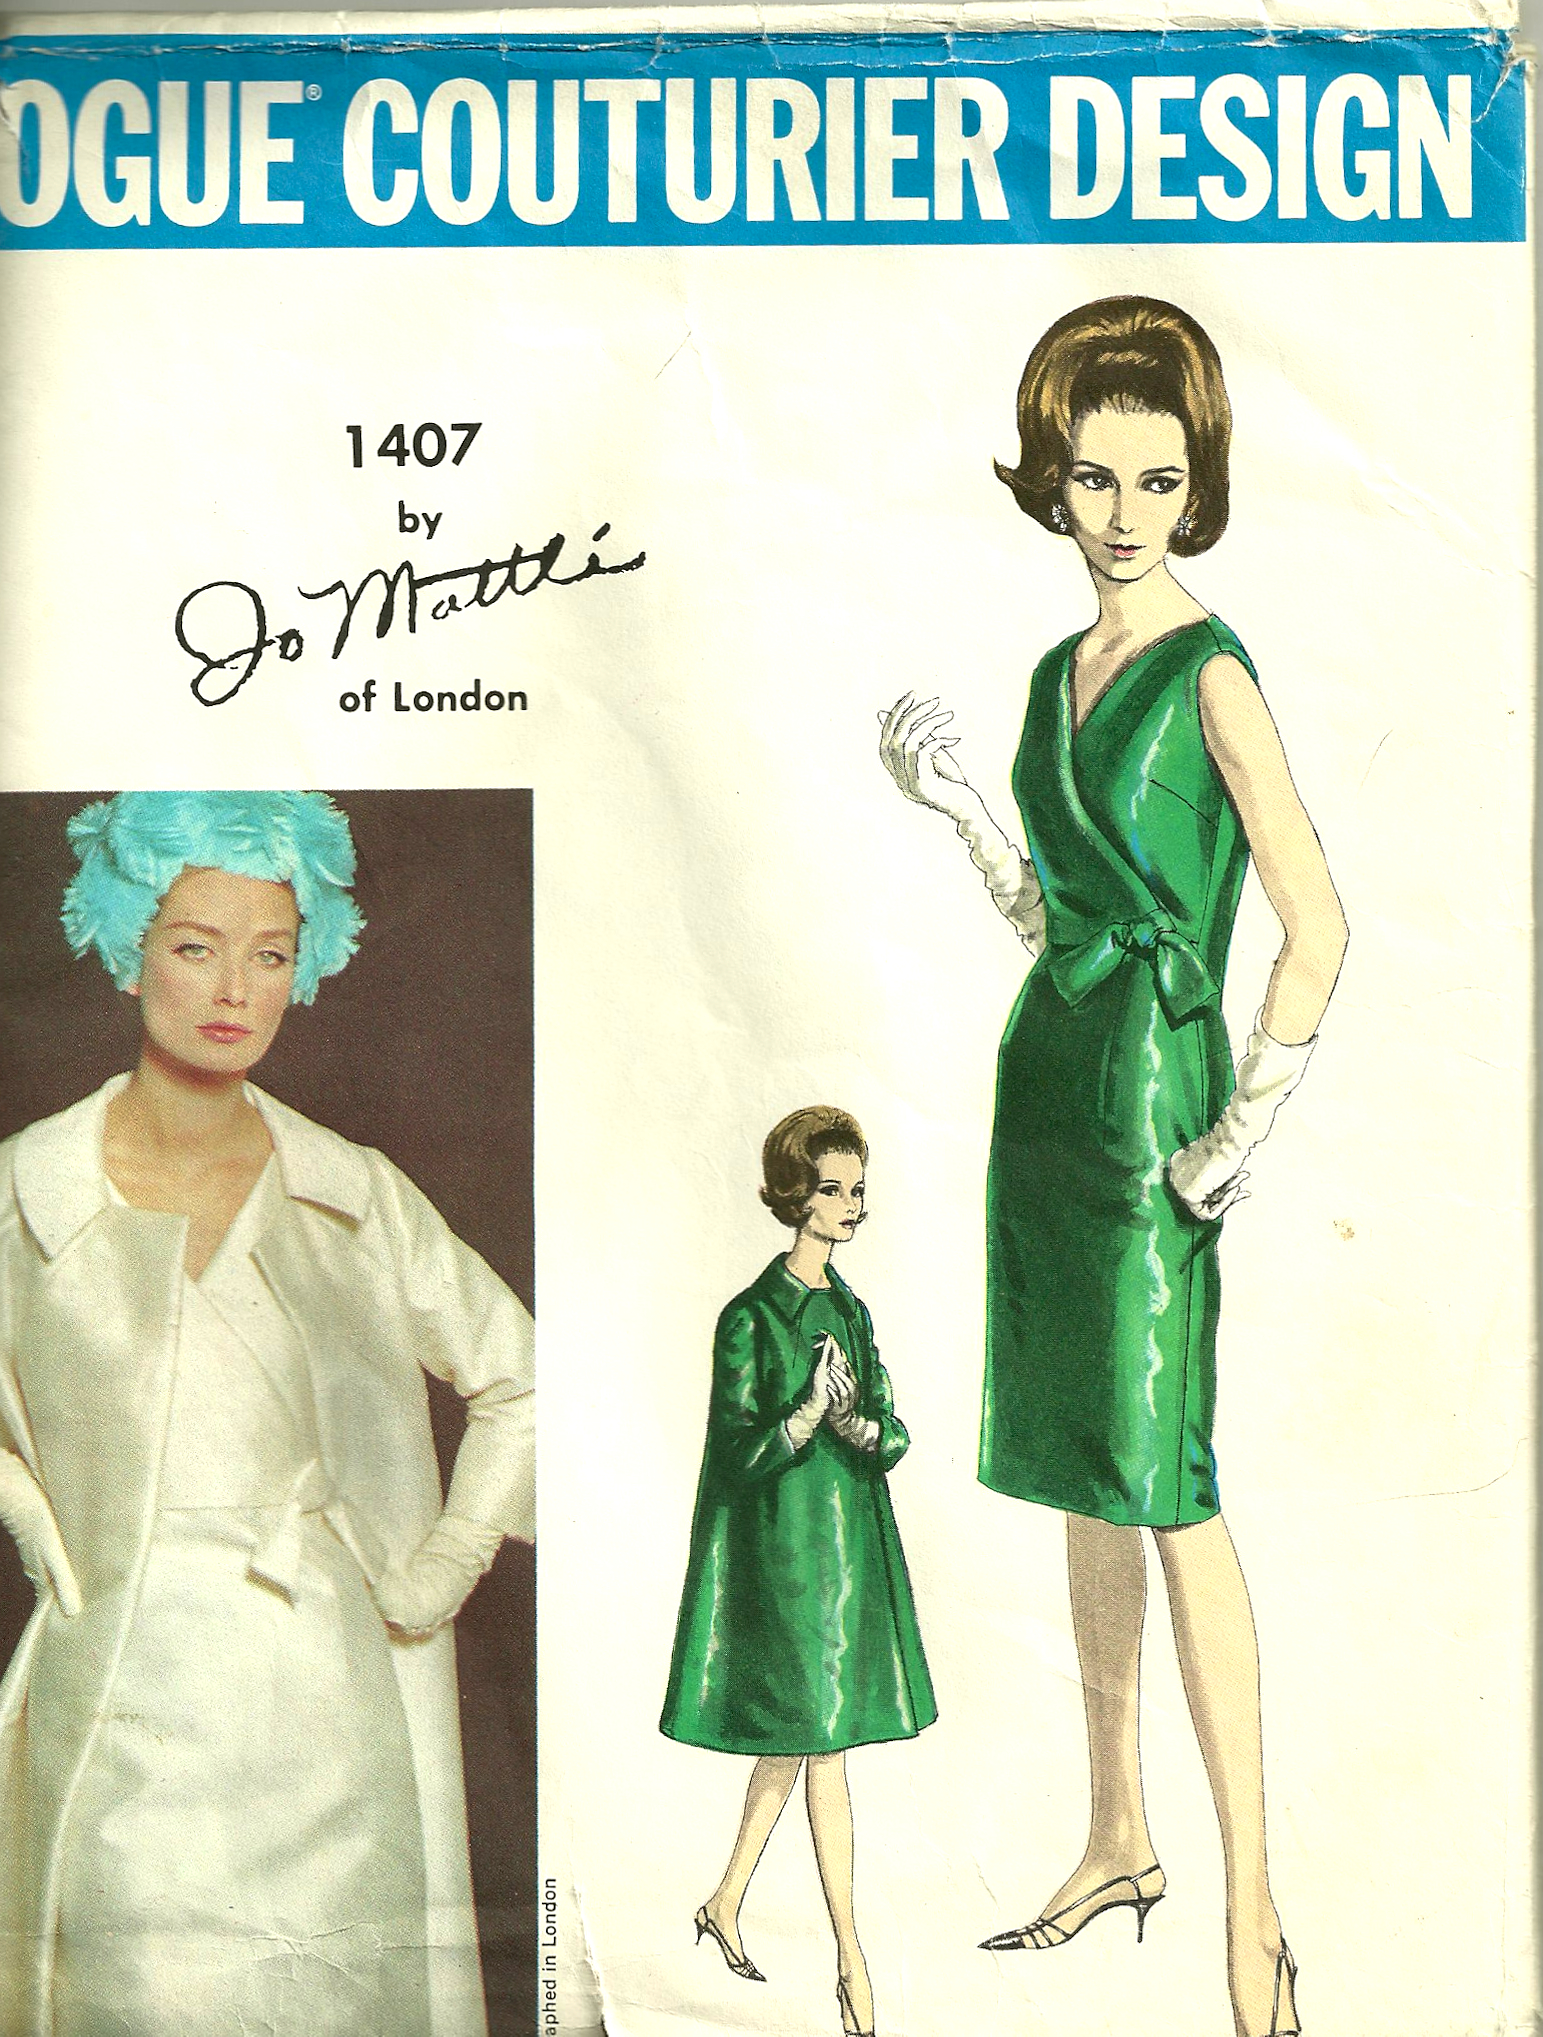
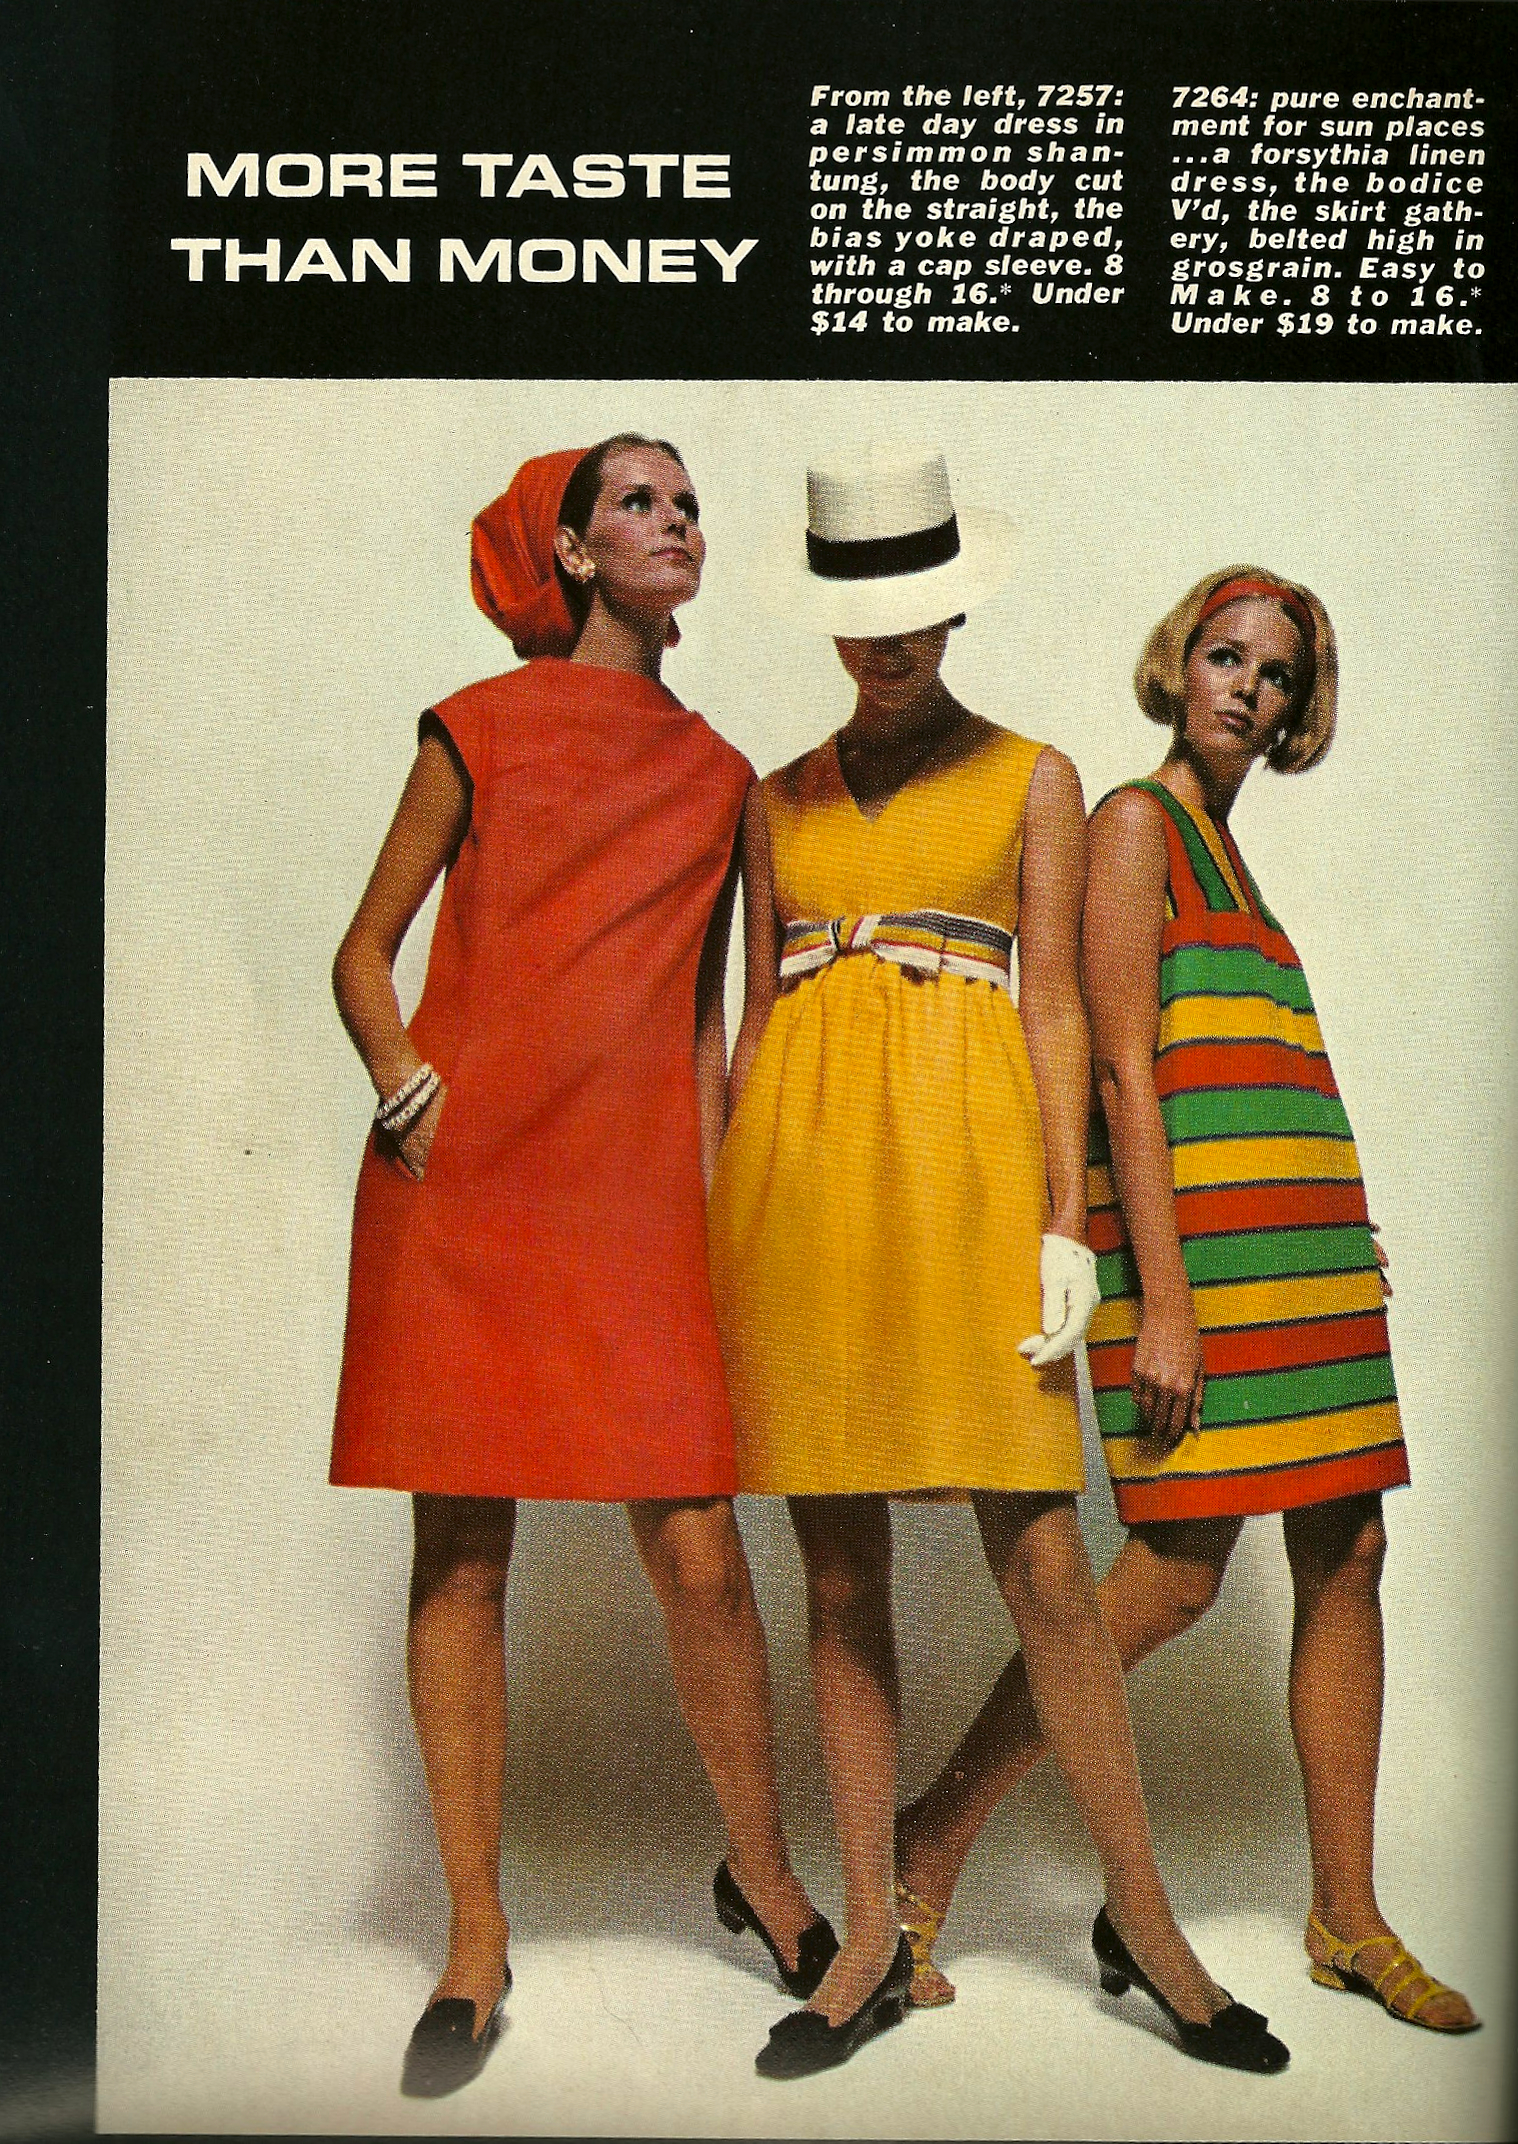
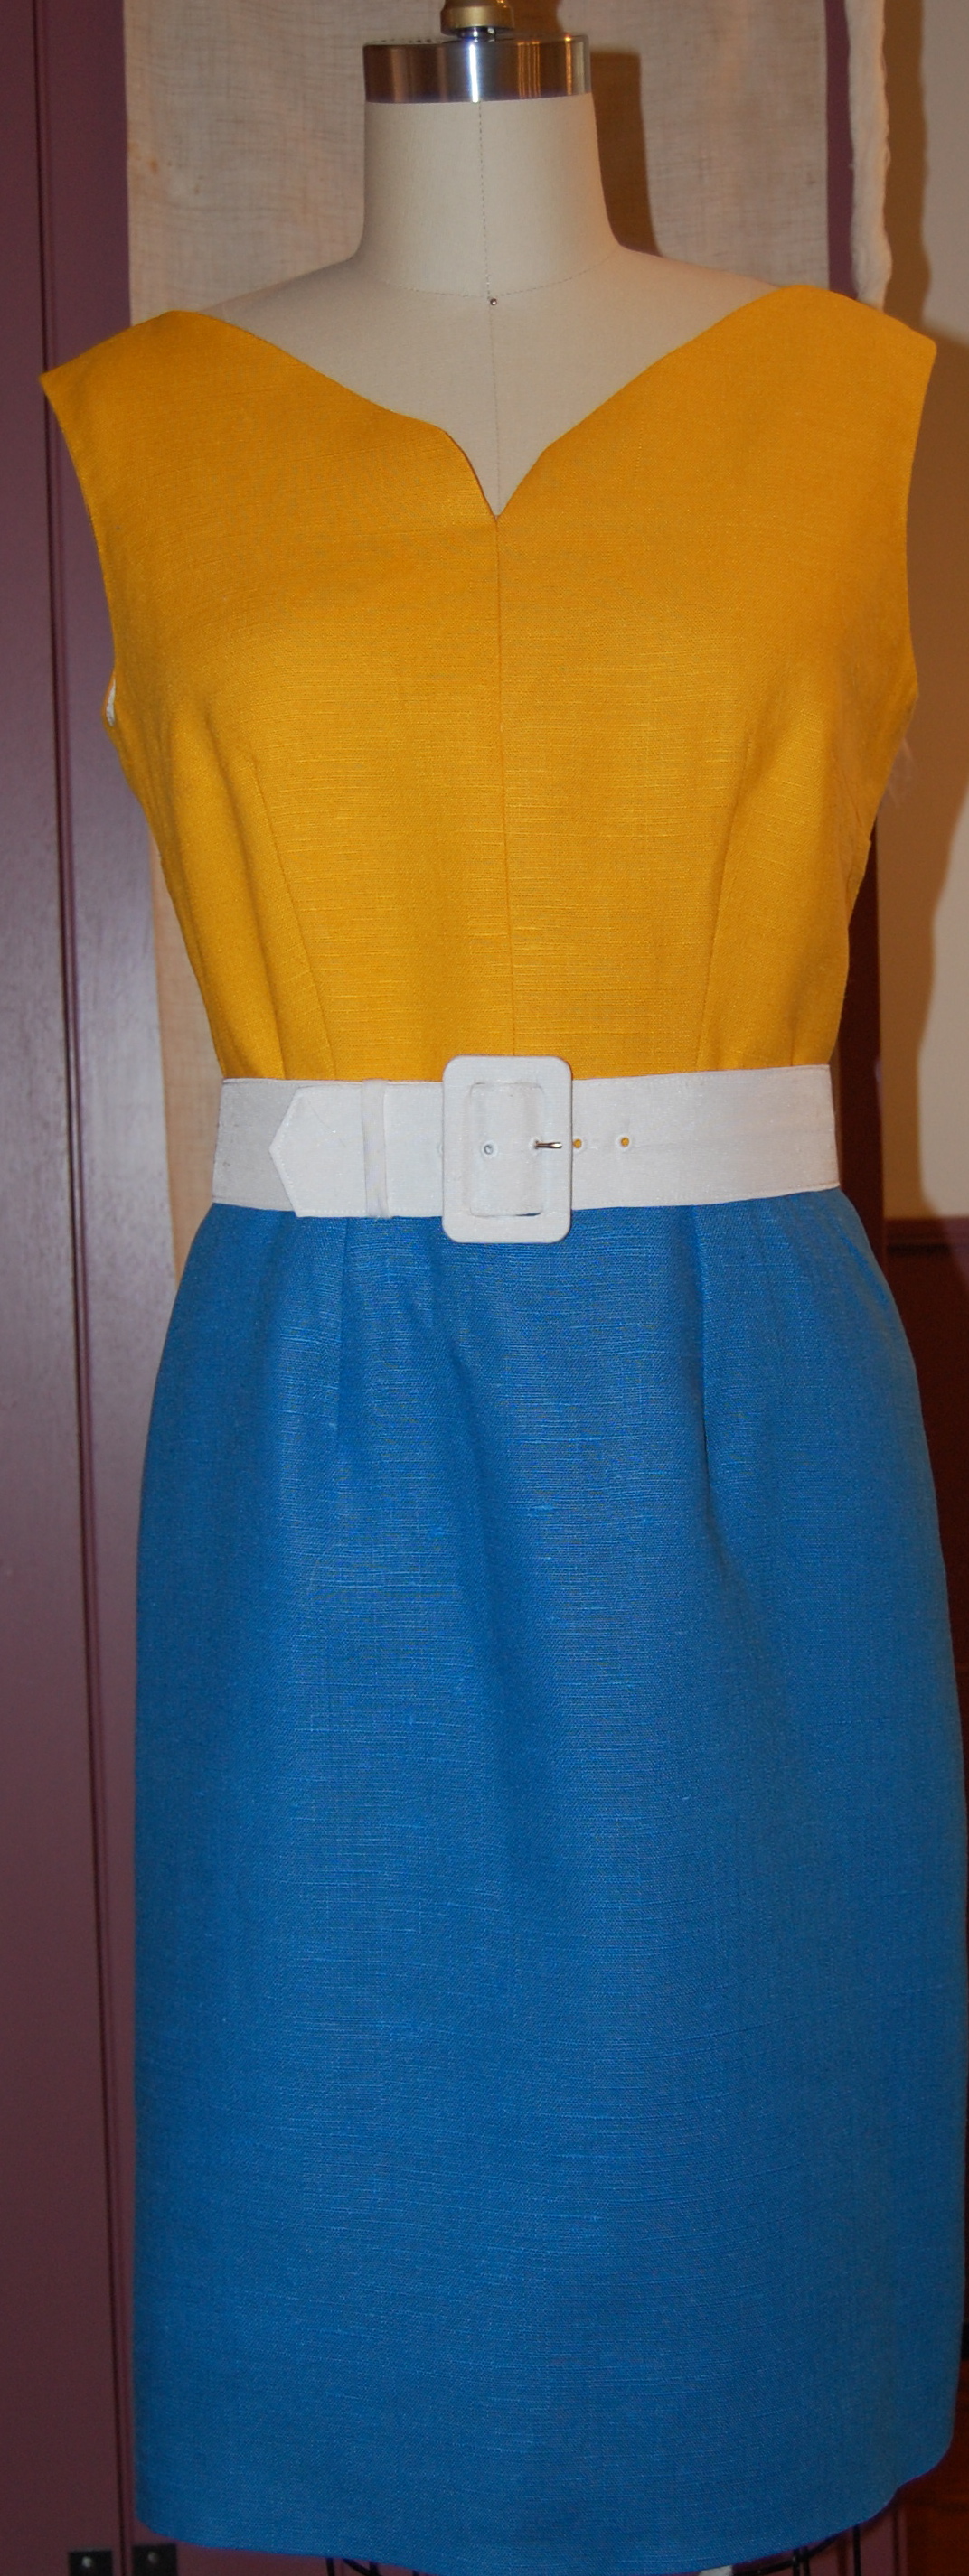
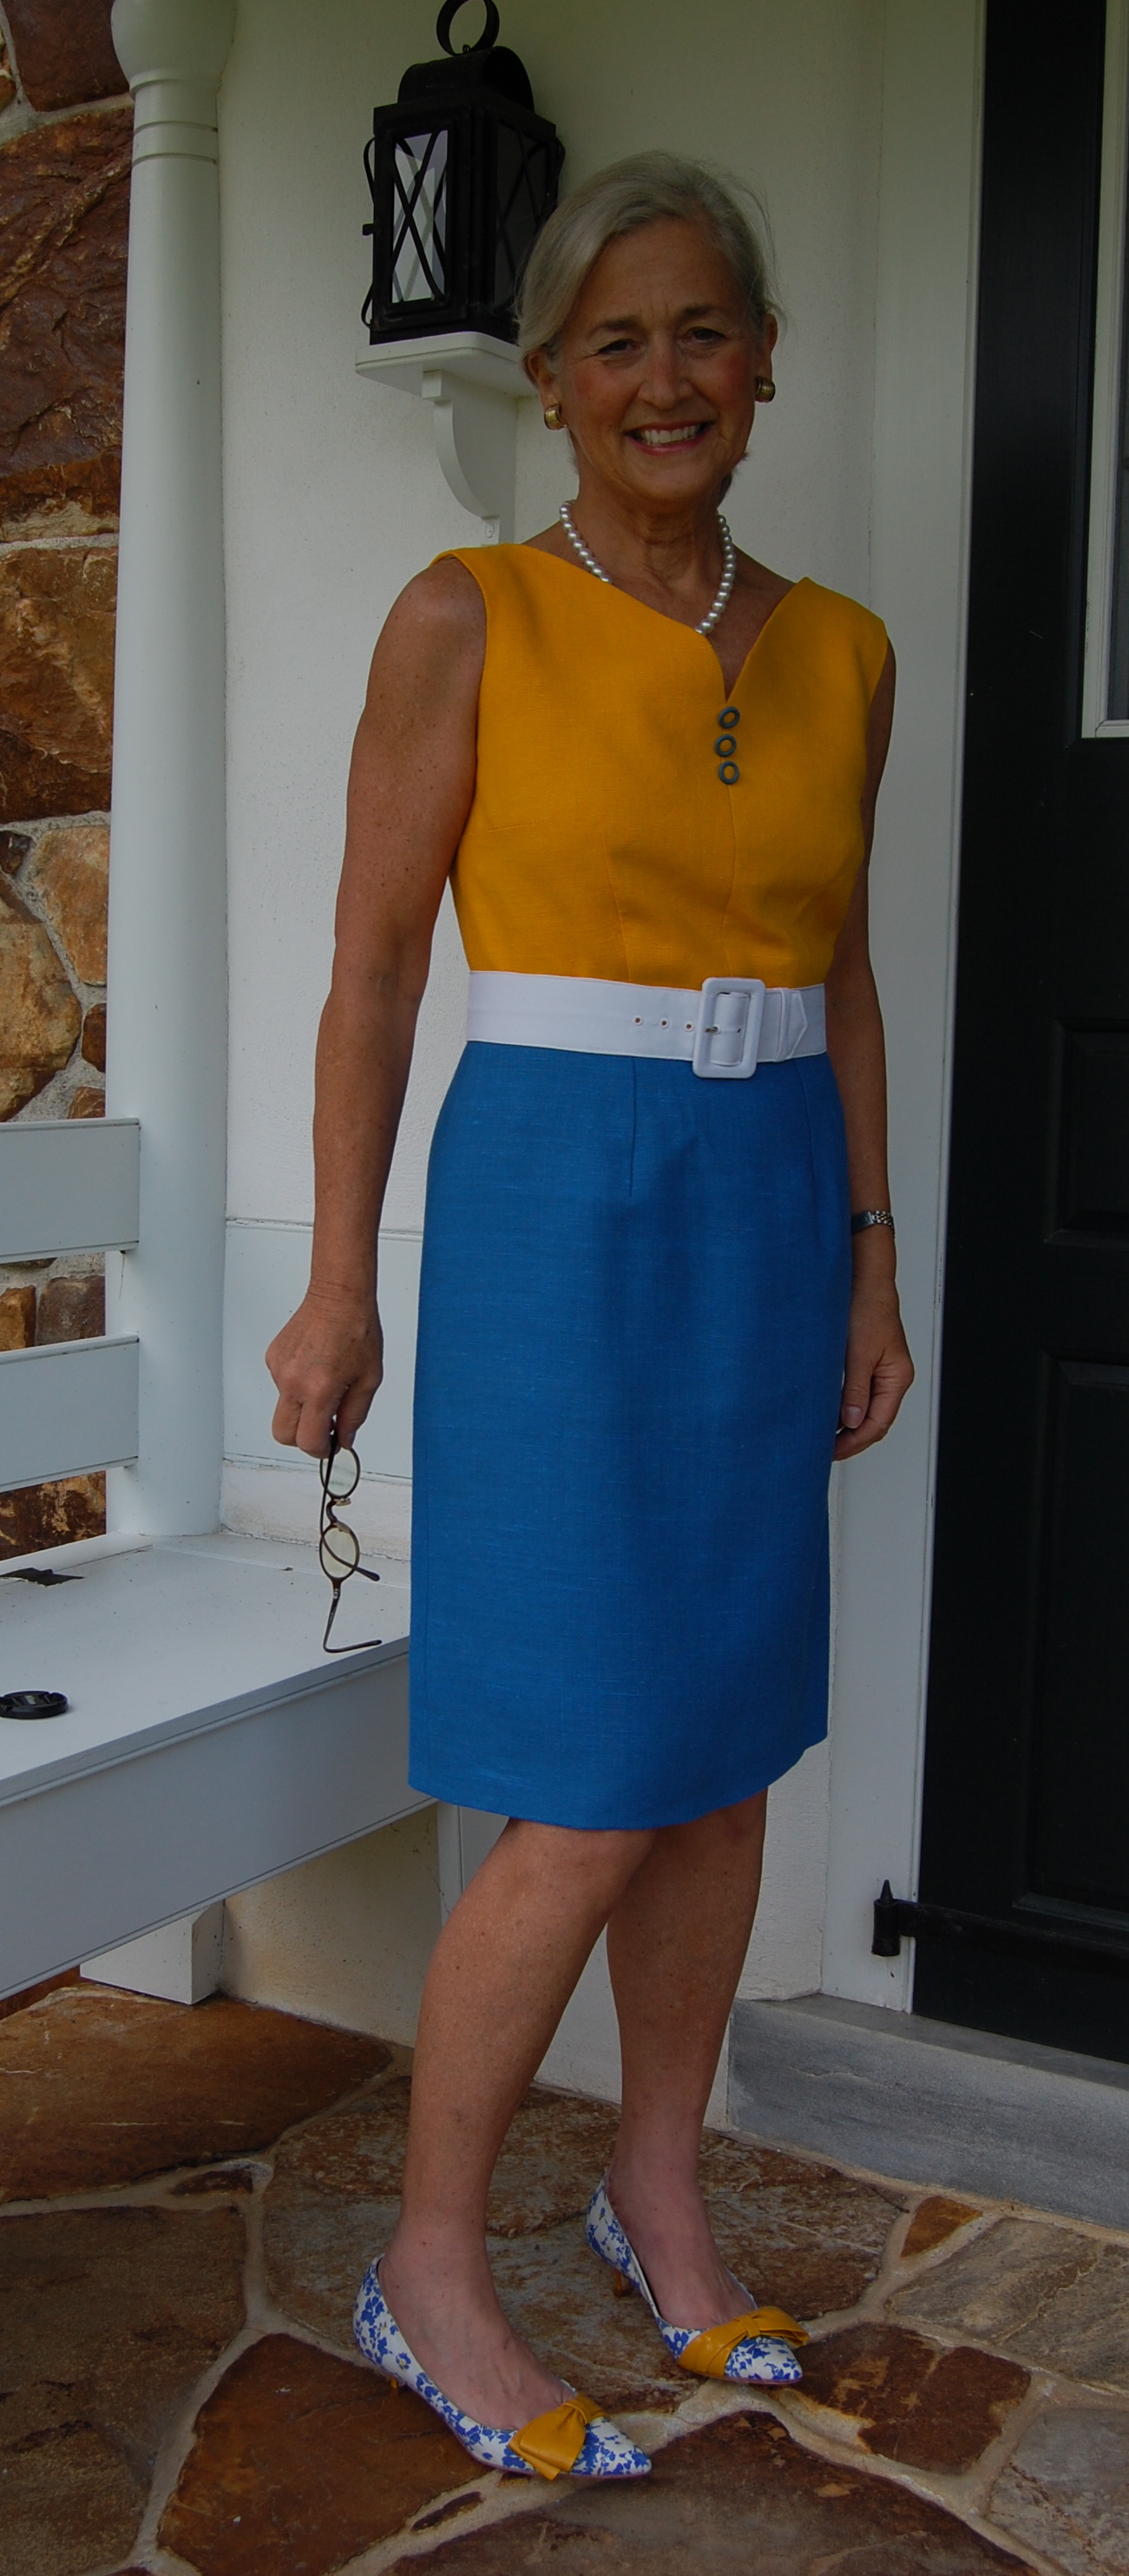
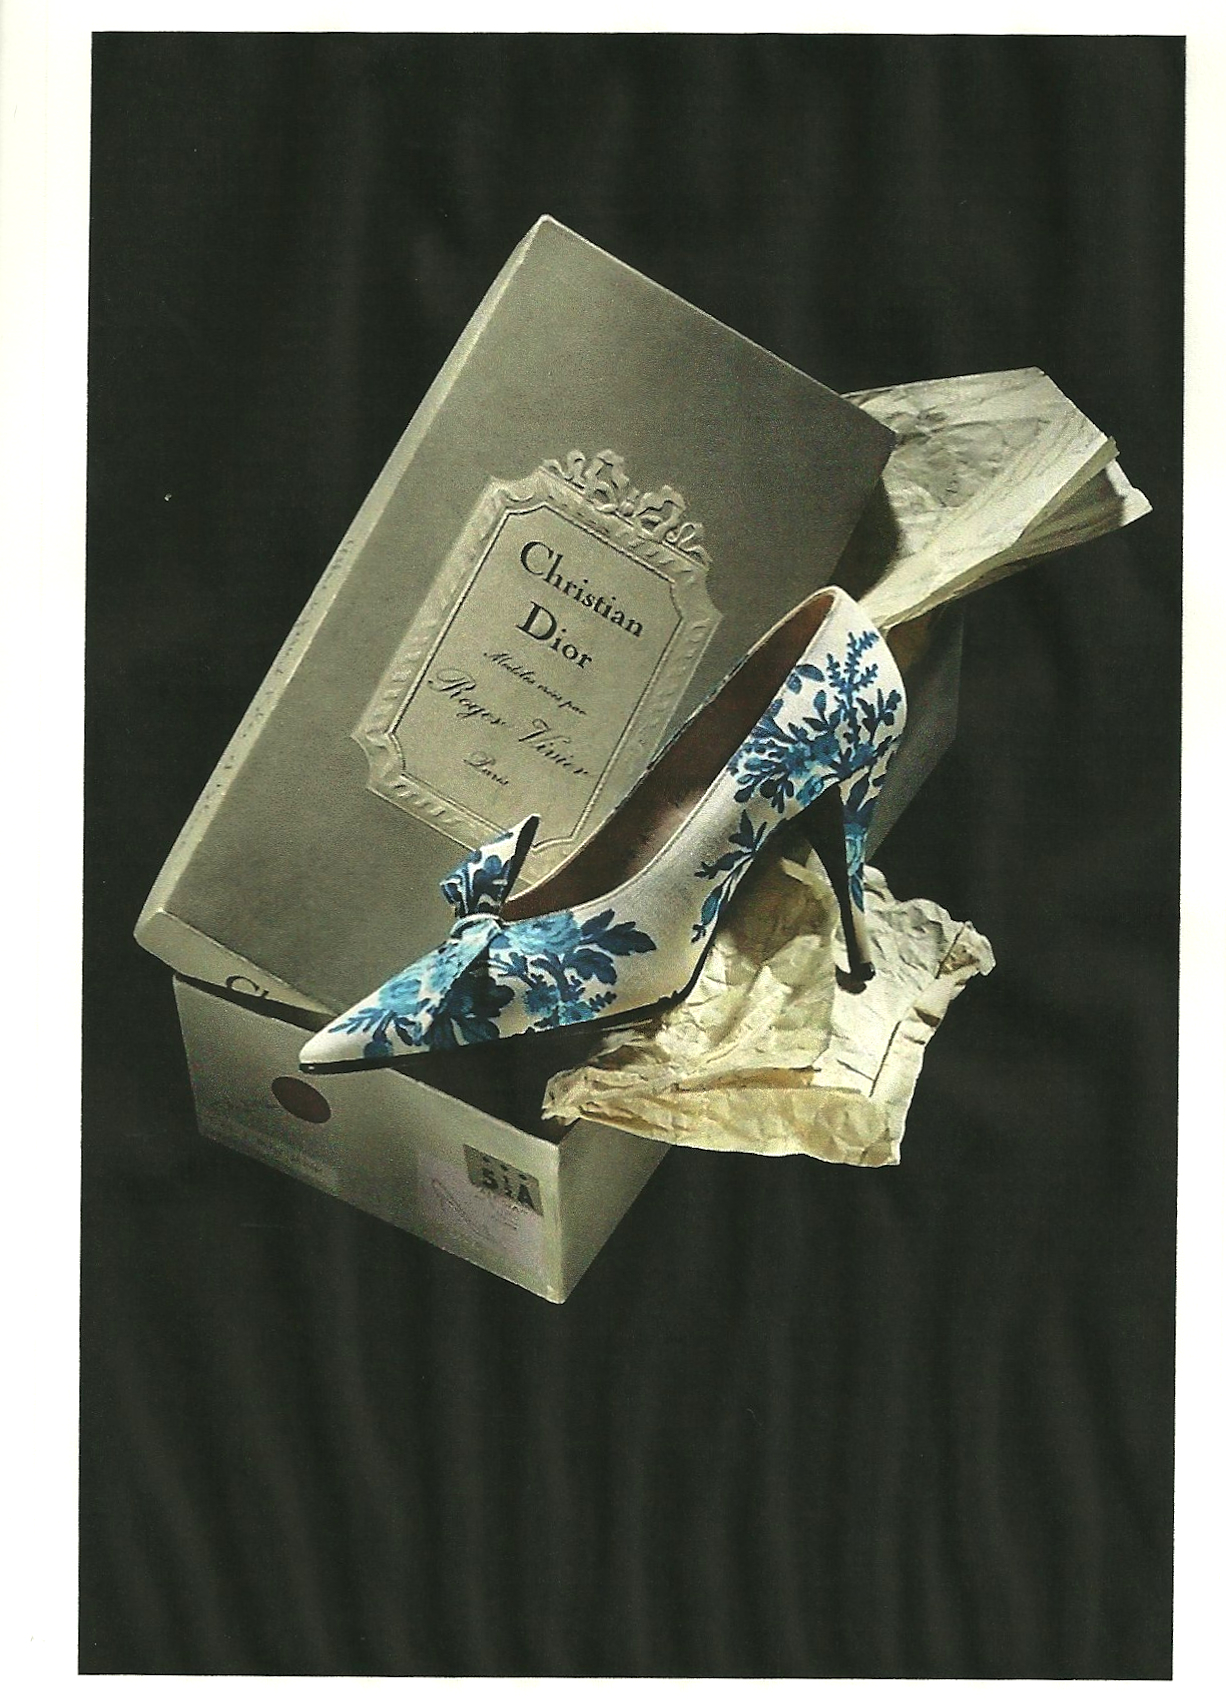
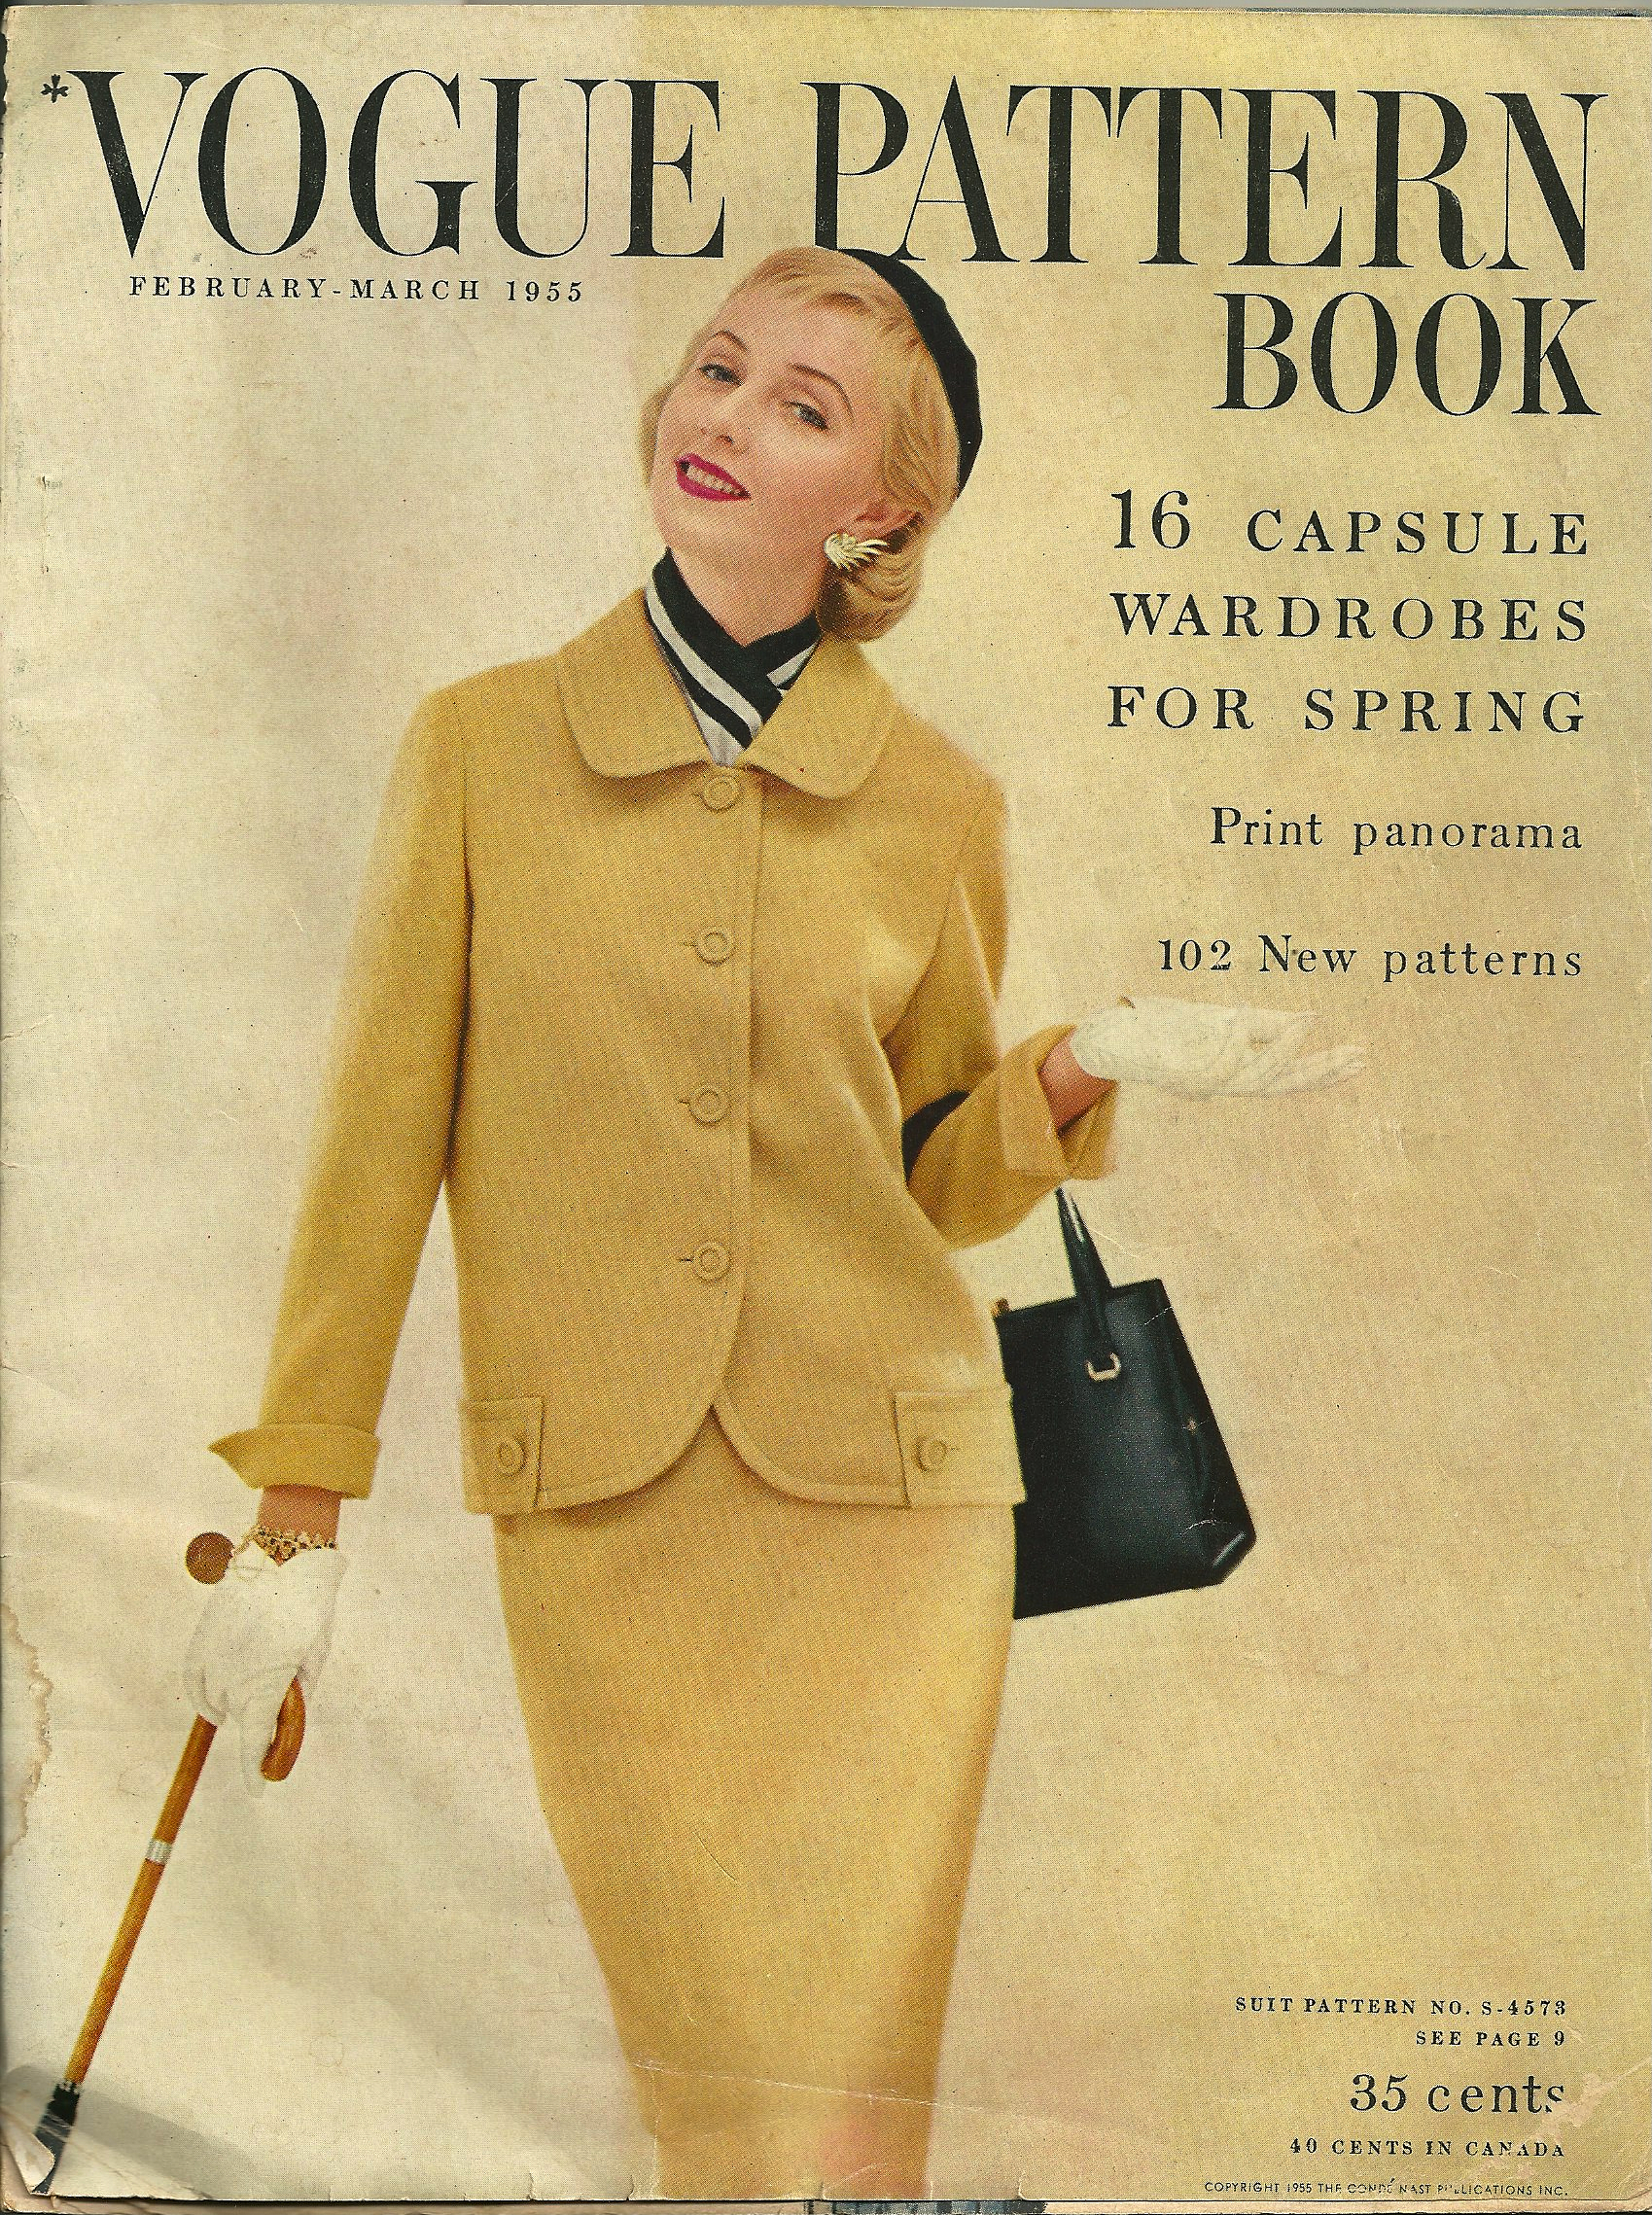
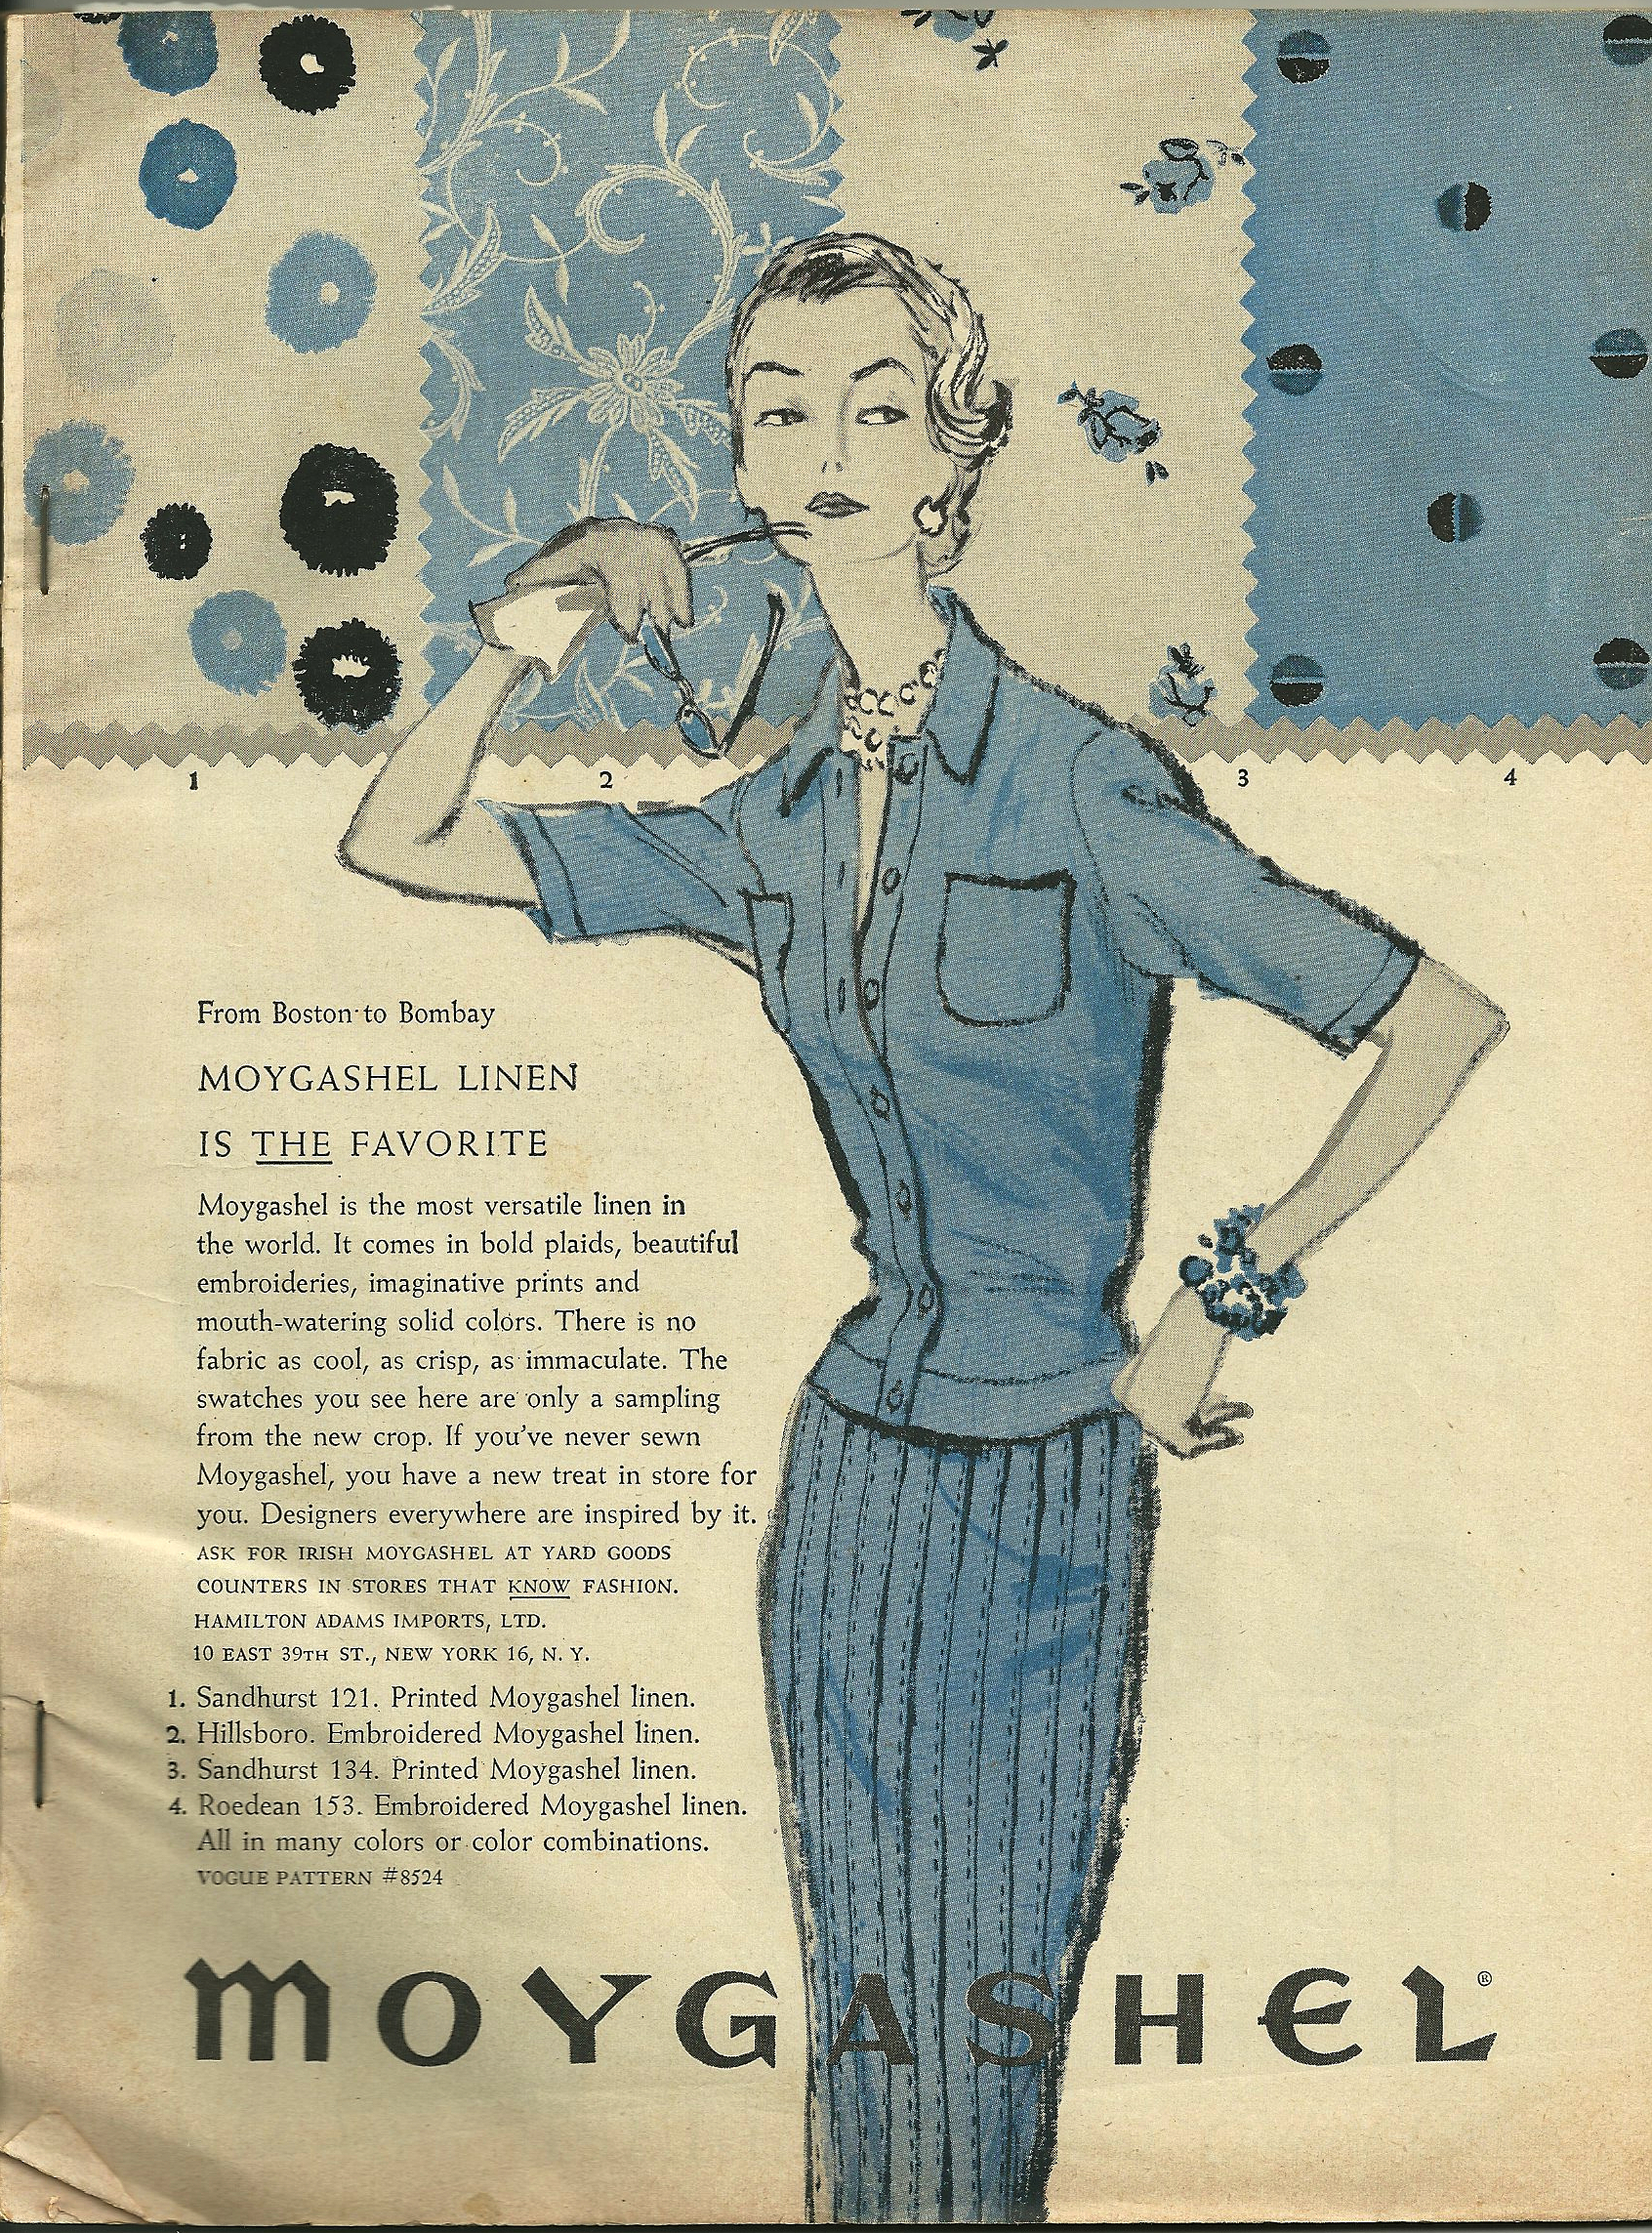
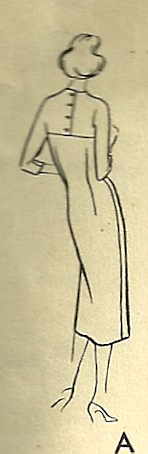
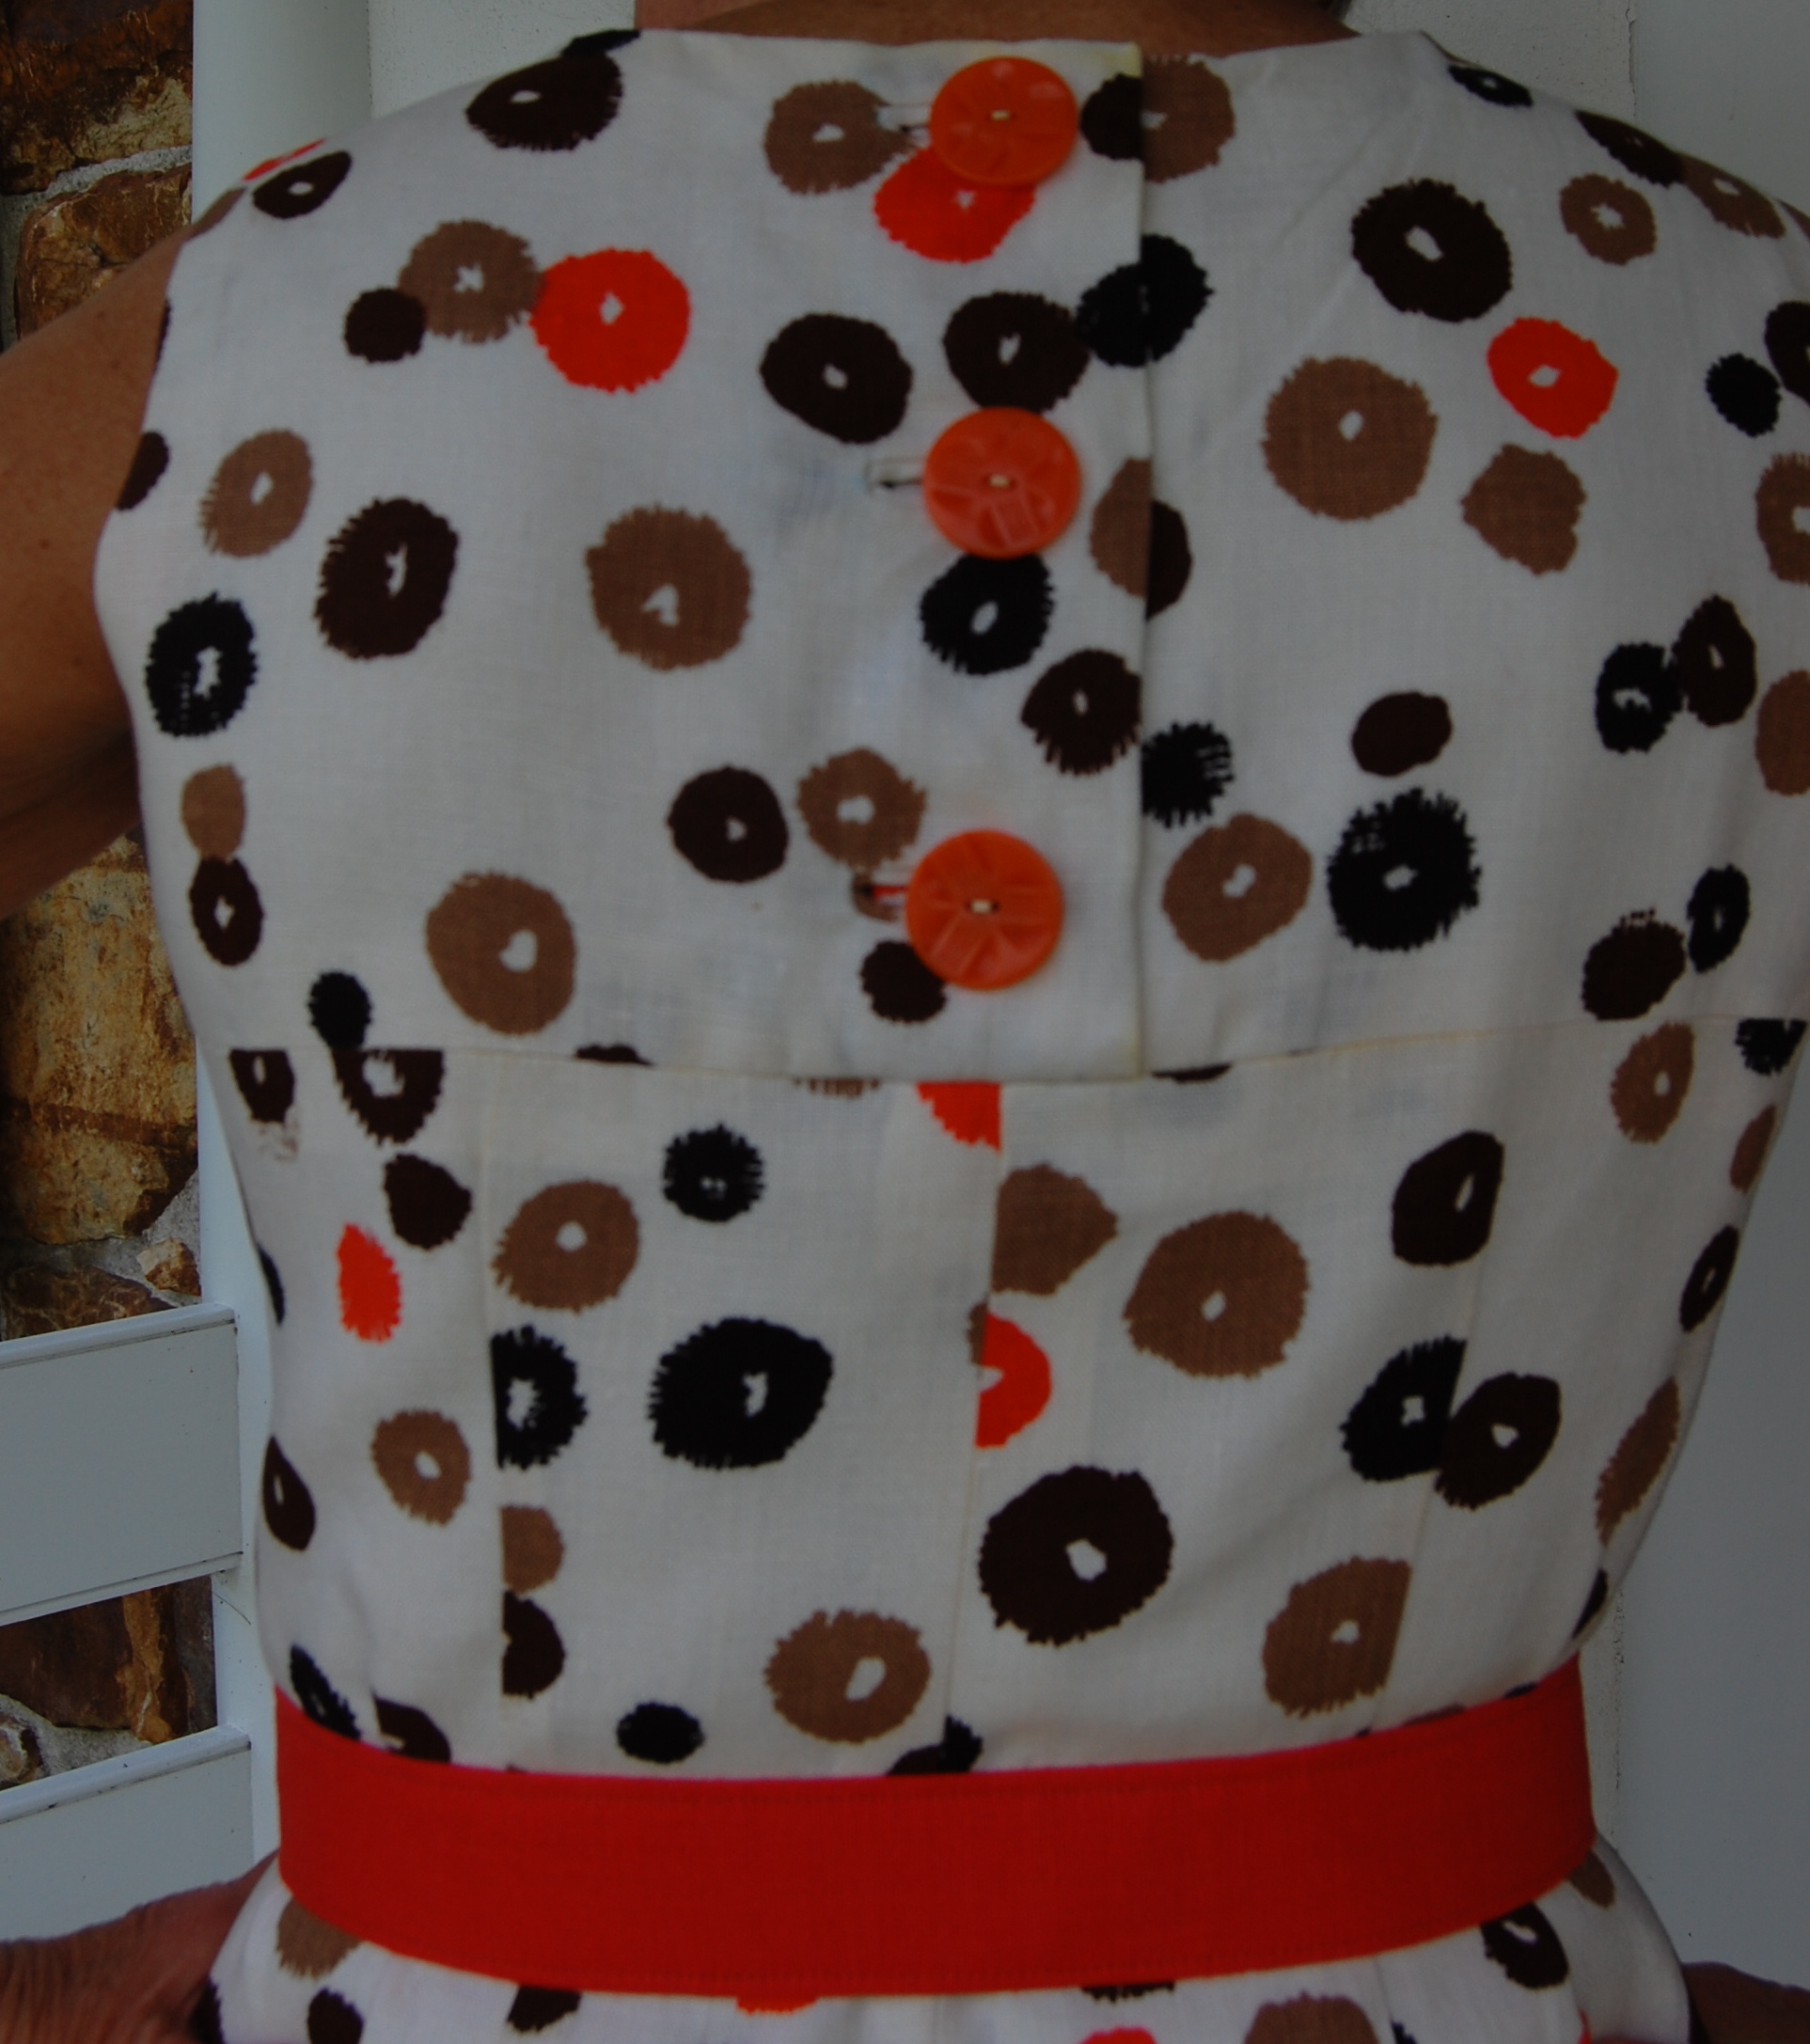
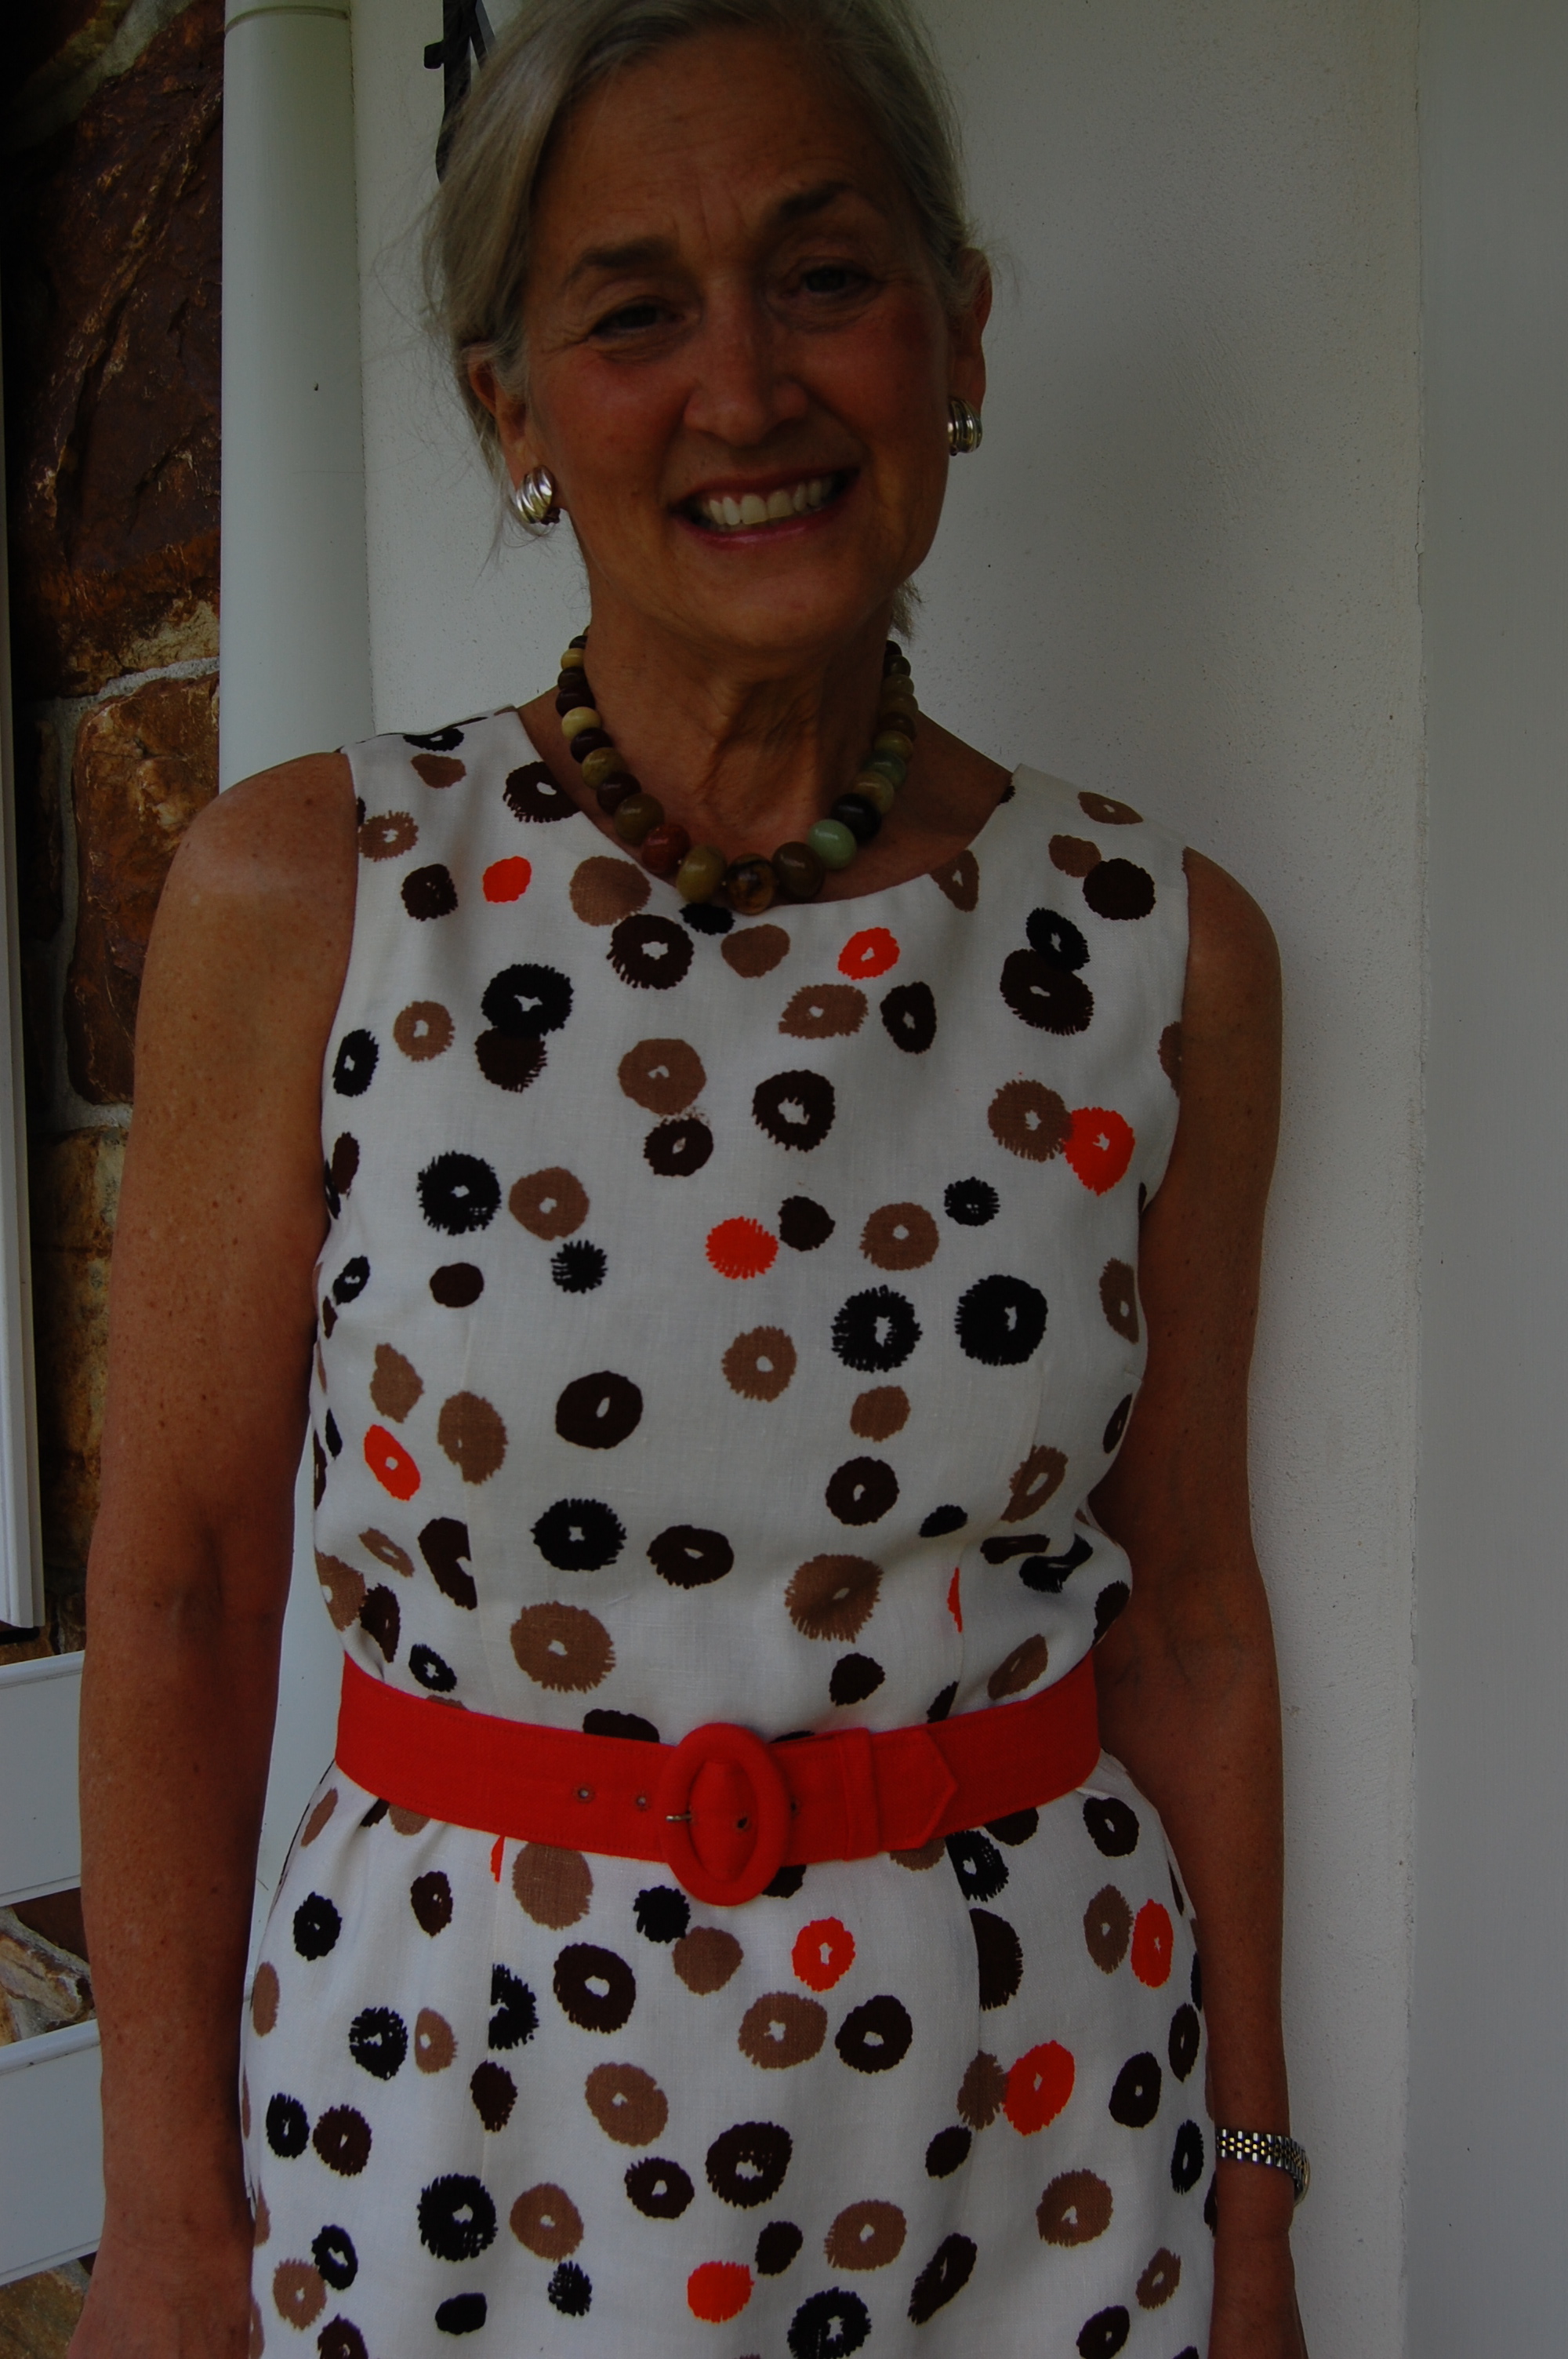
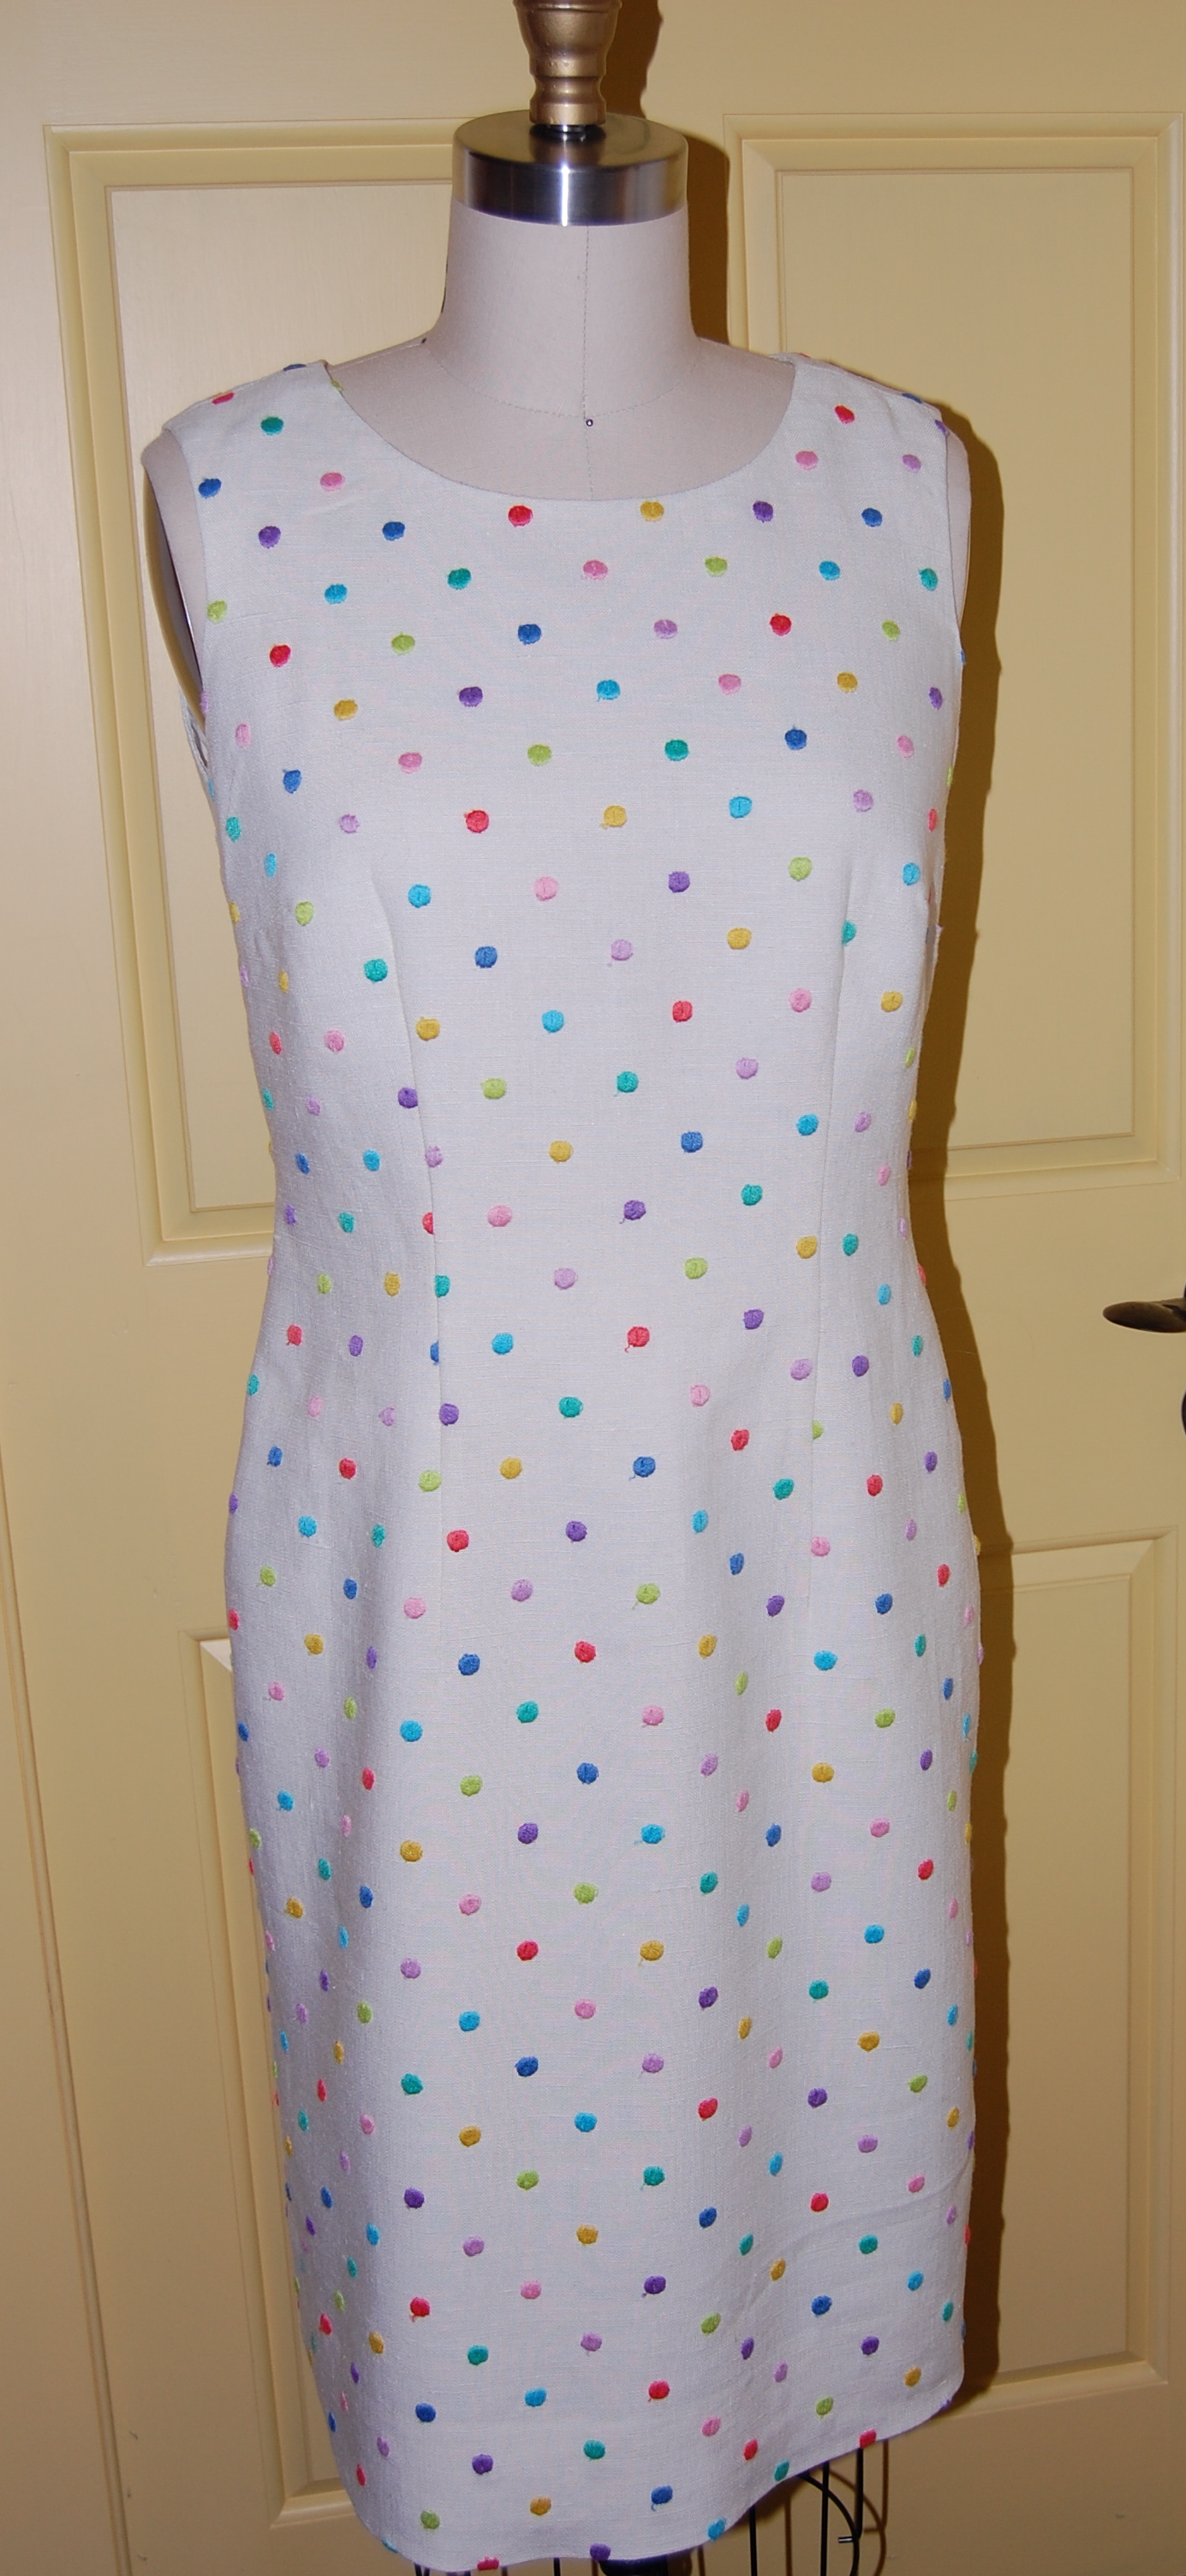
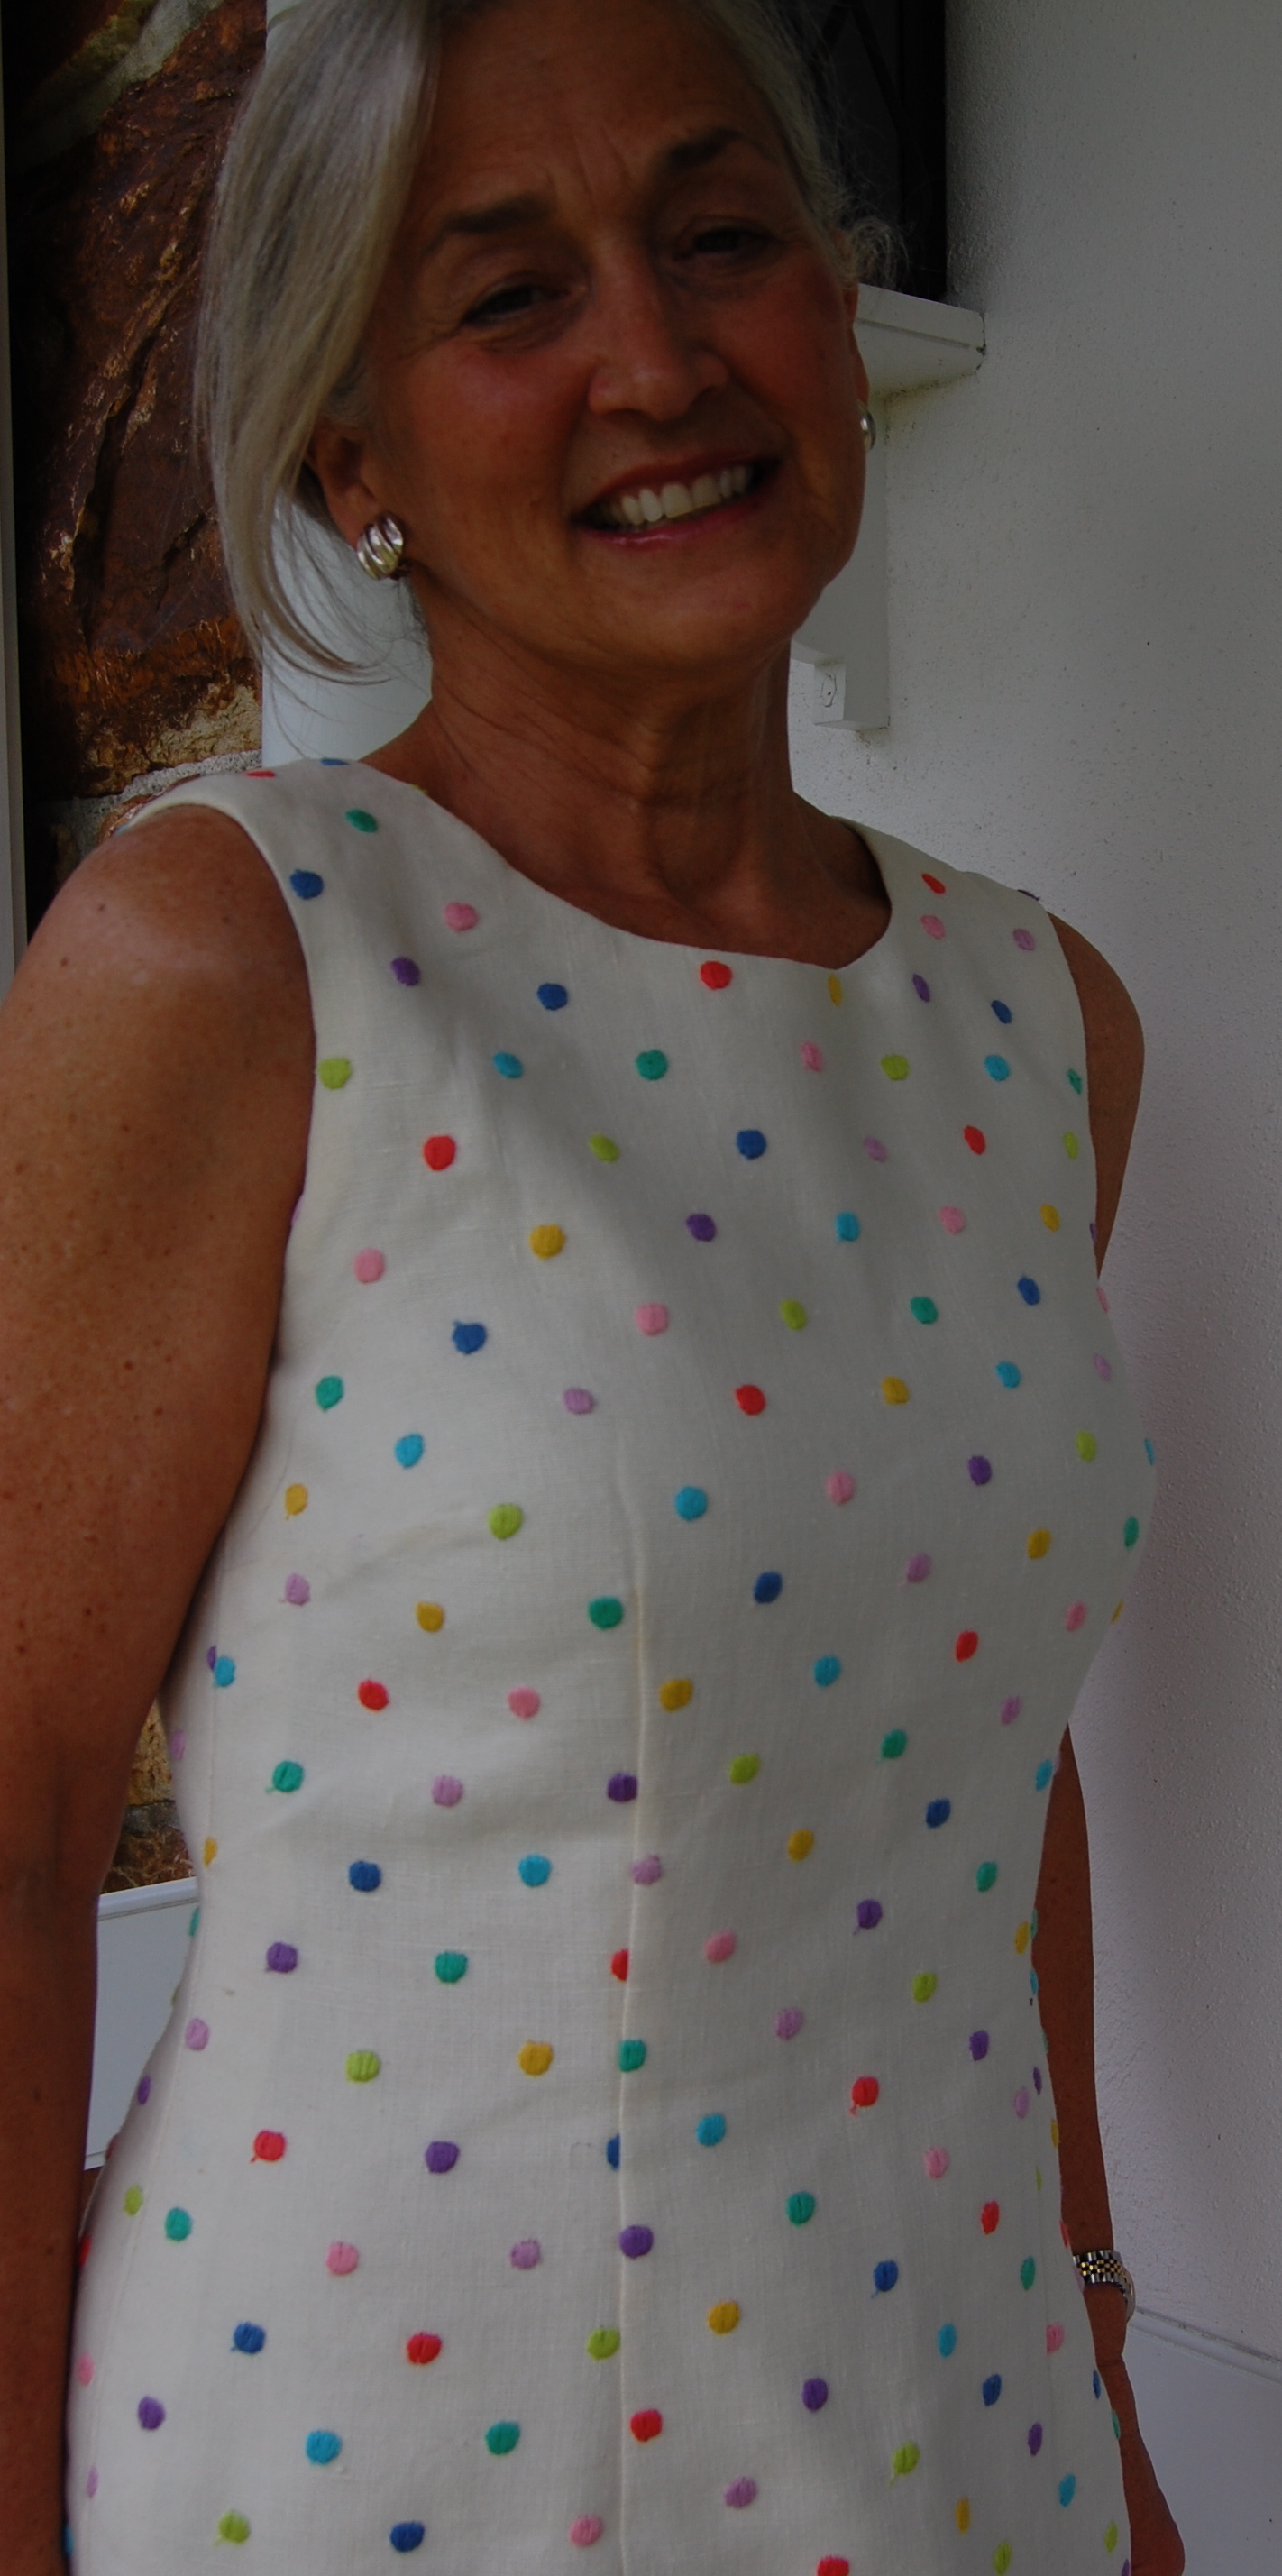
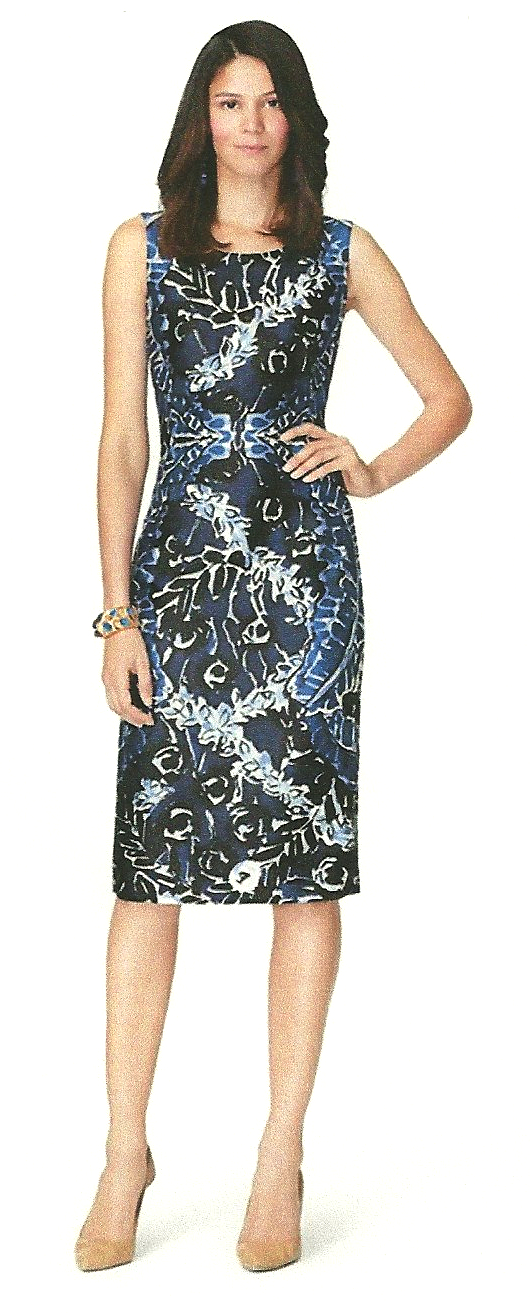
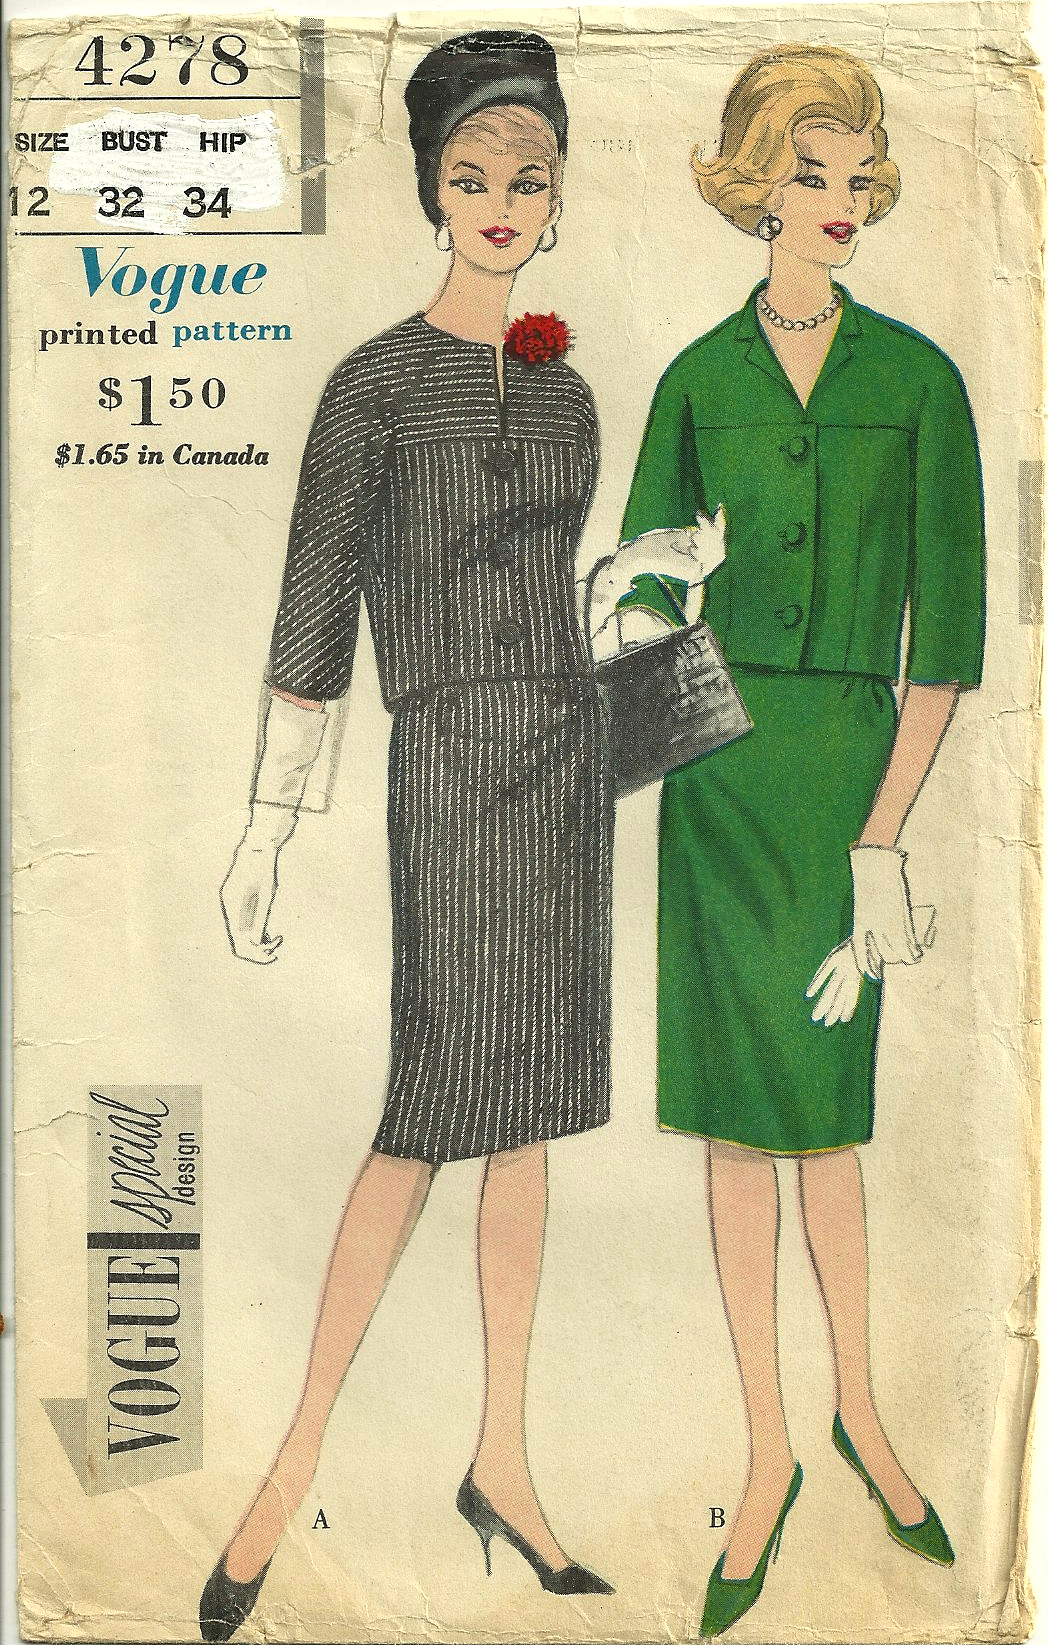
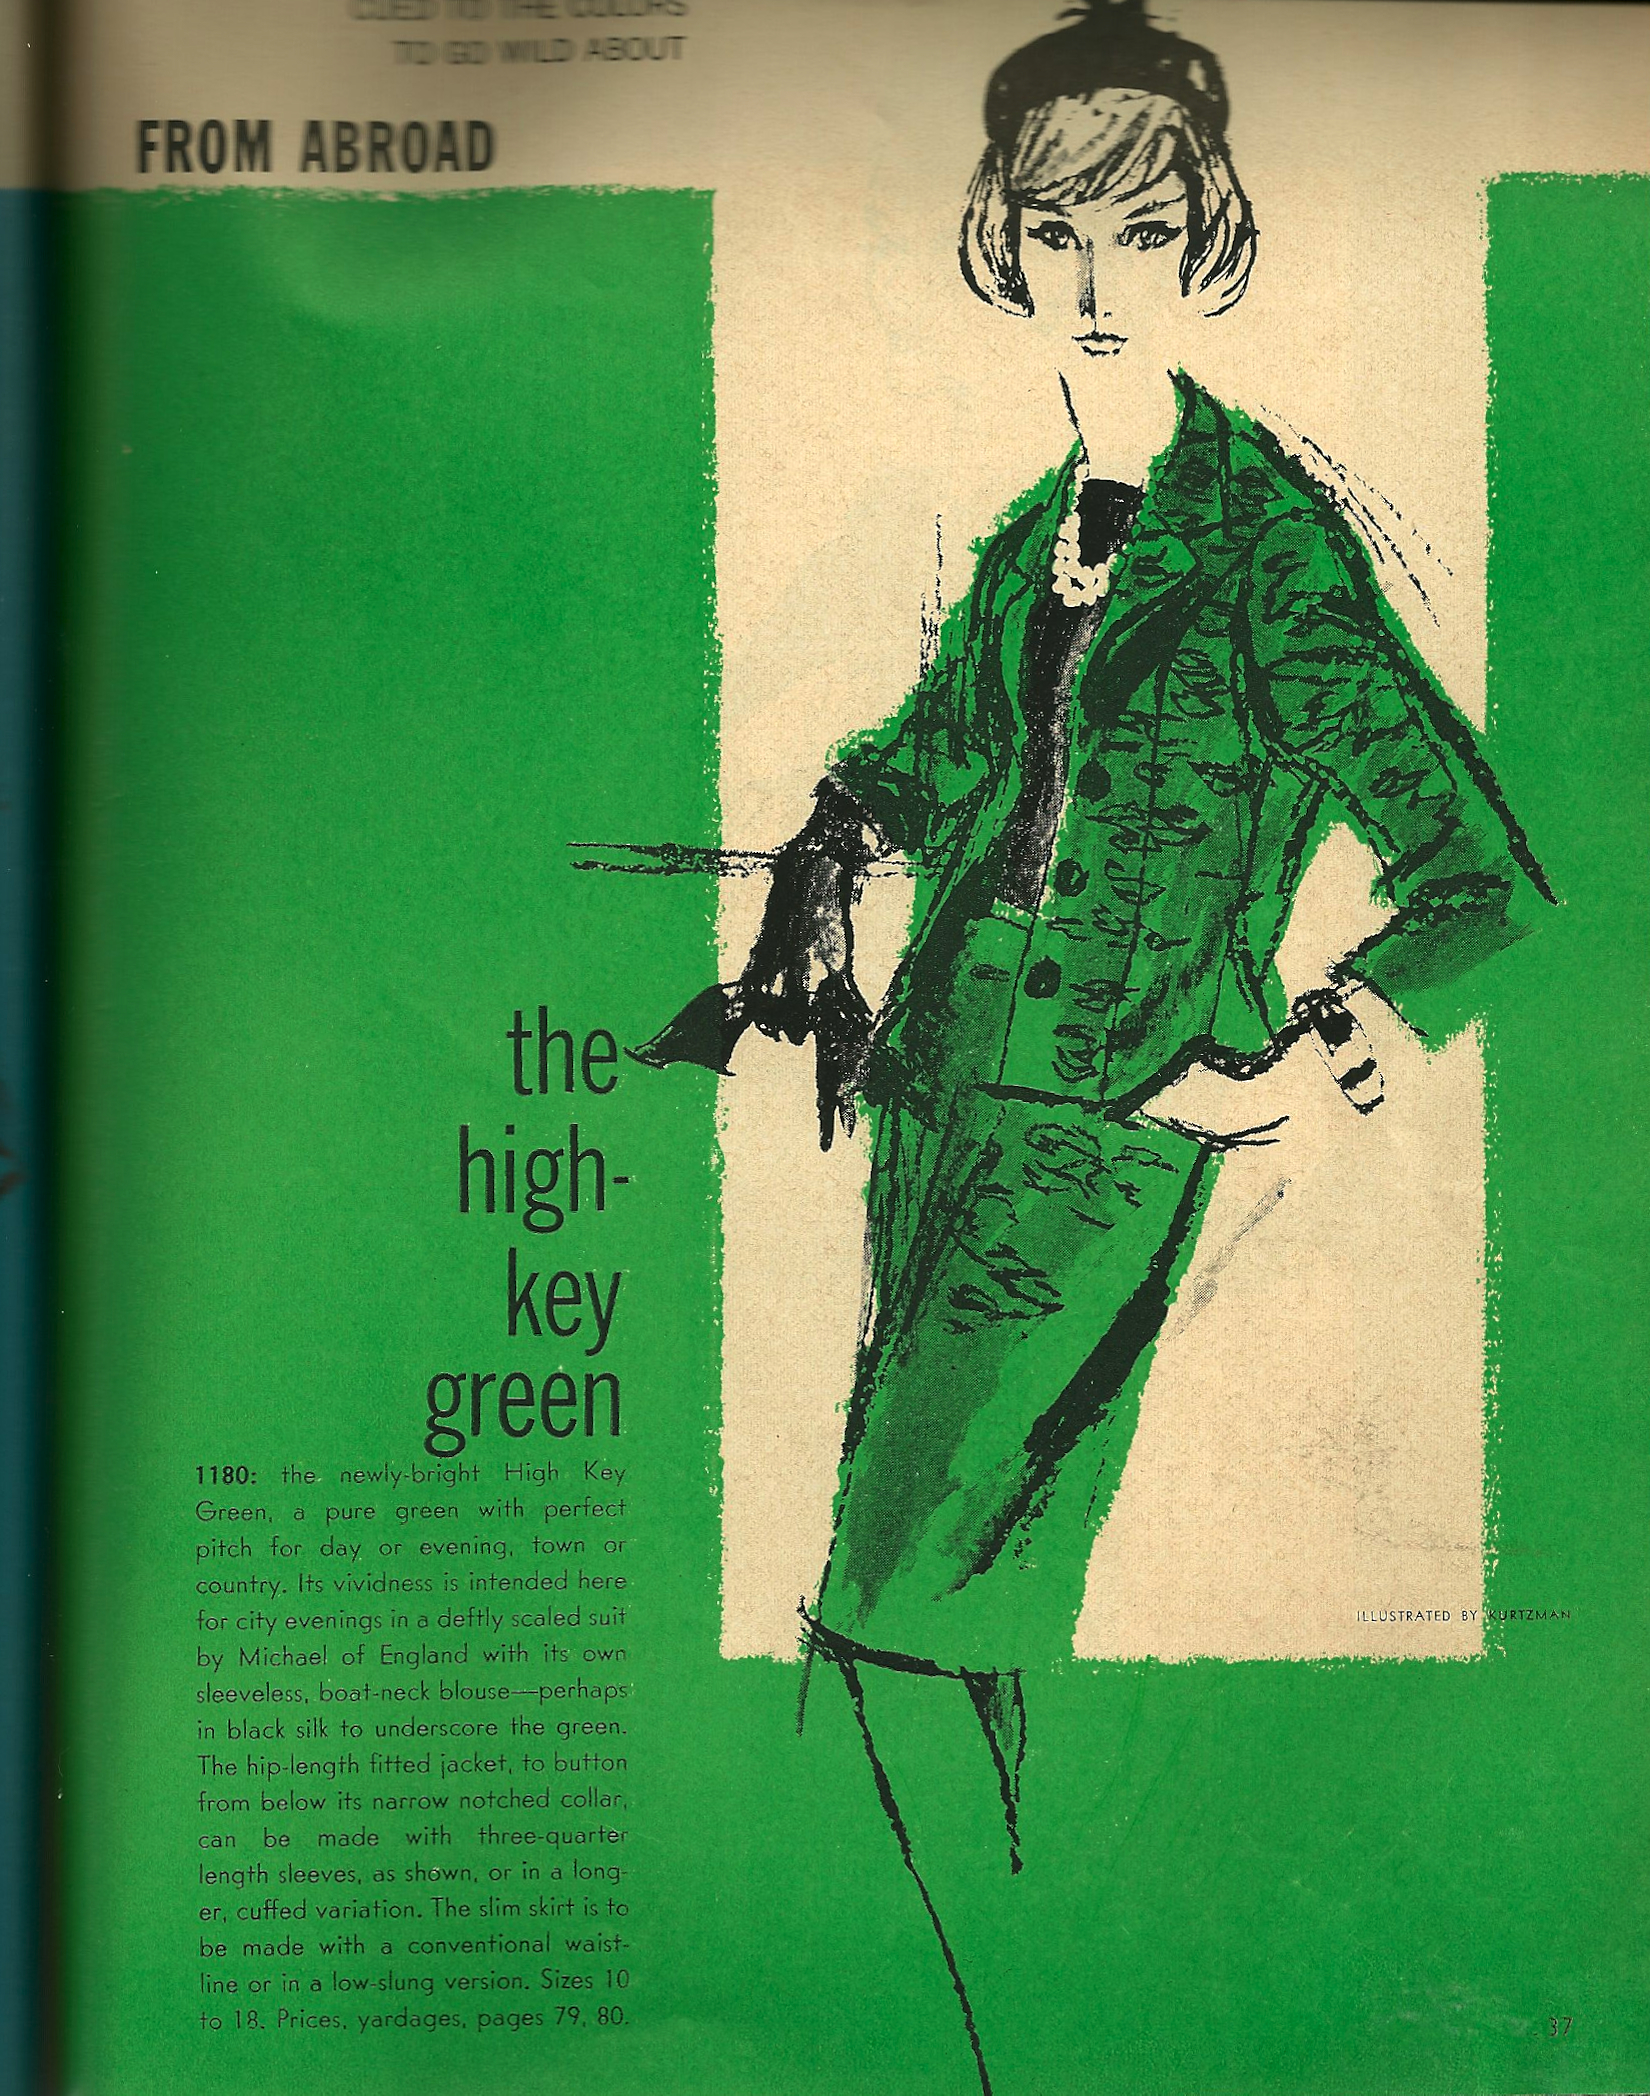
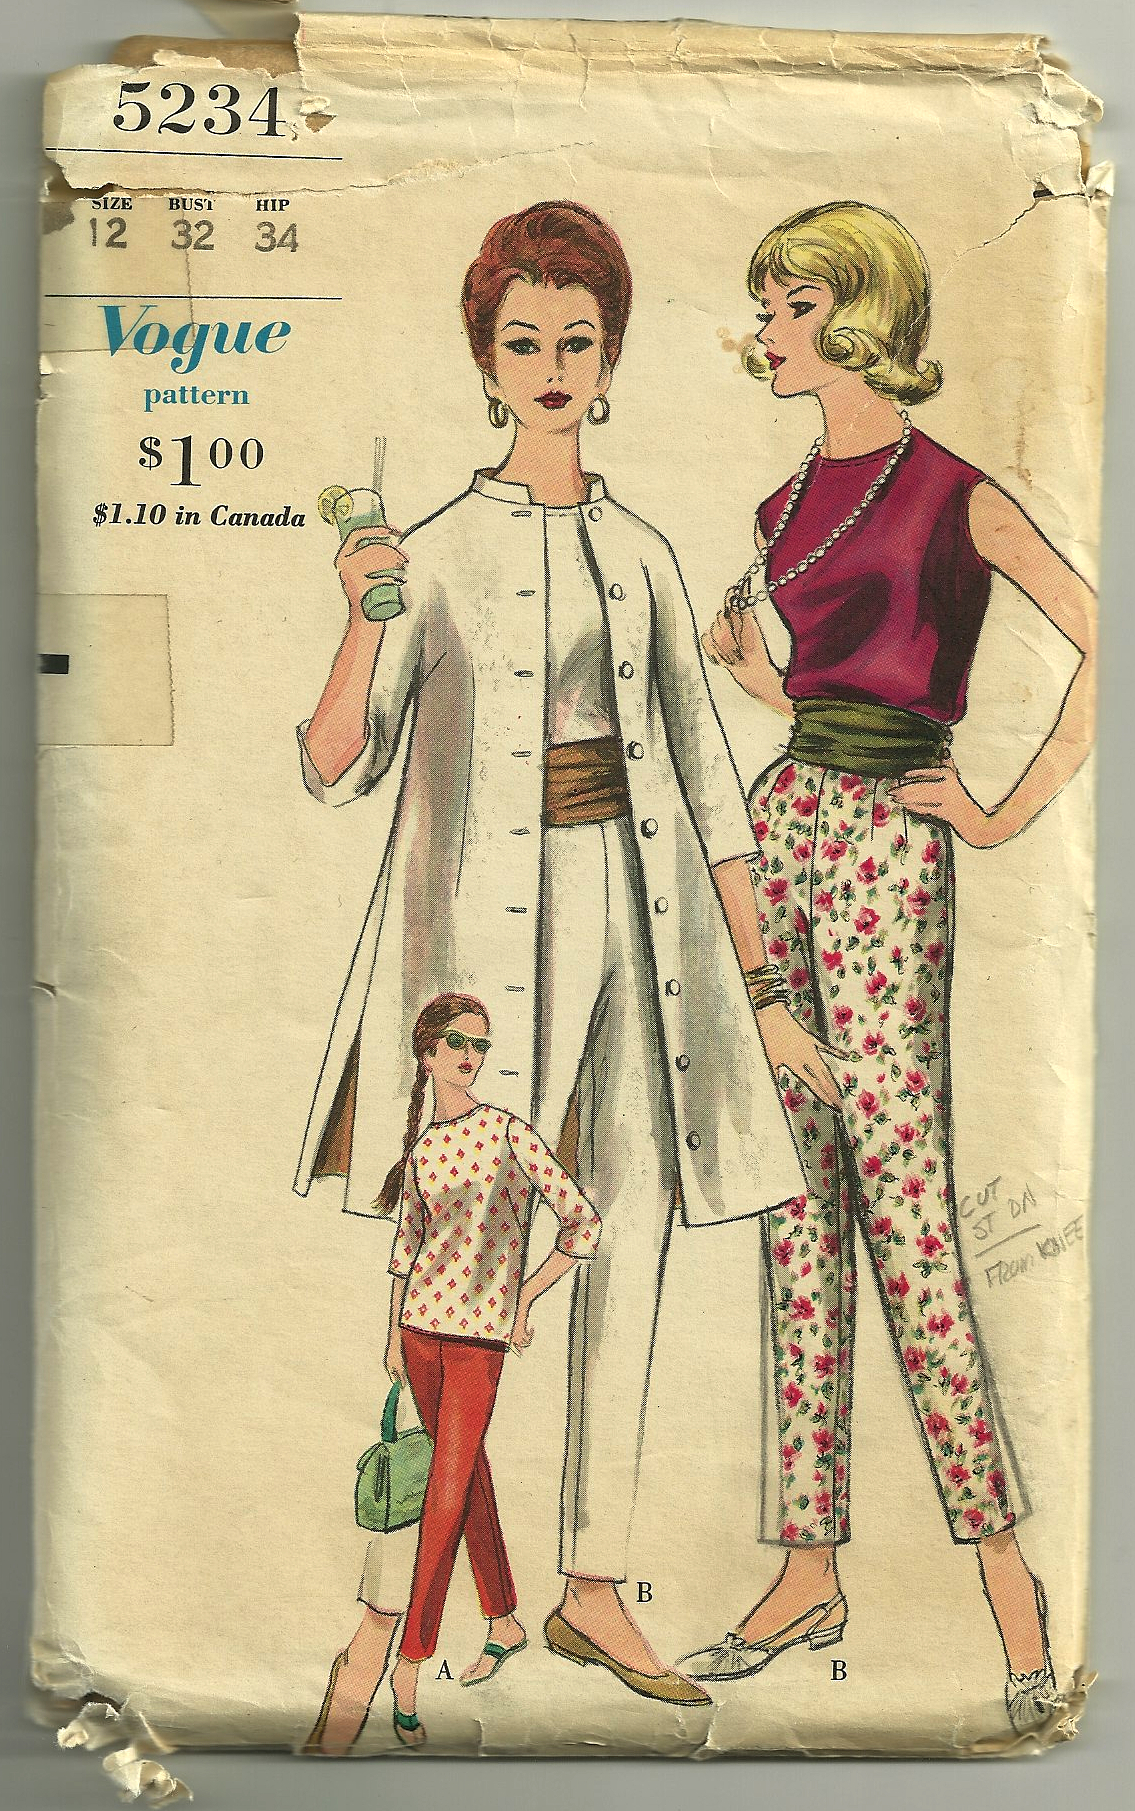
This Vogue Designer pattern is from the early 1960s.
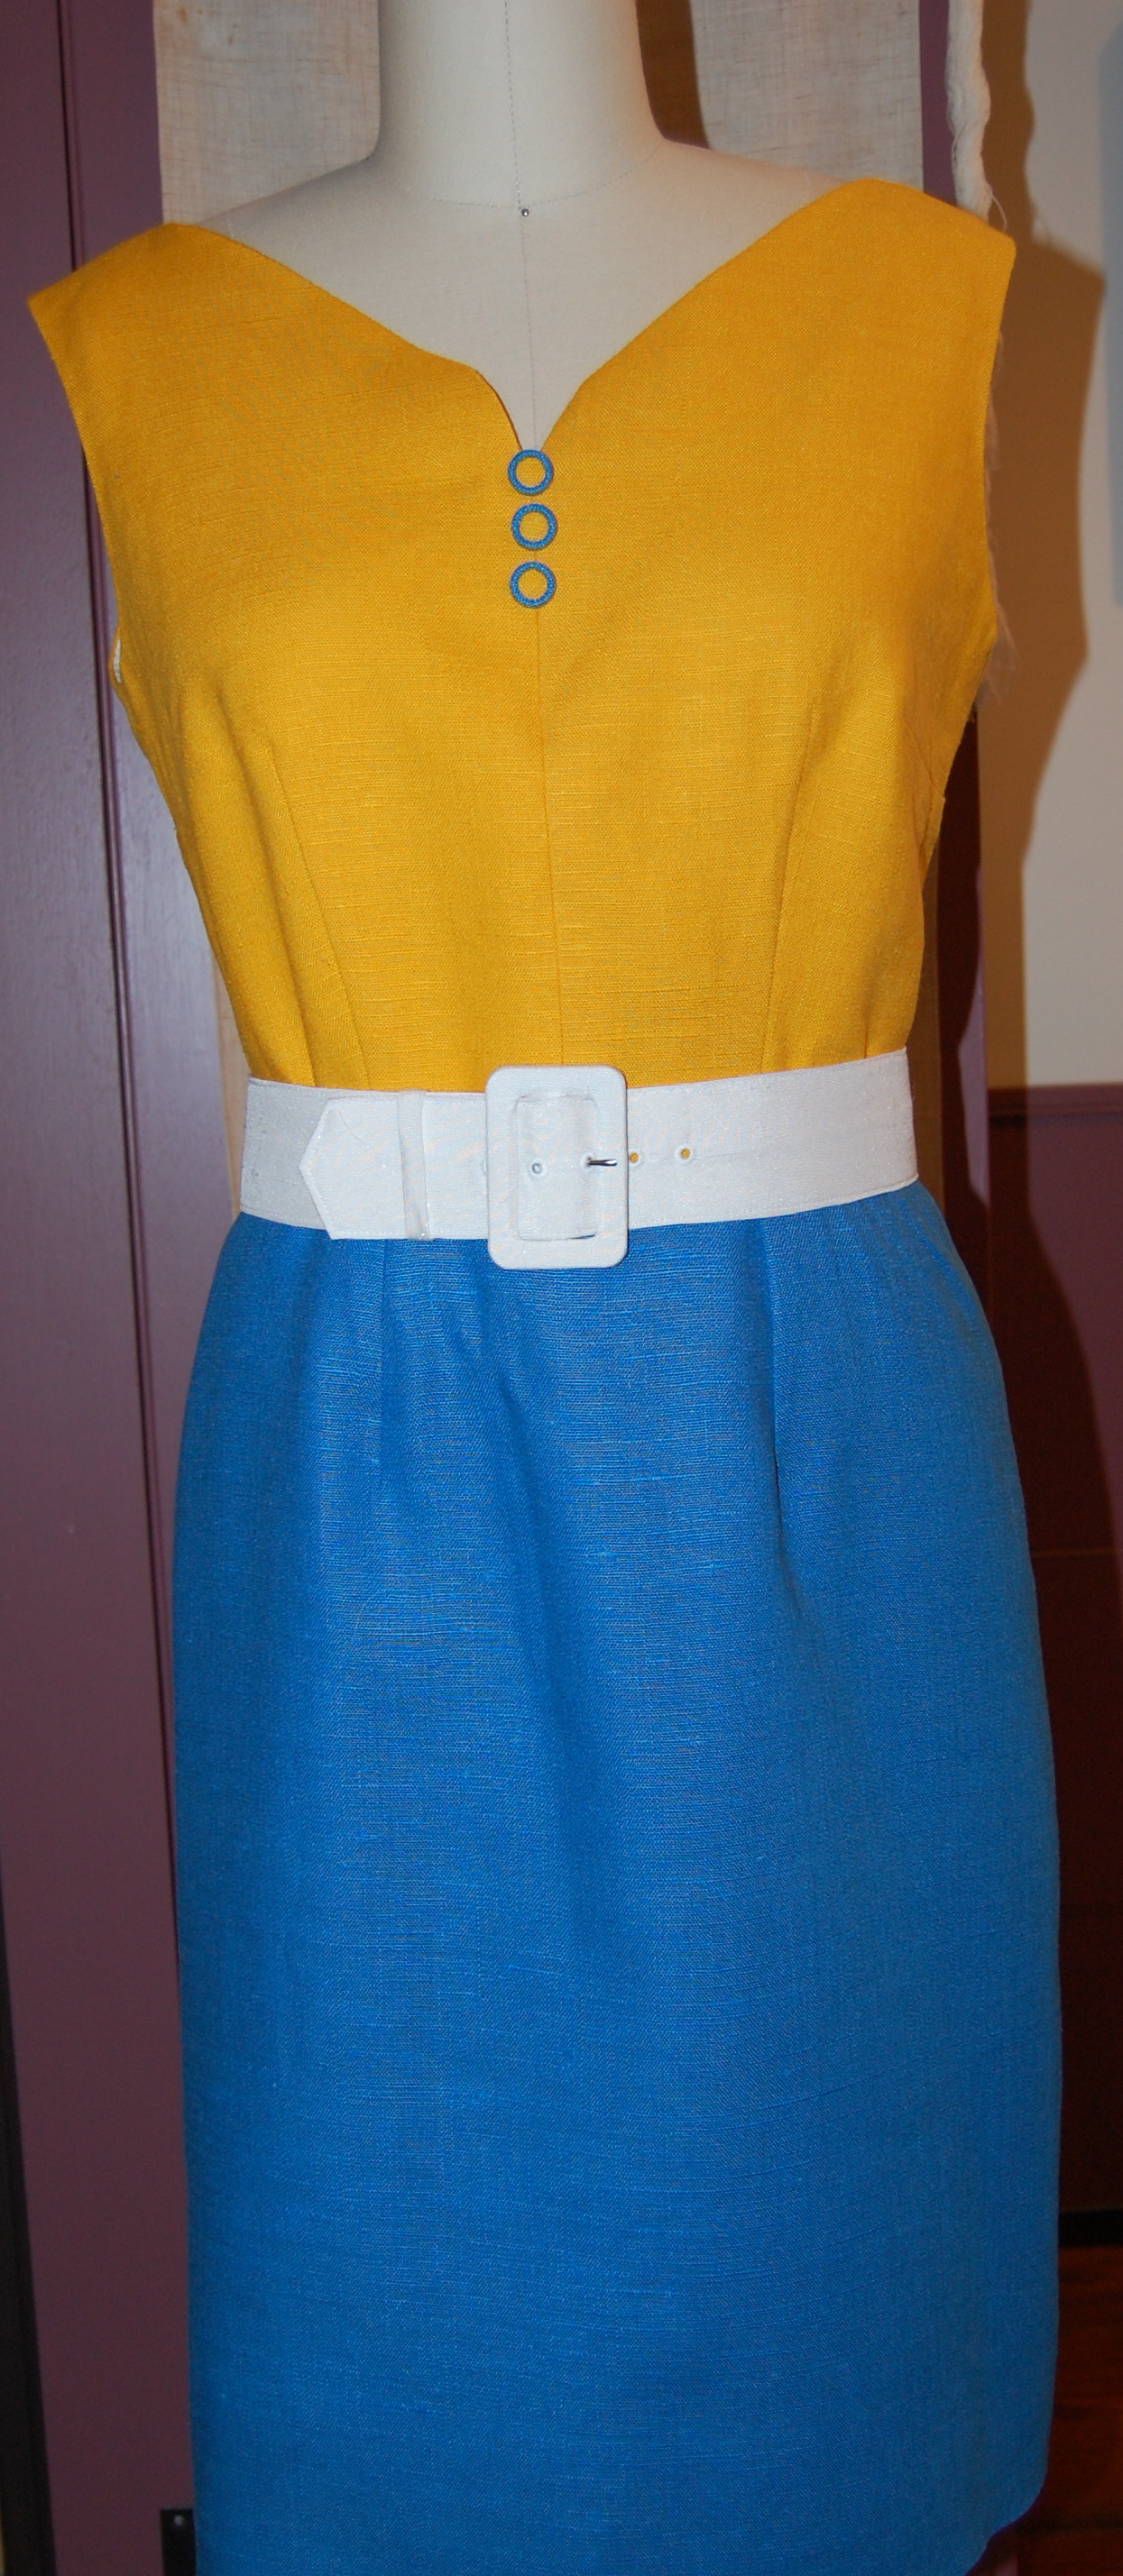
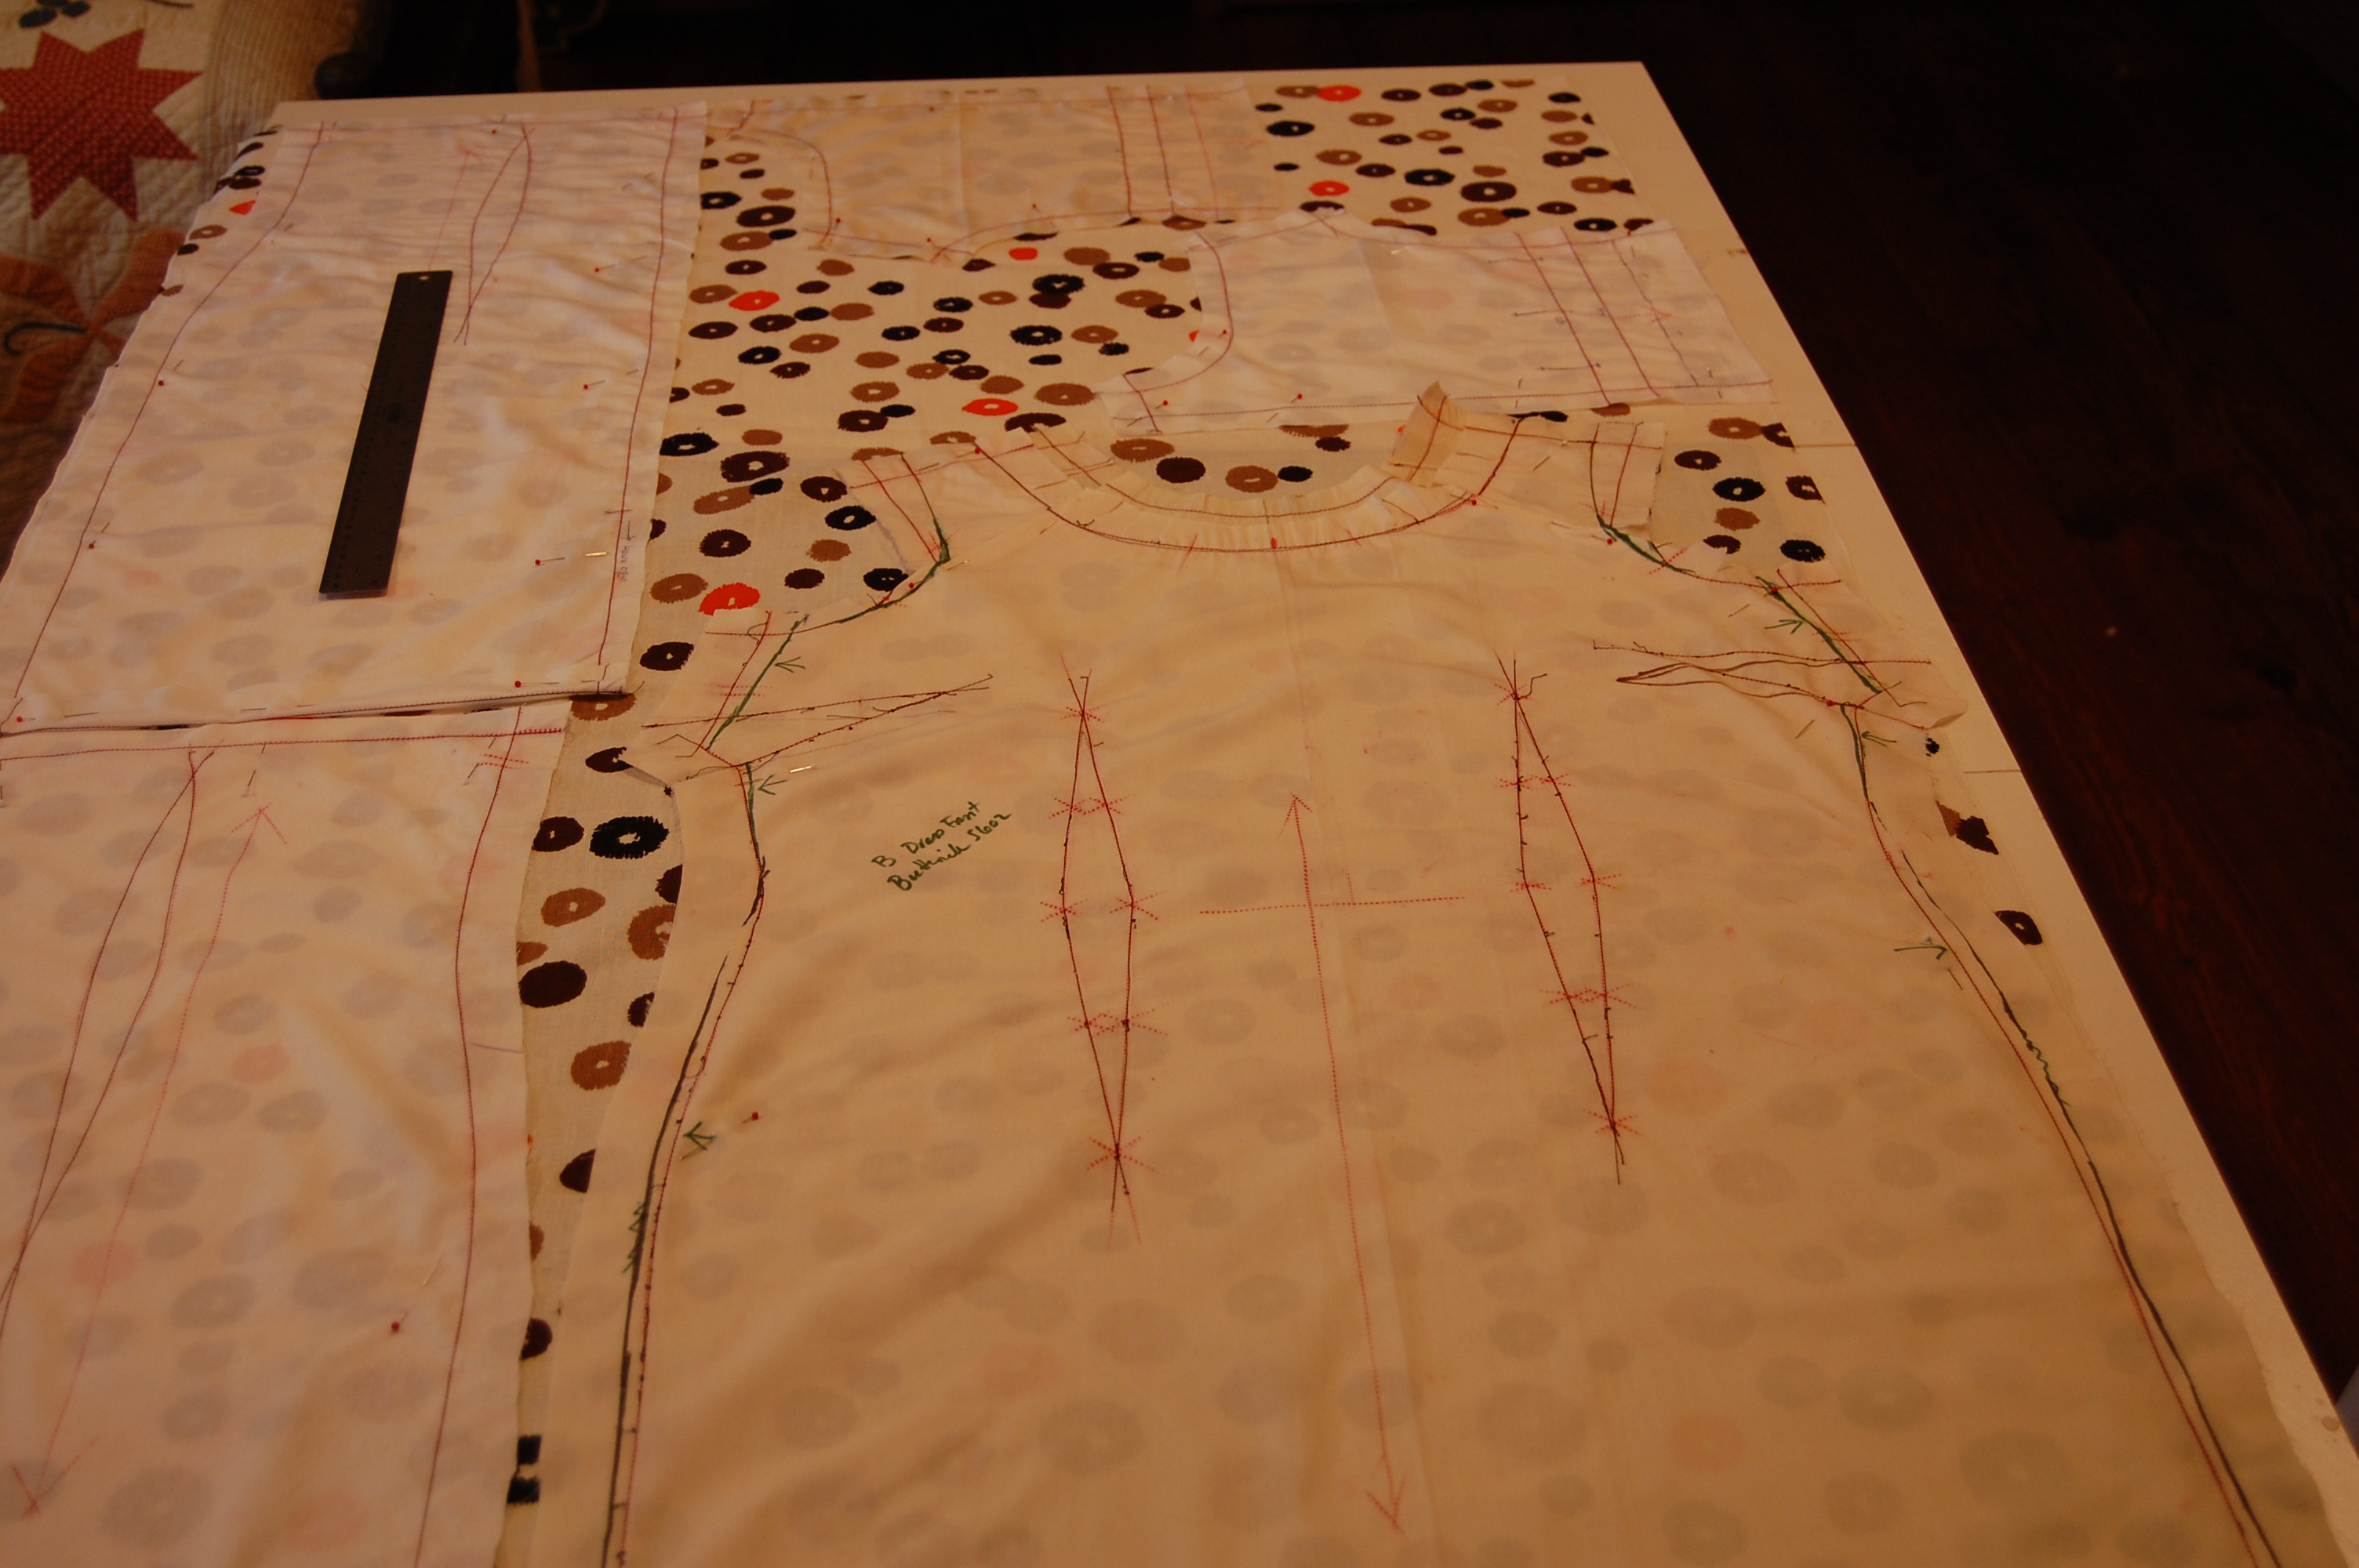
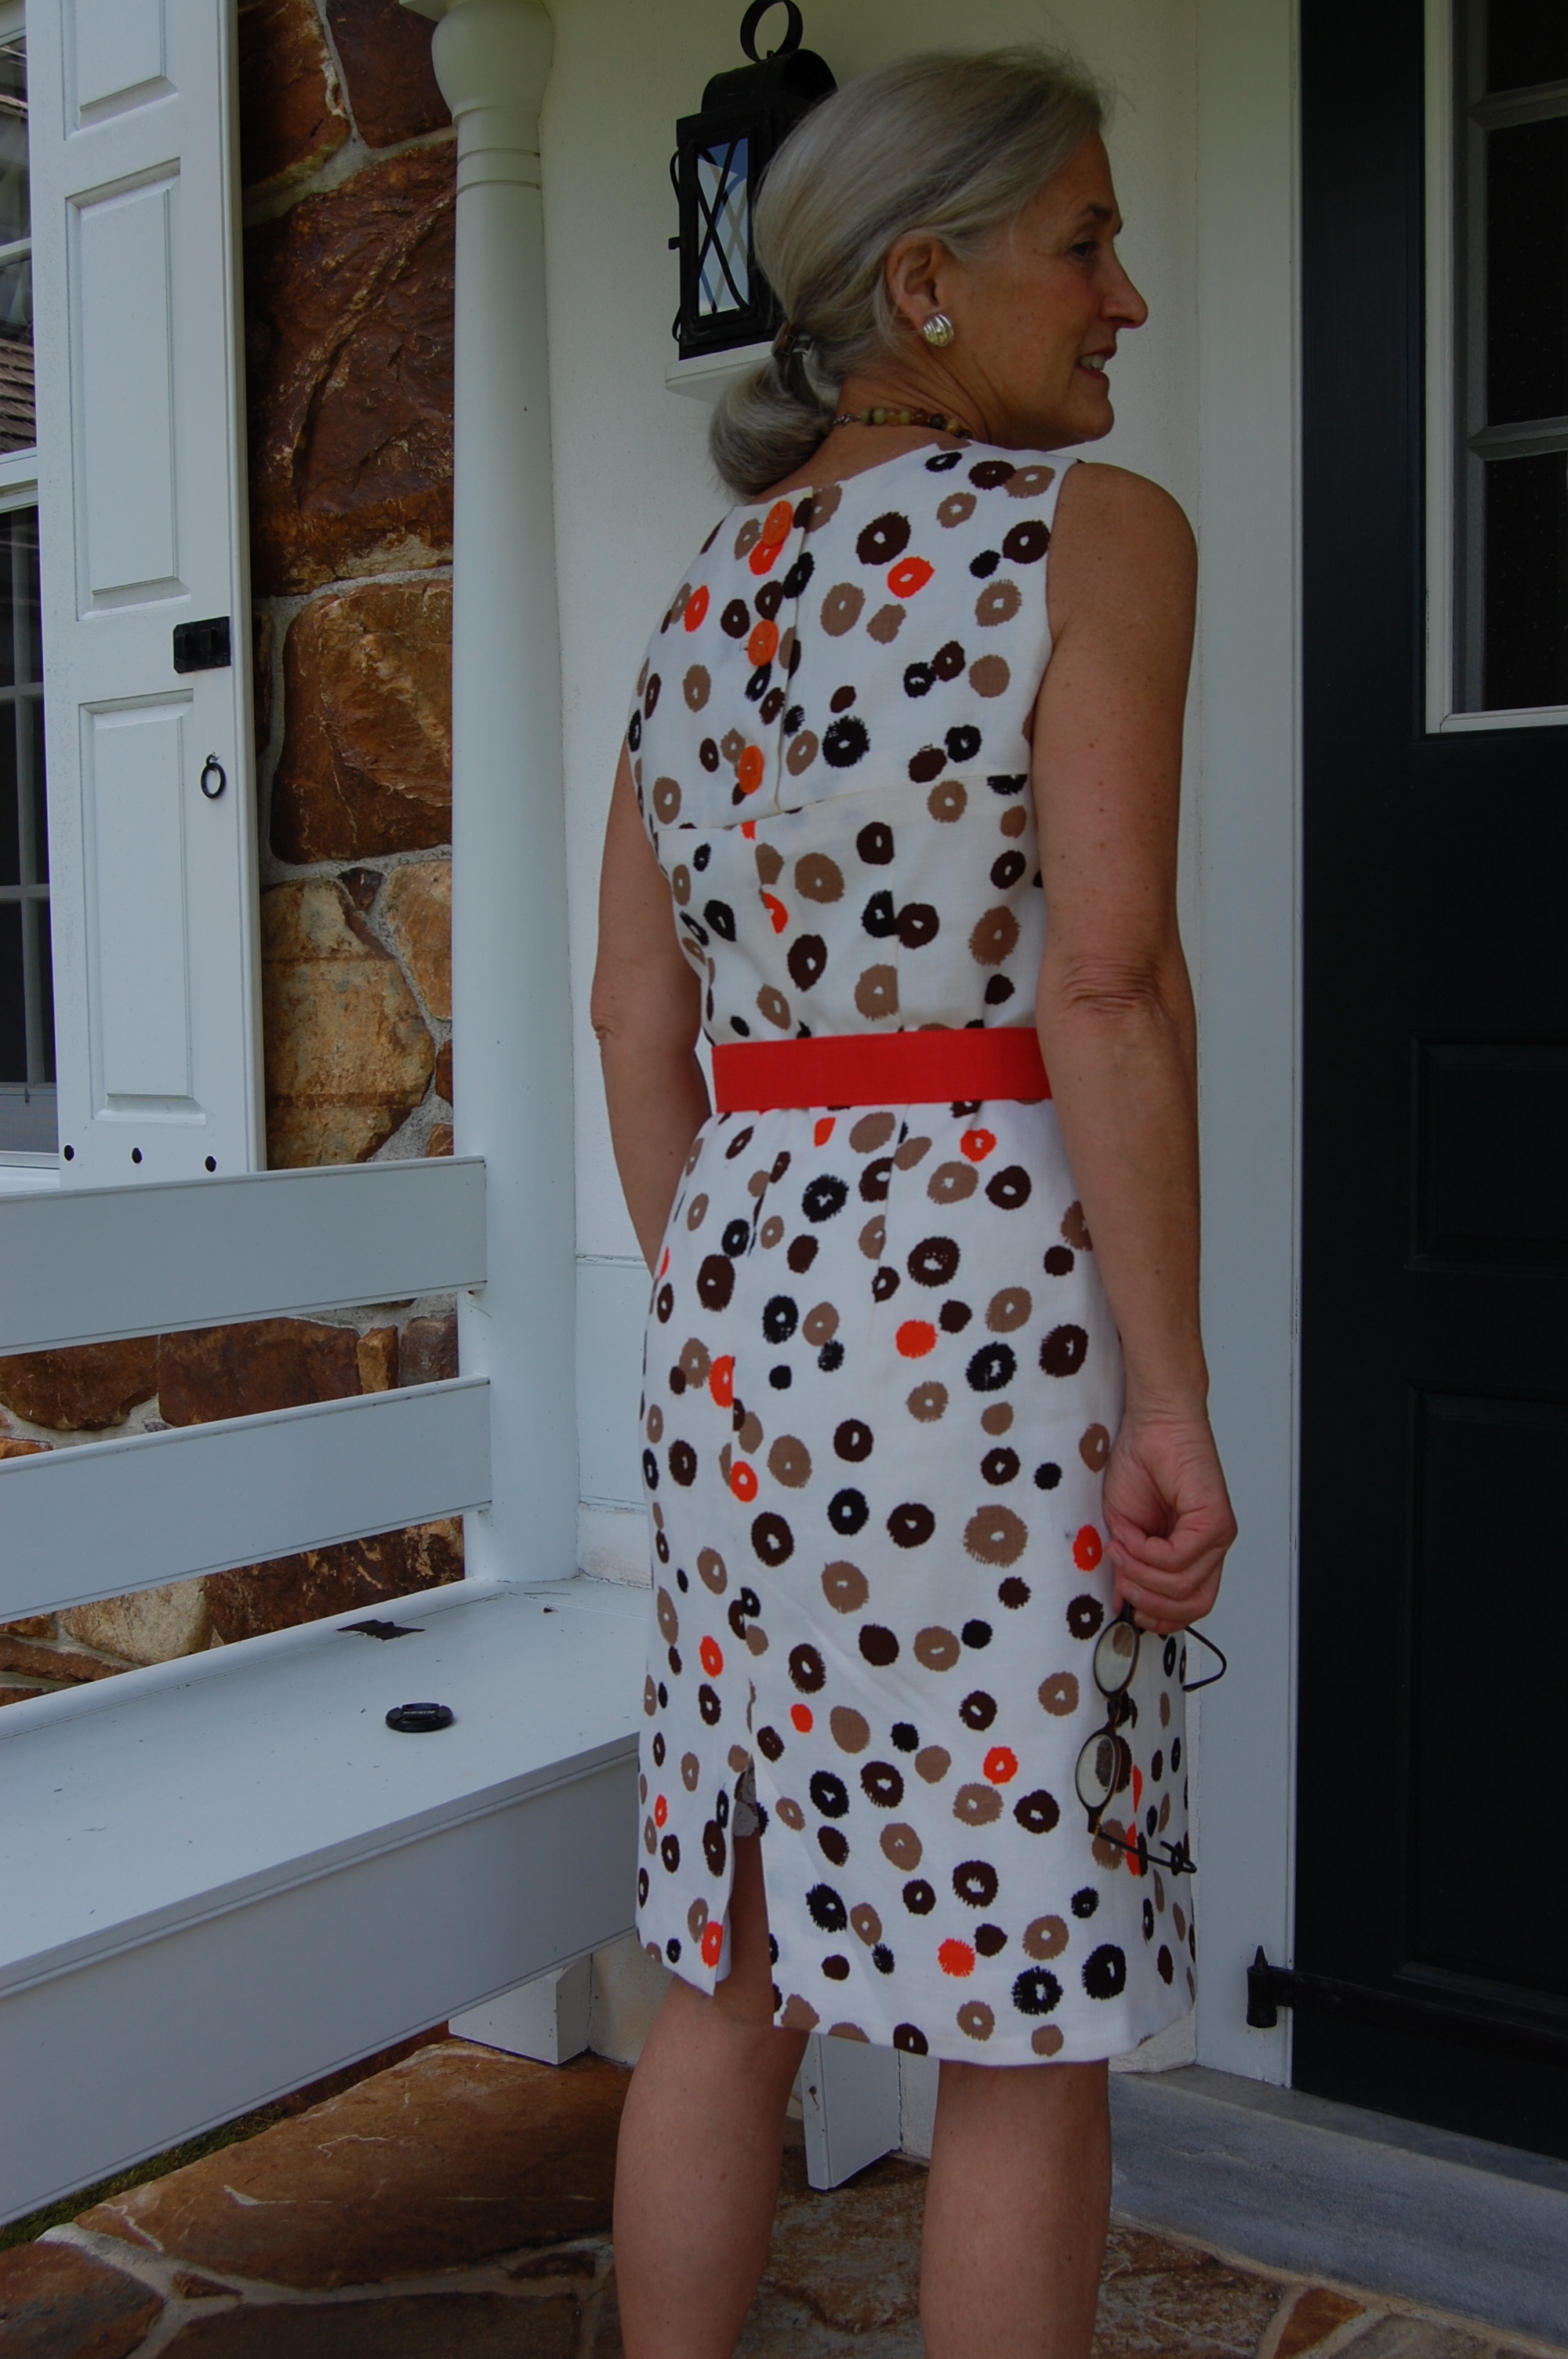
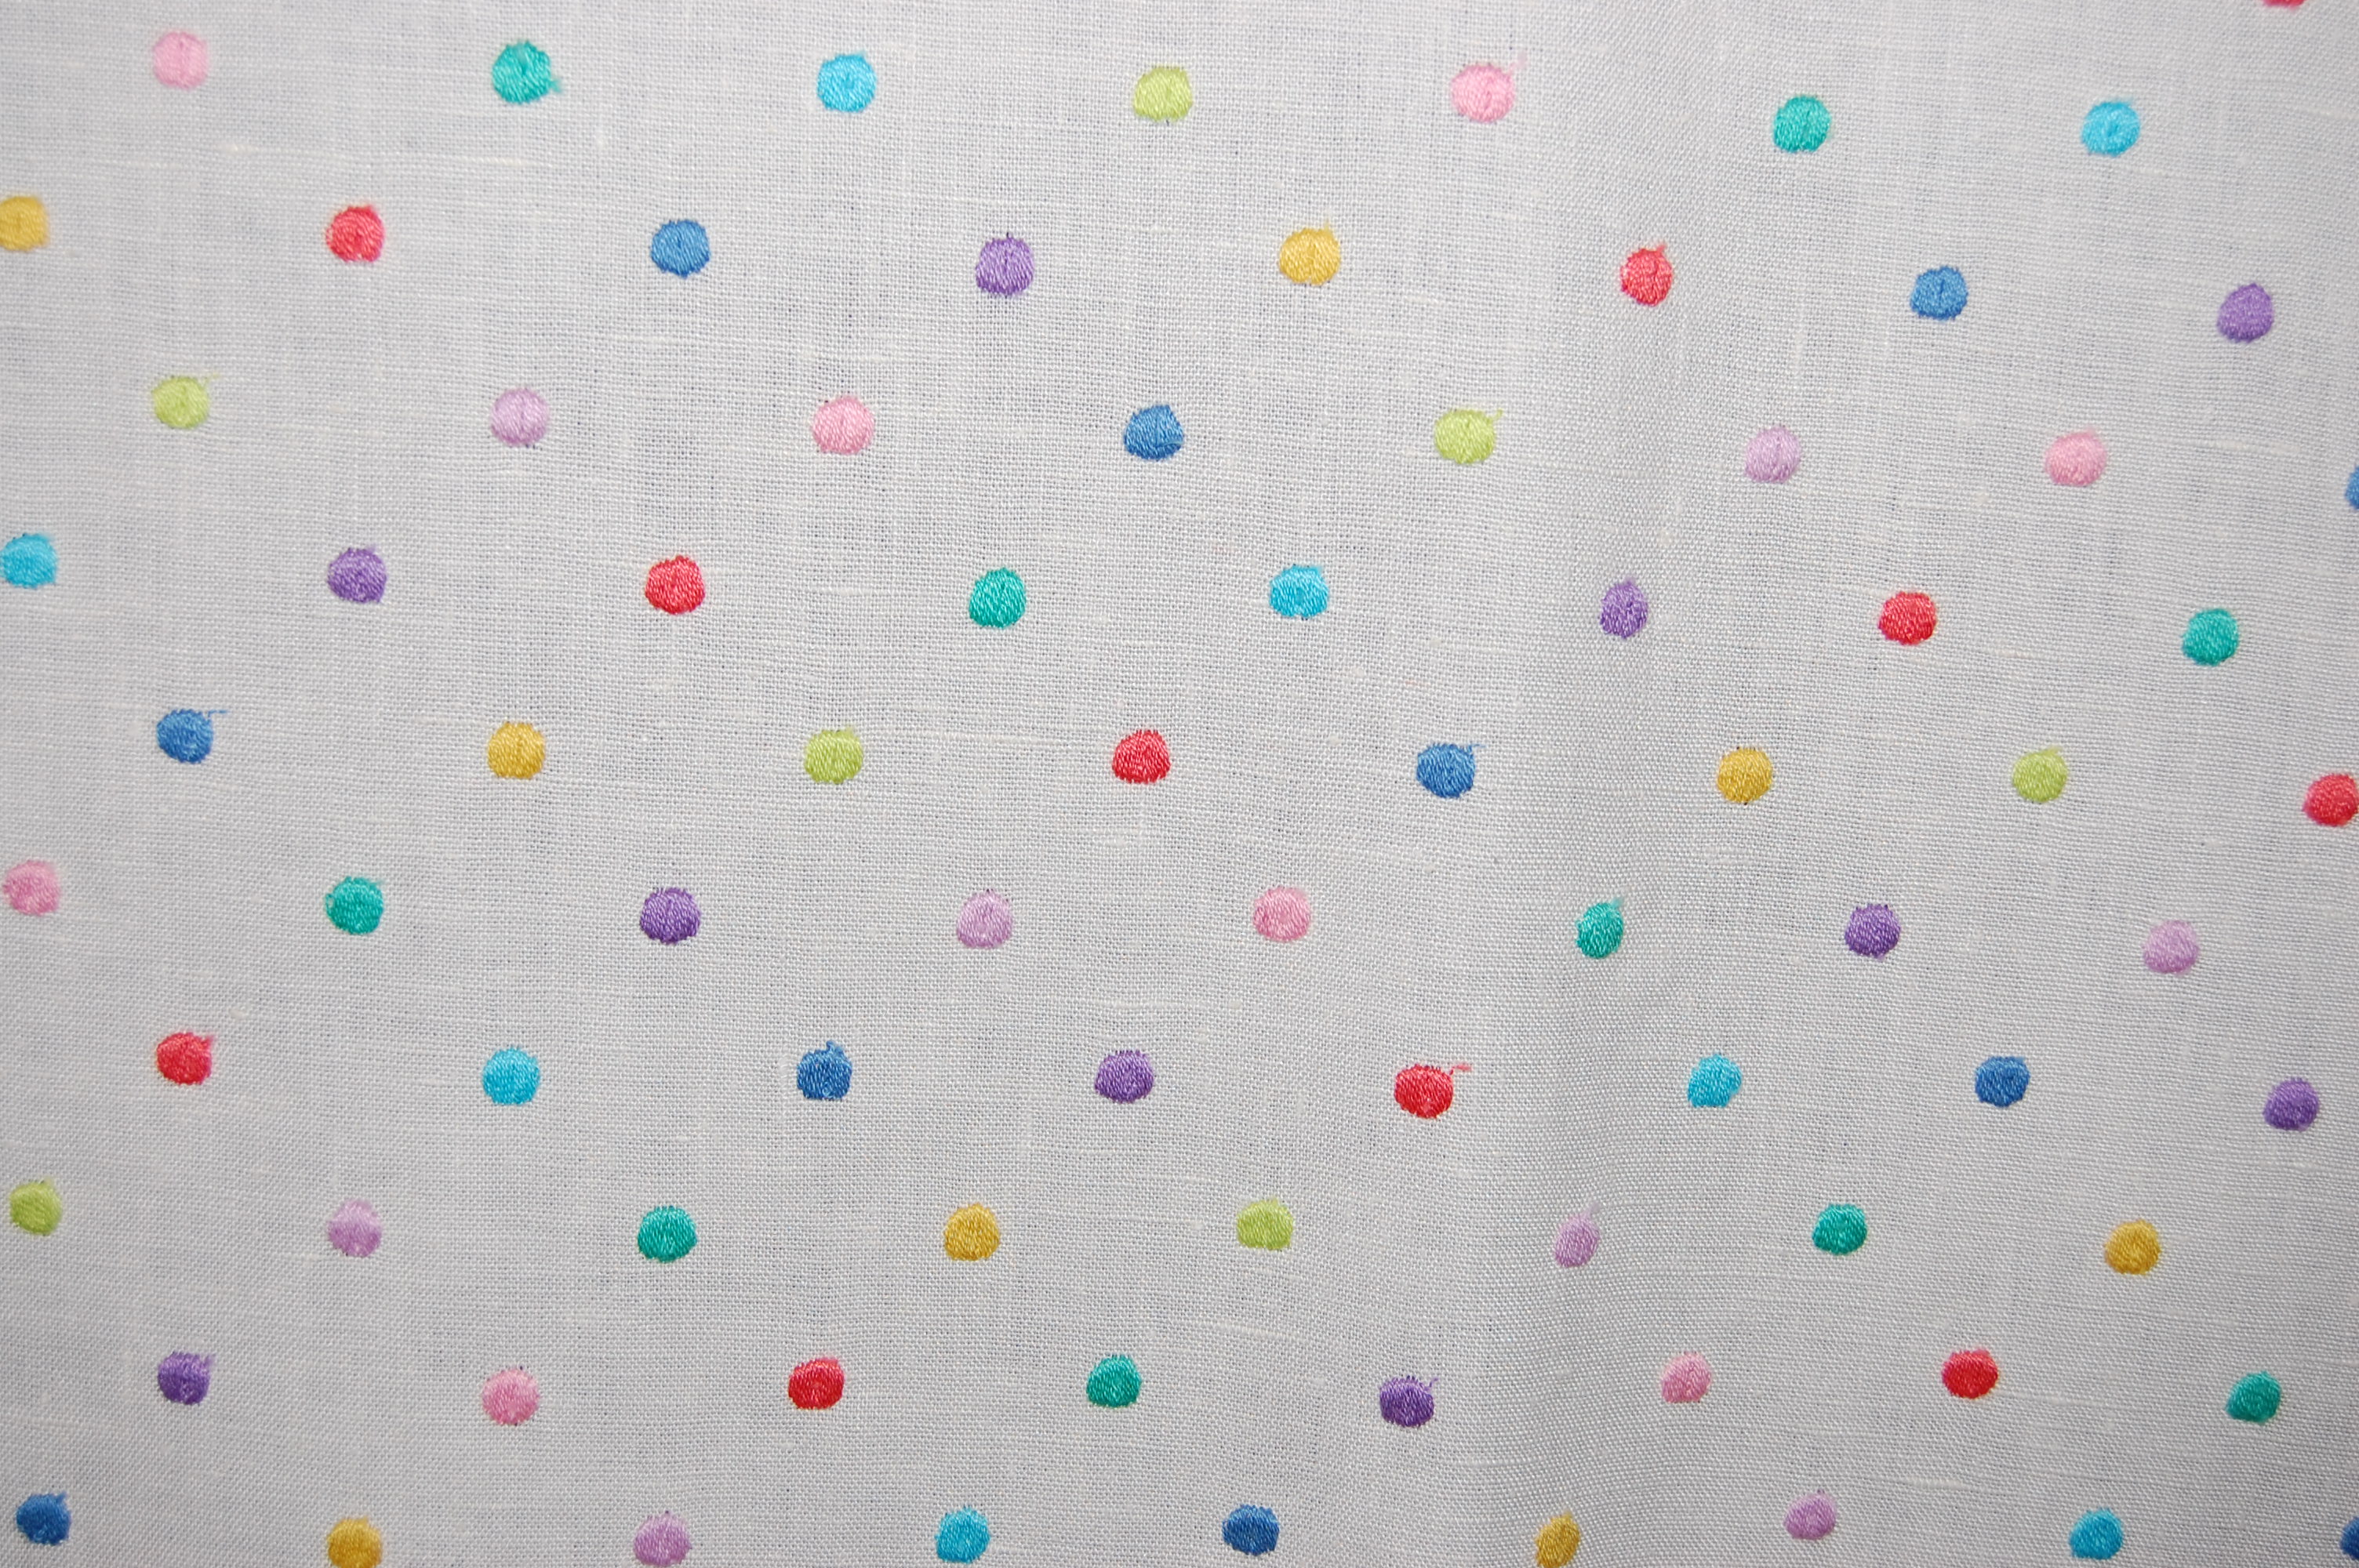
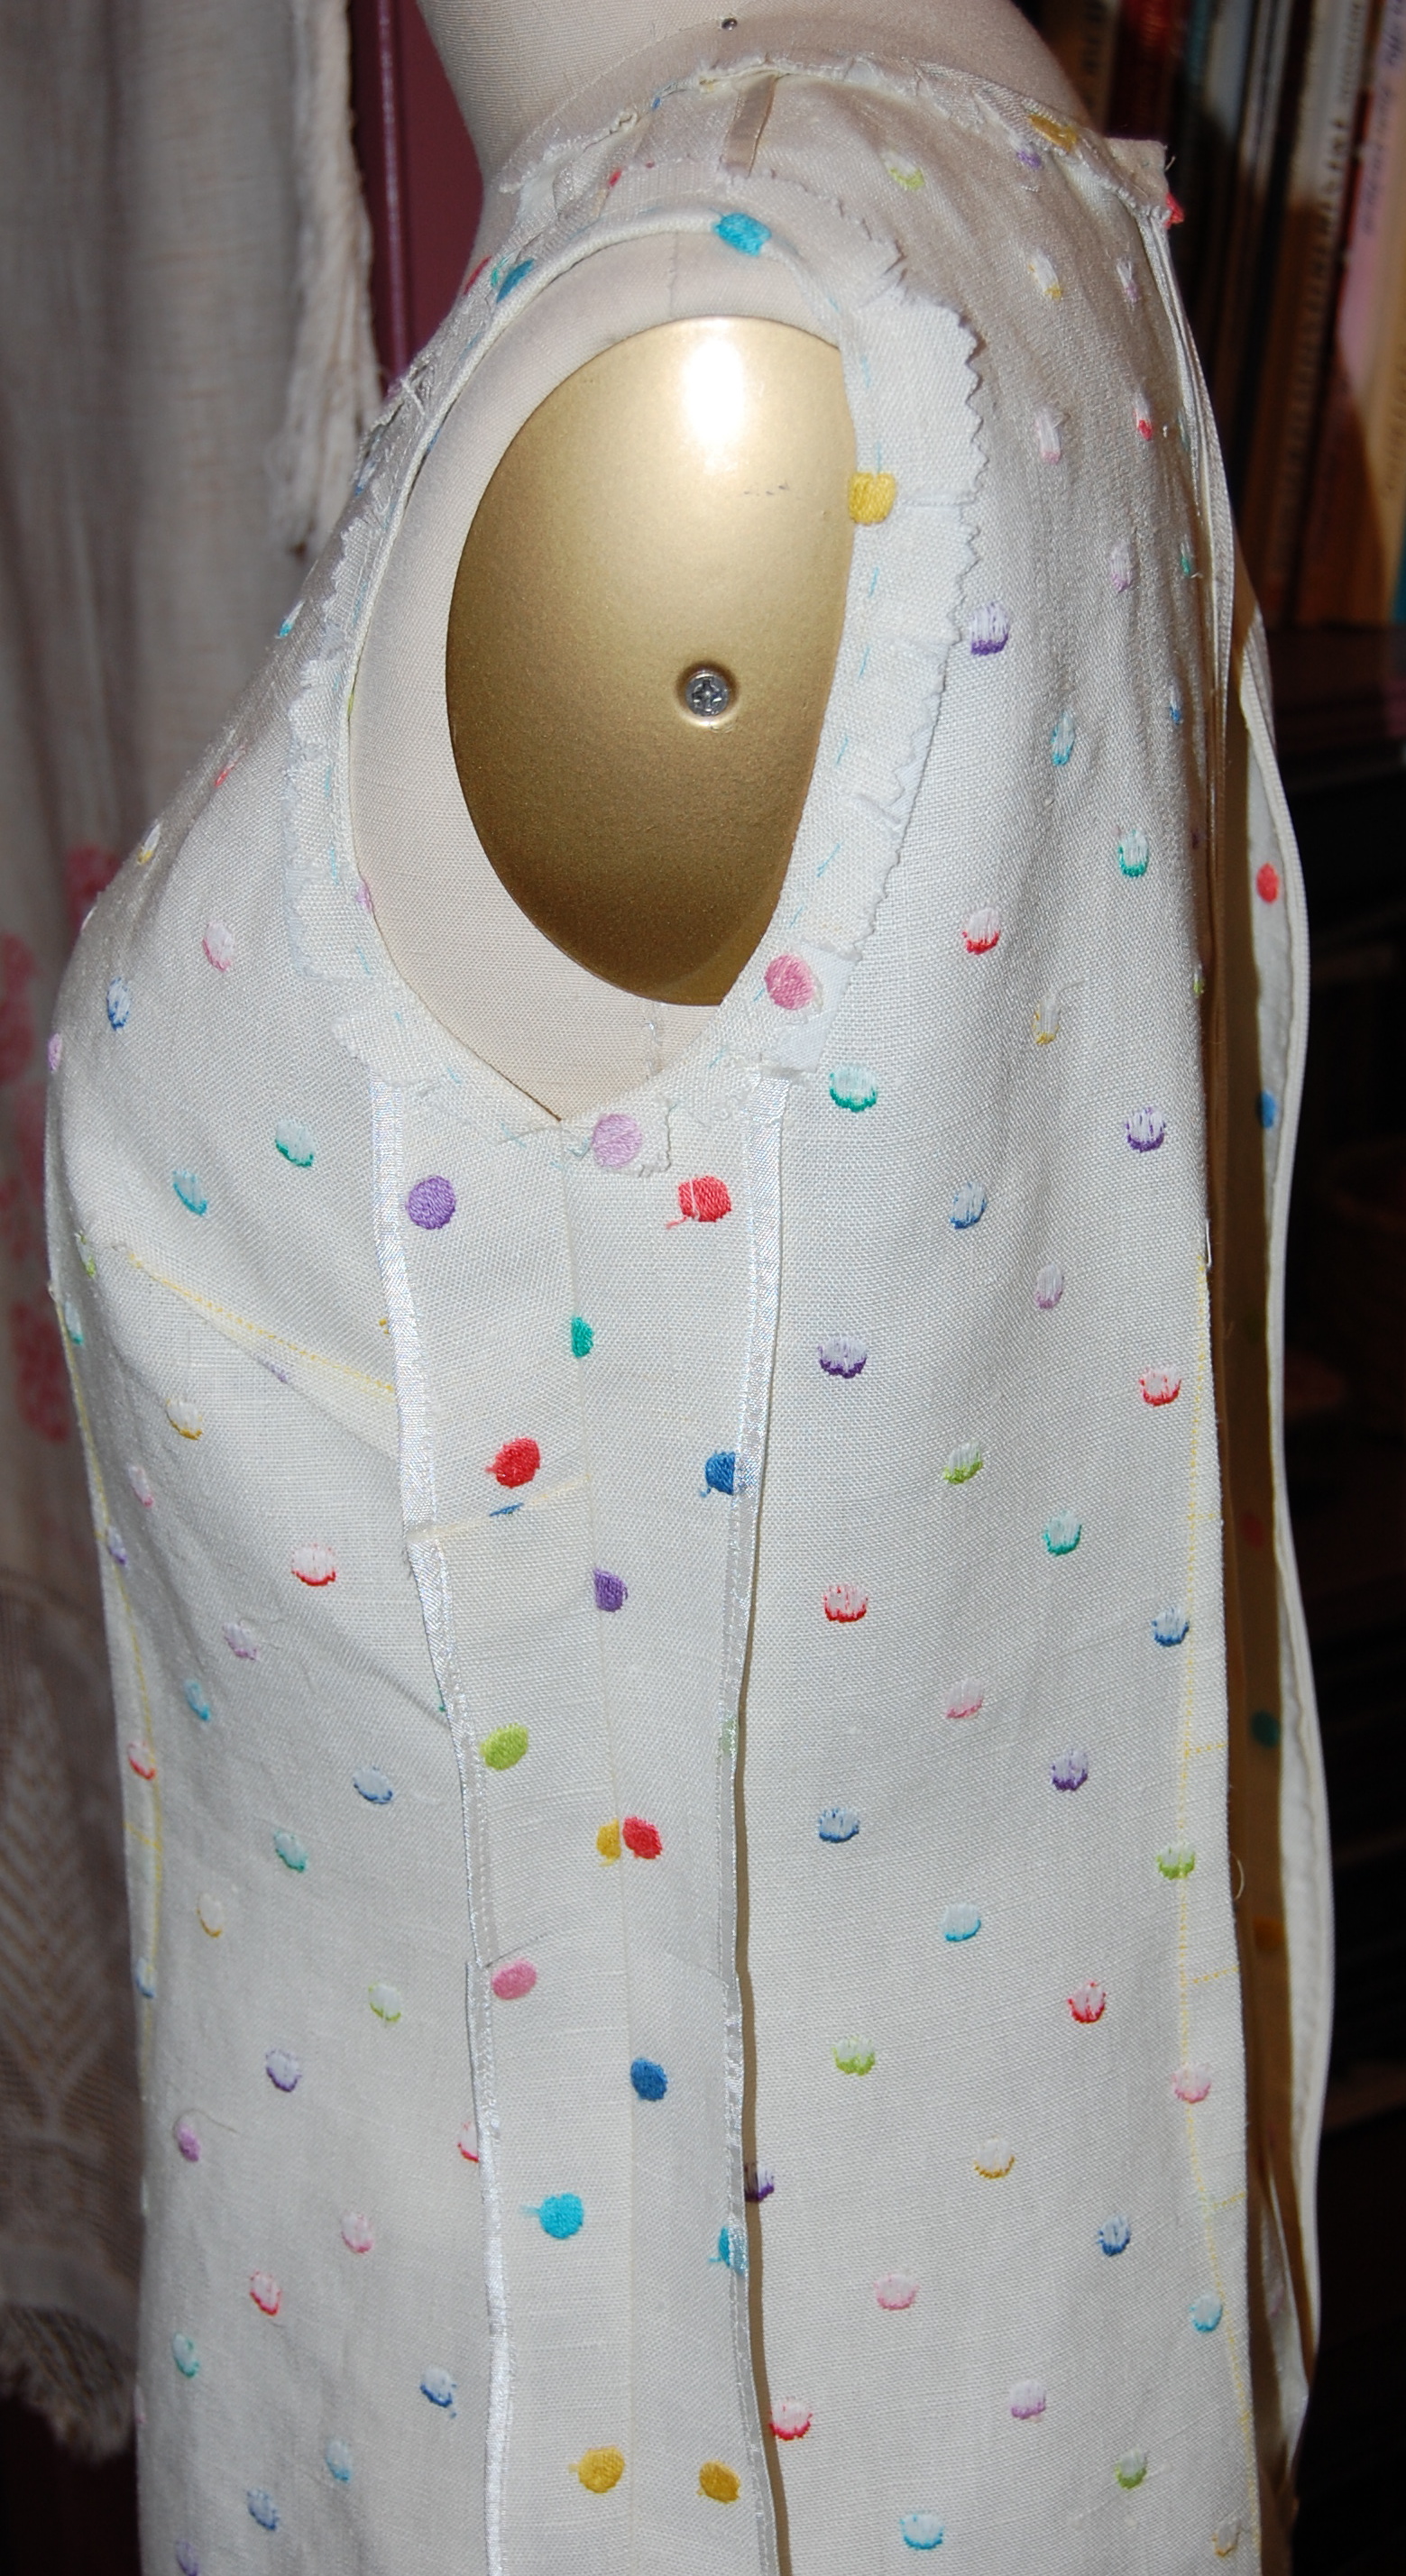
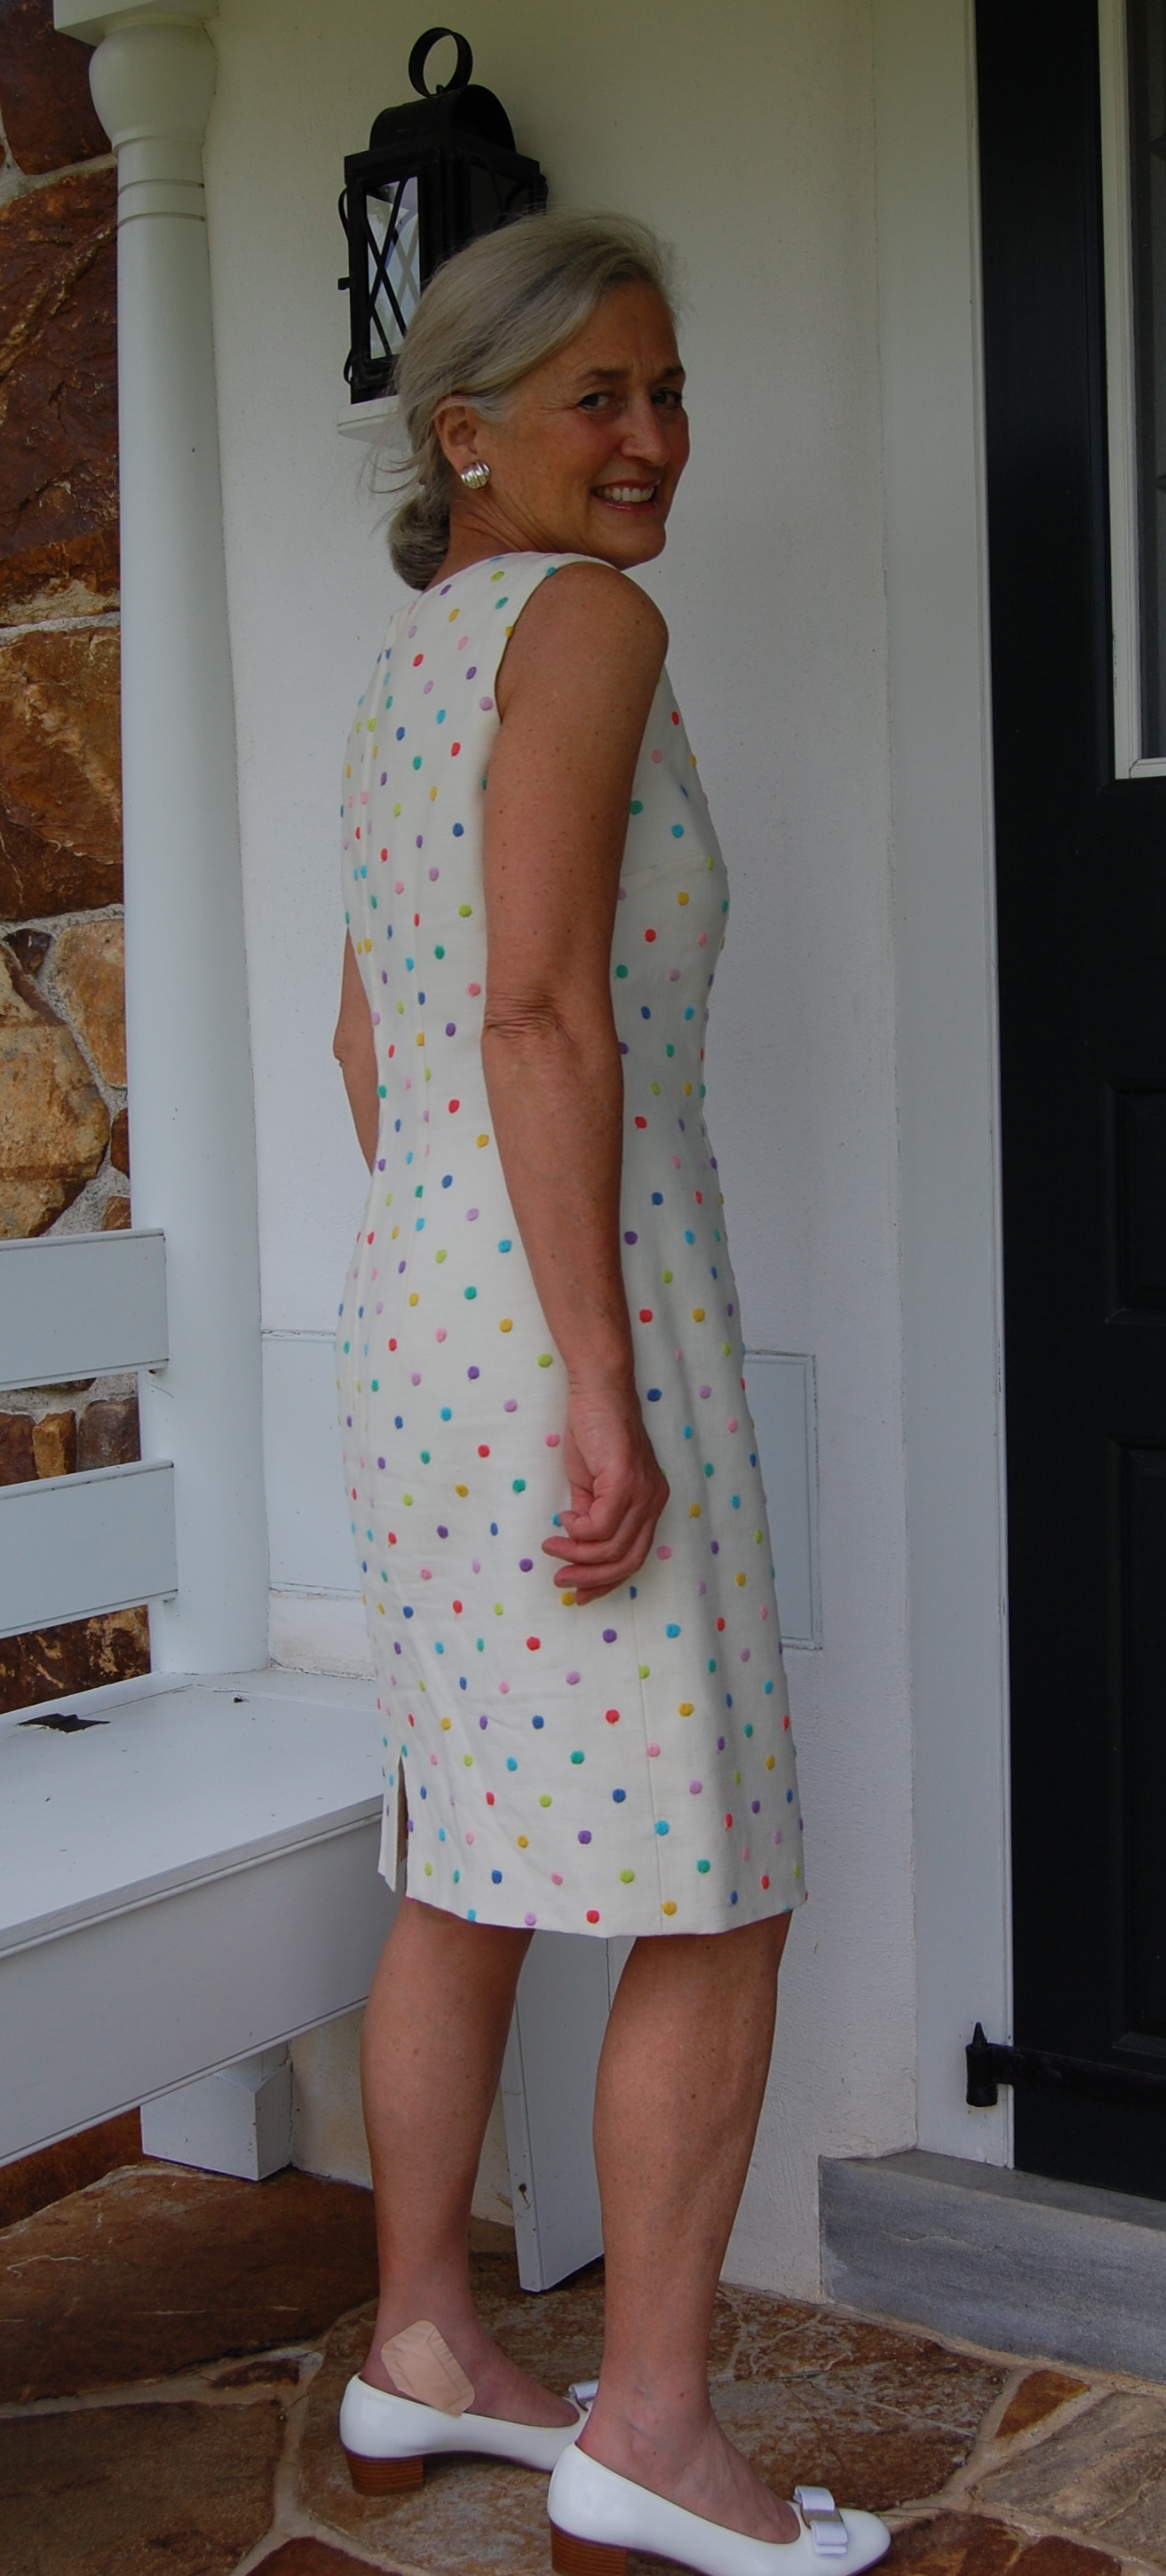
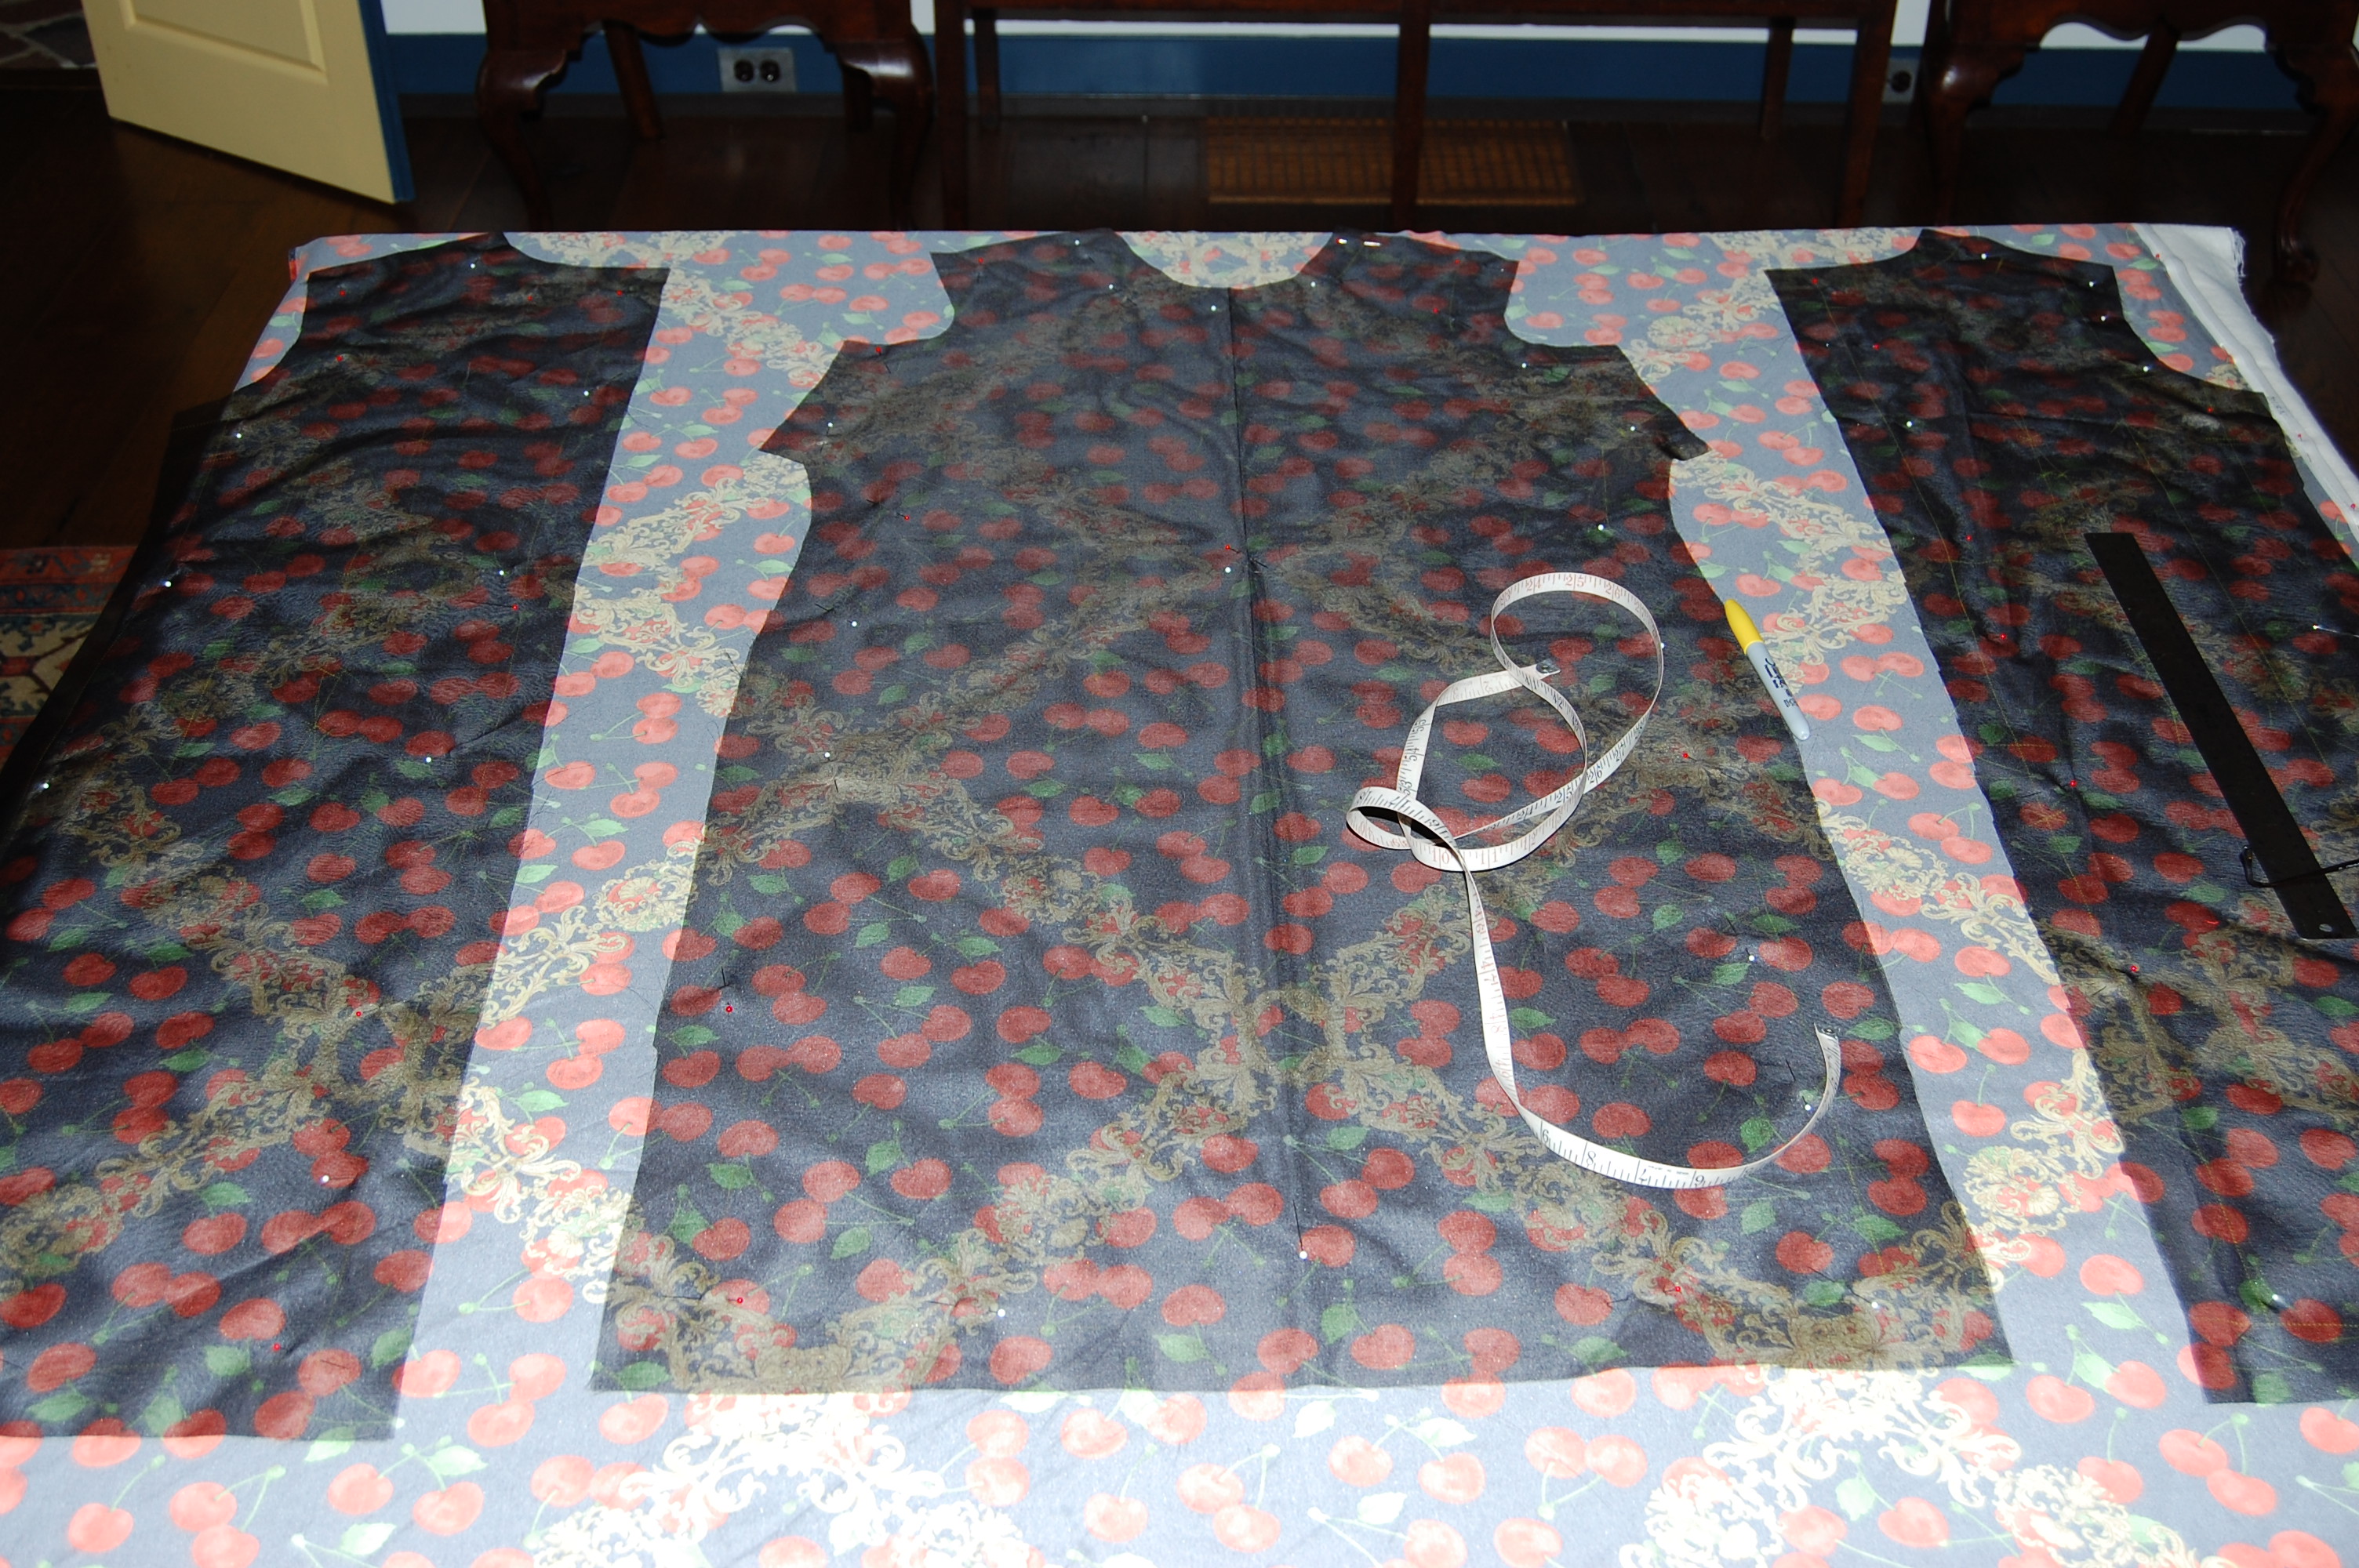
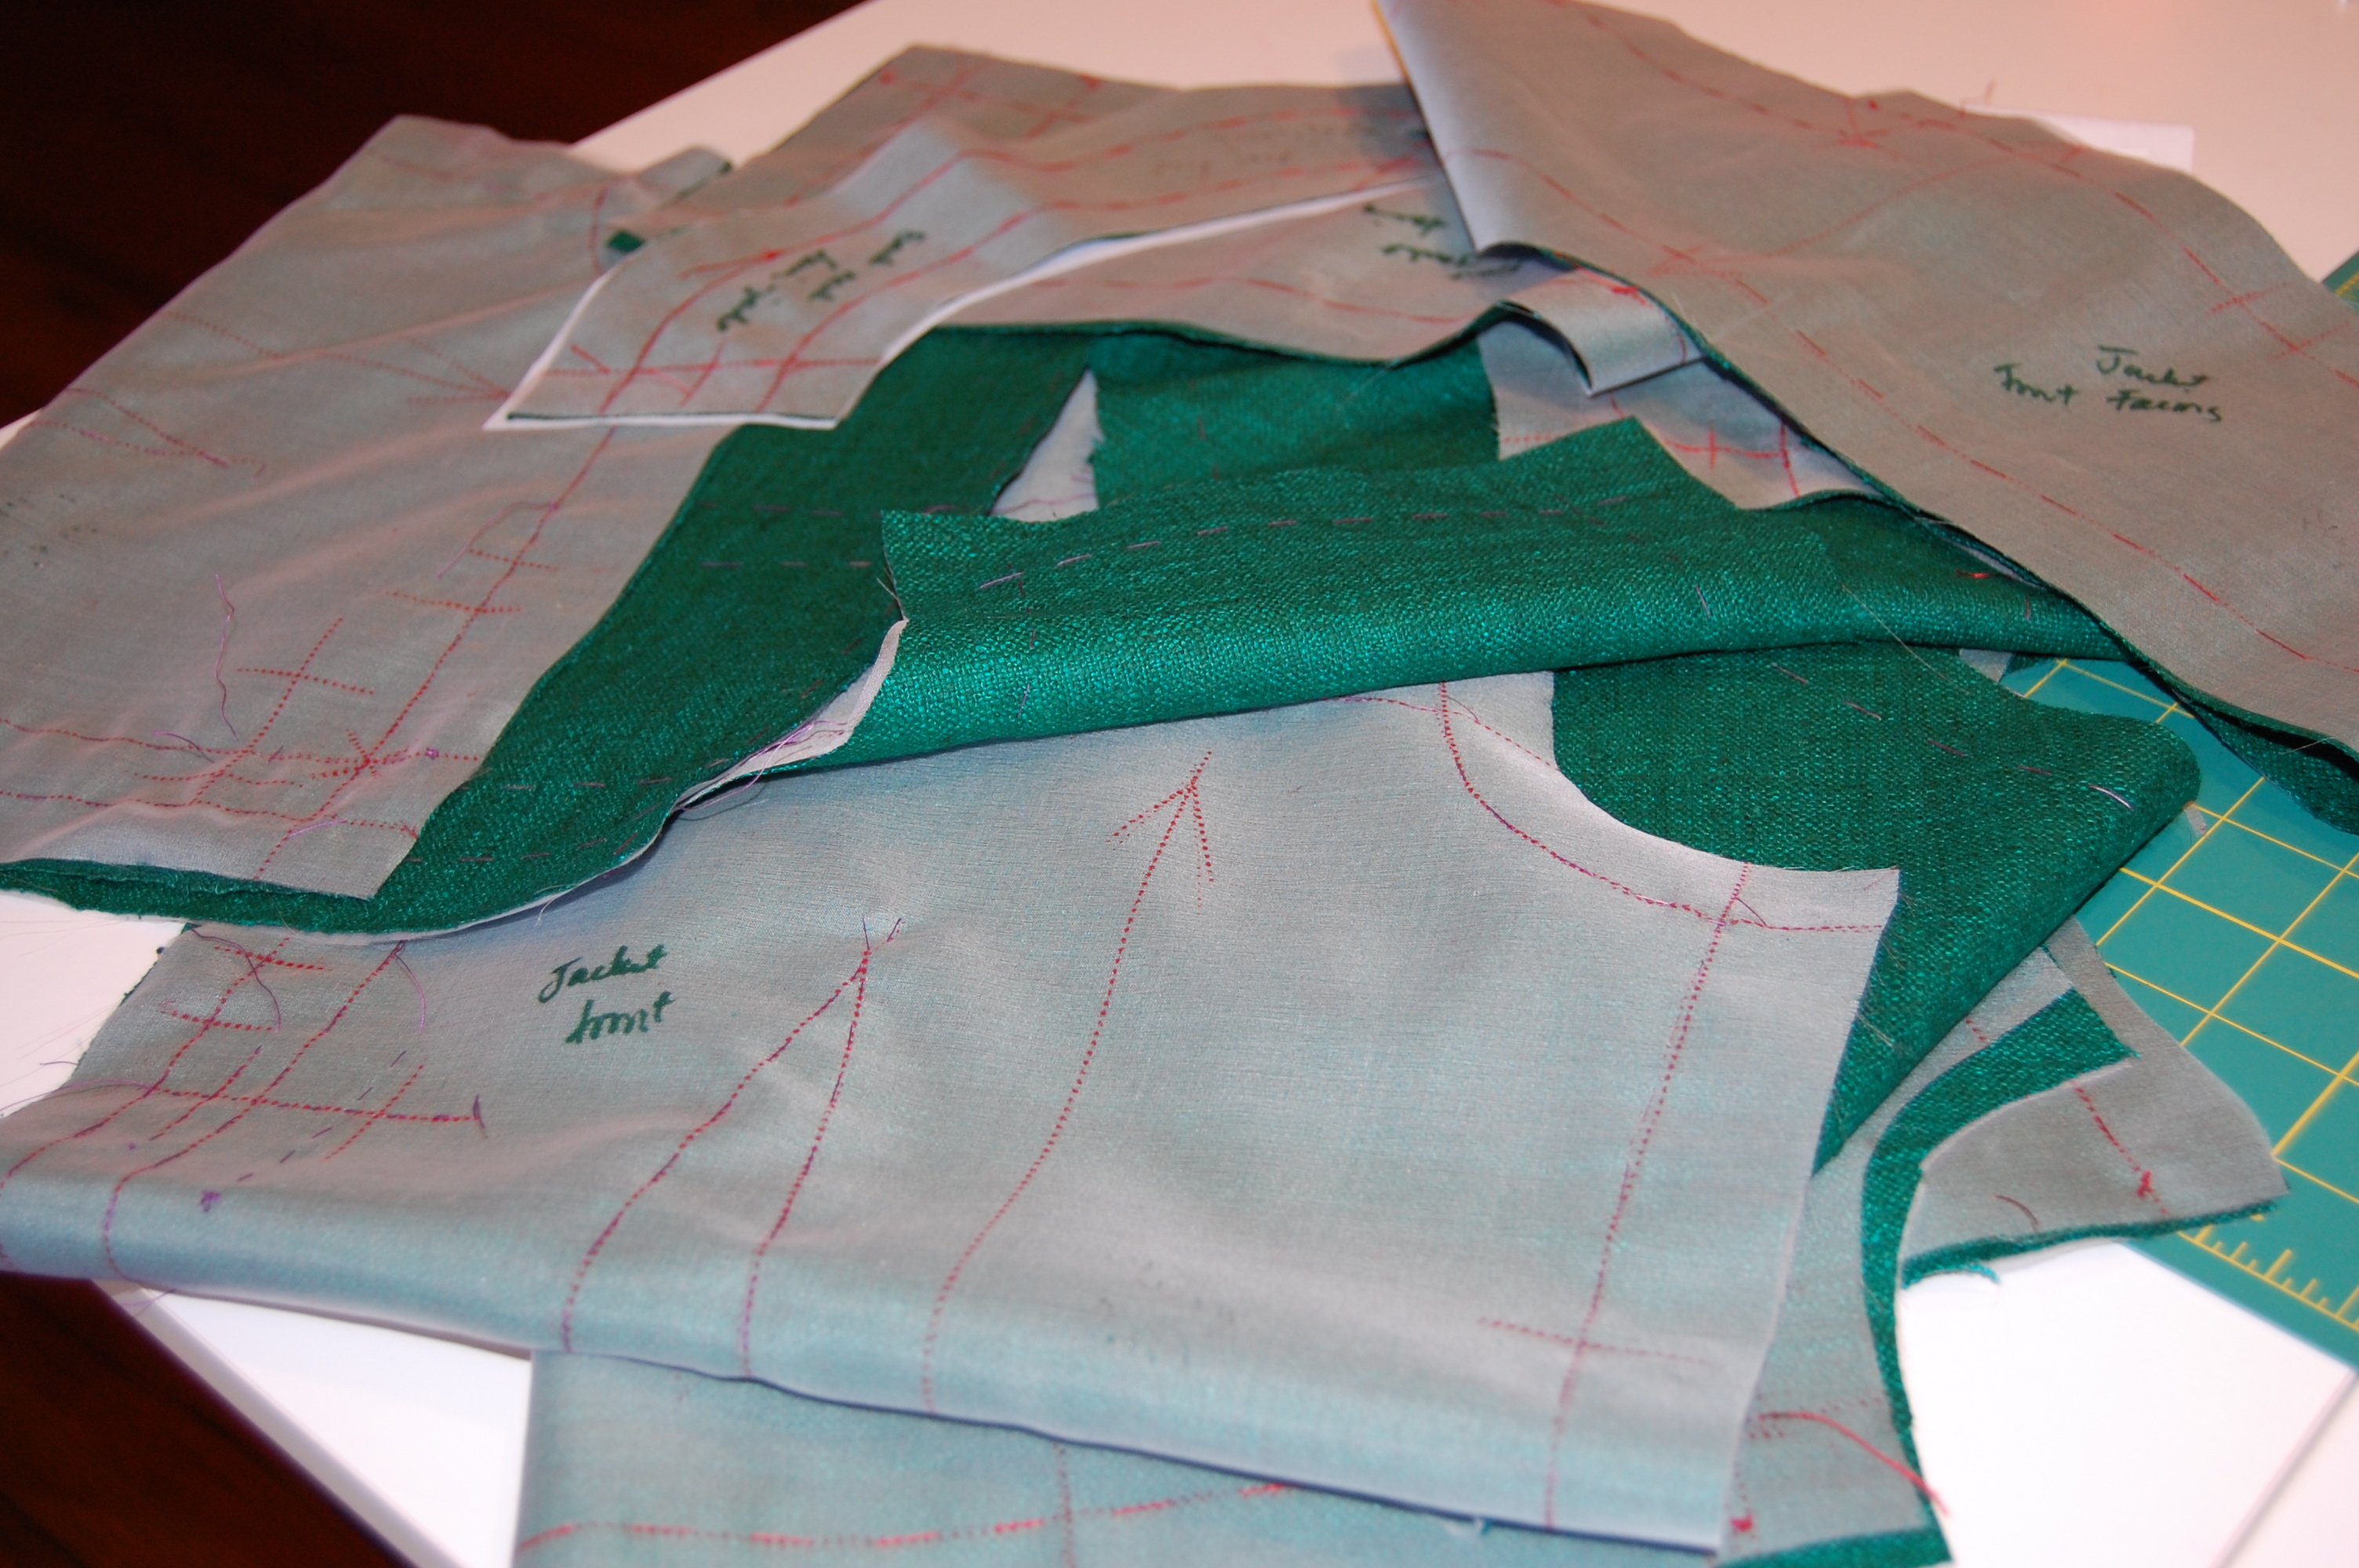
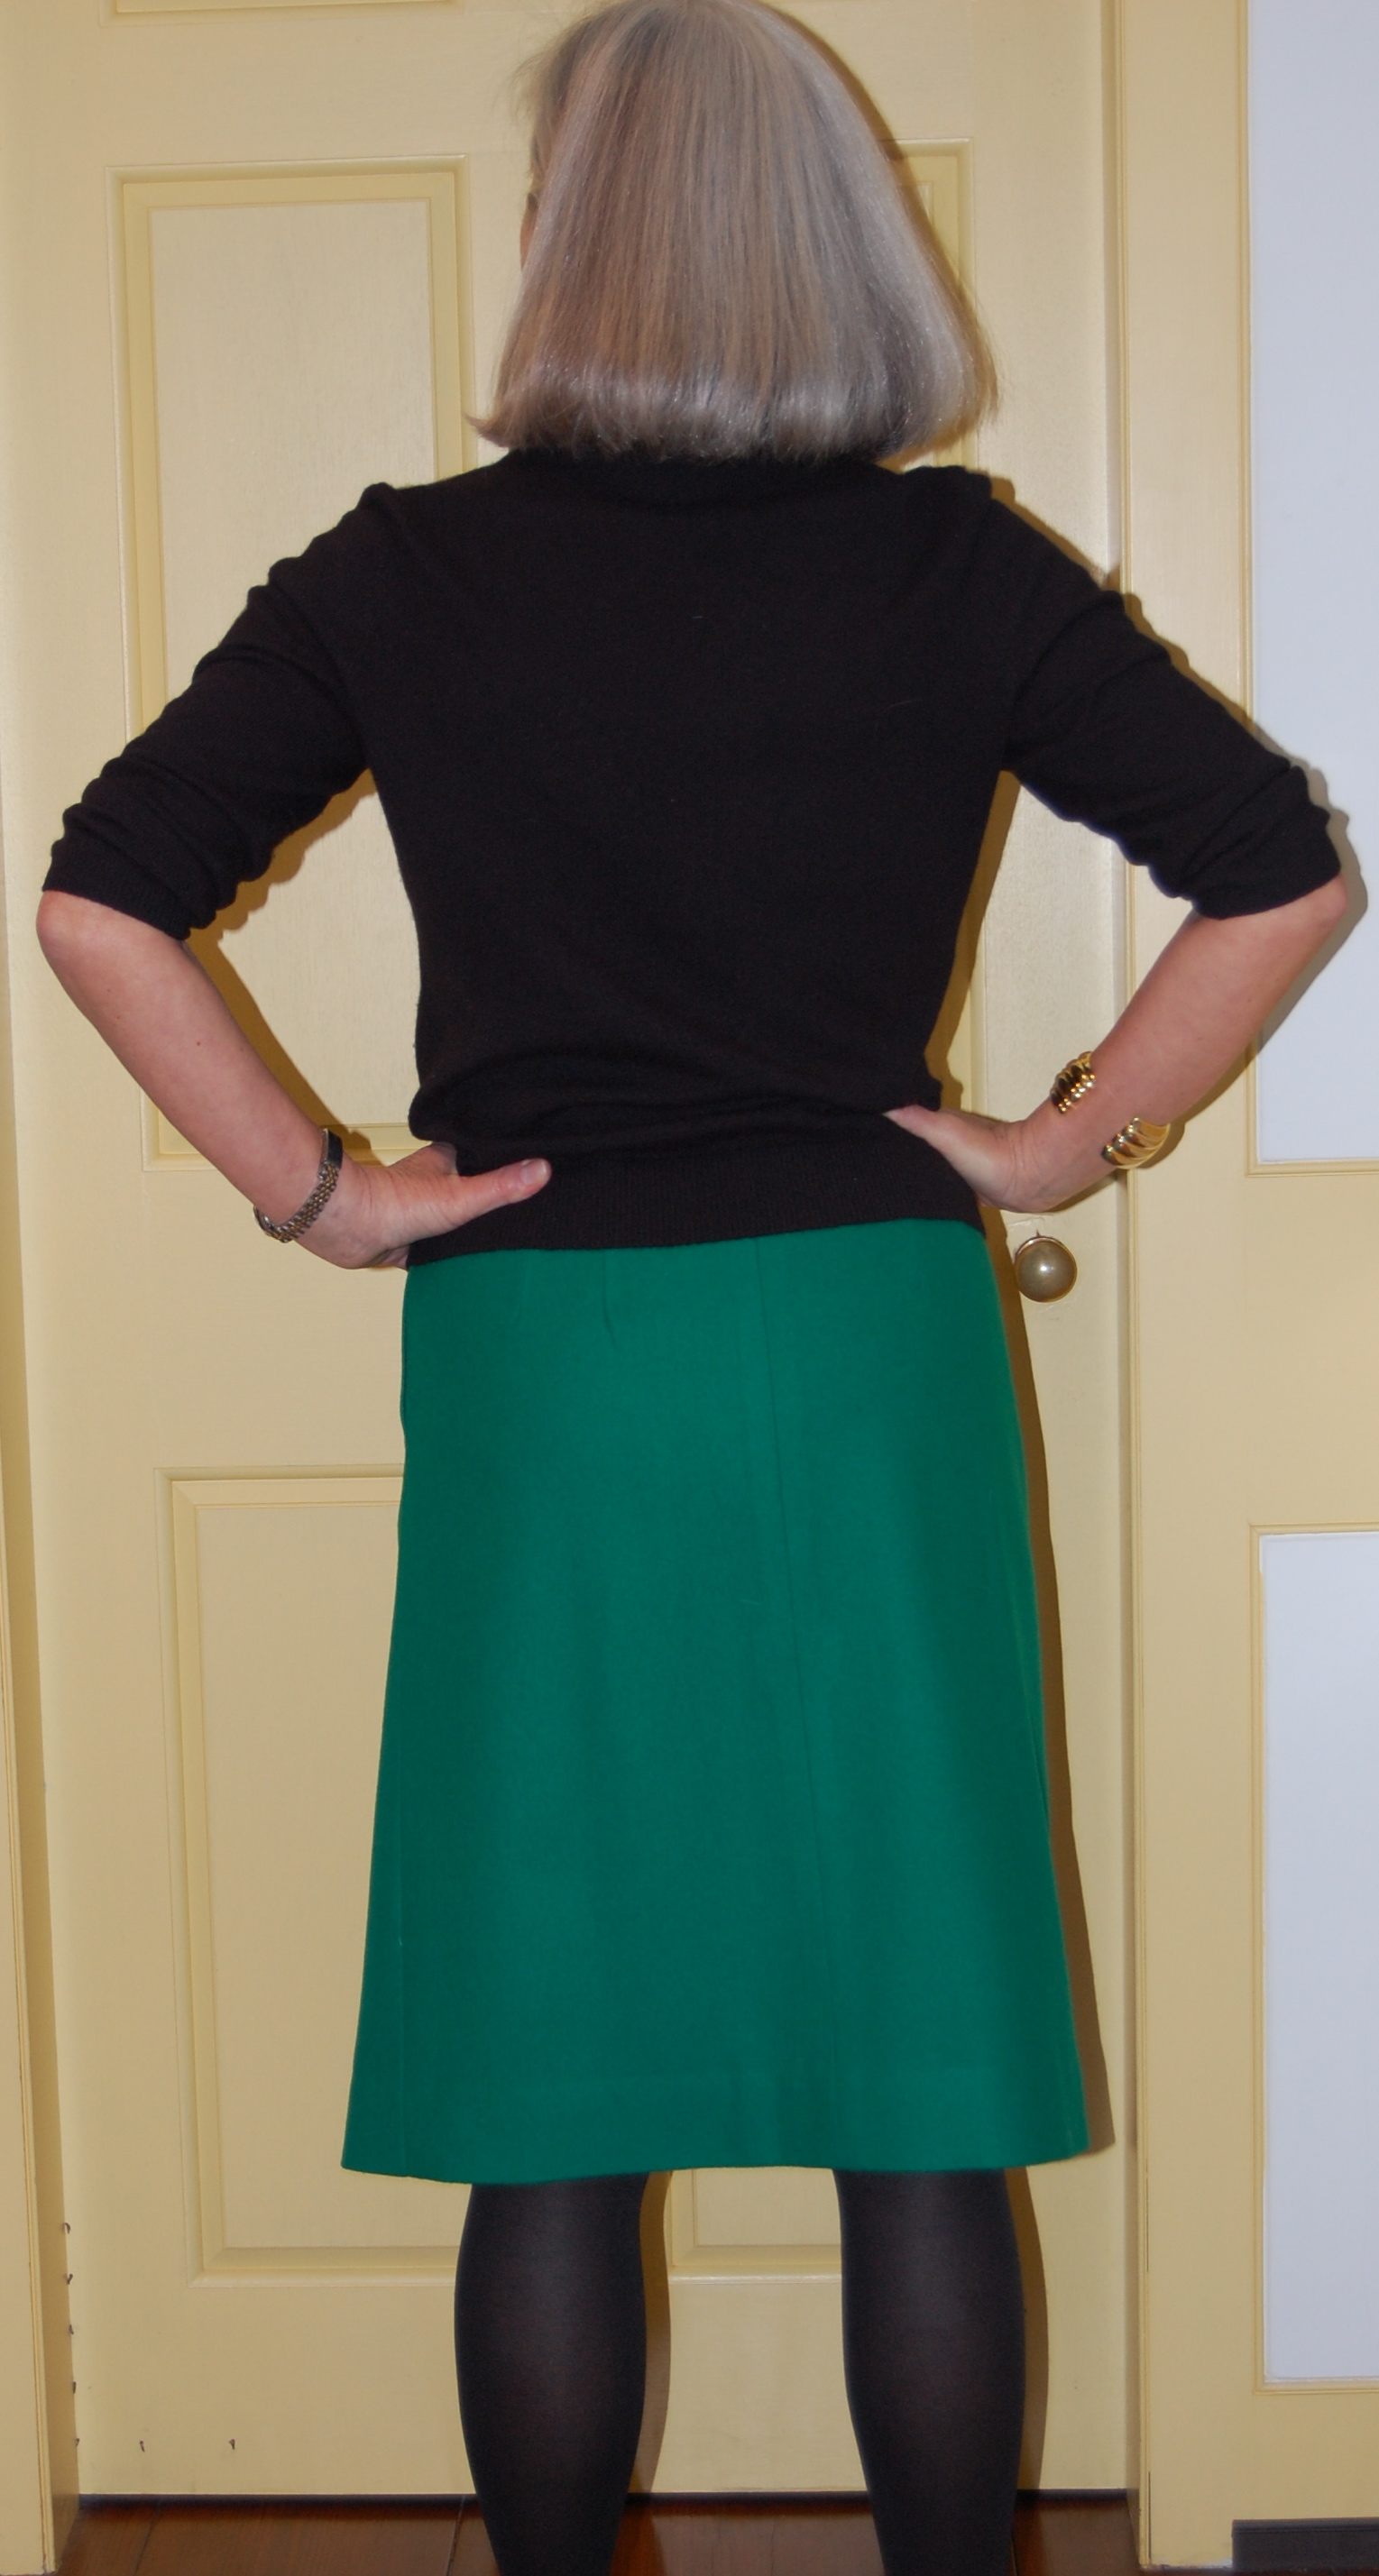
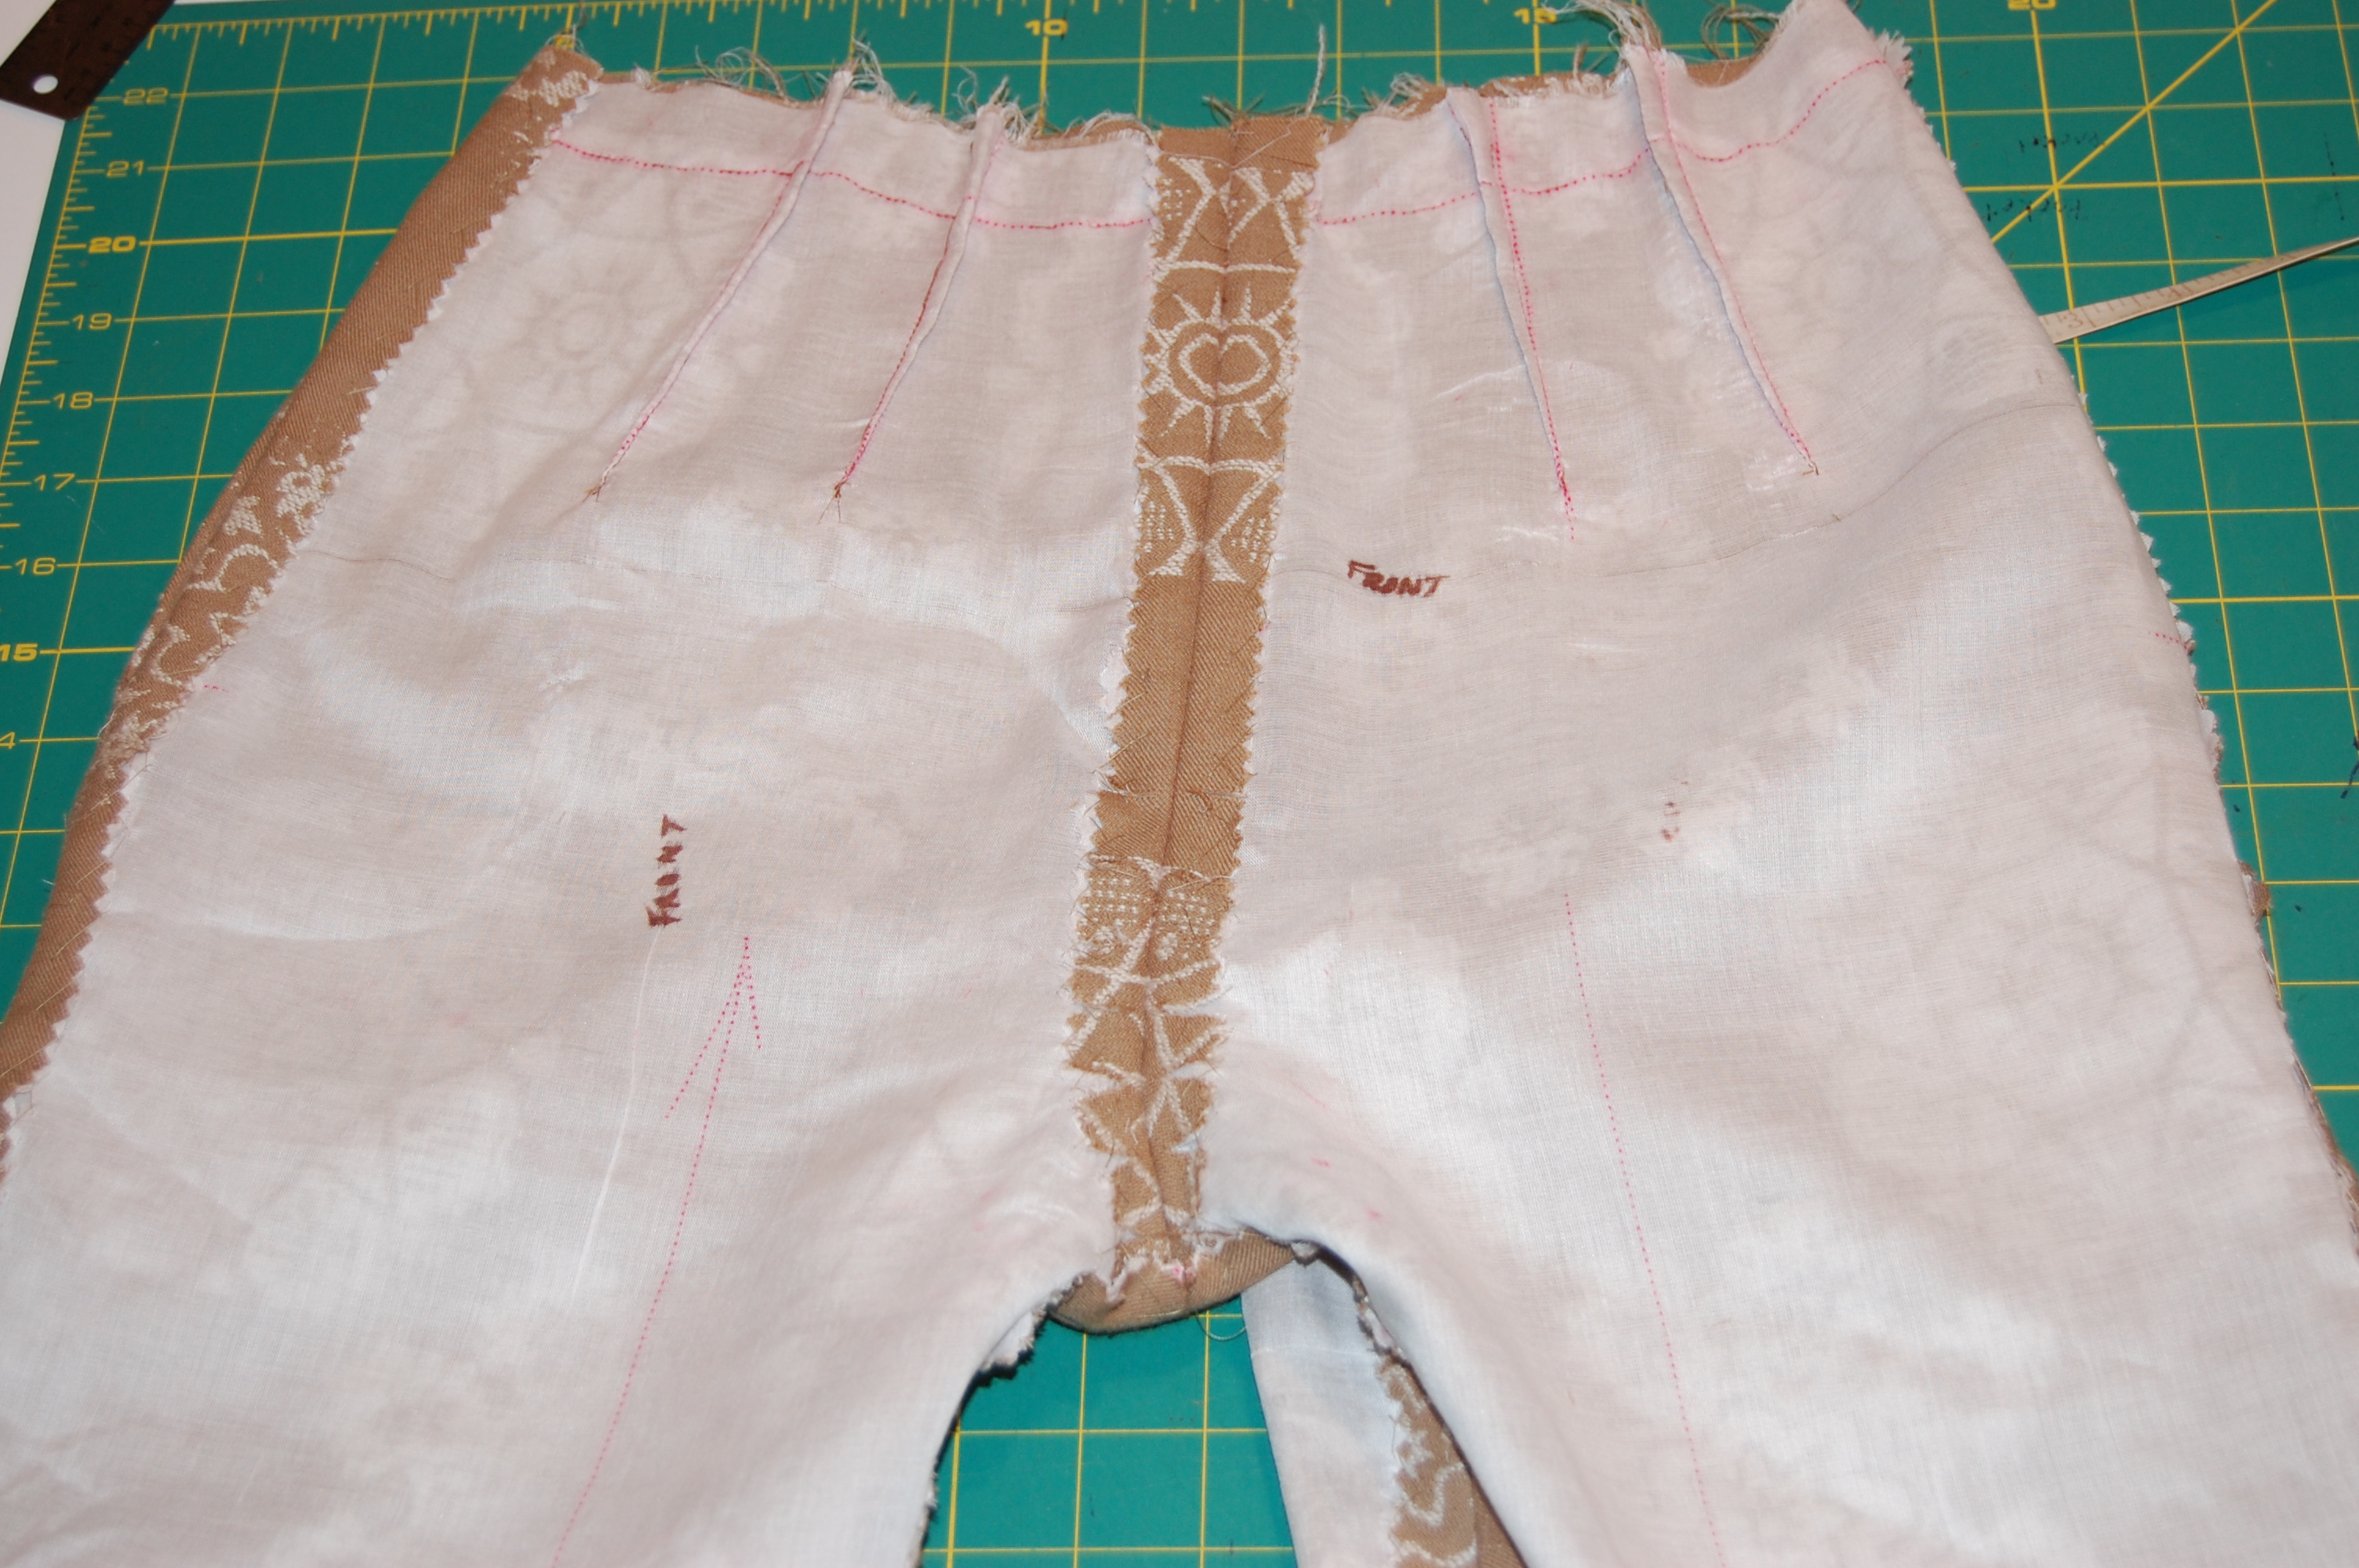
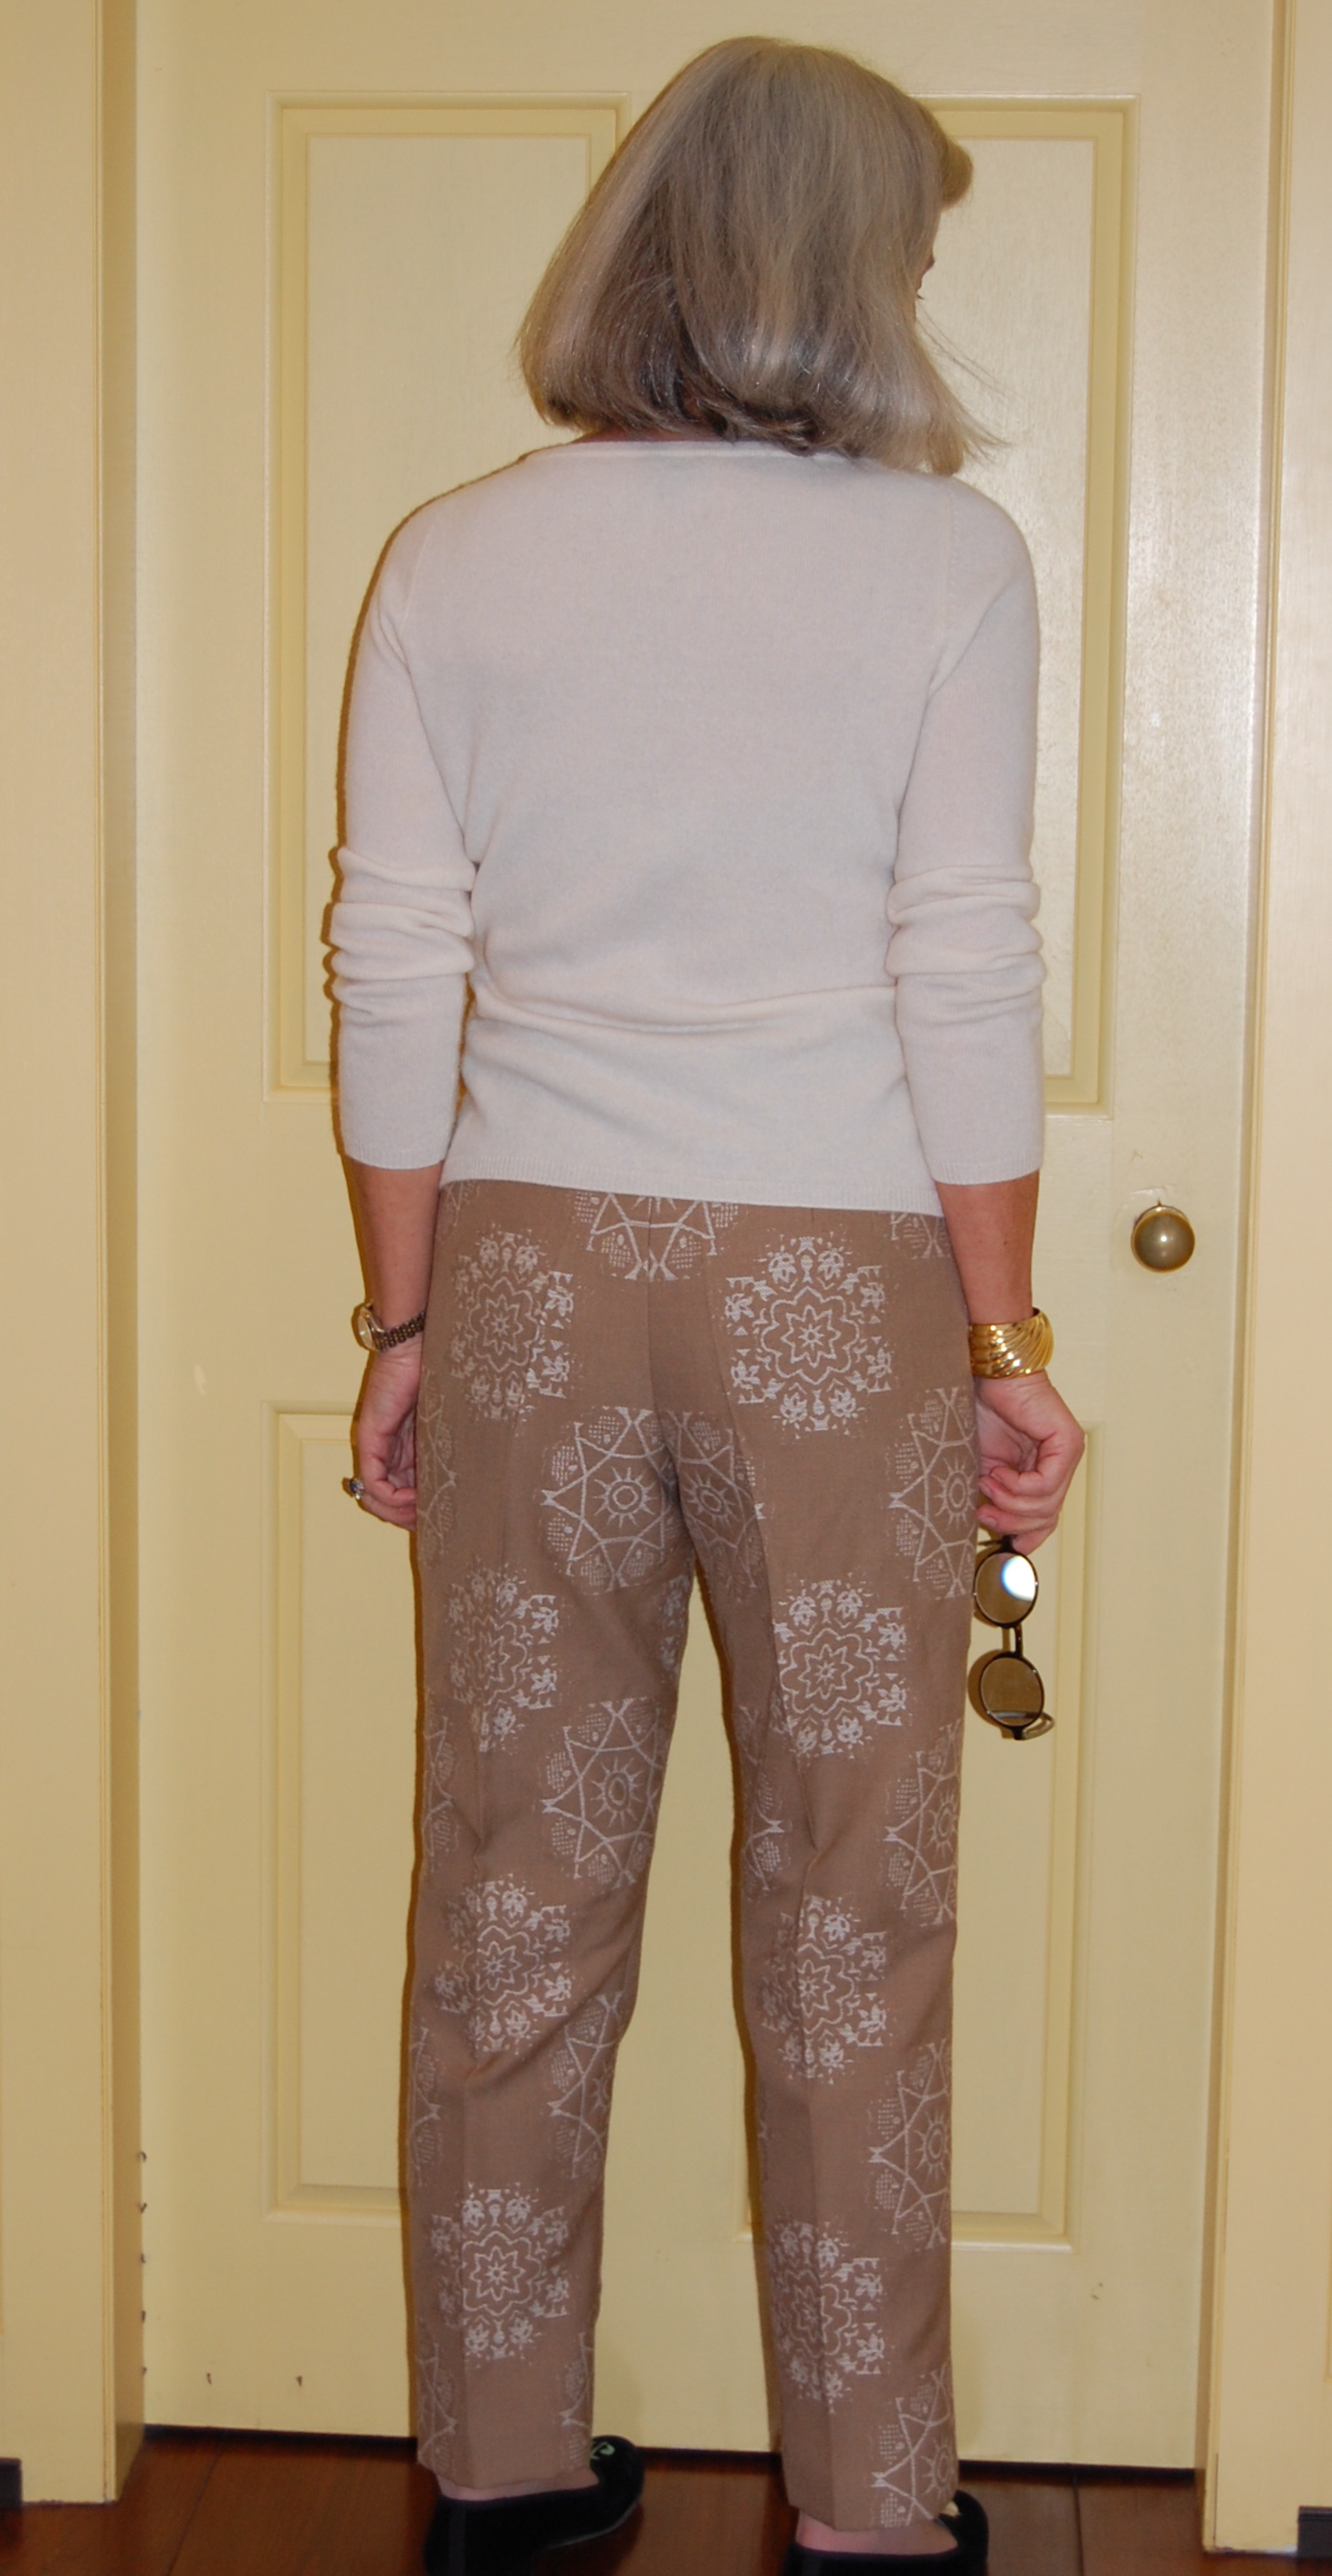
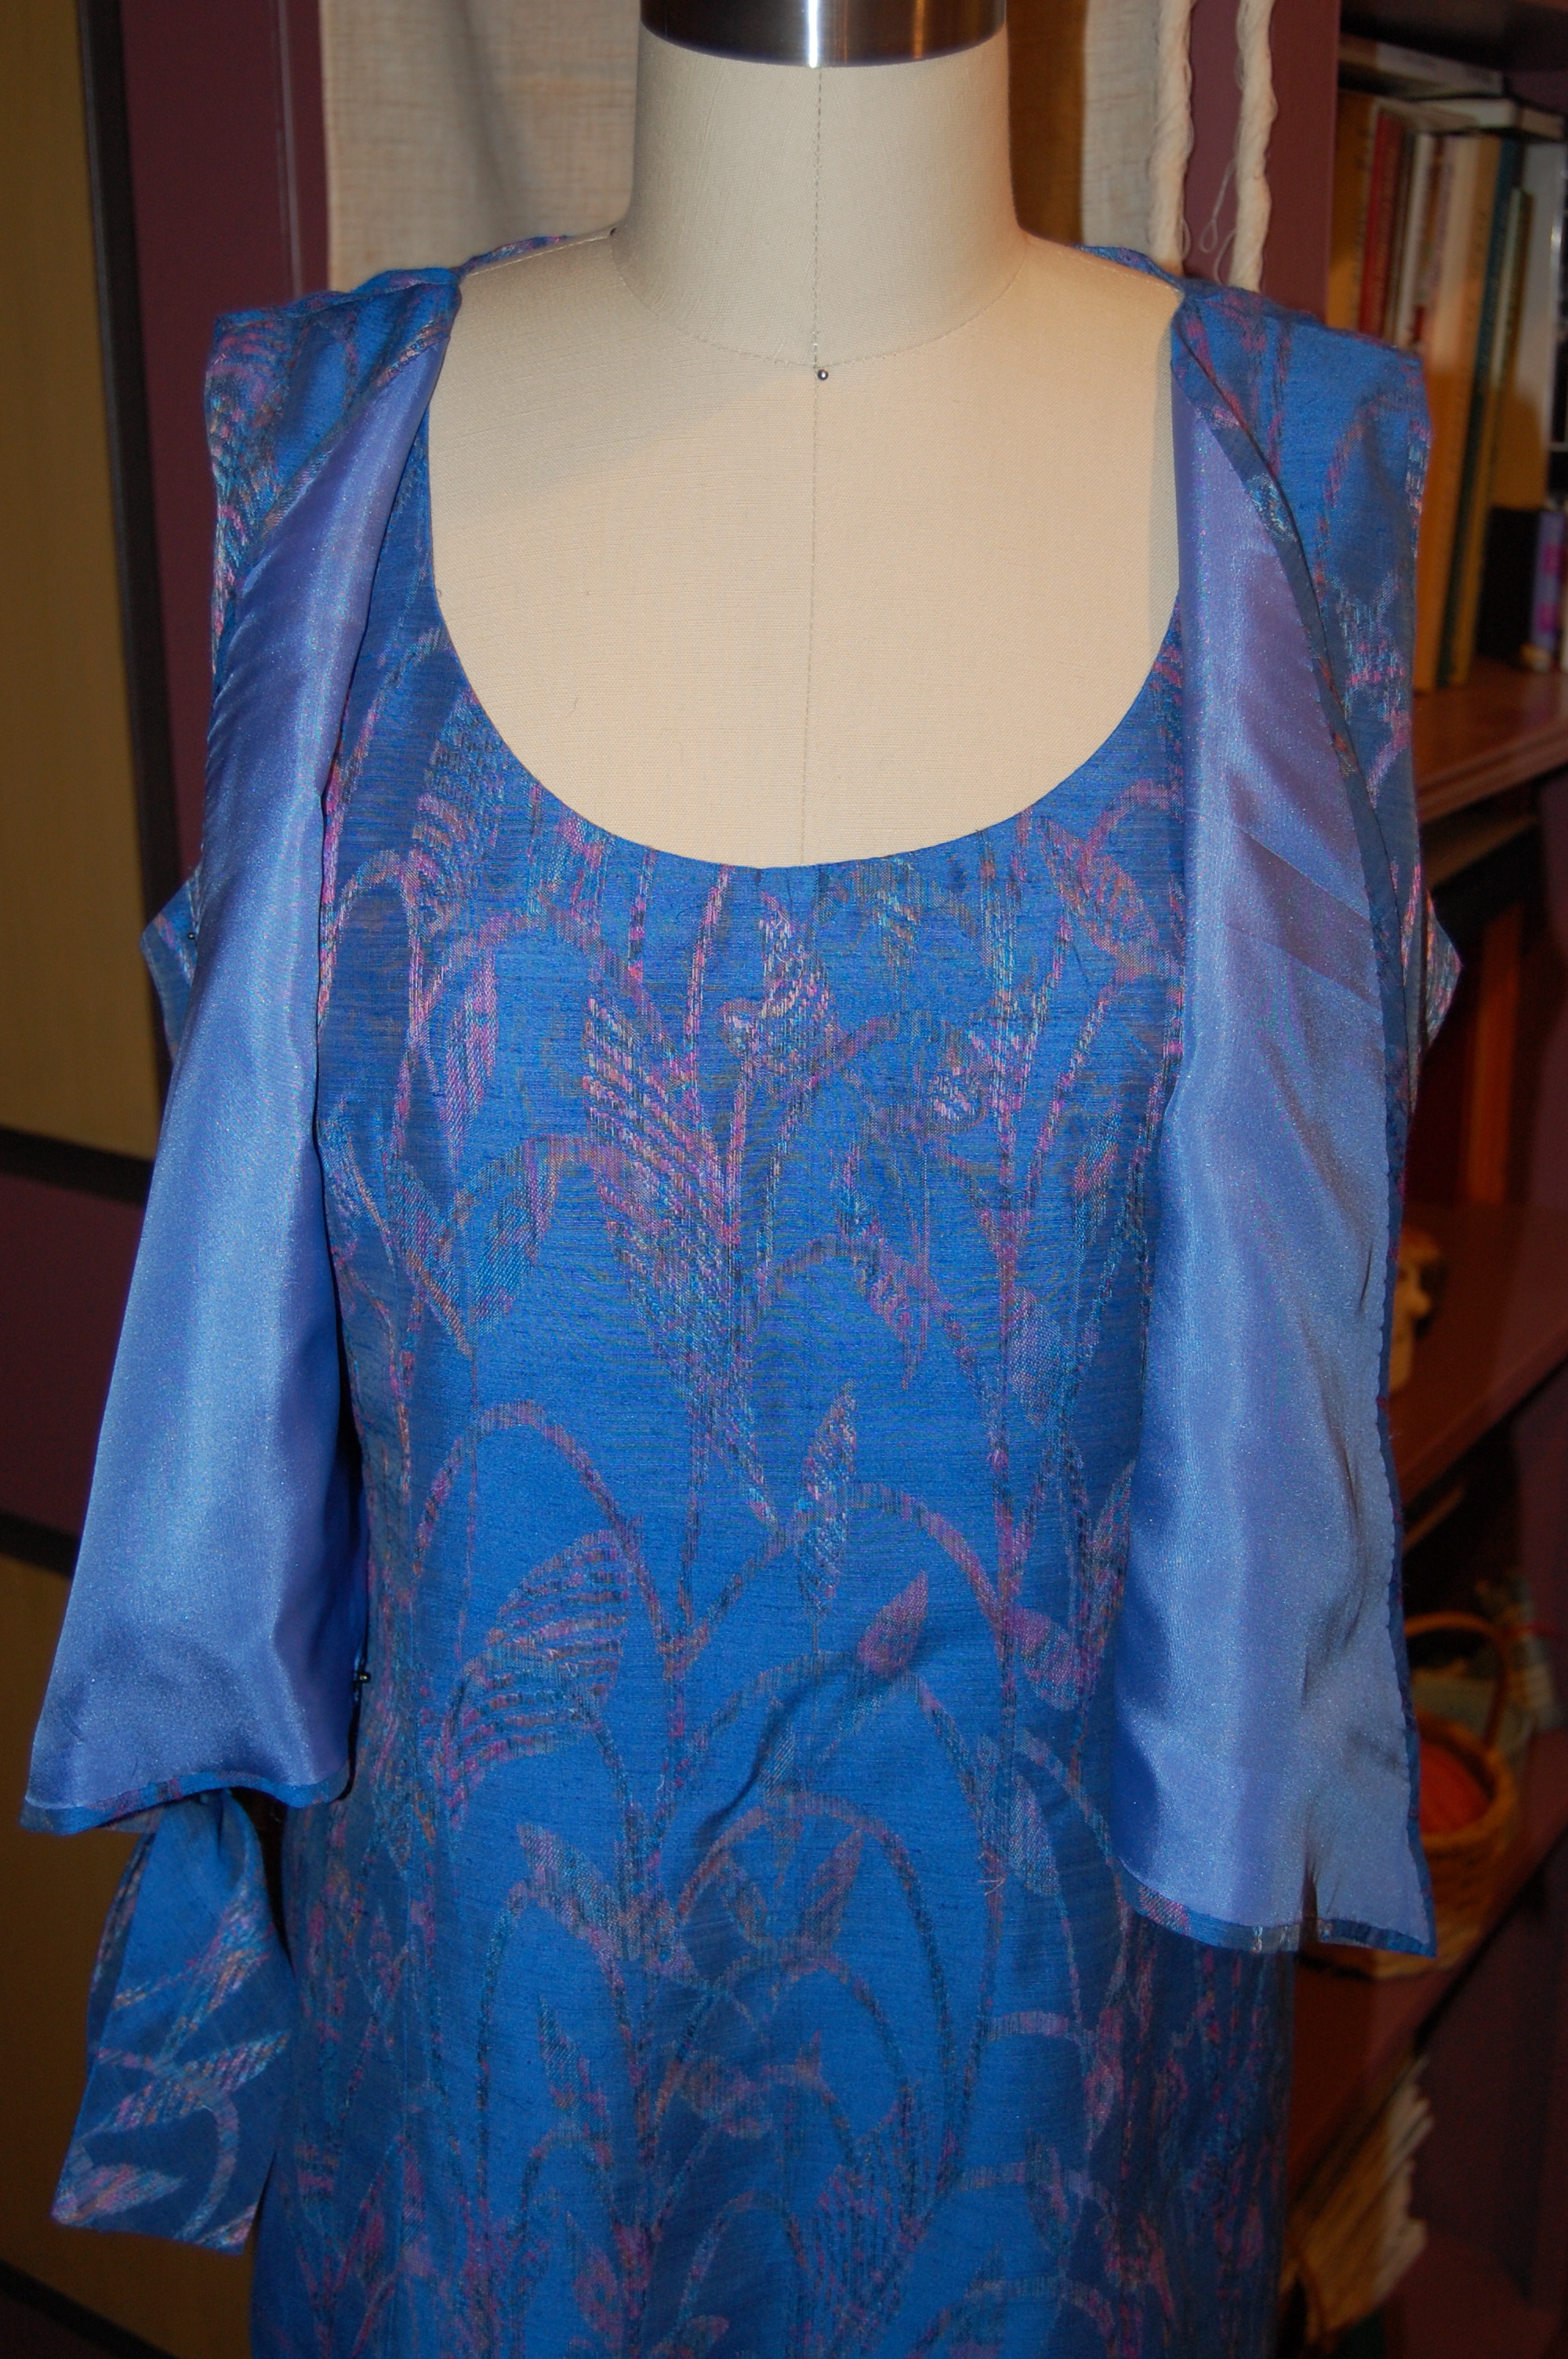
The lengthy process of perfecting the muslin (toile) for my blue cocktail dress revealed a few minor changes I needed to make – four of them, to be exact. You might be able to see on the pattern envelope, that the “overblouse” in the front actually hits about an inch above the waistline. This just did not look good on me, so I extended the length of those two over-lapping fronts an inch so that they would lay directly at my waist. Second, the under-dress, the top of which is not seen when being worn is cut low so that it does not show beneath the “V” of the overblouse. However, it was cut much lower than I needed, so I raised it a bit.
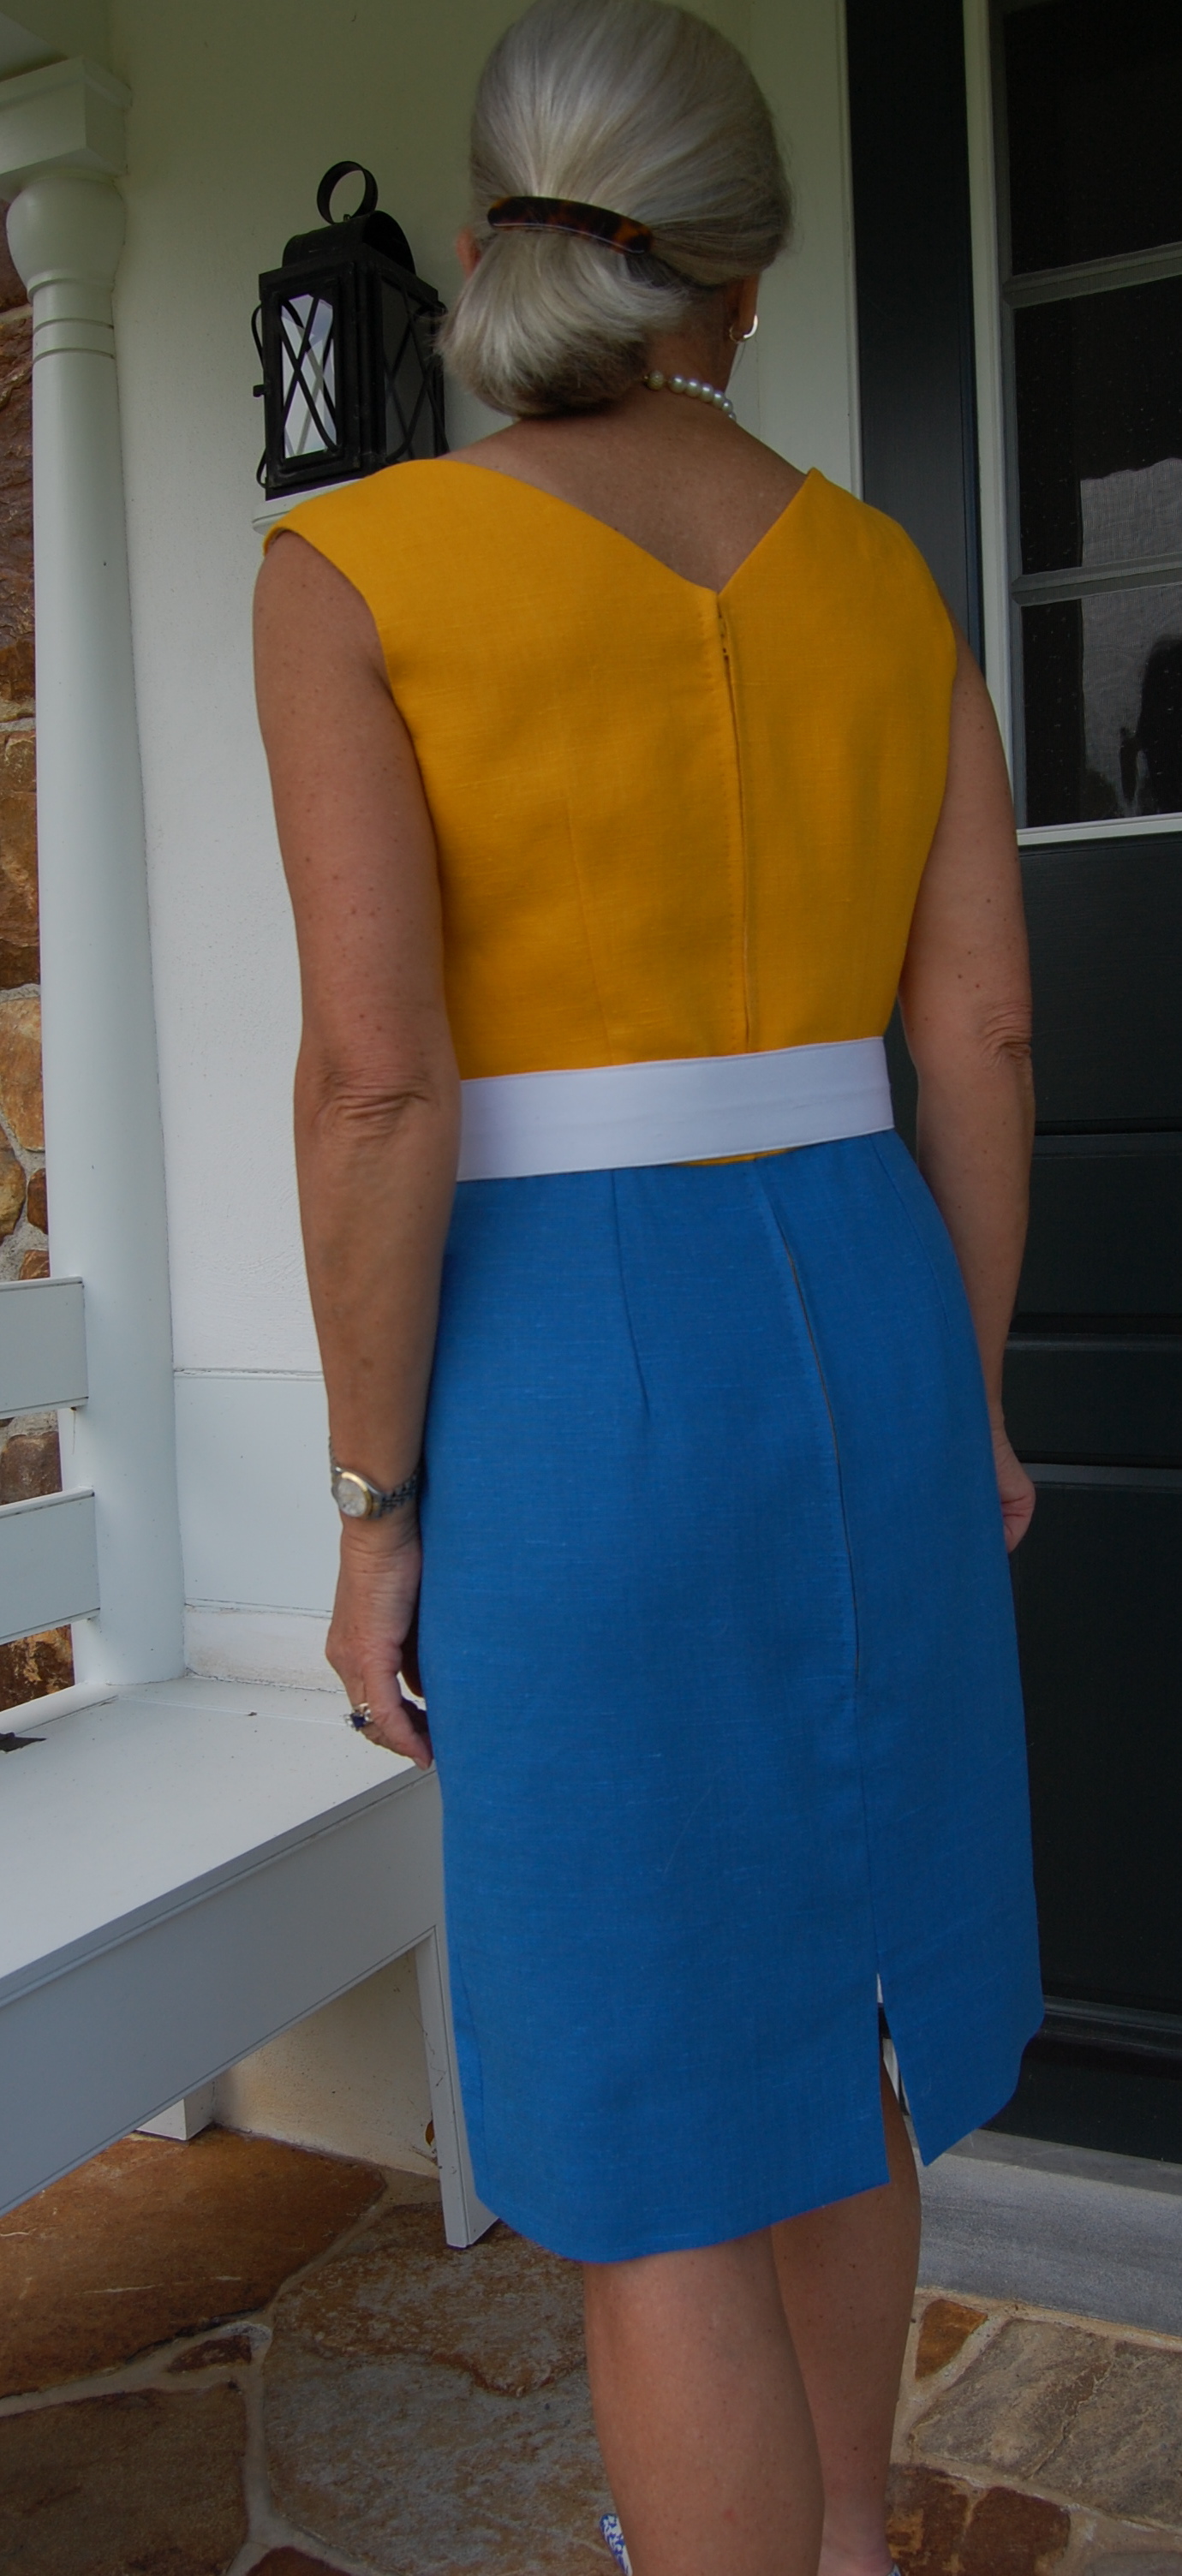
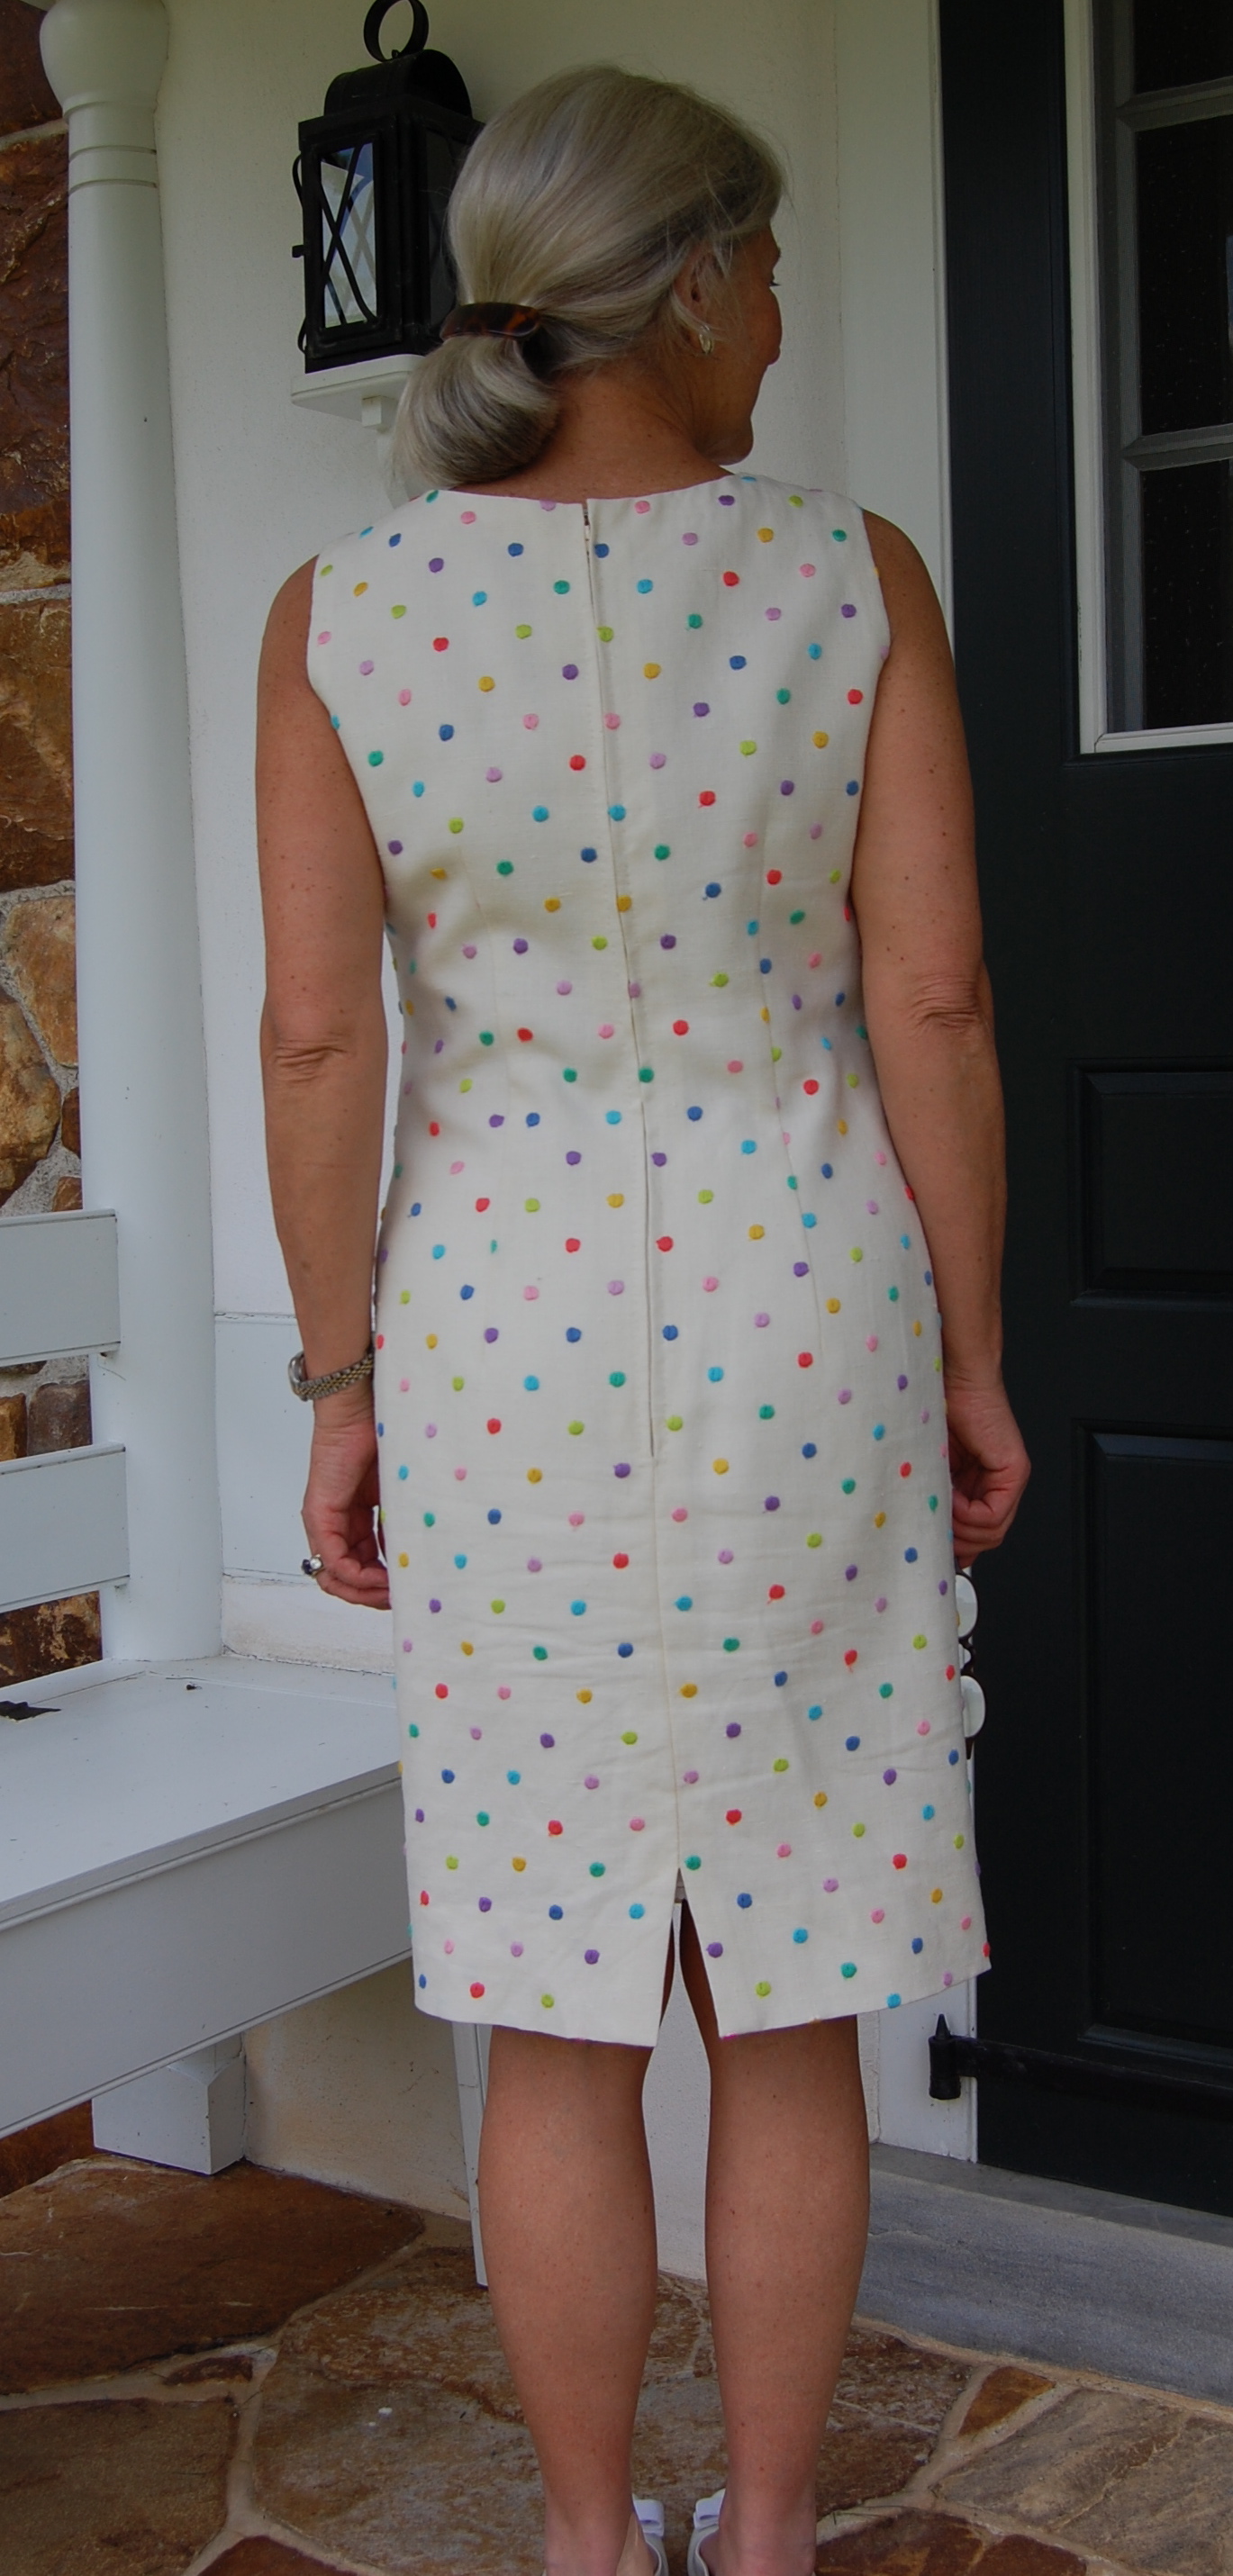
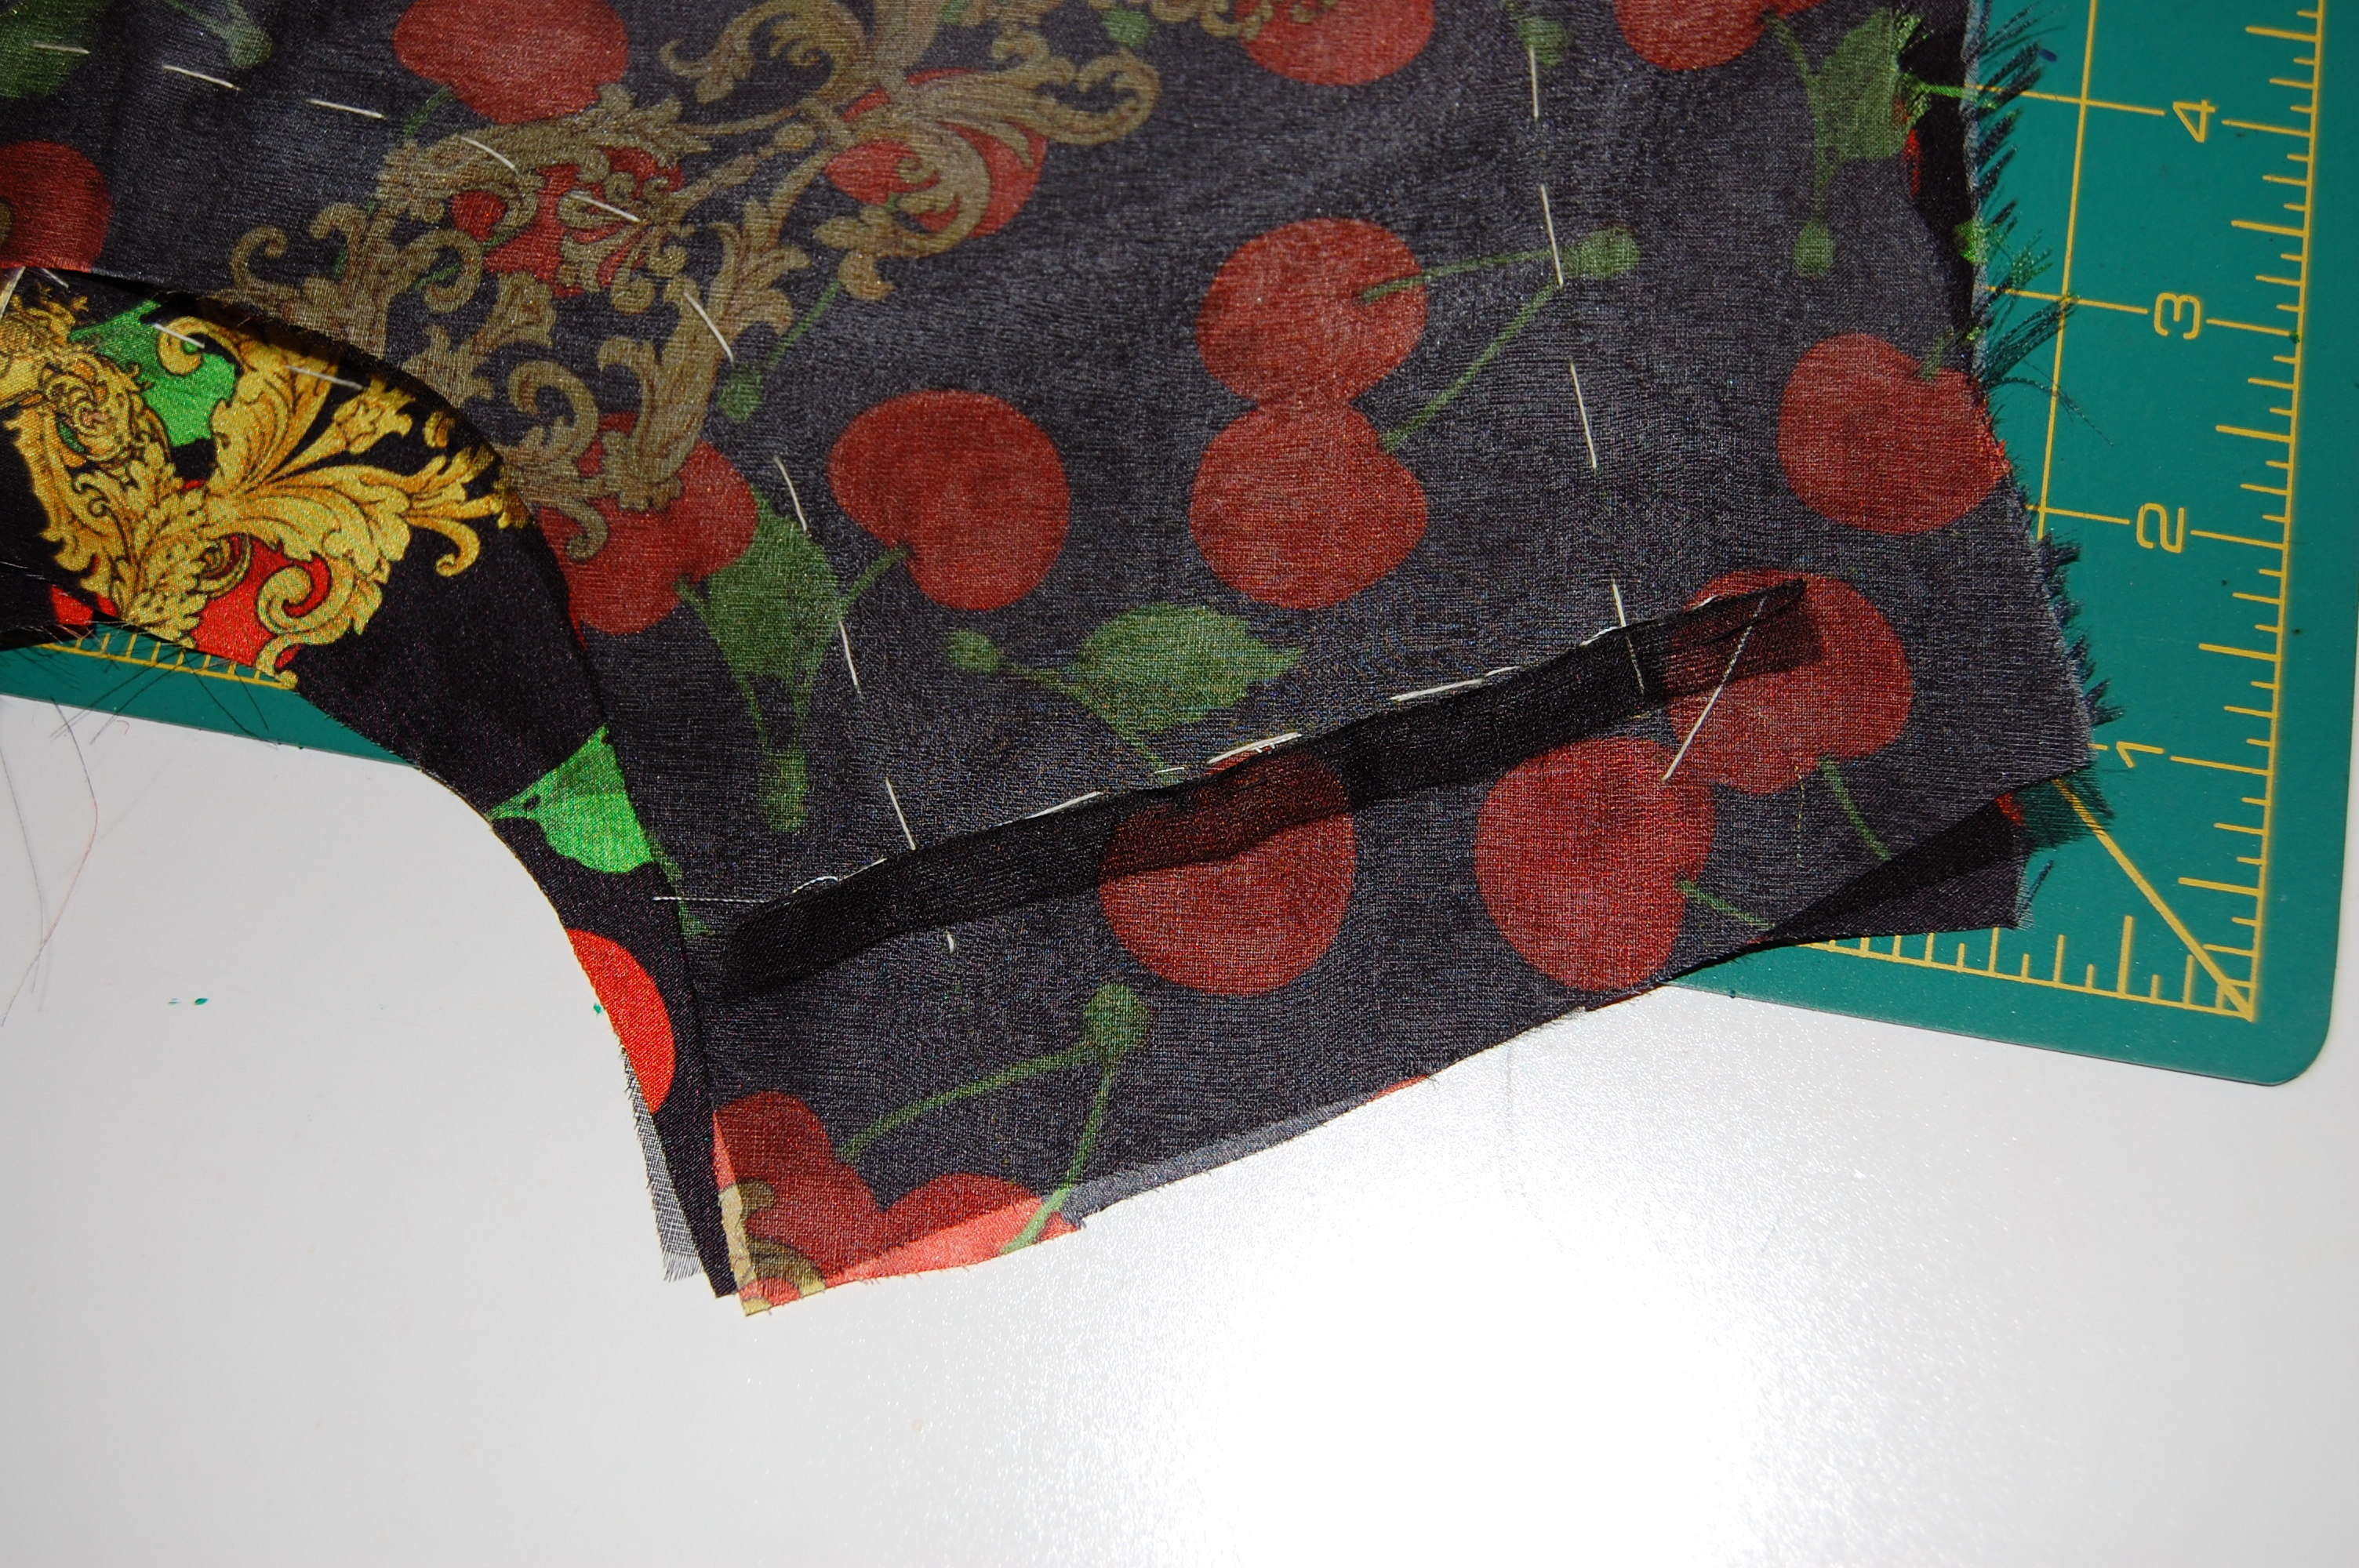
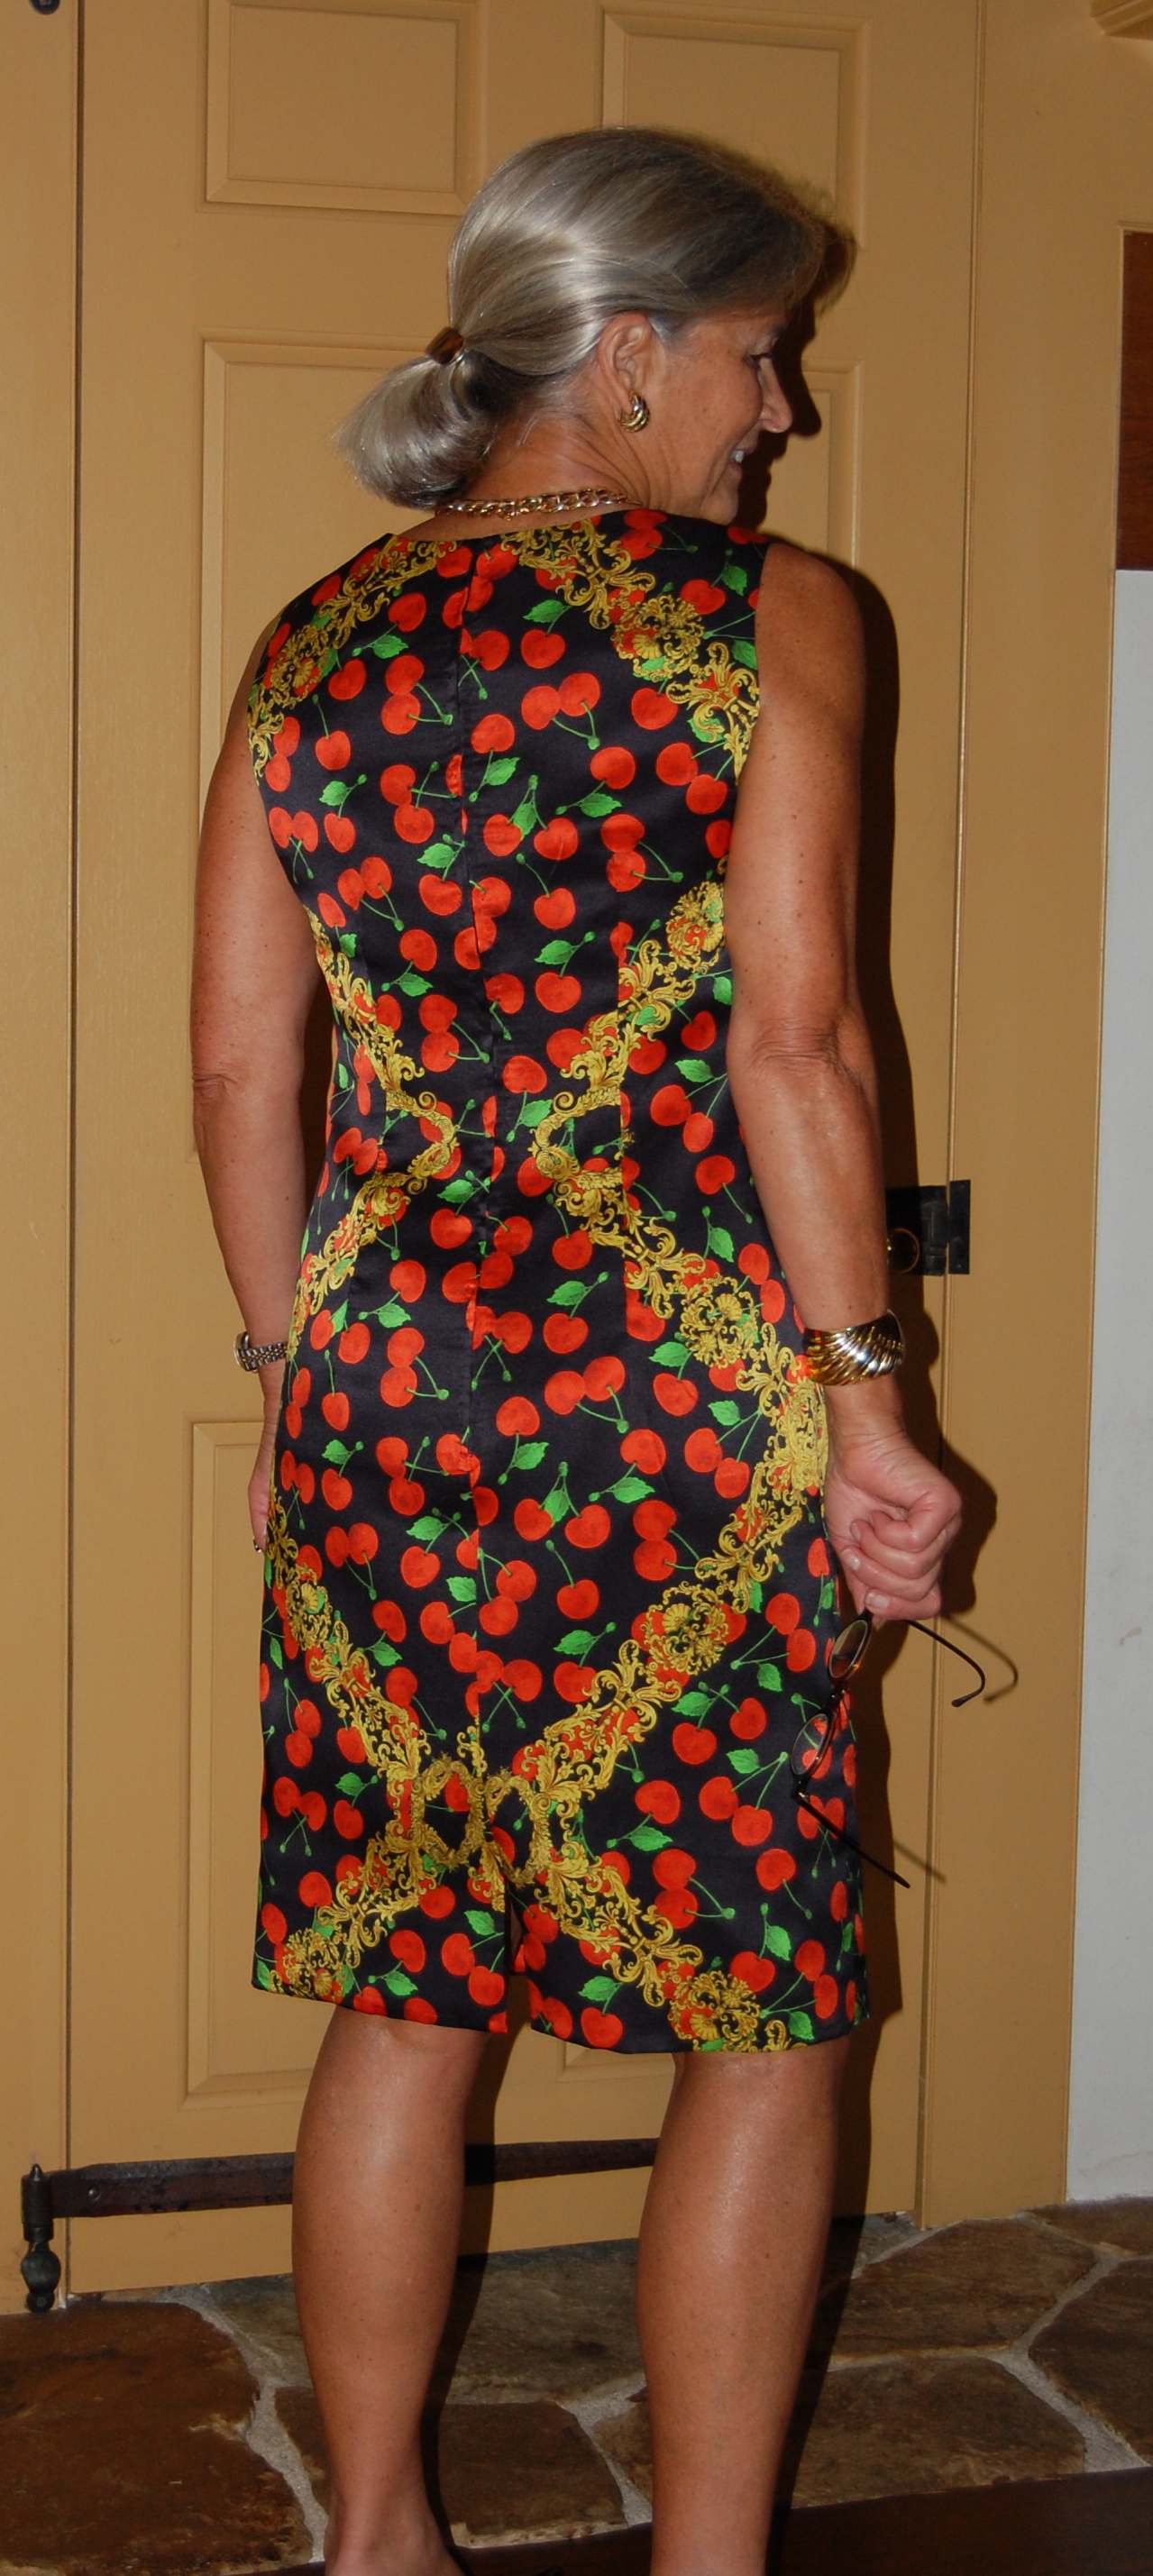
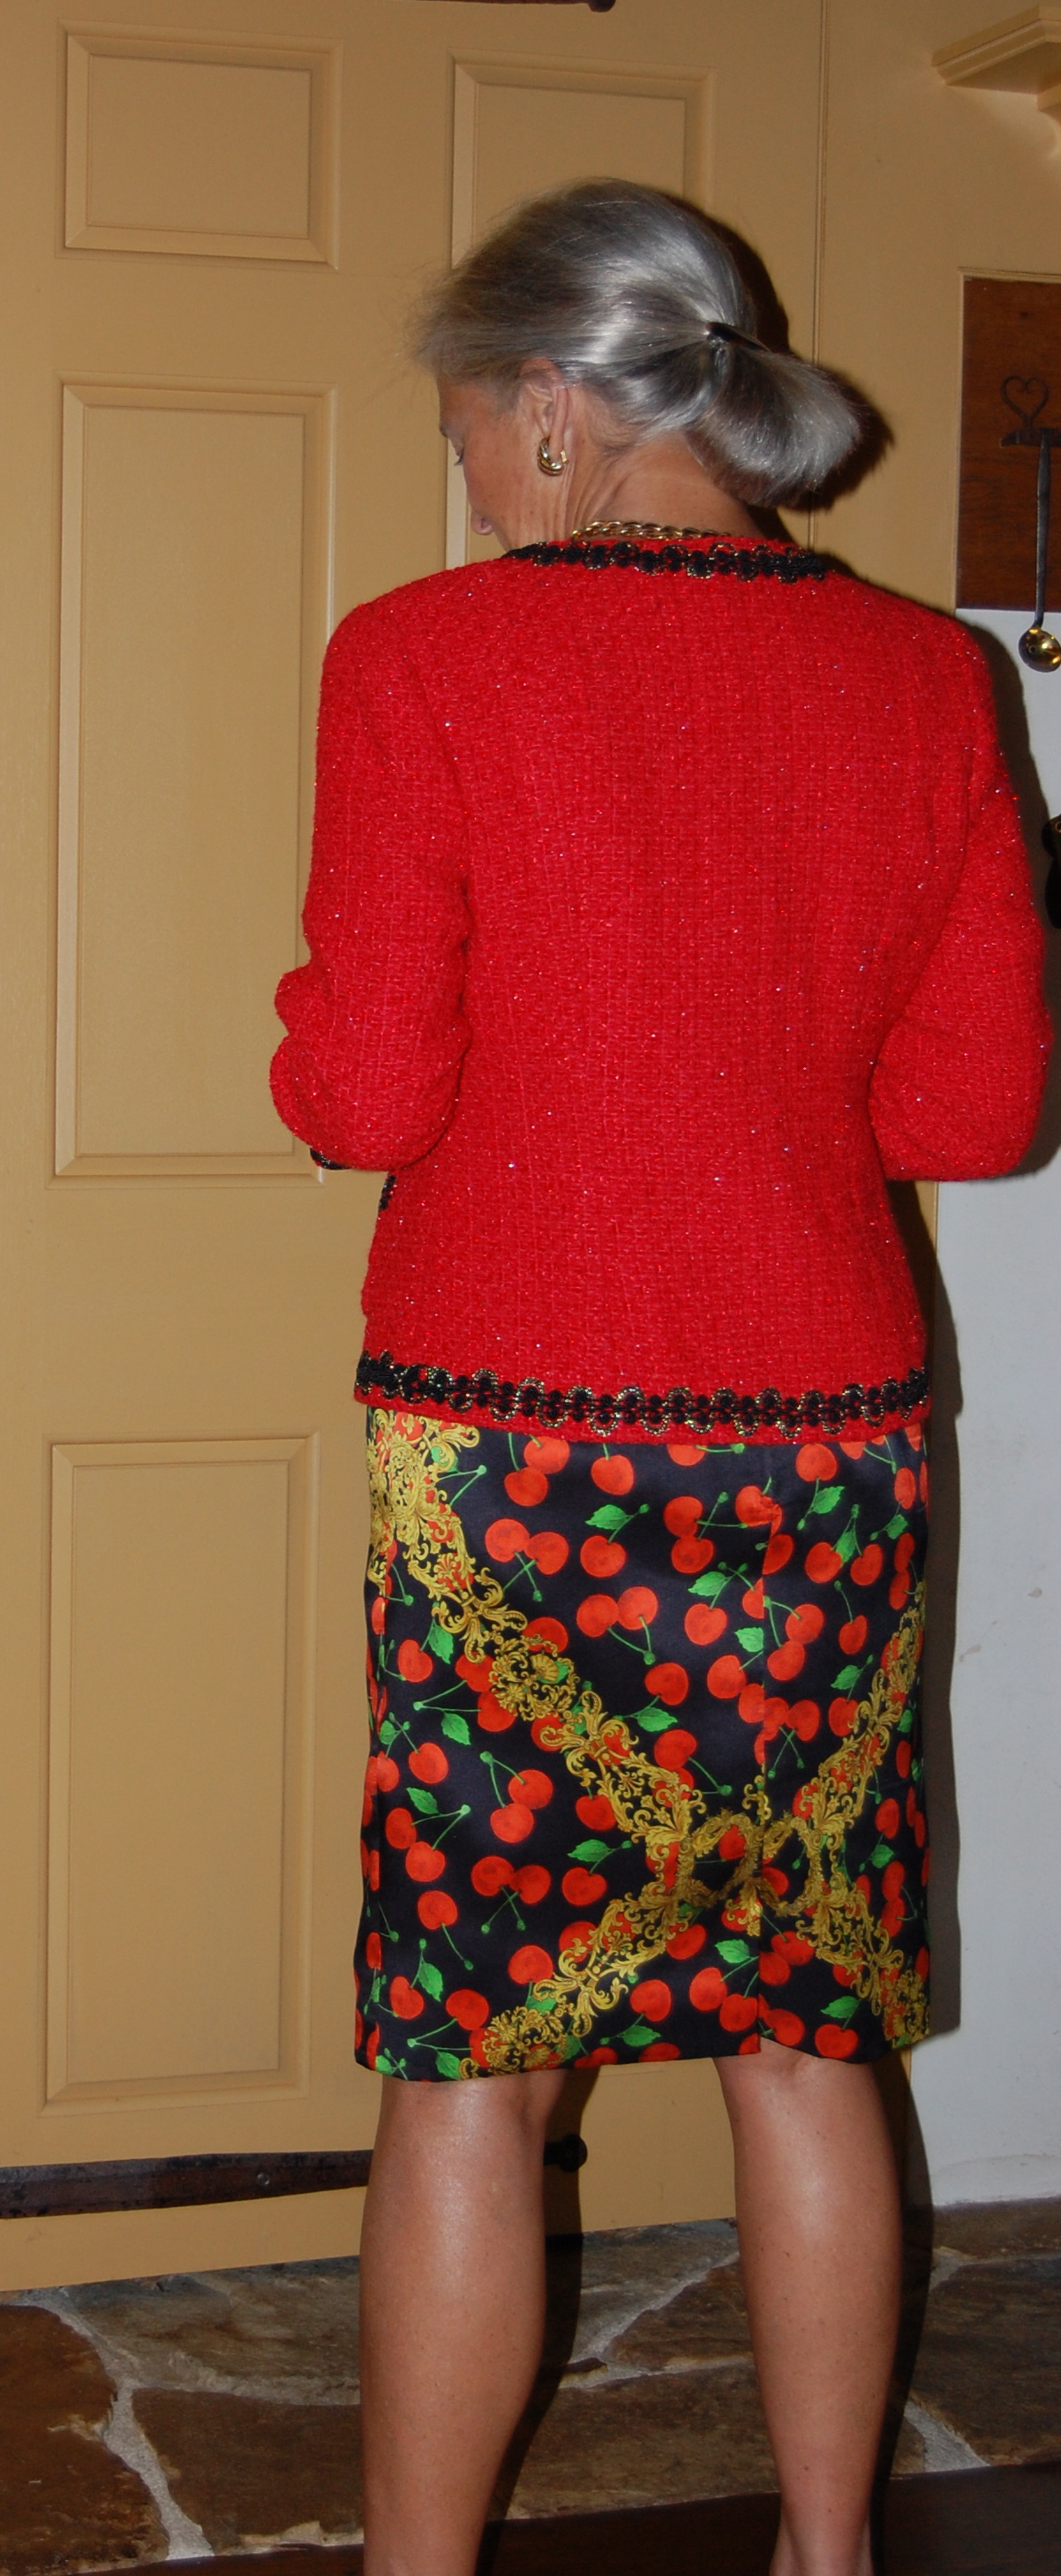
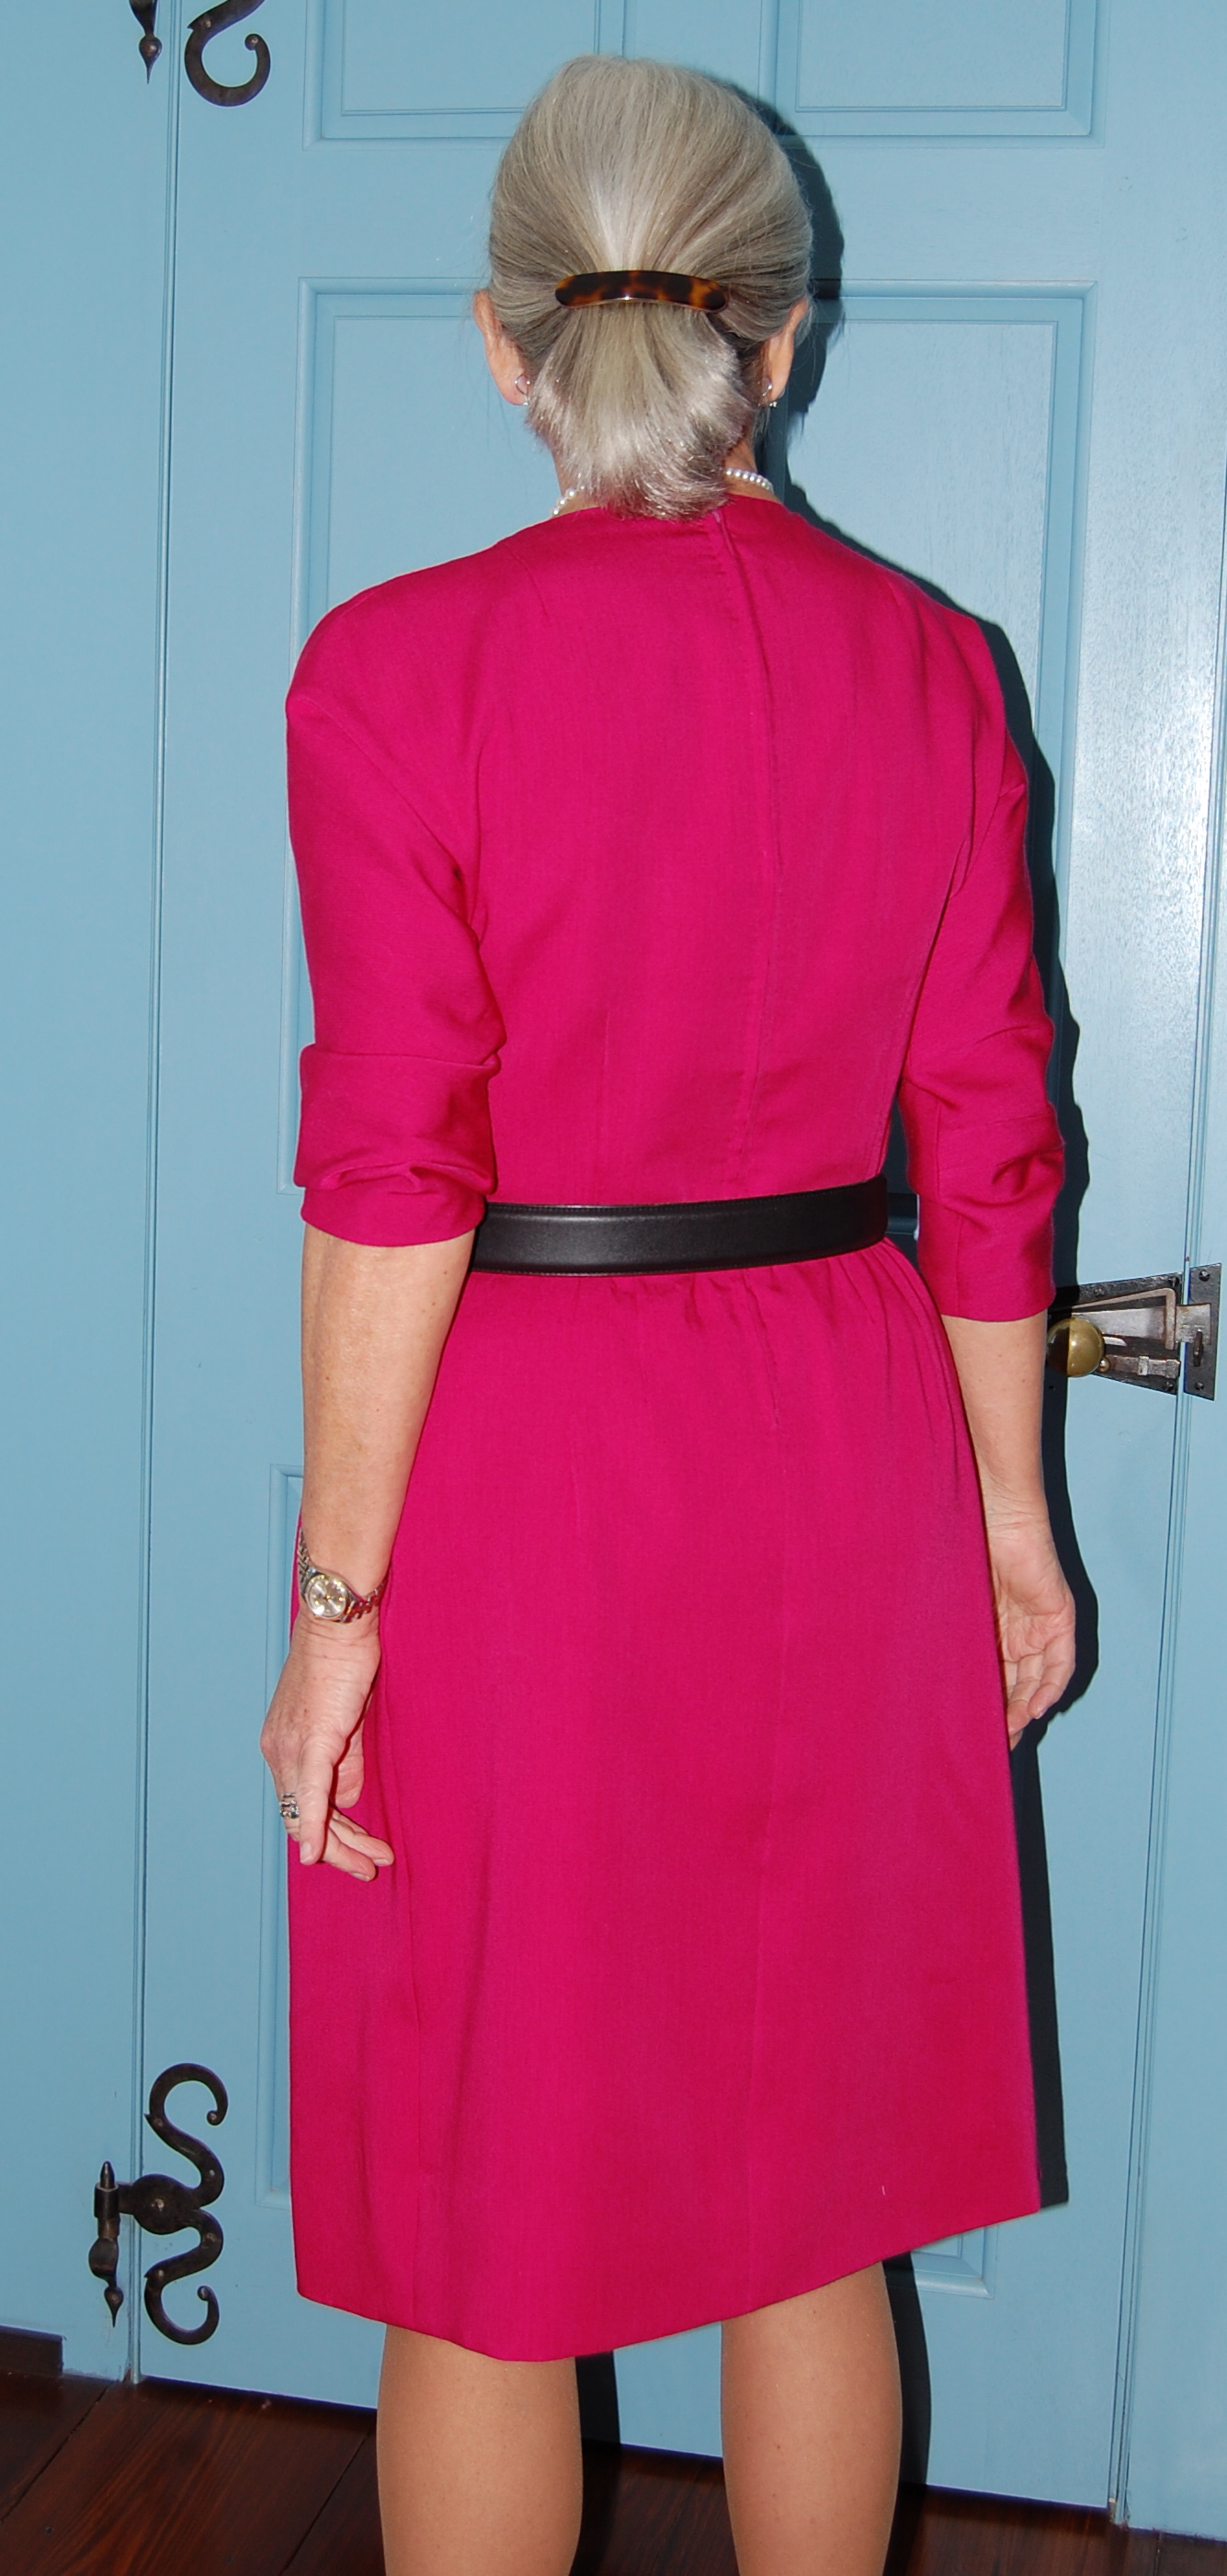
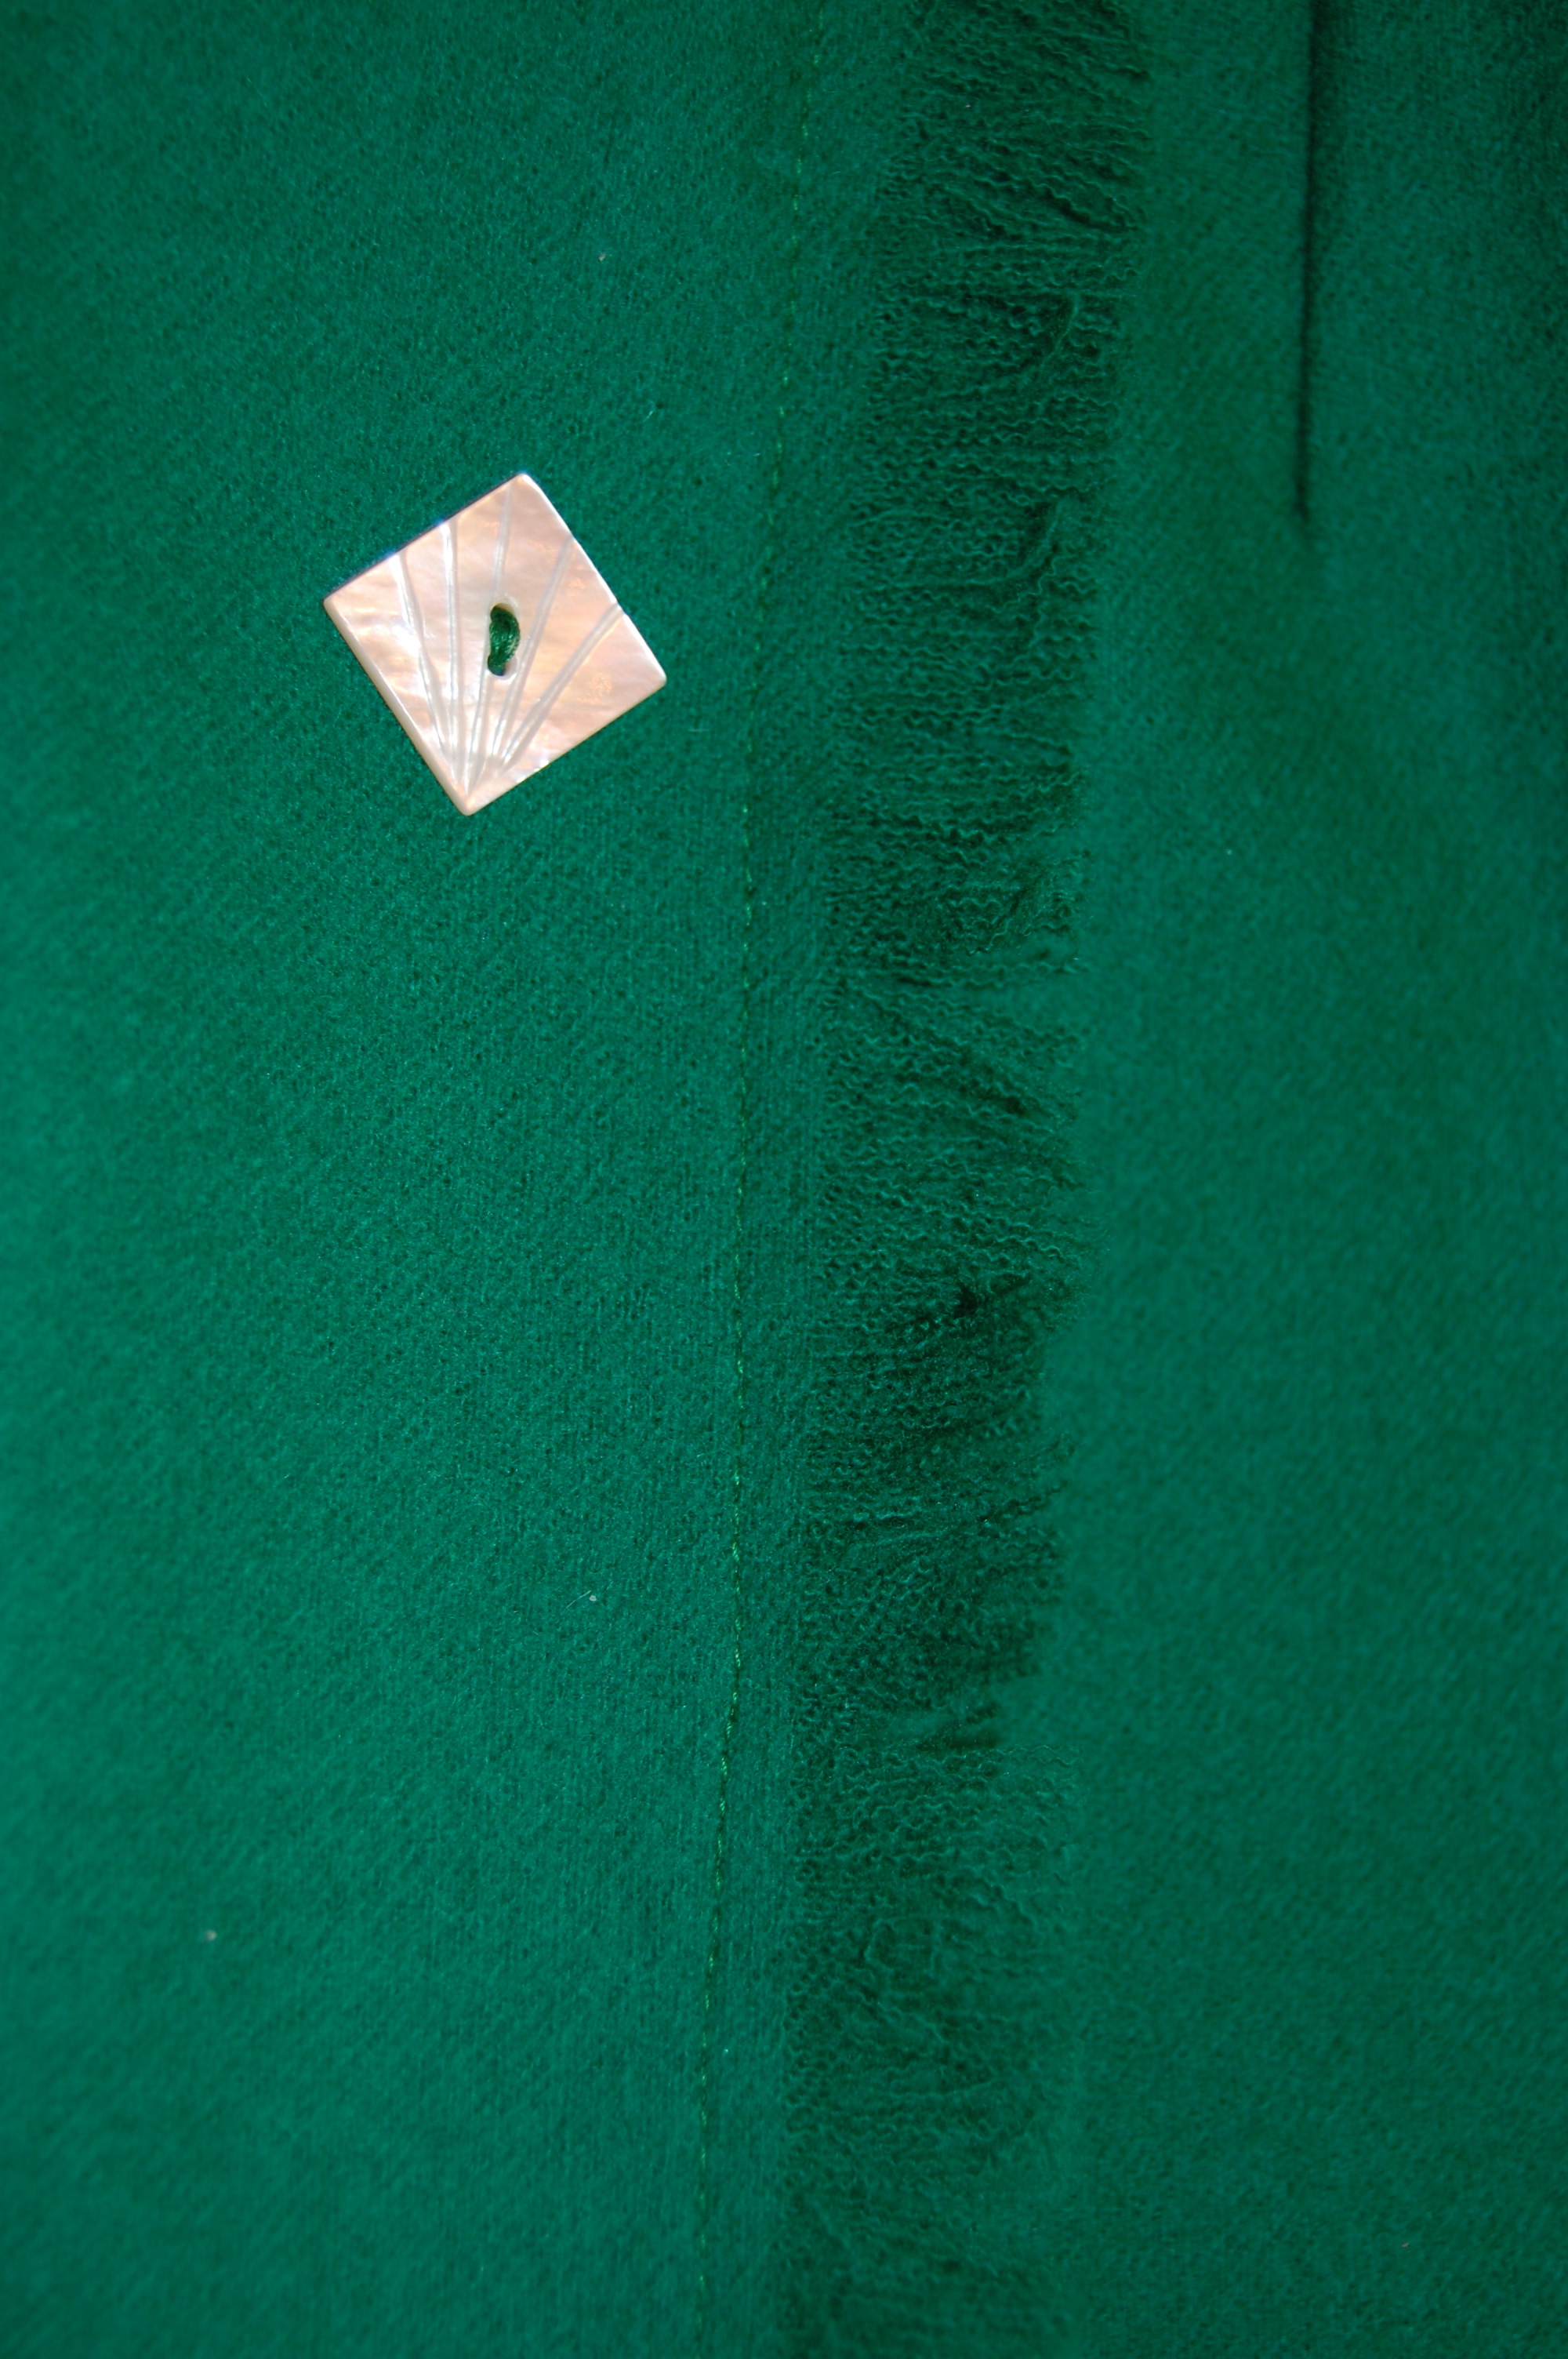
I thought the shoulders of the overblouse extended a little bit too wide, so I cut the top of the armscye in about ¾ of an inch, graduating it down to join the lower part of the armscye. And fourth – I added a slit at the lower back center seam to make walking easier. I seem to do this frequently with vintage patterns.
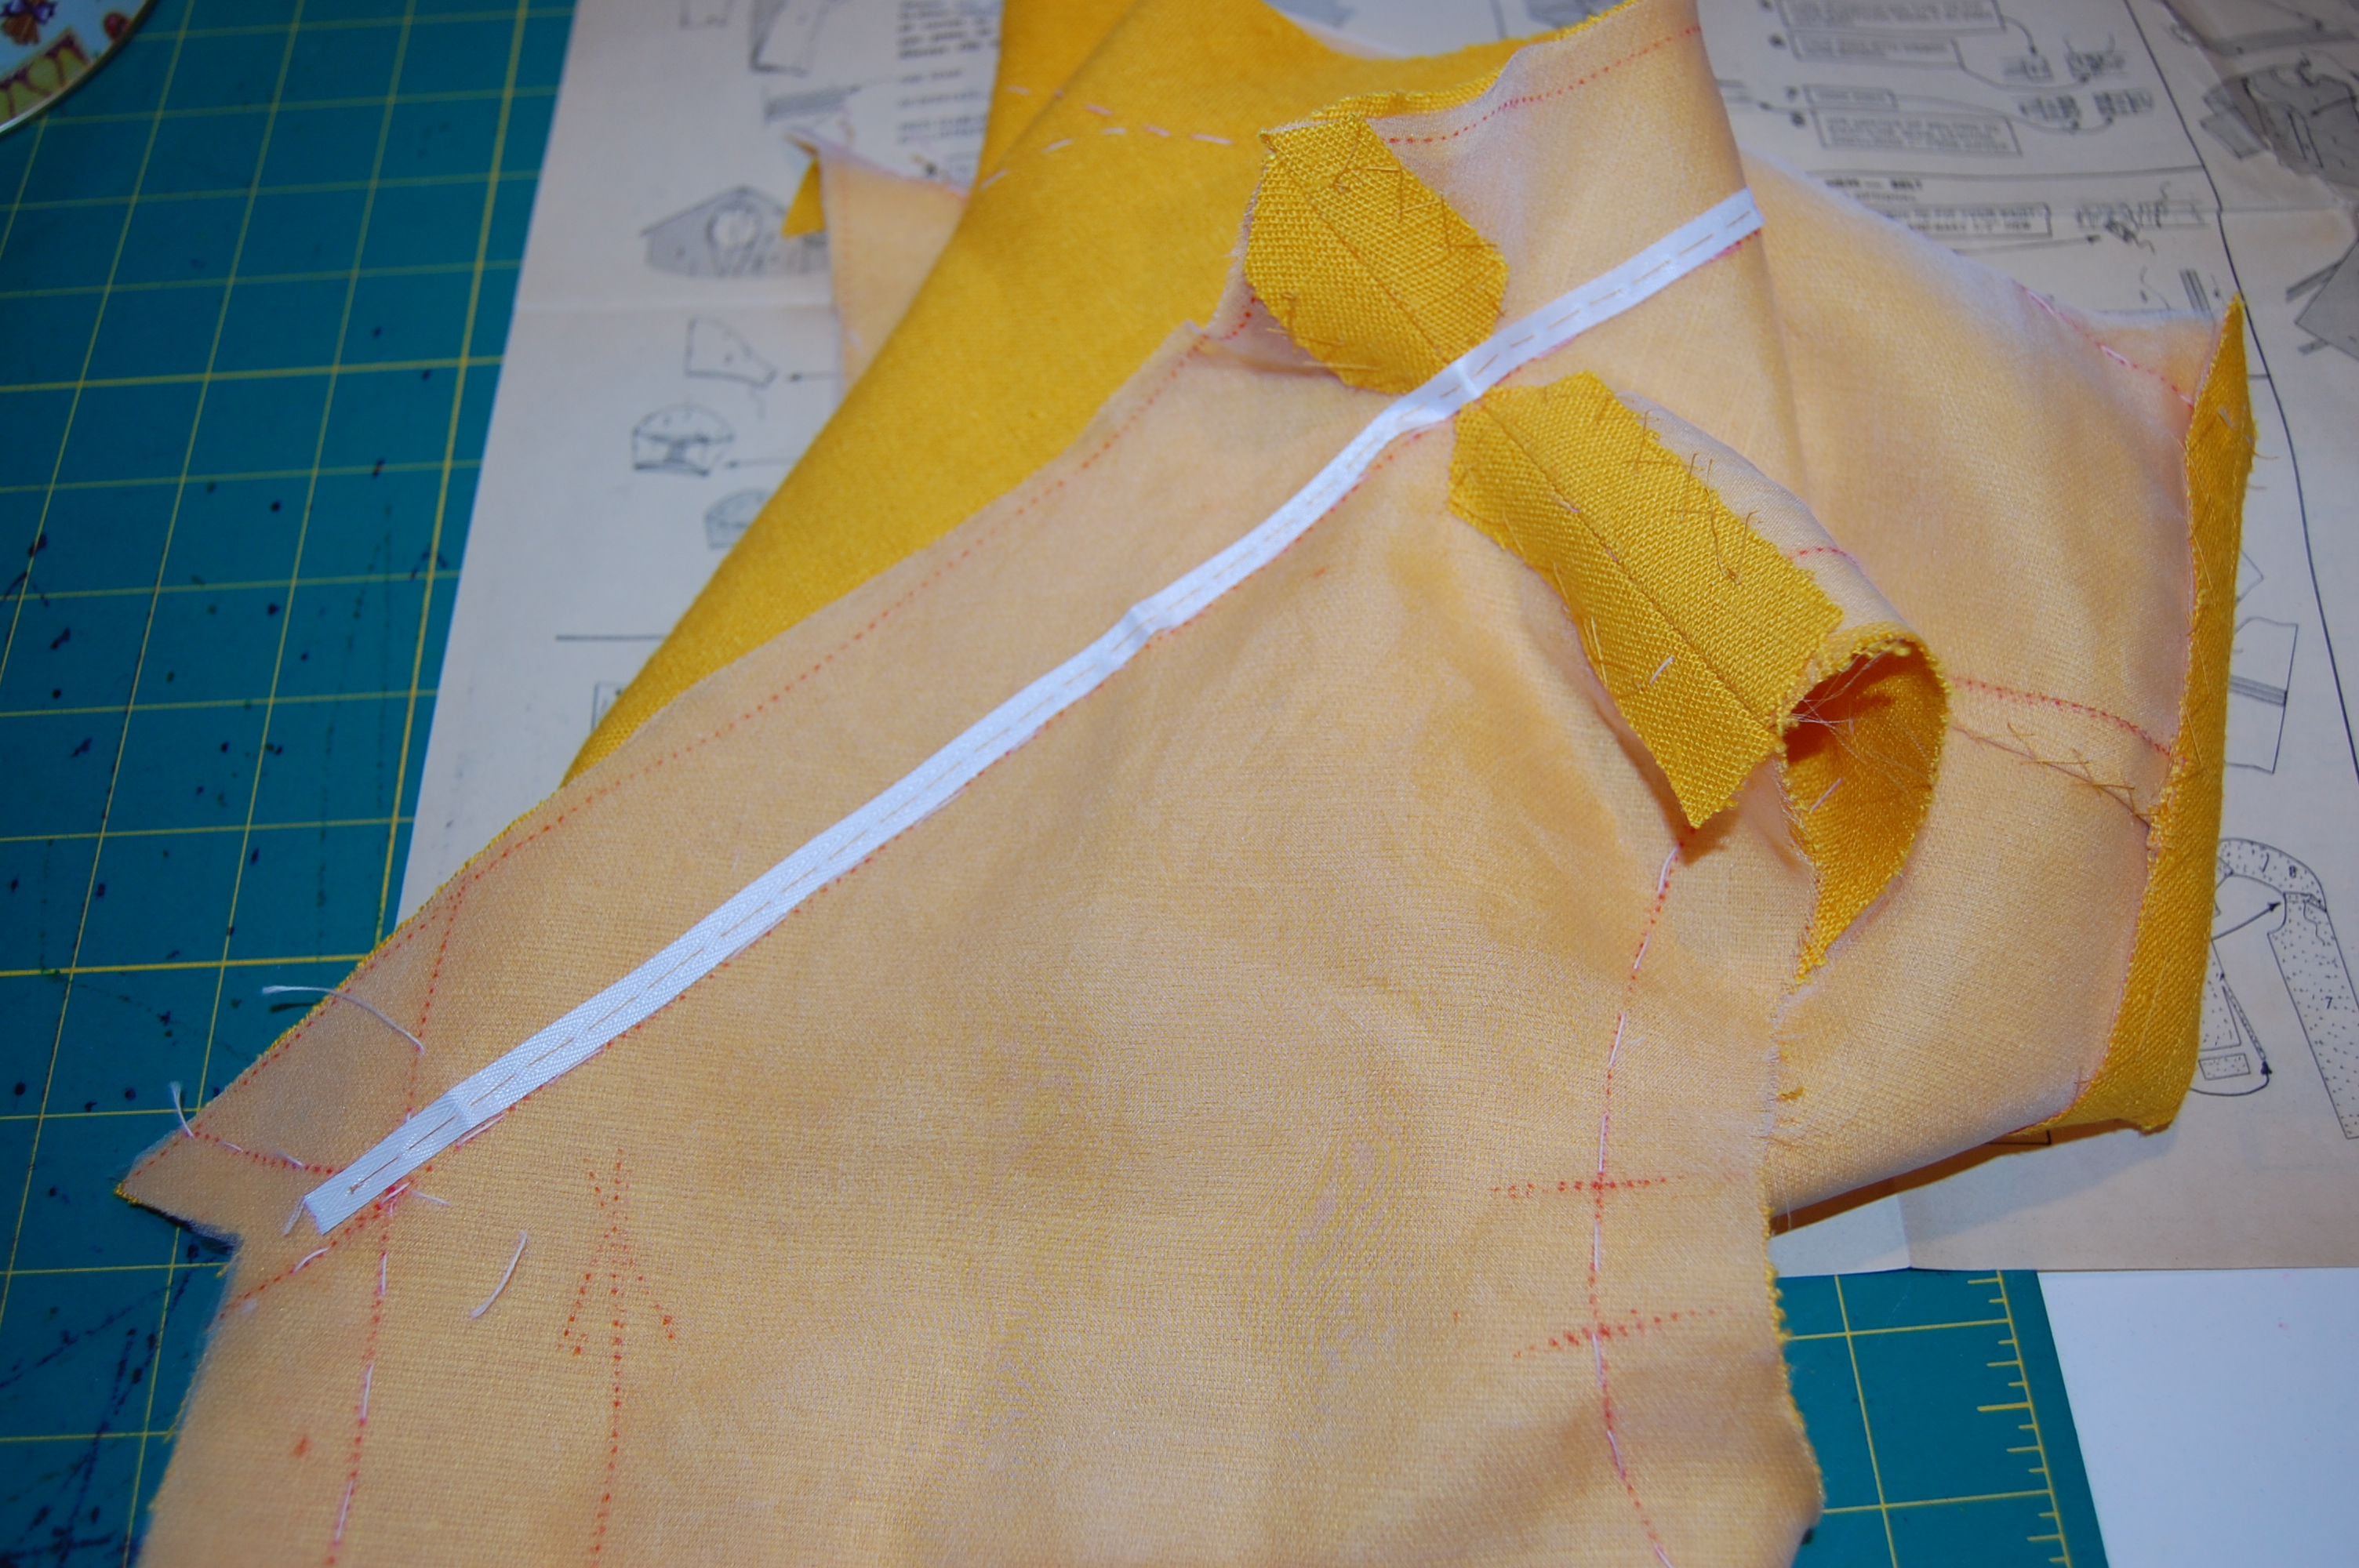
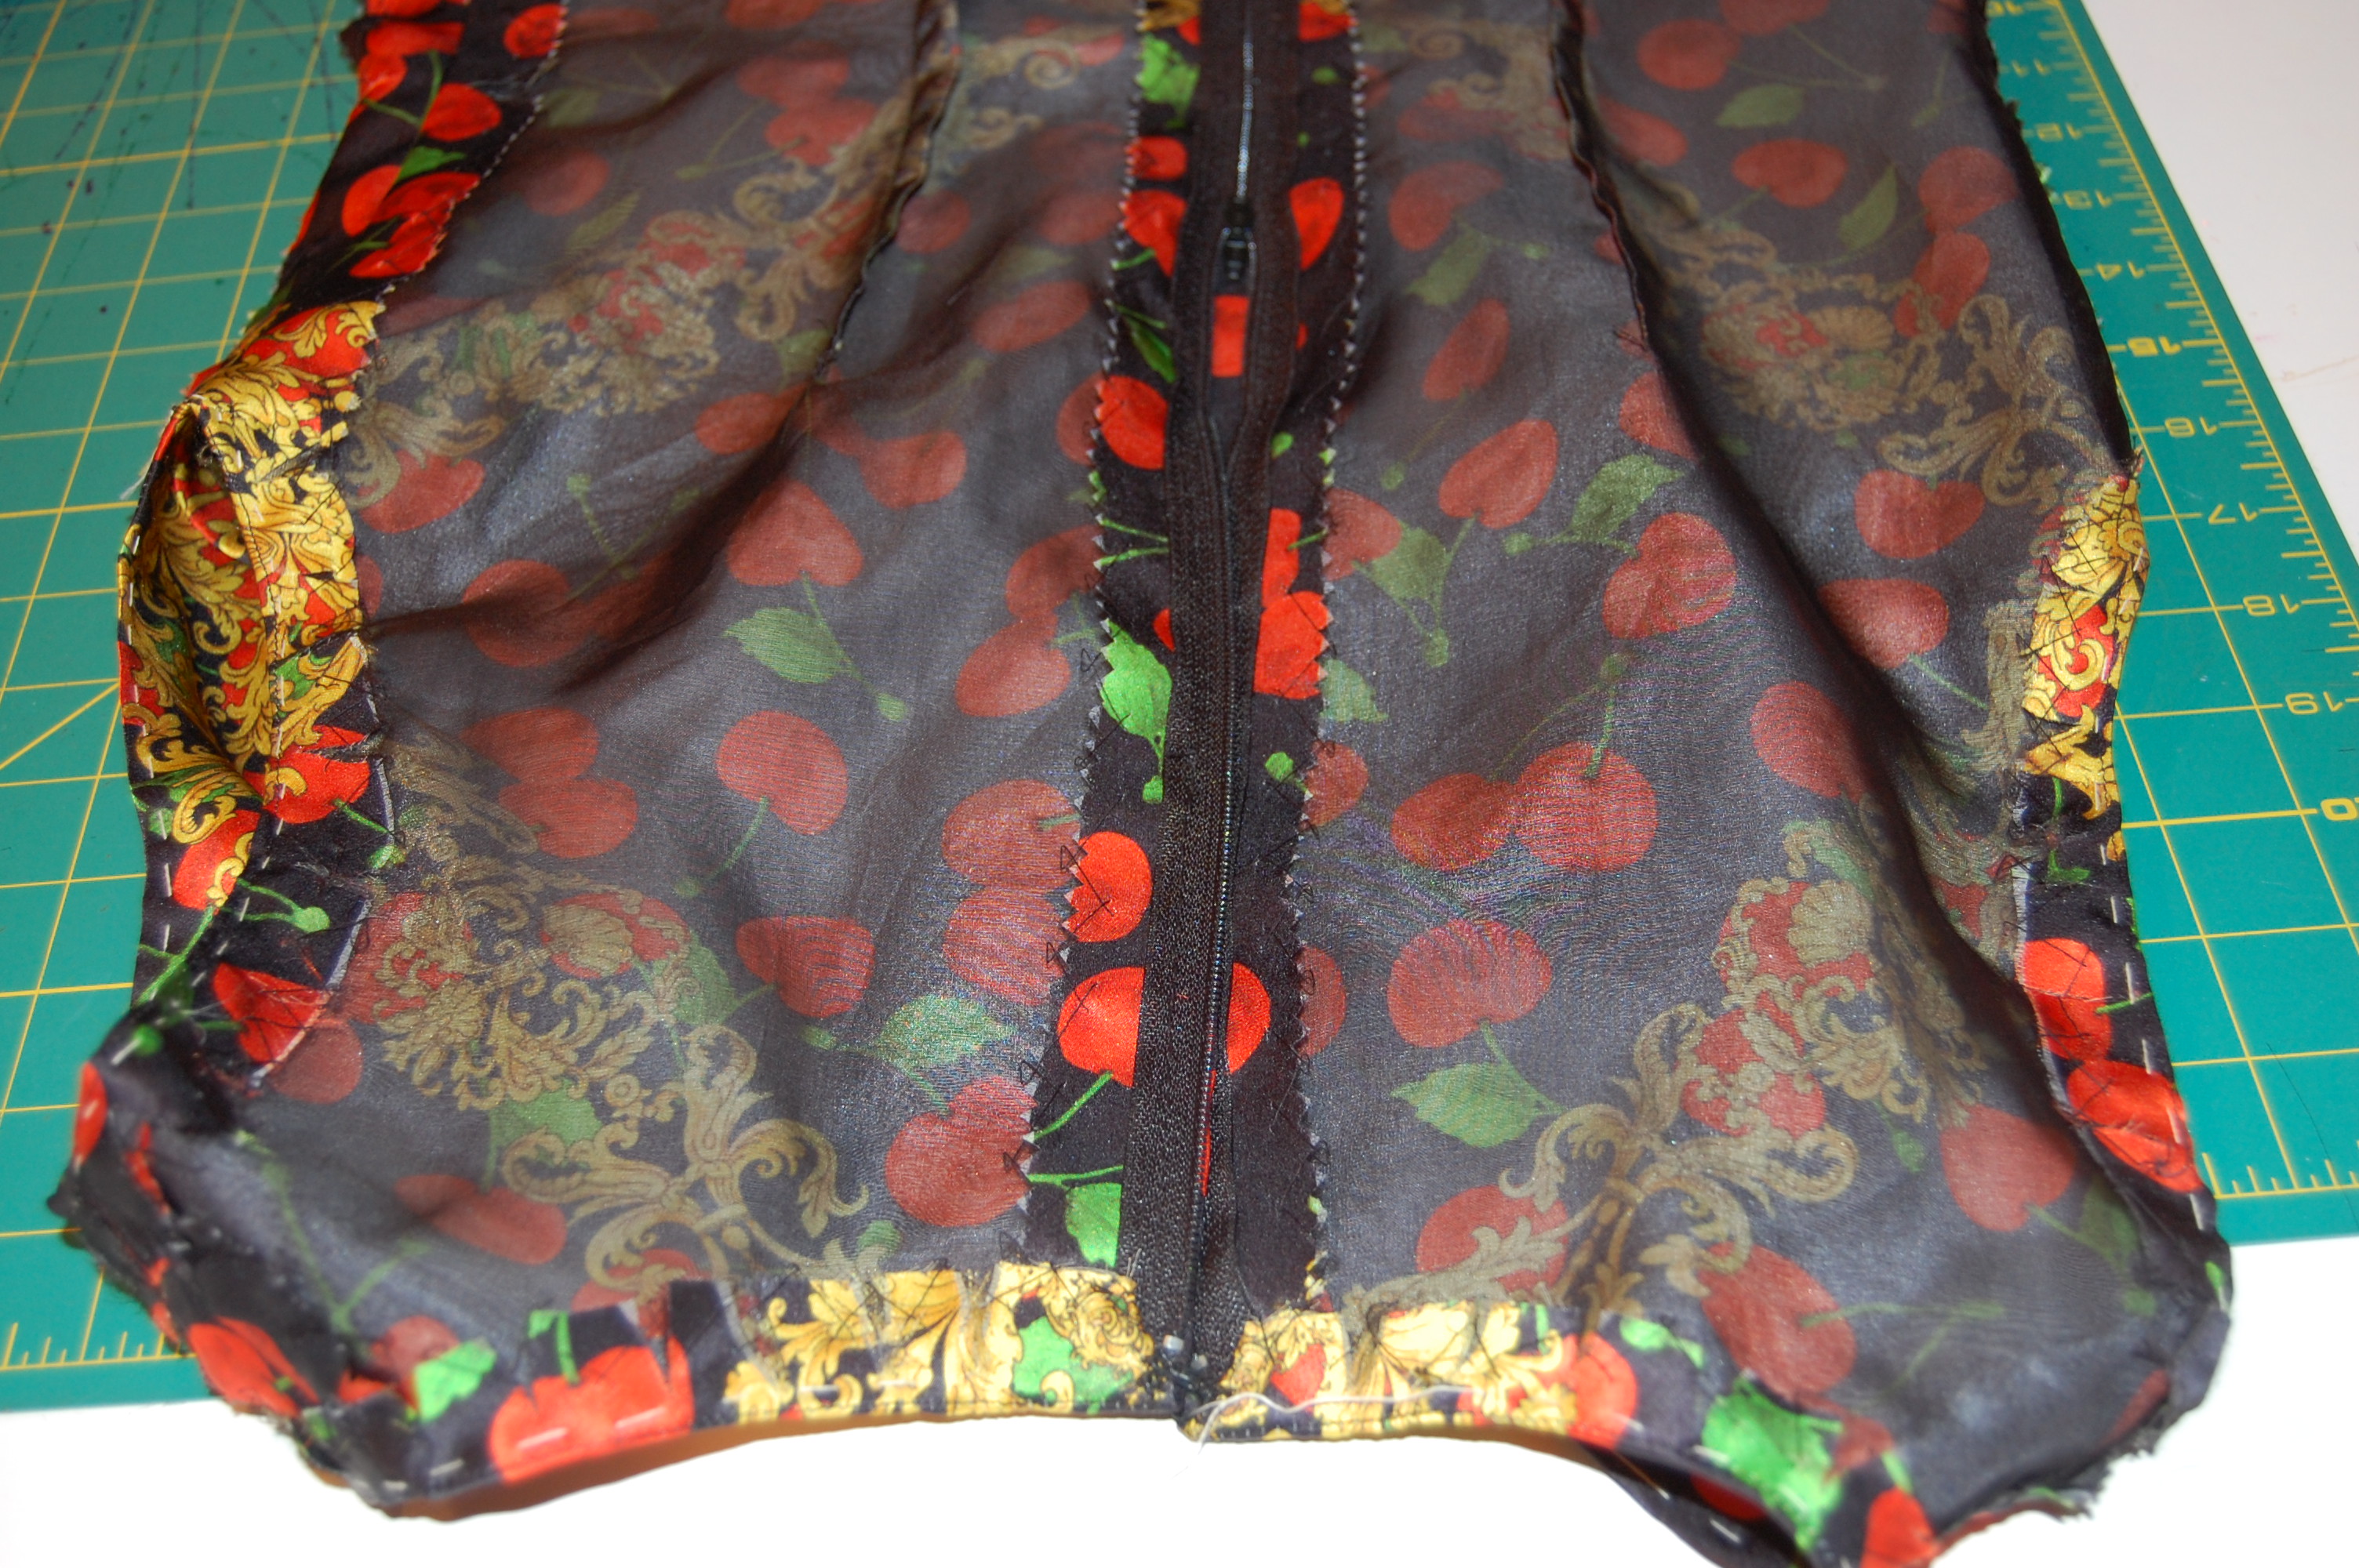
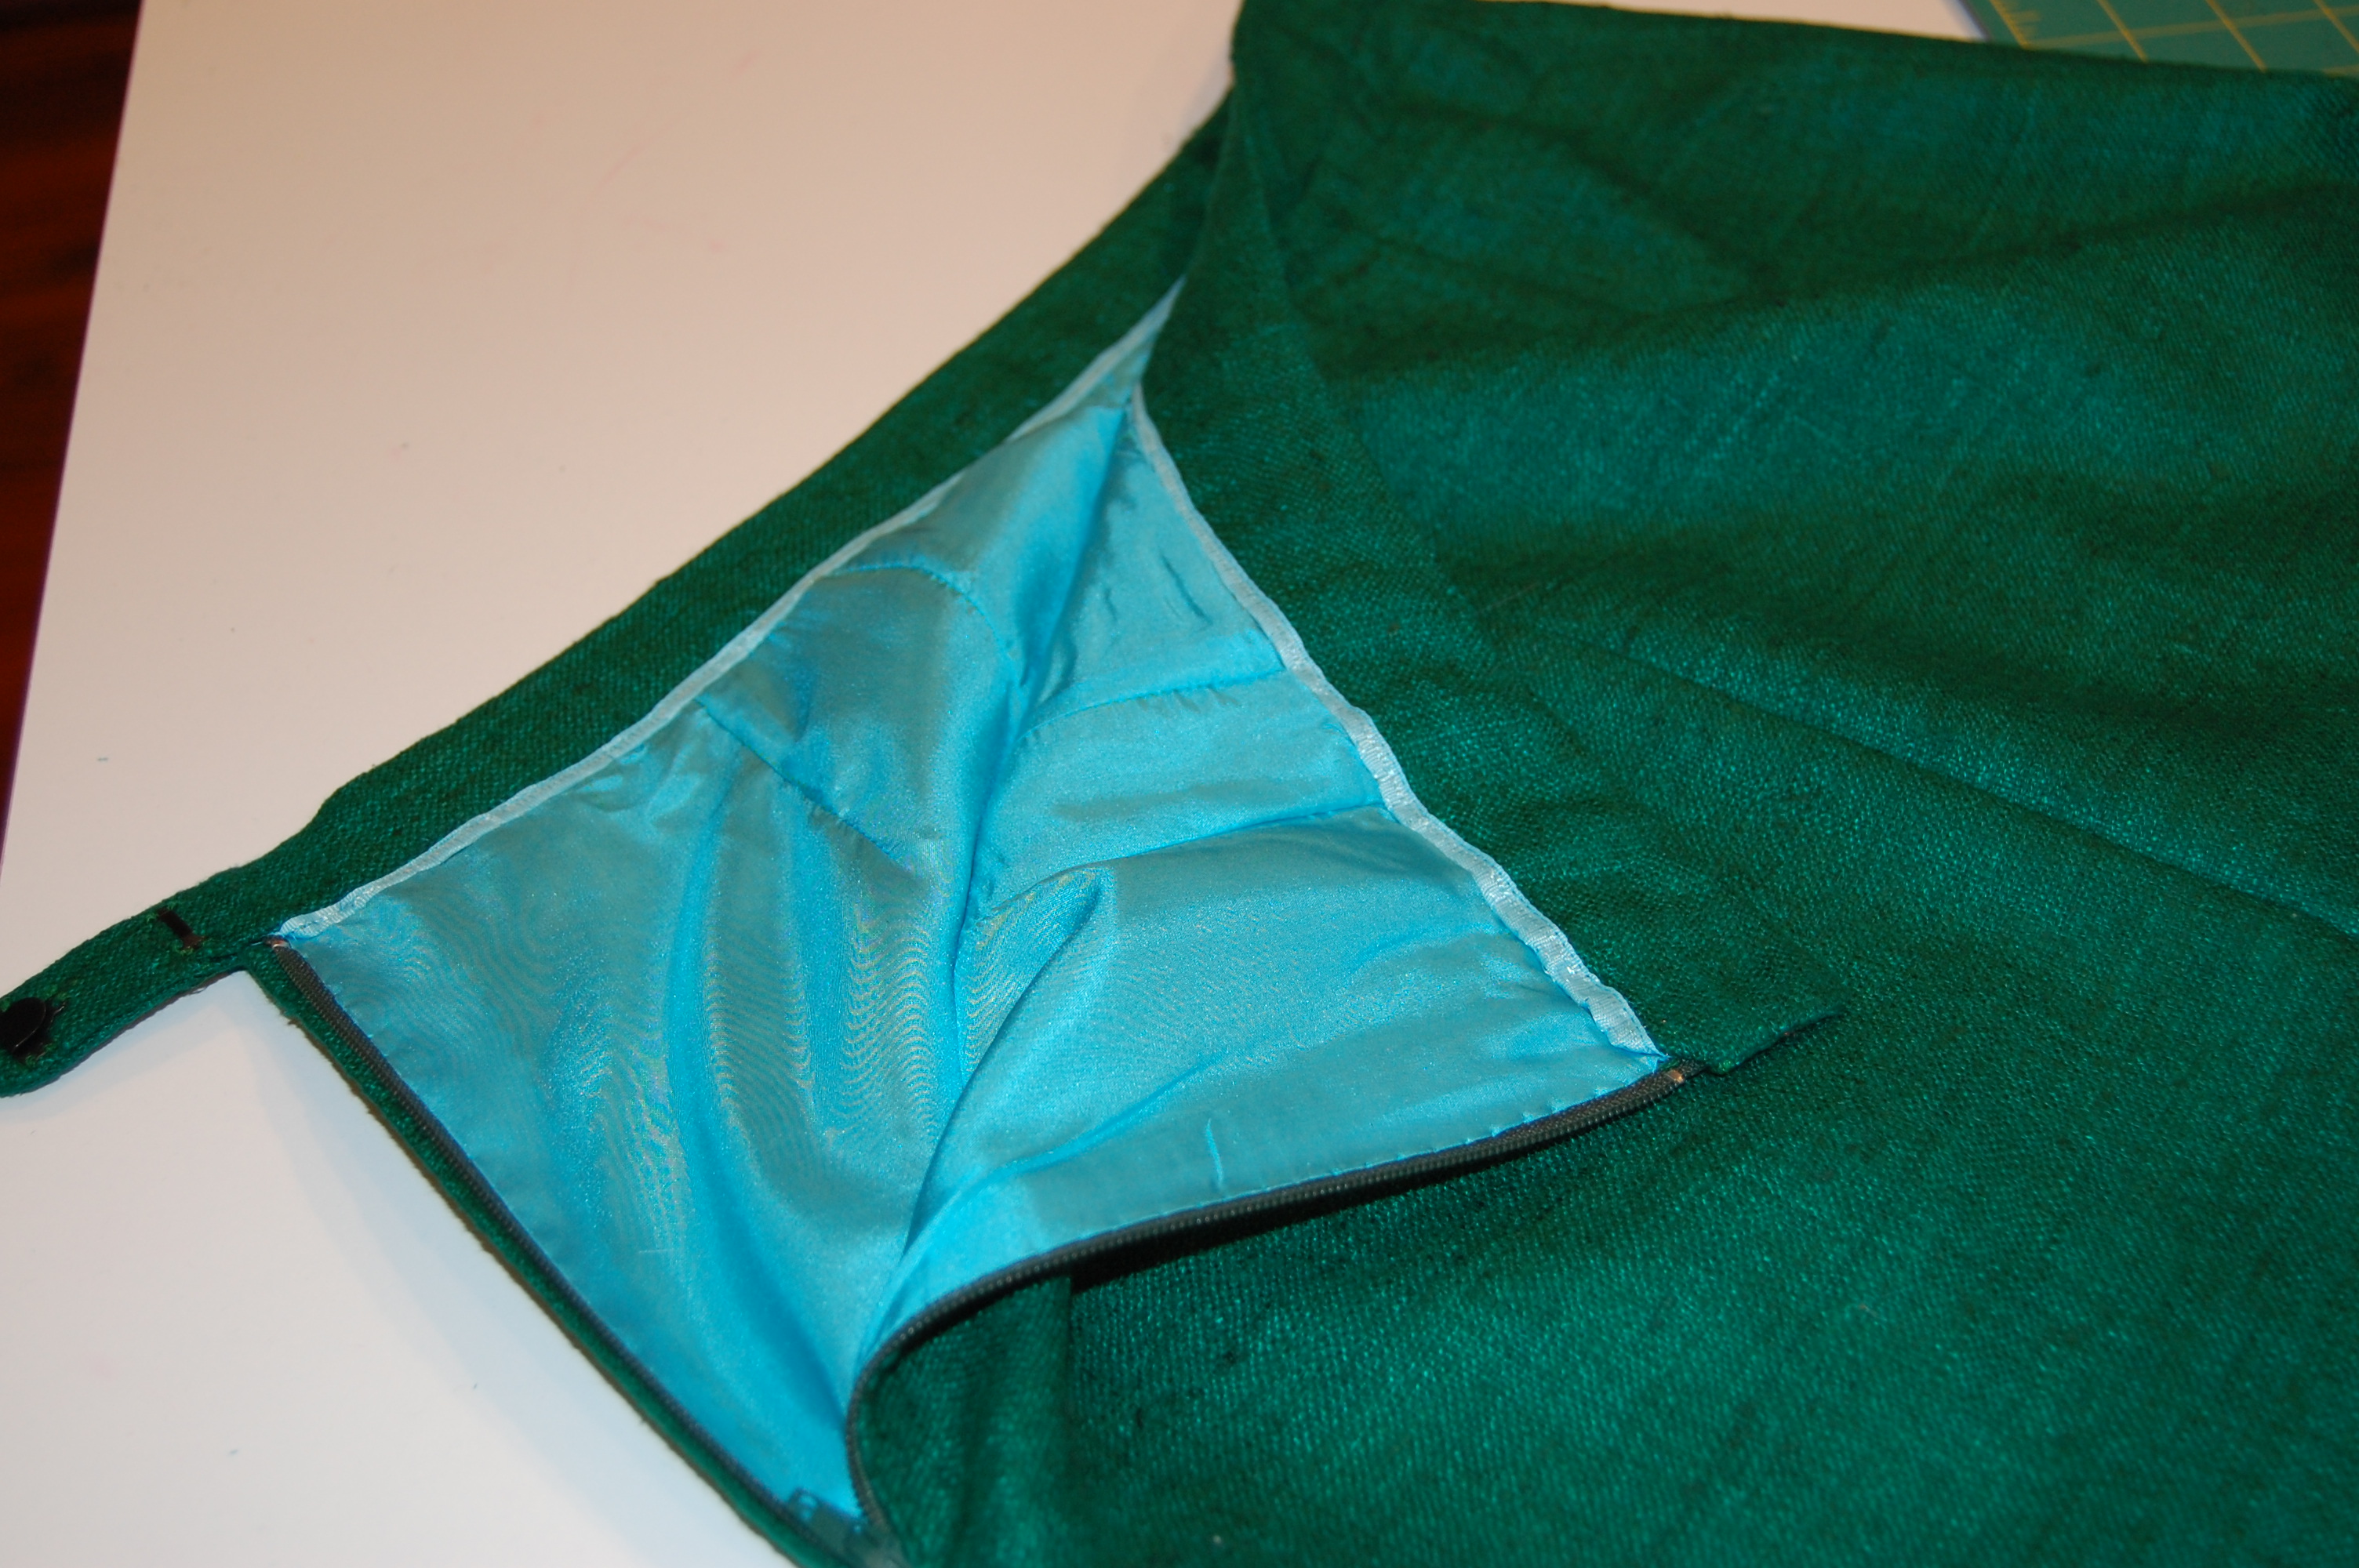
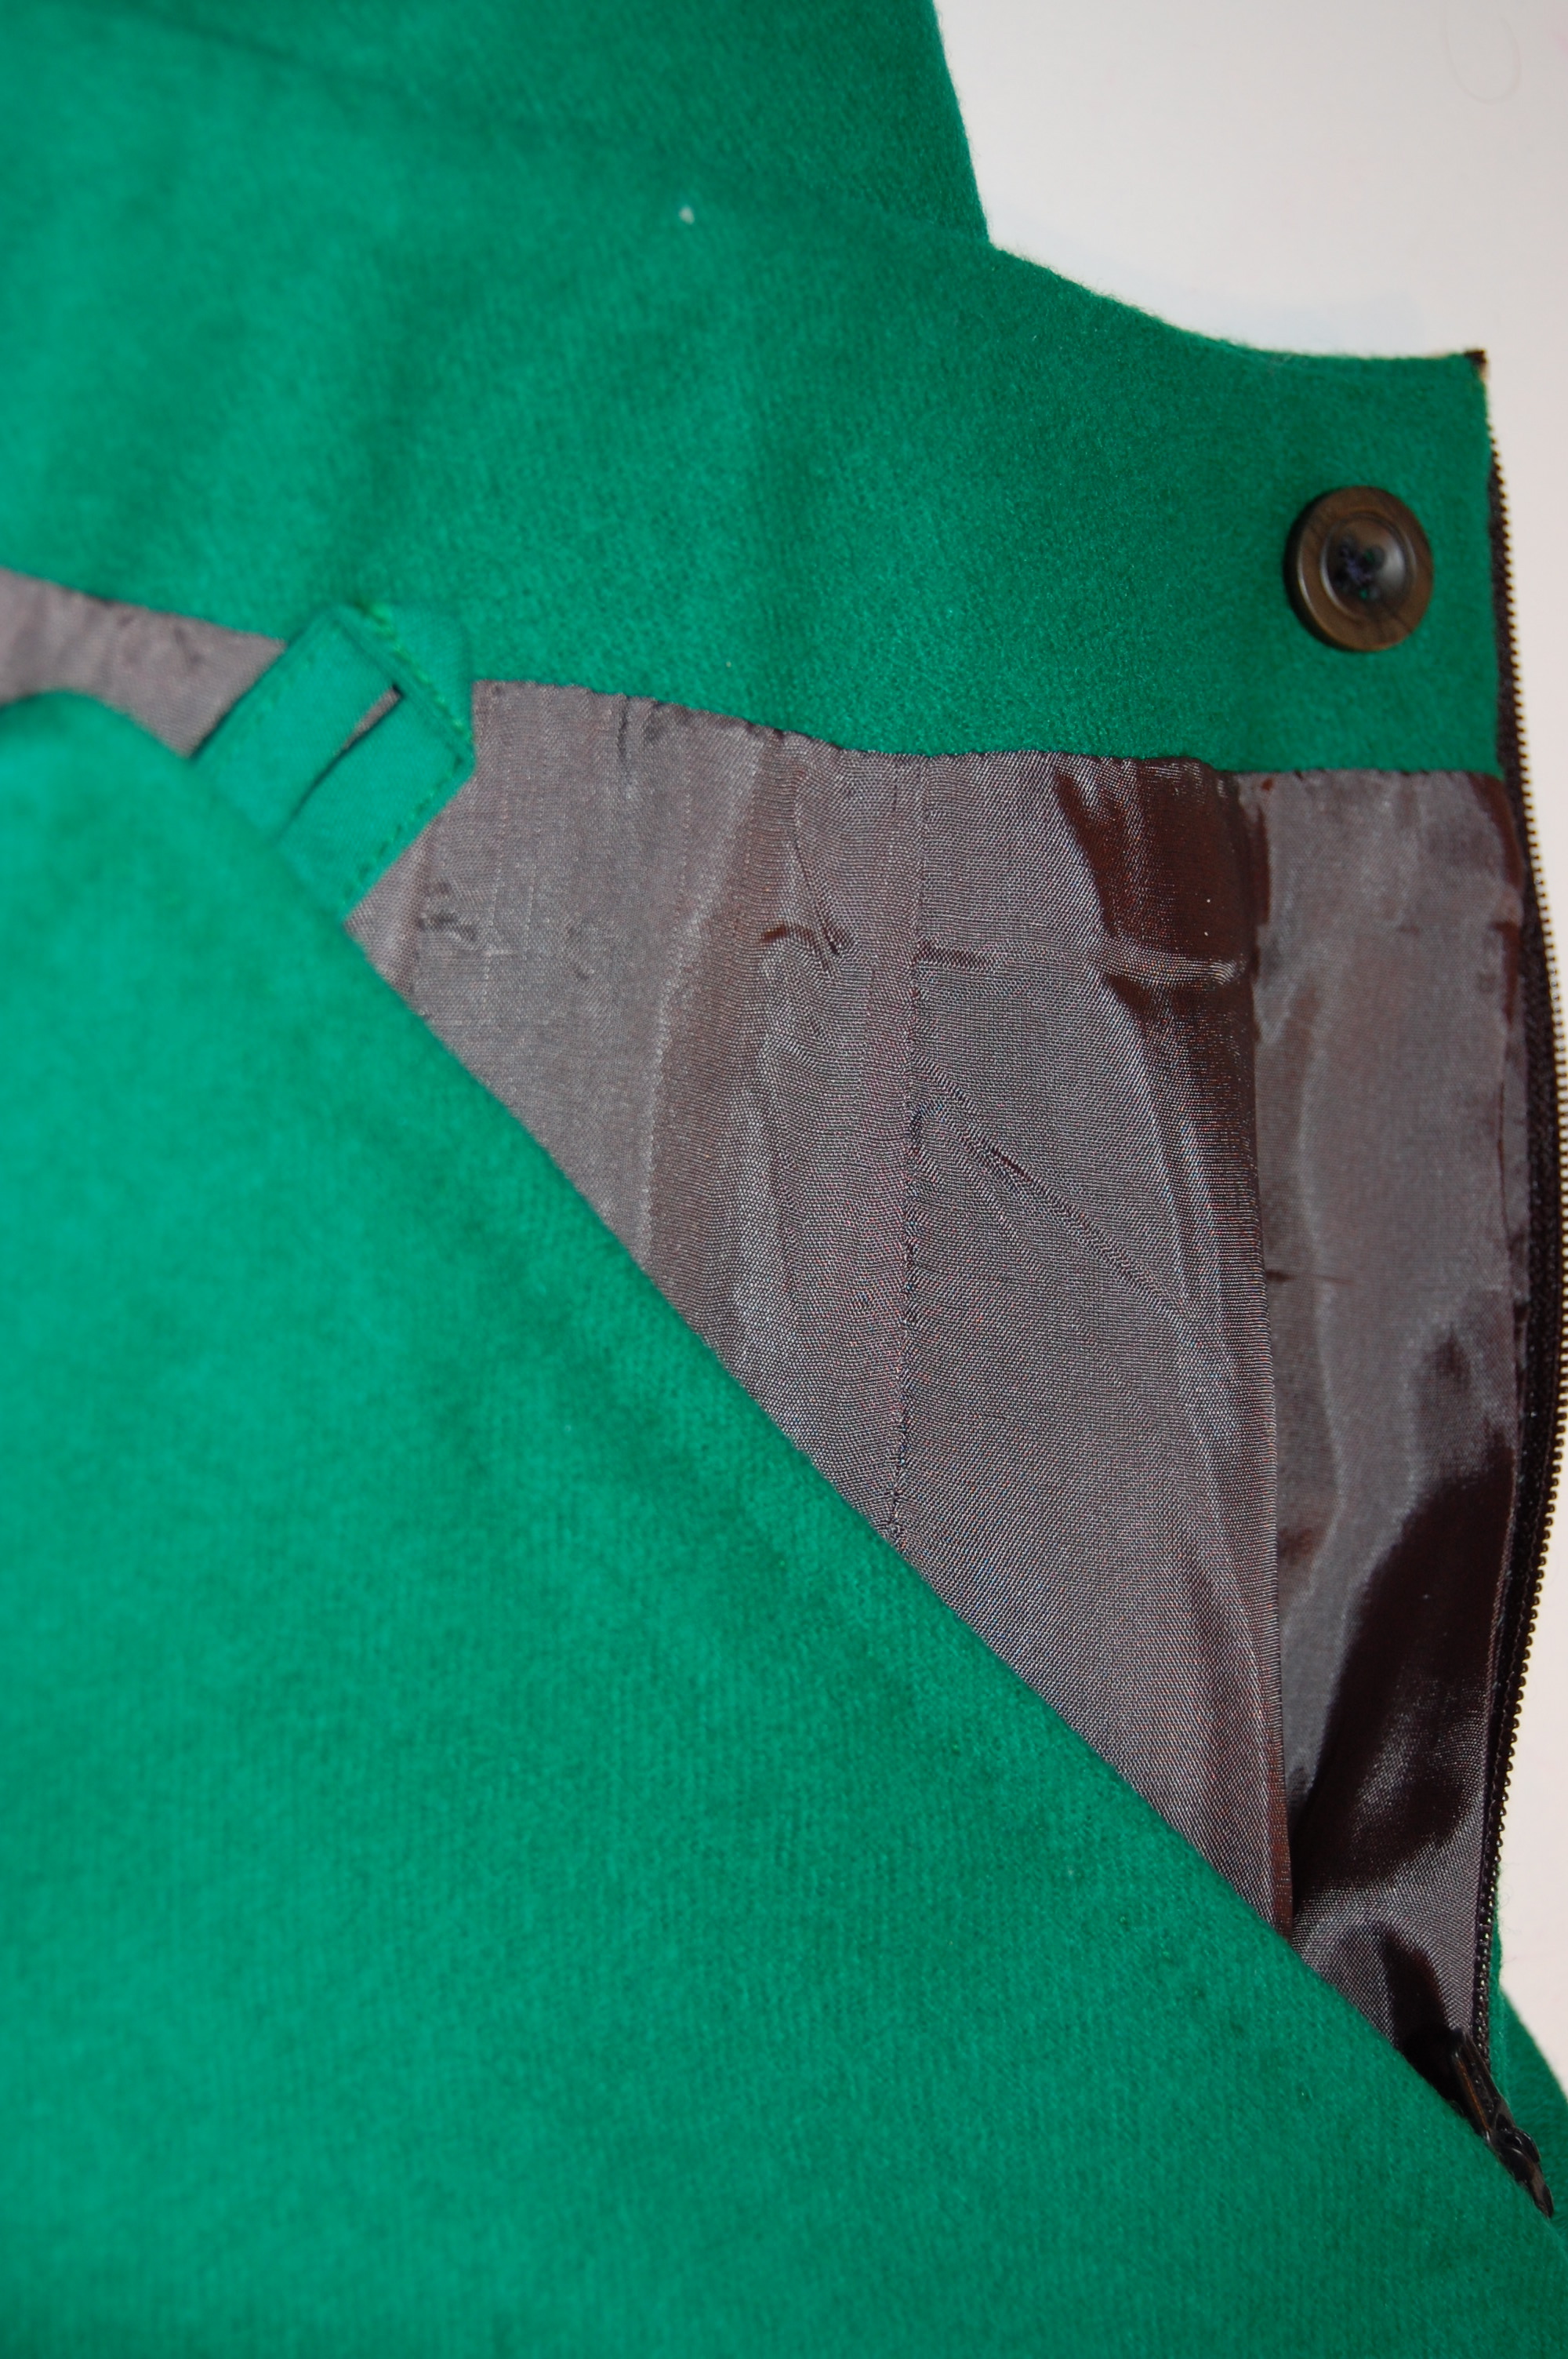
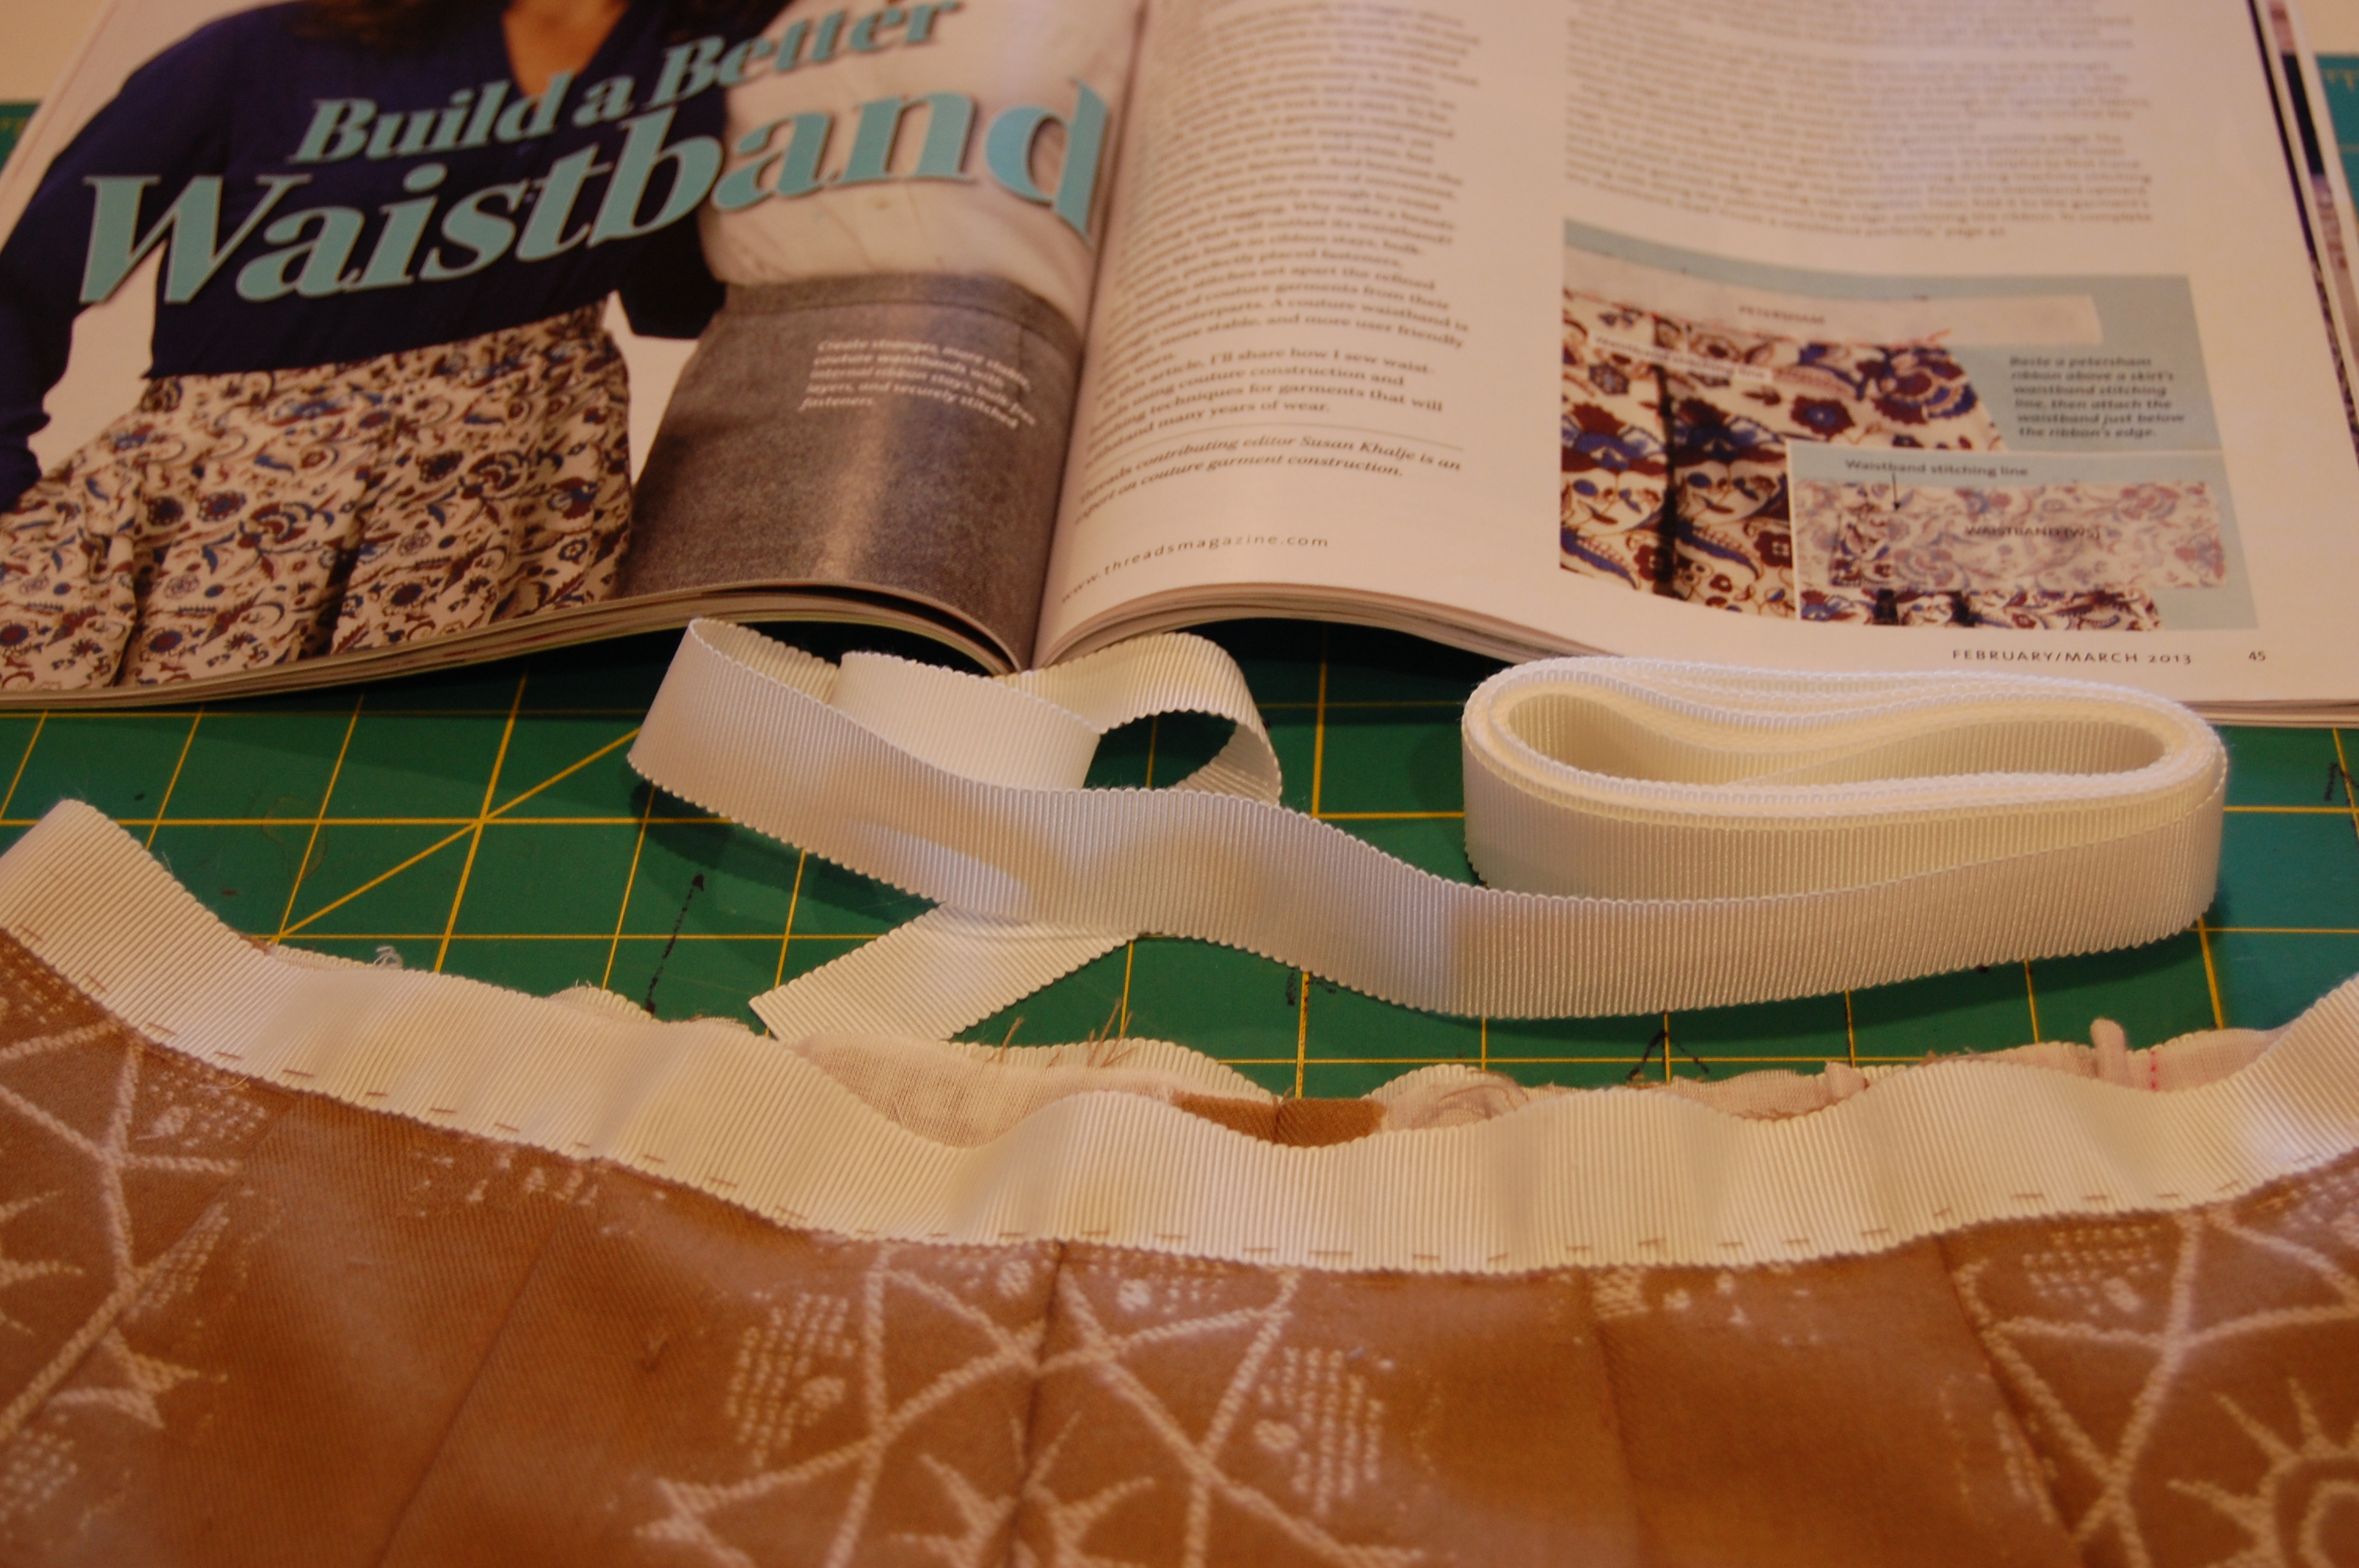
The pattern called for the fashion fabric to be underlined, but not lined. I wanted to line the dress – and actually felt it was a necessity with the fabric I was using. Because of the unusual construction of the dress, I knew that this was going to be interesting – and that I was going to have to make it up as I went. To see what I mean about the unusual construction, take a look at the pattern instructions. The front of the “underdress” is sewn to the back of the dress at the side seams only to the waistline. The bodice part of the front “underdress” hangs loose while the two sections of the overblouse are first sewn to the dress back. Then that bodice is hand sewn in place.
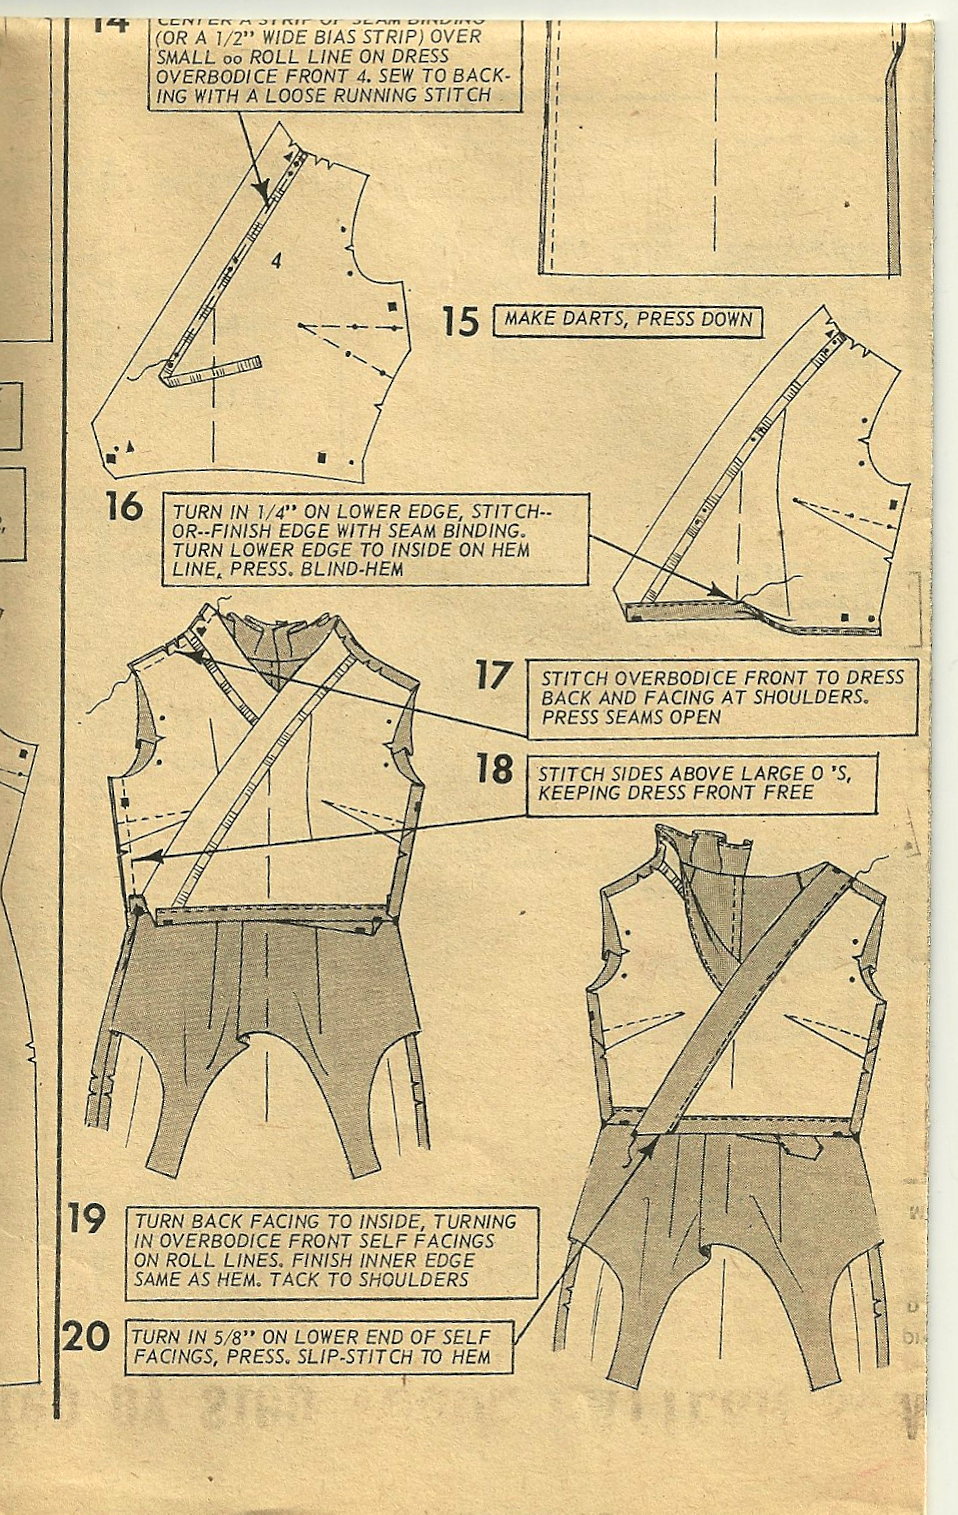
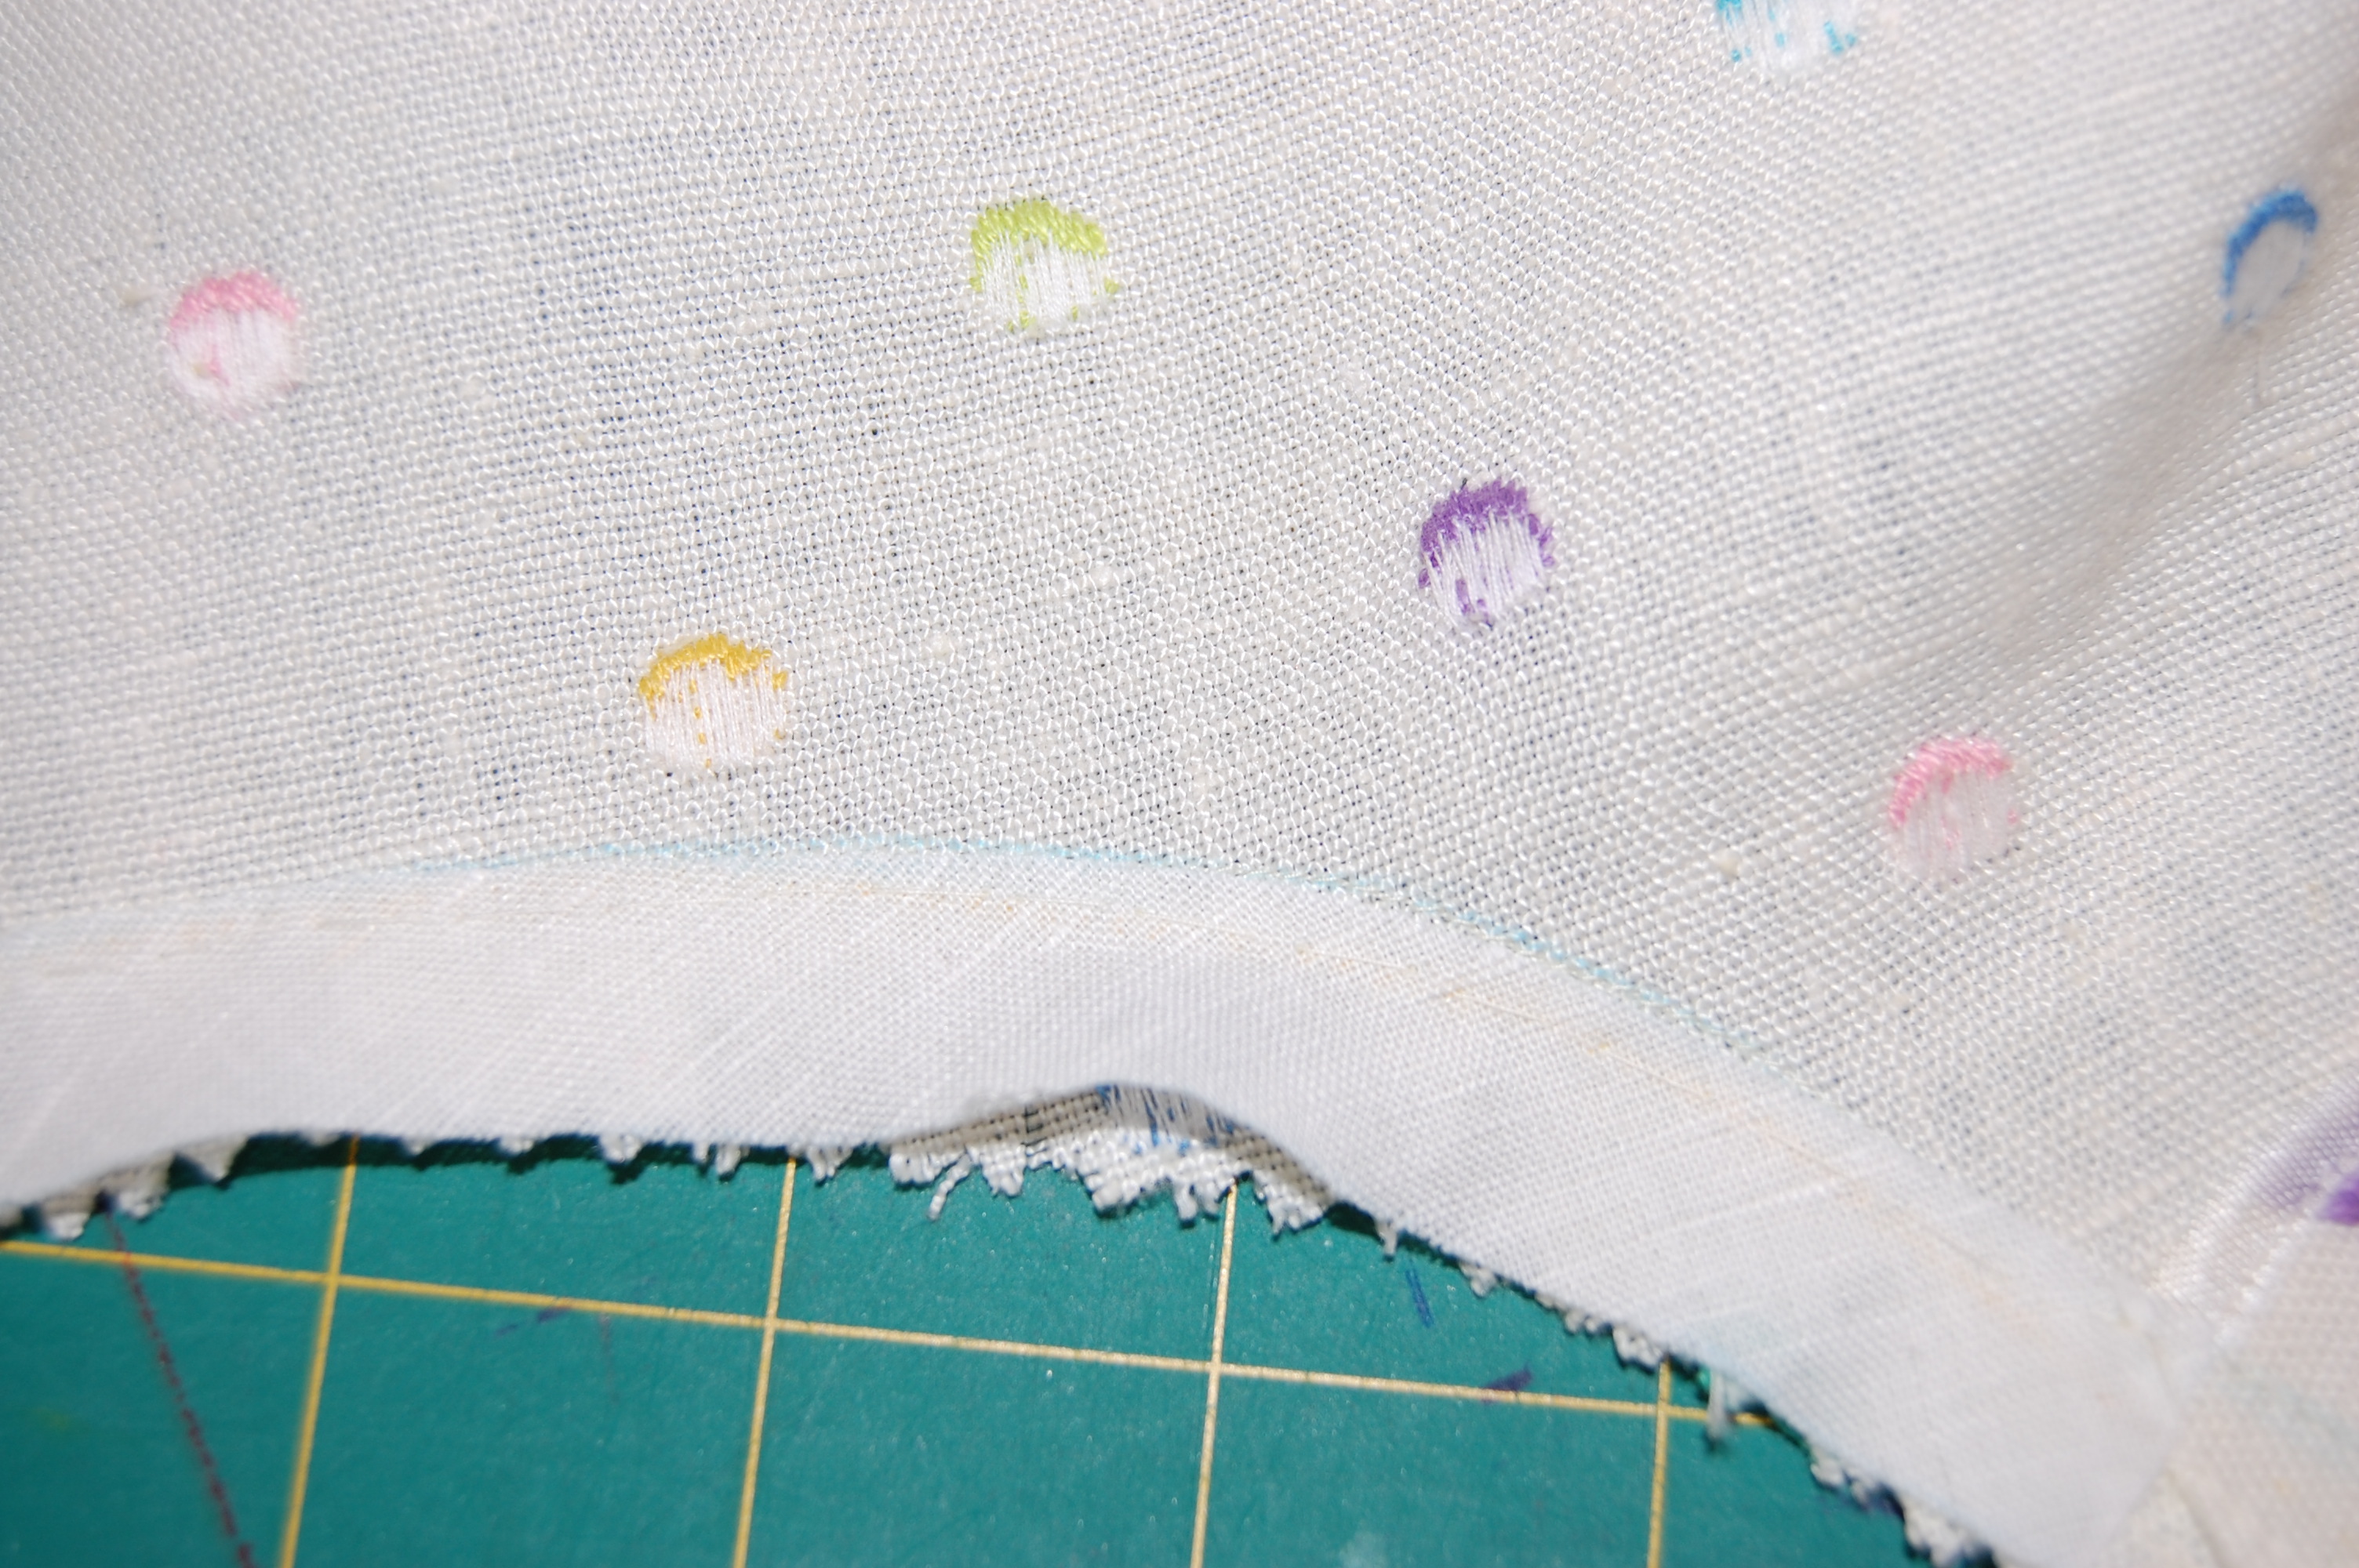
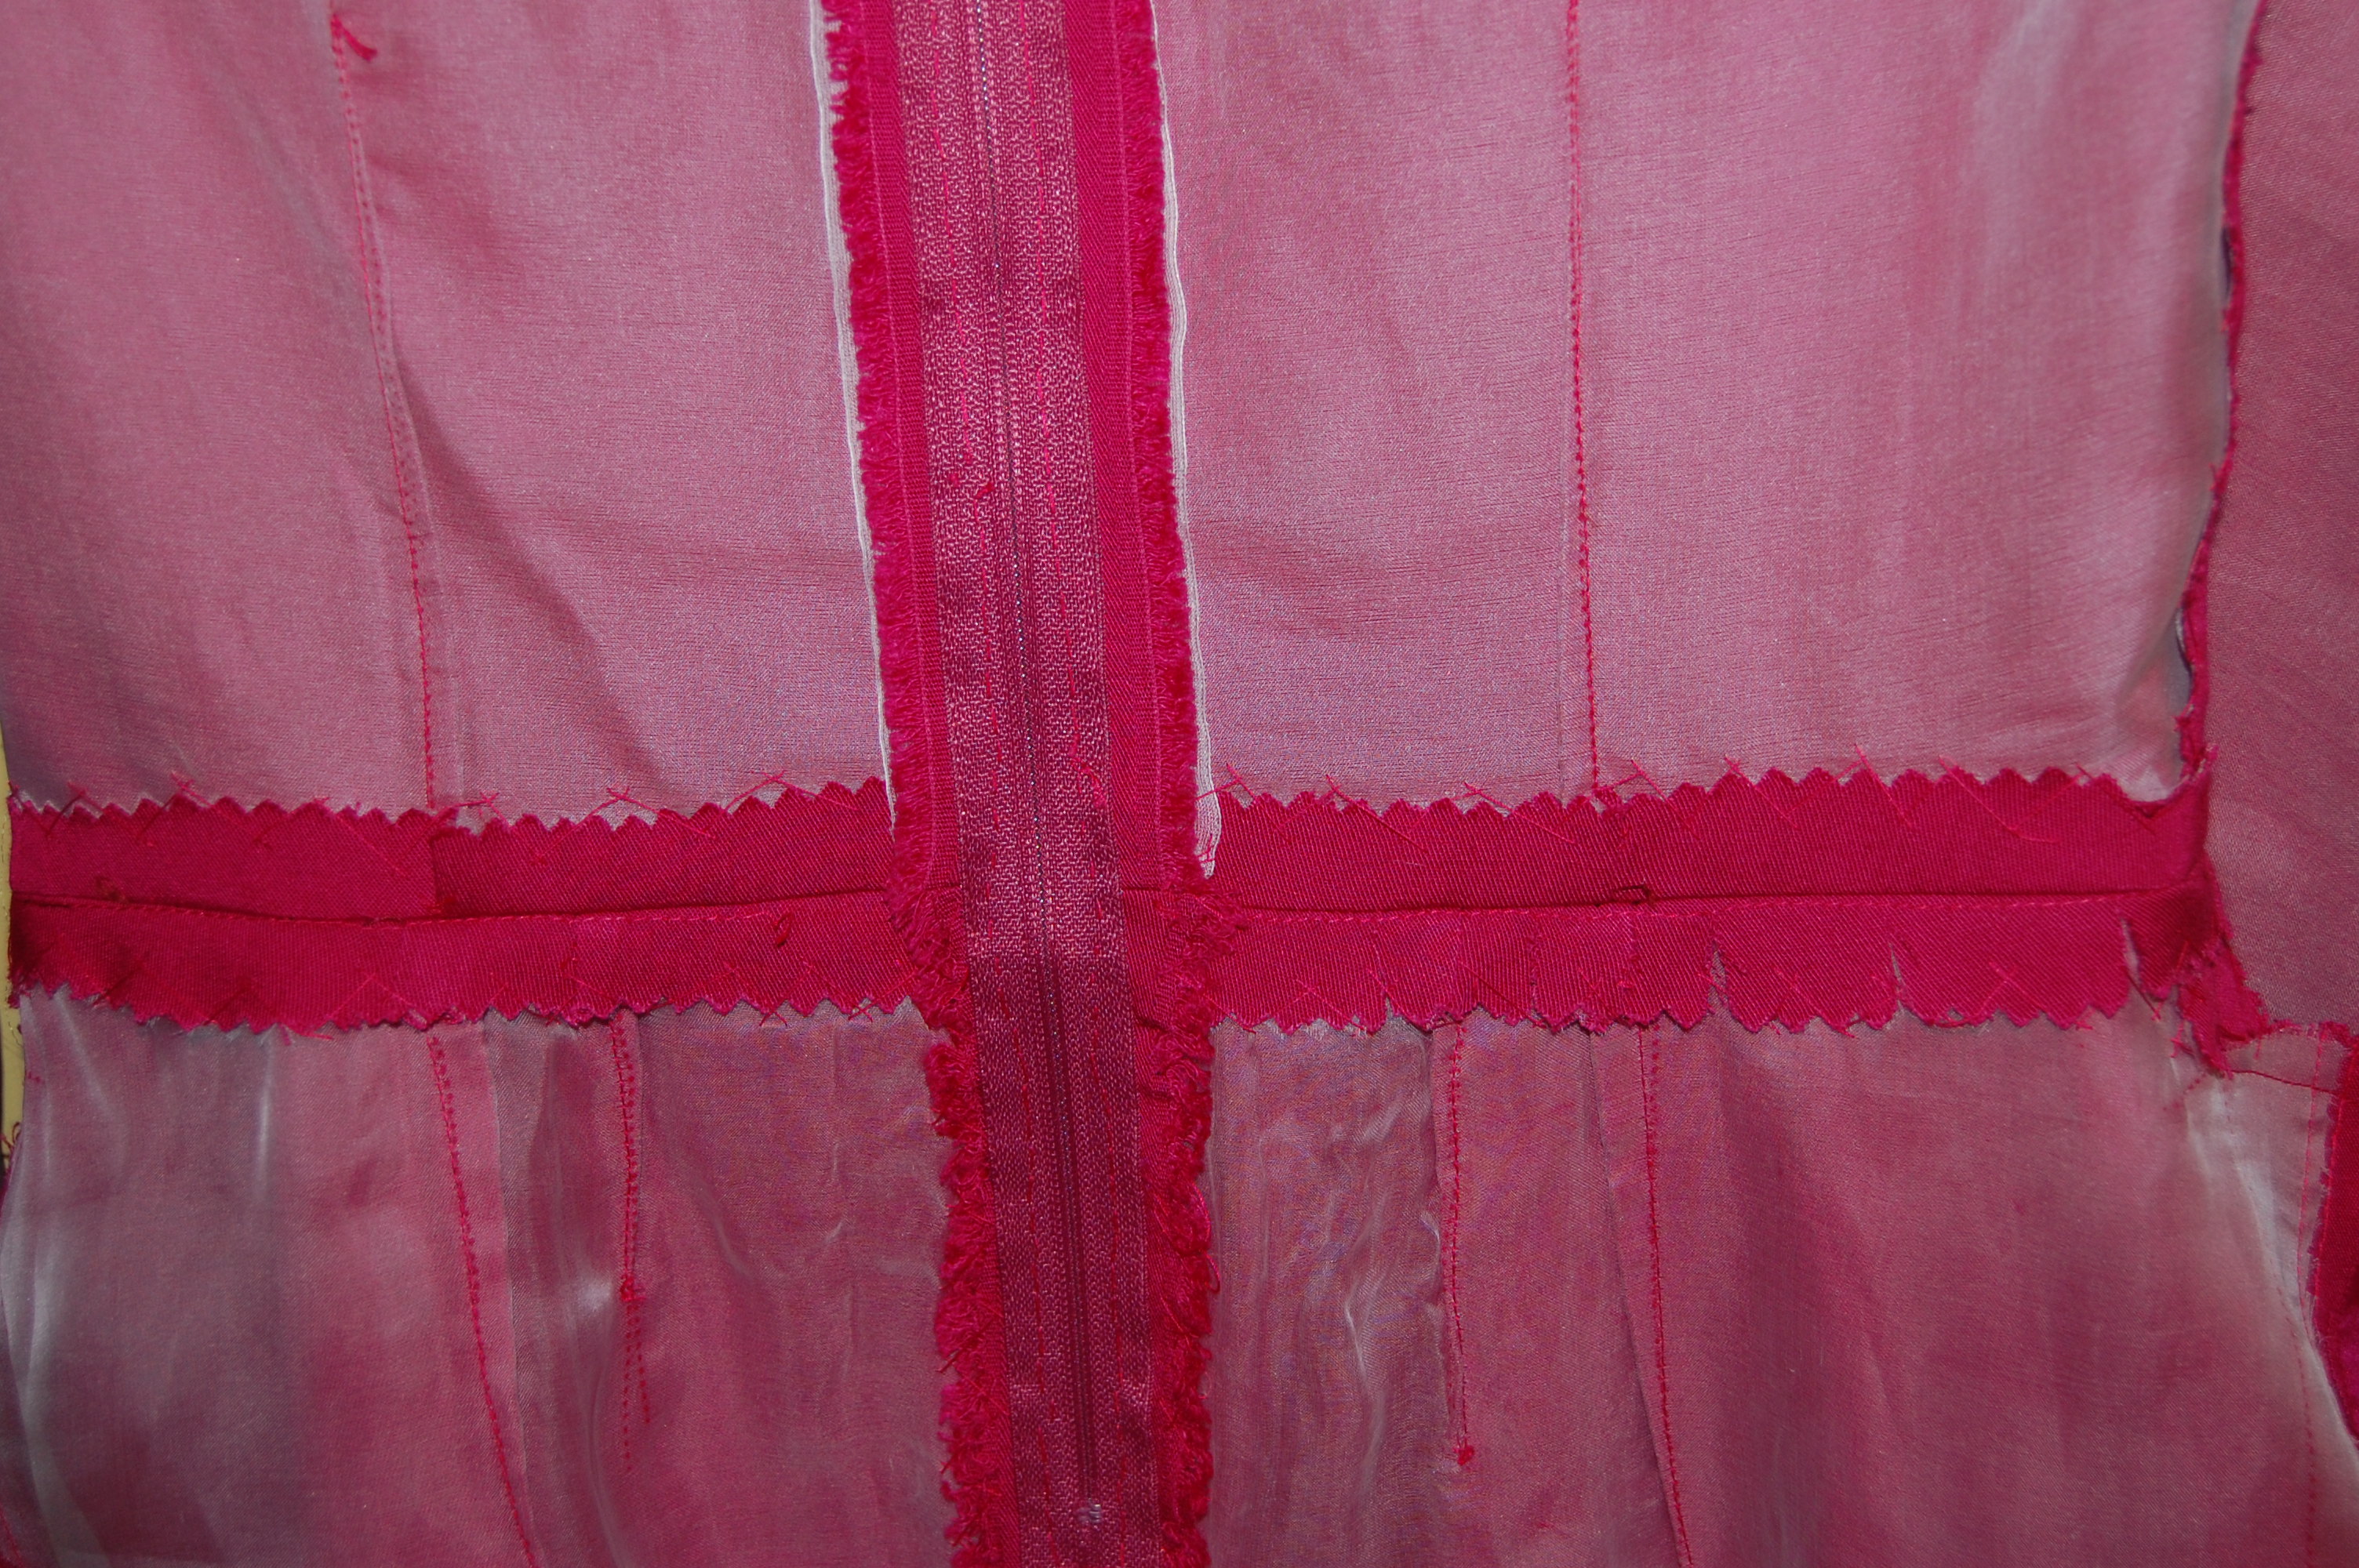
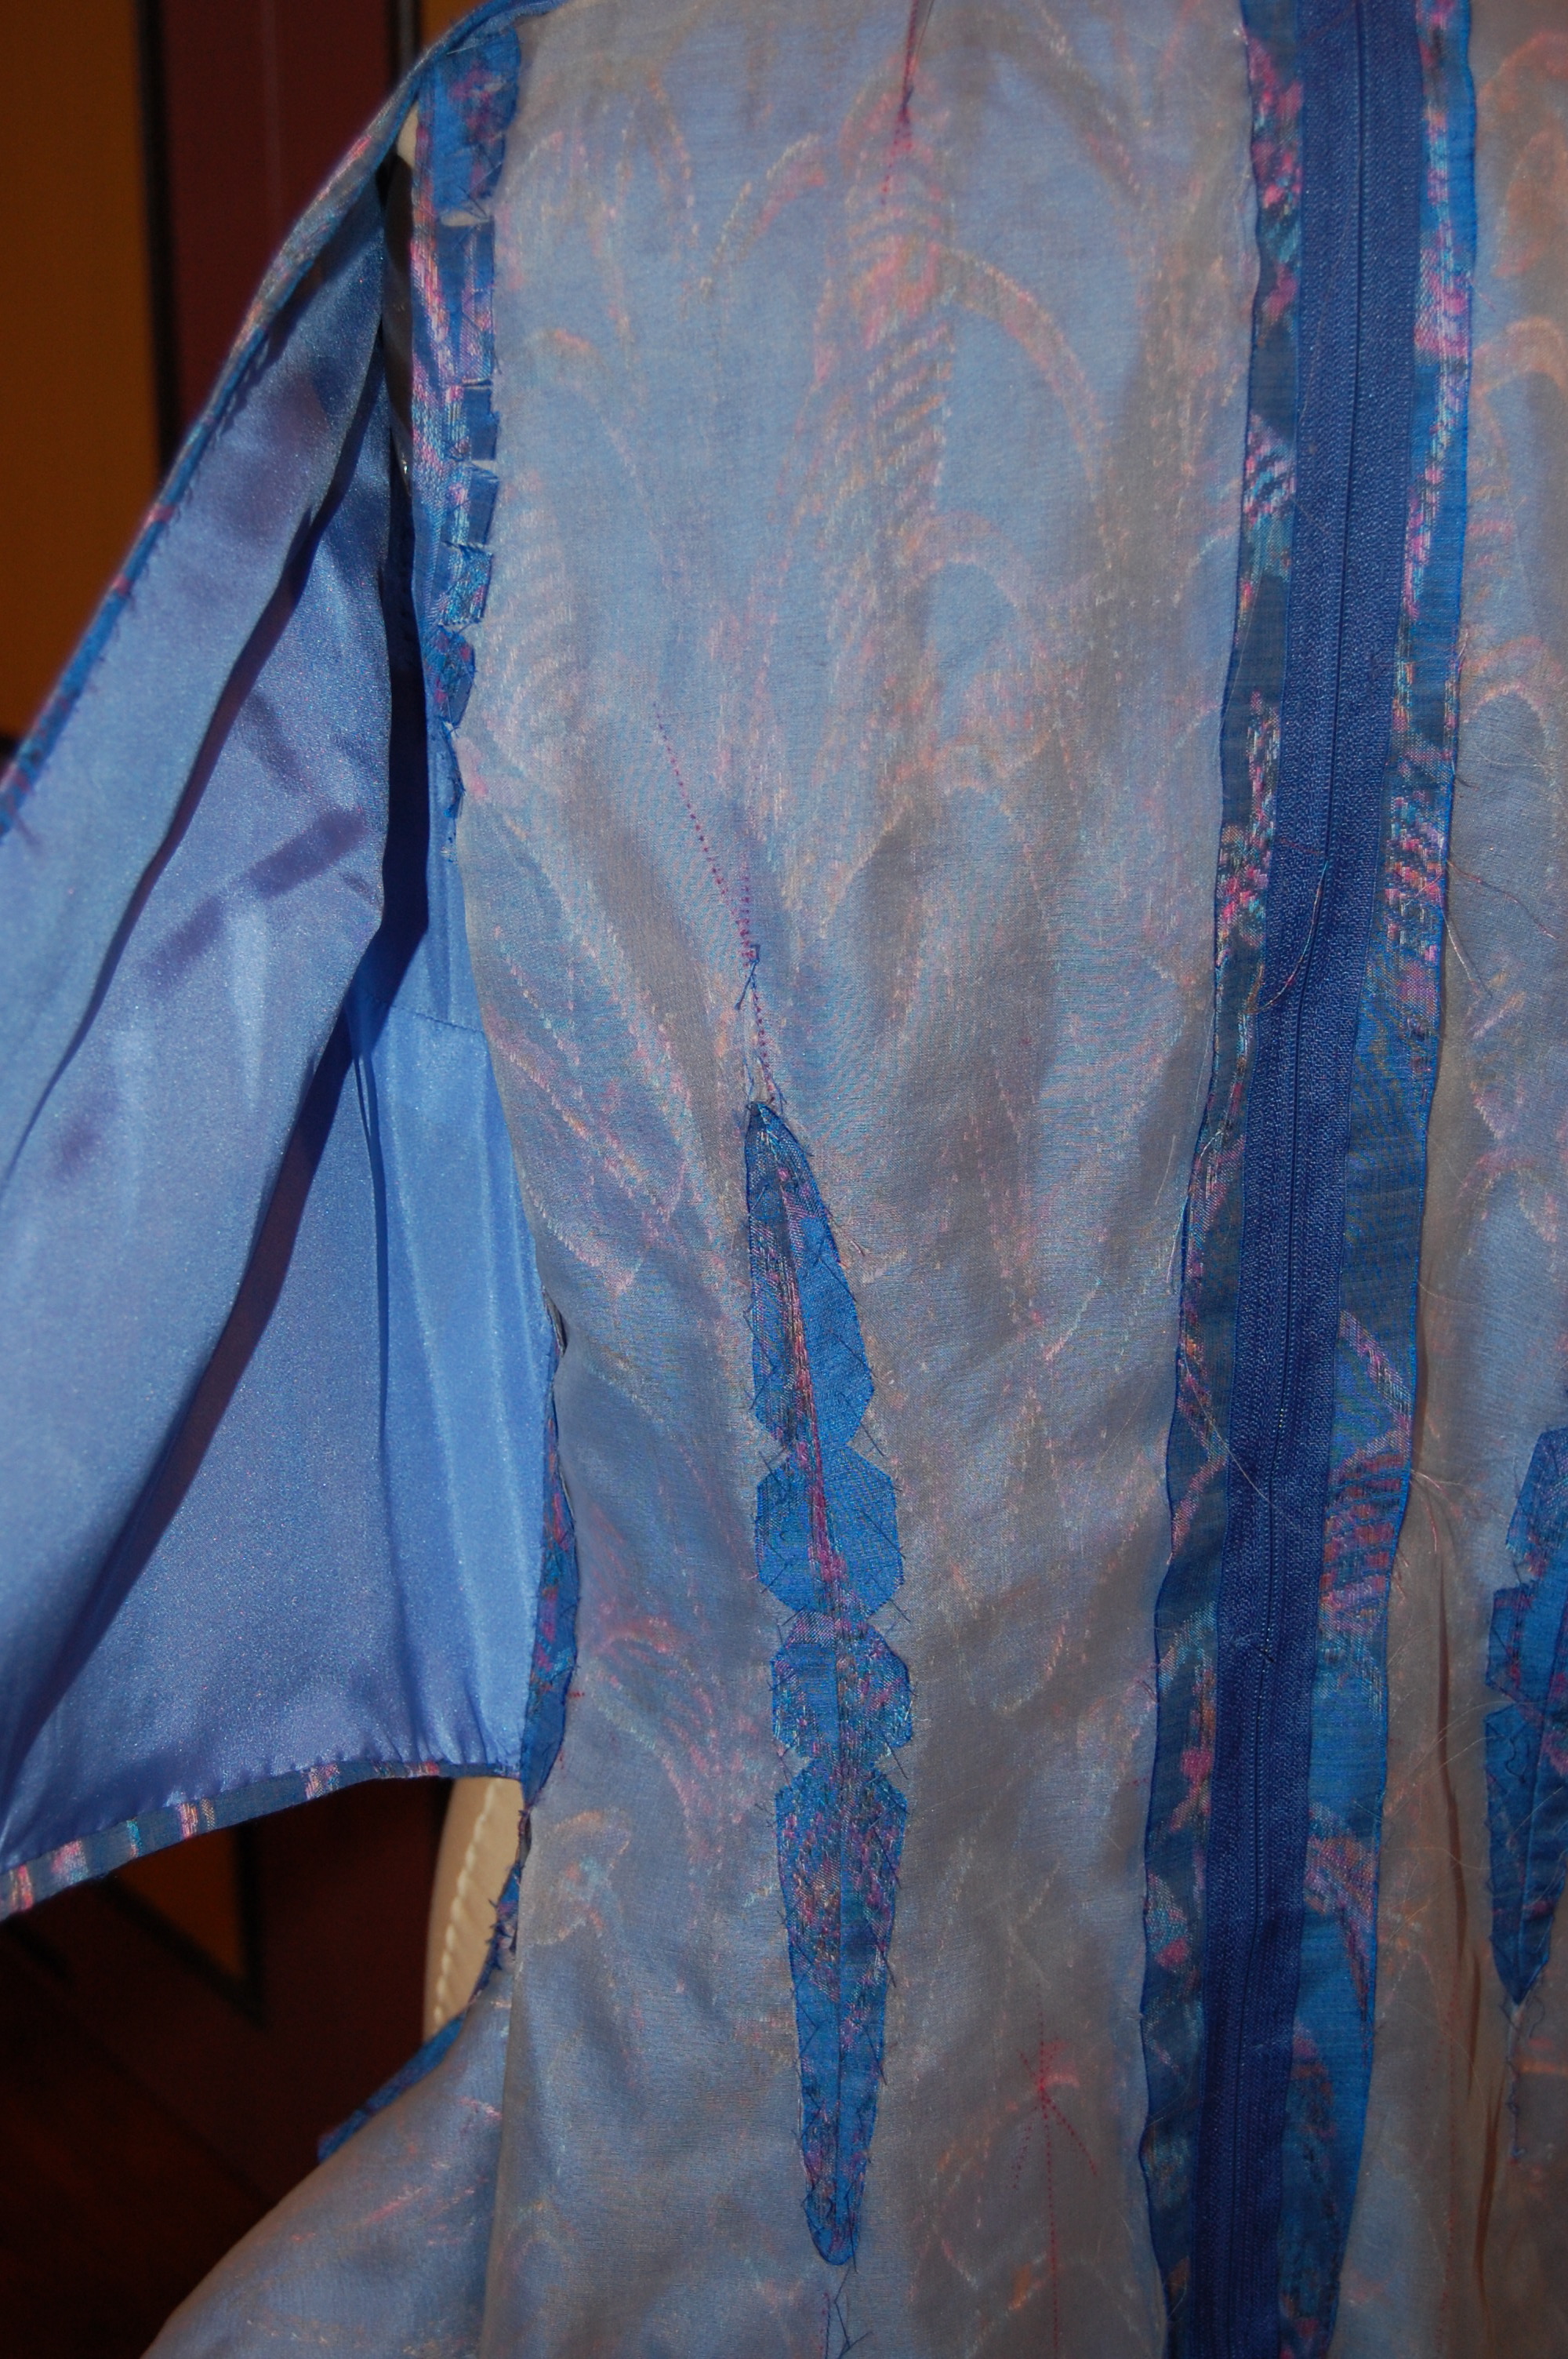
To line the dress, I first sewed the lining to the front underdress at the neck and the armscyes by machine. I under stitched these sections by hand, leaving about an inch free on either end.
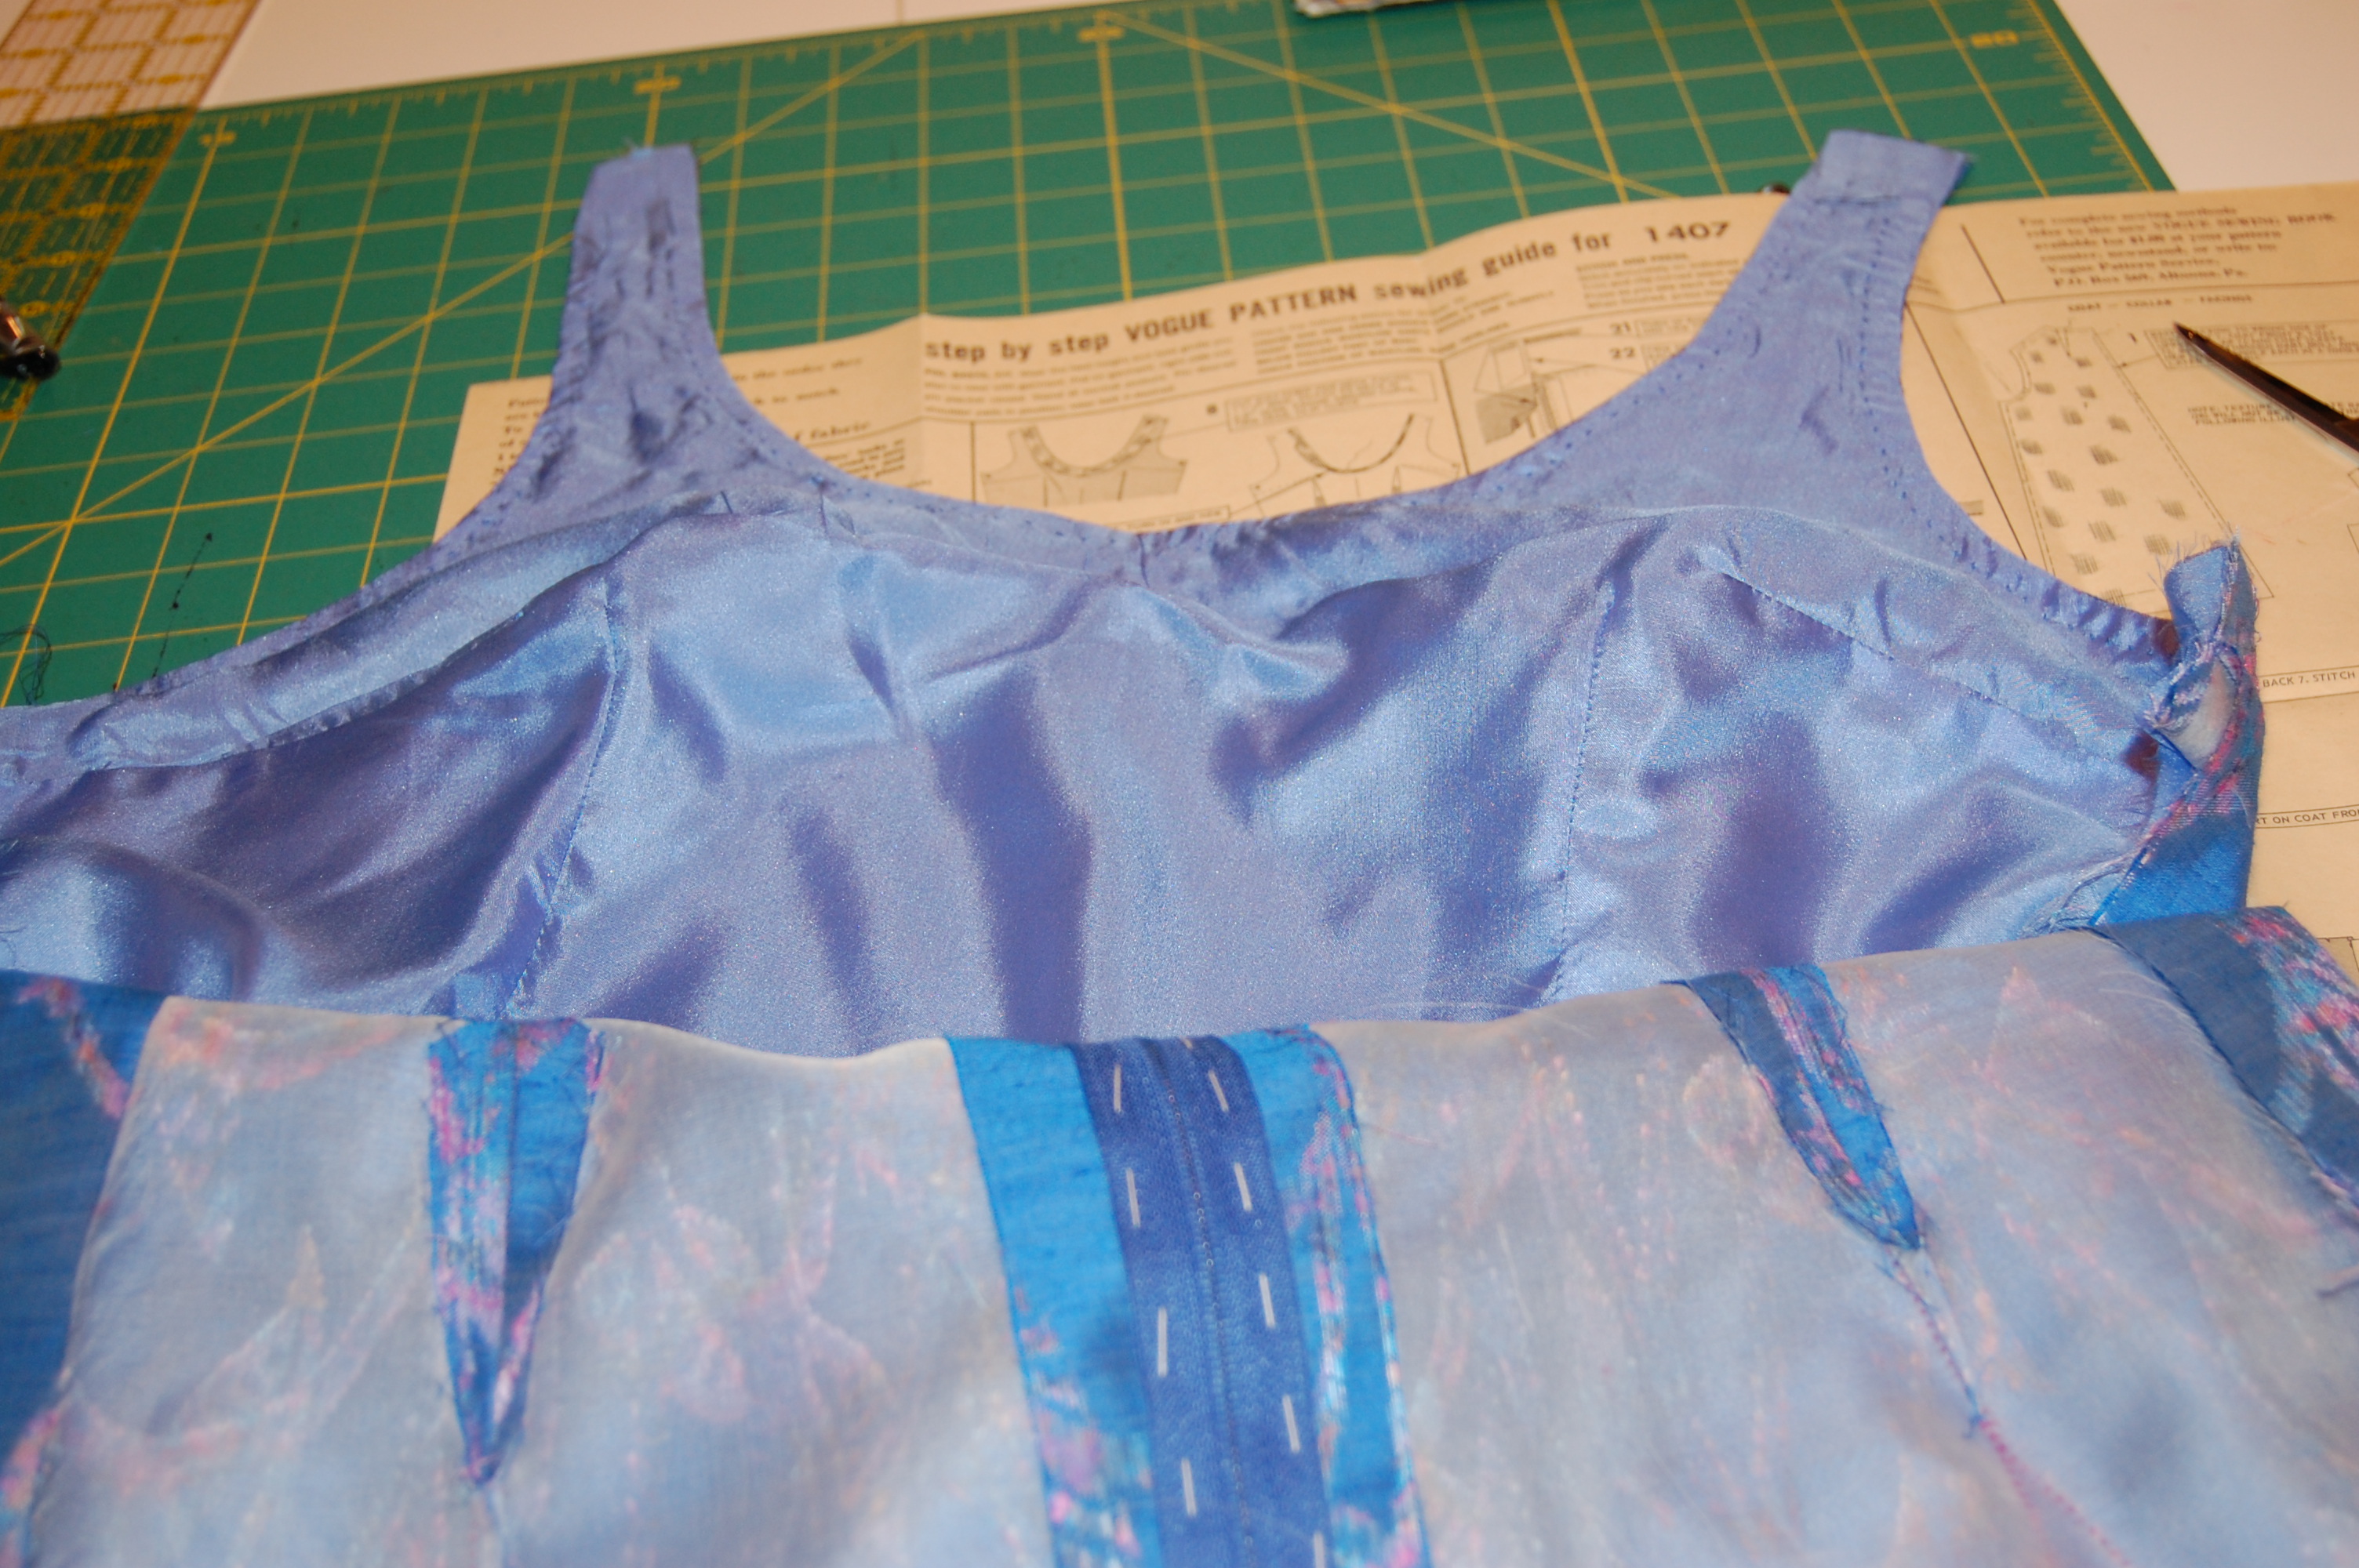
Next I lined the two front overblouse sections, stitching only the front armscyes by machine; I attached the rest of these linings by hand, using fell stitches. Then I joined the overblouse sections to the (unlined at this point) dress back.
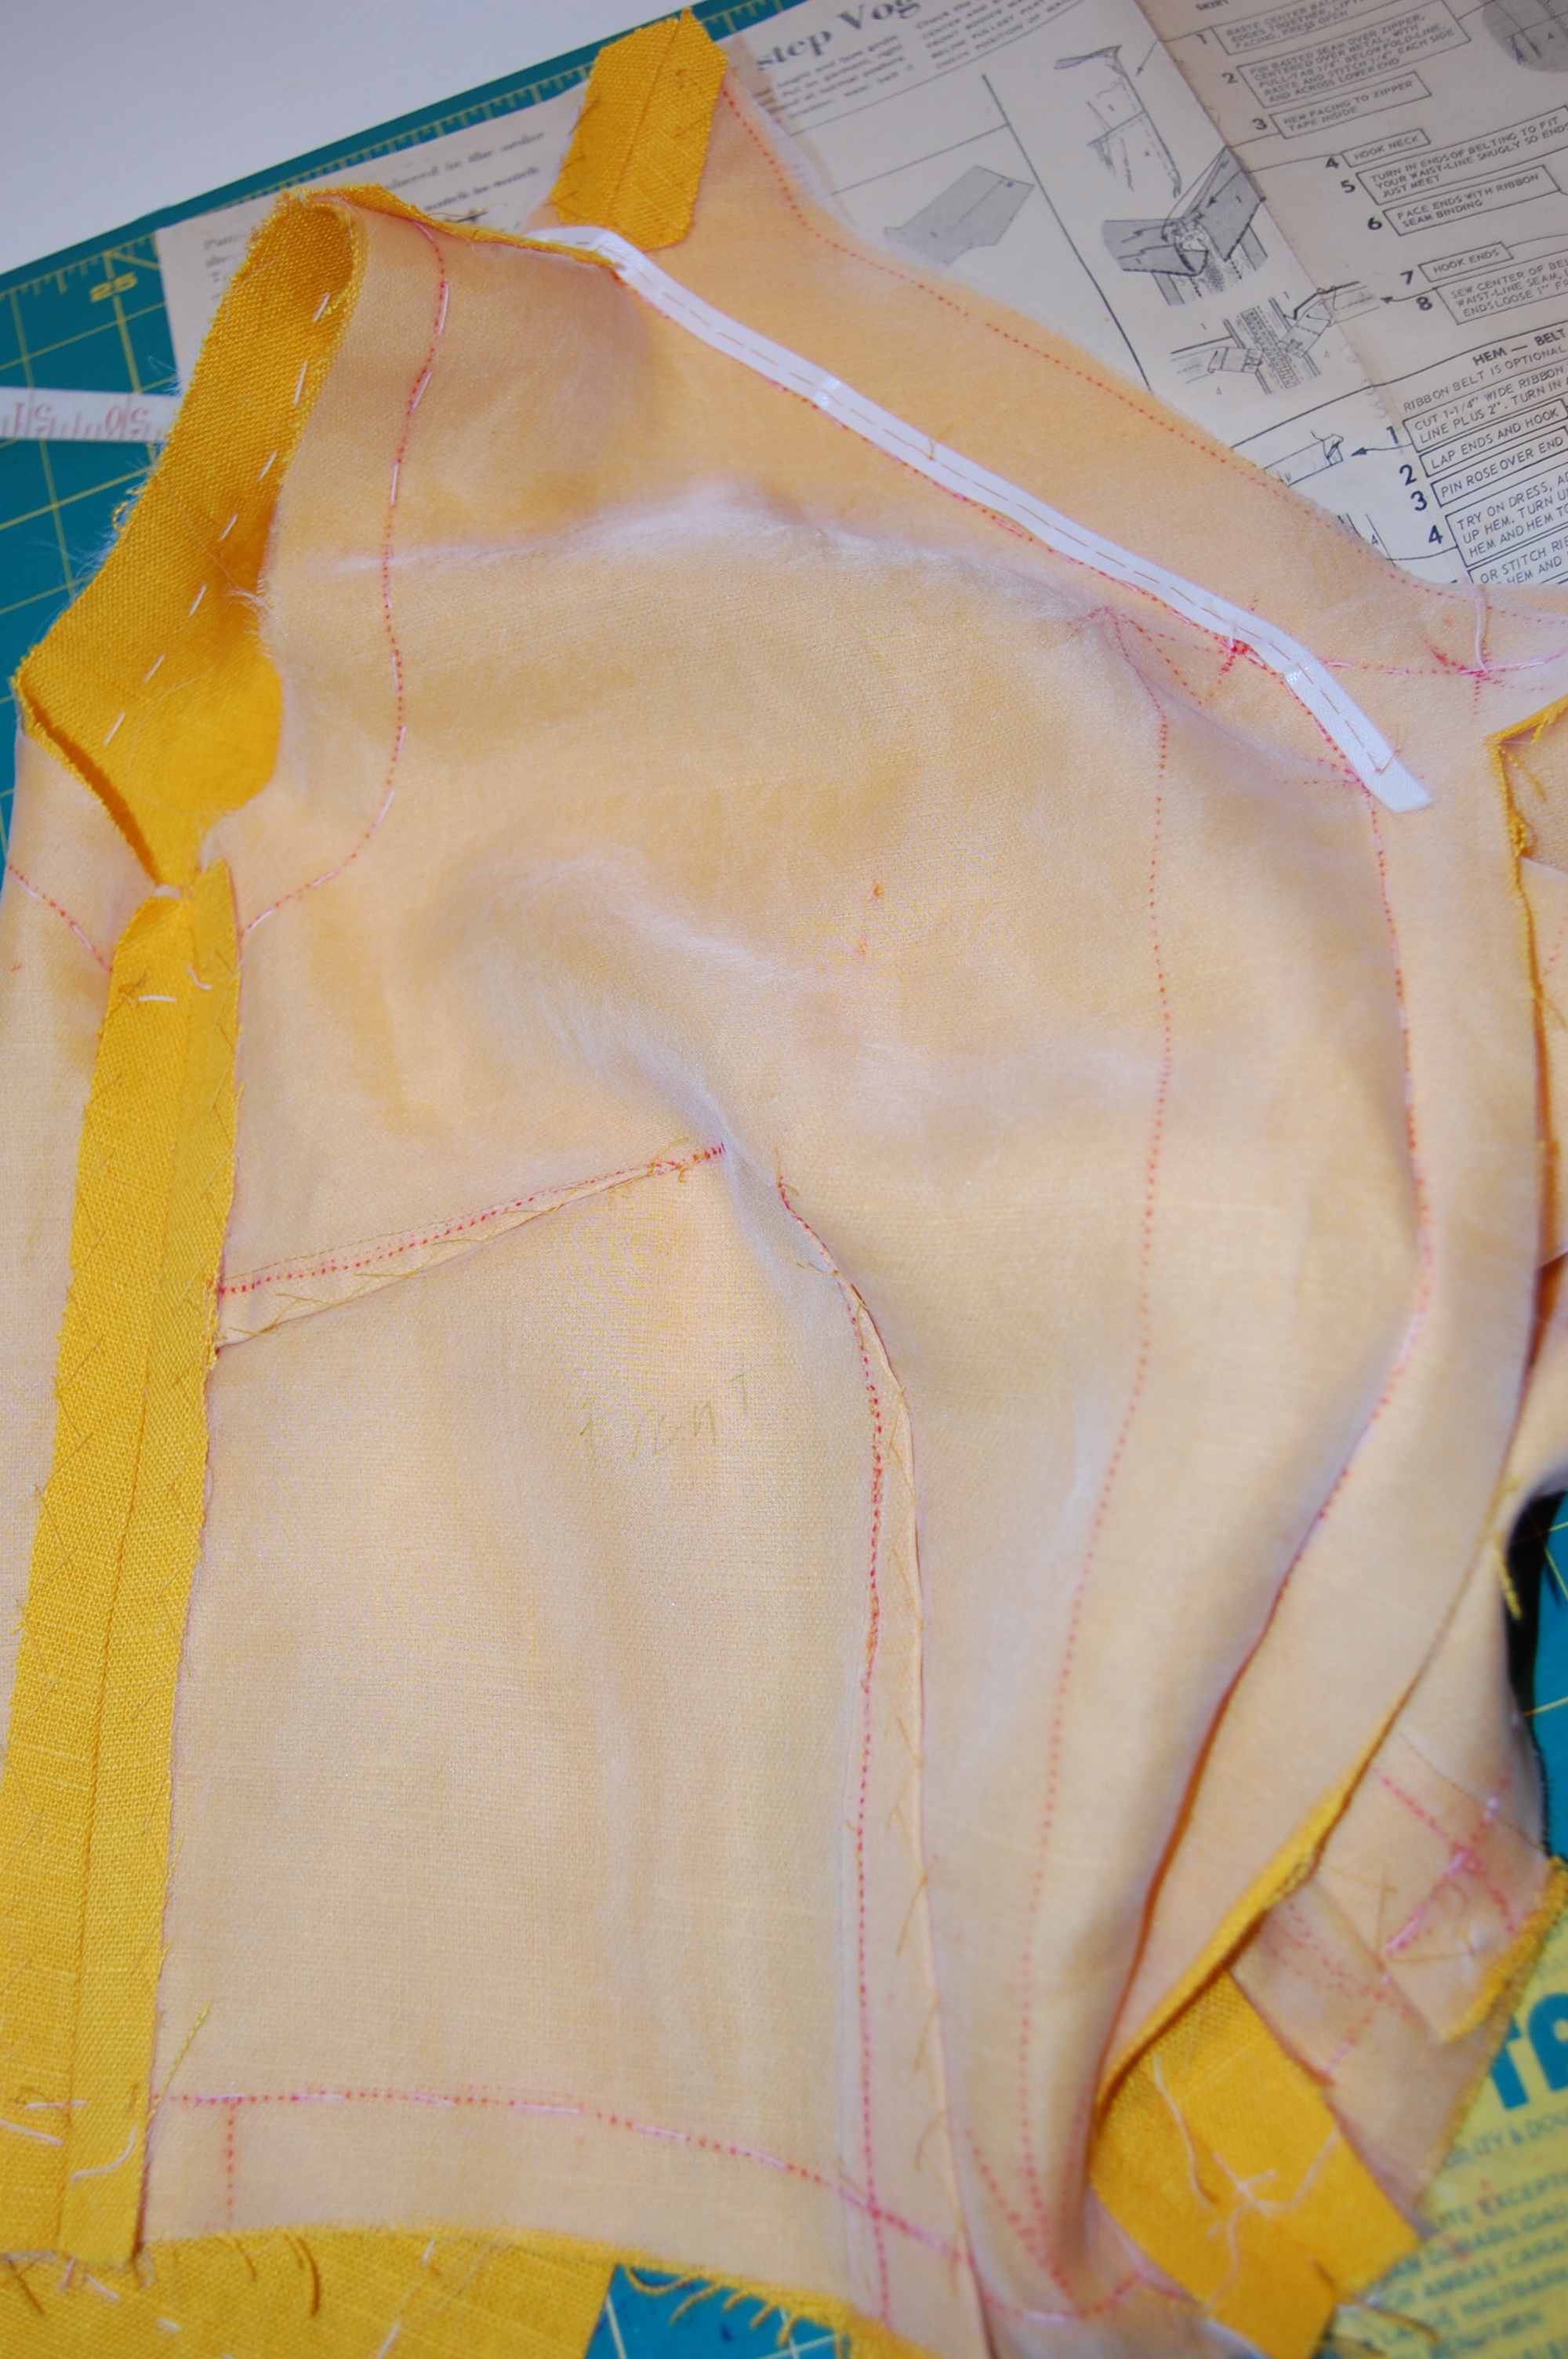
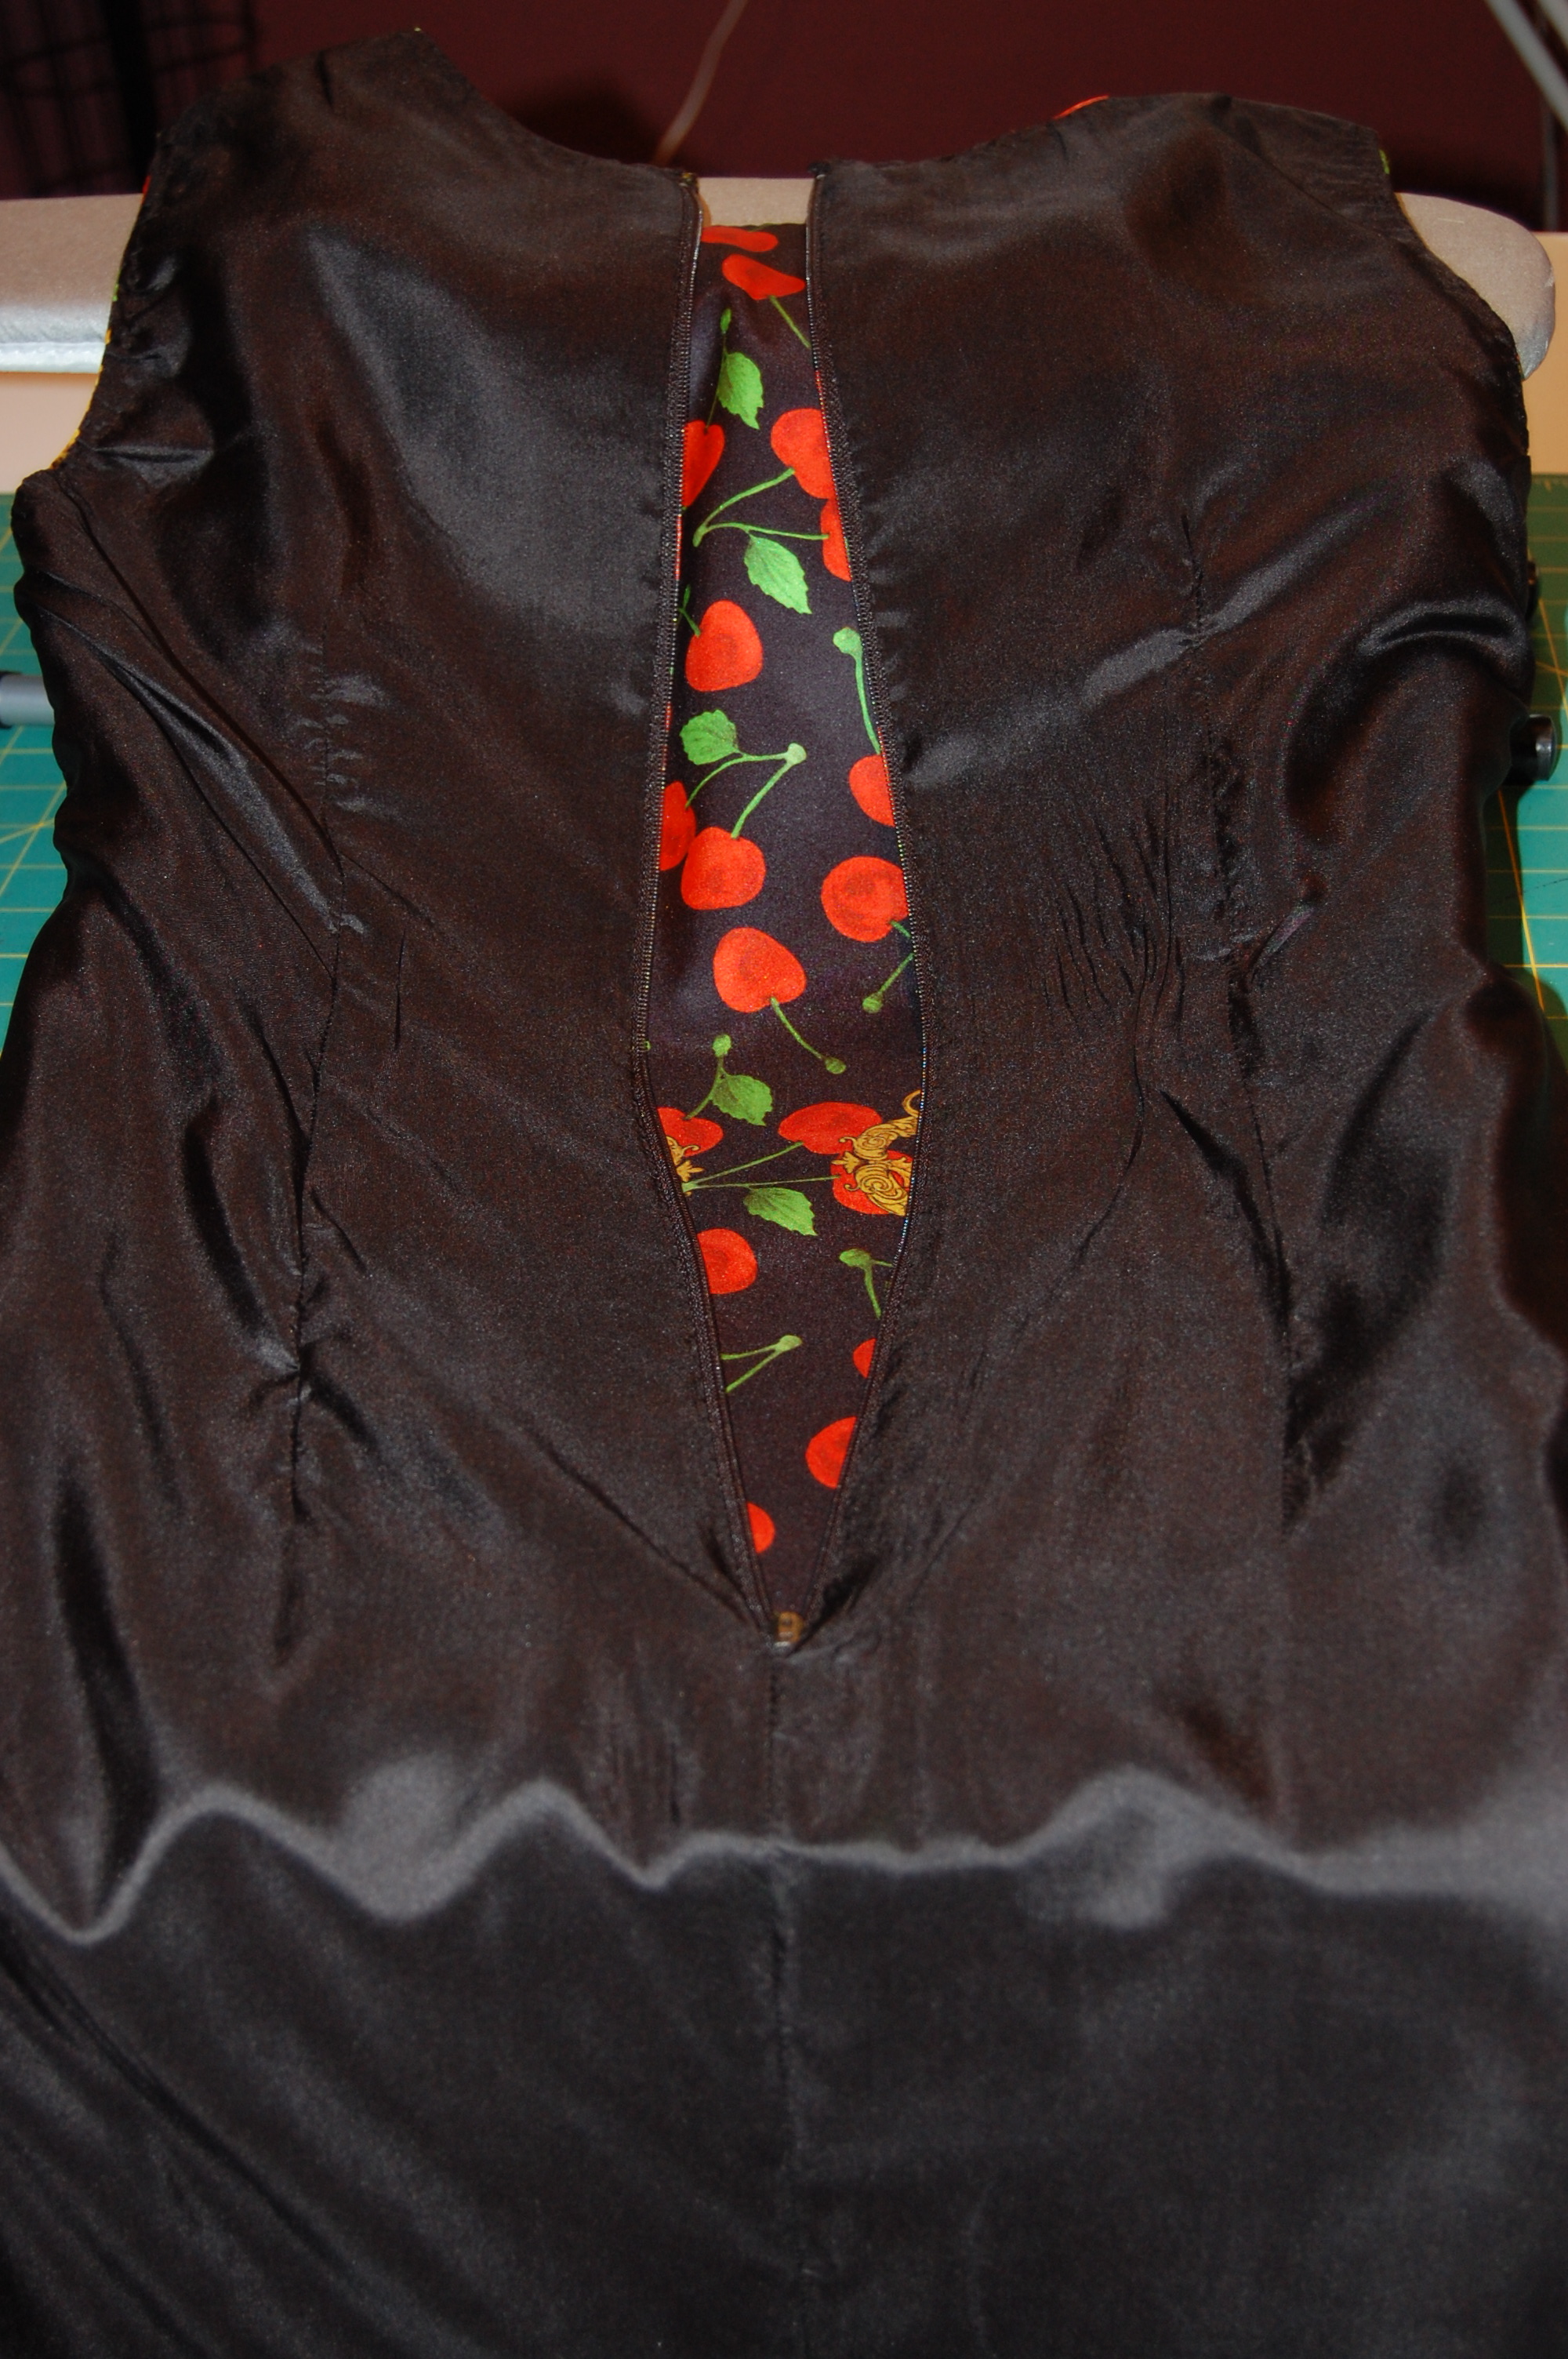
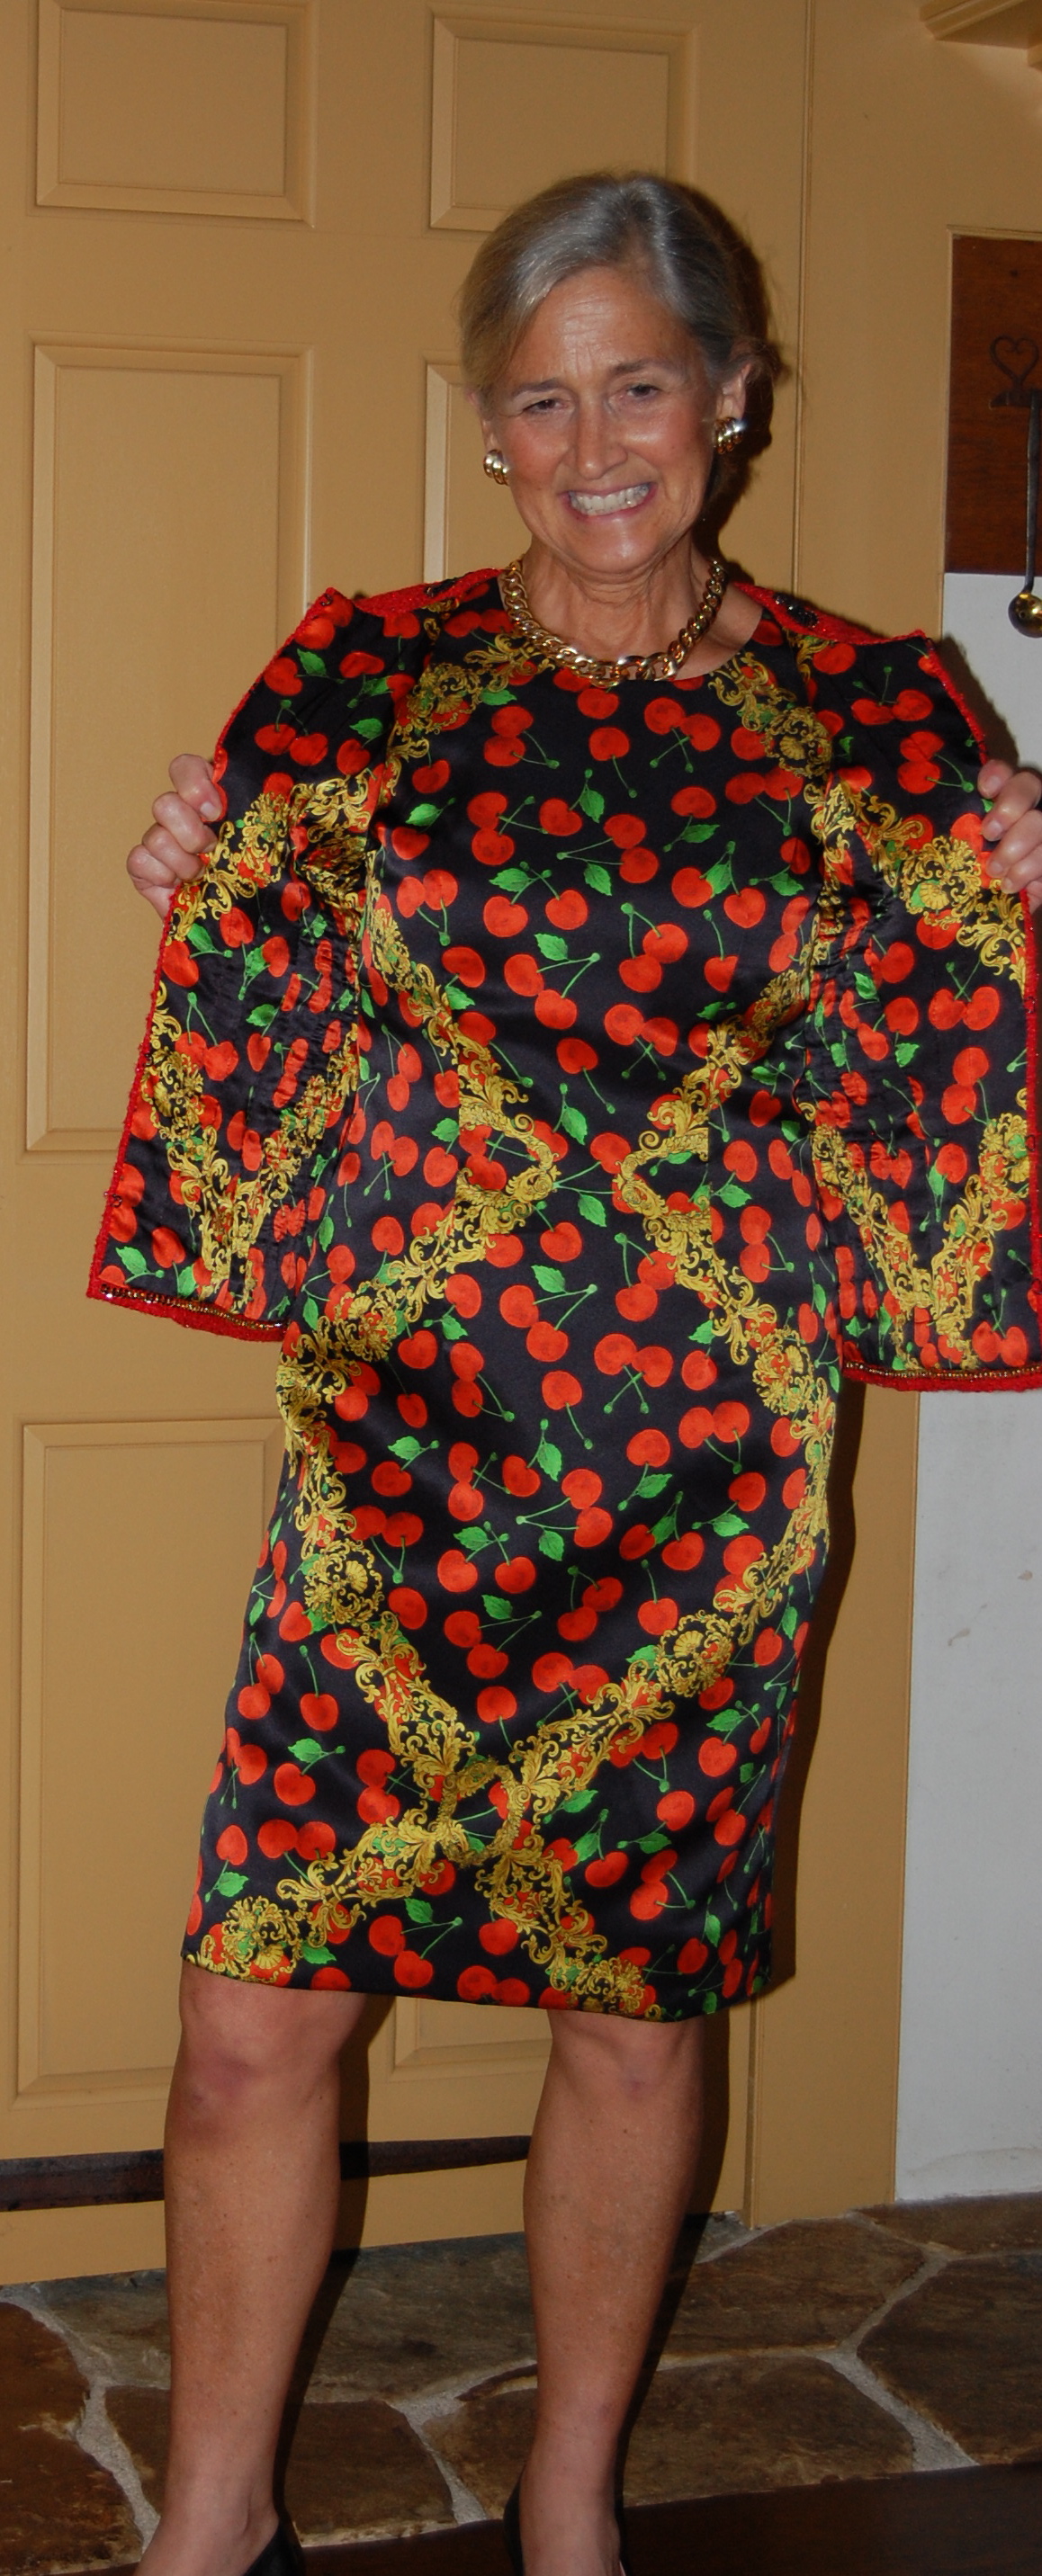
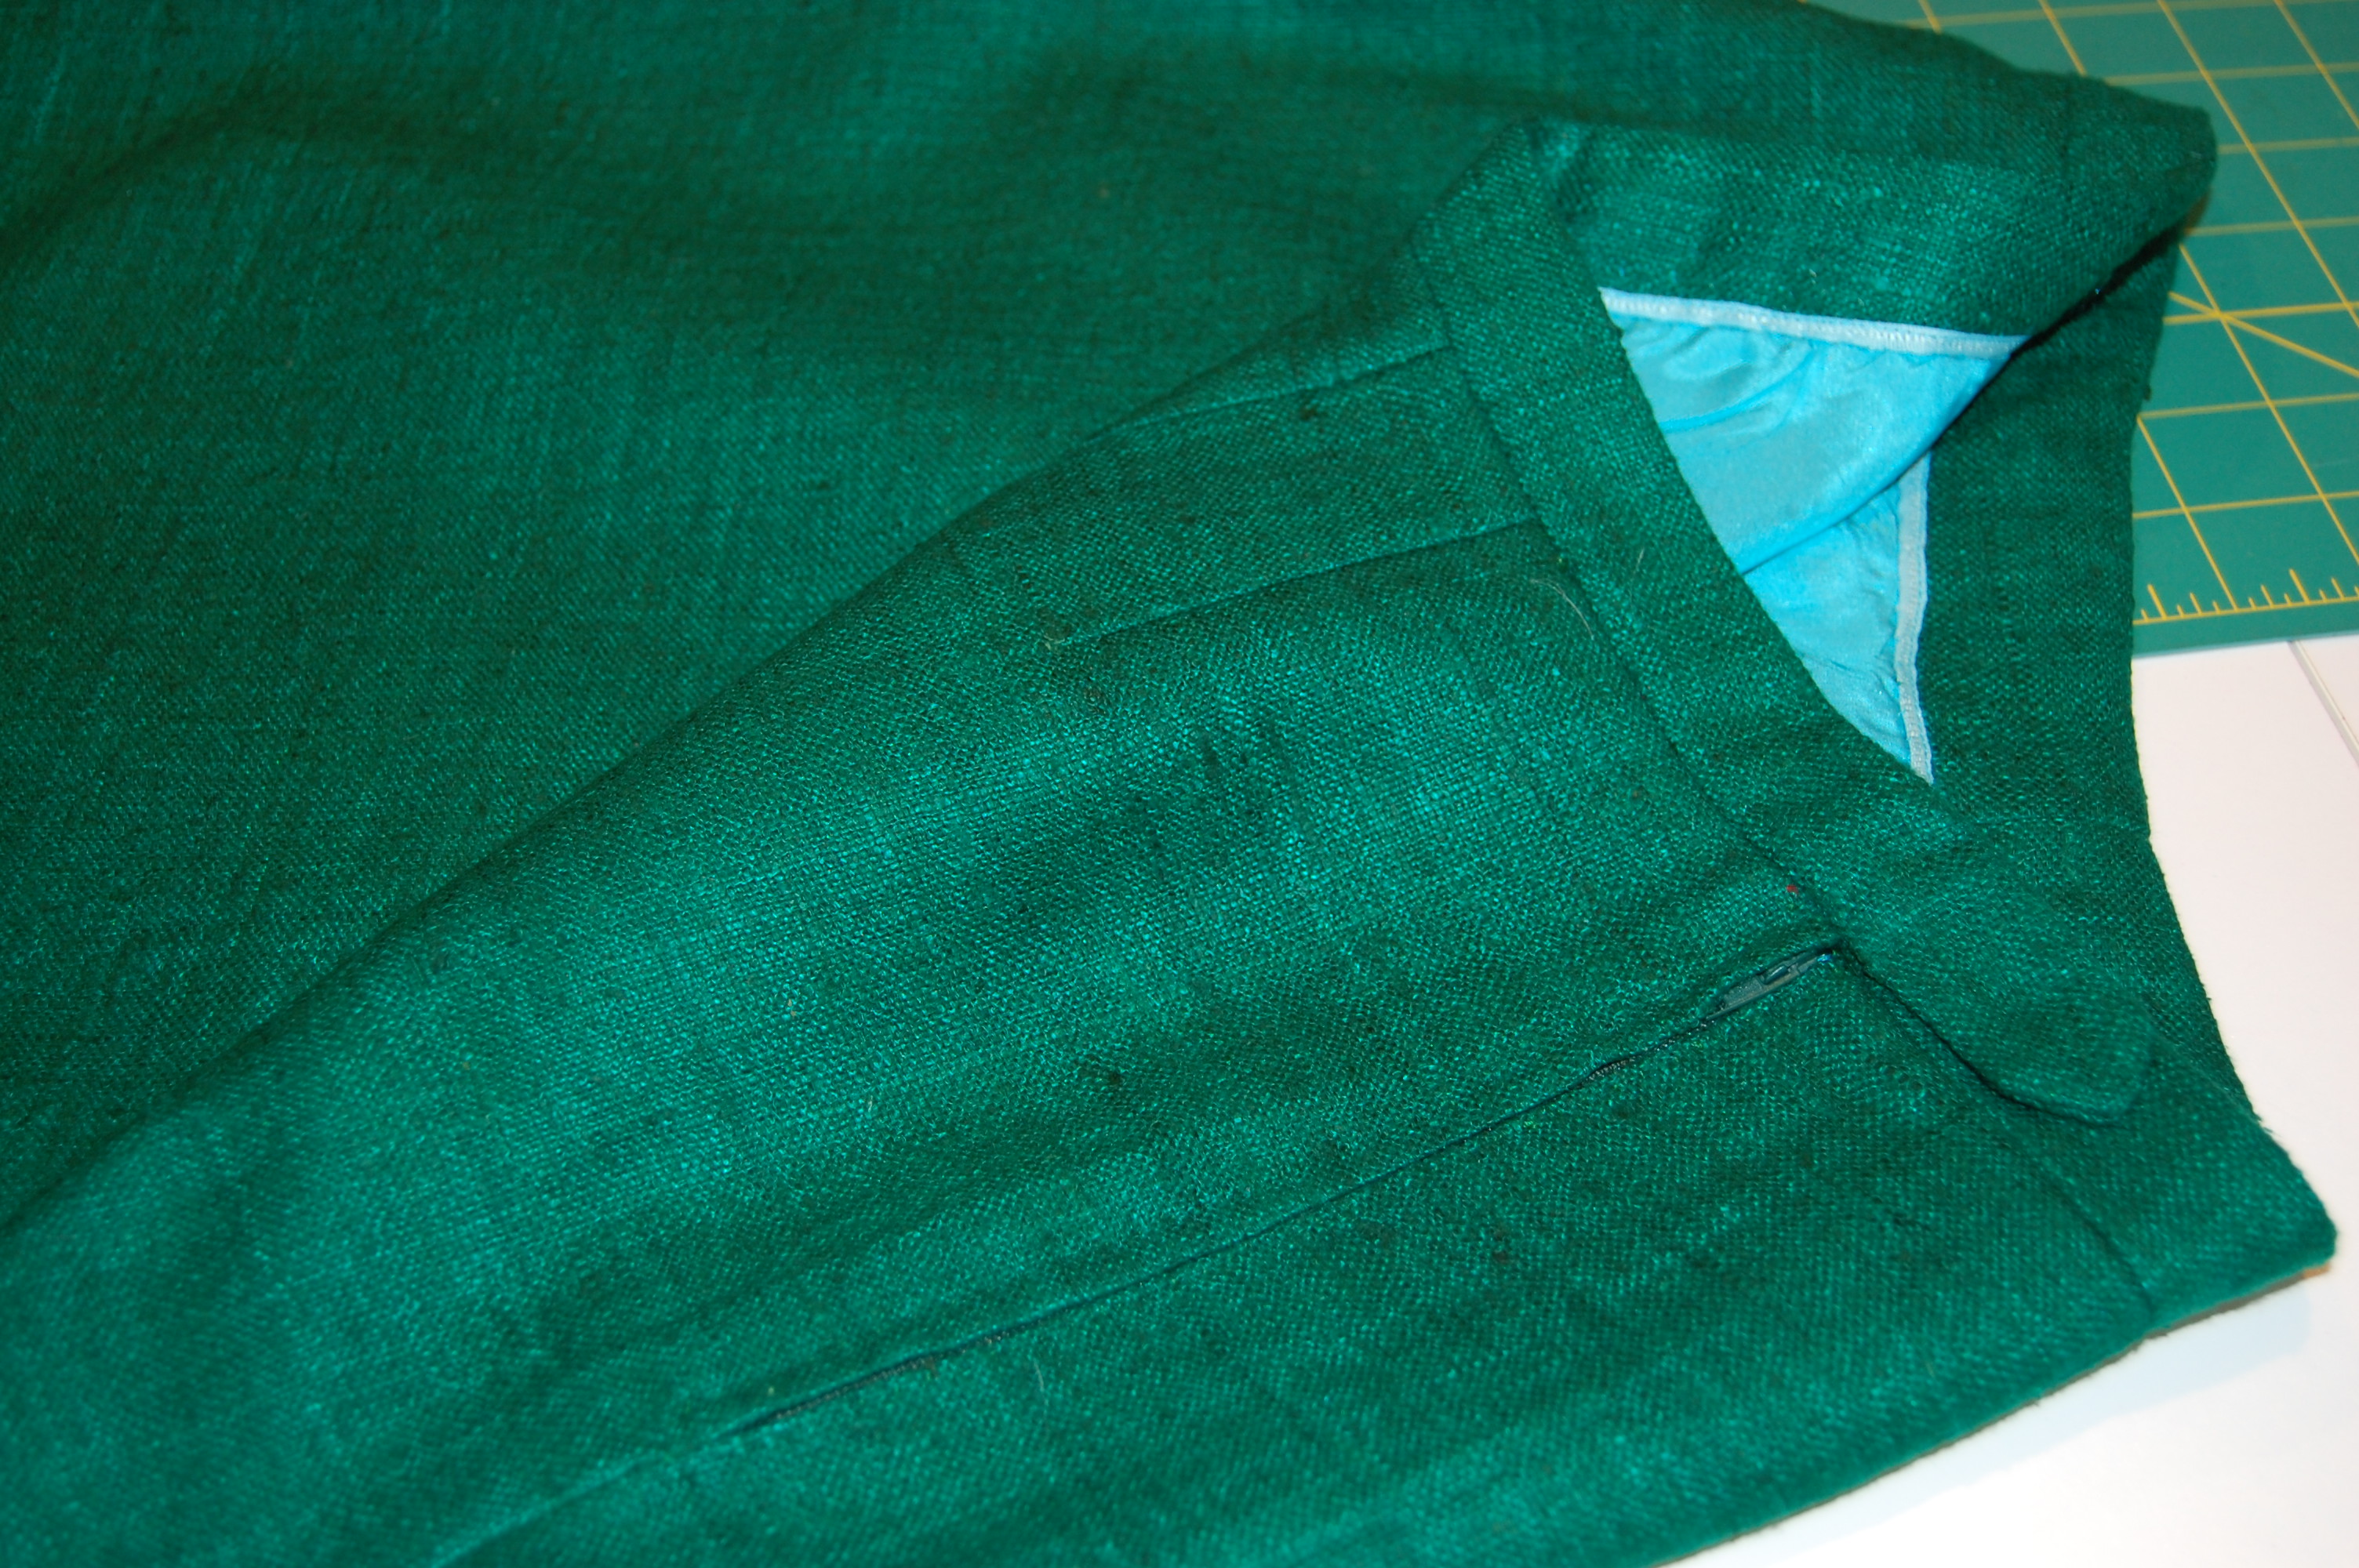
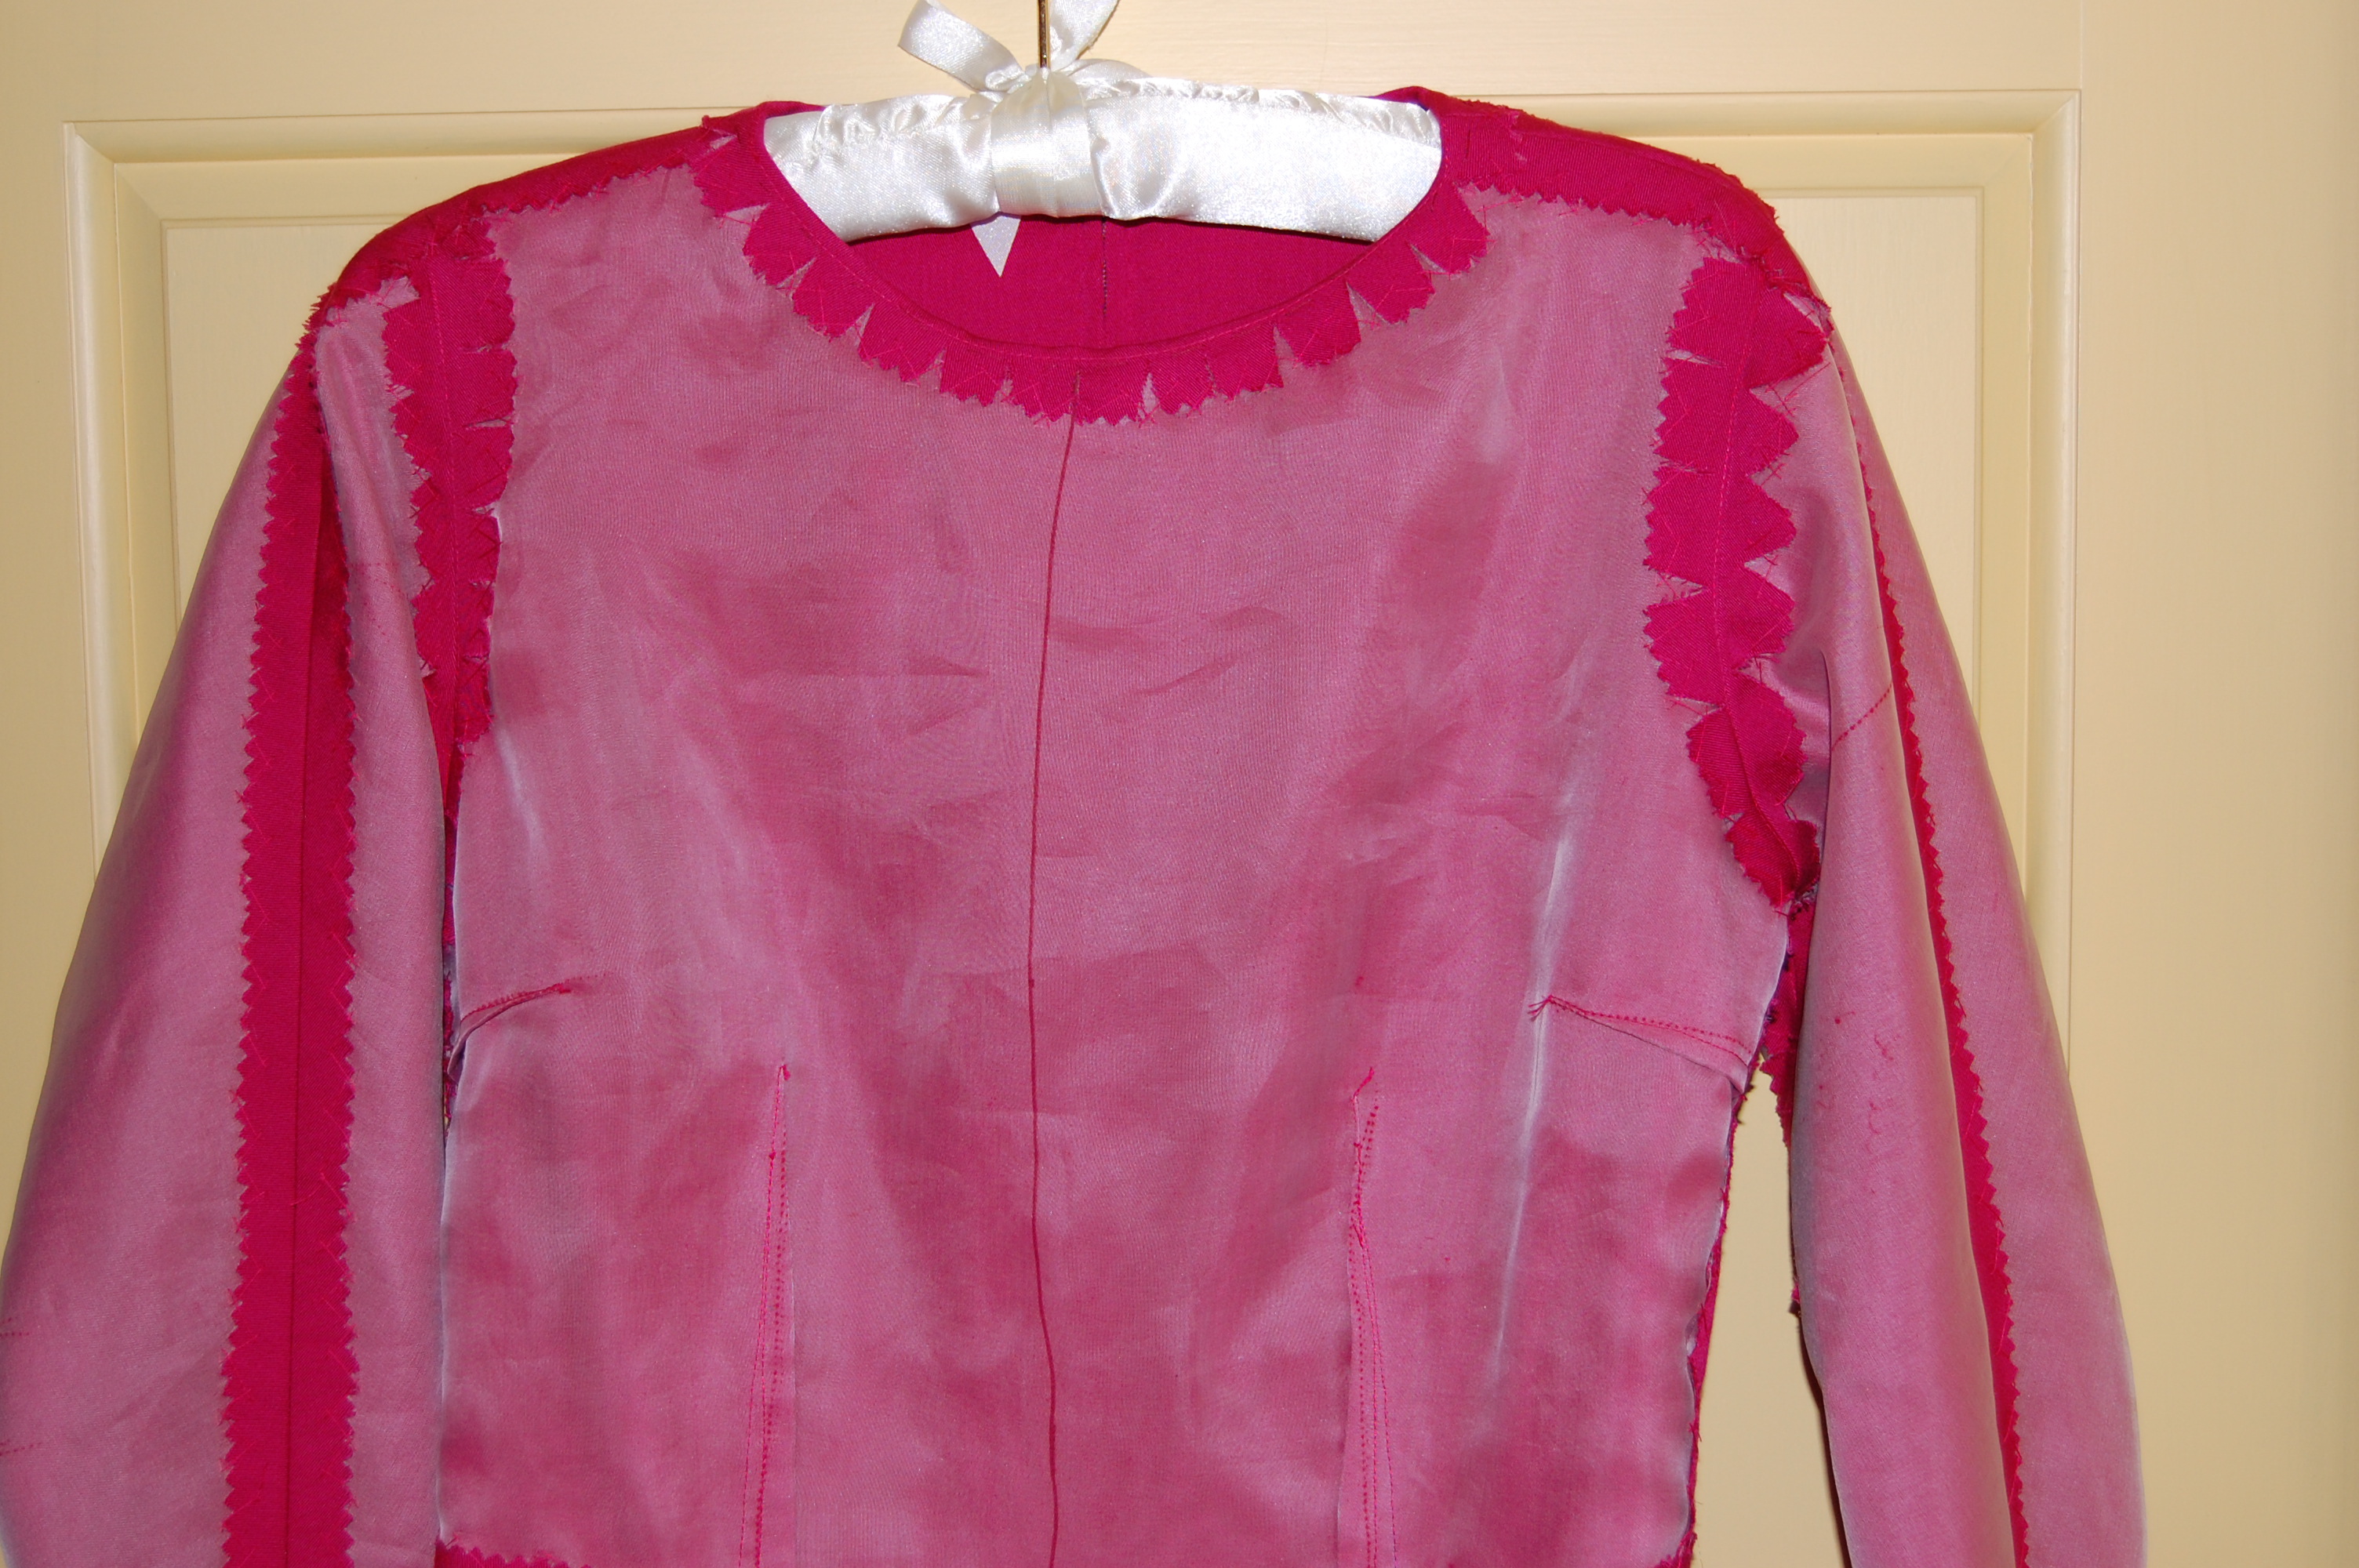
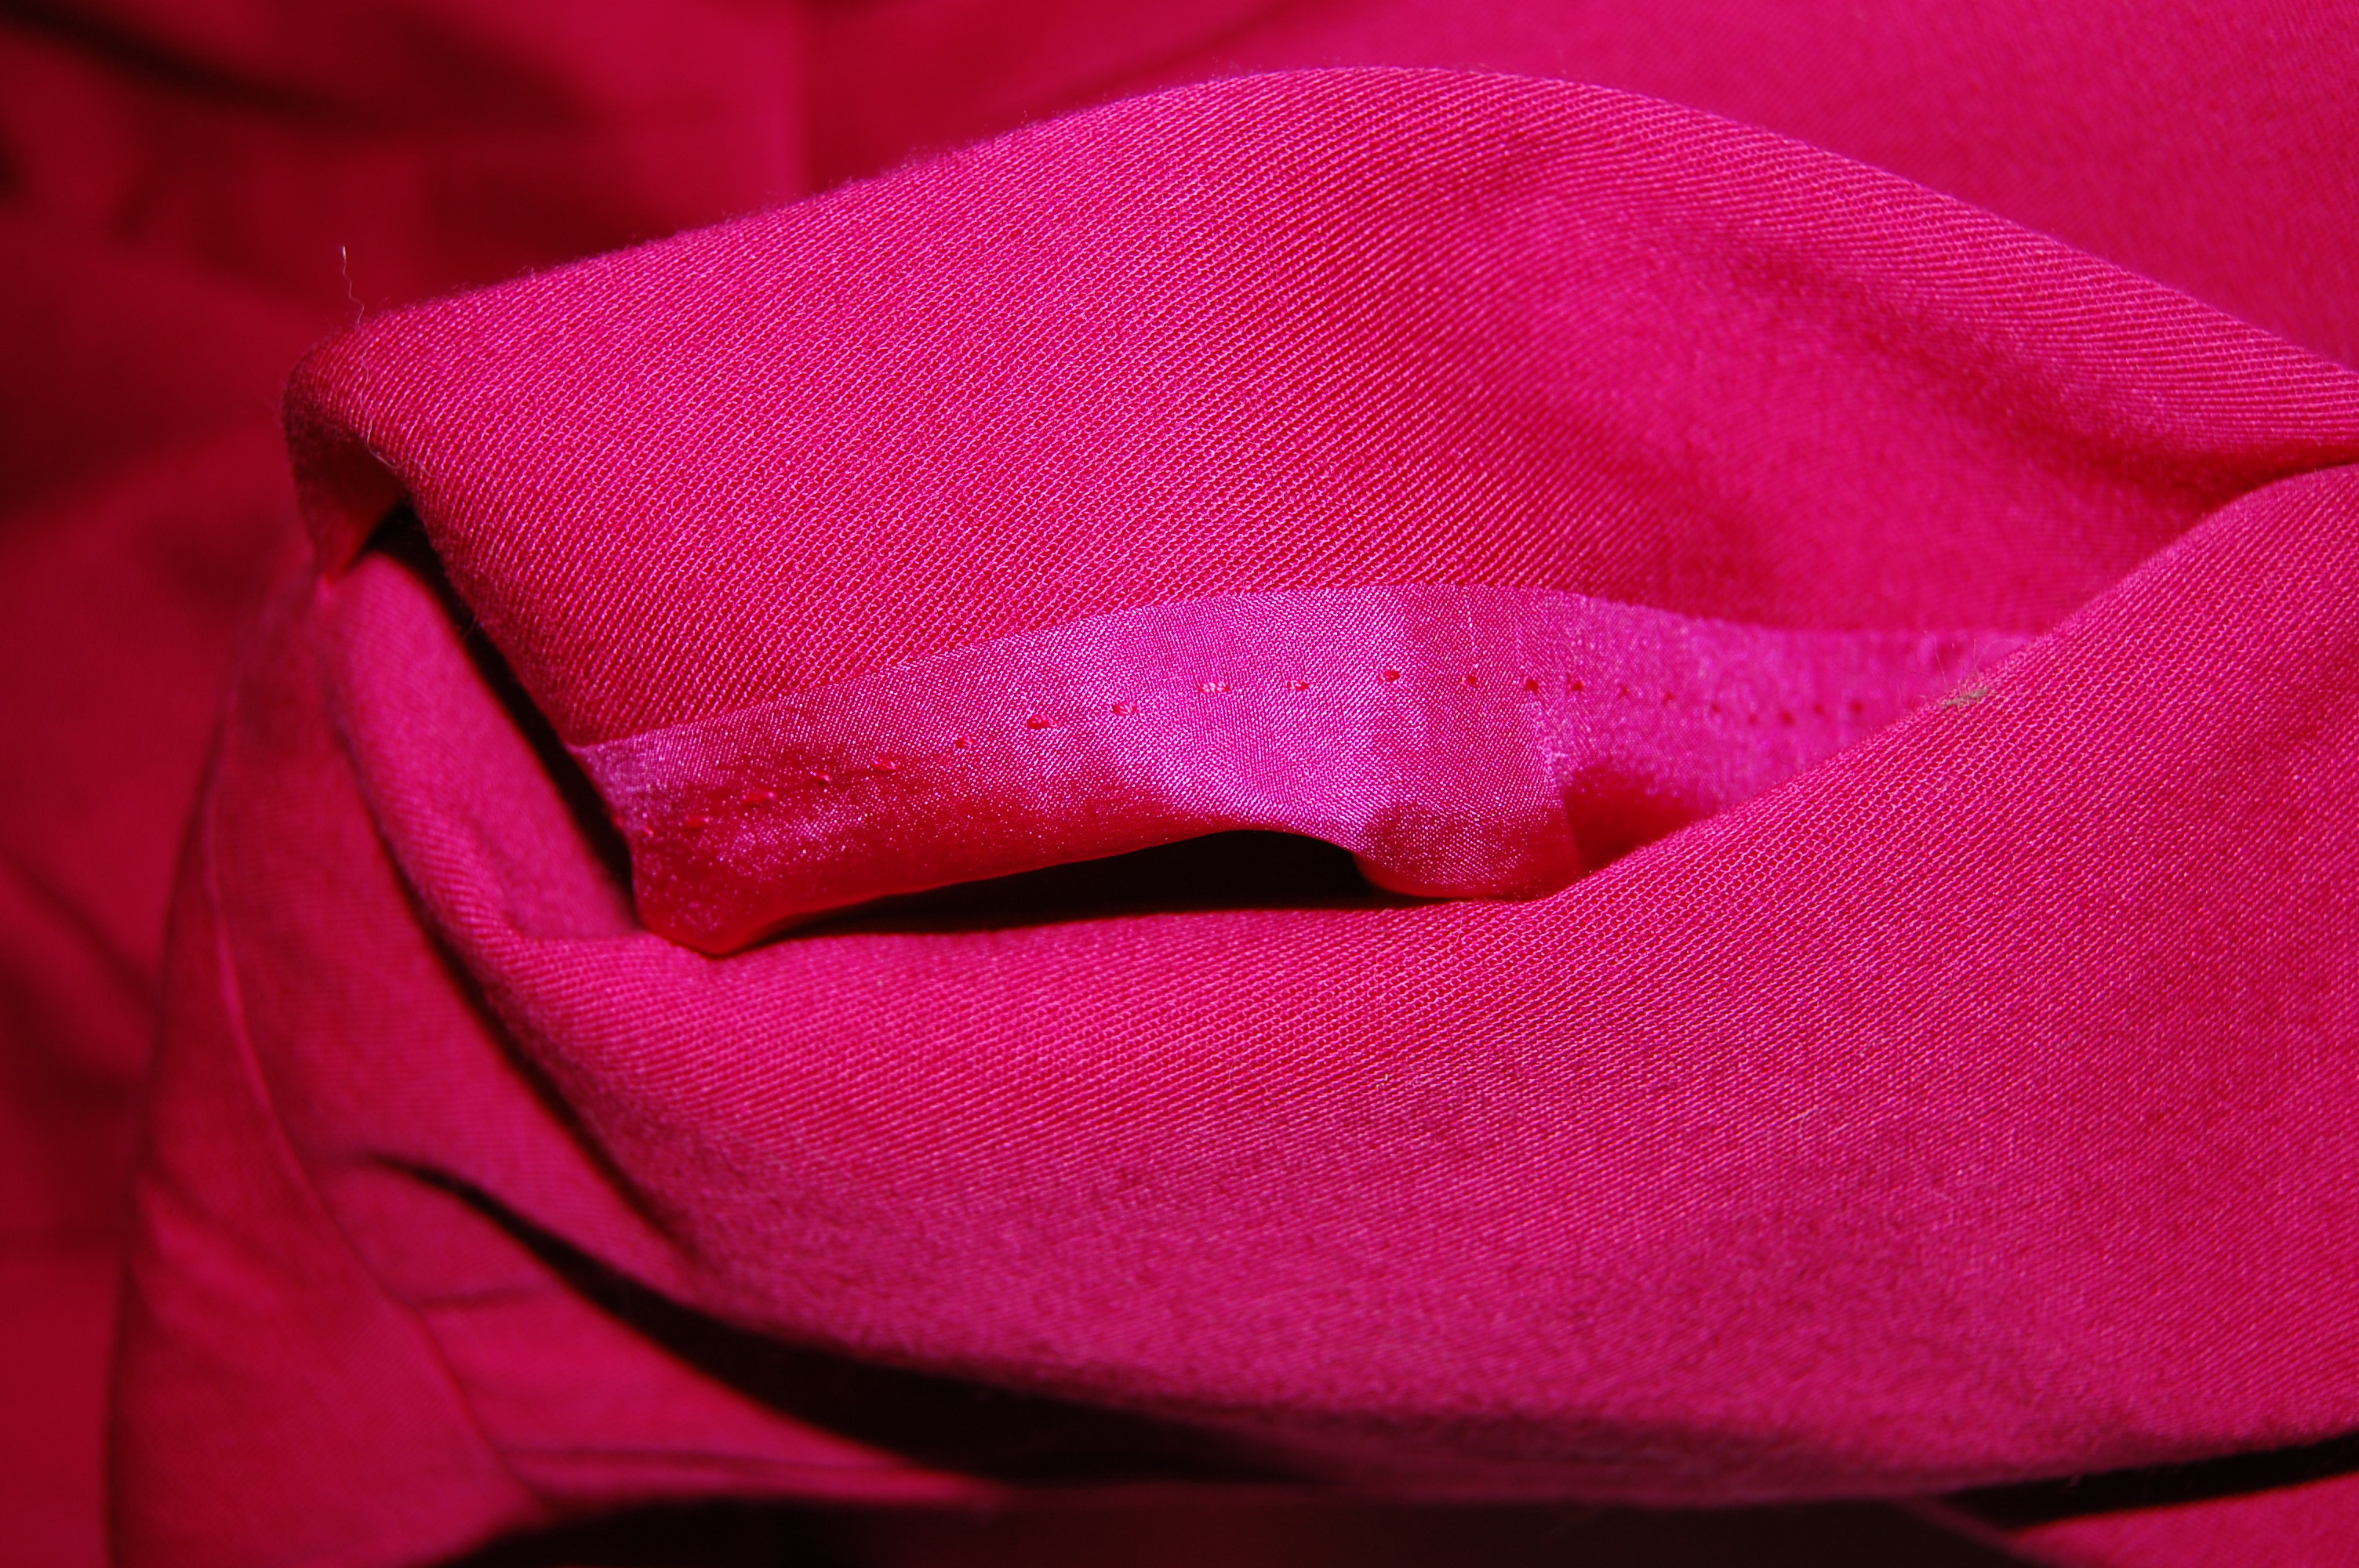
The front overblouse sections are attached to the side seams, but the front underdress is hanging loose, visible at the lower left.
I had pieces of dress and overblouse and lining hanging every which way! Any of you who have made a “Chanel” type jacket know how unruly the process is before the lining is seamed in place by hand. This reminded me of that. Somehow I would have to make order out of chaos!
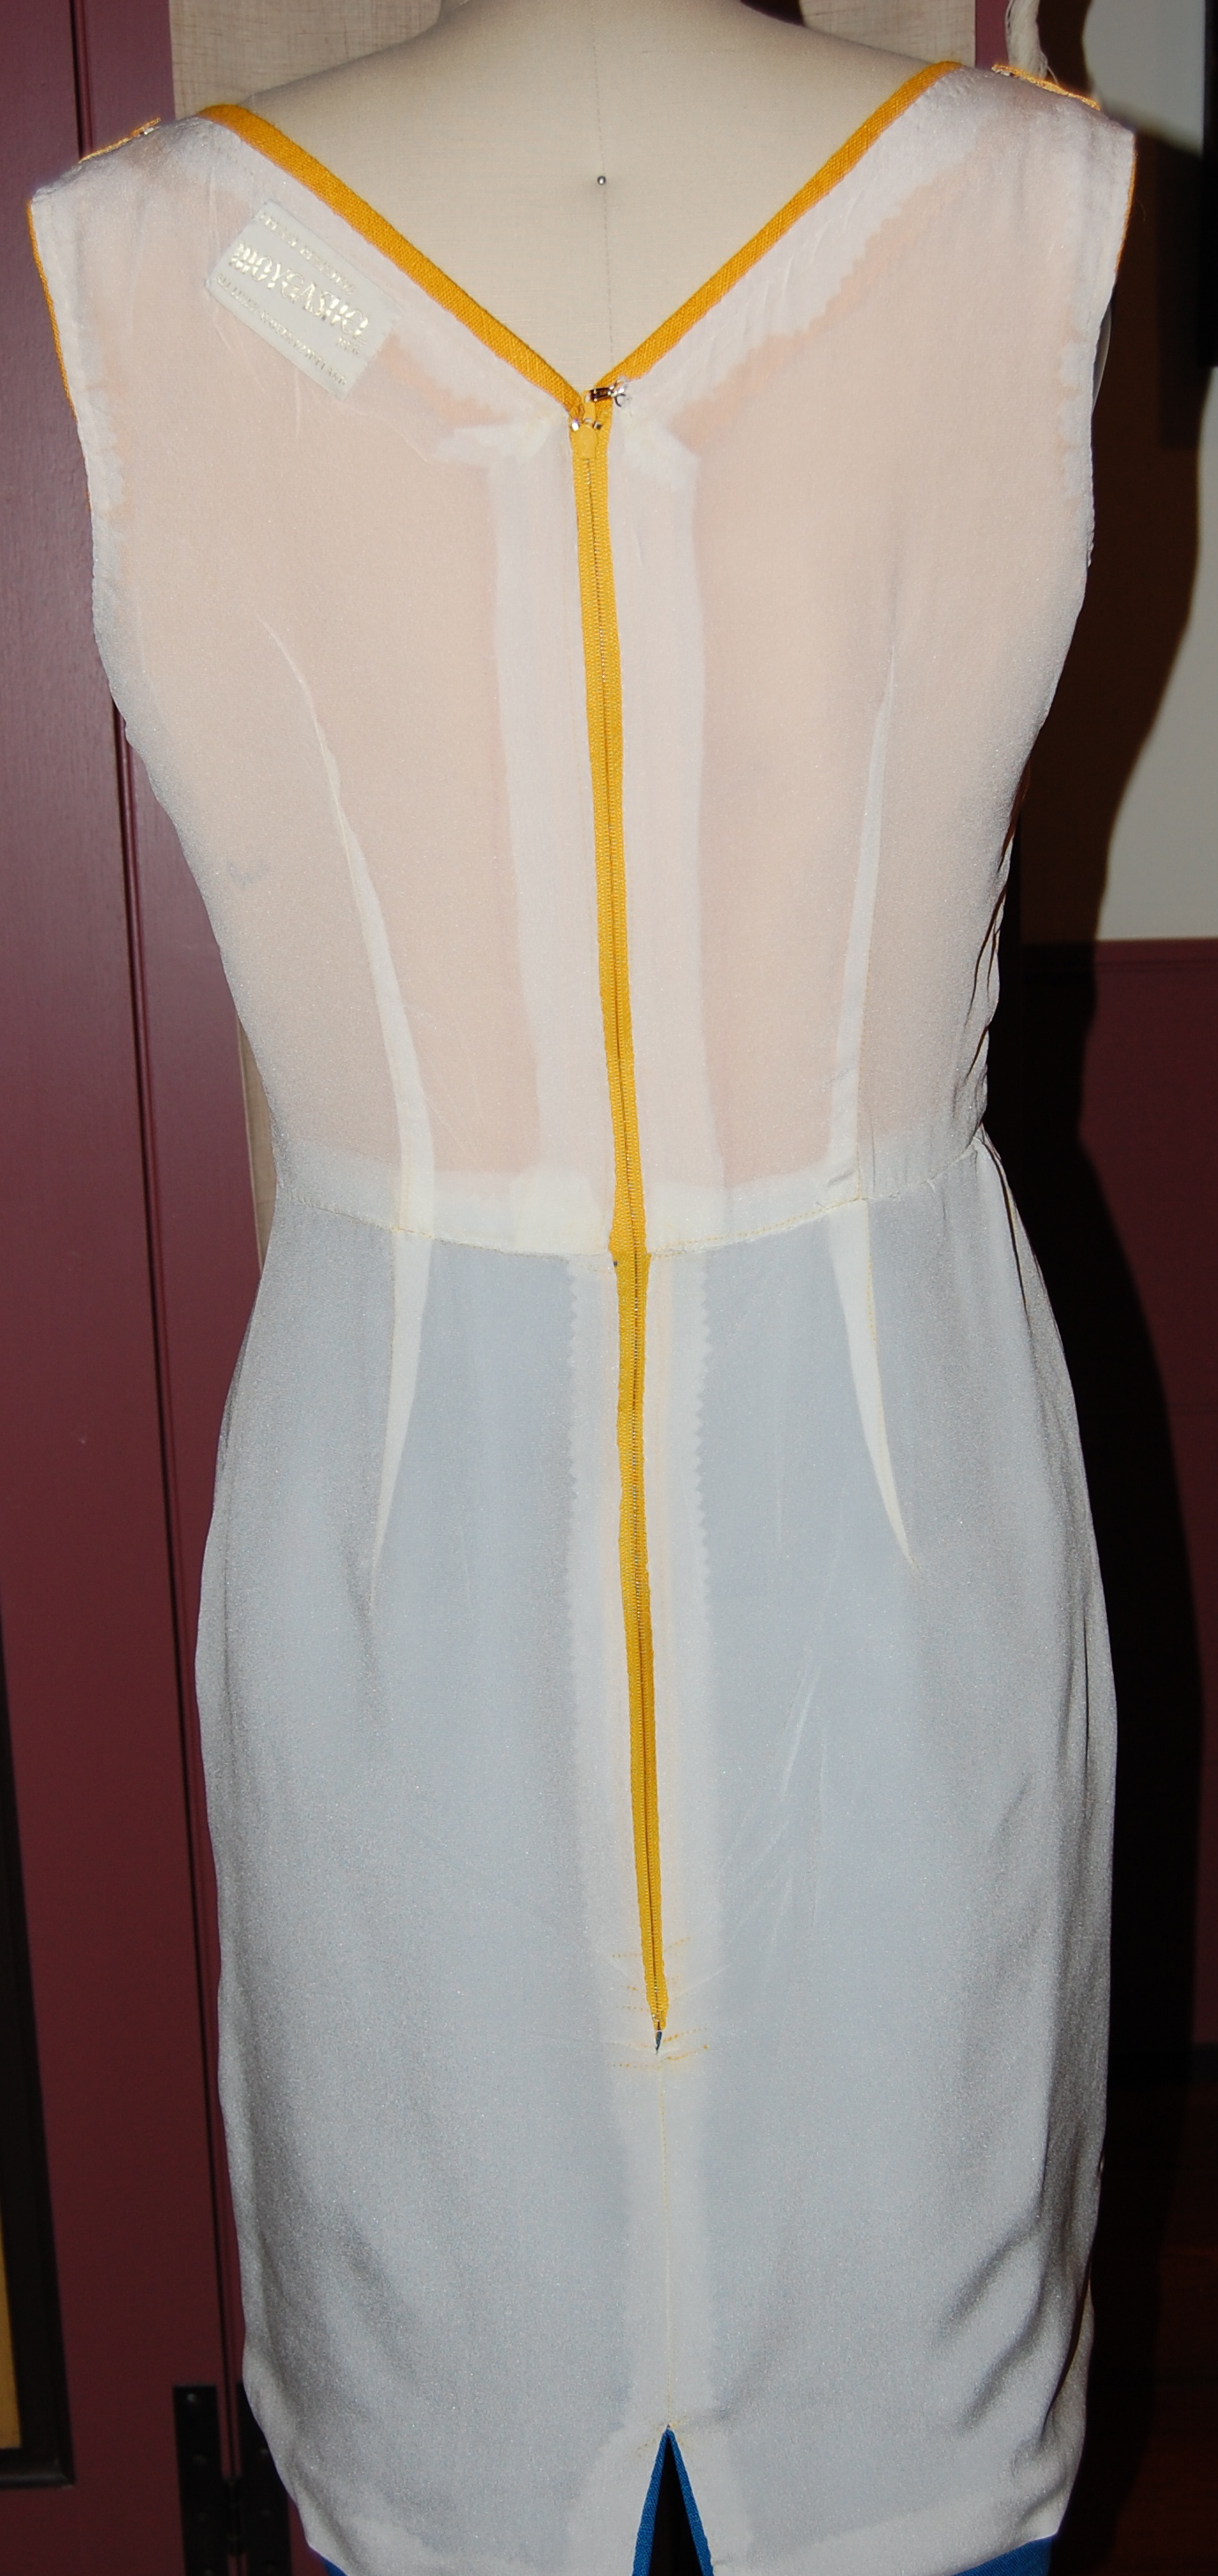
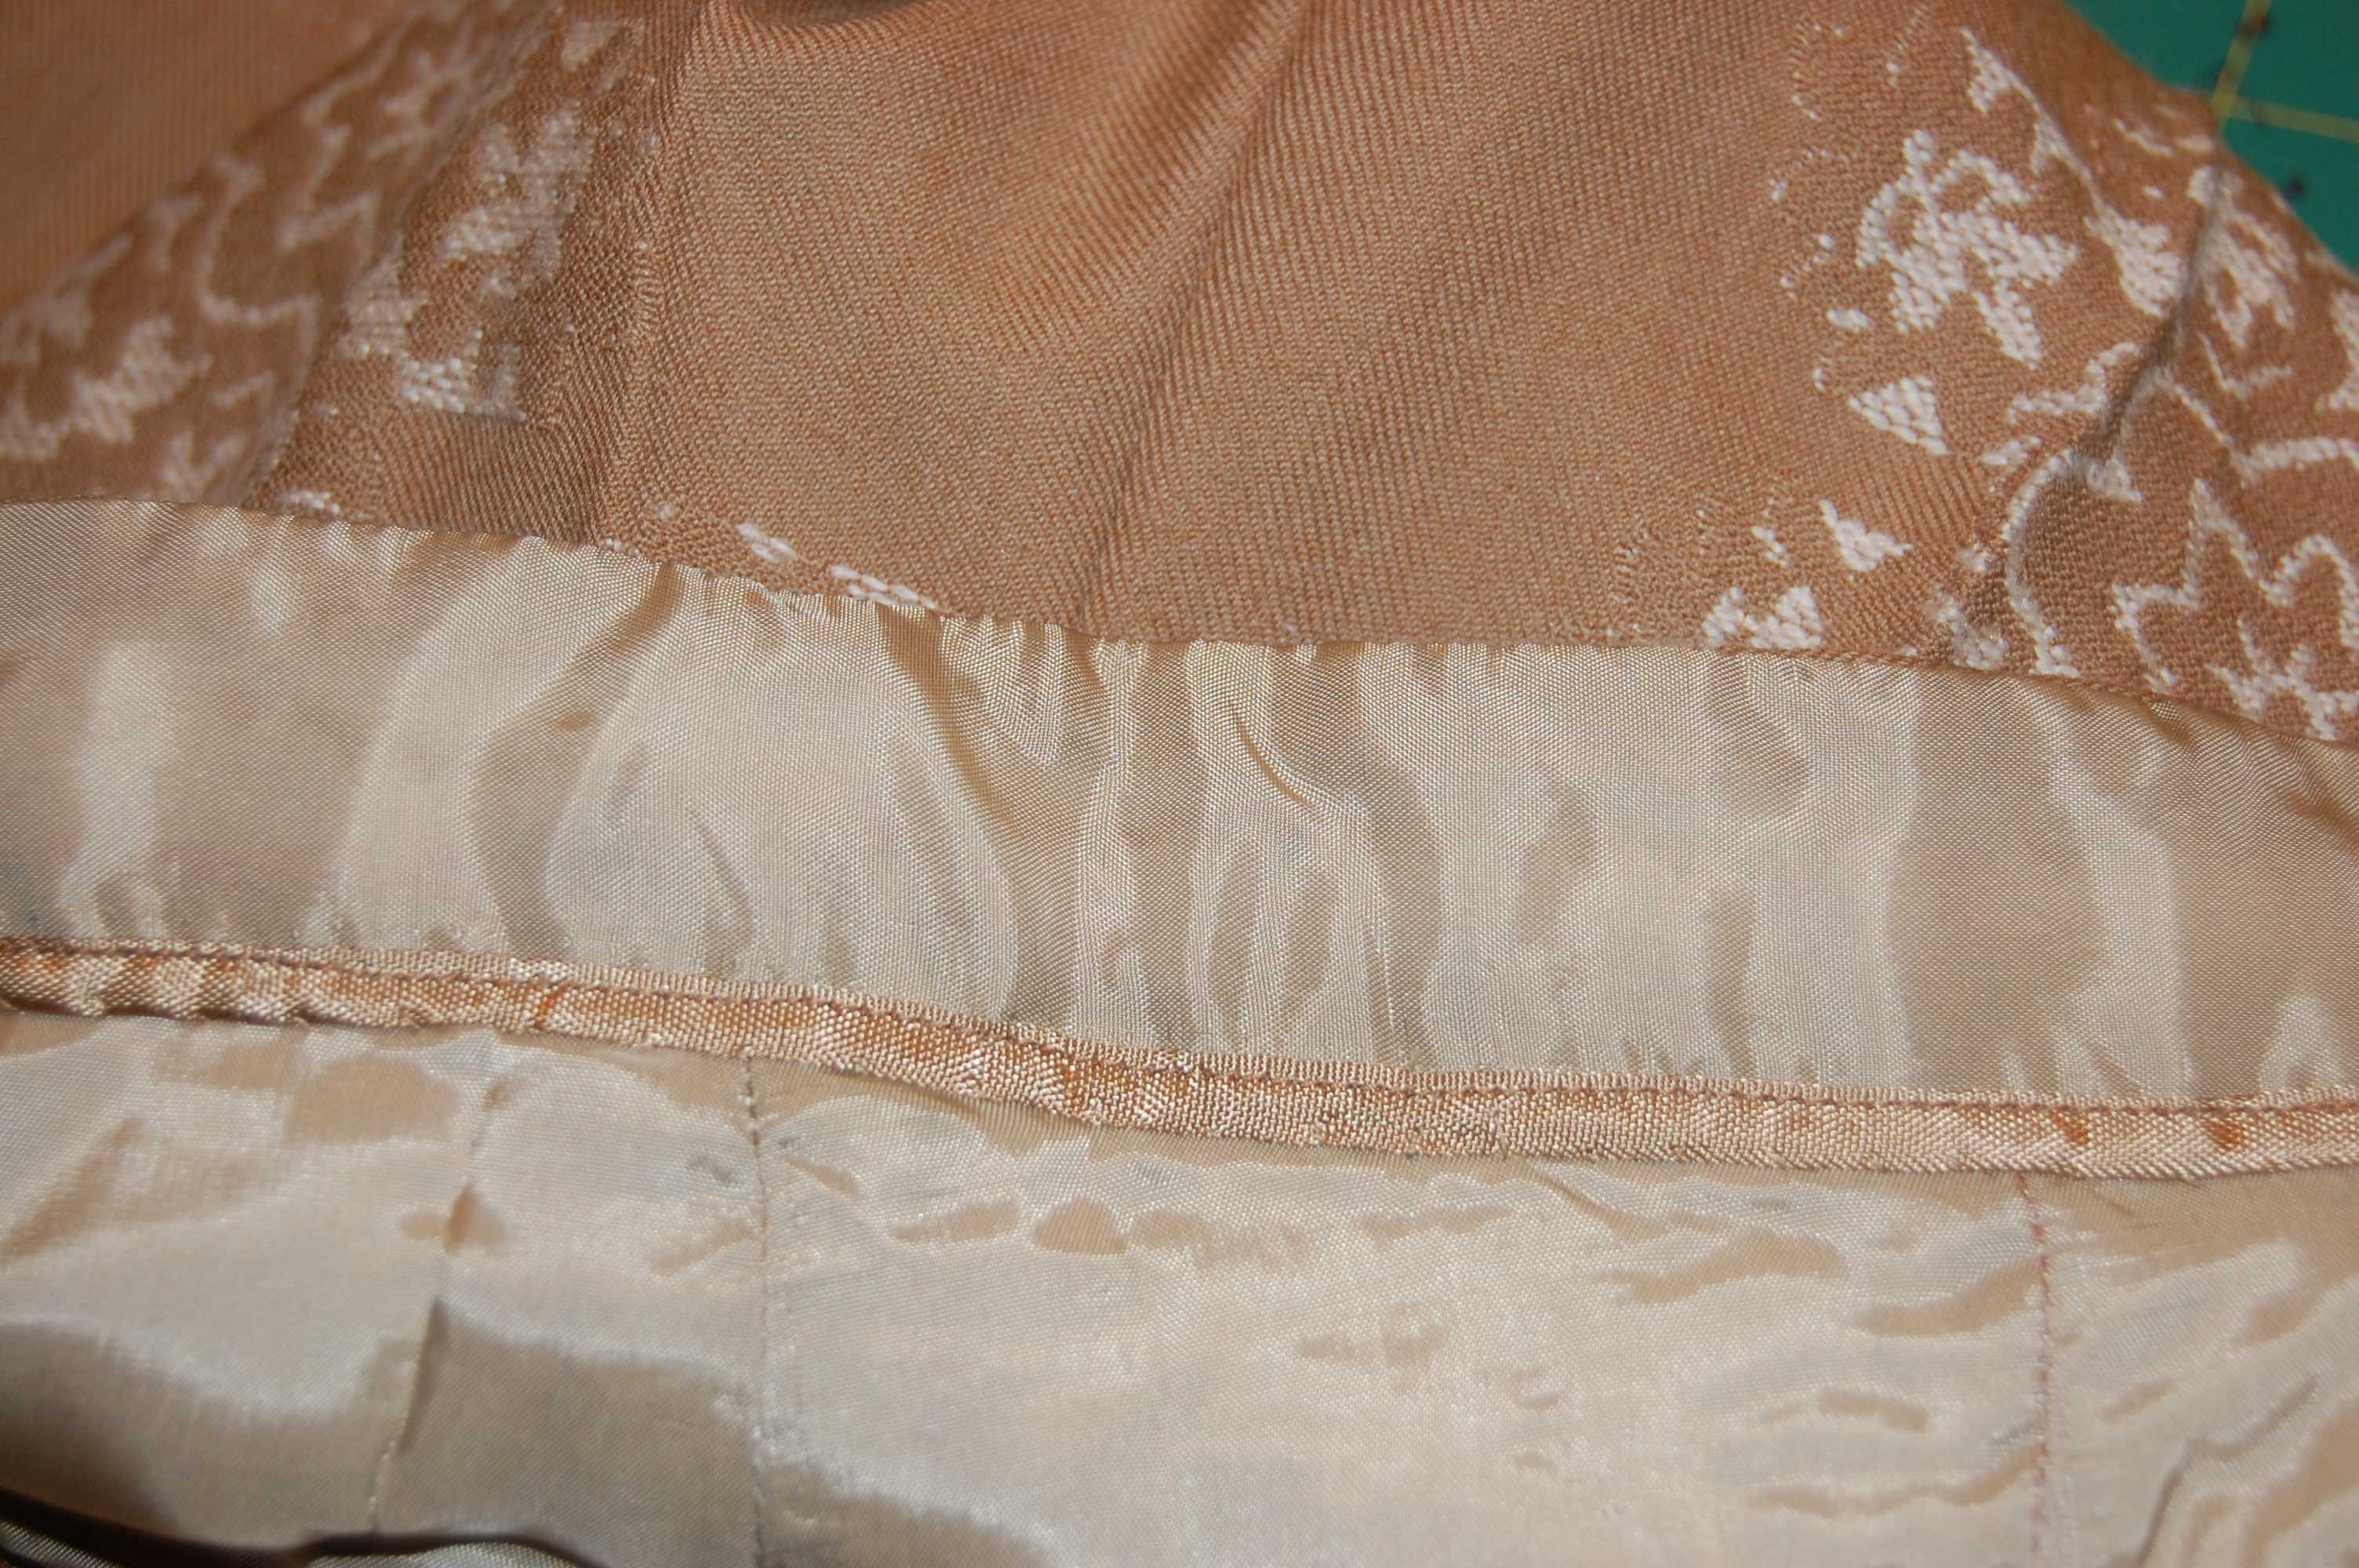
To line the back dress section, I pinned the lining to the armscyes and neck and fell stitched in place by hand. Then I was able to sew each side seam on the machine. The shoulder seams were the final ones to finish, which I did by hand. Then it was only a matter of fell stitching the lining to the hand-picked zipper and understitching the neck and arm sections.
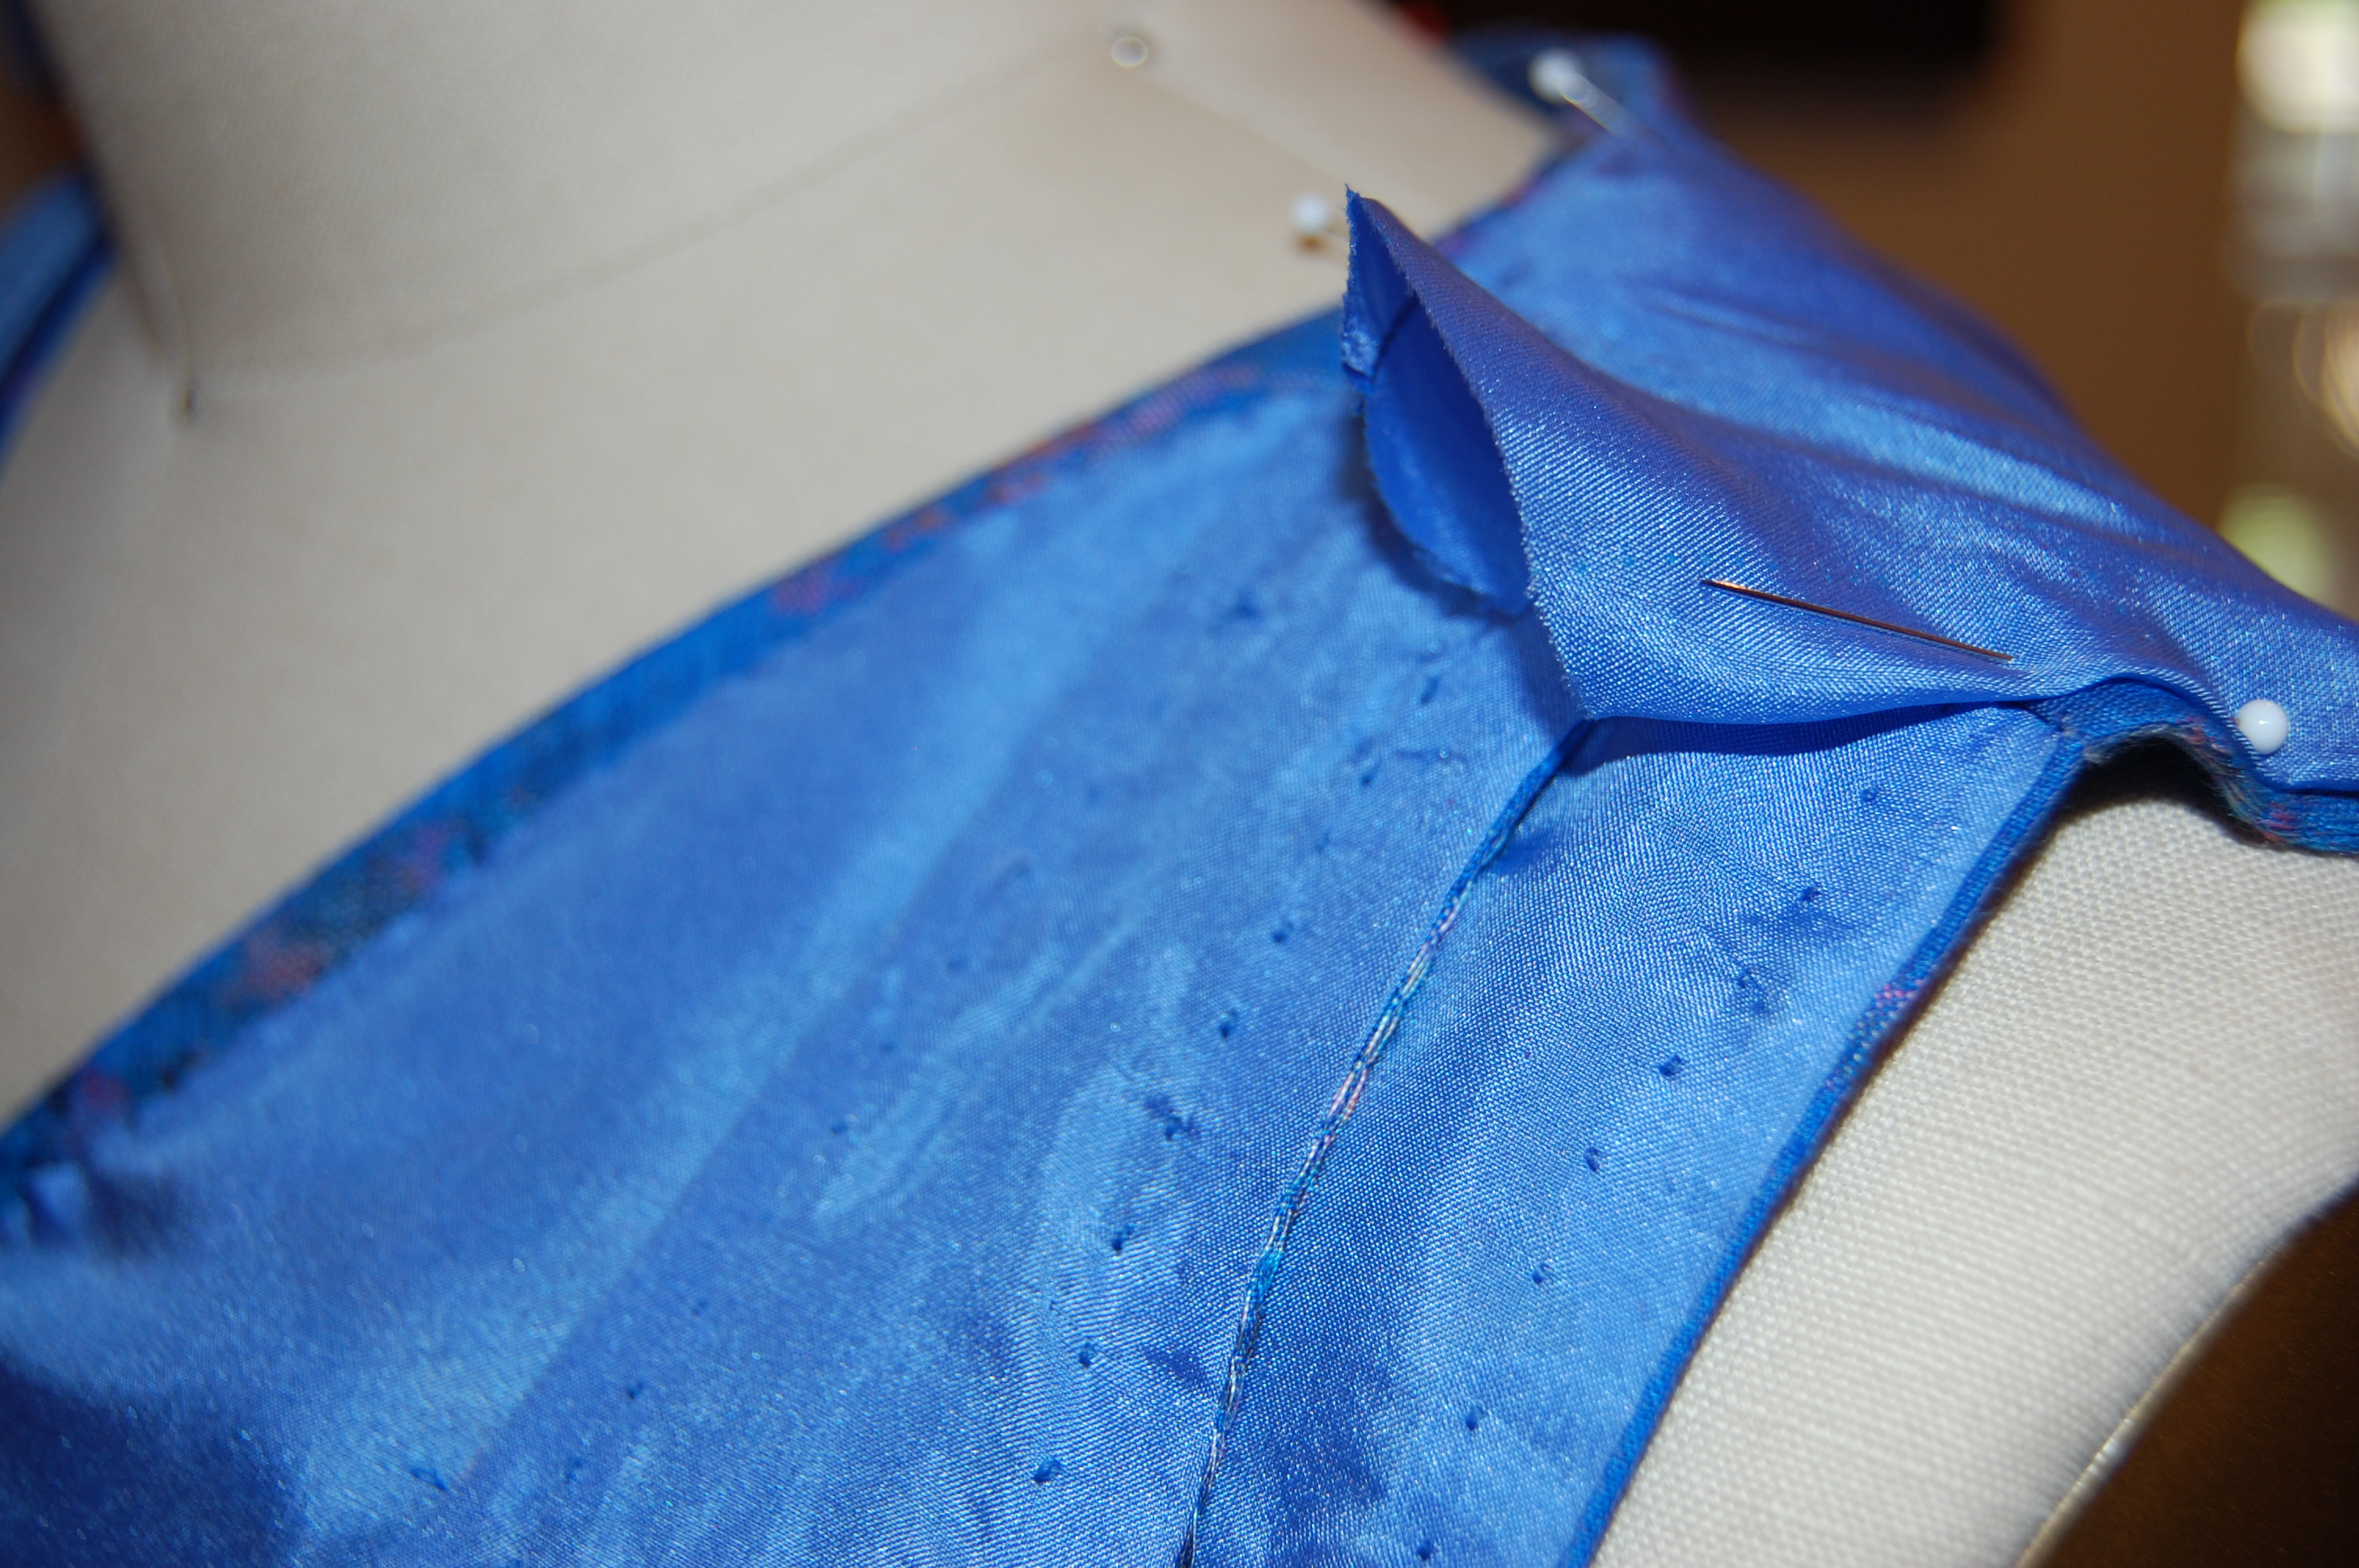
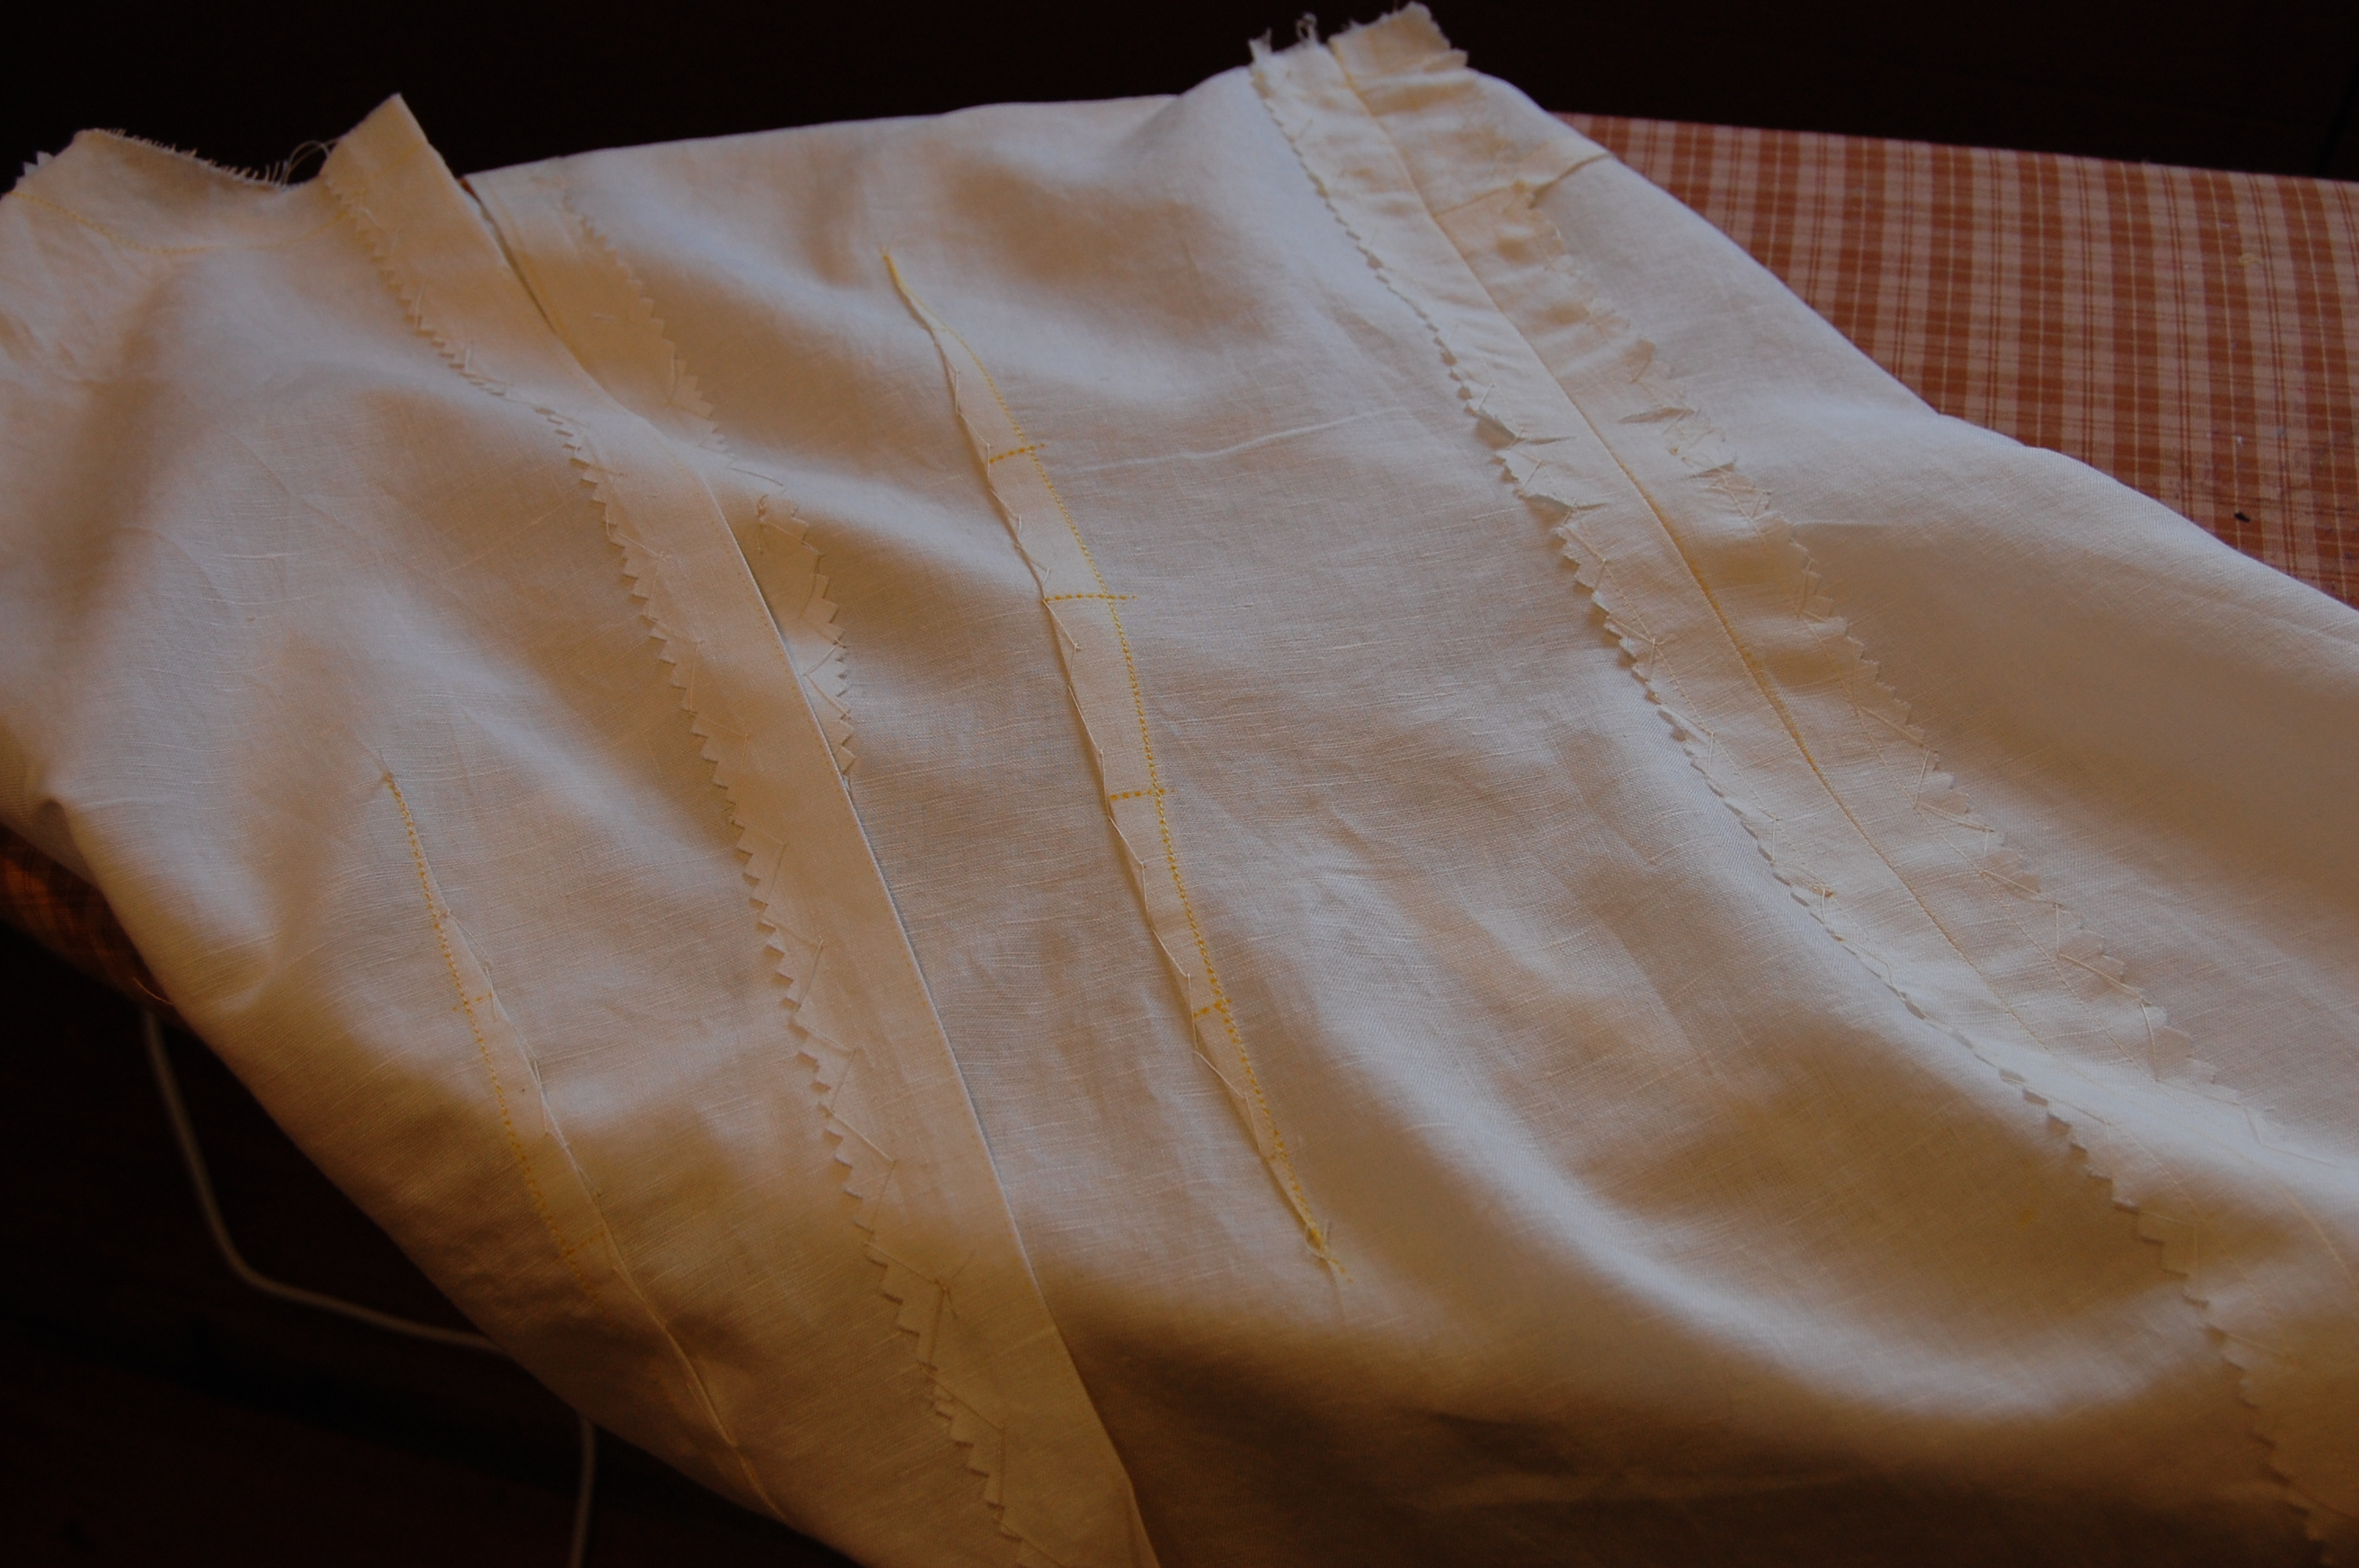
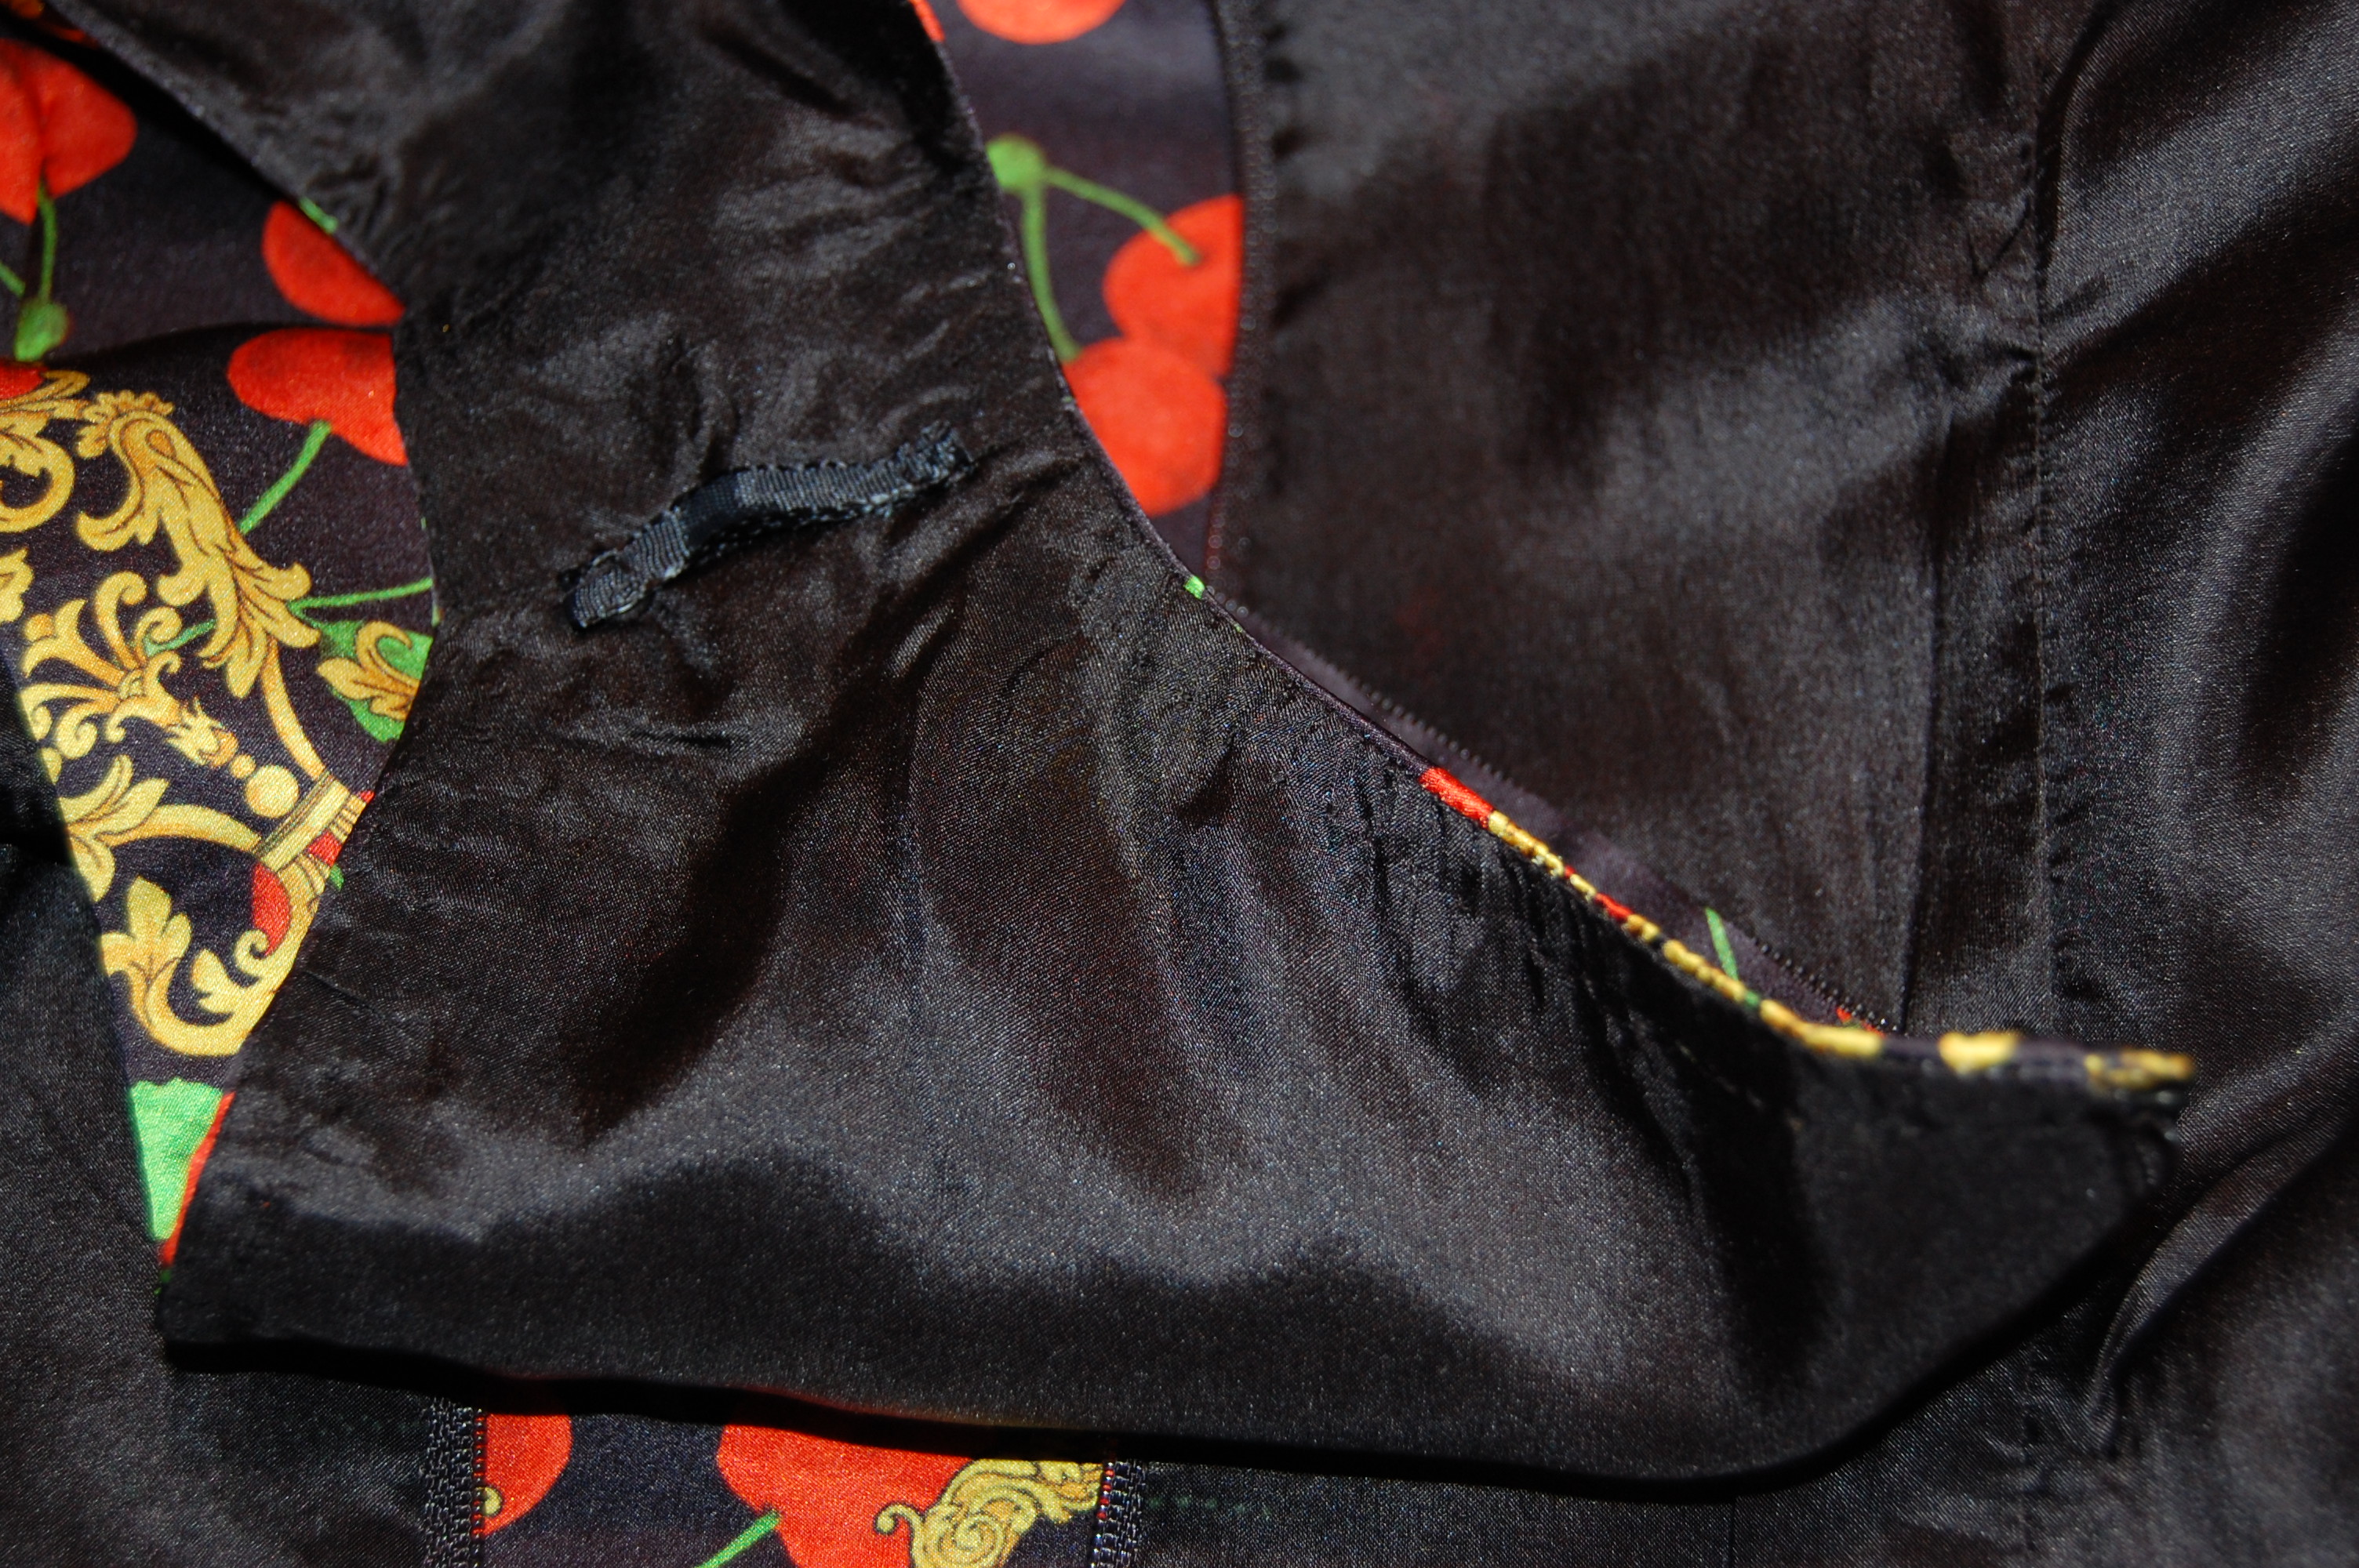
The shoulder seam encloses two finished layers in front.
It worked! The lining fit perfectly and made for a pretty “insides”!

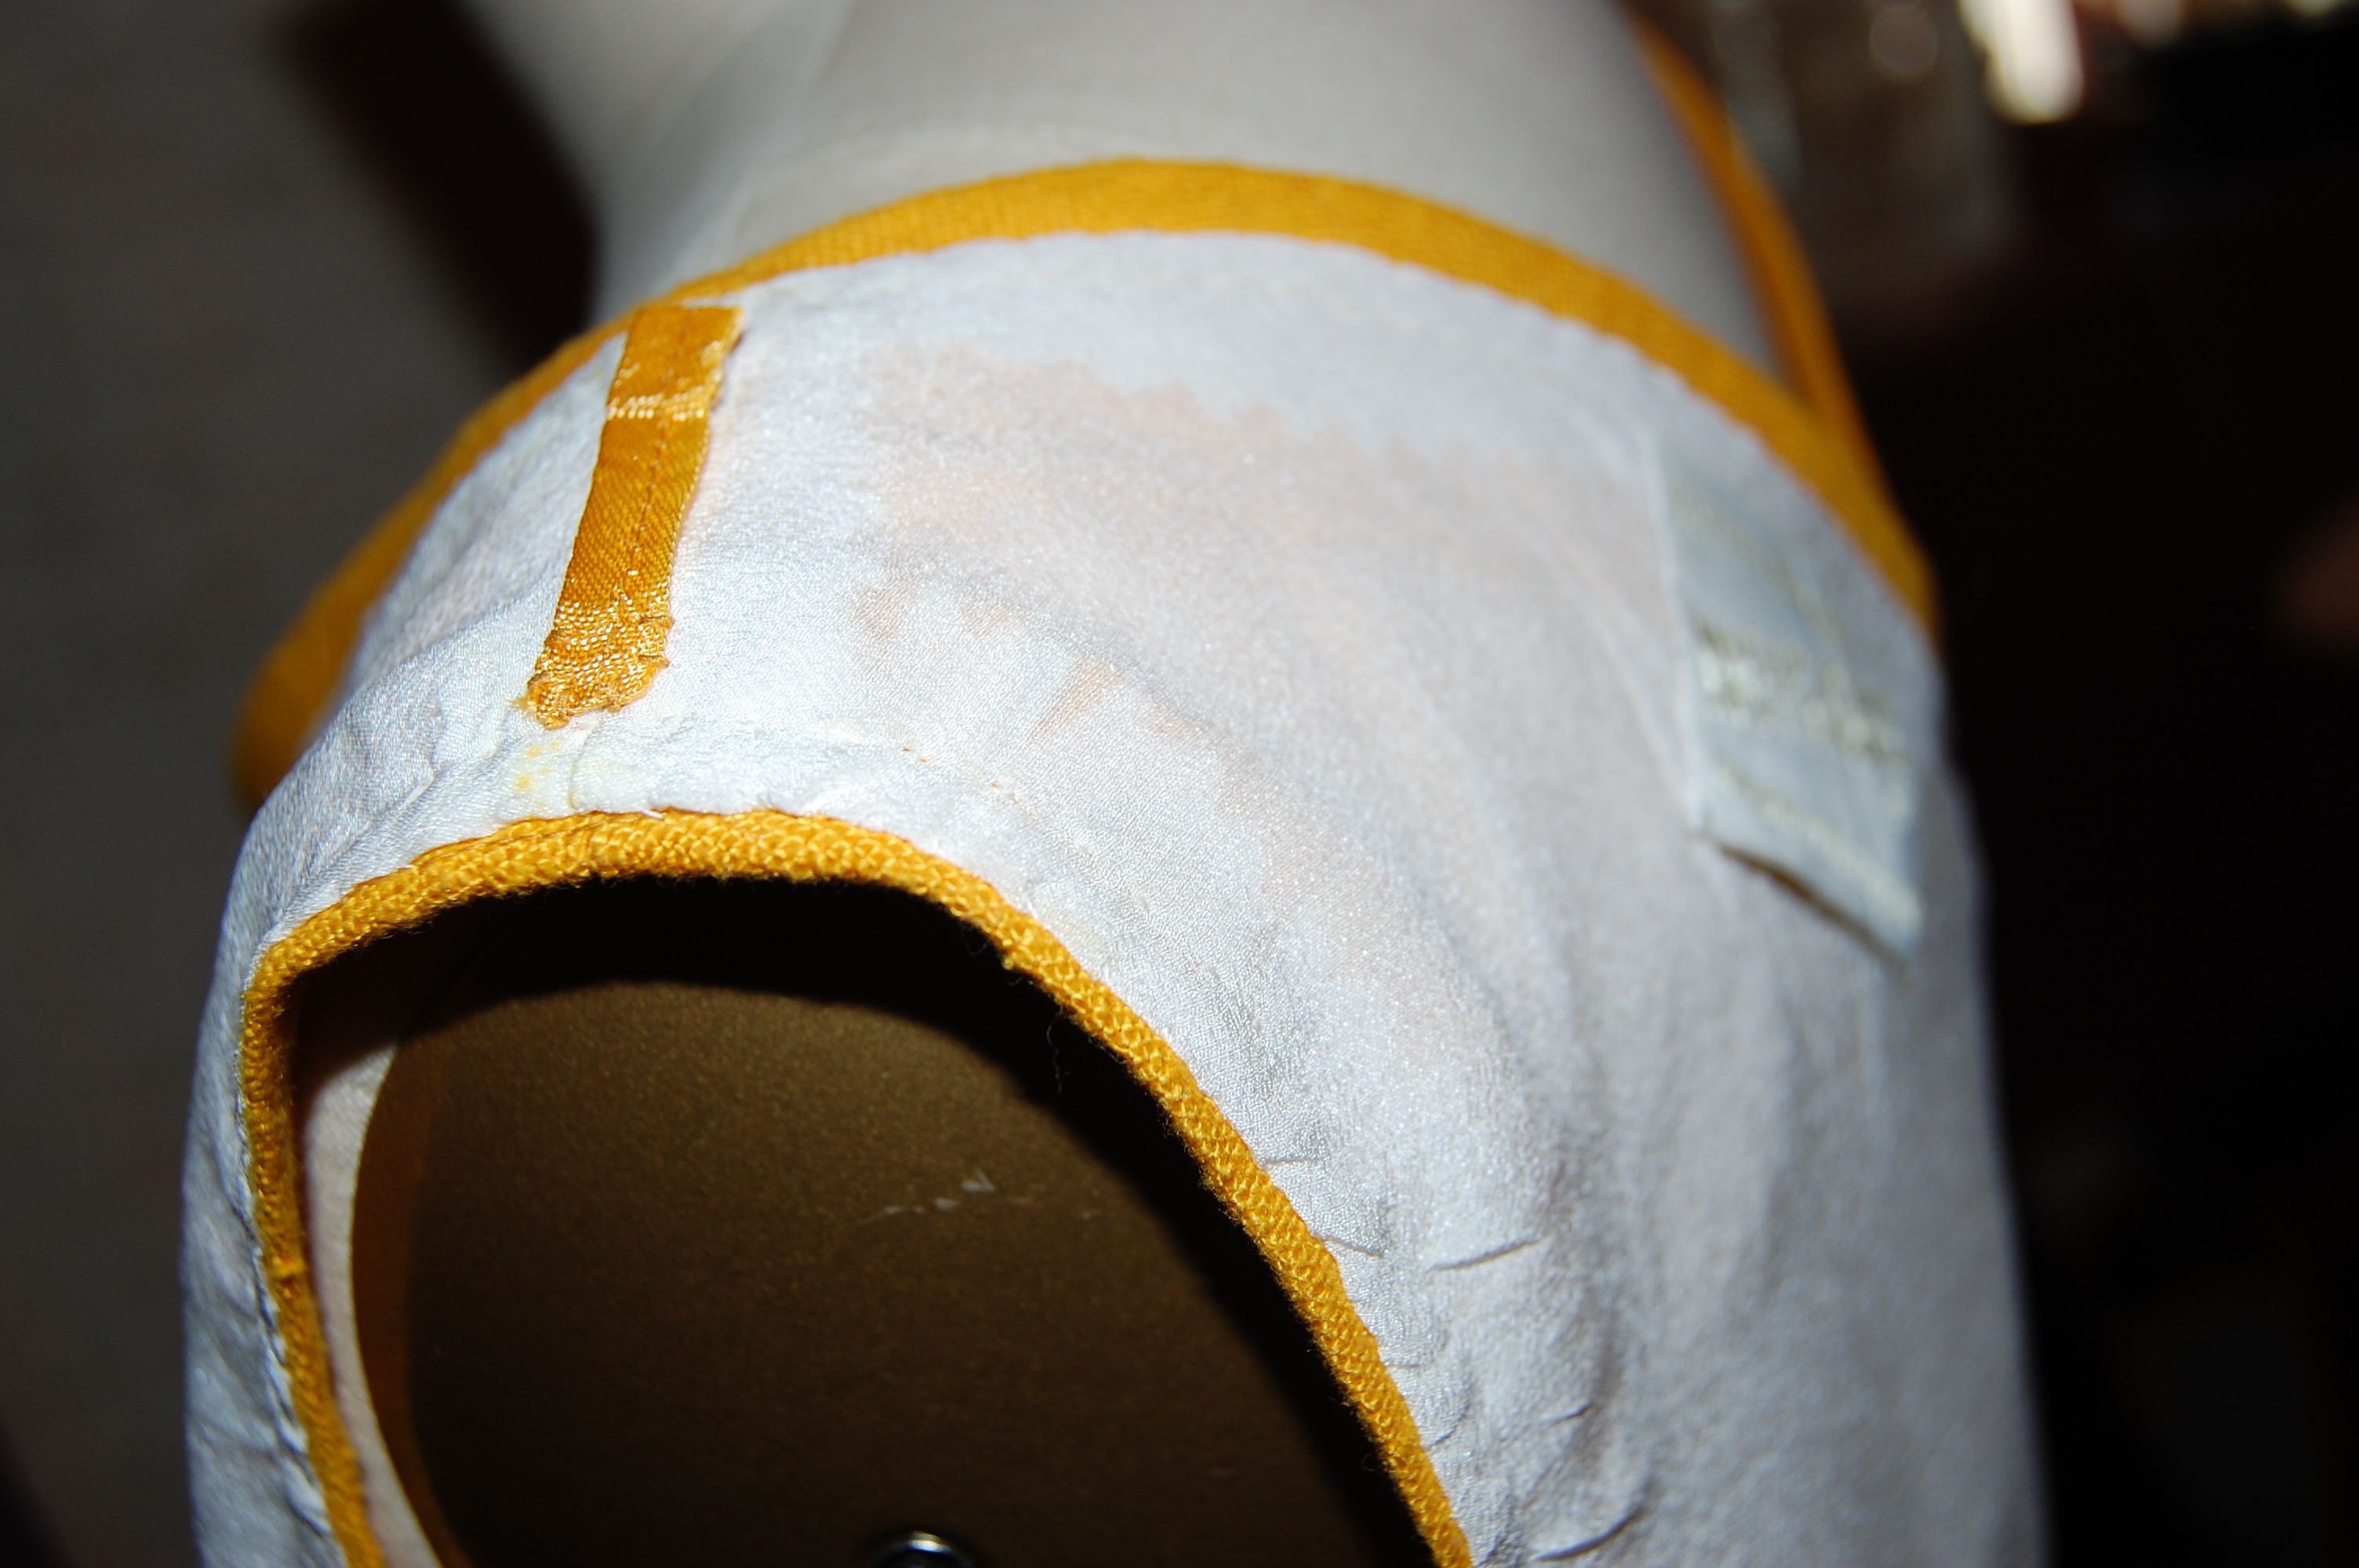
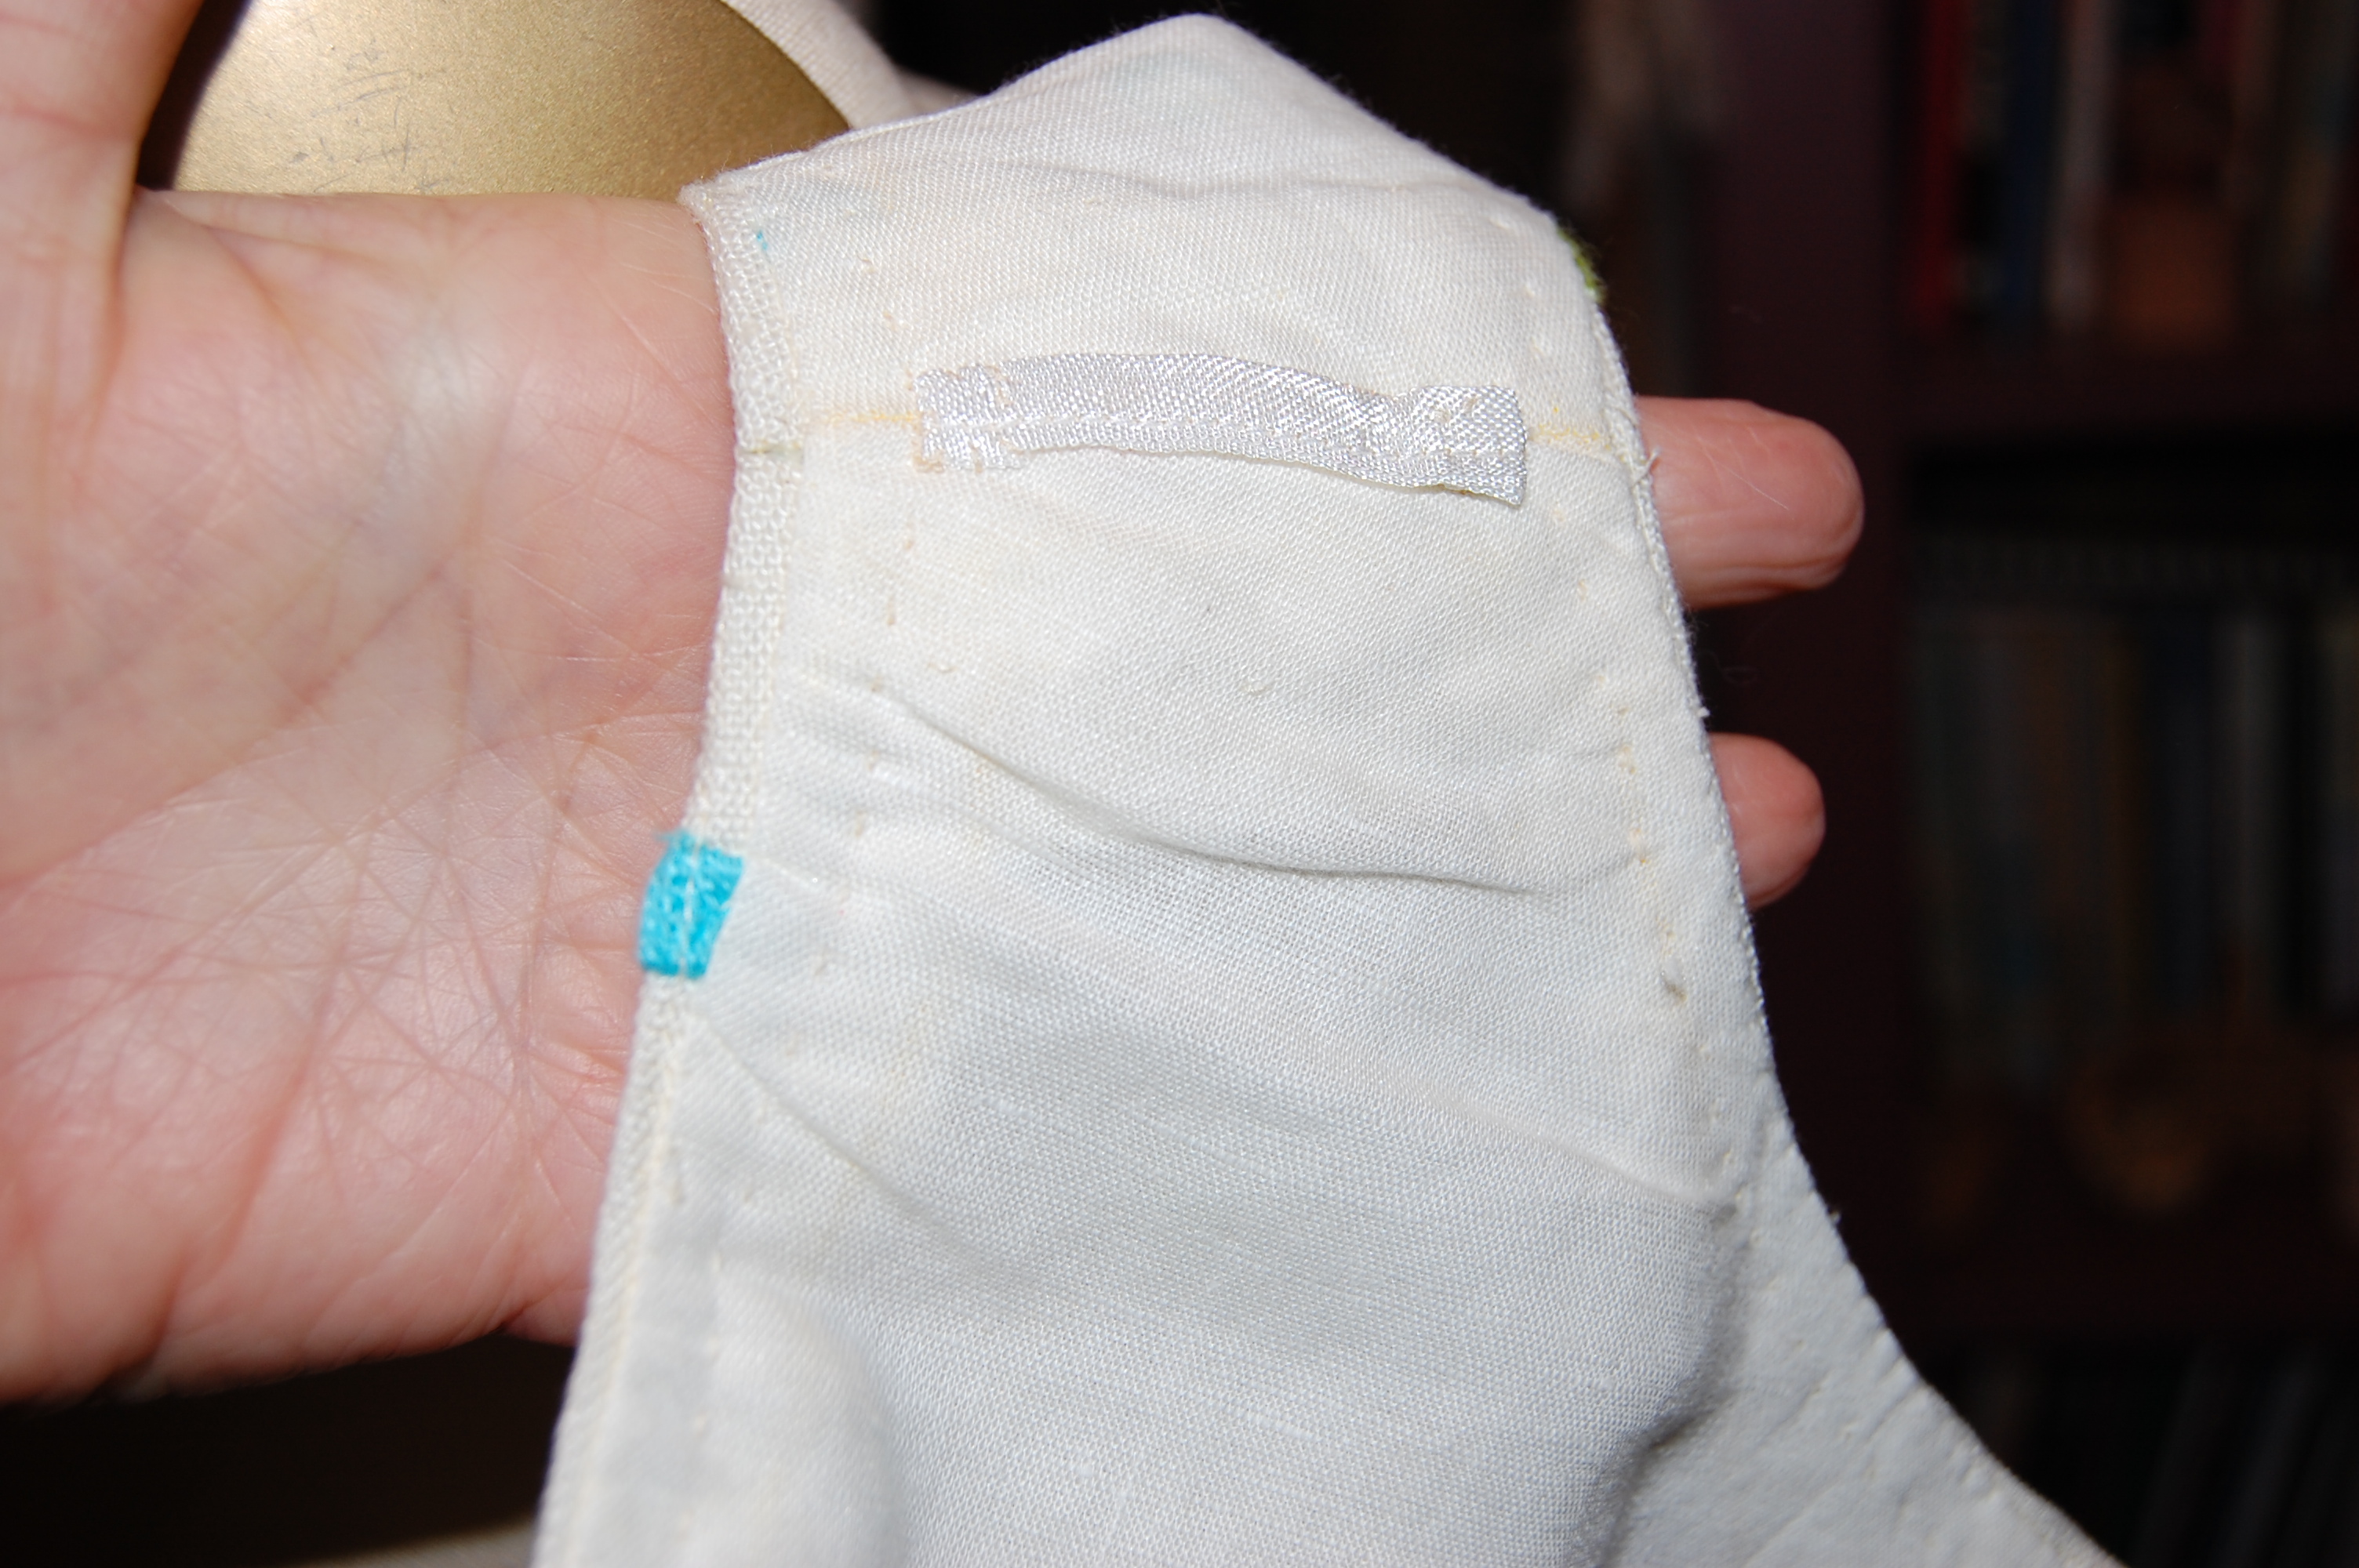
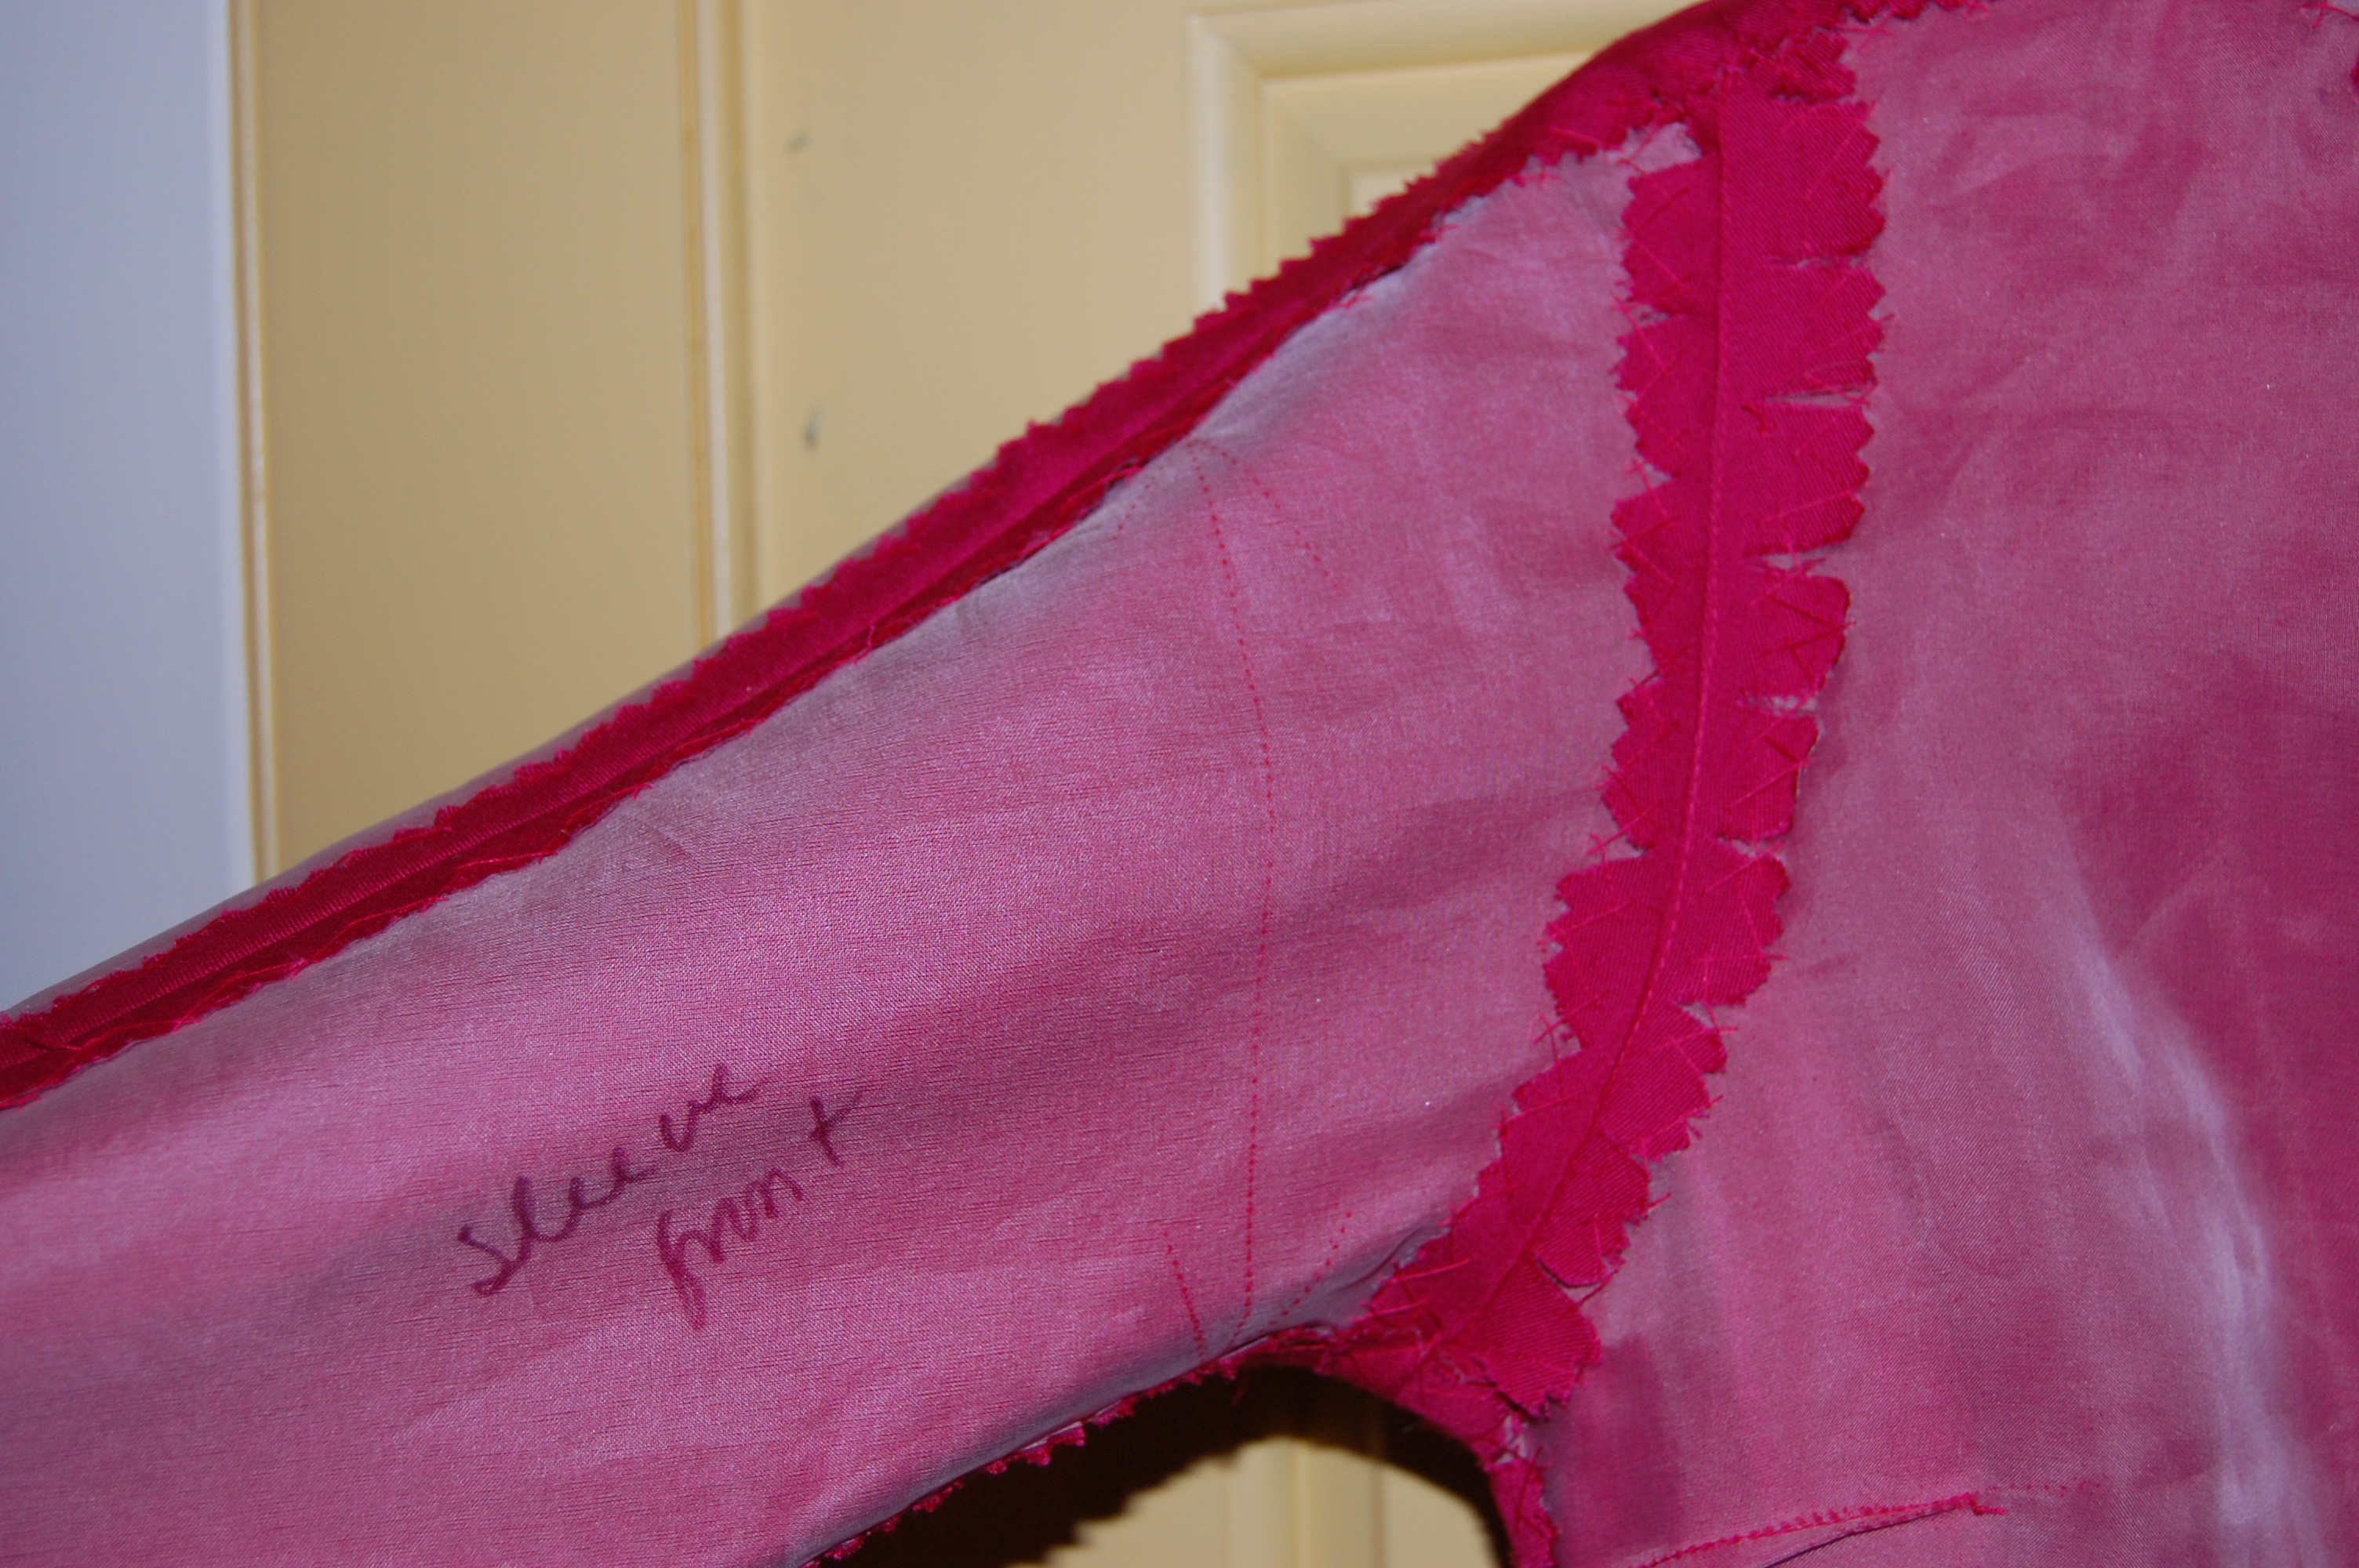
An inside look at the underdress and the overblouse.
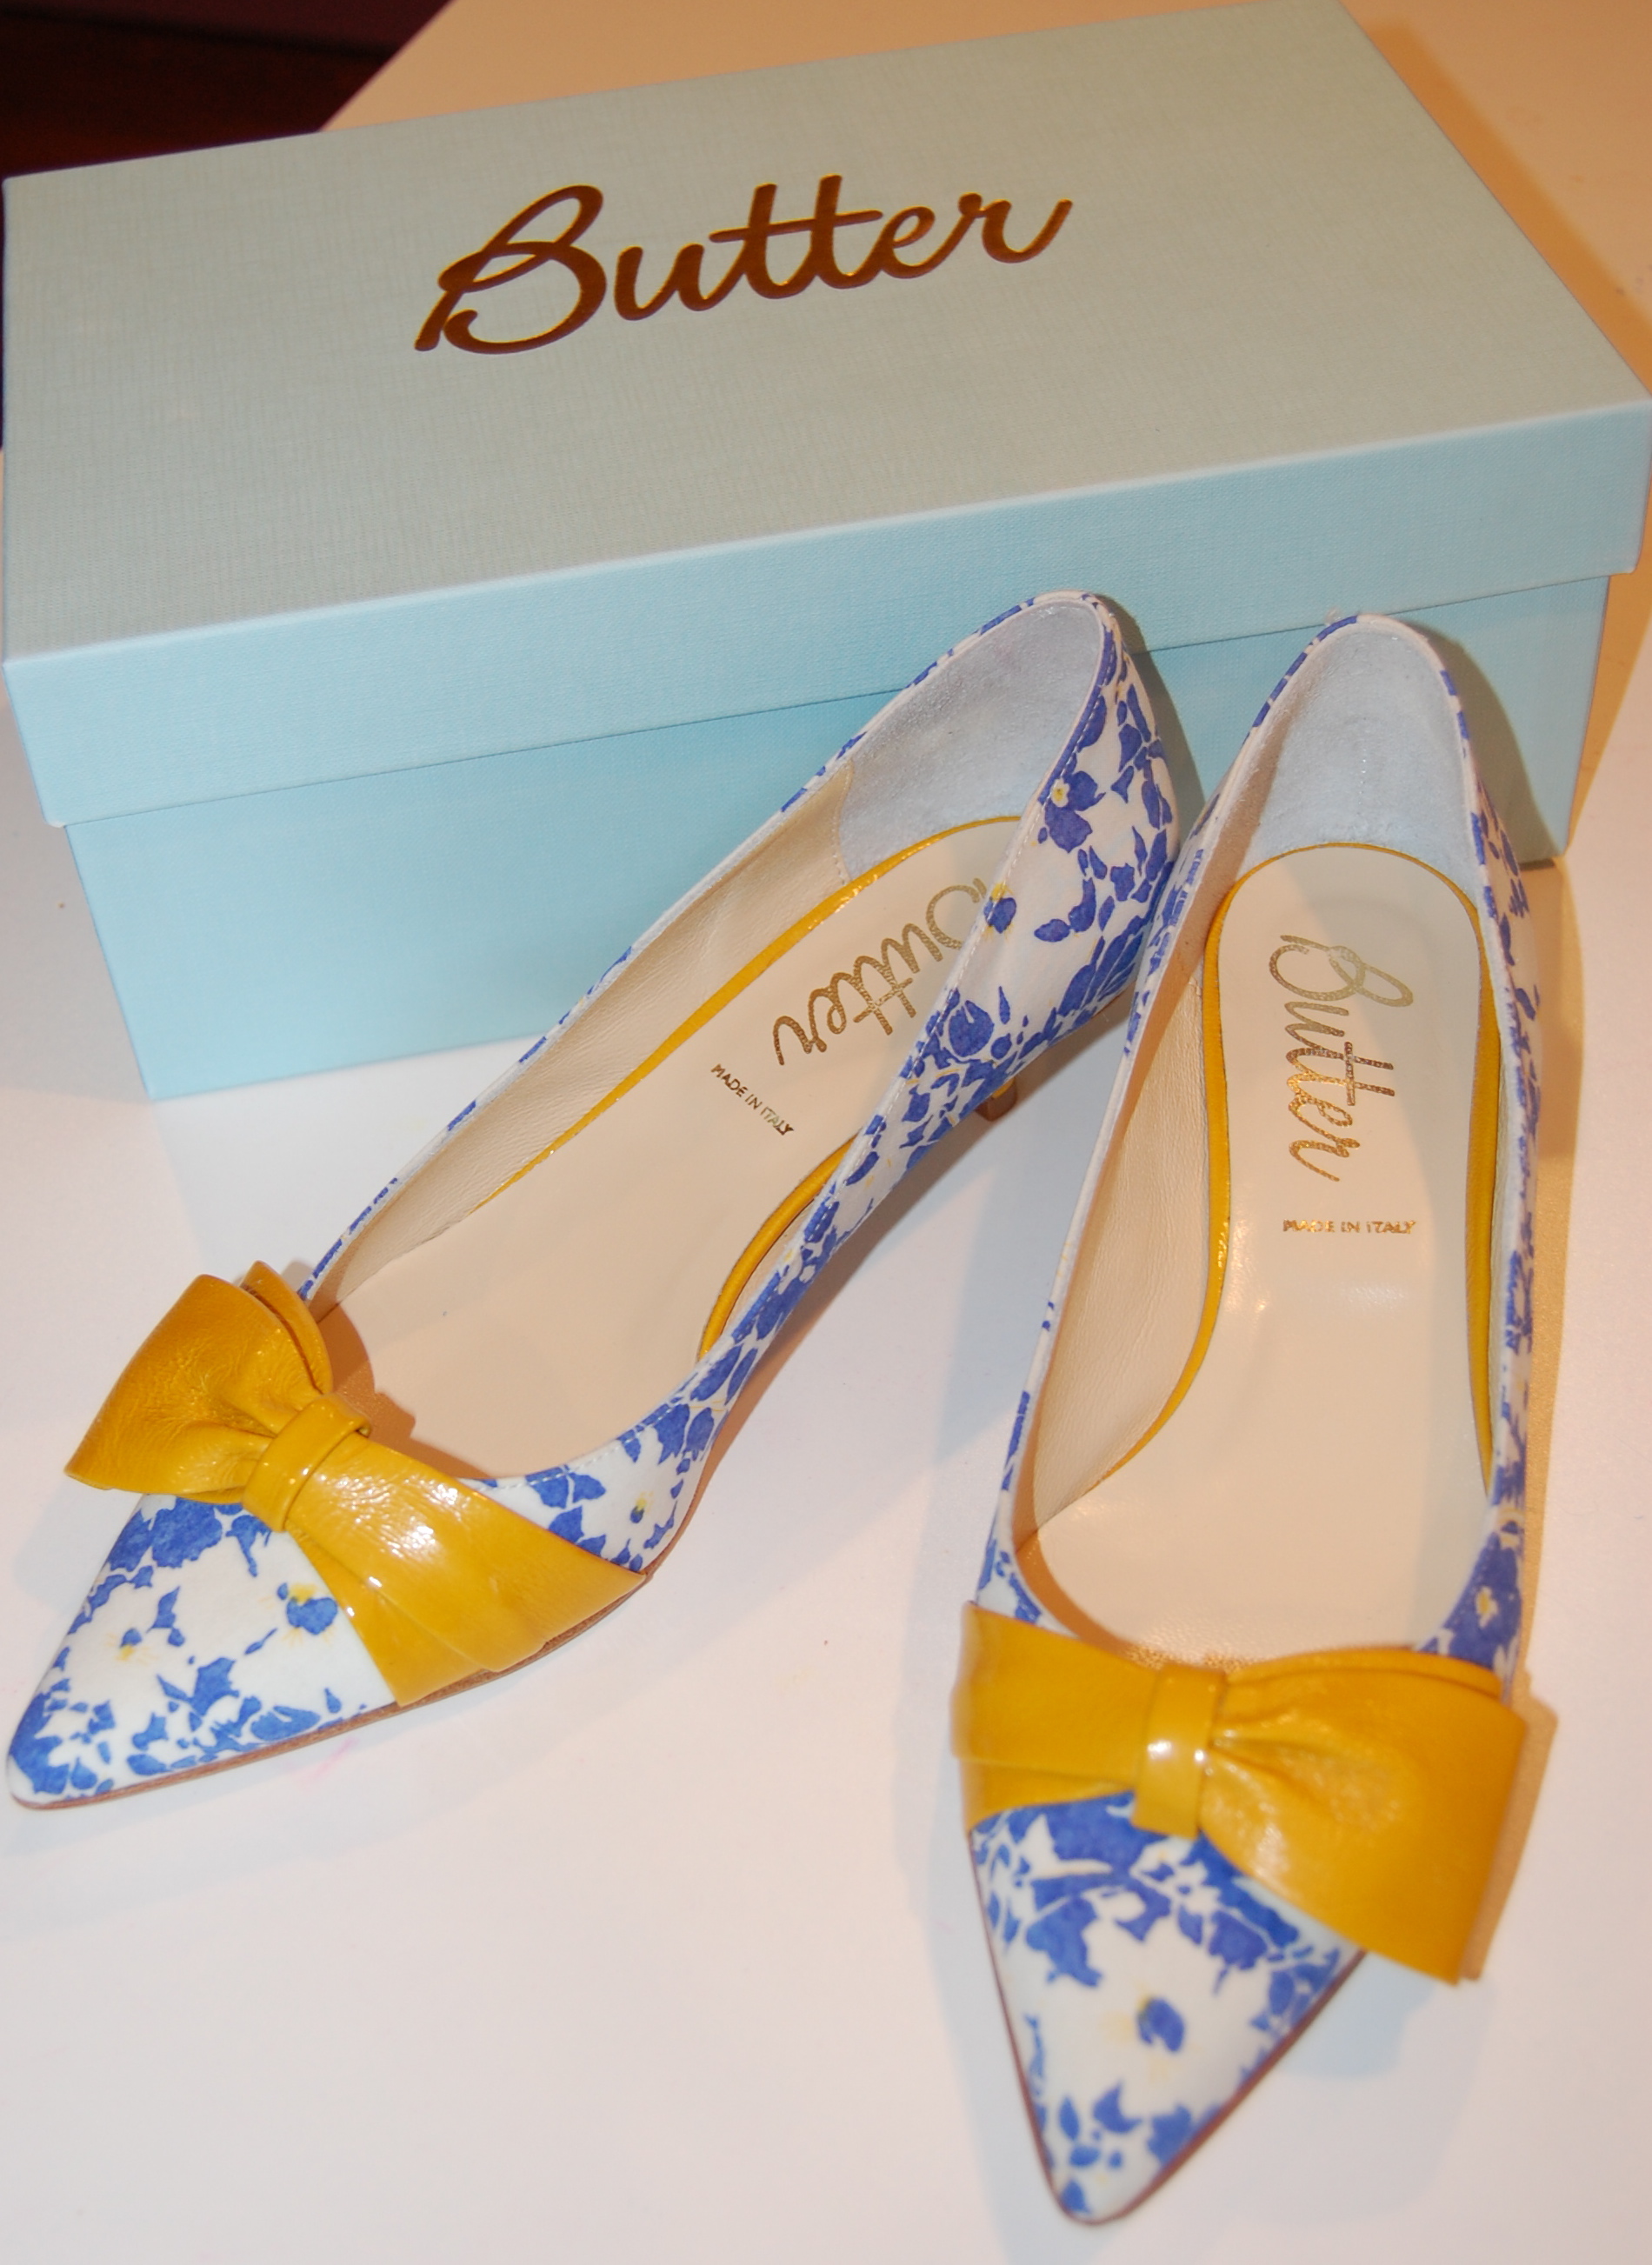
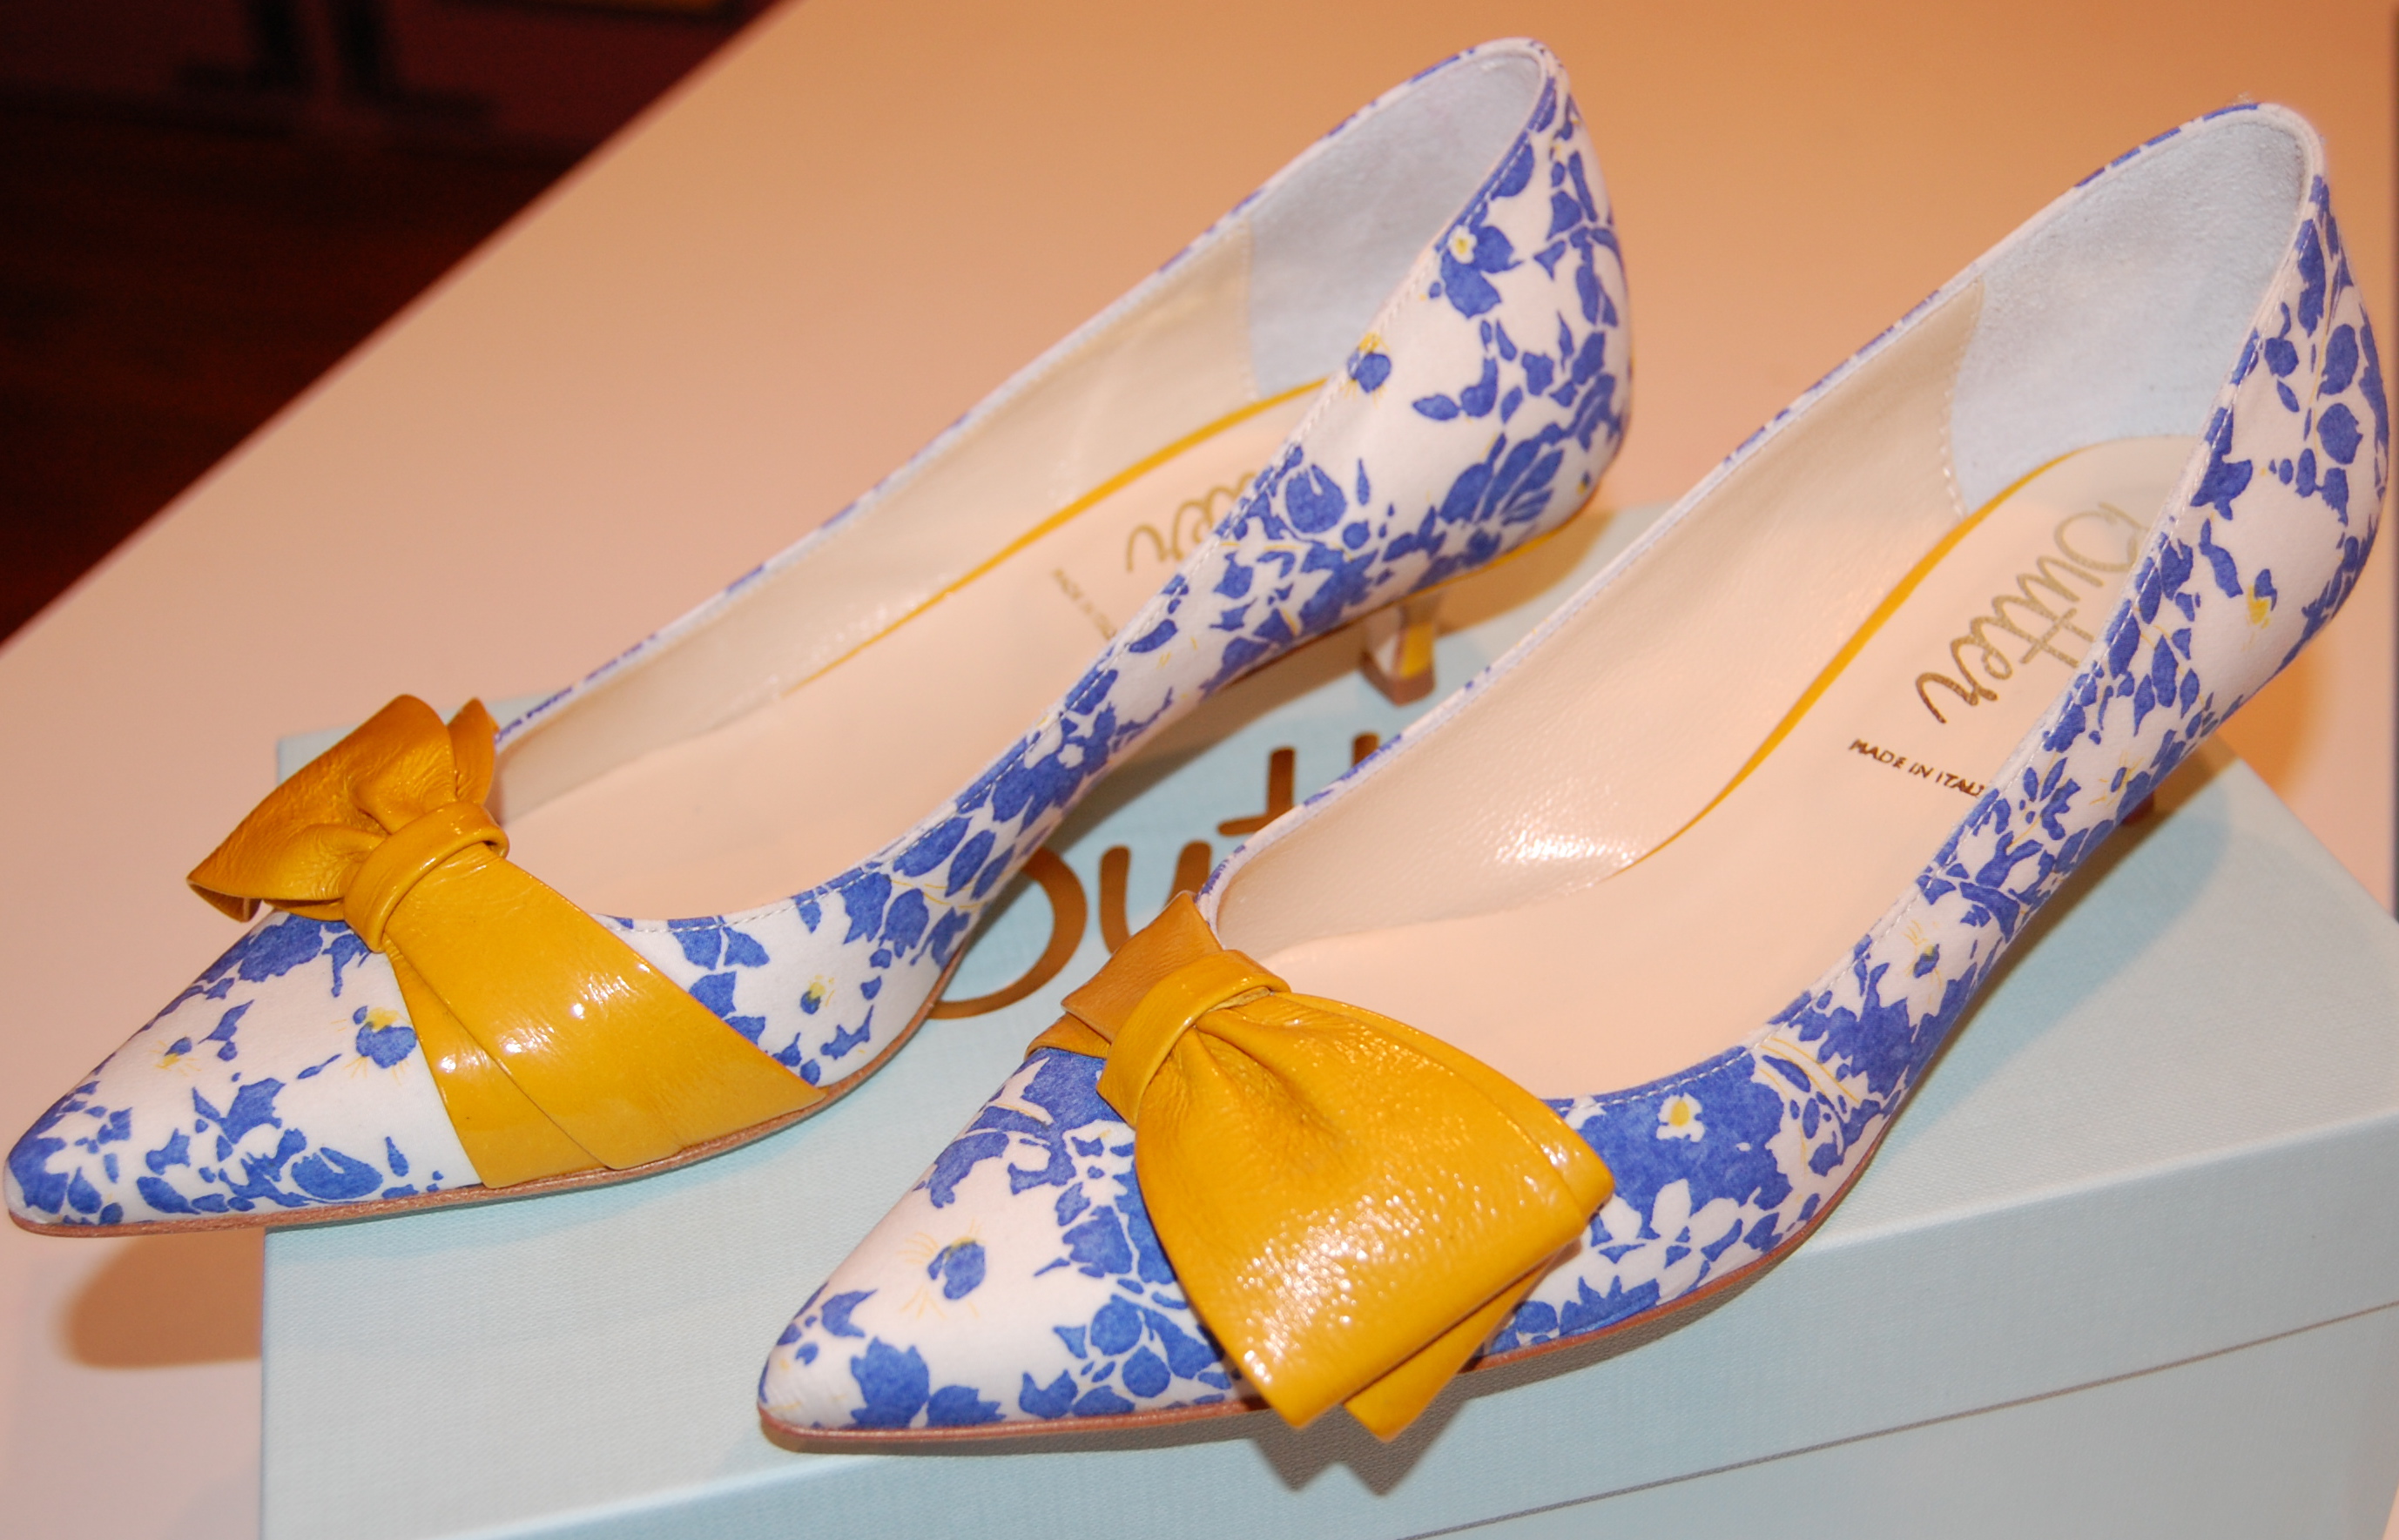
The pattern called for tacking the front overblouse sections to the underdress, but I decided to use snaps instead. Ironing this dress will be so much easier with the overblouse sections opened up. However, I did permanently tack the looped tie in place, as indicated in the pattern directions. There was much more hand sewing involved in this dress because of the added lining, but the process was so rewarding in the end.

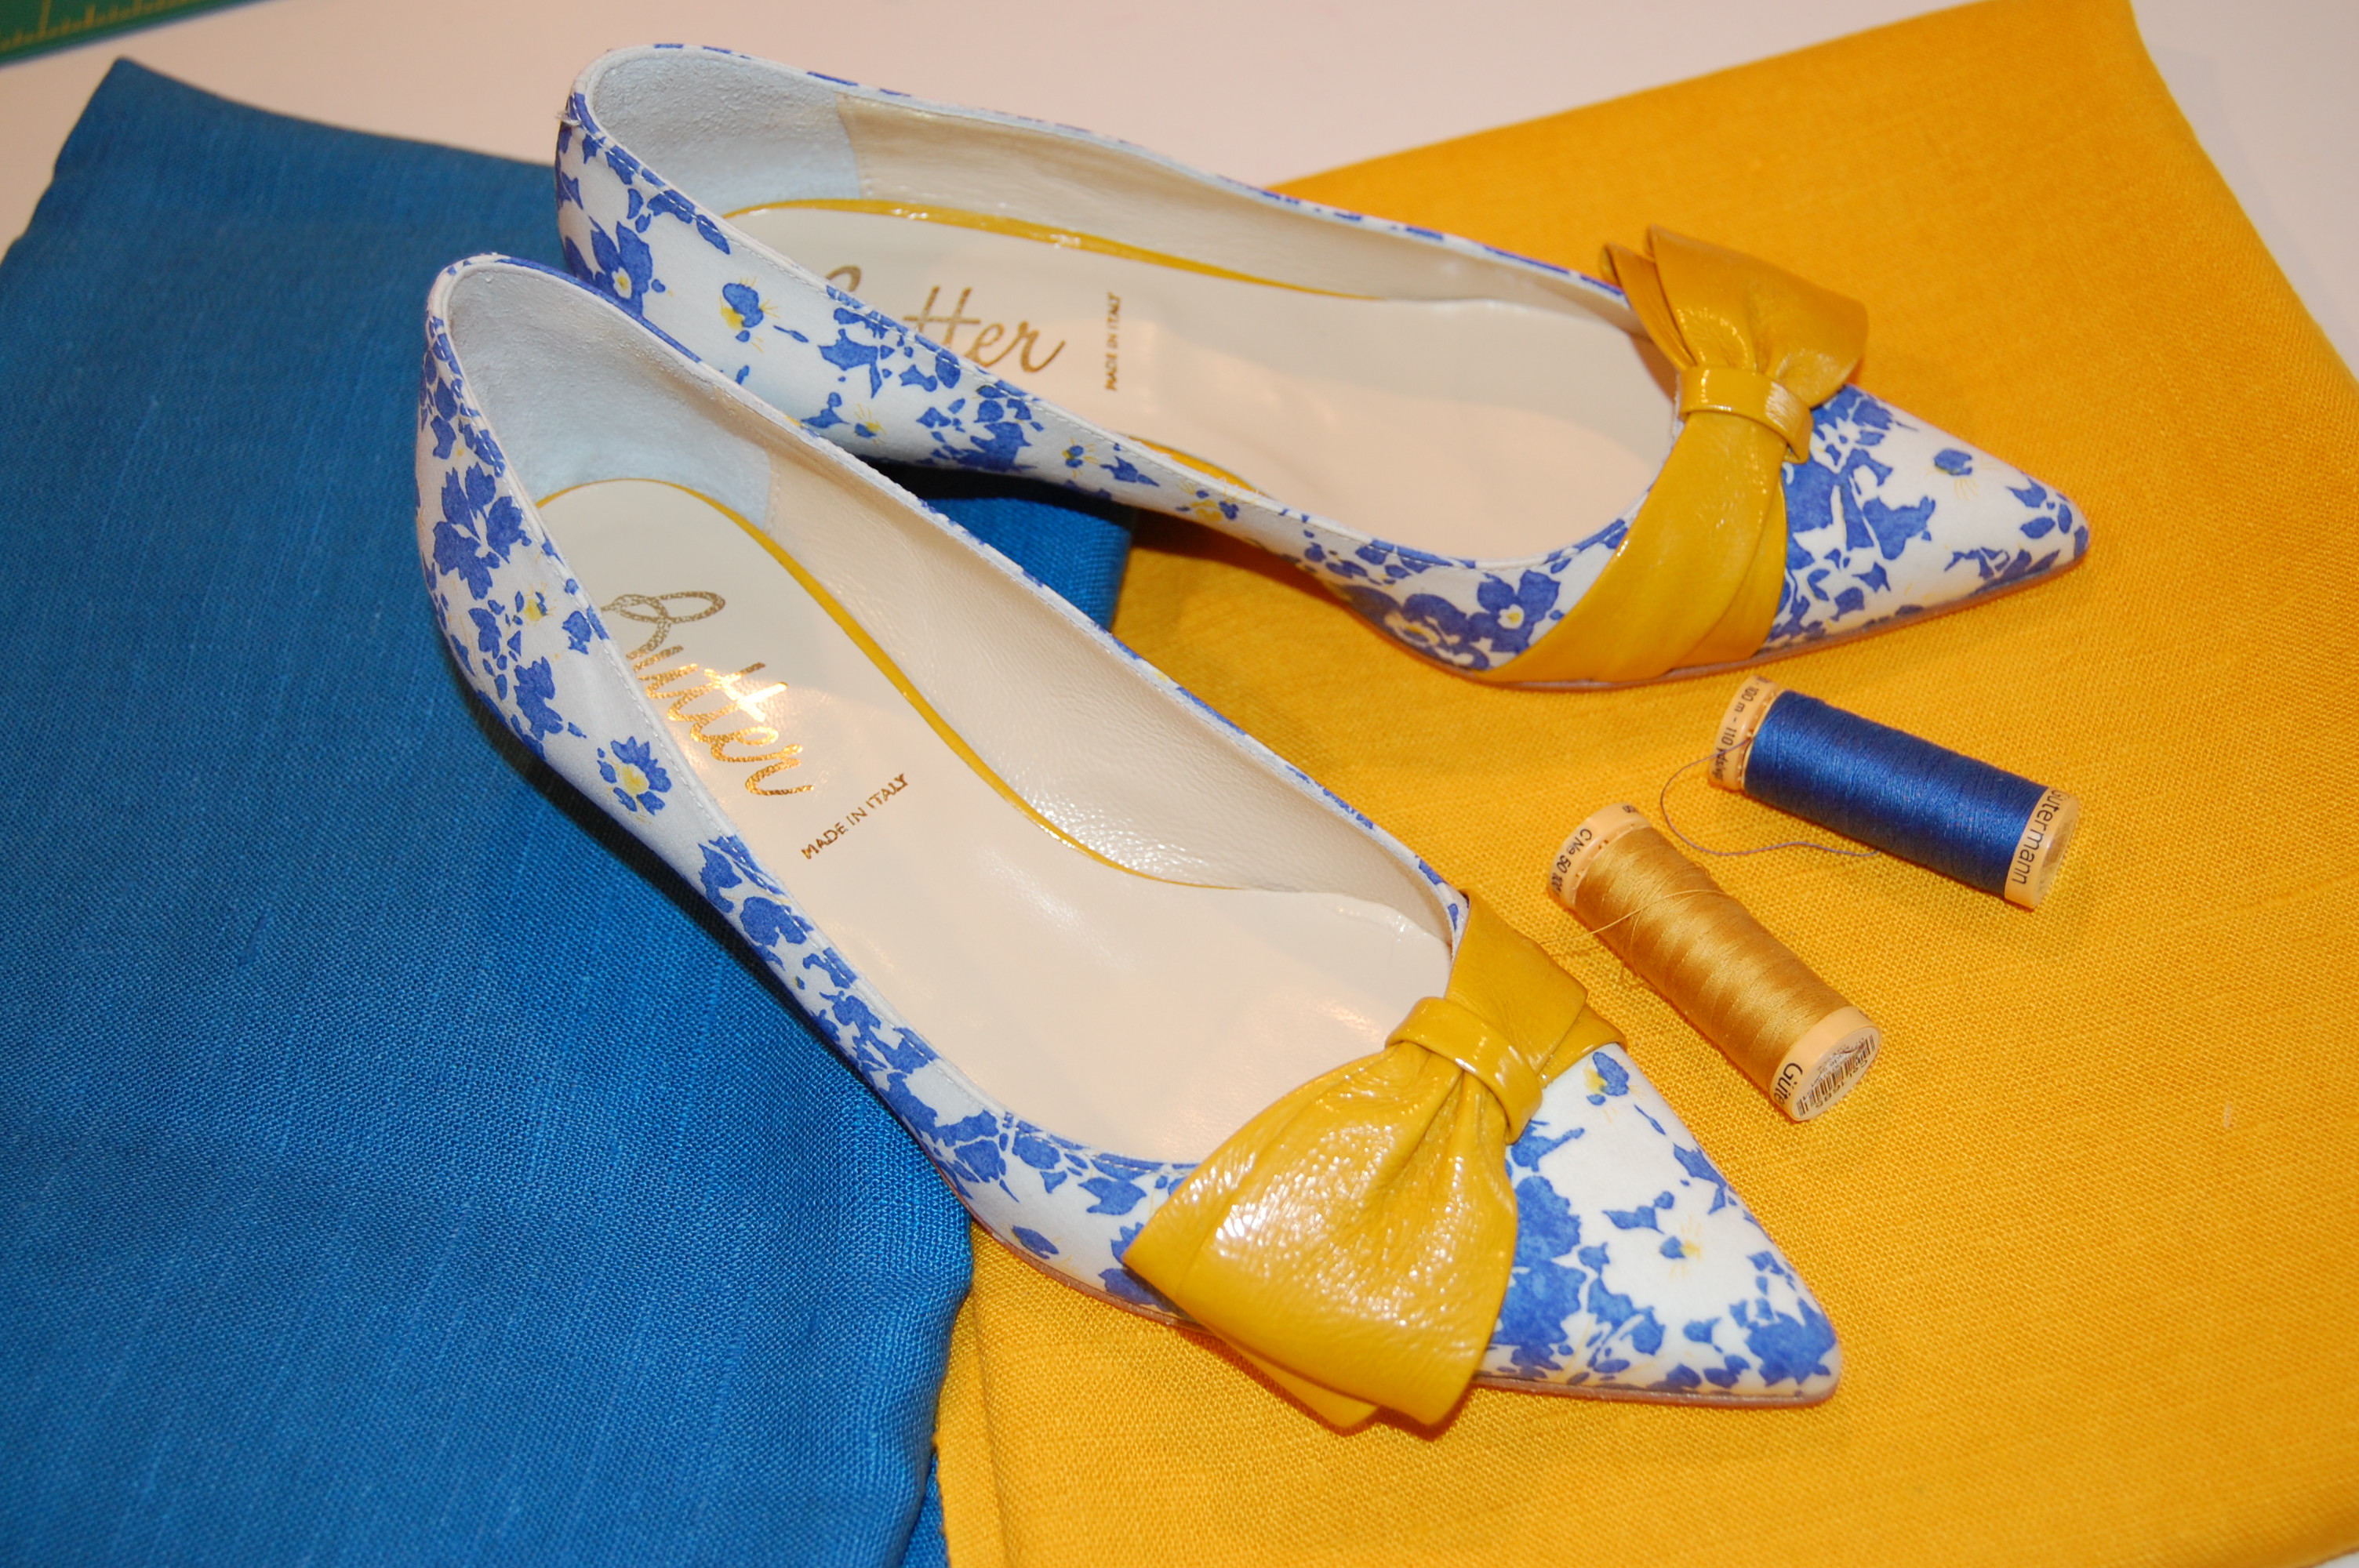
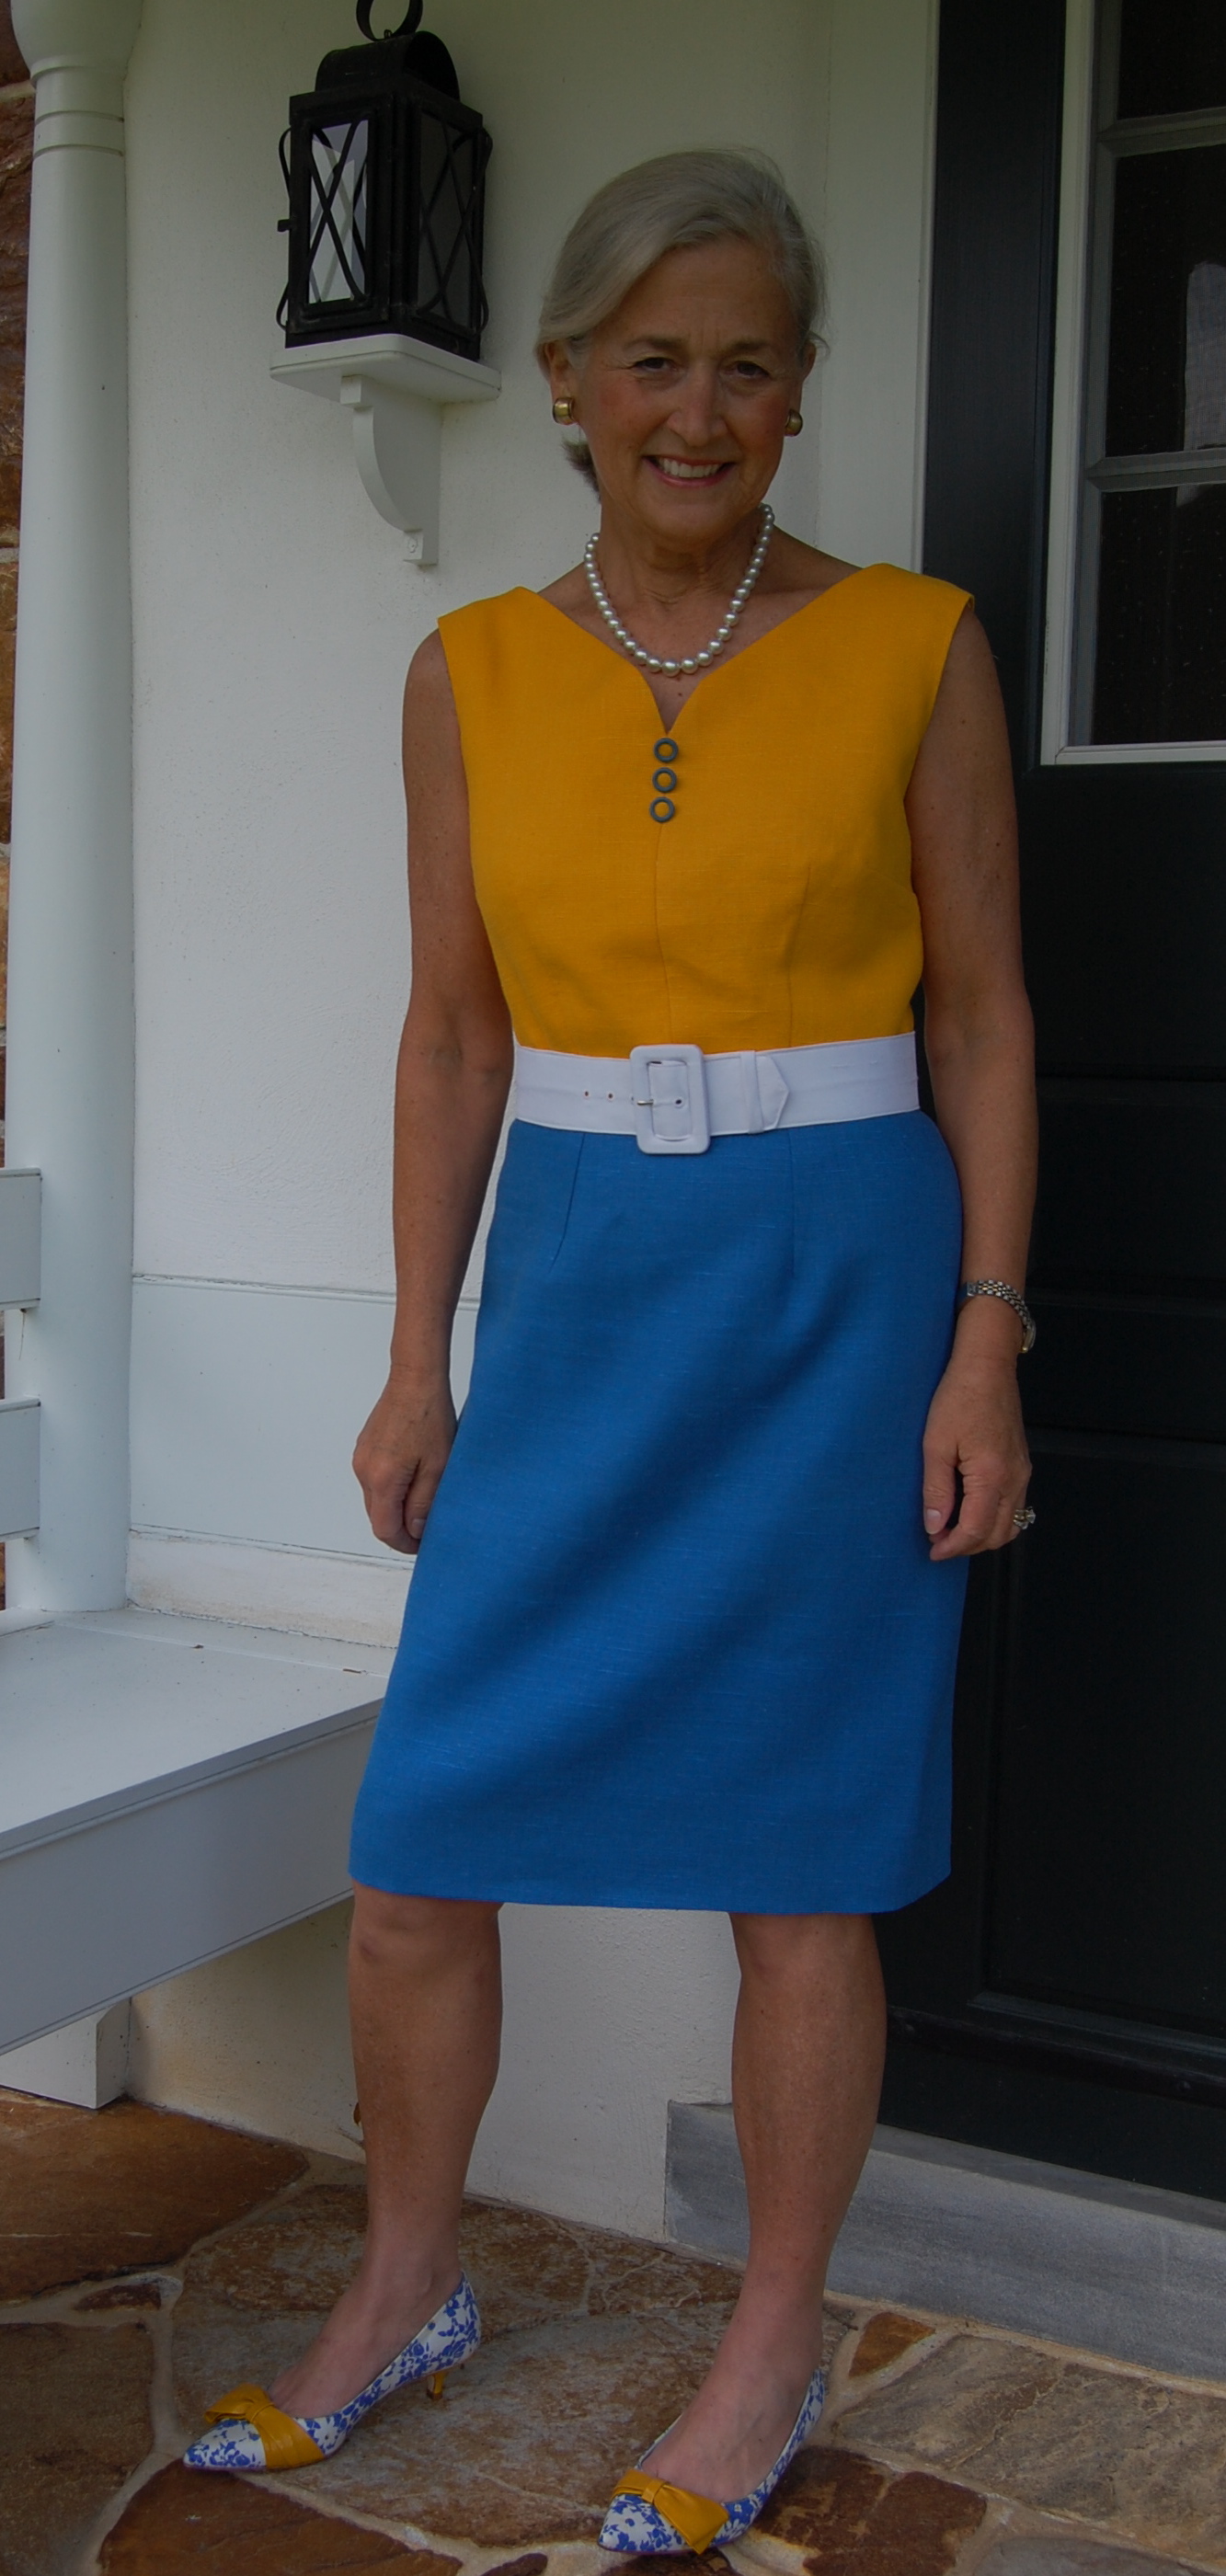
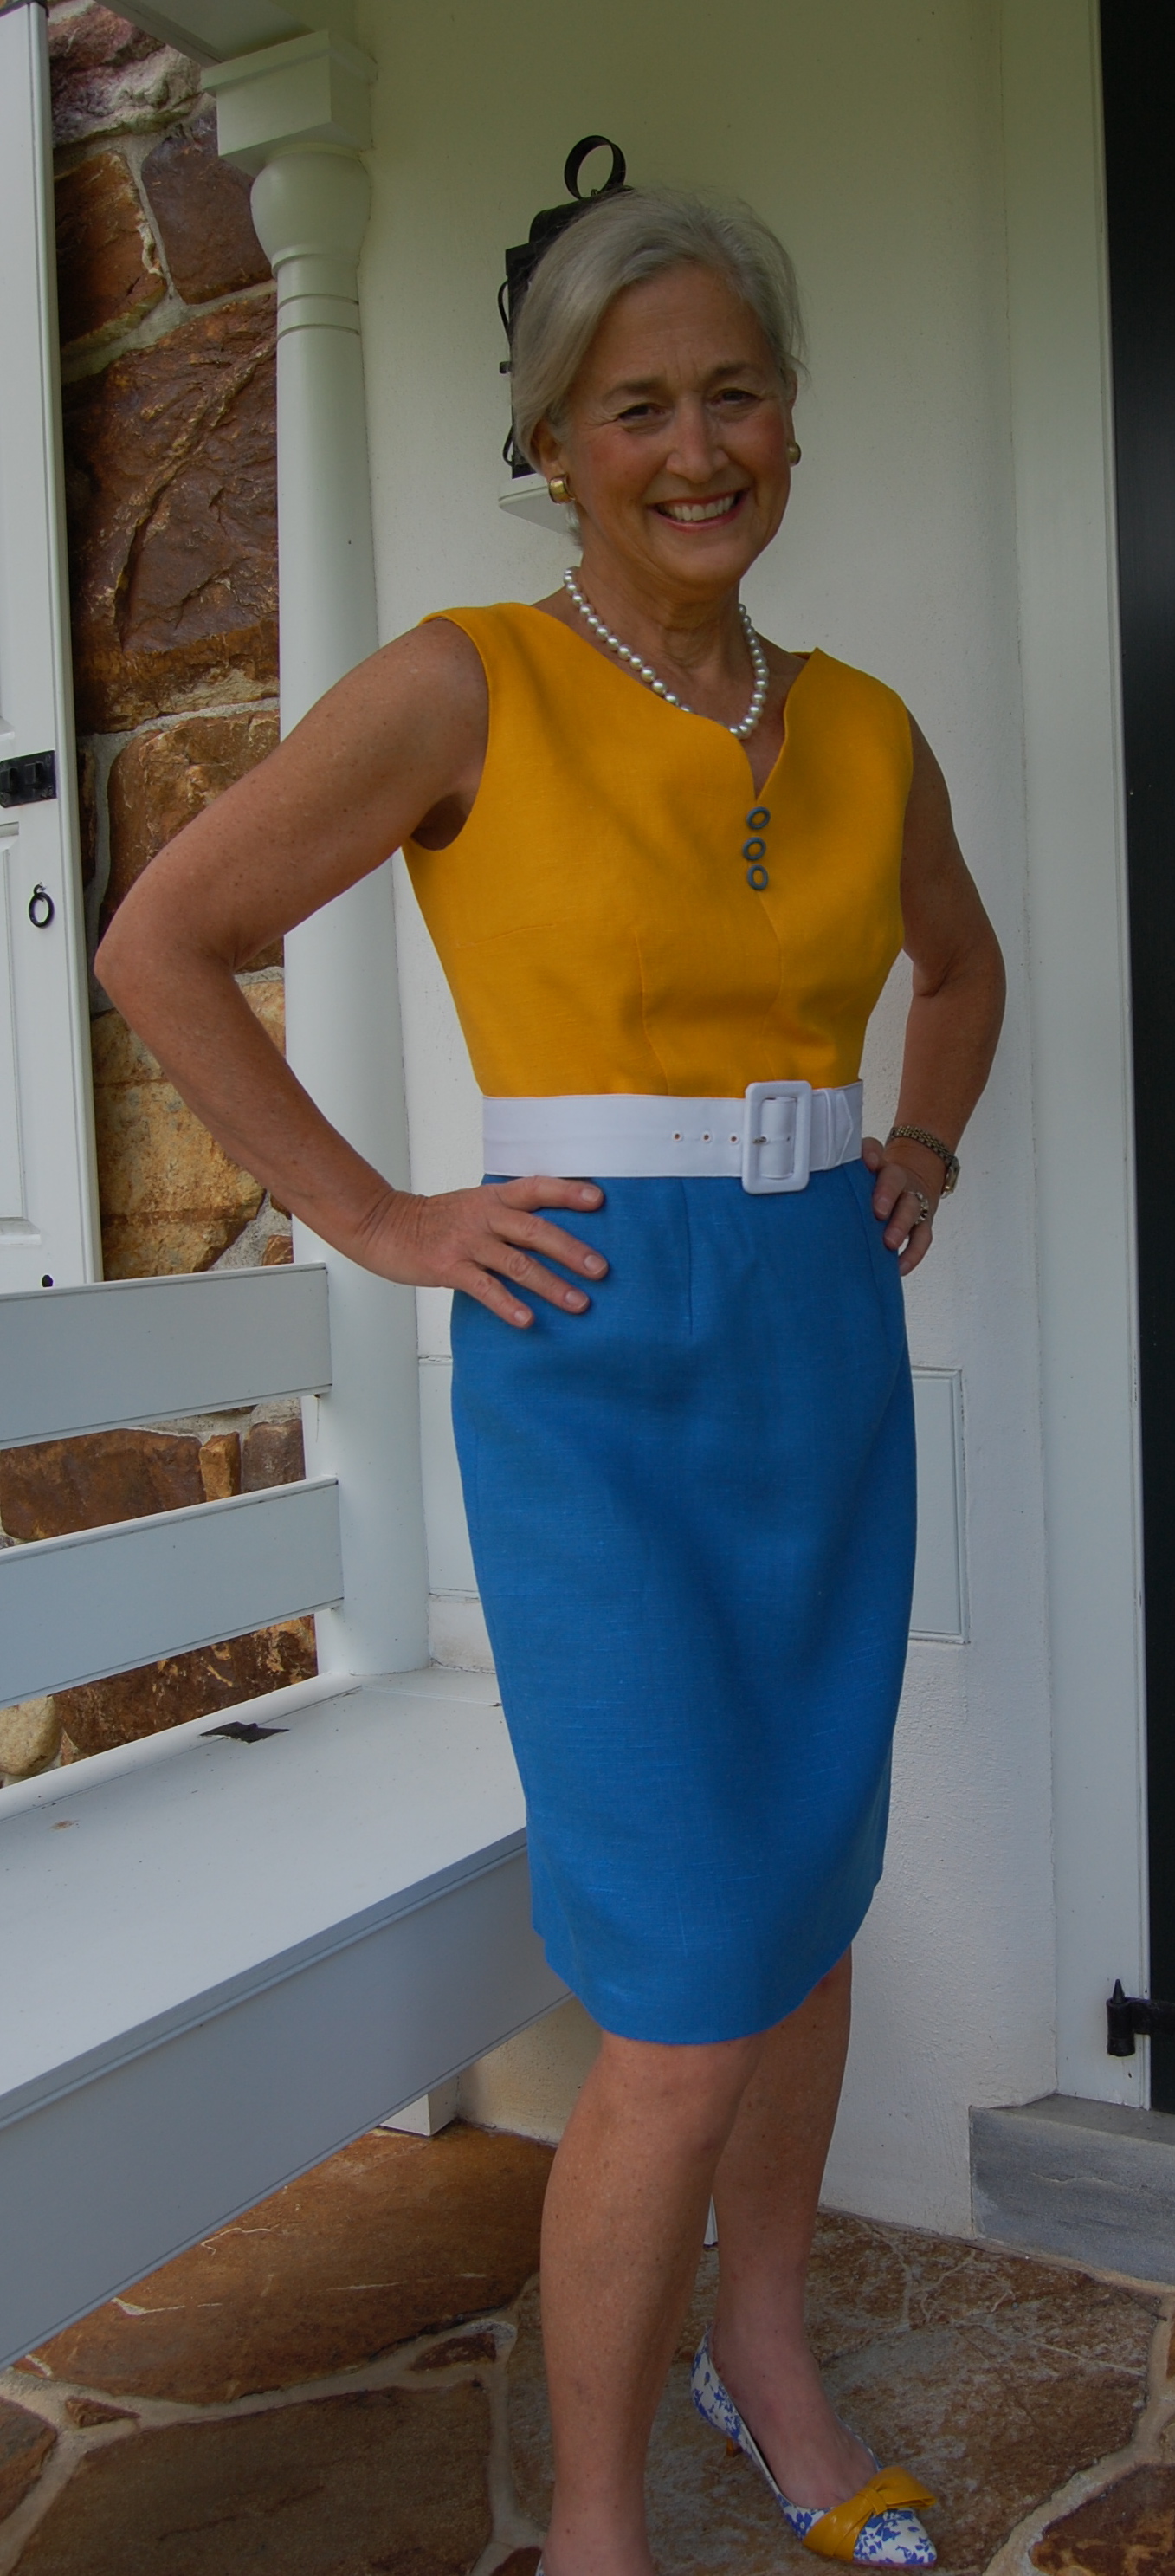
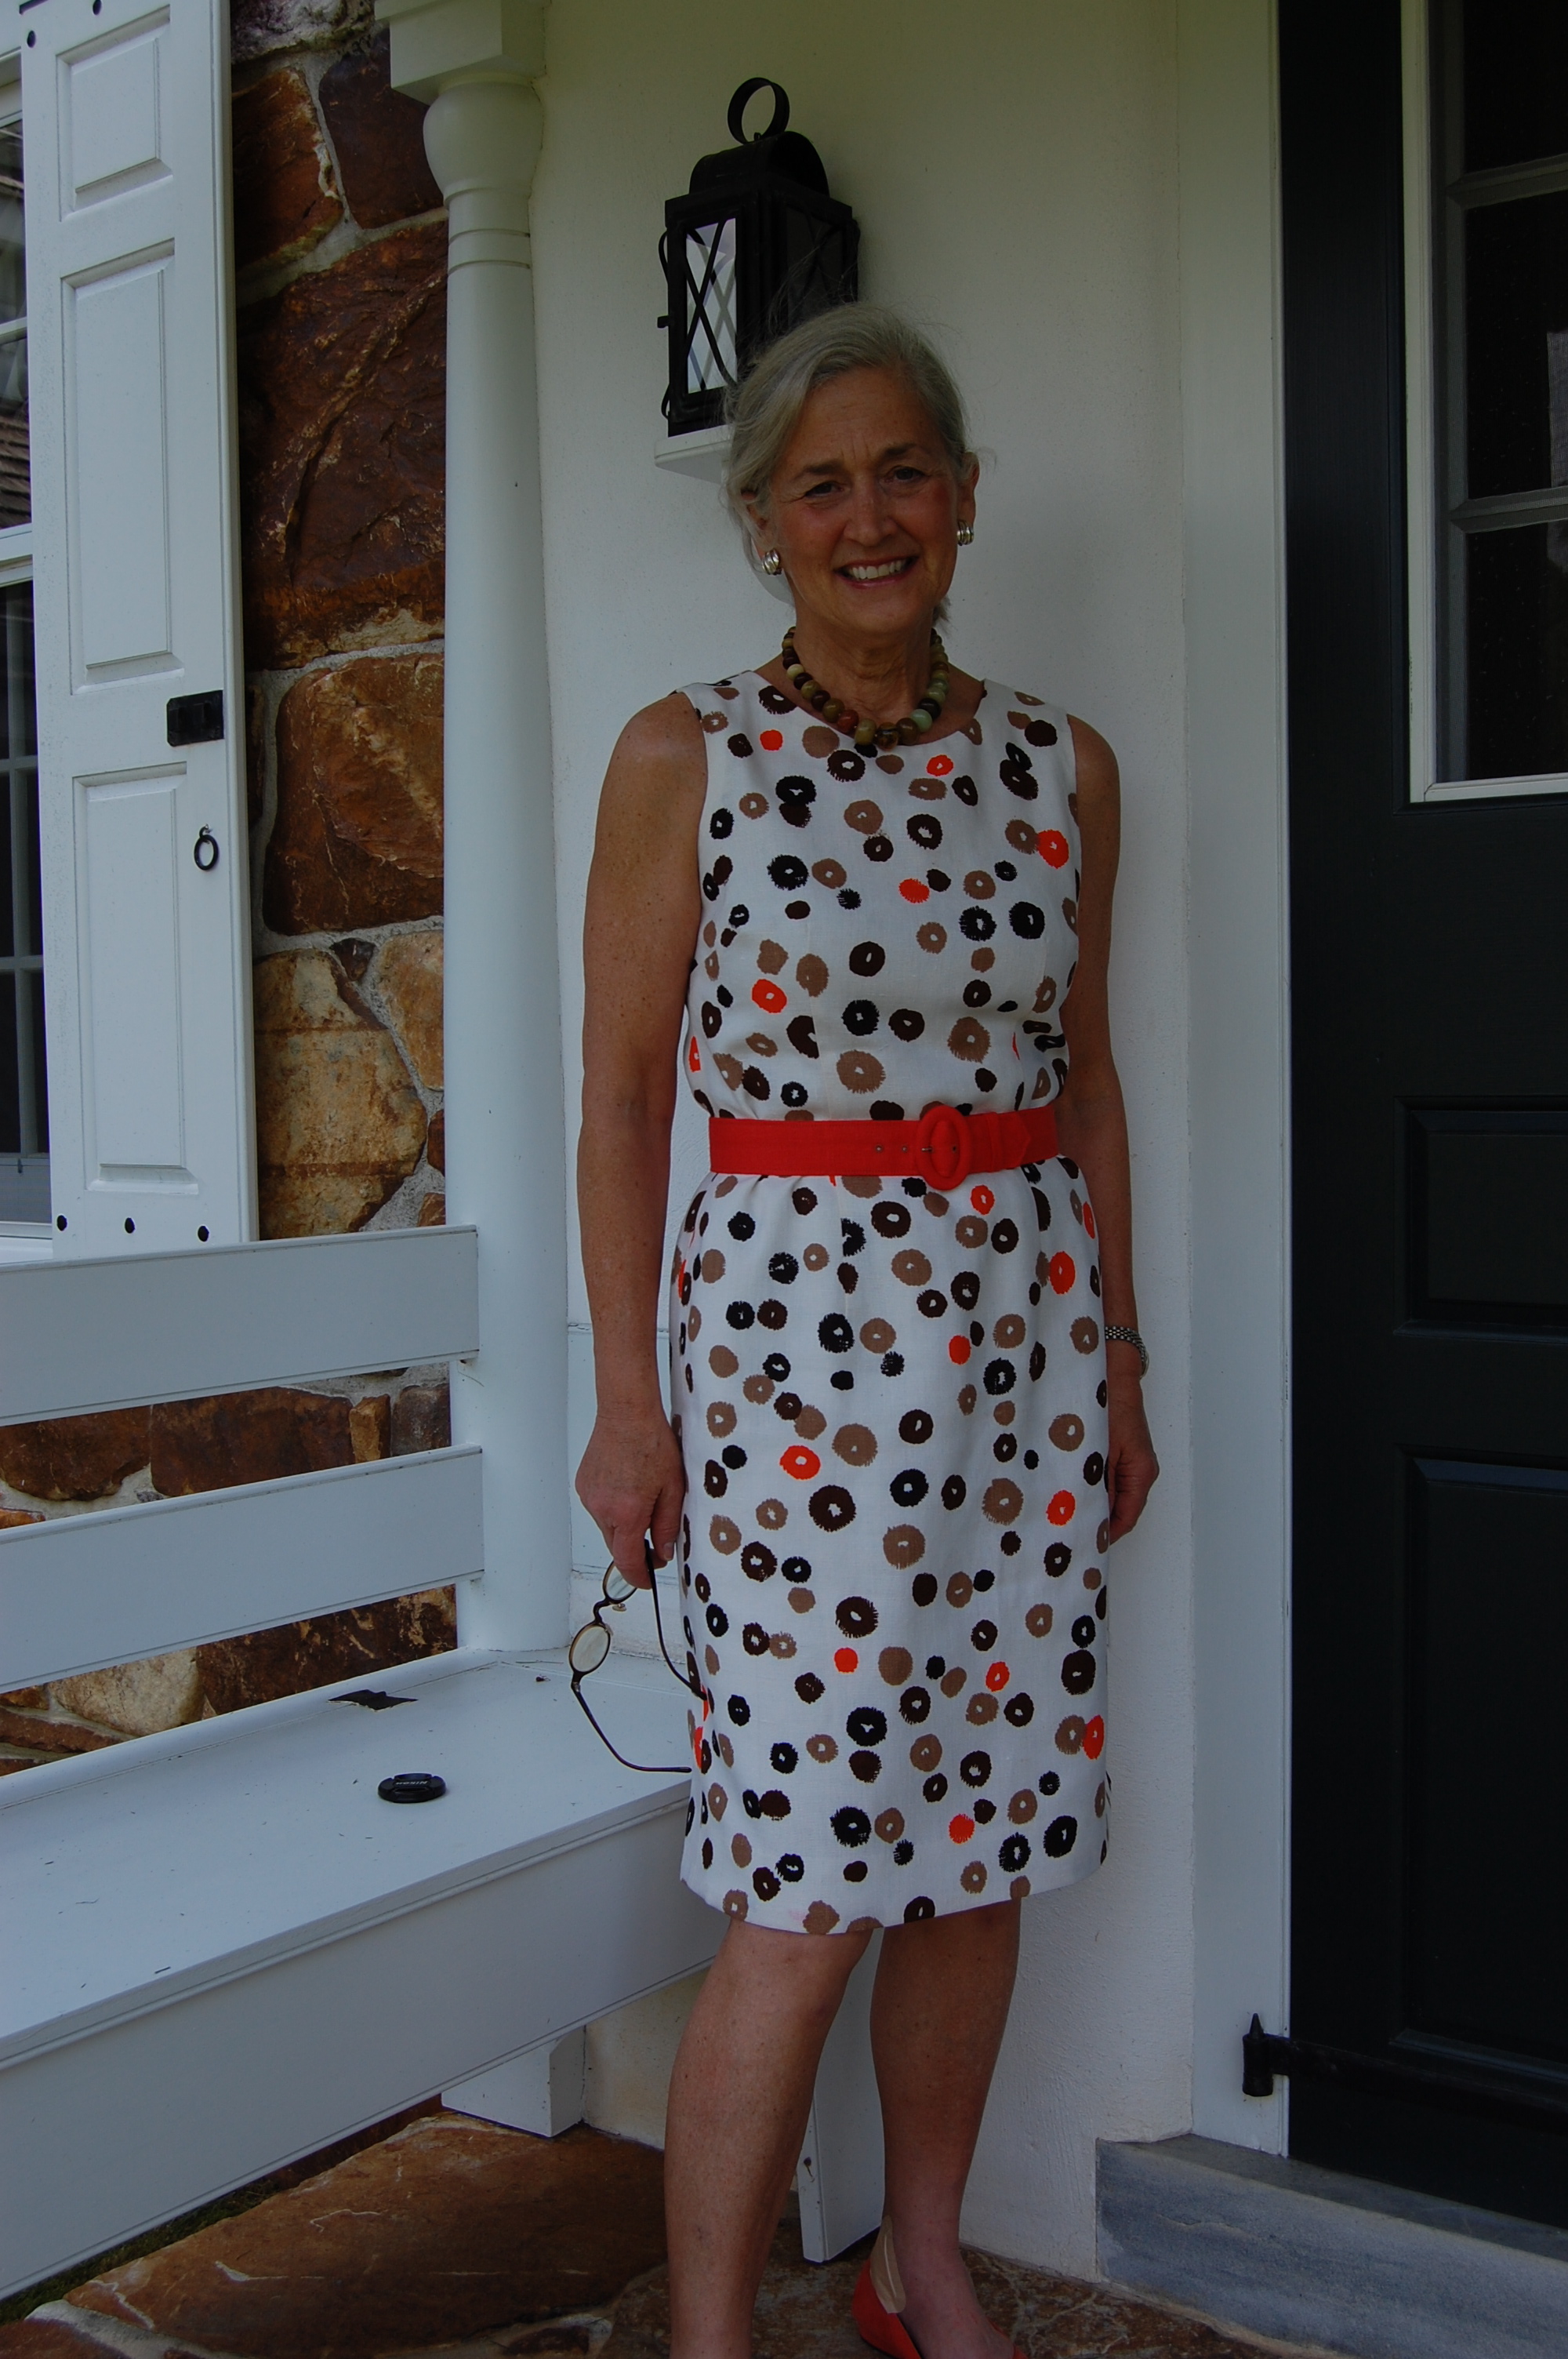
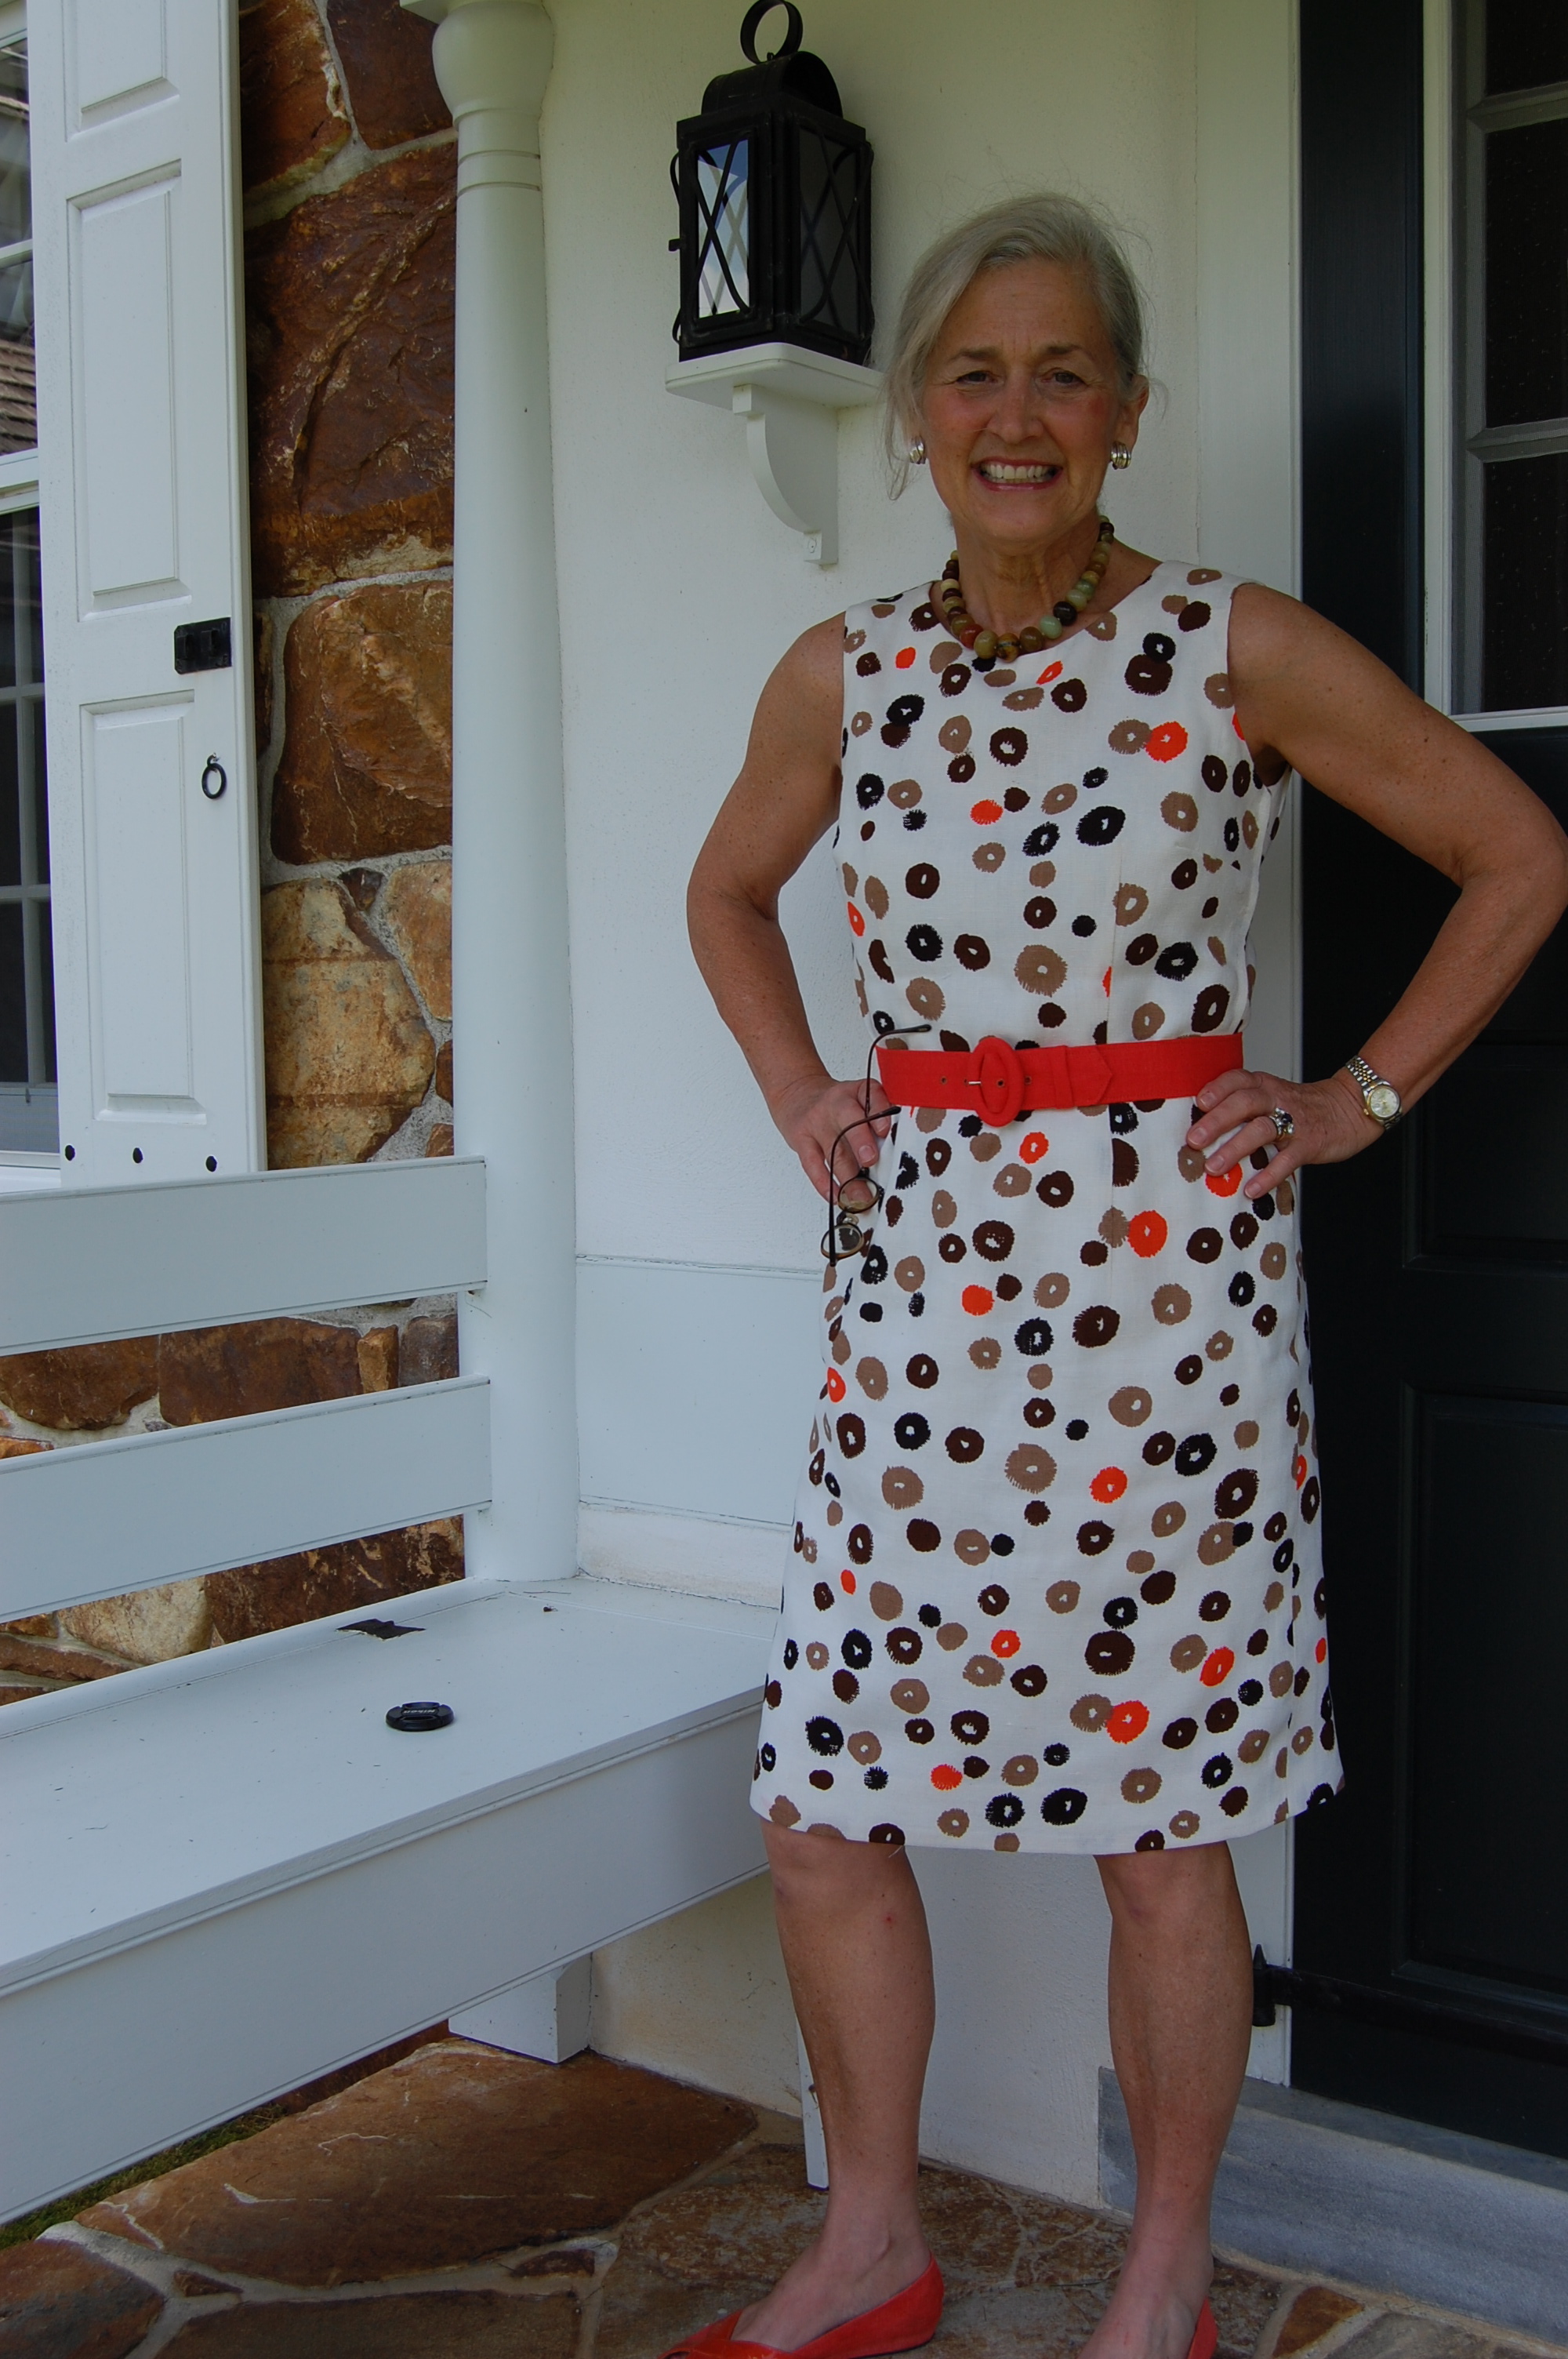
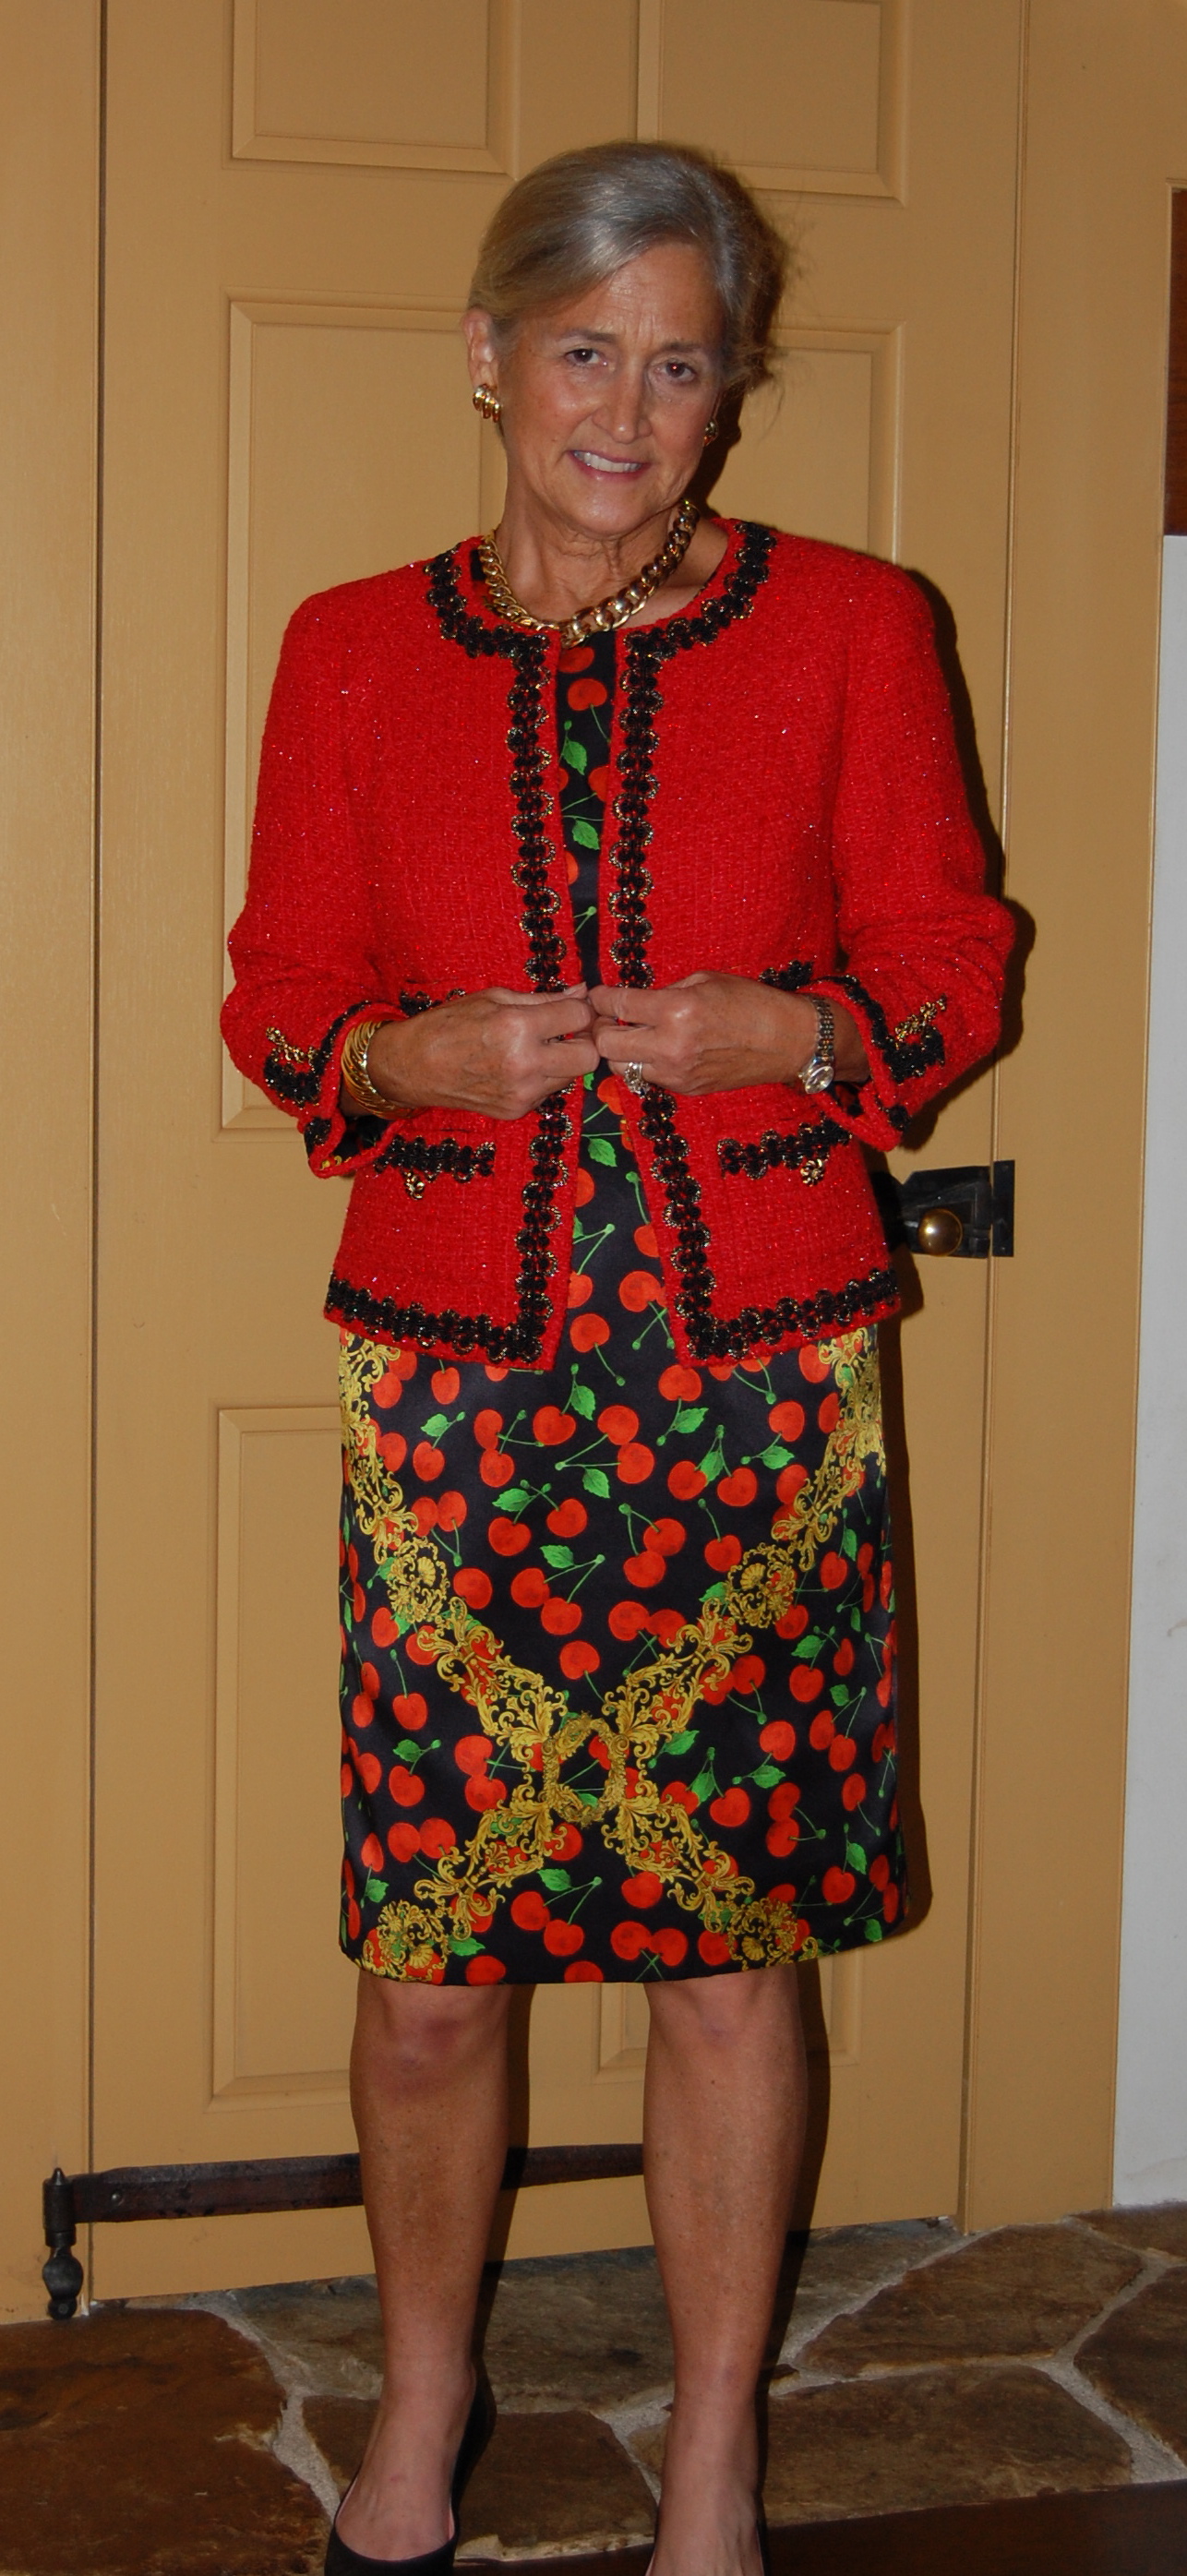
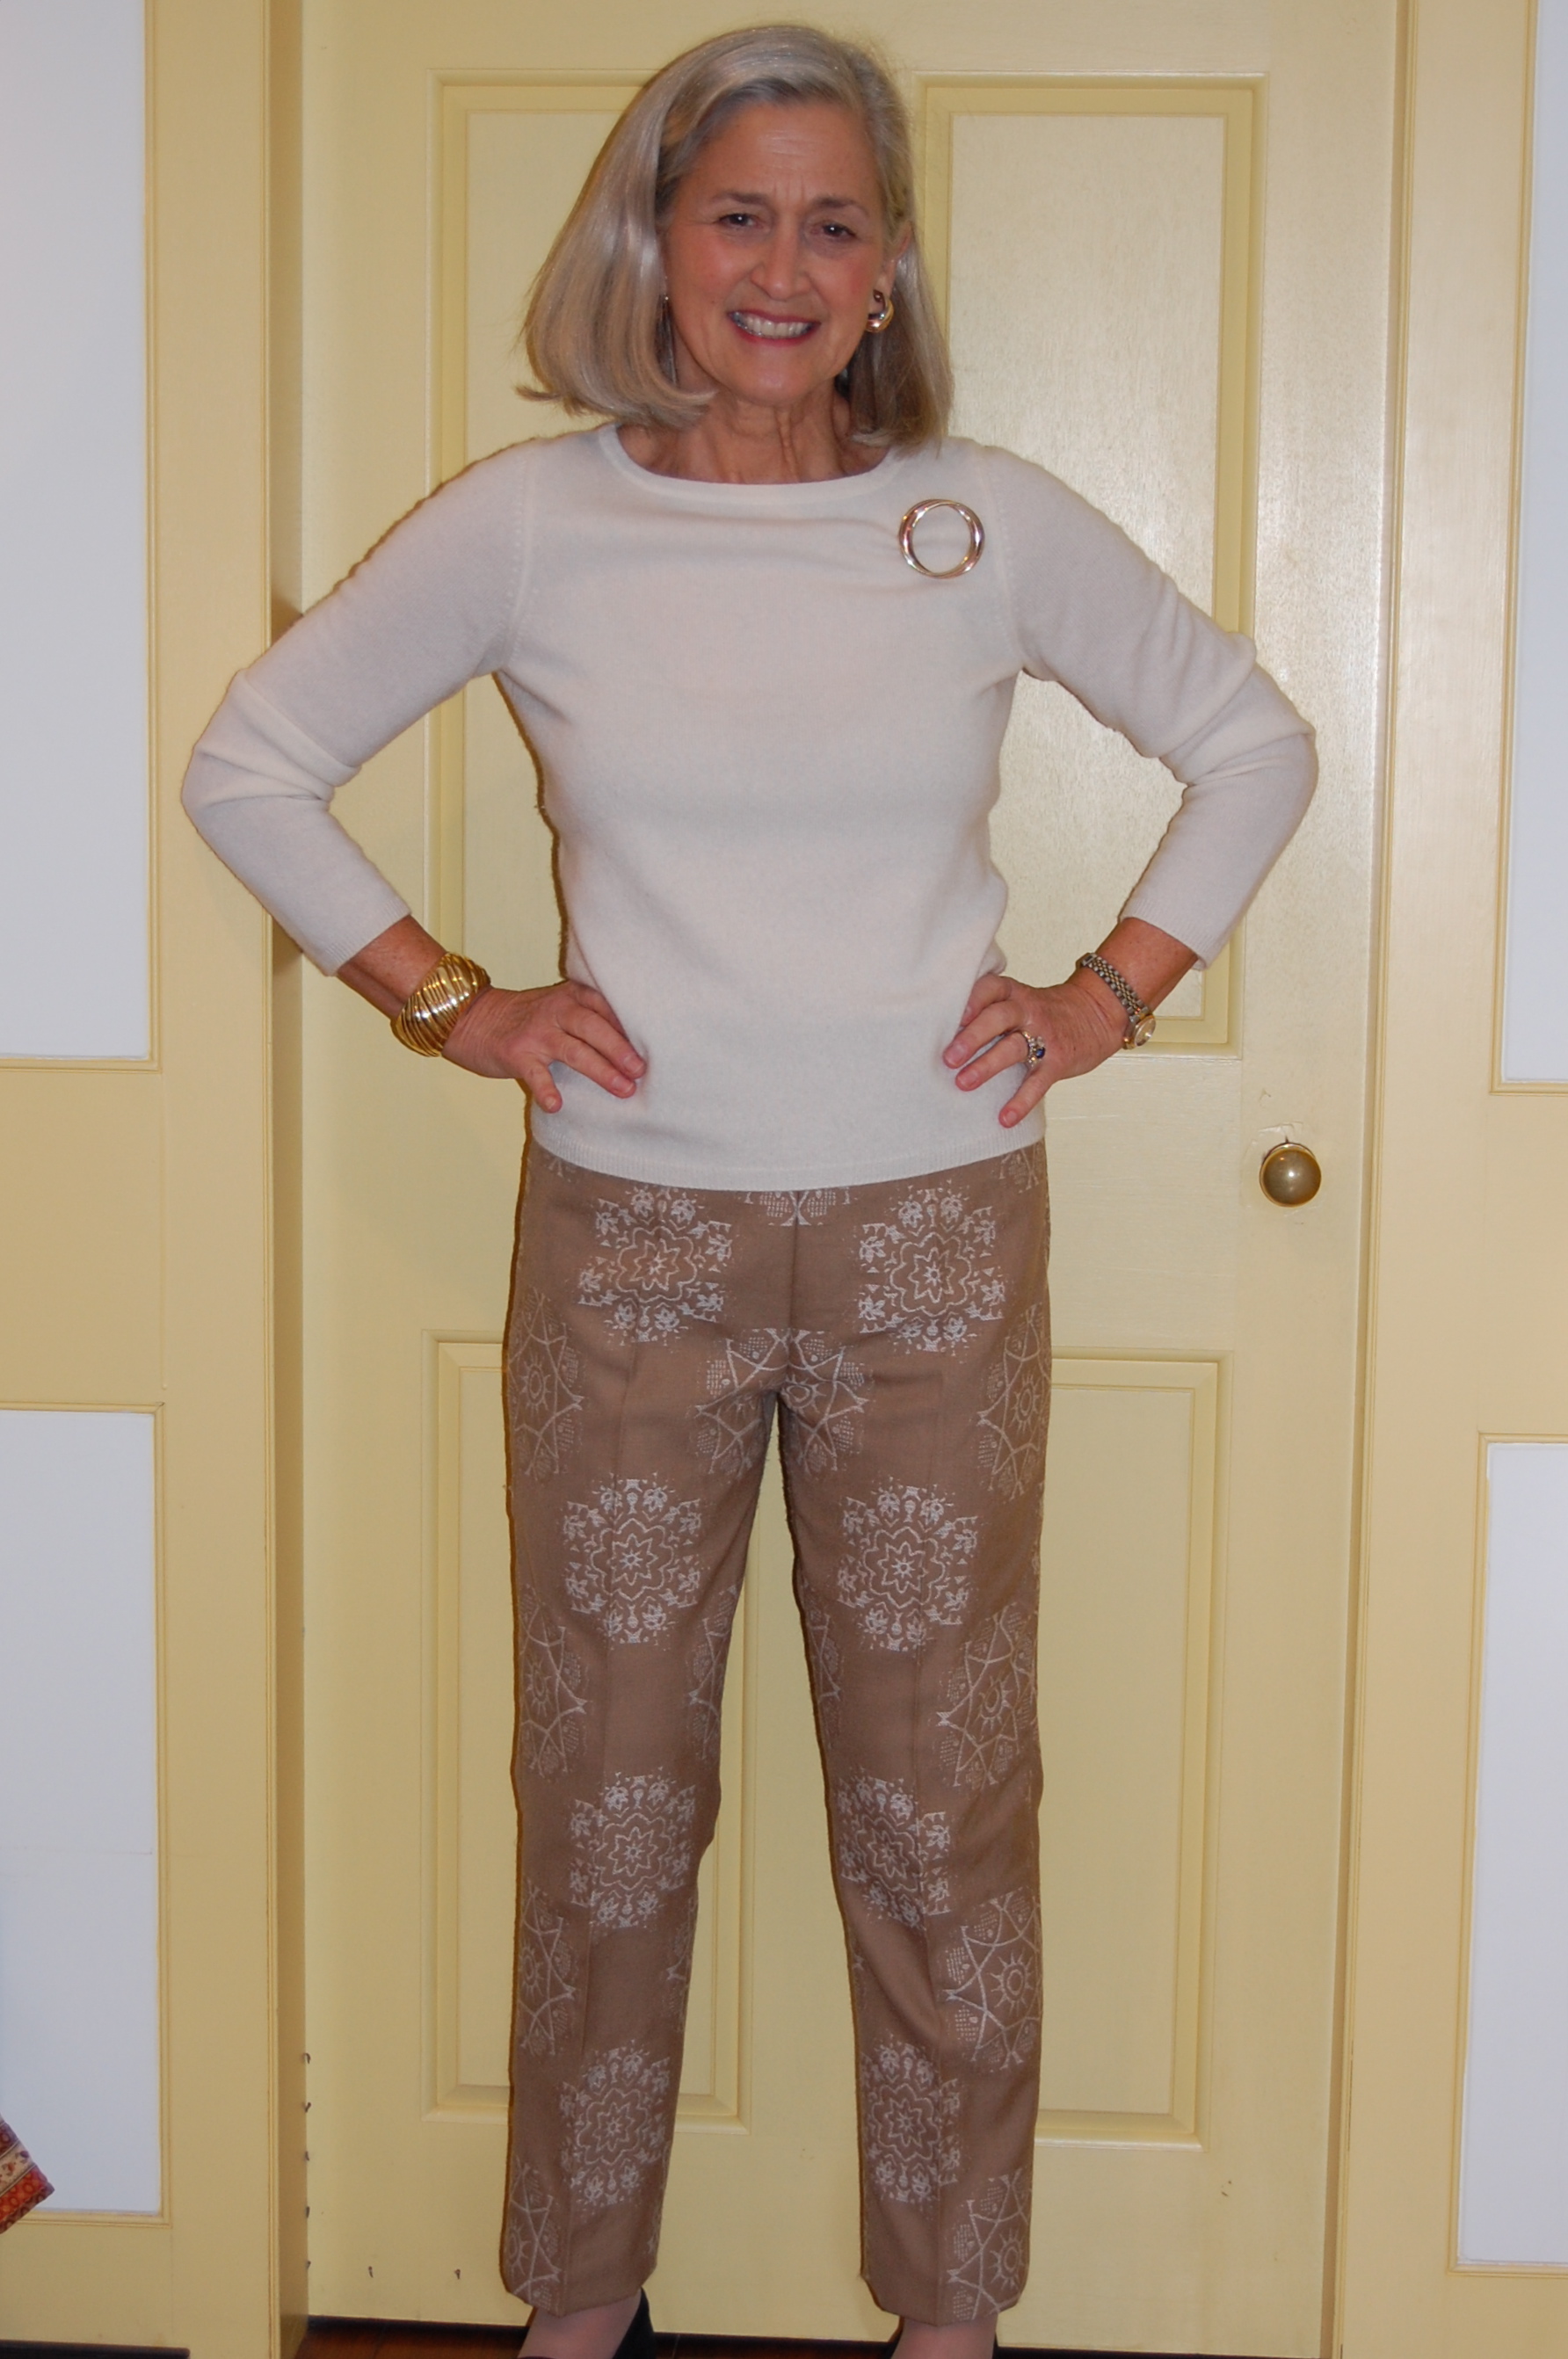
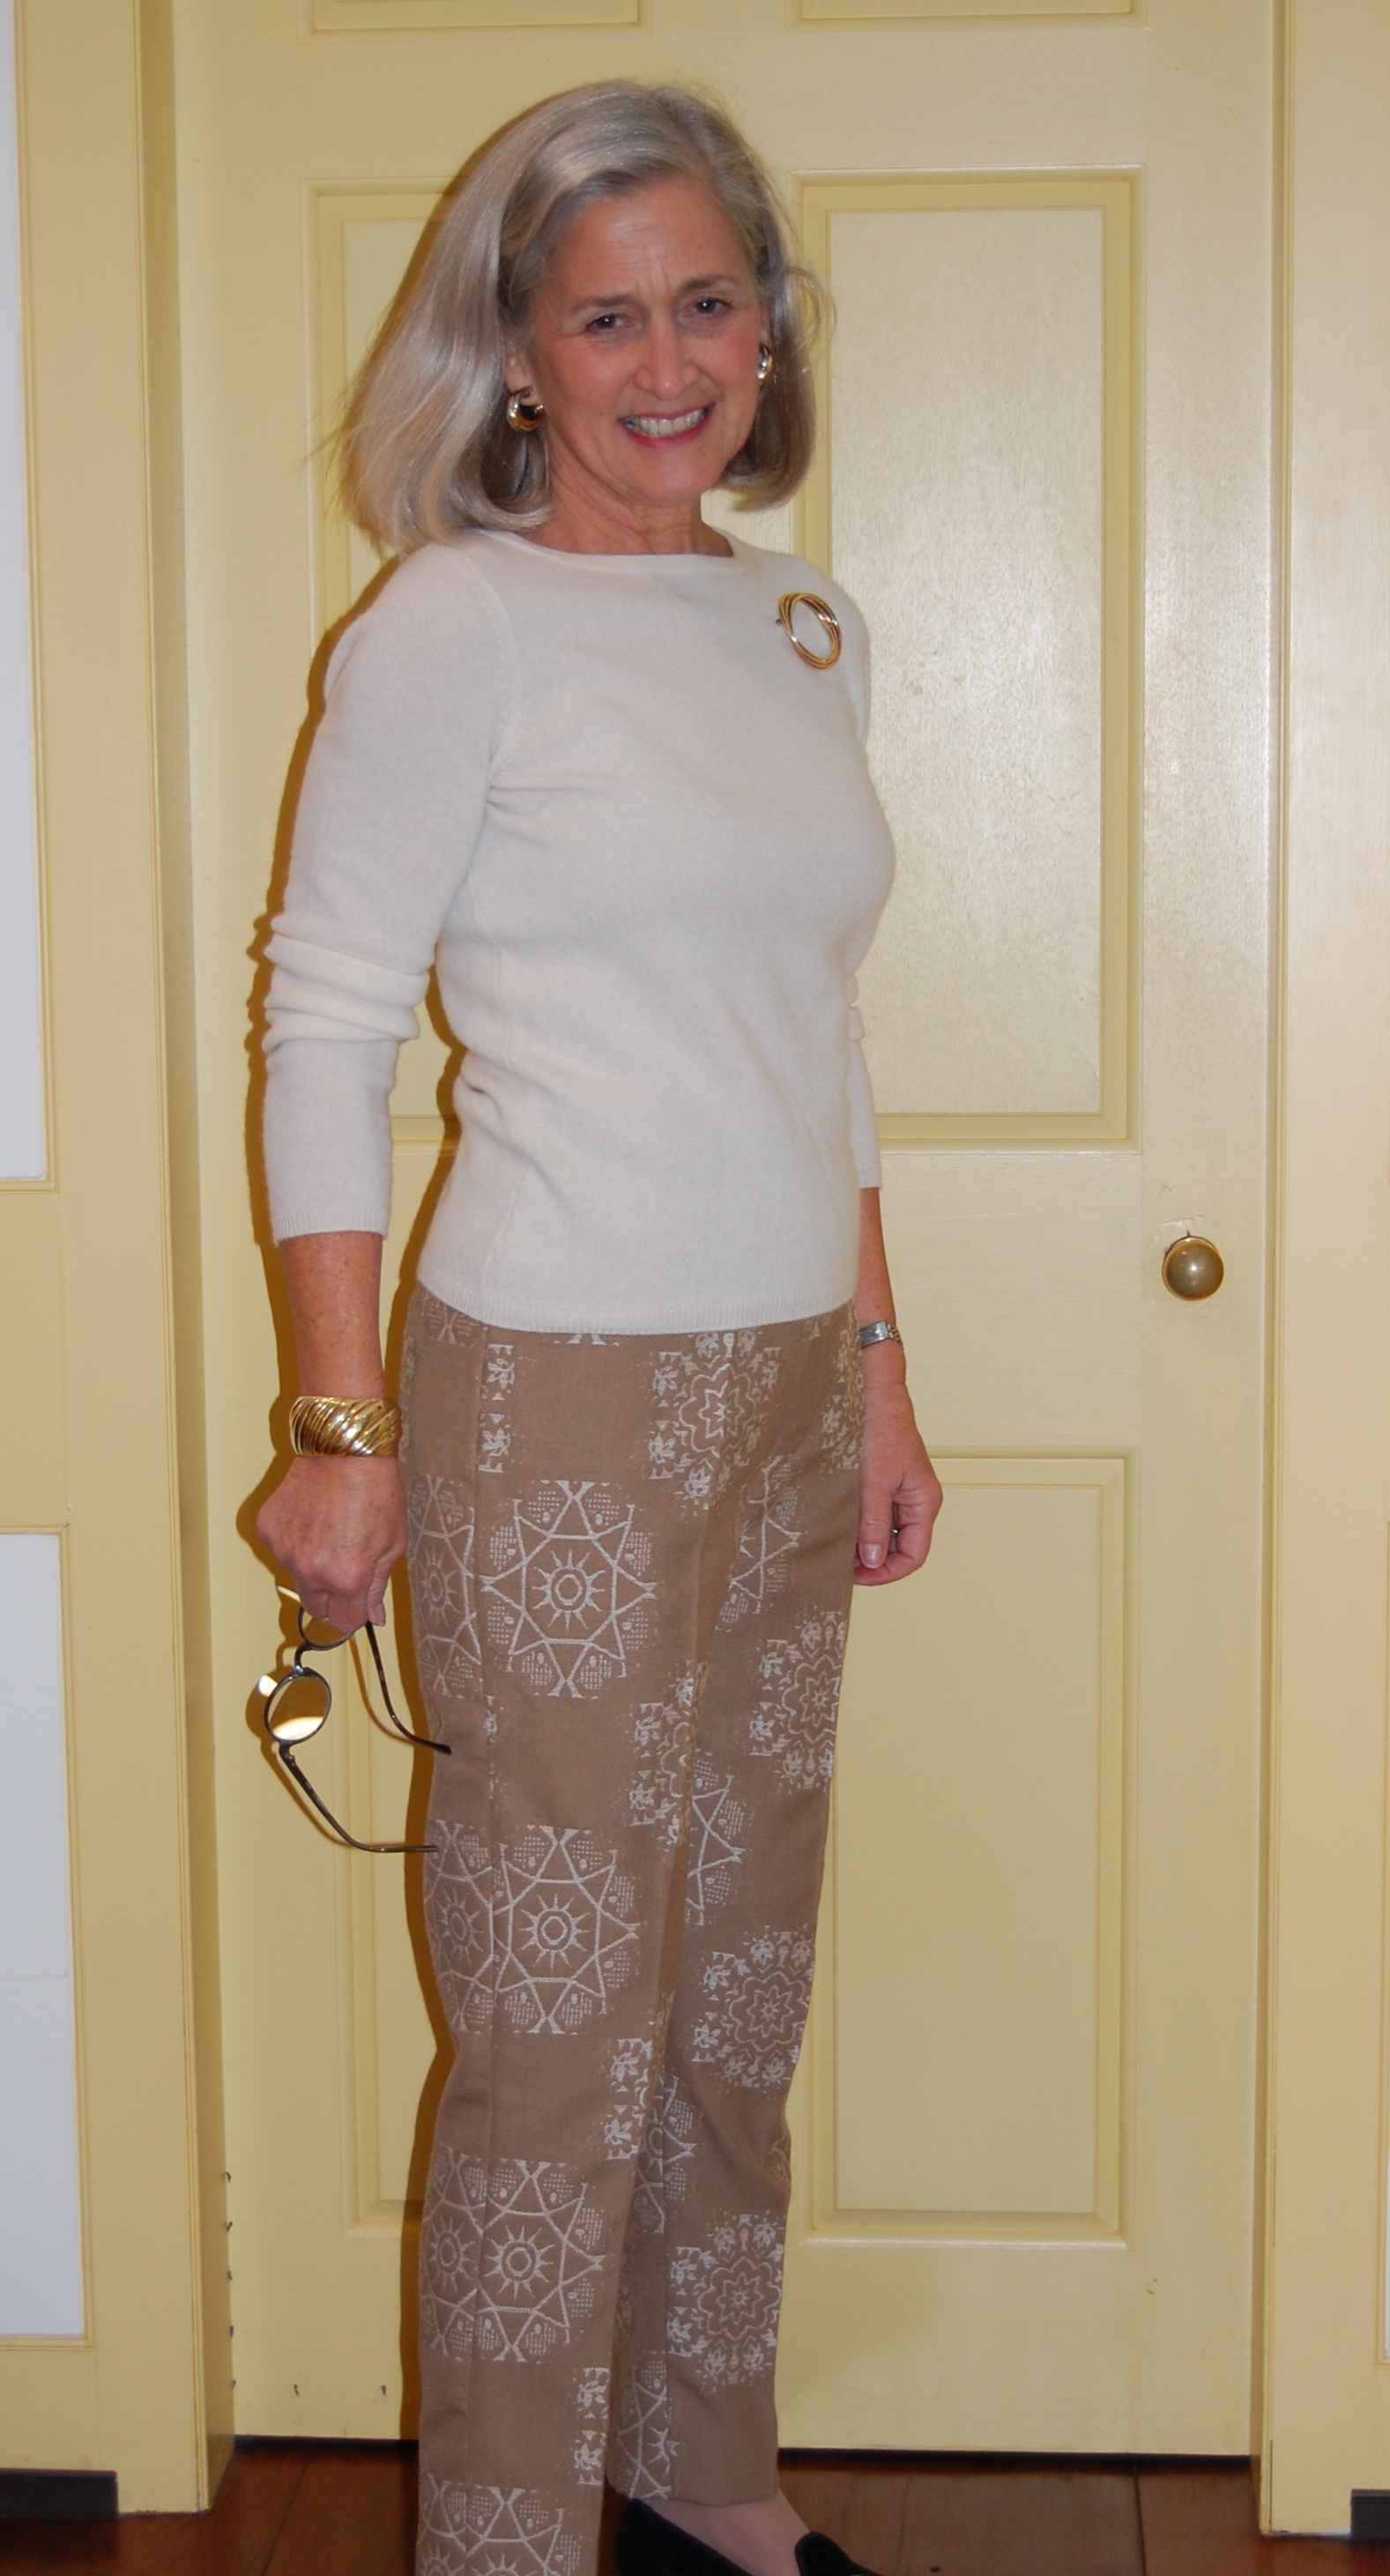
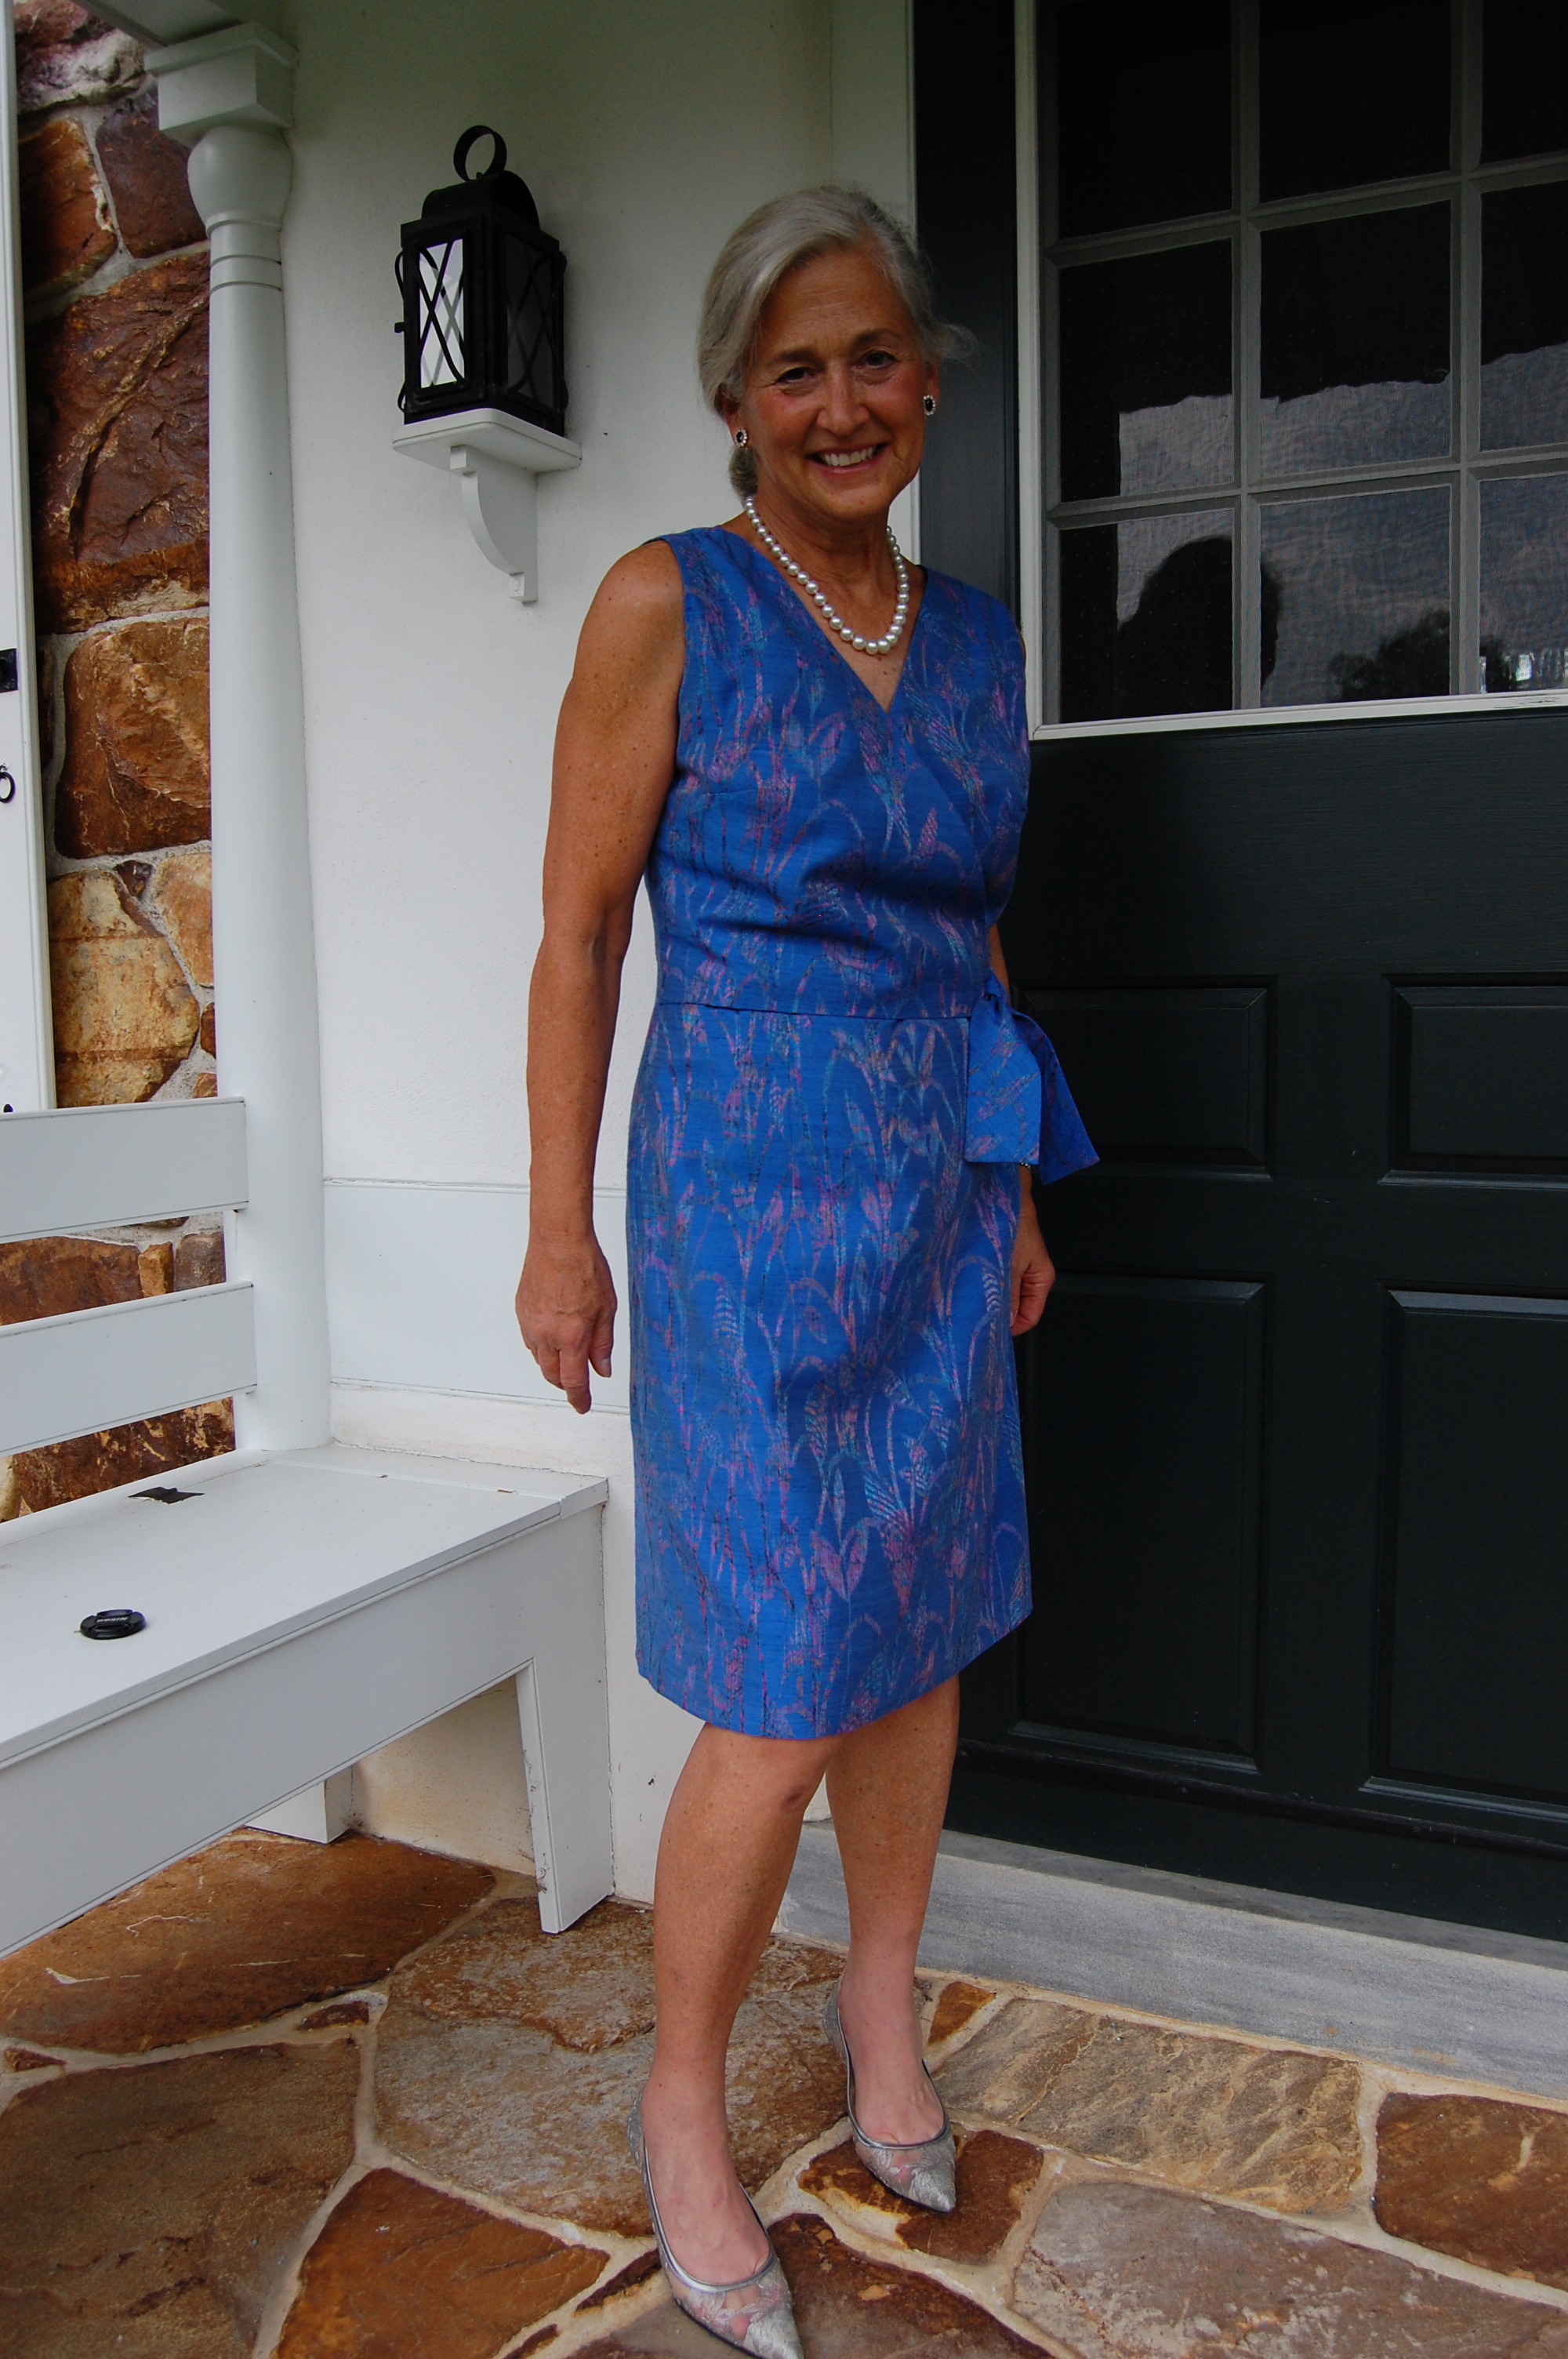
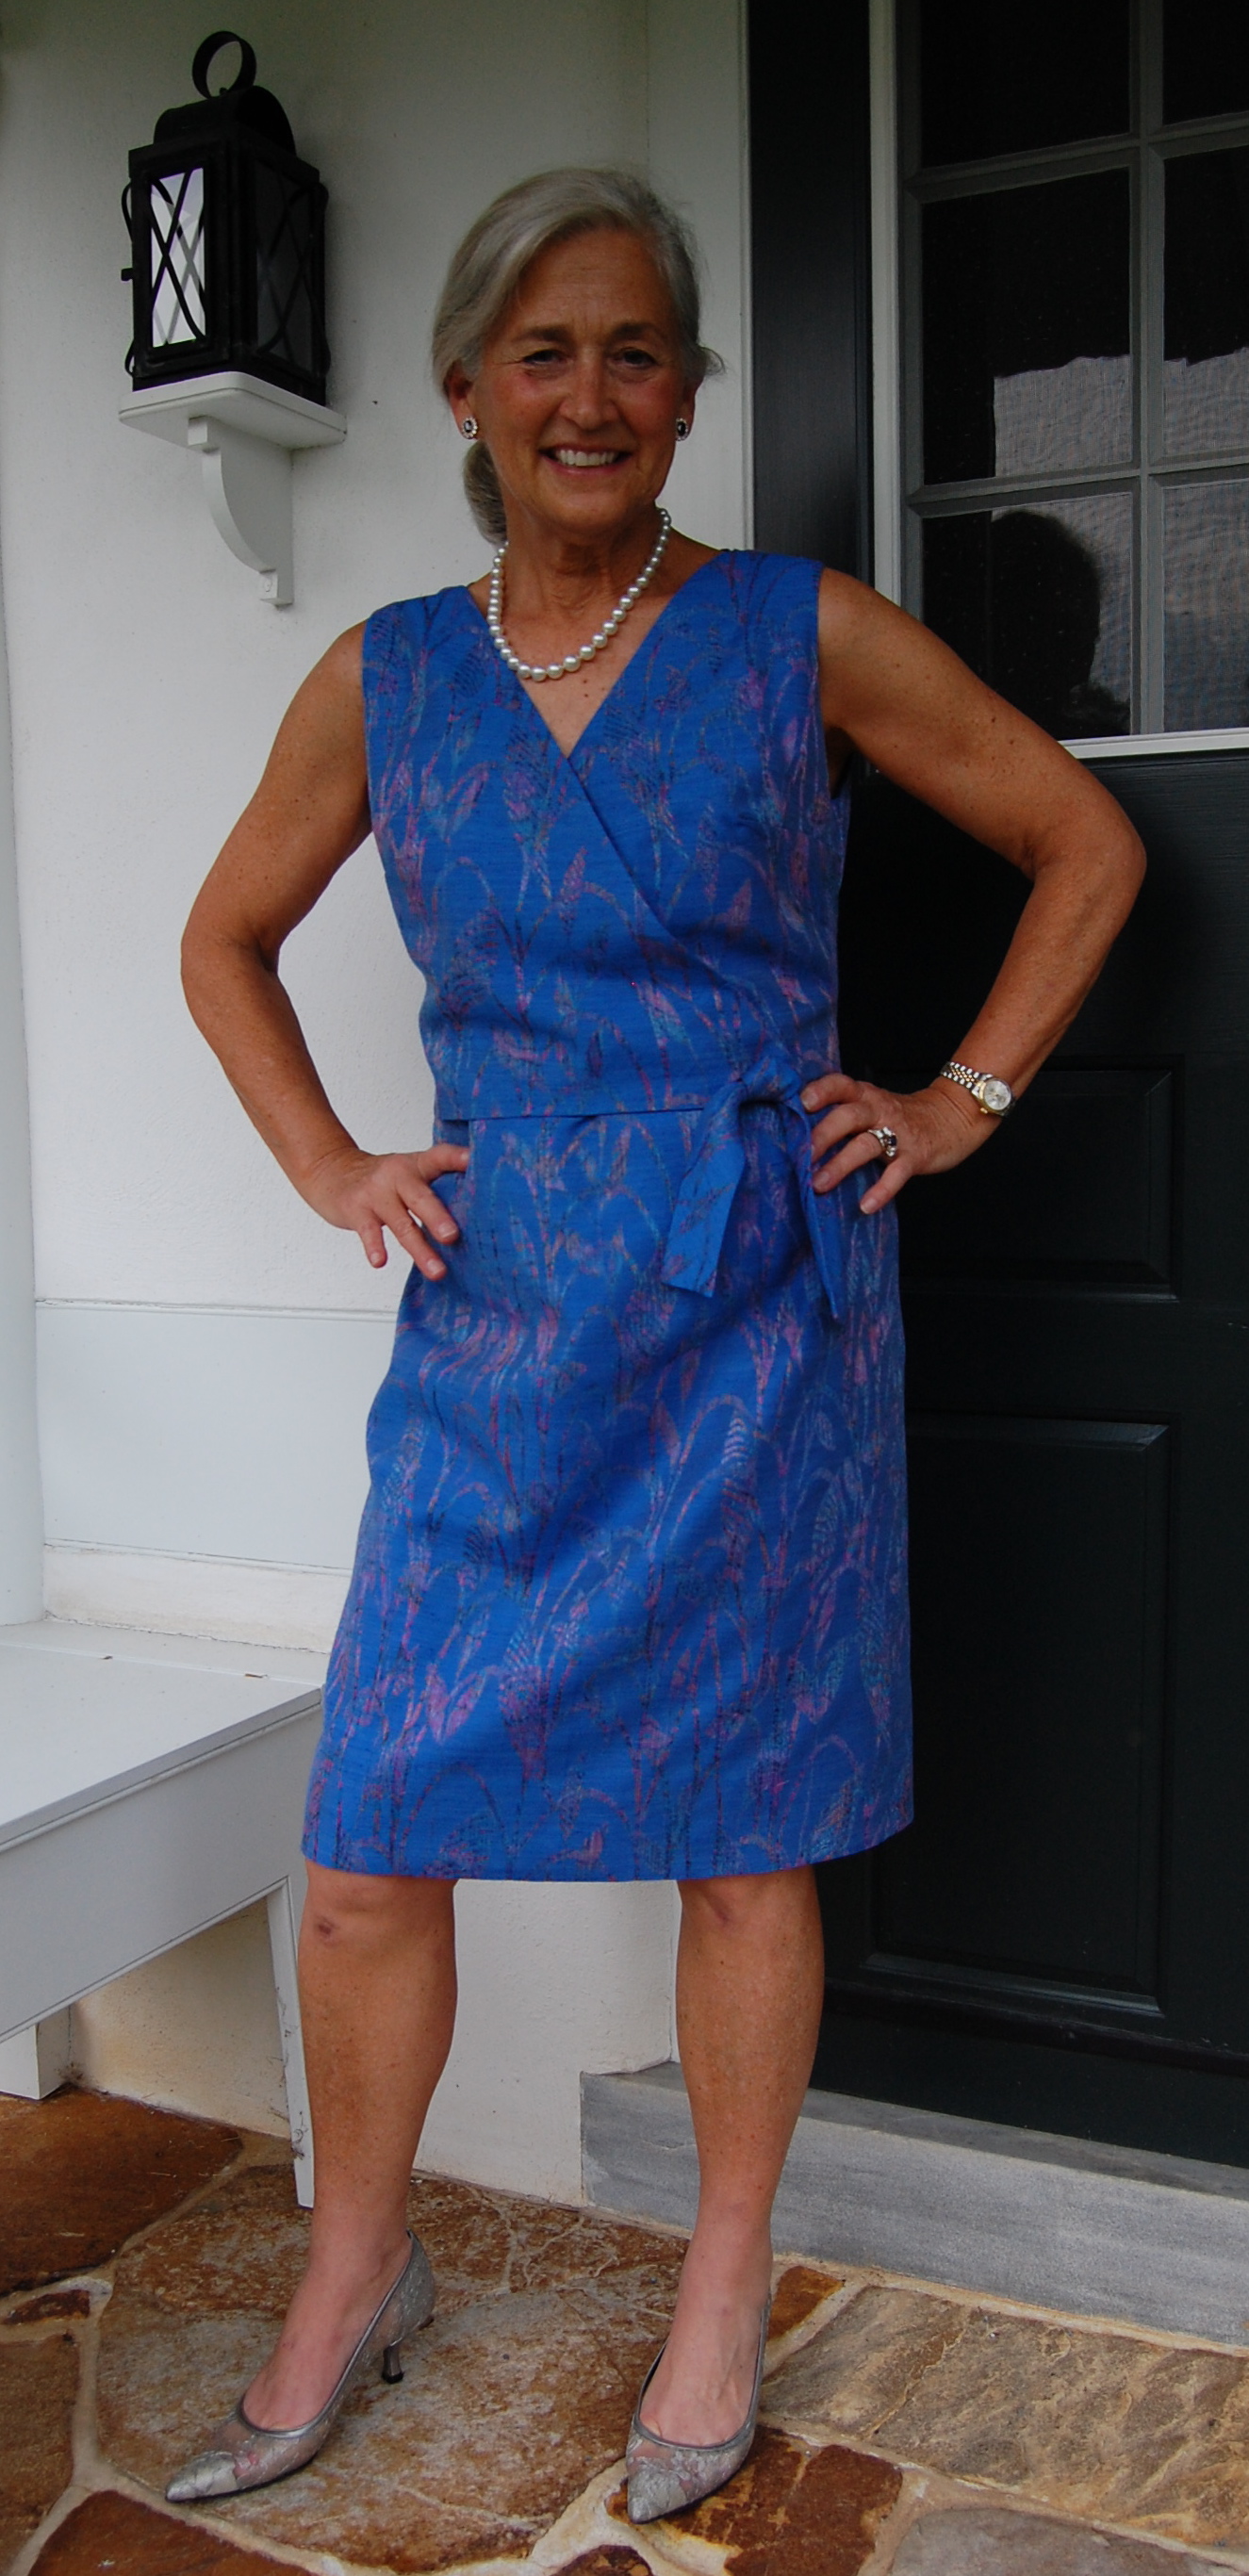
I anticipate this dress being perfect for not only cocktails, but also weddings and other dressy occasions (particularly if I get the coat made, too!).
Although I doubt I’ll be clinking my cocktail glass with many other dressmakers, I like the thought of a “virtual” toast with my fellow sewing enthusiasts. Some possibilities I have come up with are “To needle and thread” – or “To weft and to warp” – or “To scissors and seams” – or the one I think I prefer, with thanks to a lady from the past – “To our sew-able selves!”