
Do you ever just feel like making something quick and fun and maybe a little whimsical? Something that isn’t going to task your brain too much, but which is nevertheless rewarding?
That’s how I was feeling a few days ago. I just was not ready to start a big new project, of which I have (too) many lined up in my head. In addition, propped in my sewing room, looking at me forlornly, were a few piles of fabric, leftovers from things I had sewn this past summer. For the life of me, I cannot throw away any decent length of fabric left over from something I have made. I always think I’ll need it for something. That is rarely the case, but for once I decided to do something about it. I decided to make some aprons.
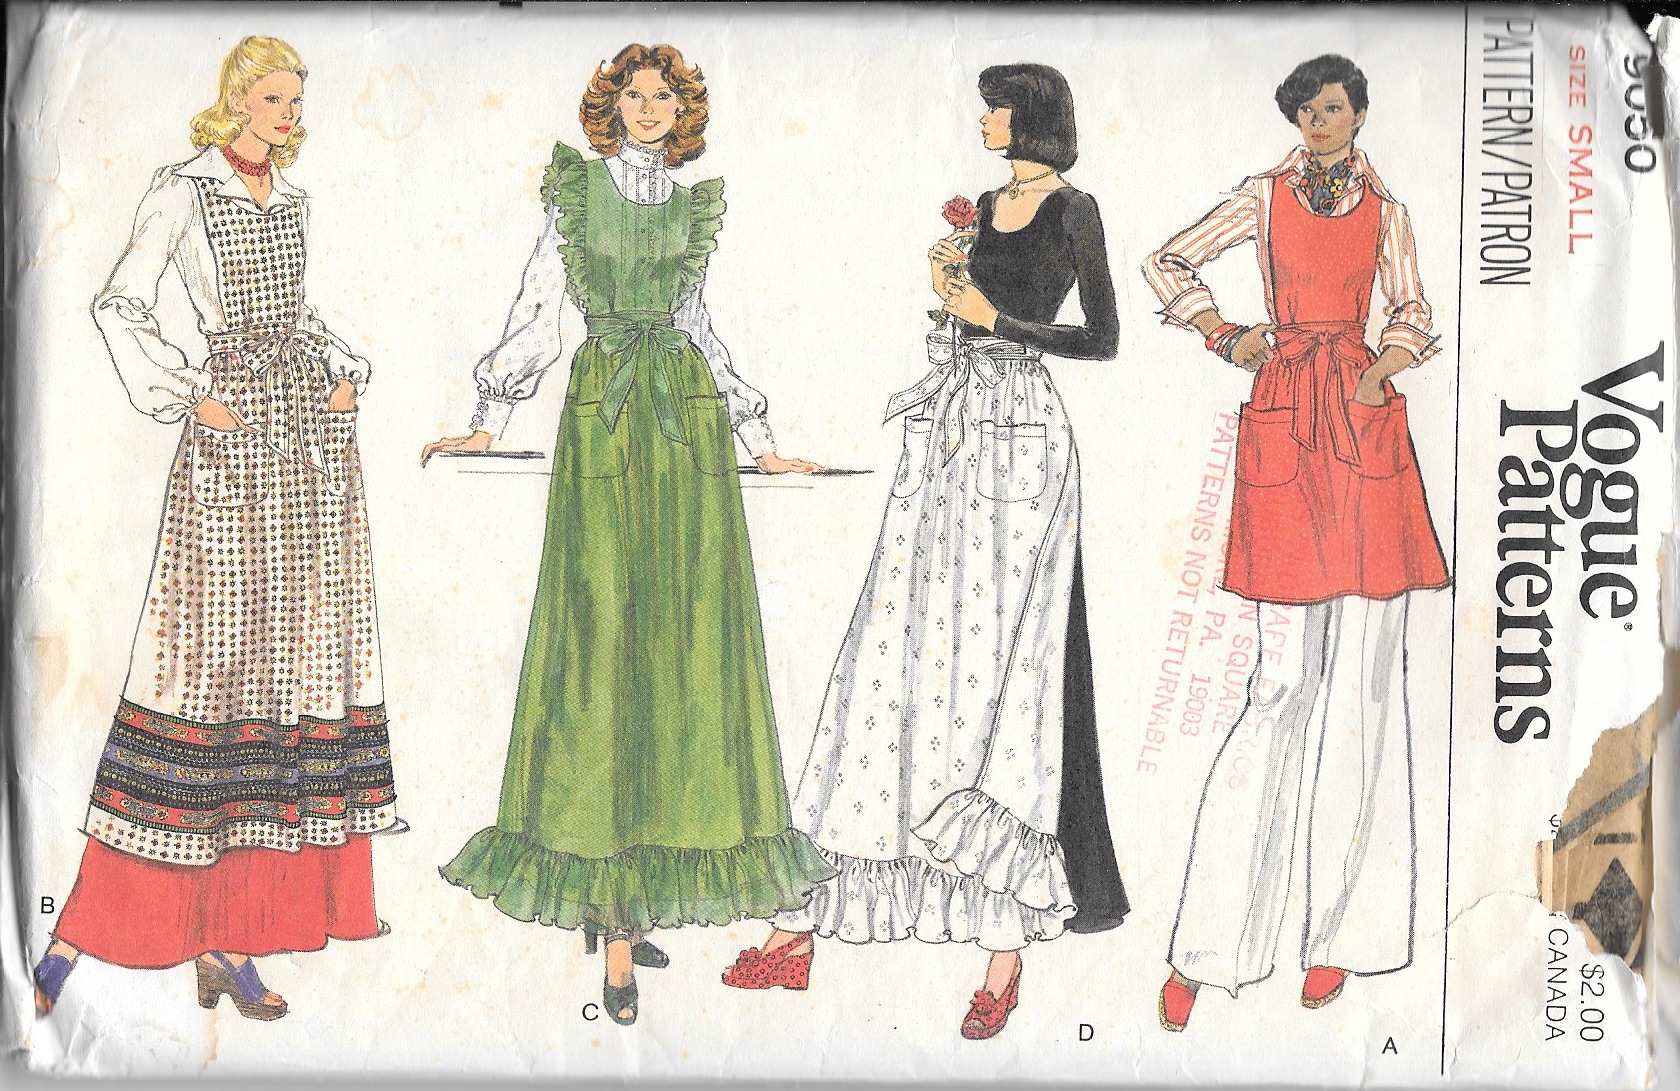
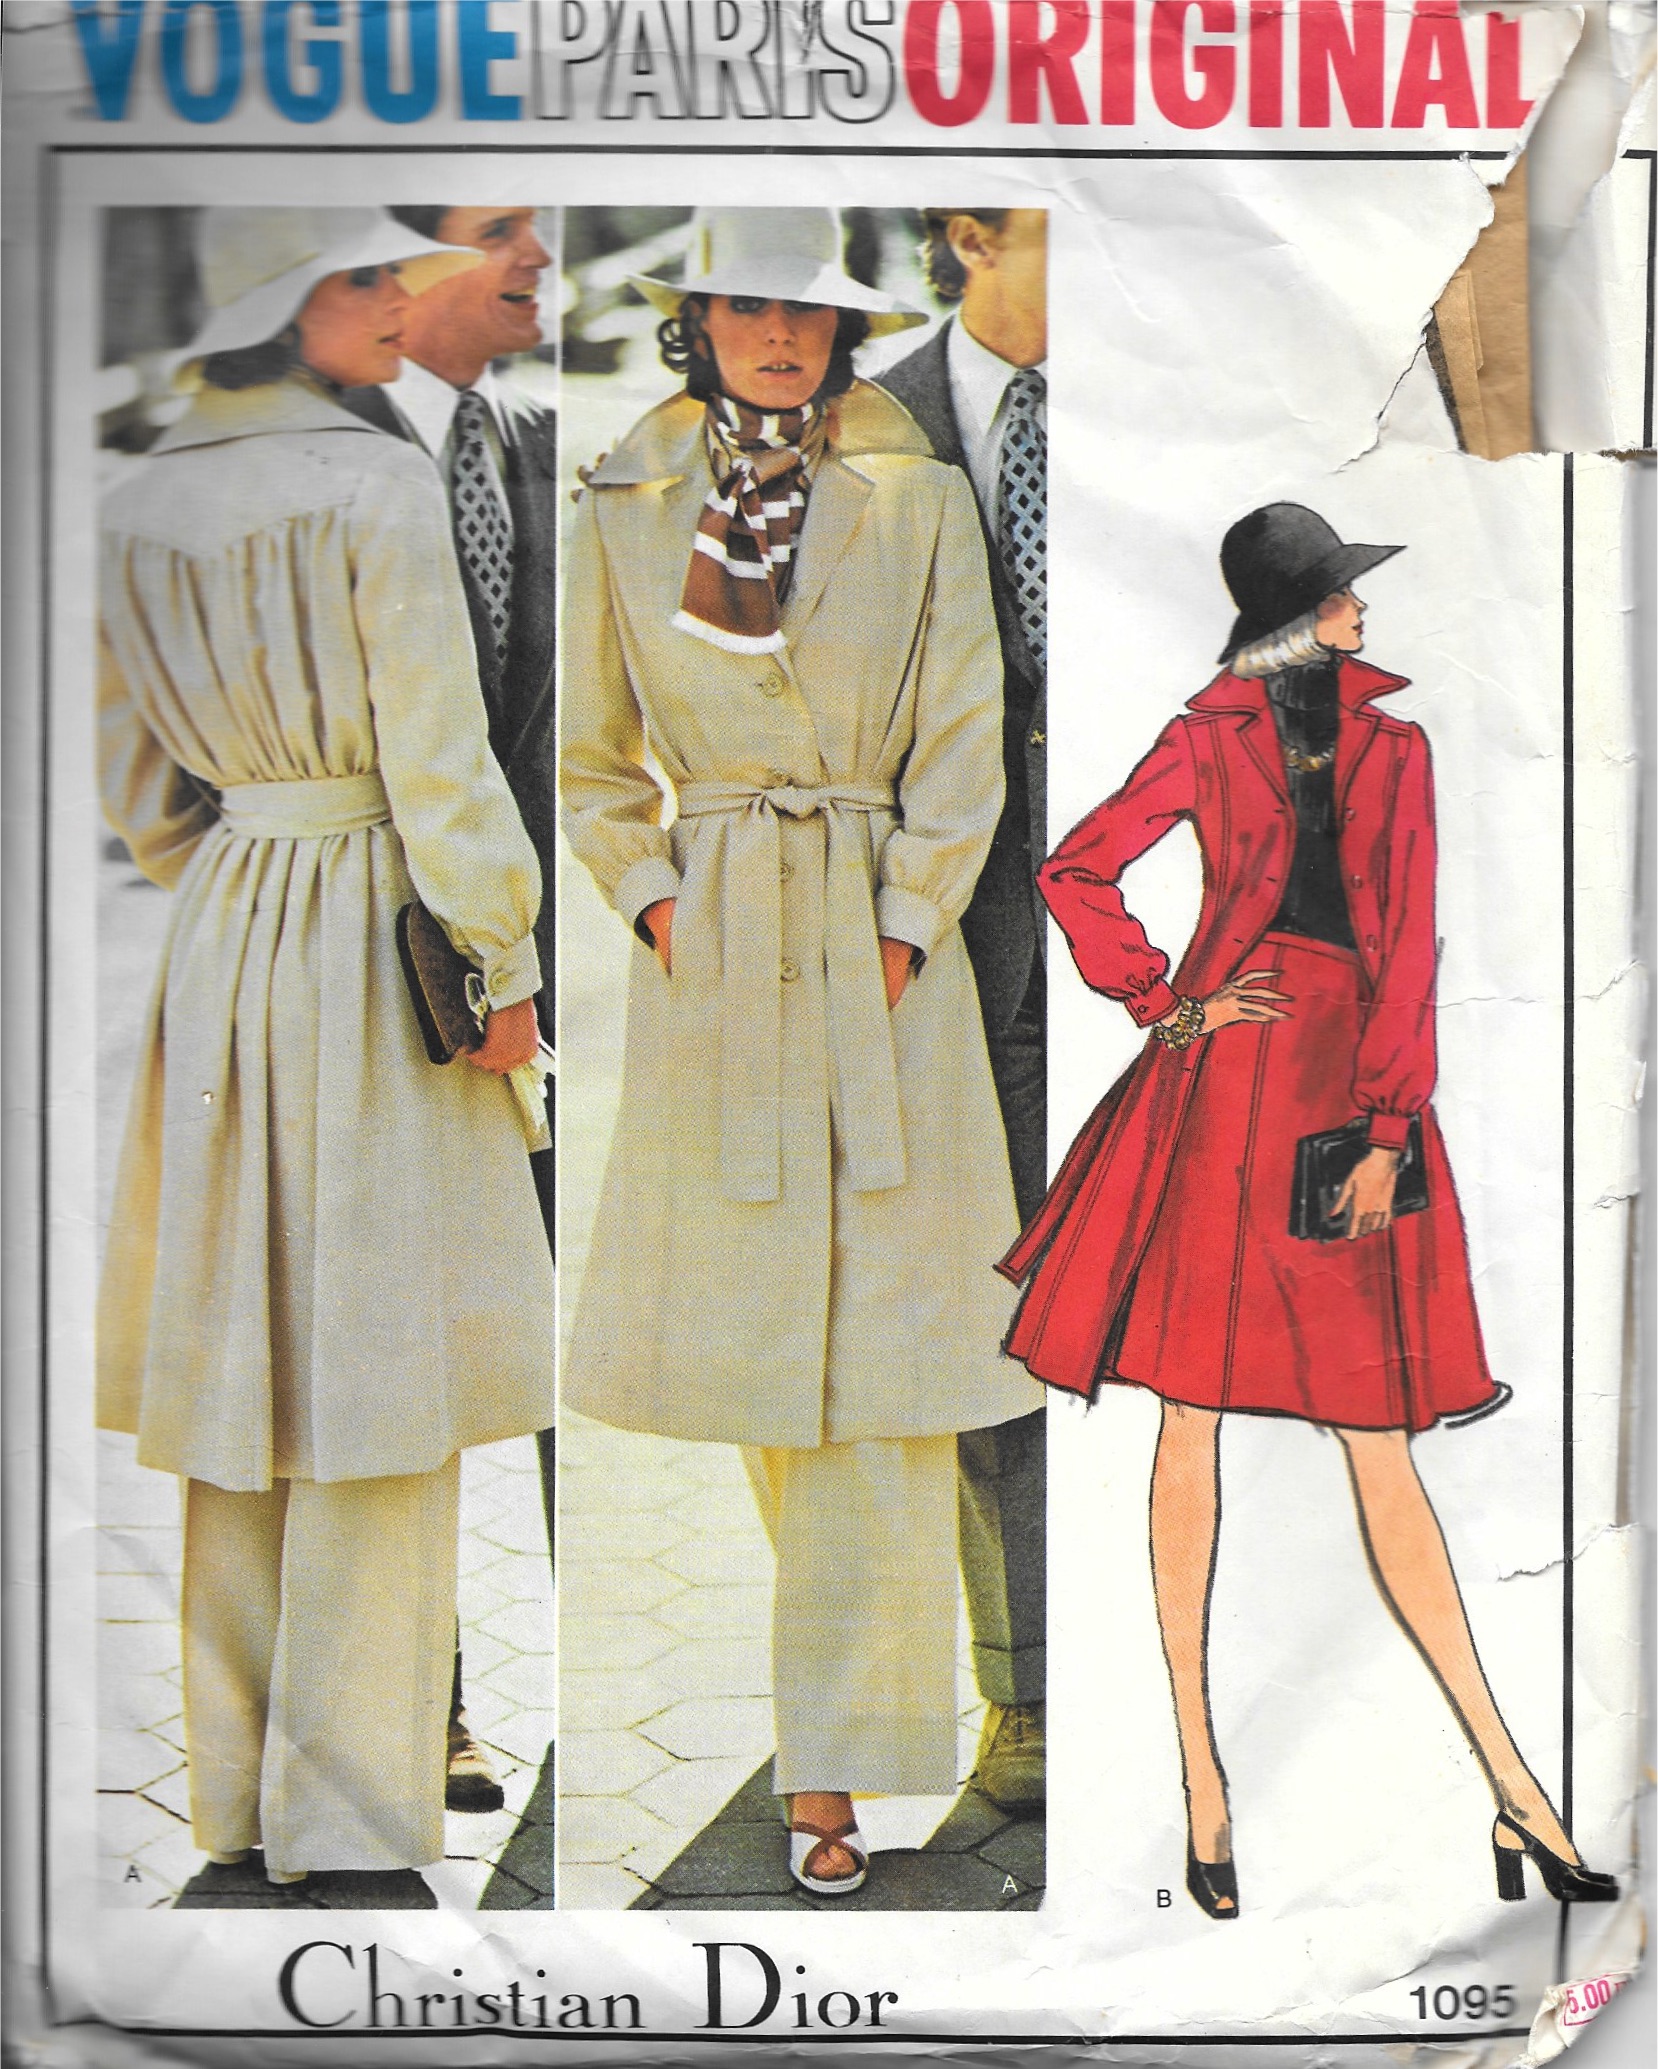
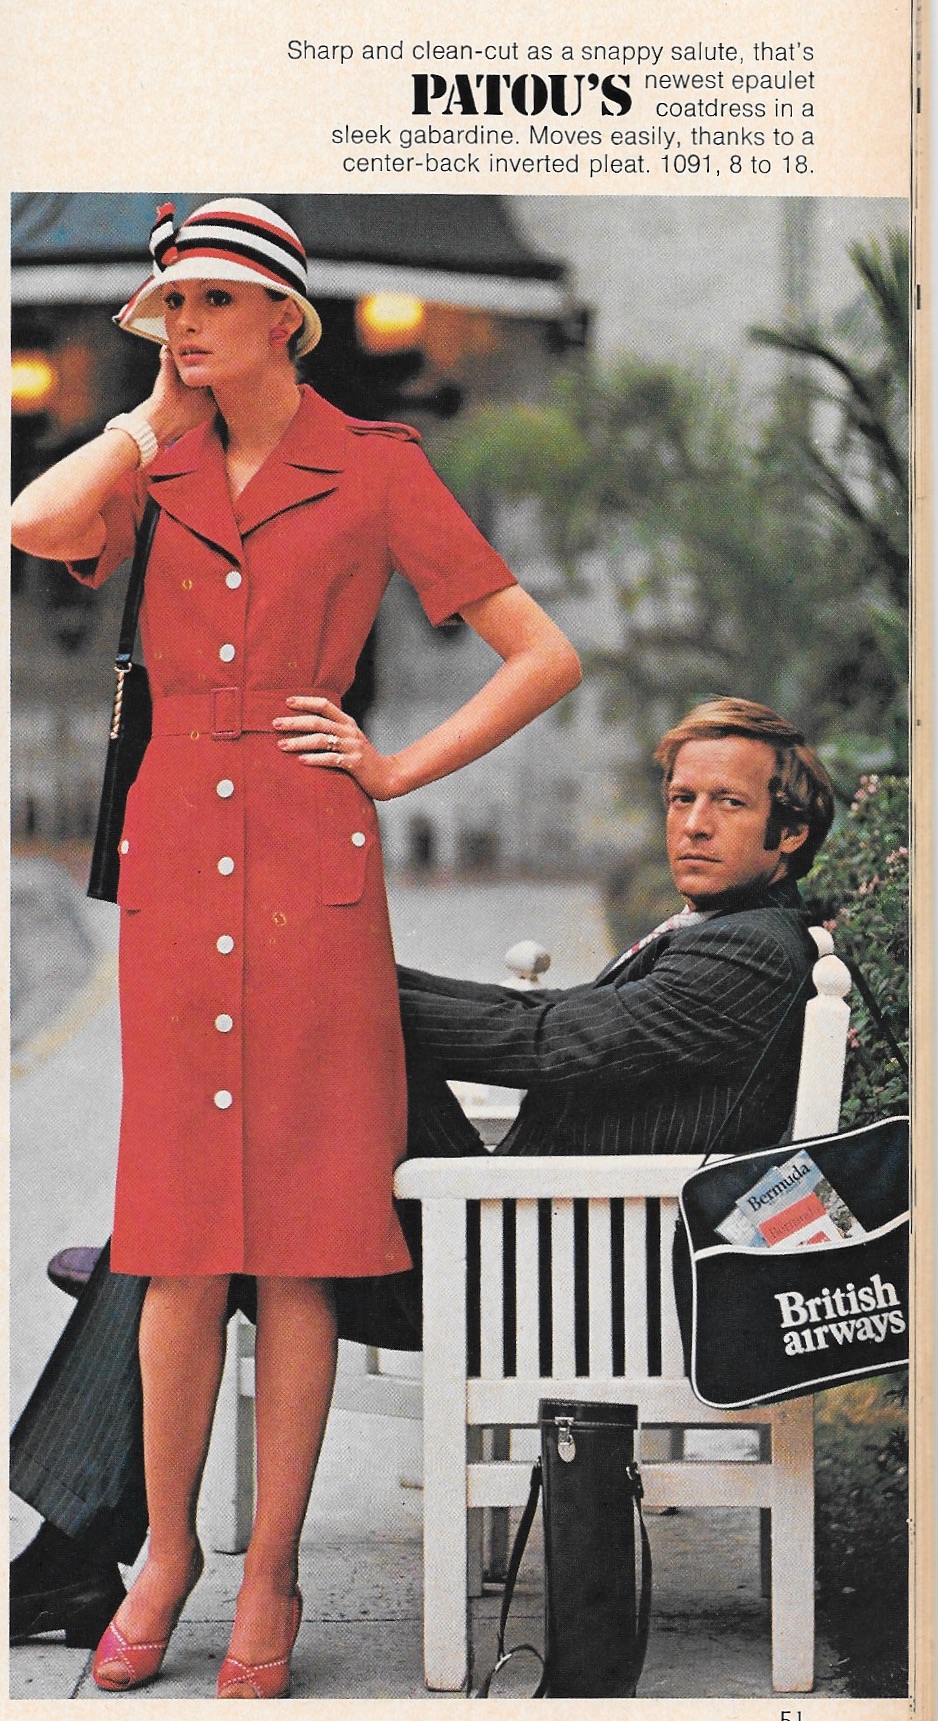
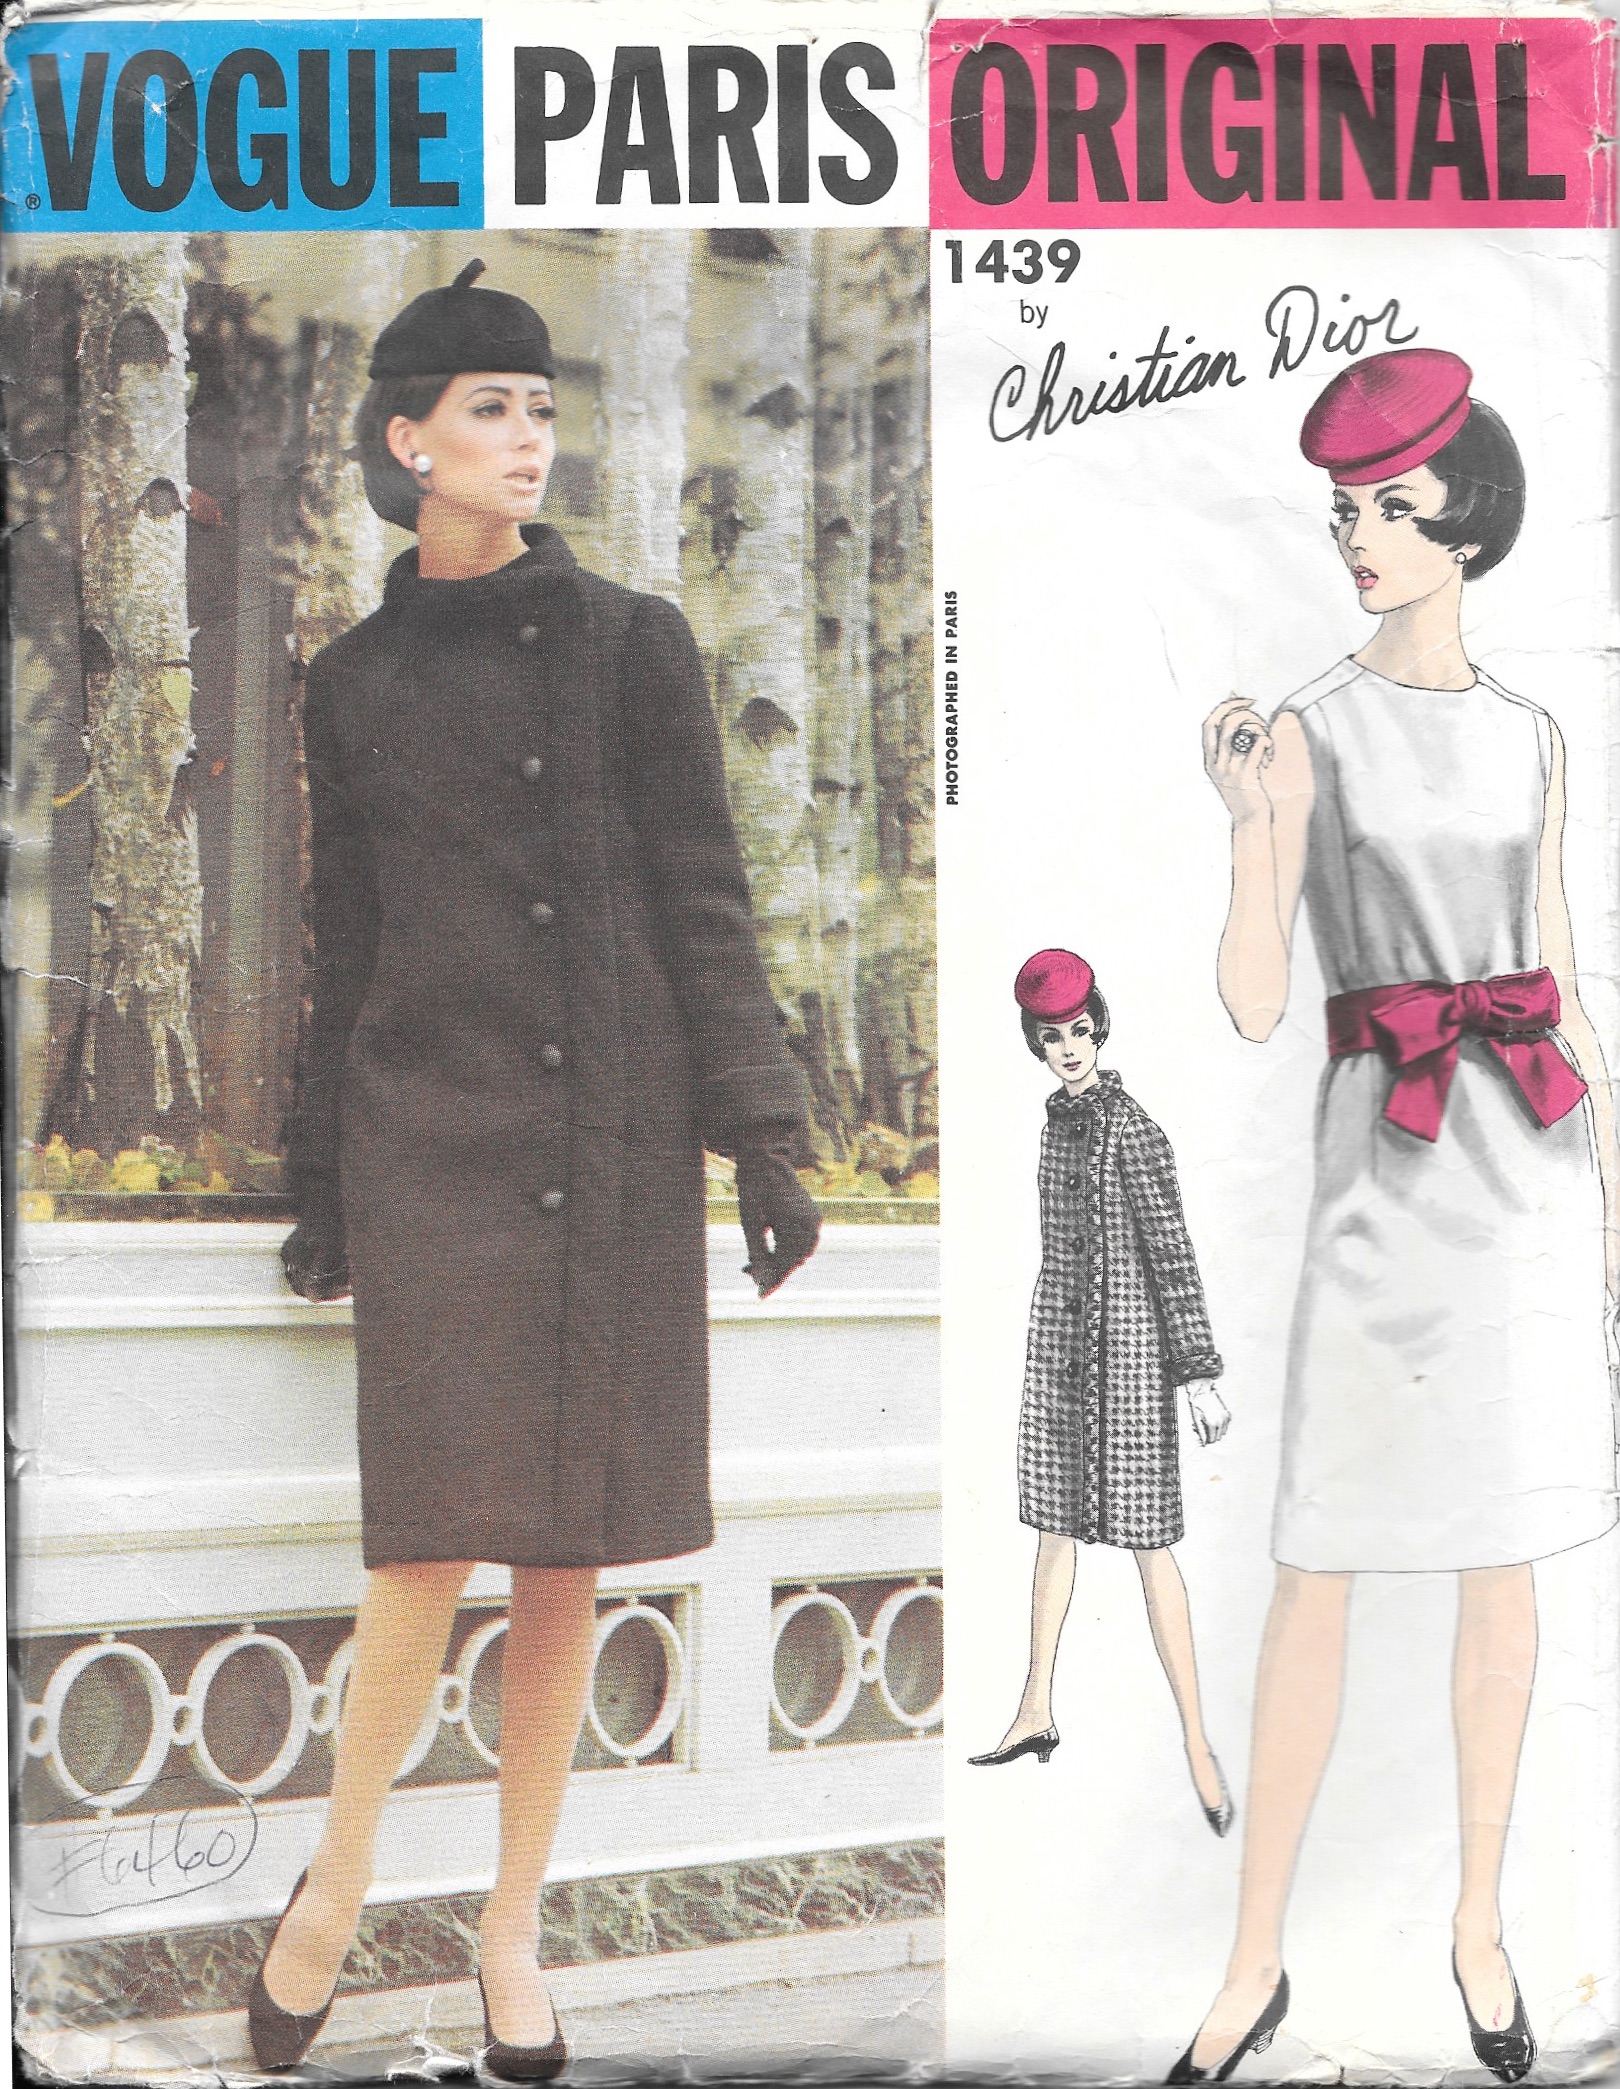
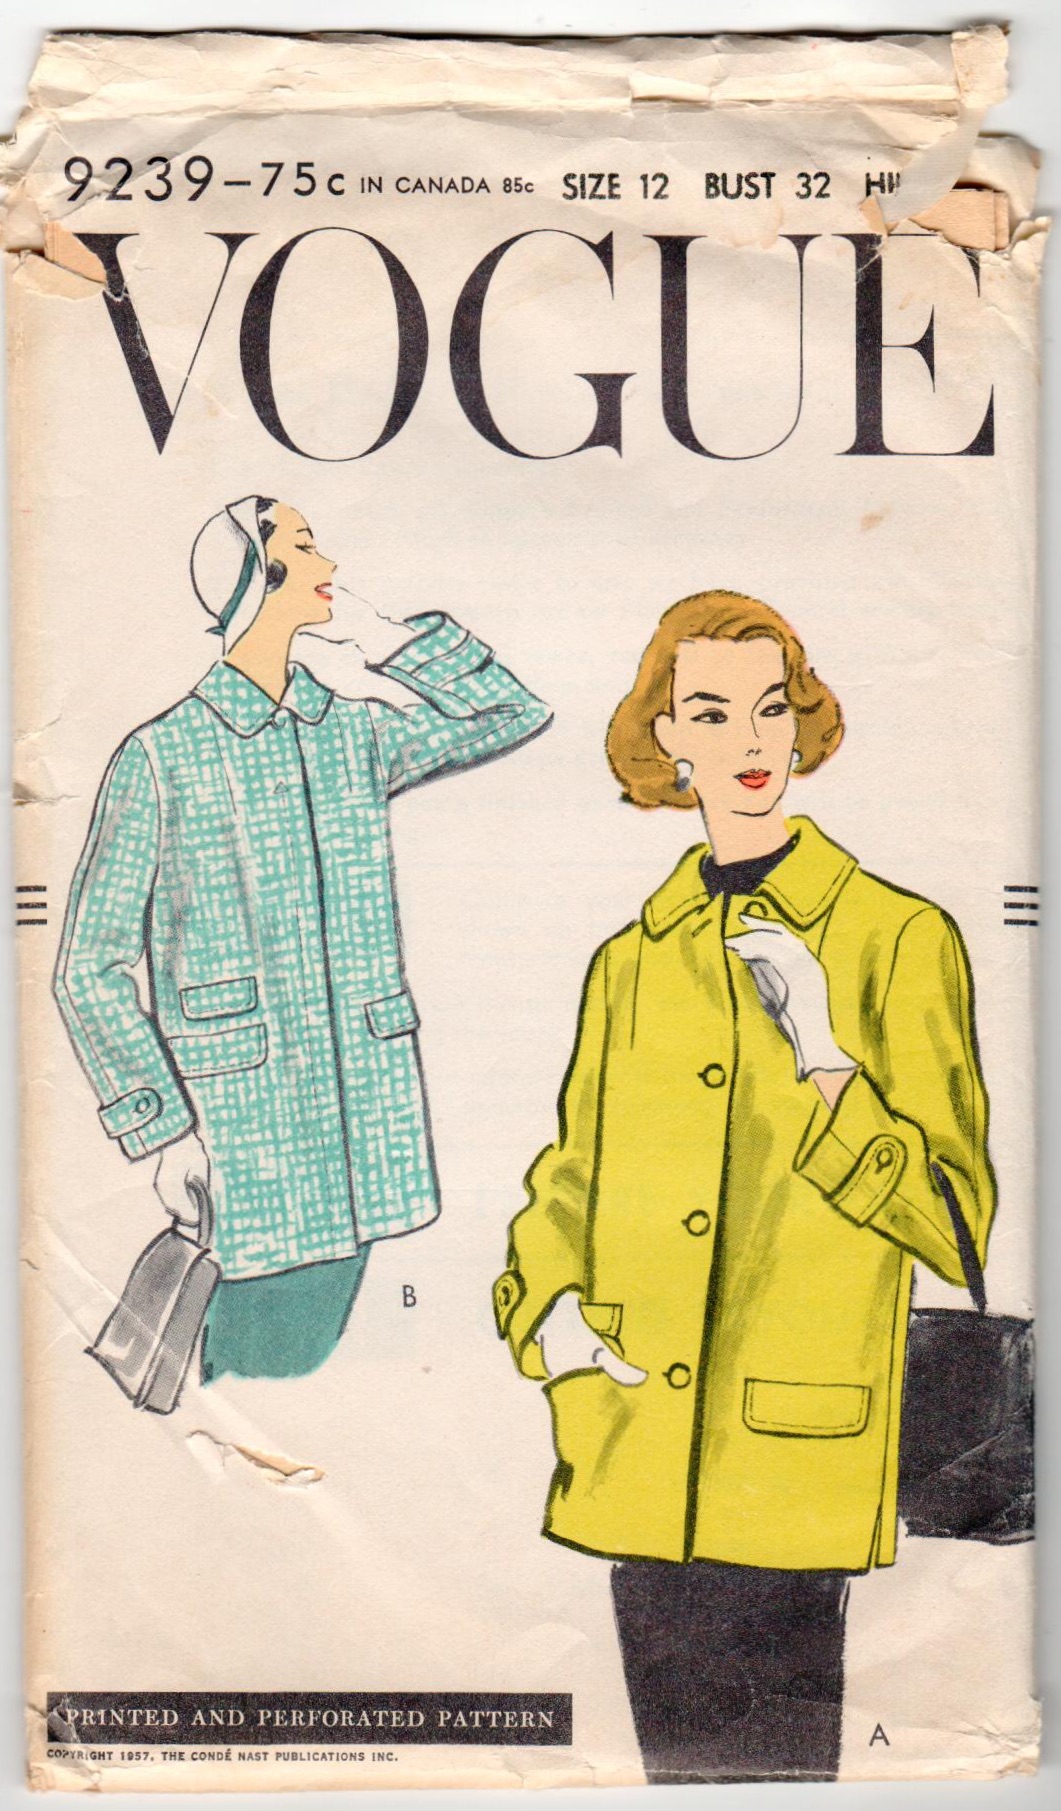
Seriously, who doesn’t love an apron? They can be all-business or whimsical, pretty or frilly, plain or busy, colorful or monotone, practical or impractical. The list goes on. Fortunately I had three apron patterns already available to me, one from the 1950s, one from the 1970s and one more recent one, perhaps from the last 10 years or so, shown in order below.

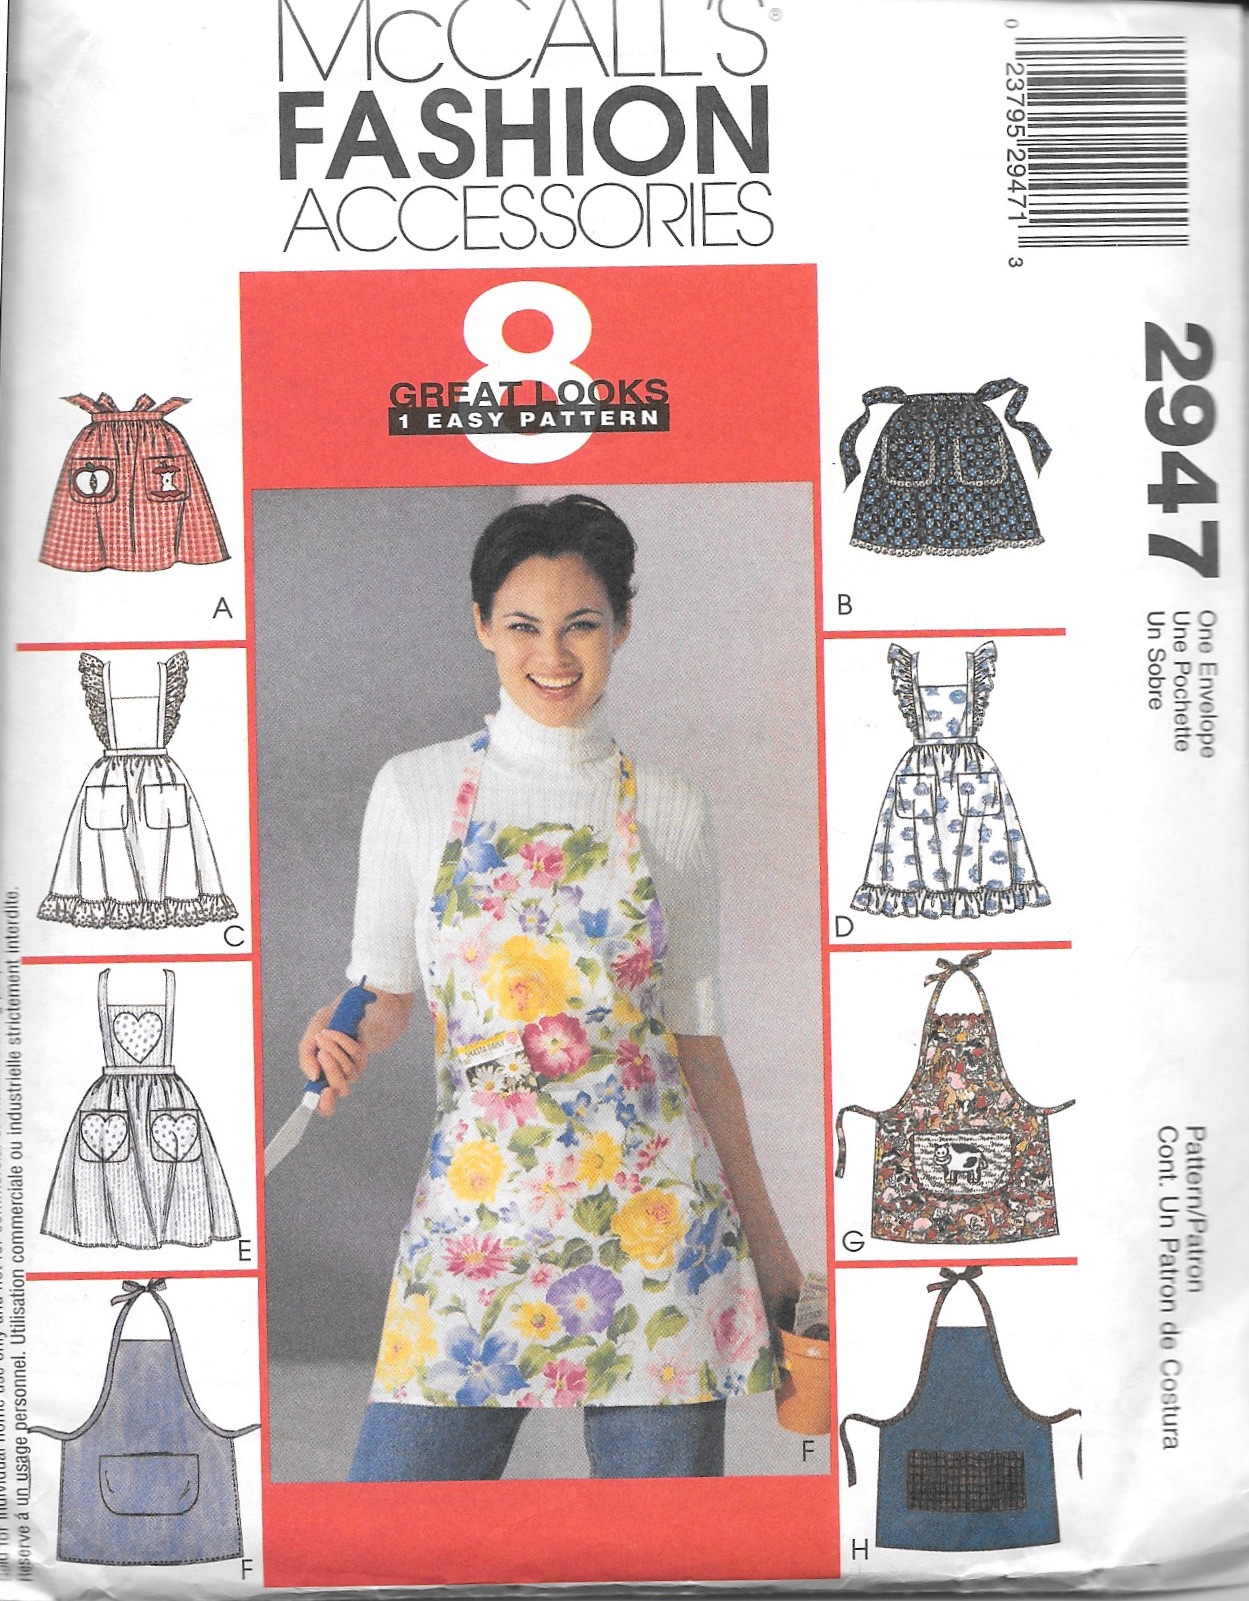
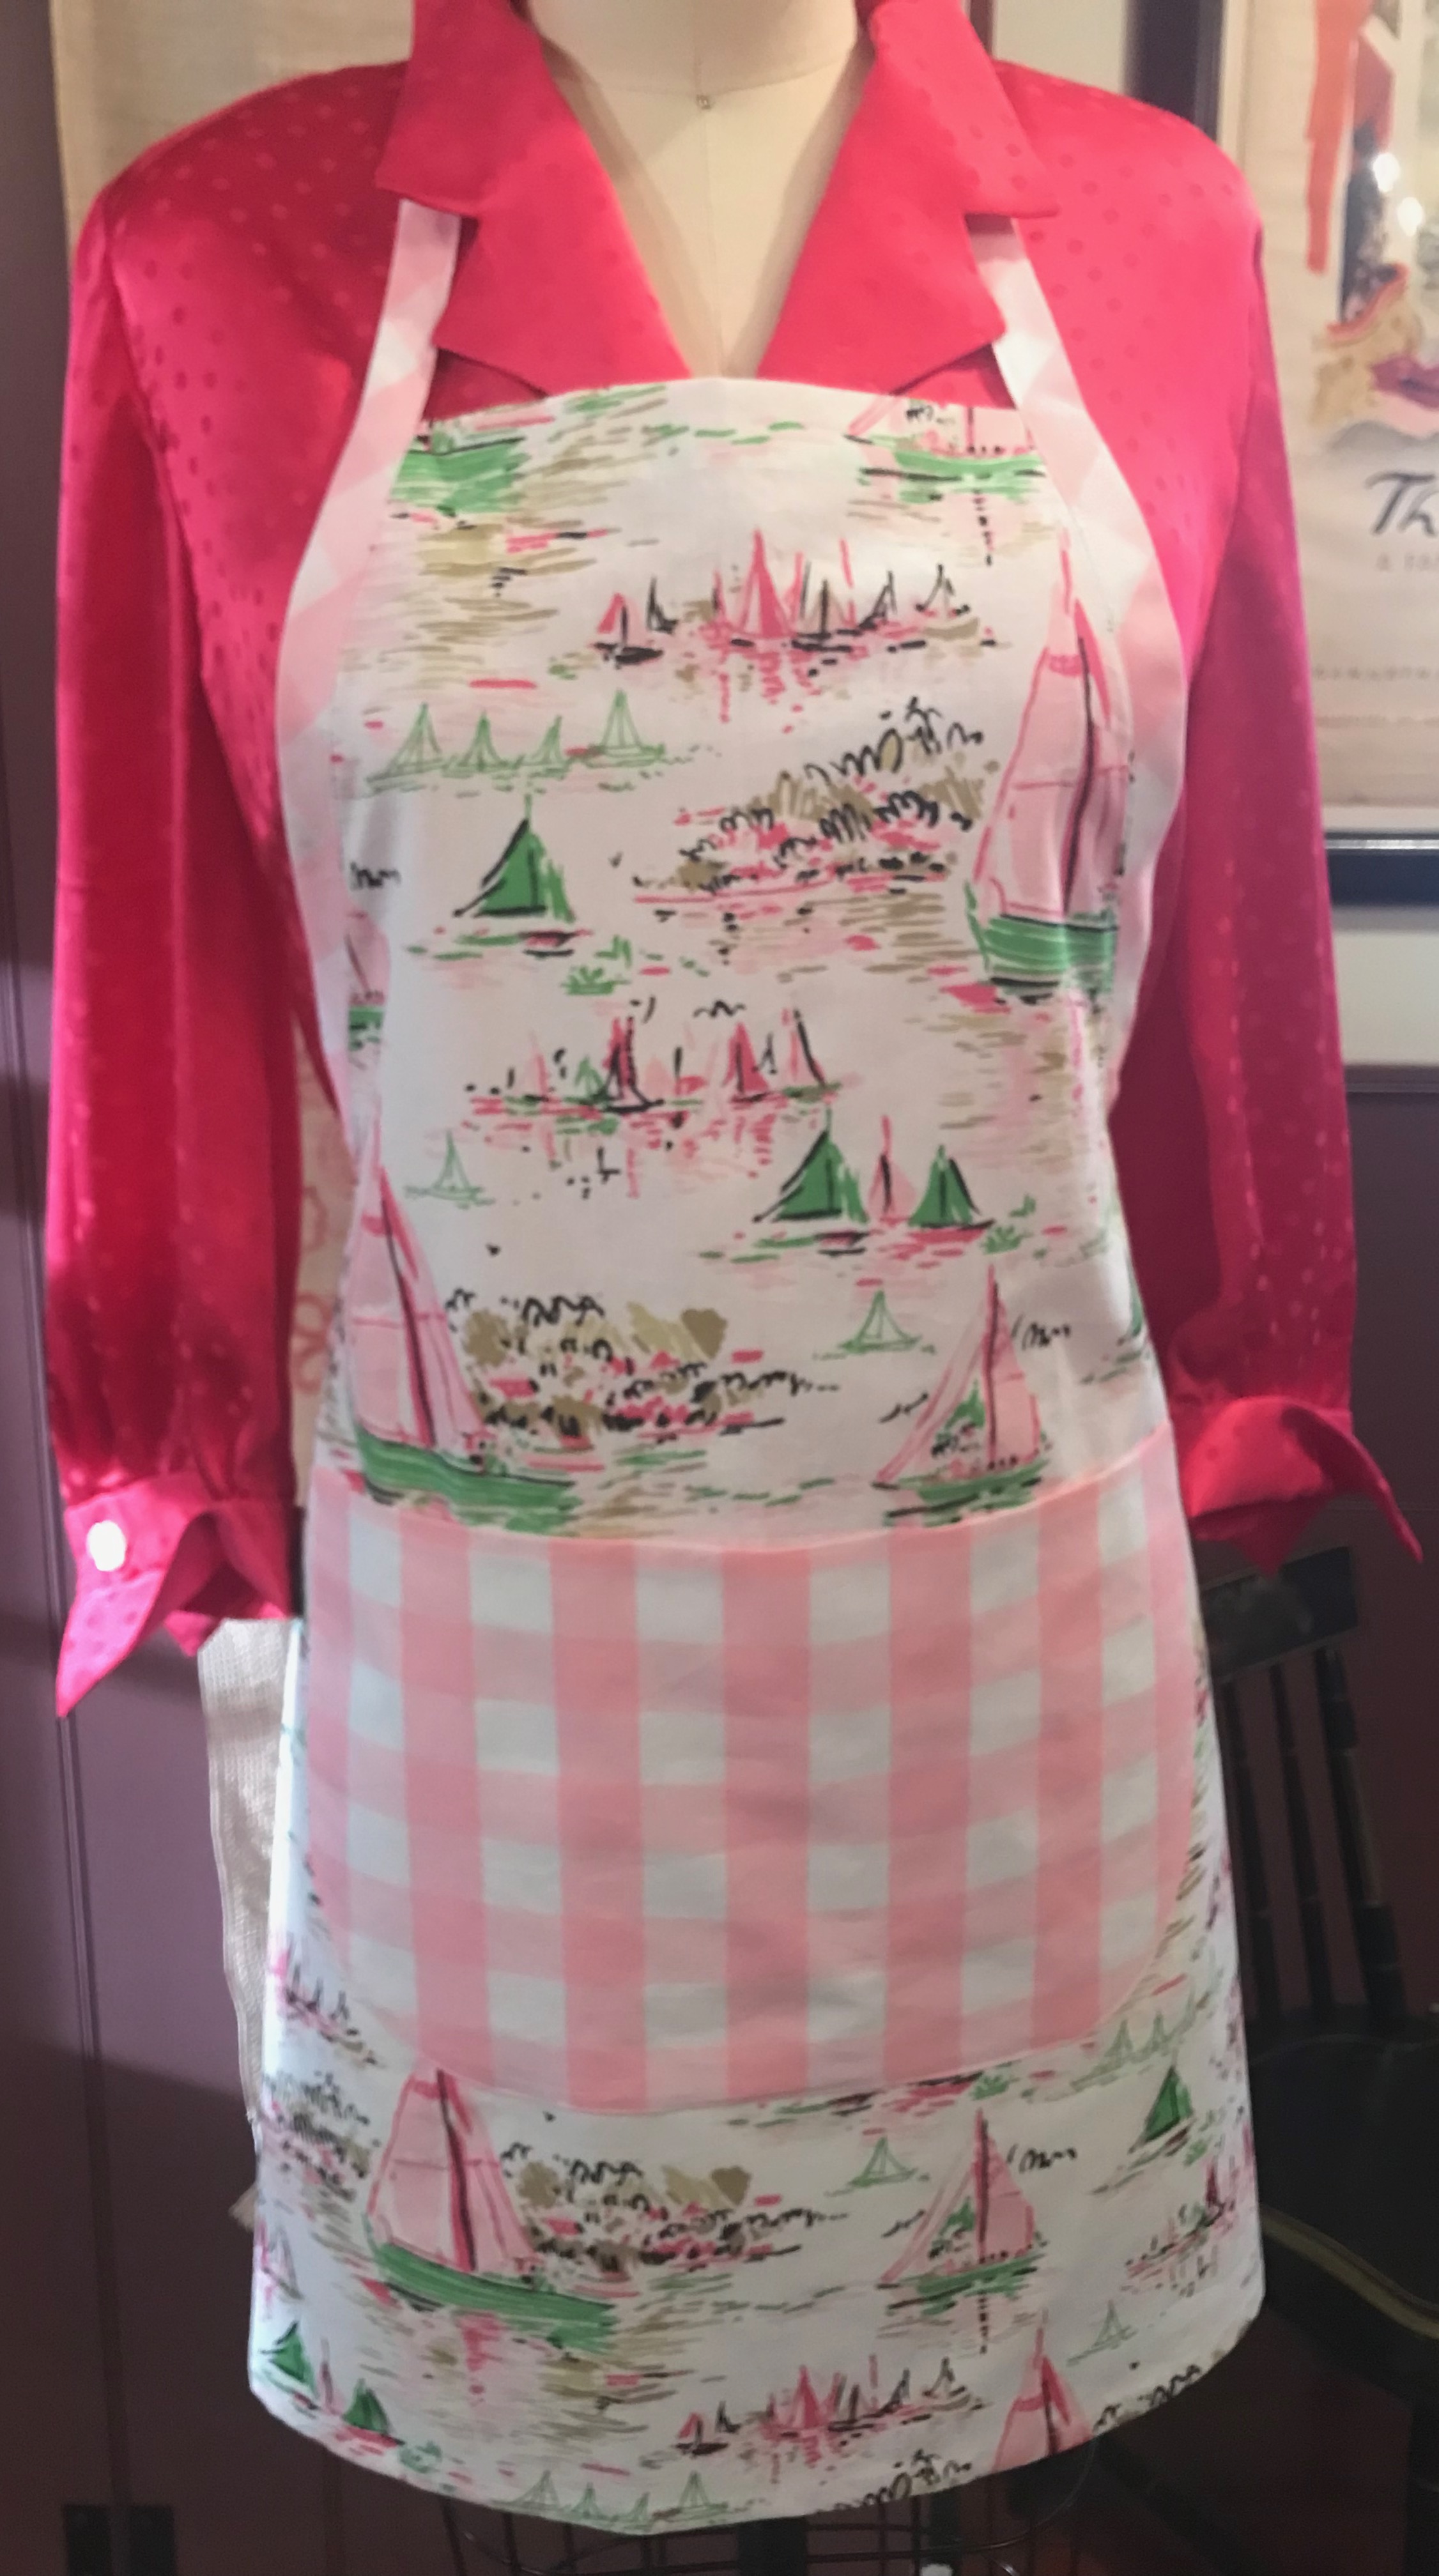
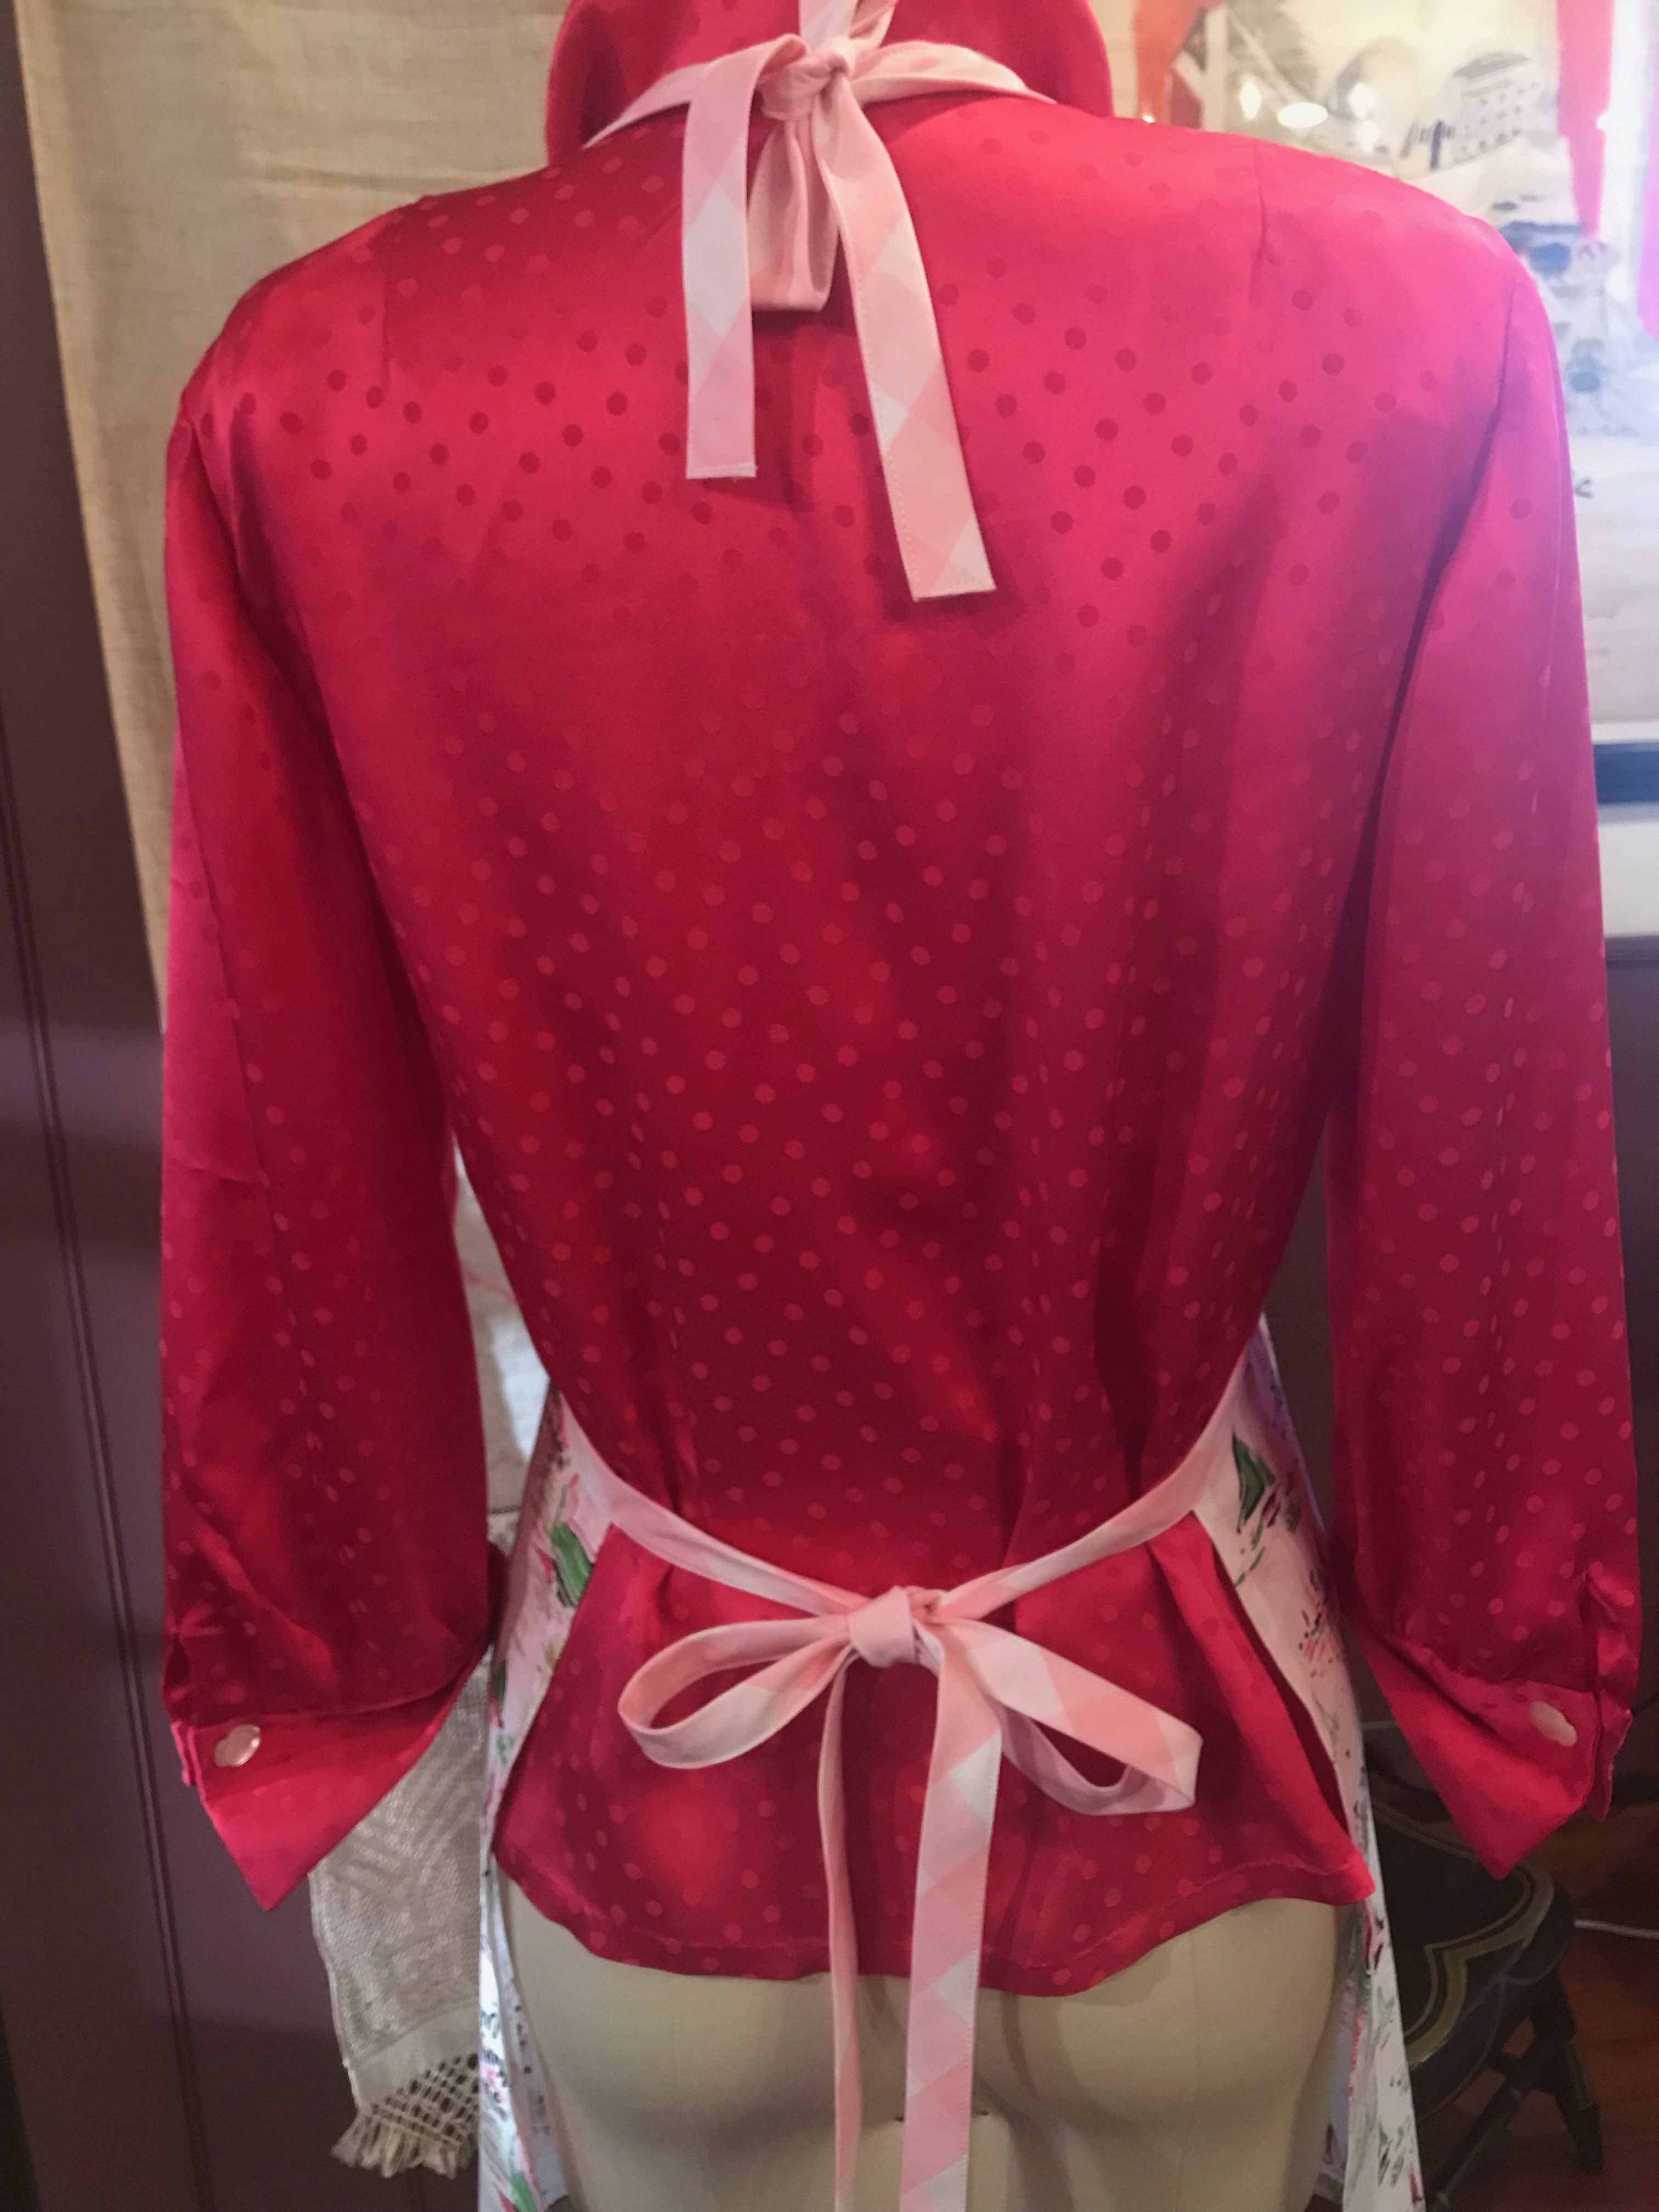
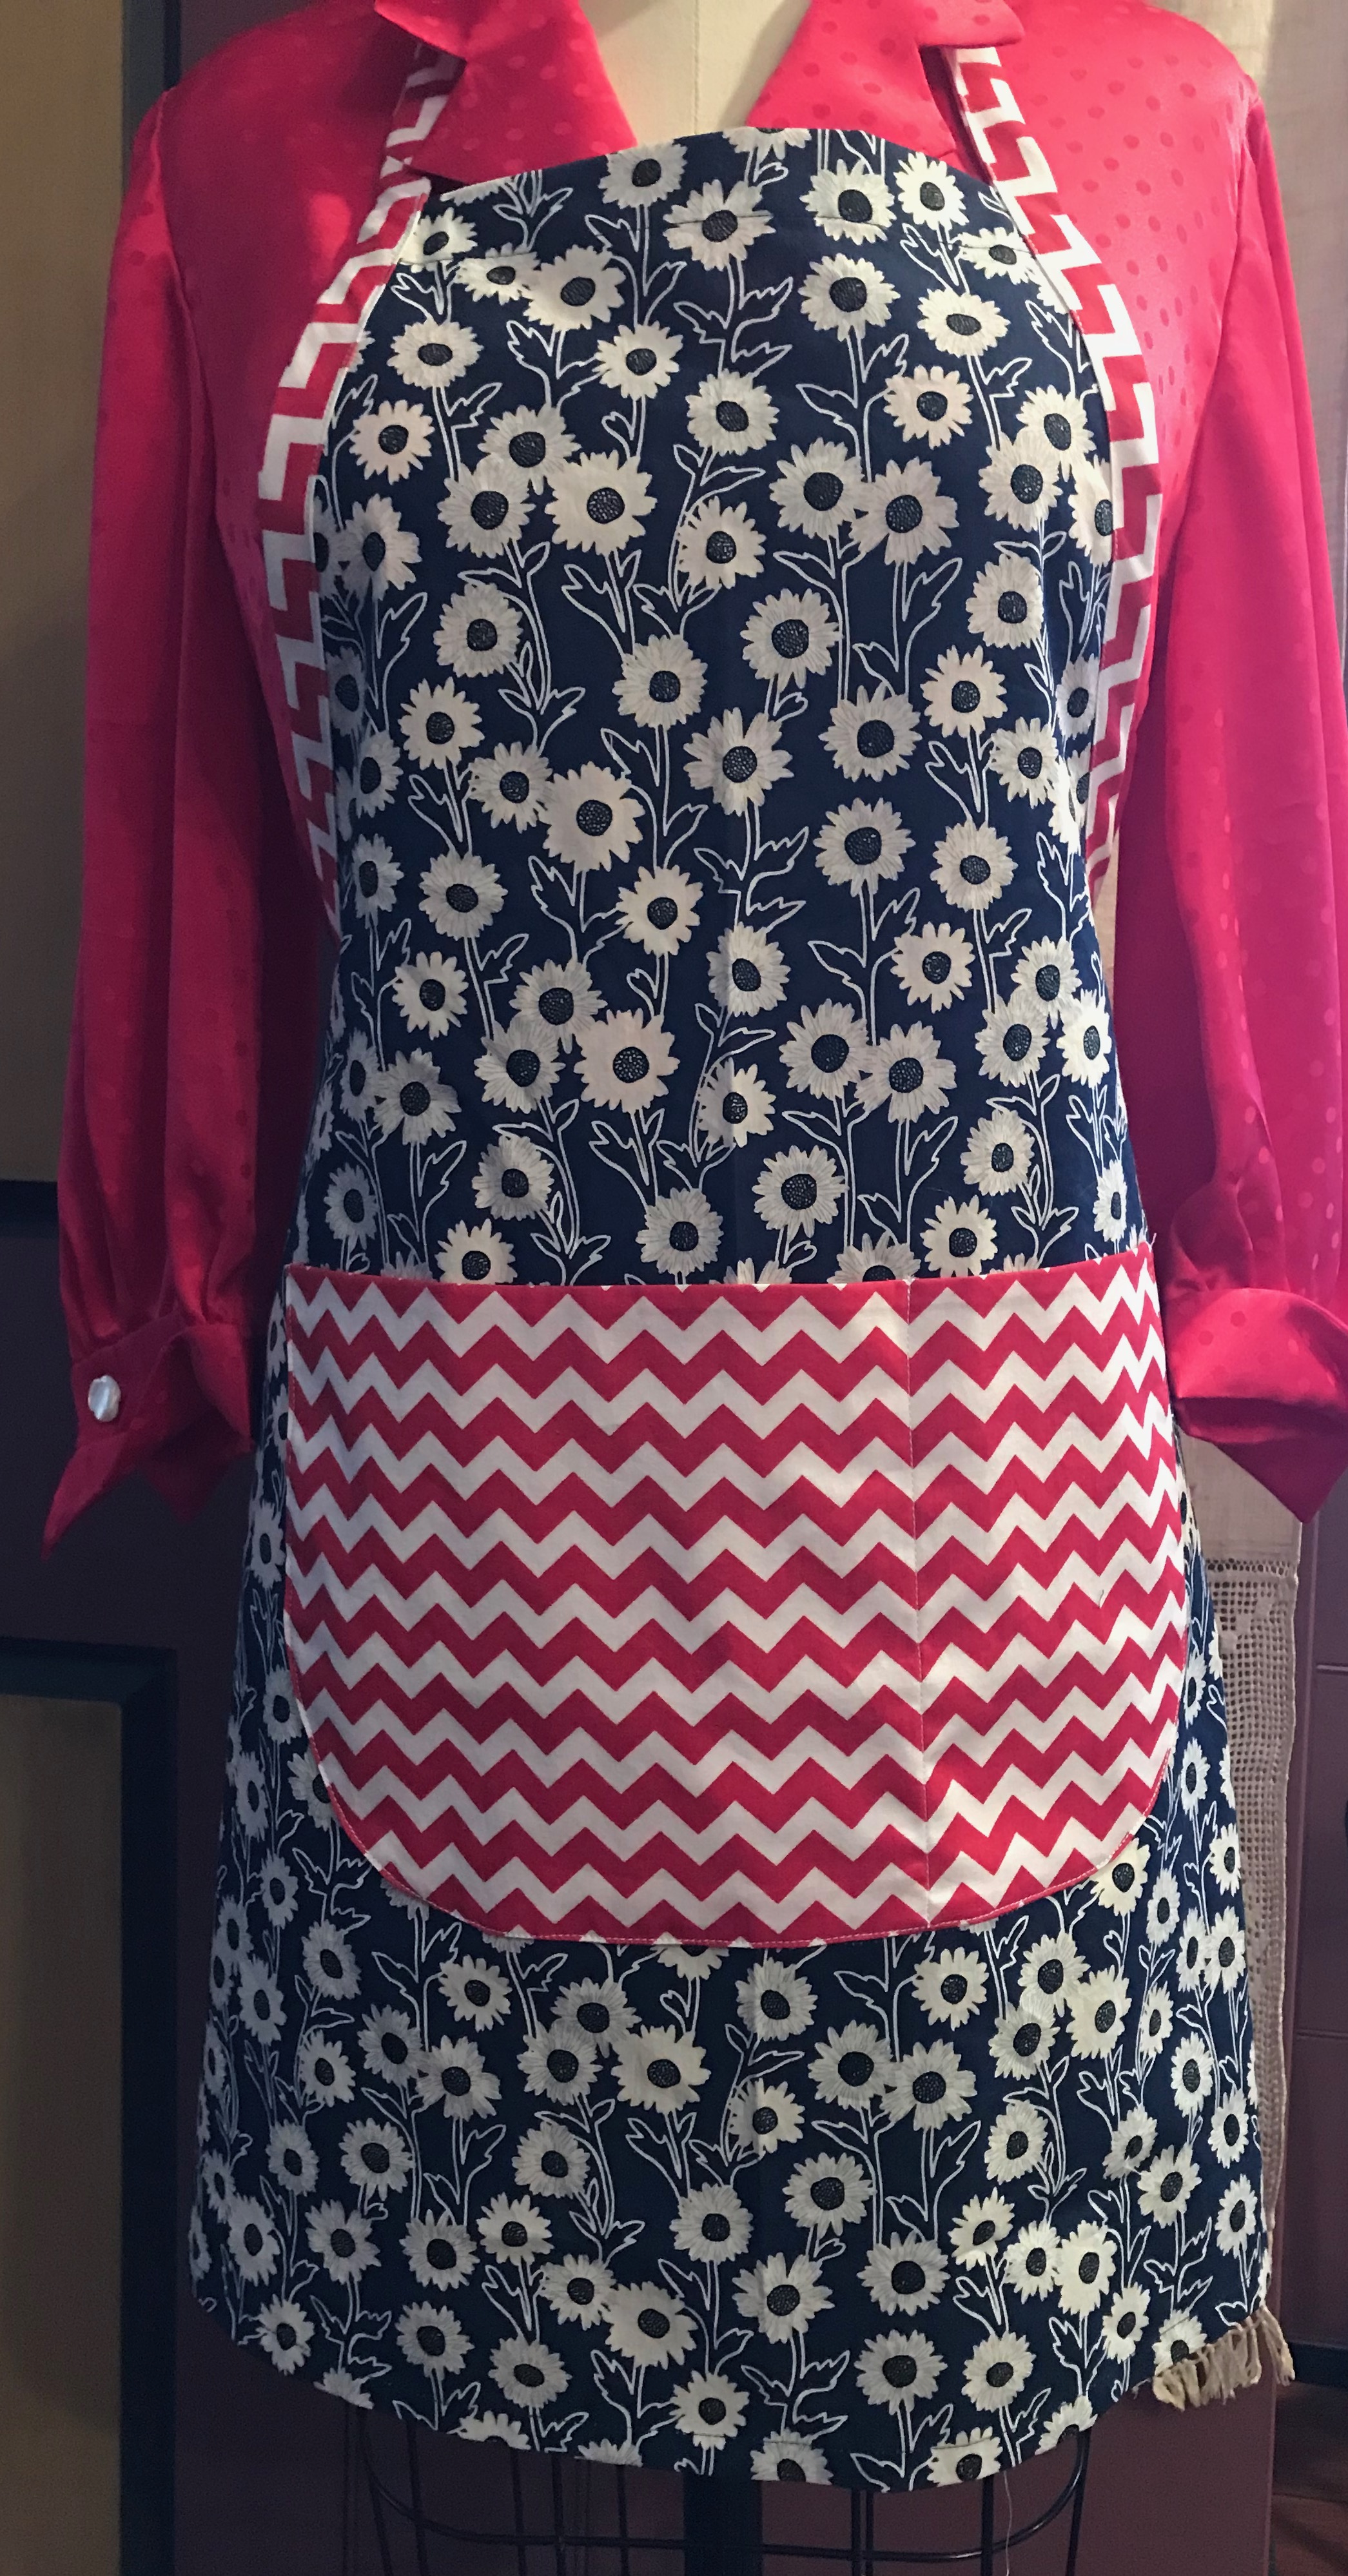
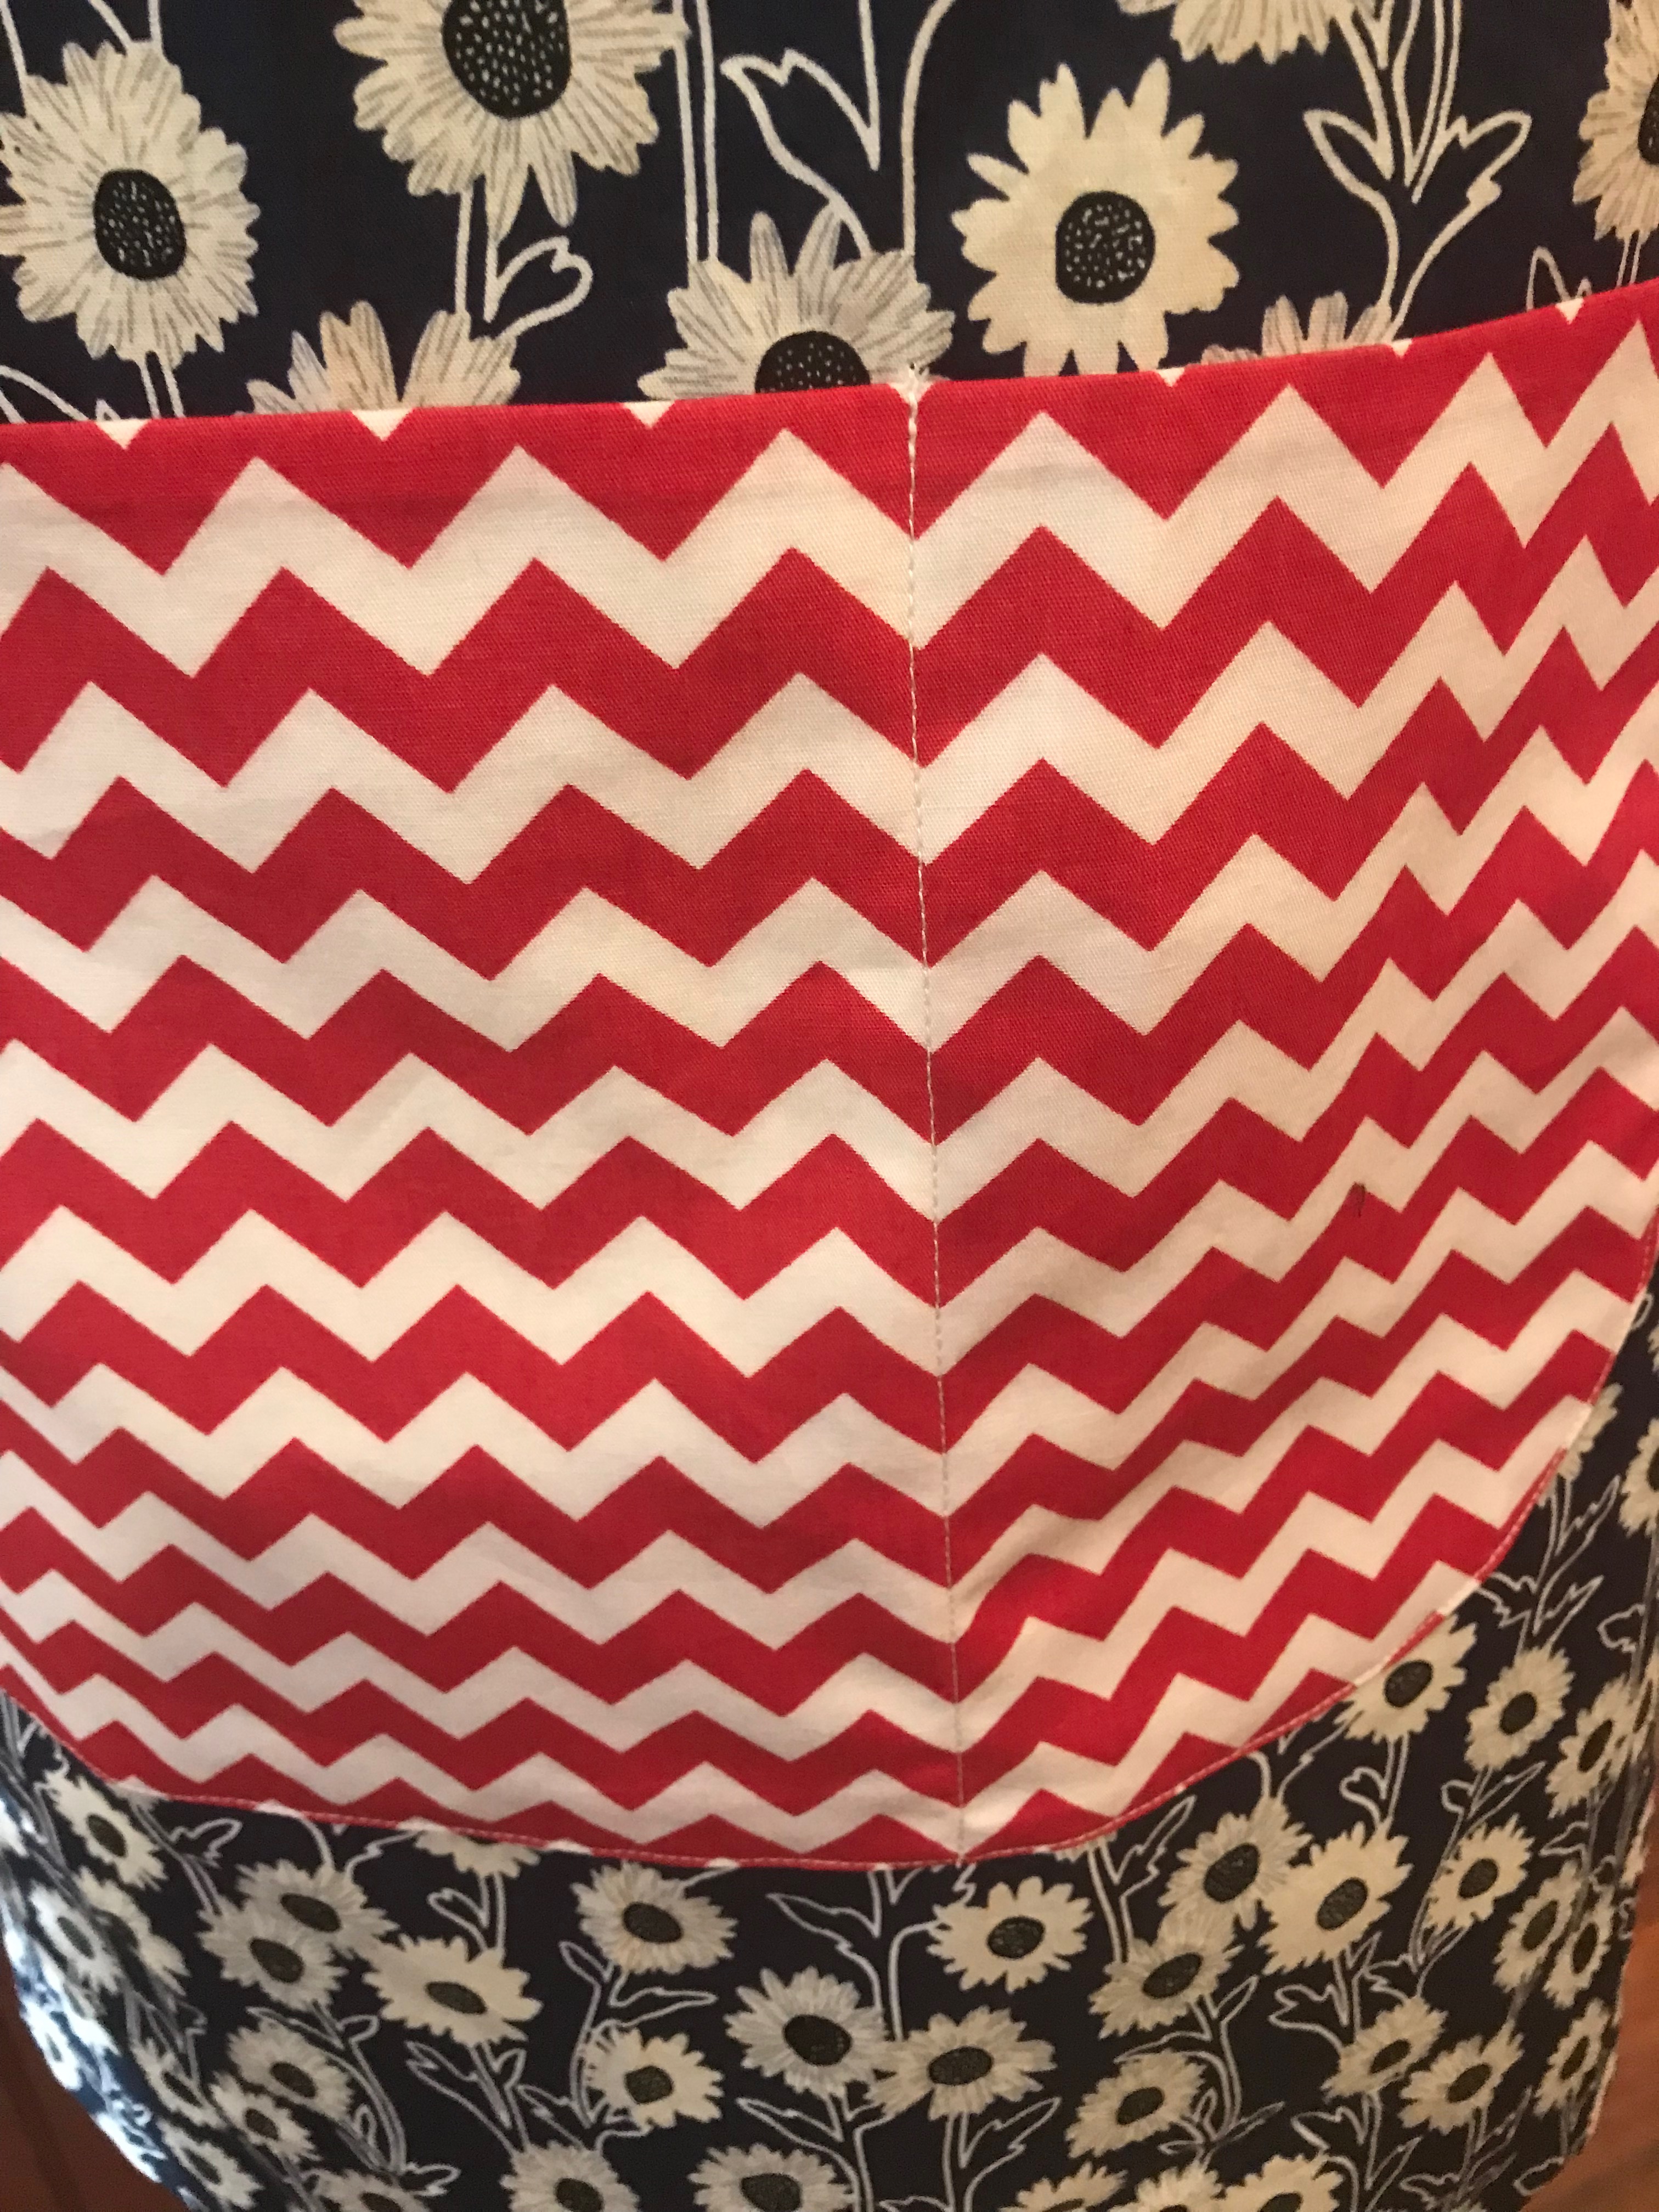
In order to make my leftover fabric go as far as possible, and to make this apron project fit my criteria for fast and fun and frugal, I went with the simple chef’s apron (View F) on the pattern directly above. The only change I made to the look of it was to construct contrasting ties and pockets. Not only did I like the idea of adding color and whimsy to my aprons, but this change gave me the ability to use up shorter pieces of fabric.
The first one I made from excess fabric from dresses I made for my granddaughters this past Spring and Summer.
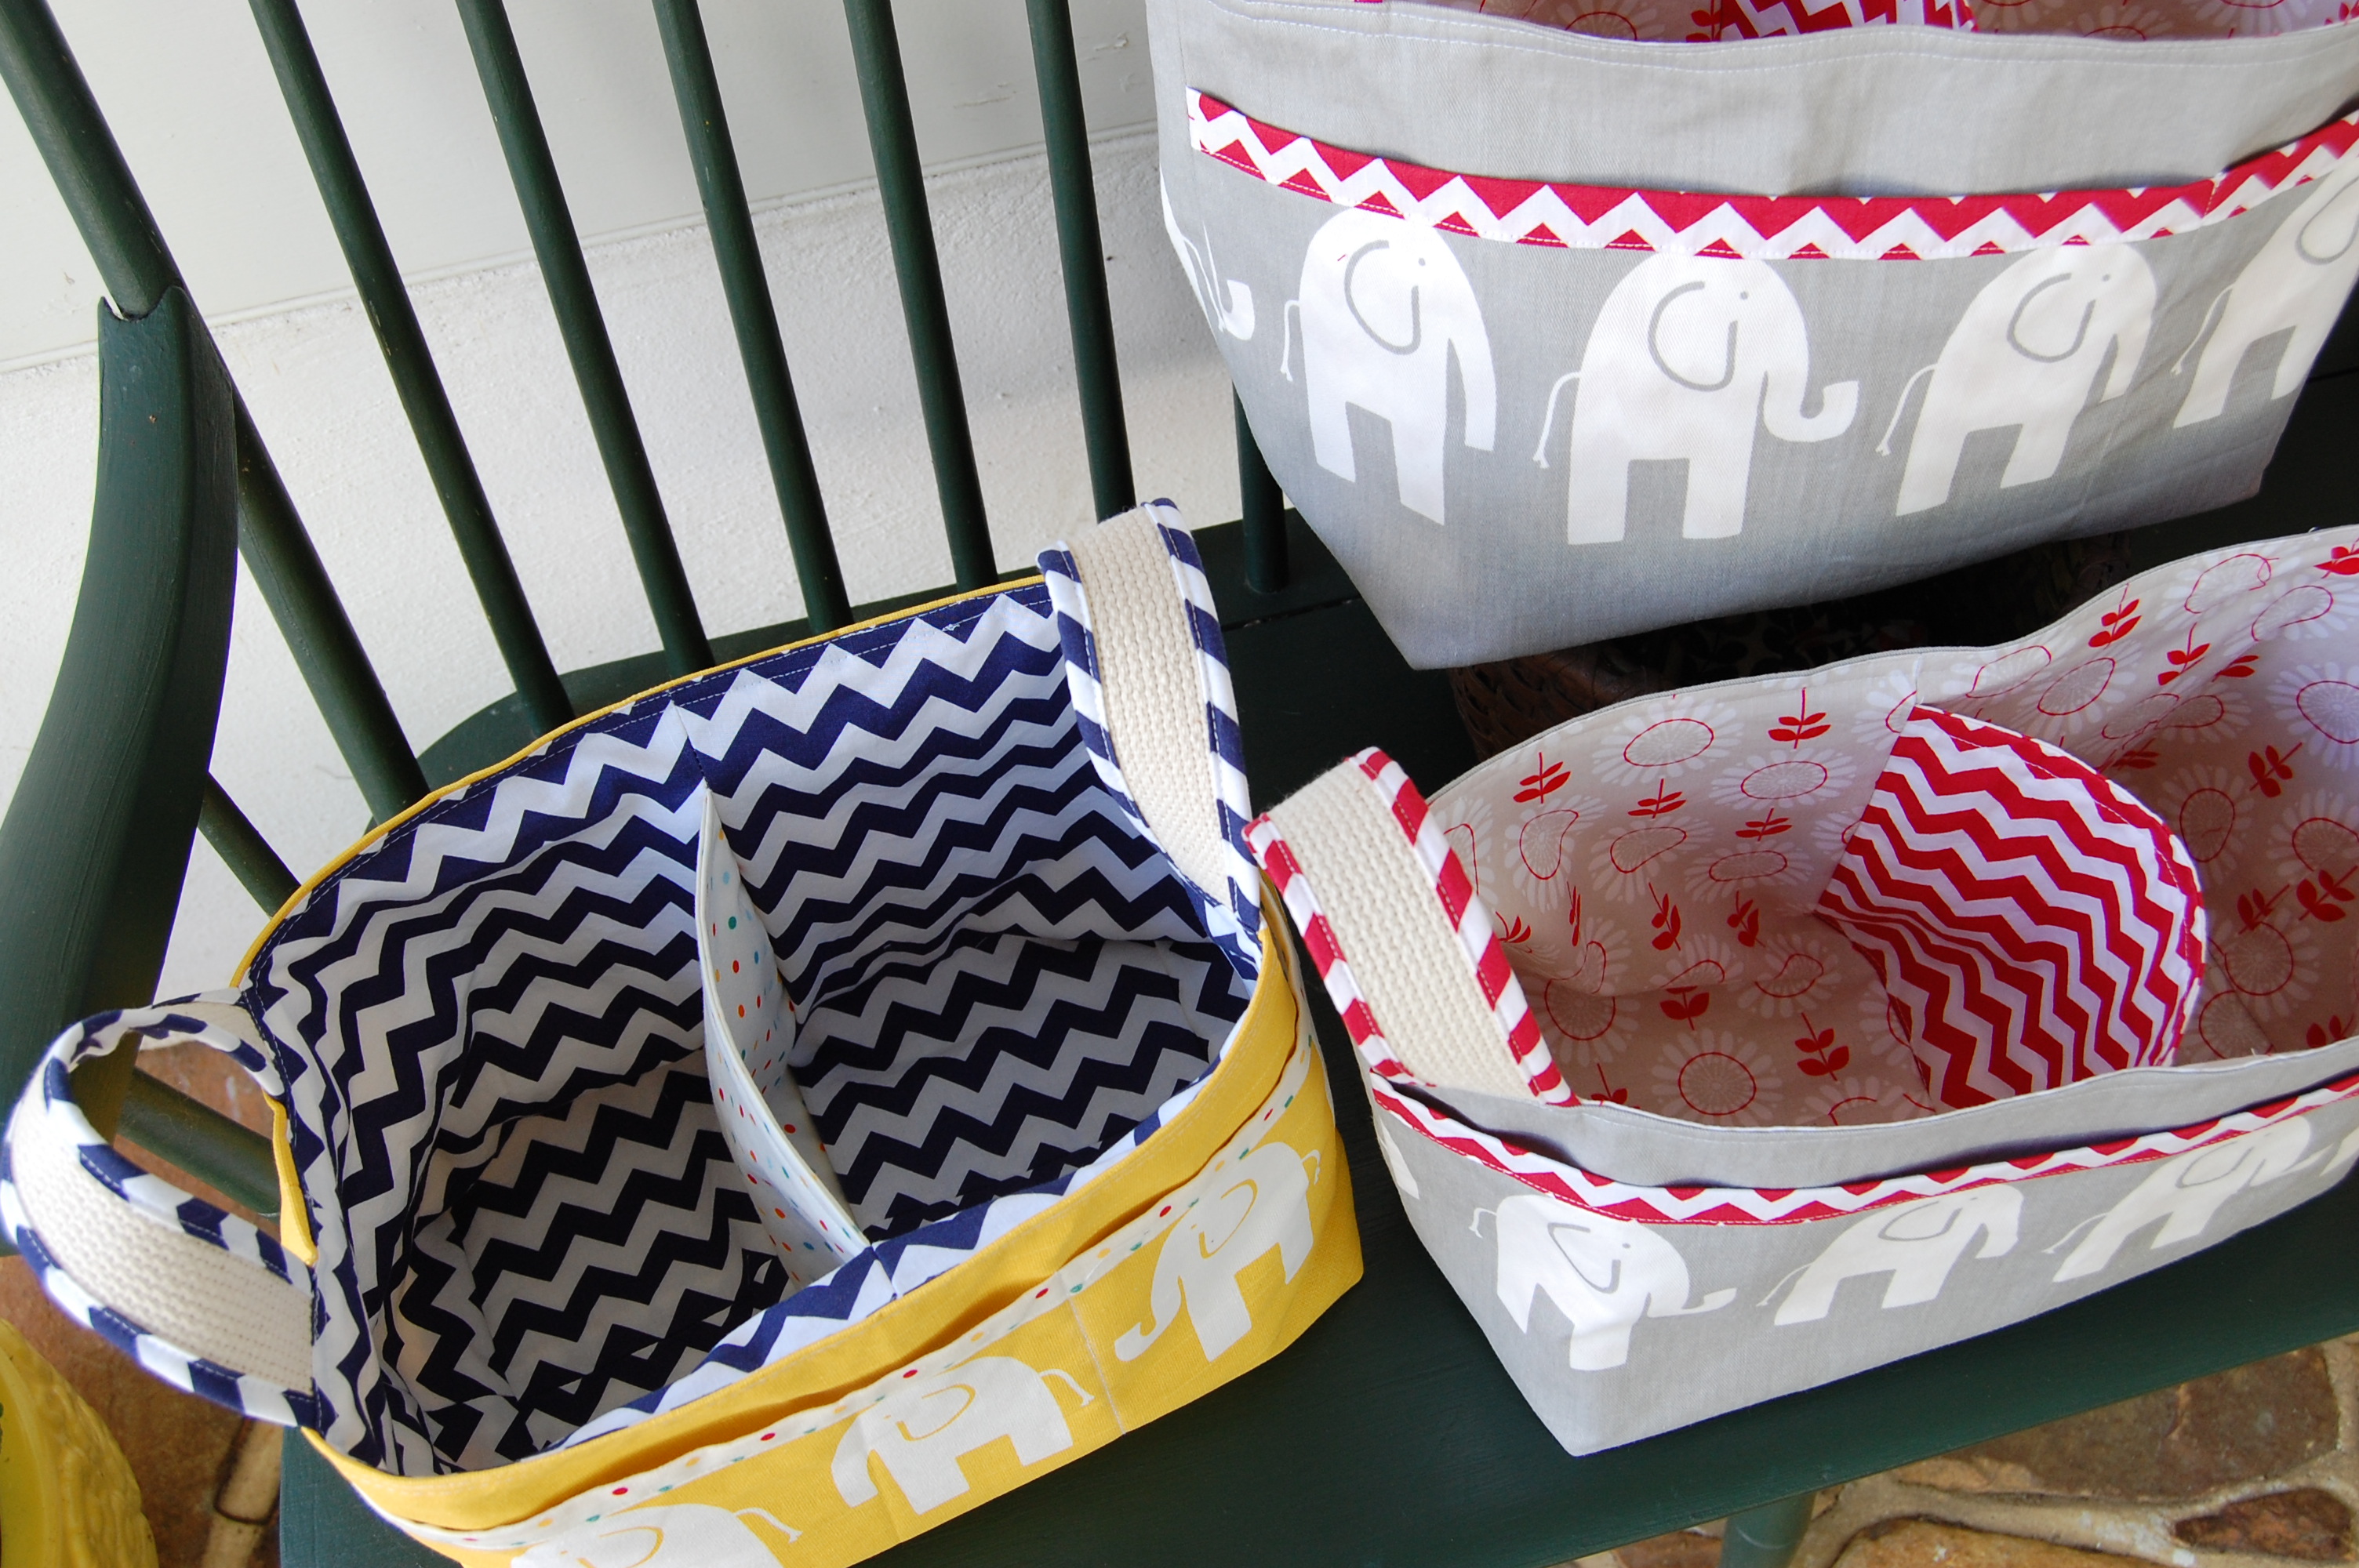
The second apron used fabric left over from a ribbon-embellished tunic I made for myself, also in the Summer. The ties and pockets used zigzag-patterned fabric I had on hand to use for “baby tote bags” I have made over the years as gifts.
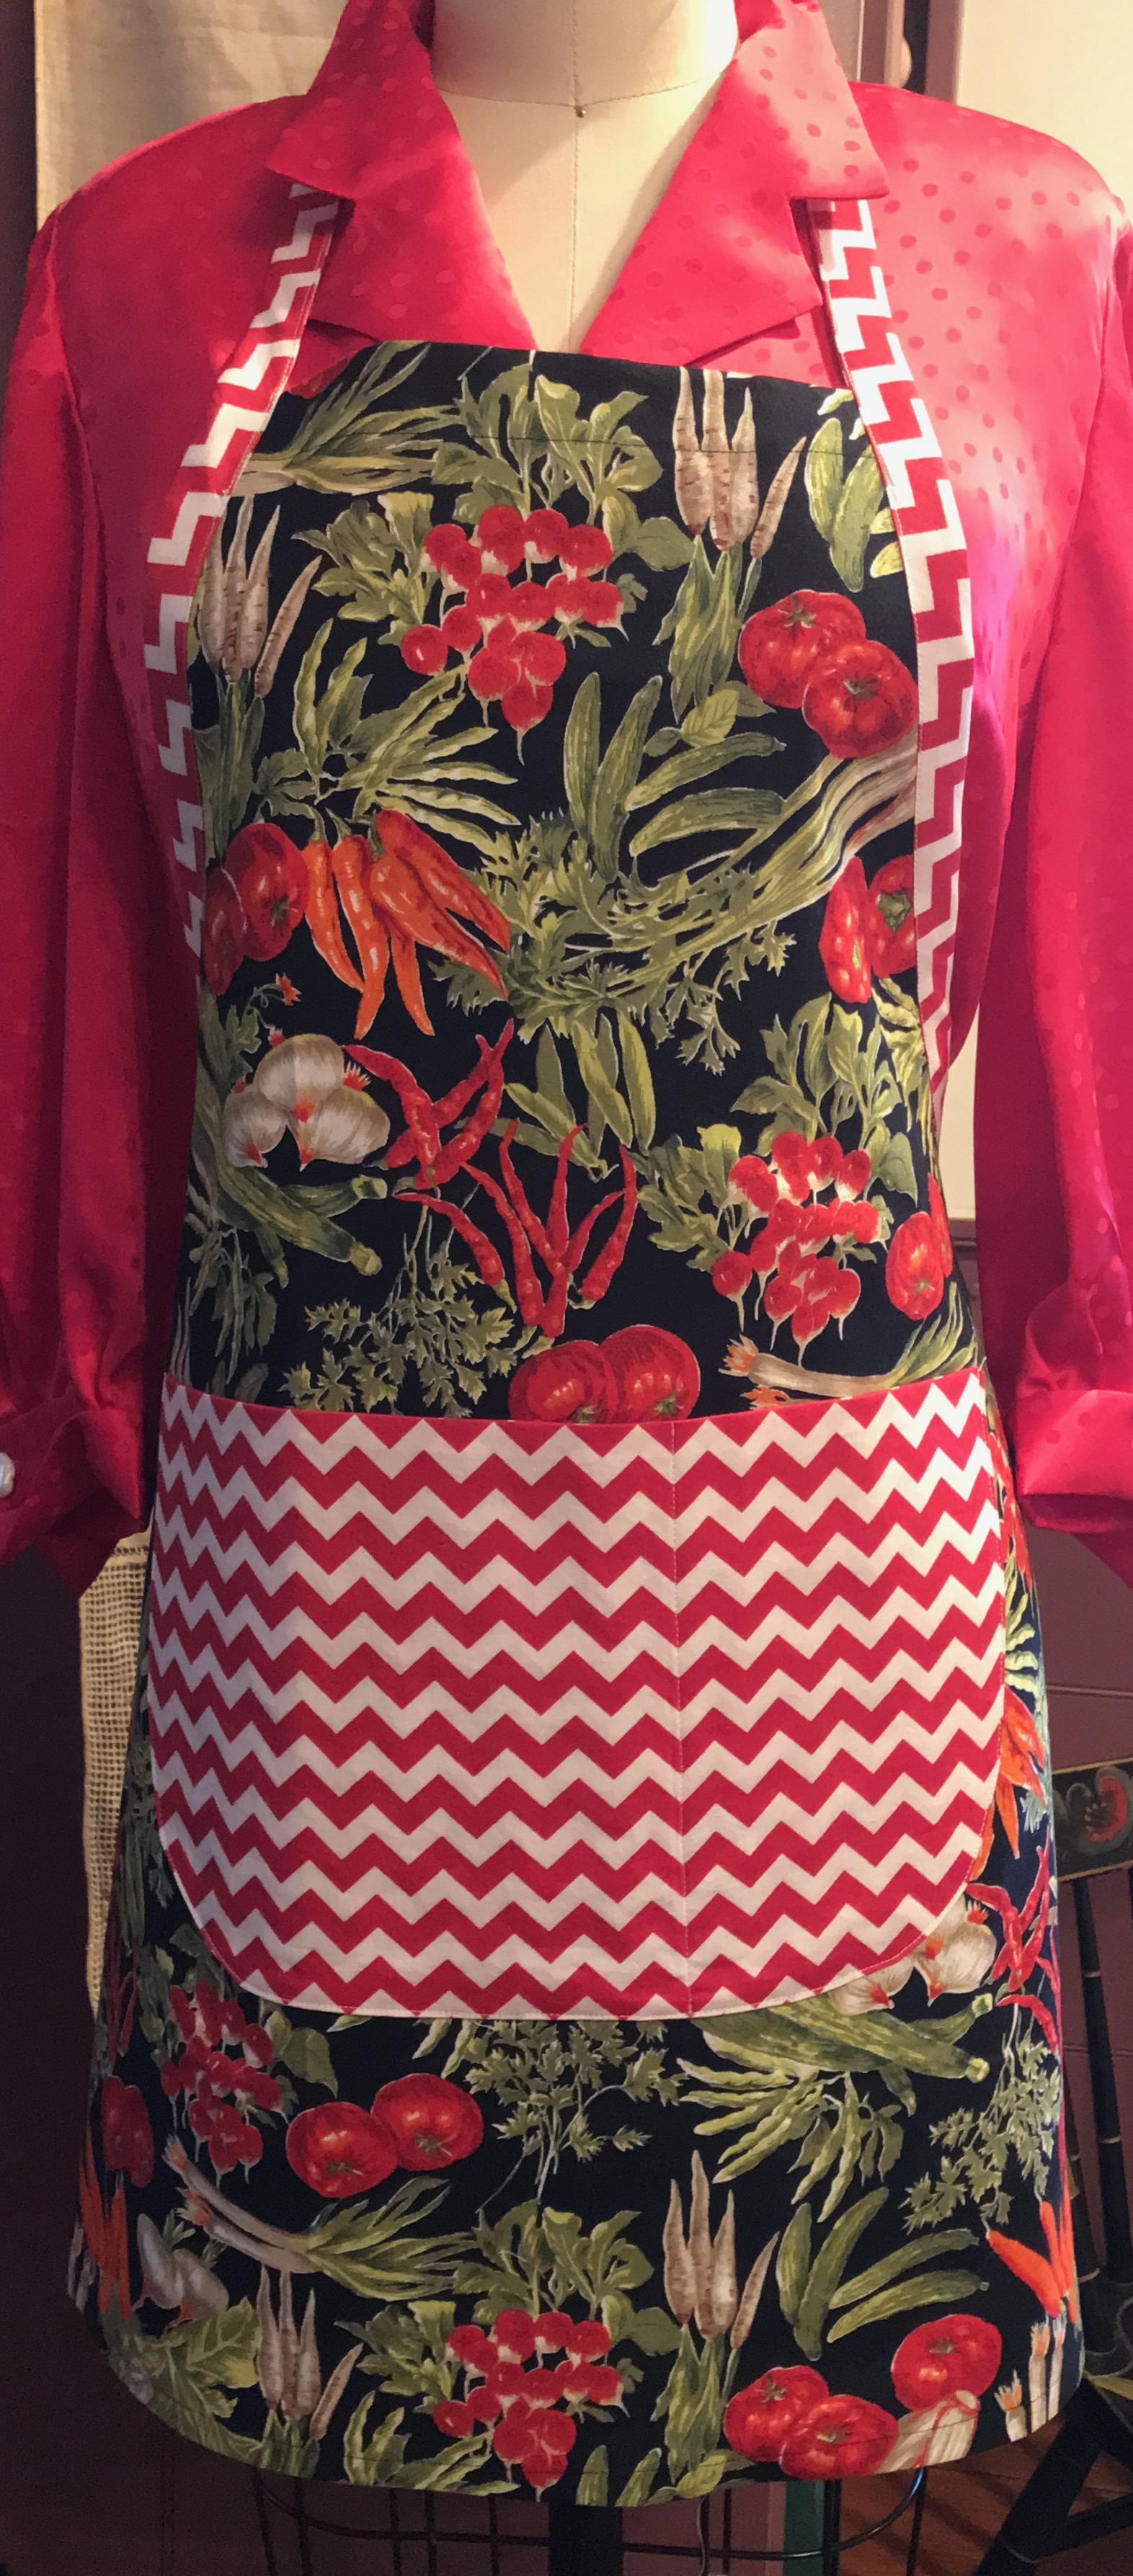
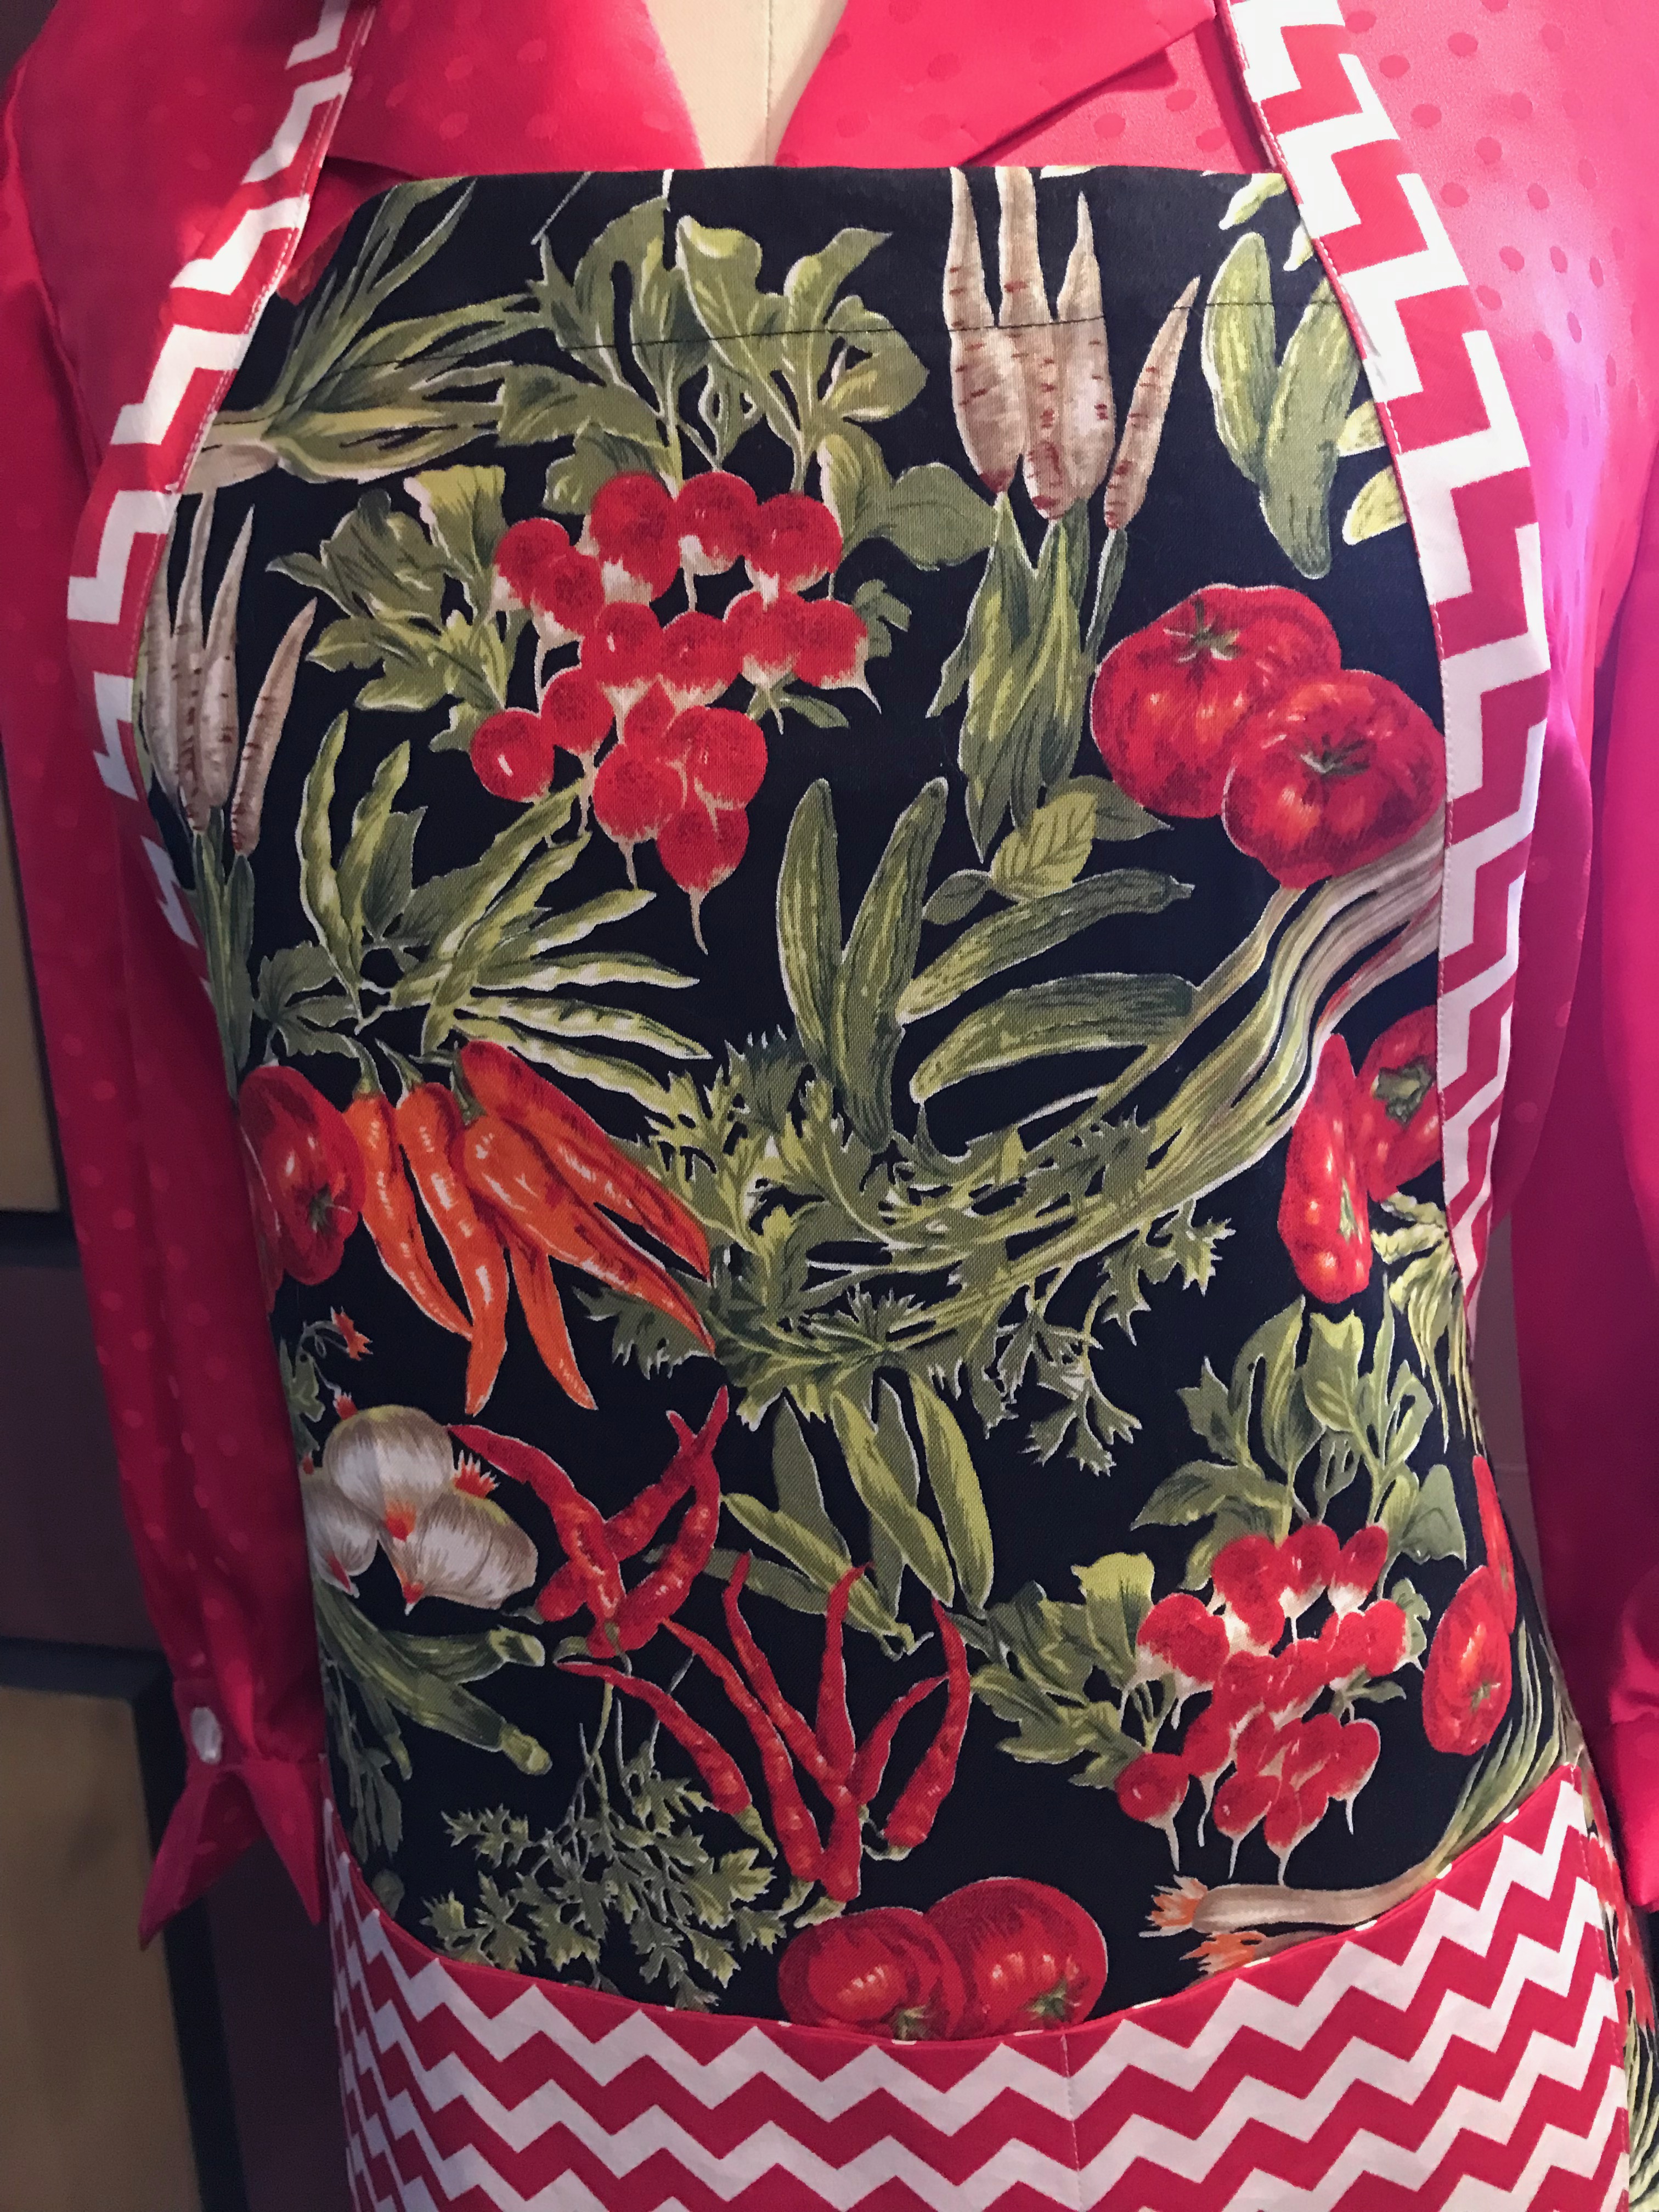
After making two aprons, I was having so much fun, I thought I would look and see what other apron-appropriate fabrics I could find stored away. I came across a “vegetable” print which is from the 1980s or ‘90s, given to me by a sewing/quilting friend. I had one yard which was perfect for the main part of the apron. I stitched this one up in a flash, having perfected a few time-saving techniques in the first two aprons.
Now I’m ready to approach some more serious sewing! But what fun to create three distinct looks from one simple-to-make pattern. My friends and family had better watch out – they may be getting aprons for Christmas…


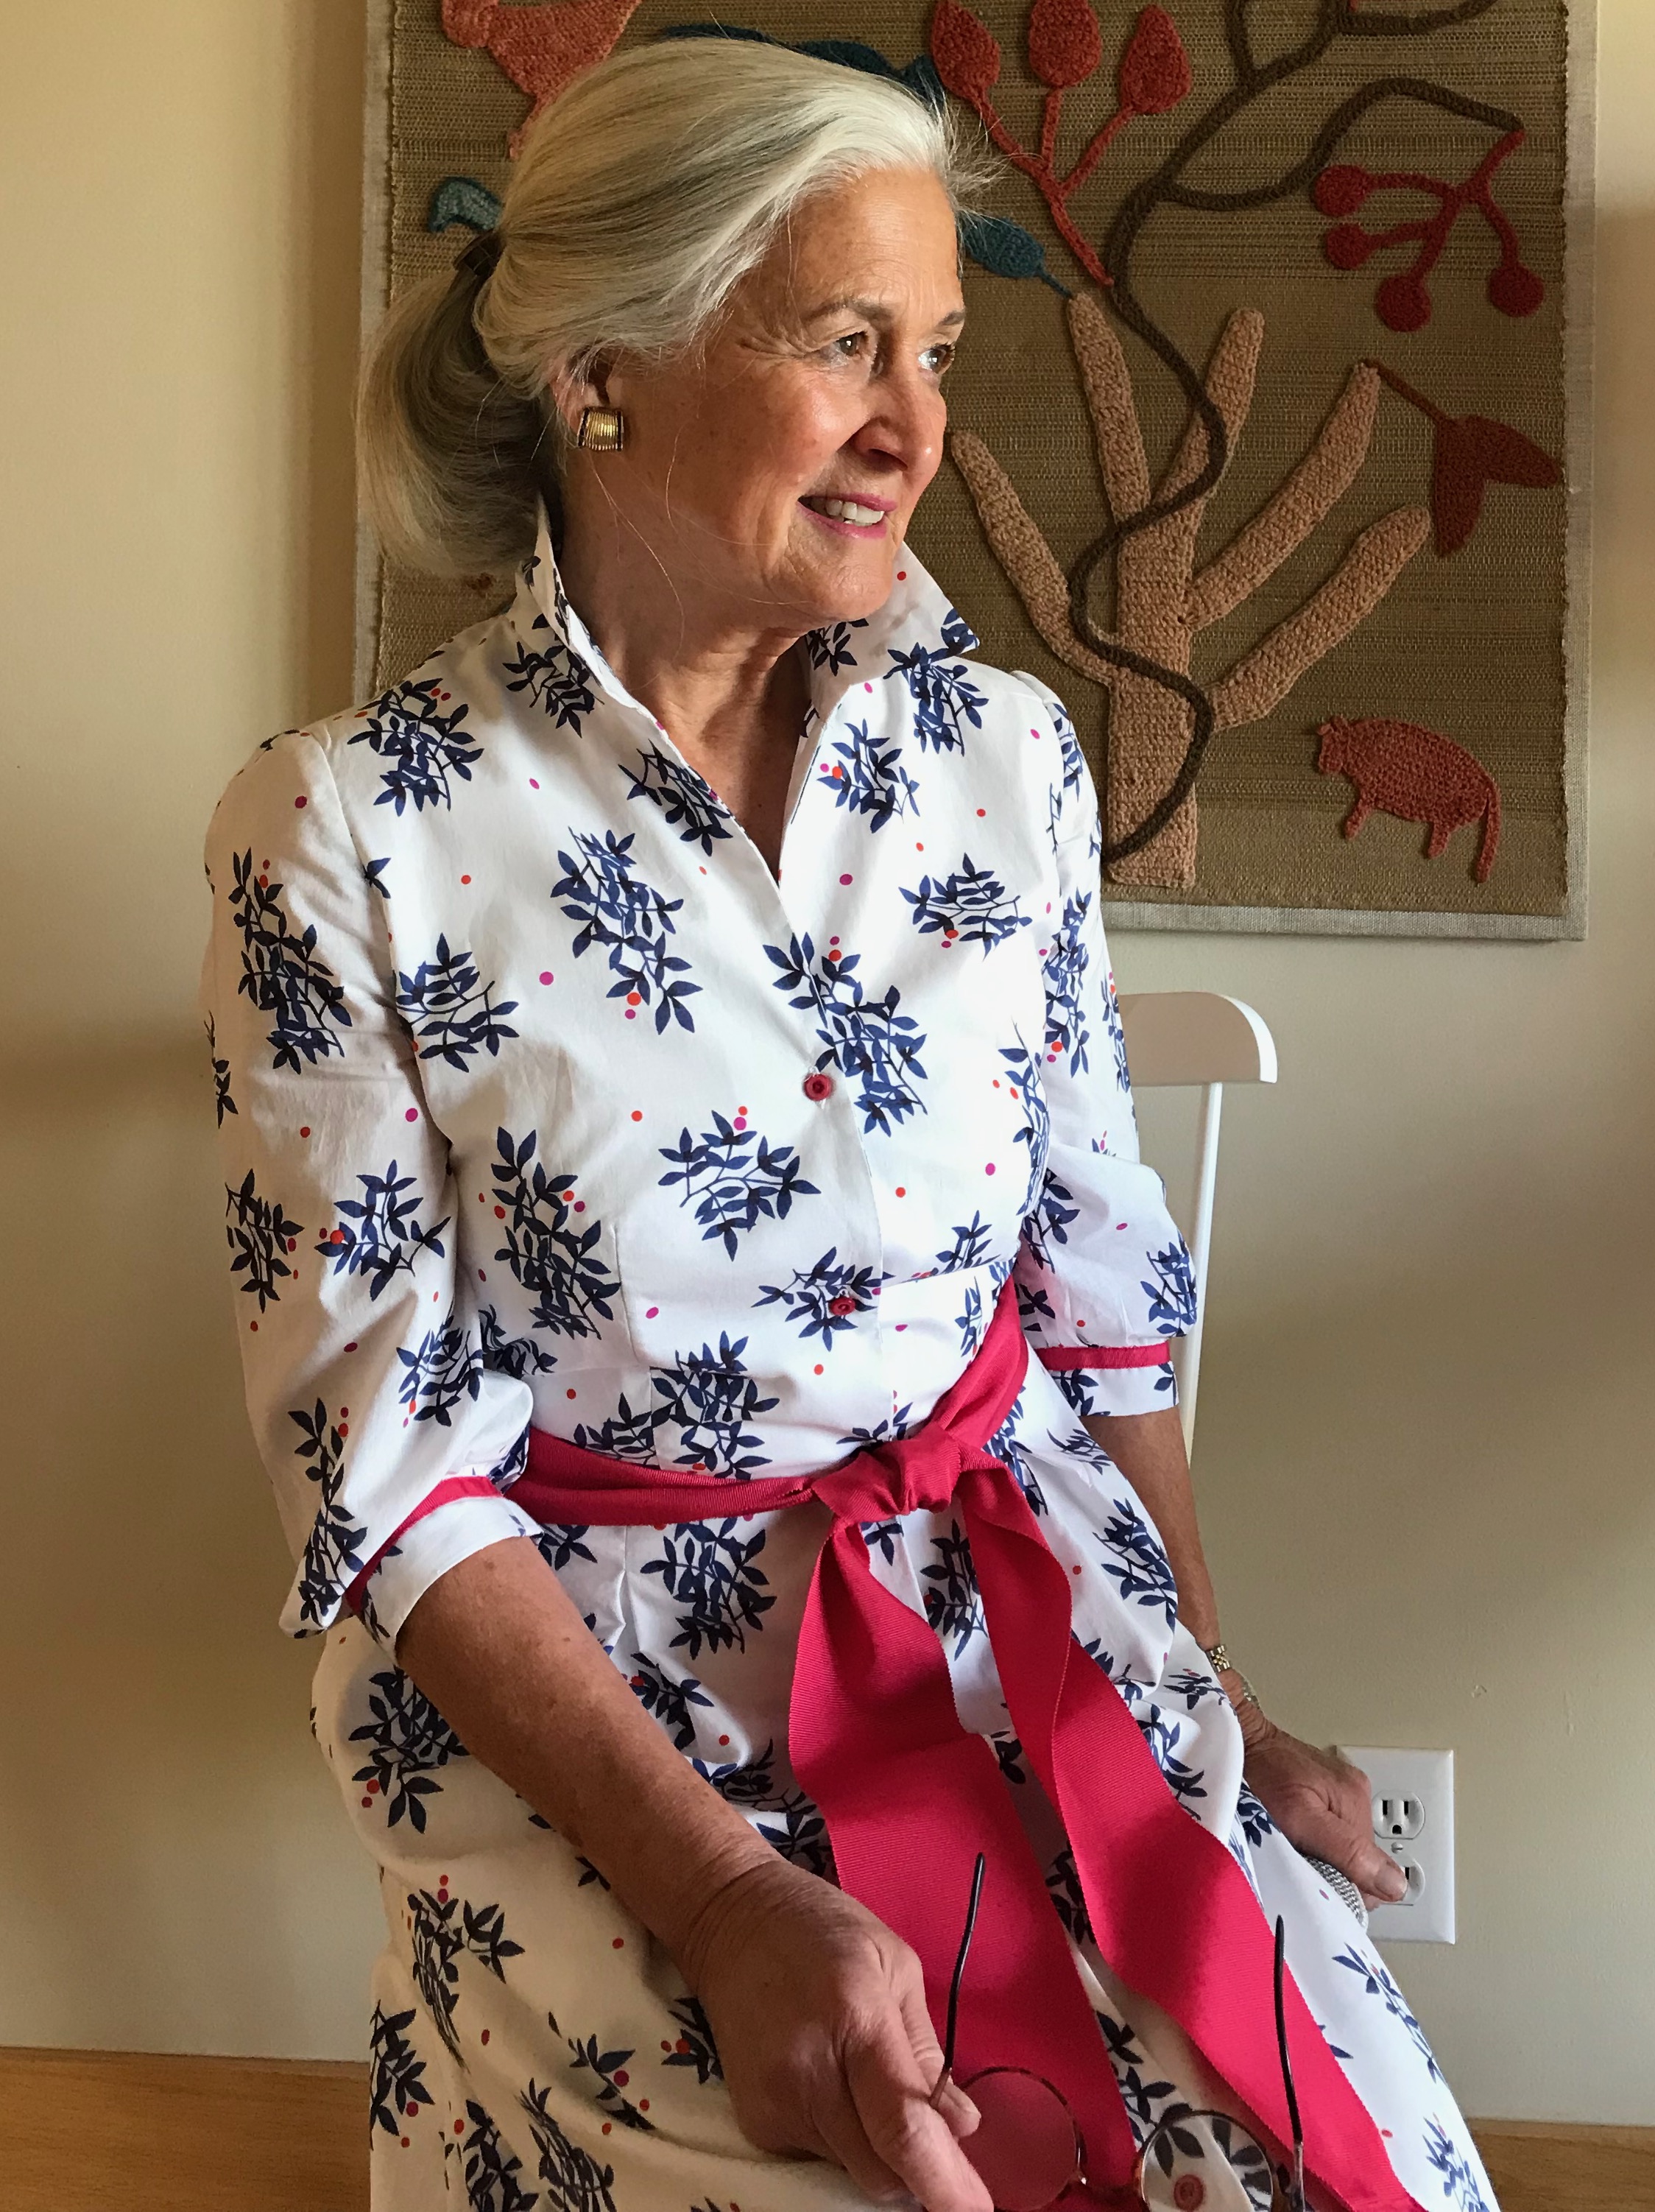


A Blue, White and Pink Tunic Top
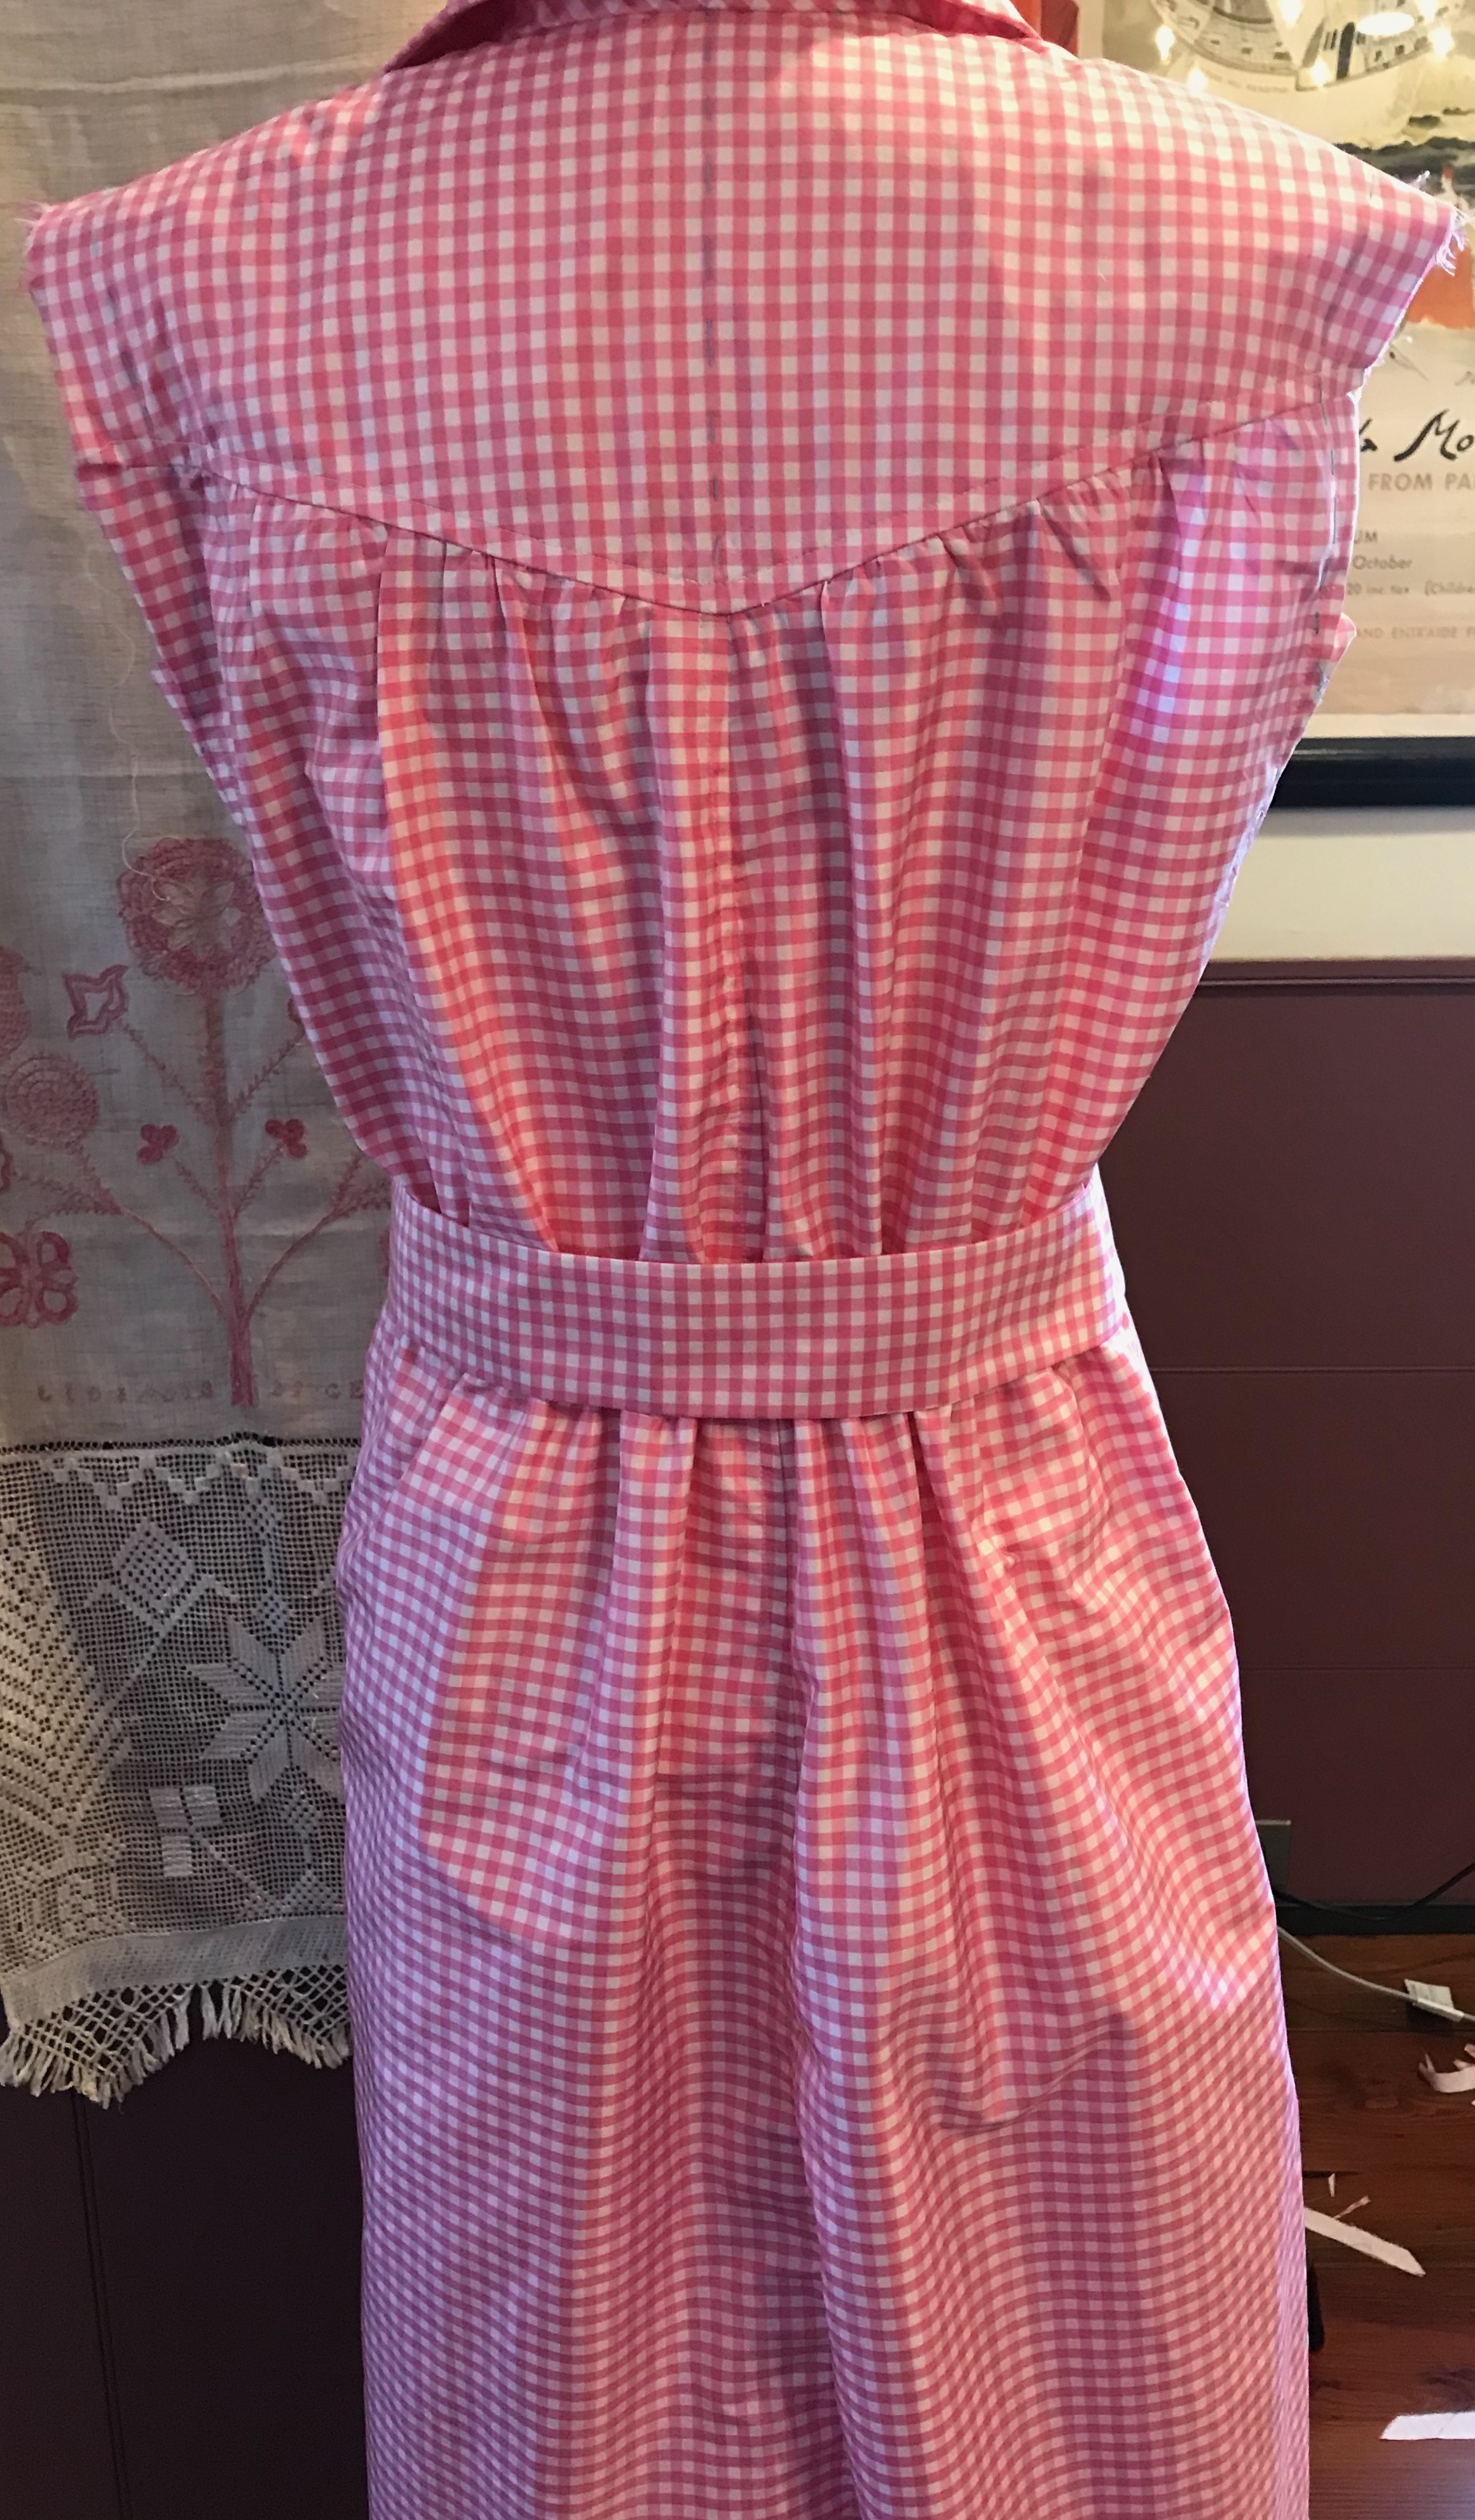
Perhaps many of you are familiar with this famous quote from Edith Head (American costume designer, 1897-1981): “A dress should be tight enough to show you’re a woman and loose enough to prove you’re a lady.” When it comes to tunic tops, my very inelegant redo of that quote is: “A tunic should be fitted enough to not be baggy and loose enough to be able to get into it.” I find that combination to be a difficult task. Let’s see how I did with this one:
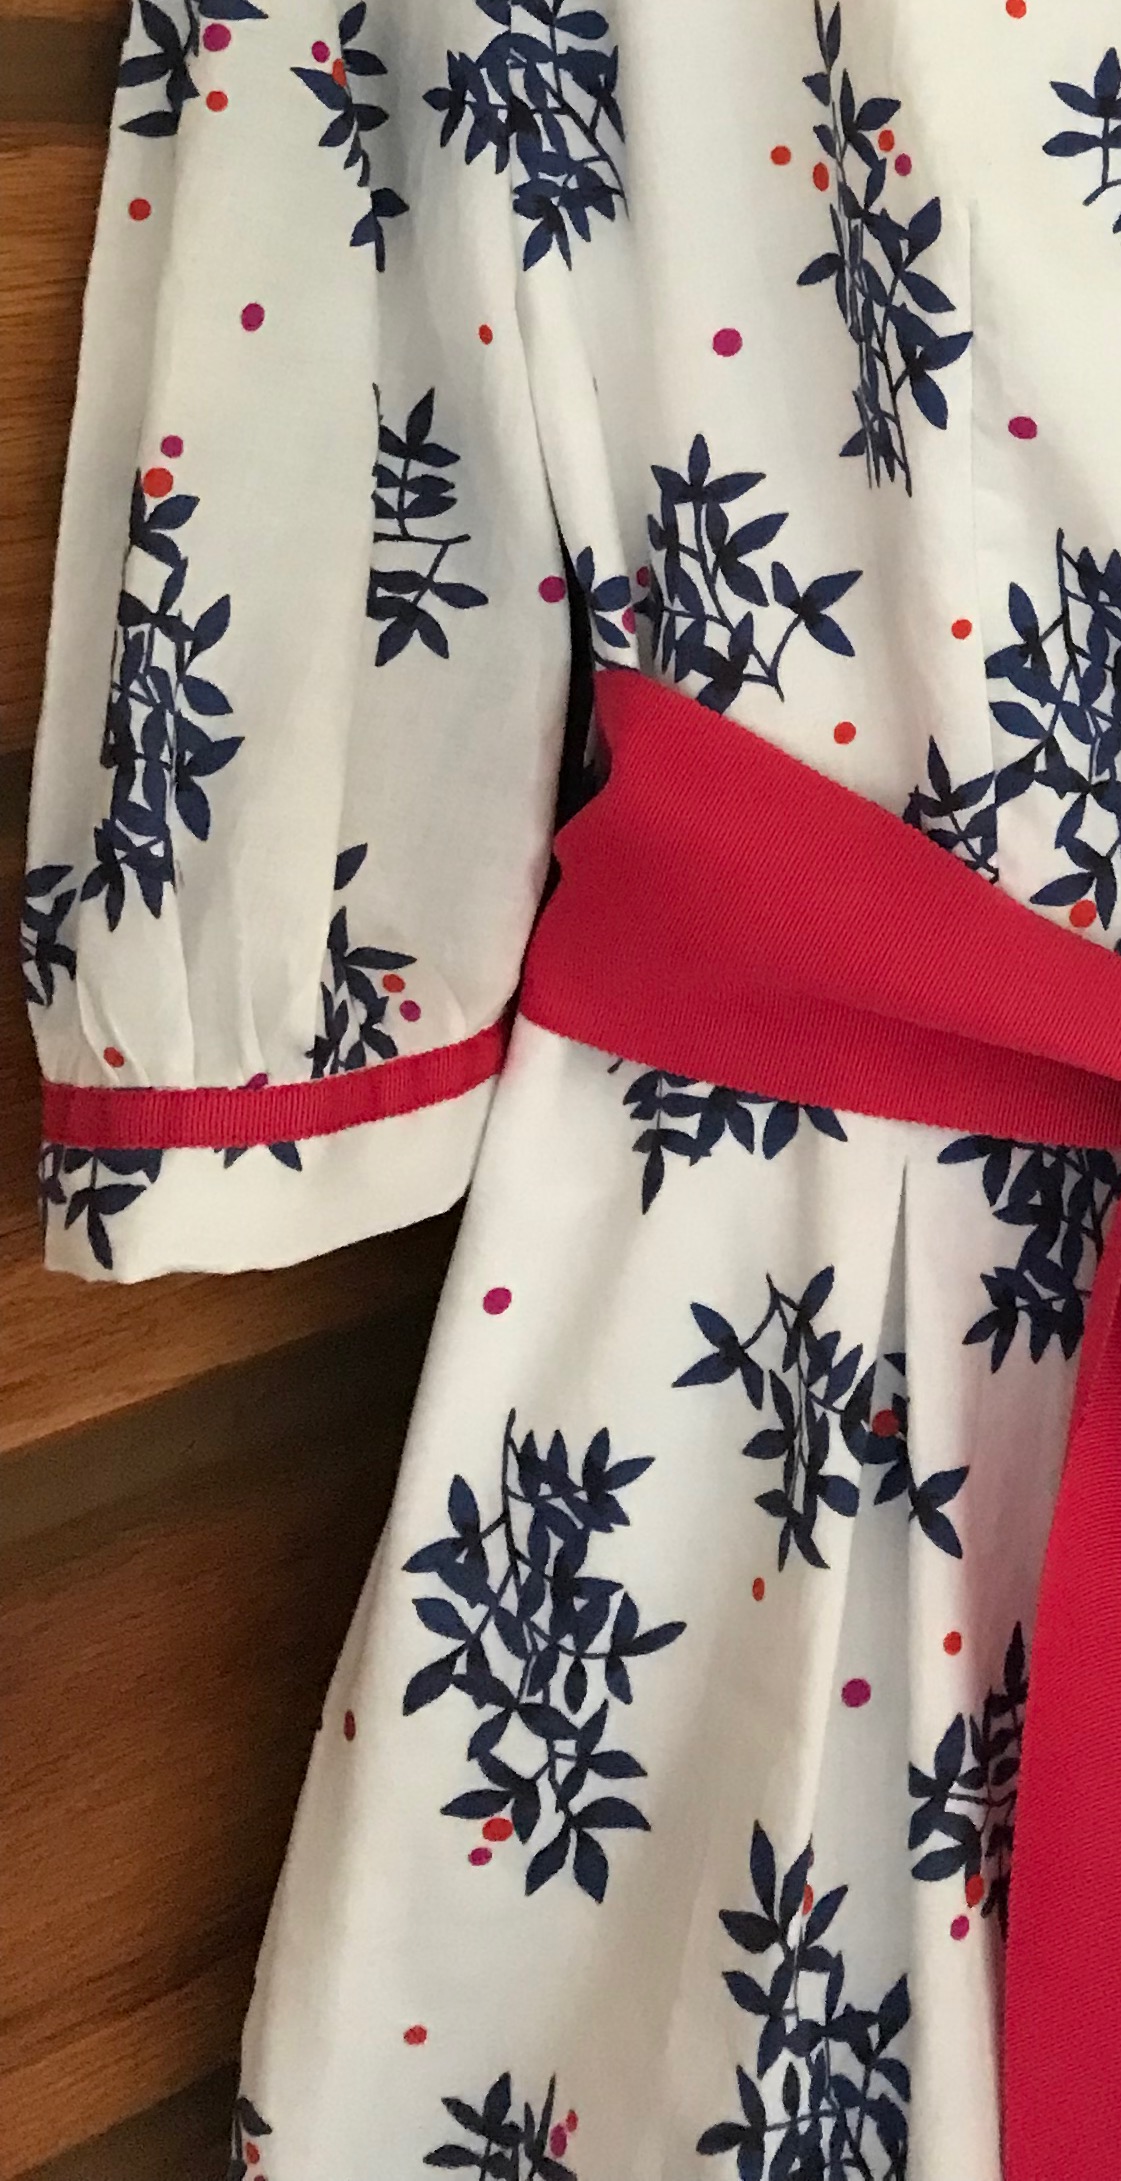
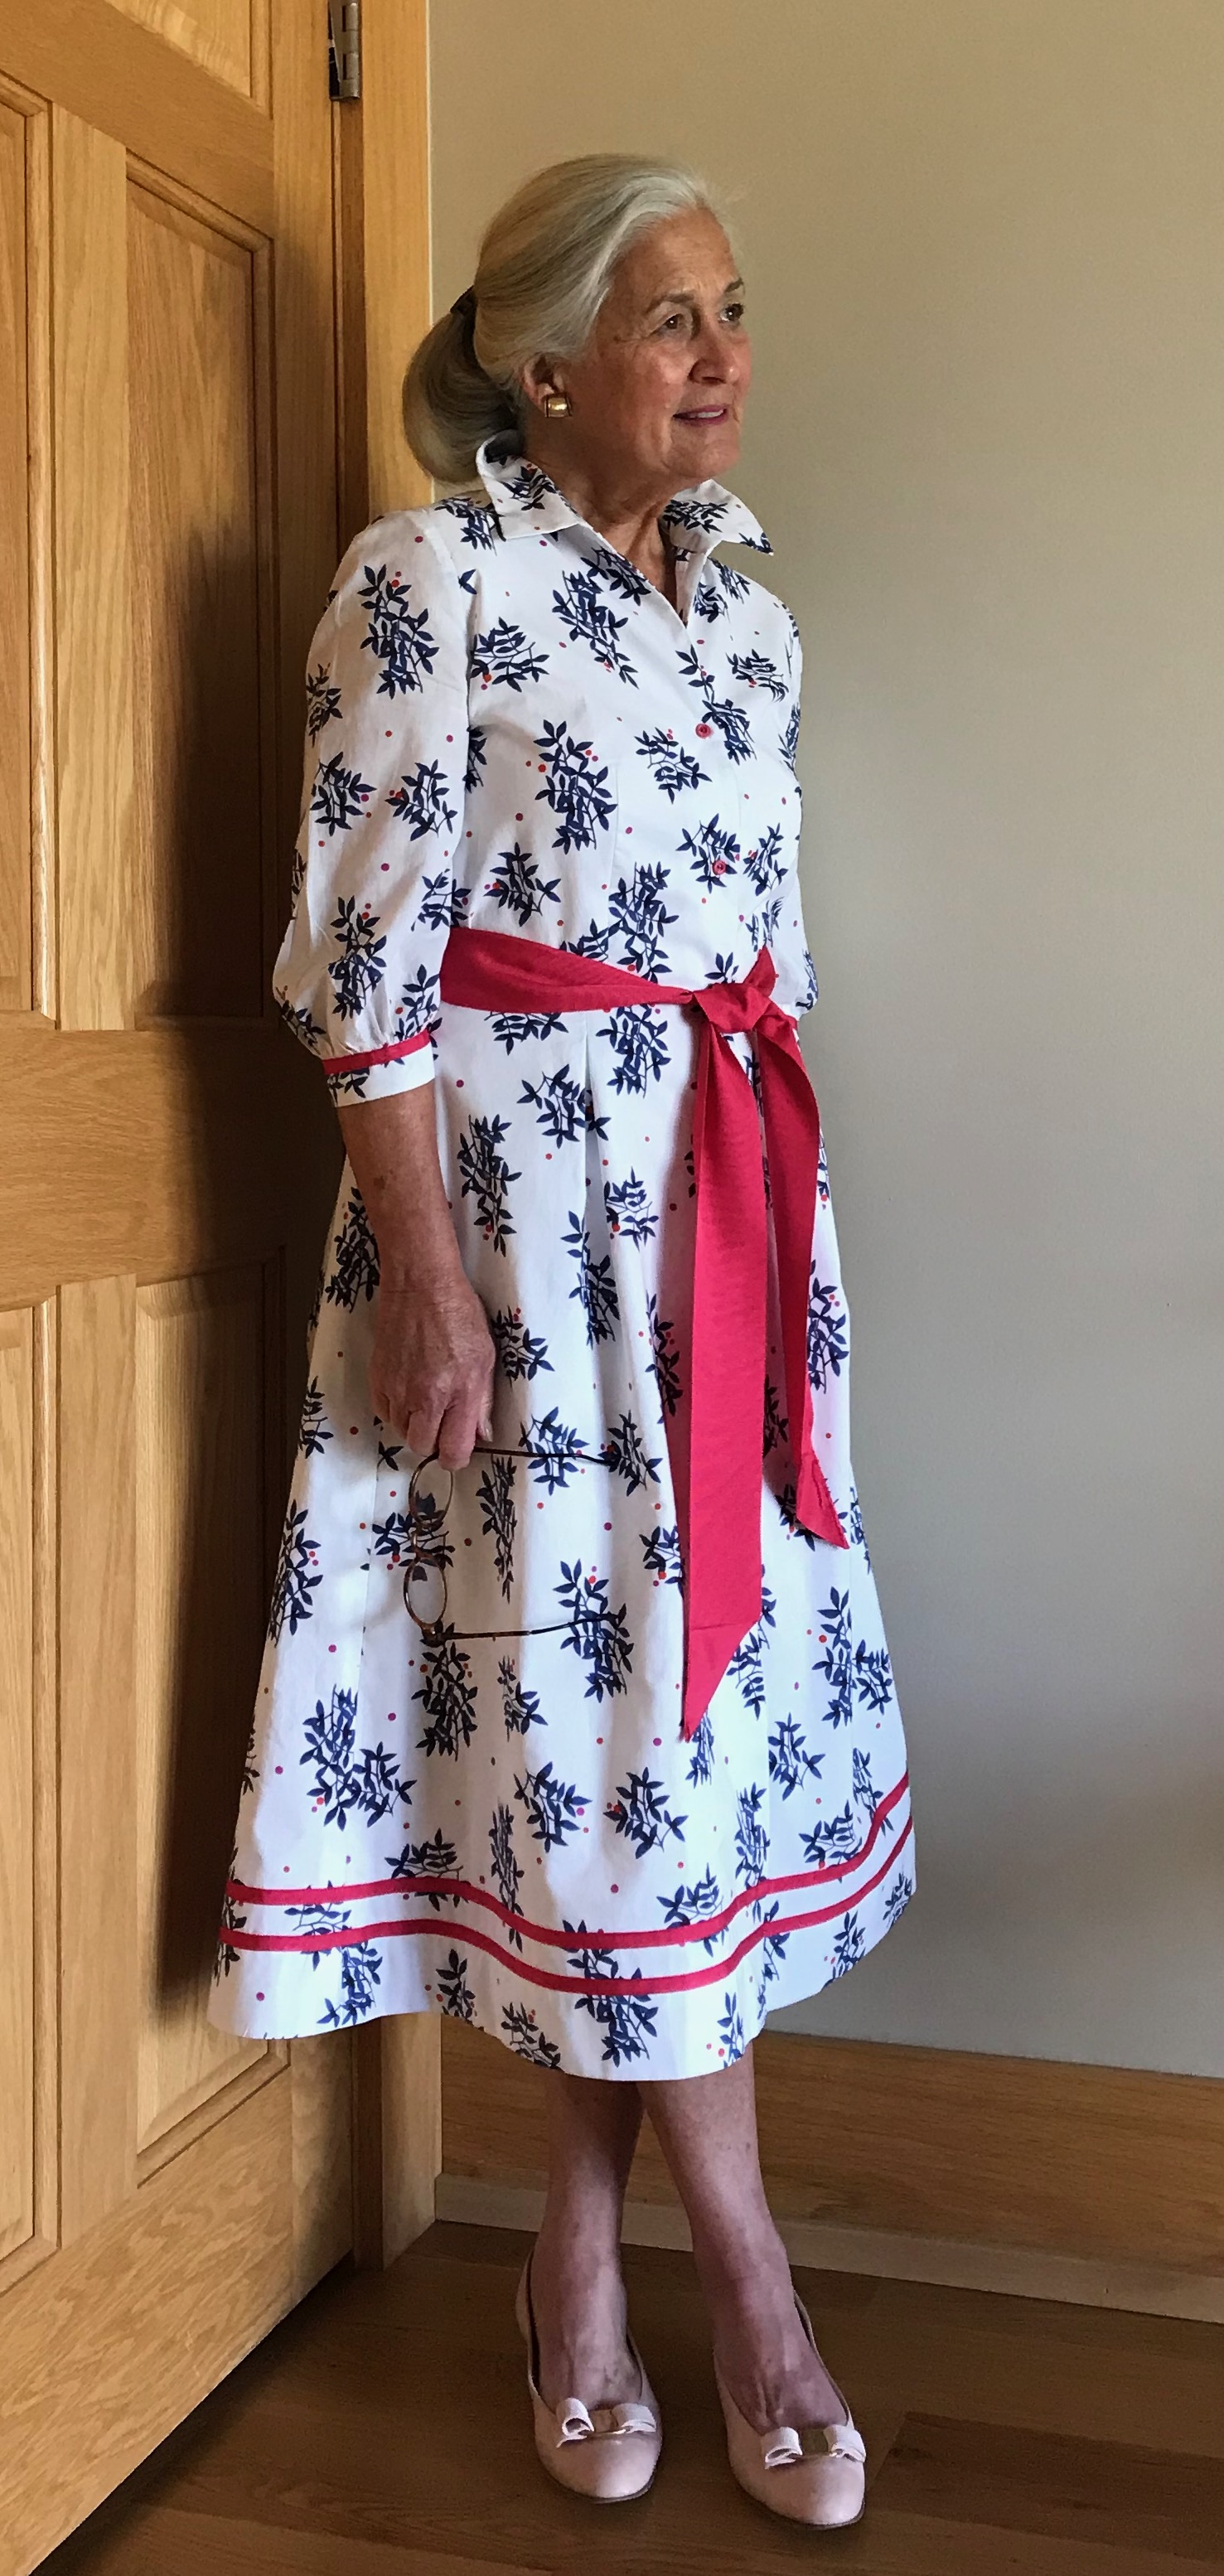
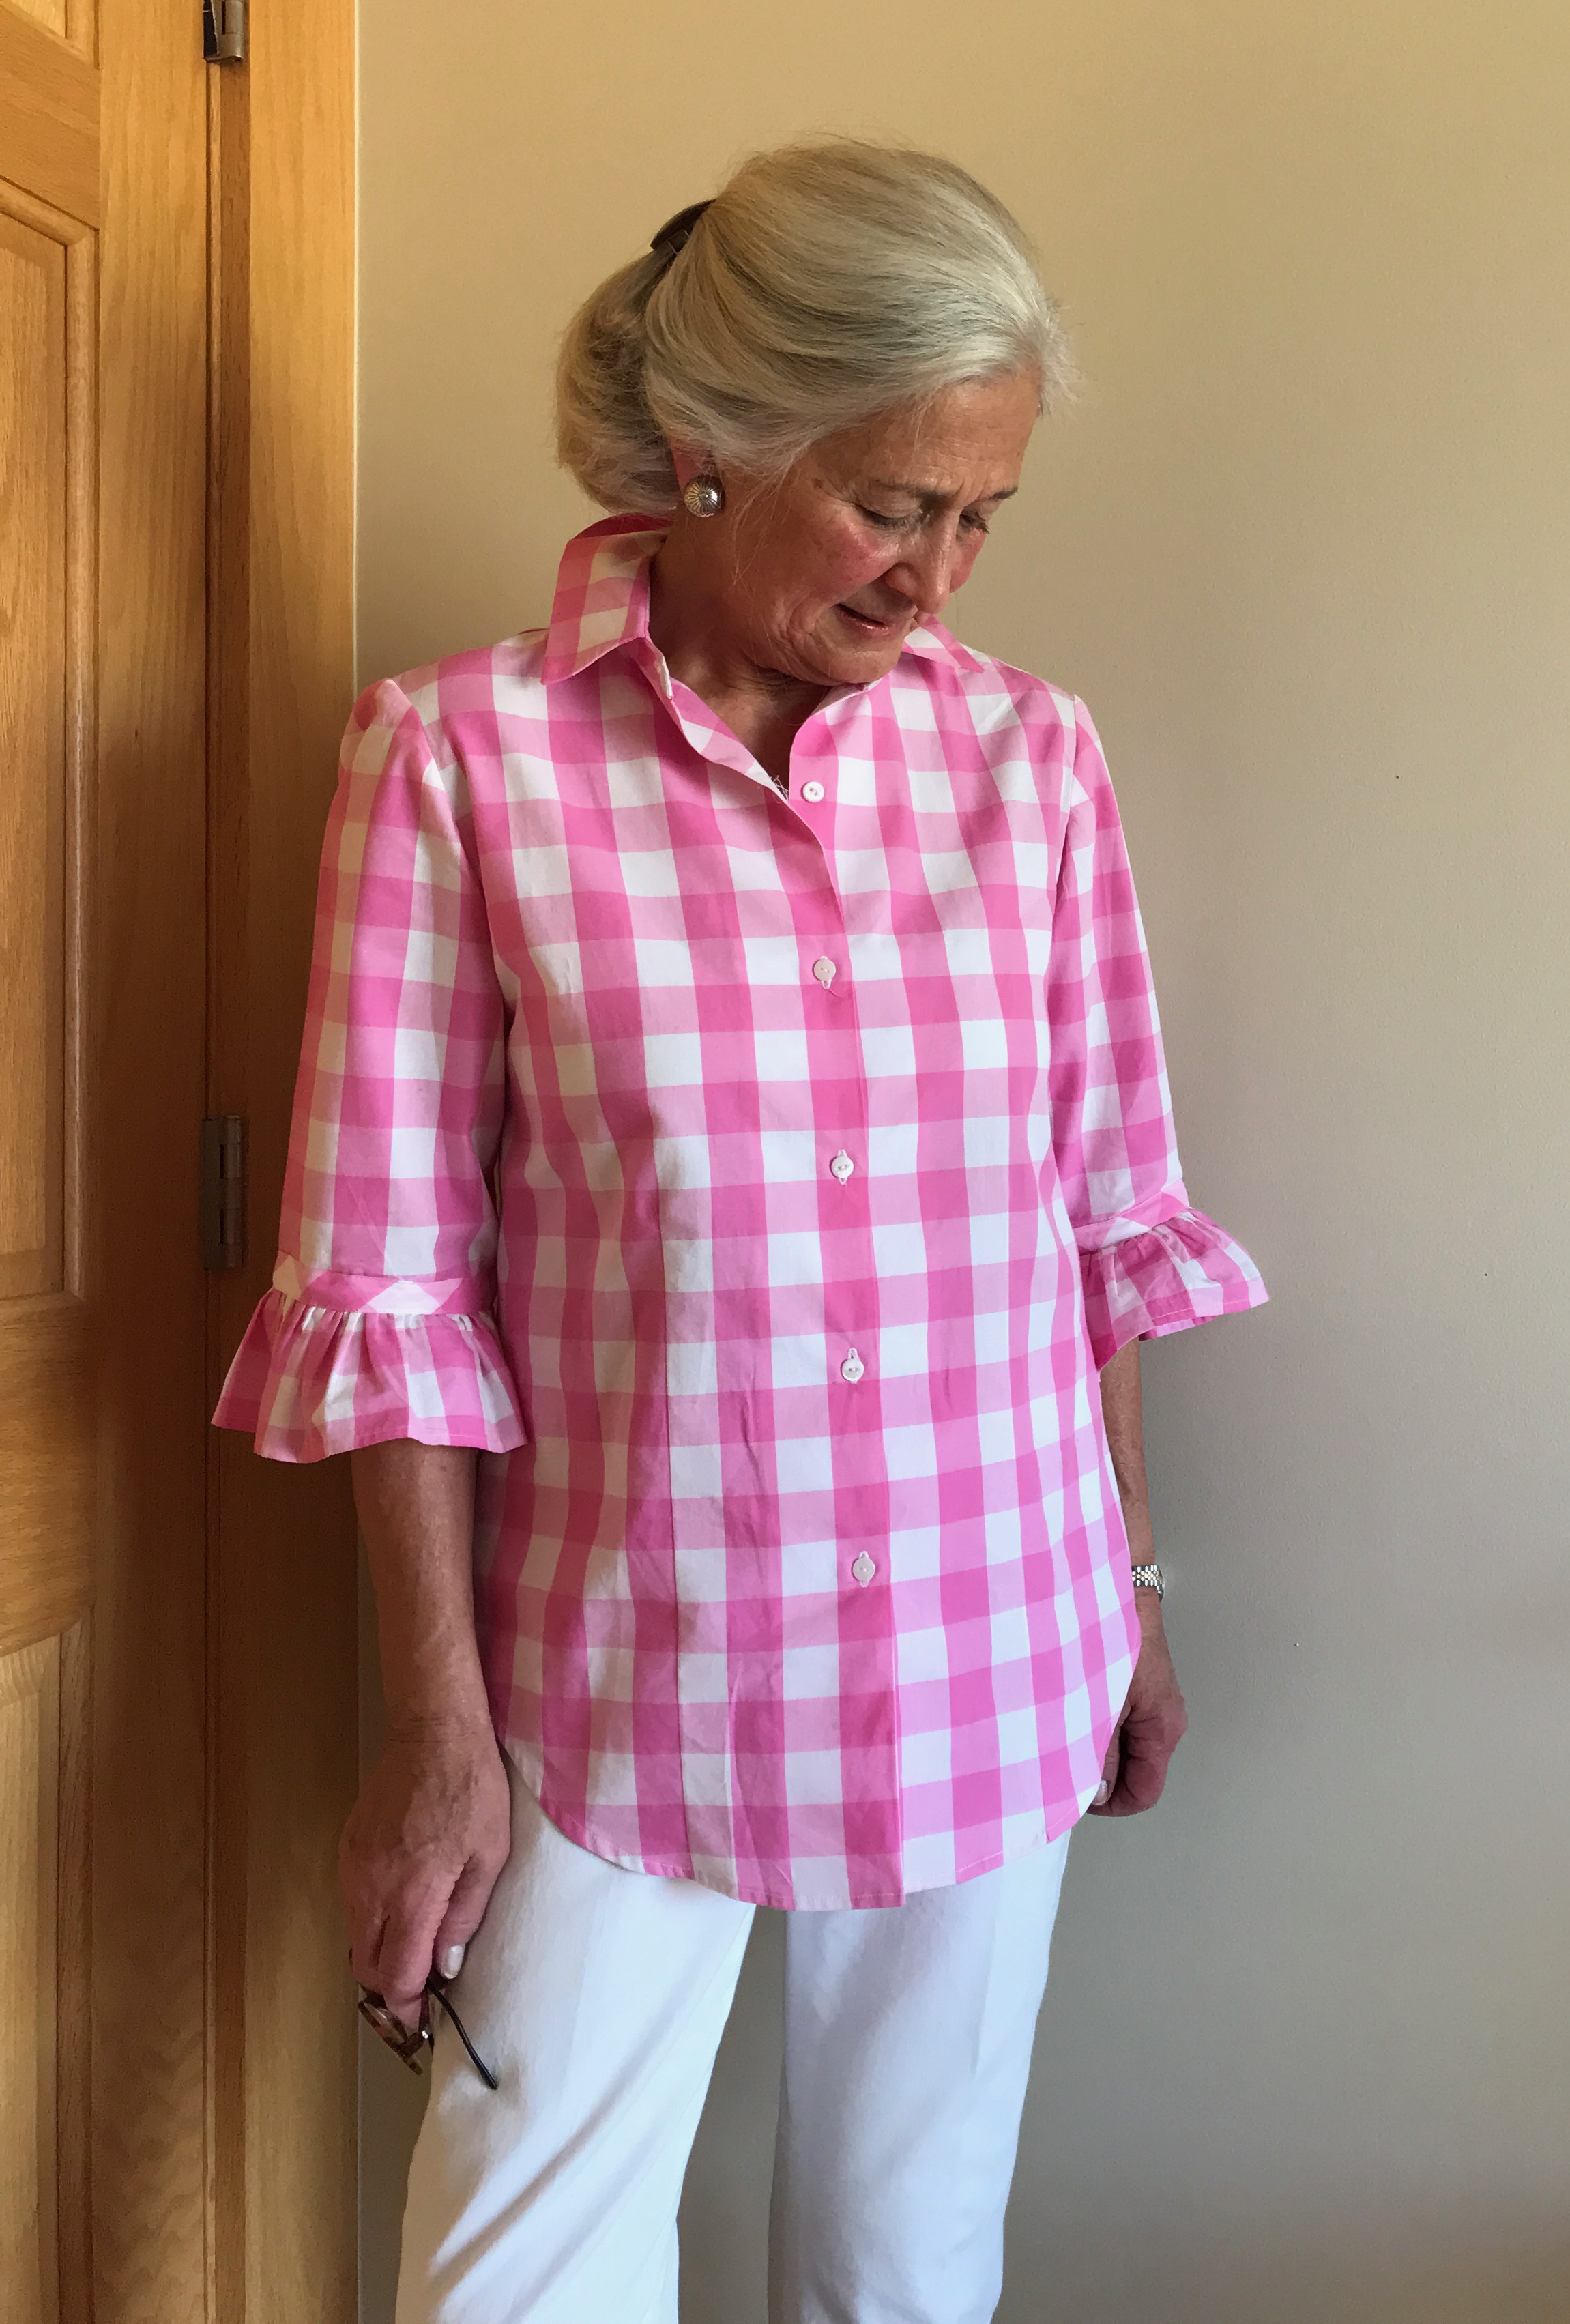
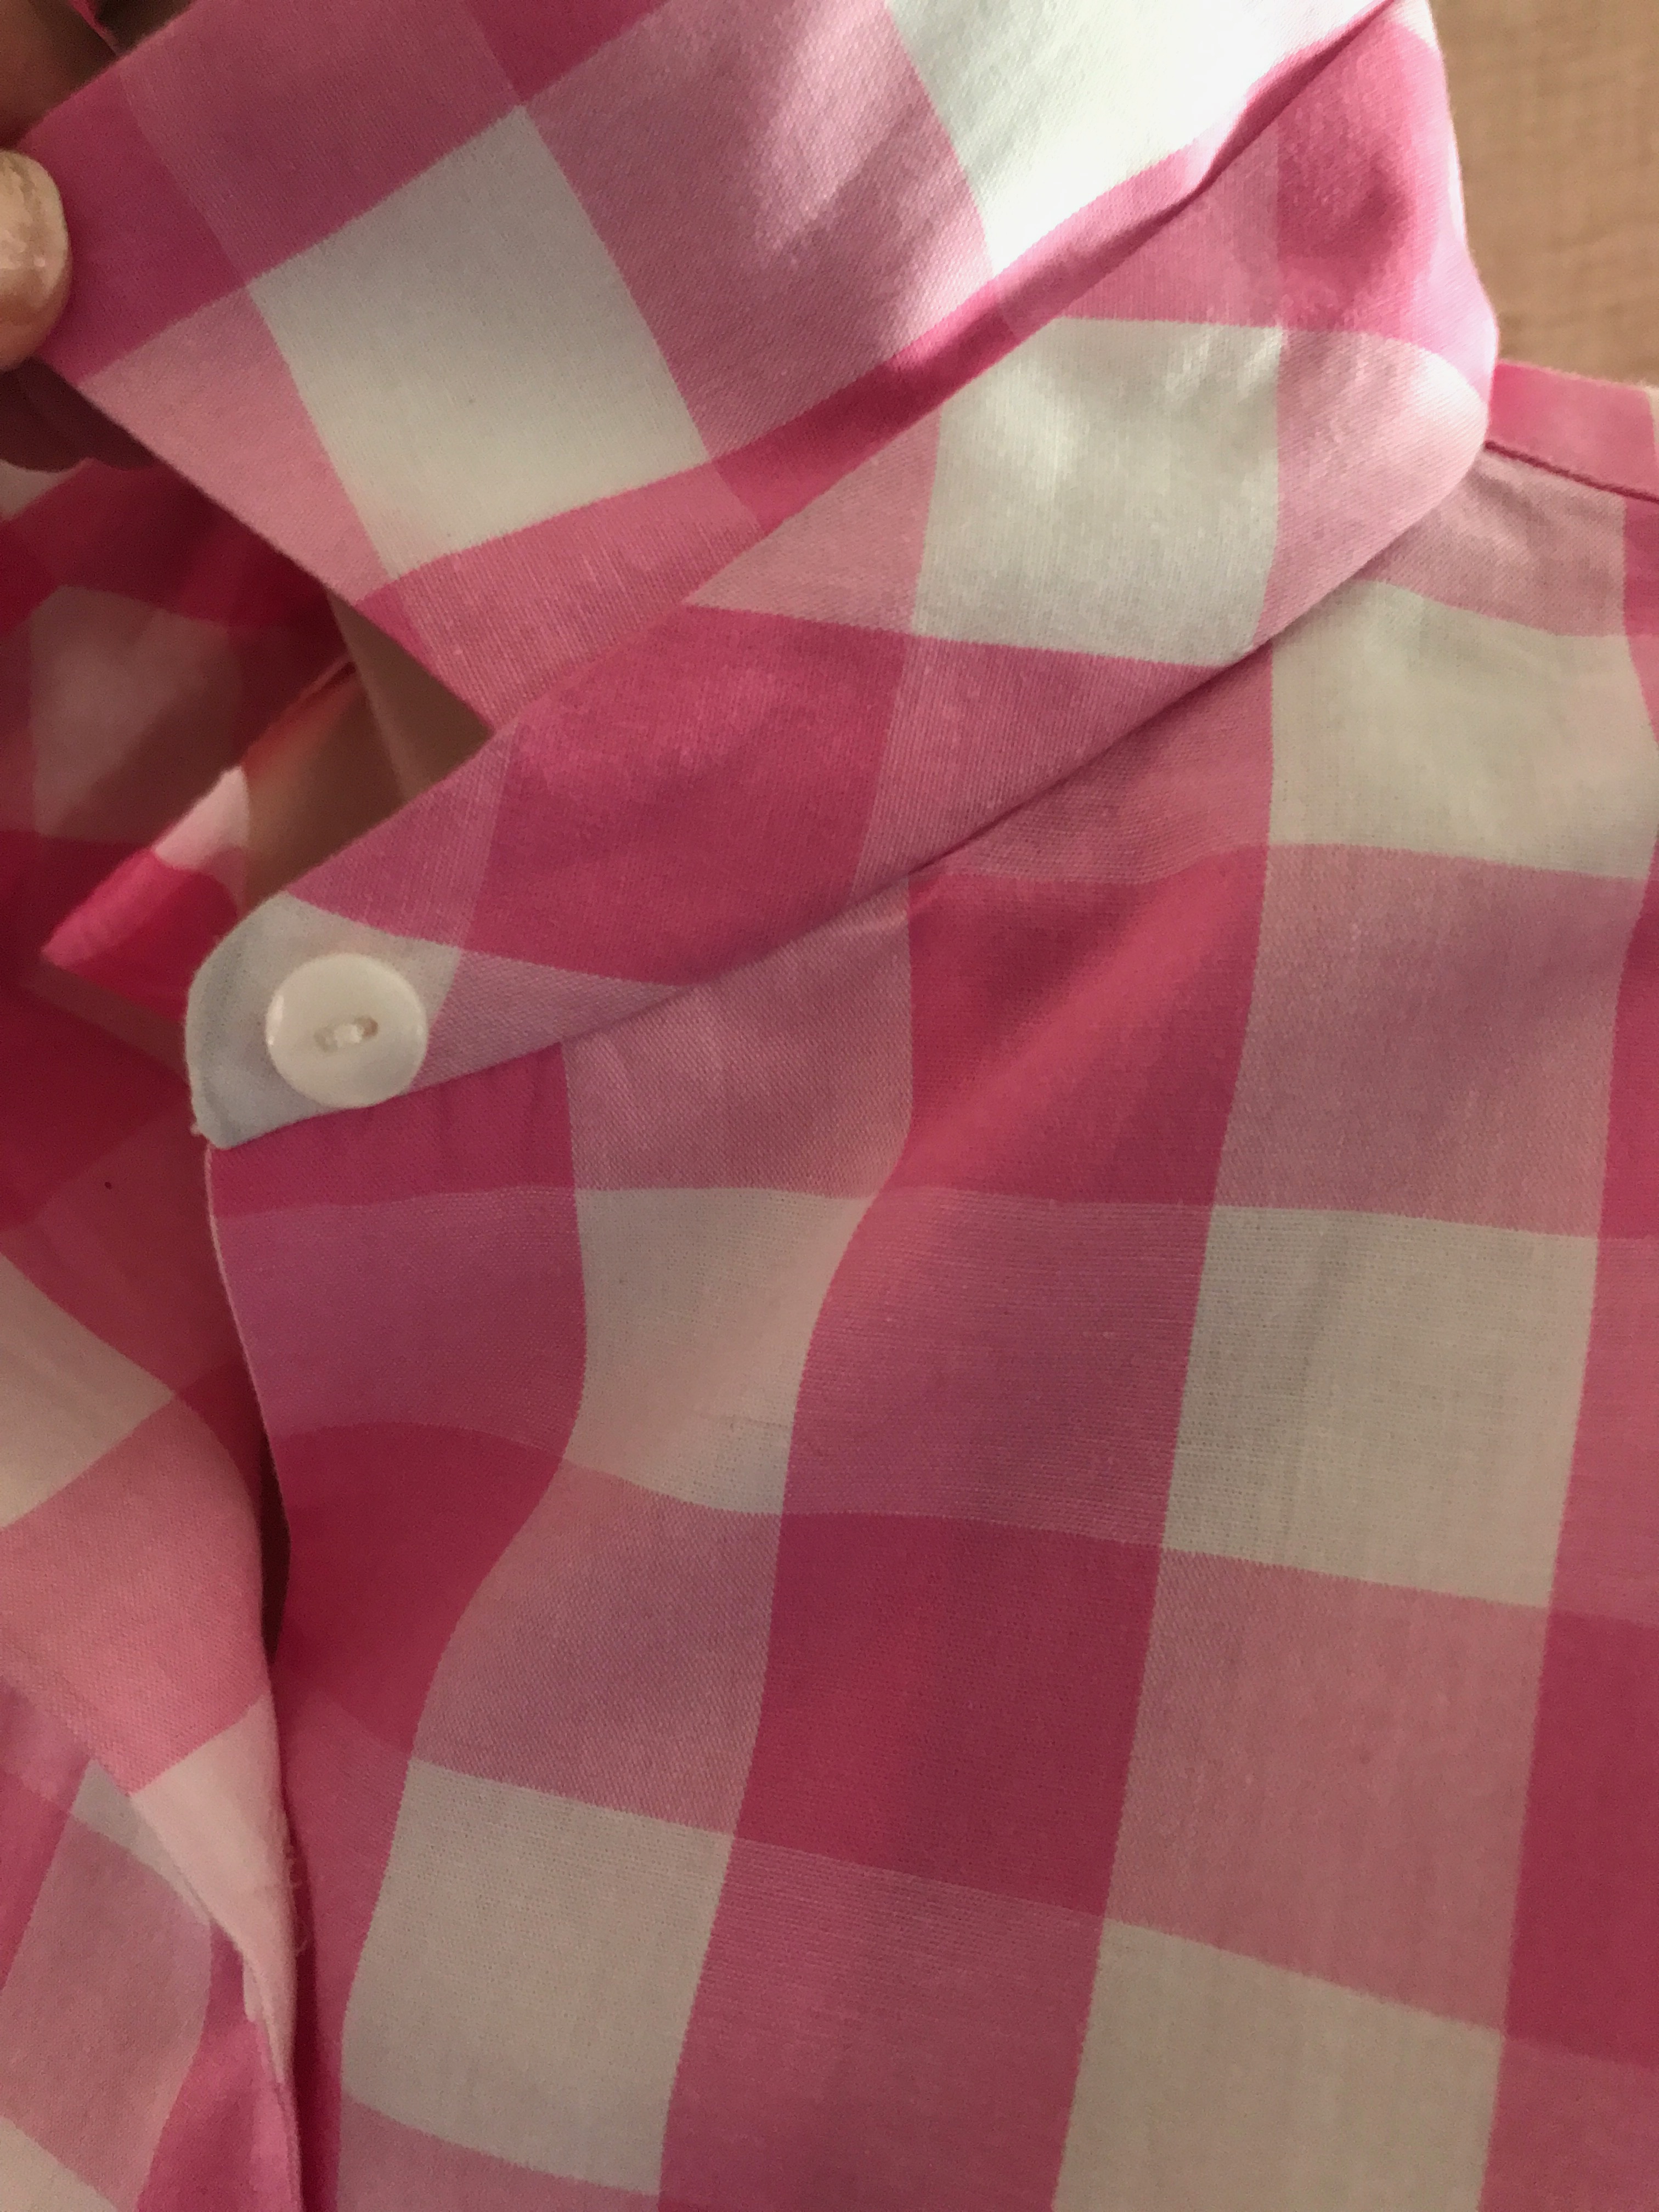
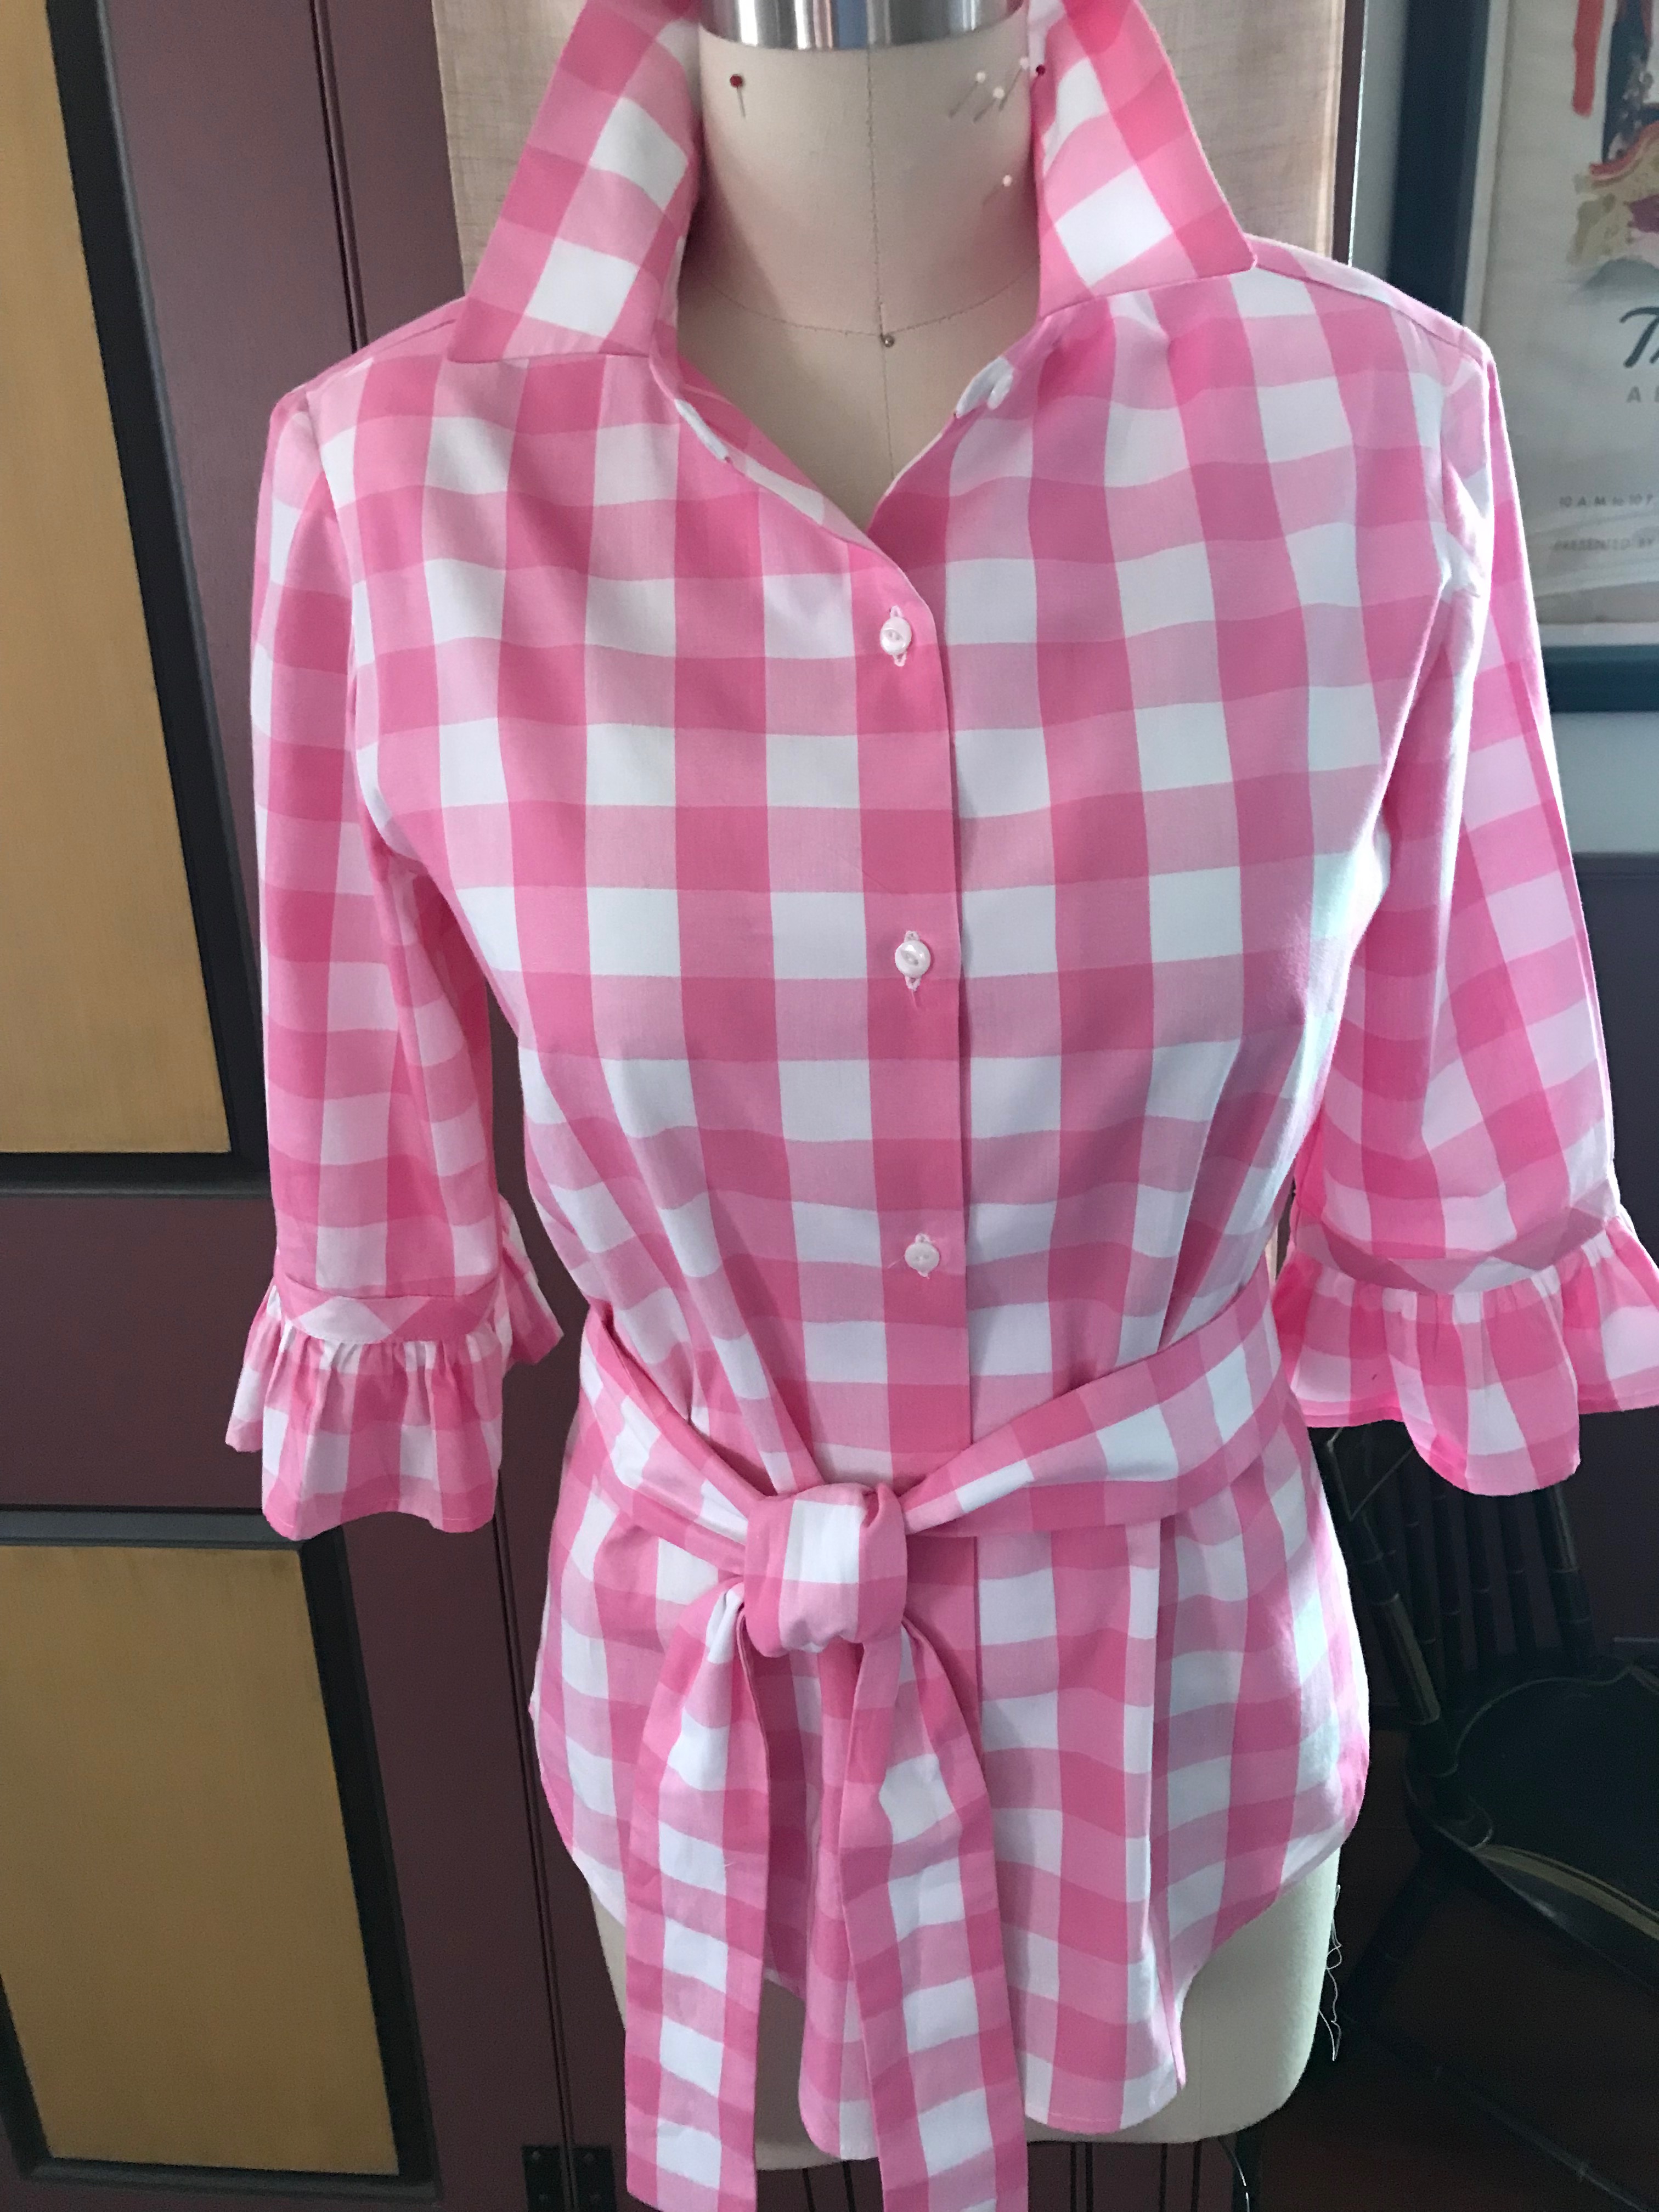
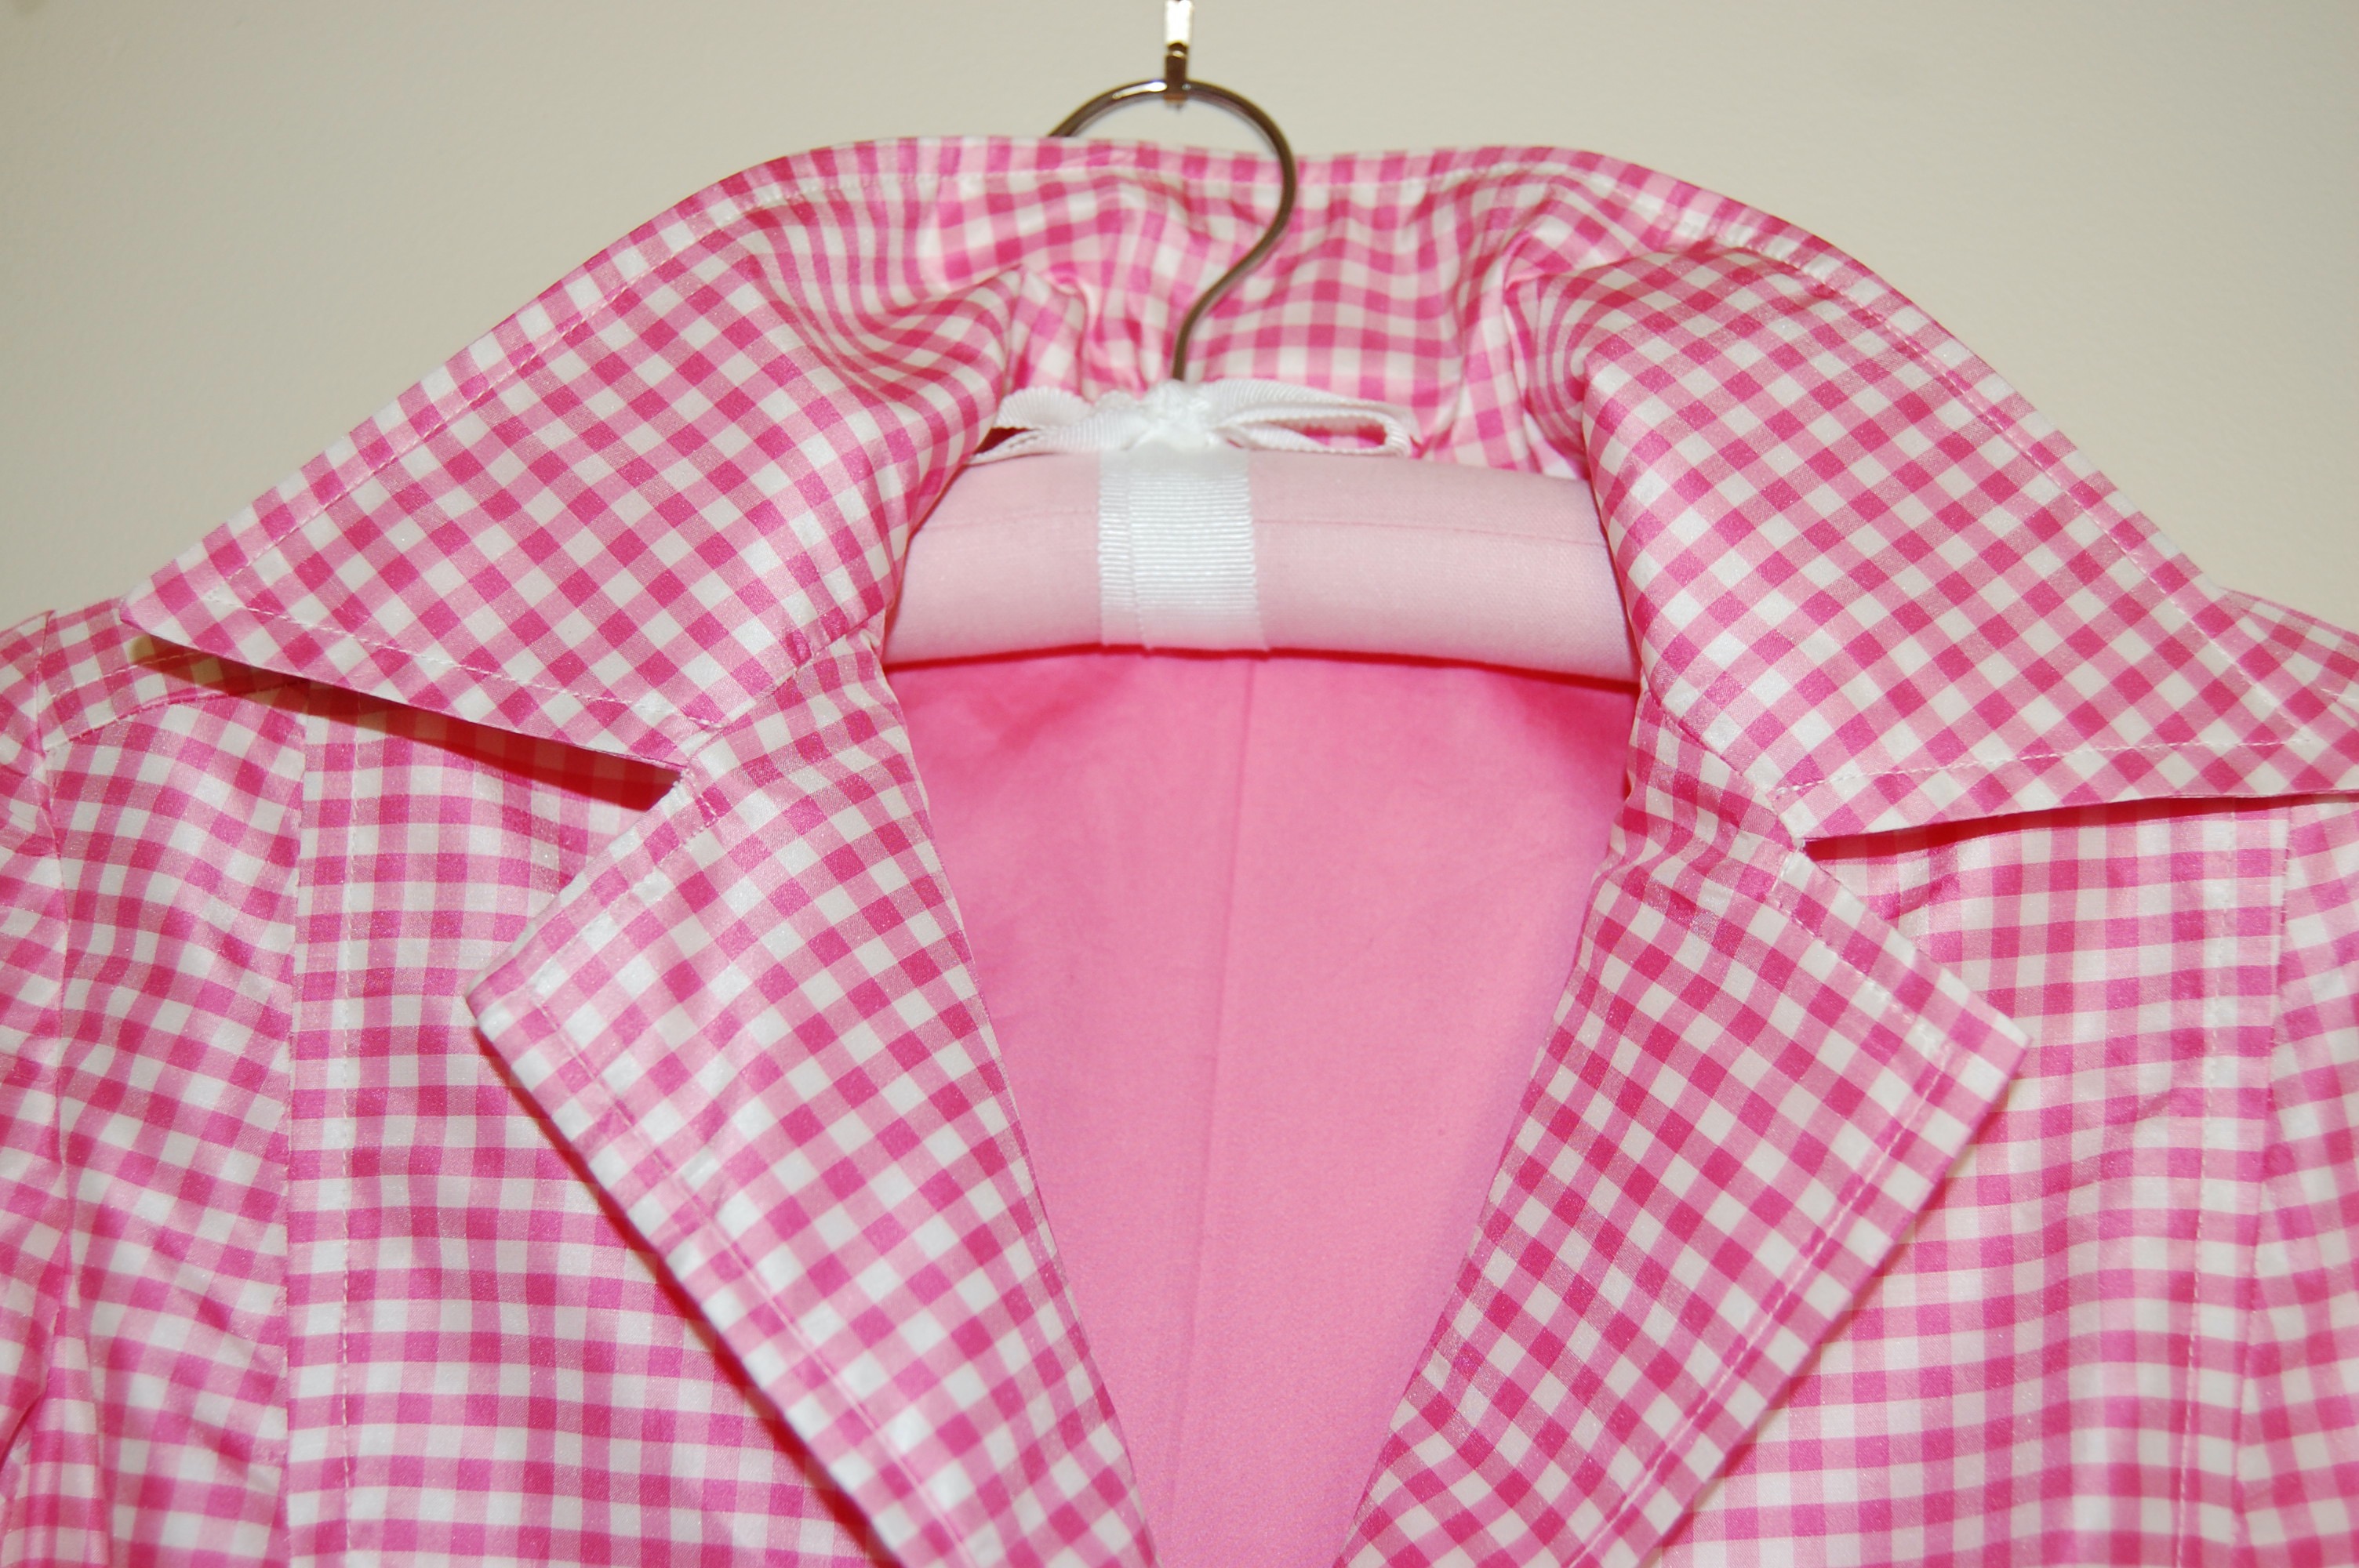
When I saw this pretty fabric on Emma One Socks’s website, I just knew I needed to purchase a length of it. All cotton, it is finely woven and silky soft. Originally, I thought I would make a dress, but when it arrived, I saw it as a tunic top, trimmed in pink, of course. I have a couple of tunic patterns, but I went back to this one because the front opening is longer than most, making it easier to get on and get off.
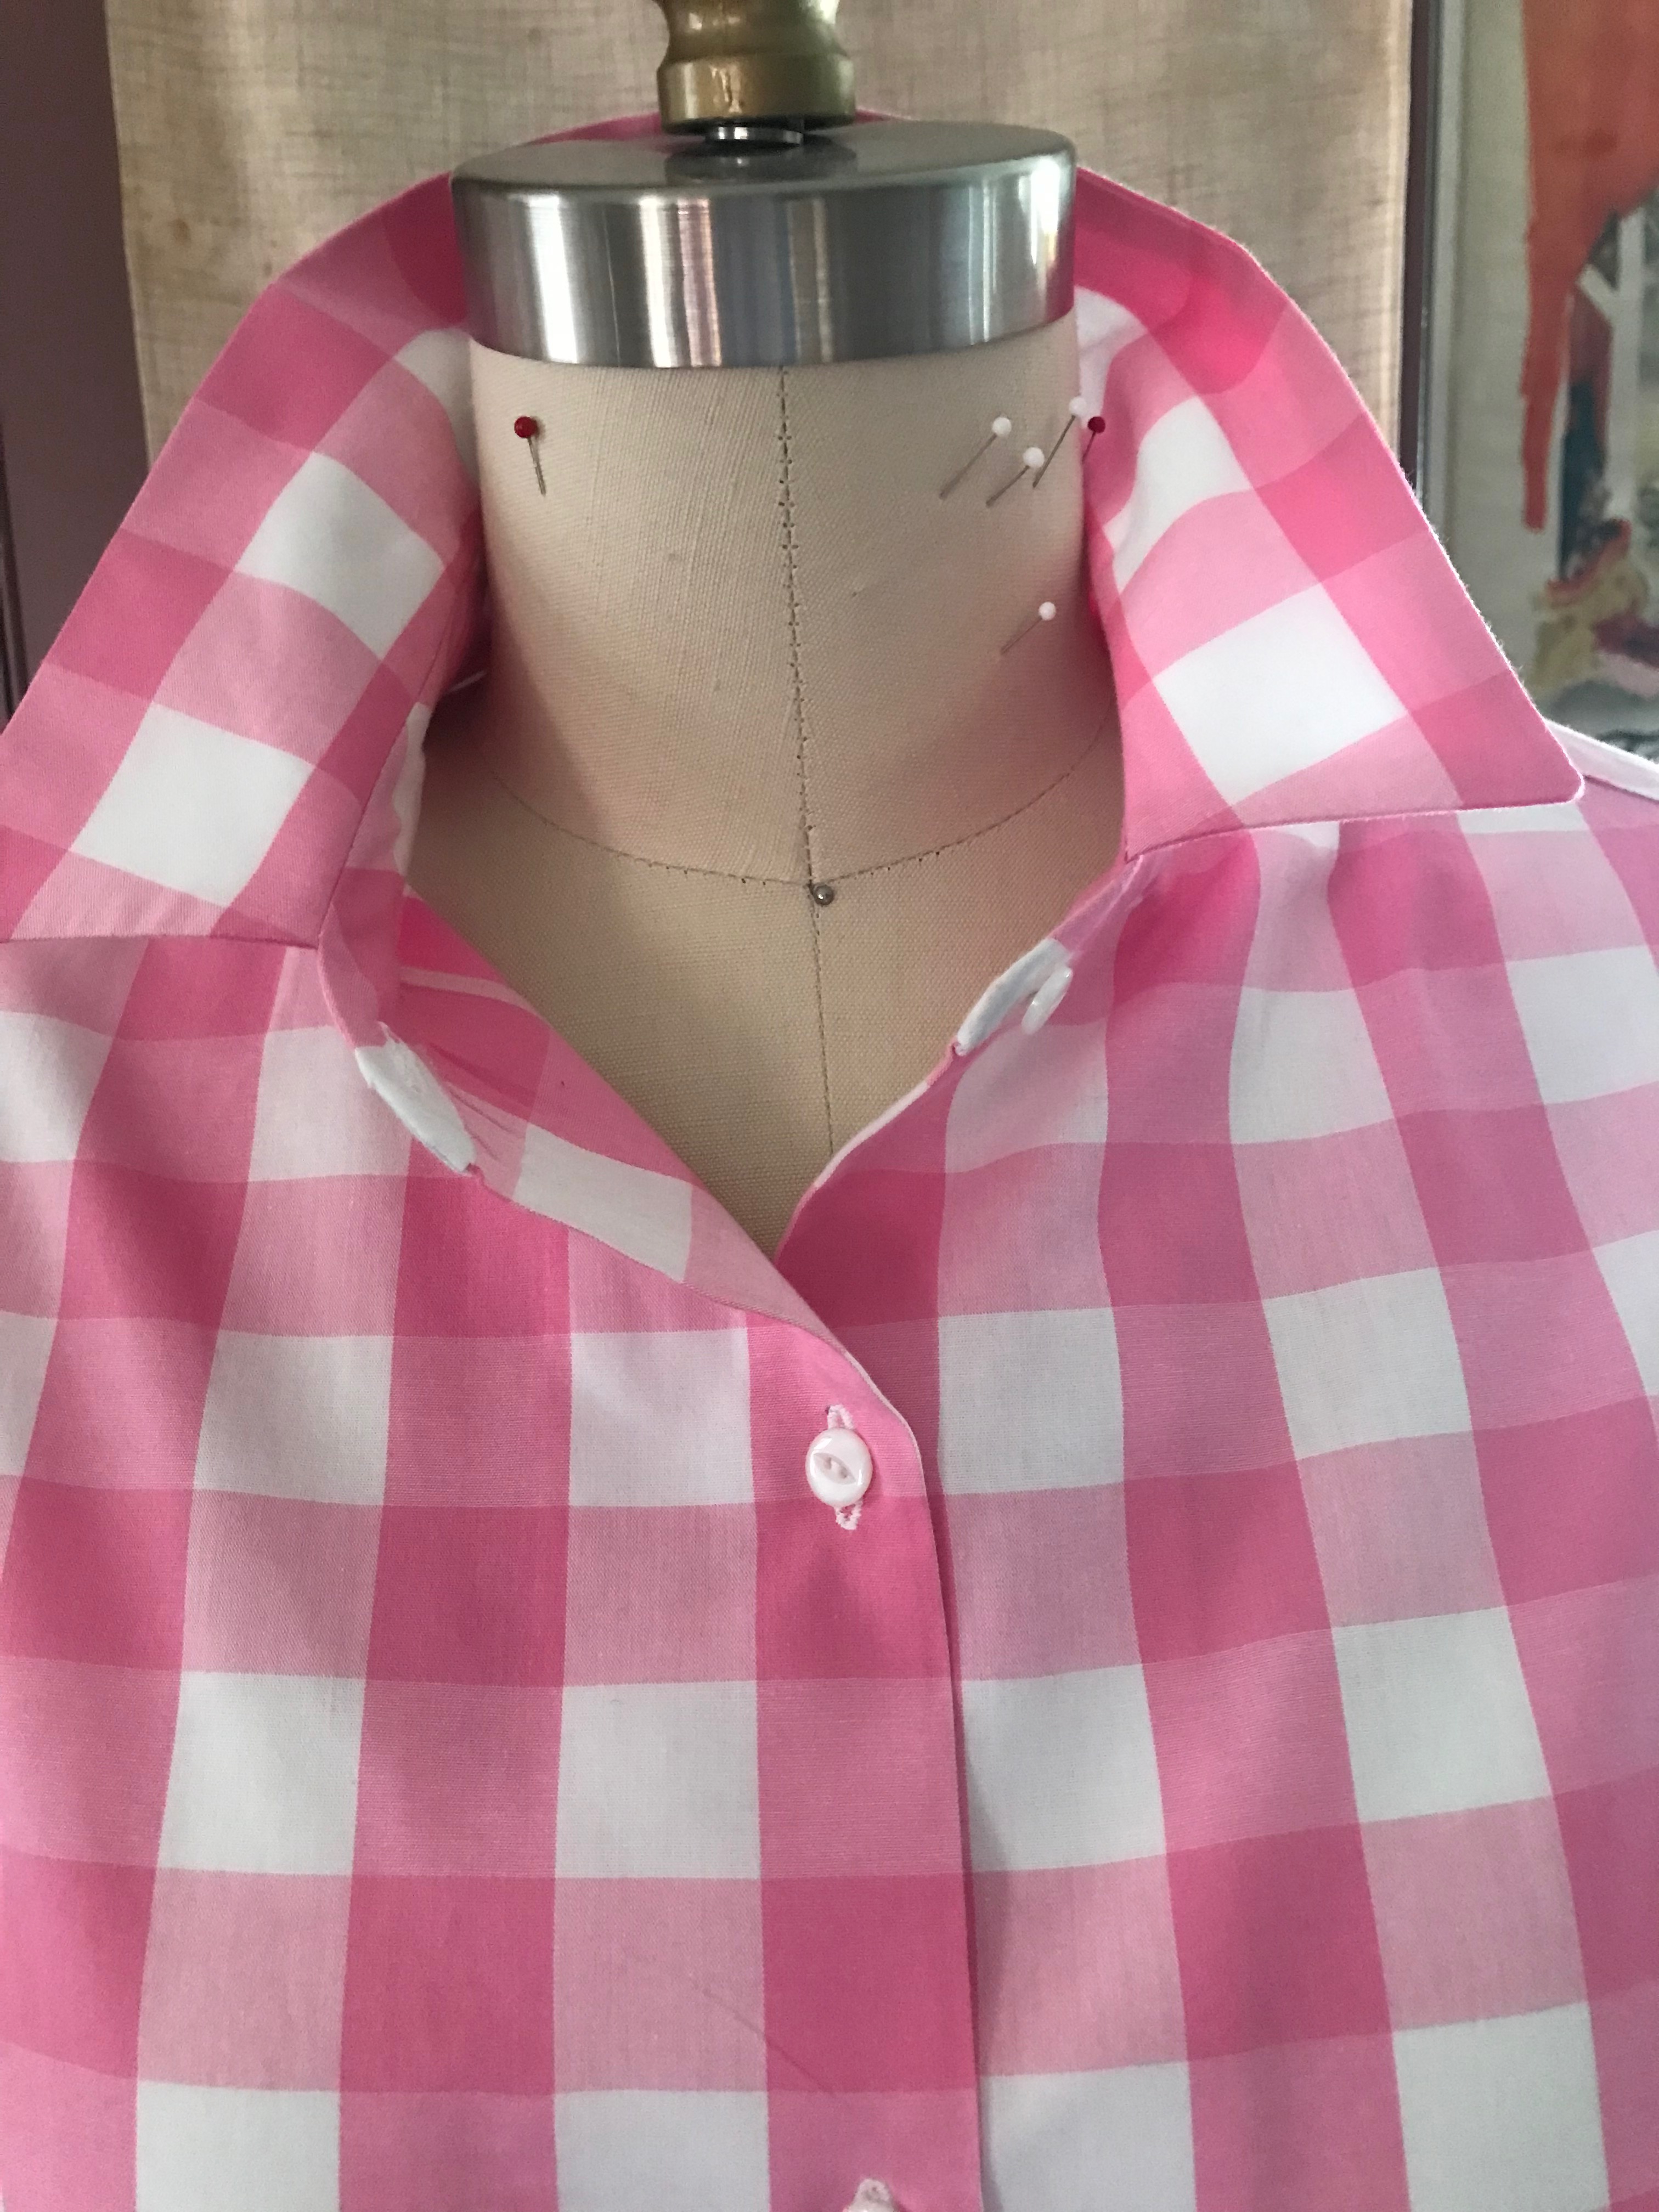
The interesting thing about this pattern is that there is no fastener/button indicated for that long opening. I’m not sure how one would keep a degree of modesty – or even keep the tunic properly on one’s body – without a button or at least a hook and eye. More about that later.
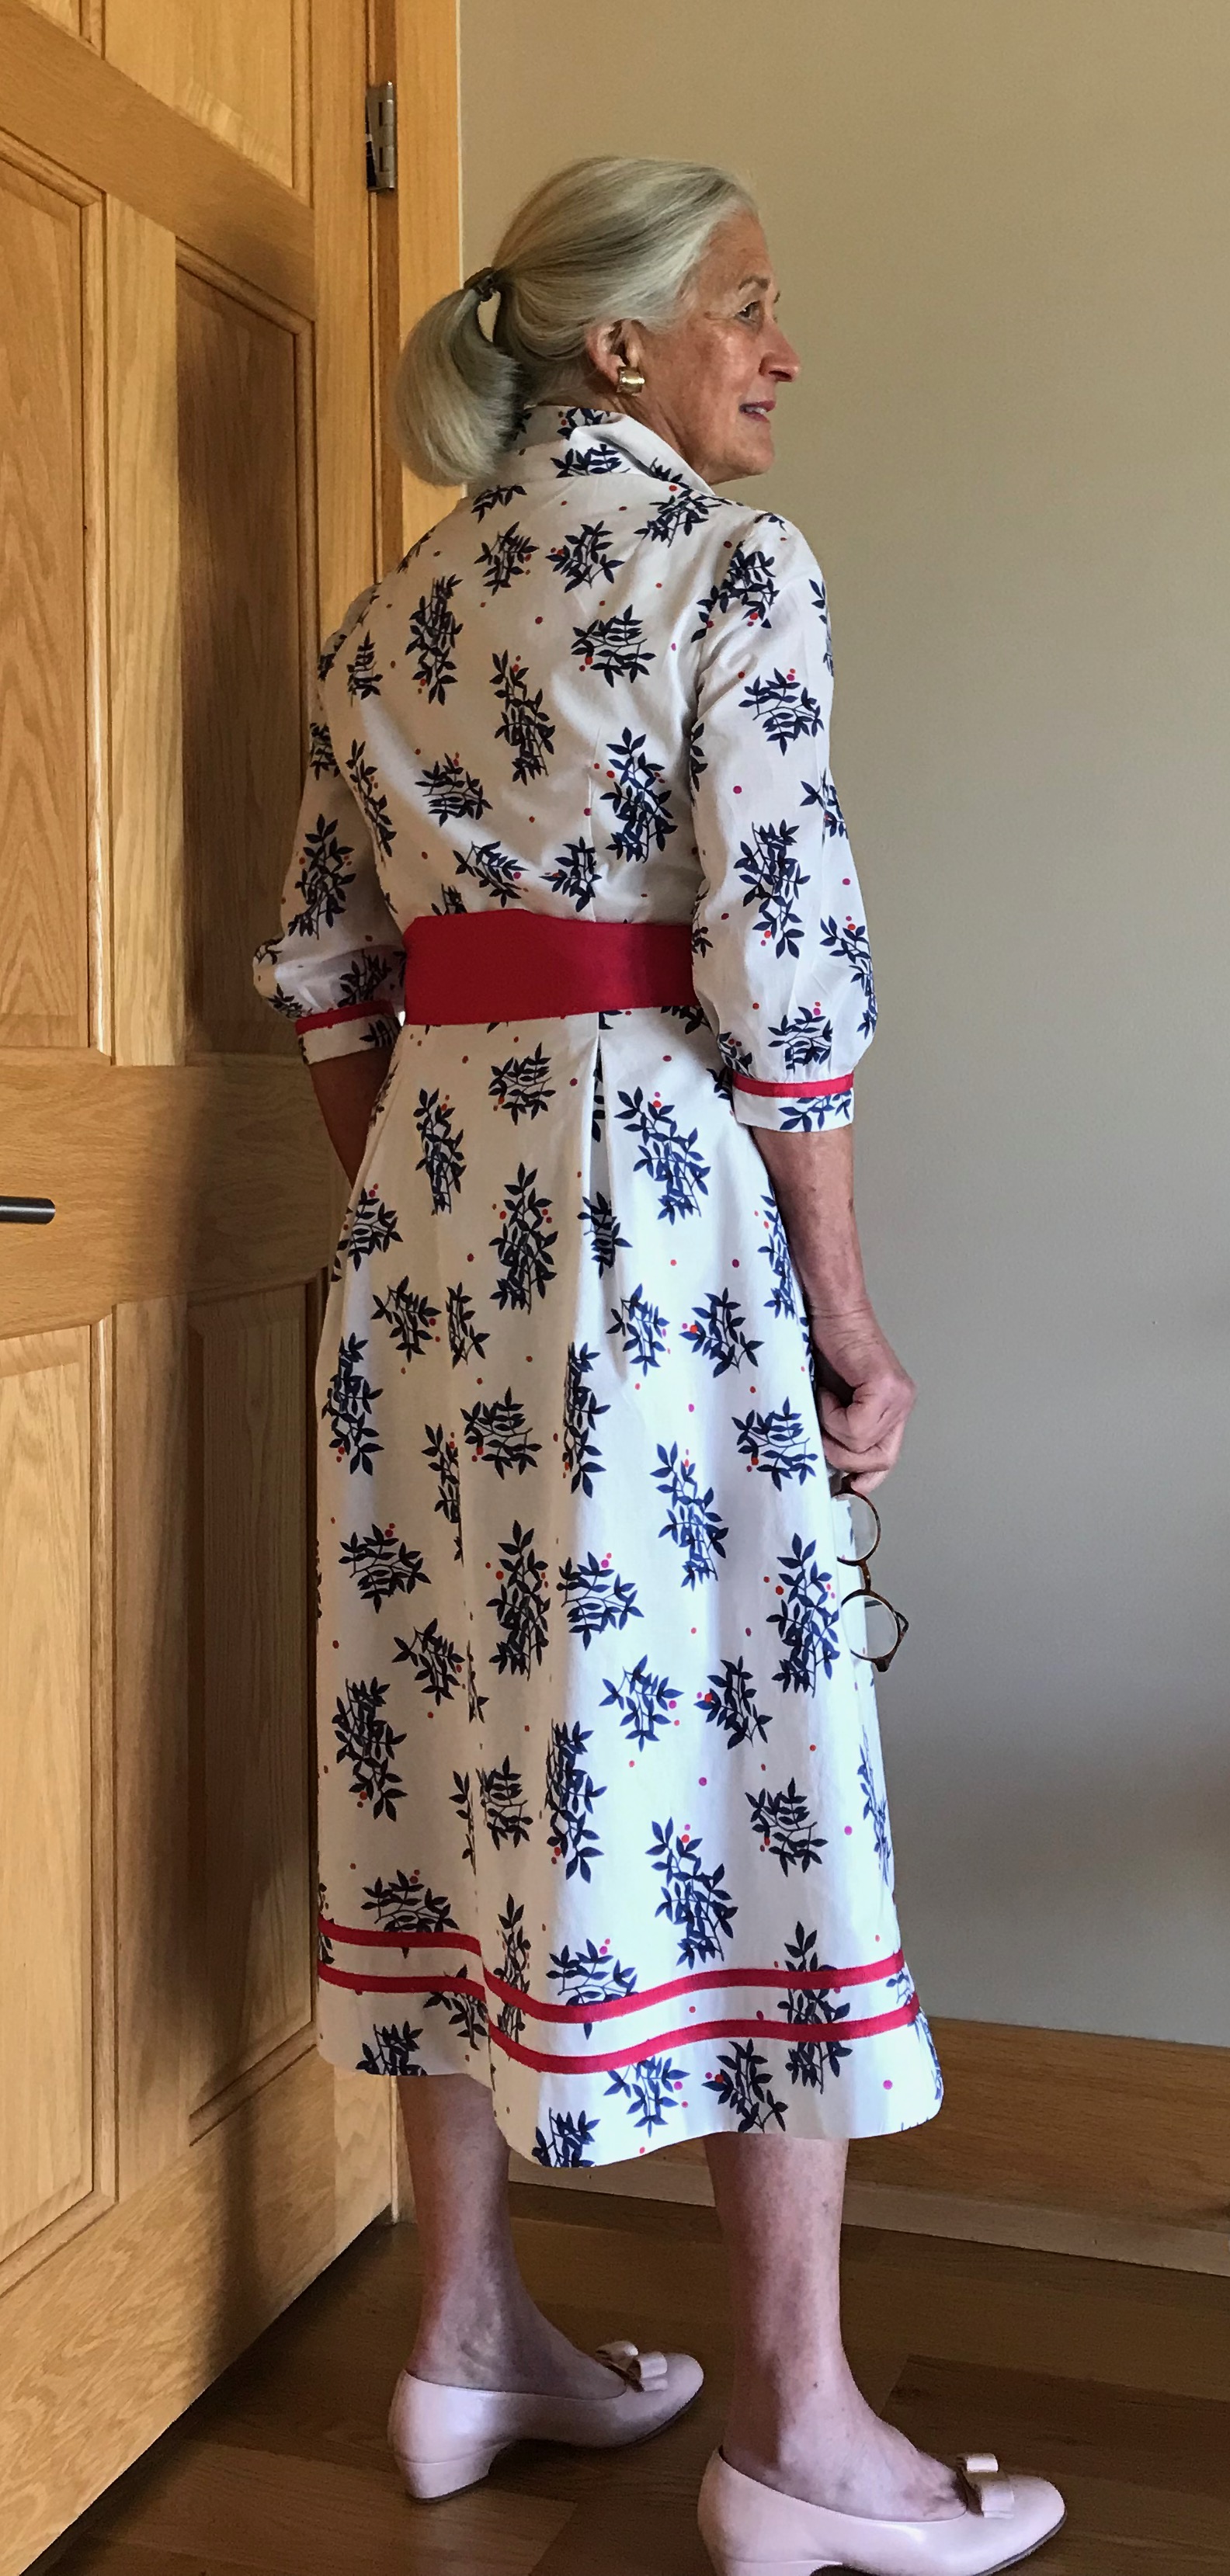
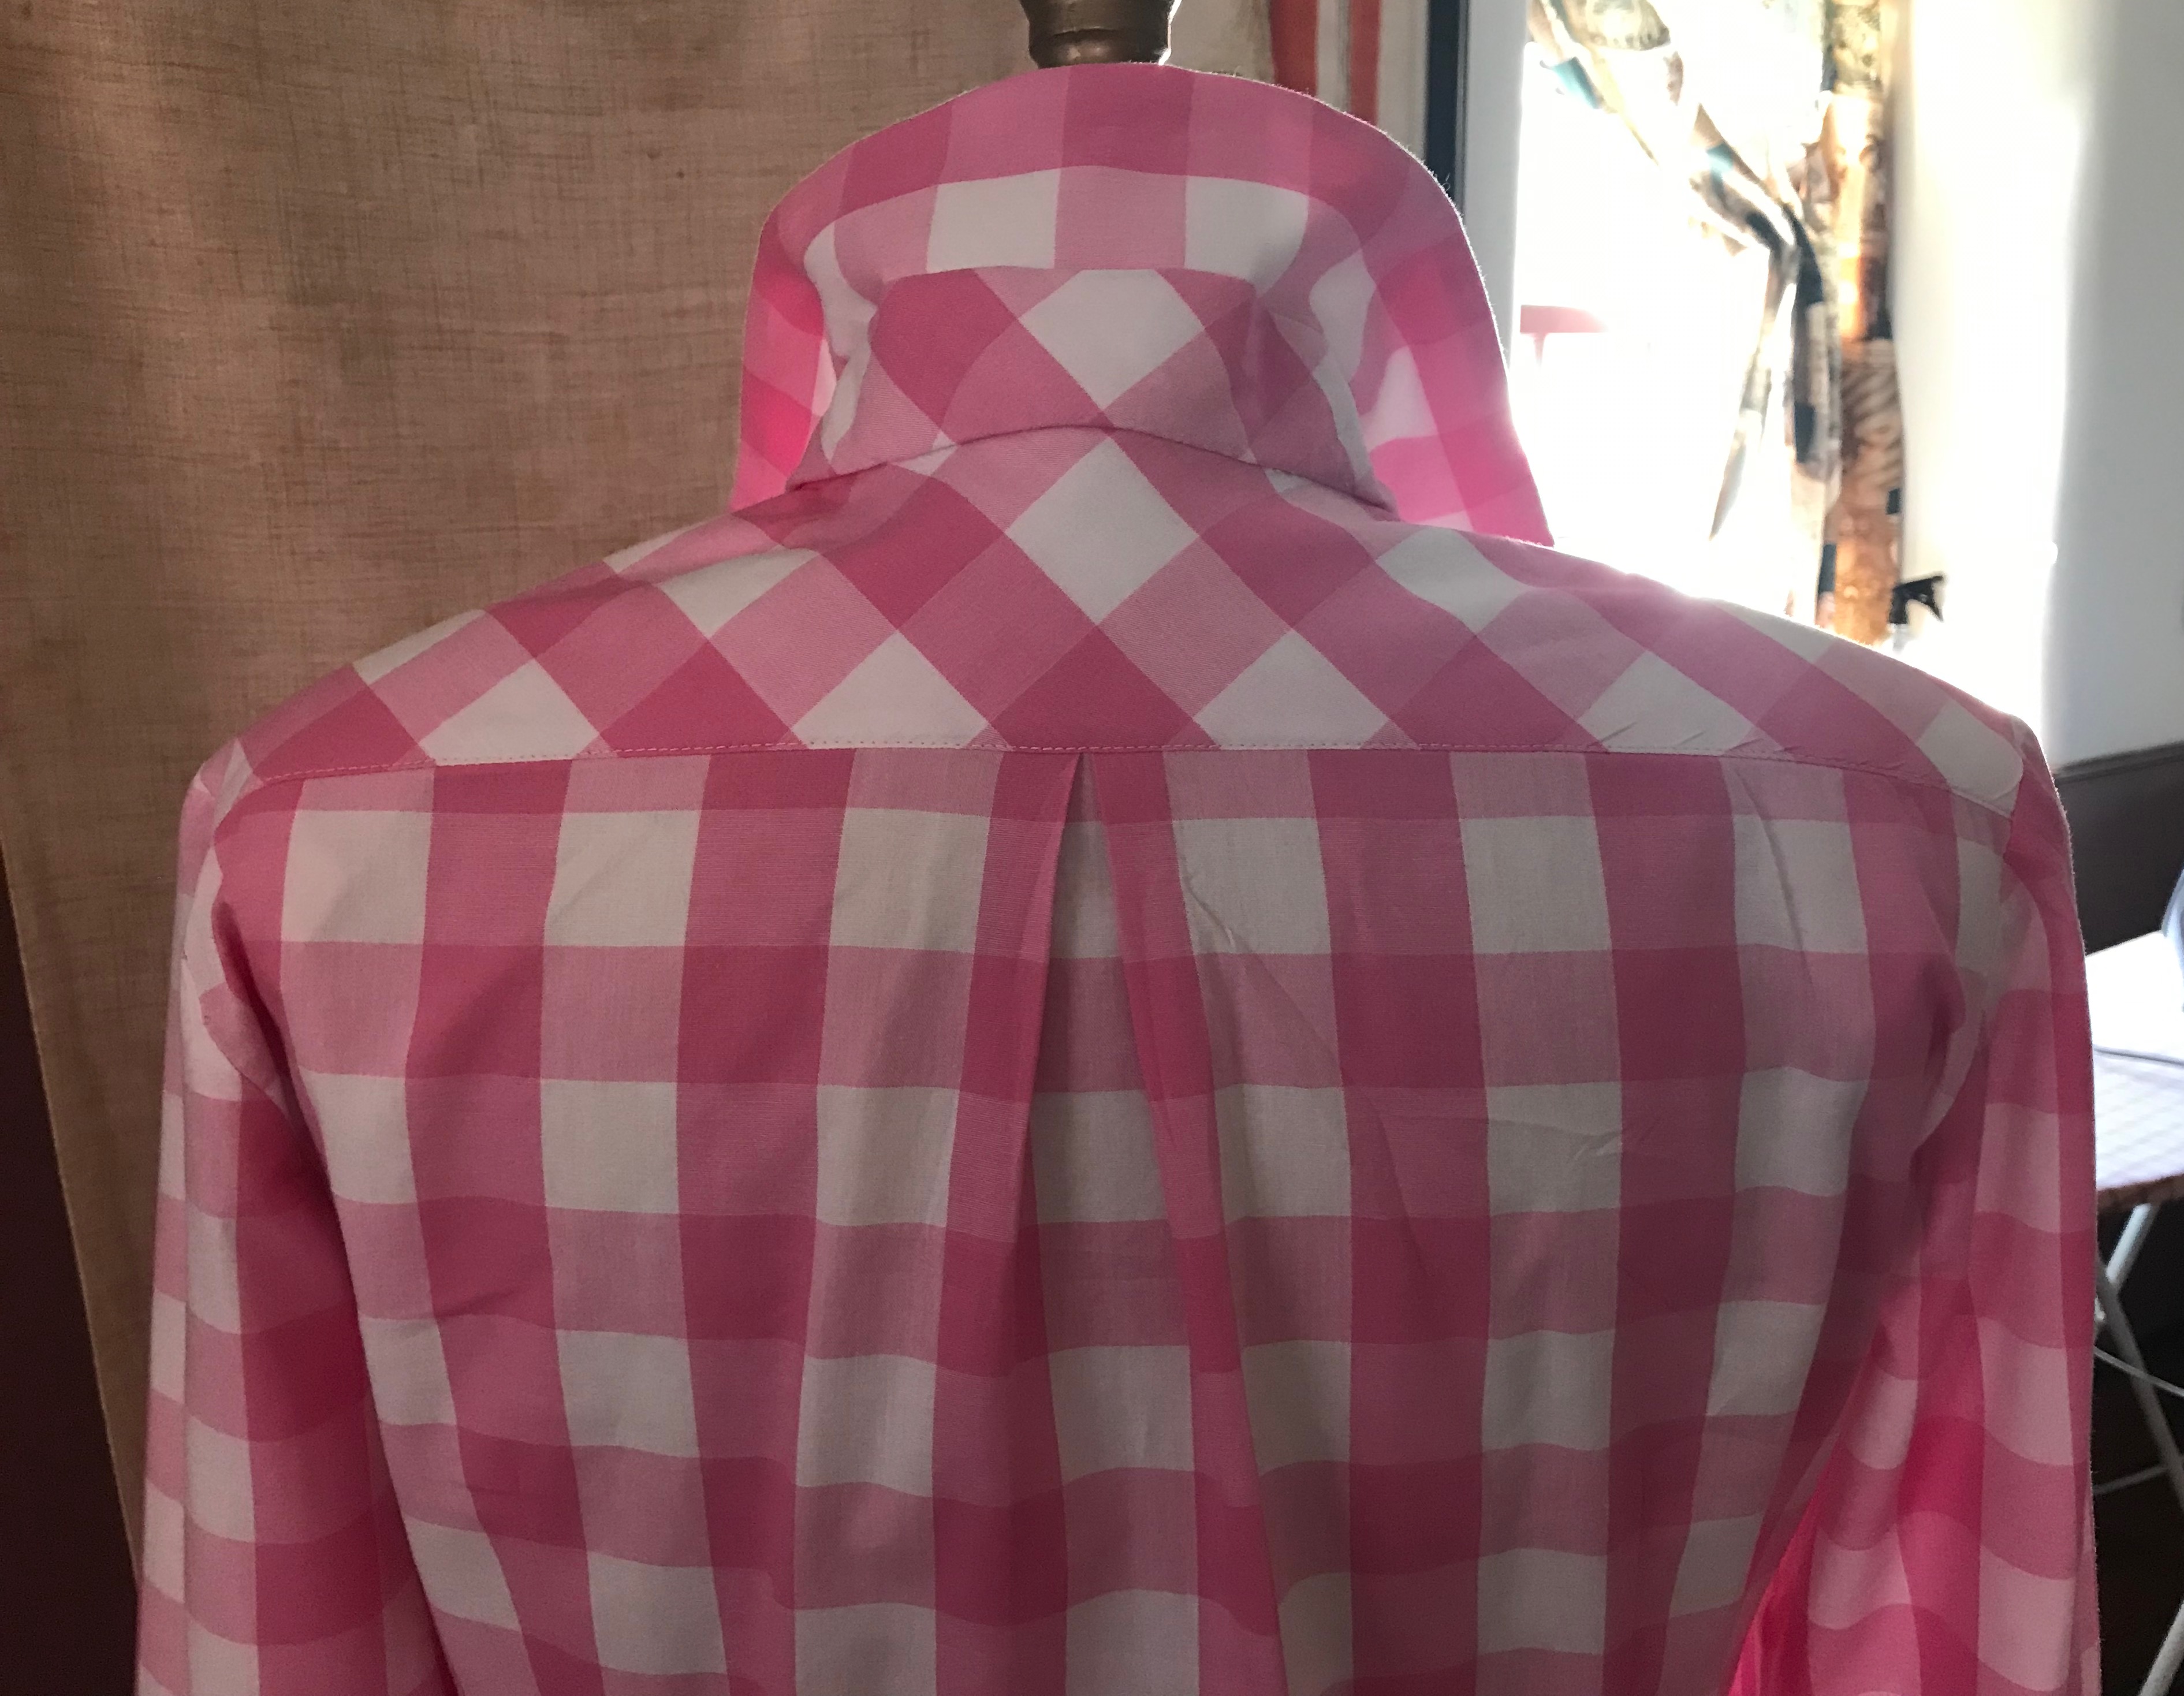
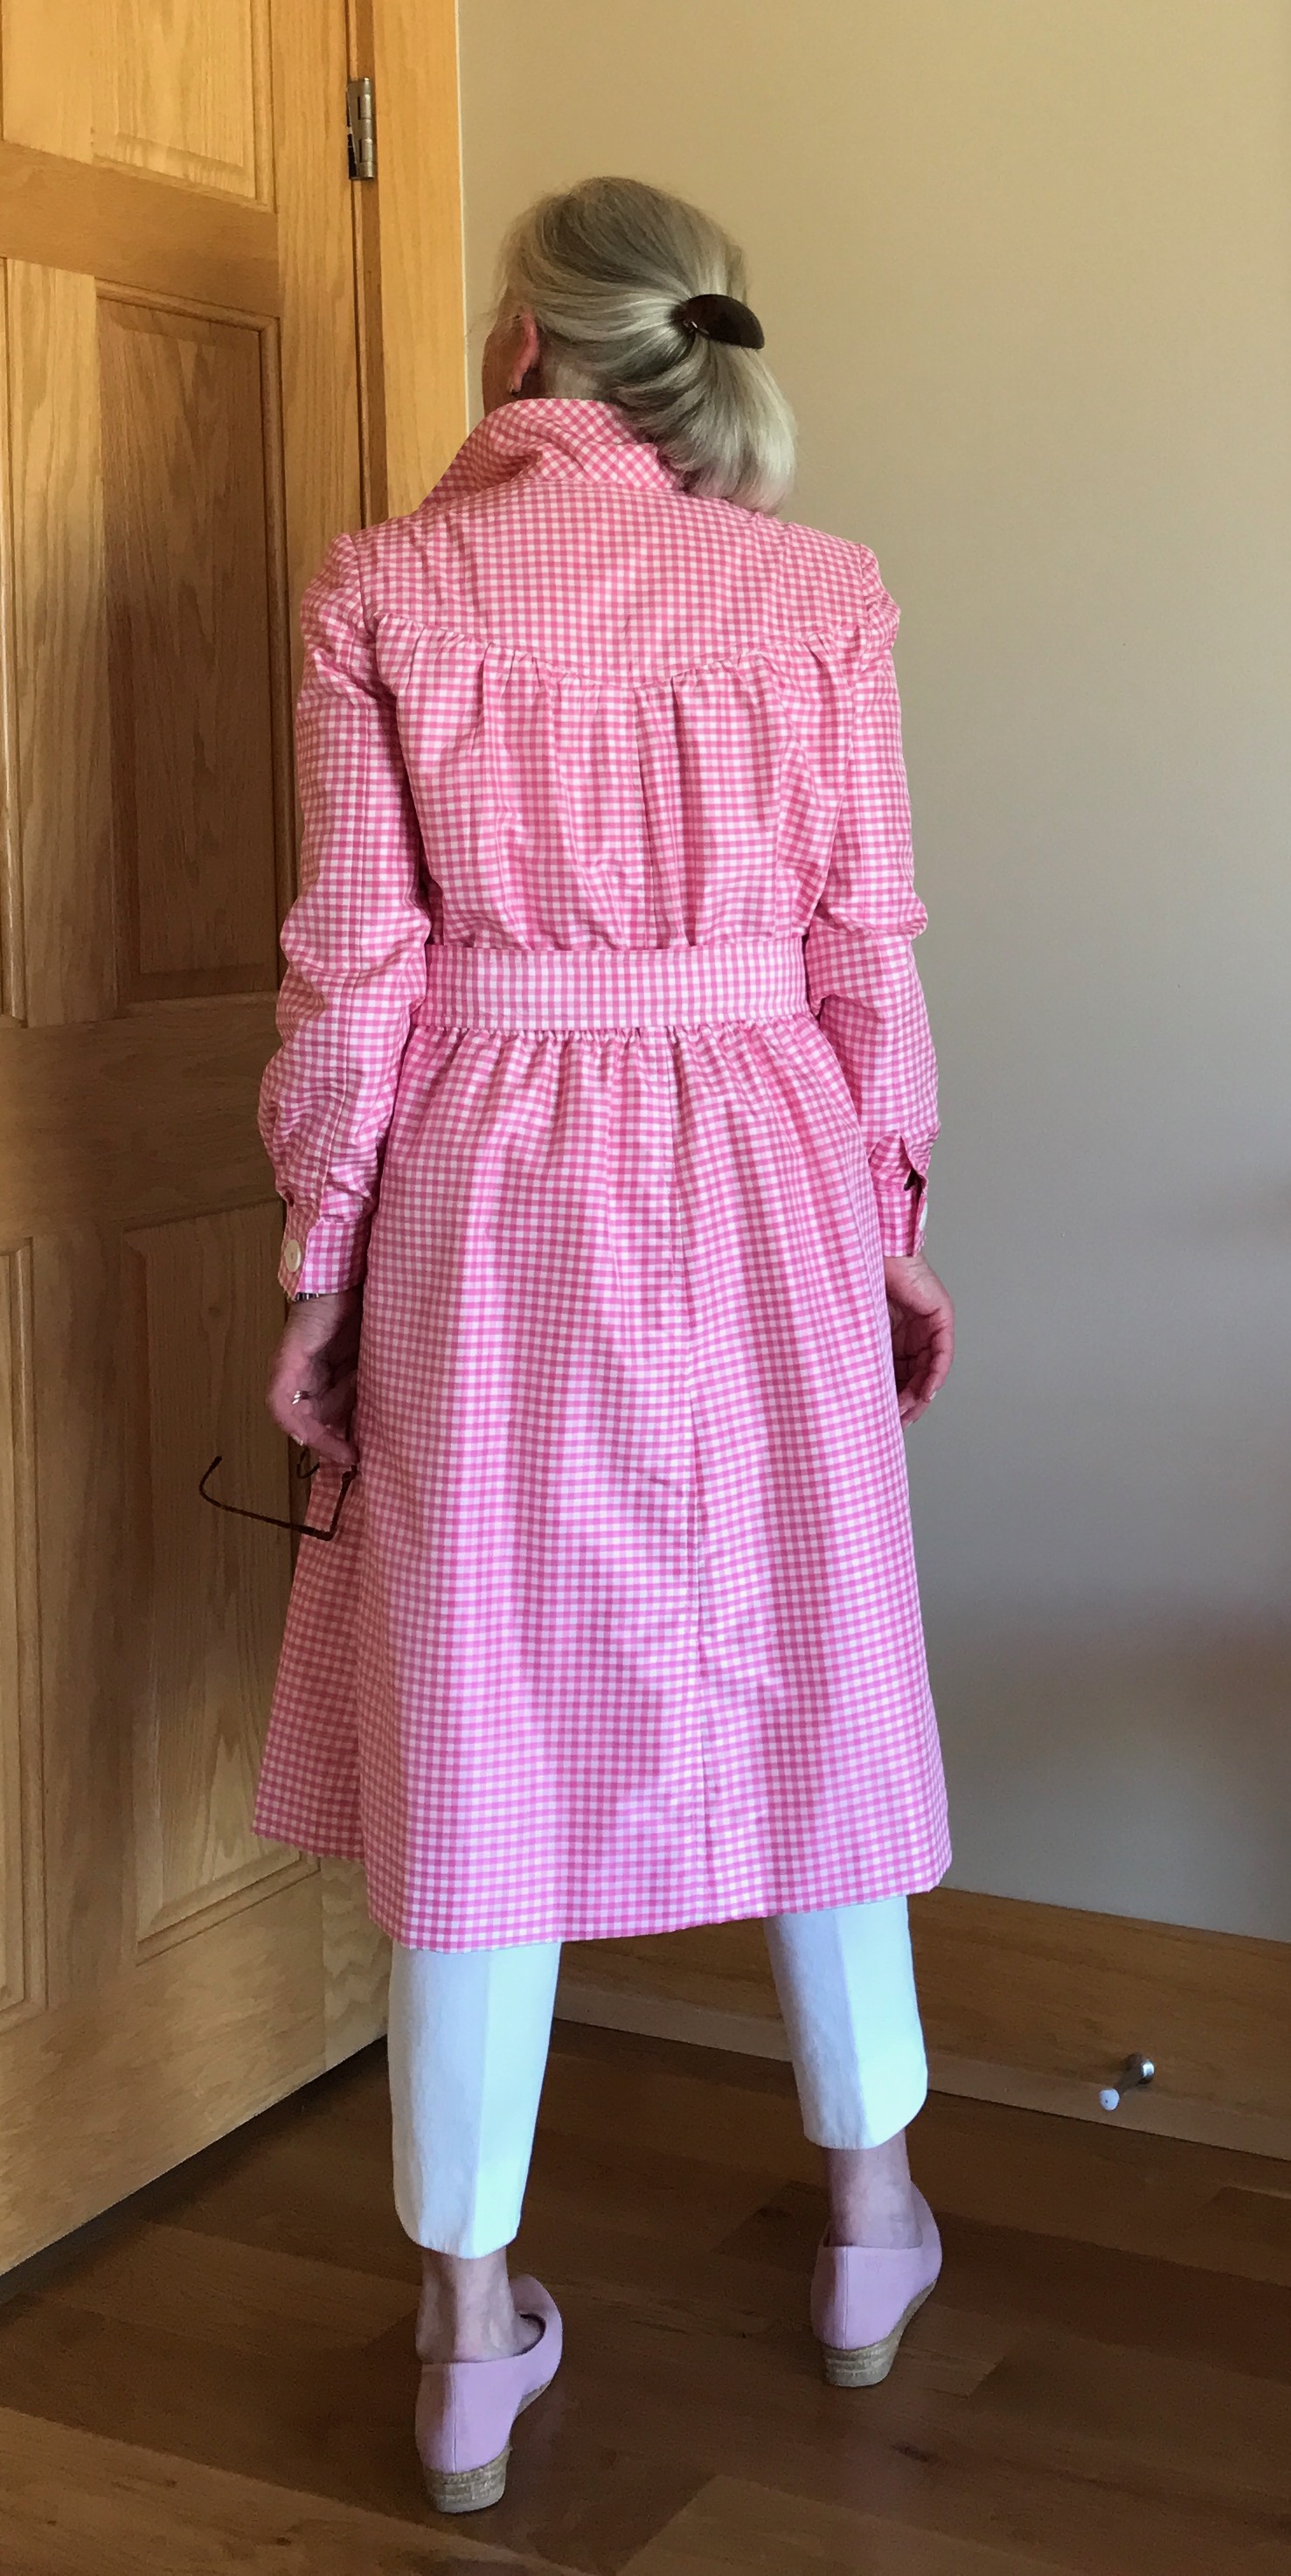
There are a couple of features of this pattern I like, besides that long opening in the front. It has shoulder darts in the back, which I always find add just a little necessary fitting finesse.
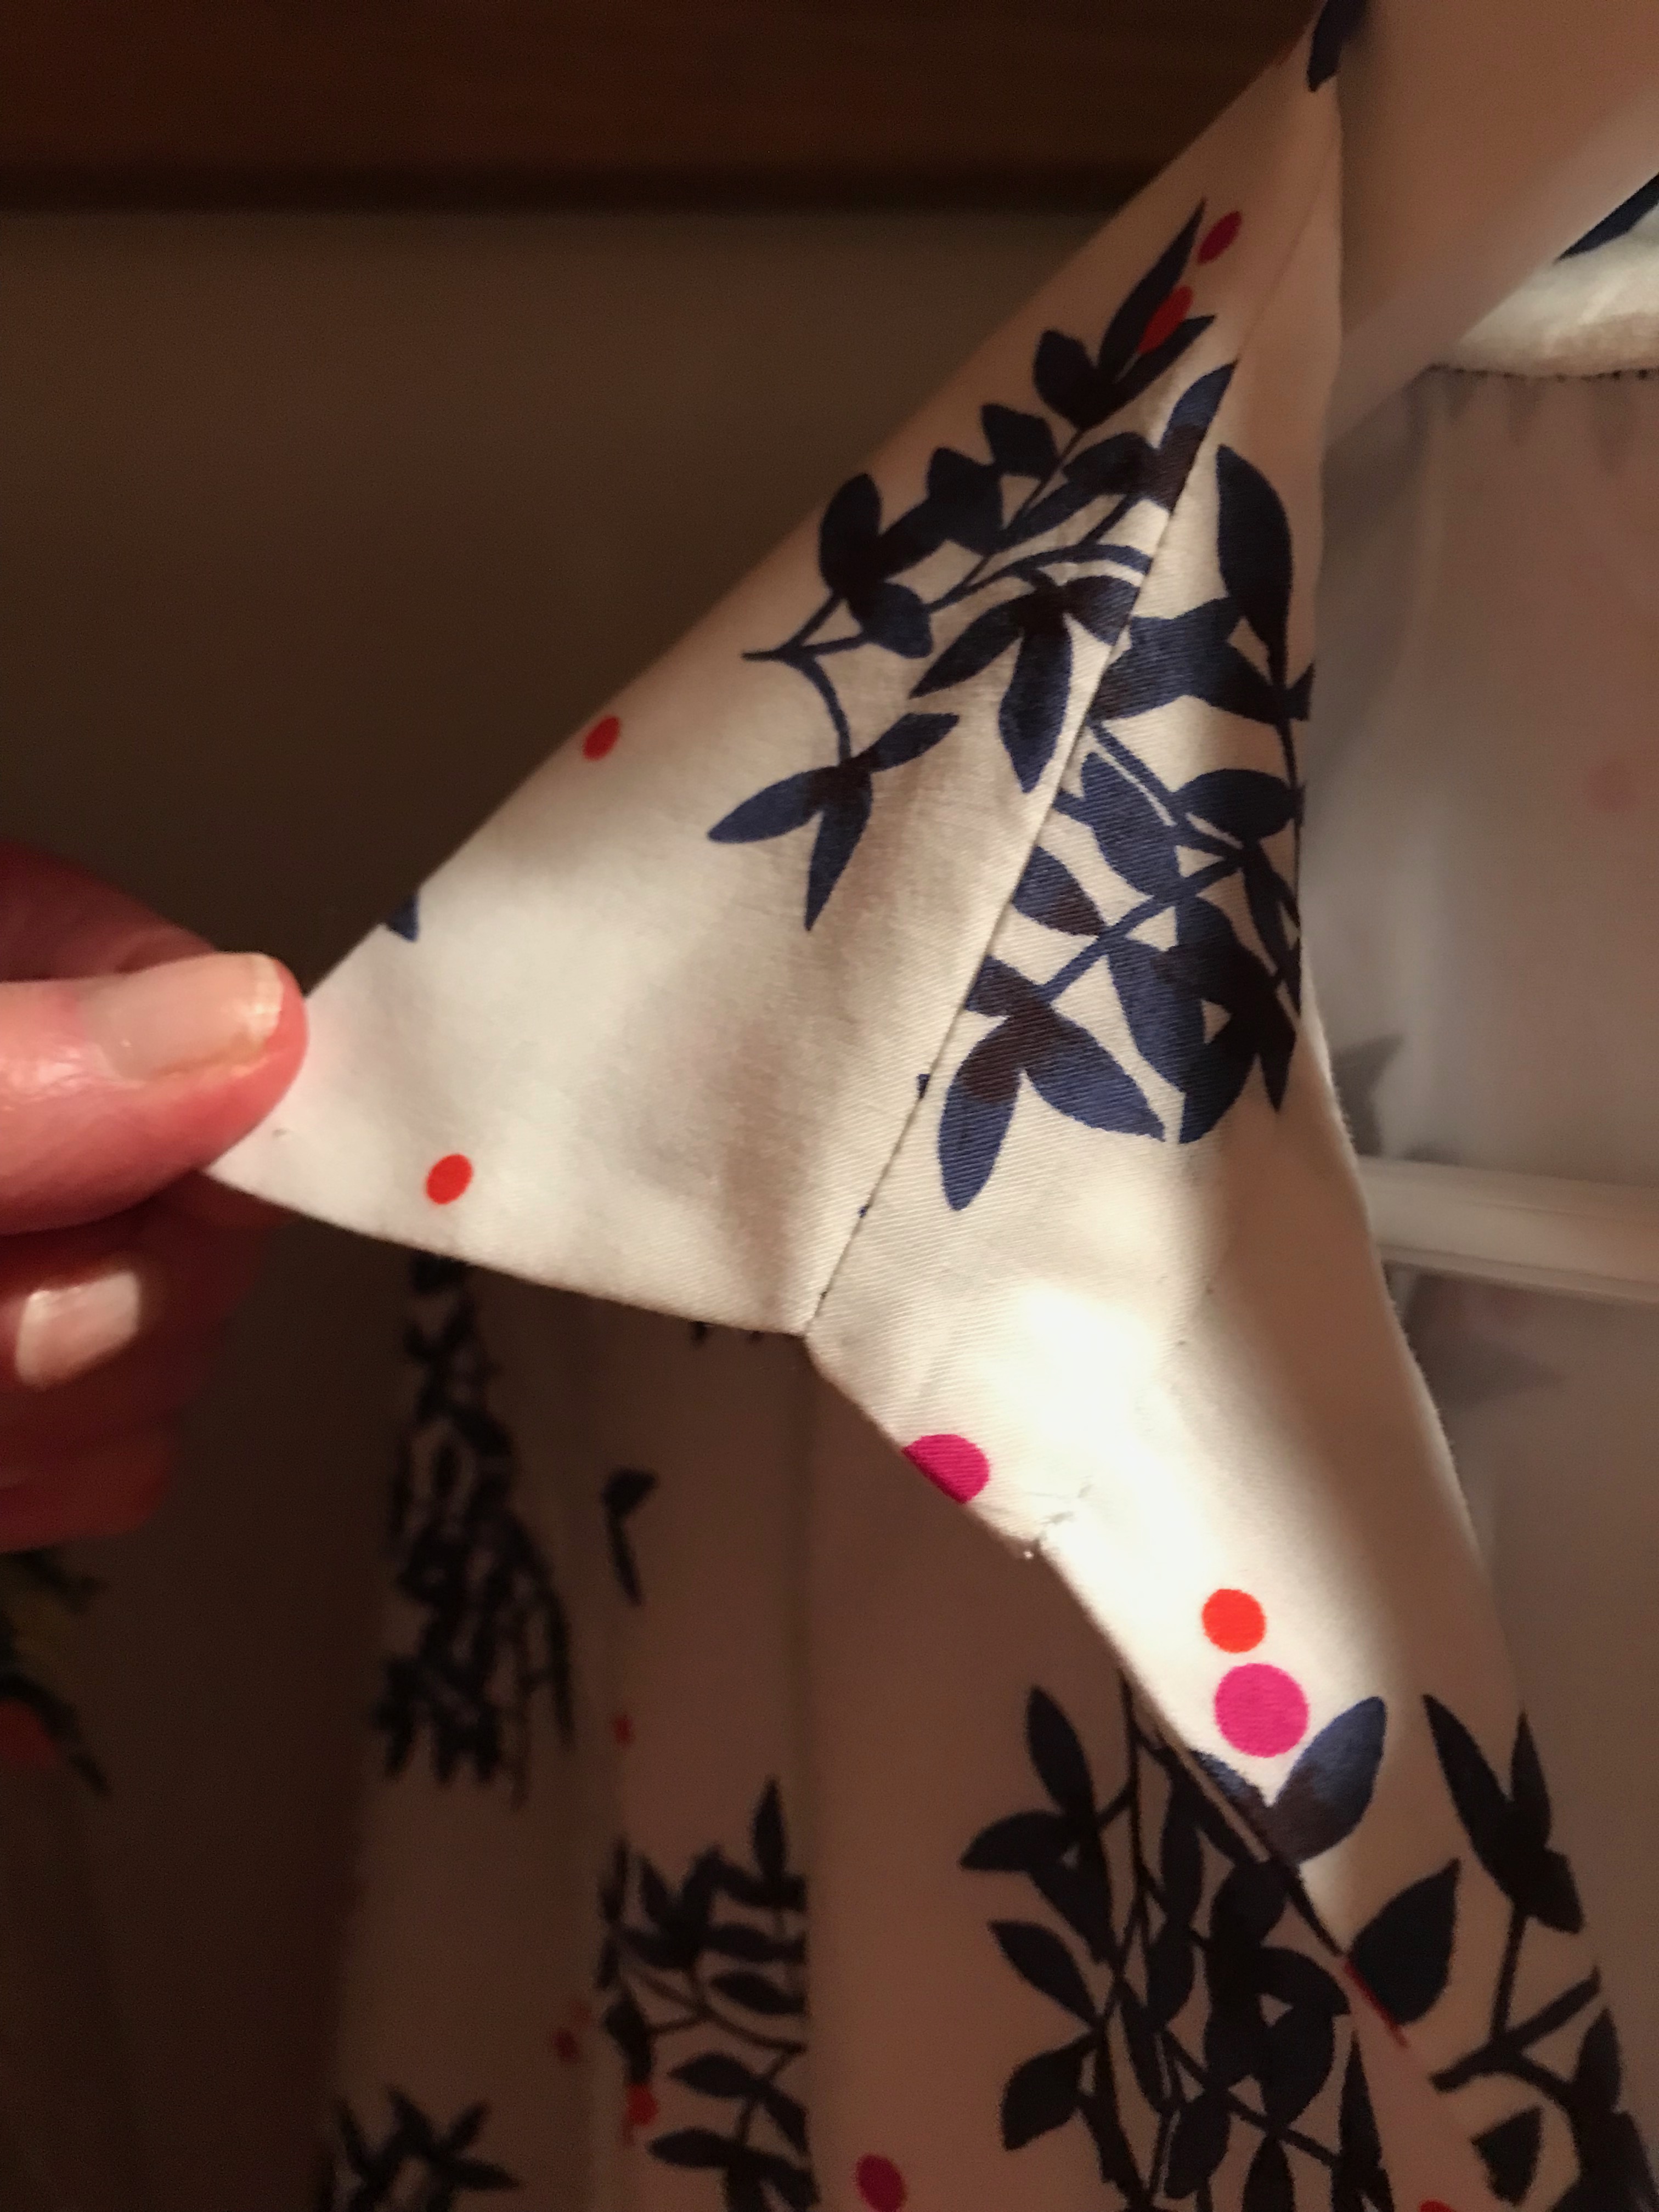
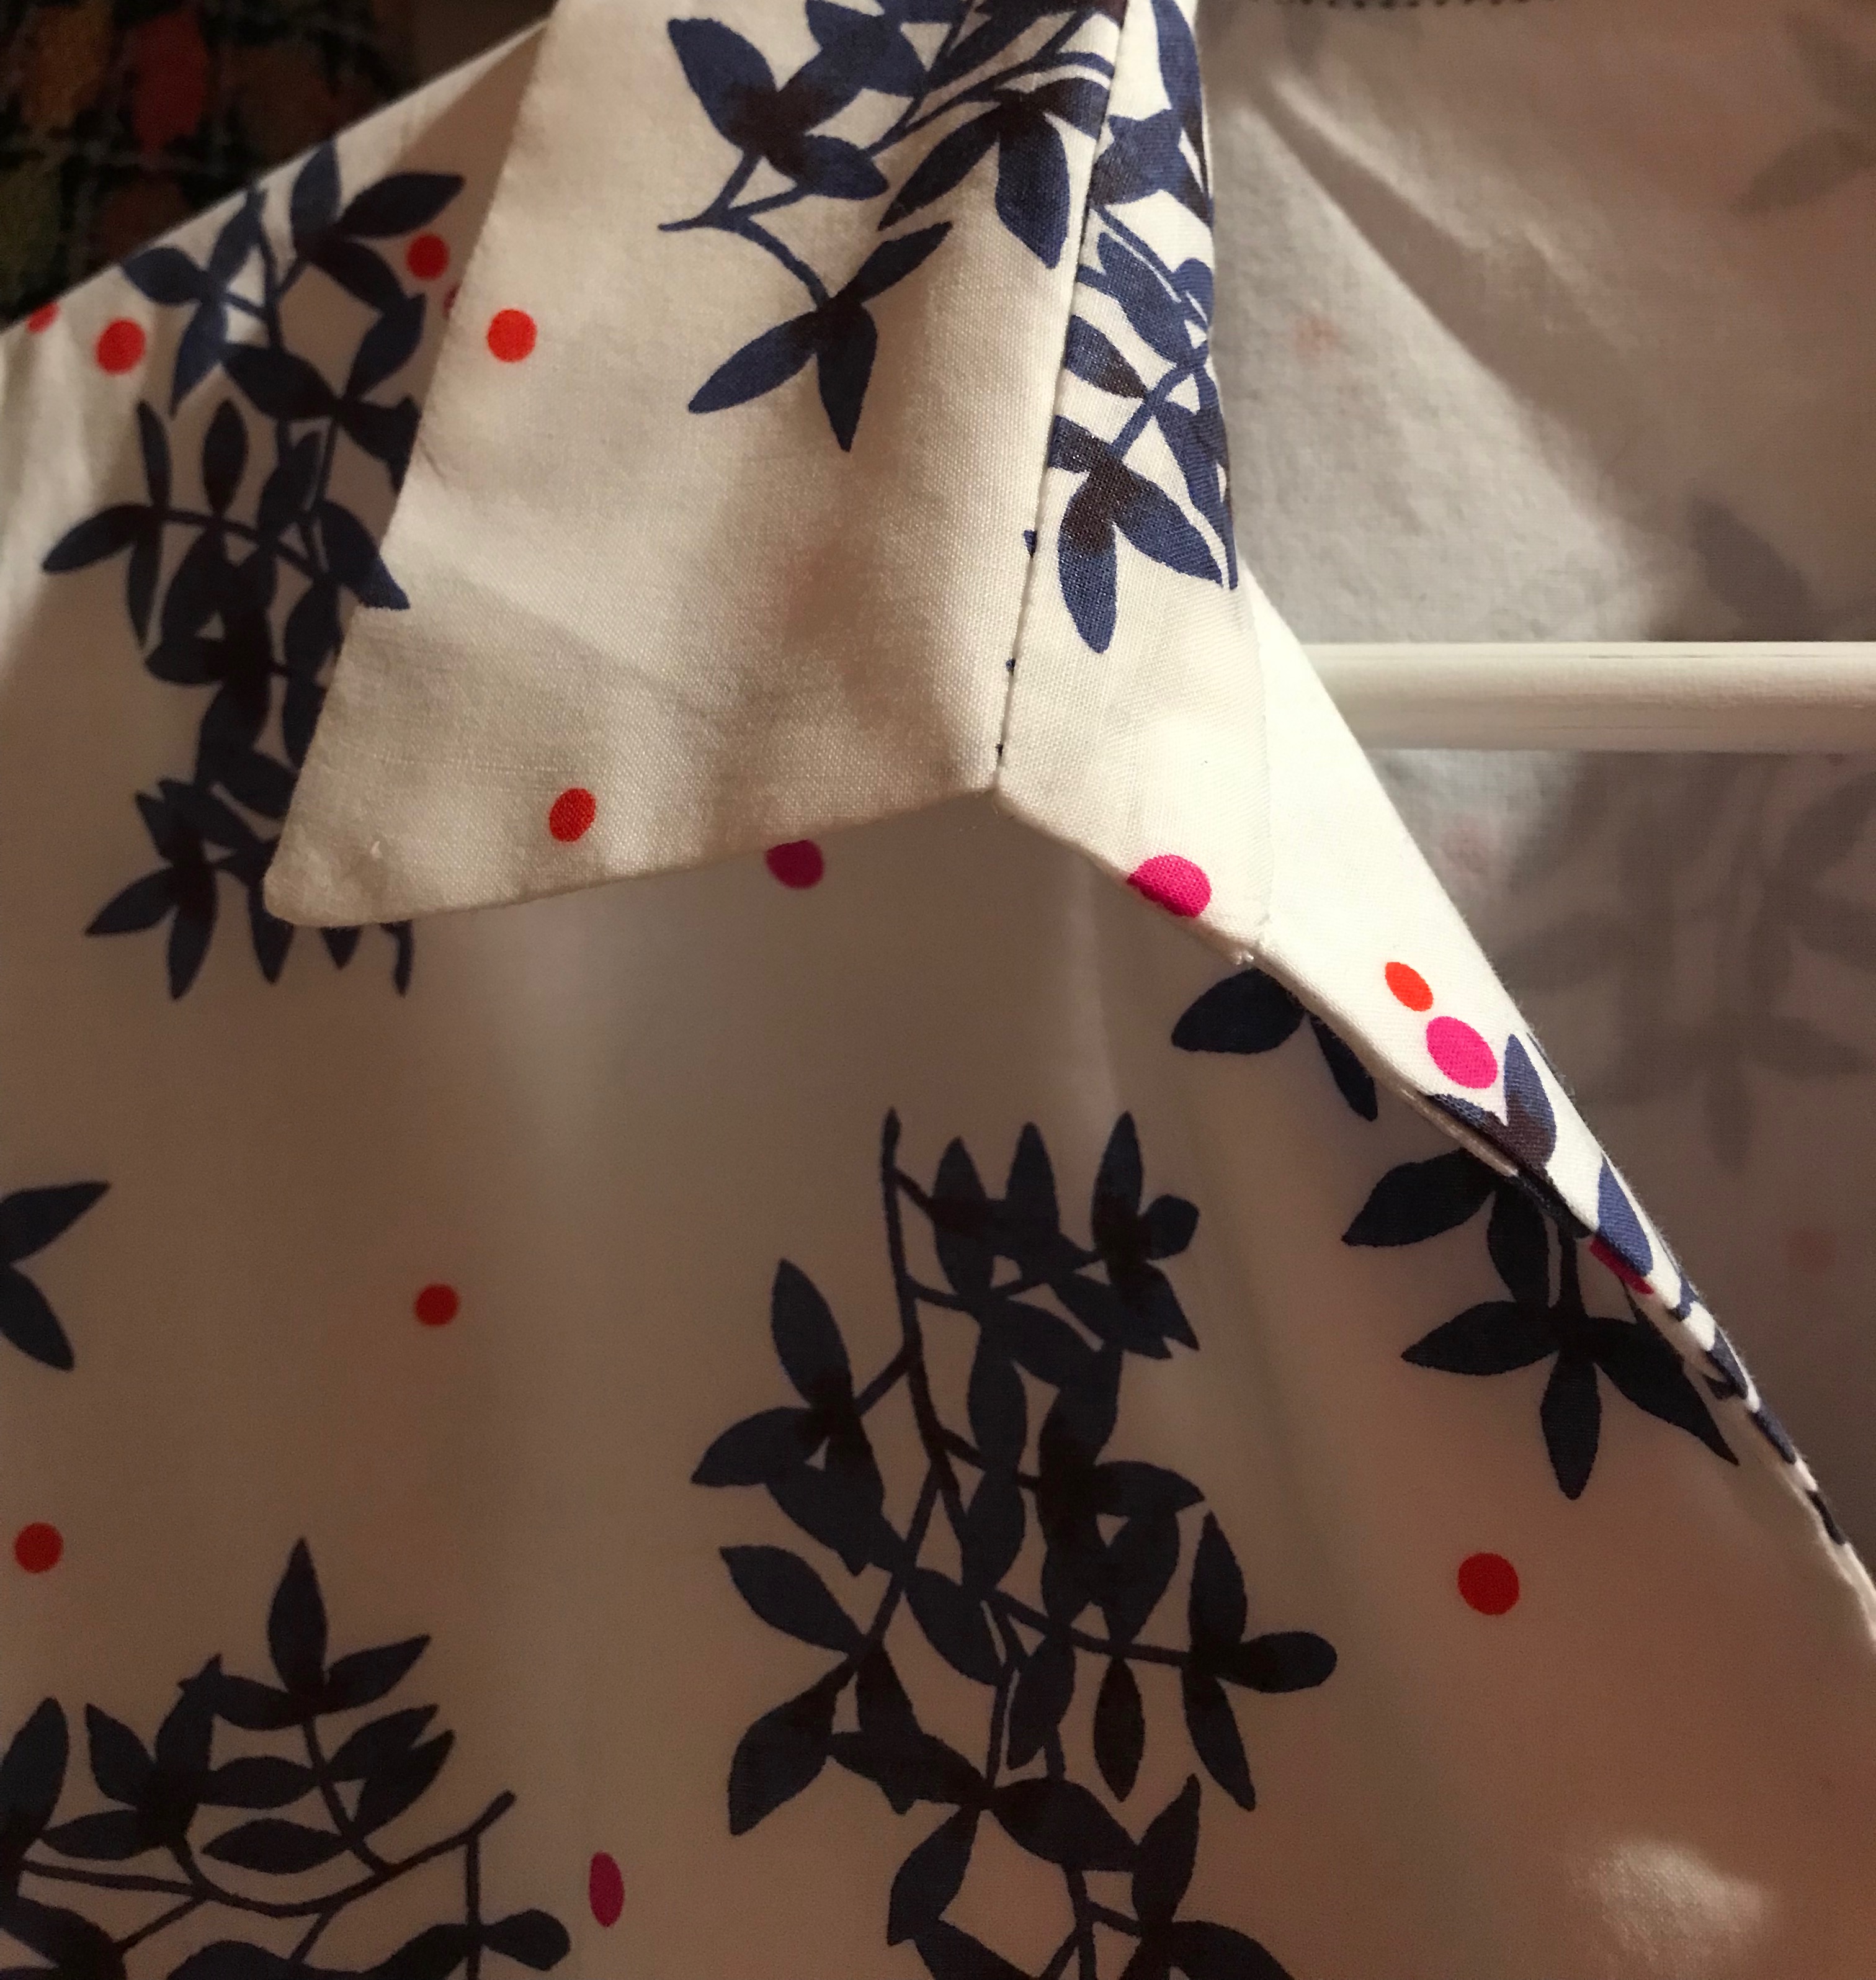
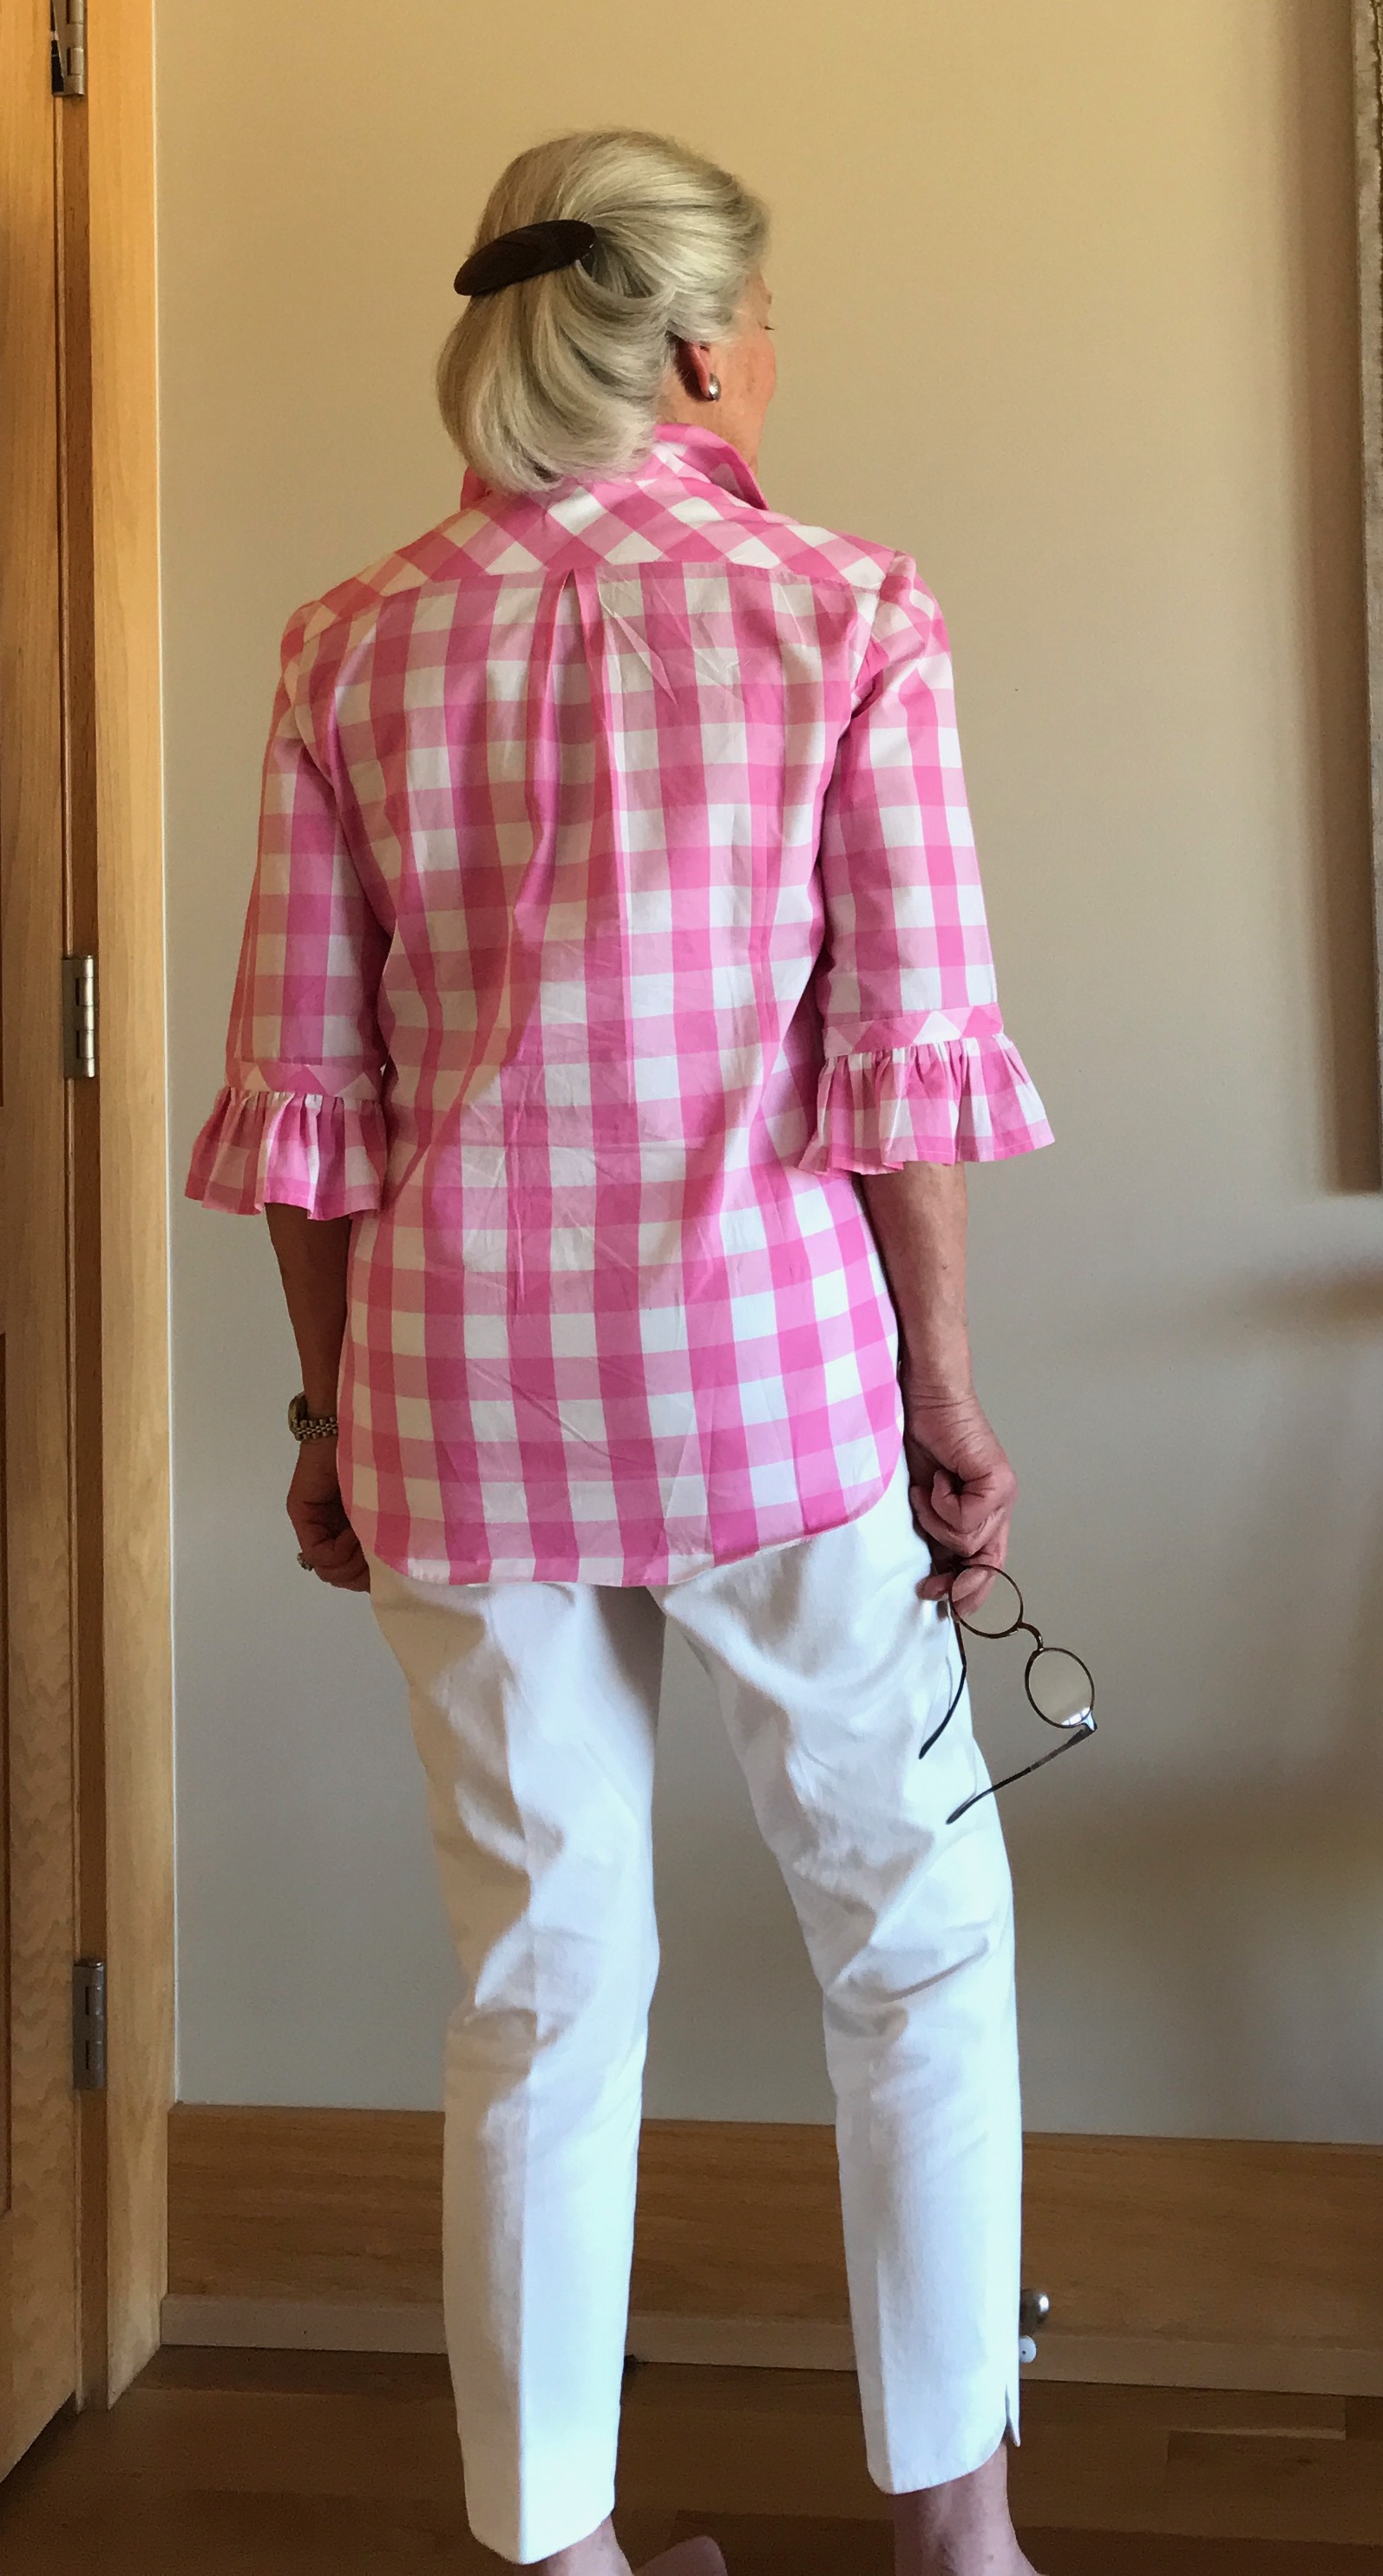
I also like the way the front facing is constructed, and the width of the stand-up collar. However, the pattern lacks slimming darts in the back. My limited experience with sewing tunics has taught me that without long defining fisheye darts in the back, my tunic is going to be baggy and look like a sack. So, I added them.
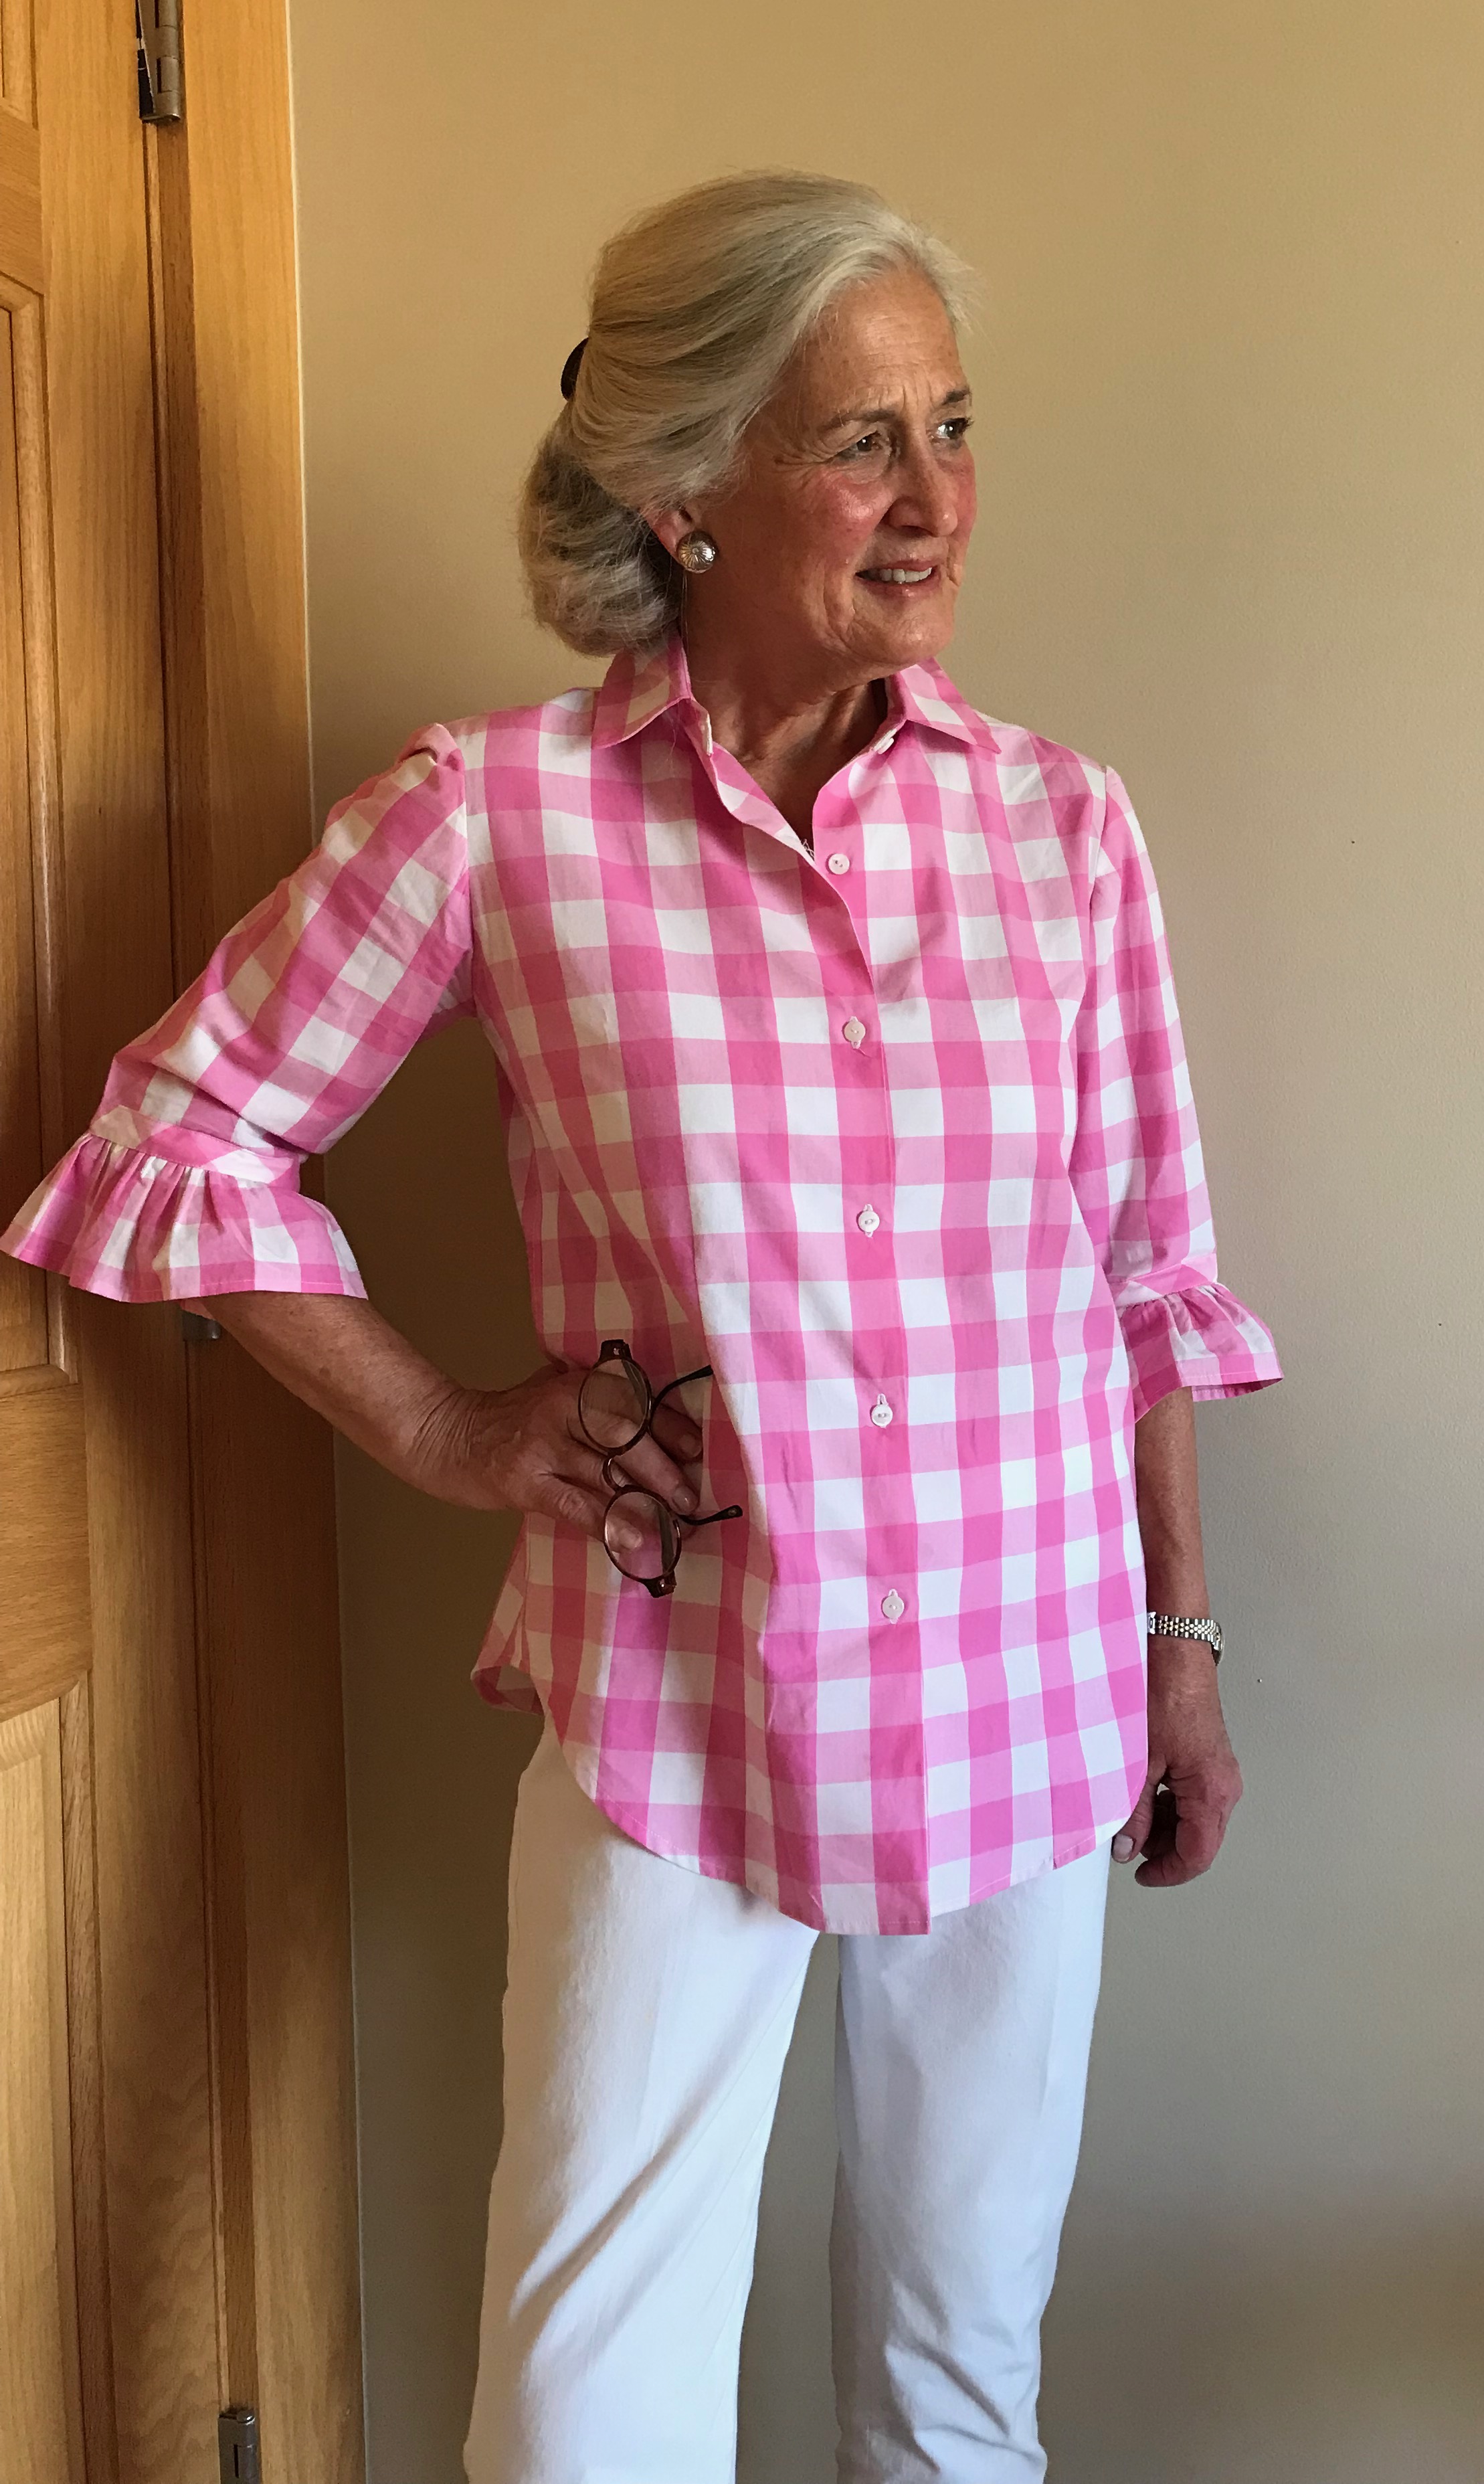
I also shortened the sleeves, as I prefer a length just below the elbow, and I took out some of the width of the “trumpet.” Even with a narrower sleeve, I knew turning up a hem on it would result in a less than smooth finish. To get around this, I took the pattern piece for the bottom panel for the long sleeve (shown on the pattern), flipped it, narrowed it, and shortened it to give me a facing which would be a perfect fit into the lower curve of the sleeve.
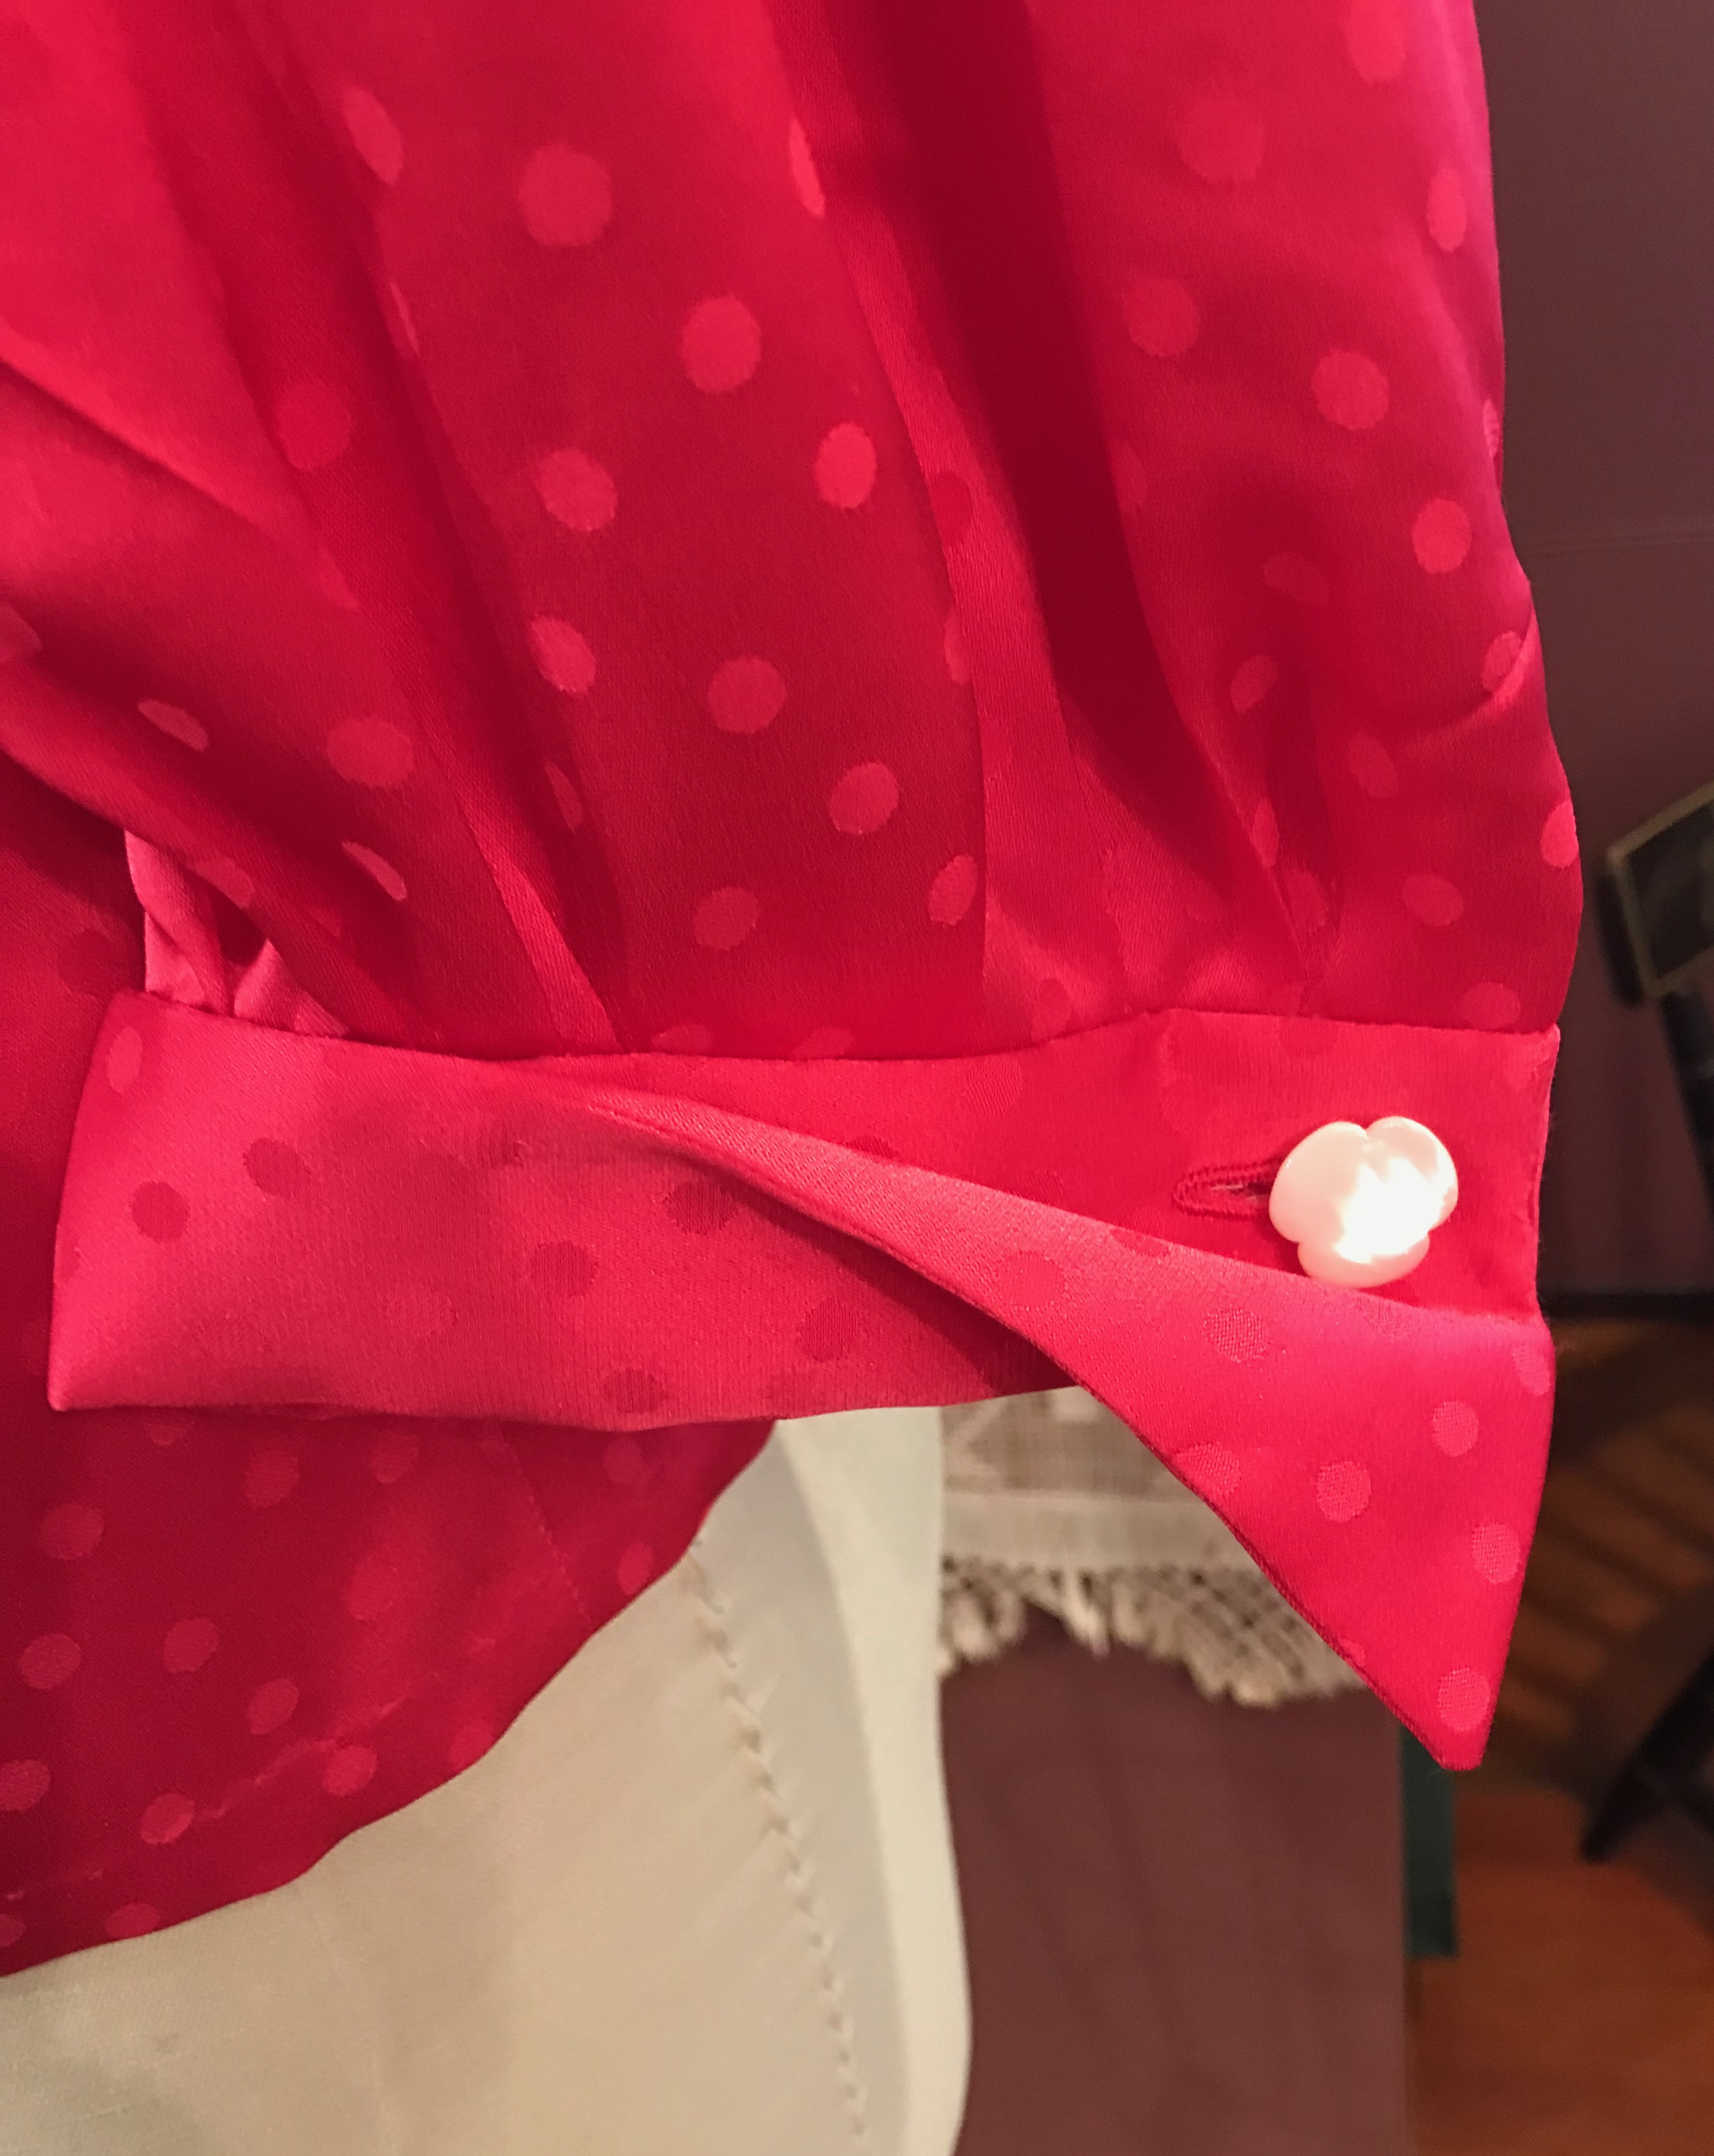
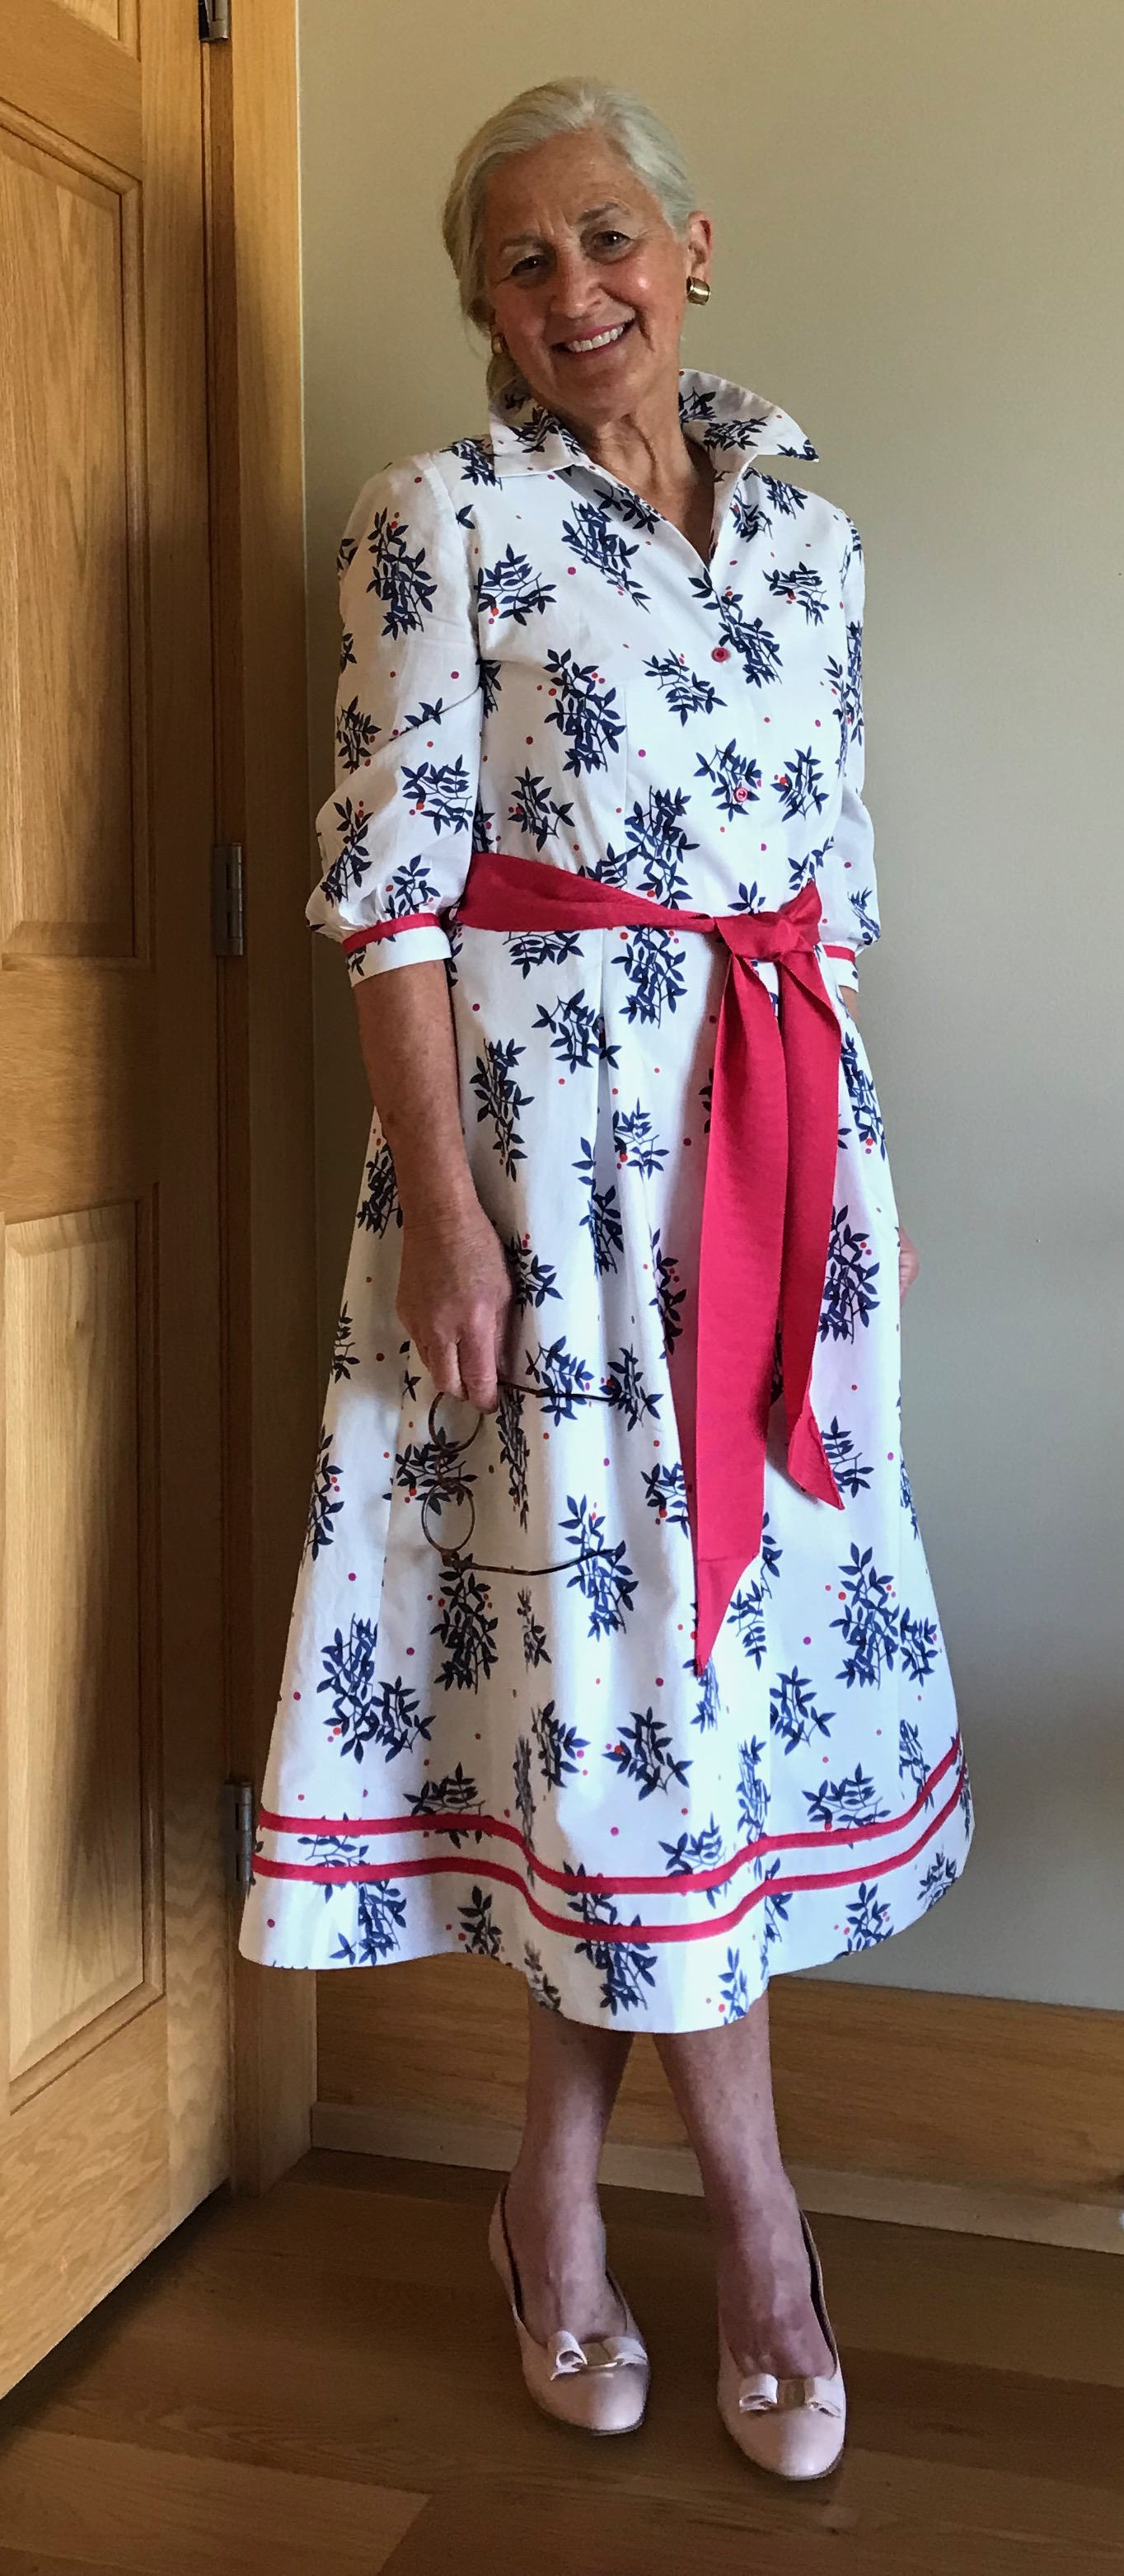
Back to that front opening: when sewing the facing on, I added a loop to the right side so that I could strategically place a button to keep the gap closed. On this fabric, it seems hardly noticeable, but oh my, is it necessary!
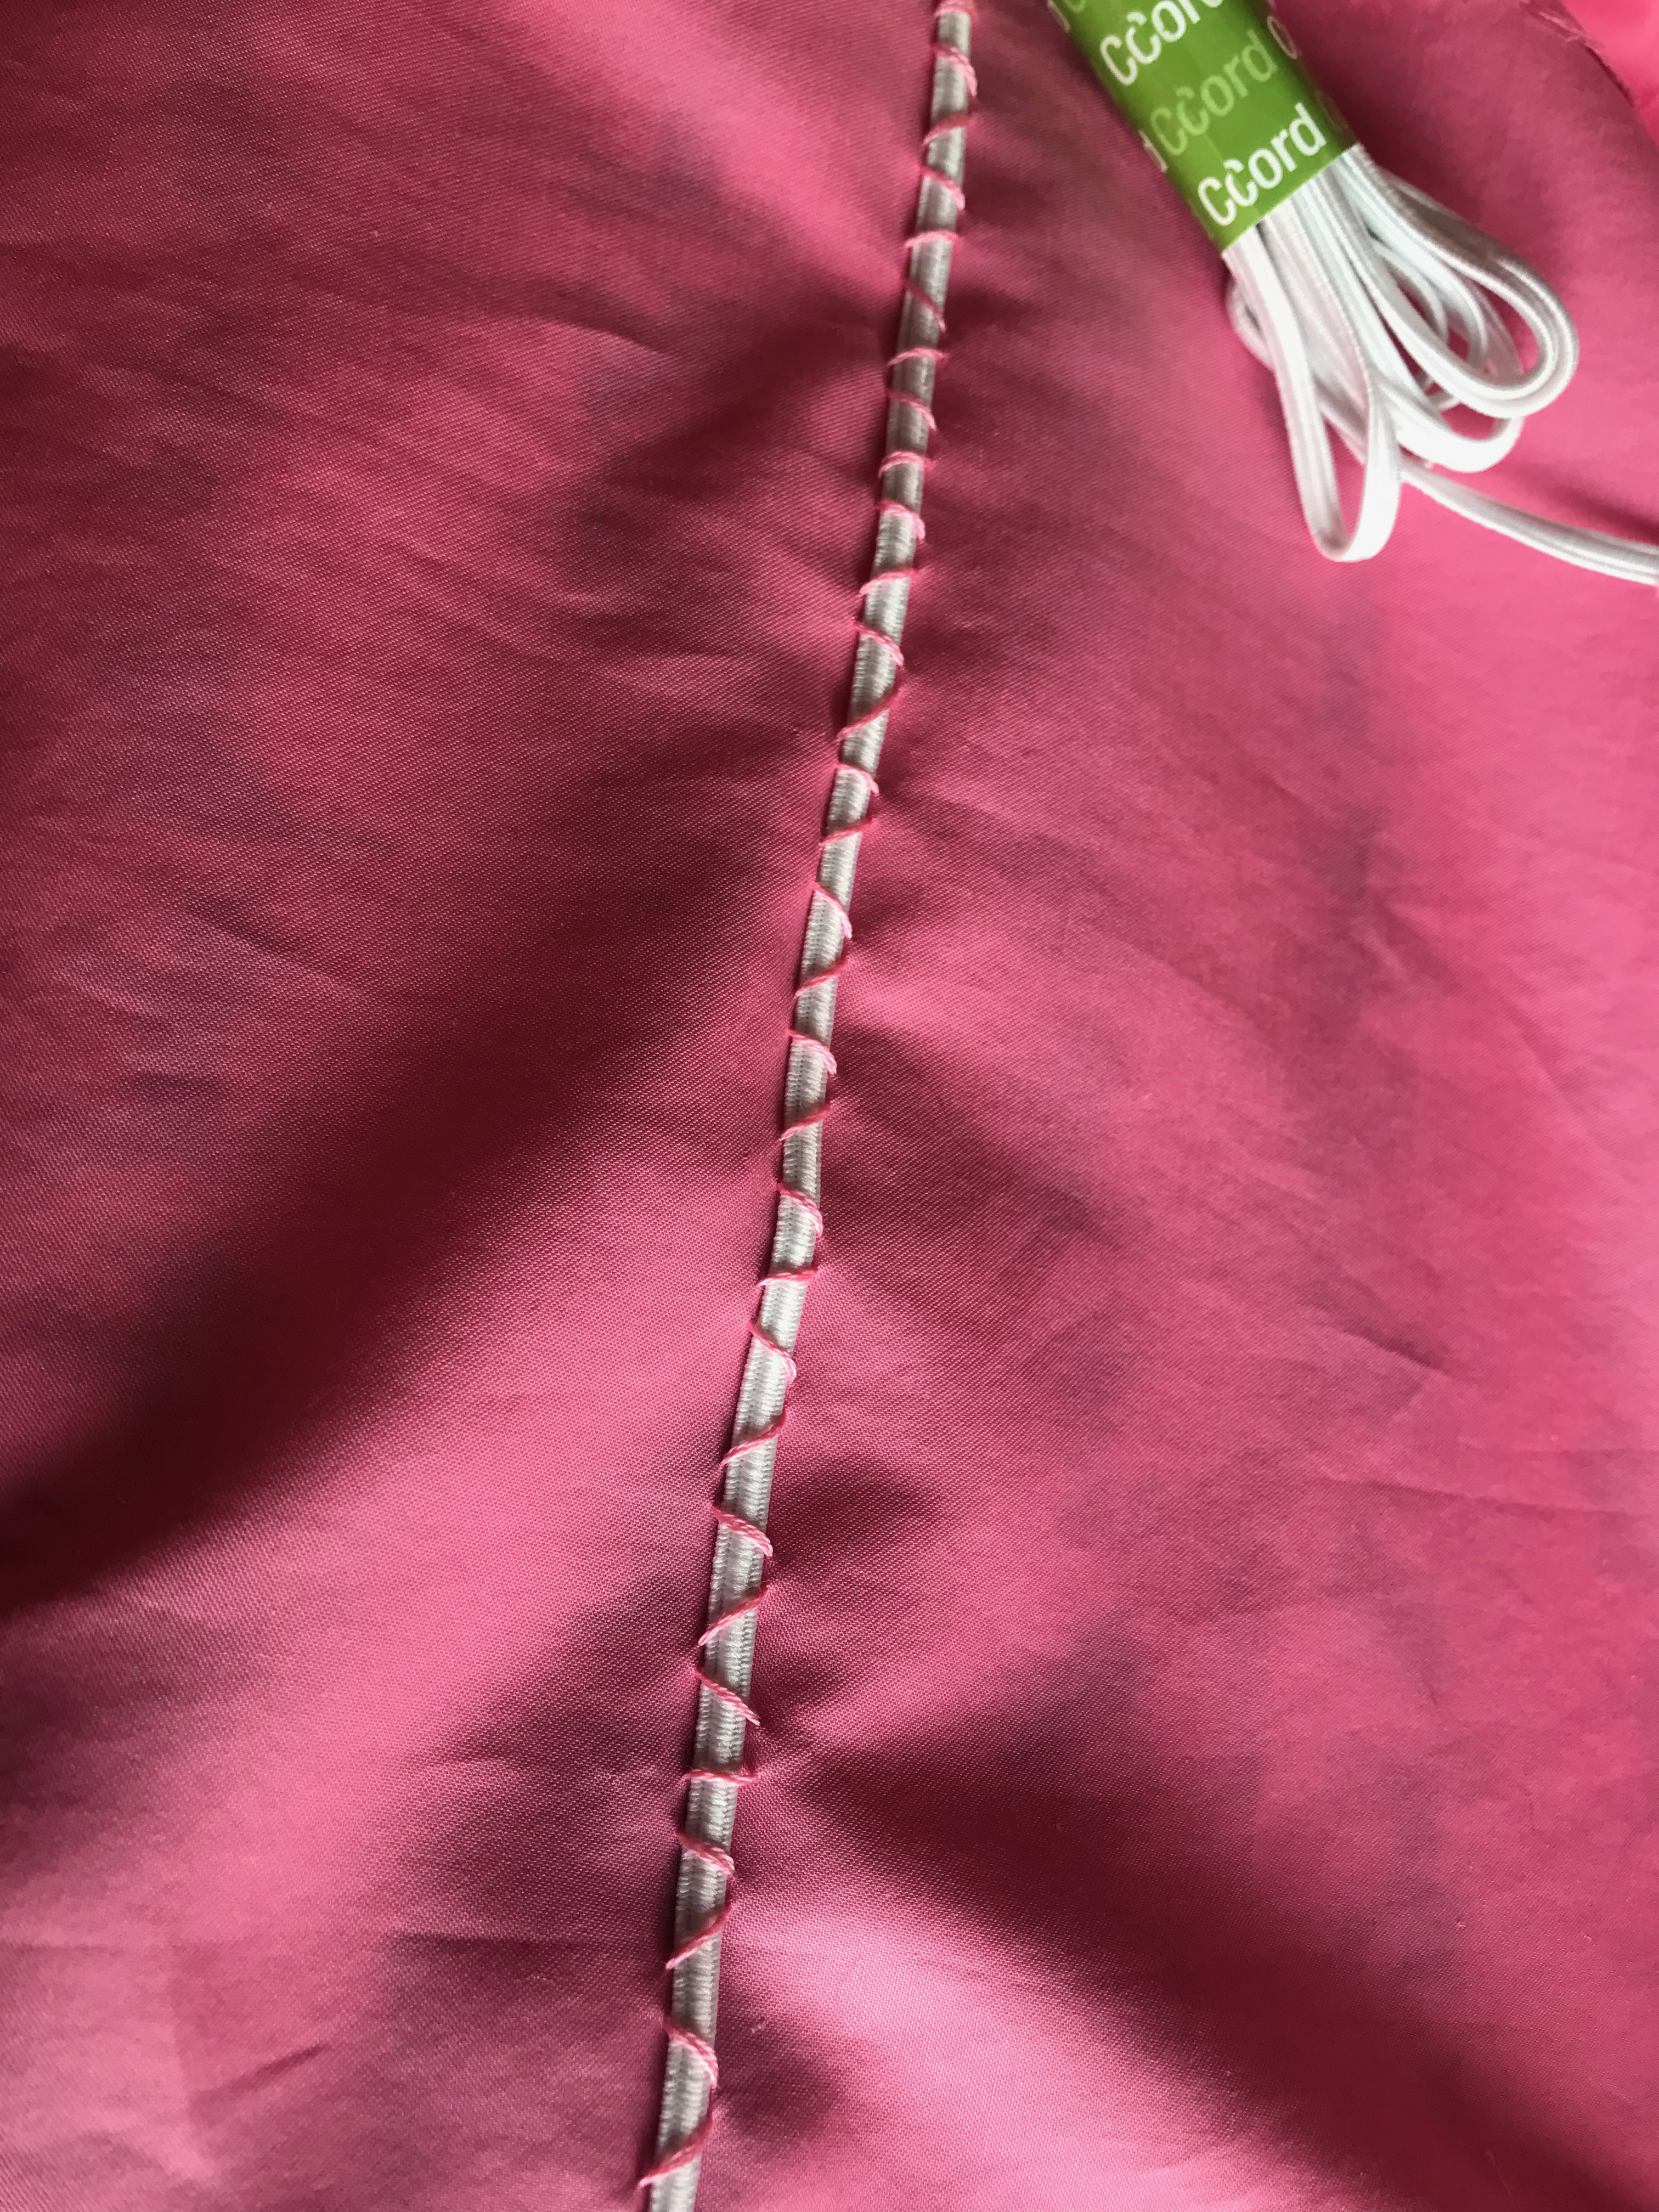
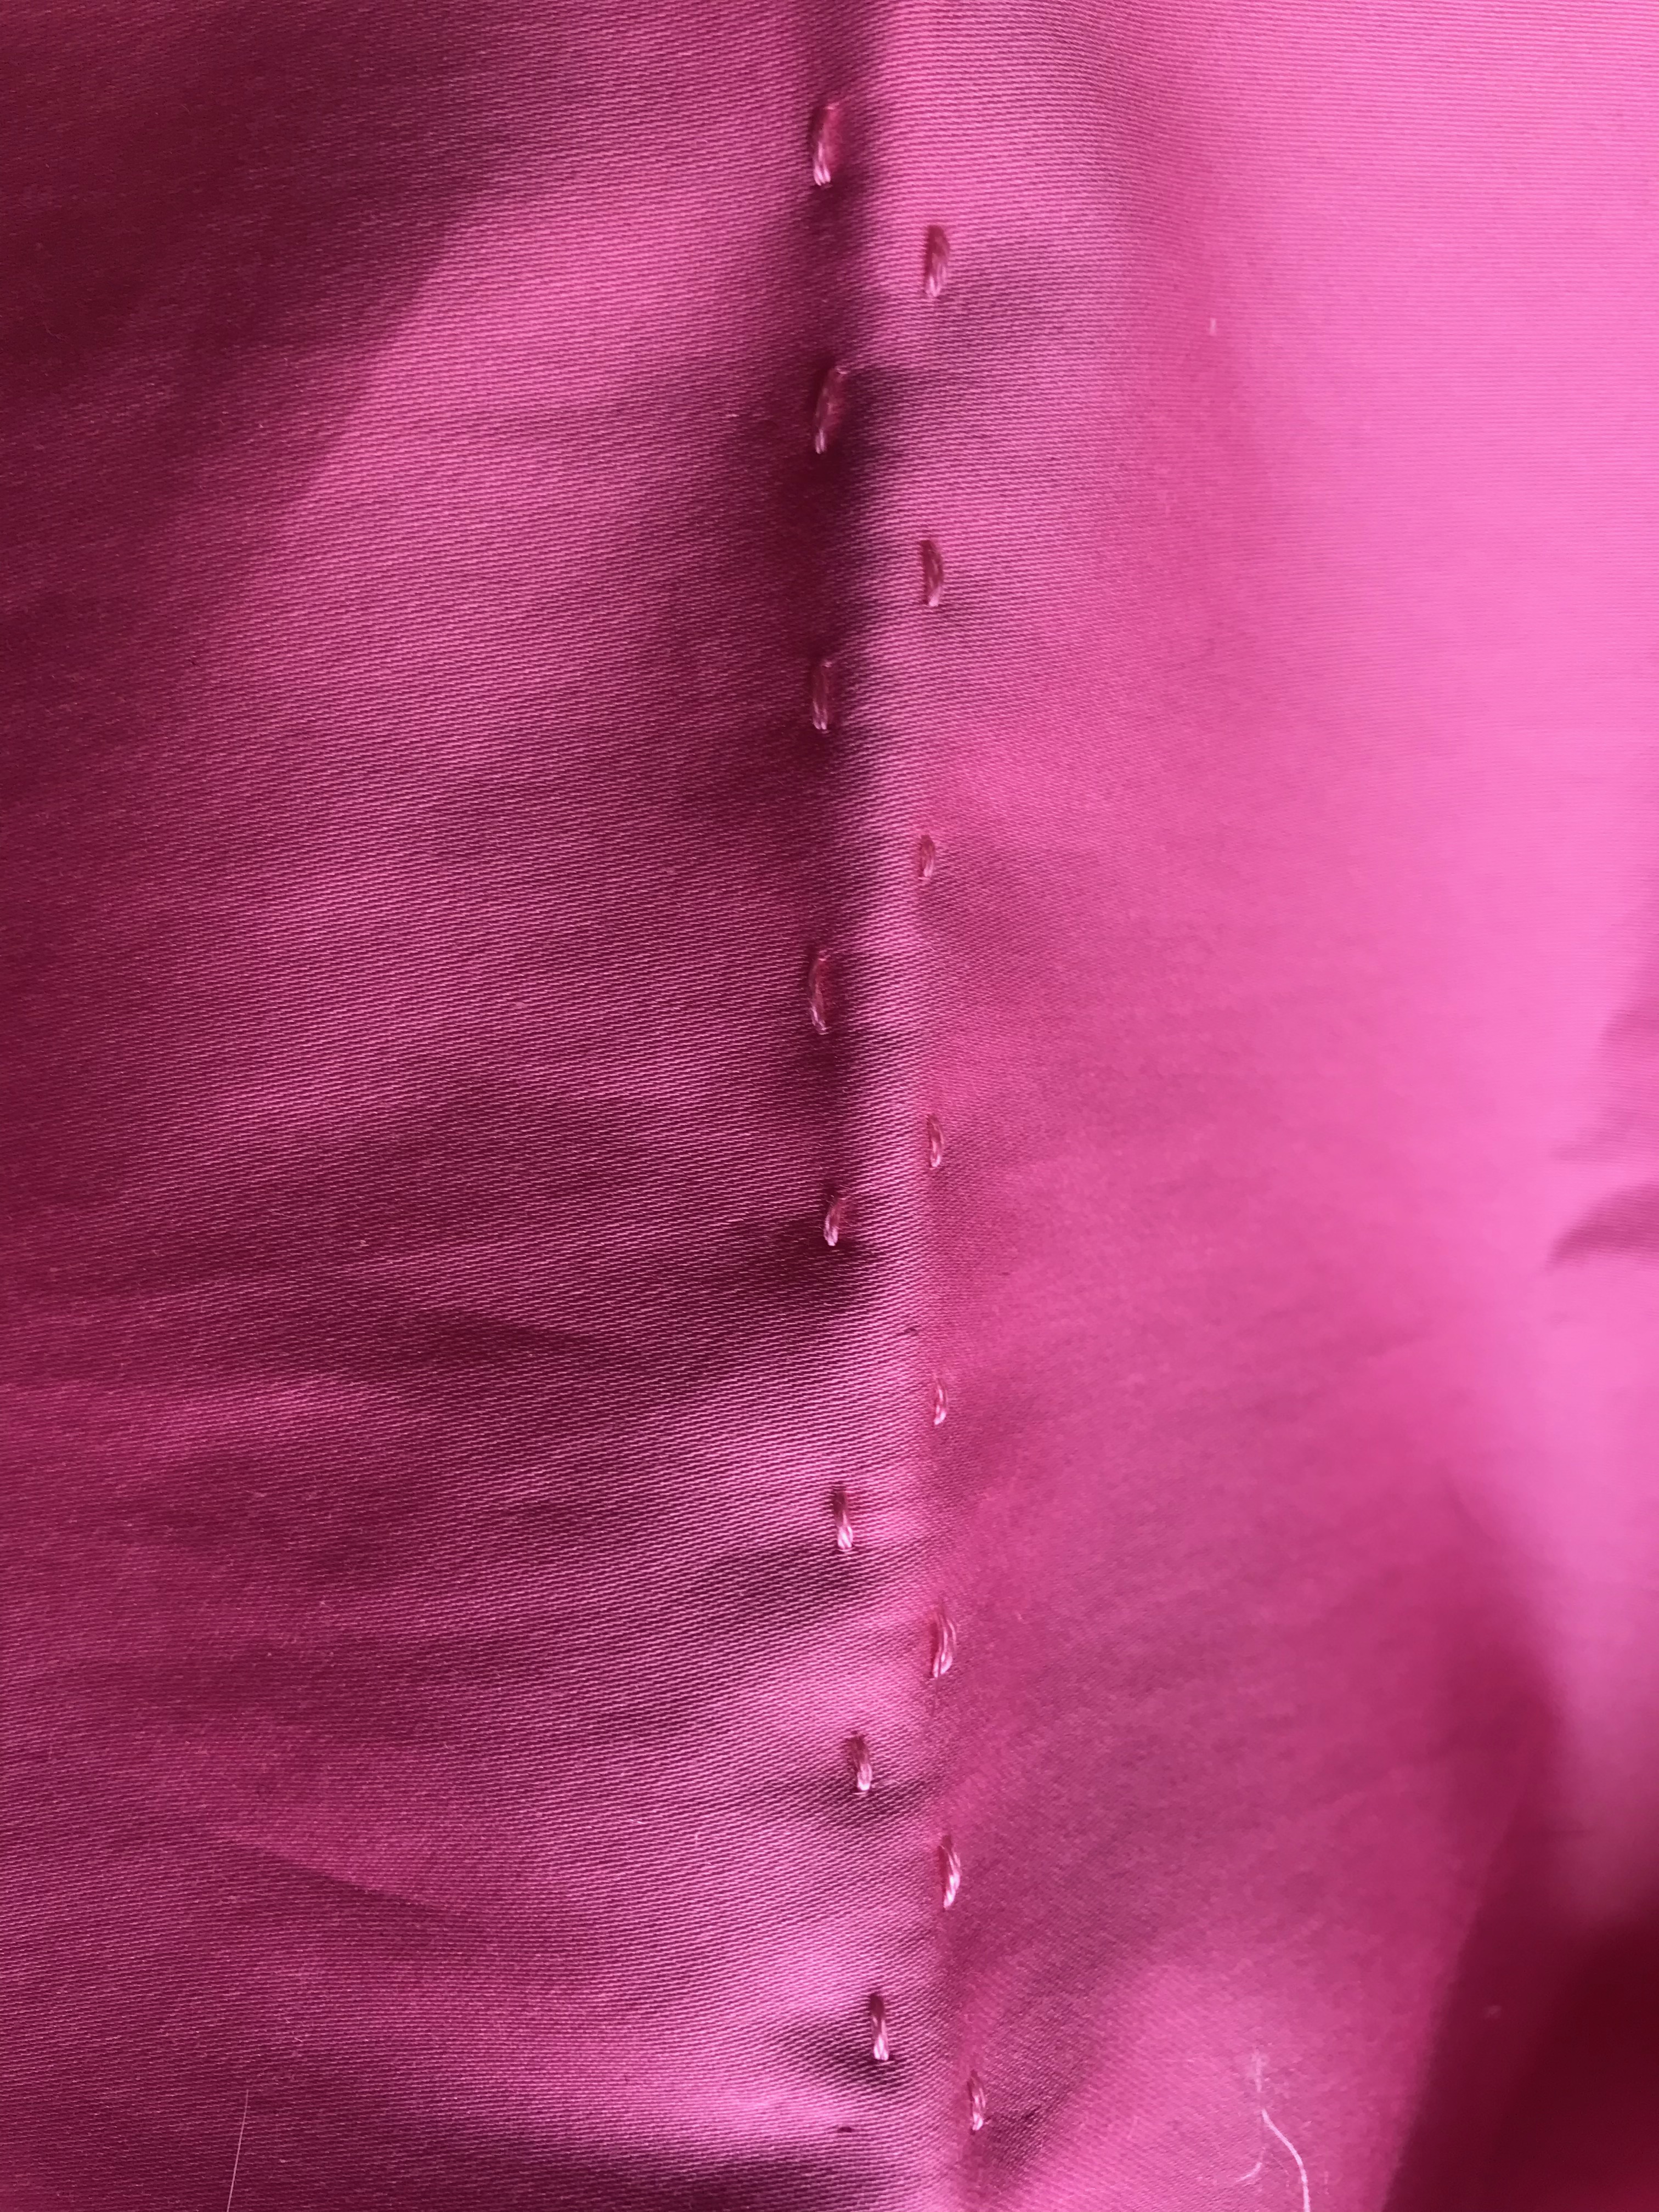
One of the beauties of tunics is there are no rules on how trim is applied or placed or even if it is used. I had purchased two widths of Petersham ribbon for use on this garment, fully intending on using two rows to echo the front opening. However, I determined that would be too much. Instead, I used the narrower ribbon on the collar and as the second row around the hem and the side slits. The sleeves seemed to look better with the wider width of ribbon. The ribbon adds a degree of stability to the hem, especially, which helps the tunic to hang properly.
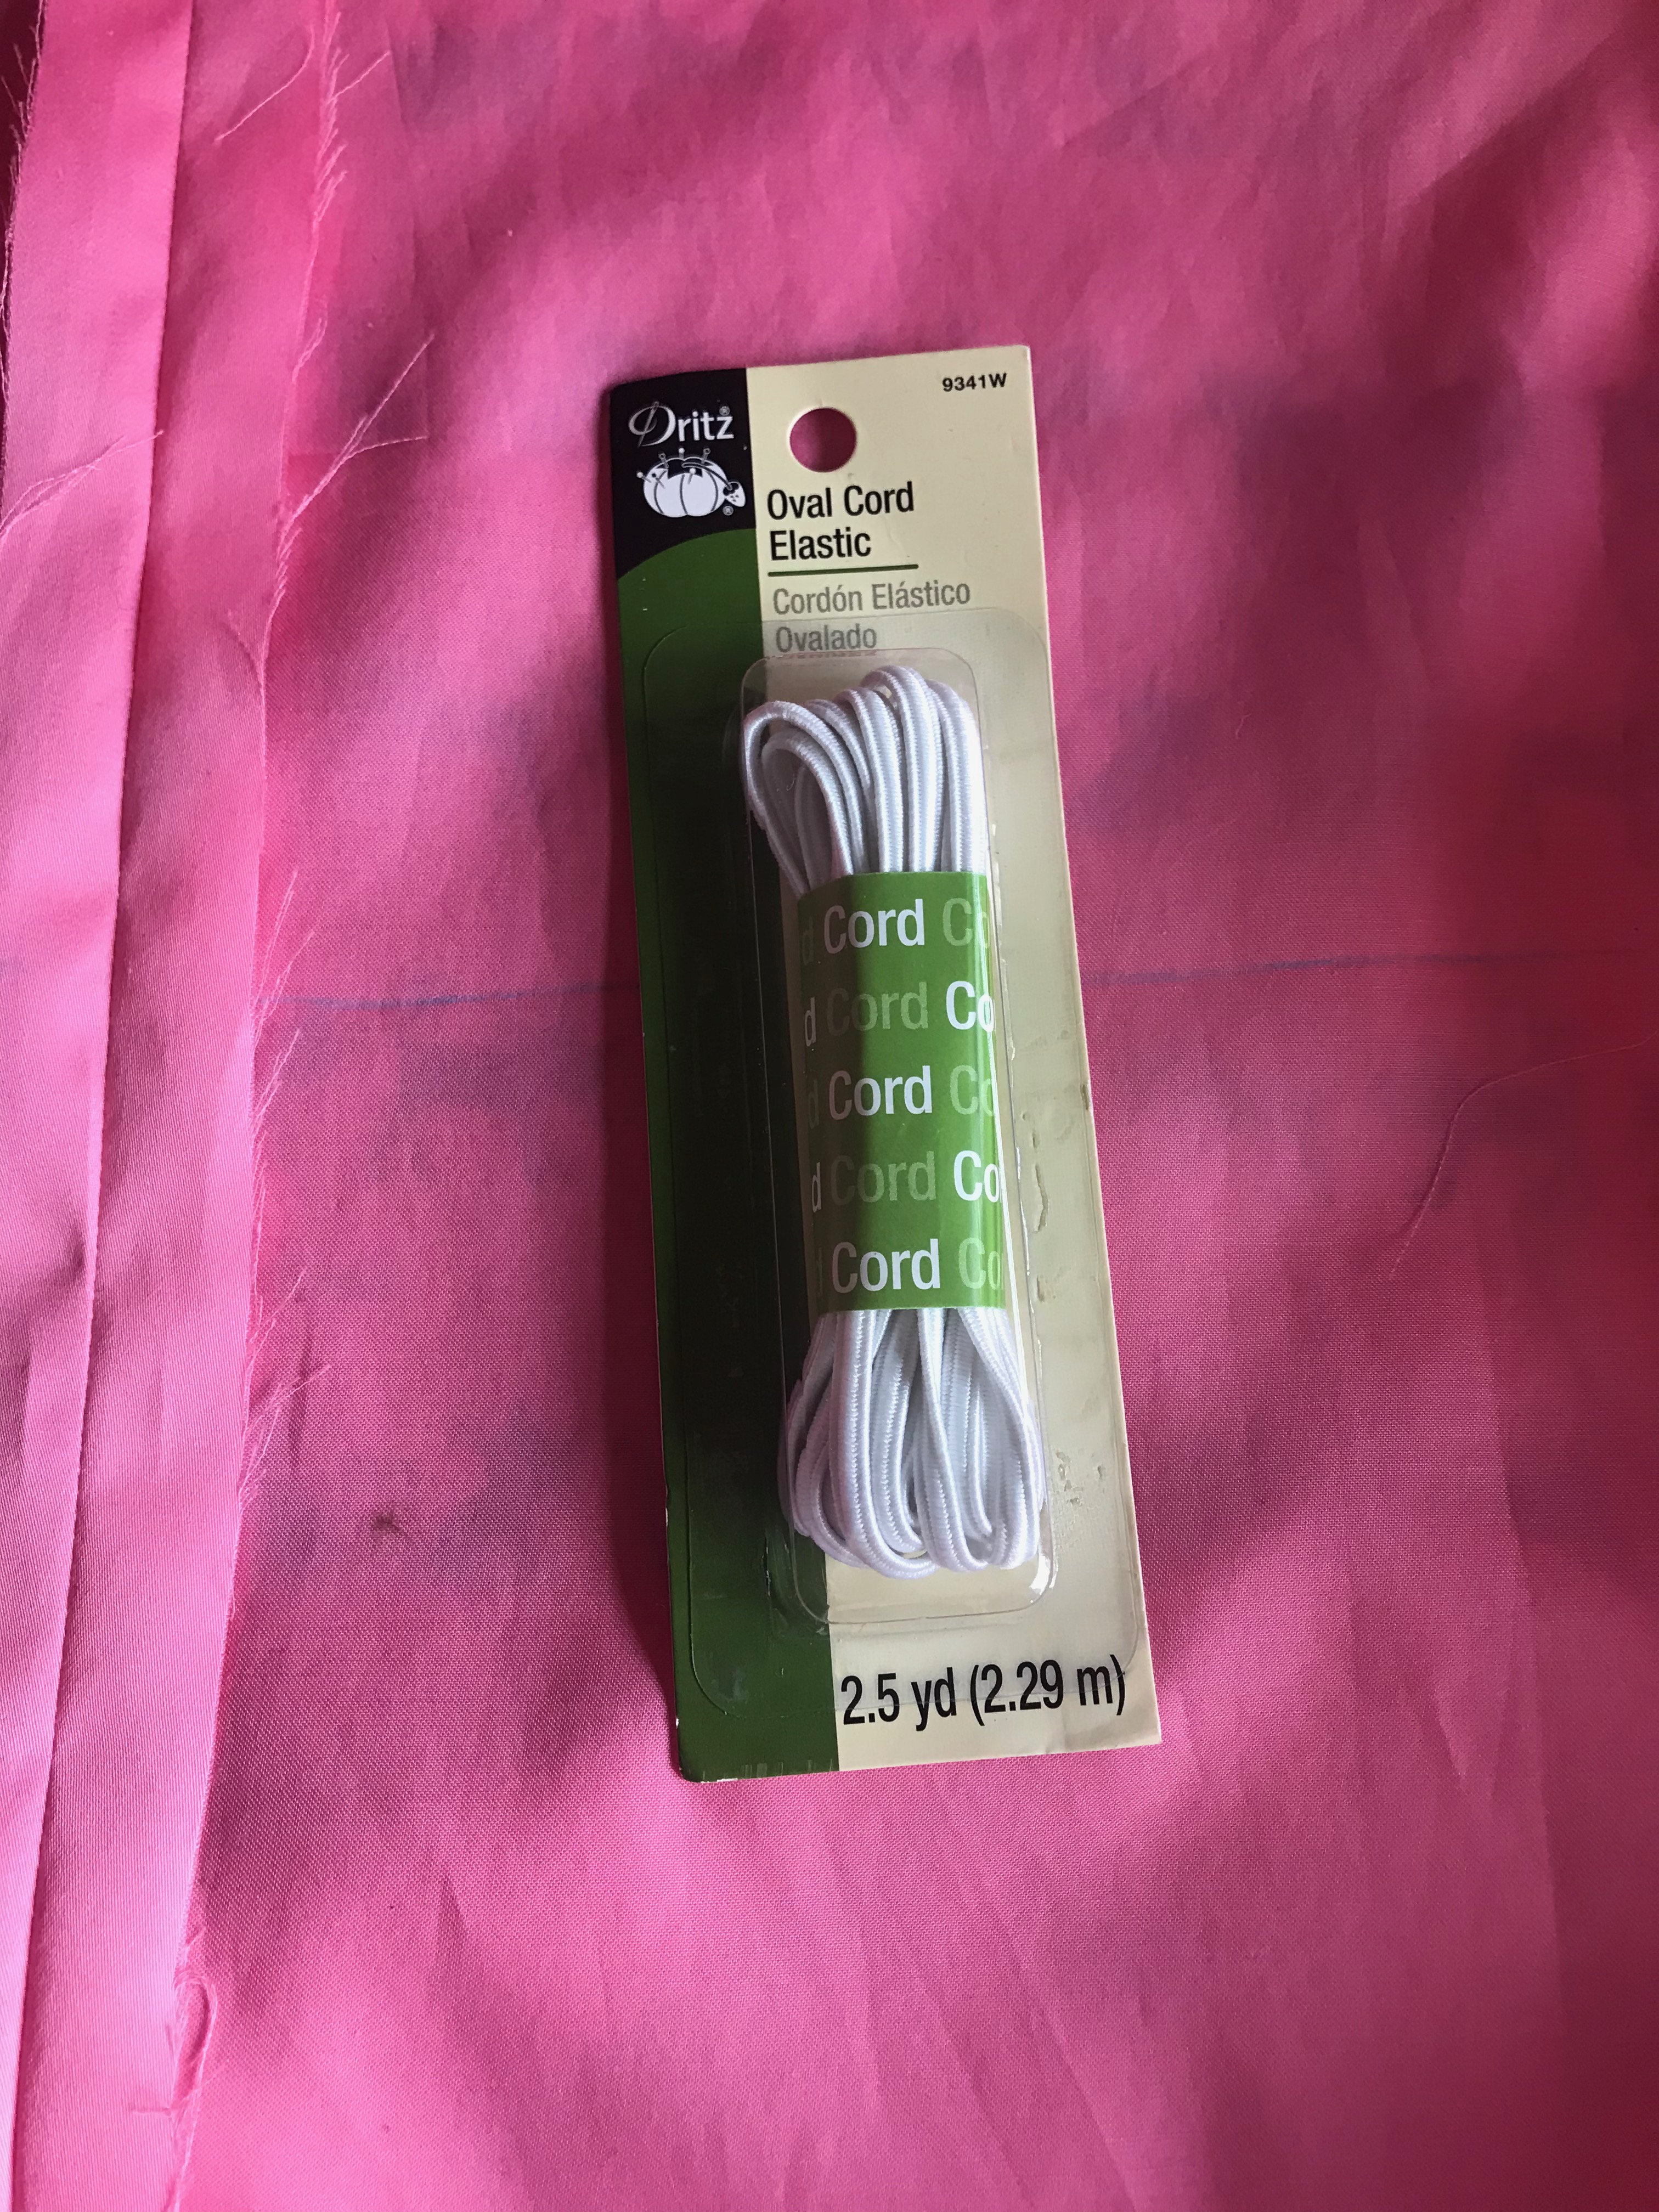
By the way, sewing all that Petersham ribbon on is helped immensely by the use of Dritz WashAway adhesive tape.
Obviously I have not washed this tunic yet, but in its first laundering the tape securing the ribbon will, indeed, wash away. I expect a softer appearance of the ribbon at that point, which seems to have a few waves in it at present.
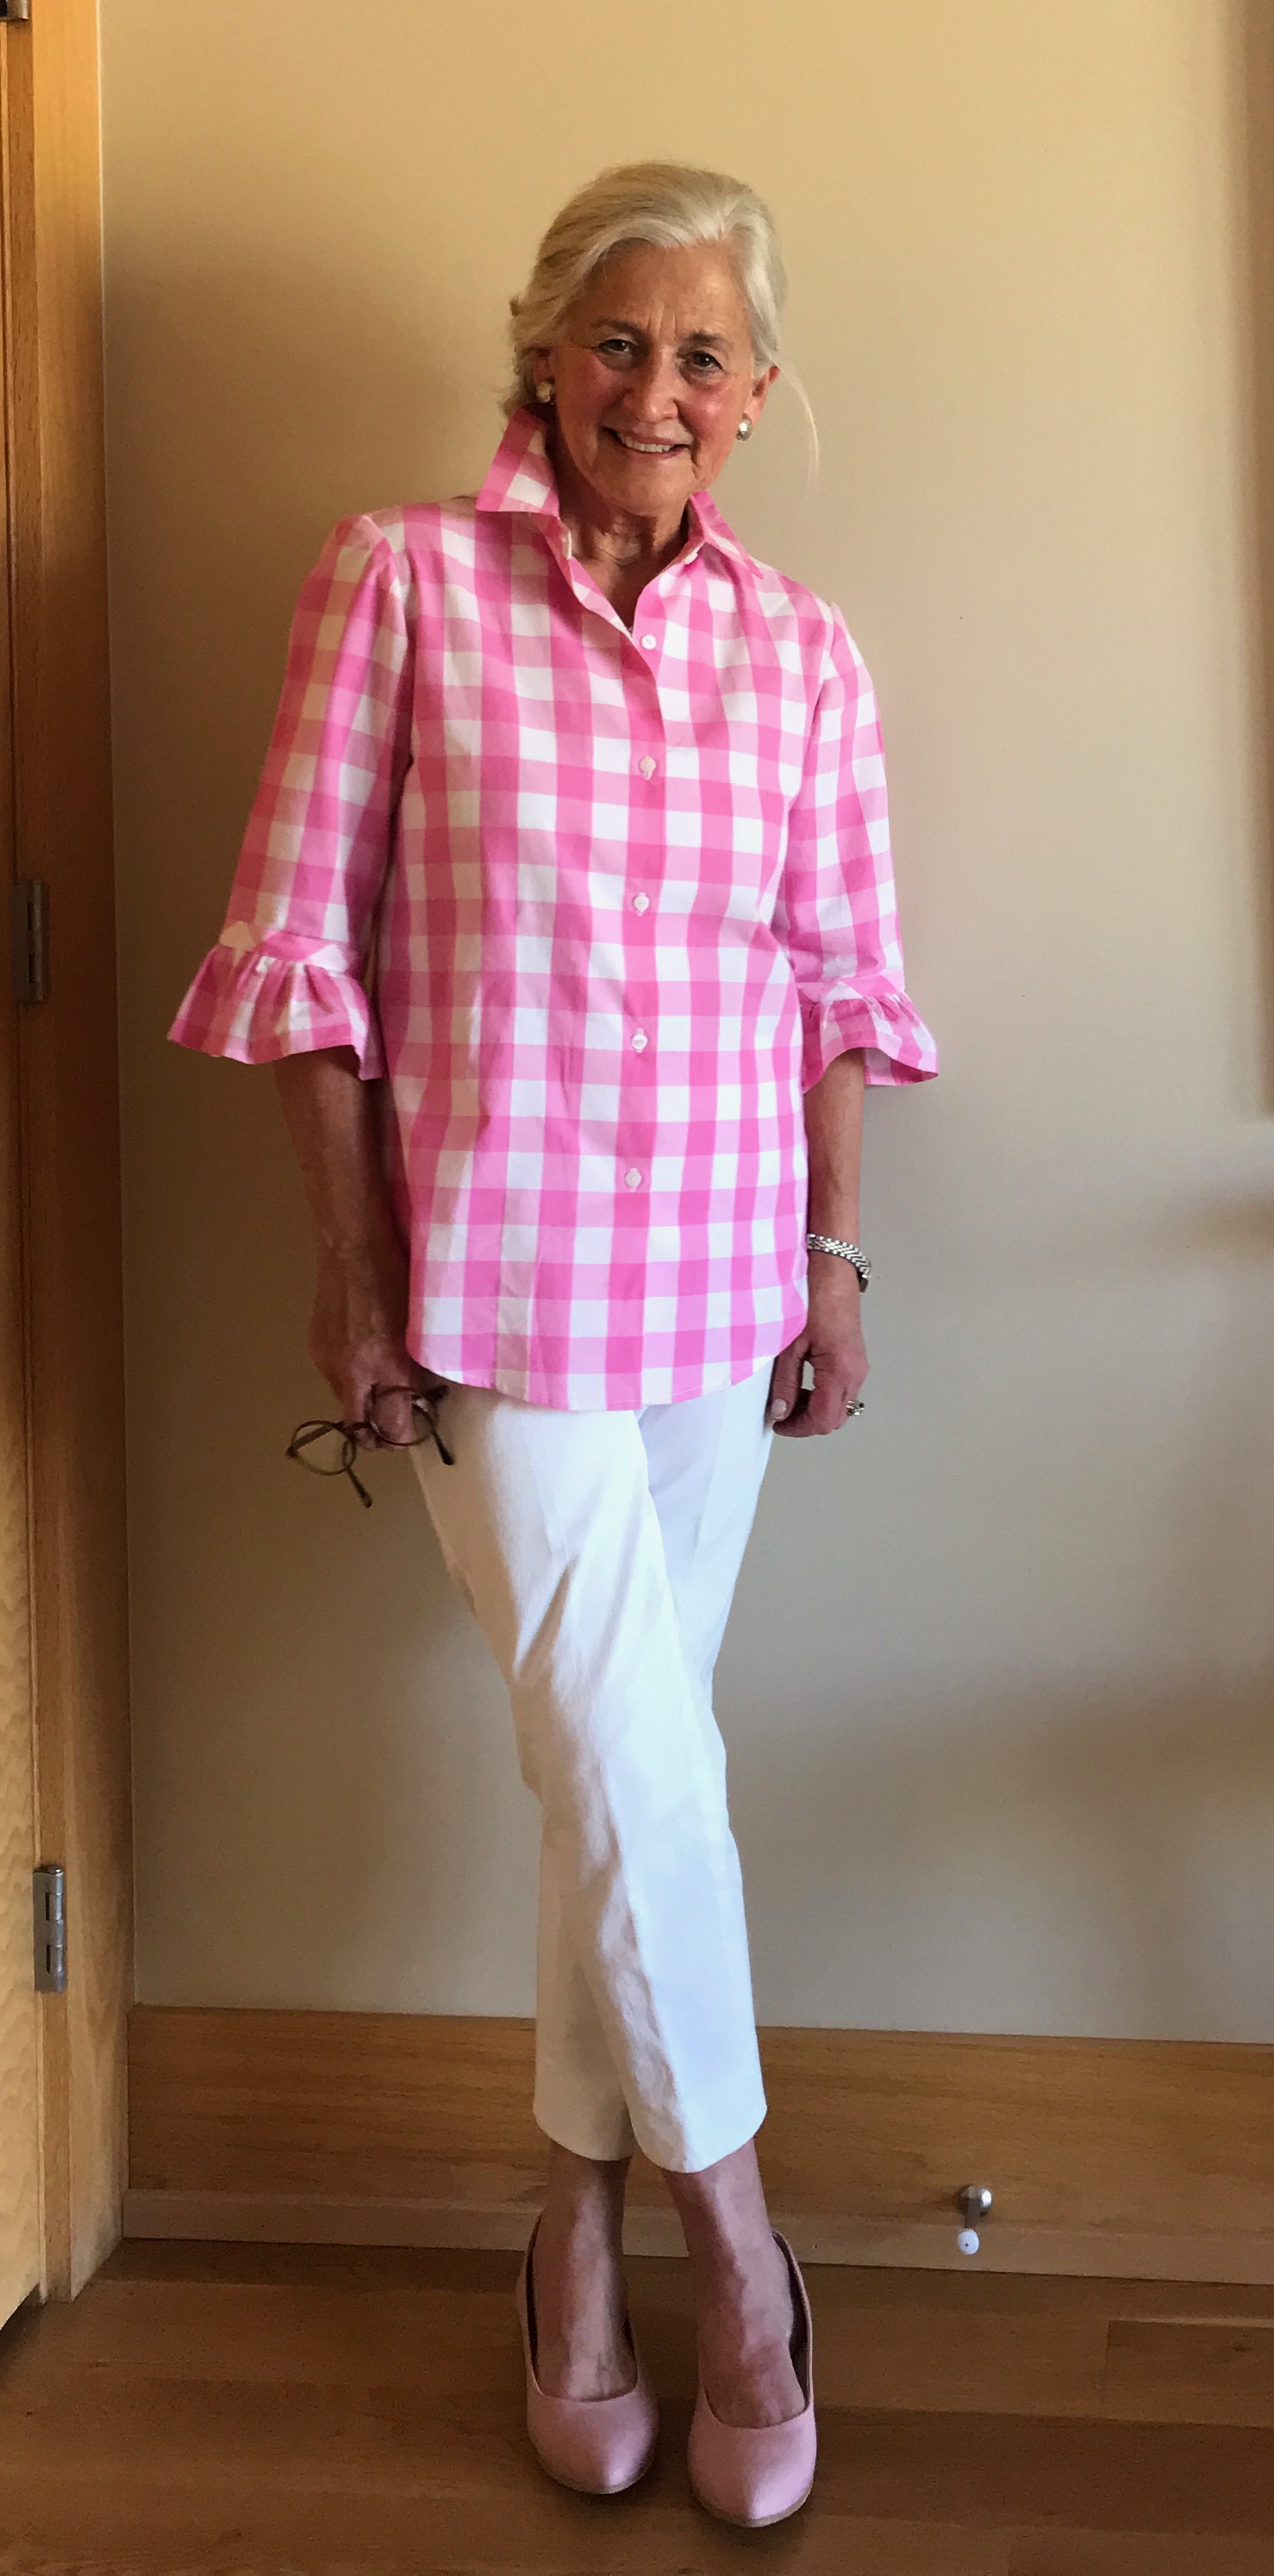
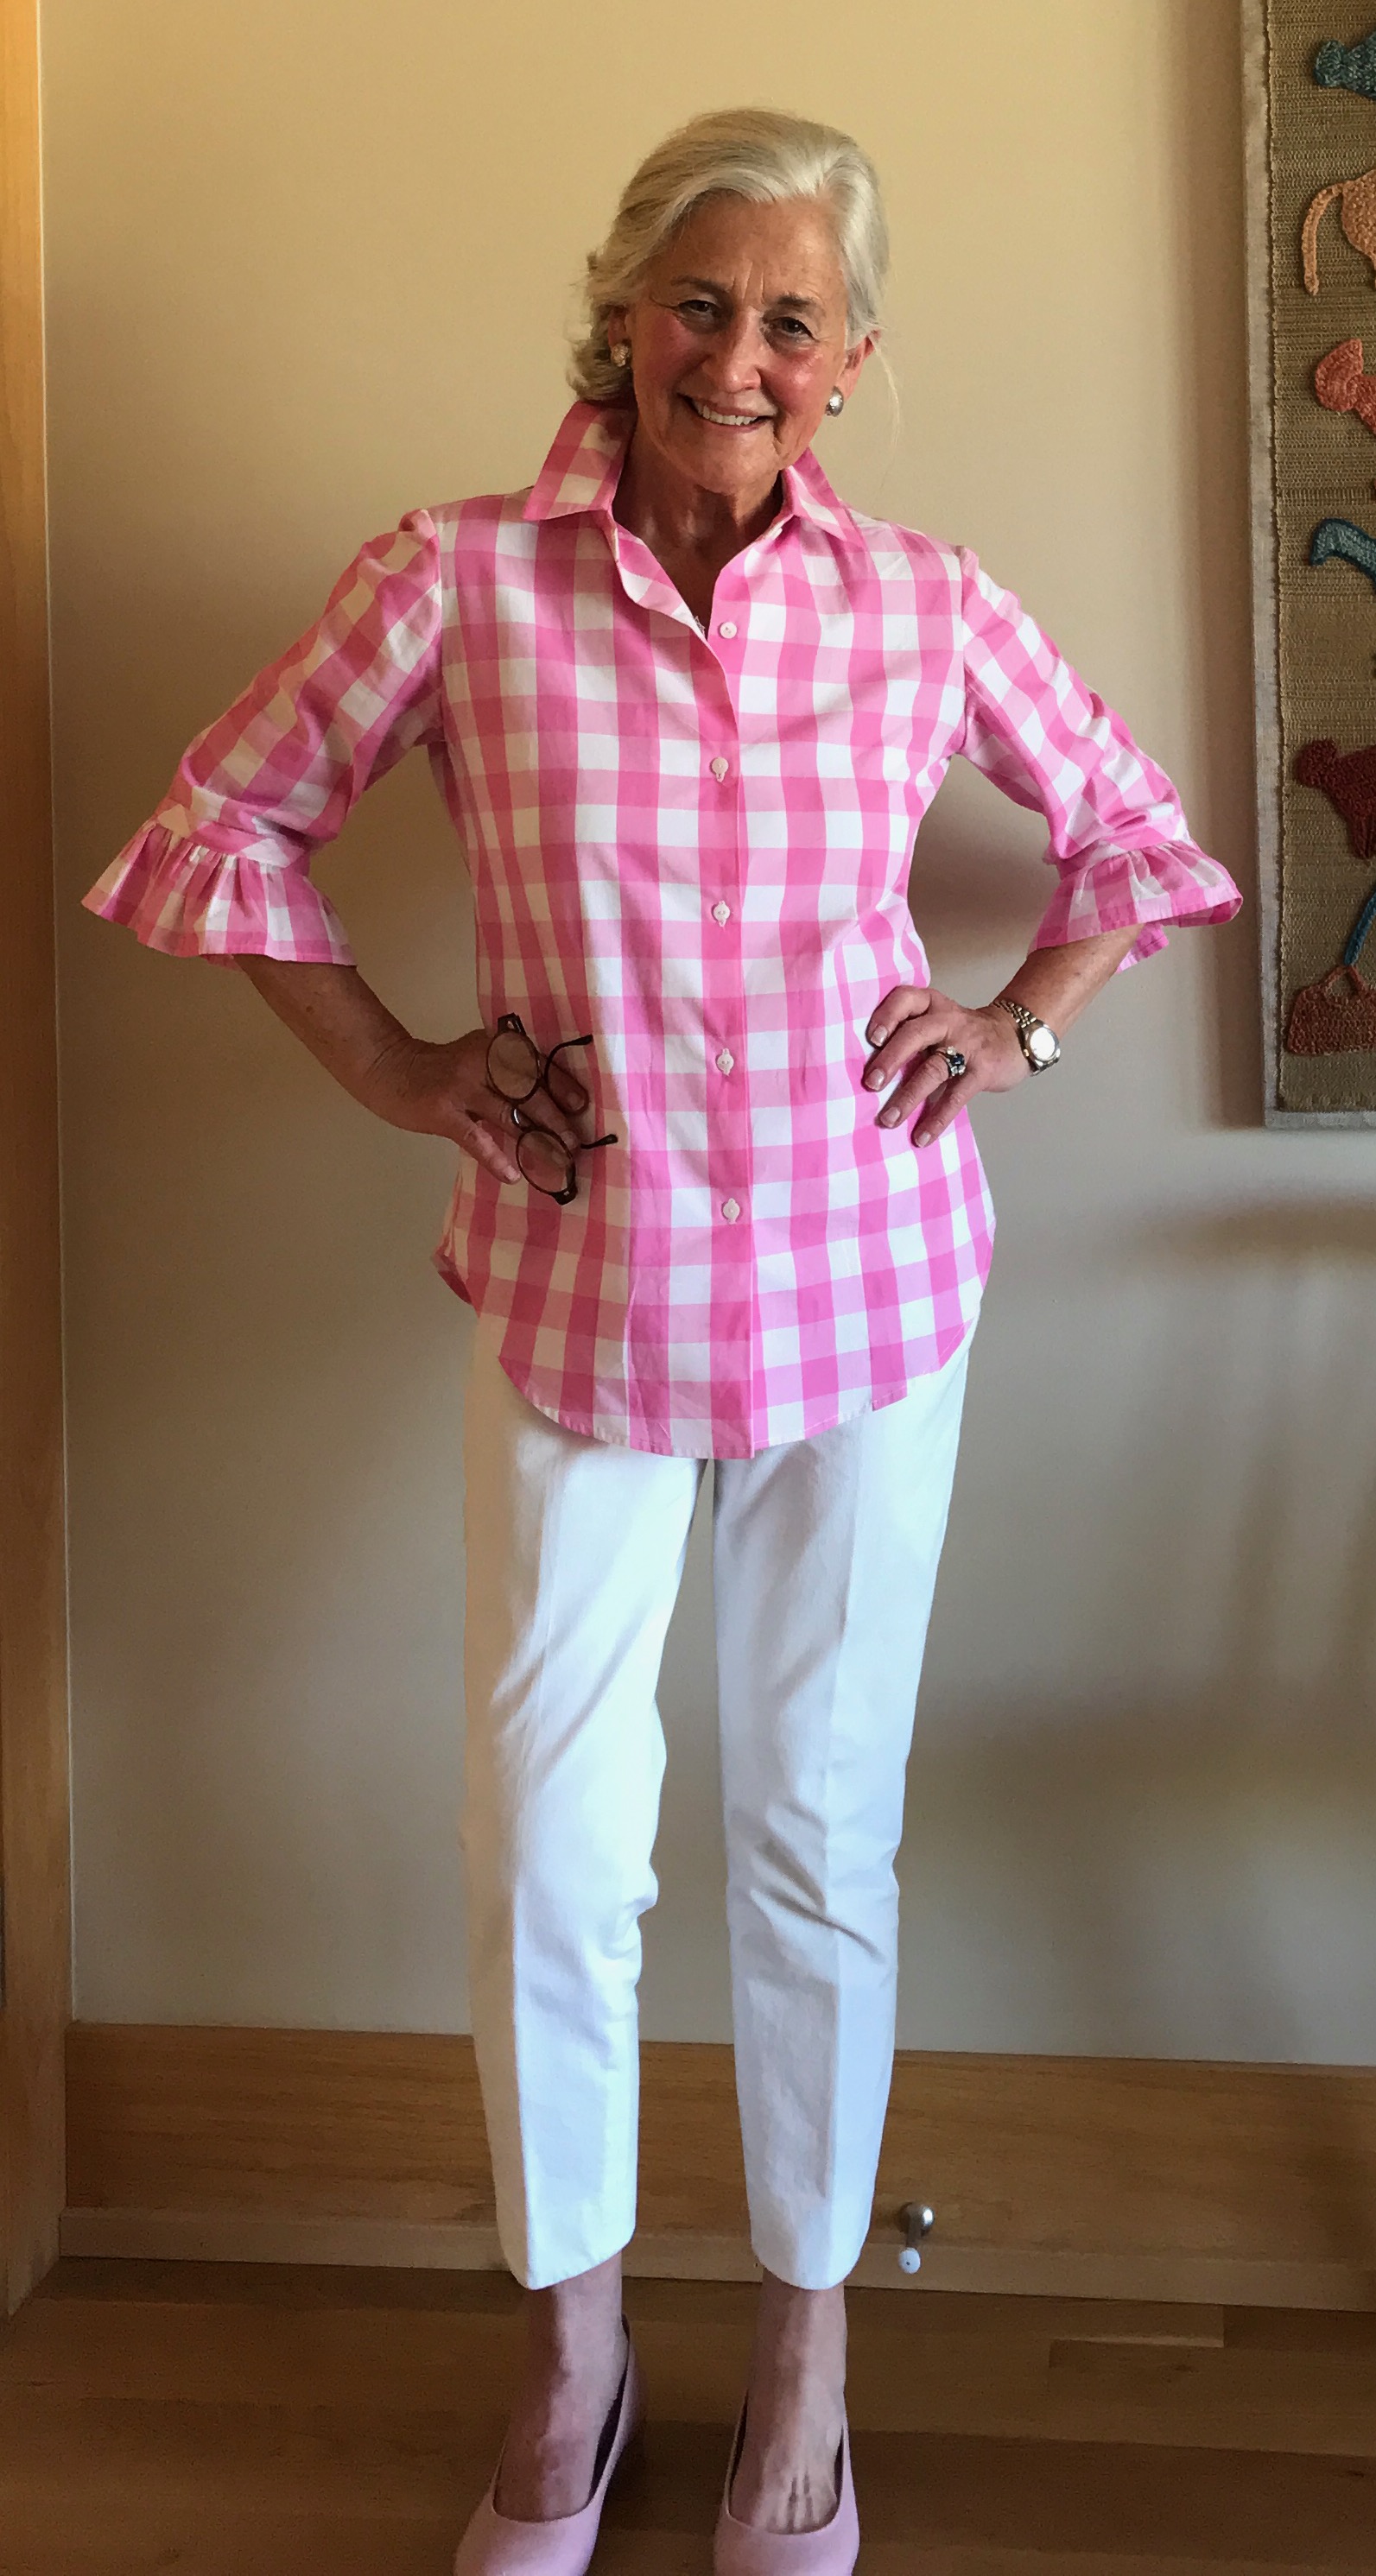
Pictures often are the best way to check fit on a garment (even after multiple try-ons to fine-tune it), and I was pleased with the final, slightly fitted, non-baggy appearance of this tunic. In other words, it does not look like a sack! It is easy to slip on, less so getting it off, but still very manageable. (Sometimes a side zipper can be – or needs to be – added to help with this task of dressing and undressing. The abbreviated length of this example precluded that option.)
I’m not sure what Edith Head would have thought about tunics, if anything (!), but I am thinking positively about this one.
27 Comments
Filed under Blouses, Fashion commentary, Loops for buttons, Tunics, Uncategorized, Vogue patterns
Tagged as Emma One Sock Fabrics, fashion sewing, sewing, tunic tops