
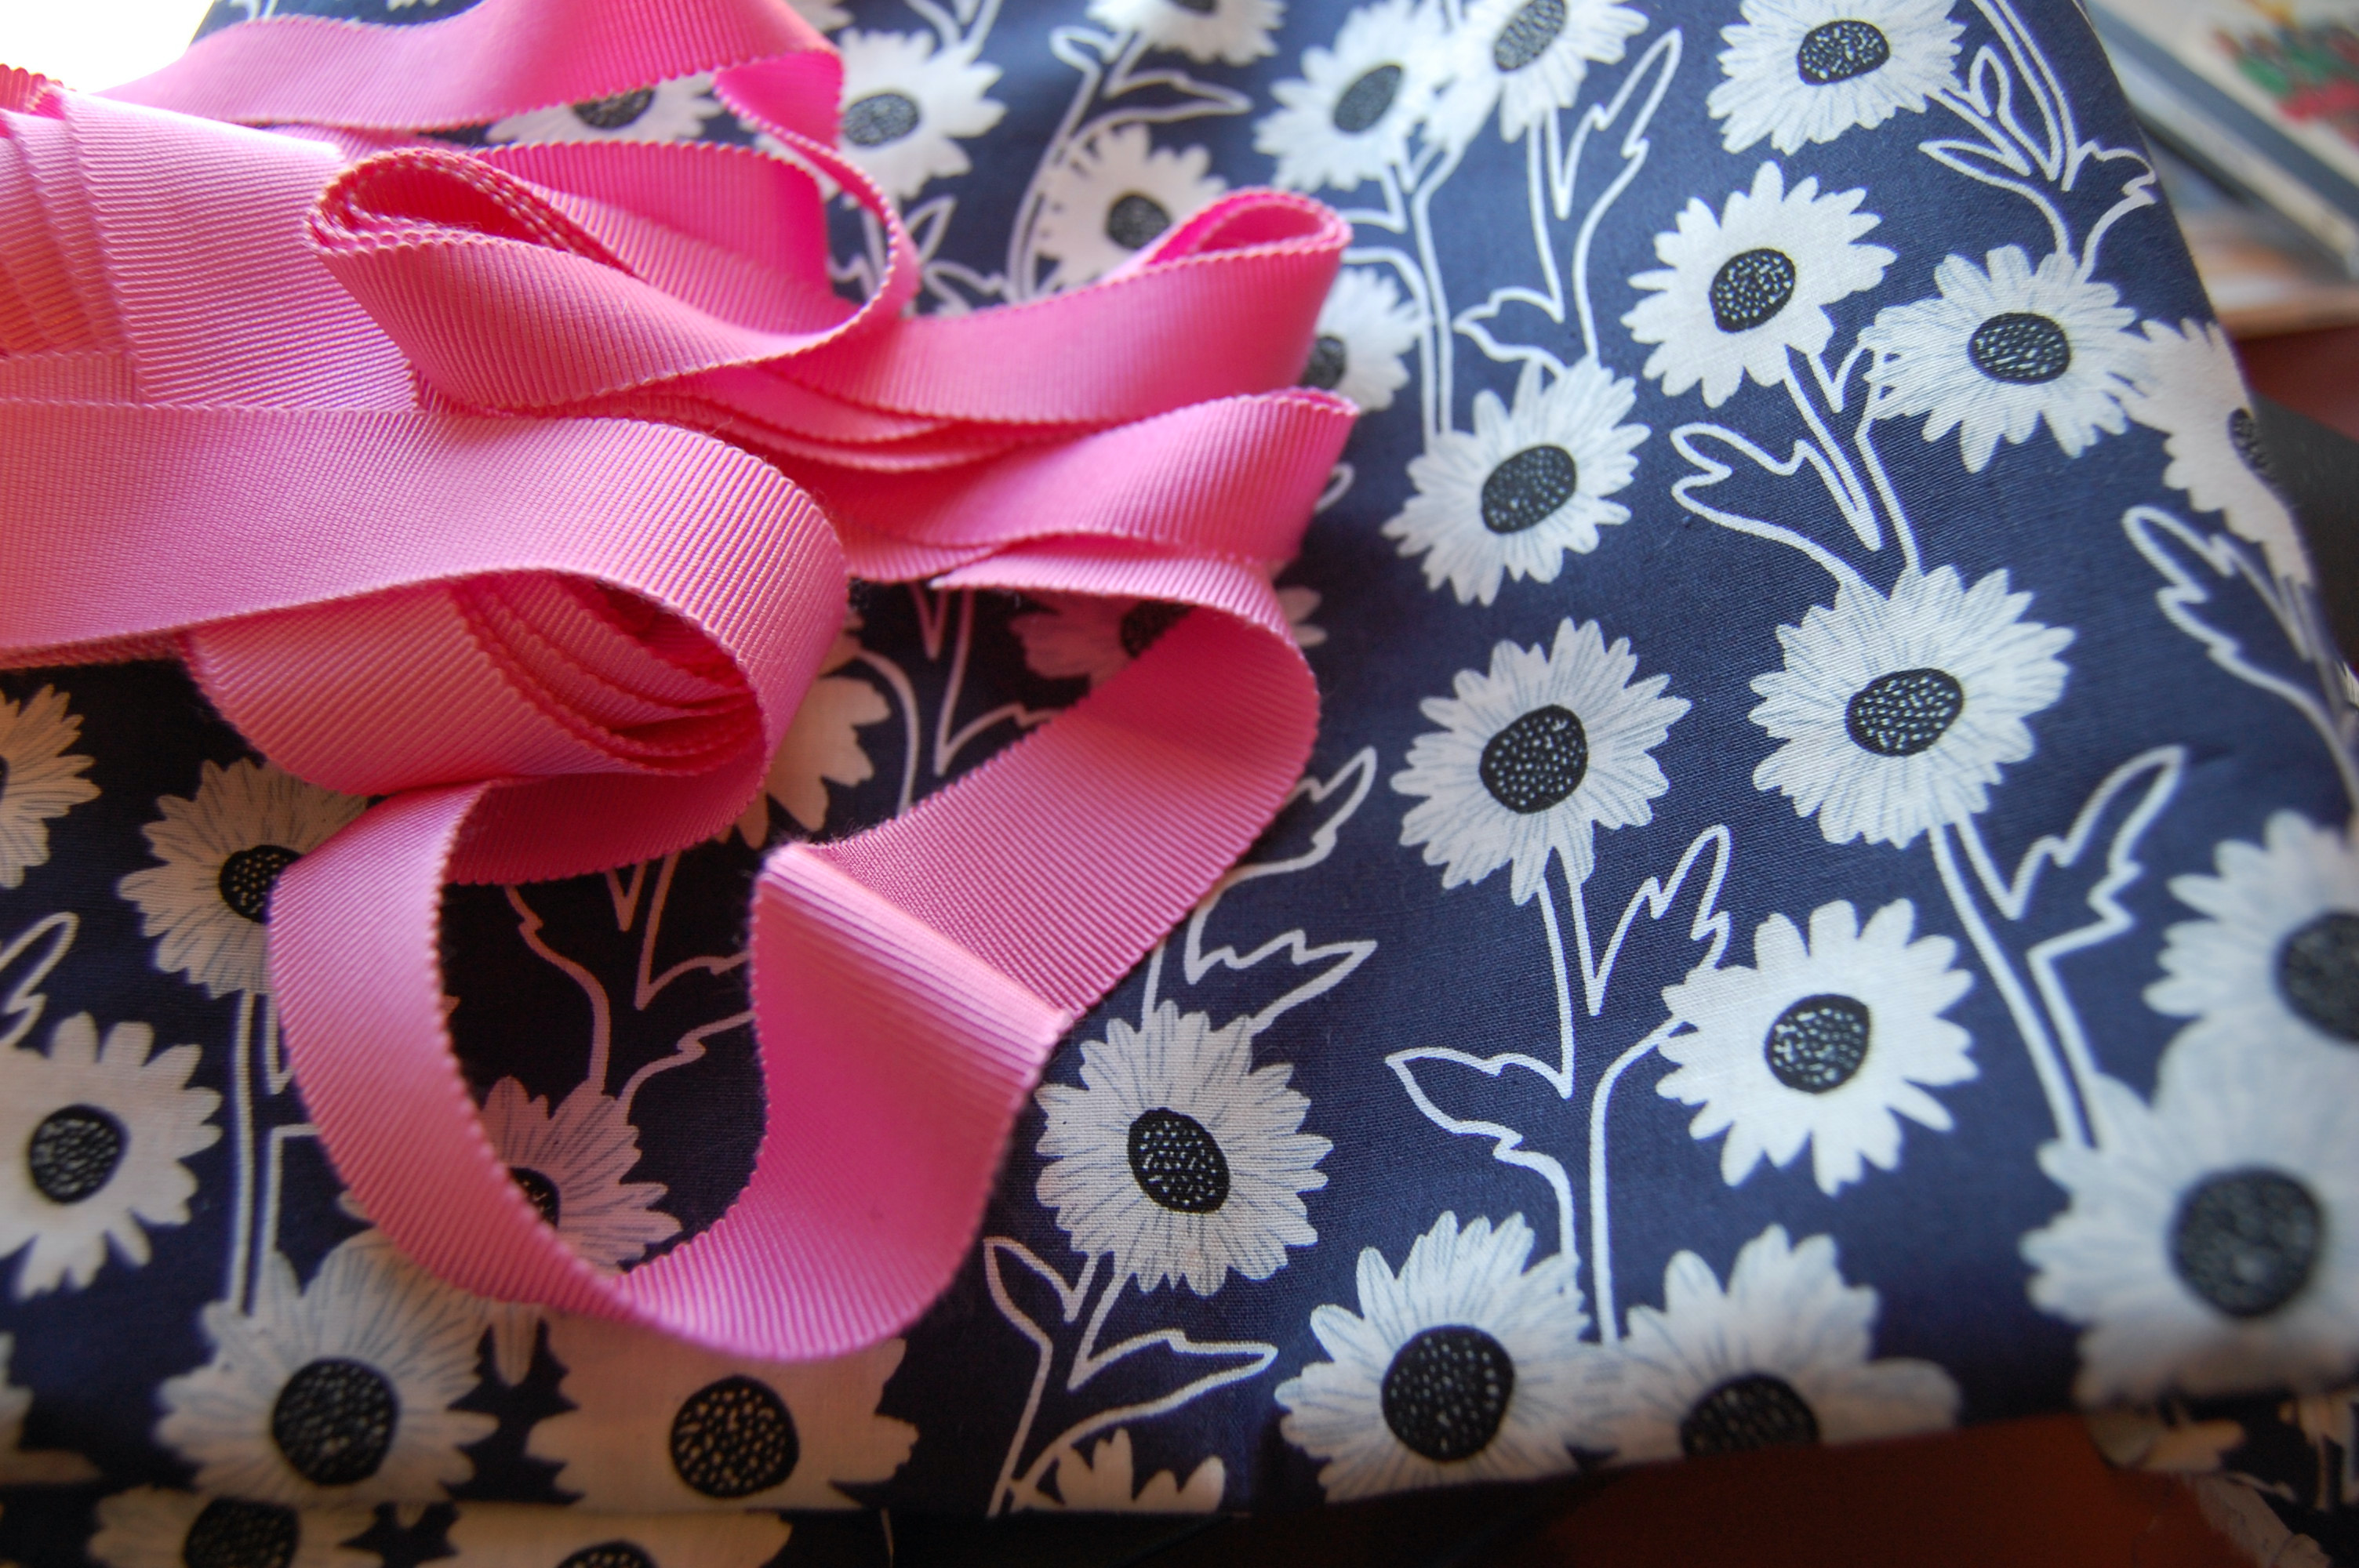
Did you think I had abandoned my cape? After an unexpectedly long hiatus from sewing – due to busy holidays, travel, and things out of my control – I finally returned to my sewing room last week. And although PINK is supposed to feature large in my 2022 sewing agenda, I first had “anything but pink” unfinished business from 2021. Yes, that cape which I thought would be such an easy make… I put the final stitches in it last week, only about 6 weeks after I imagined that would happen.

In all fairness, I should say whenever I must stop a project and then return to it weeks later, I always imagine that it has taken me much longer than it should have. There is a “reacquaintance” factor in the time involved. “Now, just where am I in this? What’s the next step? What did I do with the undercollar? Is the lining already cut out? If so, where is it?” and on and on. Believe it or not, I tend to be rather organized about my sewing, leaving notes for myself – that sort of thing. But still – the momentum needs to be rebooted, both for the project and for myself!
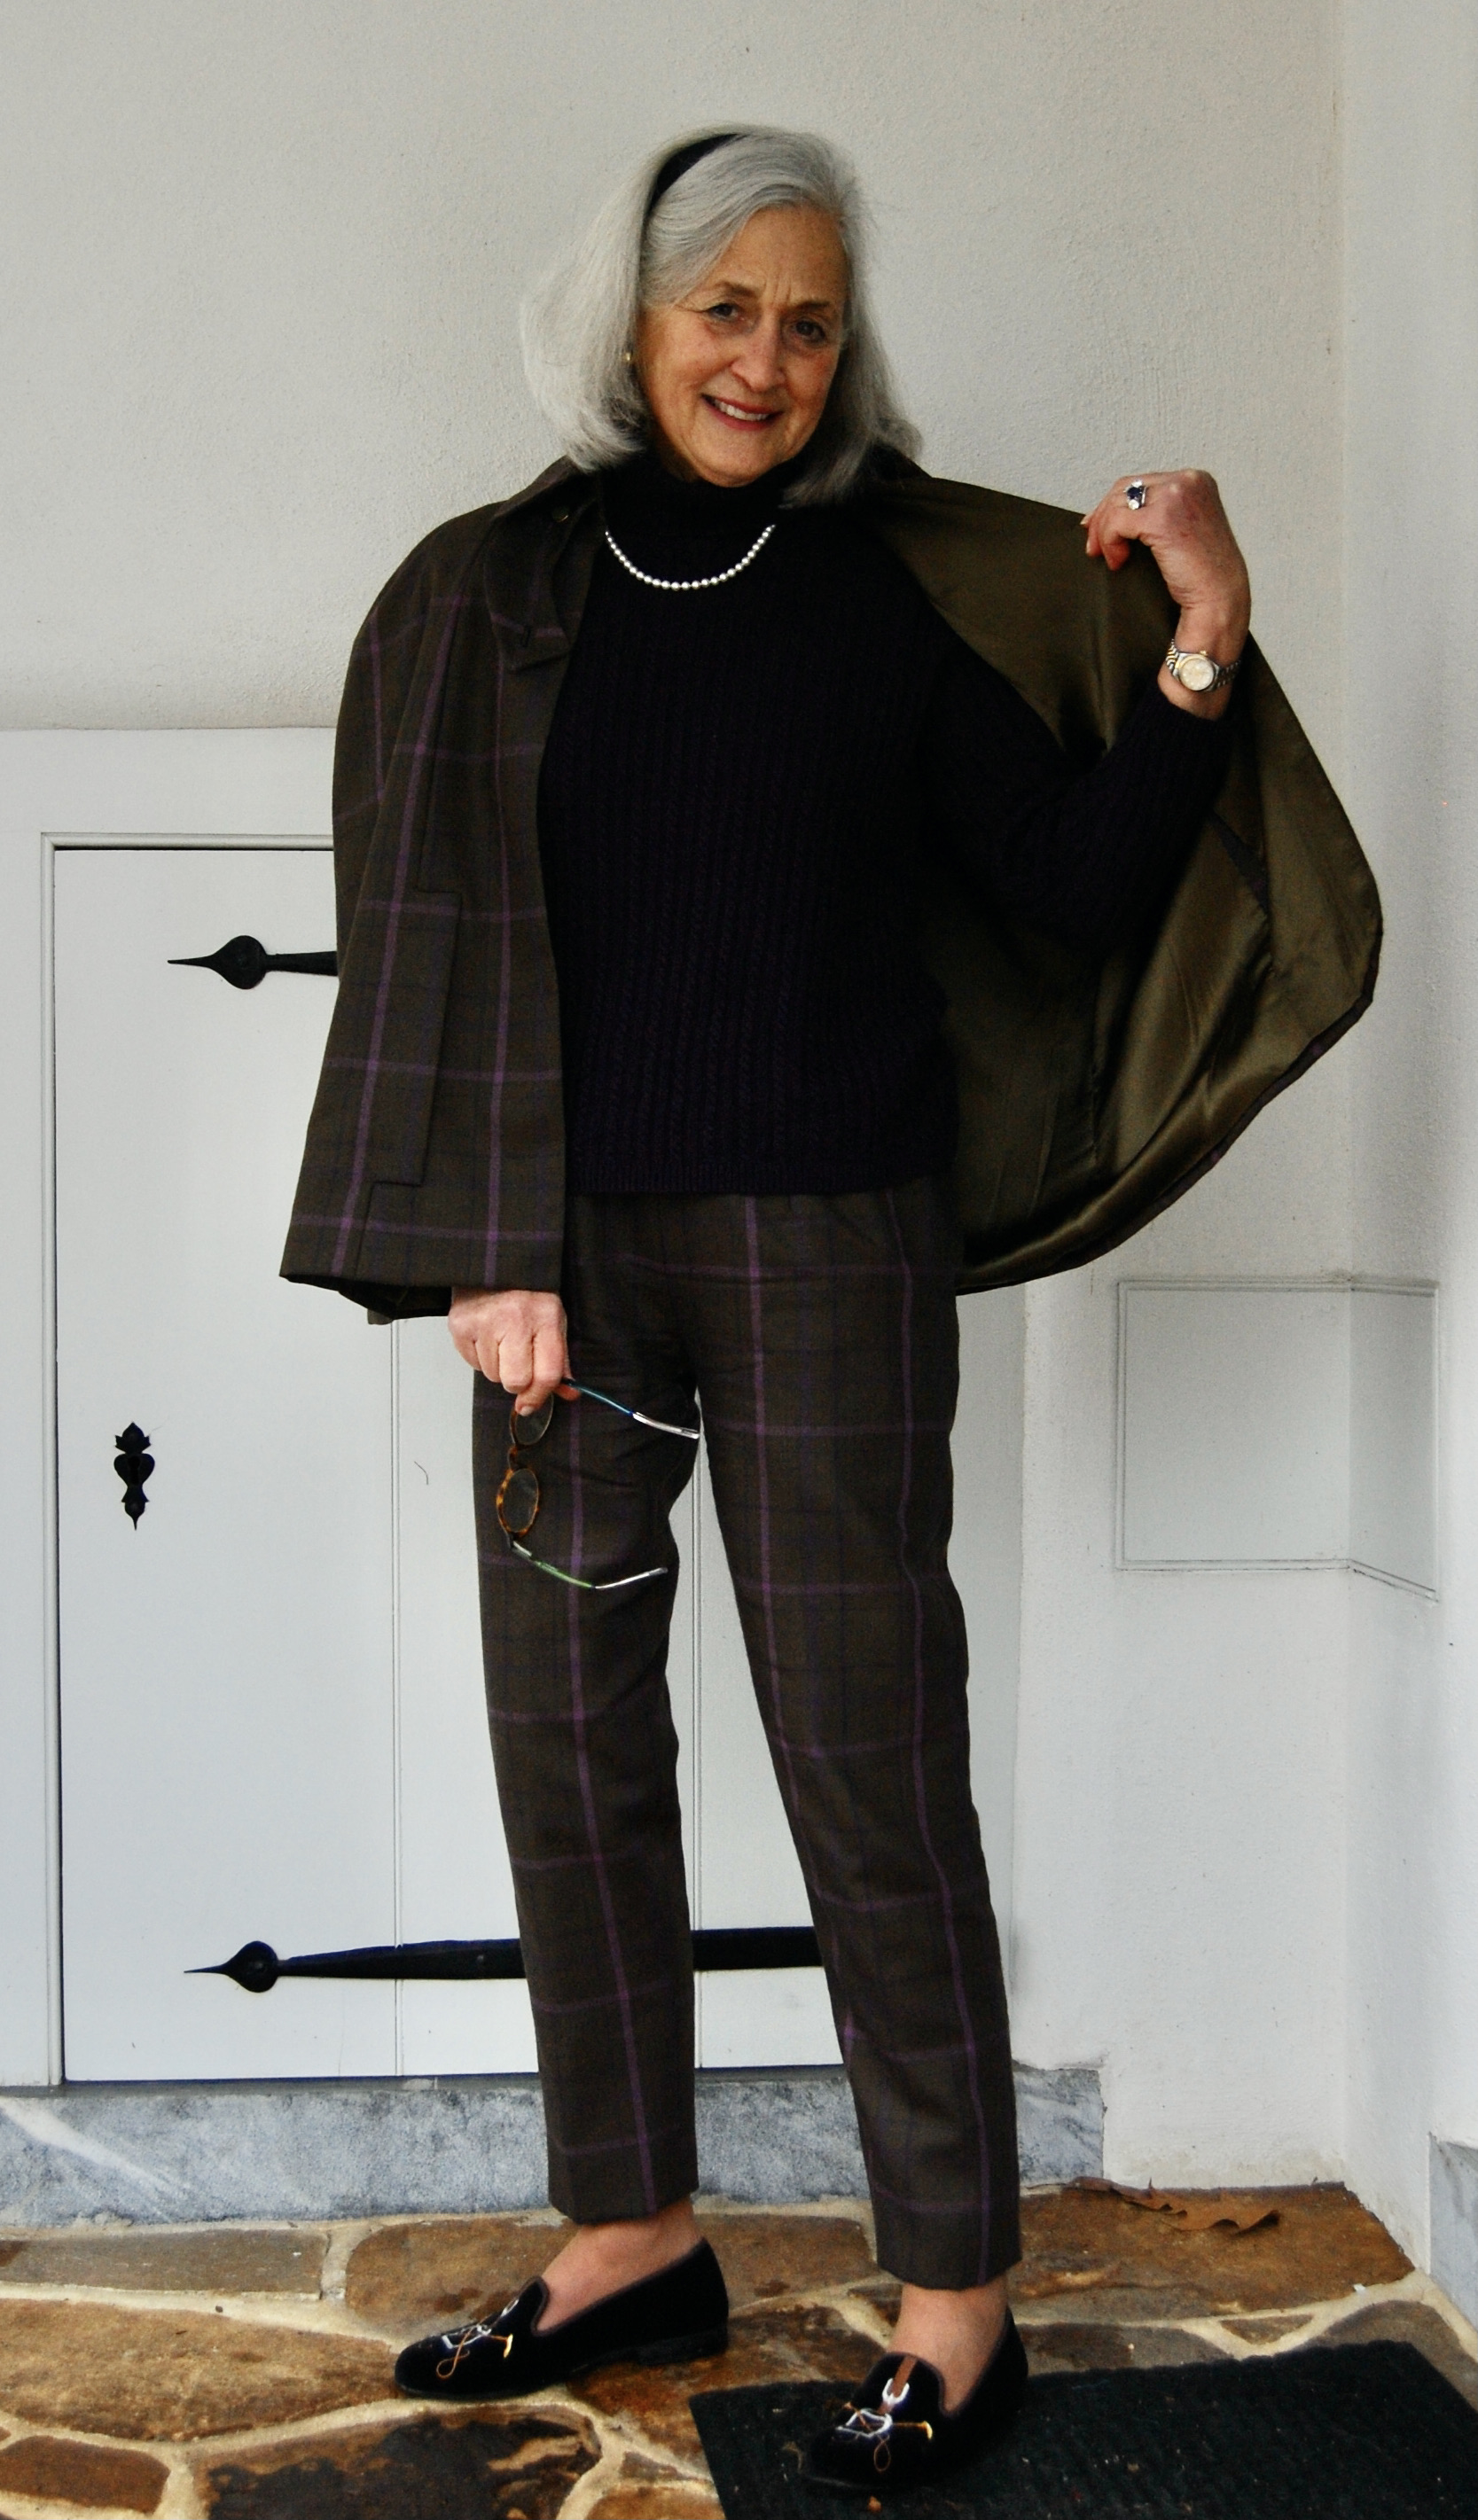
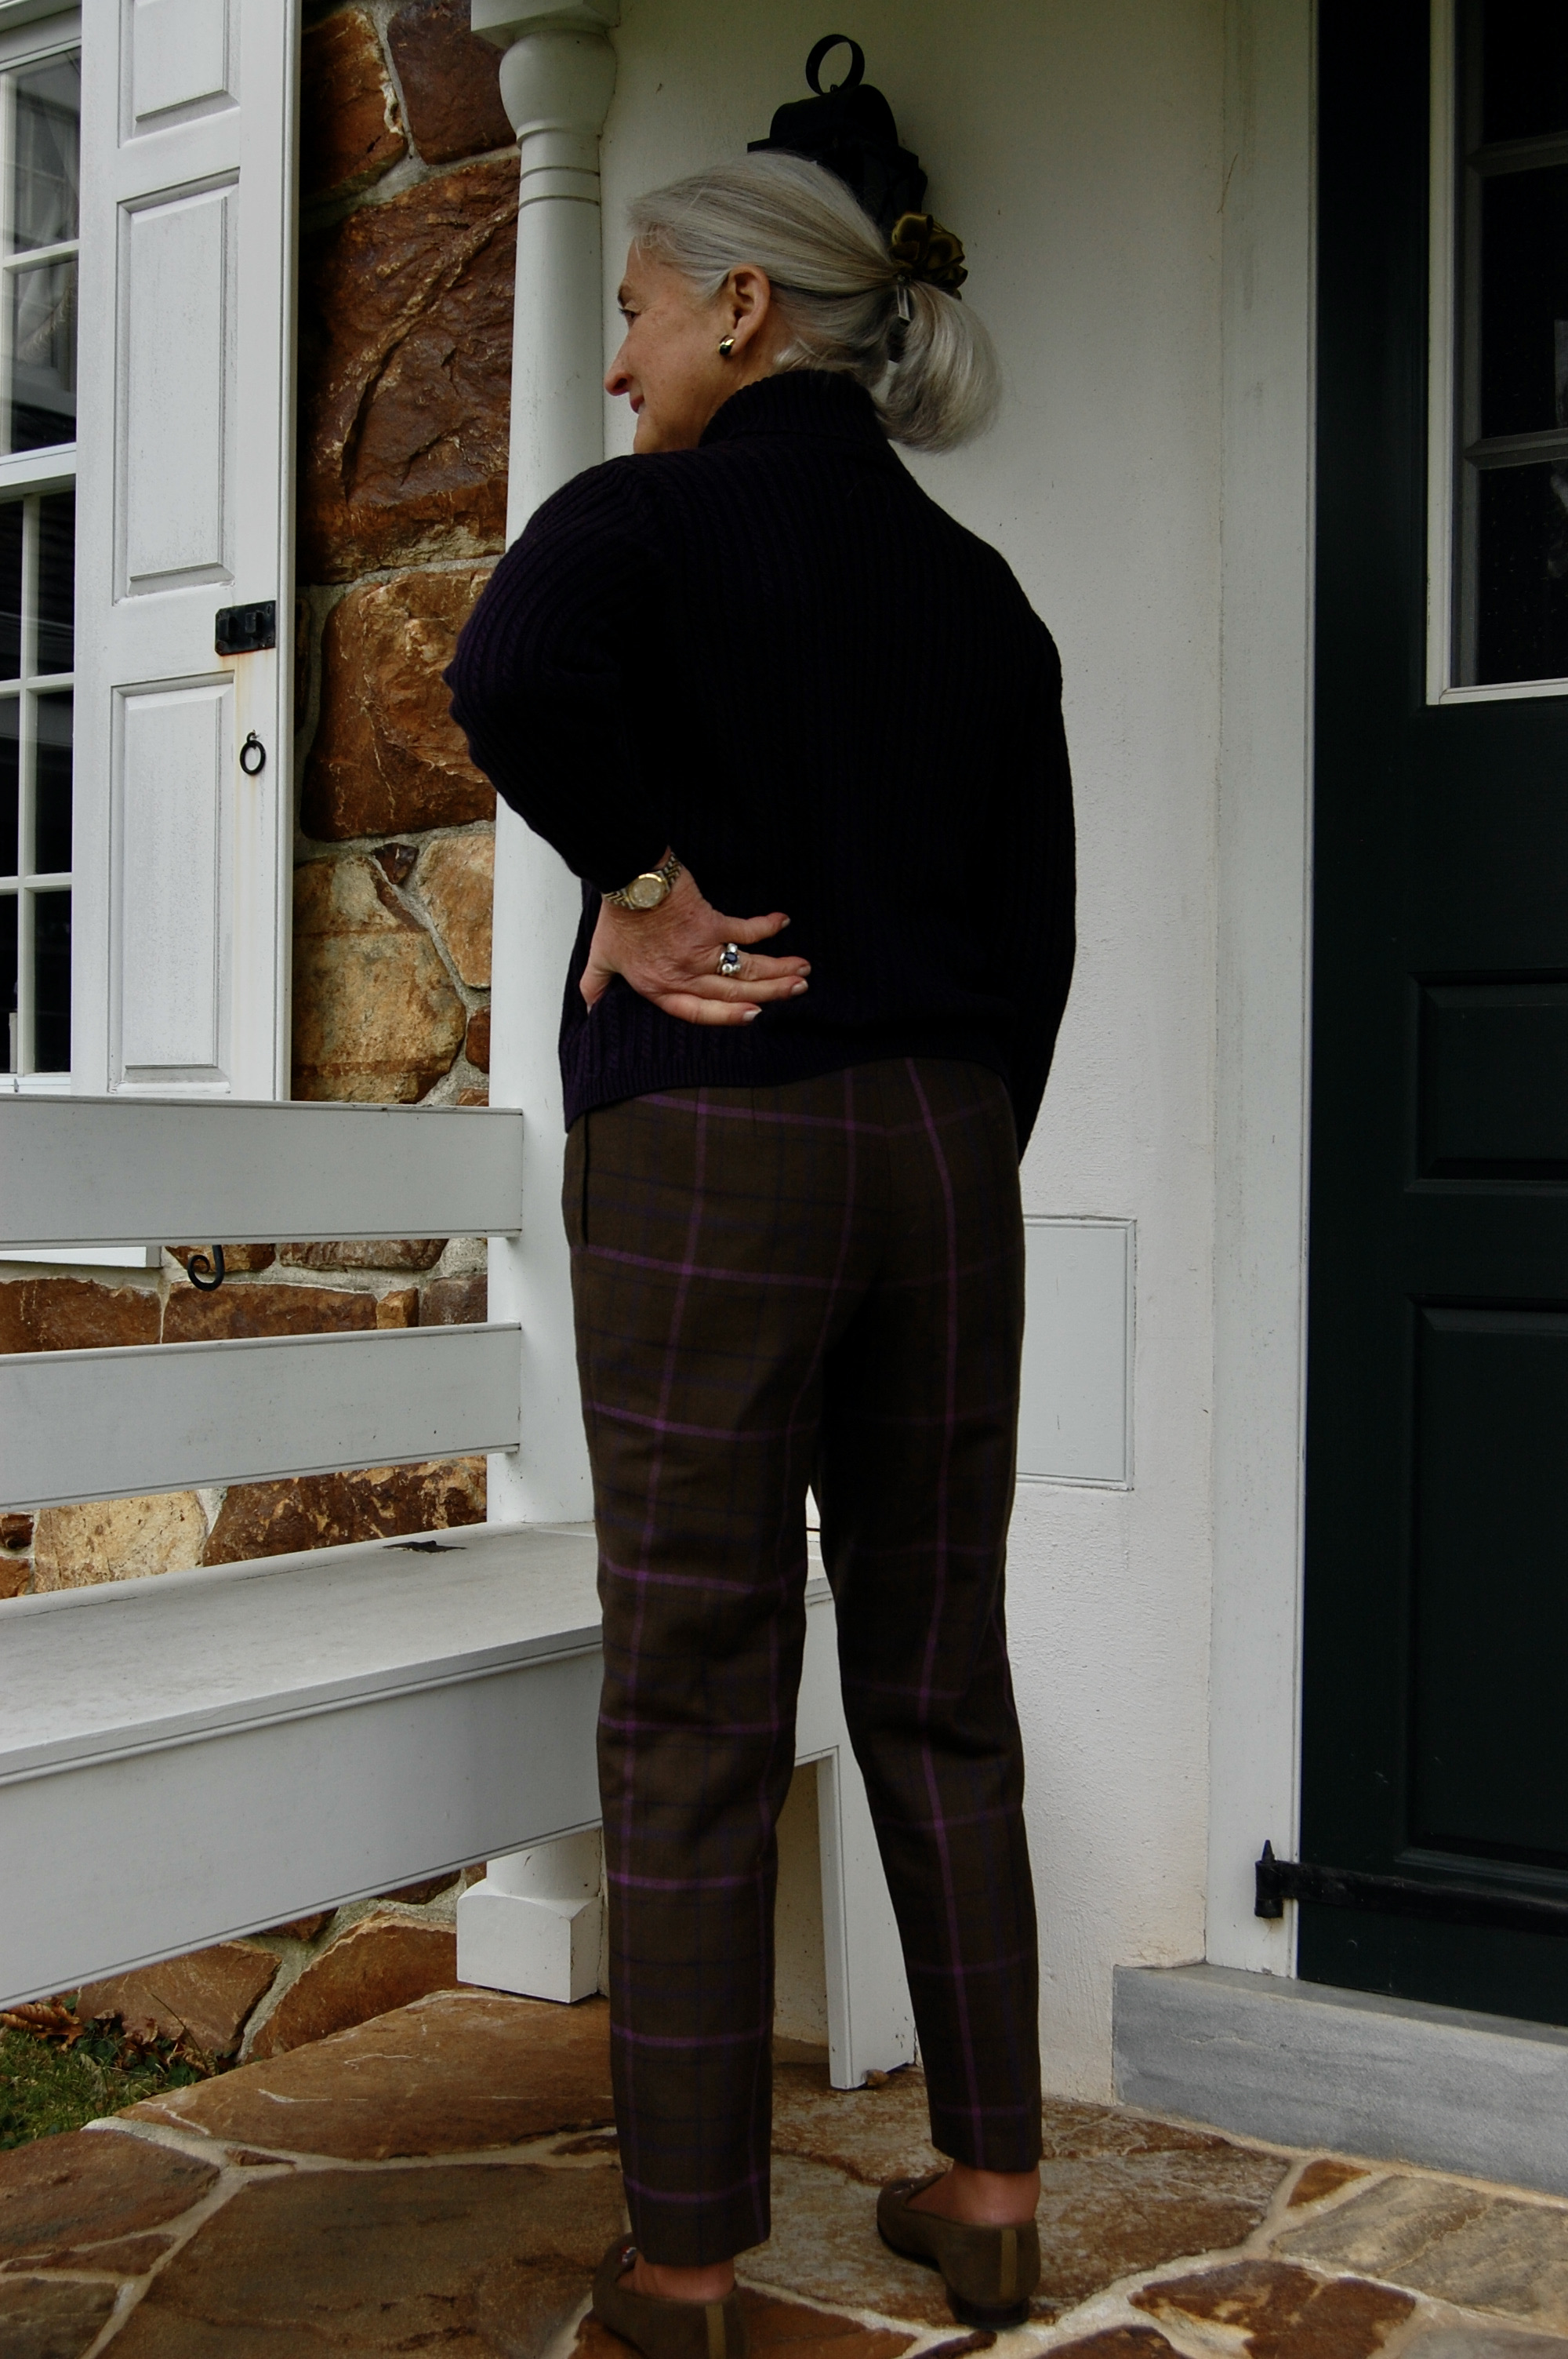
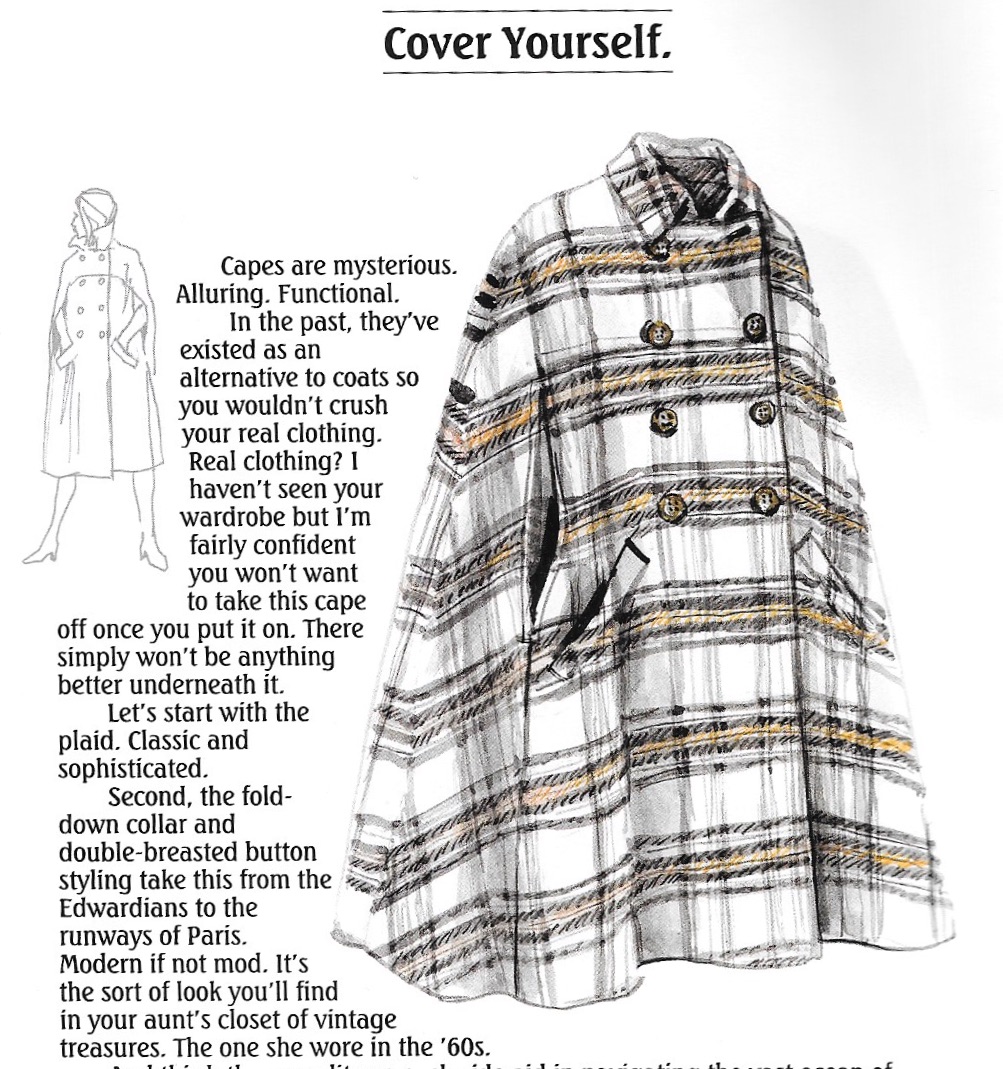
Enough of this babble. On to the cape – what worked, what didn’t, and what will I do differently, should I make this pattern again. Regardless – the cape is ready to wear, and I am very pleased with how it turned out.

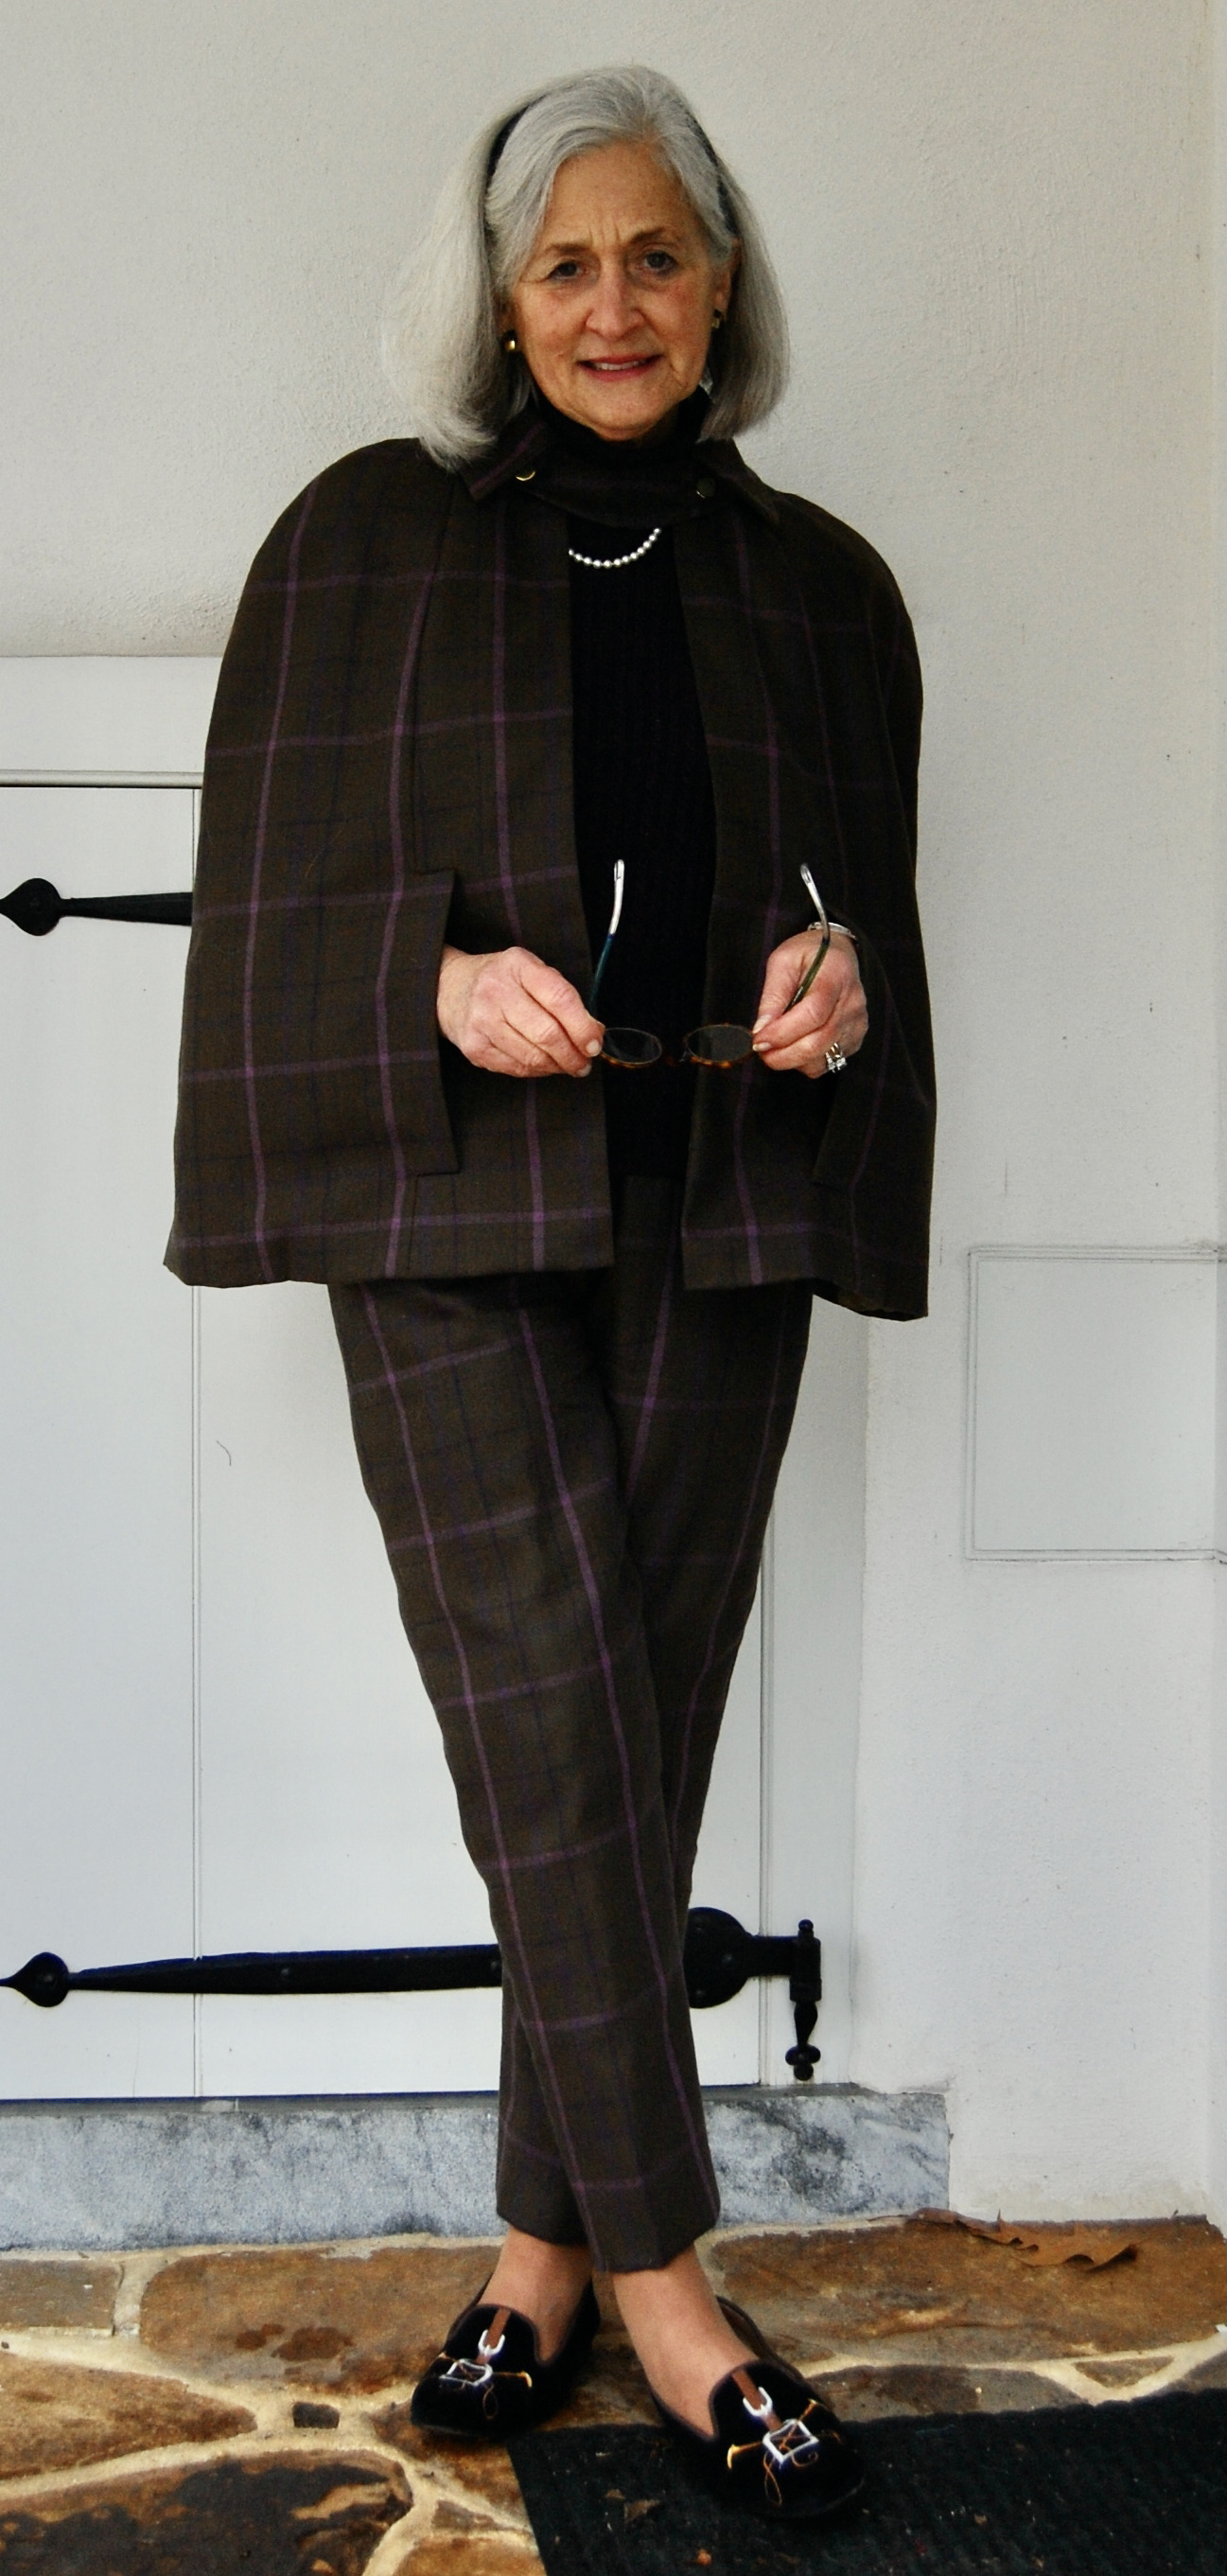
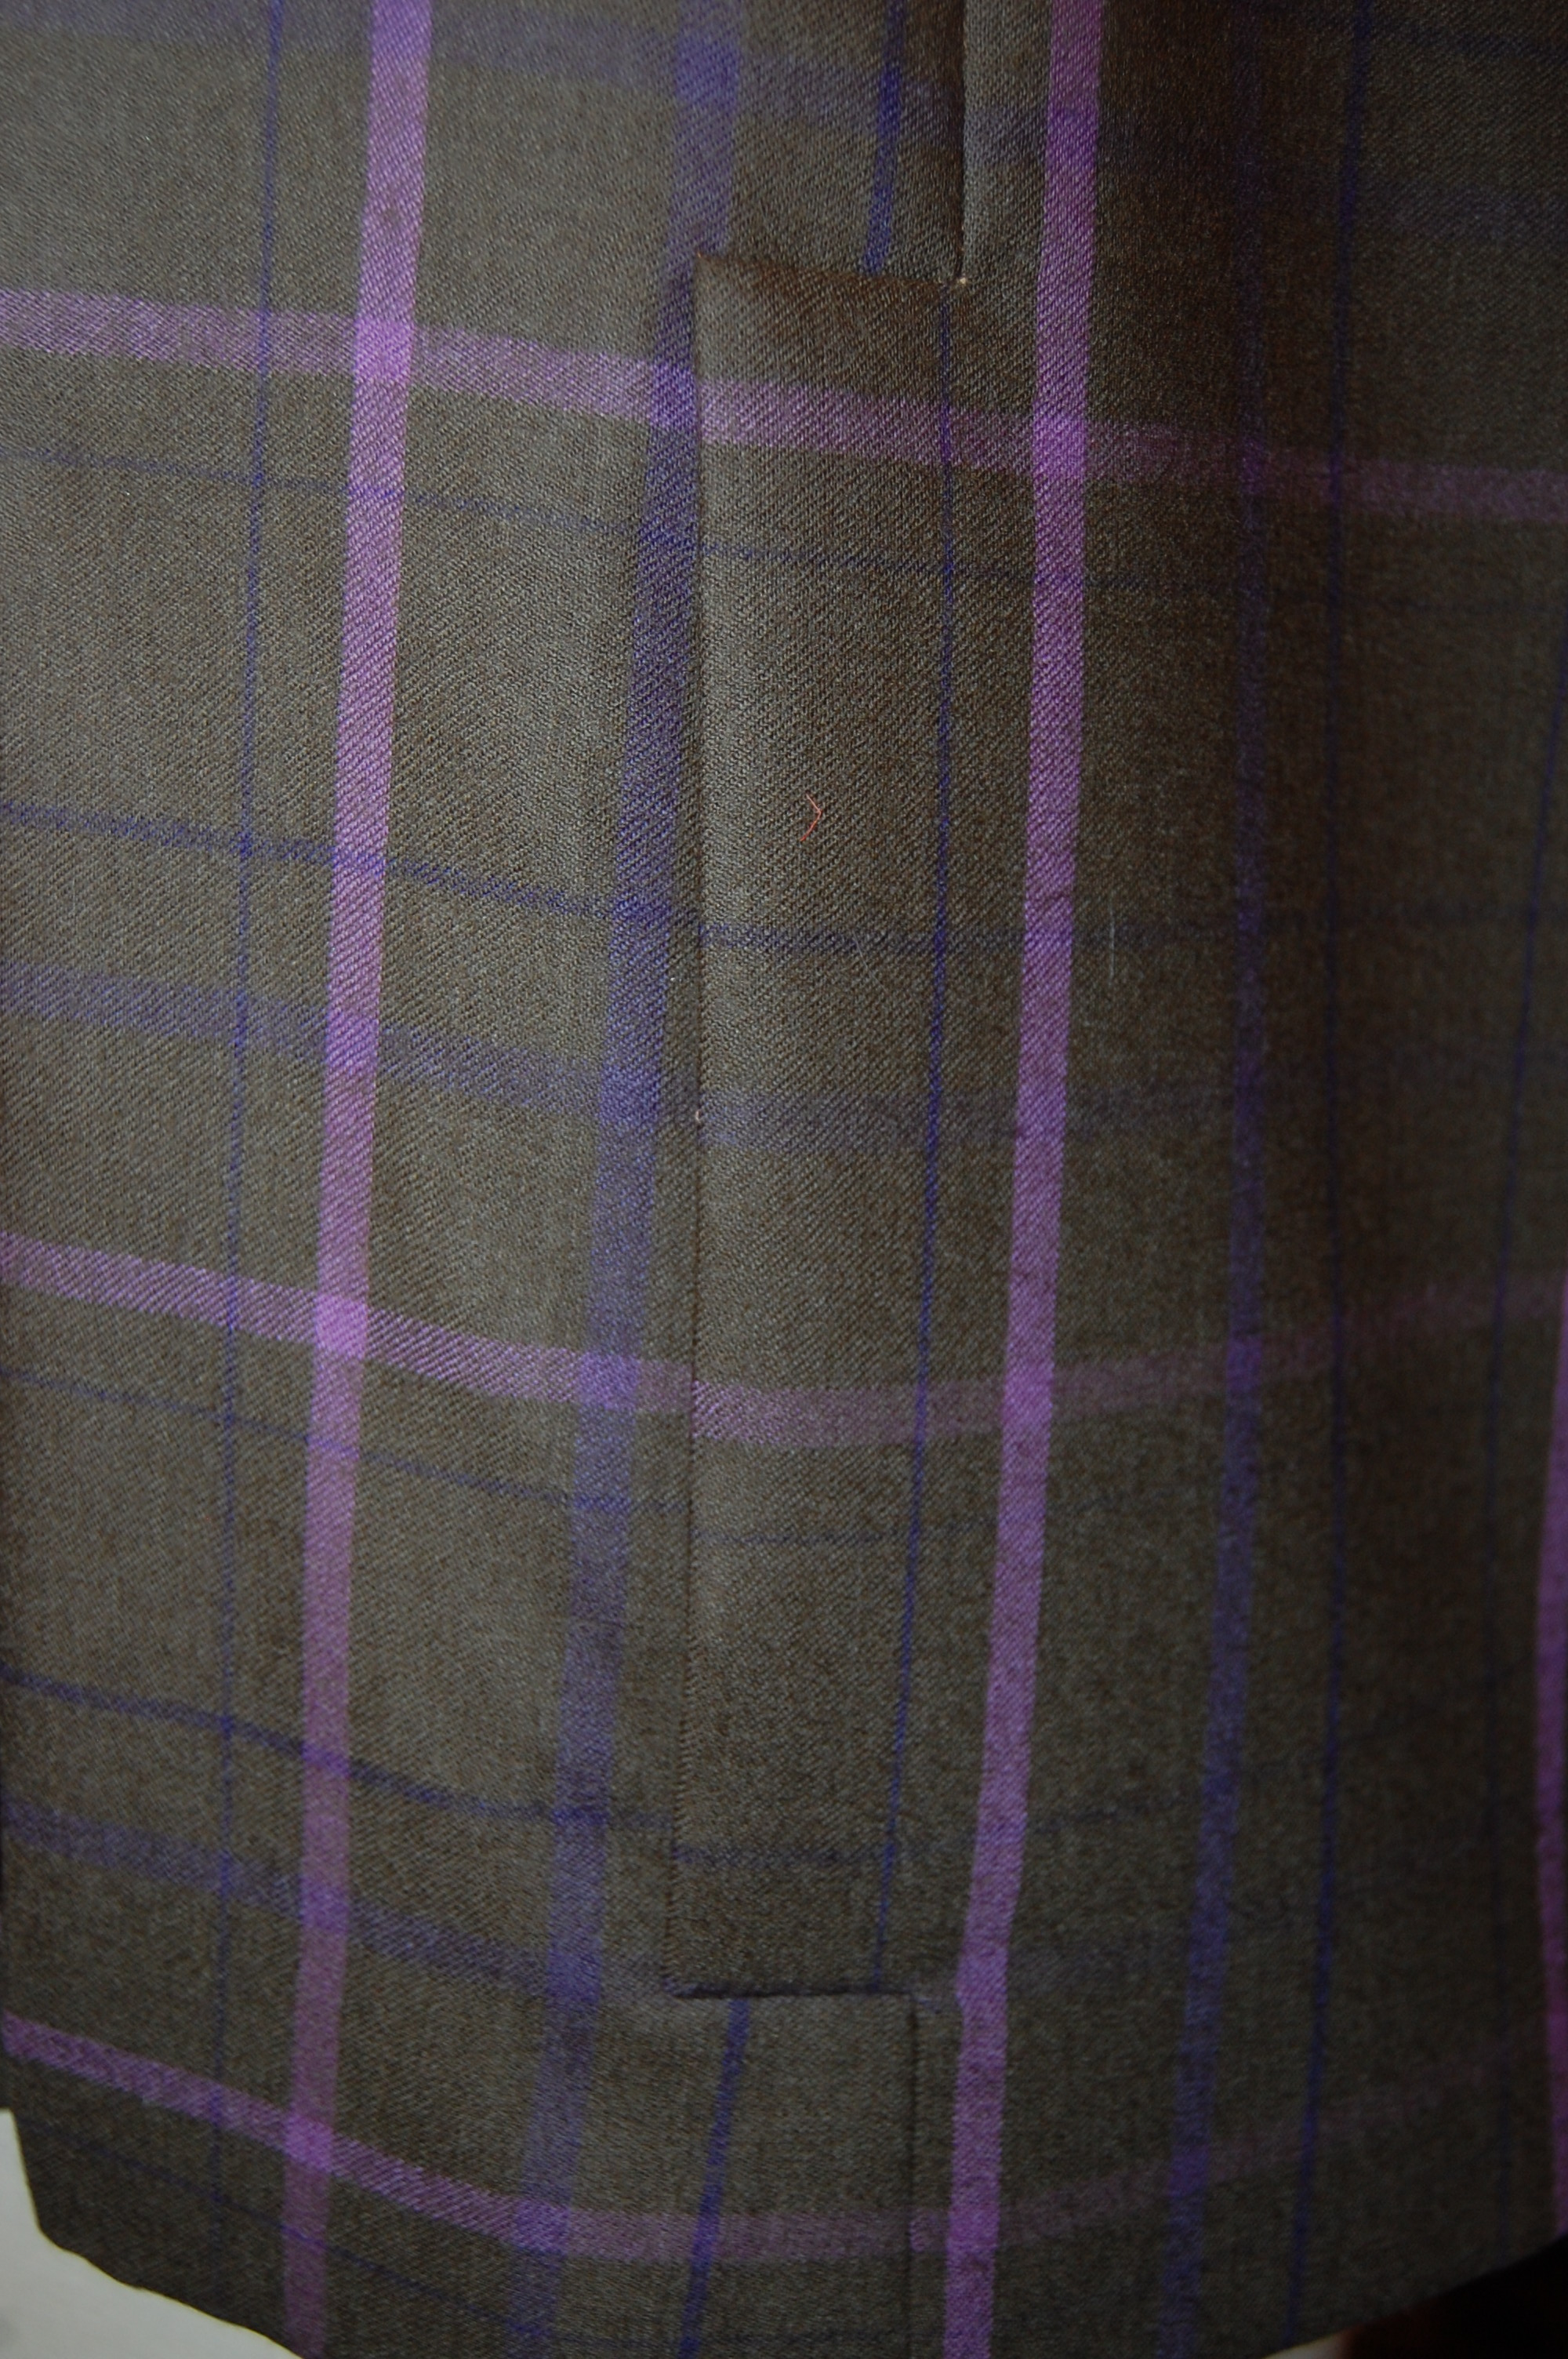
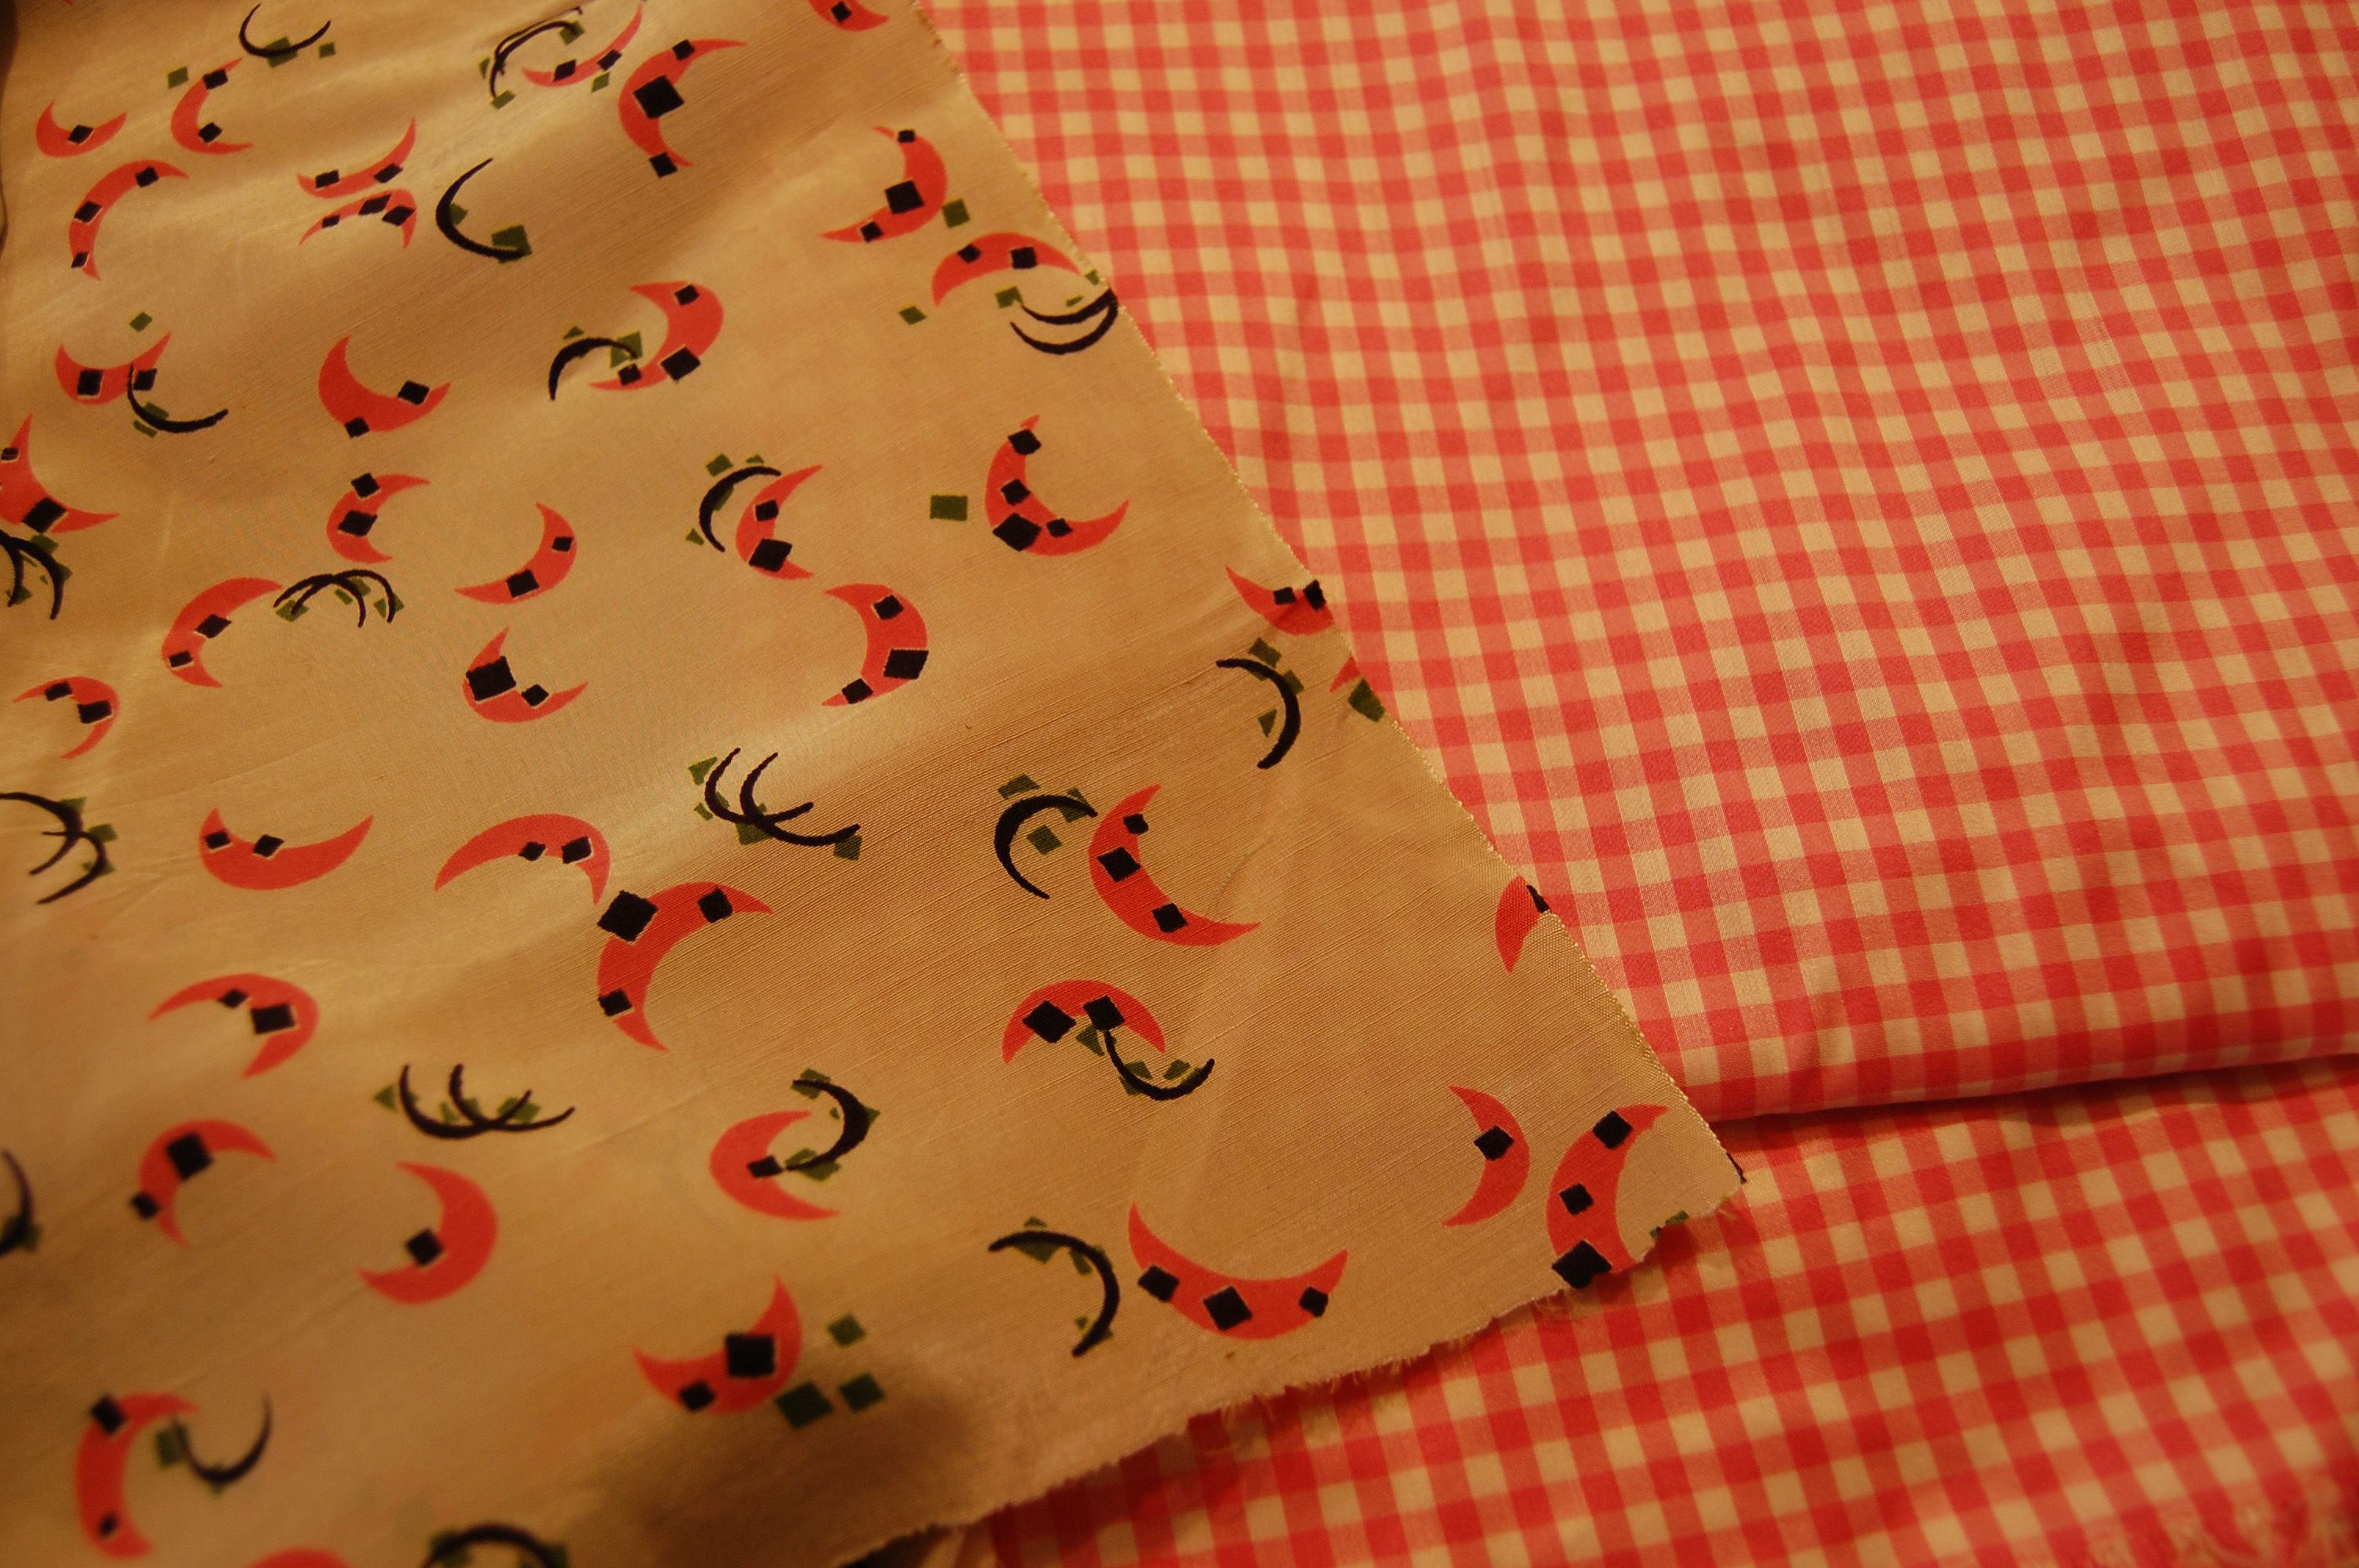
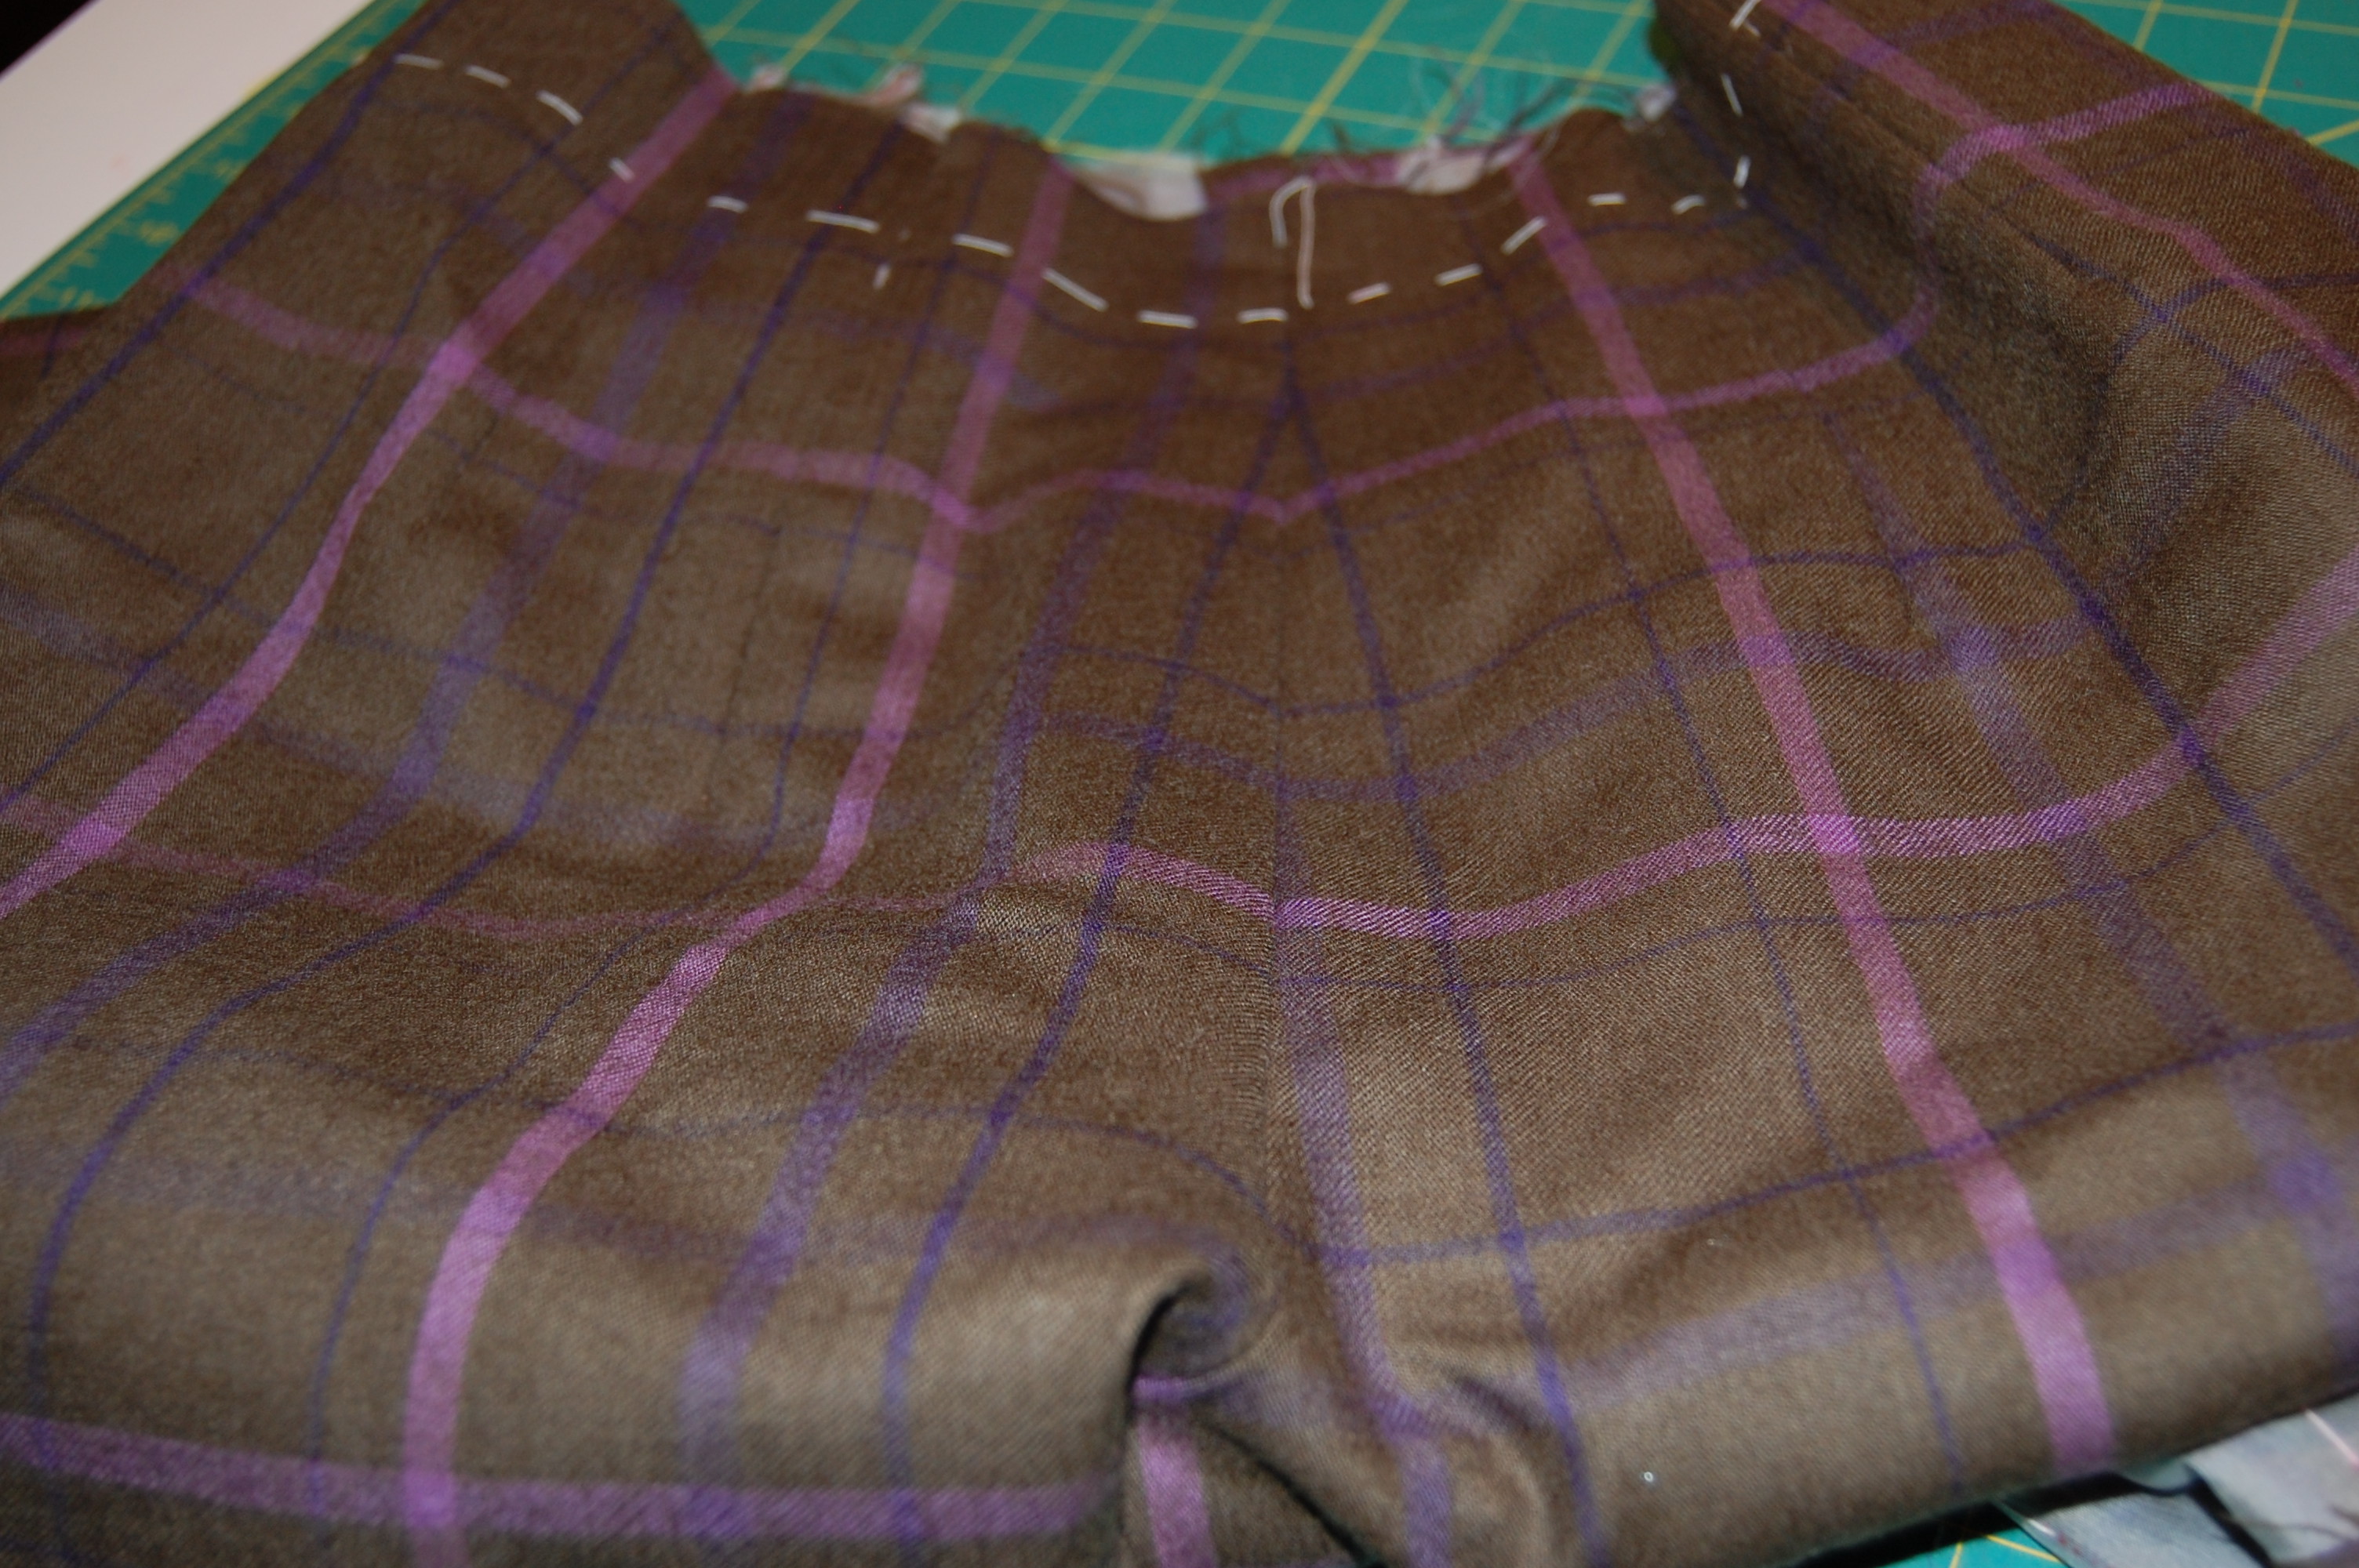
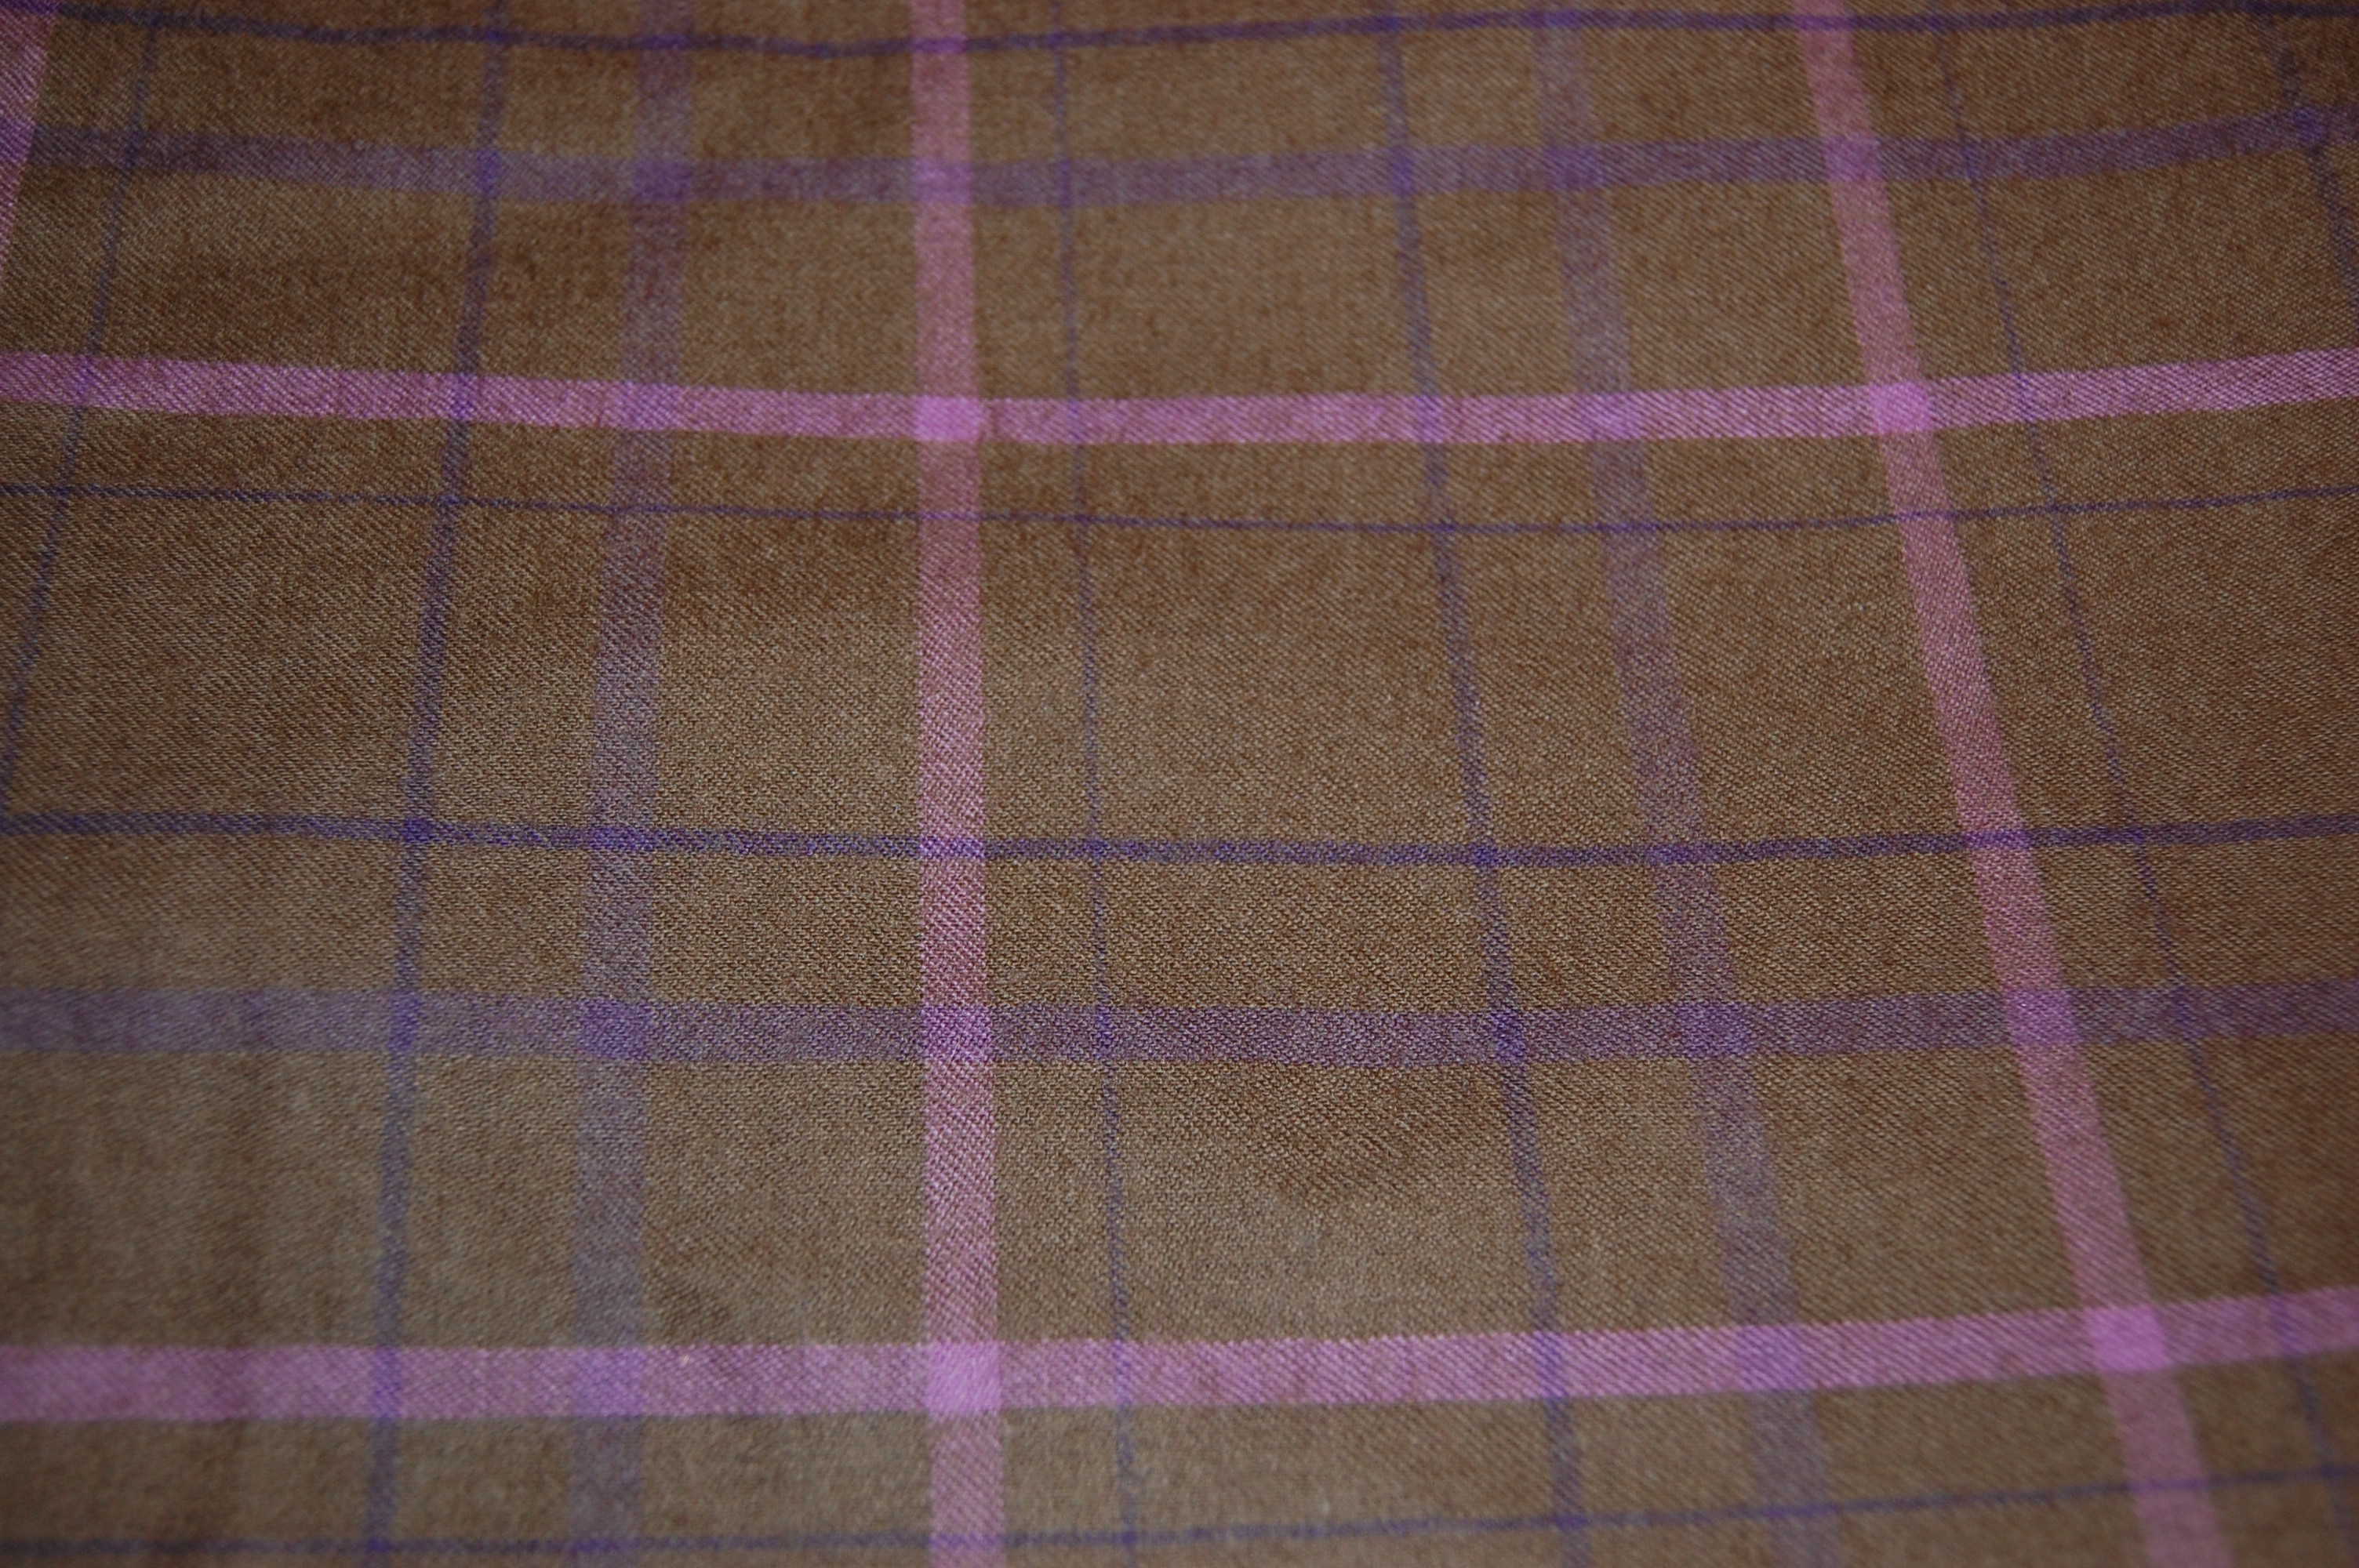
I had to pay extensive attention to laying out the pattern and matching plaids as best I could, knowing that this uneven plaid was going to play some tricks on me. For the most part, I think I was fairly successful; at least there aren’t any glaring mismatches.

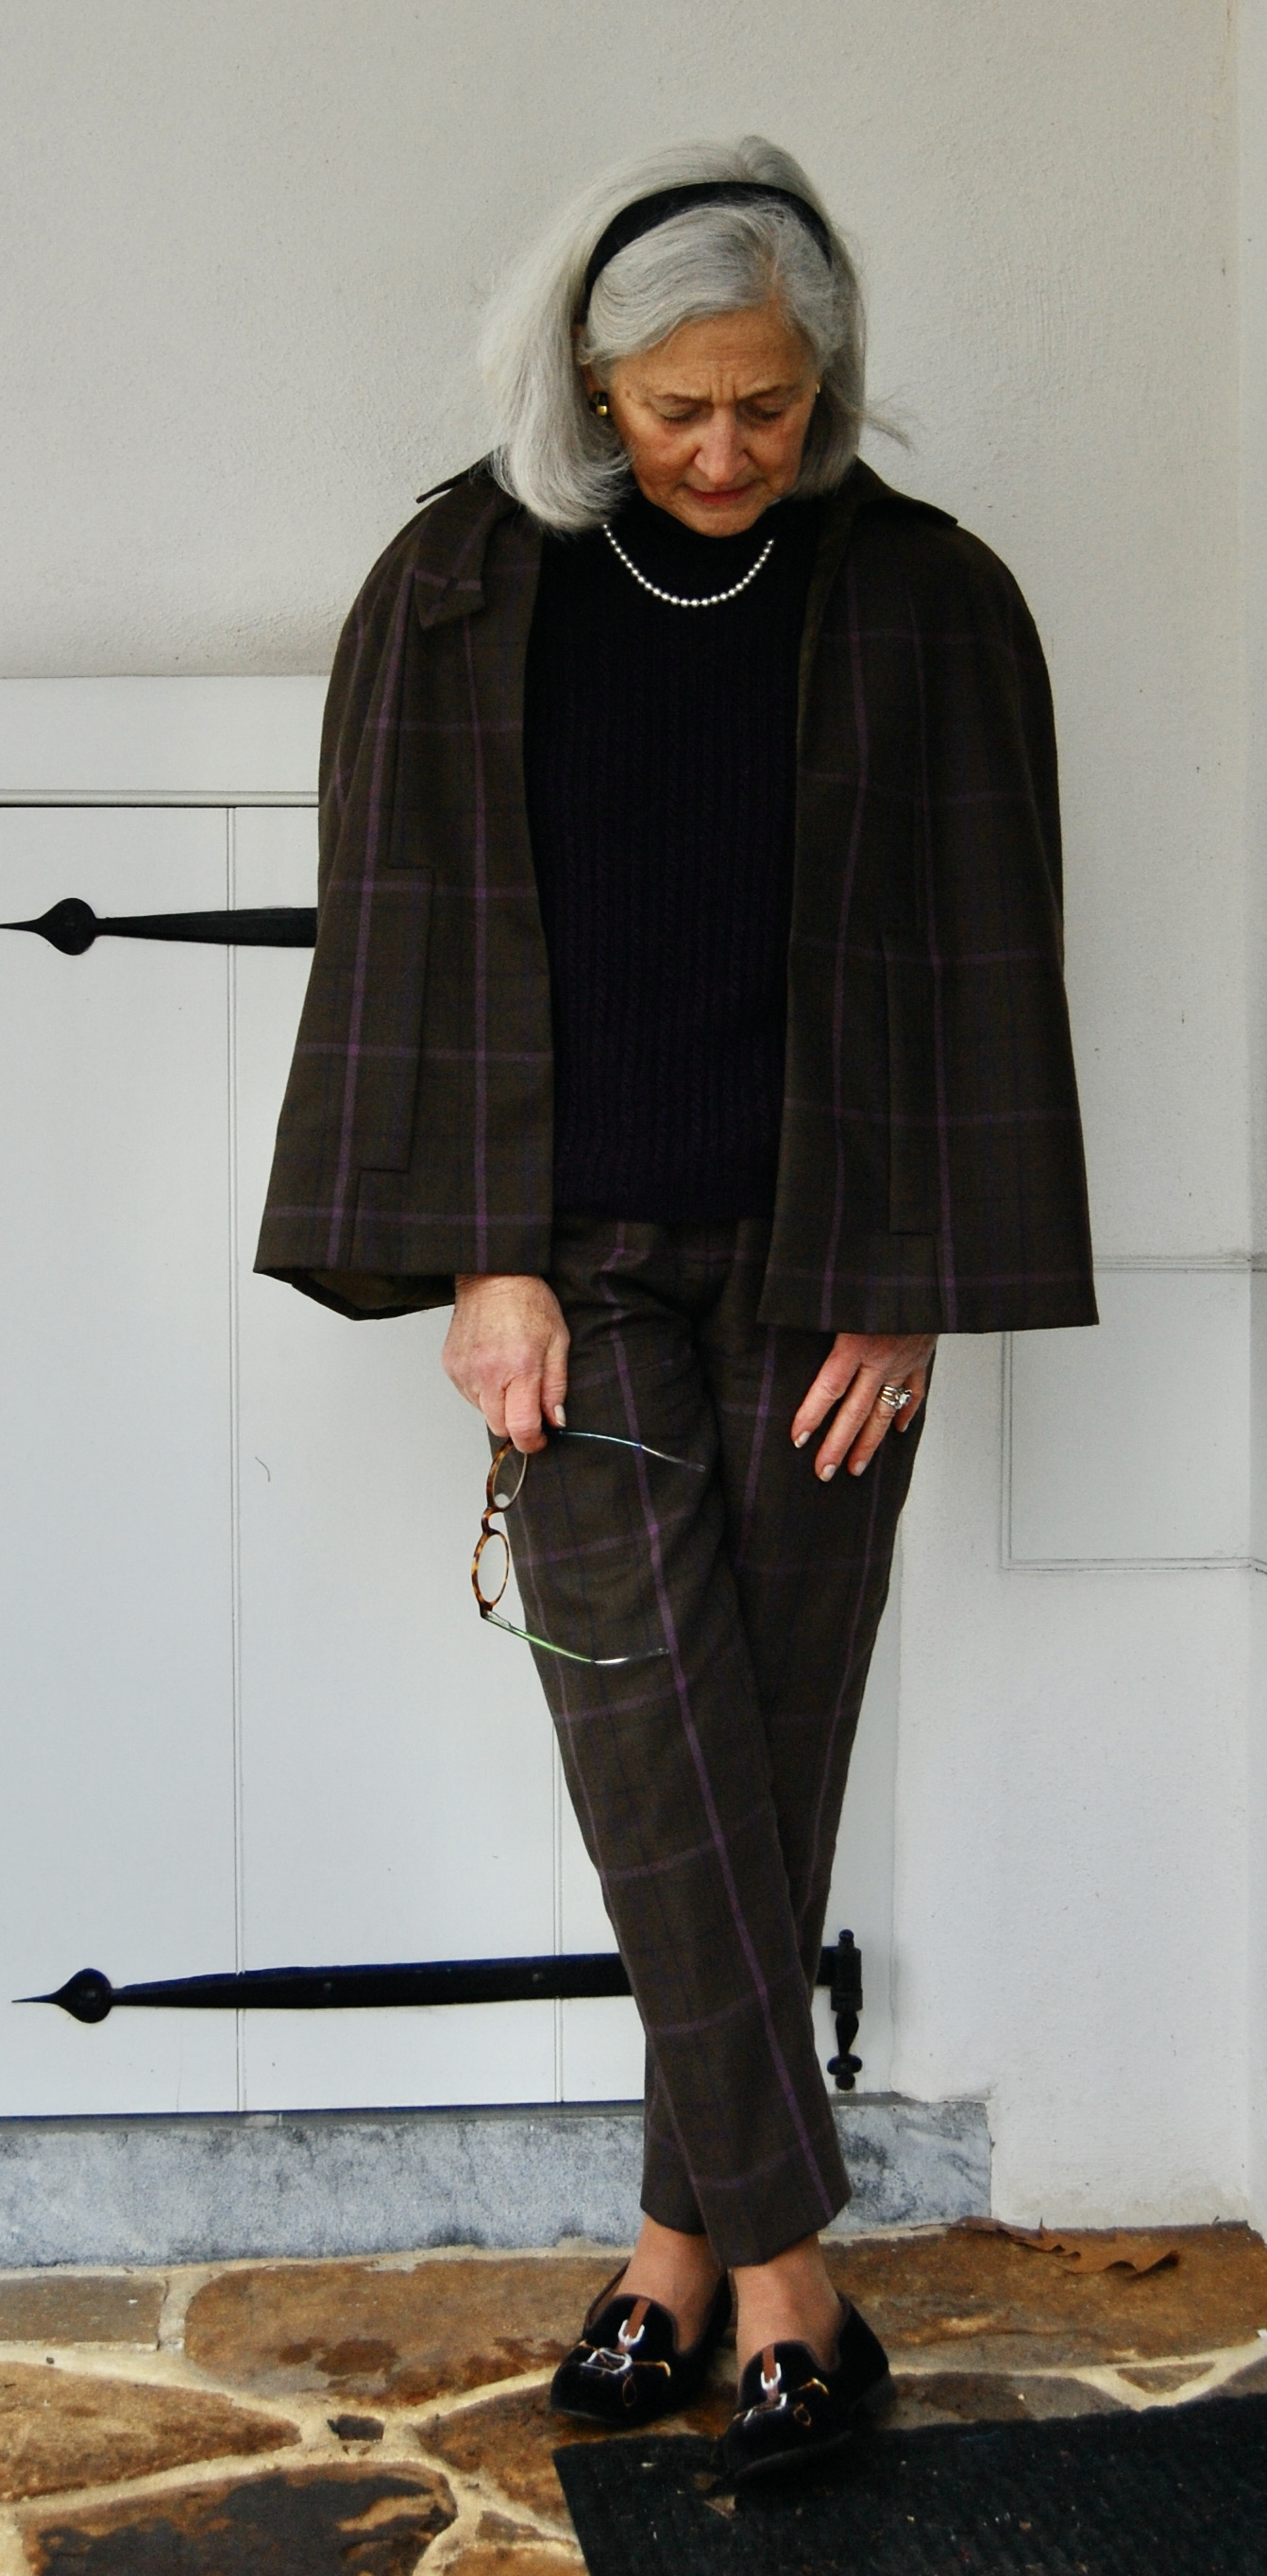
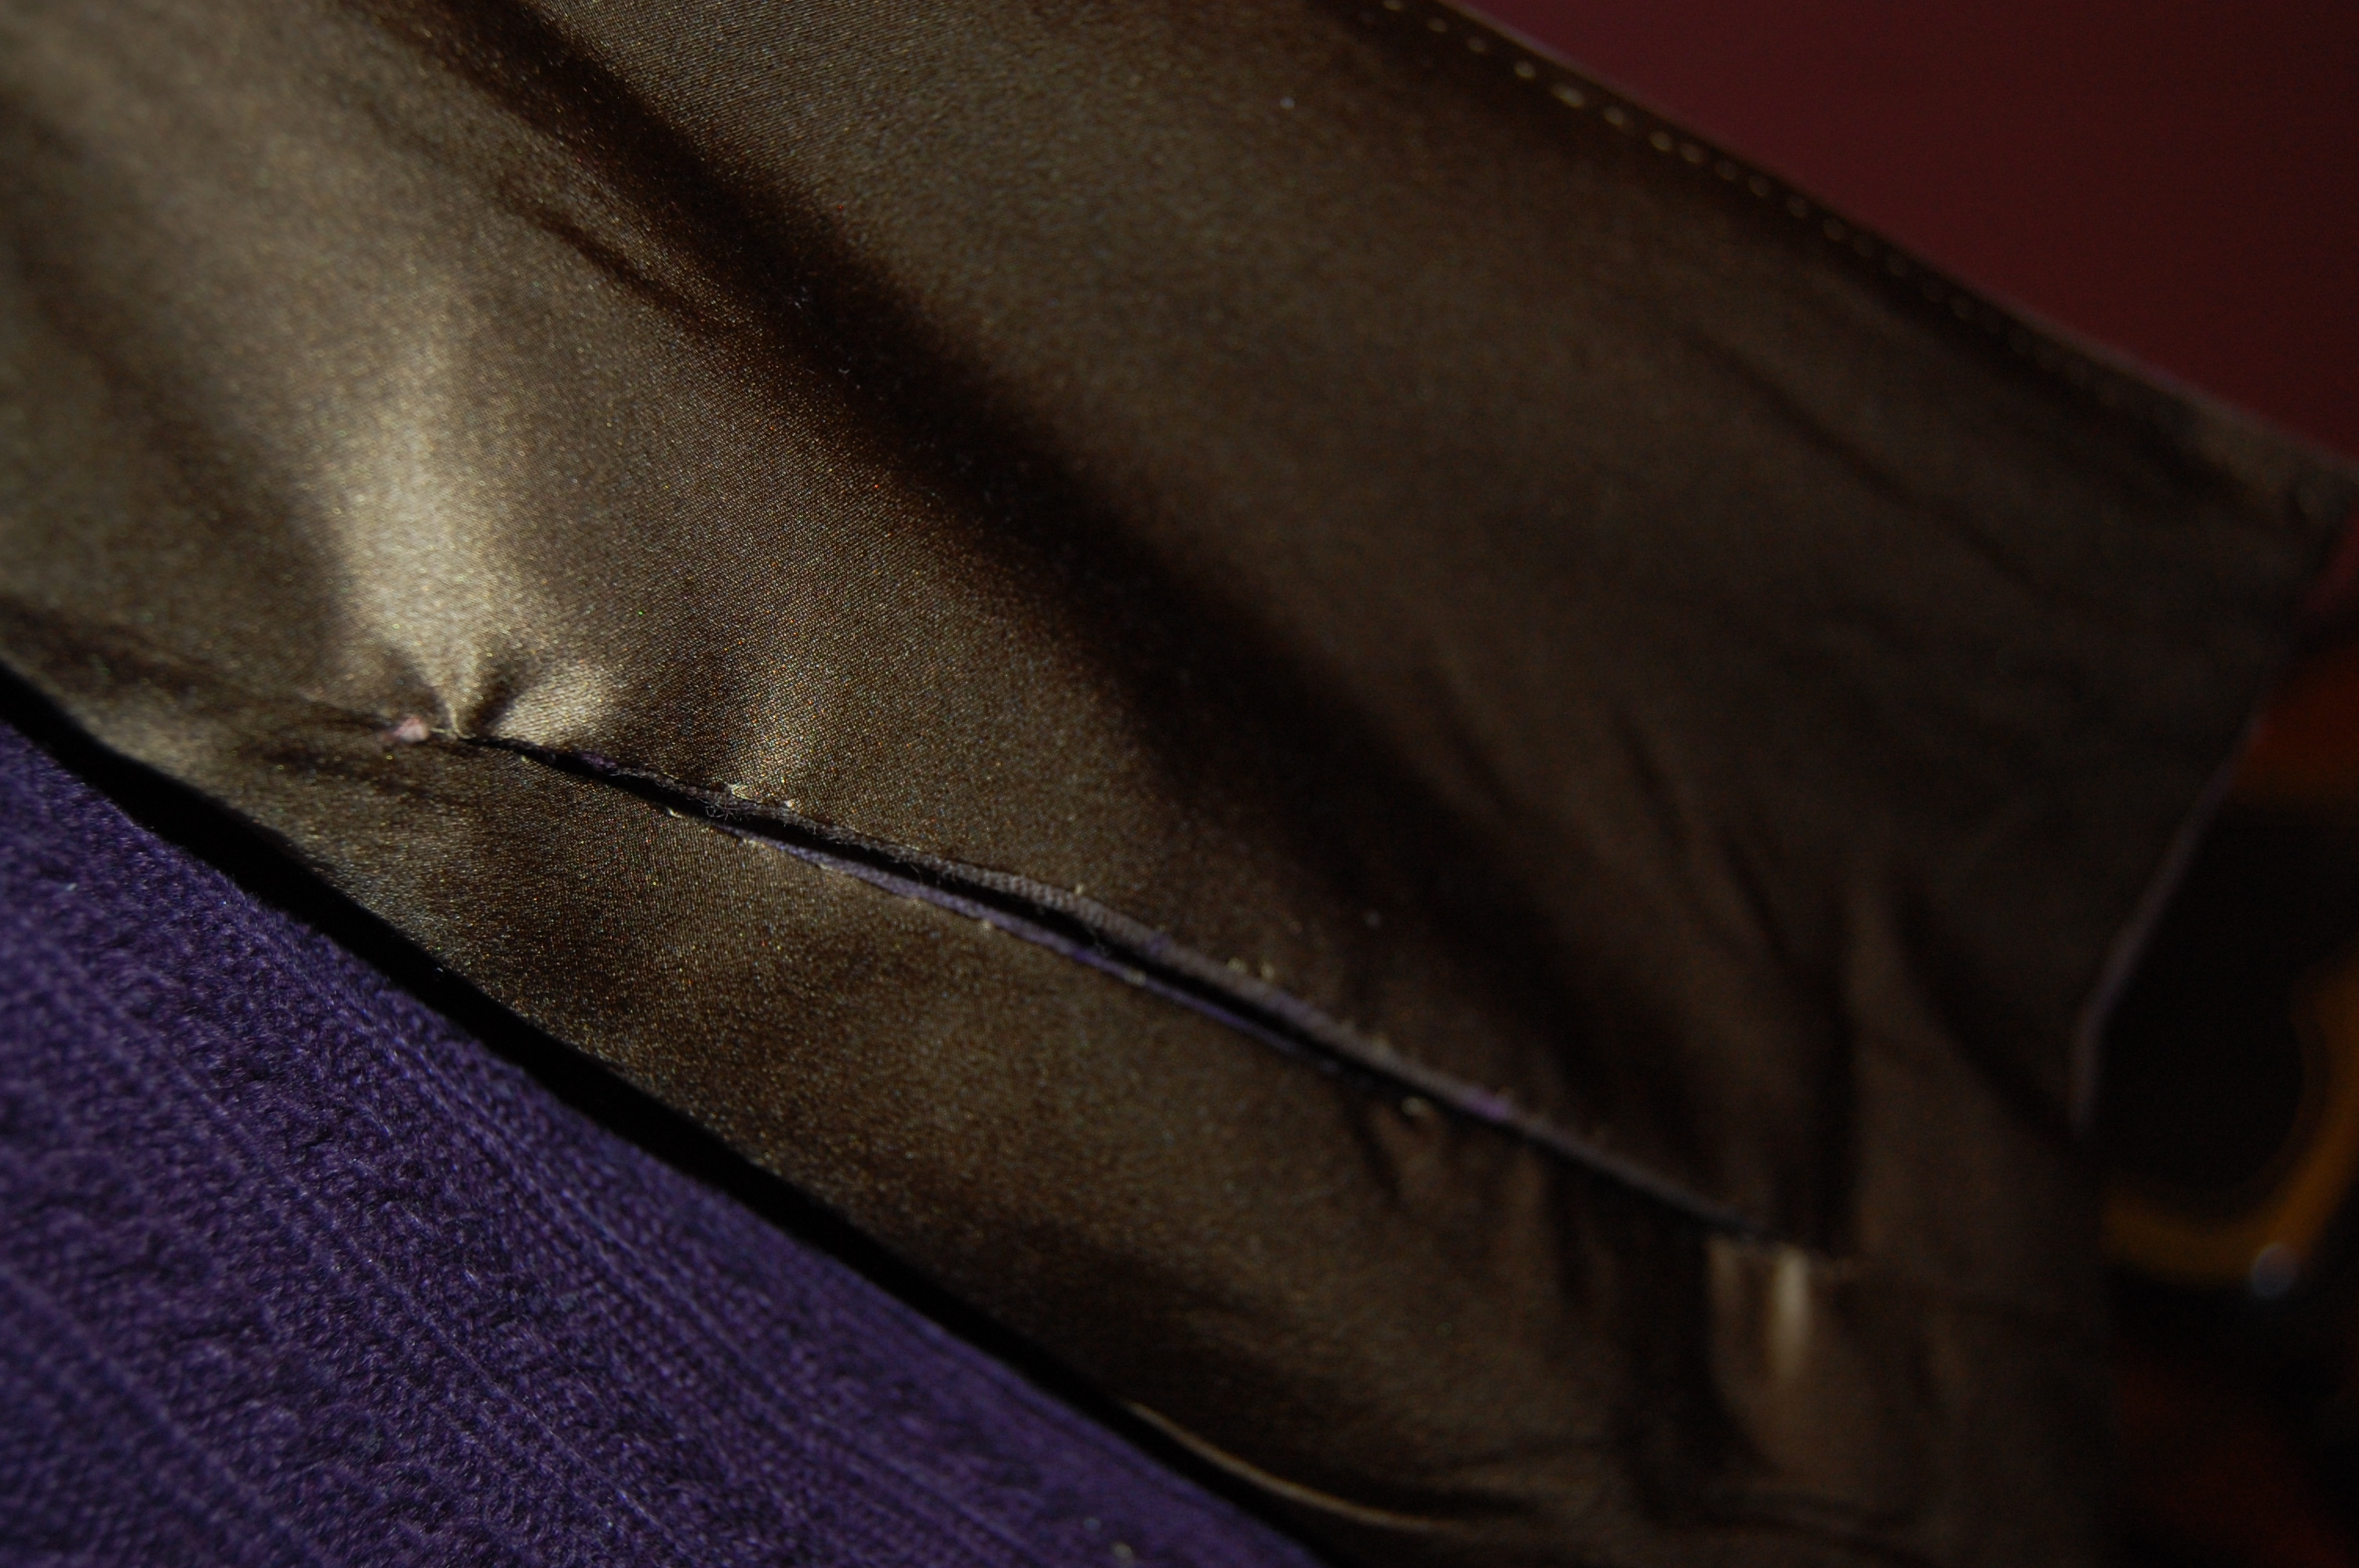
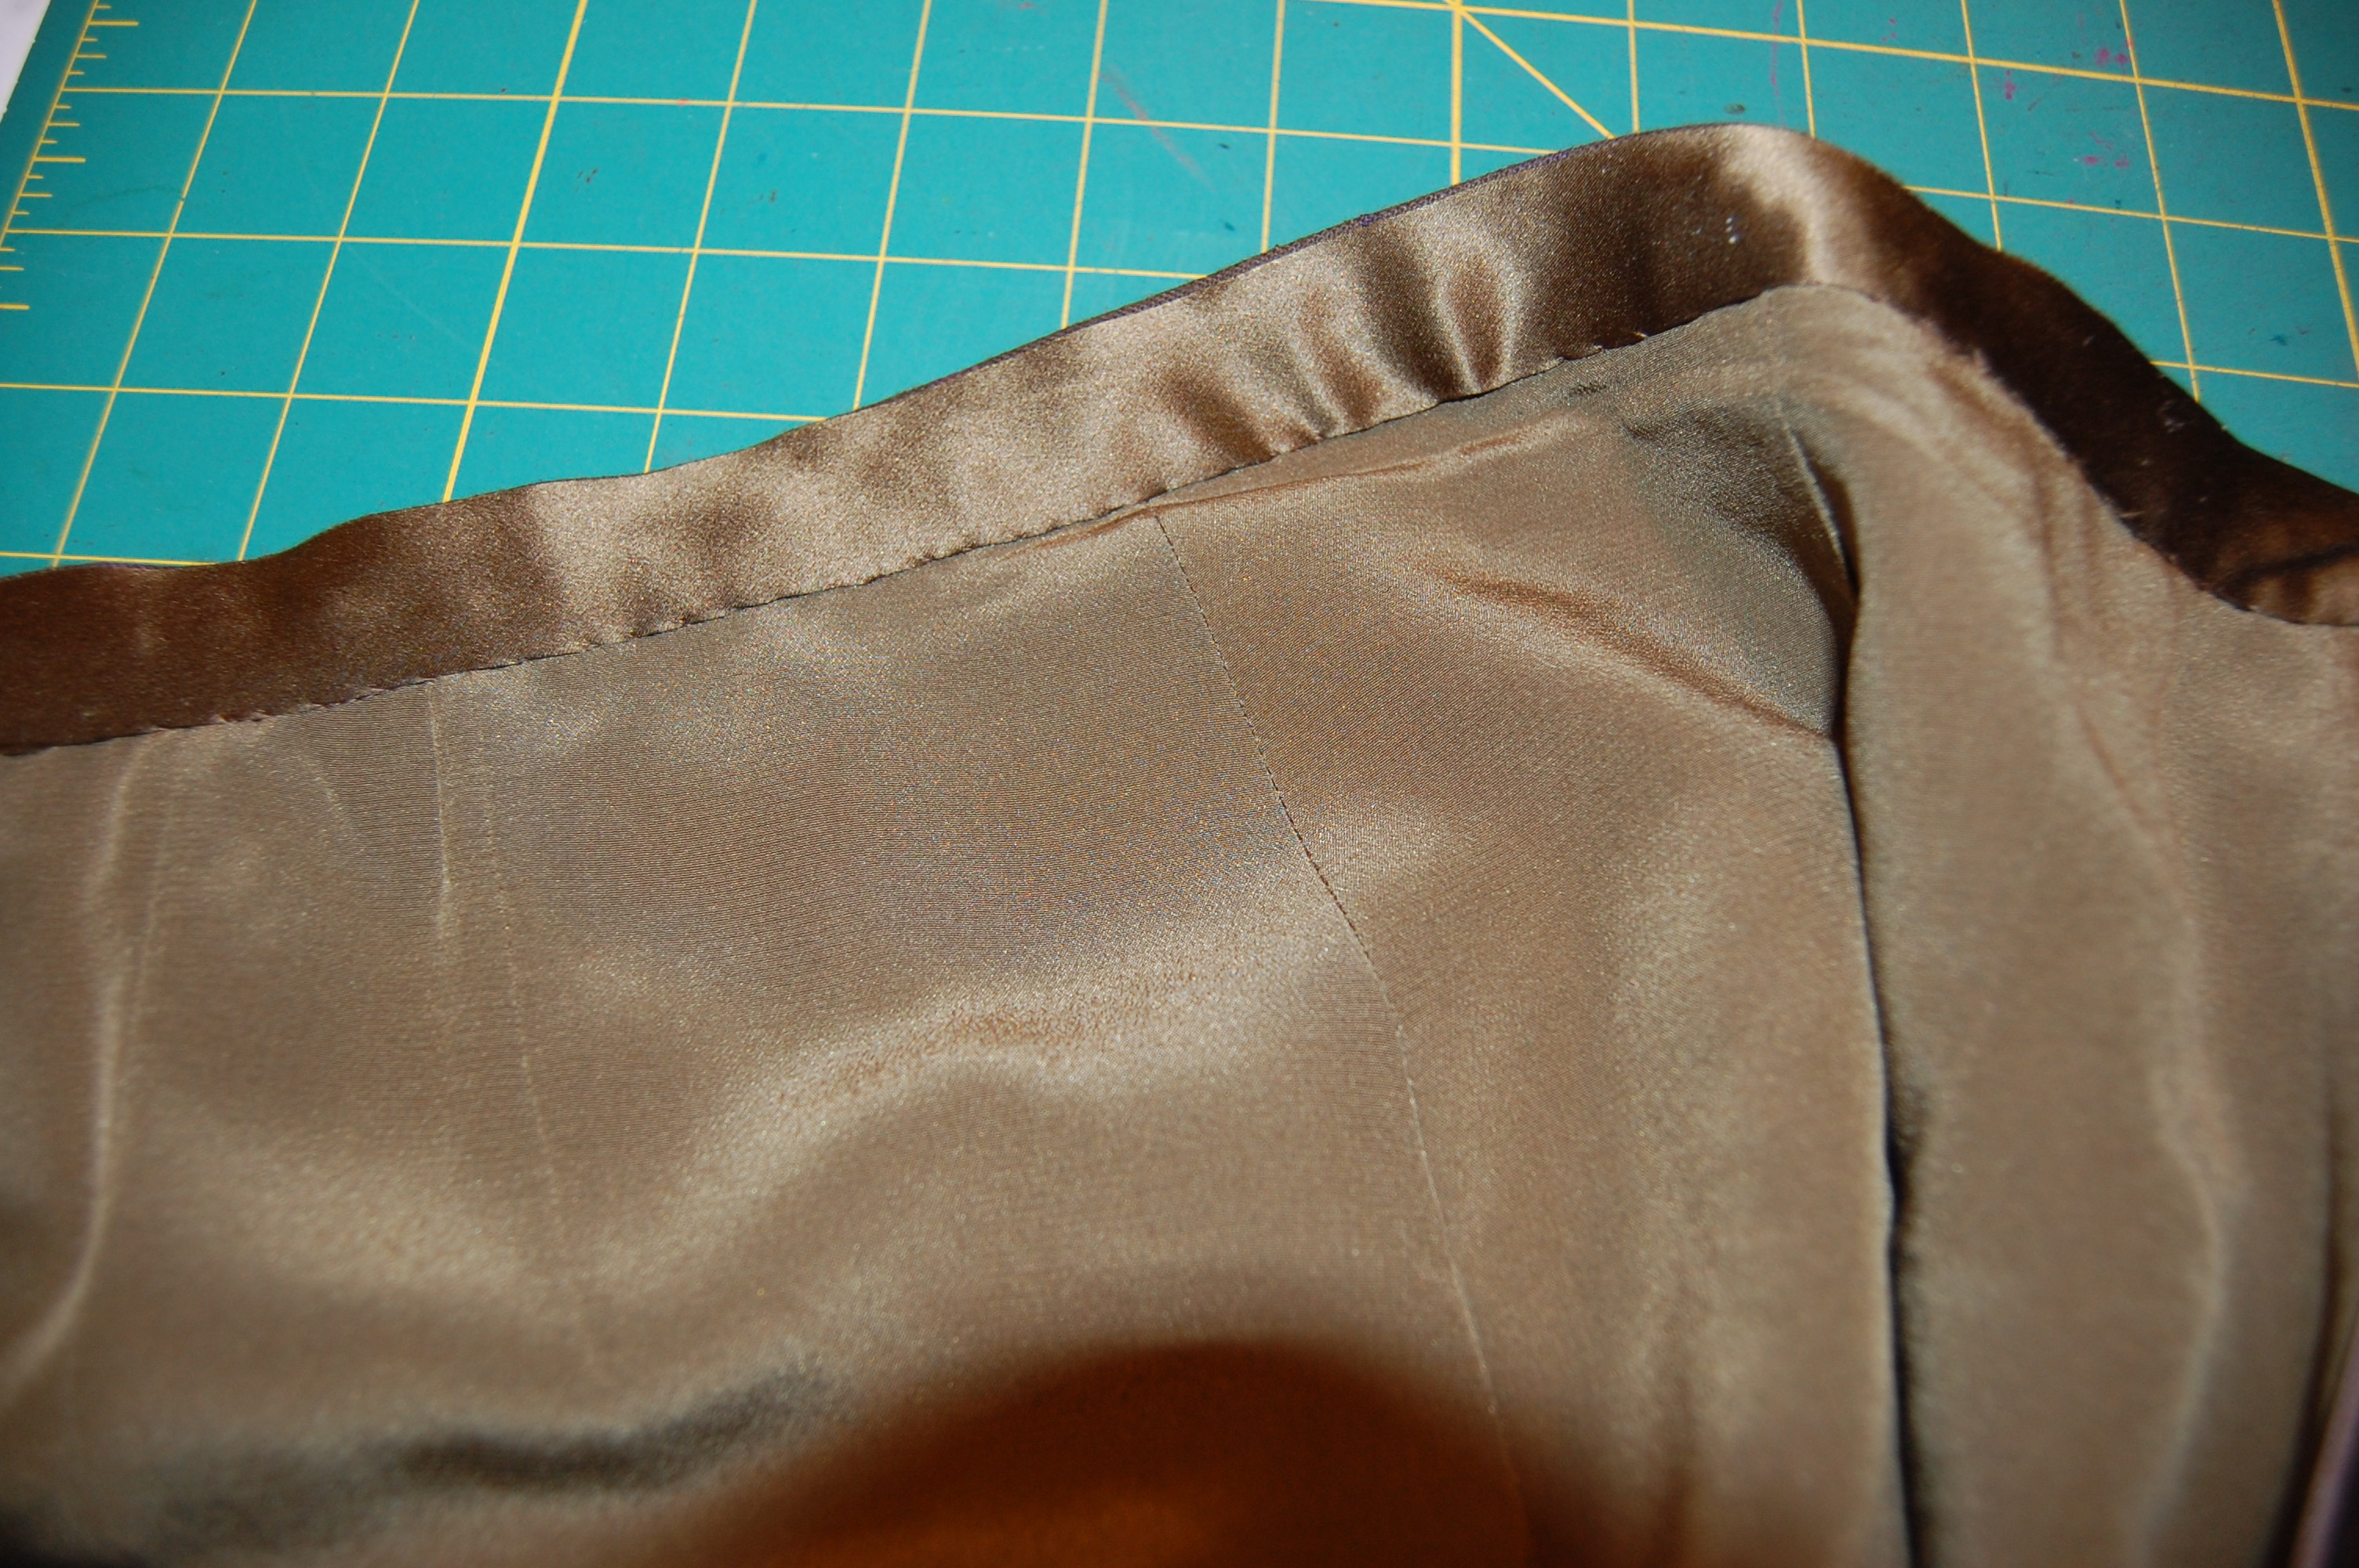
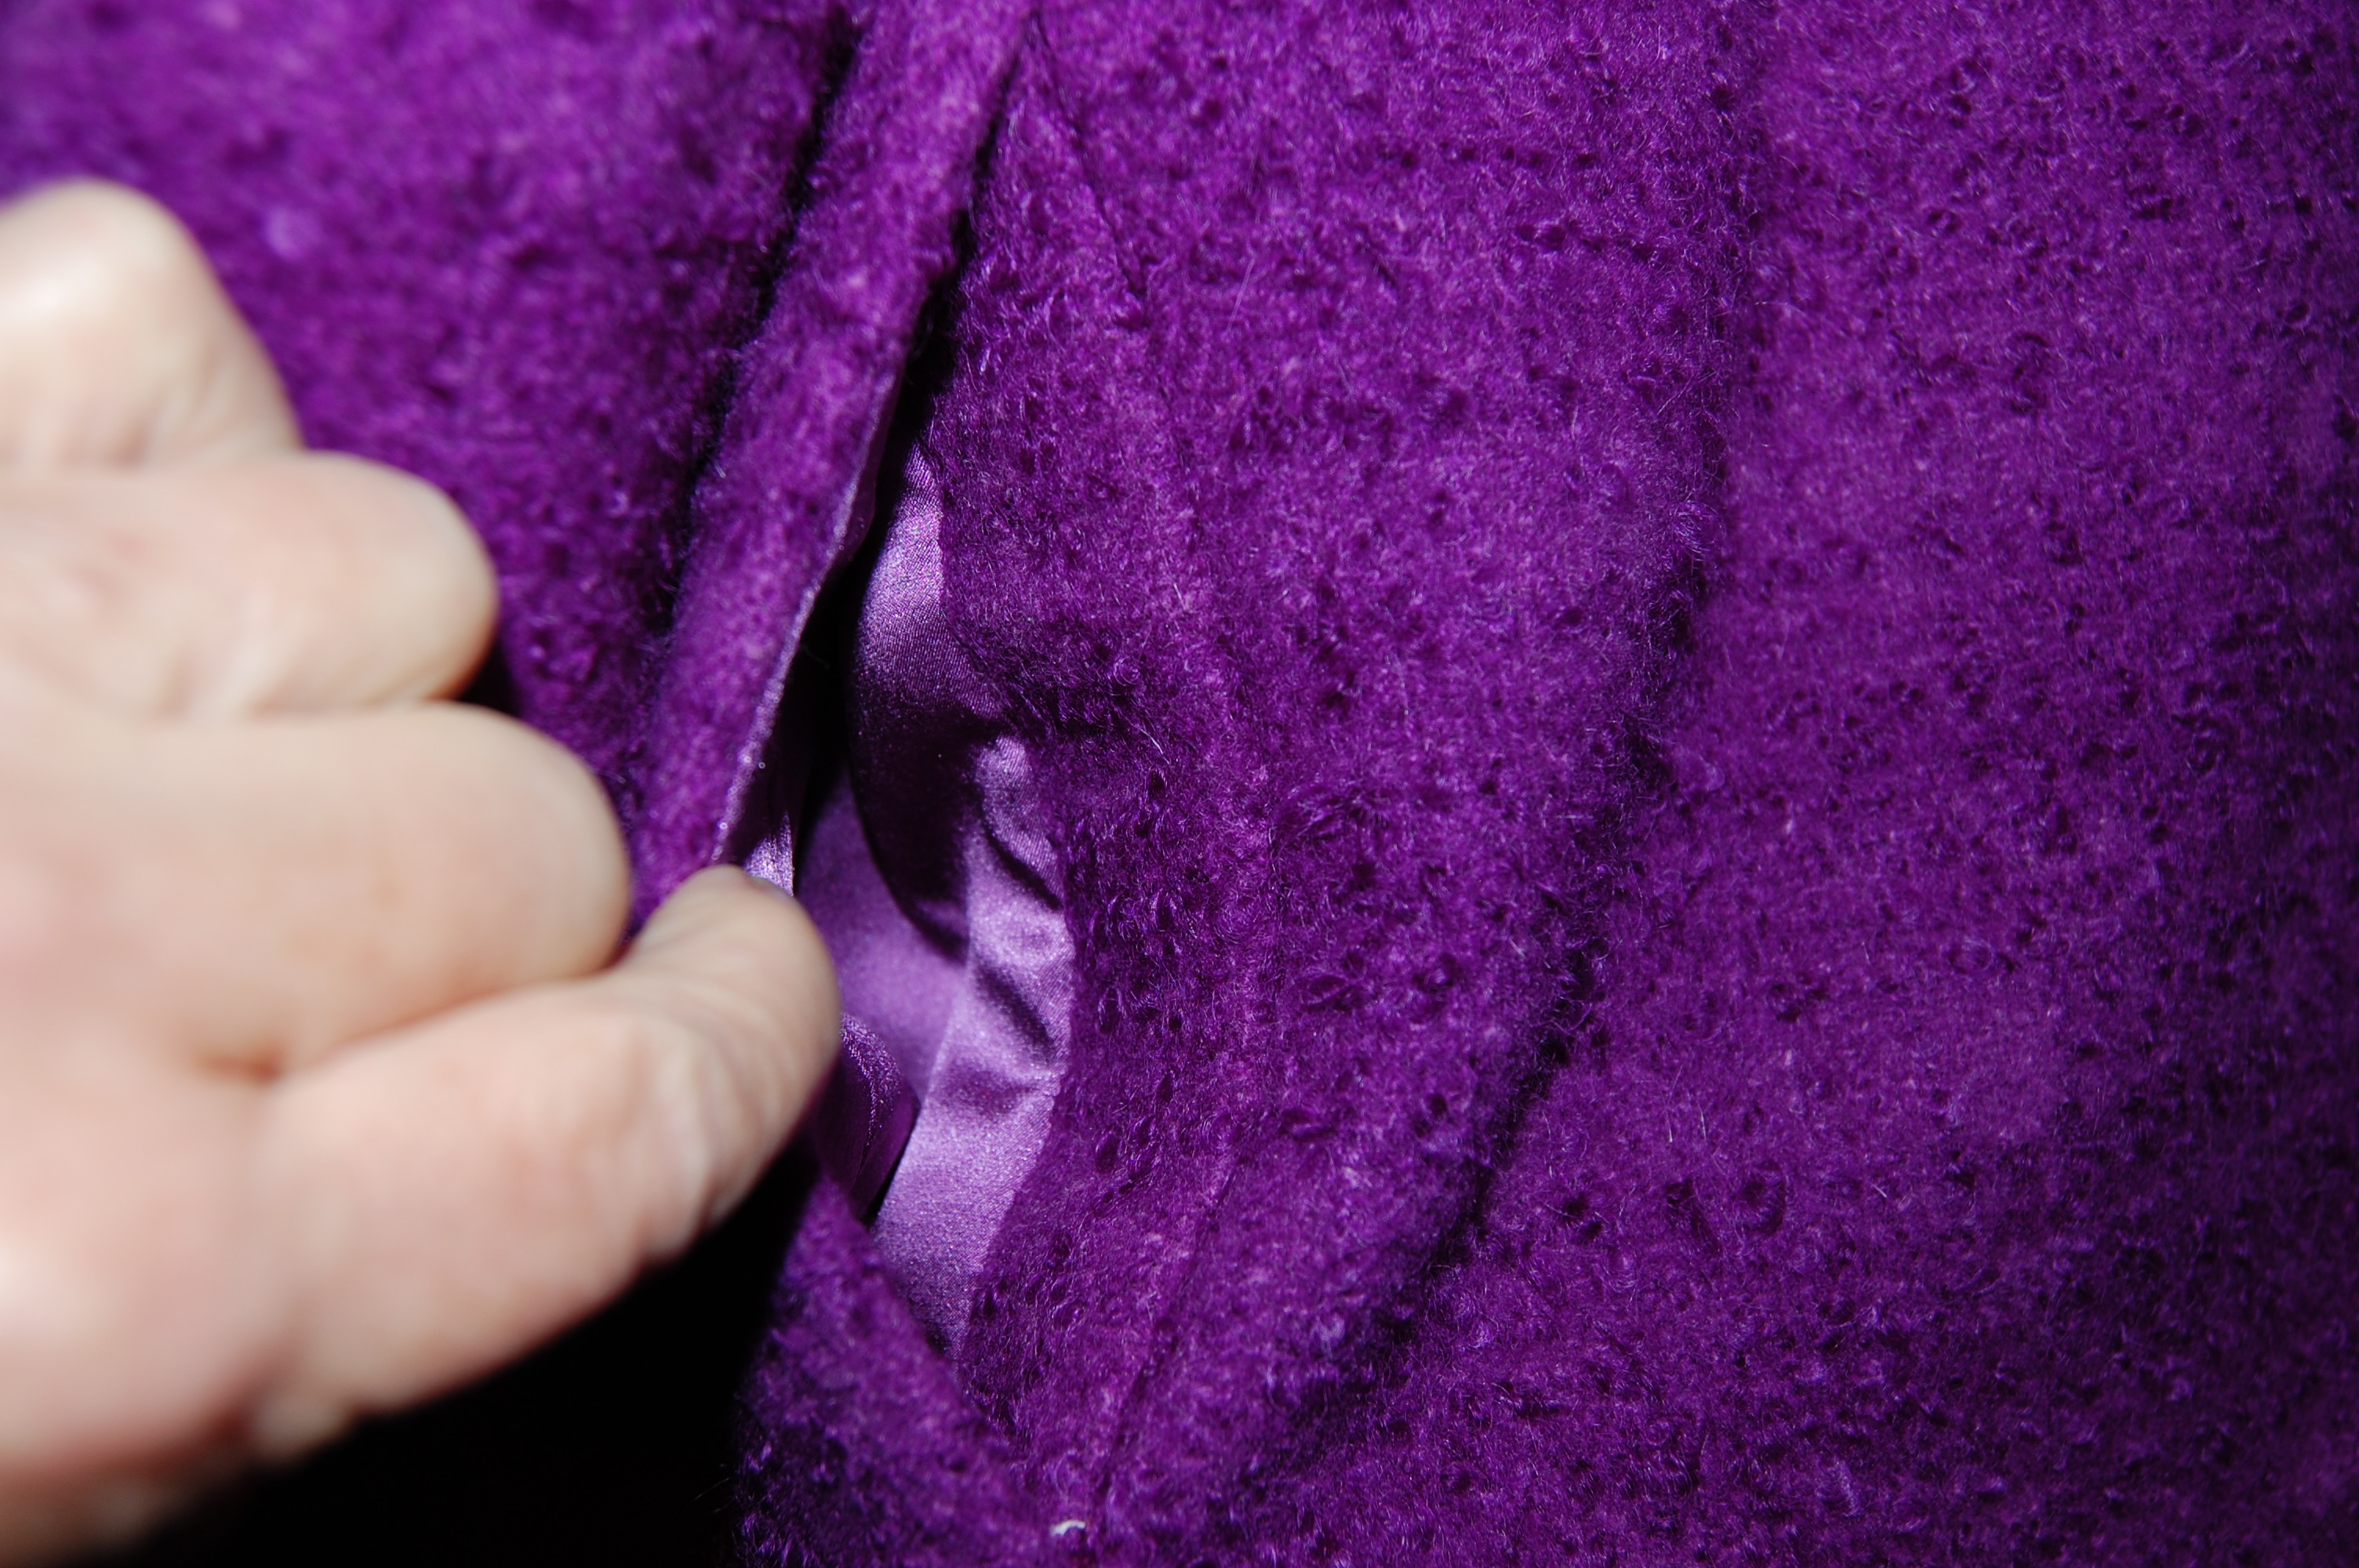
The arm slits are just lovely, both outside and inside:
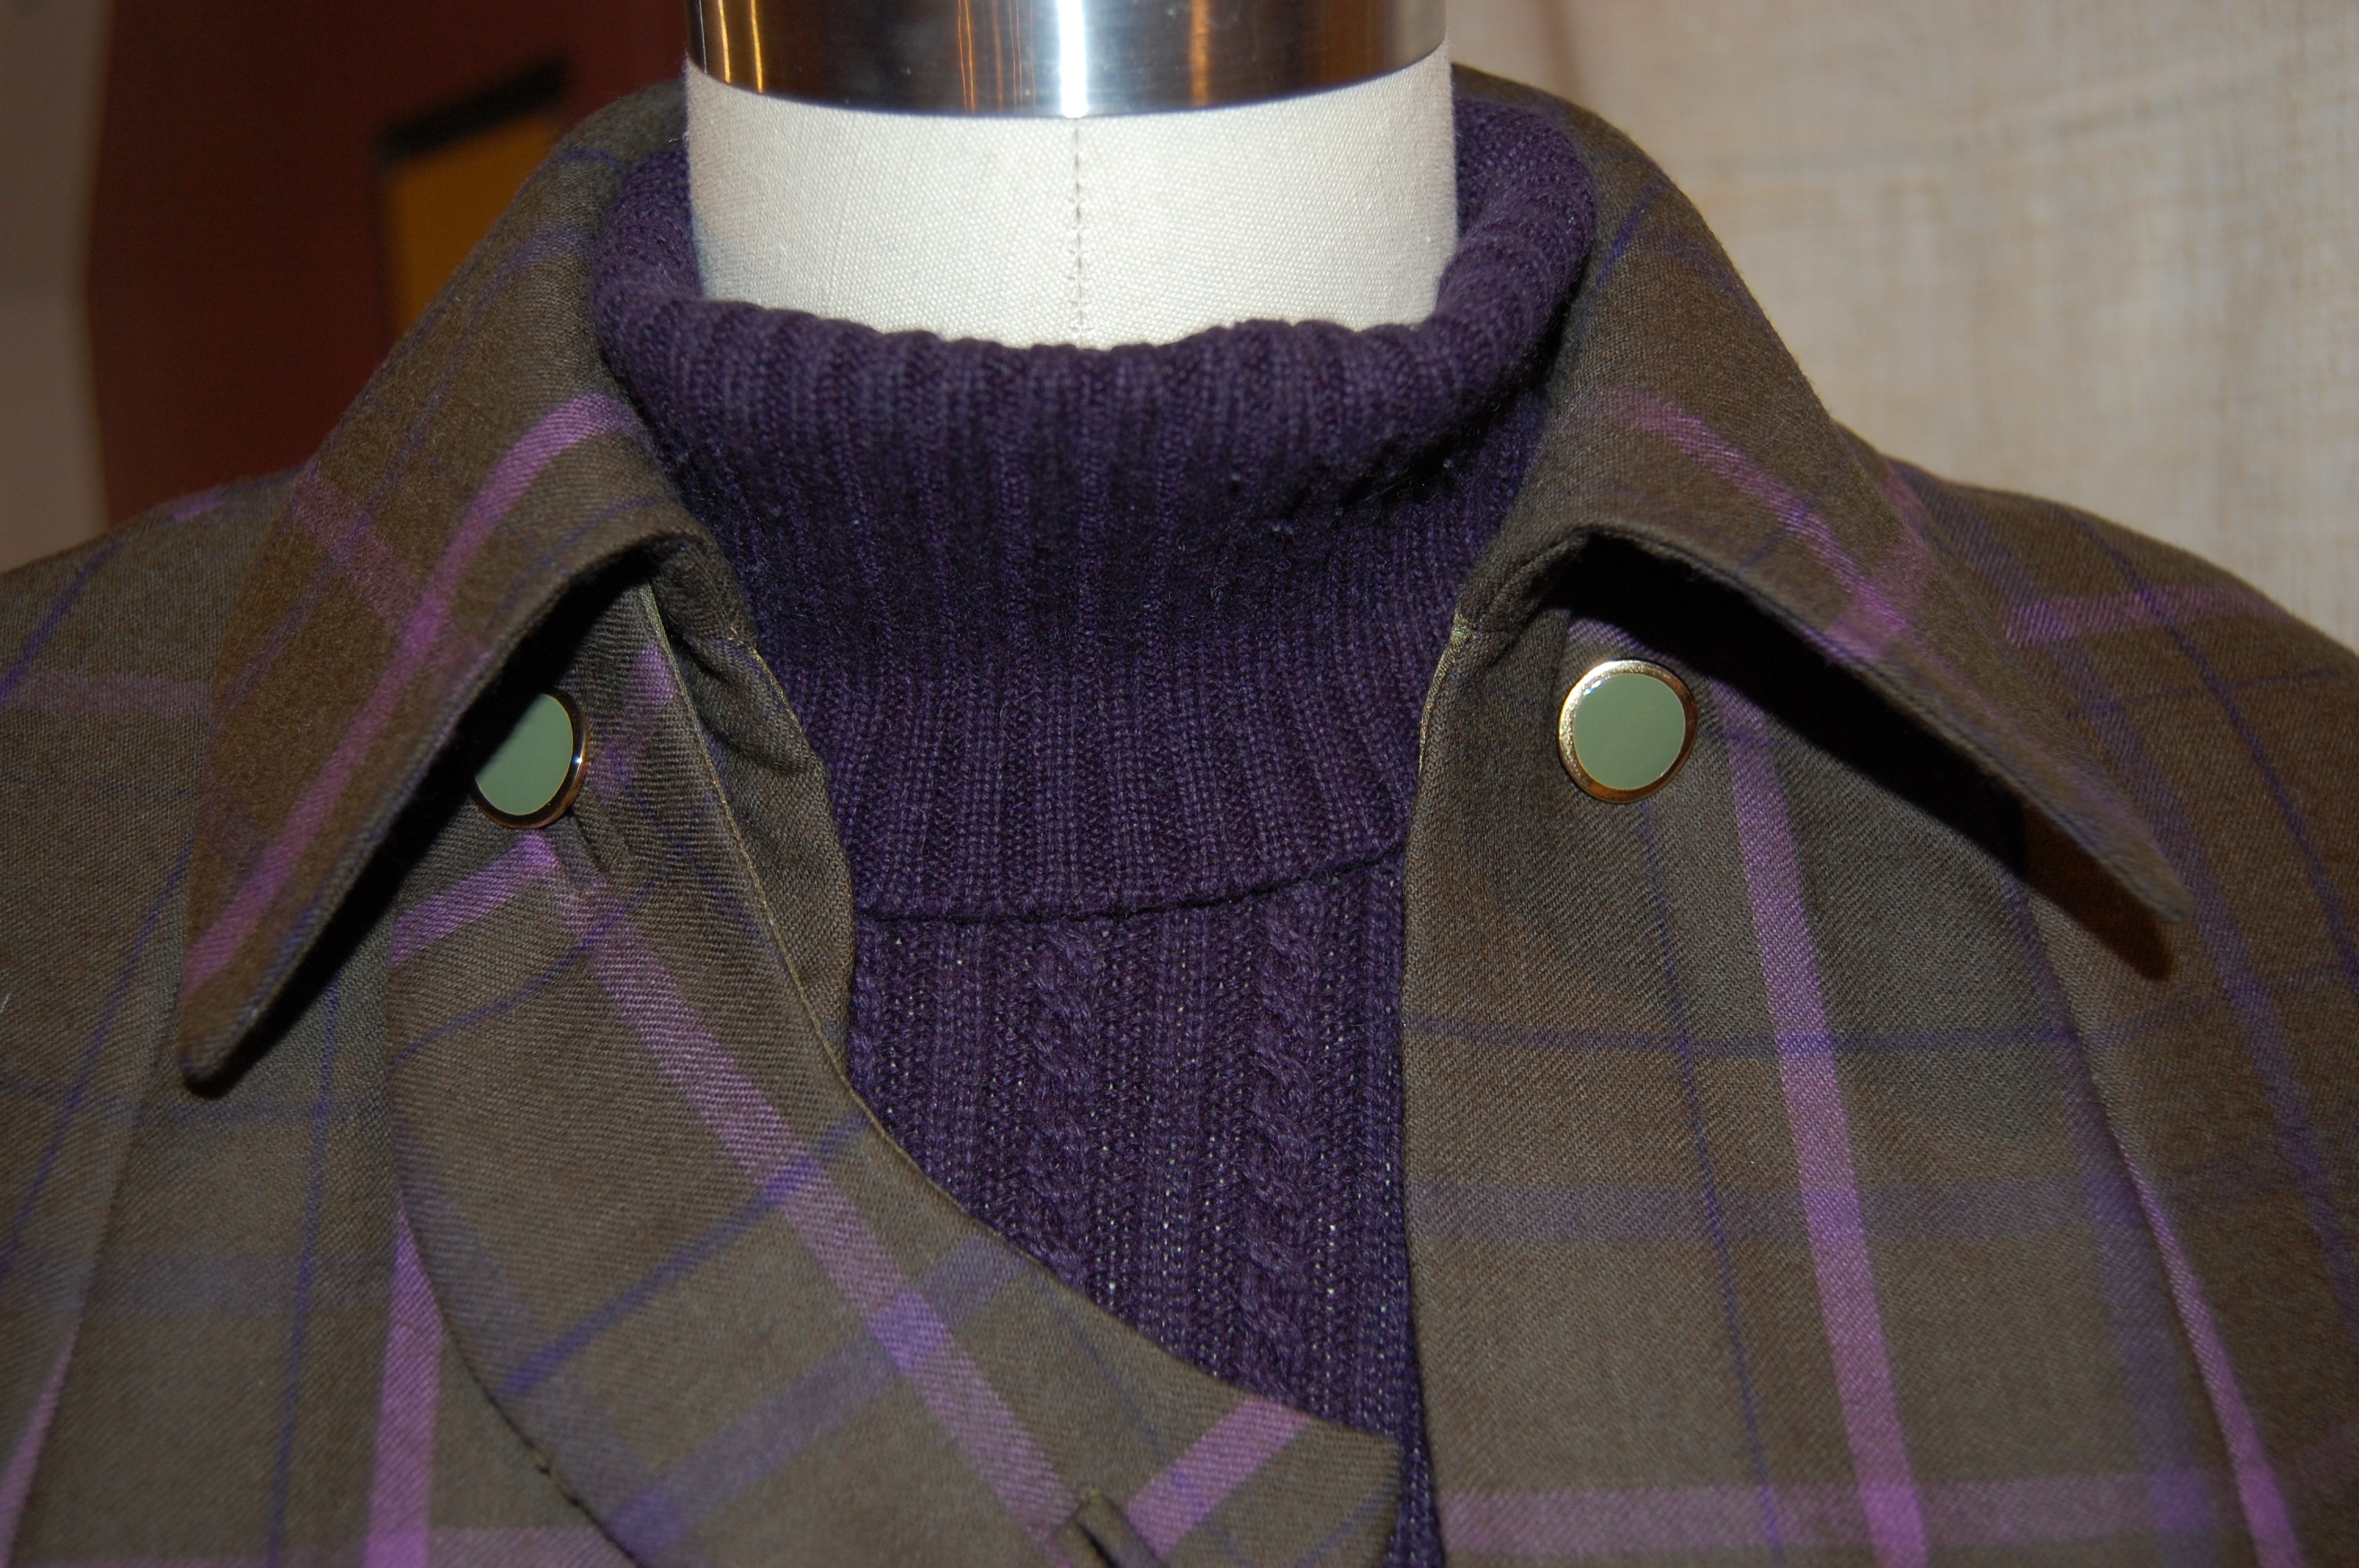
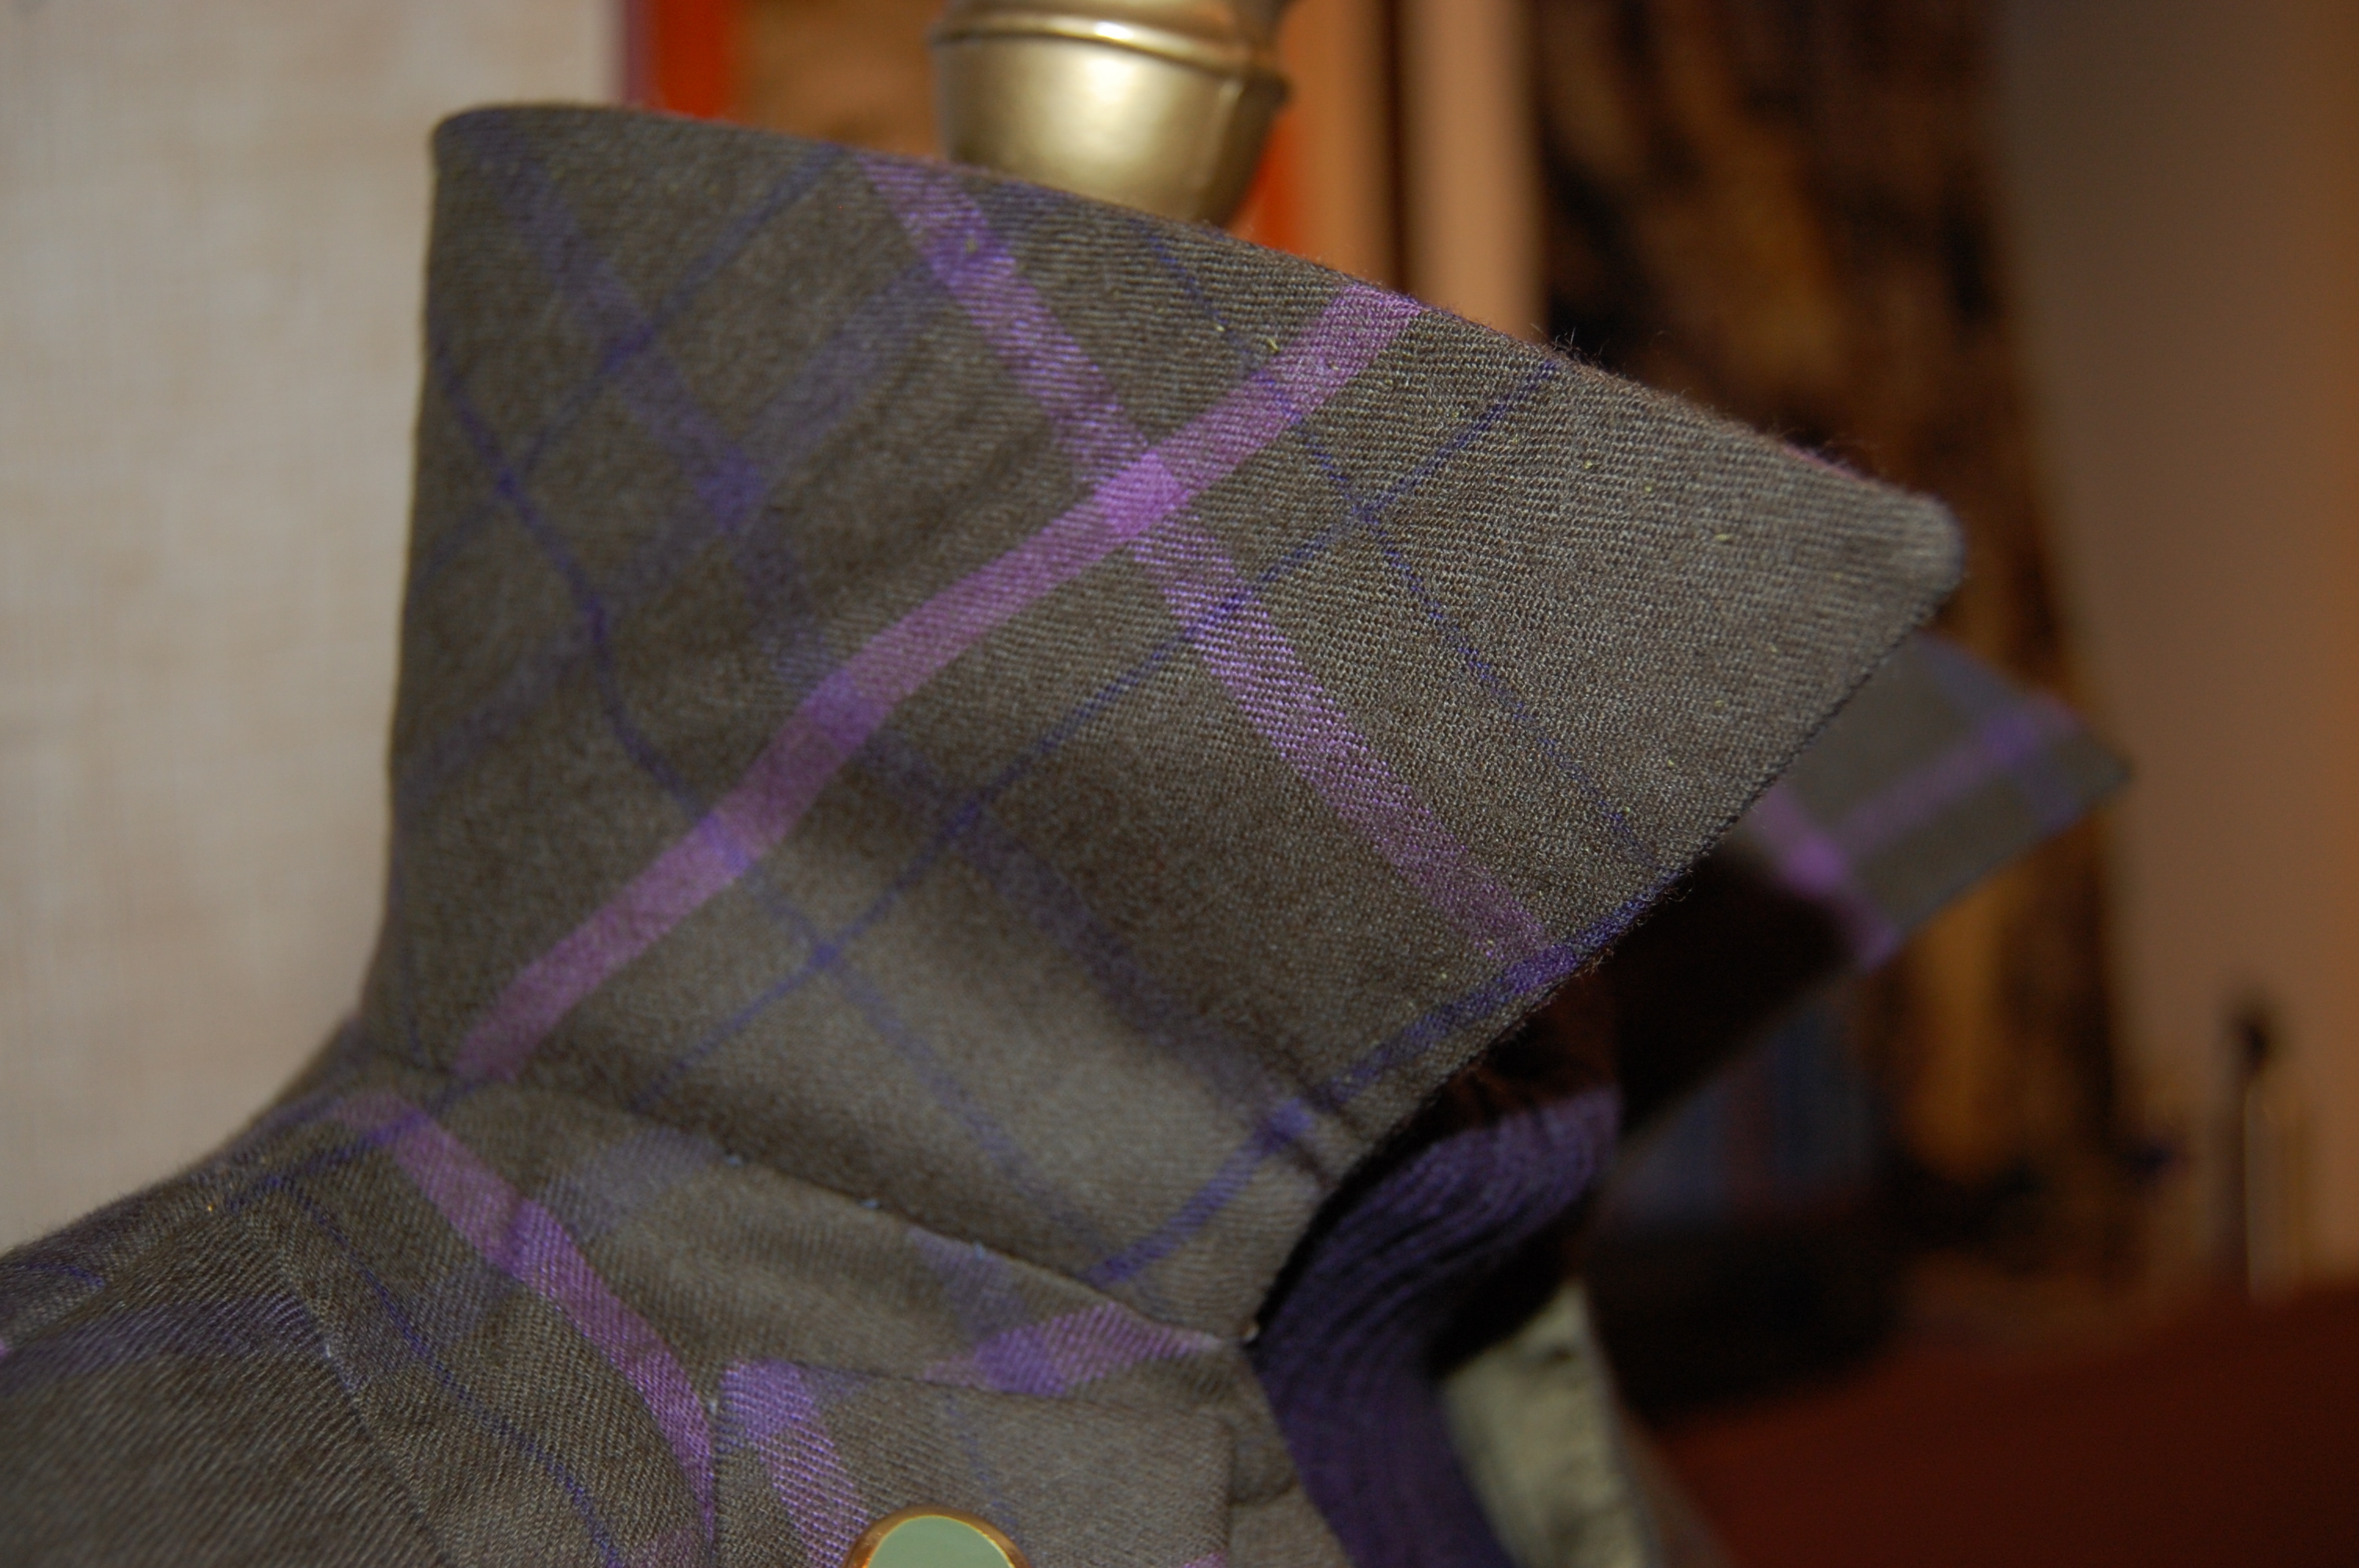
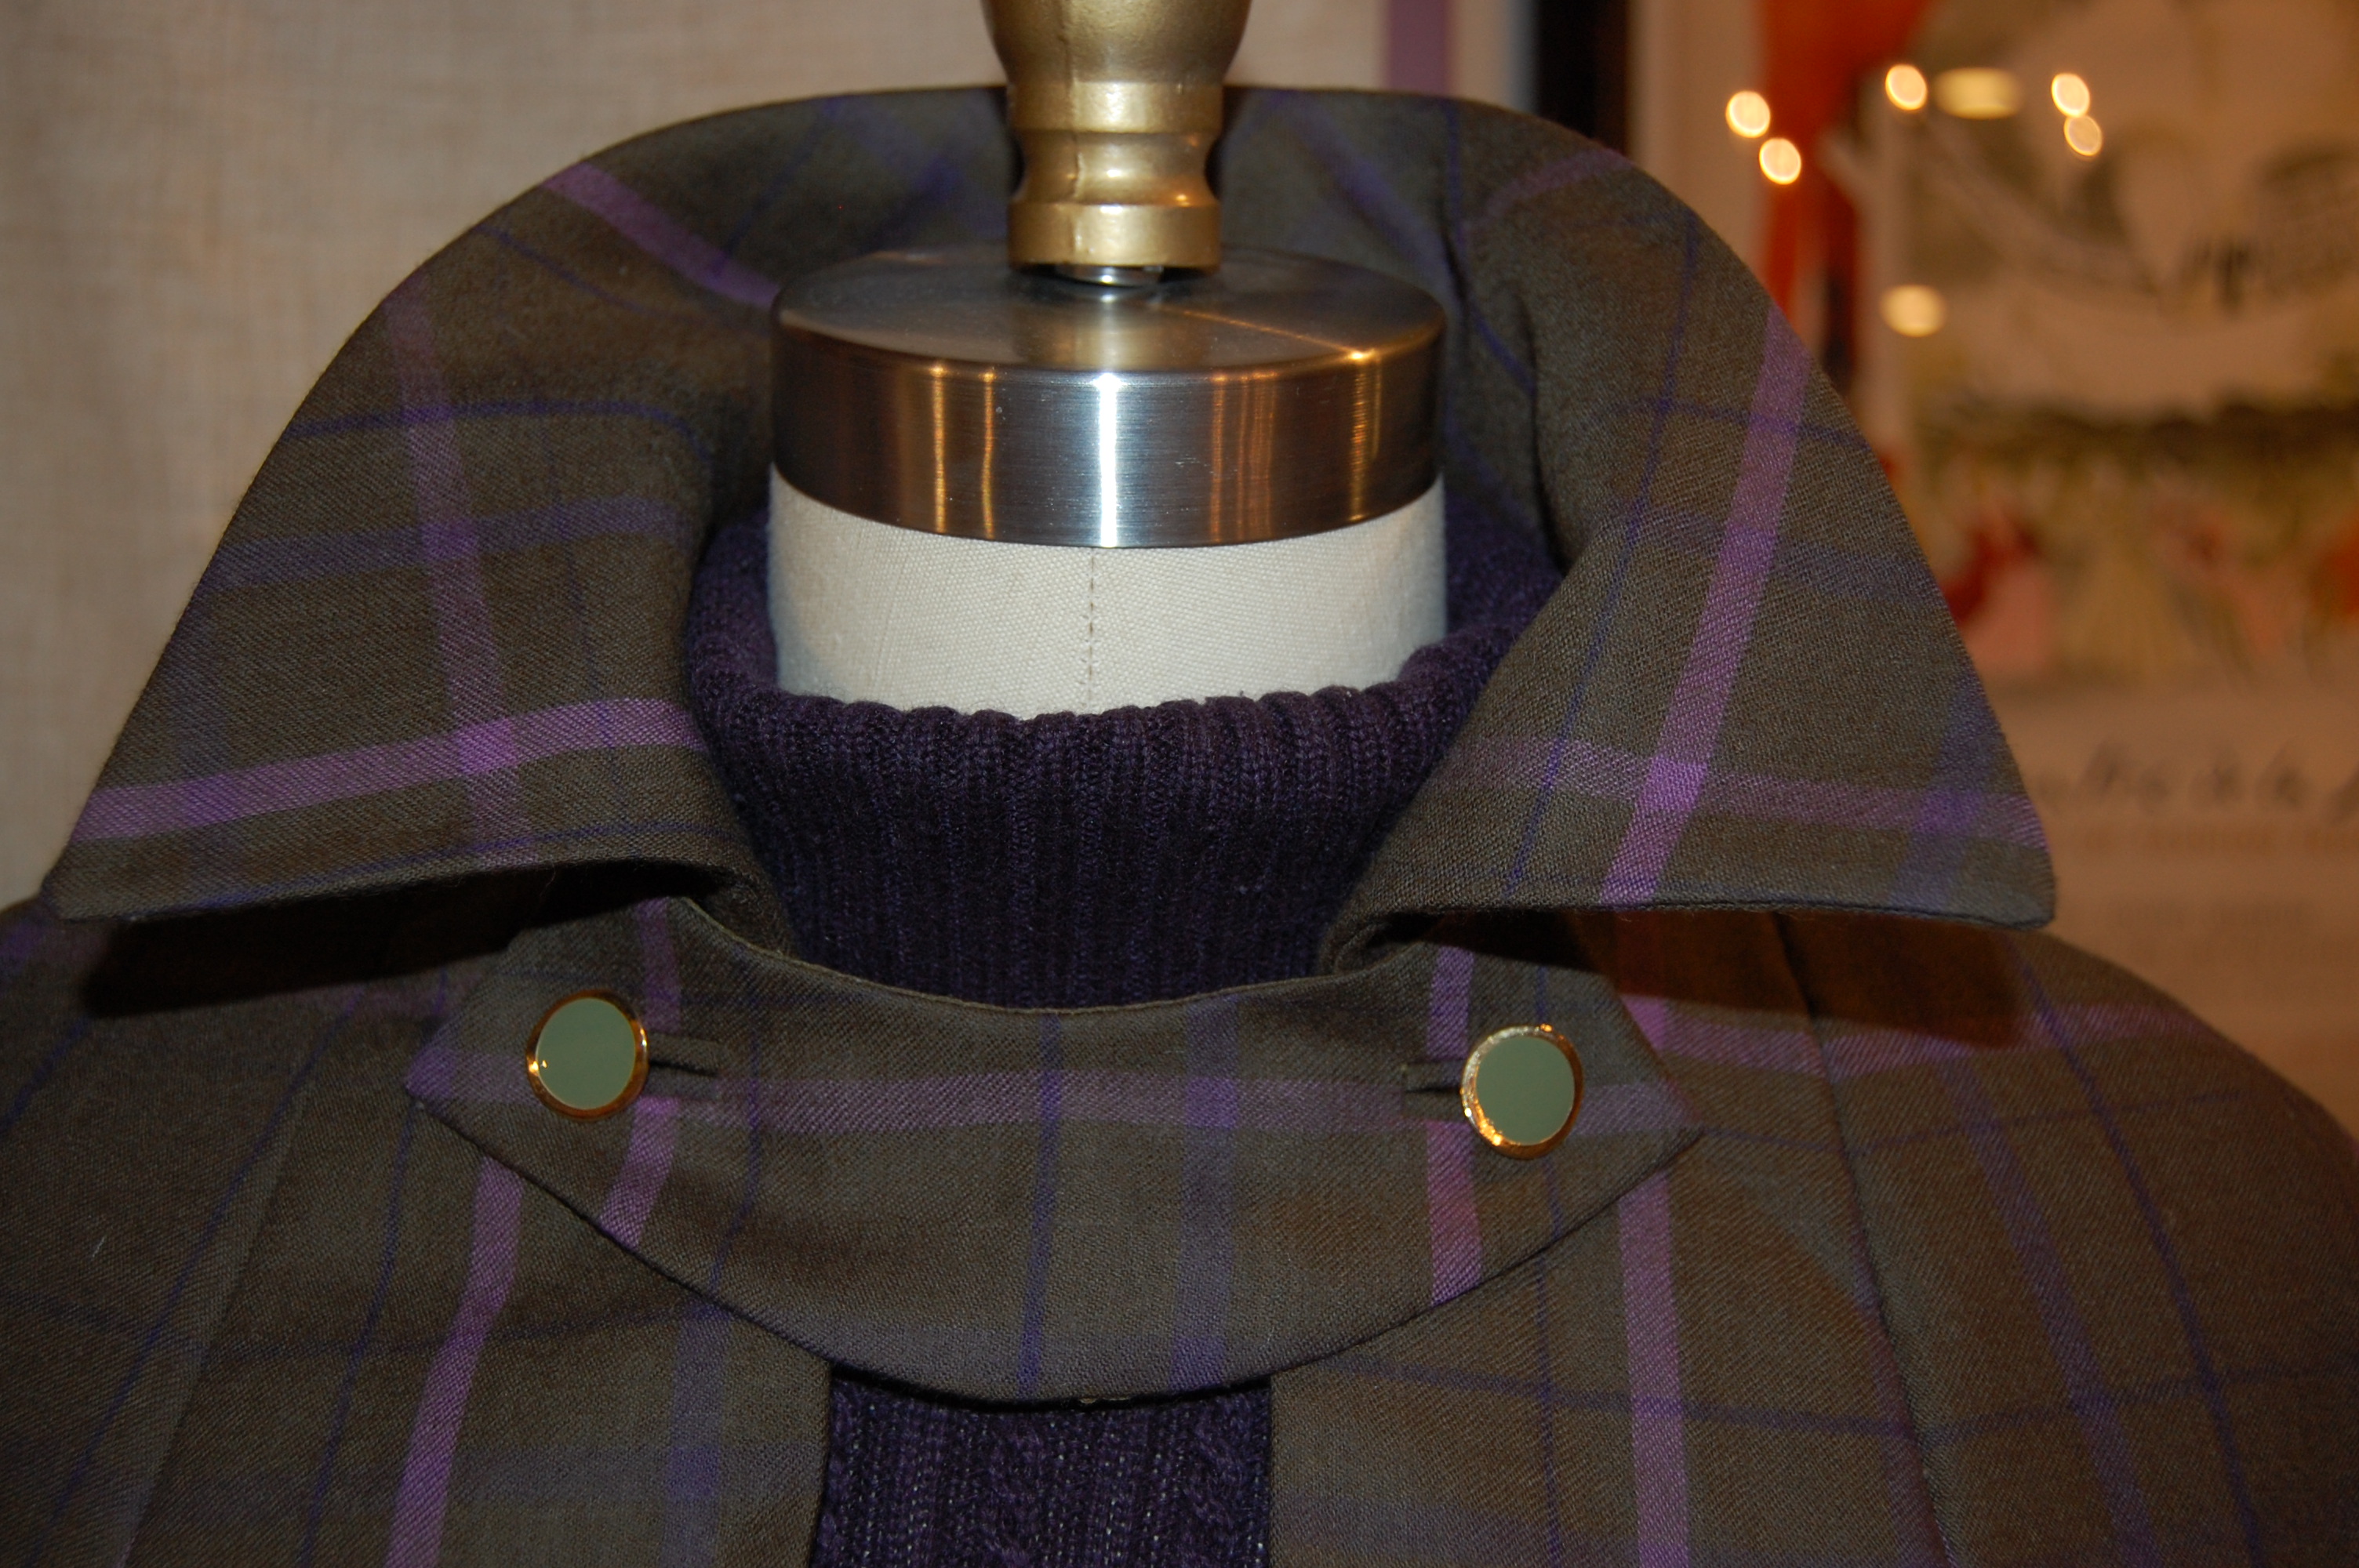
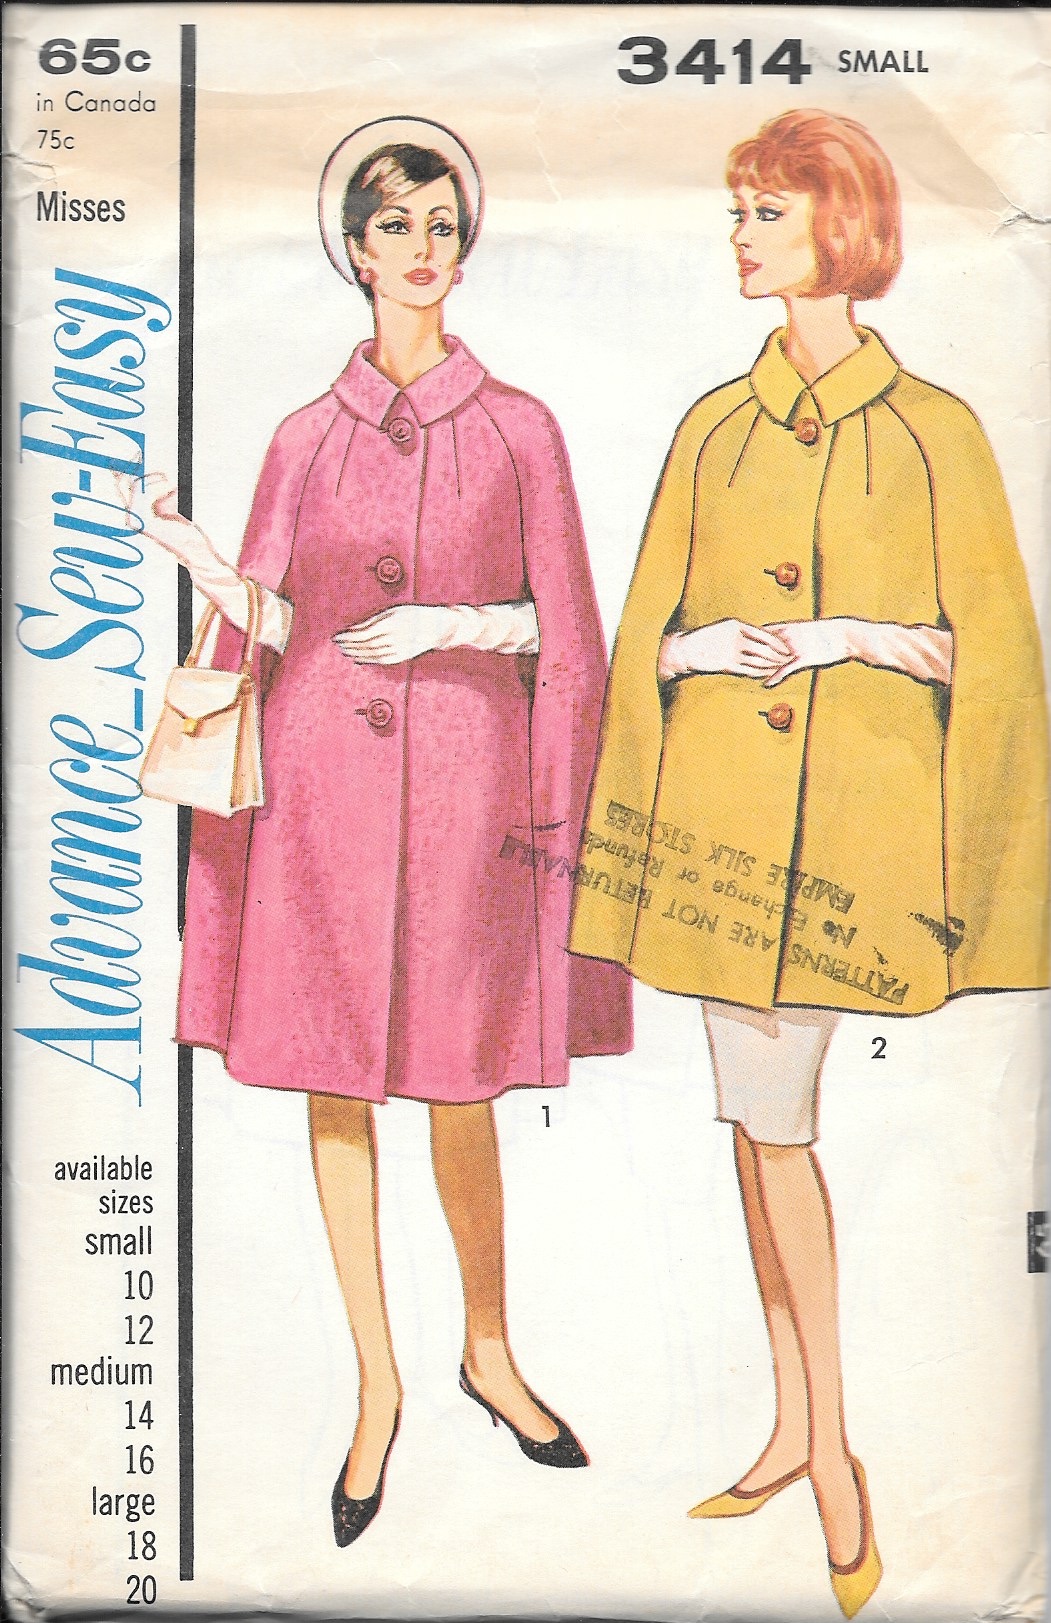
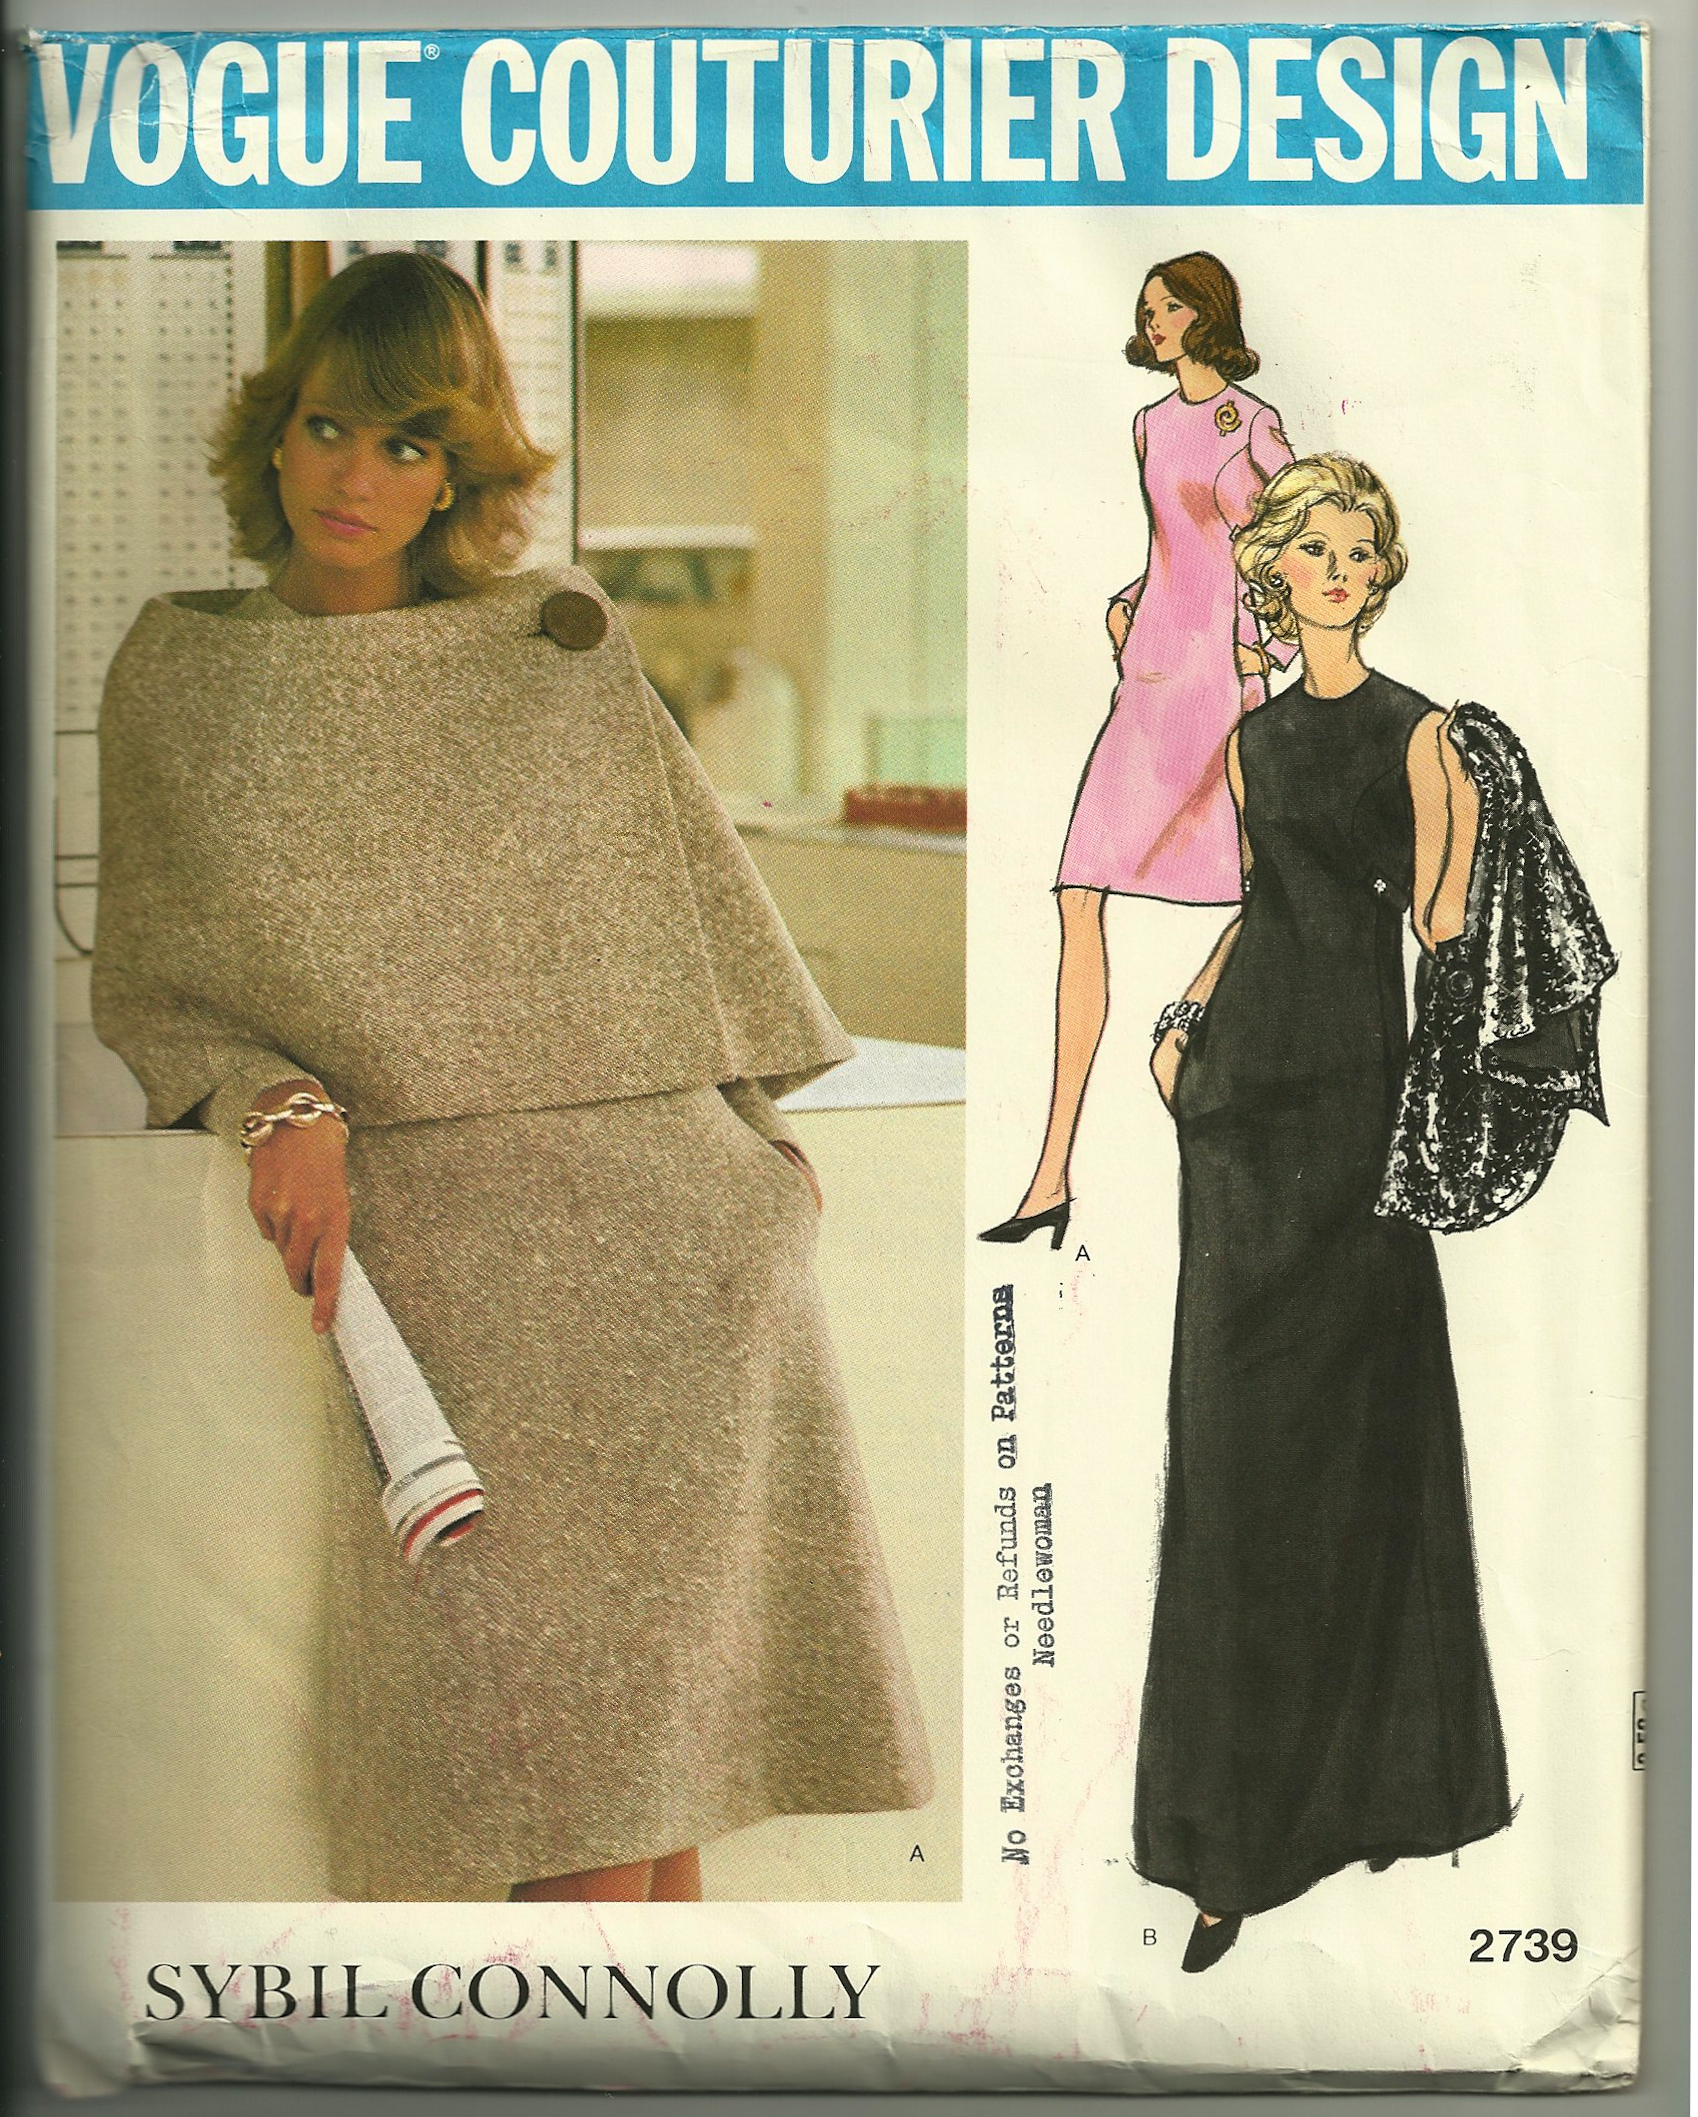
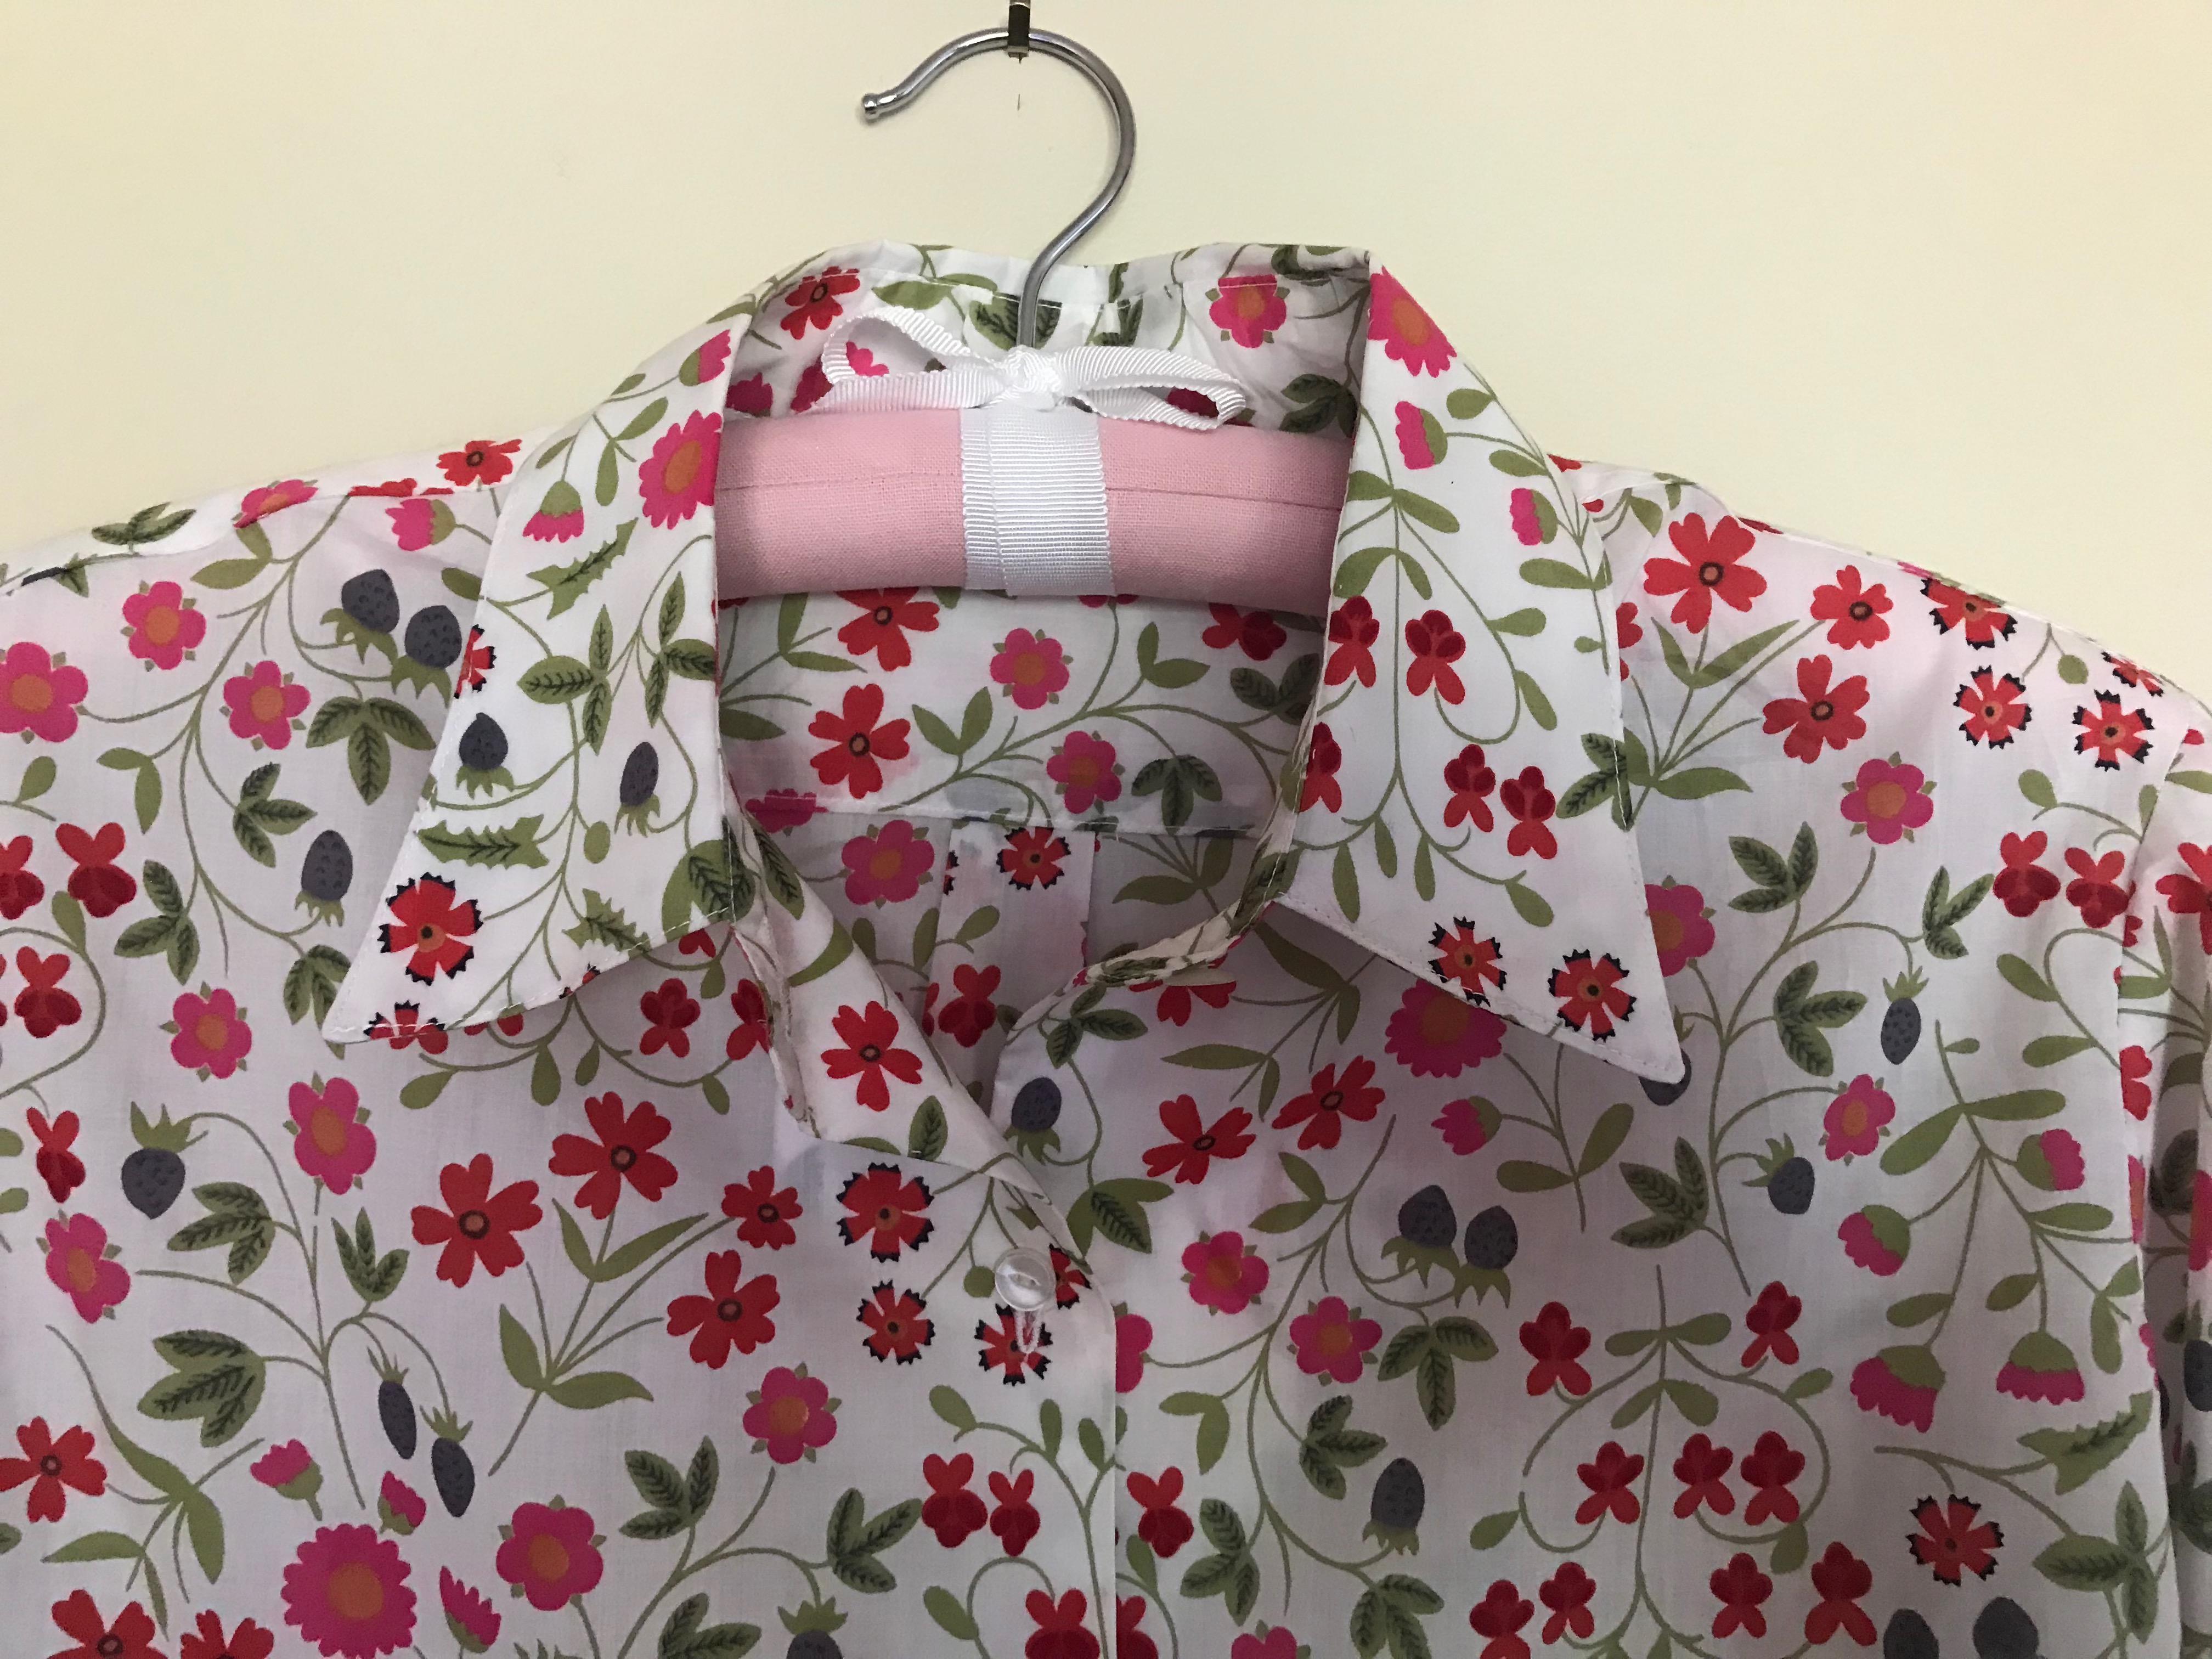
I was a bit concerned about the size of the collar. This is a pattern from the 1970s, when collars tended to be a bit oversized. I certainly did not want this cape to scream 1970s, so I was ready to pare down those collar points if necessary. But I think the collar is perfect just the way it is.
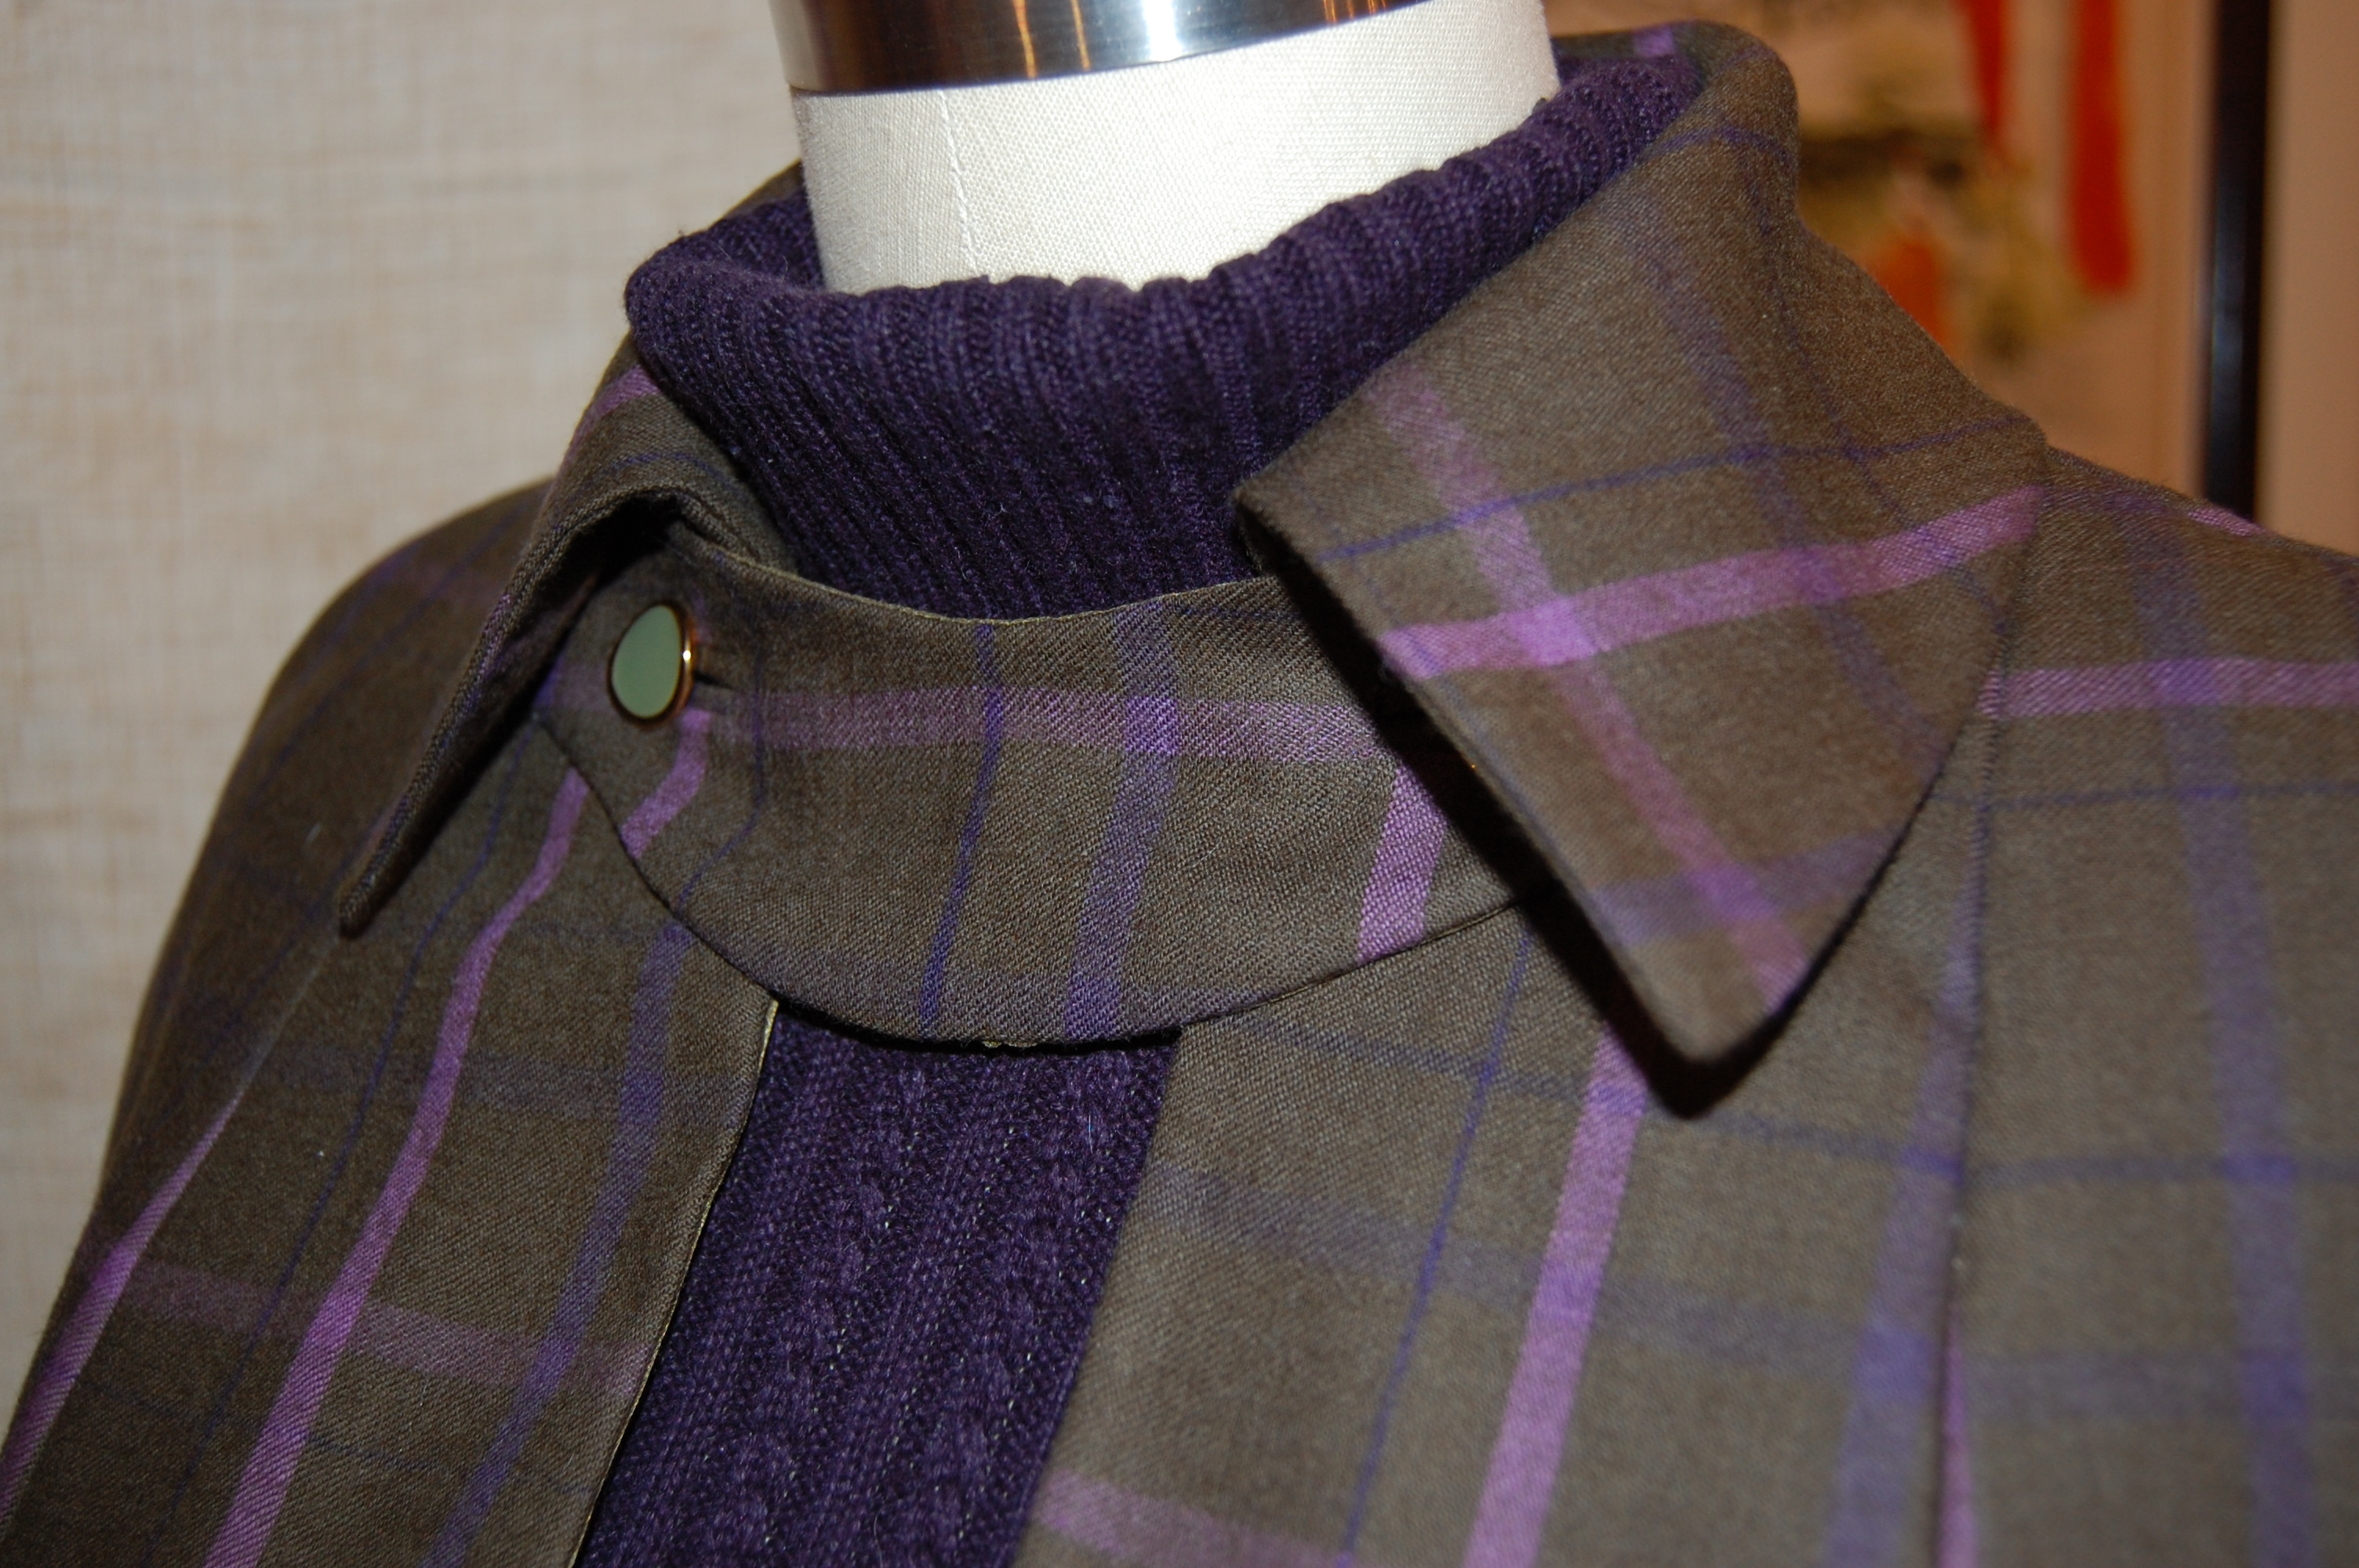

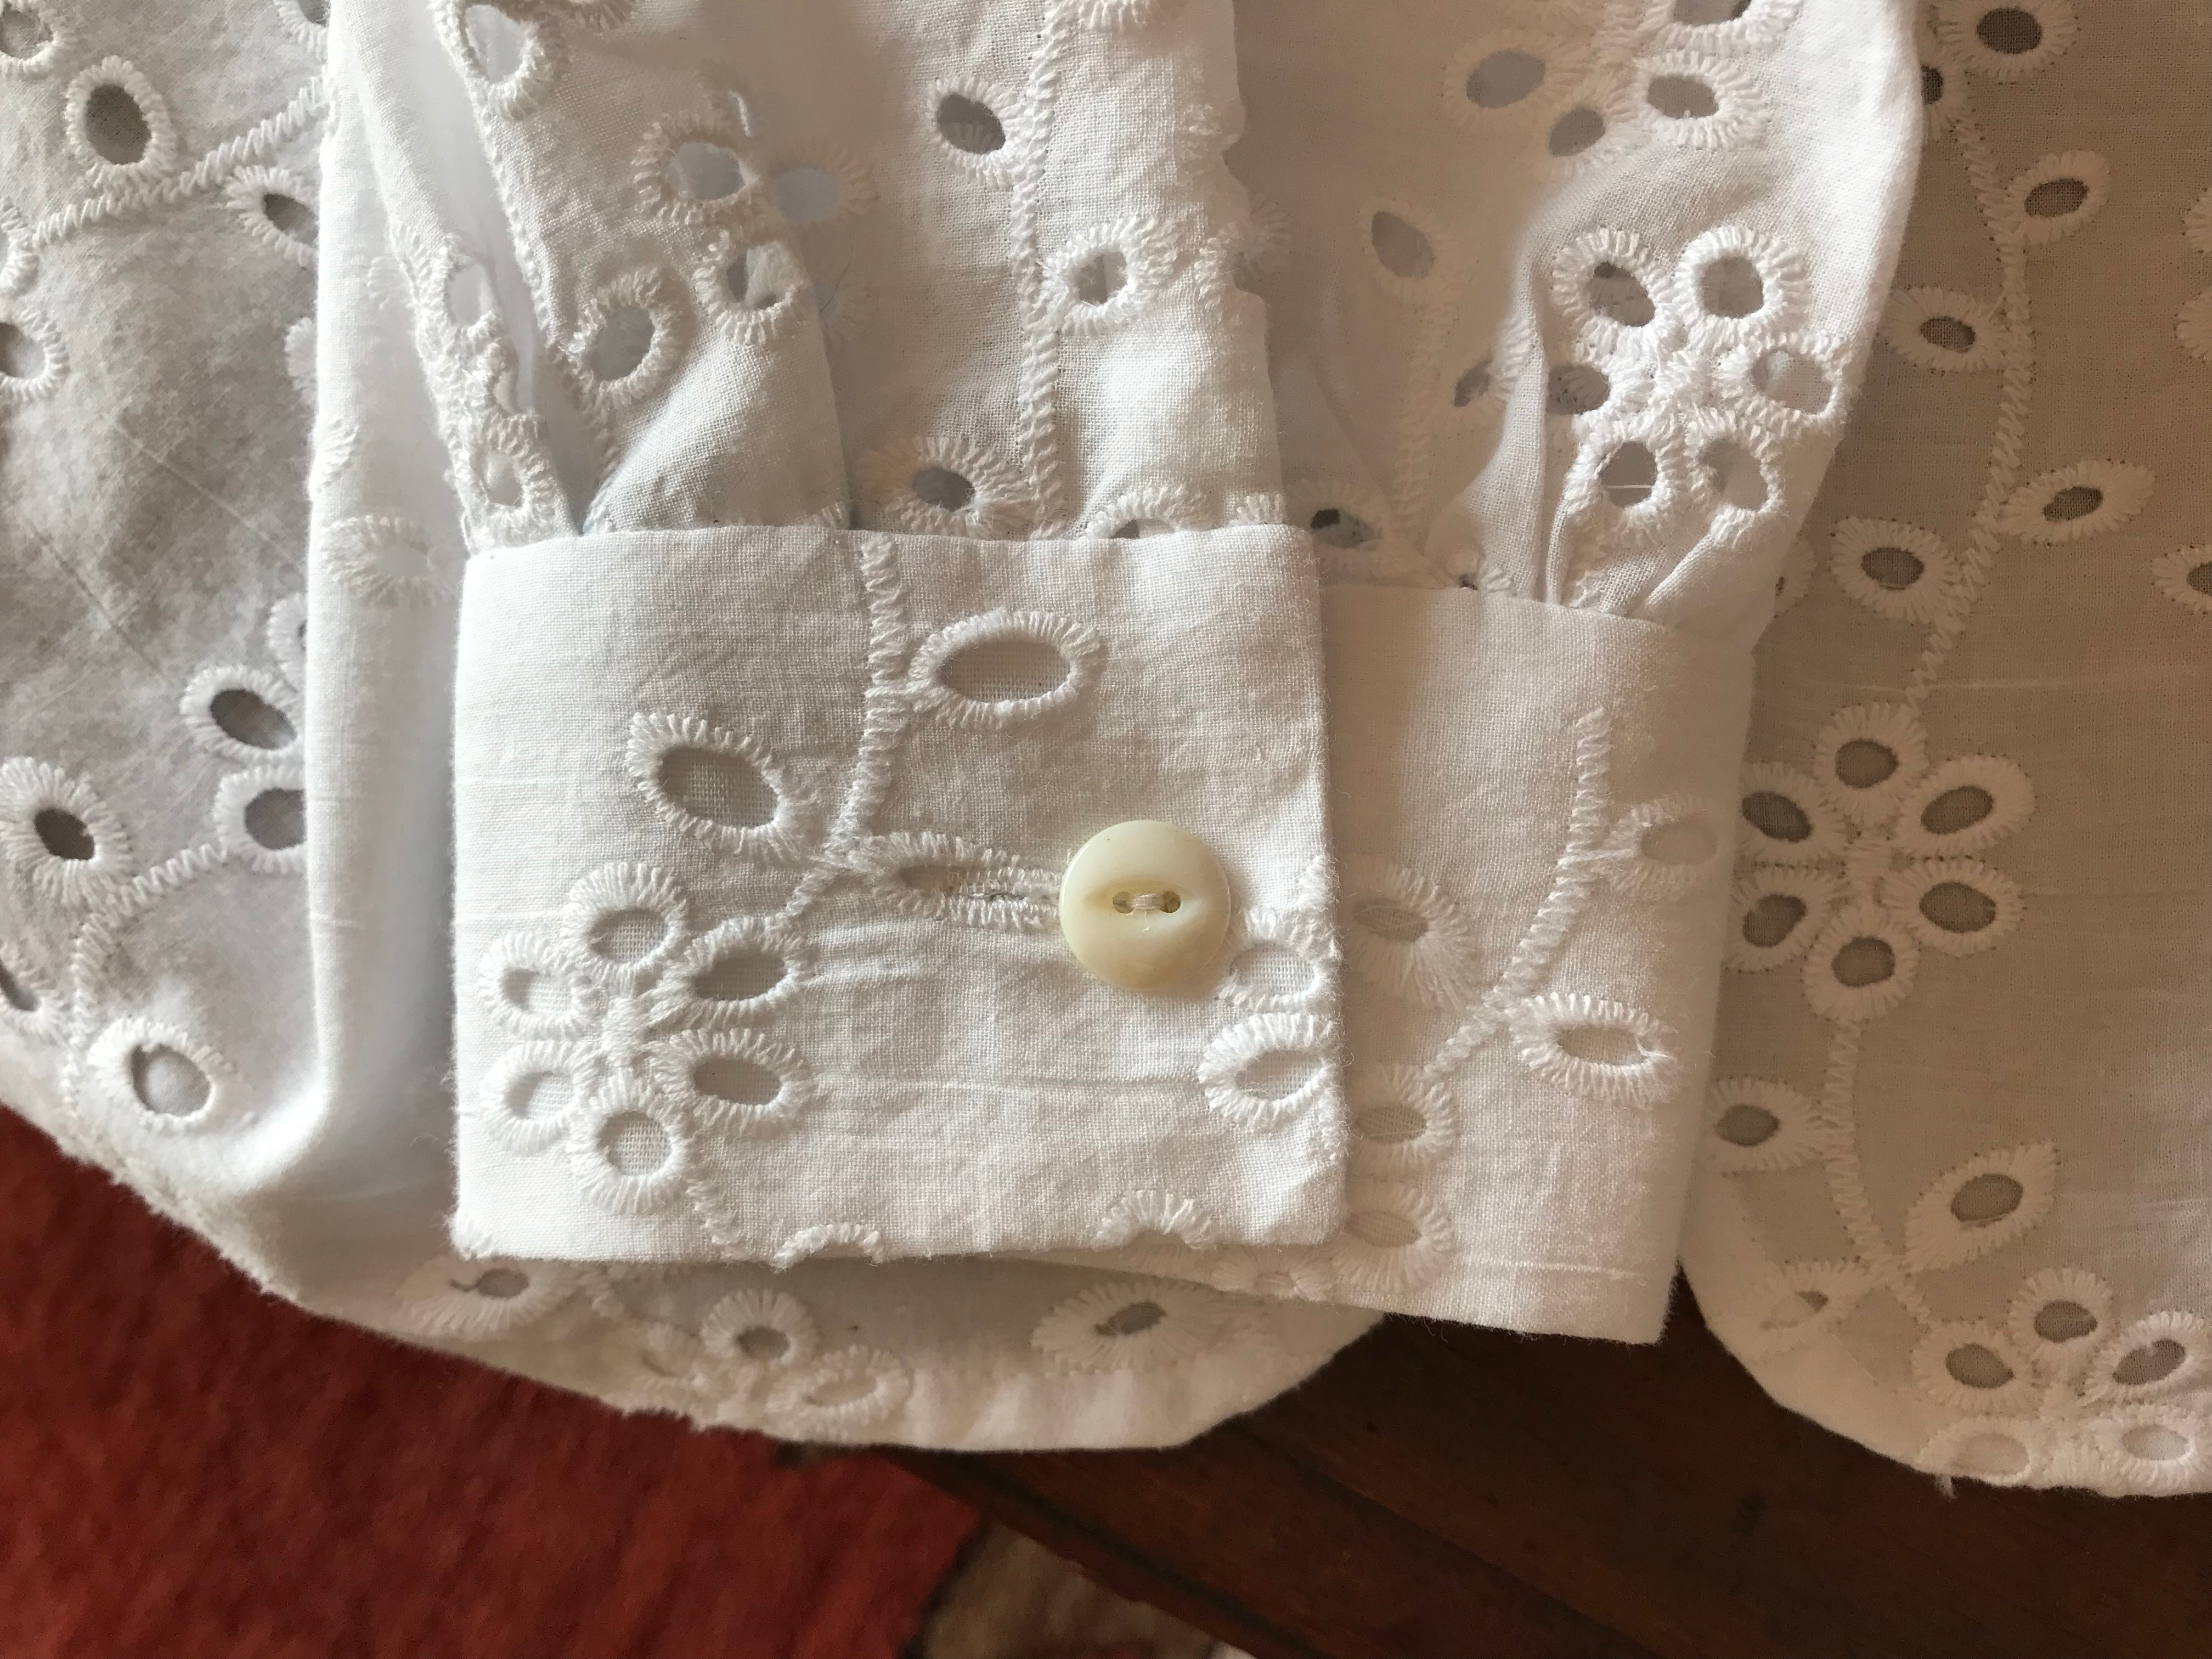
The one component of this pattern I did have trouble with was the separate closing tab. The pattern, surprisingly, did not specify bound buttonholes. Rather it called for machine or hand-stitched buttonholes. I usually like to make bound buttonholes on wool fabric (there are exceptions, of course, but I did not look at this as one of those). So I dutifully went at it. But the narrow width of the tab made turning it, with bound buttonholes applied, nearly impossible. No, make that totally impossible. It was lumpy, uneven, and unacceptable. But I was not going to give up on my bound buttonholes. I decided to redraw the tab, using “squared-off ends” rather than rounded ends. I knew that would give me more space to manipulate all the interior buttonhole bulk. I also oriented the buttonholes horizontally instead of on an angle as shown in the lower pattern piece below.
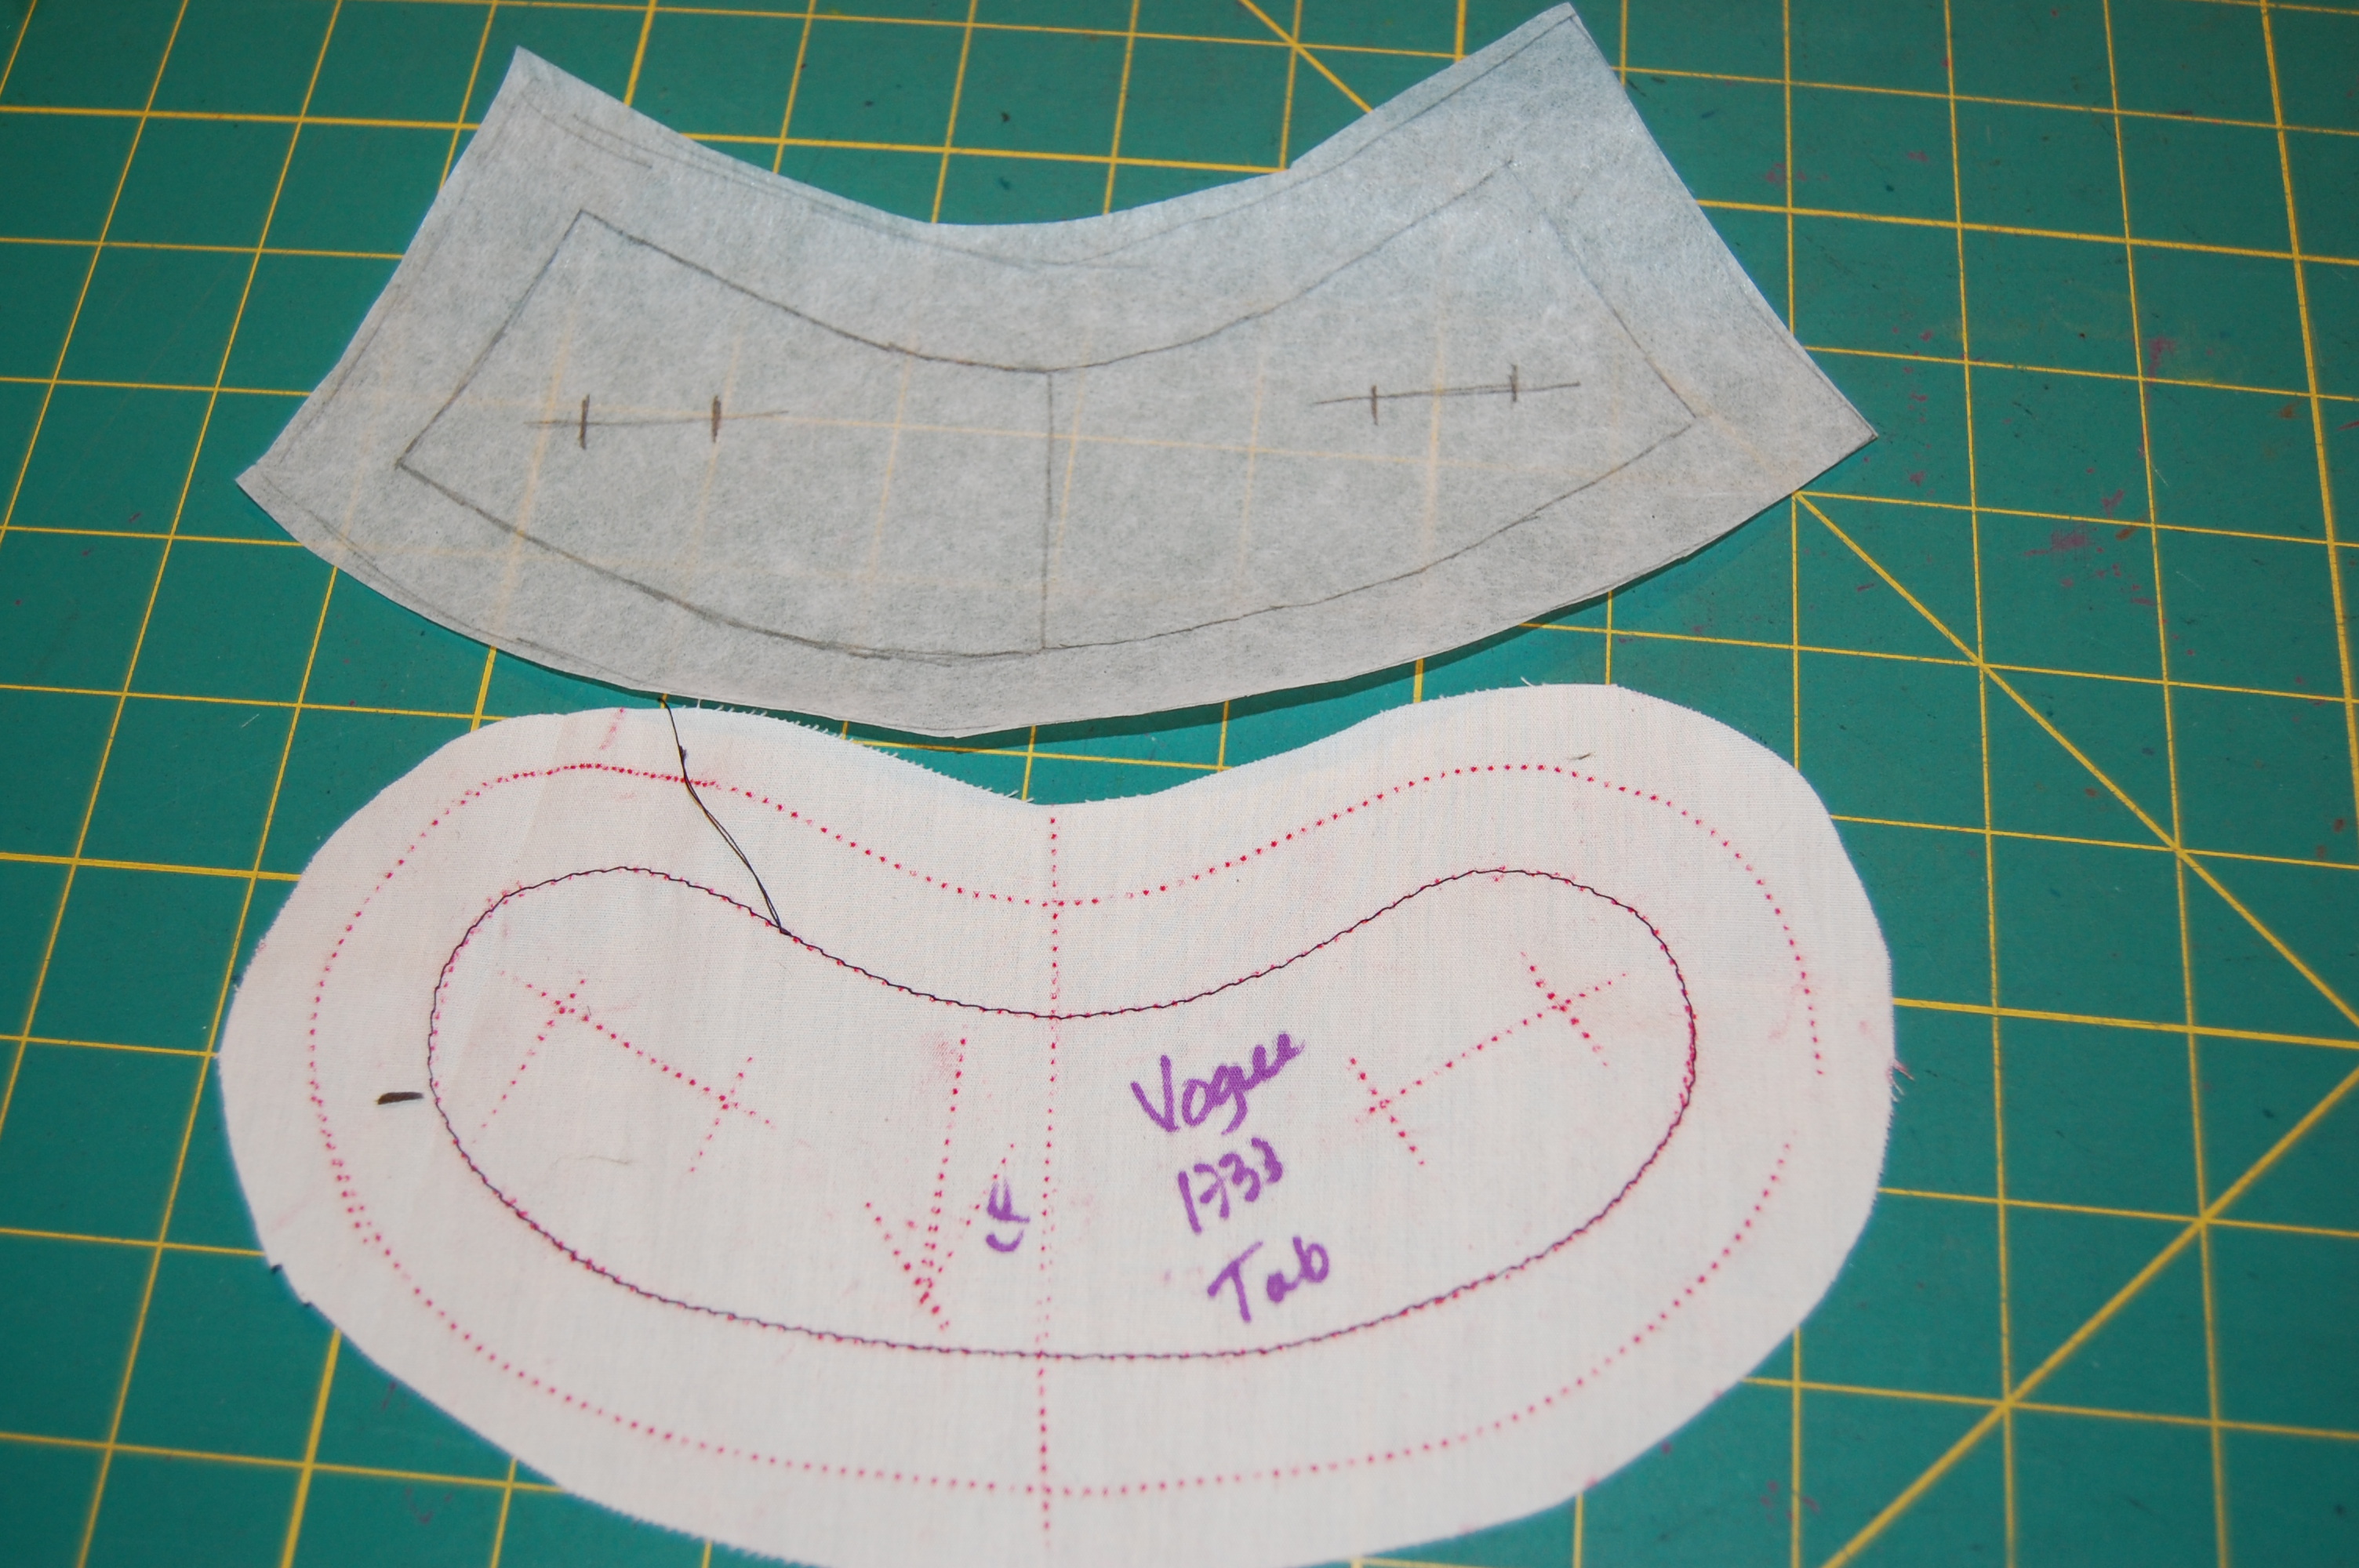
Voila! It worked, and I think it might even be a better look than the tab with the rounded ends.
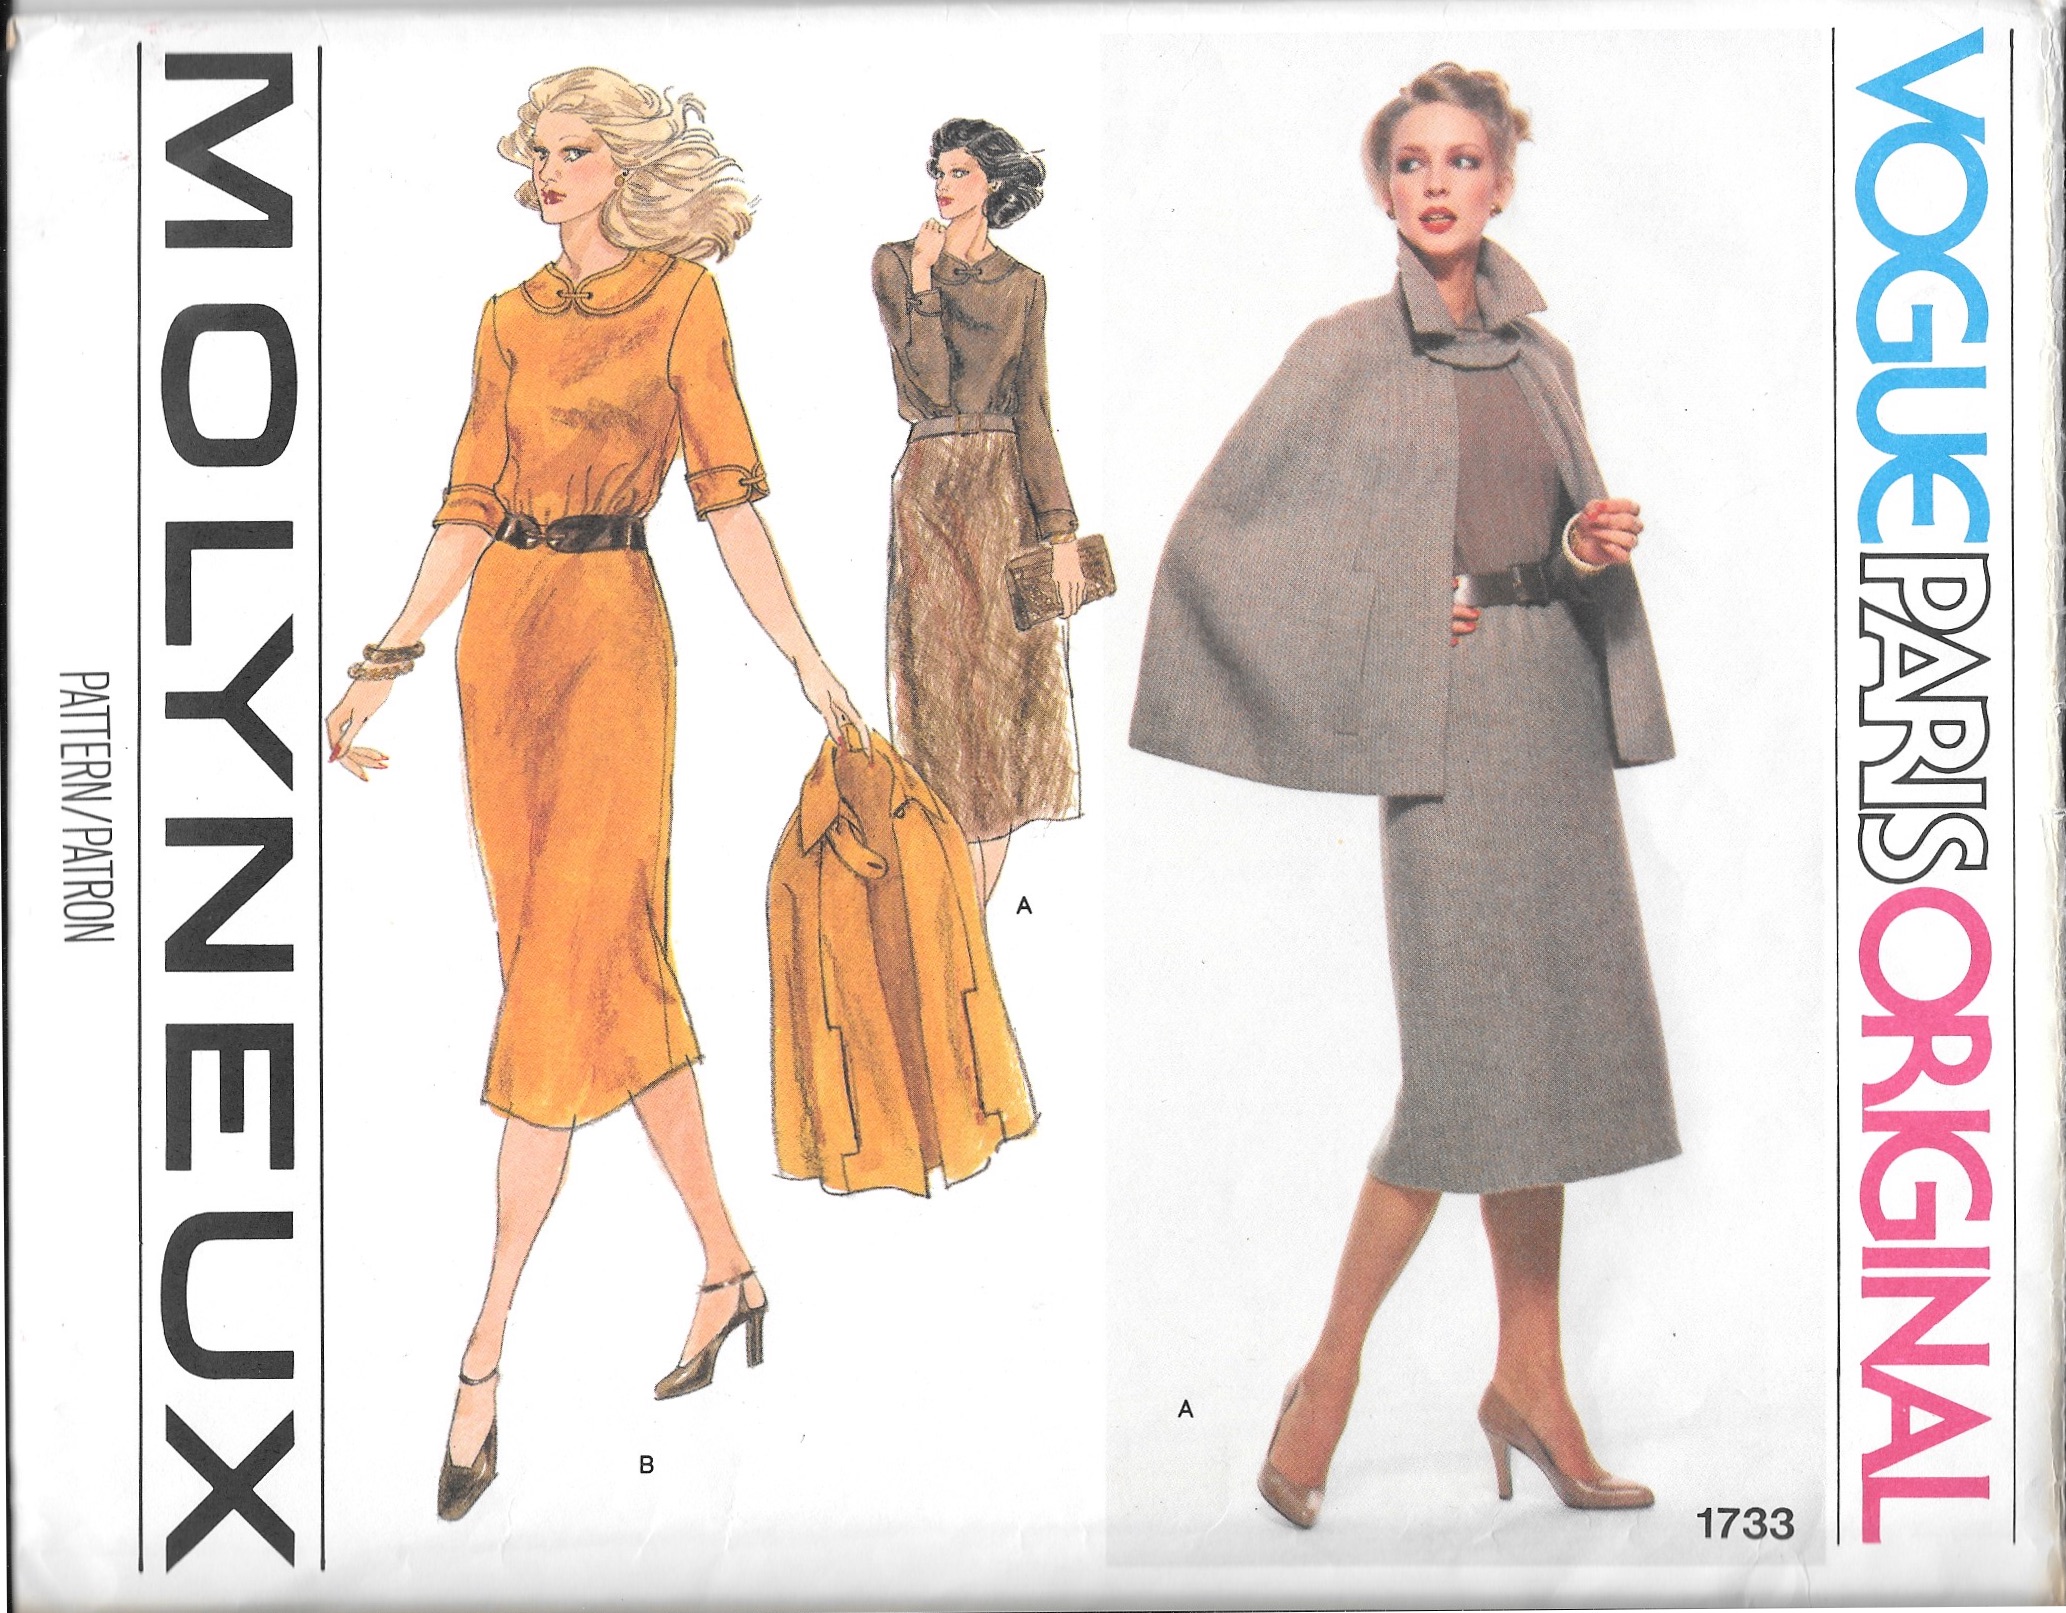
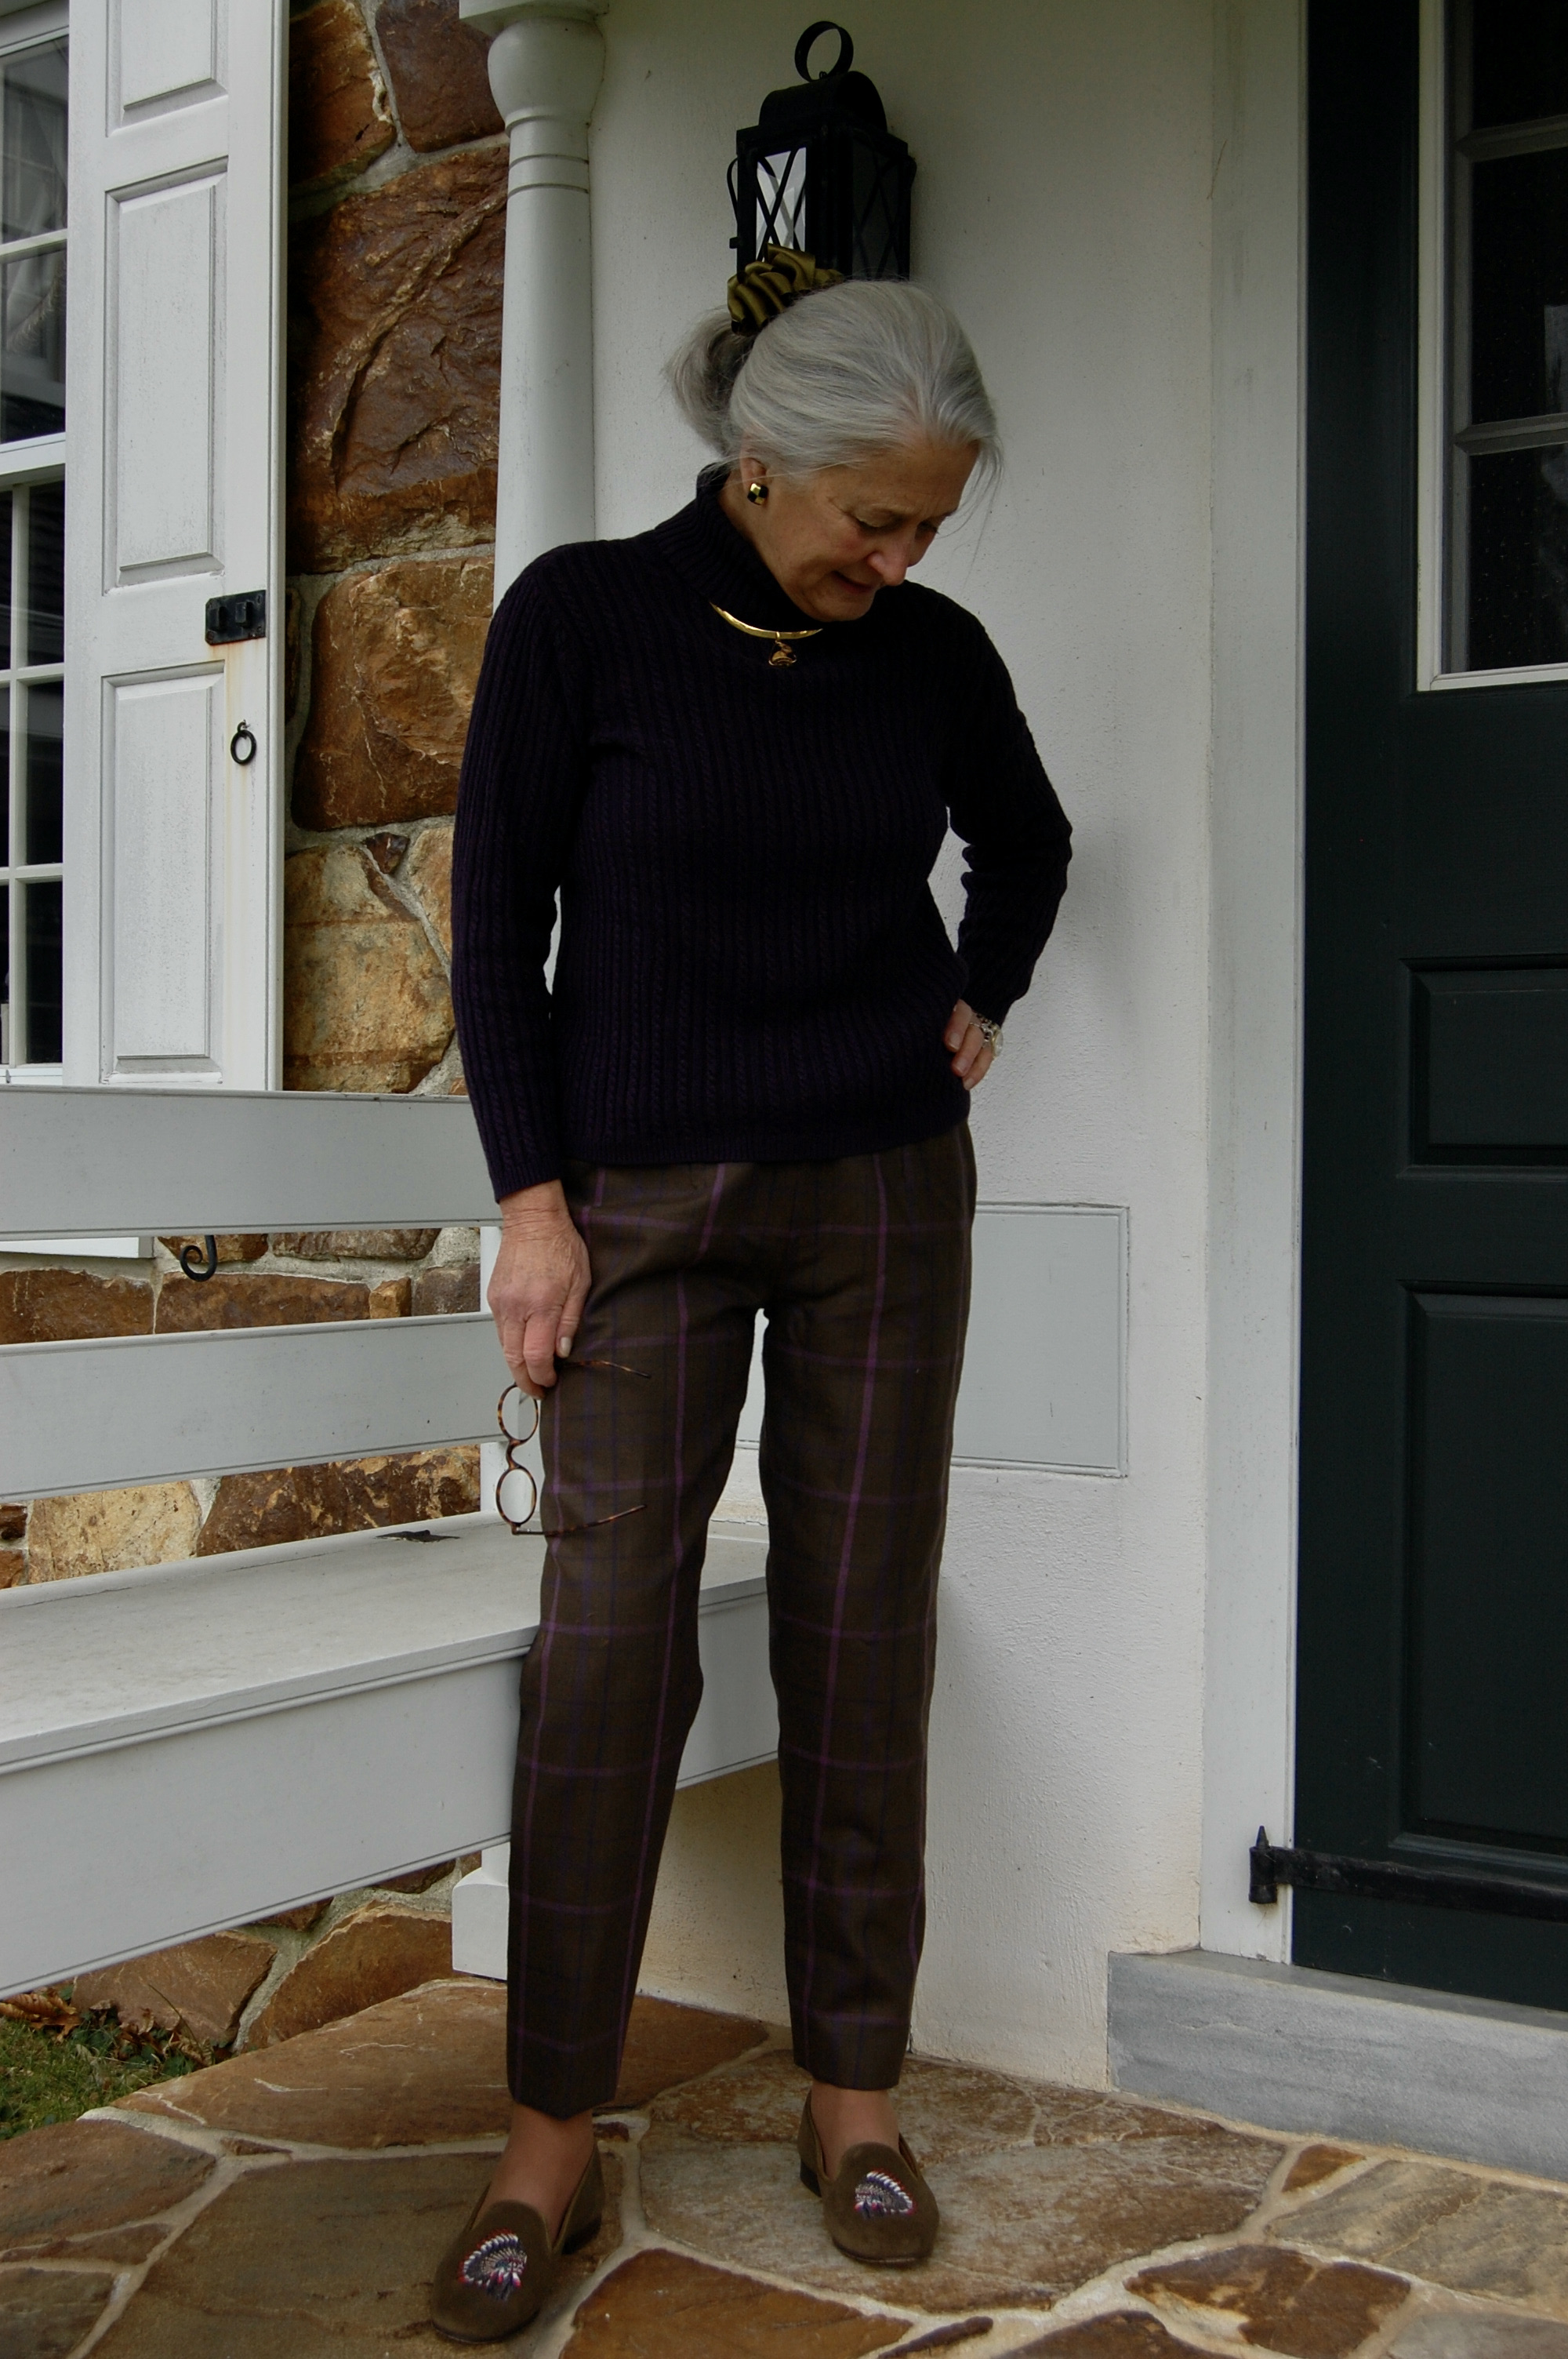
So – what would I change next time? I think I might add an inch or two in length. I think the cape pictured on the pattern envelope looks longer than the reality of it.
I also think I would taper the back hem of the cape to a gentle extended curve so that the back of the cape is about one to one-and-a-half inches longer than the front. When I visualize that, I like what I “see.”
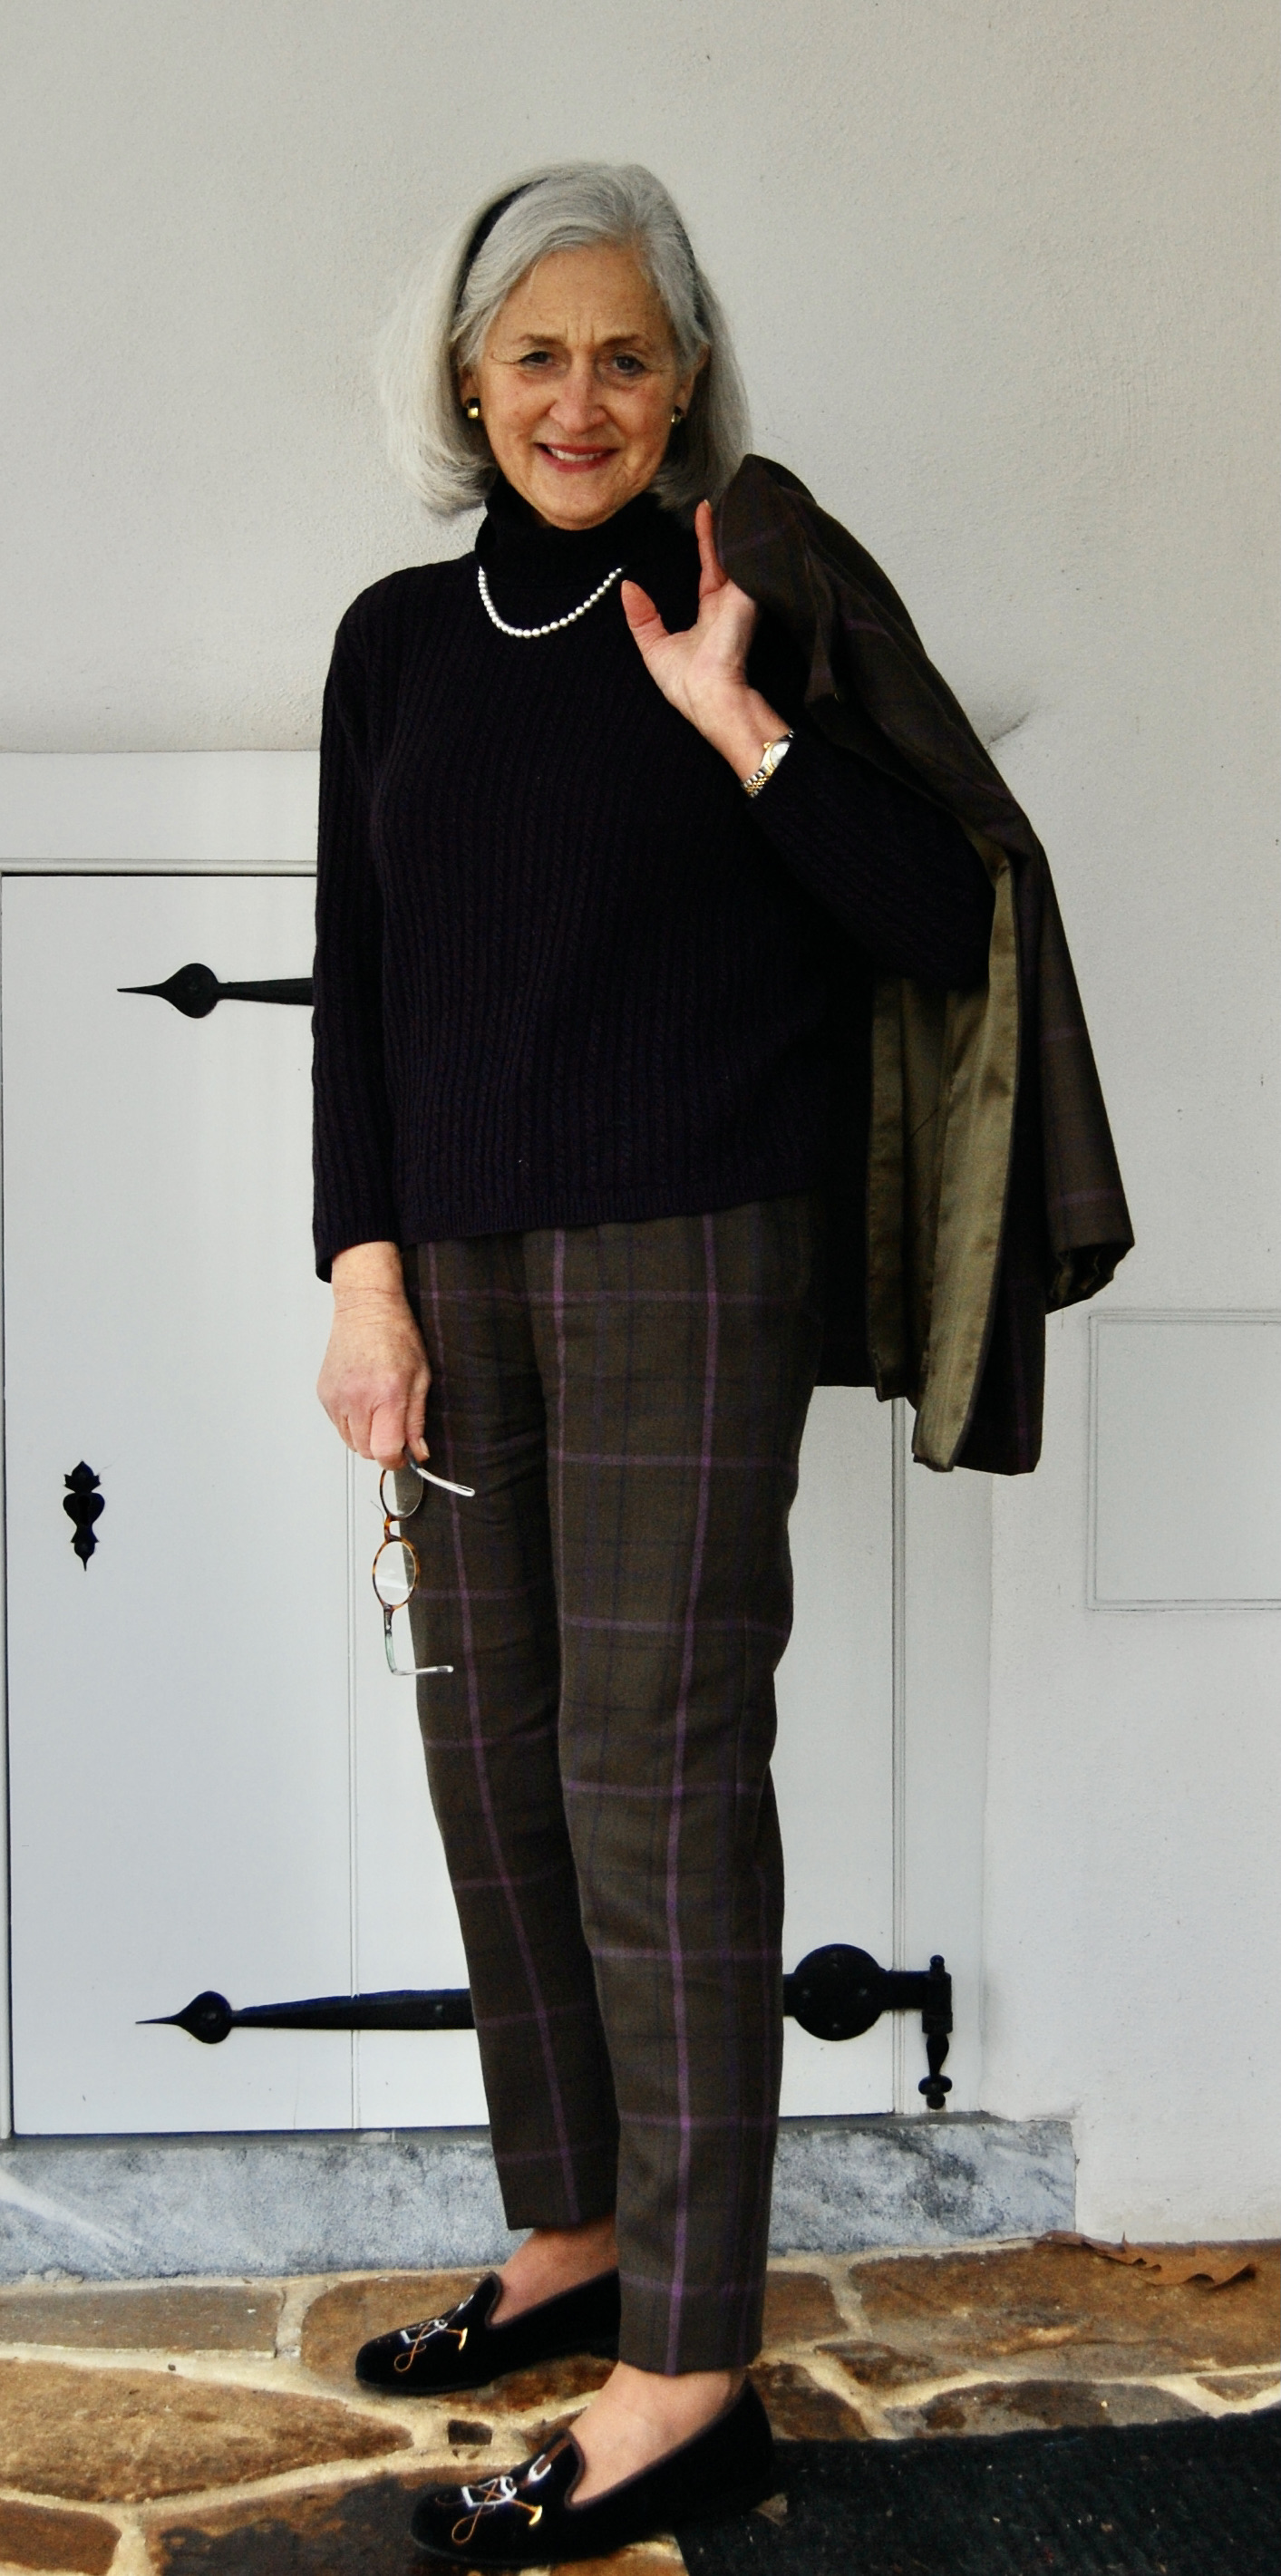
Making this cape has reinforced my opinions about this type of outer covering – it is graceful and quietly elegant in this unfussy form, even in plaid. Finishing up this project was necessary, but also, as it turned out, a successful start to the new sewing year.


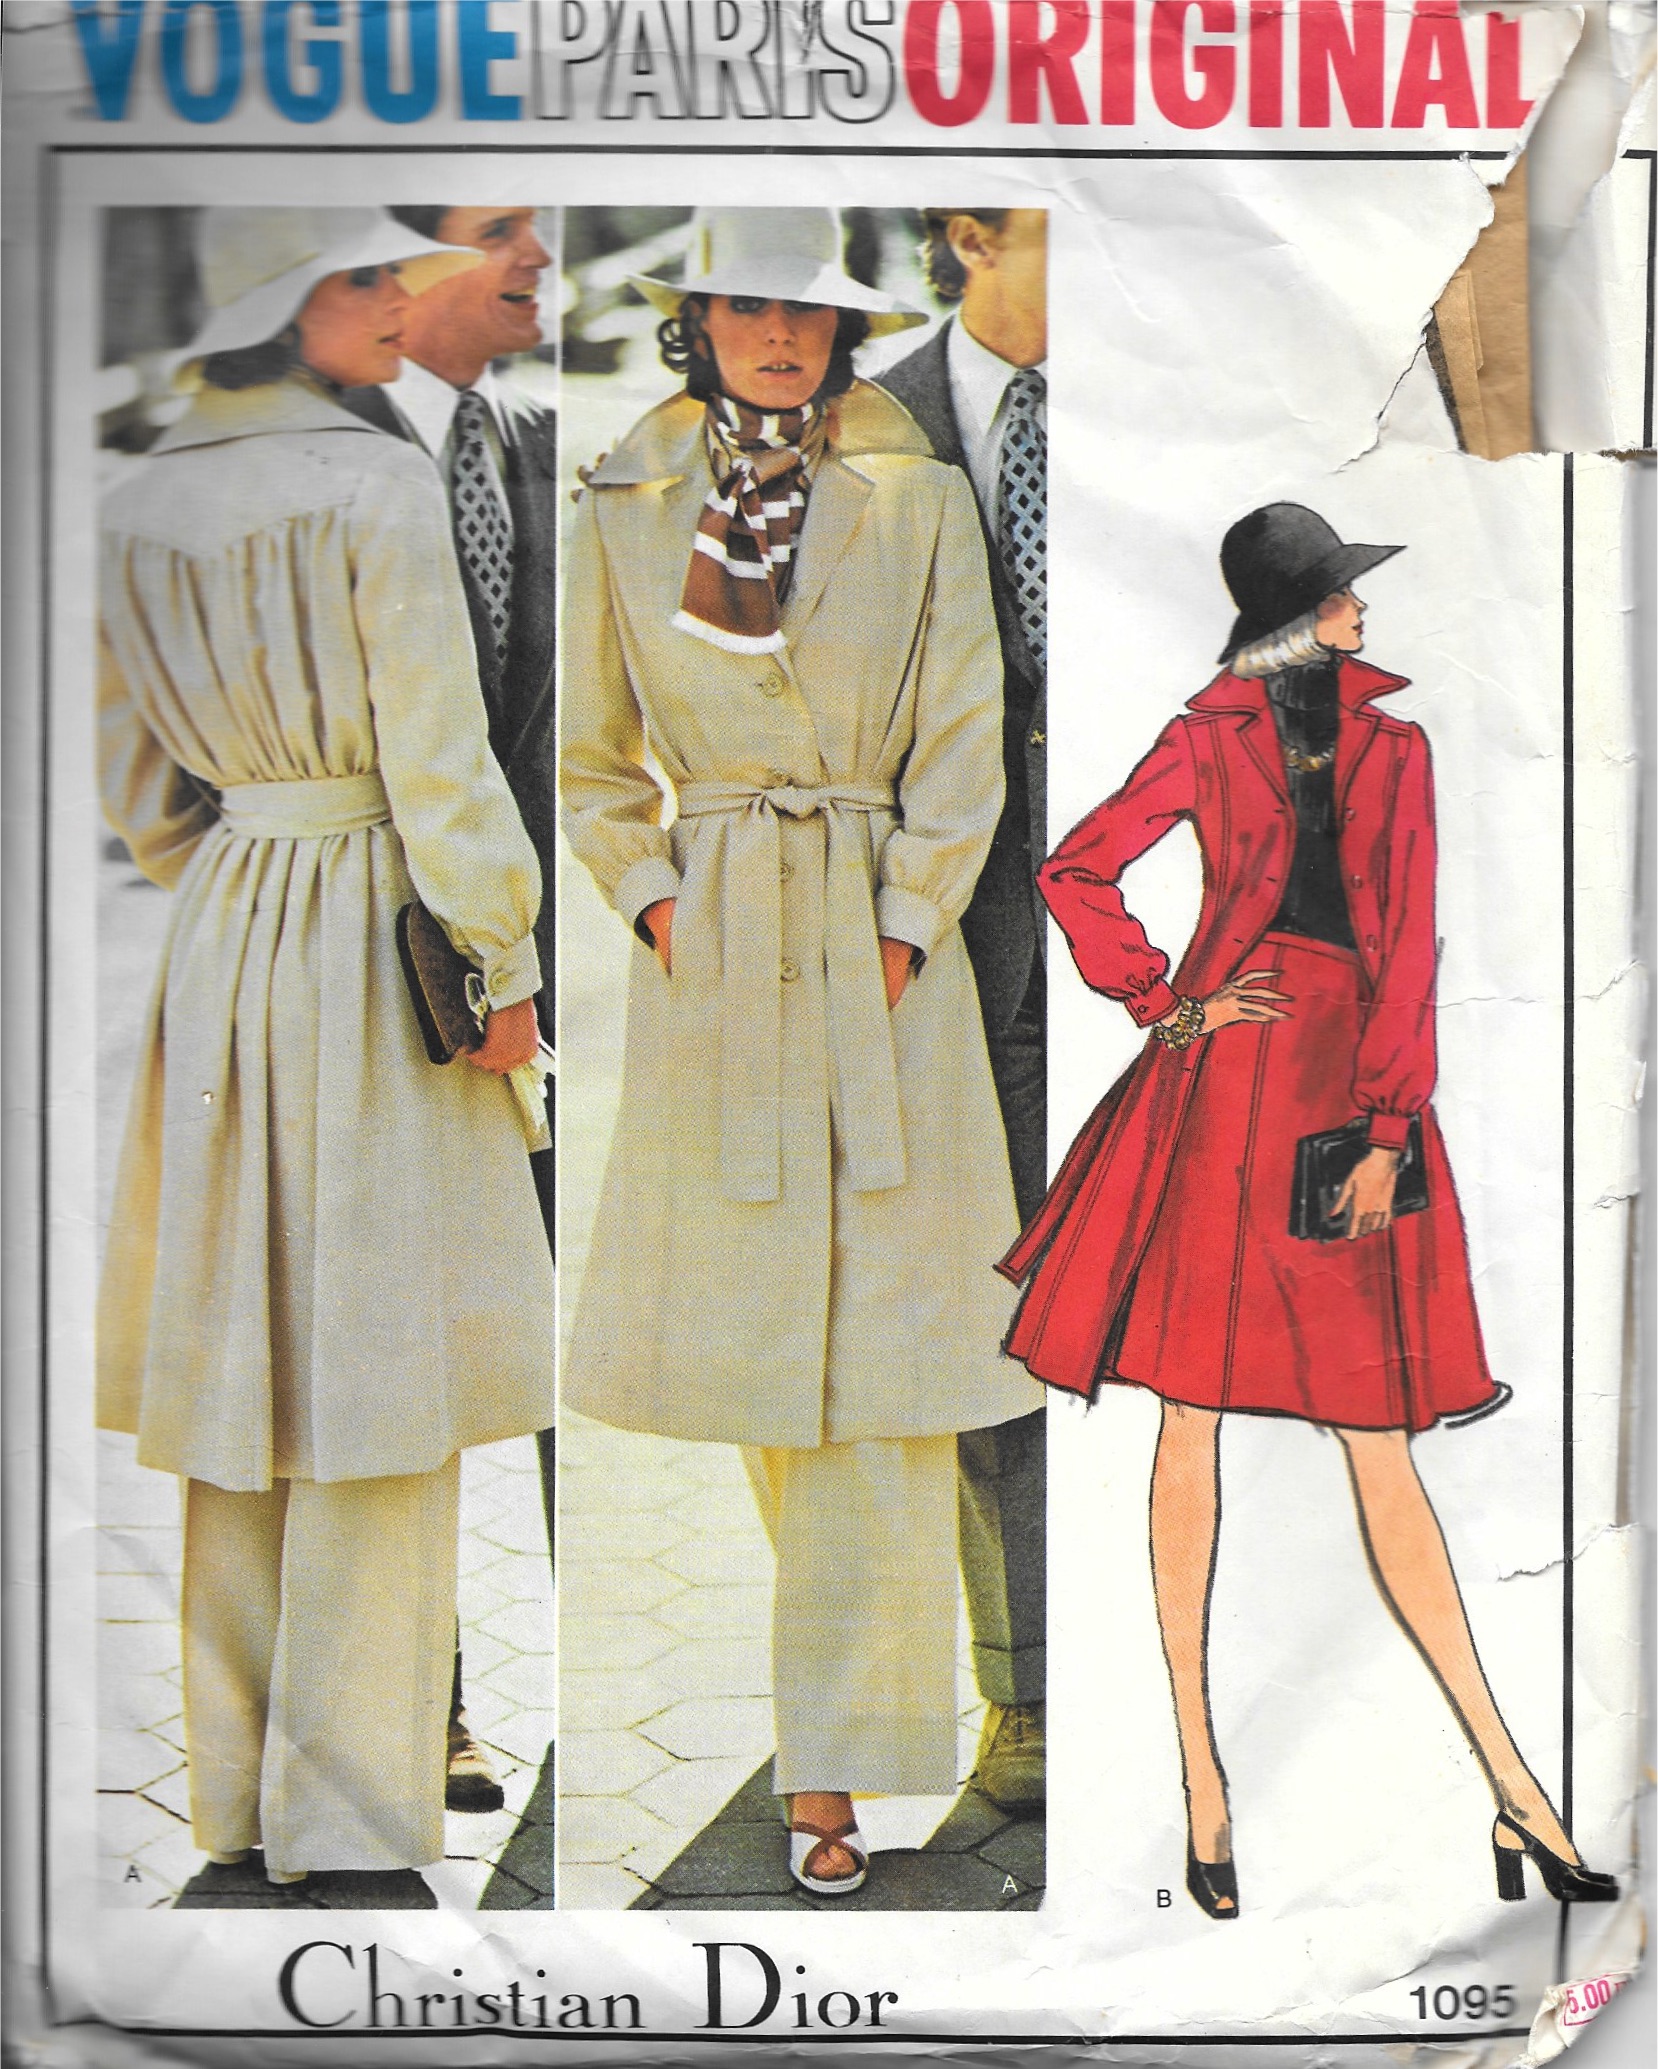


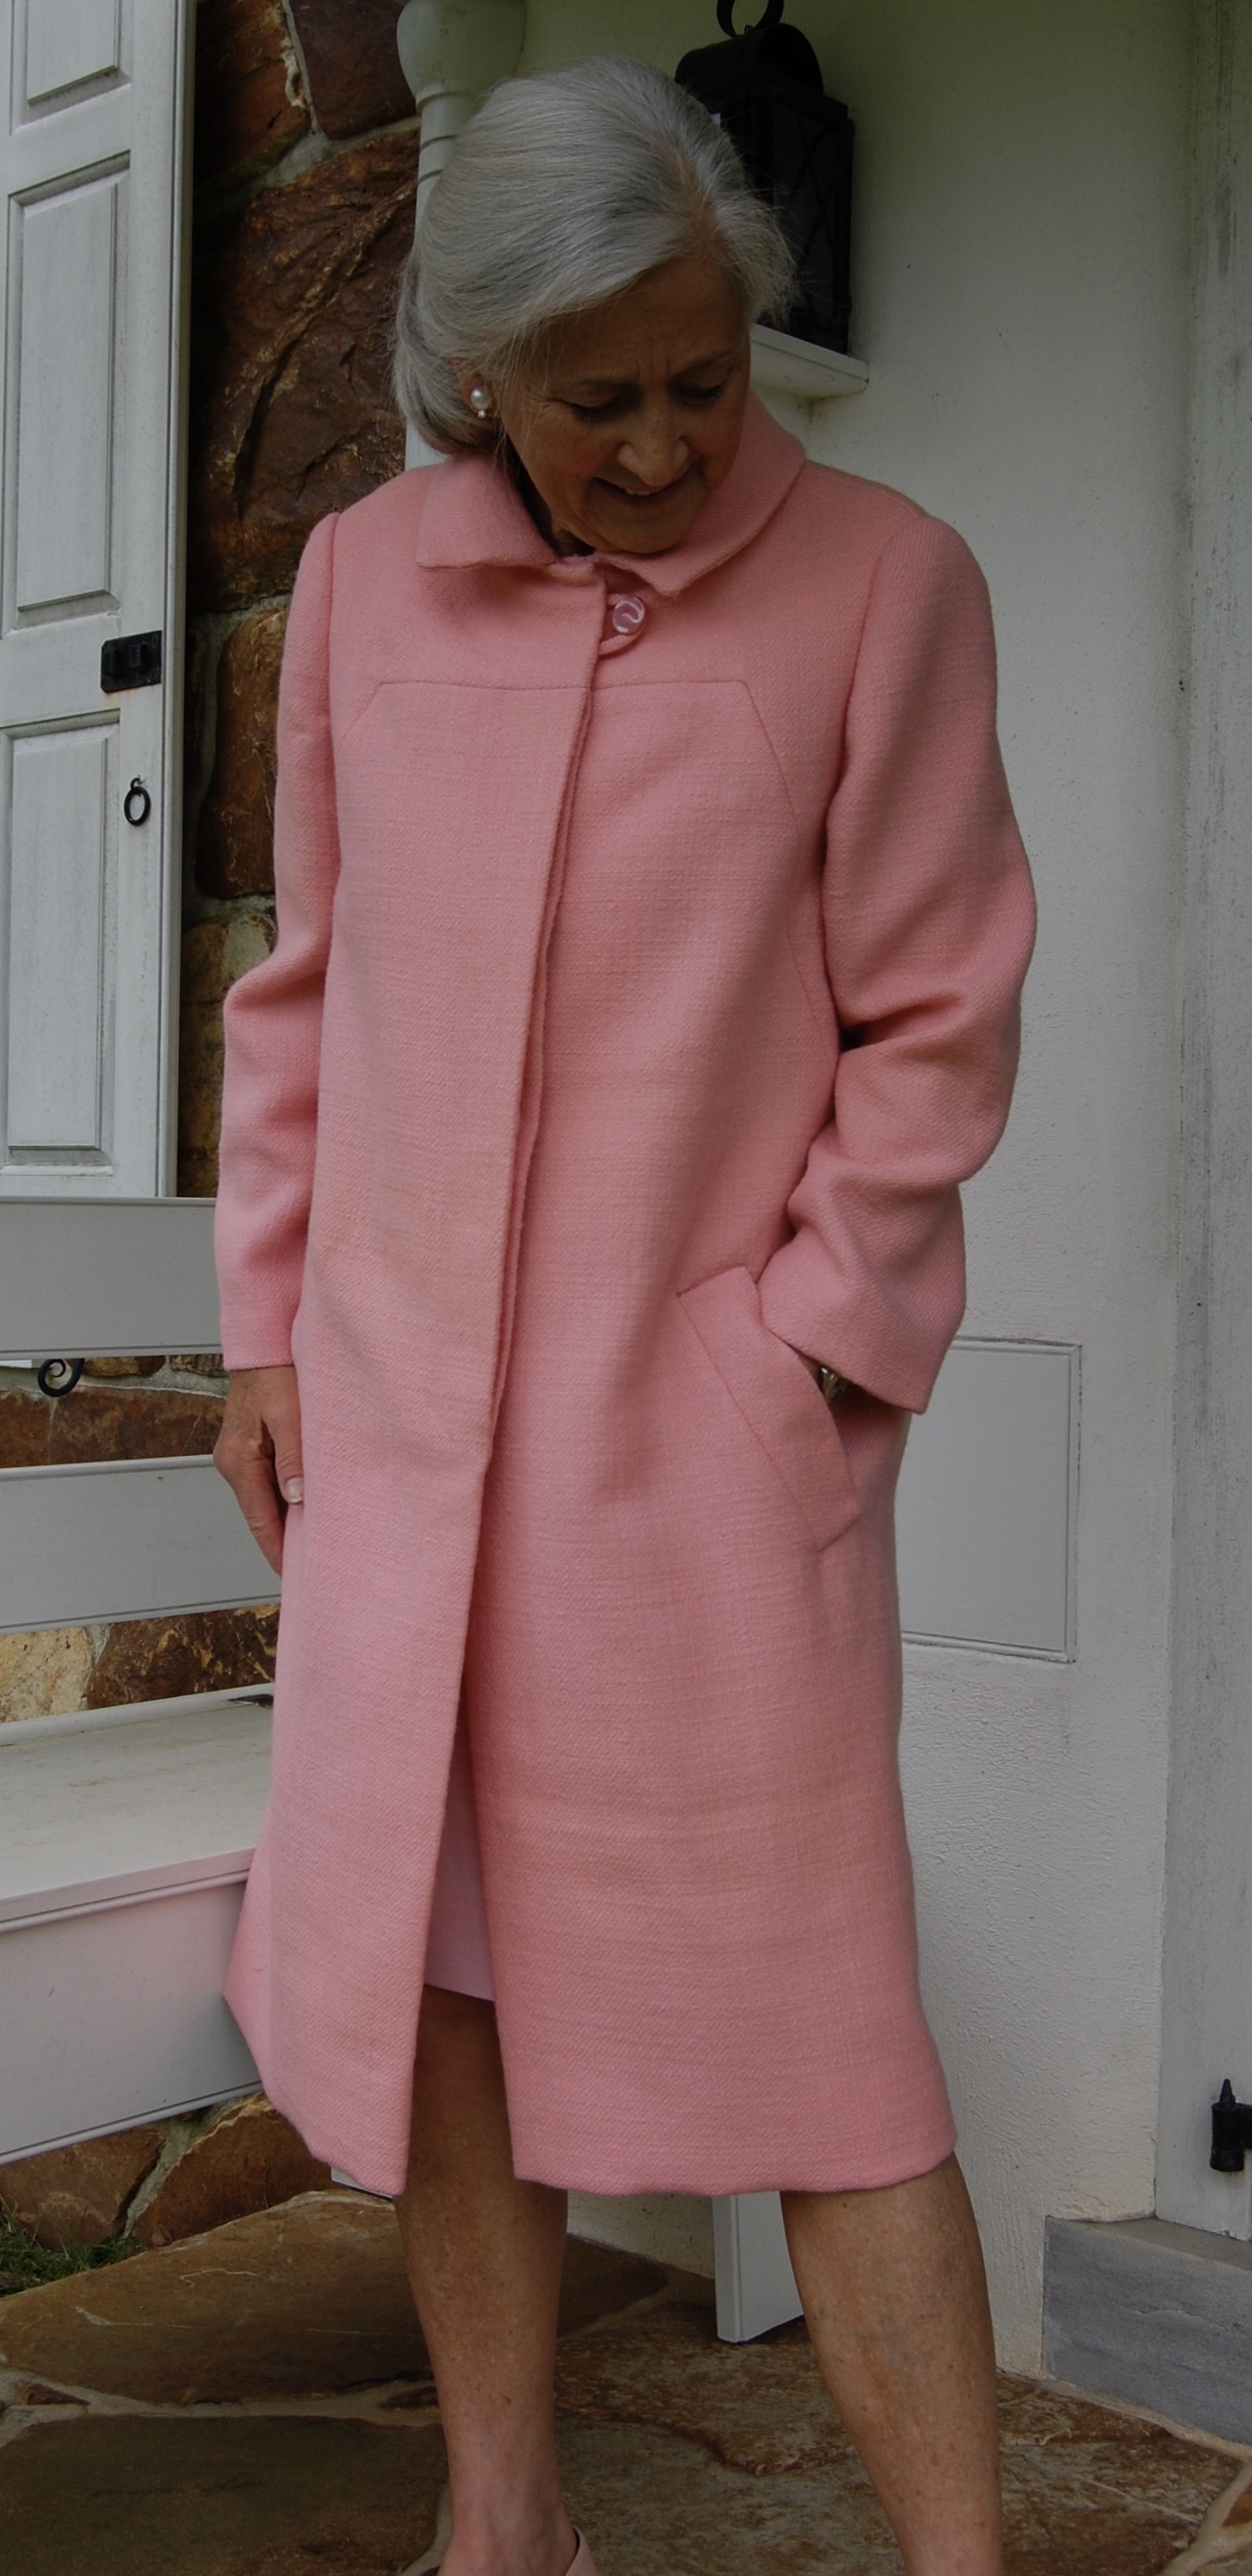


A Very Pink Coat, Part 1
Some projects deserve more than one blog post and this pattern and coat fall into that category.
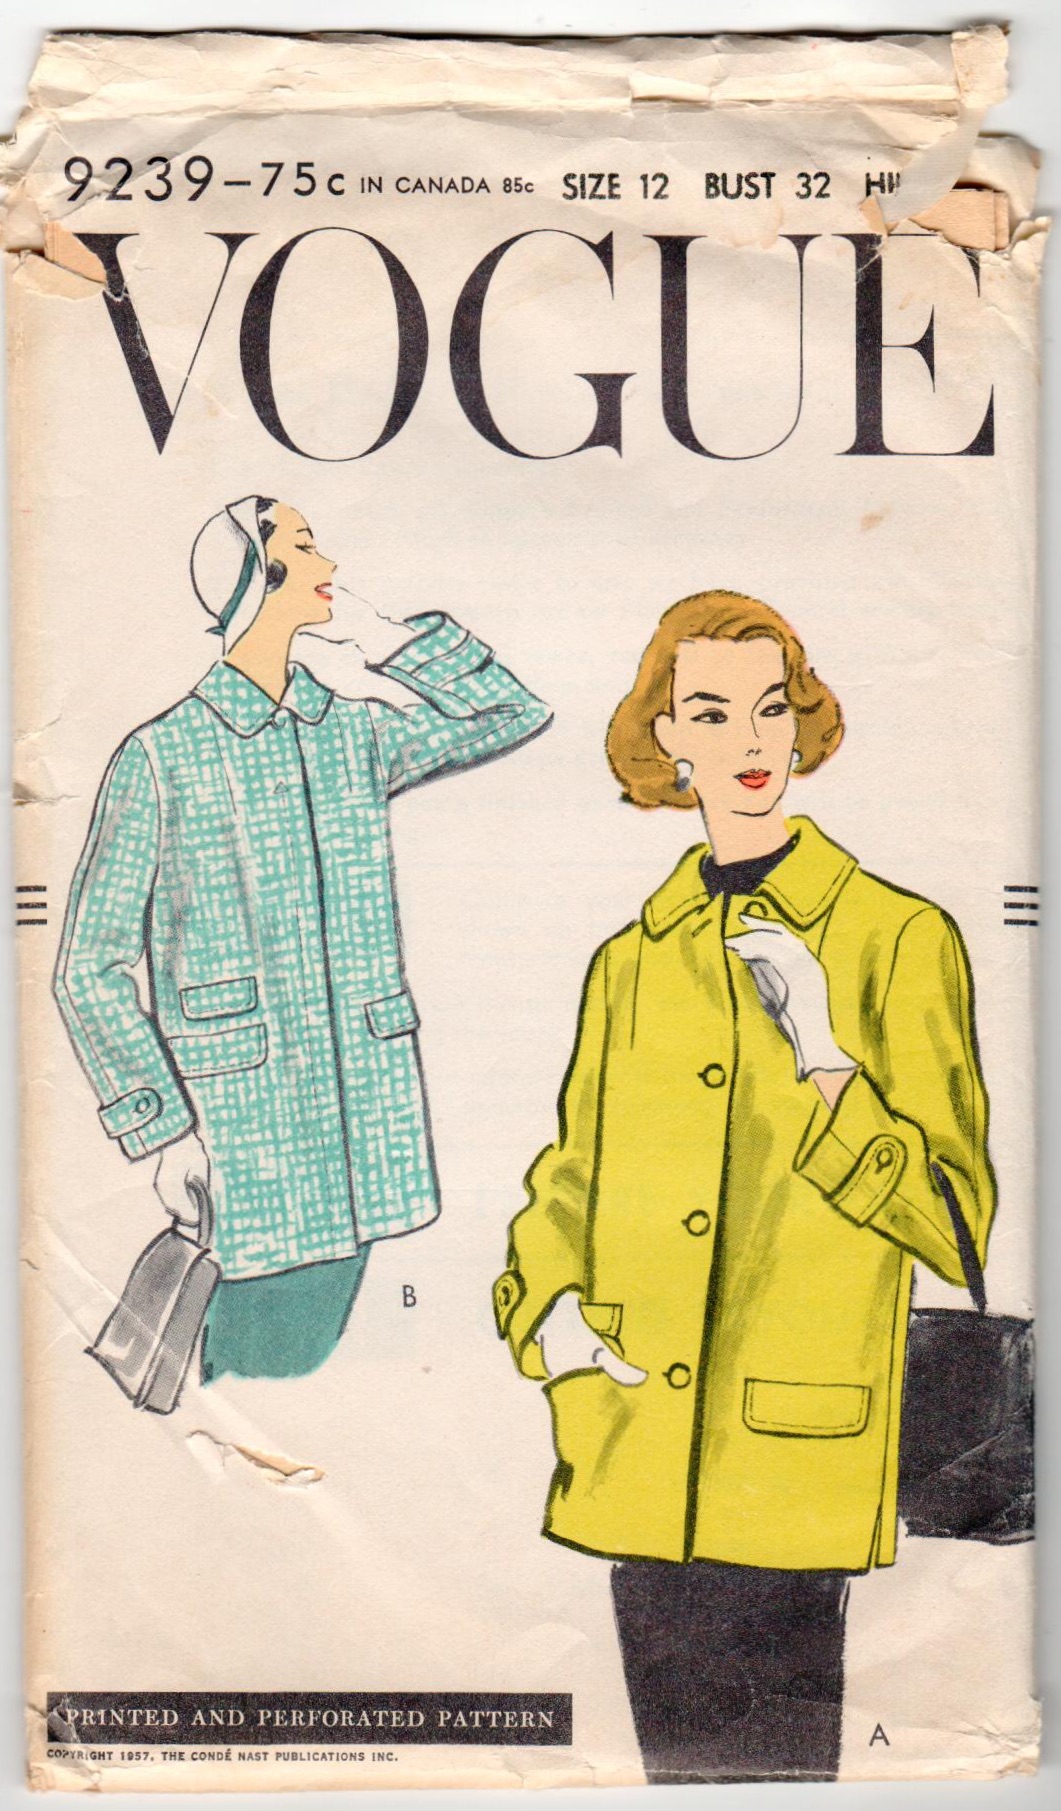
From the magical year of 1957 (I promise some time I will devote an entire post to the notable spot that the year 1957 occupies in the modern history of fashion), this coat pattern is in a class of its own. Referred to as a “car coat” in two Vogue Pattern Book Magazine entries, it is a quintessential example of that genre. Here’s why:
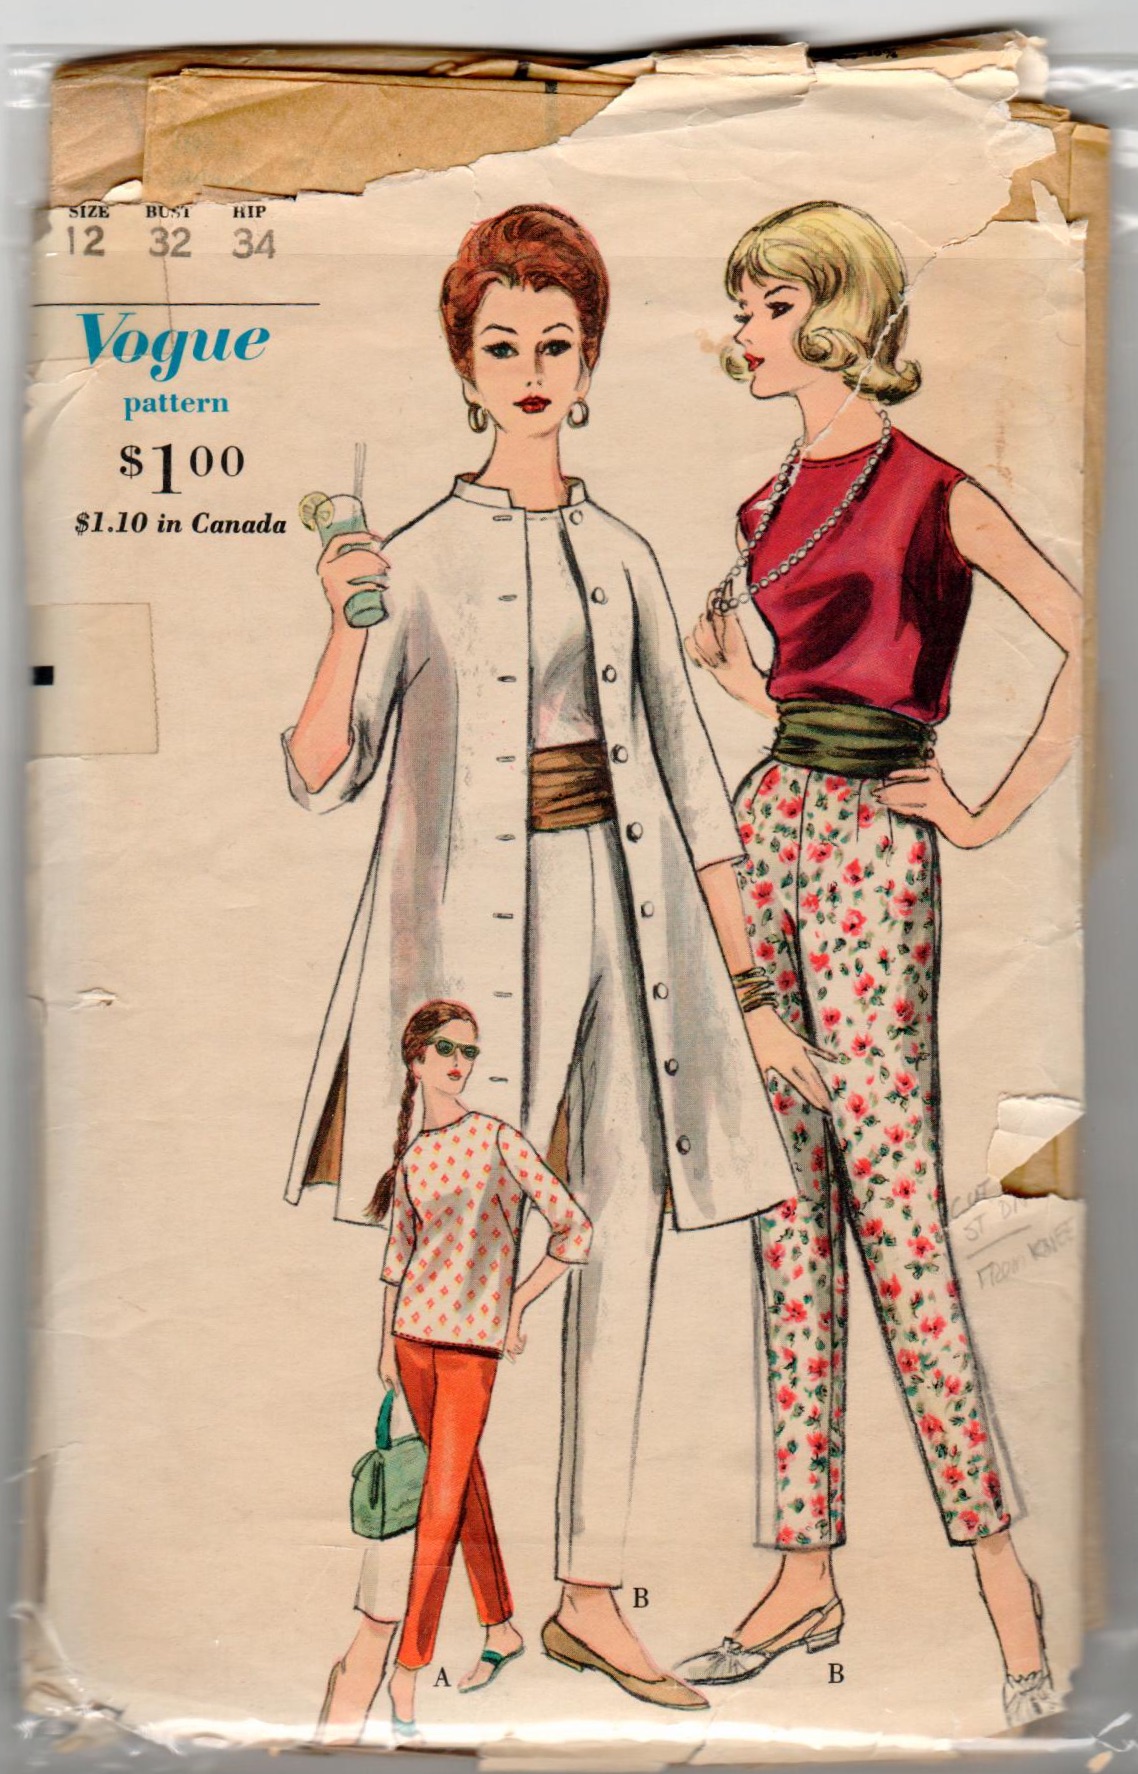
This pattern is featured twice in the Vogue Pattern Book Magazine from August-September 1957.
Here is the longer version shown on page 22:
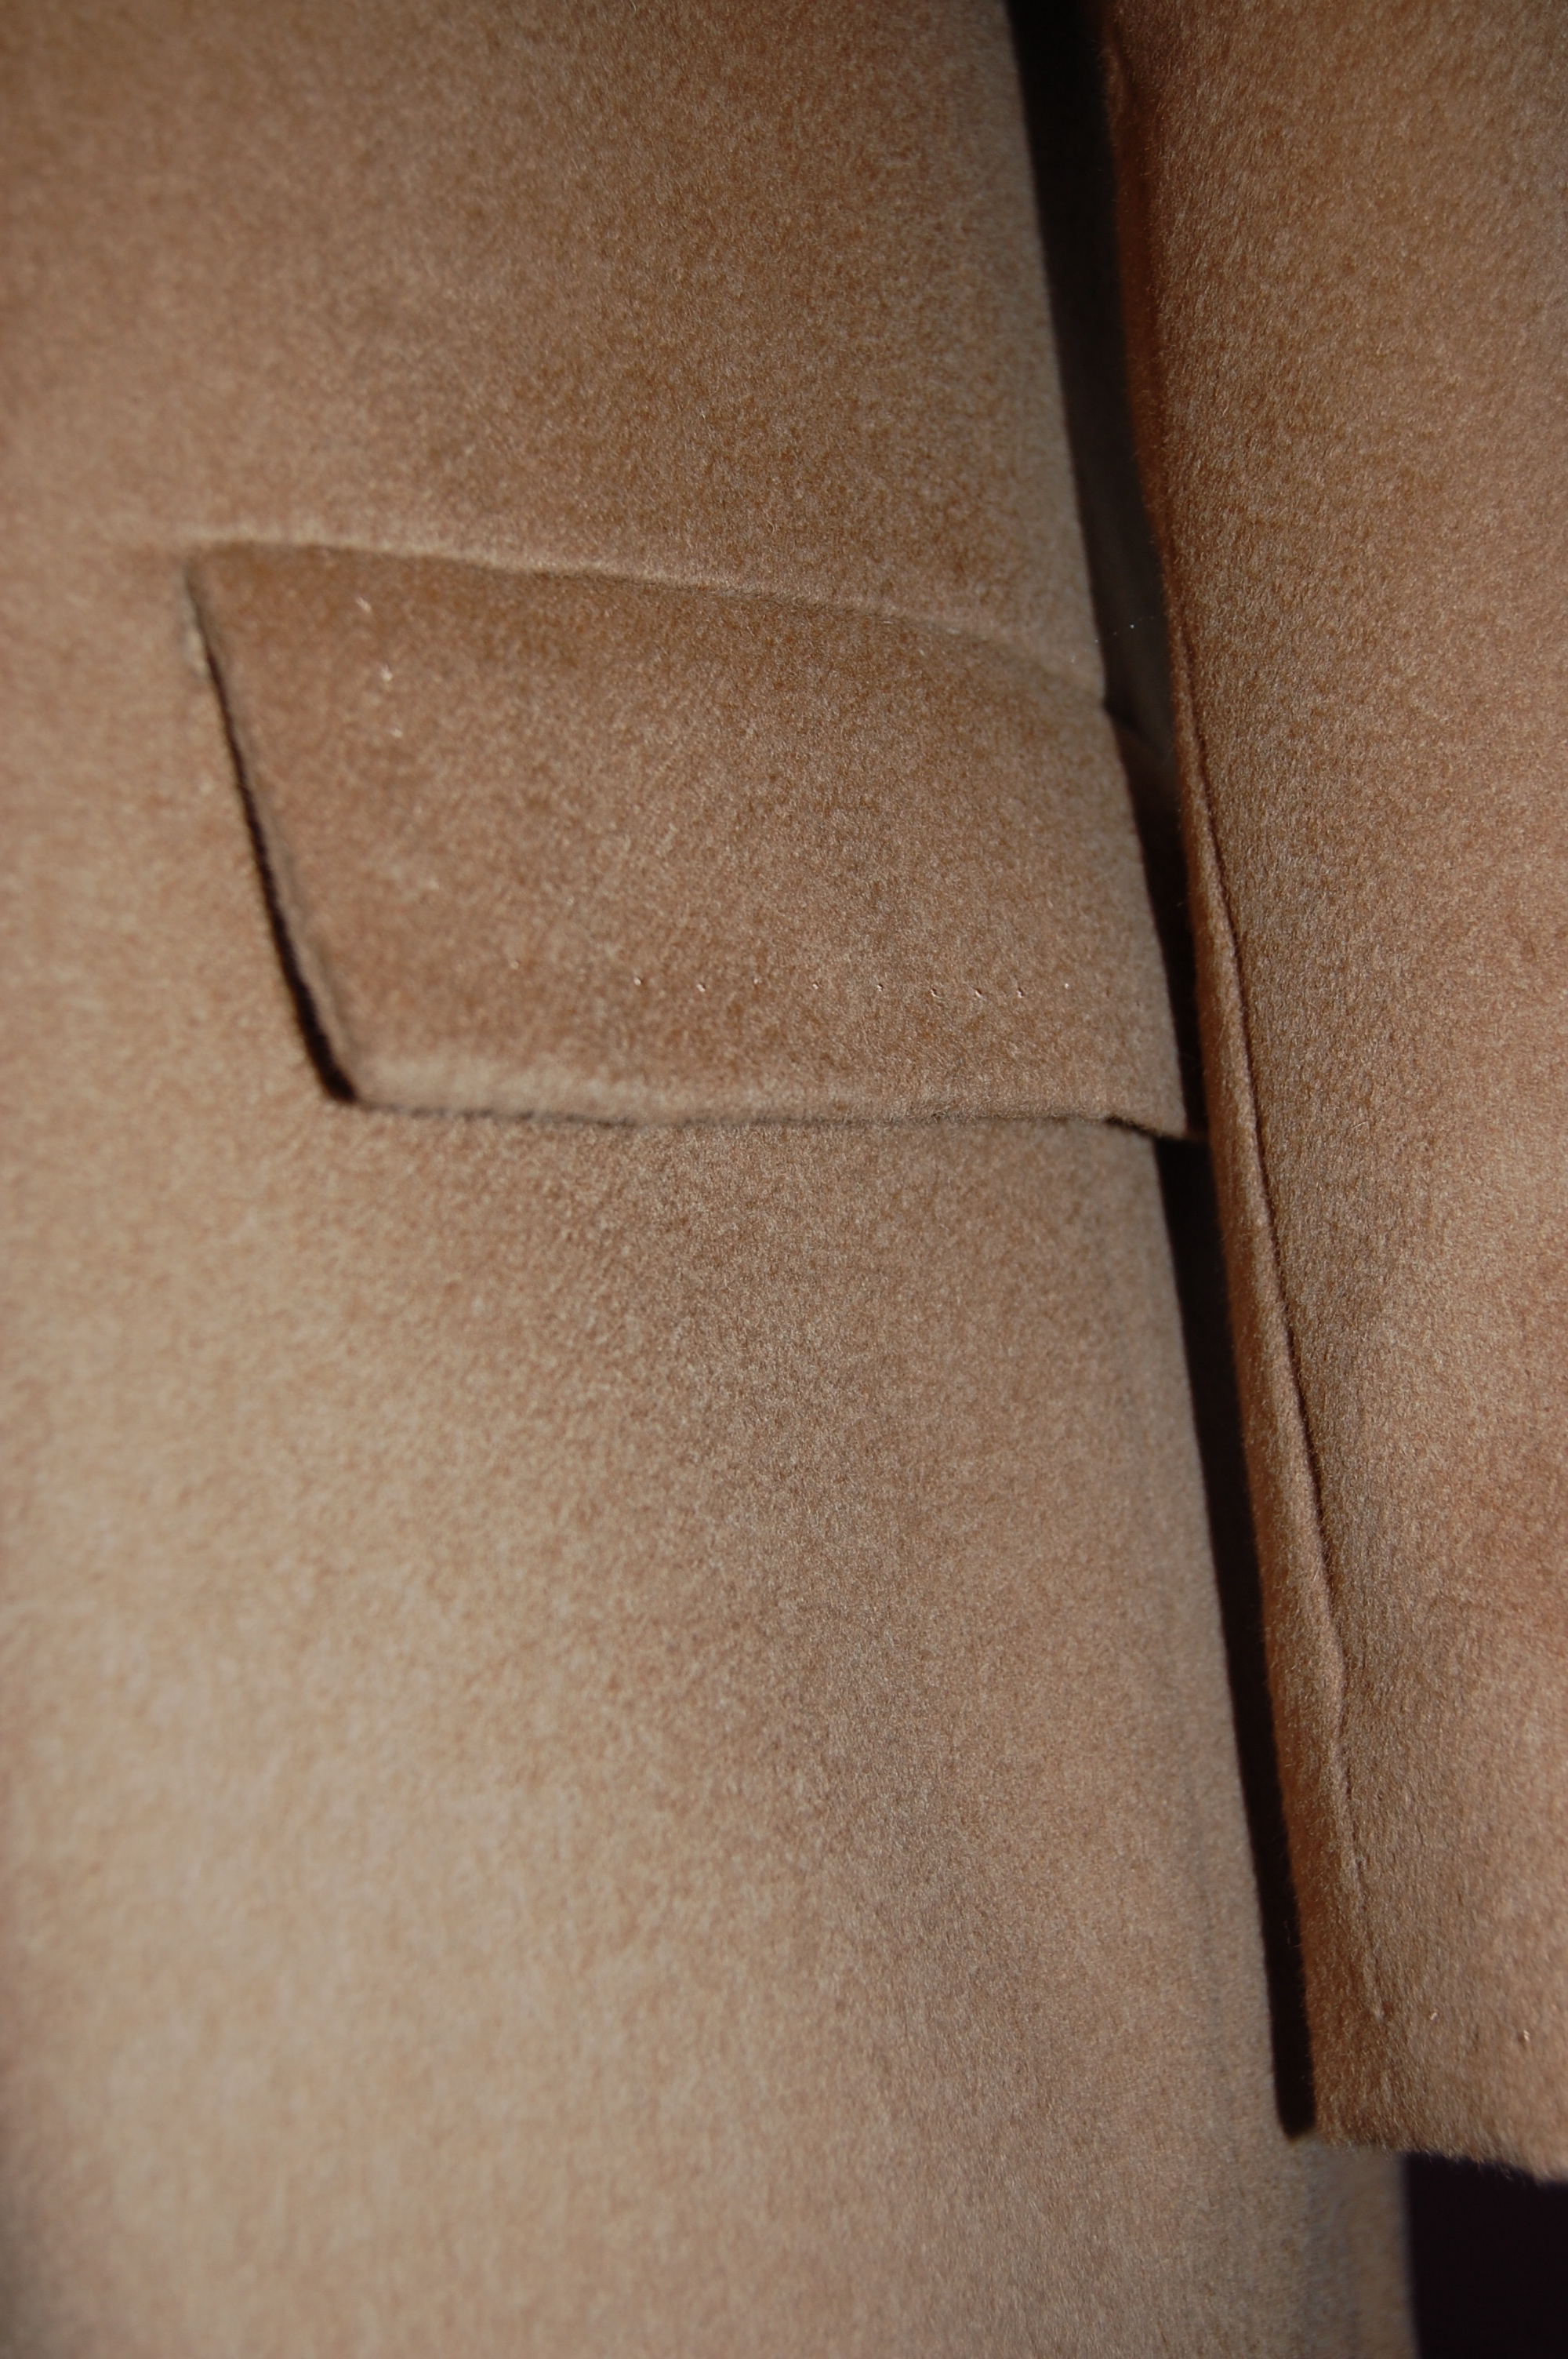
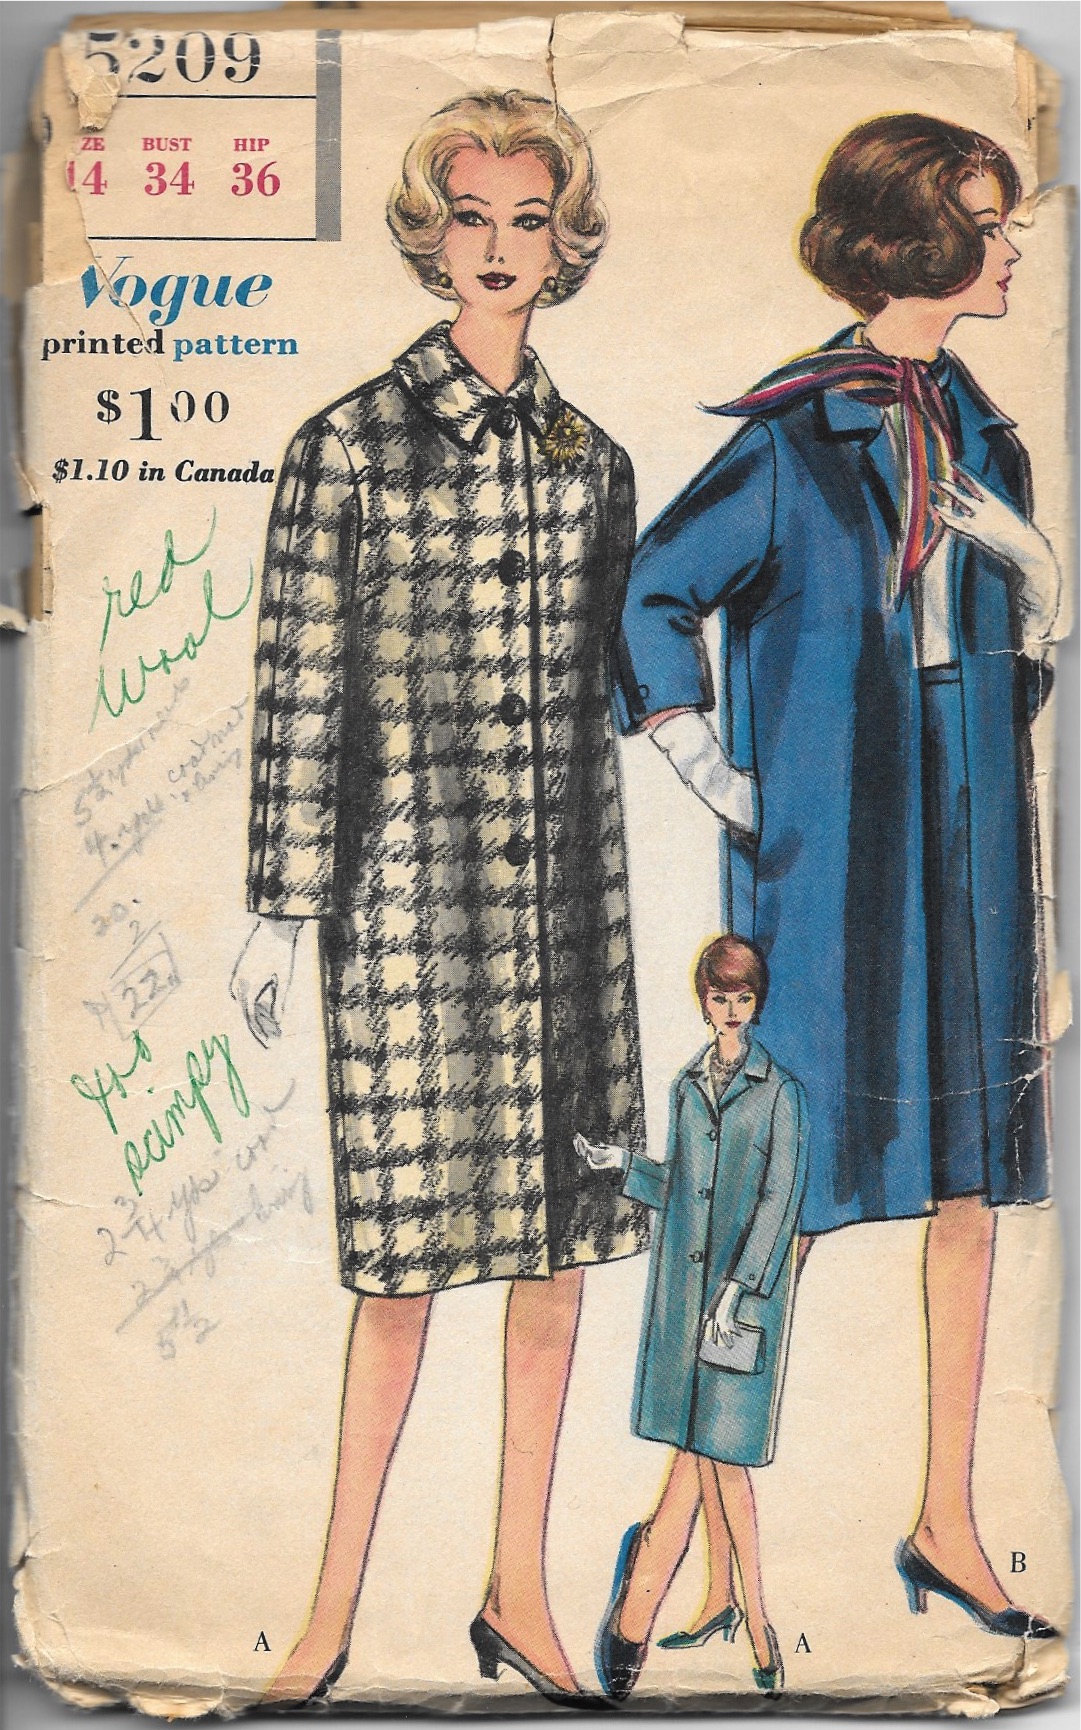
And here on page 37 is a drawing (by illustrator Dilys Wall) of the coat in red with this description: “A hounds-tooth-check car coat with three flap pockets, side-slit seams, and tab-button detail on the sleeves. Designed in sizes 10 to 18.”
Interestingly, also featured in this same magazine is this example of a child’s coat, also with a fly front. This type of opening takes more skill – and time – to make. I love the affirmation this item gives to the commitment and ability of the home-sewer in the 1950s.
Because this coat has those extra details which put it a notch above ordinary, there is a lot of preparation work before seams can actually be sewn together. The sleeve tabs, with their bound buttonholes must be complete before the sleeve seams can be sewn. Additionally, the set-in pockets with their flaps present a considerable amount of prep work on the fronts of the coat. Sounds like fun to me! More to come . . .
16 Comments
Filed under car coats, Coats, Fashion commentary, Fashion history, Mid-Century style, Pattern Art, pockets, Uncategorized, vintage Vogue patterns from the 1950s, woolens
Tagged as 1950's Vogue patterns, coats, fashion sewing, sewing, vintage fashion, vintage Vogue patterns