“Dresses for breakfasts, and dinners, and balls;
Dresses to sit in, and stand in, and walk in;
Dresses to dance in, and flirt in, and talk in;
Dresses in which to do nothing at all;
Dresses for Winter, Spring, Summer and Fall”
William Allen Butler (1825-1902) may have thought “Nothing to Wear”, from which these lines are taken, was a satirical poem, but he obviously did not know 21st century fashion sewers. Isn’t January just the perfect time to plan for the creation of “dresses for Winter, Spring, Summer, and Fall”? Yes, thank you for agreeing with me.
Last year I took a rather theoretical approach to the new sewing year, but this year I am focusing on more specific plans. Let me start with Winter.
I have three things that I want to complete while the snow is still flying (which gives me until the end of March, more or less):
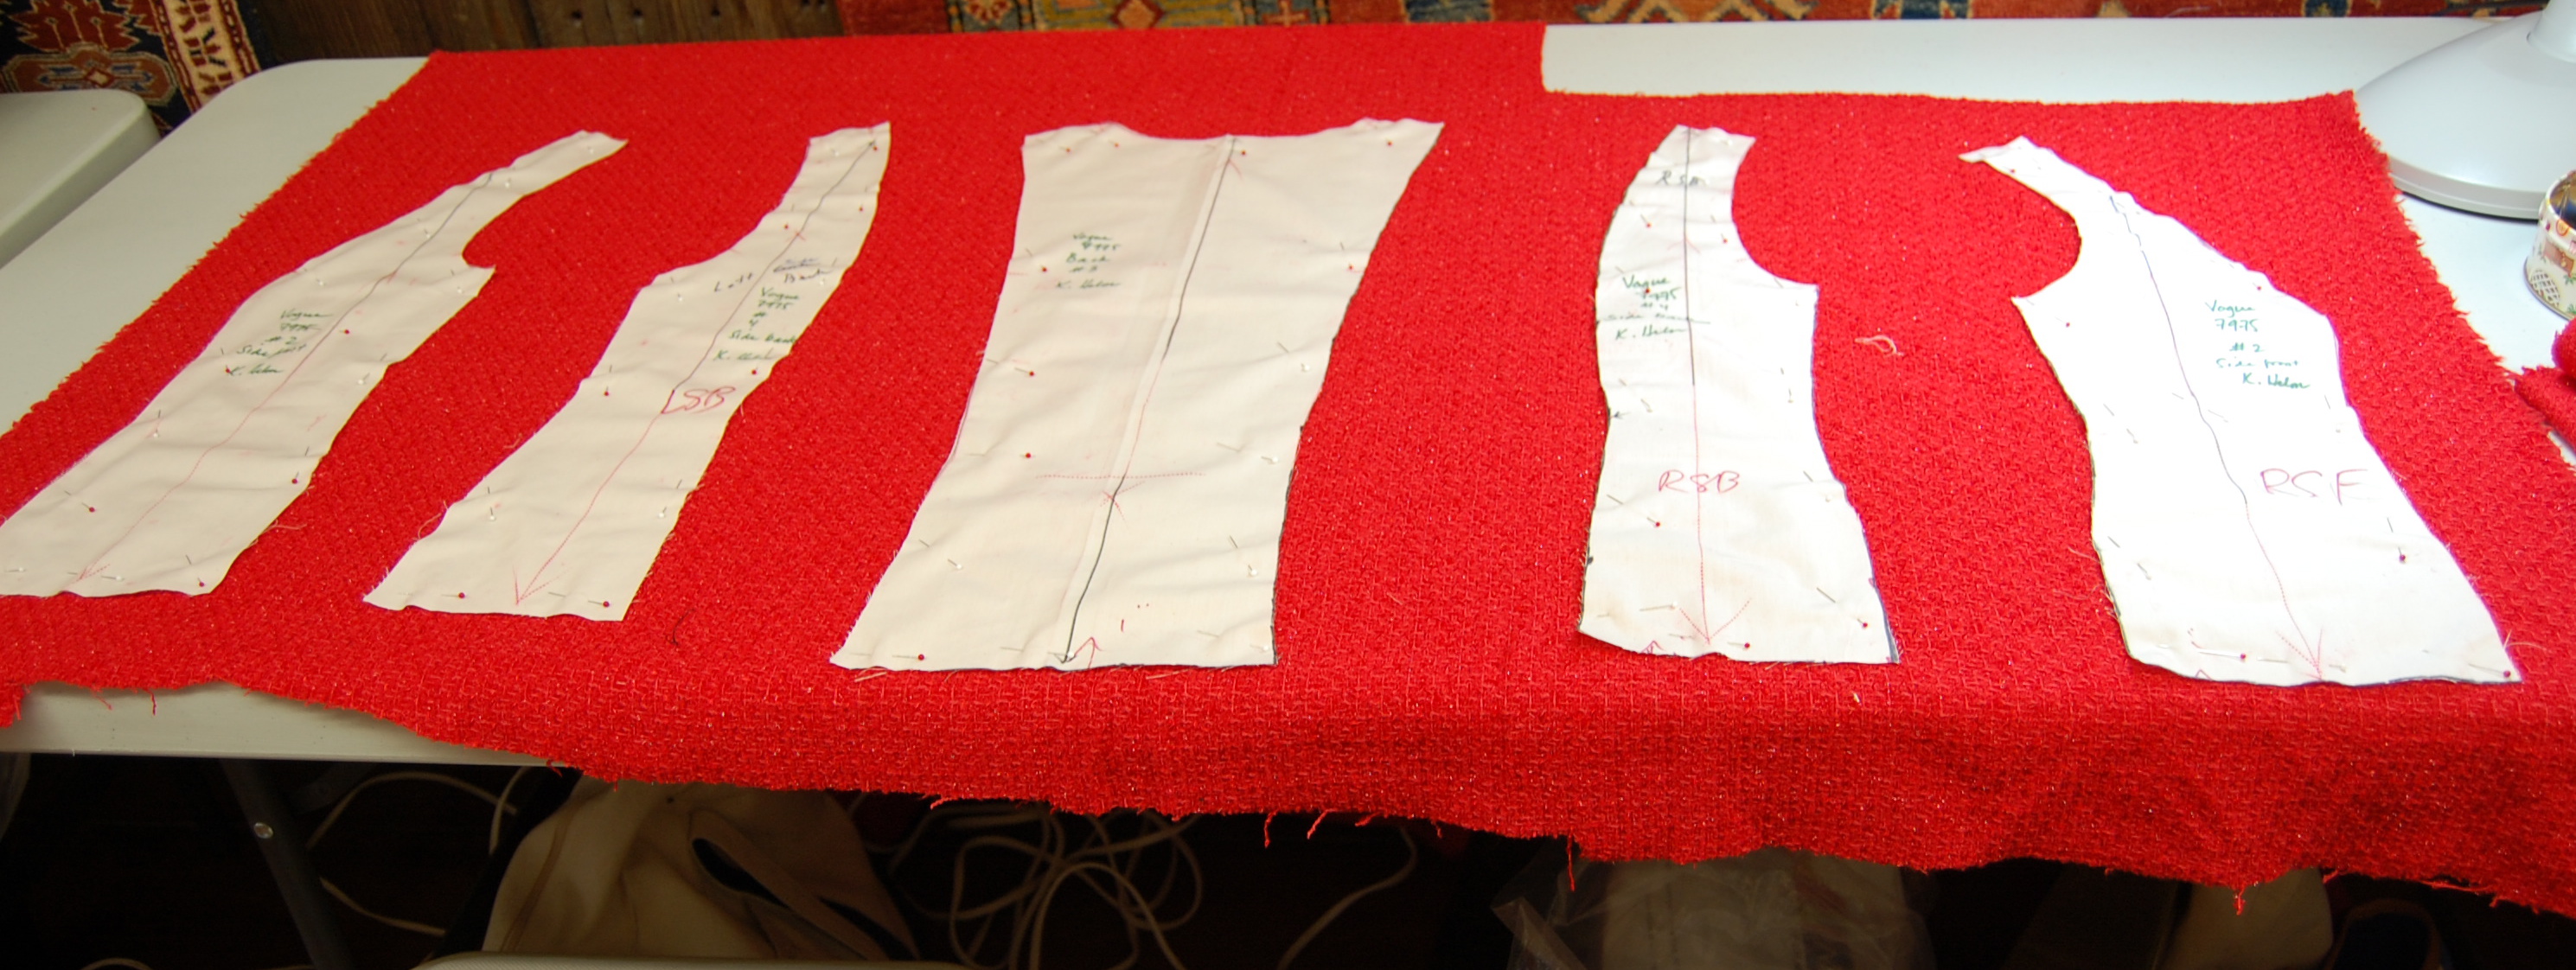
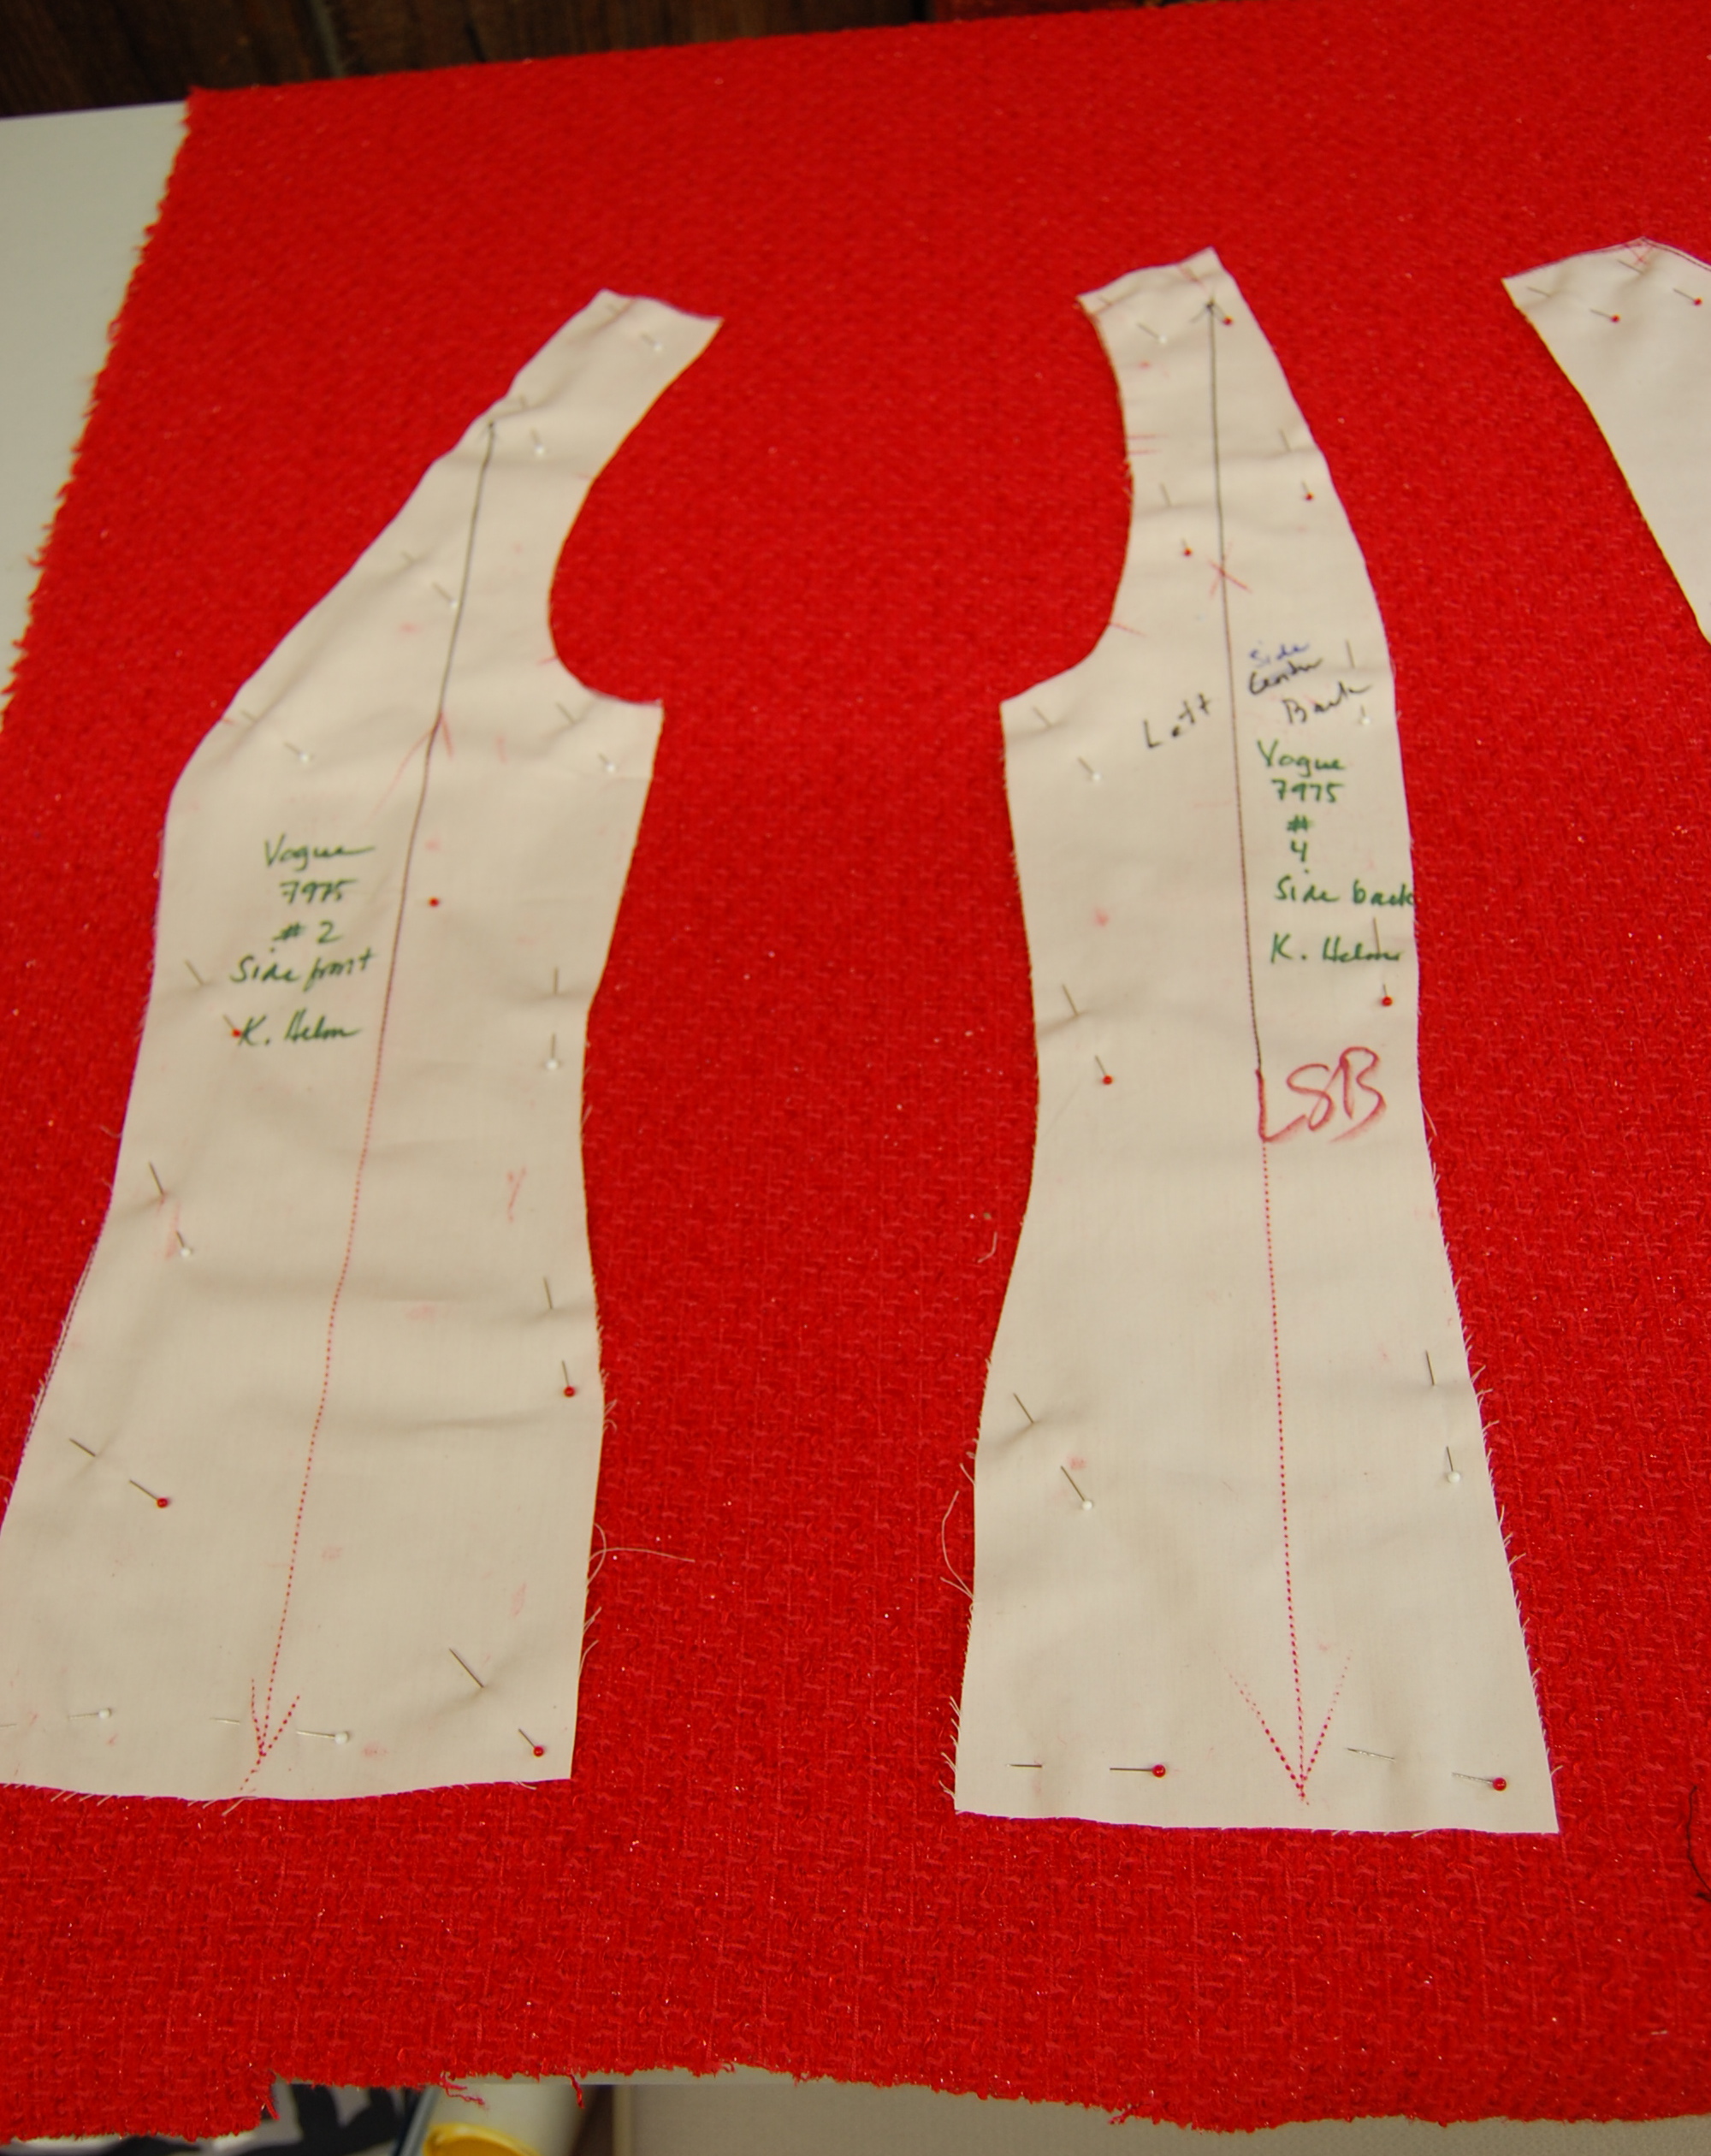
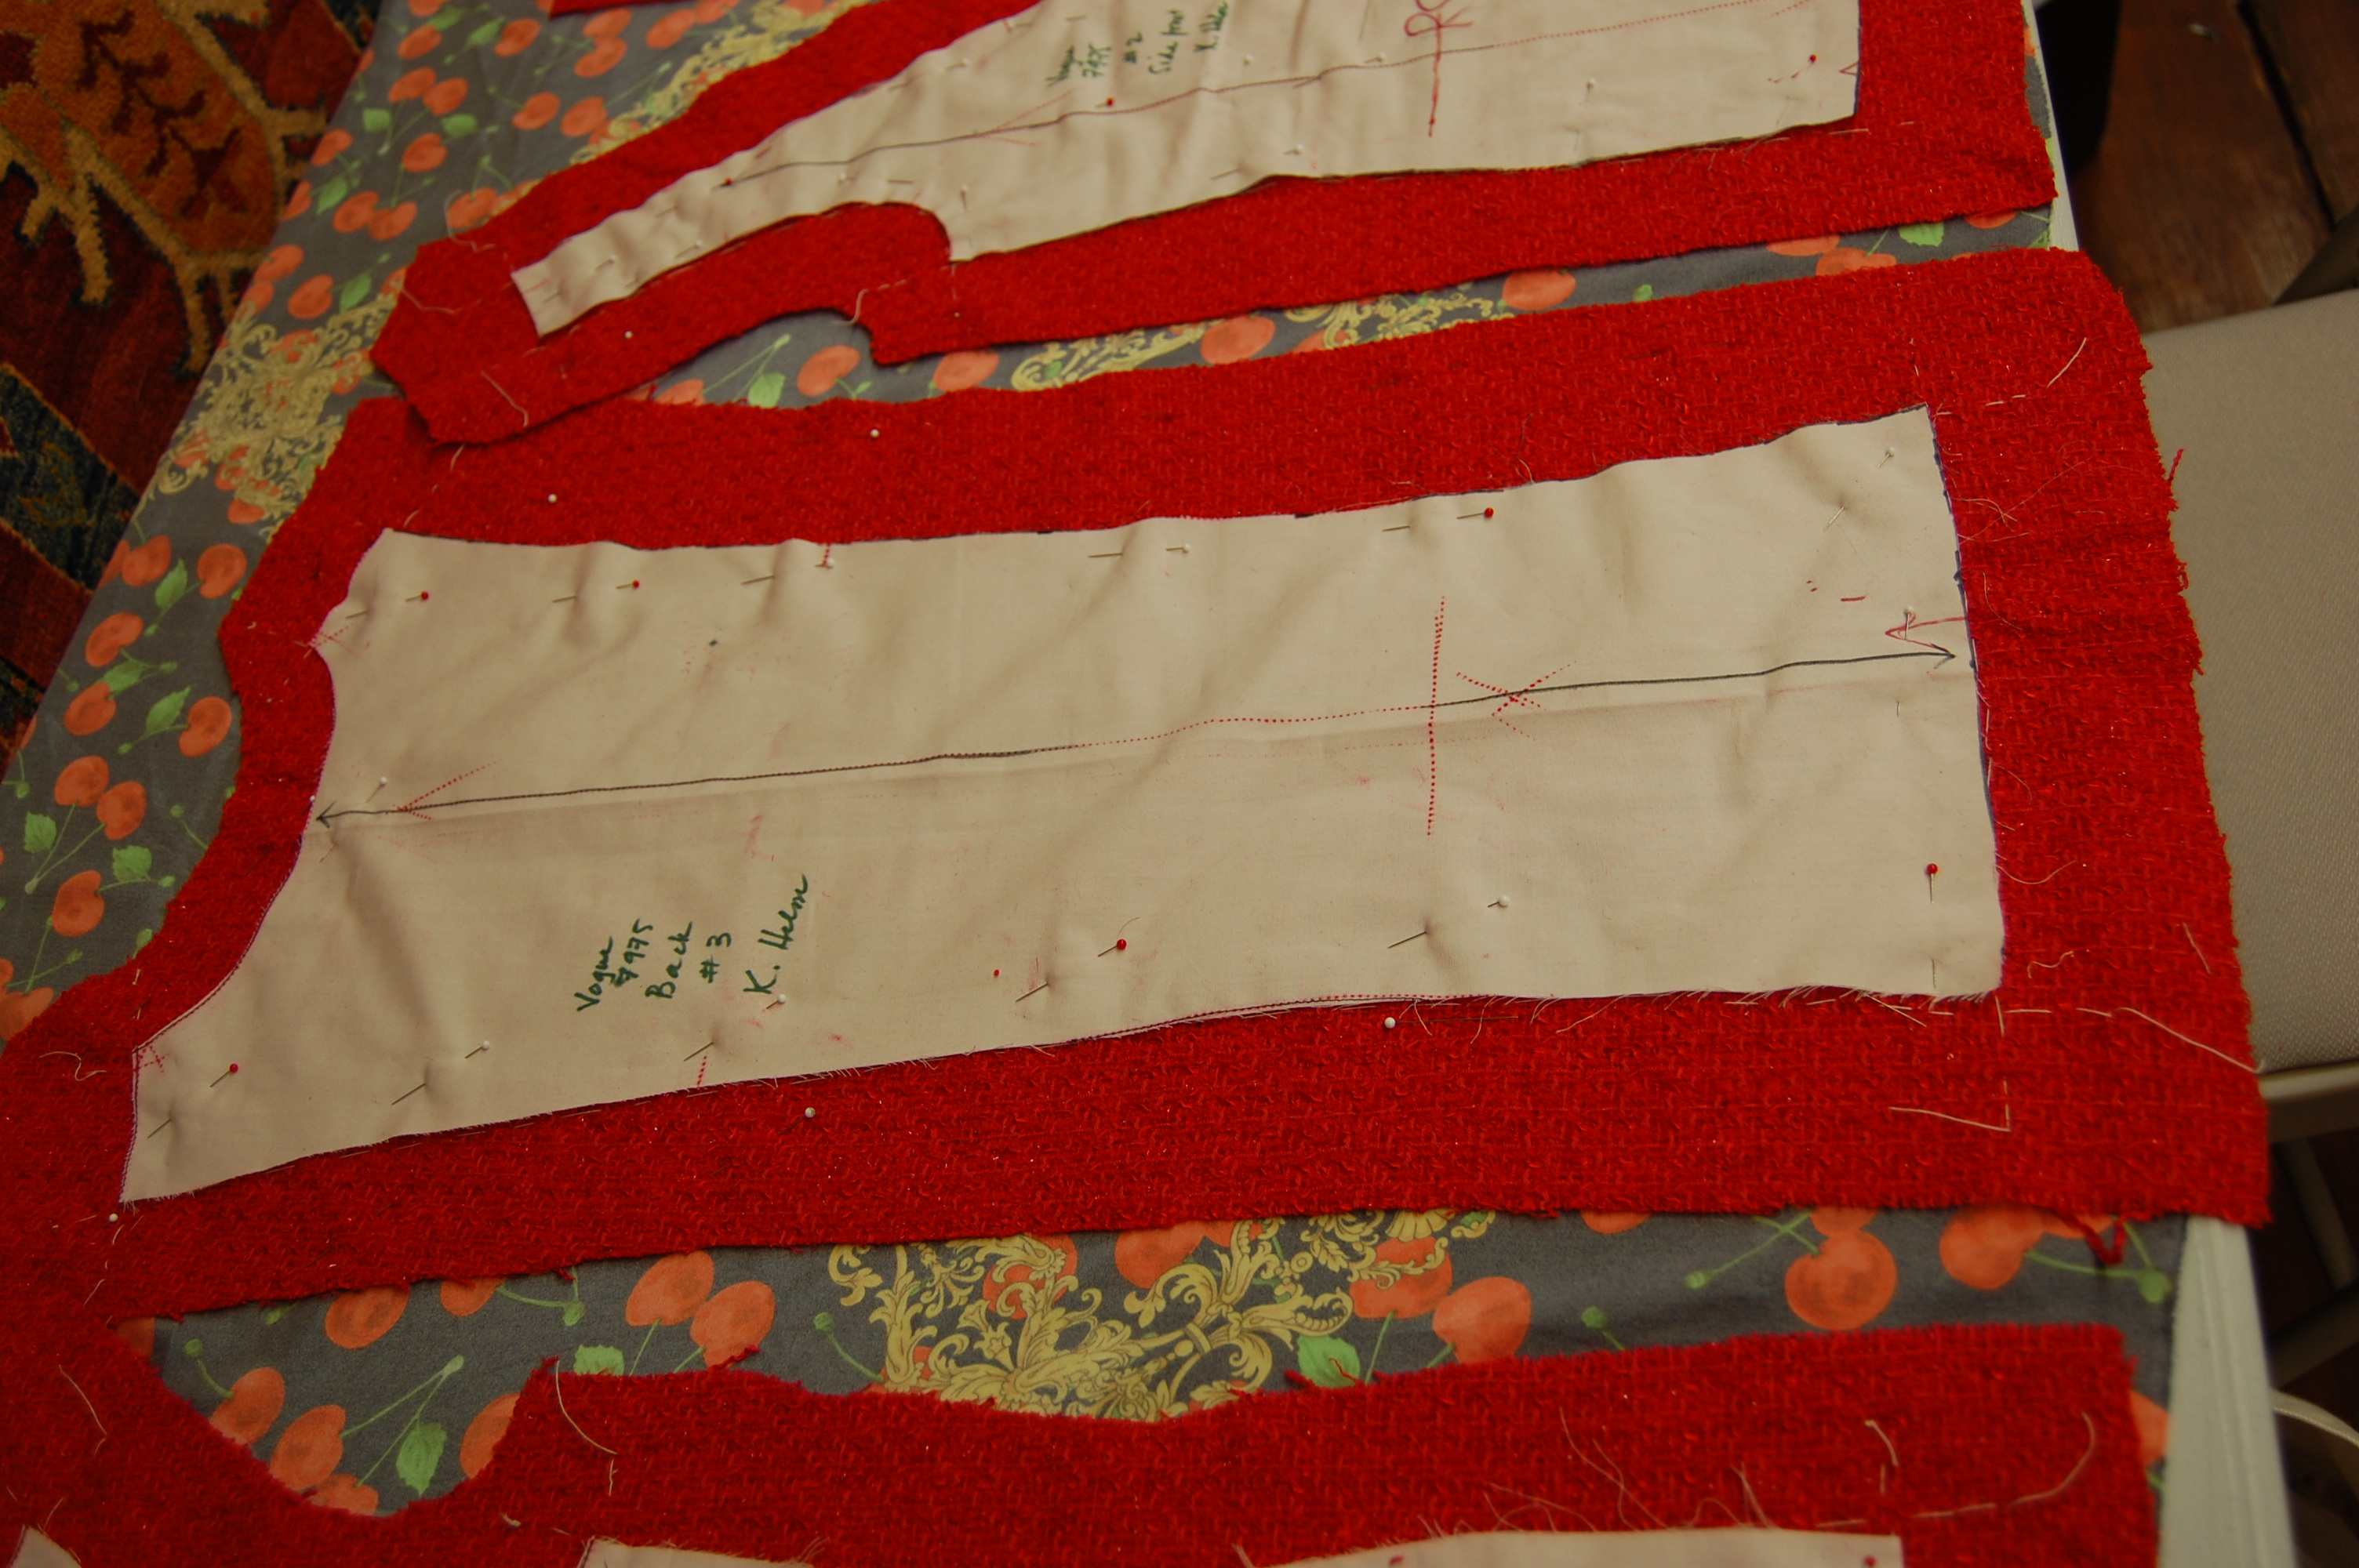
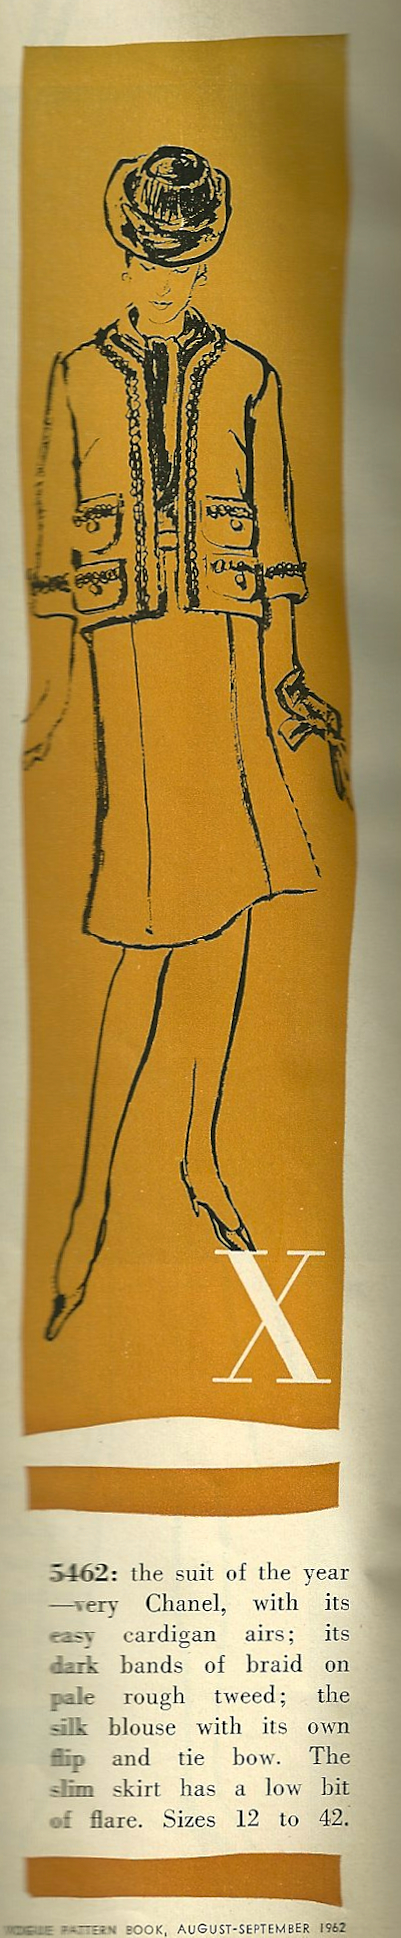
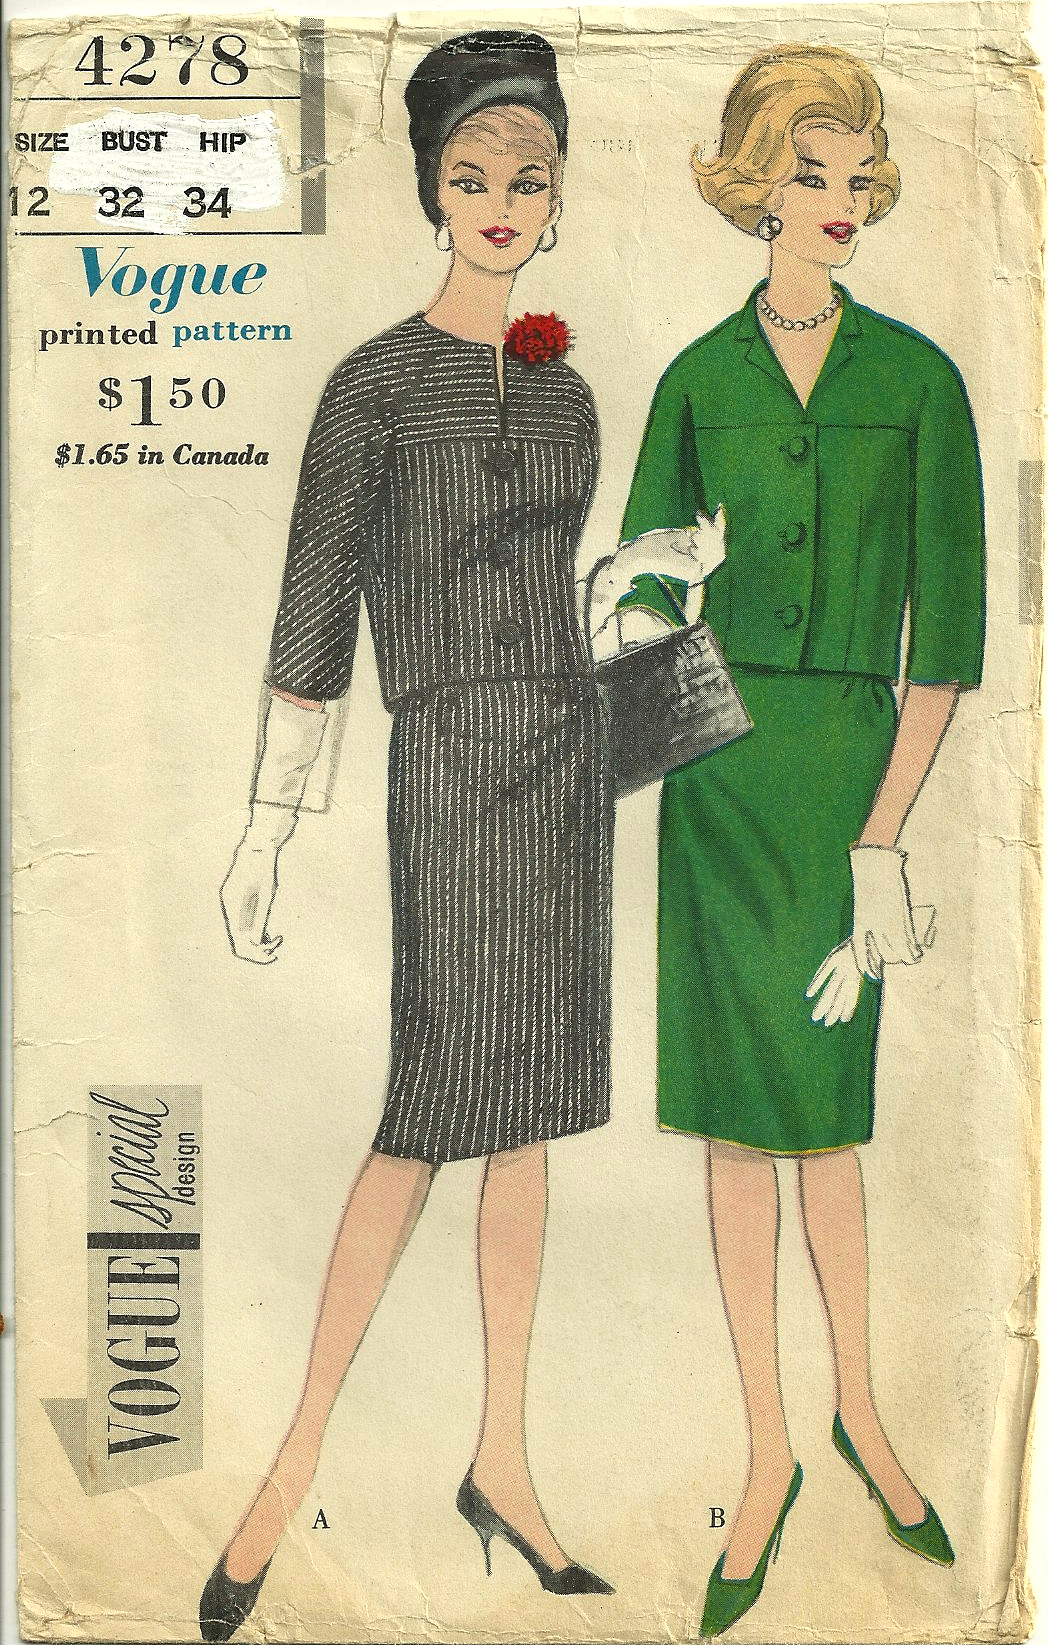
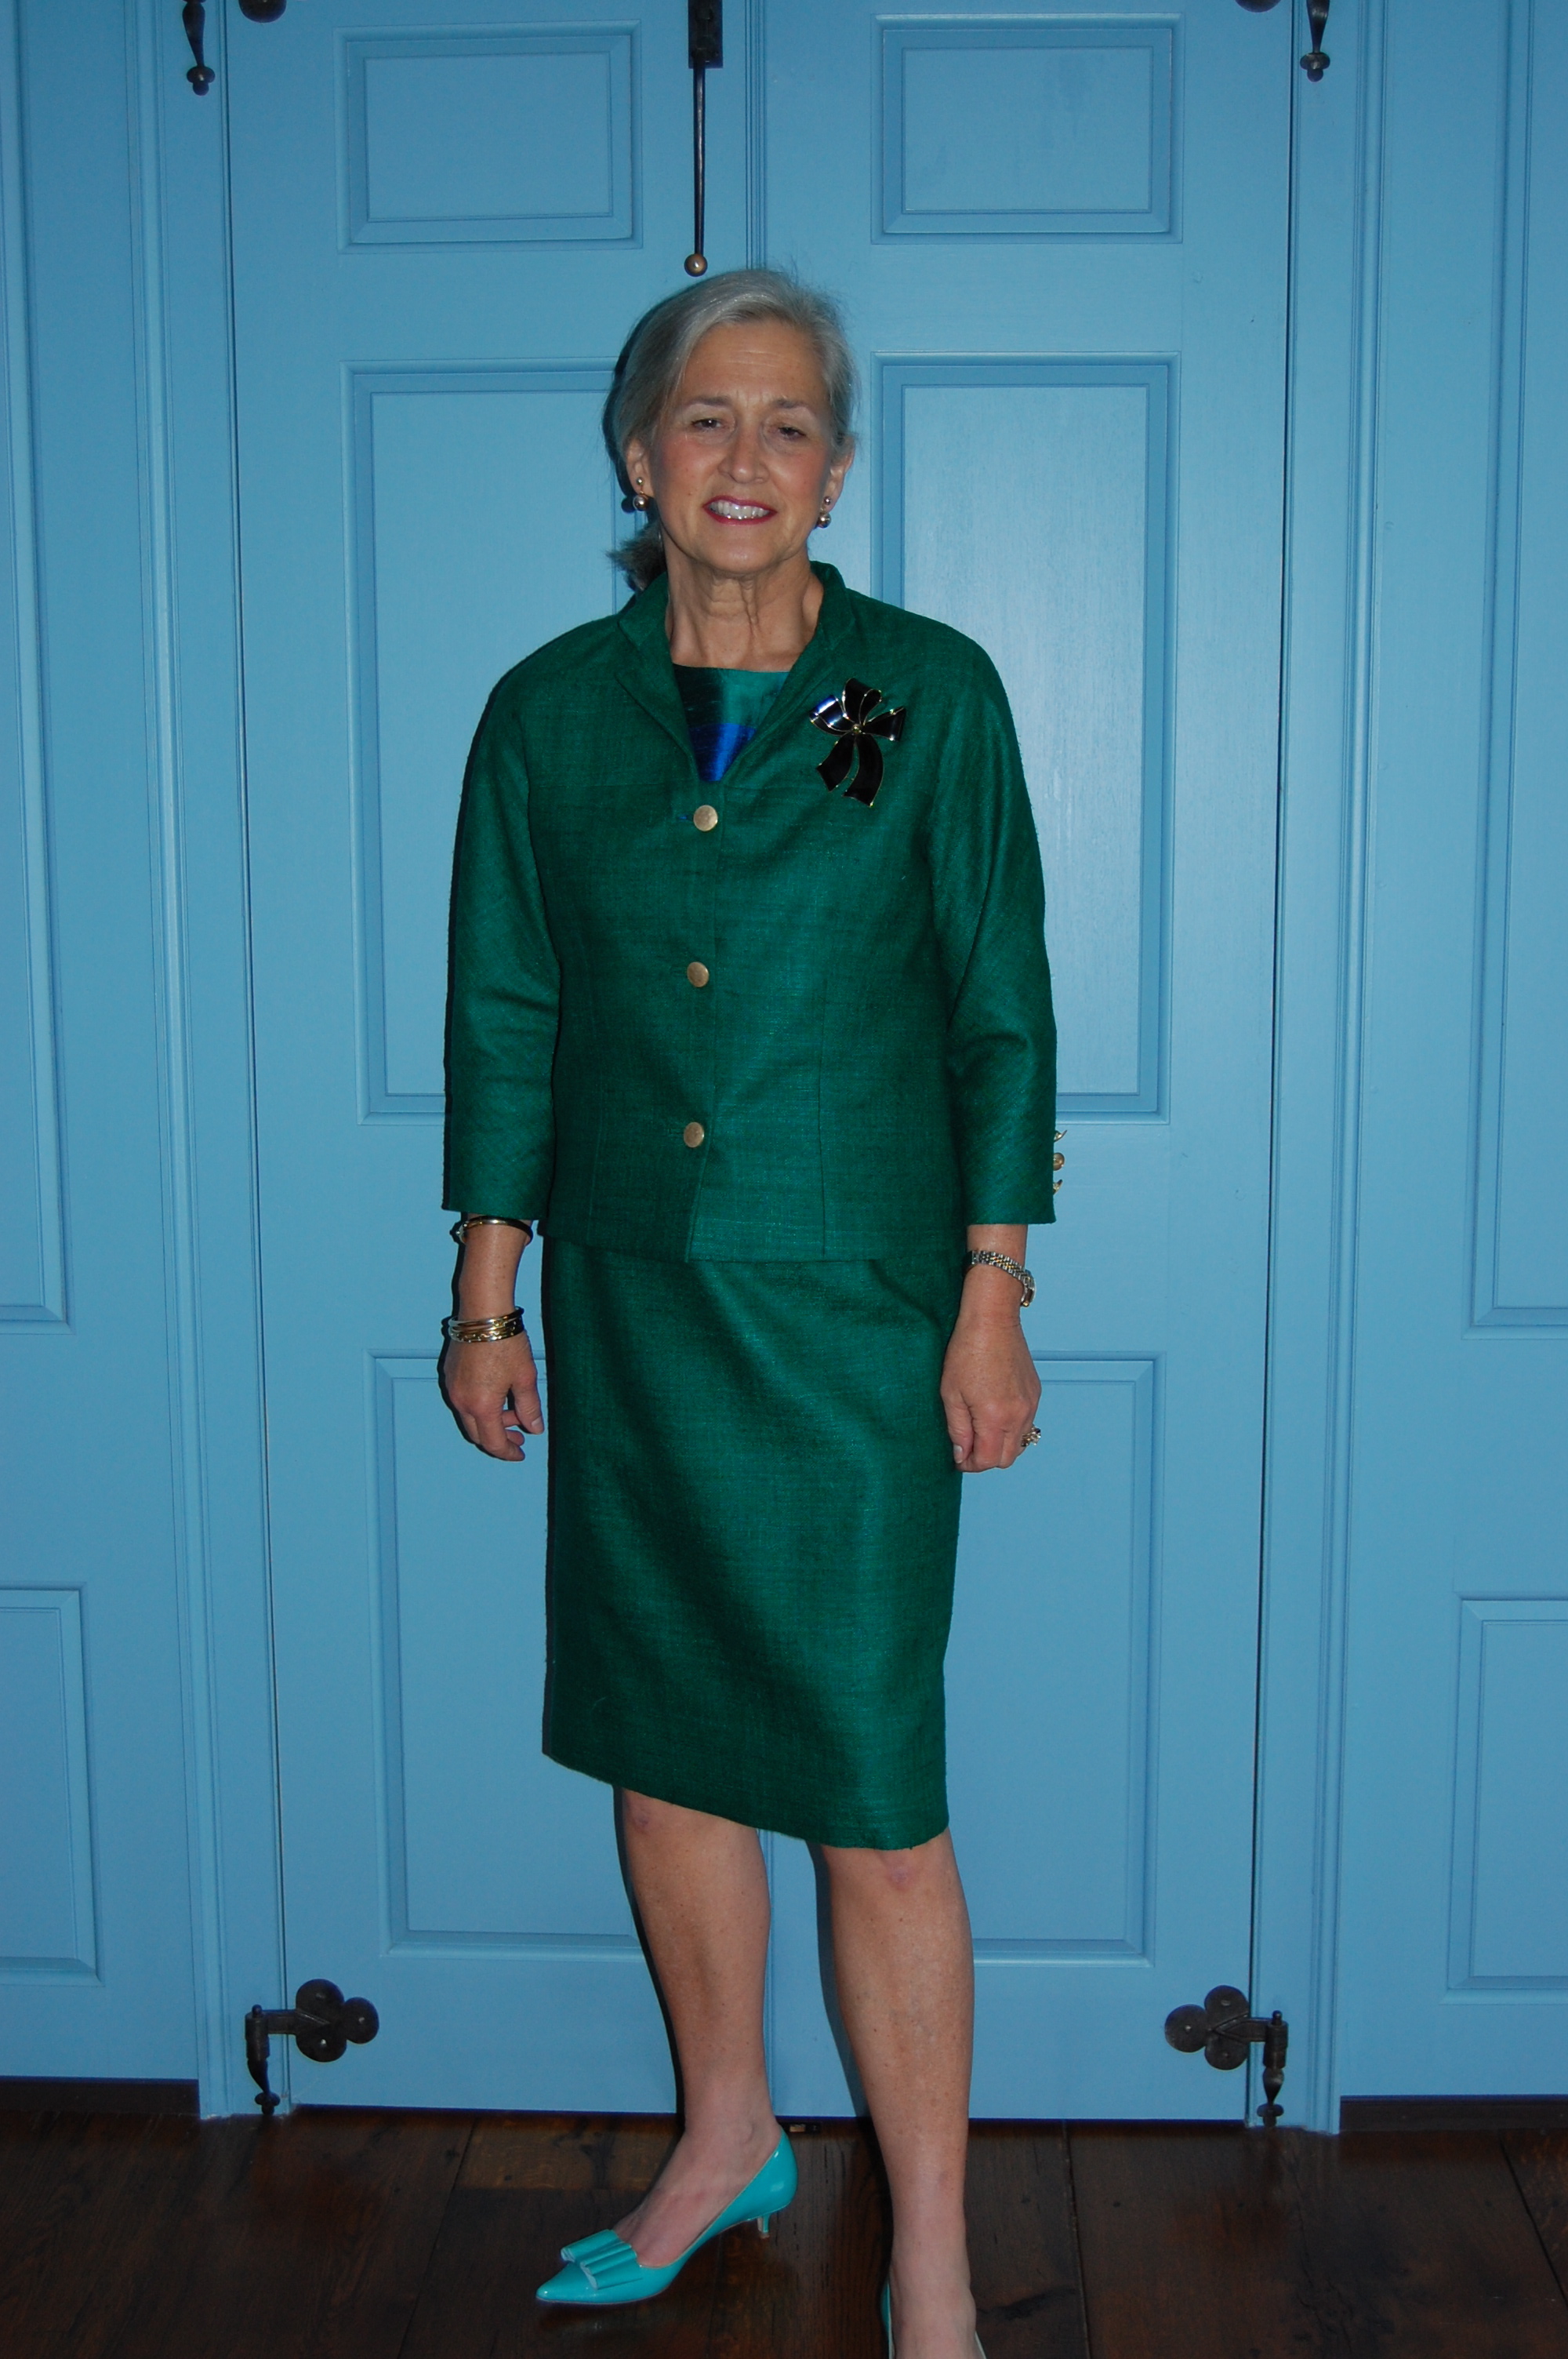
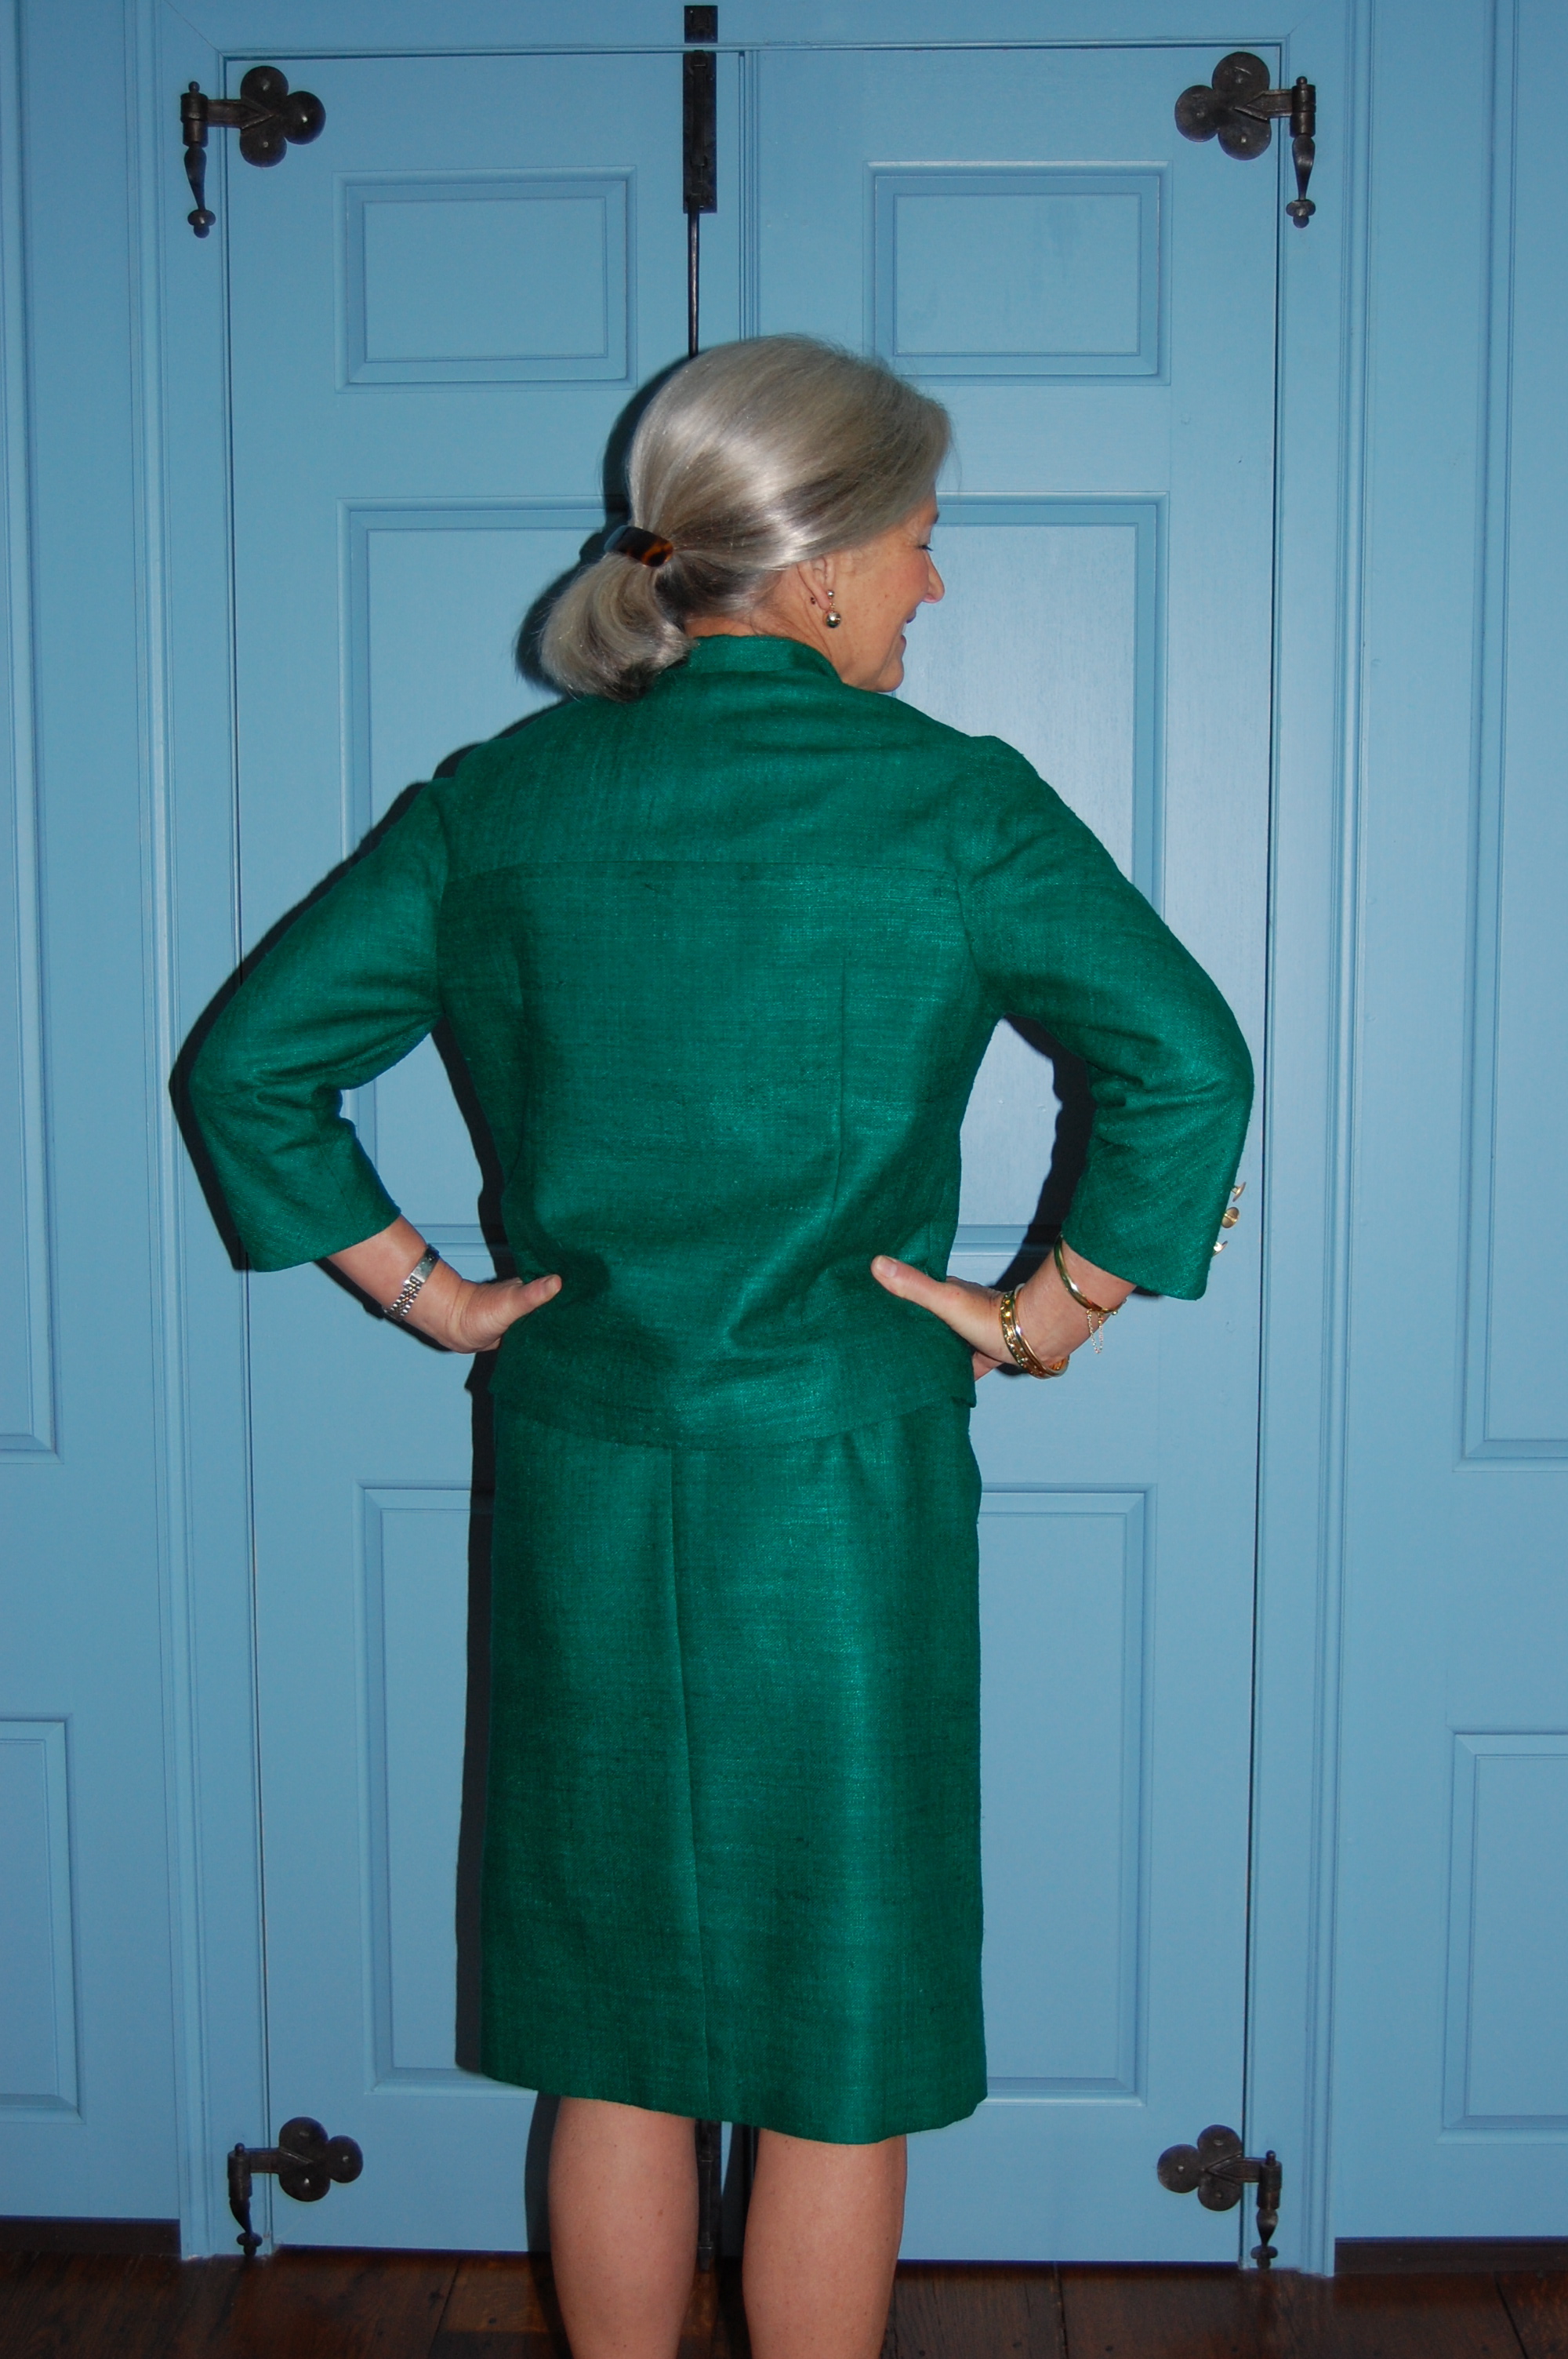
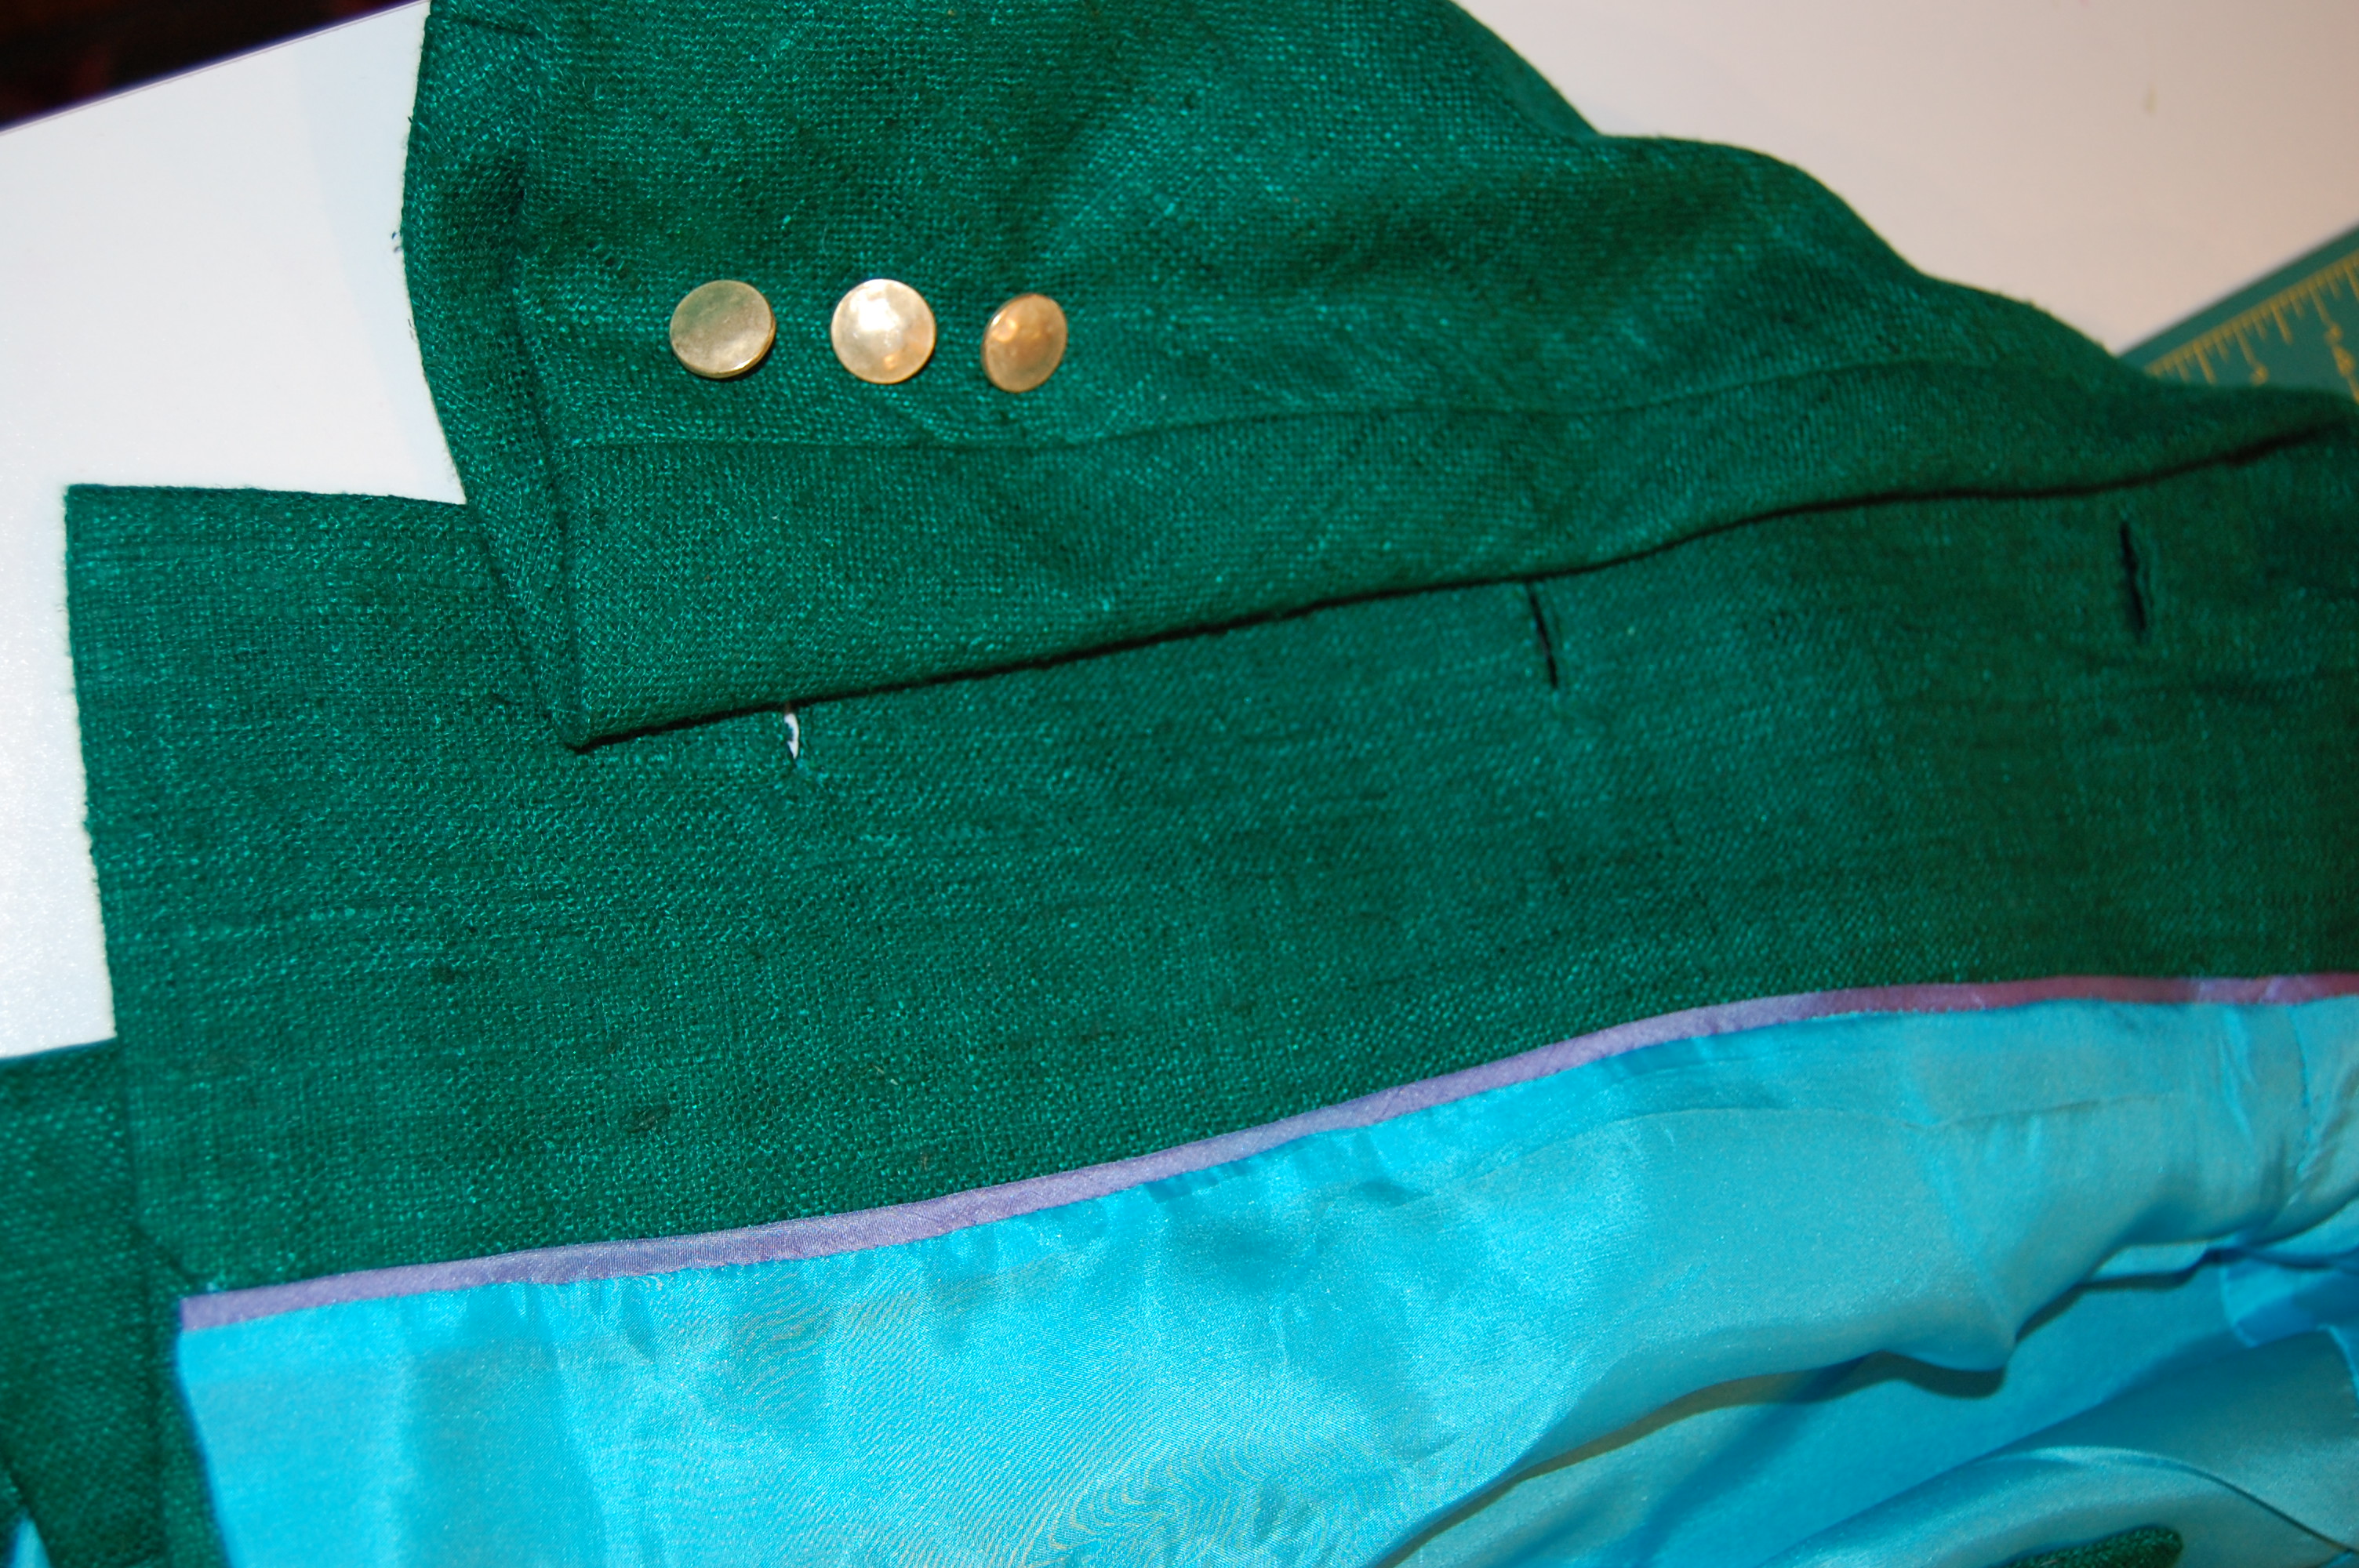
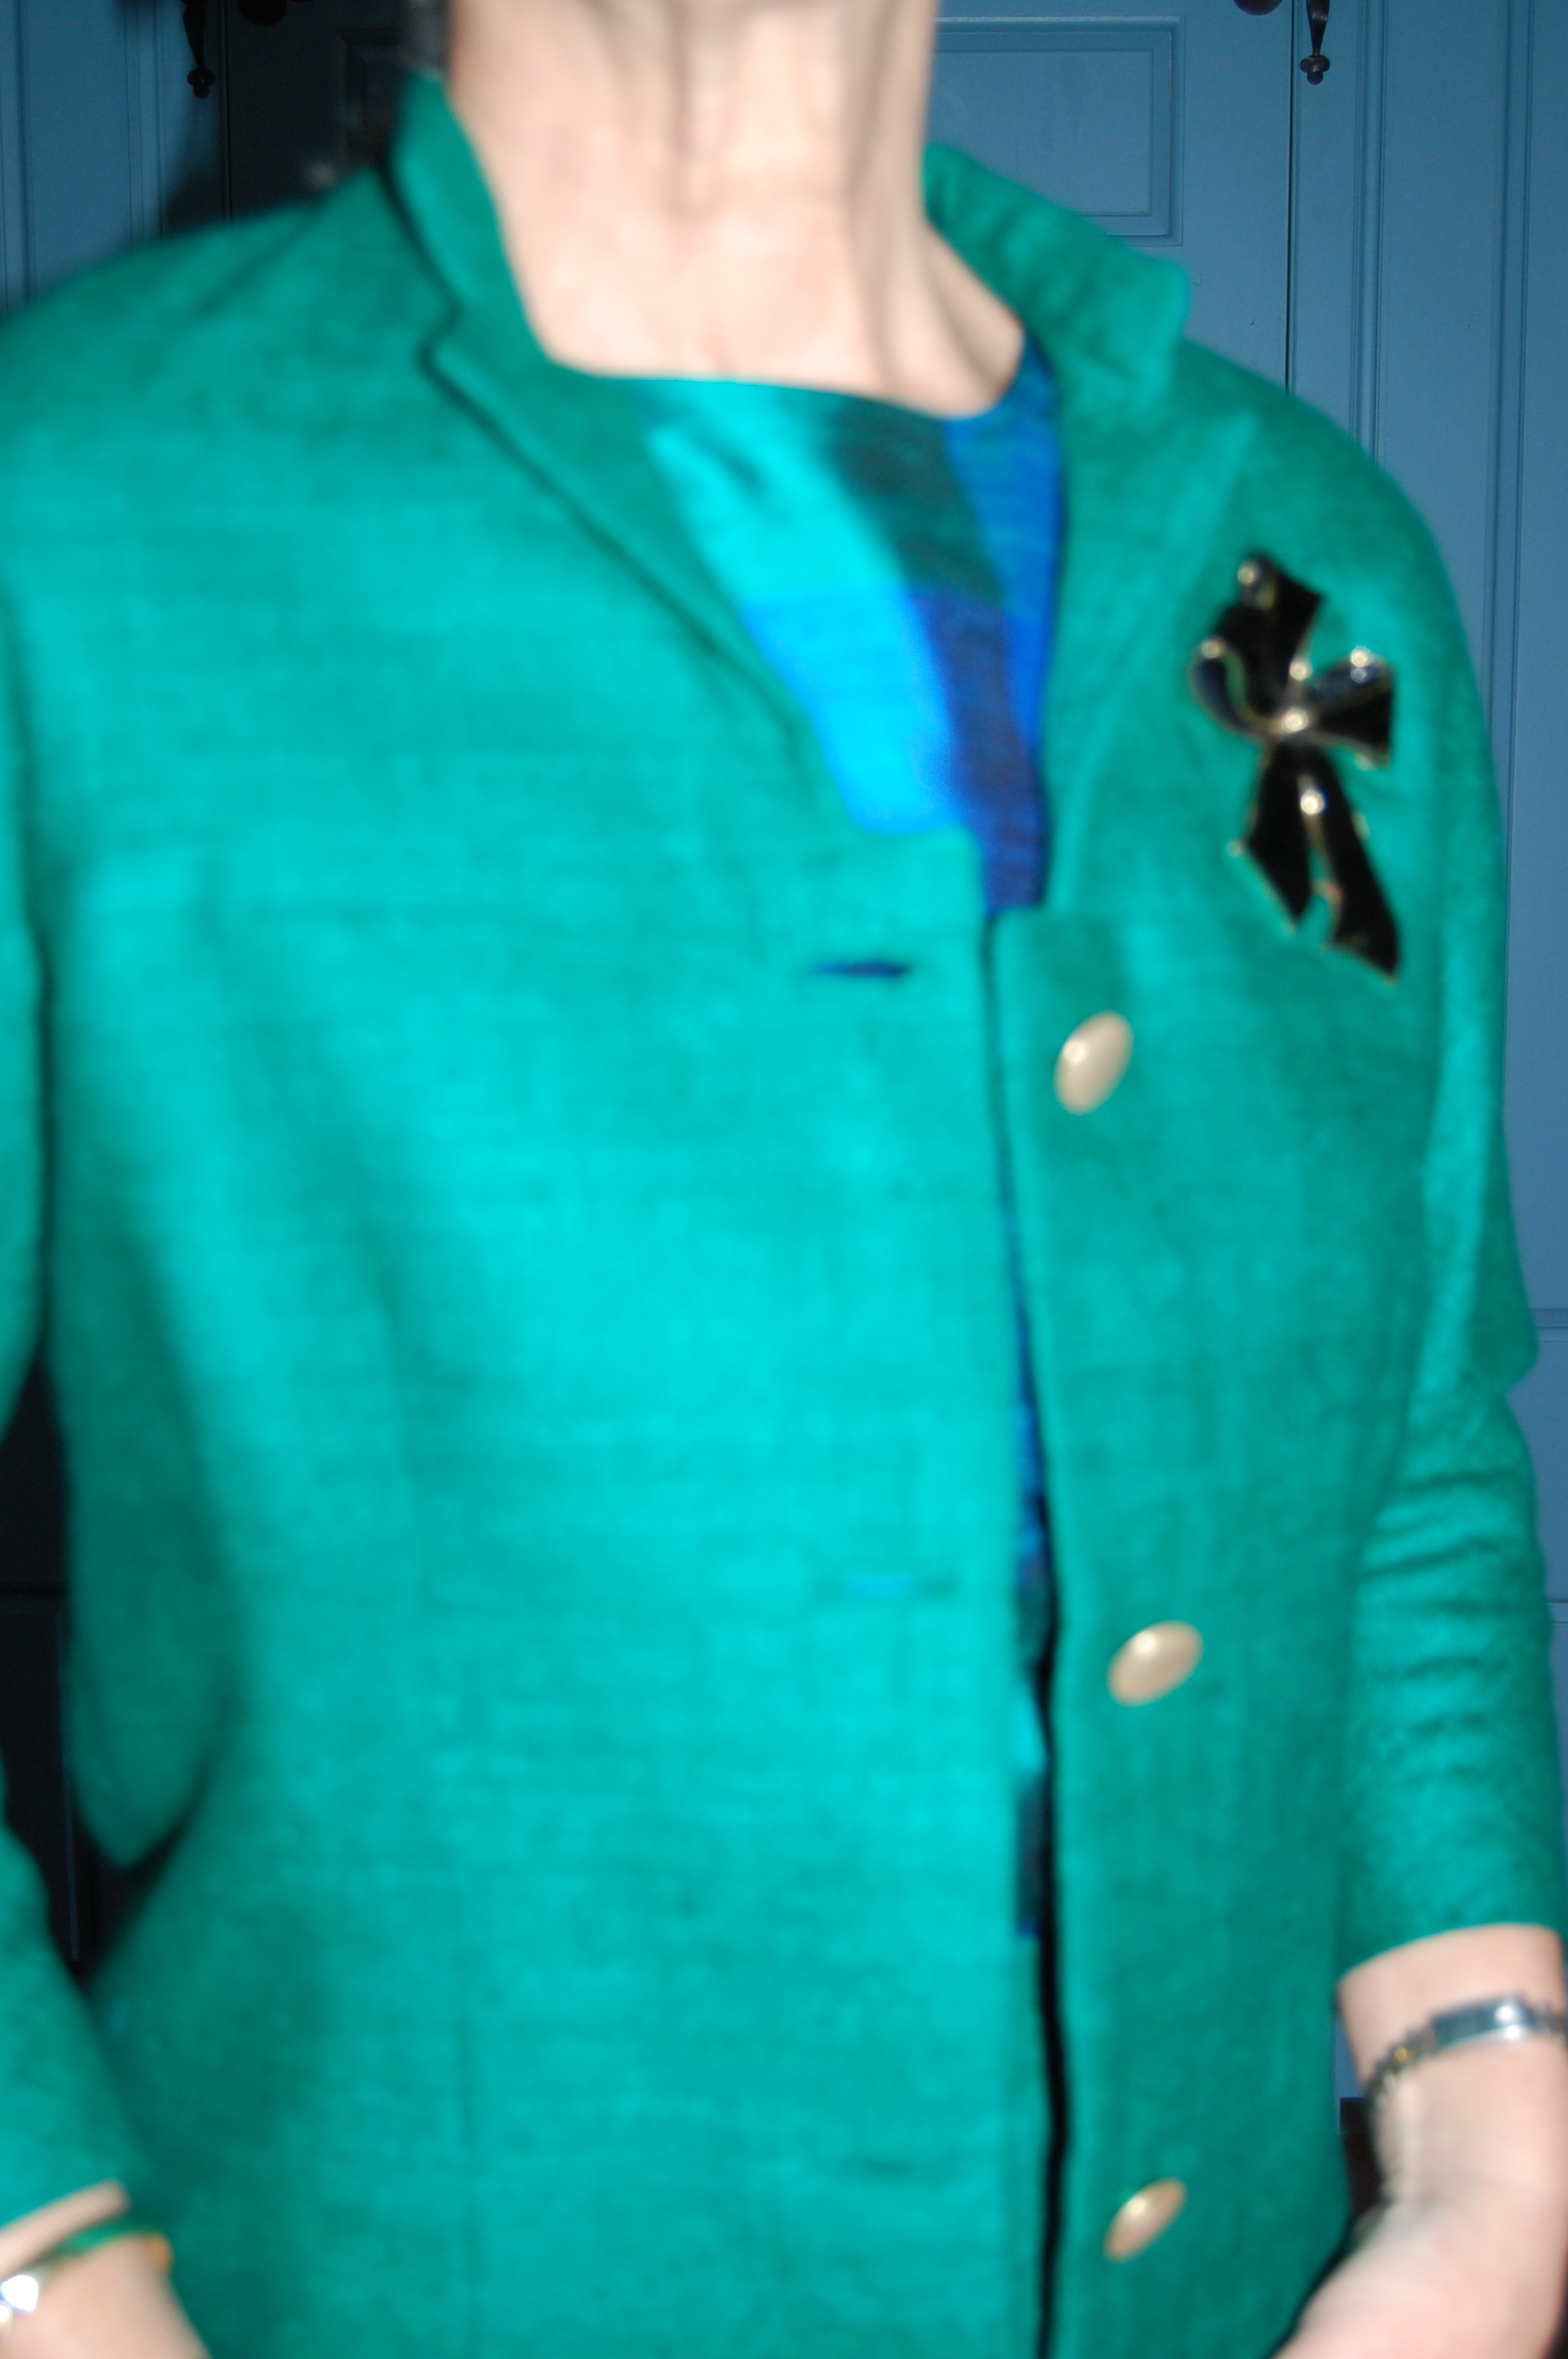
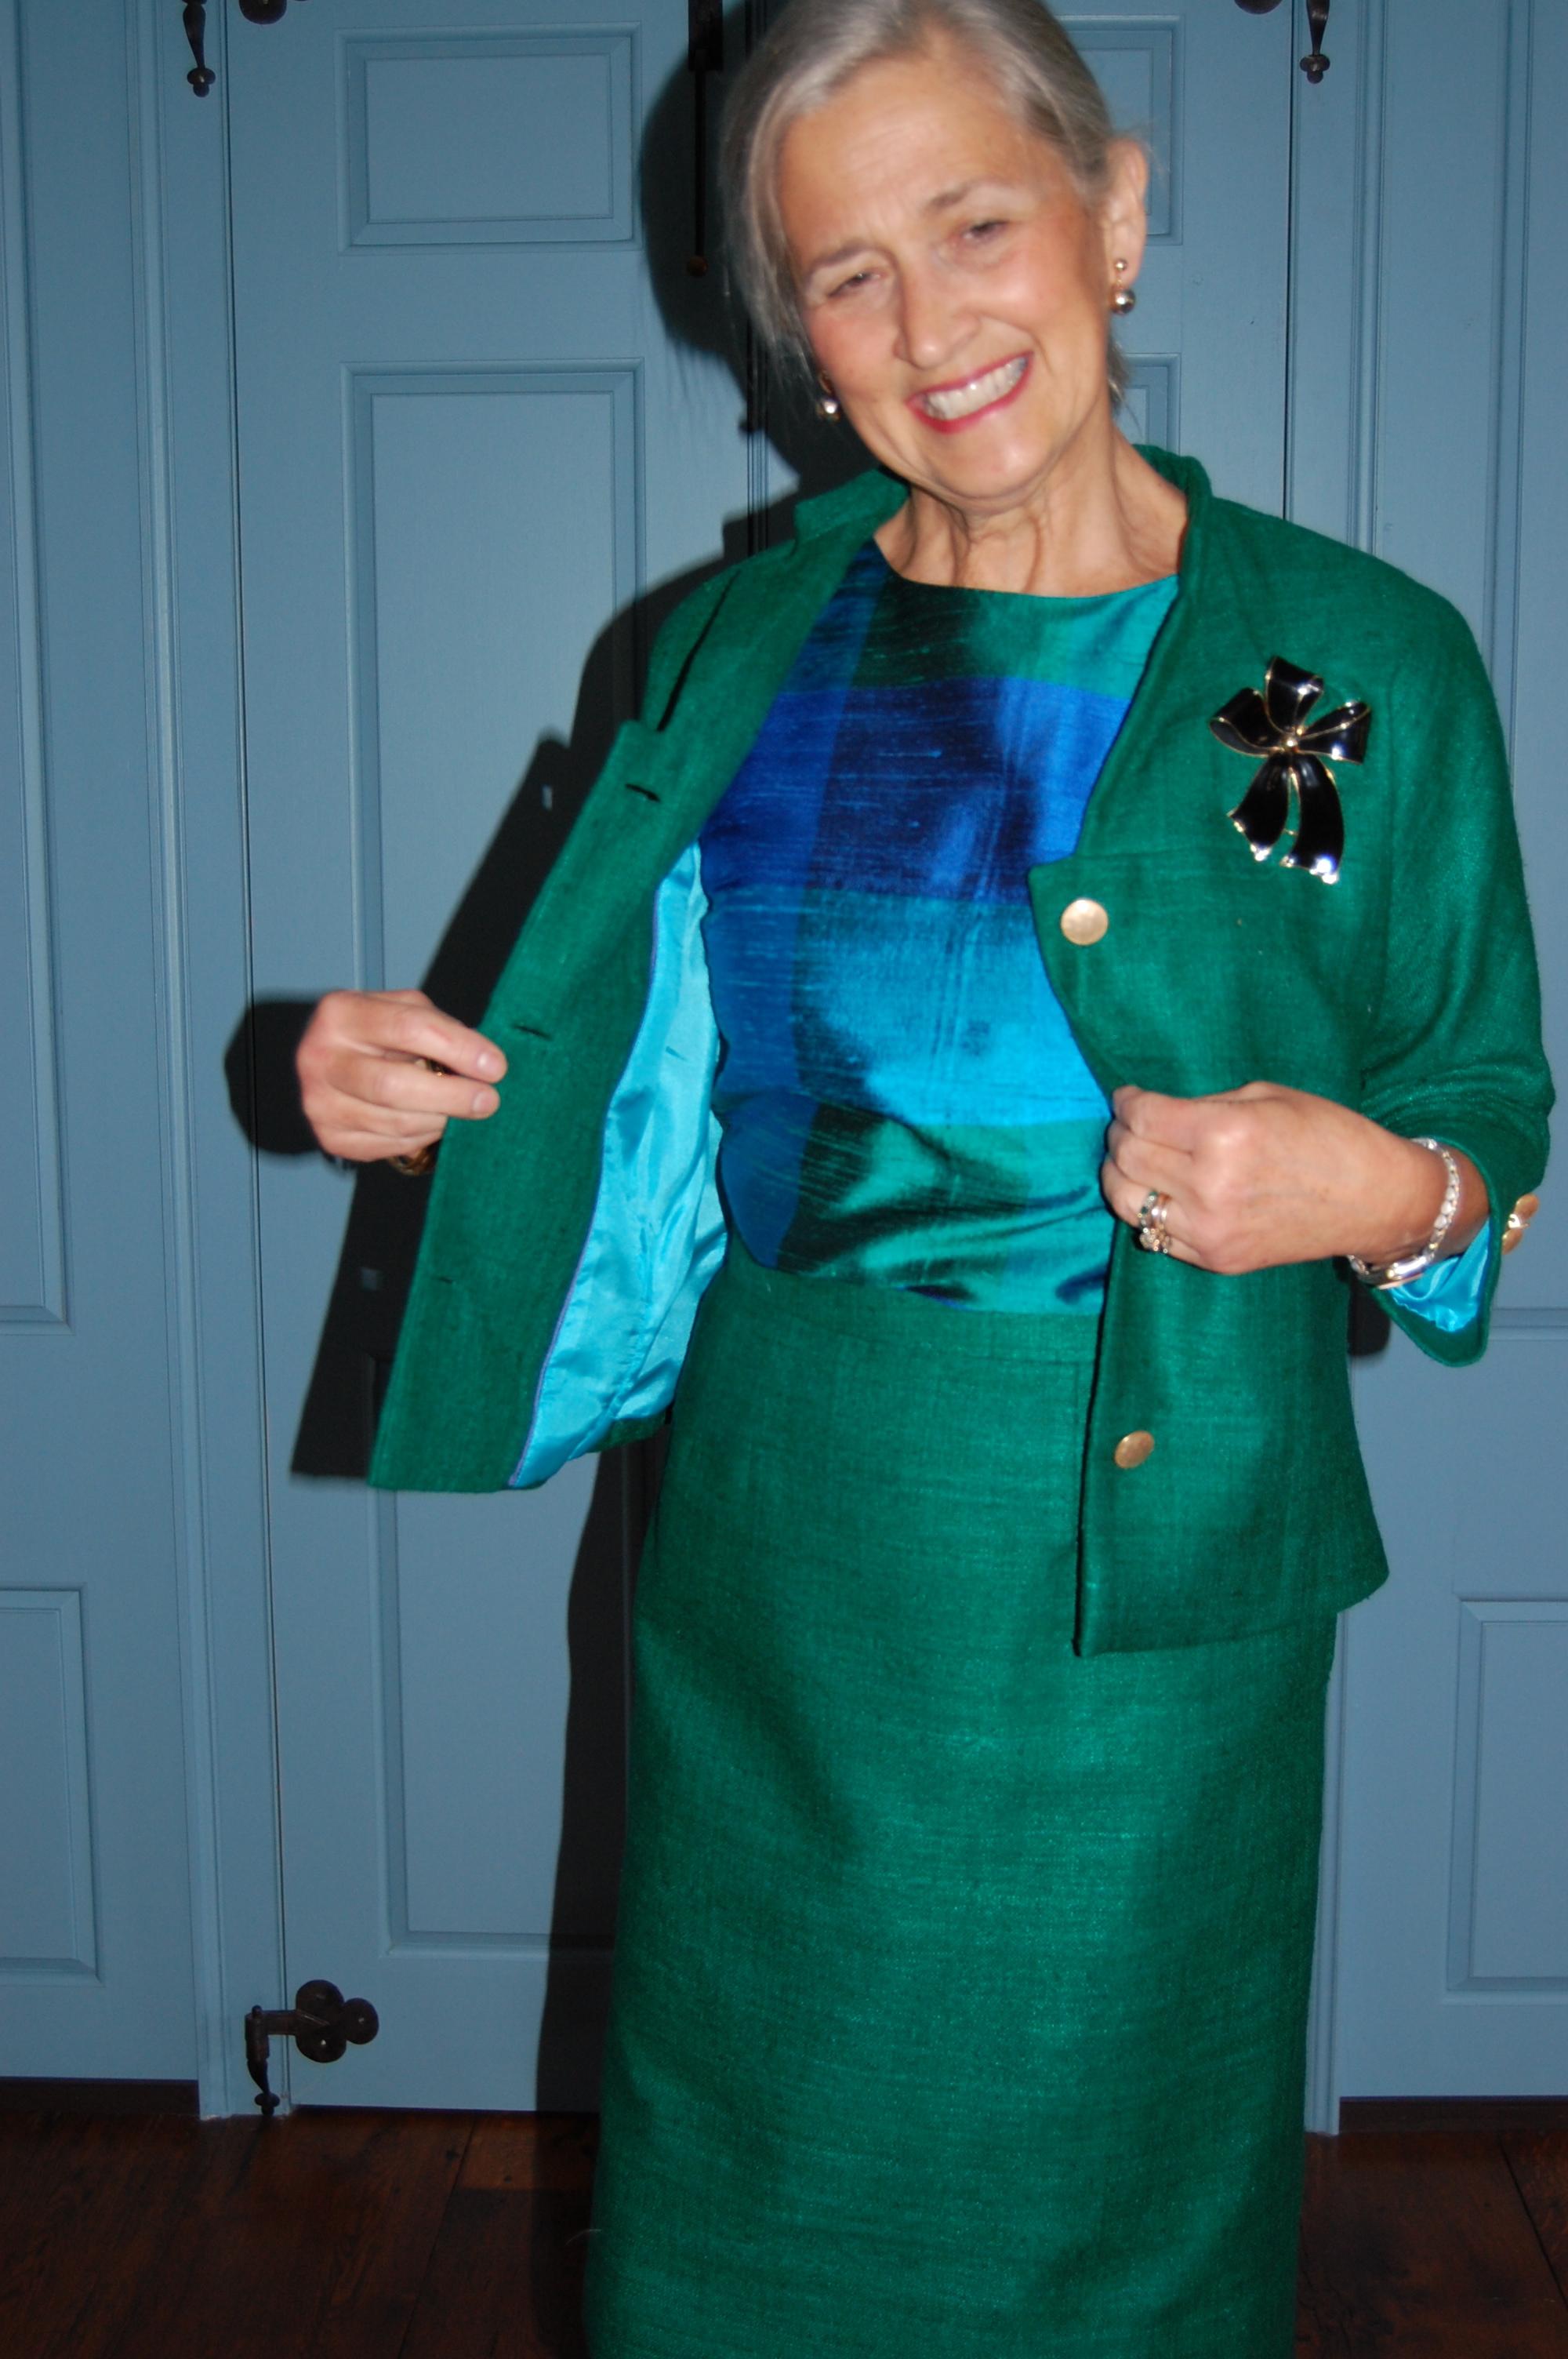
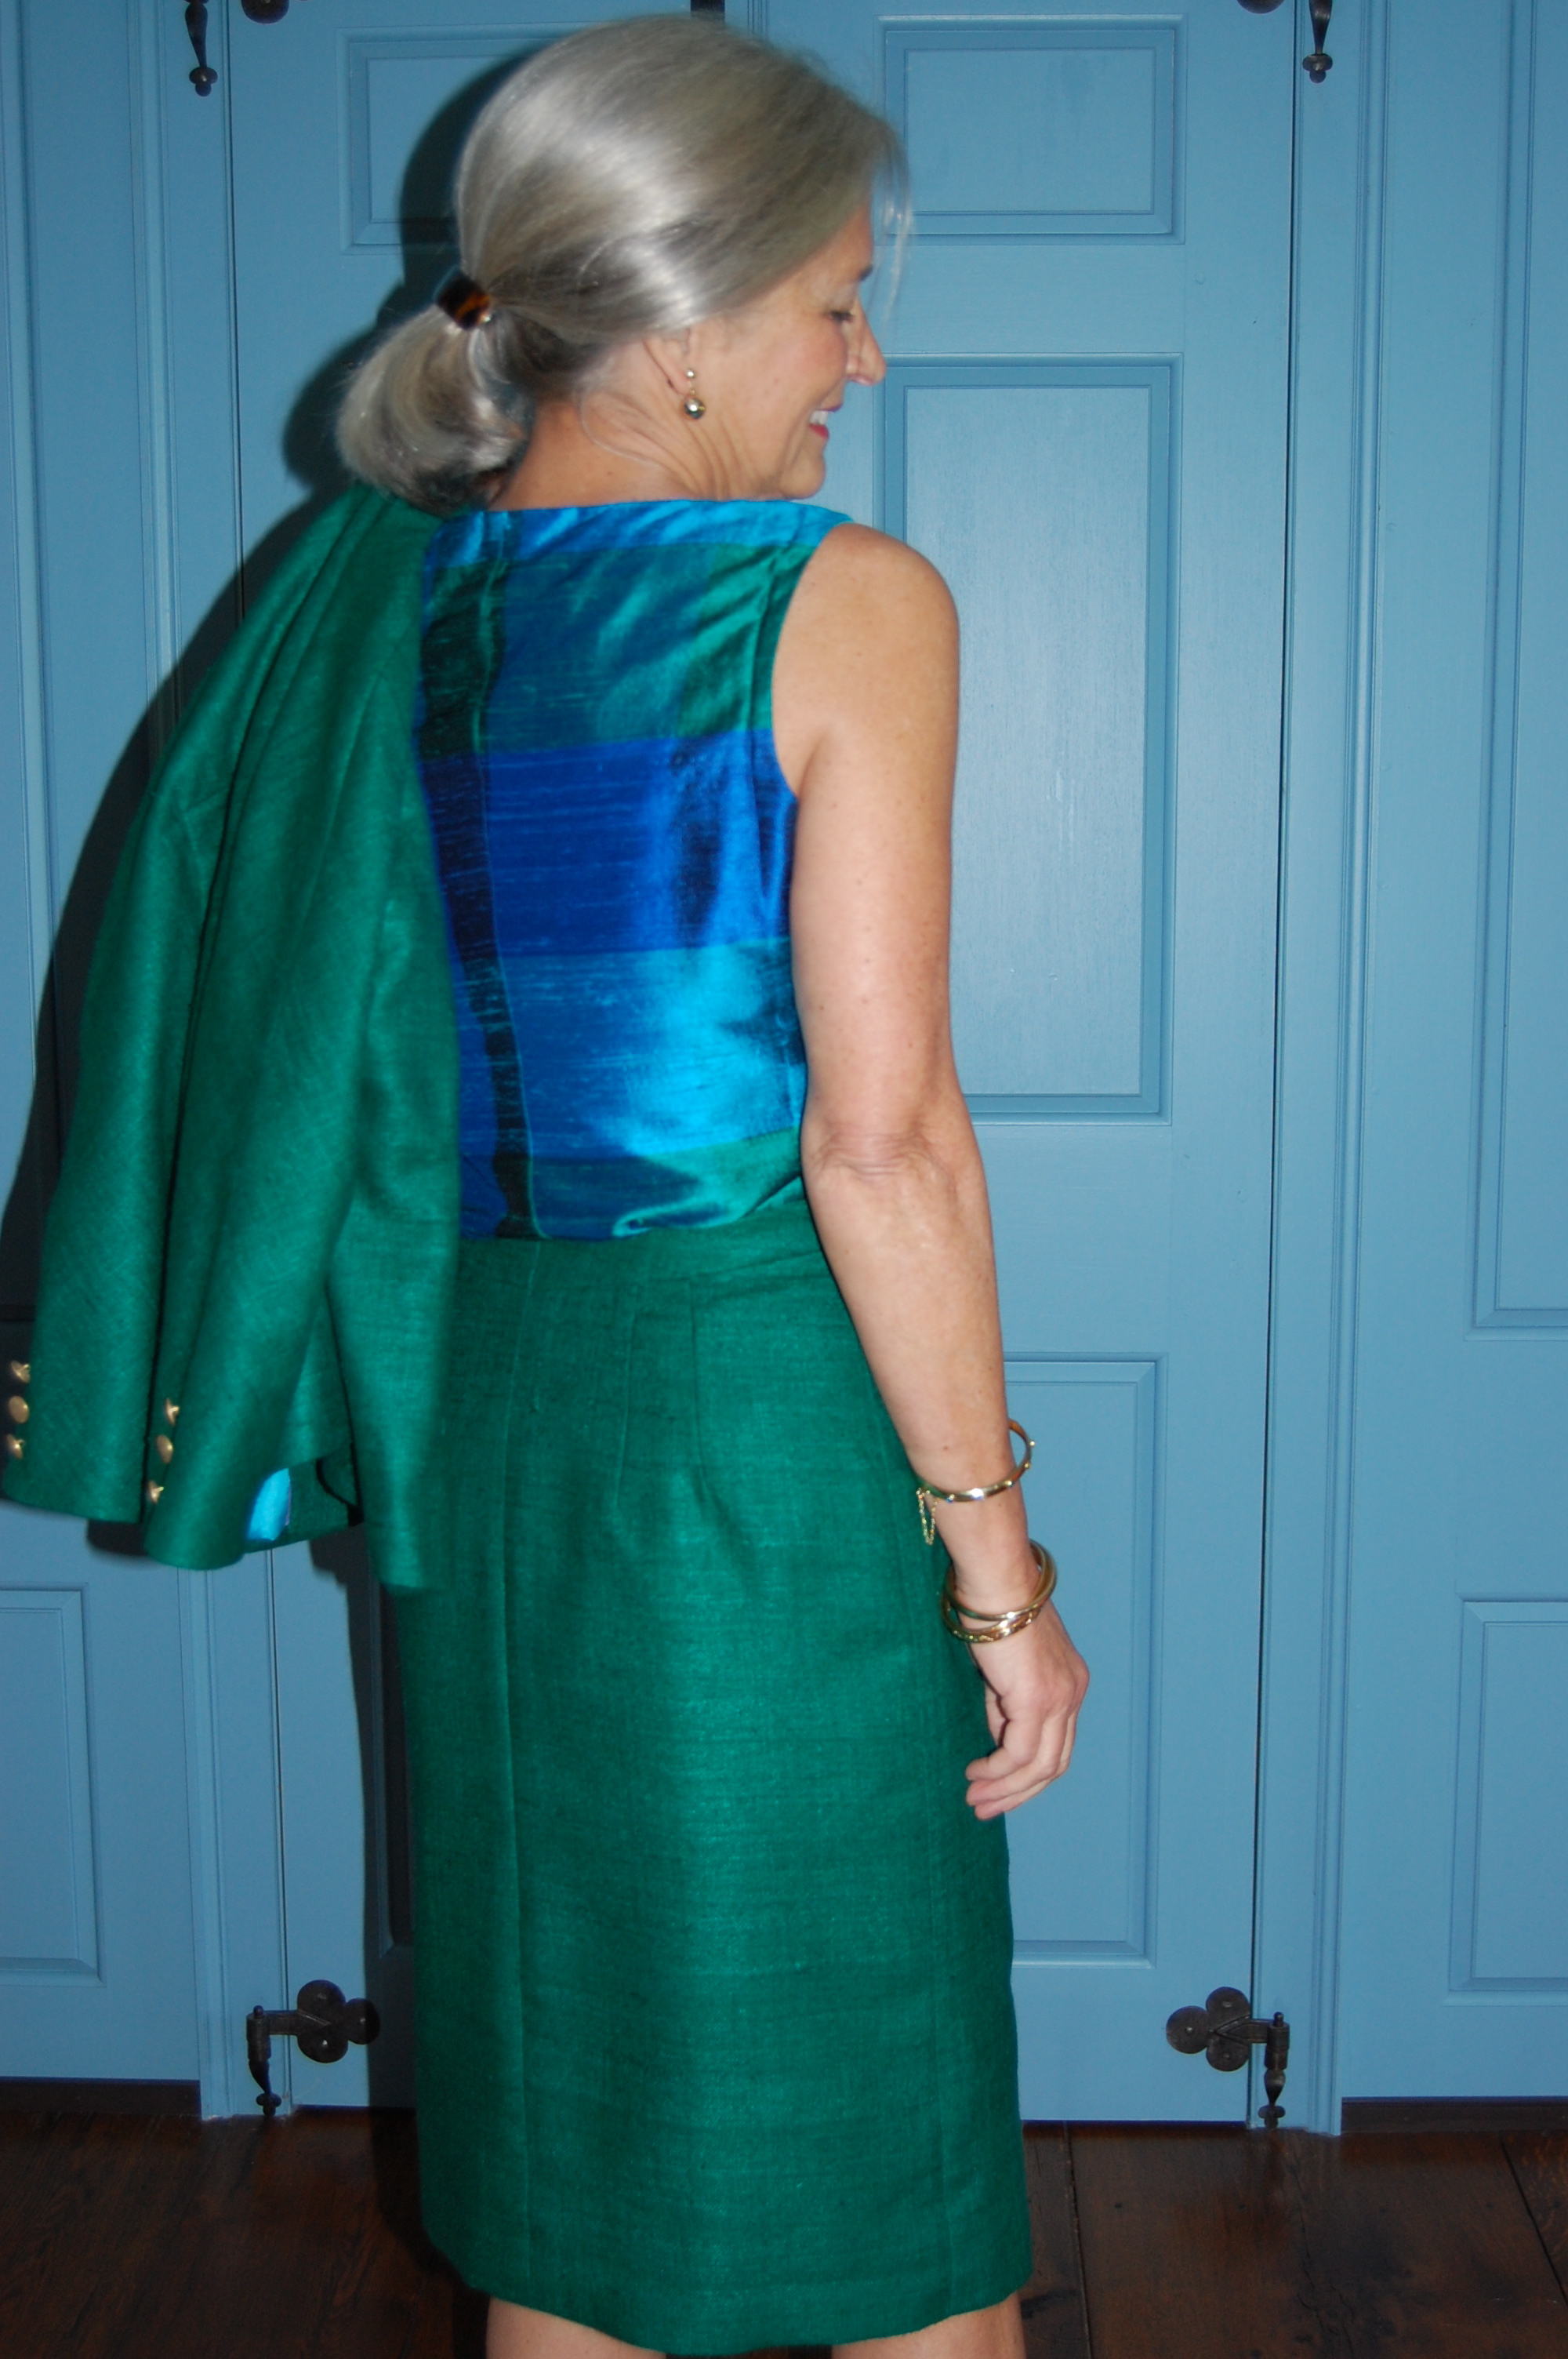
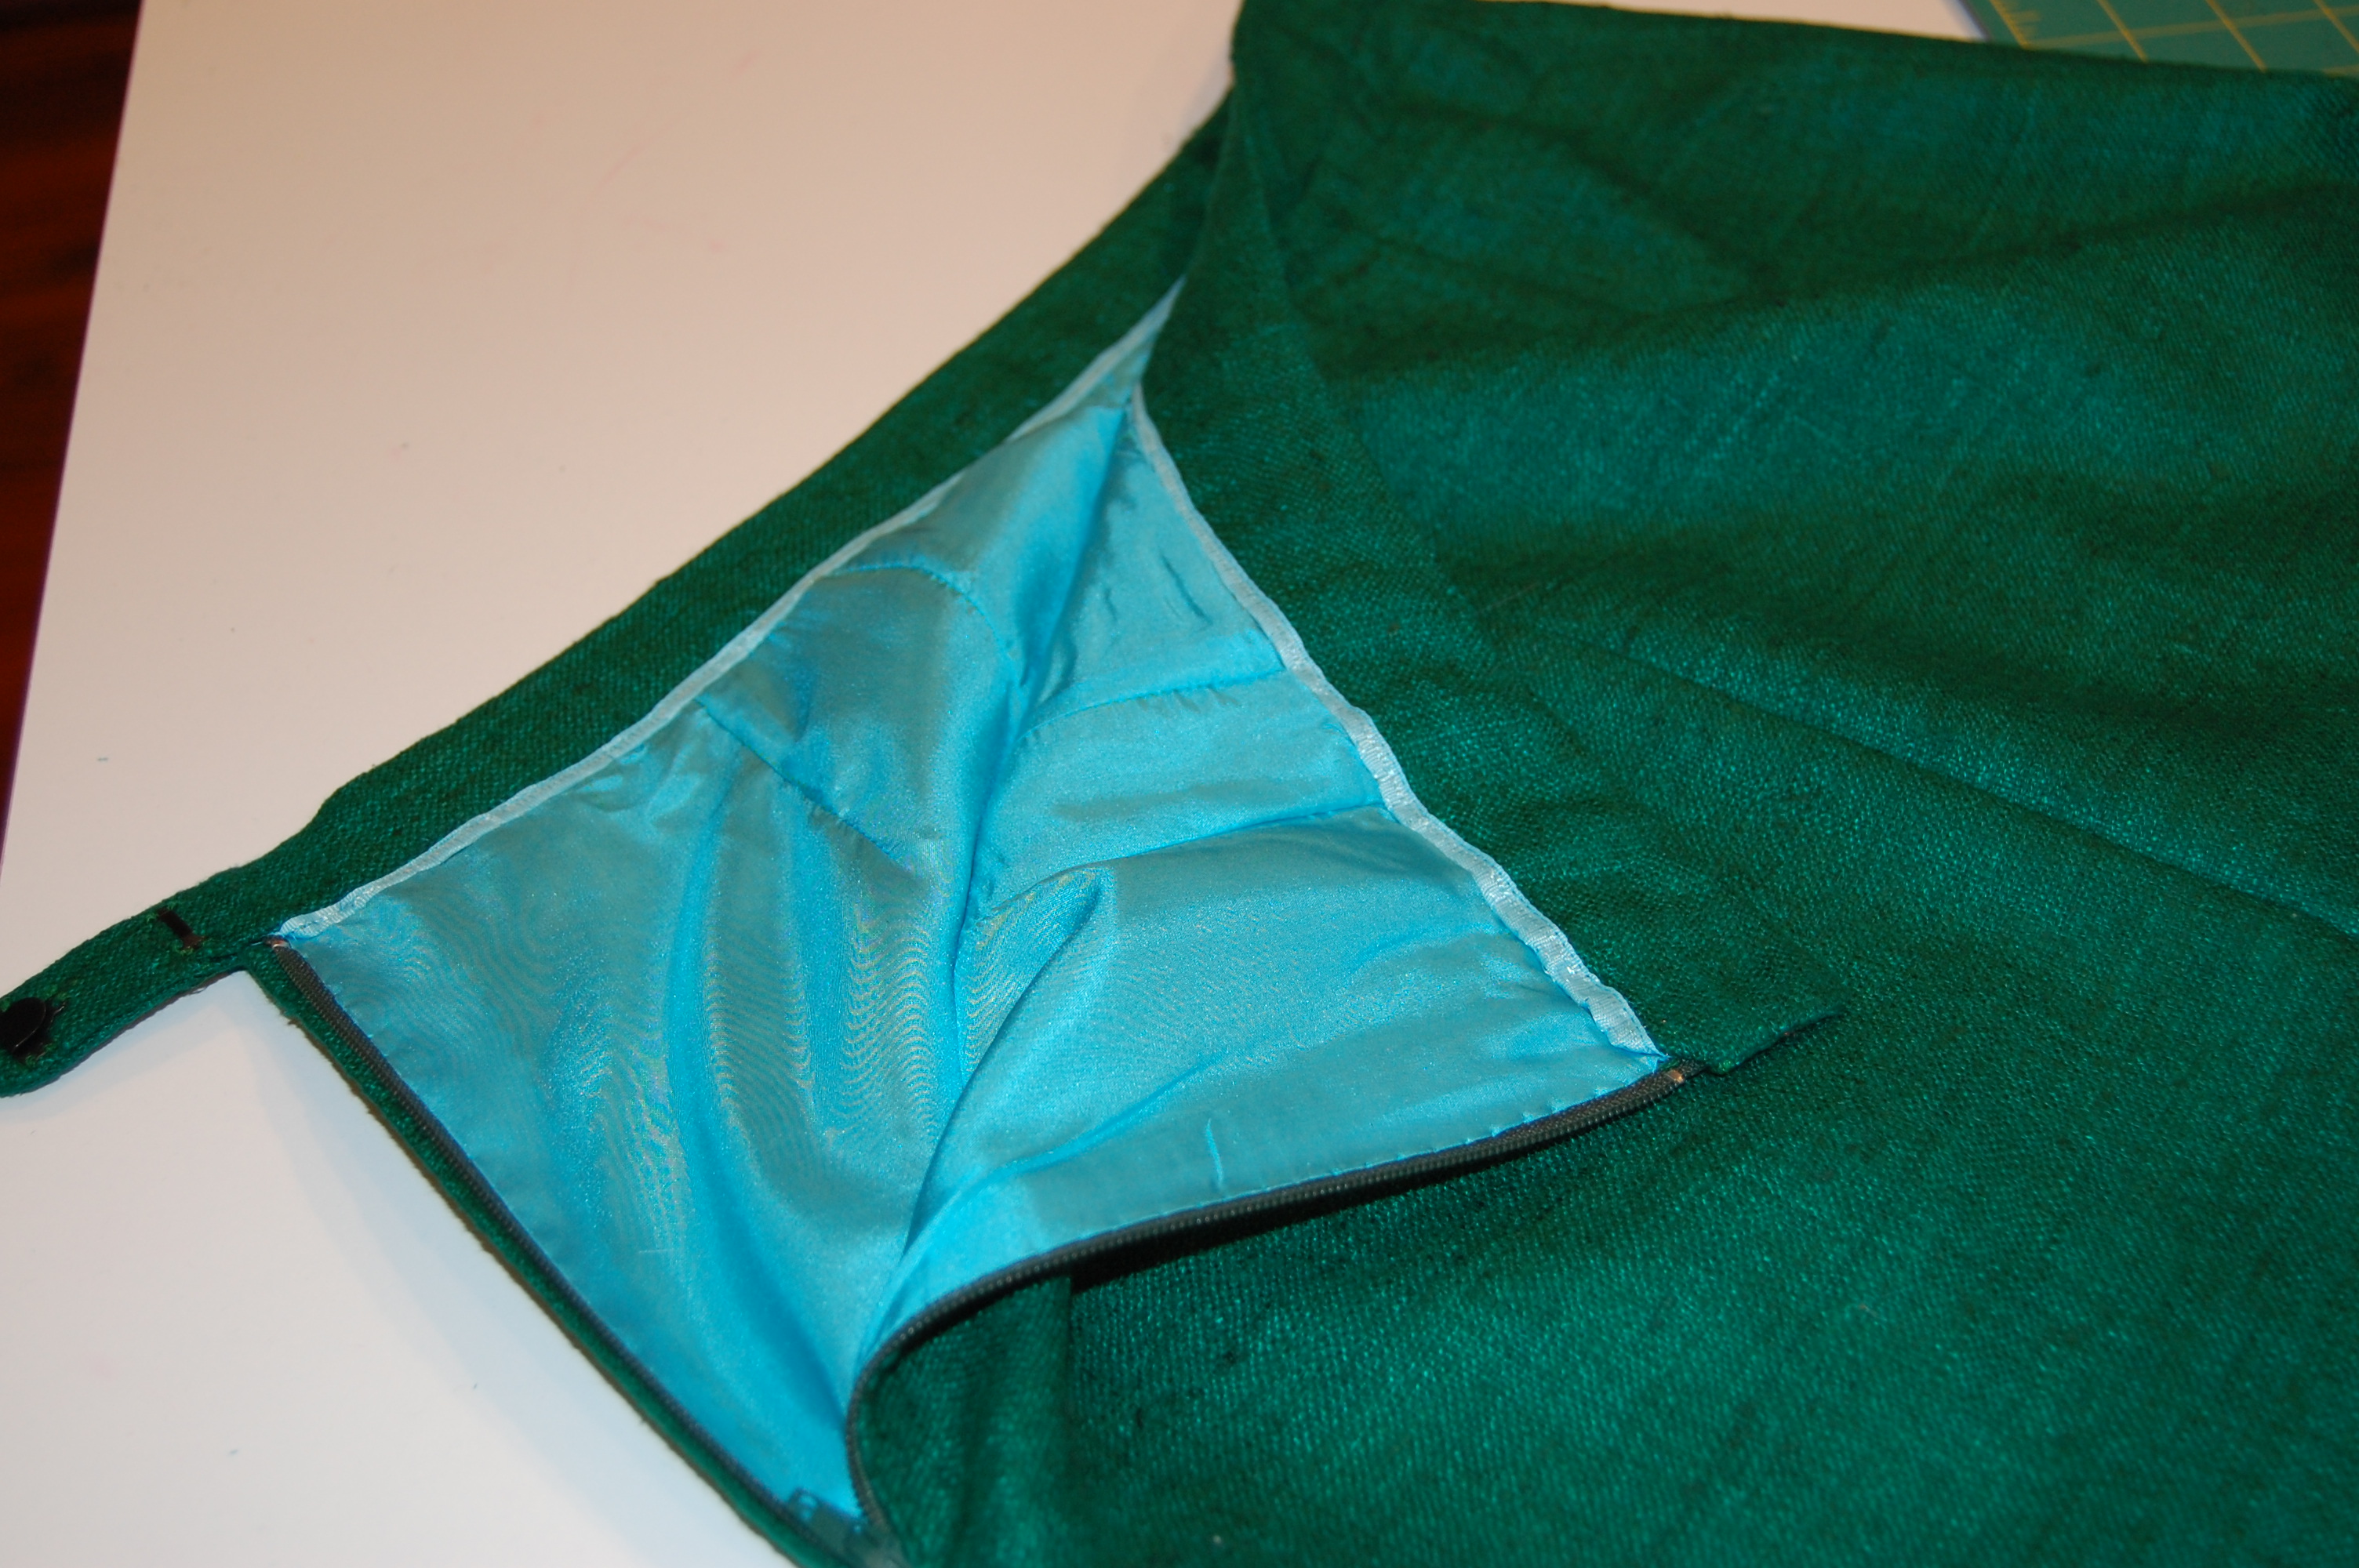
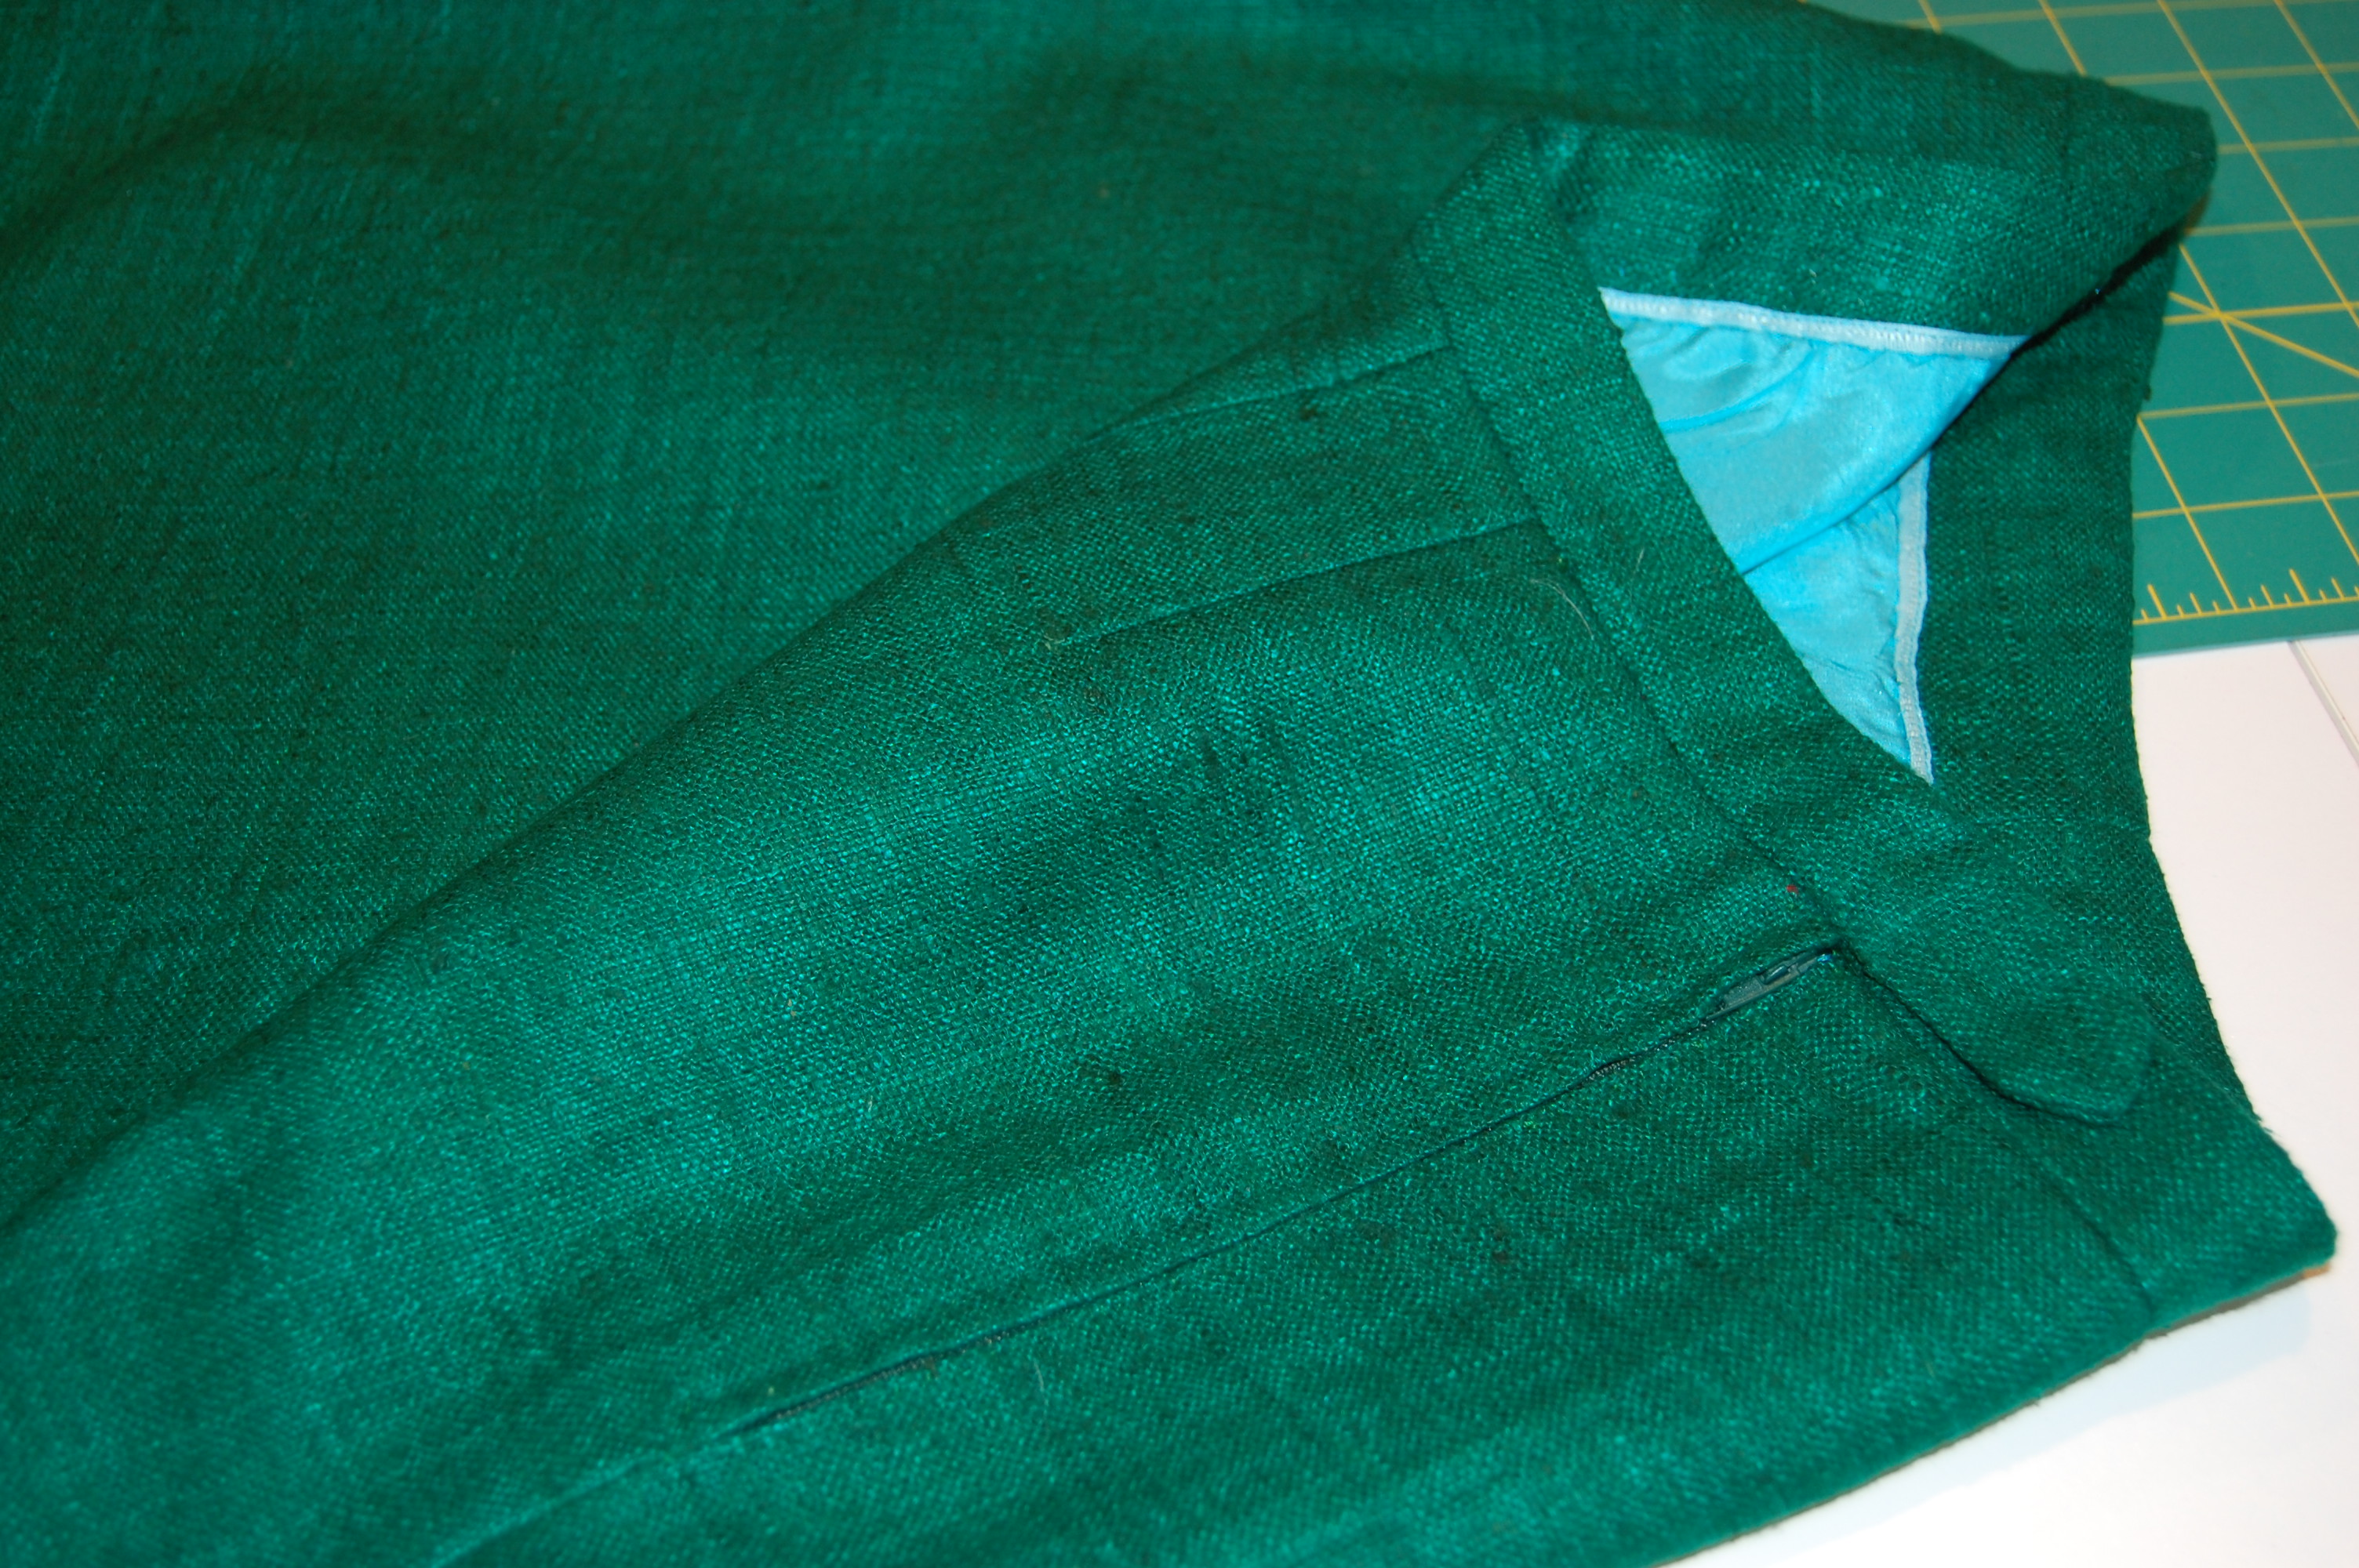
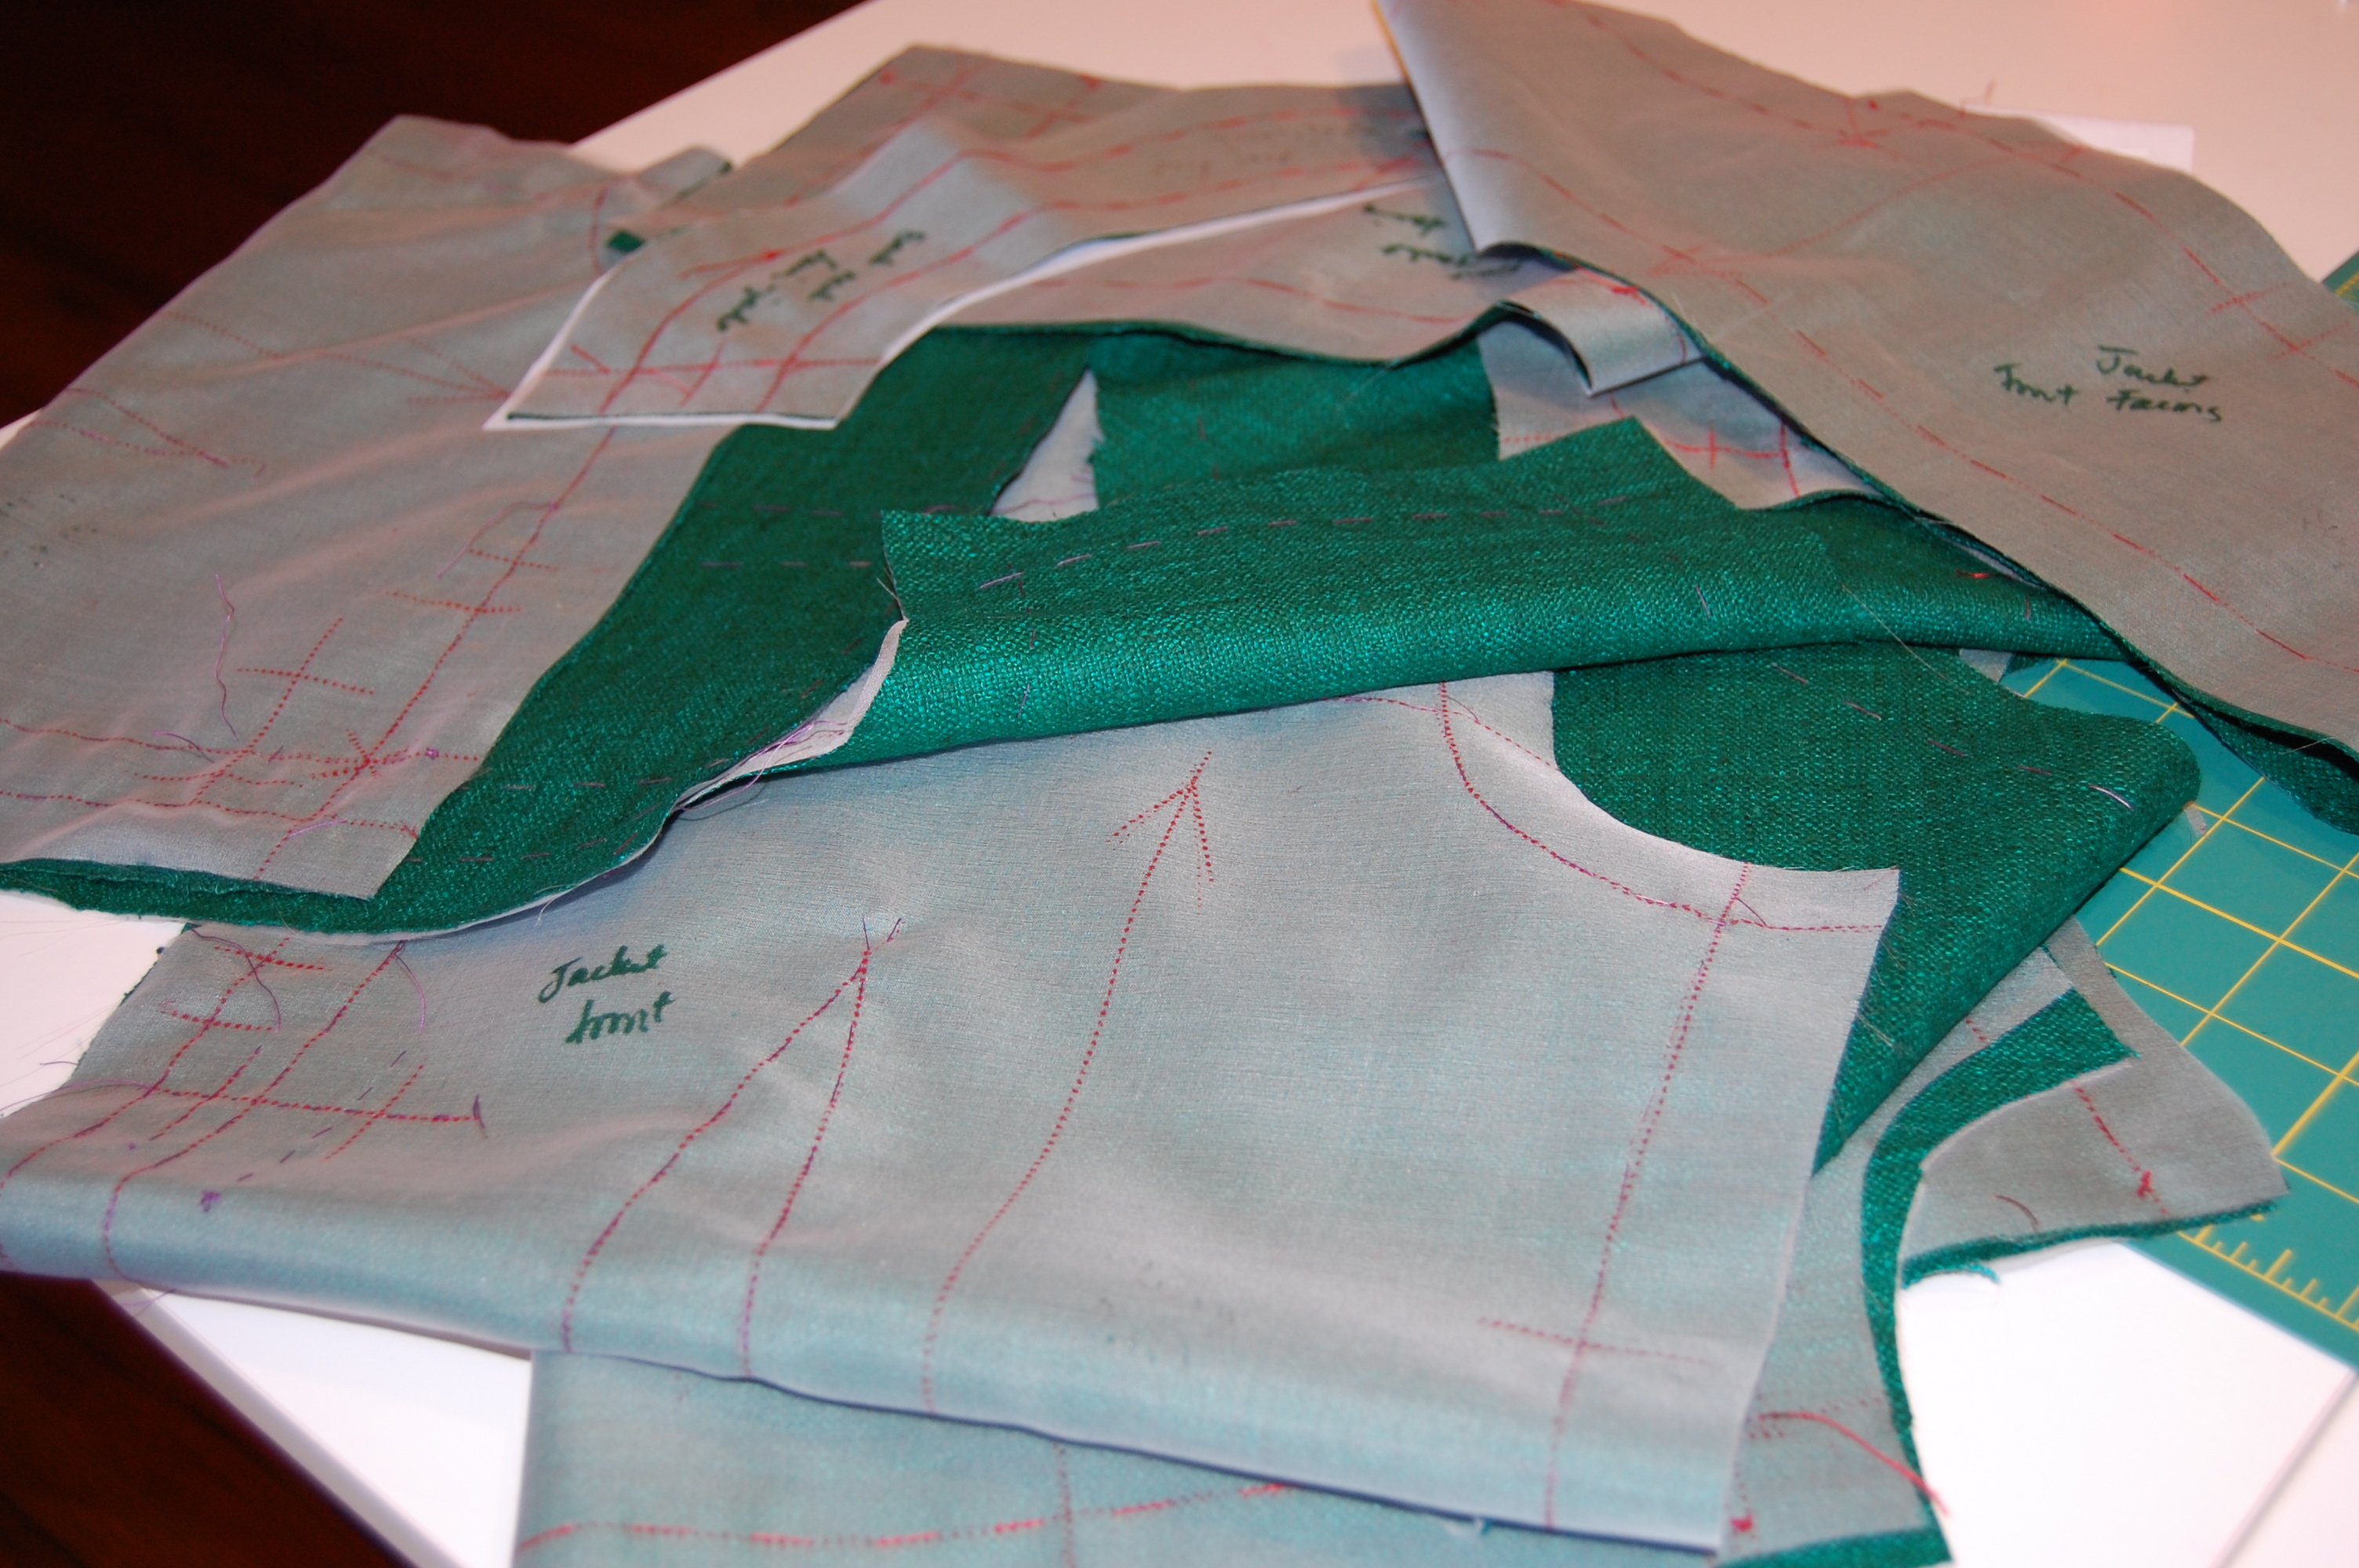
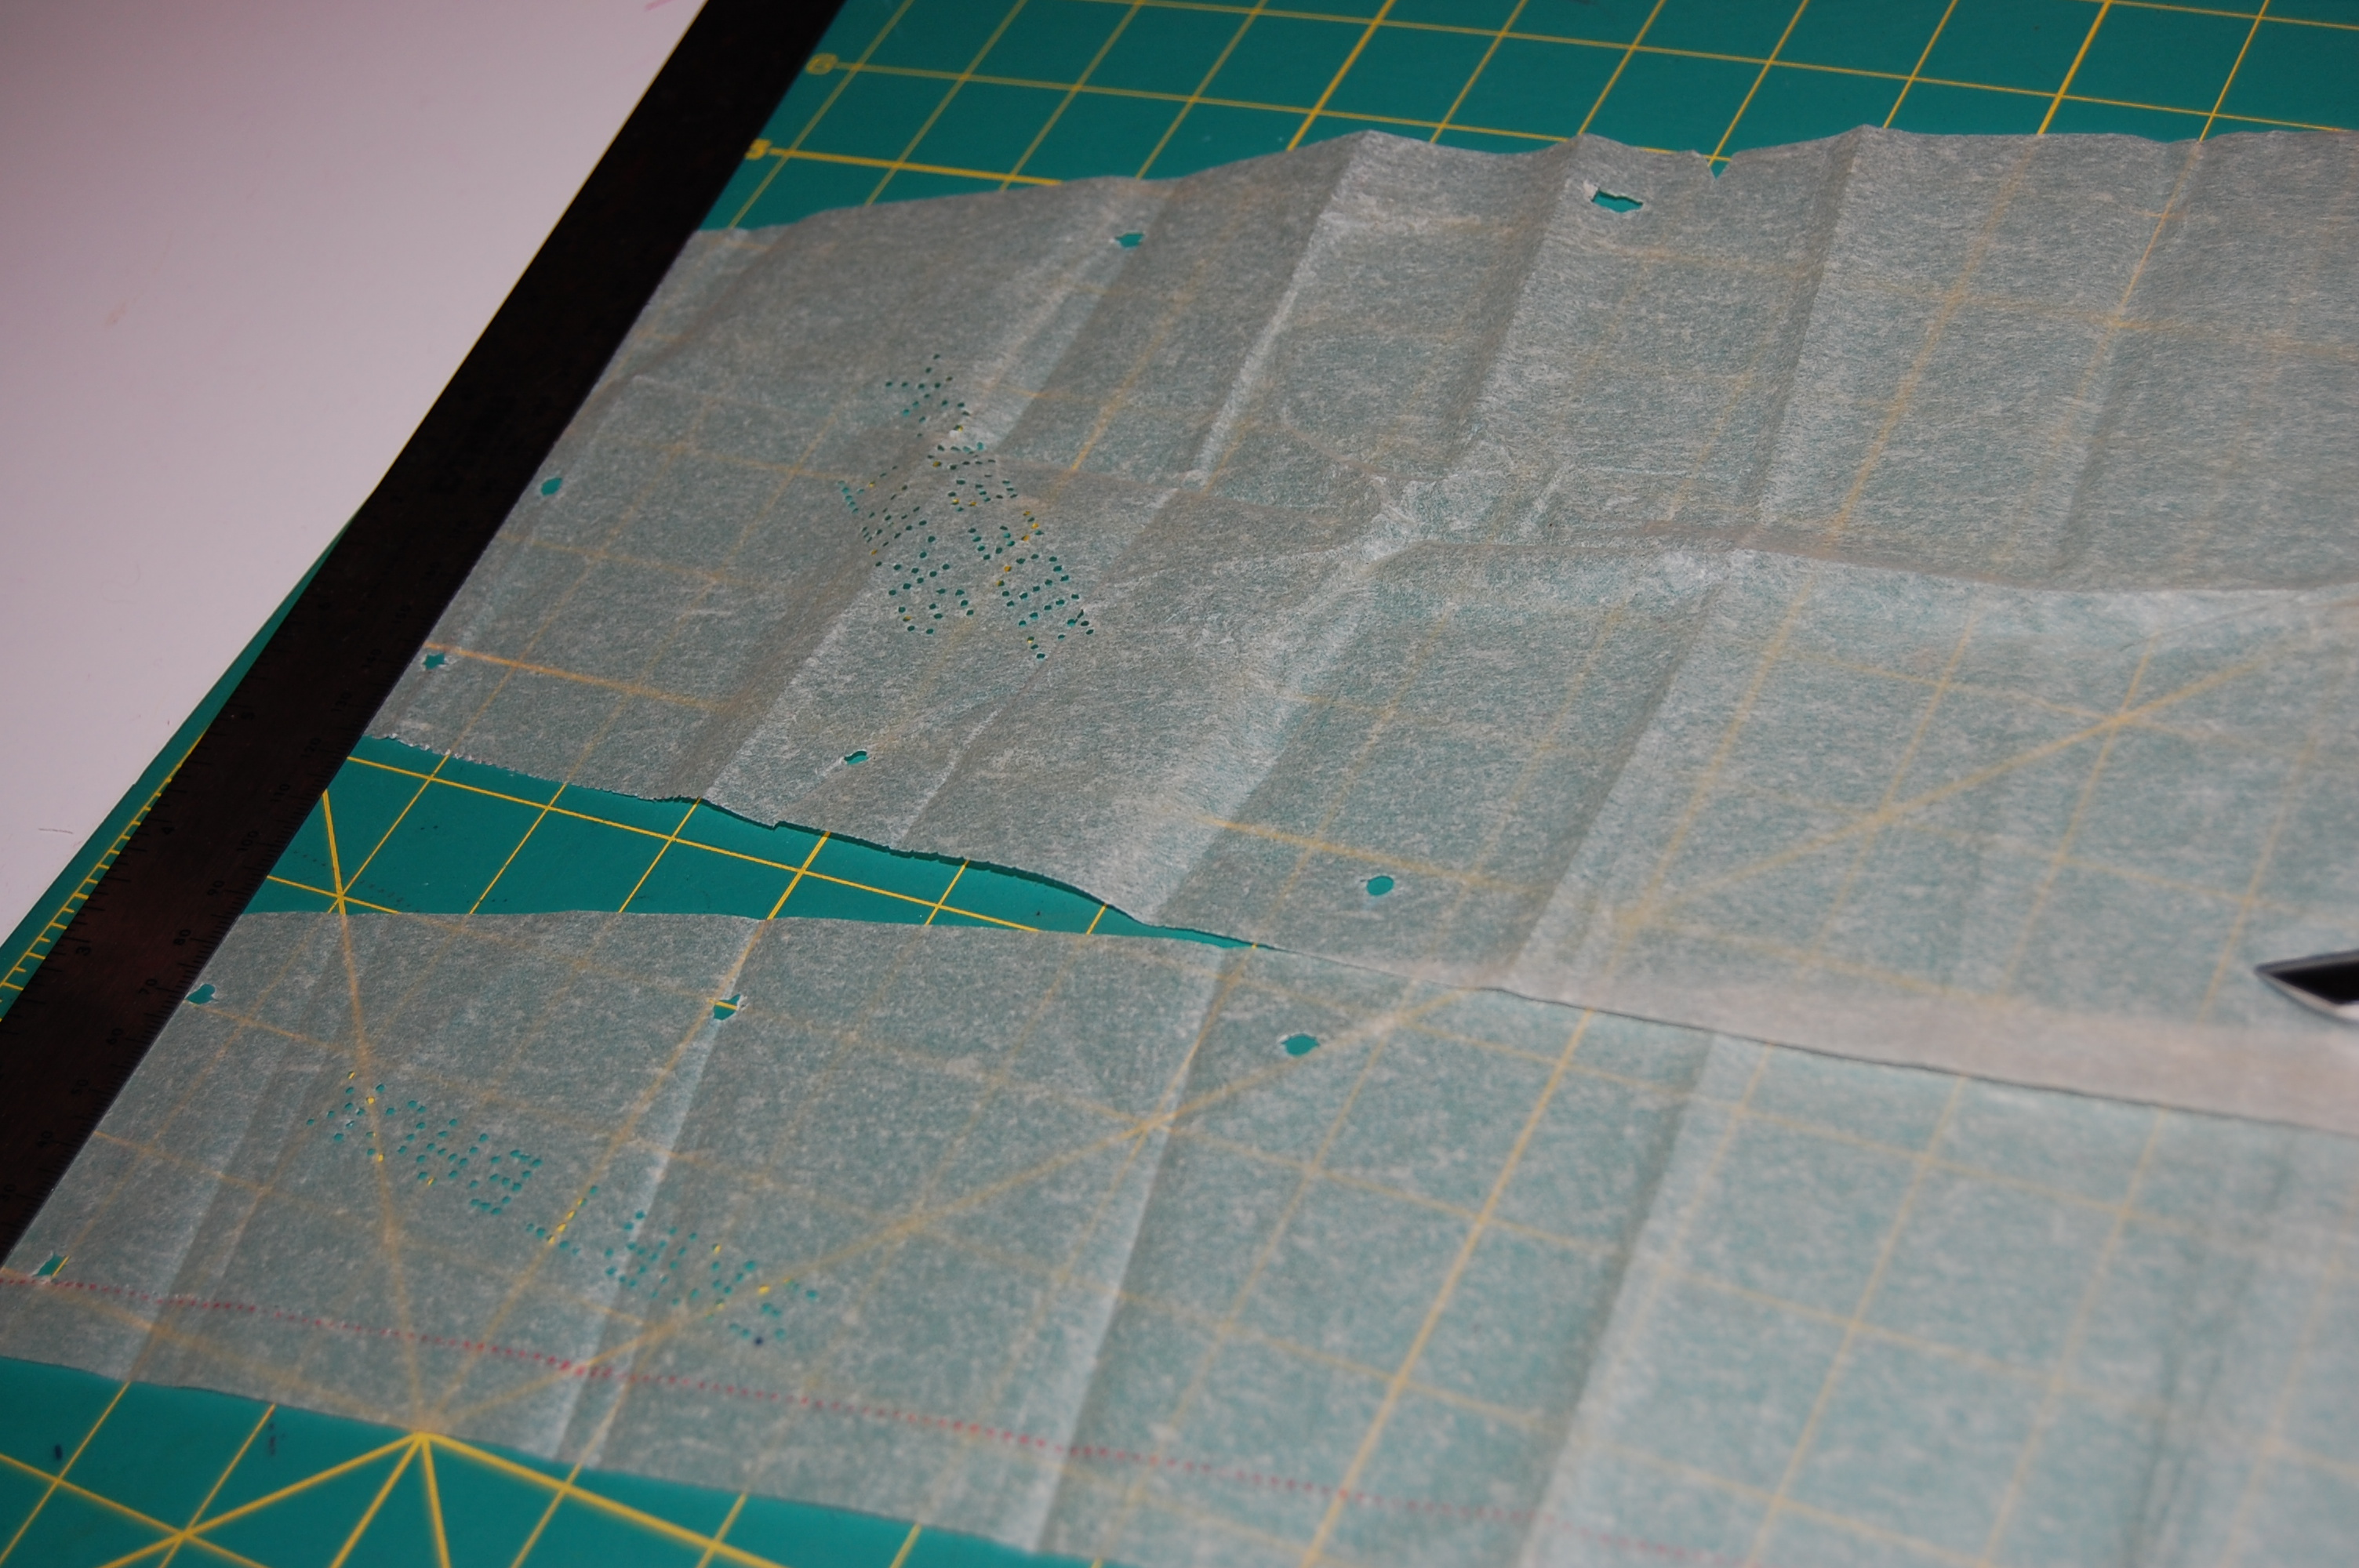
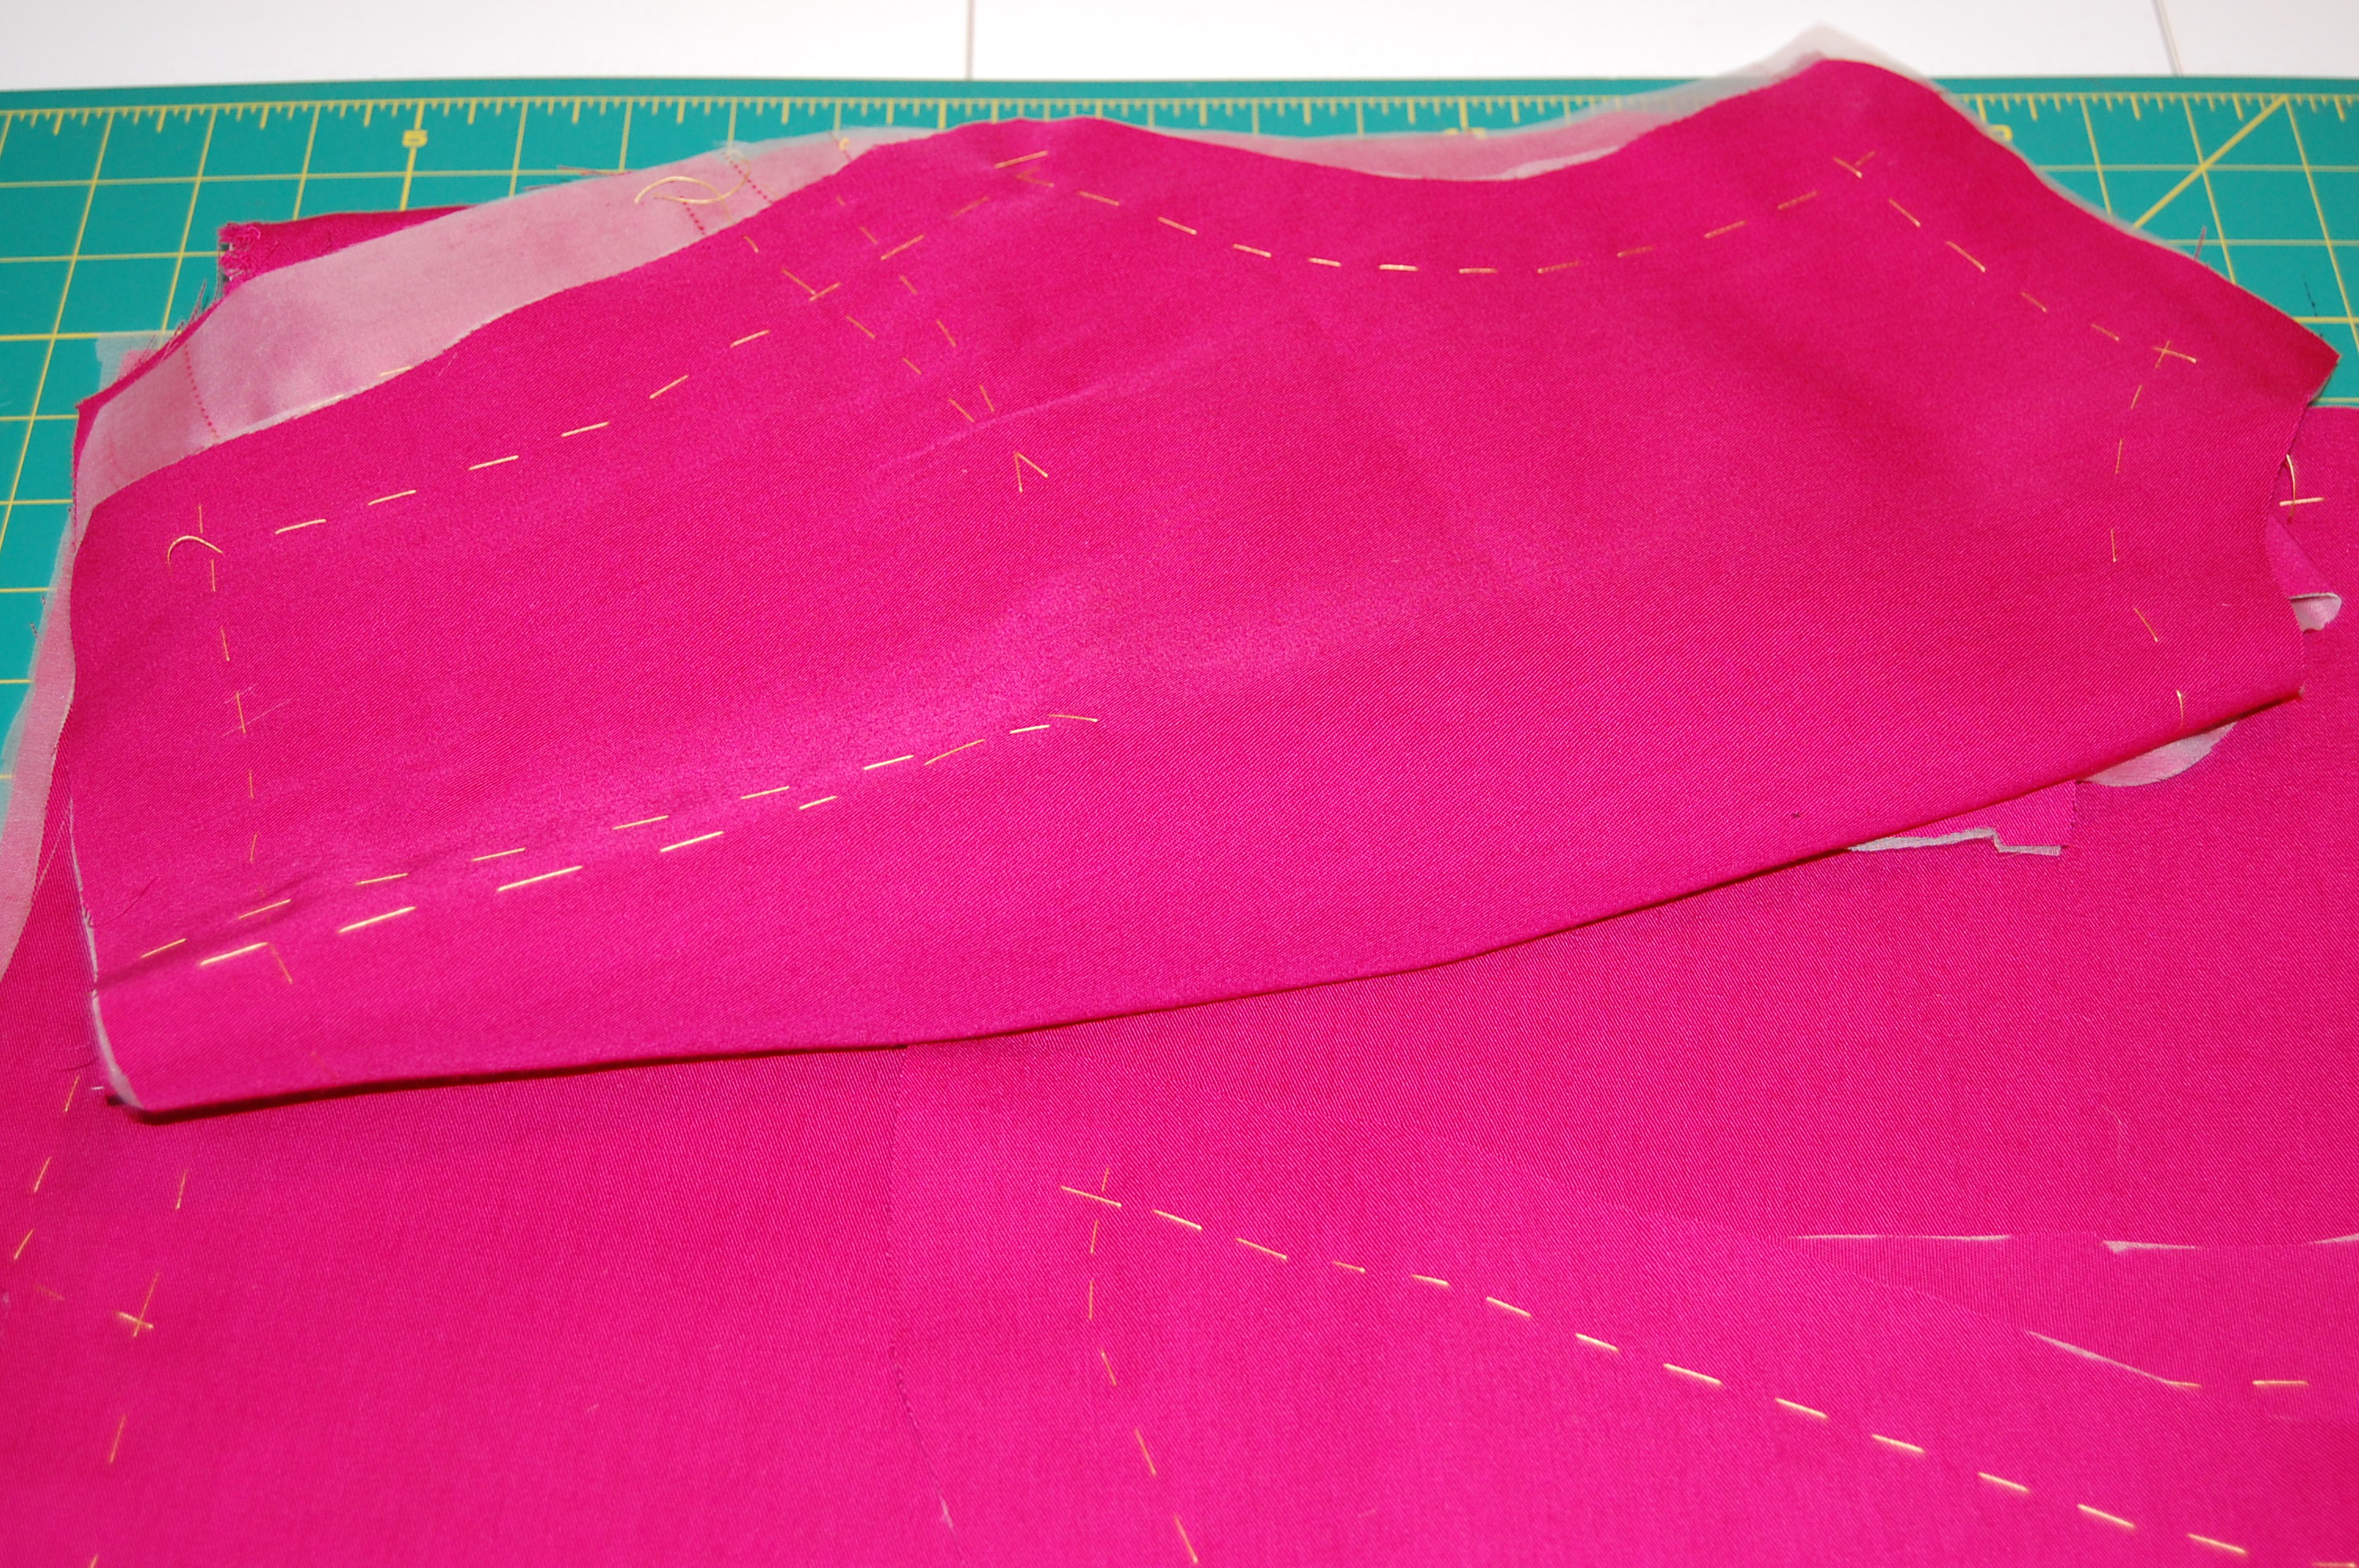
1) My Chanel-inspired classic French jacket is my current project, and I am happy to report that I am making slow but steady progress on it.
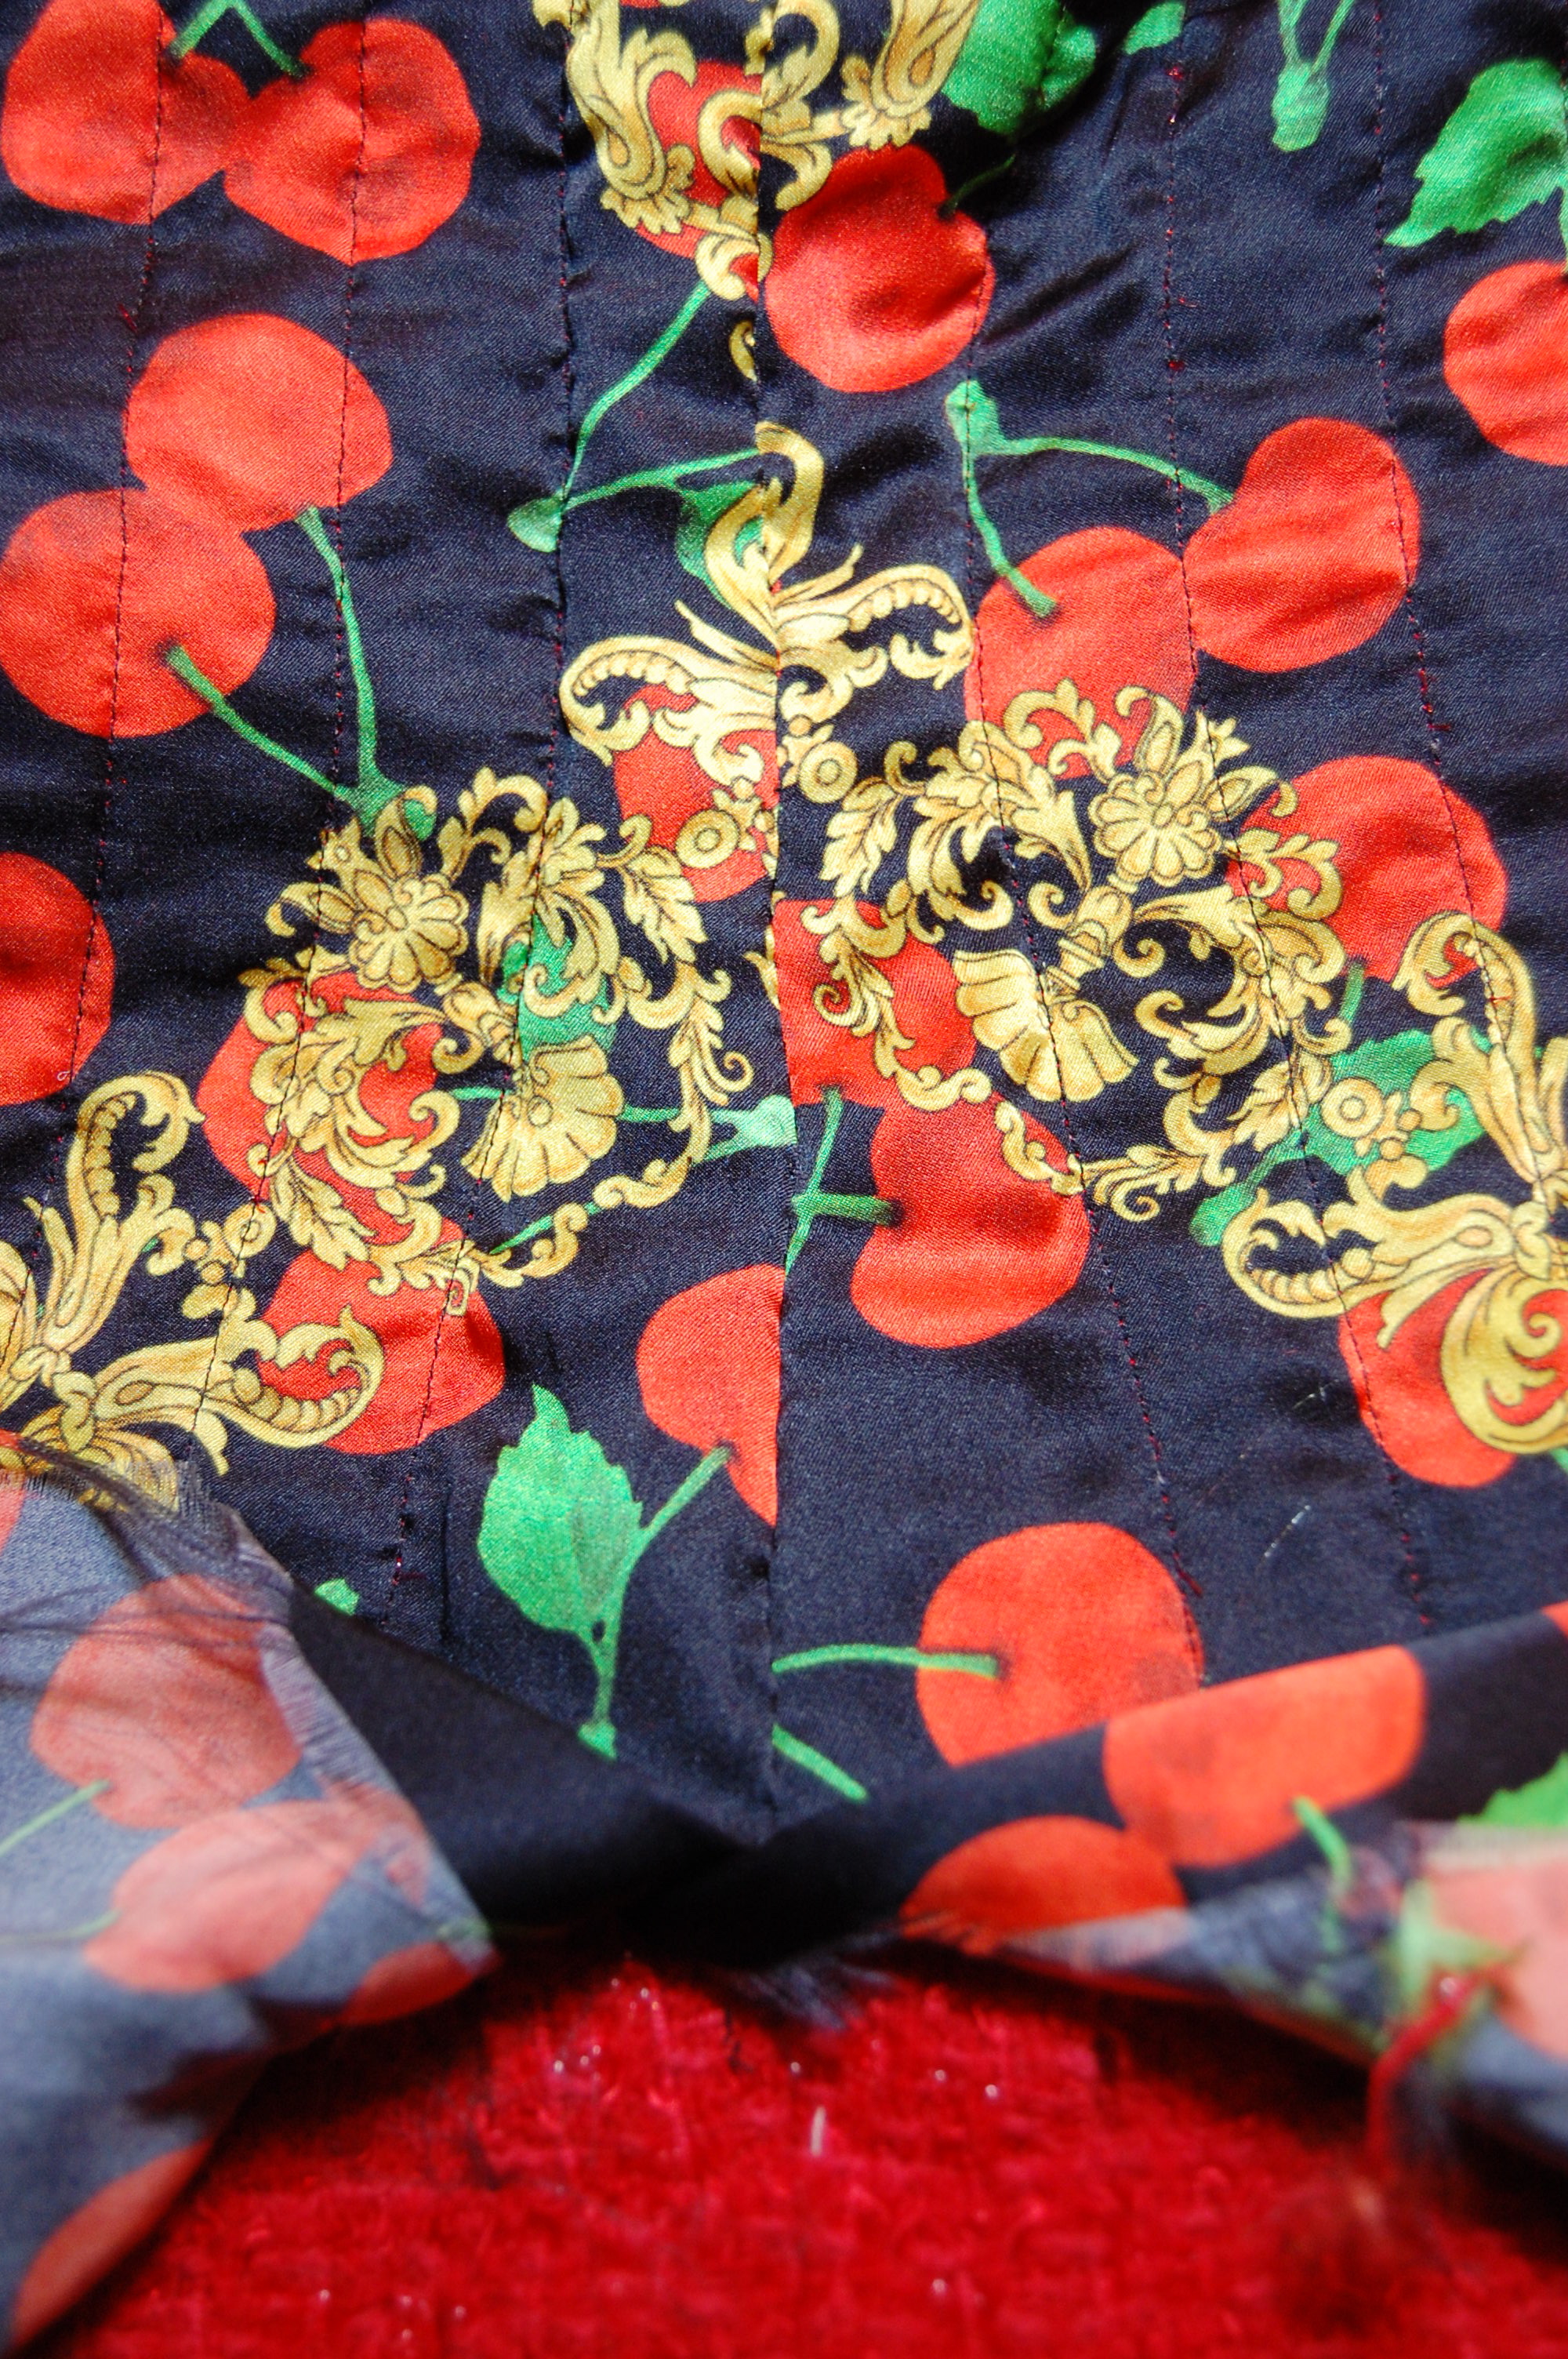
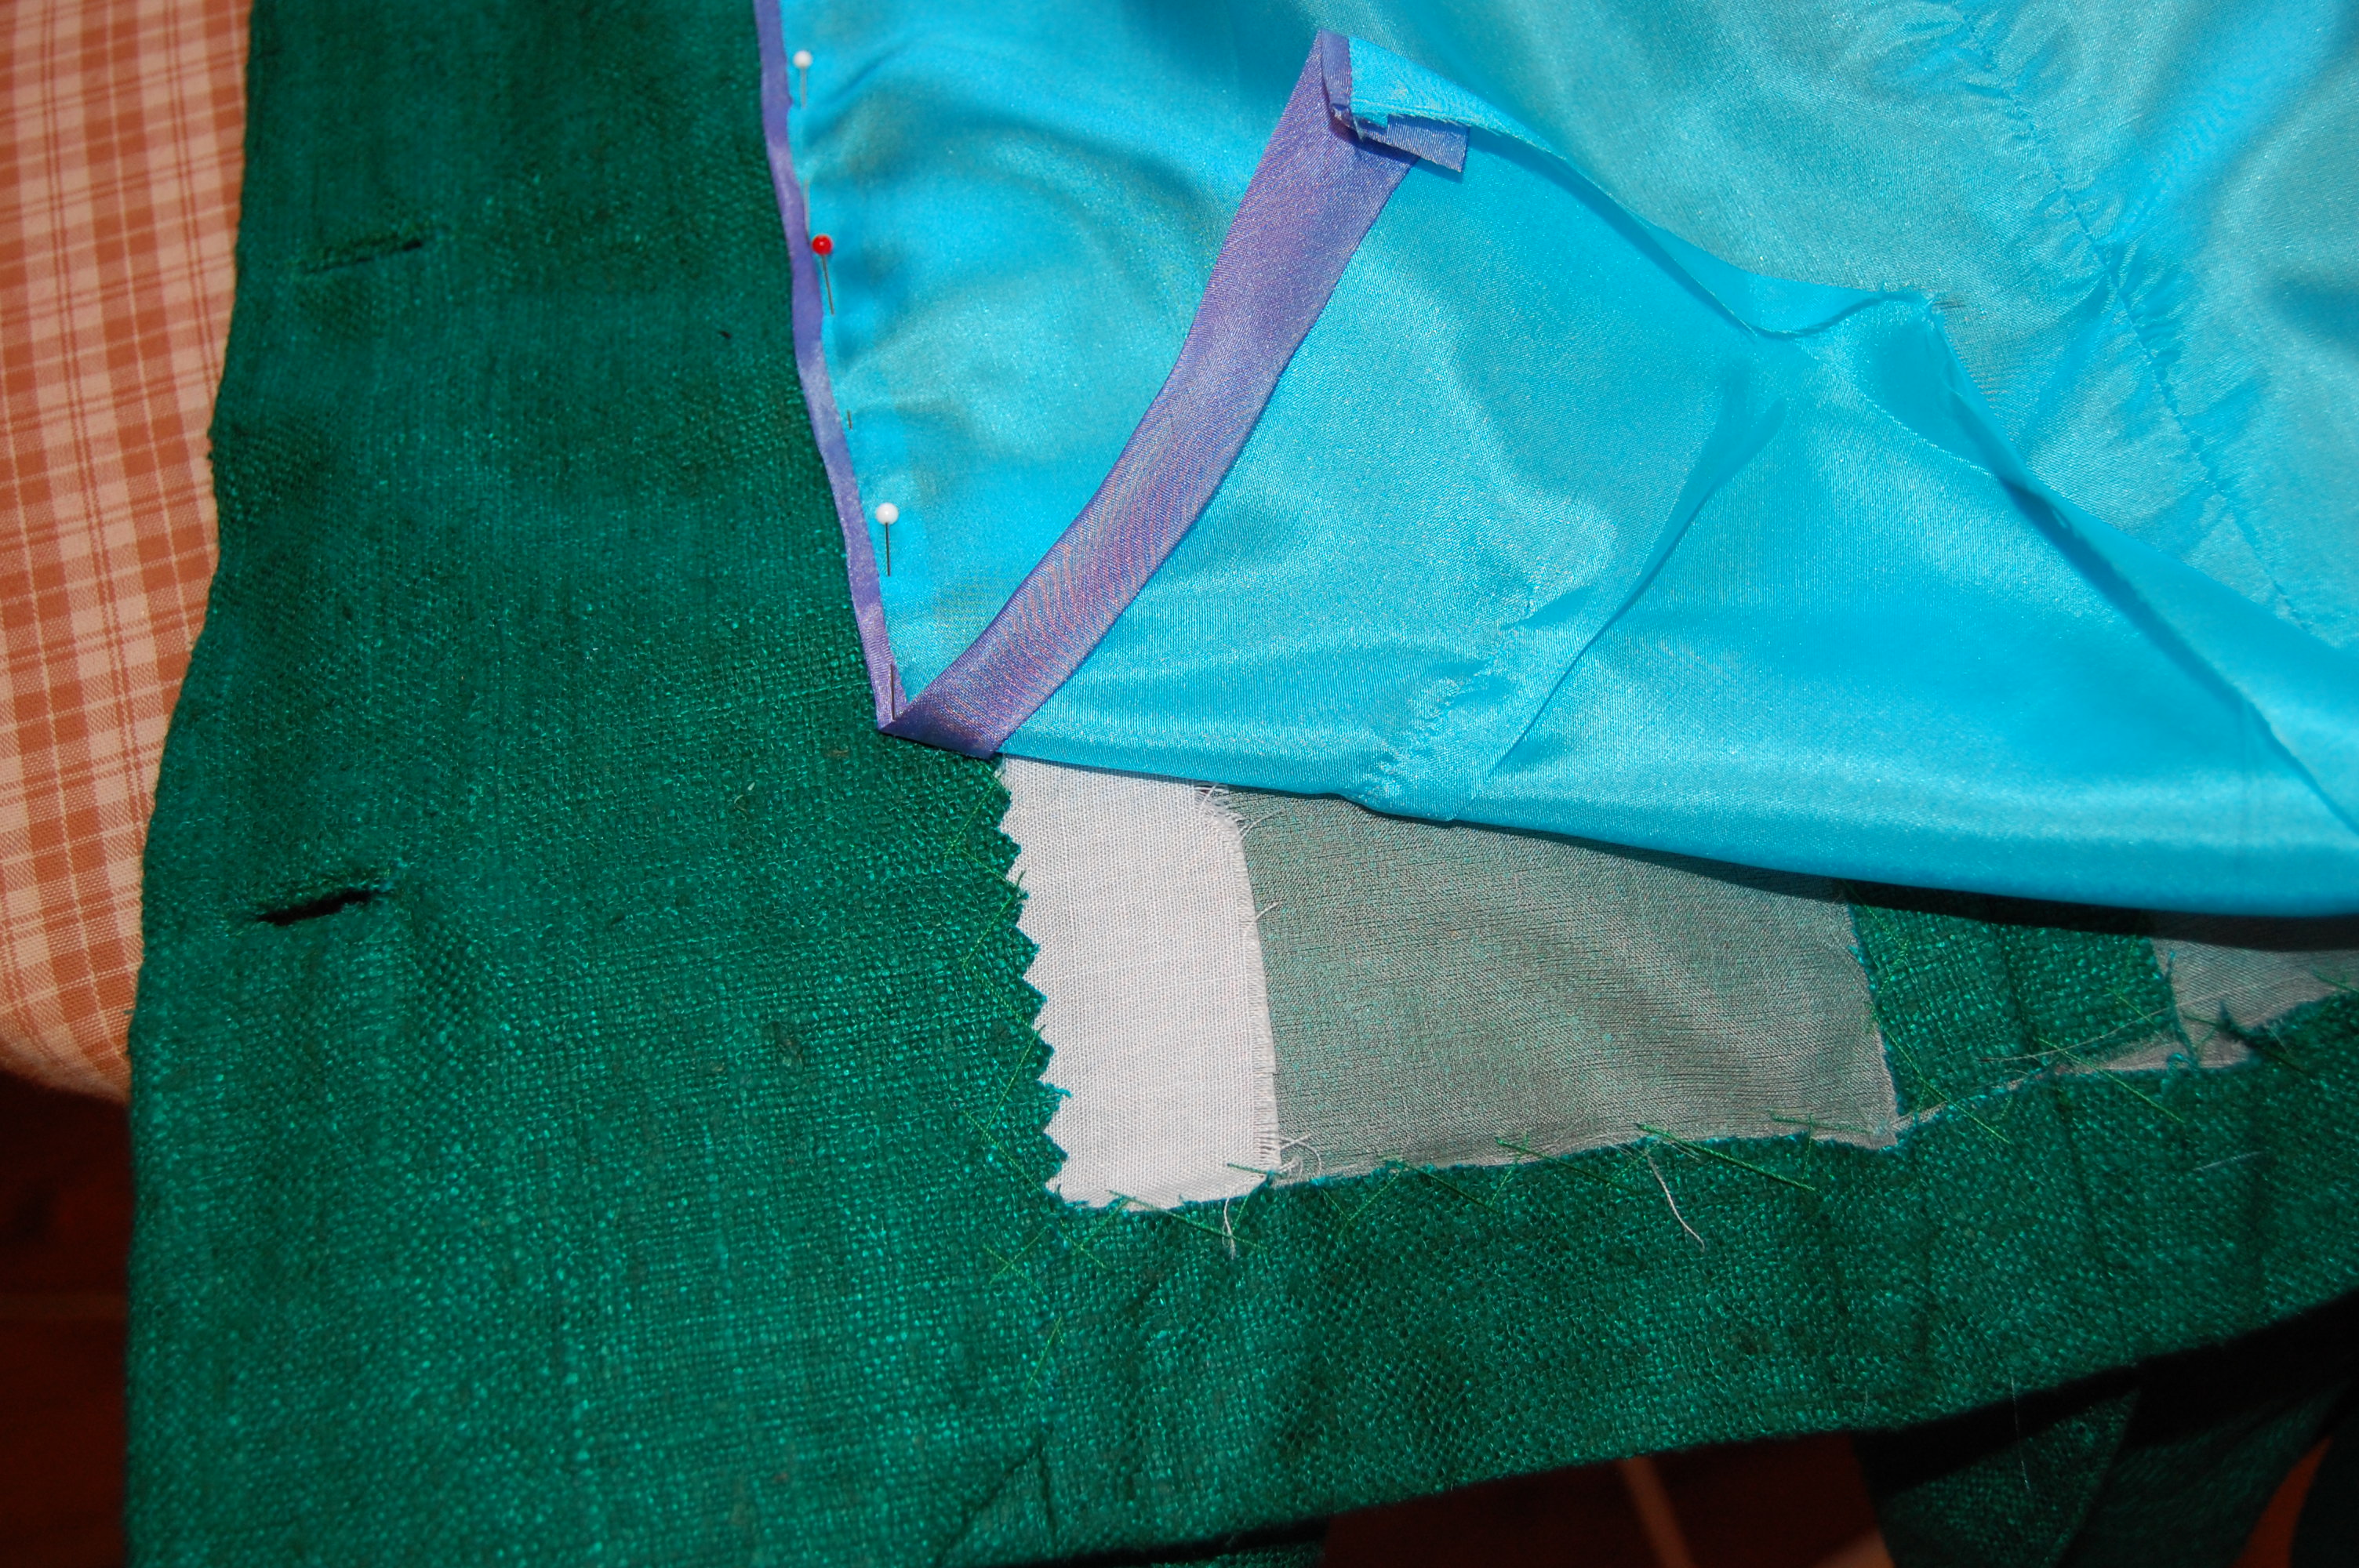
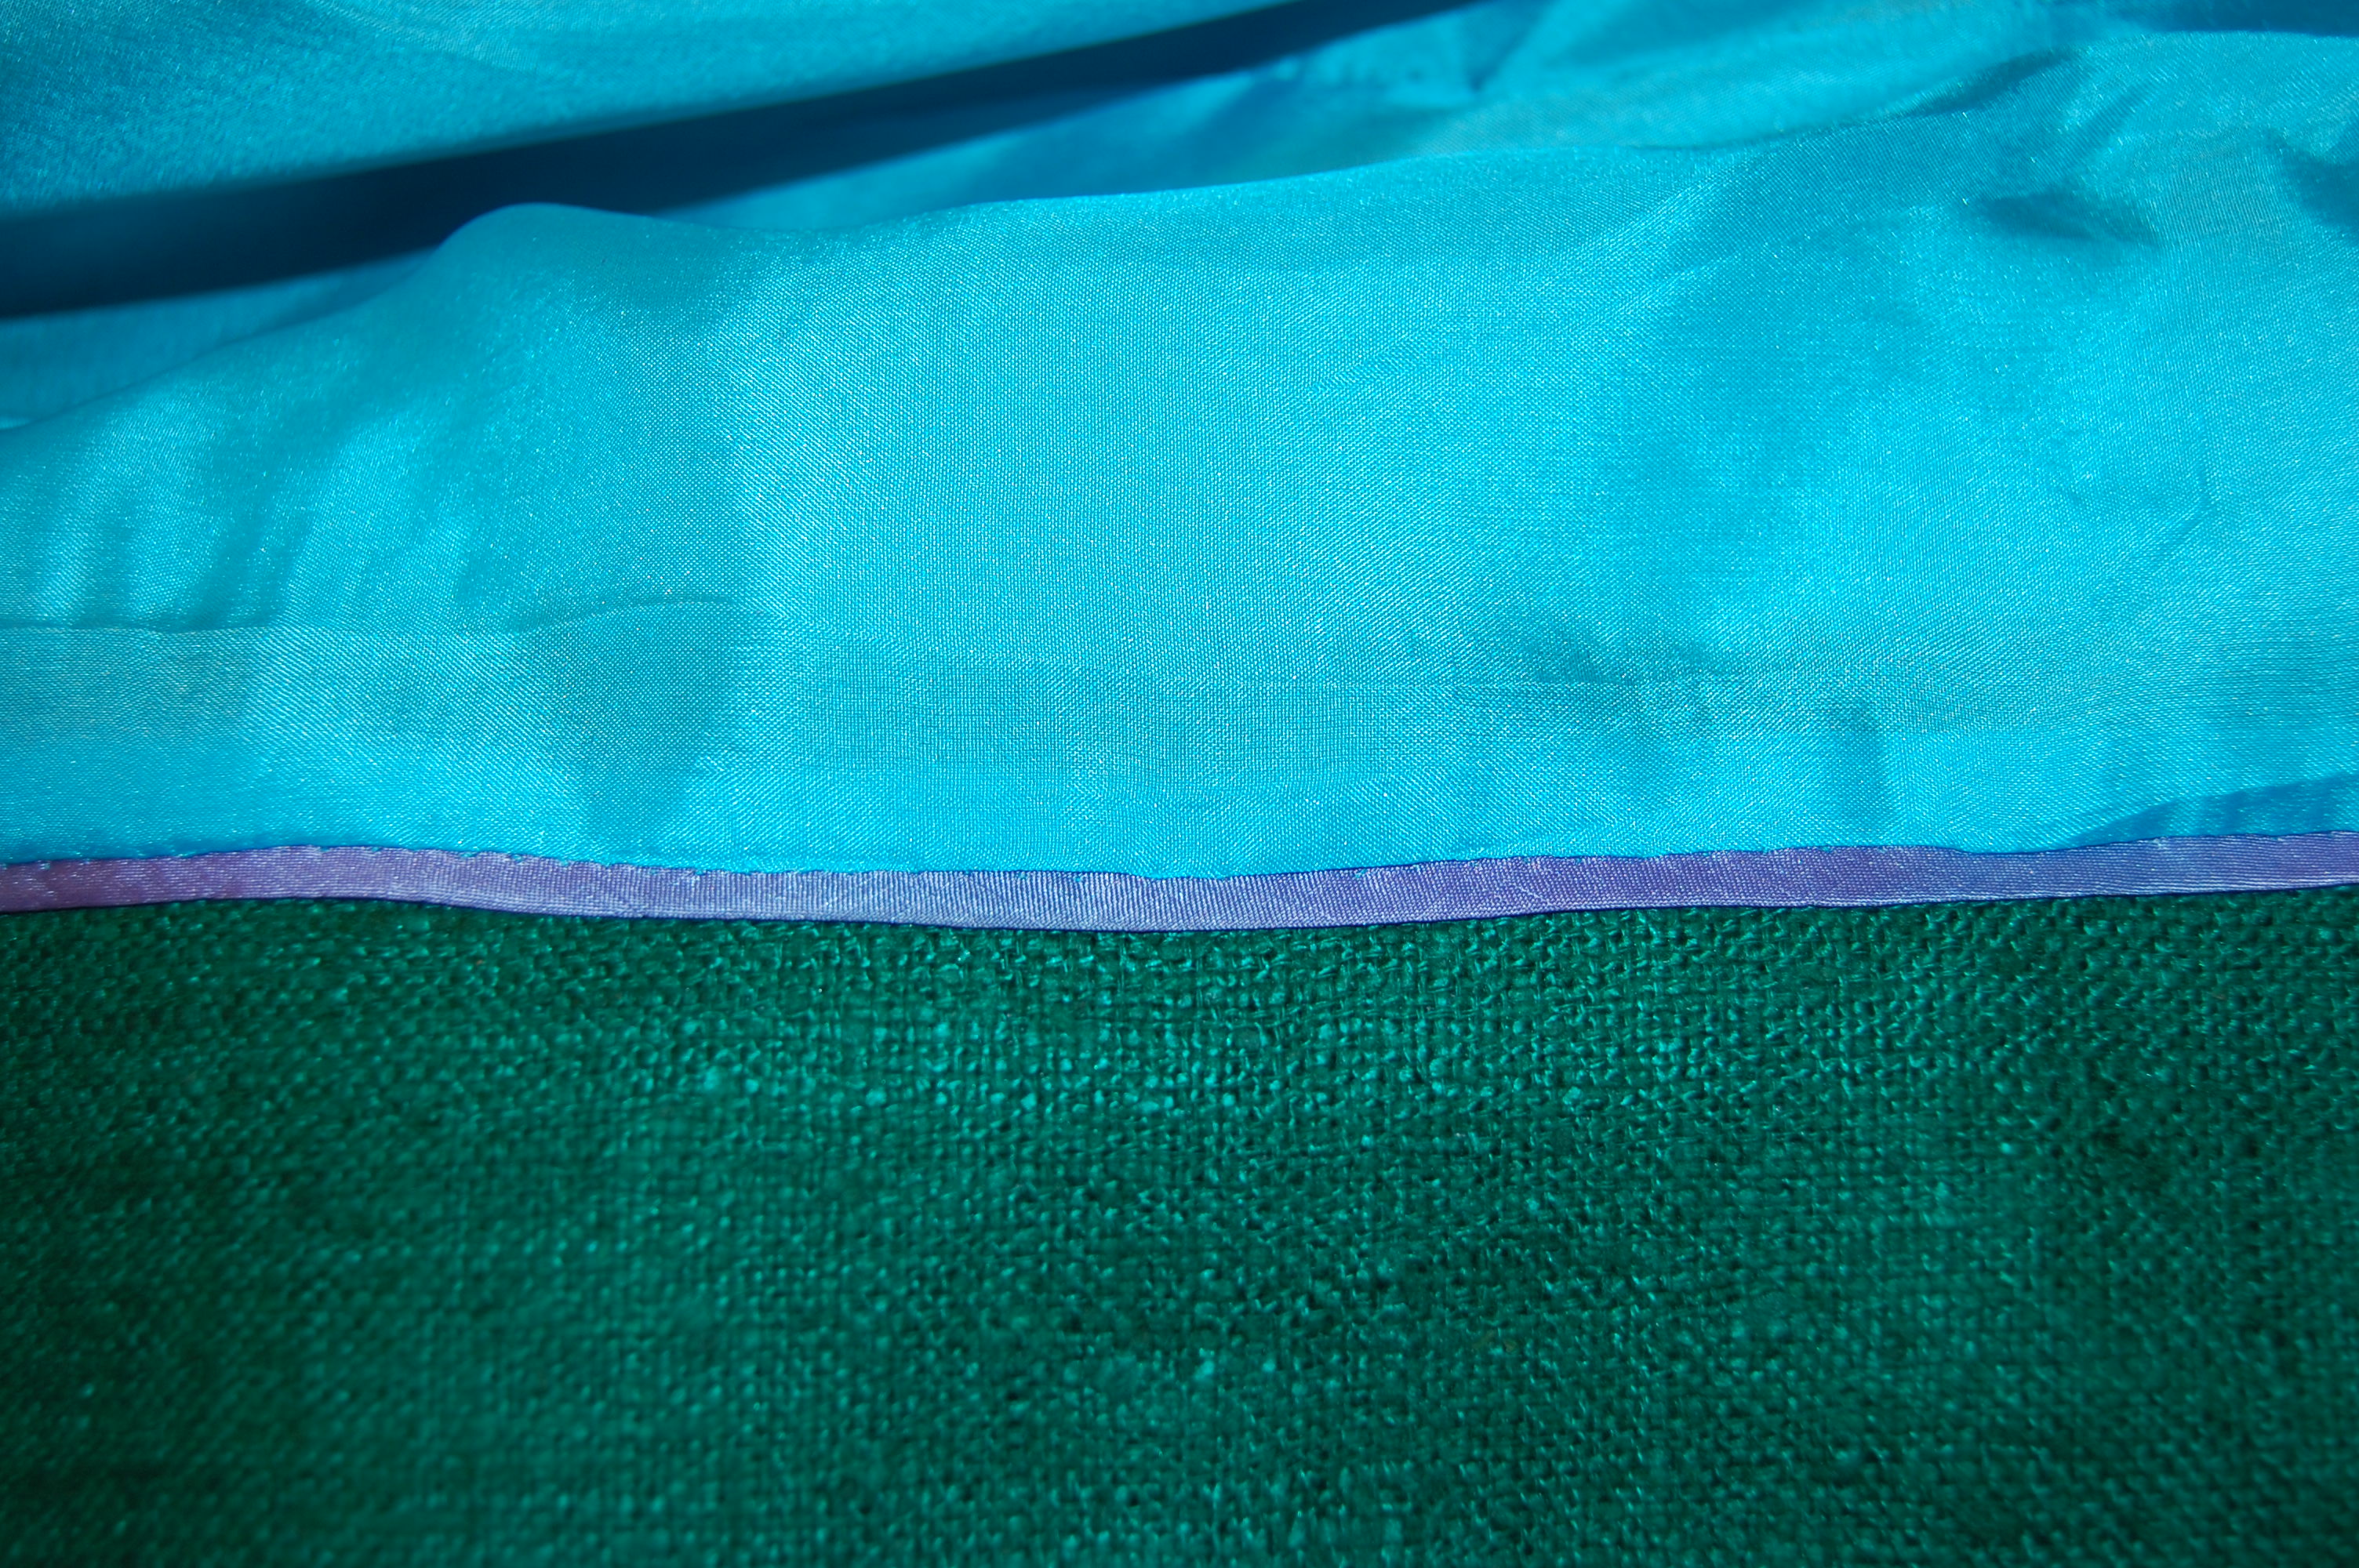
2) I won’t consider the jacket really complete until I have made the bow blouse that will match its lining.
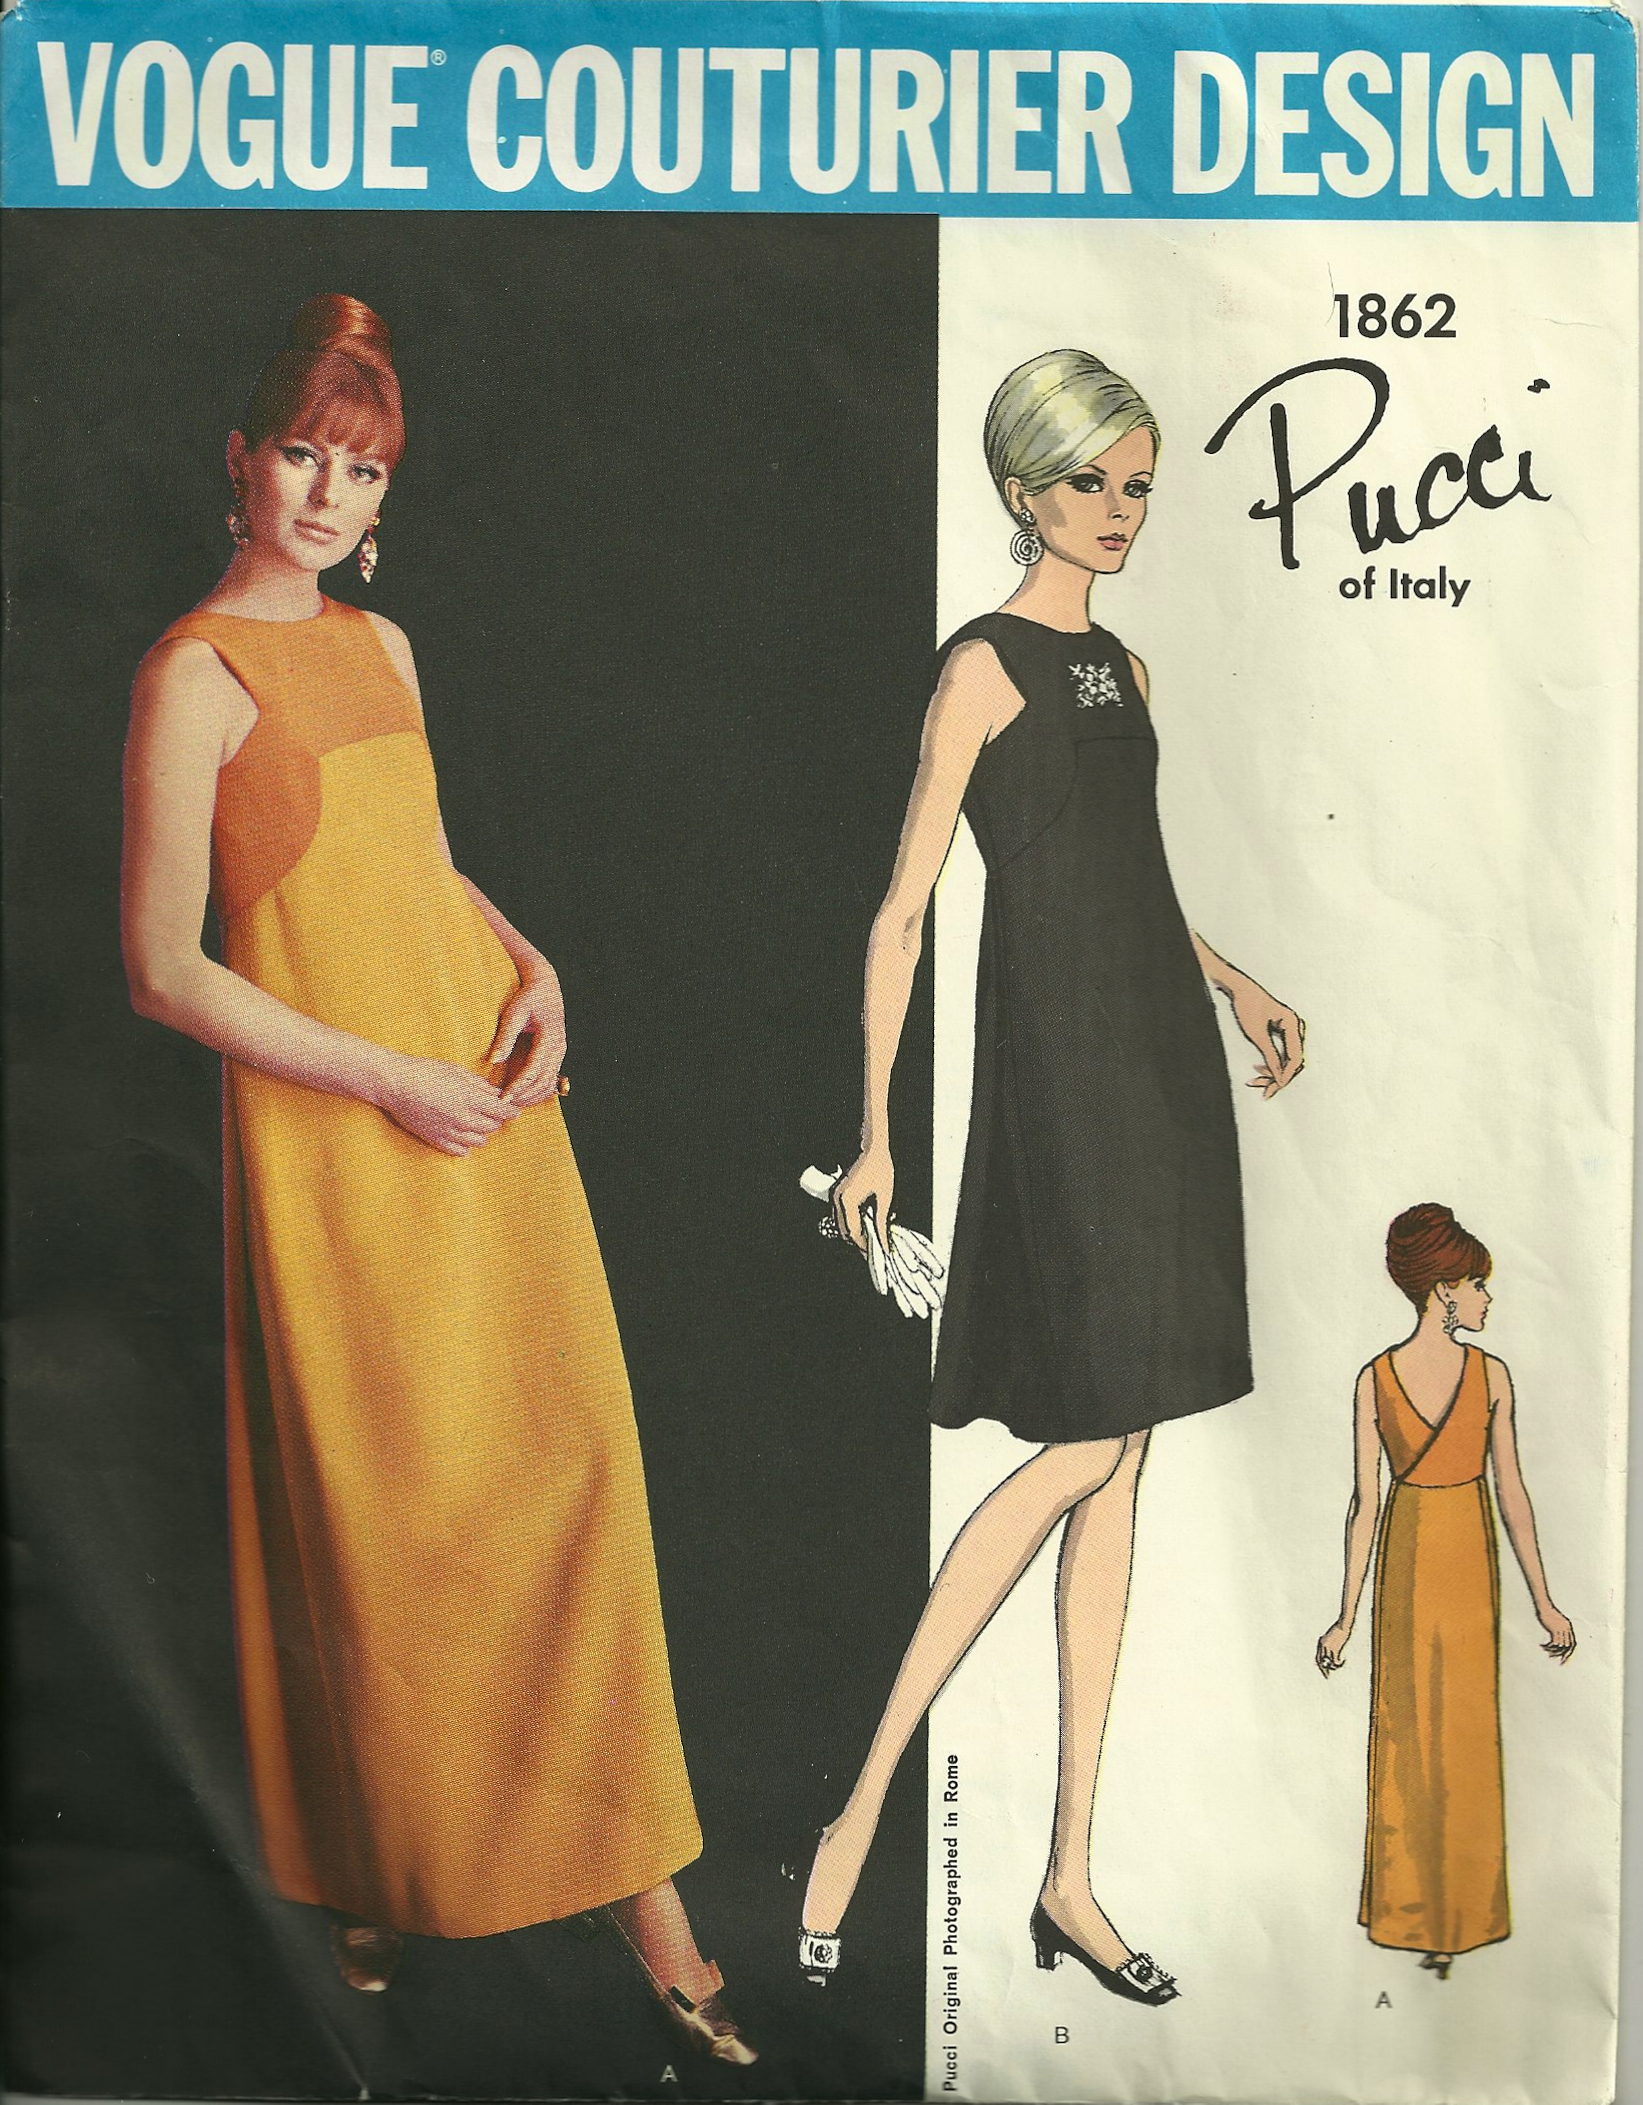
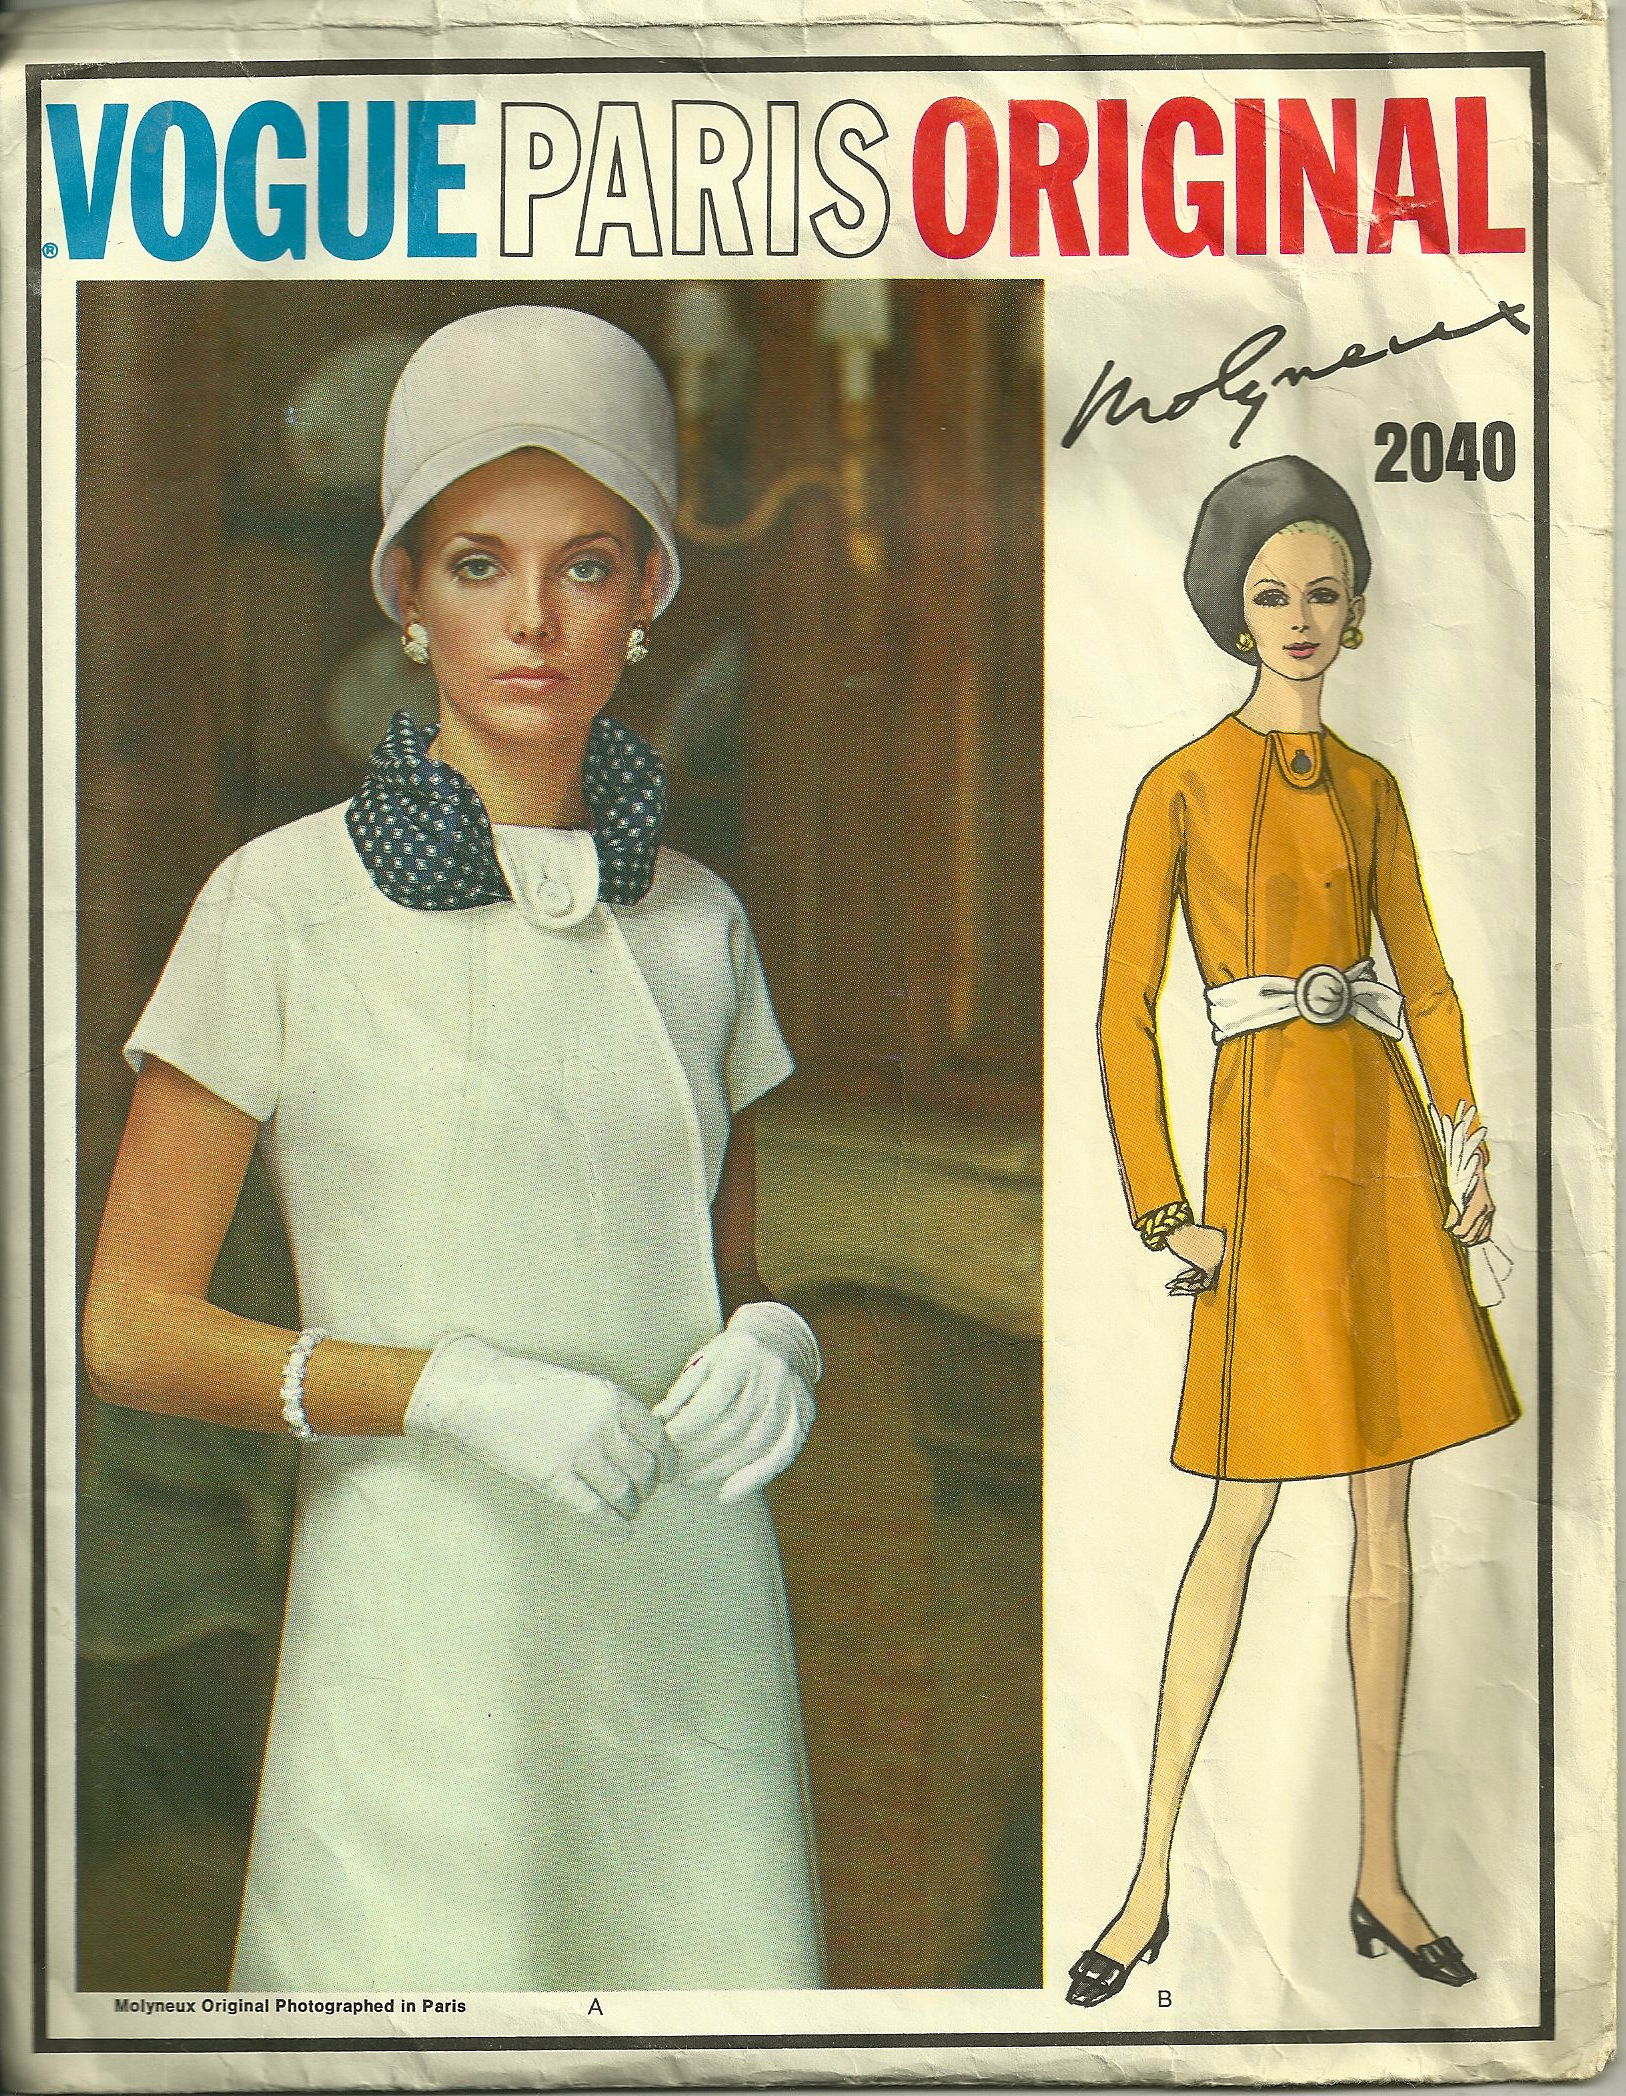
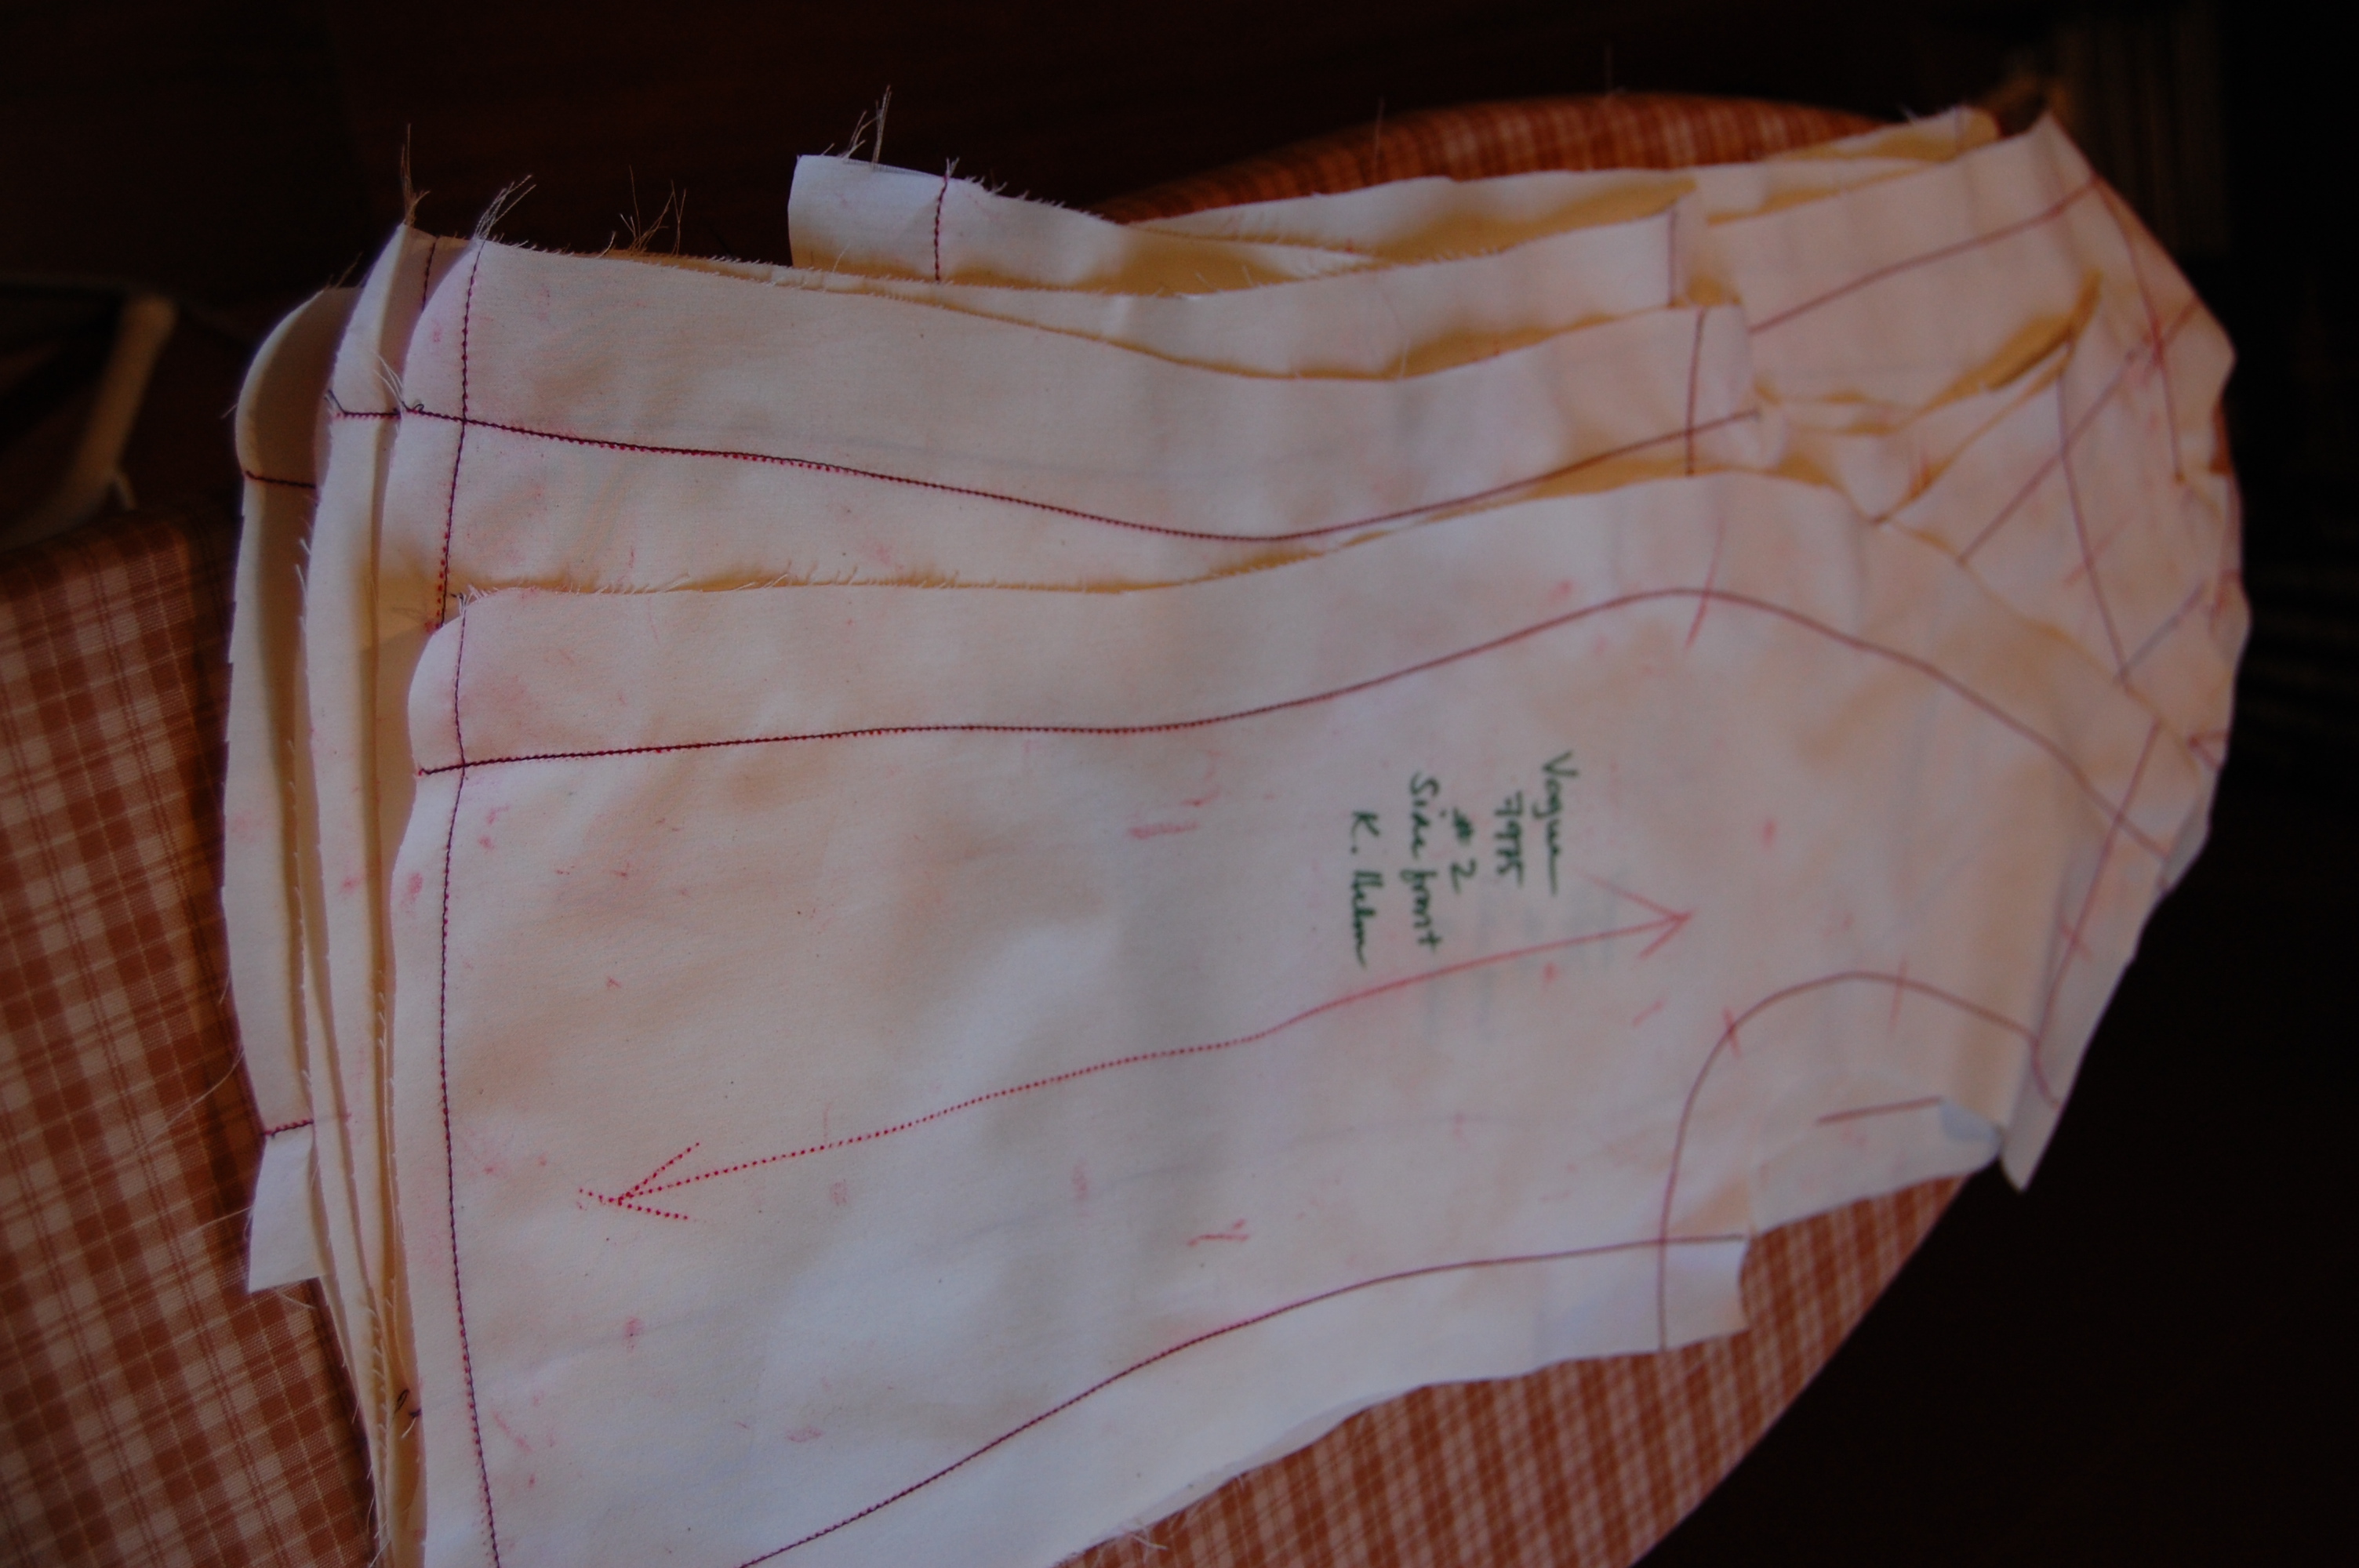
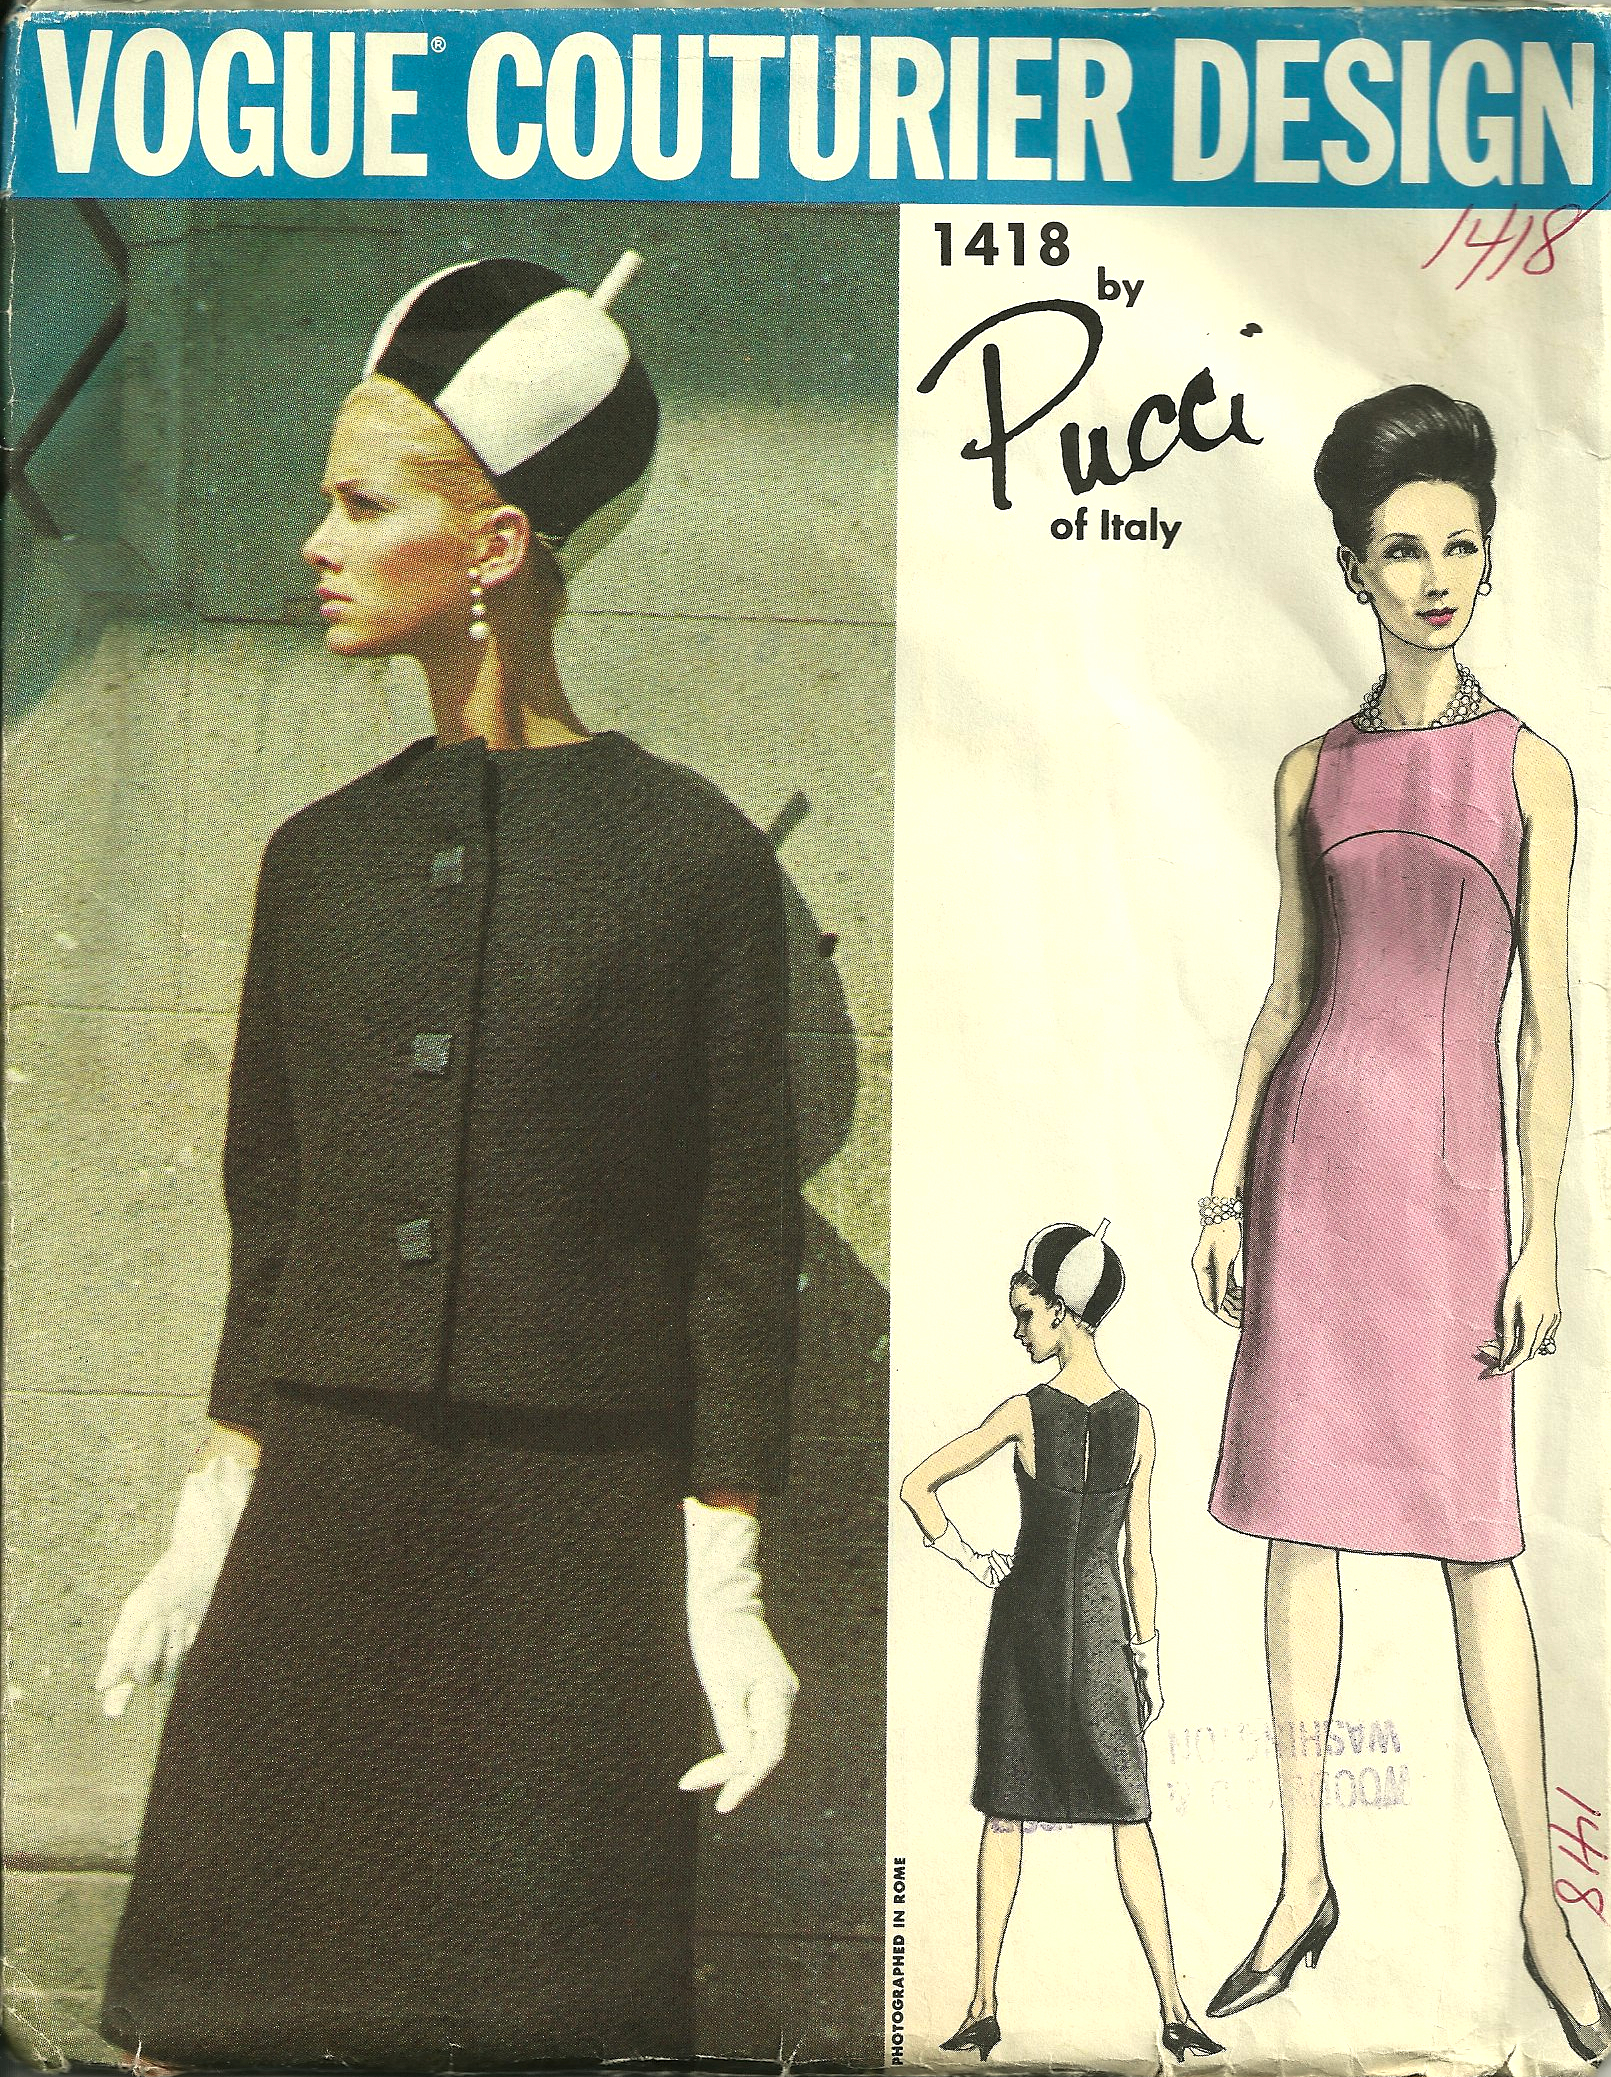
3) I am excited to say that I am going to be joining one of Susan Khalje’s Couture Sewing Classes in February, and my intended project is — ta-daa — this jacket which I have wanted to make ever since Vogue Patterns first issued it in the 1970s!

I will definitely be doing the color blocked version when I make this coat.
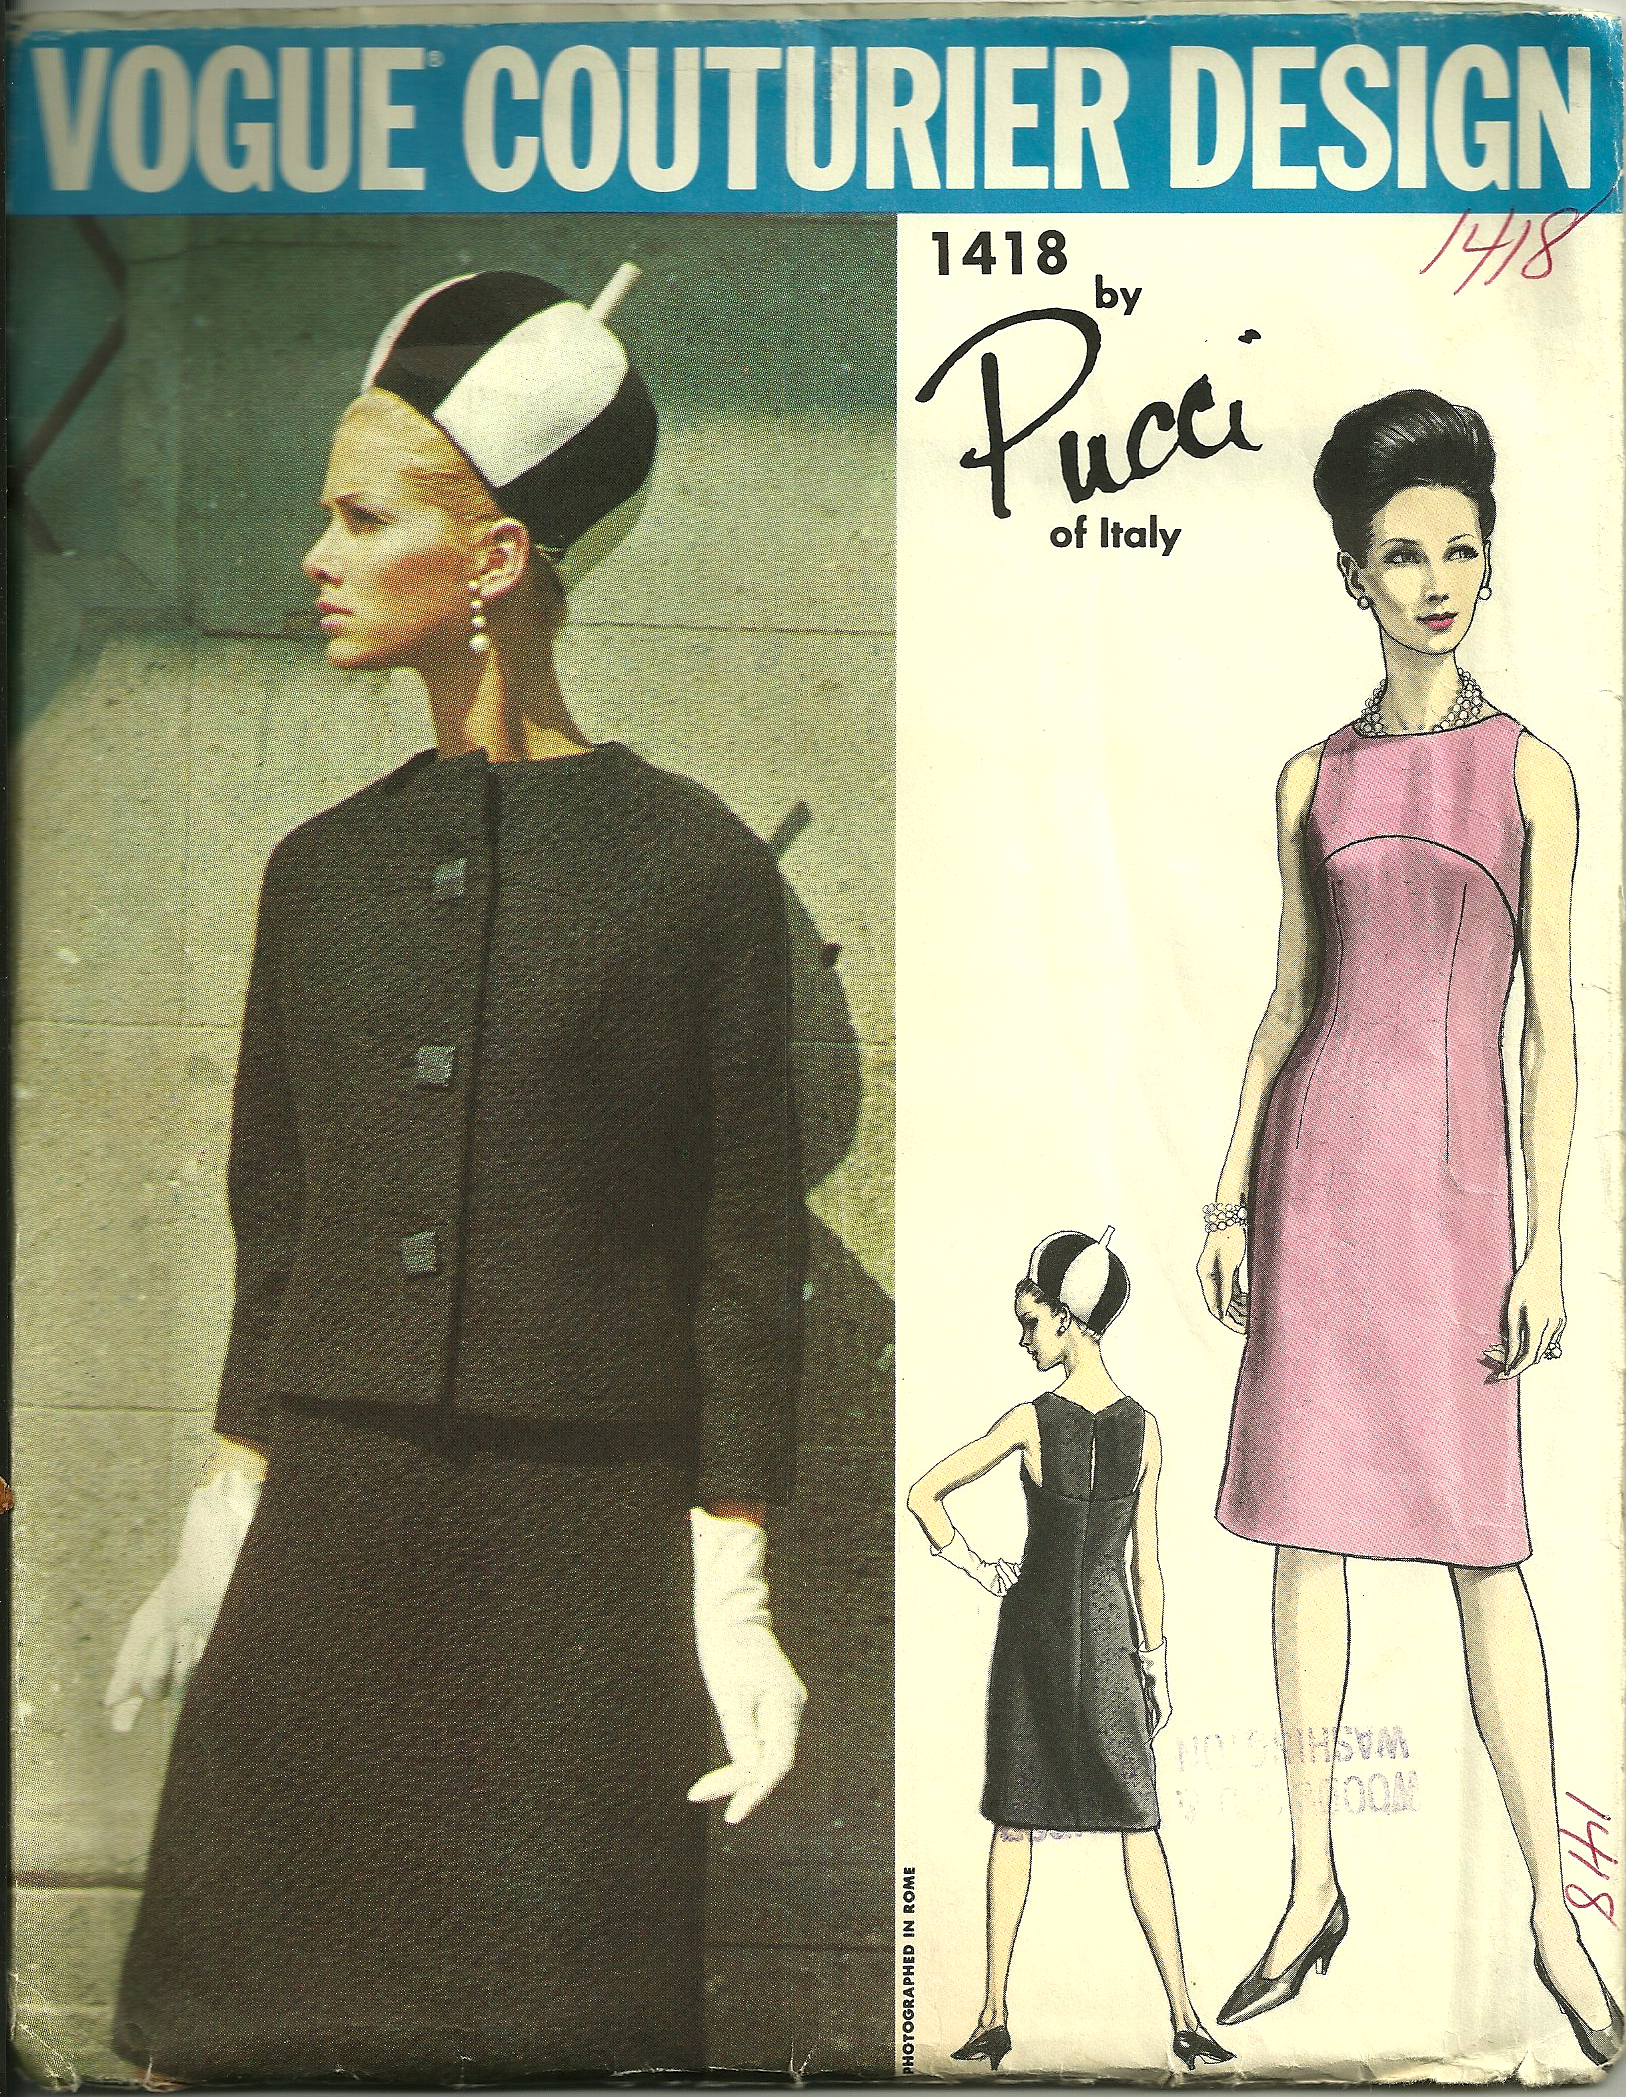
With any luck (or maybe lots of it will be needed), it may still be Winter when I start this project intended for an event in late April event:
I have an authentic Pucci silk from which to make the dress and line the jacket.
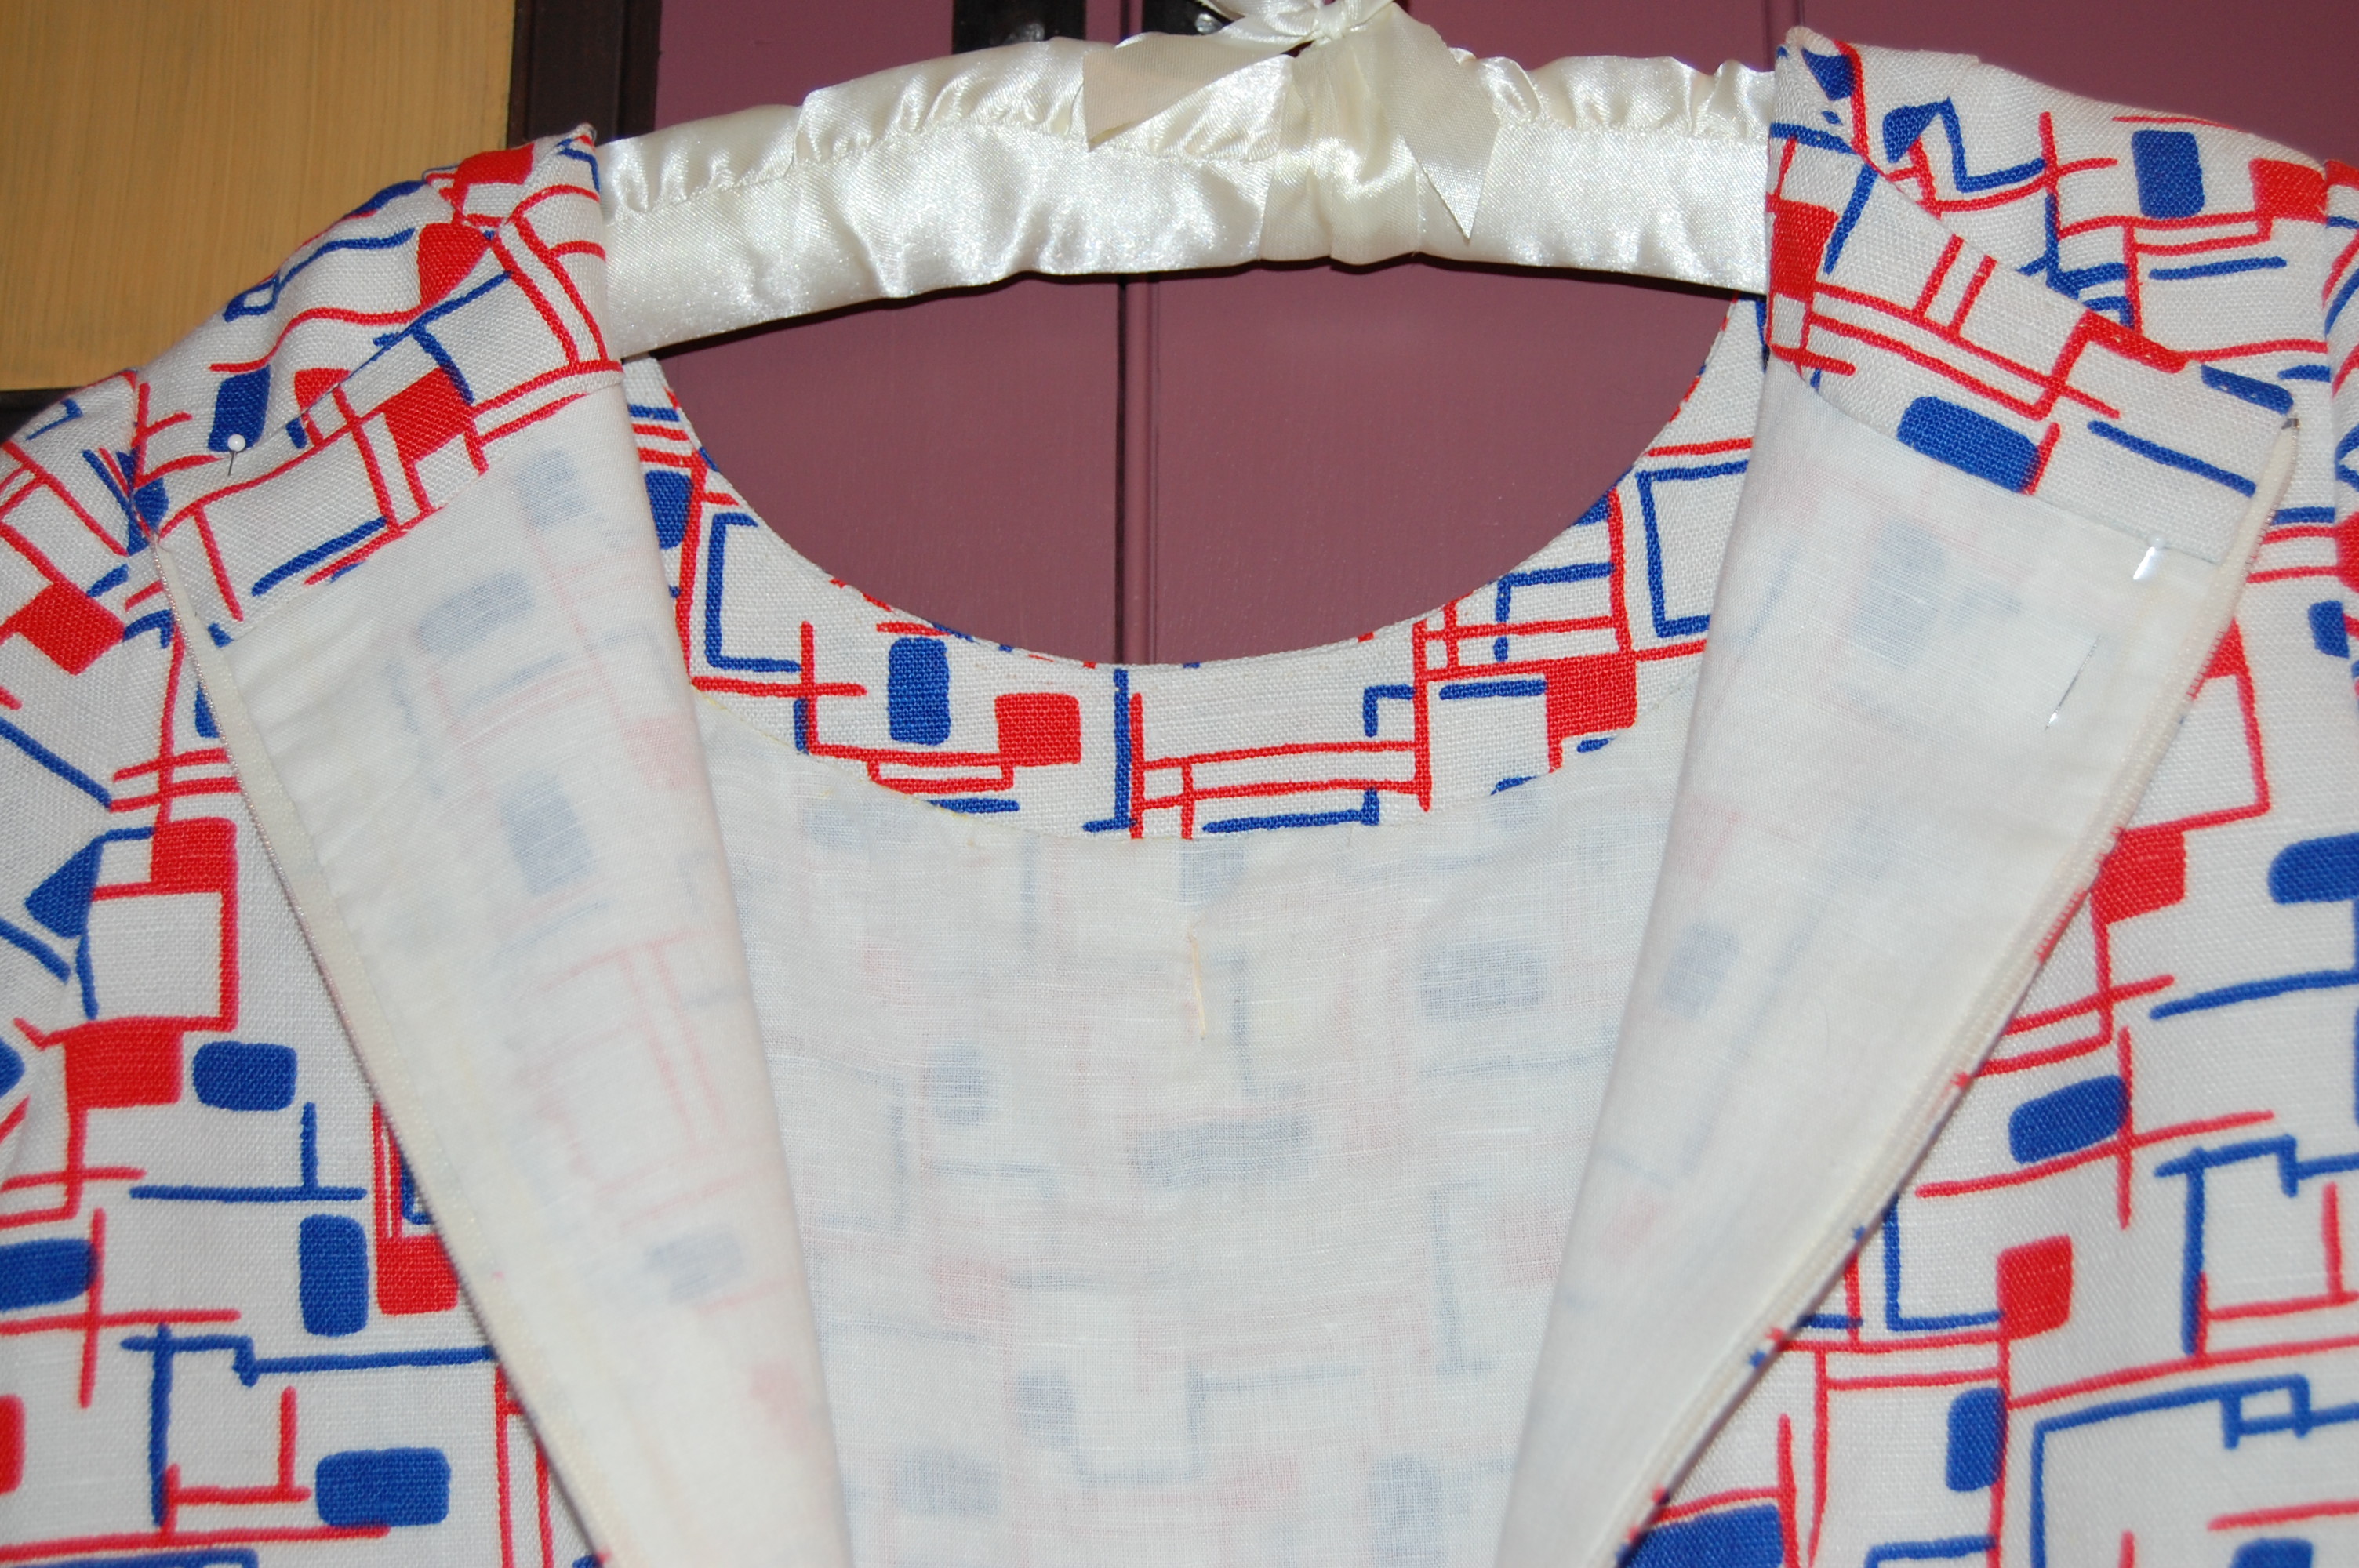
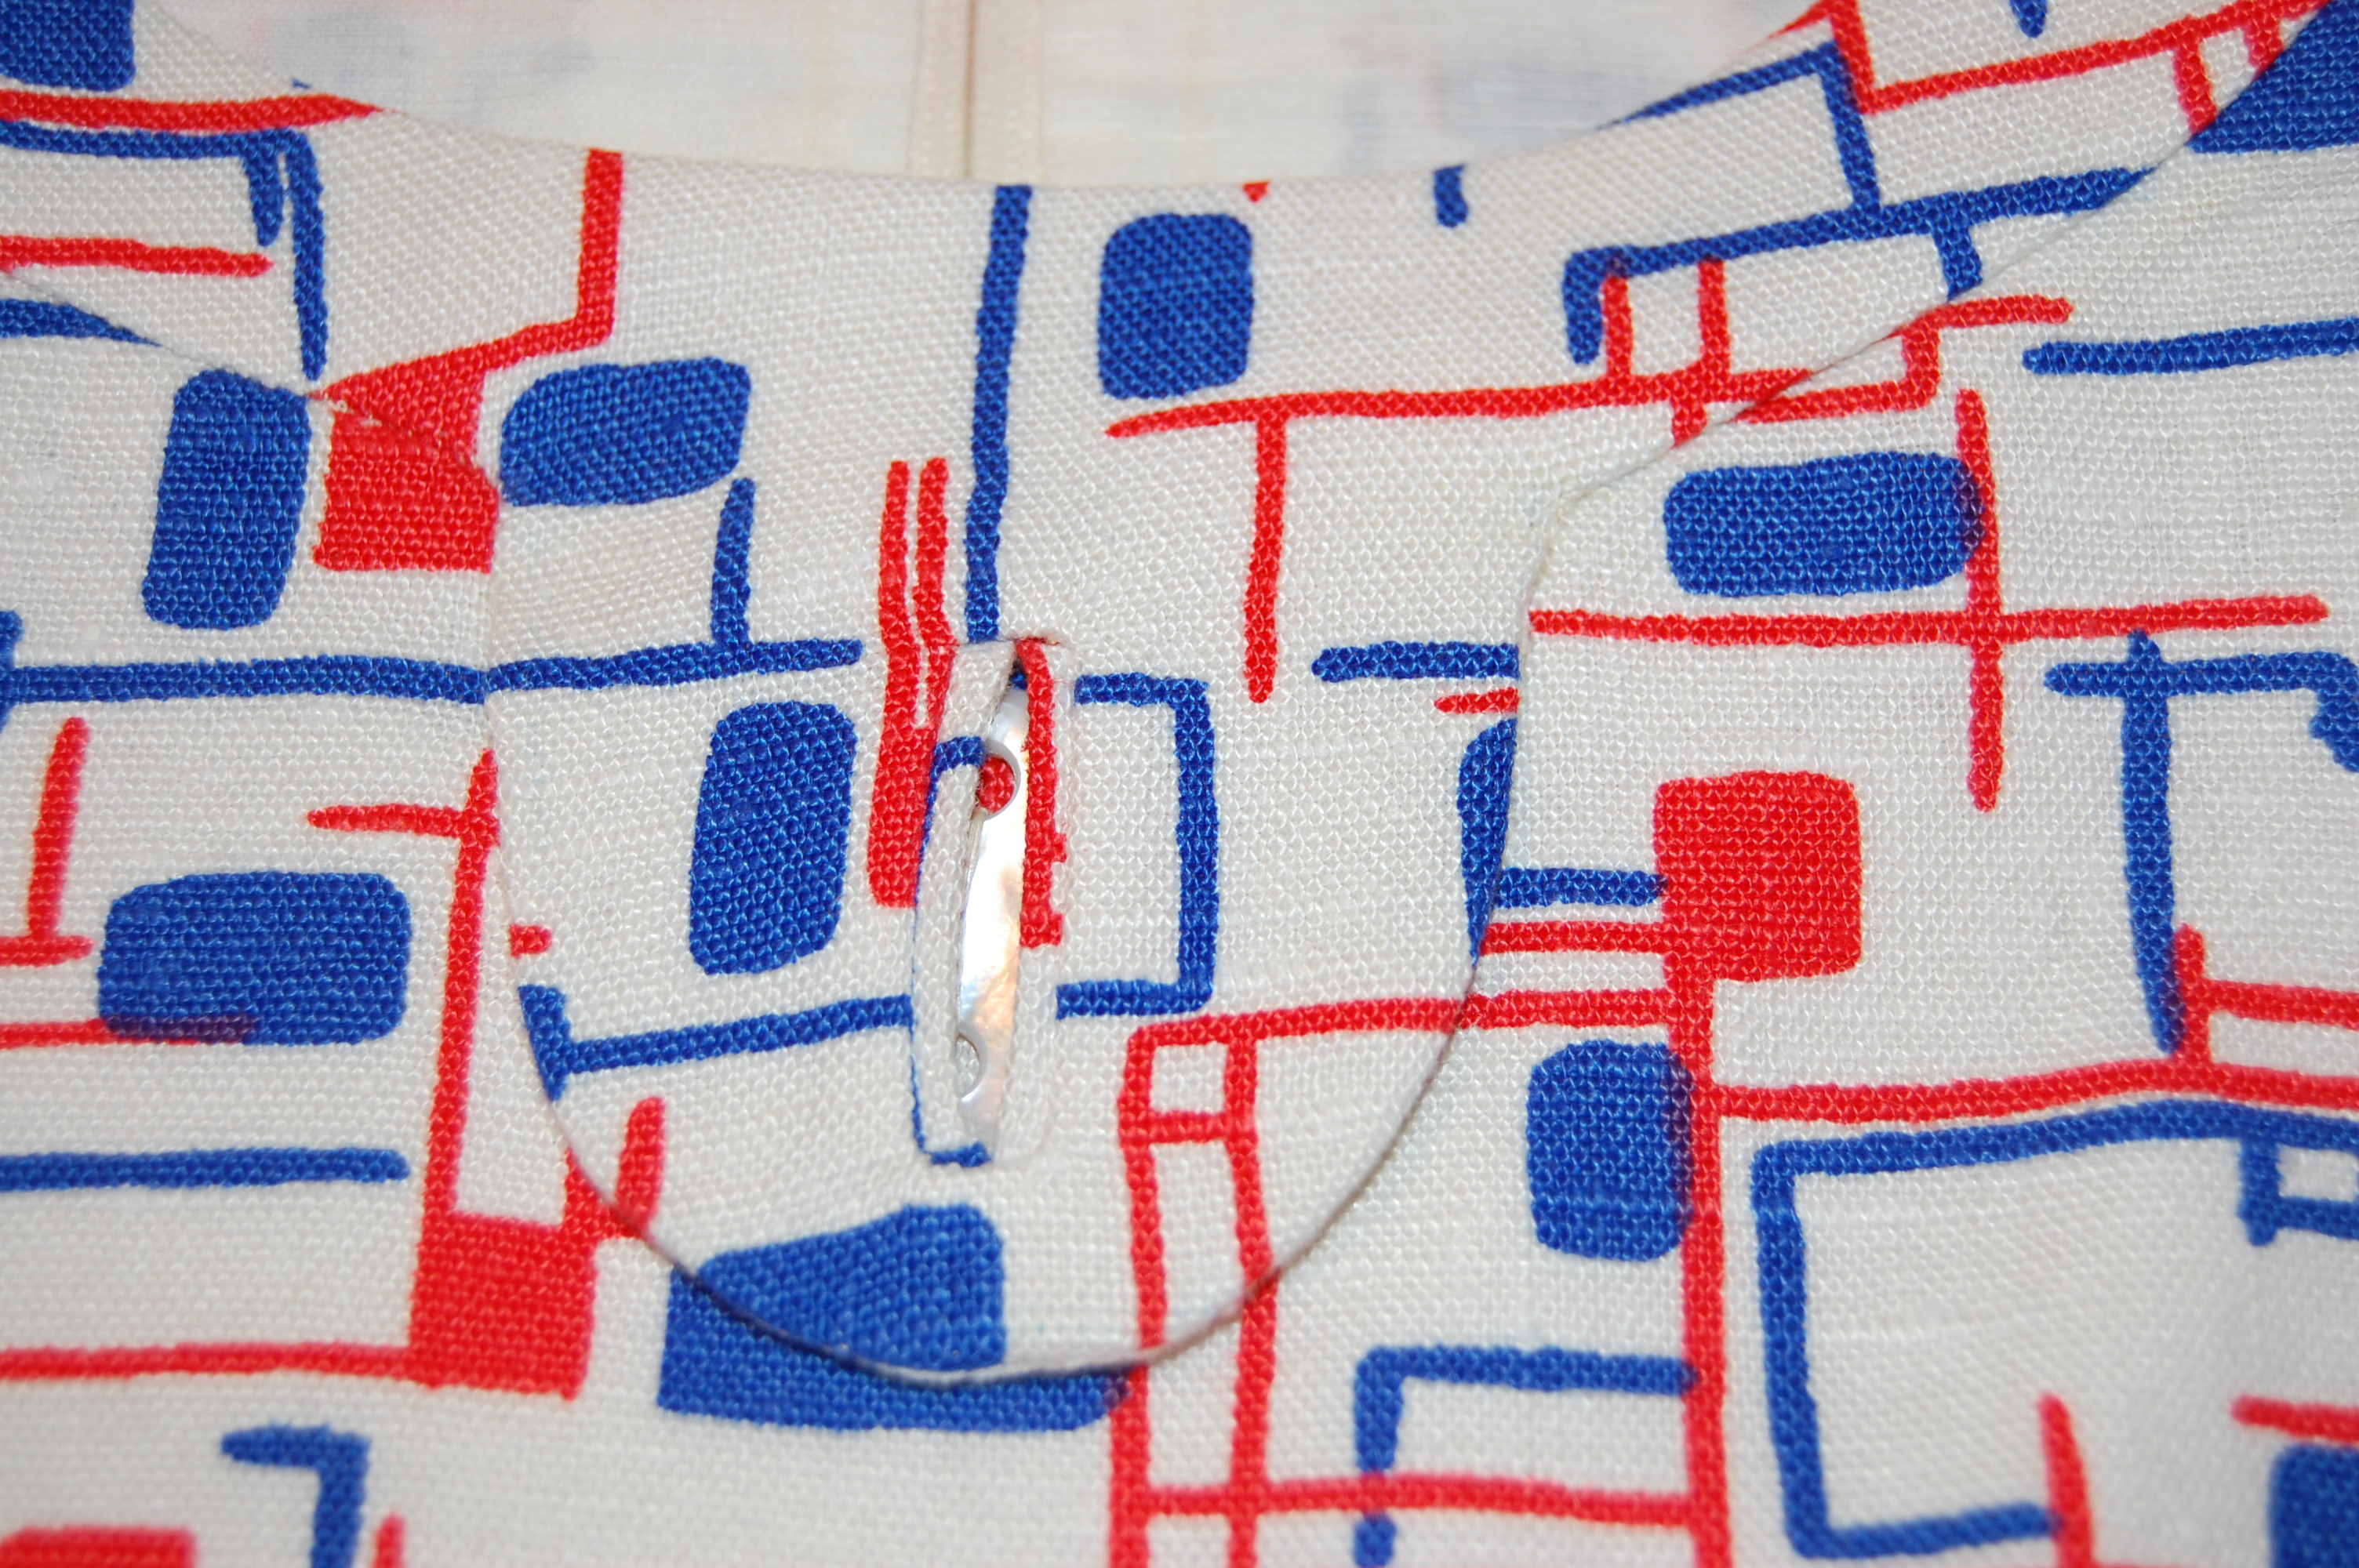
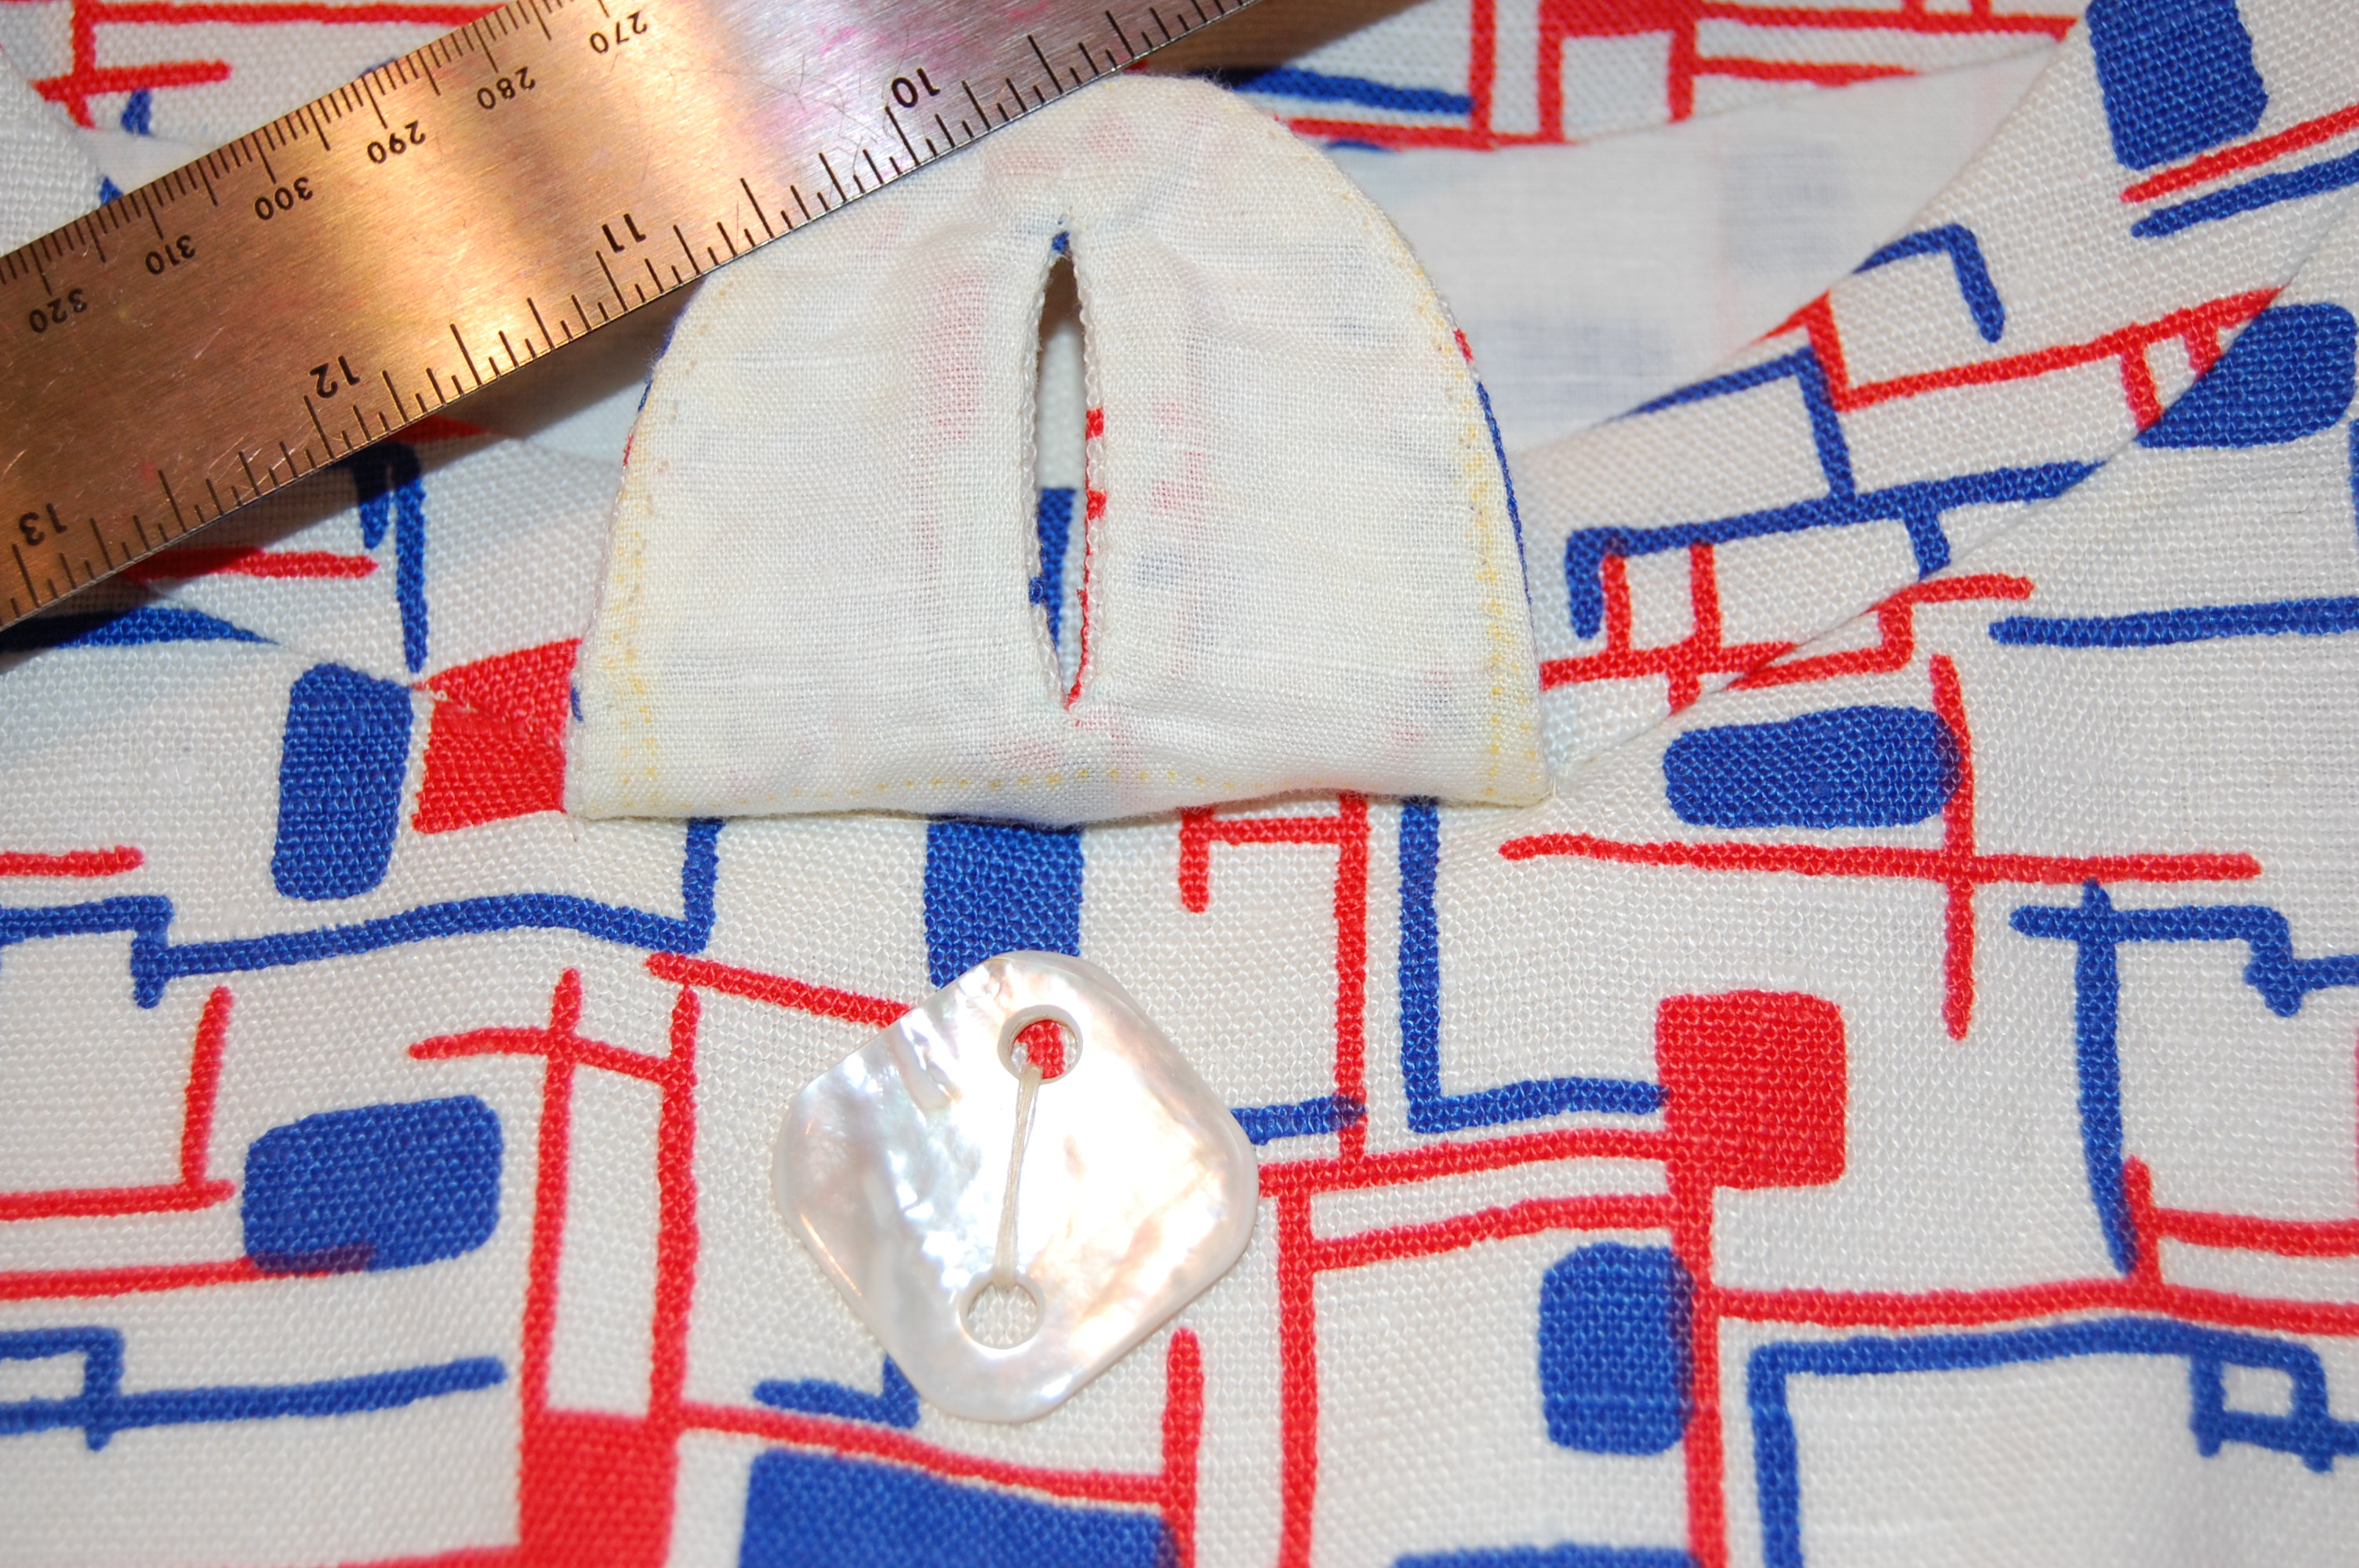
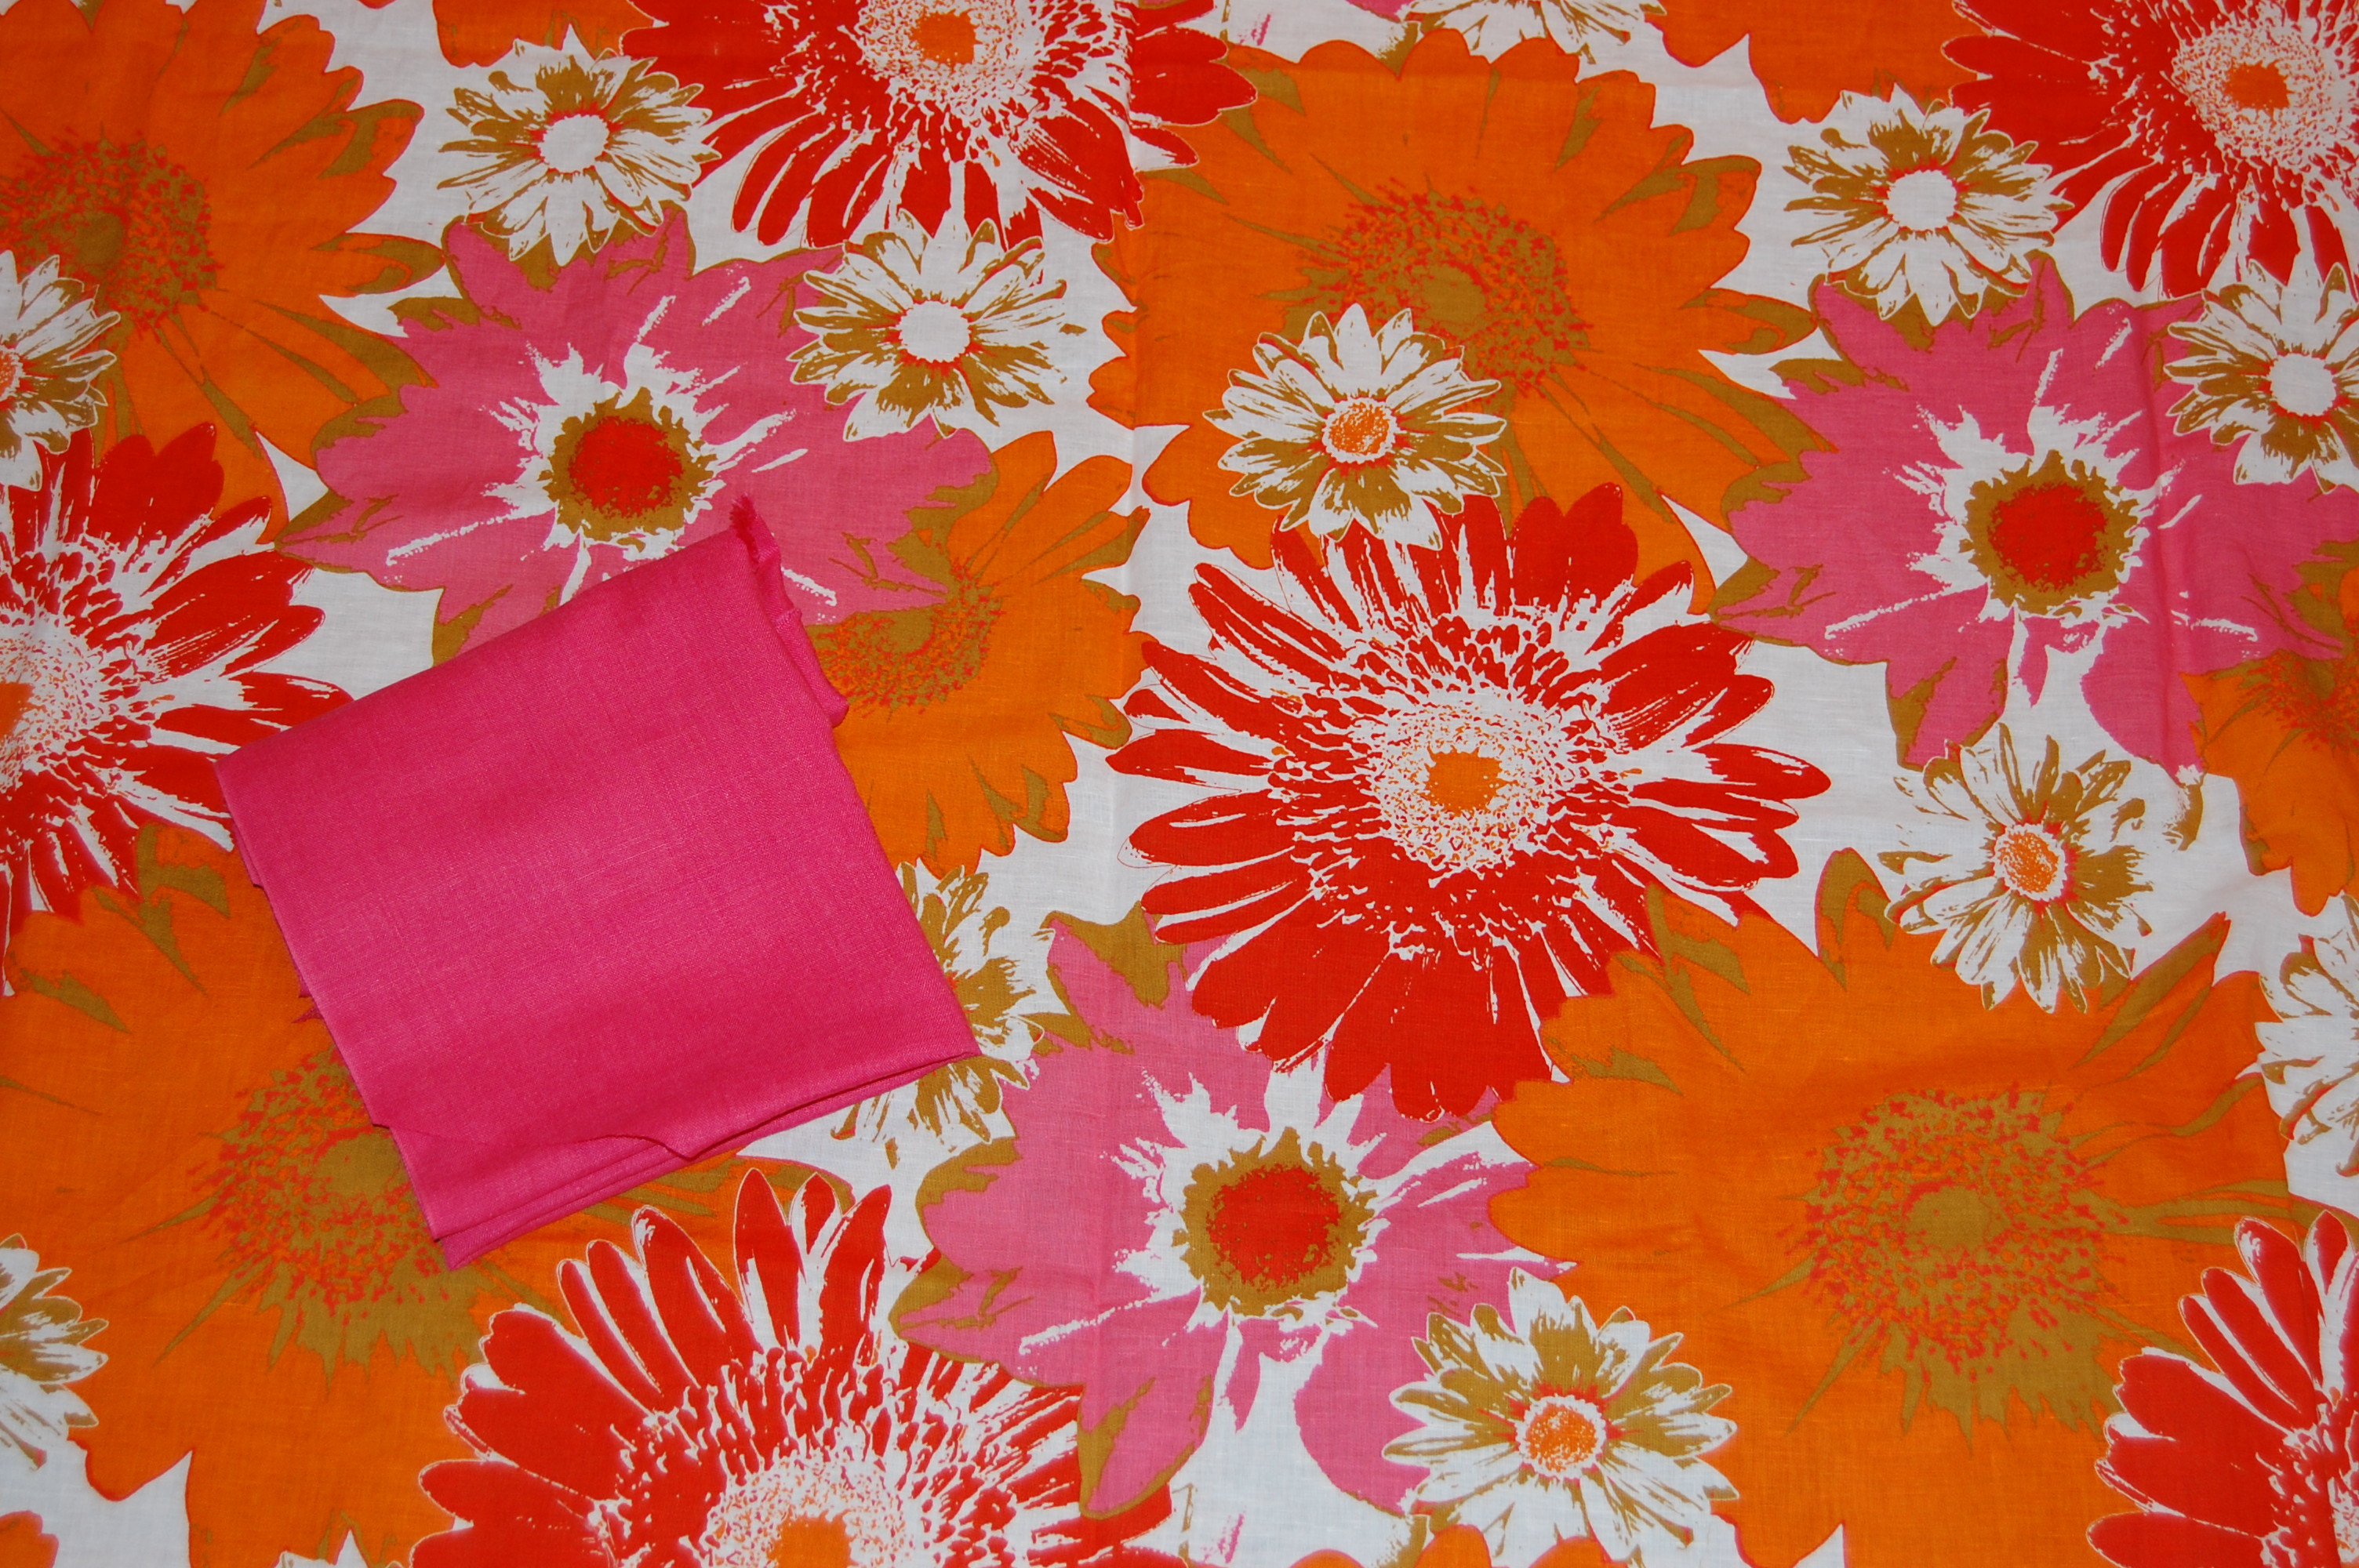
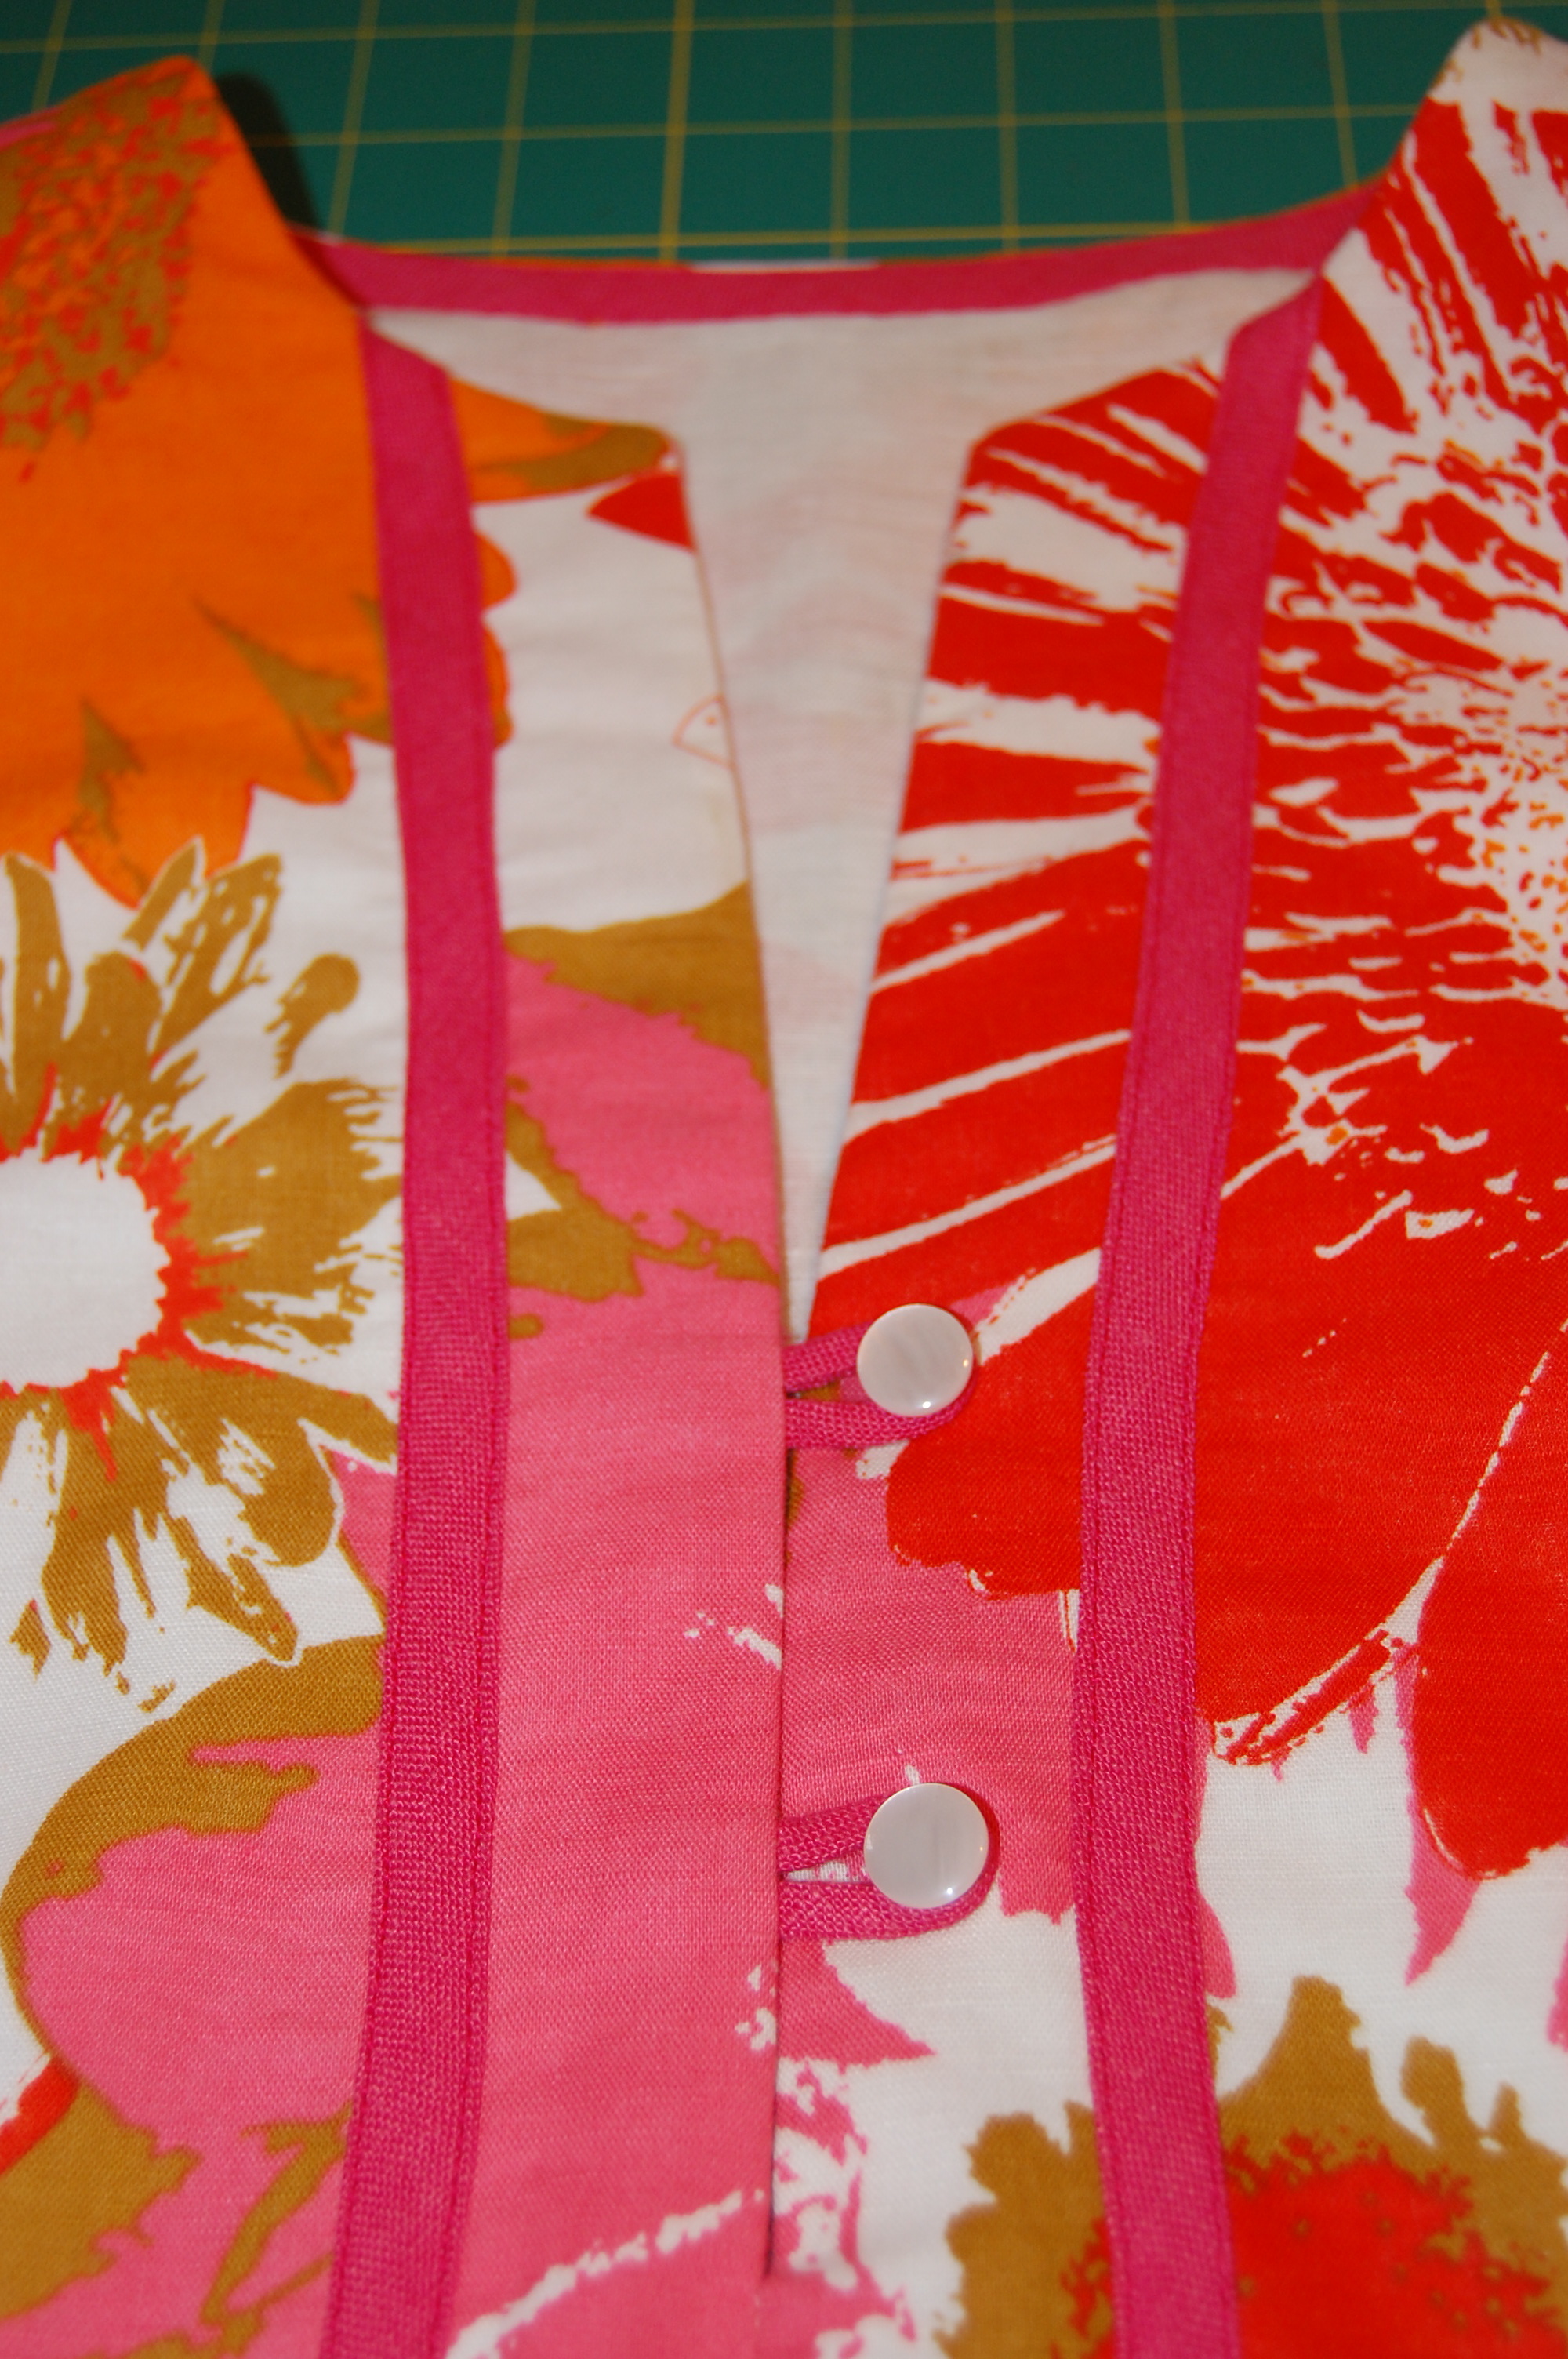
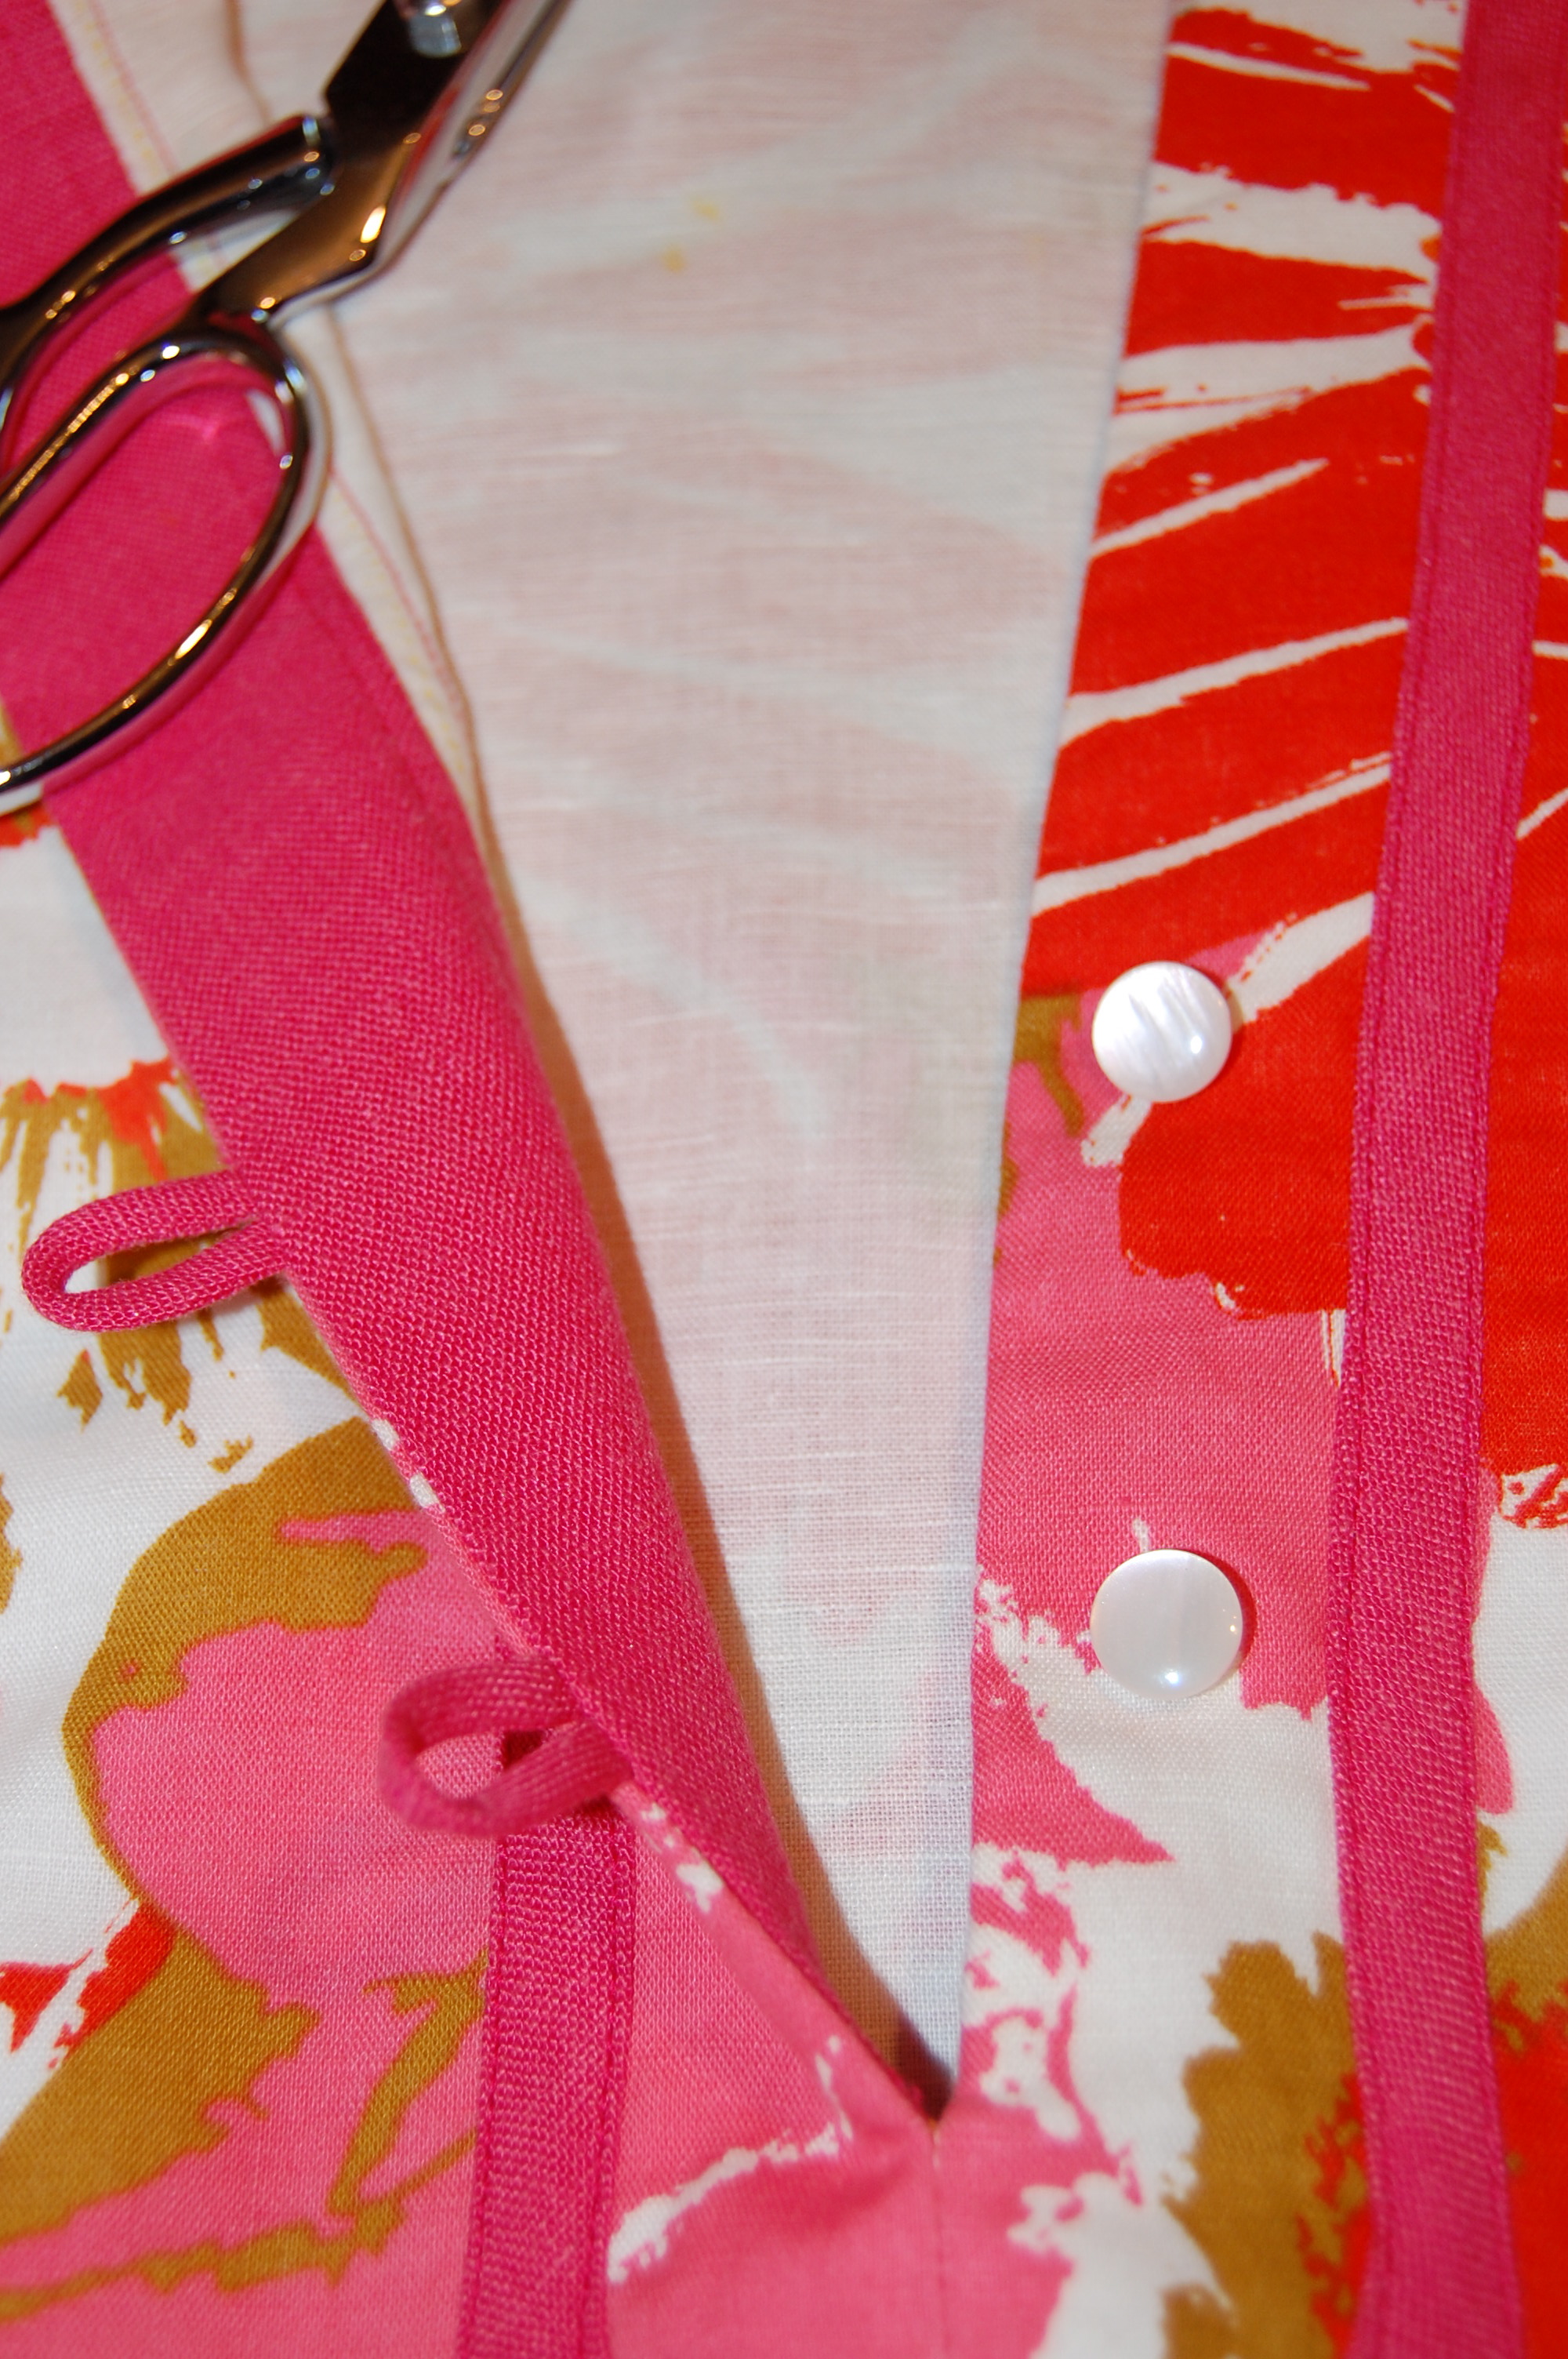
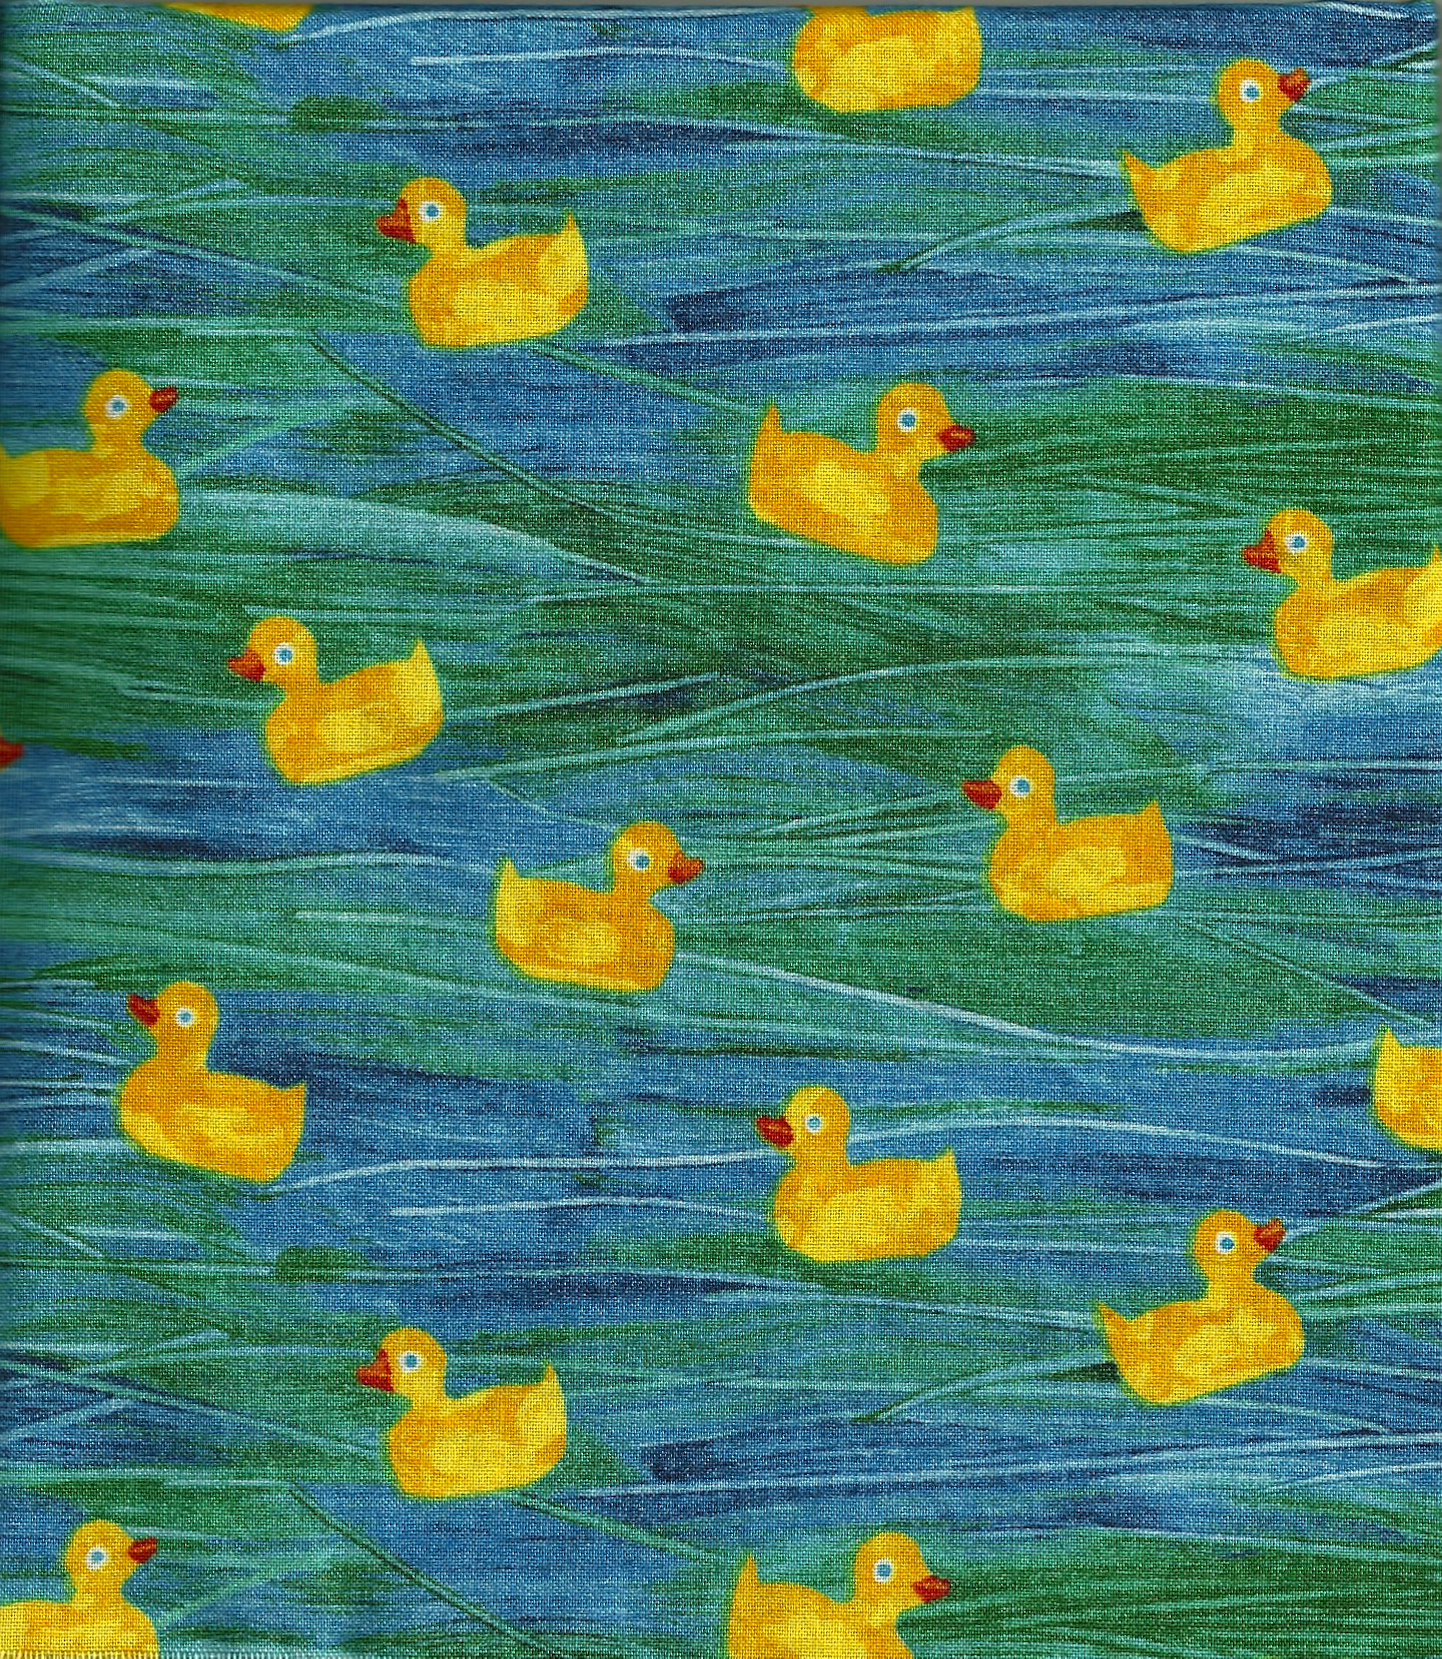
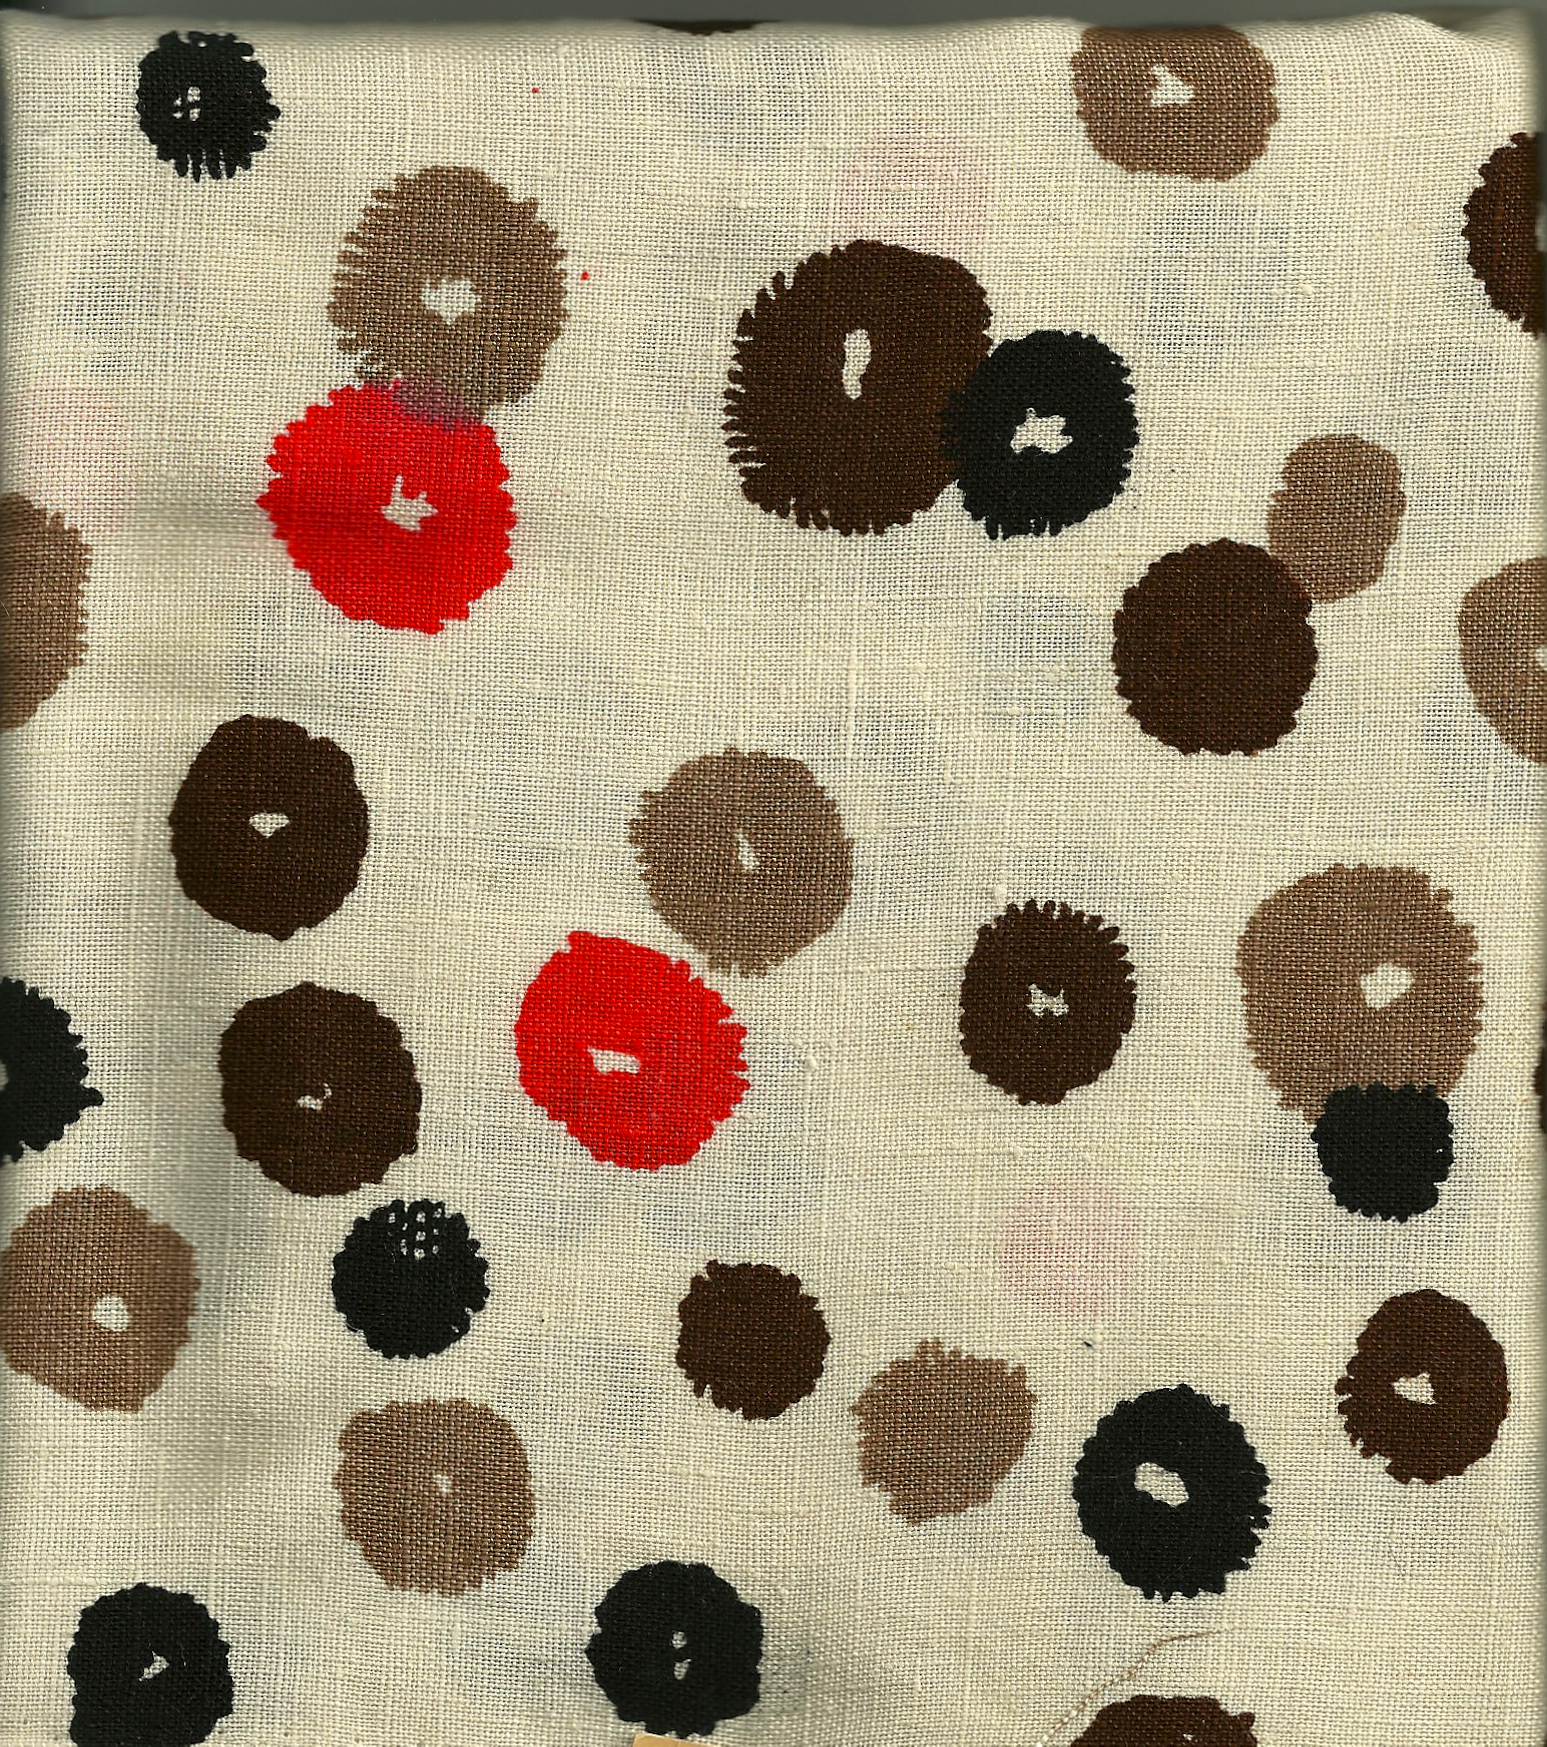
In addition, Spring will not be complete for me until I make a dress for my granddaughter who will be 1-year-old in March. I purchased this fabric last Fall when I was at the Eric Carle Museum in Amherst, Massachusetts. You can imagine my excitement when I saw that the gift shop included yardage of soft, quality cotton featuring designs from his books. I envision these little ducks embellished with yellow rick-rack.
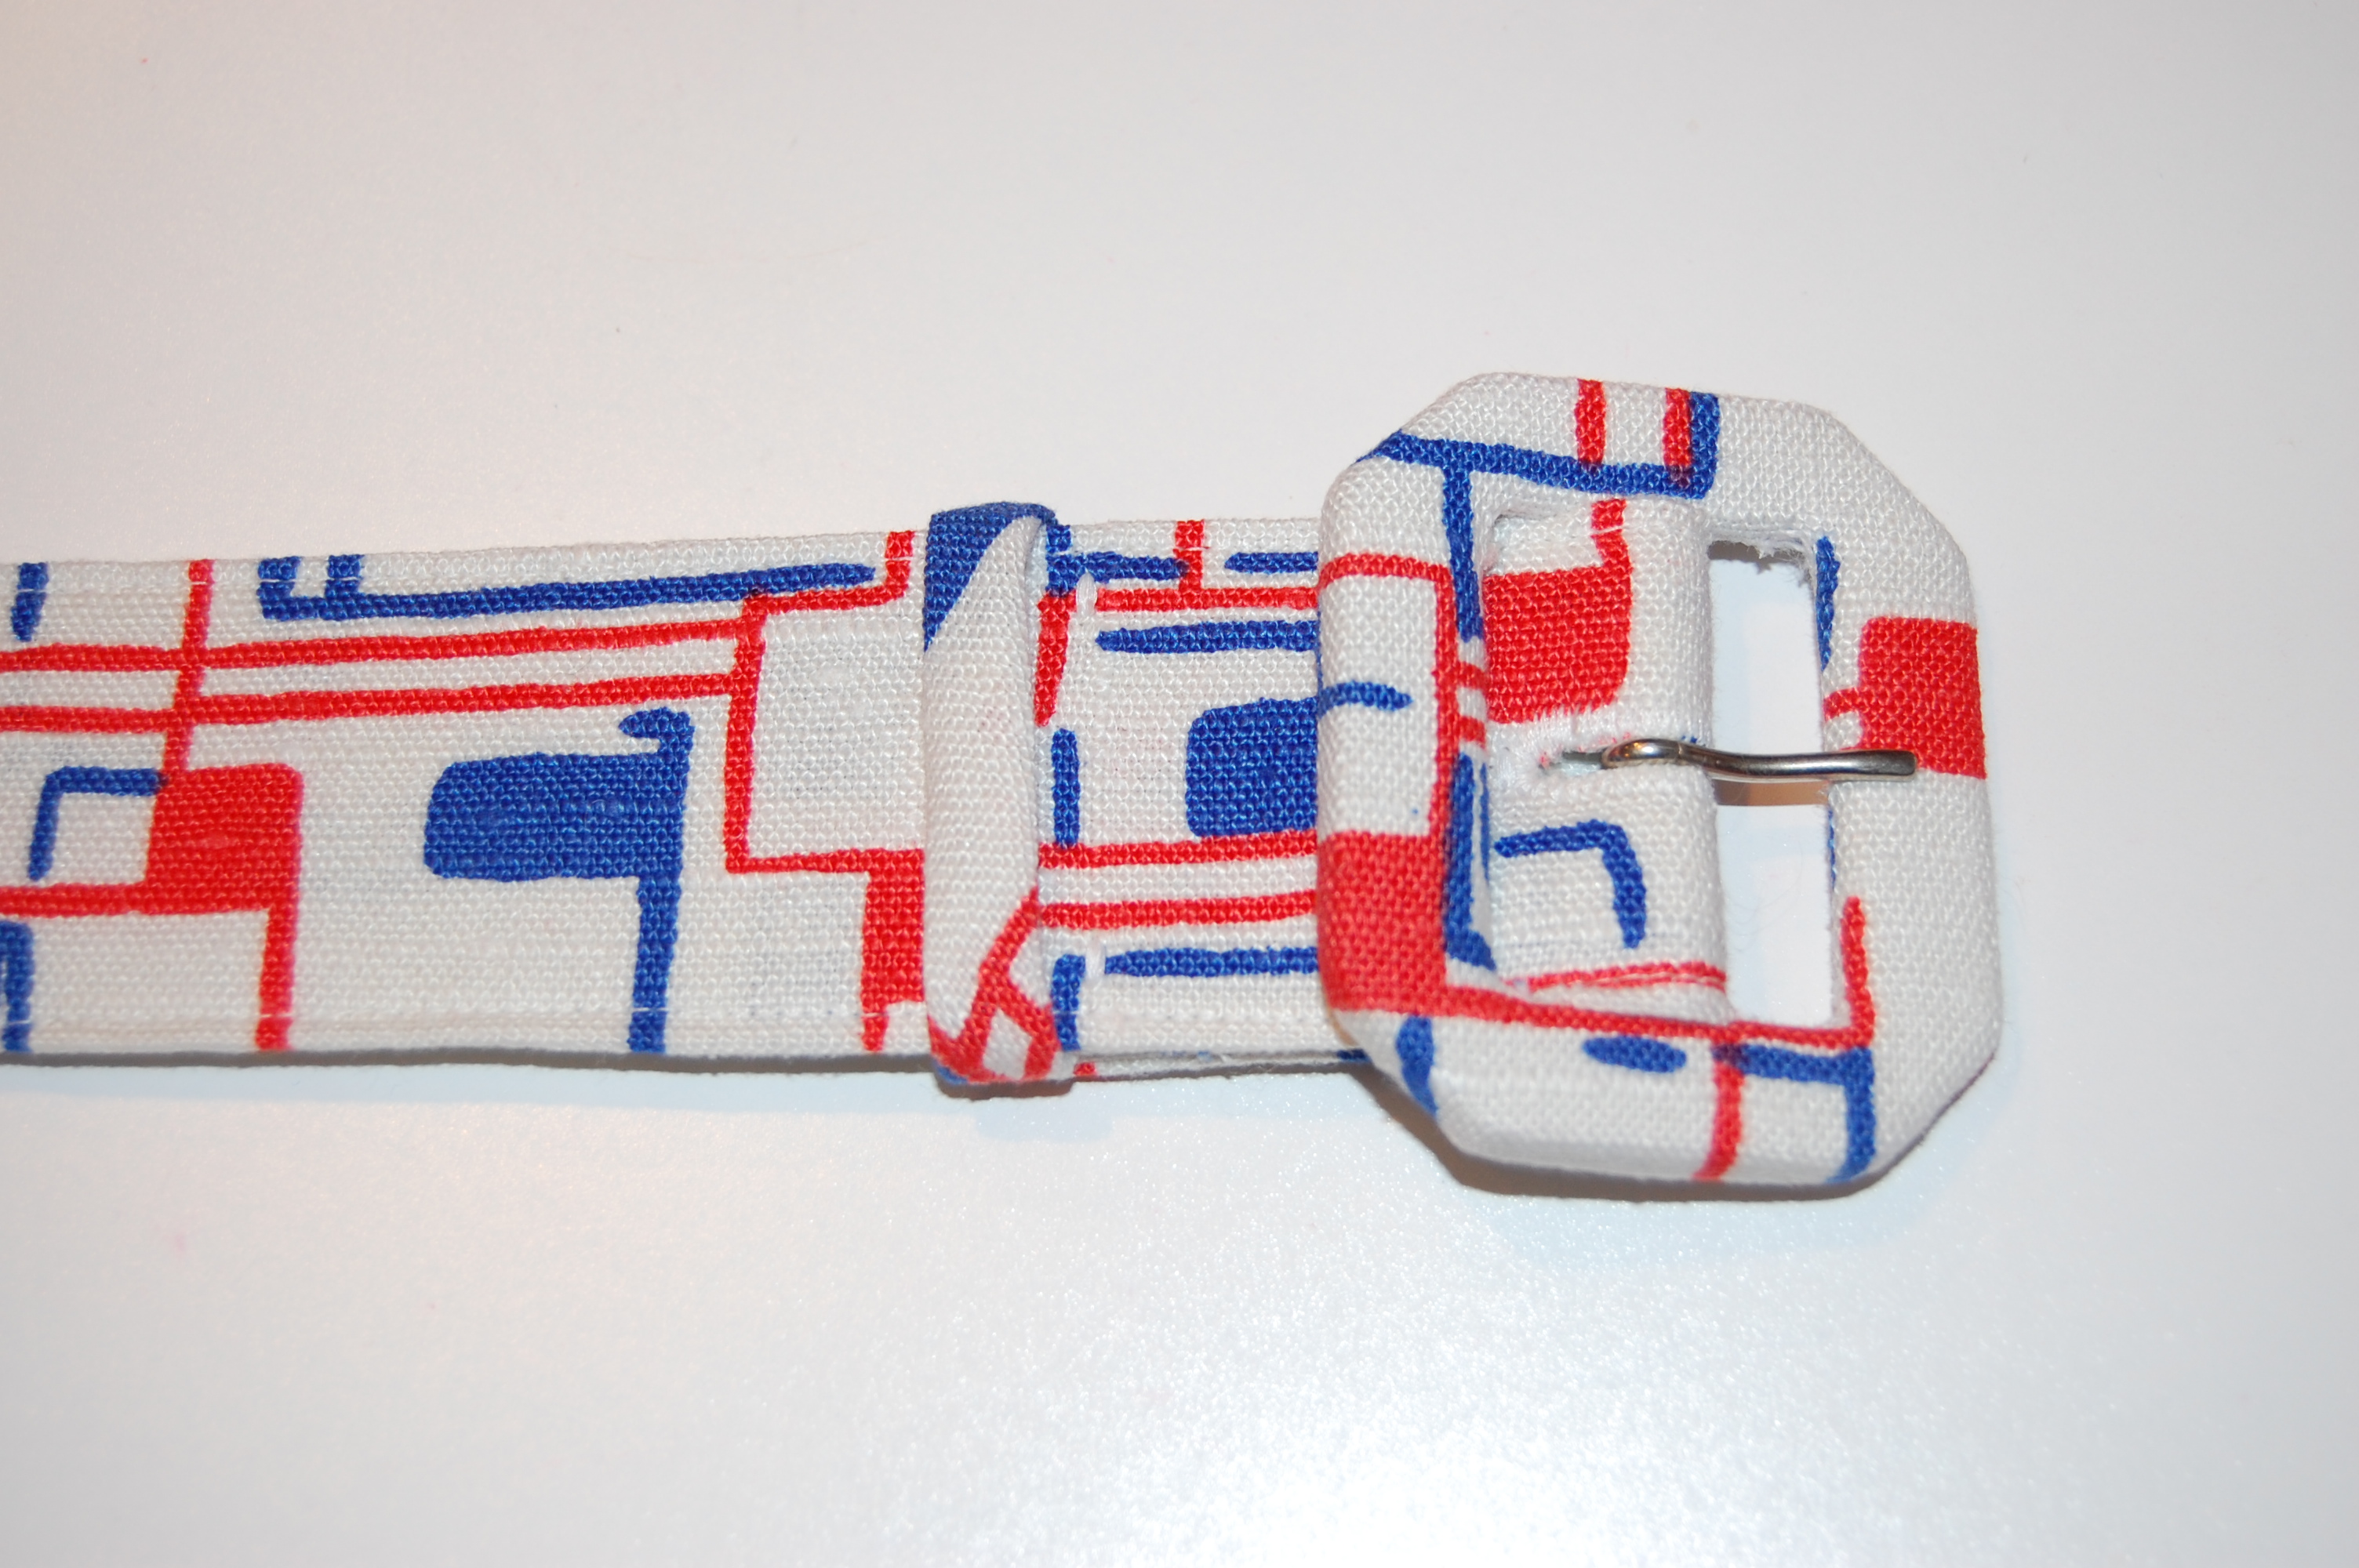
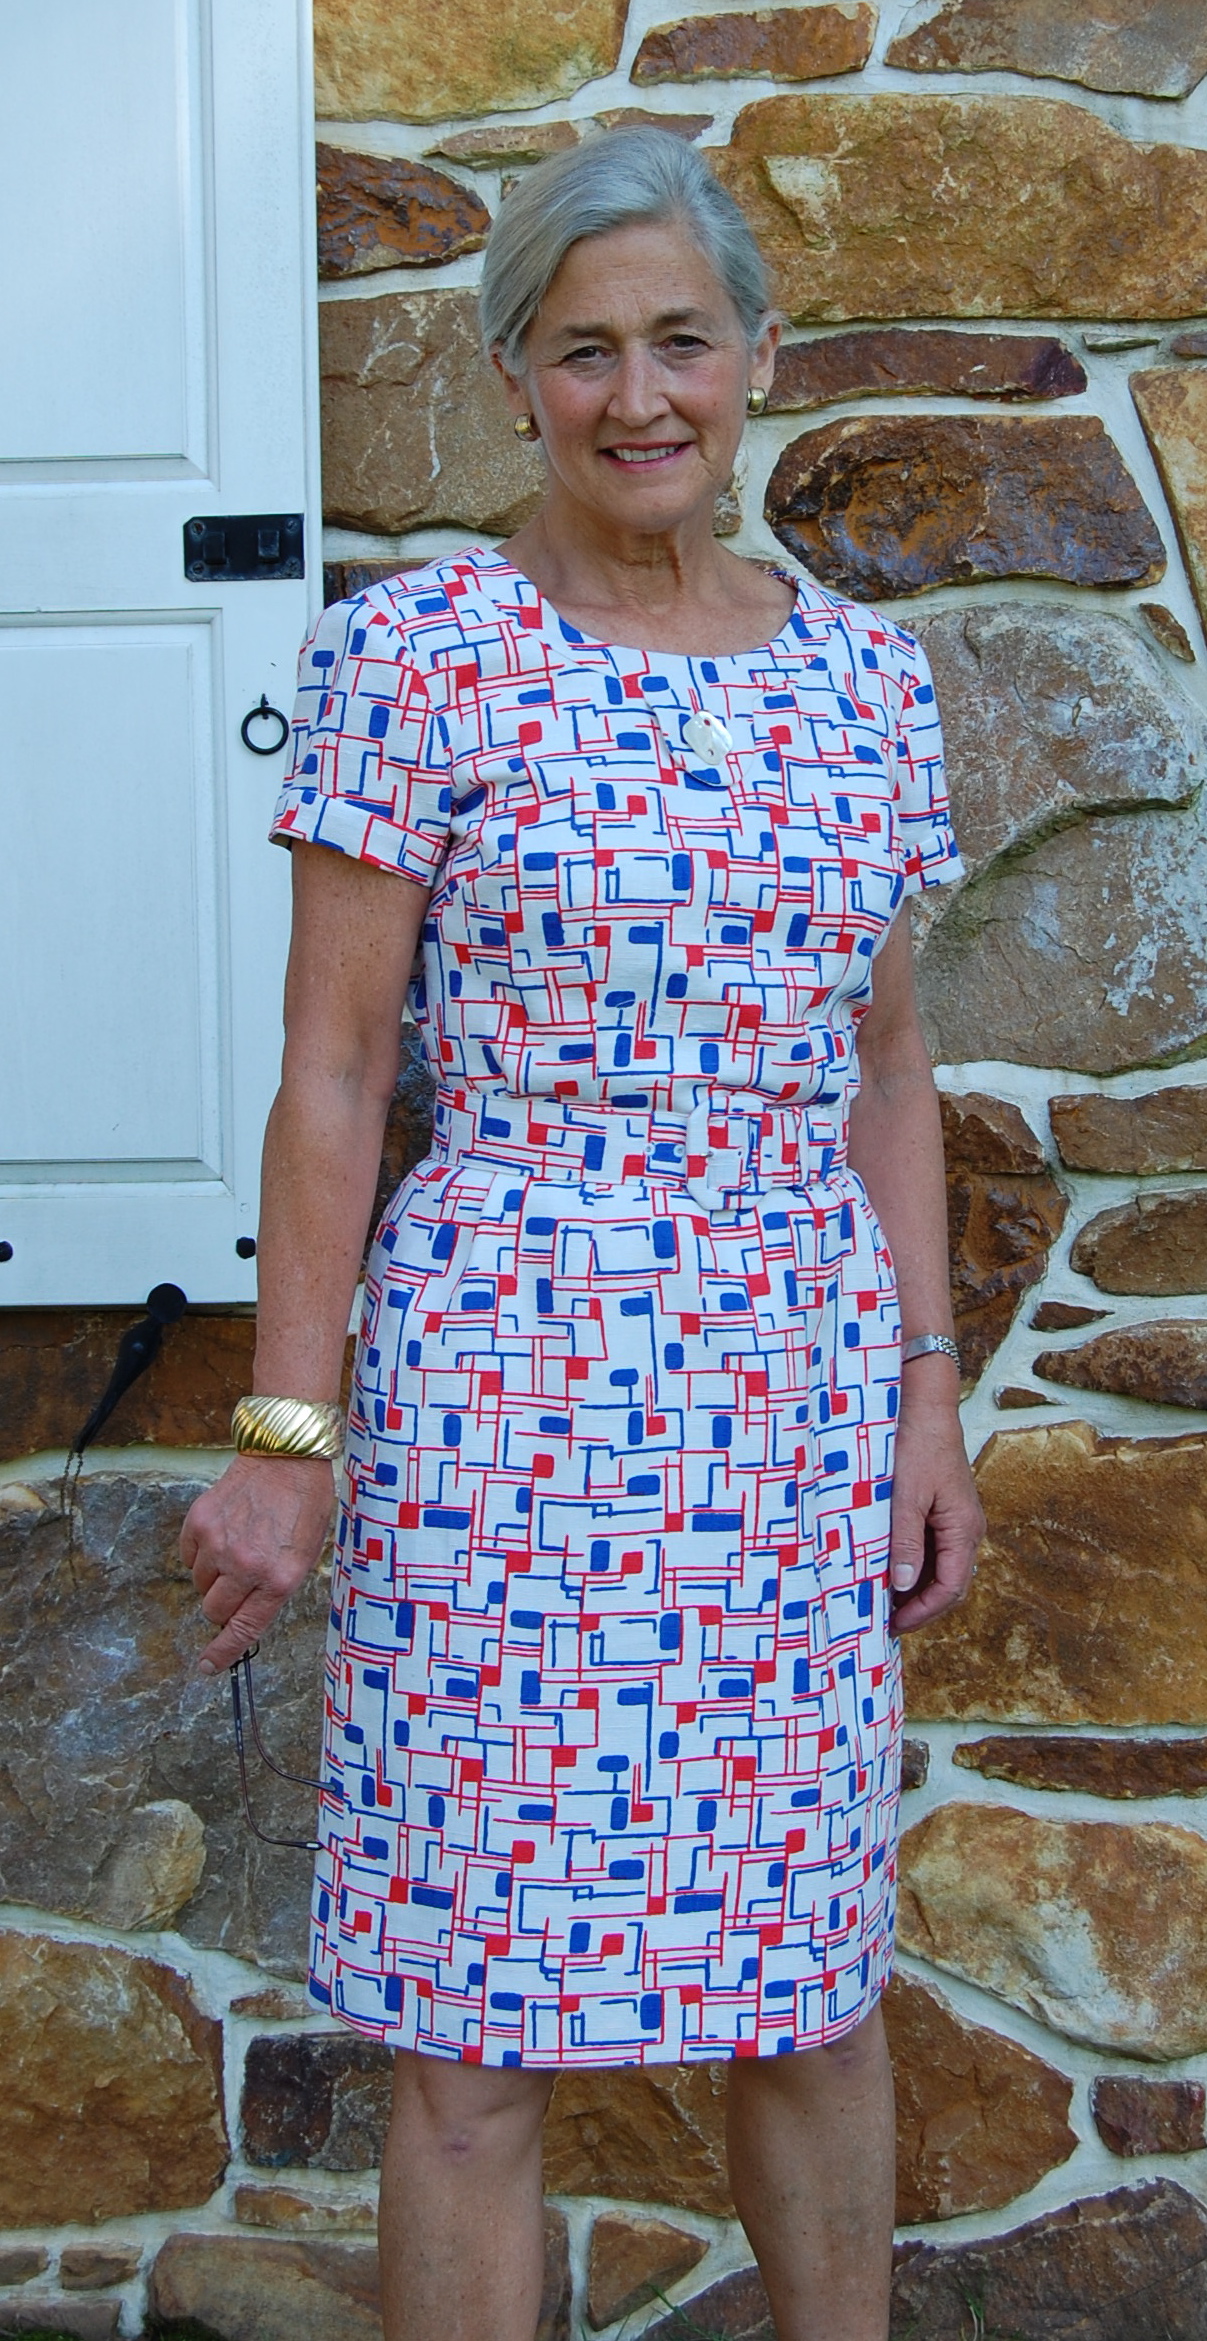
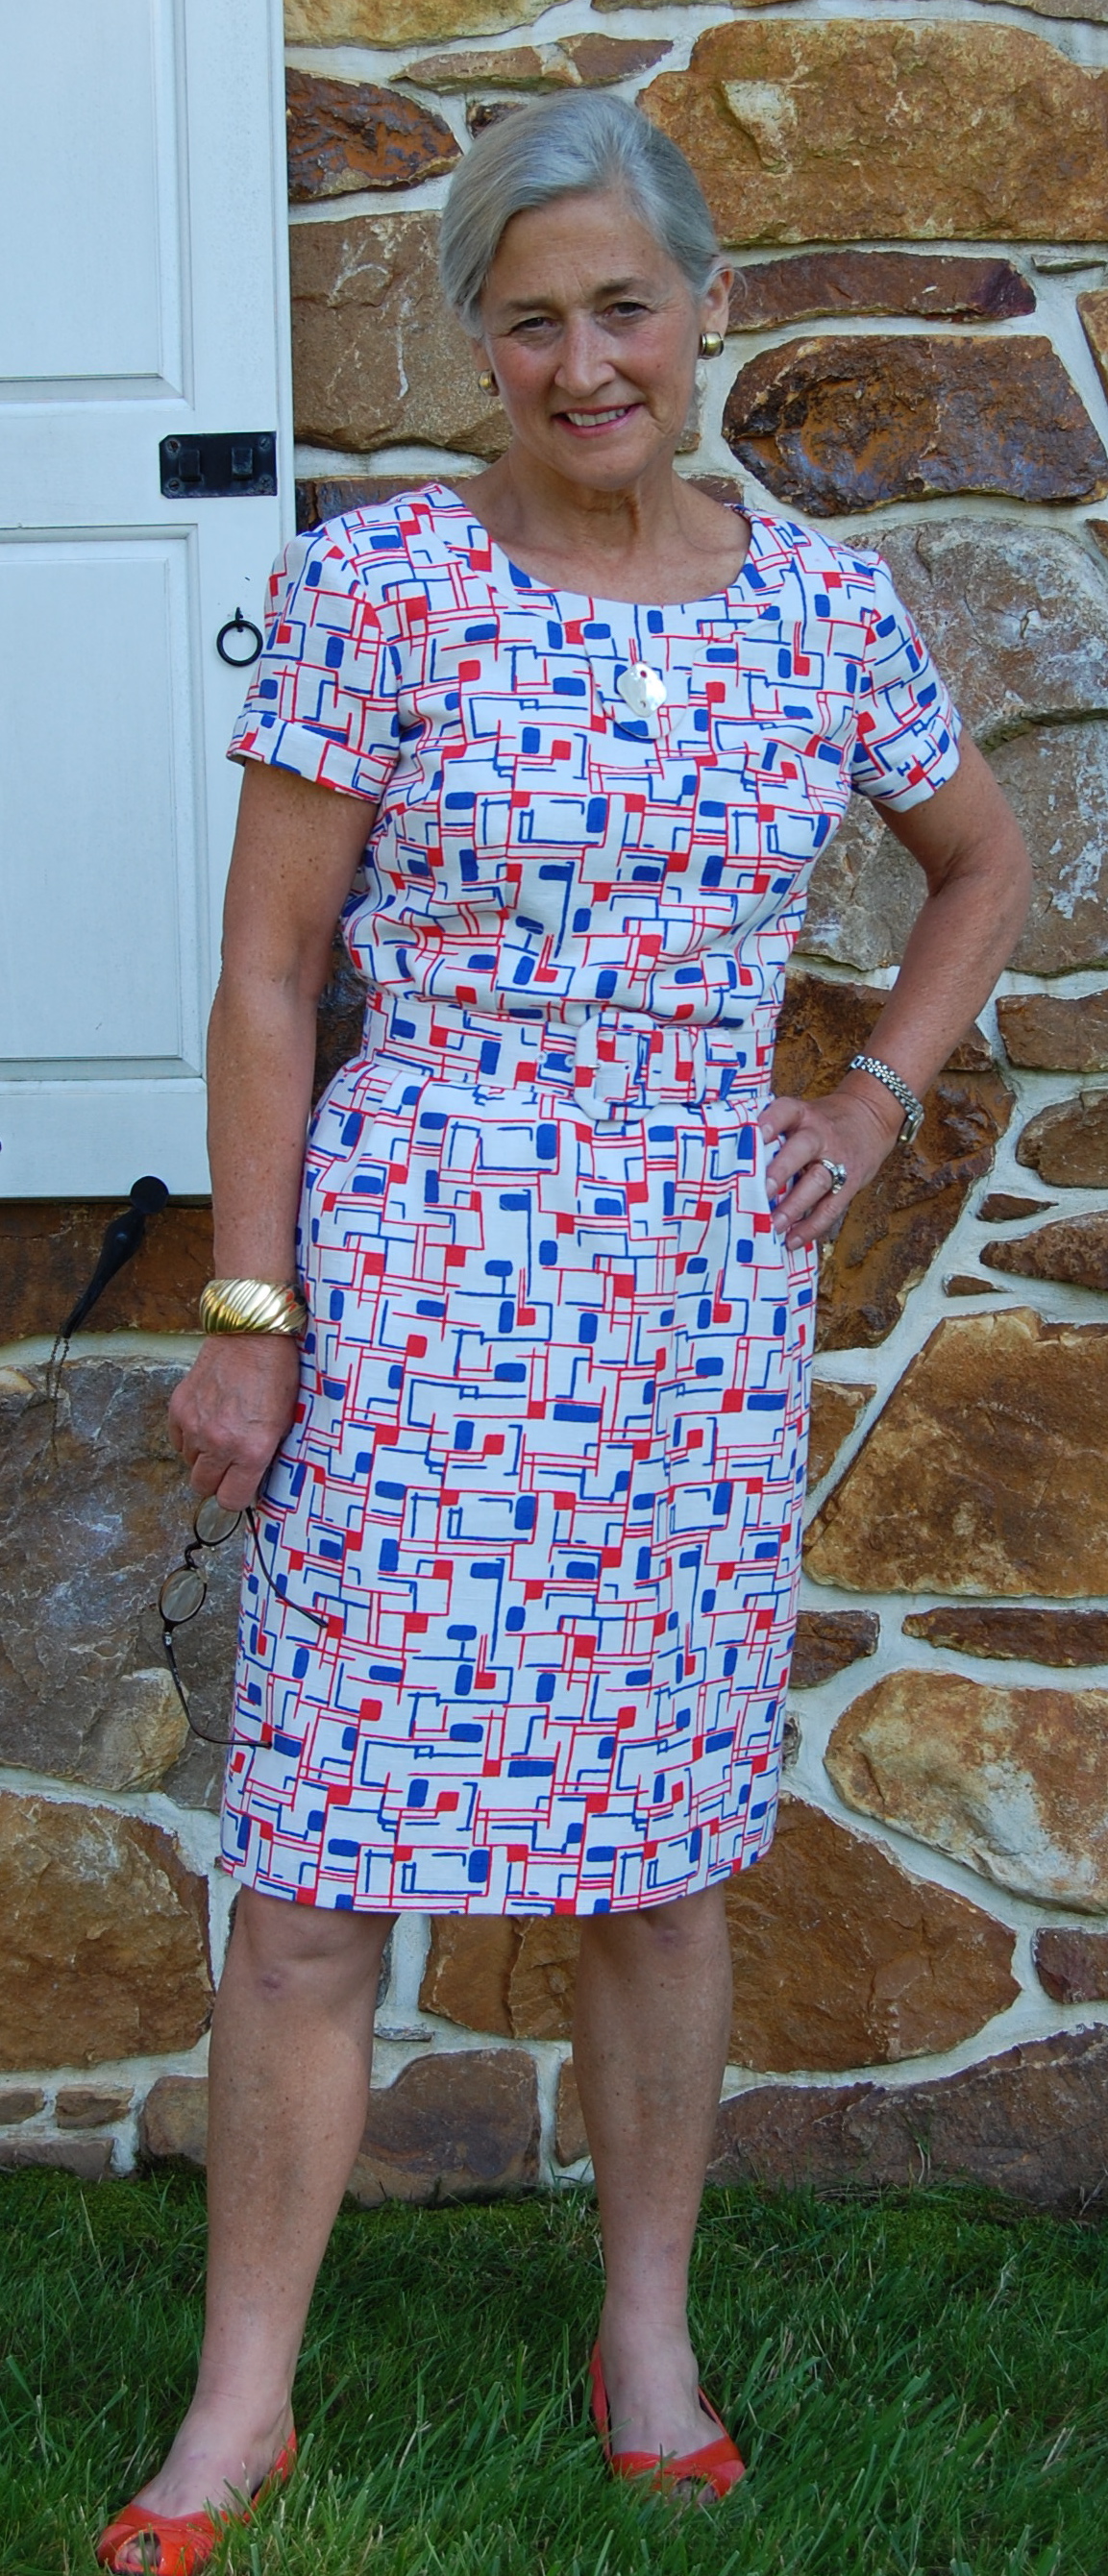
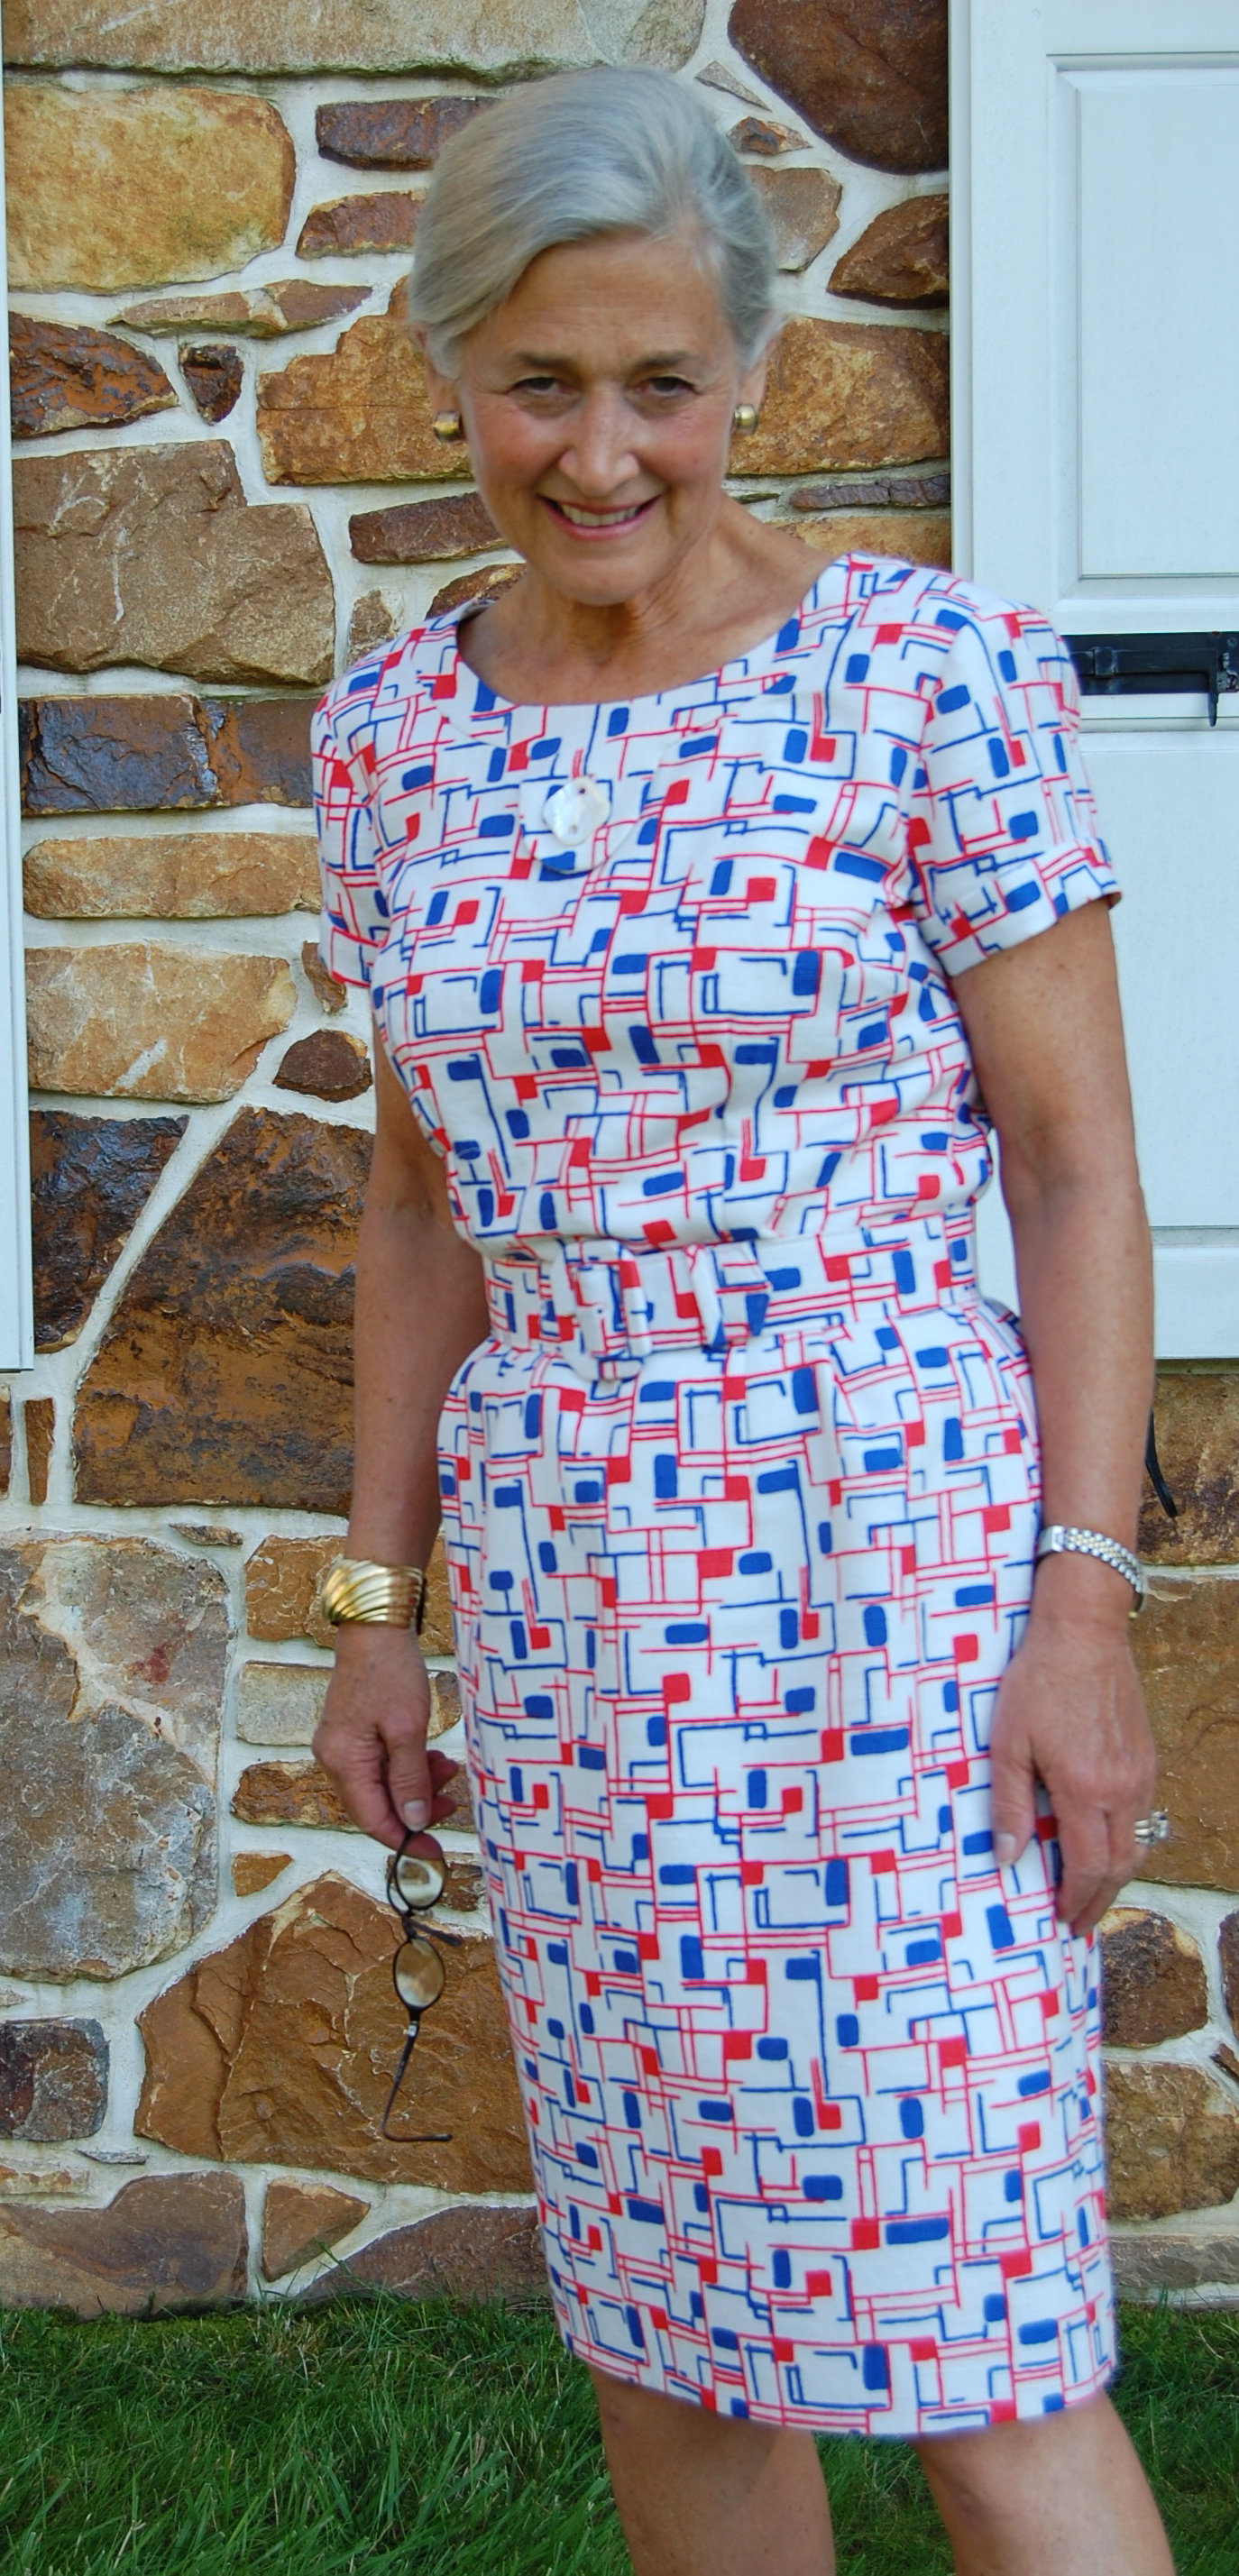
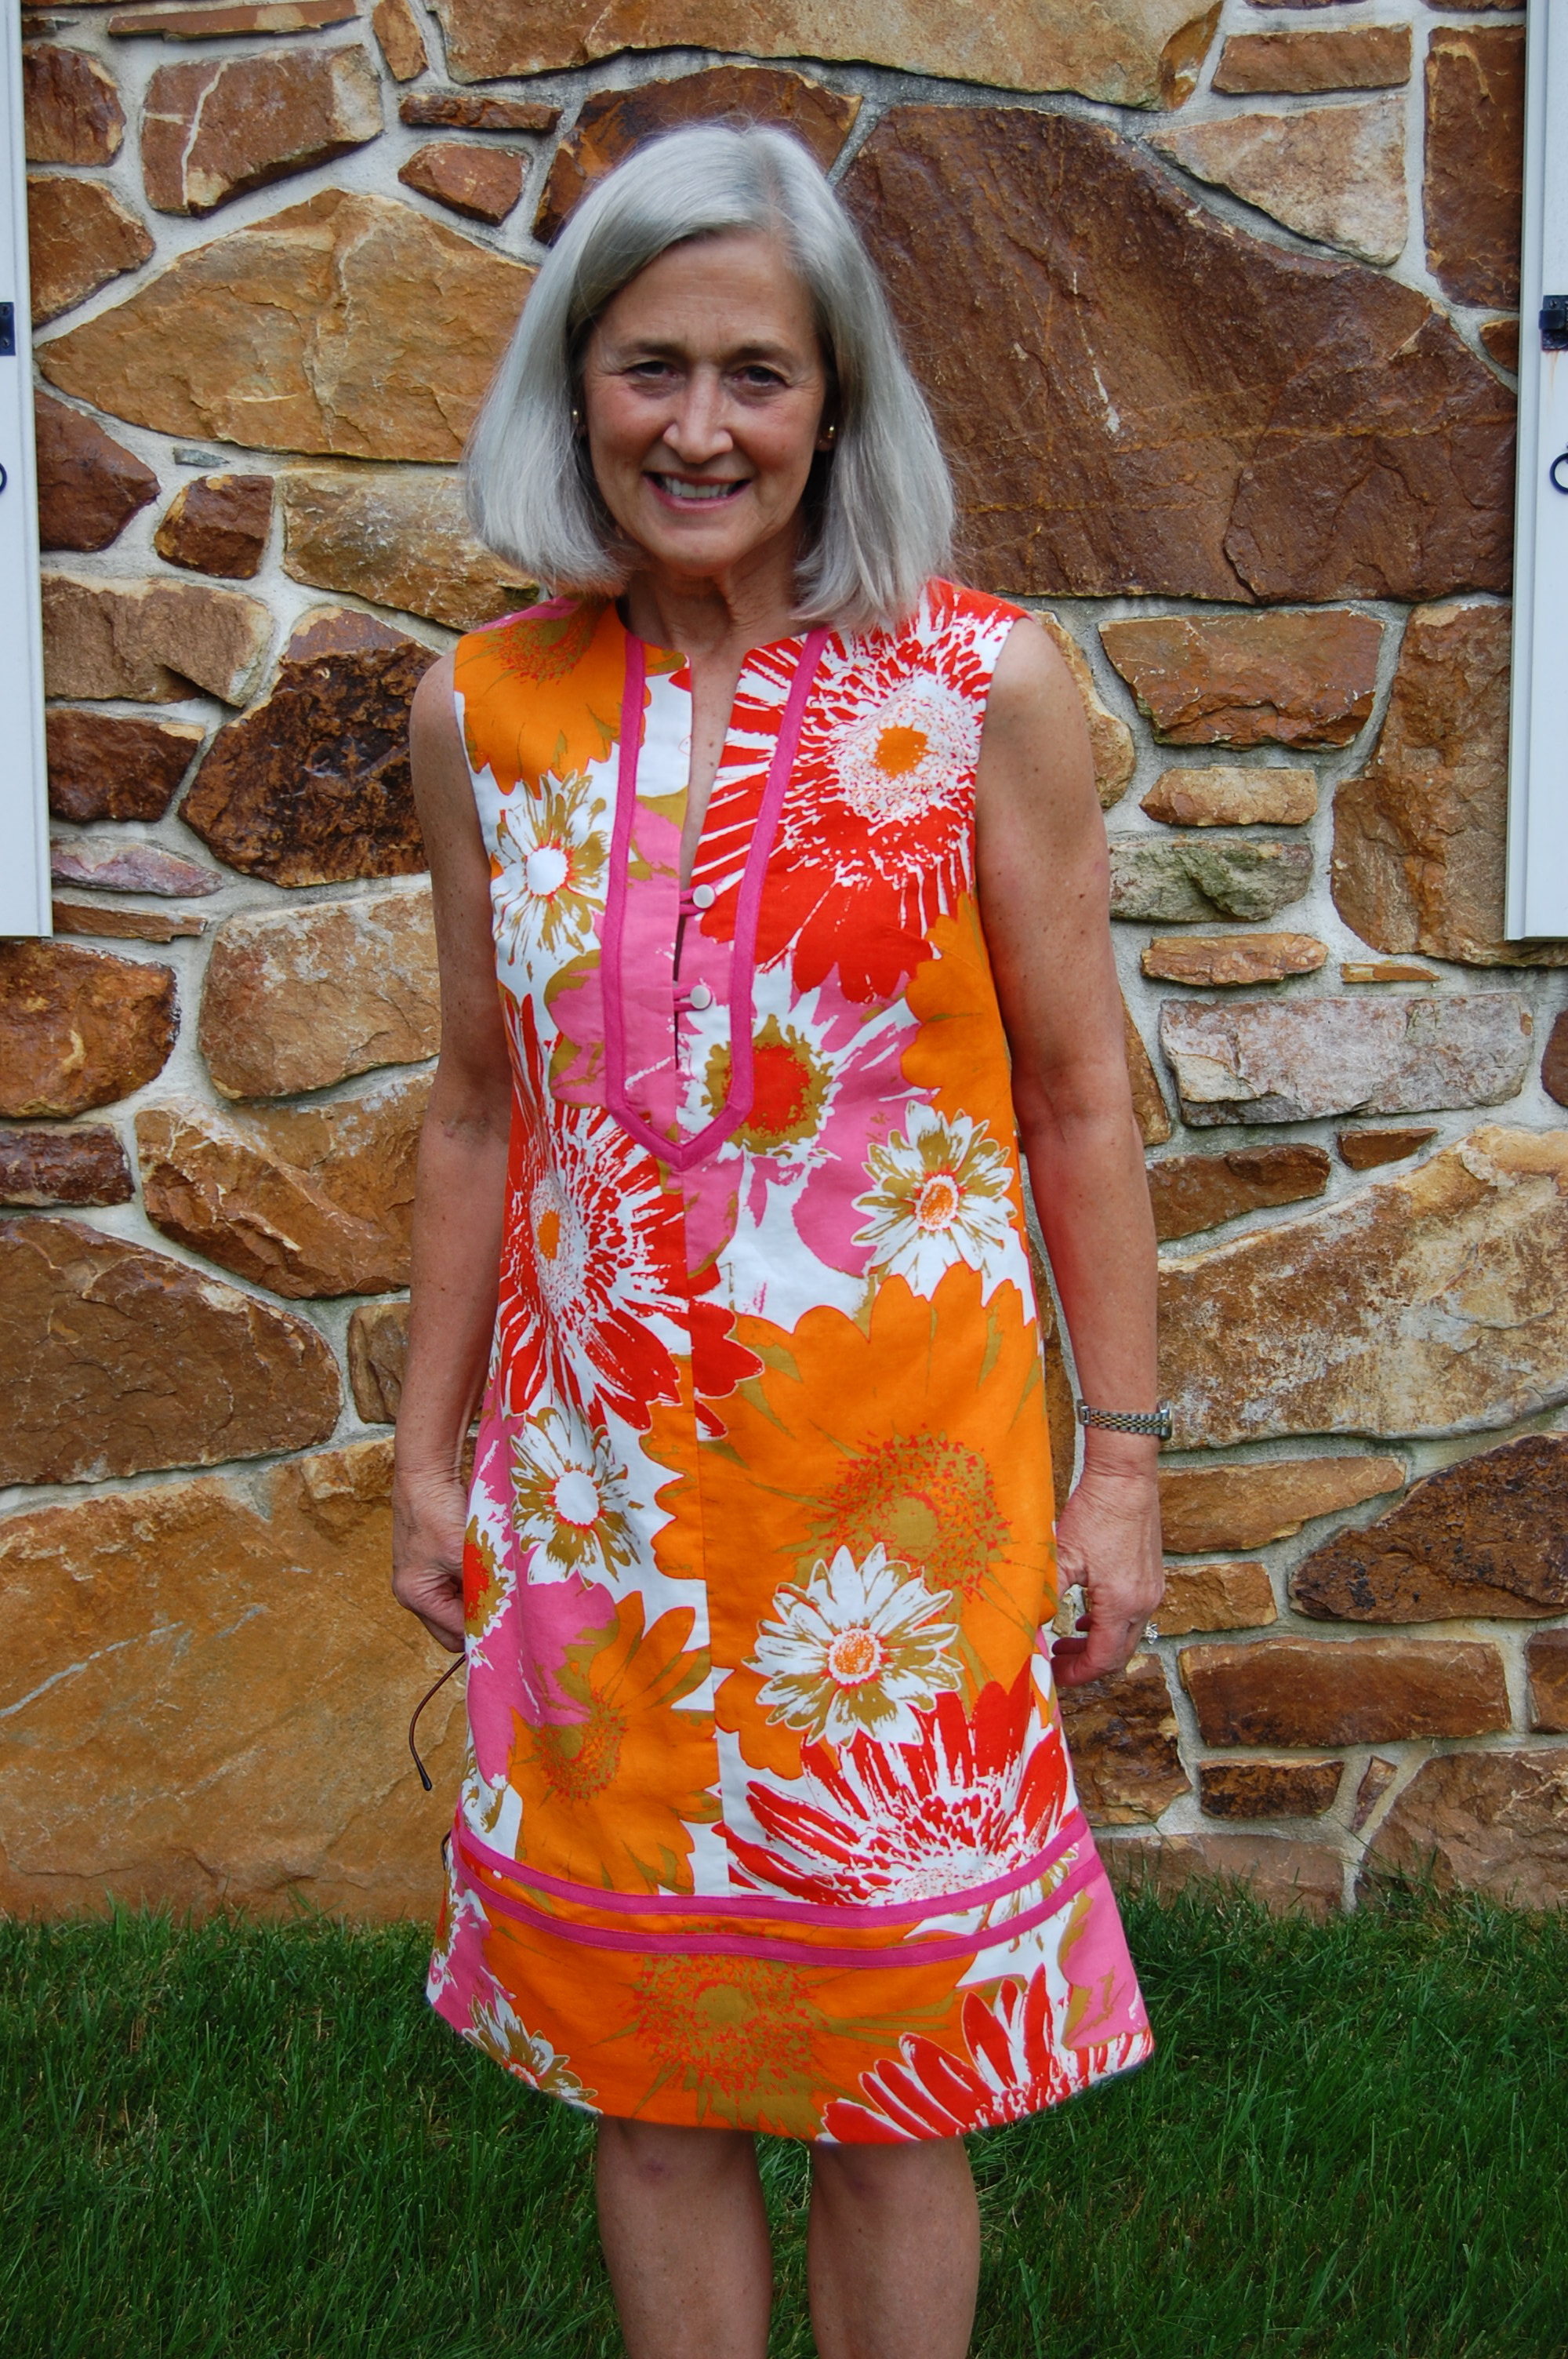
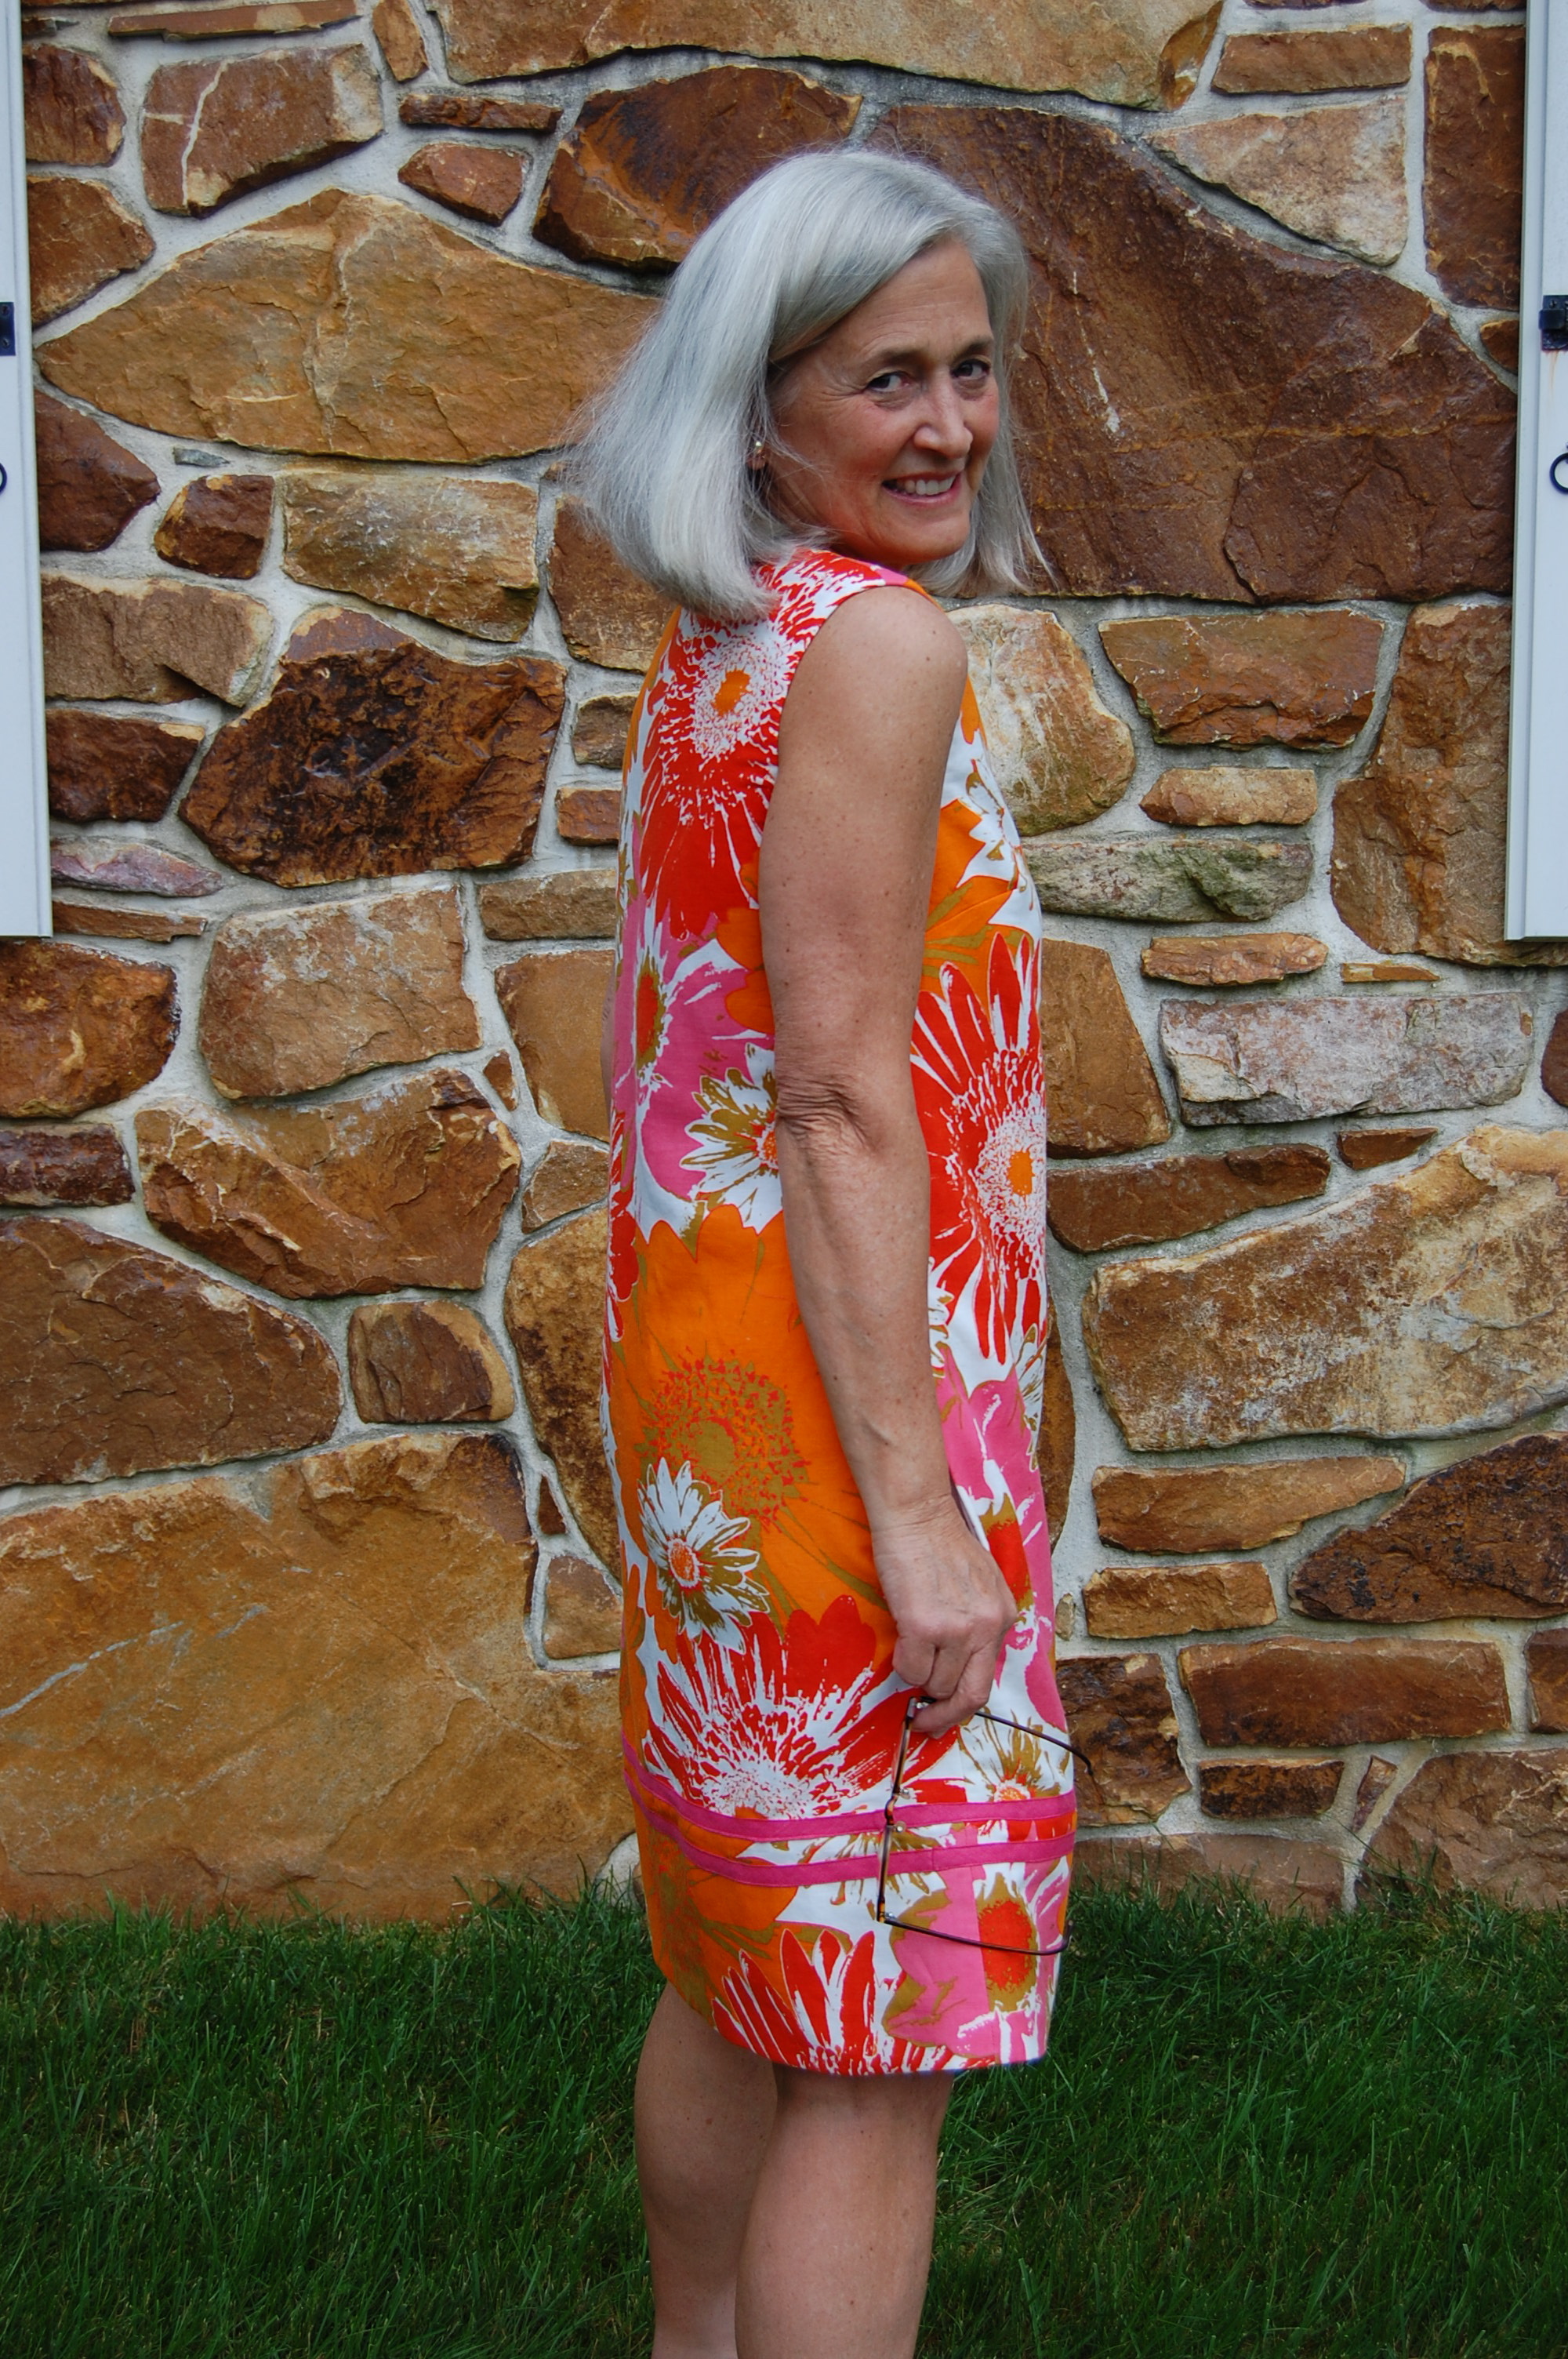
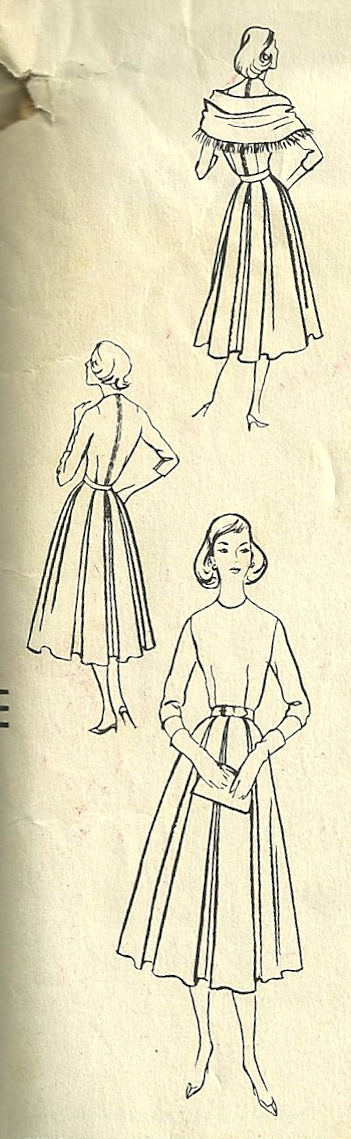
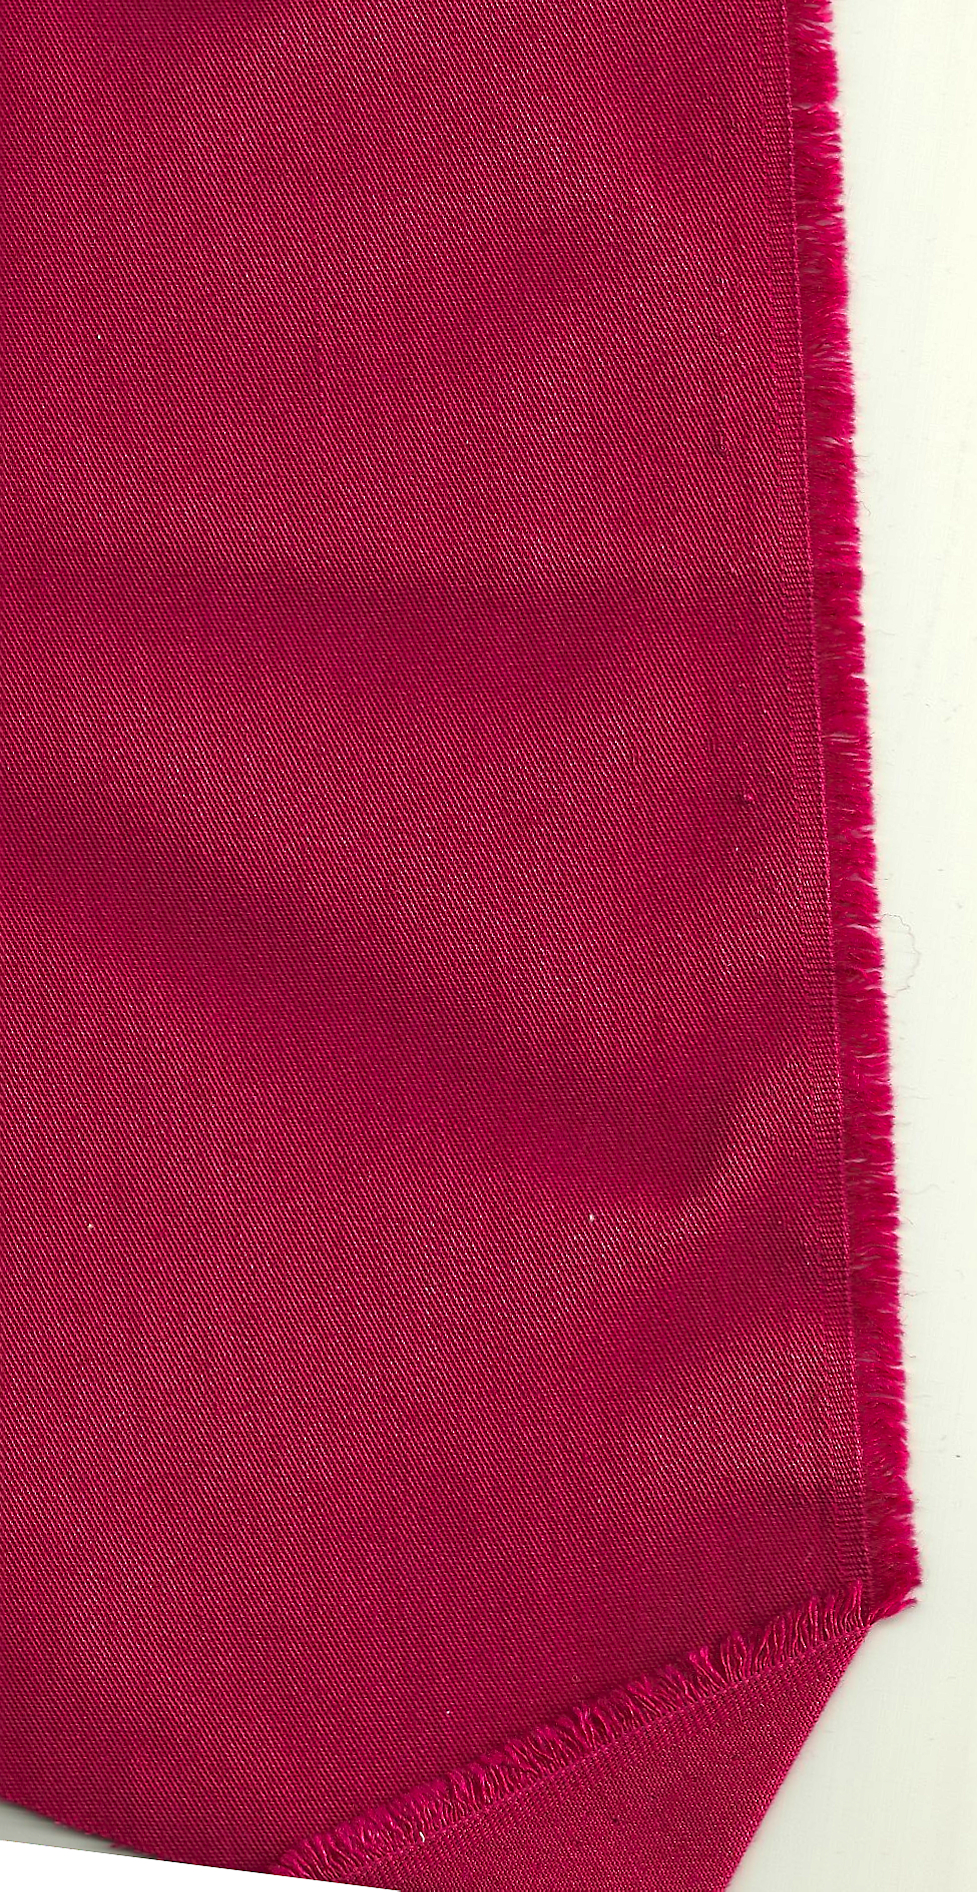
 Before Spring bids us adieu, I may divert from dresses to make another pair of slim pants in this vintage 1950s’ linen:
I only have one and 5/8 yards of this 35″ wide fabric, so it remains to be seen if I can squeeze pants out of it.
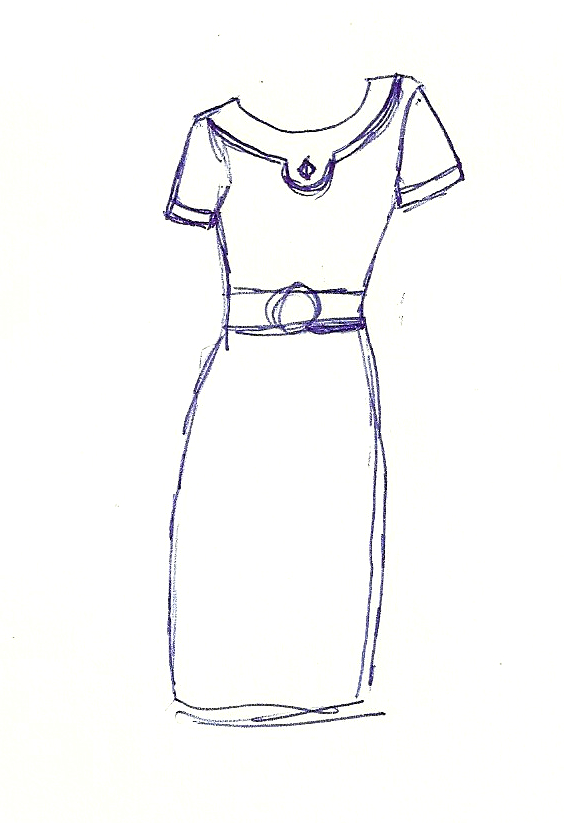
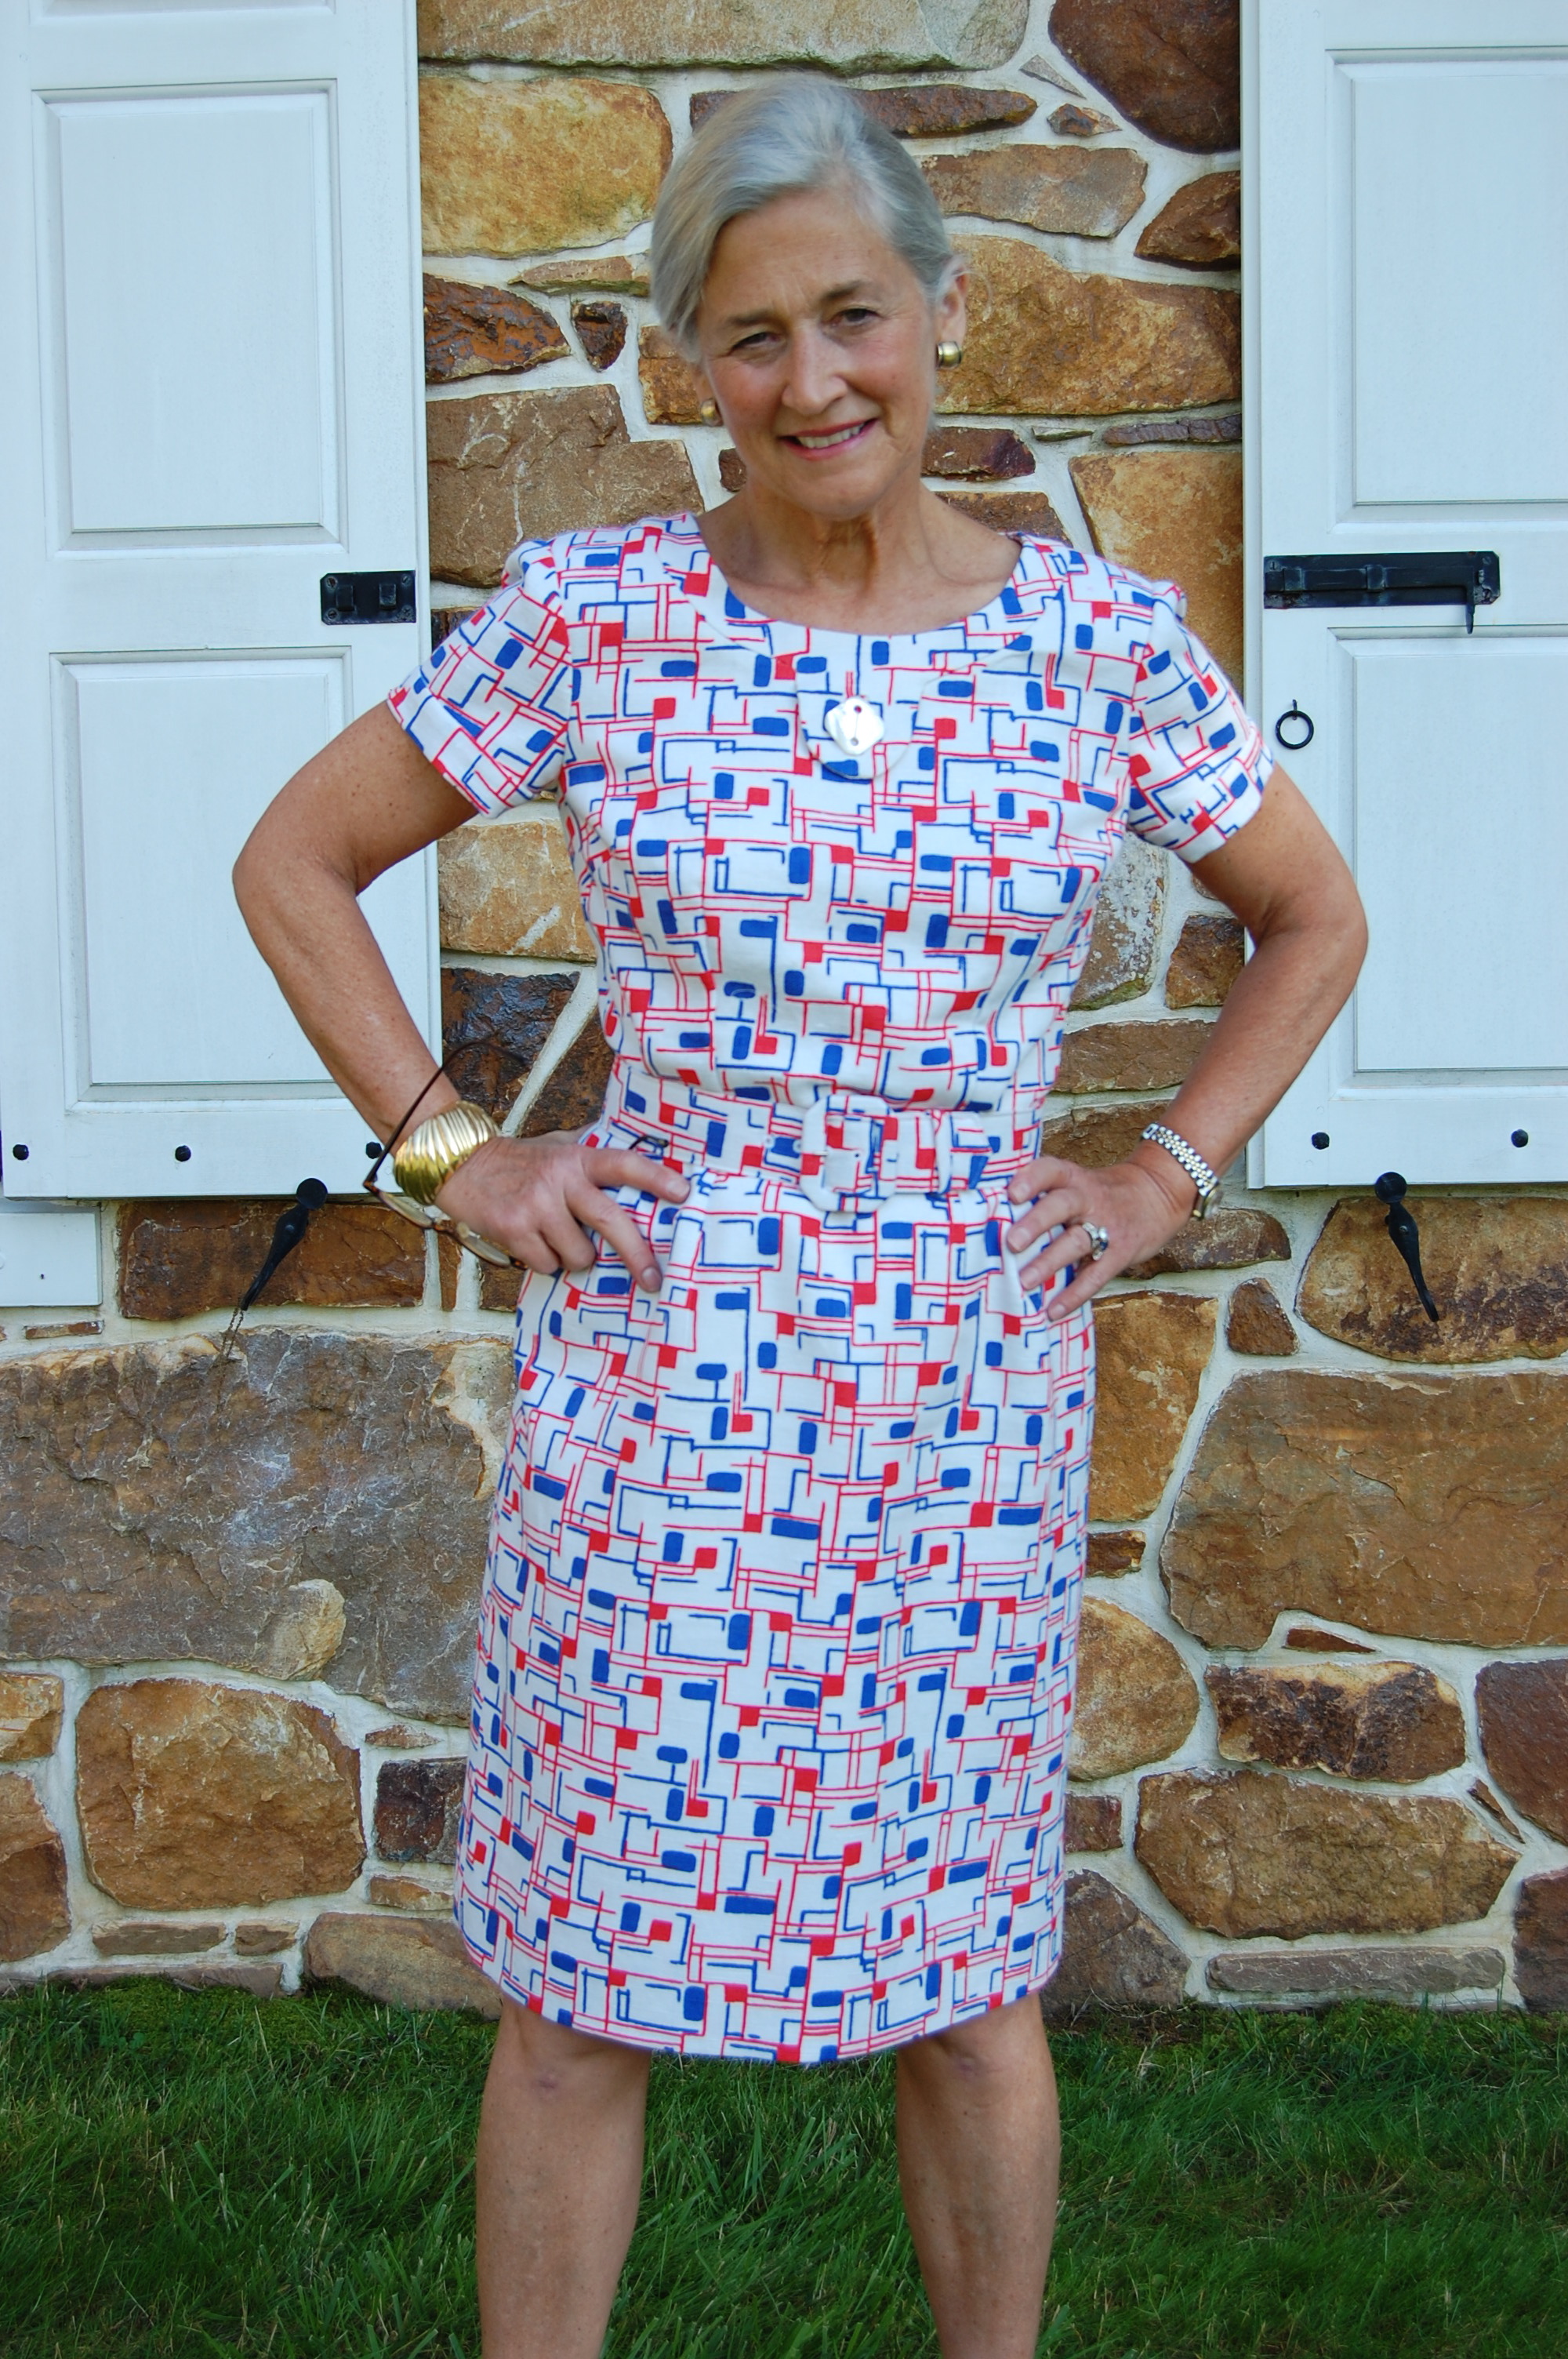
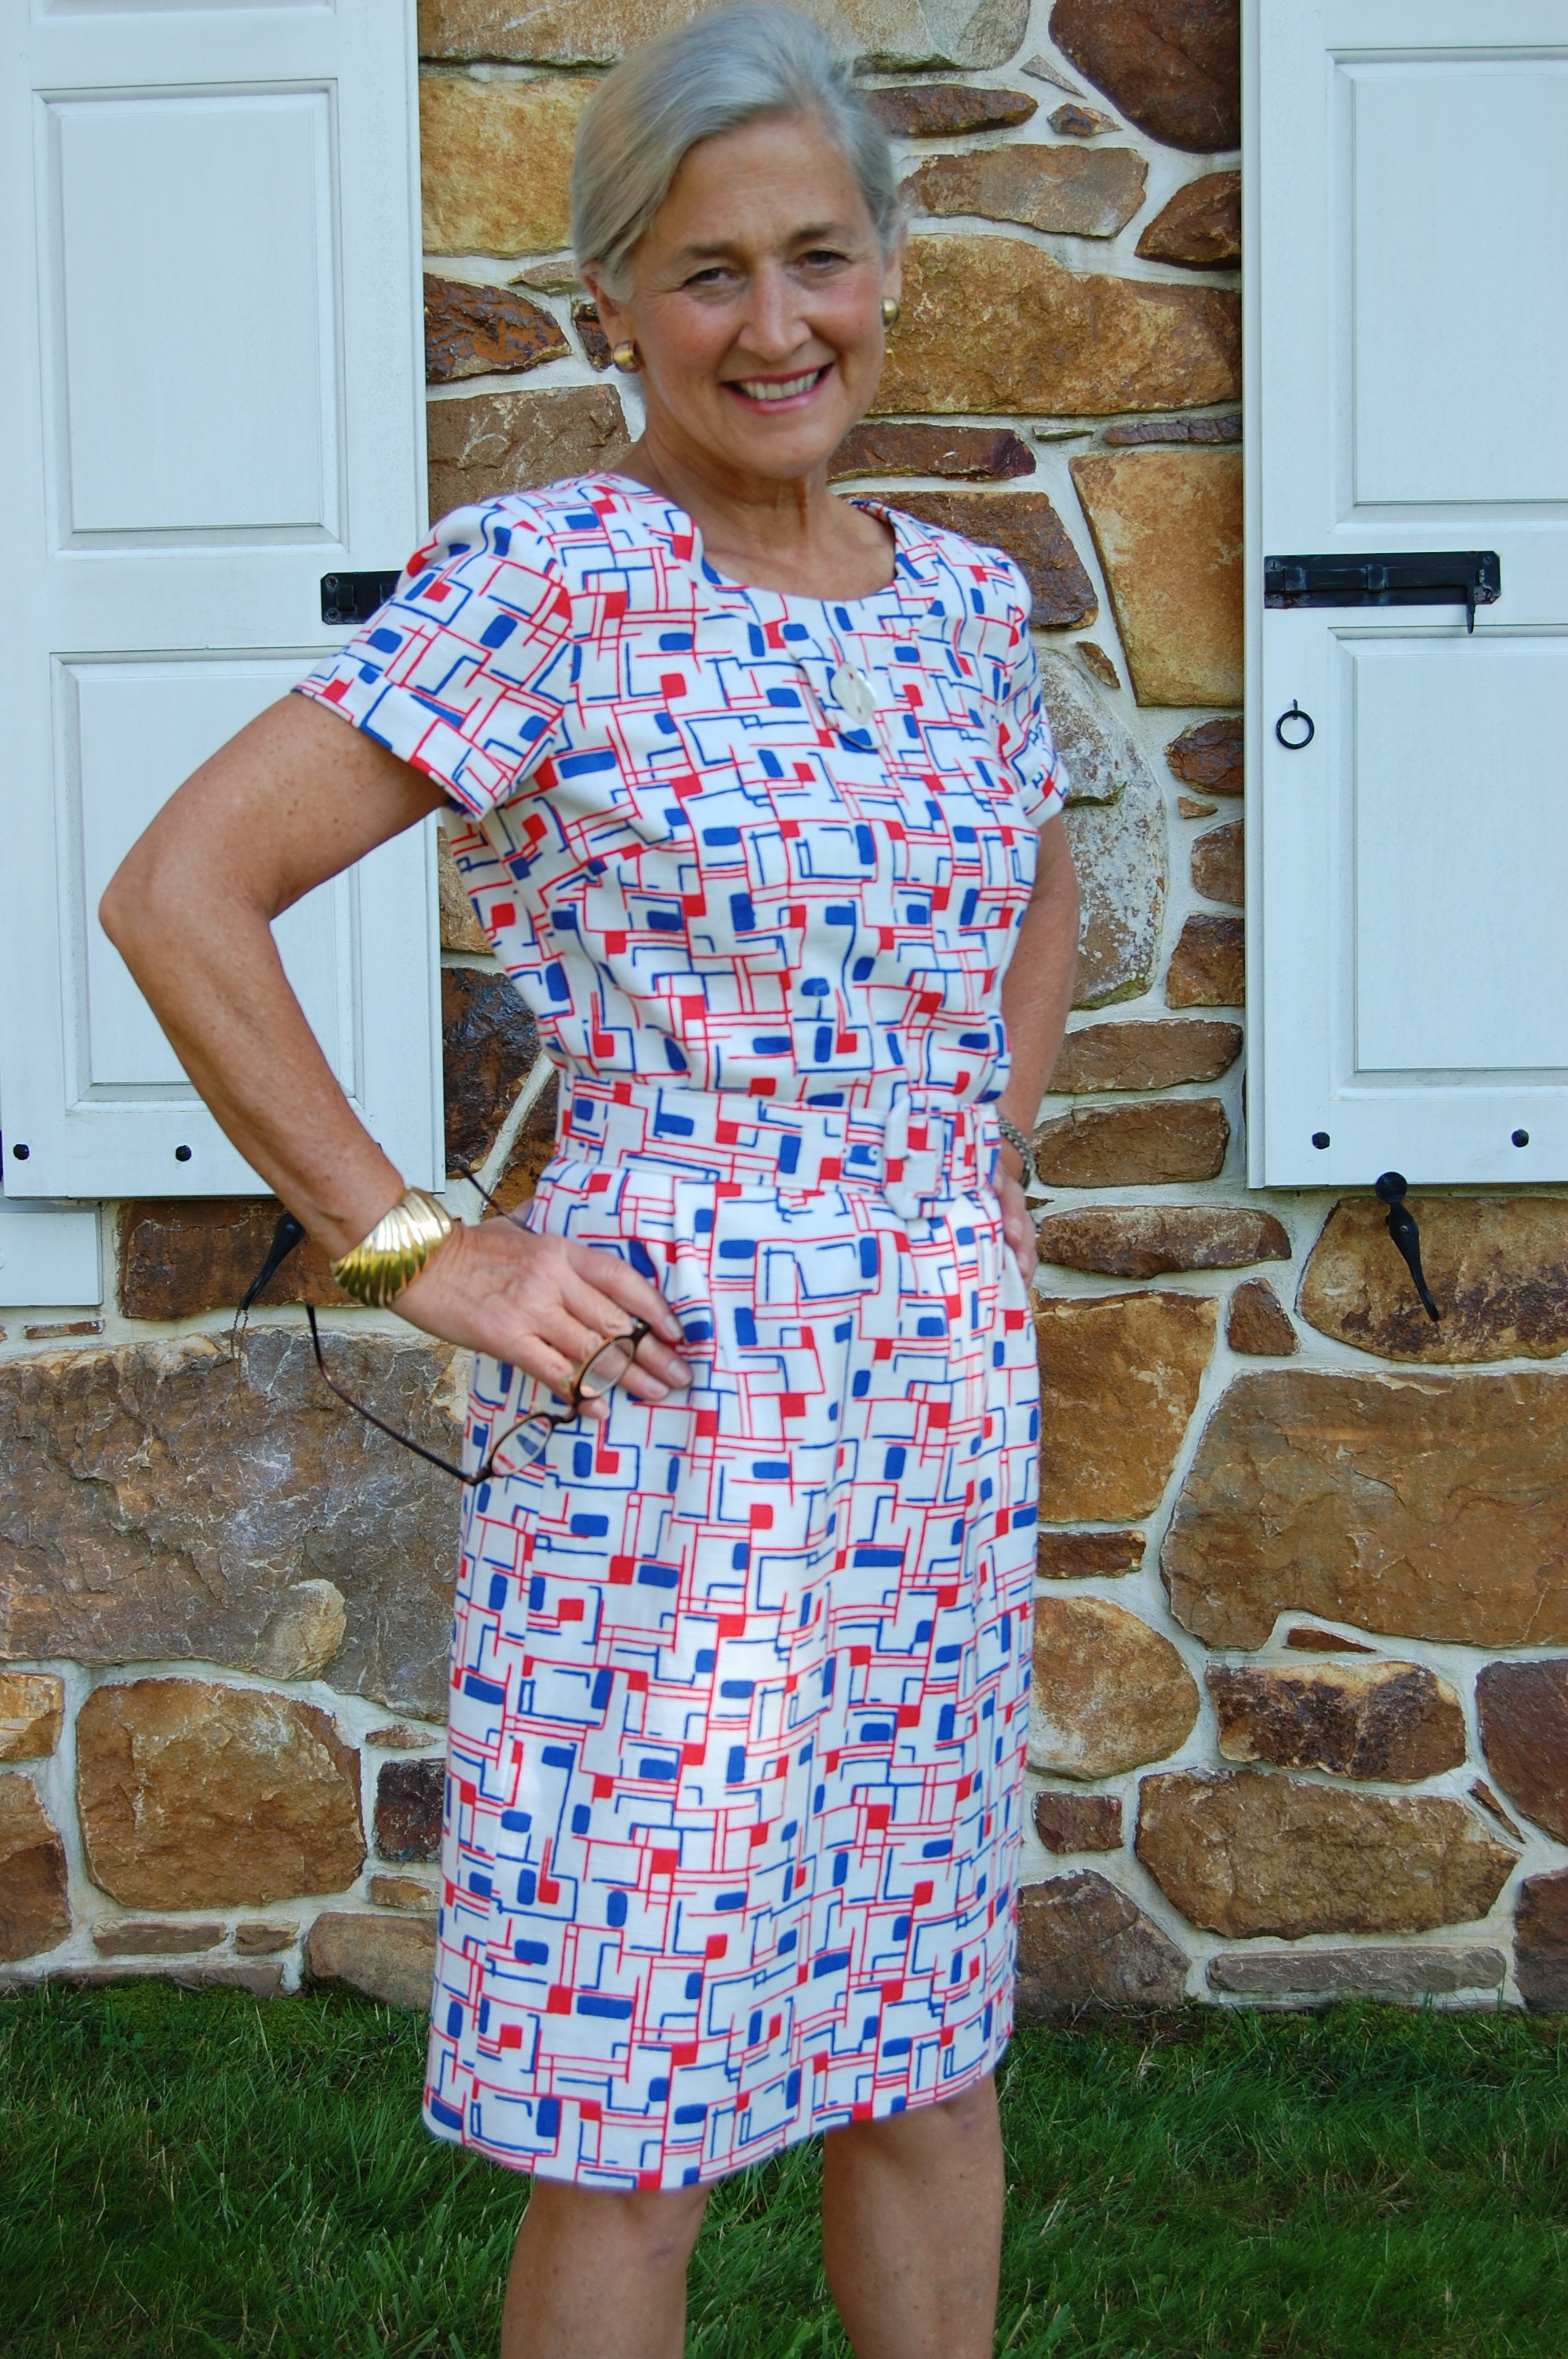
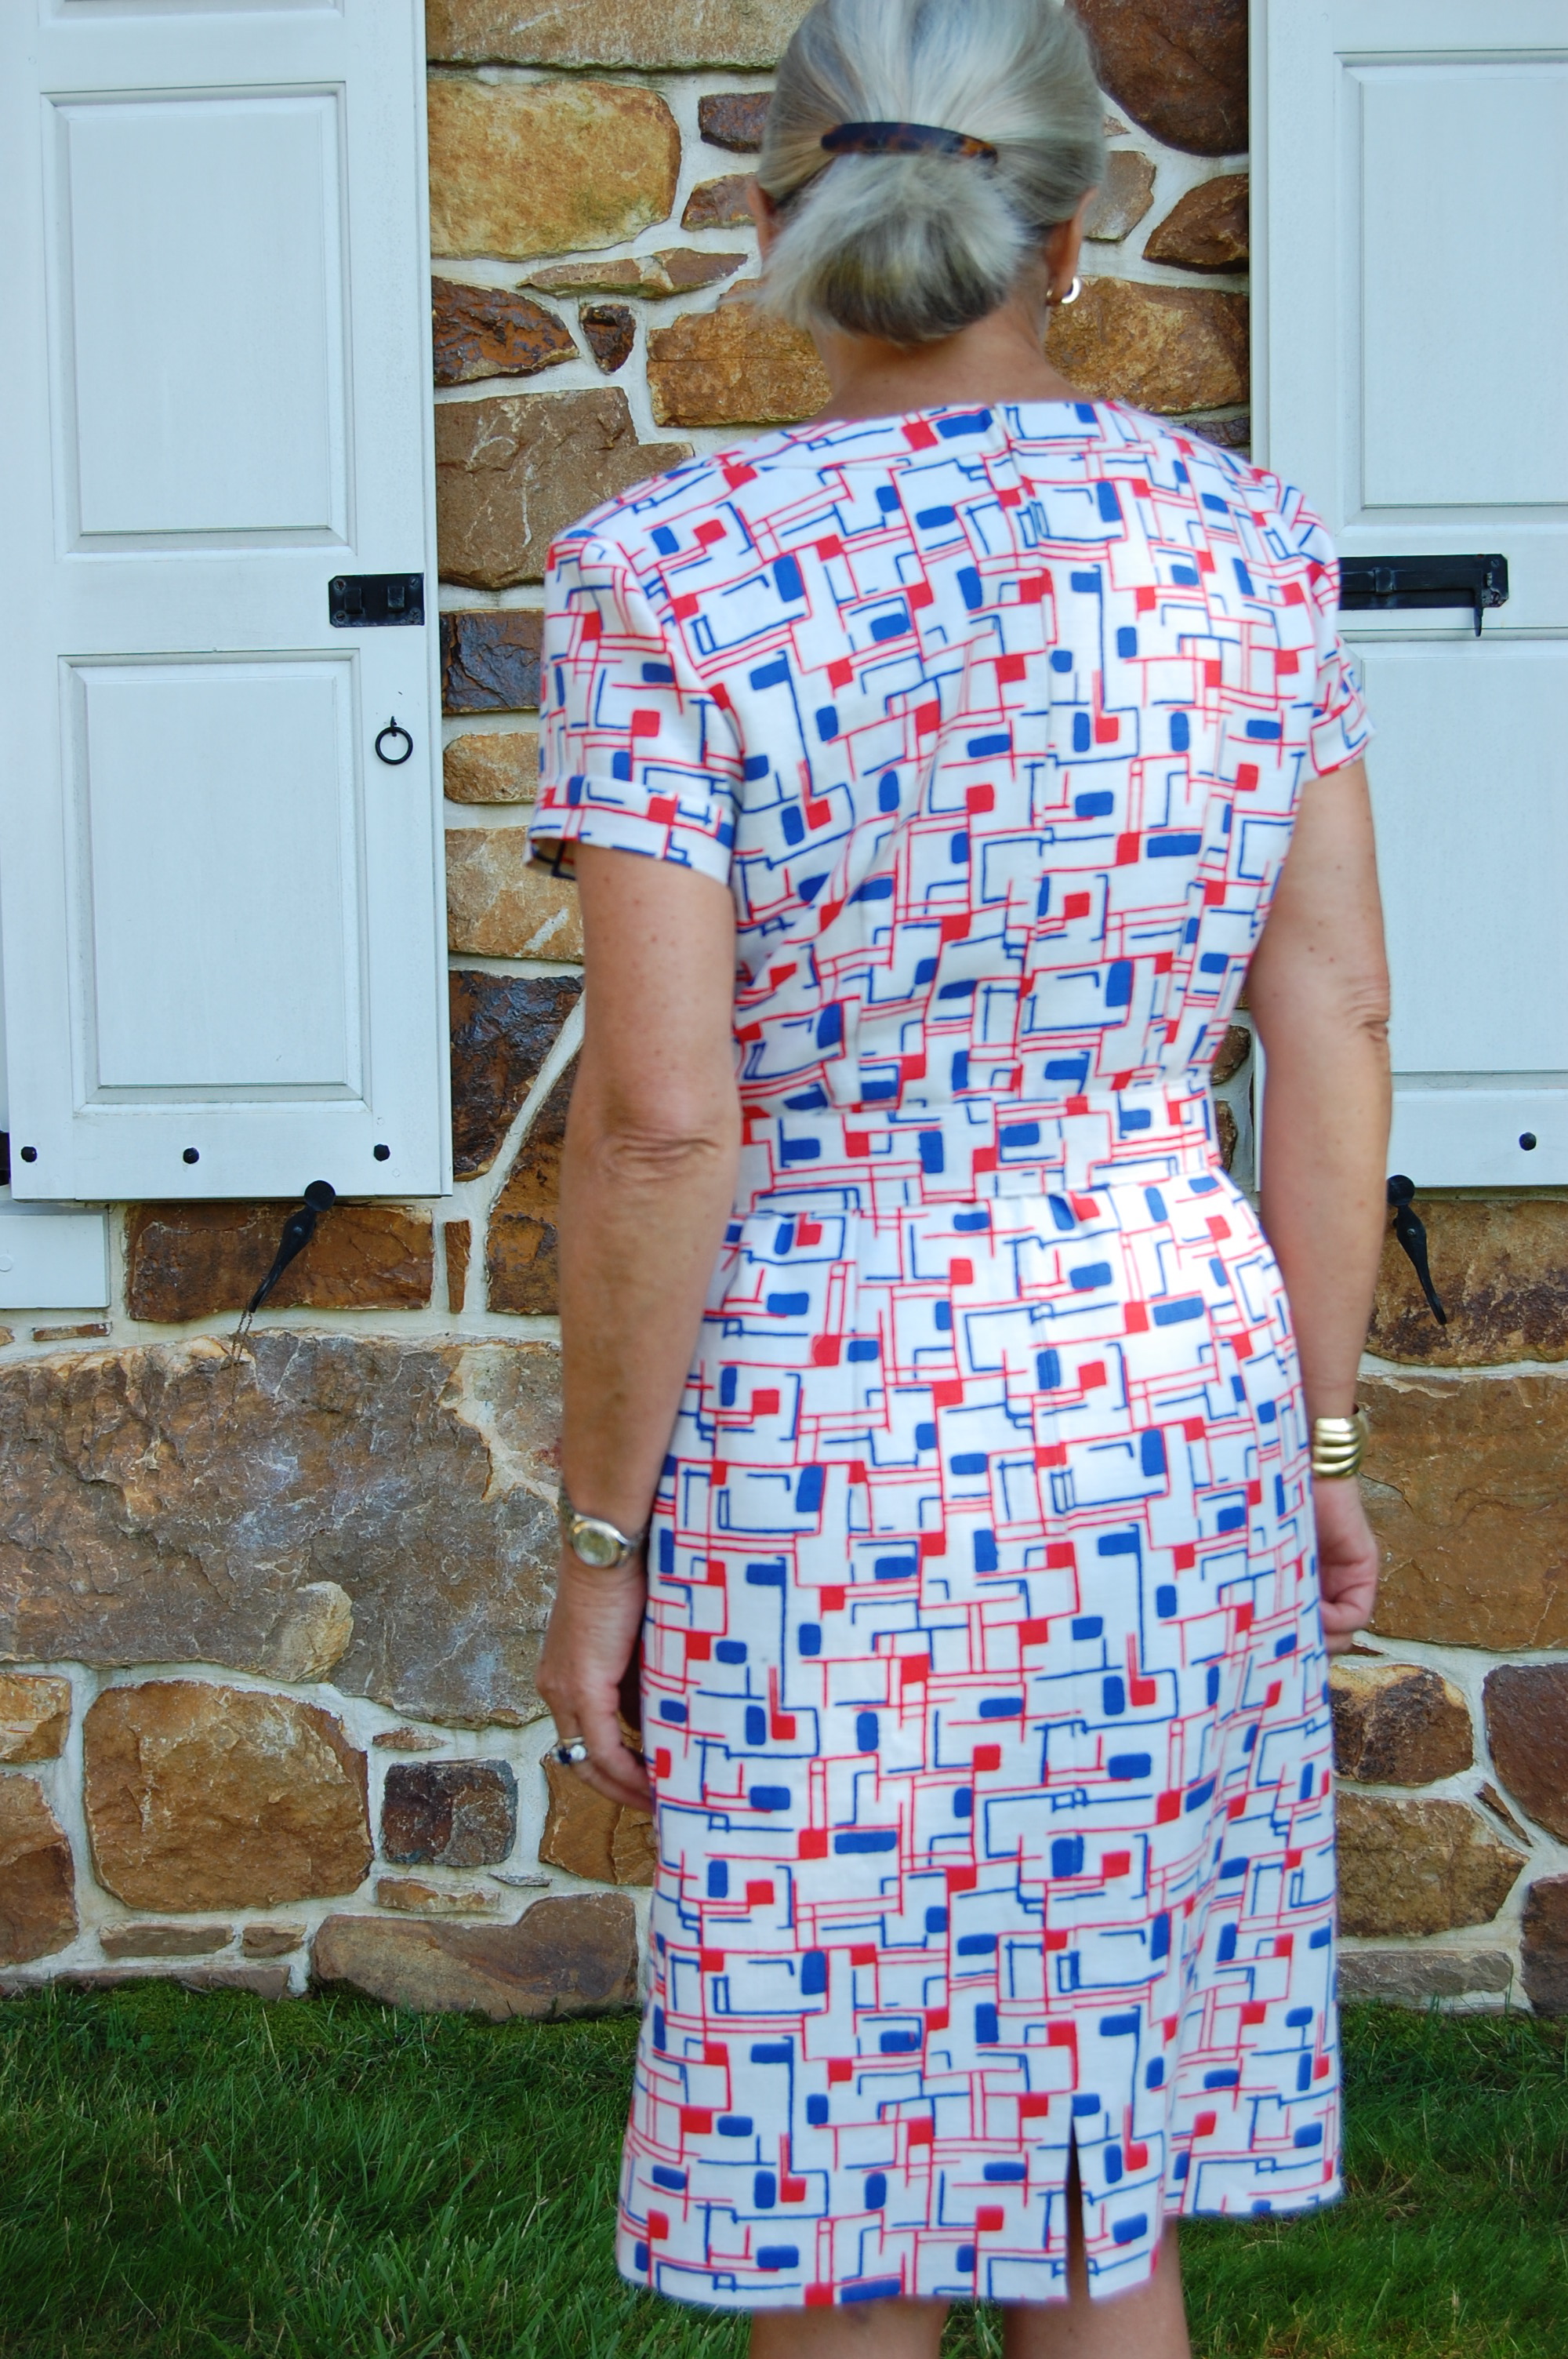
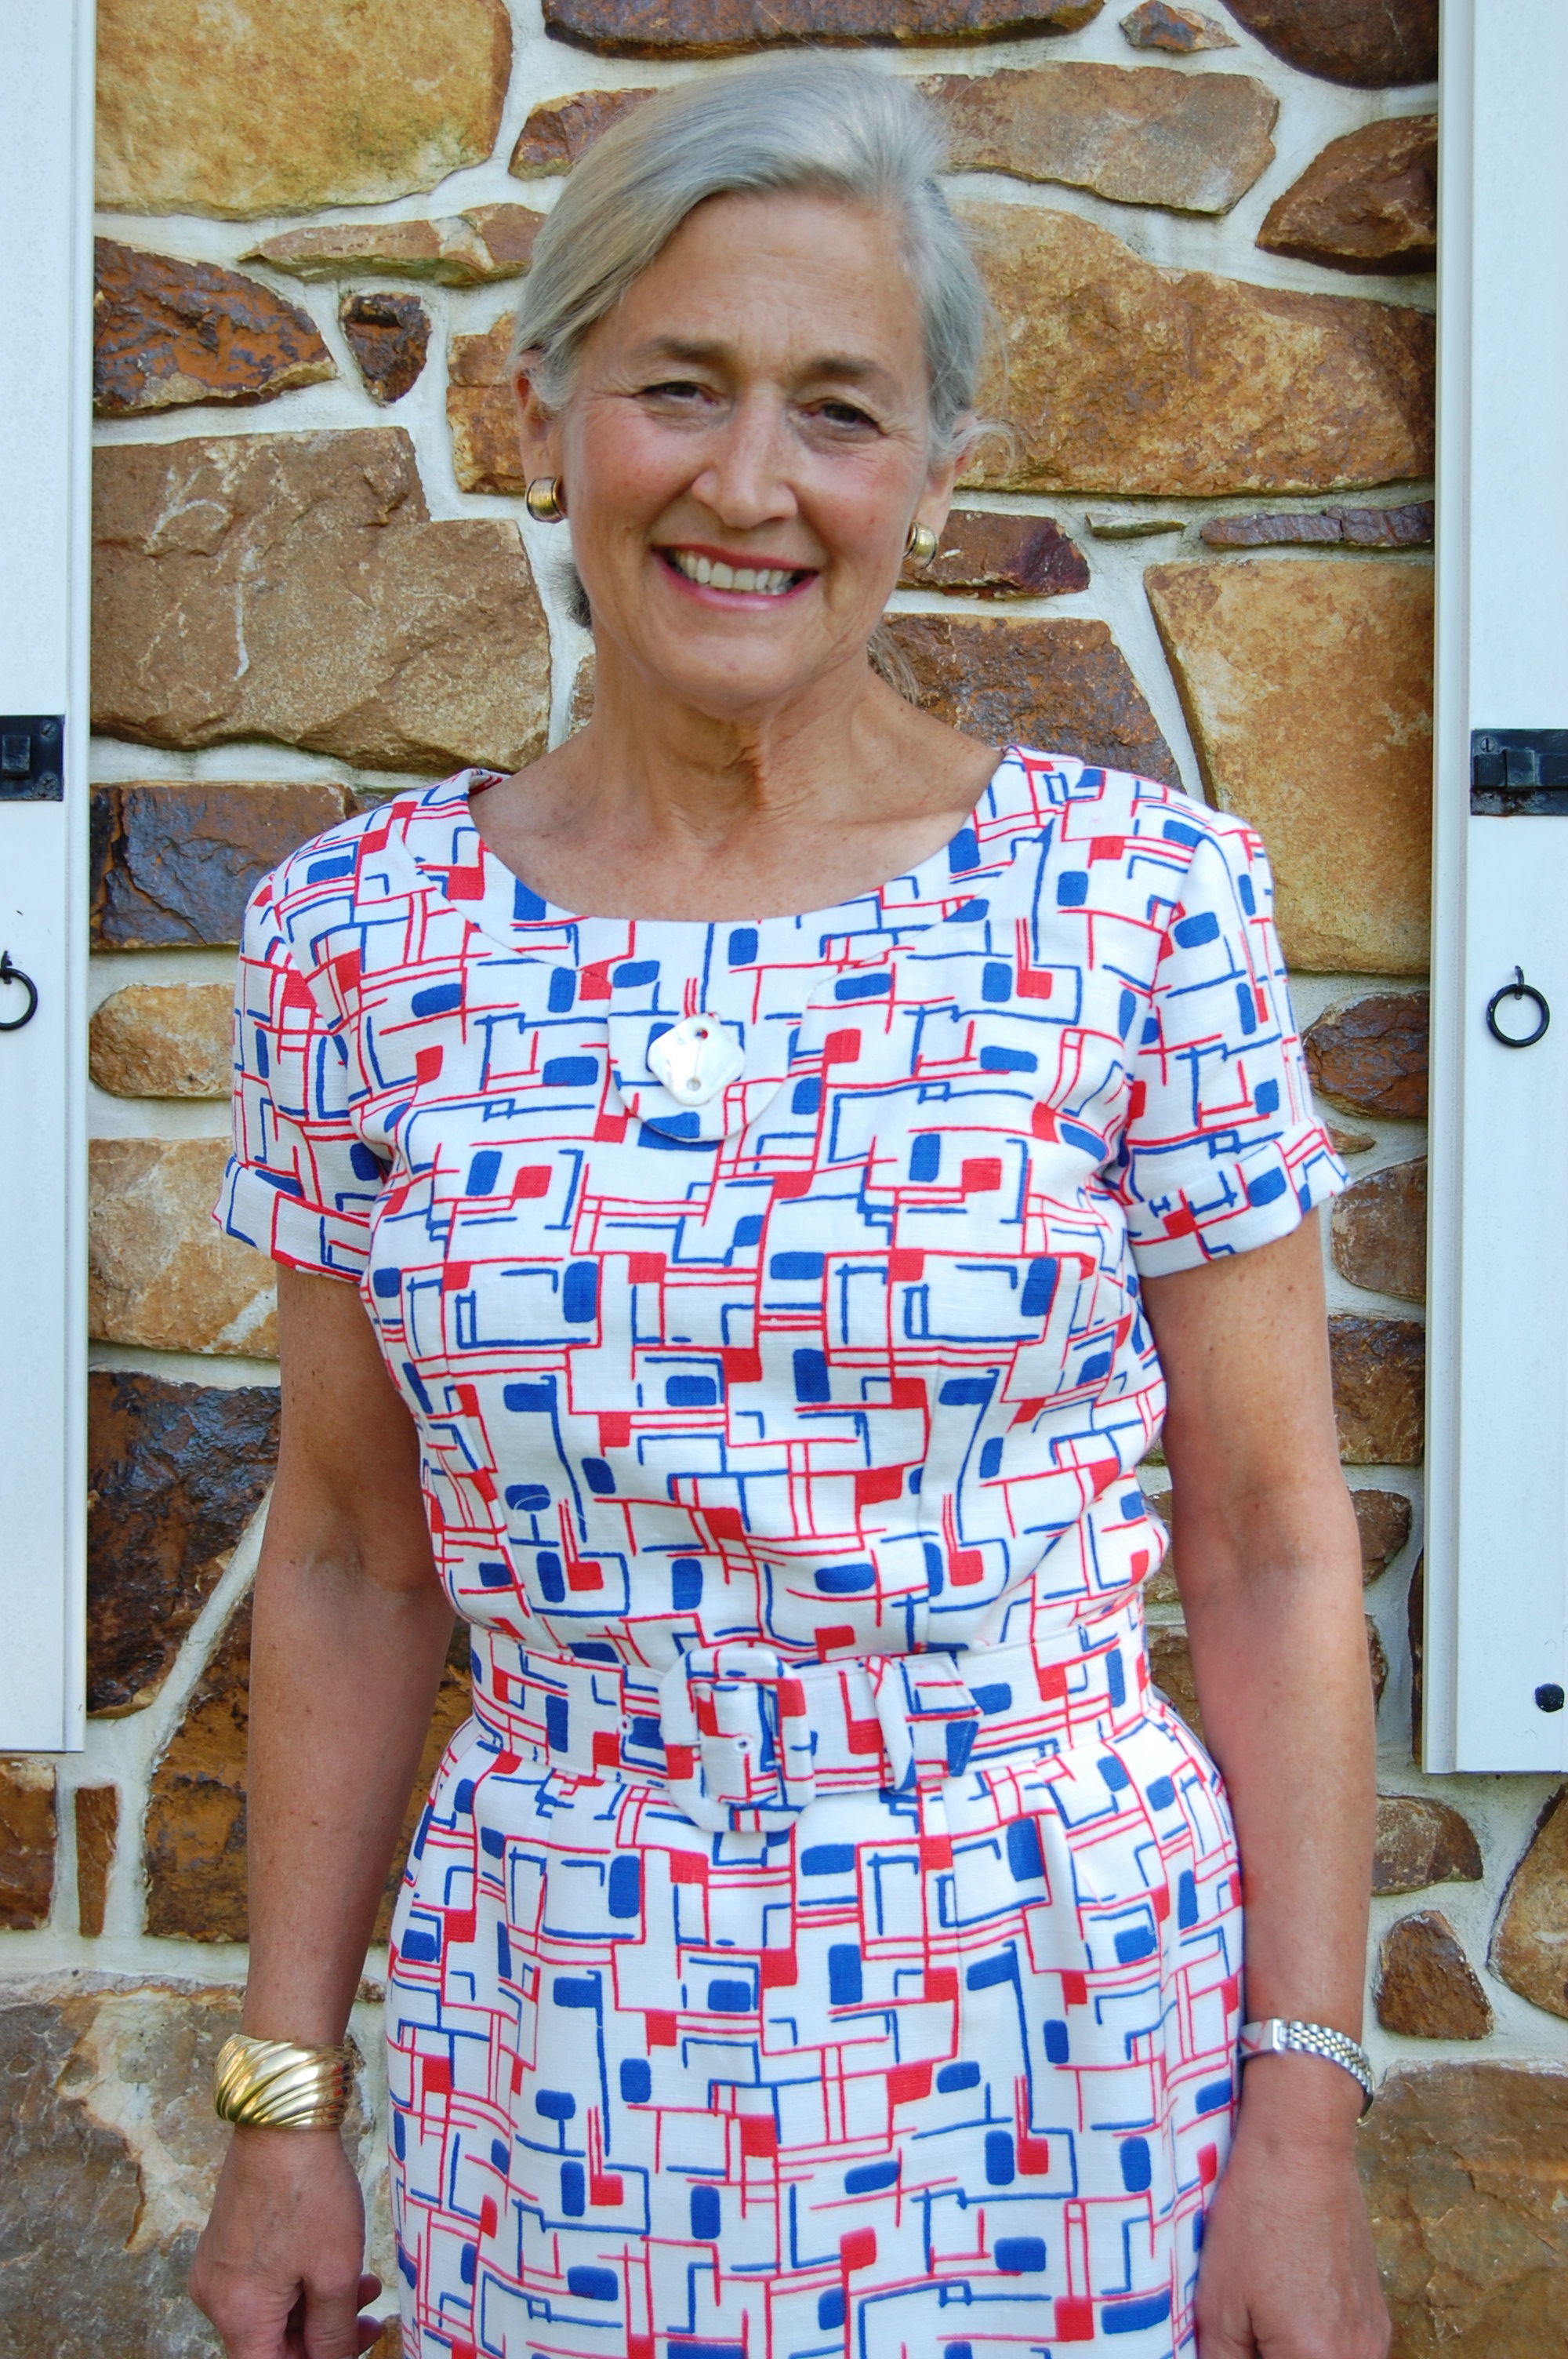
If Summer of 2014 is as hot as last Summer (or even if it is not), I’ll be making at least two more cool, linen dresses, one sheath-style and one belted. More on these linen fabric finds in a future post…
And a bathrobe!! I am dying to make a swishy bathrobe!
Ah, and then comes Fall (already??), probably my favorite season of all. I have two projects envisioned:
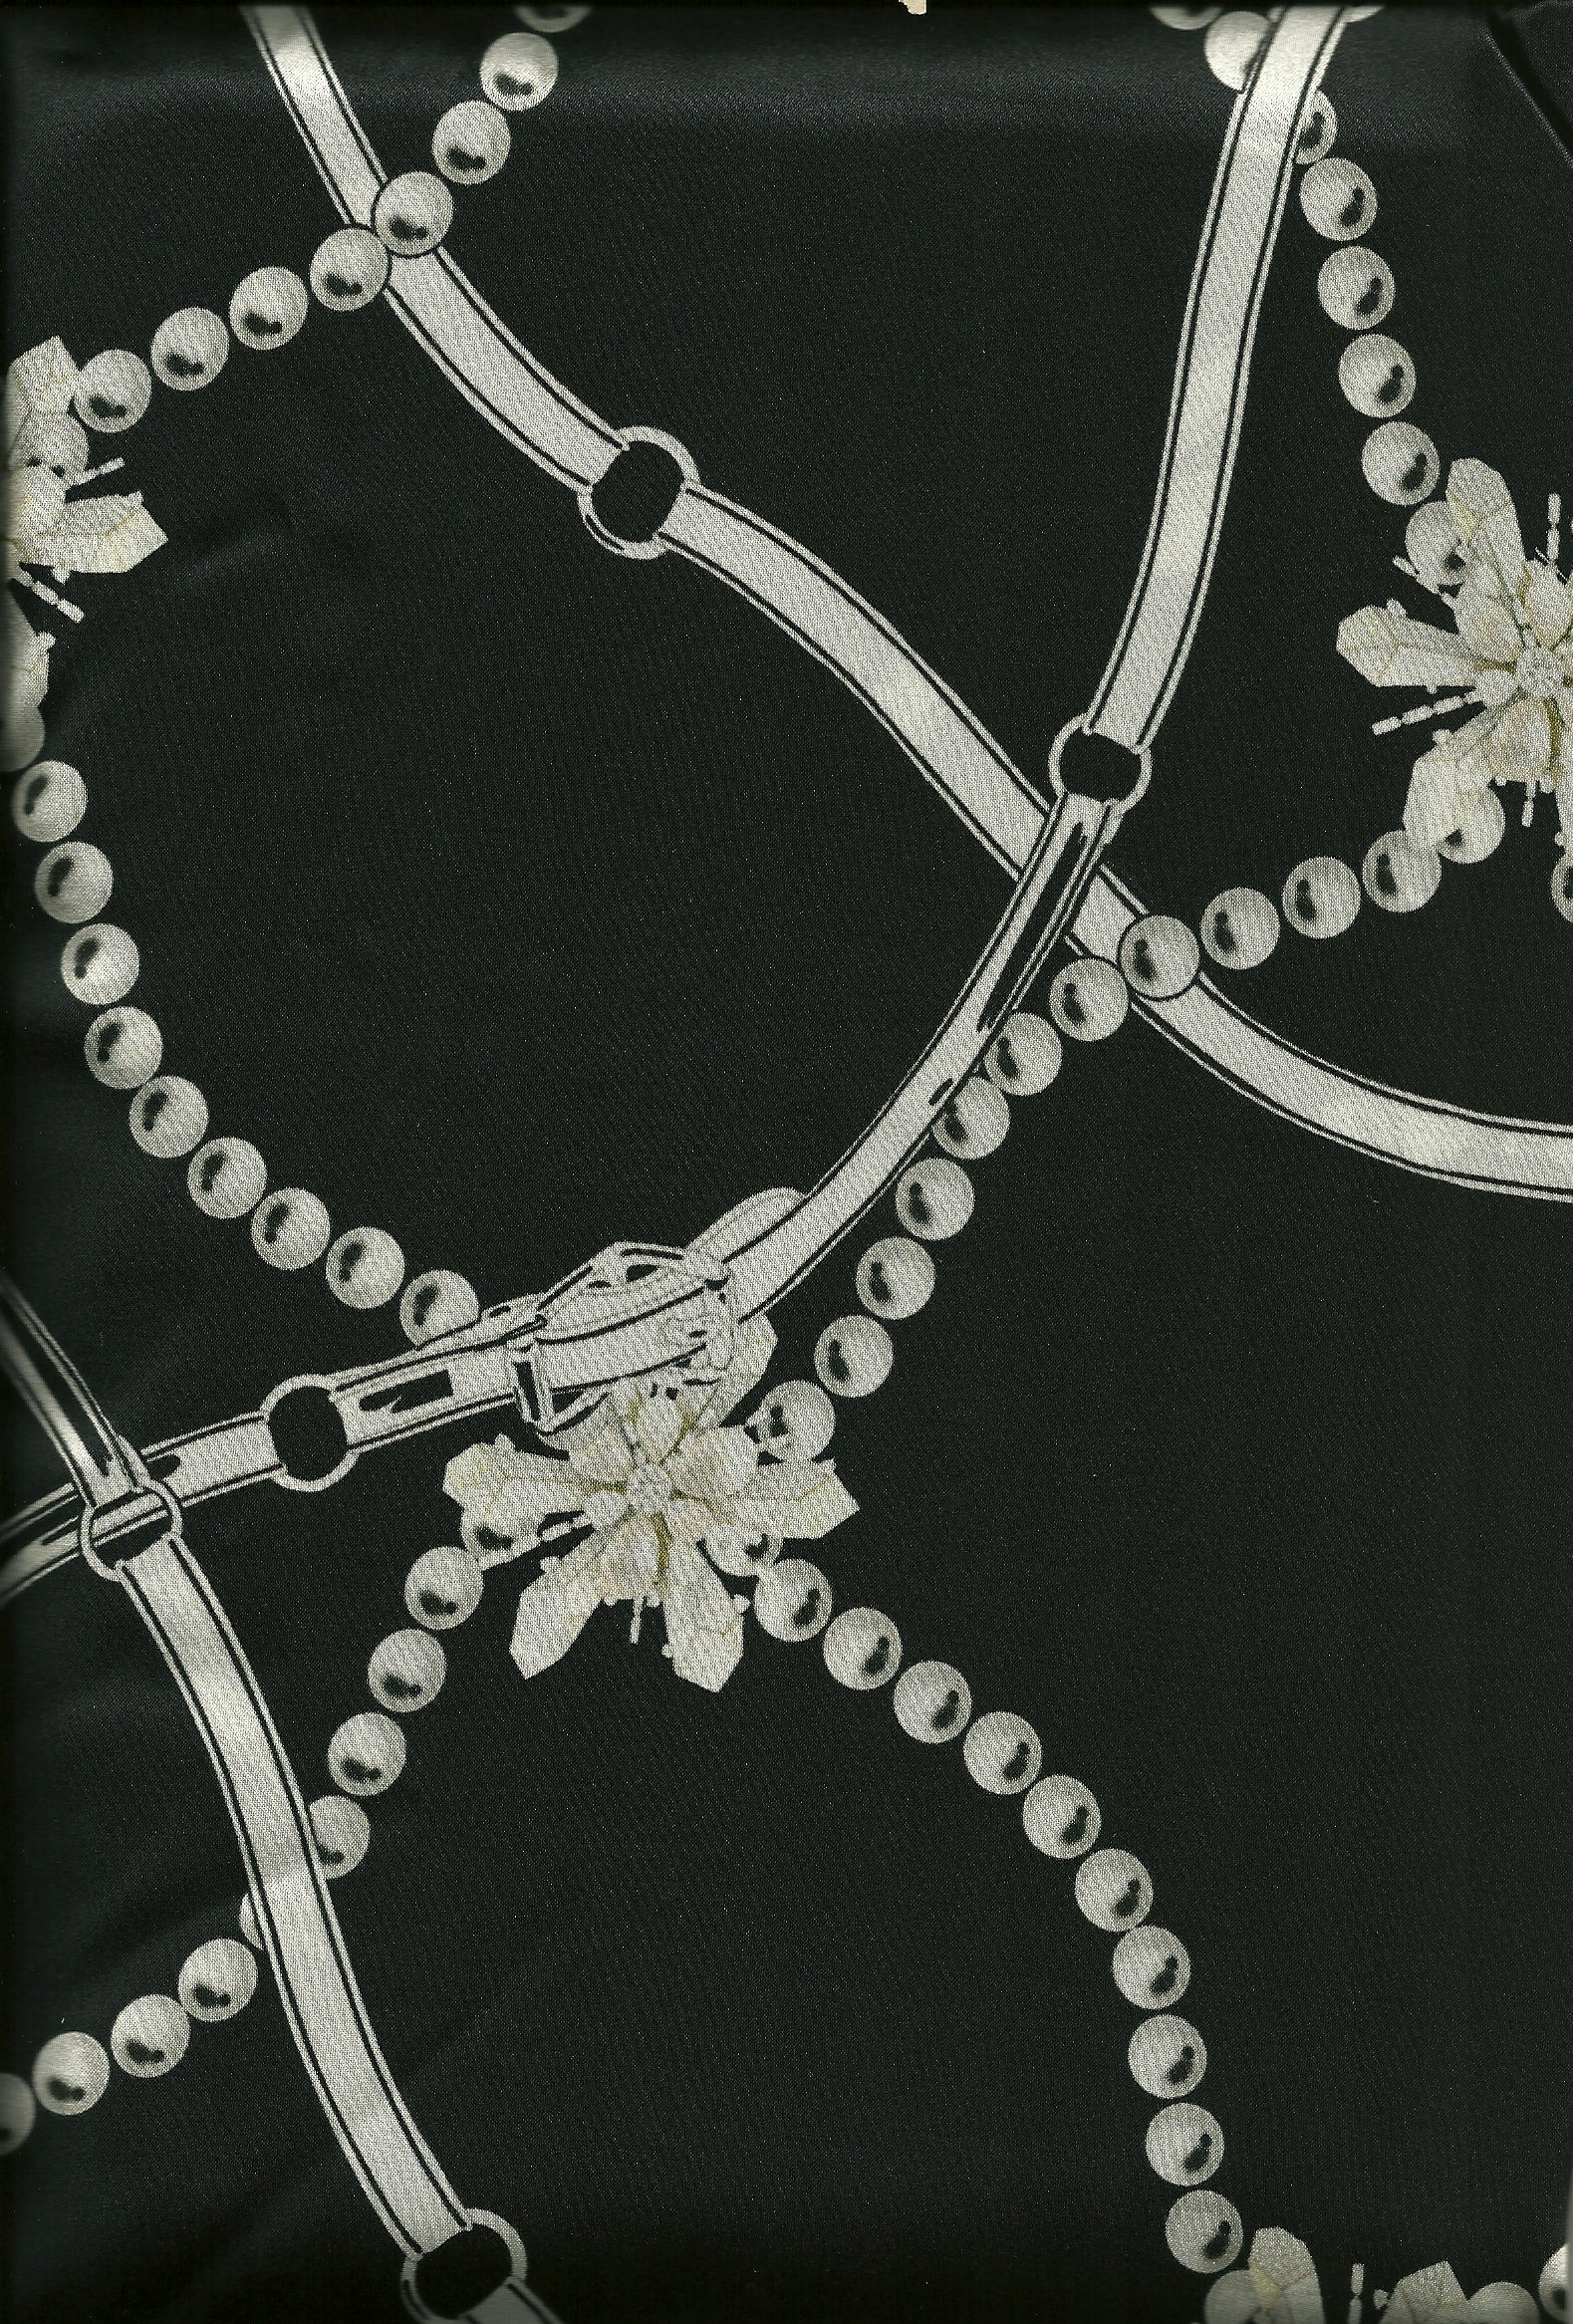
1) I found this stretch silk charmeuse at Mendel Goldberg Fabrics on a quick day trip to NYC in early Fall.
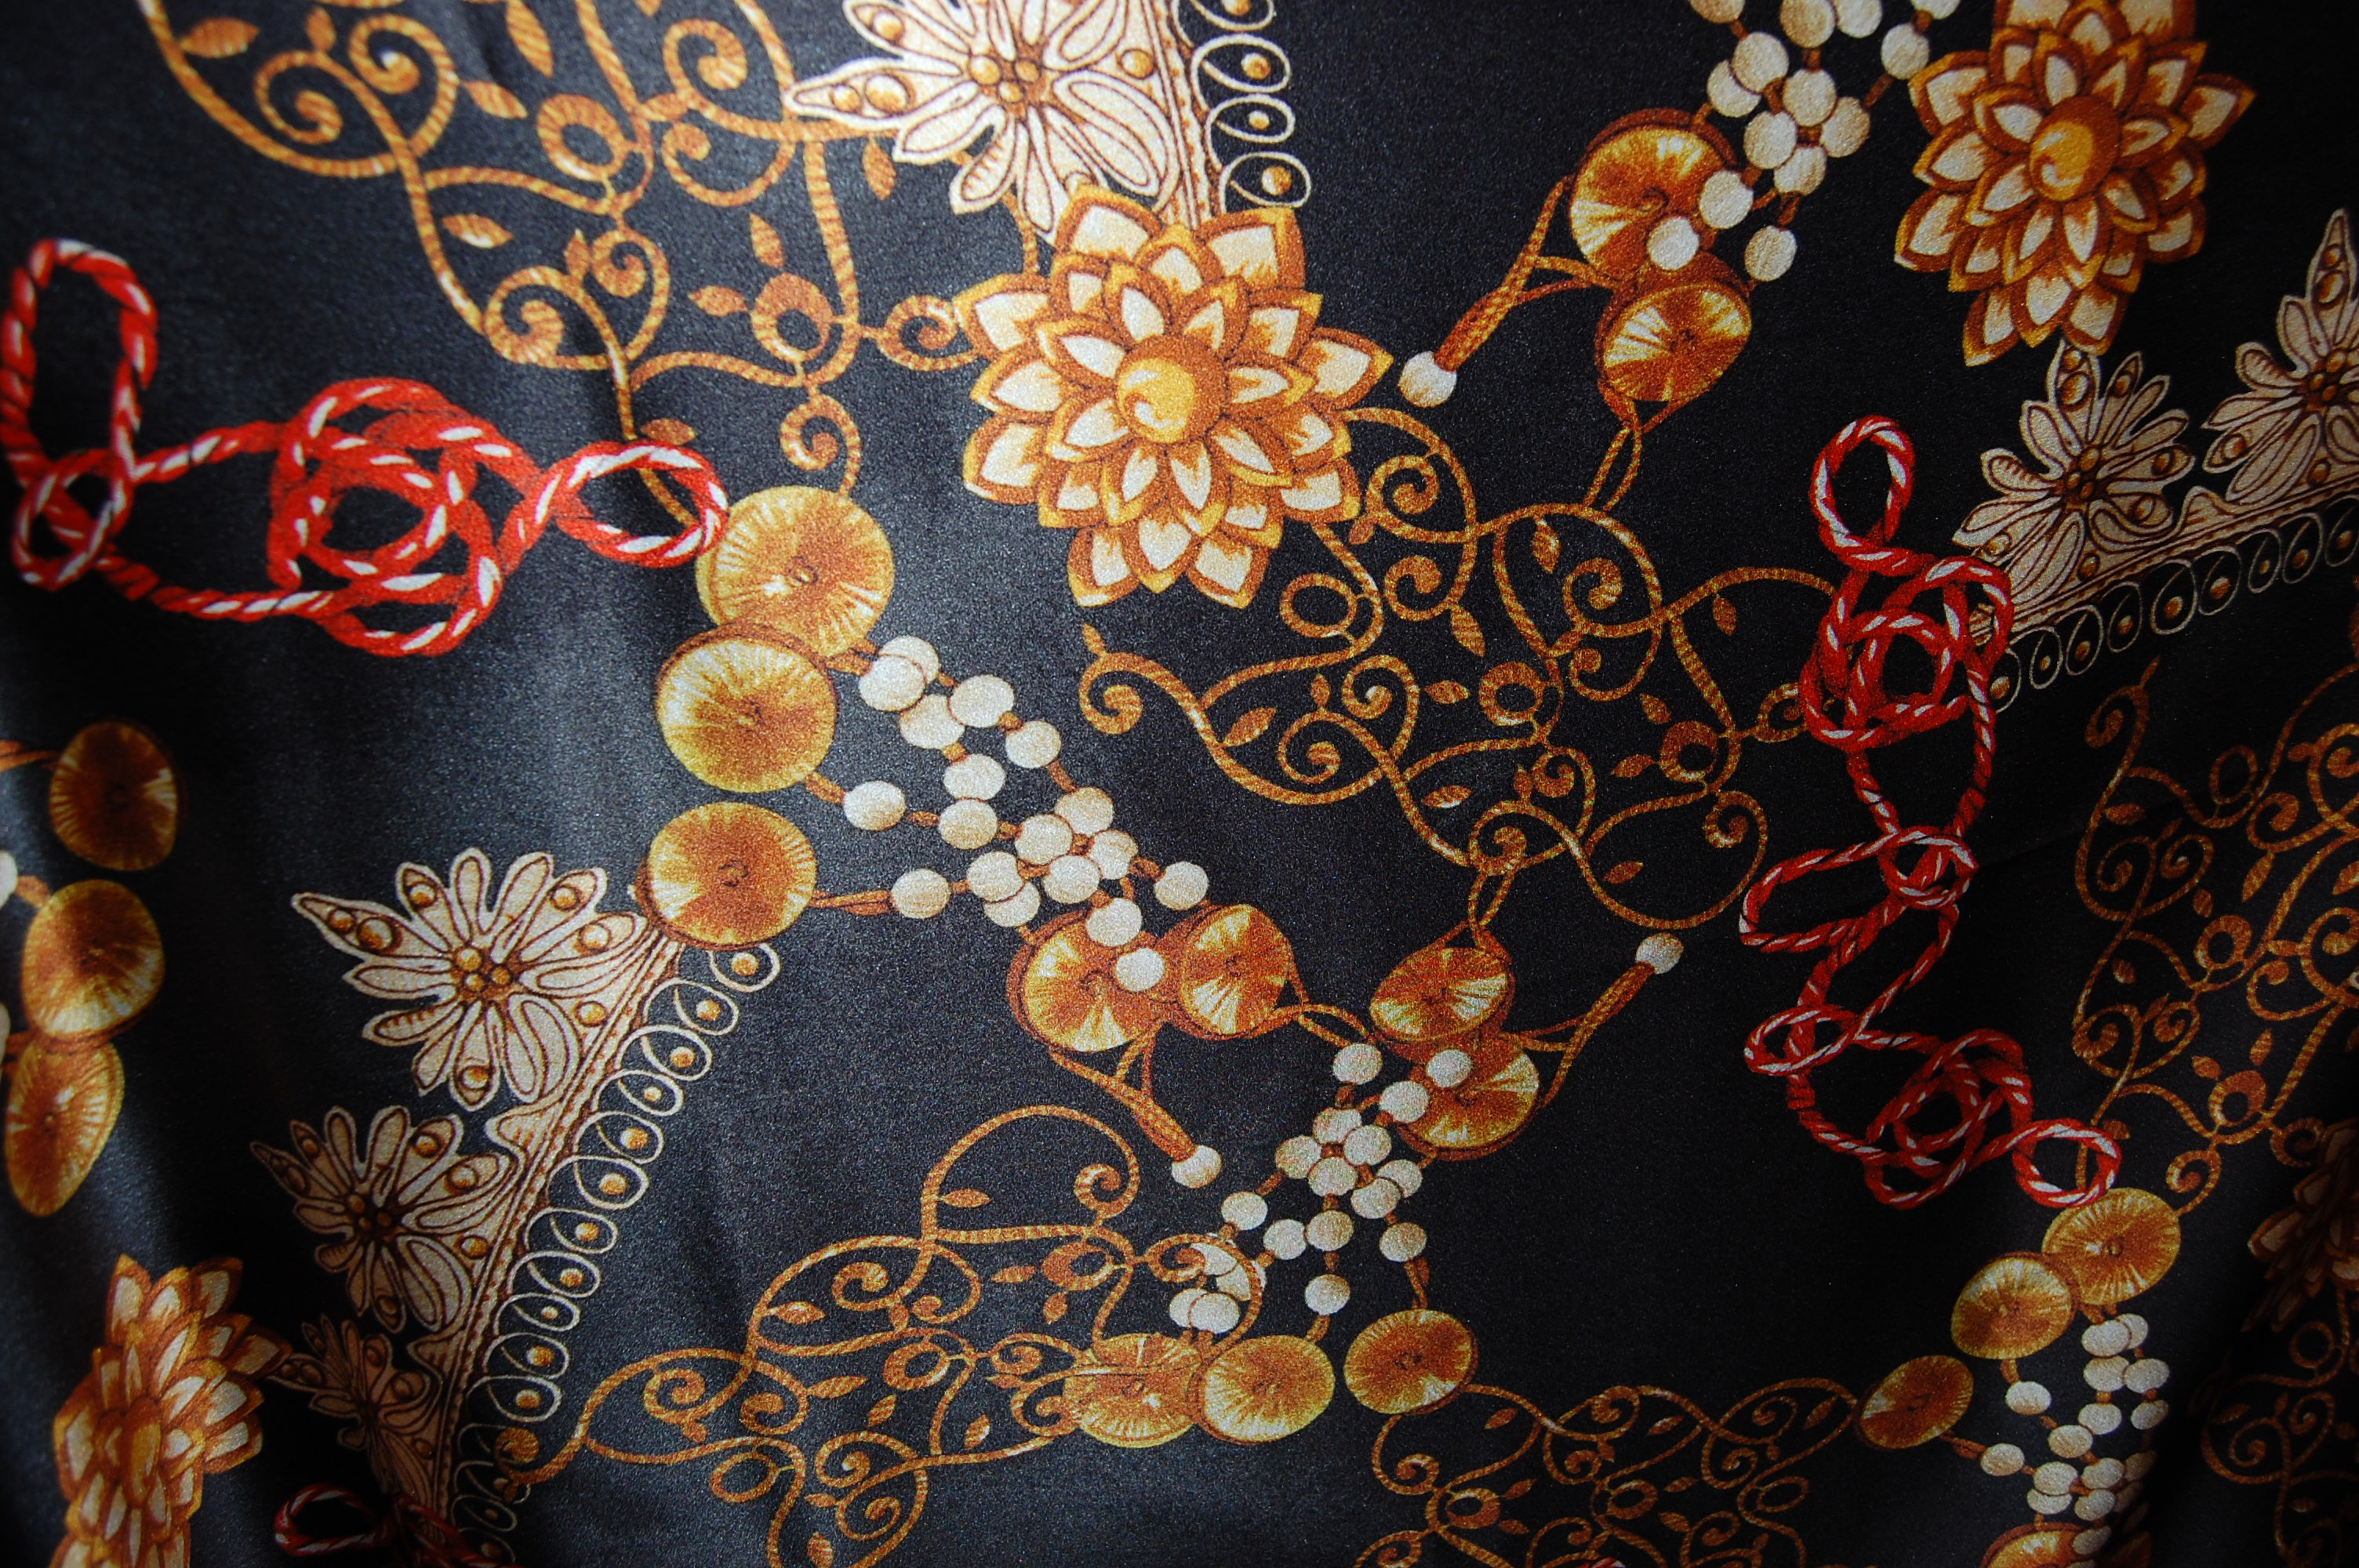
Another gorgeous Italian silk!
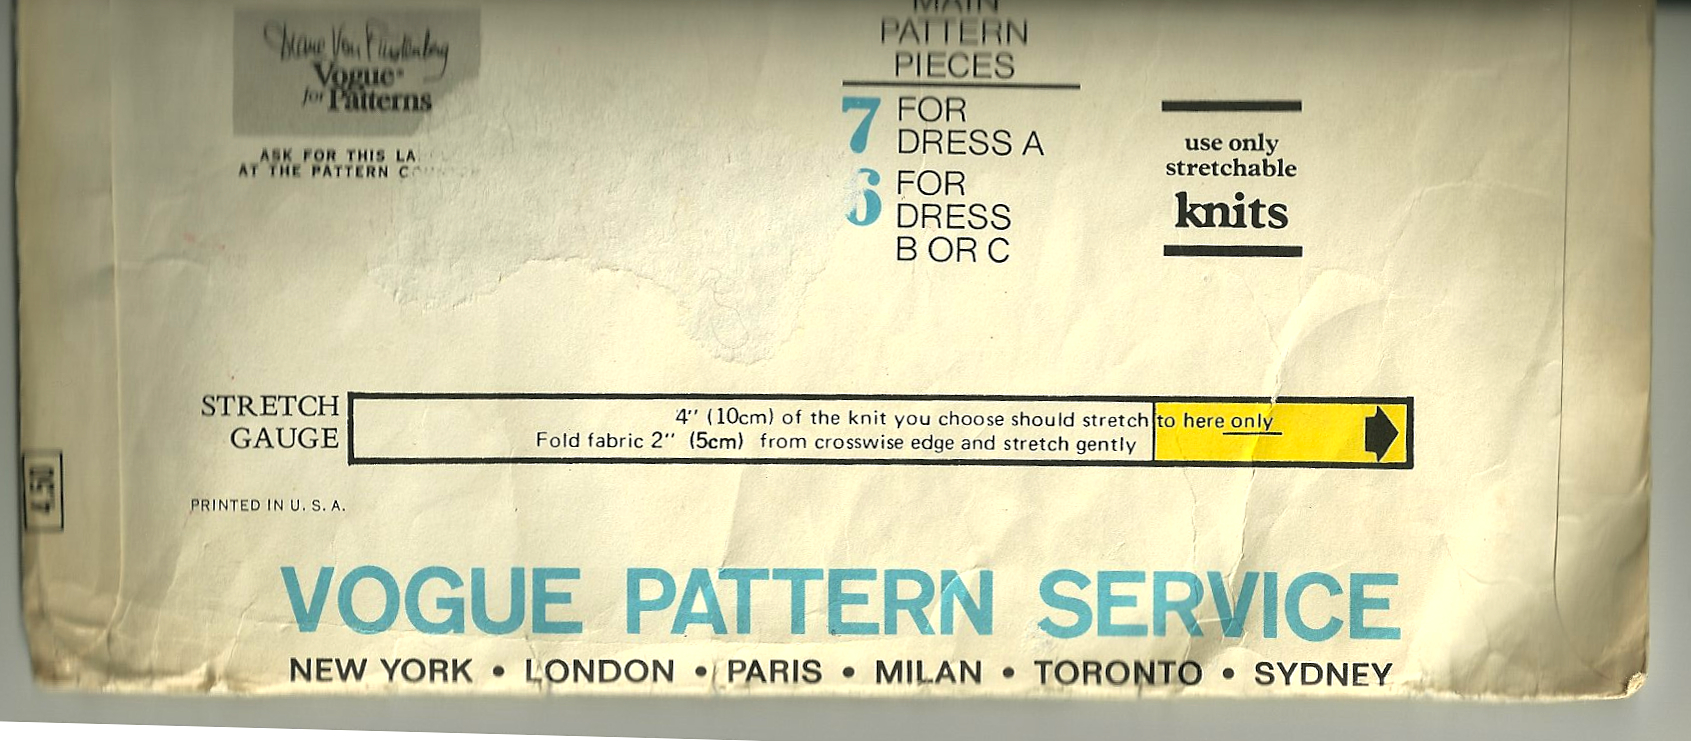
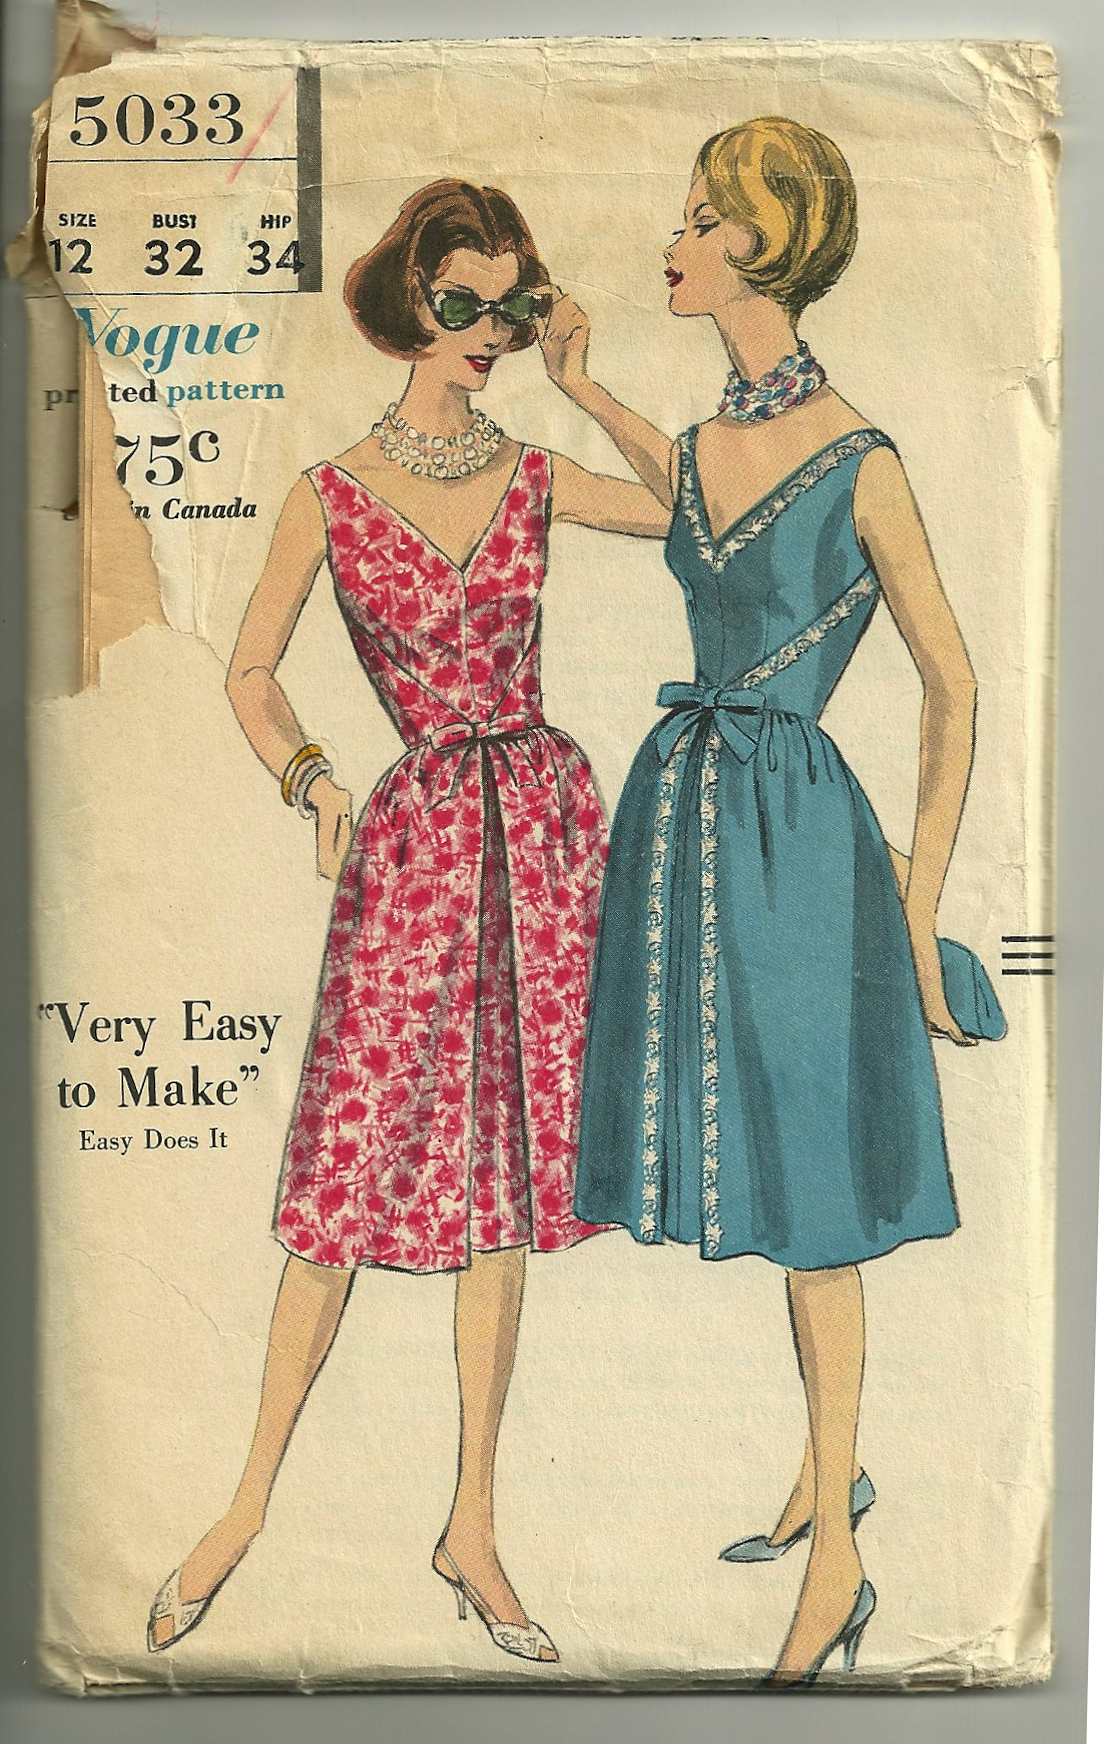
I bought it thinking I may use it for the lining for my No. 2 French jacket, but shortly after that I found this pattern on eBay and promptly decided it would be perfect made up in this dress (which requires a stretch fabric. Well, it says “ knit fabrics only” but I say stretch fabric will do just fine).
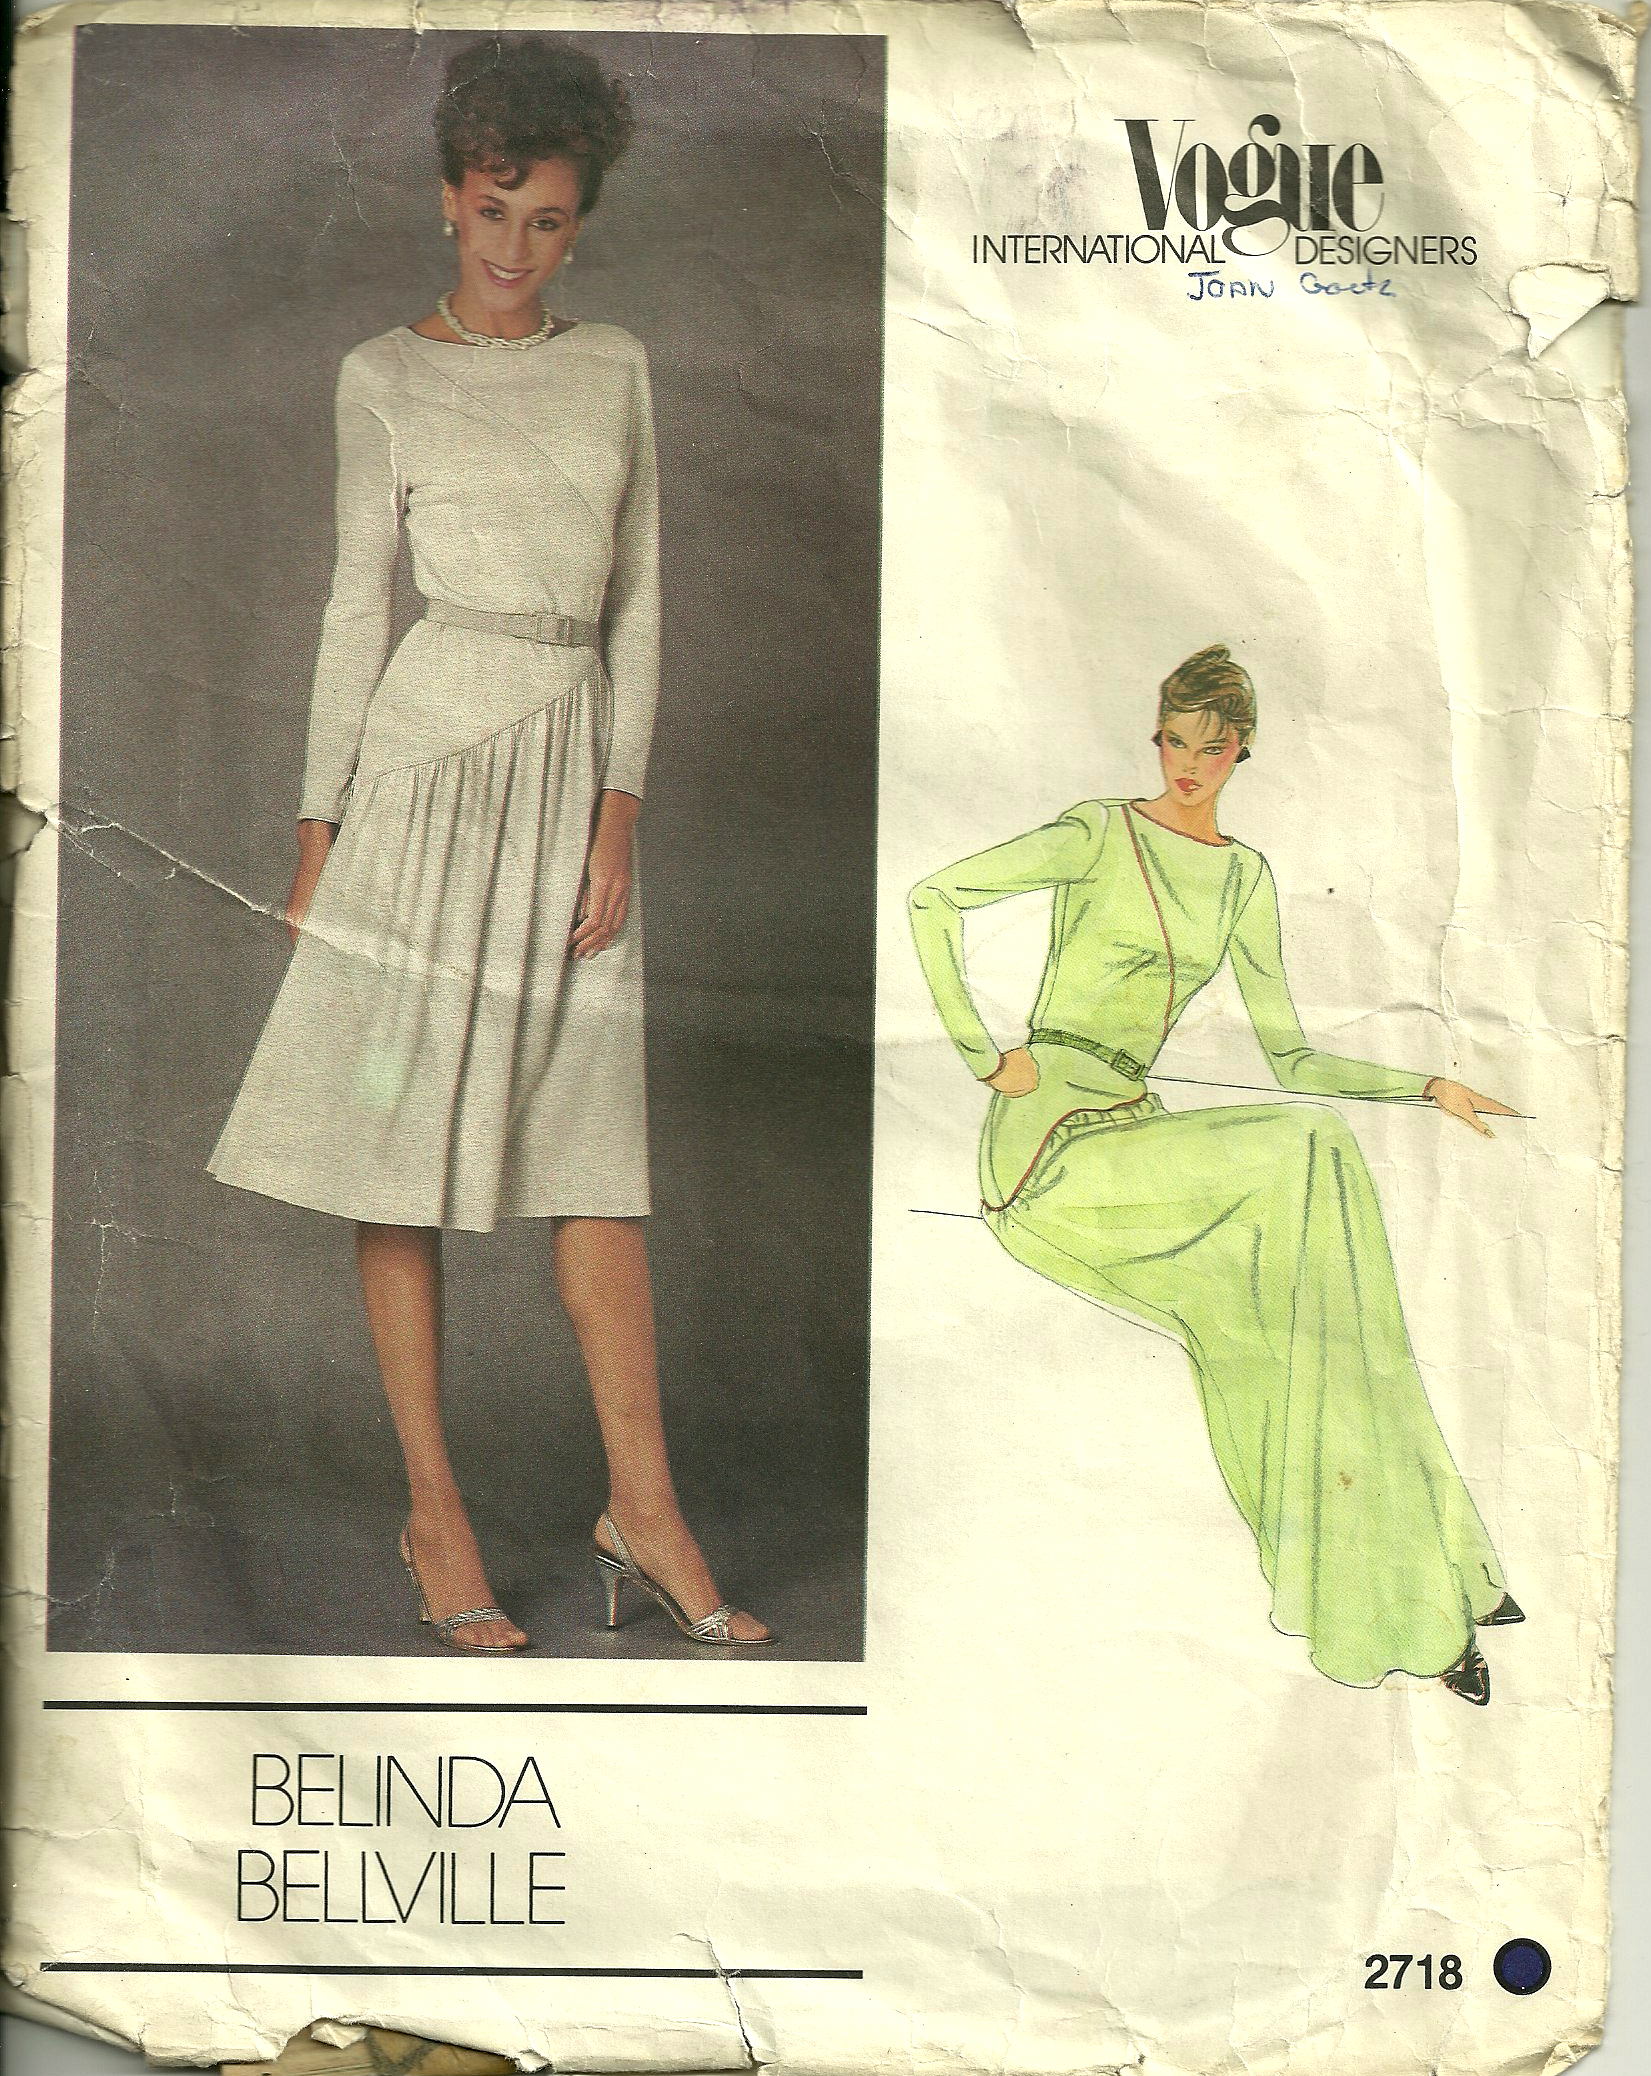
This is one of the few patterns from the 1980s which I really like. However, I will not be duplicating the hairstyle.
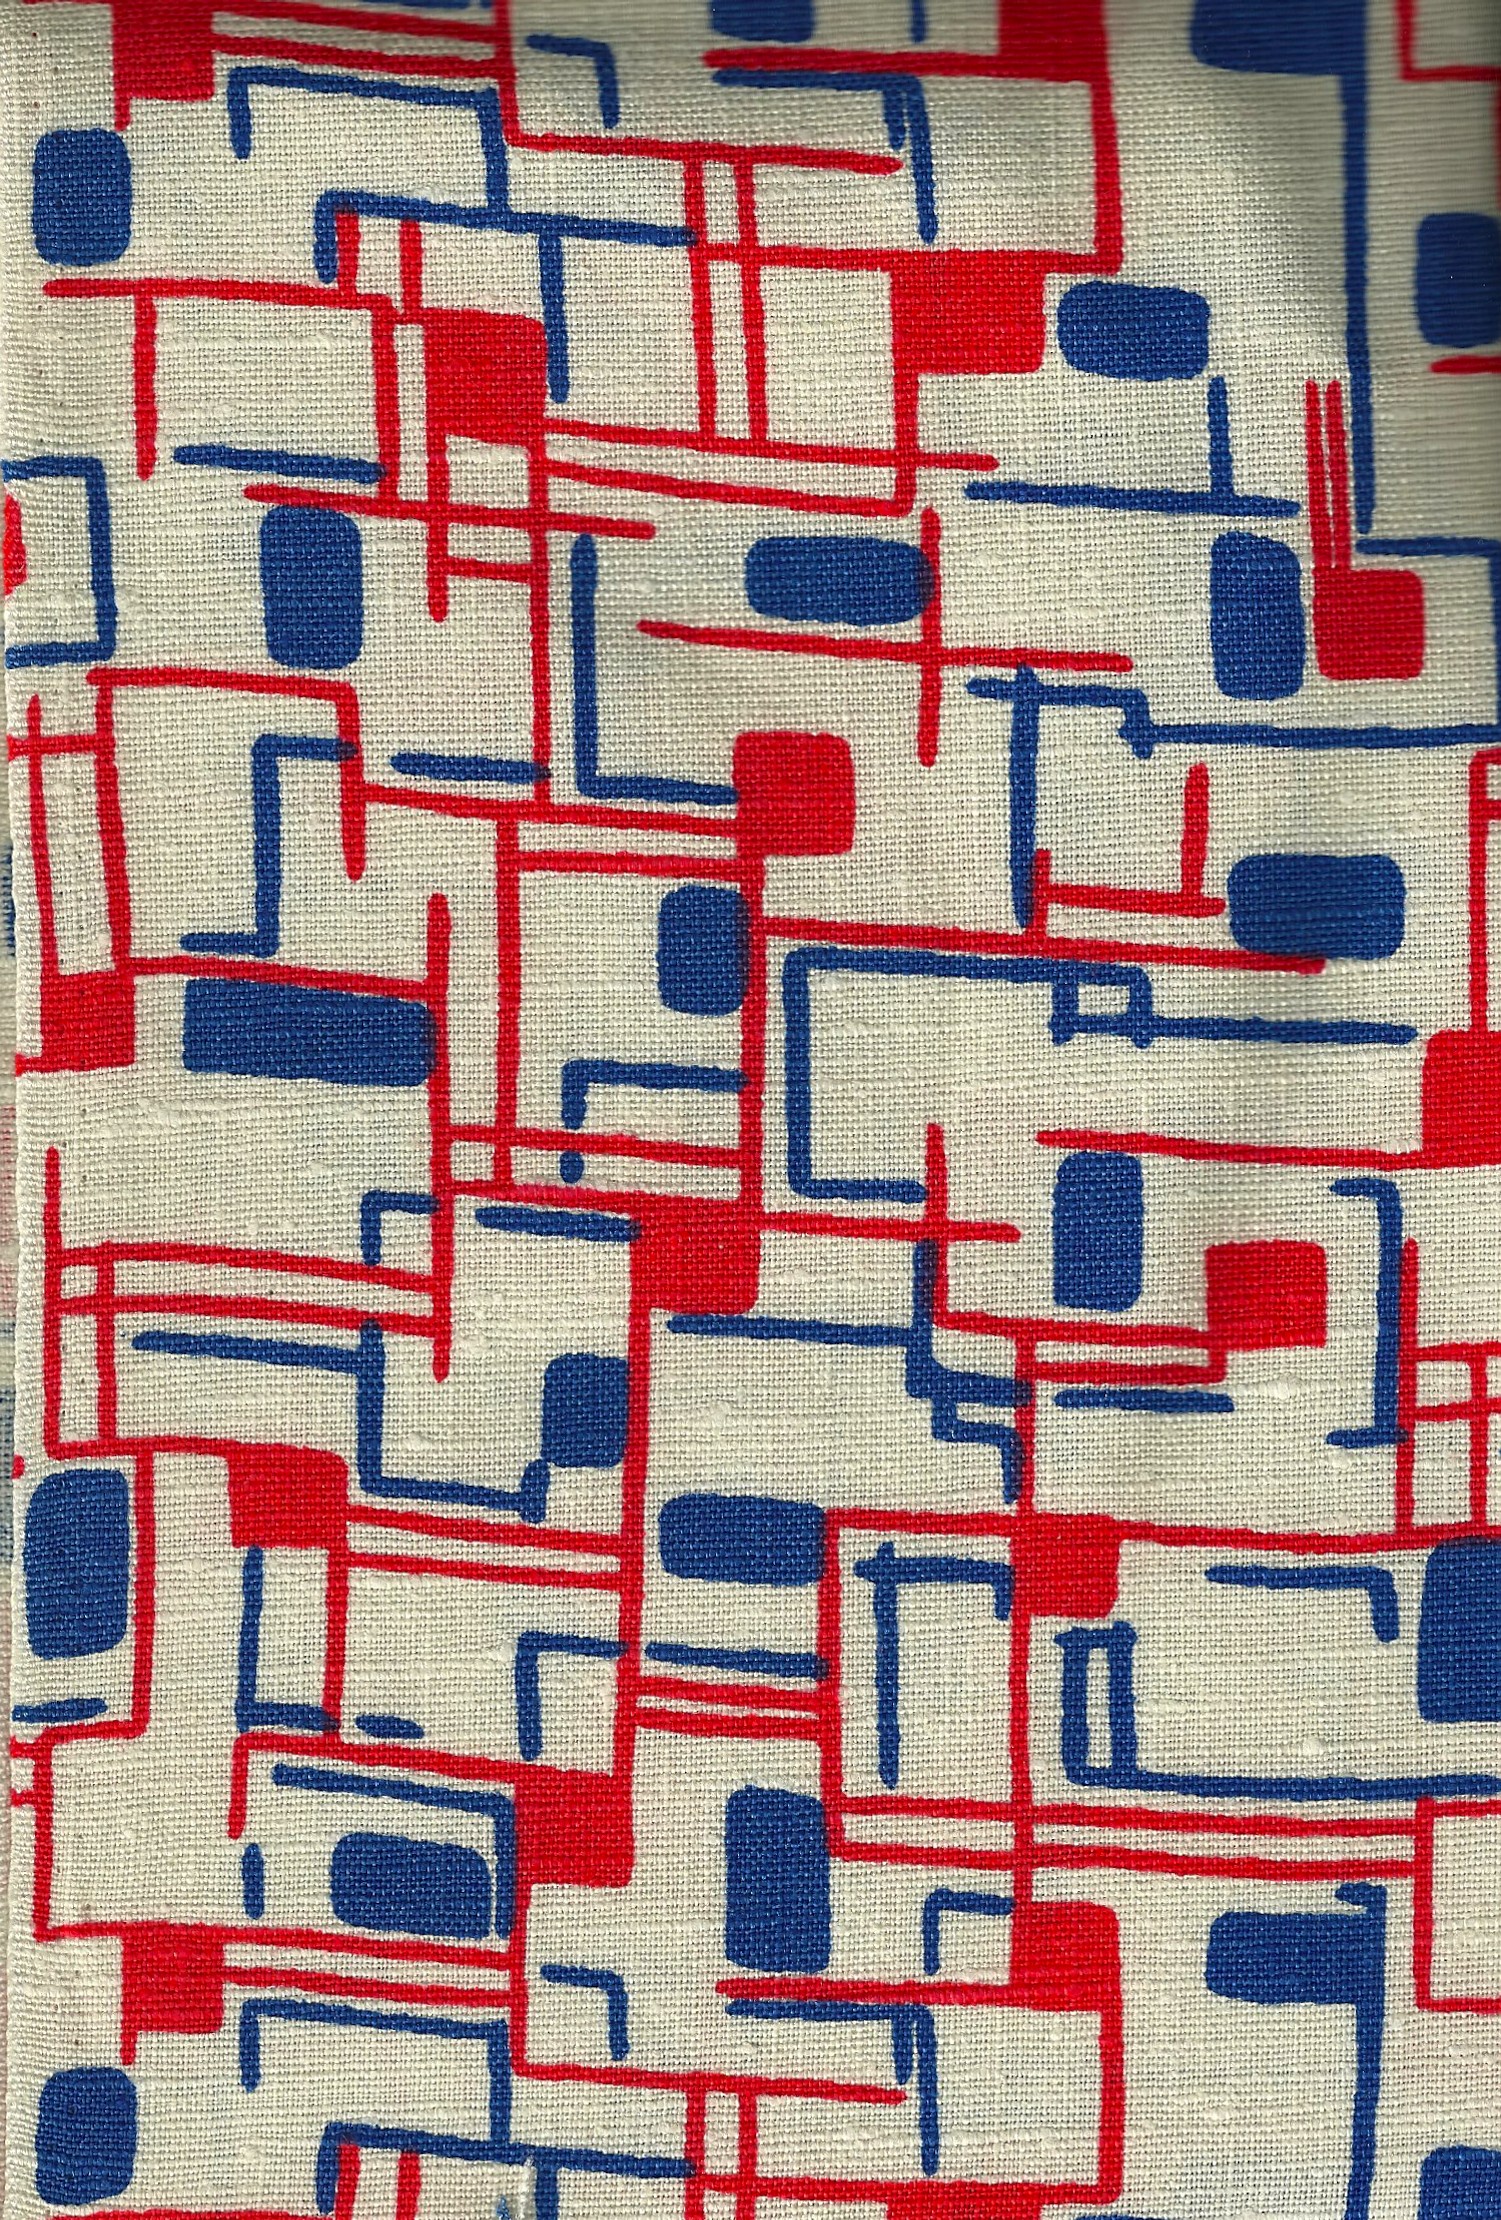
2) I’ve had this buttery soft cashmere wool for a couple of years now. I originally thought I’d make a suit, but now I’m thinking long-sleeved dress instead. I’m still sorting this one out in my head so I’m very glad I have until next Fall.
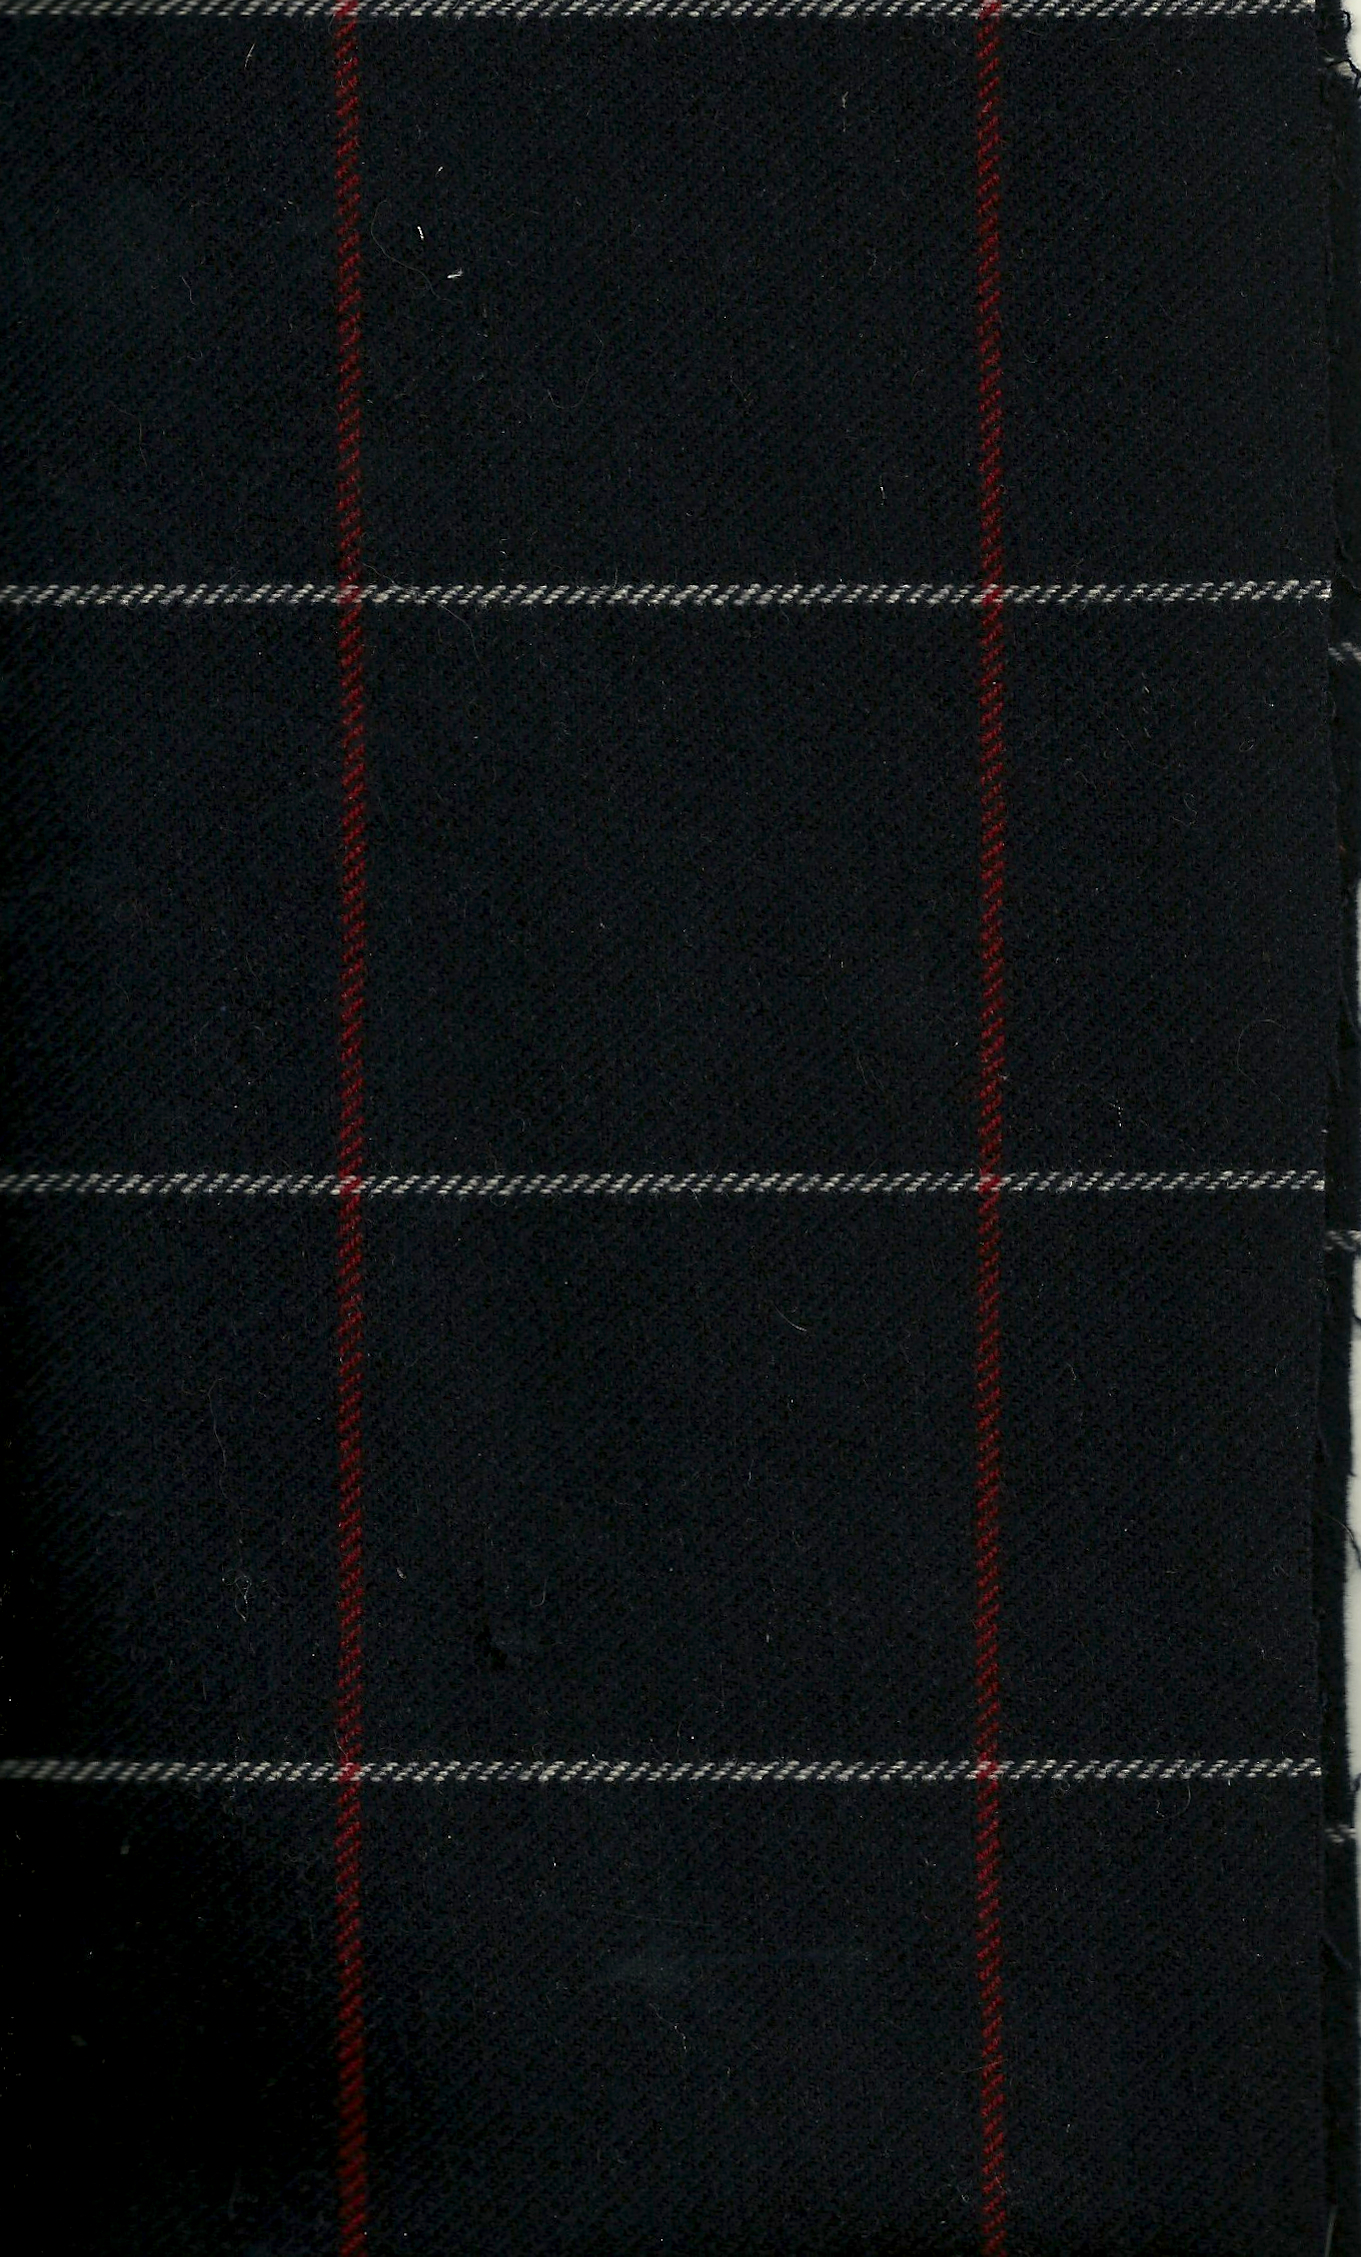
A subtle windowpane check in navy with deep red and ivory intersecting lines.
Sprinkled among these plans for Winter, Spring, Summer and Fall will surely be more little dresses for granddaughter Aida. I fully intend for her to have some of the cutest frocks in all of New England.
Finally, if 2013 taught me anything, it is that the unexpected is waiting around every corner.
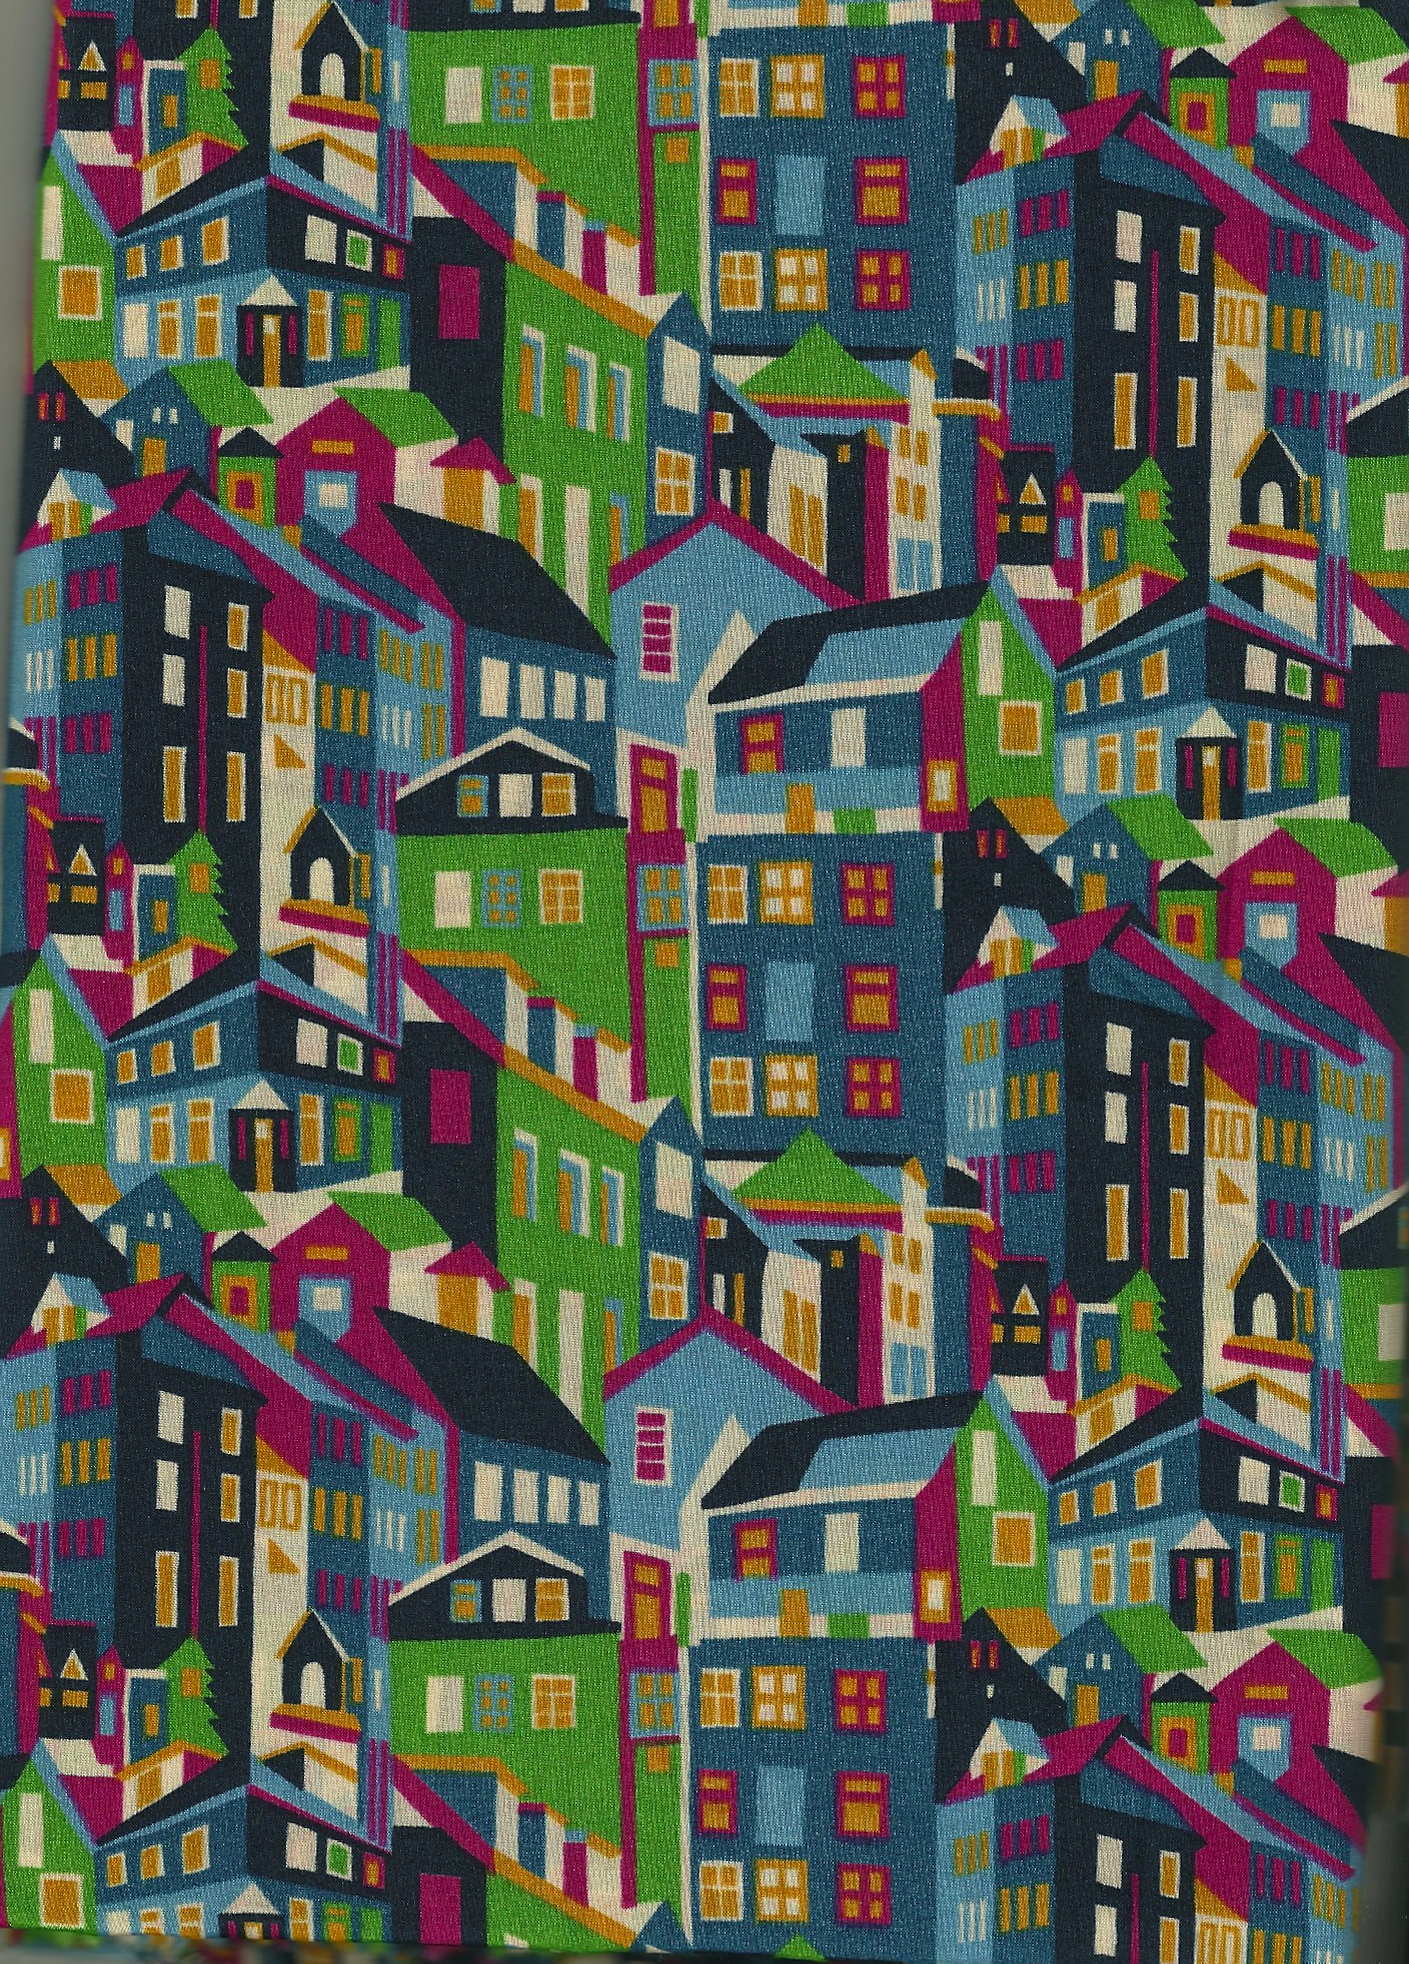
Lots of corners lurking in this Liberty cotton!
Life can take sudden turns and twists that are not always sewing-friendly, so I plan to be kind to myself if that happens. But wouldn’t it be nice for all of us to have the kind of year when we have the extra time to make a dress in which to do “nothing at all”?