“Just around the corner in every woman’s mind – is a lovely dress, a wonderful suit, or entire costume which will make an enchanting new creature of her.” — Wilhela Cushman
For those of us who sew, this statement takes on extra meaning, as it is in our power to create that lovely dress, wonderful suit or entire costume. But have you ever thought about the process of sewing – and how magical it is? Magical in the sense of being “mysteriously skillful, effective, and enchanting” (as Webster defines one meaning of magic). I love that I can start with a piece of fabric – or a pattern – or an idea spawned by something I have seen and admired – and, using skills I have learned, proceed to actually make my own interpretation. It’s a remarkable process, when you really take the time to think about it. So I am dubbing this year, 2015, for me, as The Year of Magical Sewing, with emphasis on the transformational qualities and joys inherent in fashion sewing.
So what do I have planned for my year of magical sewing? I am beginning the year with several new vintage patterns in my collection, which are inspiring me no end. Add to that some amazing fabric selections, both vintage and new, and I am already certain I’ll never complete every thing I’d like to! So – here is a general outline for 2015:
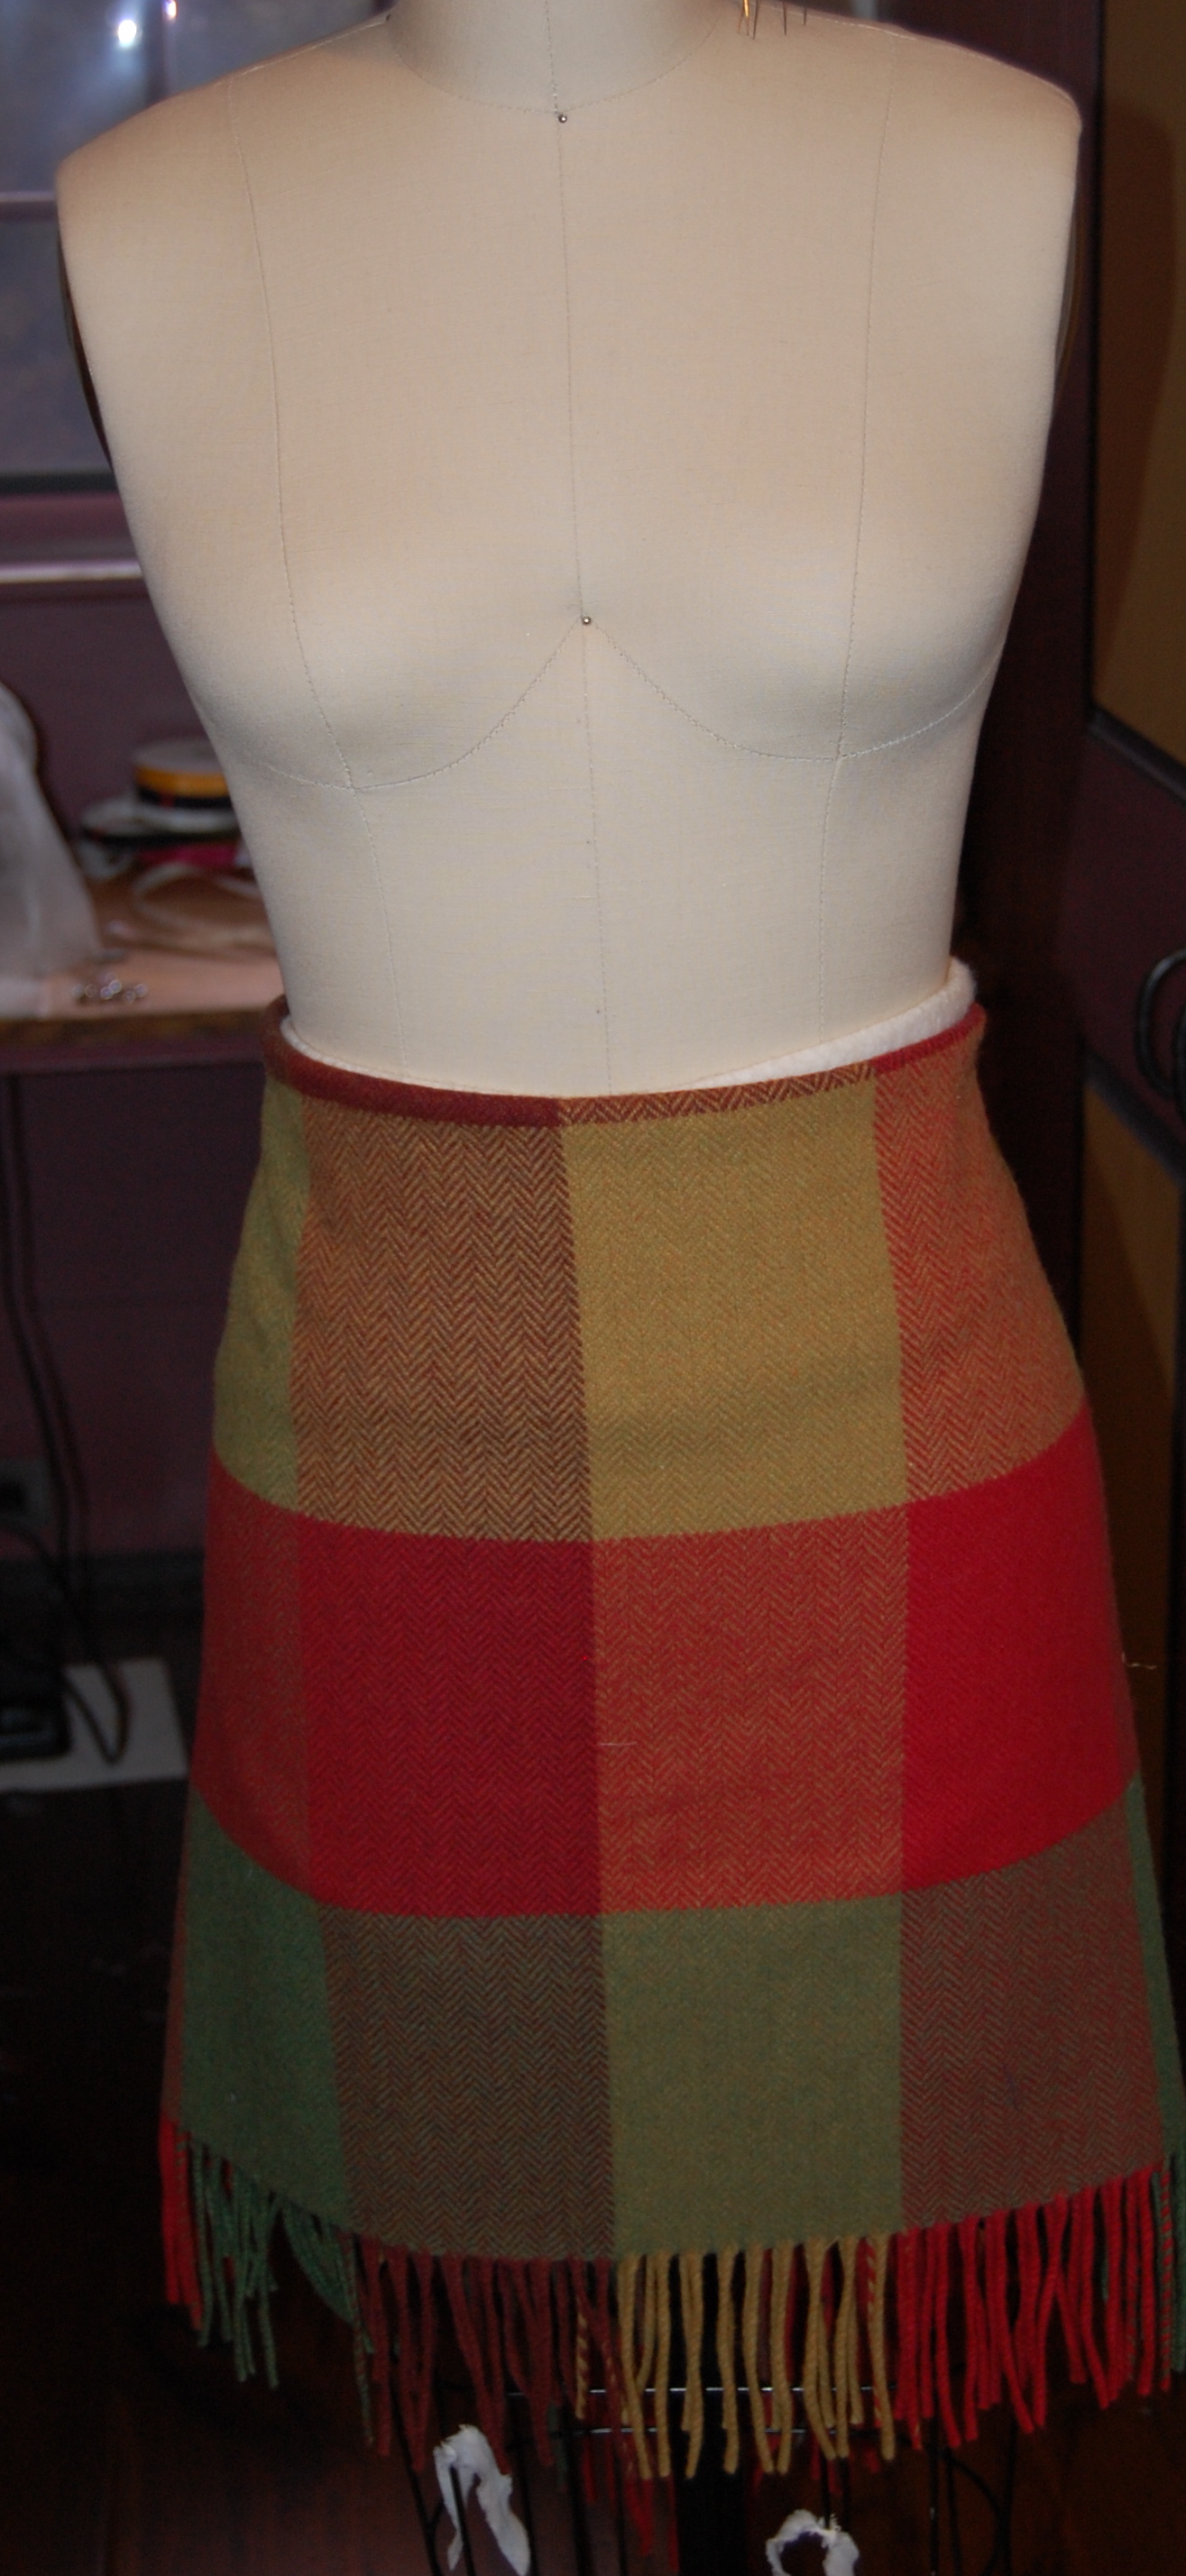
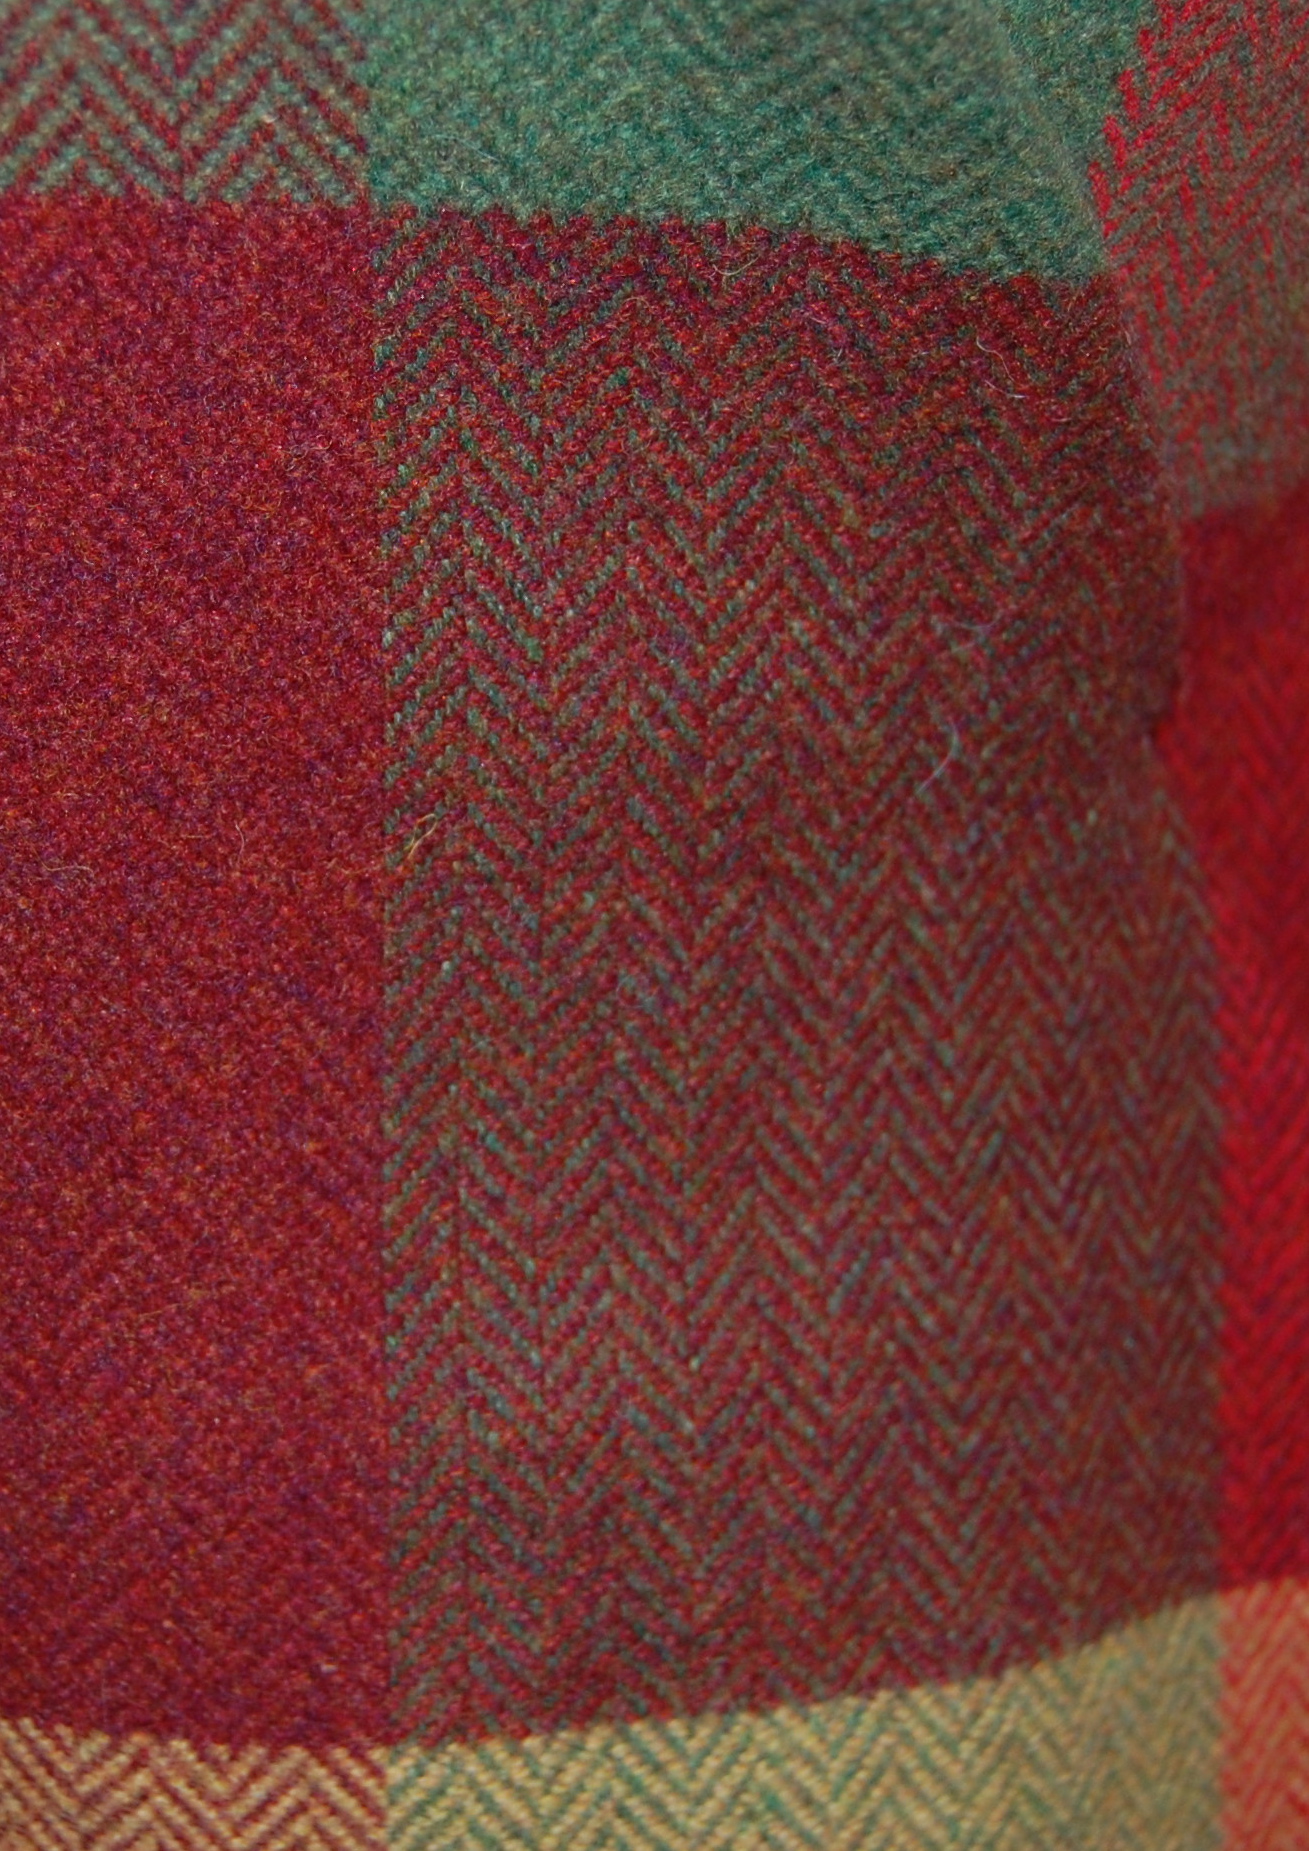
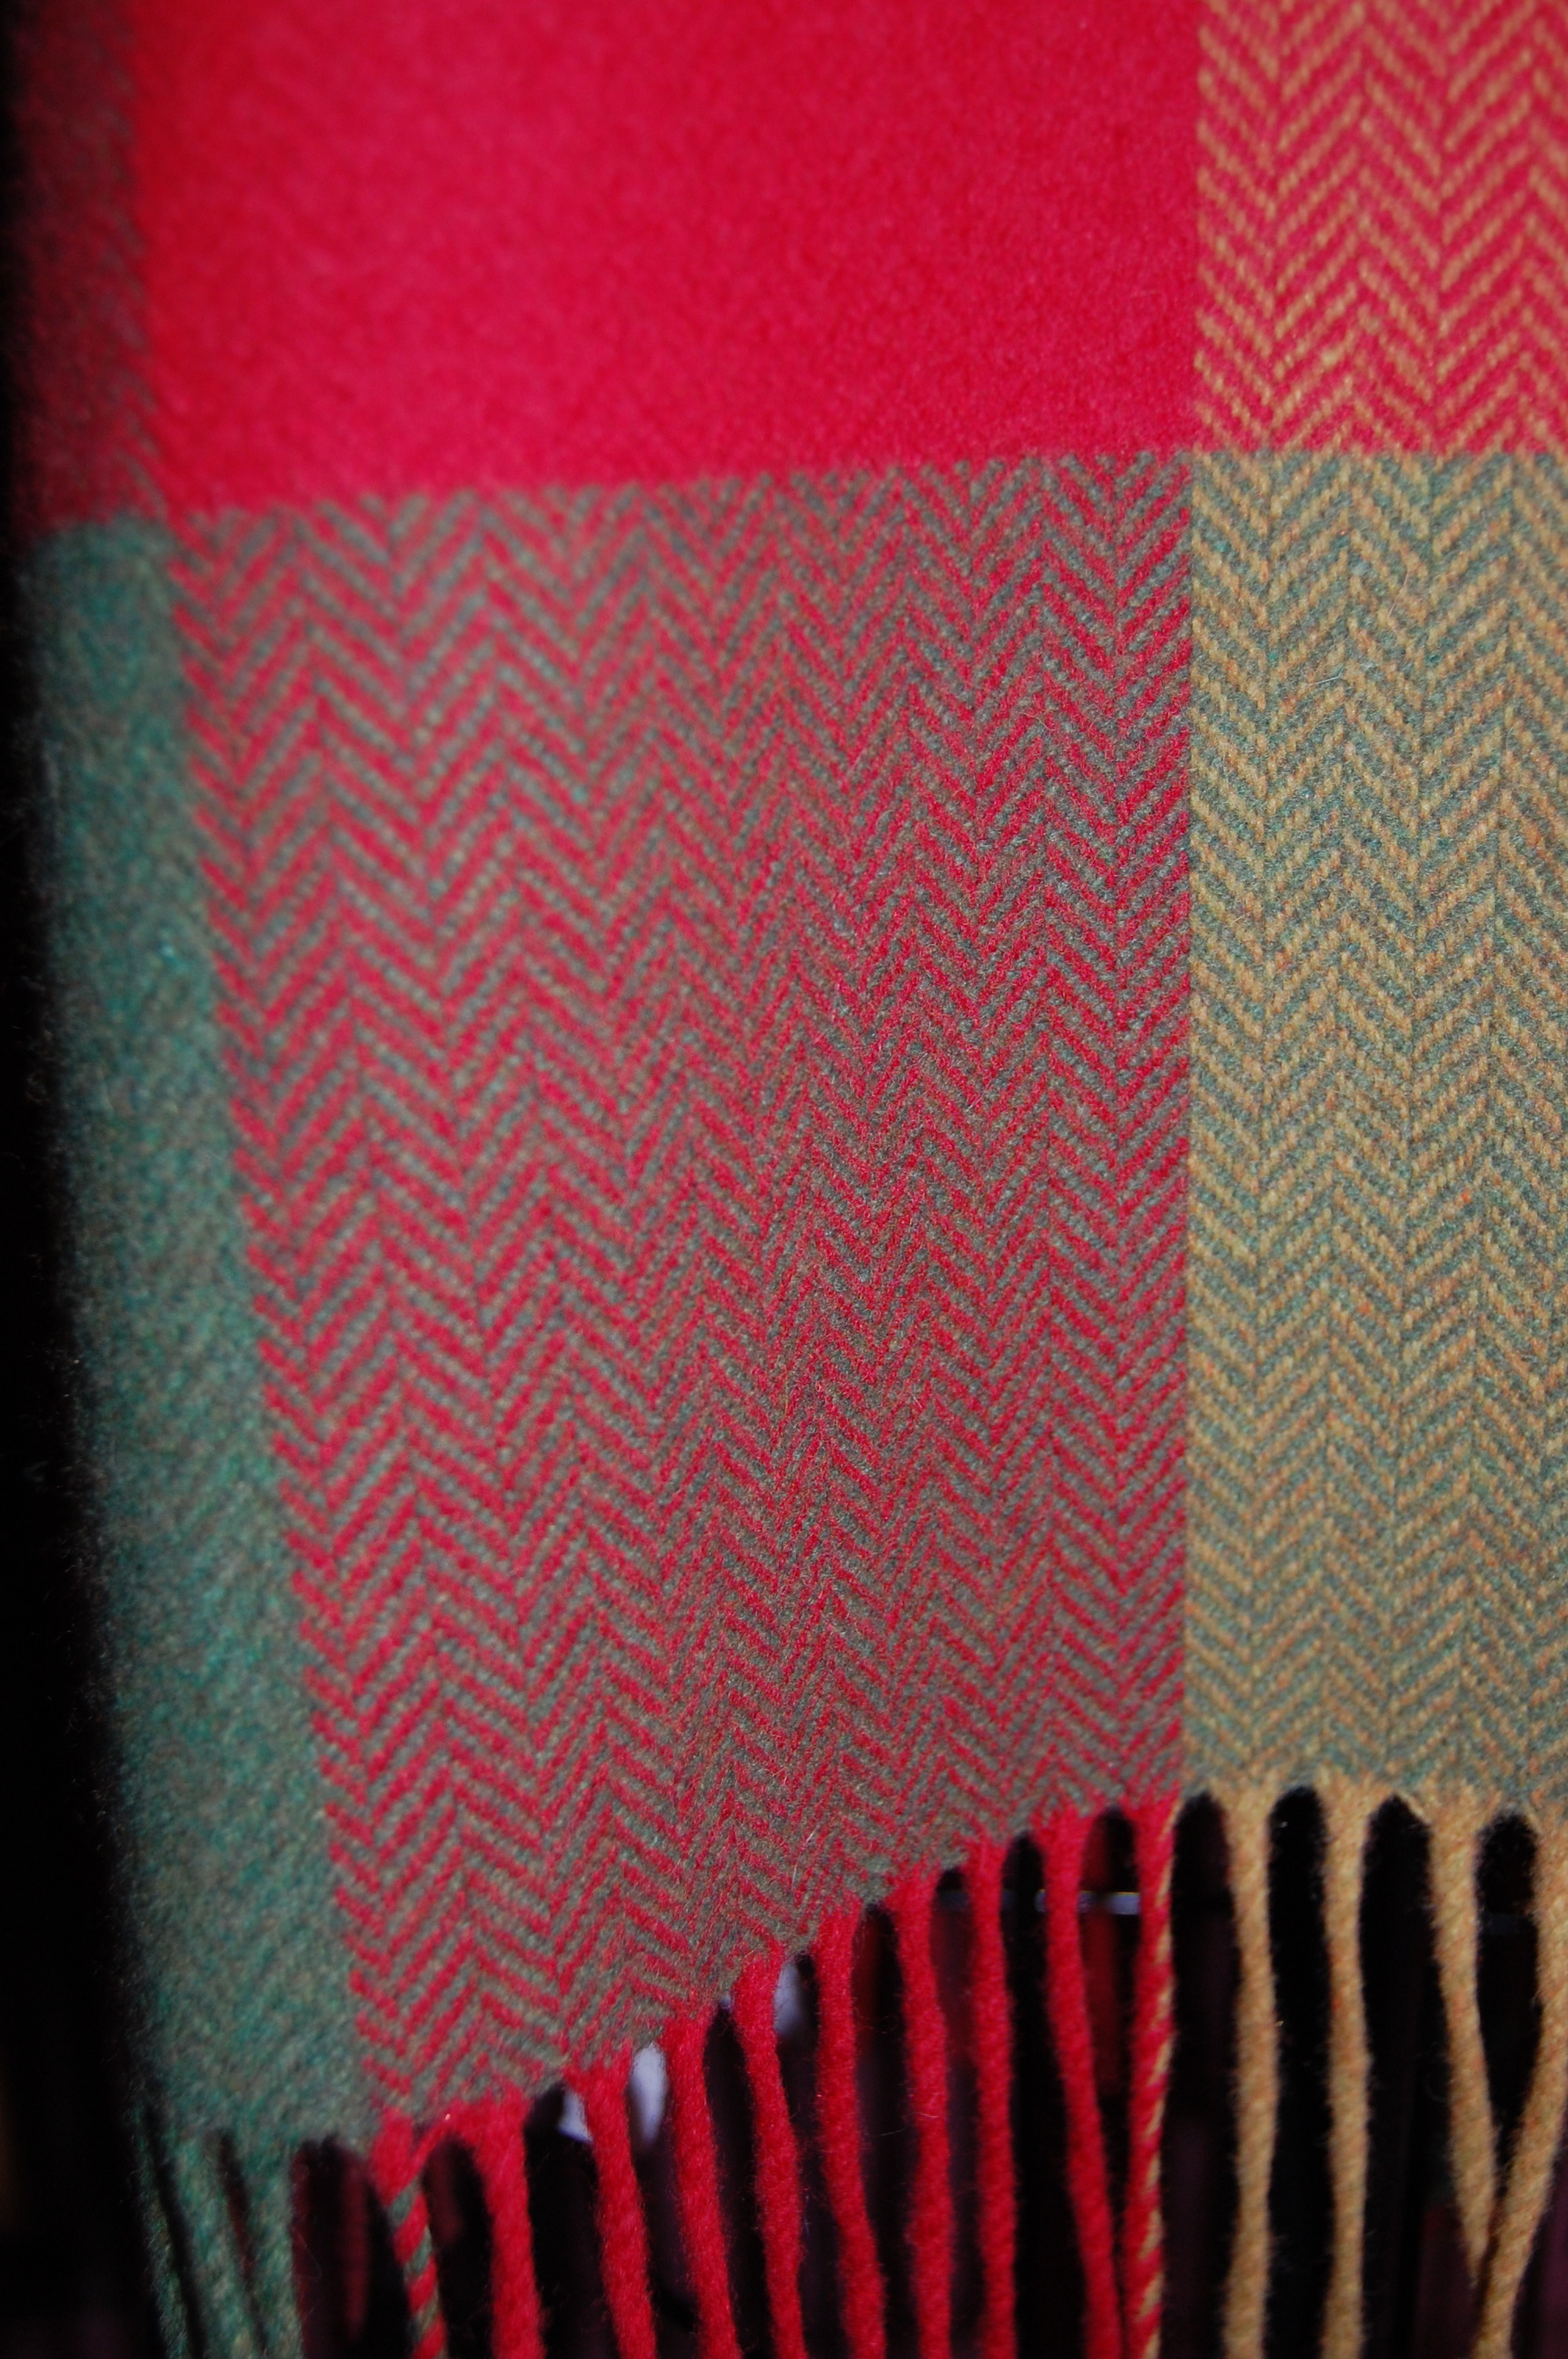
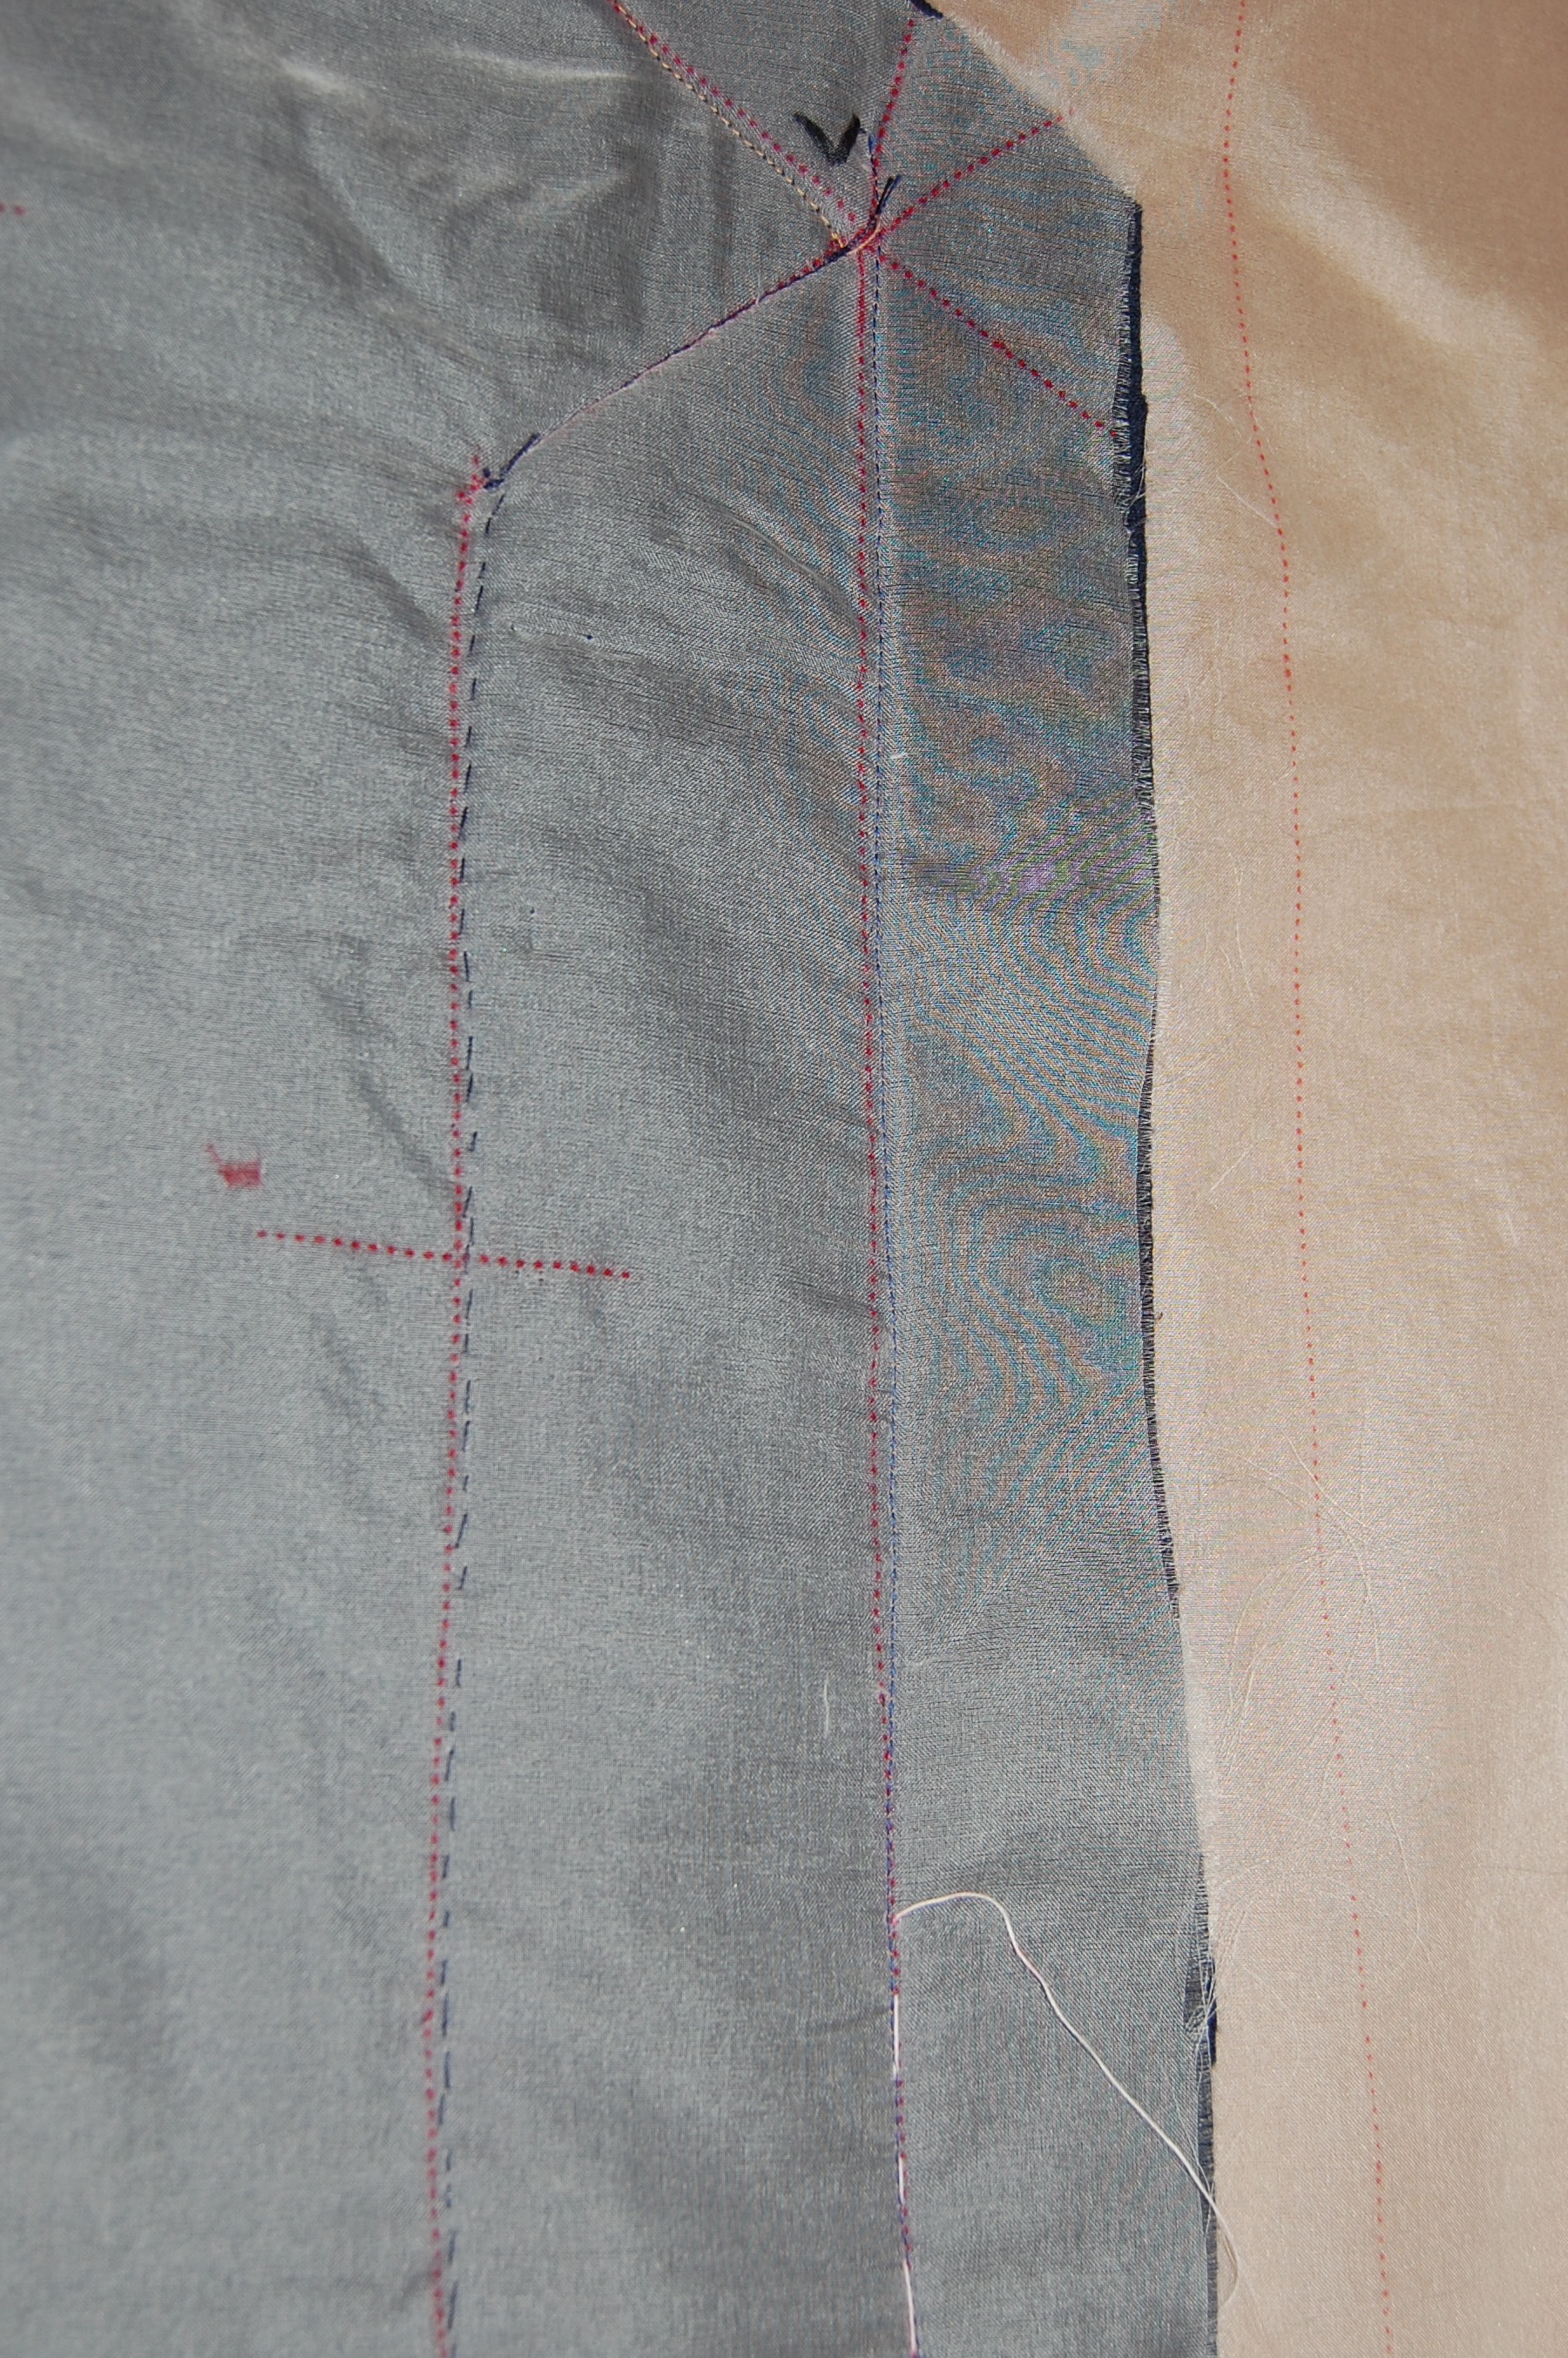
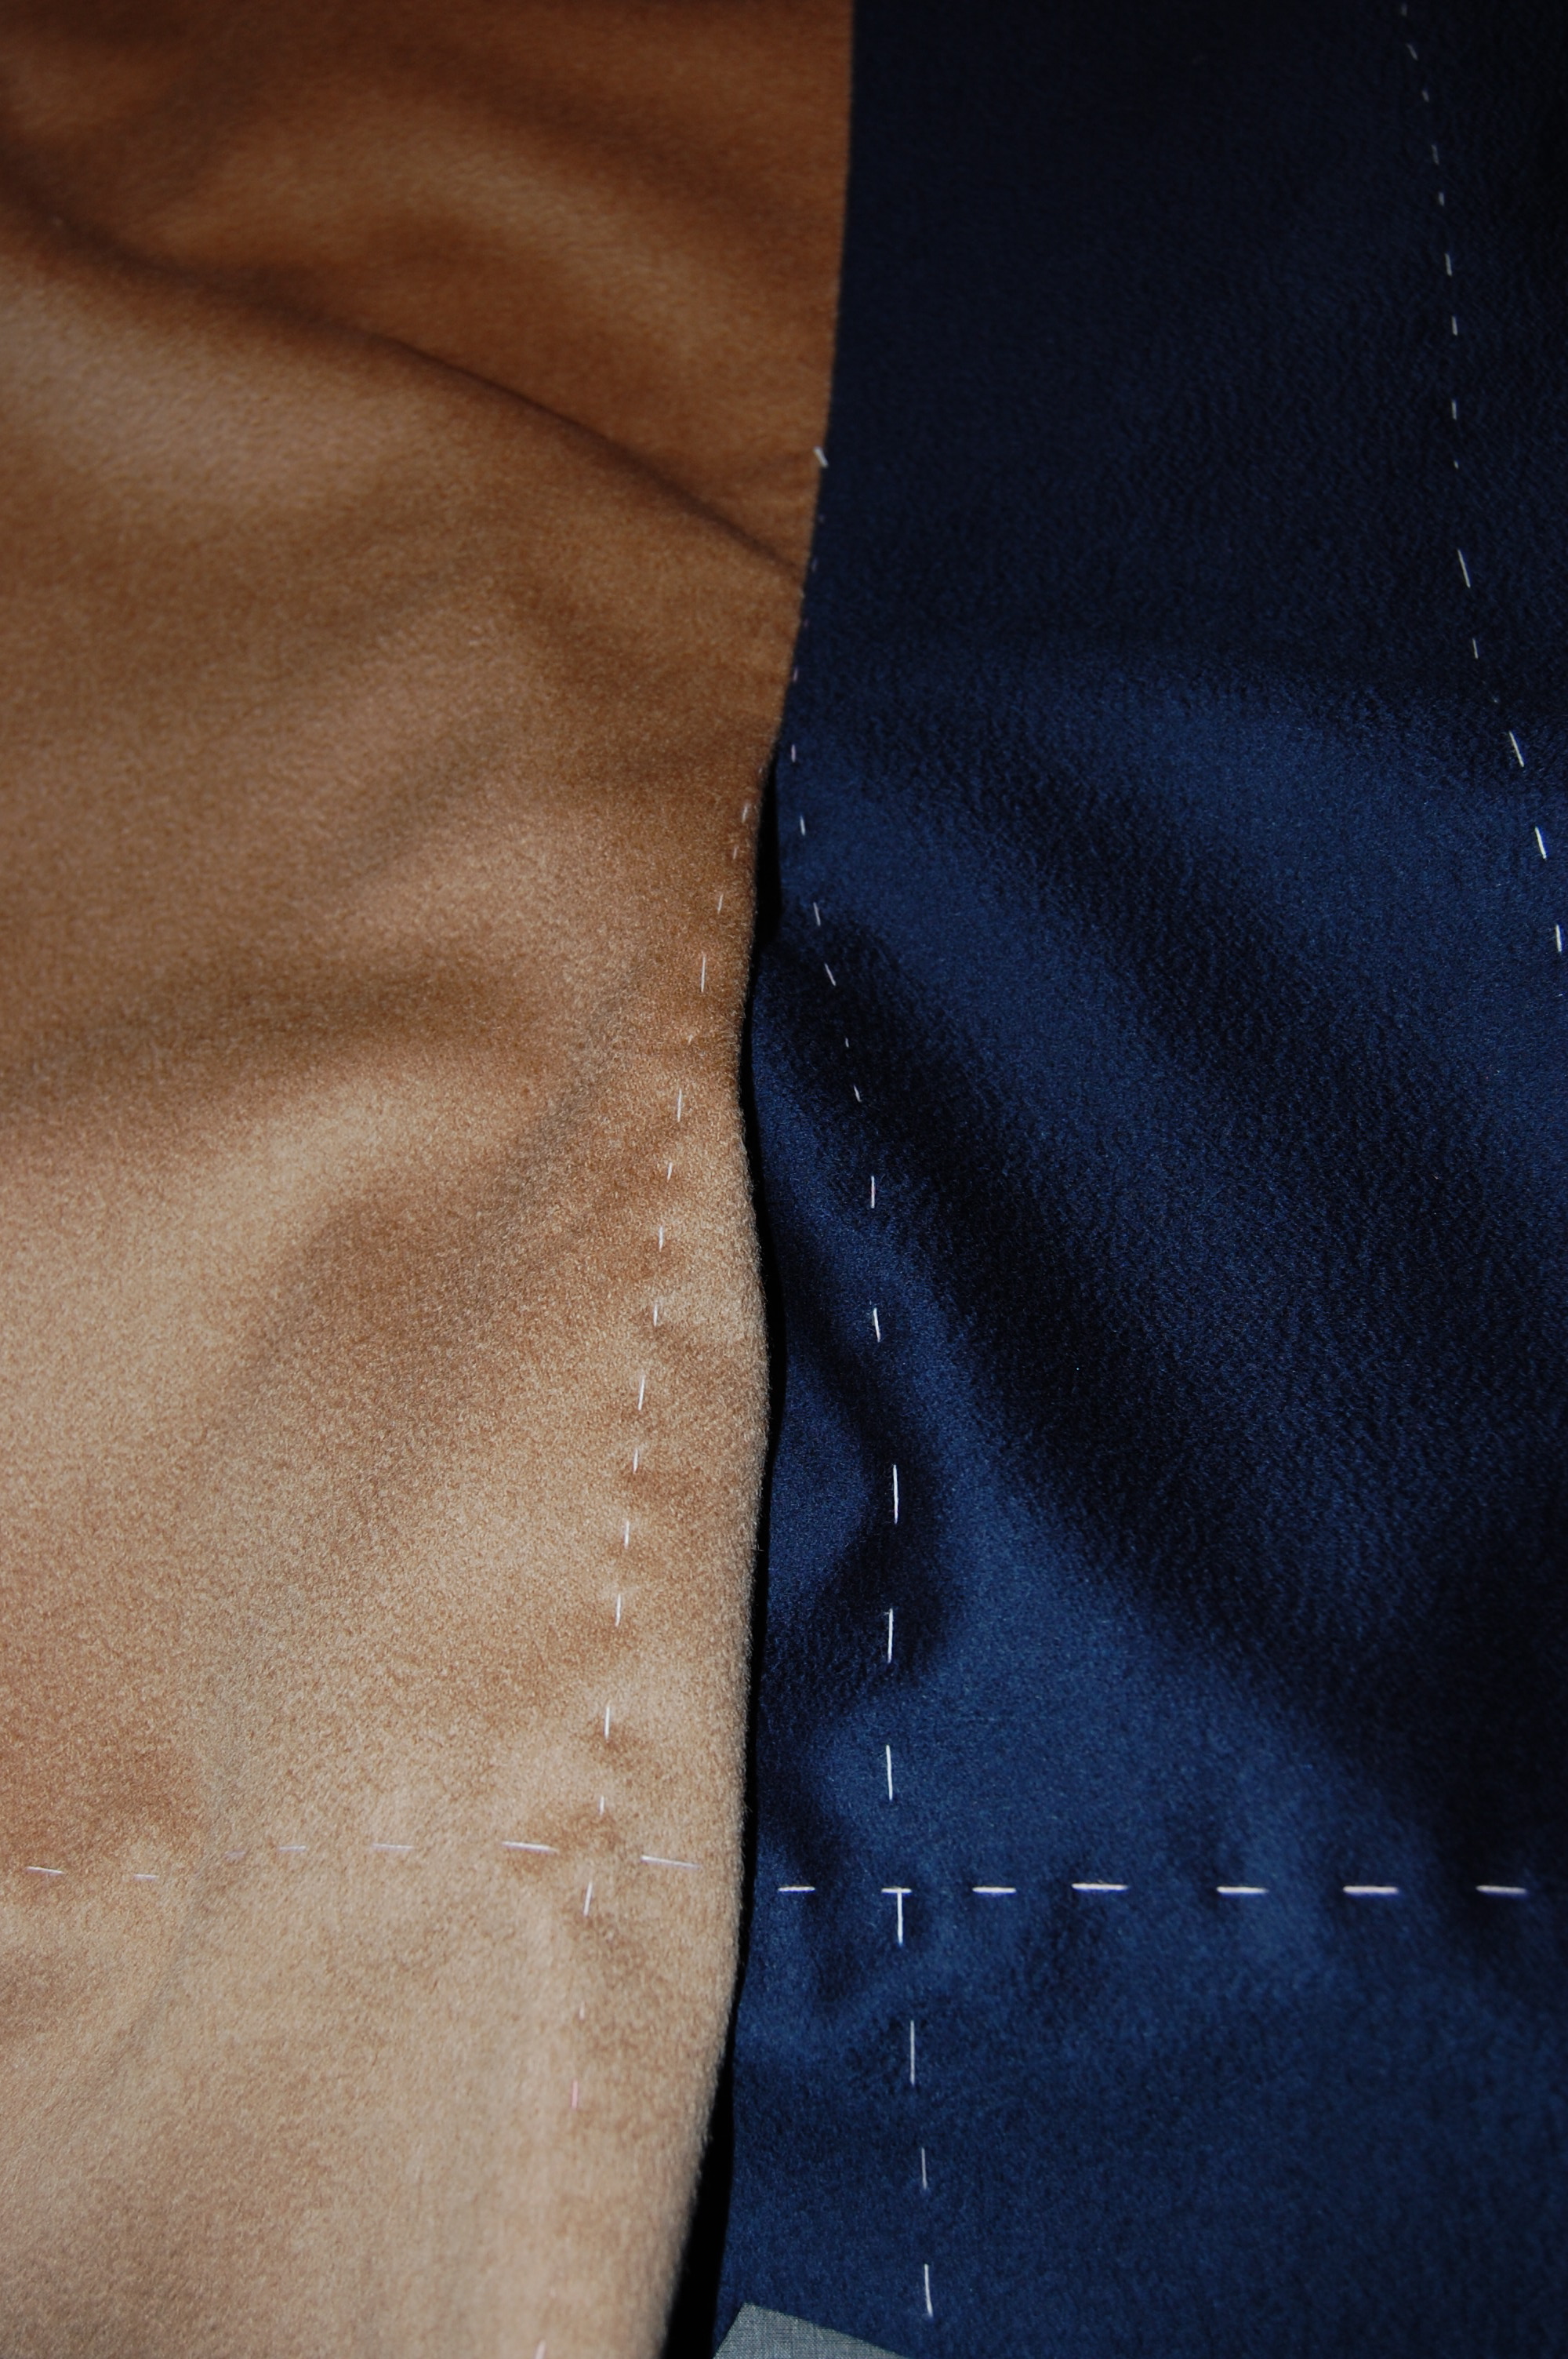
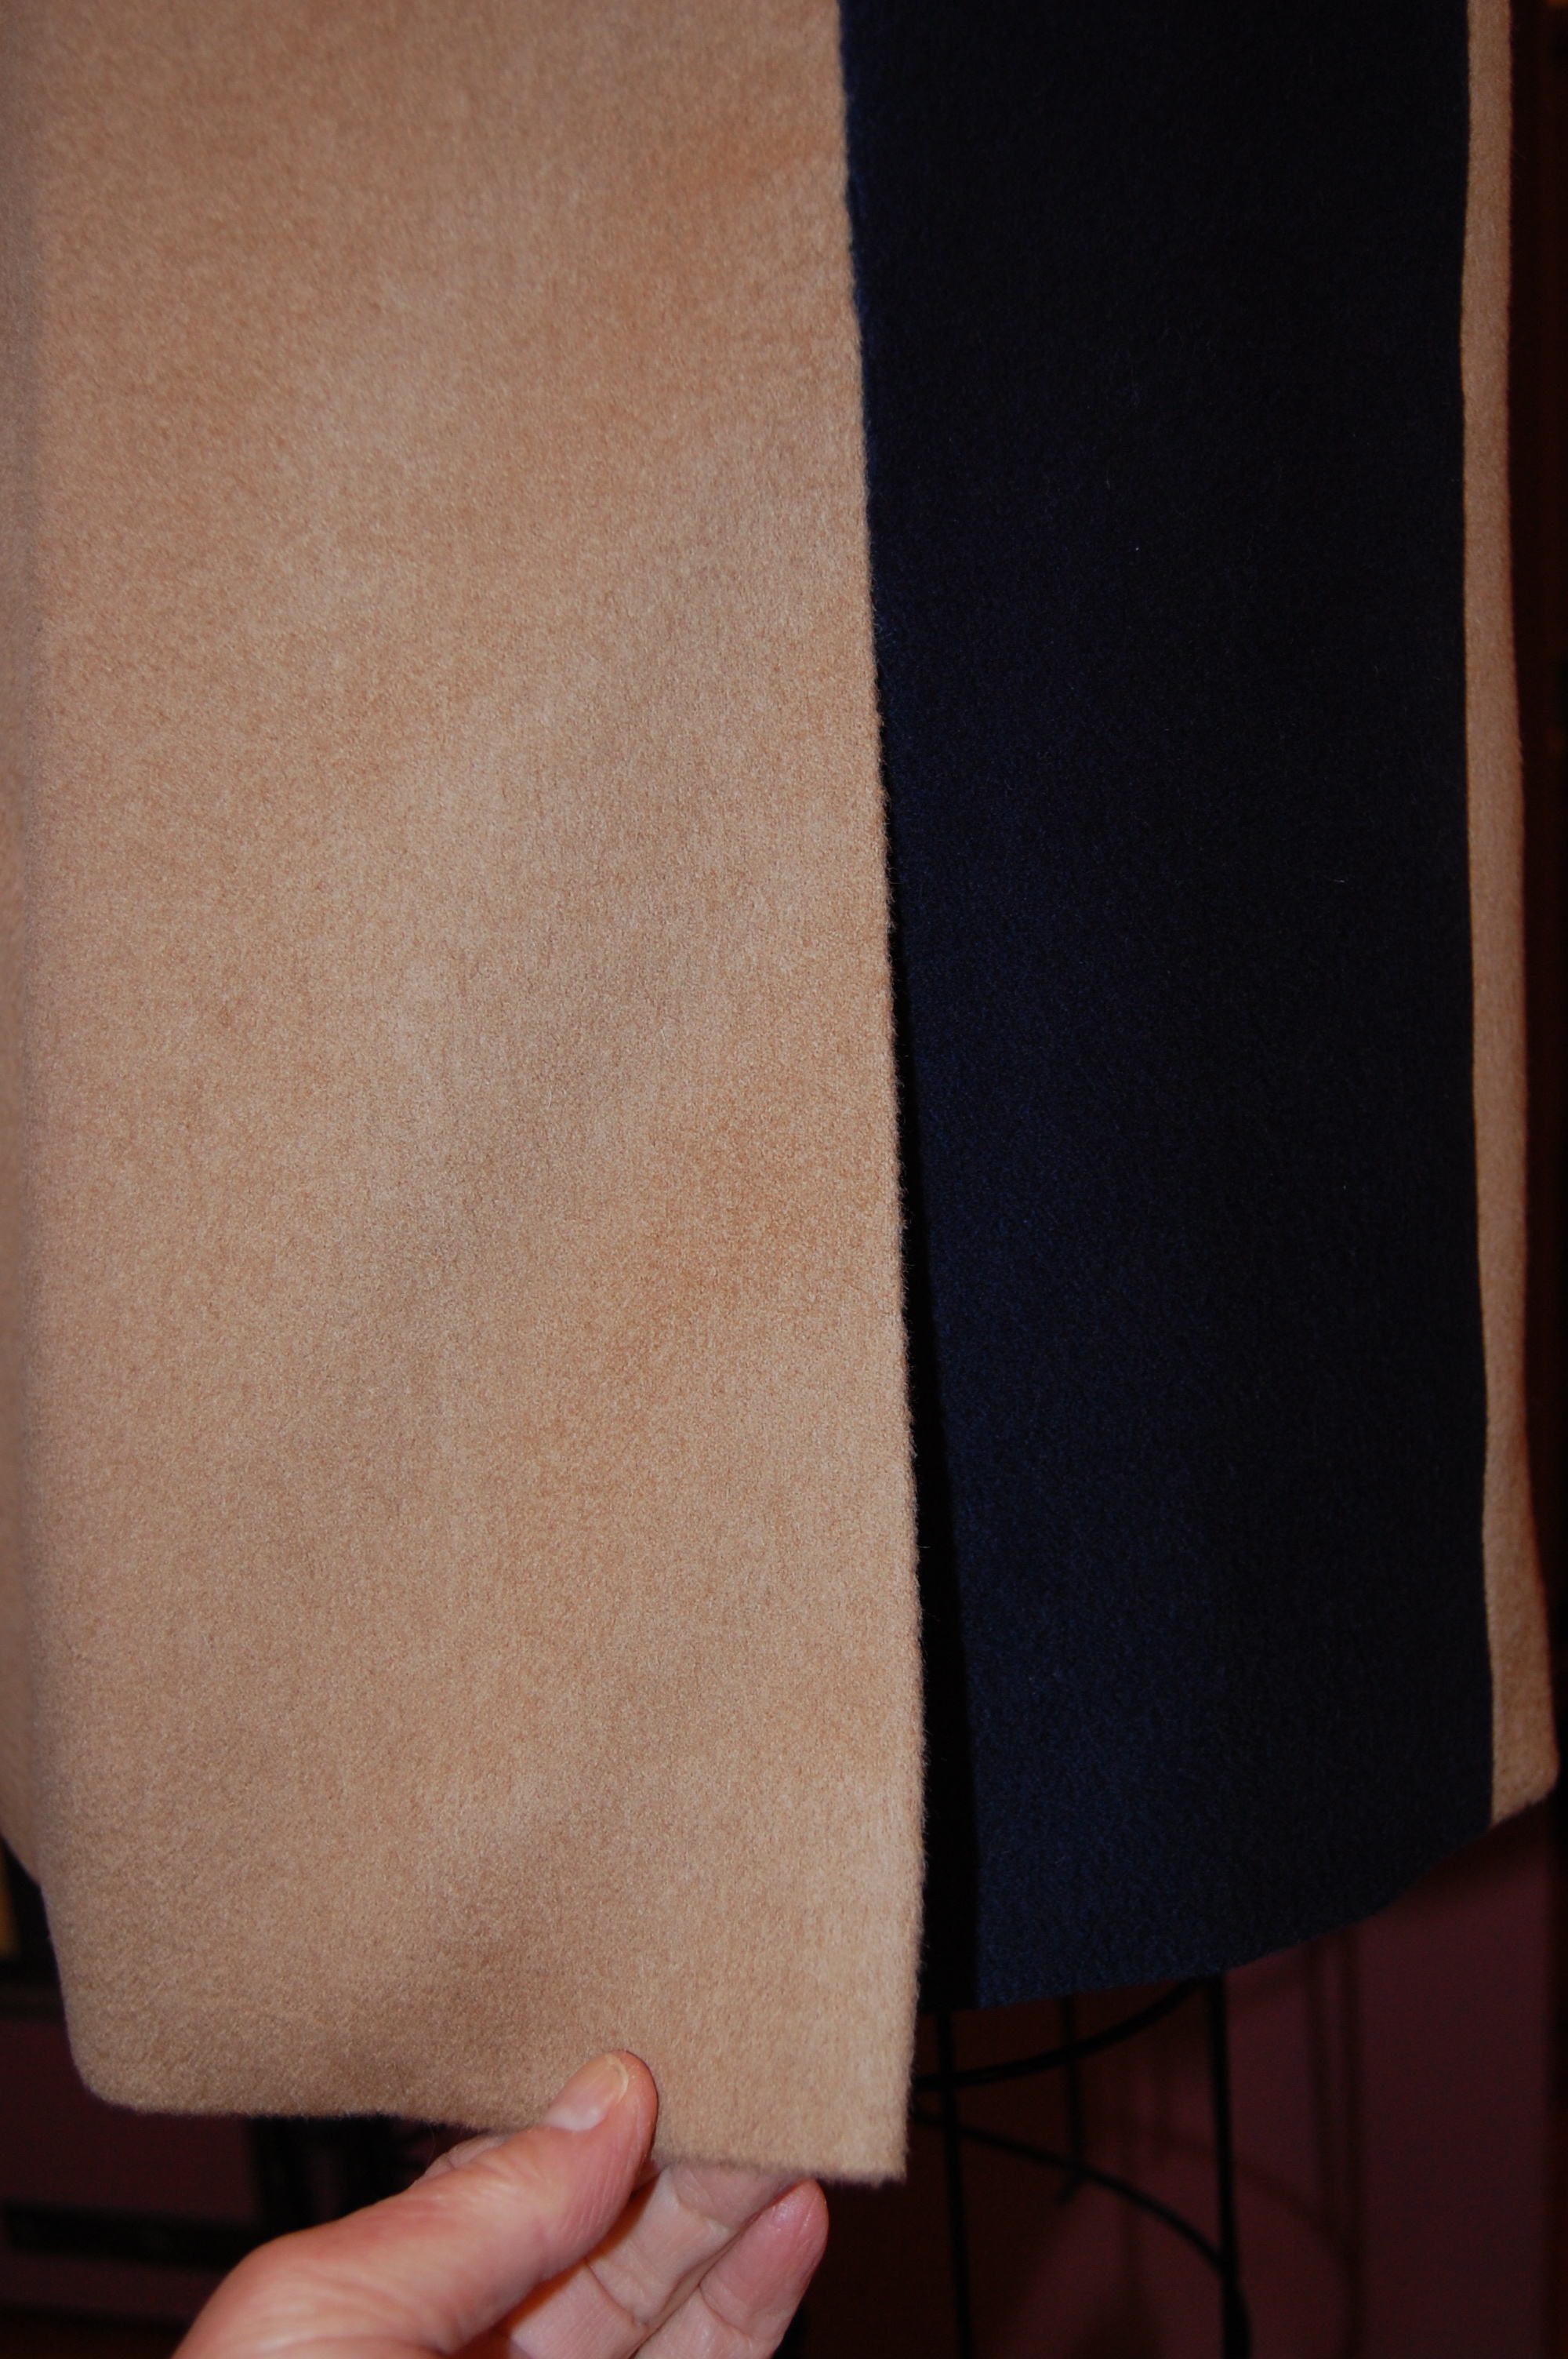
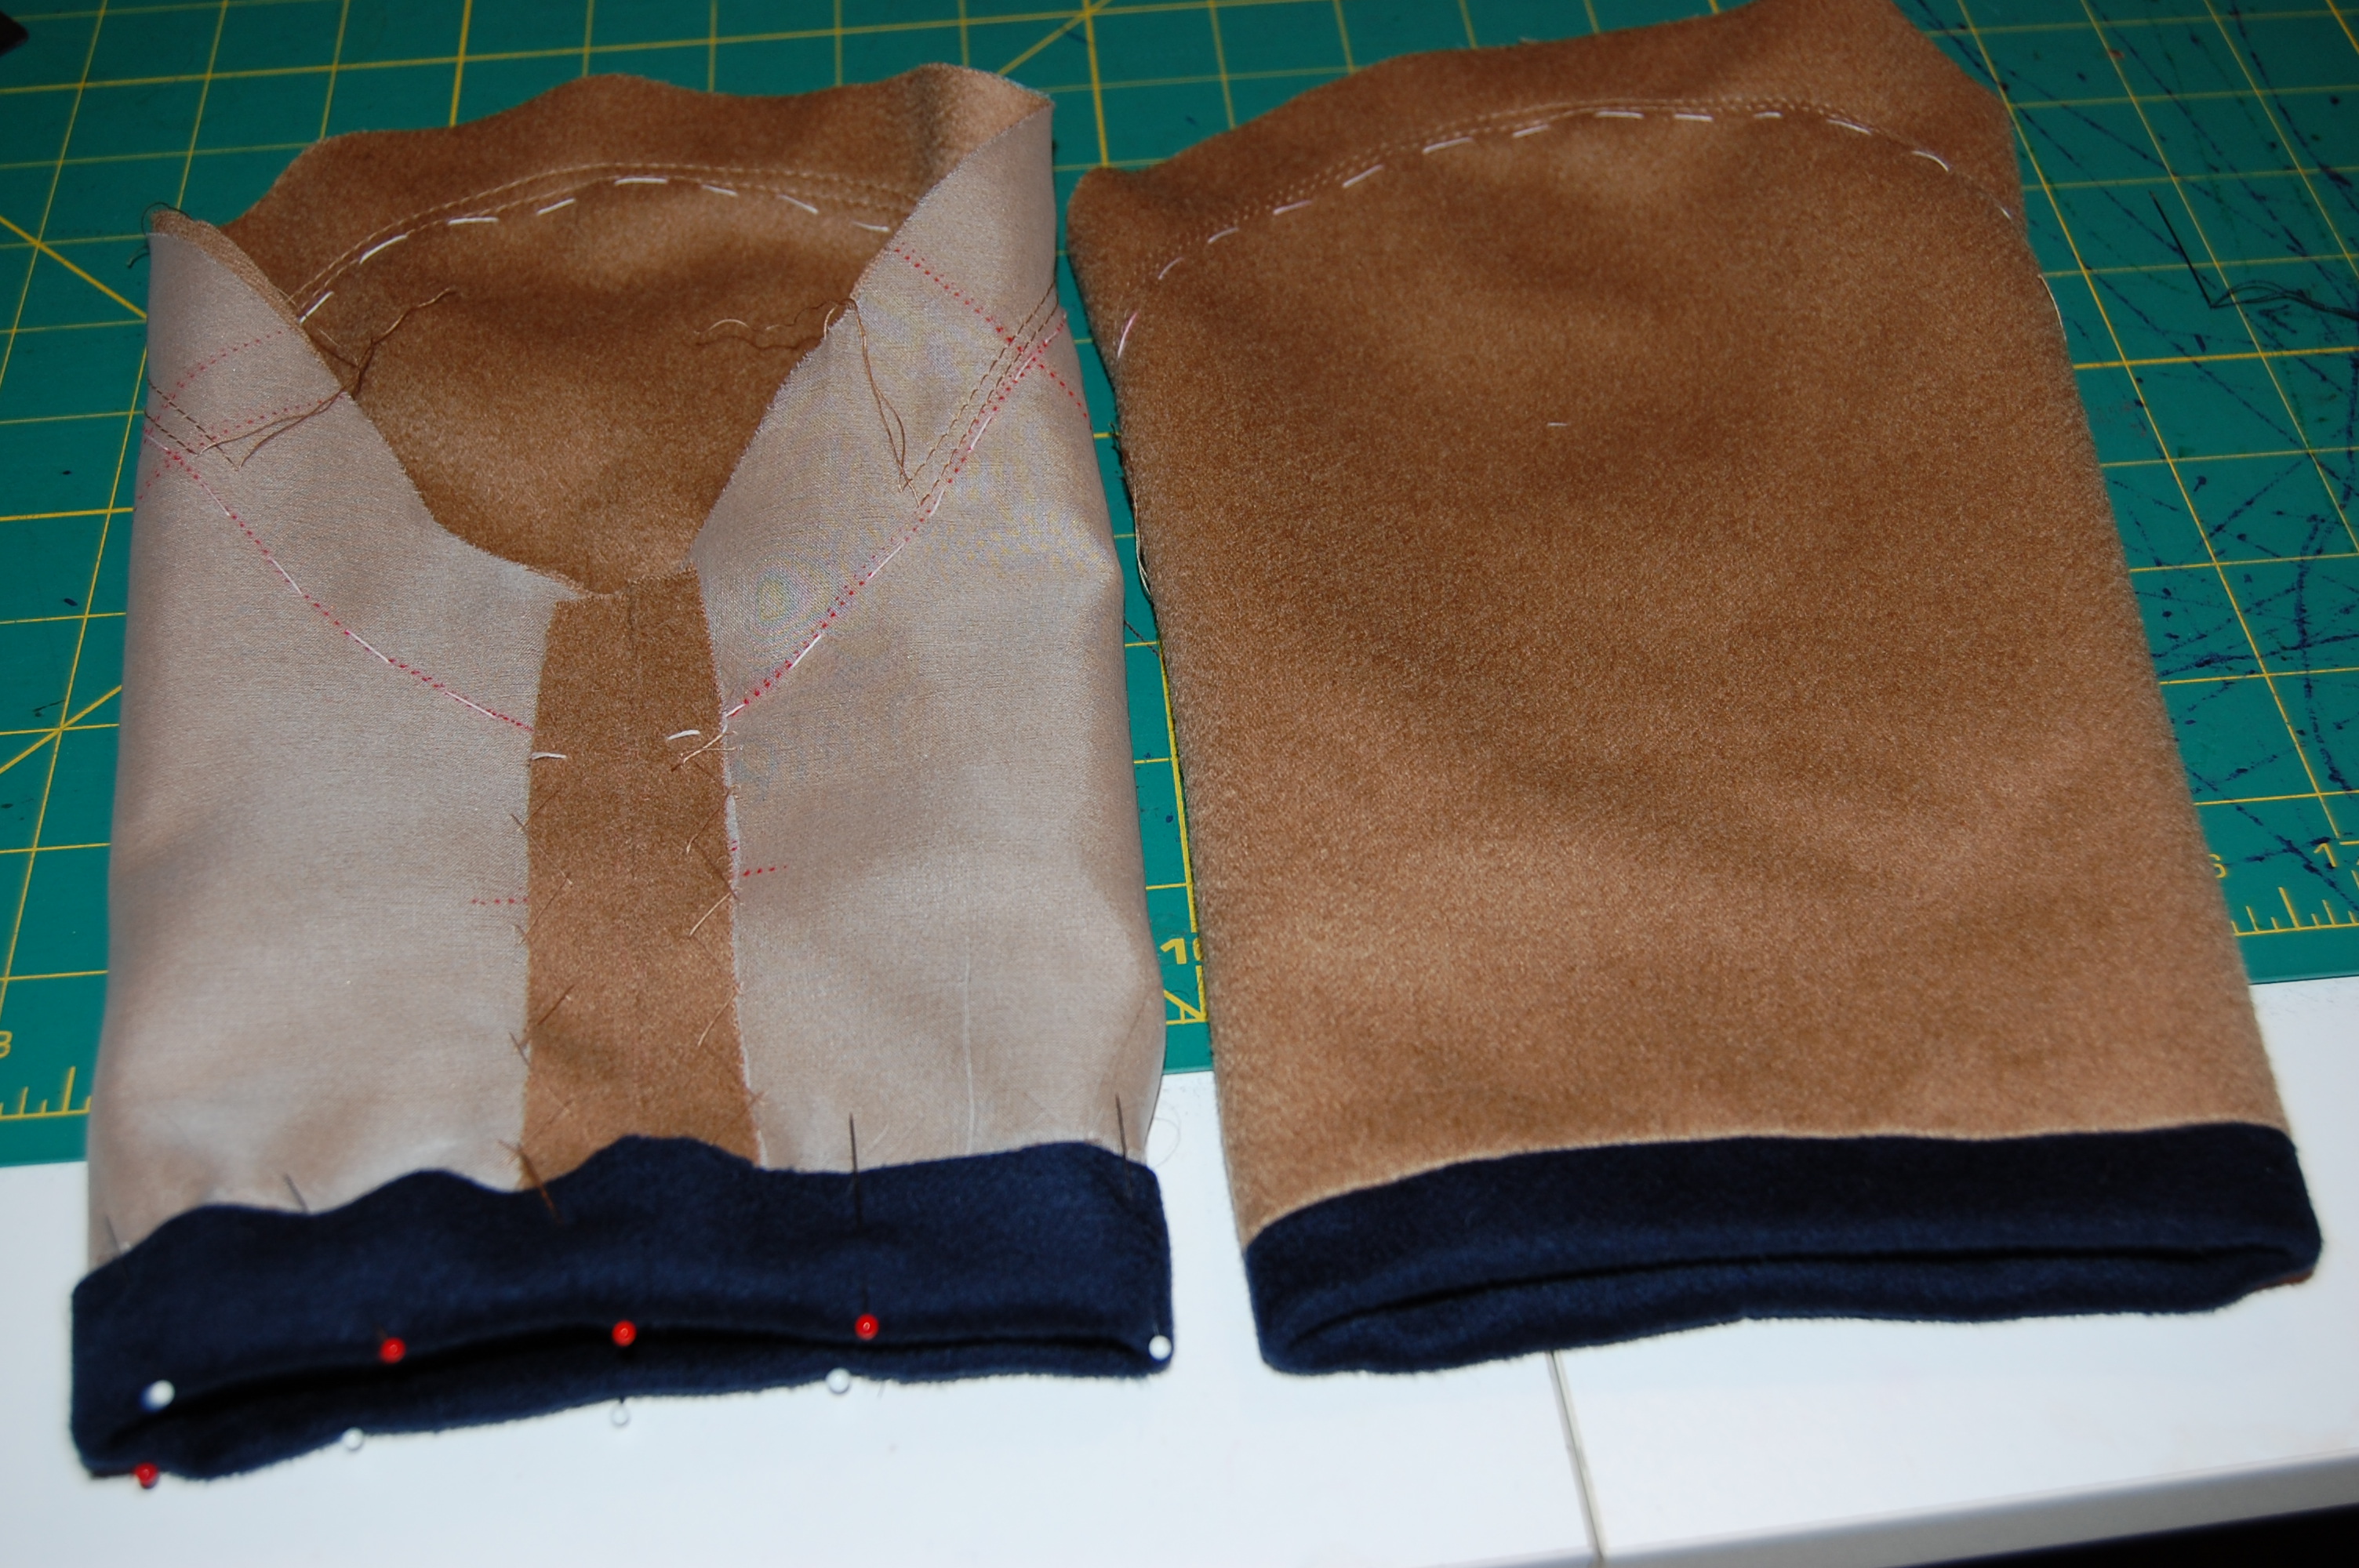
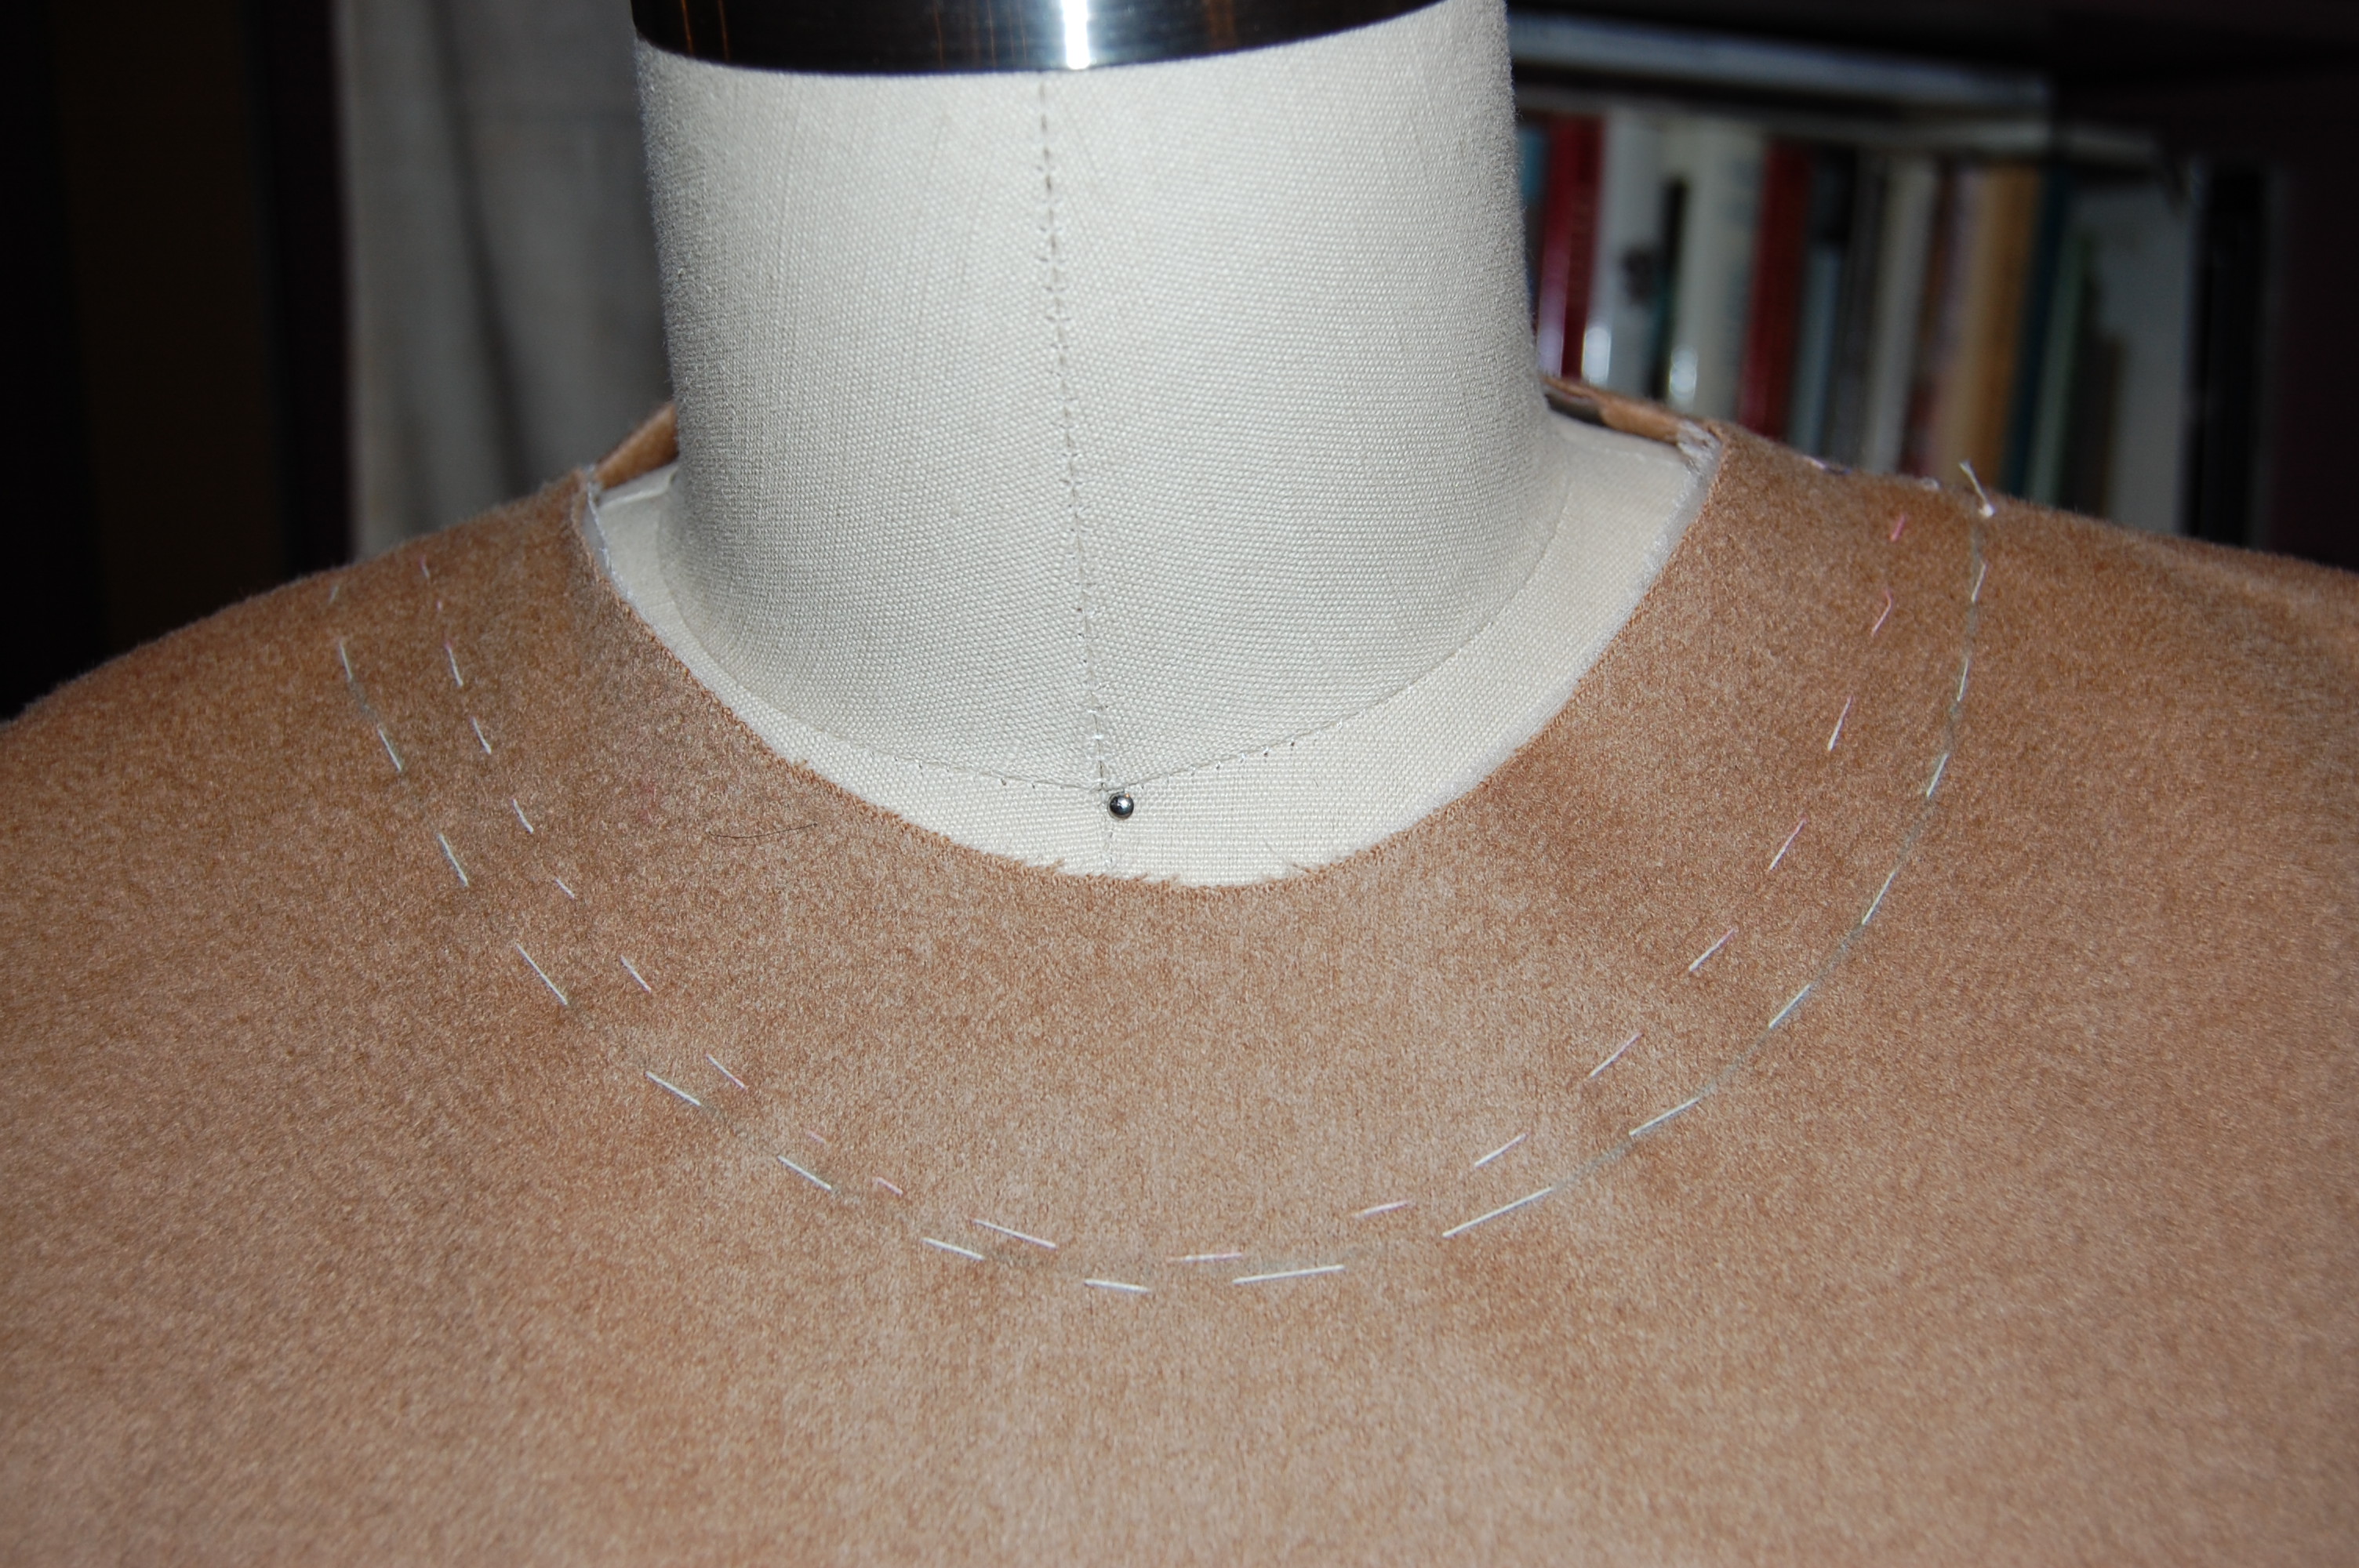
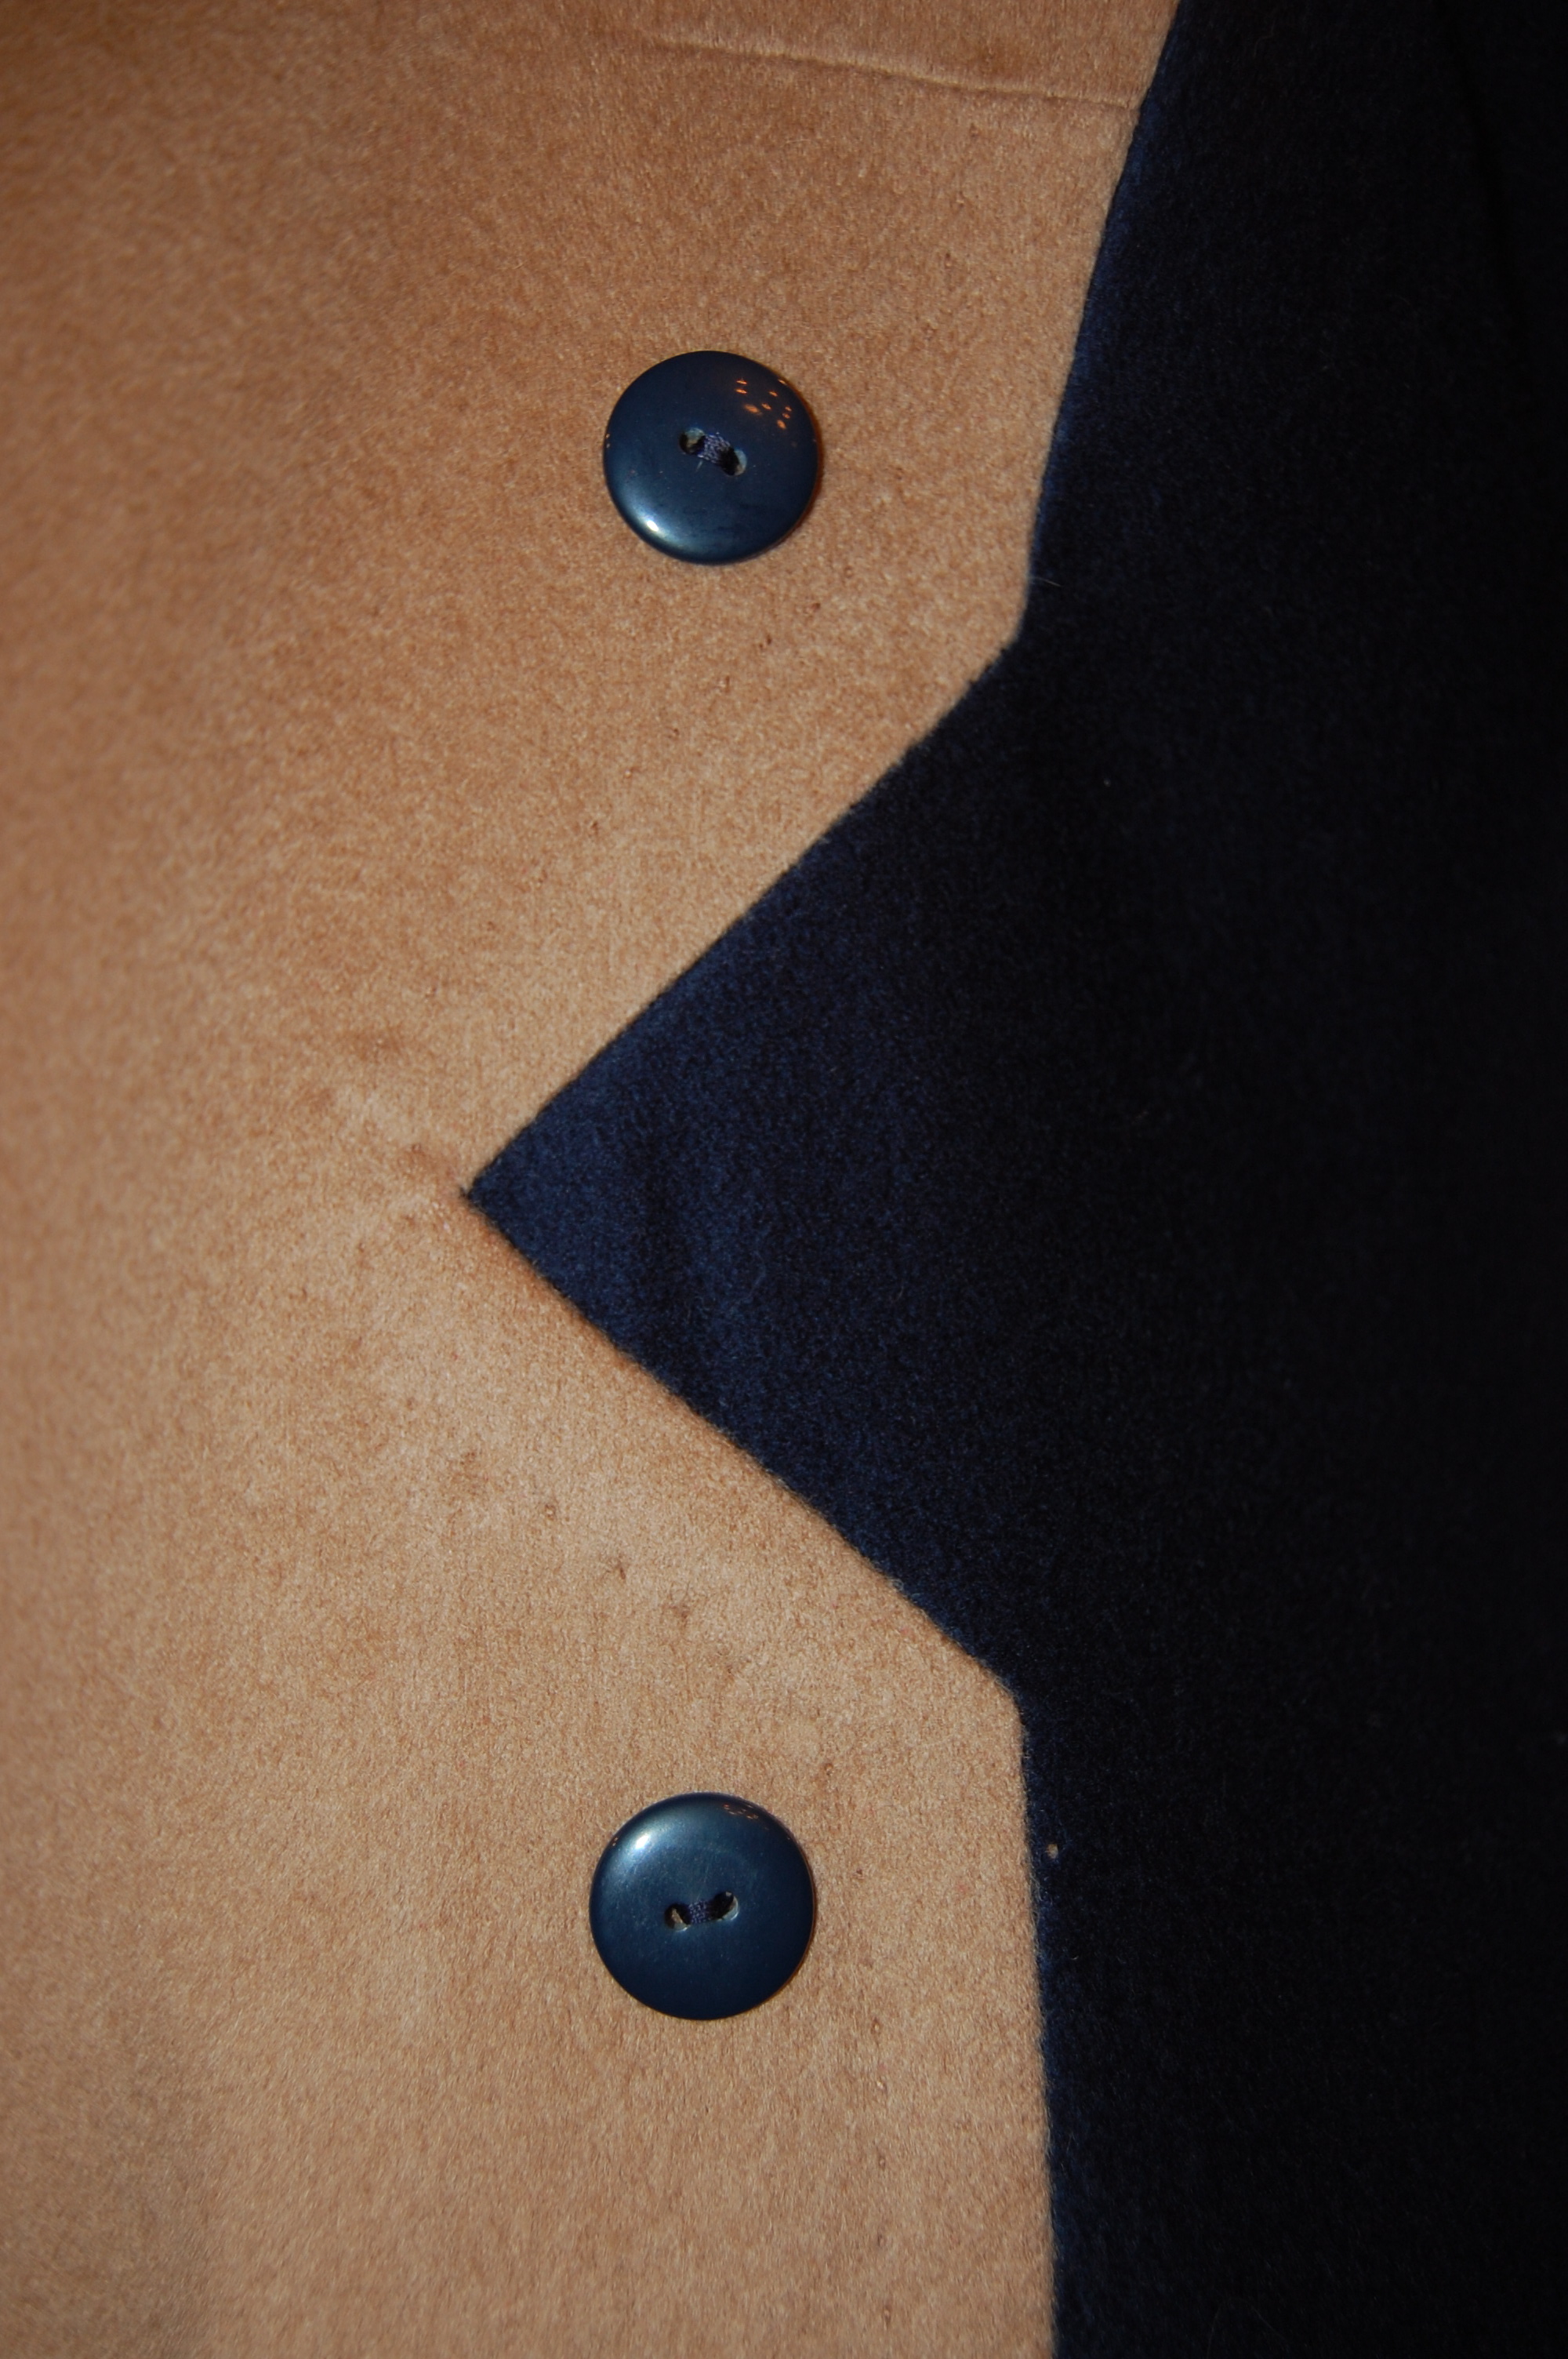
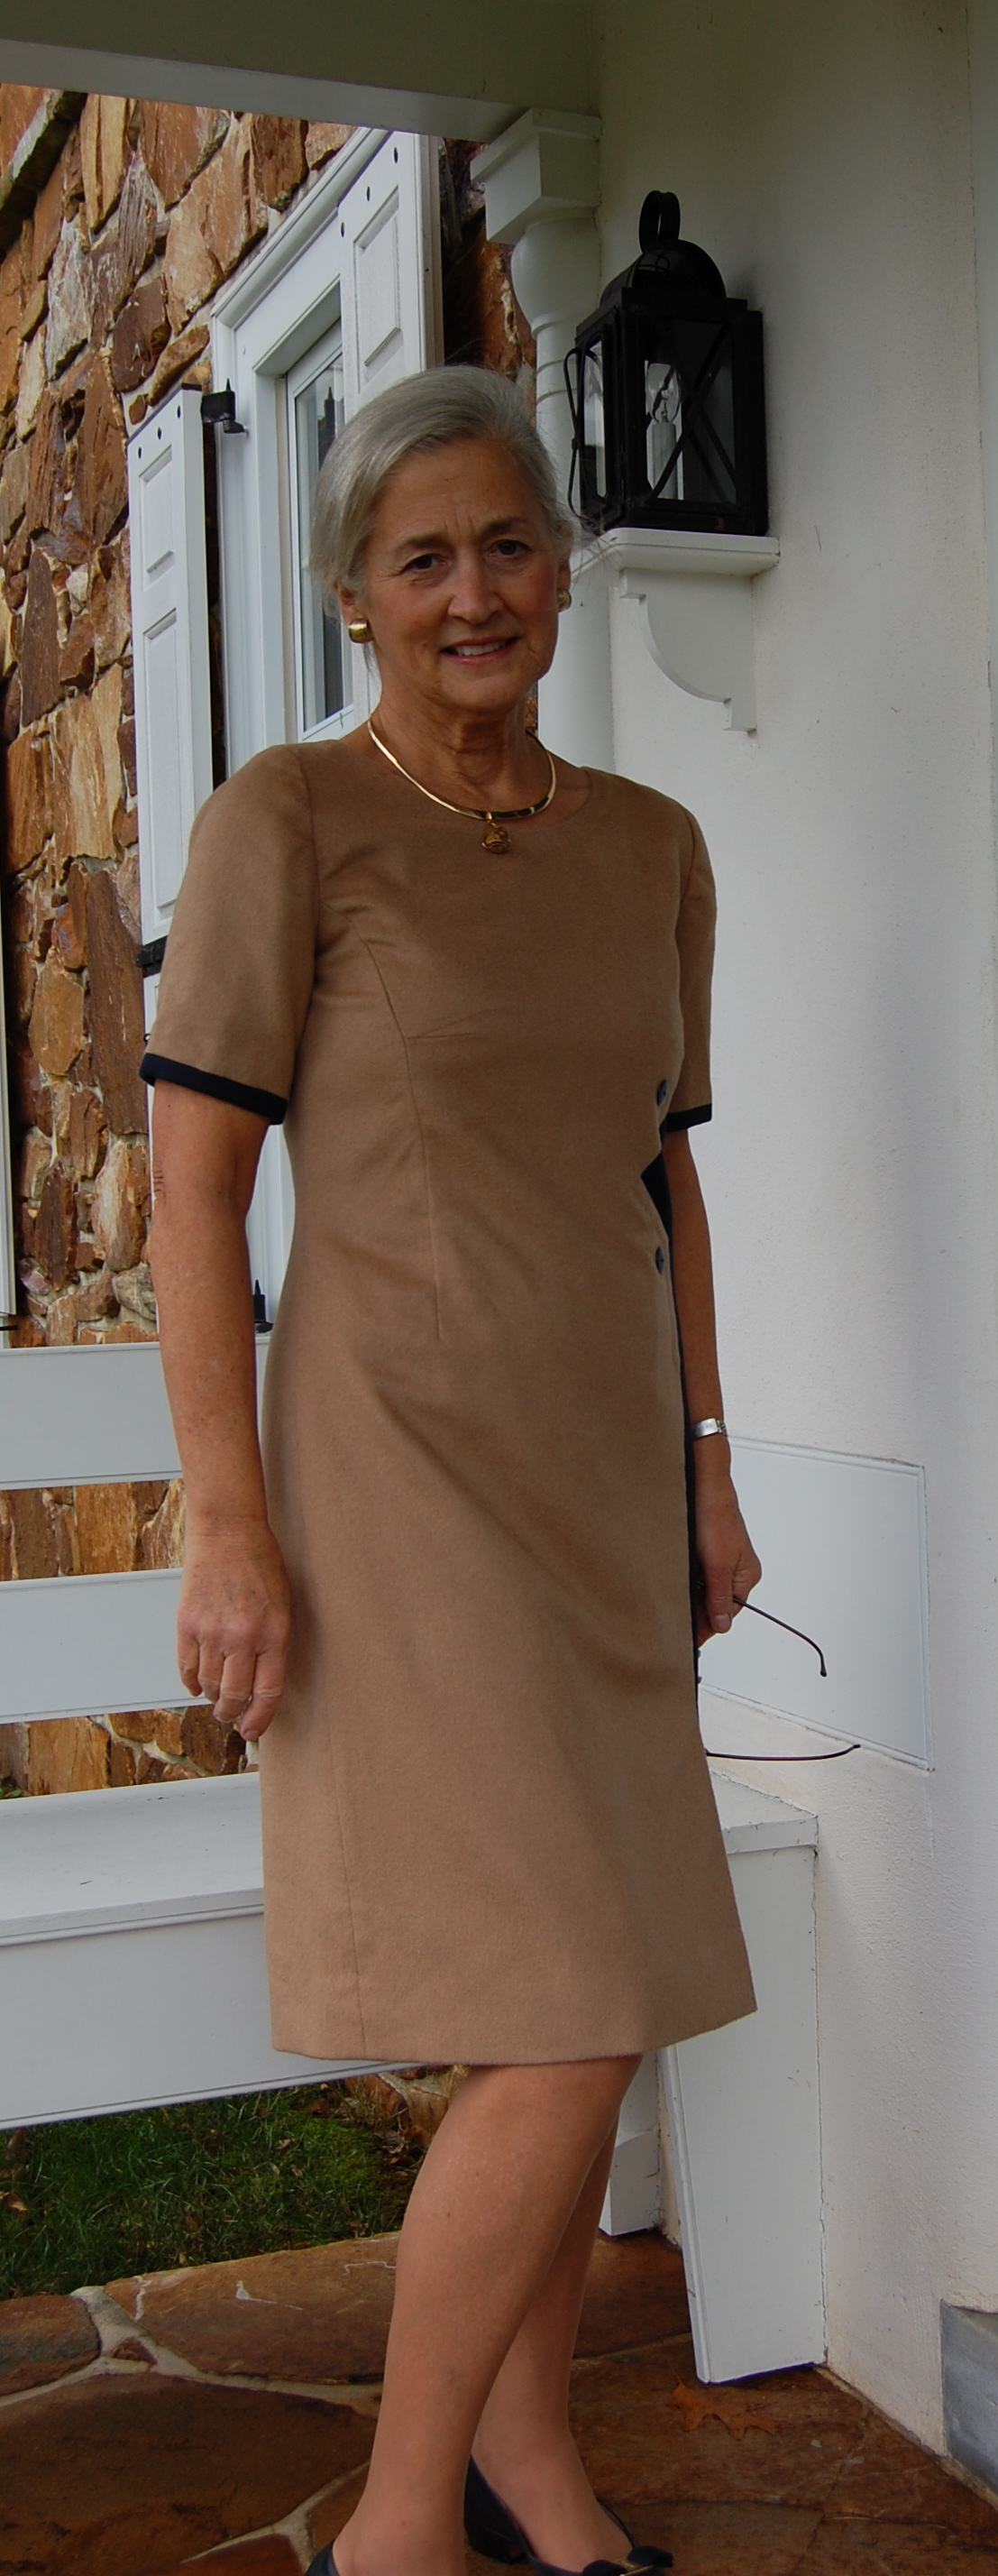
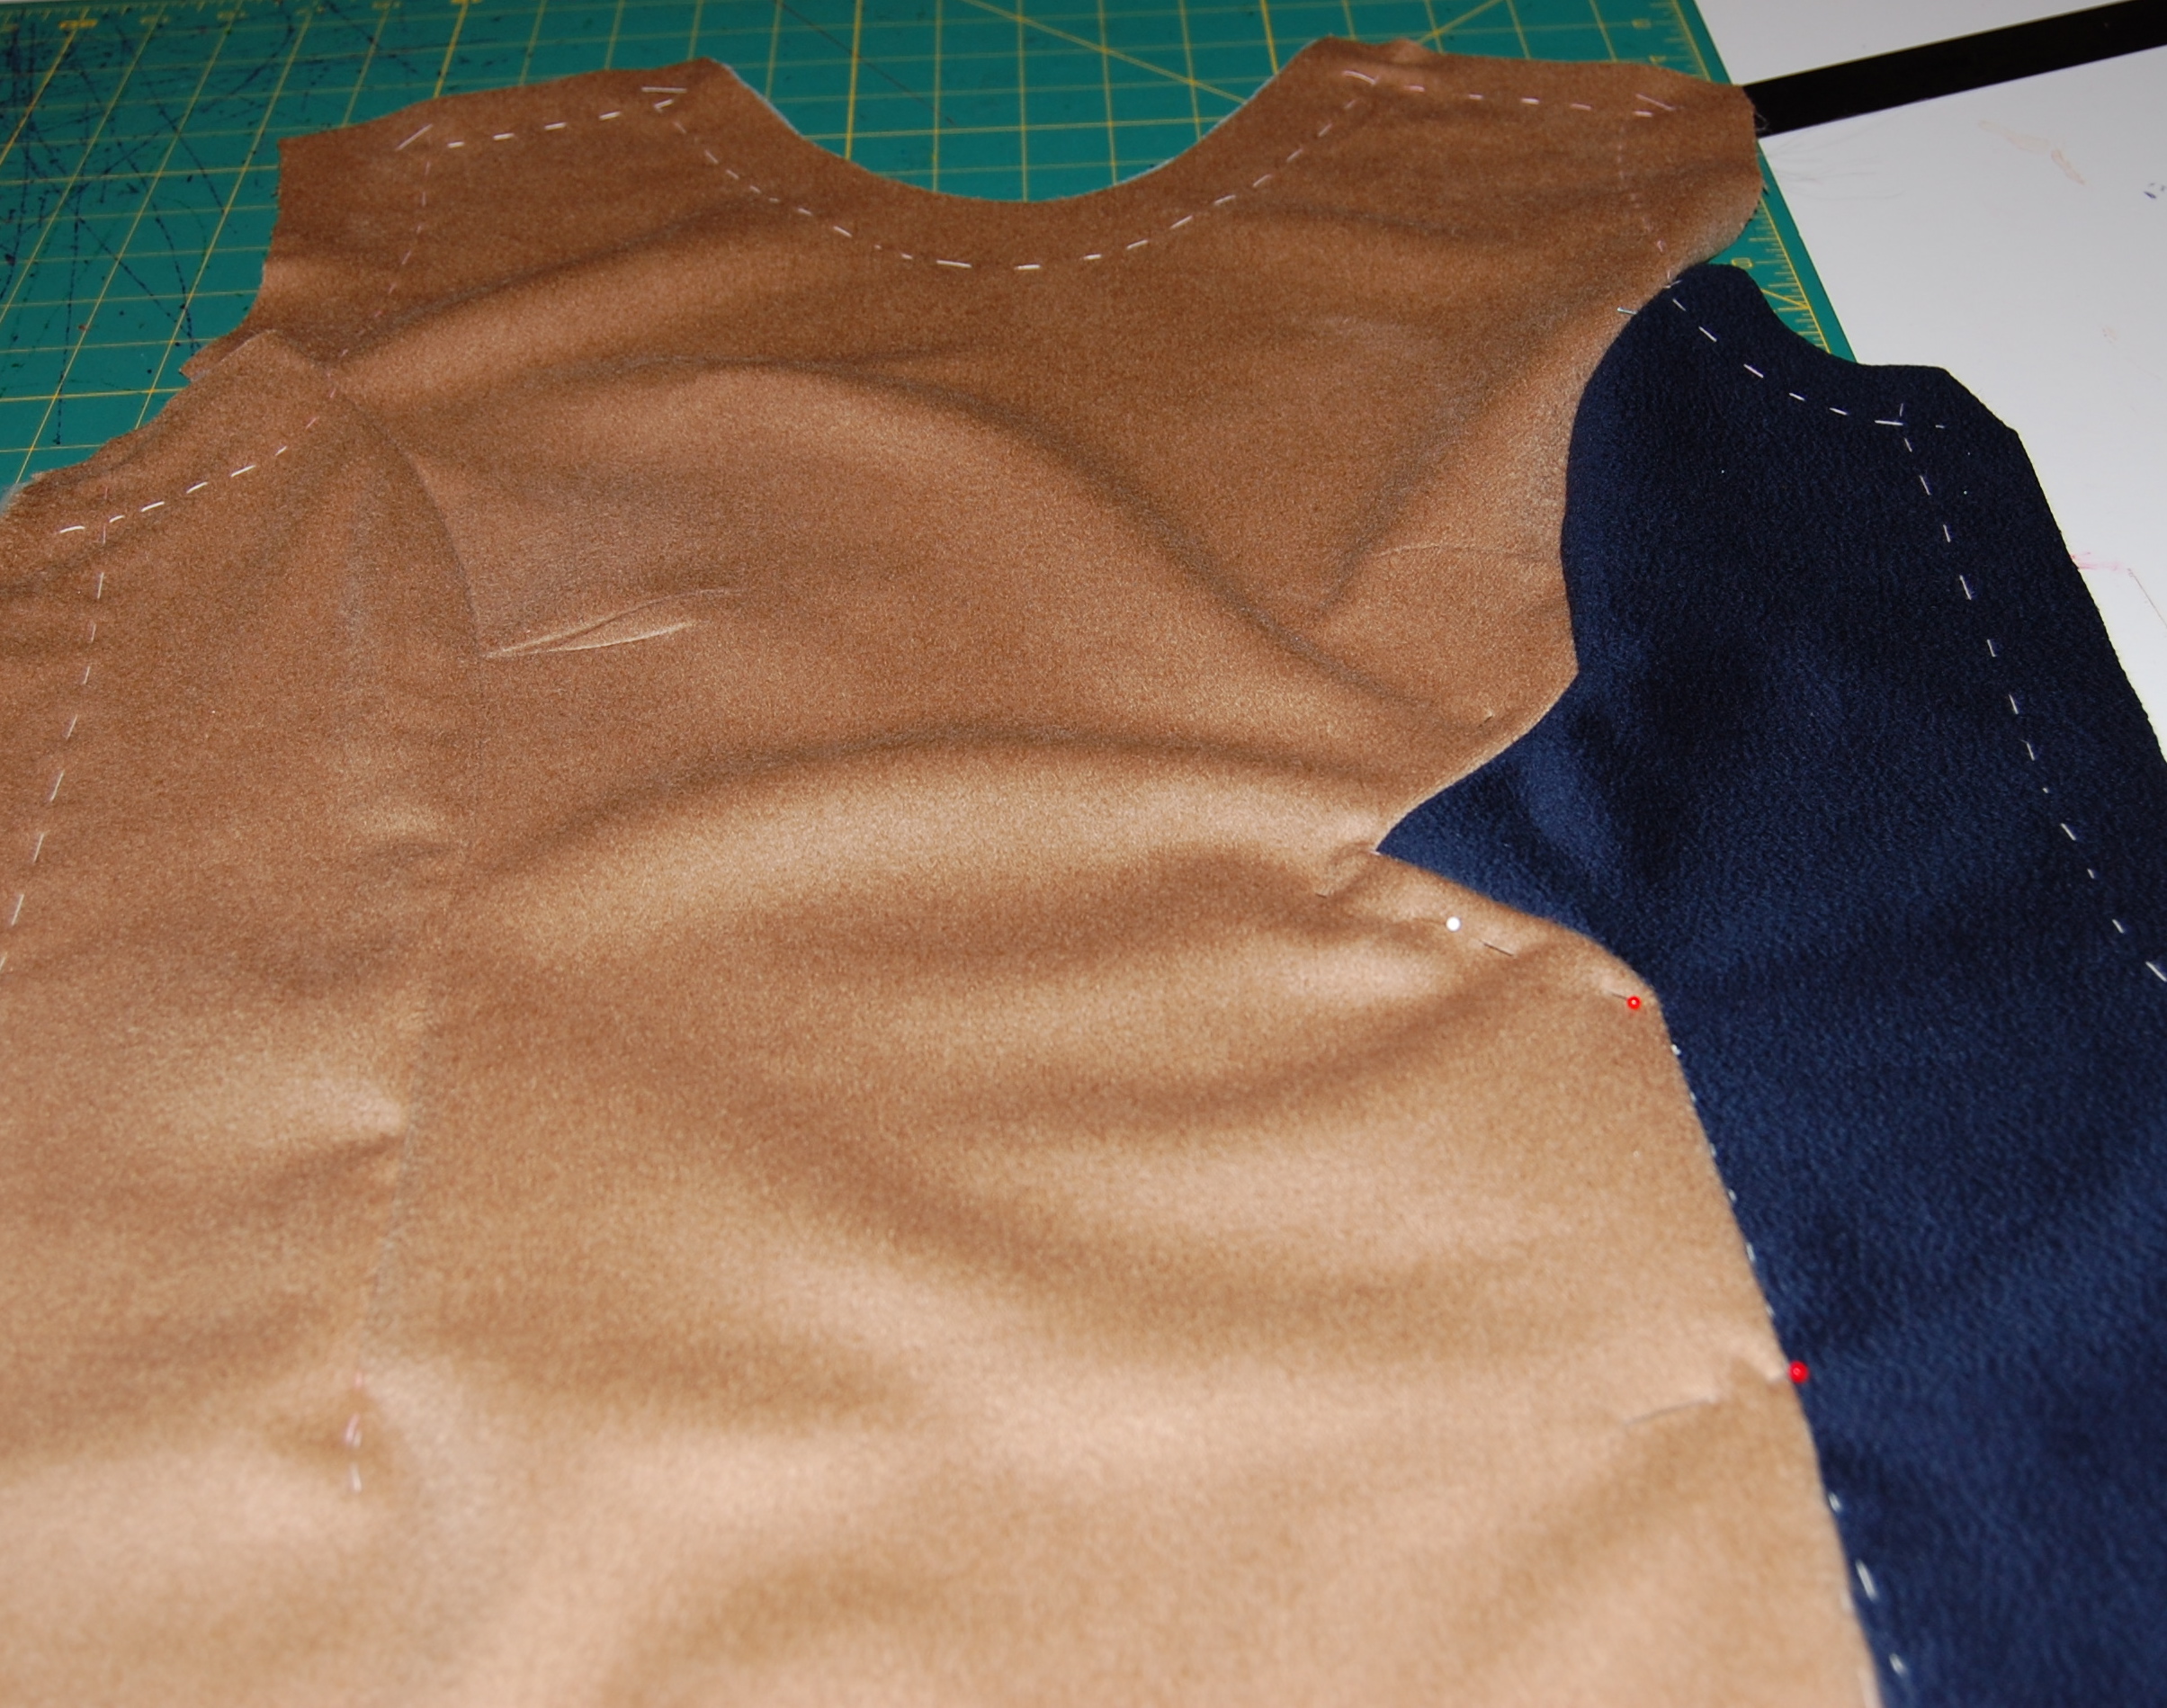
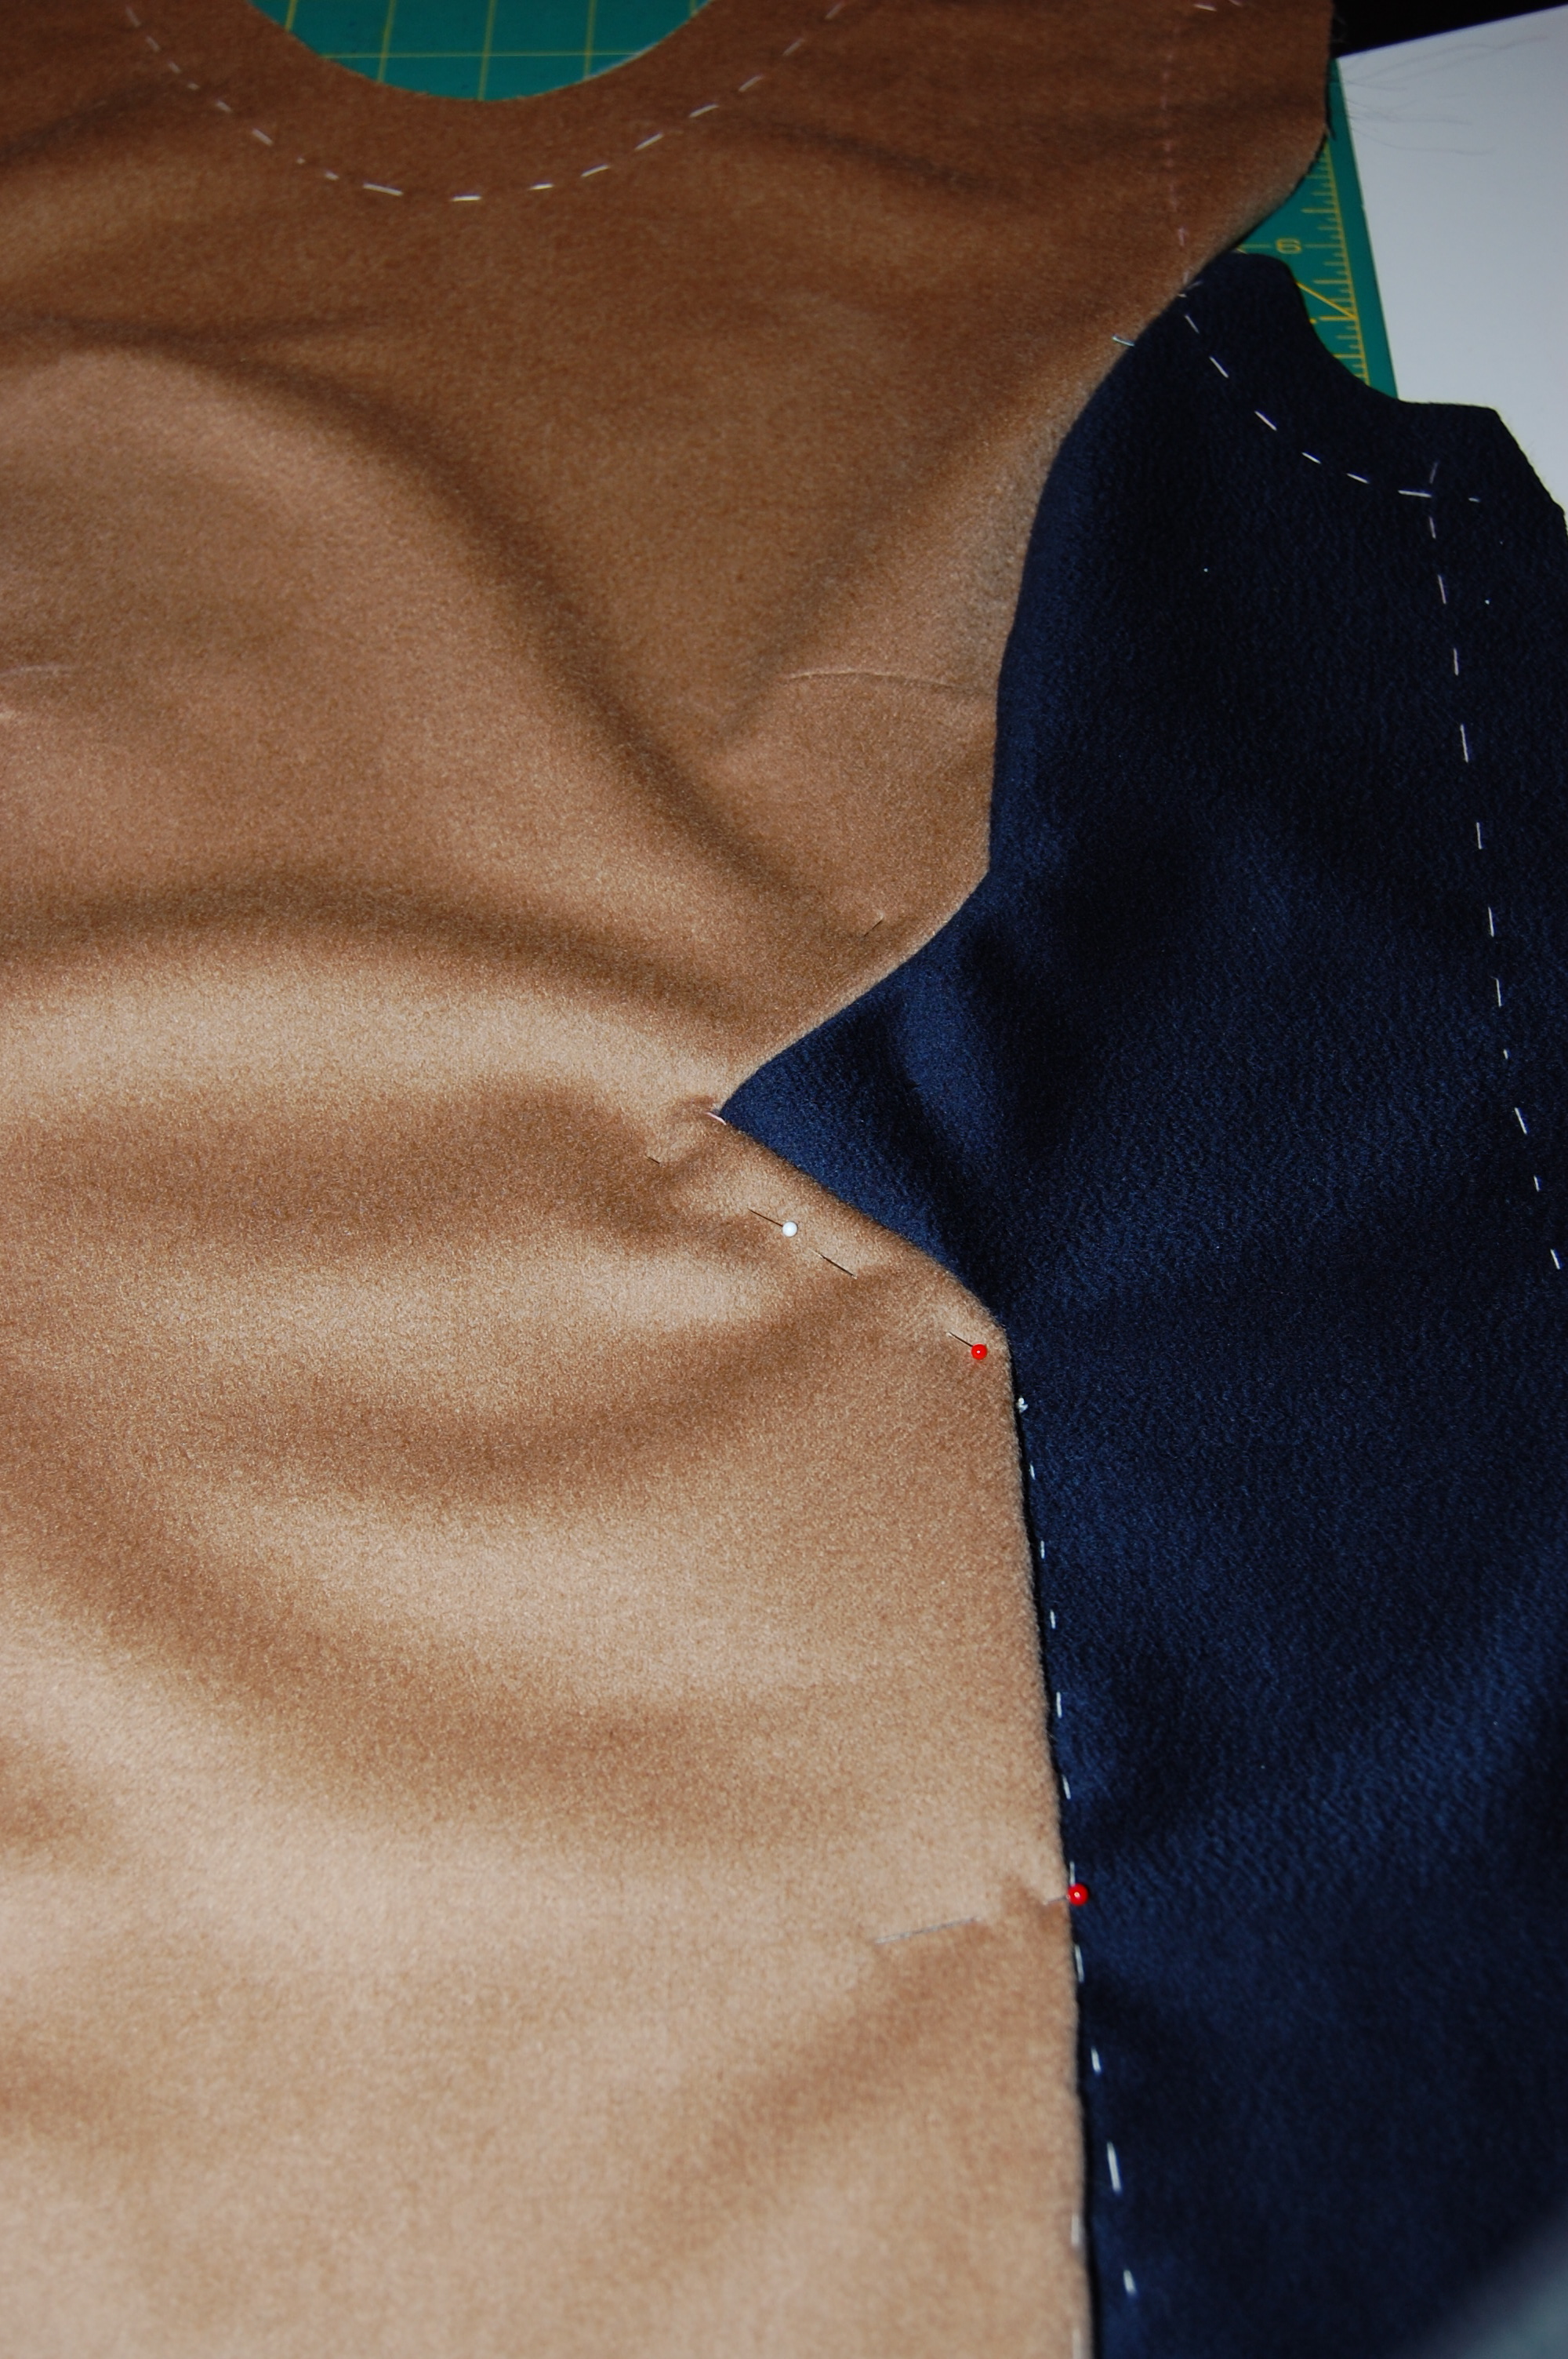
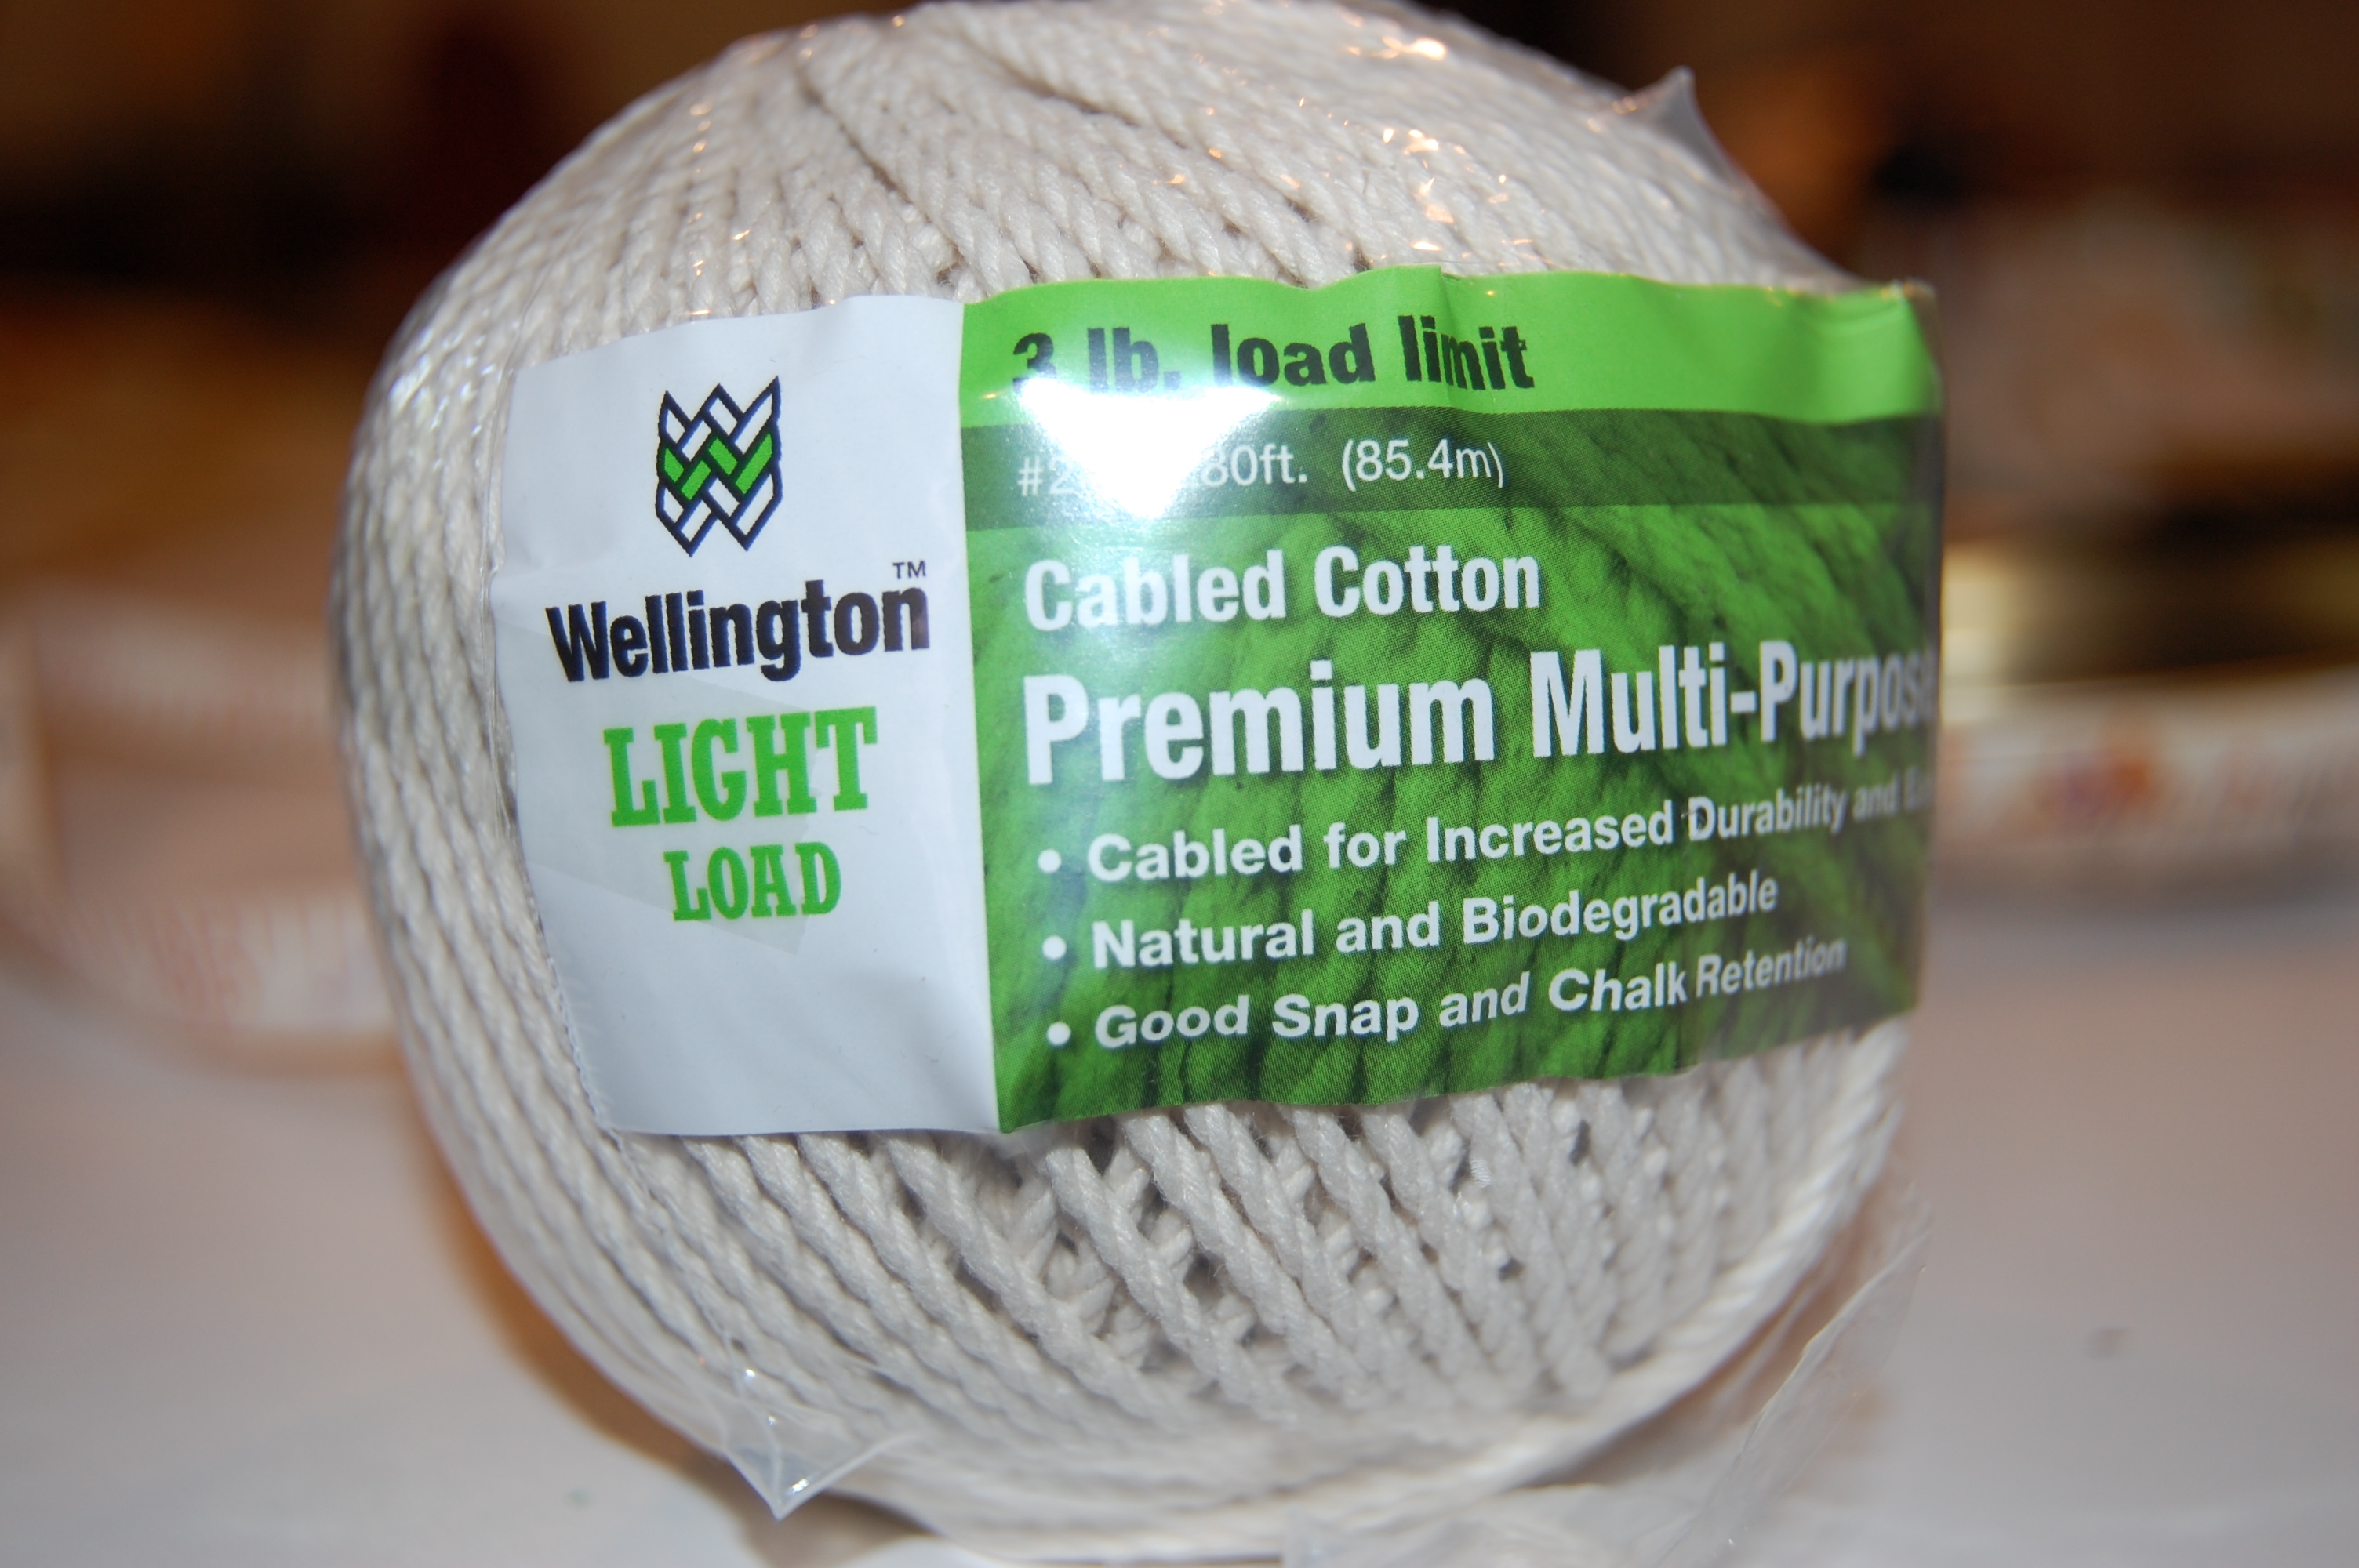
It is always easiest for me to segment the year into its seasons as I think about what I’d like to sew. Starting with Winter, I have two wool projects which will take me into March, I am sure: One is my fringed “blanket” dress, currently underway in my Sewing Room. After that I will be sewing with a piece of navy blue cashmere, from which I hope to squeak out a dress and jacket. (Valentine’s Day will find me interrupting my wool projects to make a sweet treat or two for granddaughter Aida.)
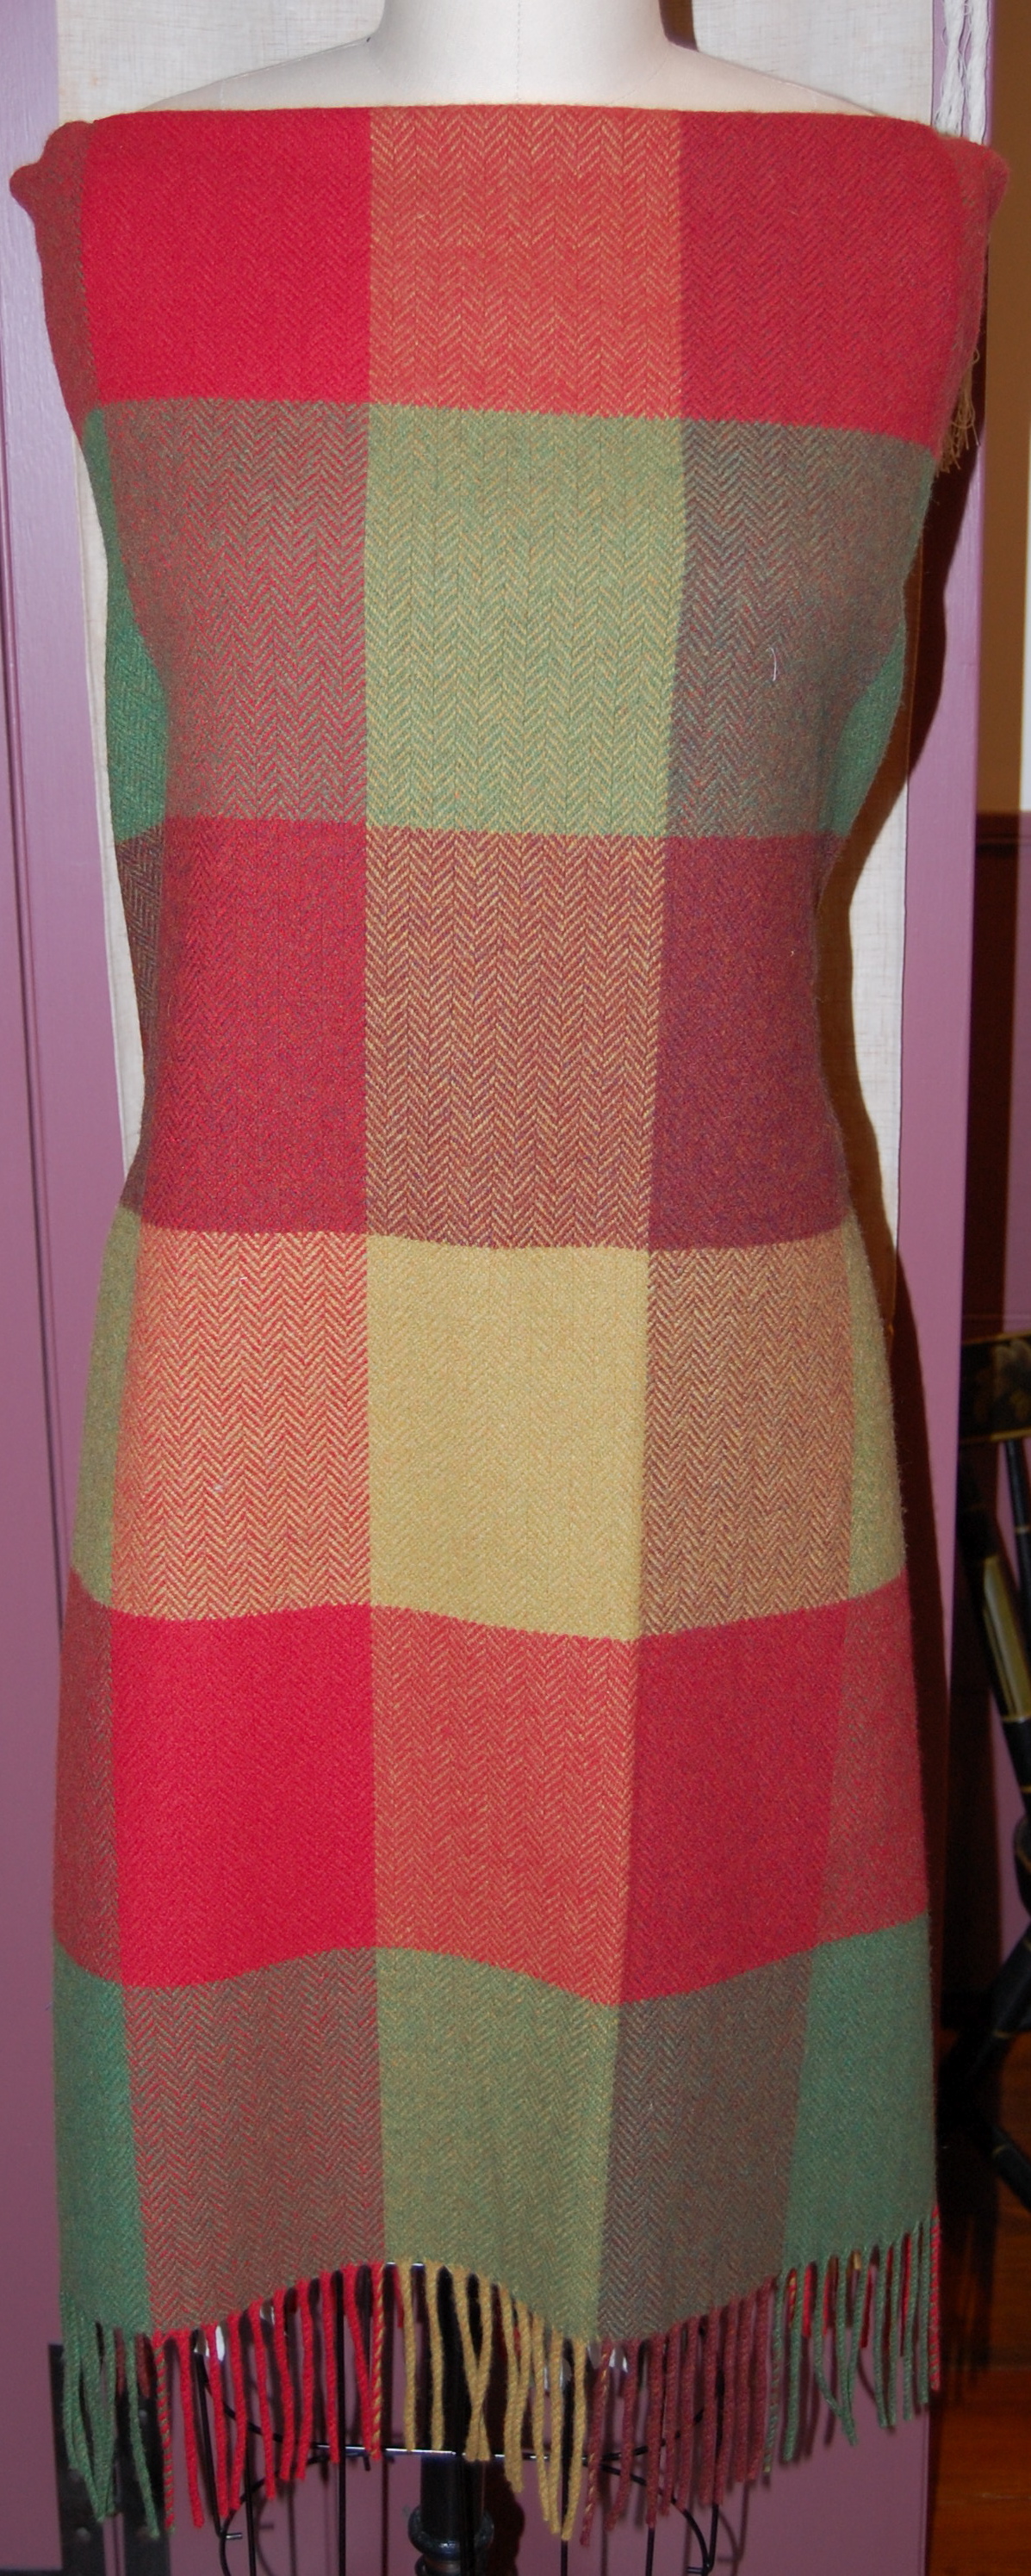
With any luck, I’ll soon be wearing my blanket dress.
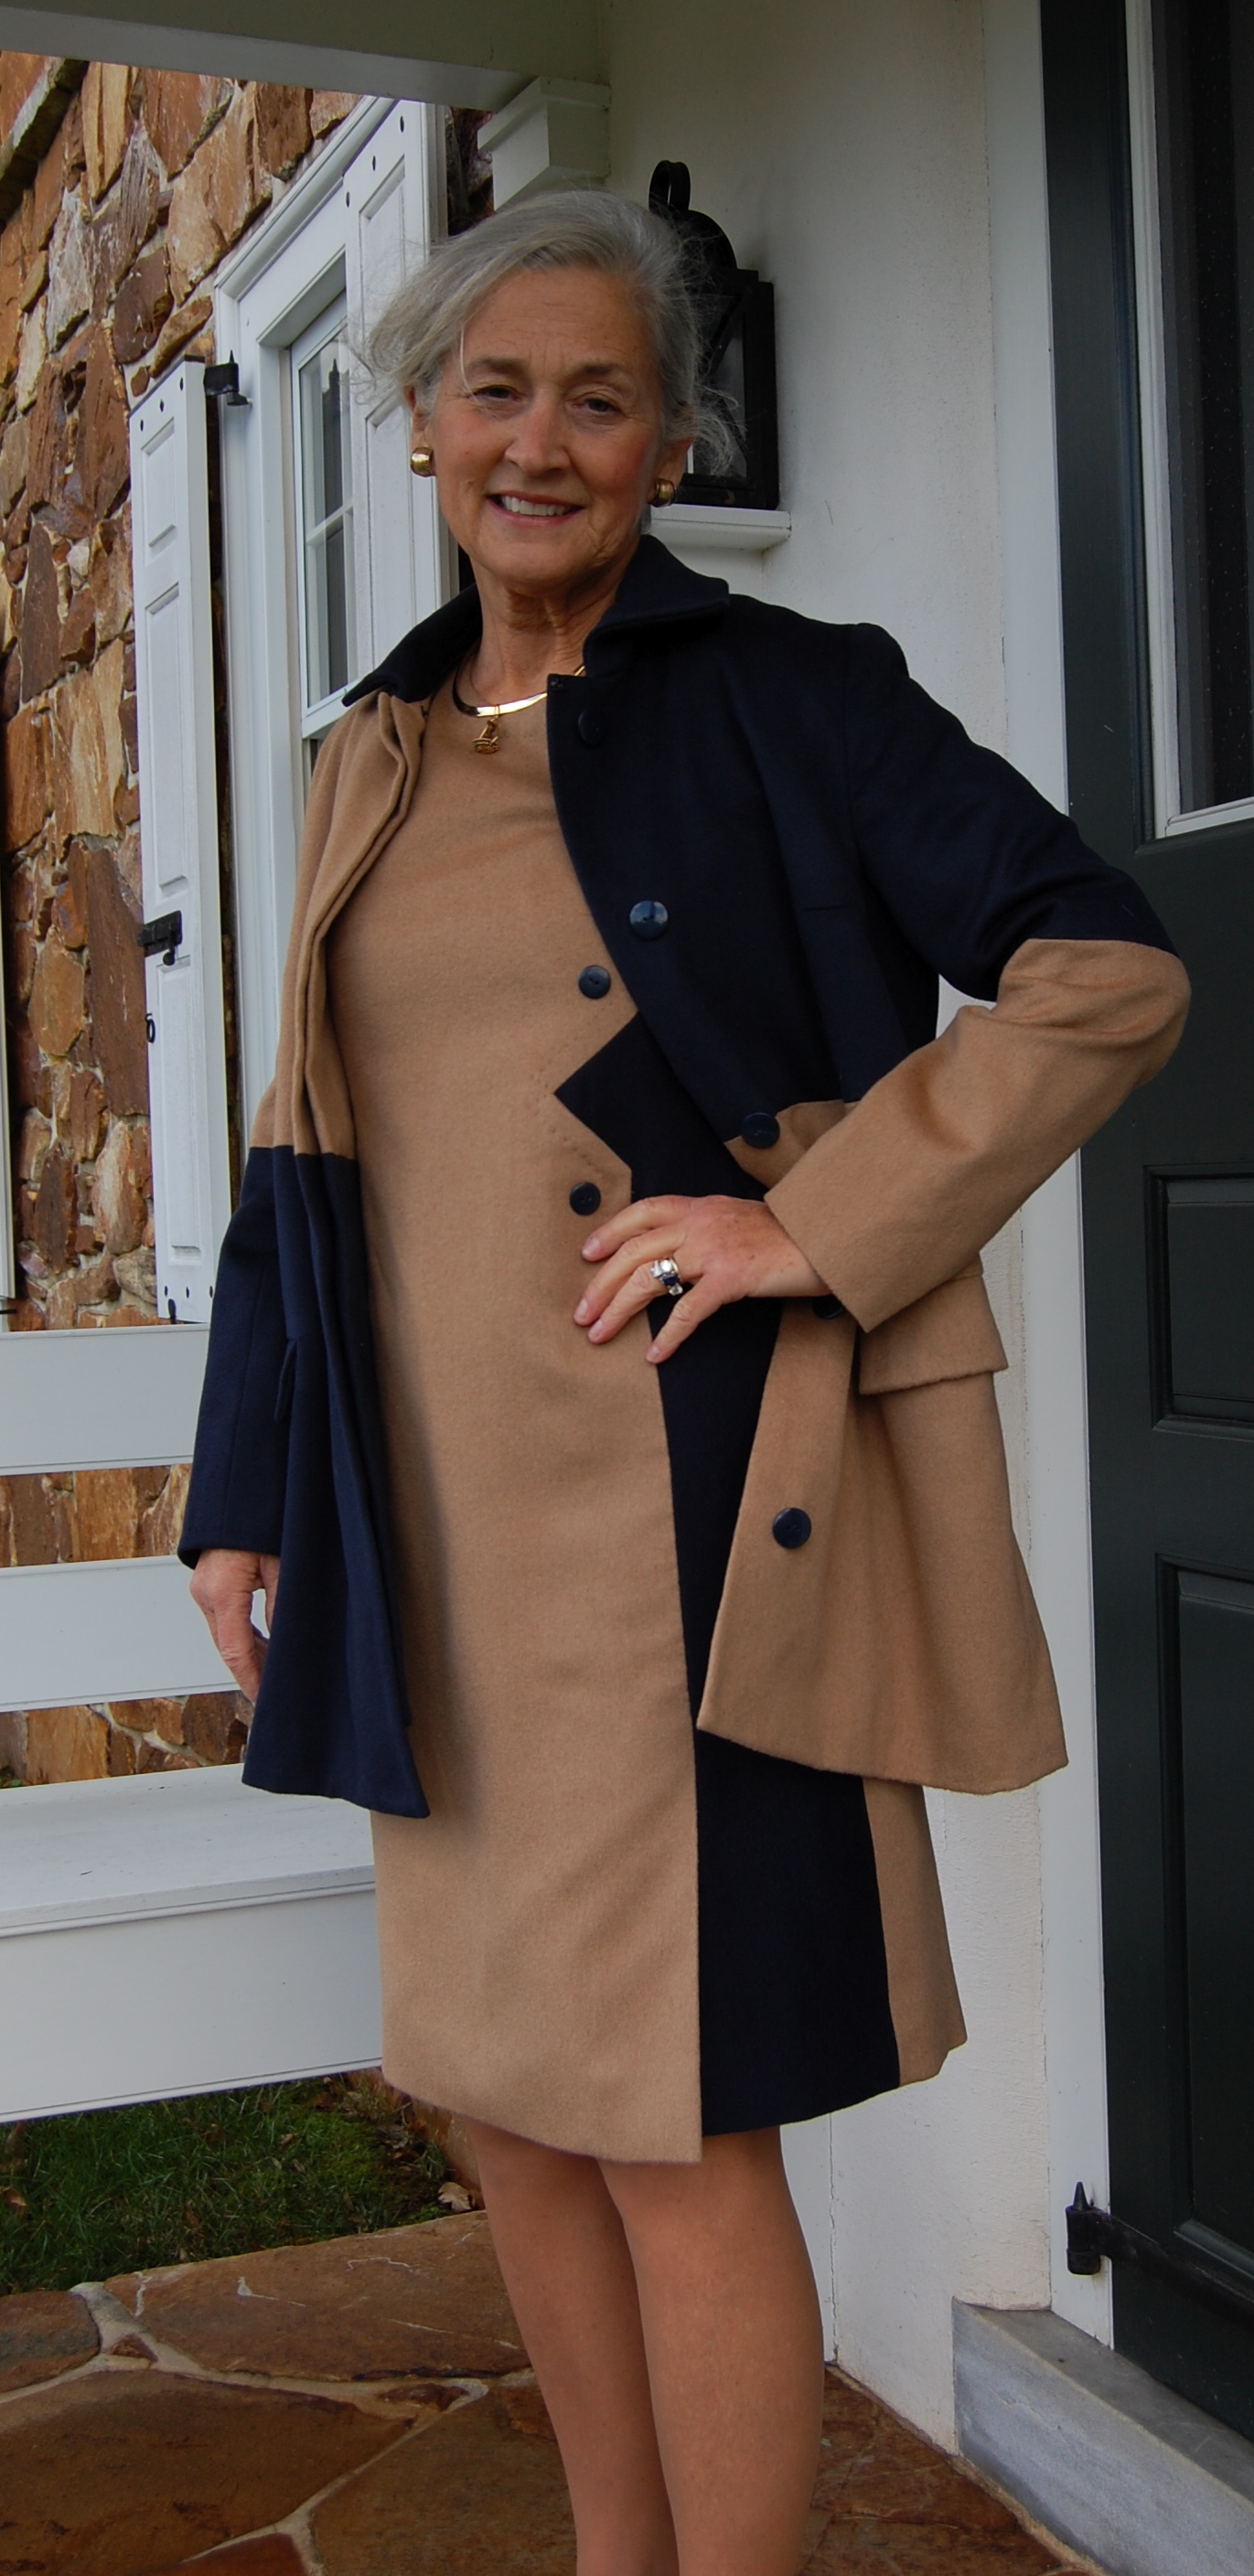
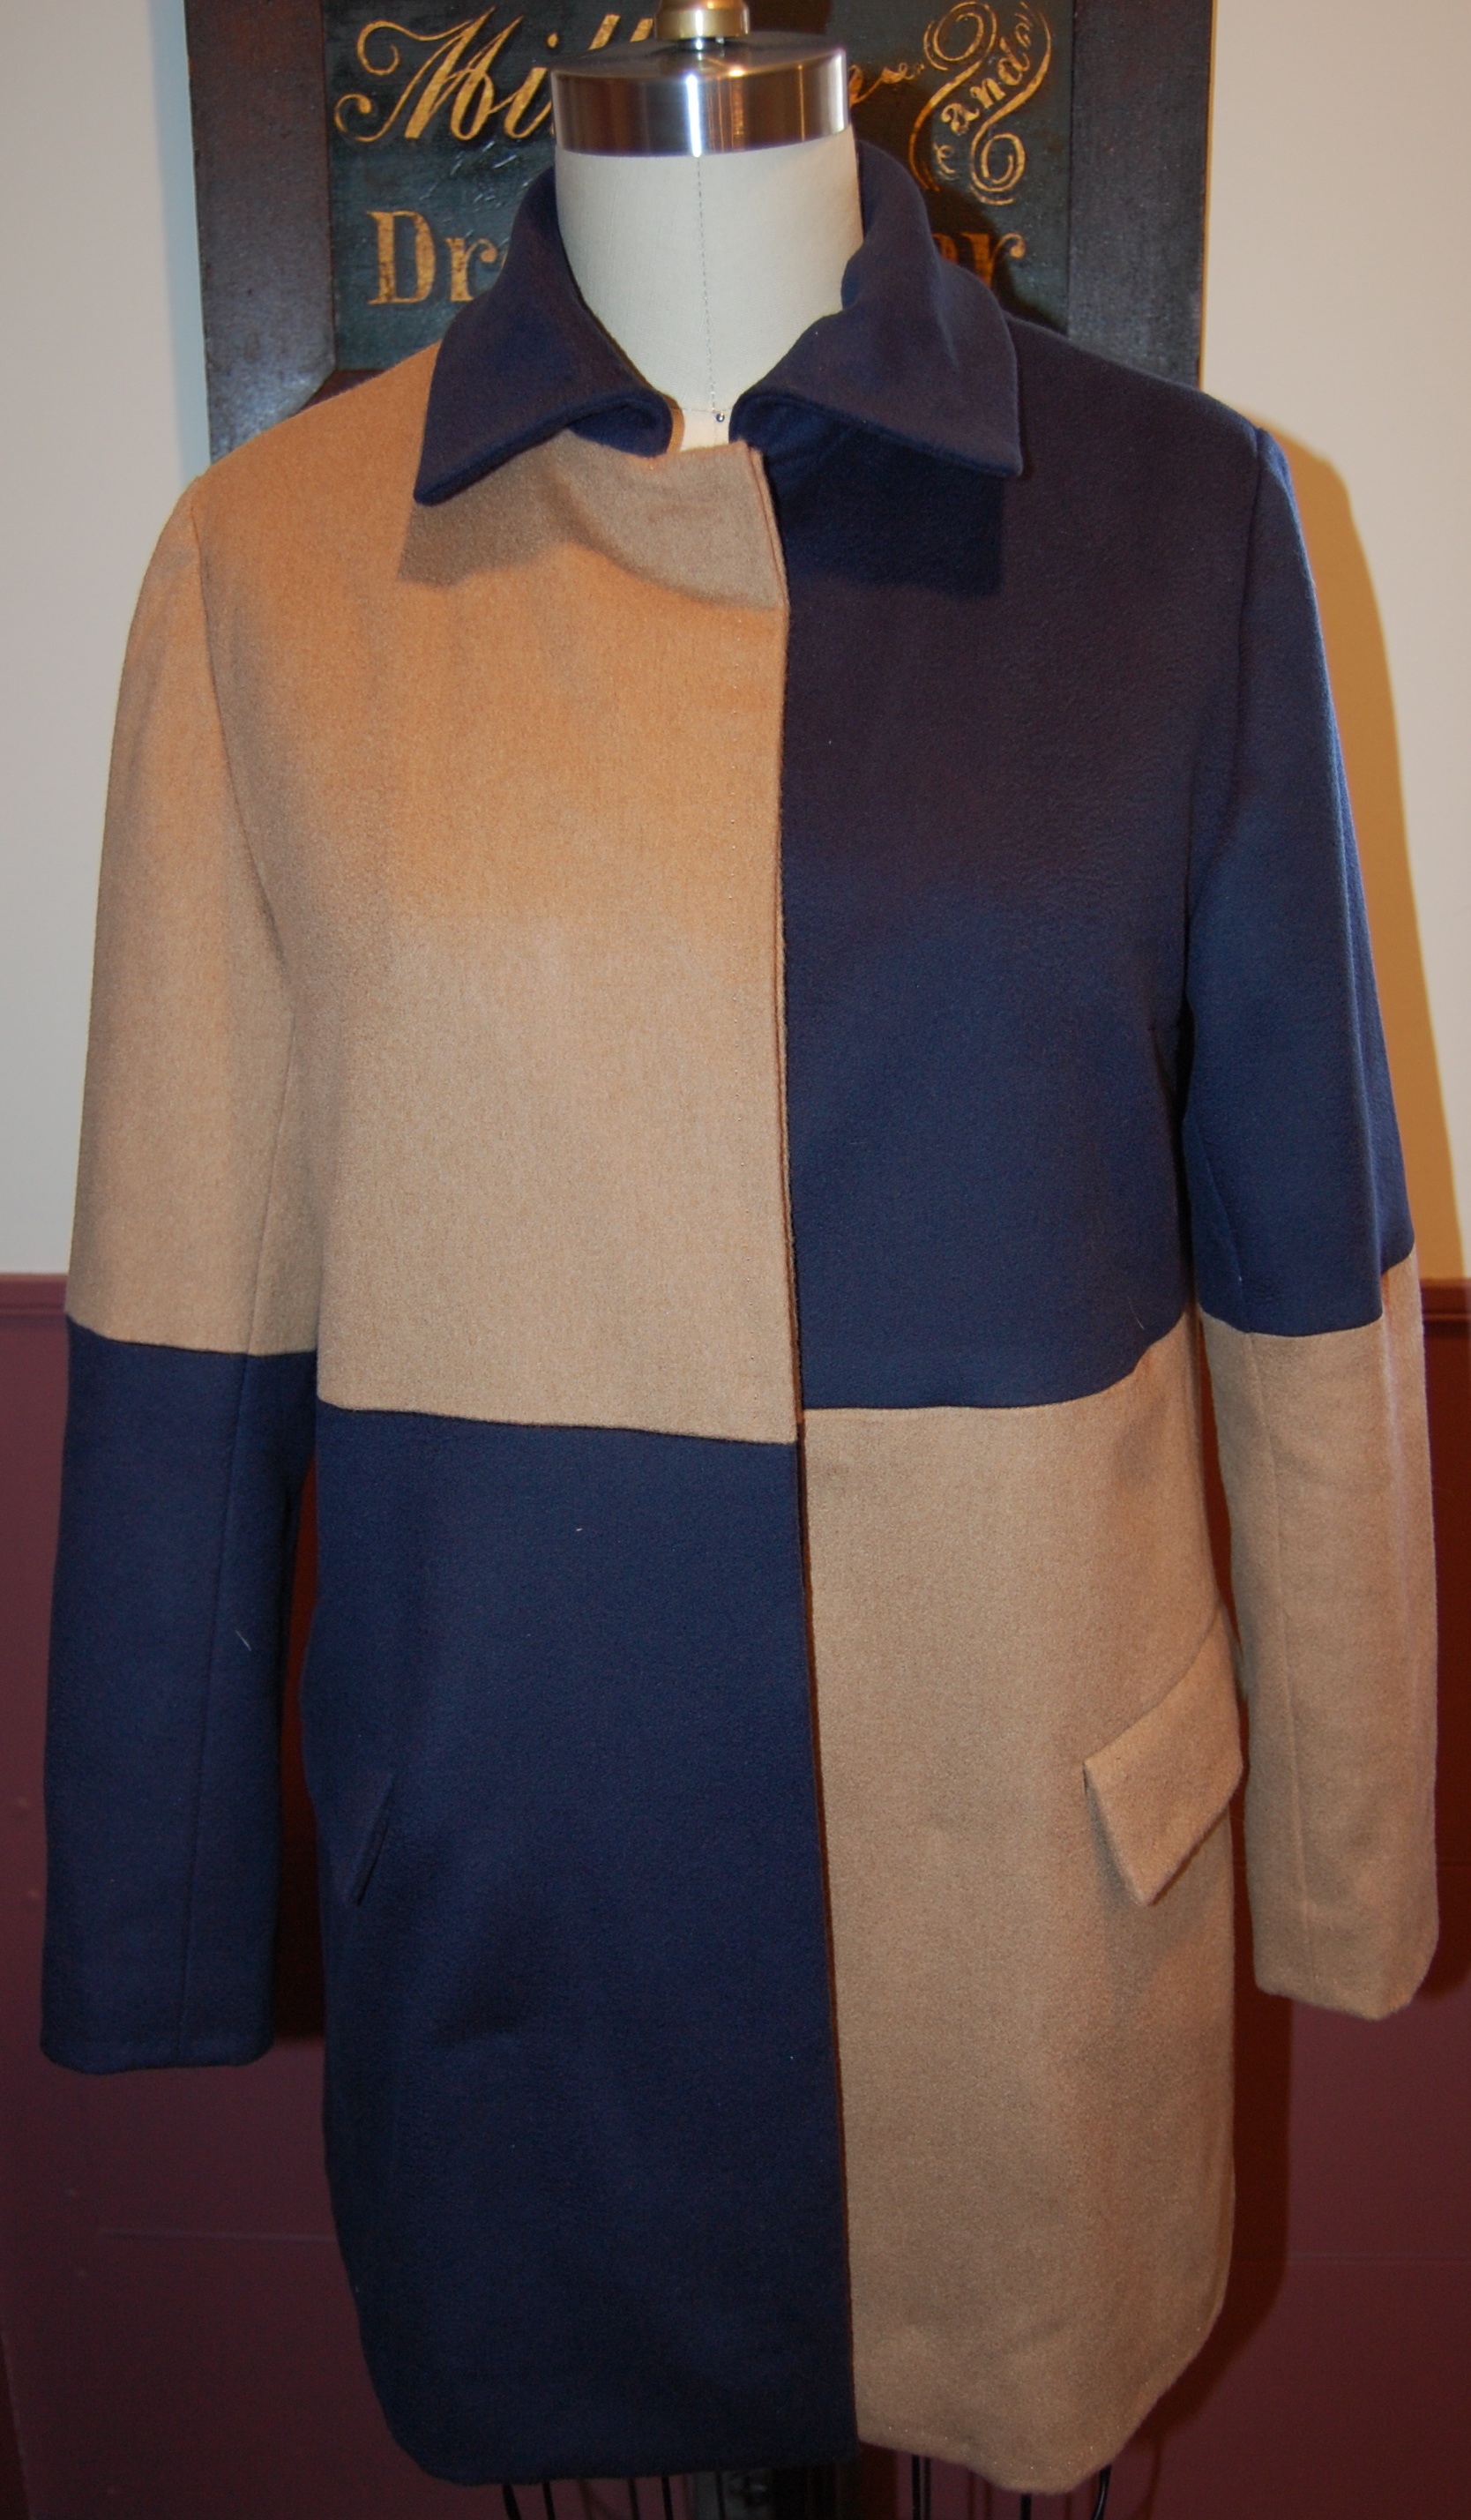
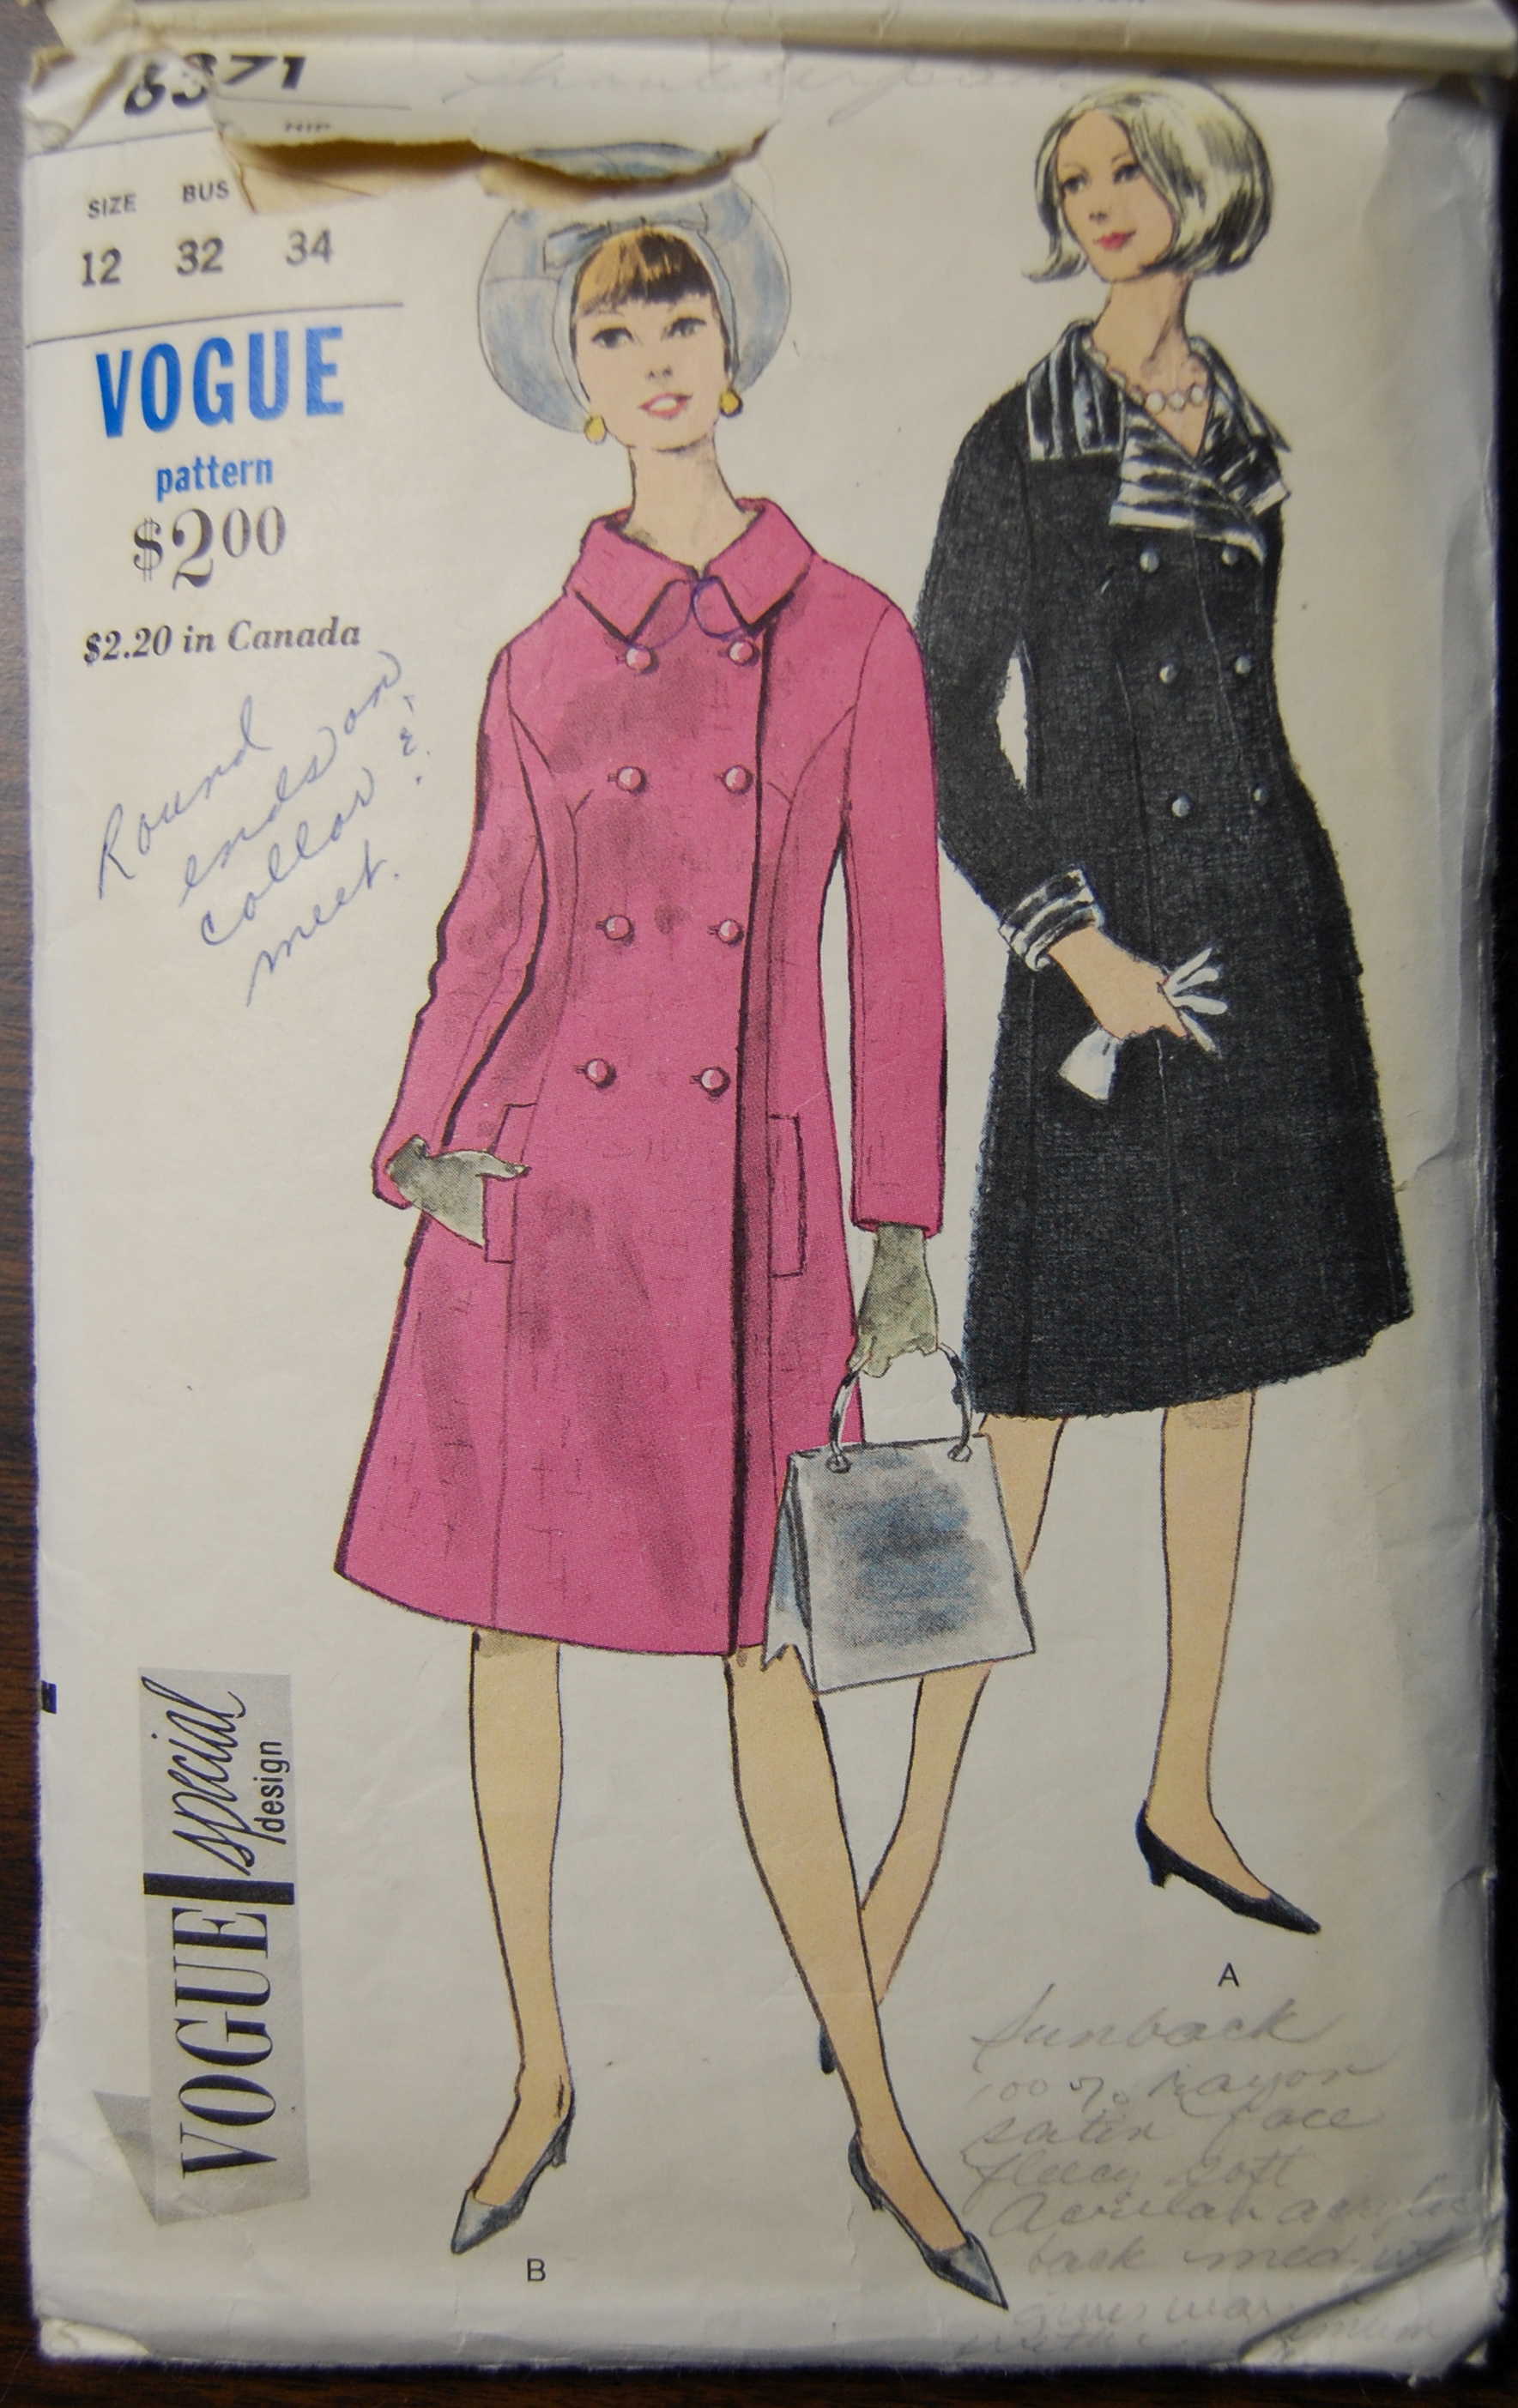
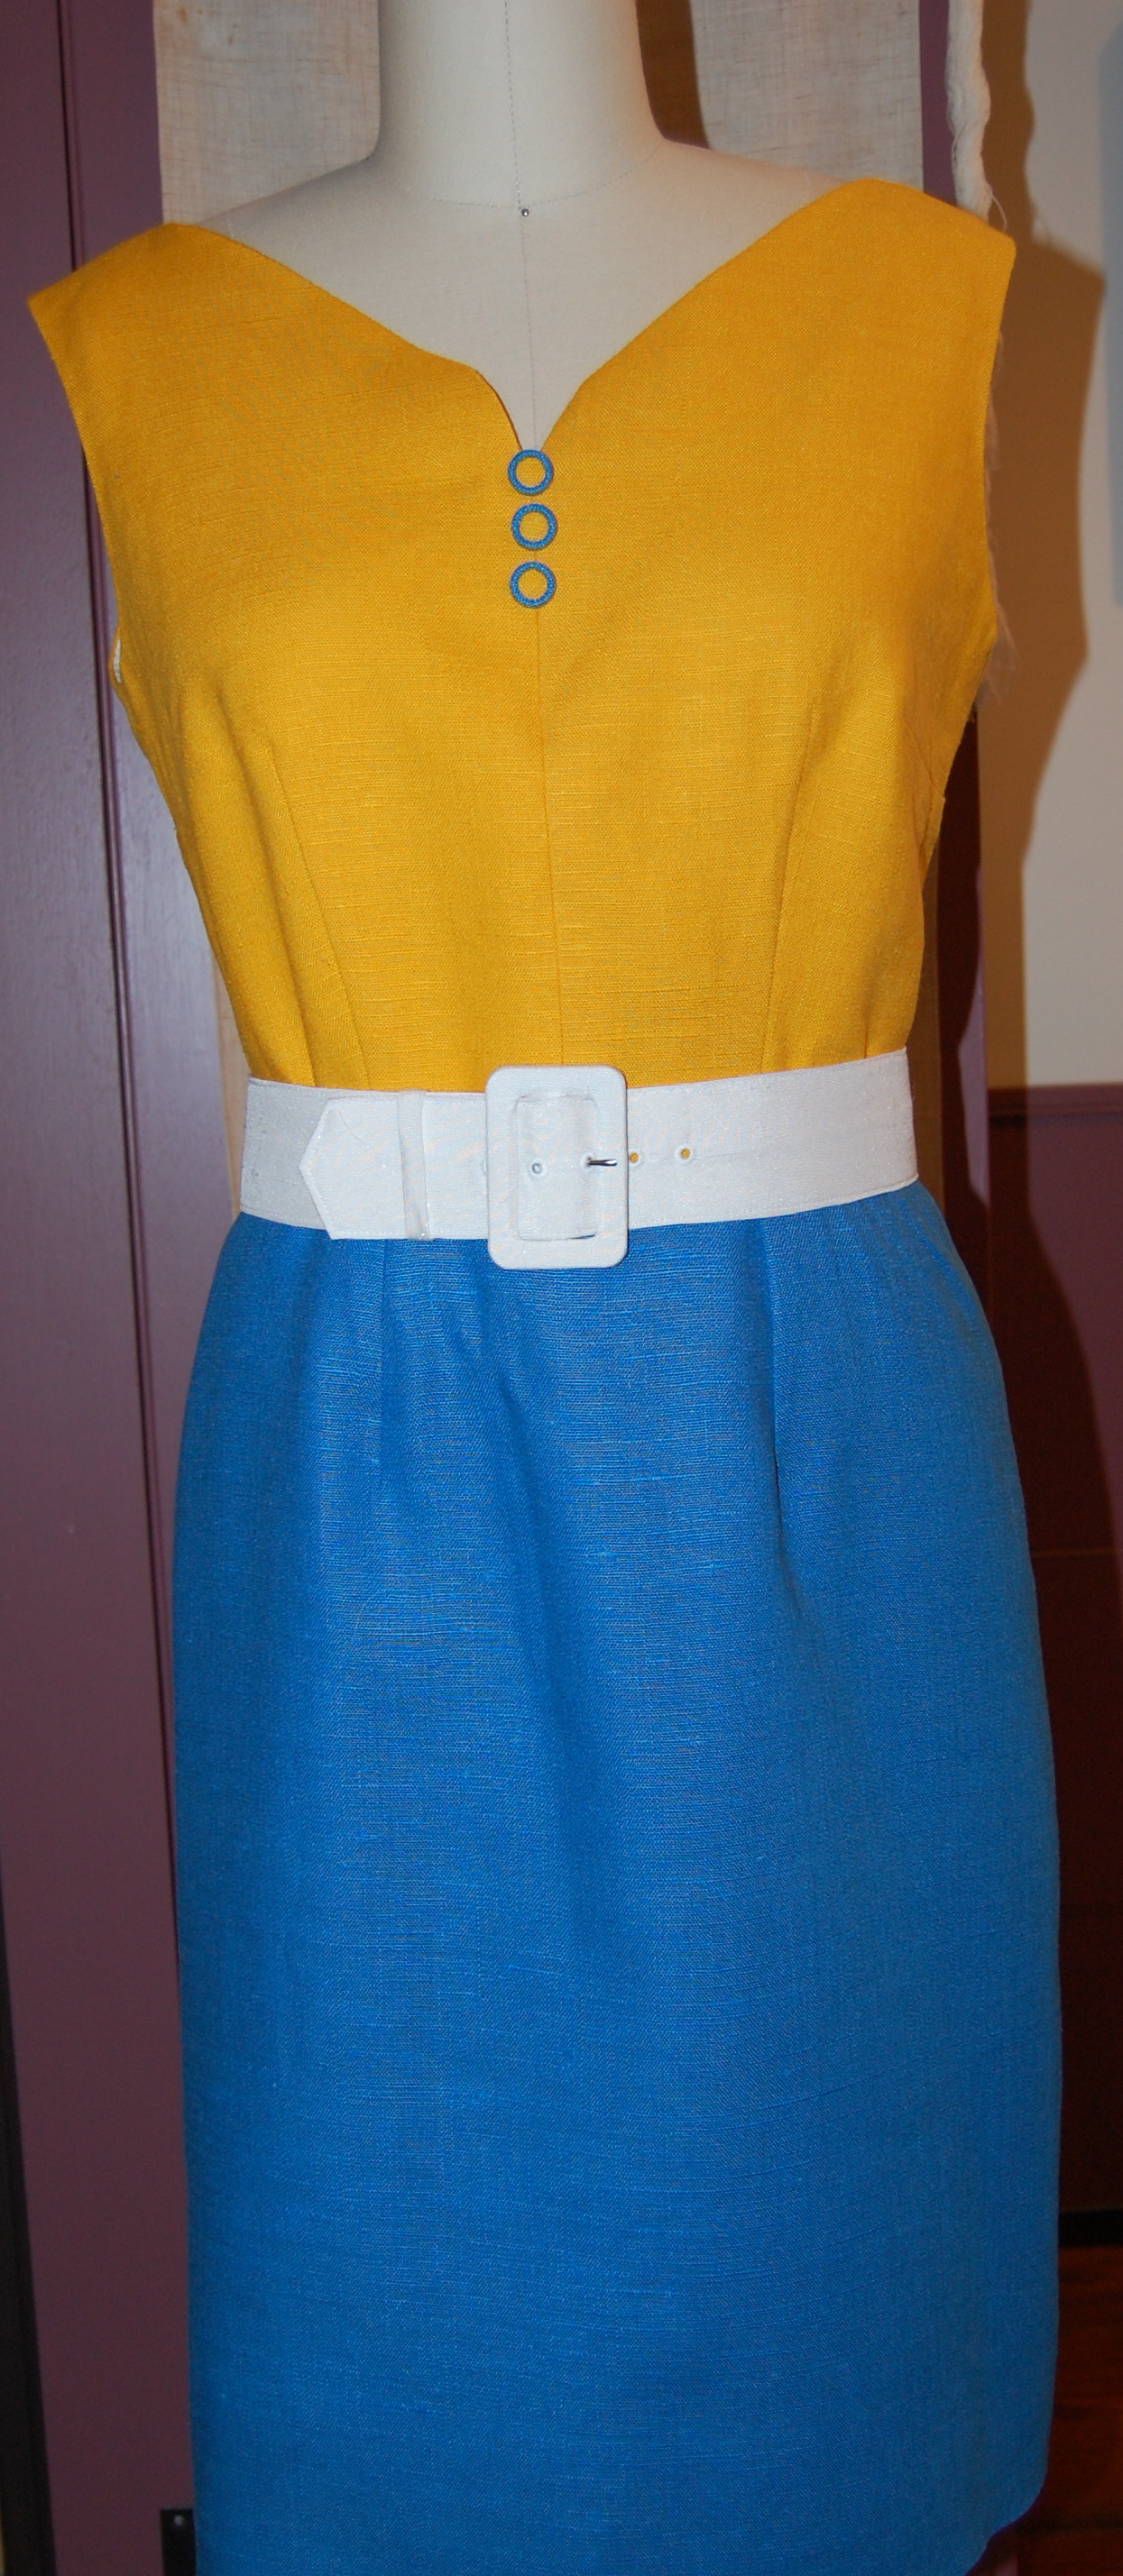
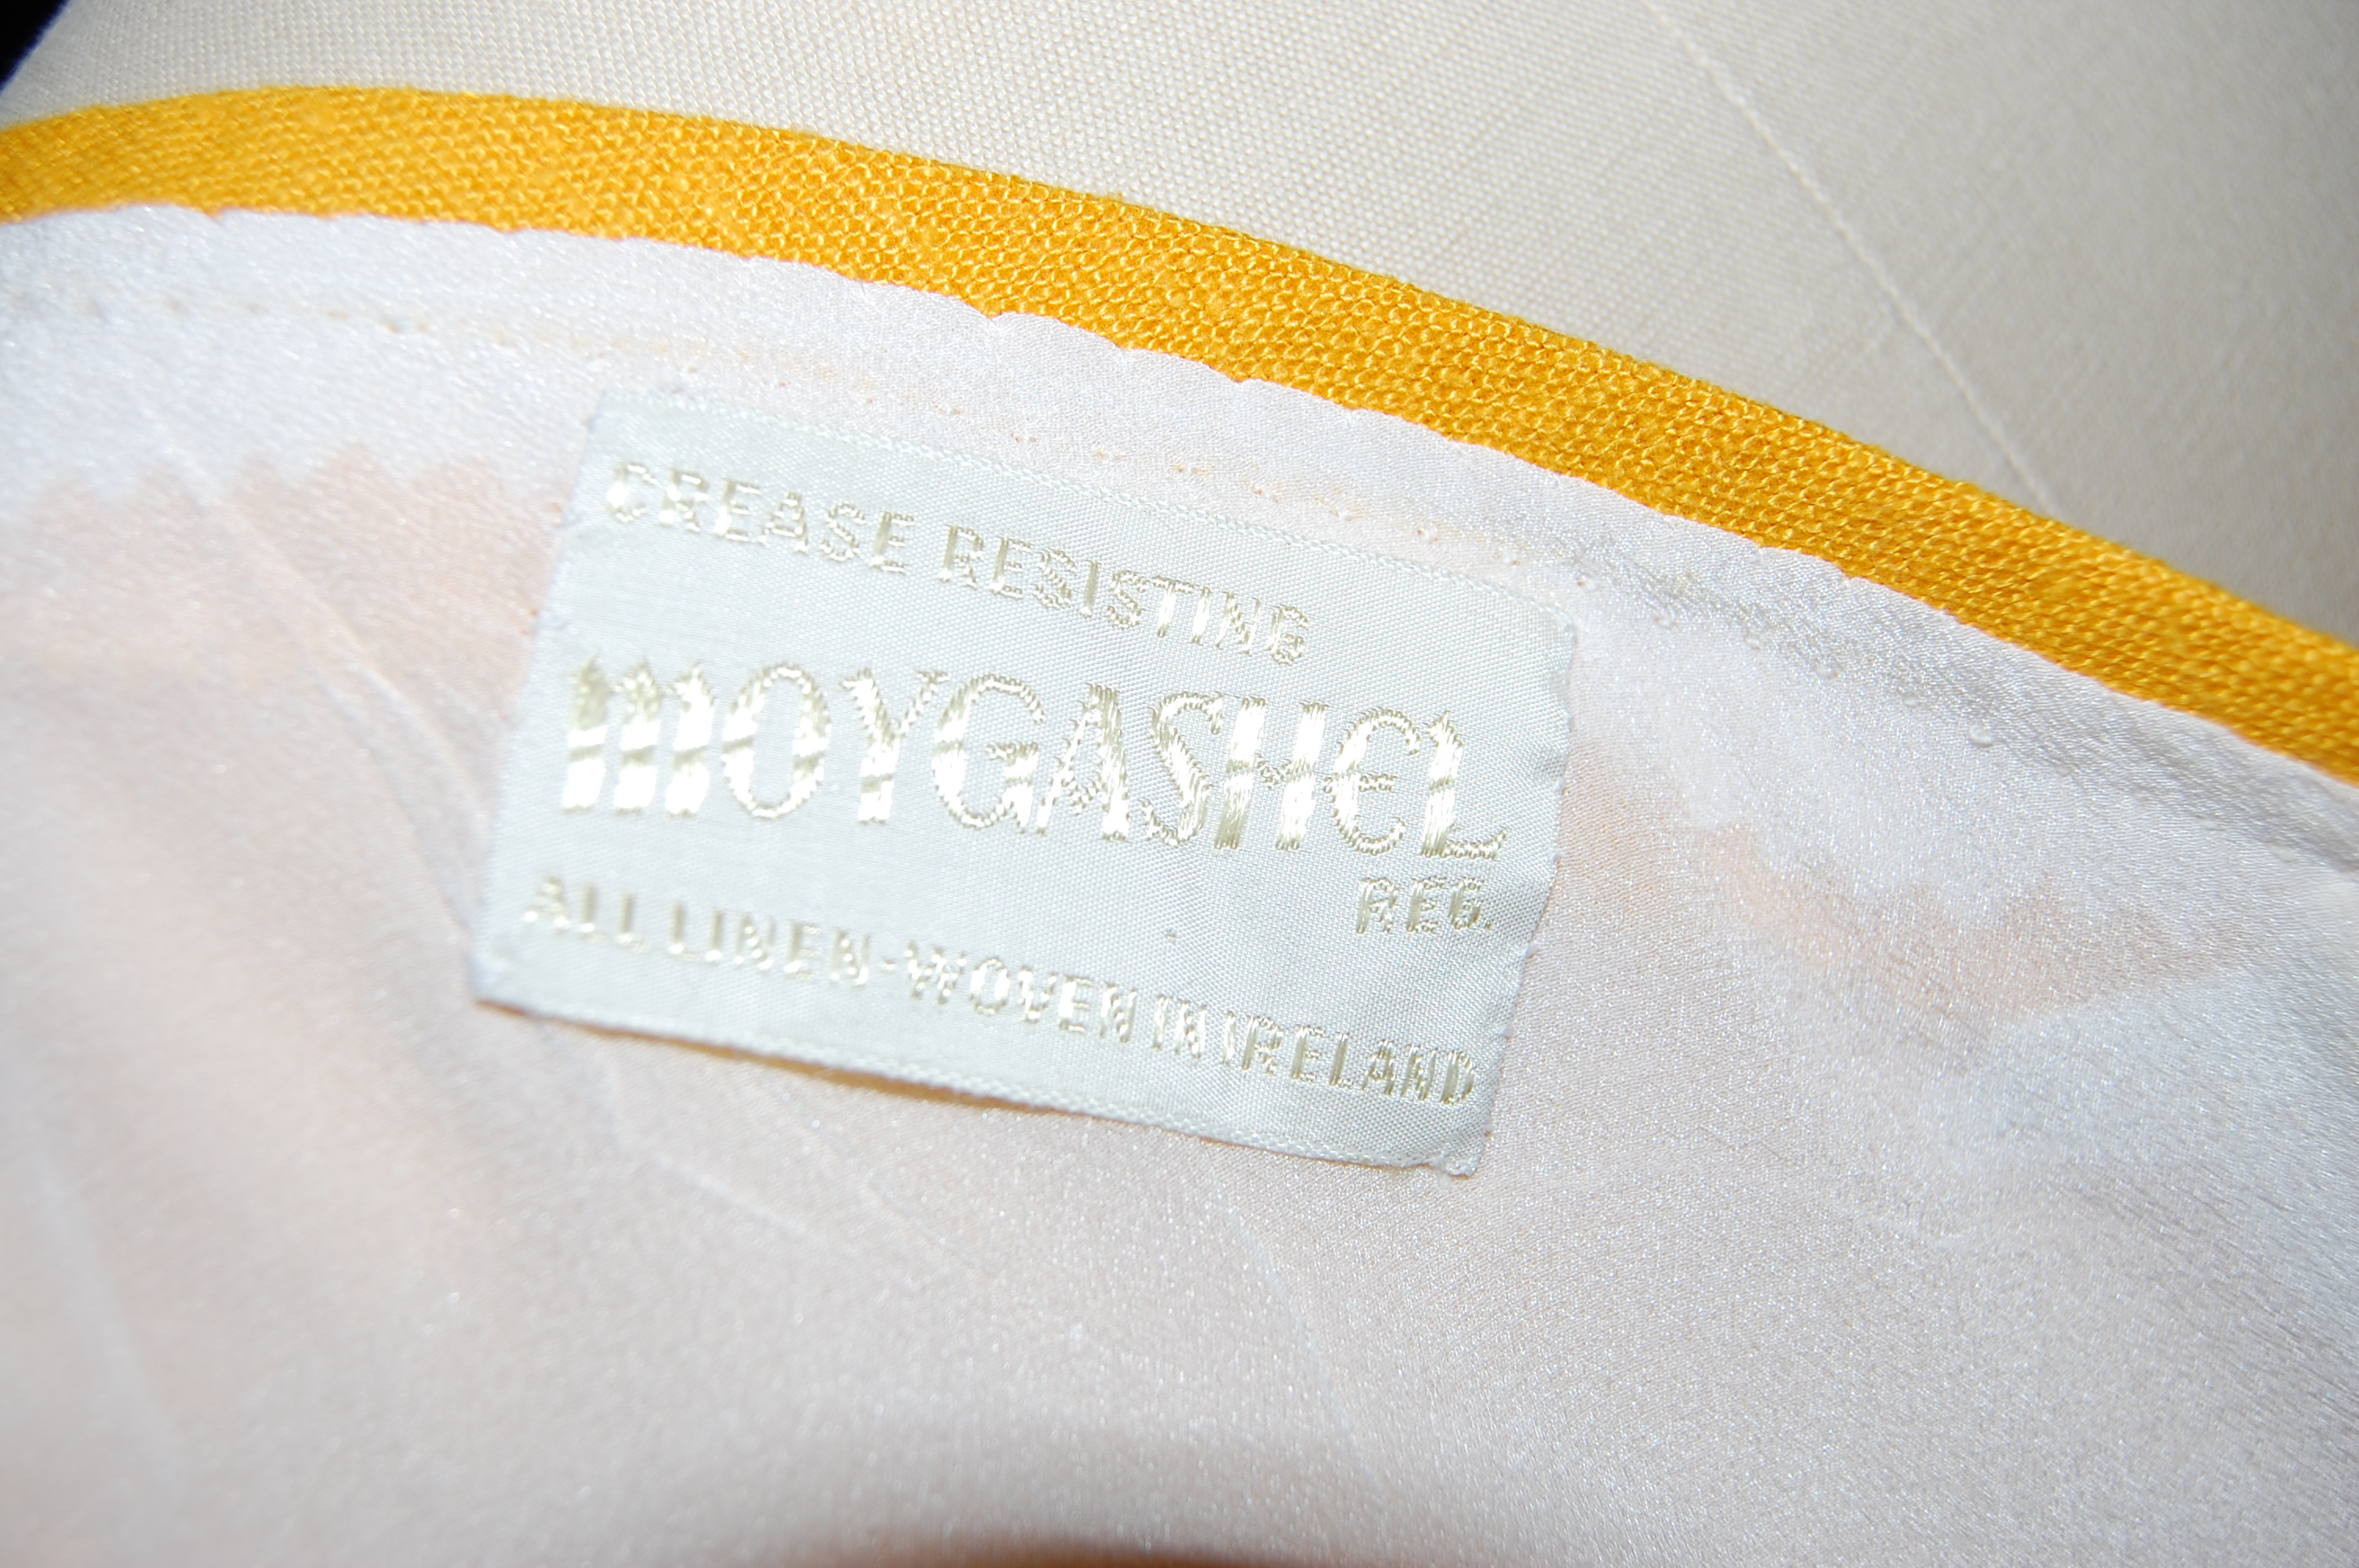
Spring is especially enticing to consider. Somehow I have become obsessed with dress and coat ensembles. Here are two patterns which would make up into “Spring” coats and coordinating dresses. I definitely will be using vintage linen for one of these two-part looks.
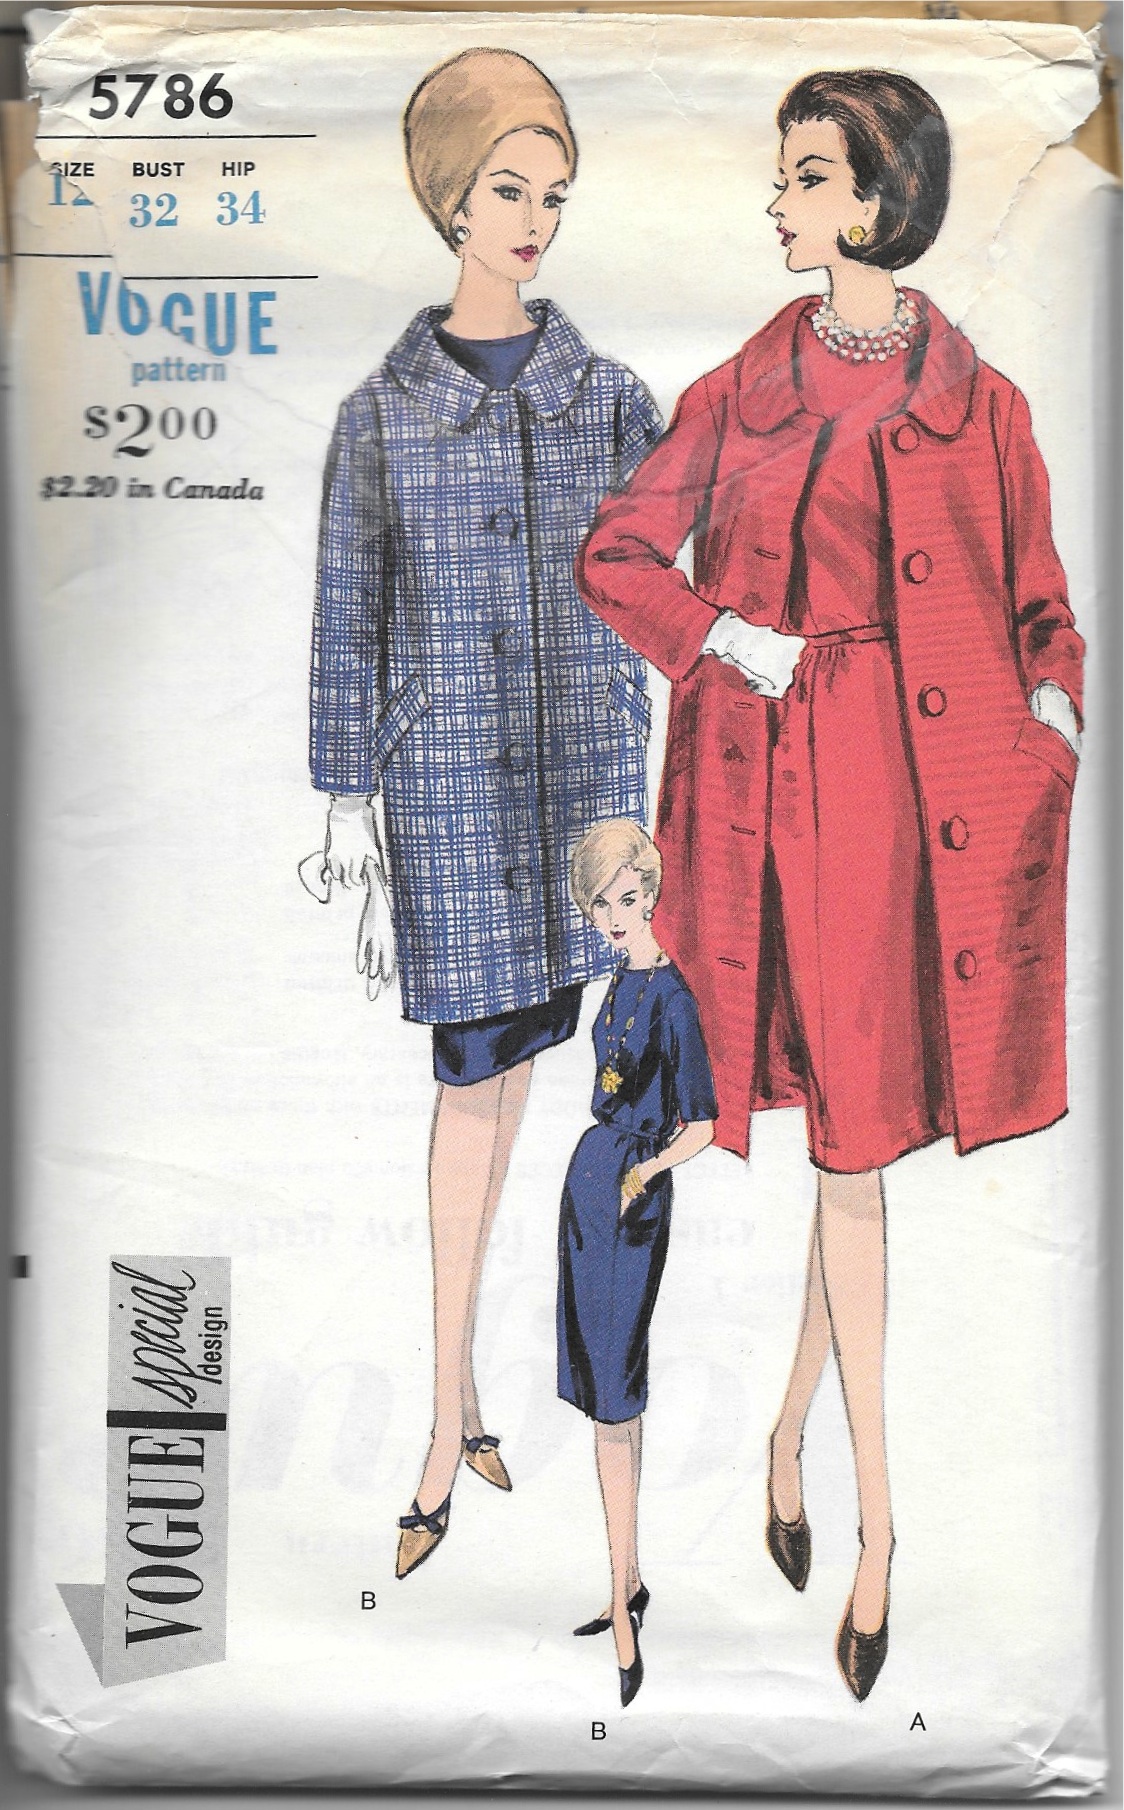
I love the knee length coat, although I may substitute another pattern for the coordinating dress.
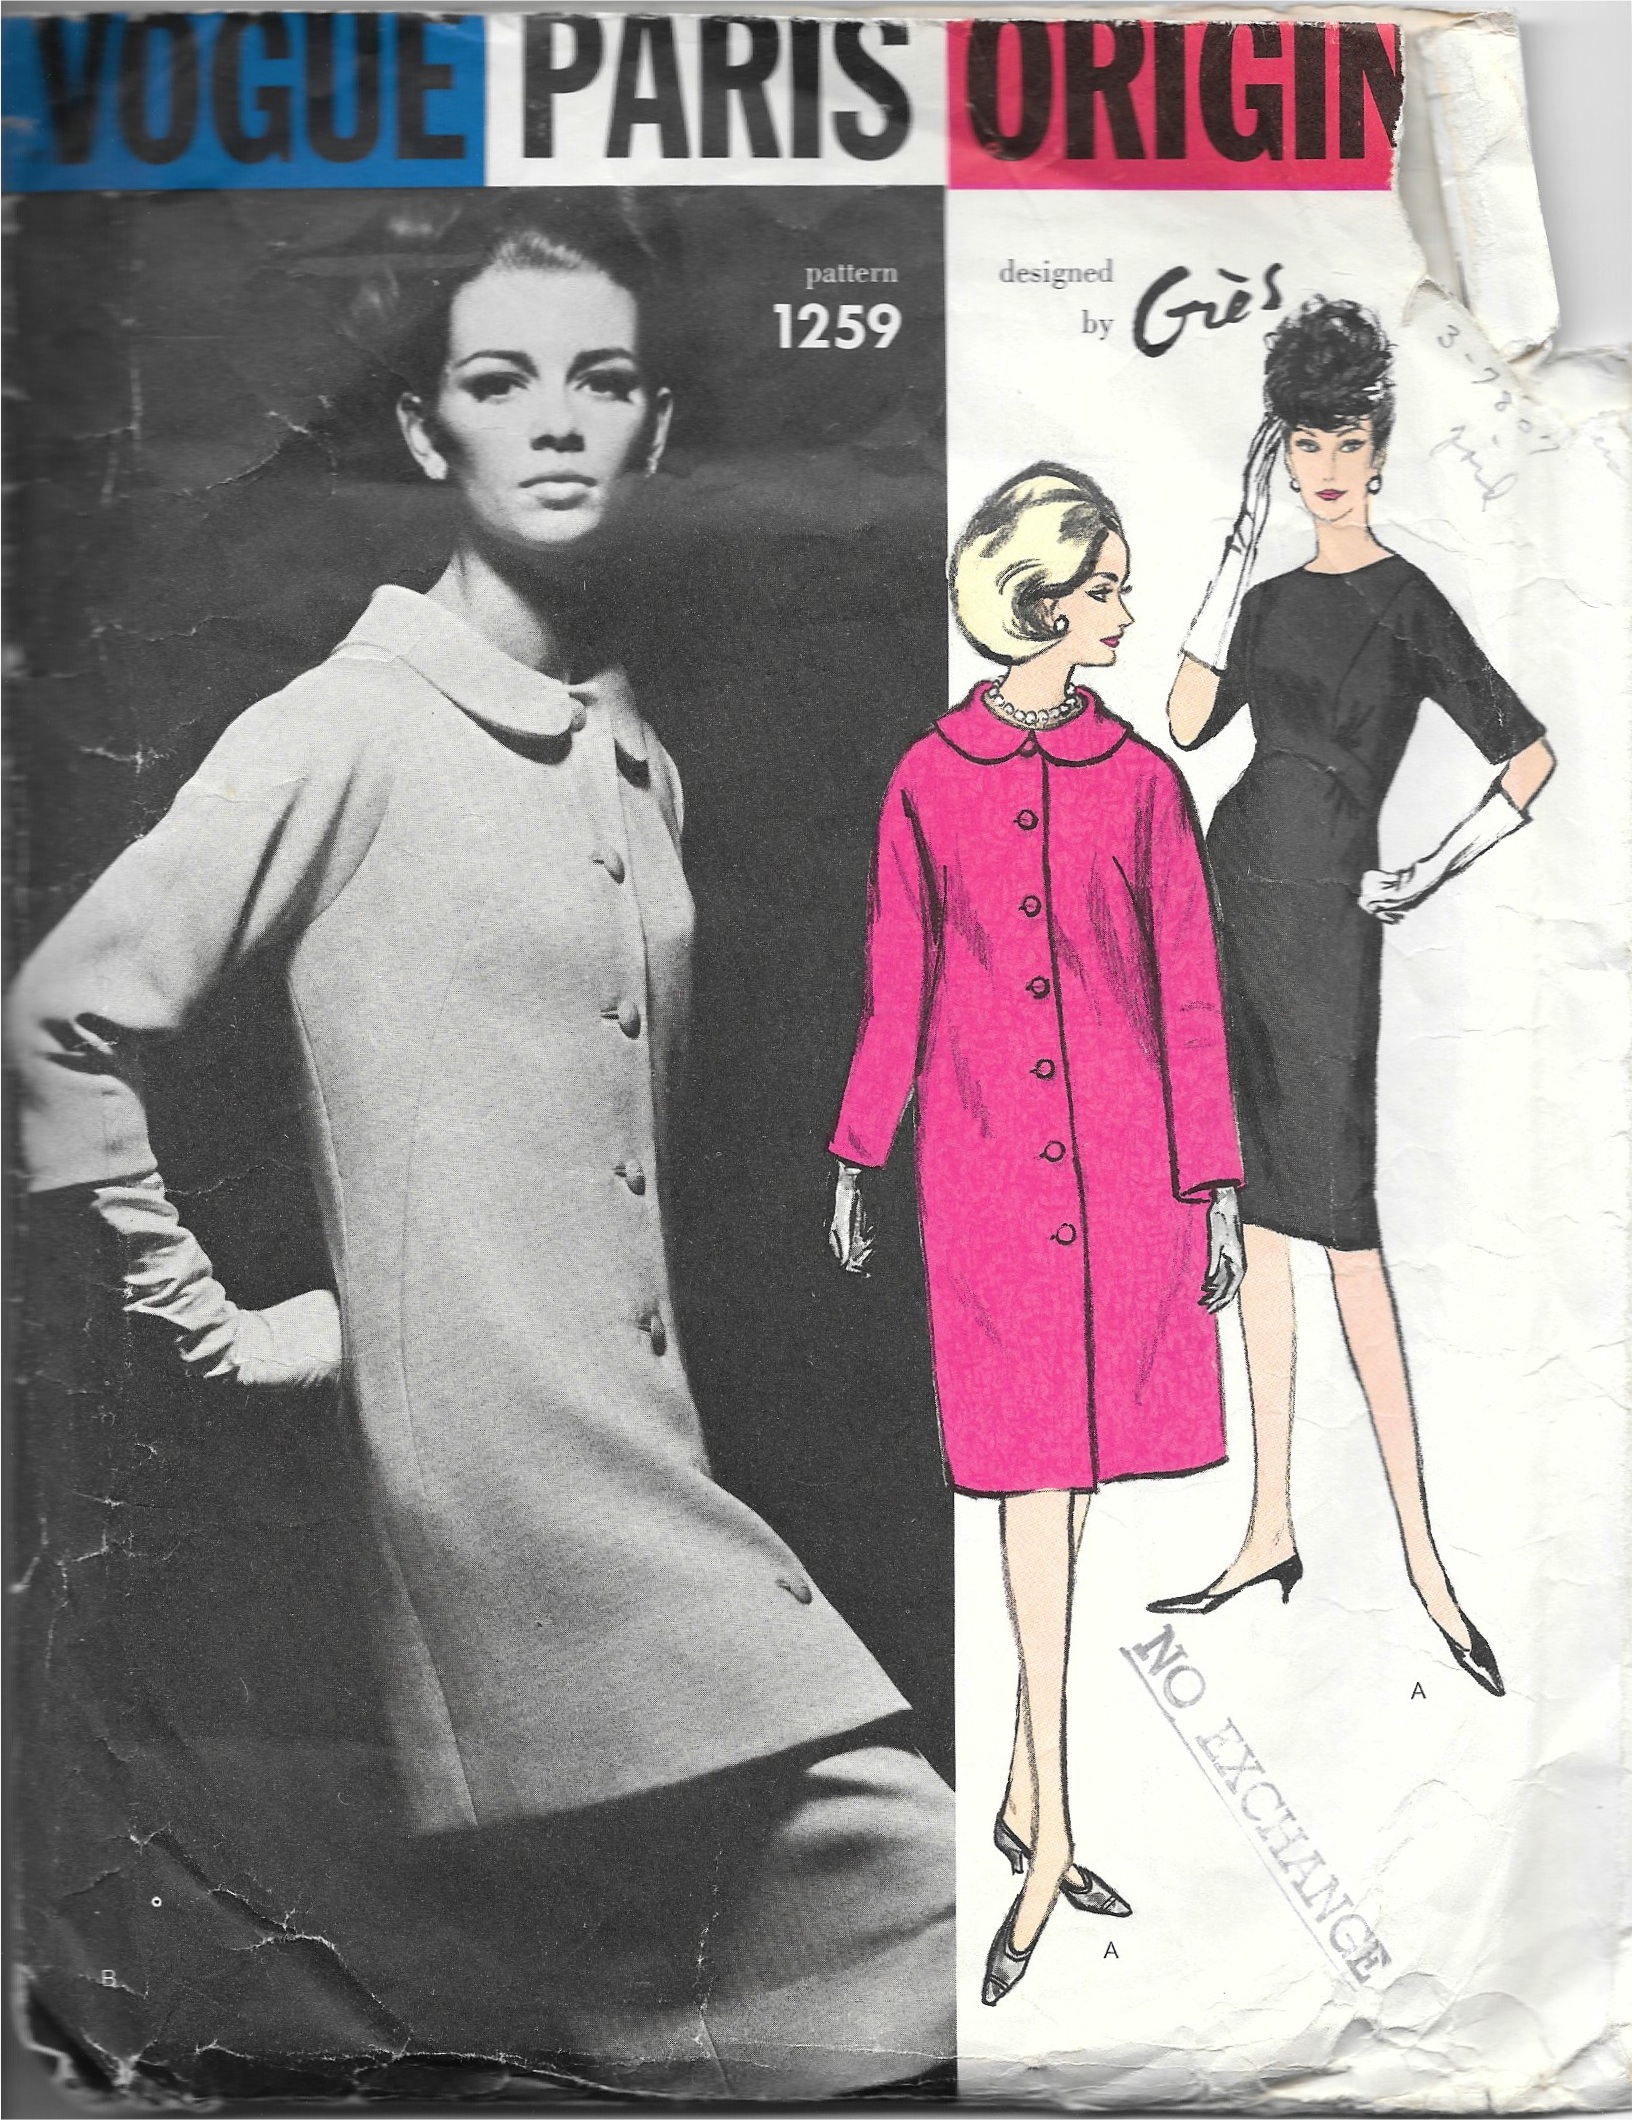
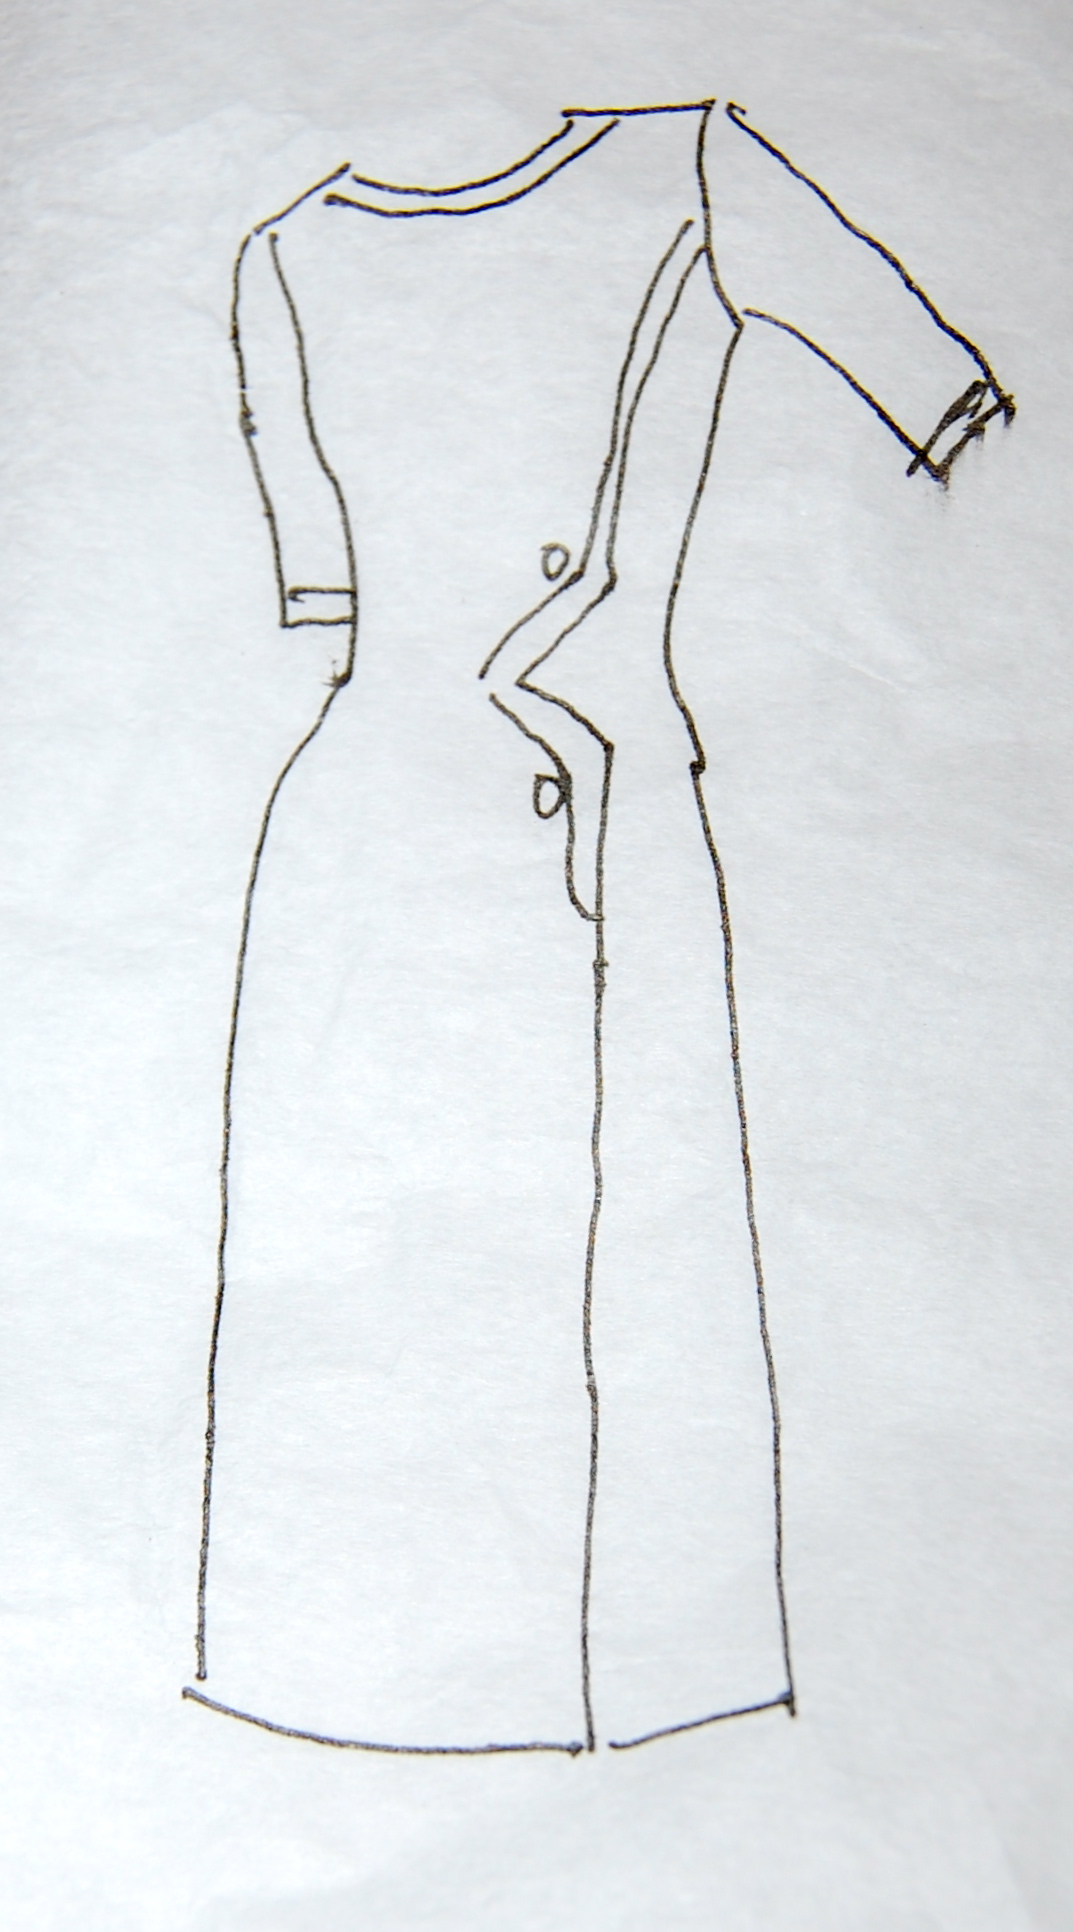
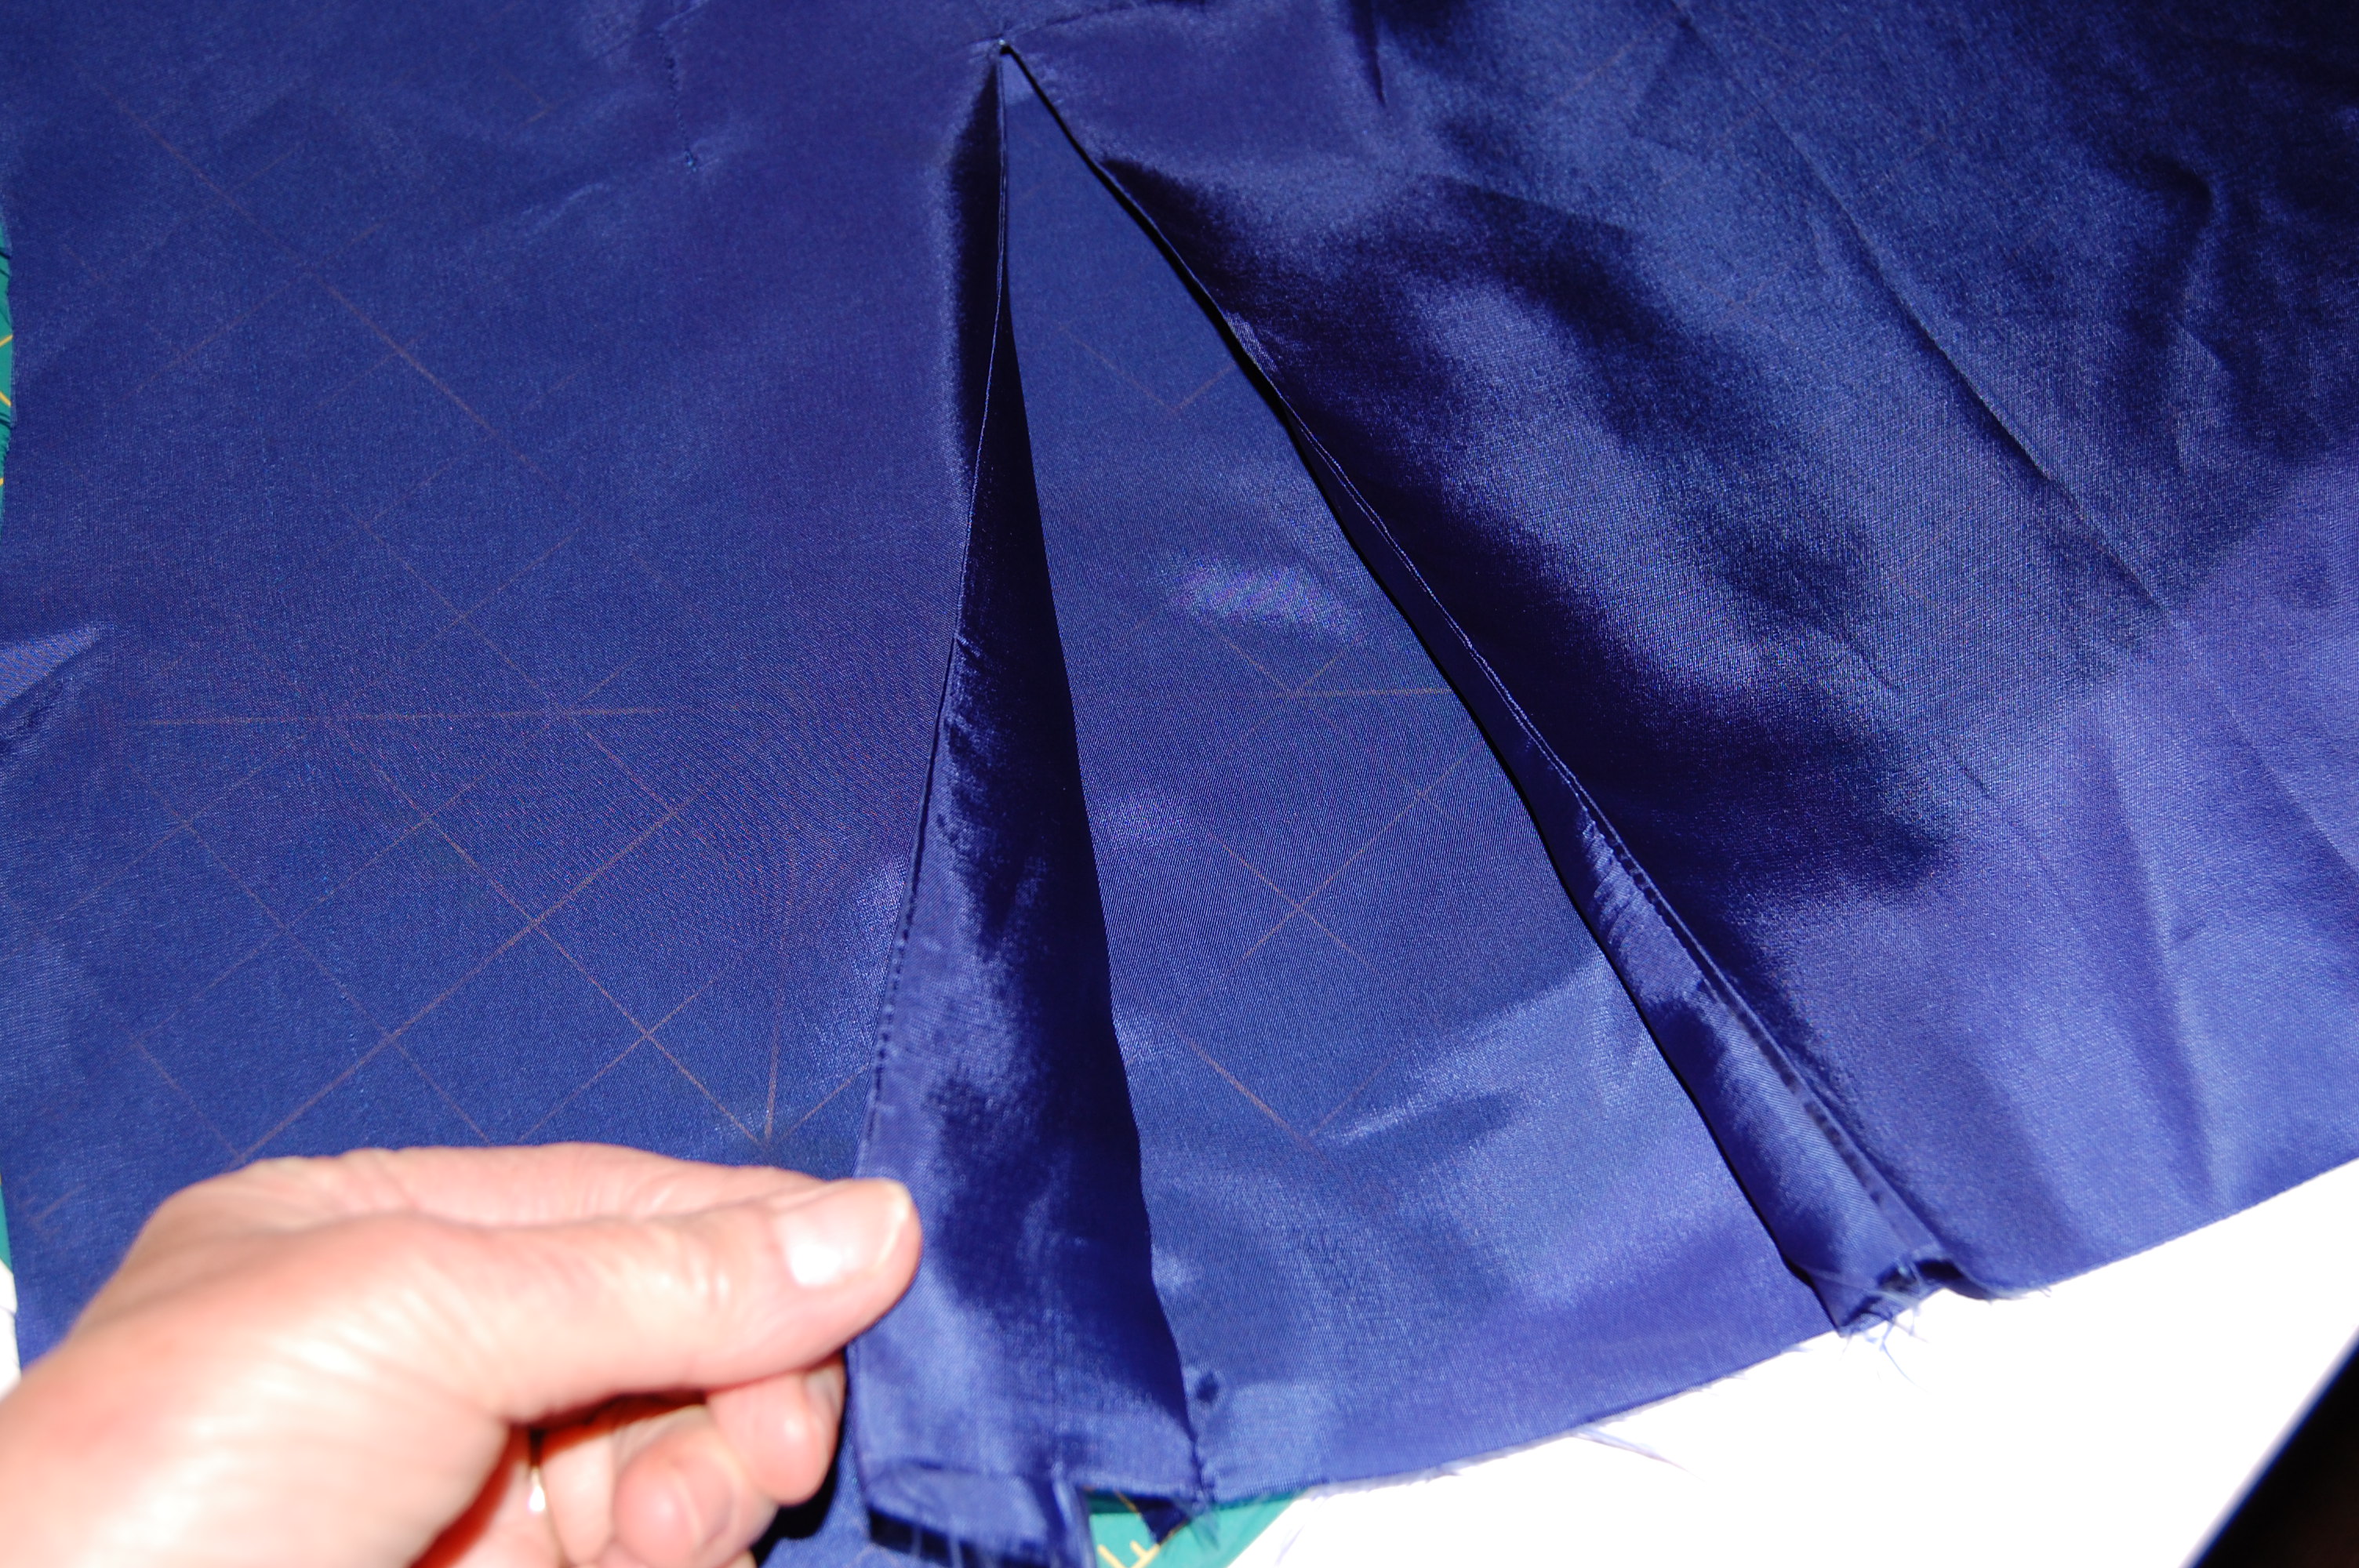
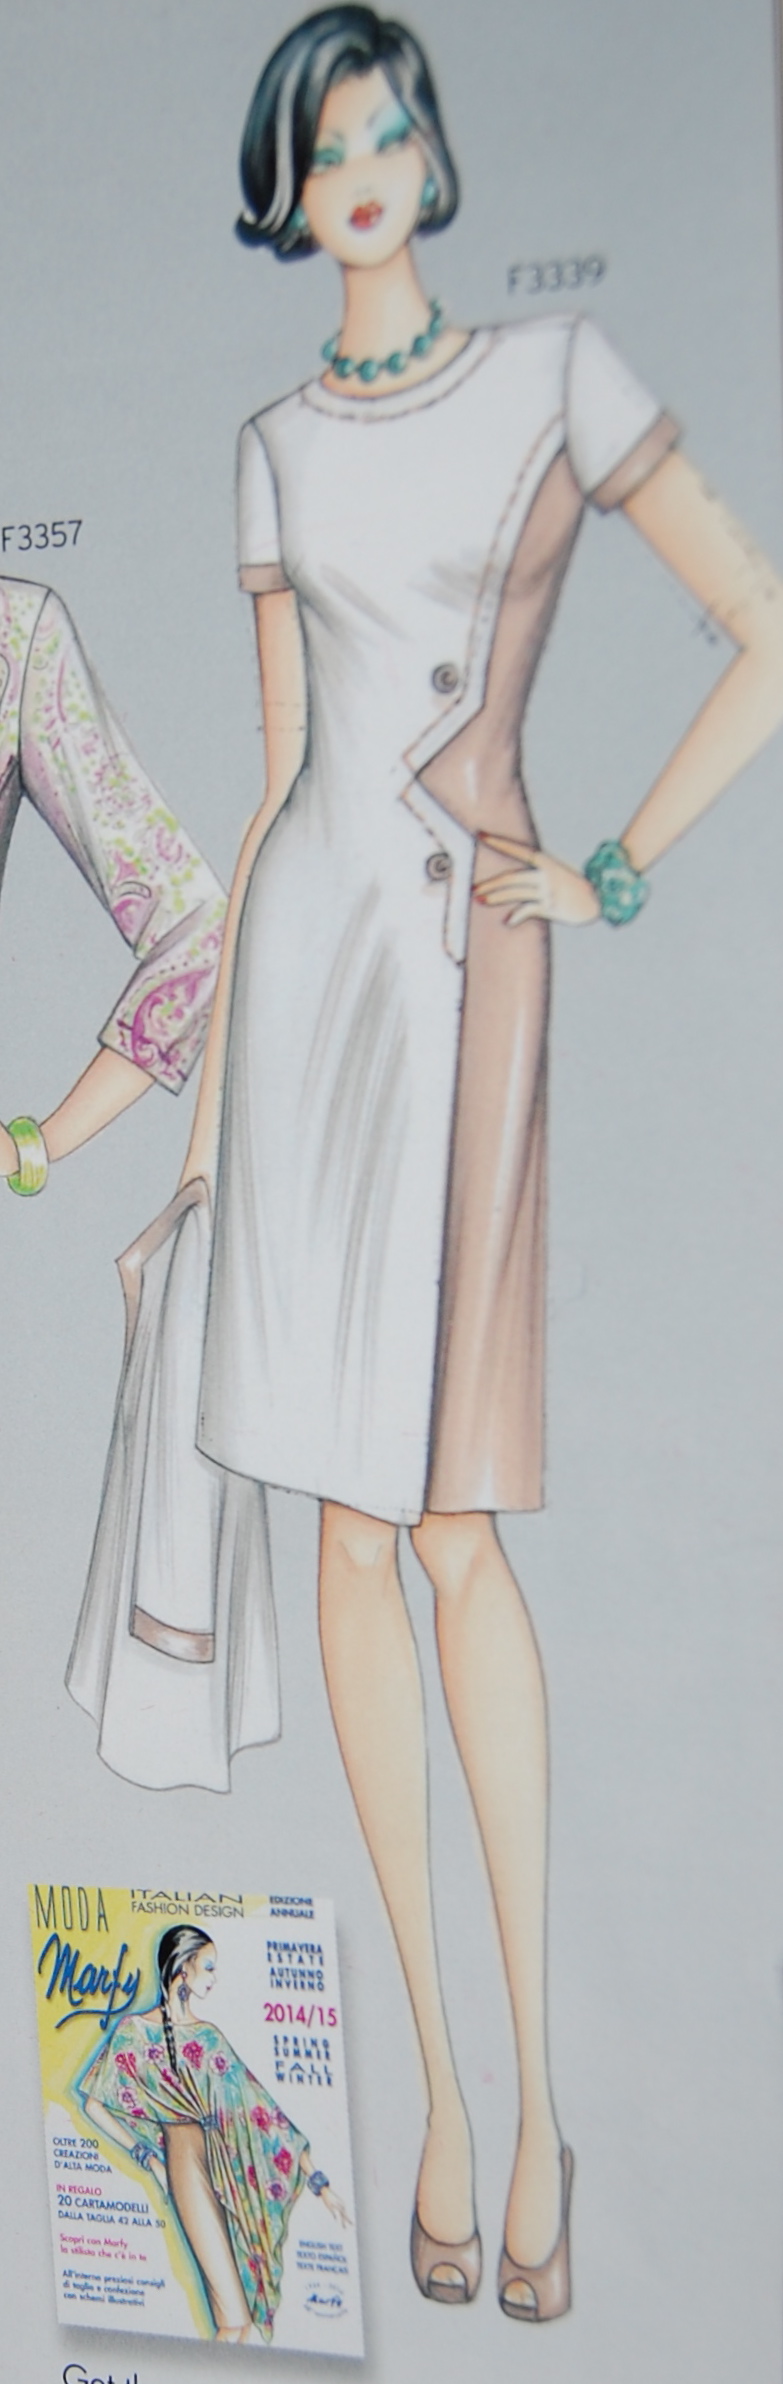
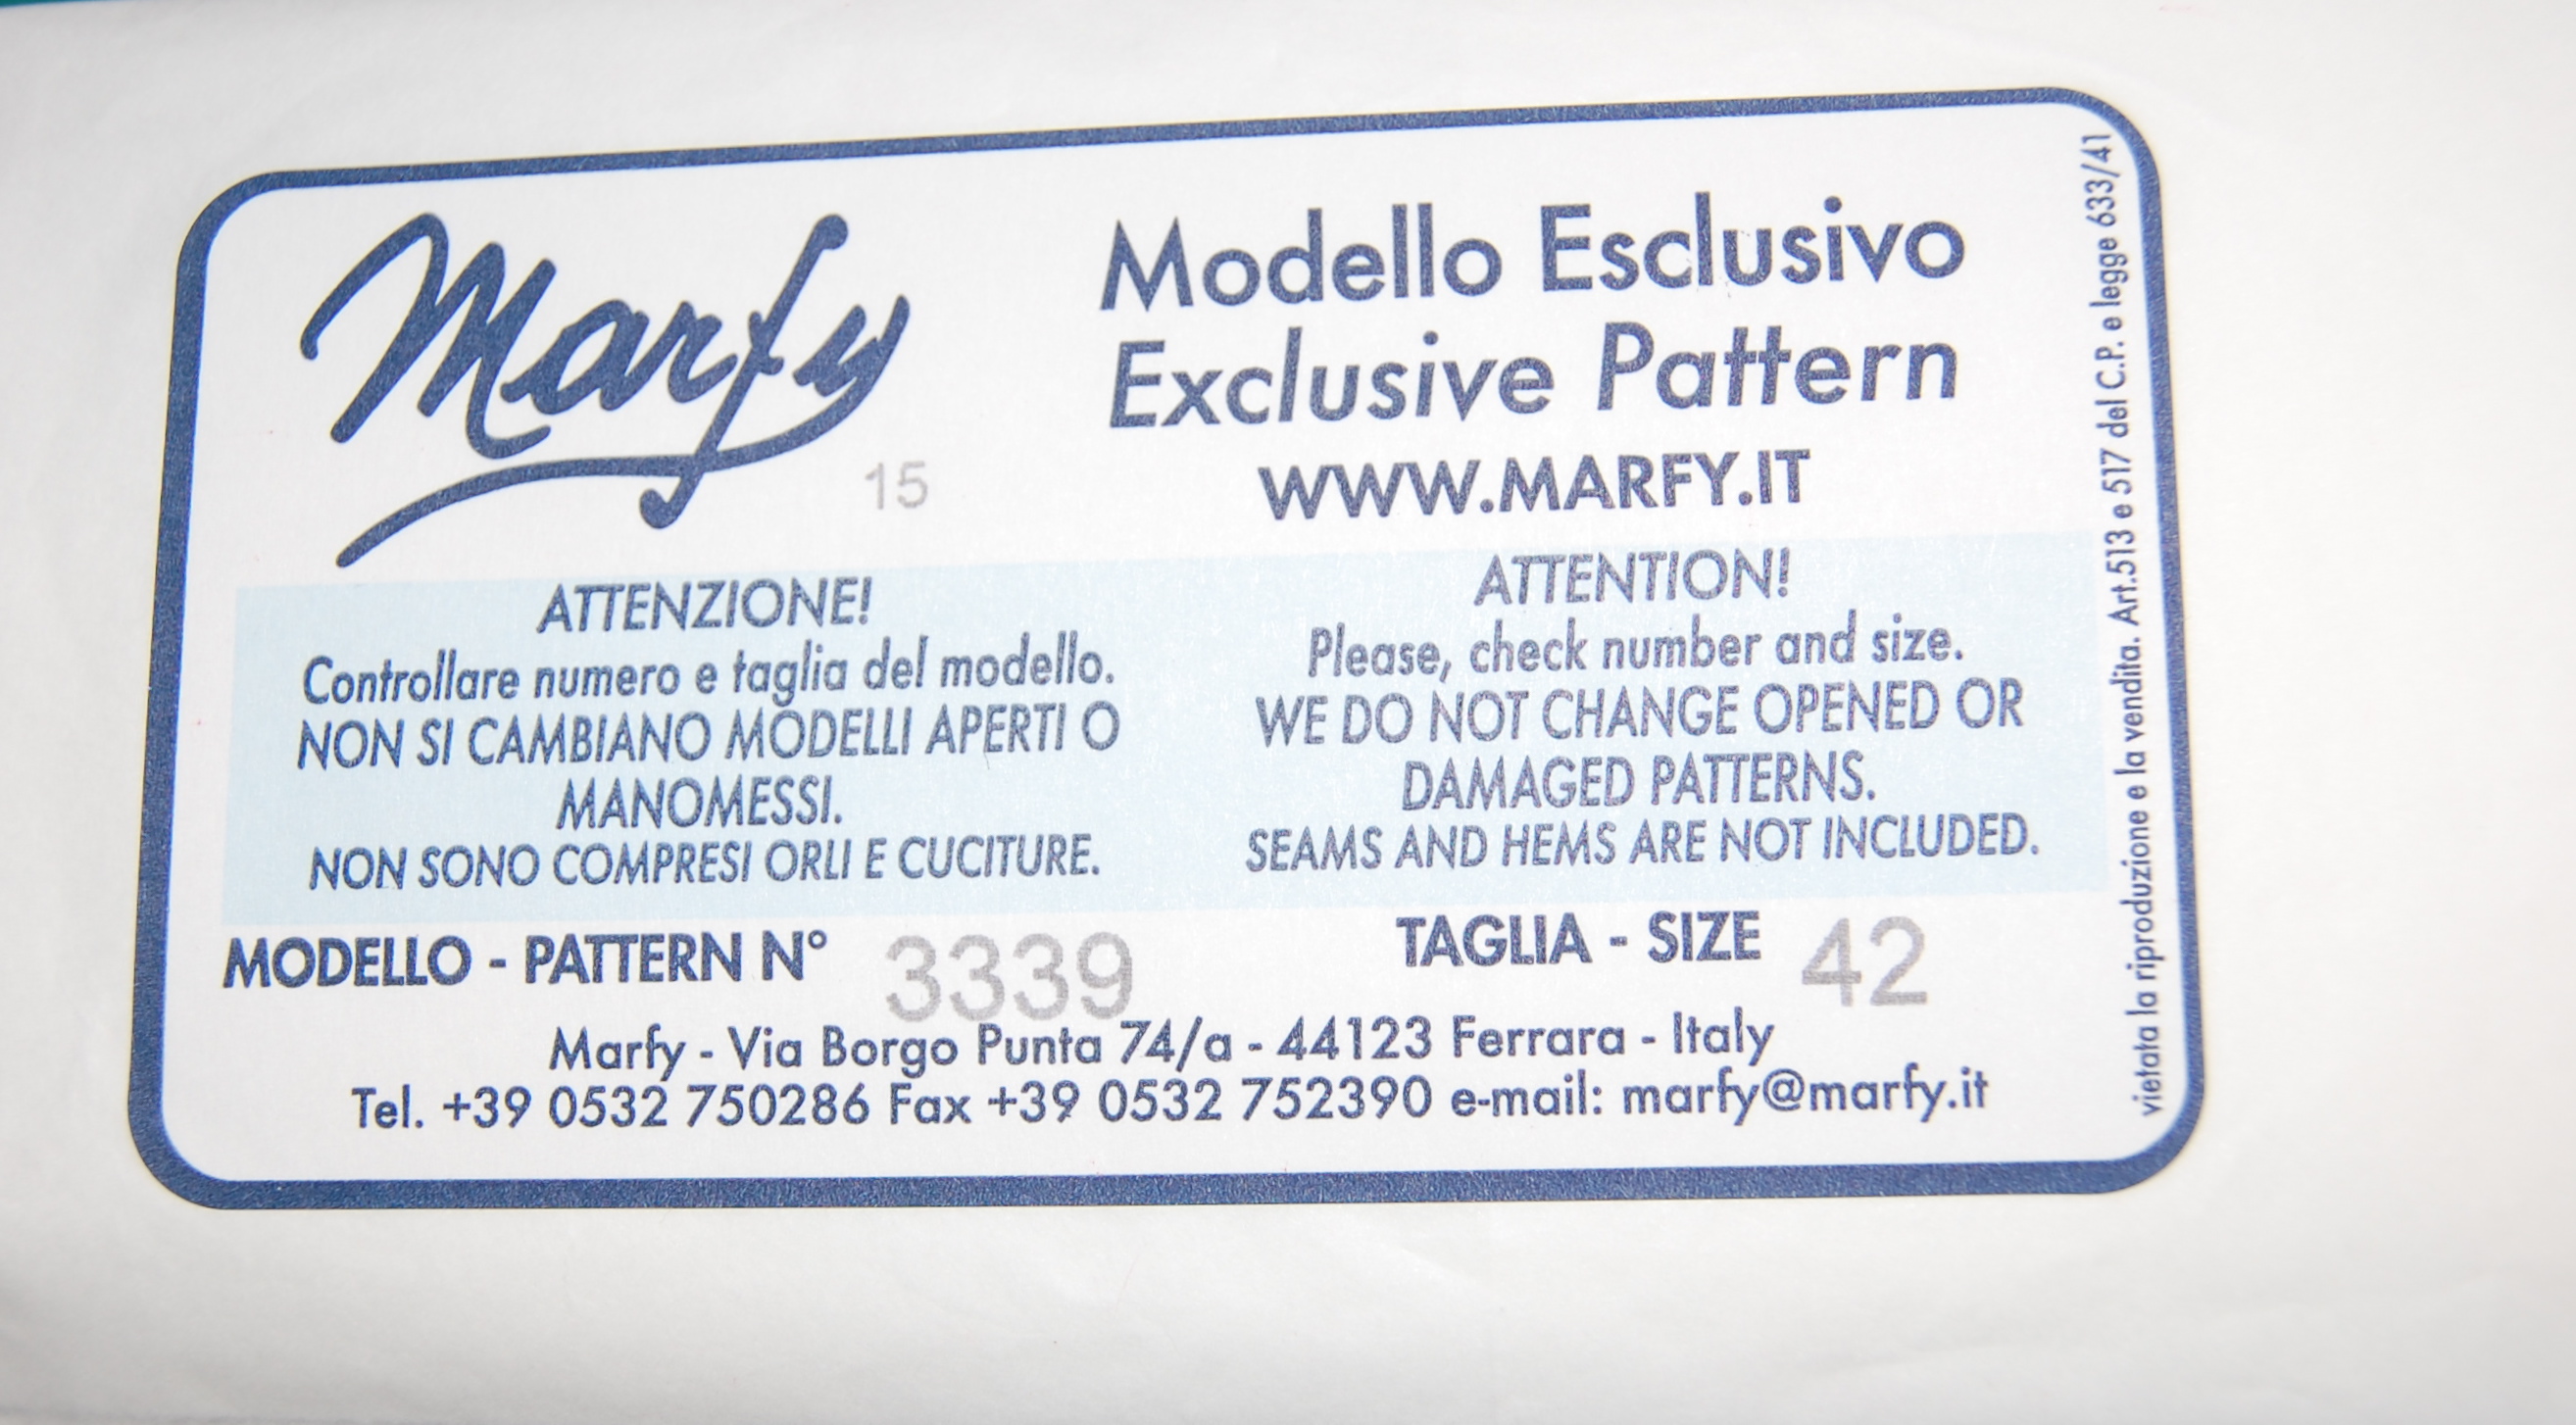
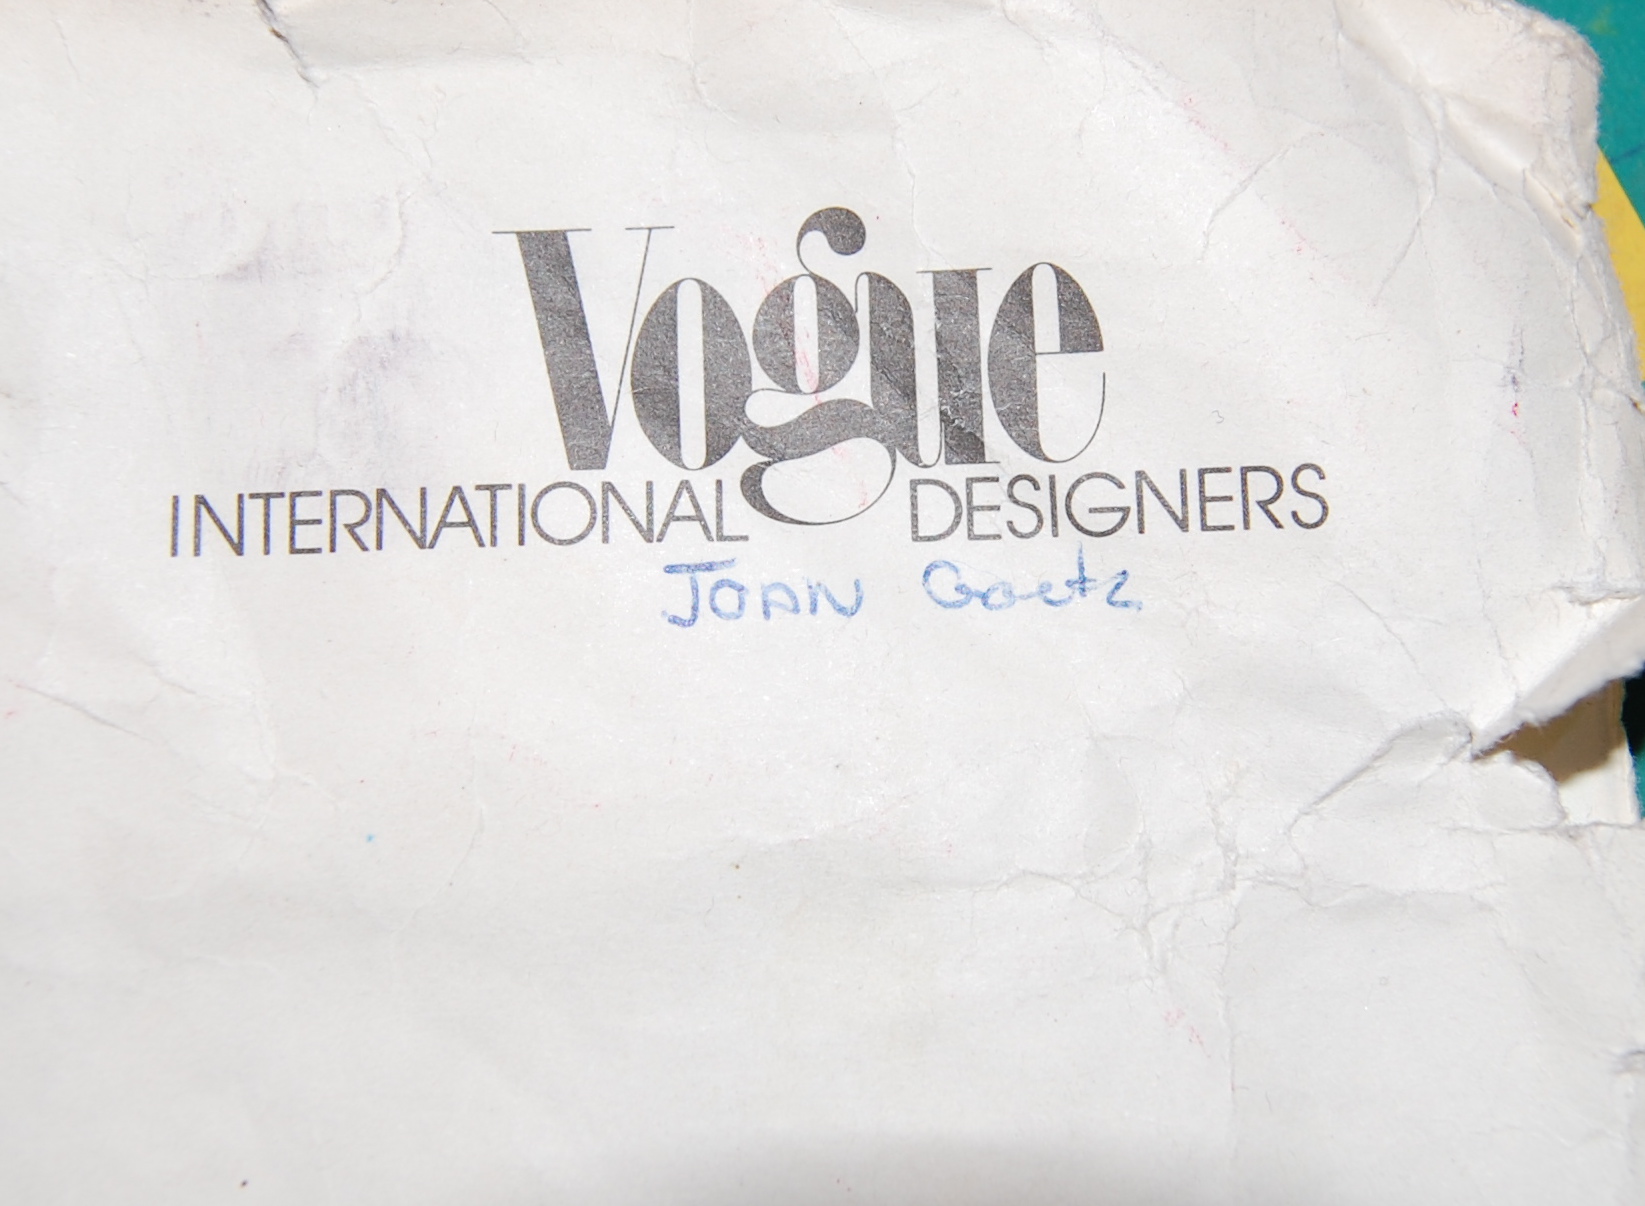
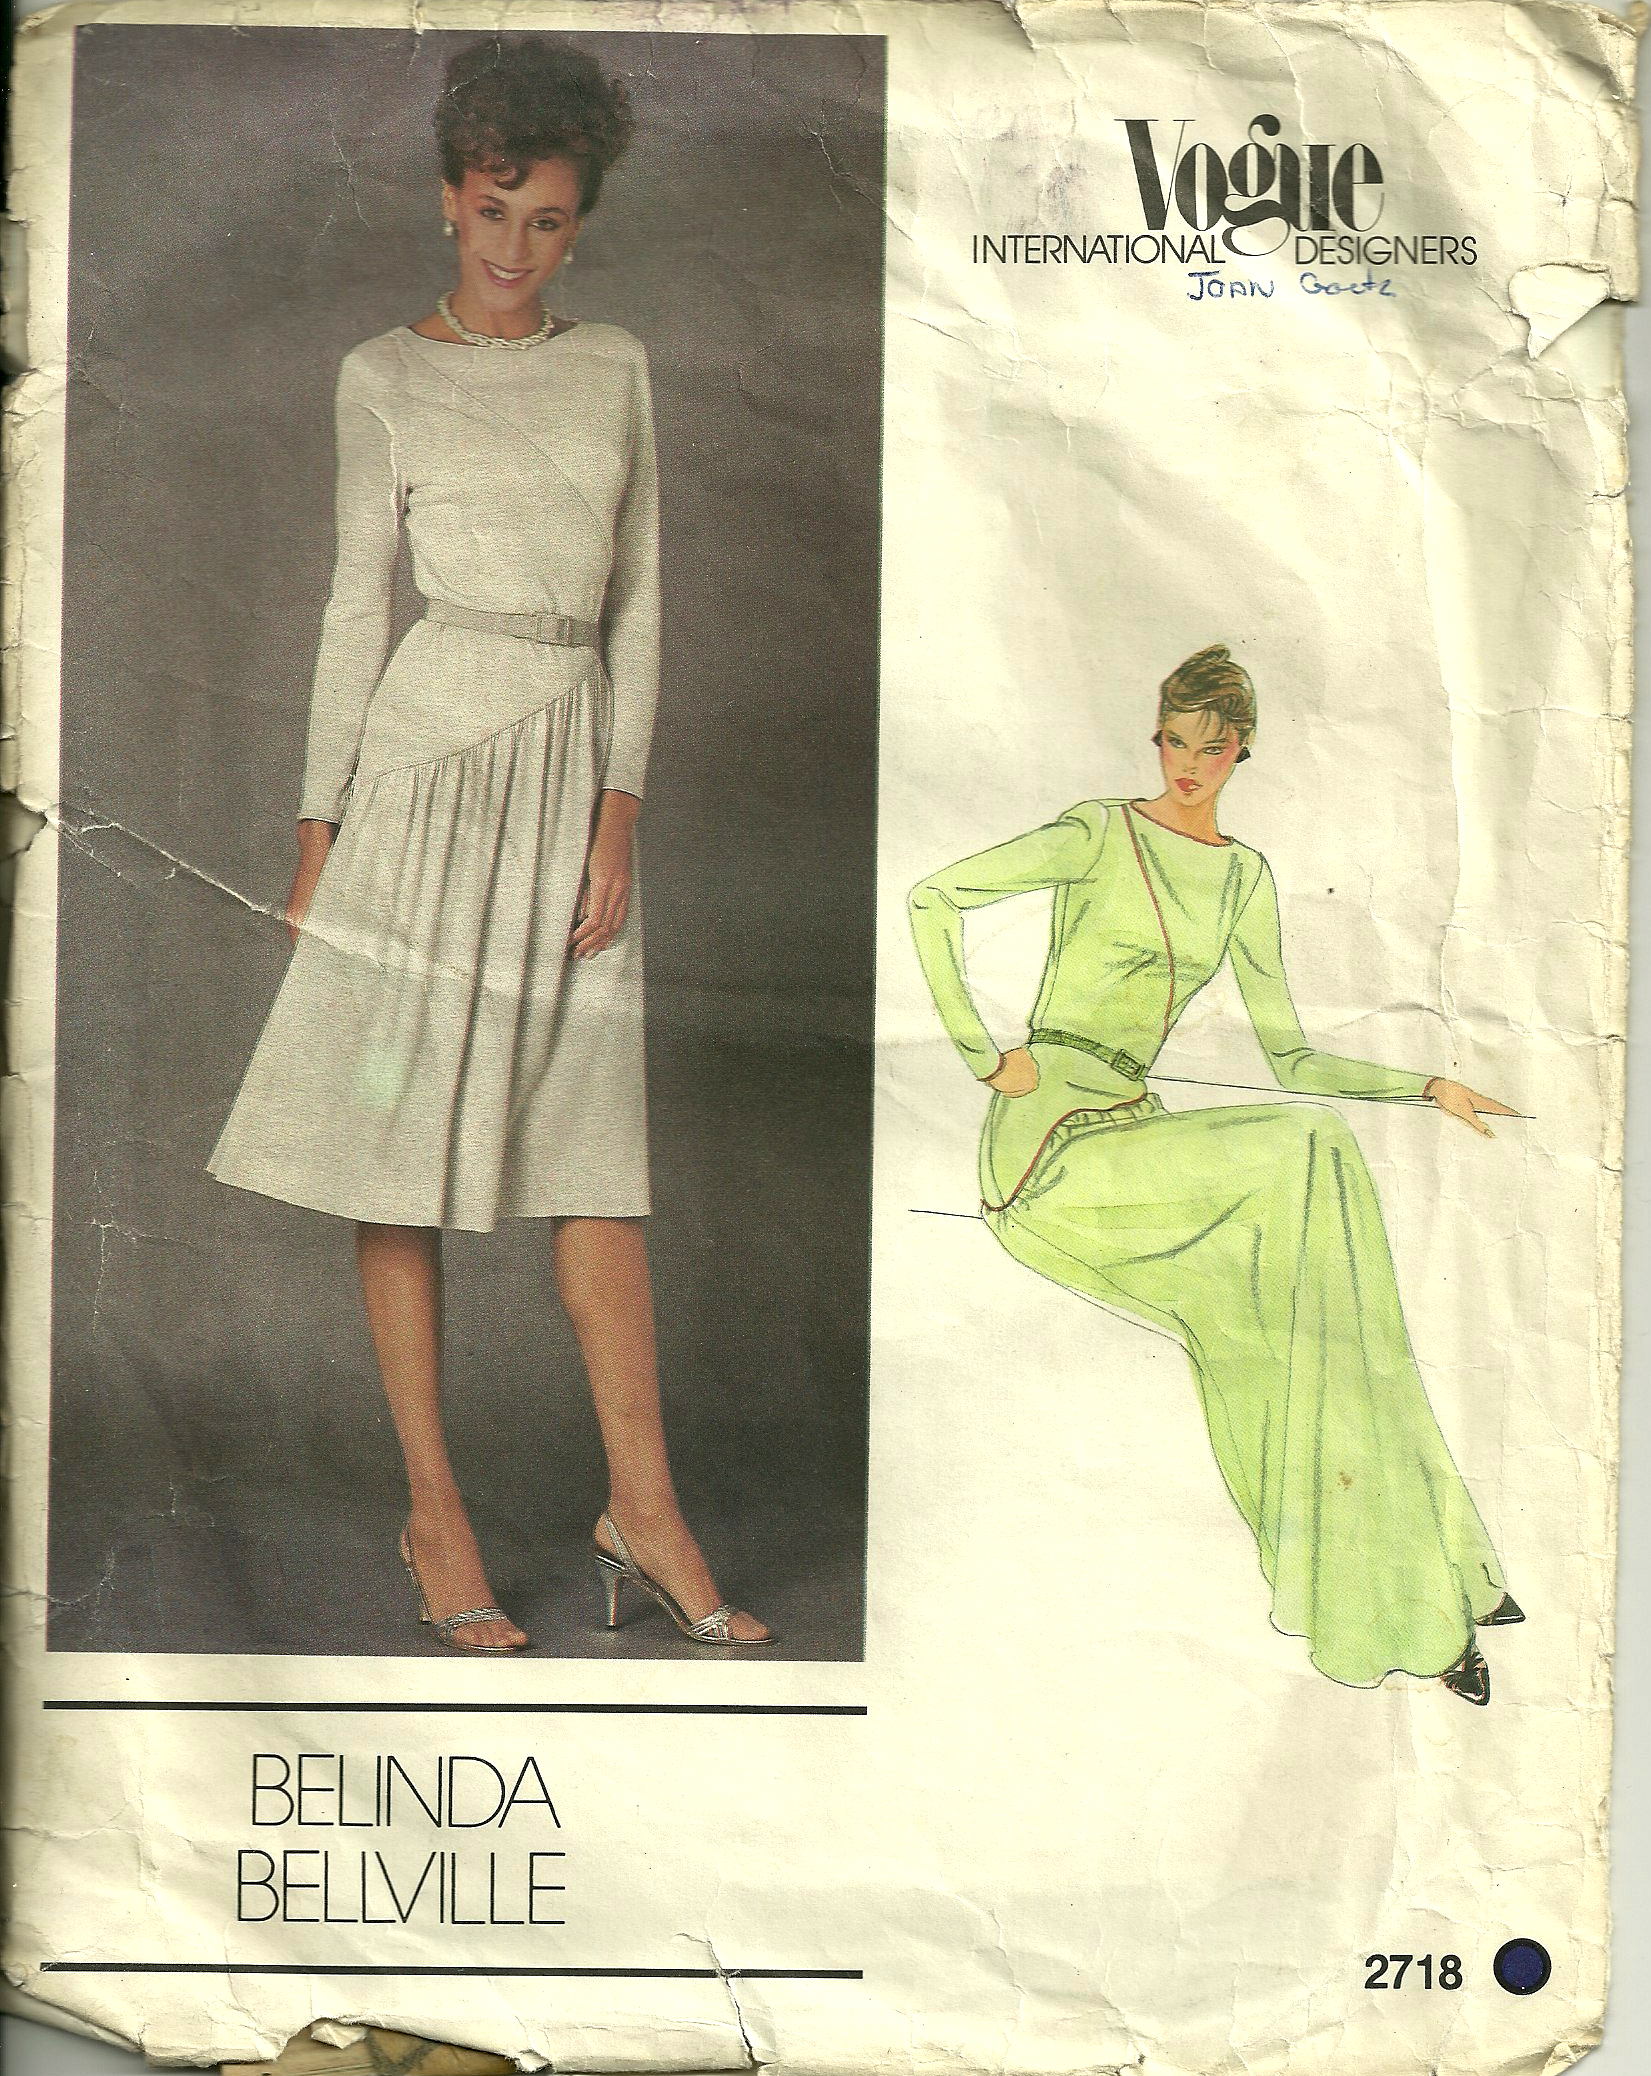
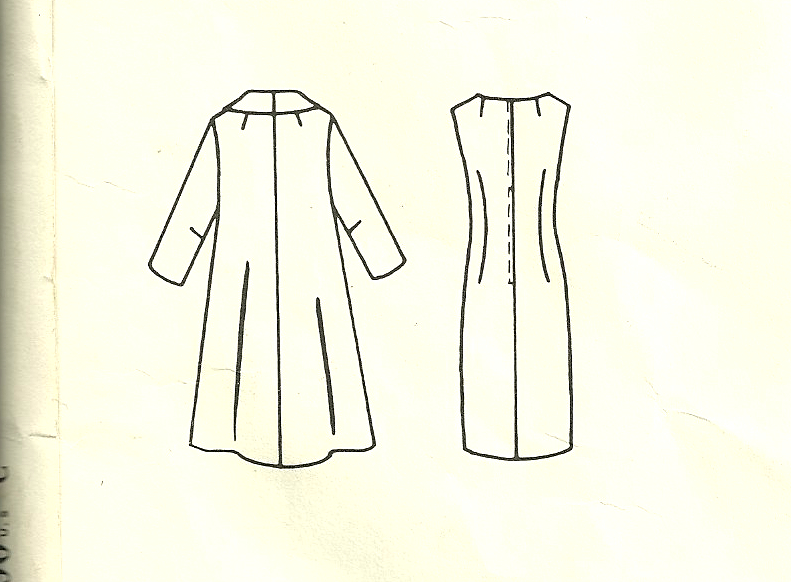
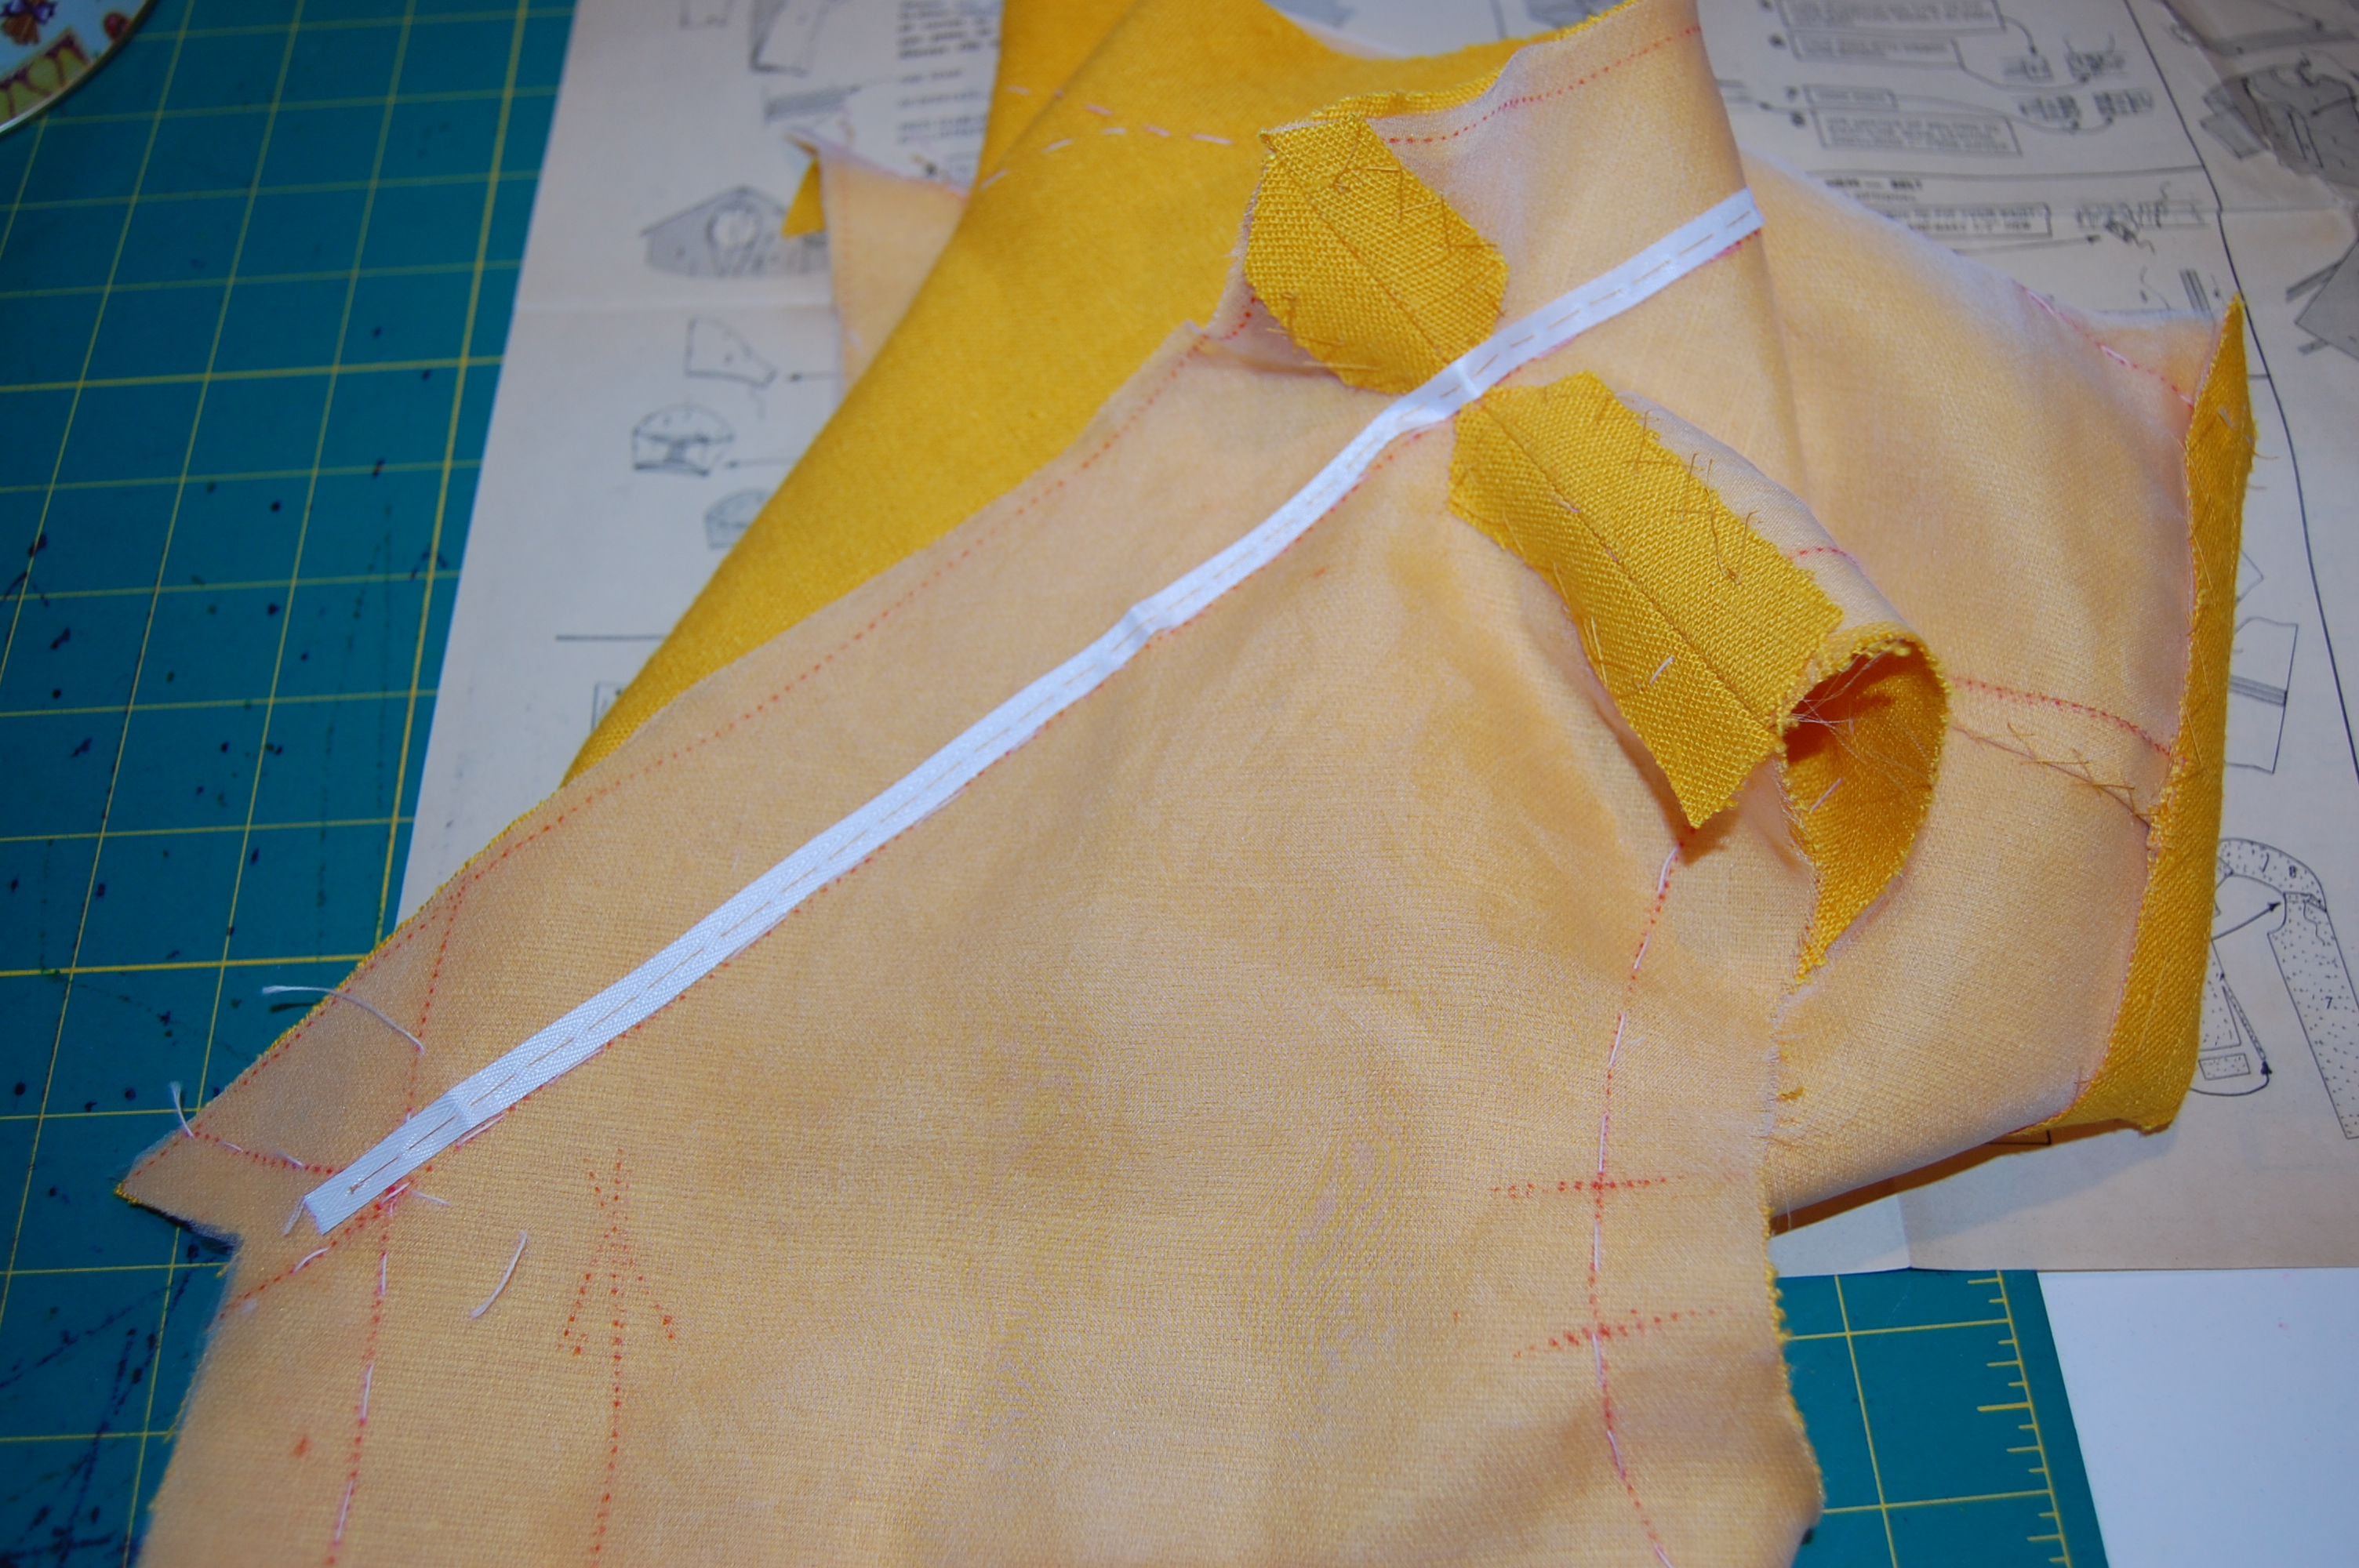
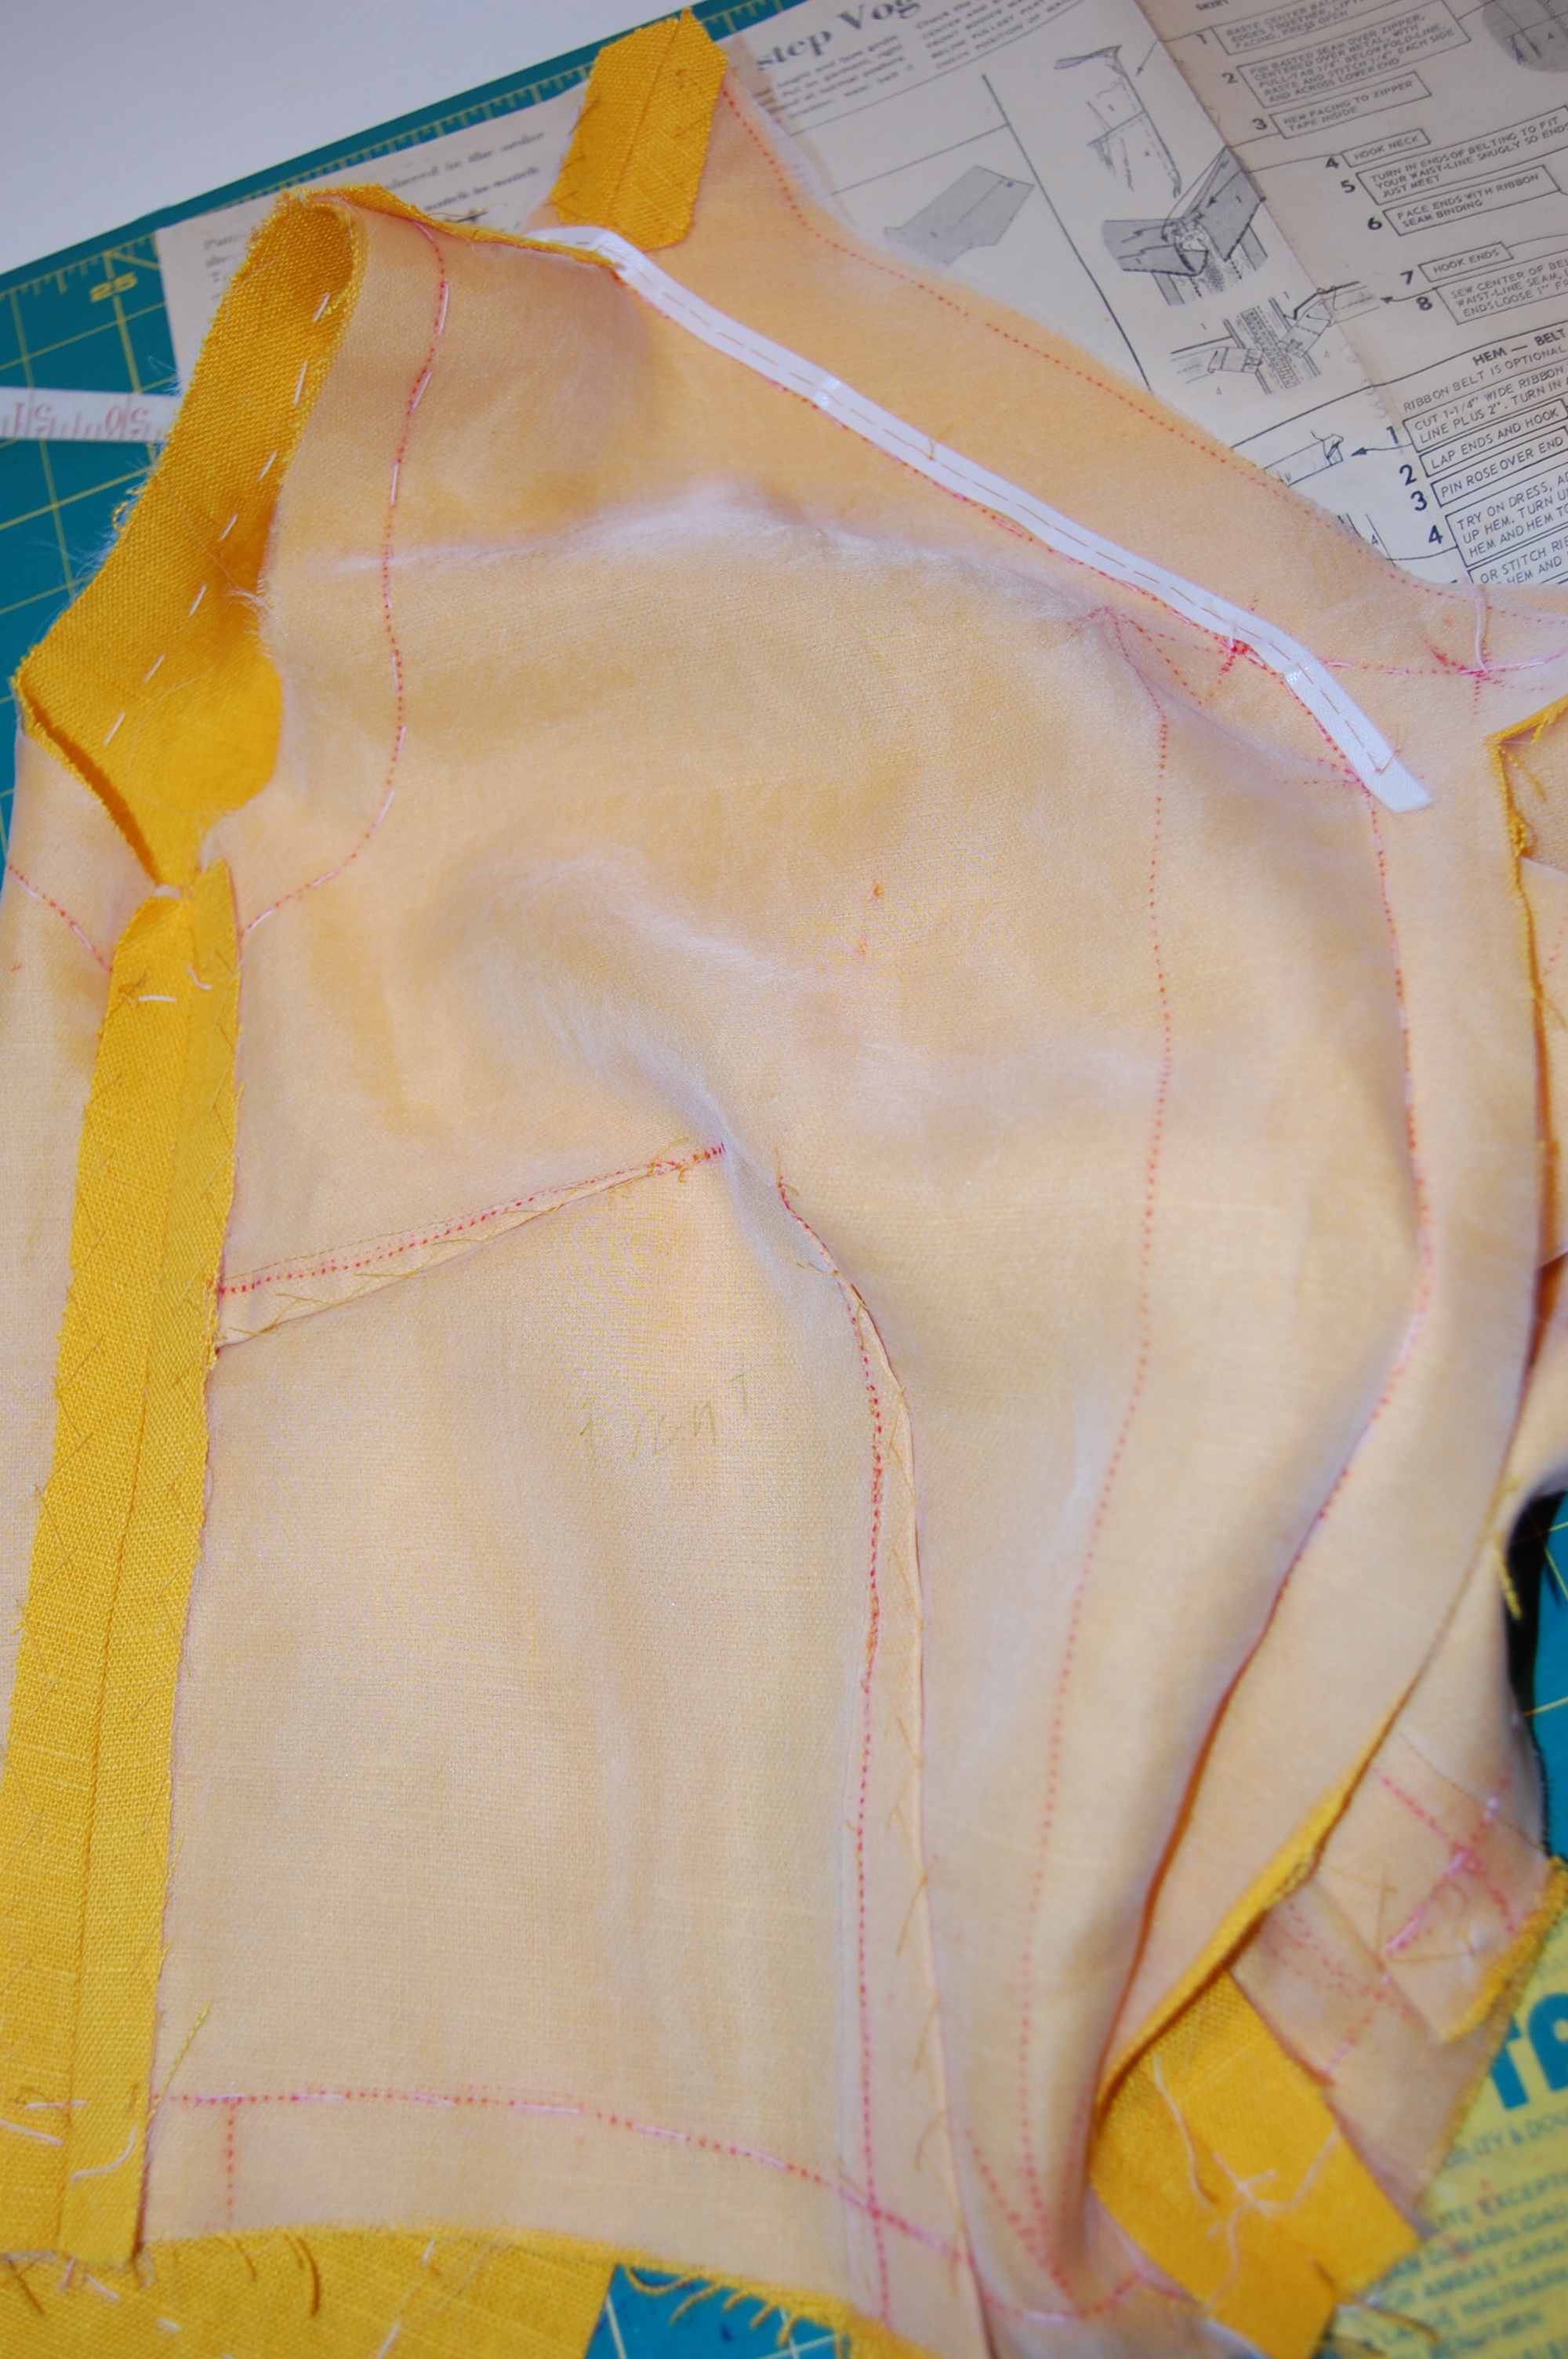
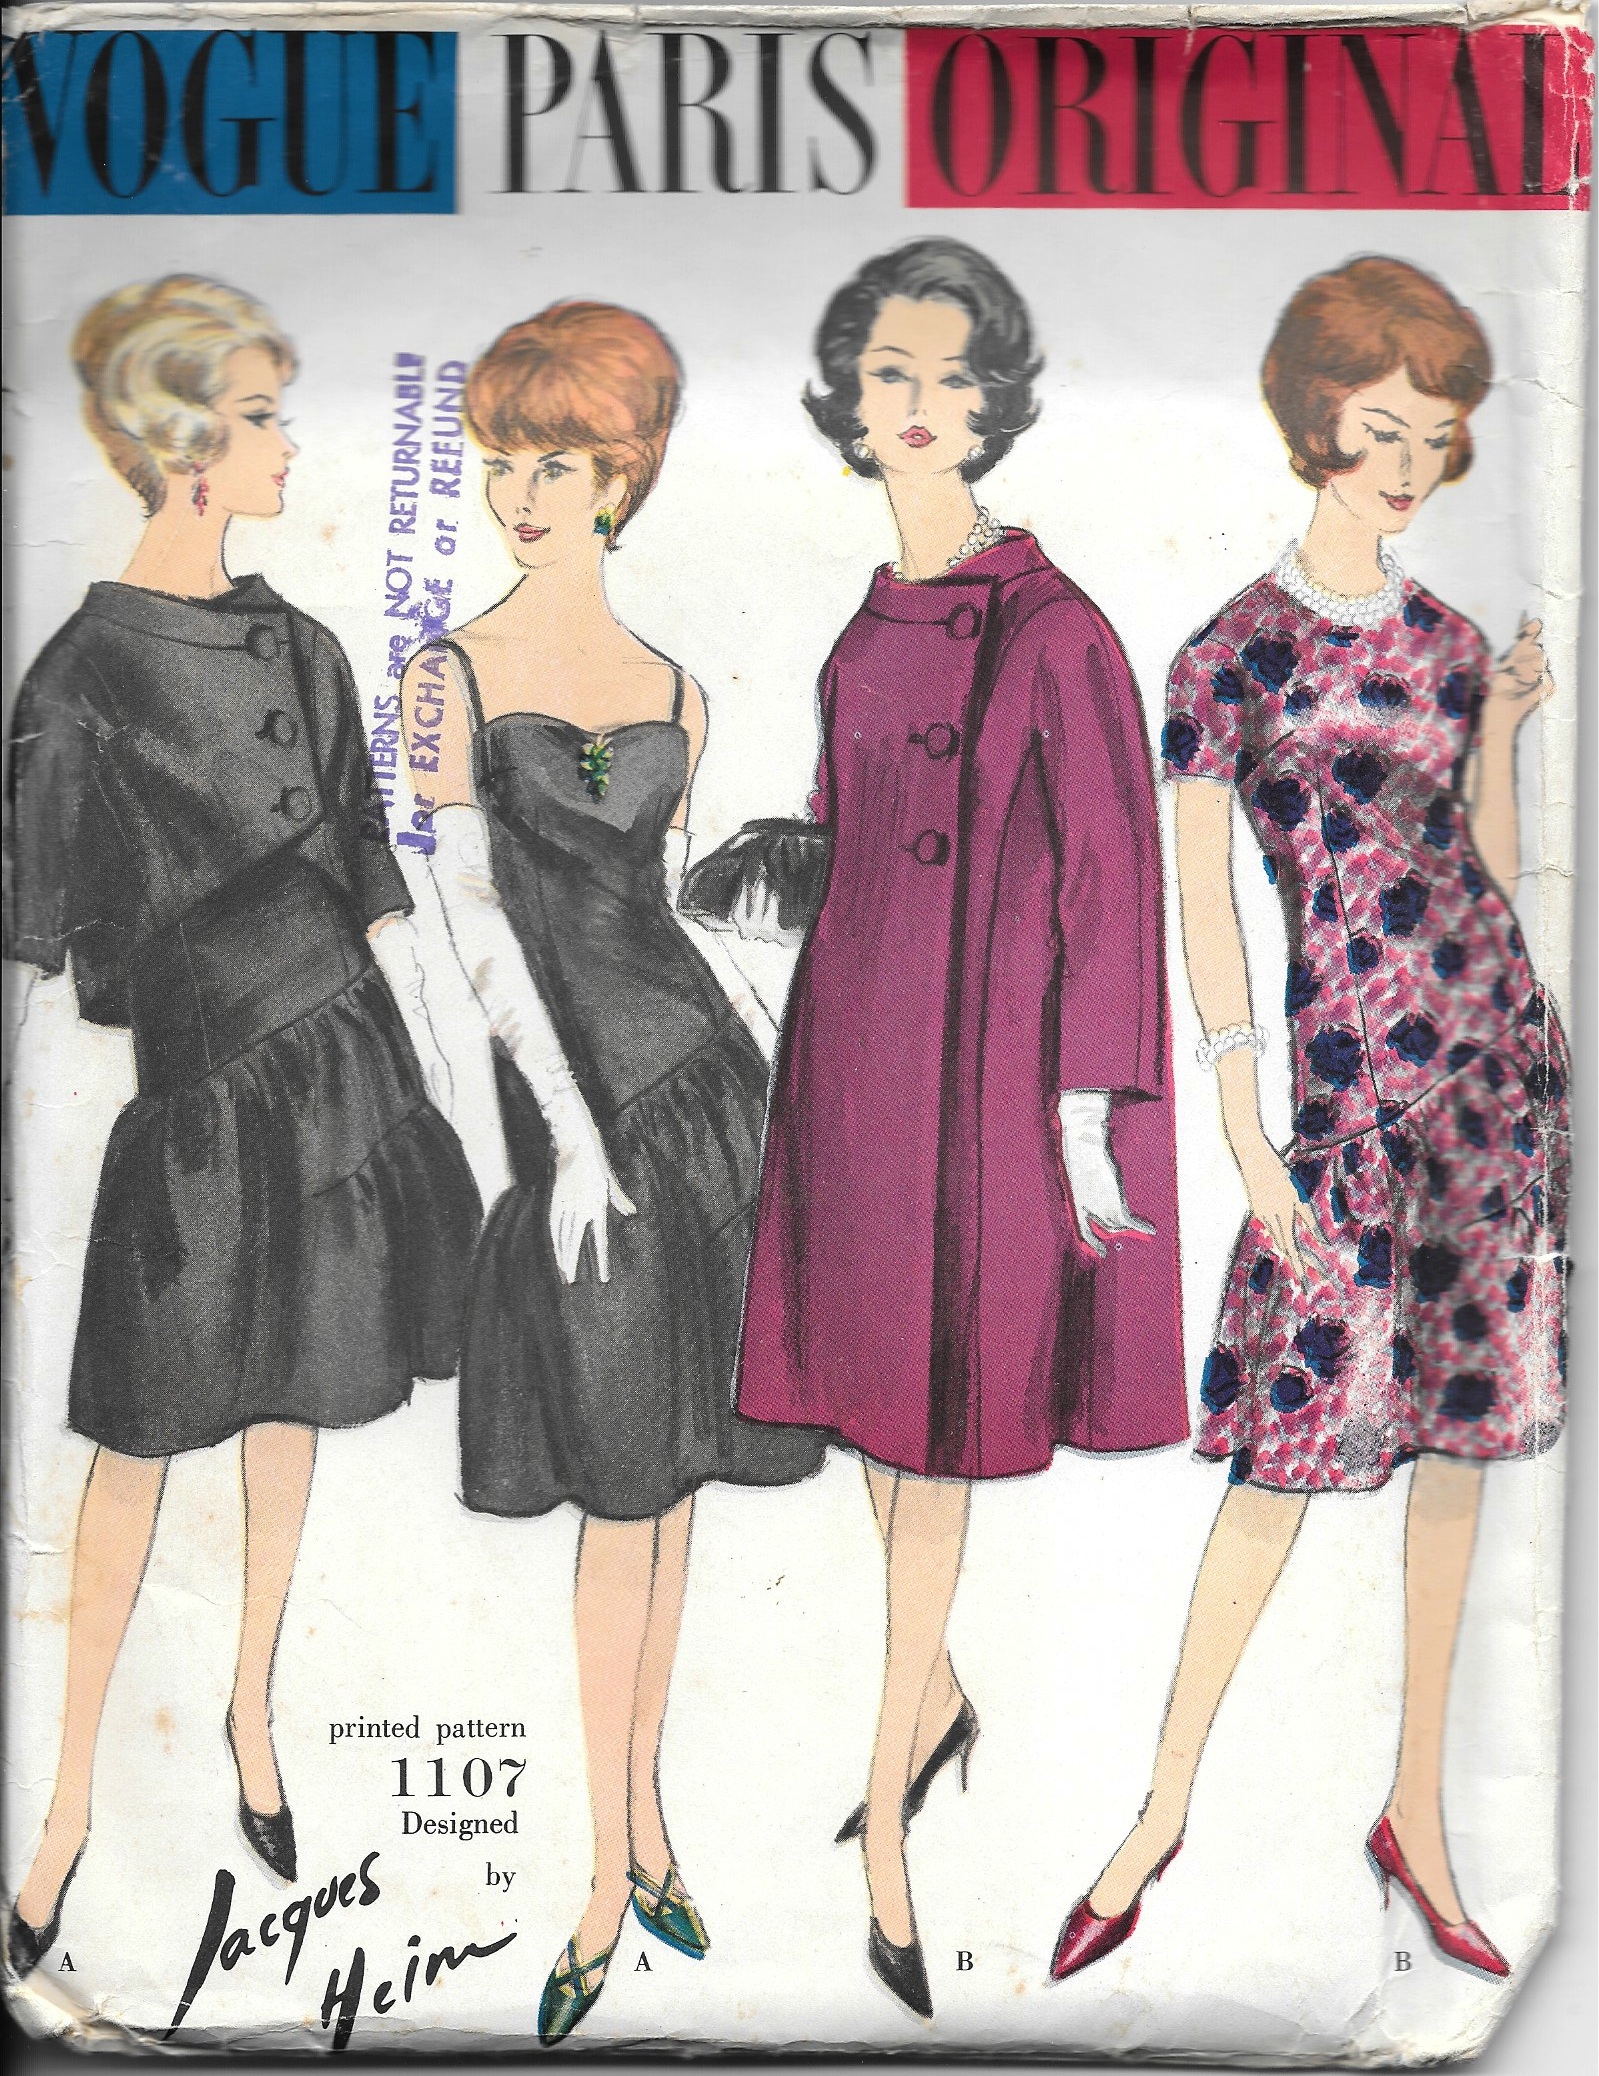
Or I may decide to use this Madame Gres design for a coat and dress. The coat has very unusual darts along the side, which you may be able to see here.
Another Diane von Furstenberg wrap dress is also on my agenda for late Spring/early Summer. Thanks to one of my readers, I was able to purchase some authentic Cohama DvF fabric, so I am excited to contemplate the beginning of this dress.
Circa 1976, this fabric is still soft and lovely.
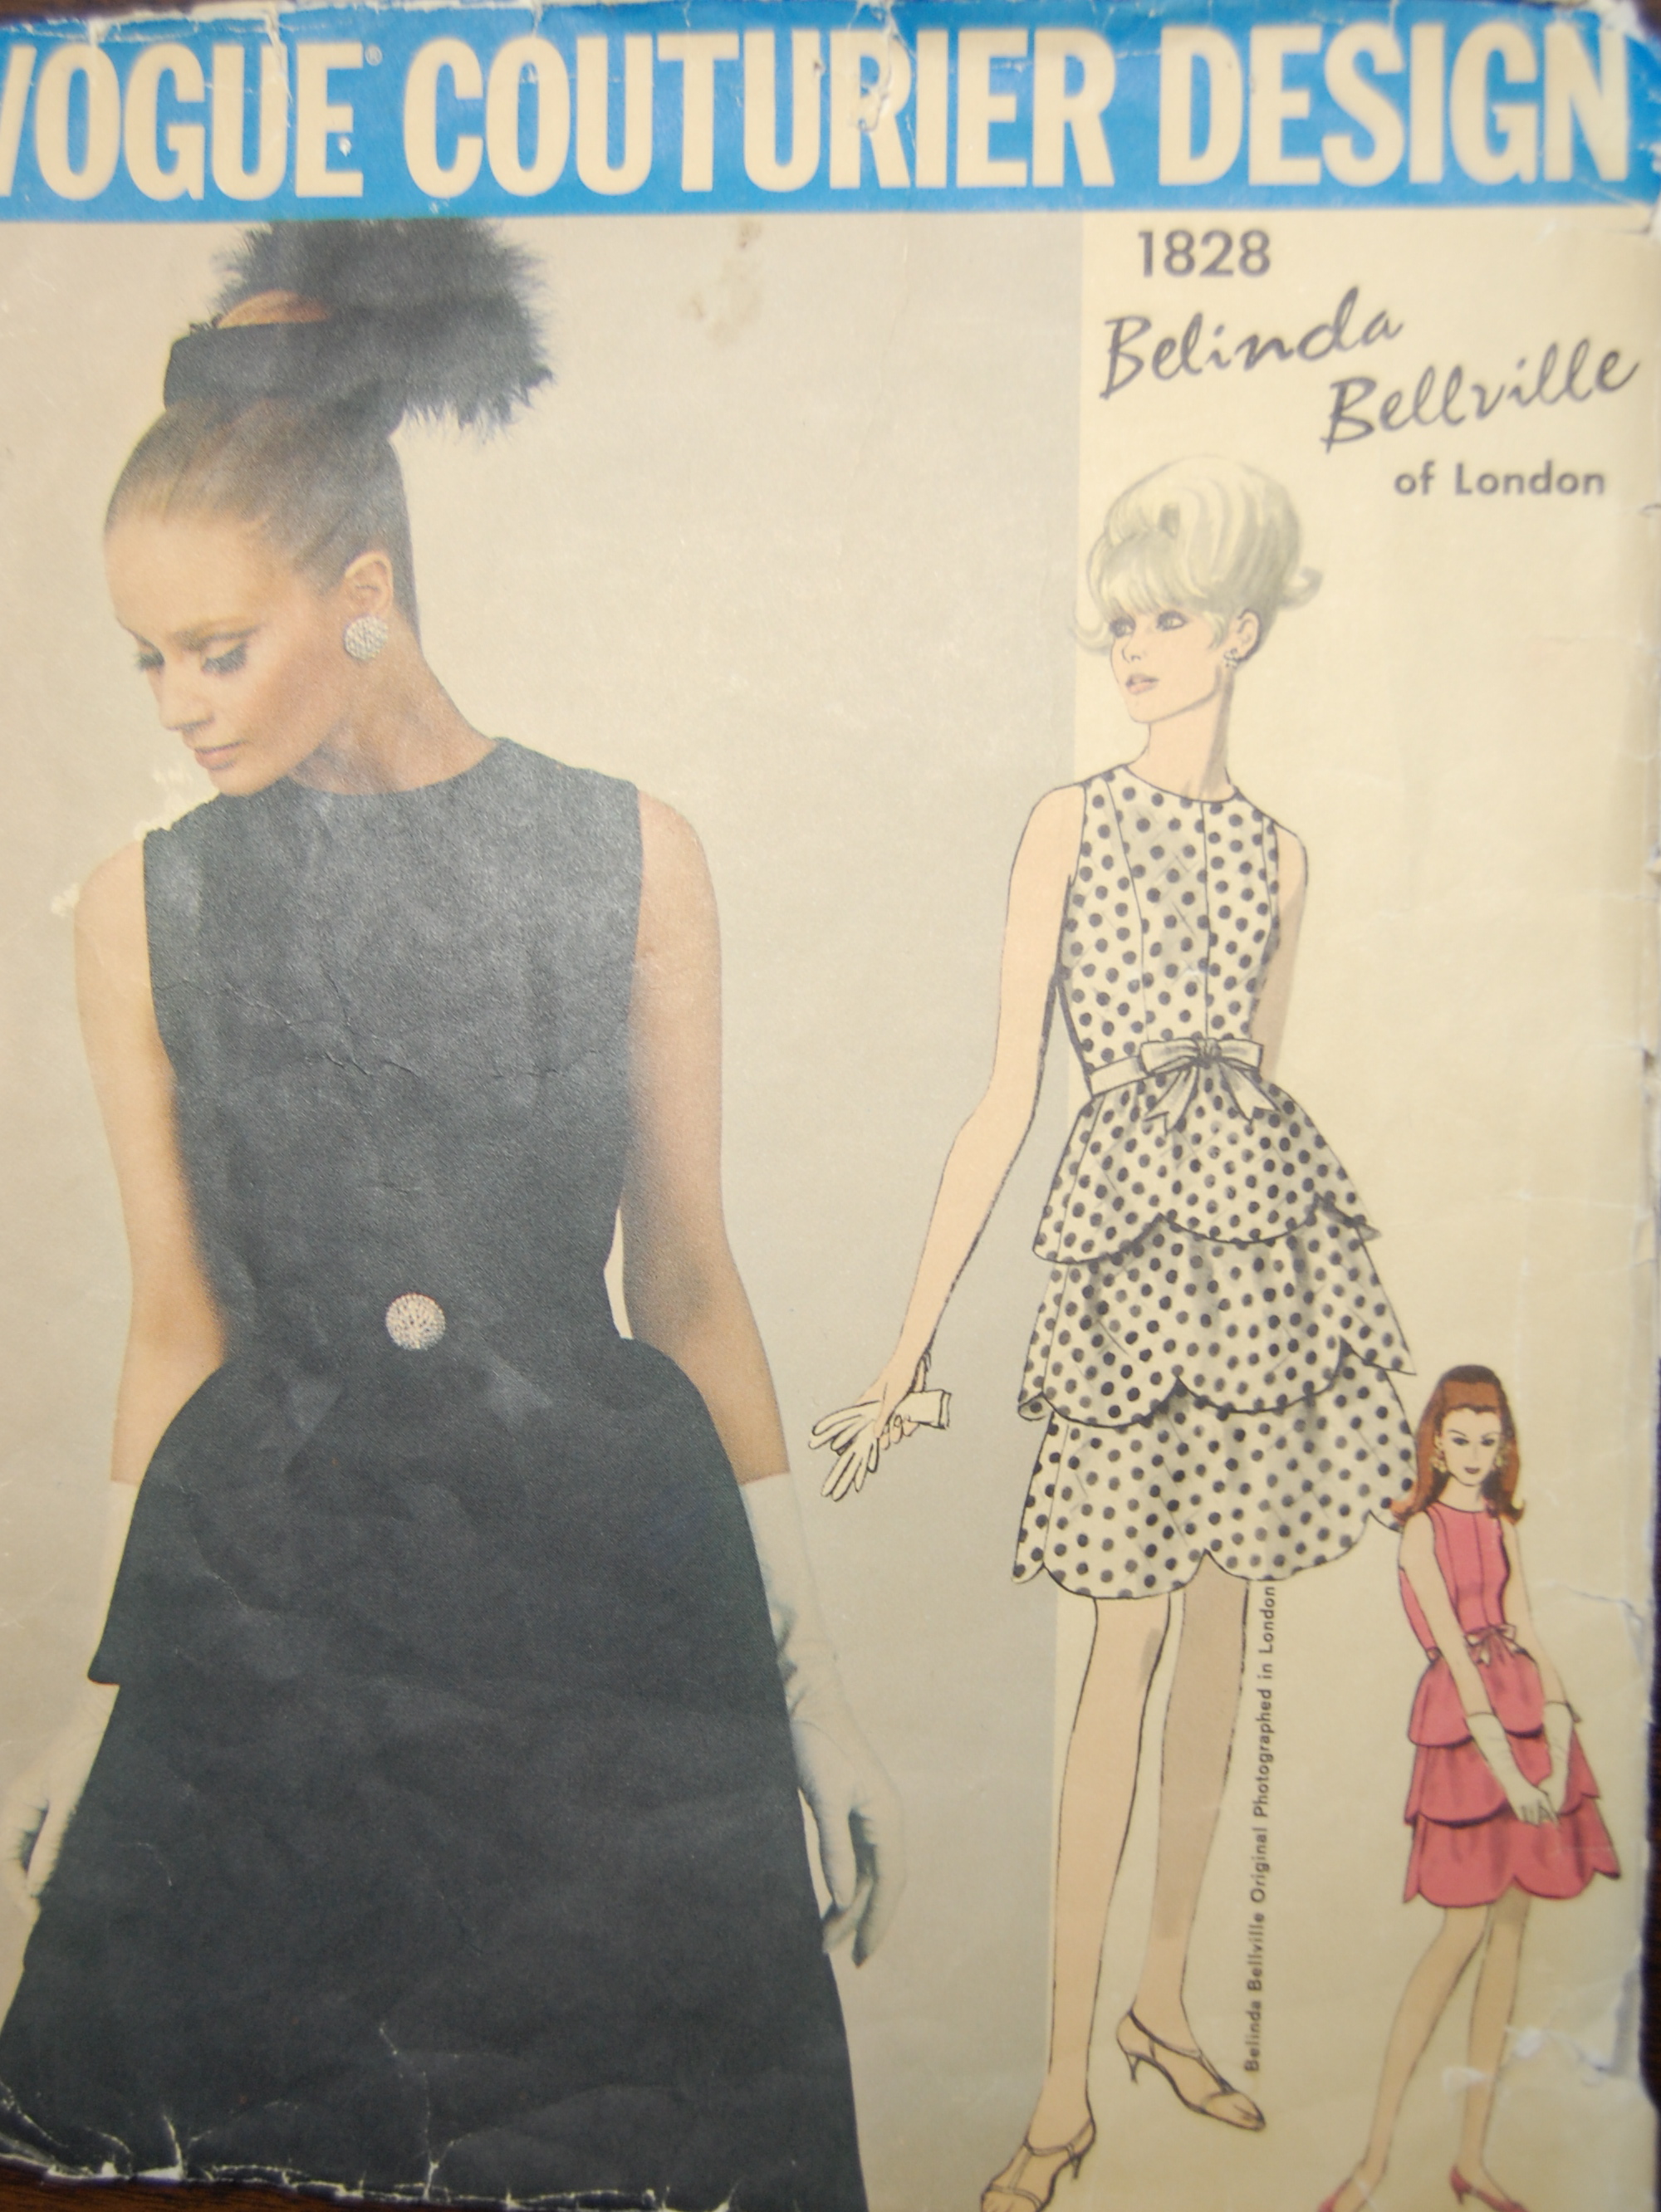
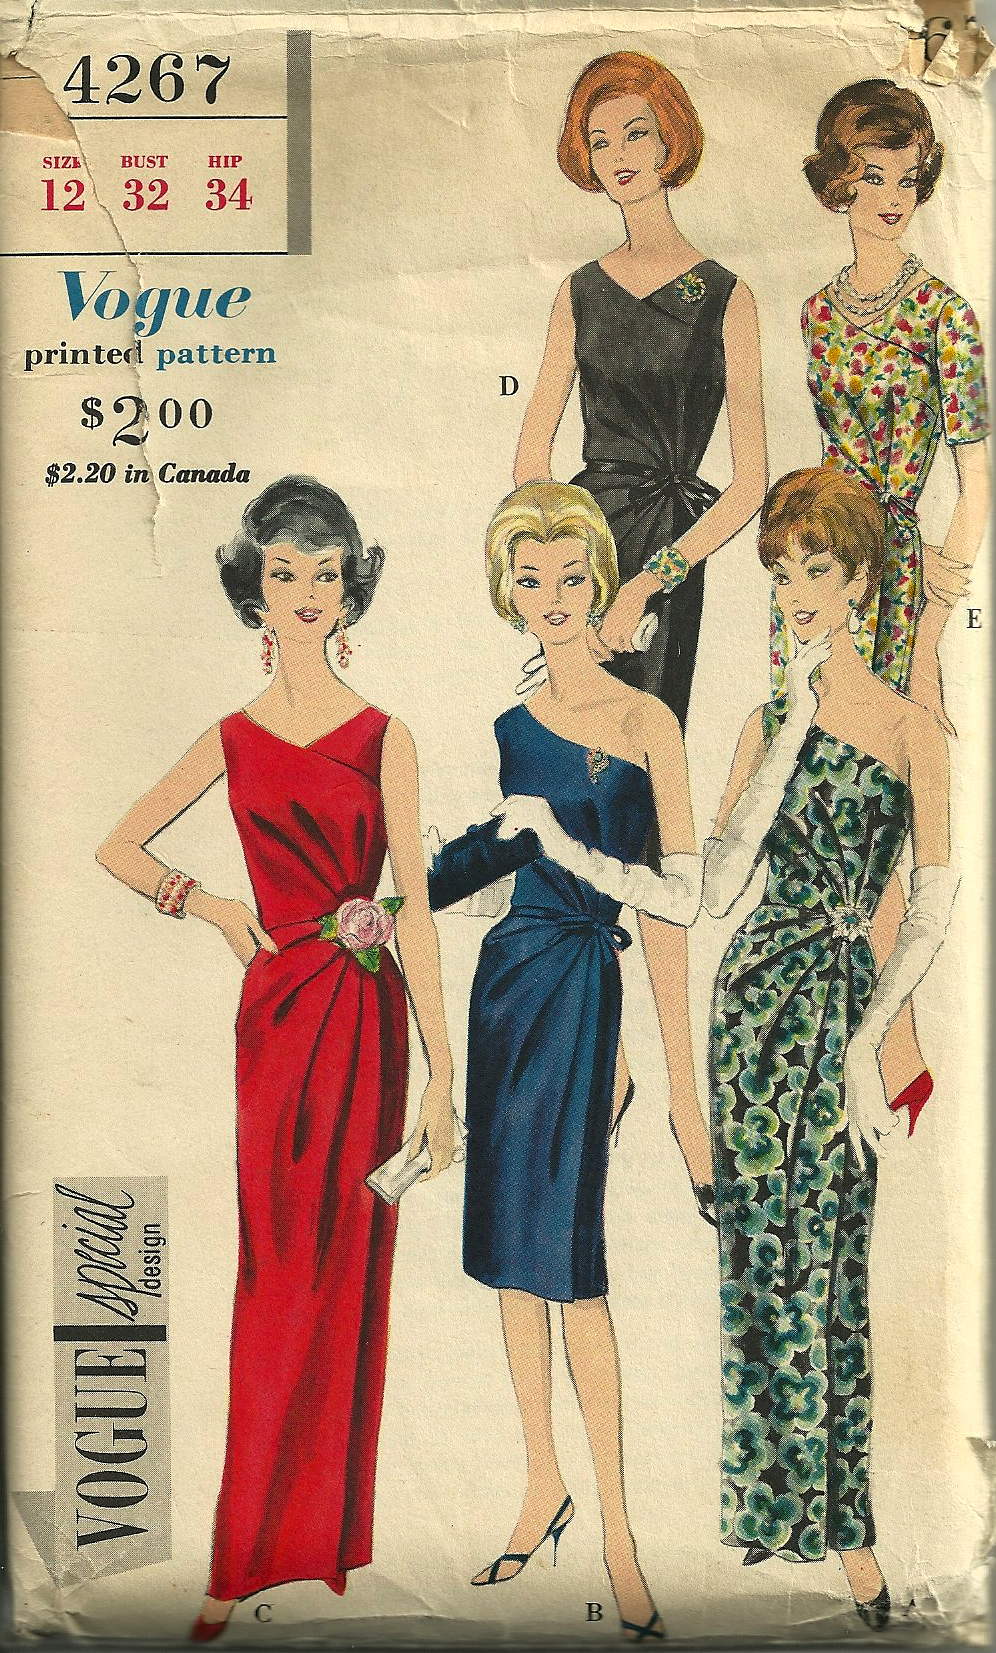
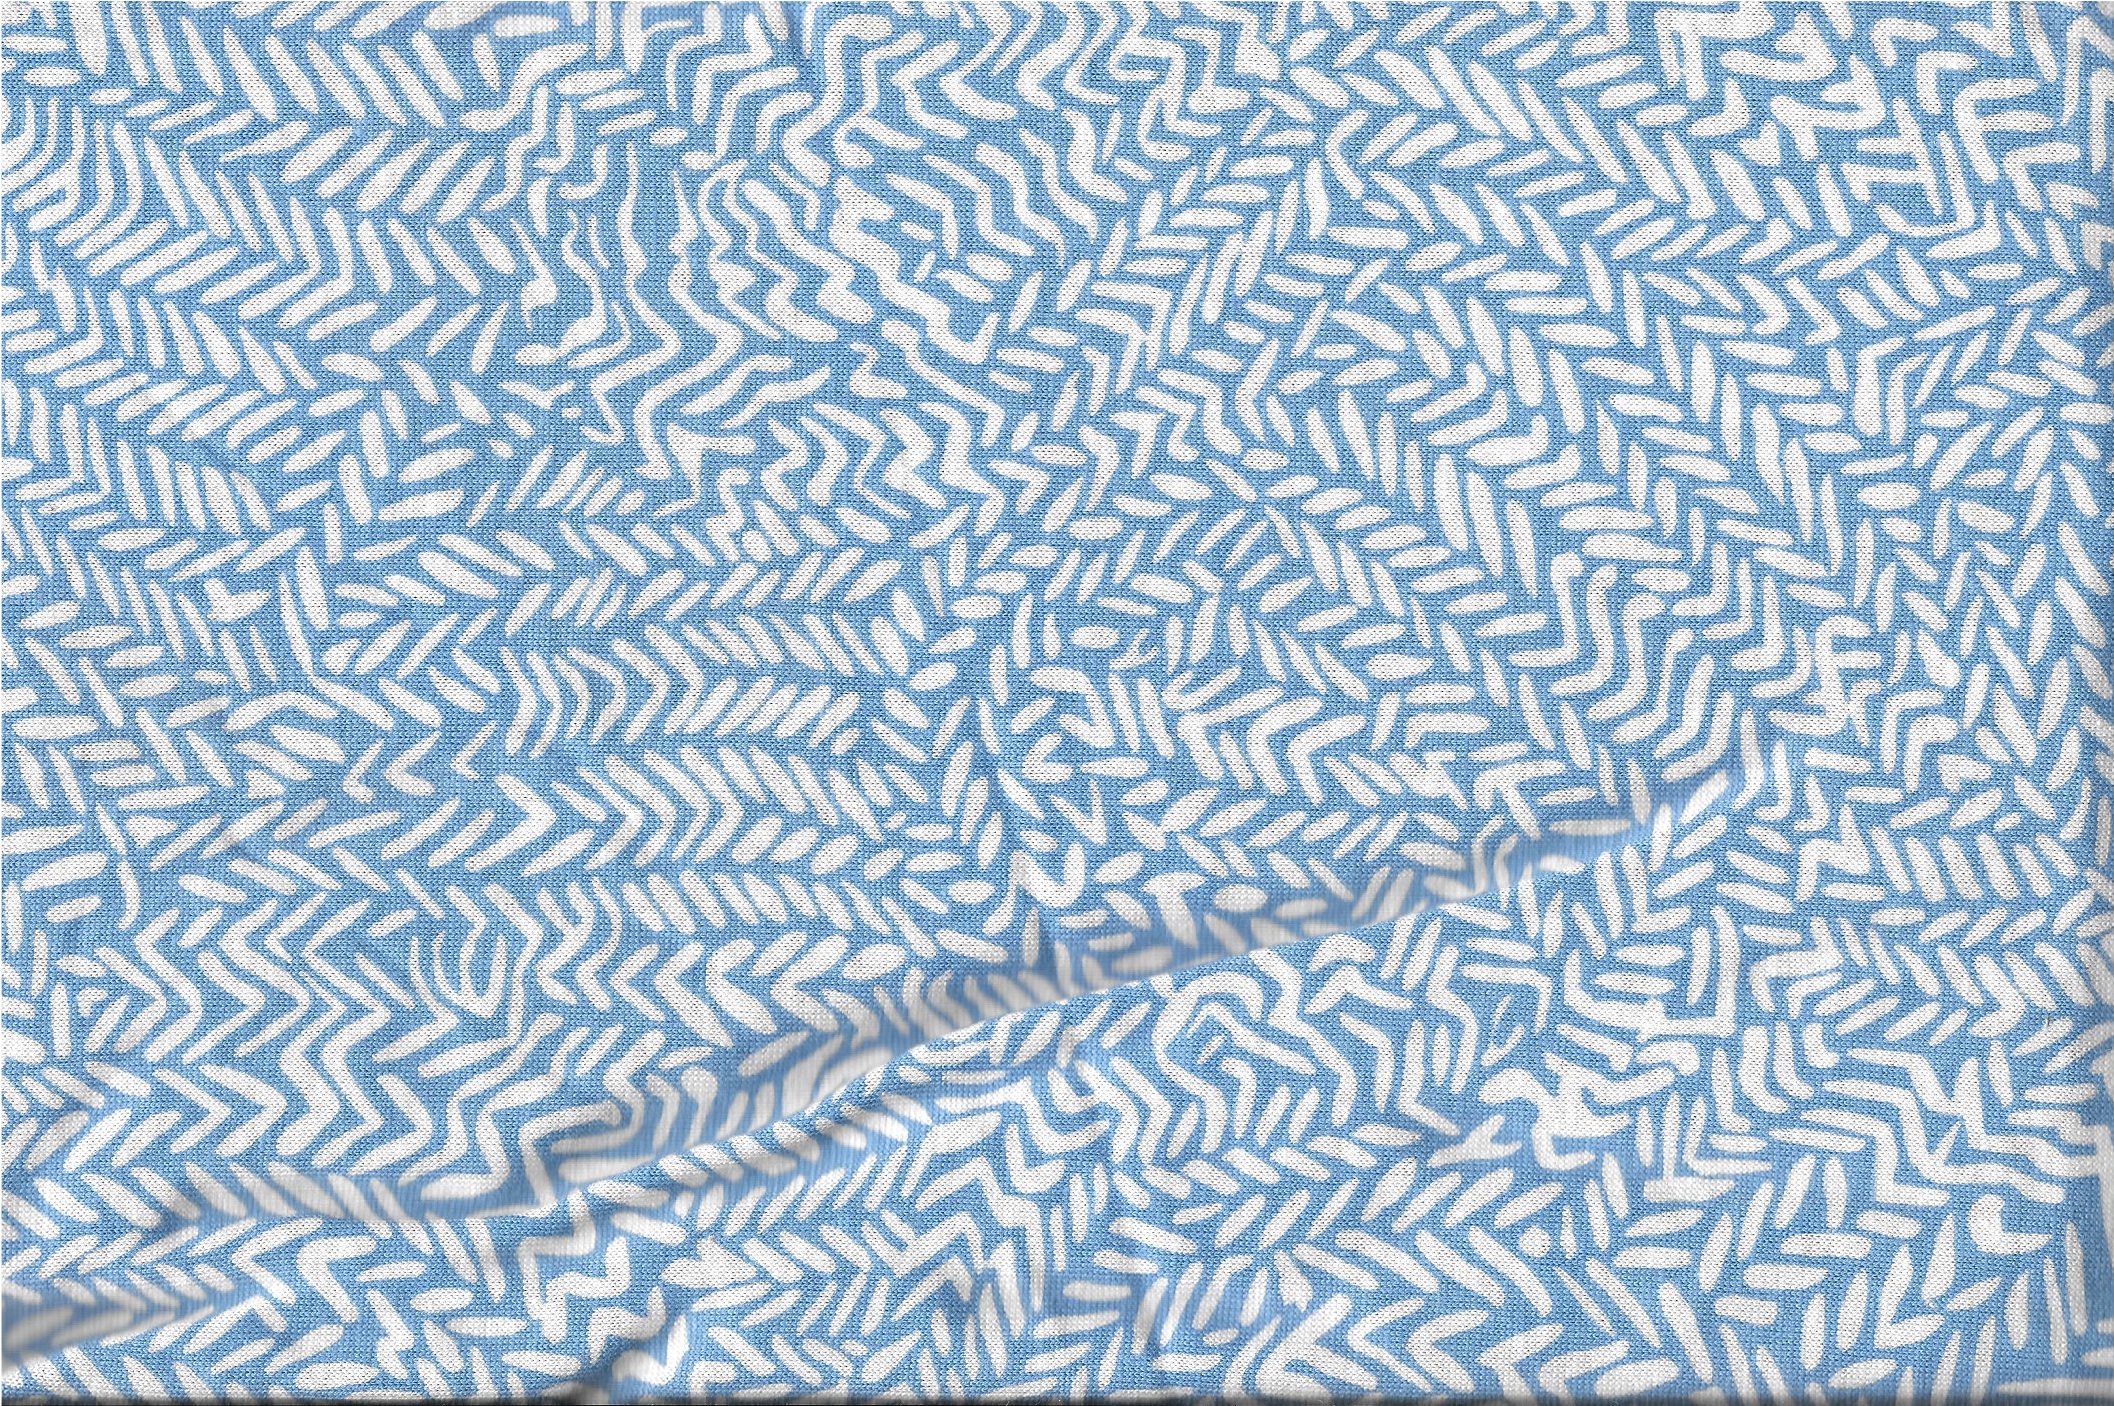
Summer will find us traveling quite a bit, so I am trying to be realistic about the time I’ll have to sew. If I can get one “fancy/formal” dress made, I’ll consider it a success. I might be using this By Hand London “Flora” pattern with this fabric, unless, of course, I change my mind.
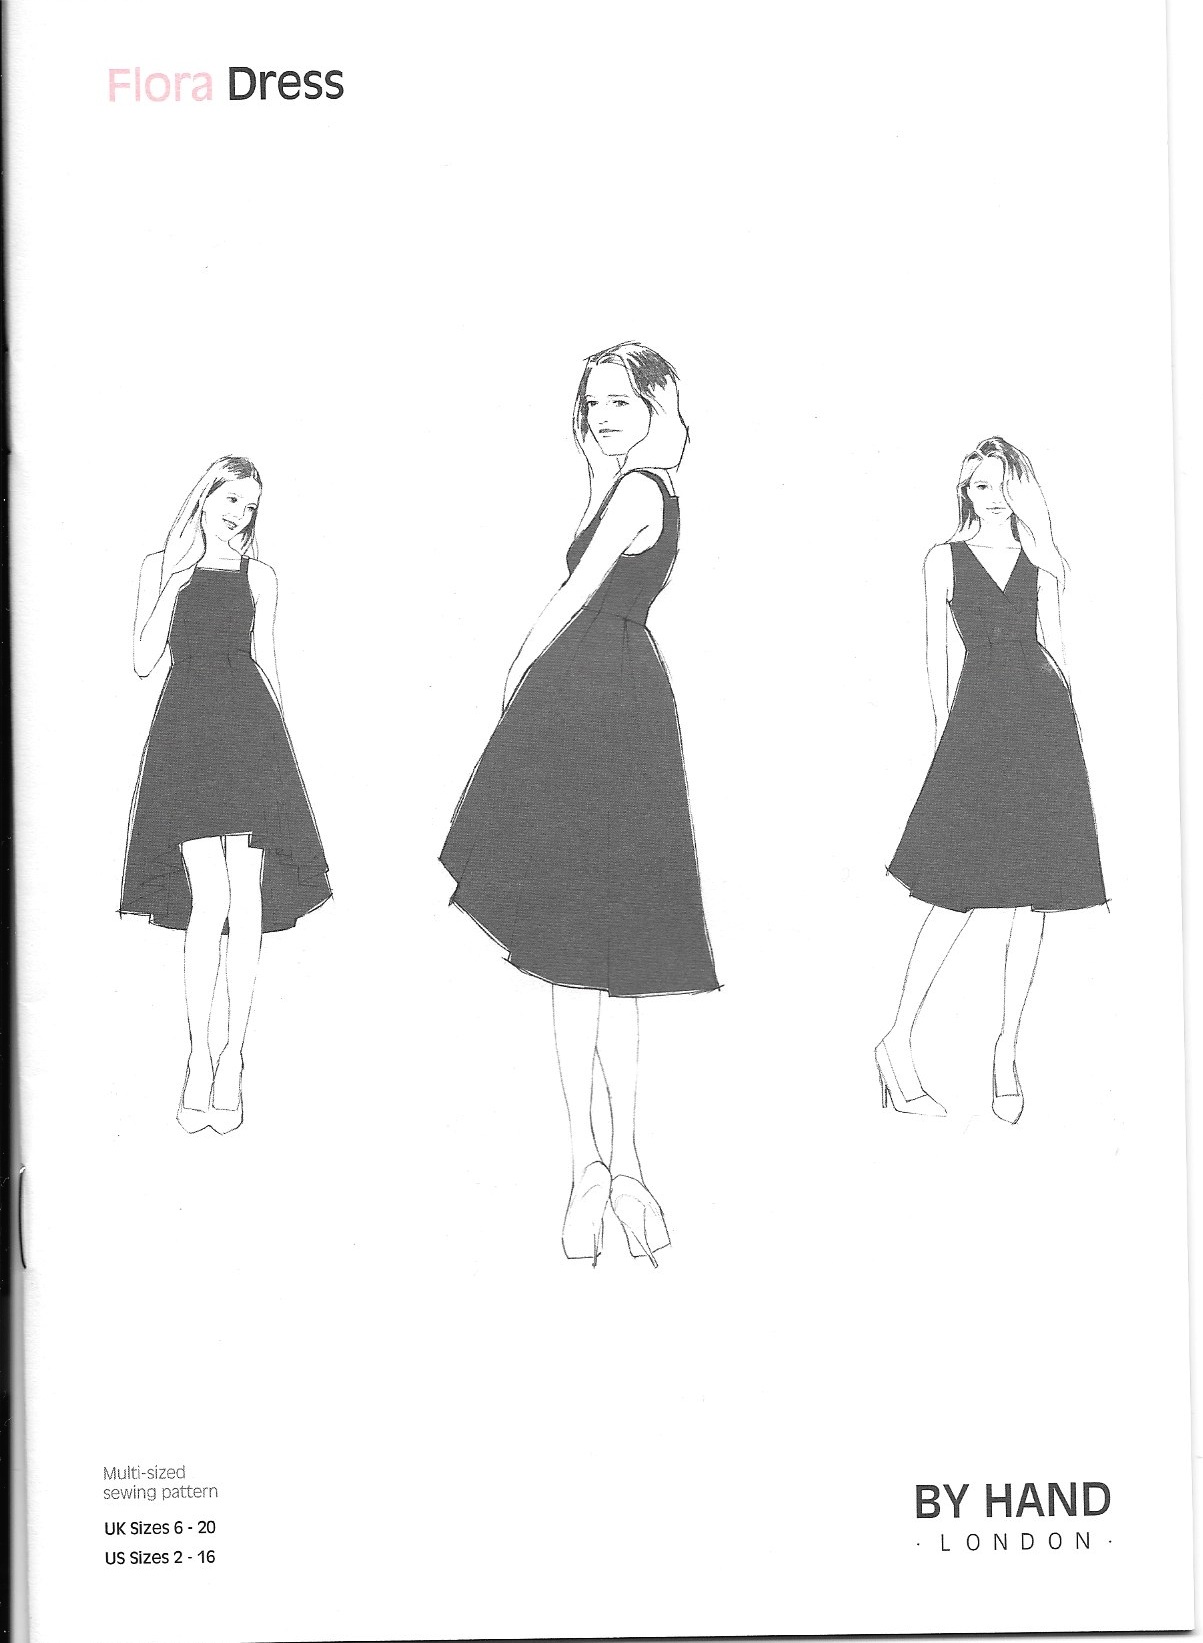
Aspects of this pattern remind me of classic Balenciaga. I’ll have to make the skirt longer, however…
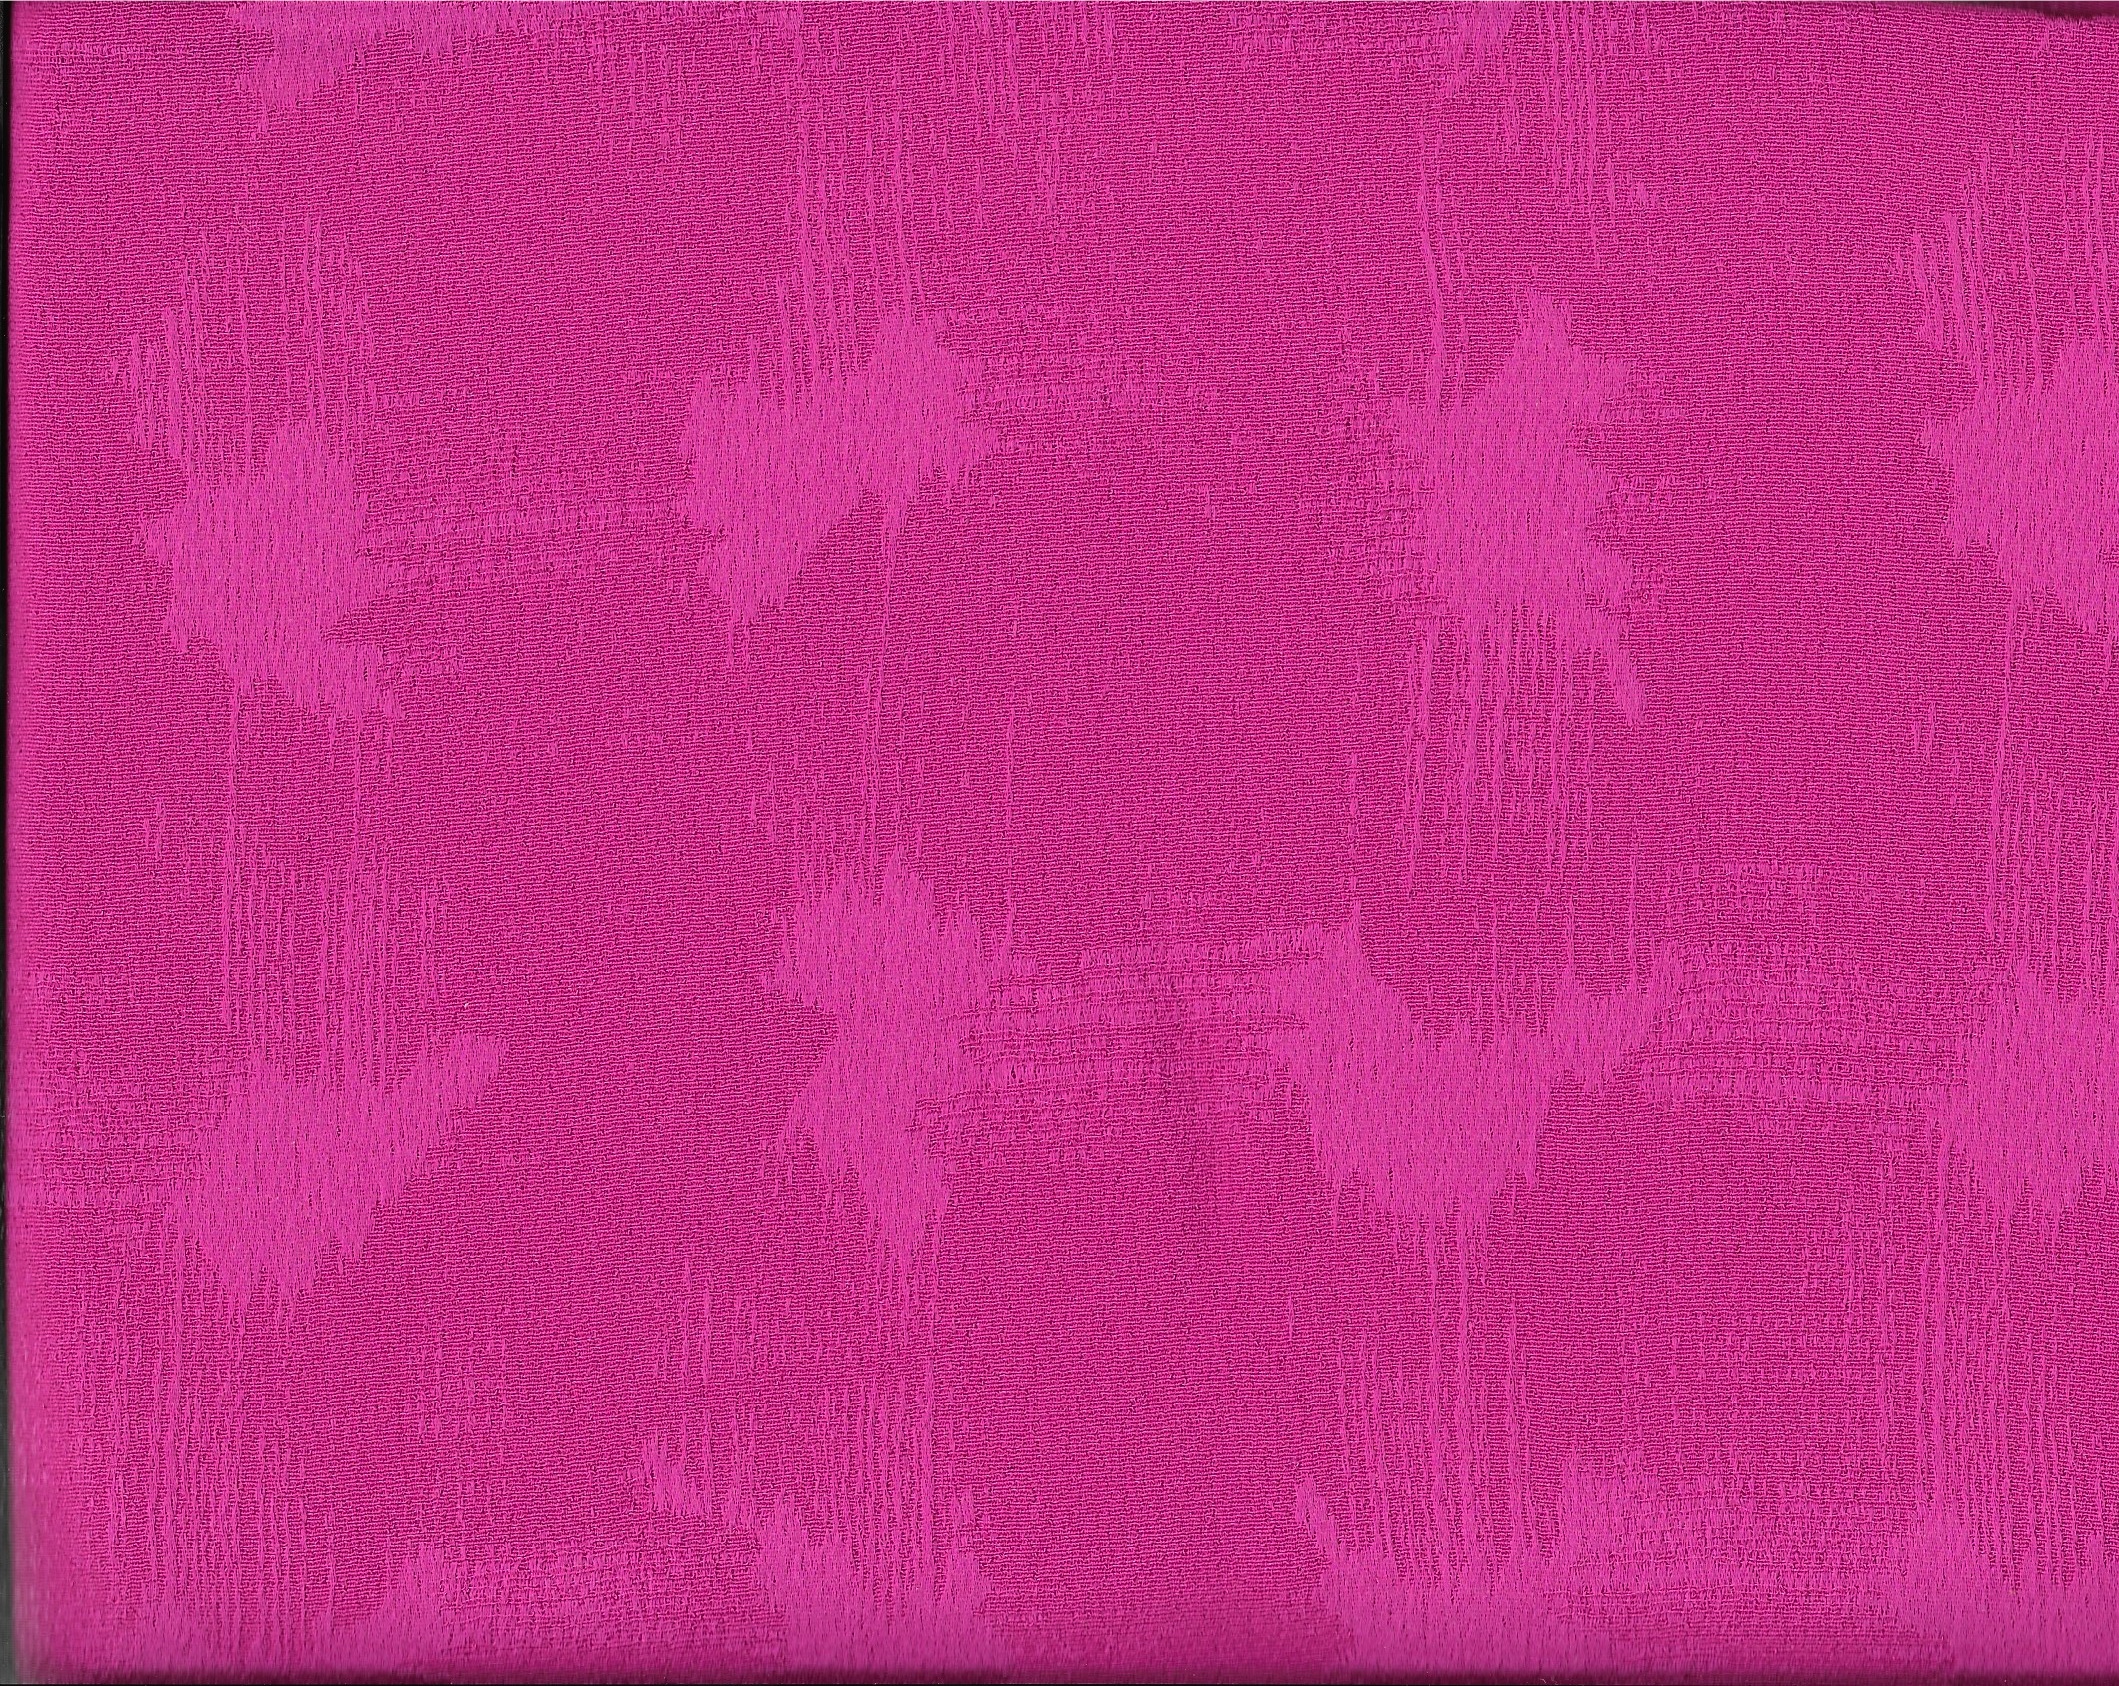
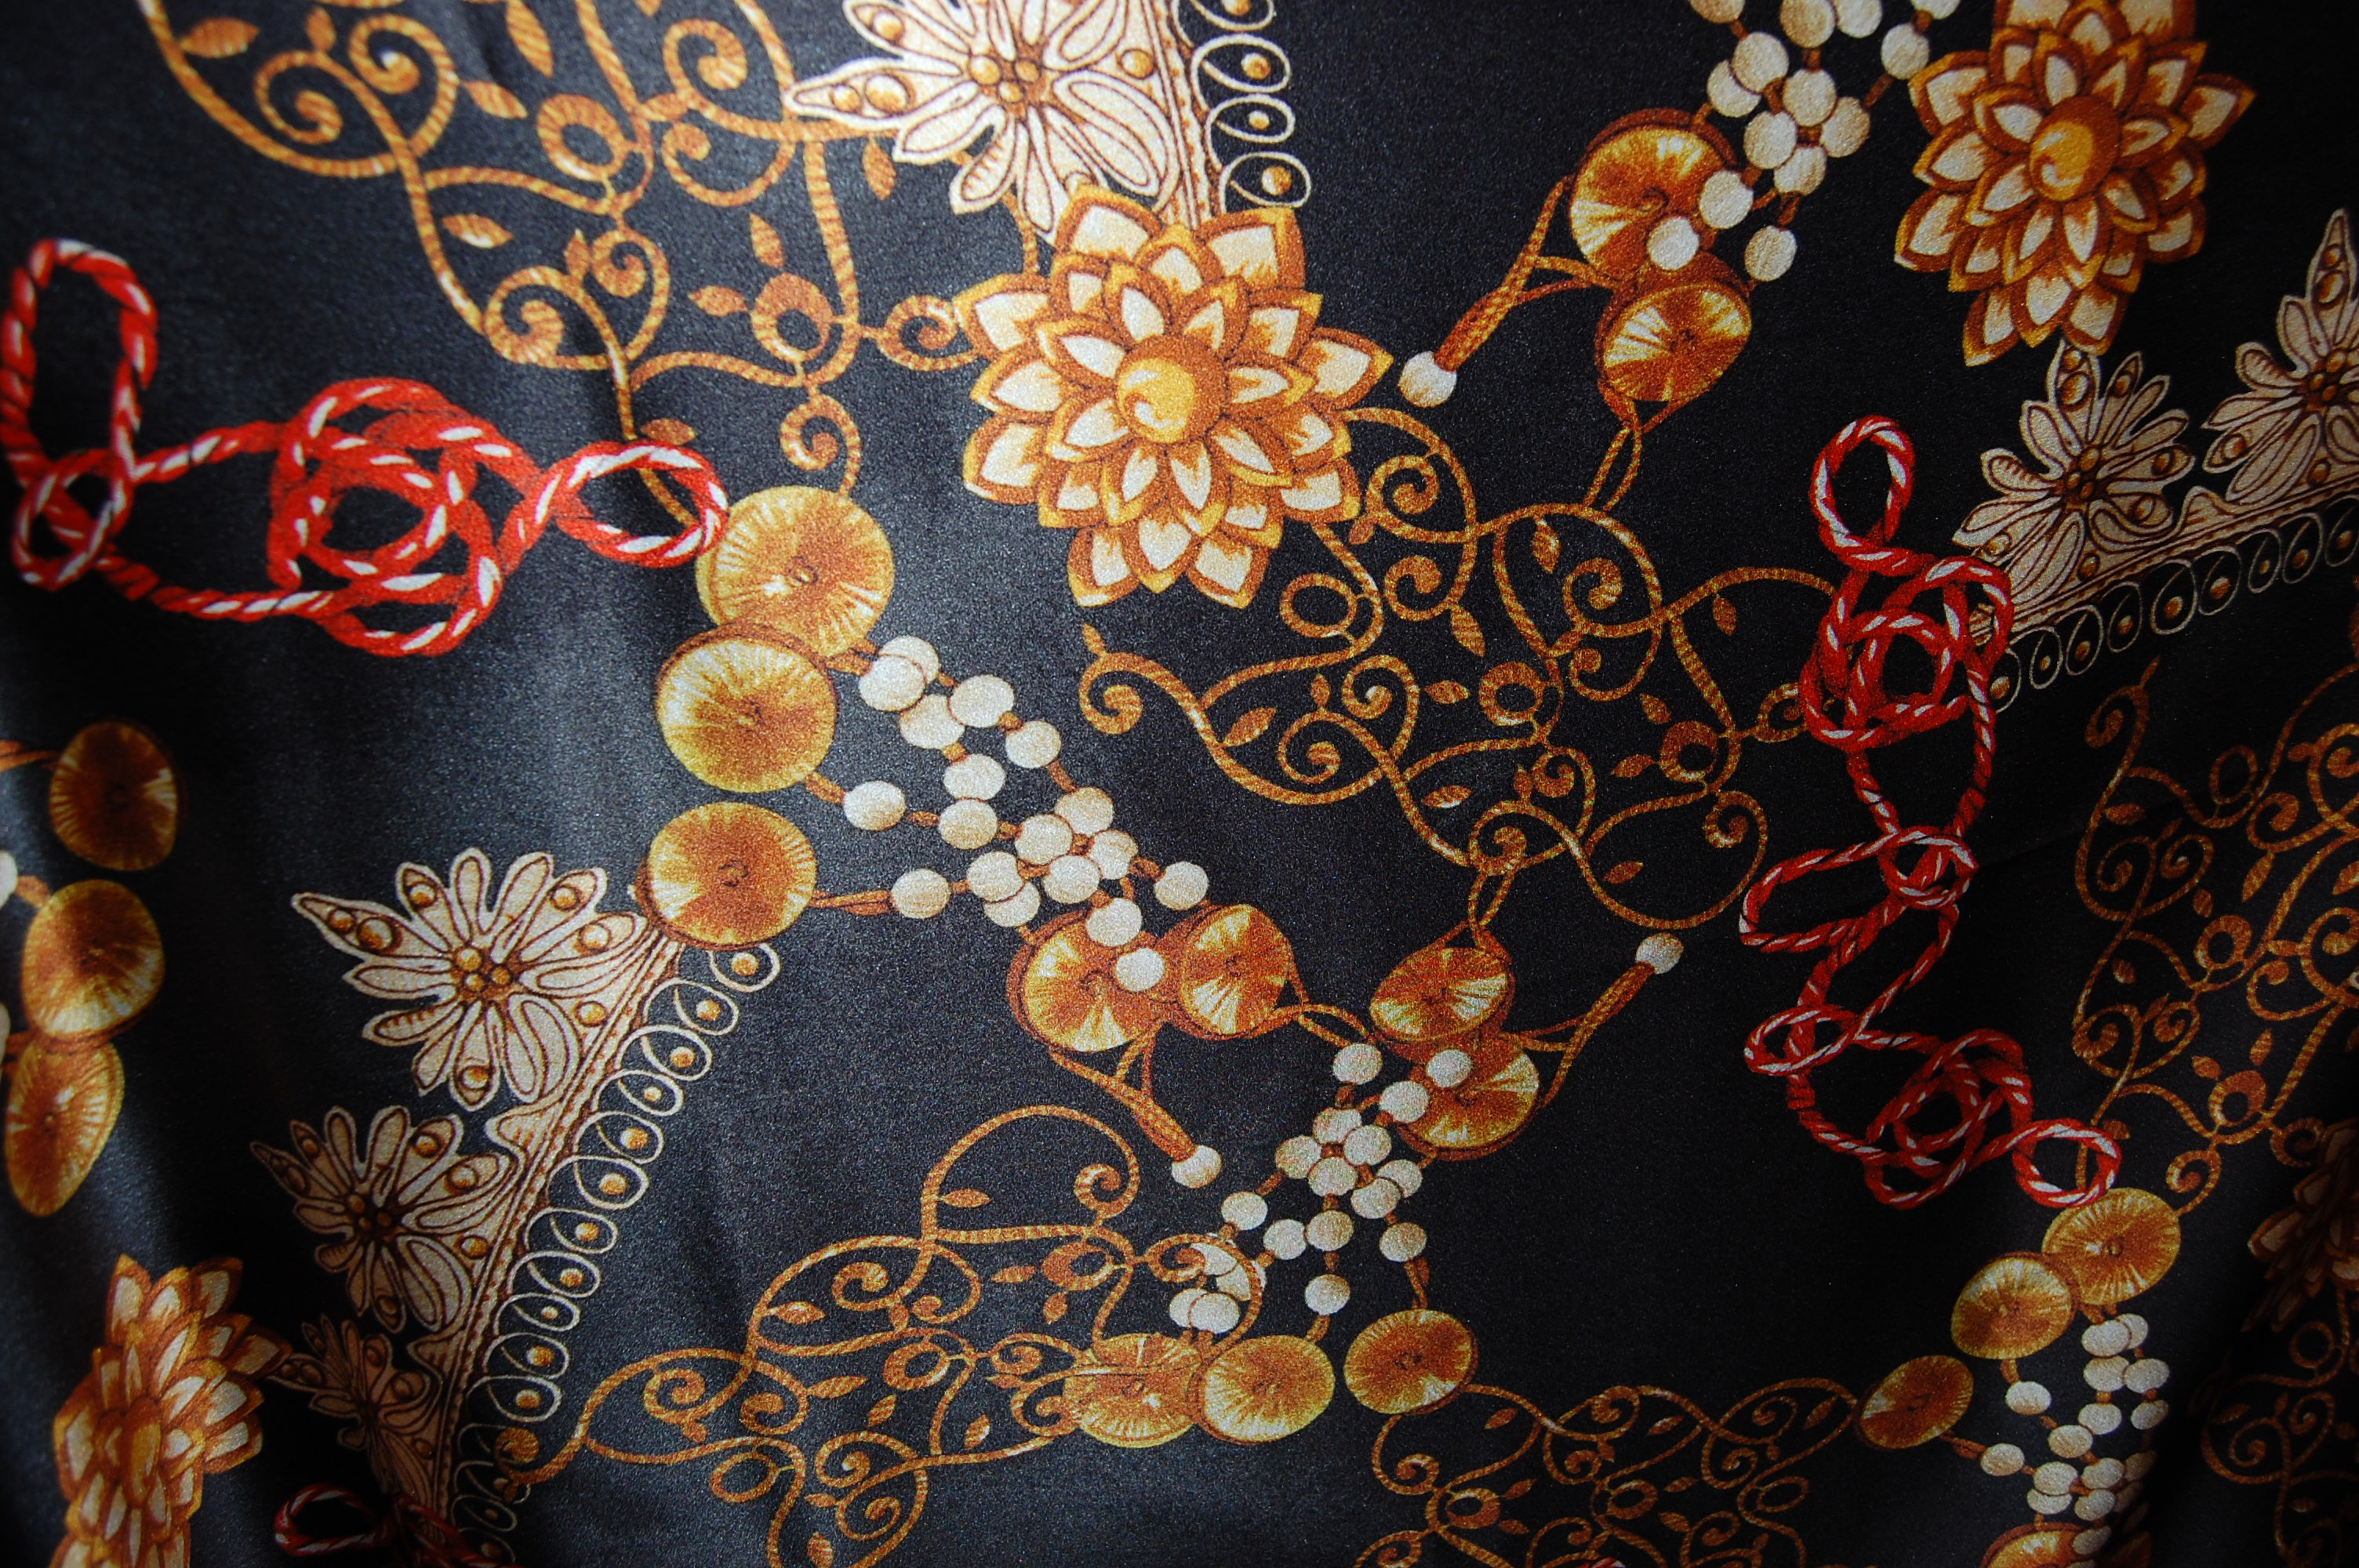
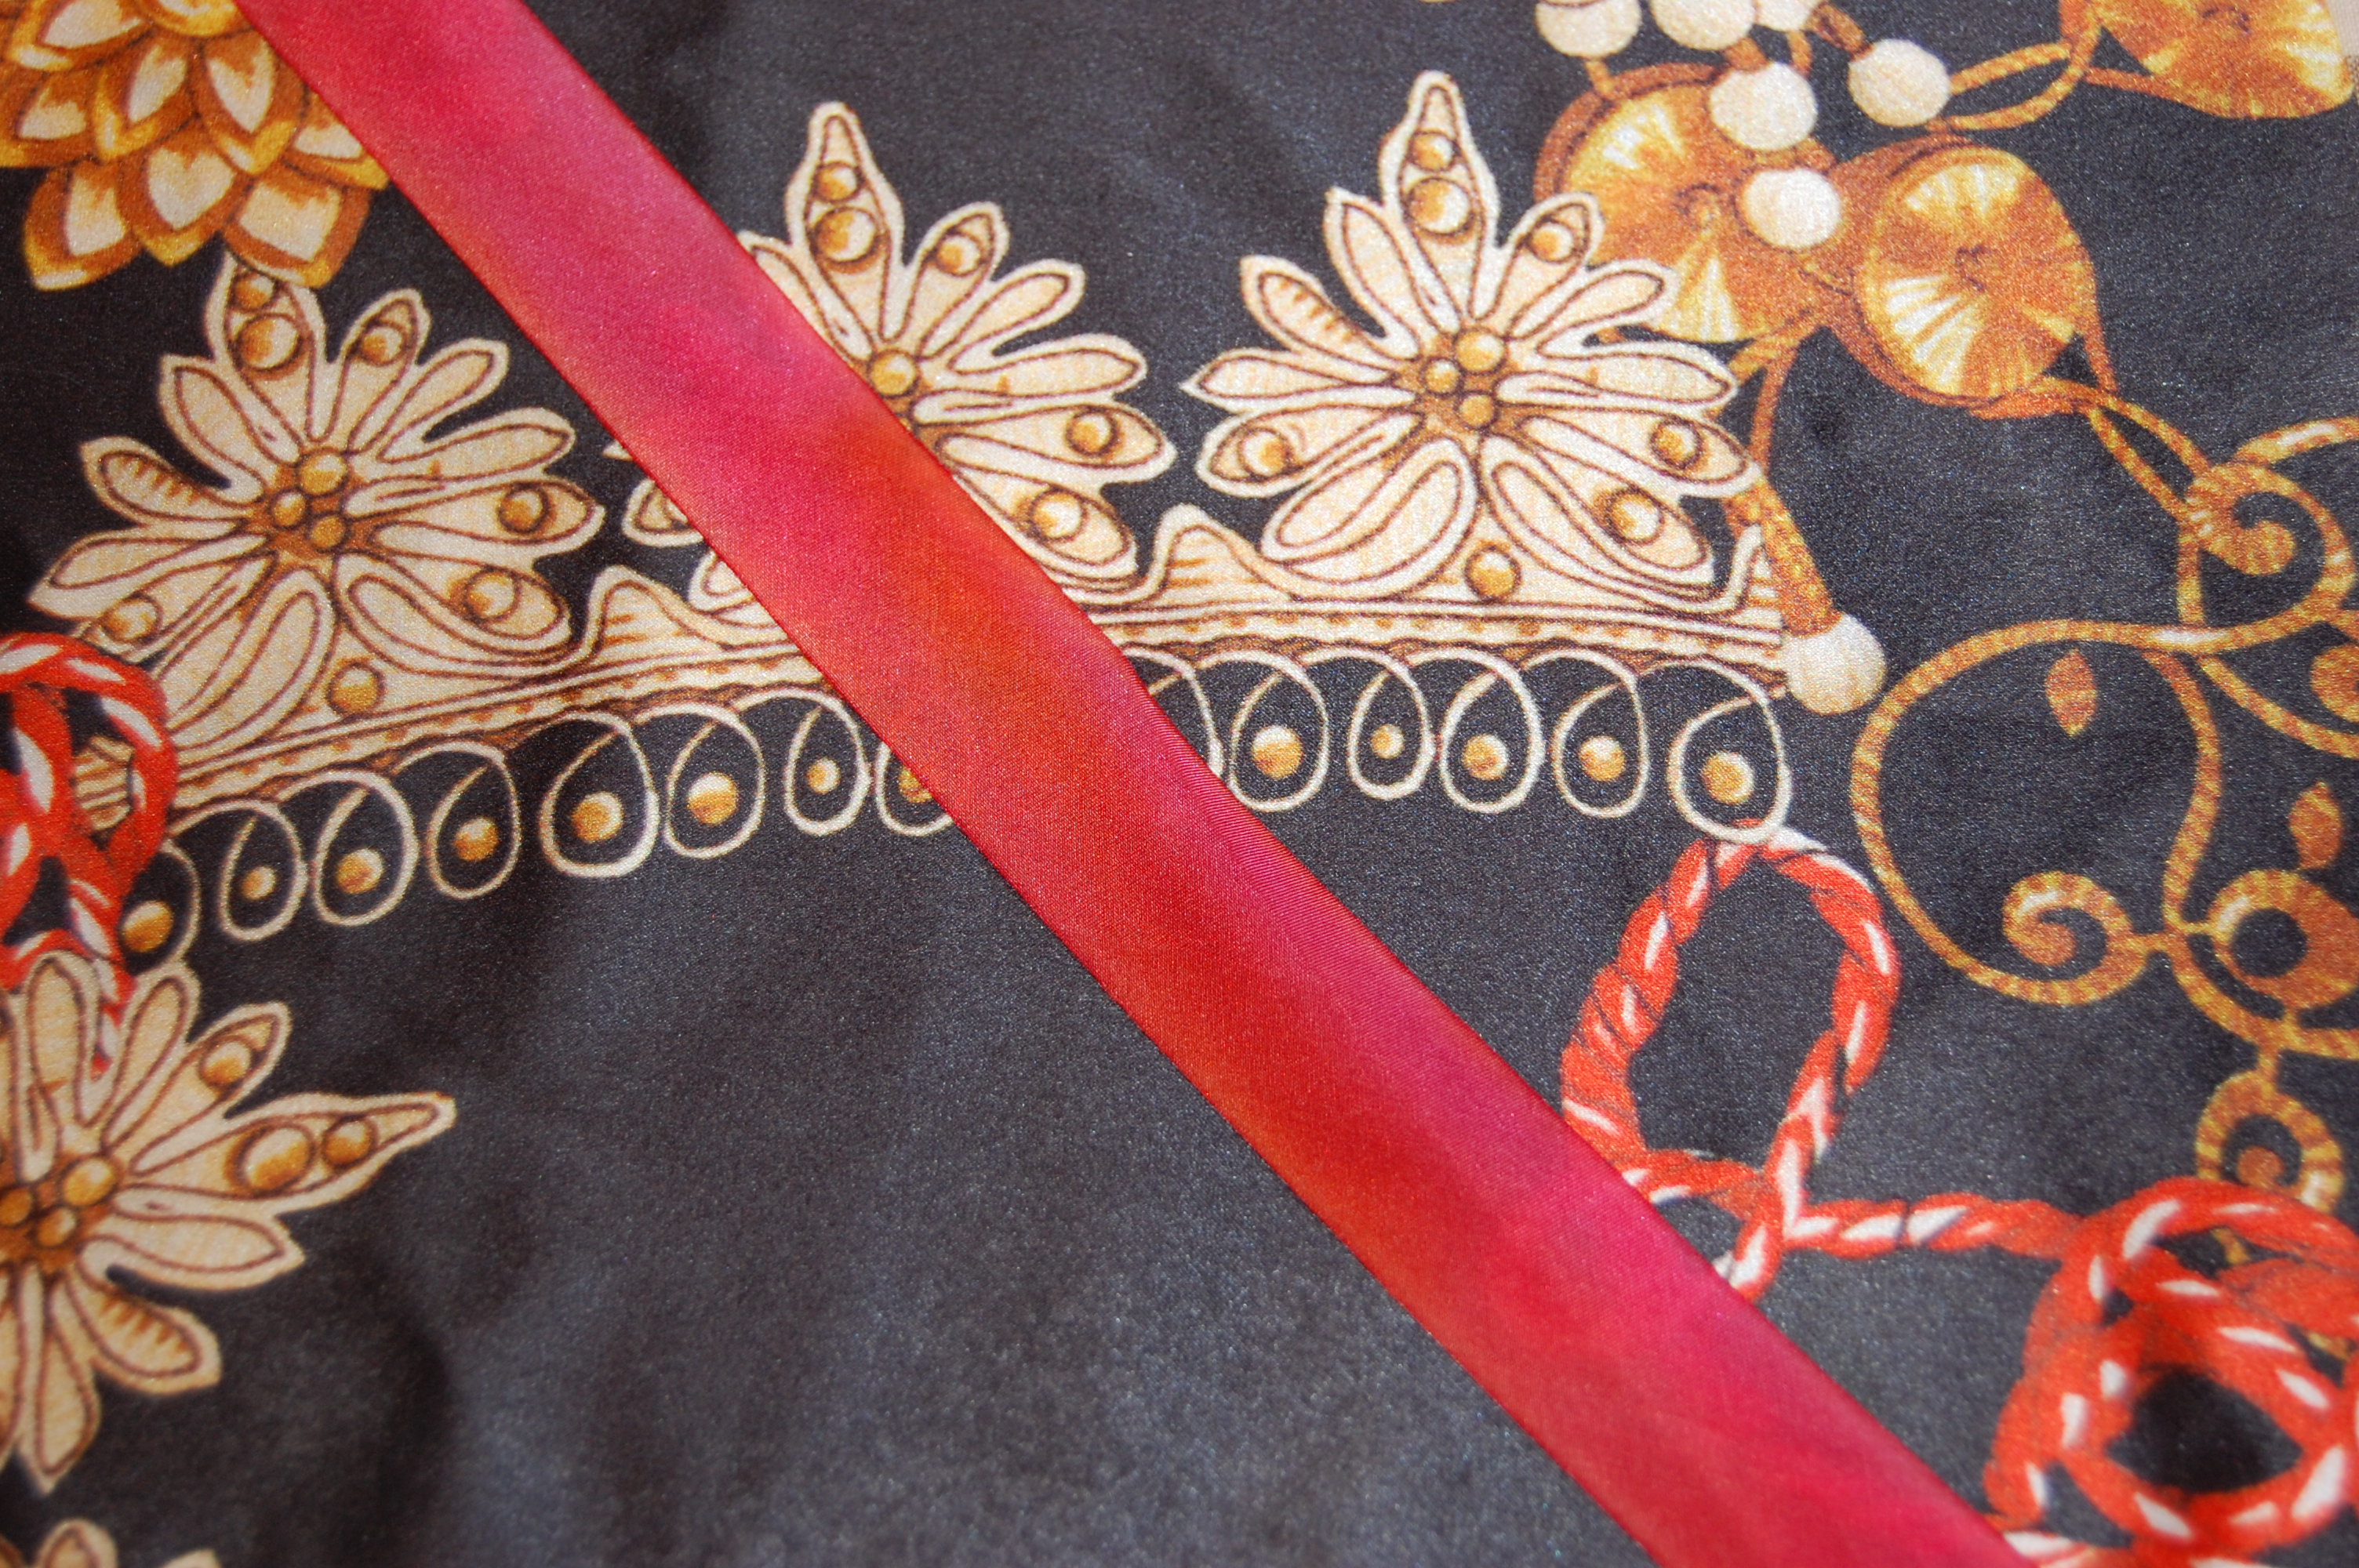
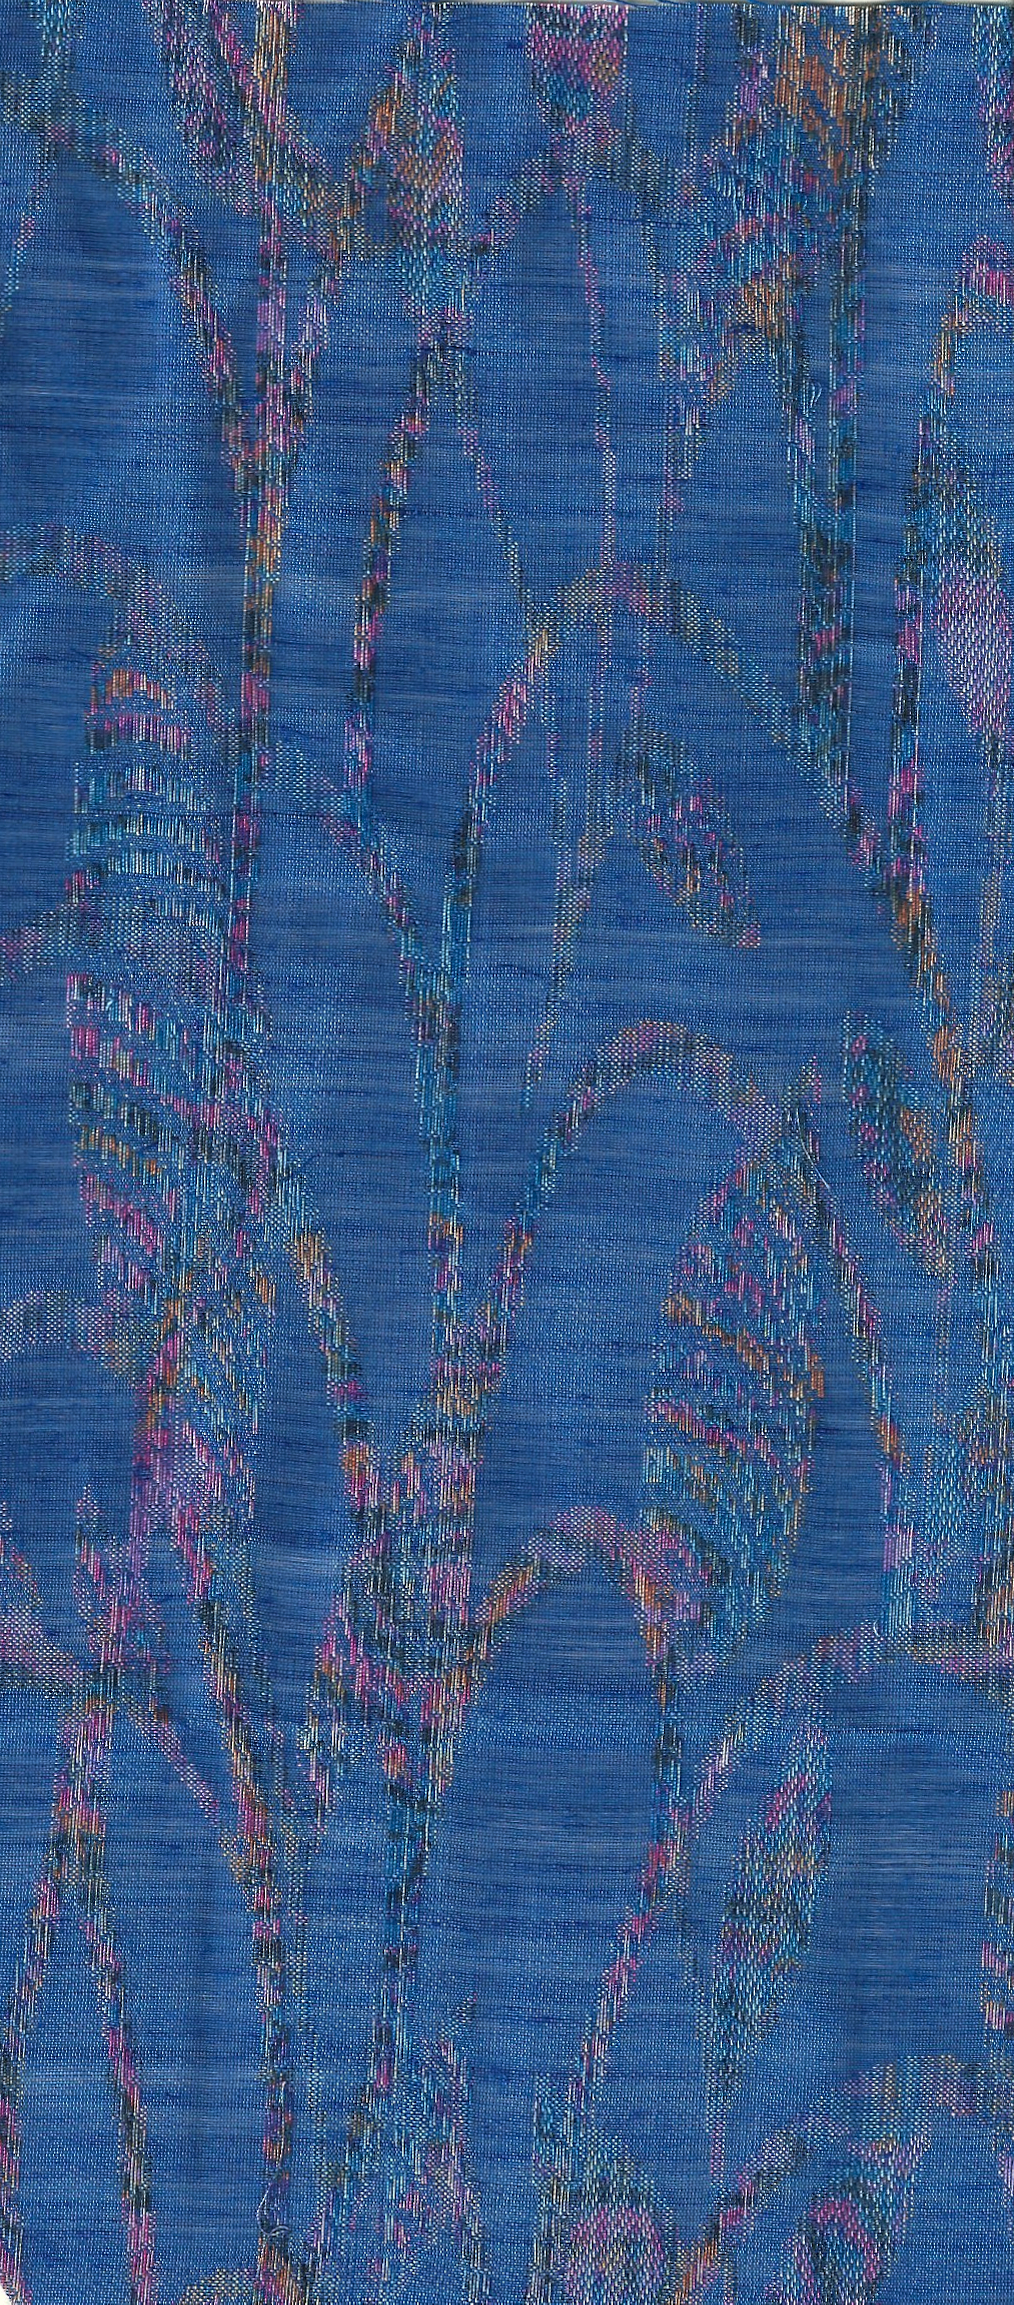
I watched this fabric on the website of Britex Fabrics for months, and finally decided I had to have it. It is silk charmeuse, very soft, with the abstract design woven in.
Fall will once again find me thinking coats and dresses. One of these two patterns will probably get the nod for a Fall/Winter ensemble:
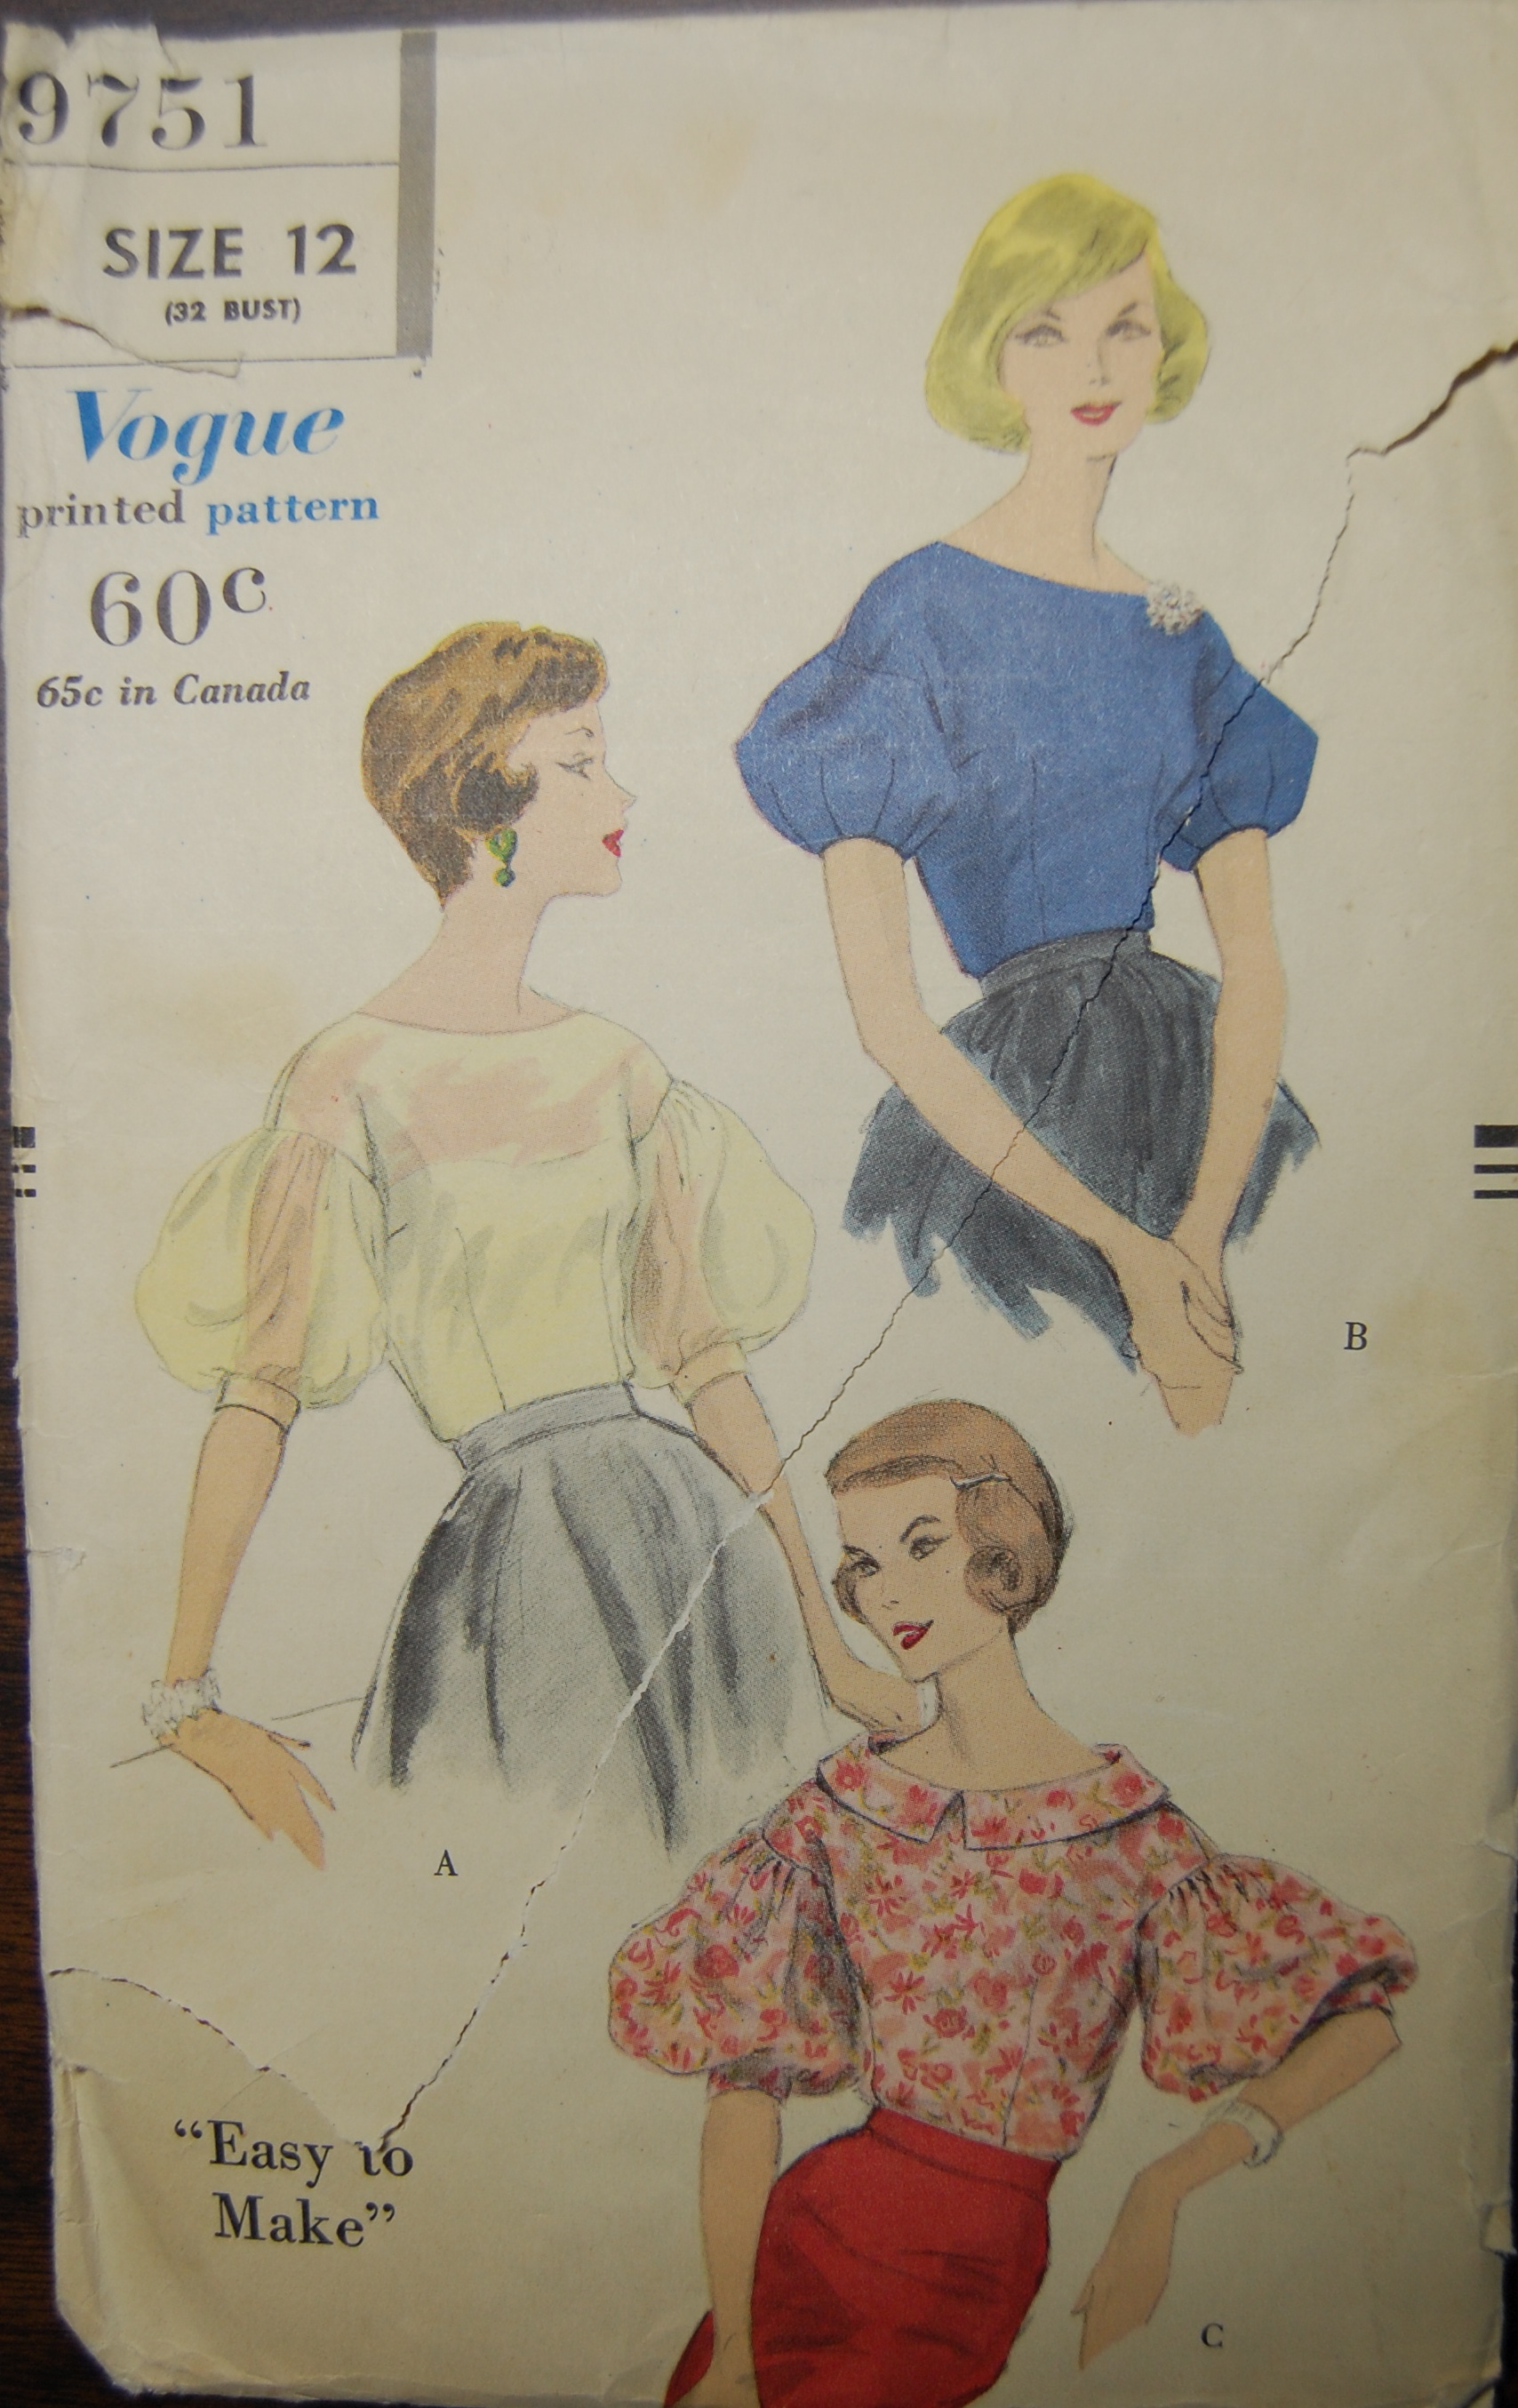
I love both the coat and the dress (with two variations) featured in this pattern.
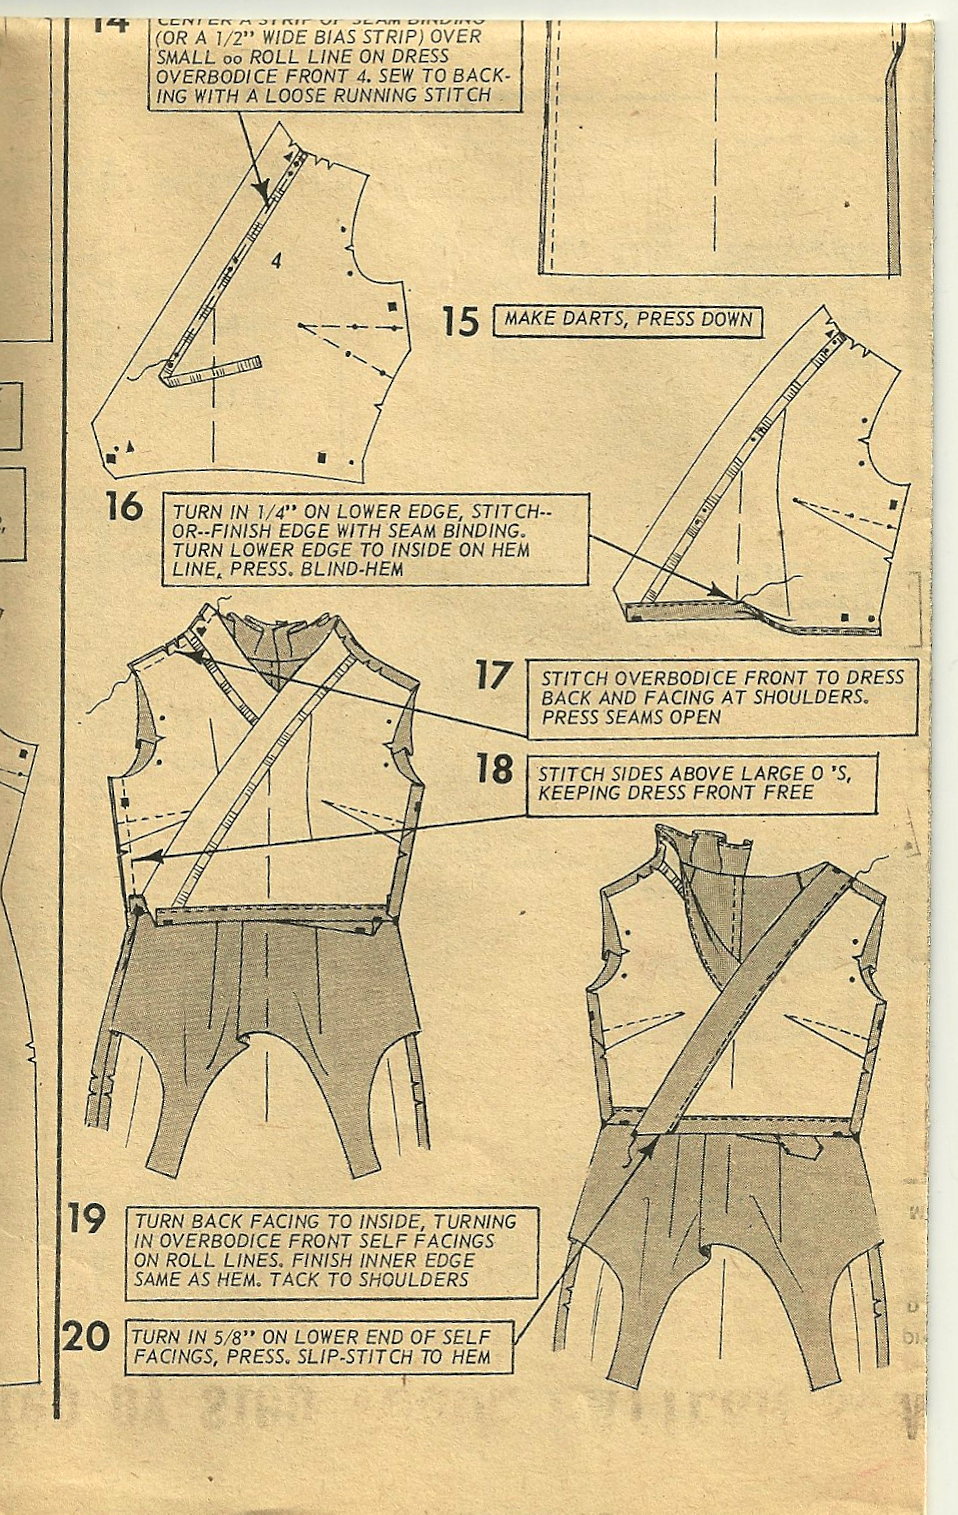
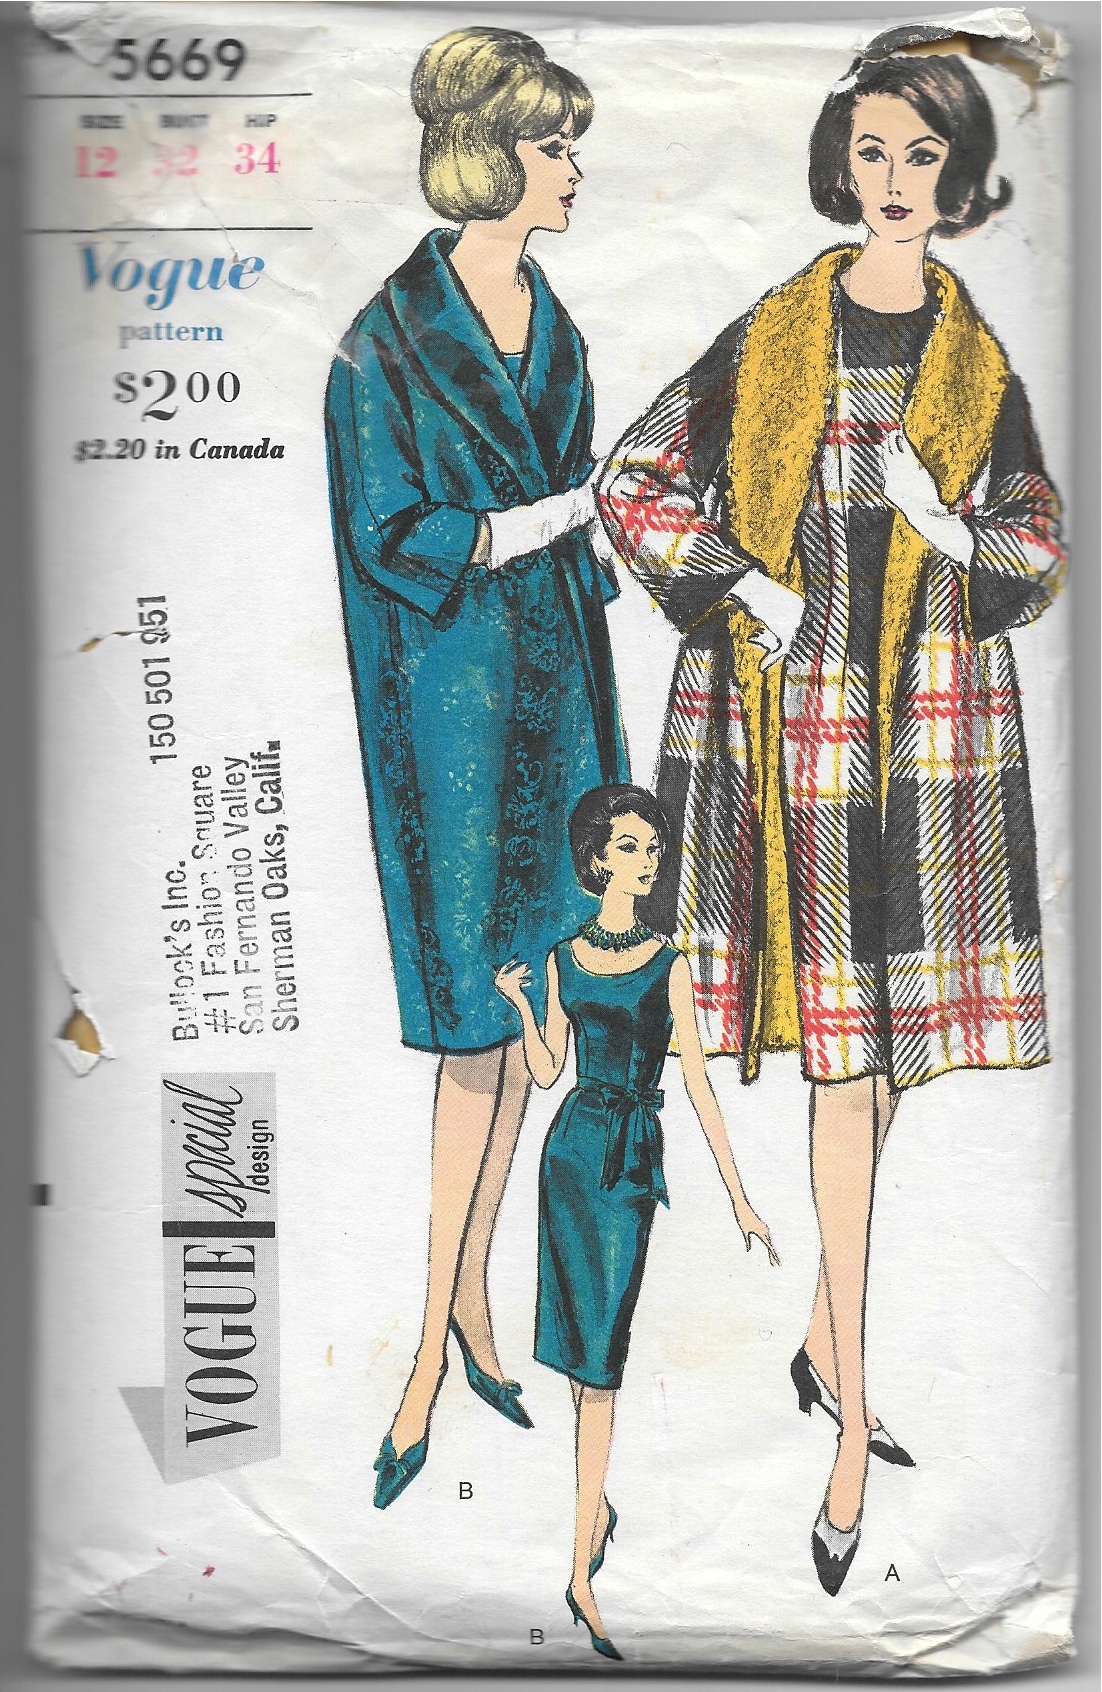
This Jacques Heim design has very clever seaming in the skirt. And the short jacket looks like it would be very flattering. However, this pattern needs just the perfect fabric to showcase the design.
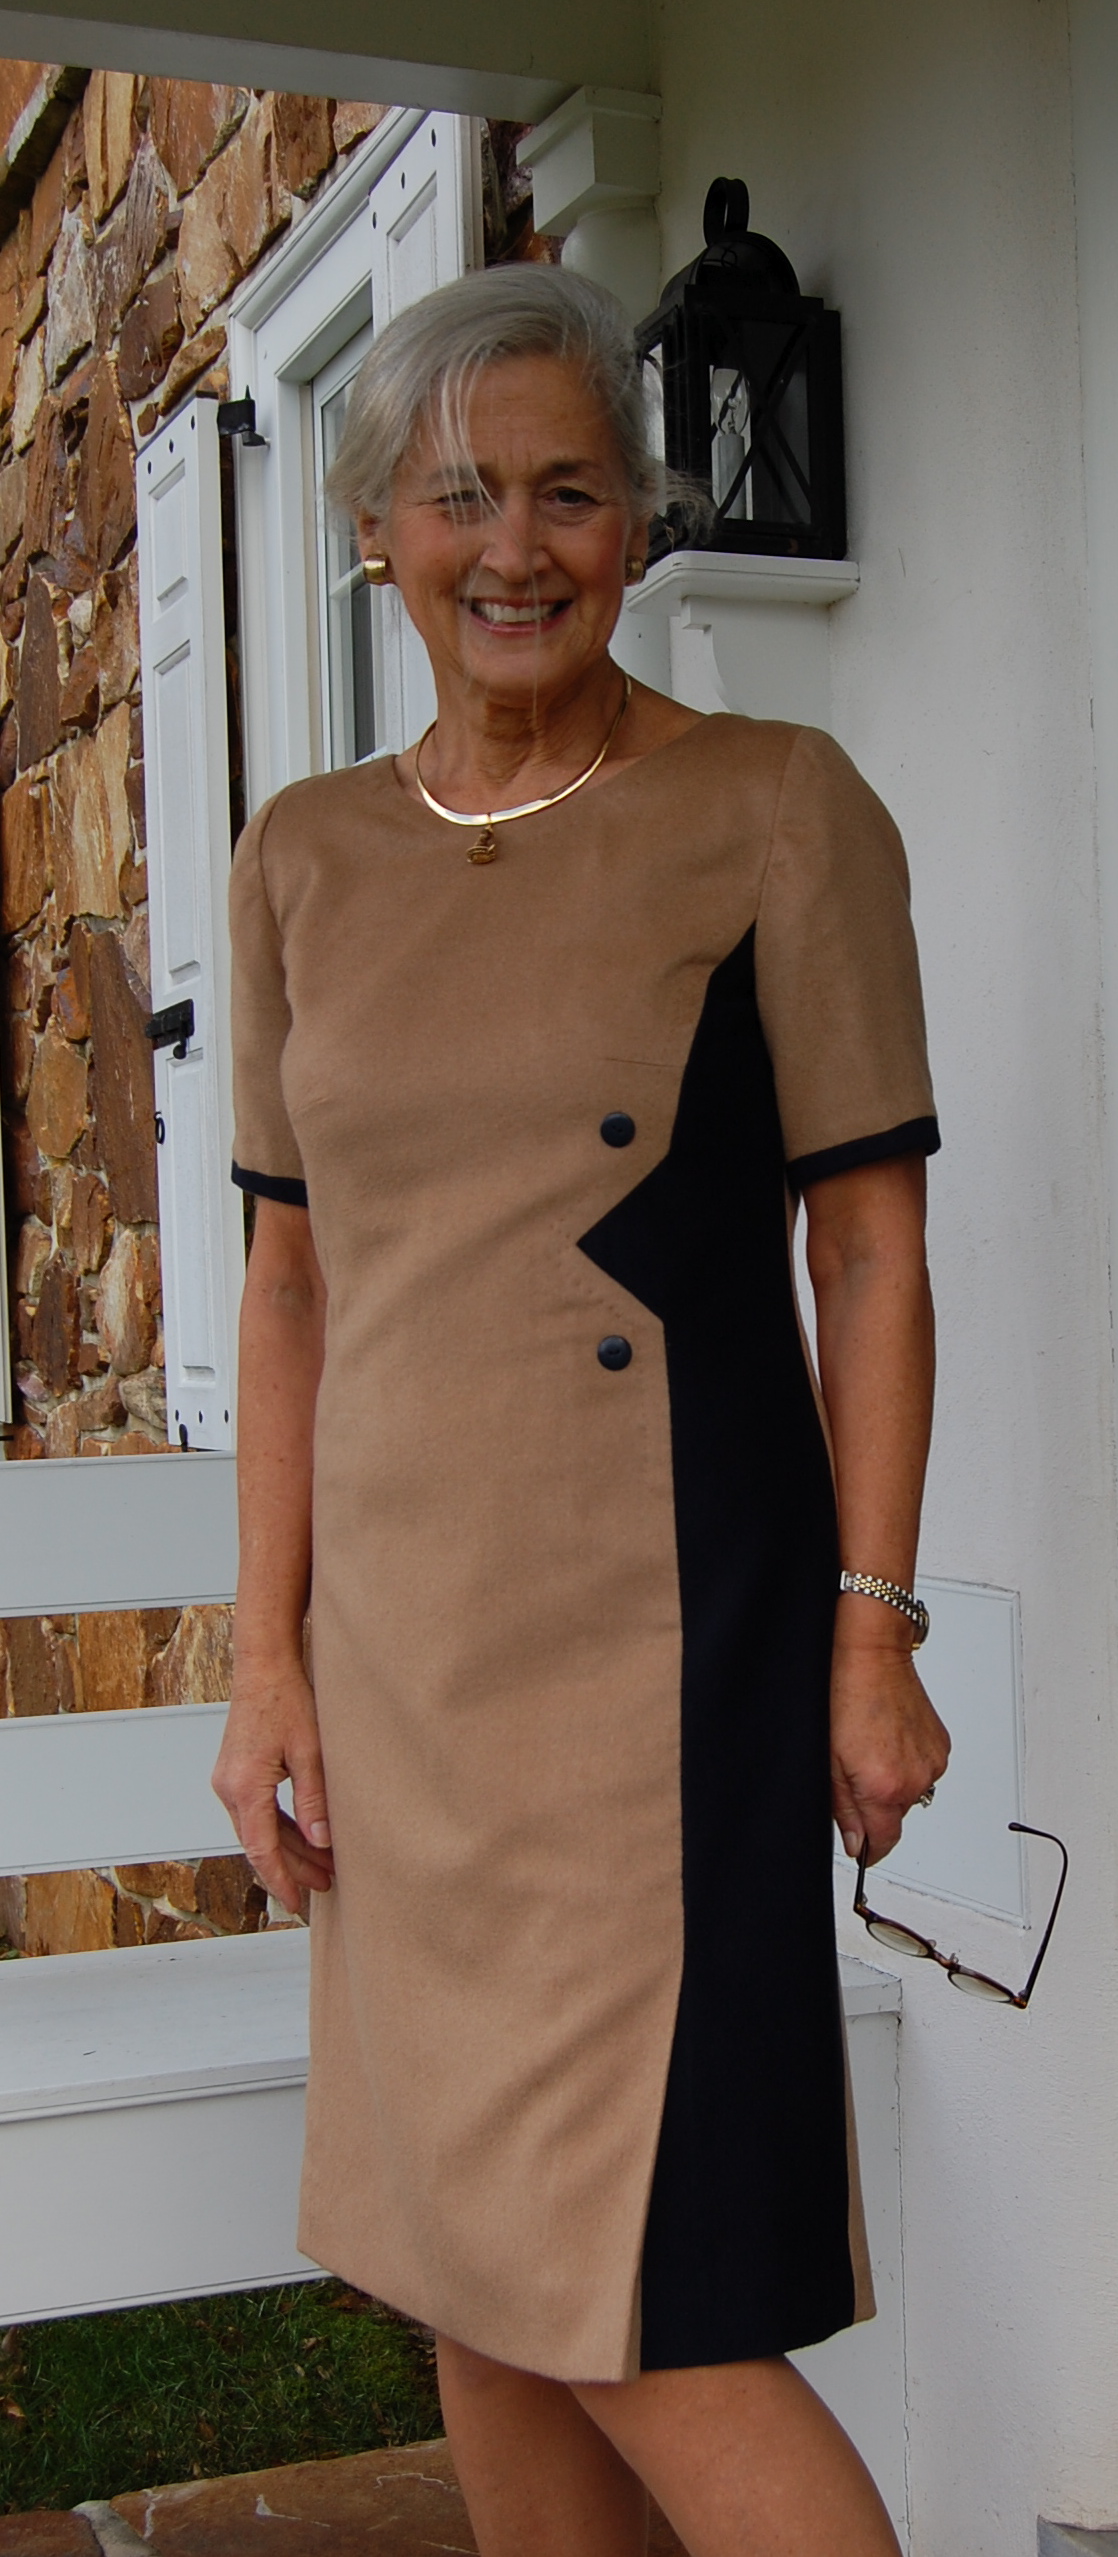
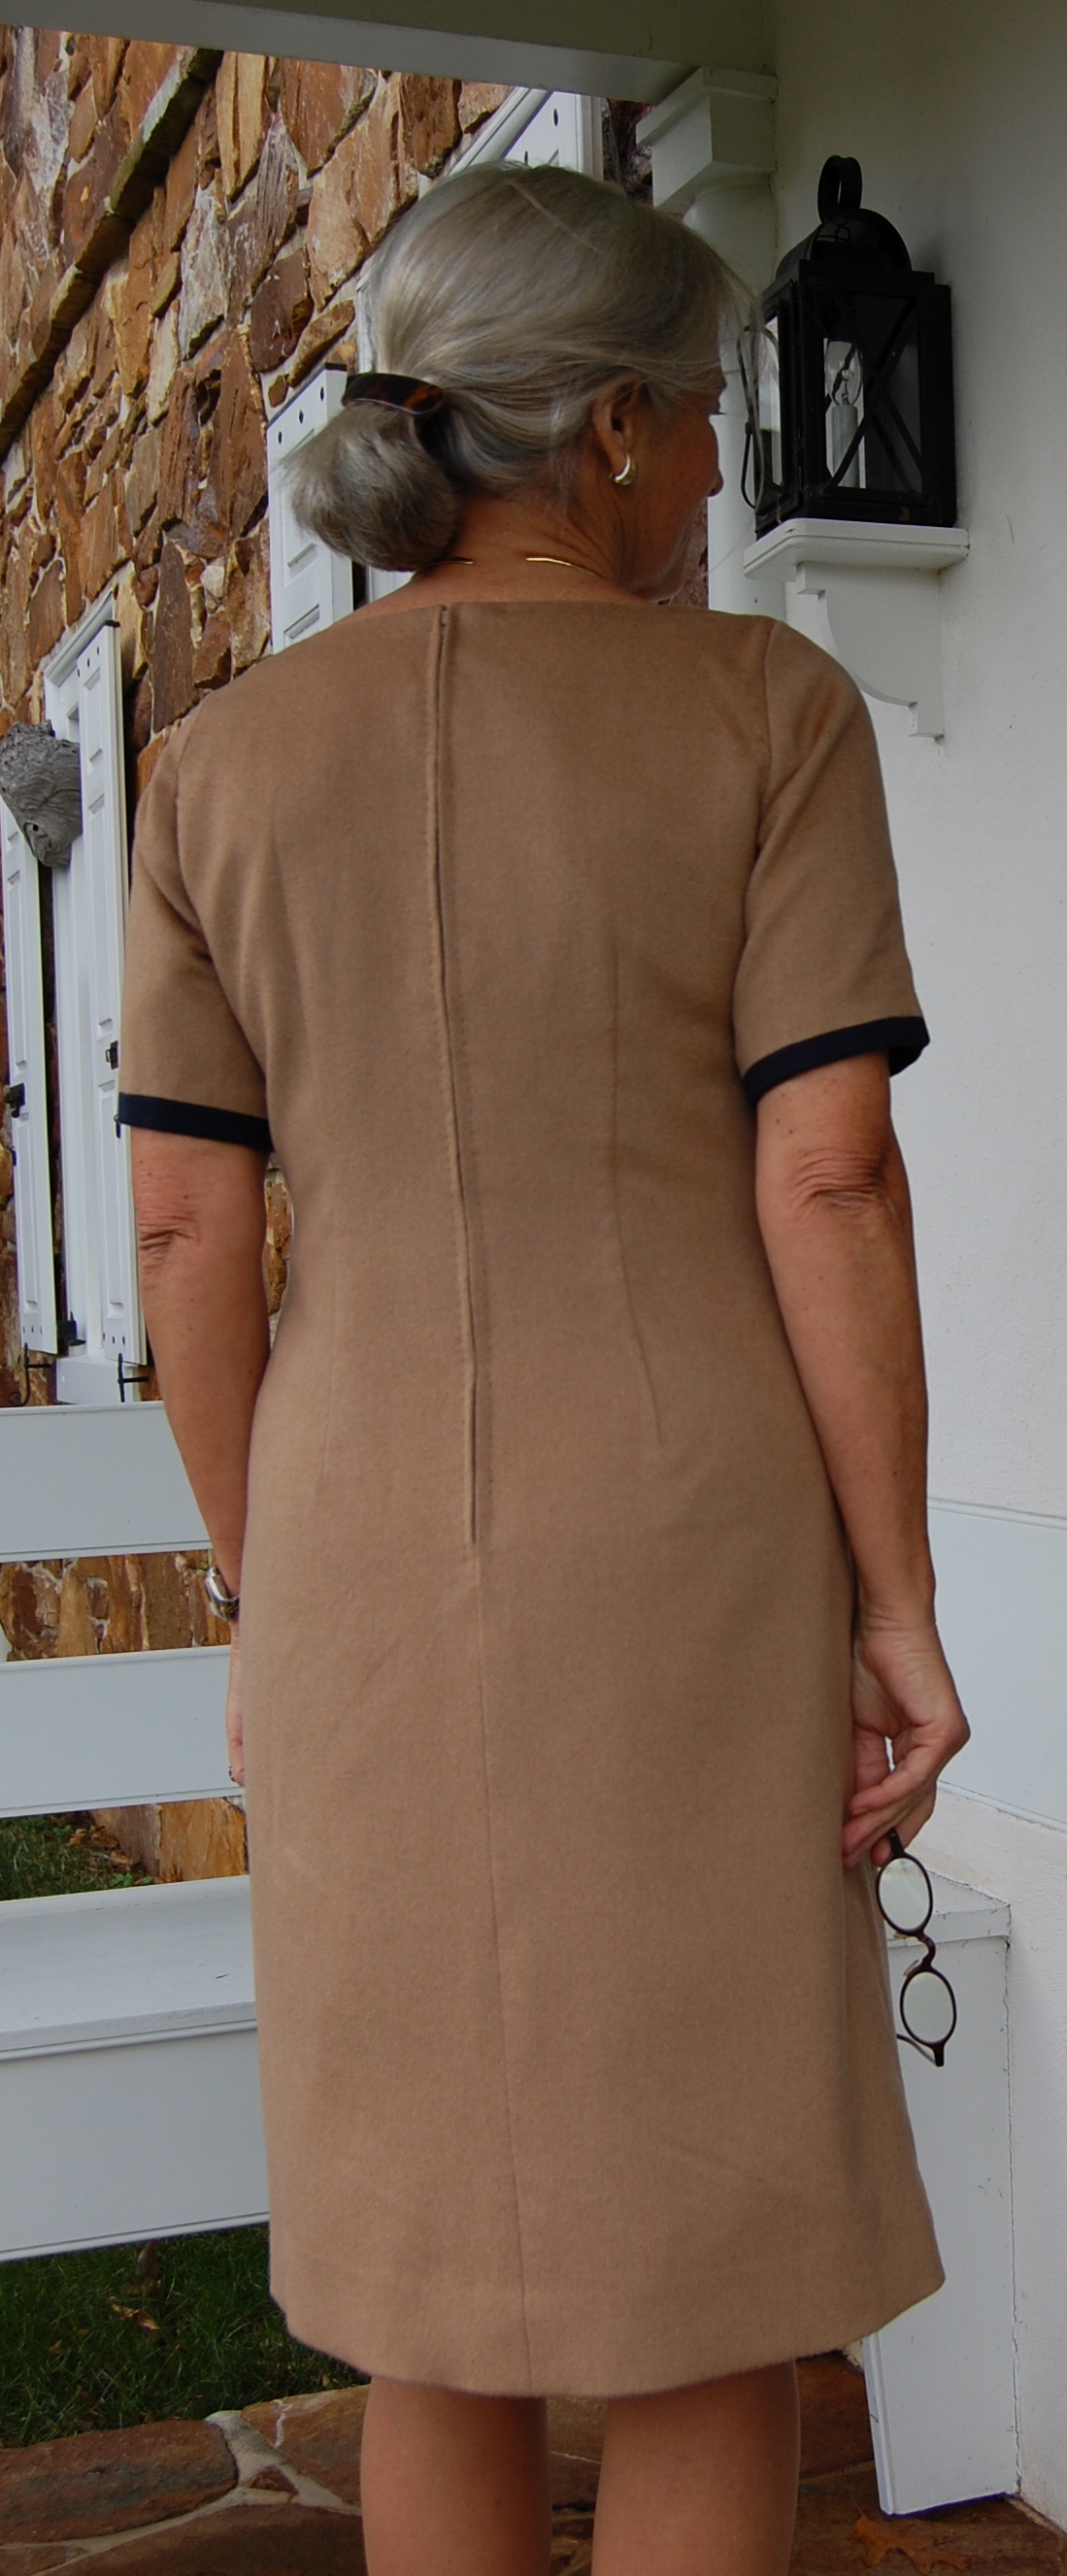
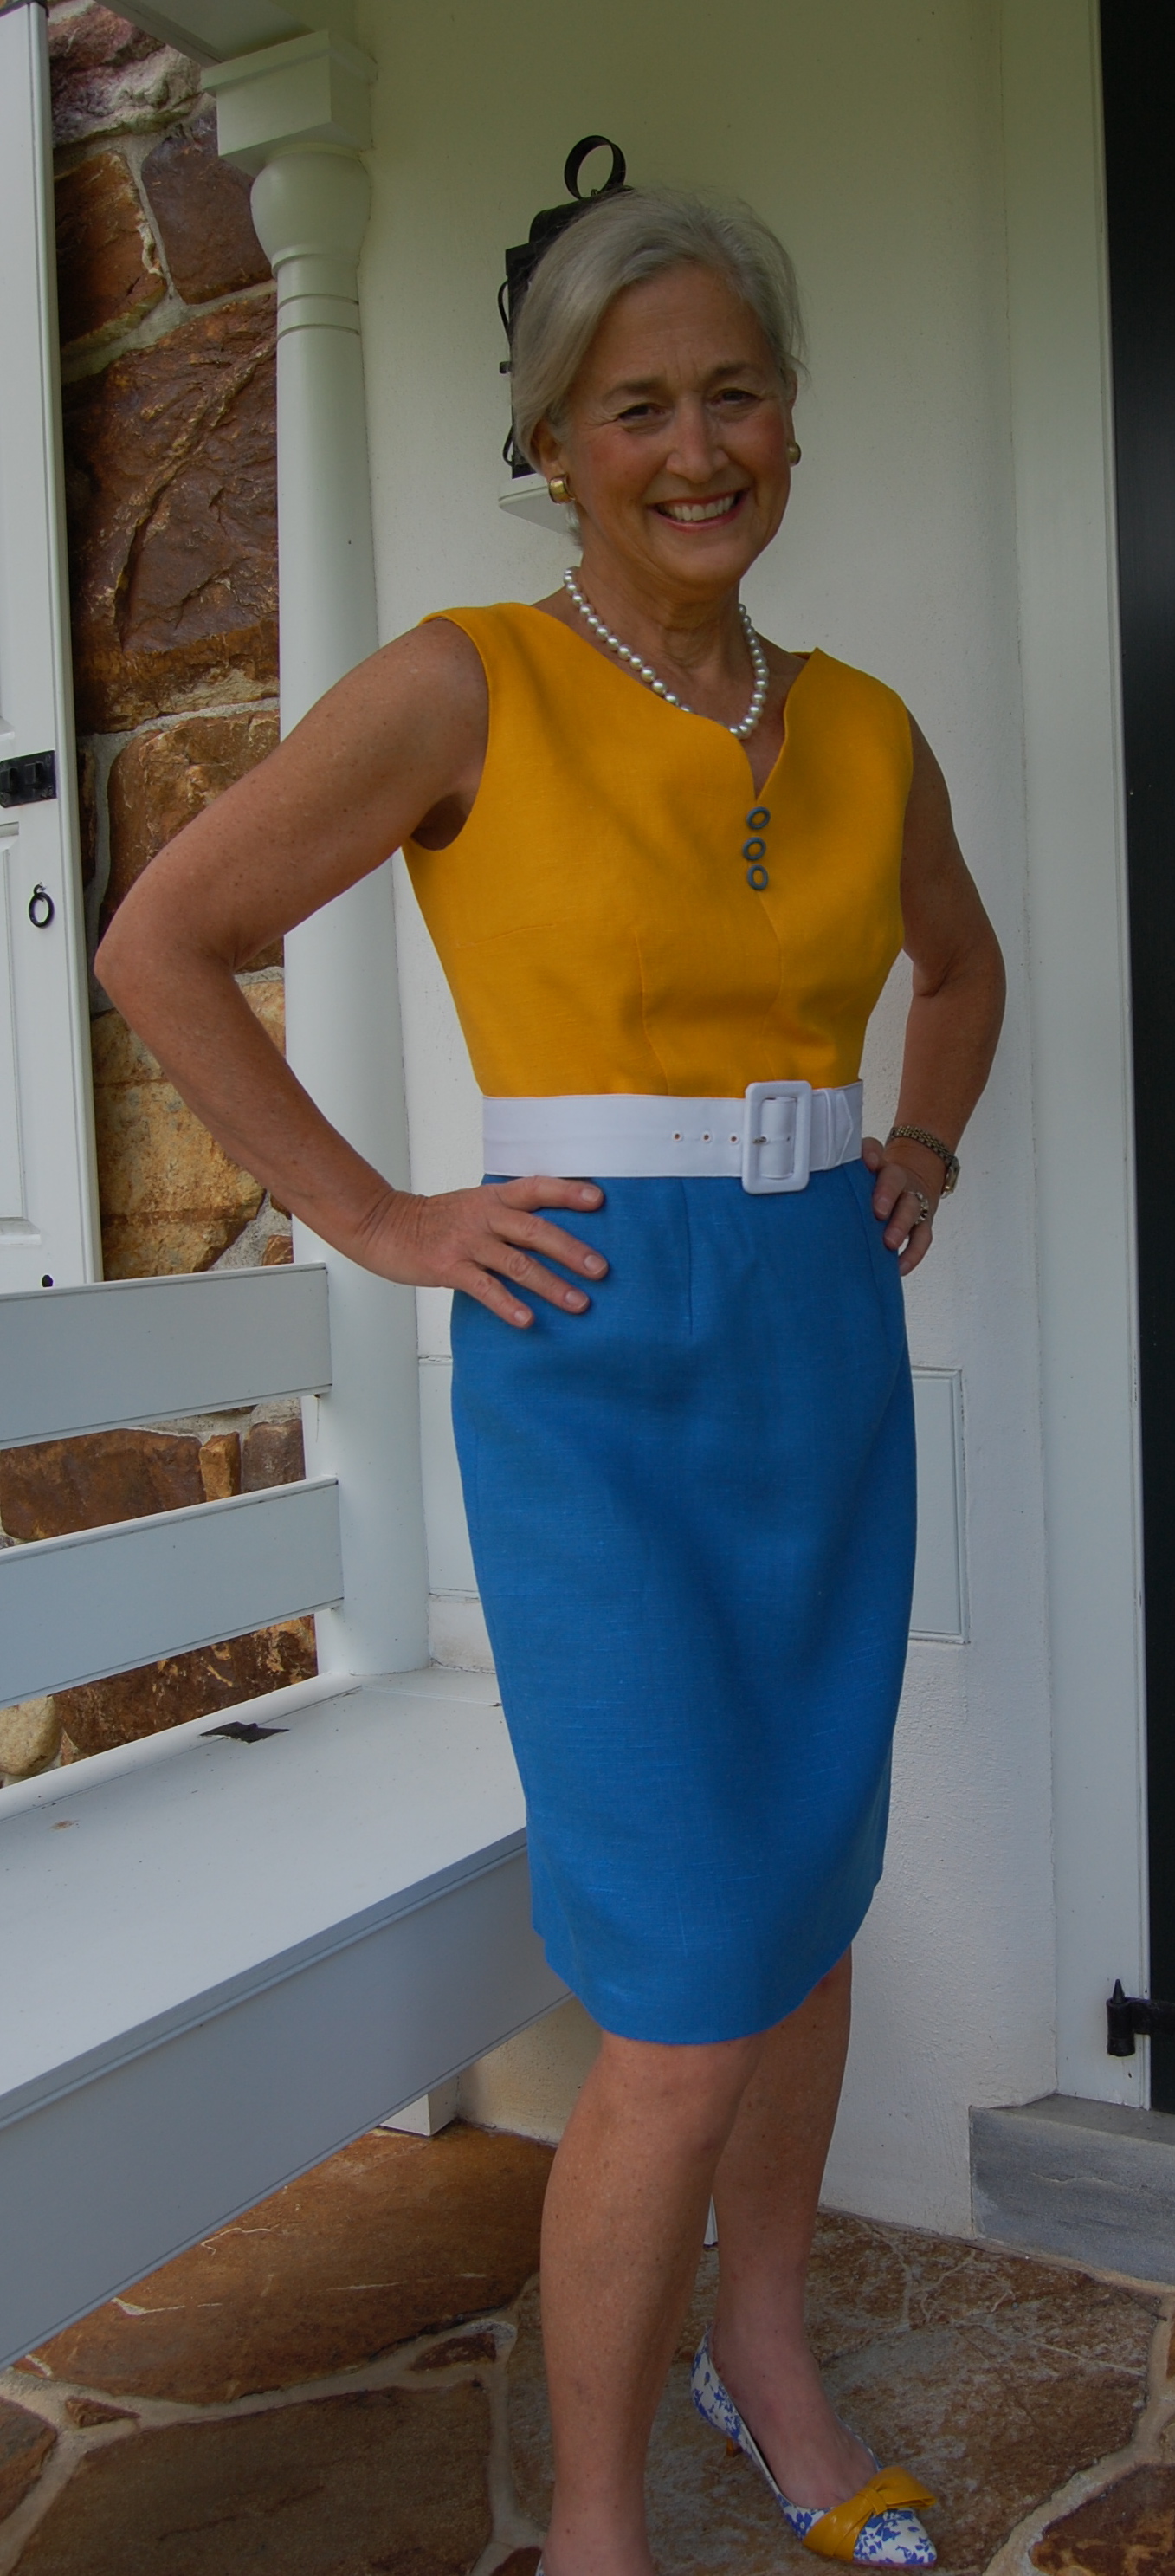
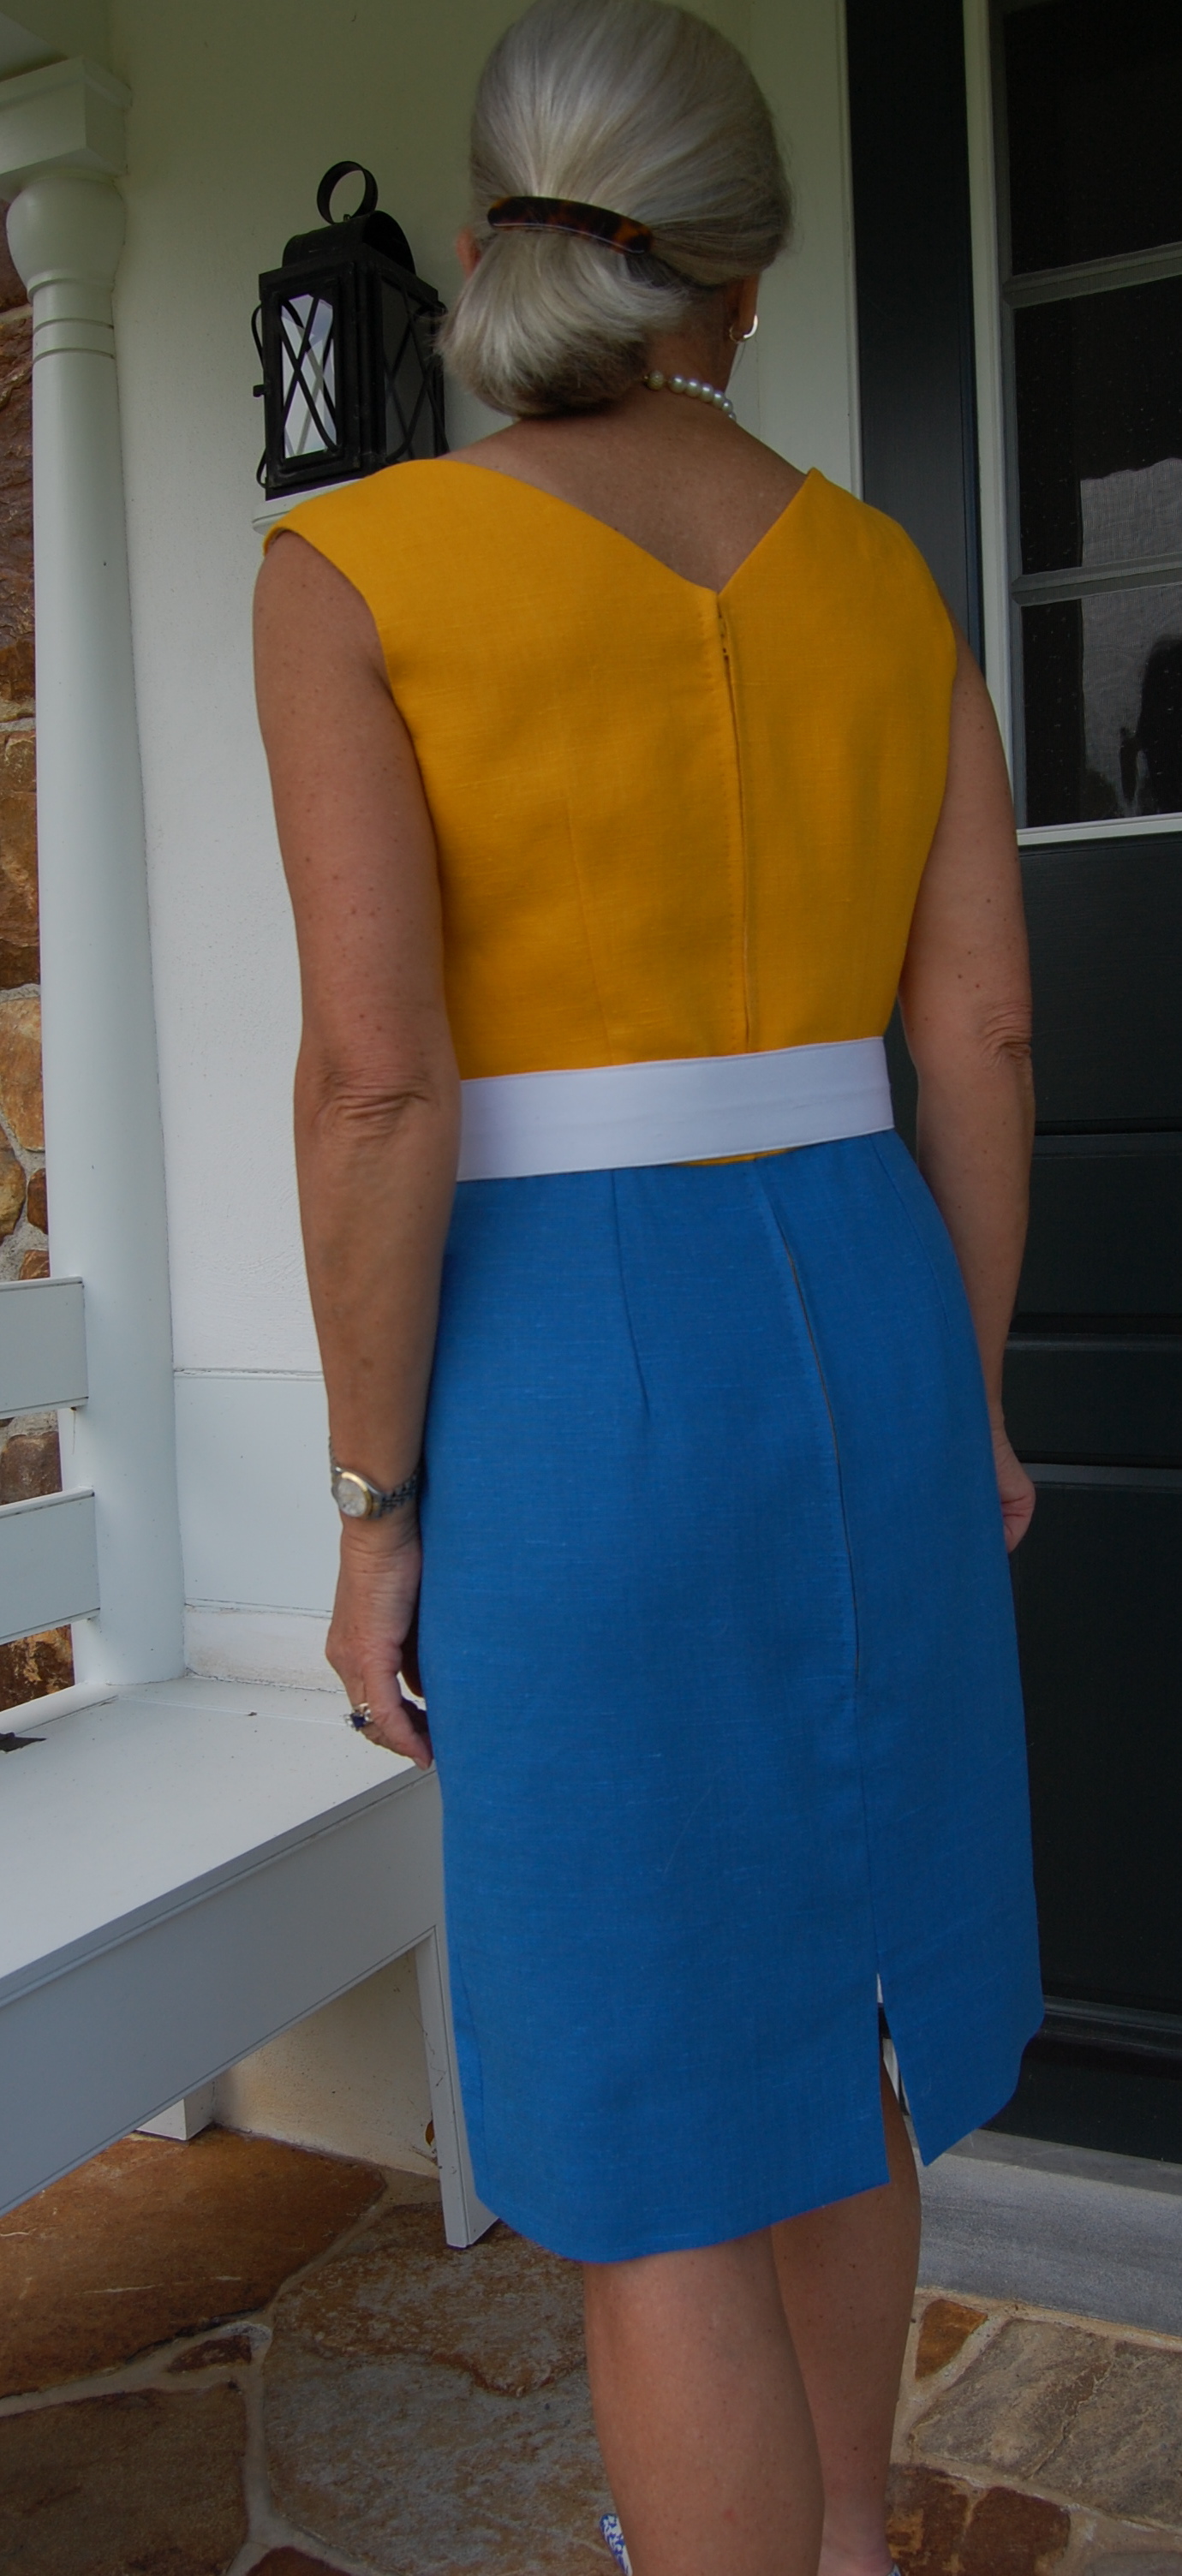
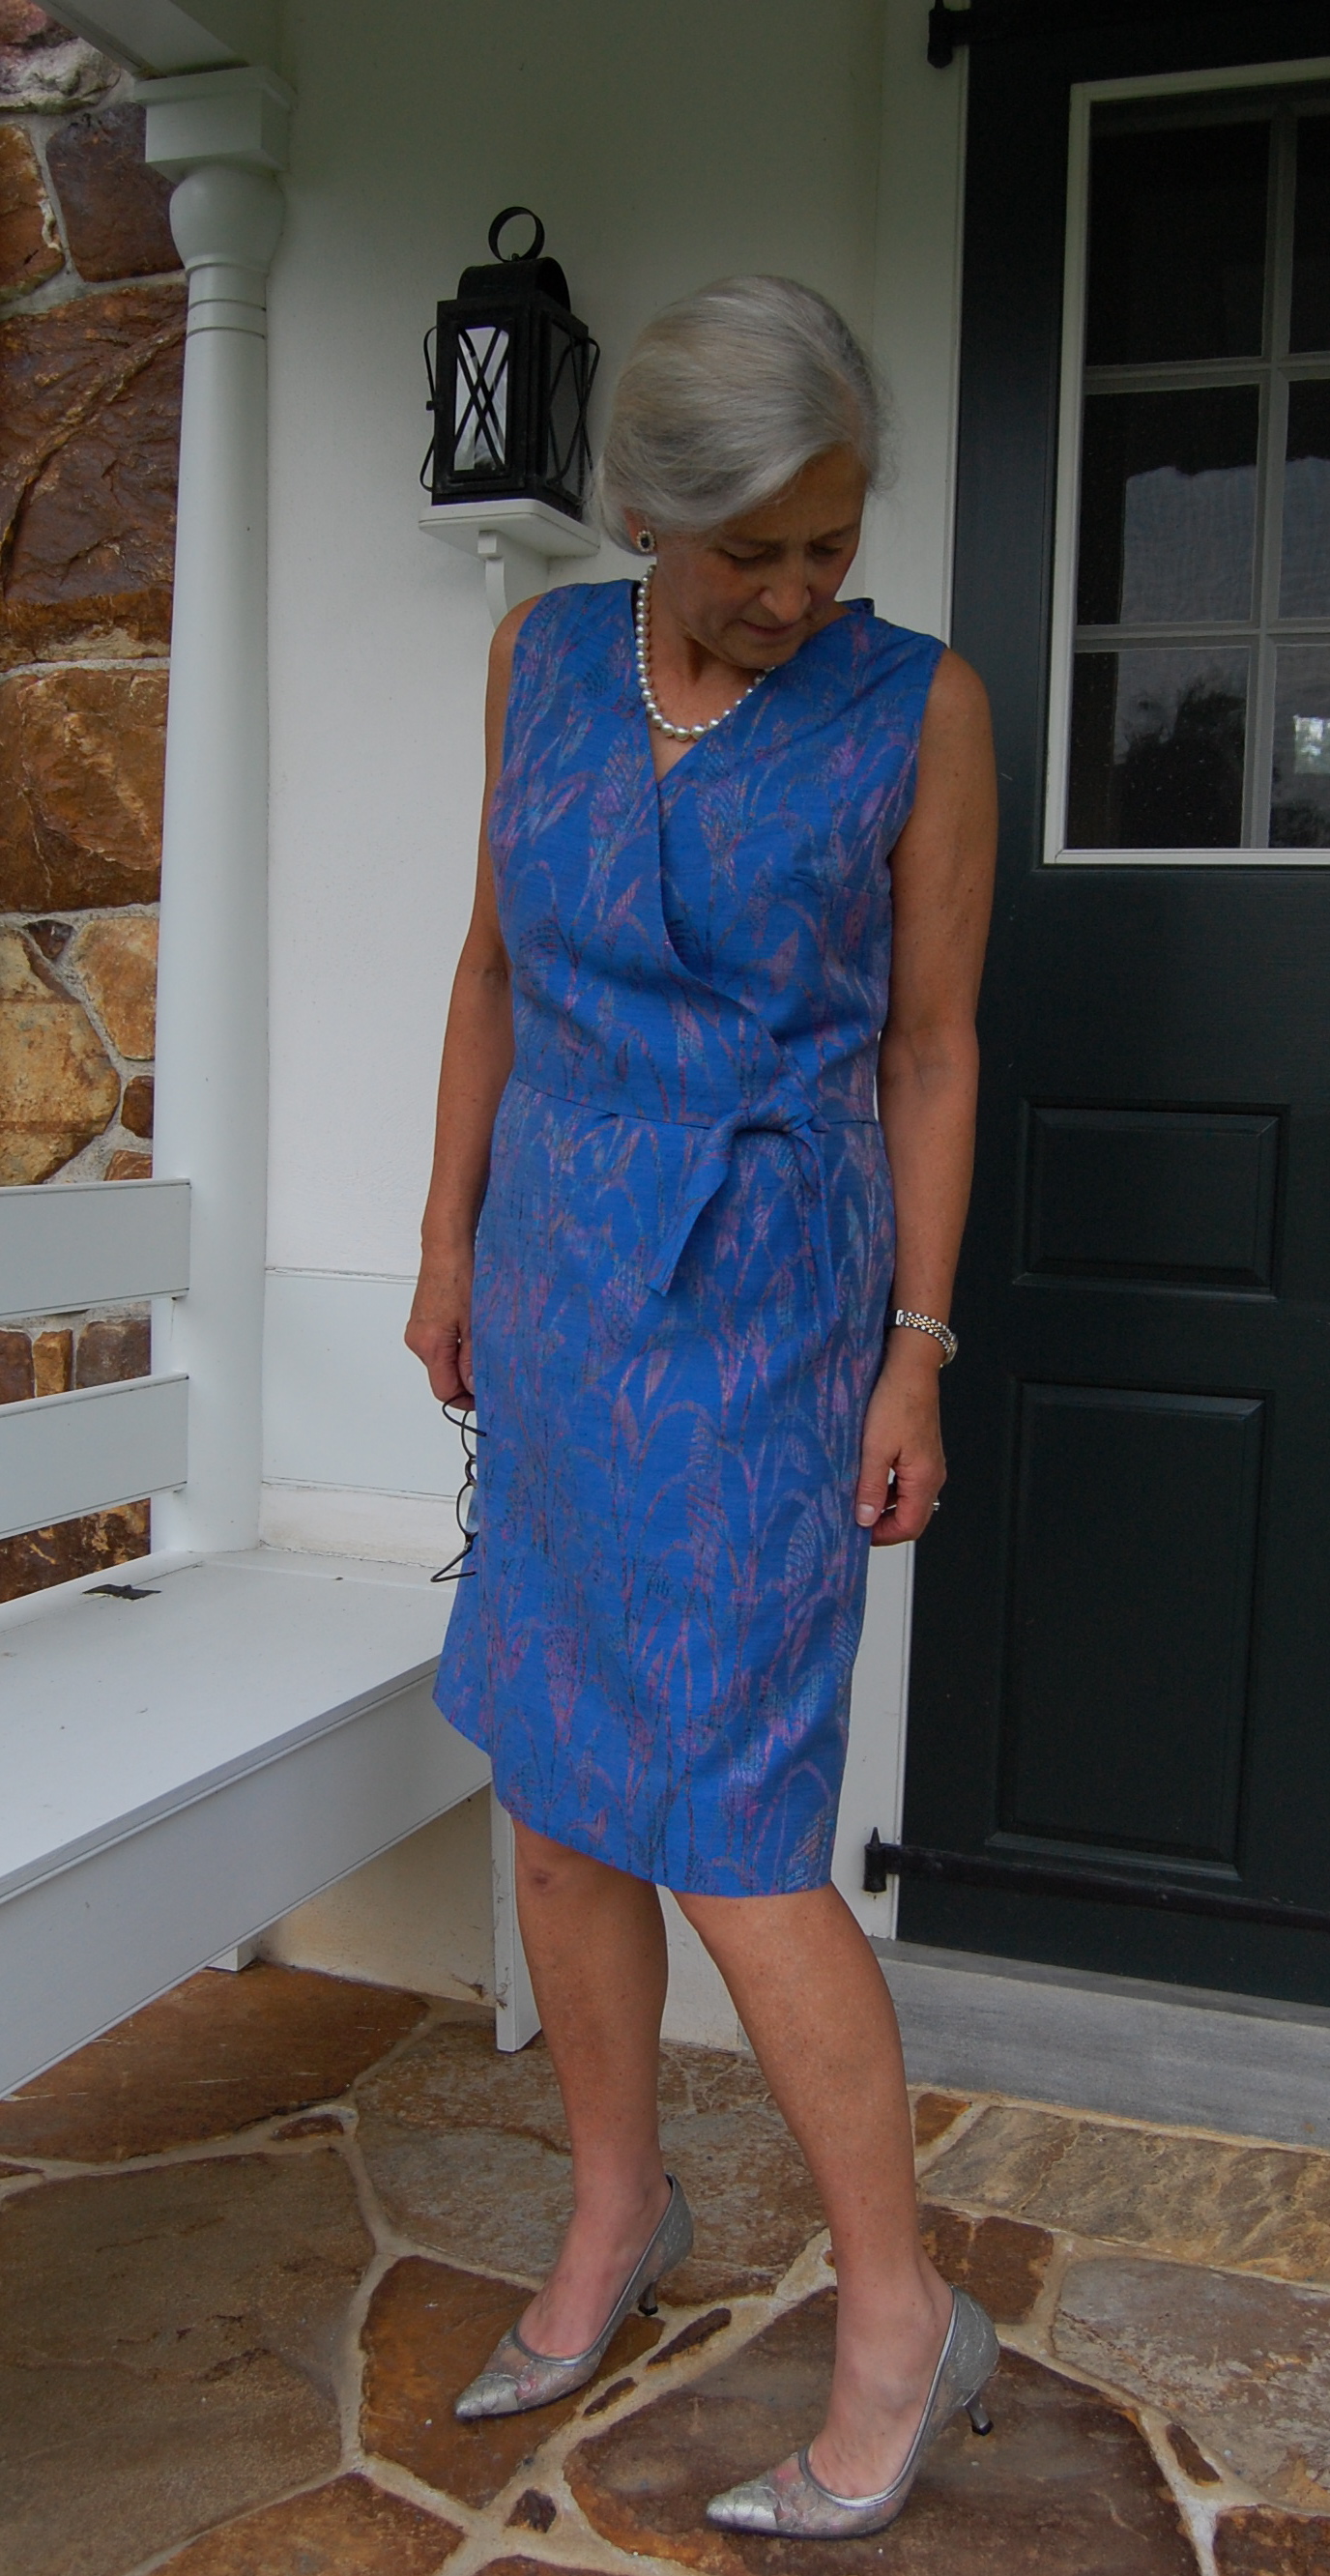
And I am still looking for the perfect fabric with which to make the coordinating coat for this dress which I completed last Fall:
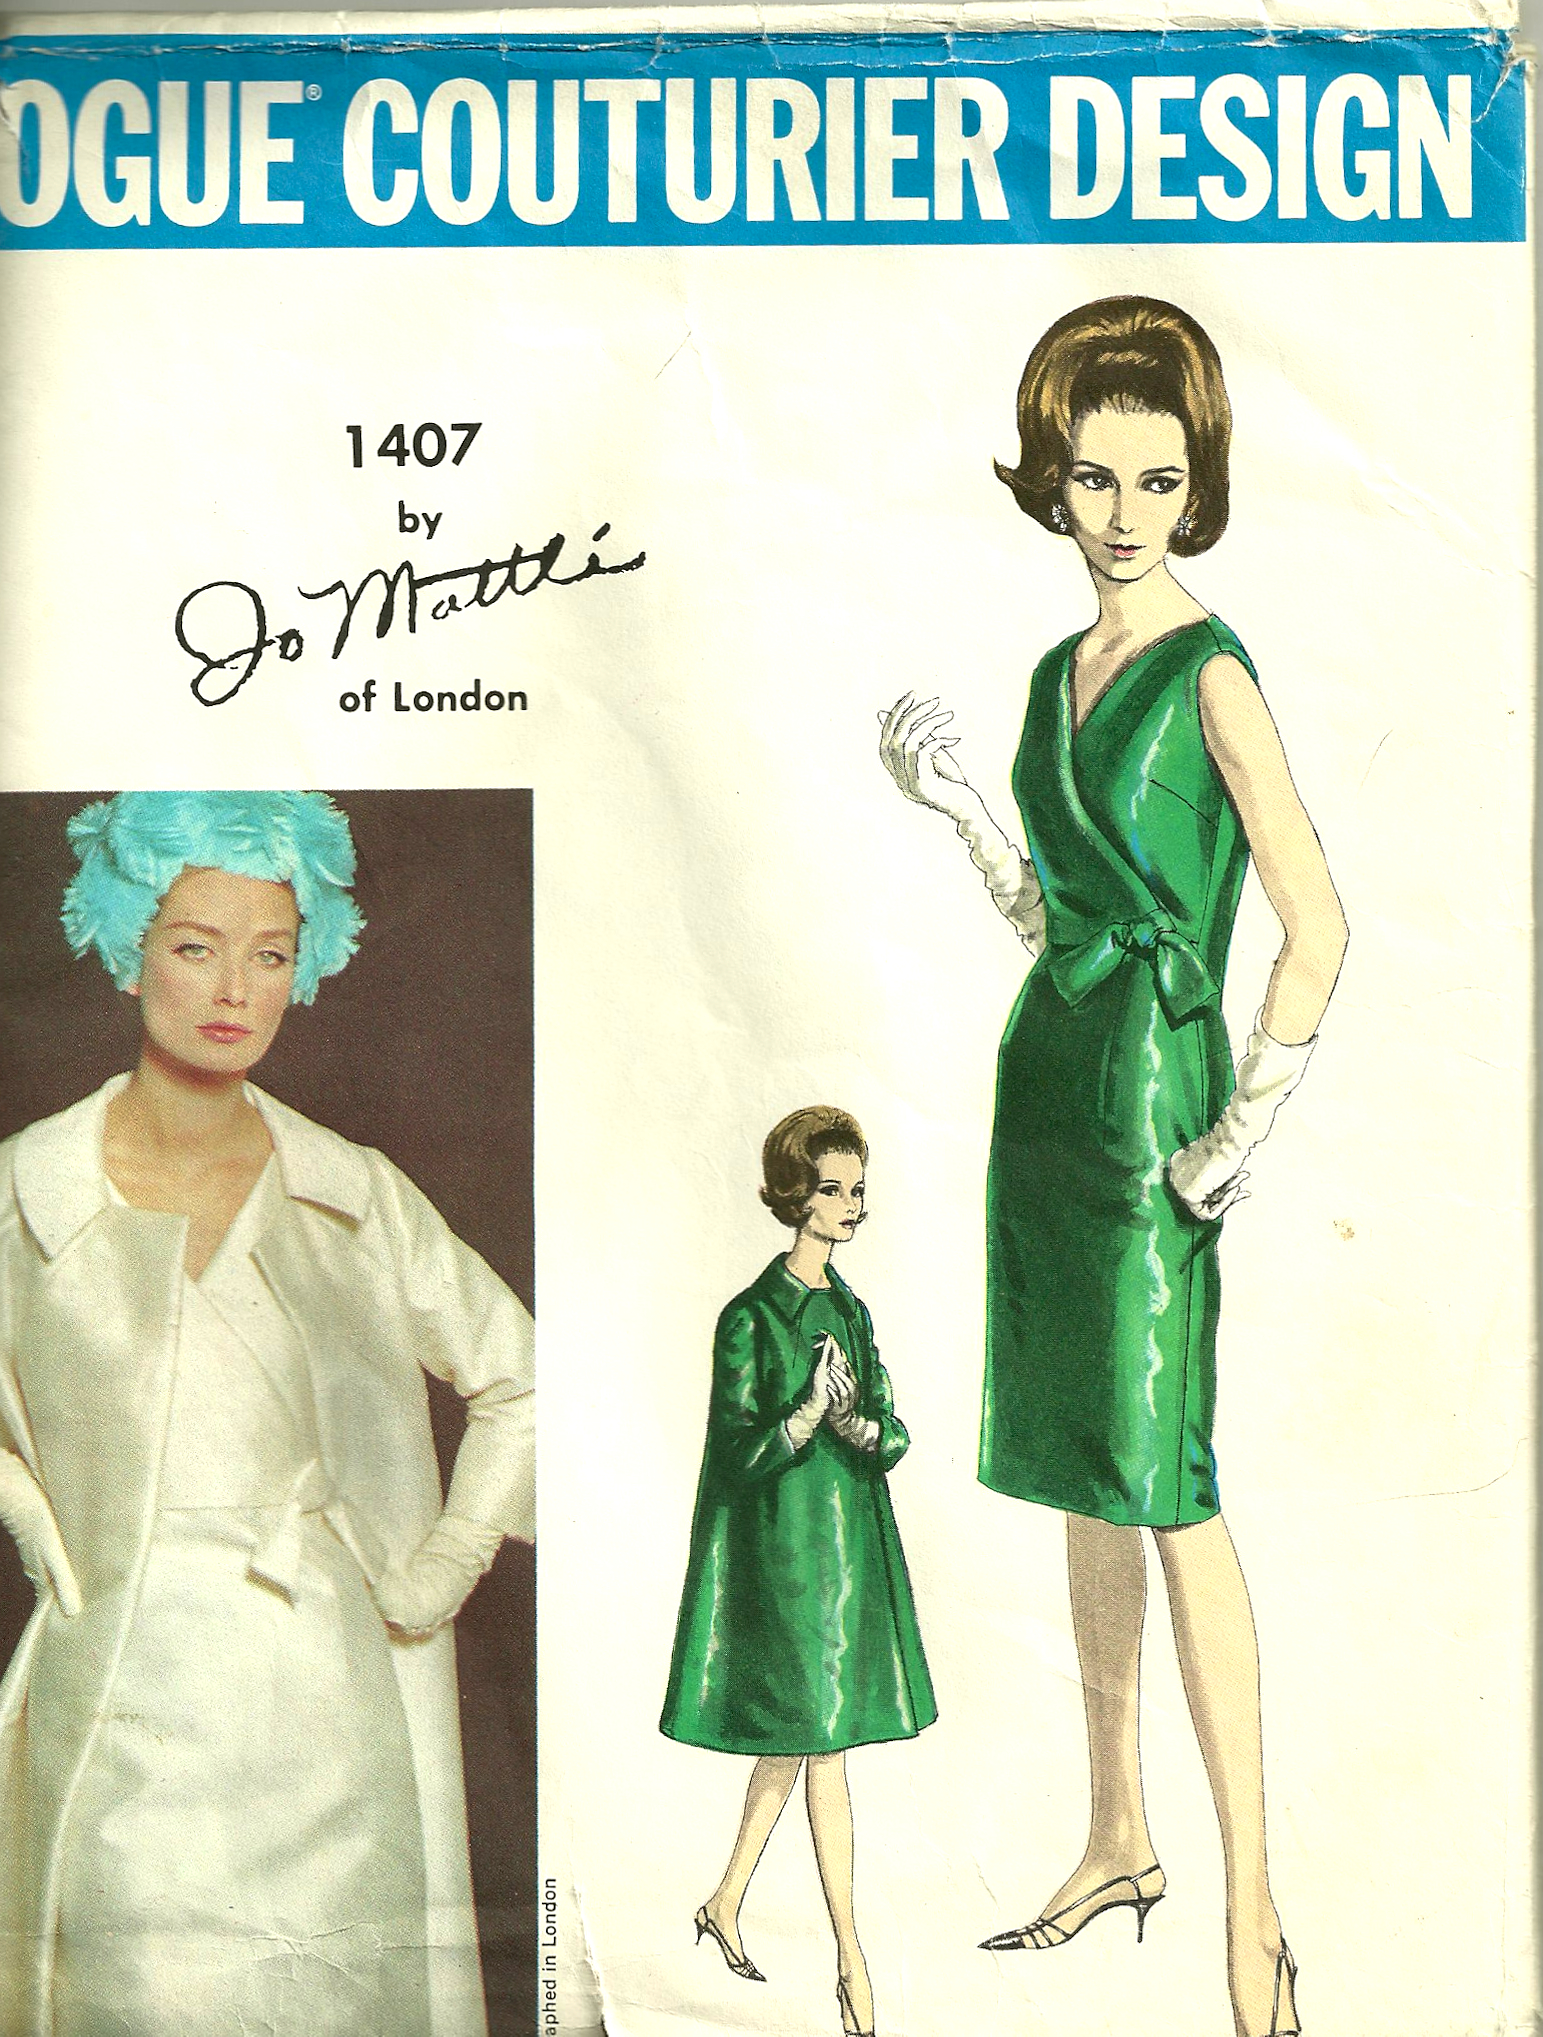
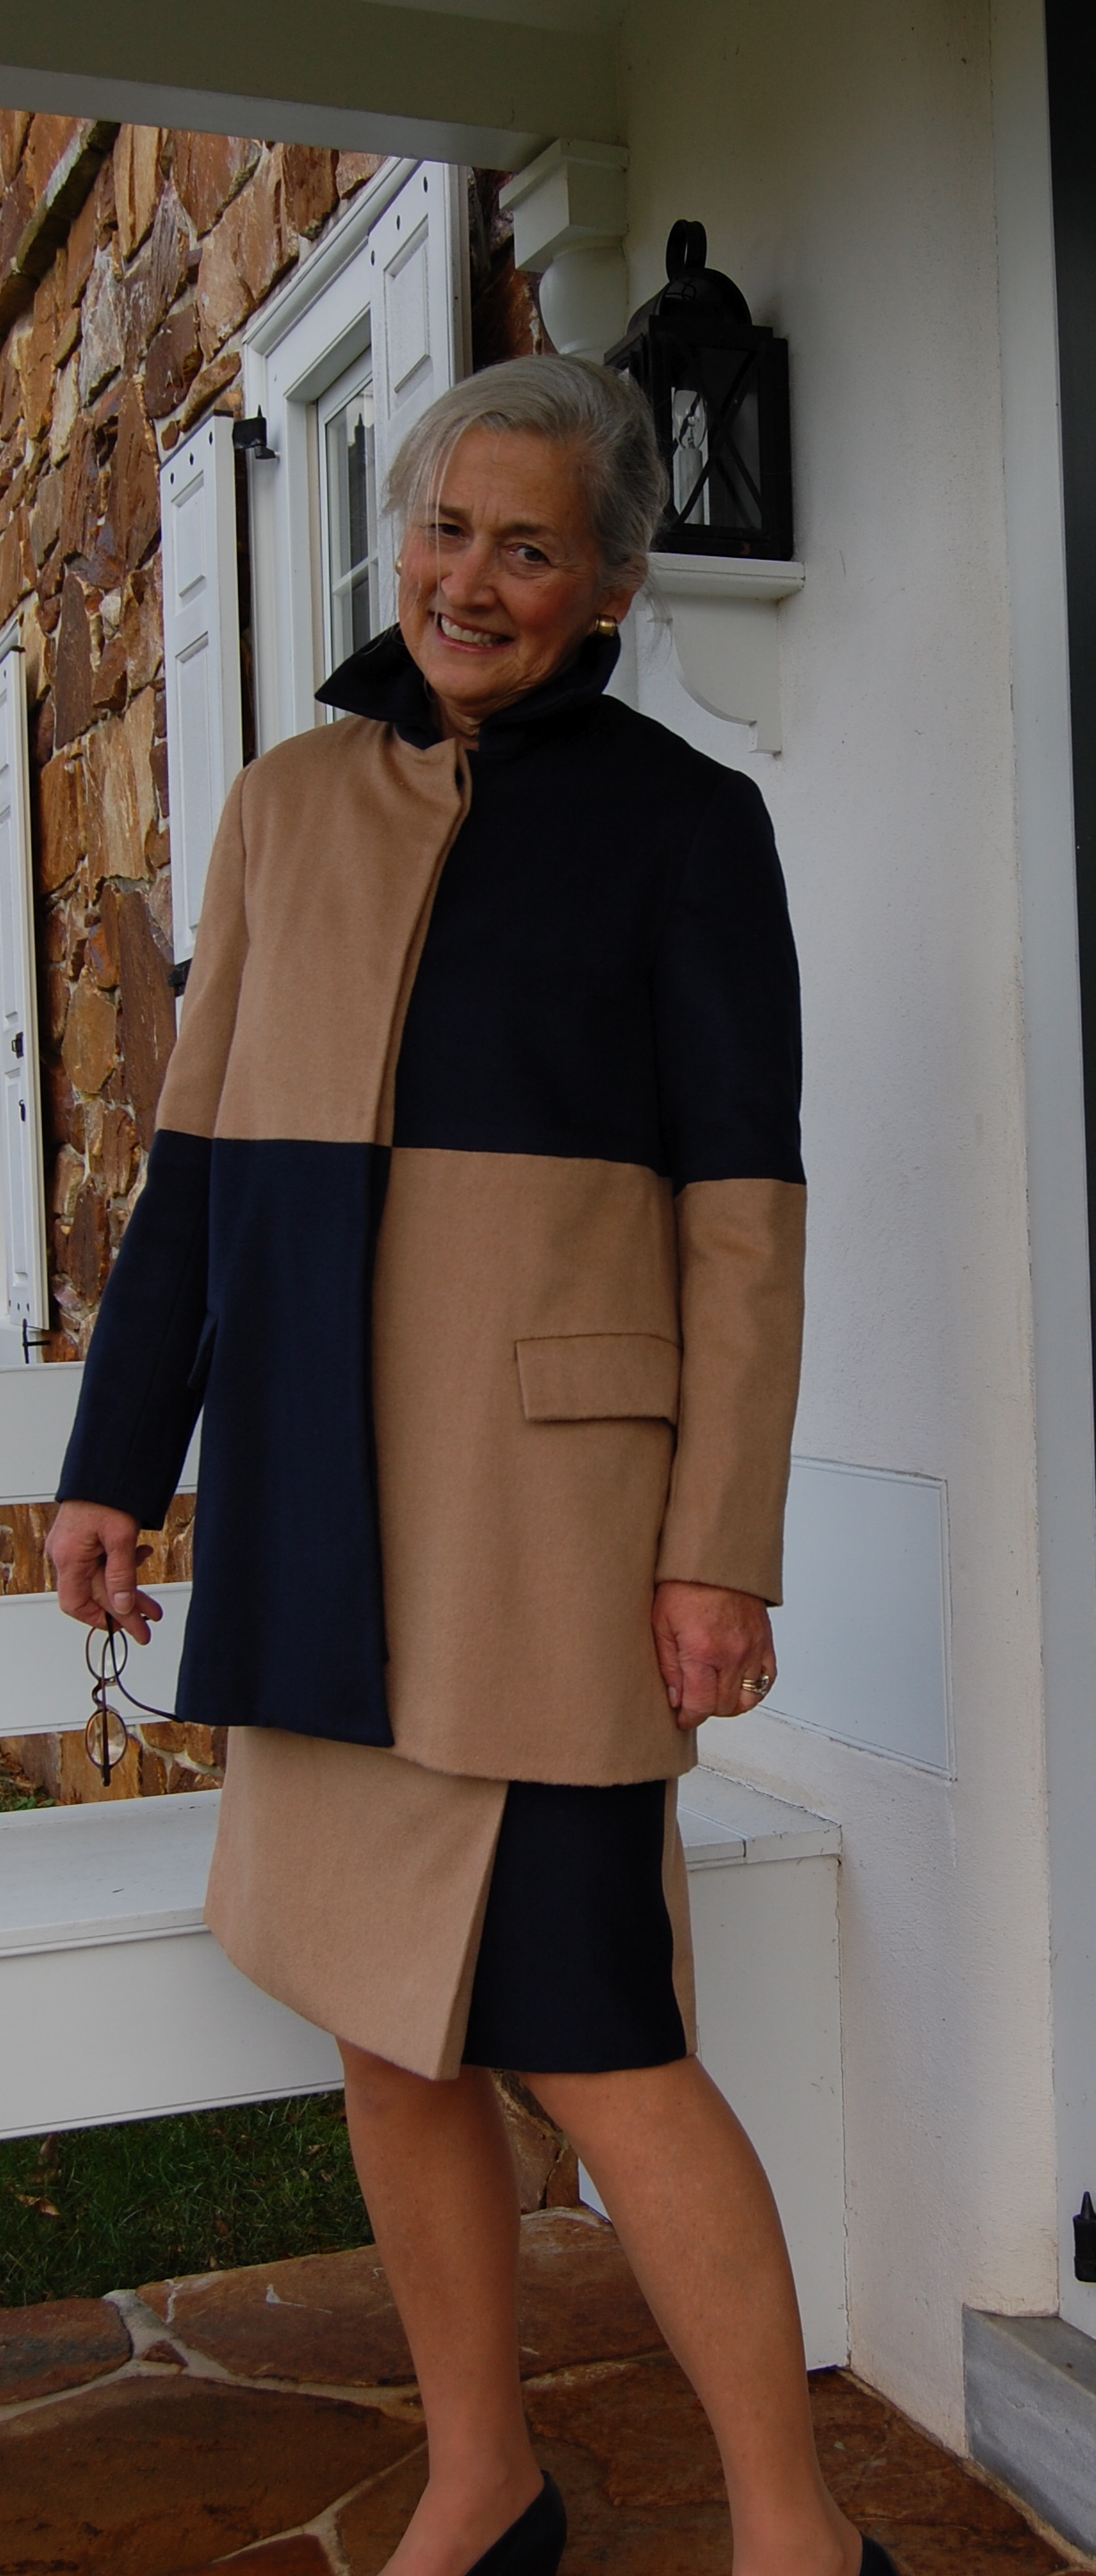
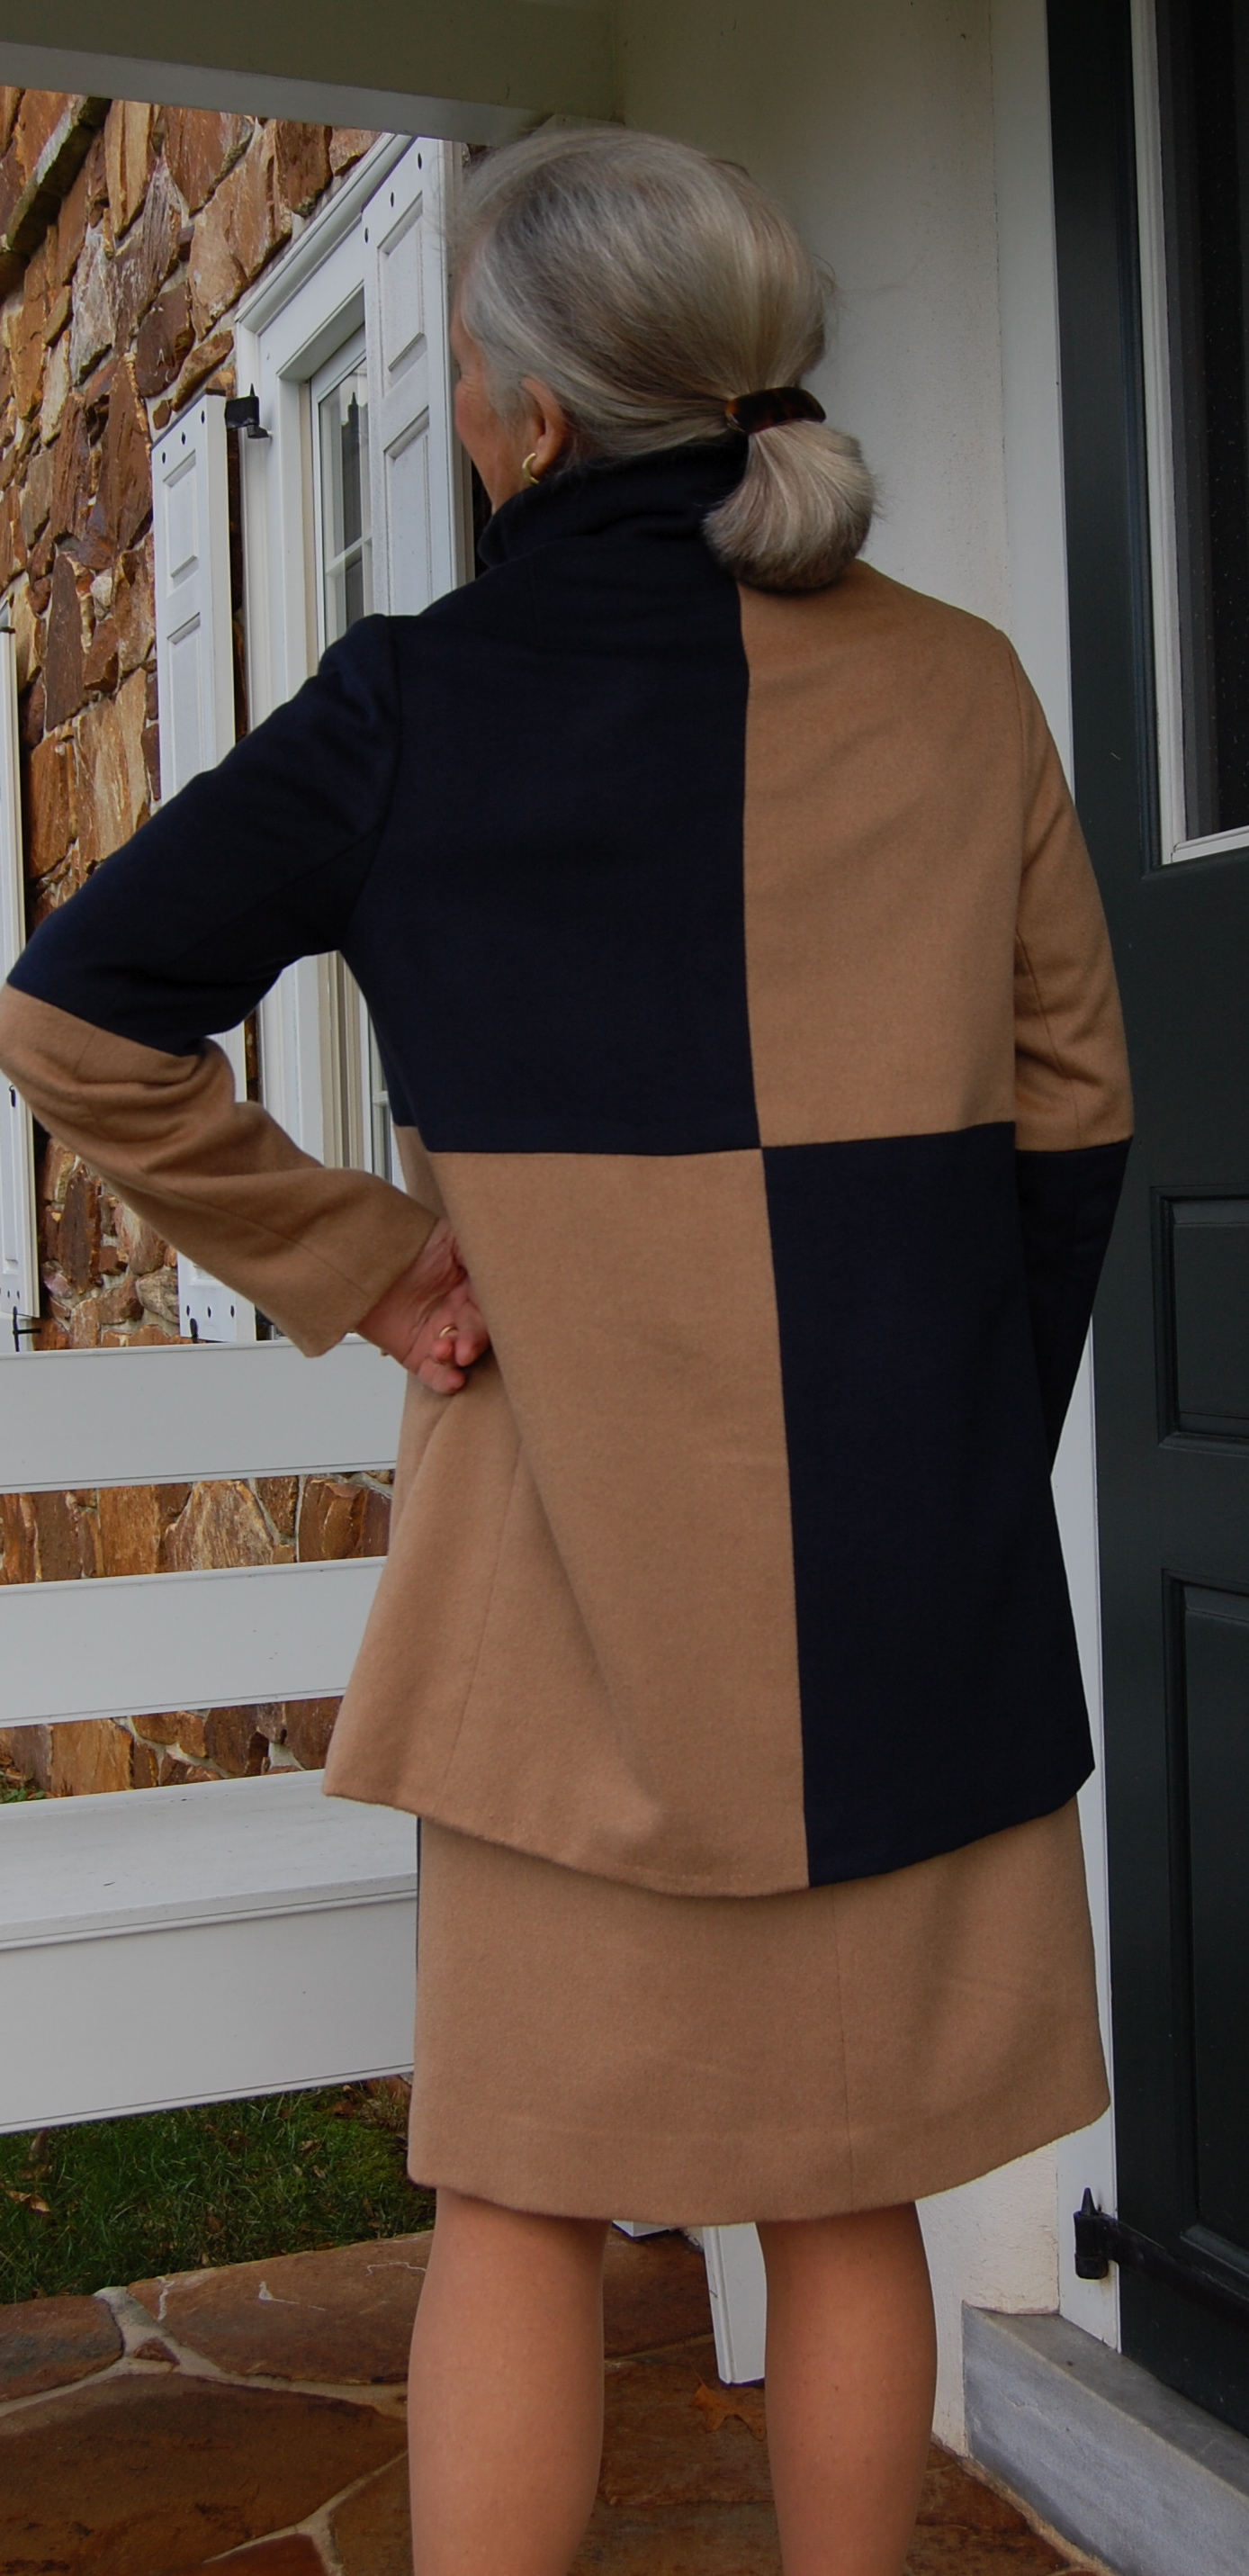
And here is the Mattli pattern showing the coat.
And then there is that baby quilt I want to make for “number 2” grandchild… And more little dresses to make…
Perhaps the real magic of the year will be in completing even half of all I’d like to sew? Here’s hoping that what is just around the corner for you, my readers, in 2015, holds its own magic and enchantment!