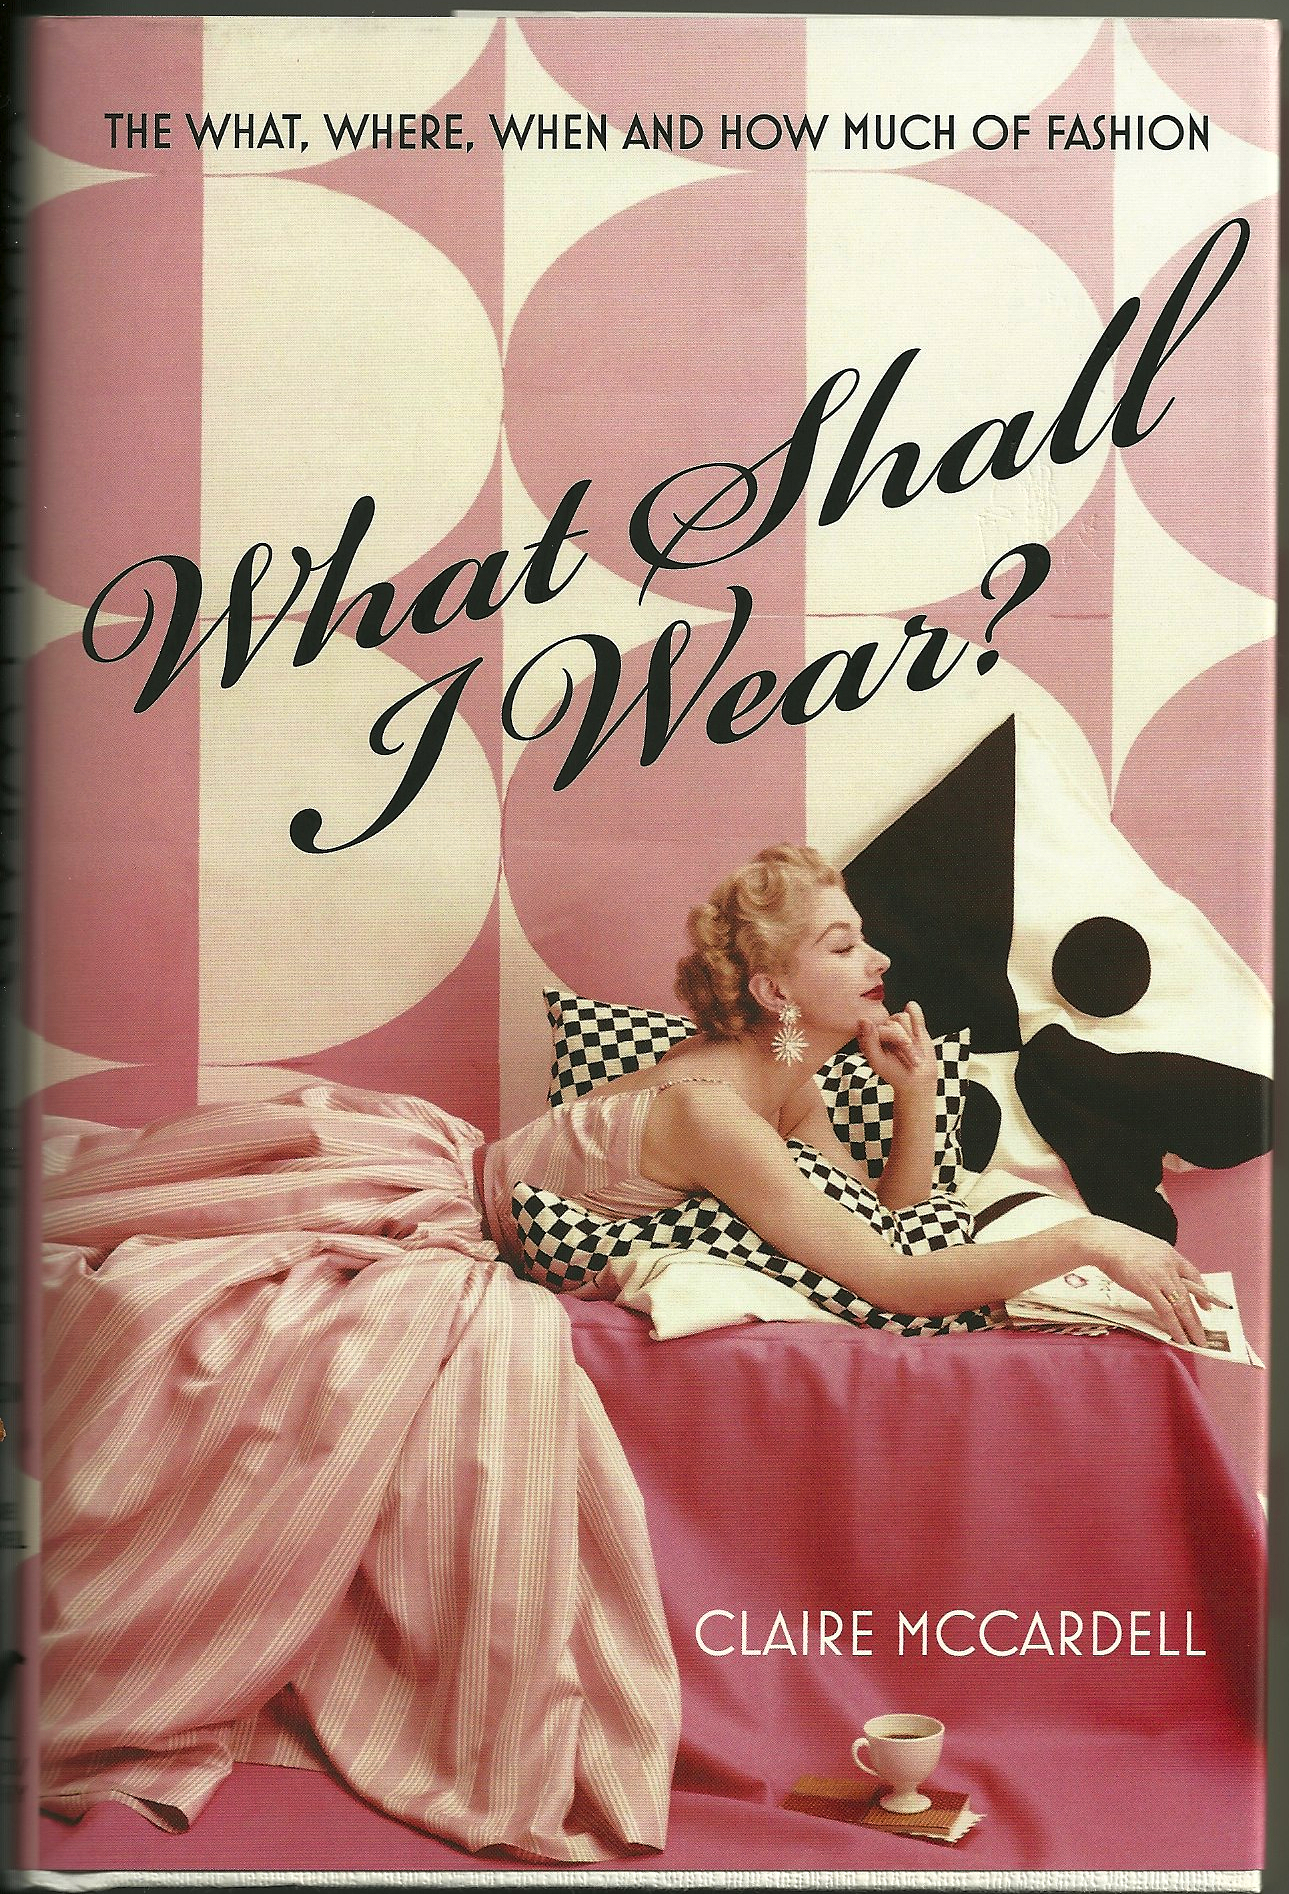
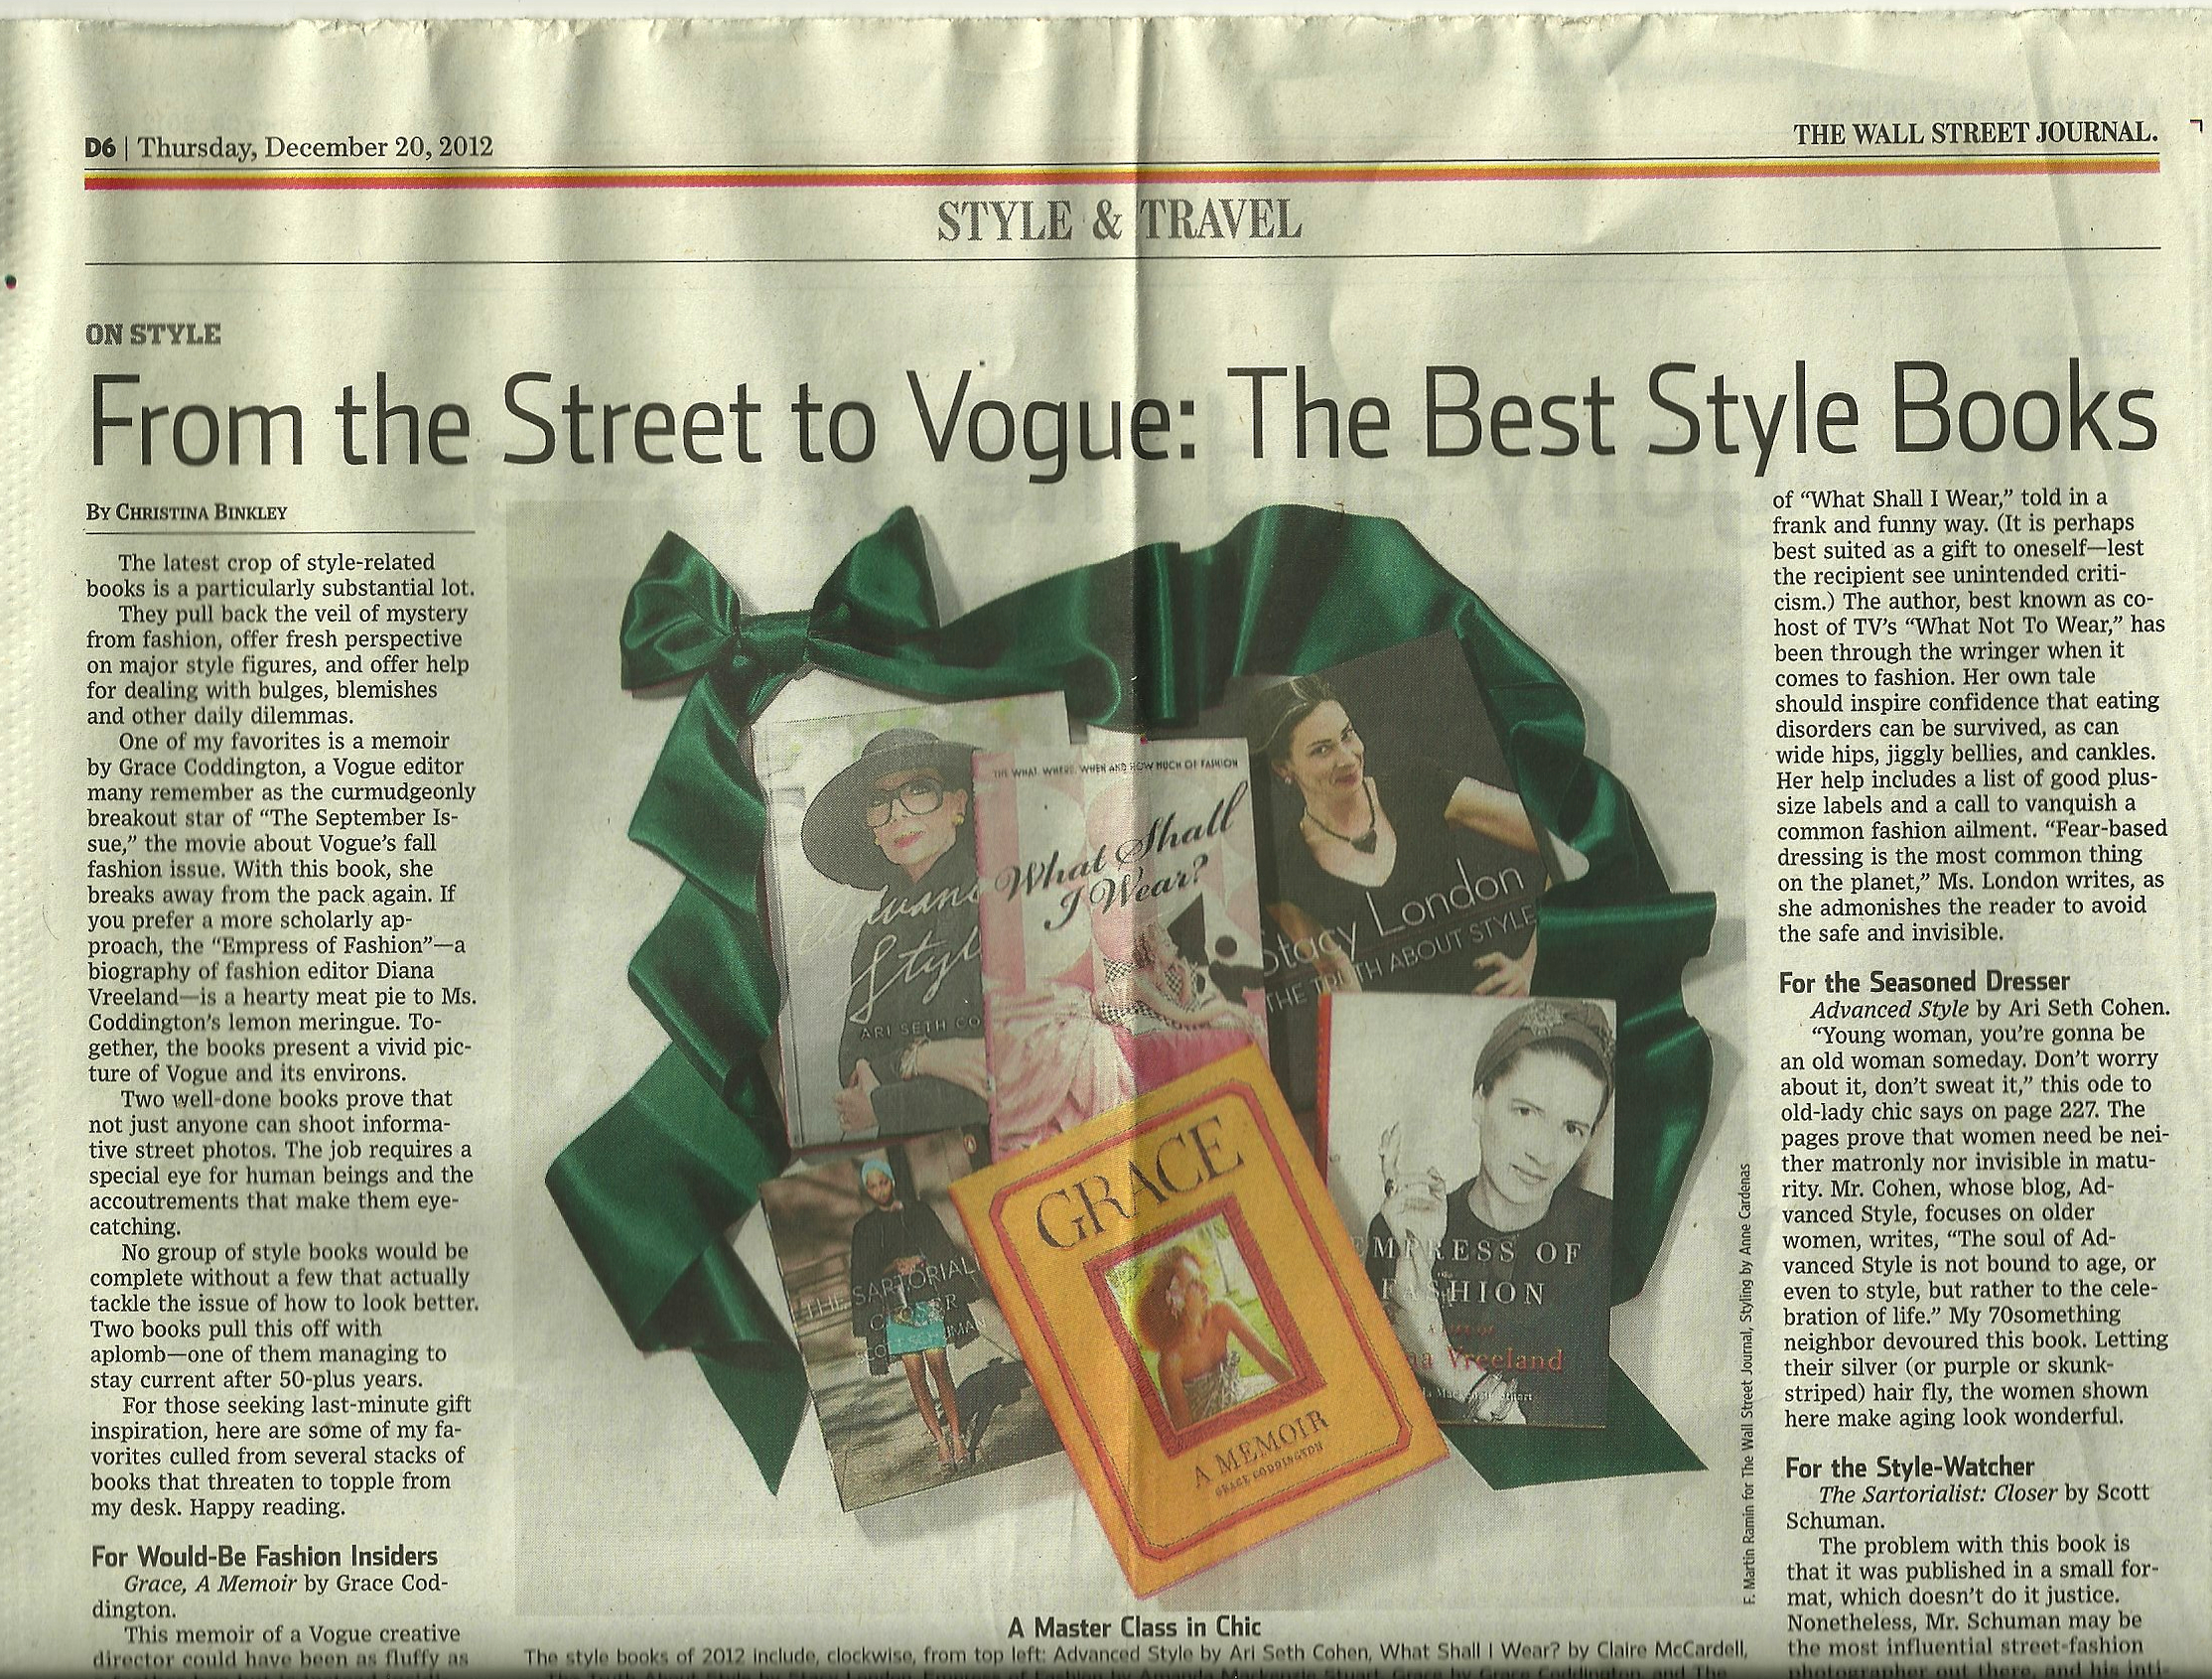
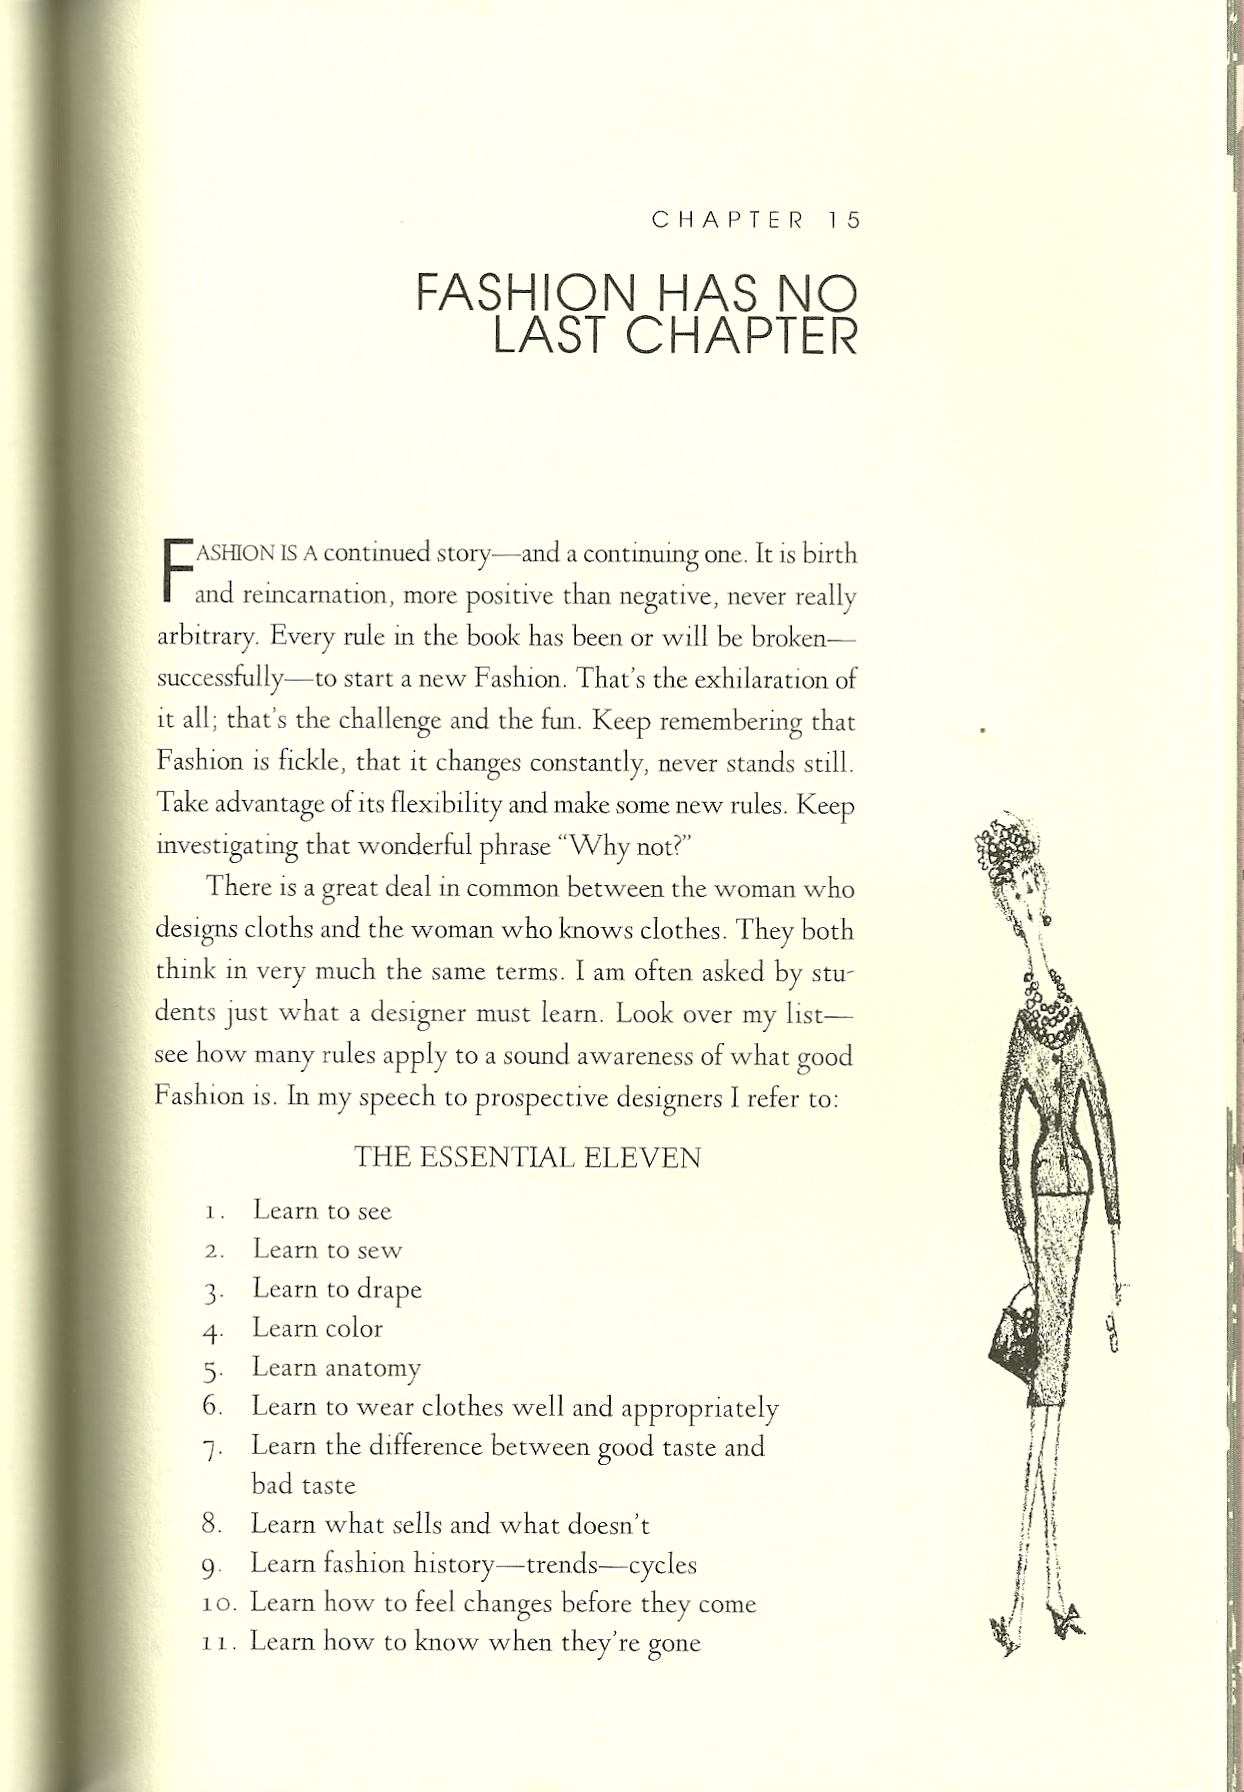
After reading the re-issue of Claire McCardell’s book What Shall I Wear, I determined that I needed to make myself a version of a “pop-over” dress. Her pop-over dress was originally designed to either go over other clothing or be worn just by itself, but the intent was a “utility” dress to make yourself look presentable and even fashionable when you are doing household duties. Well, household duties will still find me in blue jeans, but a dress to pop on quickly to go run errands, meet a friend for coffee, or go out for a casual supper – that idea was appealing to me.
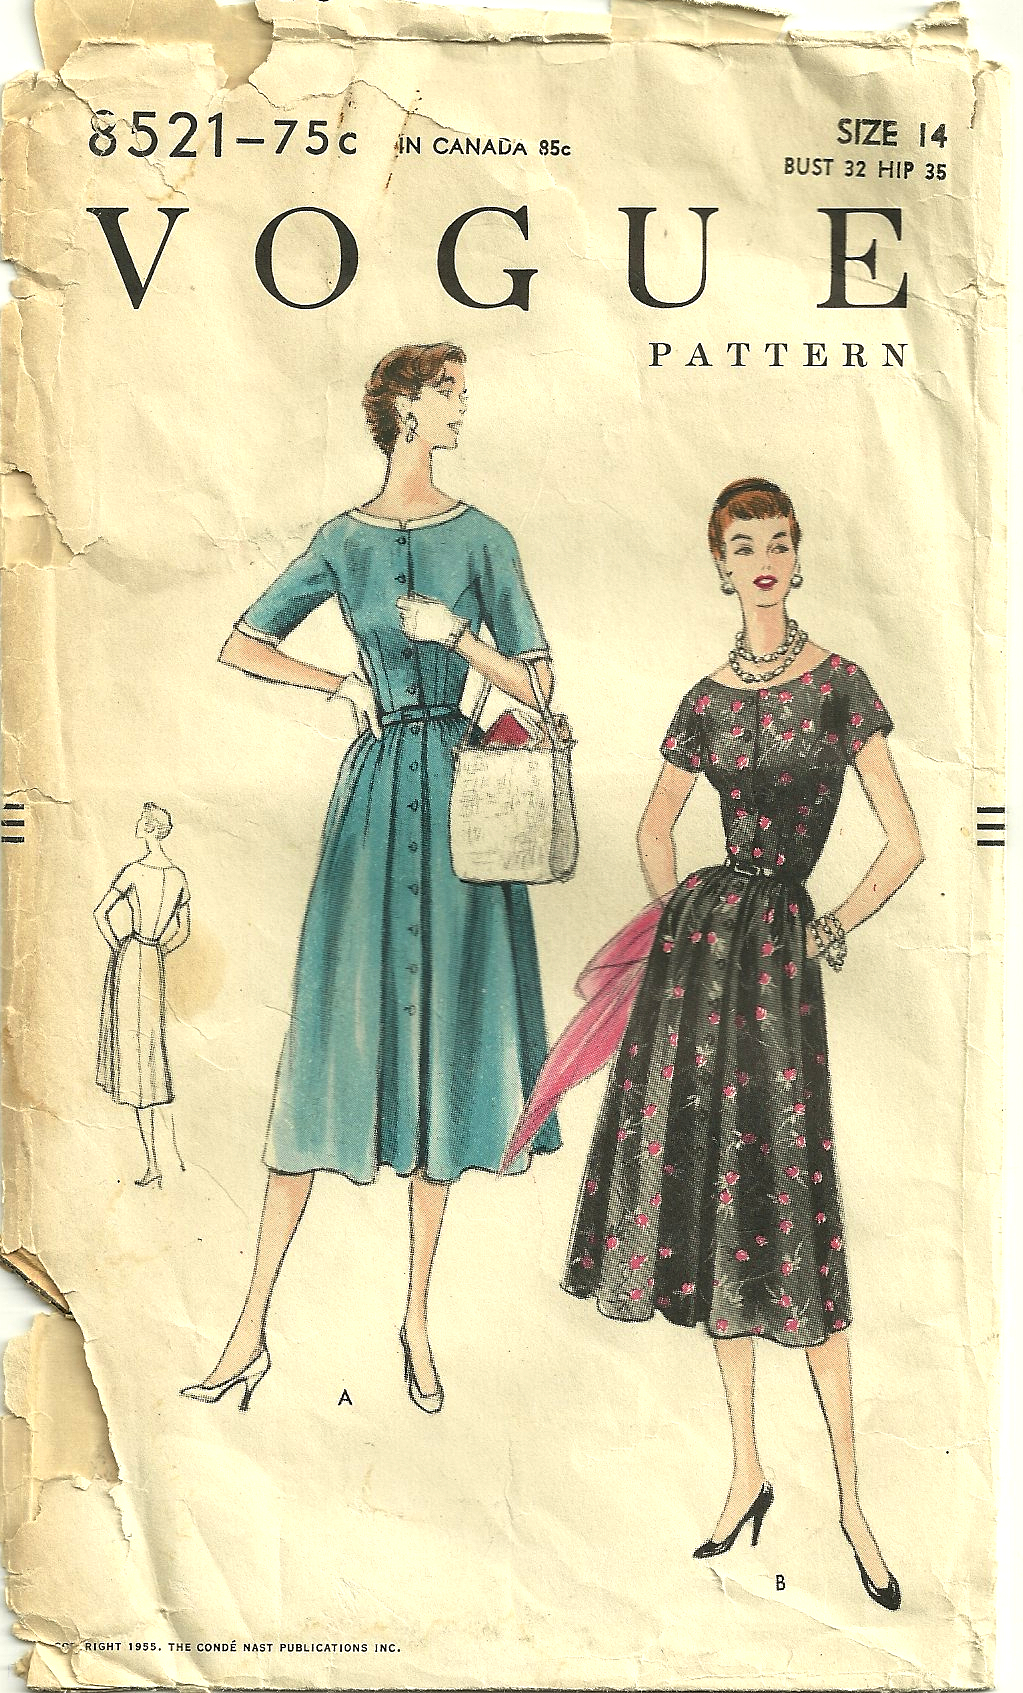
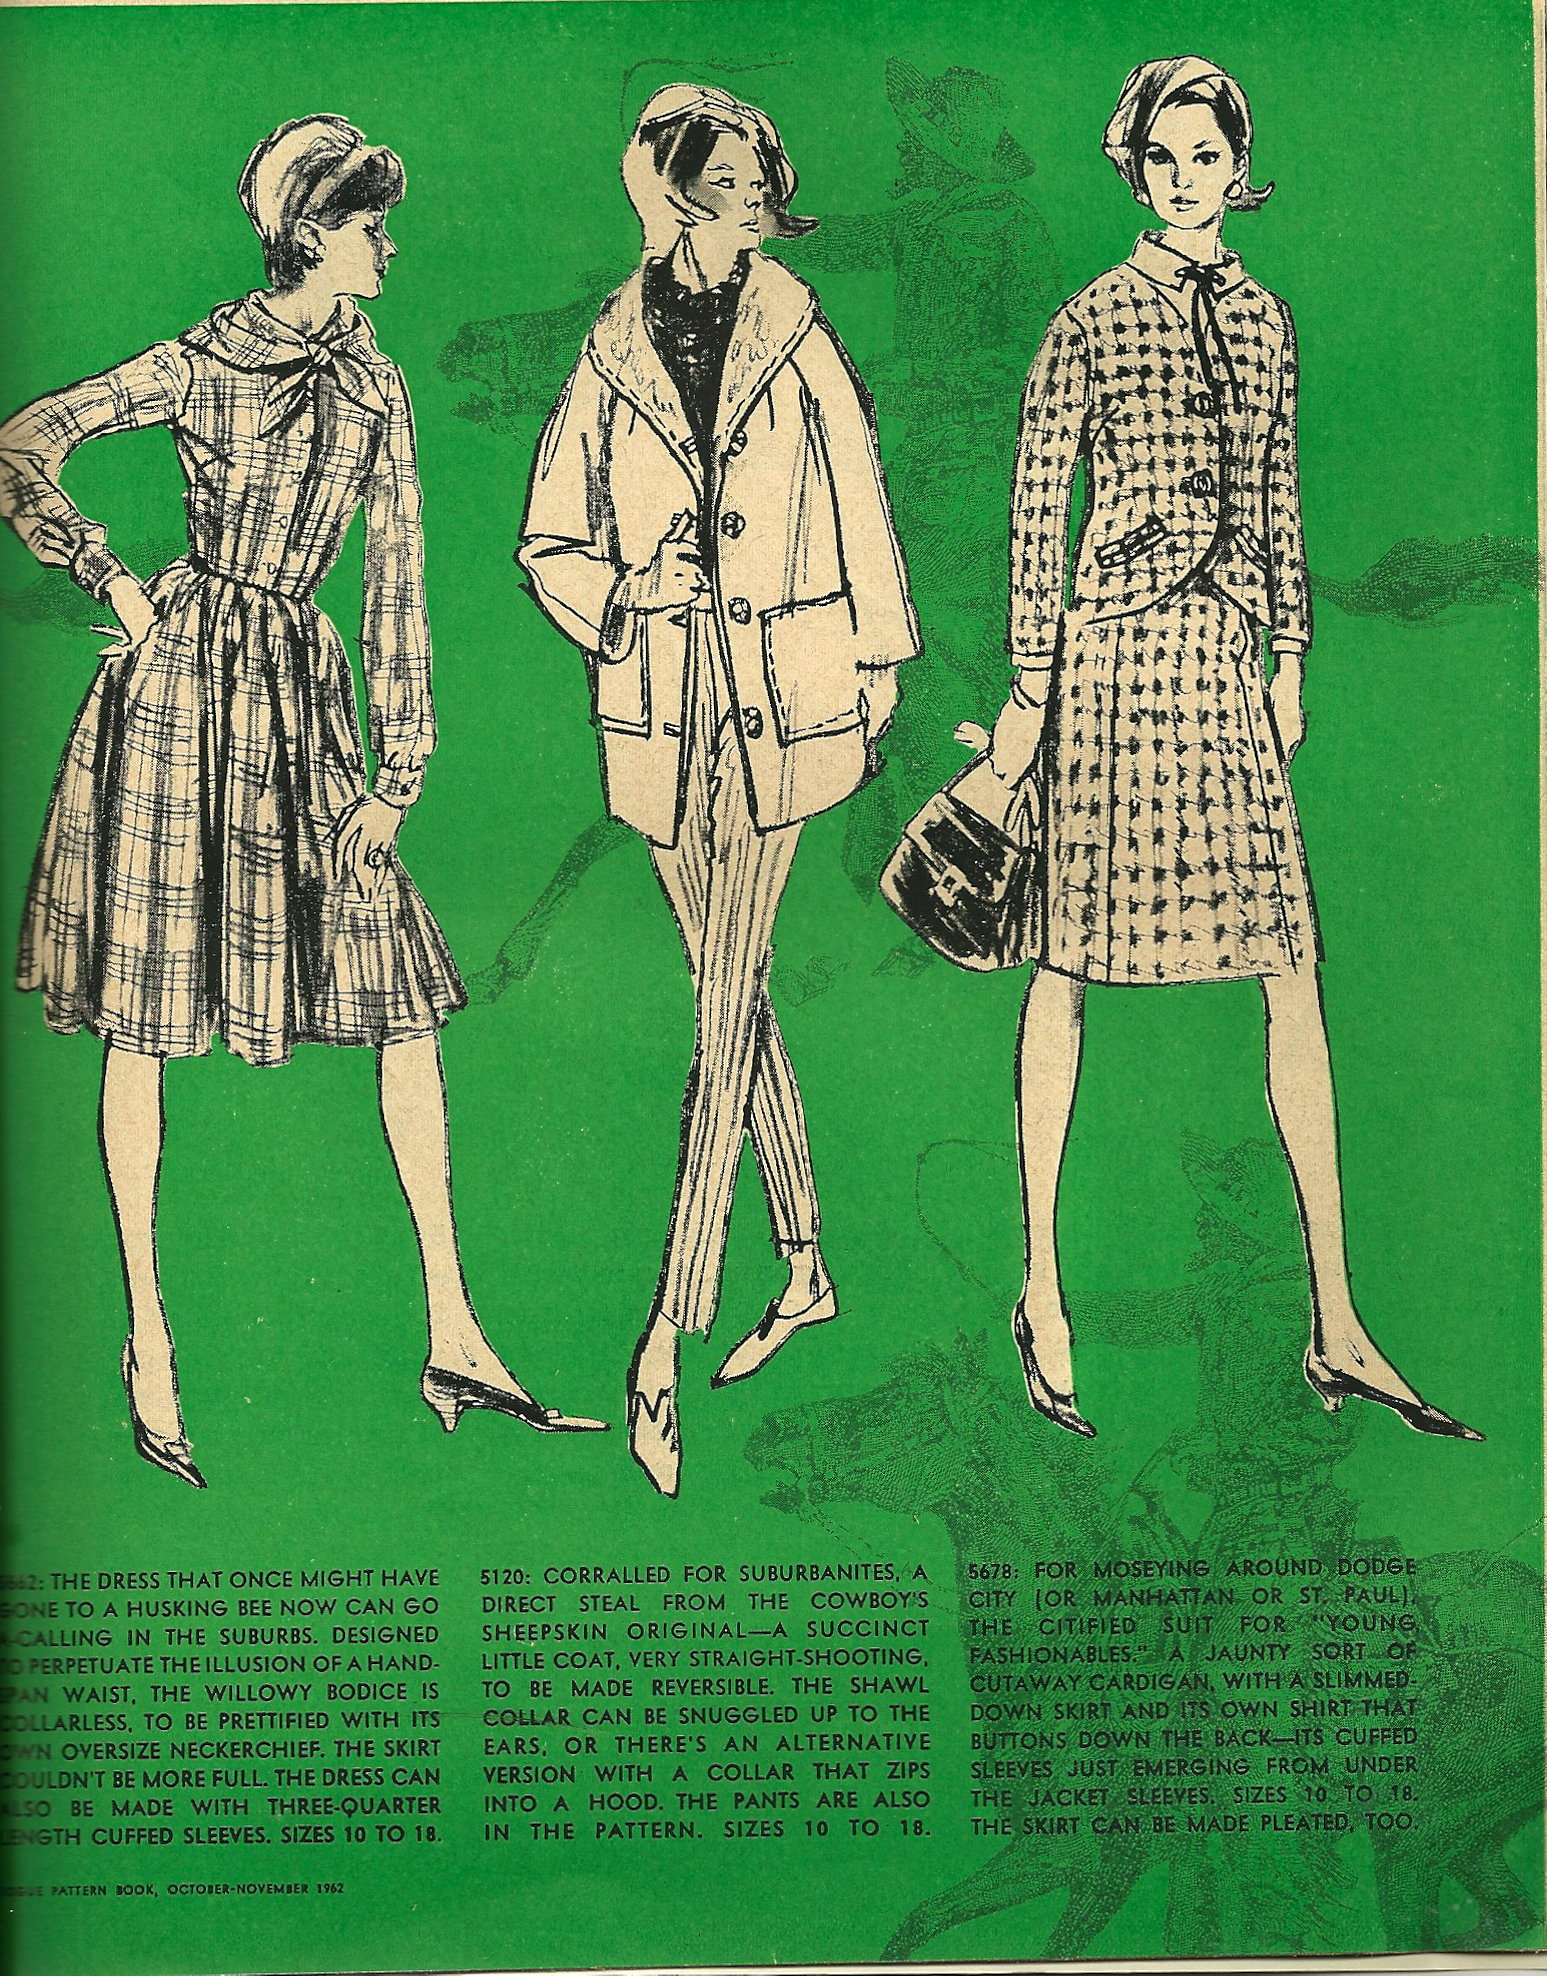
My plan began to take form when I read the June/July issue of Vogue Patterns. Page 86 features a “caftan-style” dress – or my idea of a tunic dress.

(I have always thought of caftans as full-length, and indeed, according to Fairchild’s Dictionary of Fashion, a caftan is a “long, full robe with a slit neckline that is often decorated with embroidery and has long or three-quarter-length sleeves that widen to the end… adopted by American women in the 1960s and after… ”)
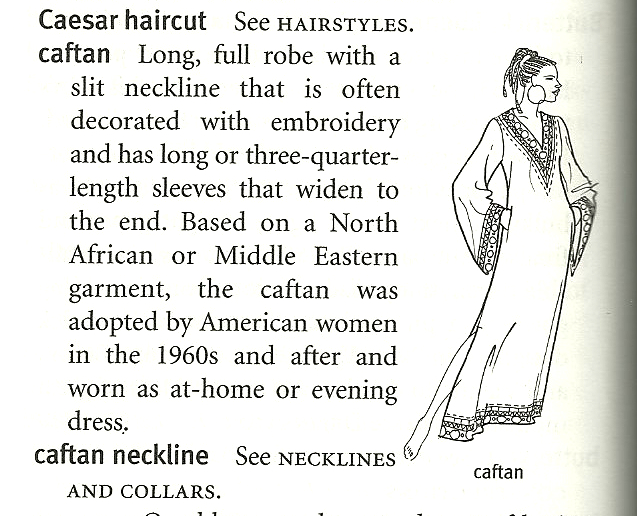
This is Fairchild’s diagram of a caftan; Fairchild Publications, Inc., New York, New York, copyright 2003
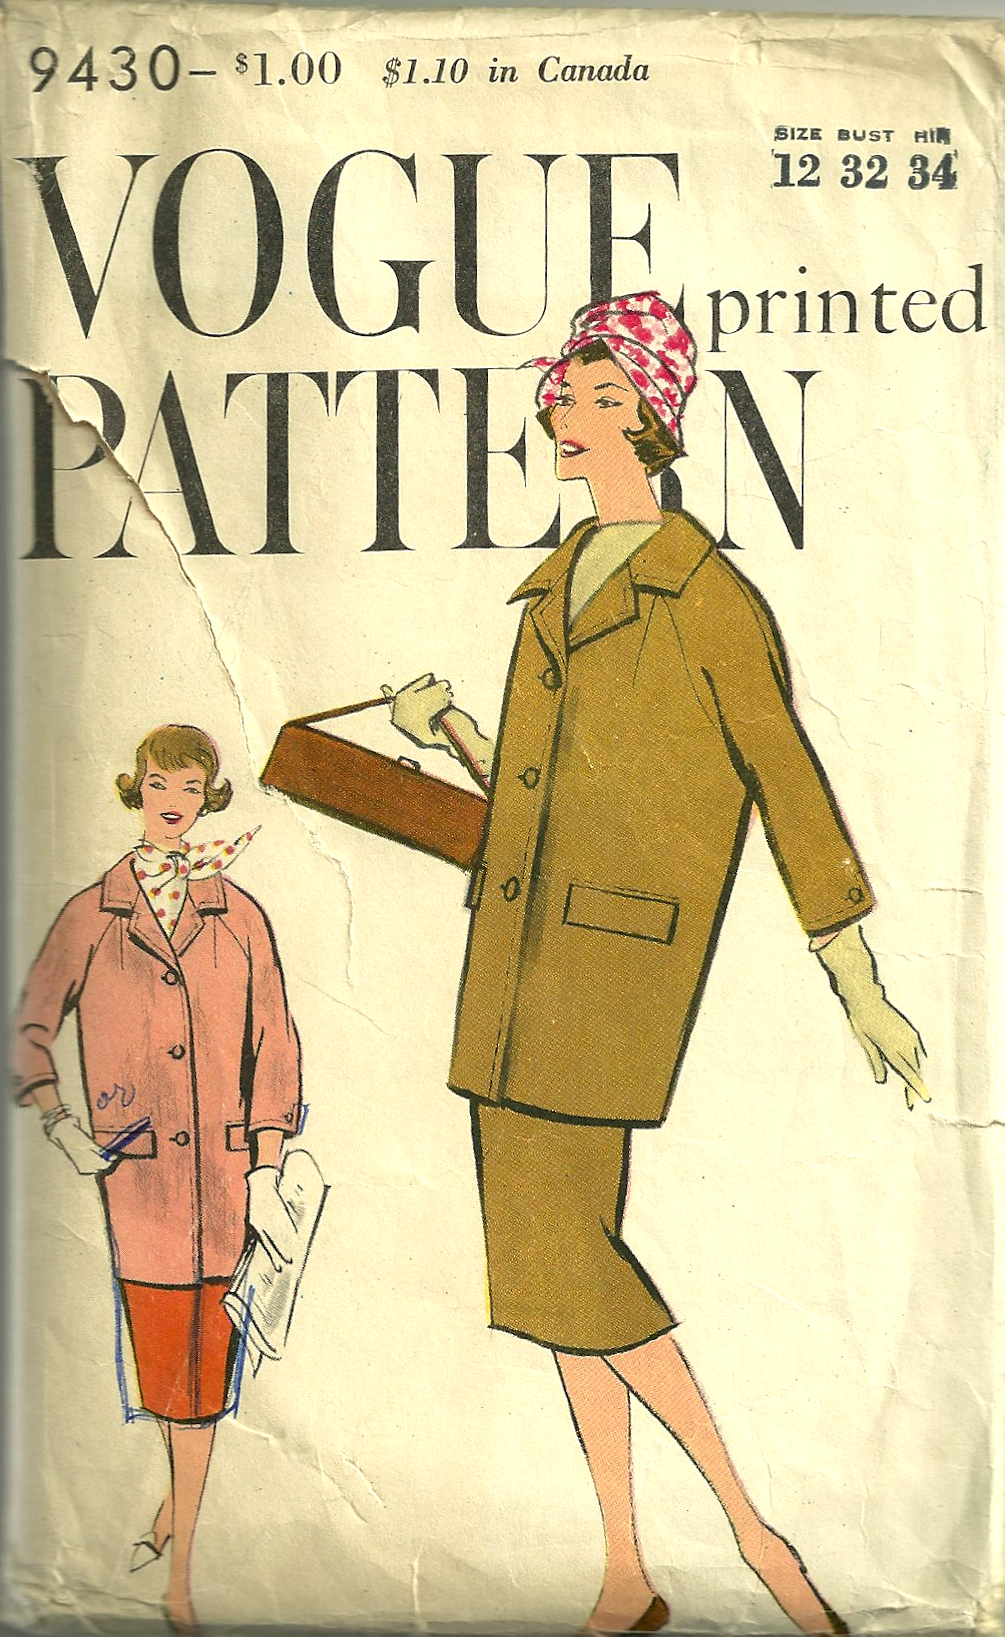
Although I know there is a 1970s-era Vogue pattern for a tunic dress, I have not found one to purchase, so I thought I’d go ahead and get this current one.

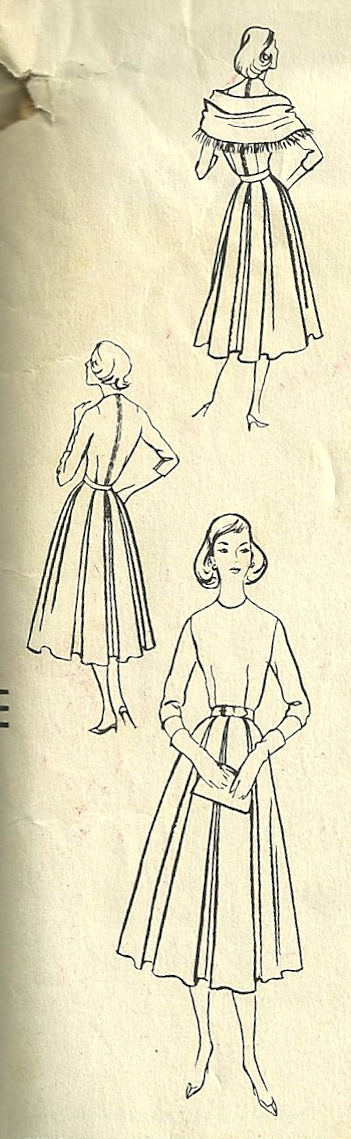
I like both versions of this dress.

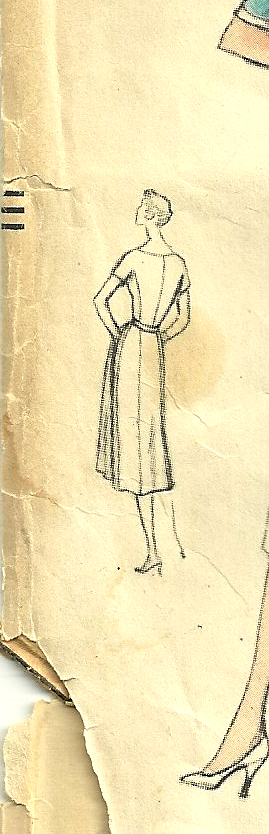
There is lots of room for individualization with this pattern, as a quick look at the line drawings illustrate.
About the same time, I was in JoAnn’s Fabric Store to buy thread and looked at their “linen and linen-look-fabrics” (in order to get some light-weight cotton/linen blend for underlining for another planned project). I was pleasantly surprised at the linen-cotton blends they had, including this bright orange/pink/red floral:
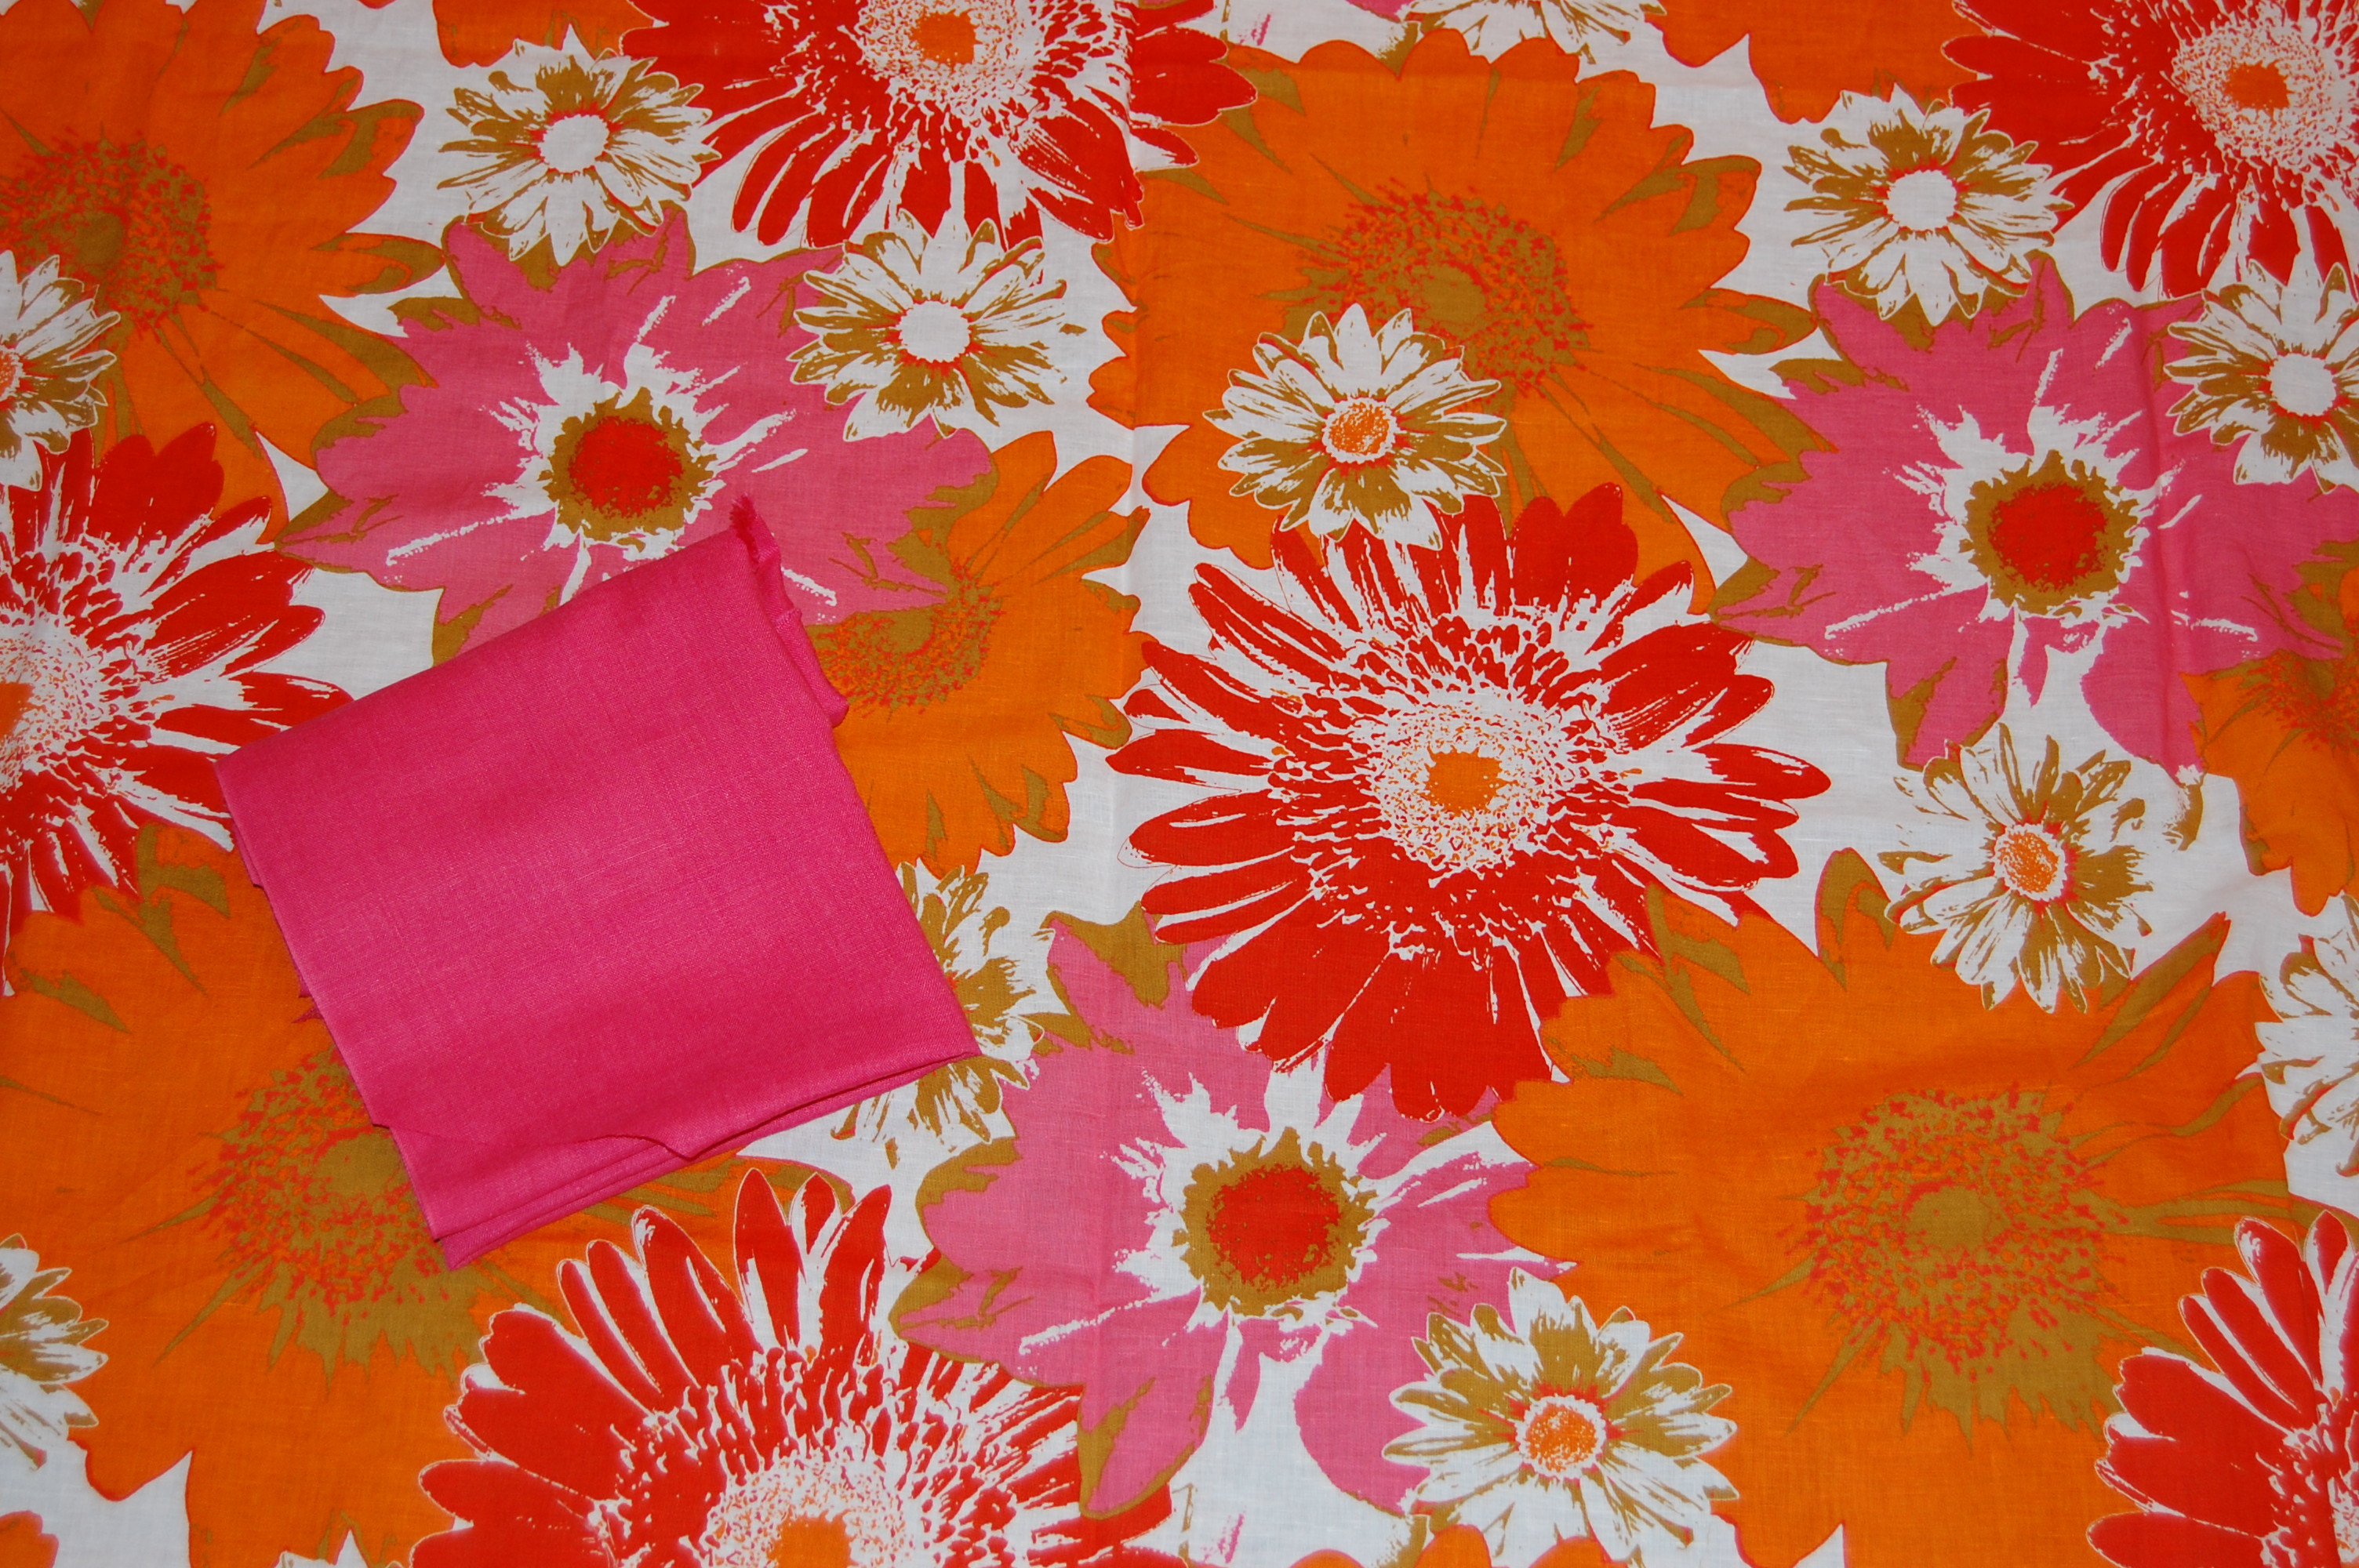
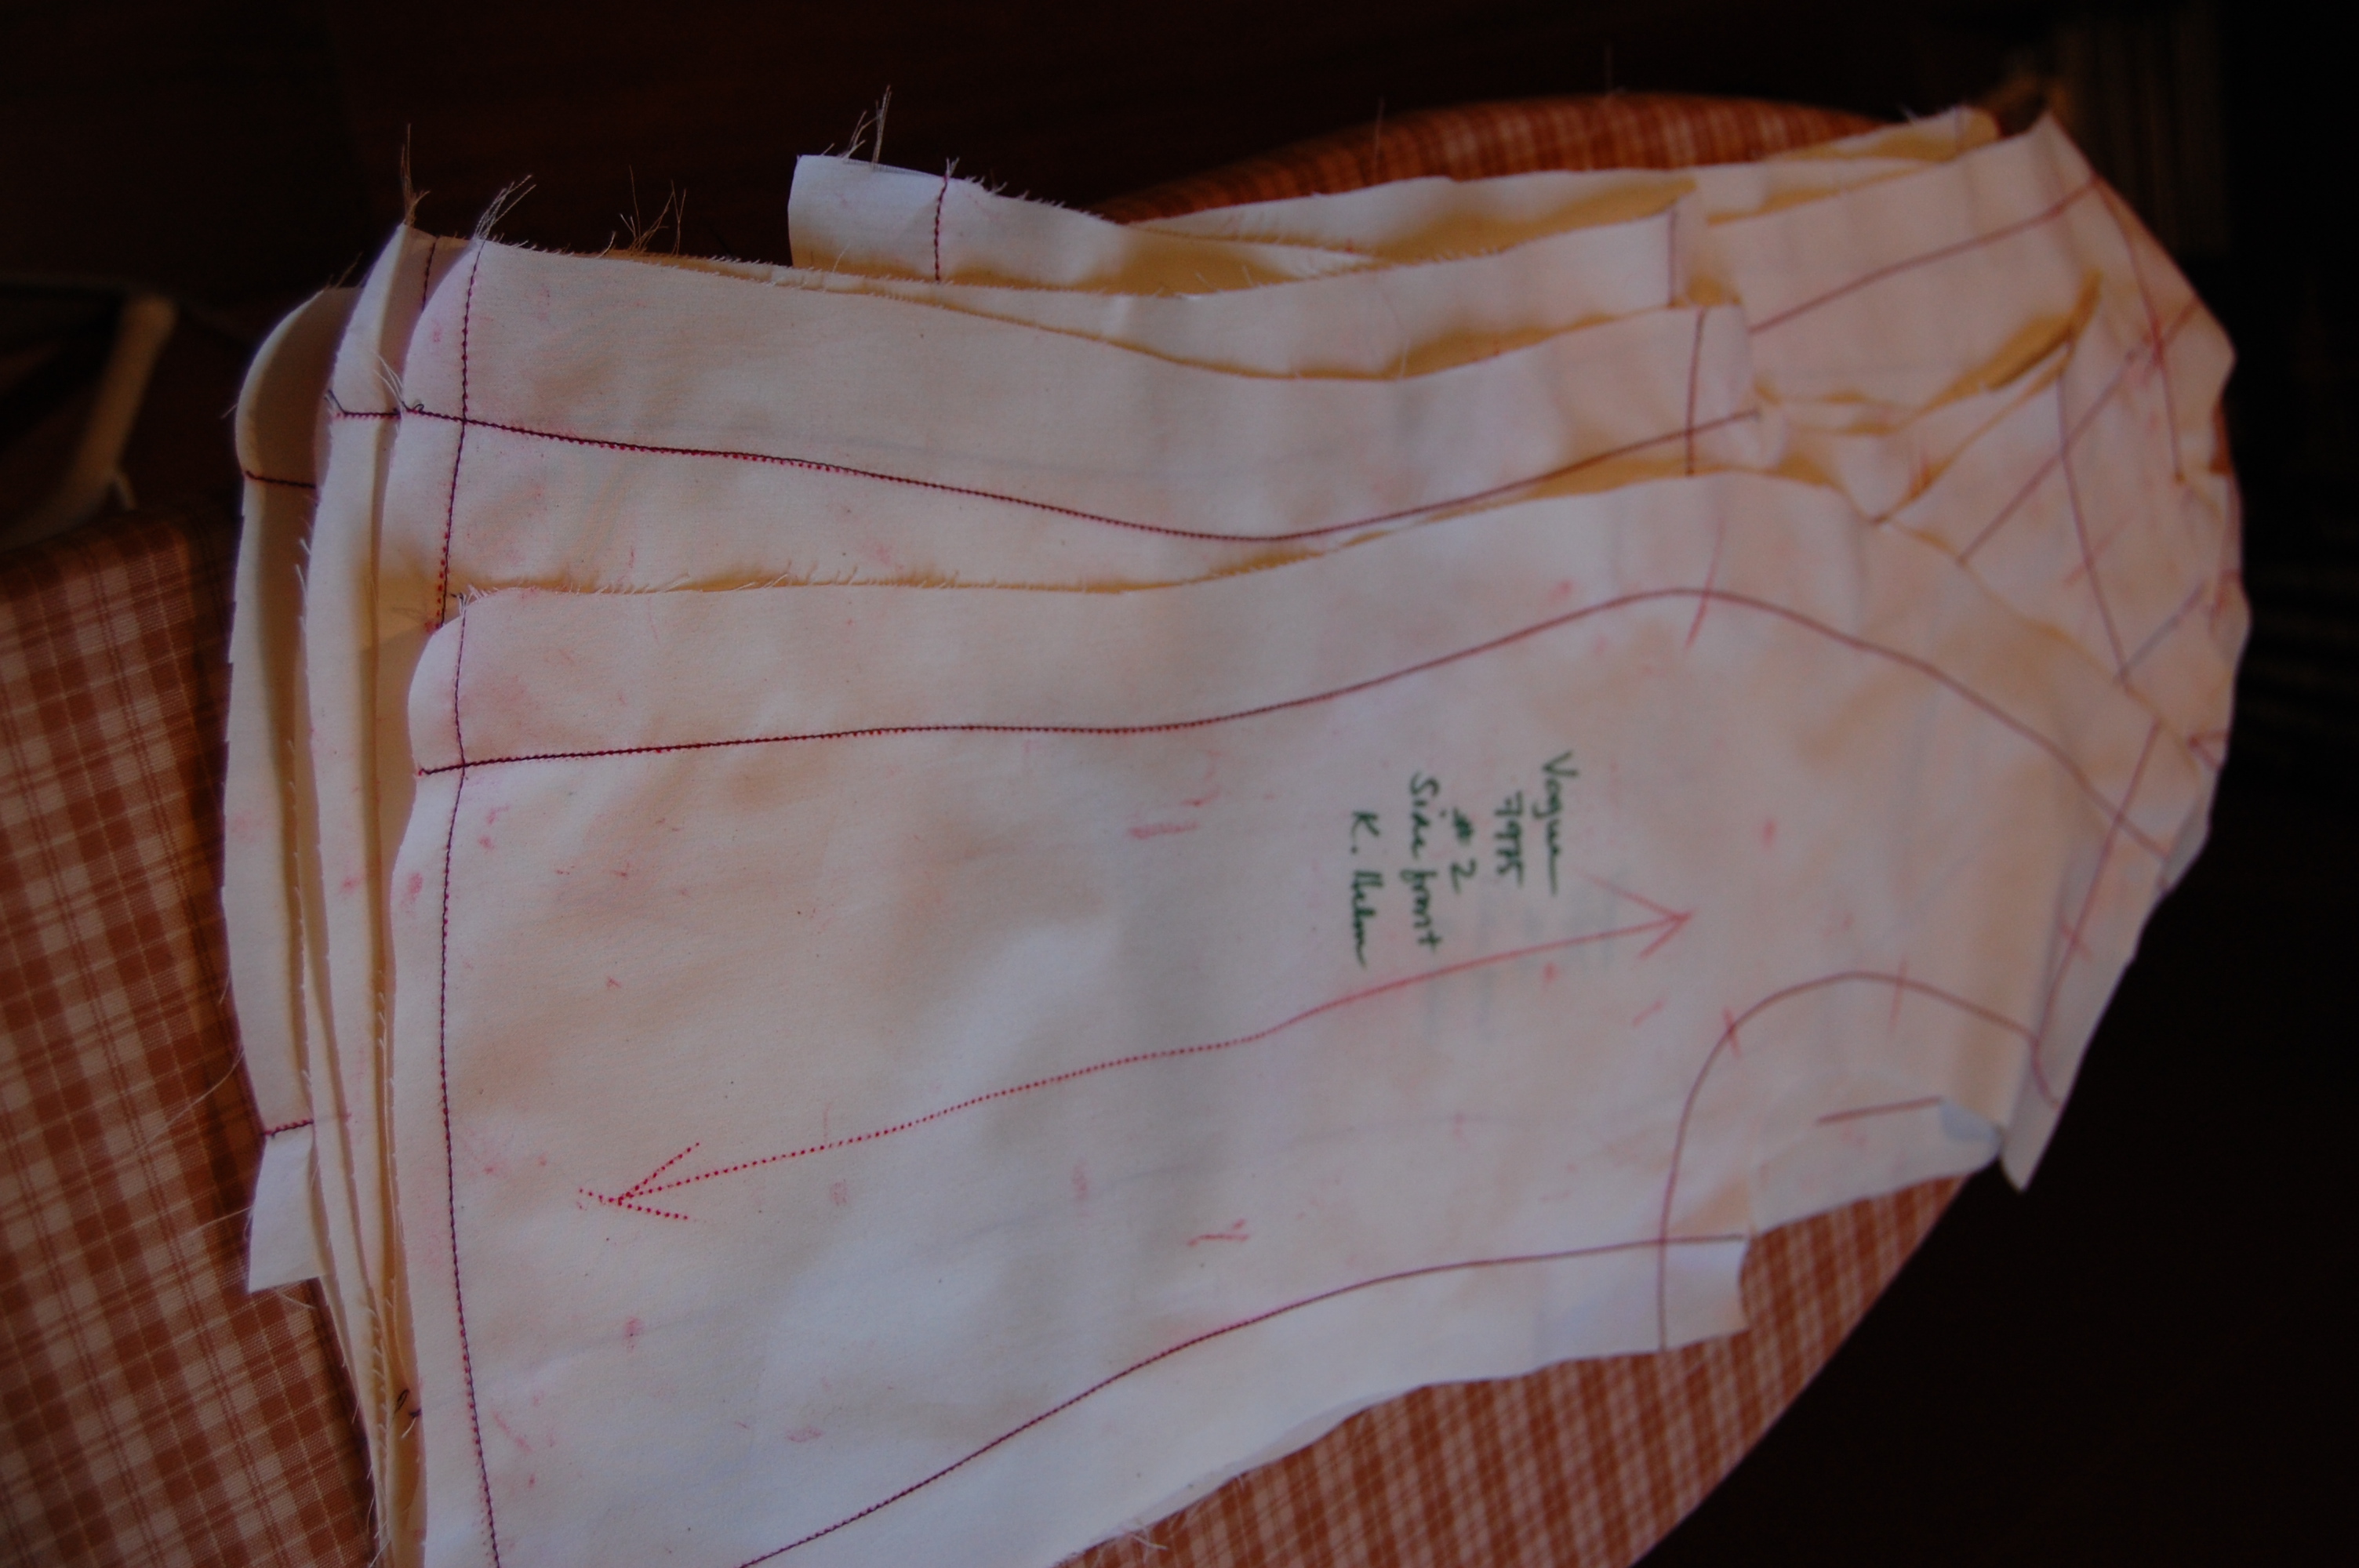
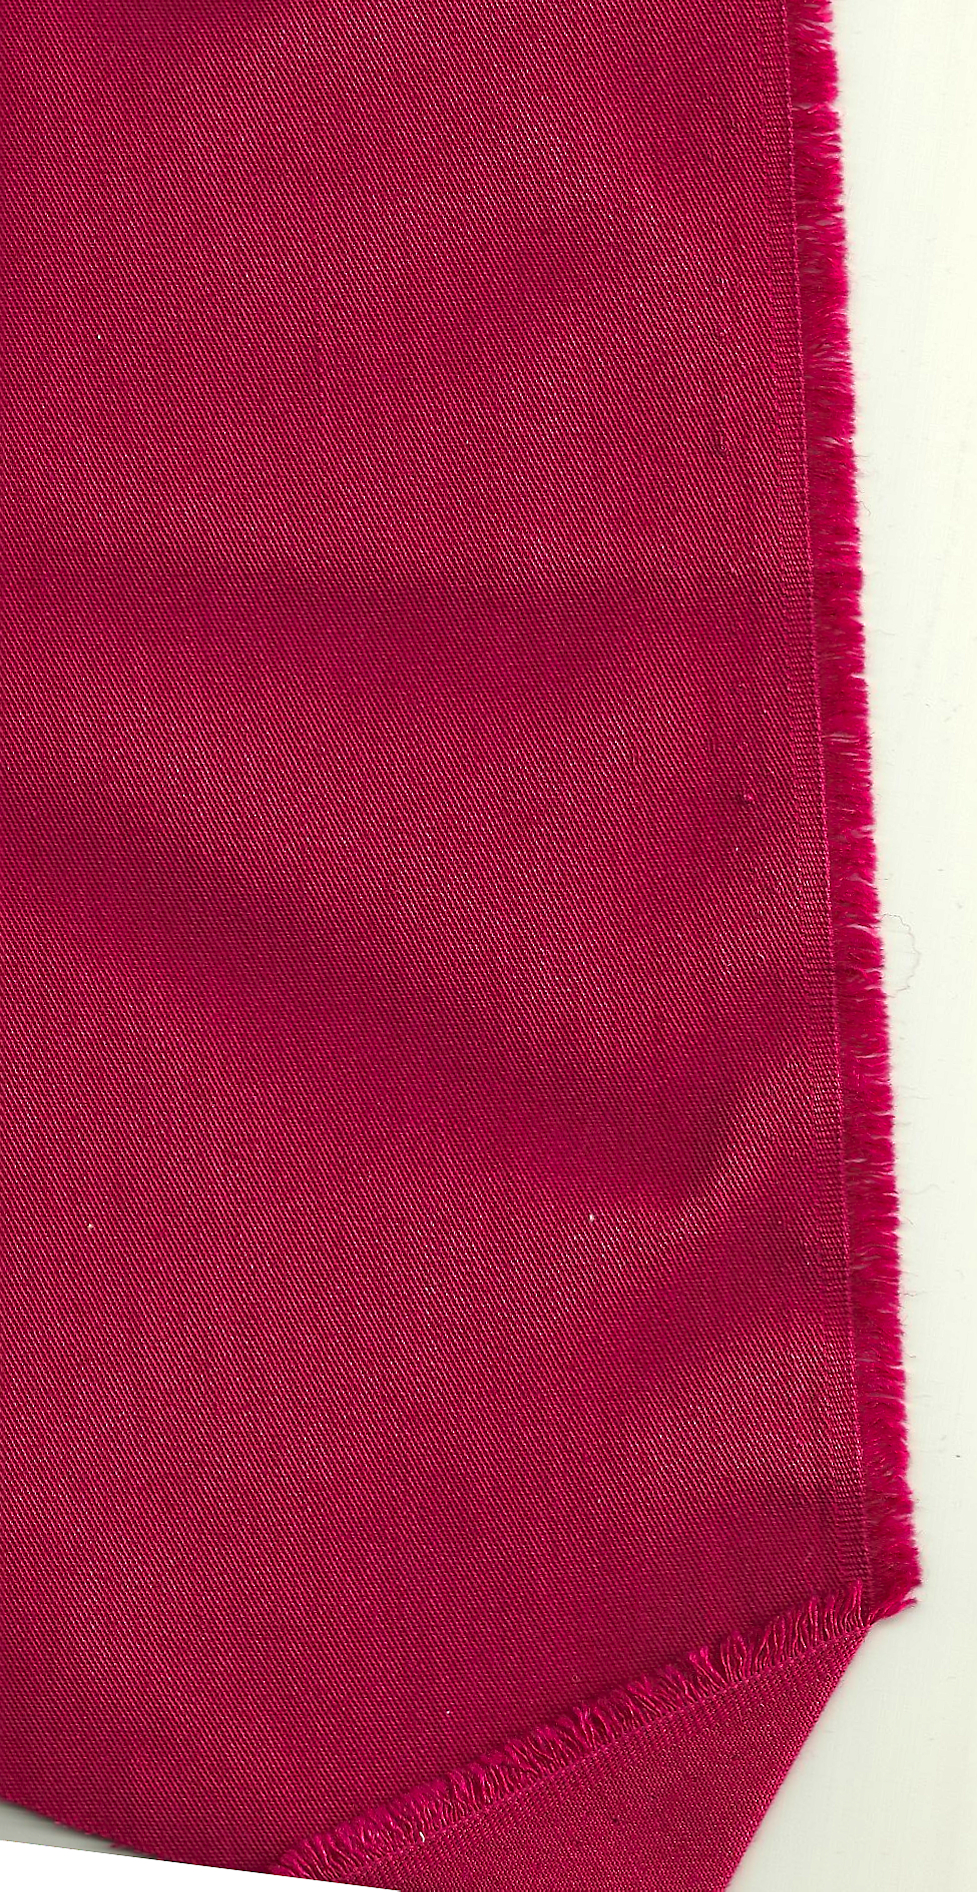
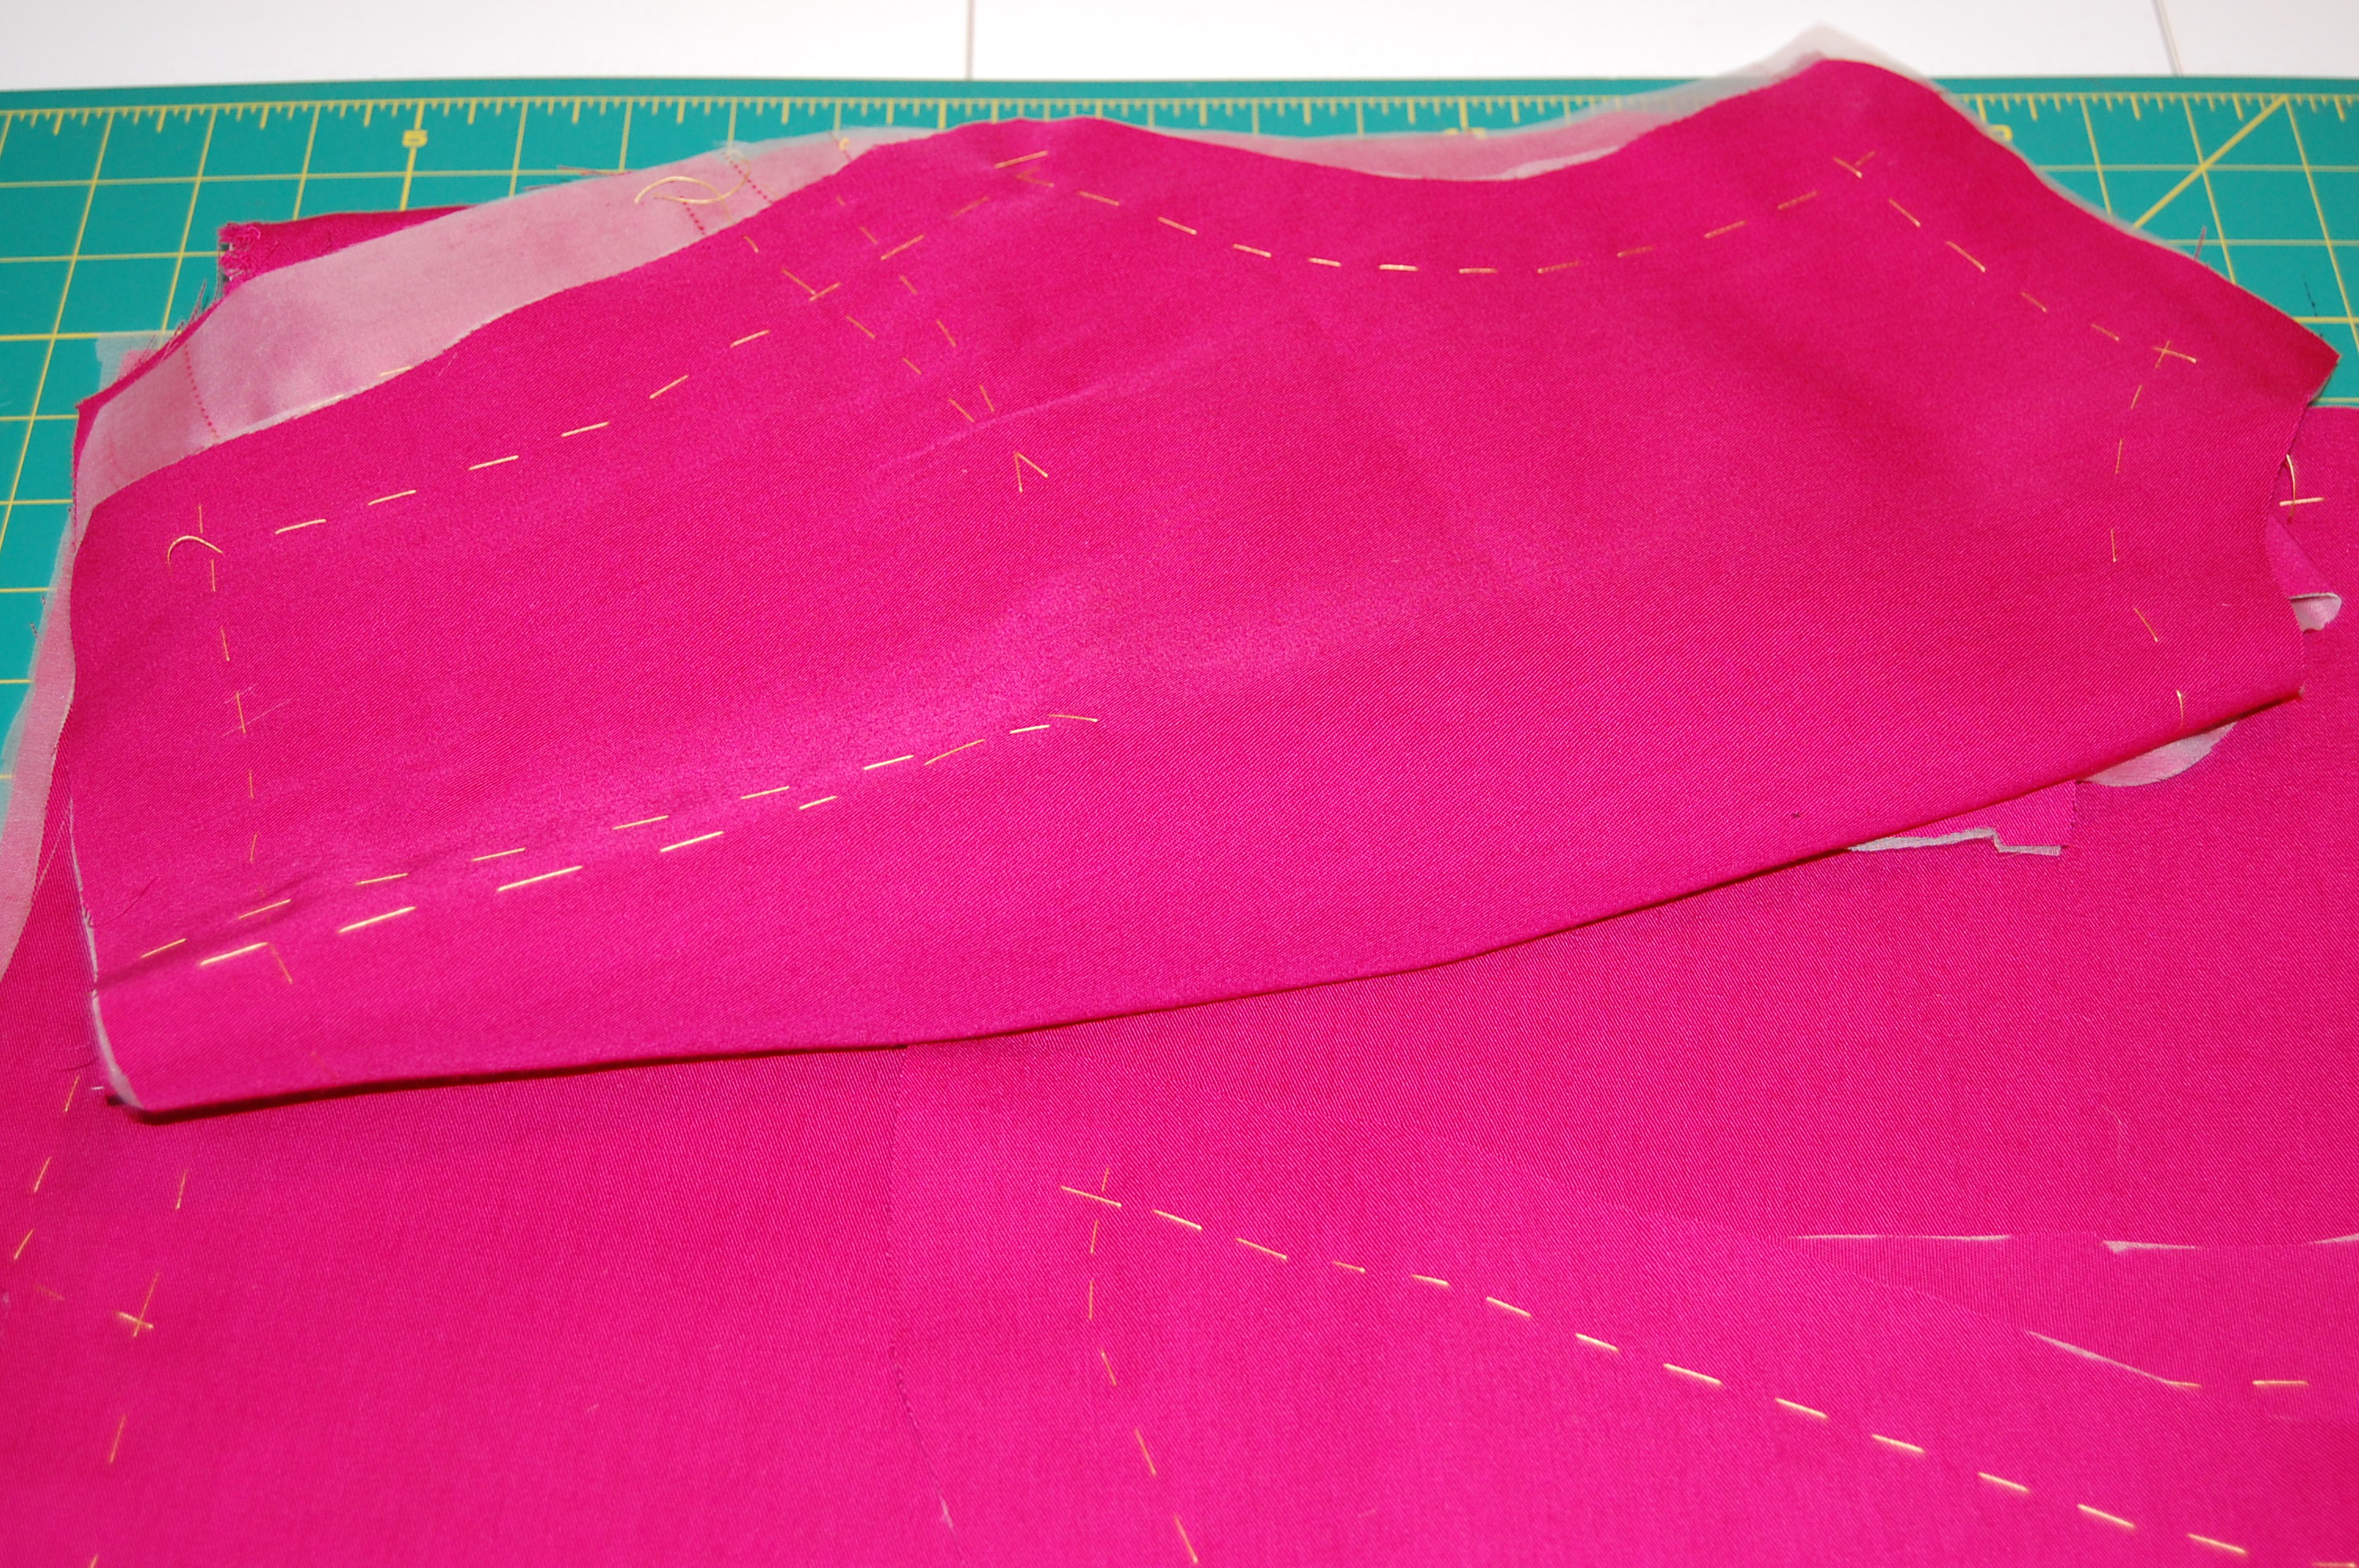
I guess it is no surprise that fabric came home with me, and then I dug out that piece of deep pink linen pictured, which I had “saved from the ‘70s”, to use as the accent trim. (It must have been 1974 when I purchased this pink linen in a fabric store on South Street in Philadelphia. I made myself a suit out of it, now long gone. But – I’m really glad I saved the left-over fabric!)
Then I doodled a bit to figure out how I wanted to treat the trimming on my tunic dress.
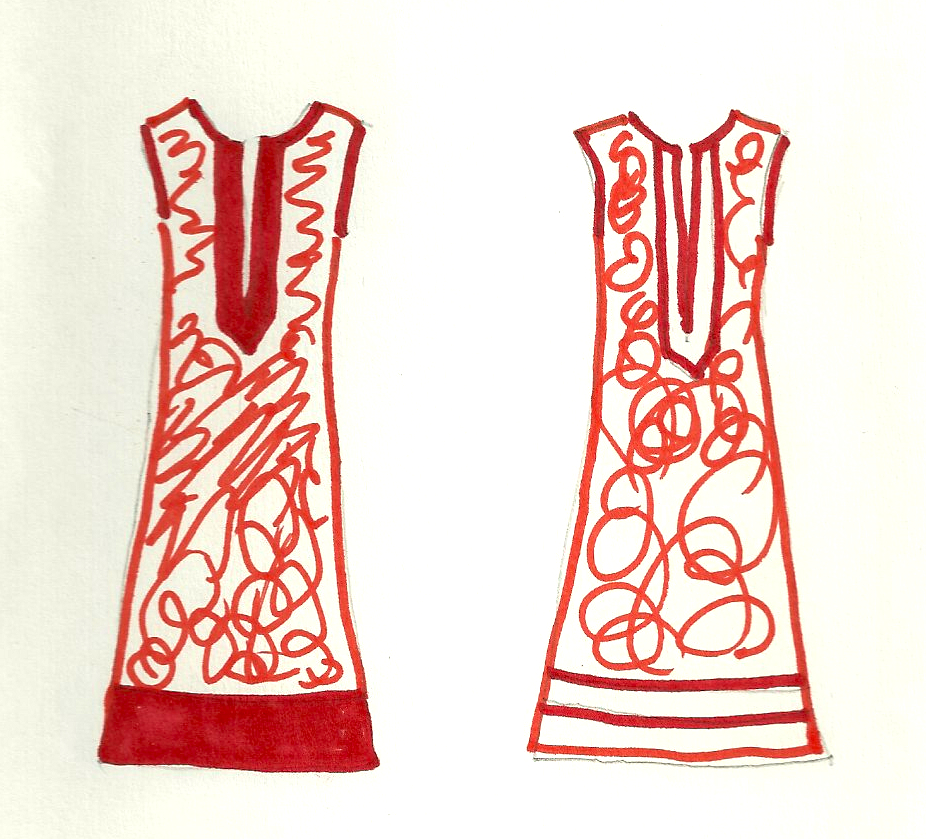
I quickly doodled these sketches to help me determine the look I wanted.
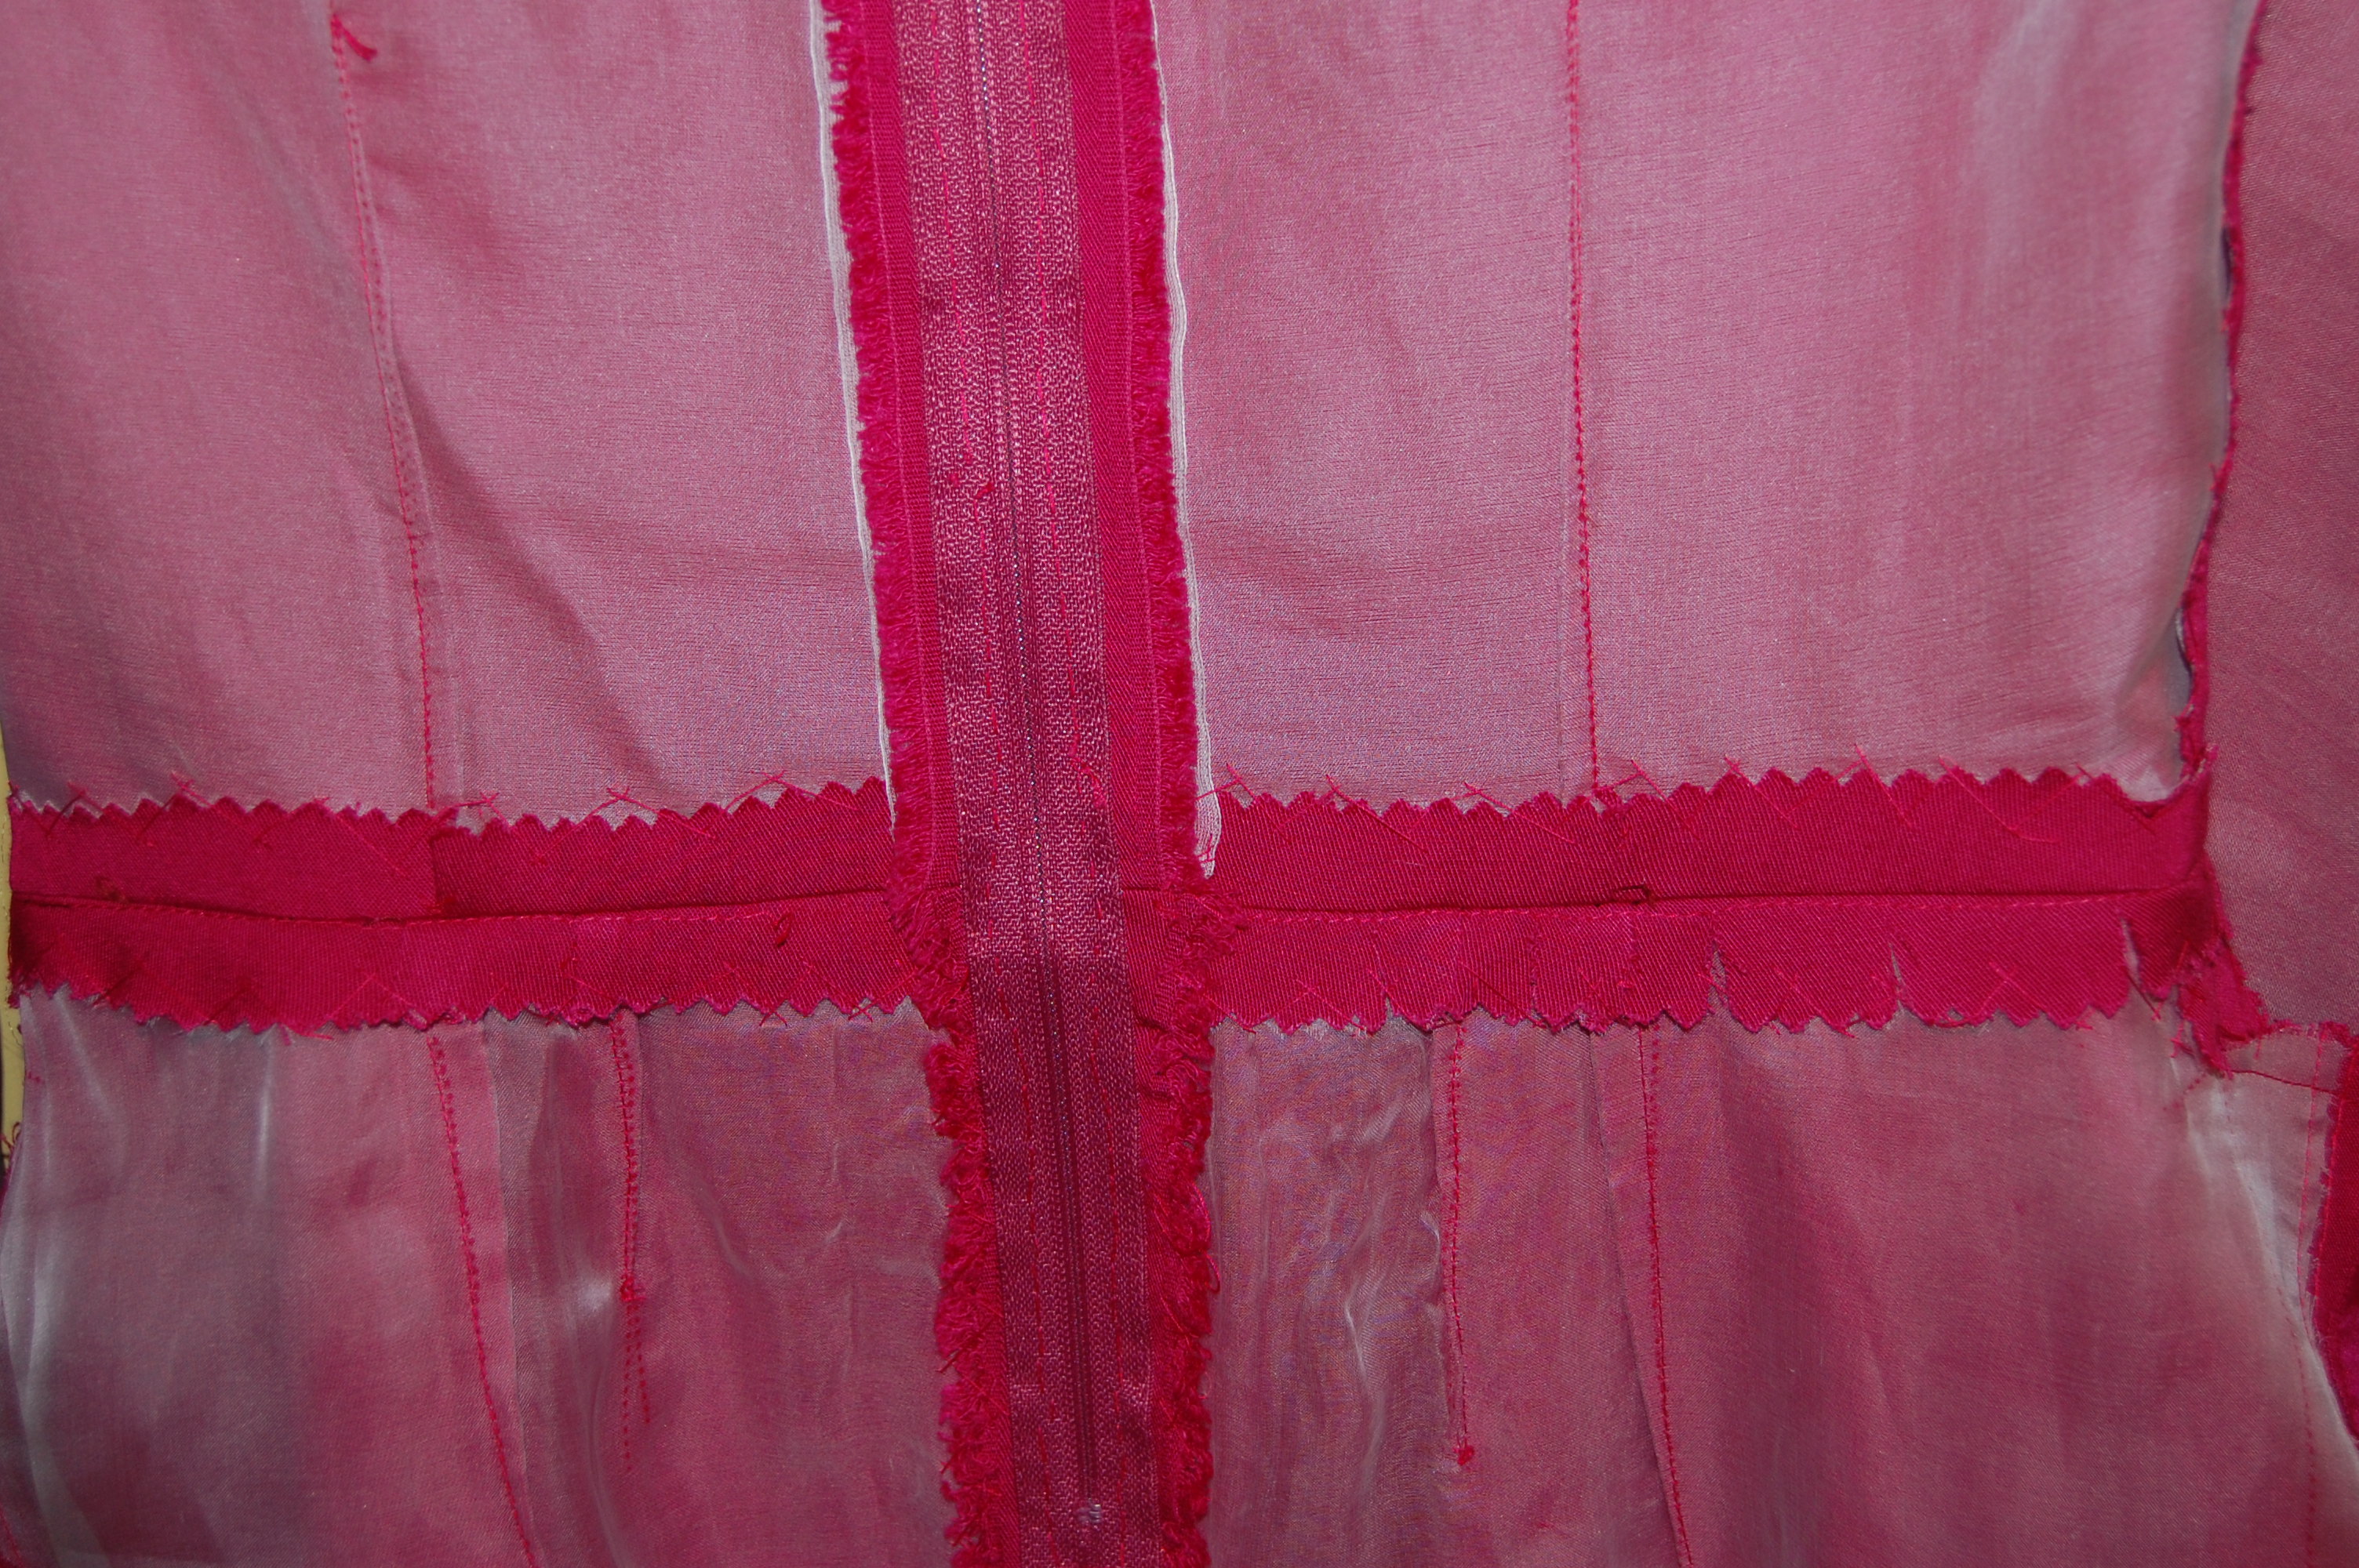
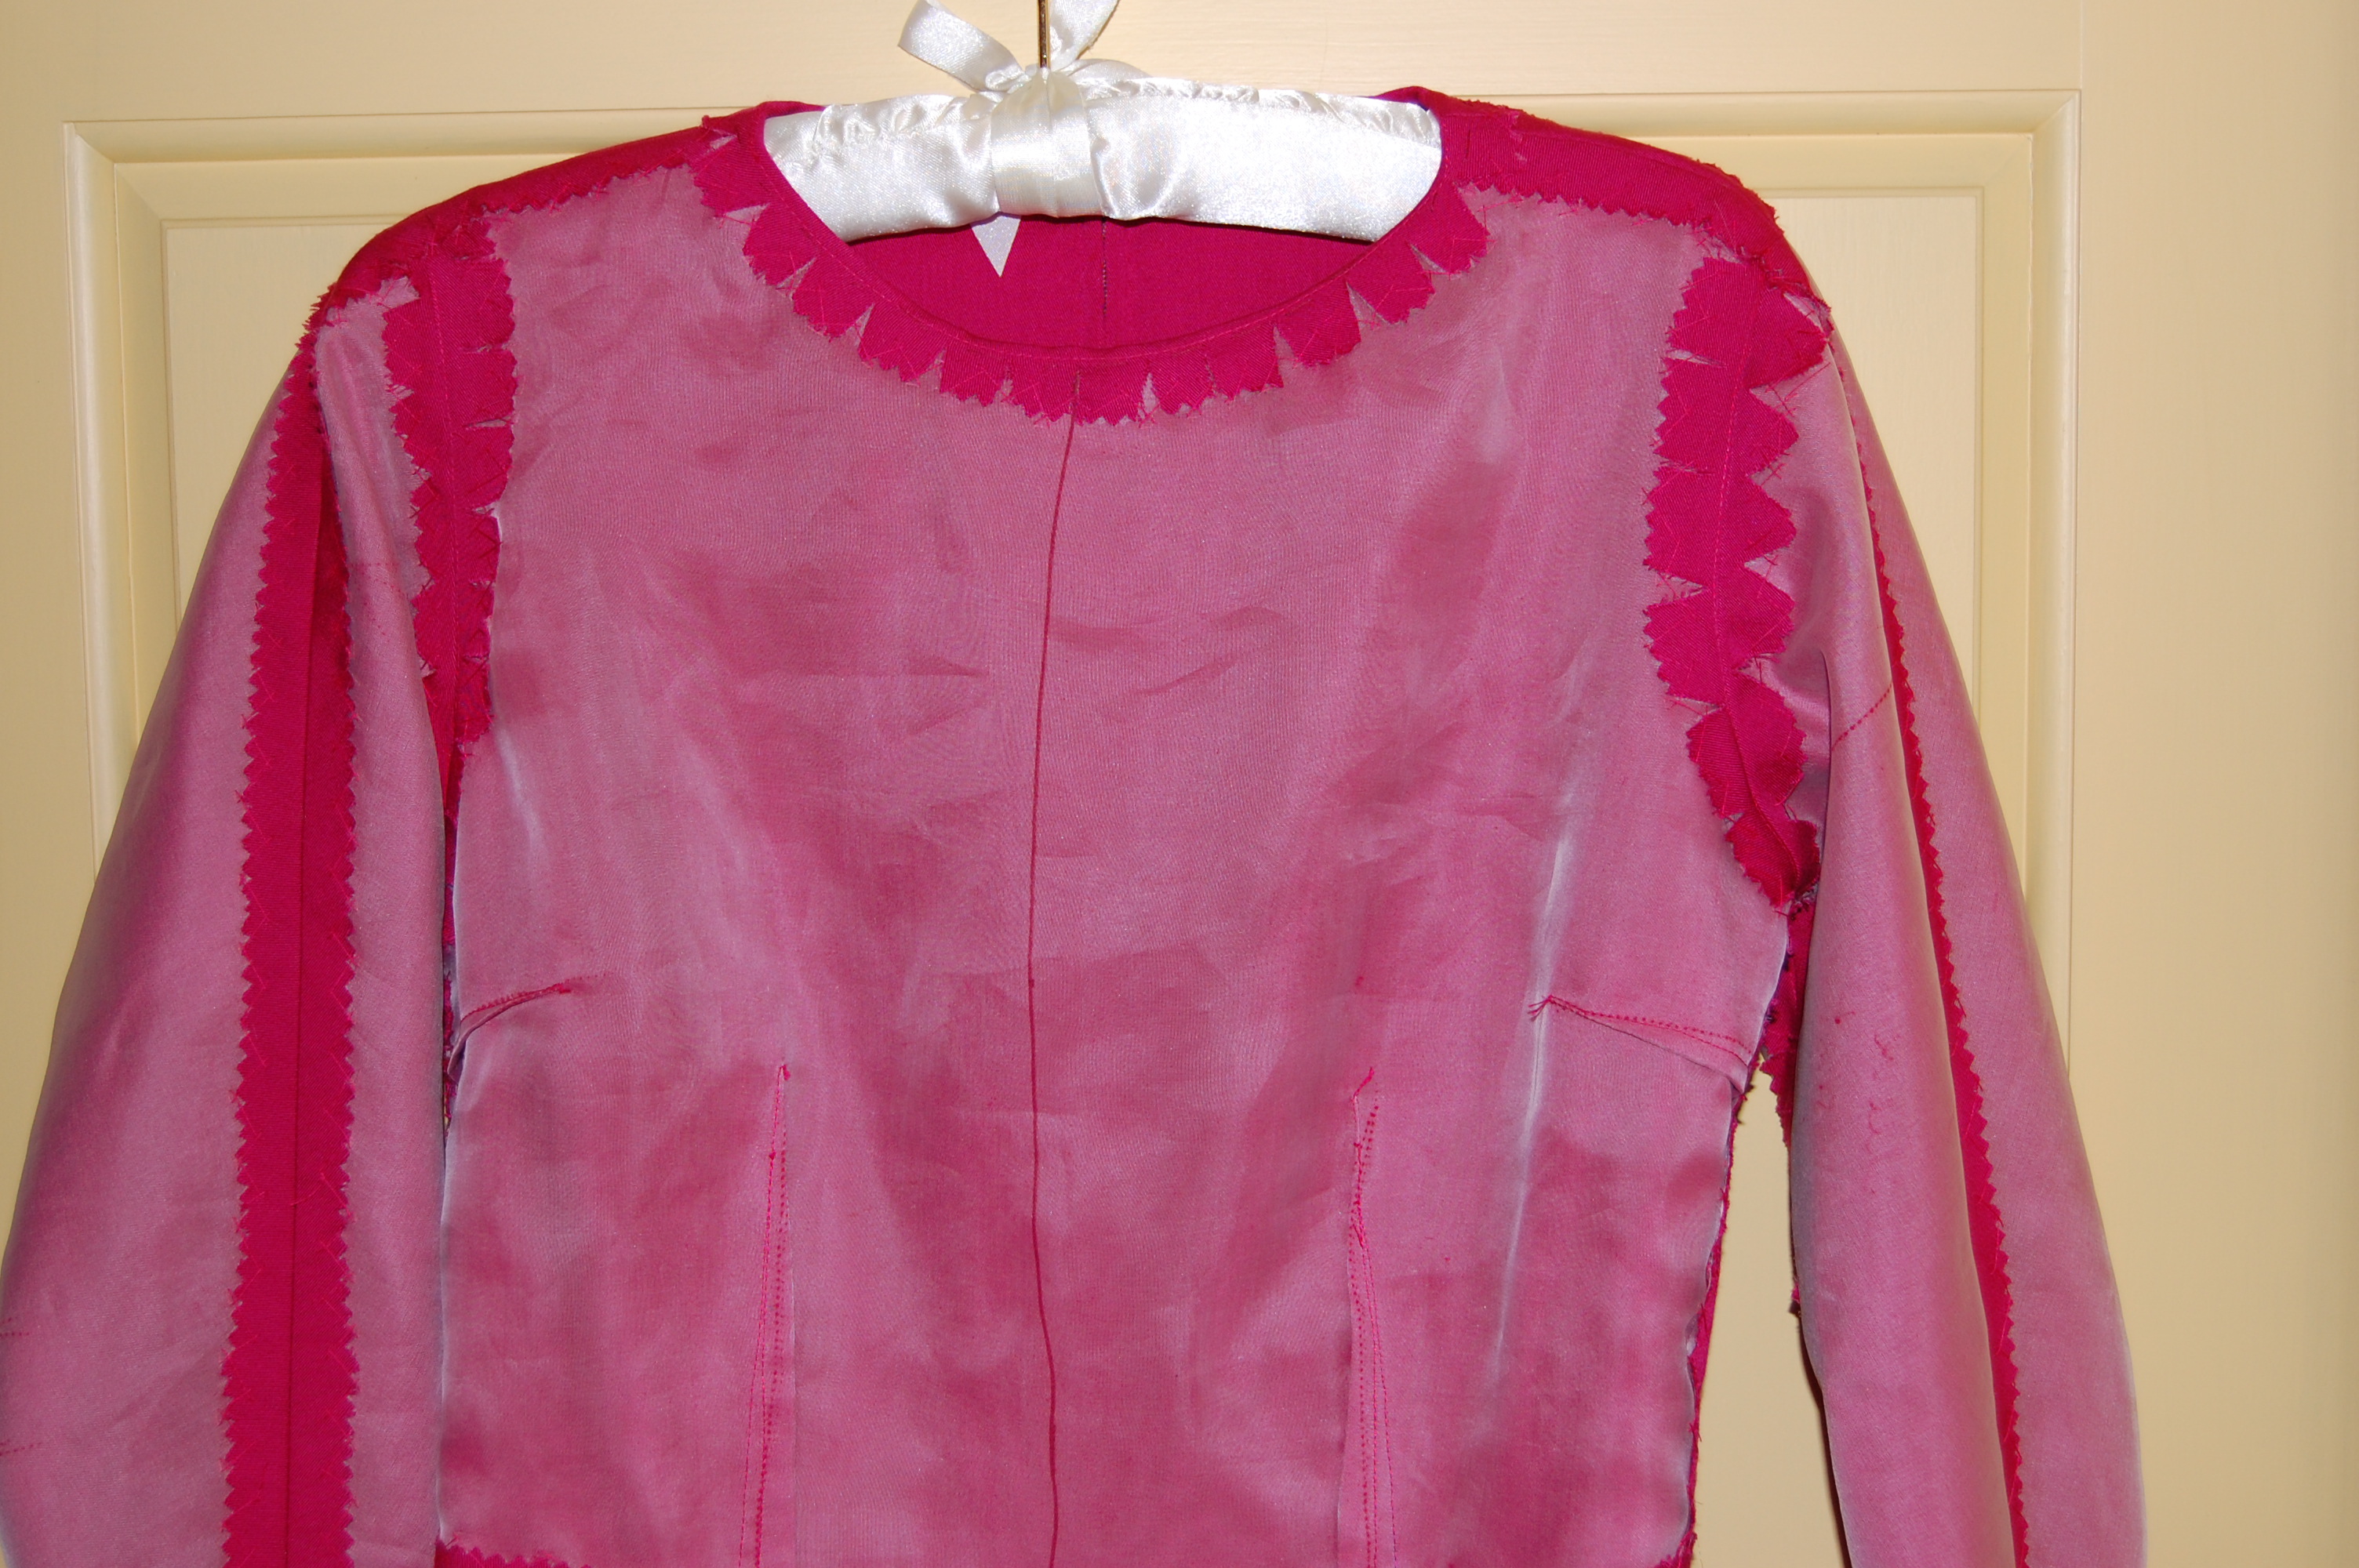
I decided to make it sleeveless so it’s cool and comfortable. I used my Clover bias-maker to make the bias tape I needed for the trim and the binding for the neck and armholes. Because the linen blend was so lightweight, I underlined it with the same weight linen in off-white.
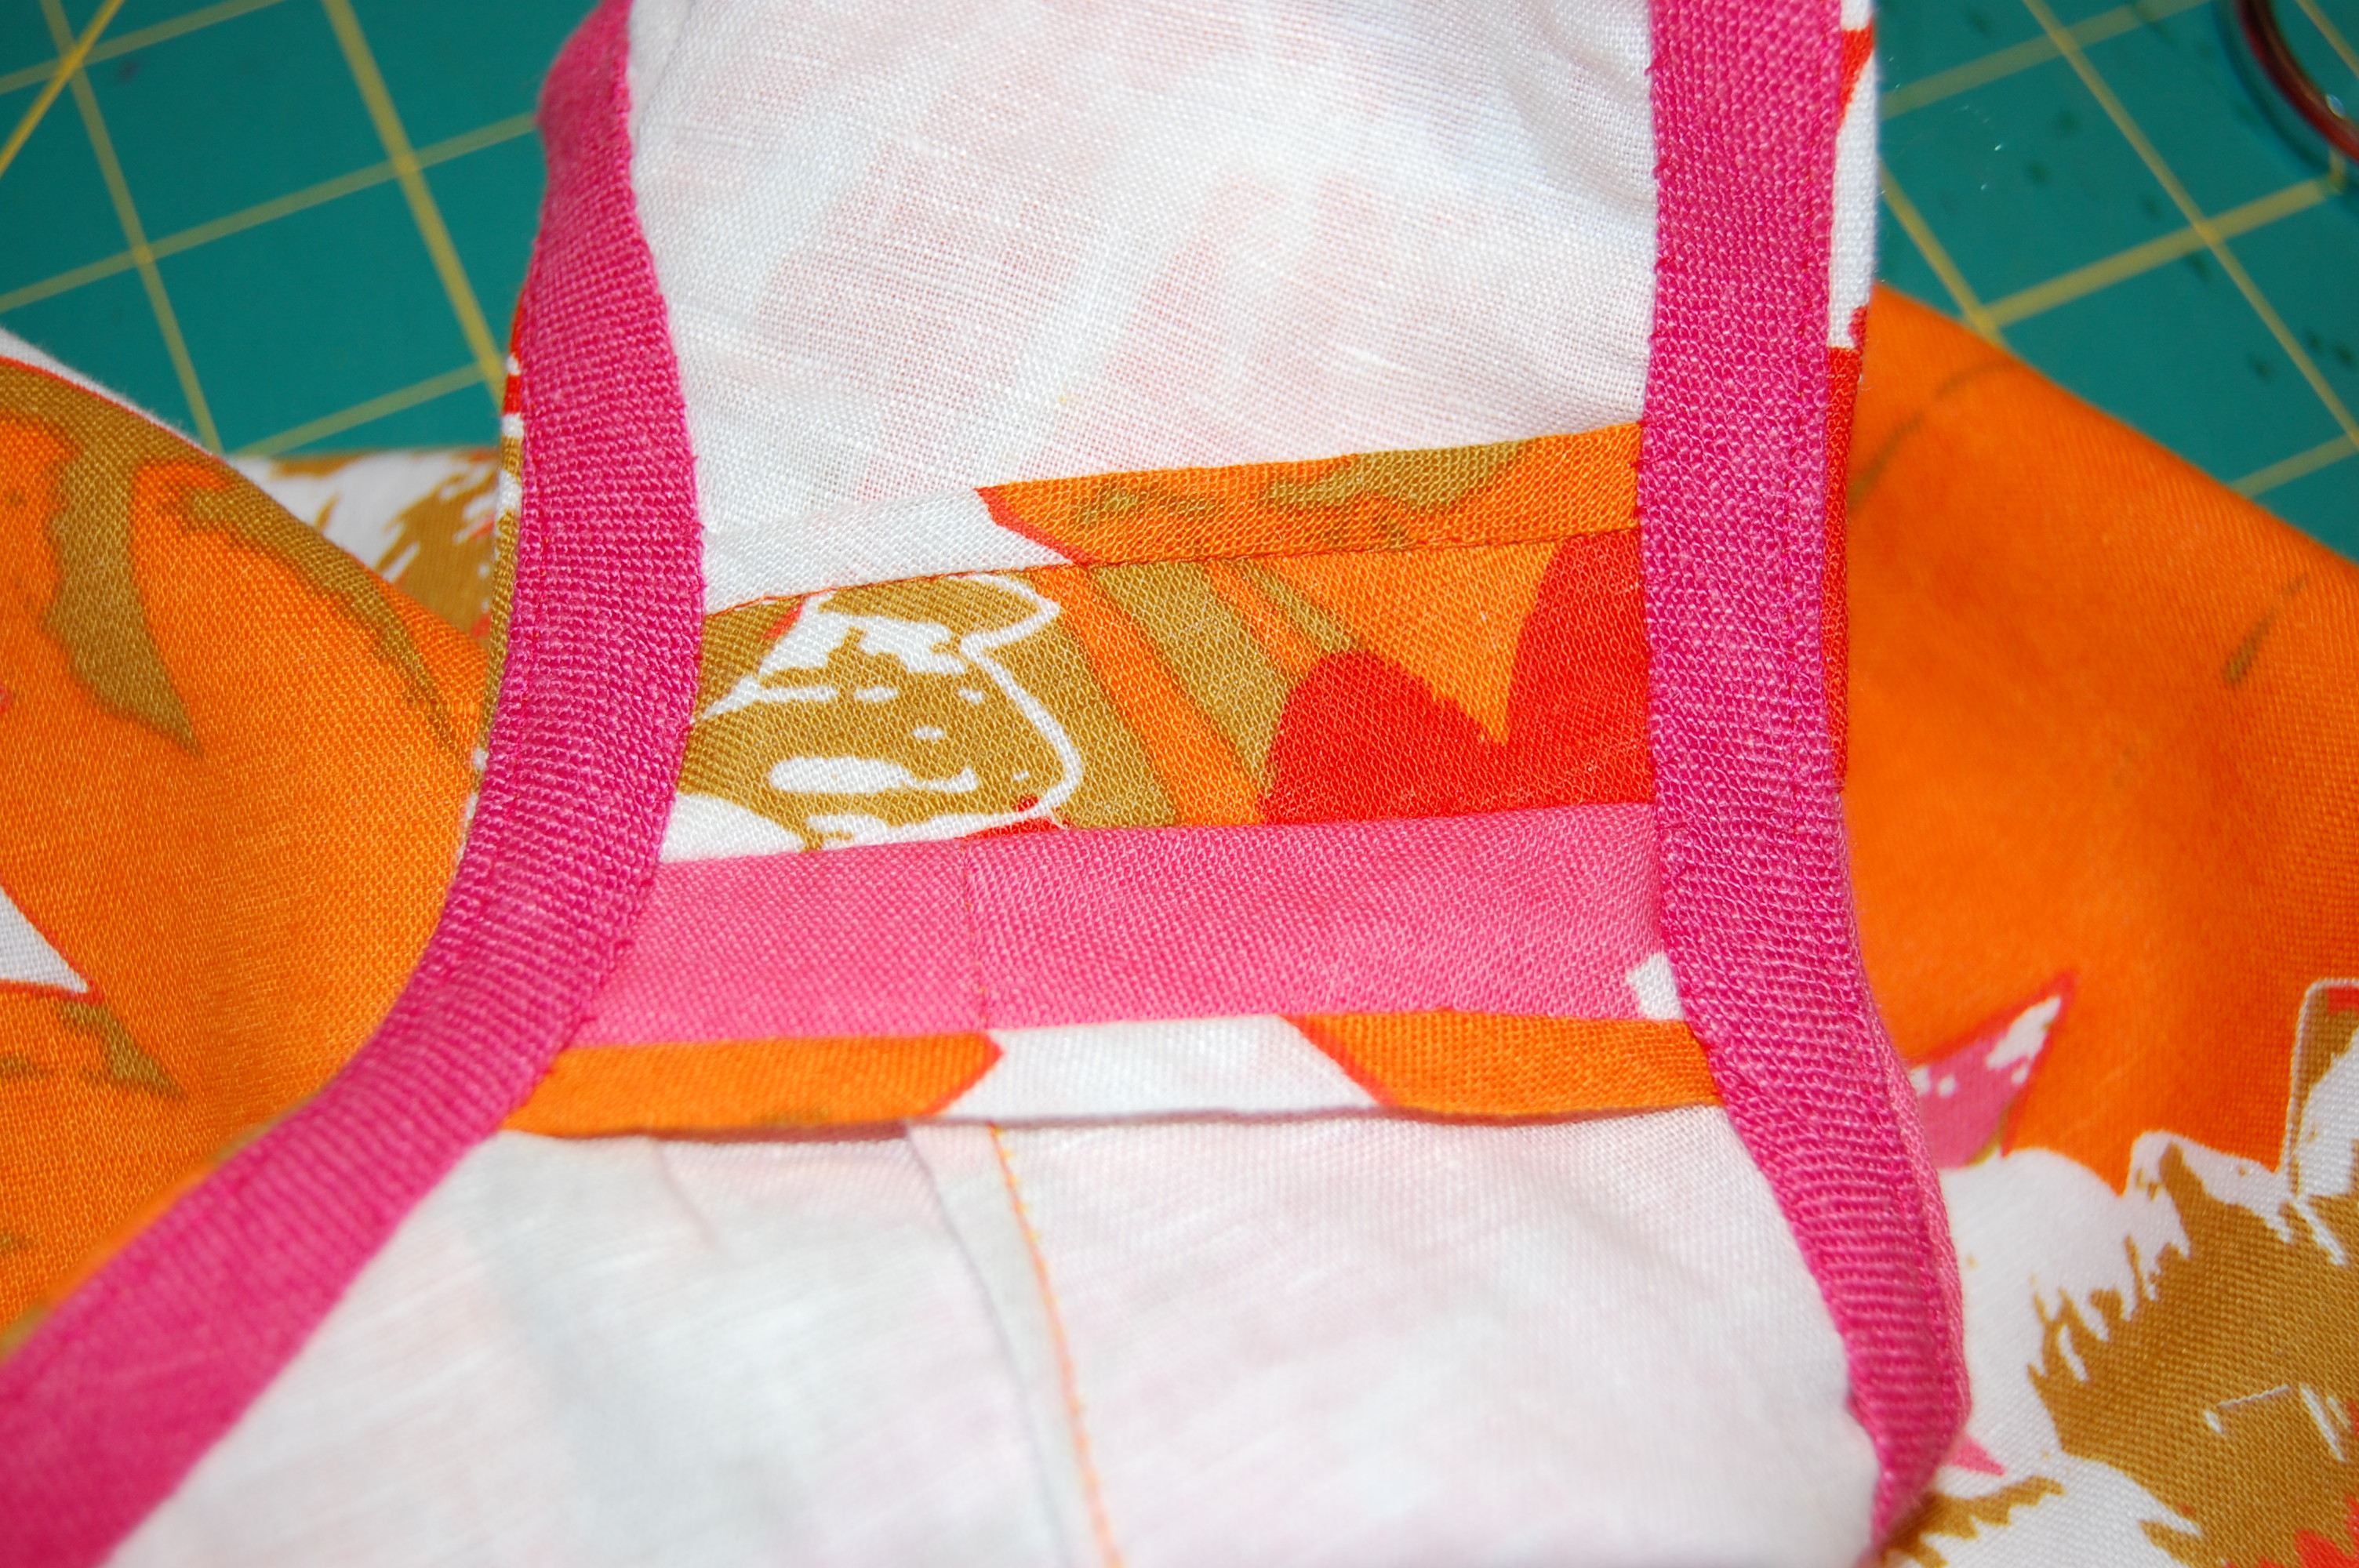
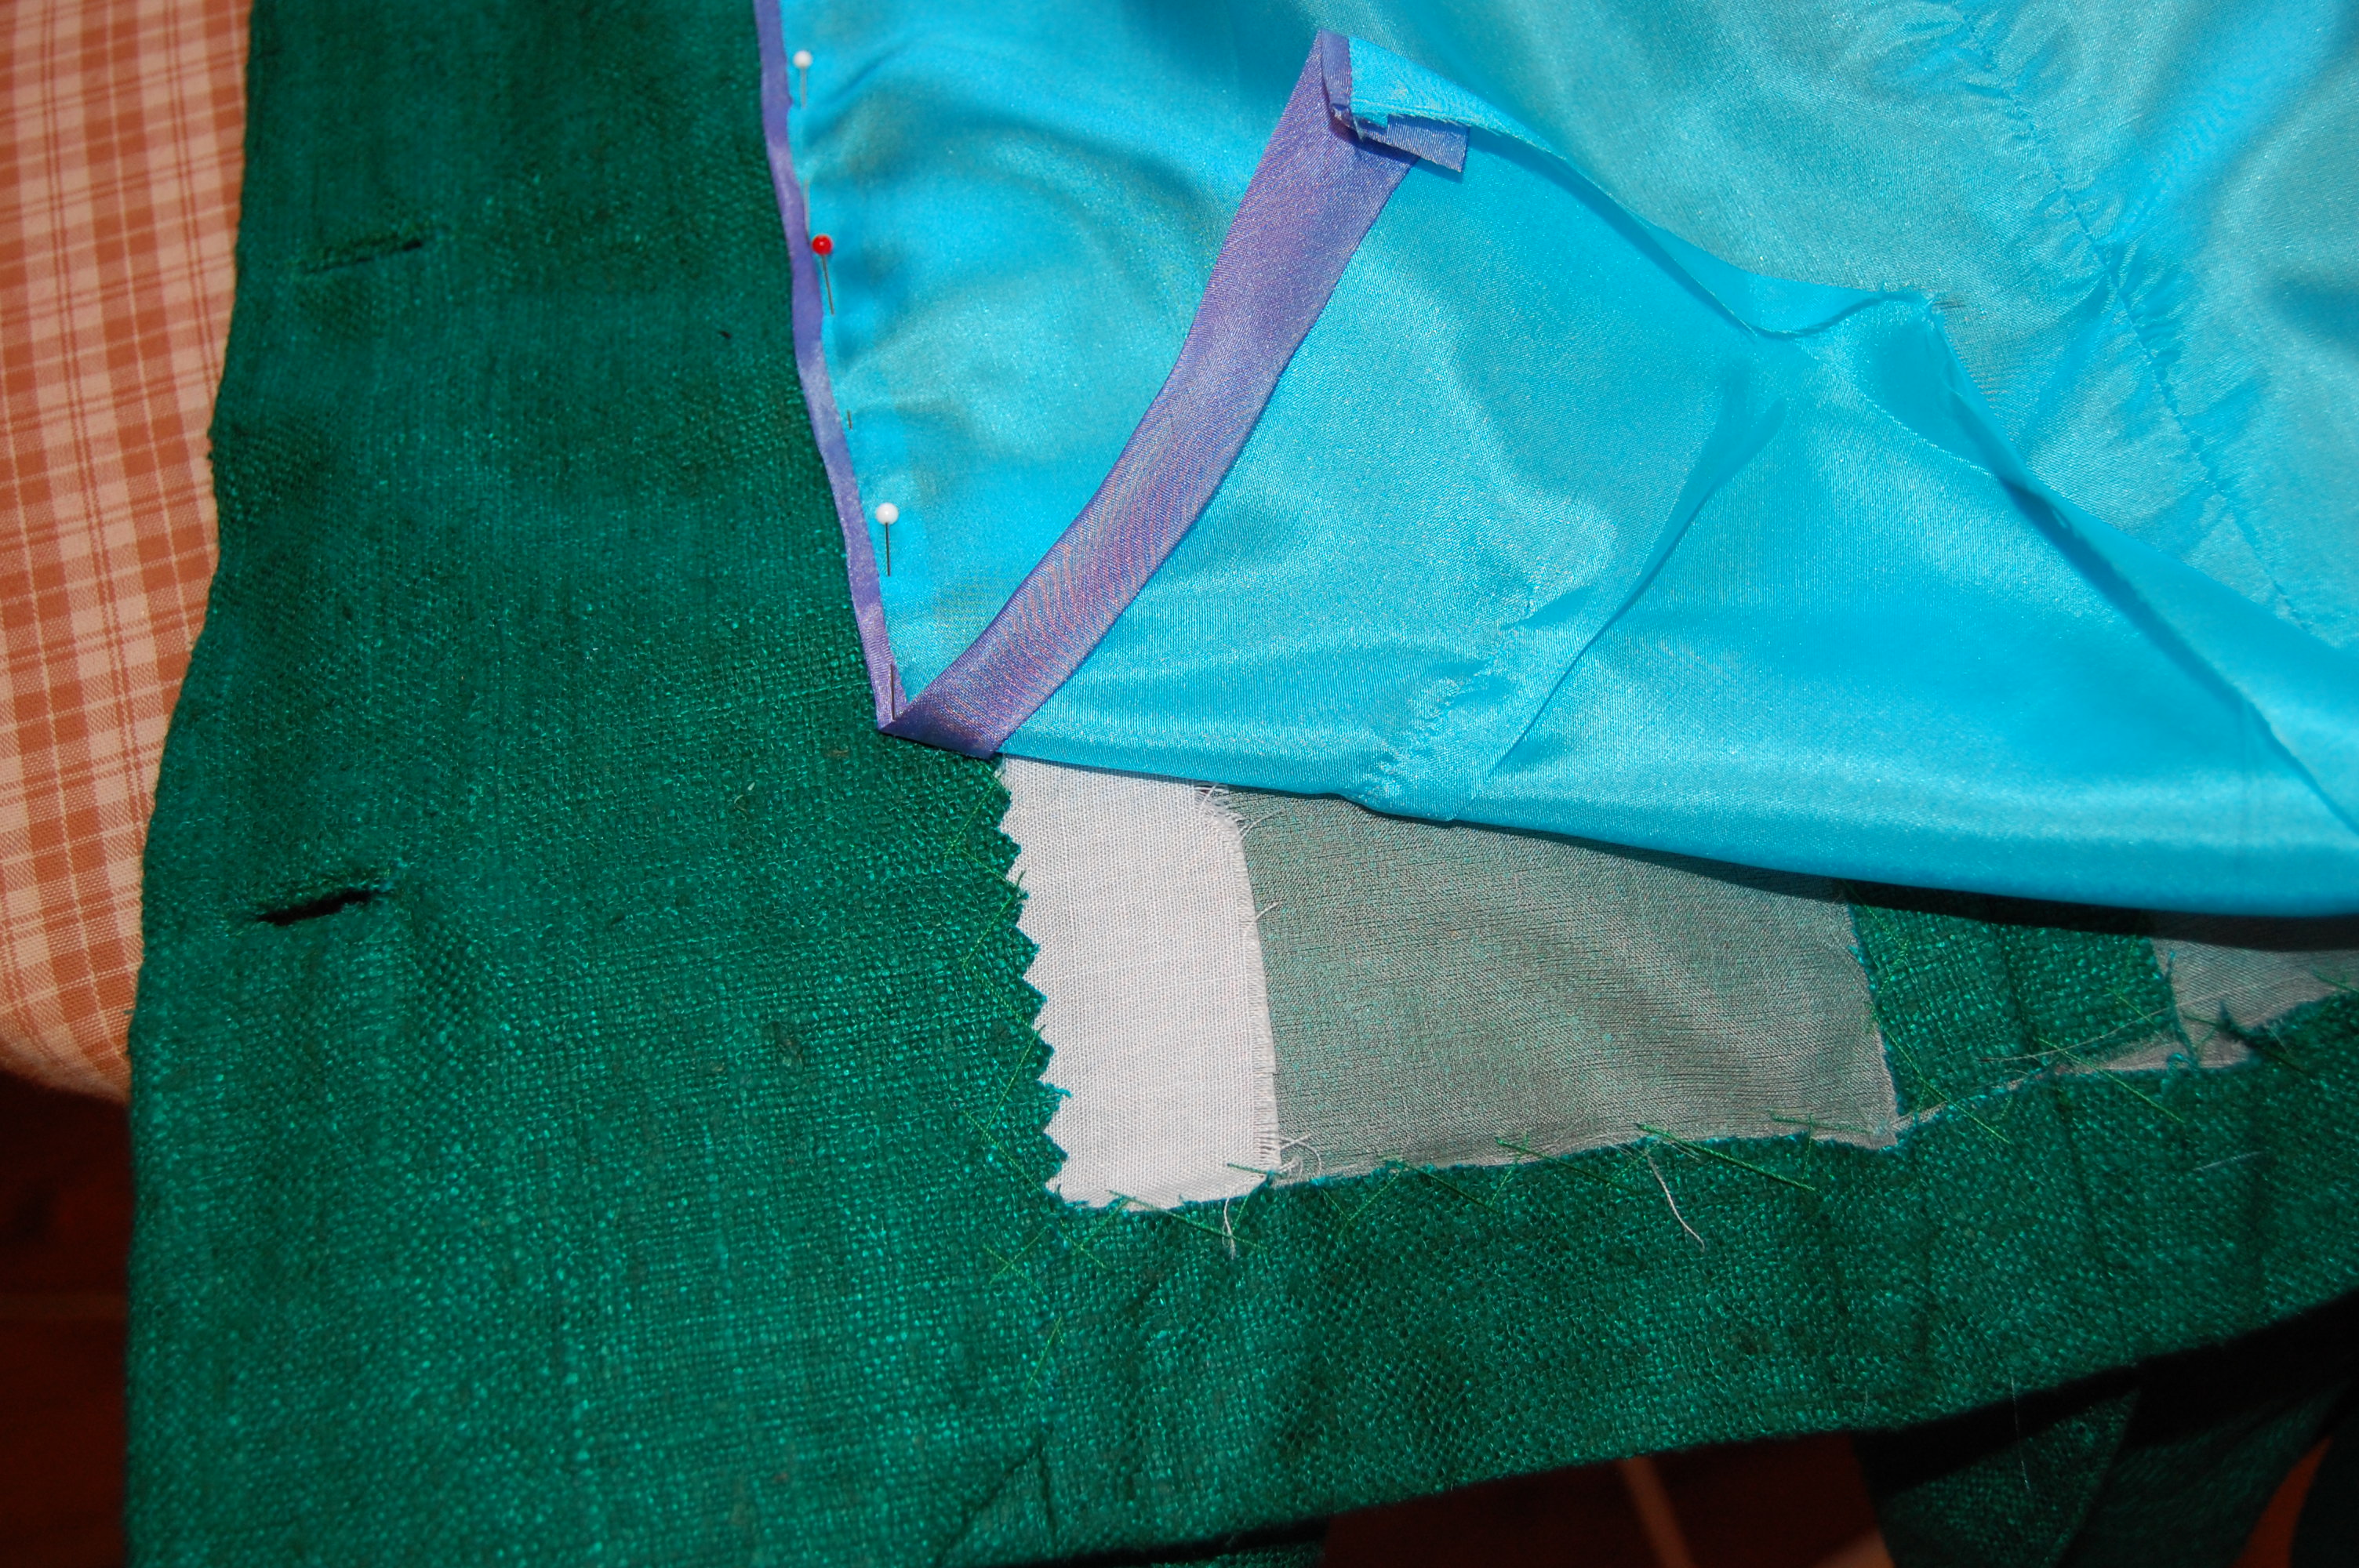
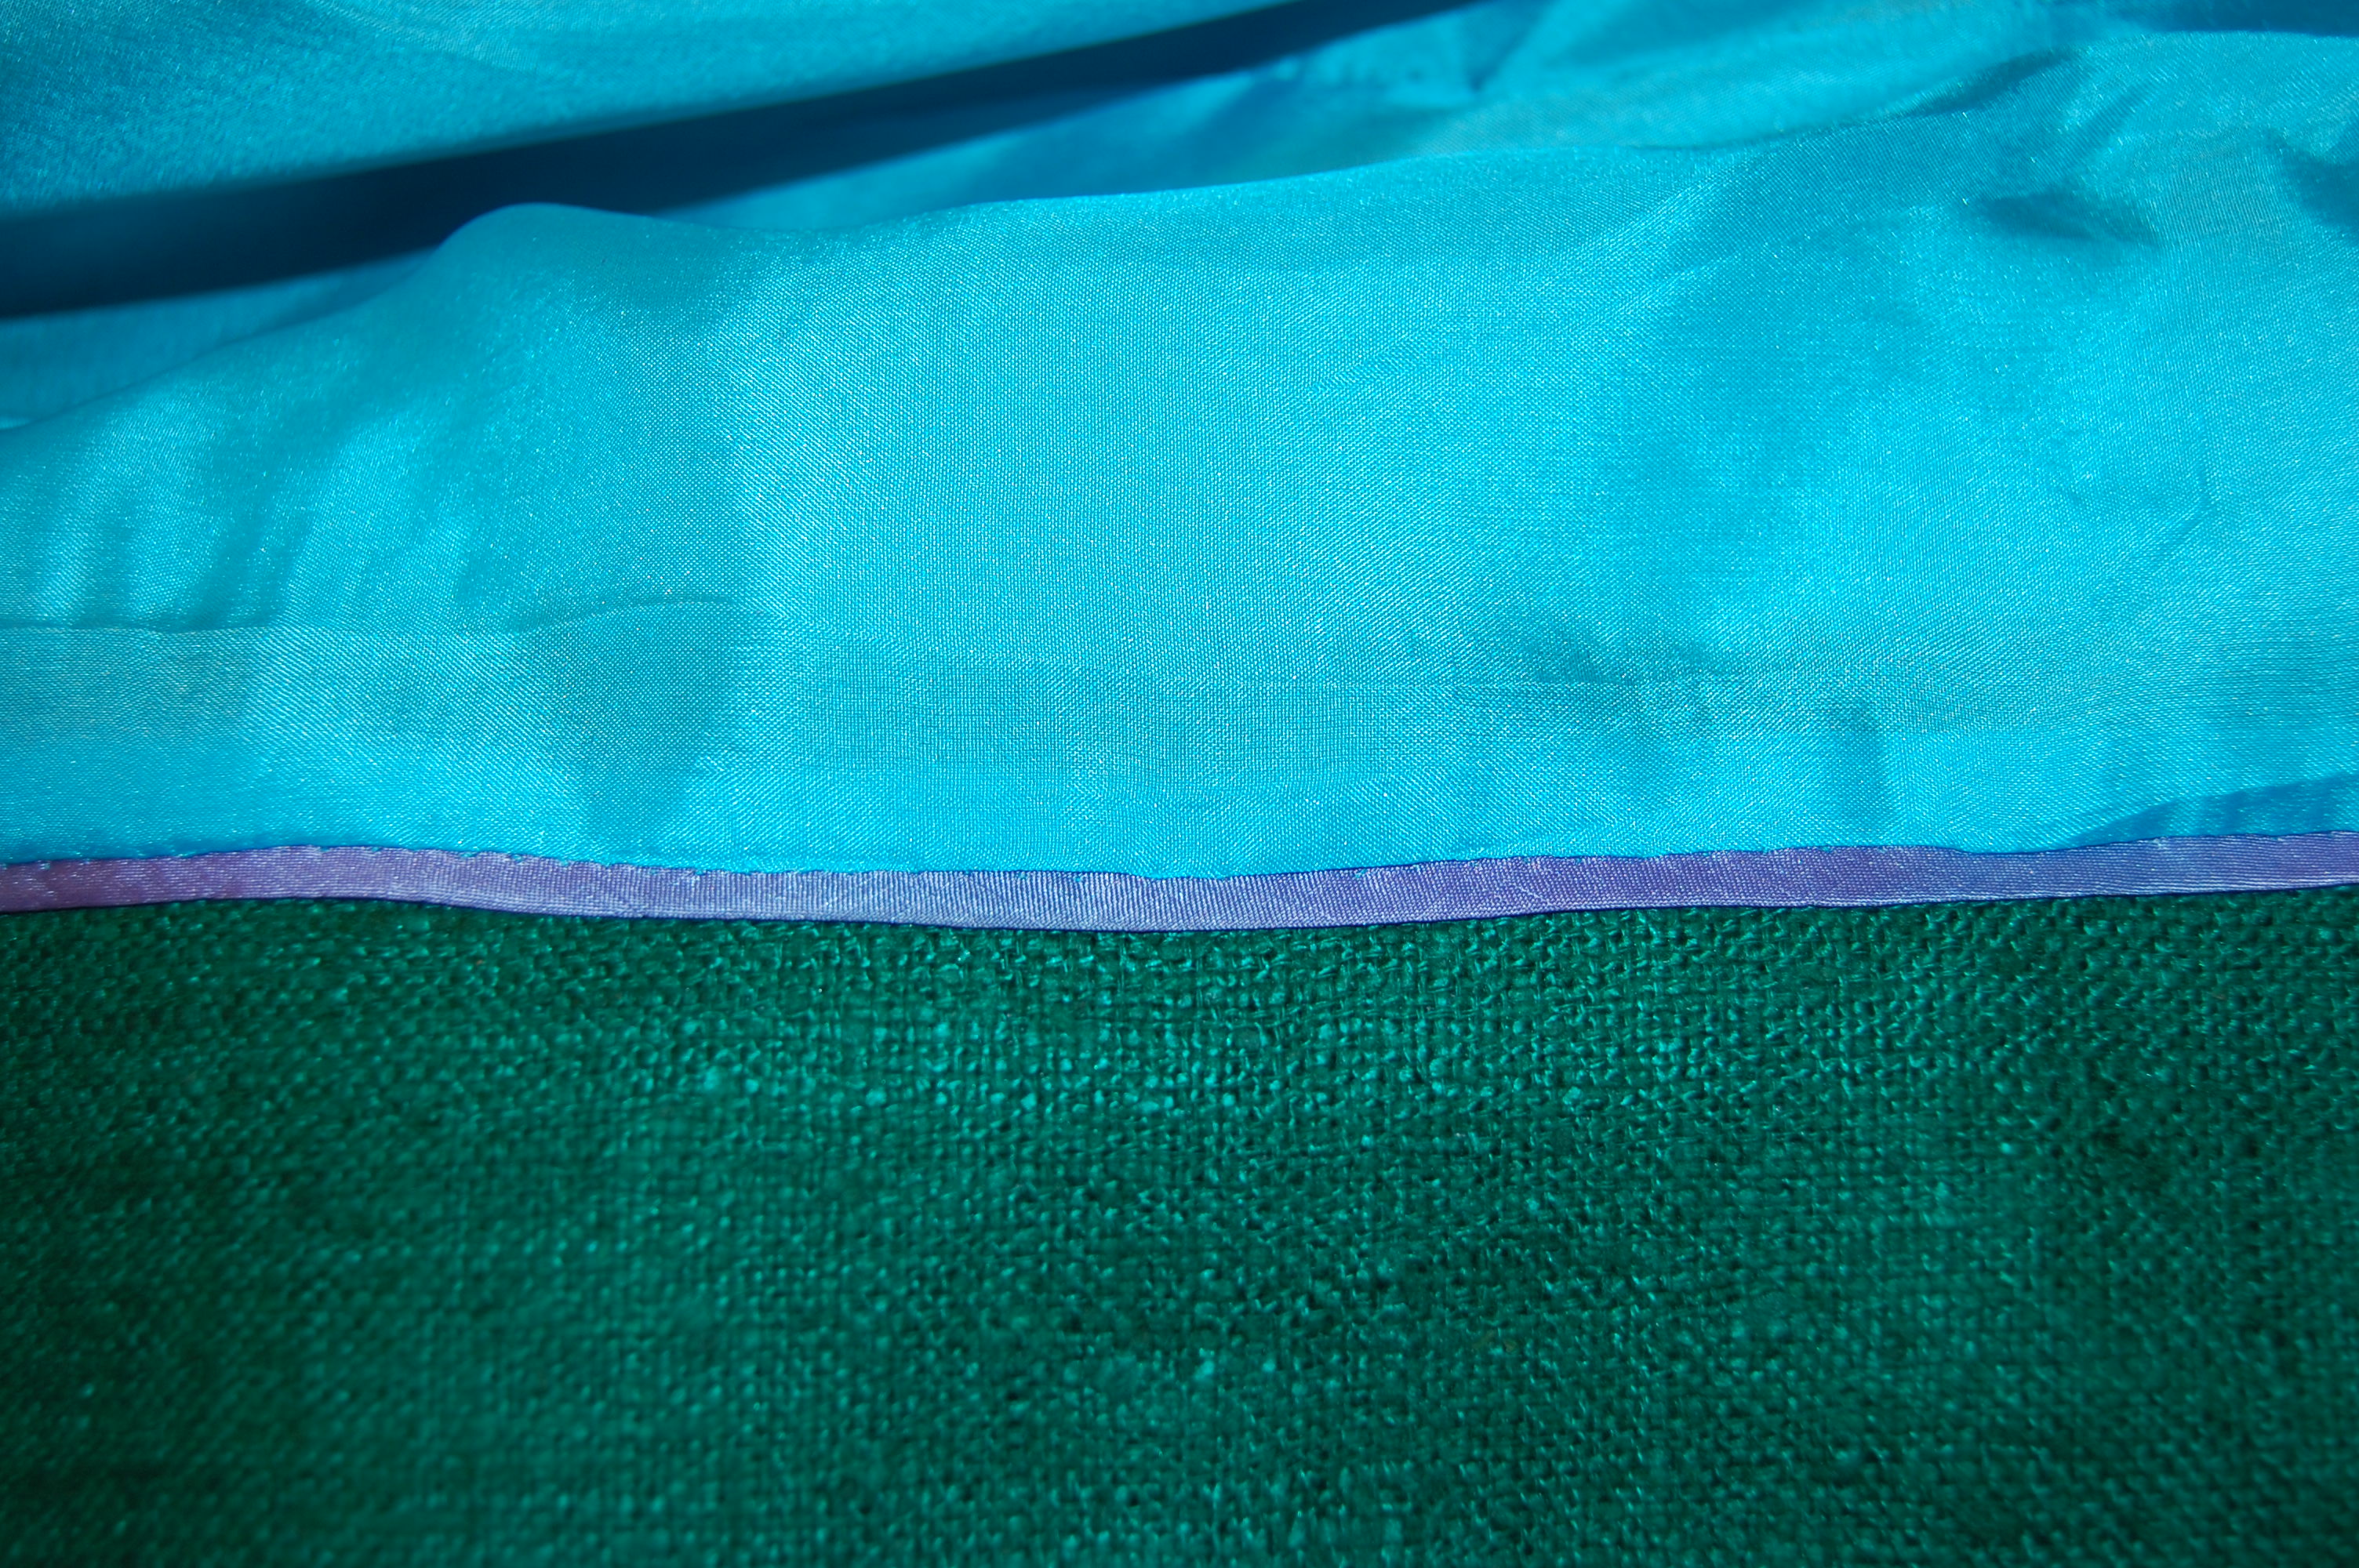
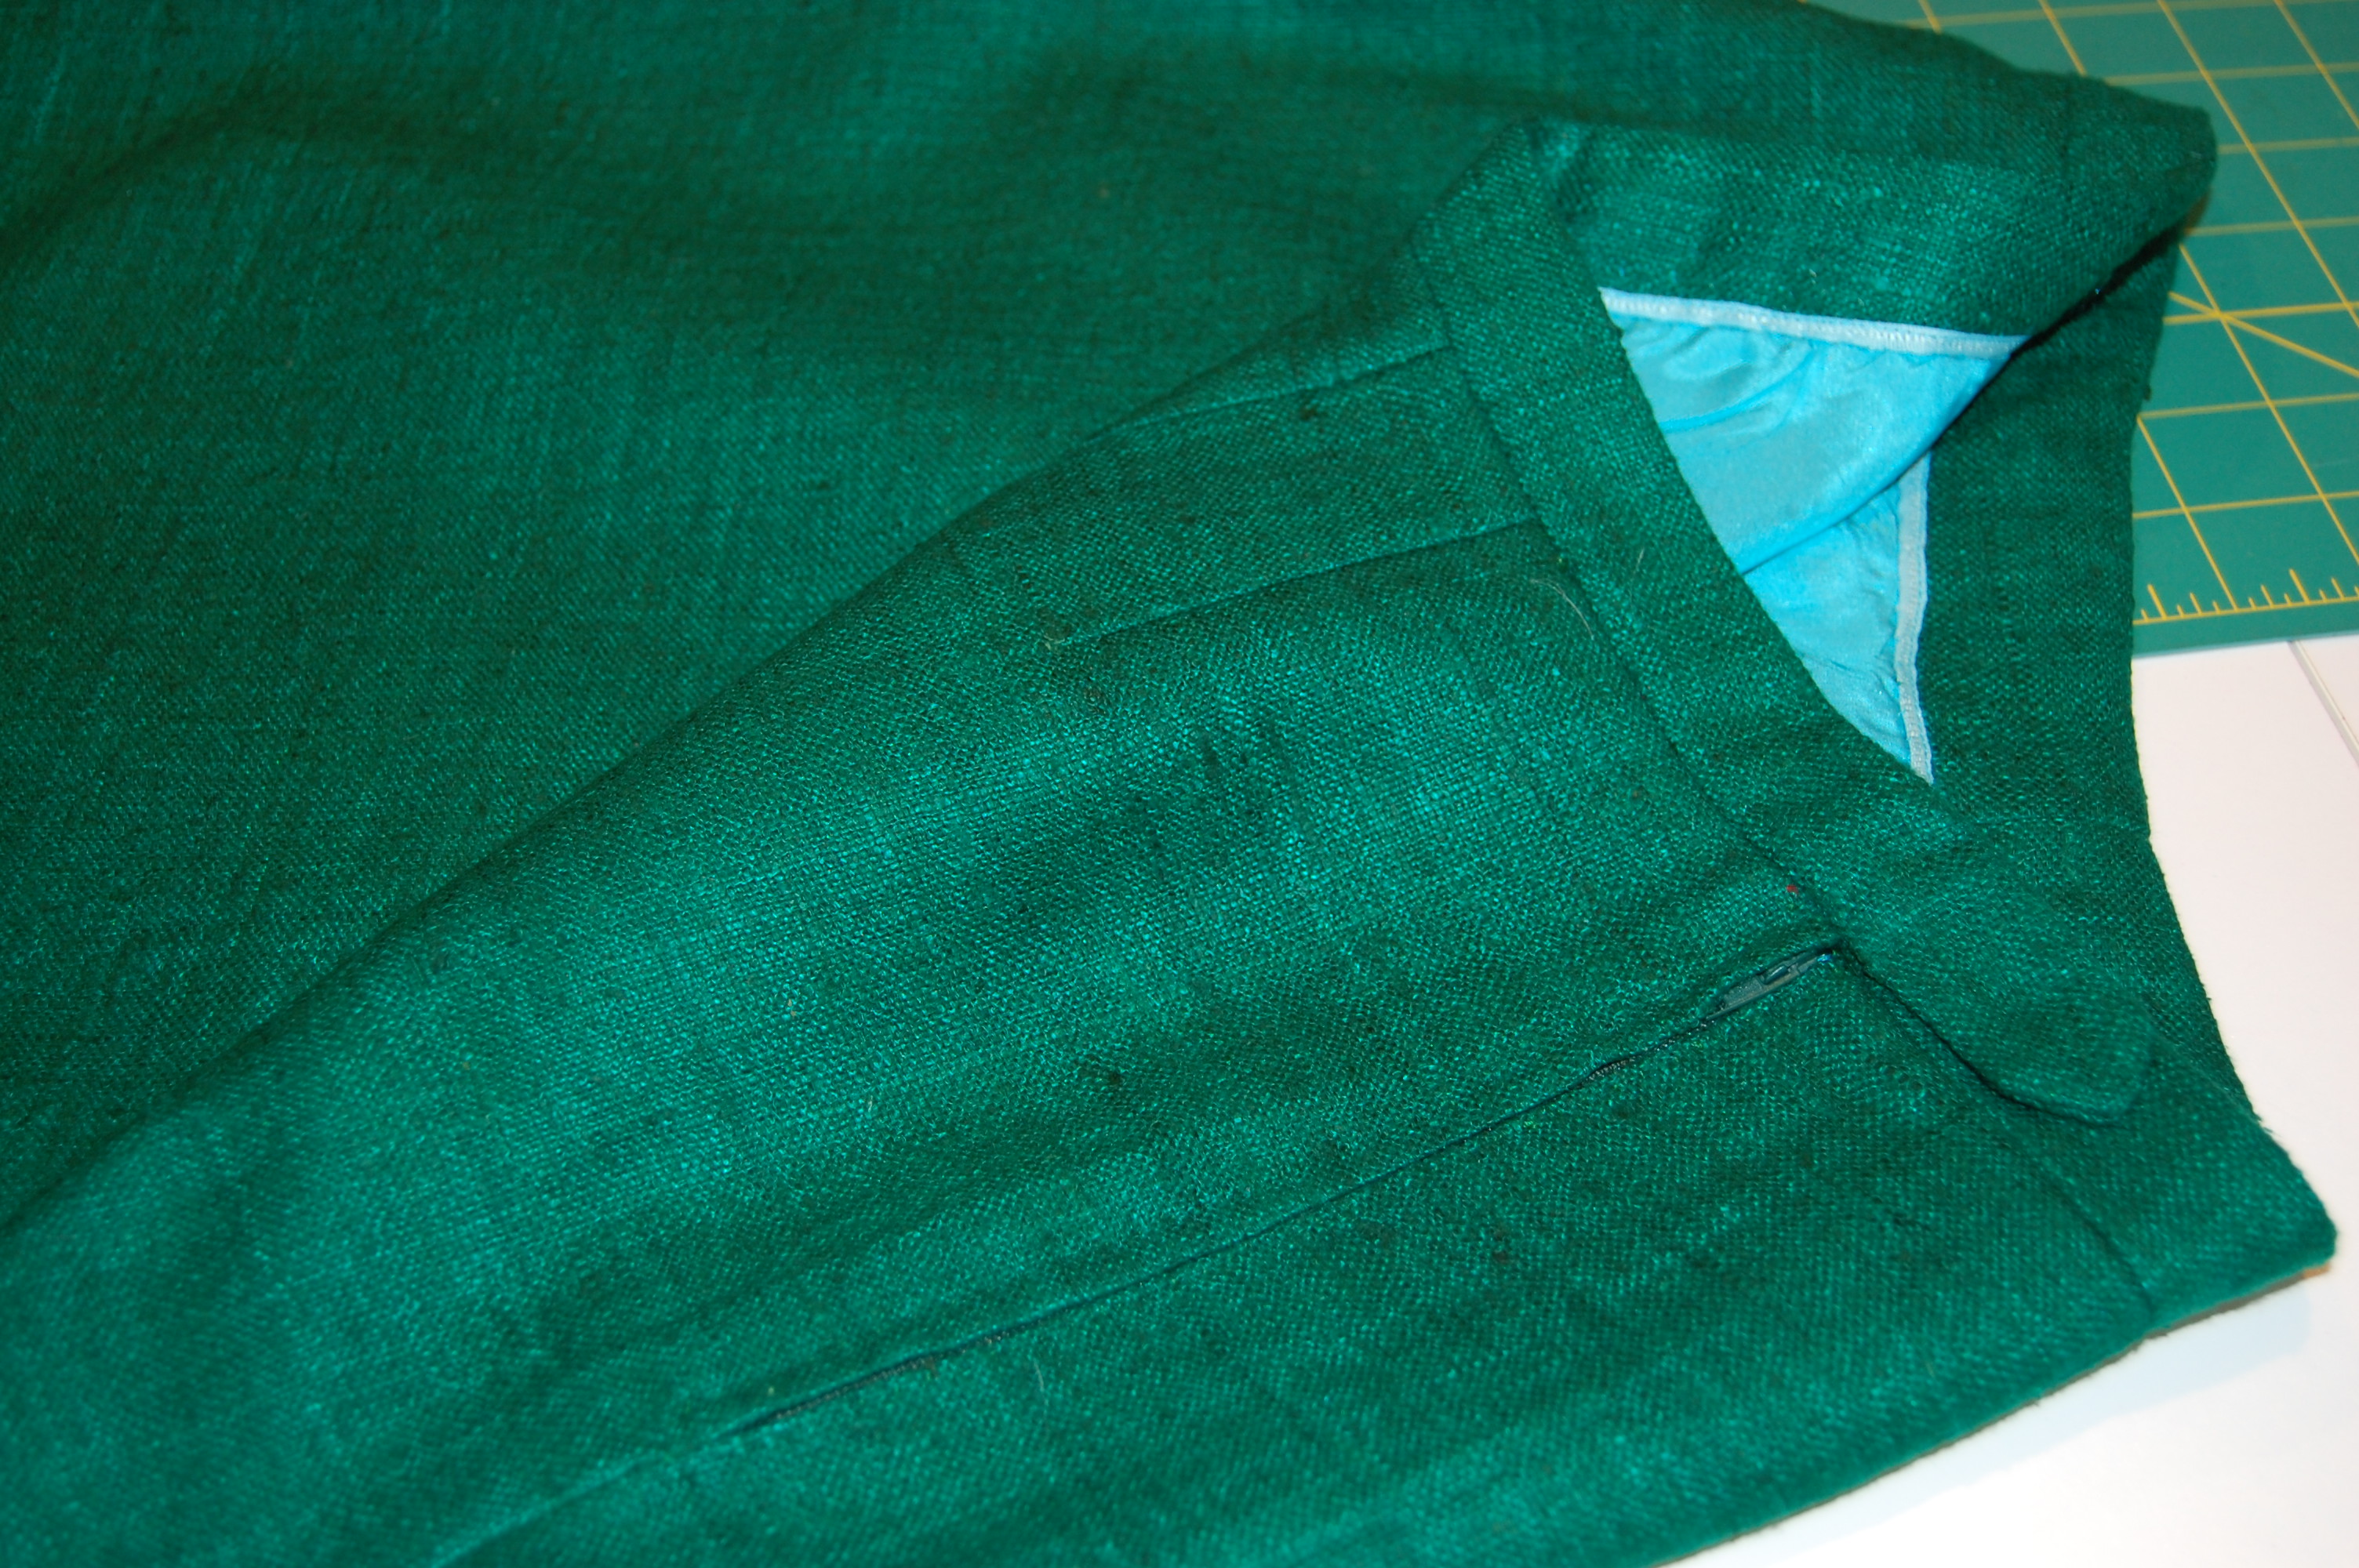
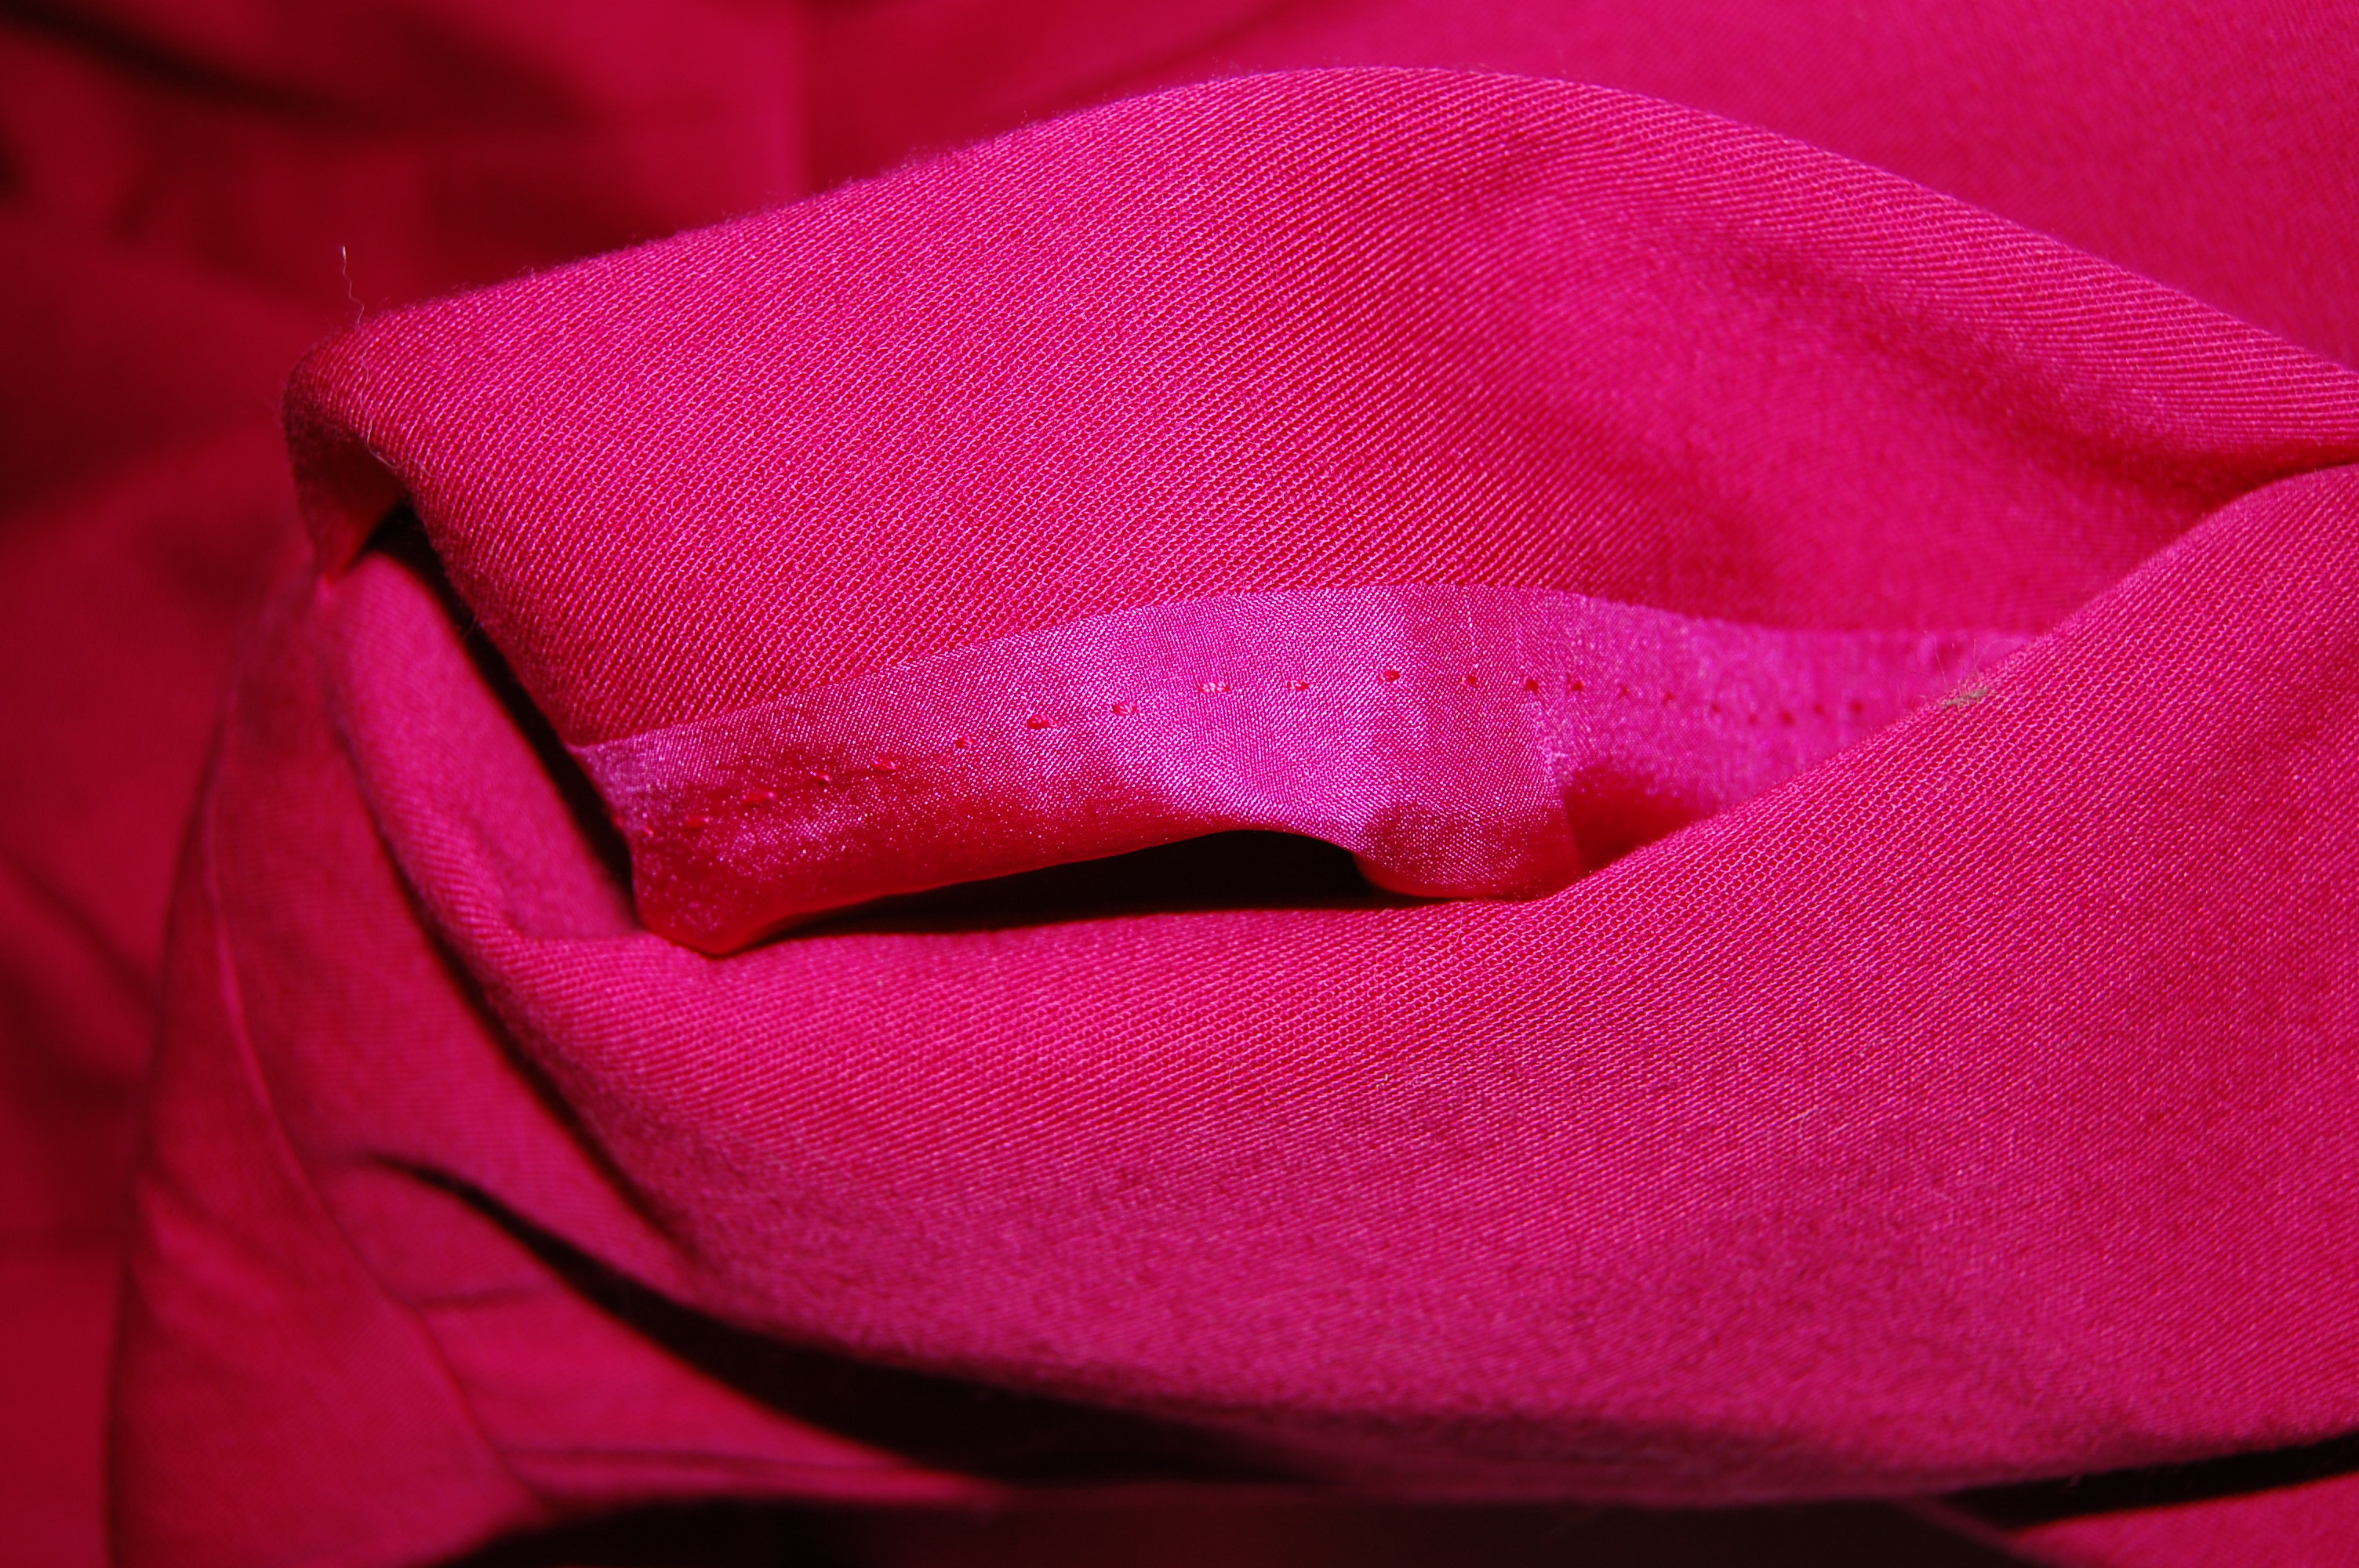
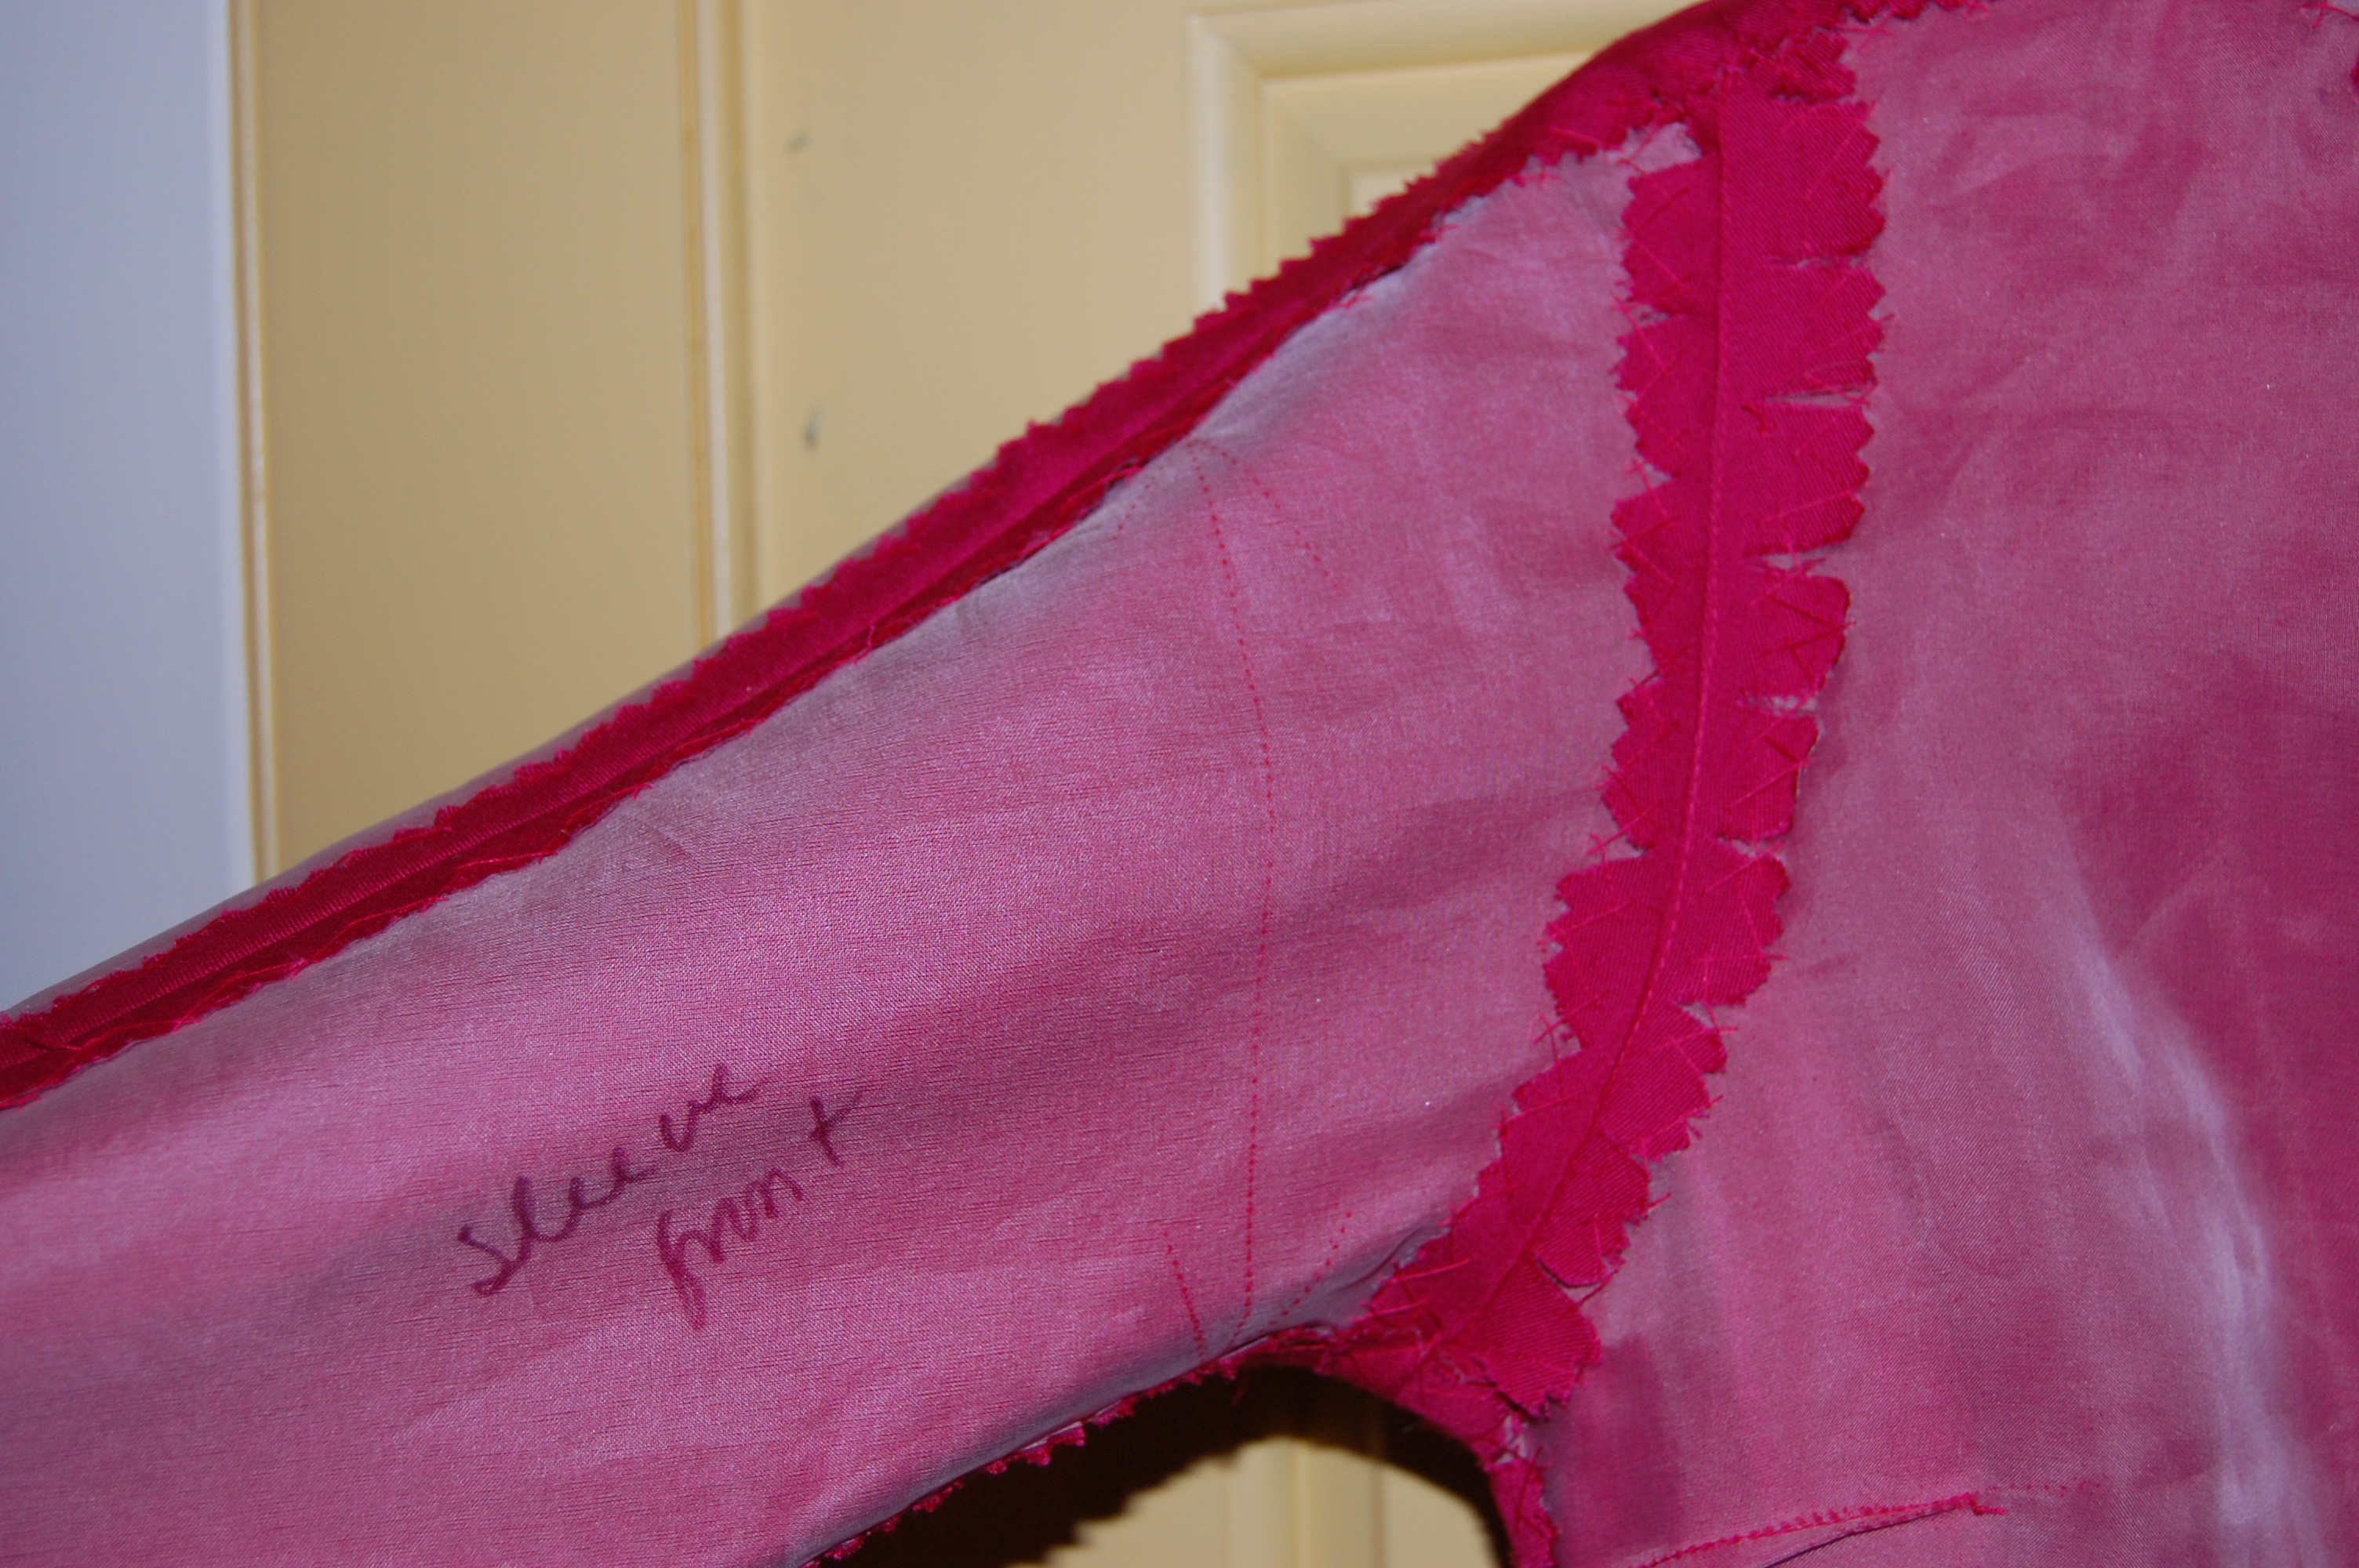
This shows a shoulder seam with a Hong kong finish to the raw edges and the pink bias binding around the armhole and neck.
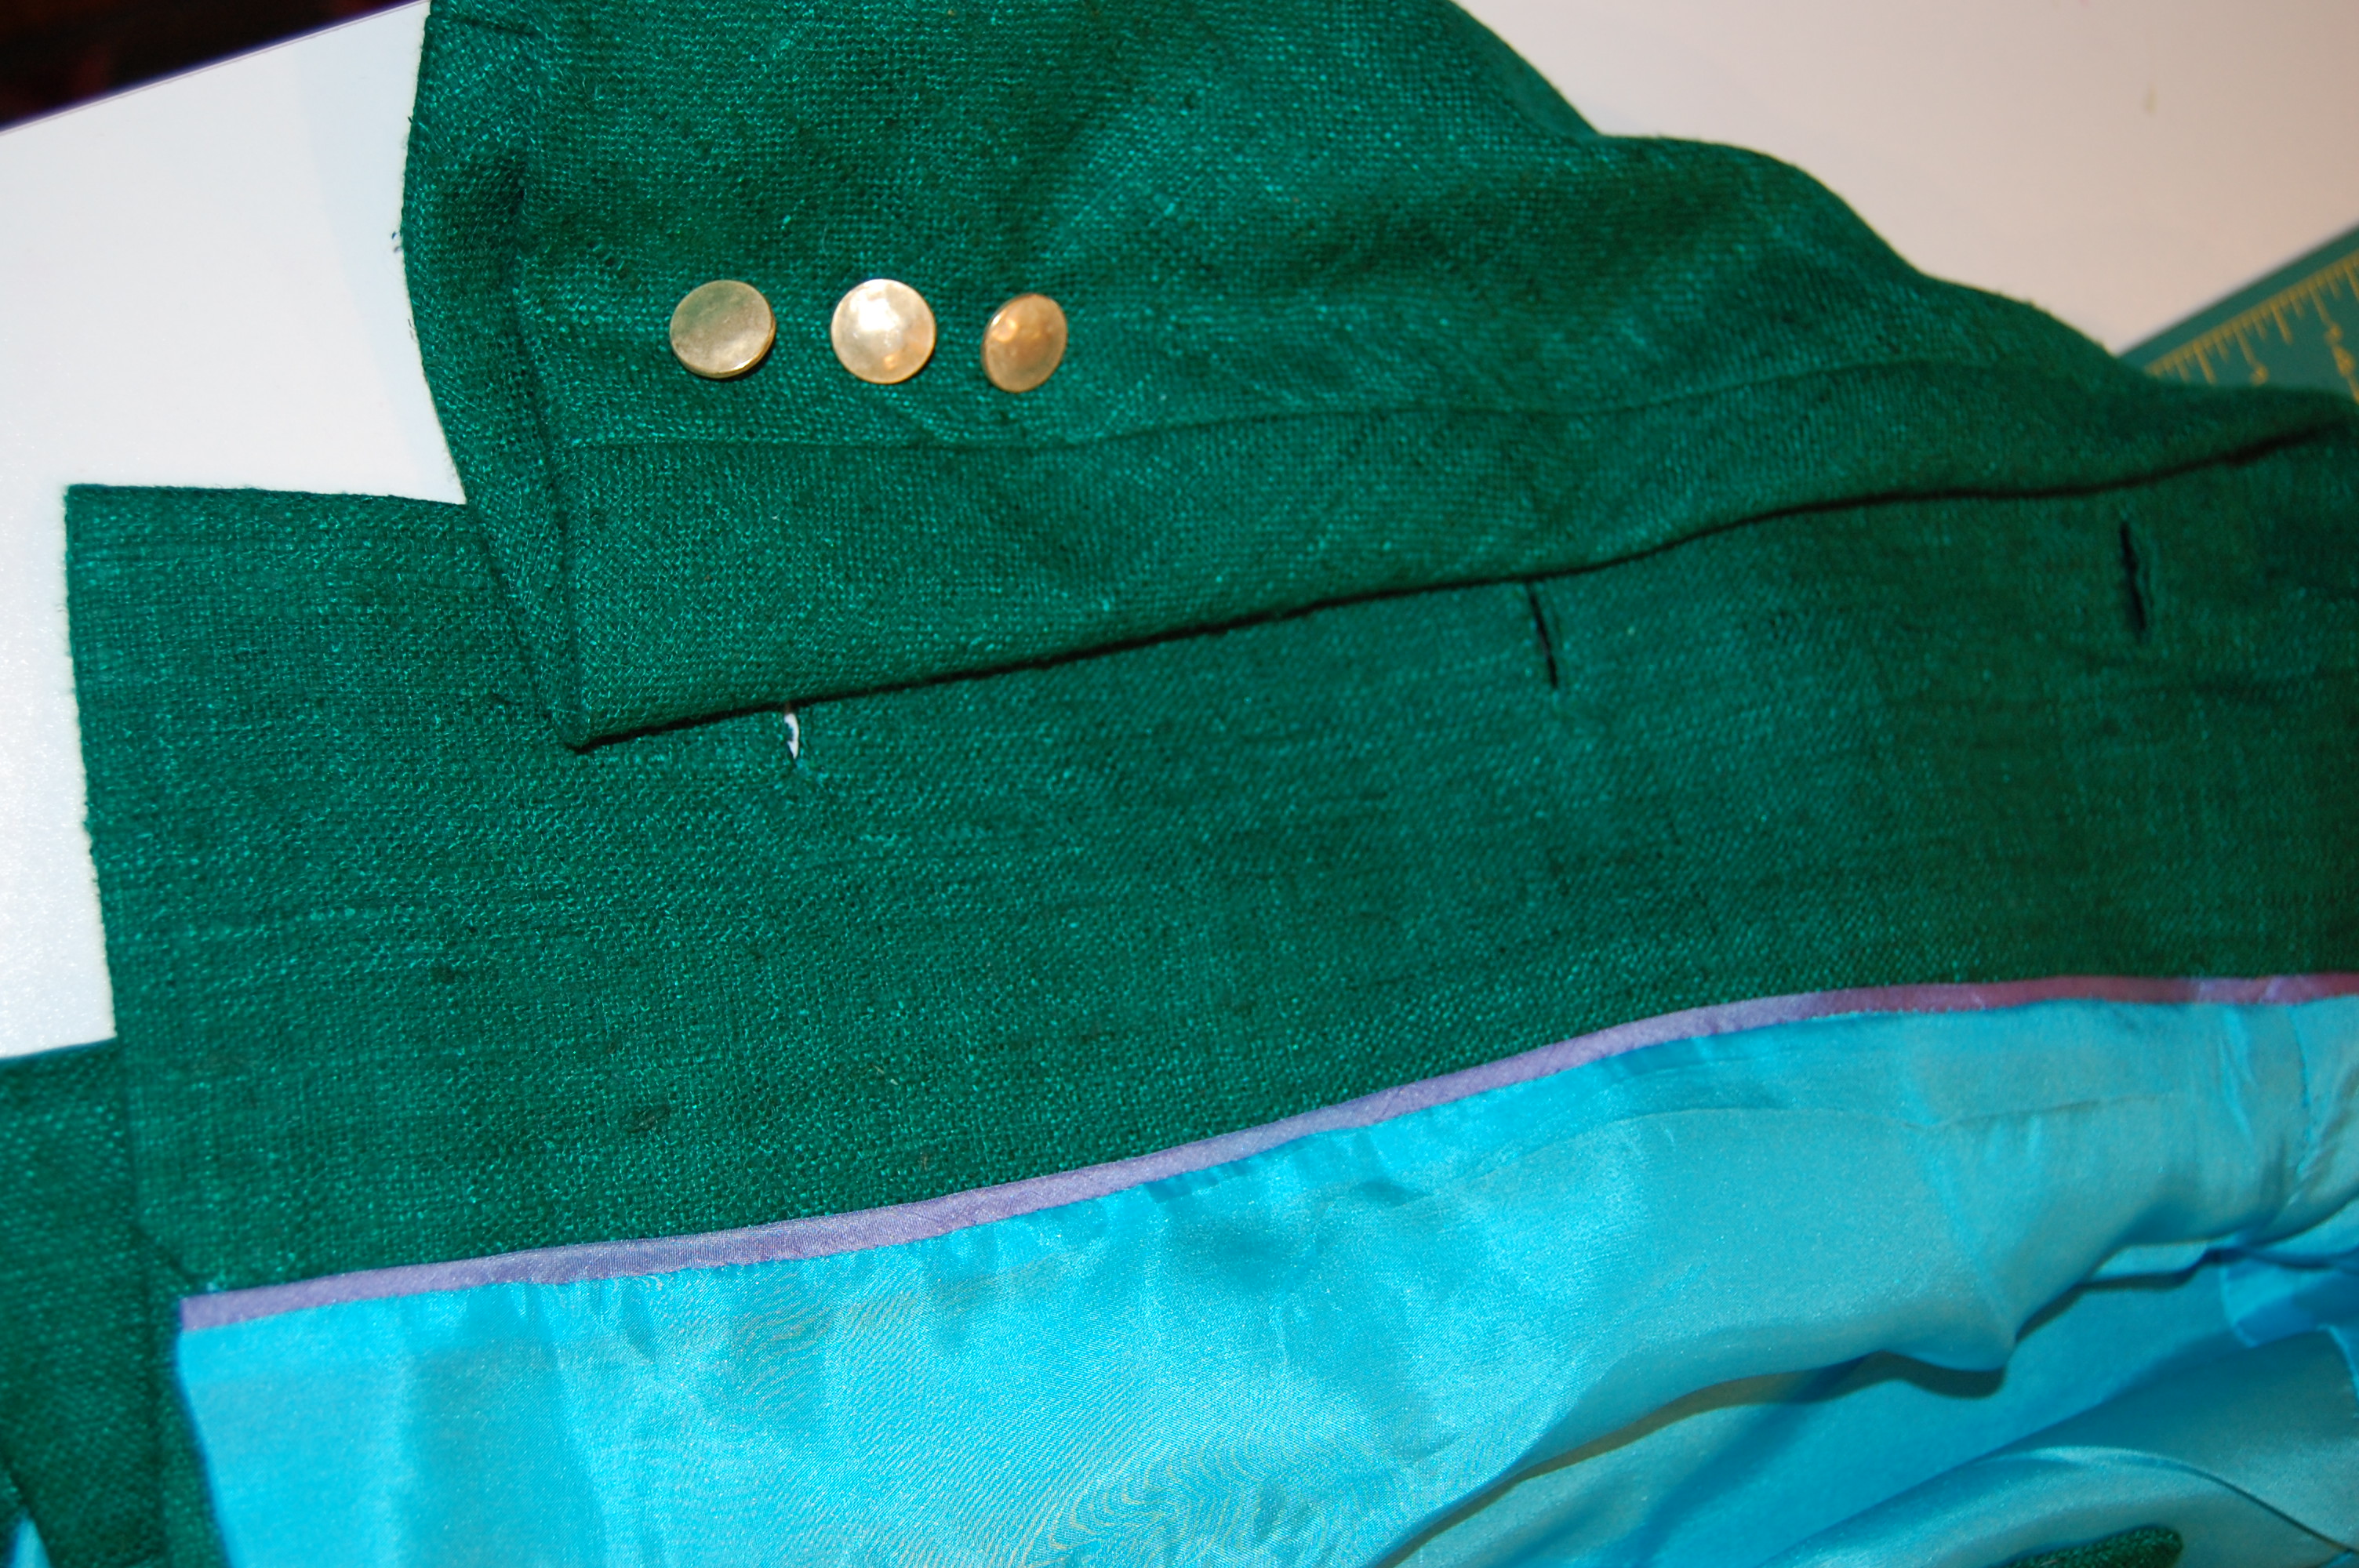
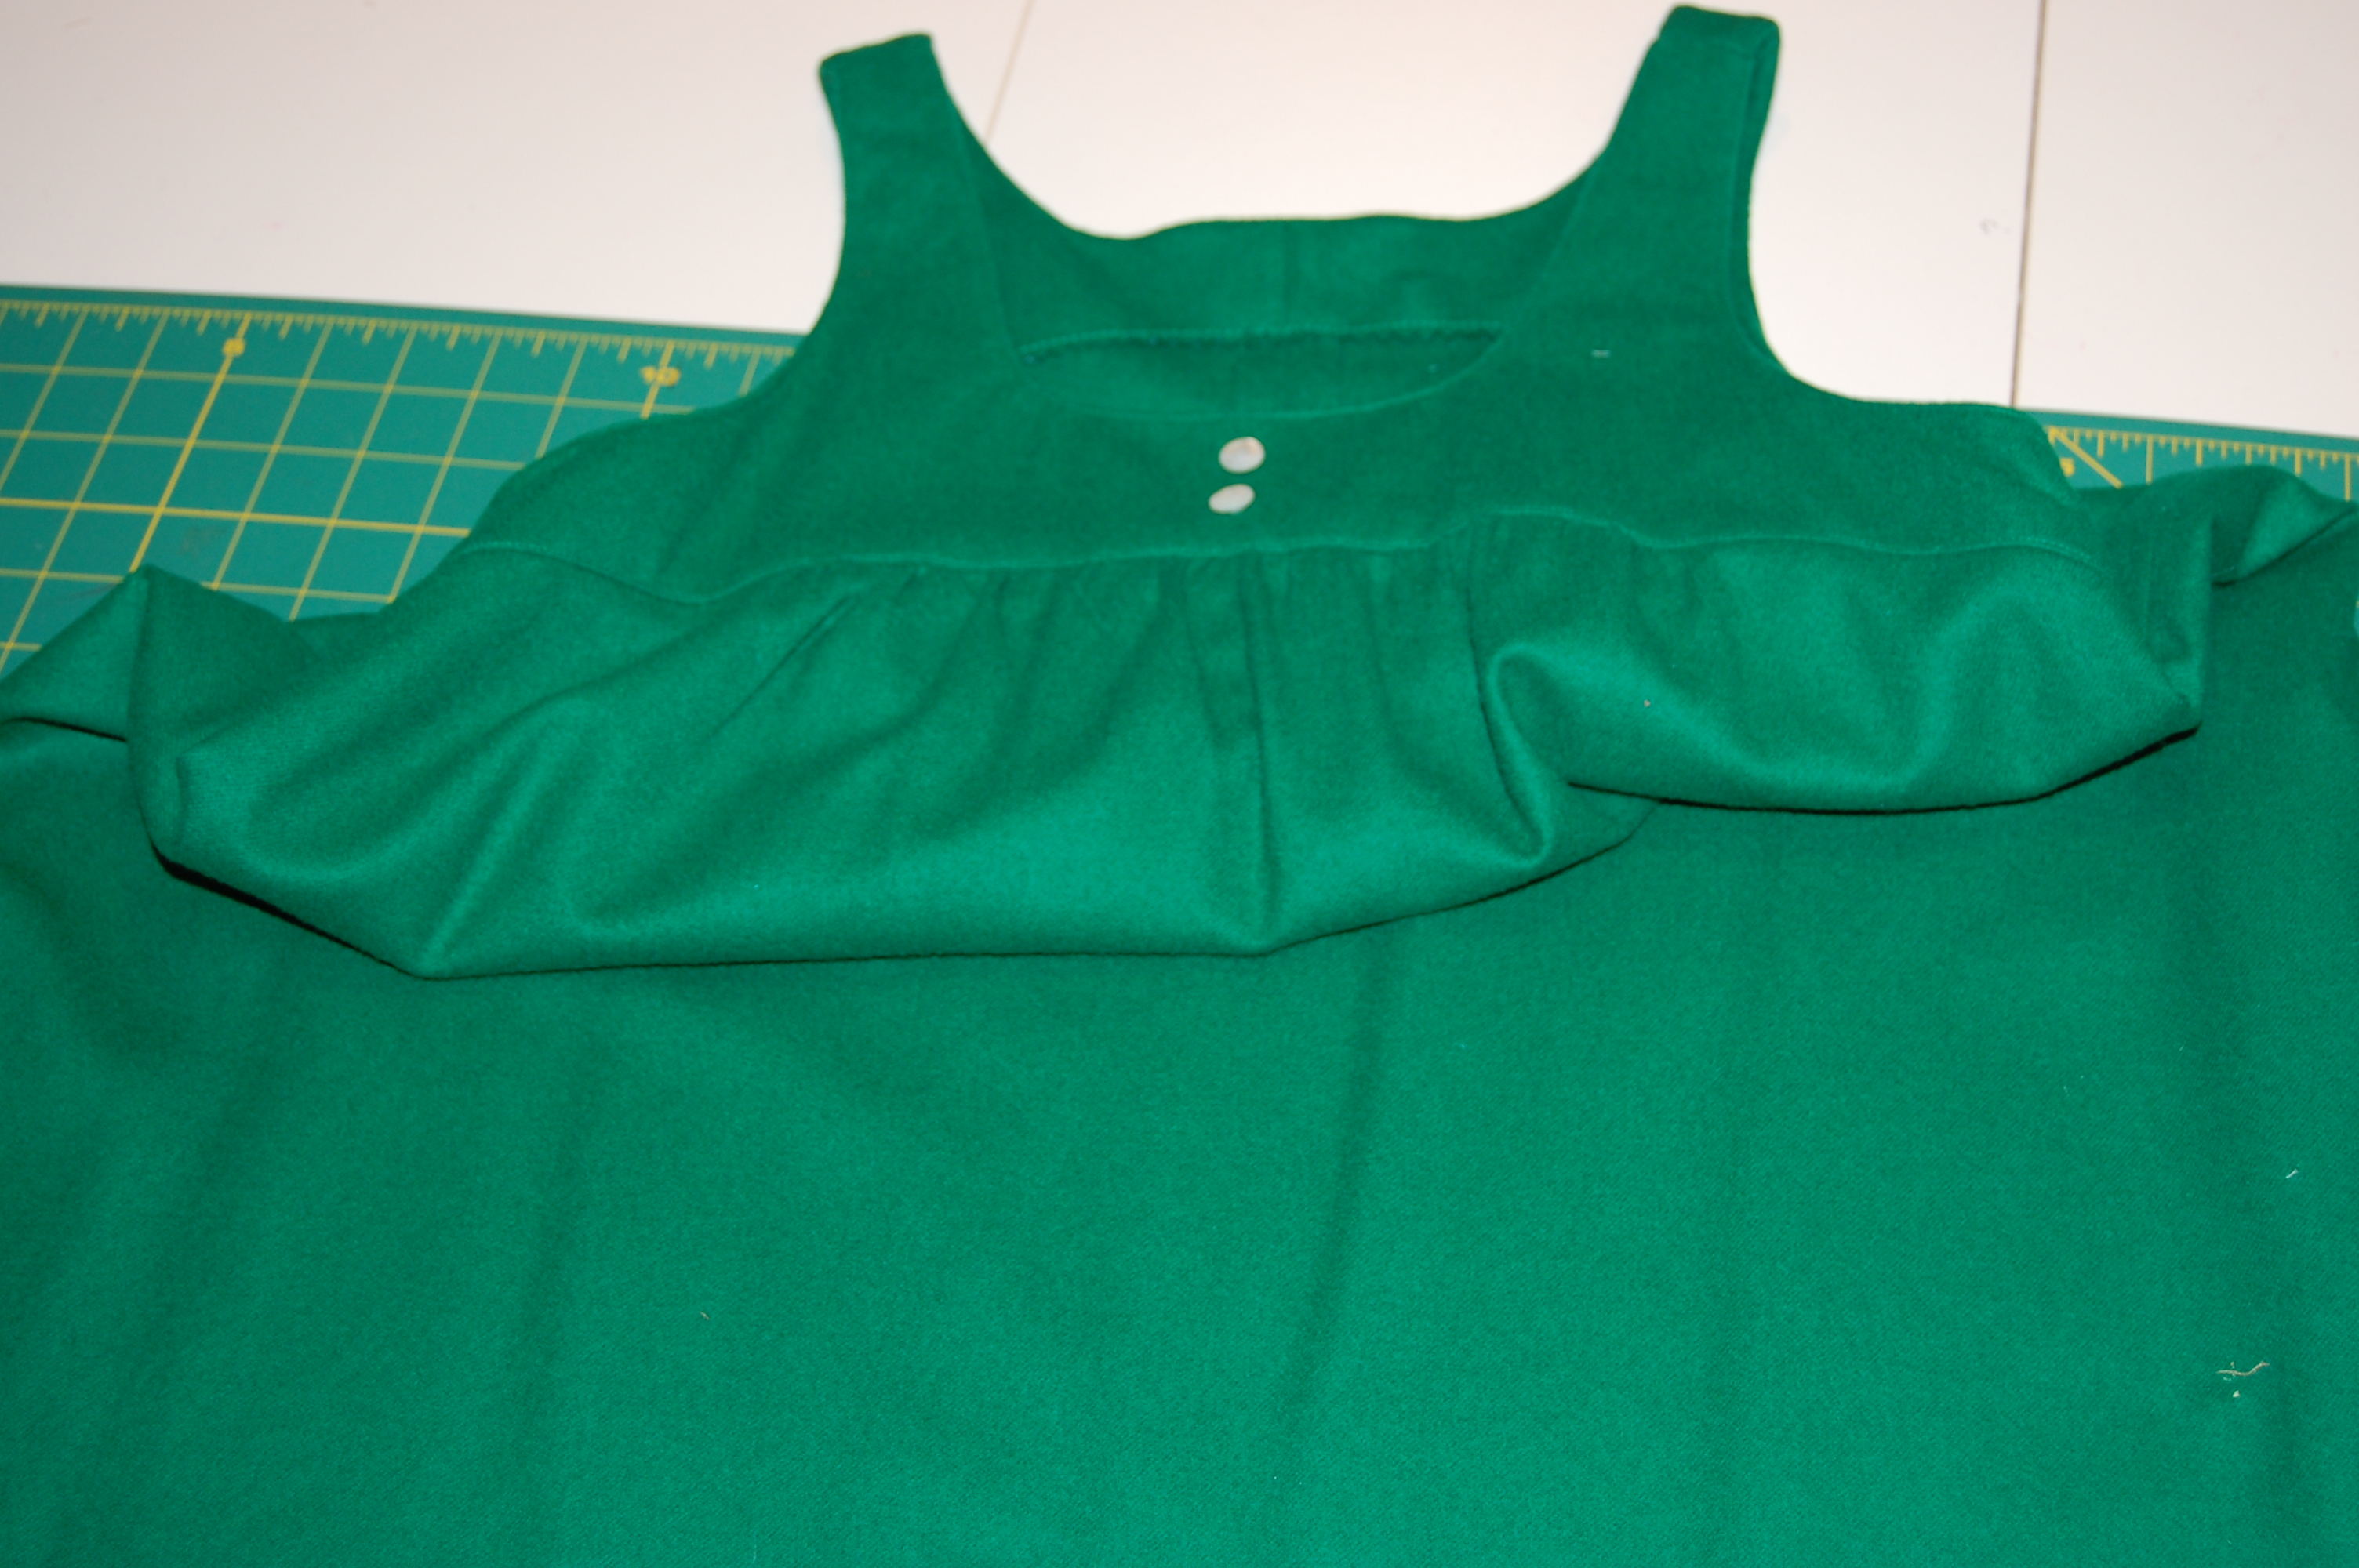
The front, very-low slit neckline as shown on the pattern meant one of two things: either I would have to wear a camisole underneath it, or I would have to add two buttons and loops. I decided to add the buttons and loops.
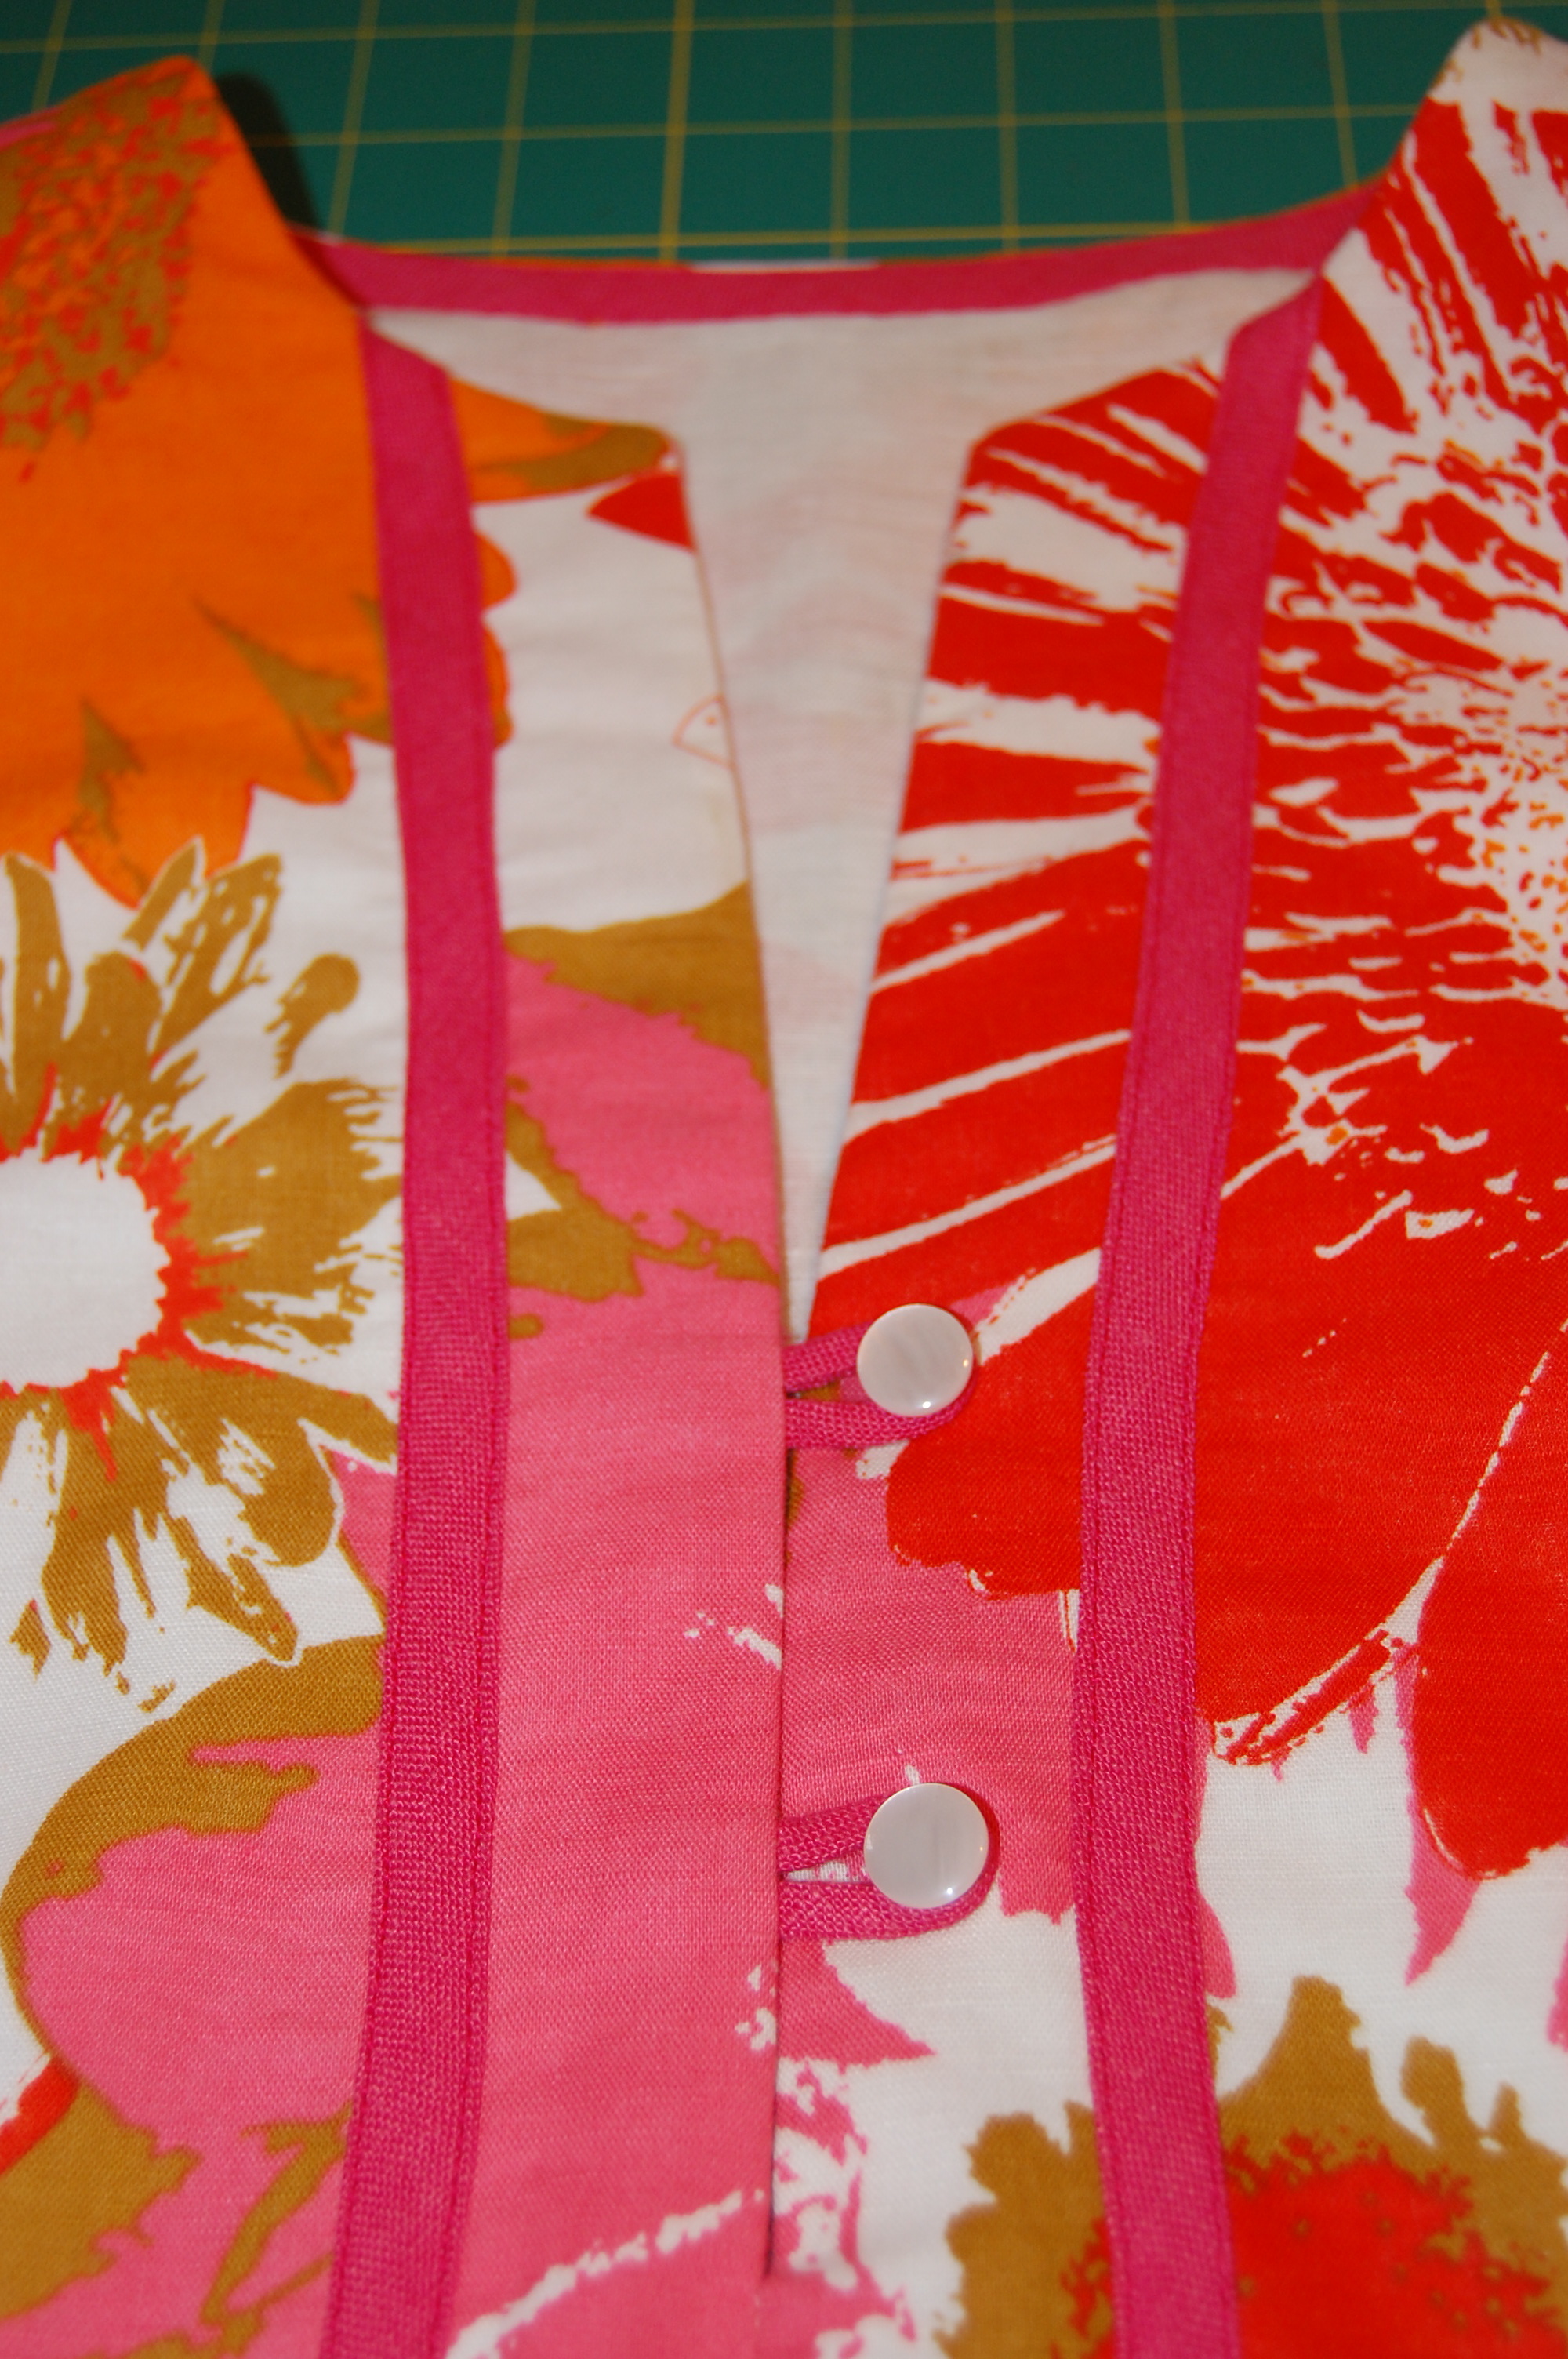
I forgot to add the loops before I sewed the front neck facing in place. Then I had to re-open the seam to accomplish that little task! I turned the loops with a bodkin.
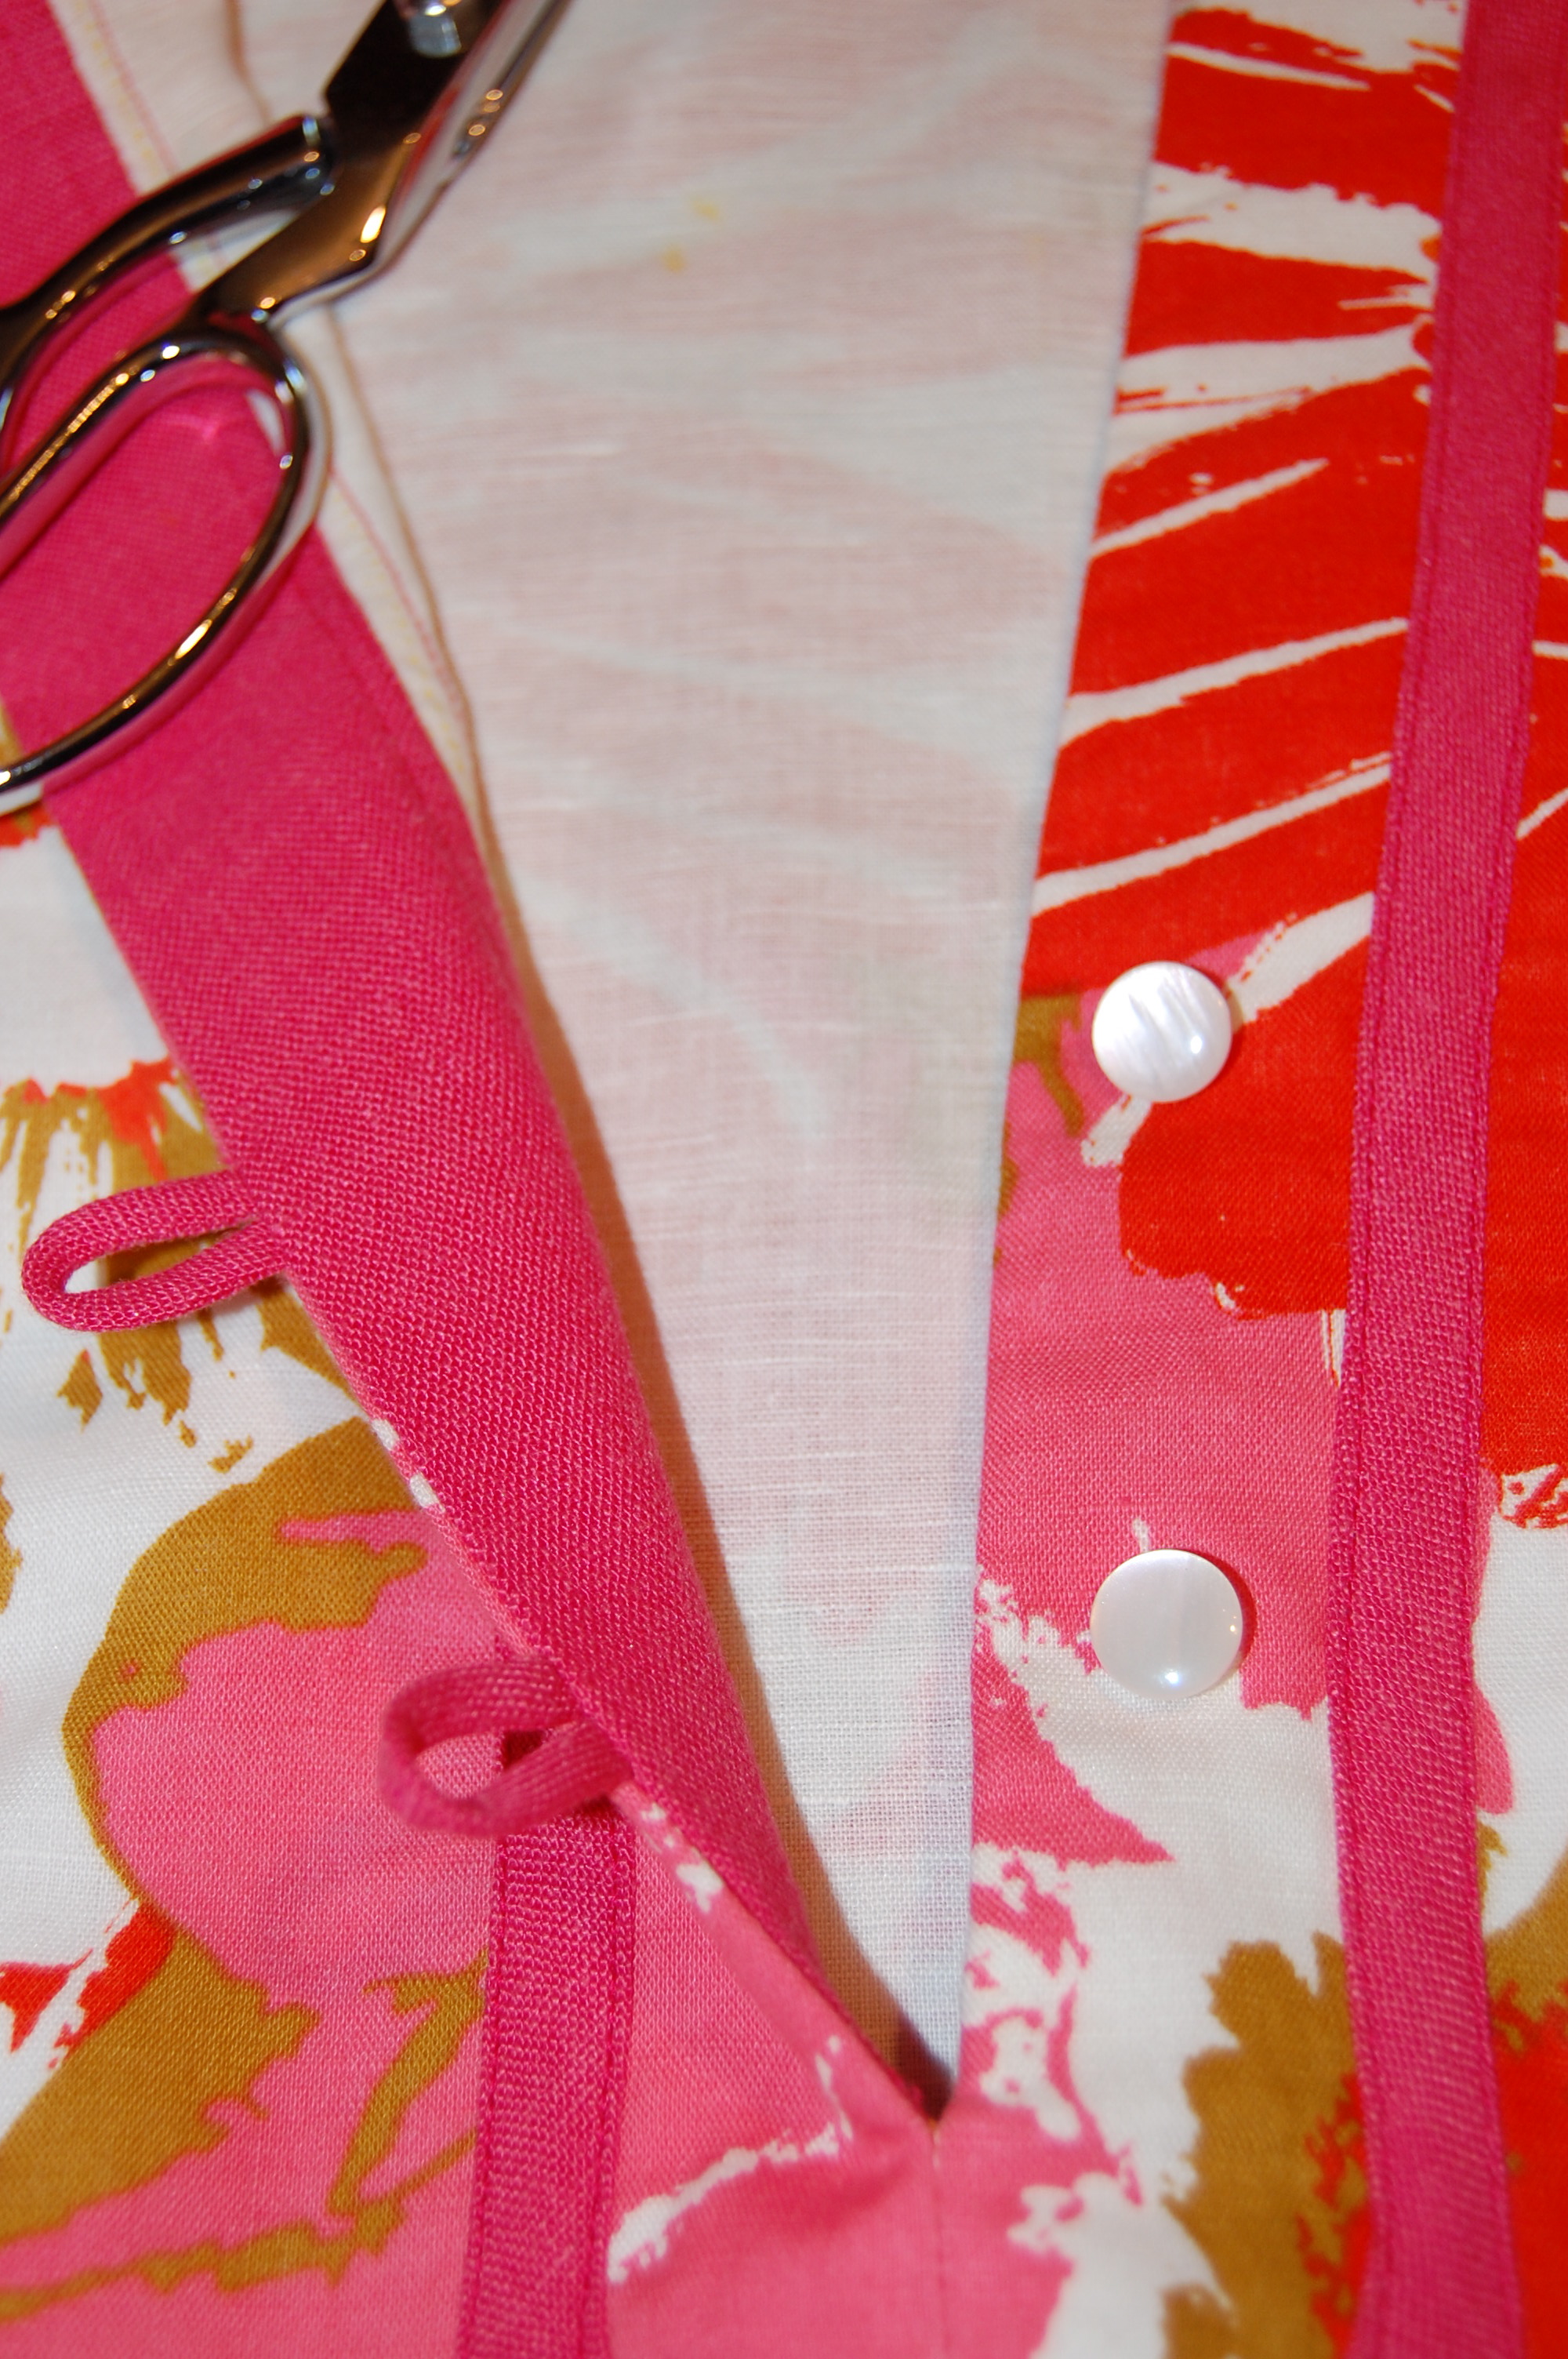
Another view of the front facing.

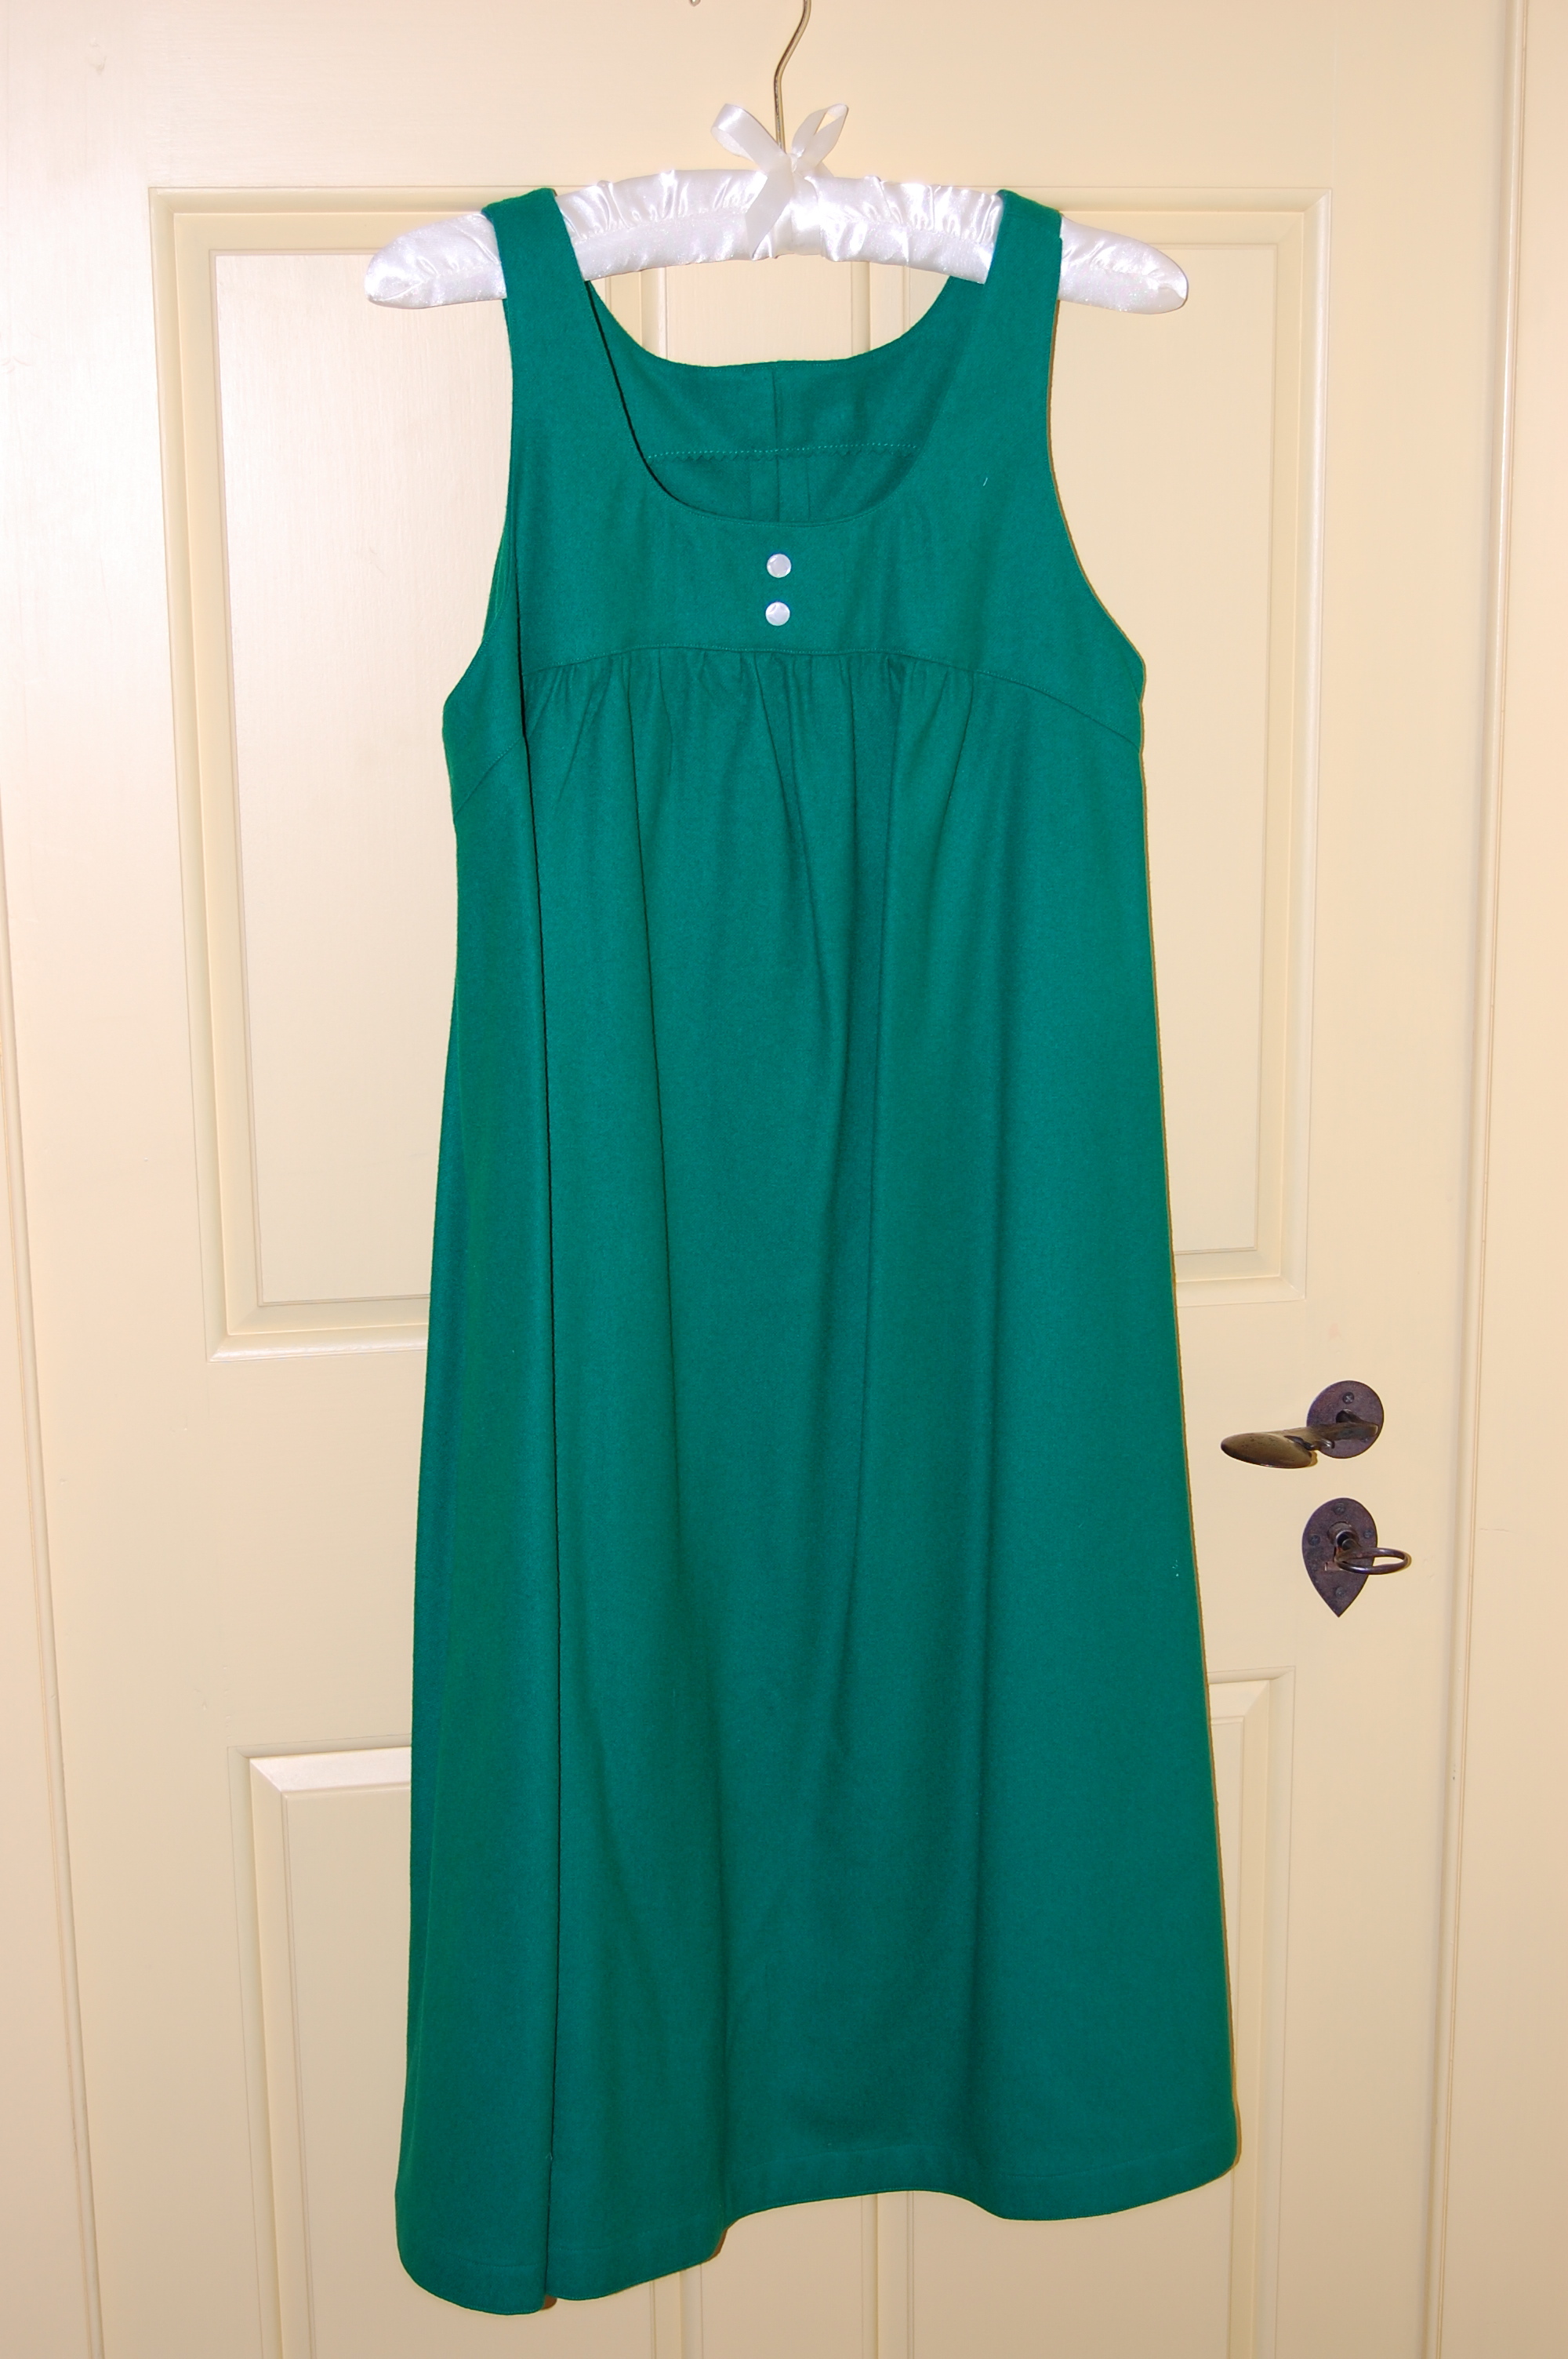
Ready to run errands!

What a comfortable dress!

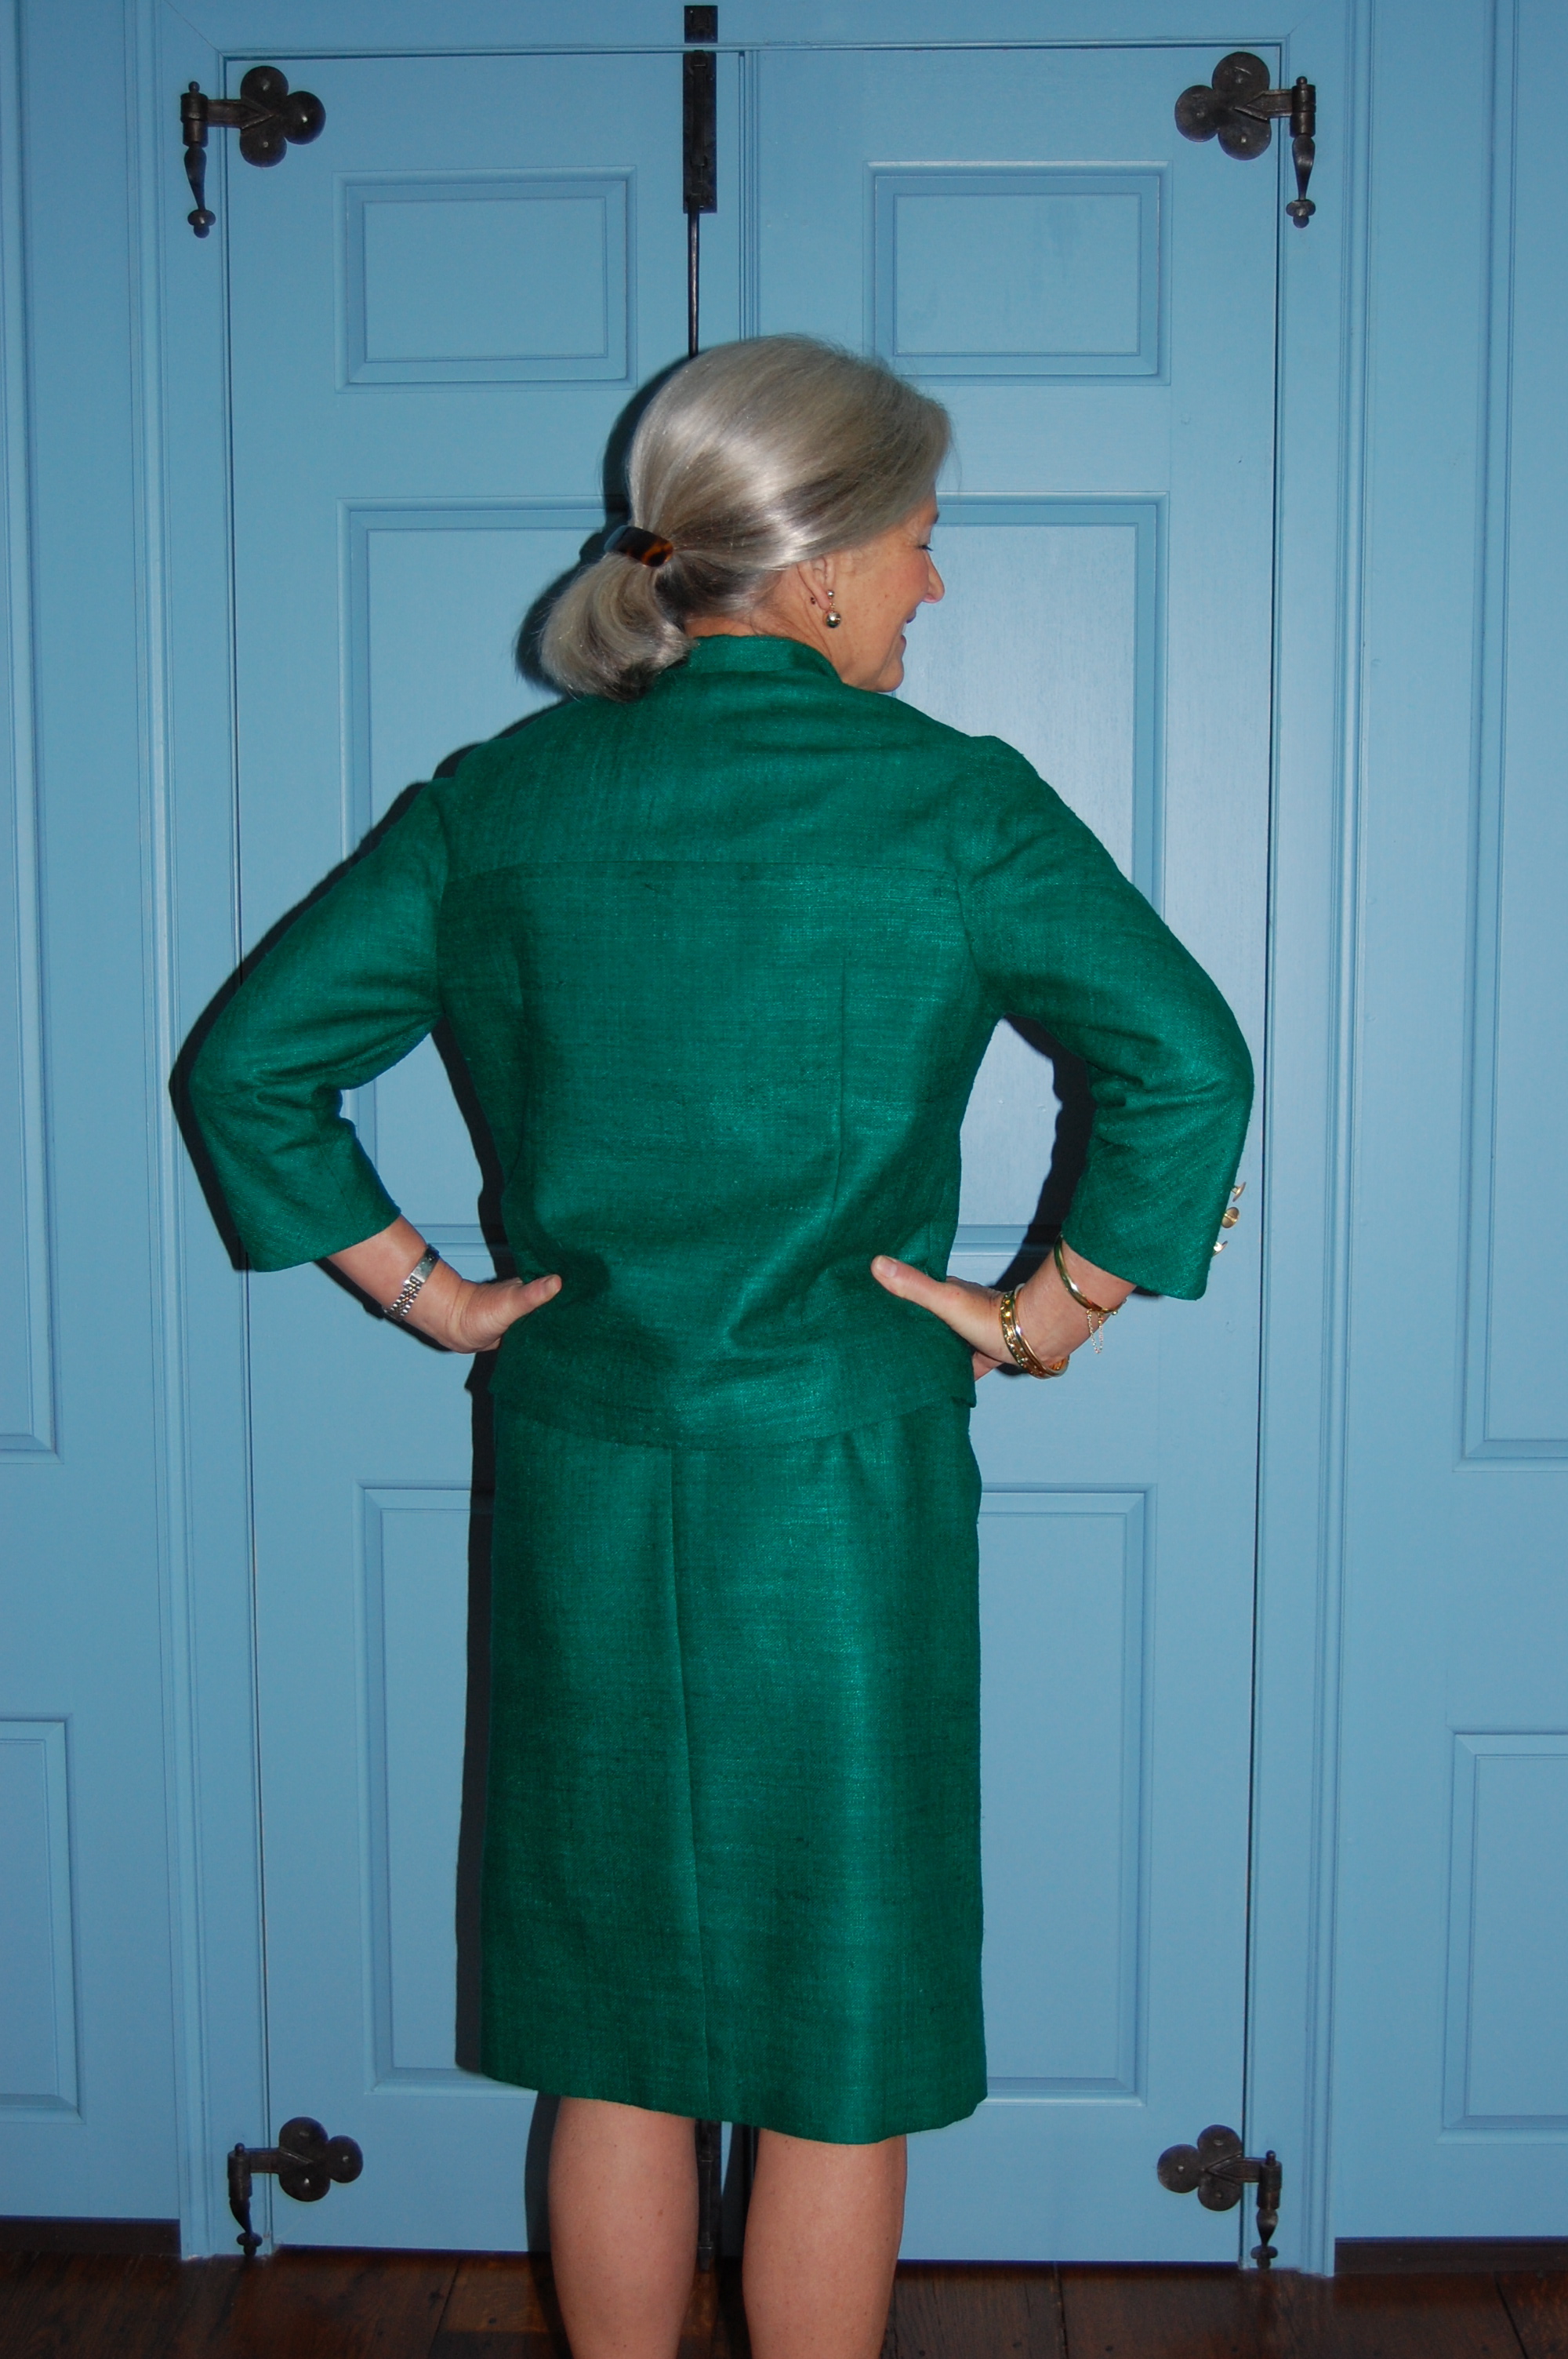
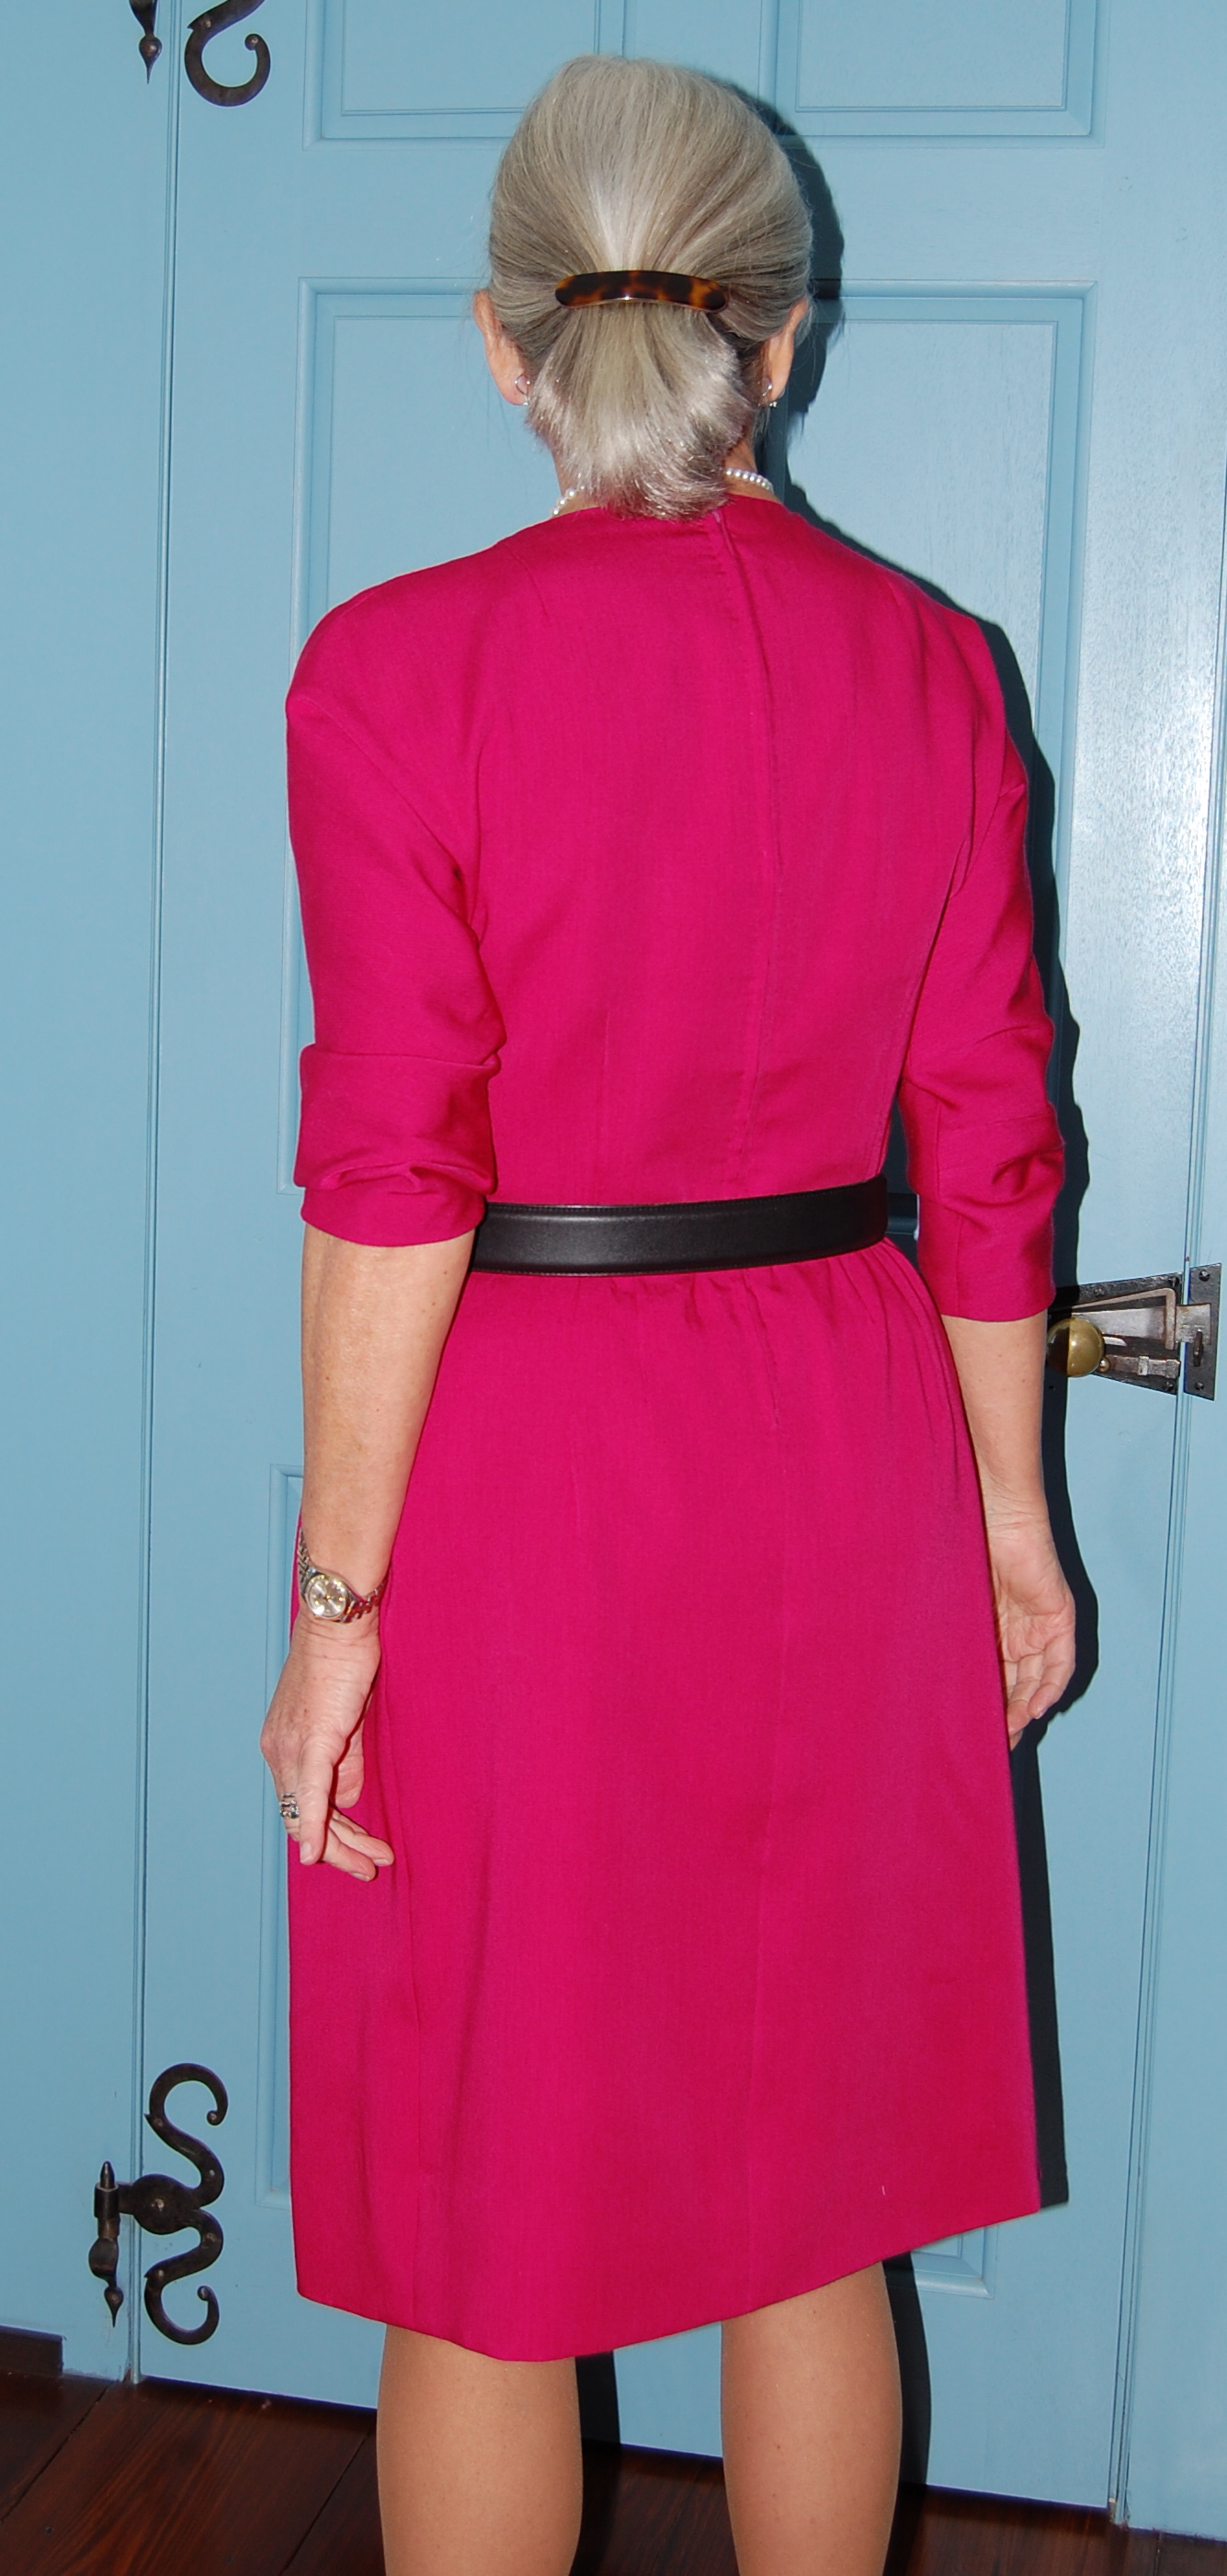
The back is unstructured and loose.
This is indeed a dress I can pop over my head and go! I would definitely like to make it again, maybe with the collar and sleeves next time. And maybe, just maybe, inspiration will come from some other fabric remnant I have tucked away, saved from the ’70s!