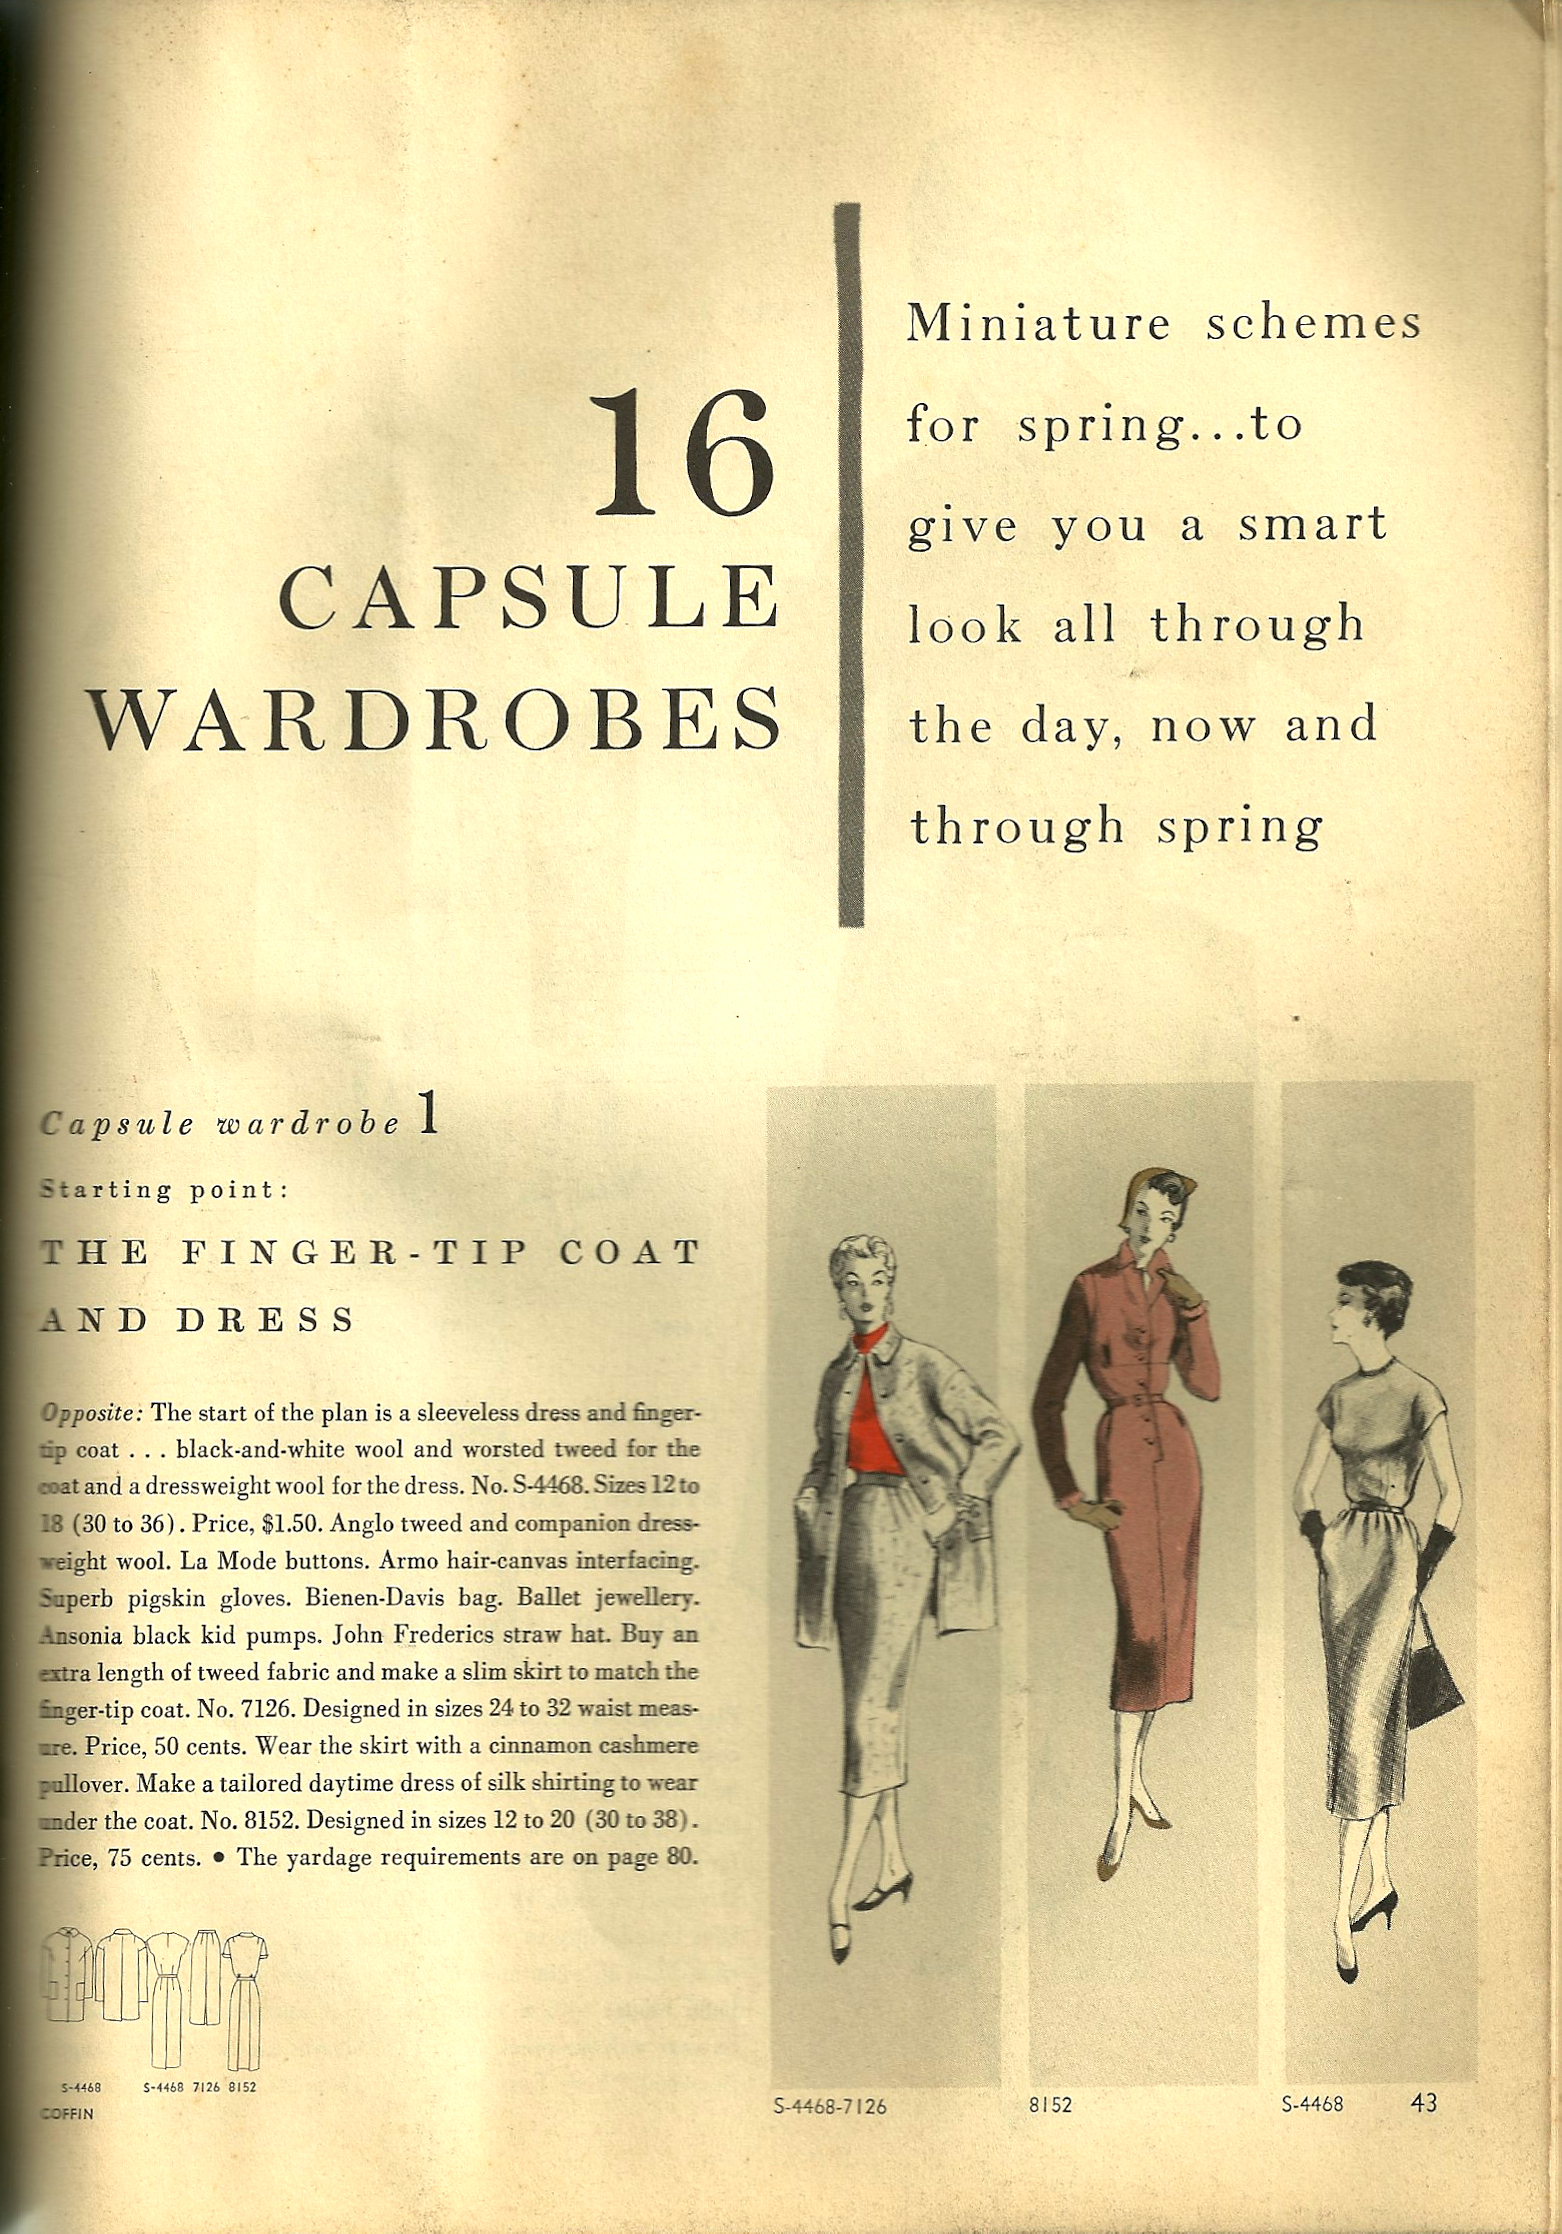
“. . . above everything they must be practical. Practical in color and practical in style.” This was Christian Dior’s dictum for coats which he wrote in 1954 in The Little Dictionary of Fashion (first published by Cassell & Co., Ltd., republished by Abrahms, 2007, copyright Catherine Dior and Jean-Pierre Teto). Beginning around this same time, Vogue Patterns began to feature more coats in shorter lengths, with slimmer profiles. The “tunic coat” and matching skirt debuted in the October/November 1955 issue of Vogue Pattern Book Magazine, with this description: “The tunic . . . the newest and most sophisticated of the coats. Its straight lines are highlighted by an even narrower skirt.”
This was the only three-quarter length coat in this feature entitled “The most-wanted new coats.”
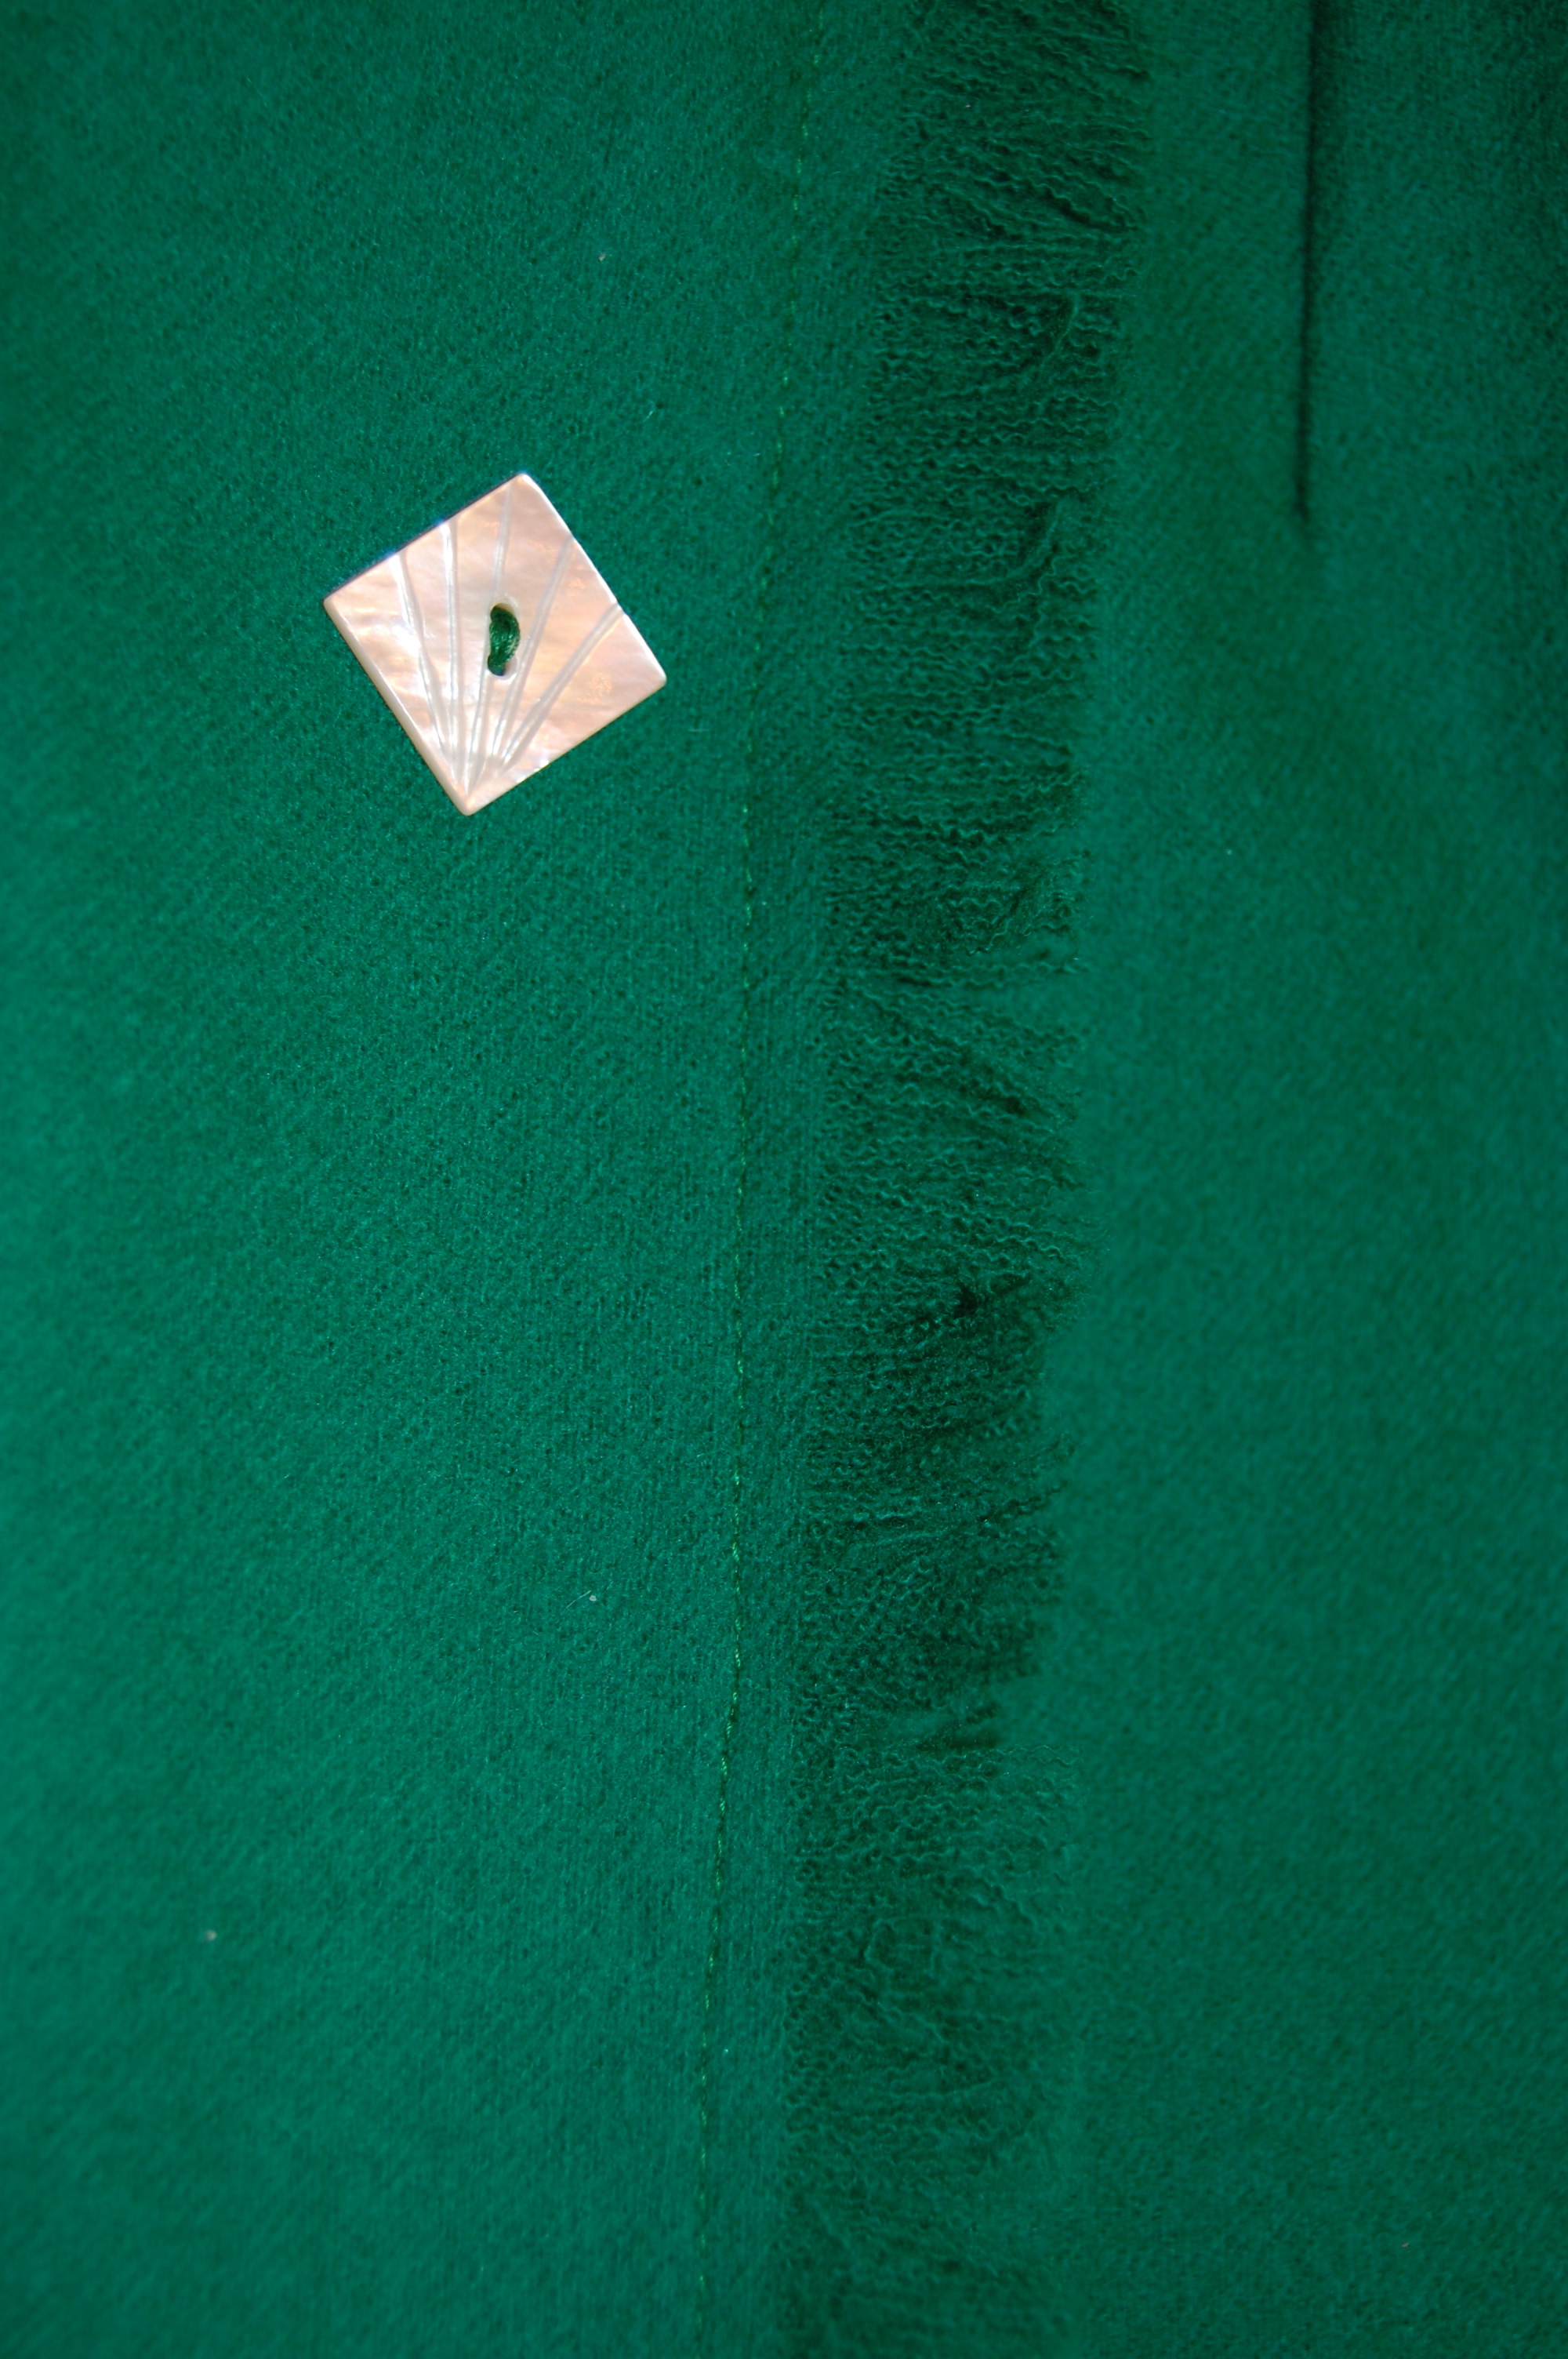
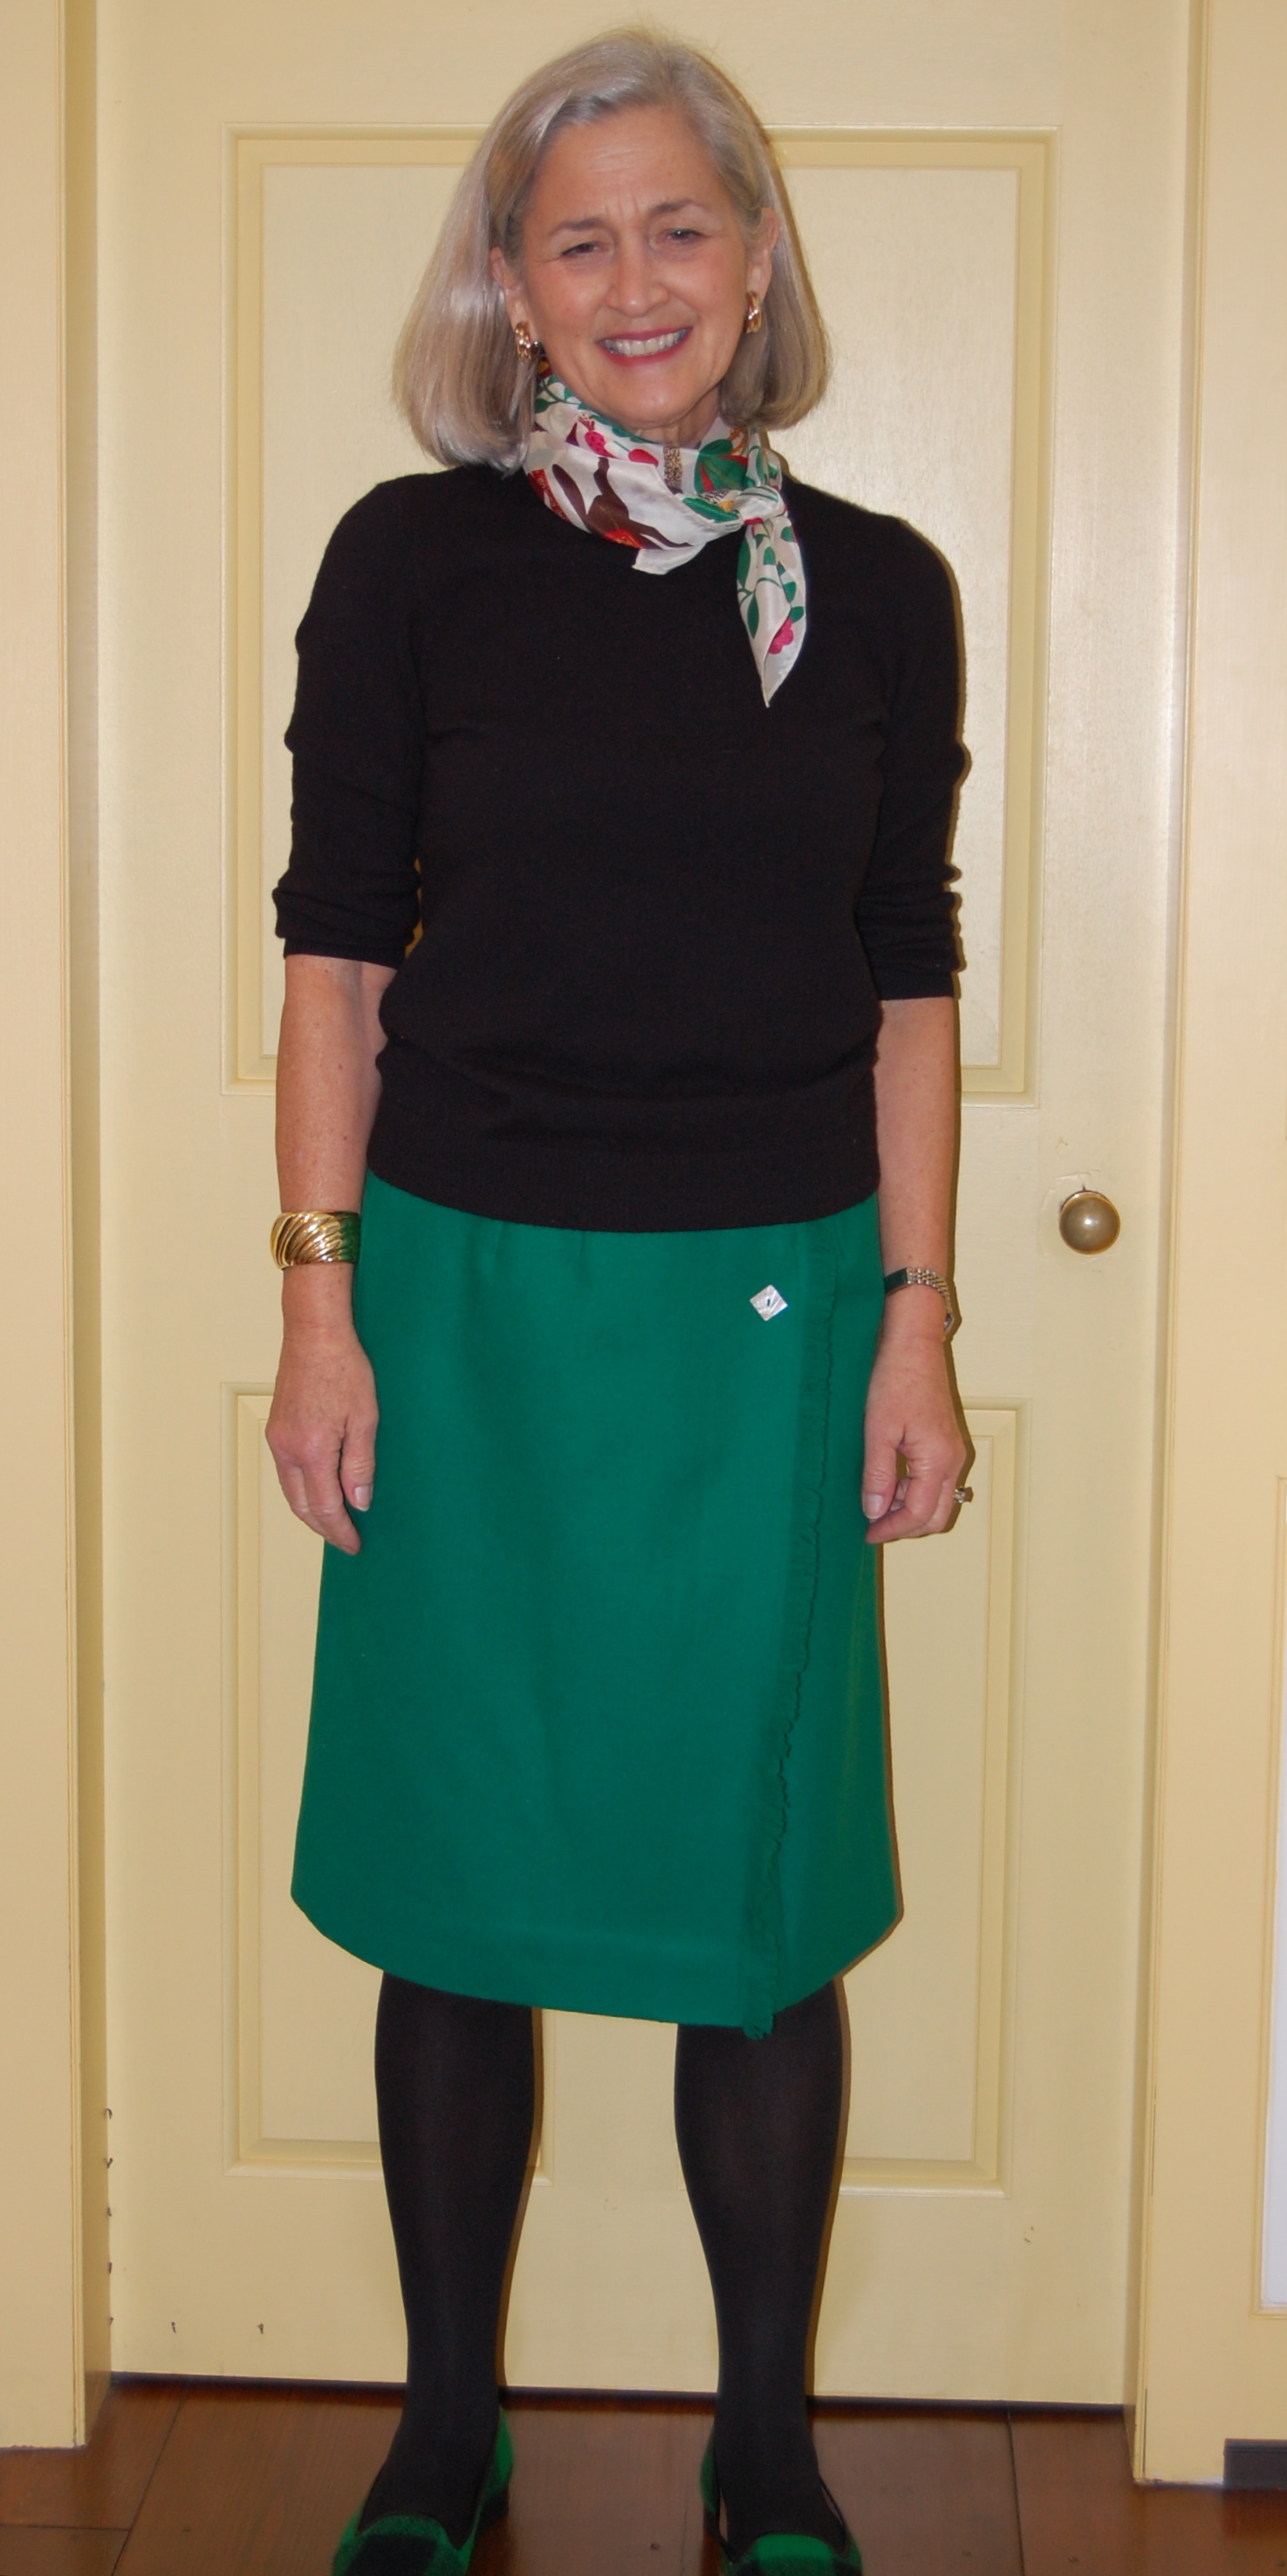
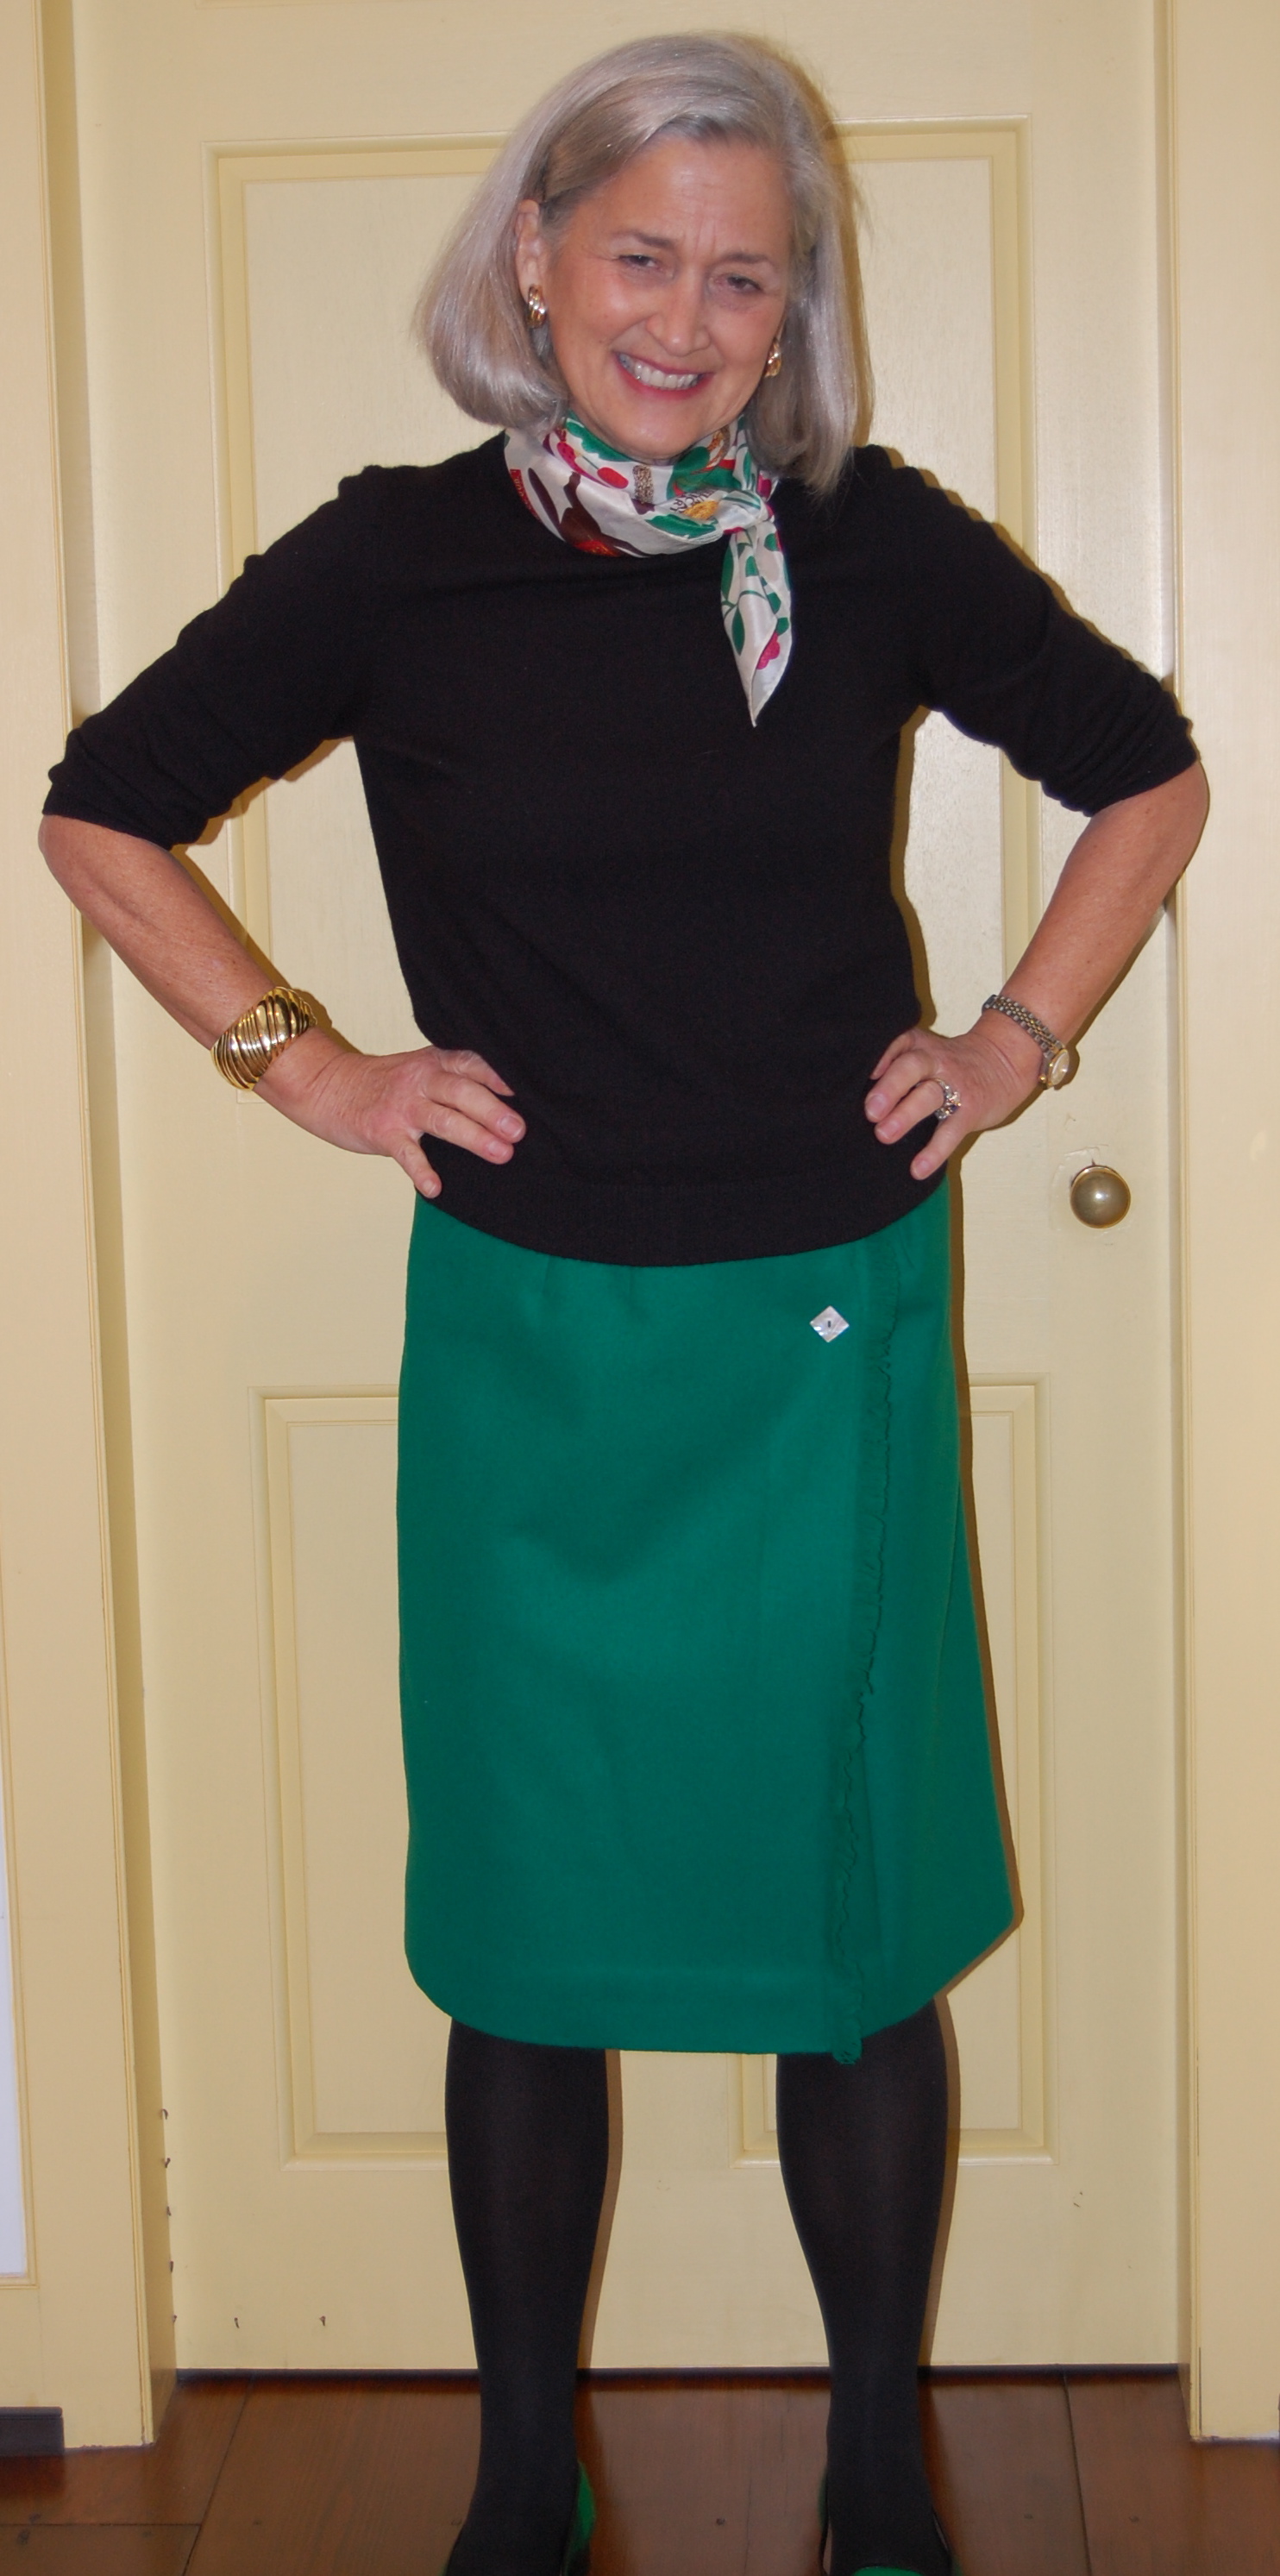
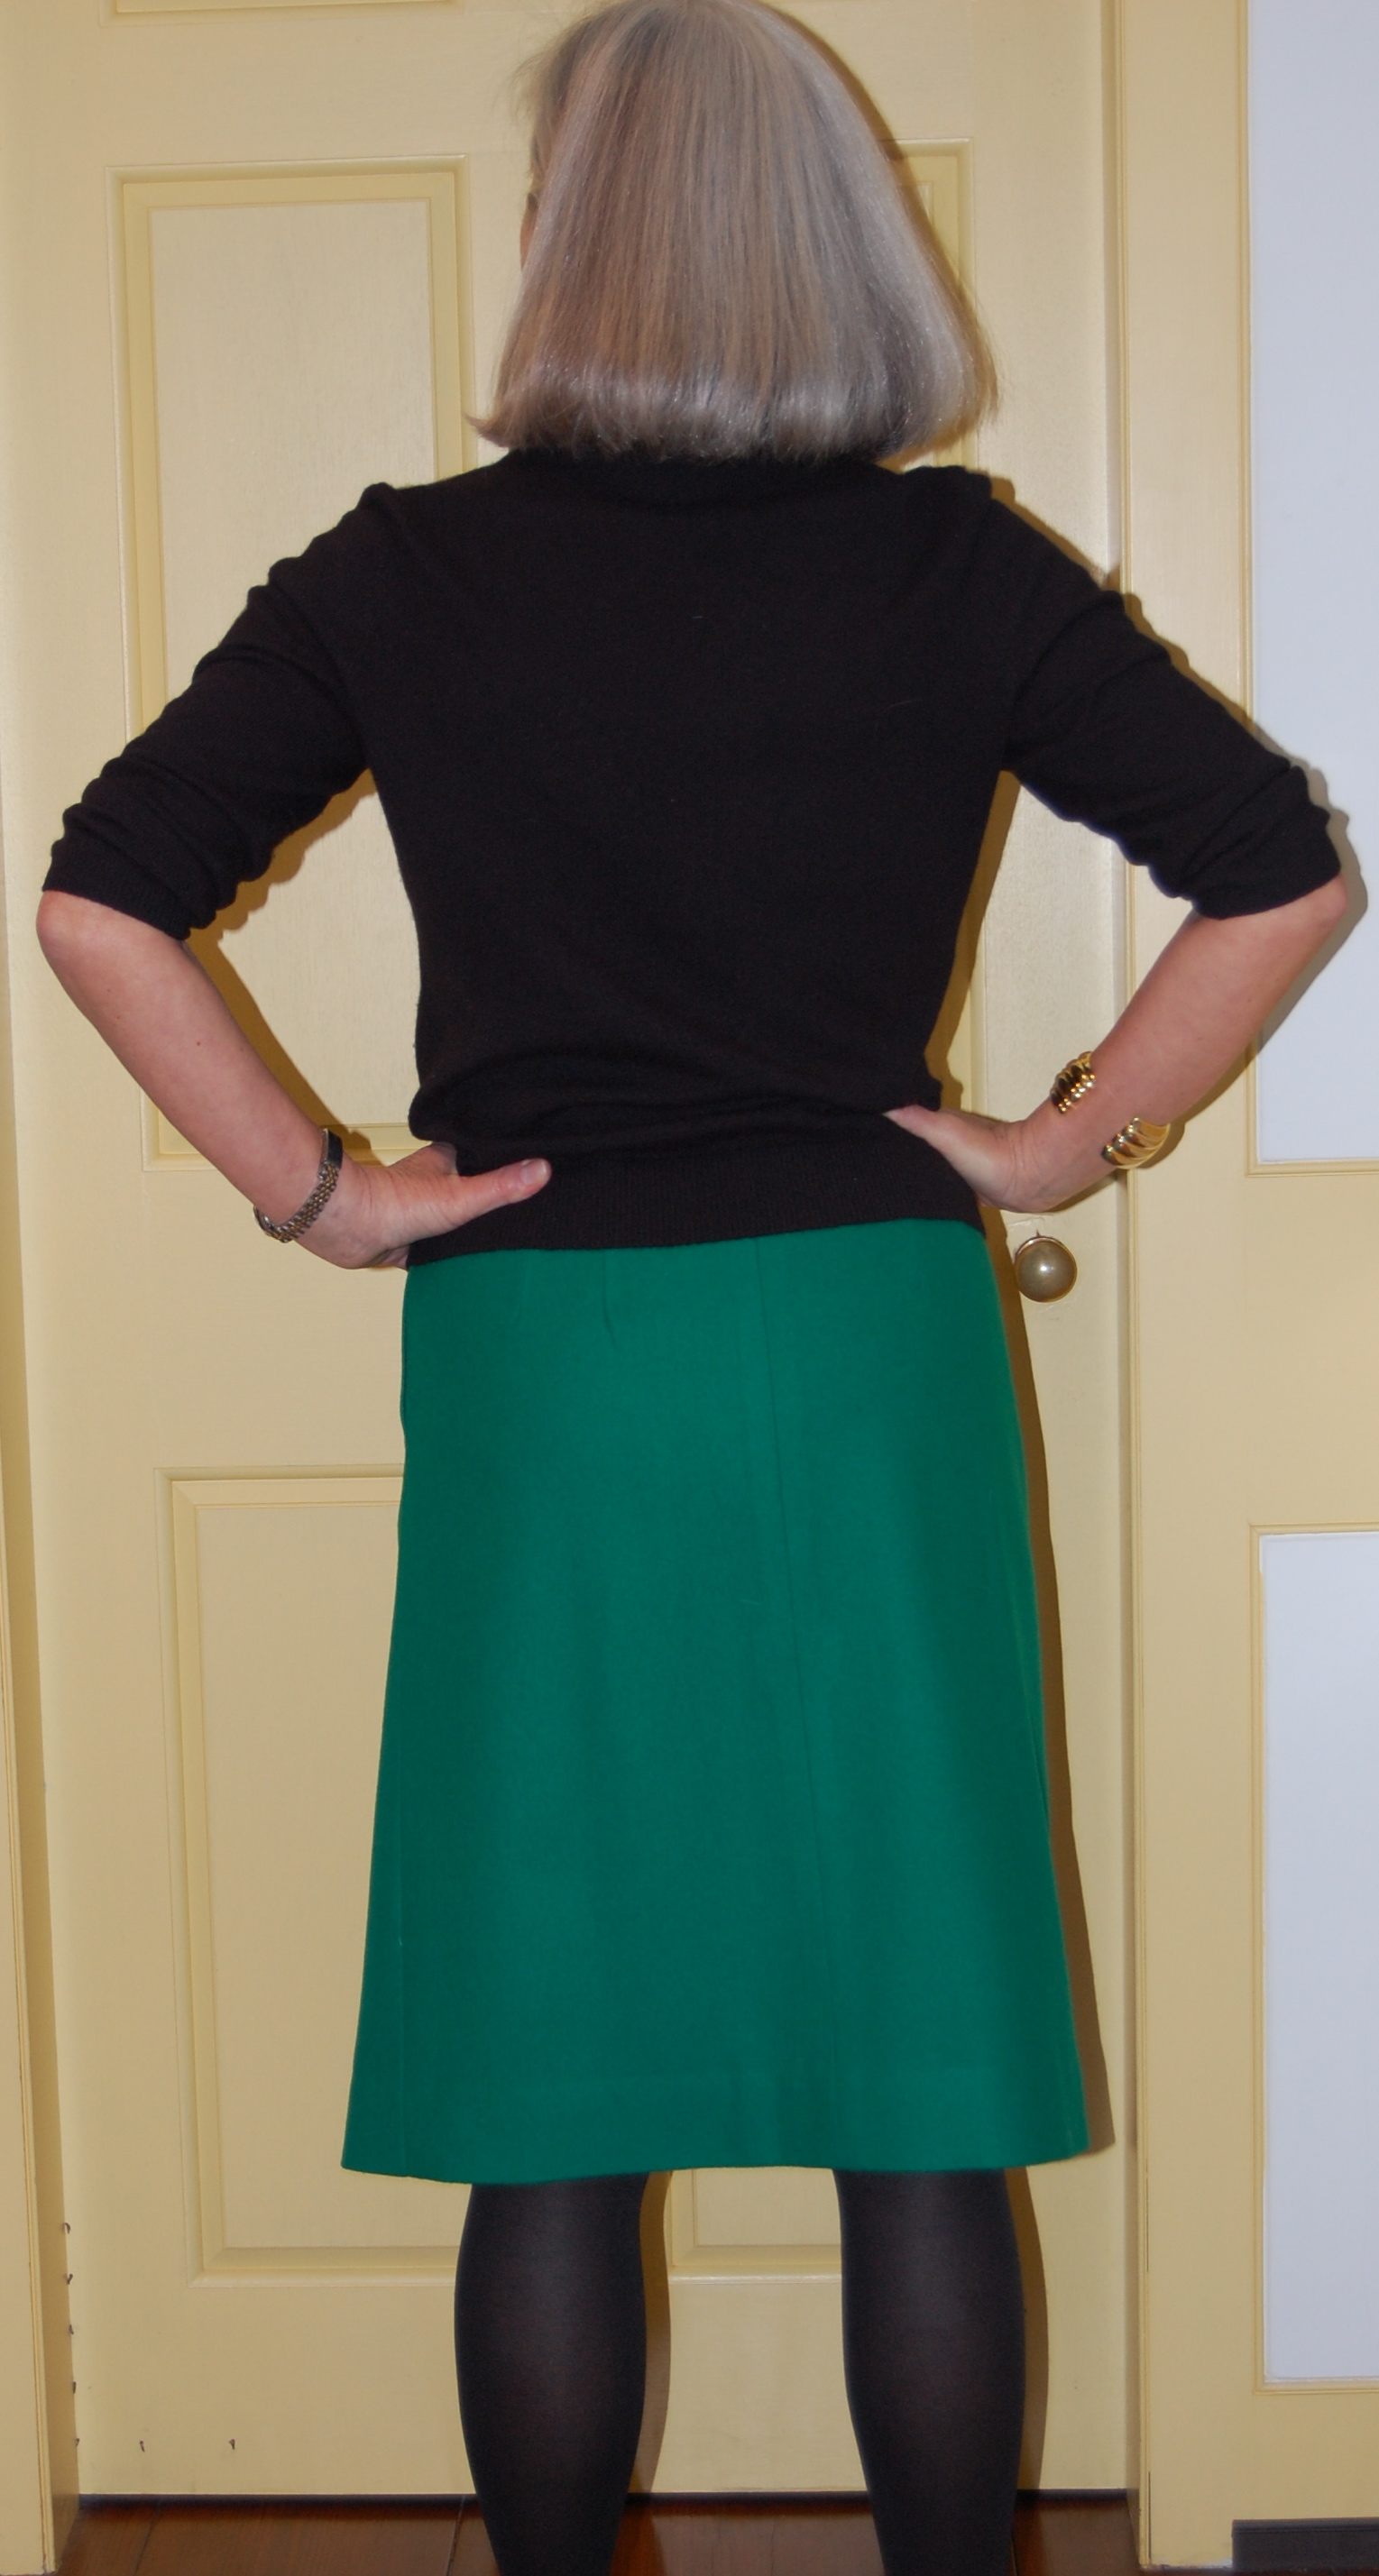
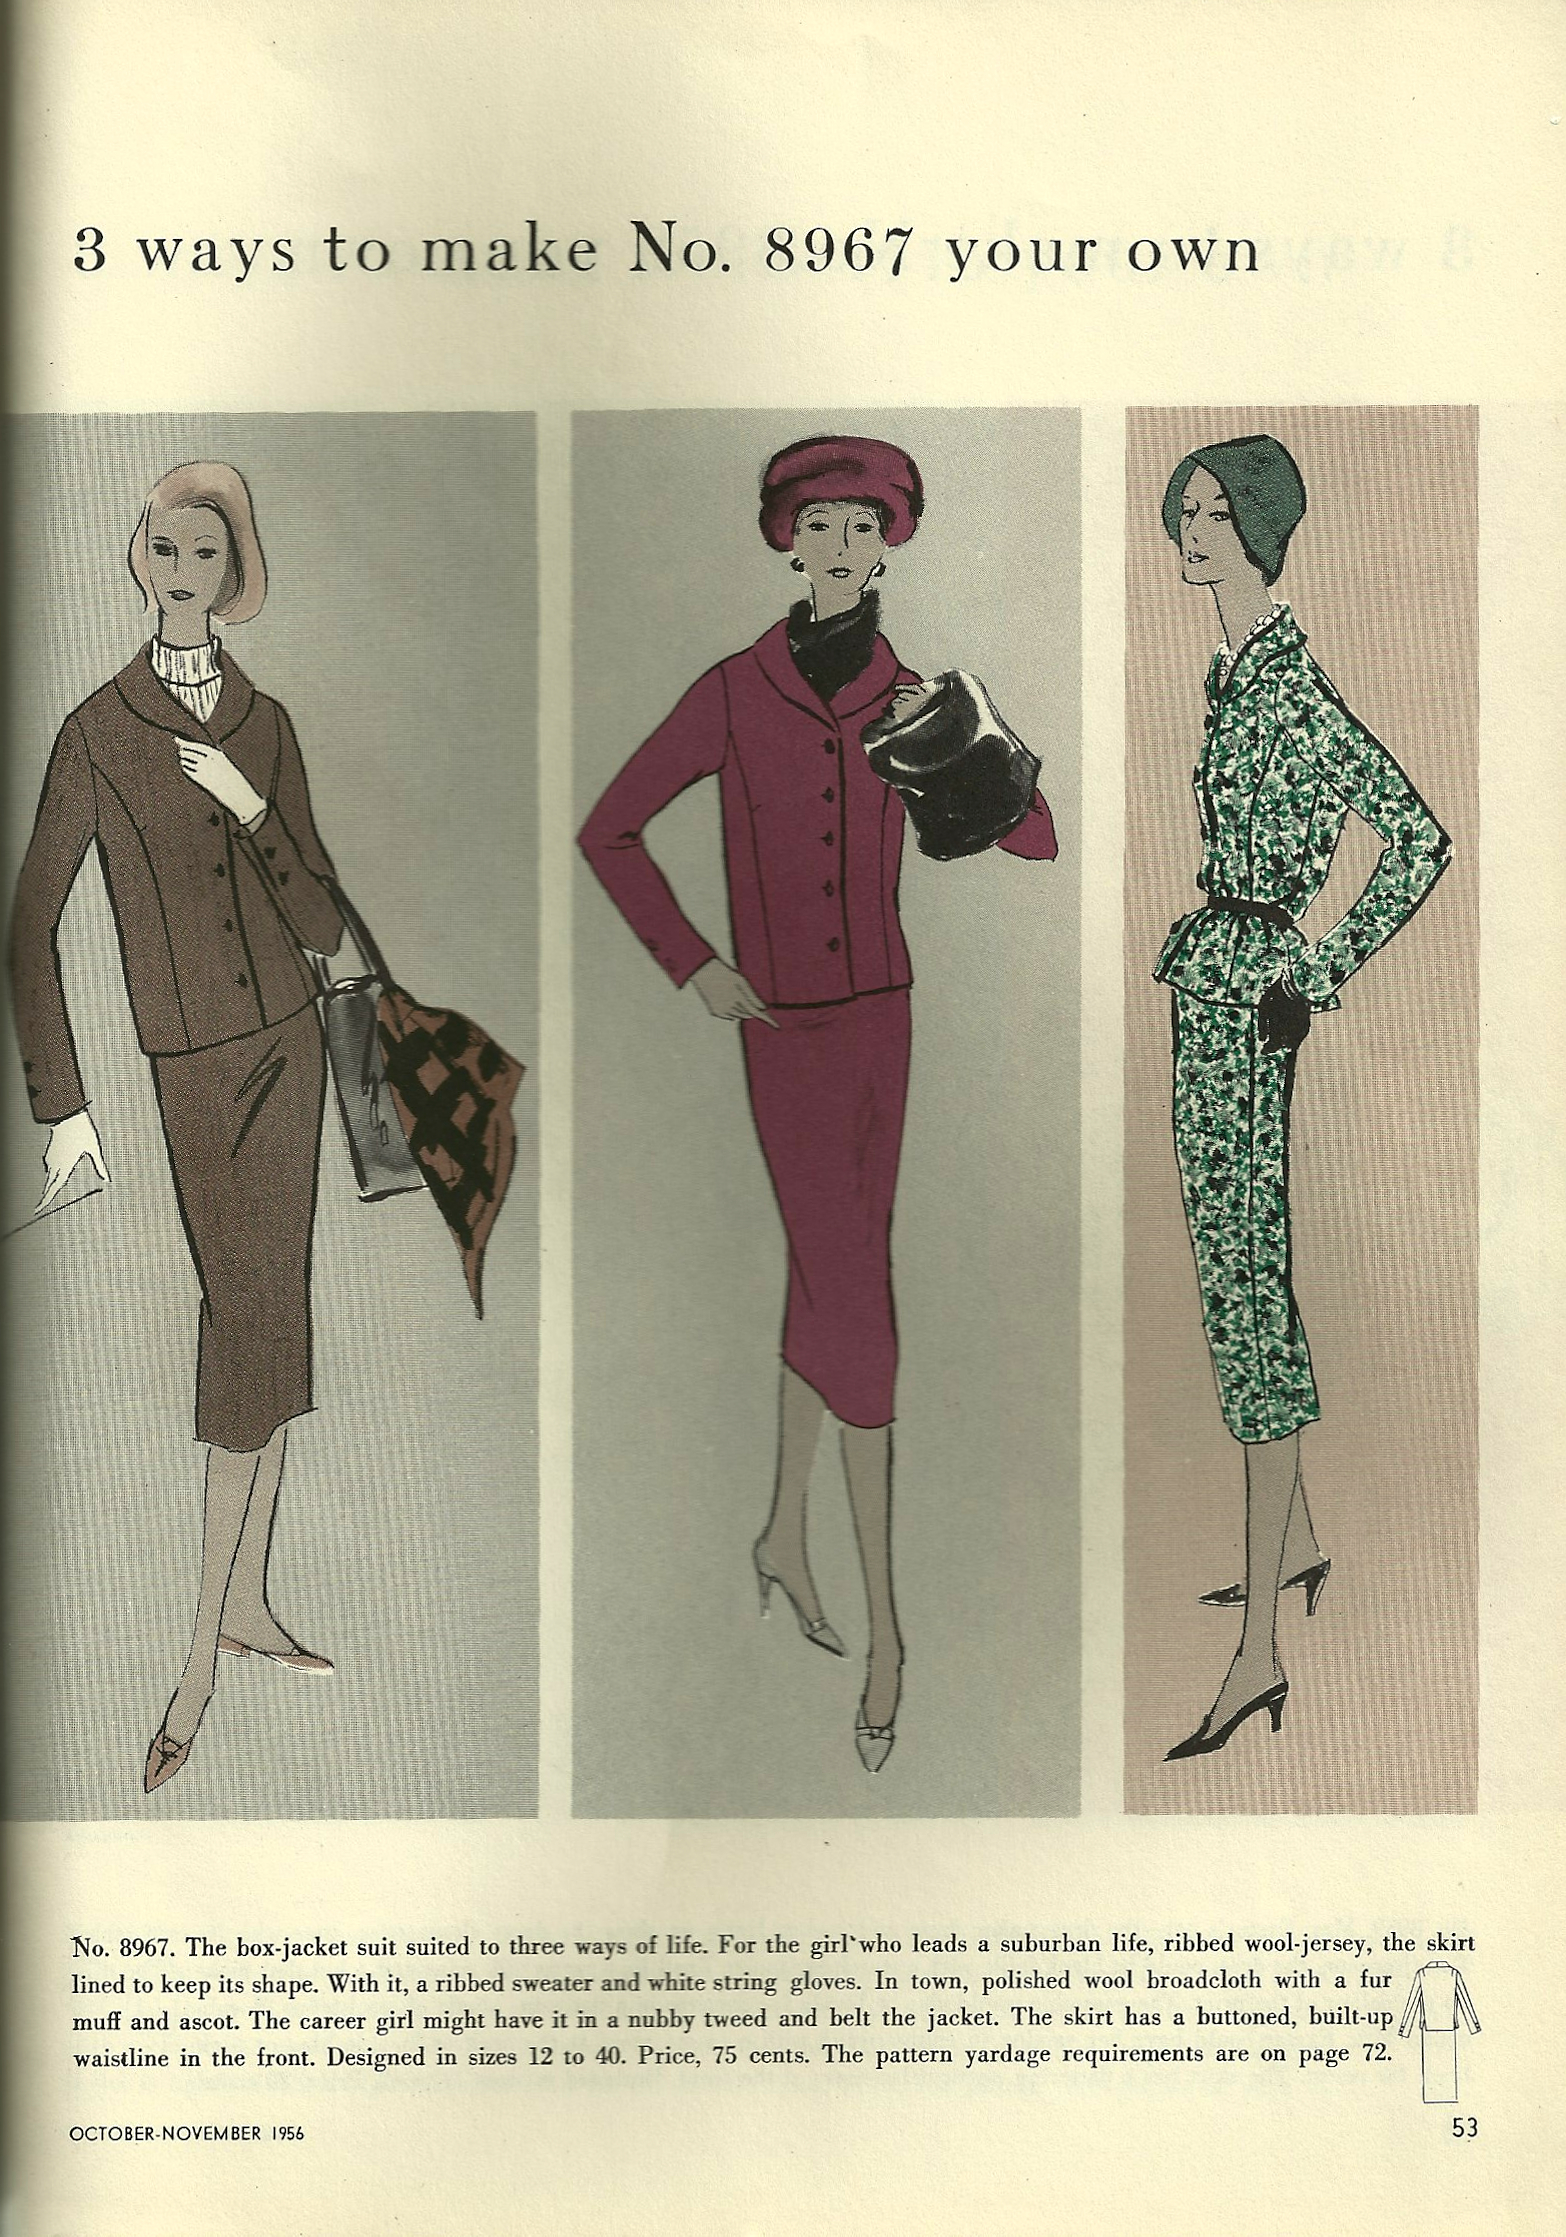
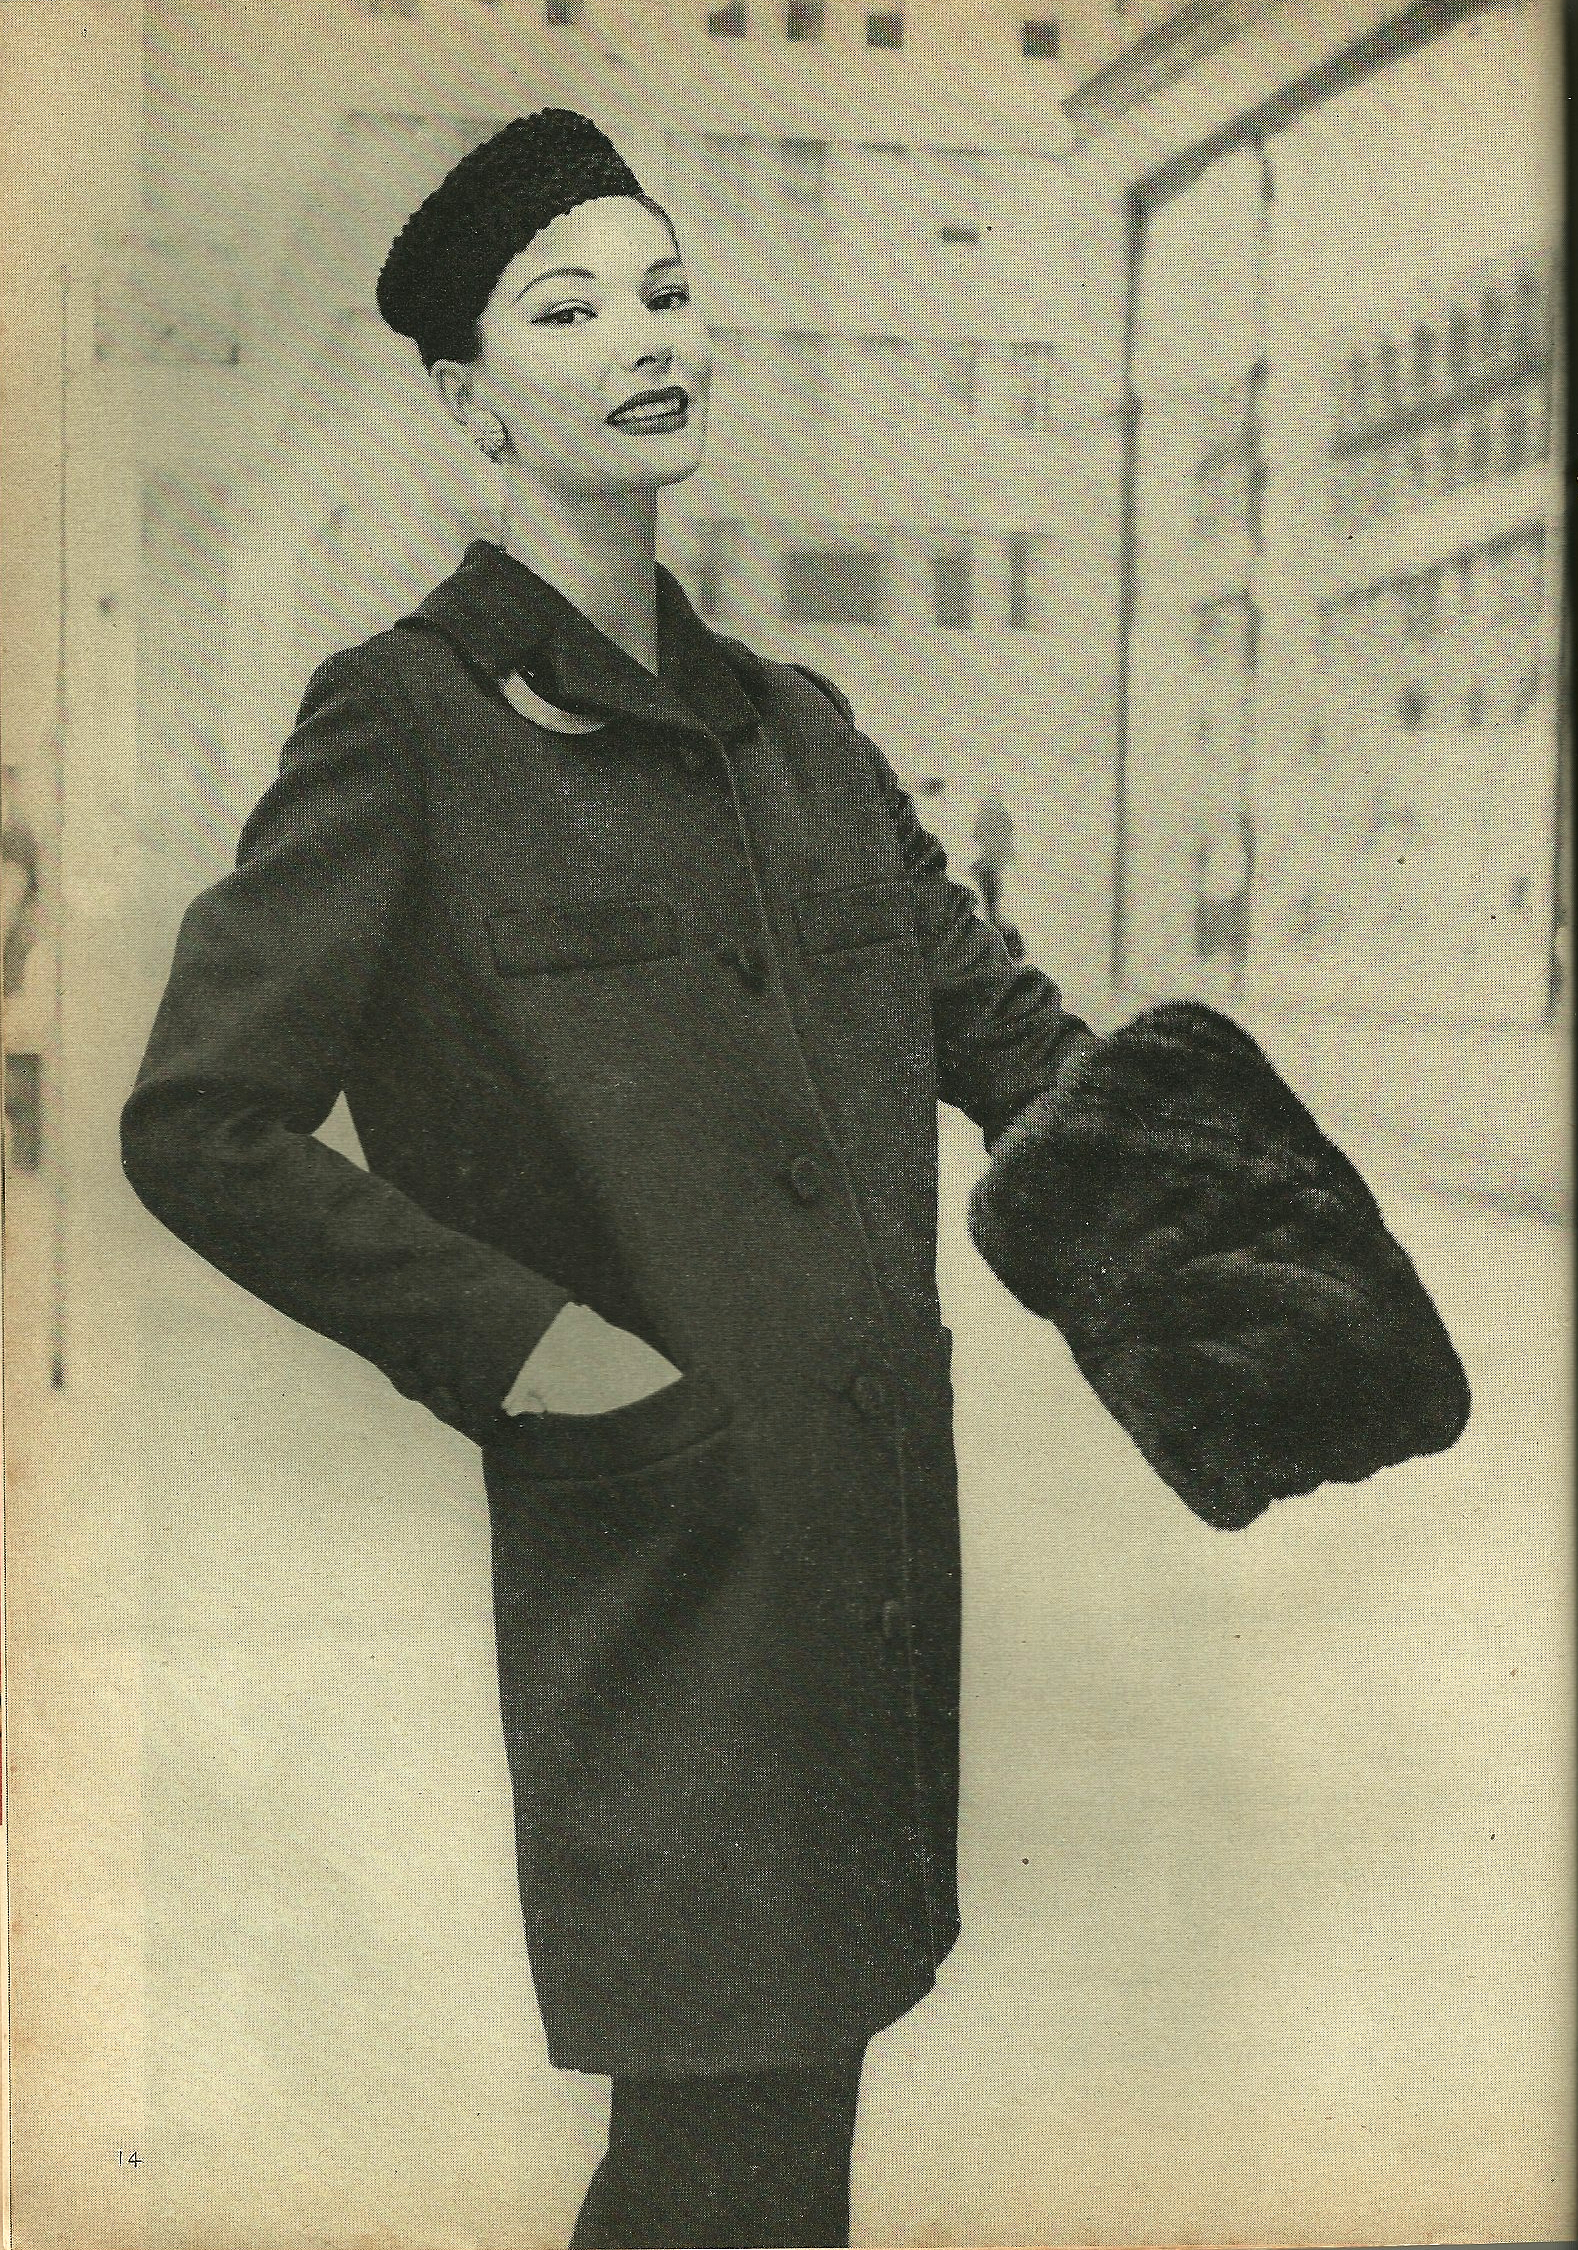
In 1958, a tapered coat-suit was featured in the October/November VPB Magazine, touting its “three-quarter” coat:
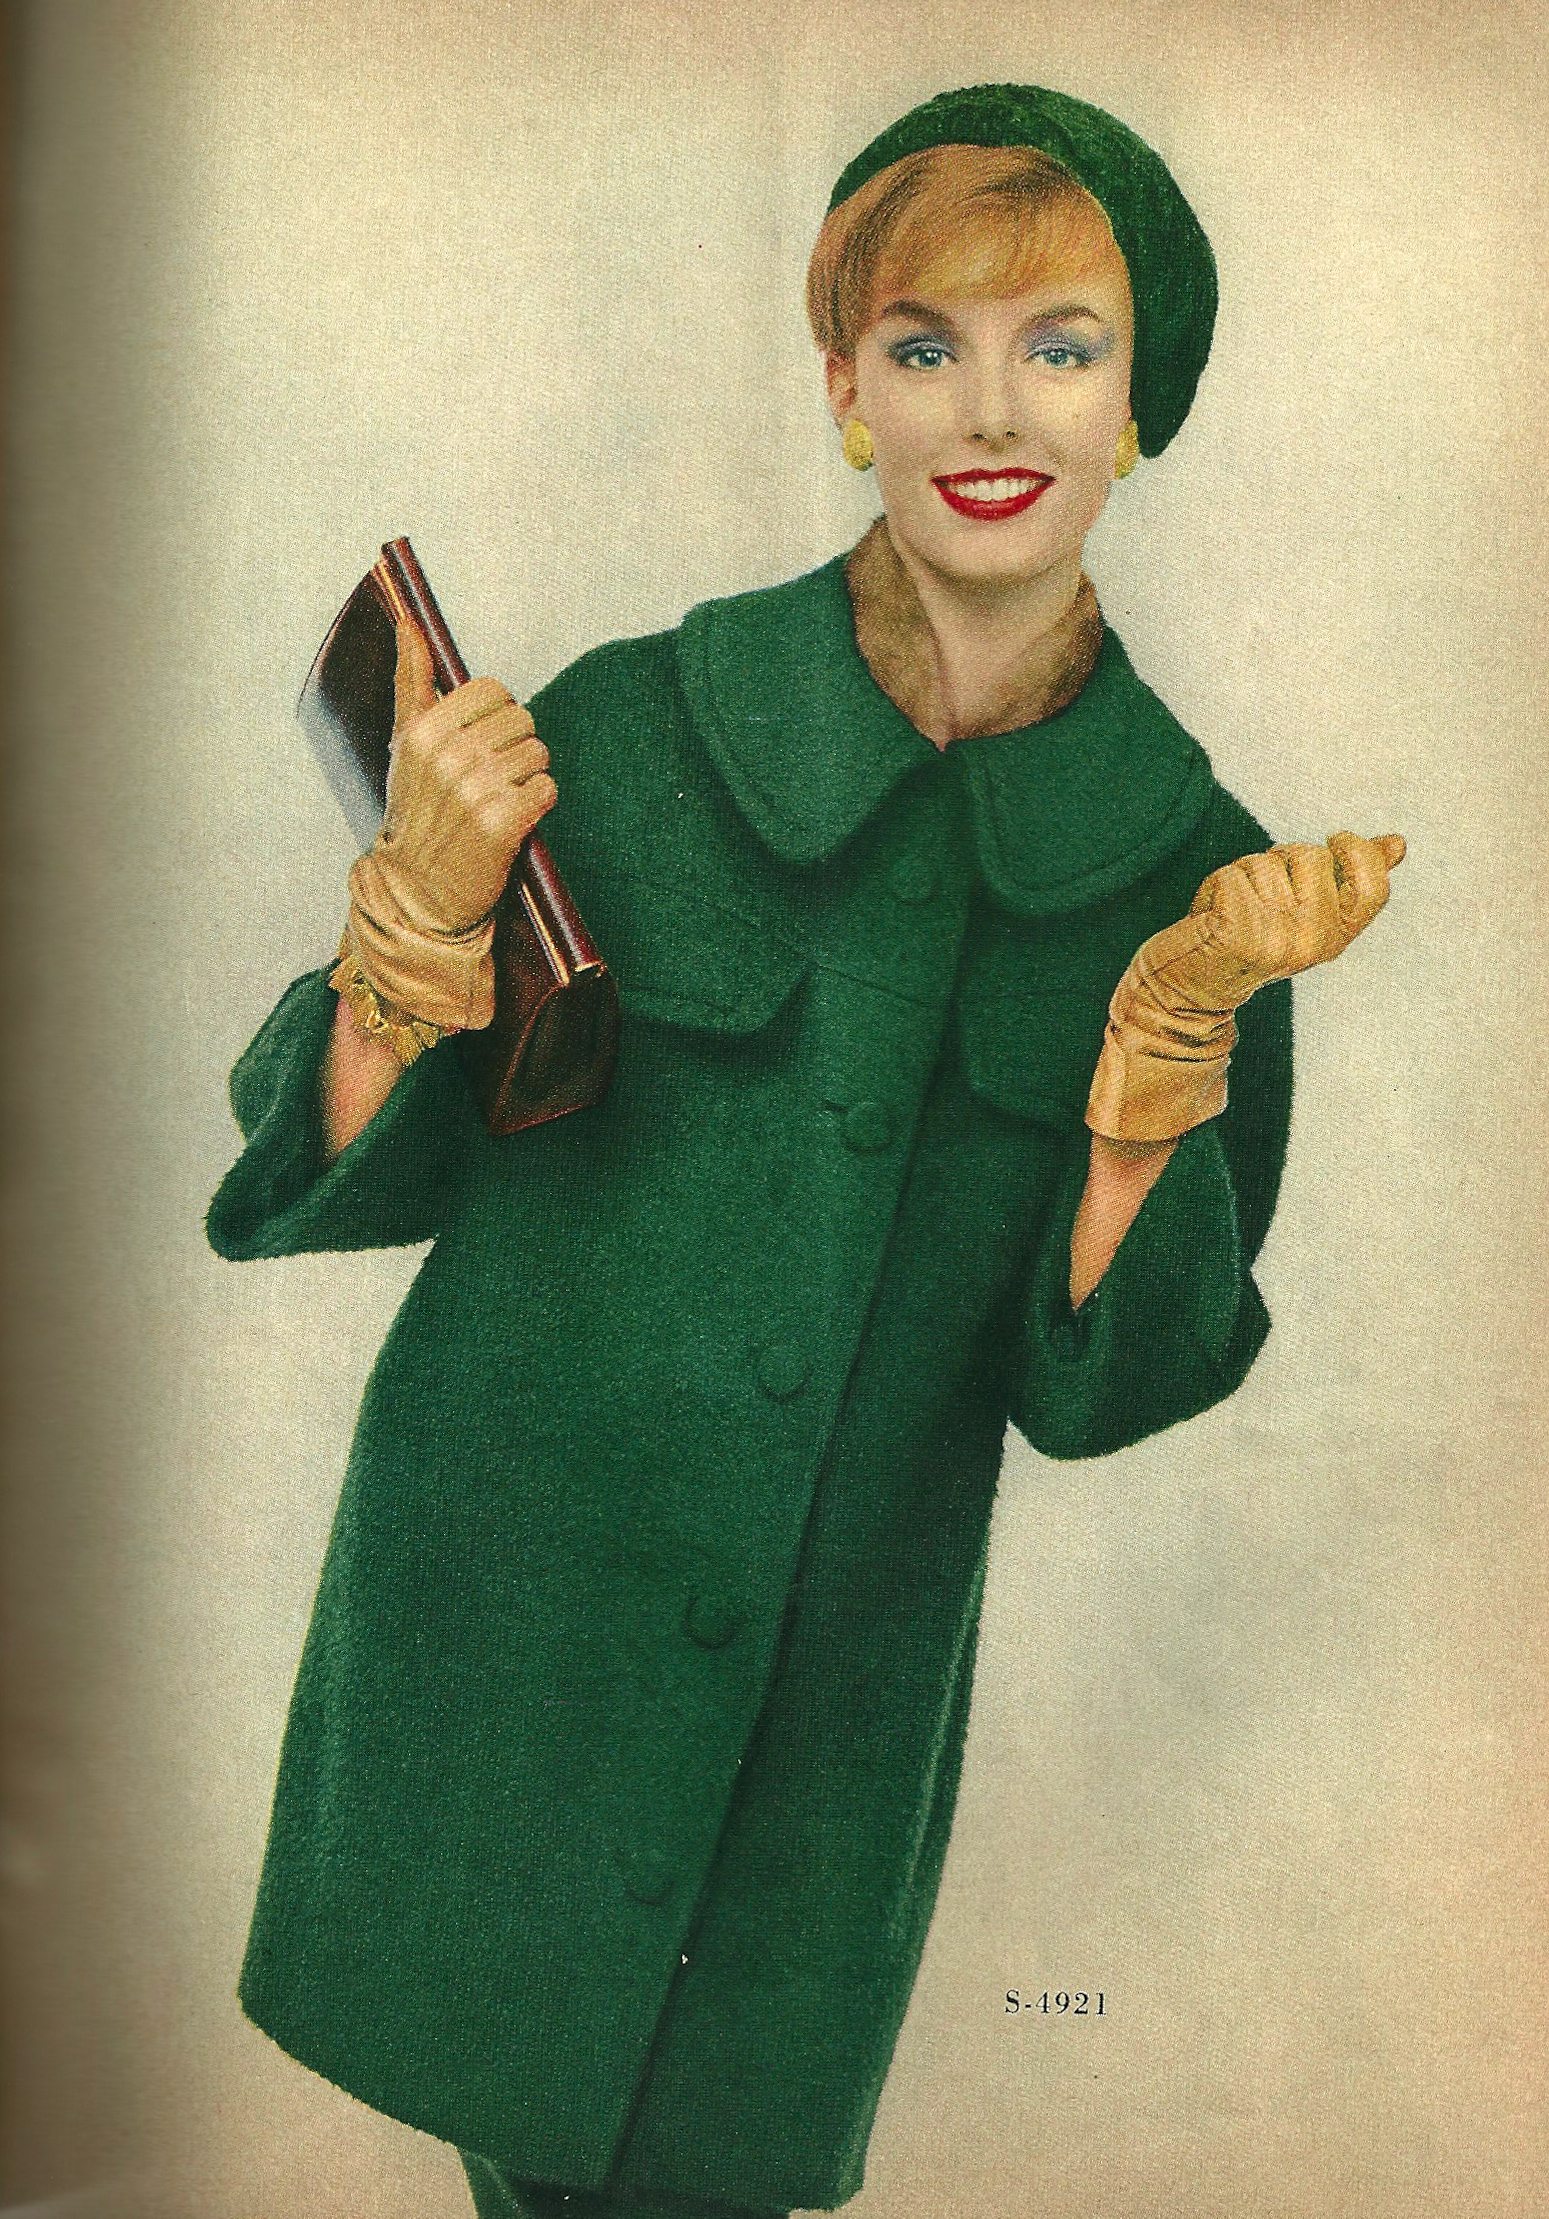
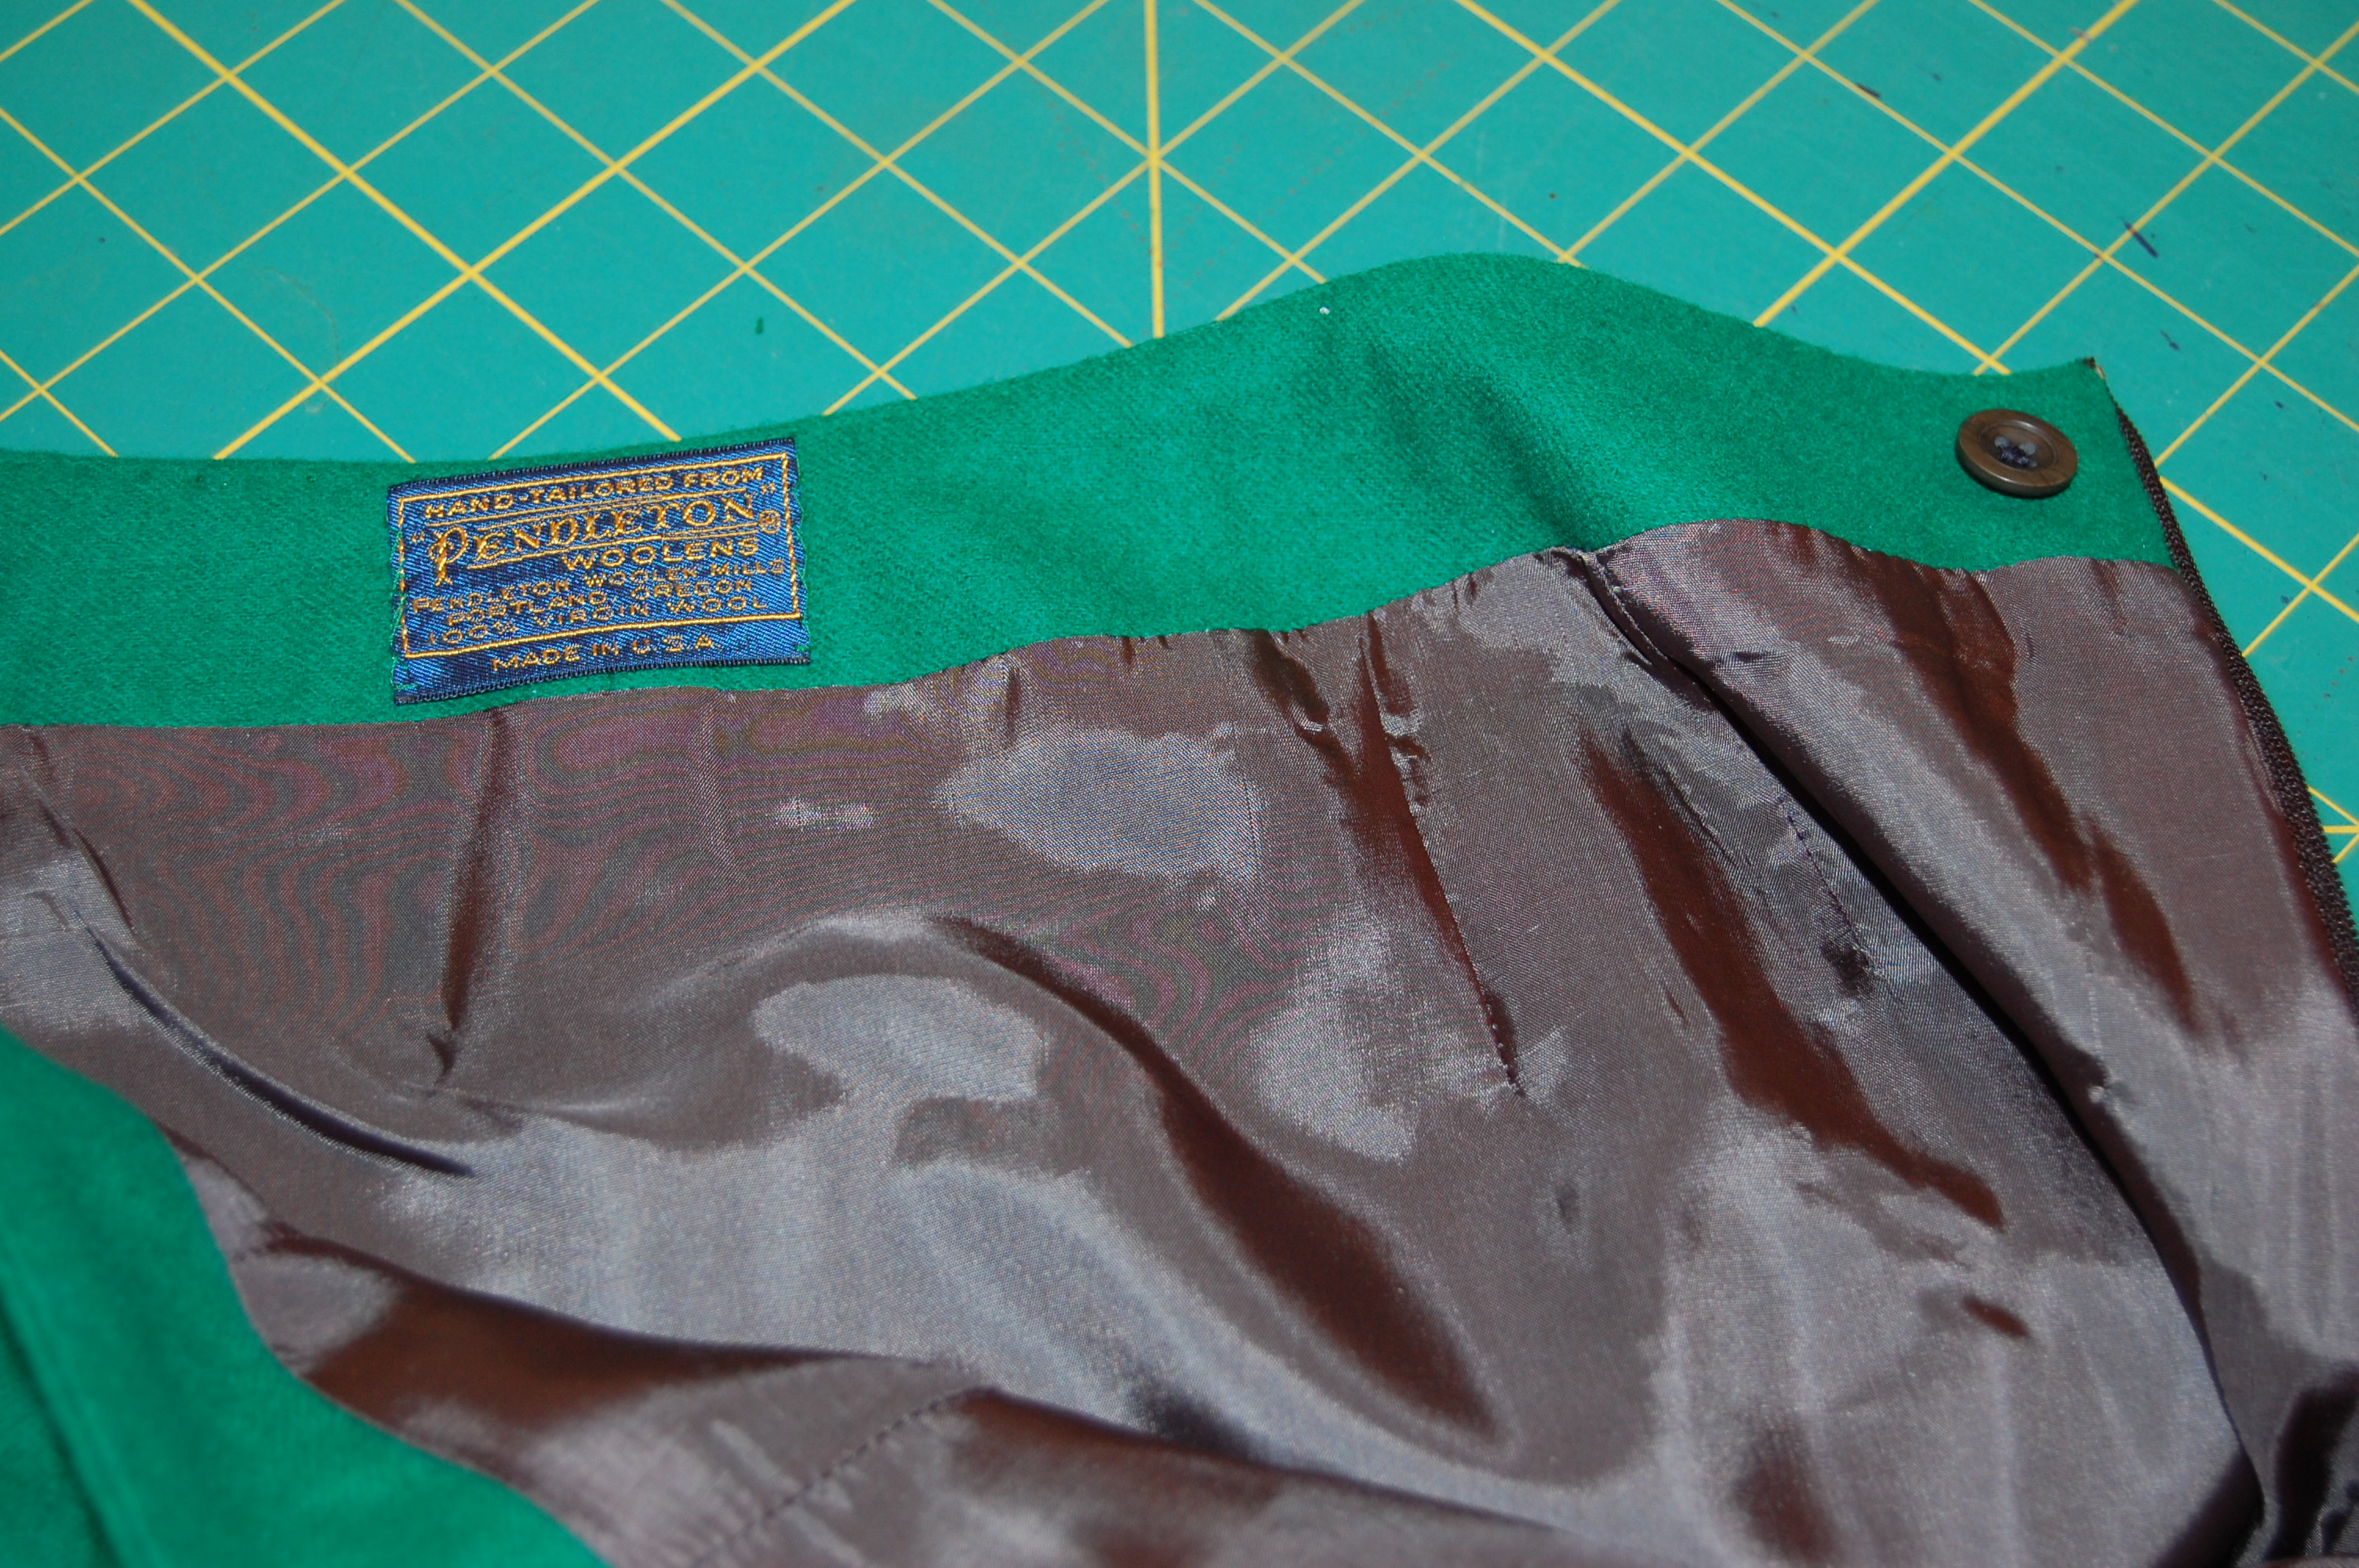
Shown in “boxwood green mohair,” this coat would be quite stylish in 2013.
And in the same issue the smock-jacket certainly caught the eye of many a busy mom, with its alluring description: “”Enjoying suburbia’s natural tranquallizers – grass, trees, sky . . . Triangular smock-jacket in bright blue-orange-green-red plaid. Grey flannel slacks – who could live without them?”
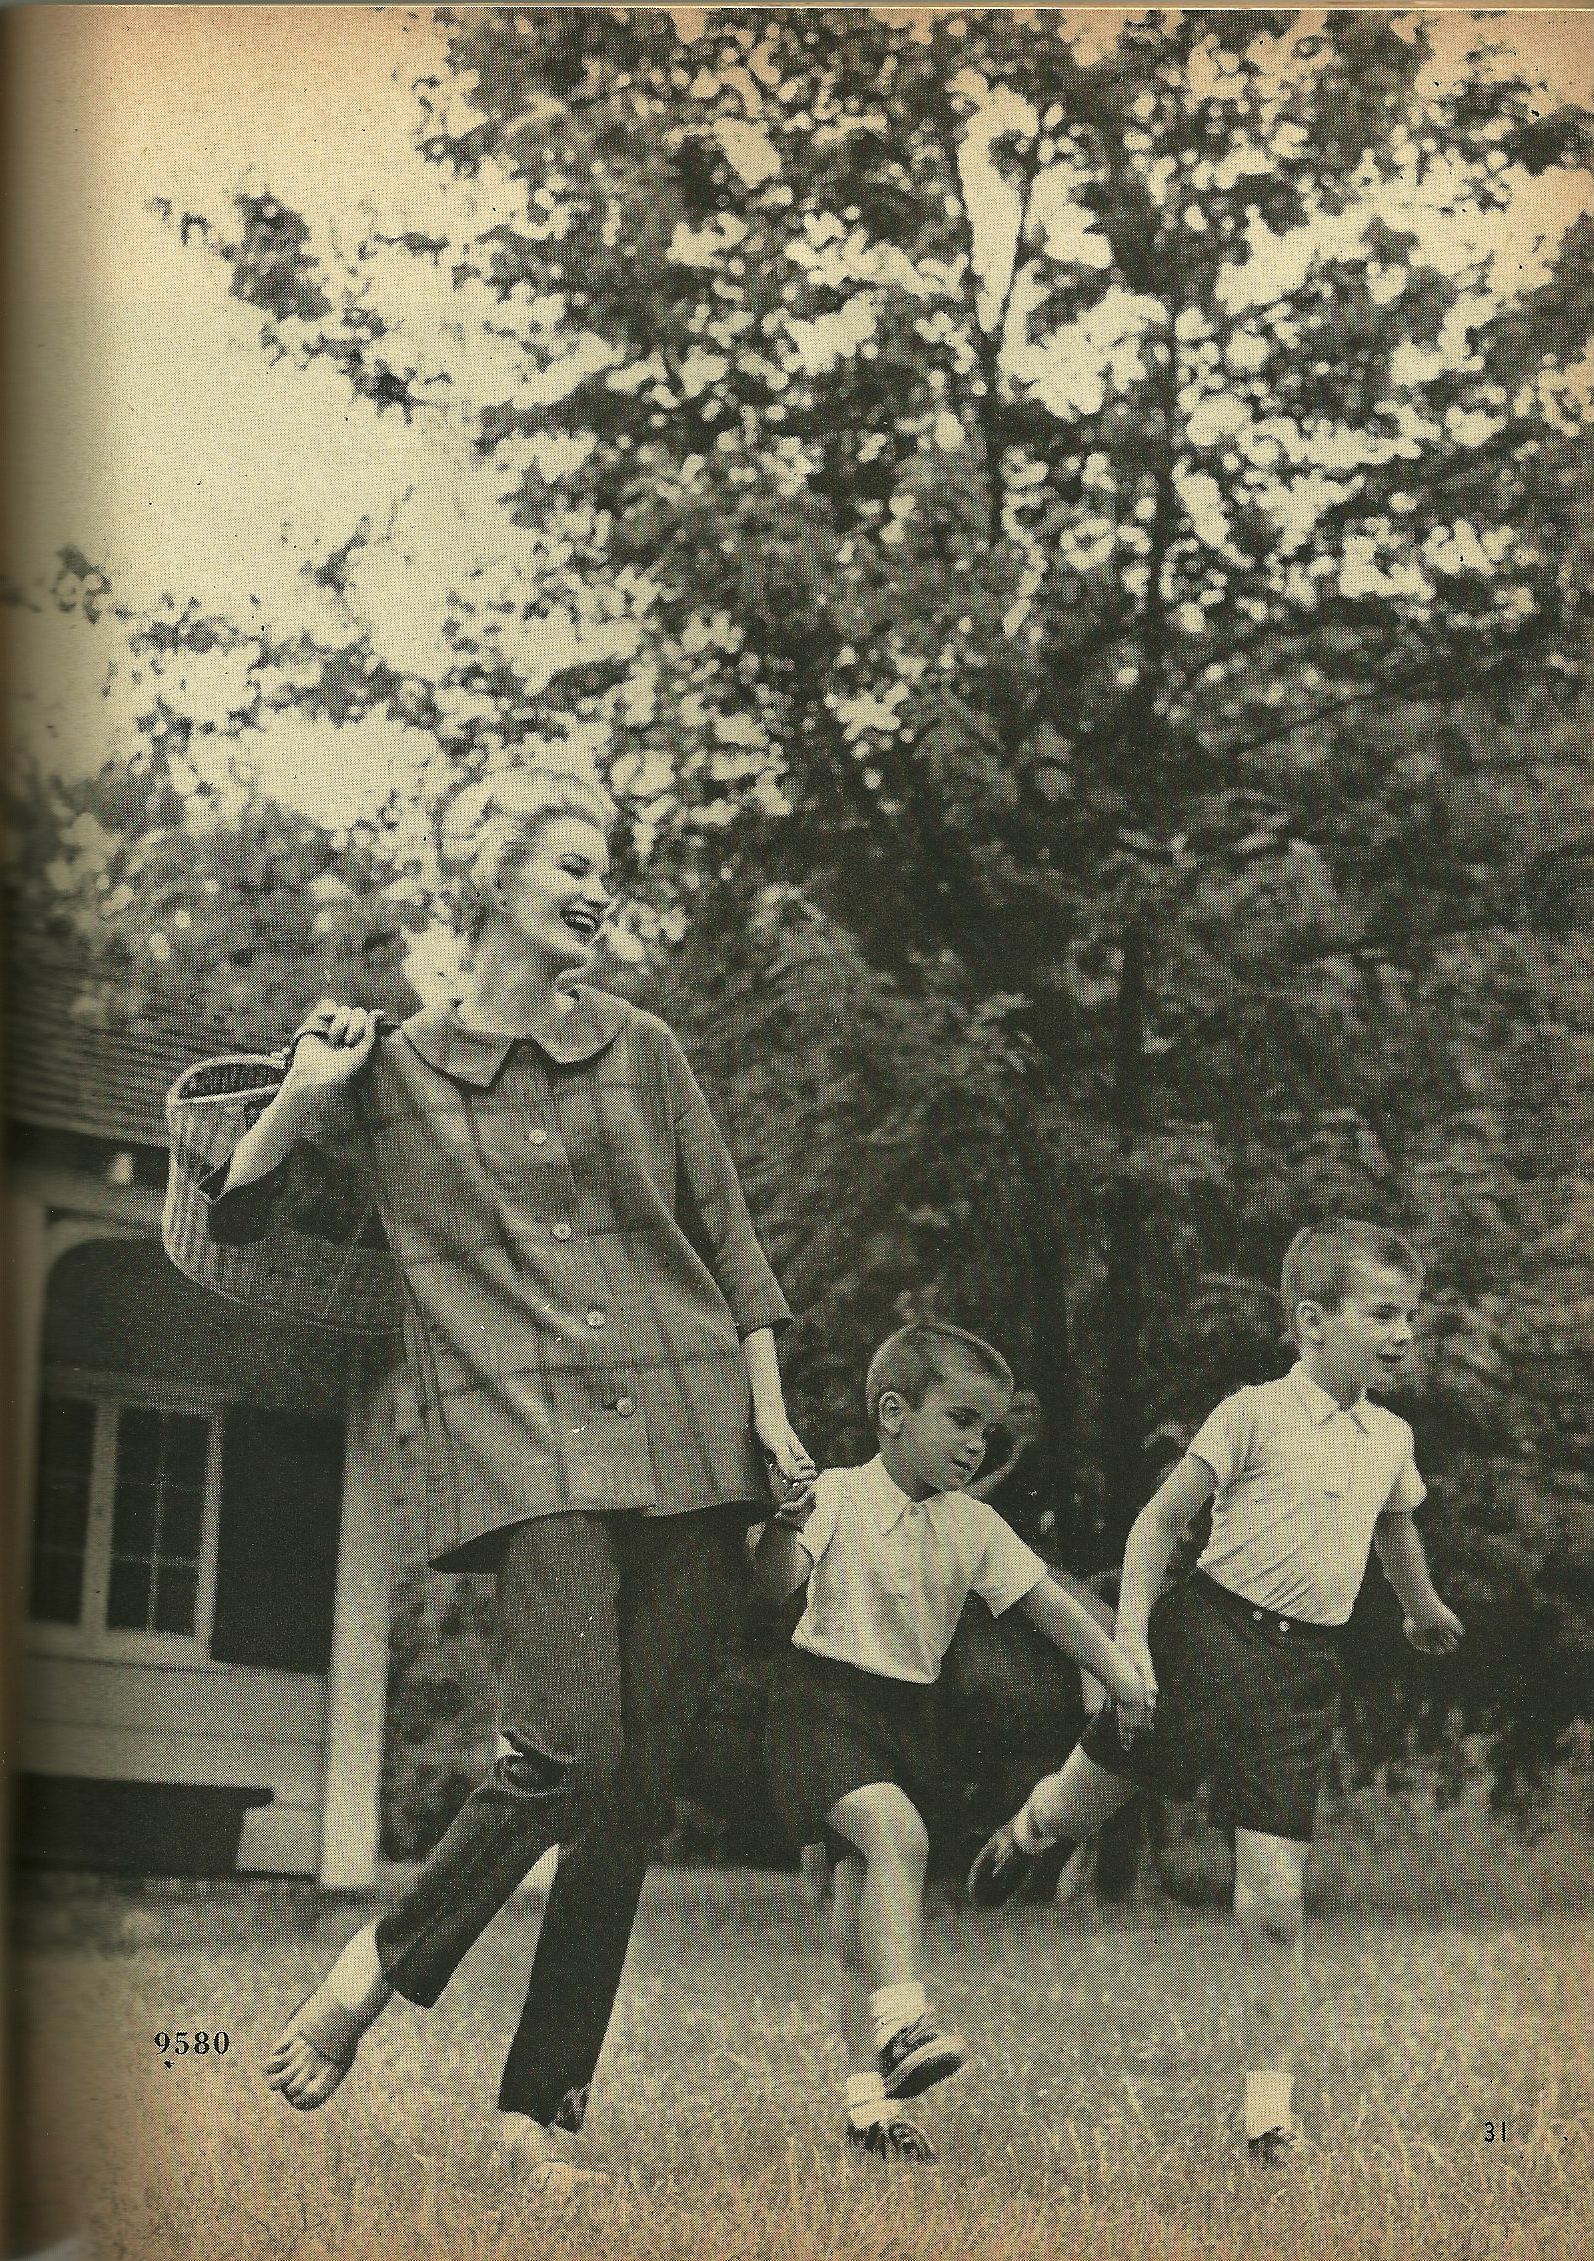
This “smock” coat has a pleat in the back for ease of movement for the busy mom.
Indeed, who could live without such a comfortable, easy-to-wear, fingertip coat? As this style morphed into the “Car Coat”, it quickly became ubiquitous, and for good reason. Here was (and is) a coat, which is a barometer of culture (a term I have borrowed from the little book, 101 Things I Learned in Fashion School, p.32). An excellent definition is given in The Fairchild Dictionary of Fashion, 3rd Edition, 2010, page 89: “Sport or utility coat made hip- to three-quarter length, which is comfortable for driving a car. First became popular with the station-wagon set in suburbia in 1950s and 1960s [my emphasis] and has become a classic style since then. Some of the styles in which car coats have been made include BENCHWARMER, DUFFEL COAT, RANCH COAT, MACKINAW JACKET, STADIUM COAT, TOGGLE COAT.”
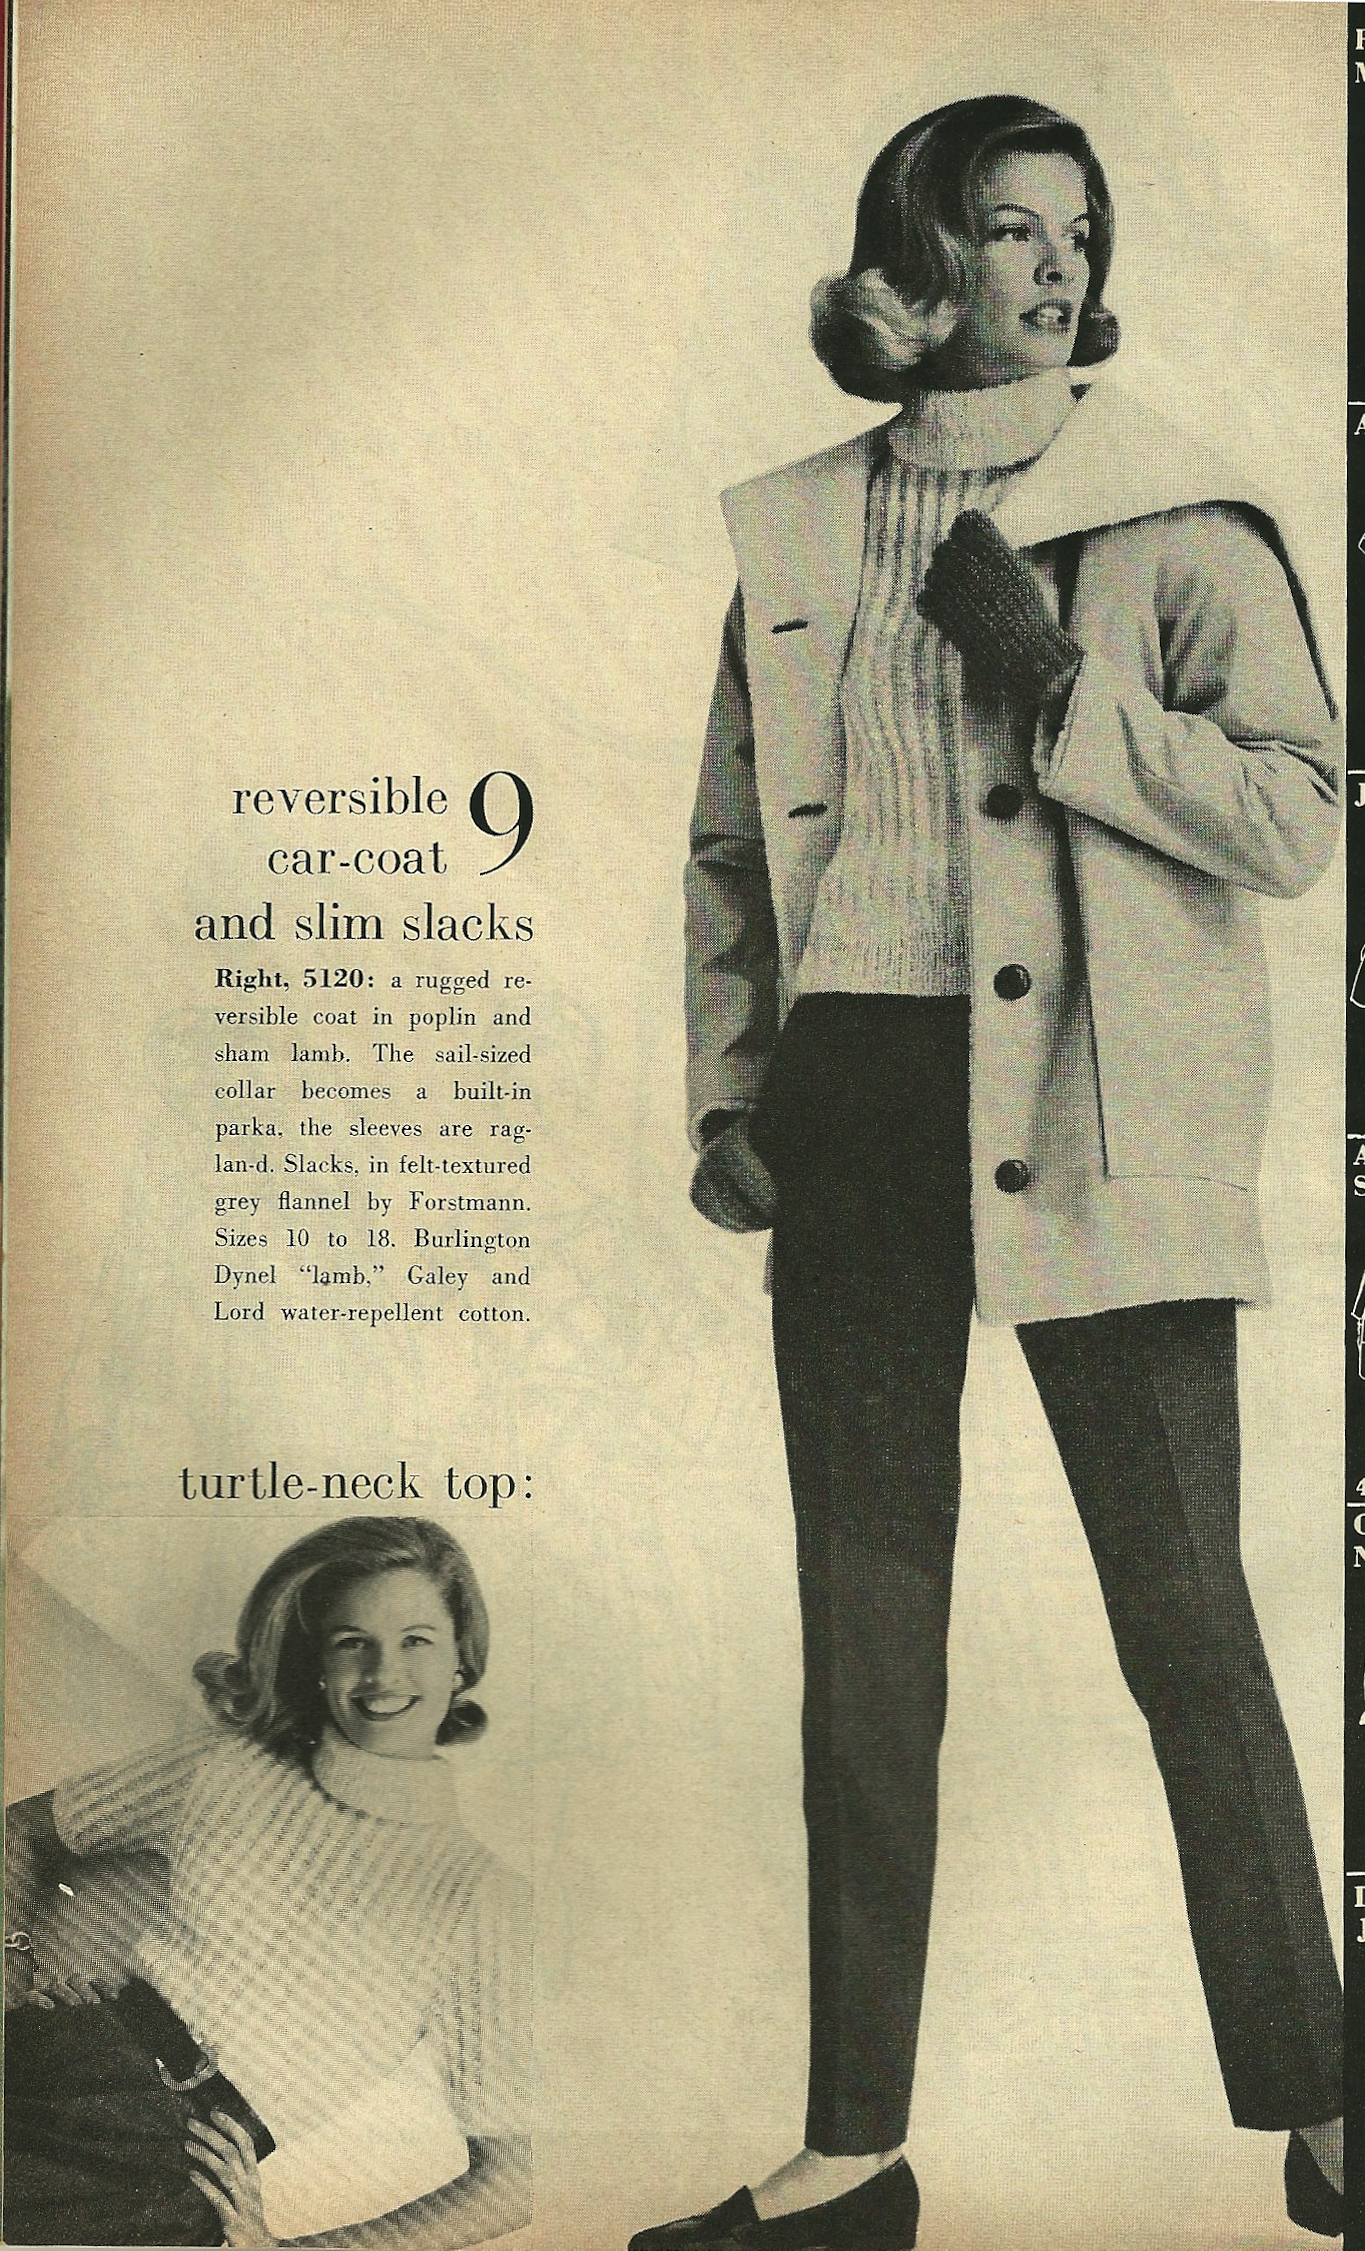
This pattern was for a reversible coat, shown here in poplin and sham lamb. The collar can be turned into a hood. Click on the image to see the details.
By August/September of 1962, VPB Magazine featured a pattern for a Pea Coat, which although not officially a car coat, displayed the same practical length and wearability:

According to Fairchild’s Dictionary, Yves Saint Laurent used the classic U.S. Navy peacoat as inspiration for his variation of it in the 1960s.
And in the next issue of the 1962 VPB Magazine, in a feature called “The Rangy Western Look for Urban and Suburban Dudes,” front and center was this coat “corralled for suburbanites”:
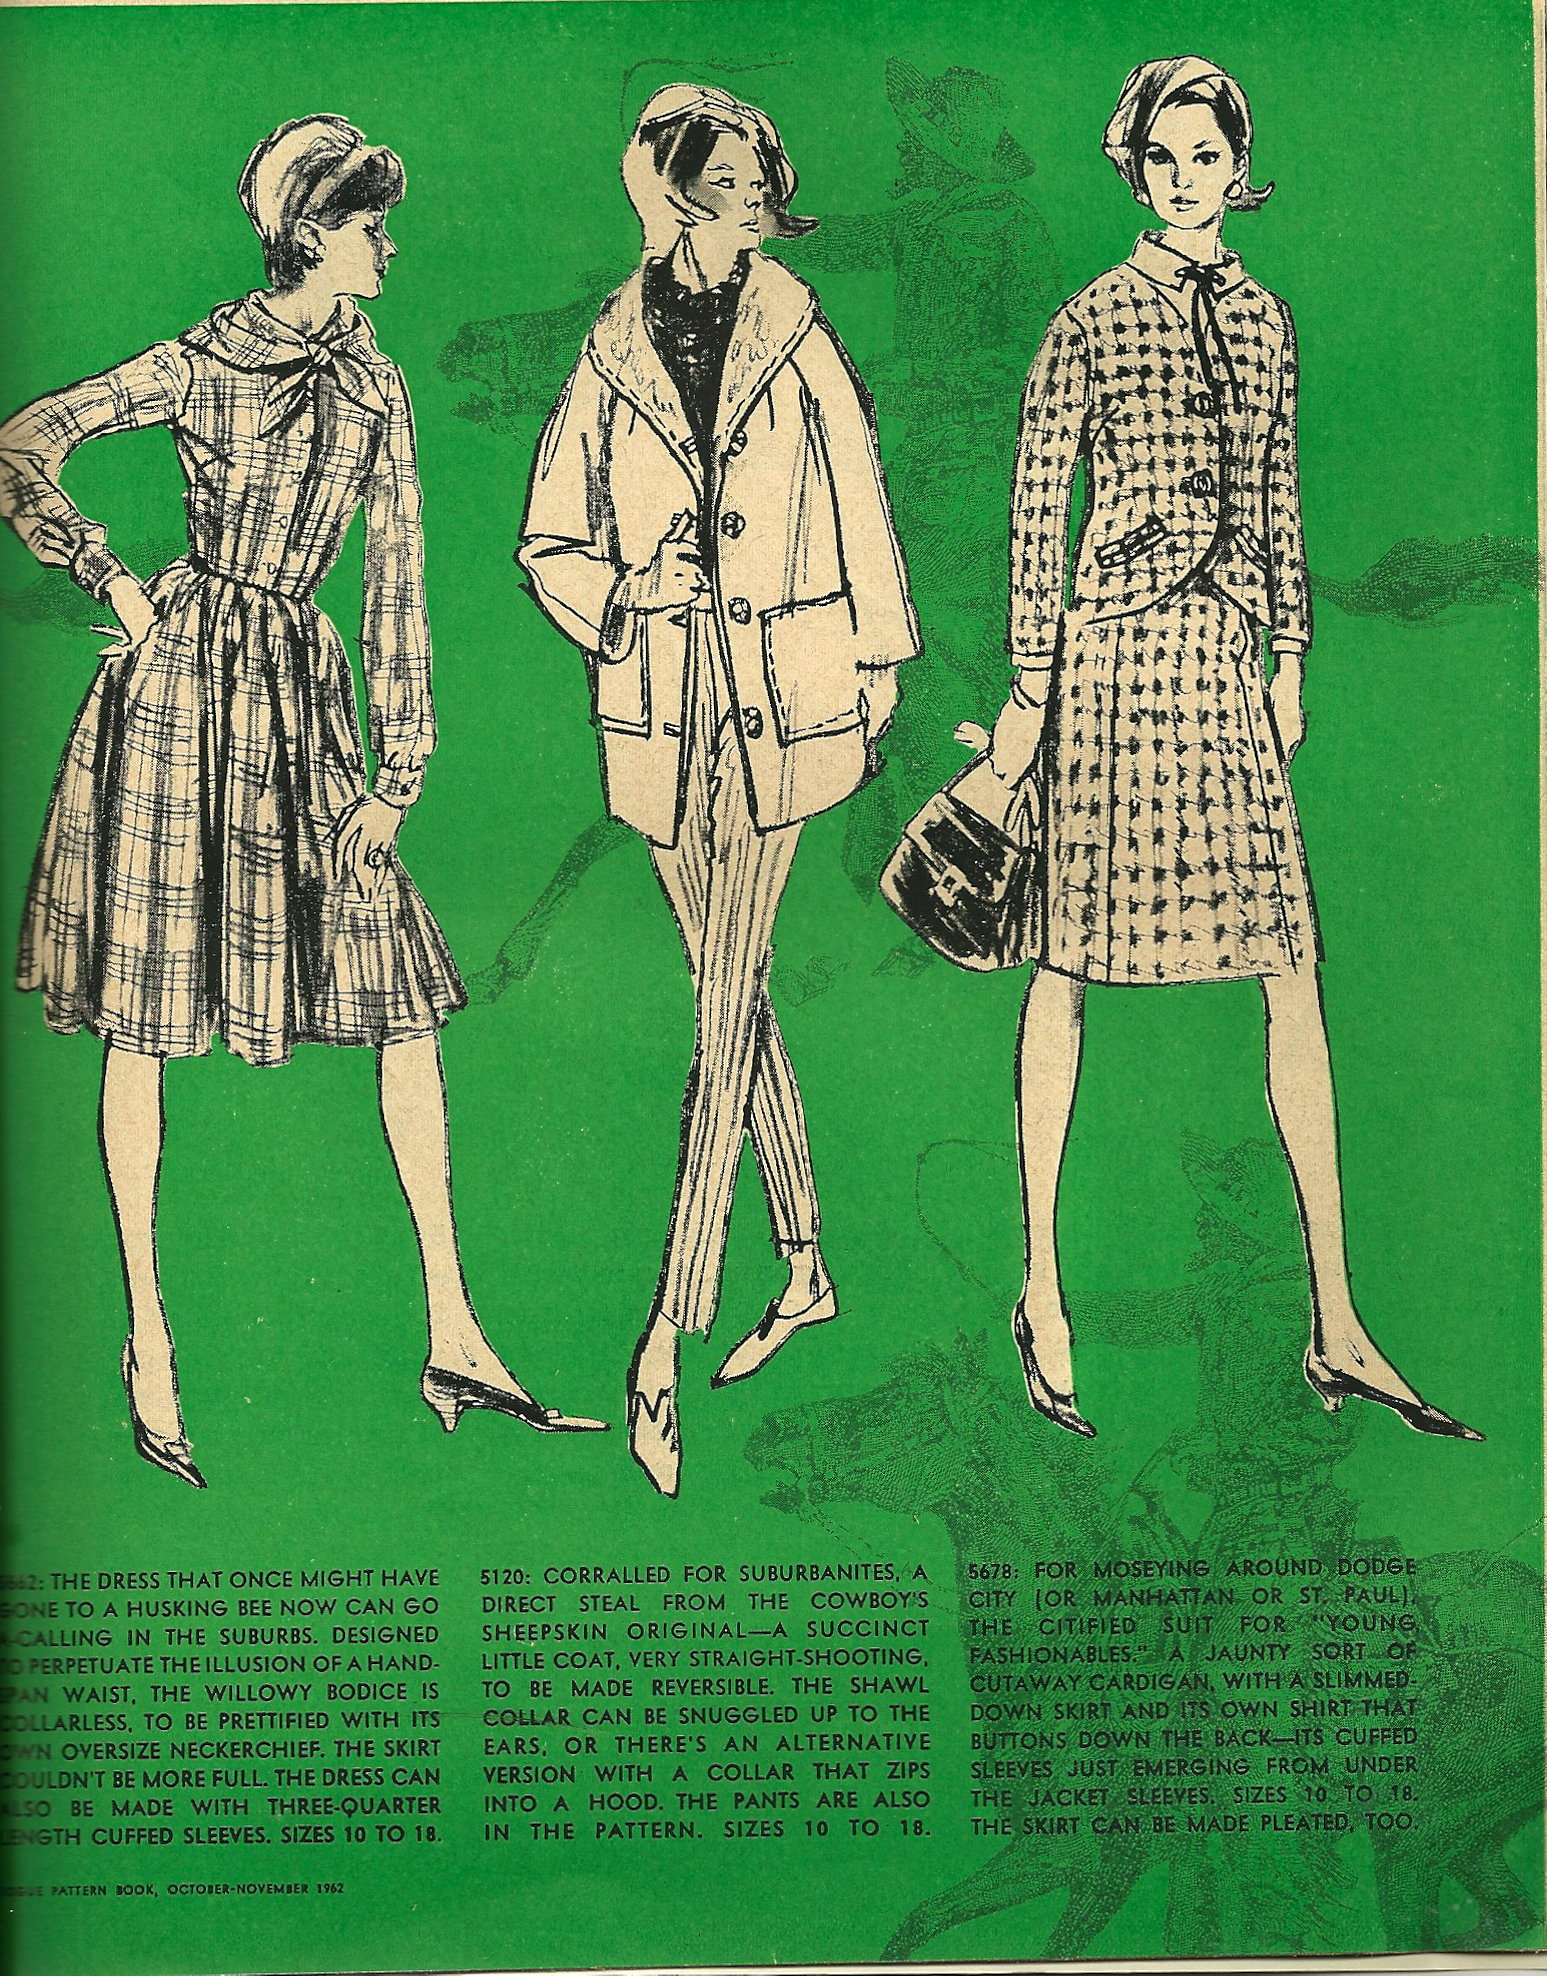
VPB called this coat a “direct steal from the cowboys’s sheepskin original.” (Another wonderful example of a “sheepskin” coat – this one by an English designer – can be seen here, with thanks to my reader, Carol, who led me to the sketch of this fingertip coat.)
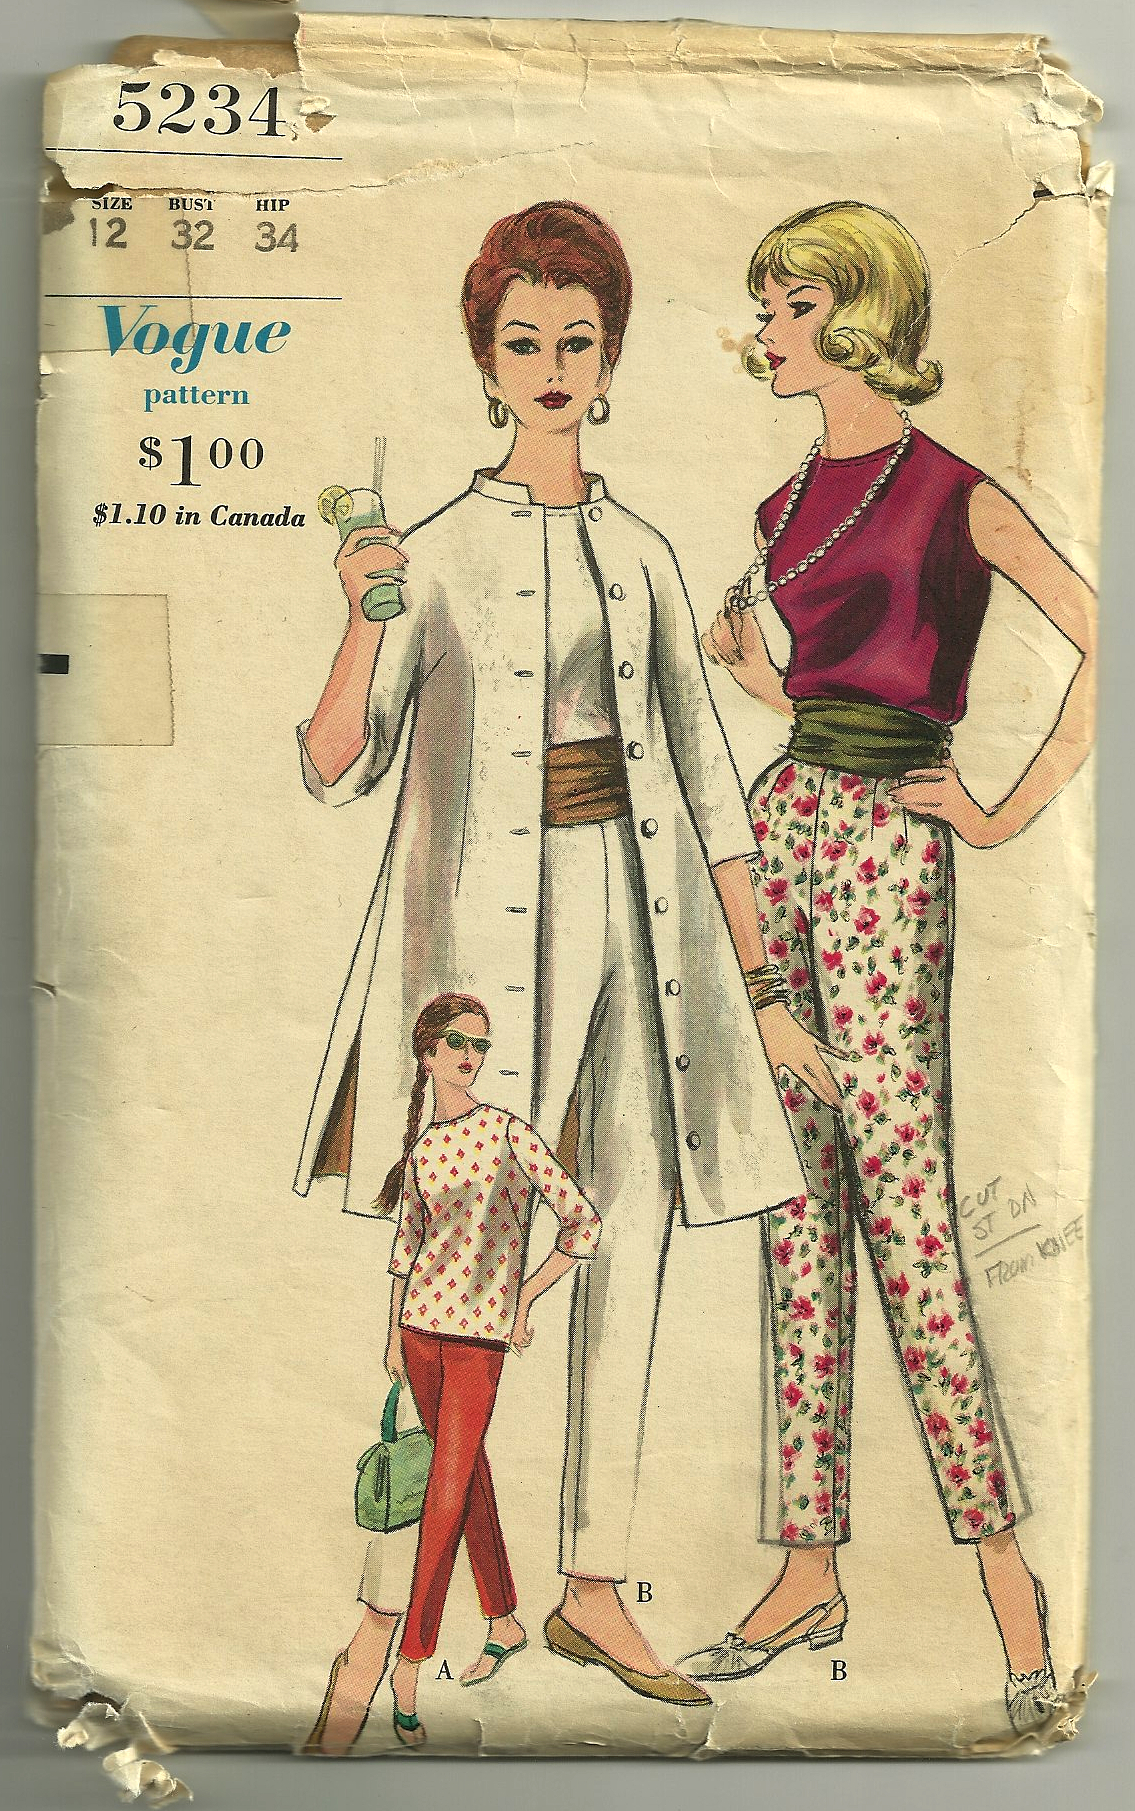
Far be it for me to resist such a coat! Last year I succumbed to this pattern on Etsy, which although not dated, is most certainly from the early ‘60s:
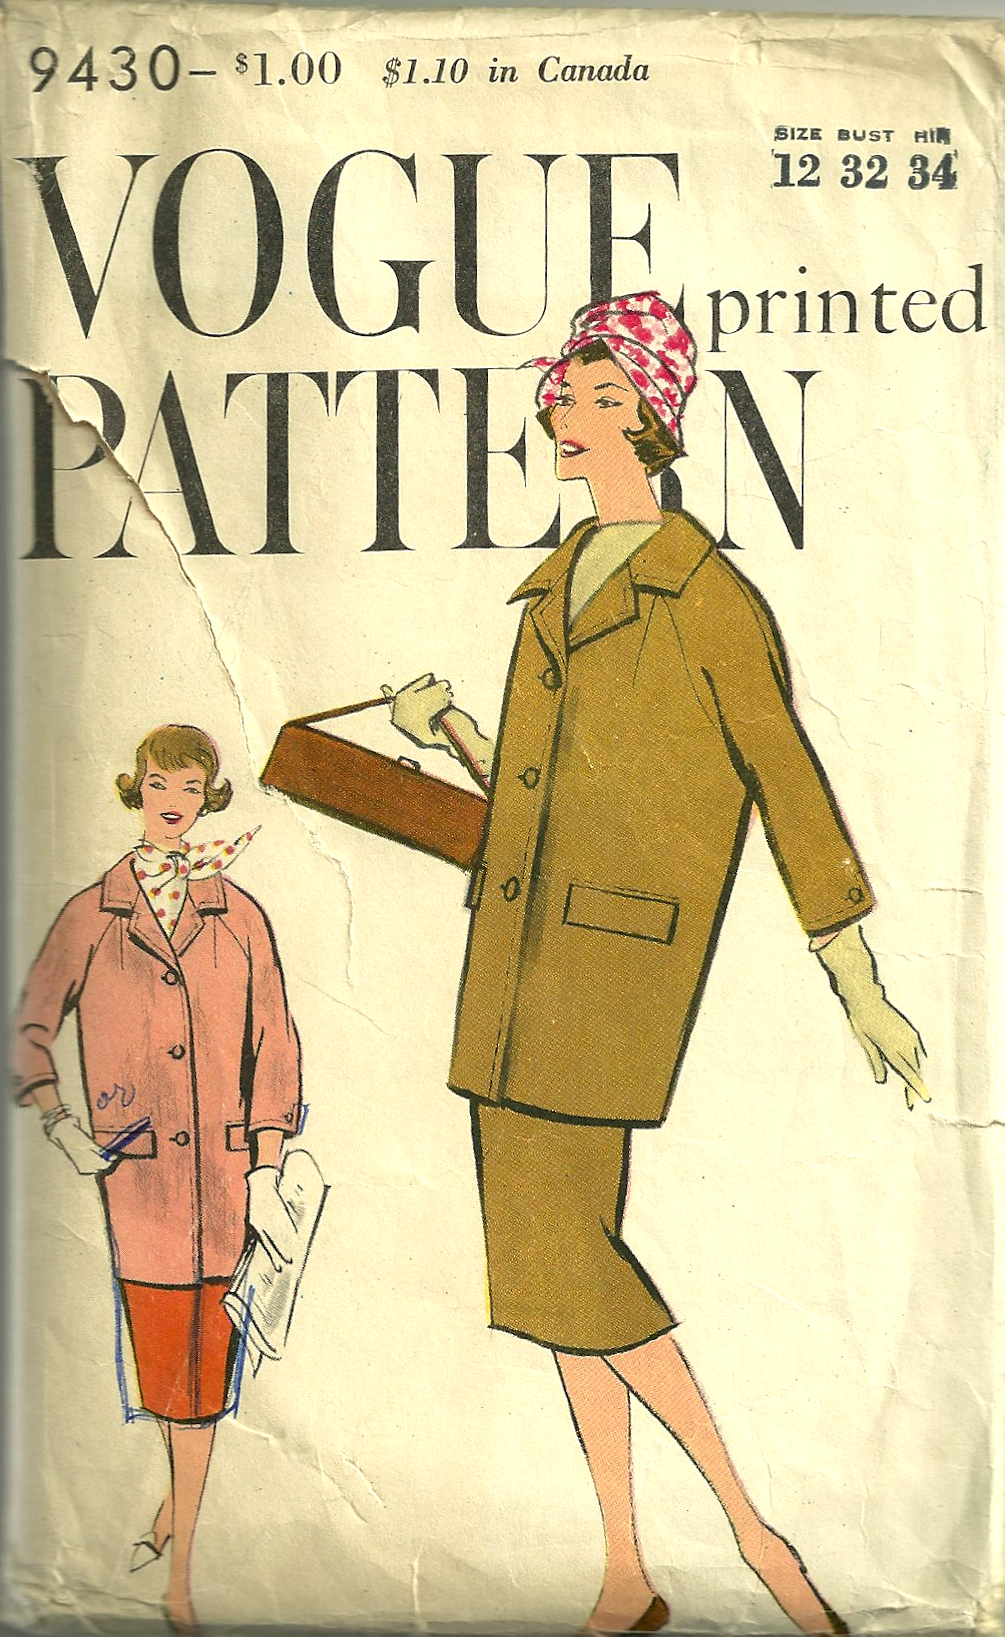
This is a good pattern to have in my collection – I just may need it someday!
Back in the 1970s, I purchased this Christian Dior Designer pattern, with intentions of making the “below the knee” version, although a nice variation of a stadium coat is also featured. I still love this coat, in both lengths – and someday I hope to finally make good on my intentions!

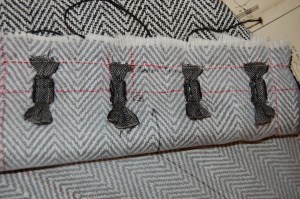
The buckles around the sleeves add a great look to this coat.
However, this coat must be my all-time favorite hip-length style:

I will definitely be doing the color blocking version when I make this coat.
Purchased last August, this pattern sometimes keeps me awake at night. With Dior’s words imploring me to be practical, I wonder – – – should I make it in navy and white (as pictured), in black and white, in red and black, in gray and camel, in orange and gray, in ??? and ???
Still to be decided . . . but you haven’t seen the last of this pattern.