Let’s start with 2016. Although, truthfully, right now in January 2016, I could probably plan at least three years’ worth of sewing. That is how many patterns and fabrics I have tucked away, waiting for their turn. But it is time to concentrate on the year at hand and get on with it!
Some of the year is shaped by events that I know will be happening – such as weddings and fancy parties. Some of it will be devoted to little granddaughters who are already growing too fast for me to indulge all my sewing fantasies for them. And some of it will be my own self-determined challenges – coats and dresses I want to make – that right now are looking like small Mt. Everests, waiting to be conquered!
I probably should be sewing right now for Spring and Summer, but I have wools that are too enticing to ignore during these current Winter months:
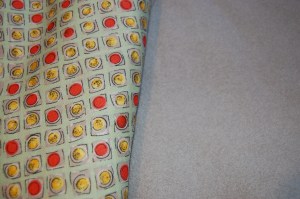
Wool challis on the left and vintage cashmere on the right.
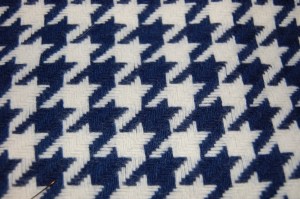
Navy and white houndstooth.
Some cute and classic cottons for little girls should be able to find themselves tucked in amongst my plans for Springtime.
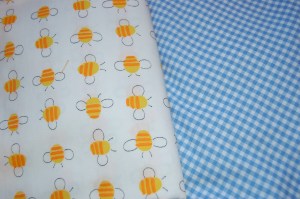
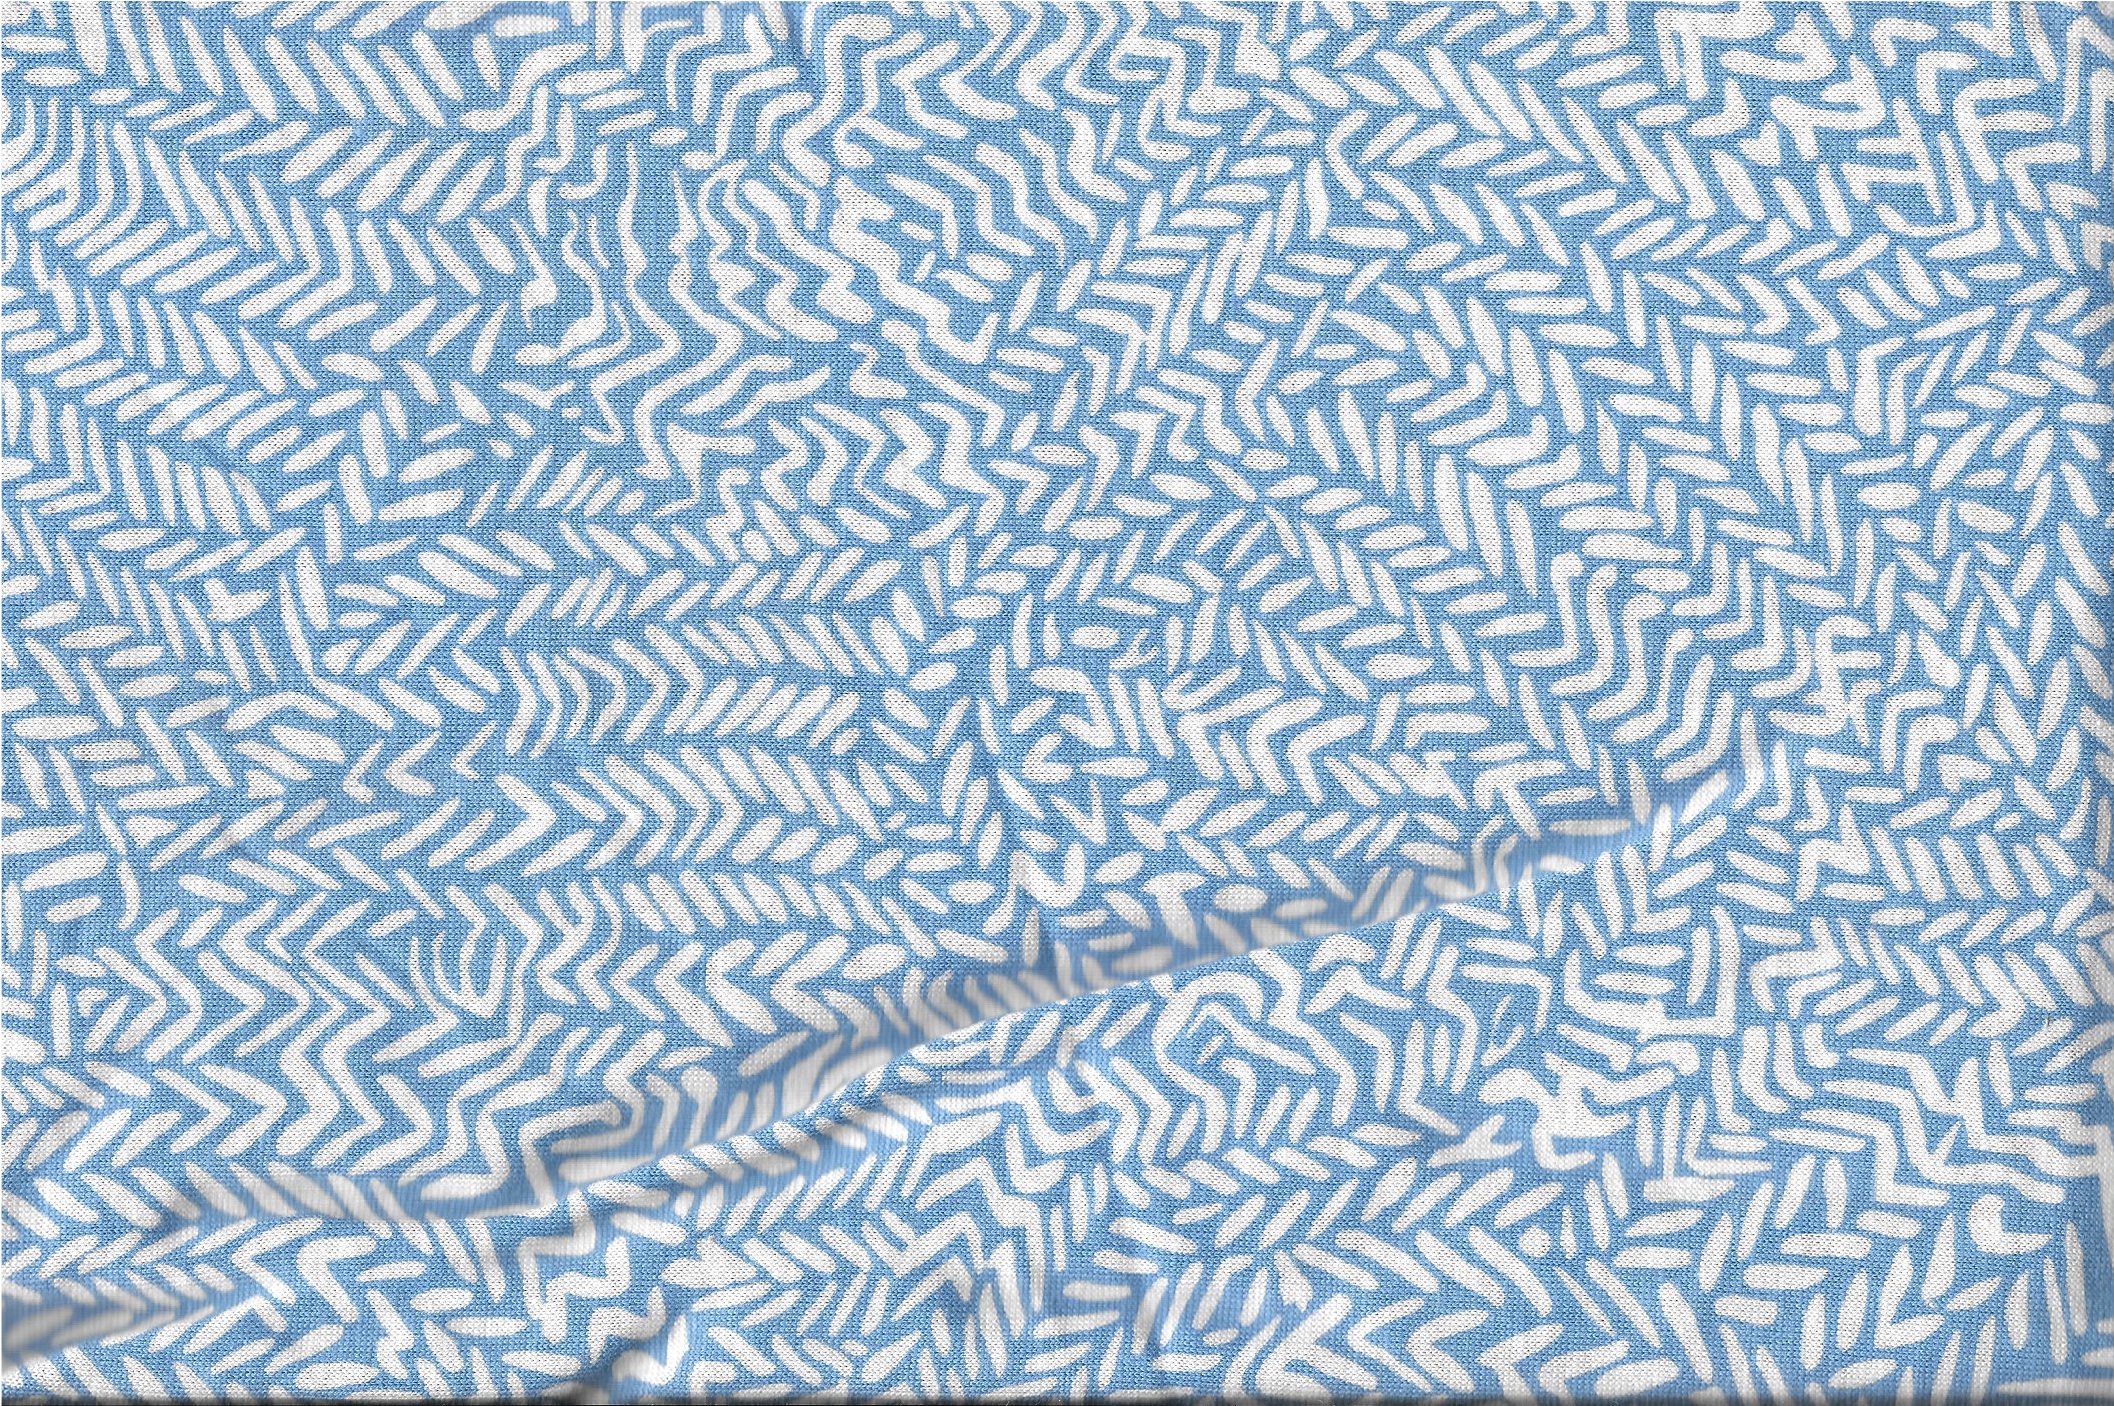
The buzzy bee fabric is a vintage cotton. The blue gingham is new.
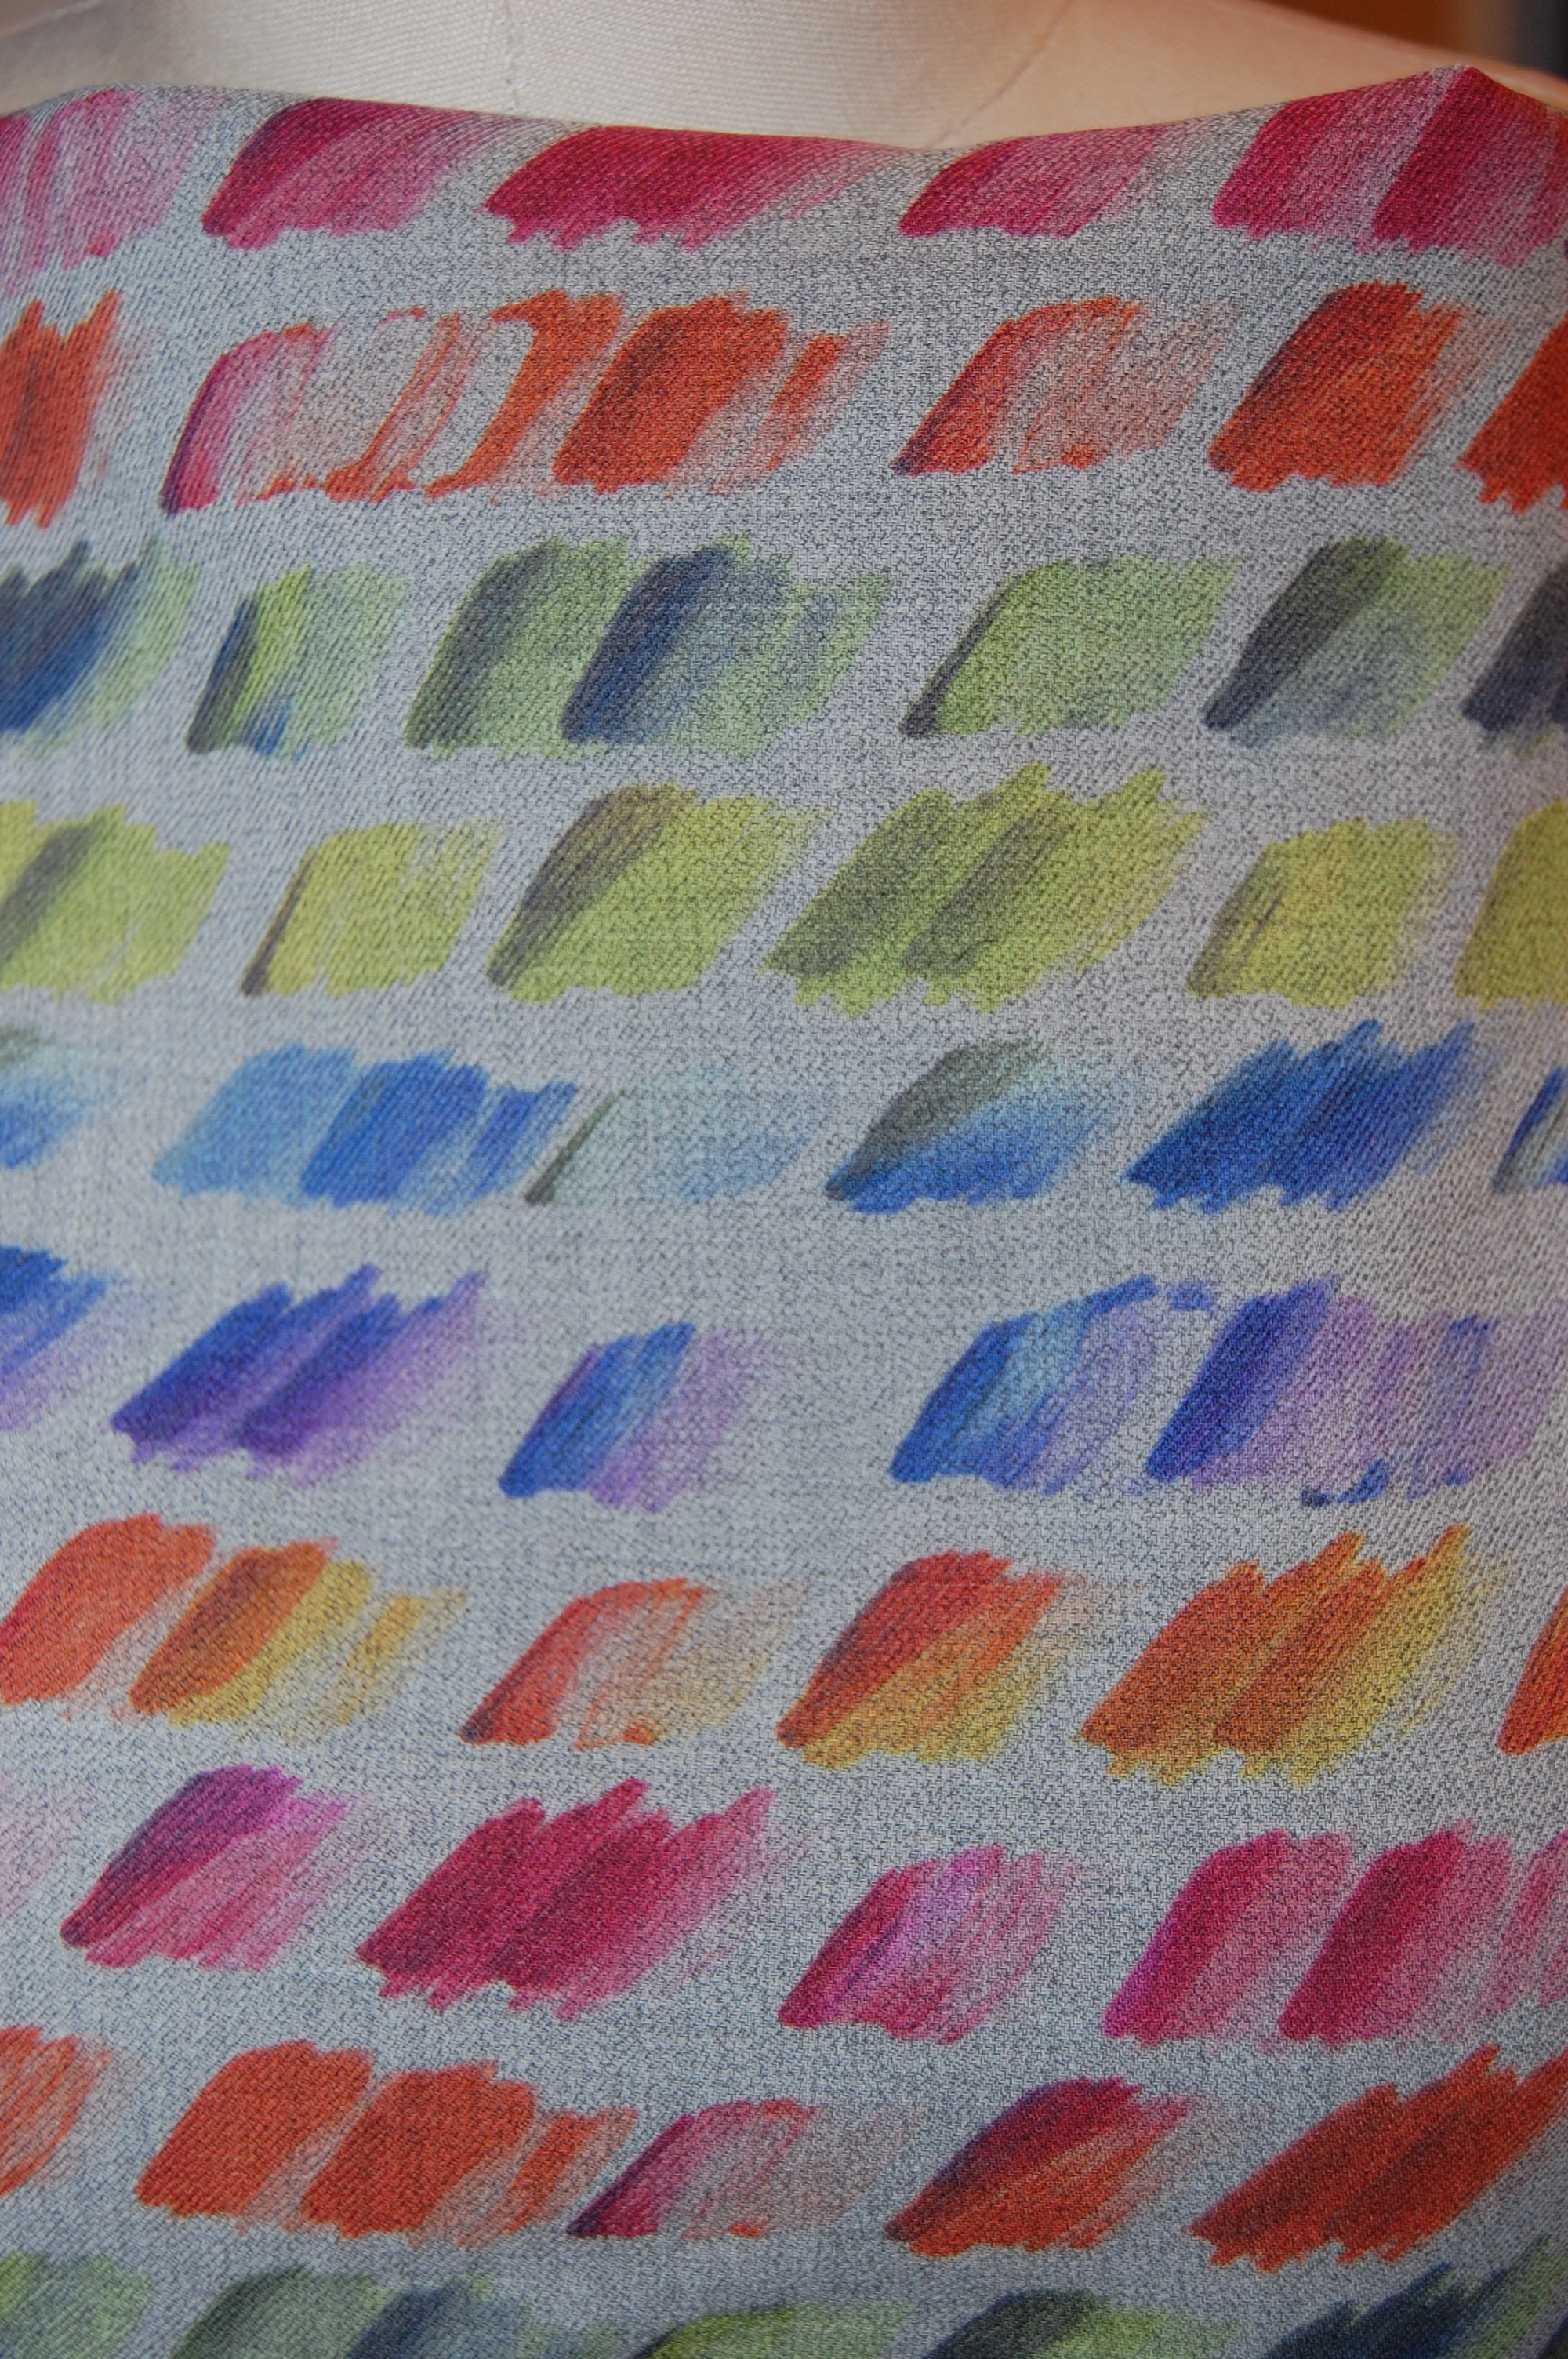
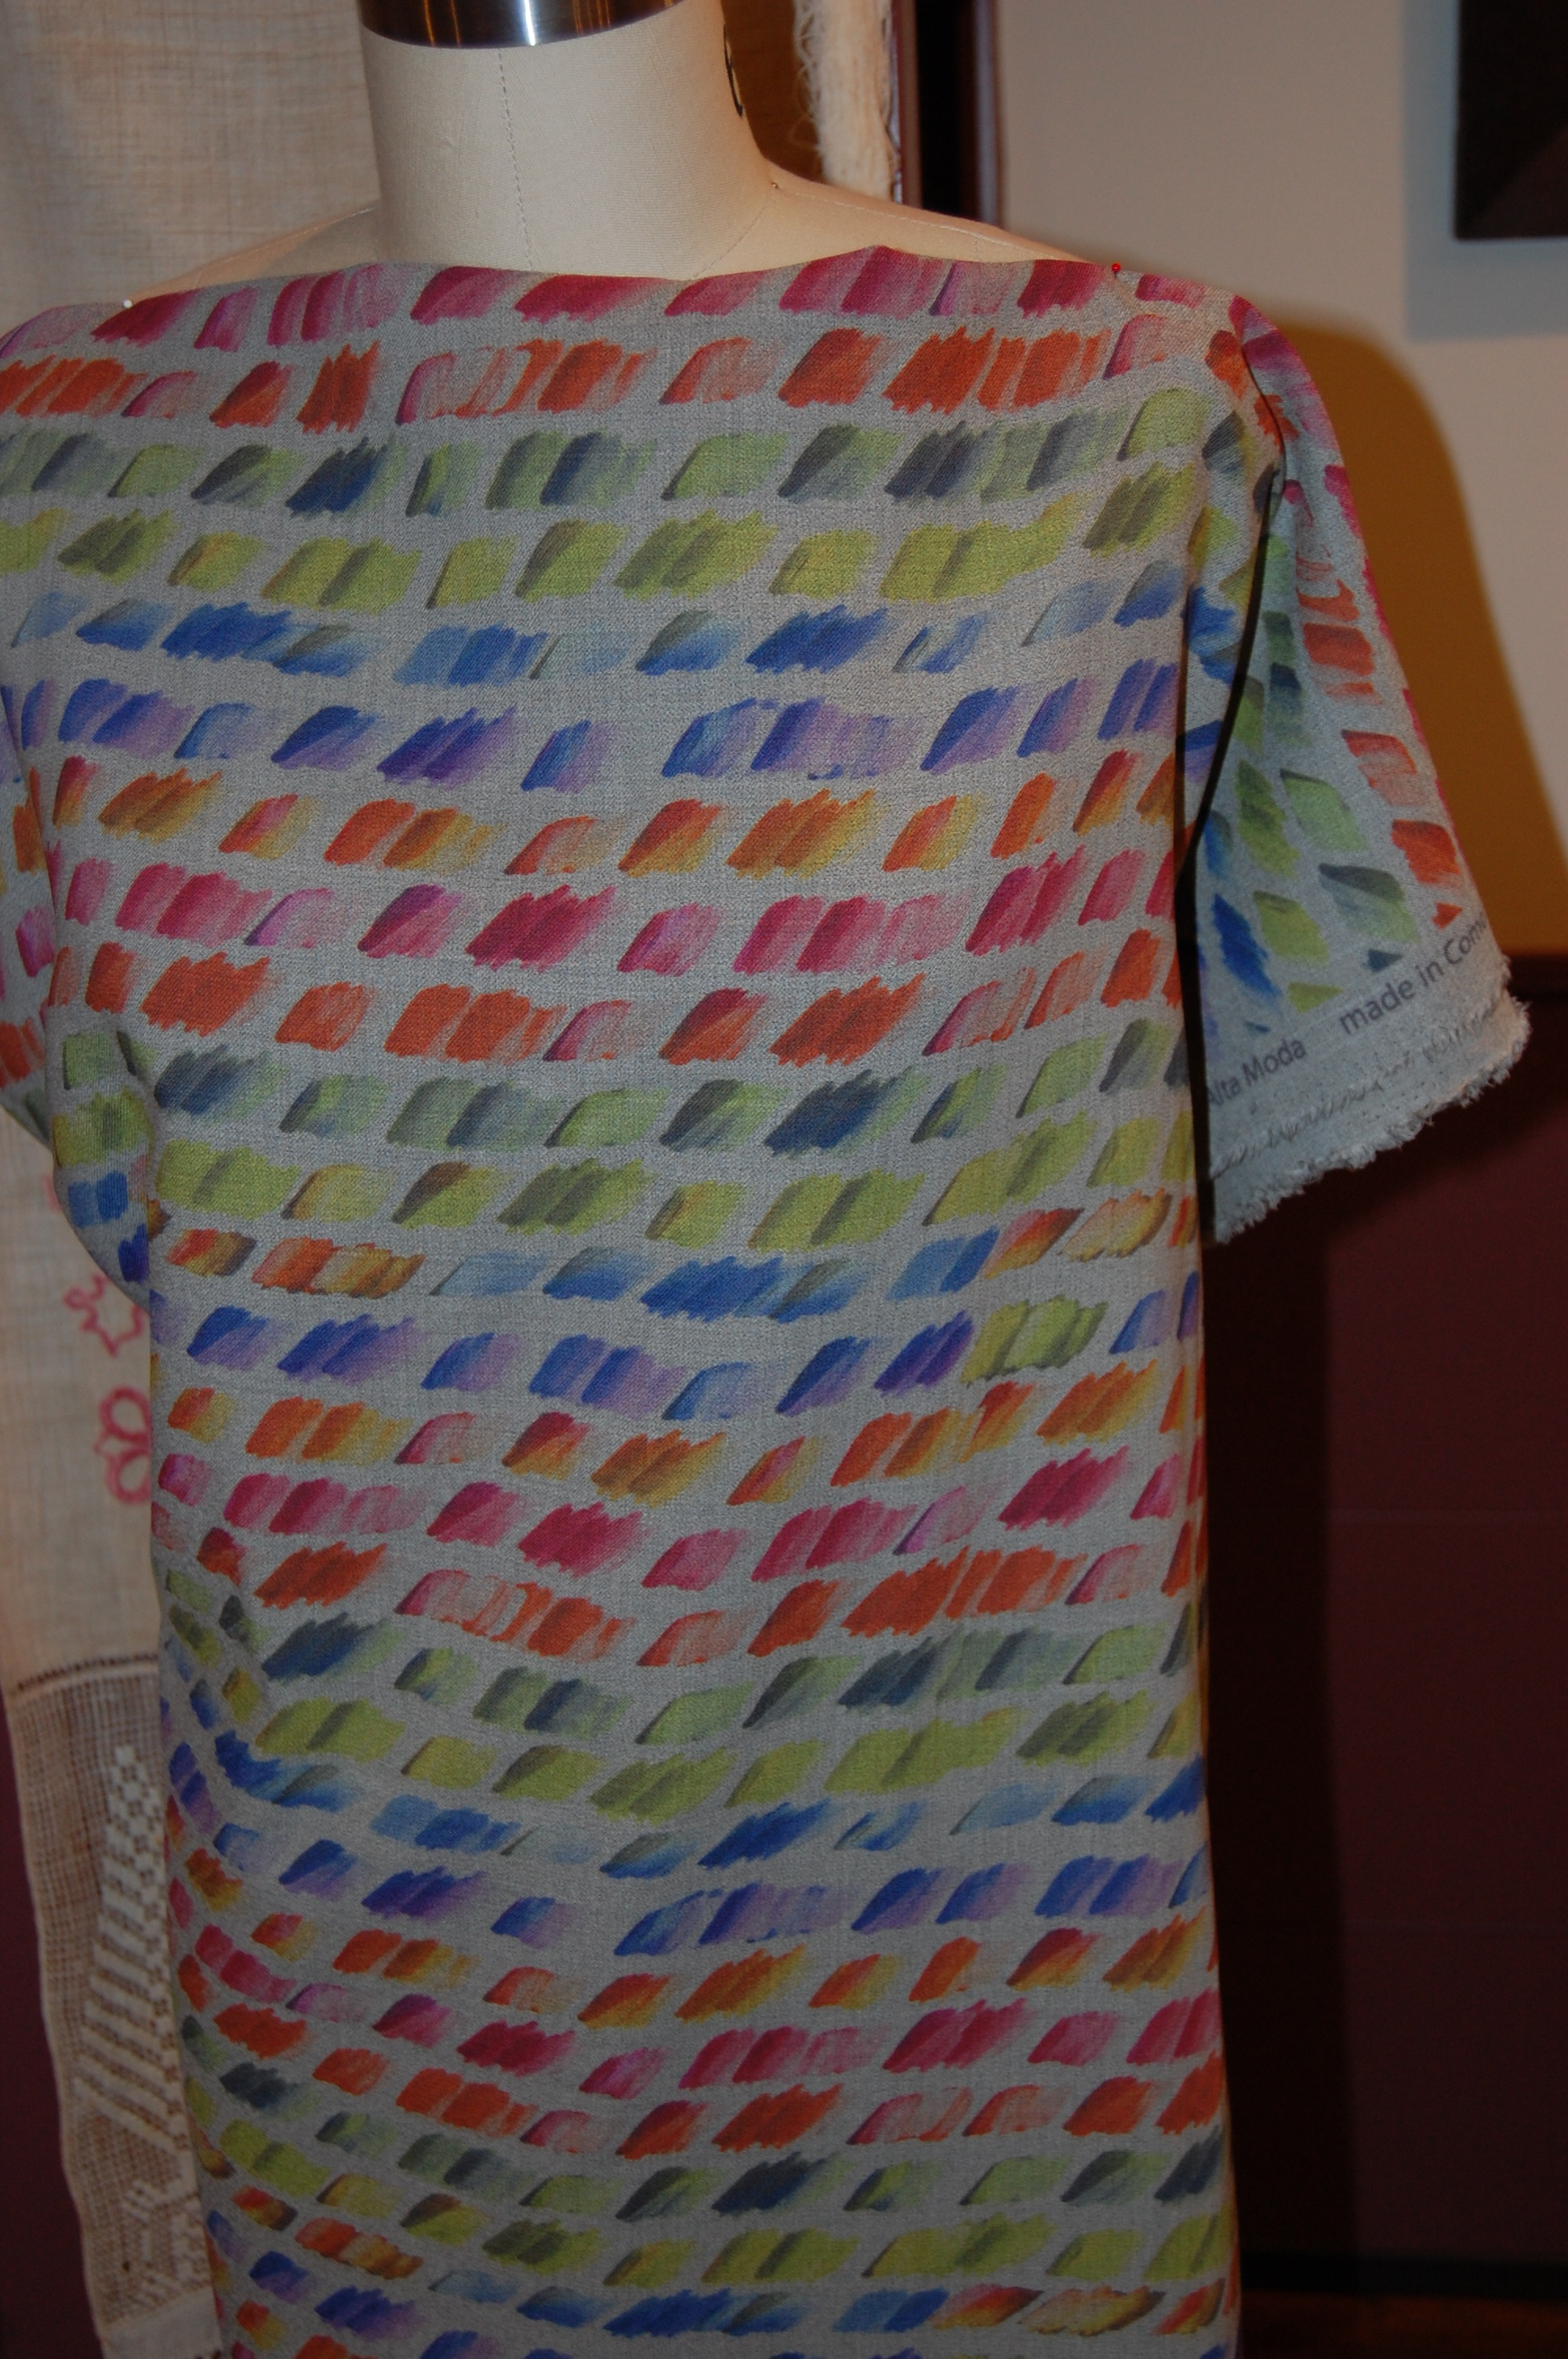
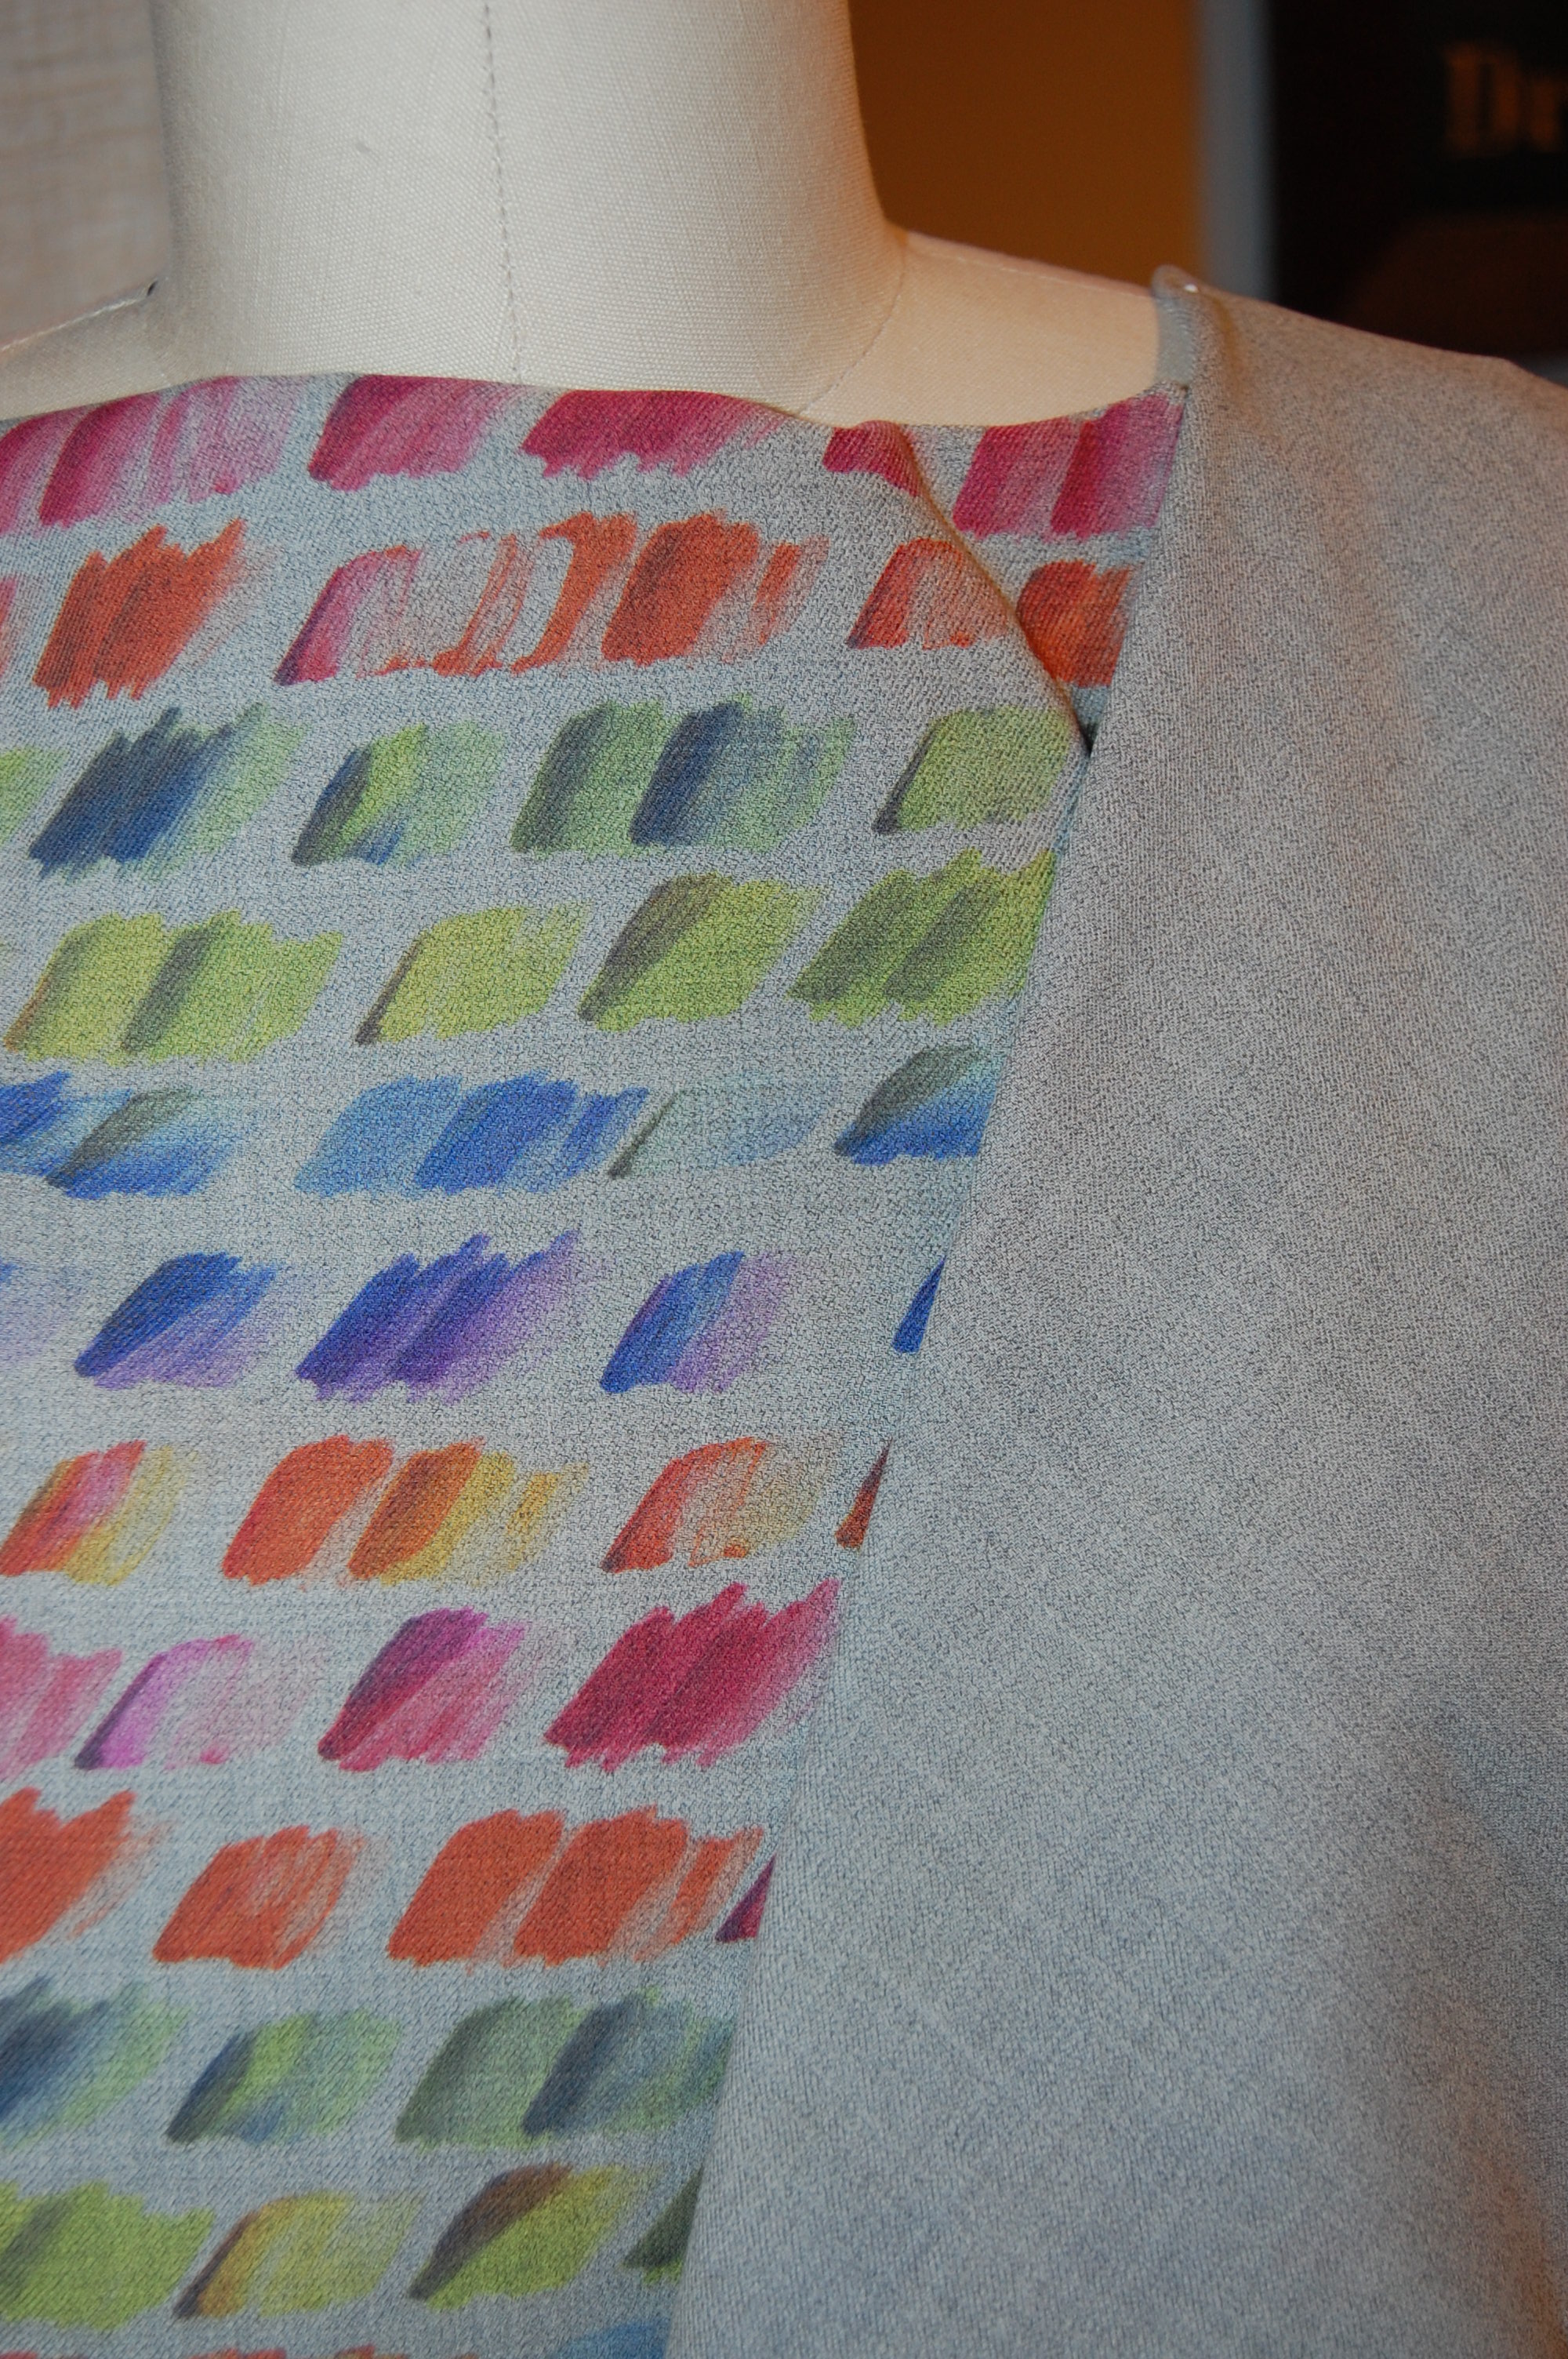
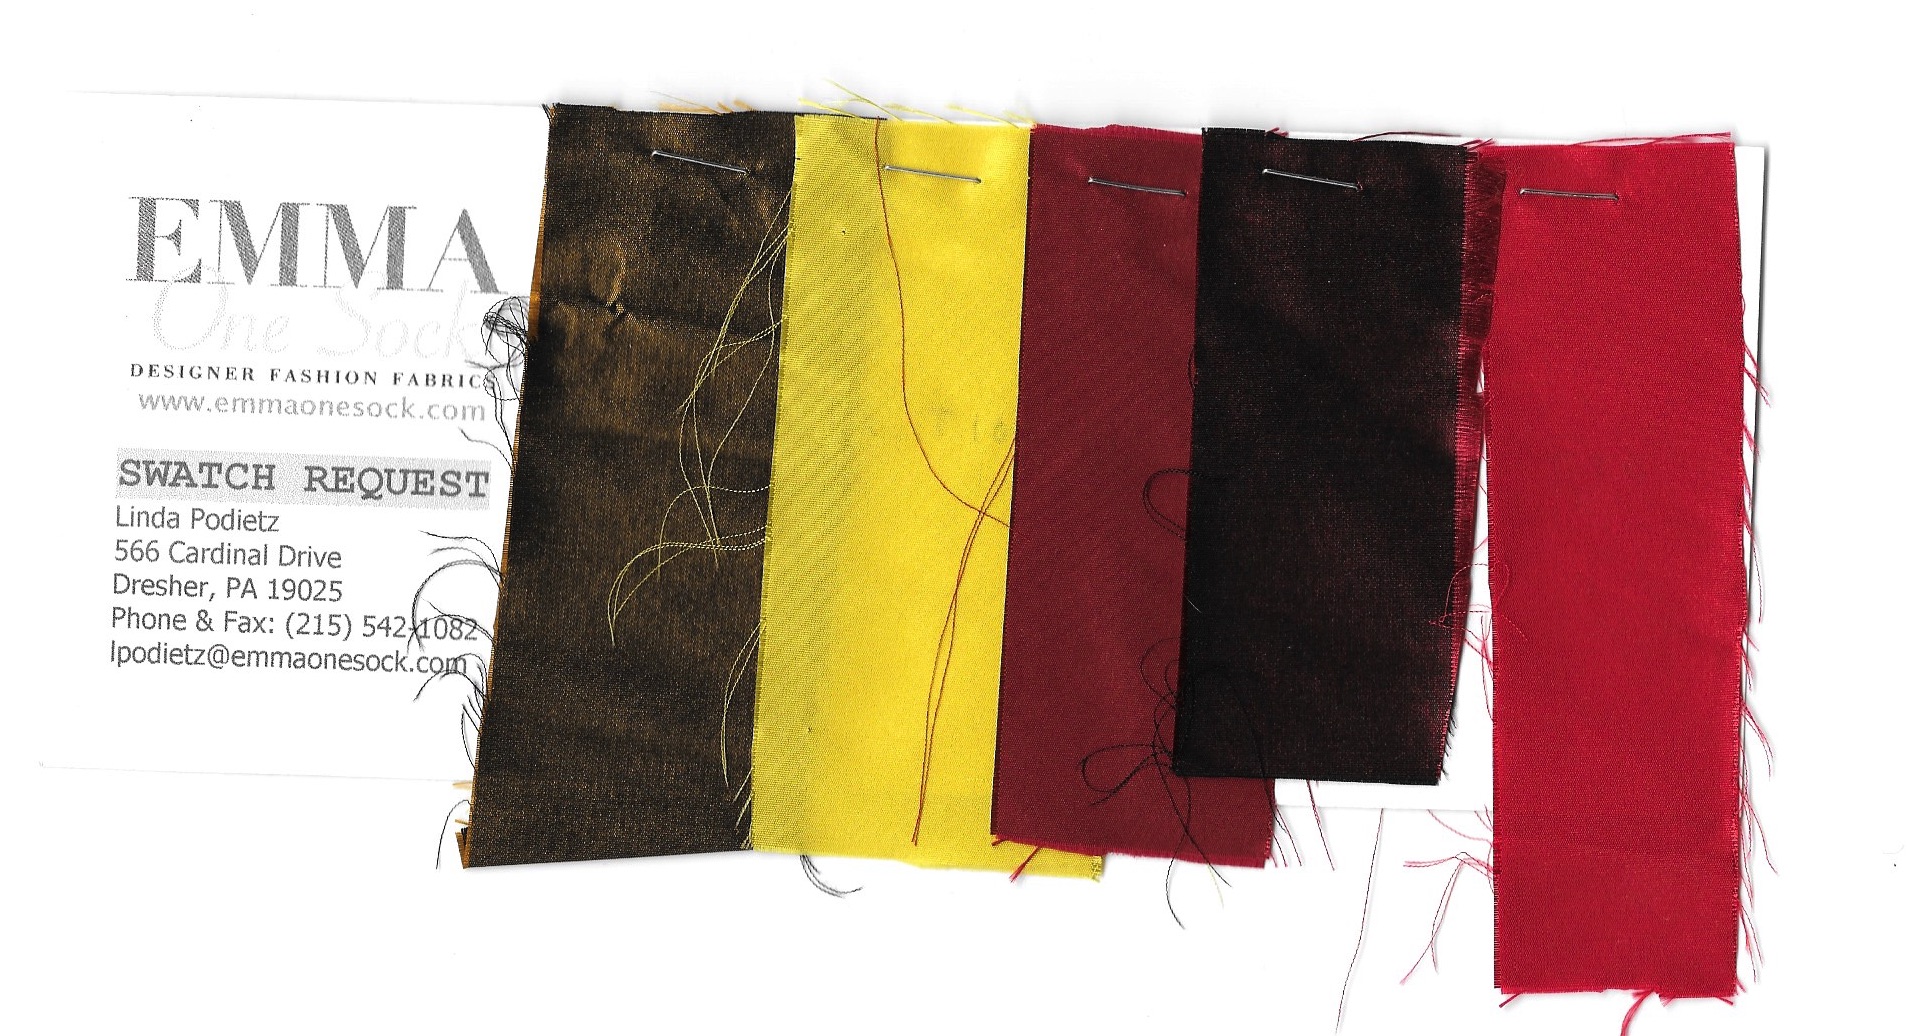
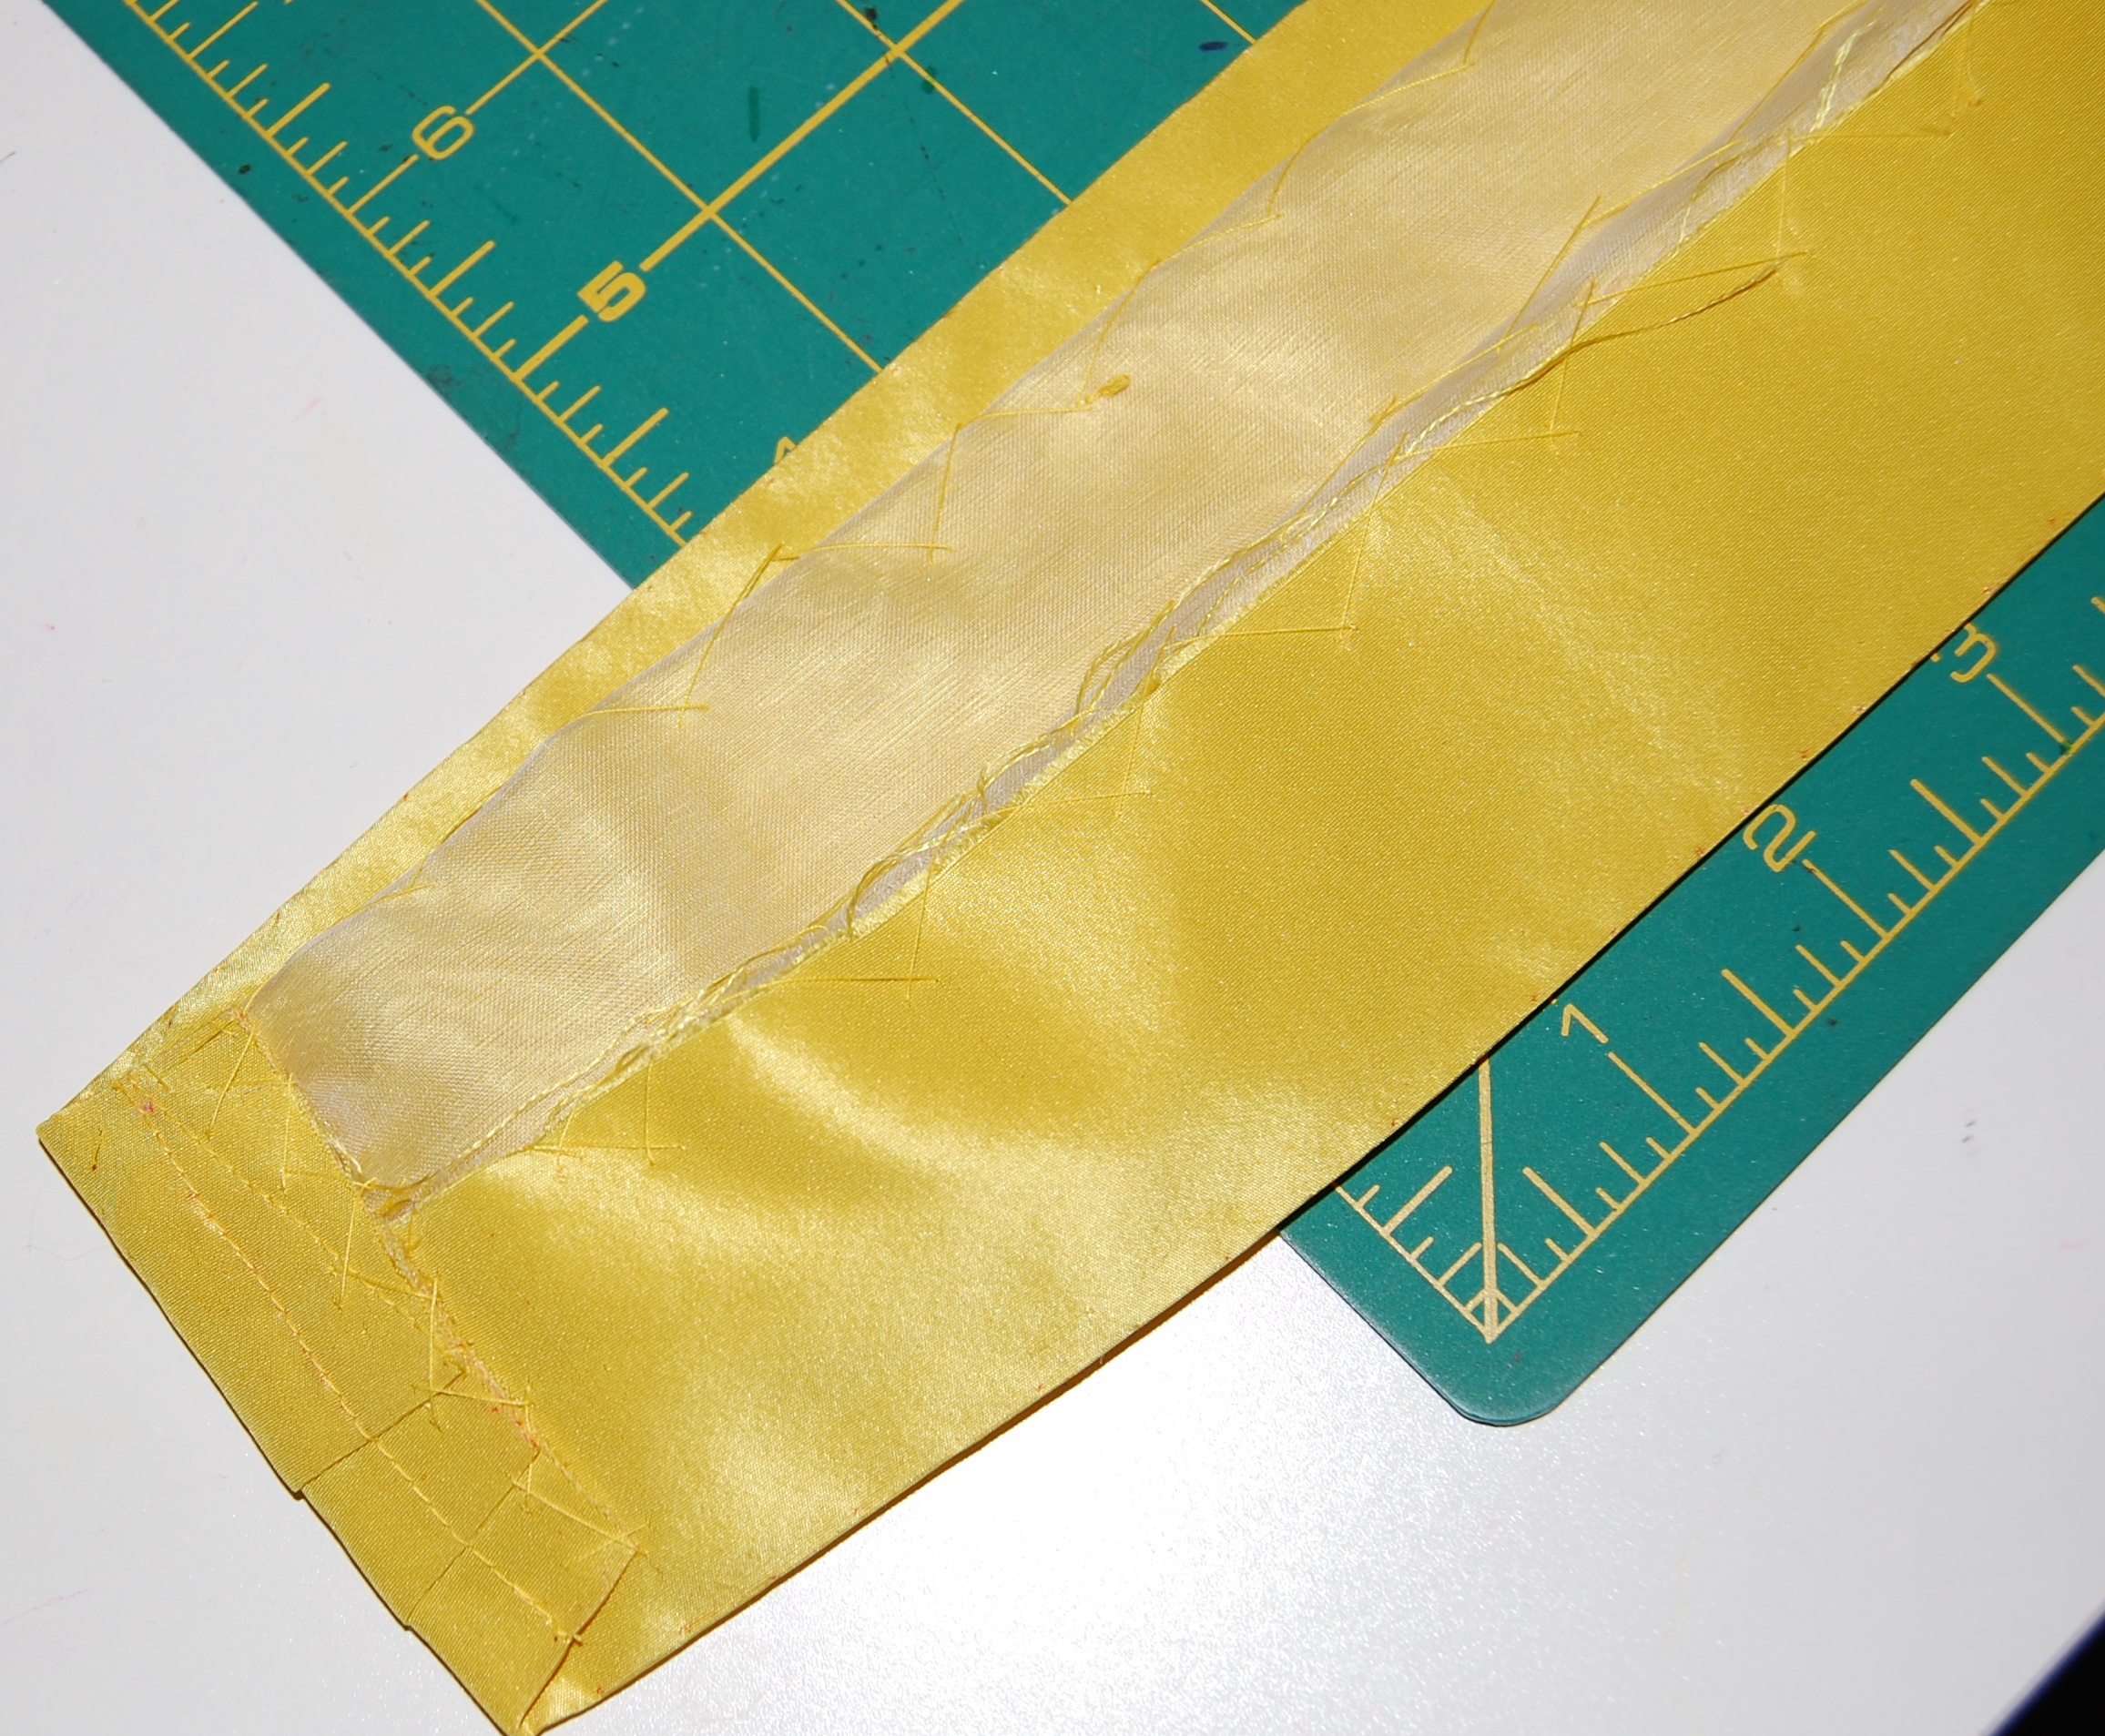
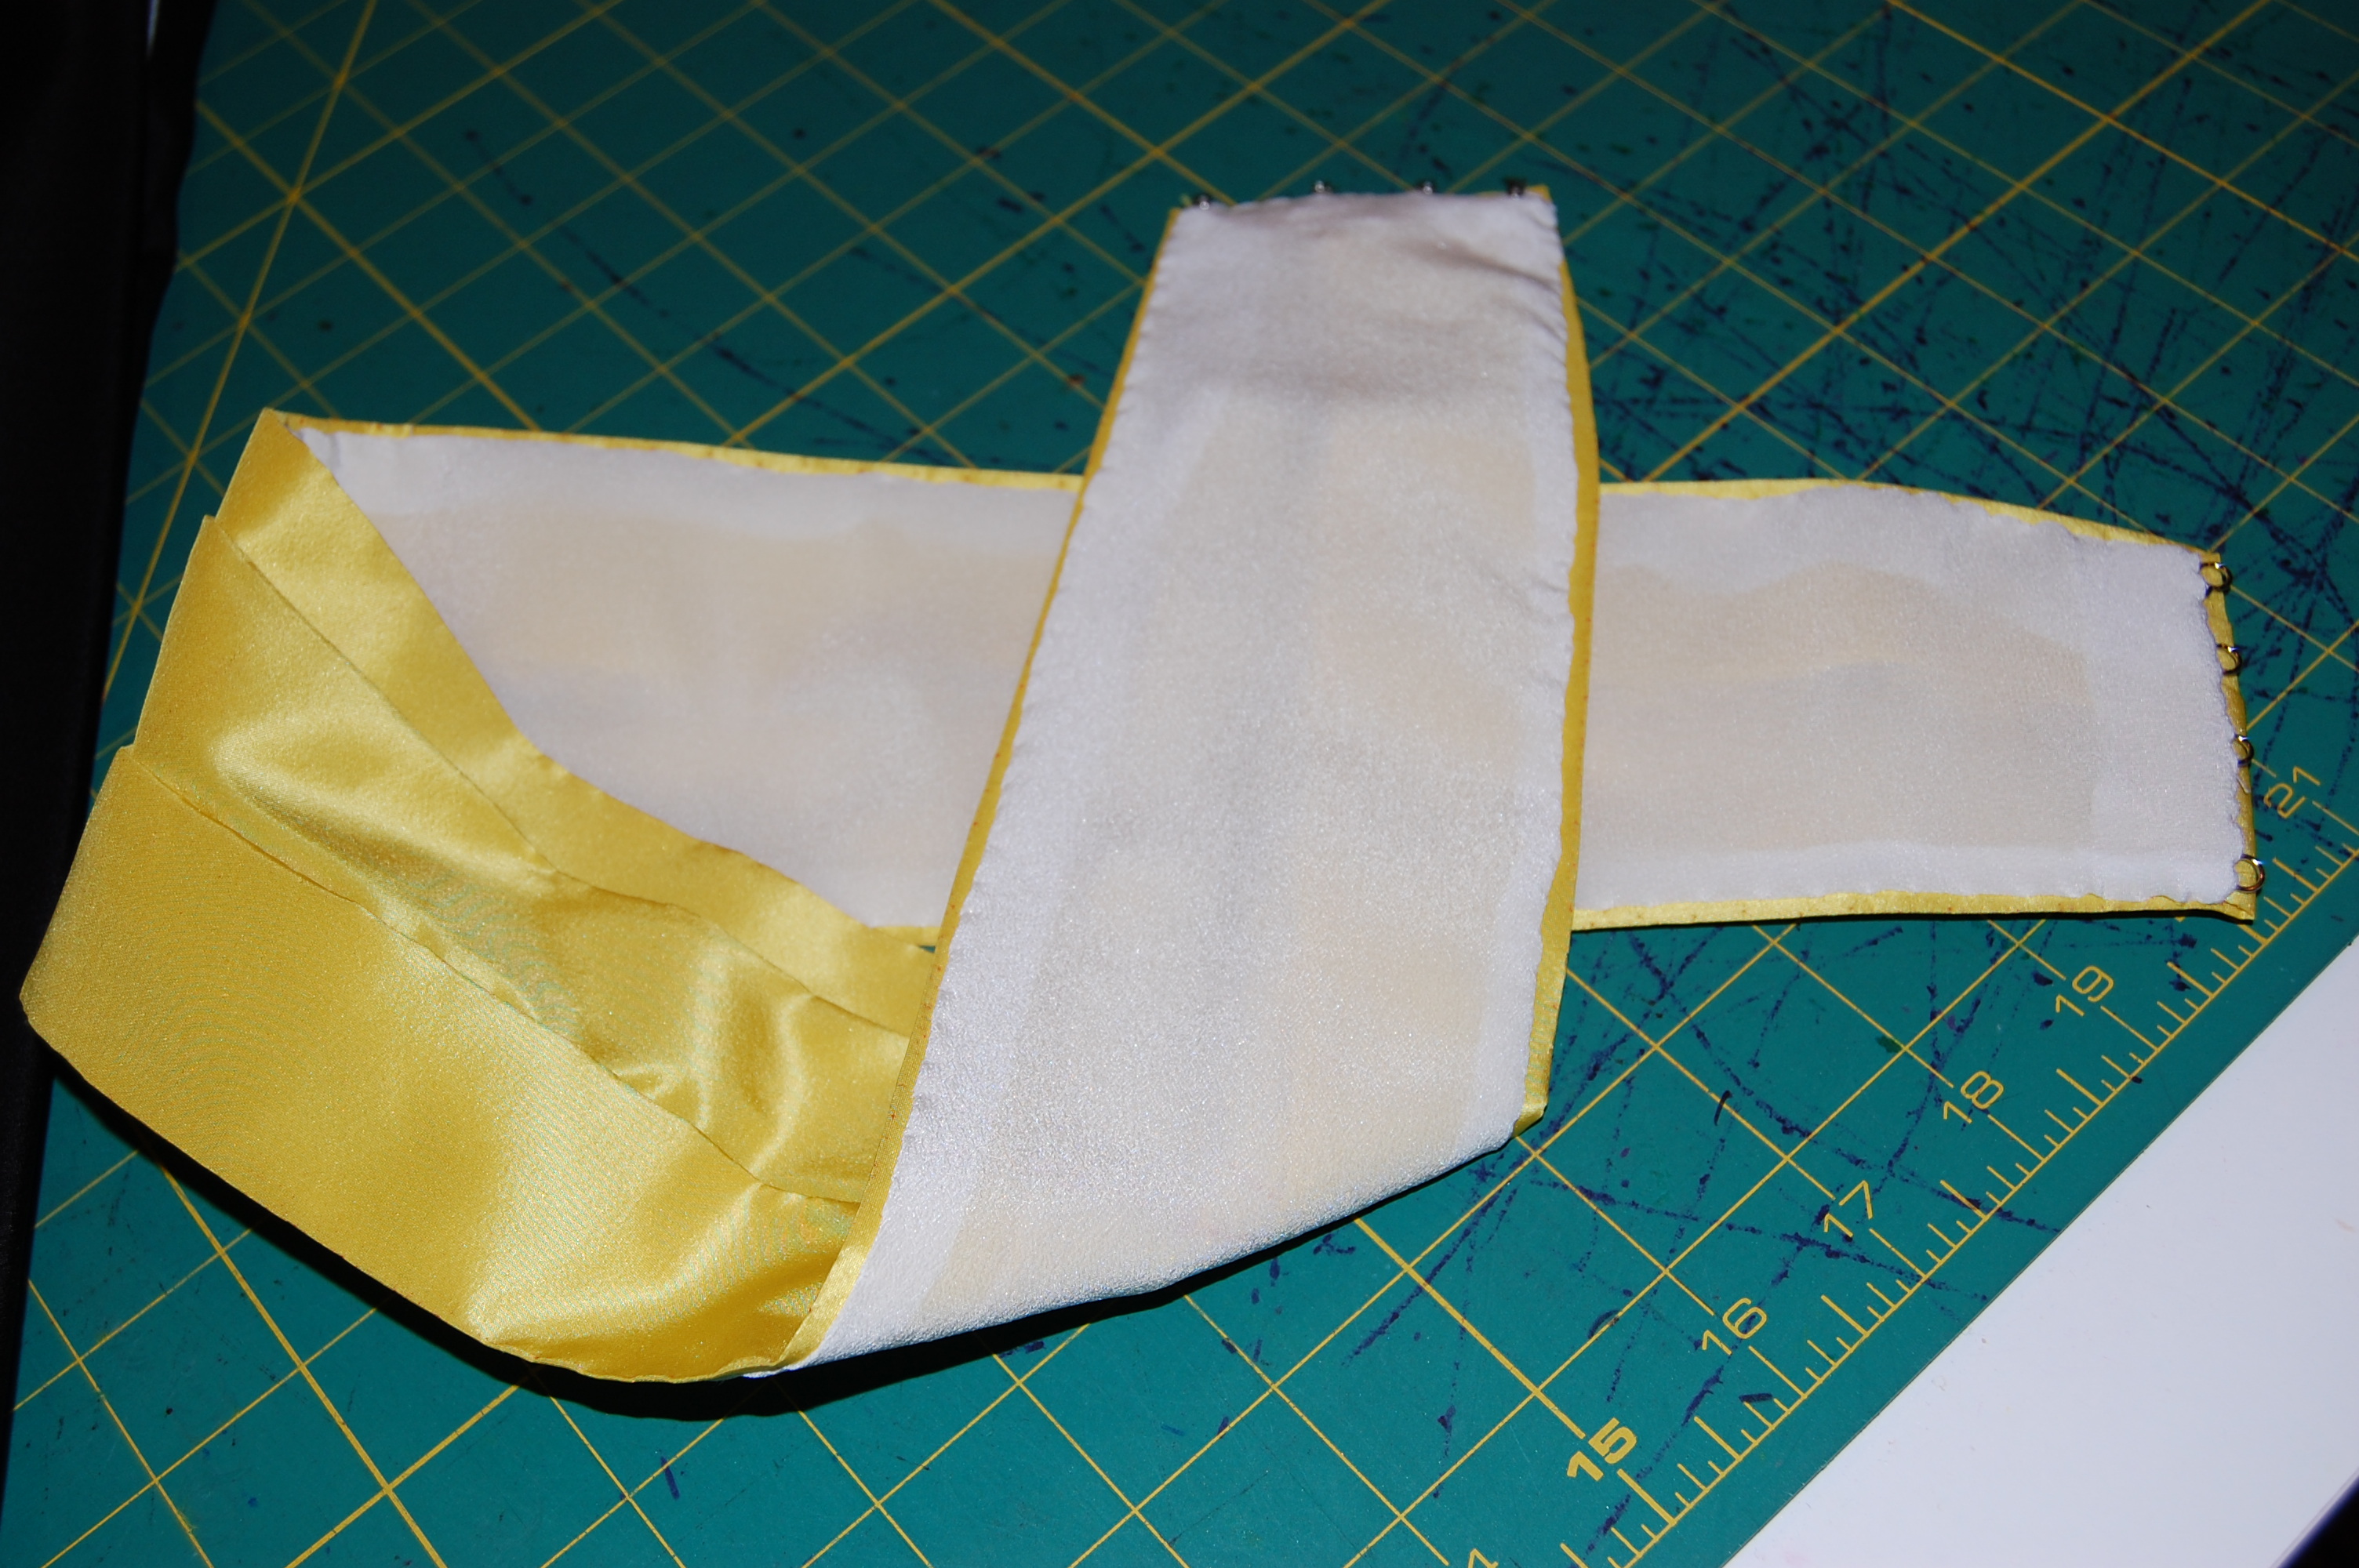
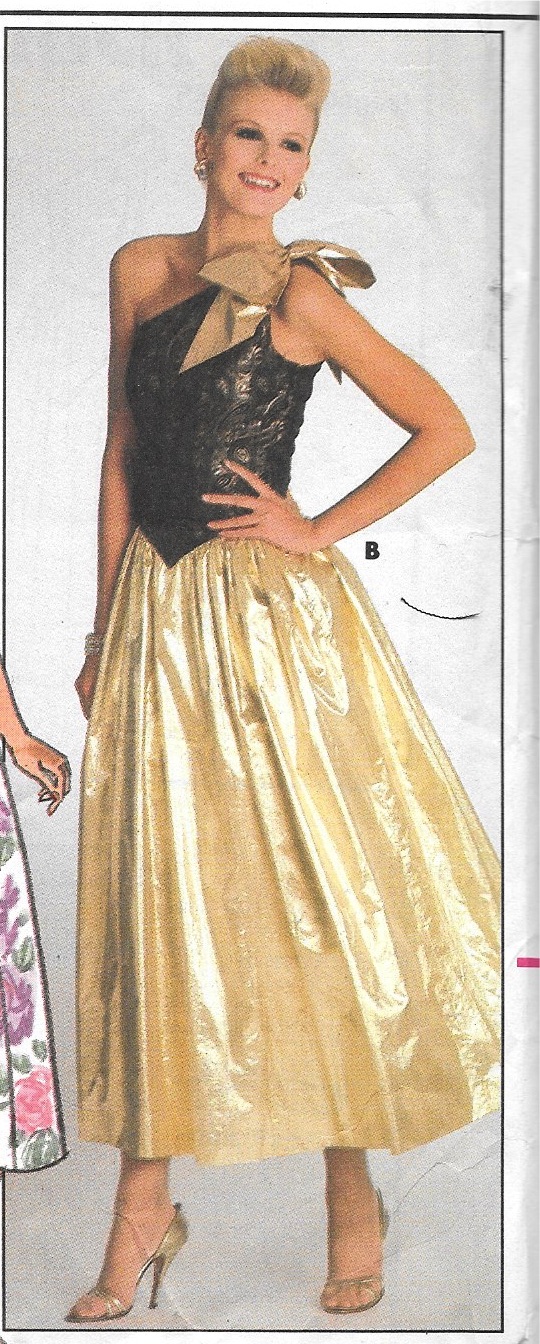
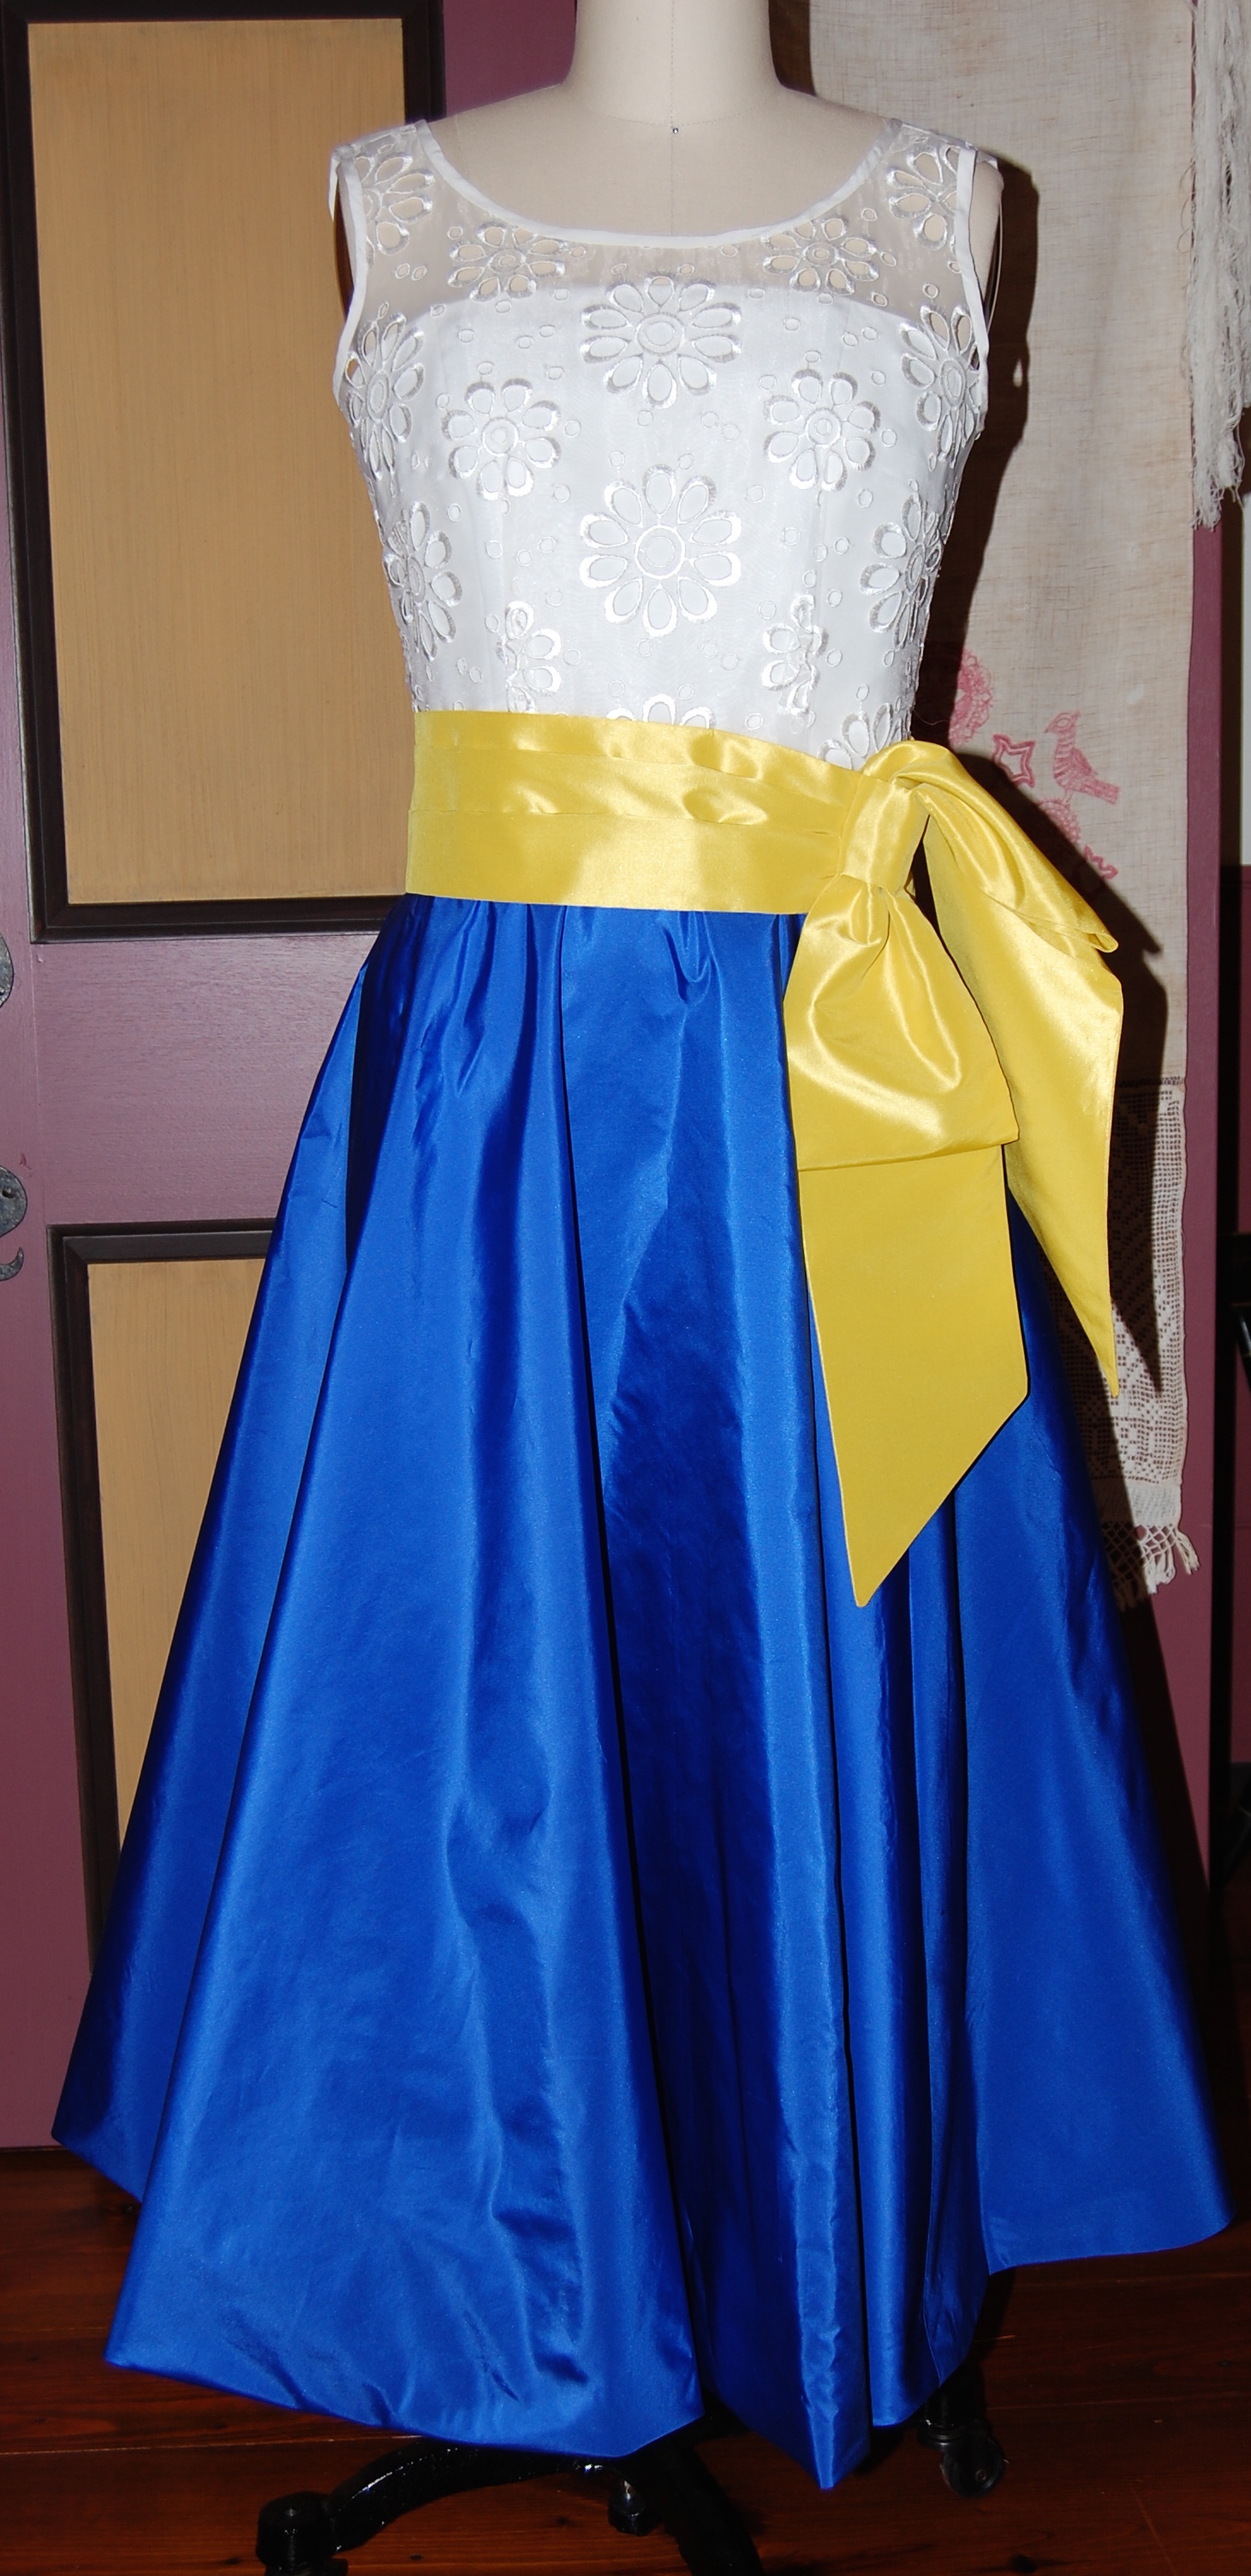
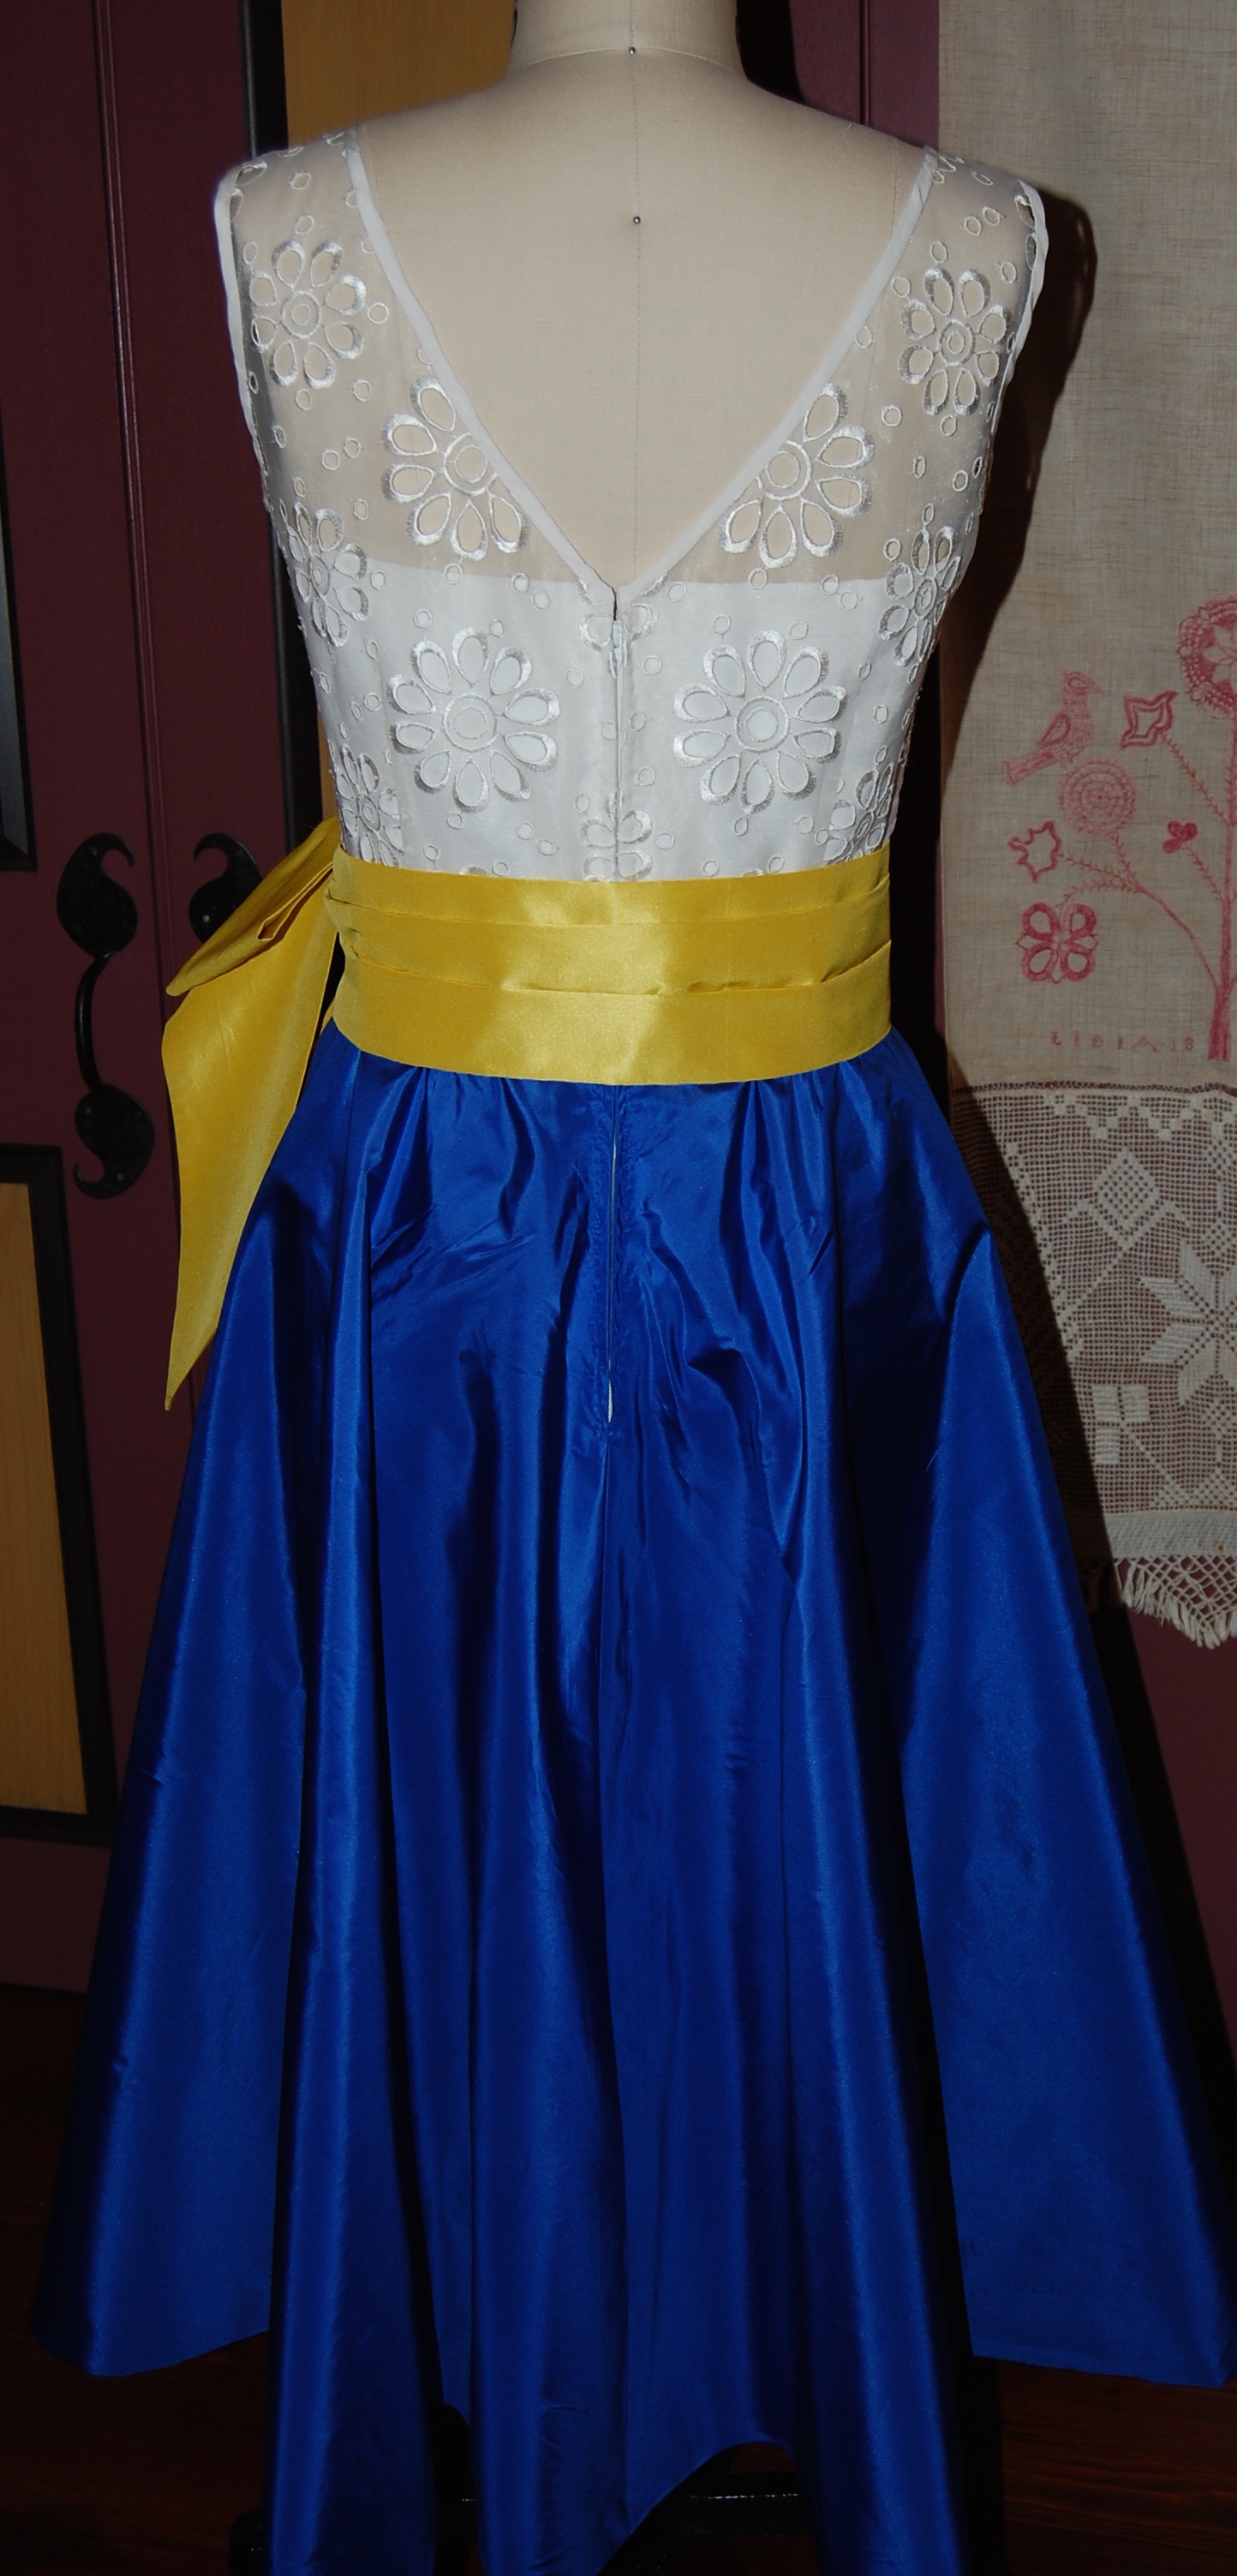
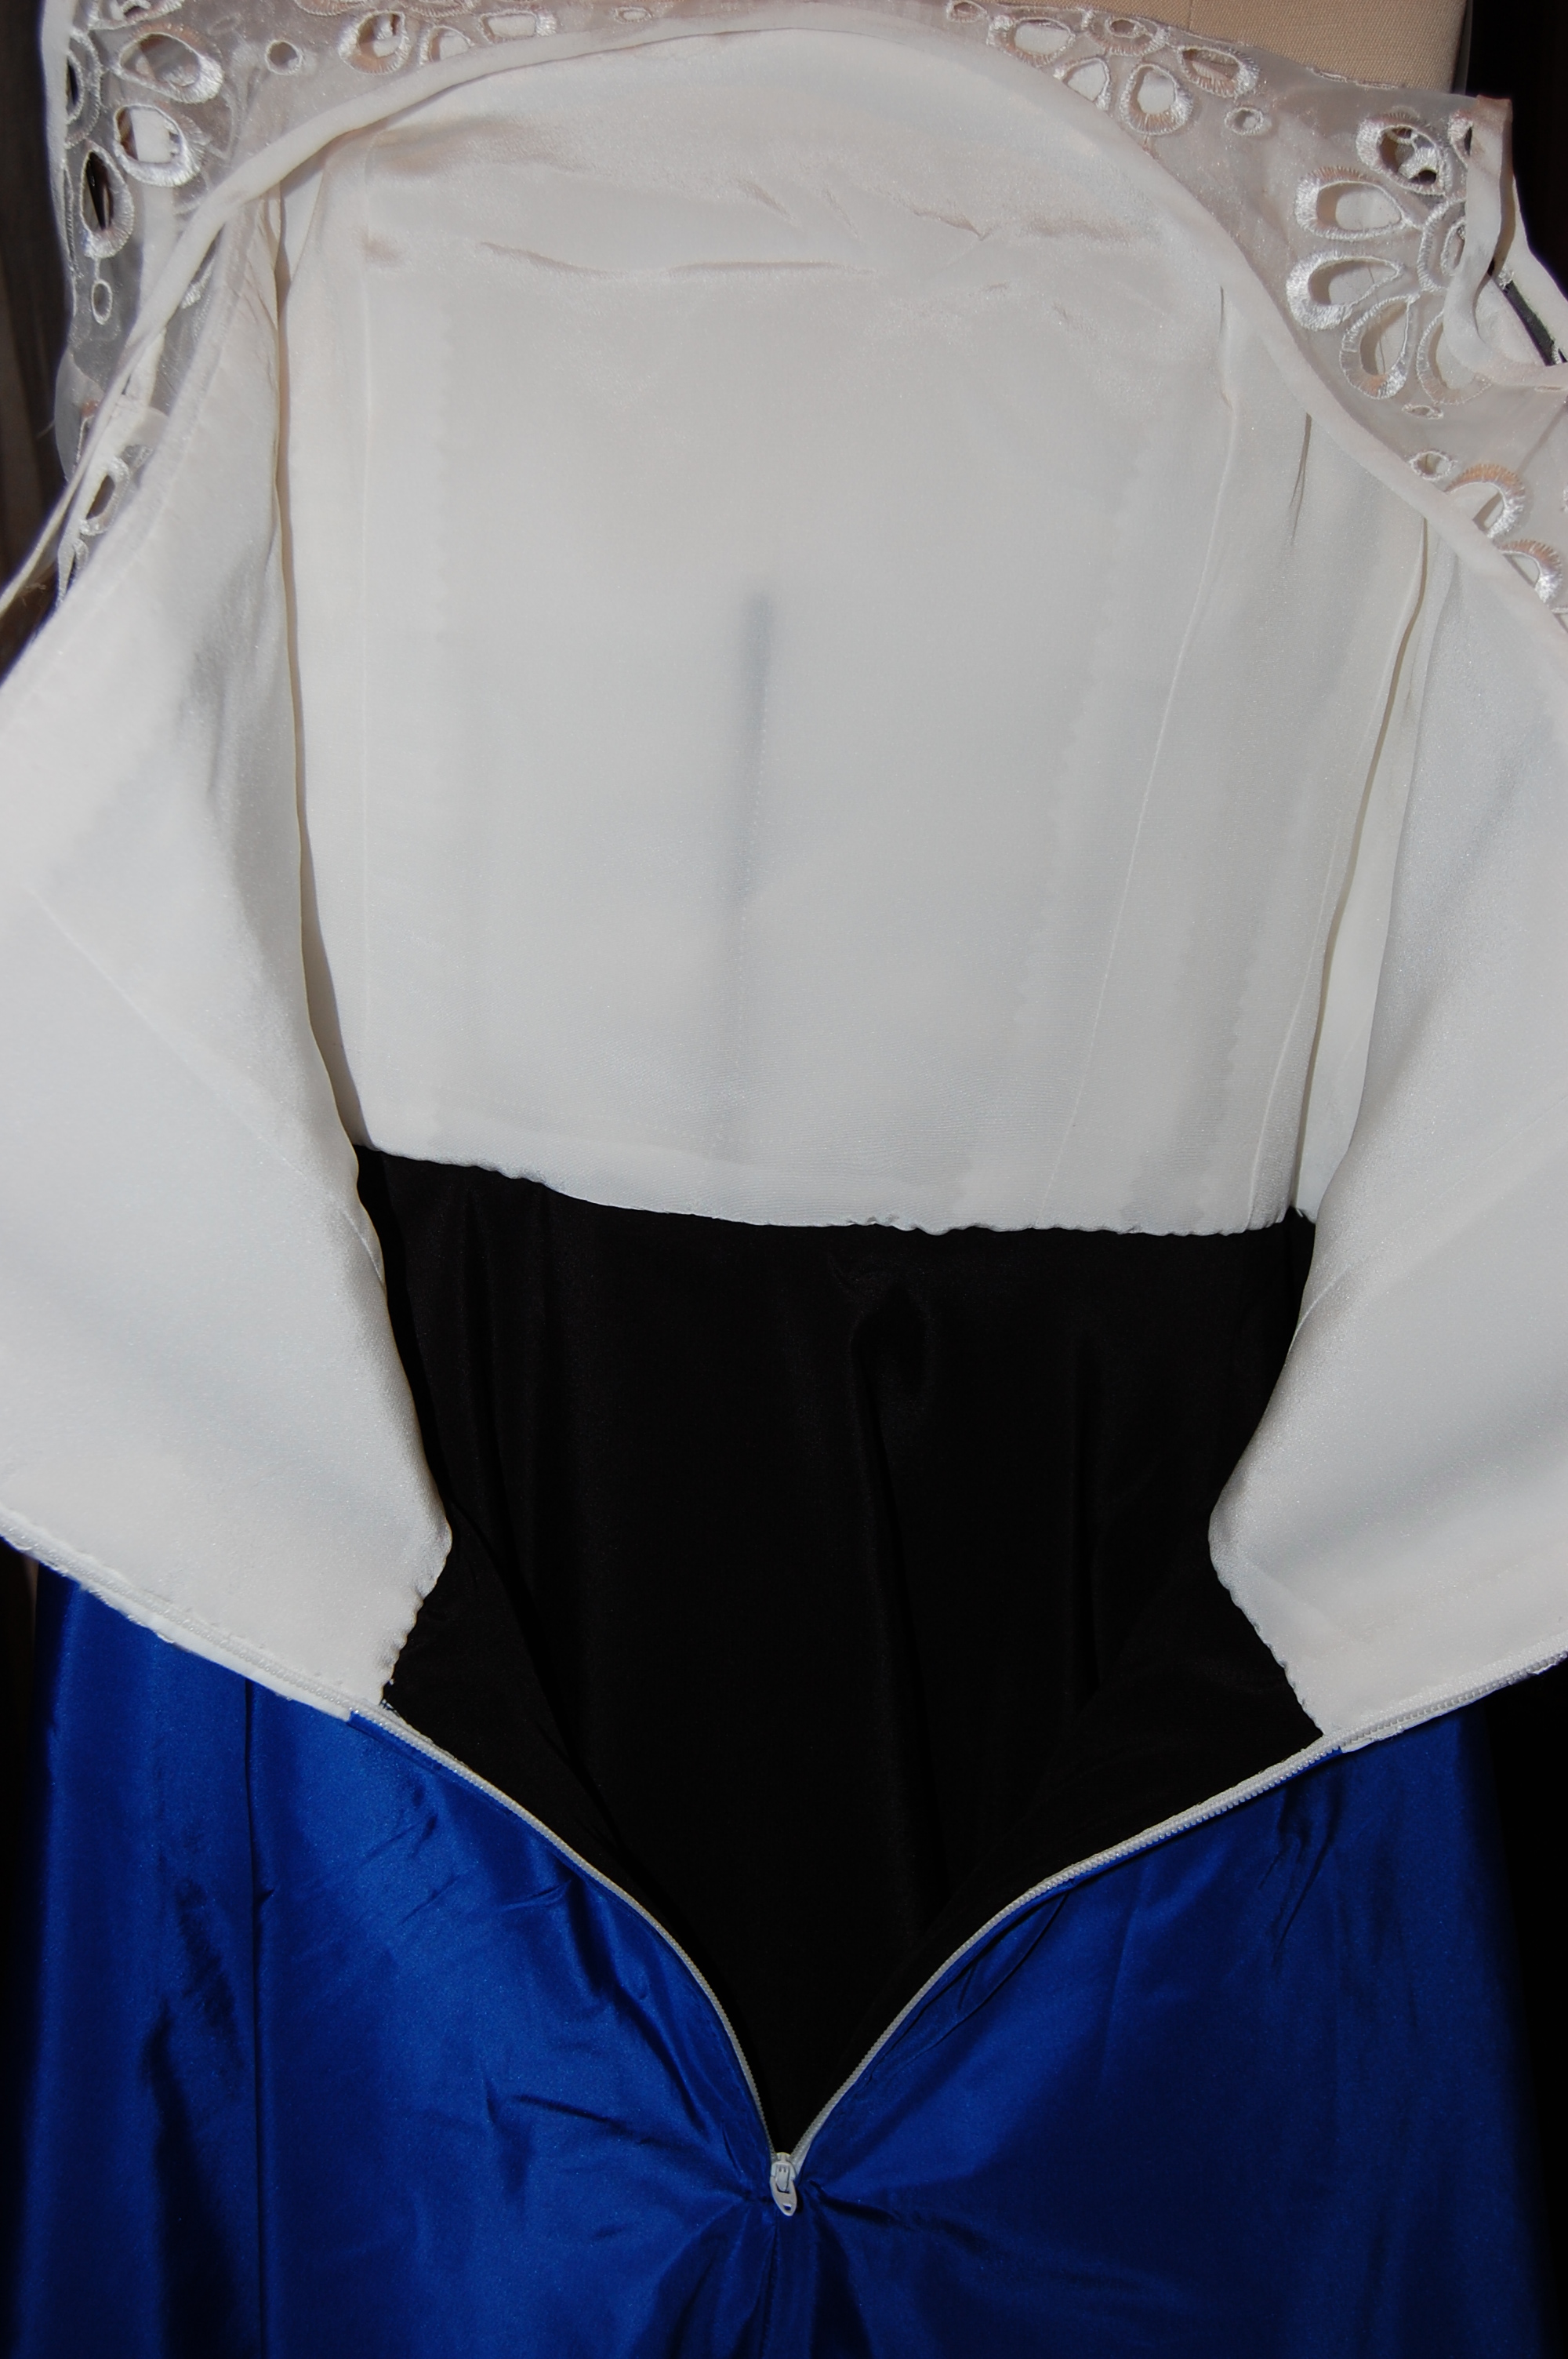
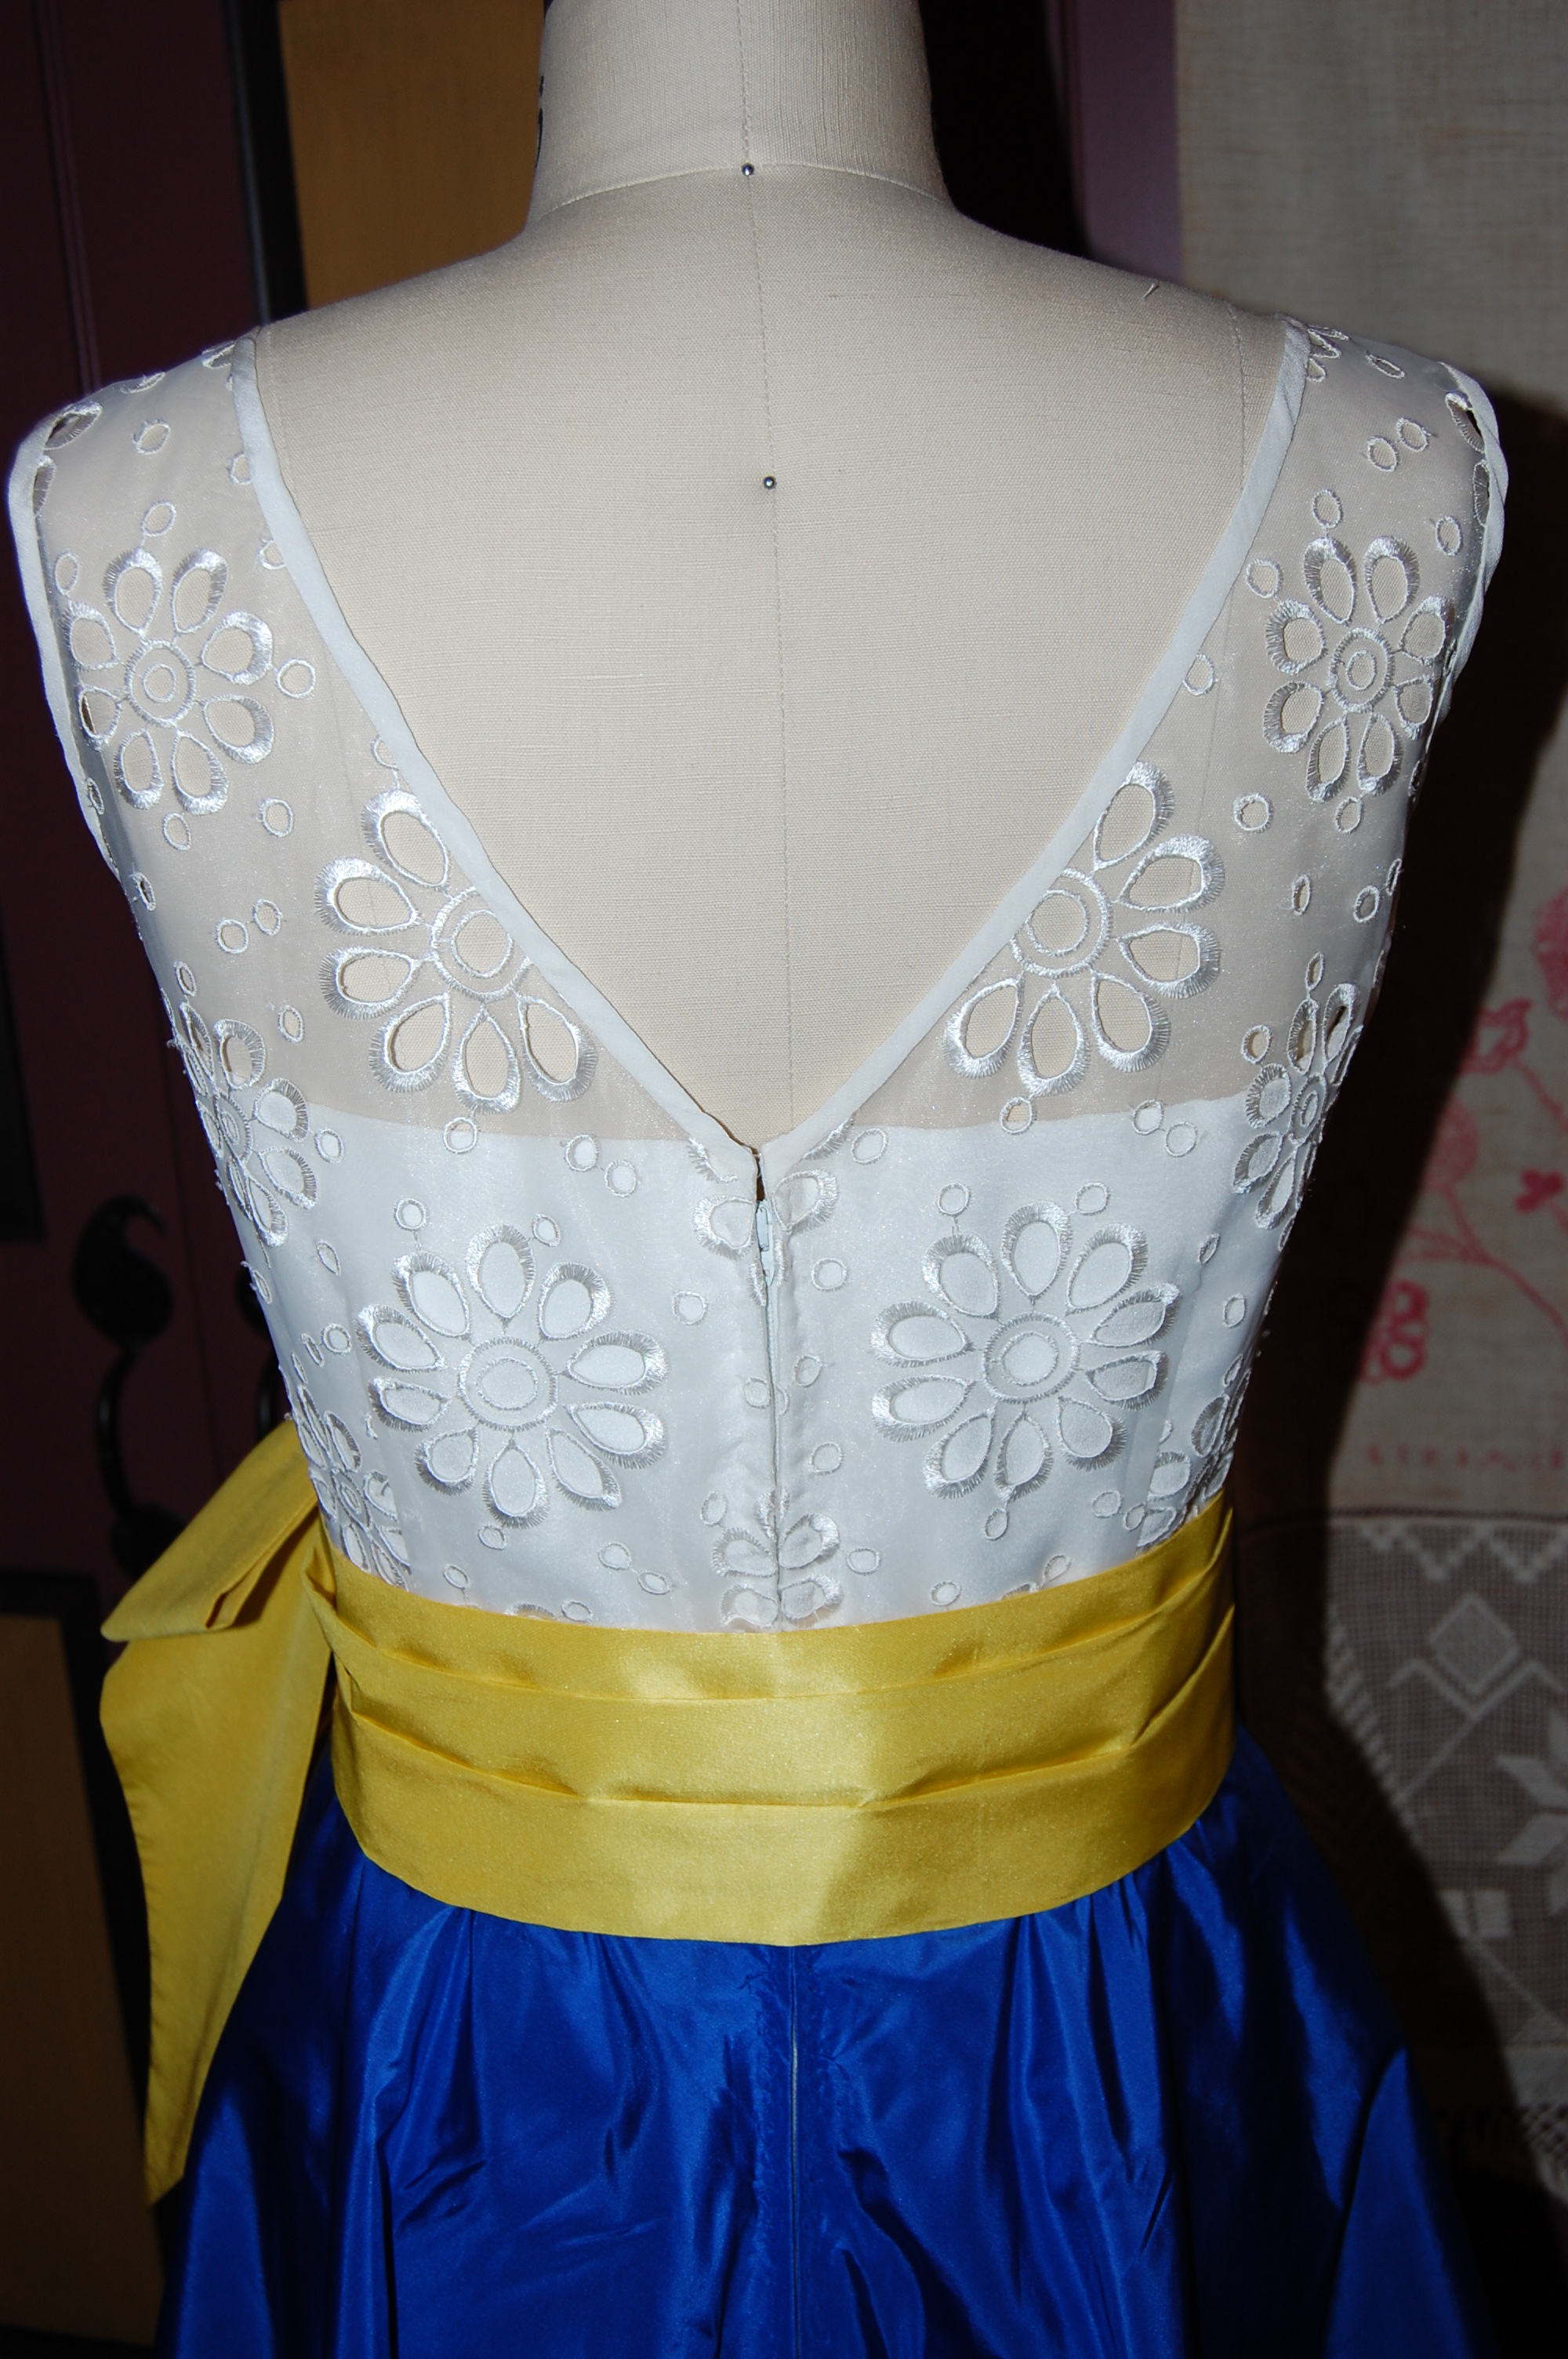
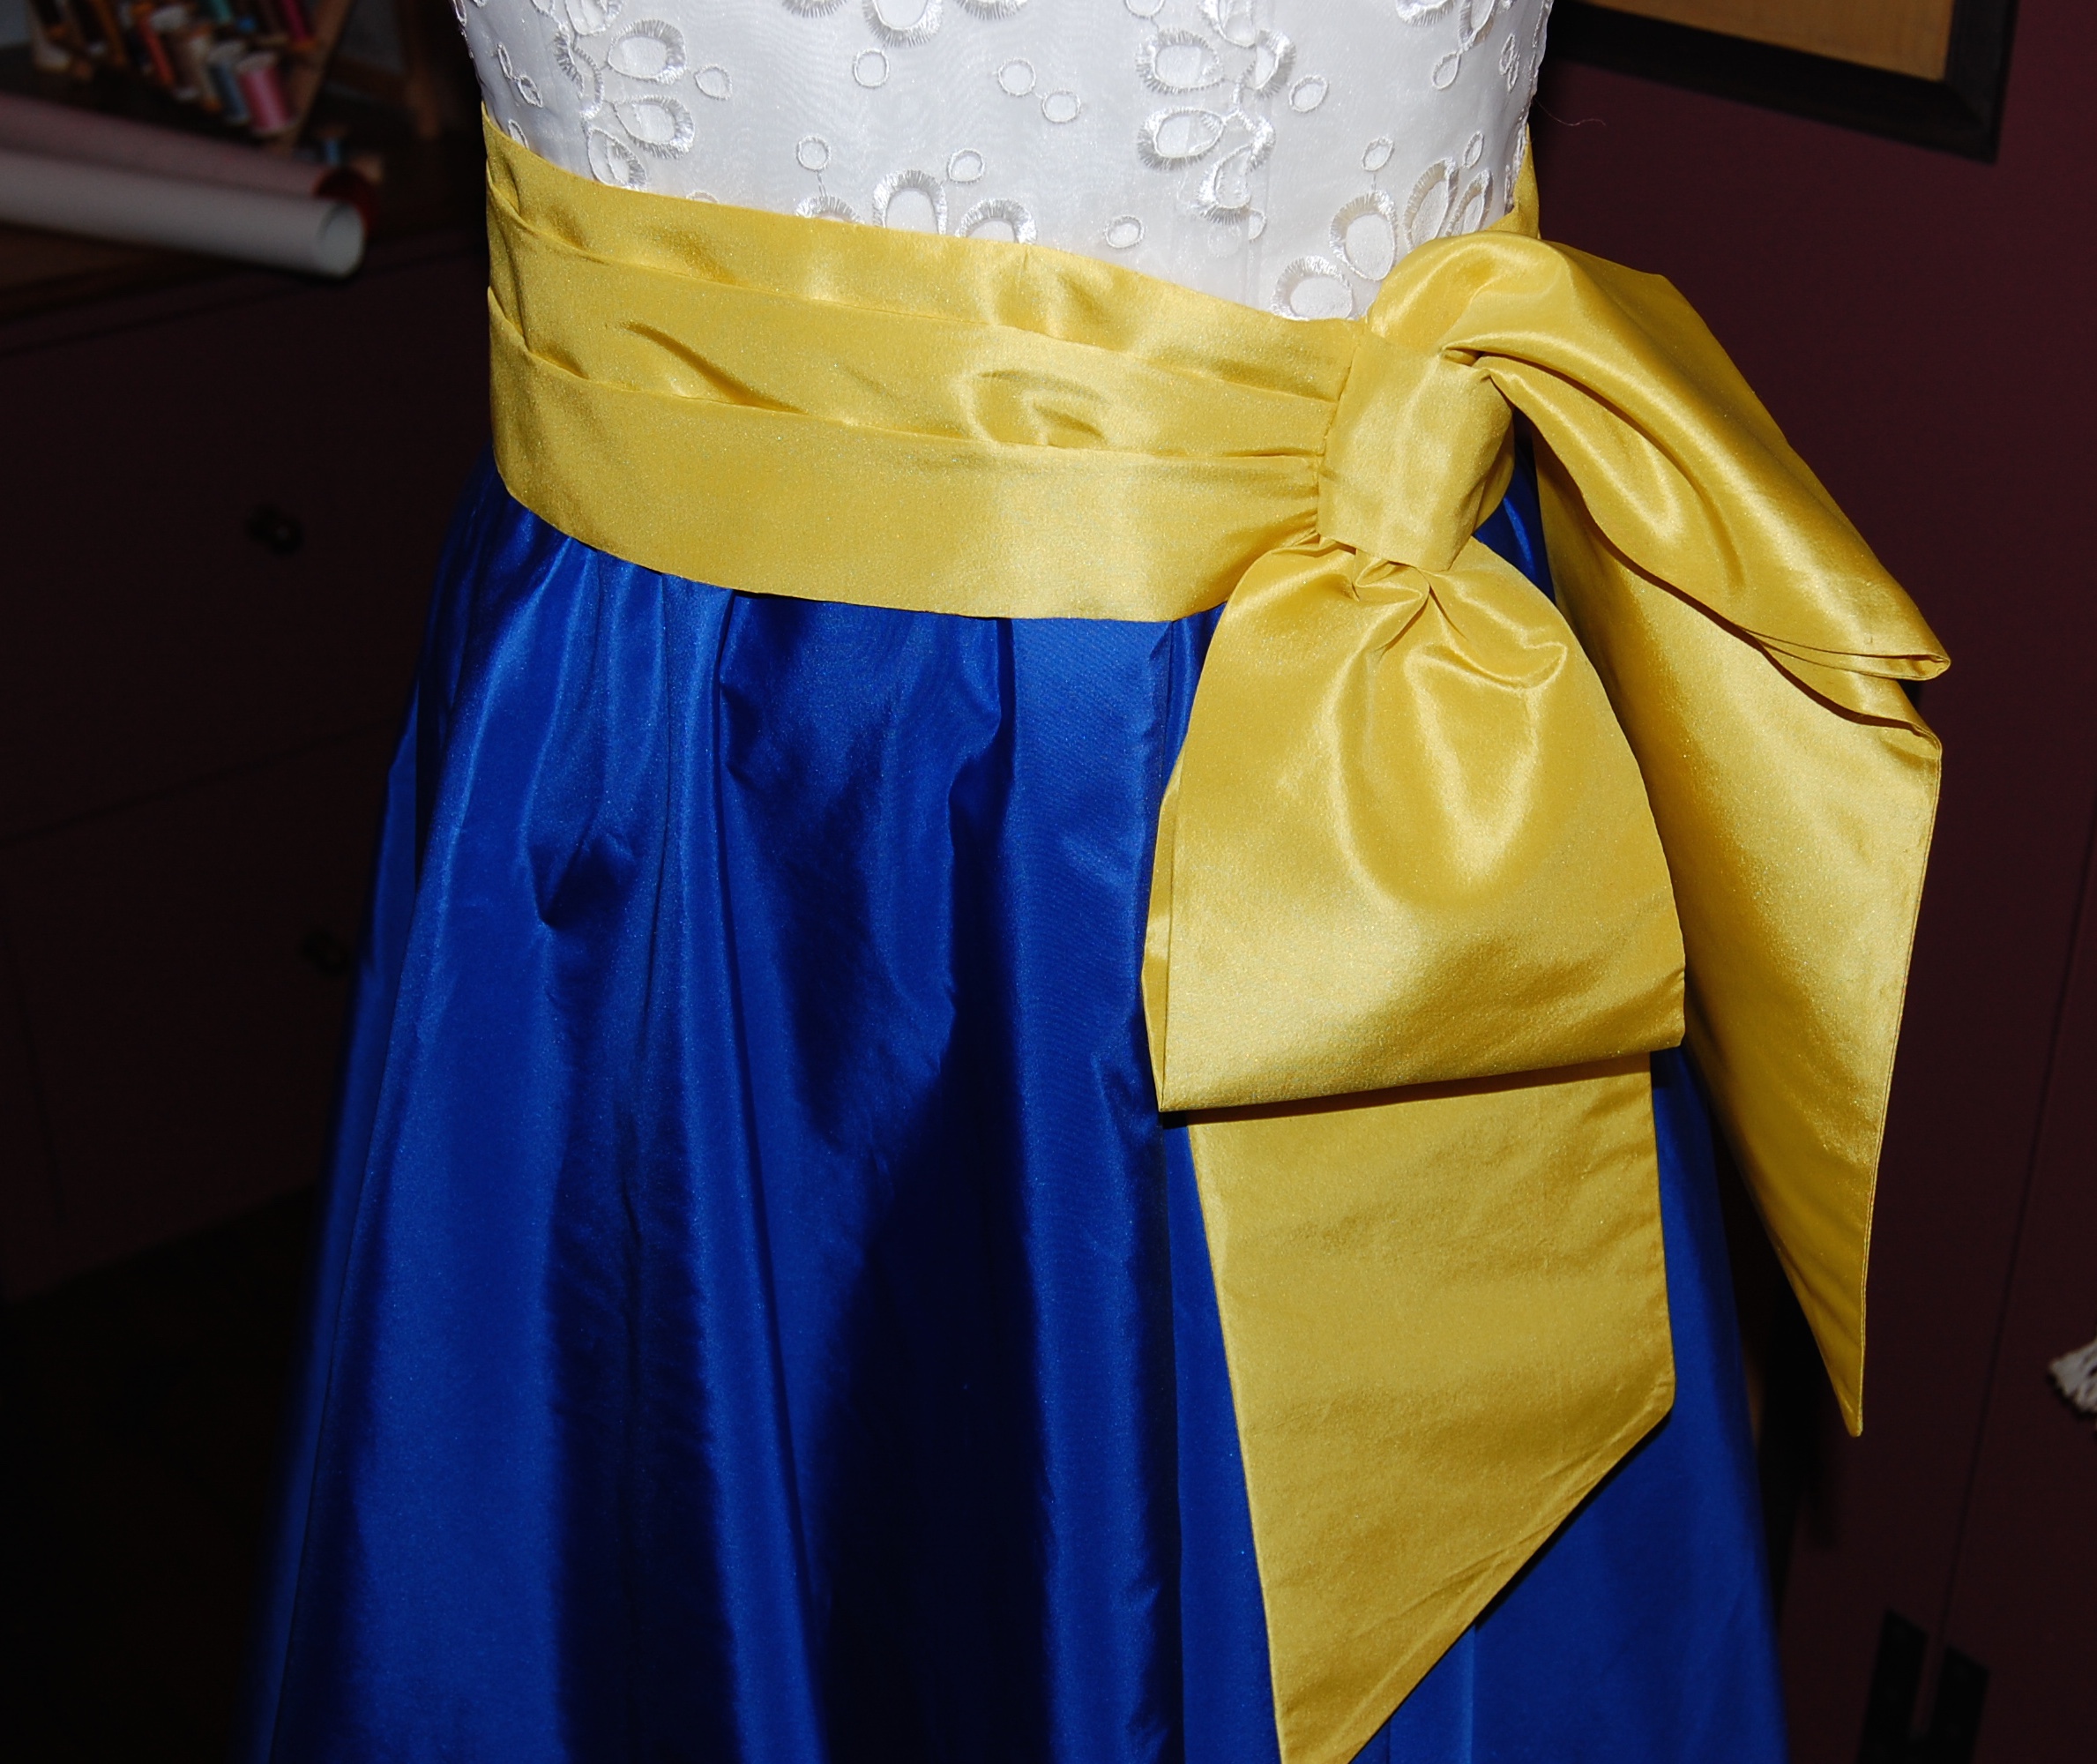
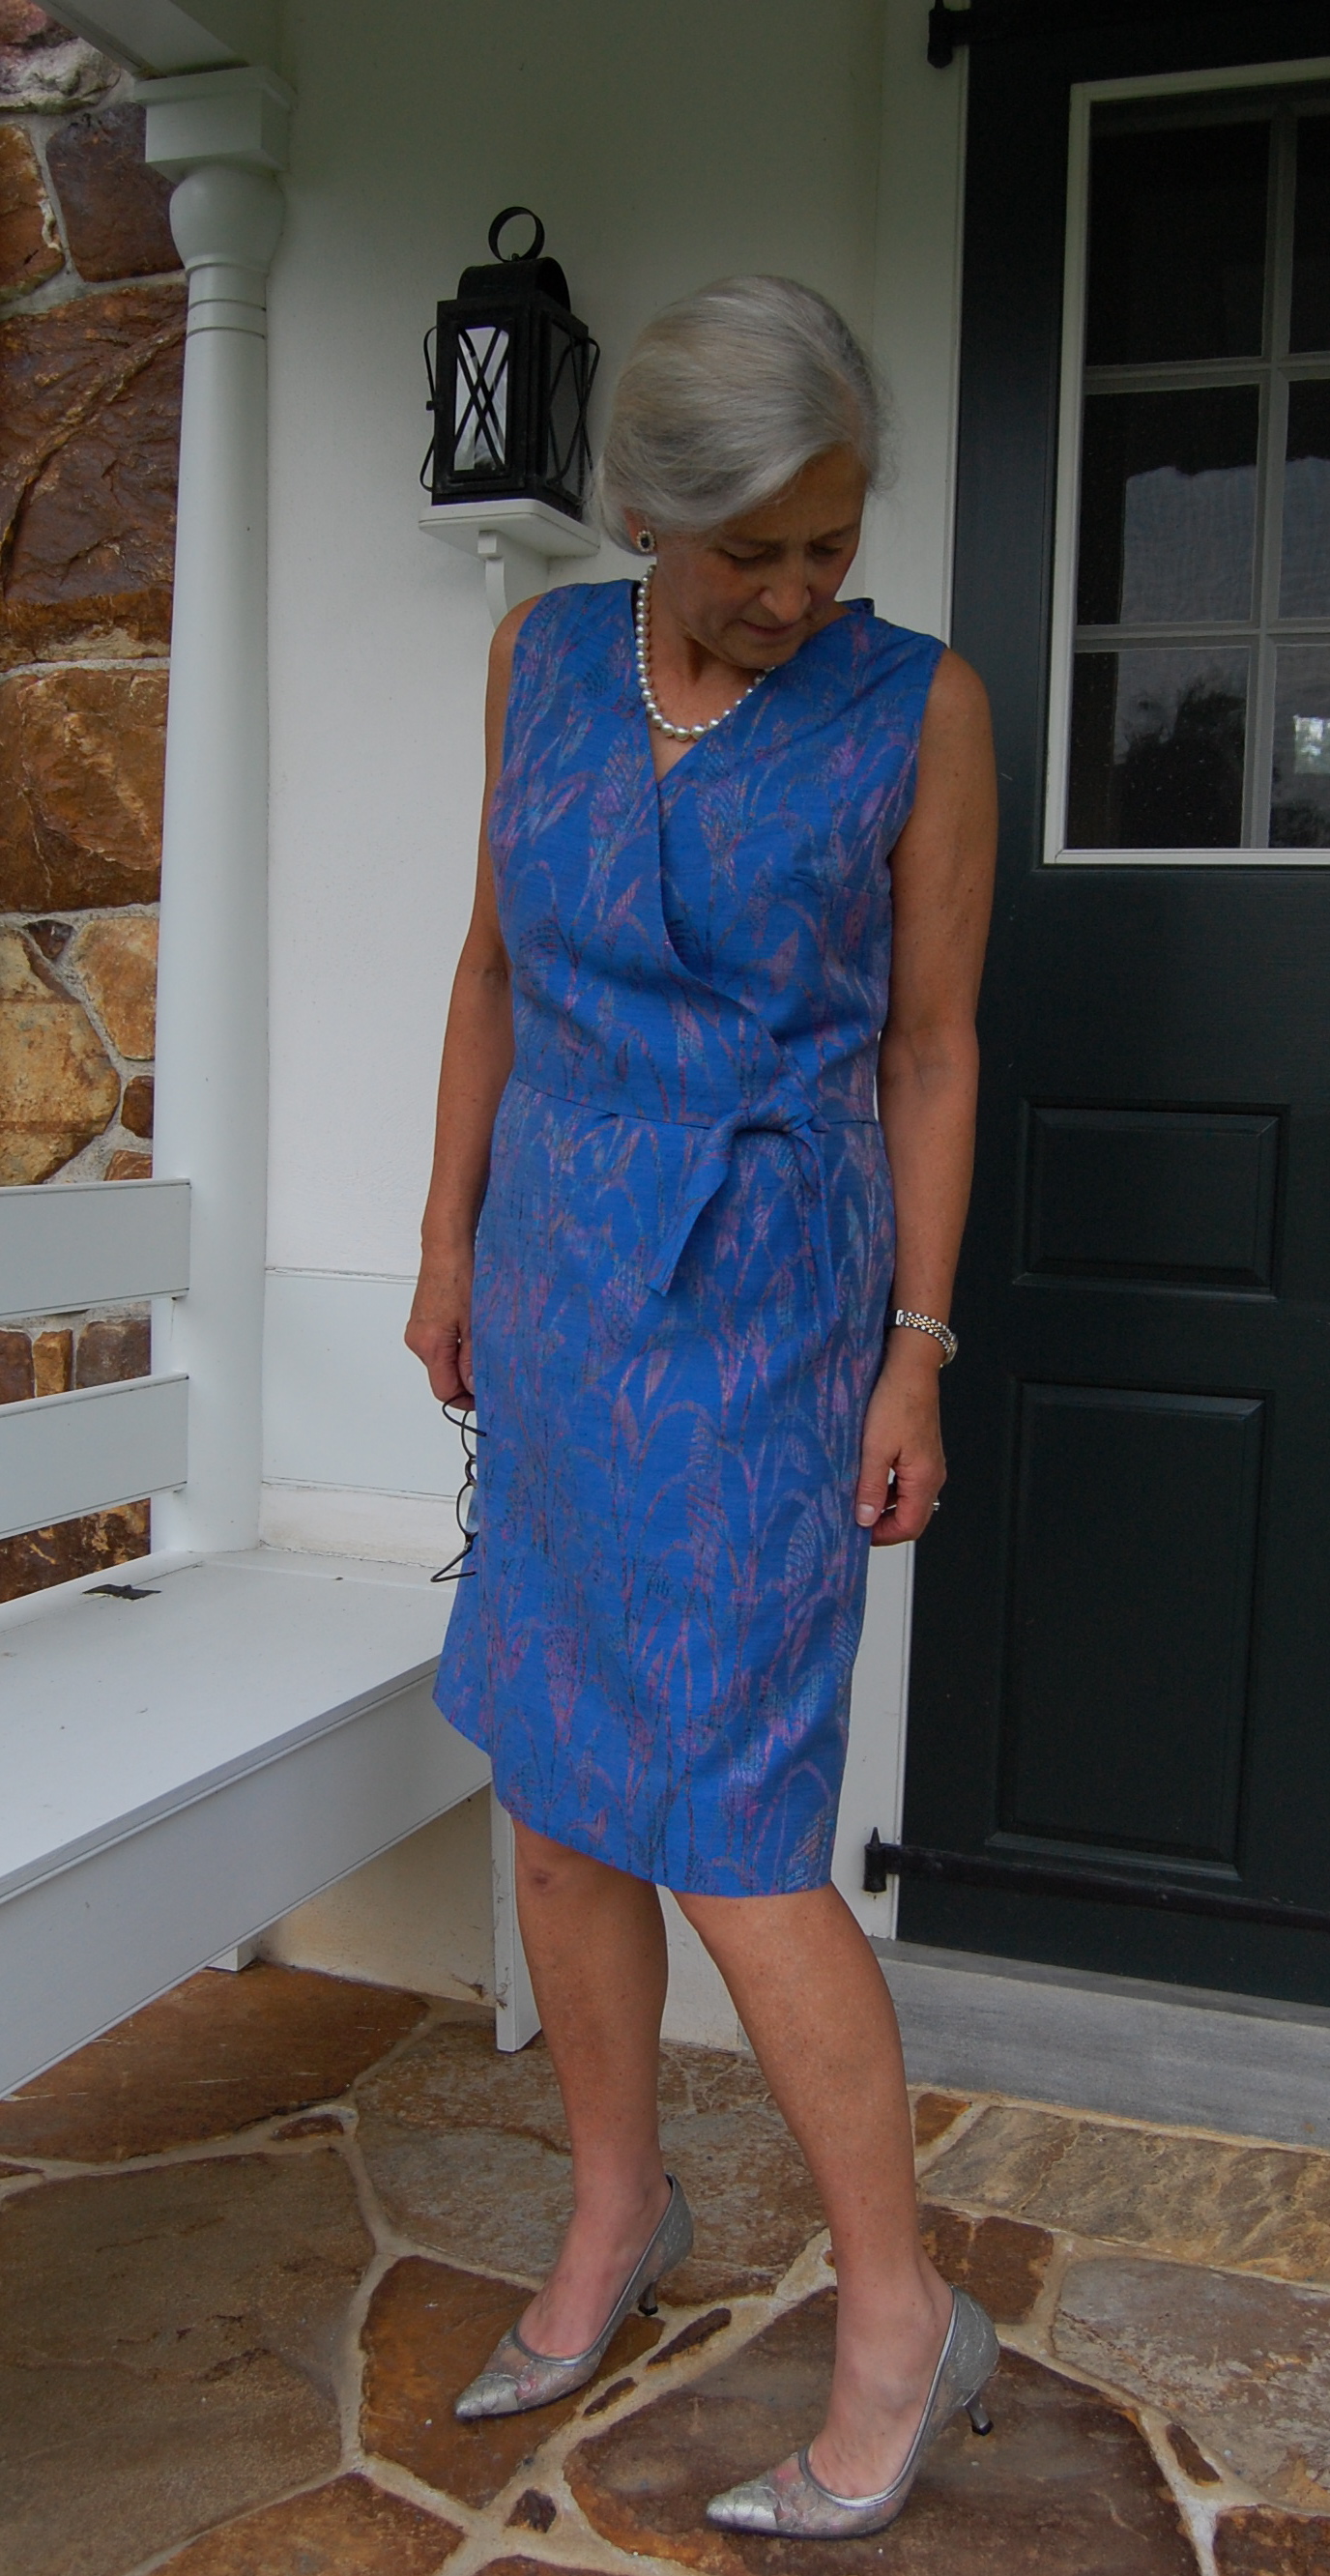
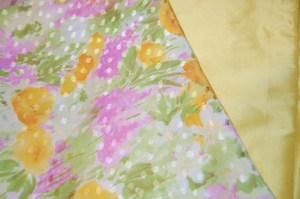
Looking towards Spring weddings already on the calendar, I am excited for the opportunity to use this amazing printed silk for a dress and perhaps pairing it with the plain yellow silk taffeta left over from my fancy dress from last Summer.
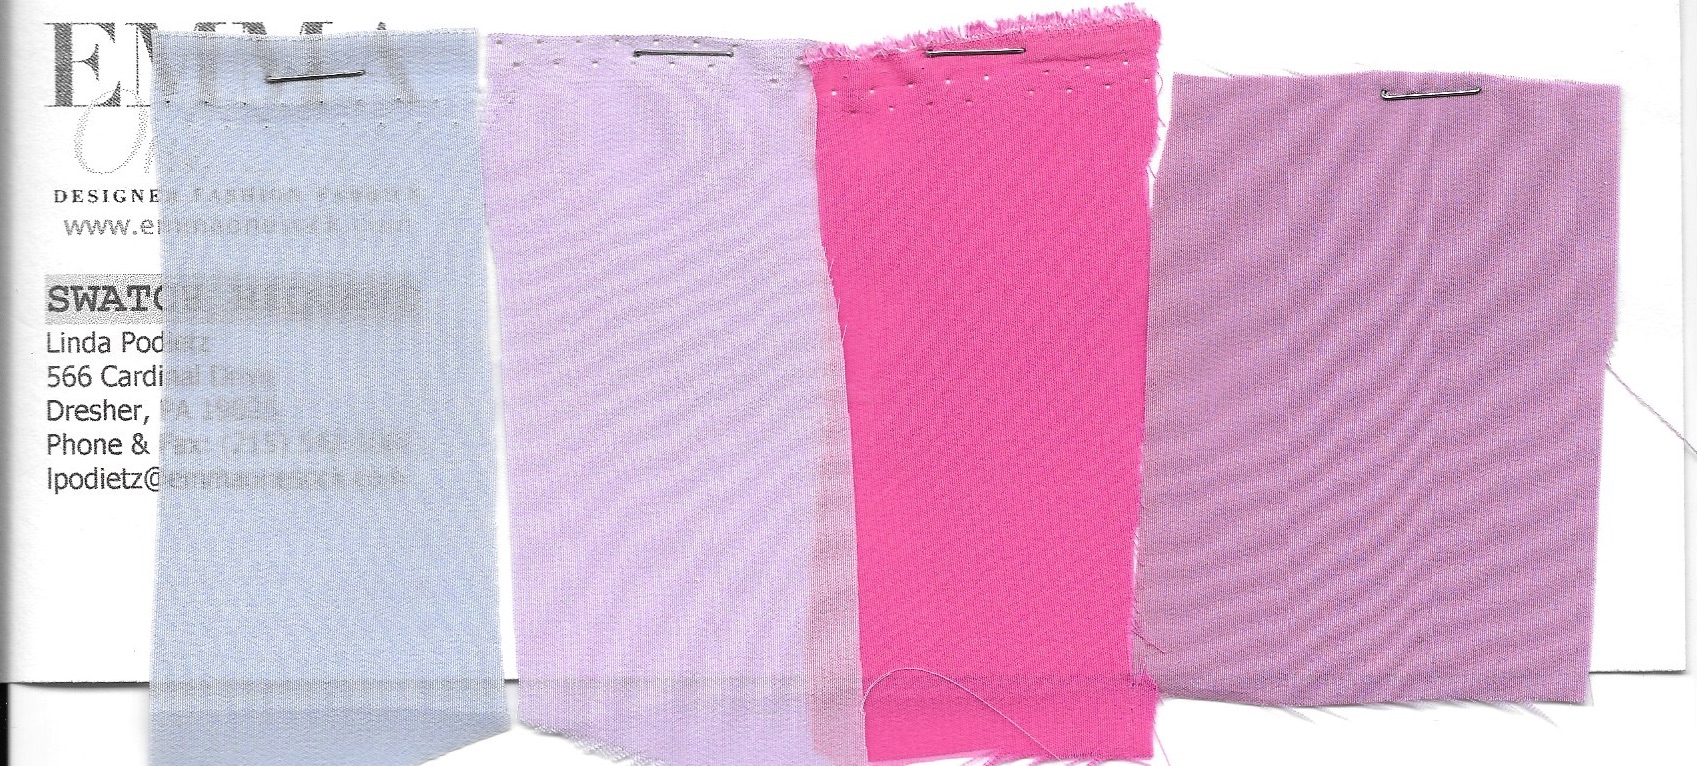
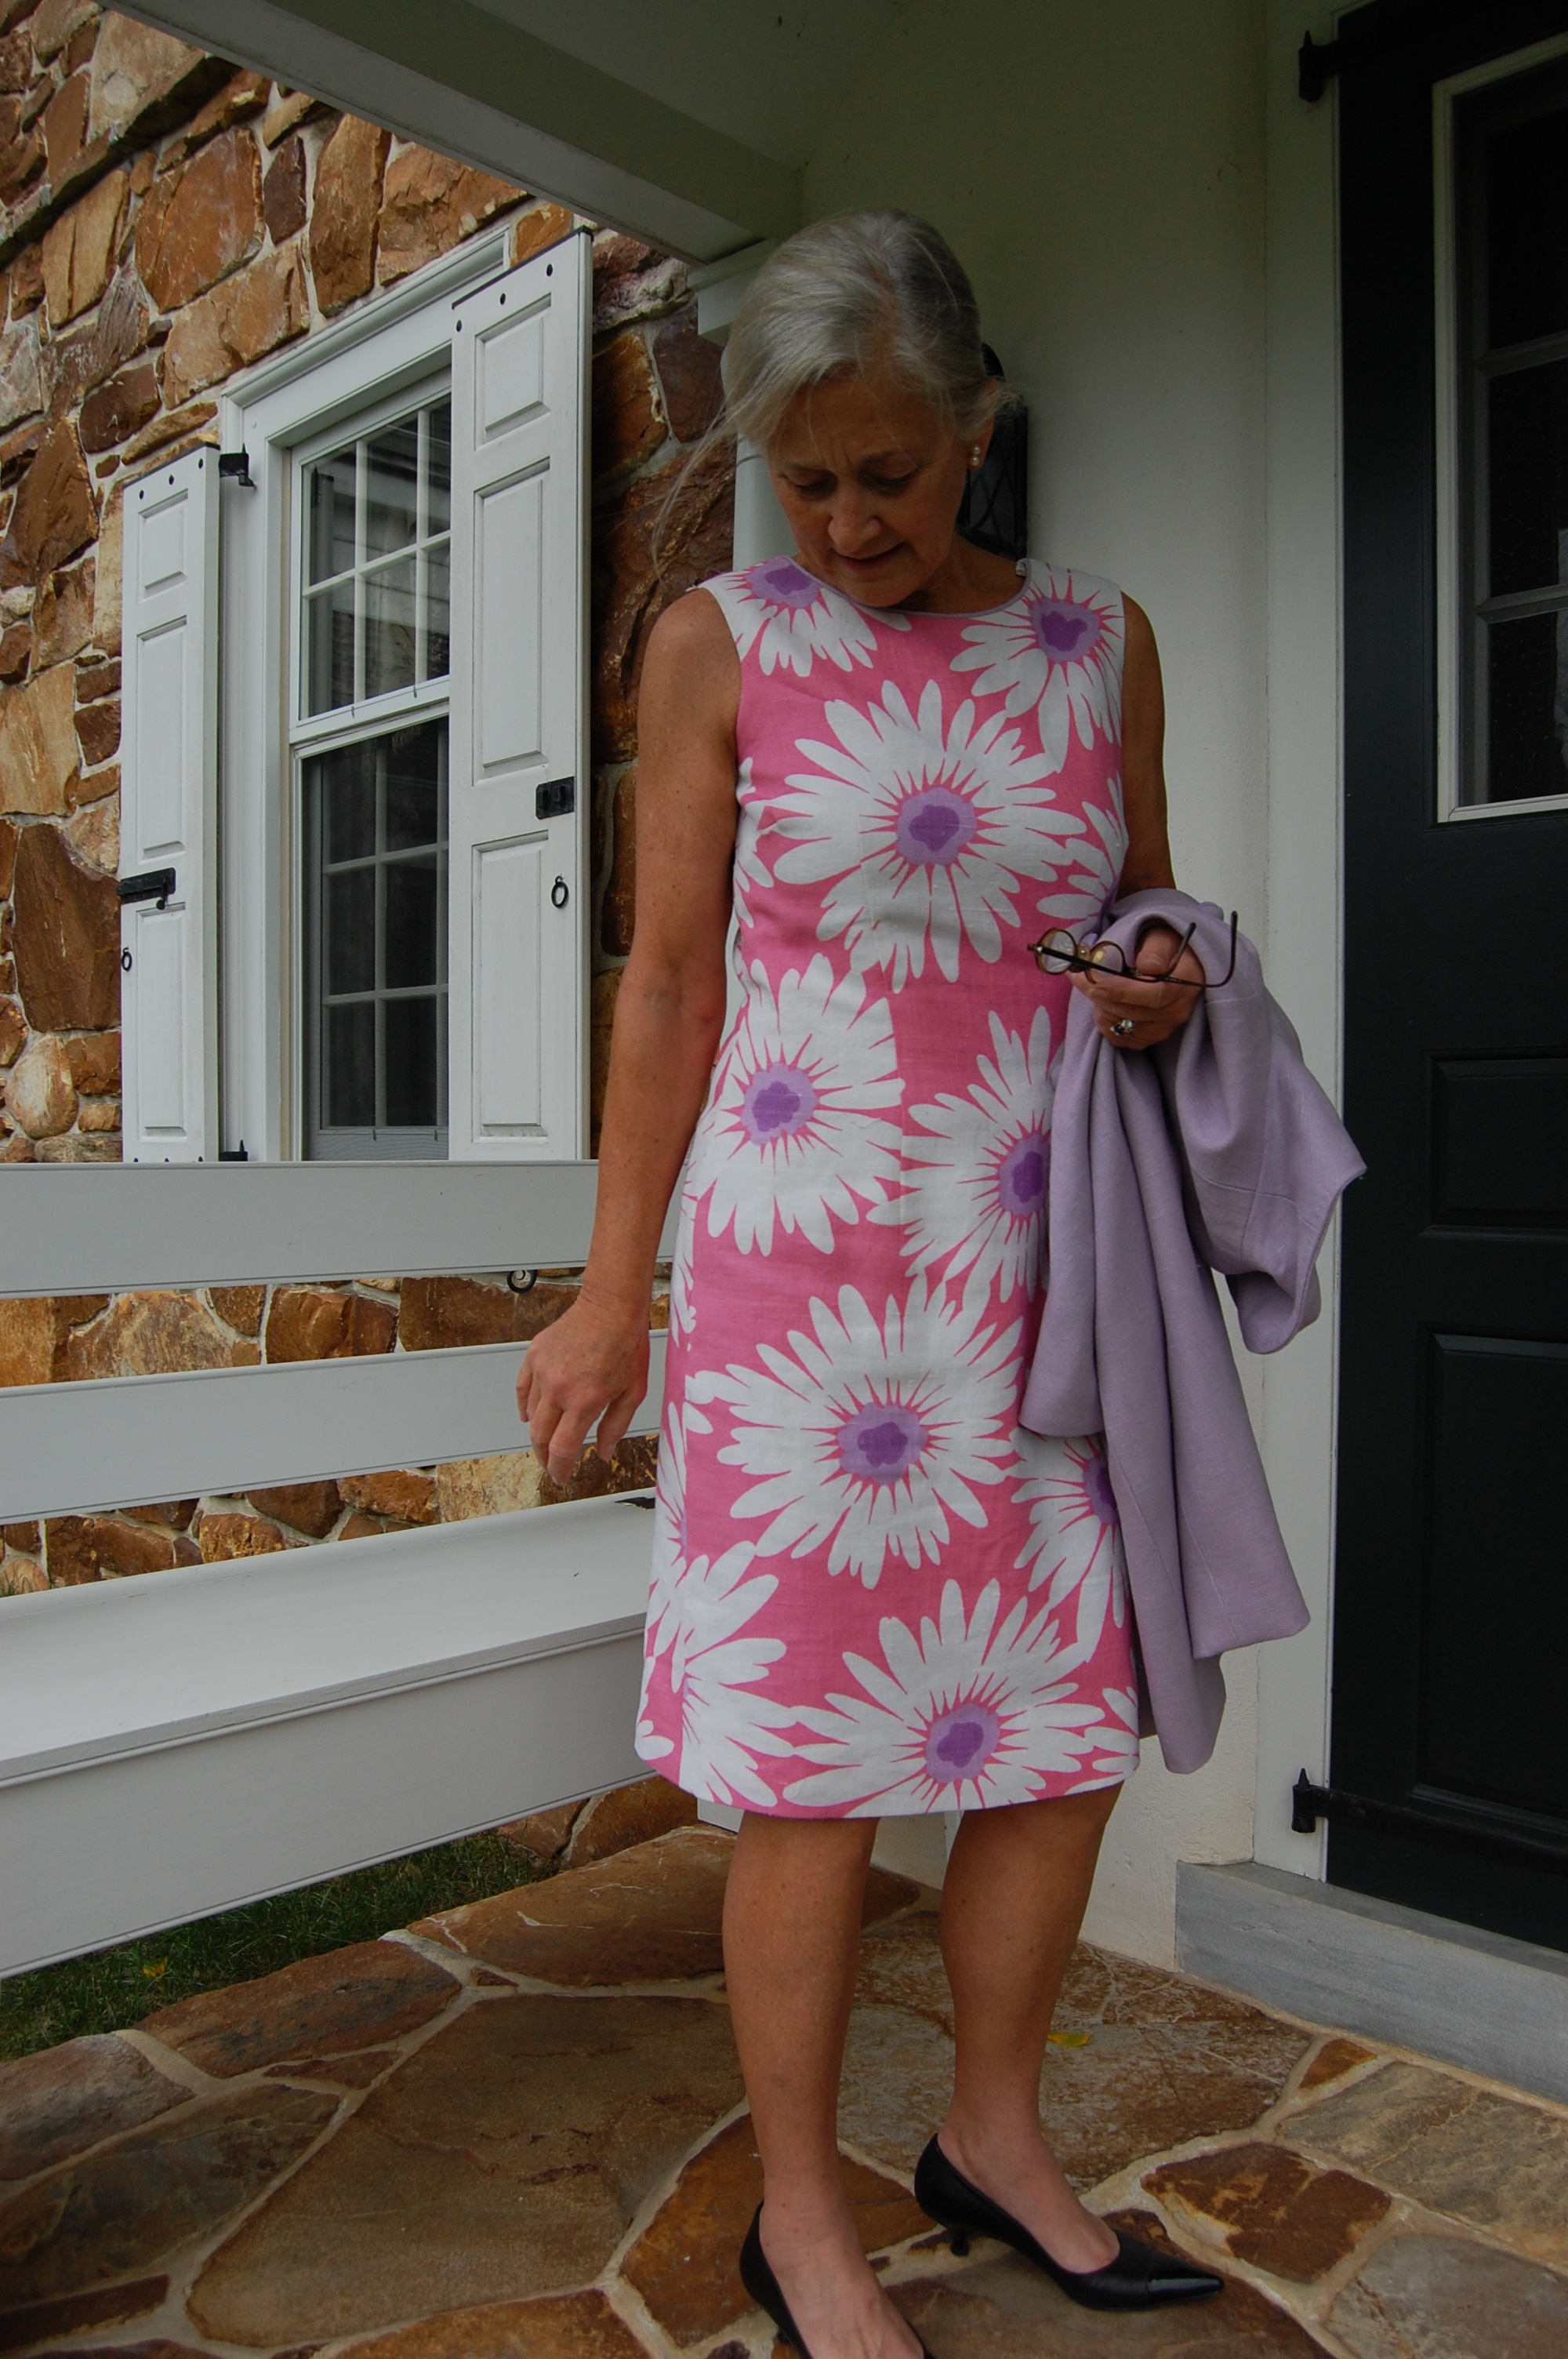
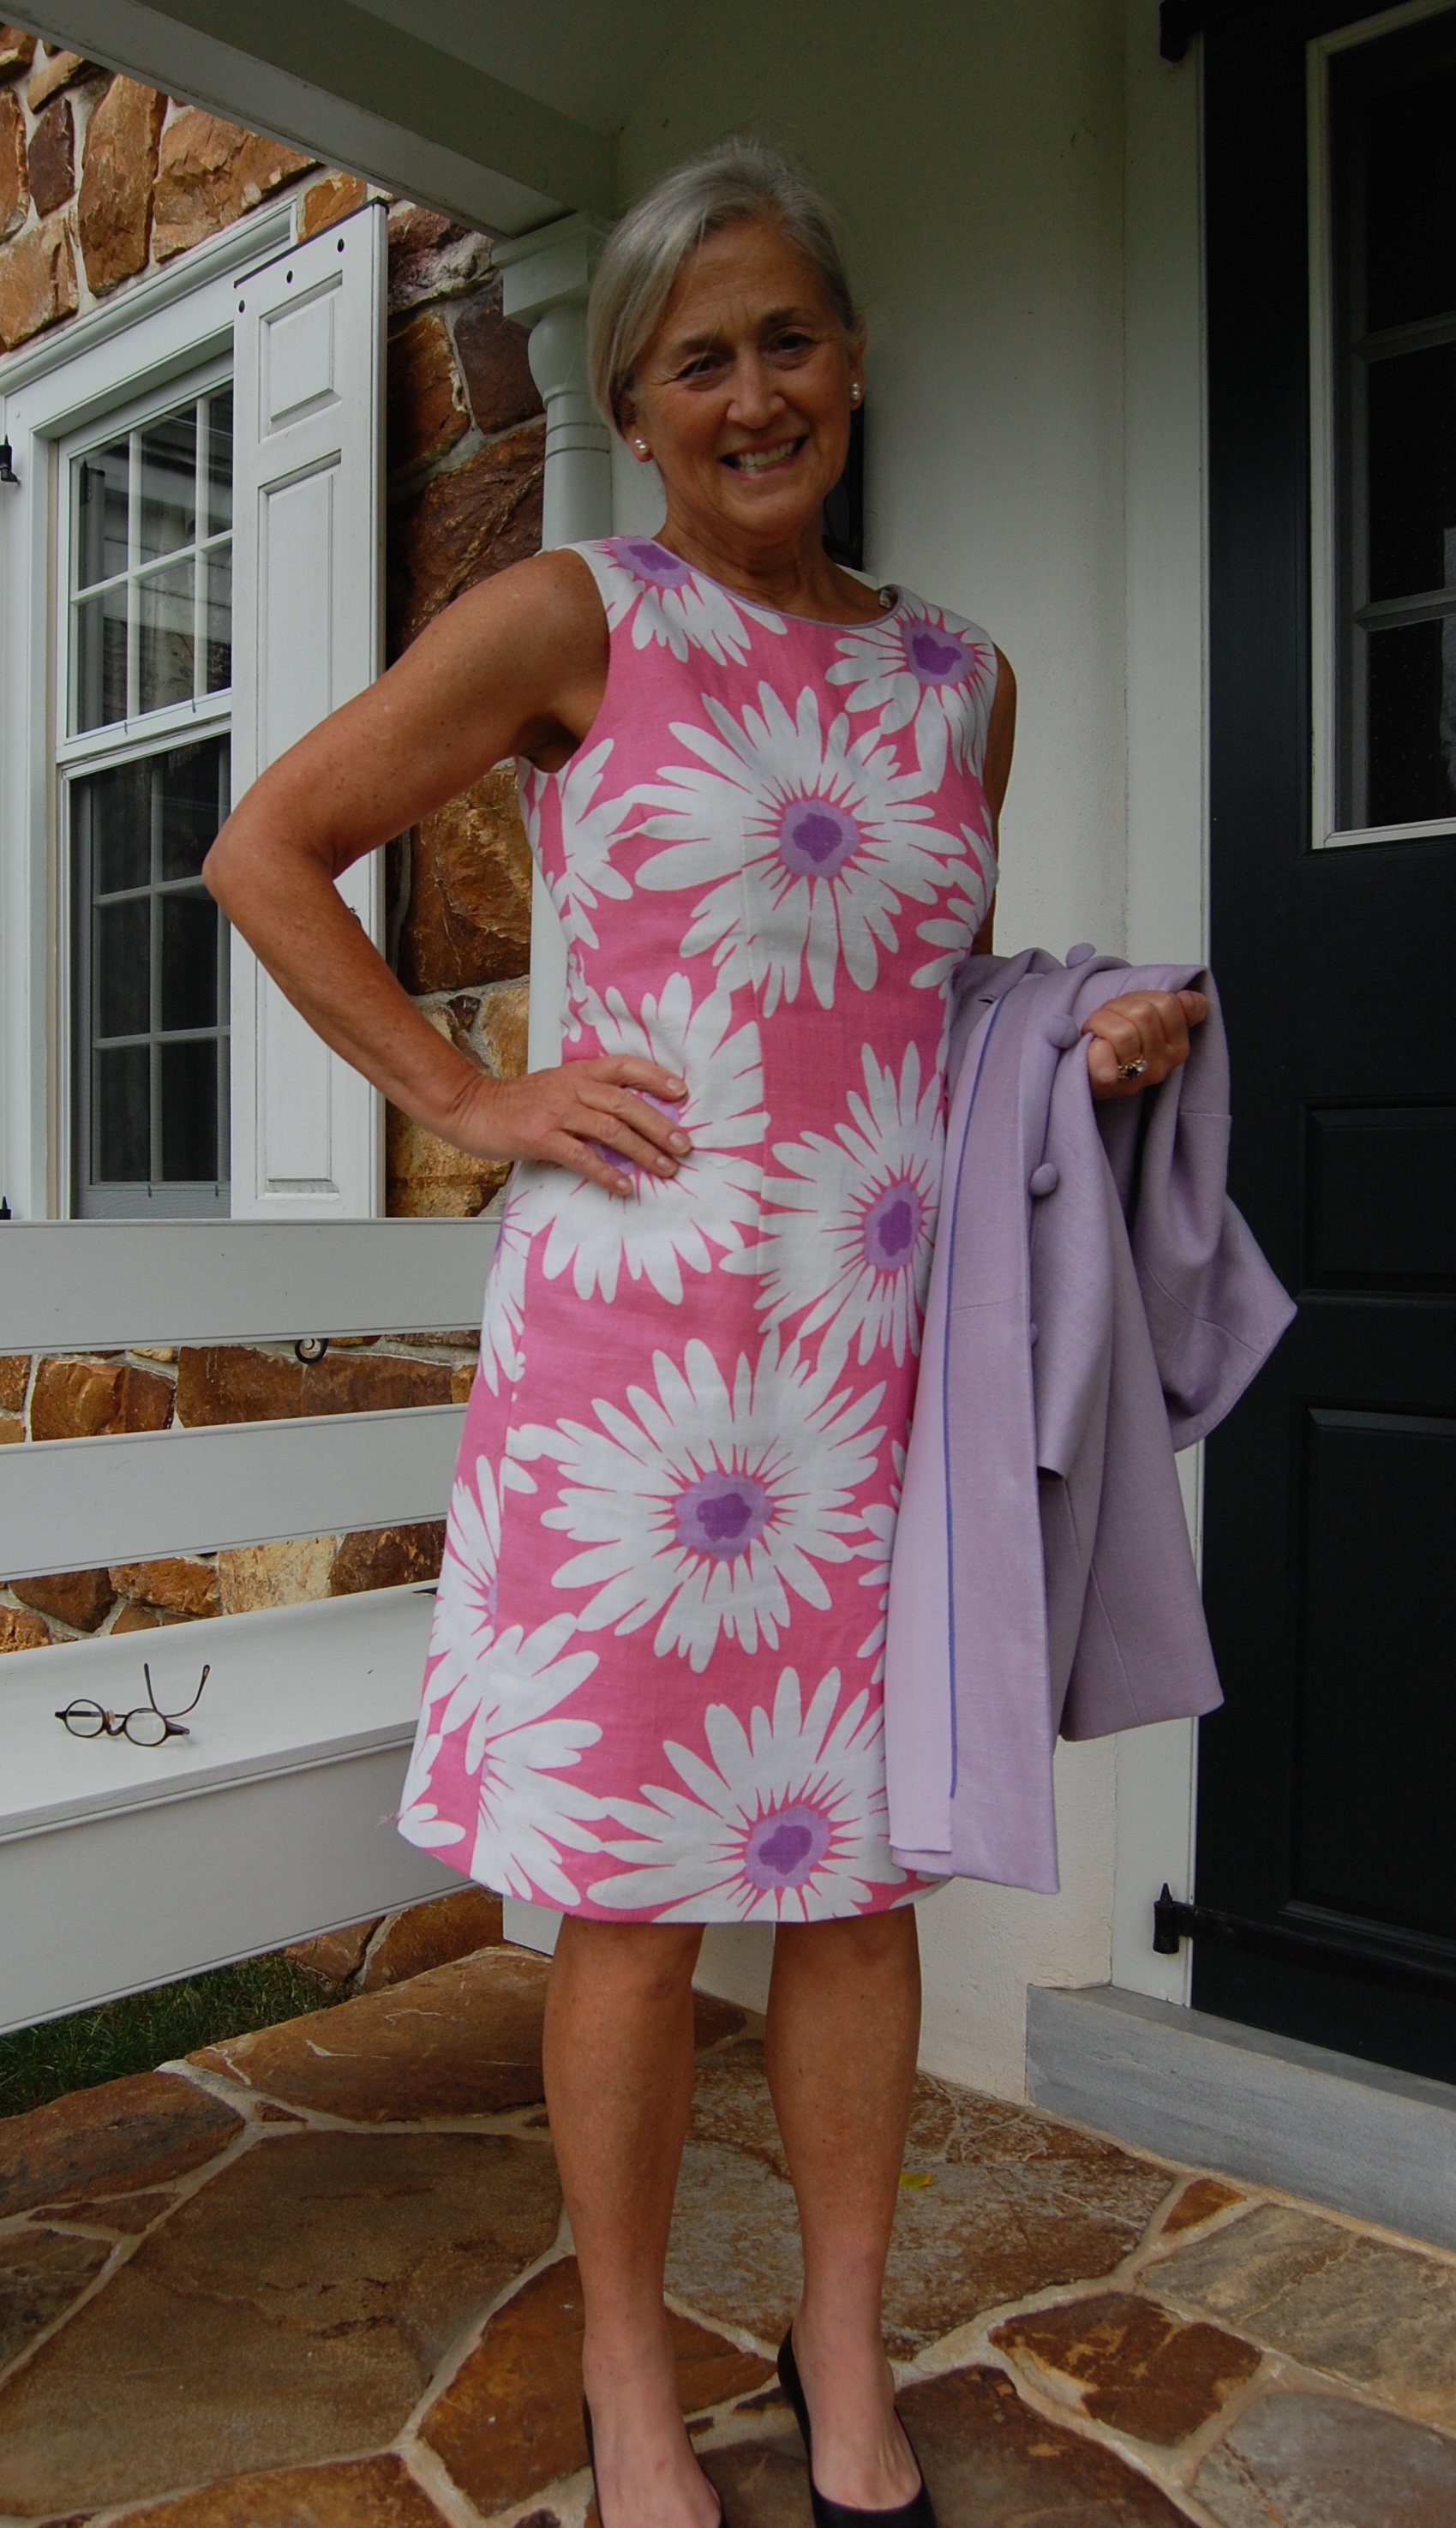
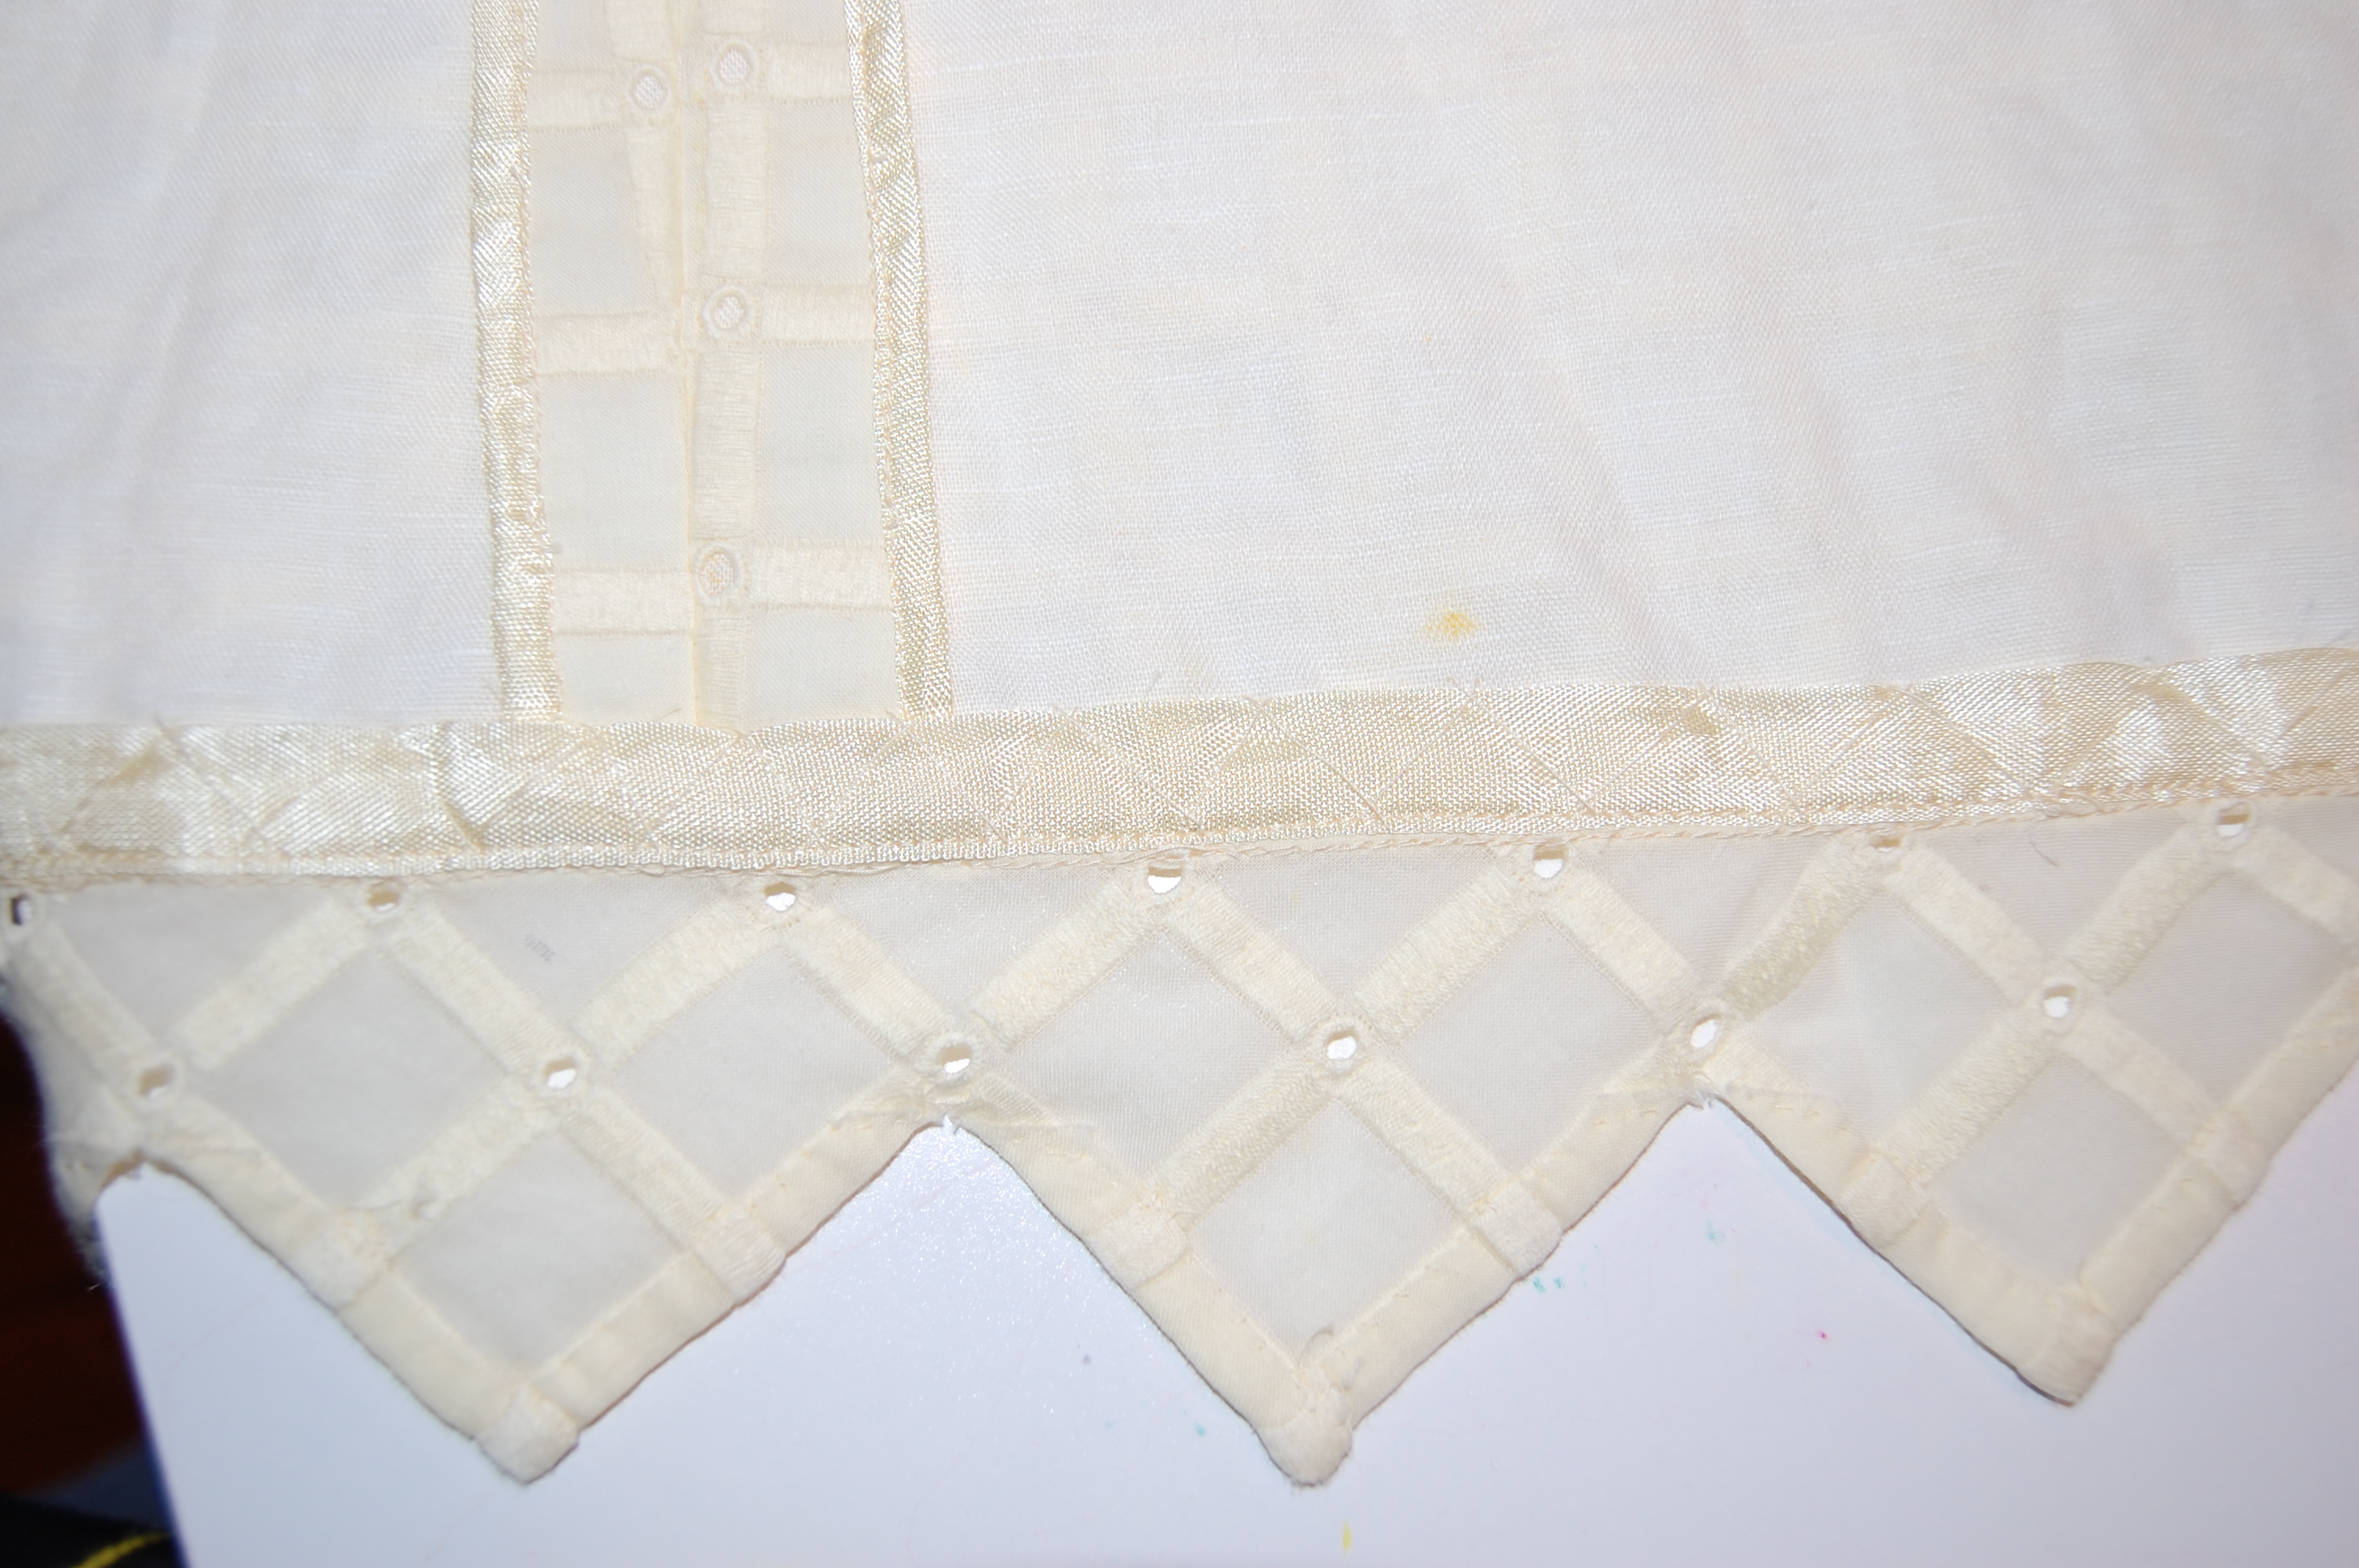
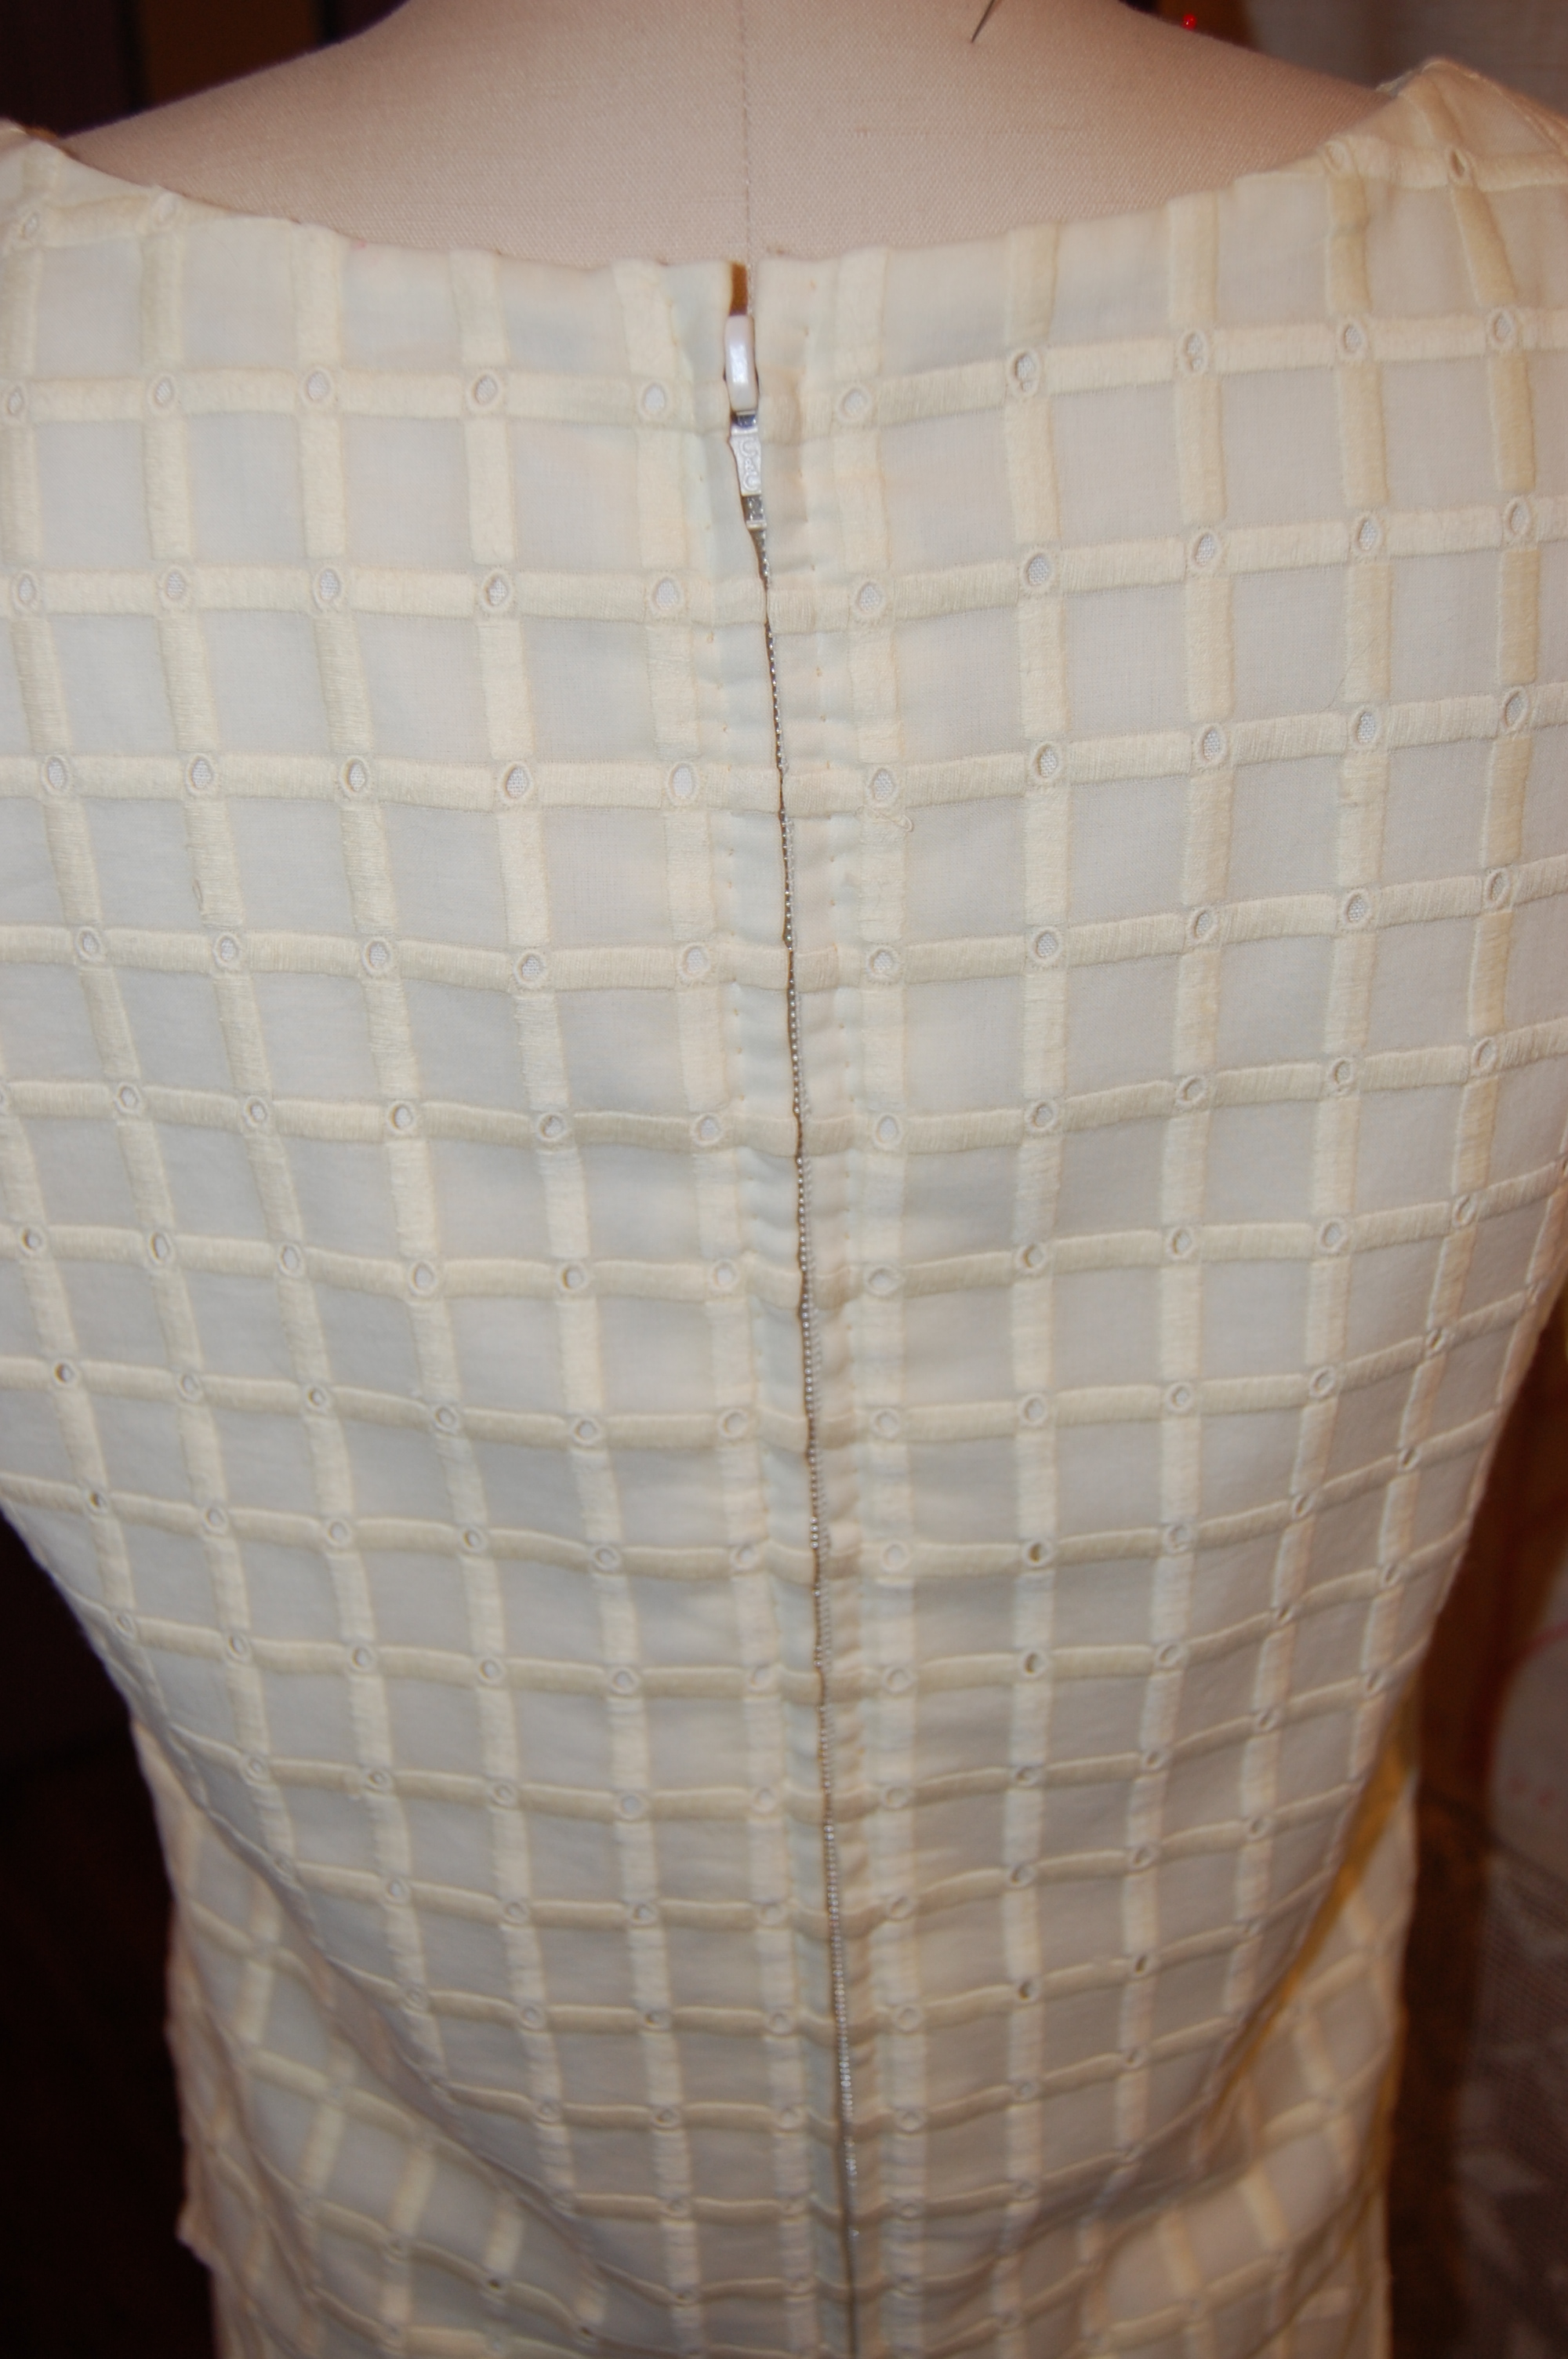
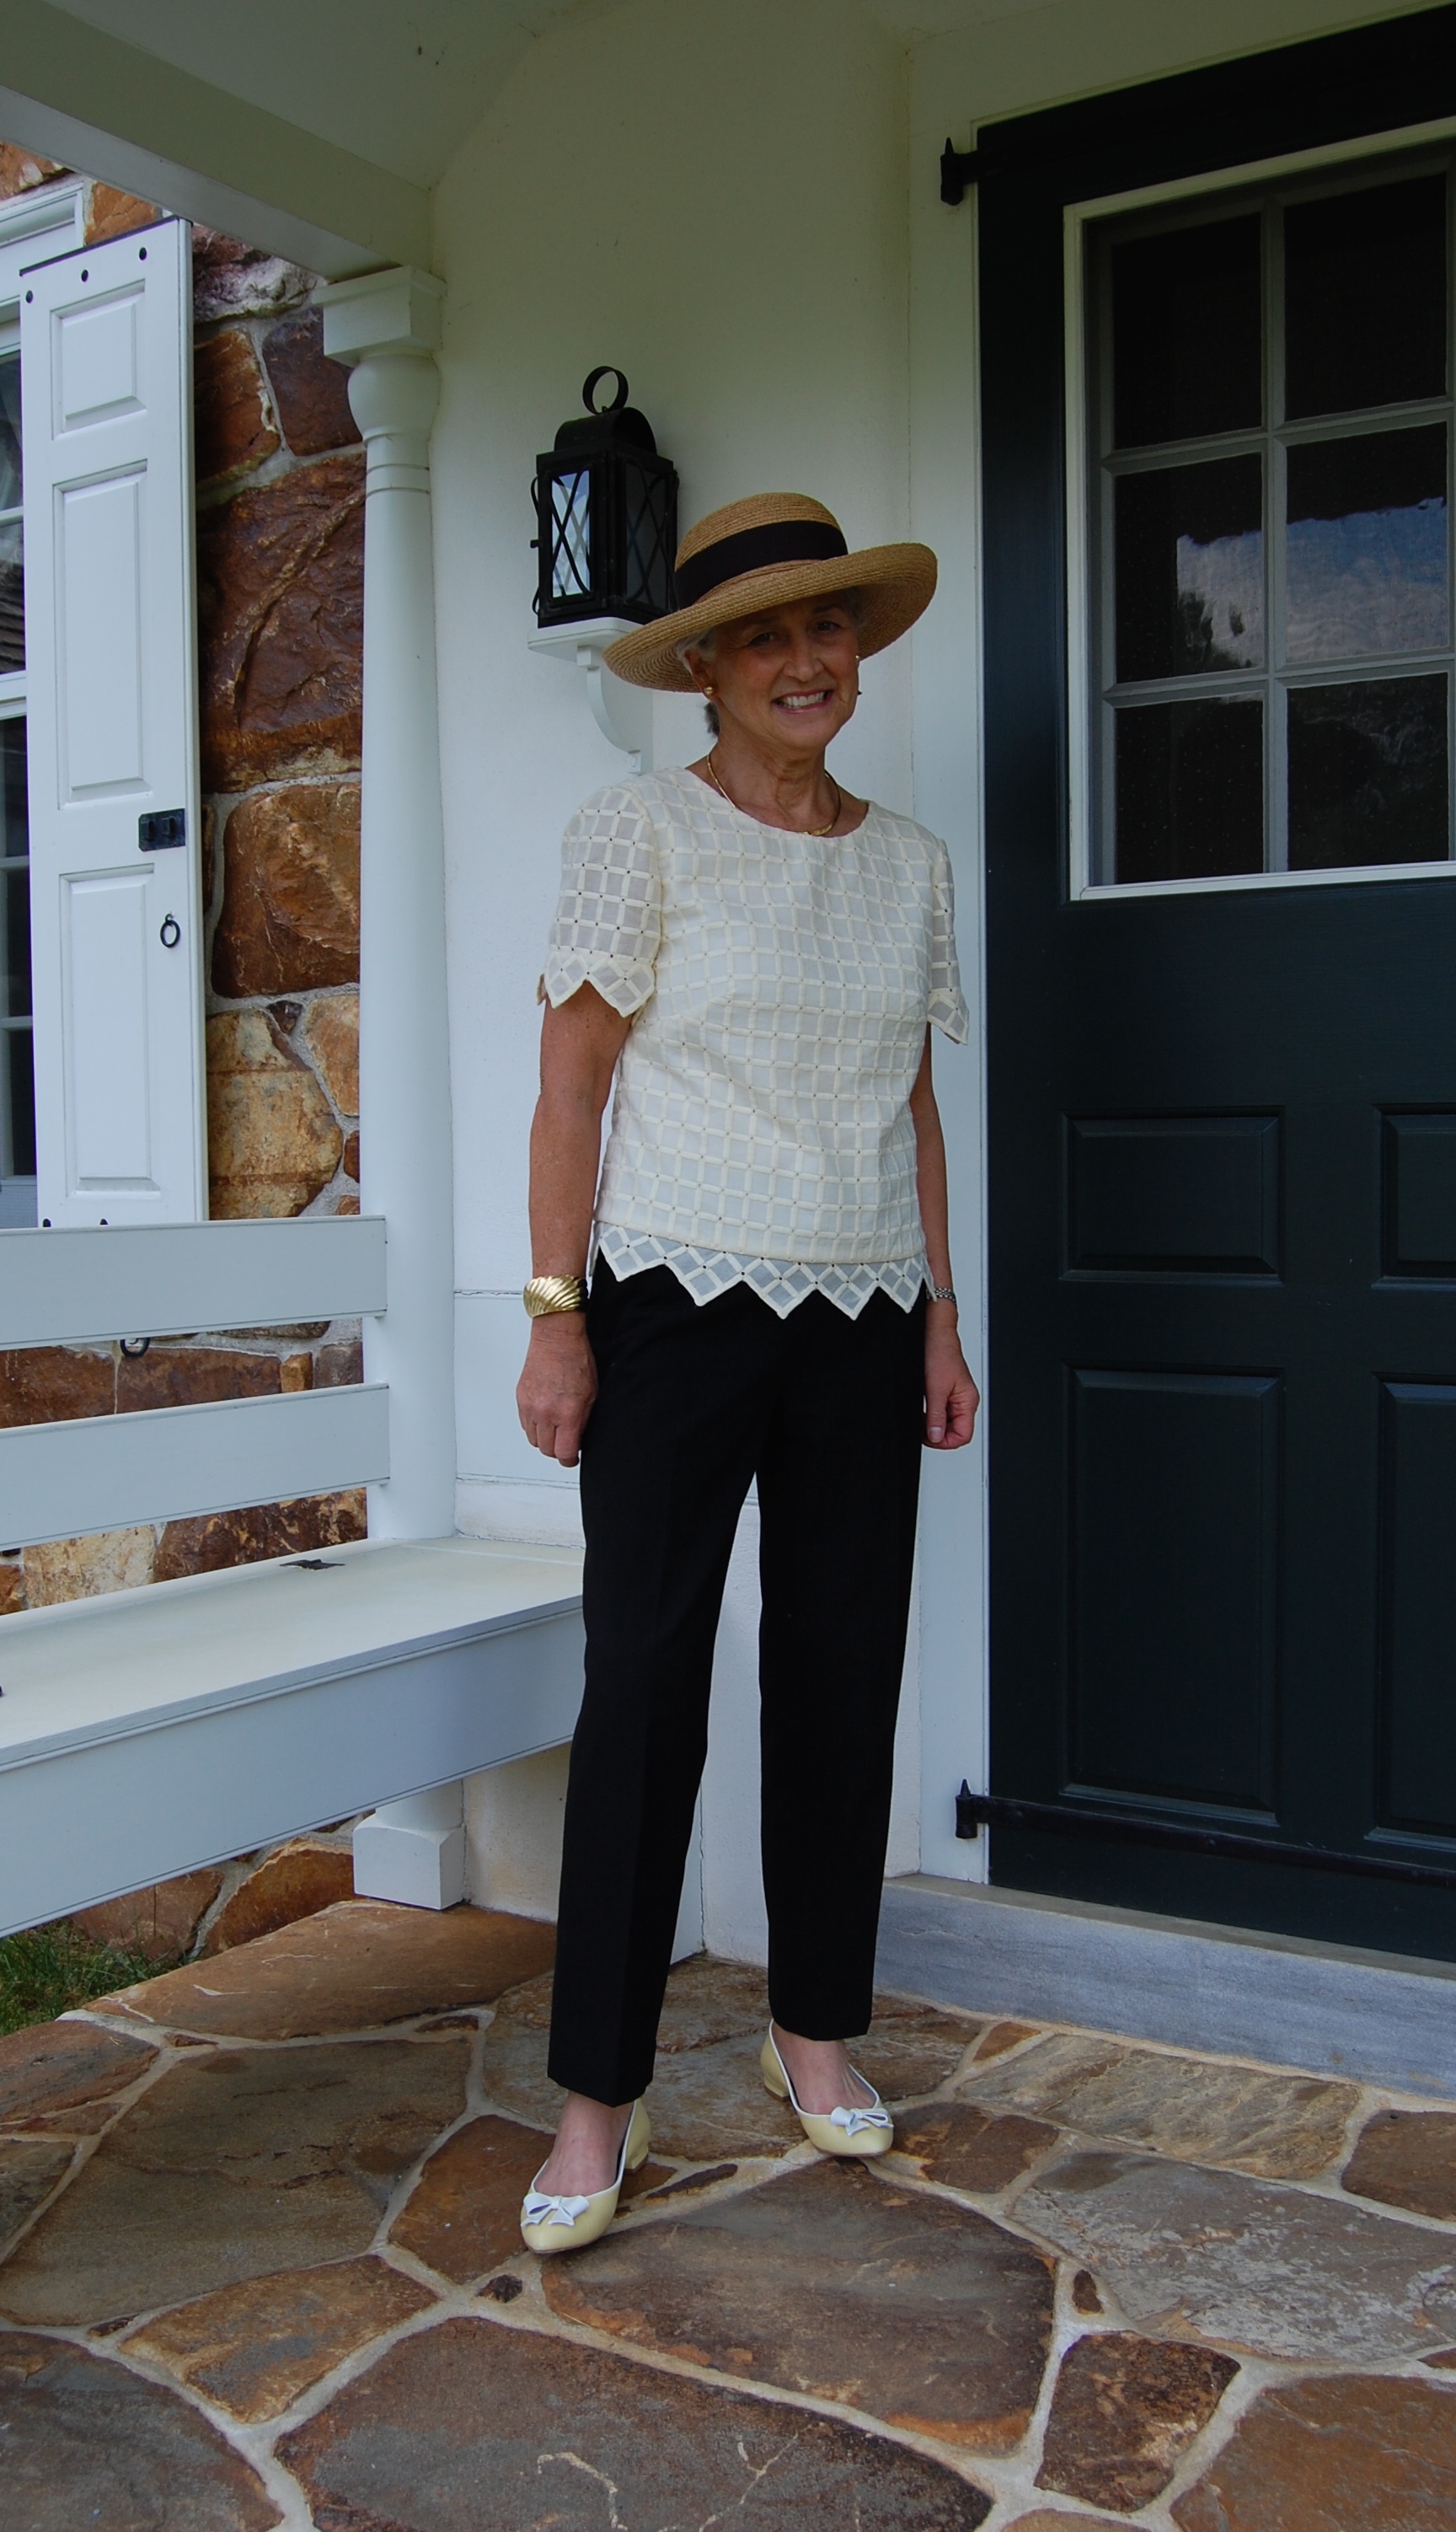
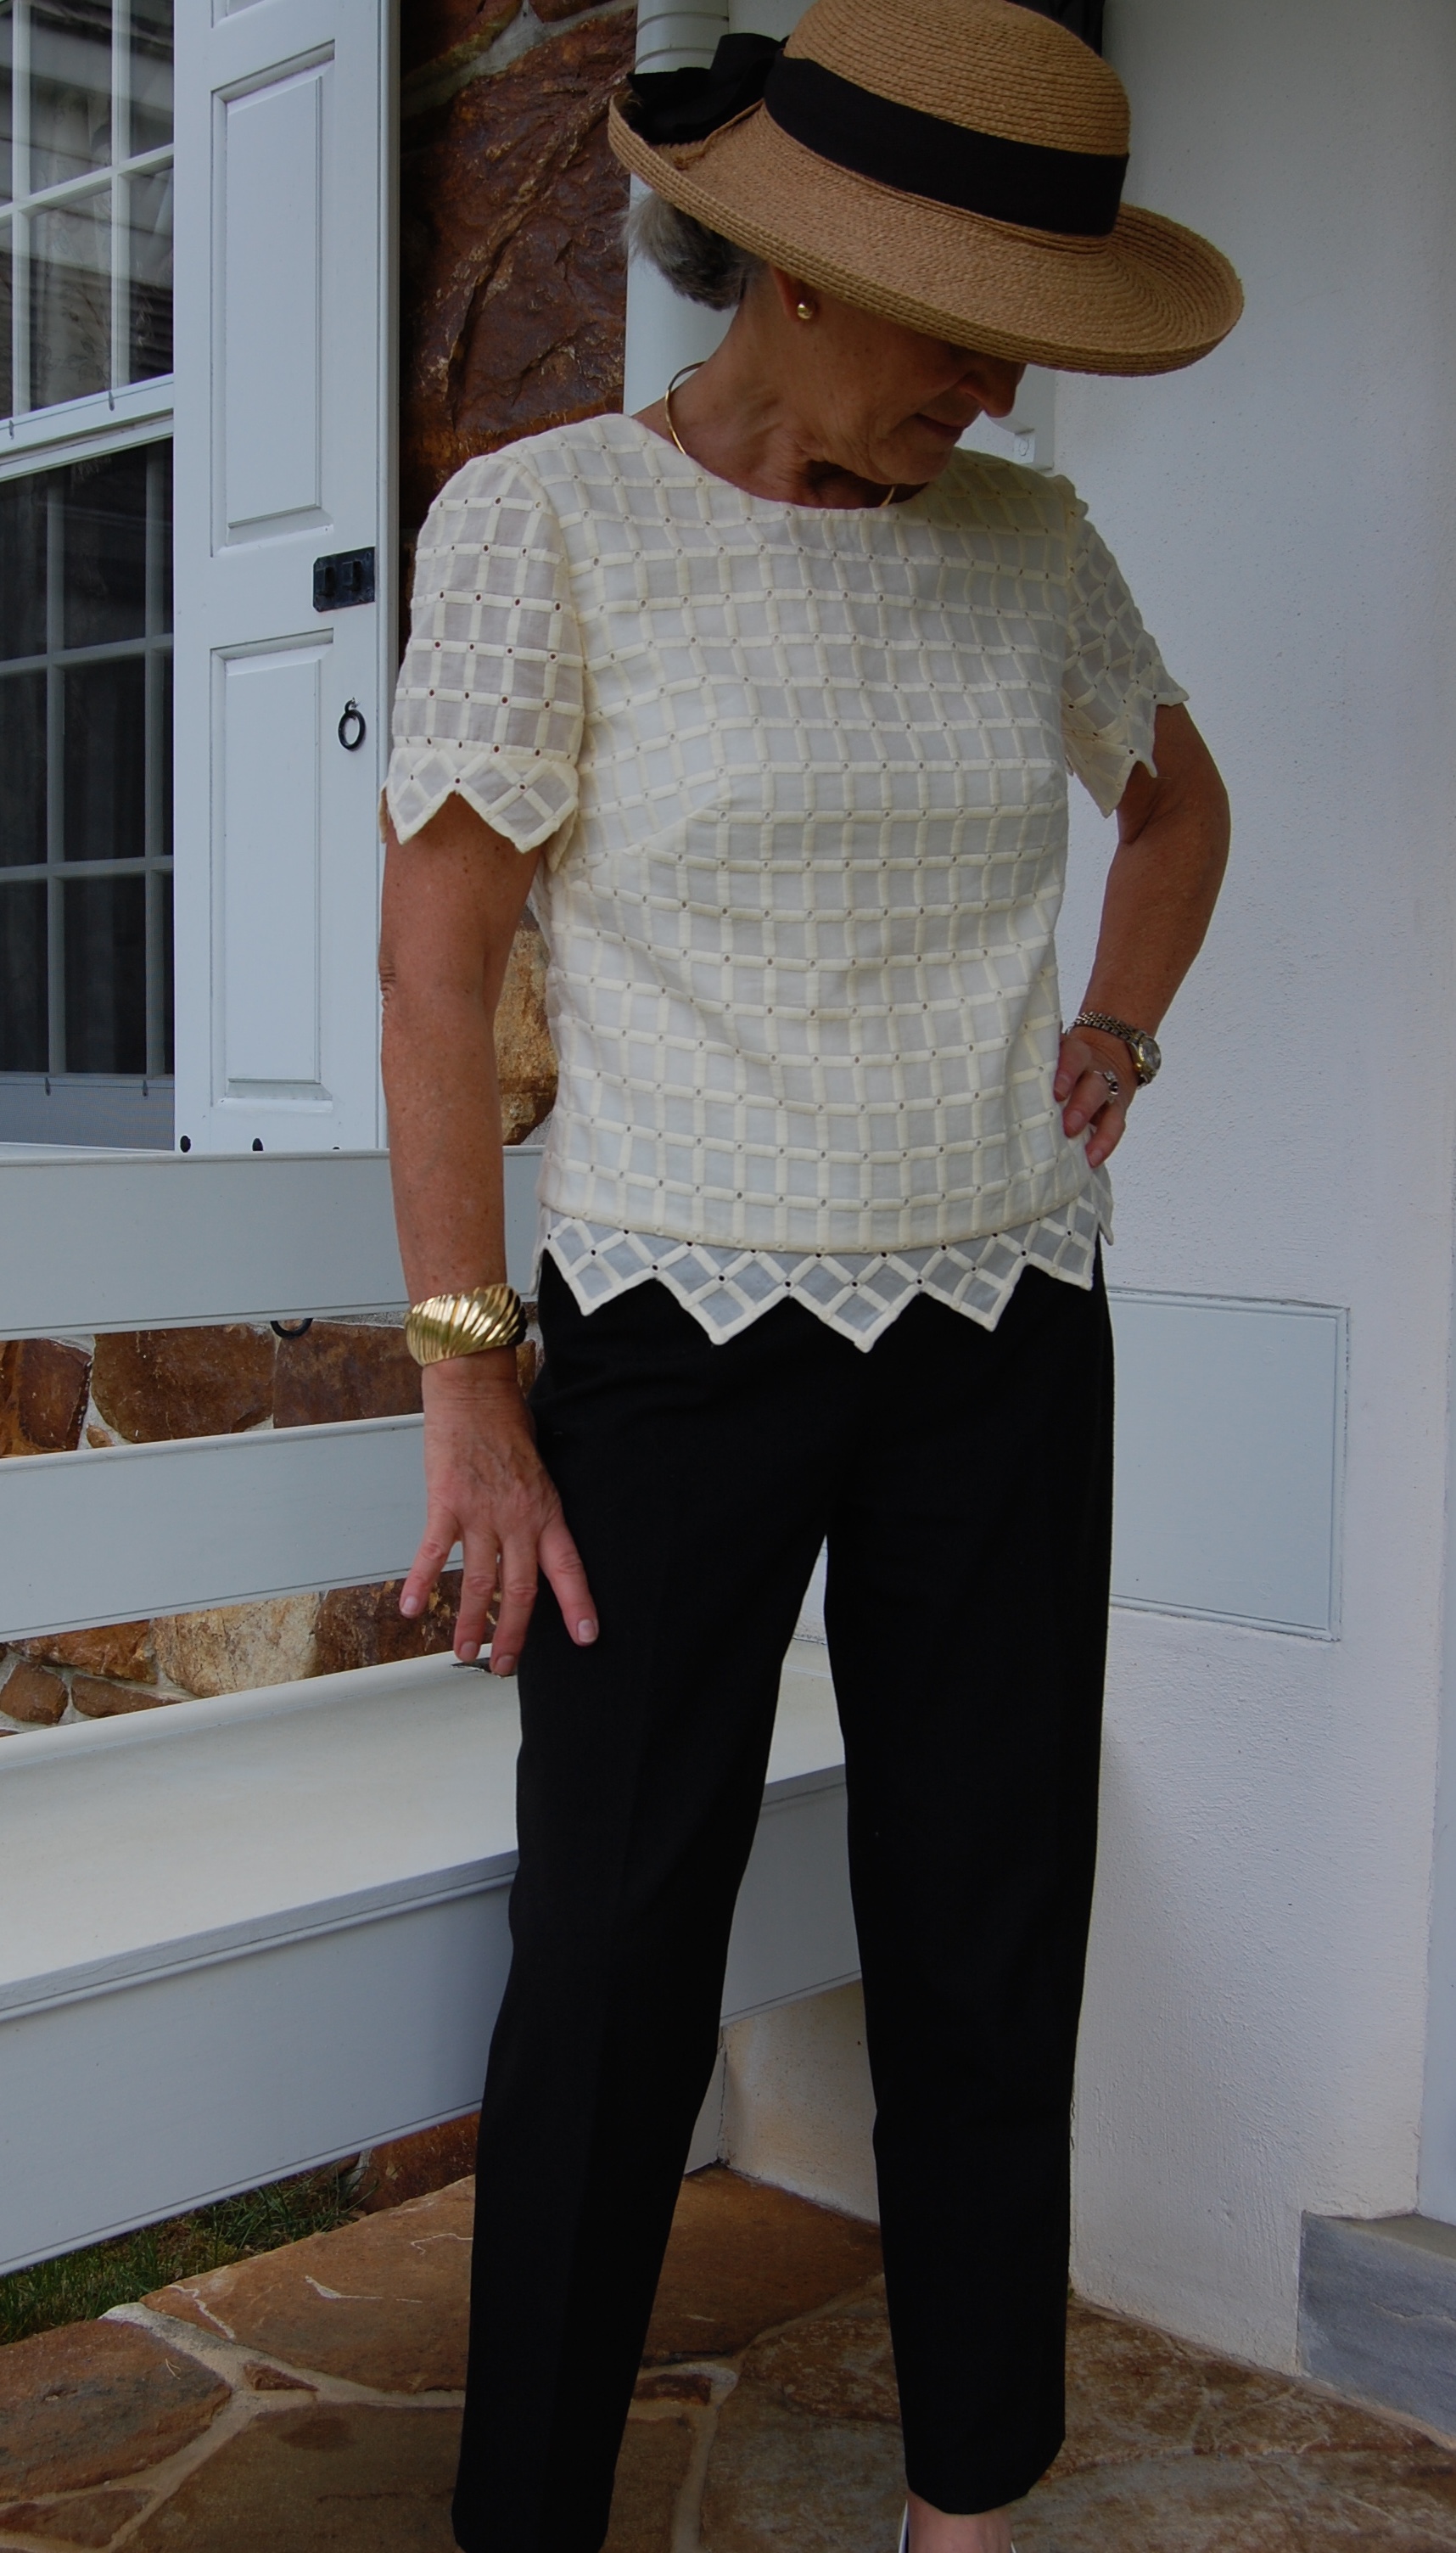
I have so many vintage linens in my collection, that it is difficult to narrow down my focus, but here are four that just may see the sewing shears this year:
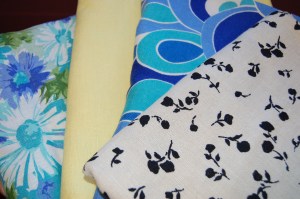
These are all vintage Moygashel linen.
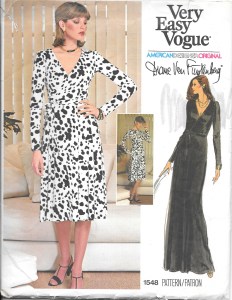
This vintage, authentic Diane von Furstenberg cotton blend knit has been calling my name for quite some time.
Hopefully this fabric and this pattern will finally find each other this year!
The sewing year will no doubt end next Fall with a return to wool. The polka dotted wool is similar to the wool in a dress I made in Fall of 2015. It is from Mendel Goldberg Fabrics in NYC.
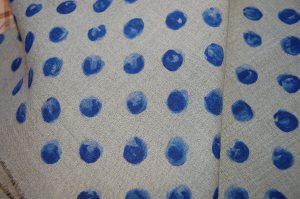
As one who loves polka dots, I could not pass up this wool/silk blend fabric.
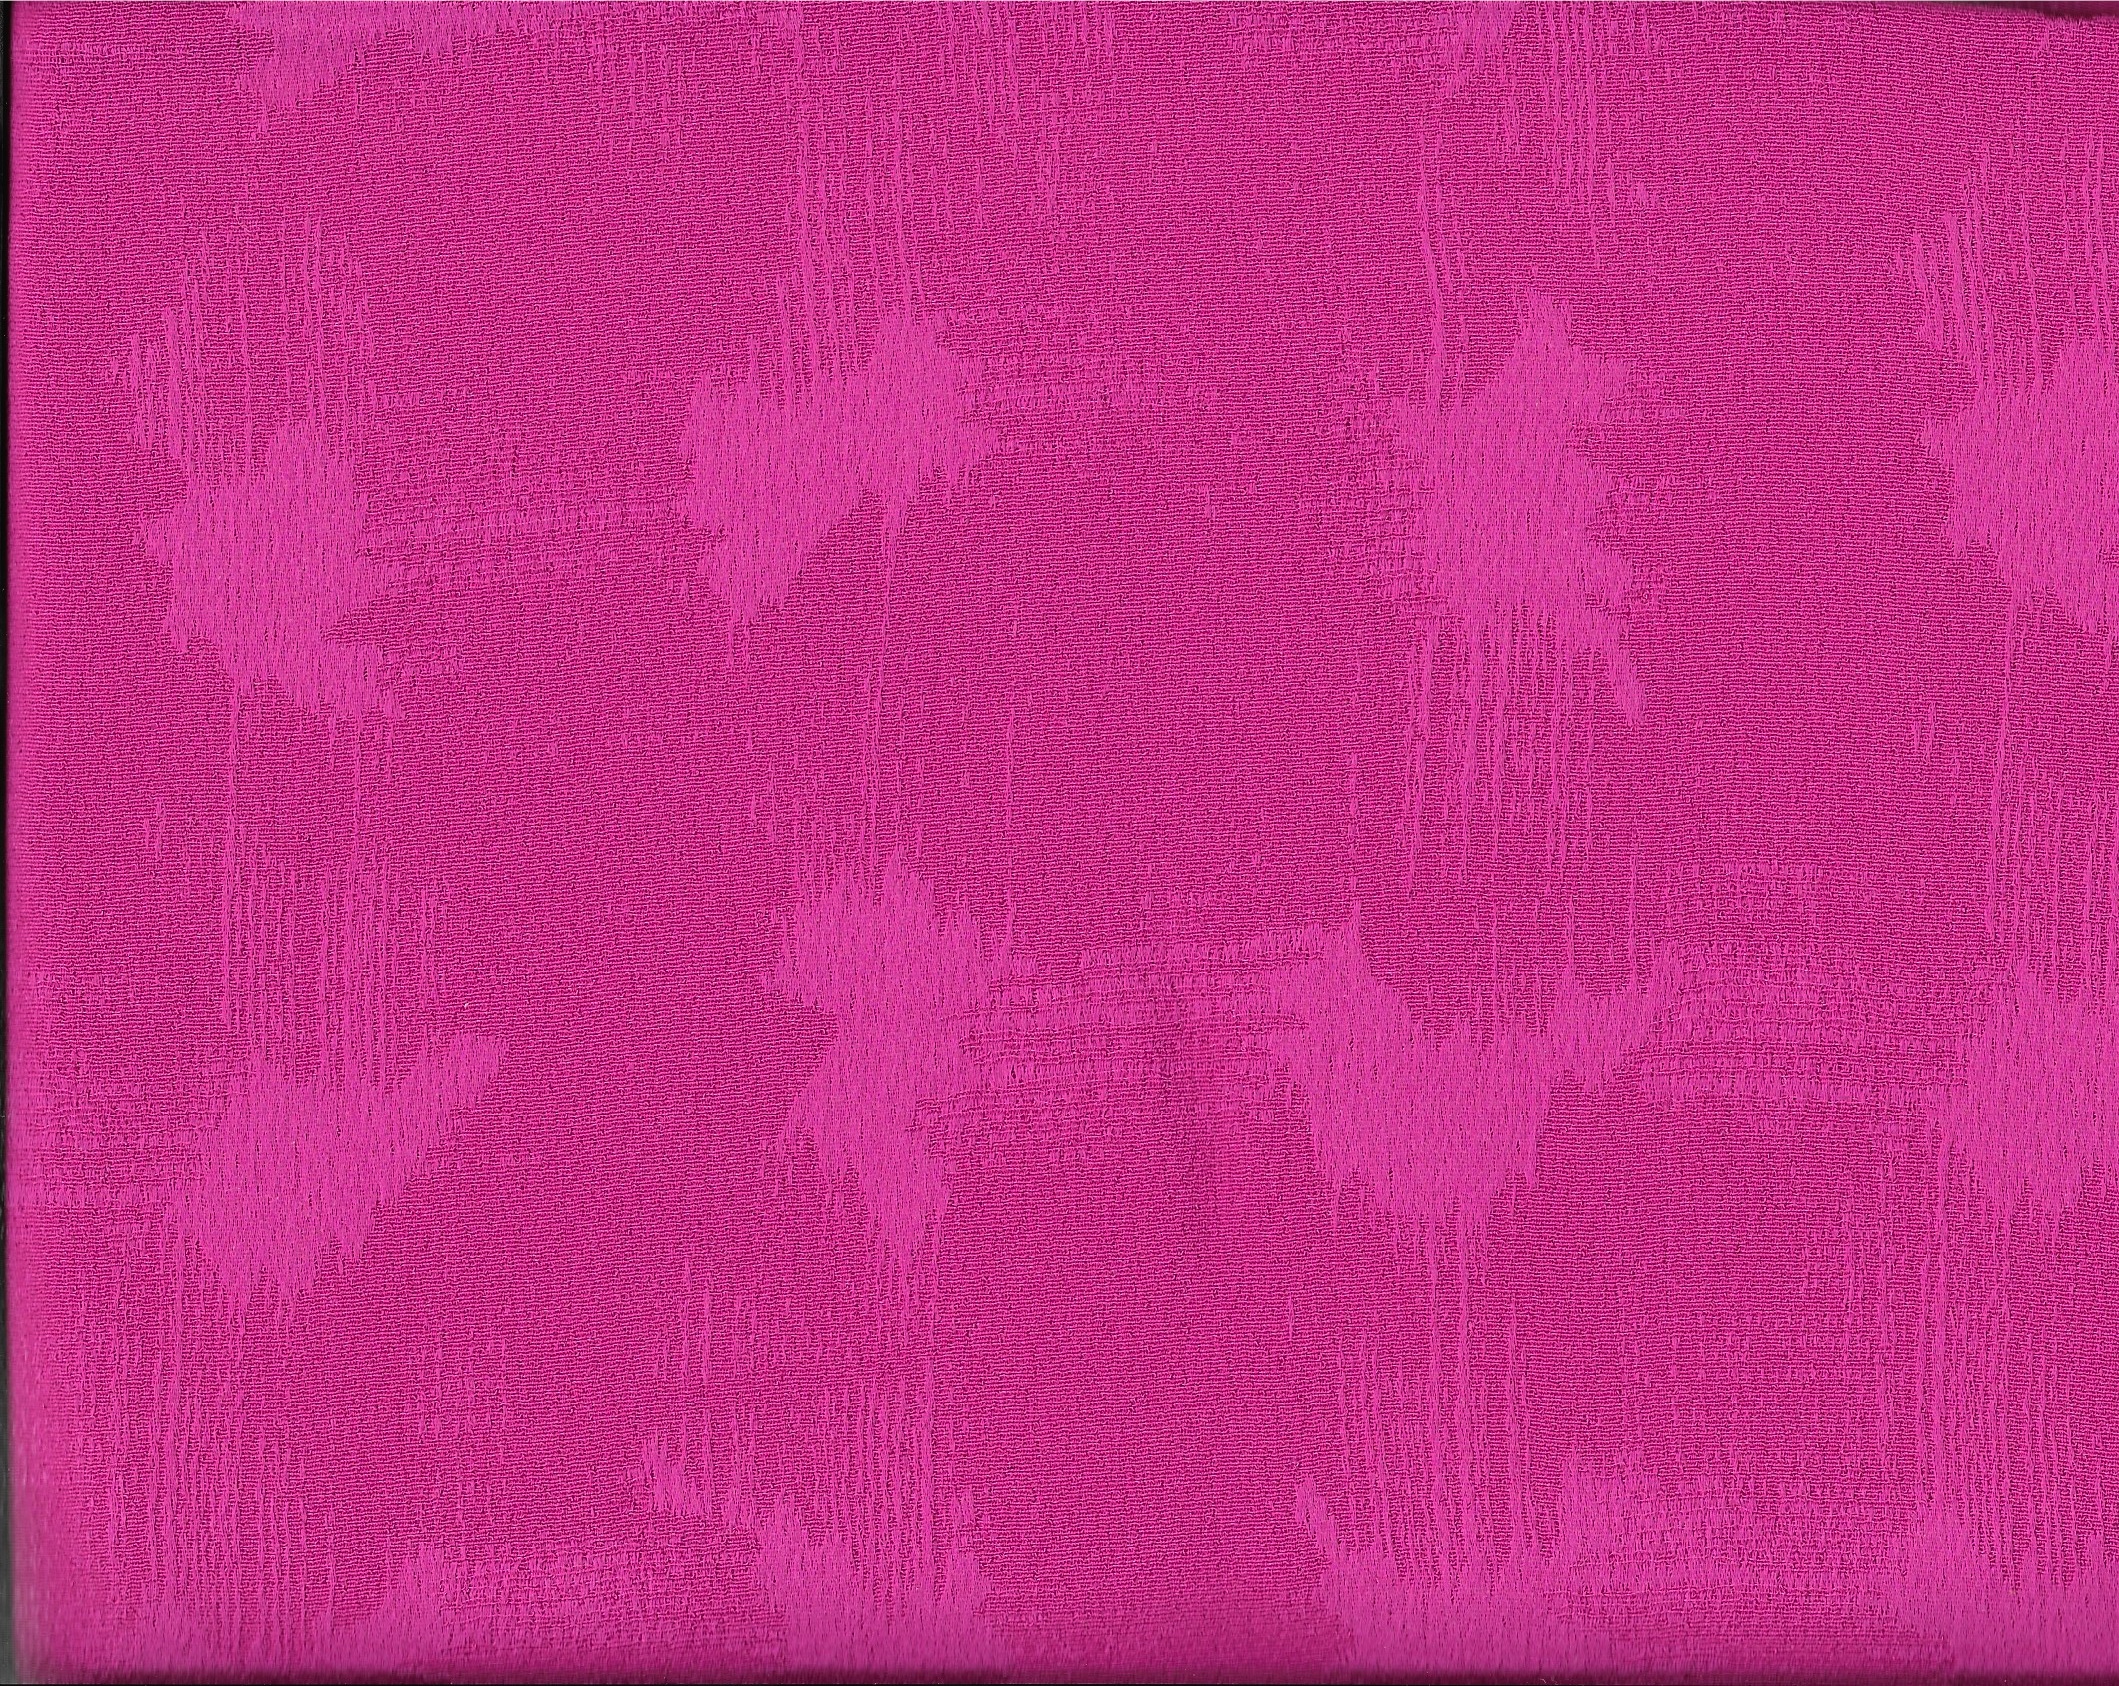
When I purchased it, several swatches of boucle were in the package – and I was in a swoon over this blue and pink sample:
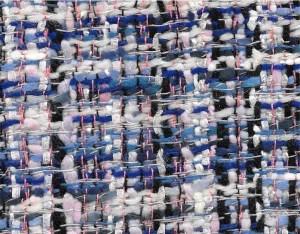
How wonderful that Pantone’s two “colors of the year” – pink and blue – are the colorway for this boucle.
Lucky me to open a box on Christmas morning to find 2 yards of it (thank you to my dear children!) – enough for another Classic French Jacket.
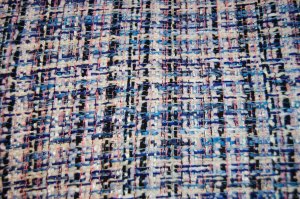
Two full yards of this glorious boucle! What a wonderful gift!
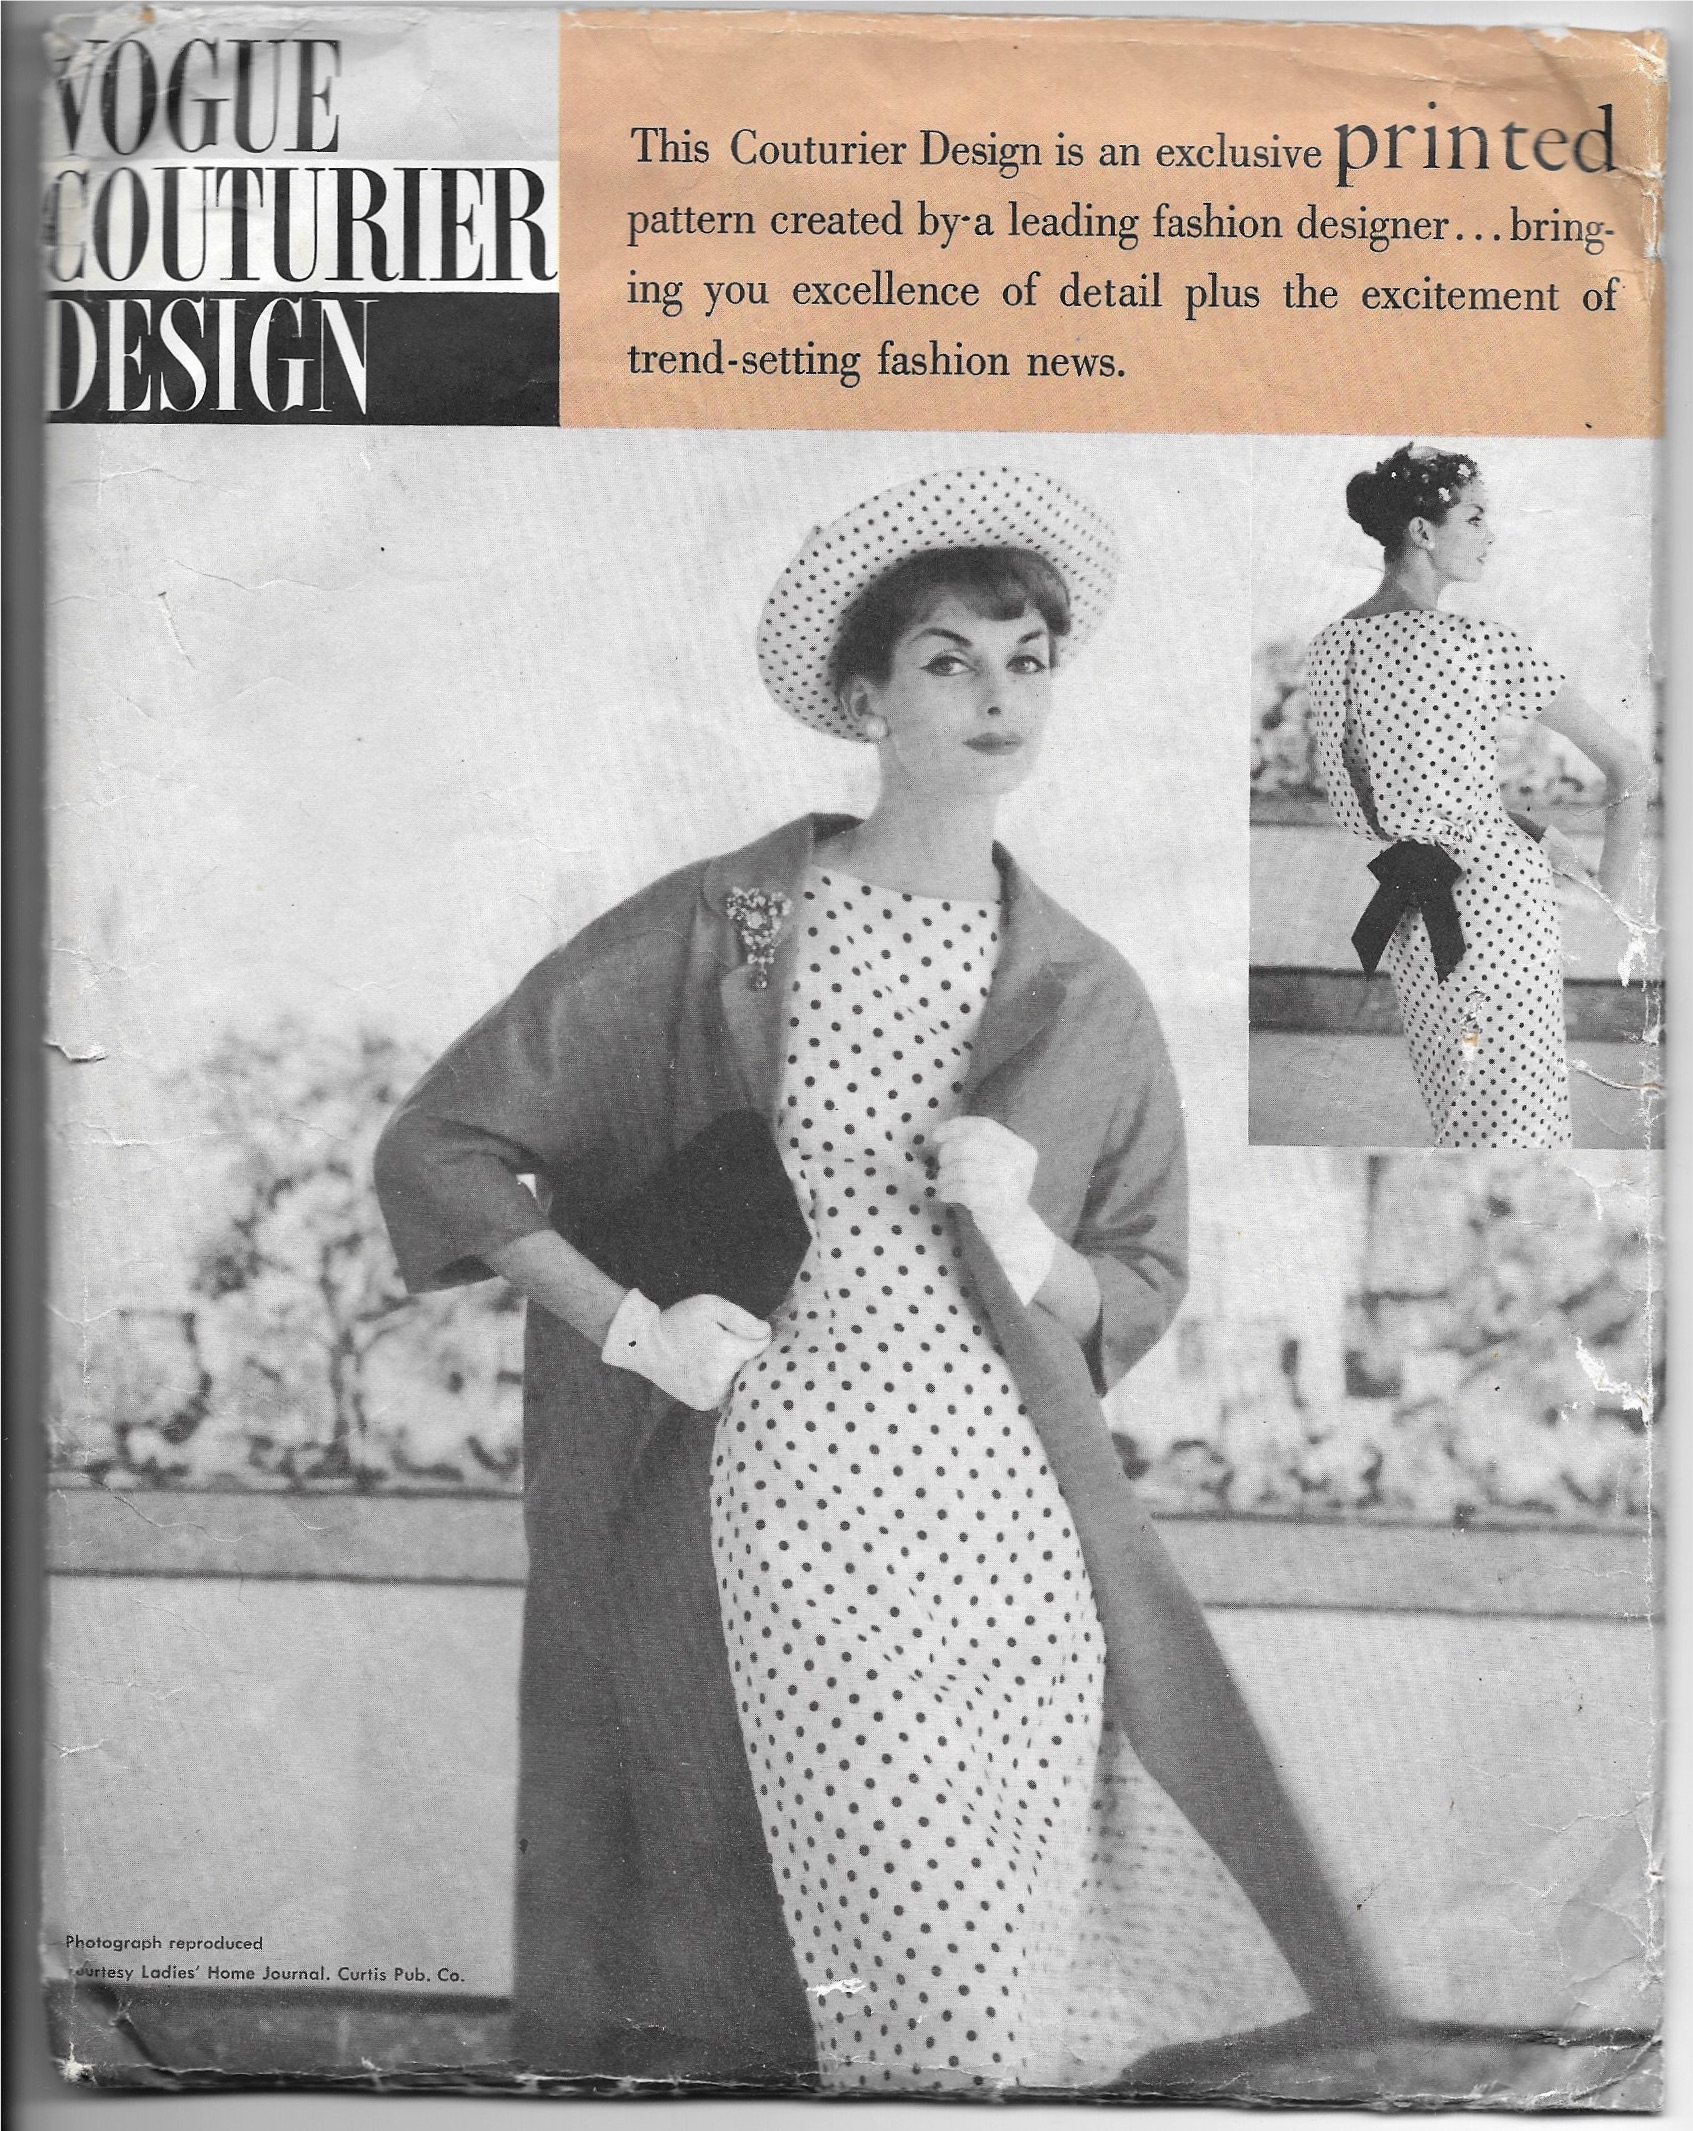
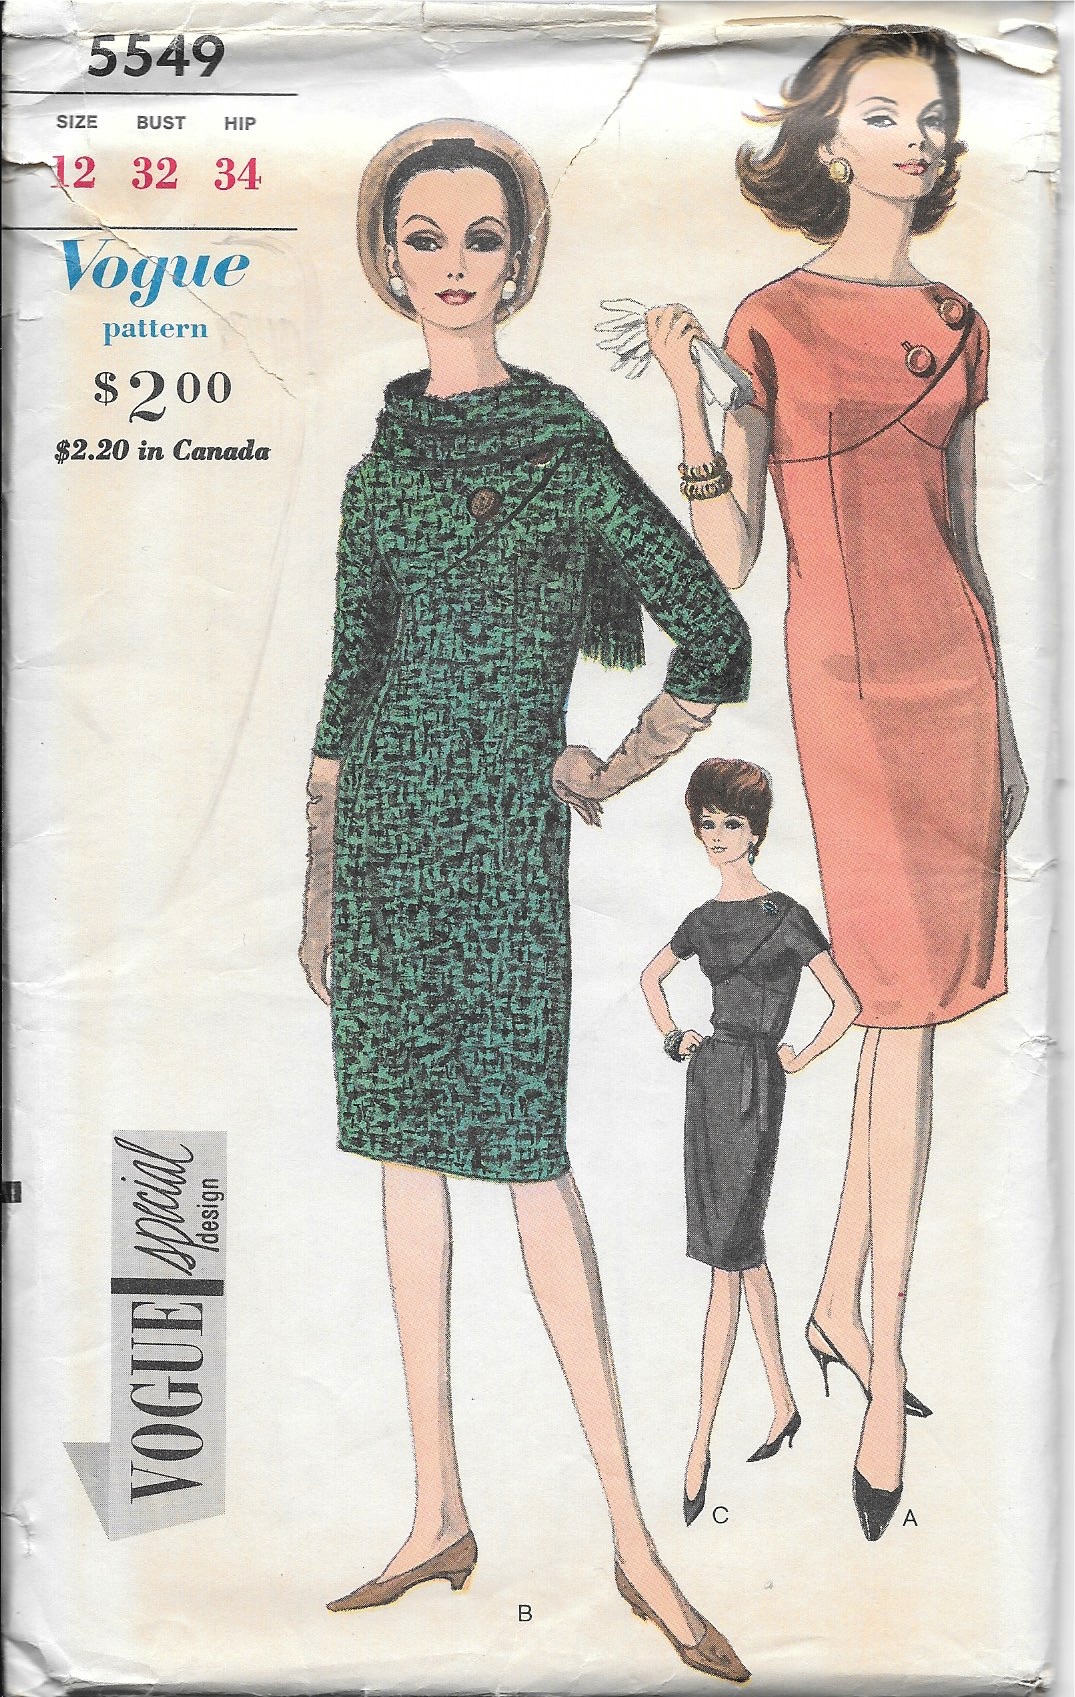
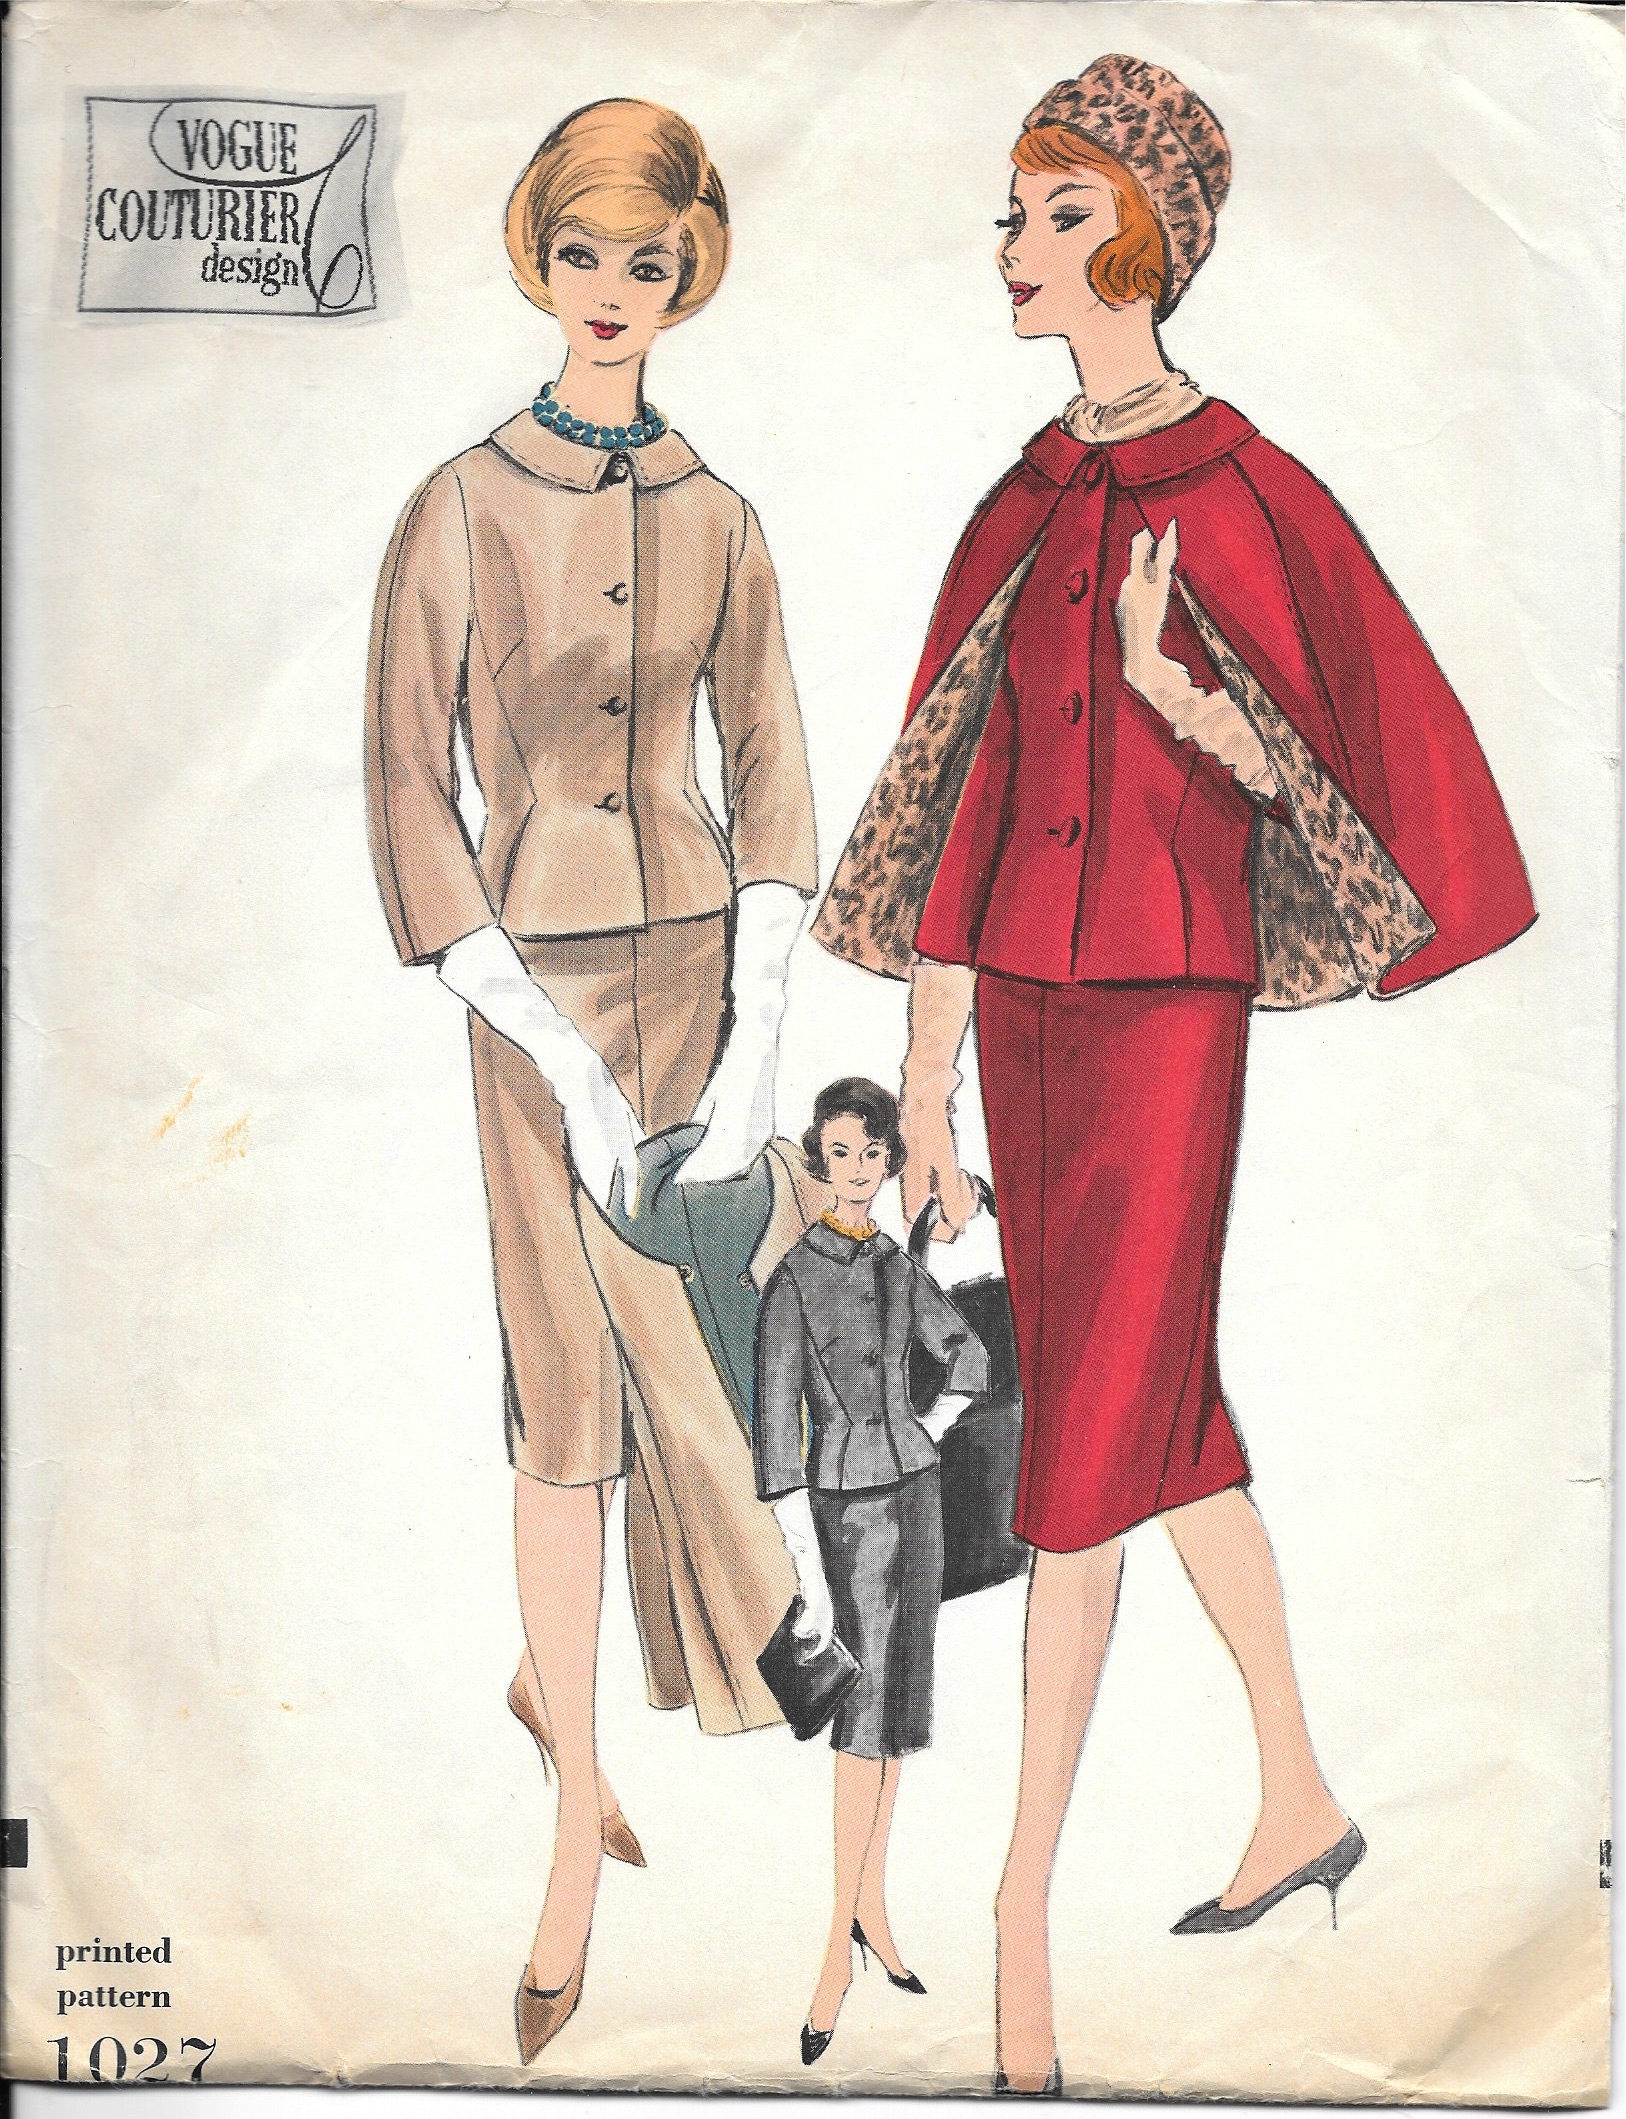
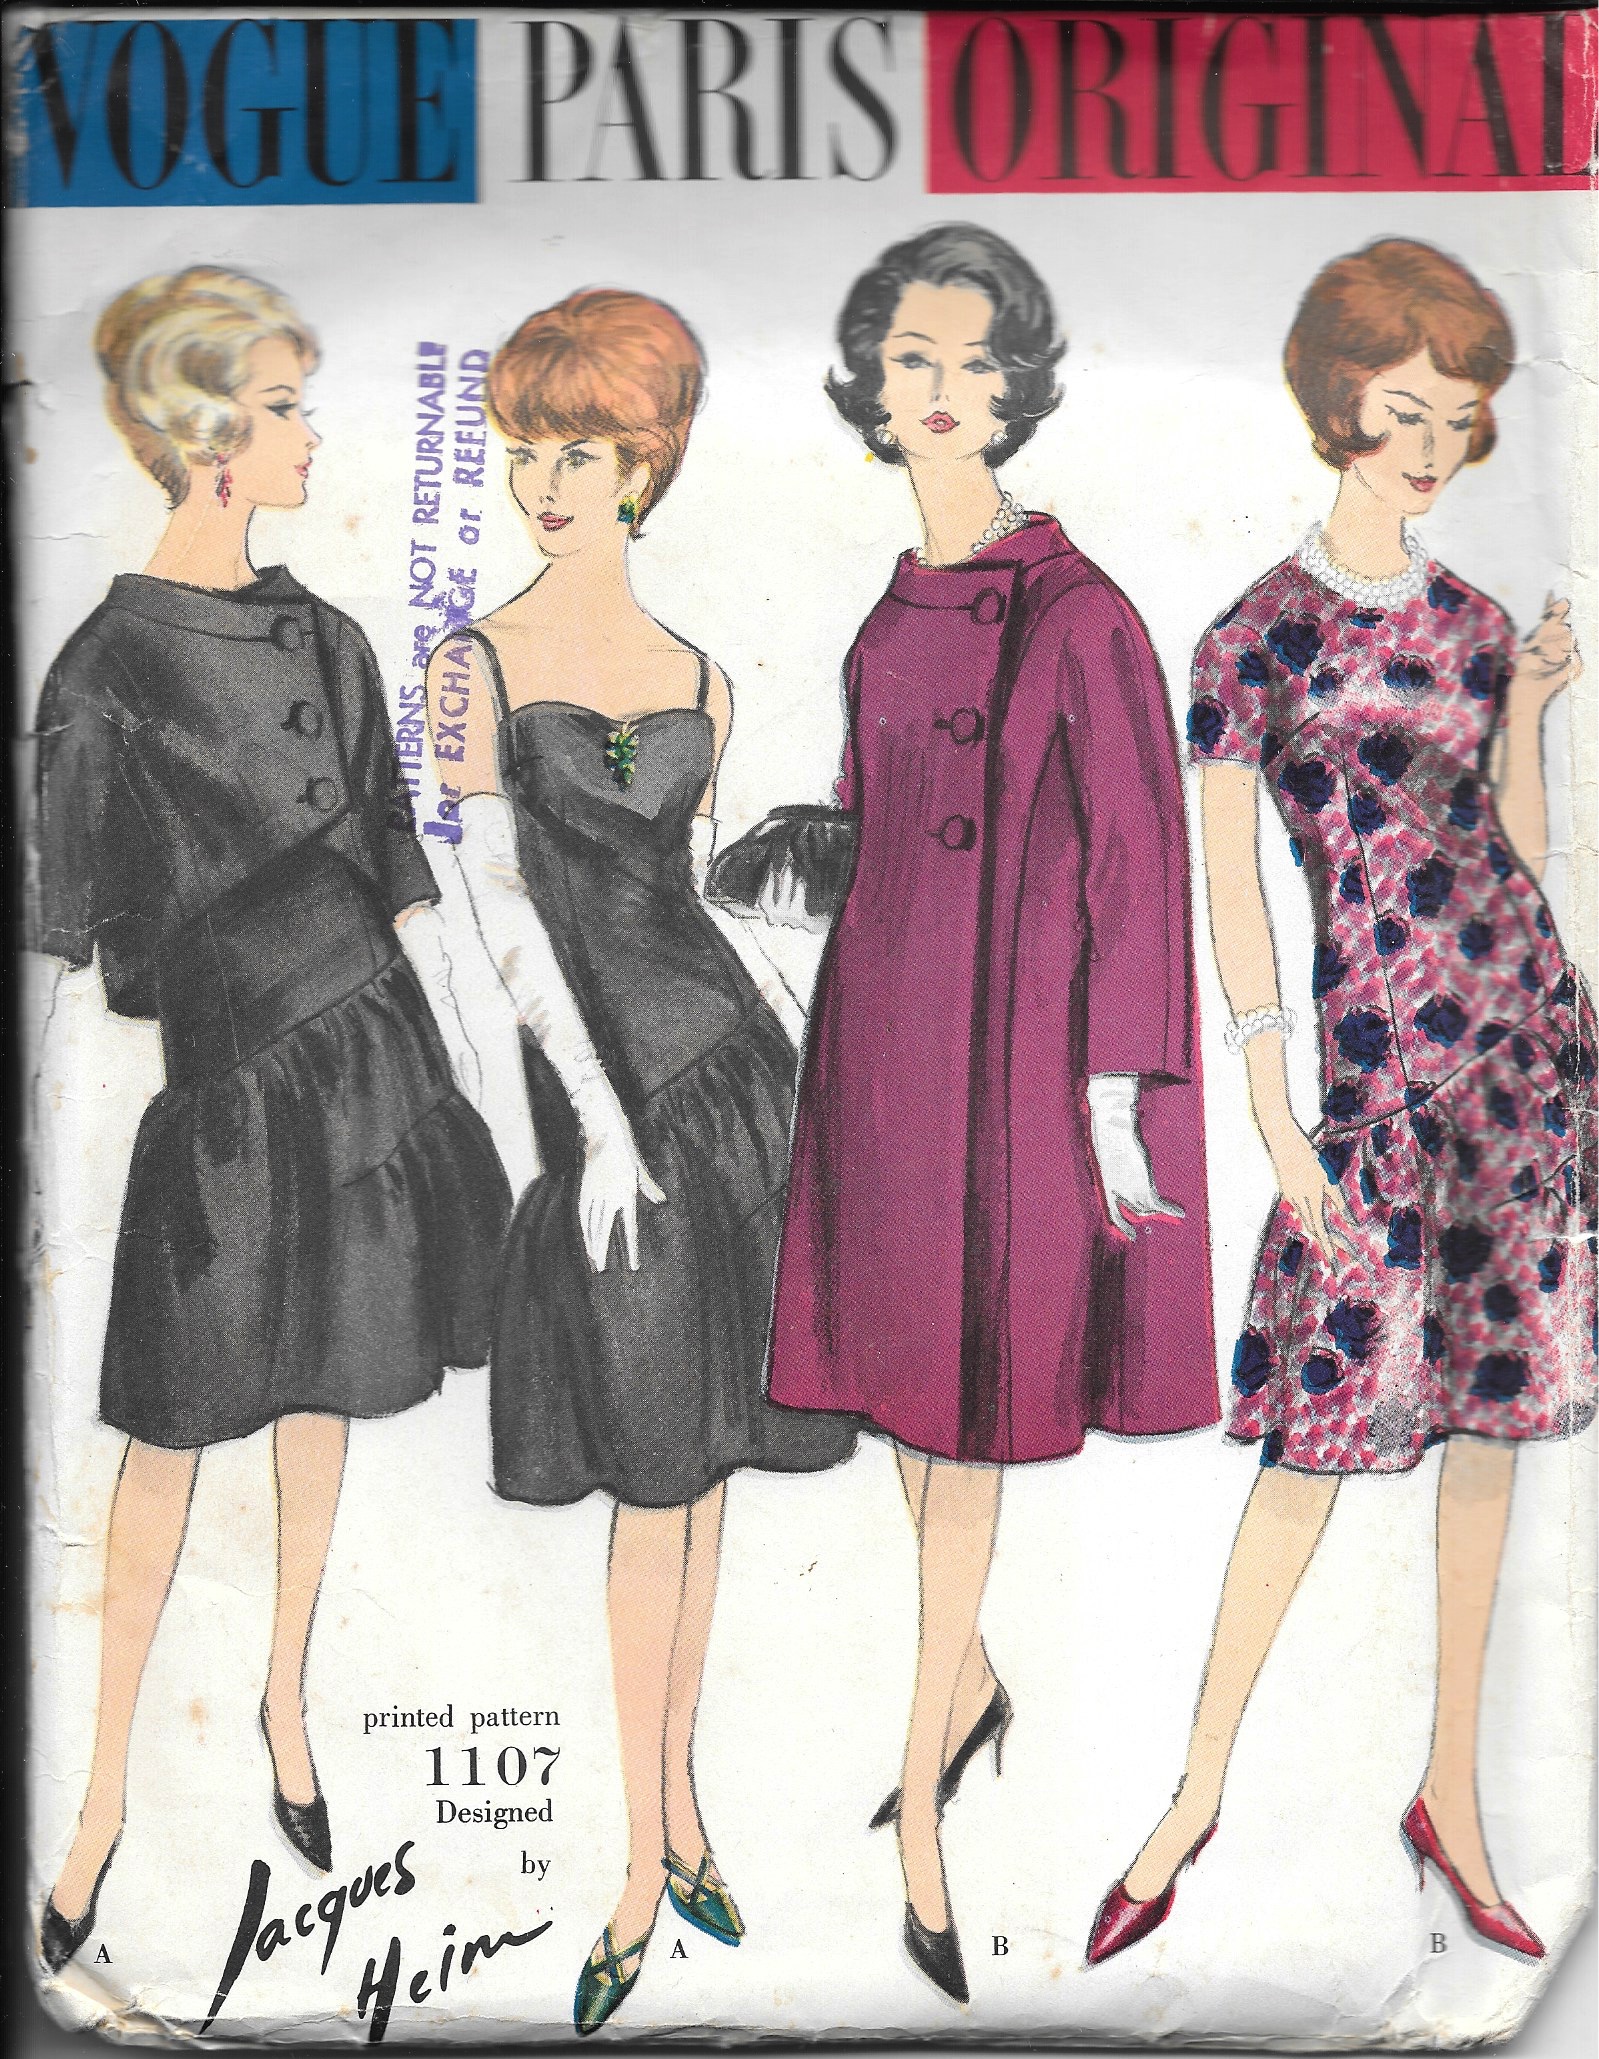
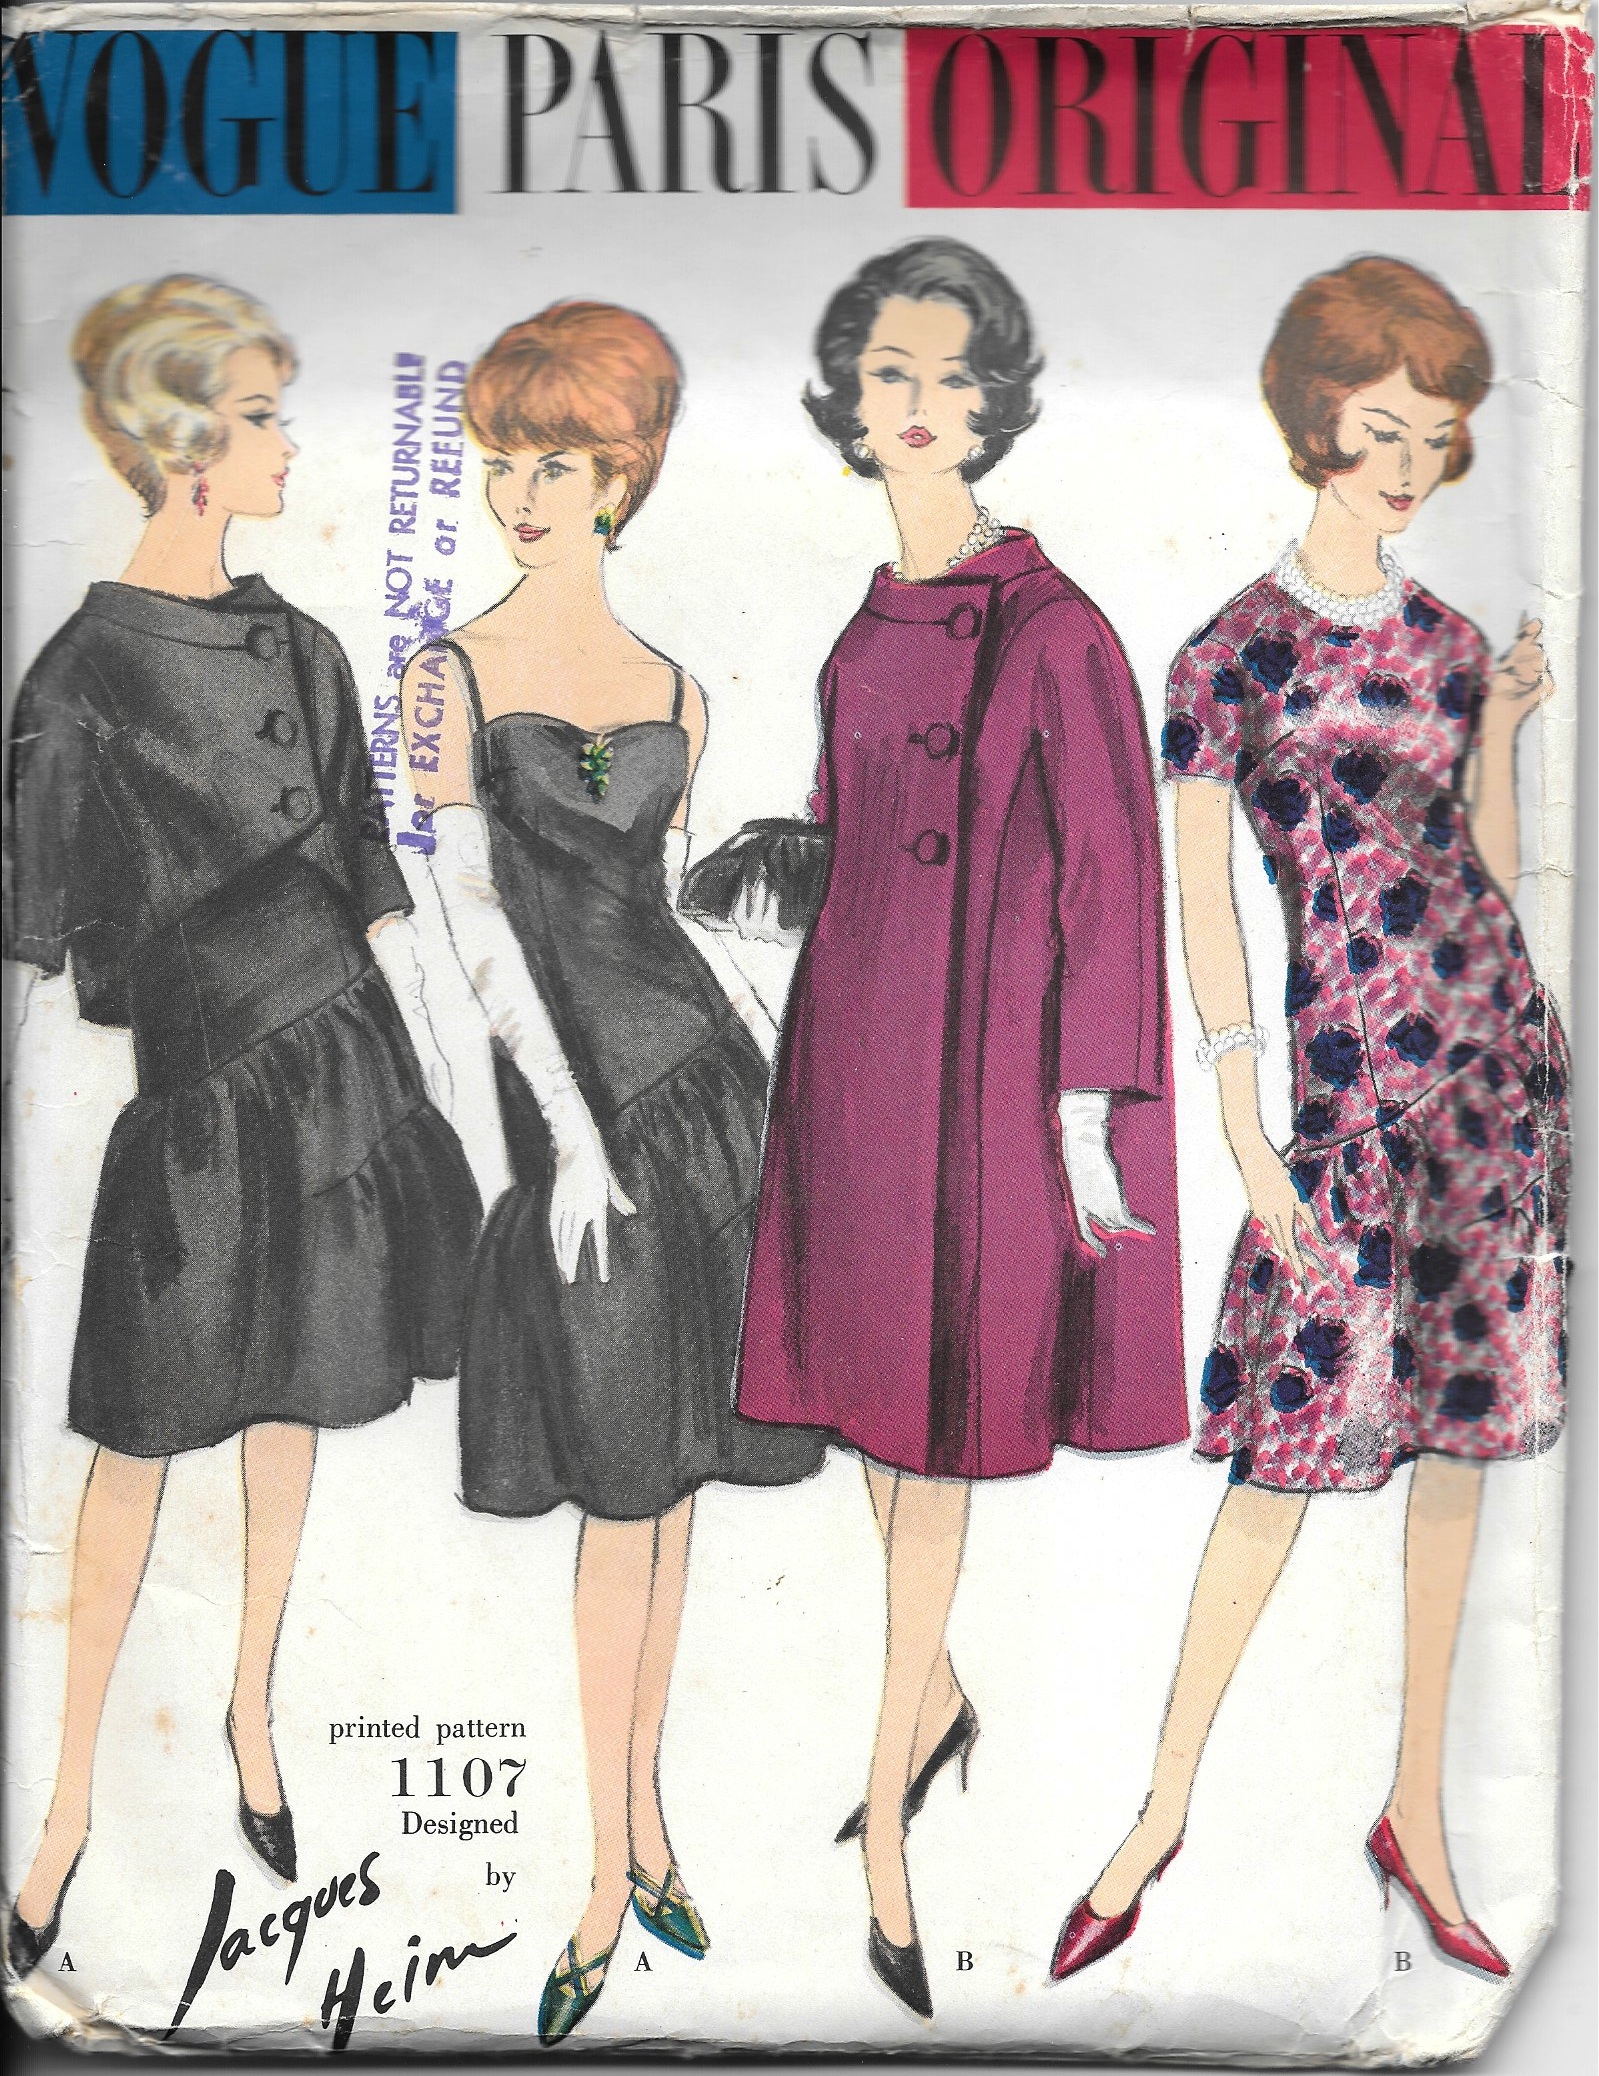
Some of the patterns I might be using this year are all vintage ones that deserve attention. I tidied up the boxes where I keep my pattern collection and these just happened to be some which would NOT go back in silence, so here they are with all their wily temptations!
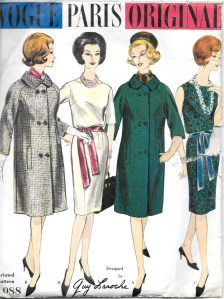
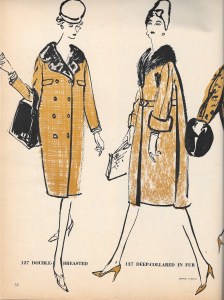
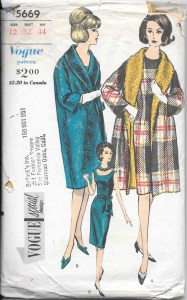
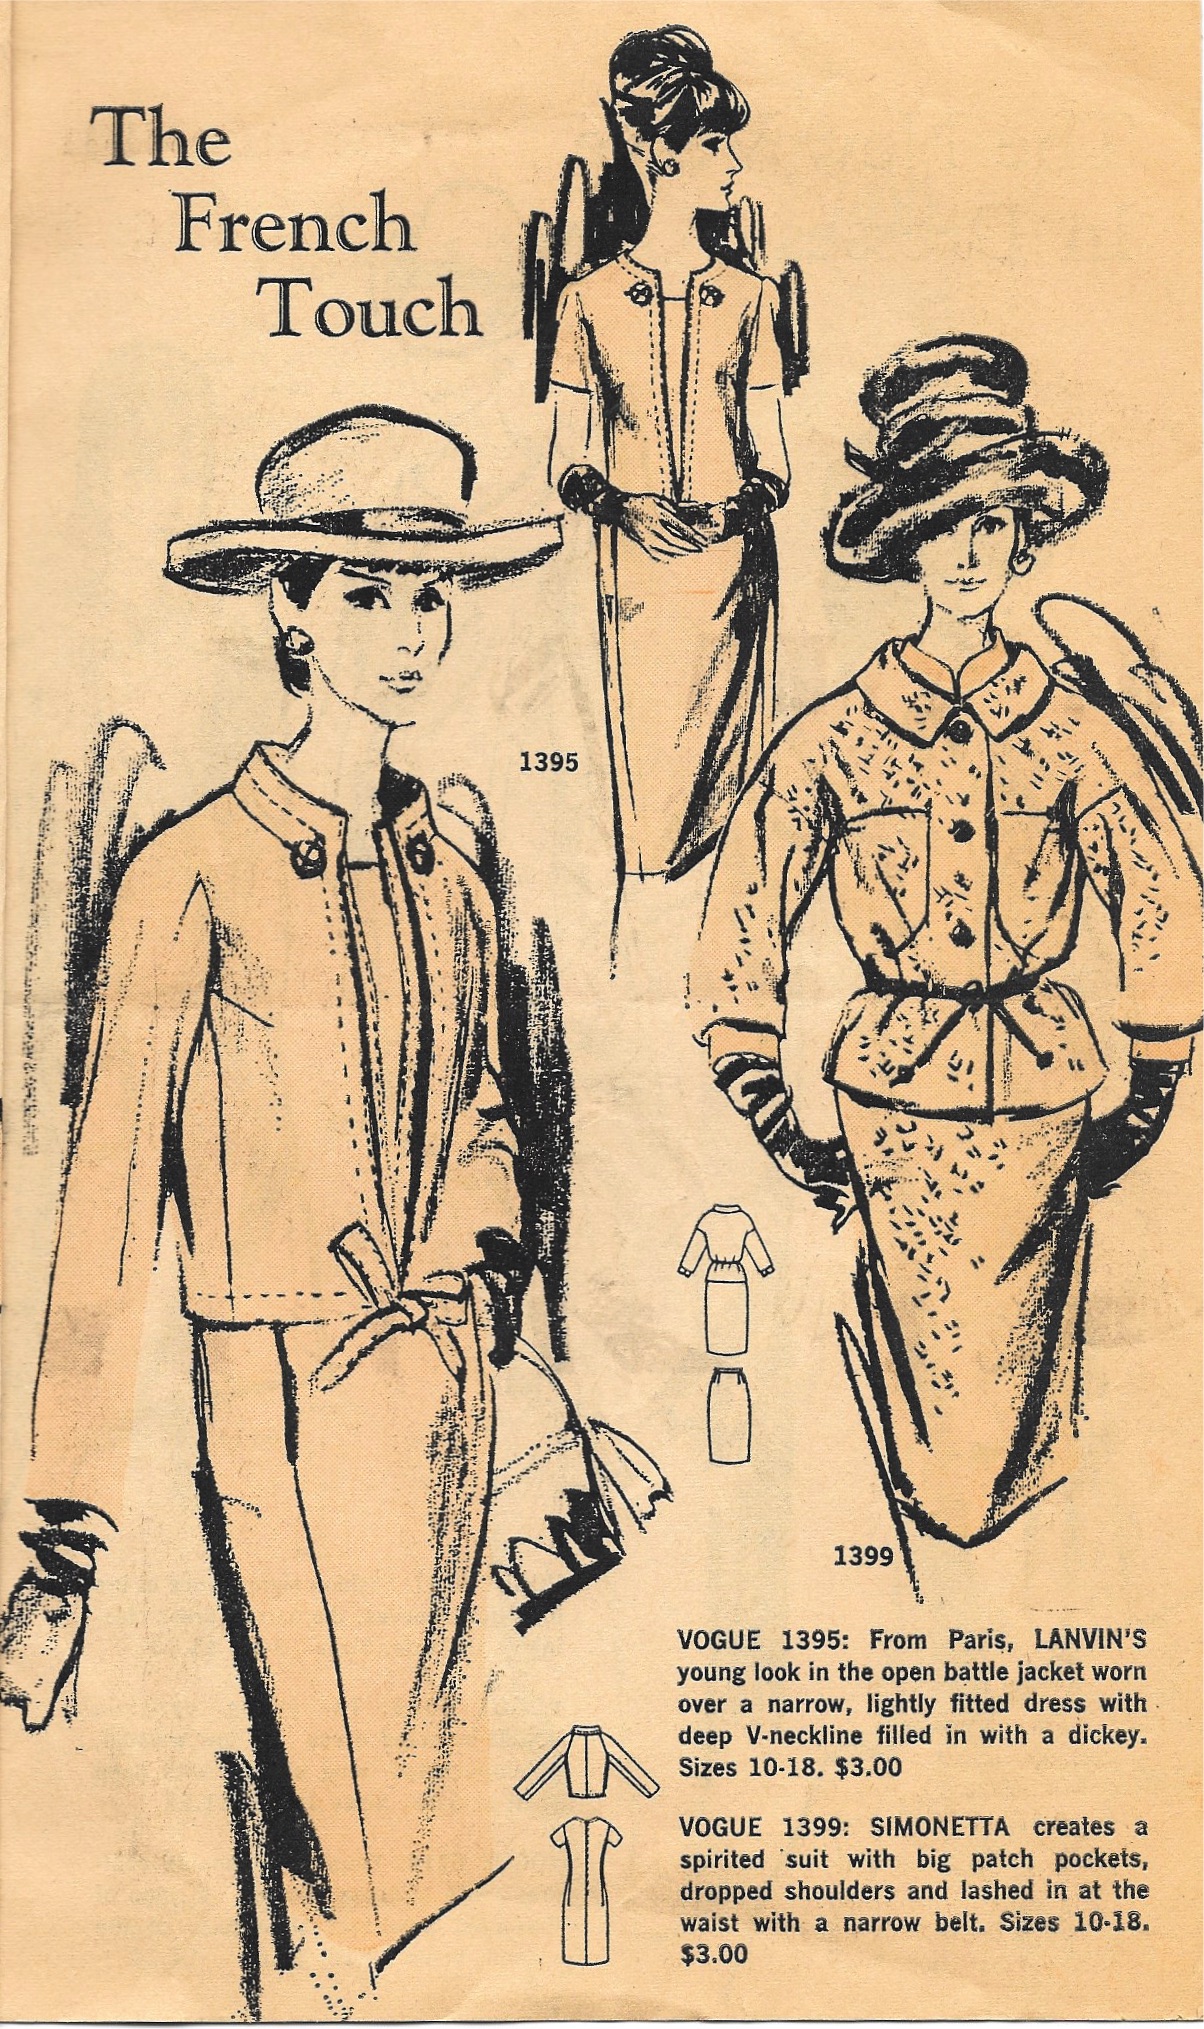
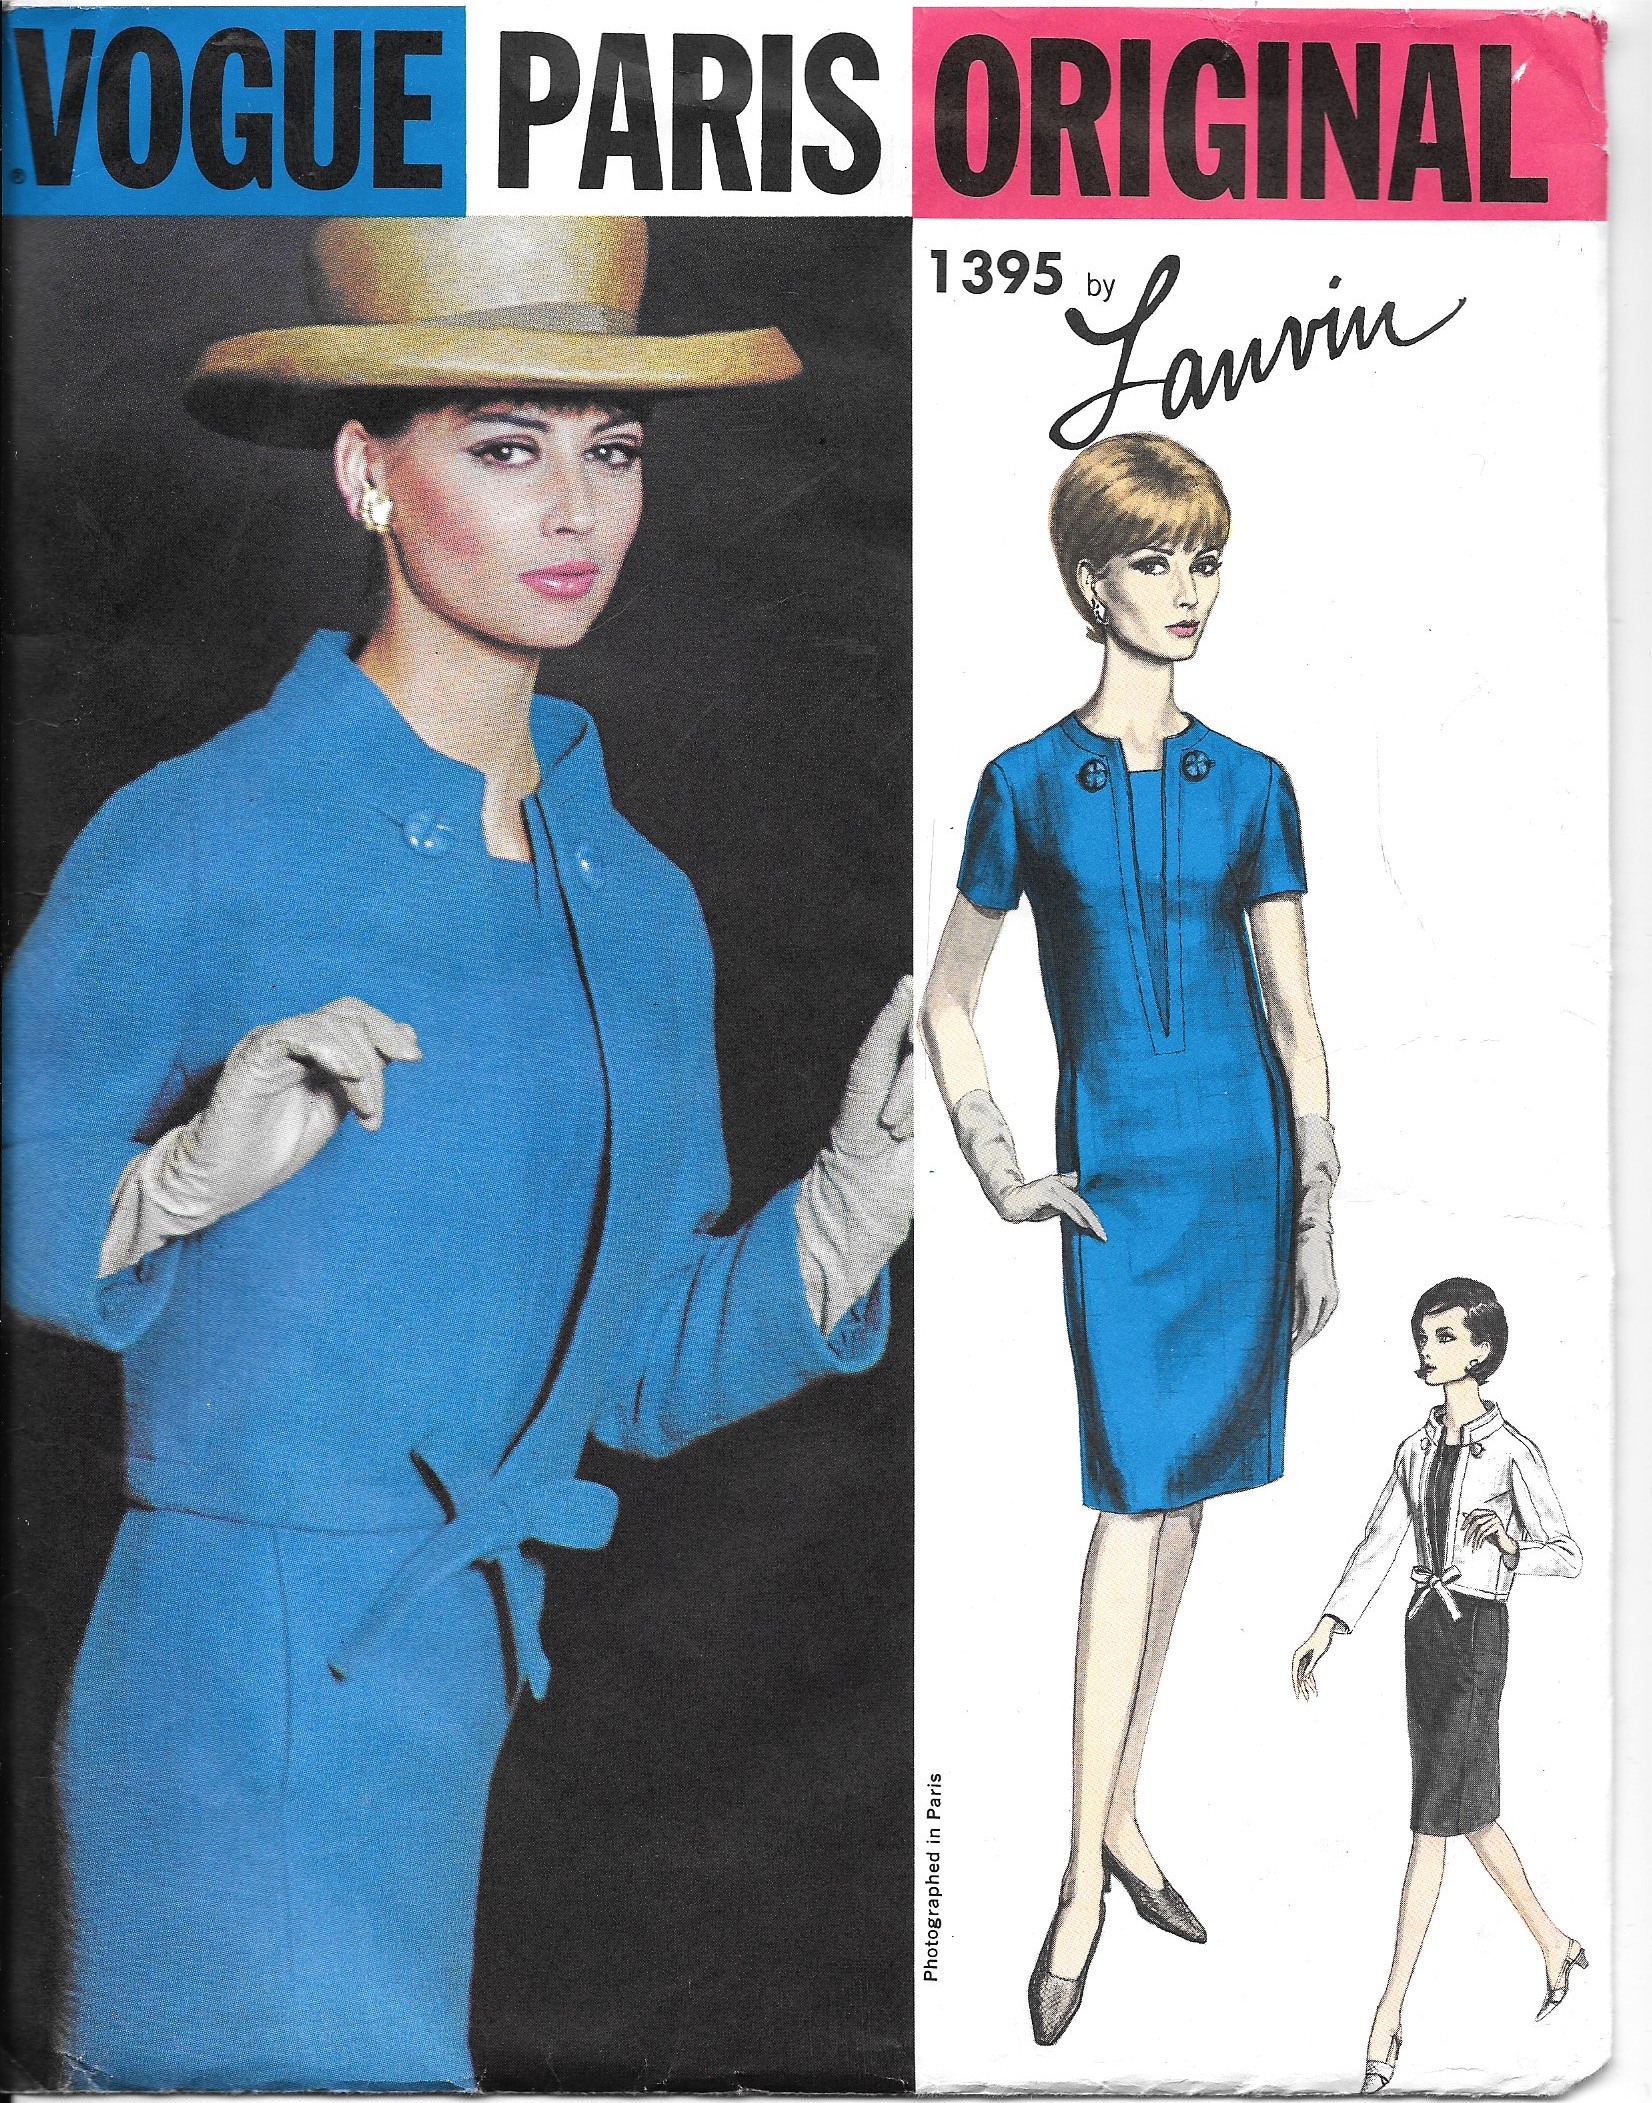
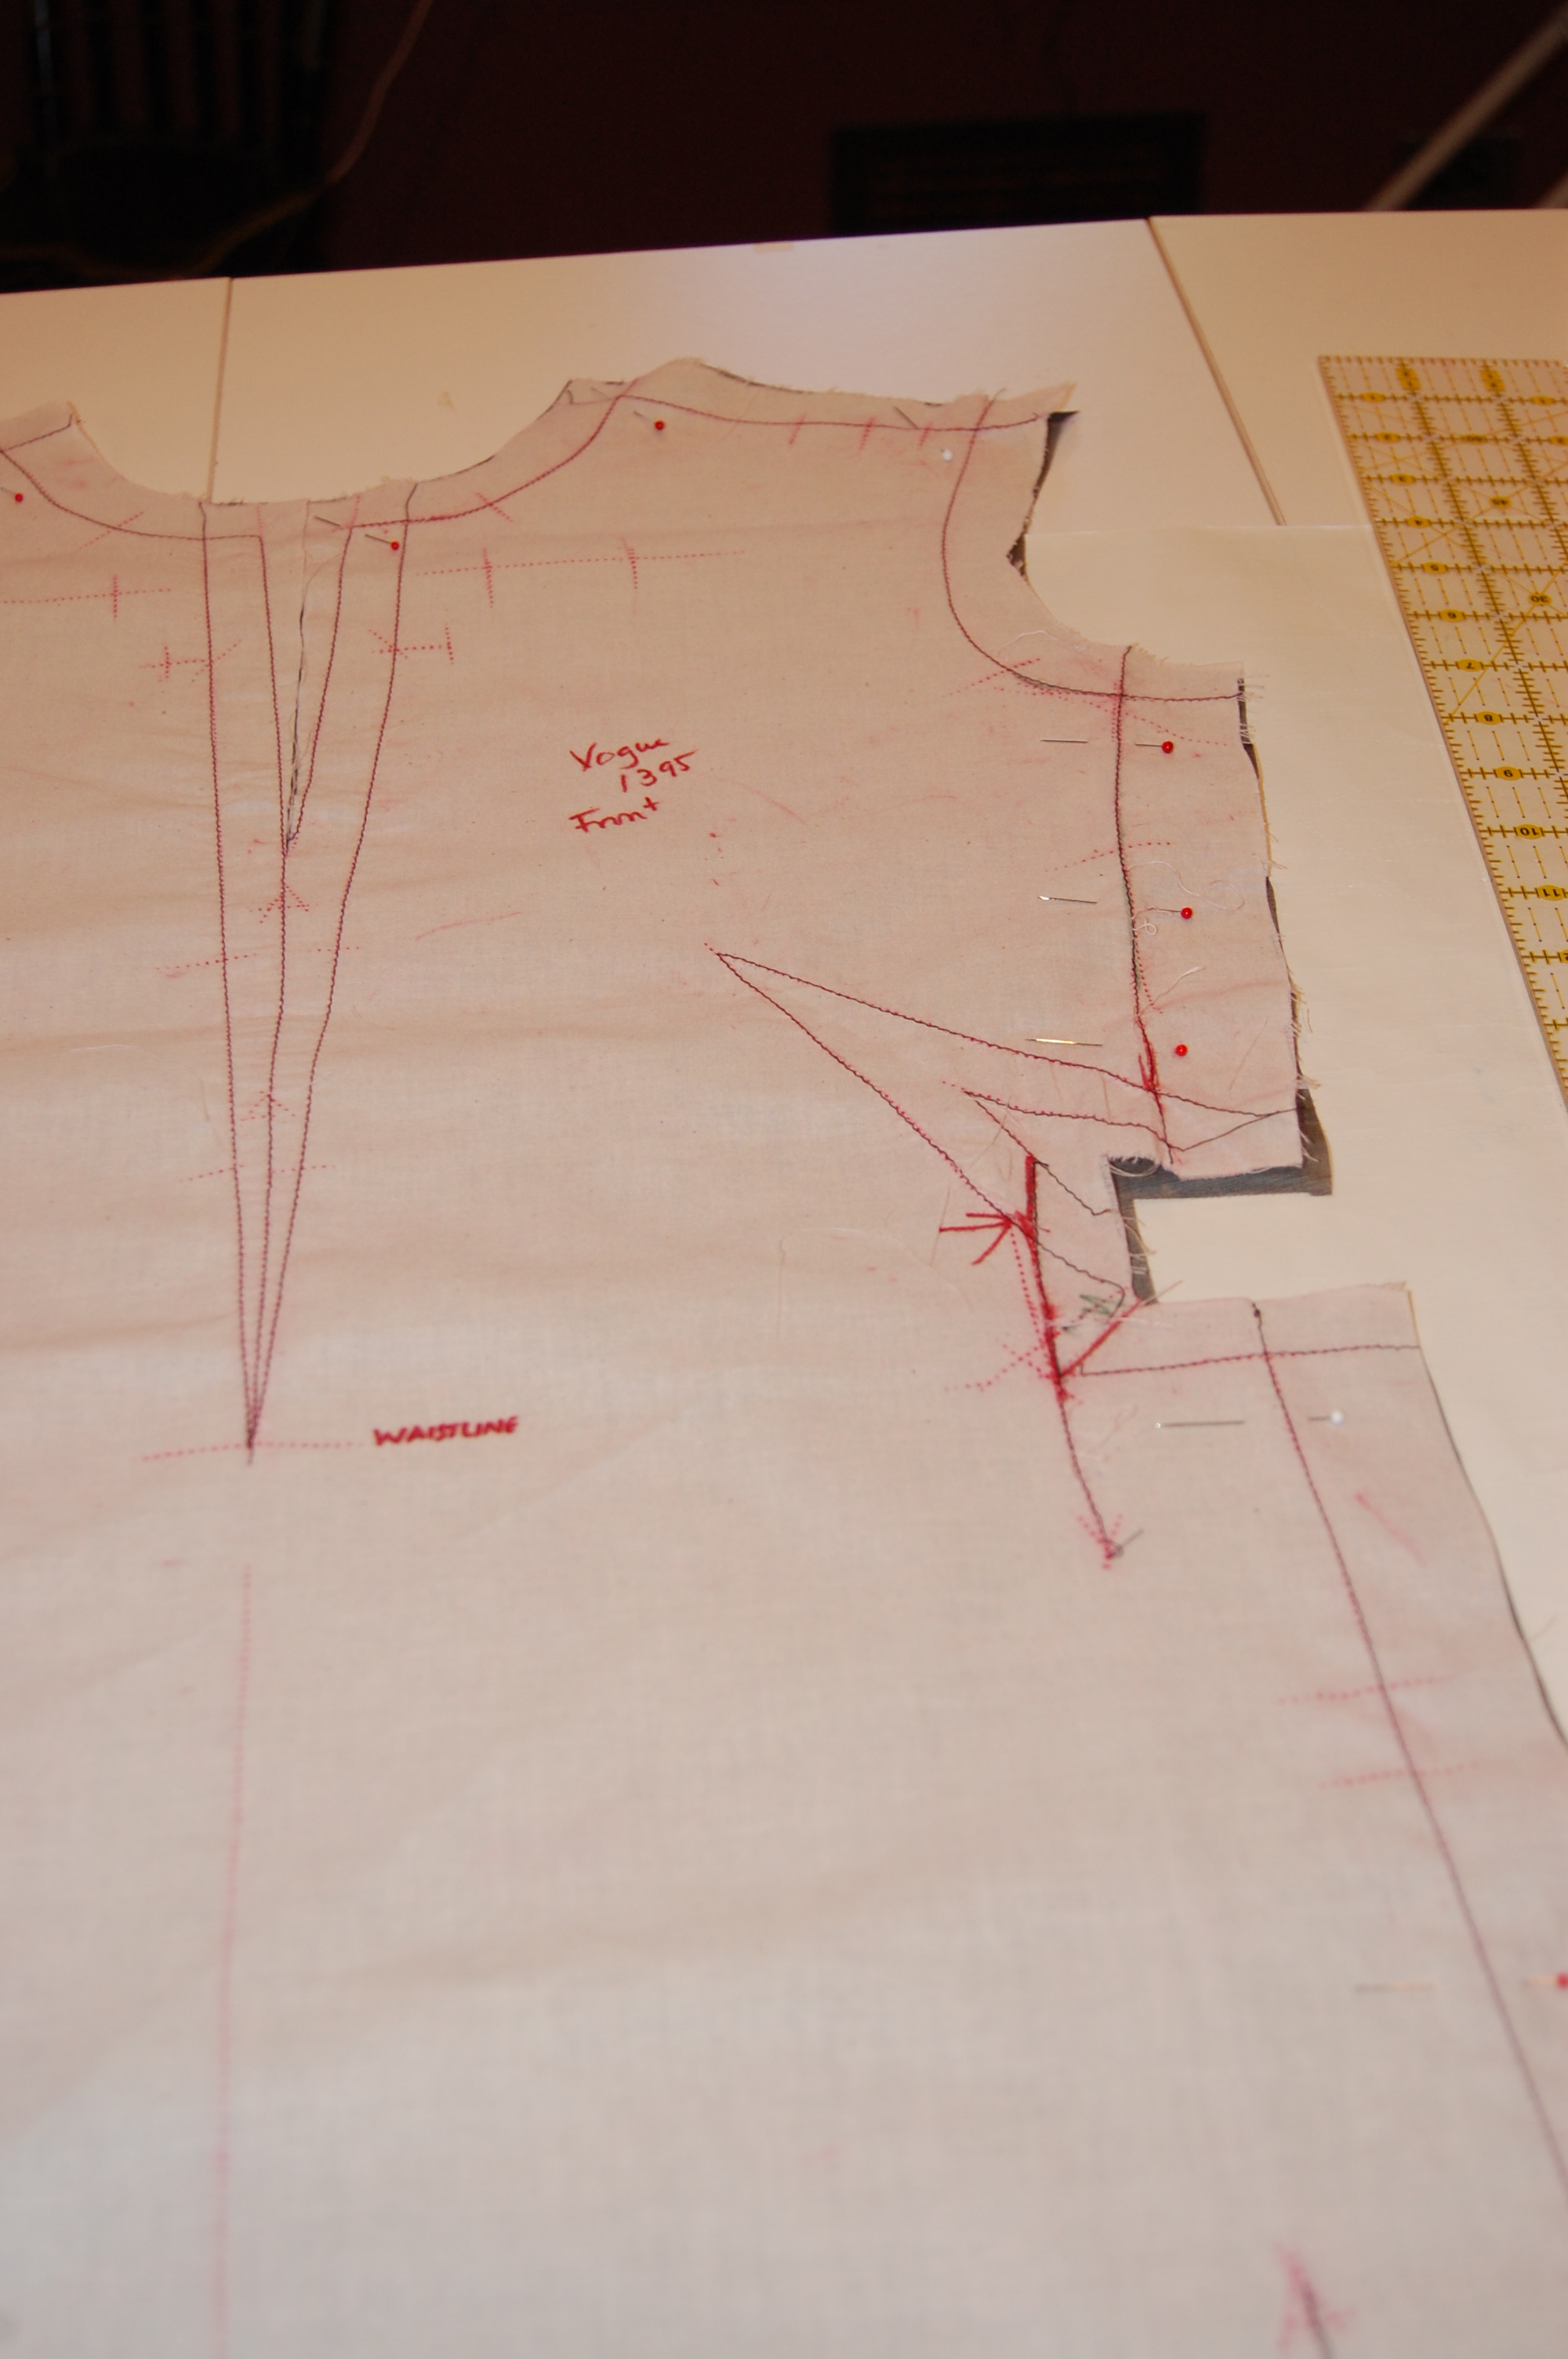
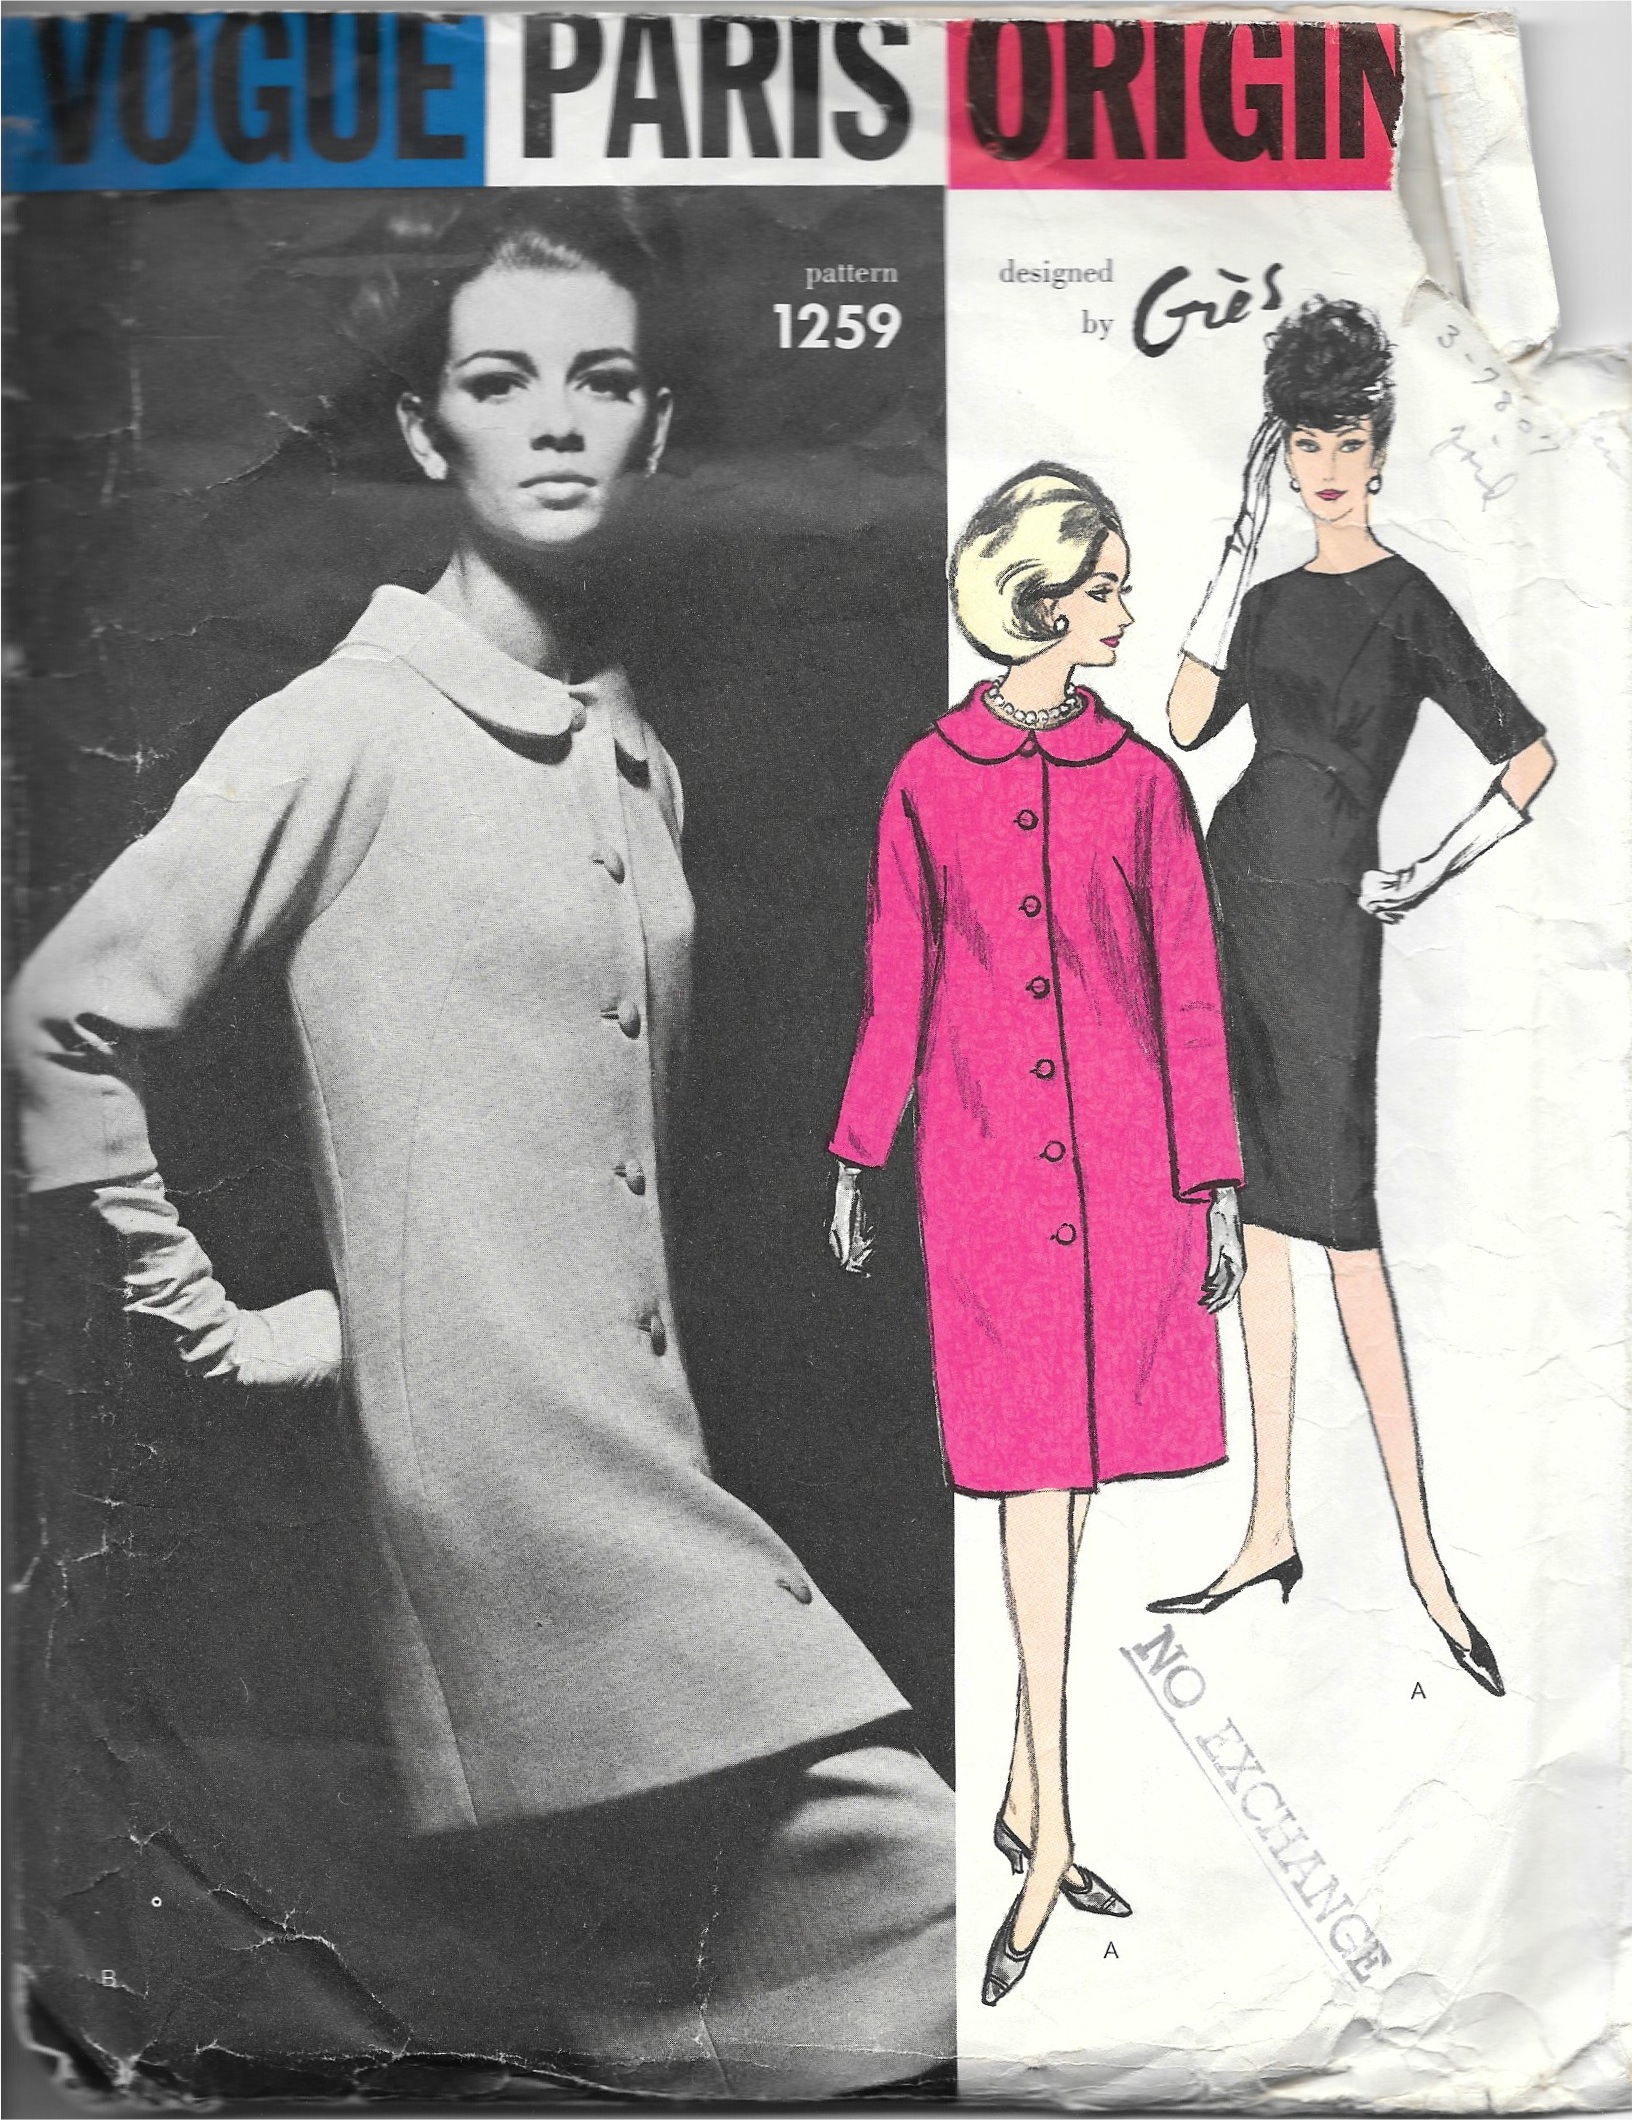
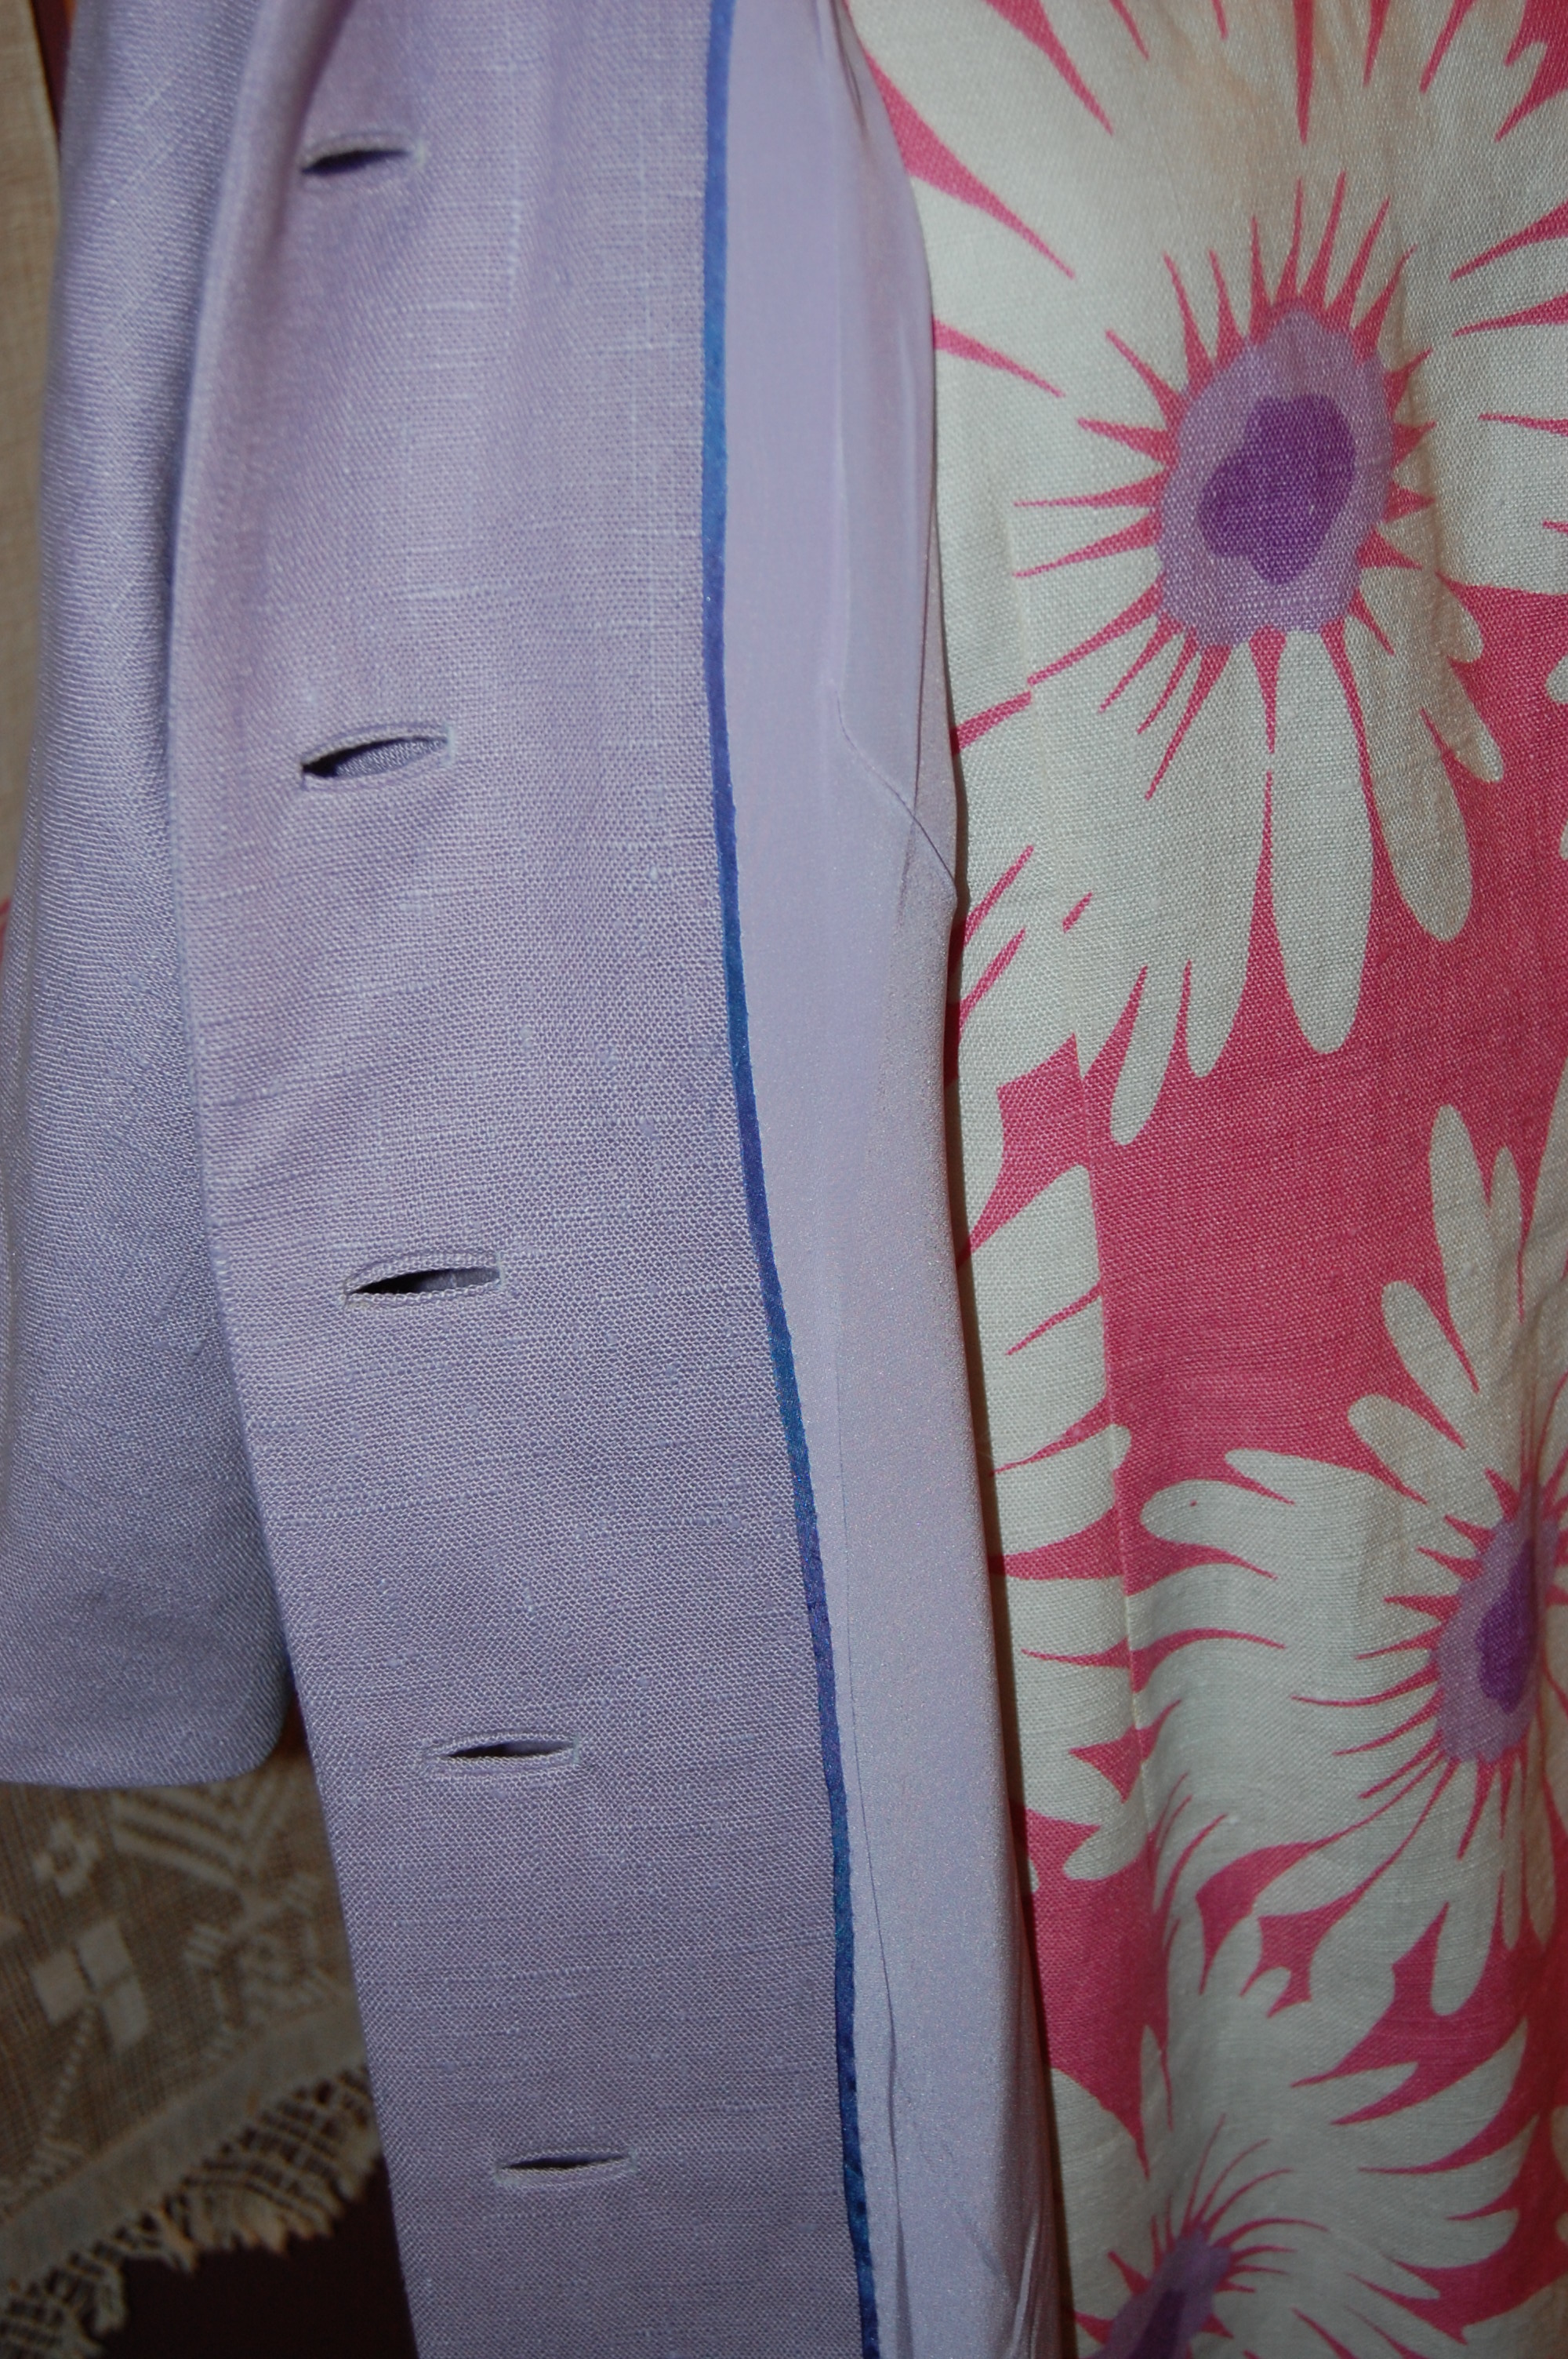
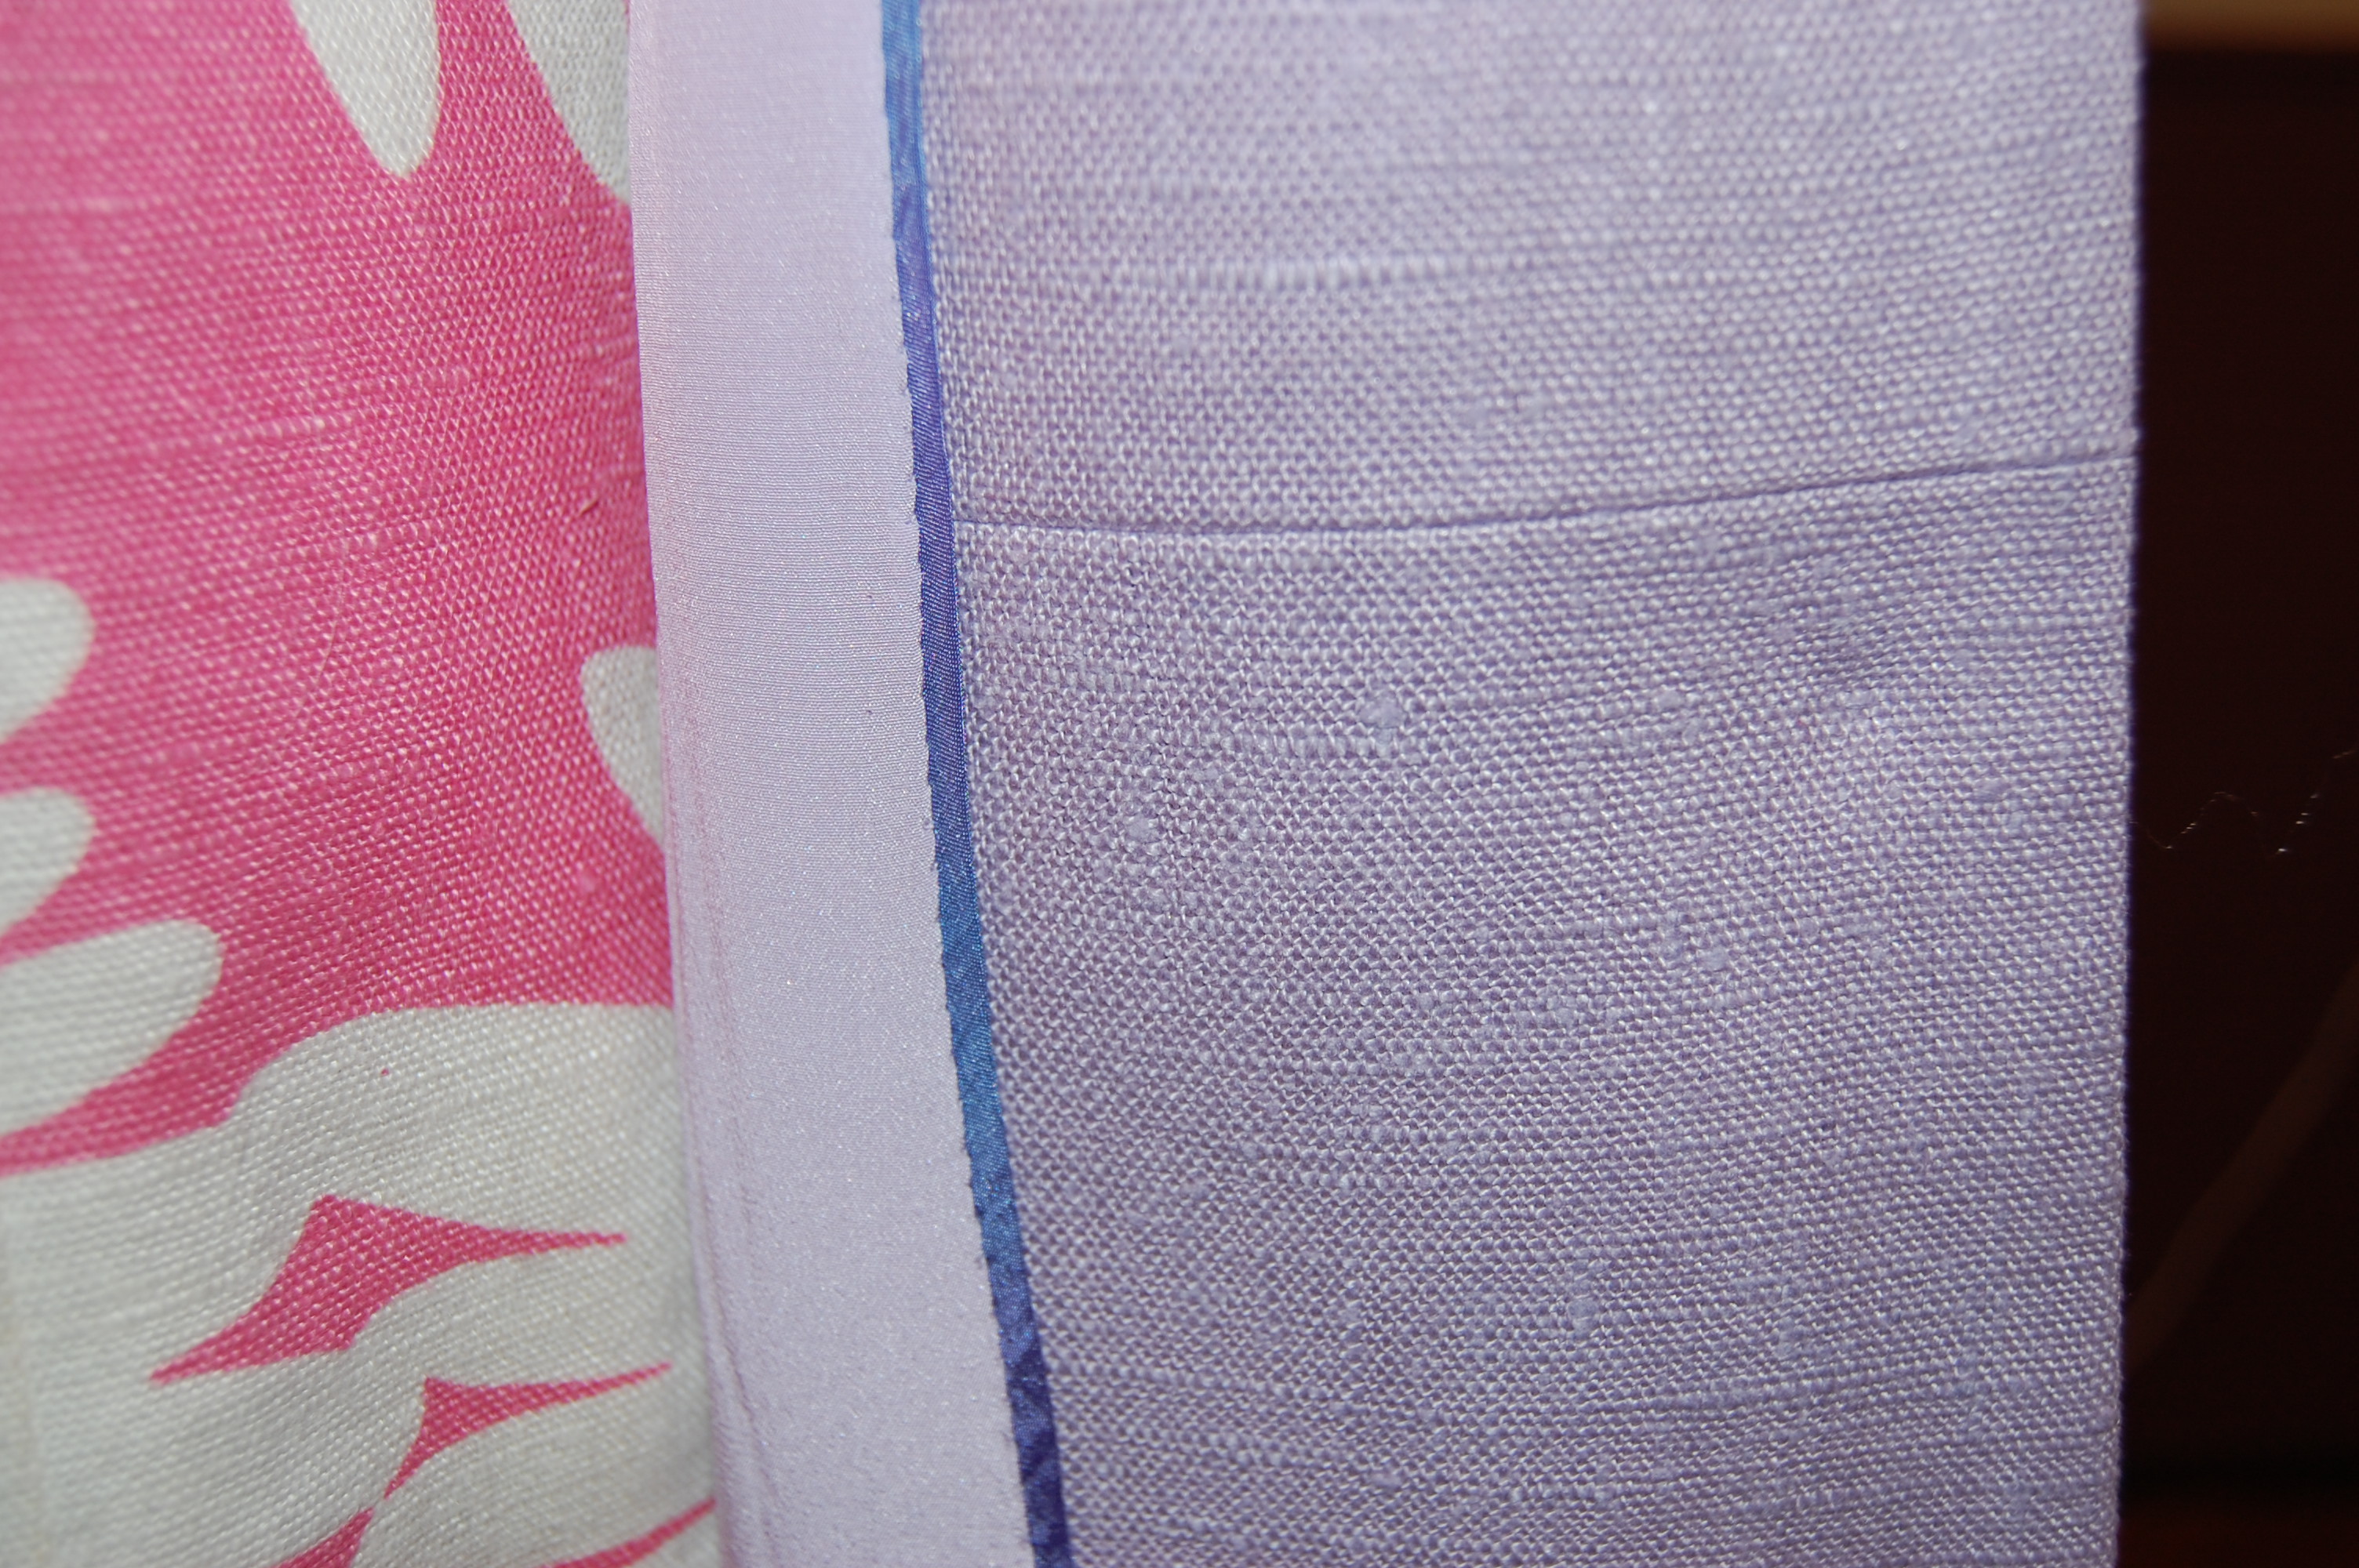
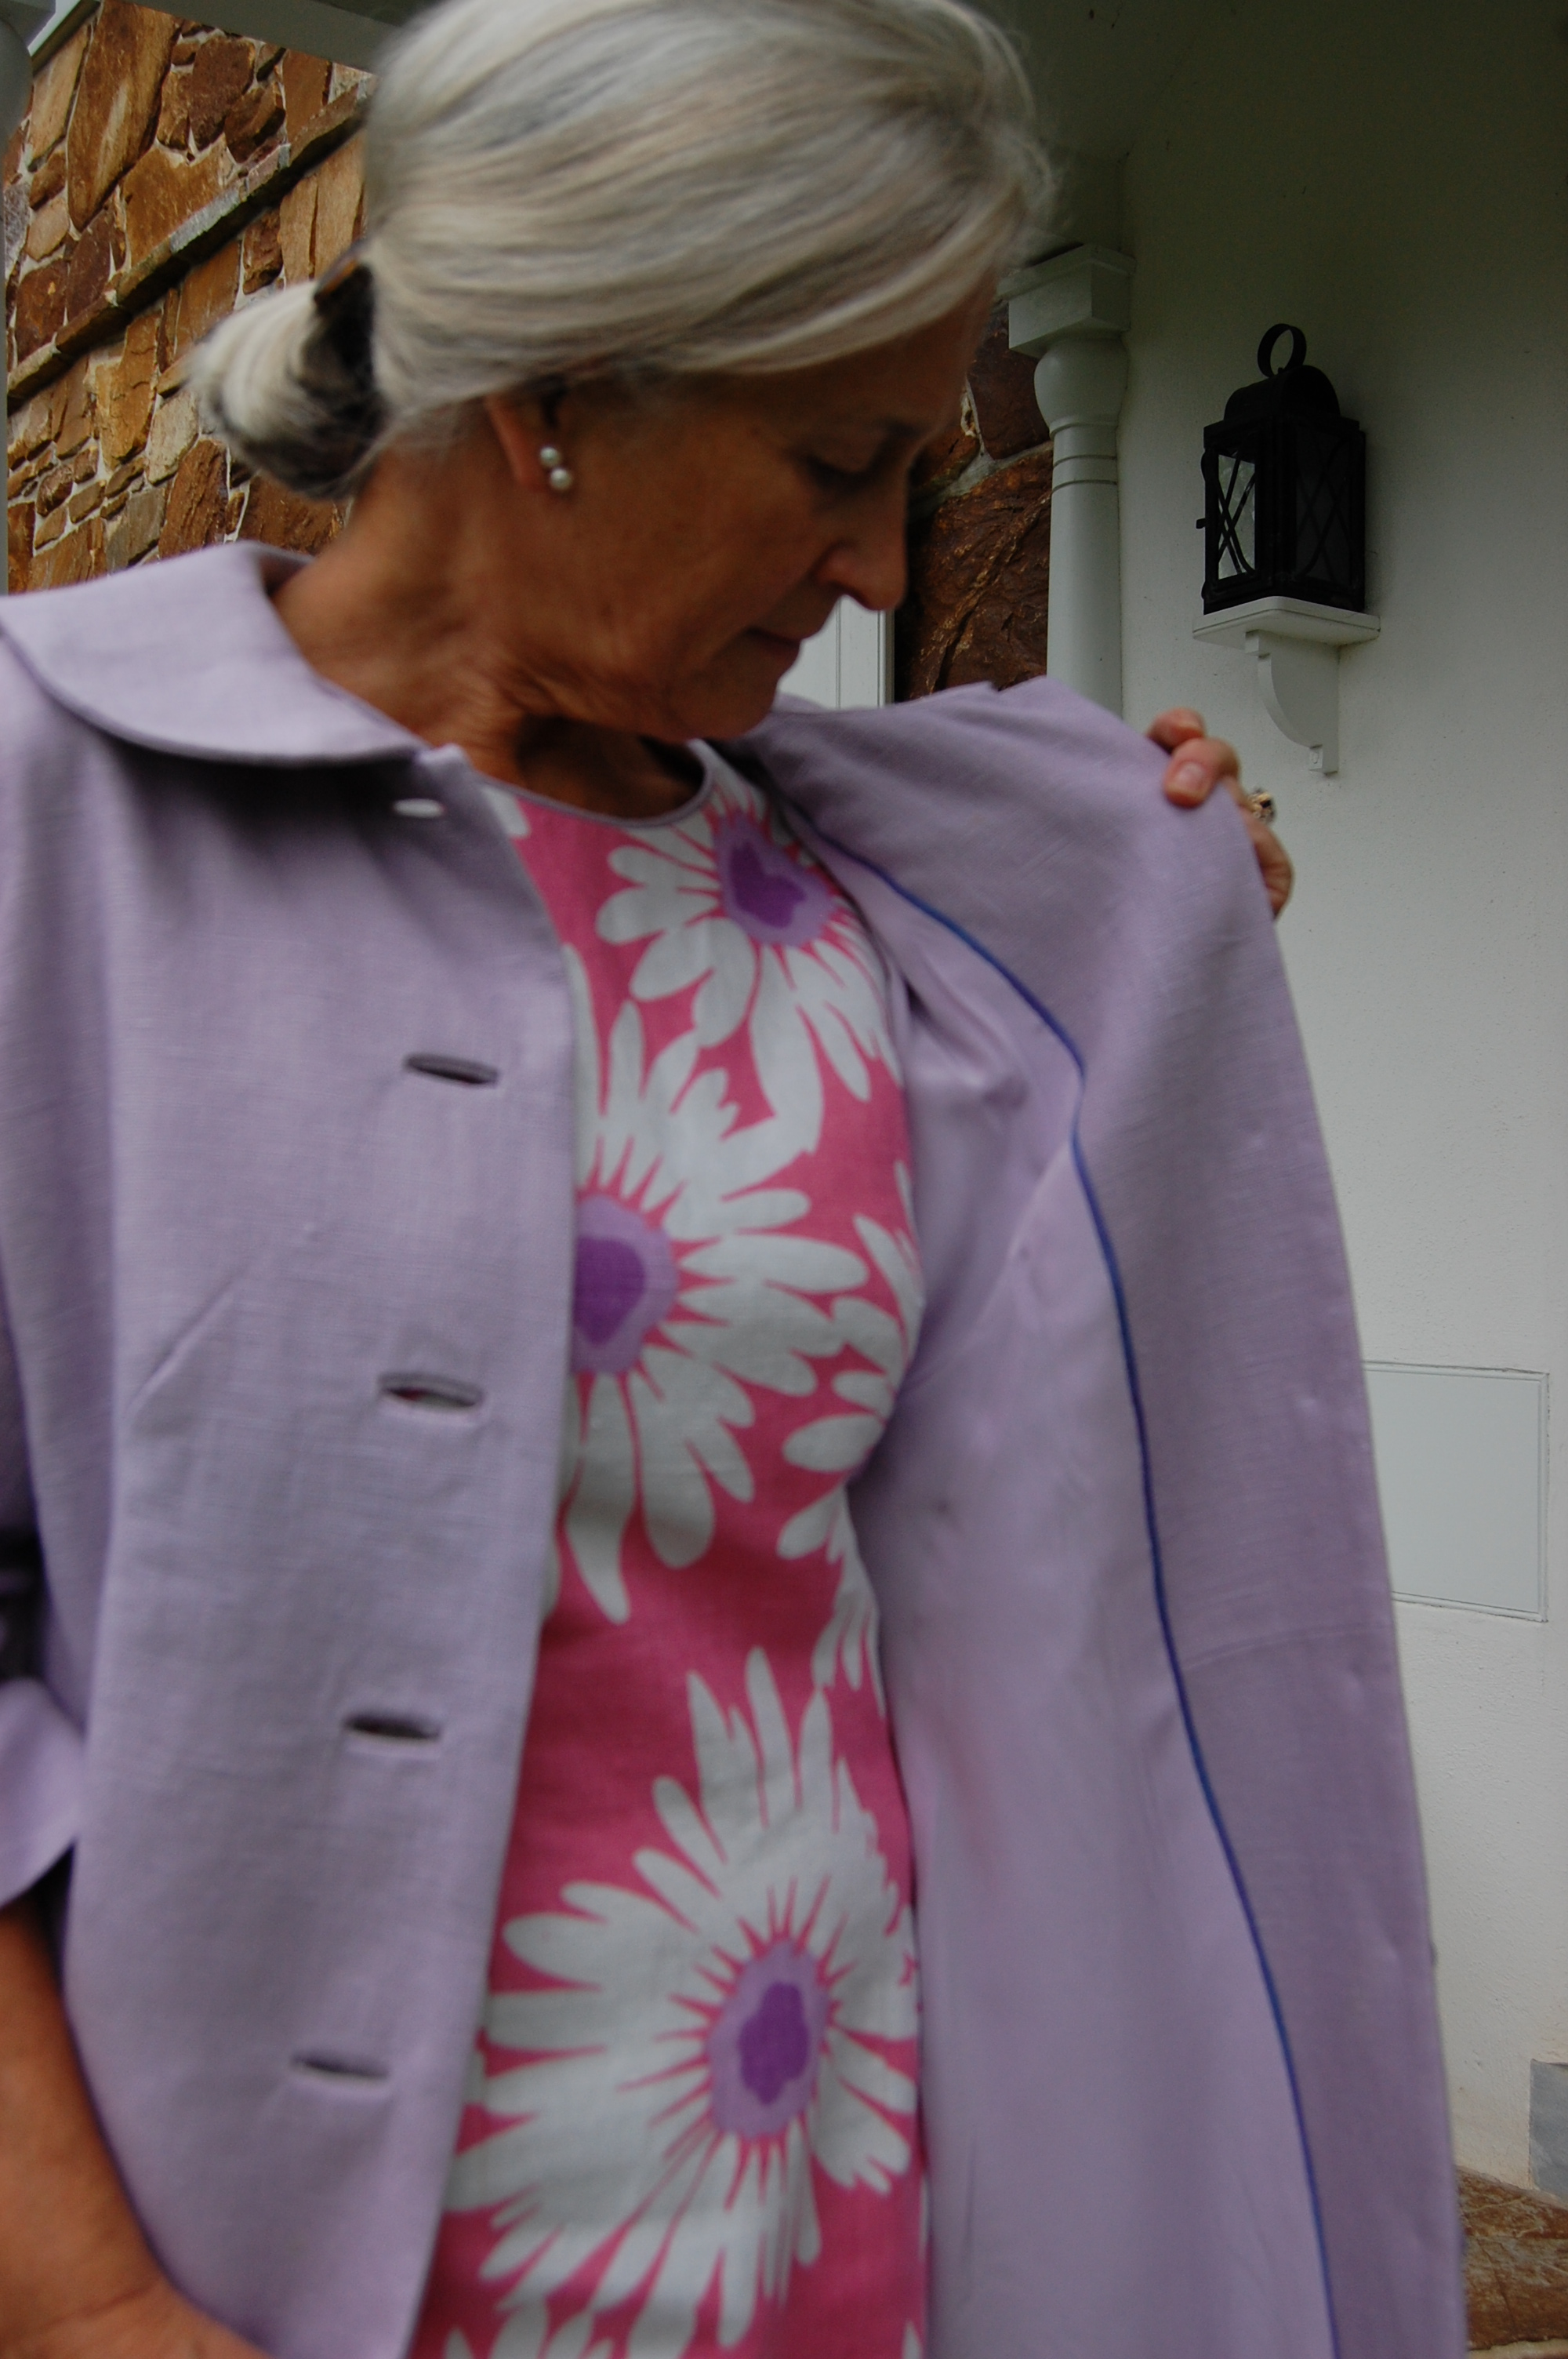
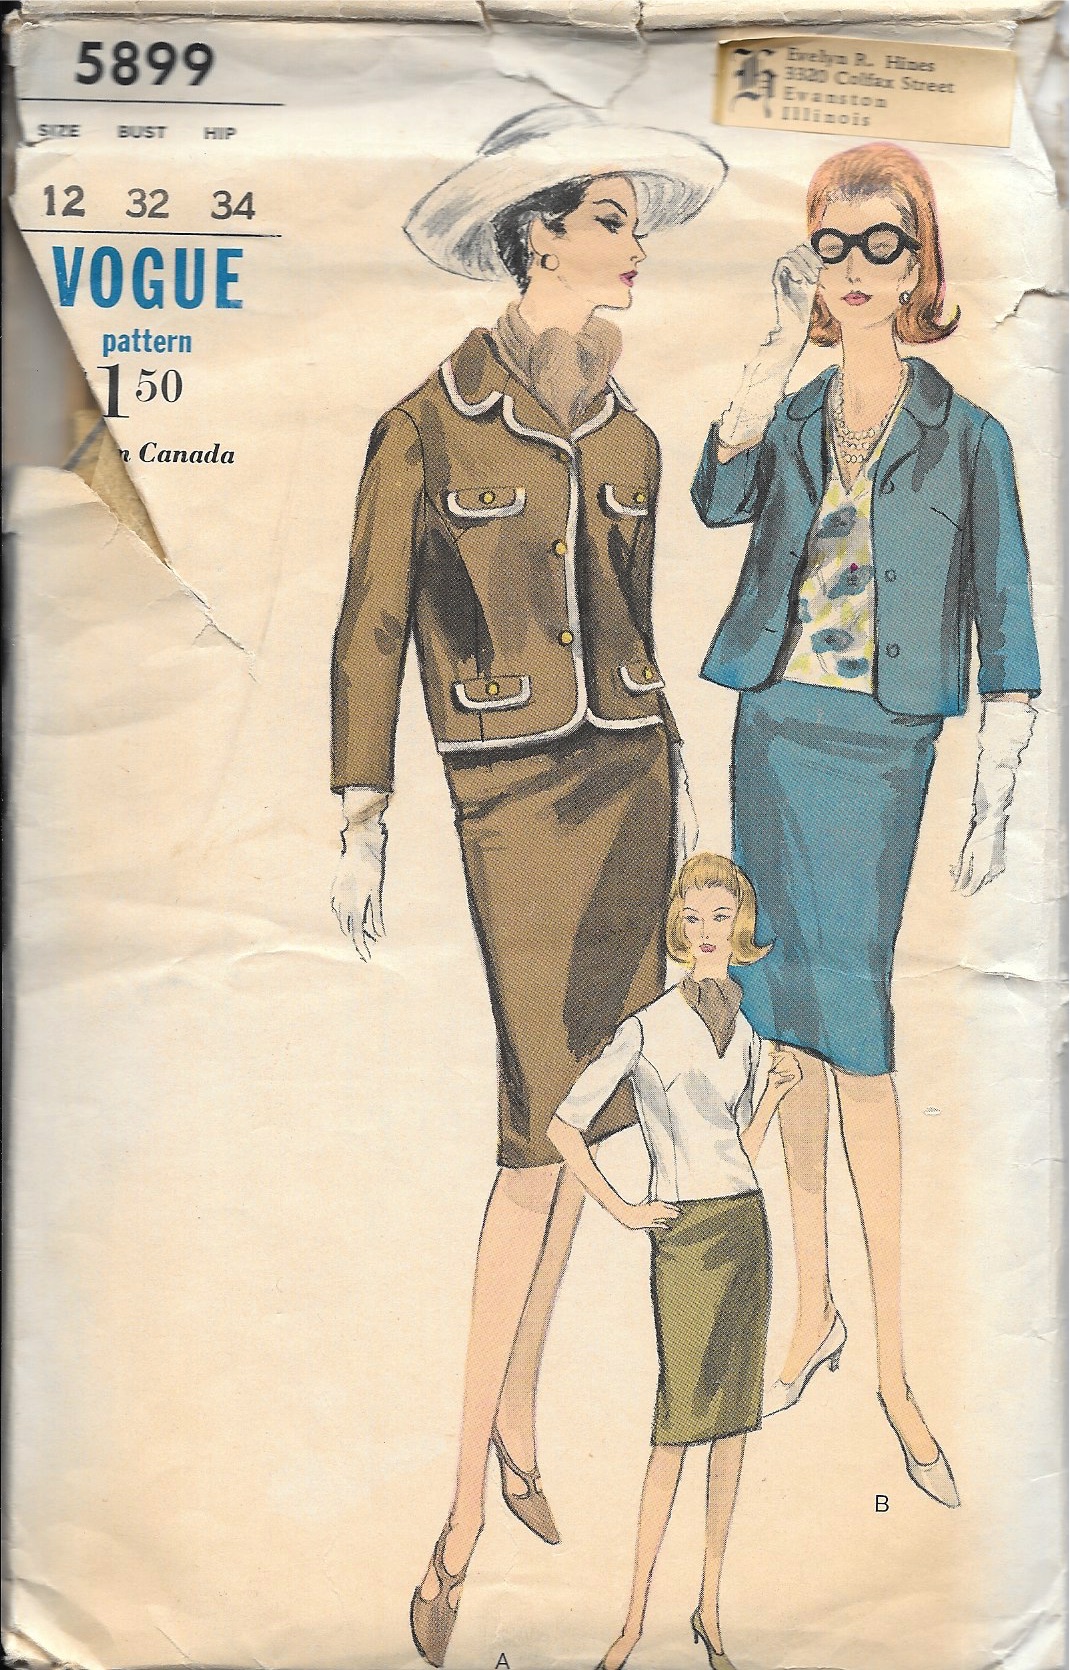
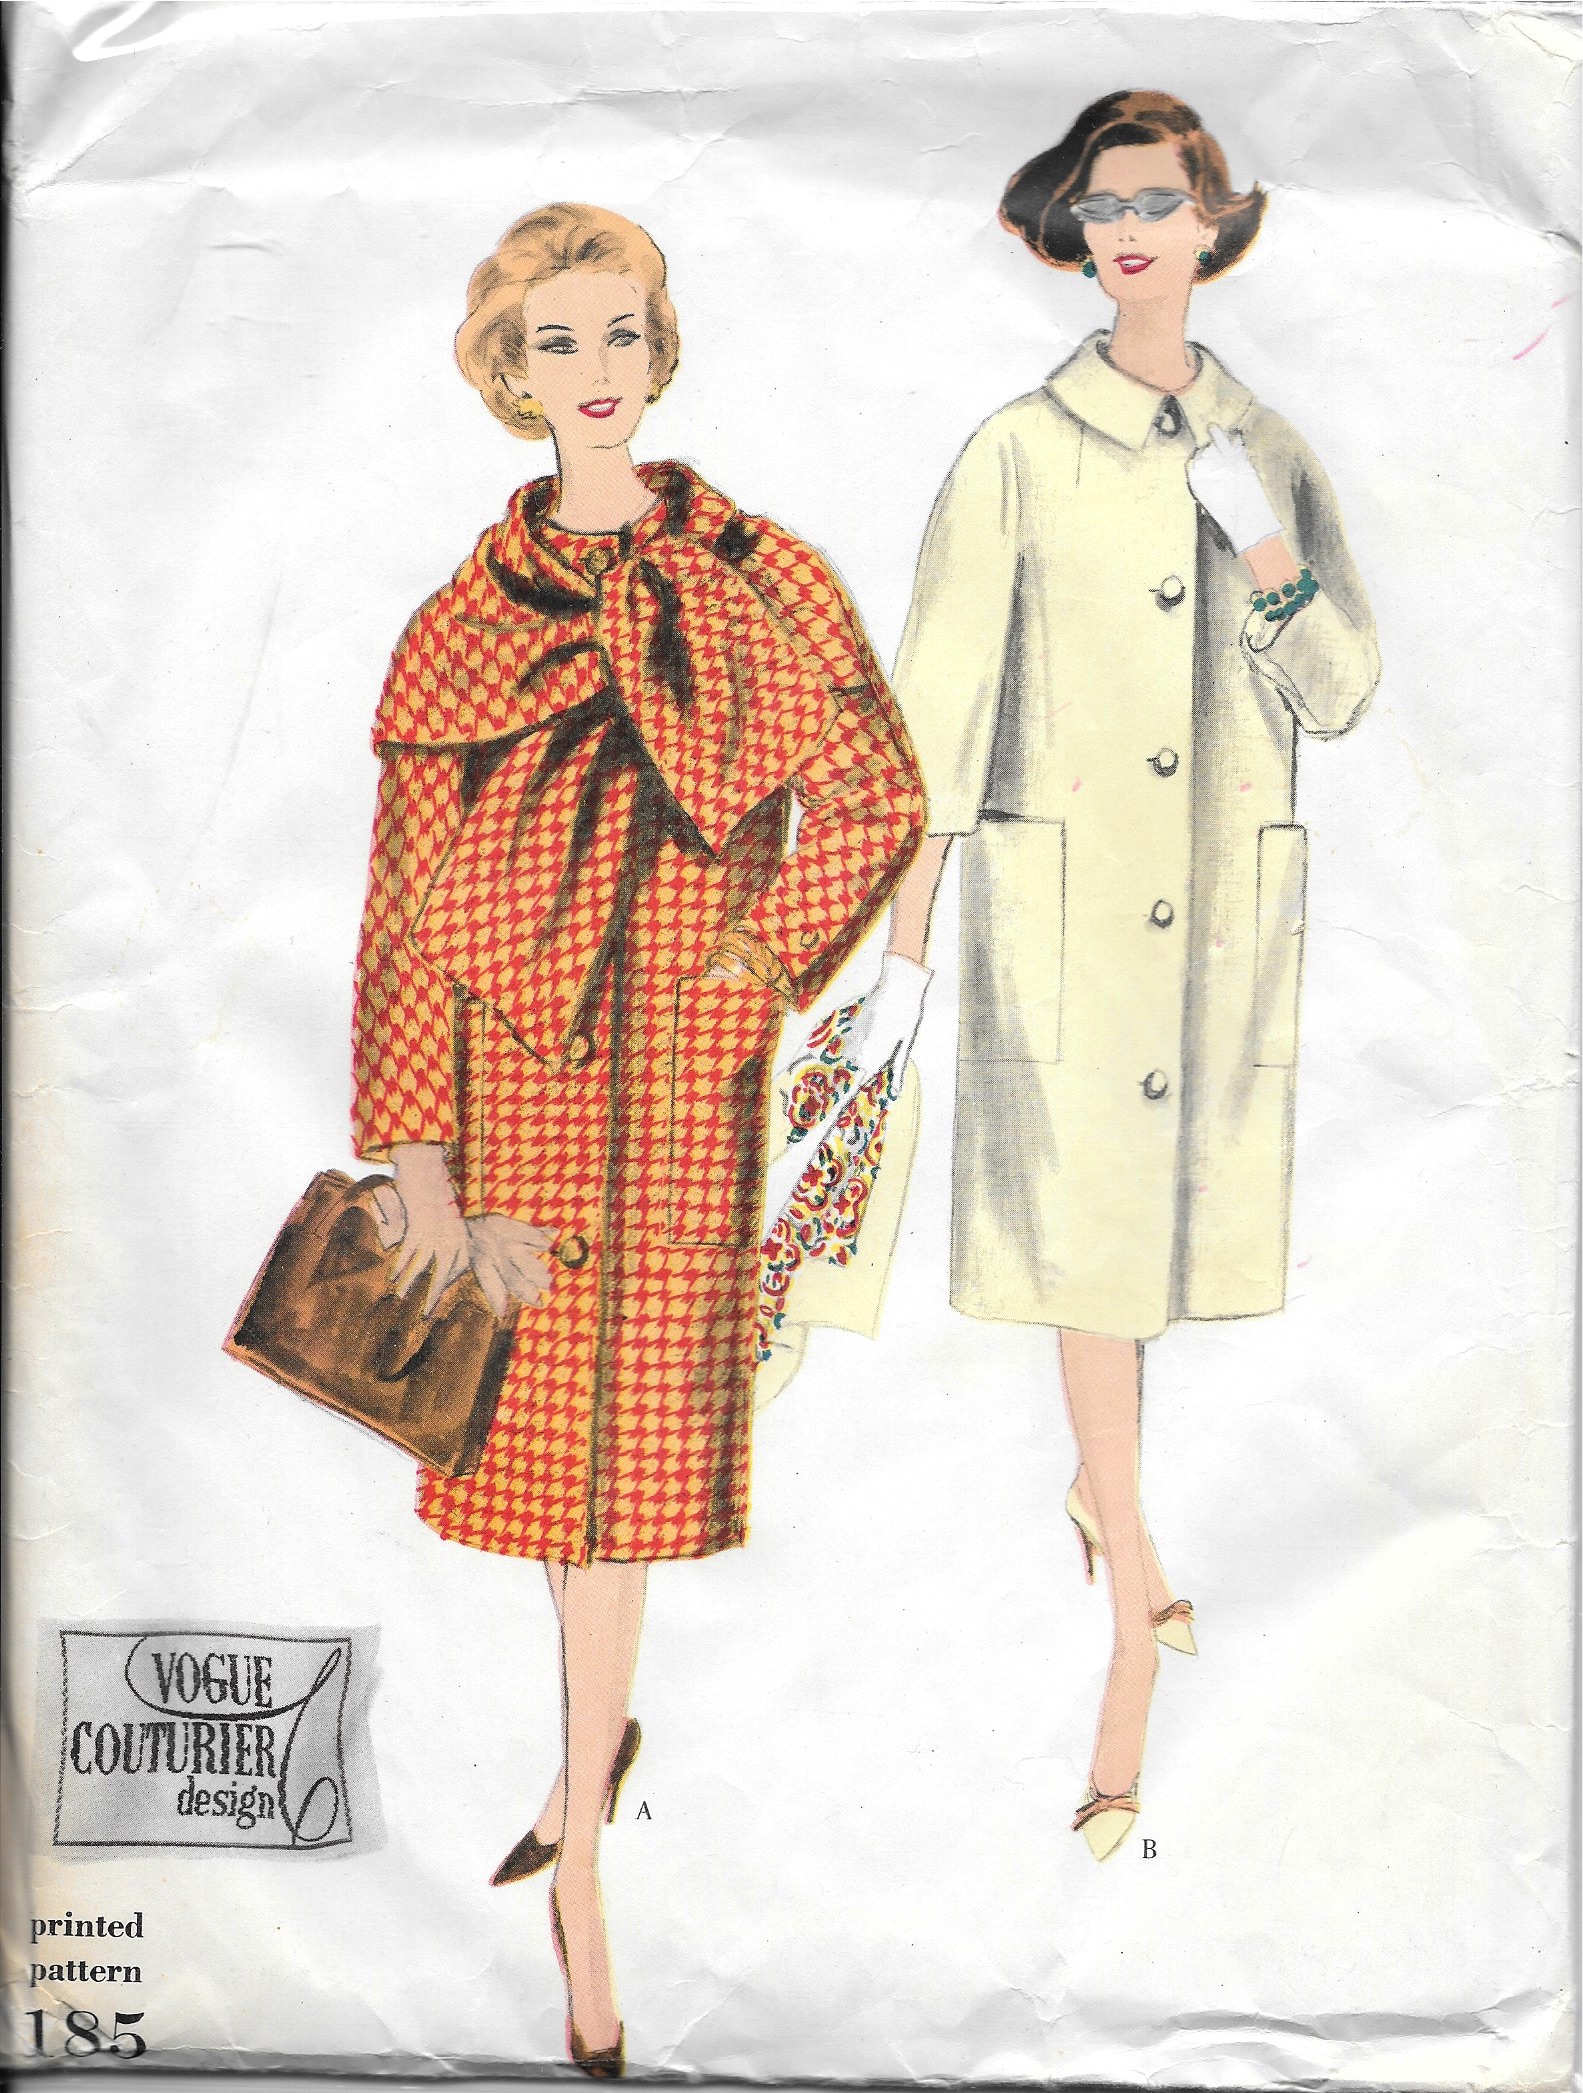
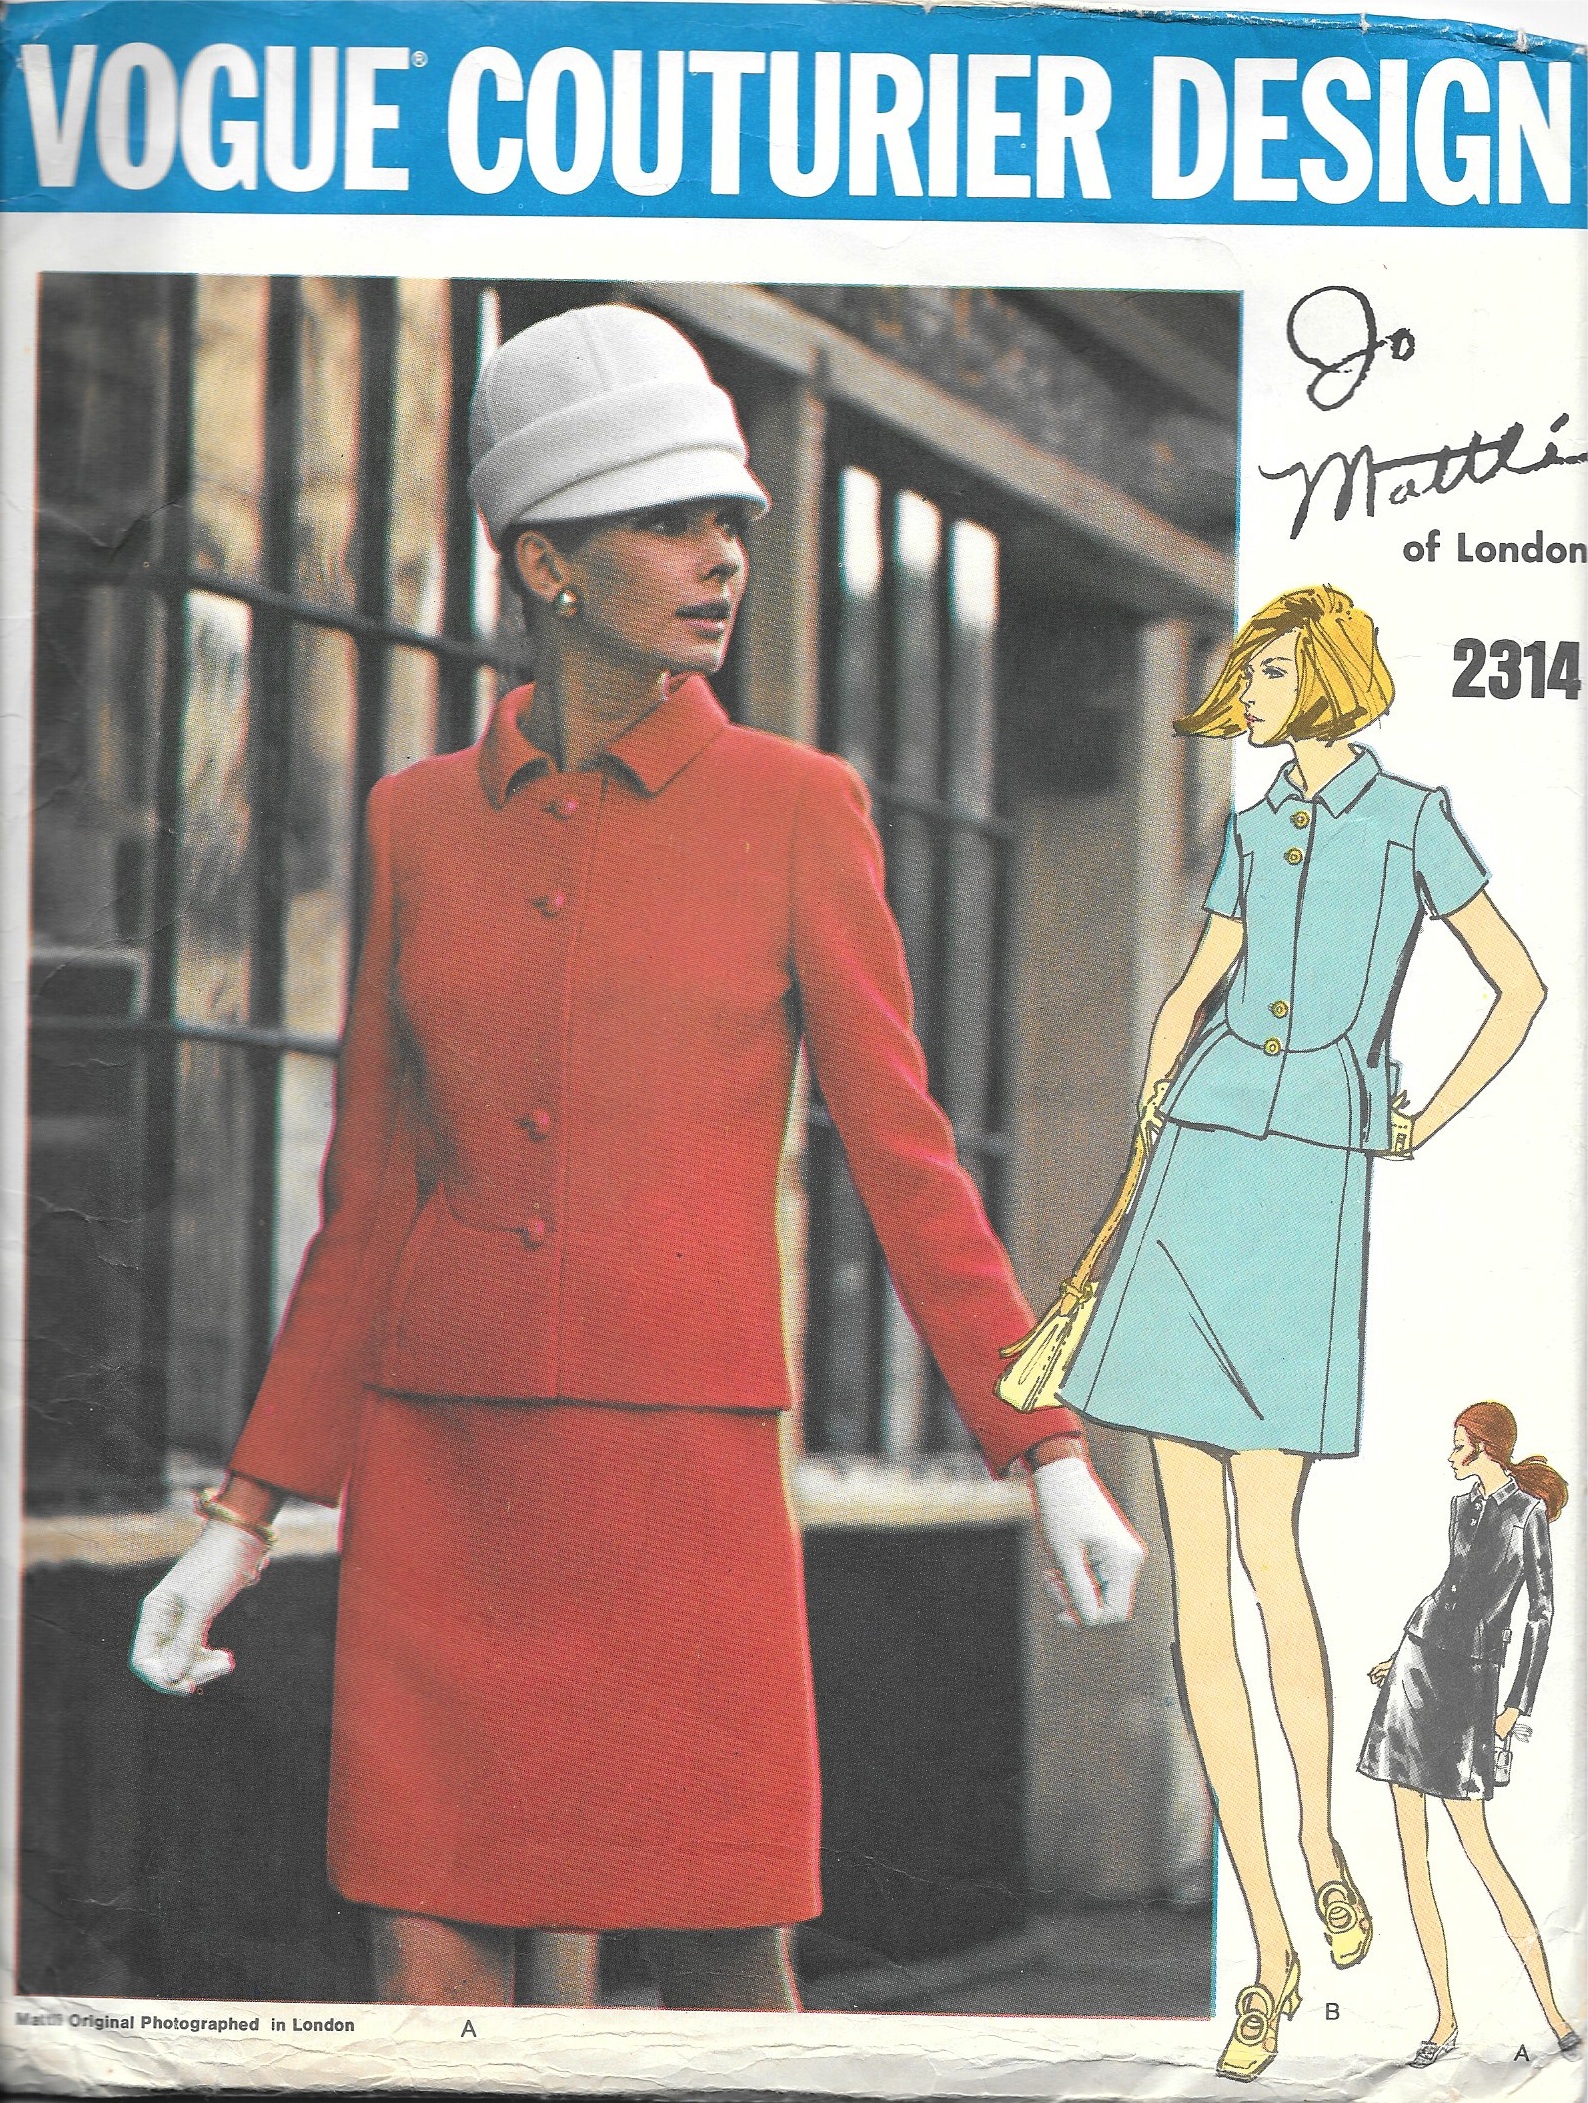
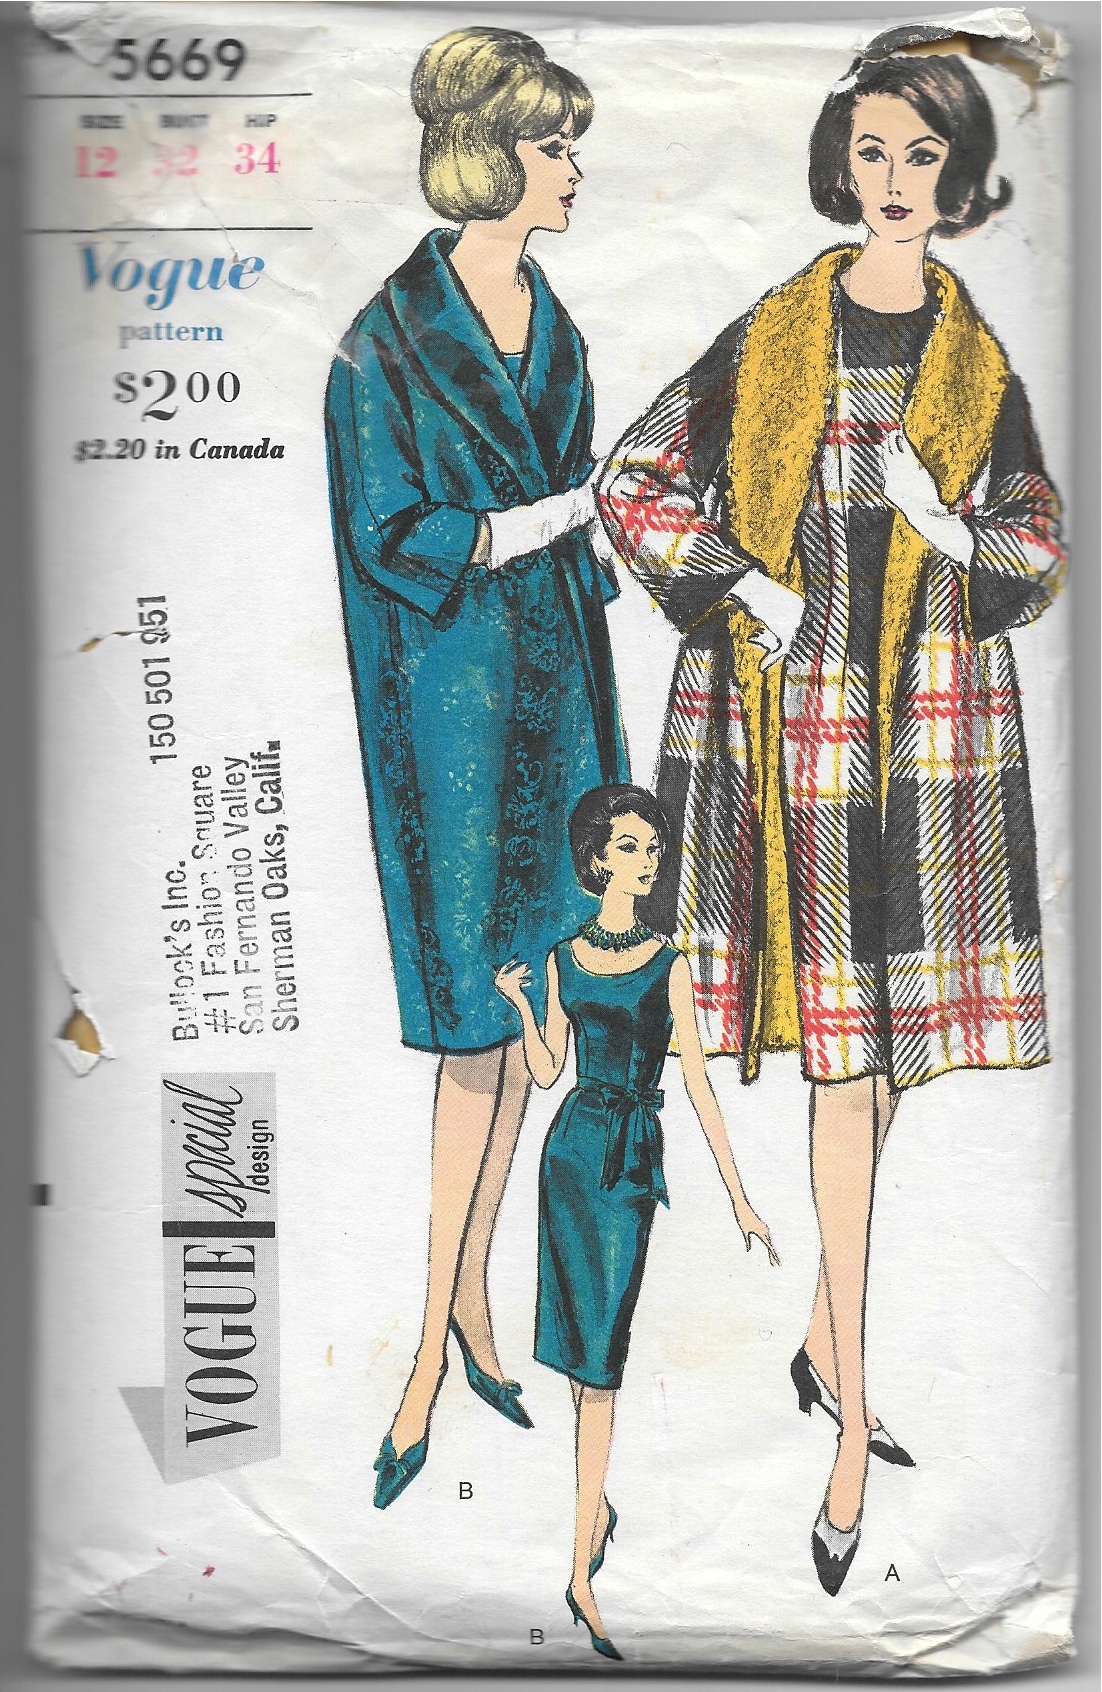
One of my big projects for 2016 is this coat.

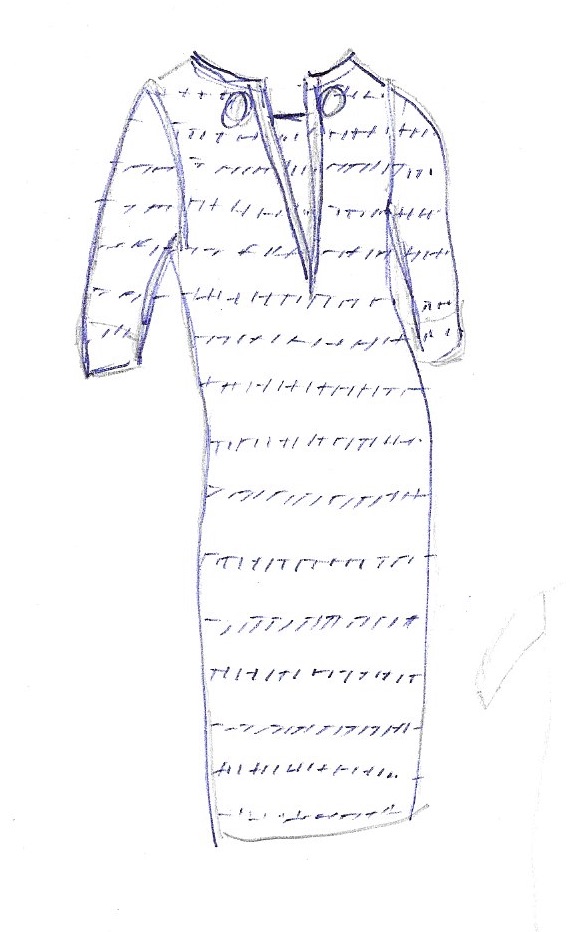
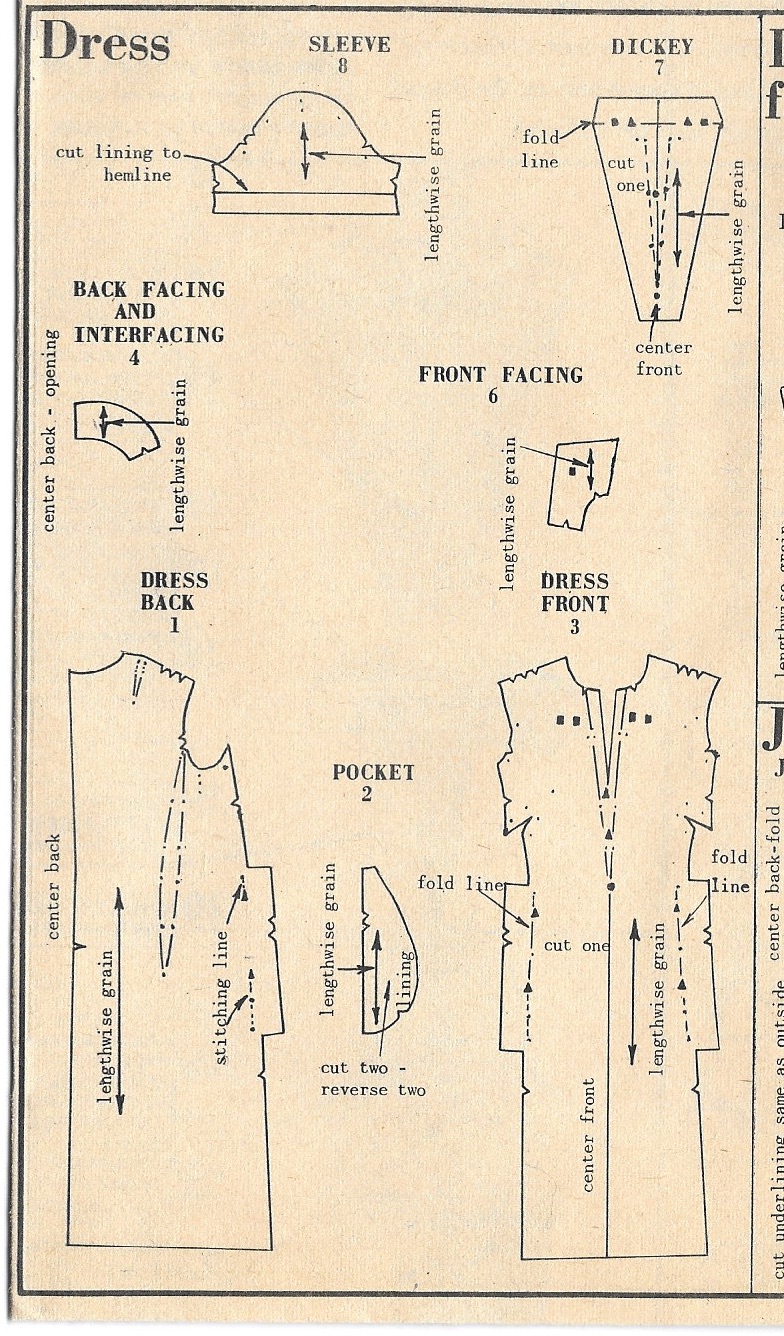
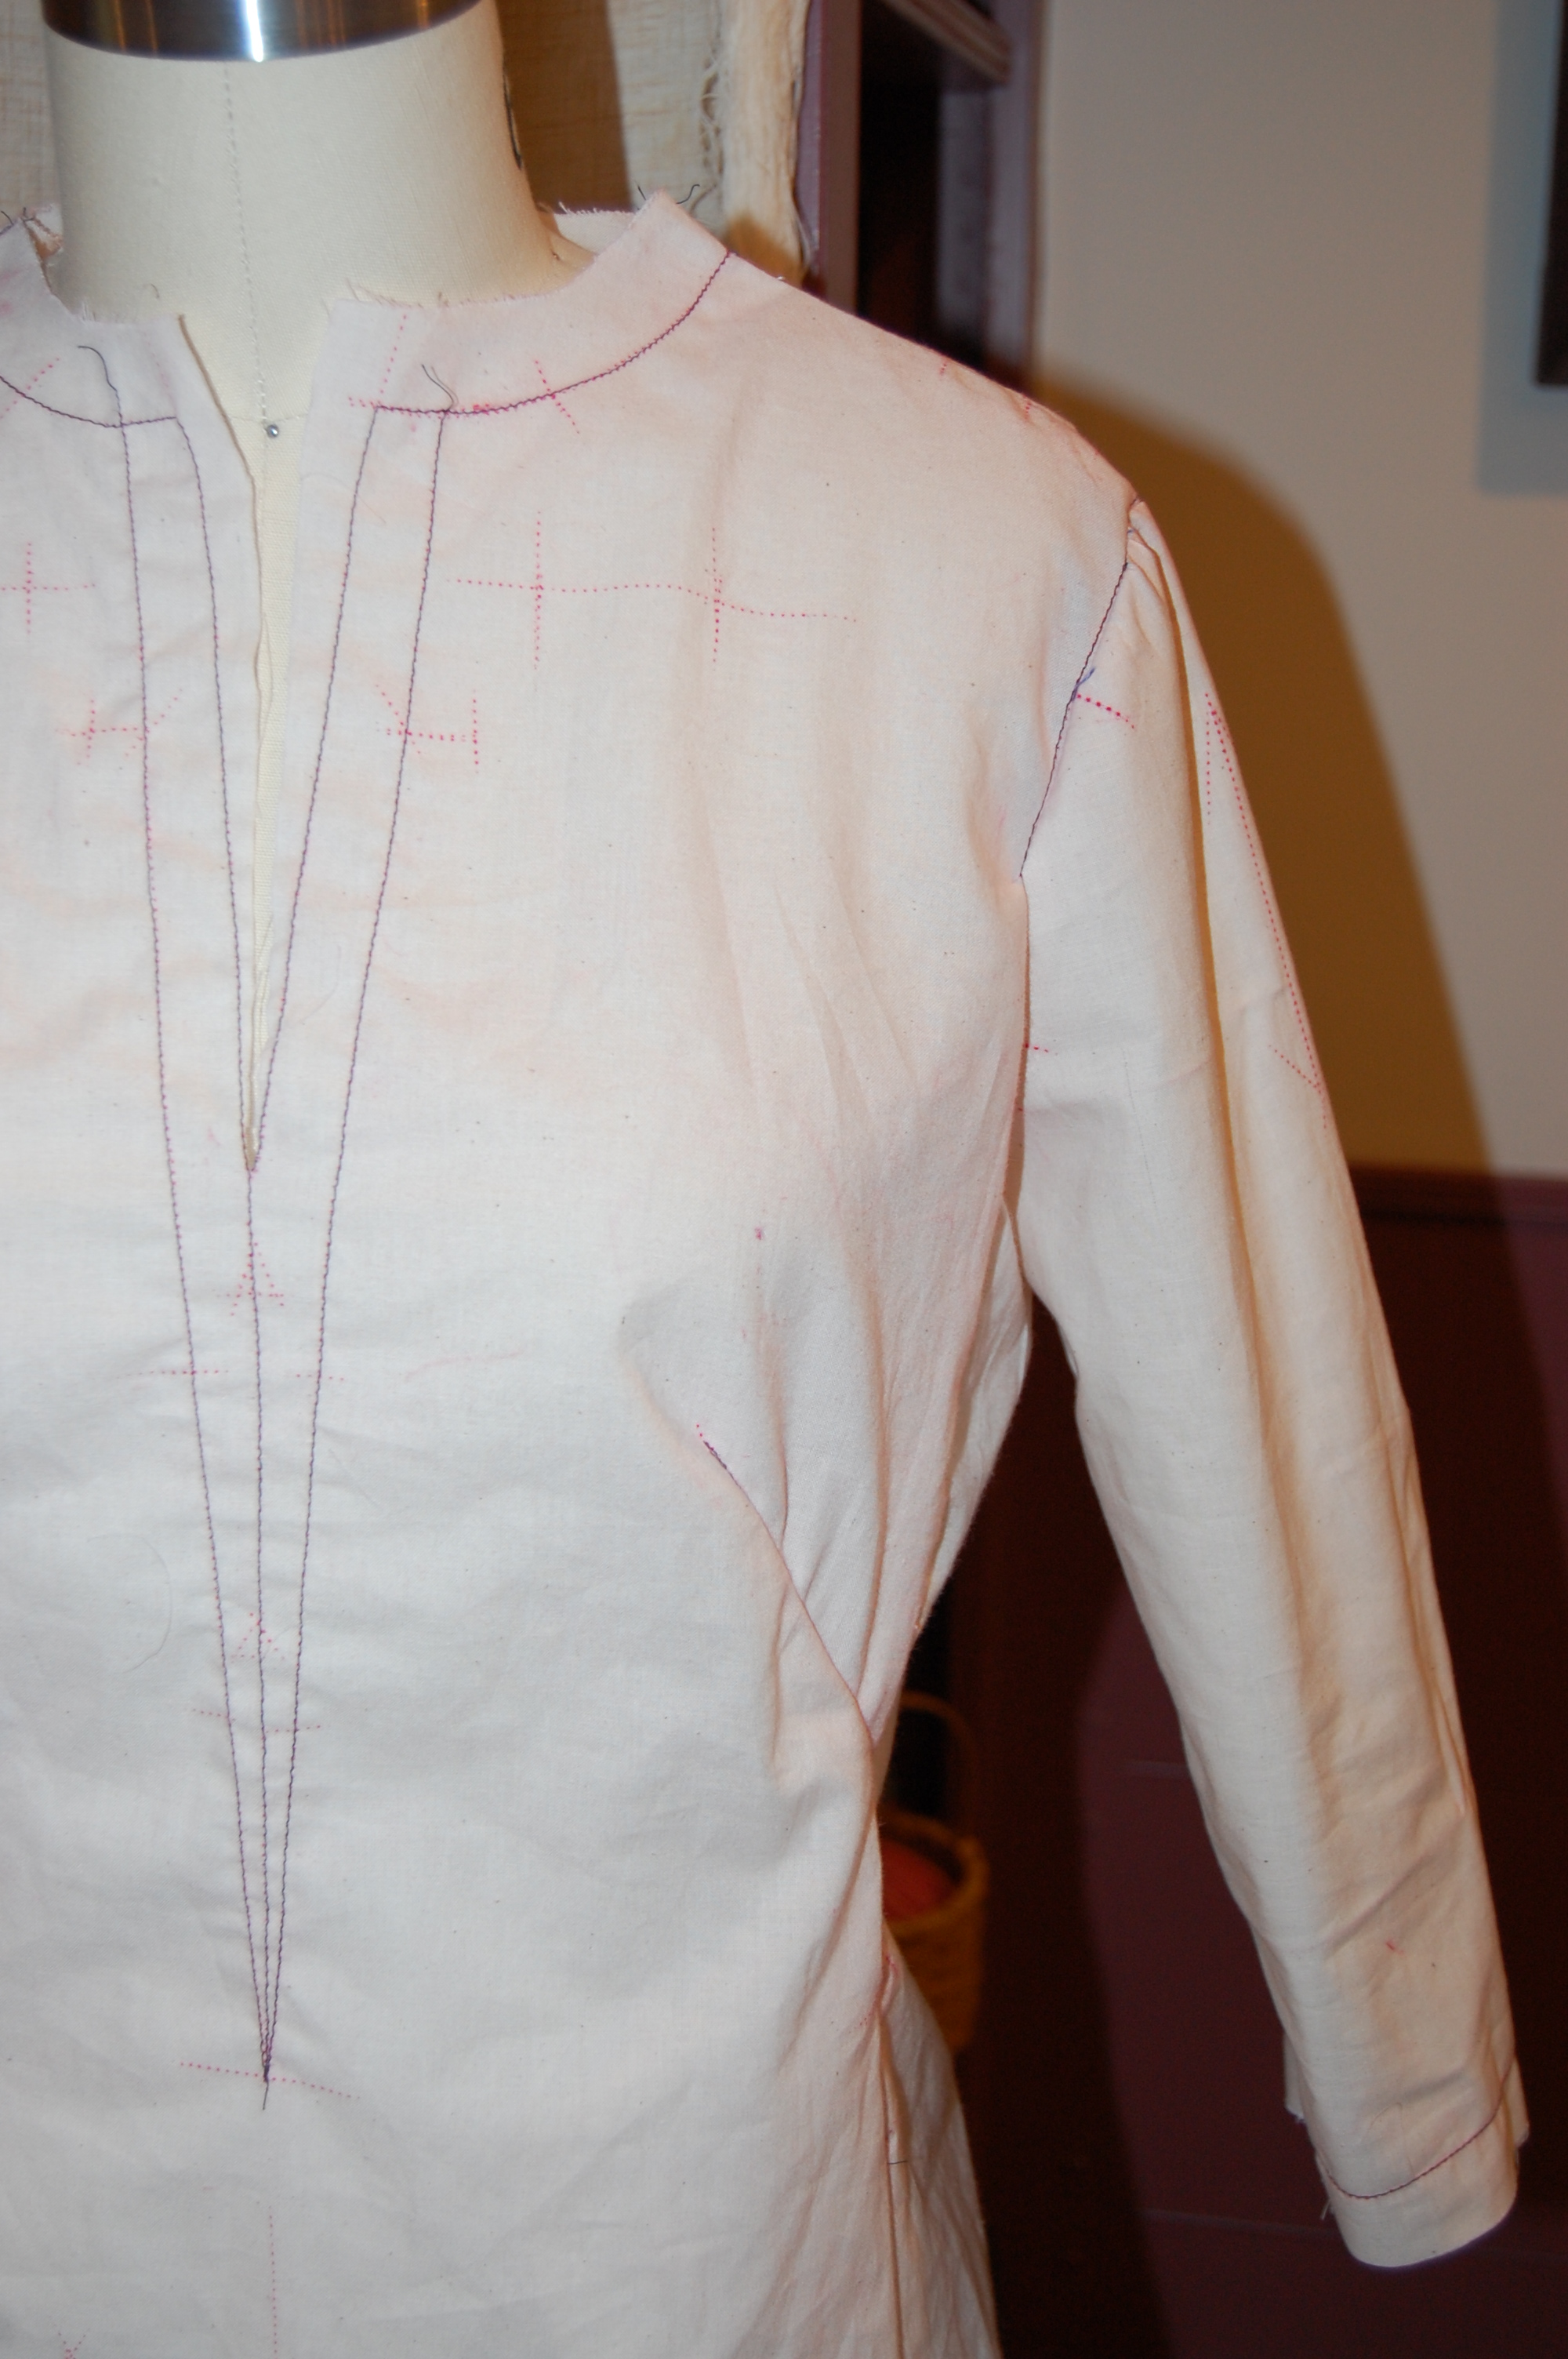
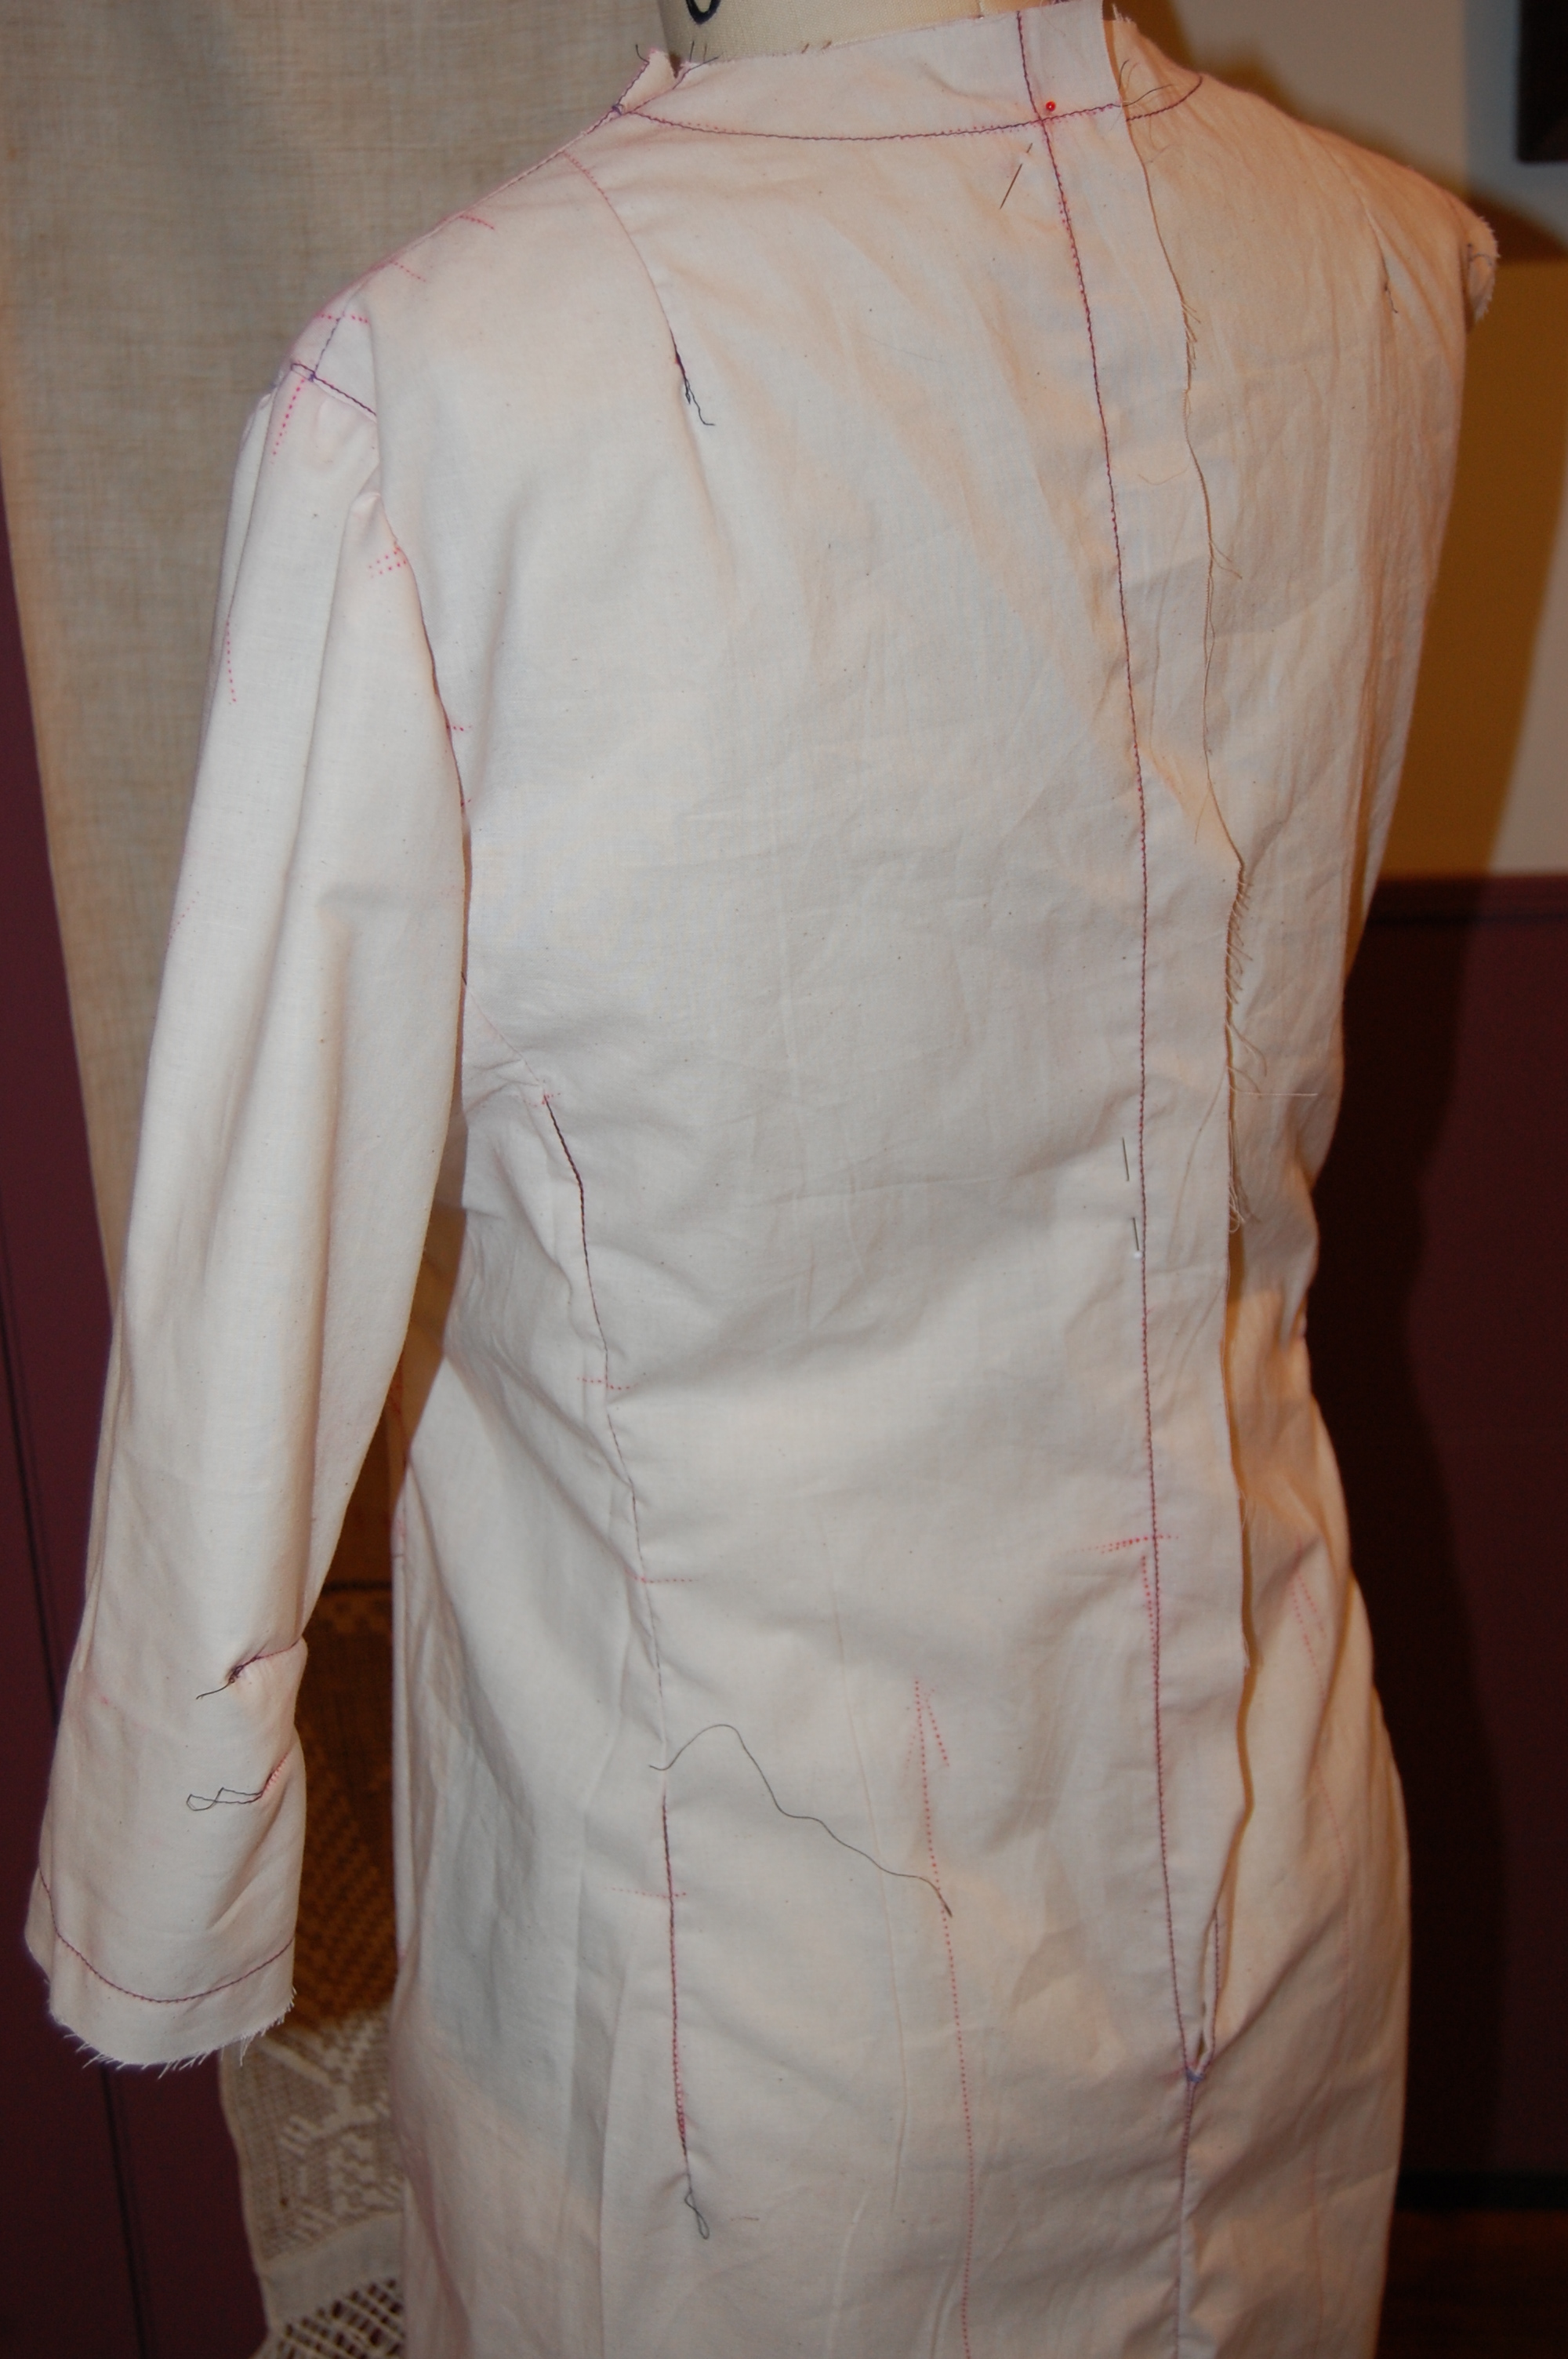
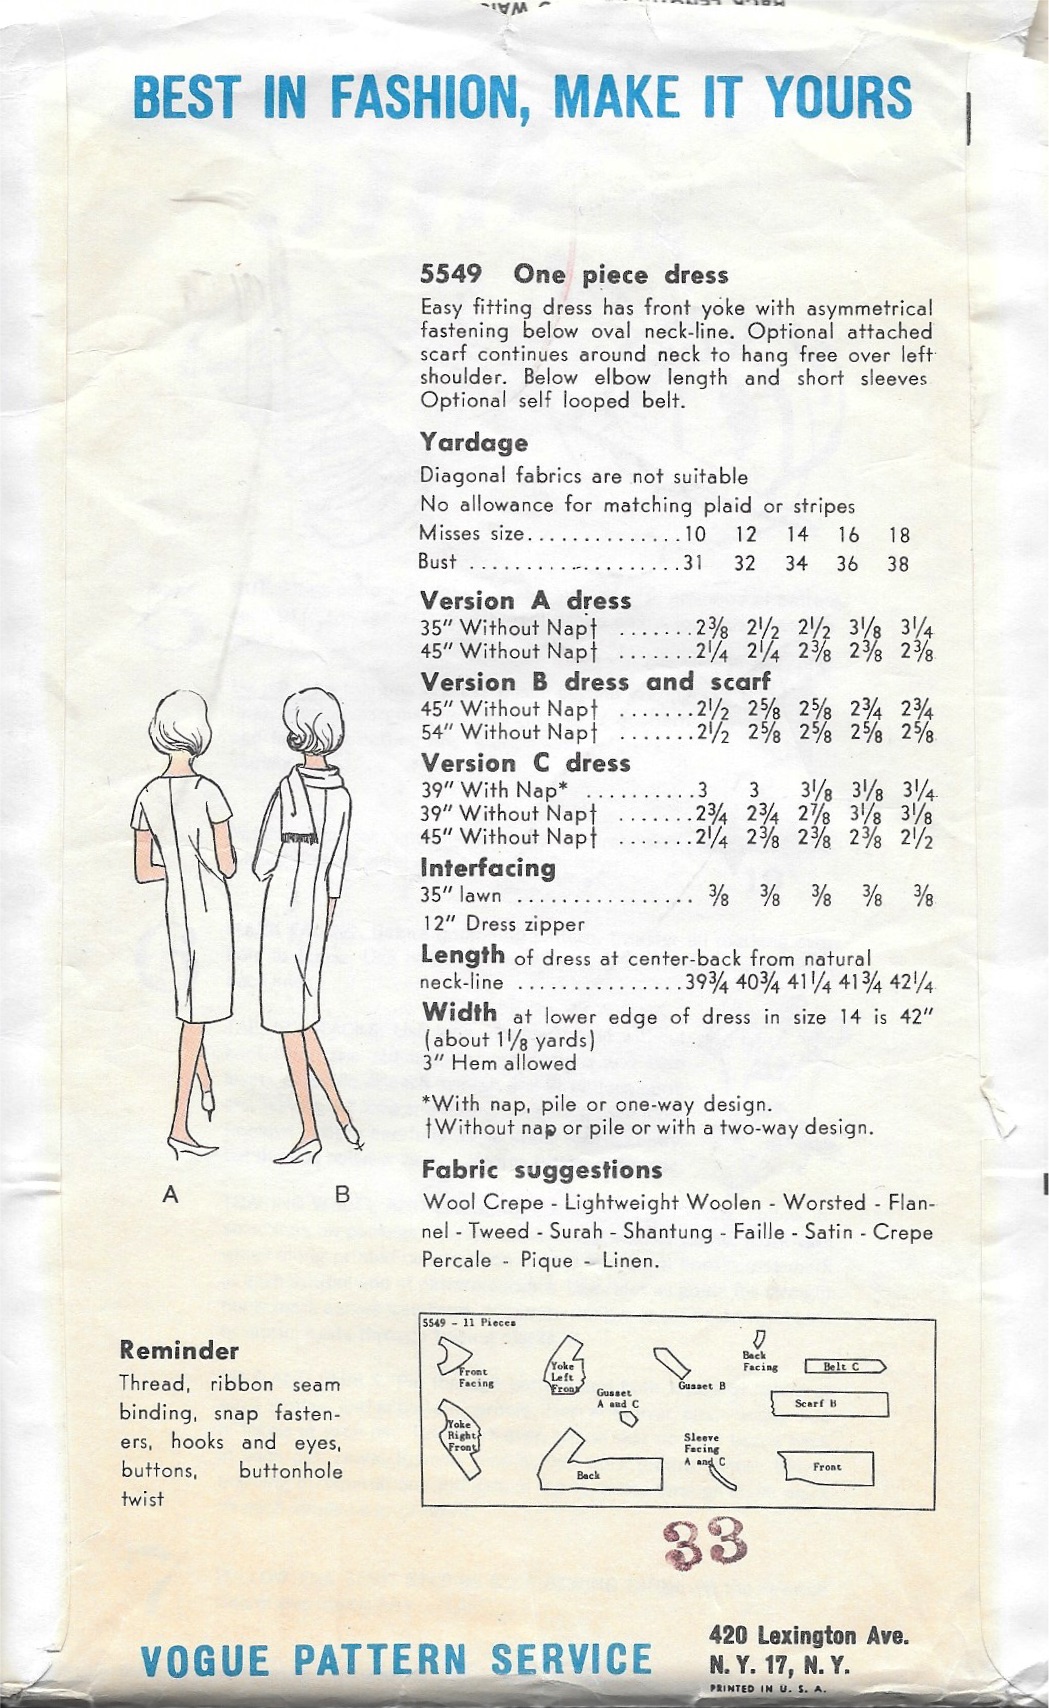
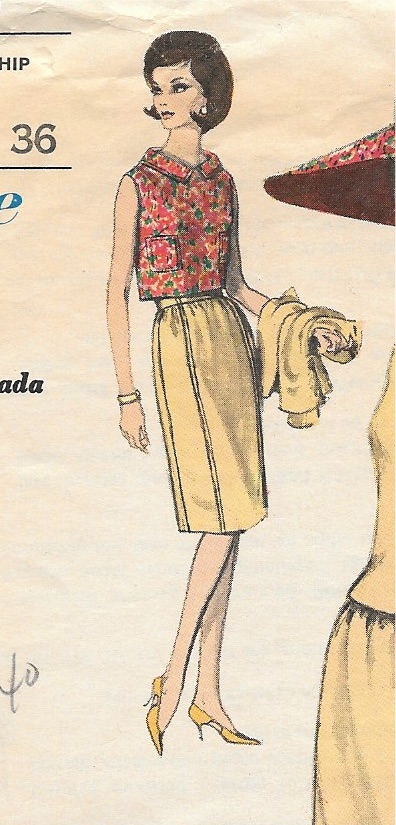
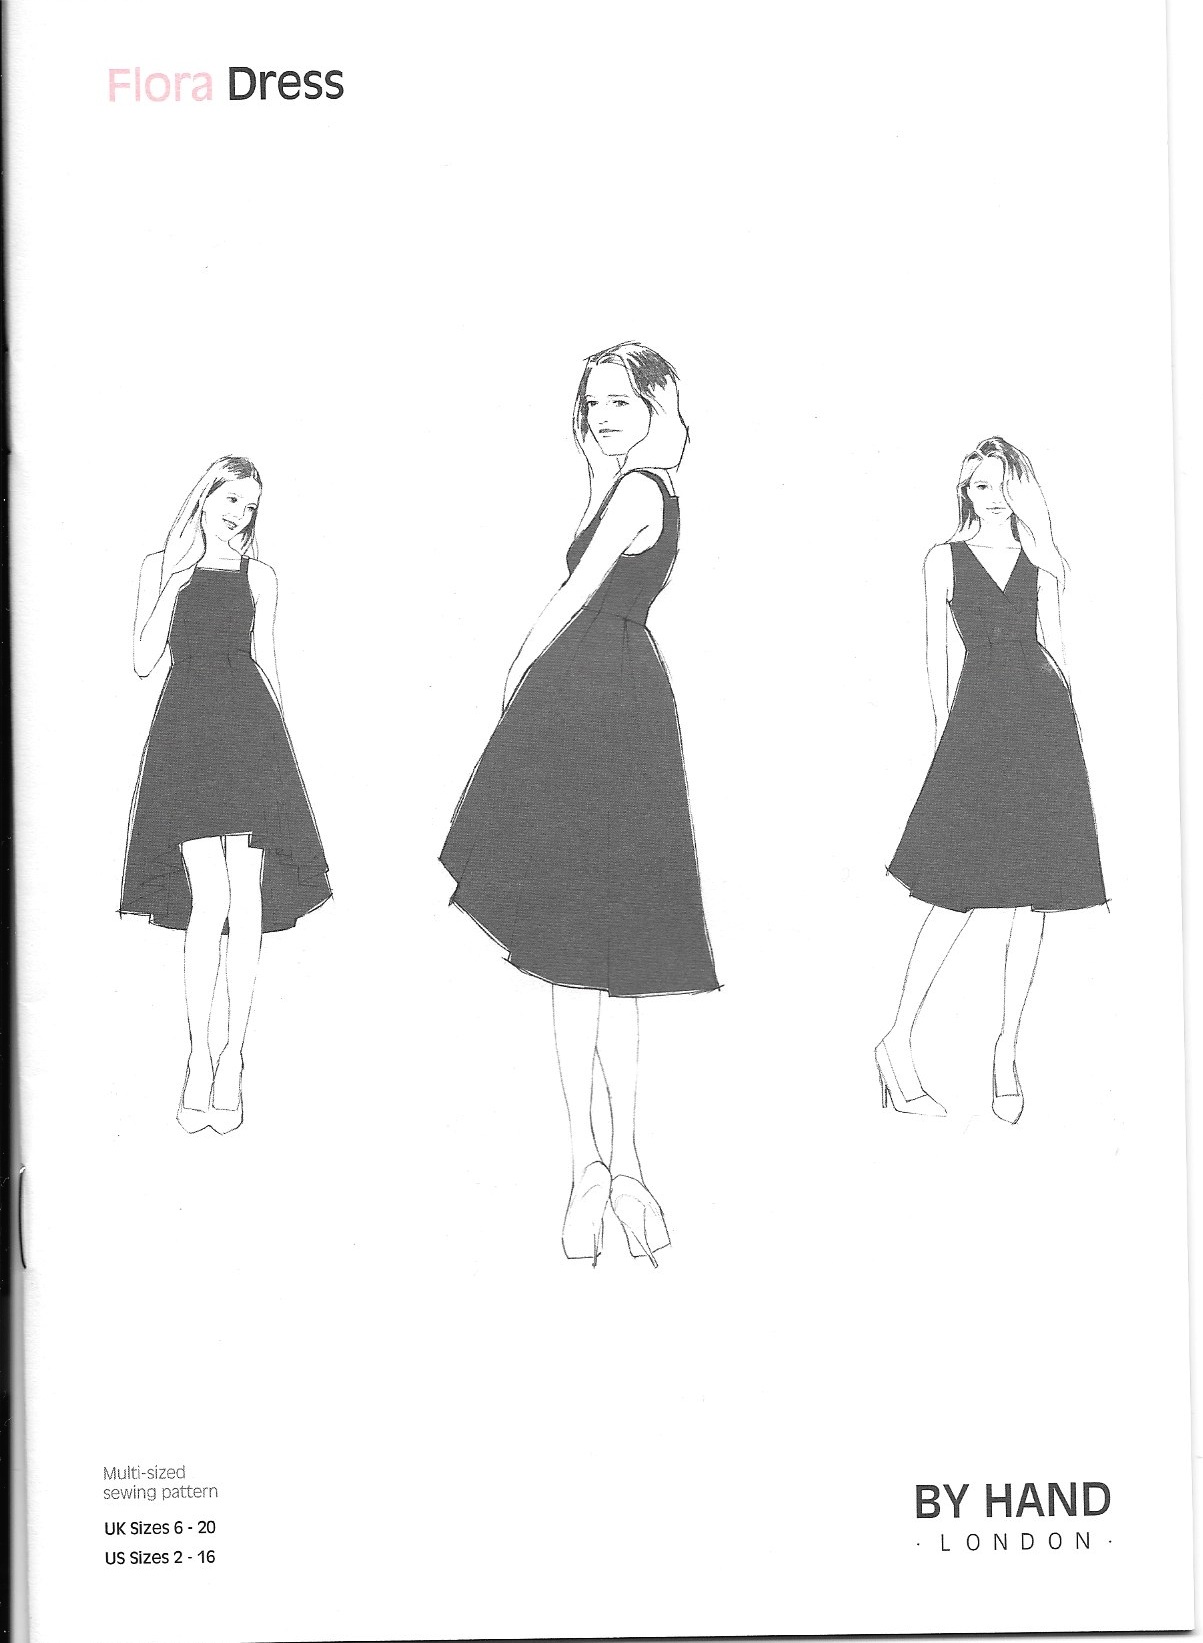
I have been wanting to make the dress on the right for quite a while – this may be the year it happens!
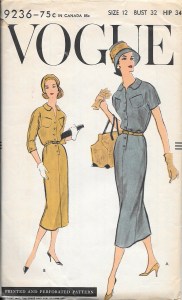
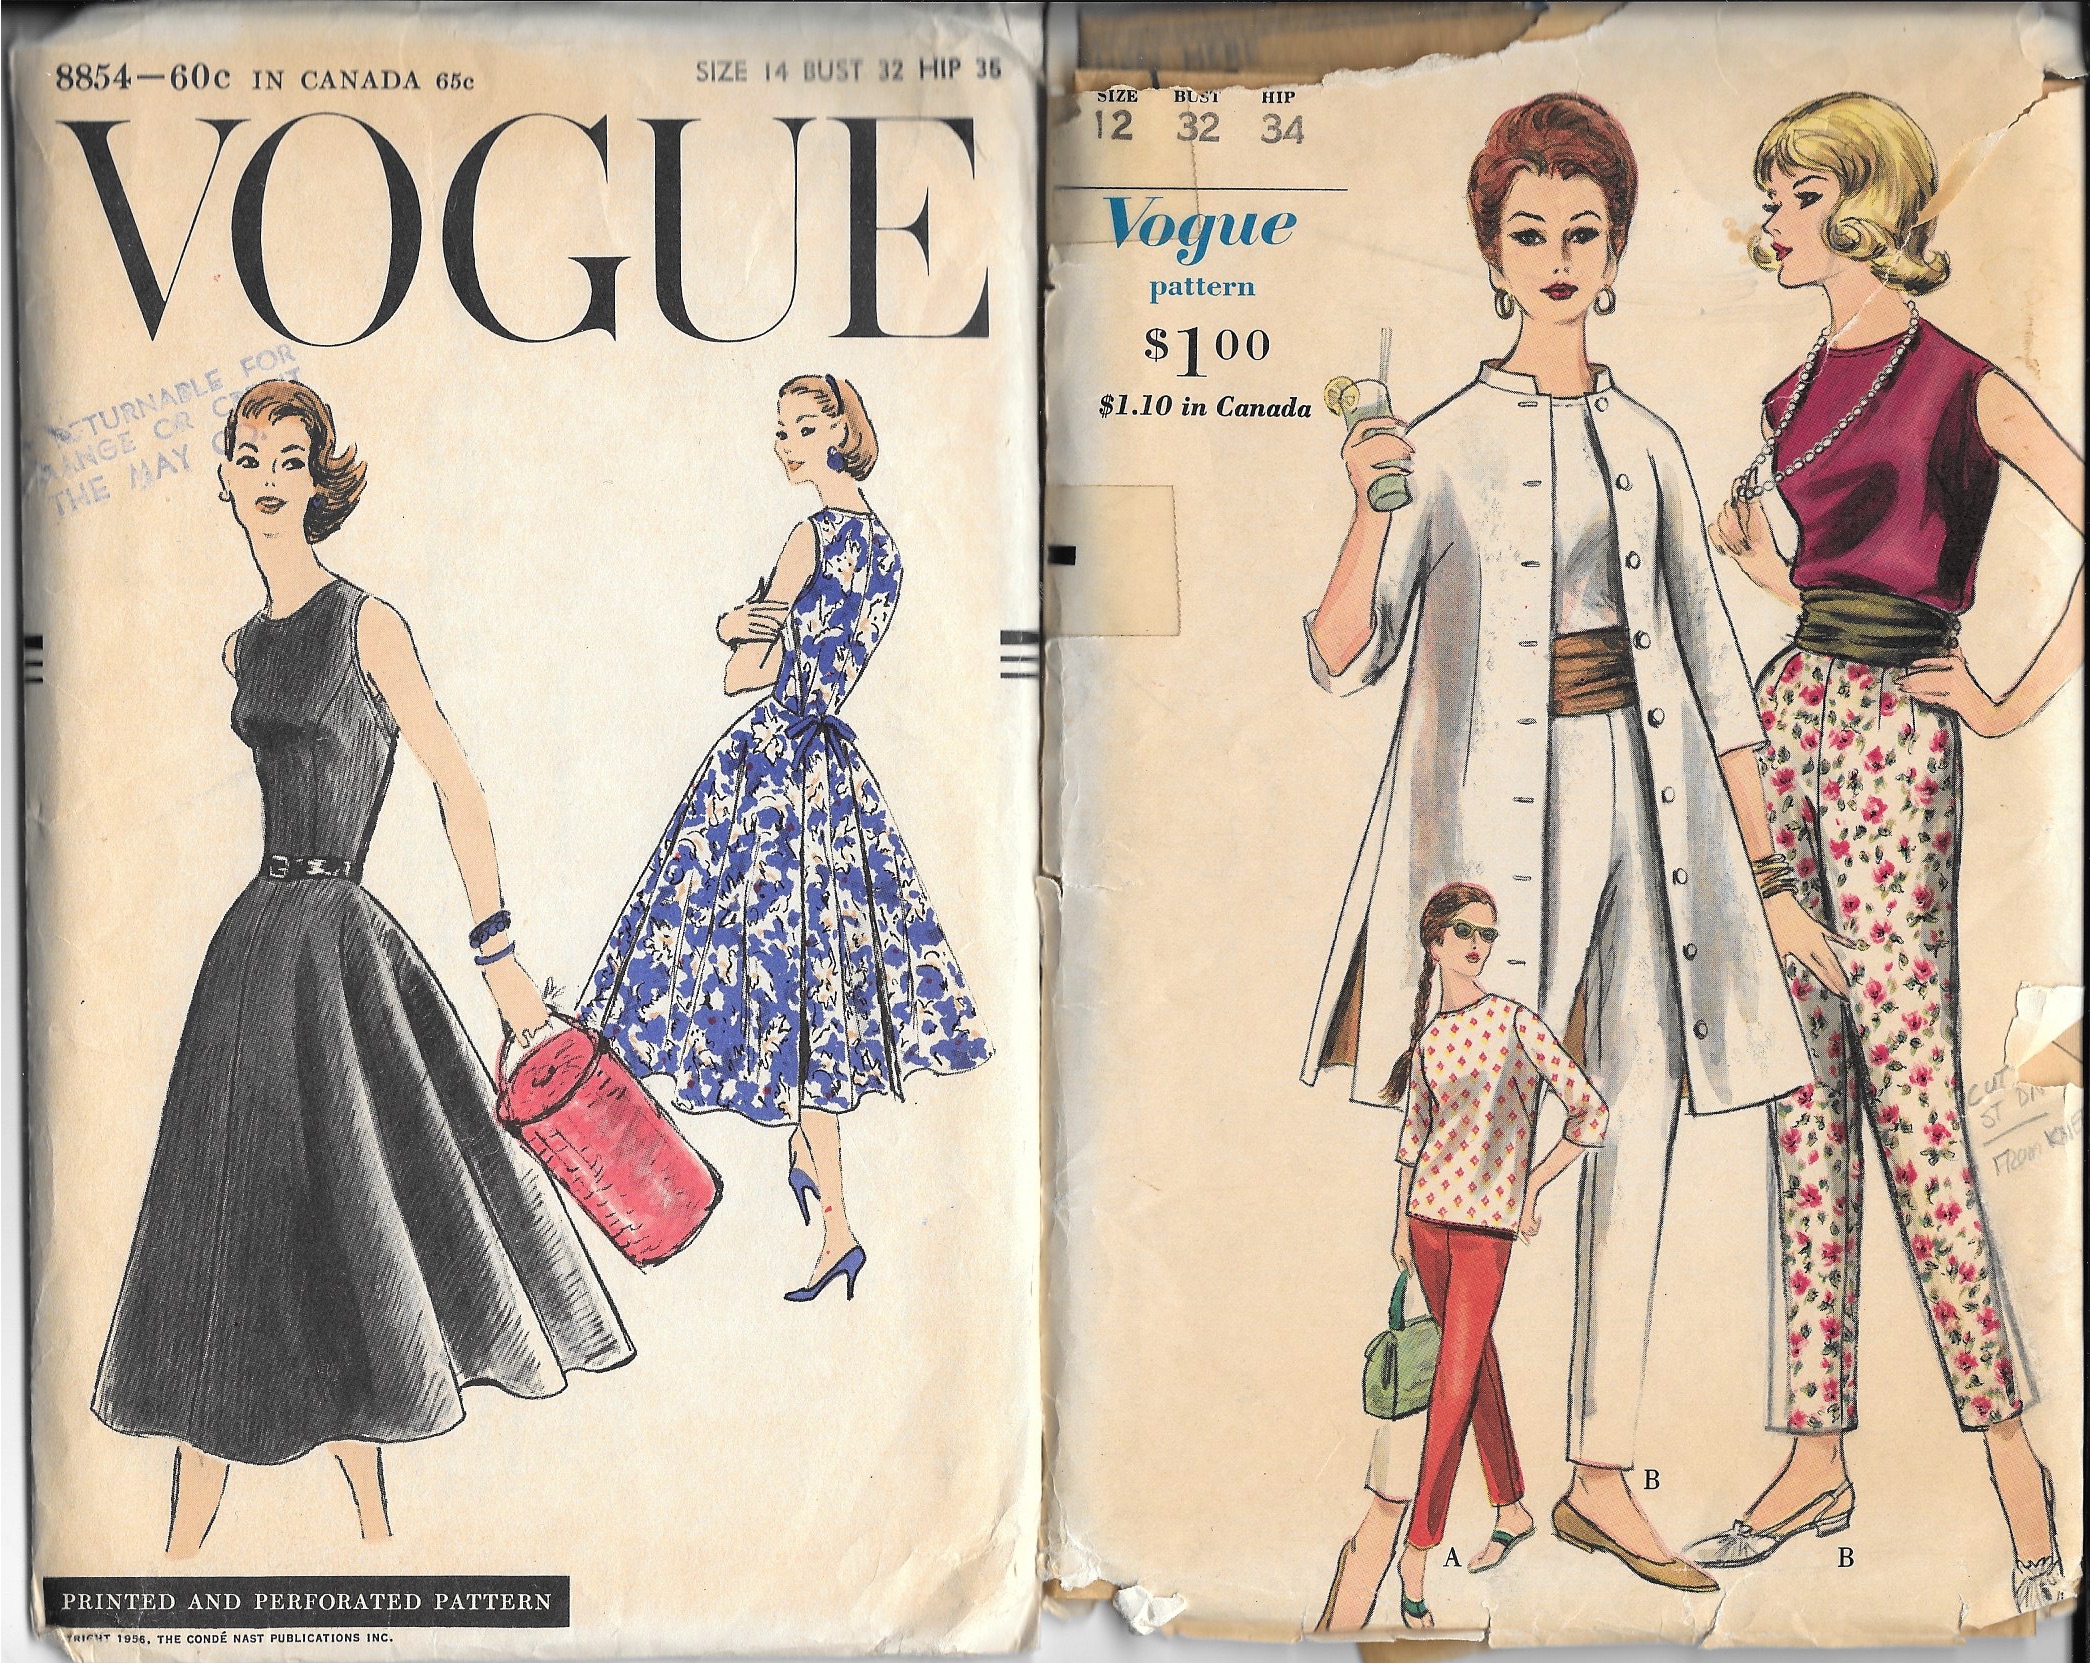
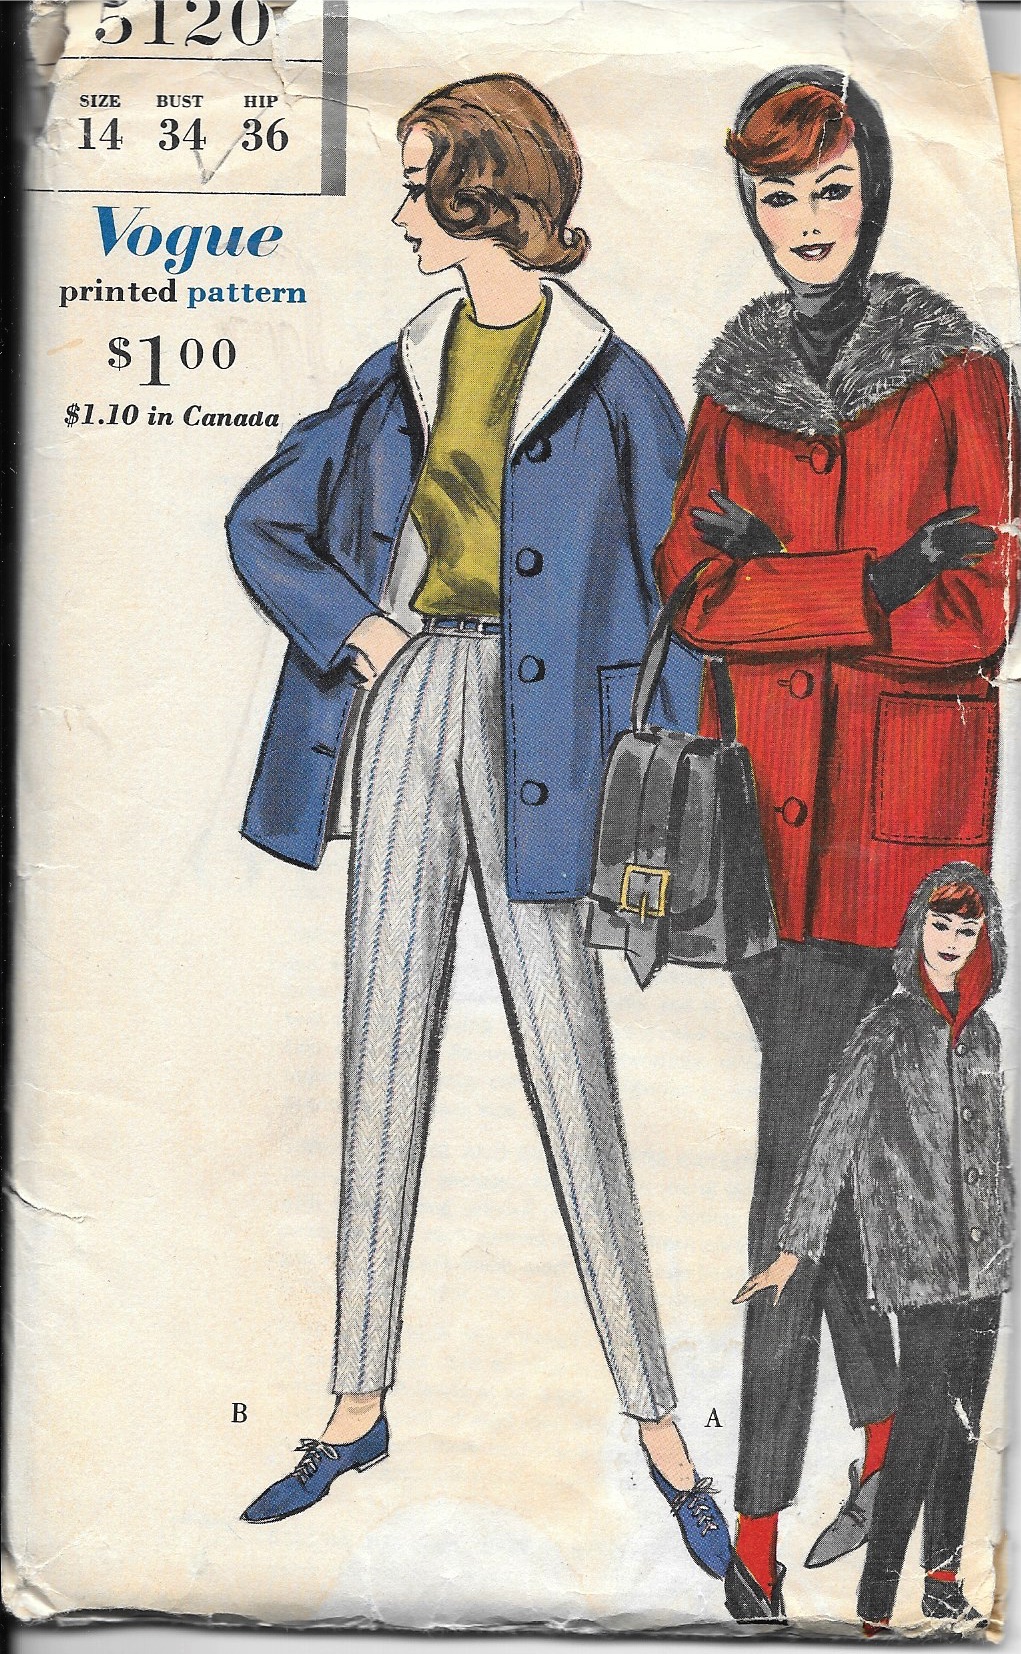
I really like this shirtwaist dress (a little shorter, of course) and I envision it made out of a lovely summer linen.
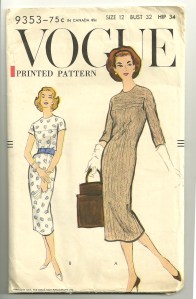
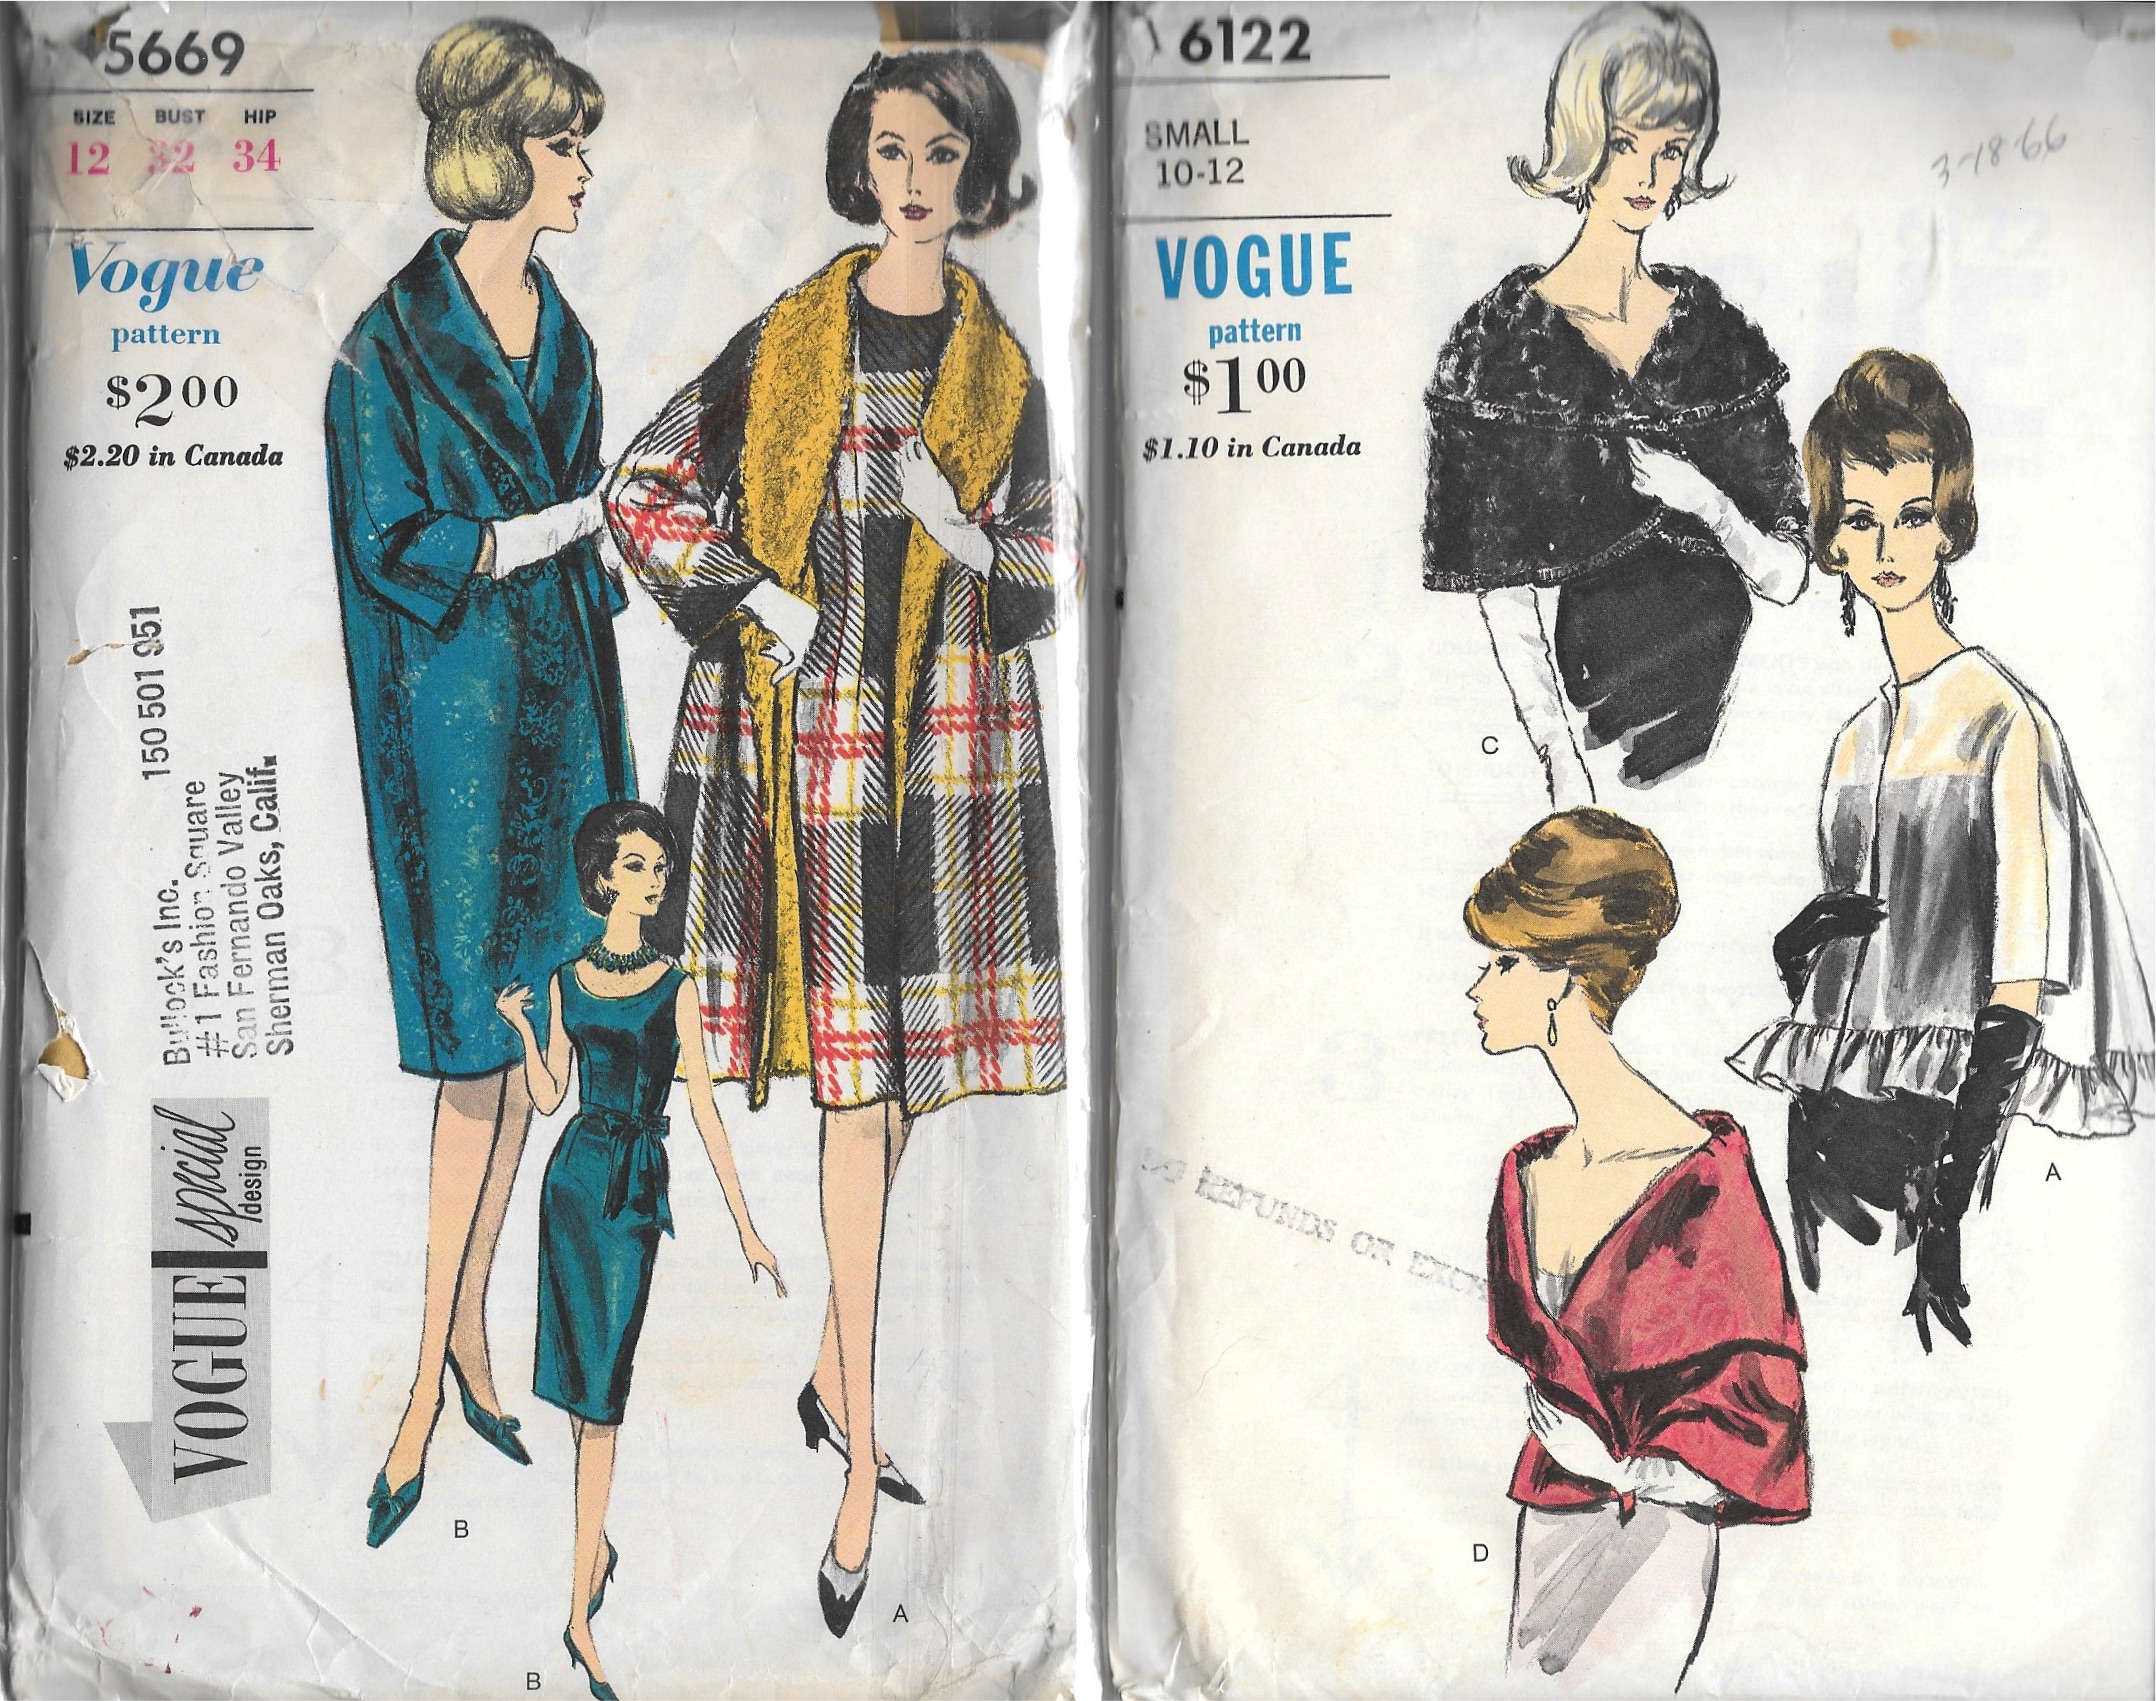
I think I could make either view of this dress over and over and not get tired of it.
One thing I learned a long time ago is the importance of flexibility in planning my sewing year. Sometimes things happen that impede my sewing plans. Sometimes I change my mind. And always, always, I plan too much. And when (not if) that happens, there is always 2017 right around the corner.