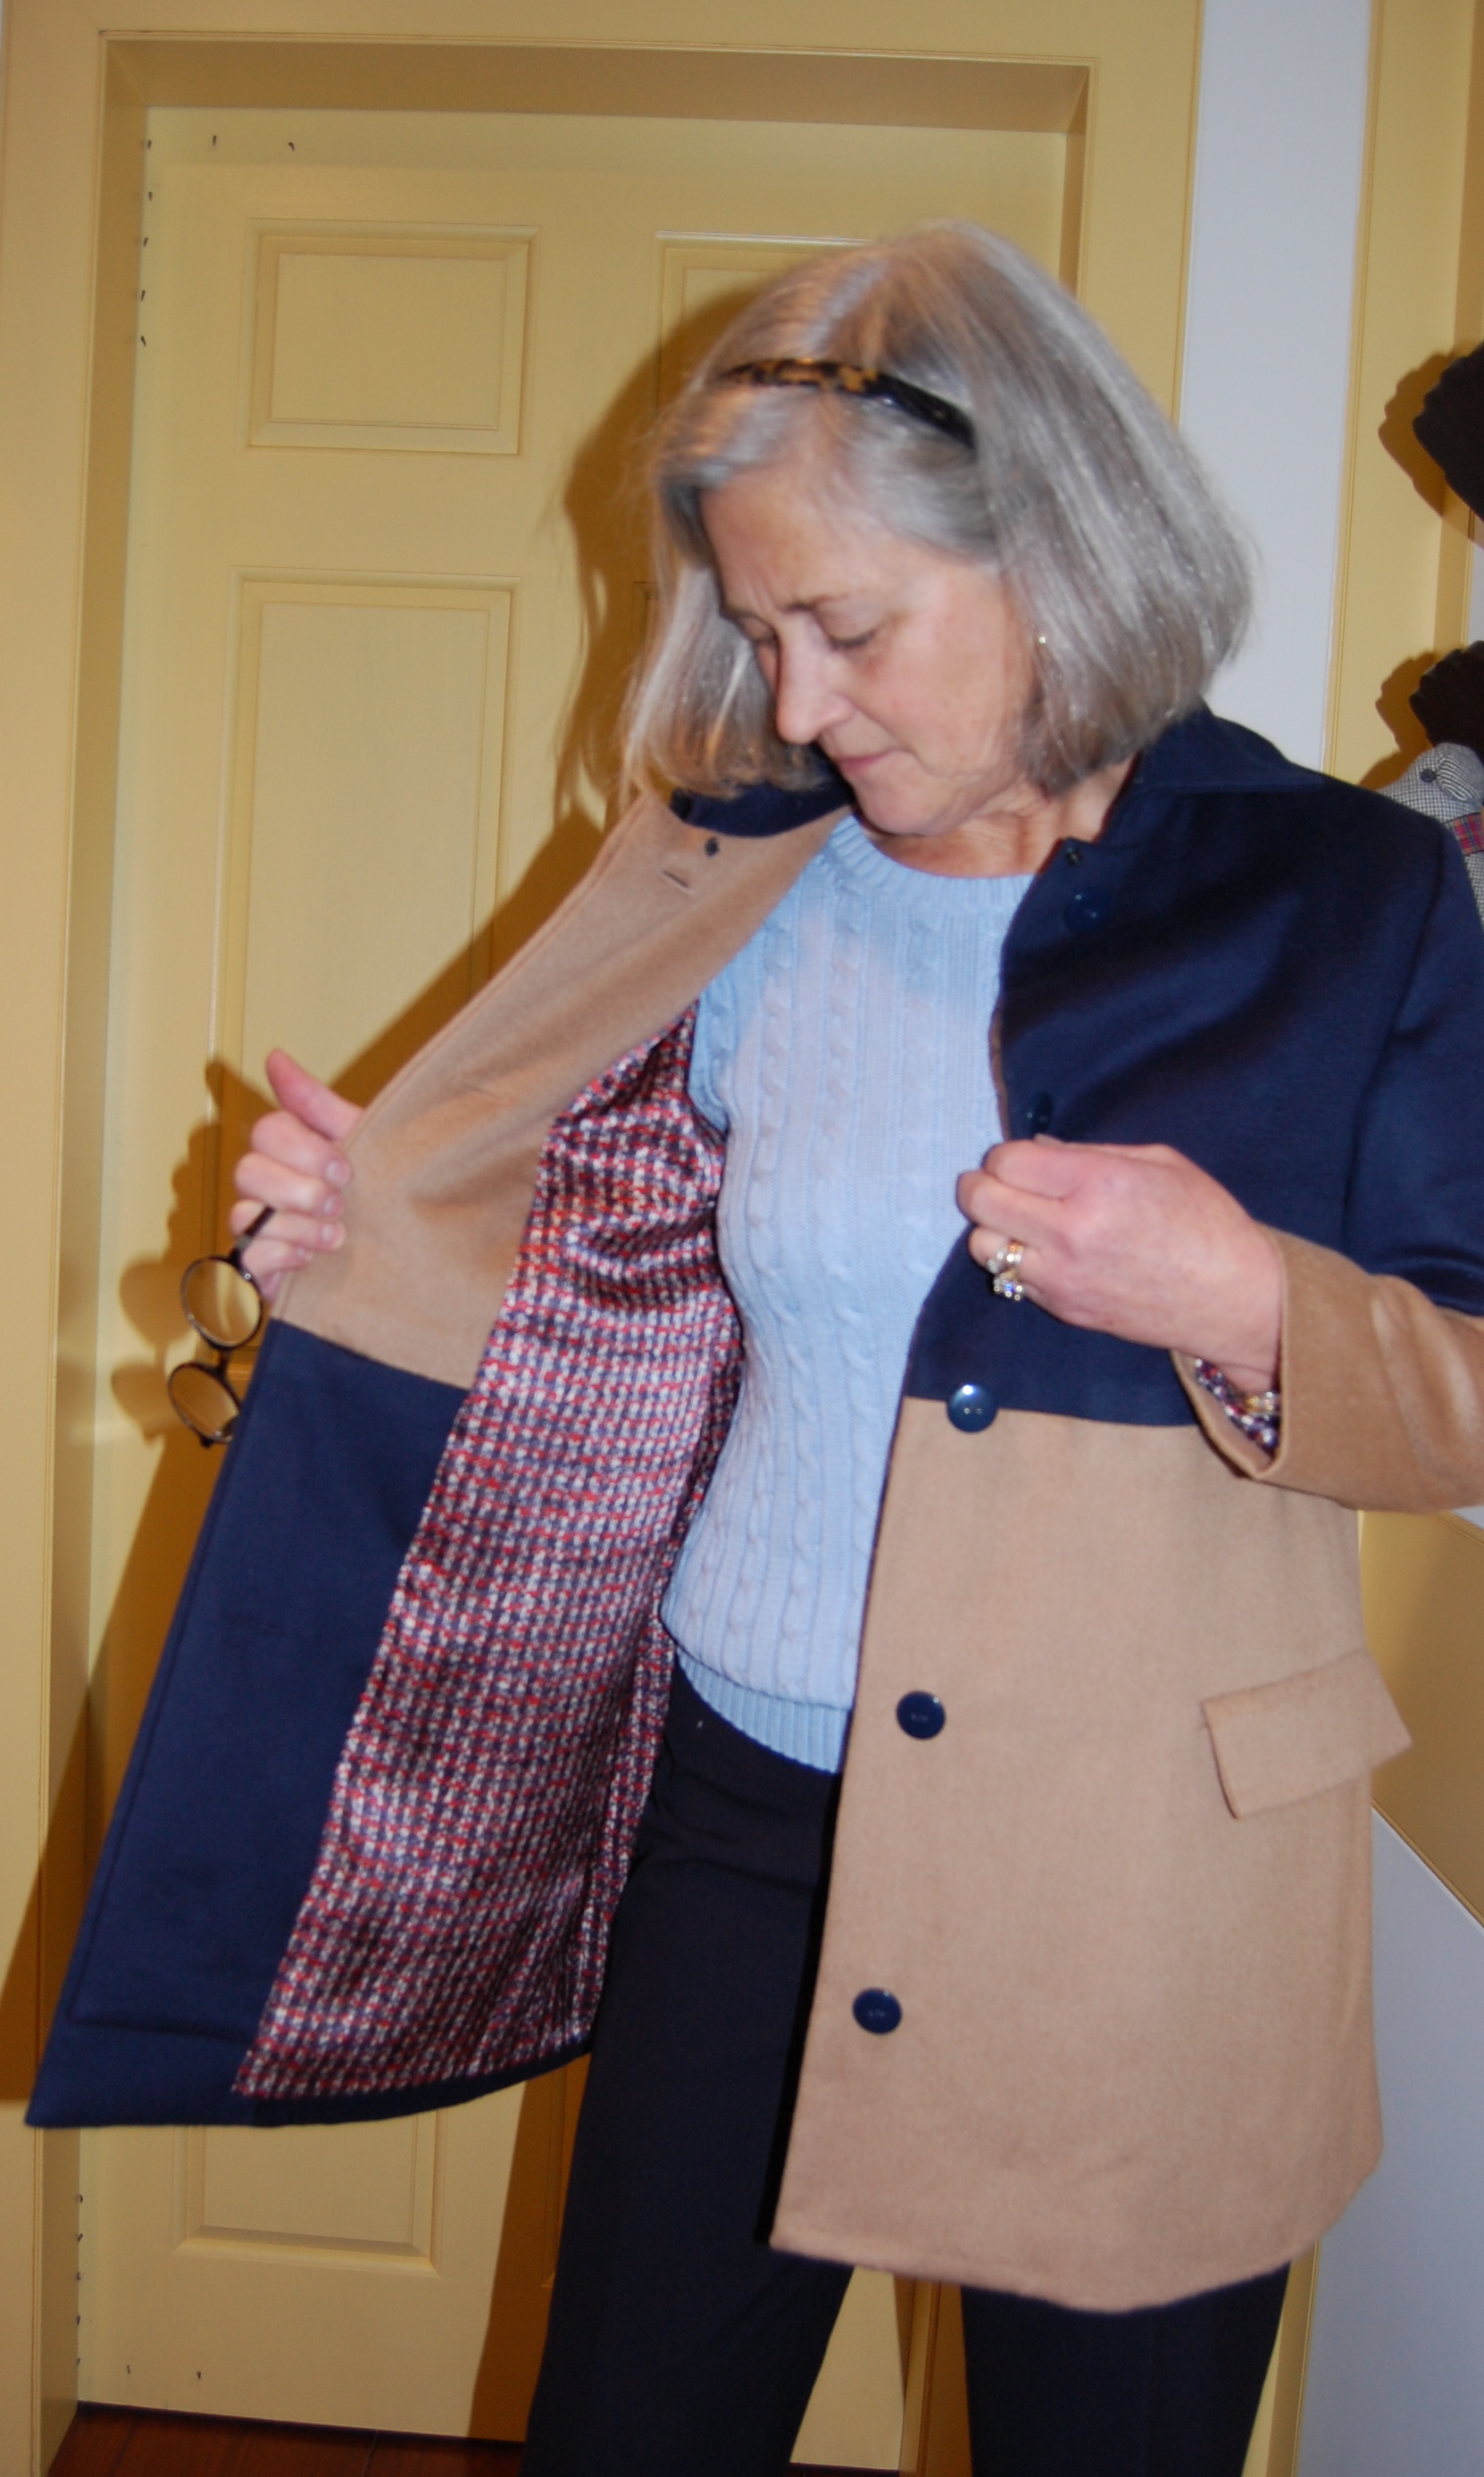
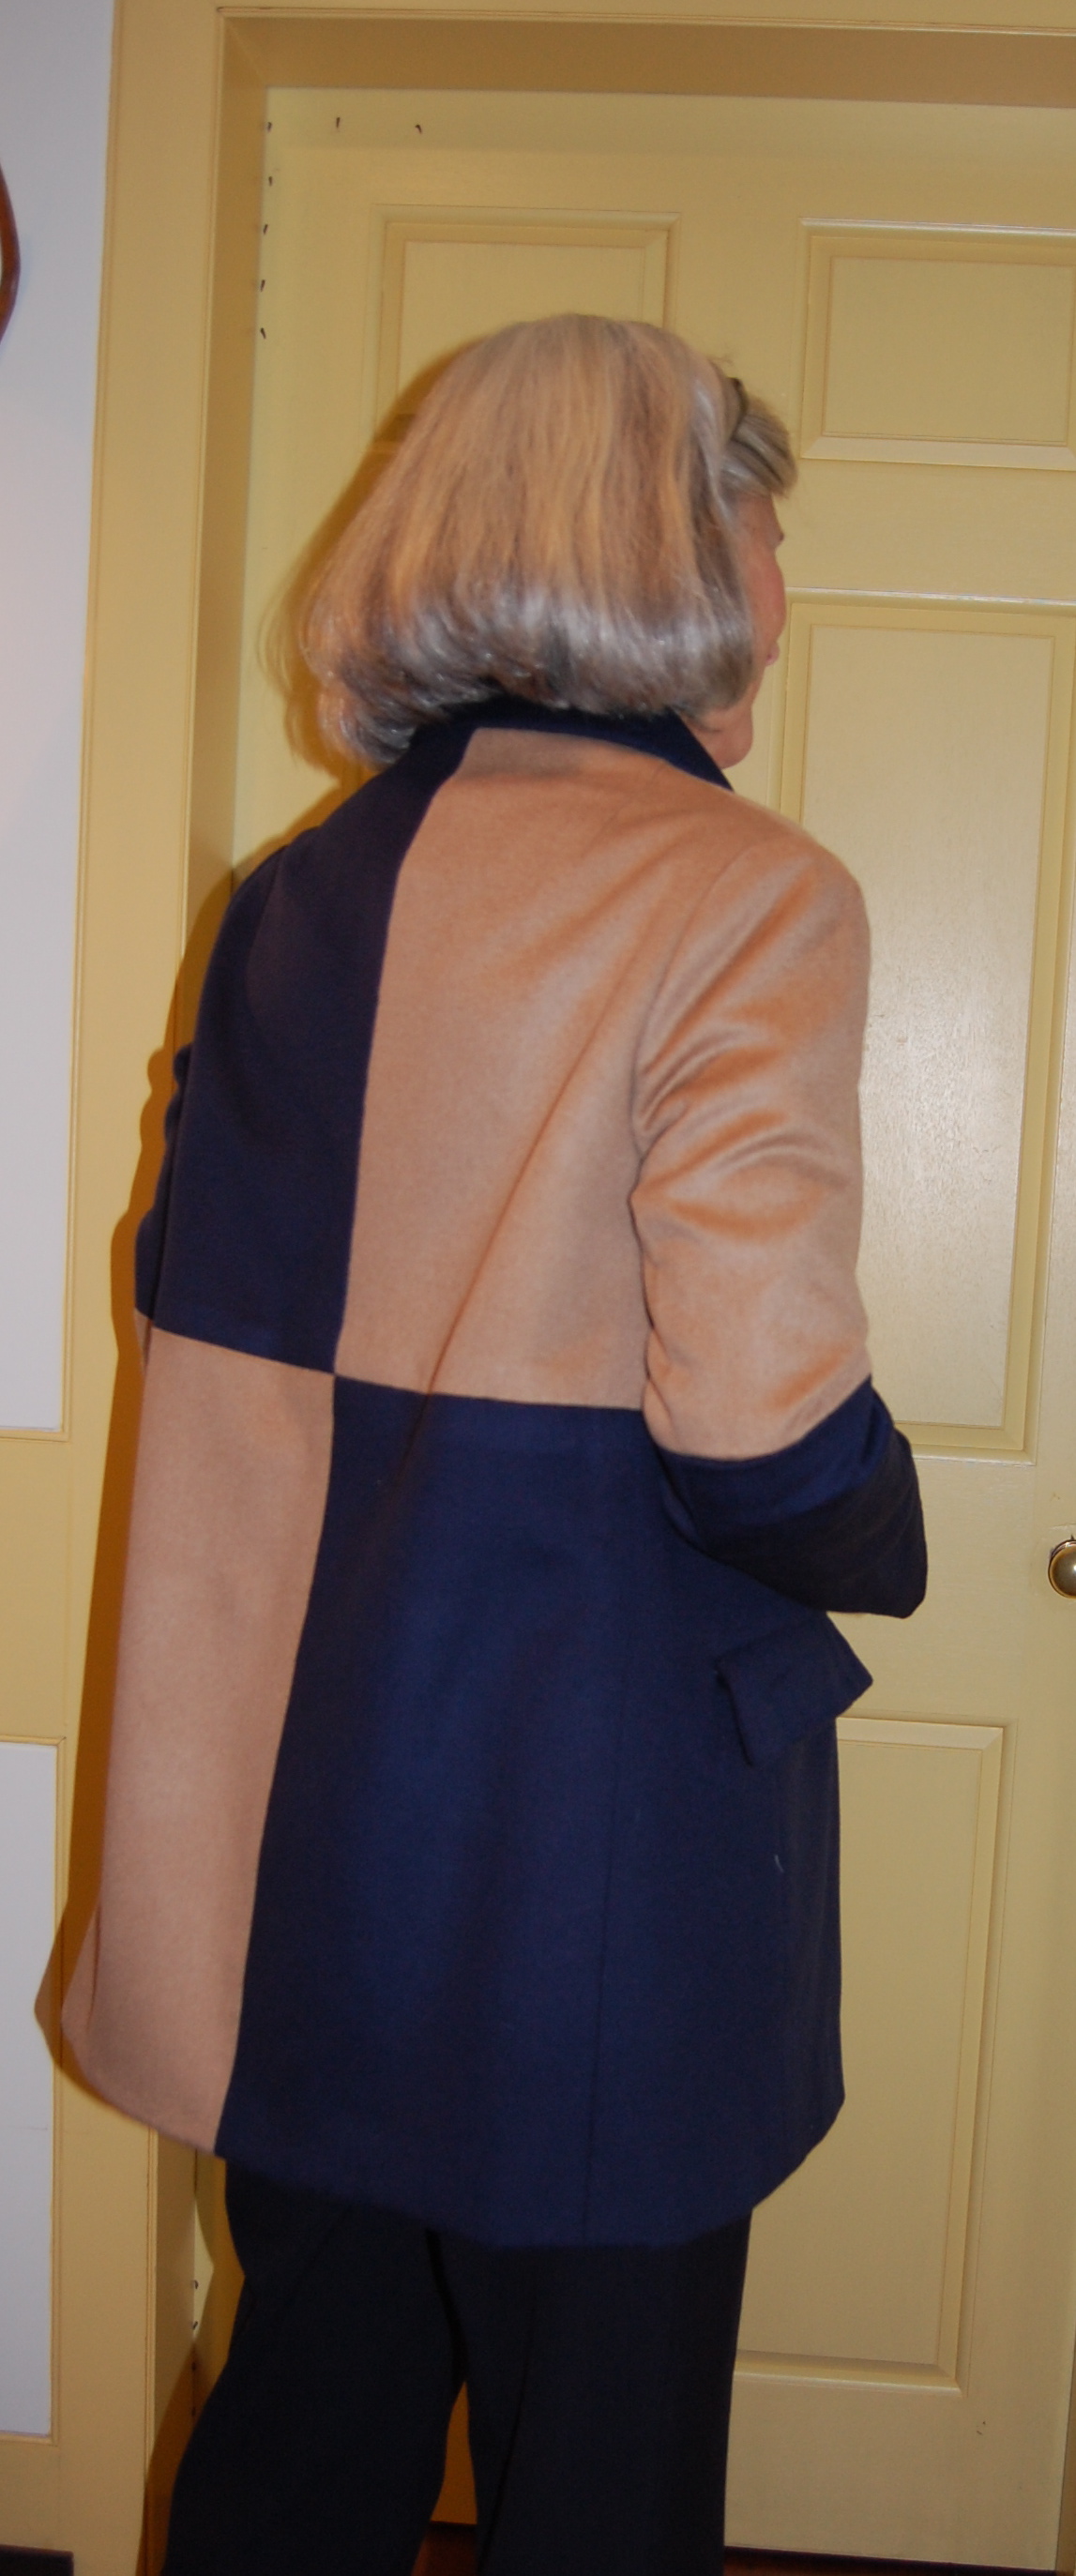
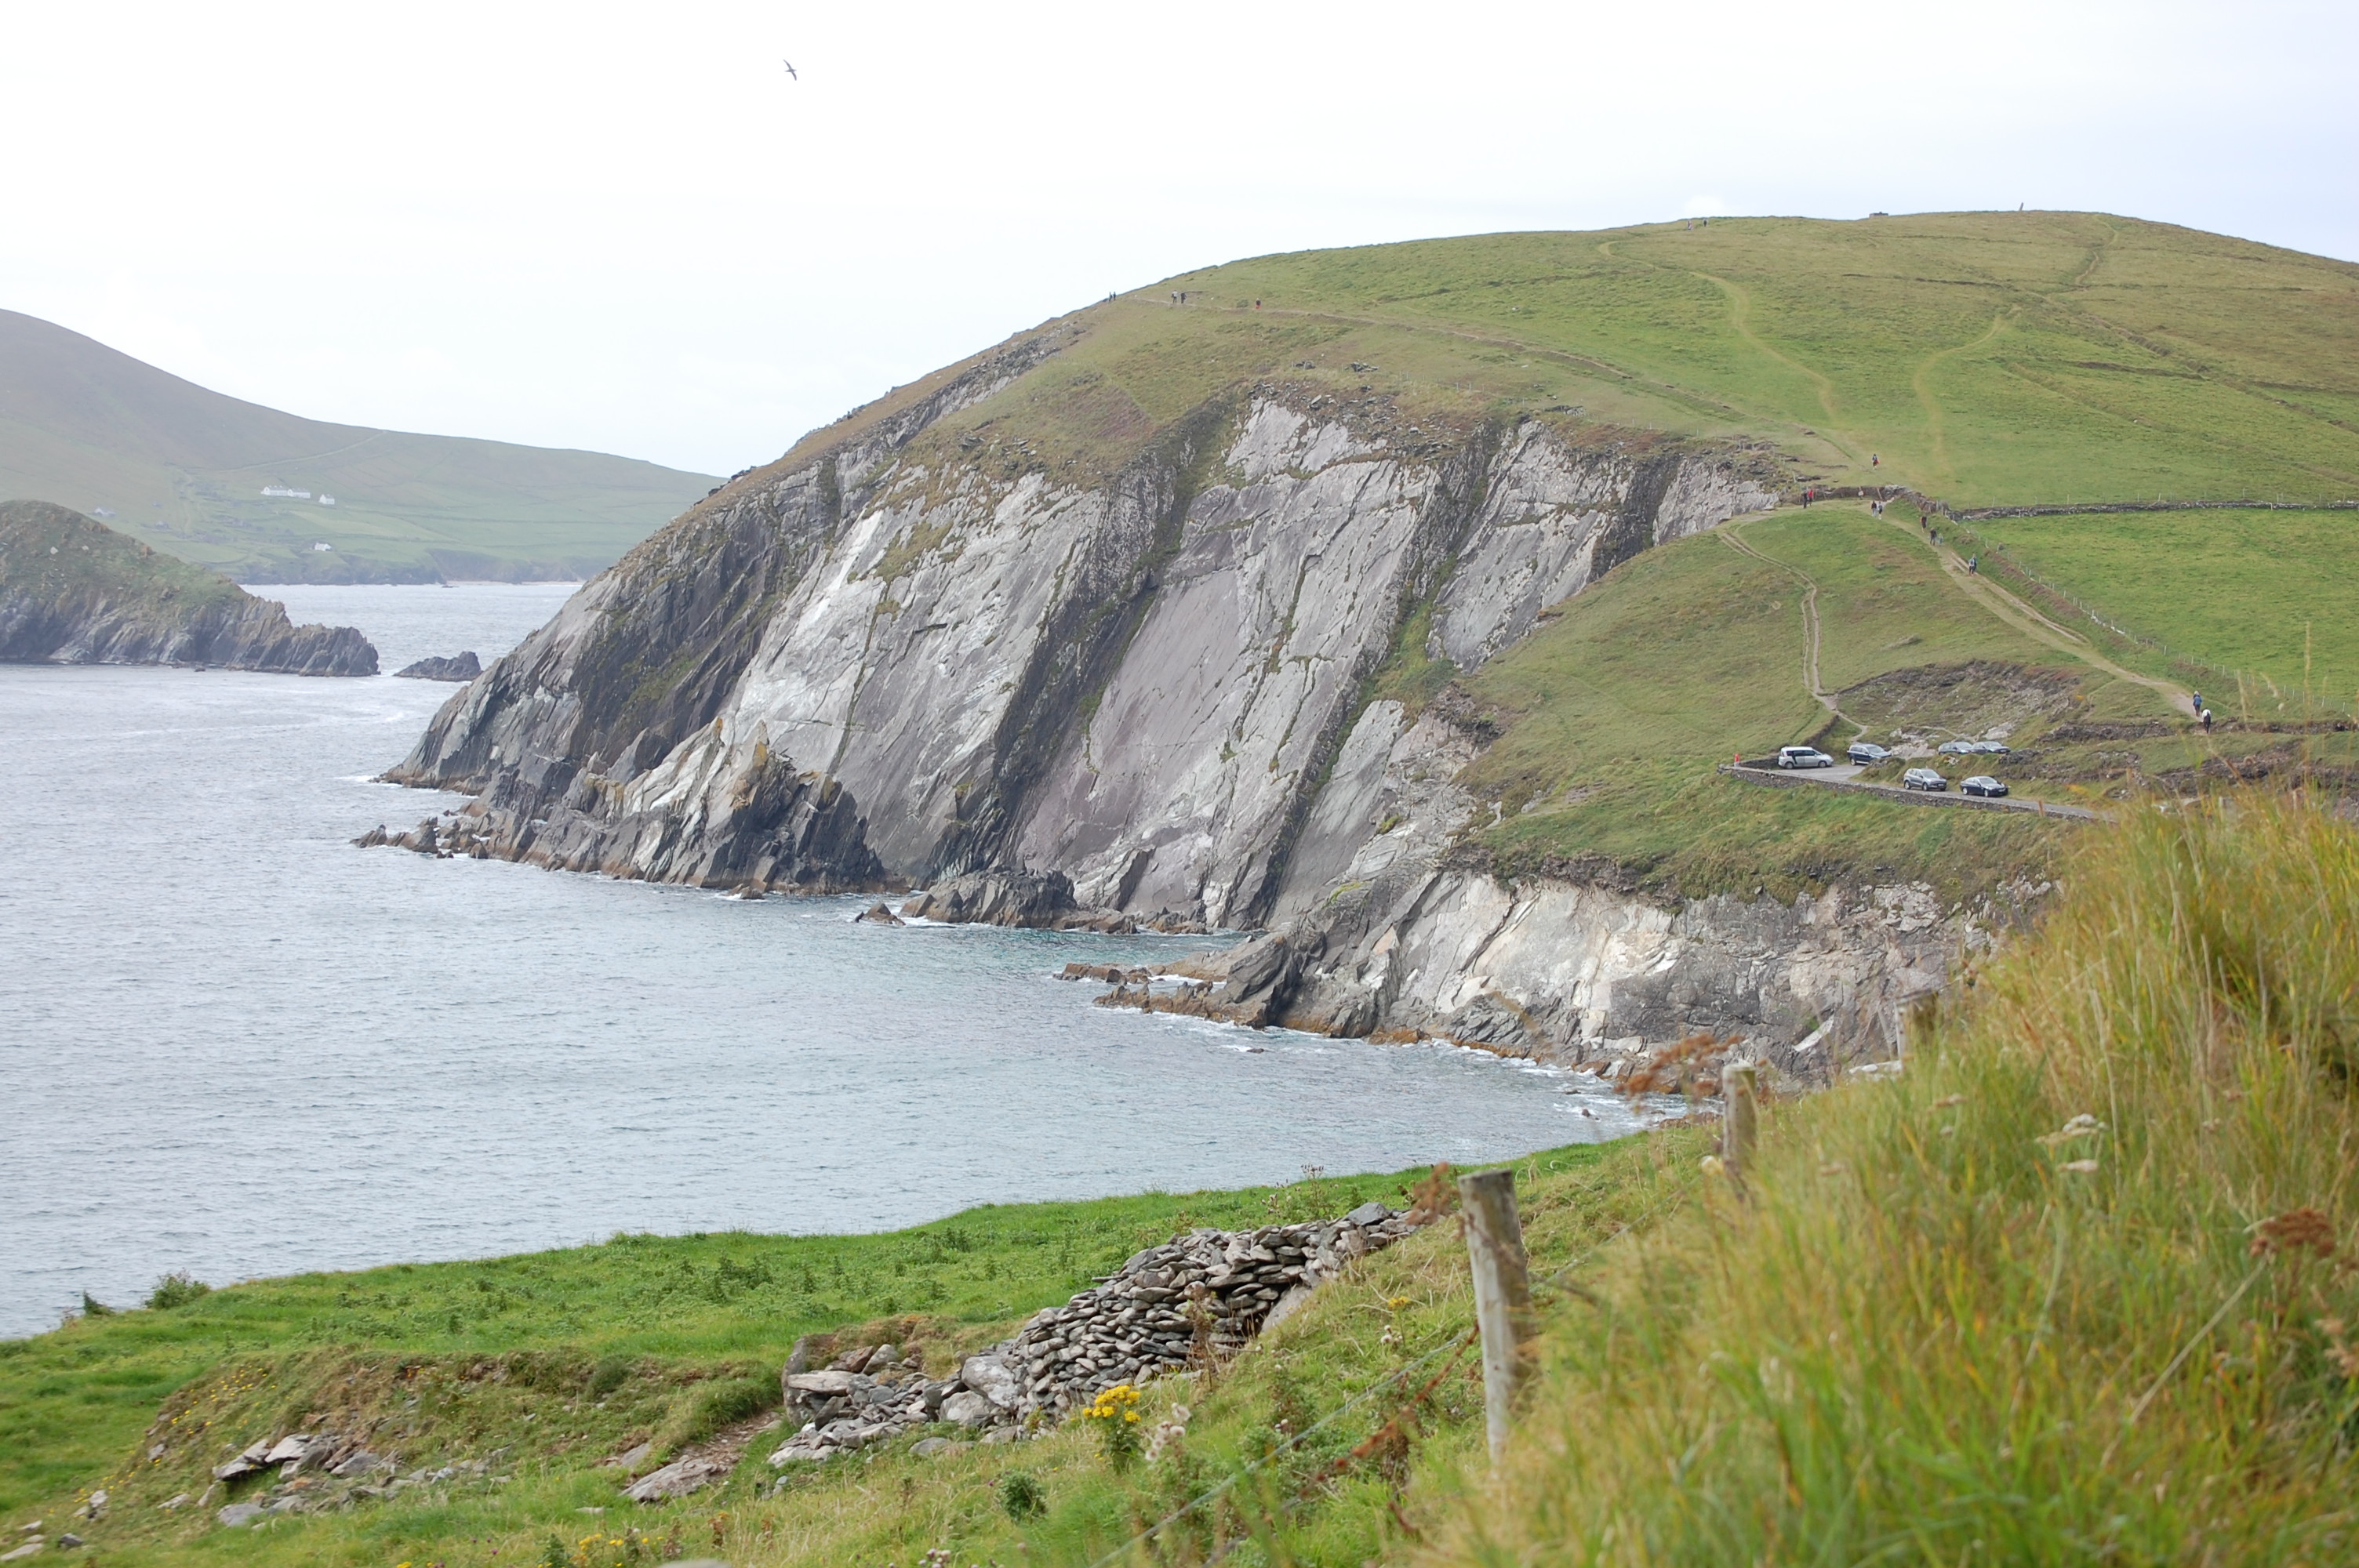
Vacationing in a foreign country always has its own special charms, but when that country is Ireland, the charms are manifold. My husband and I were lucky enough to be joined by our son, our daughter, our son-in-law, and our year-and-a-half old granddaughter on a trip to Cork and Kerry Counties in southwest Ireland (our treat to them!), from which we have just returned. All of us love to hike (granddaughter Aida went on her Daddy’s back in a child carrier made for trekking), but we also enjoy nice accommodations and good food after a day on the trail – so we arranged our trip through CW Adventures, who took care of all the details and enabled us to take some incredible hikes through stunningly beautiful Irish countryside.
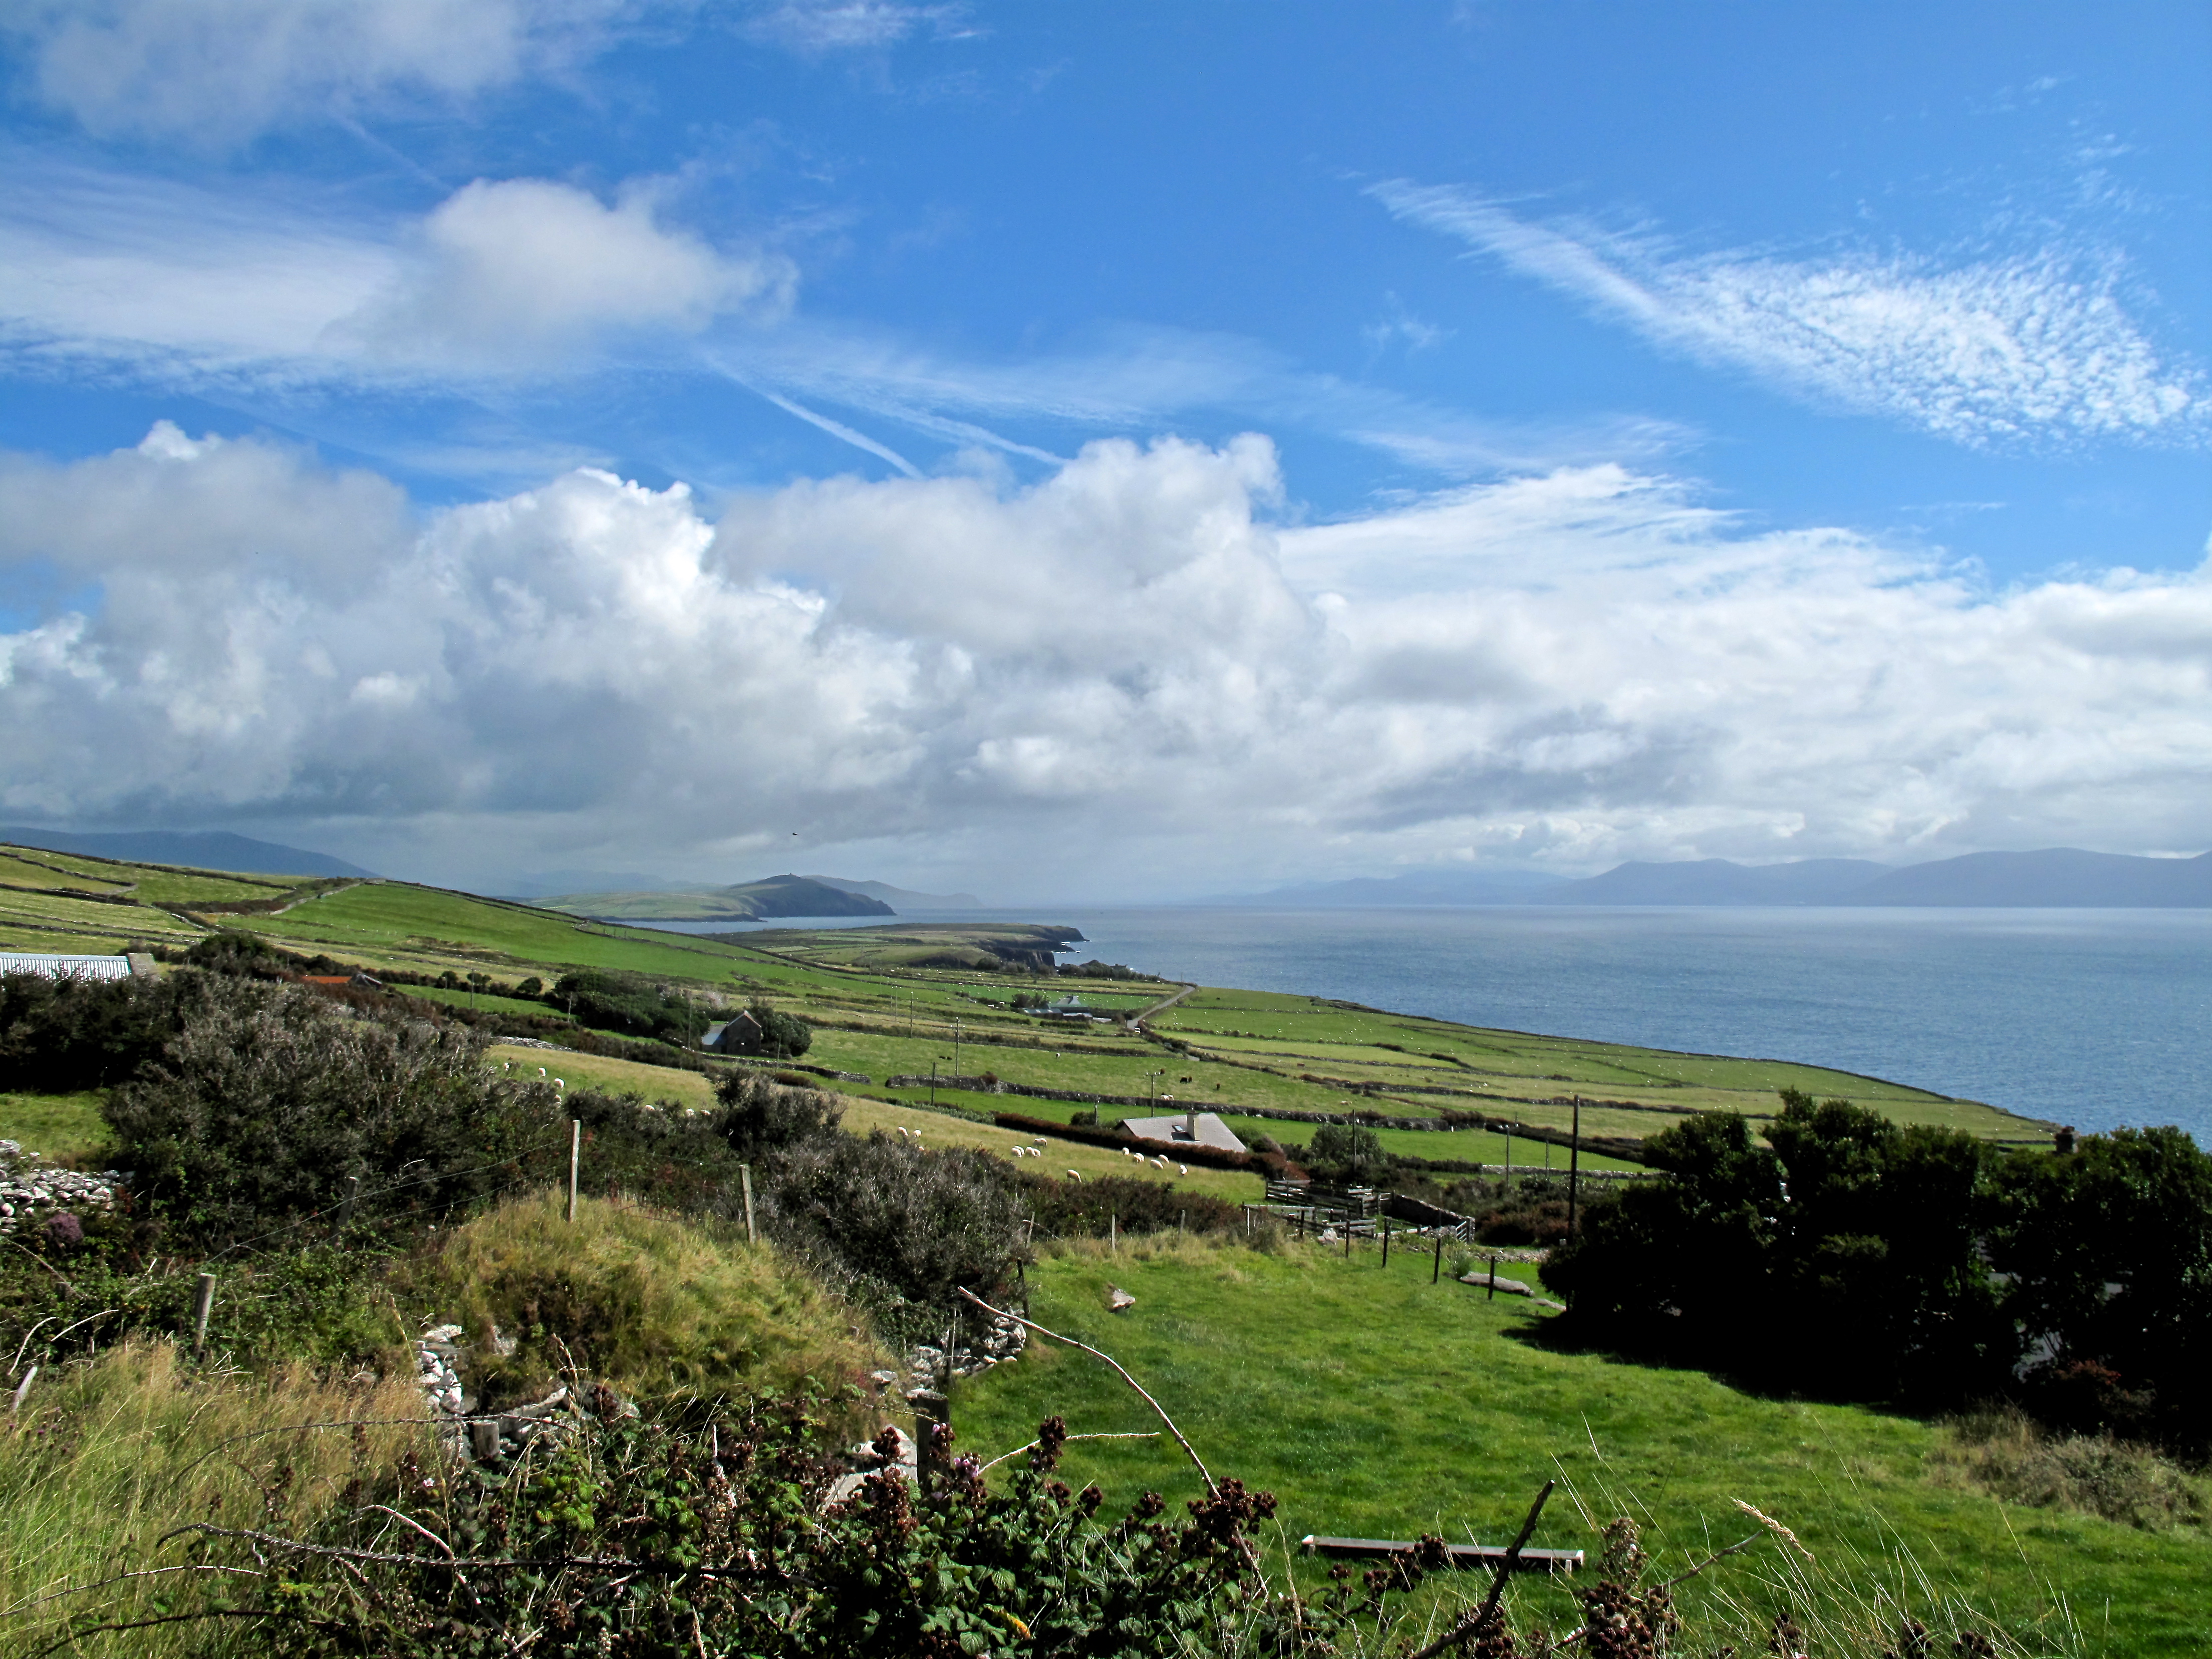
Photo of the Coastline in Dingle taken by Nate Helm (my son!)
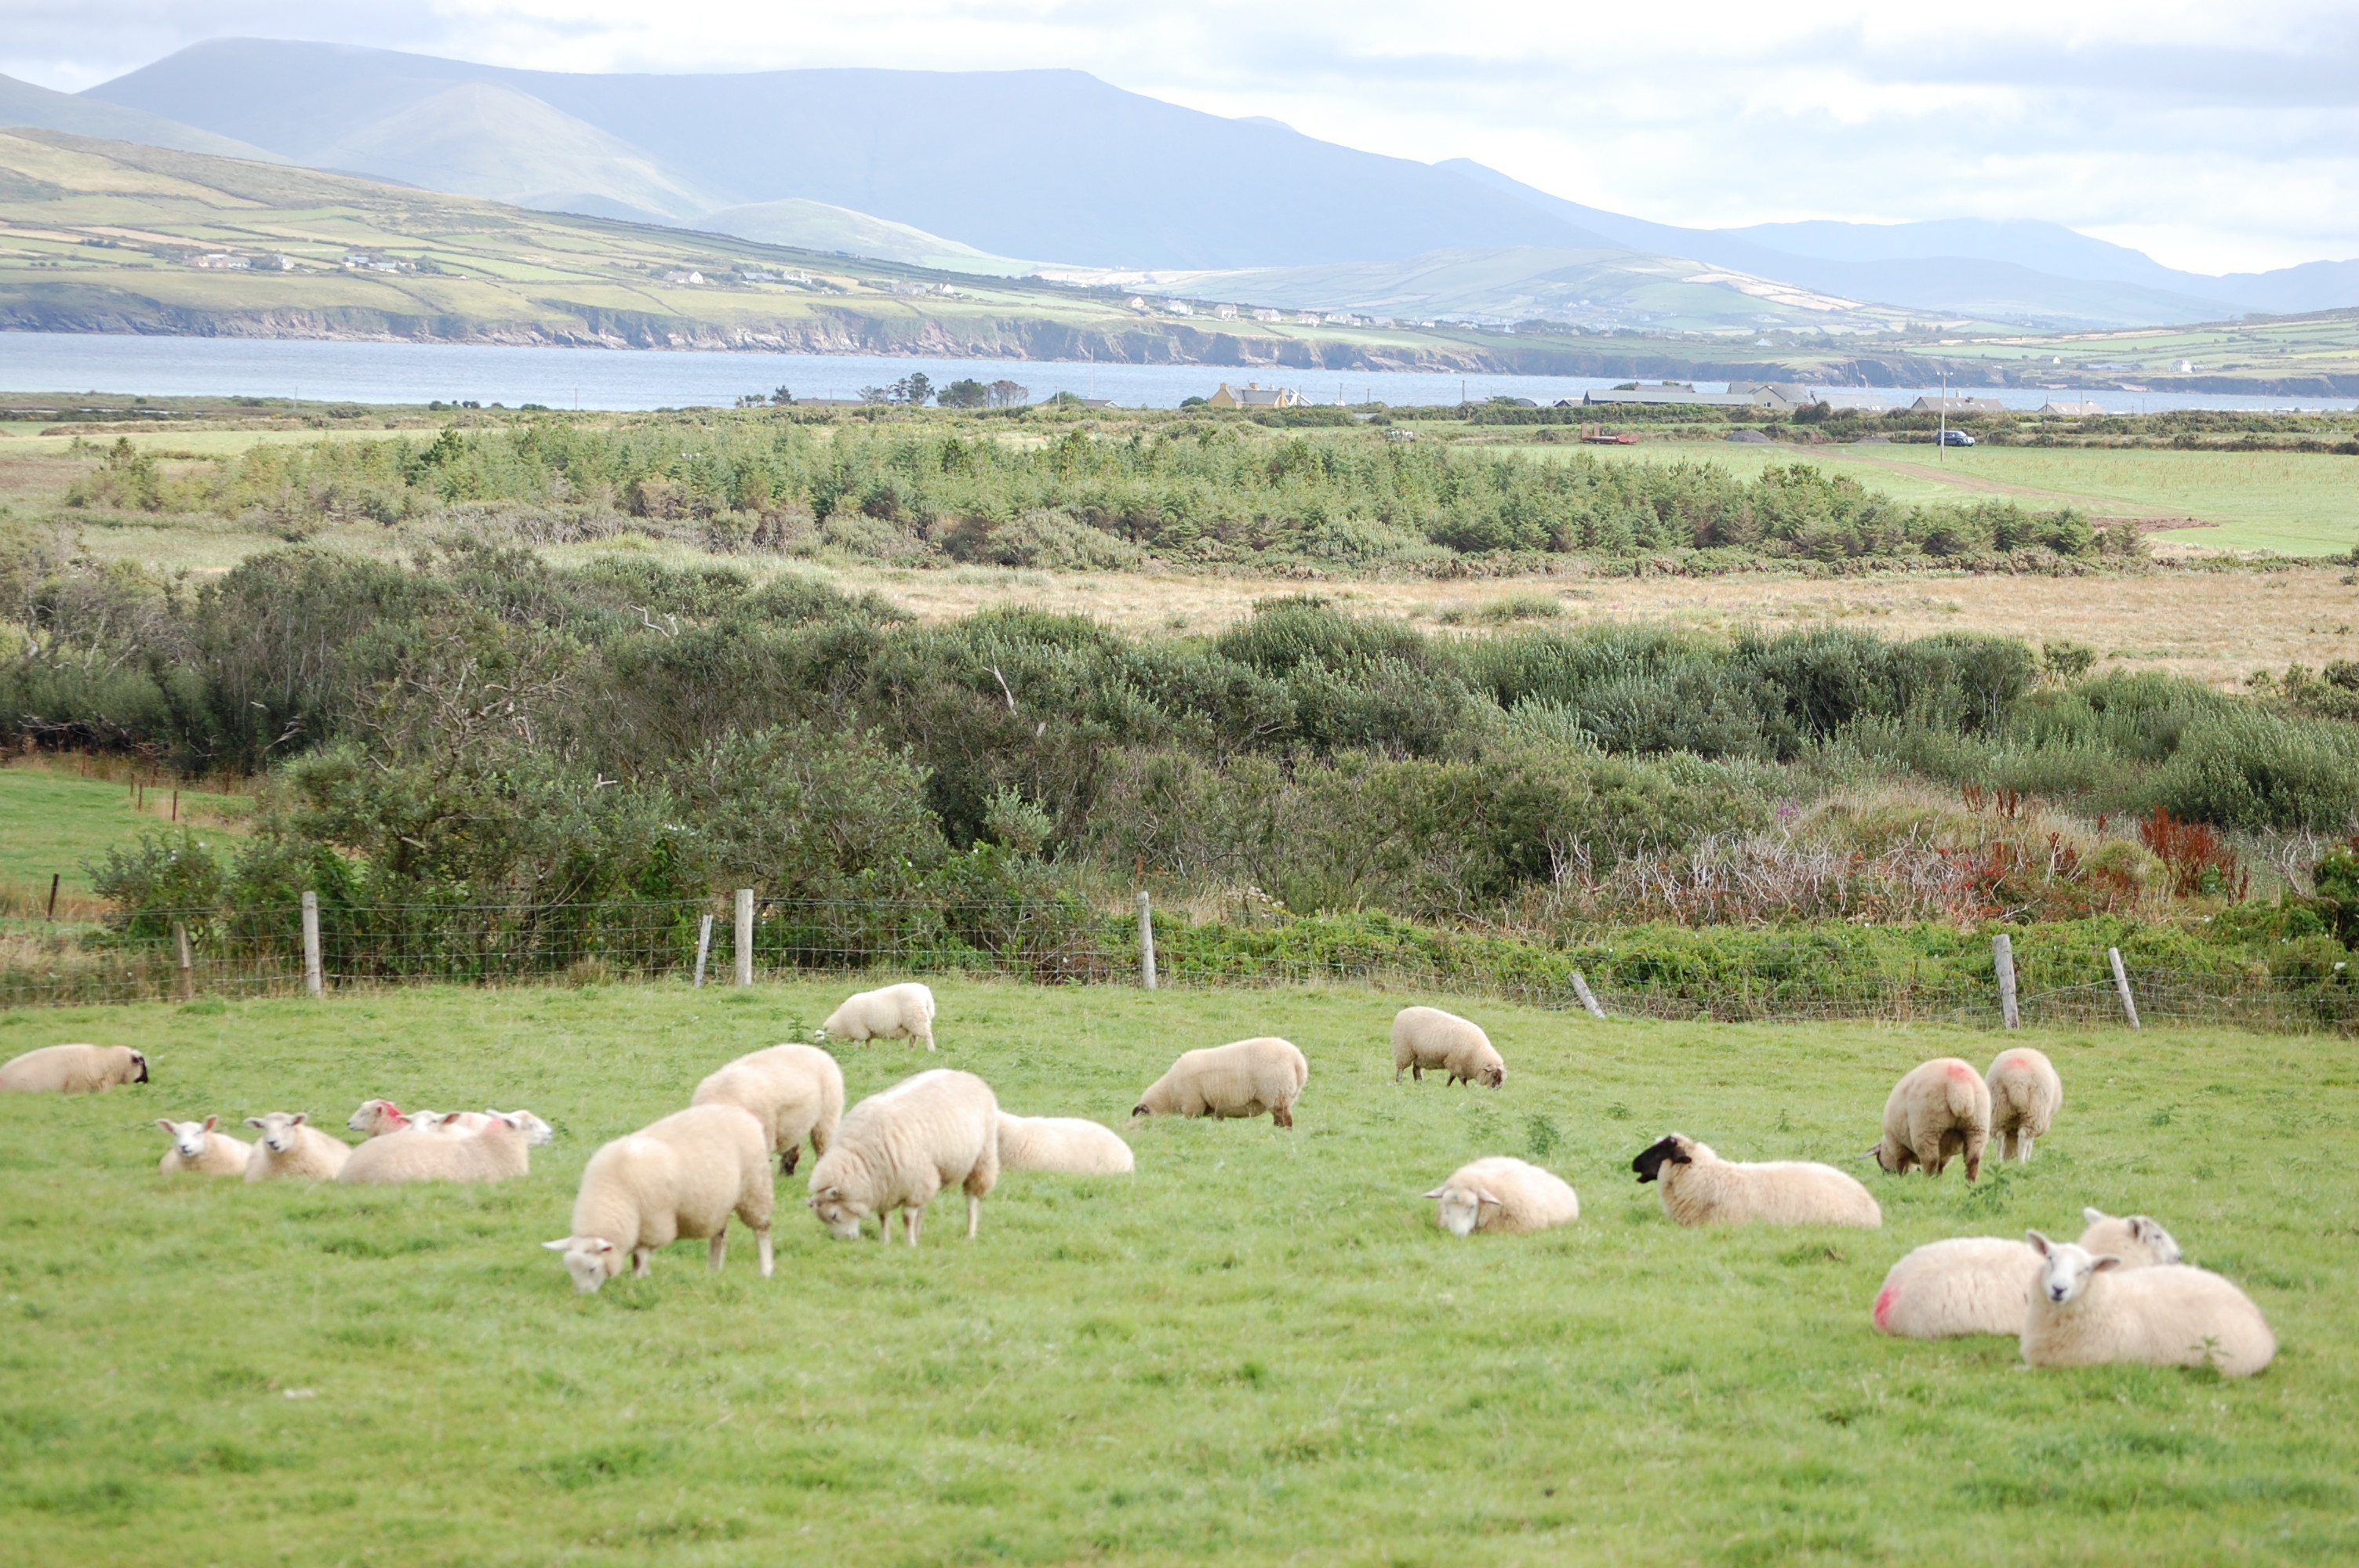 We expected to see cows and sheep, but the sheer quantity of cows and sheep, some of whom we shared our trails with, was a delight! Gentle-natured and handsome animals they are, living in this verdant green land with breathtaking vistas. We all agreed that the Irish butter was the best we have ever tasted. And, of course, we all know what lovely product comes from sheep. Irish lambs wool must be some of the softest in the world.
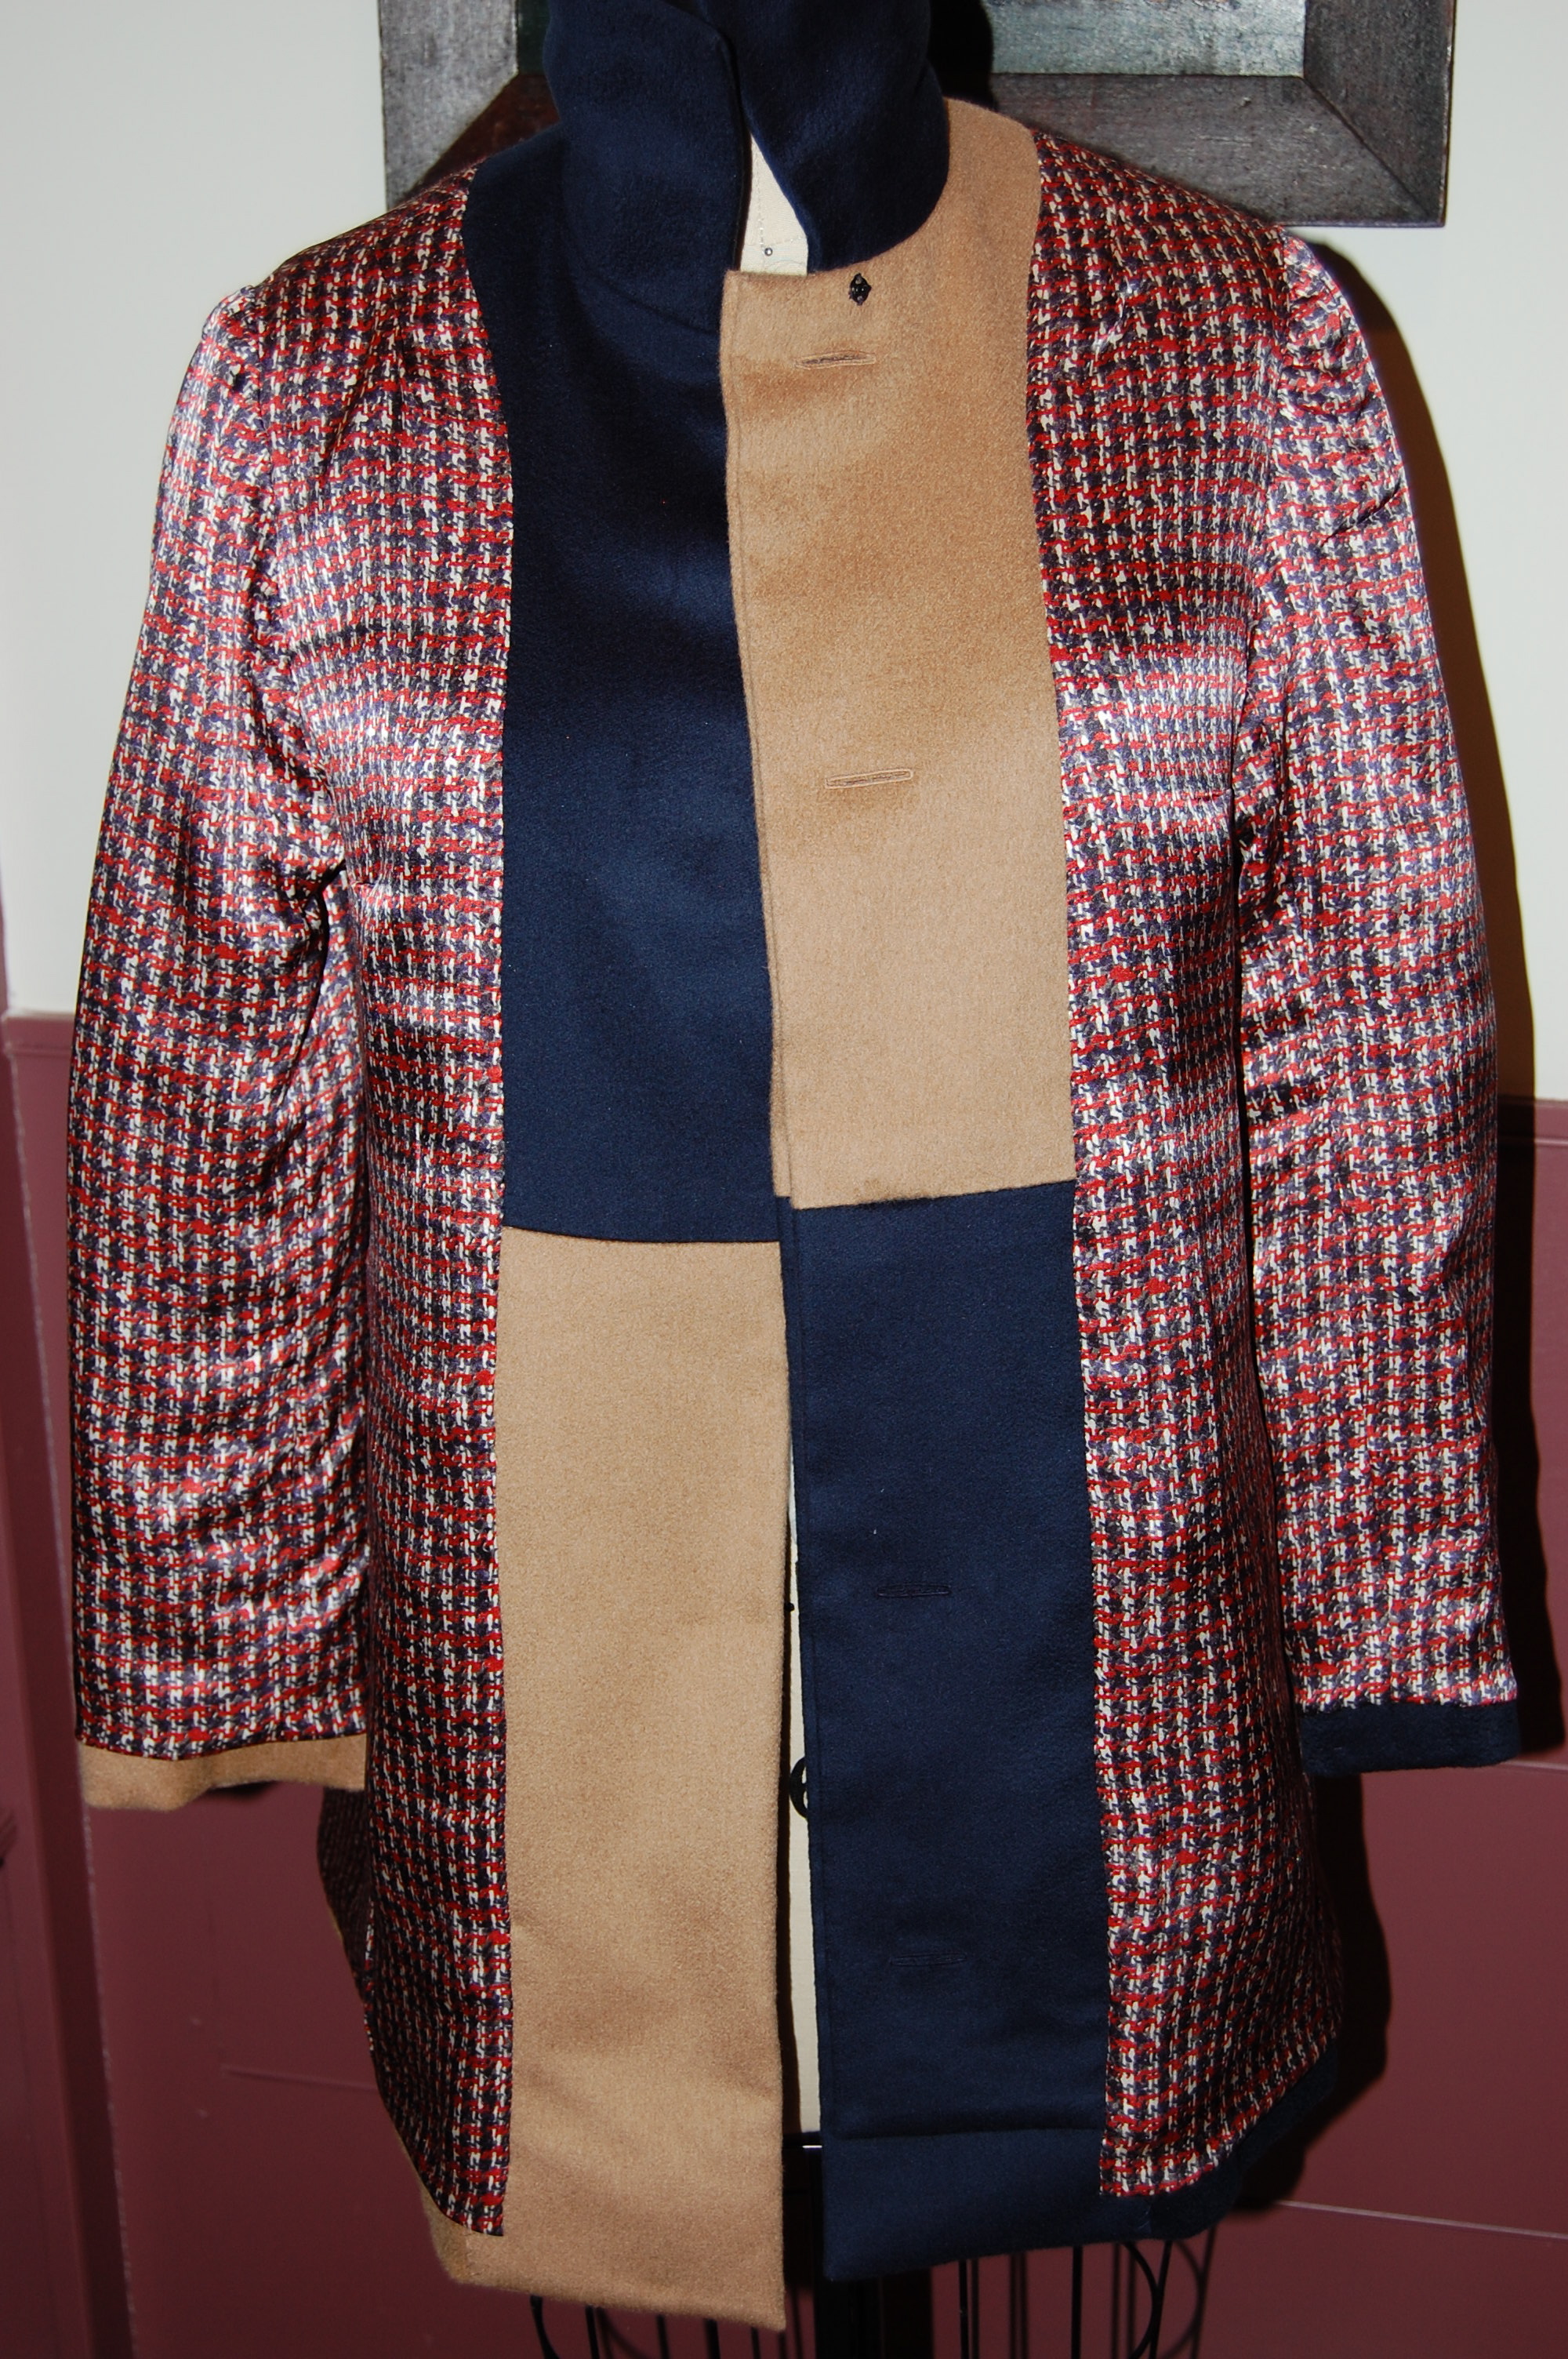
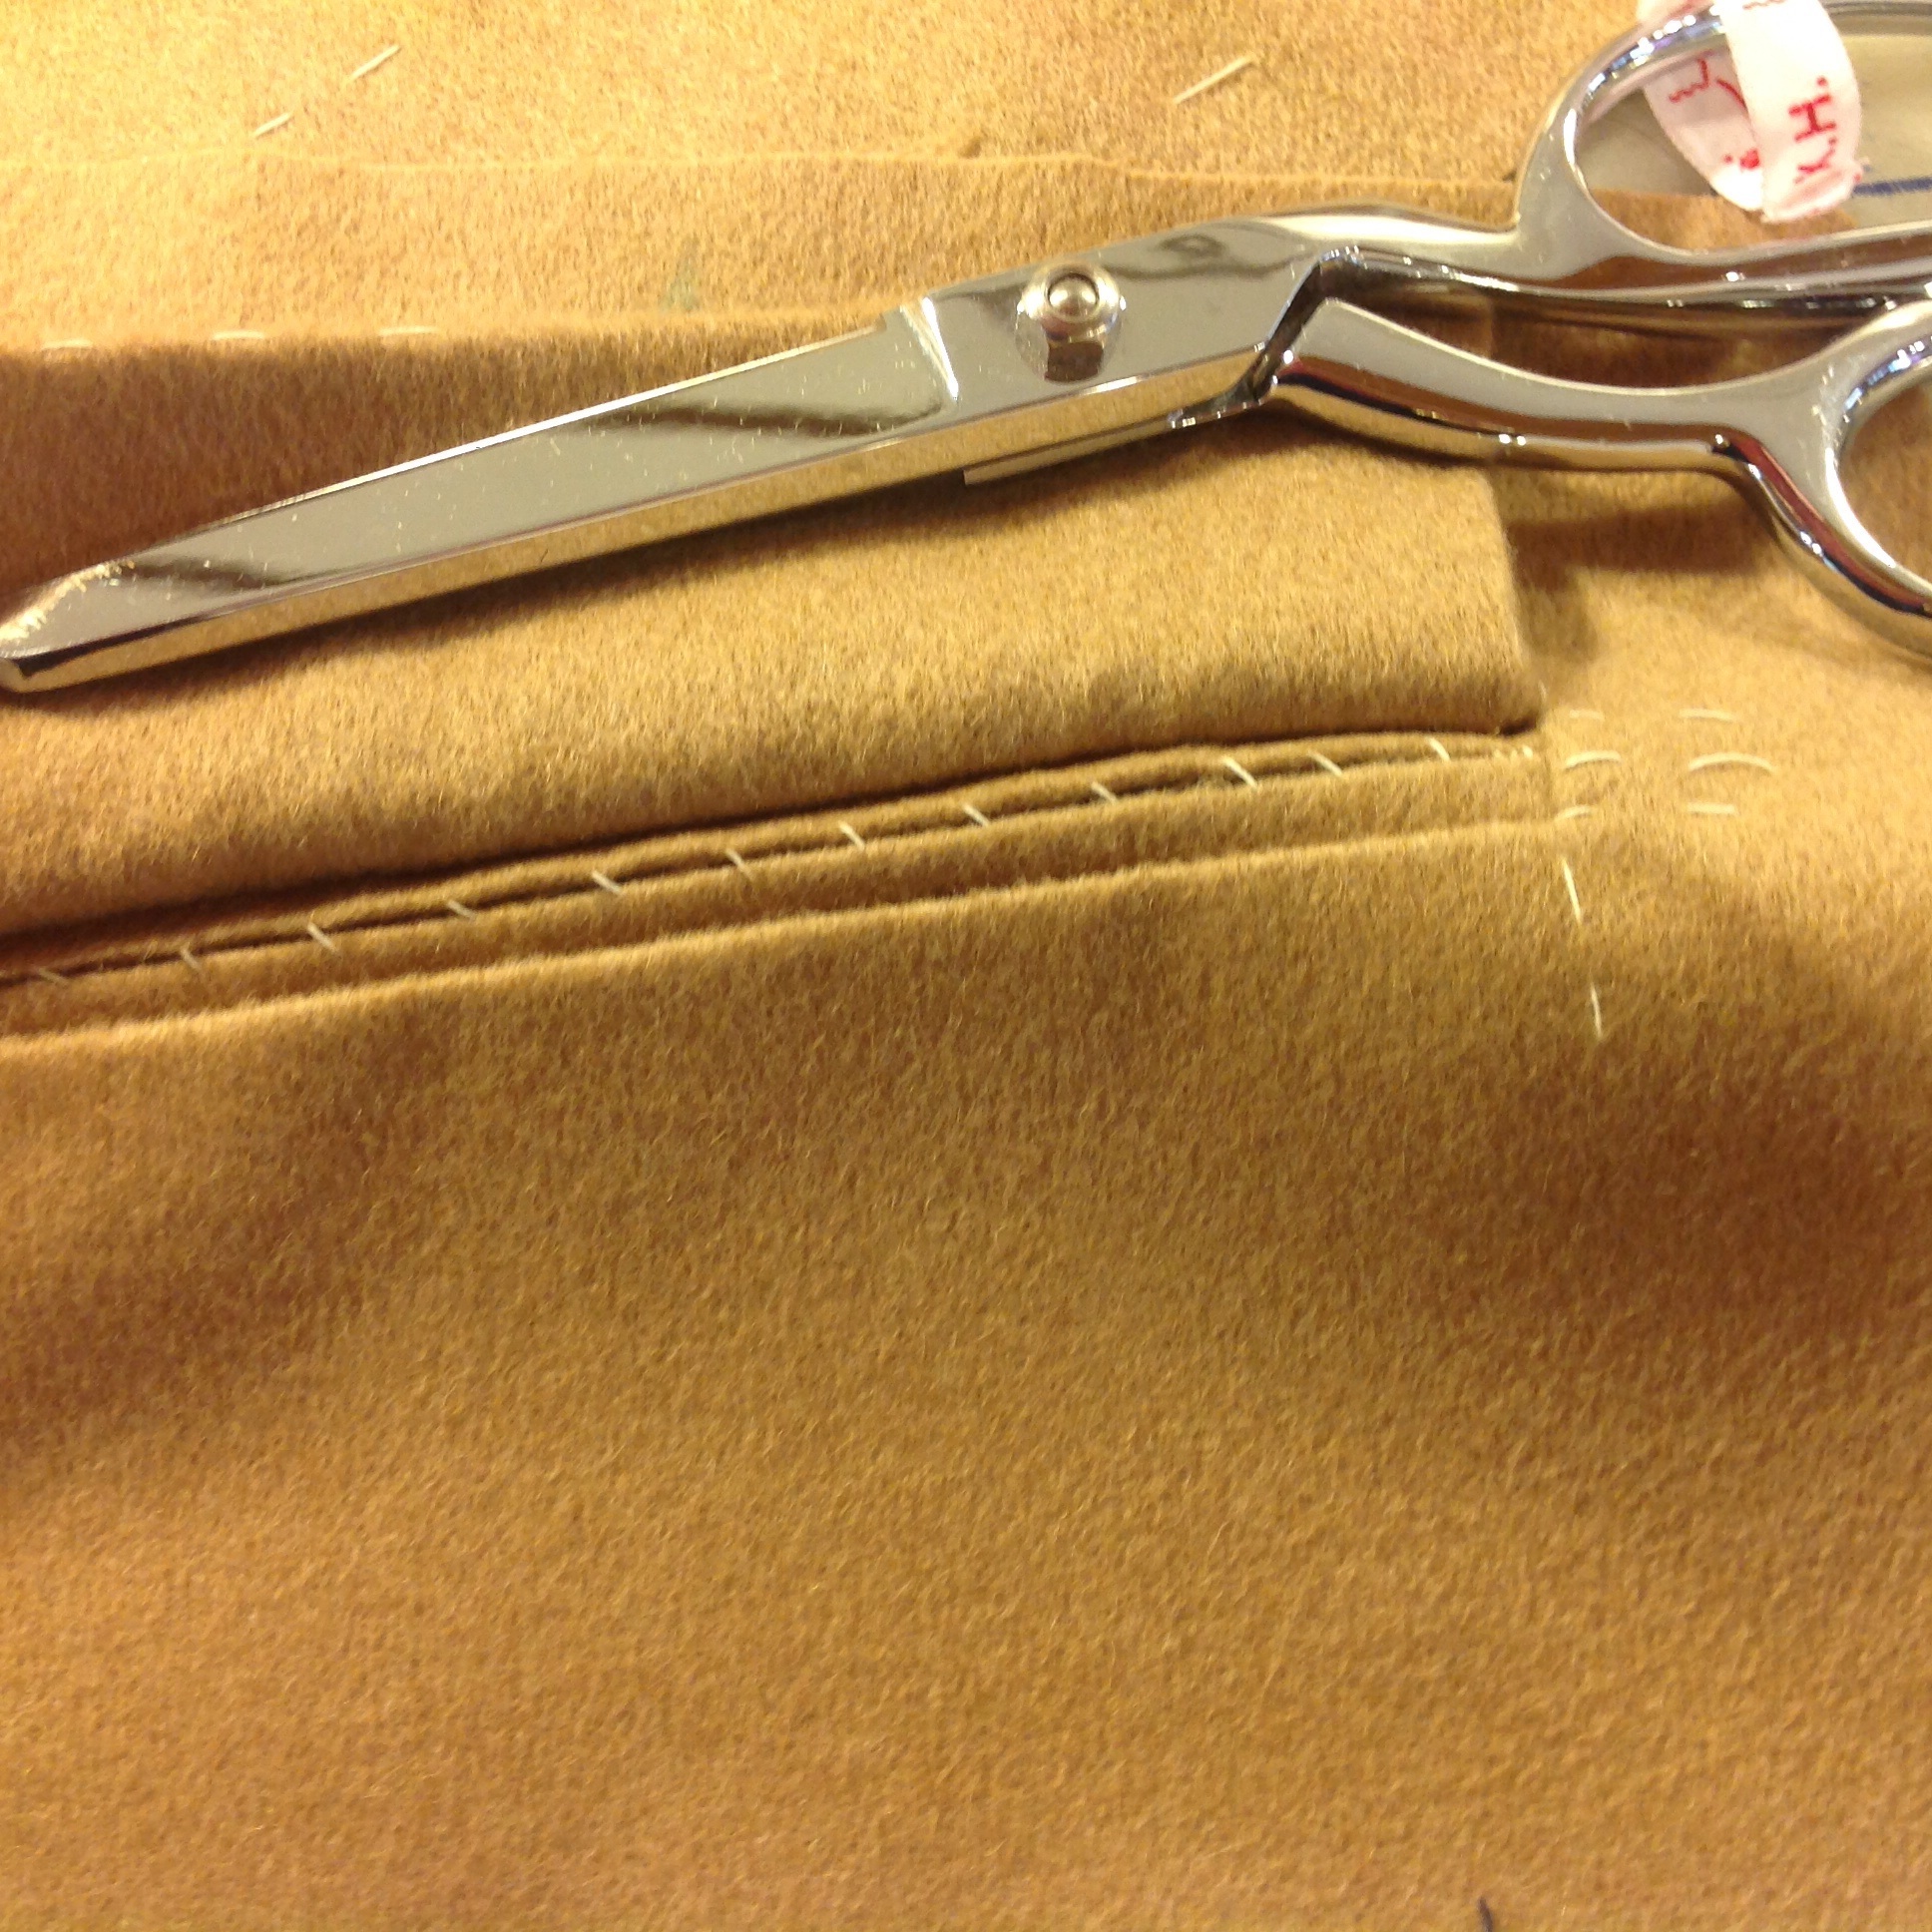
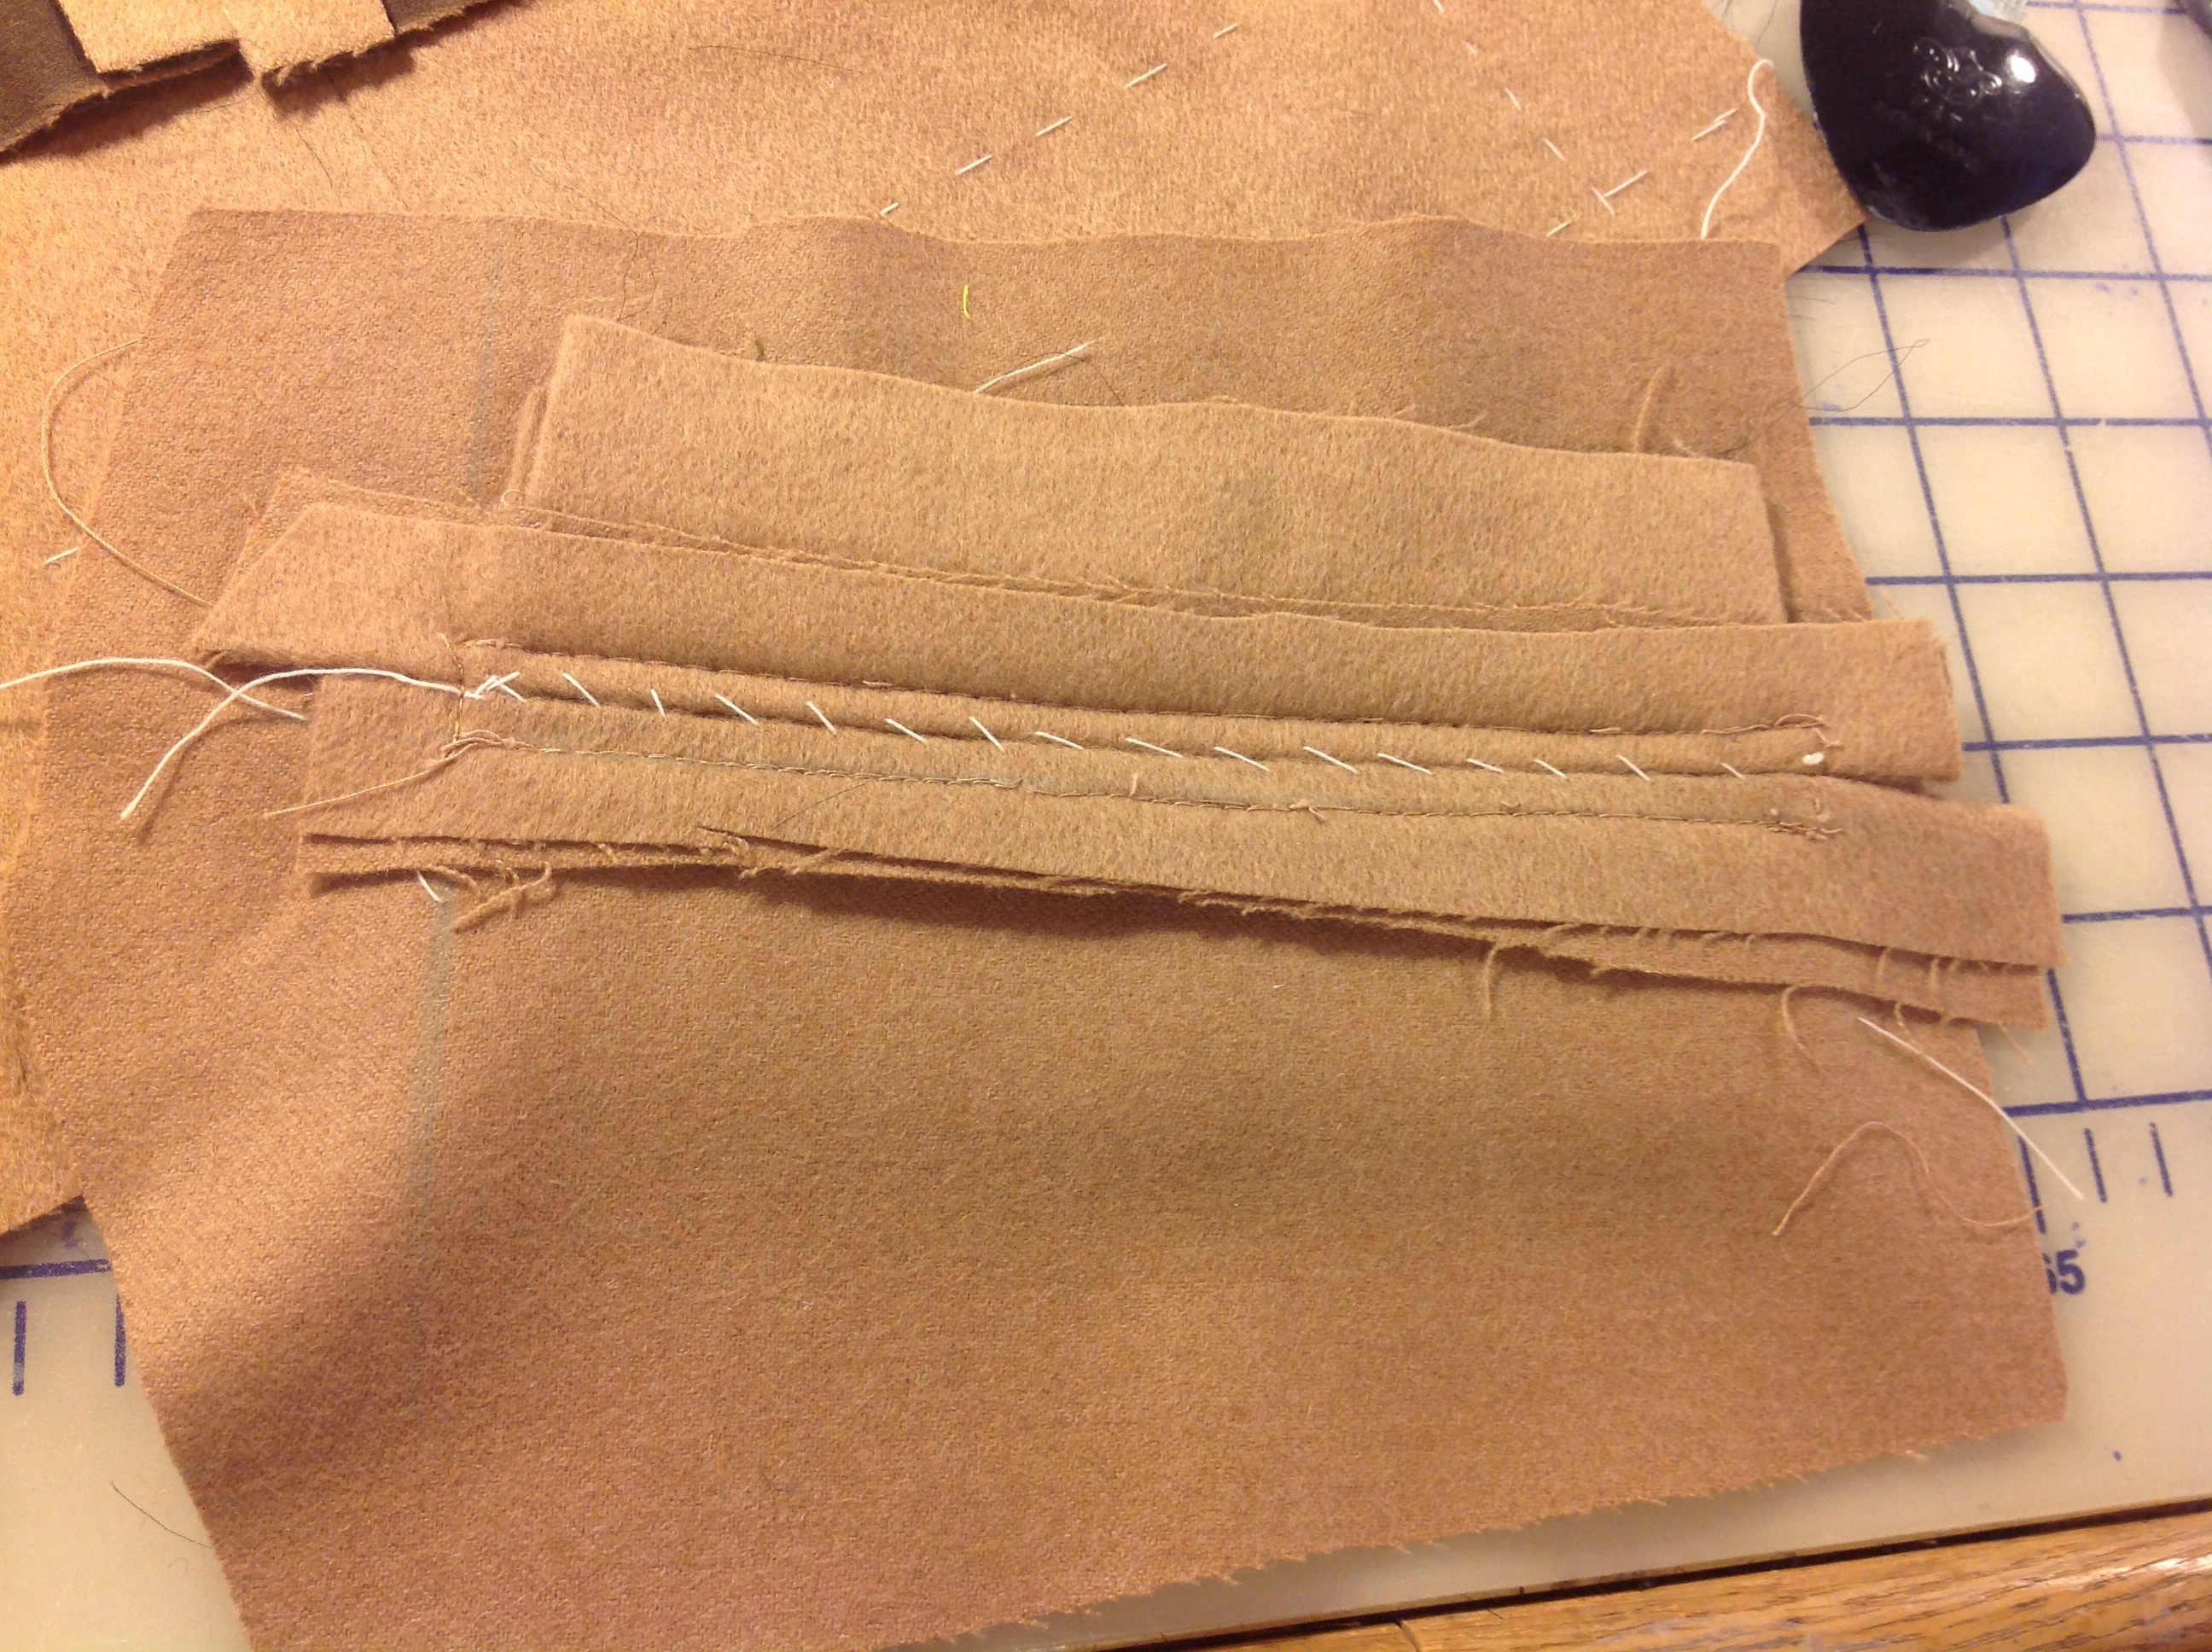
 I thought it would be nice to come home with some Irish wool – can you believe that? We were not in cities for very much of our vacation, nor did I have time while we were in the cities to search for fabric stores. But I did expect to find some woolen yard goods in the smaller towns and villages. There was plenty of knitting wool for sale, but very few bolts of fabric. I found this small offering of tweeds in one store, all of which were lovely, but not quite what I wanted.
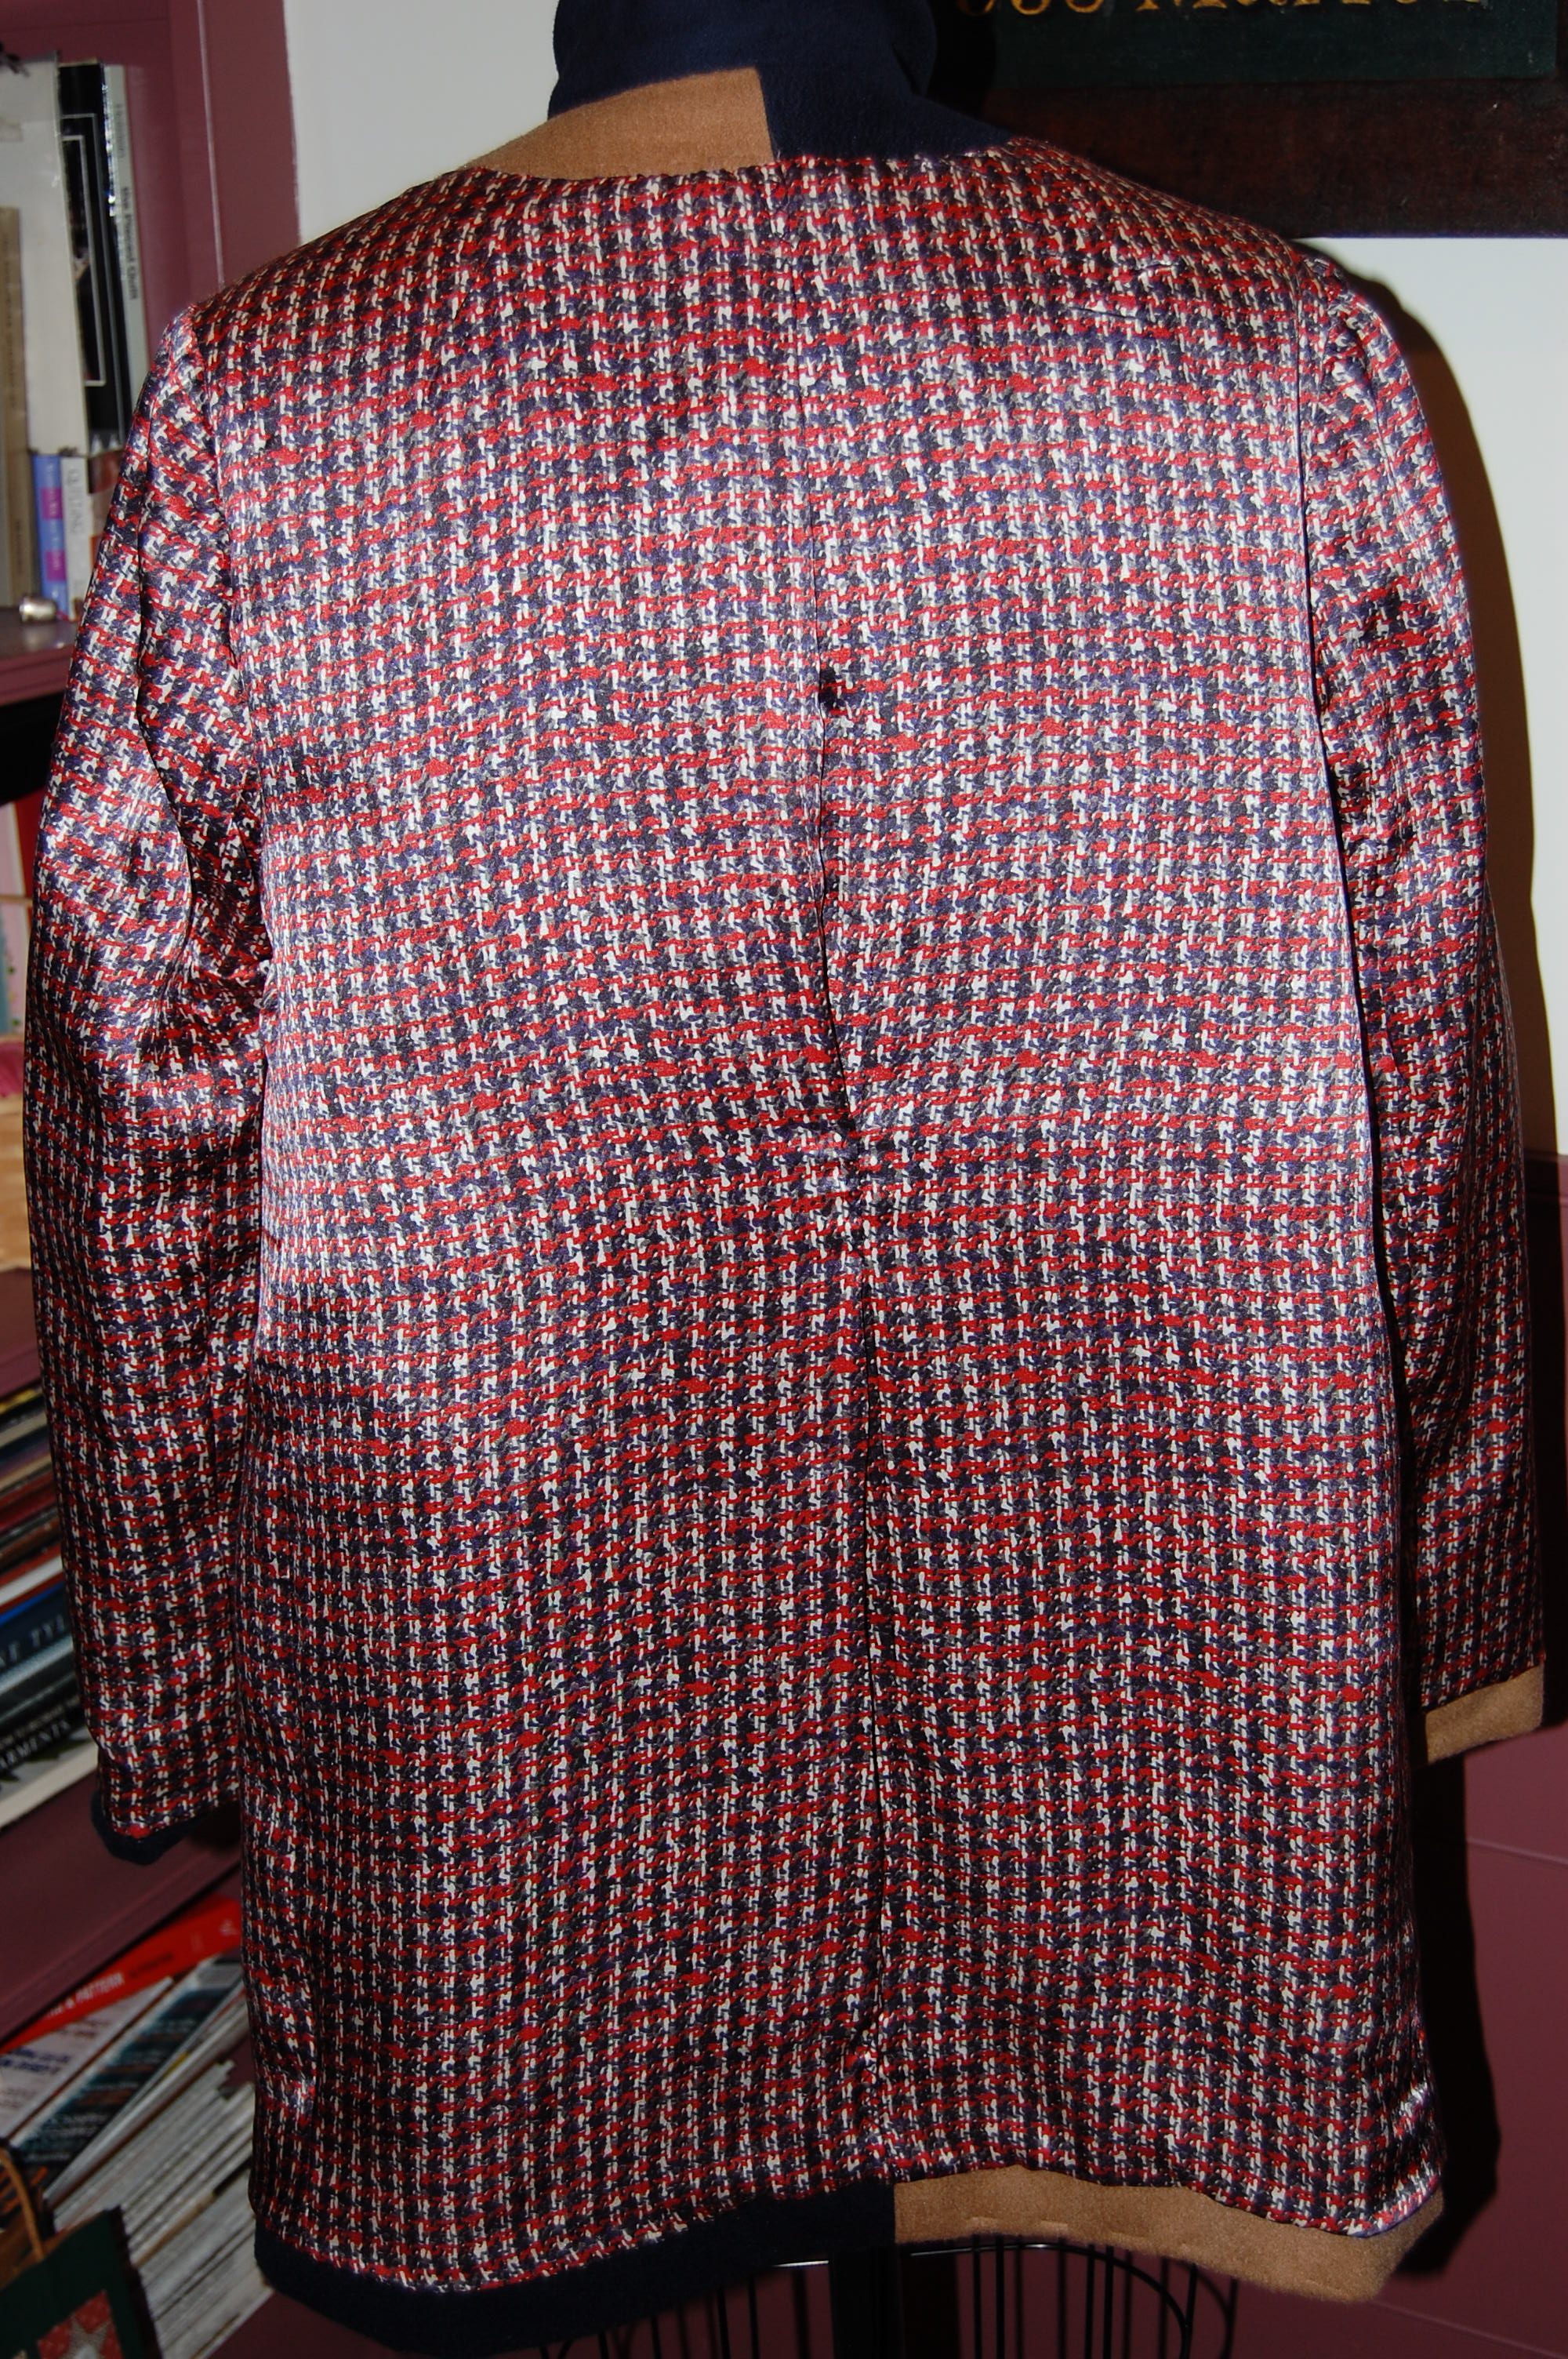
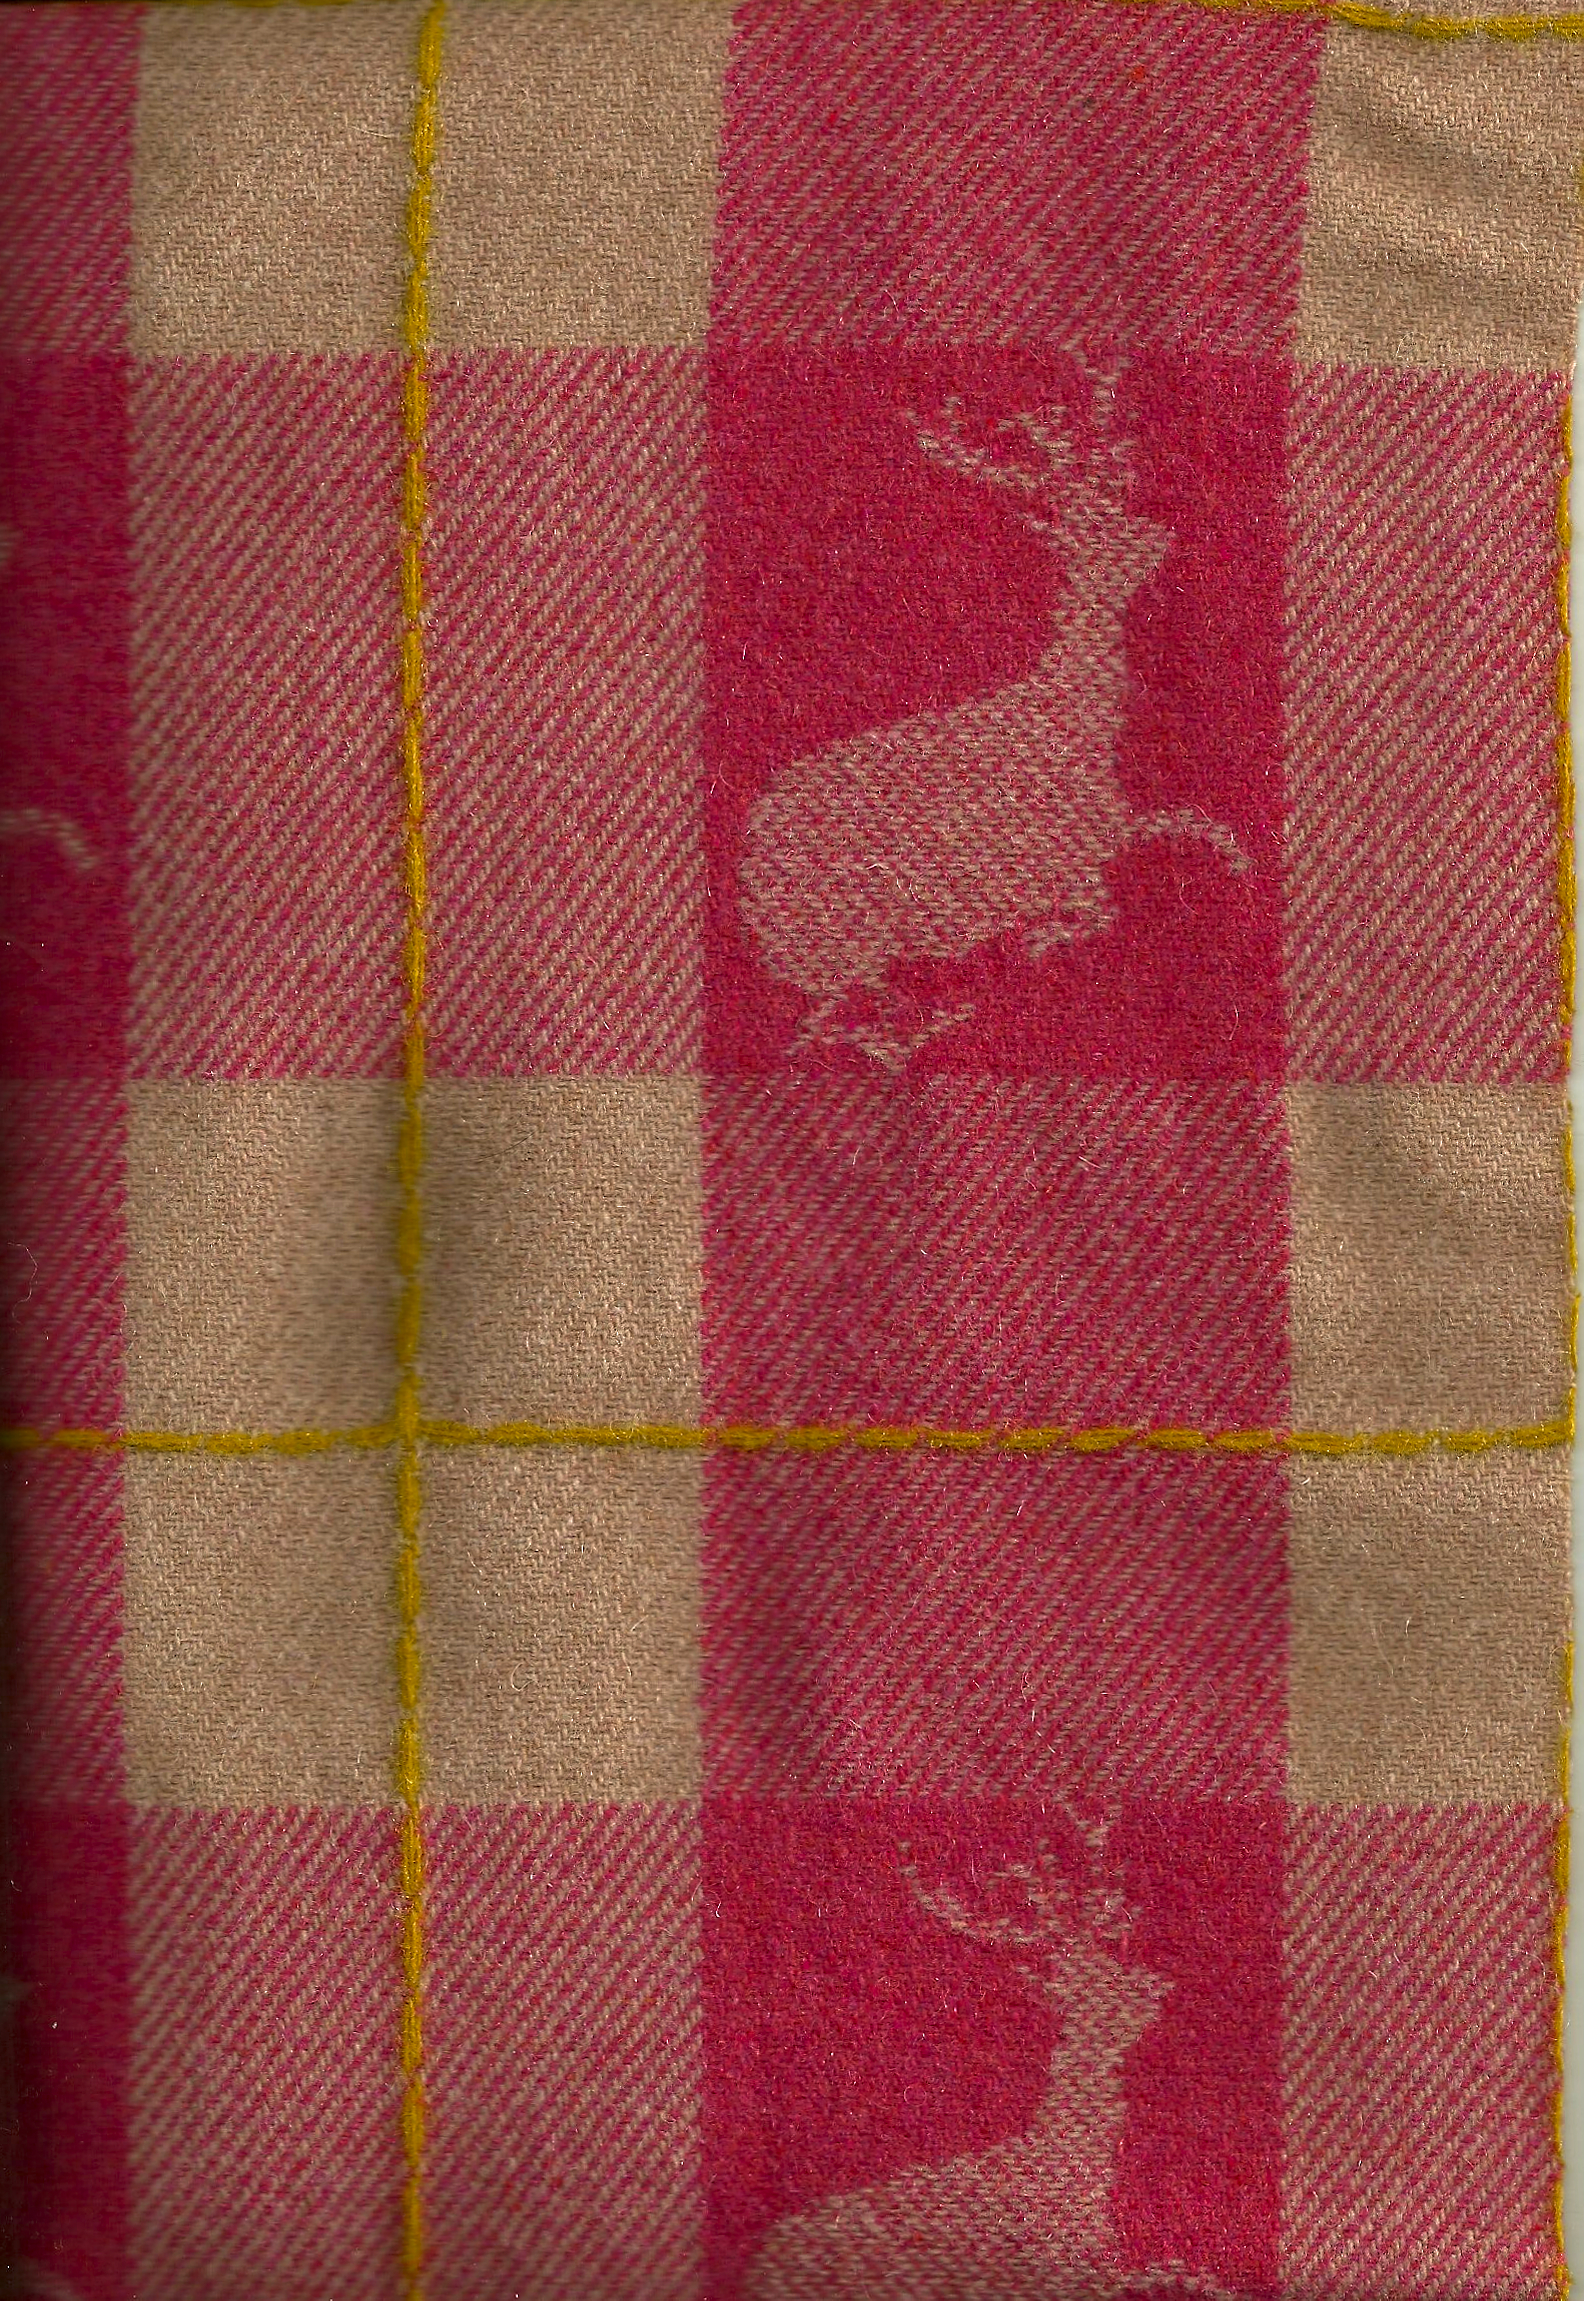
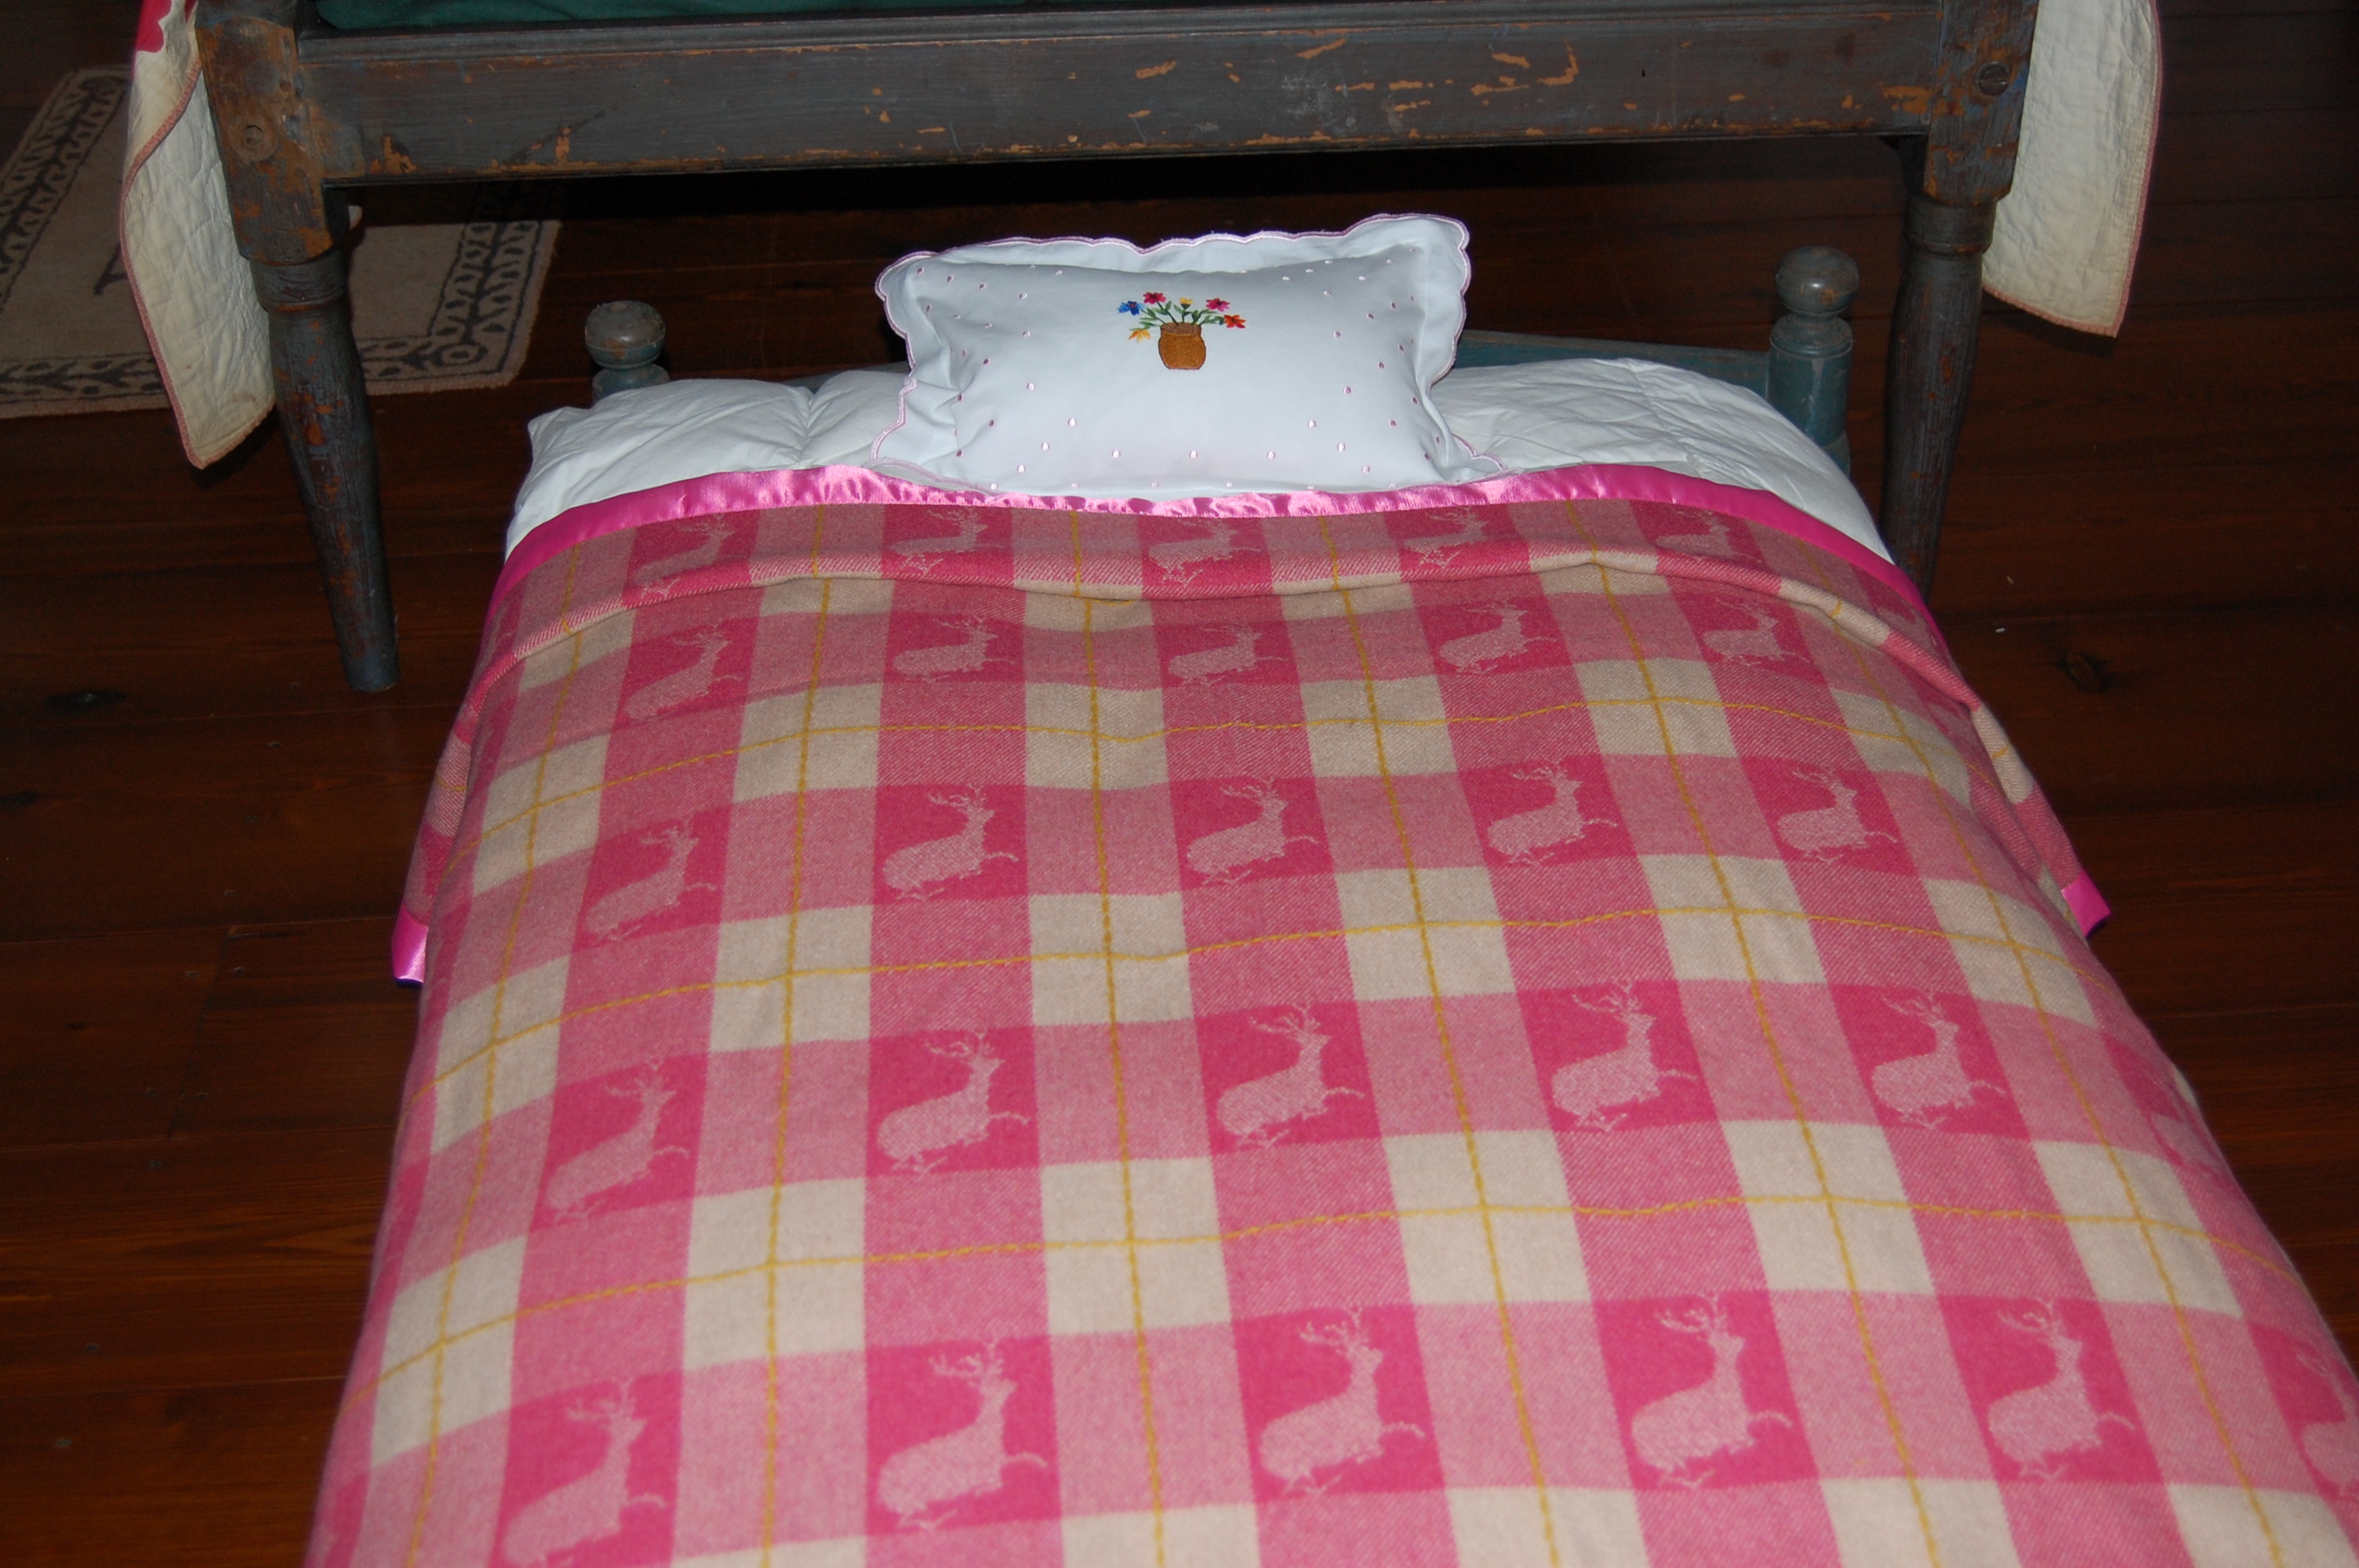
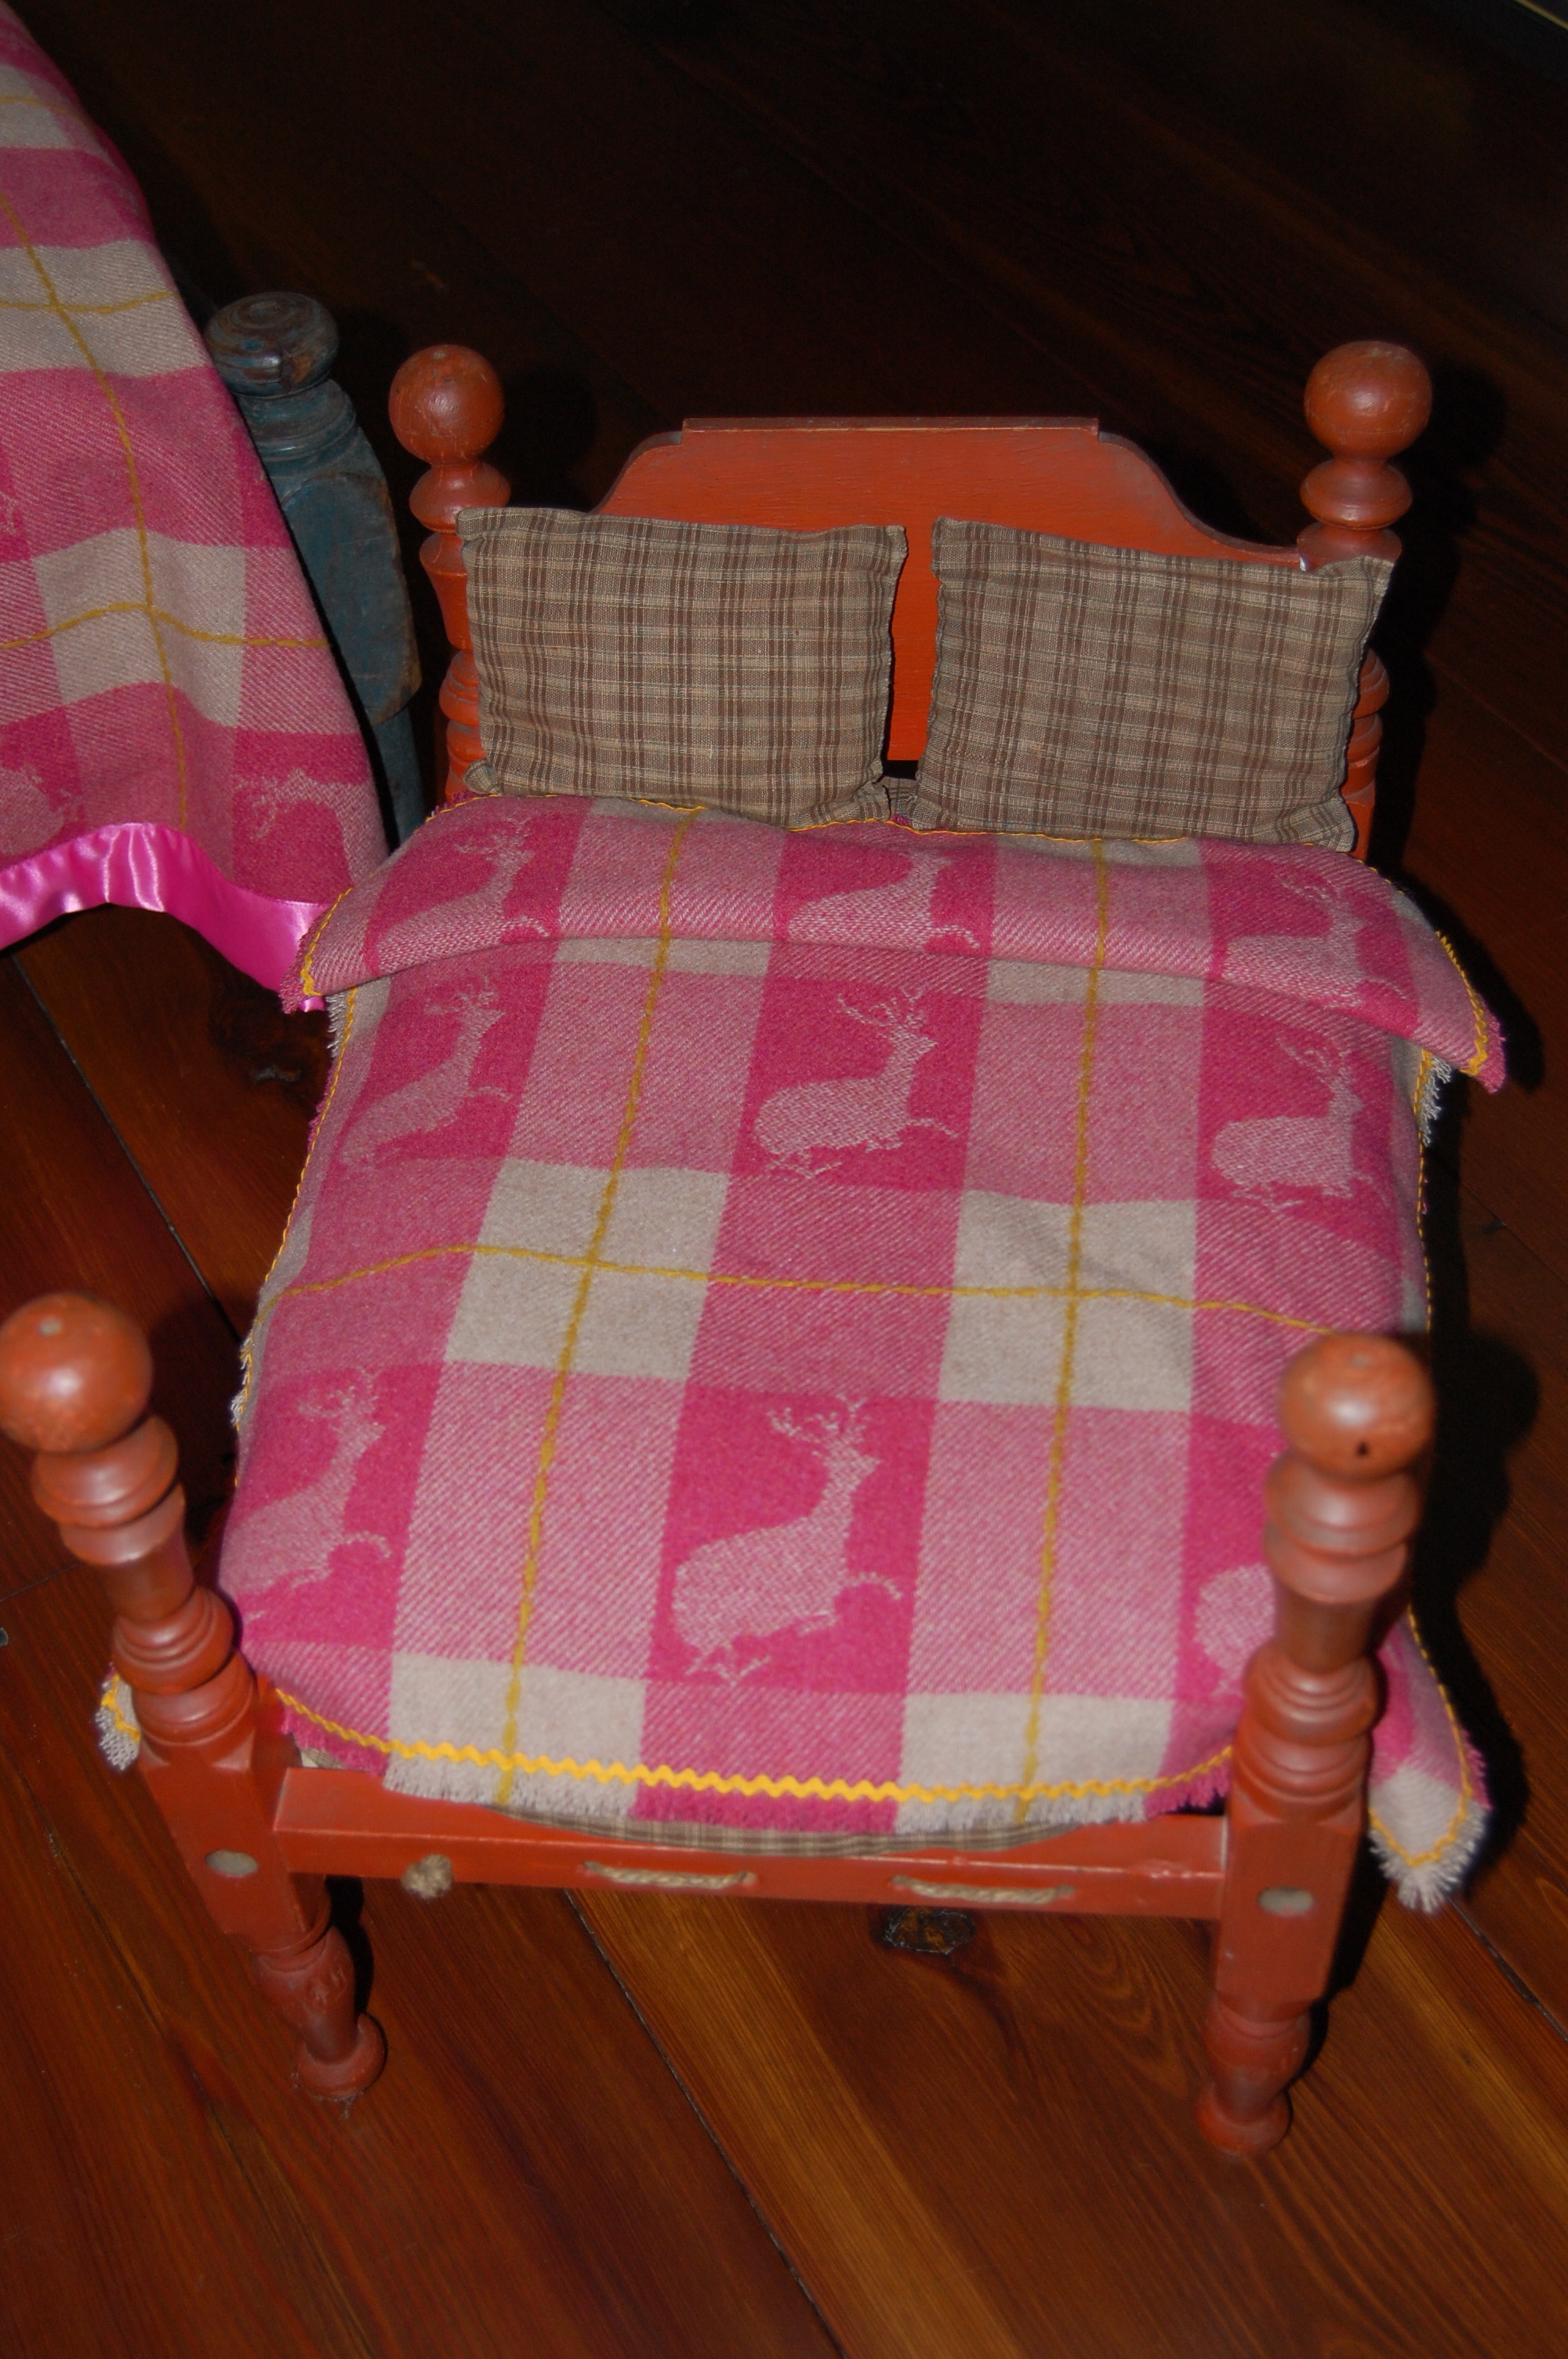
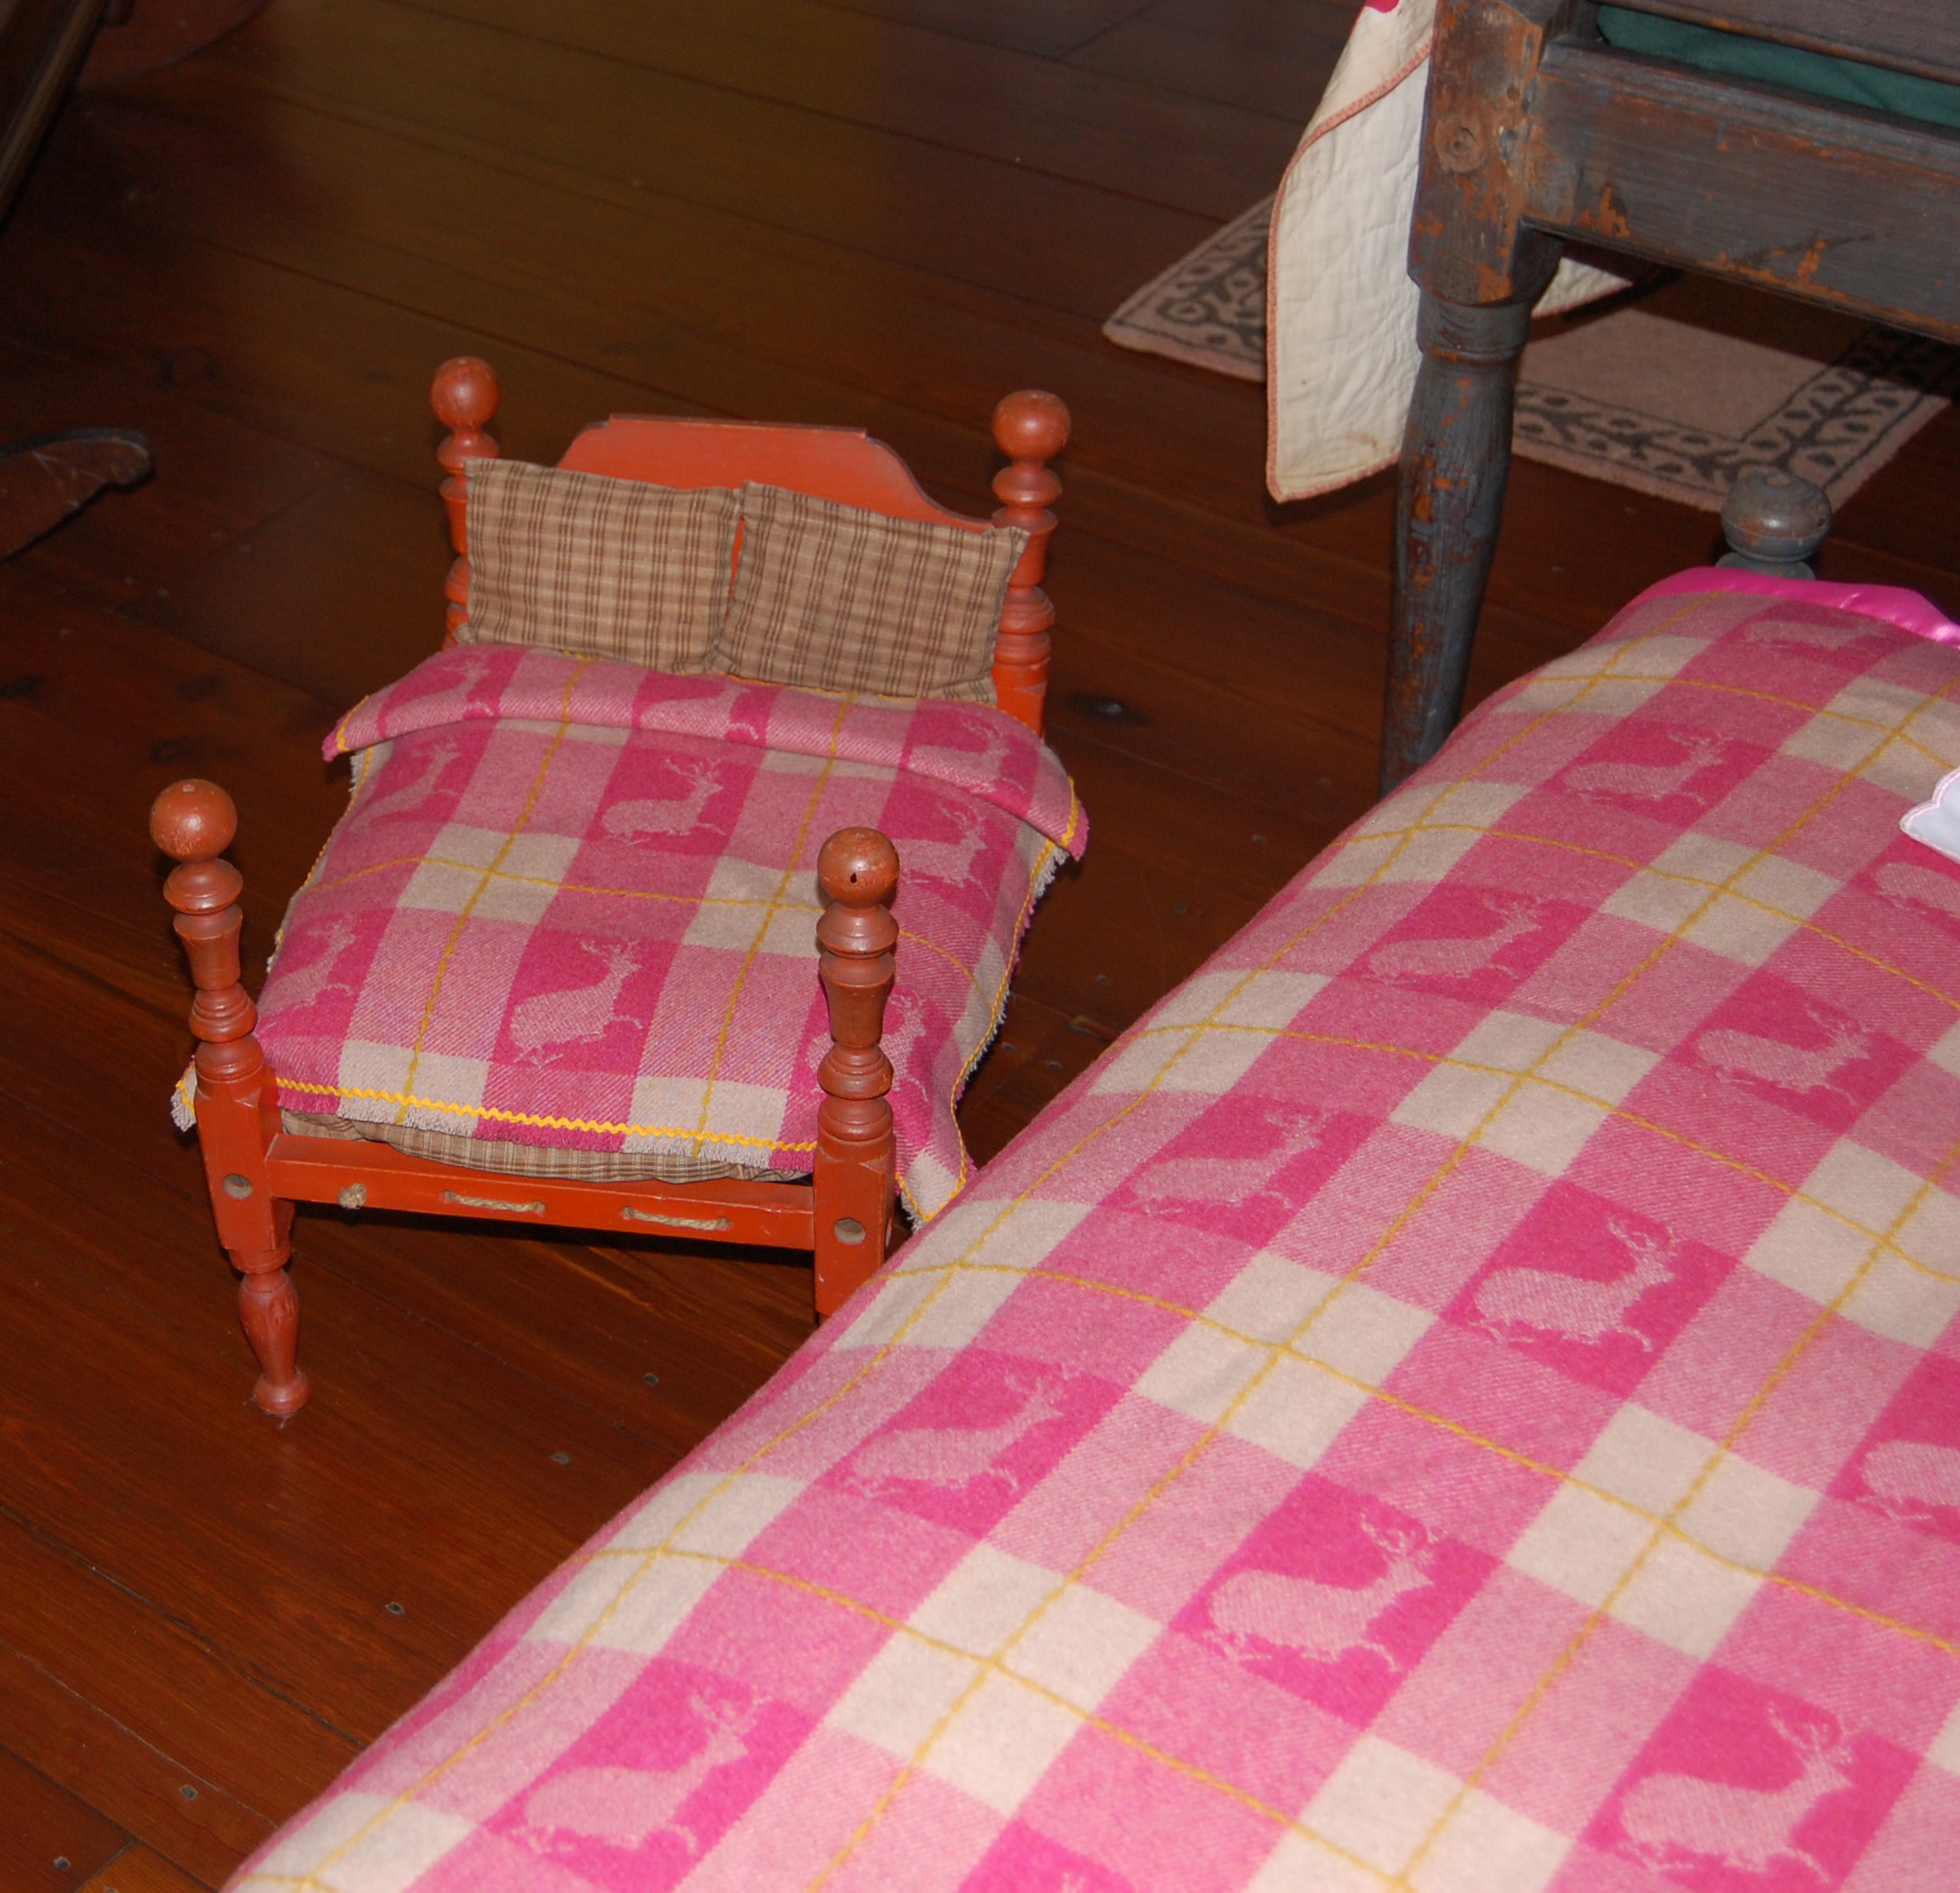
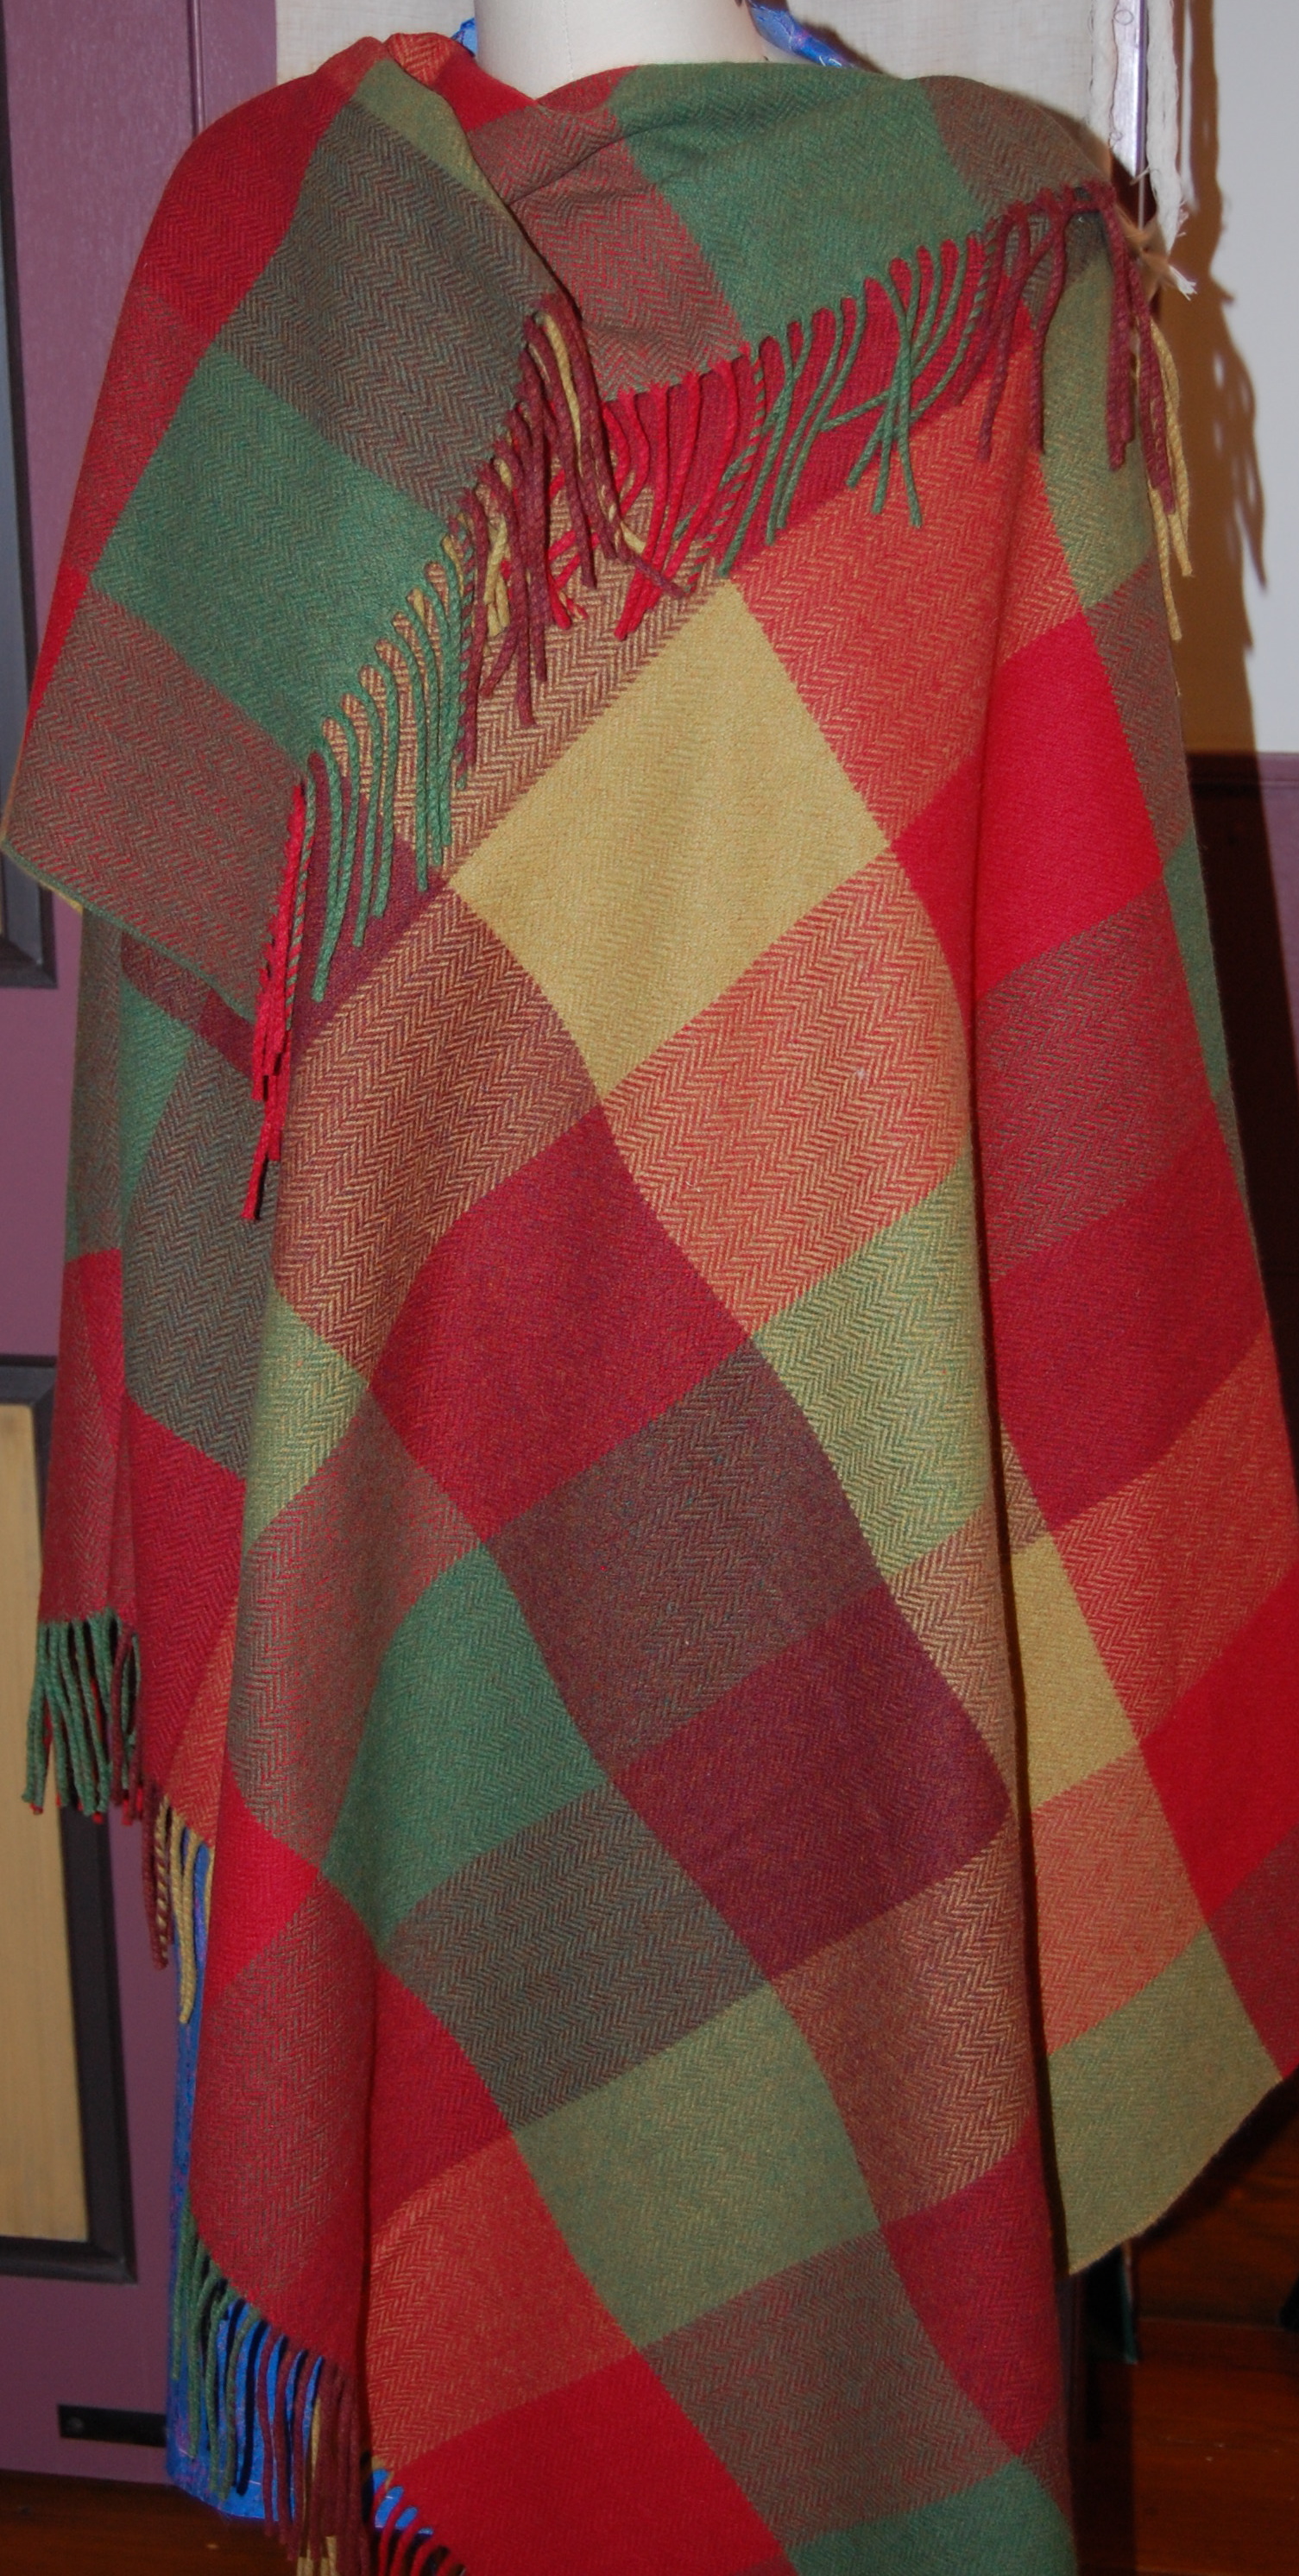
 Actually I wasn’t quite sure what I wanted until I saw this small blanket in a store in Dingle:
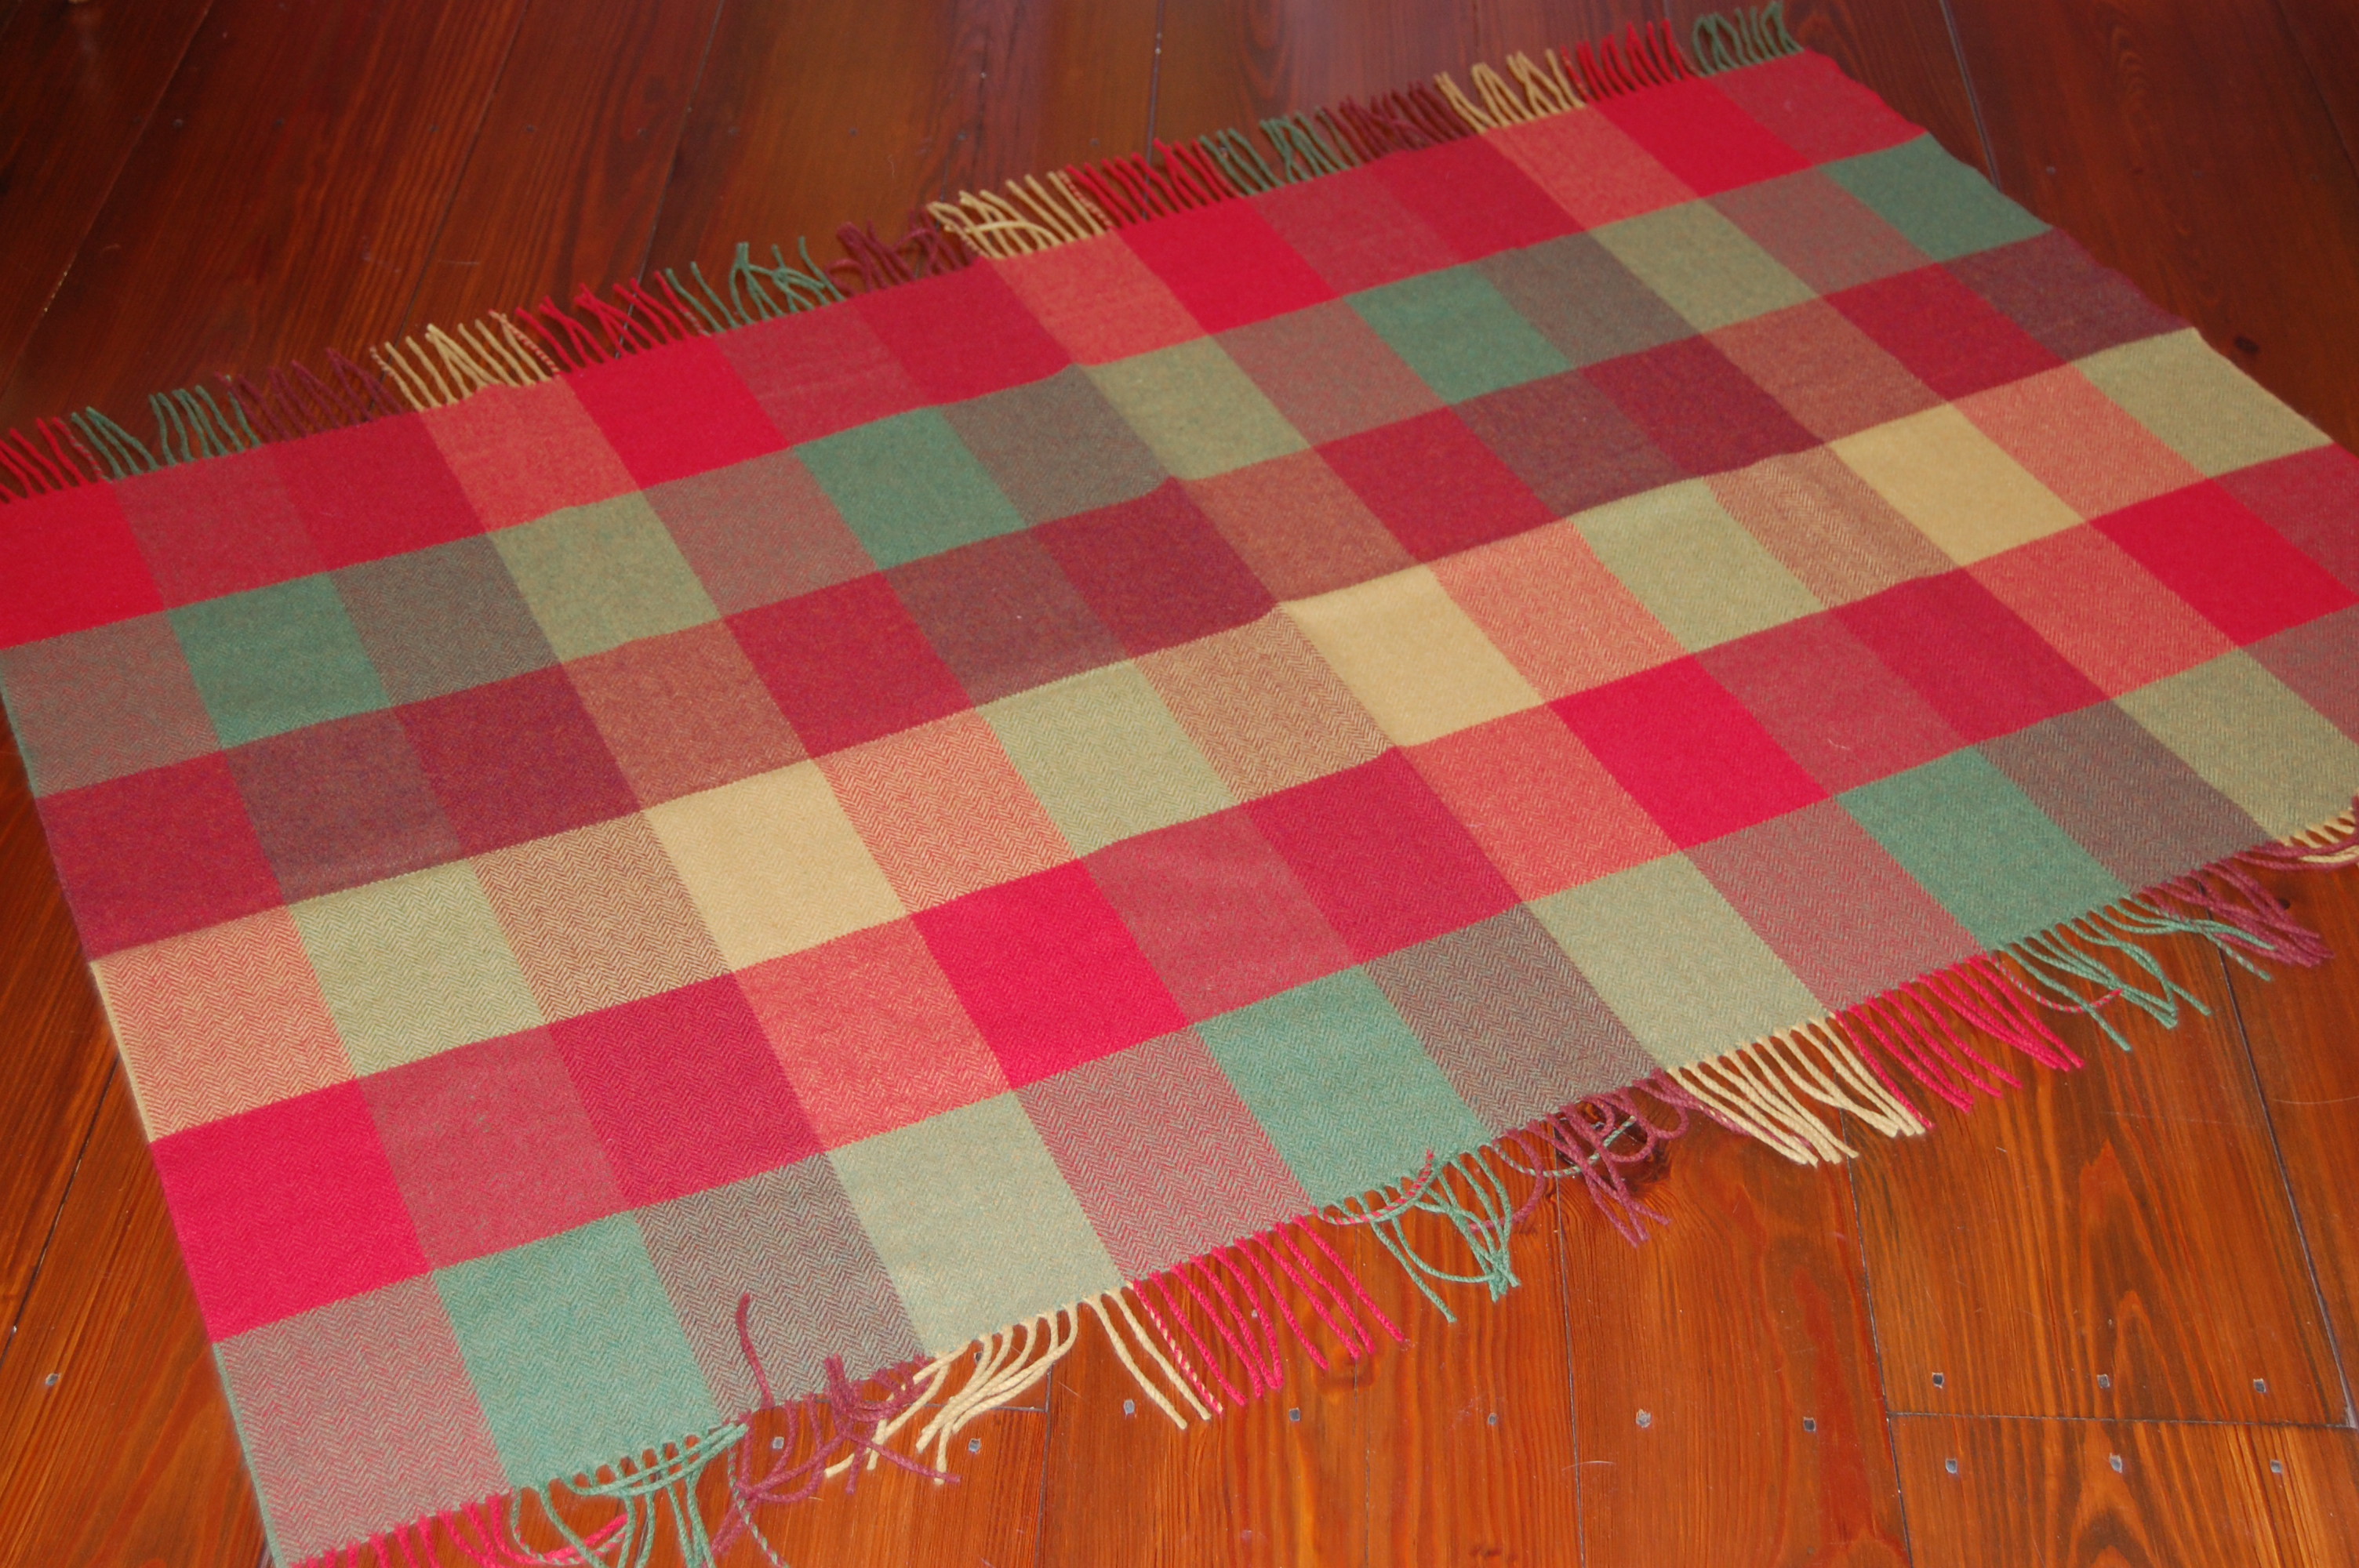
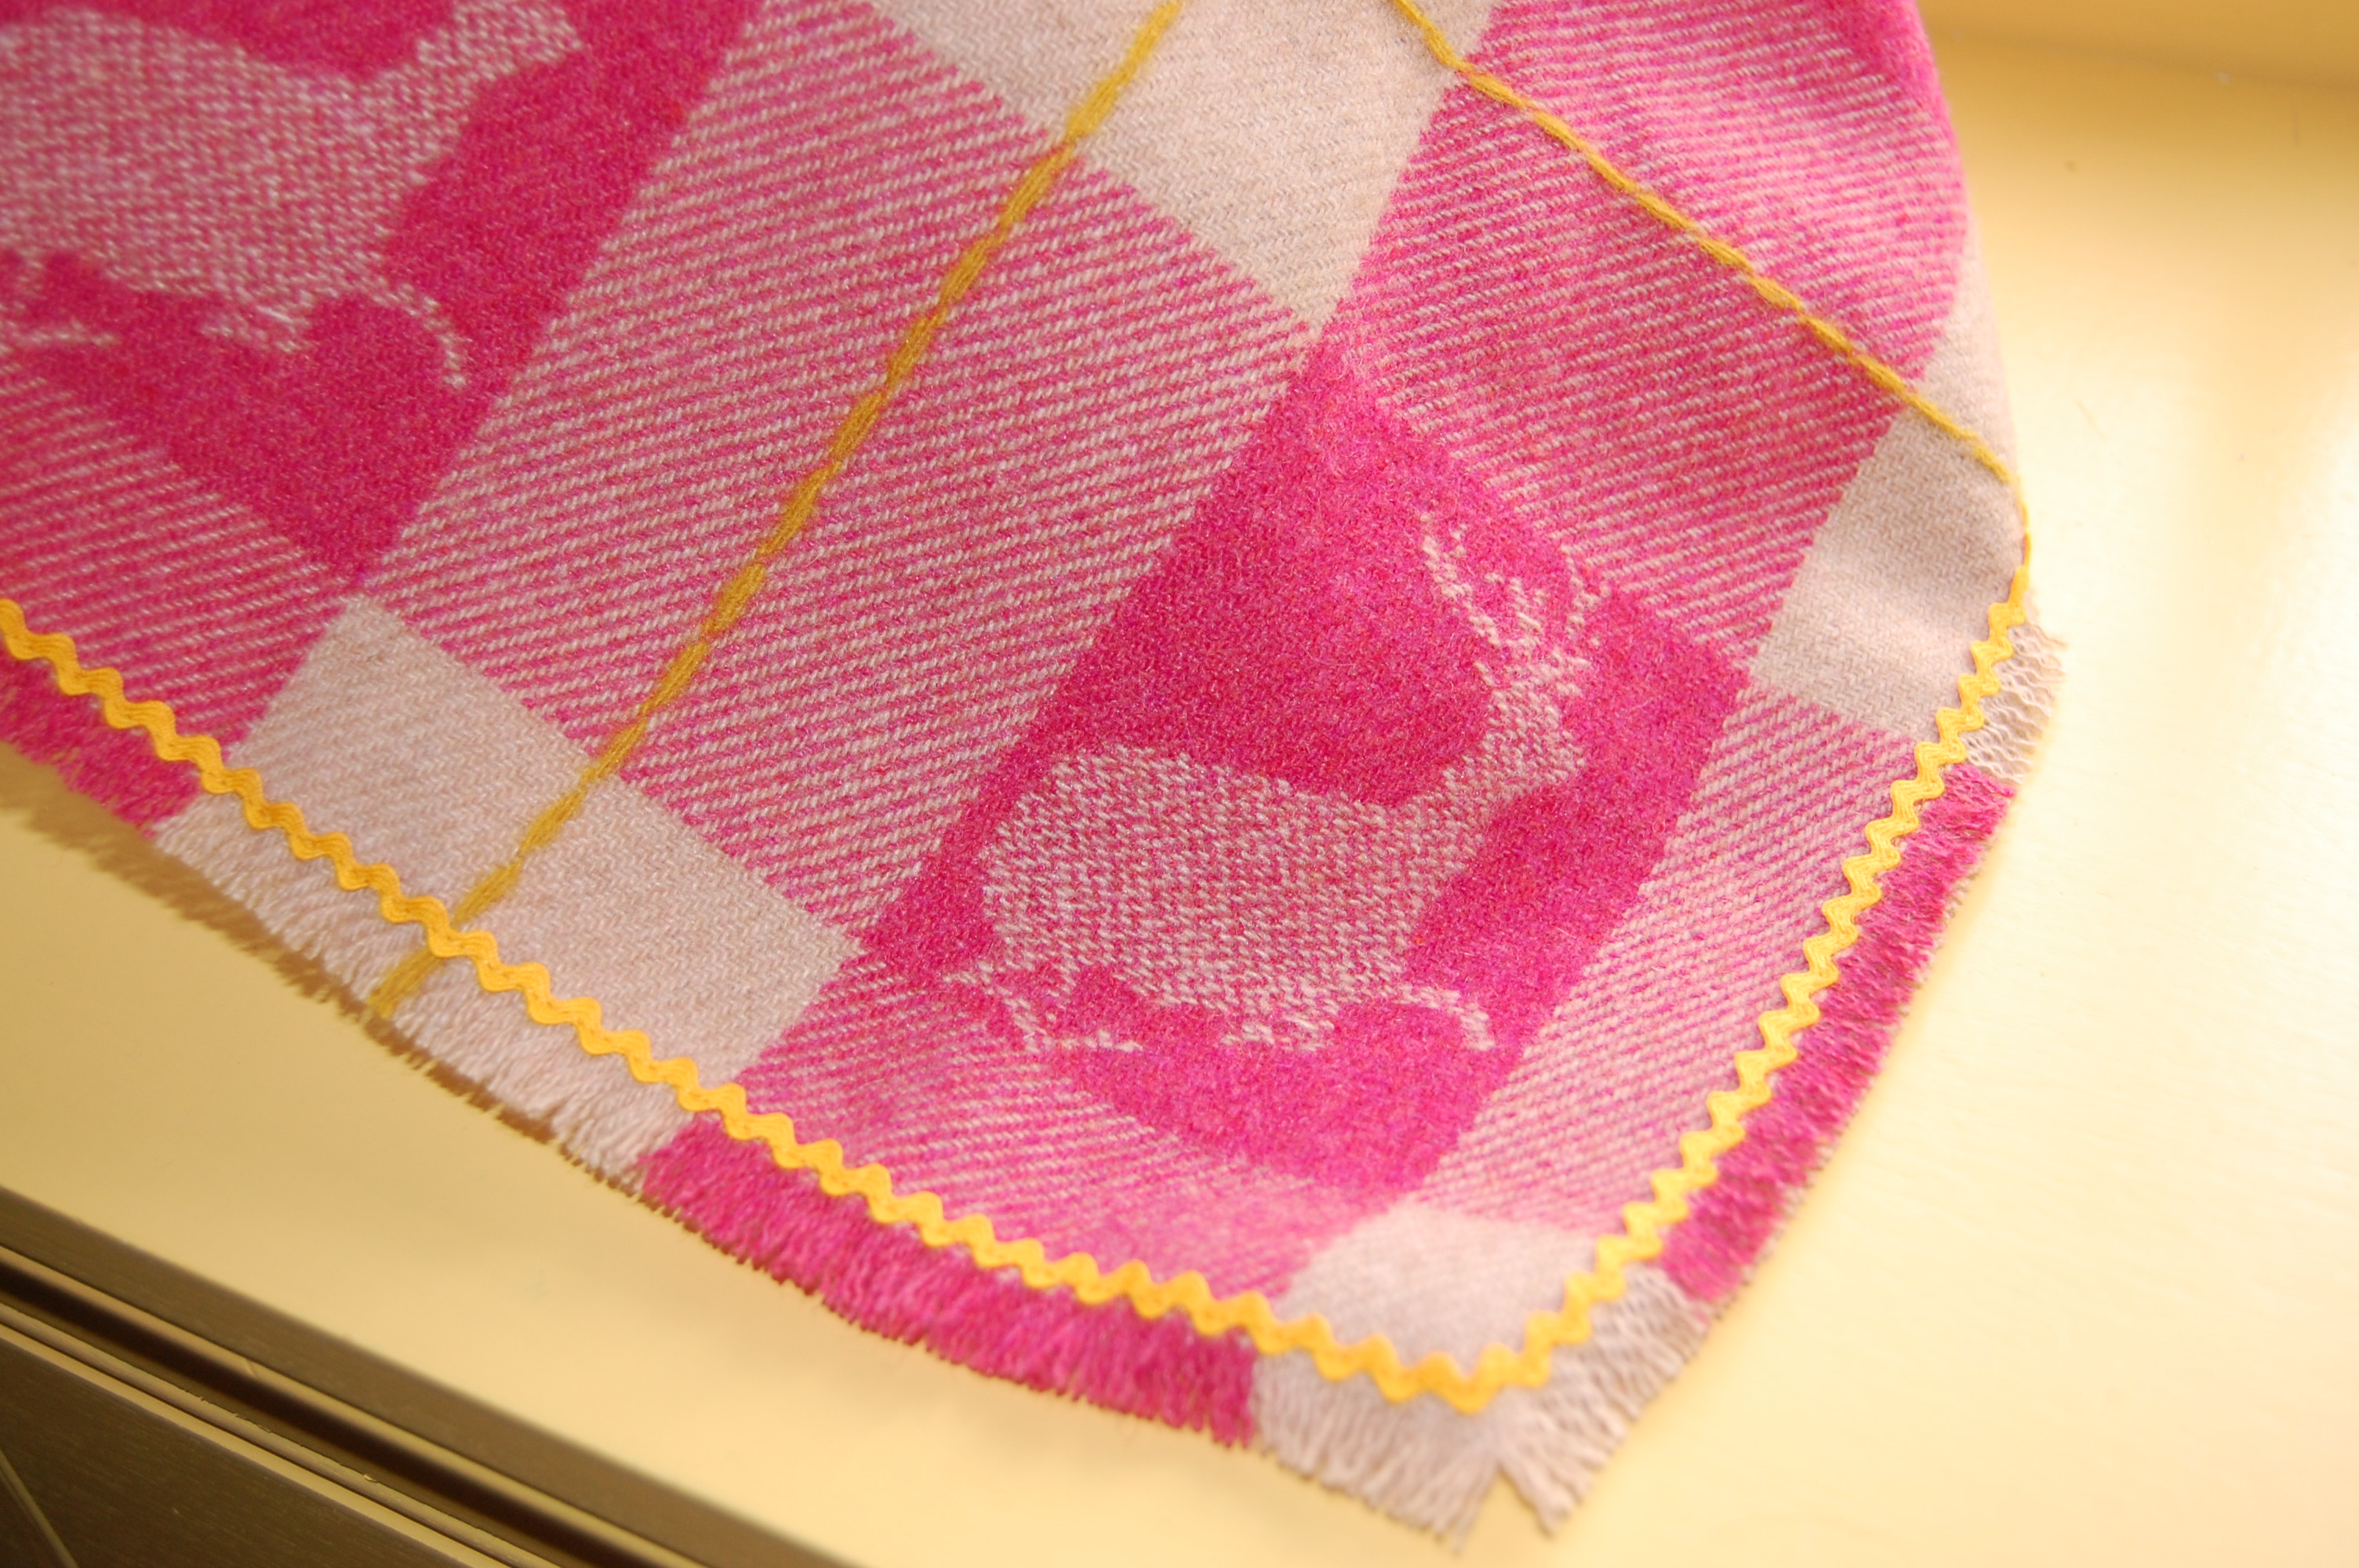
The dimensions of this small blanket are approximately 36″ long by 62″ wide. The fringe is 3 1/2″ long.
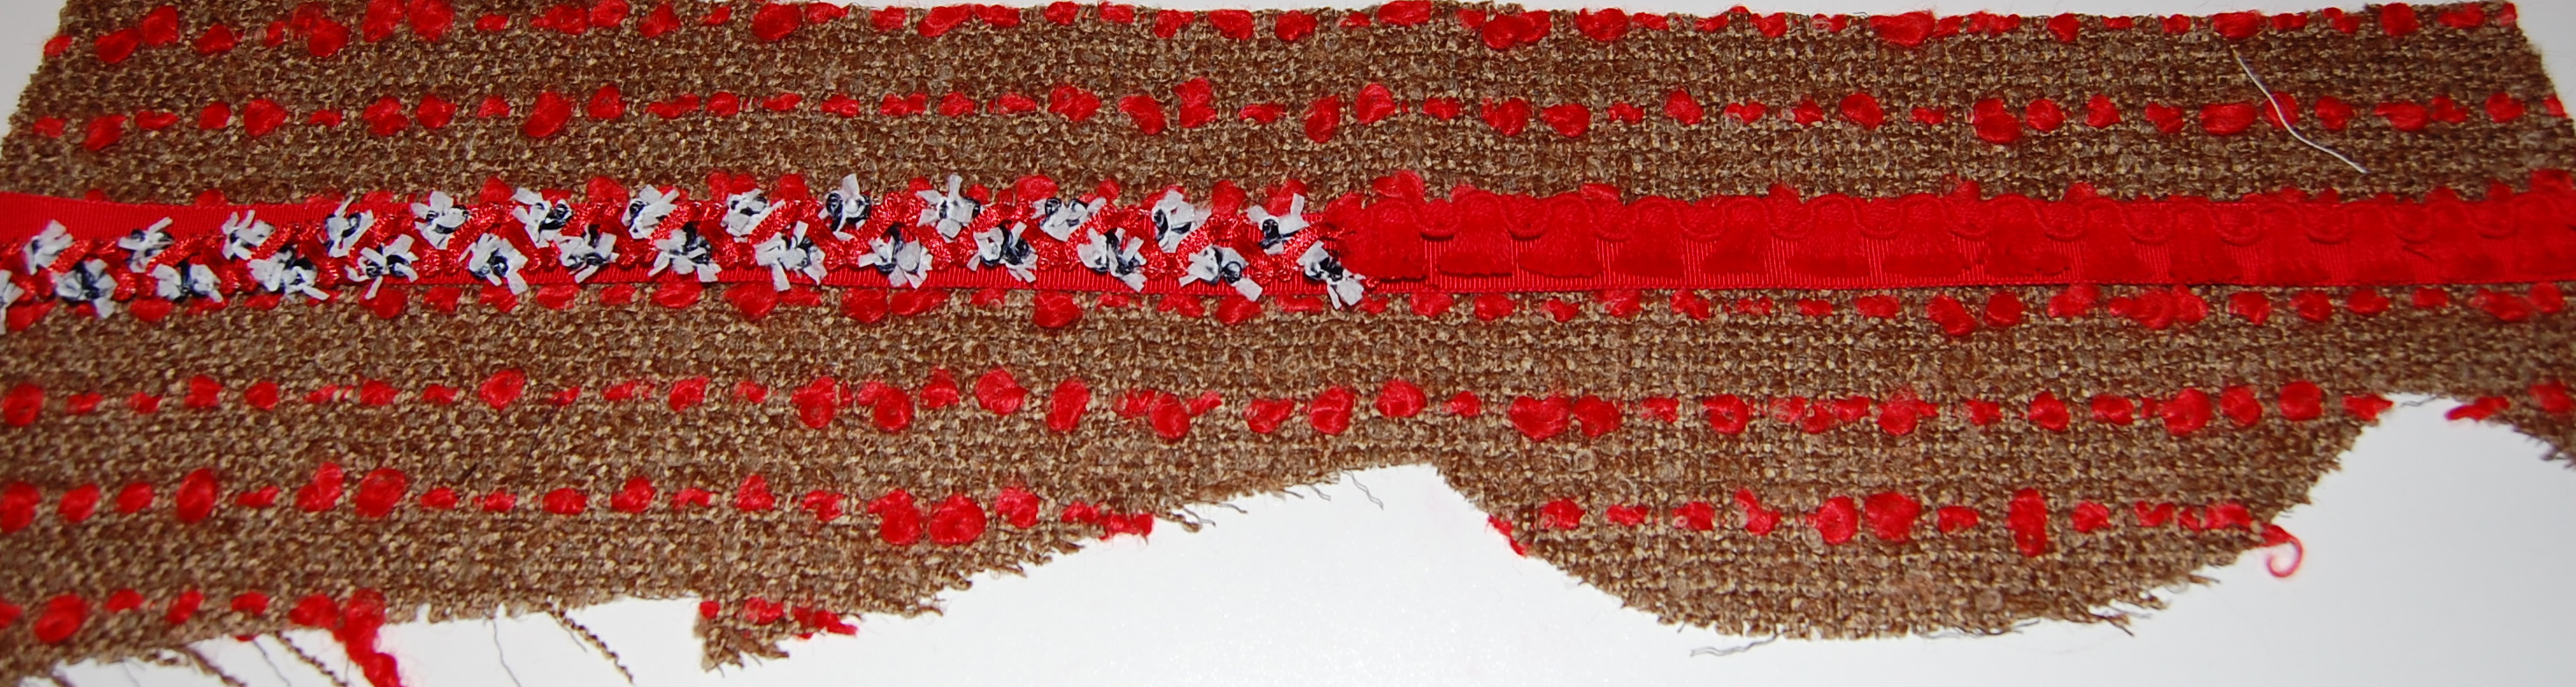
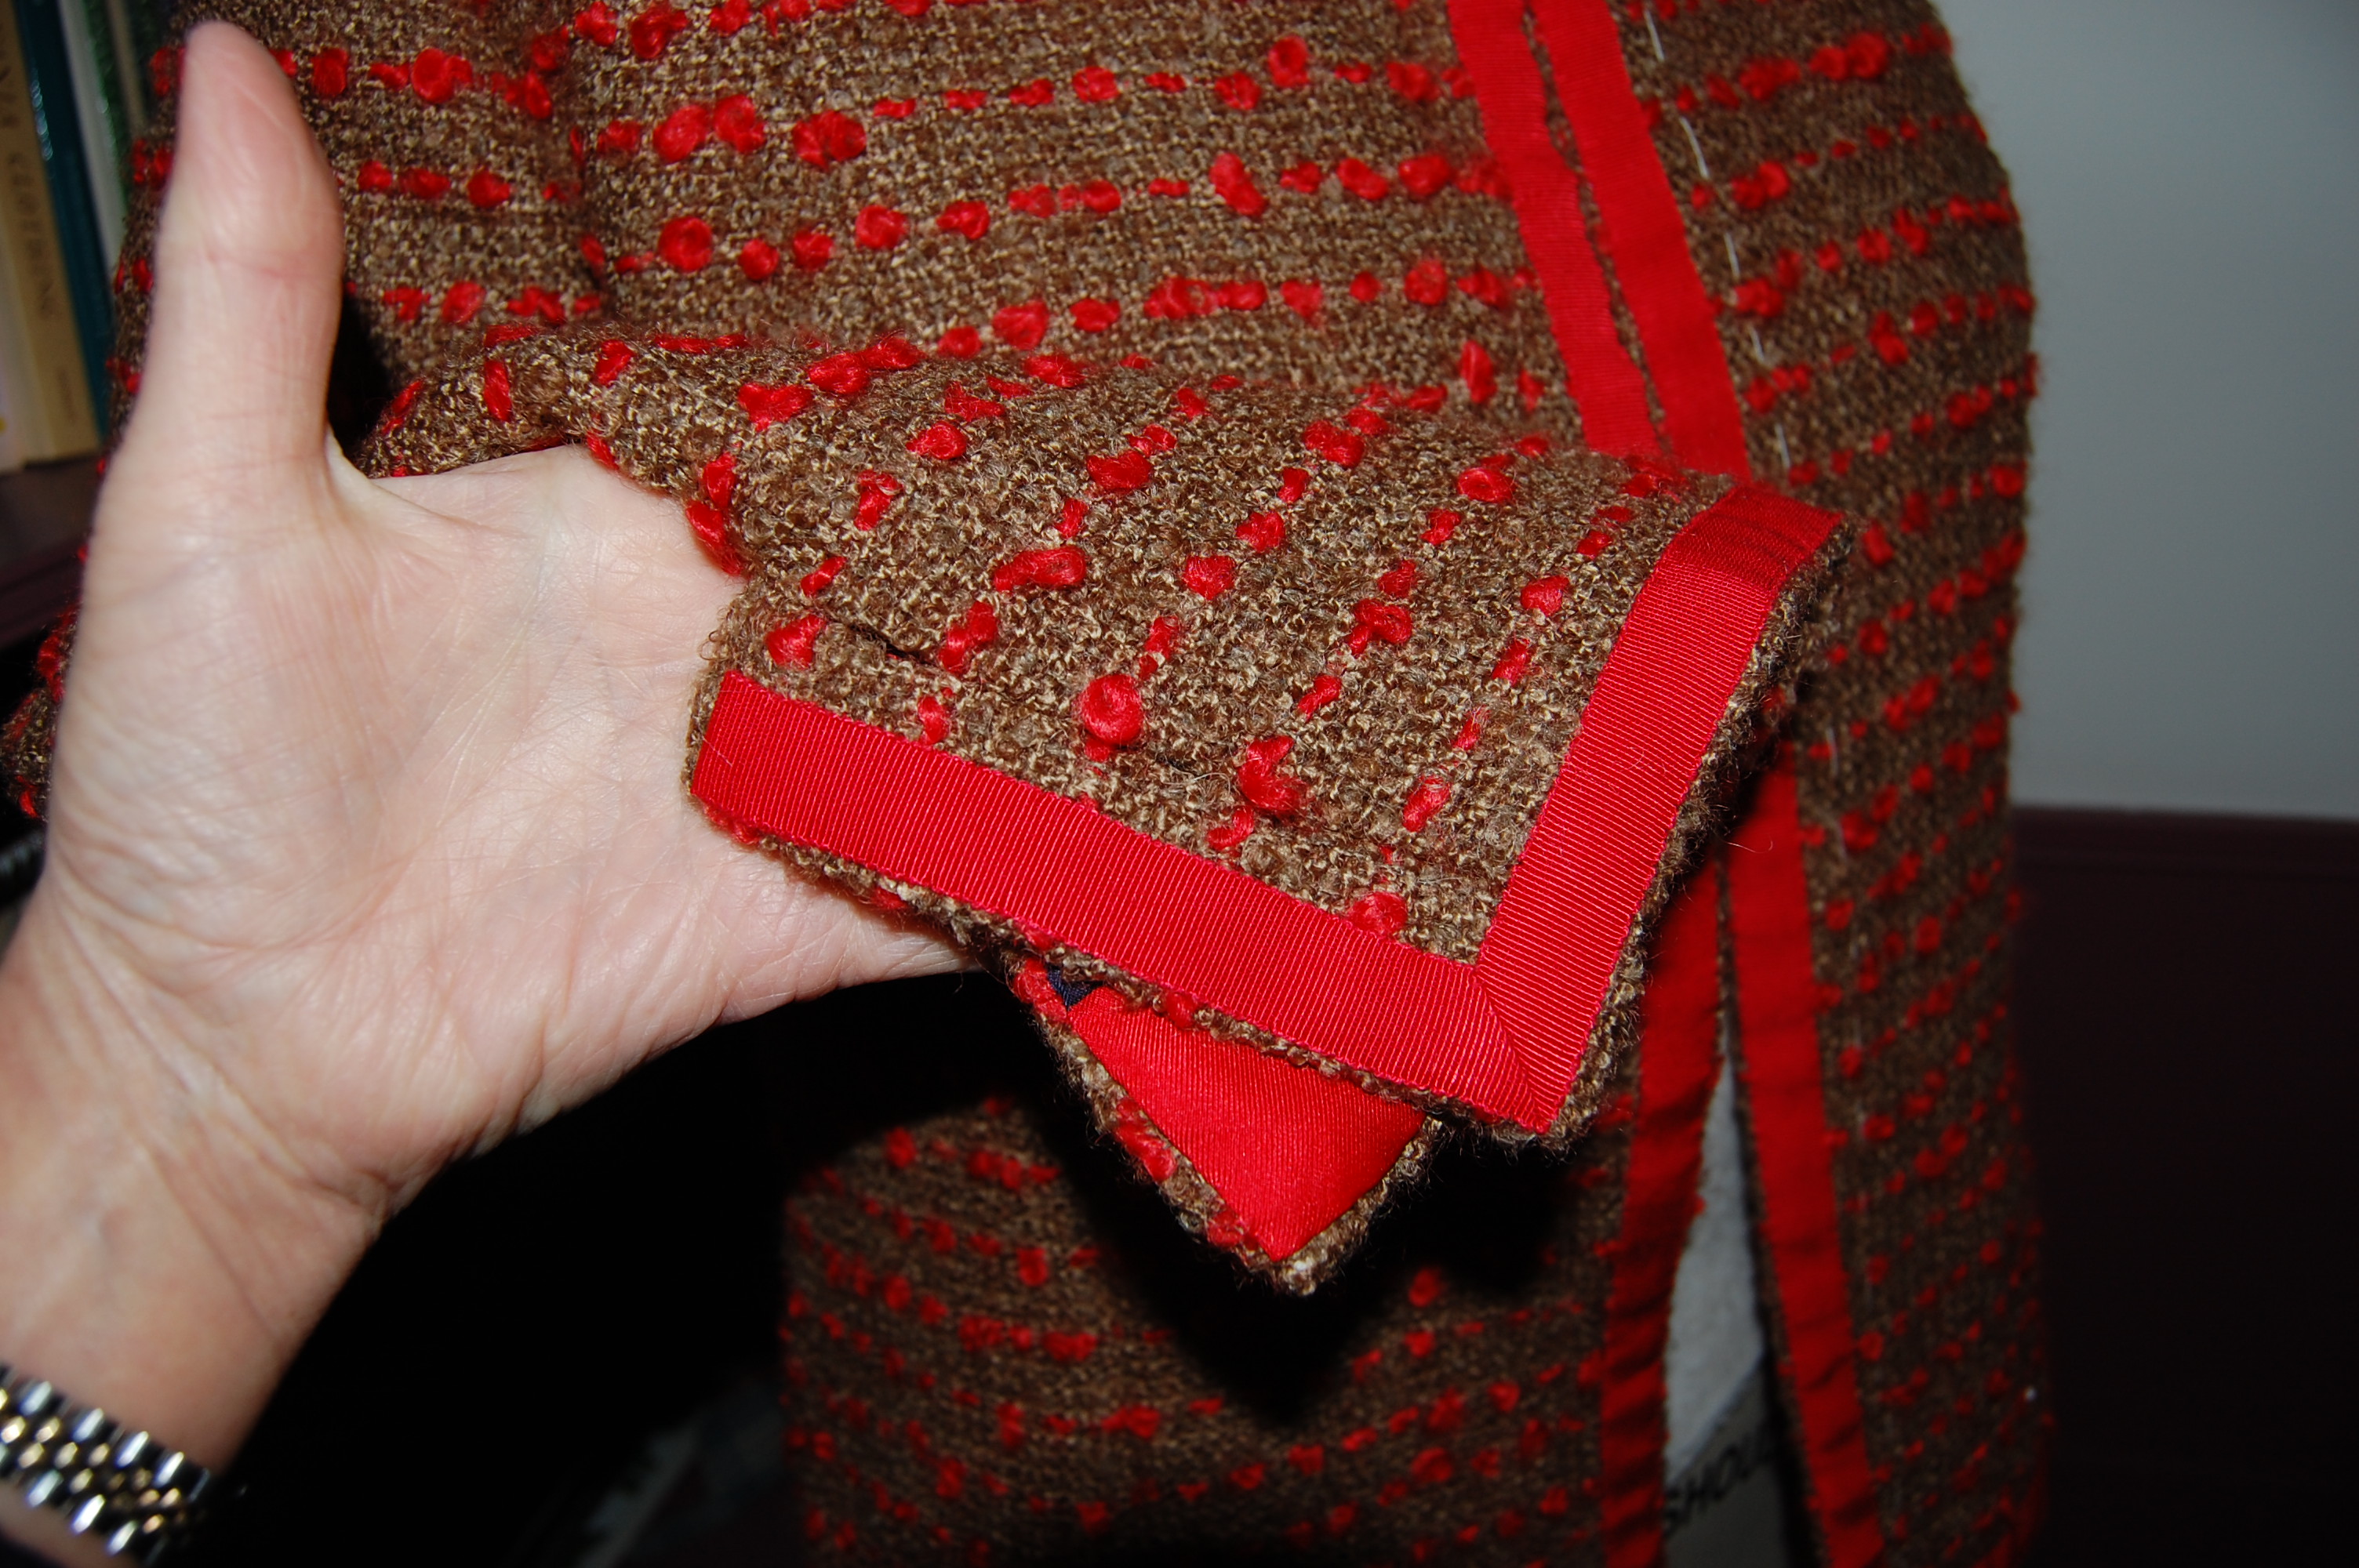
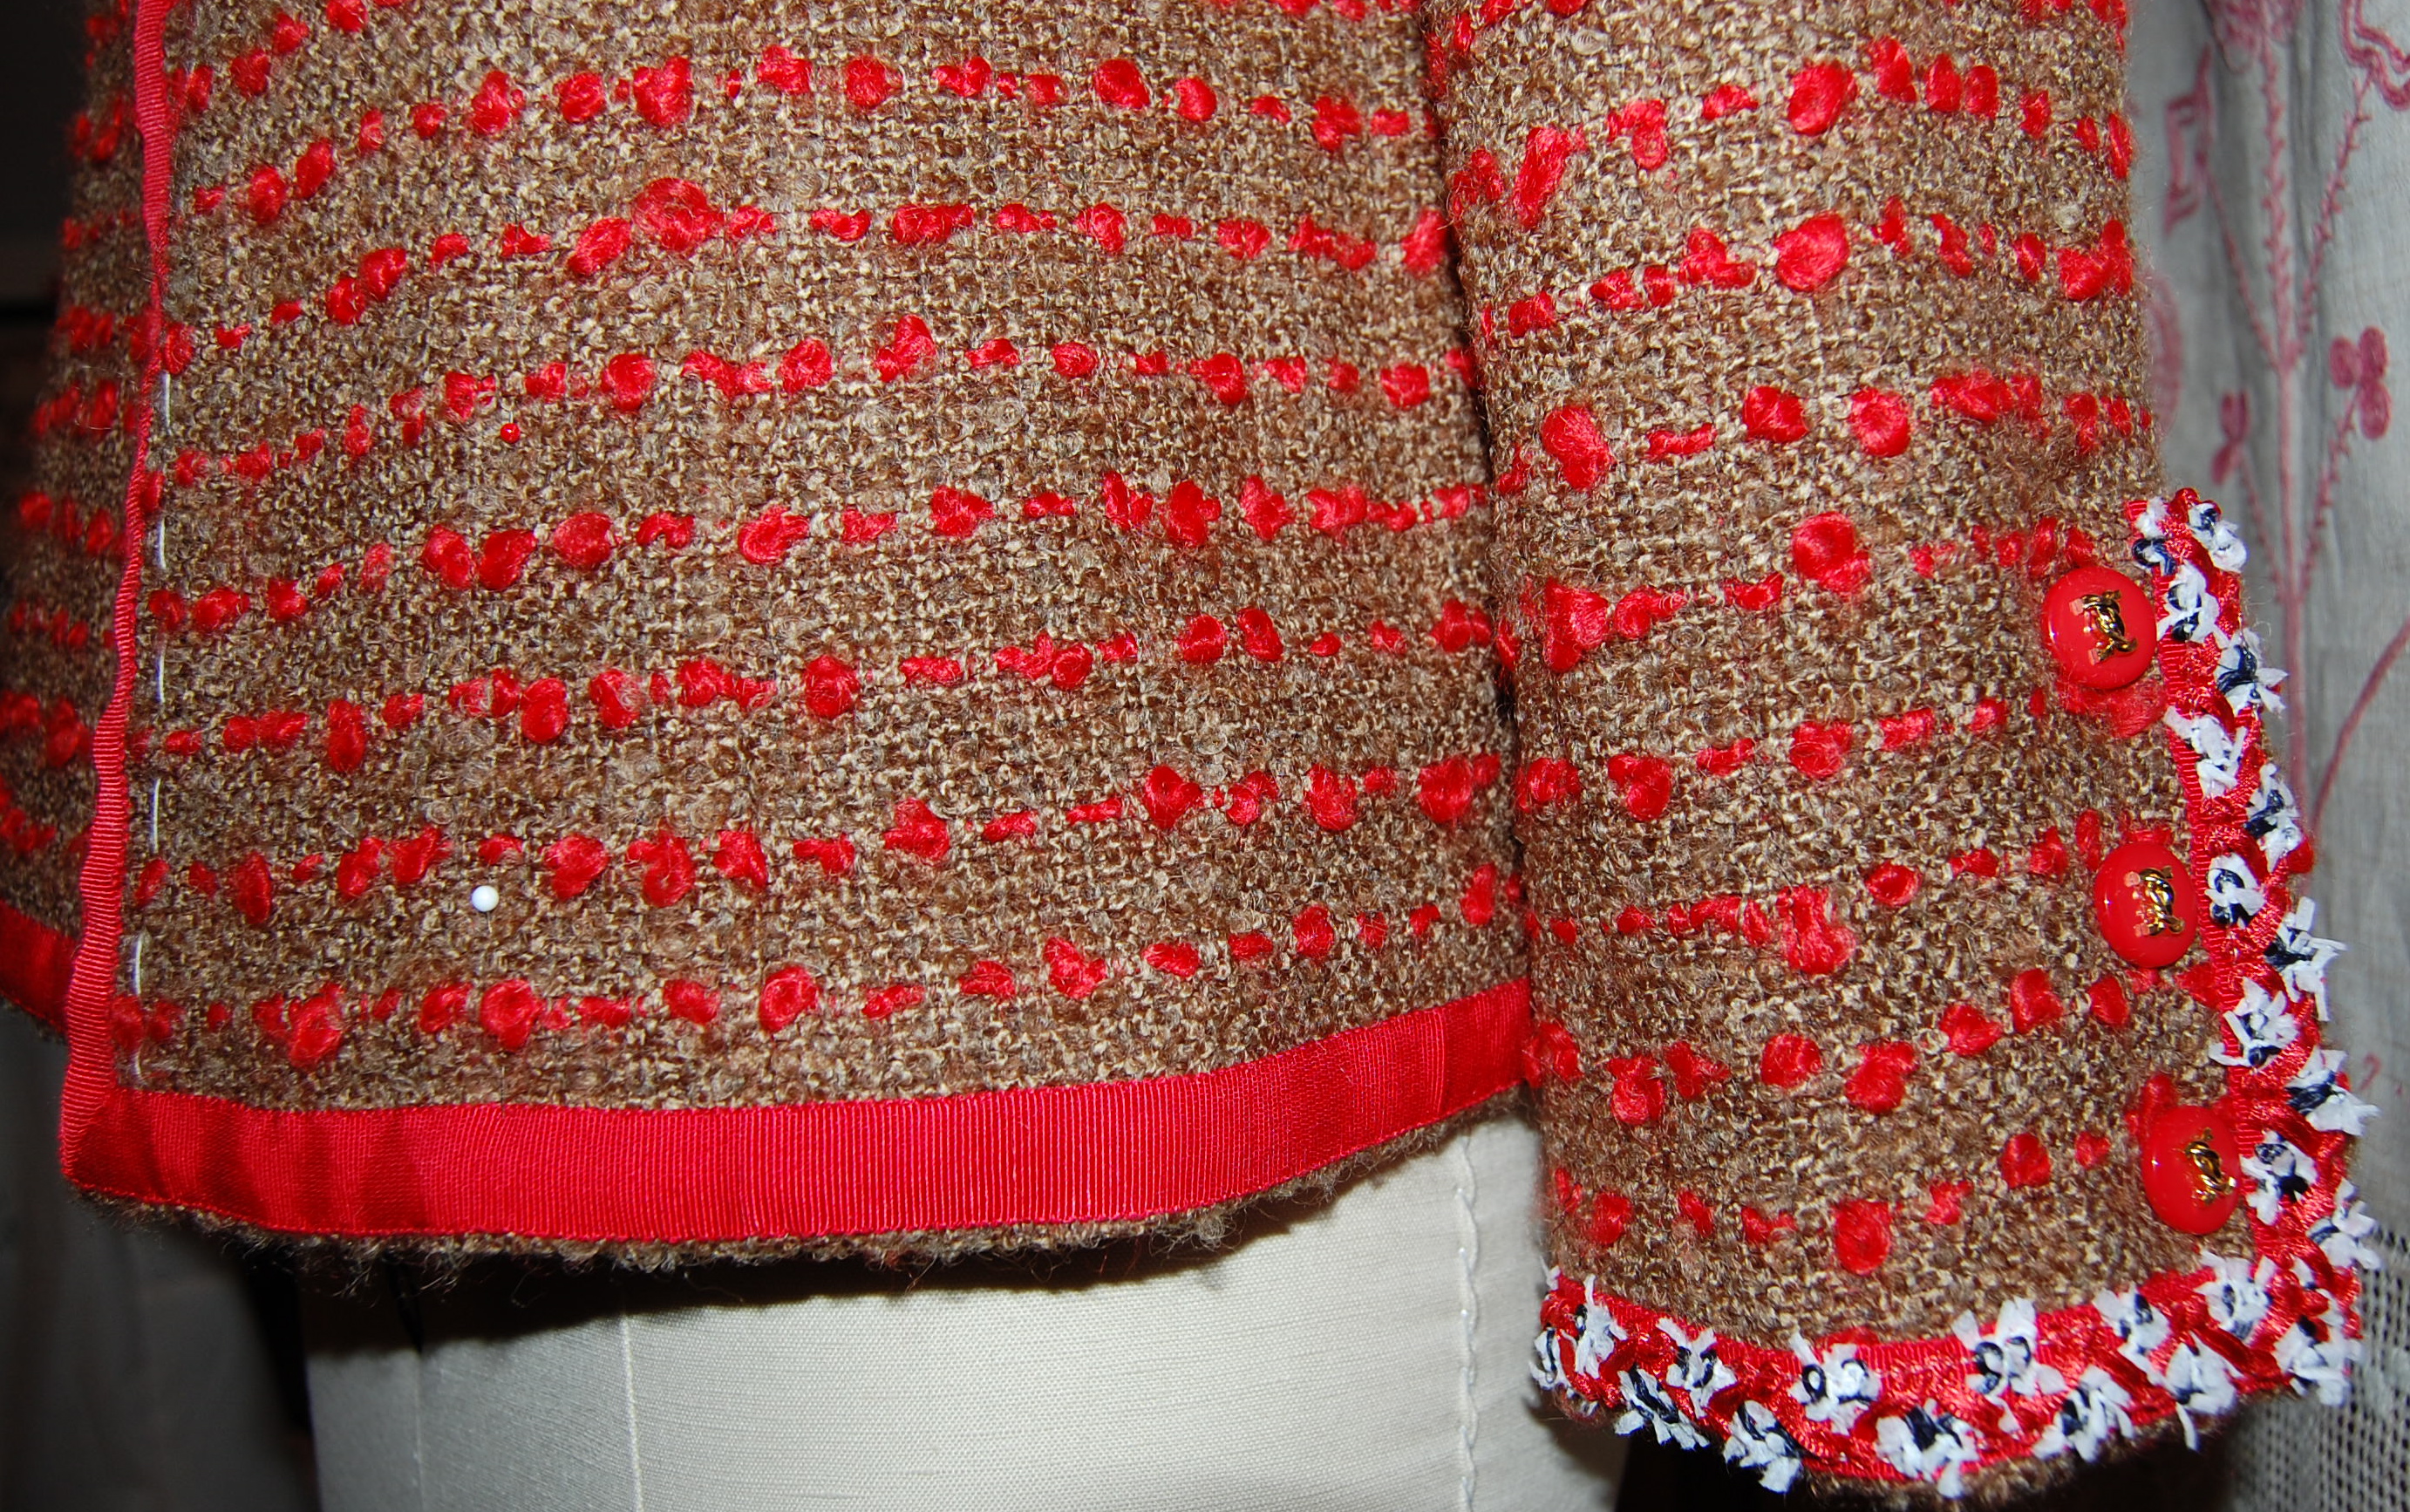
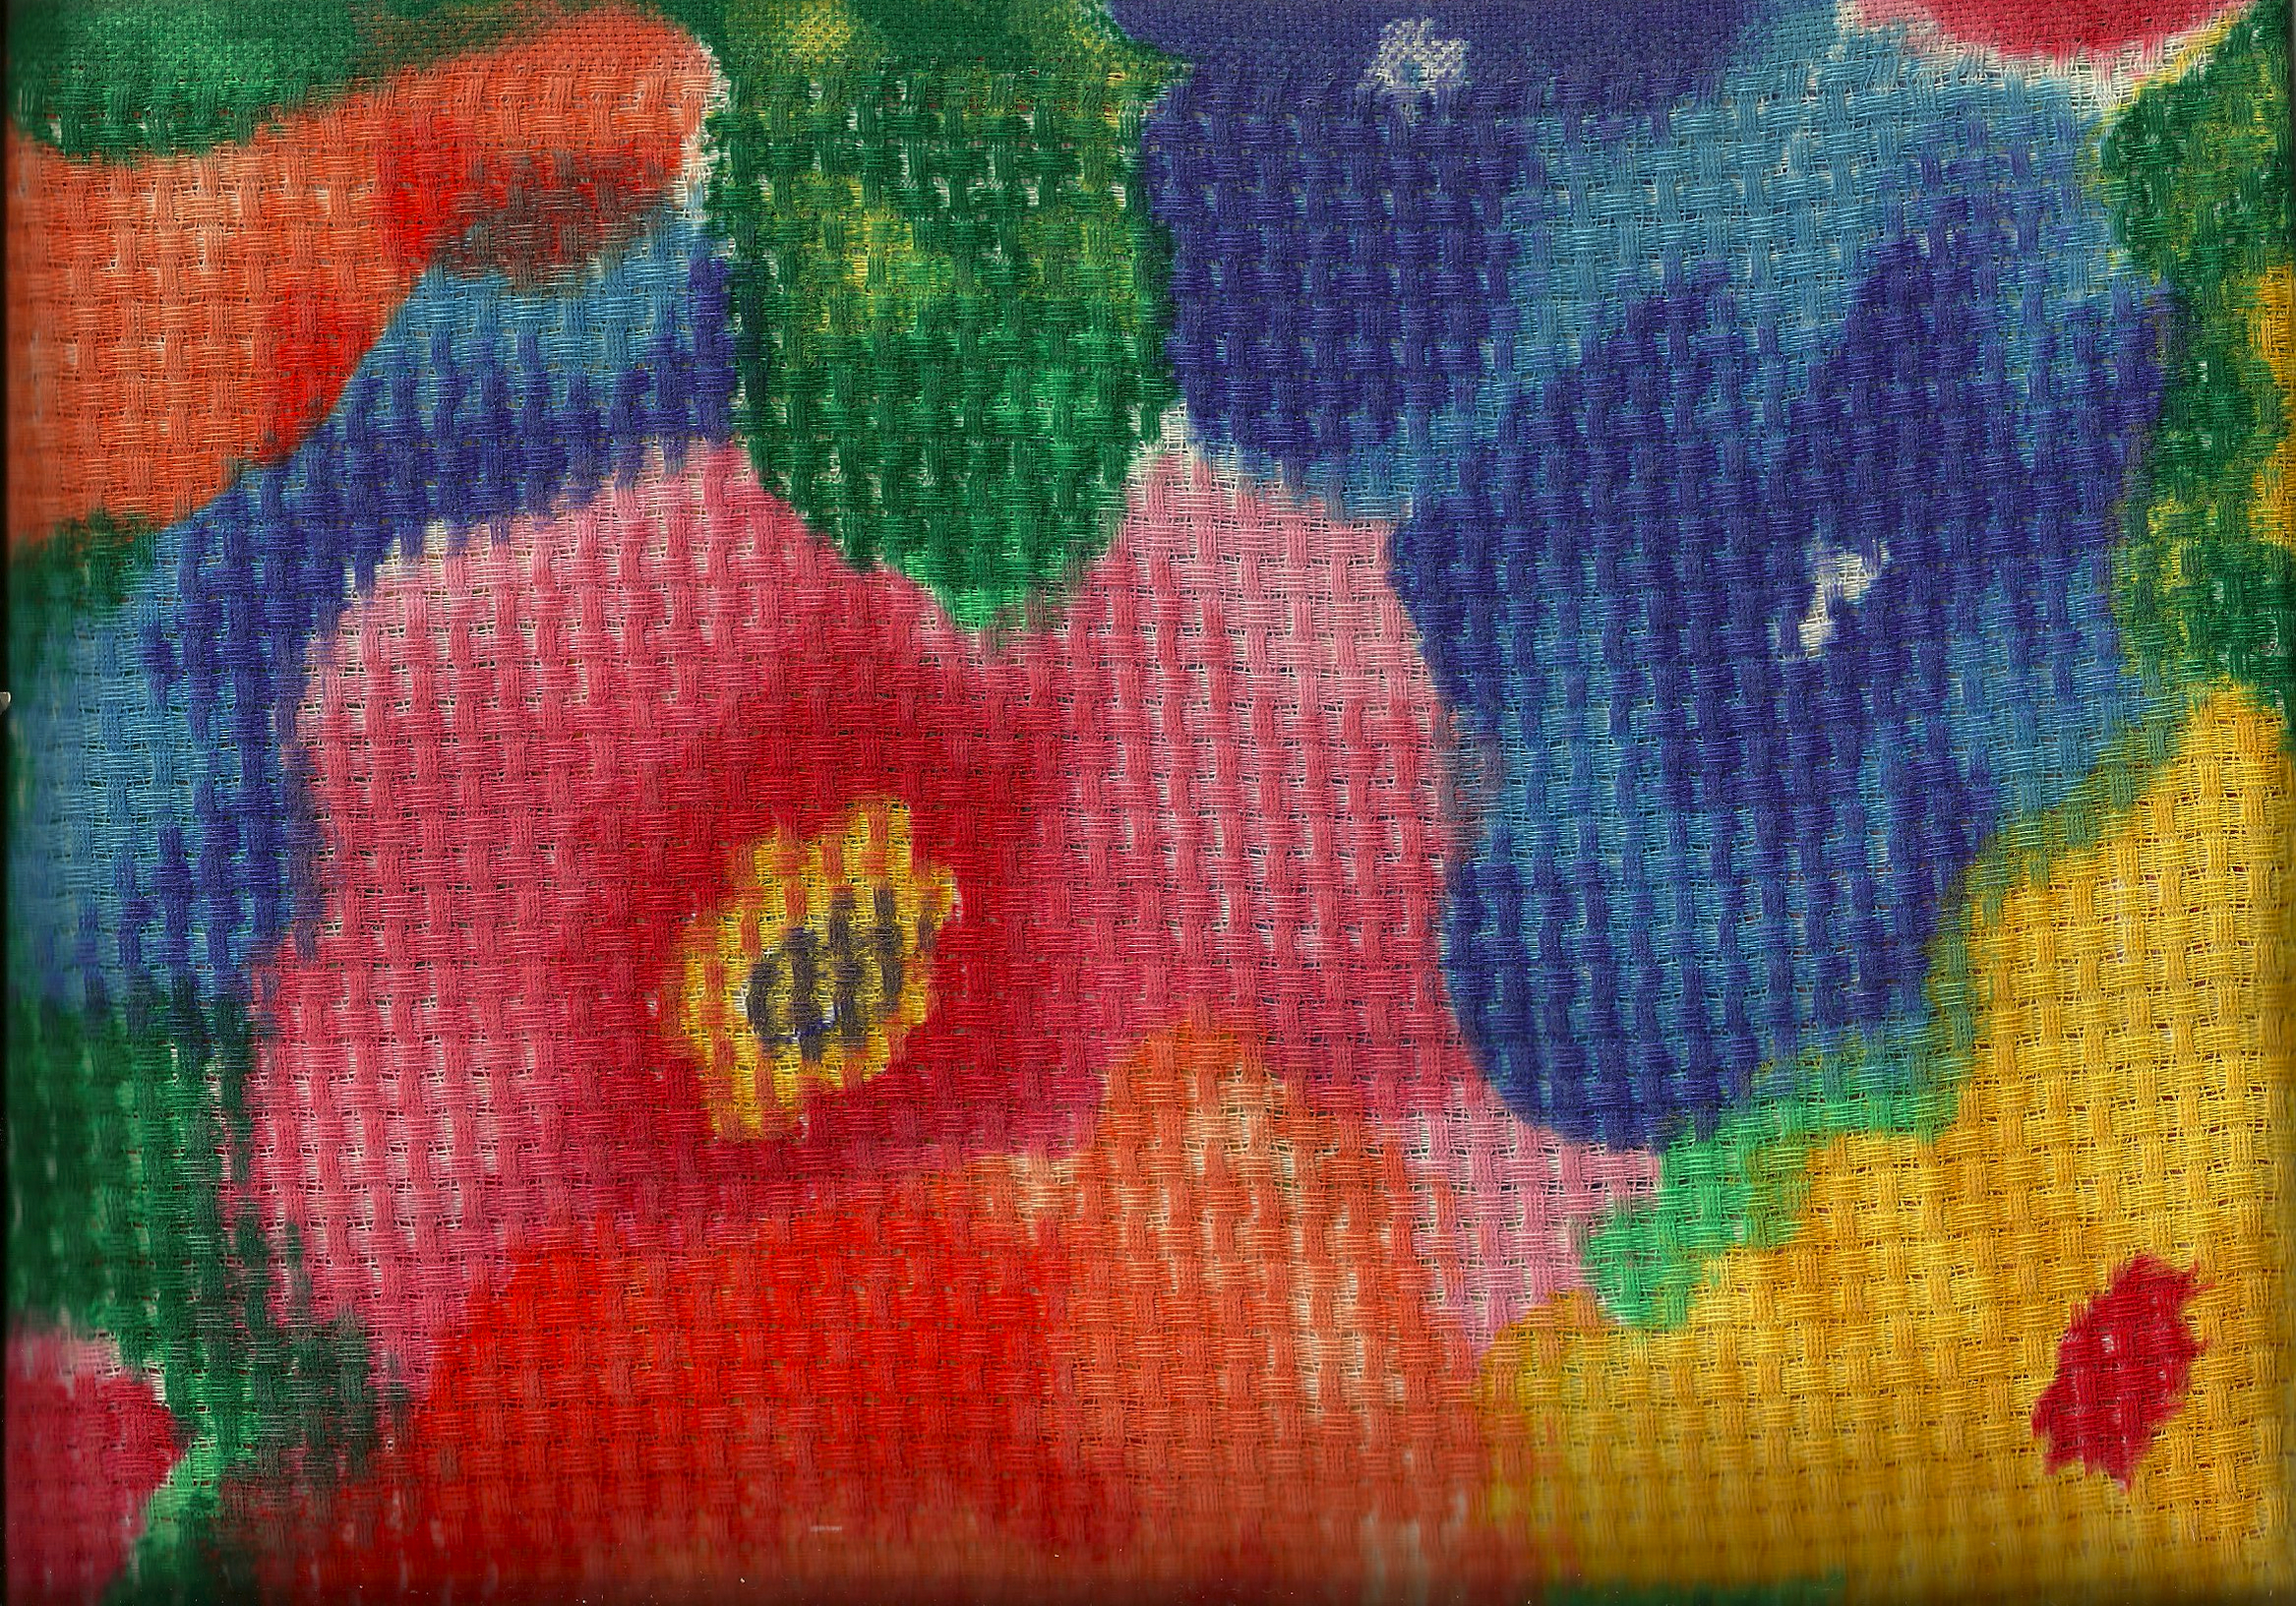
The colors in it seemed to speak to me of Ireland: greens reminiscent of the pastures and hills, the yellows and reds of the abundant flowers sprinkling the countryside, the brown of the cliffs and stone walls – all set in a pleasing grid just like the hills and valleys delineated by centuries-old stone fences and hedgerows. And it had fringe! I love fringe. But – it was a blanket. Could I possibly use this blanket as woolen yardage for a fringed skirt? Would I dare to cut it up?
I guess we’ll find out, as home it came with me, with that intention.
Draped loosely on my dress form.
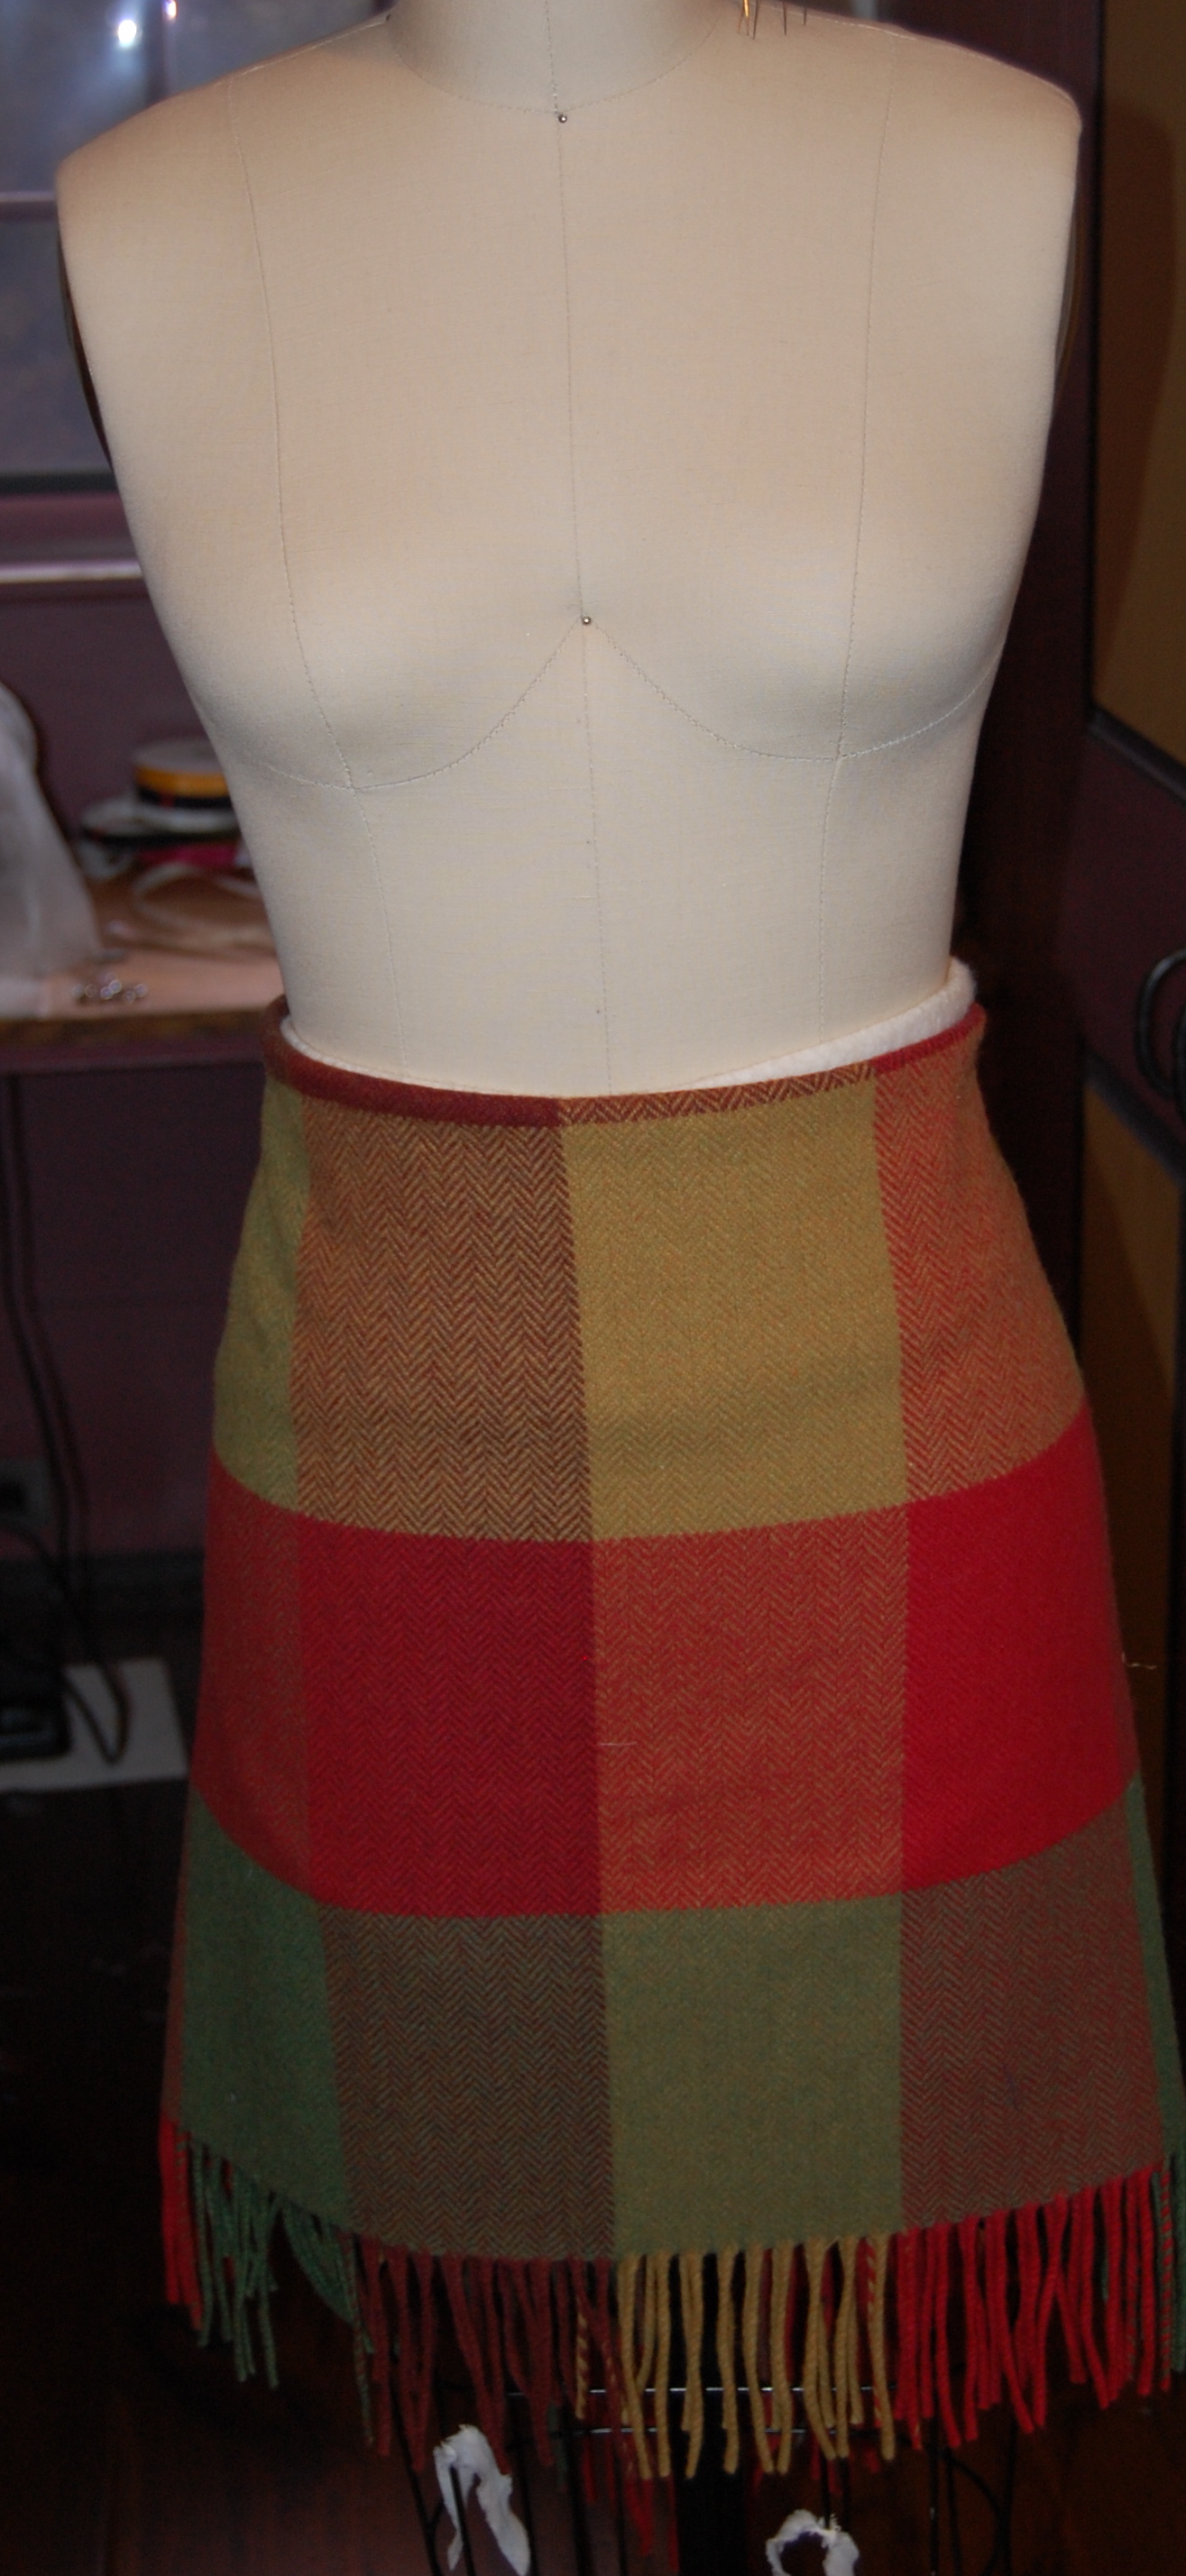
I wrapped the blanket around myself in the store – as a skirt – to test my theory. Here it is pinned on my dress form
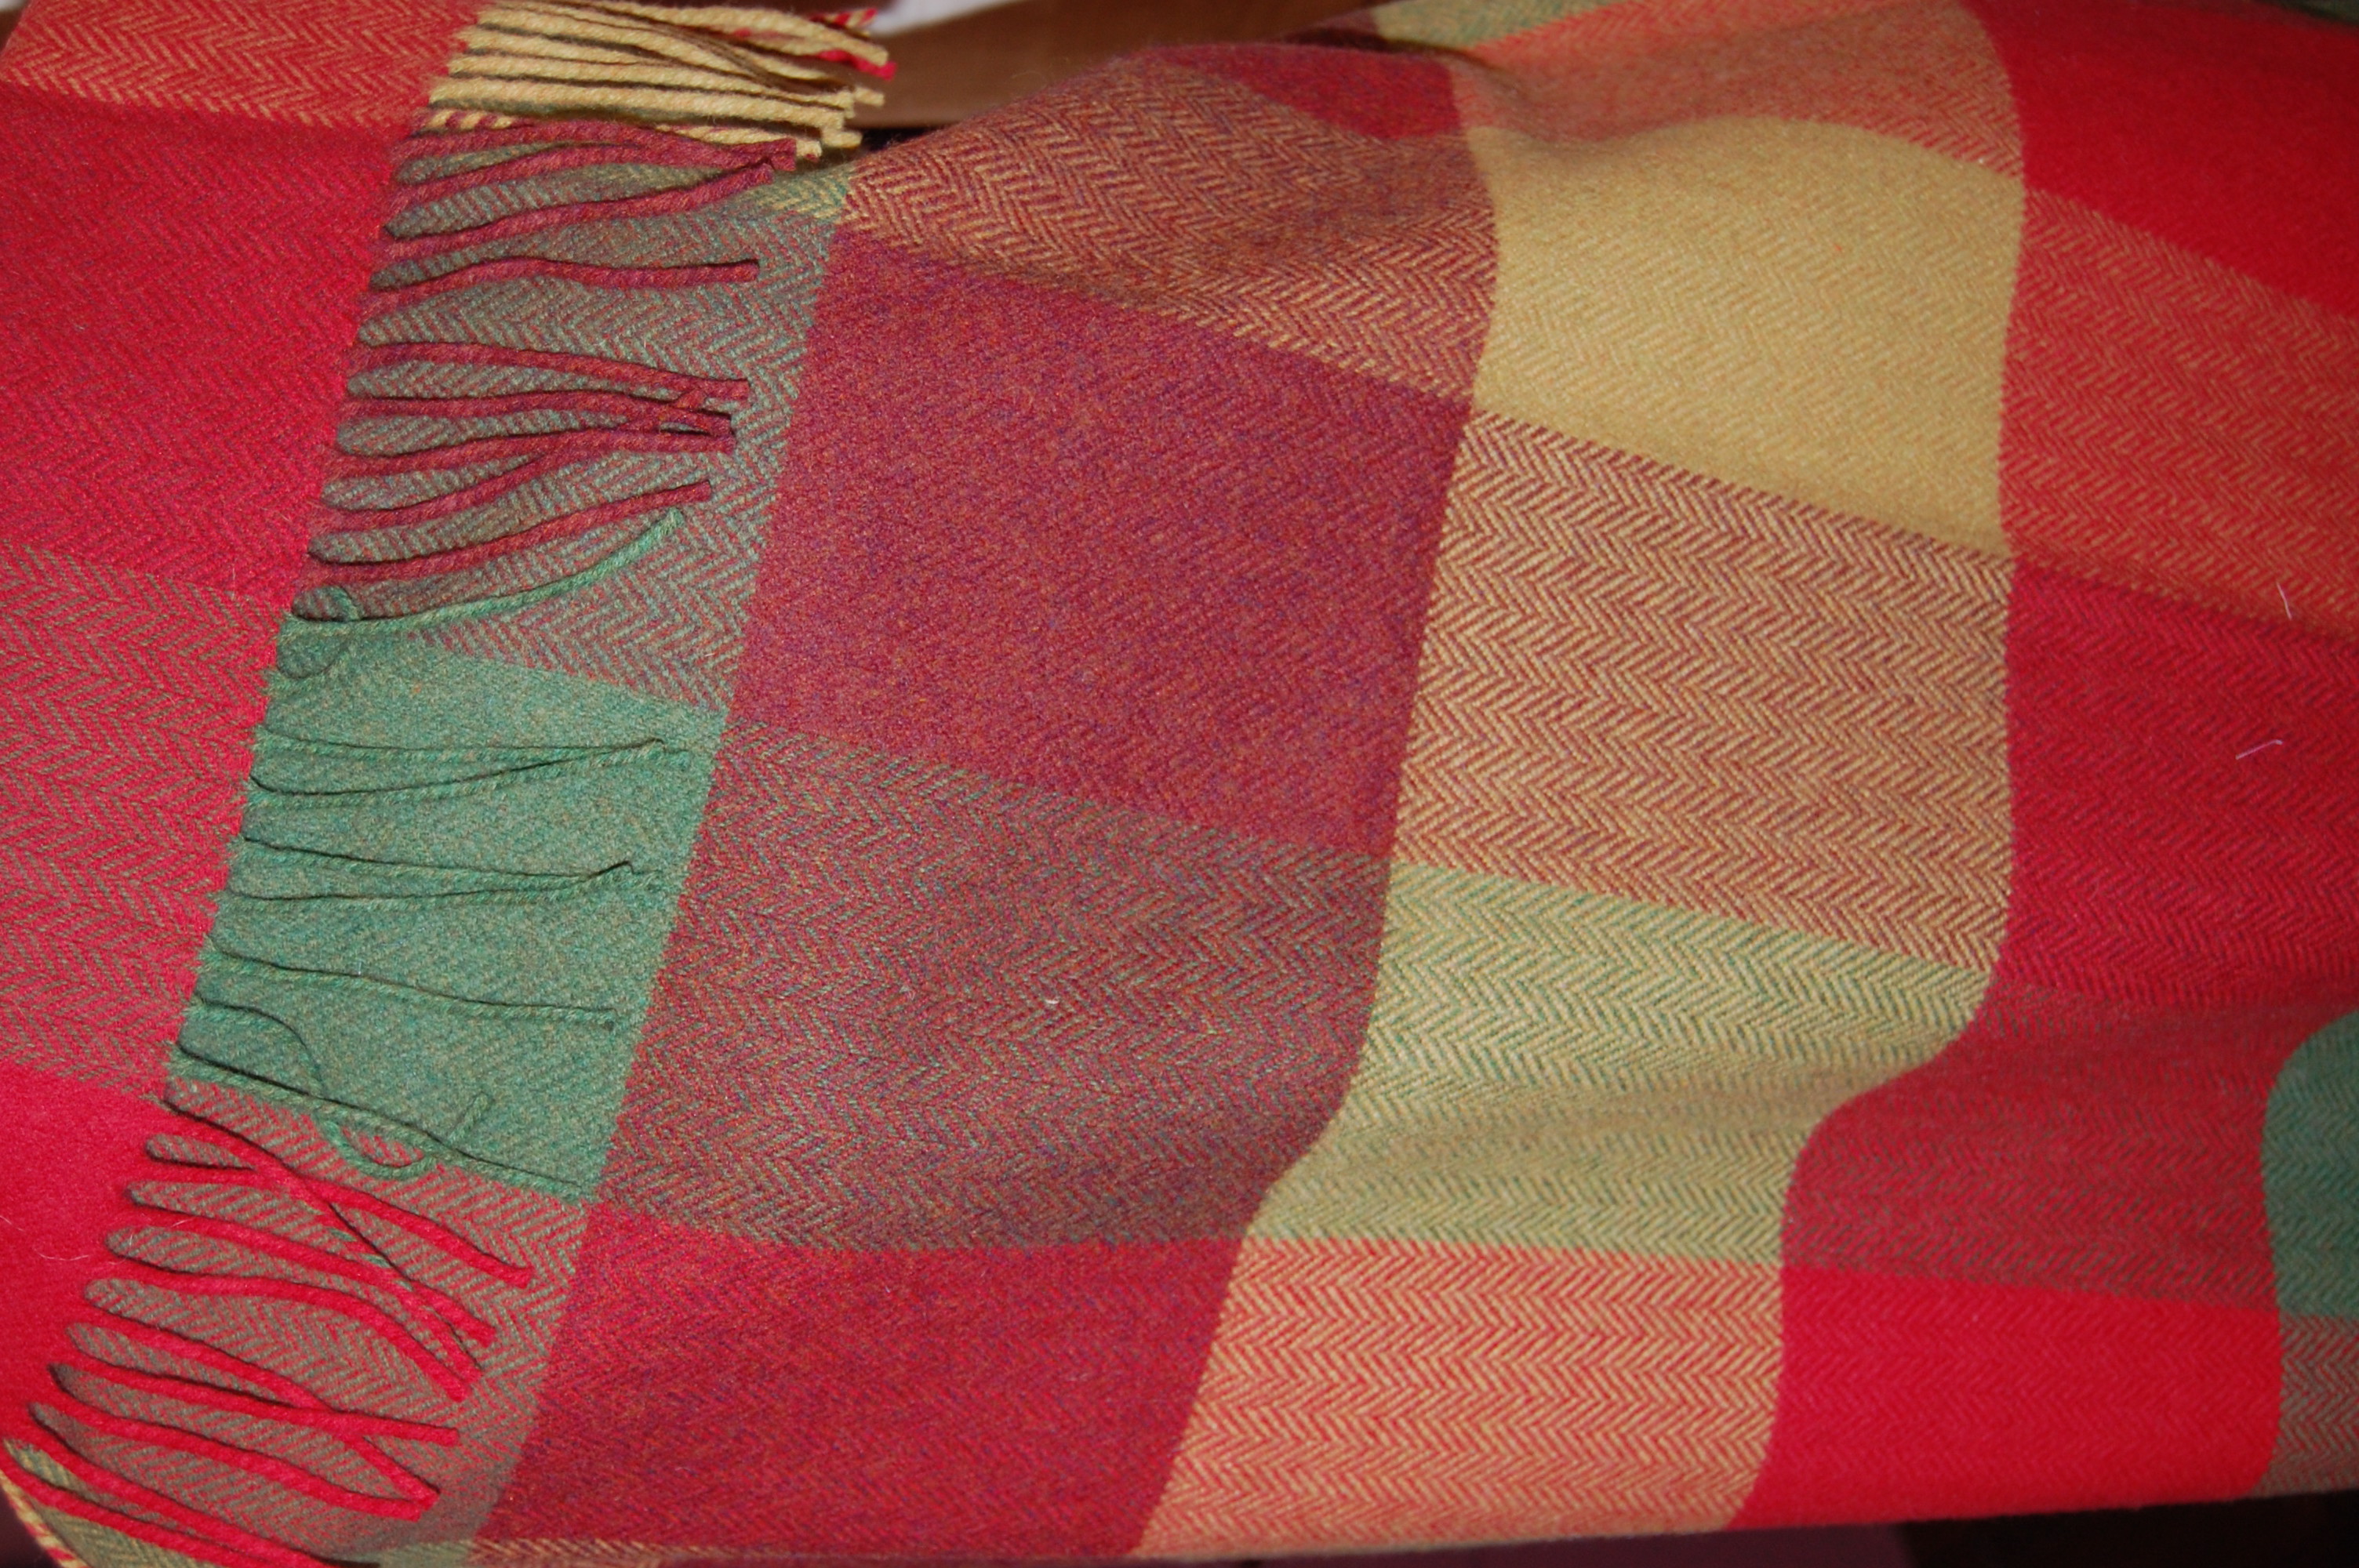
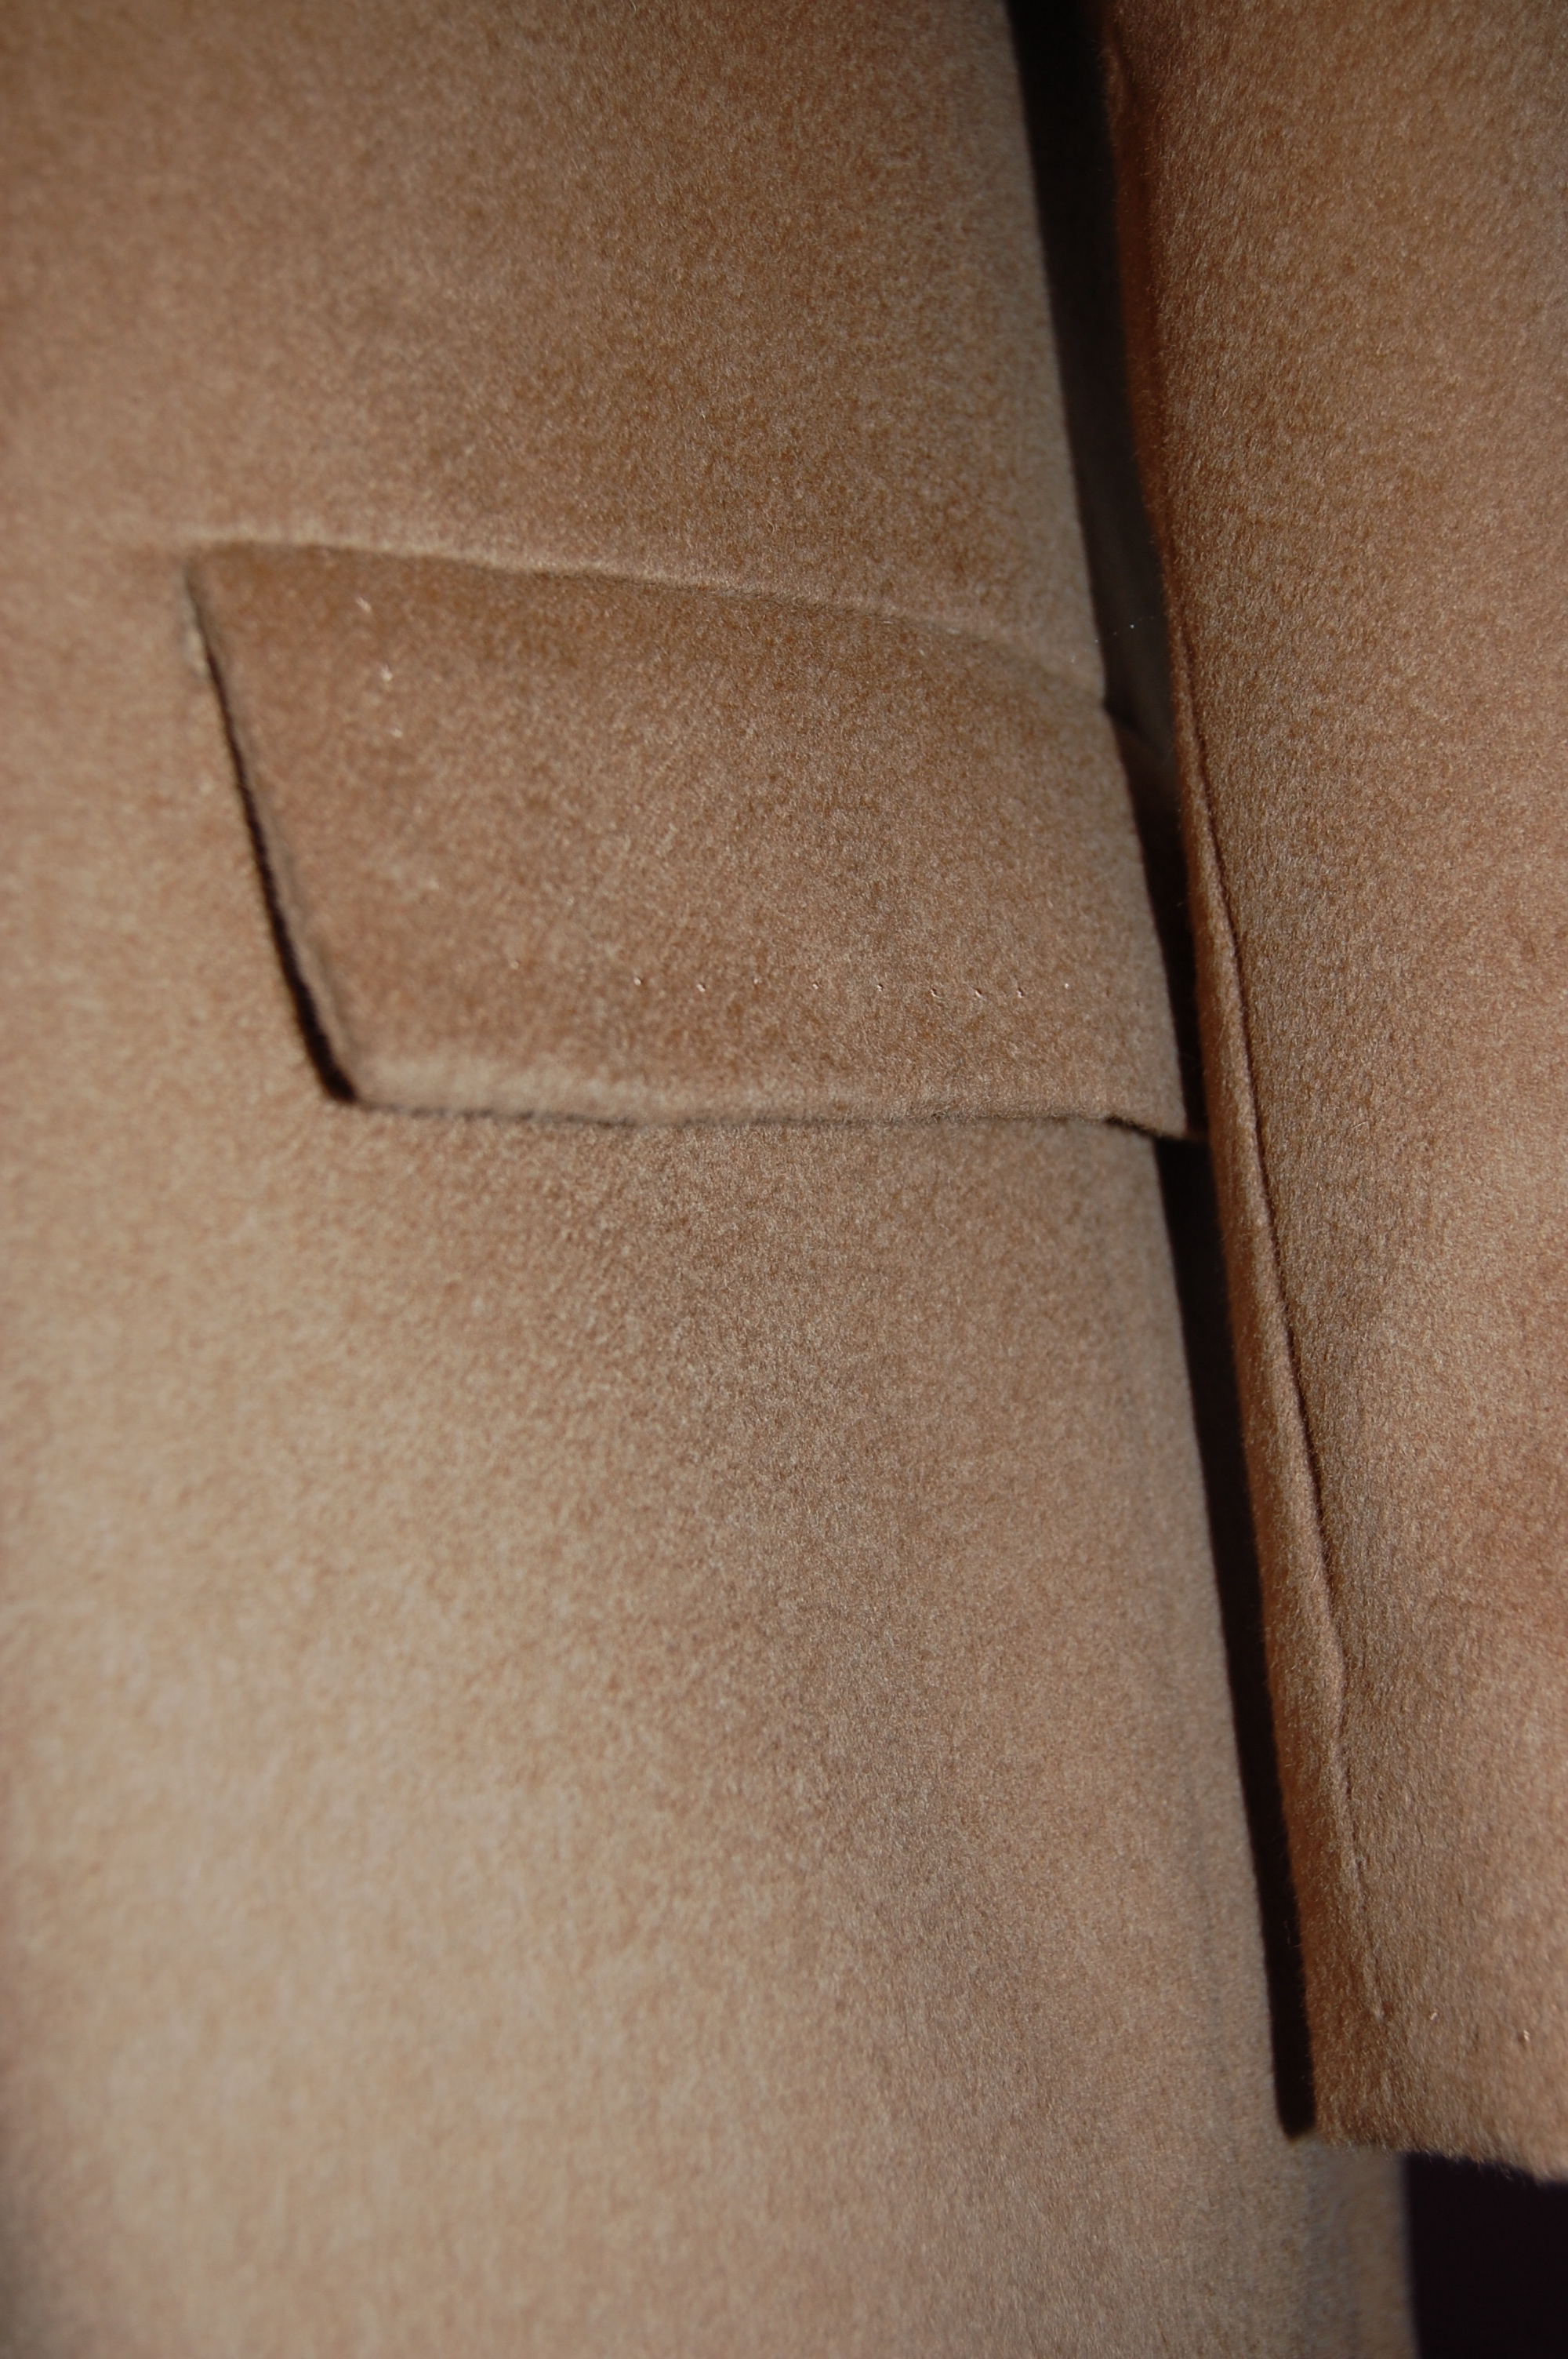
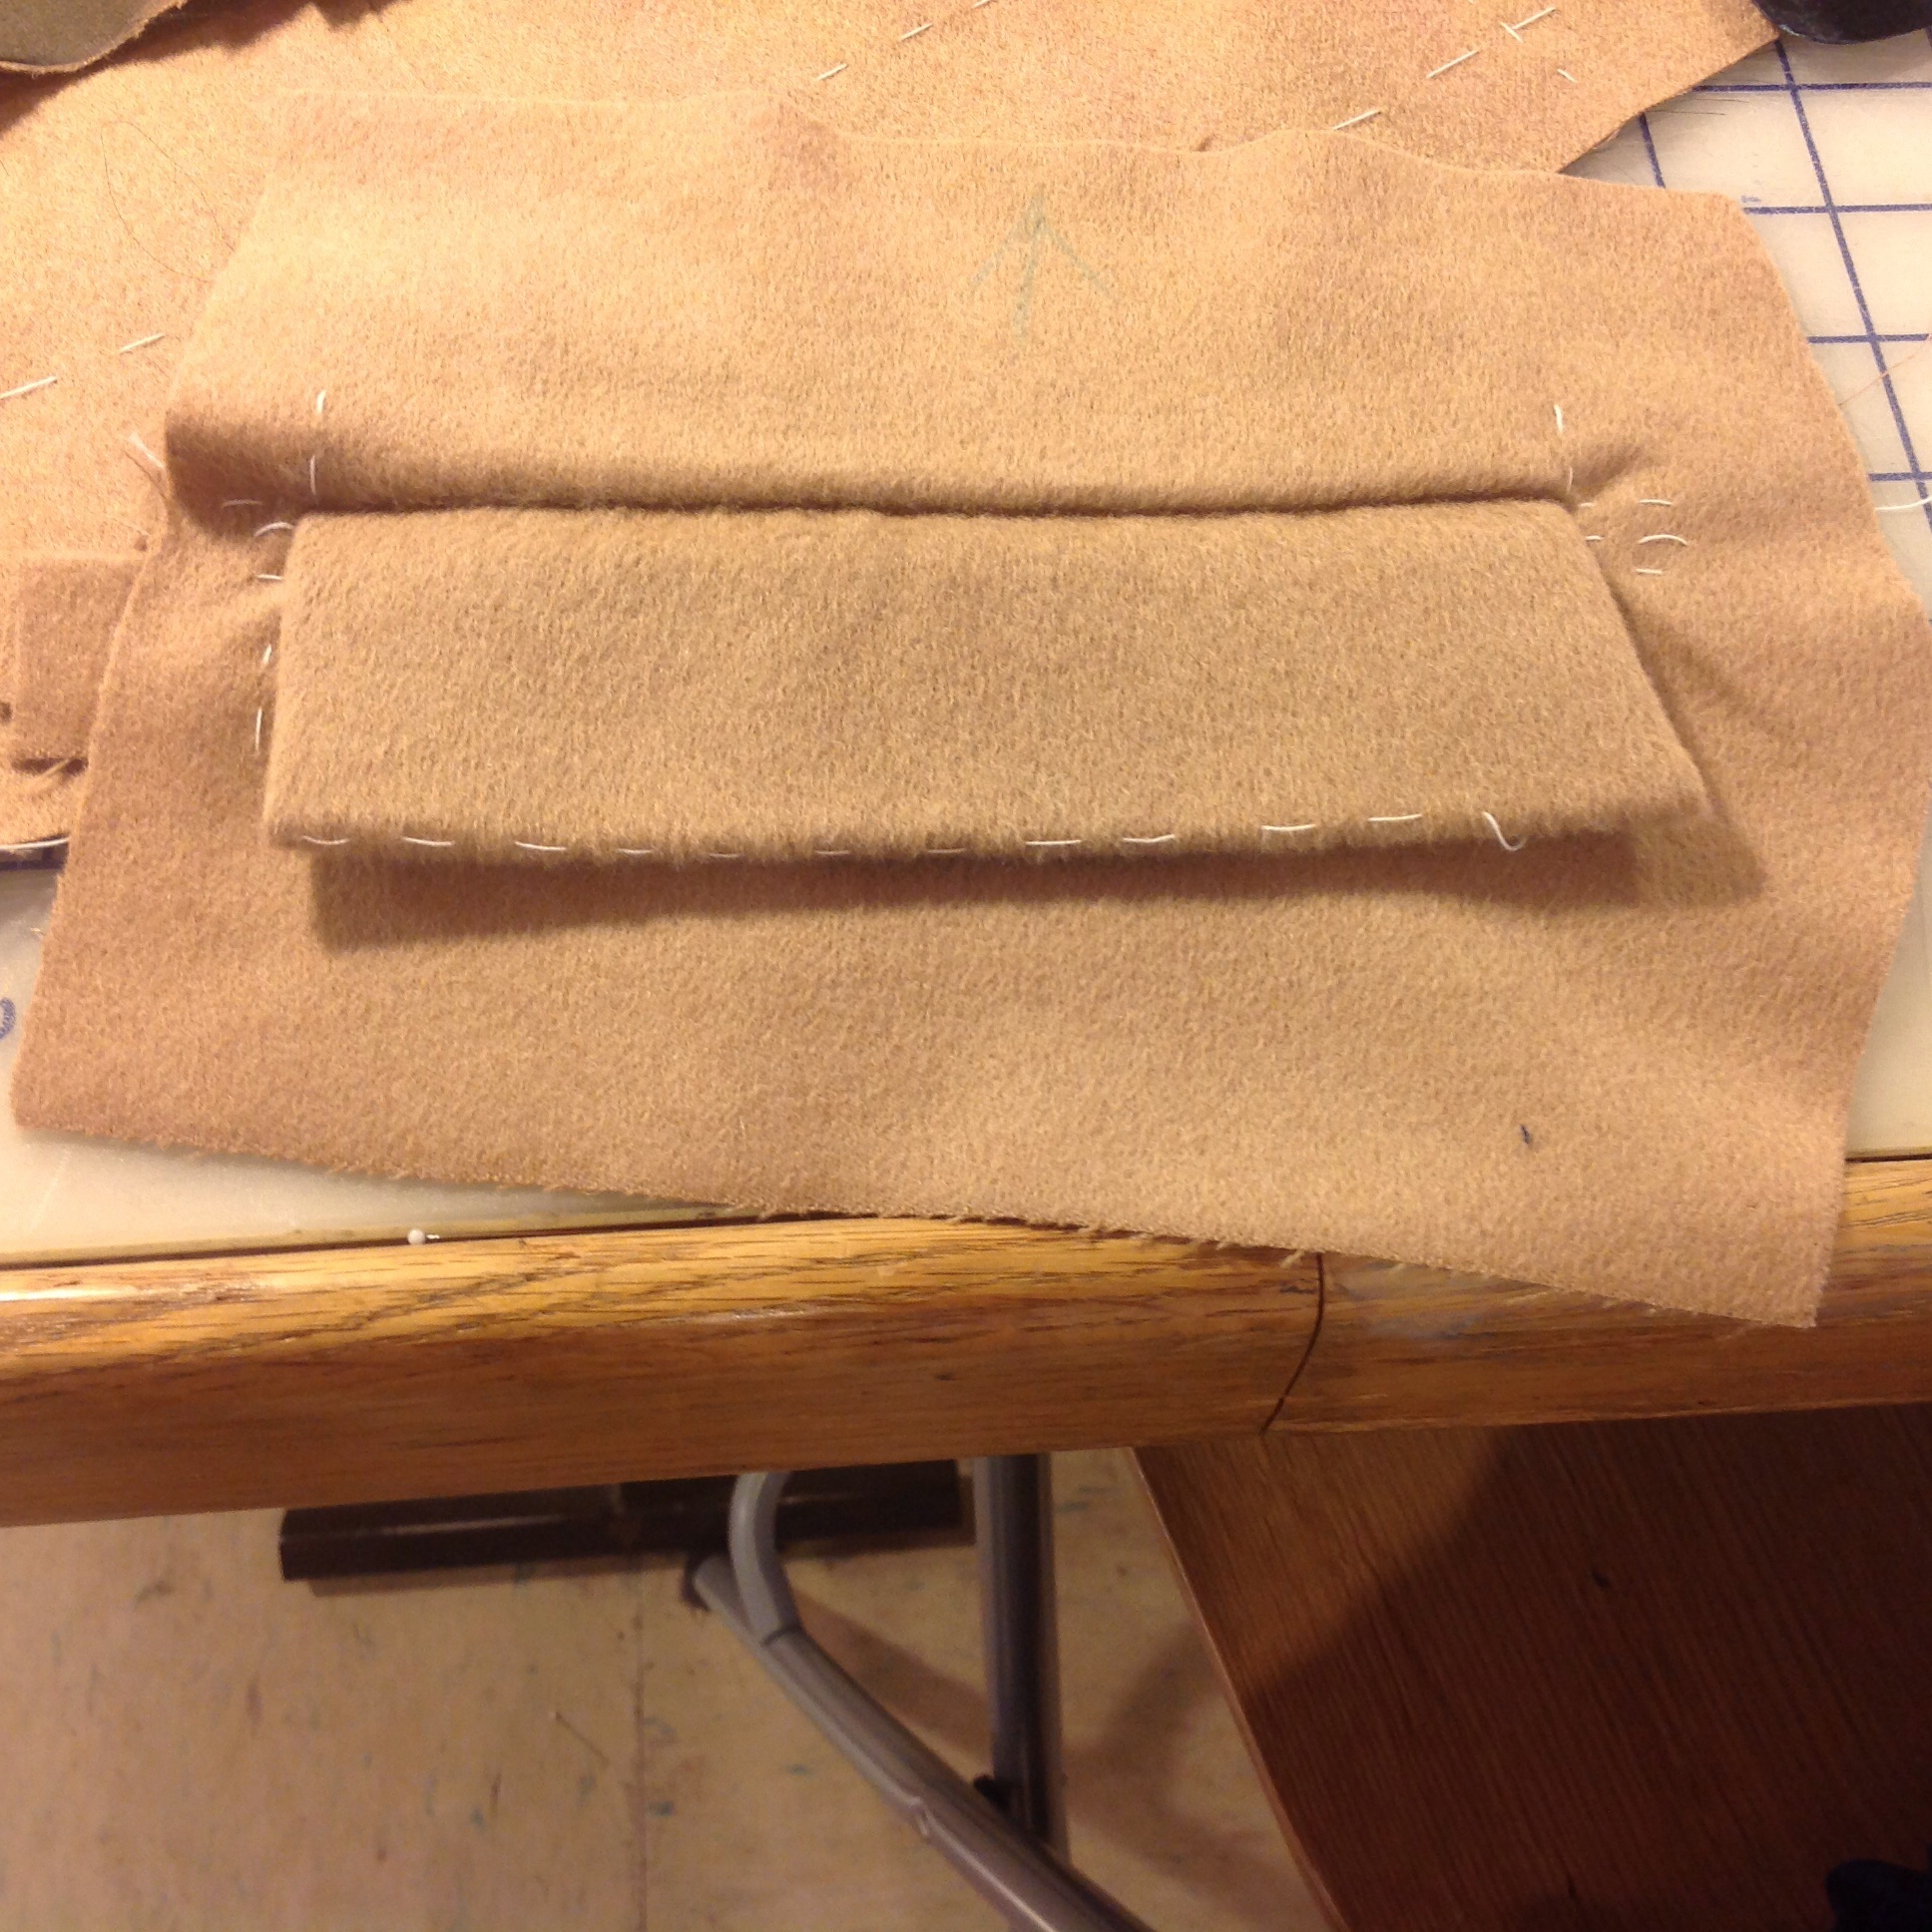
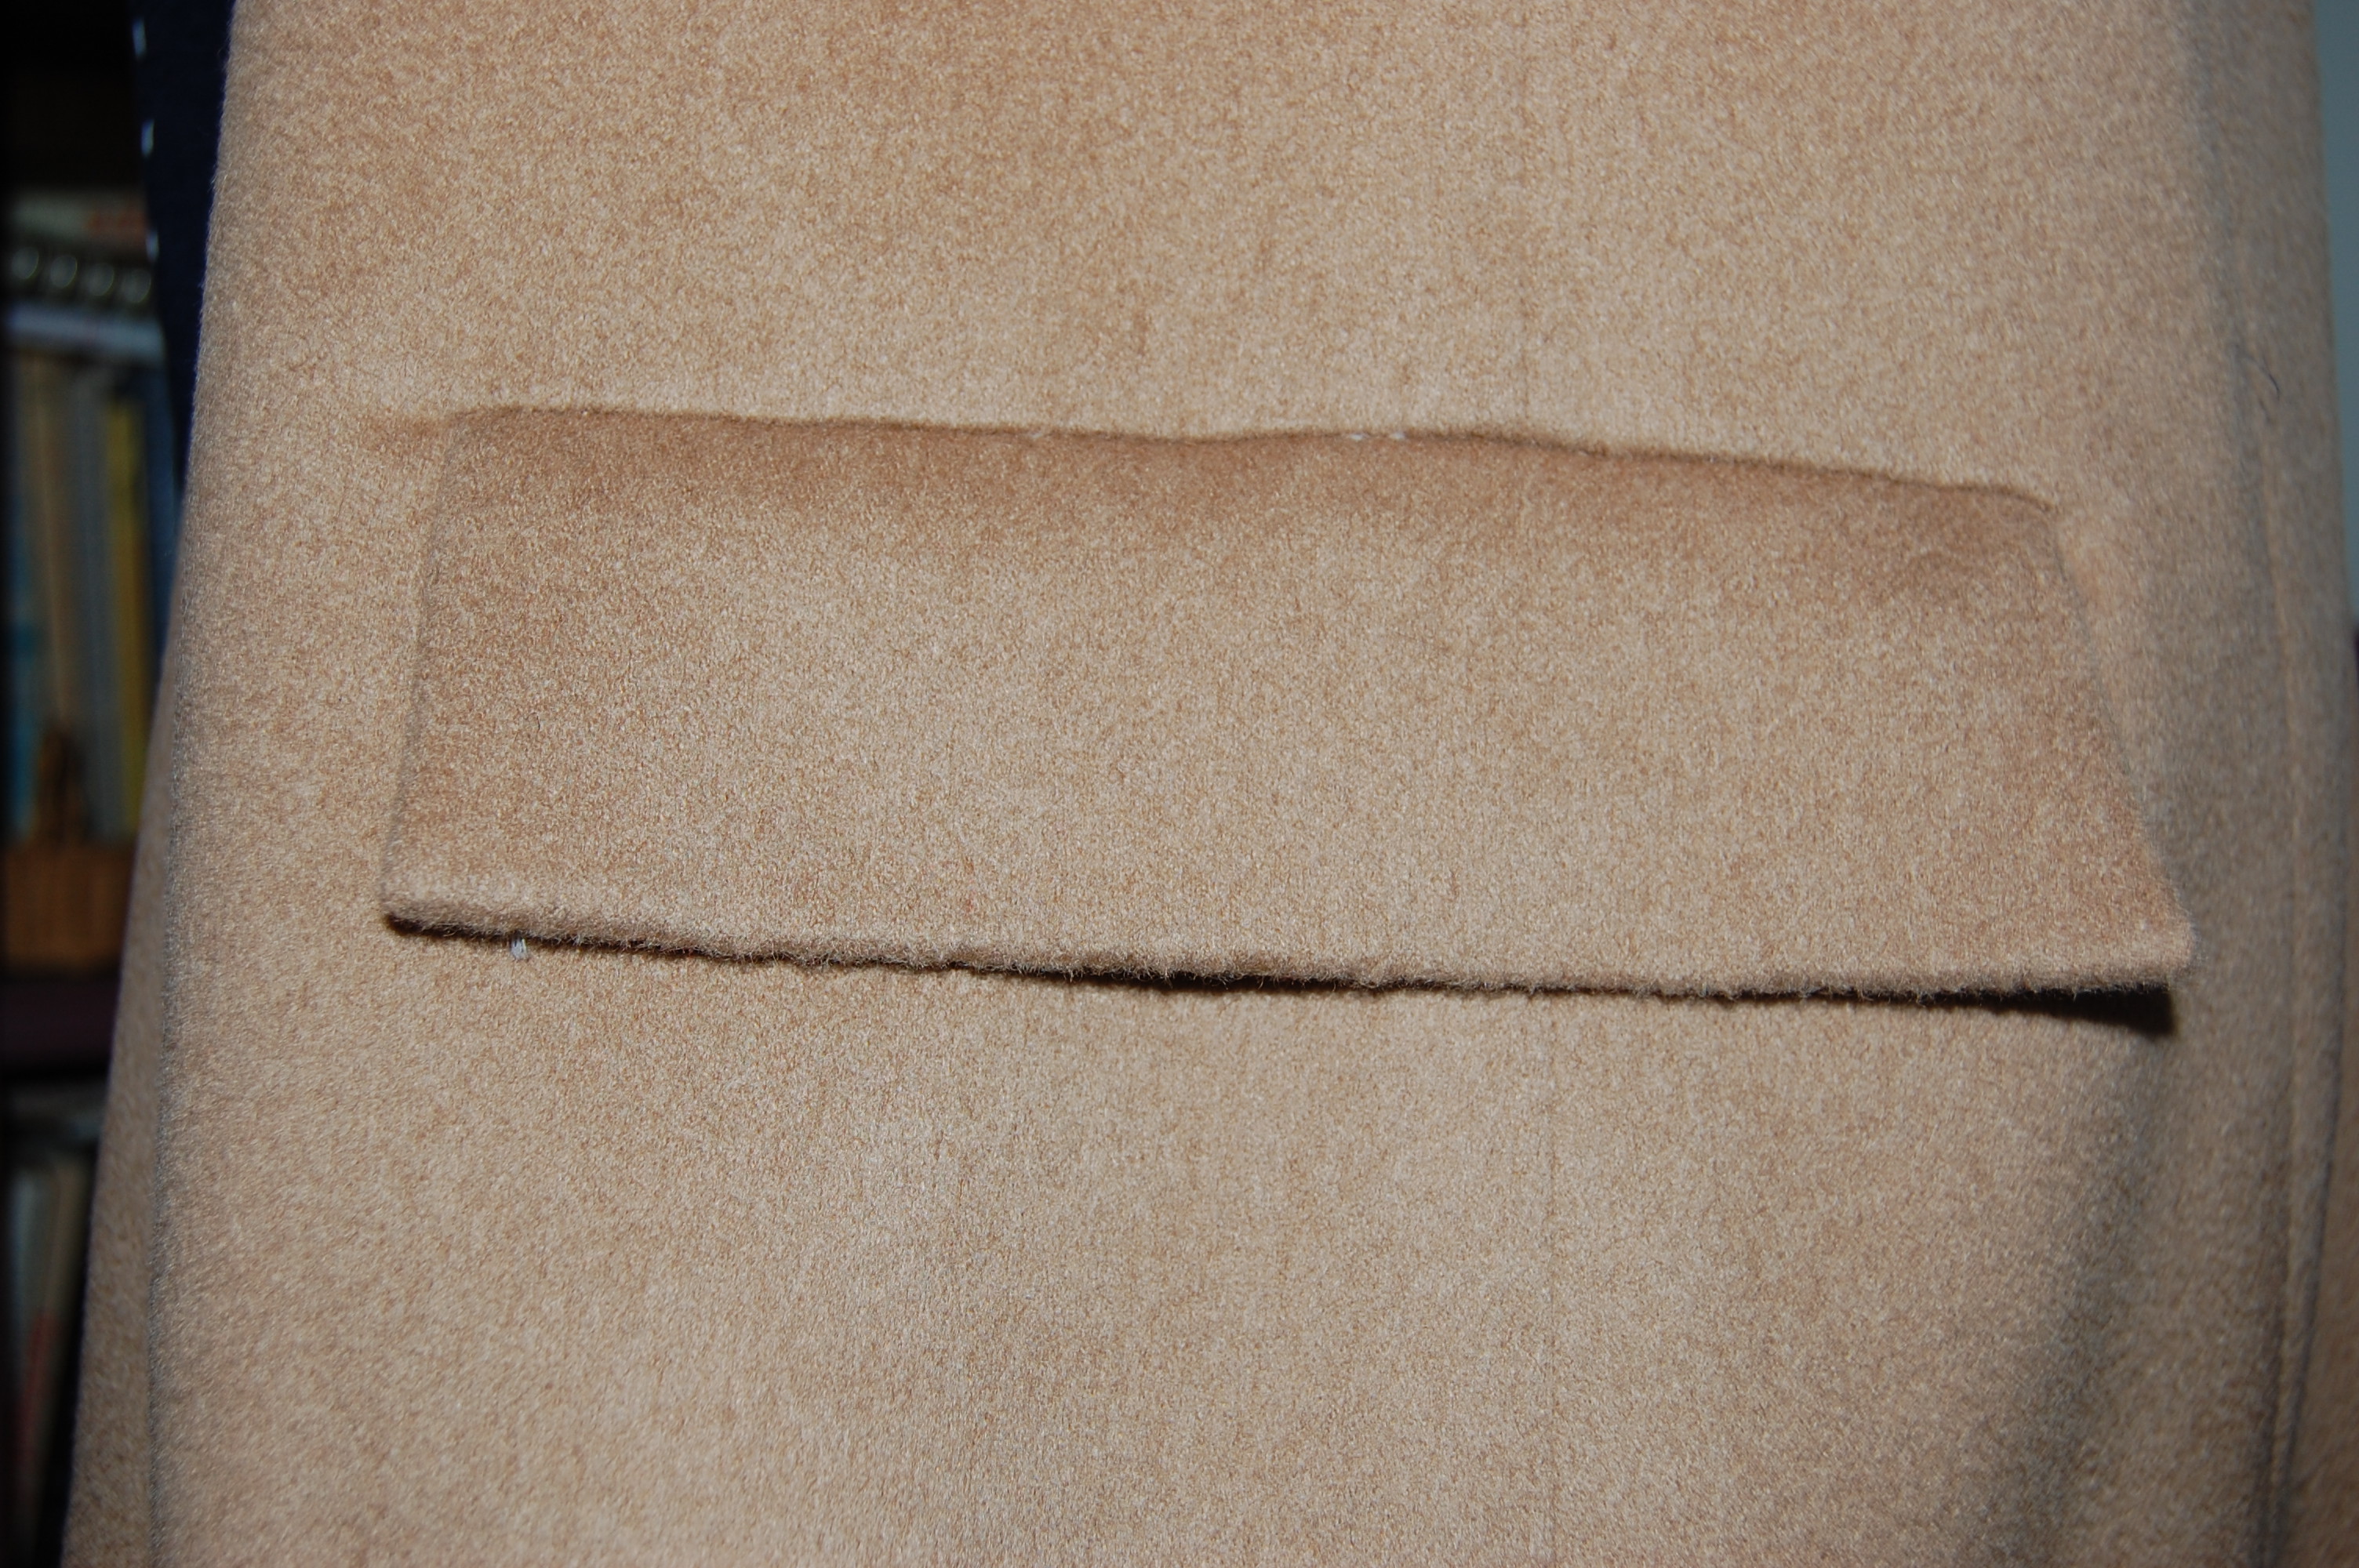
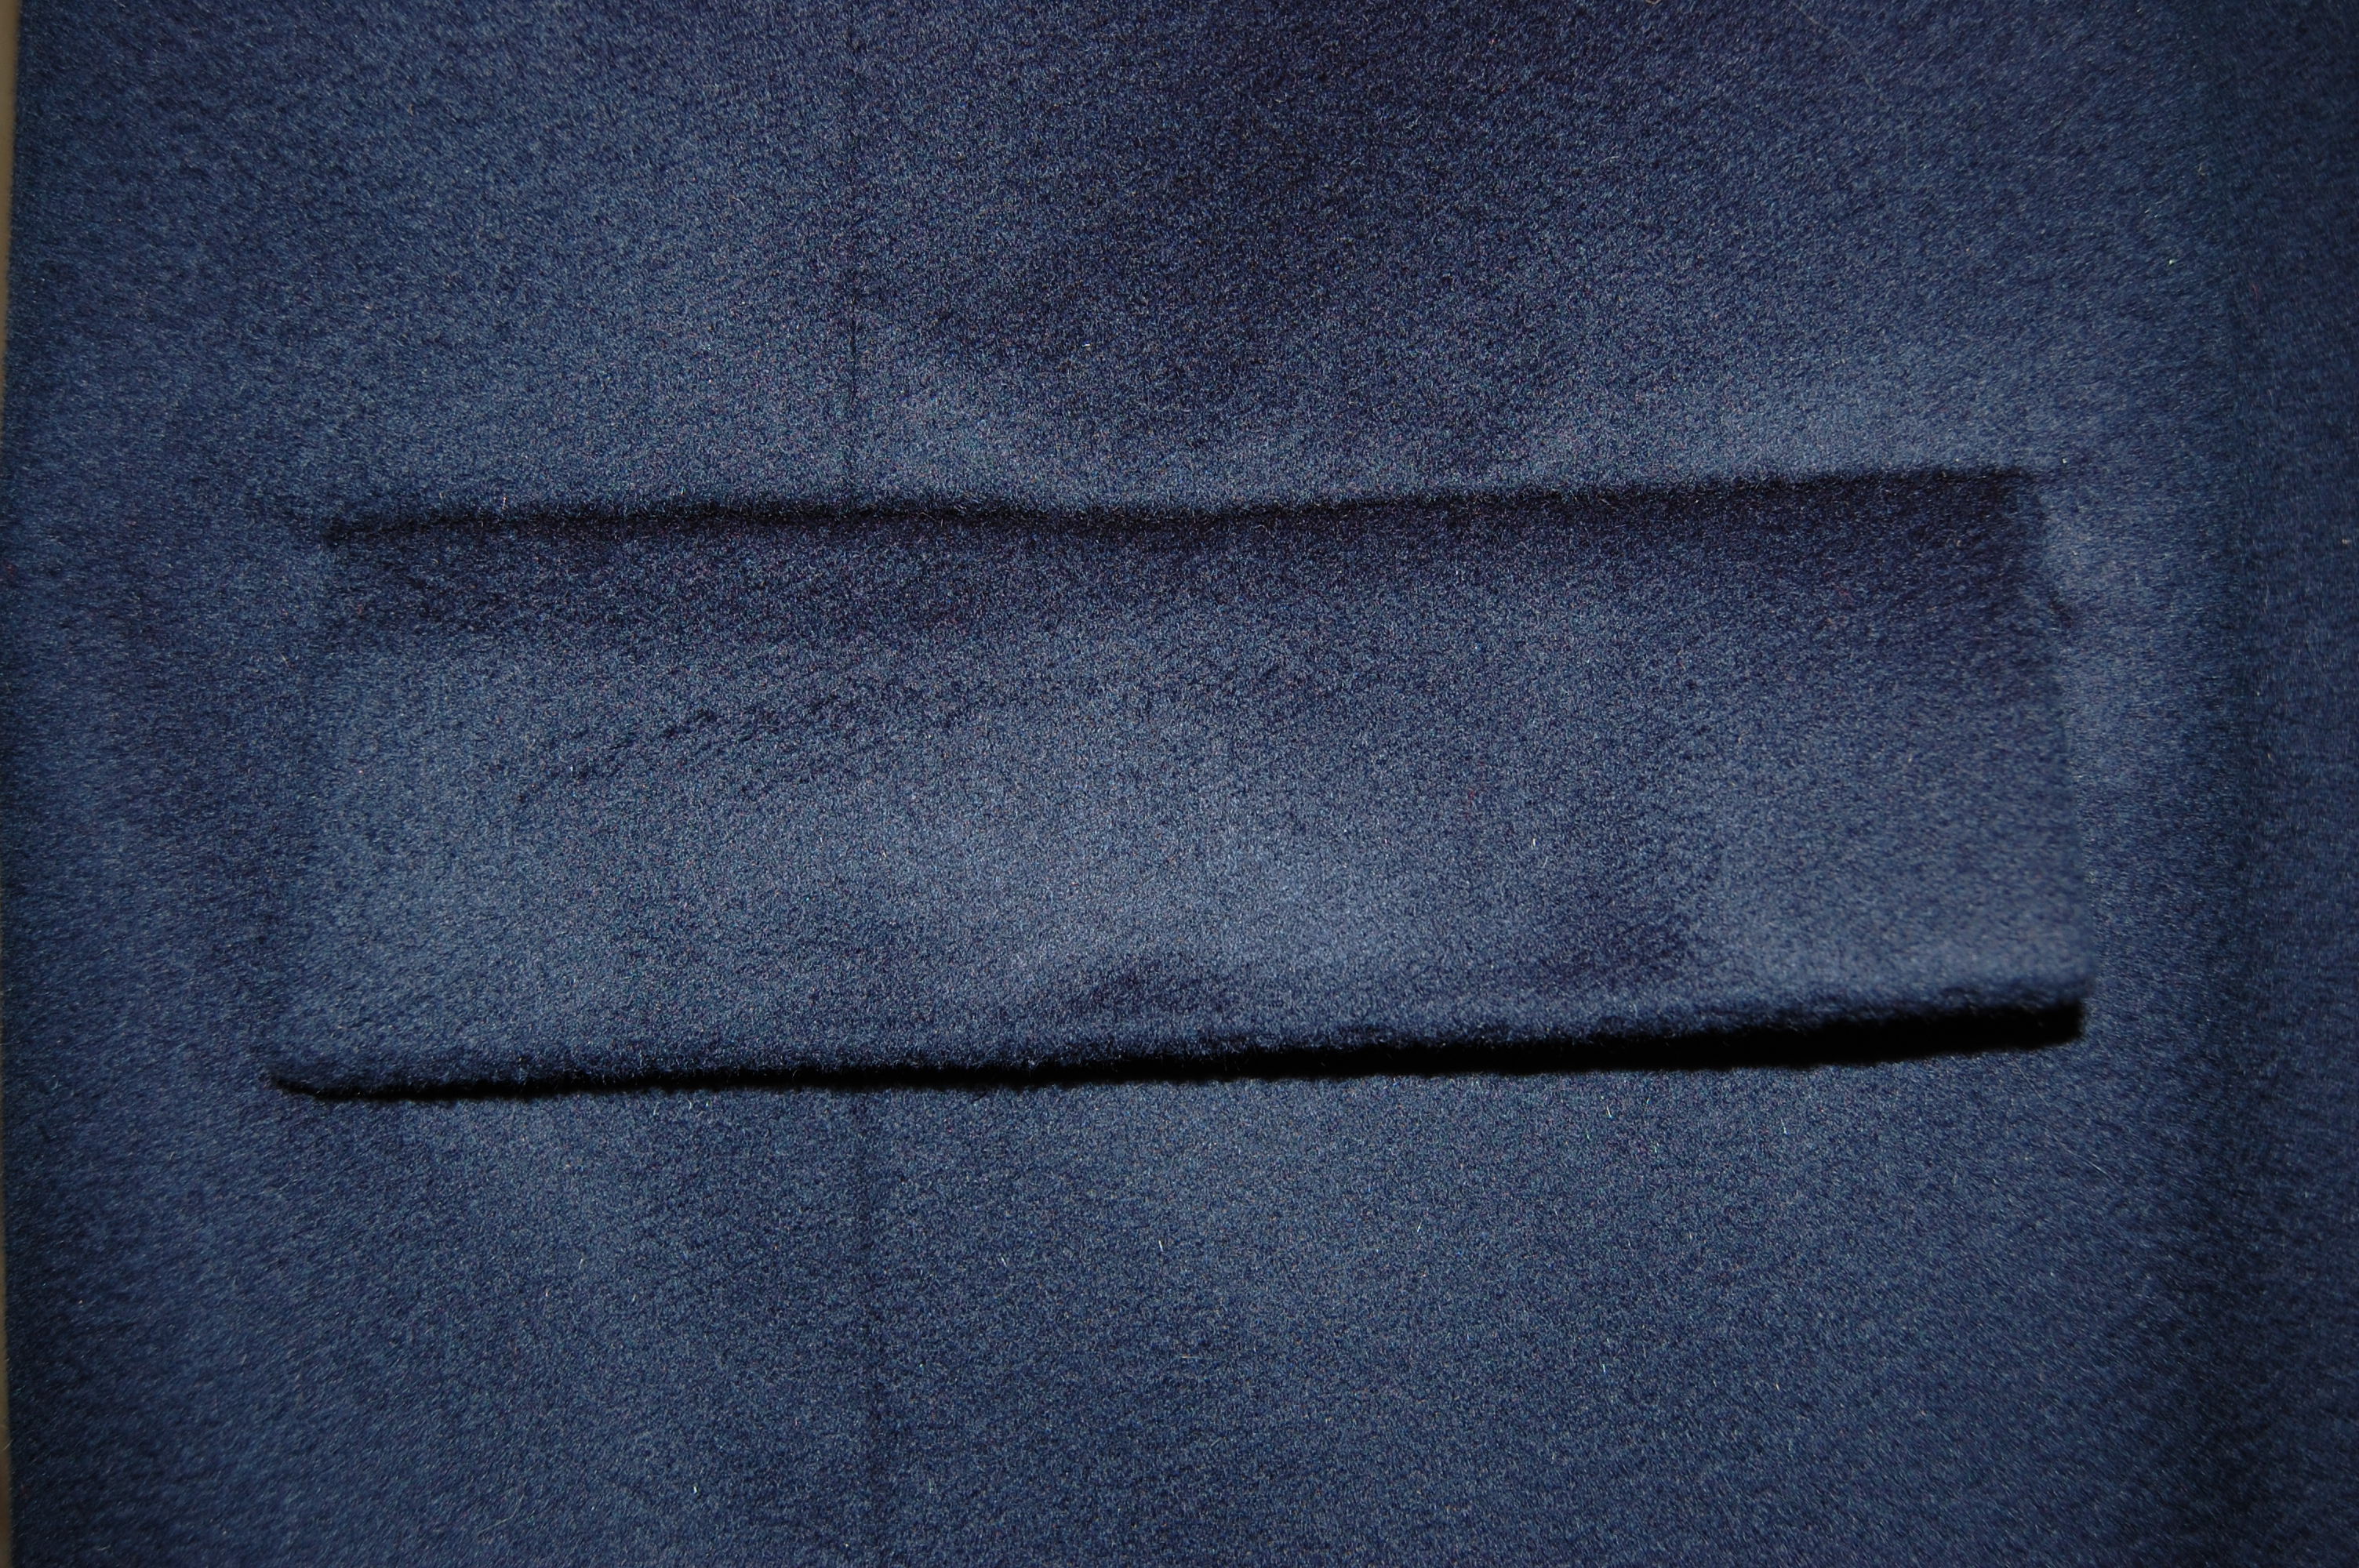
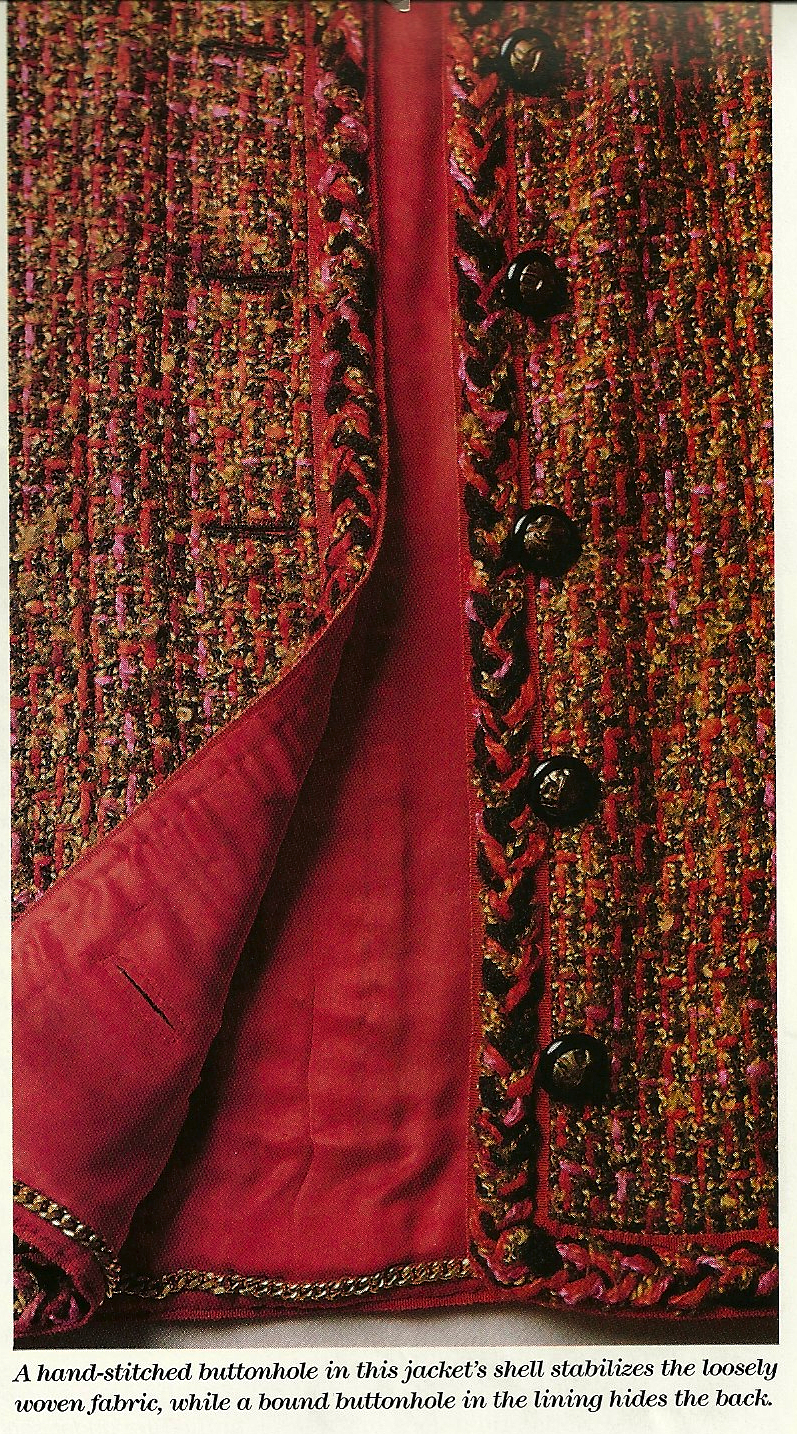
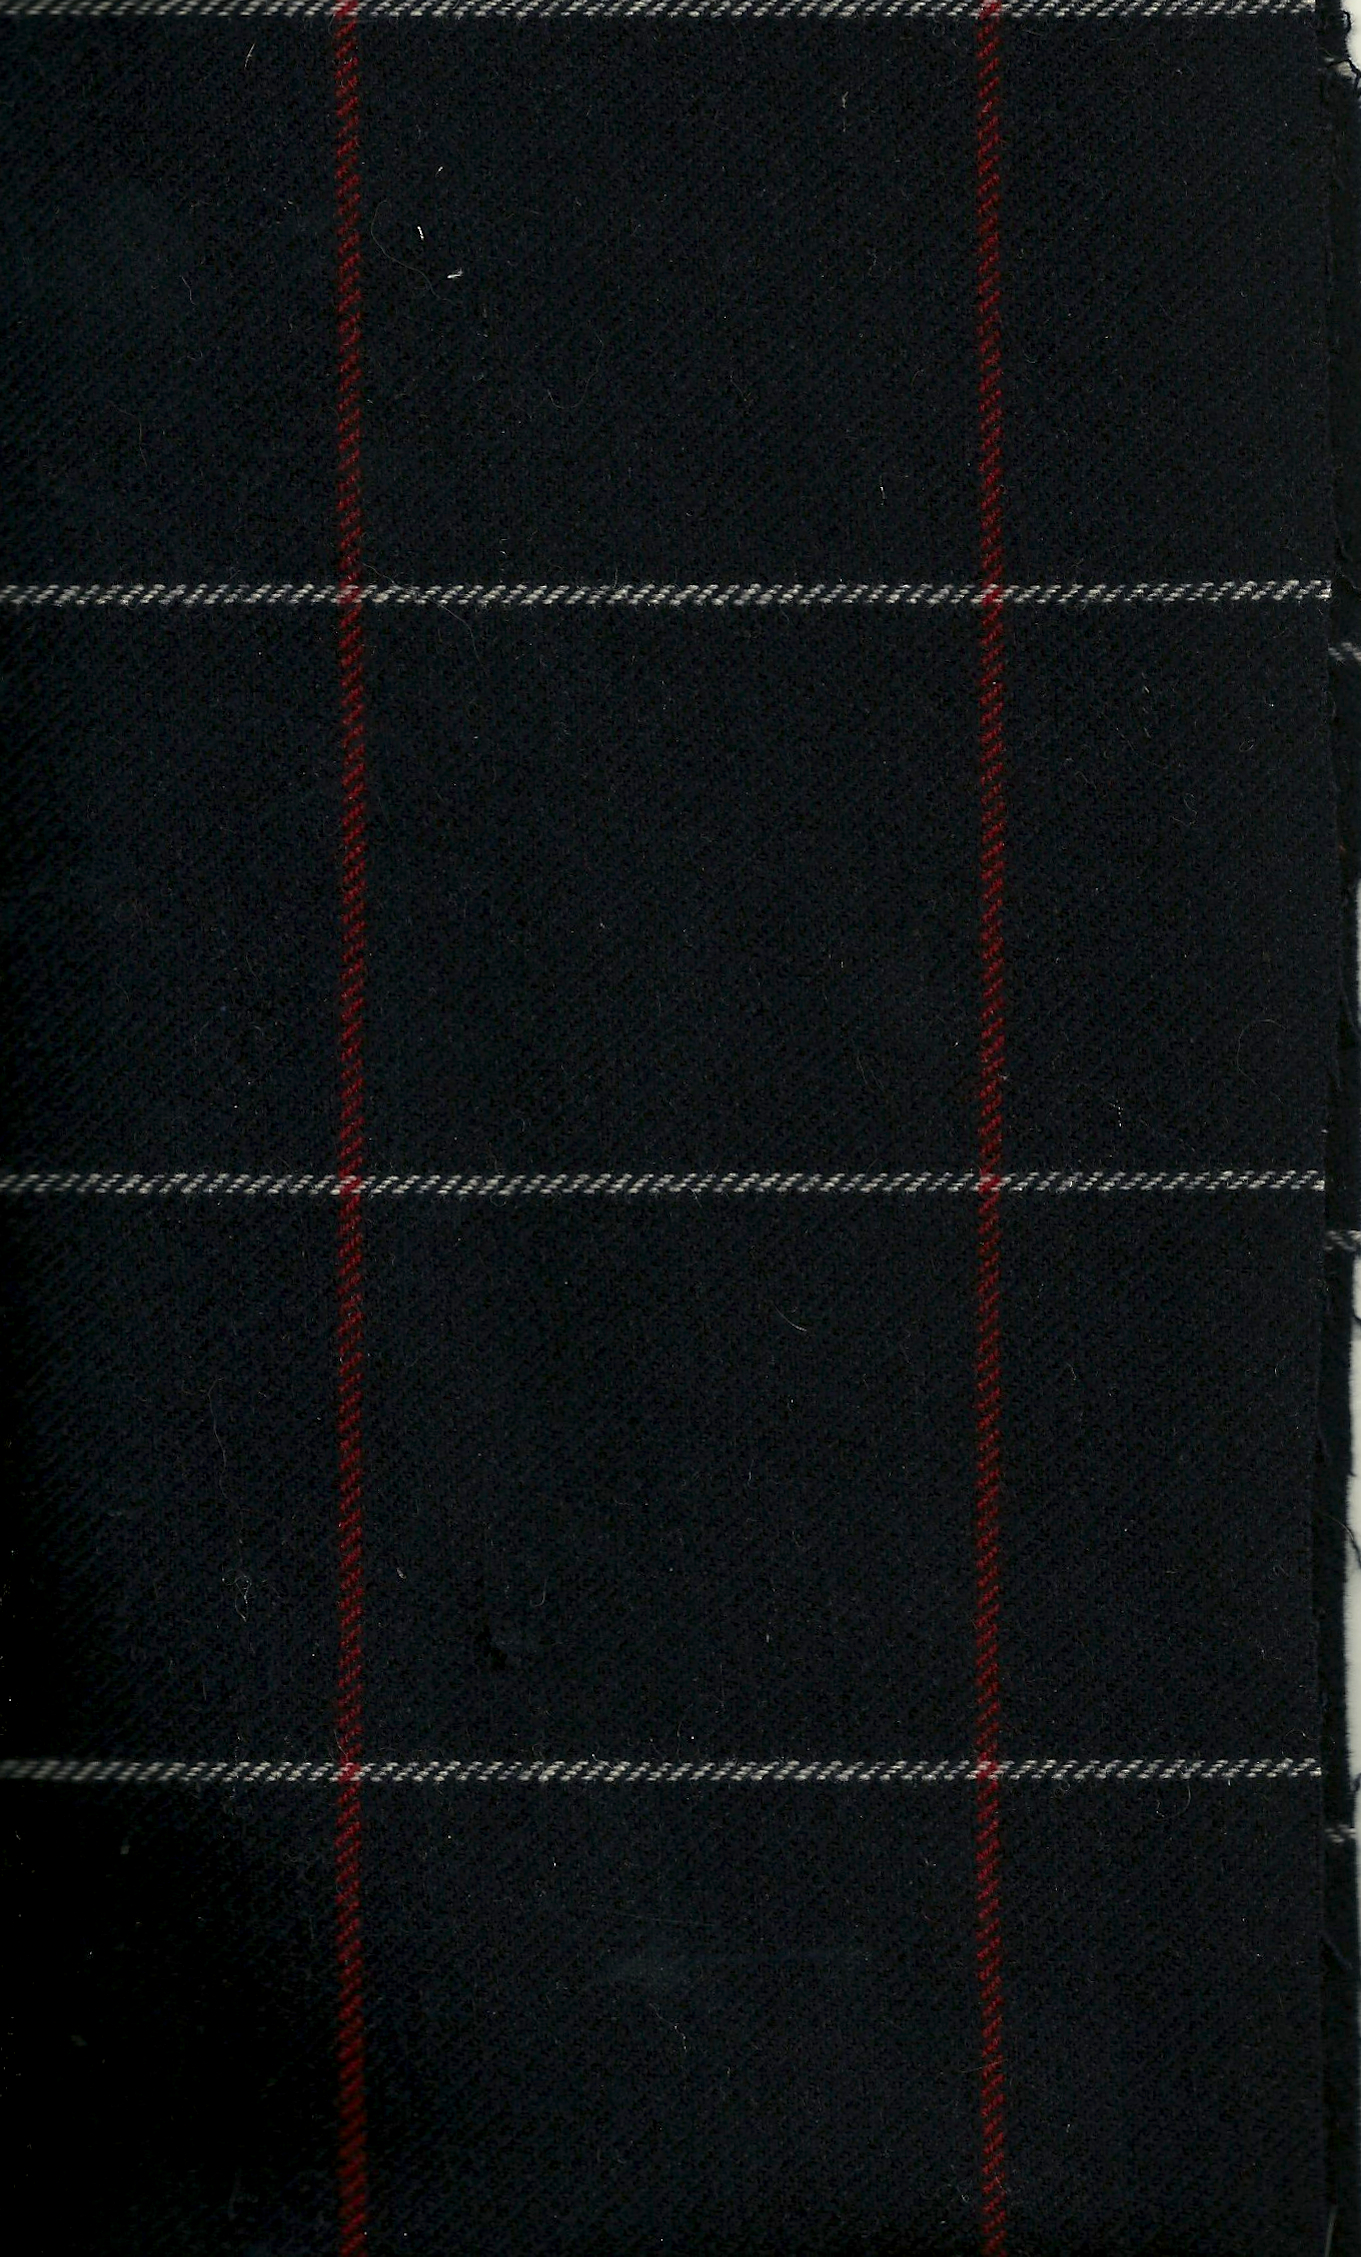
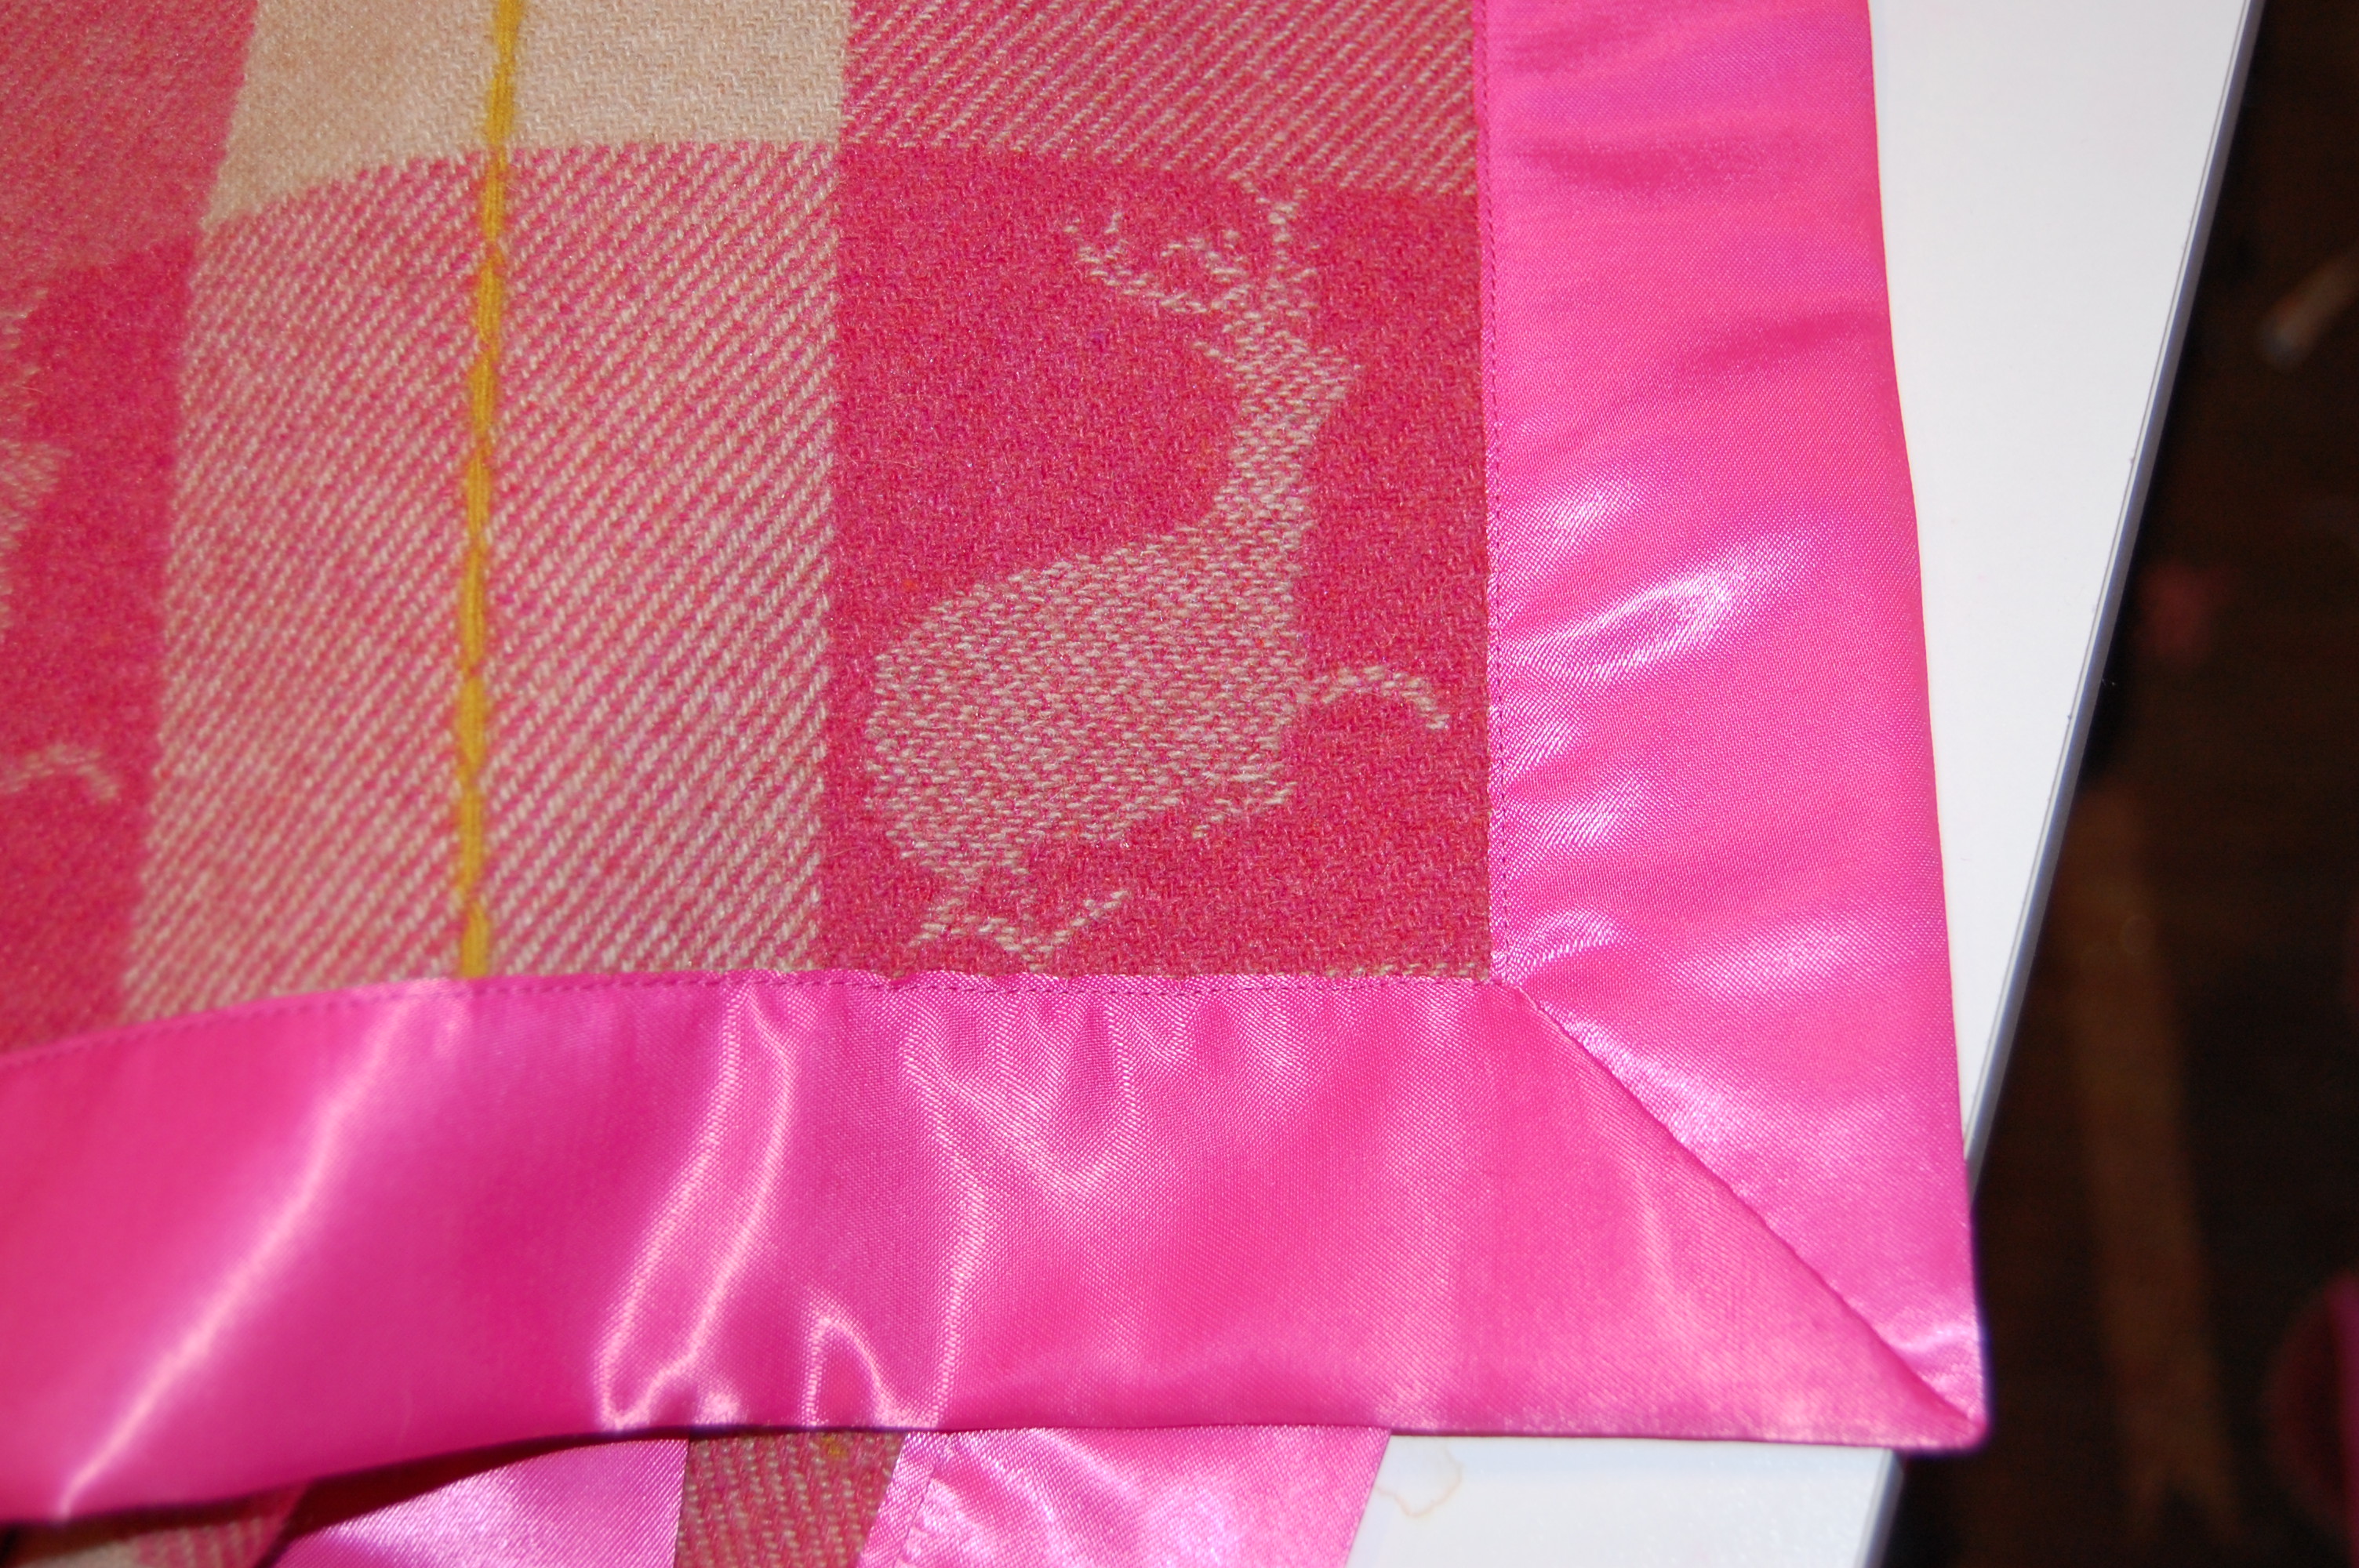
I hope you can see the herringbone weave in these close-up photos.
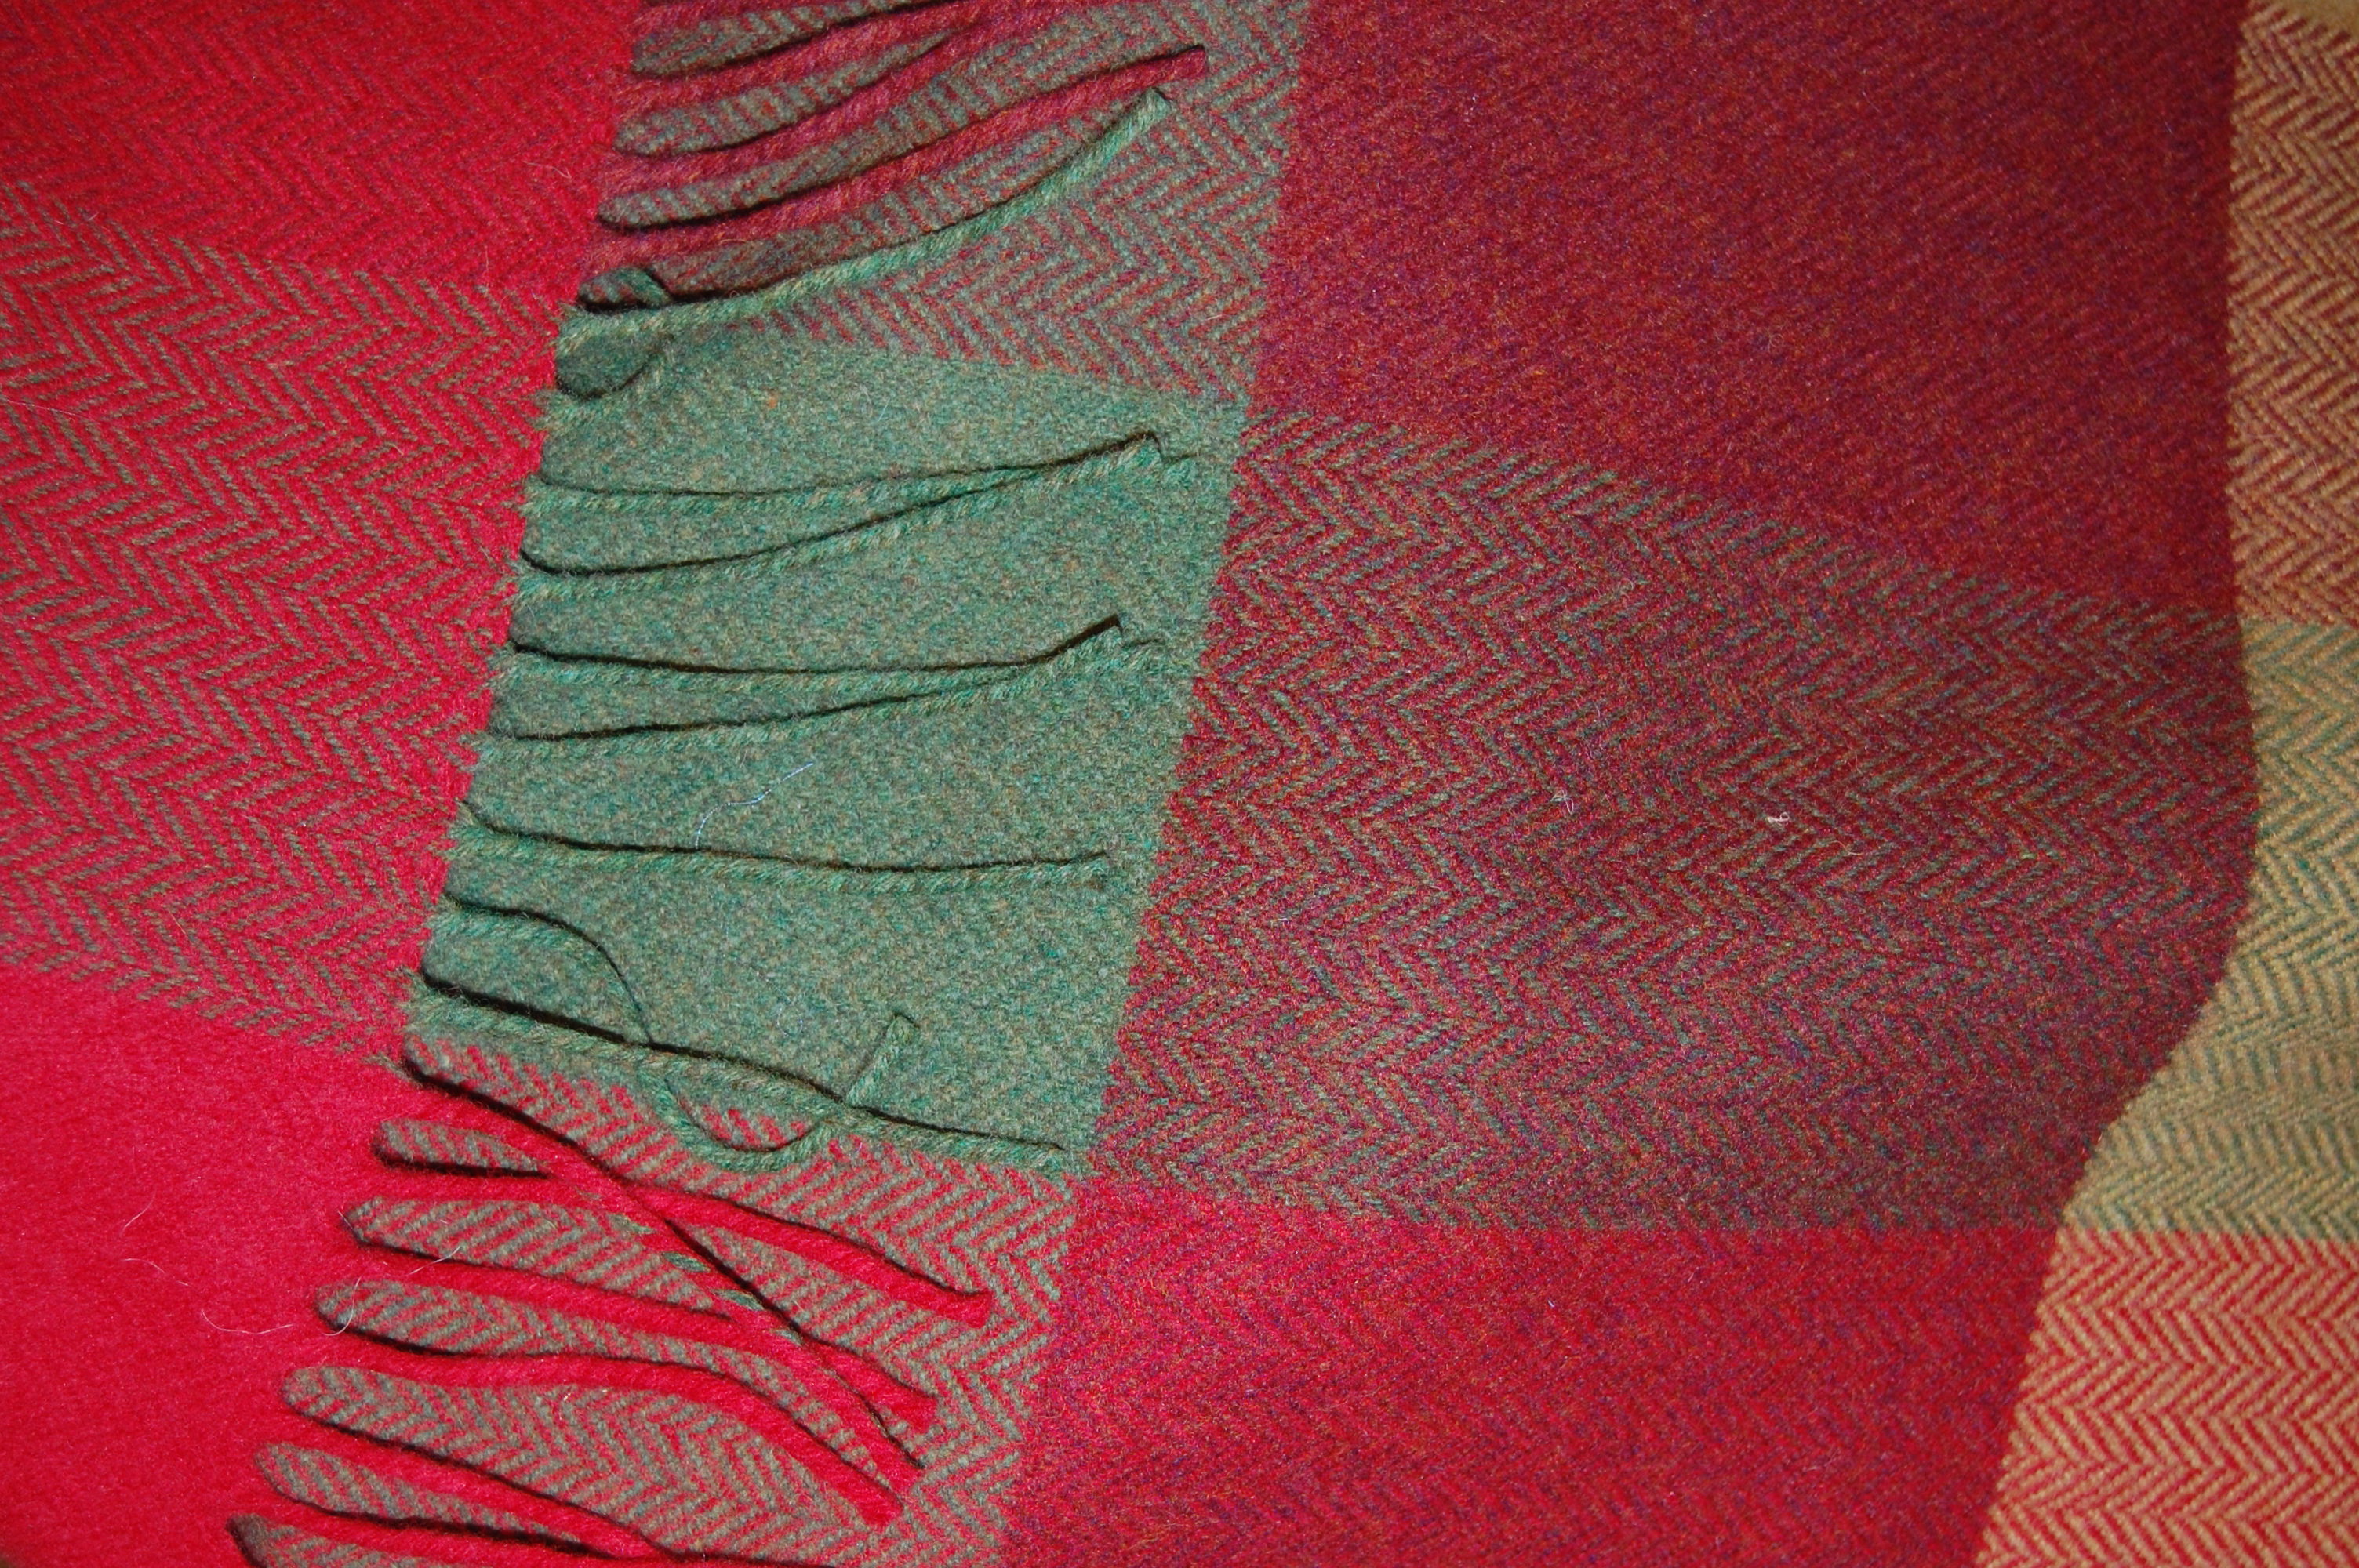
The weight of this wool is perfect for a skirt.
There is an old Irish proverb (so I am told) that seems apropos to this particular blanket/piece of wool: “Time is a good storyteller.” It will indeed take some time for me to figure this one out, but hopefully the story will have a happy ending!
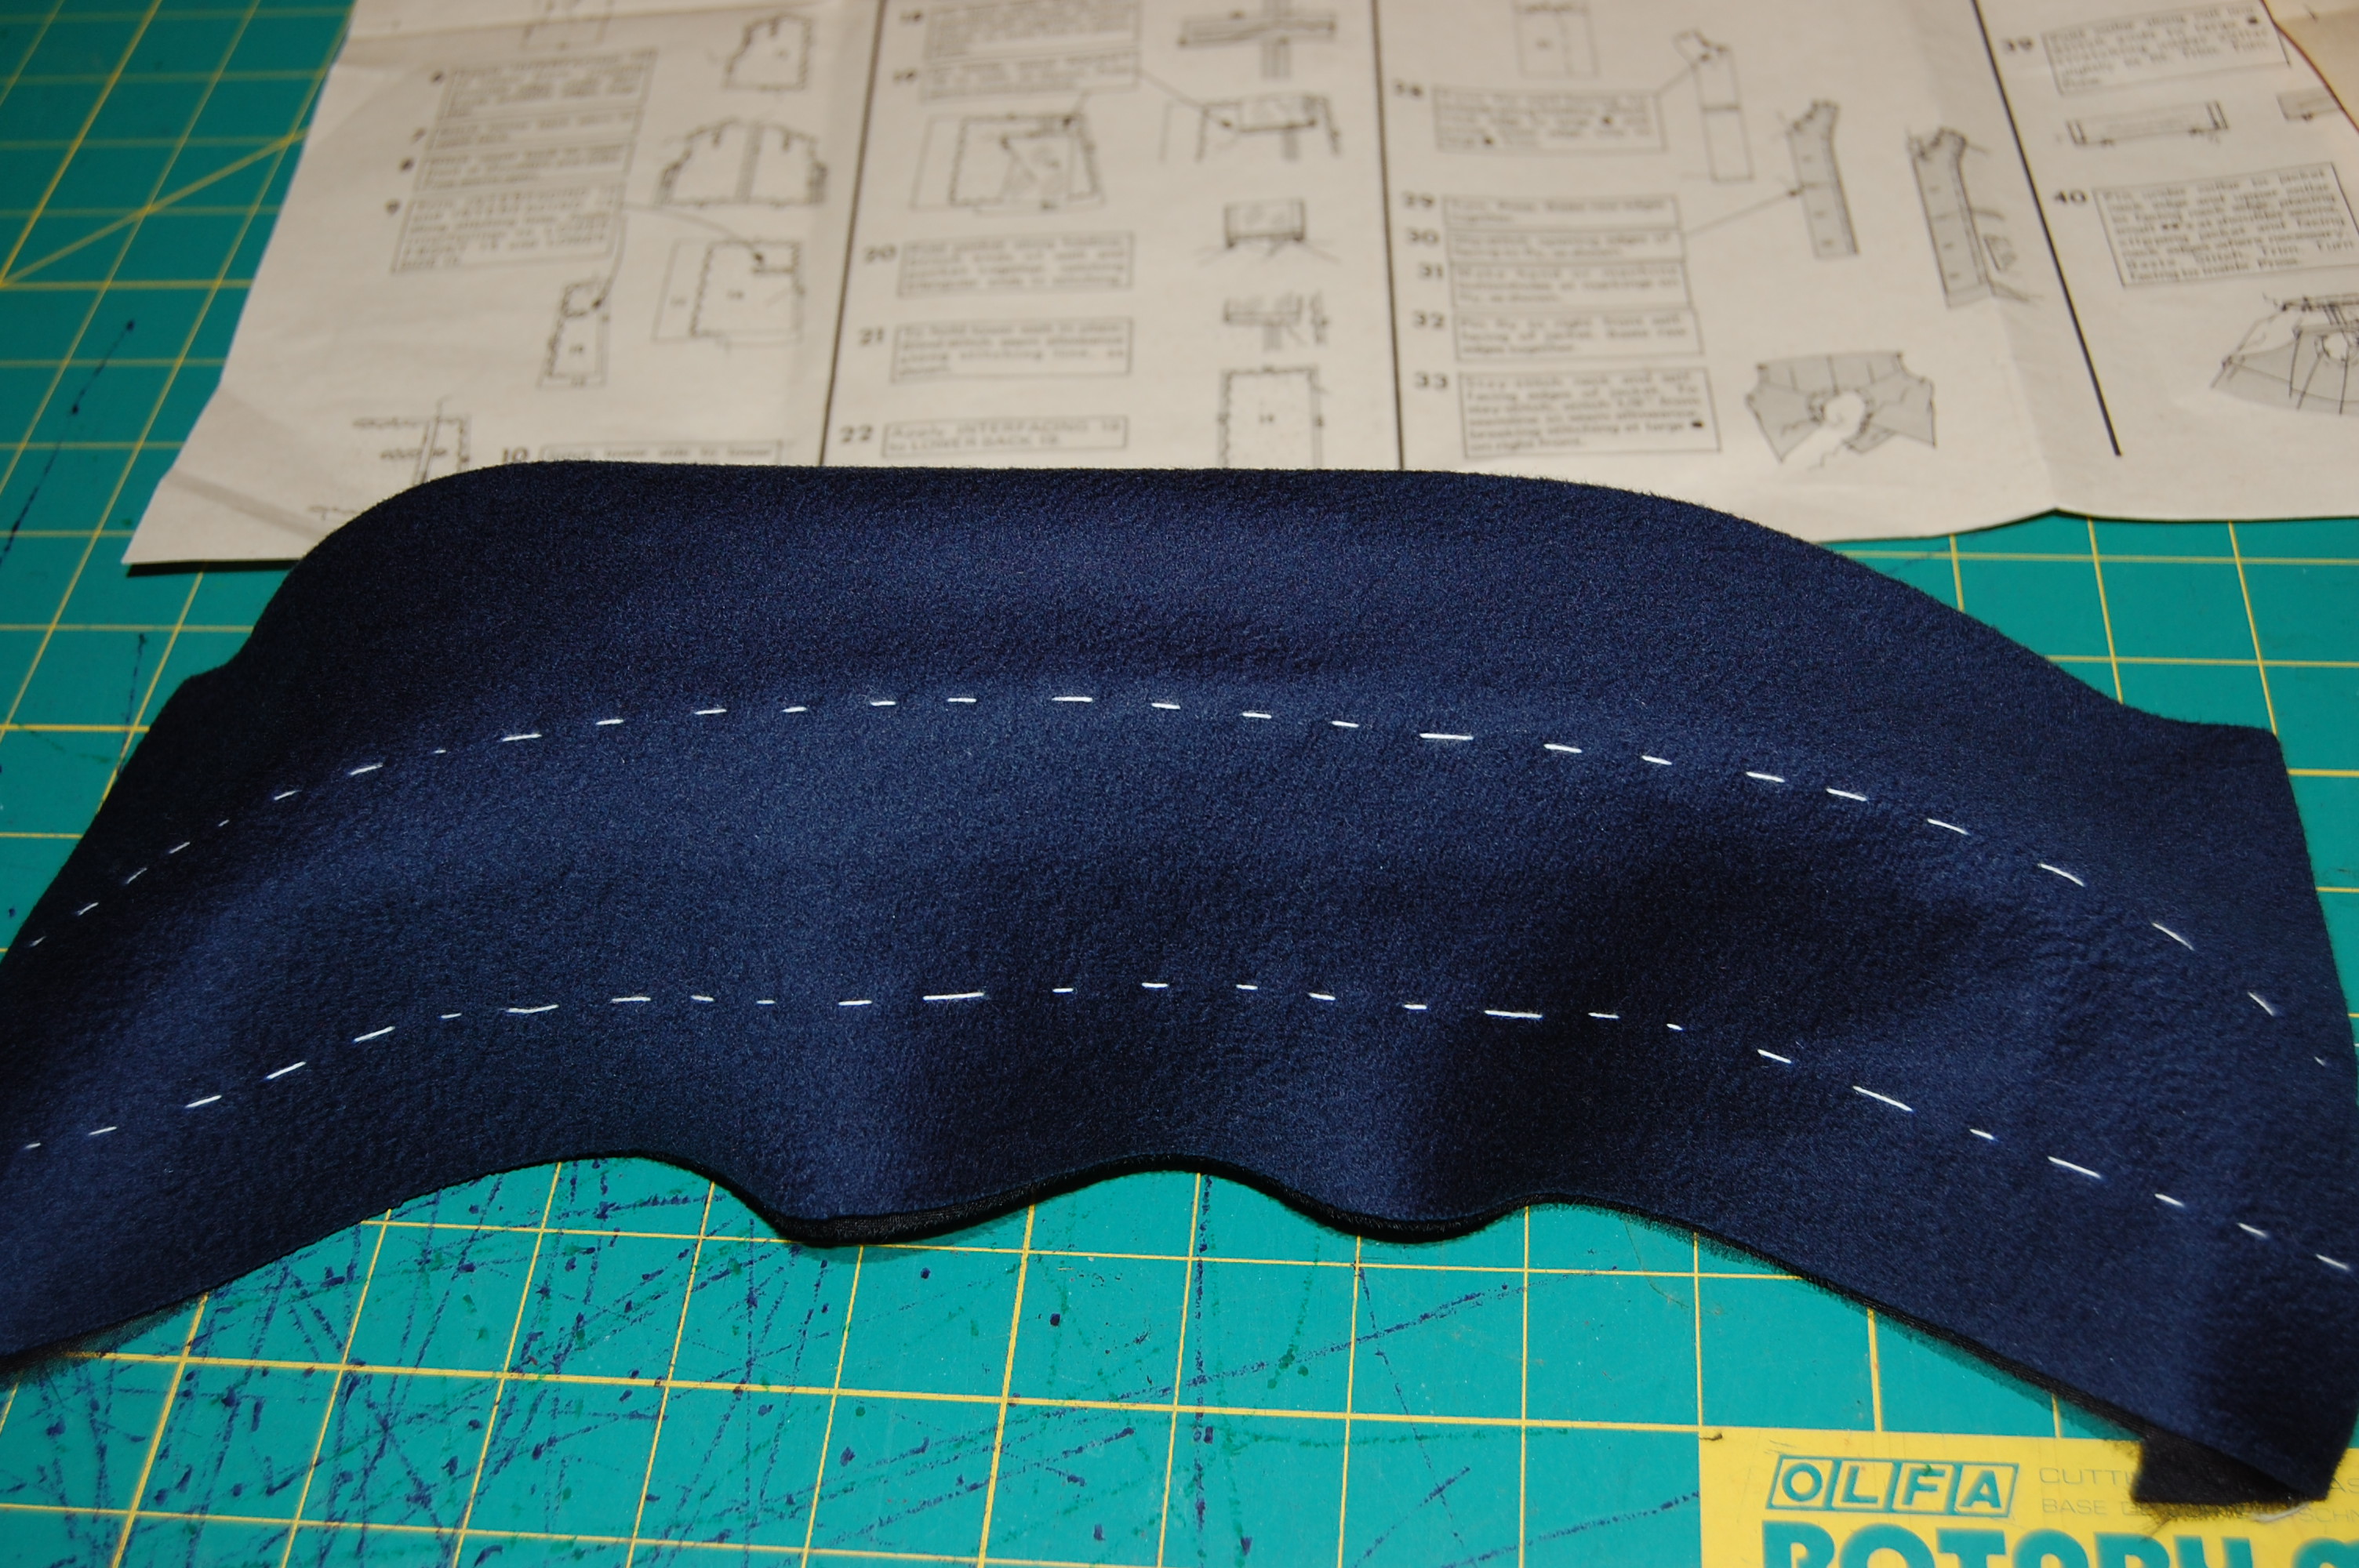
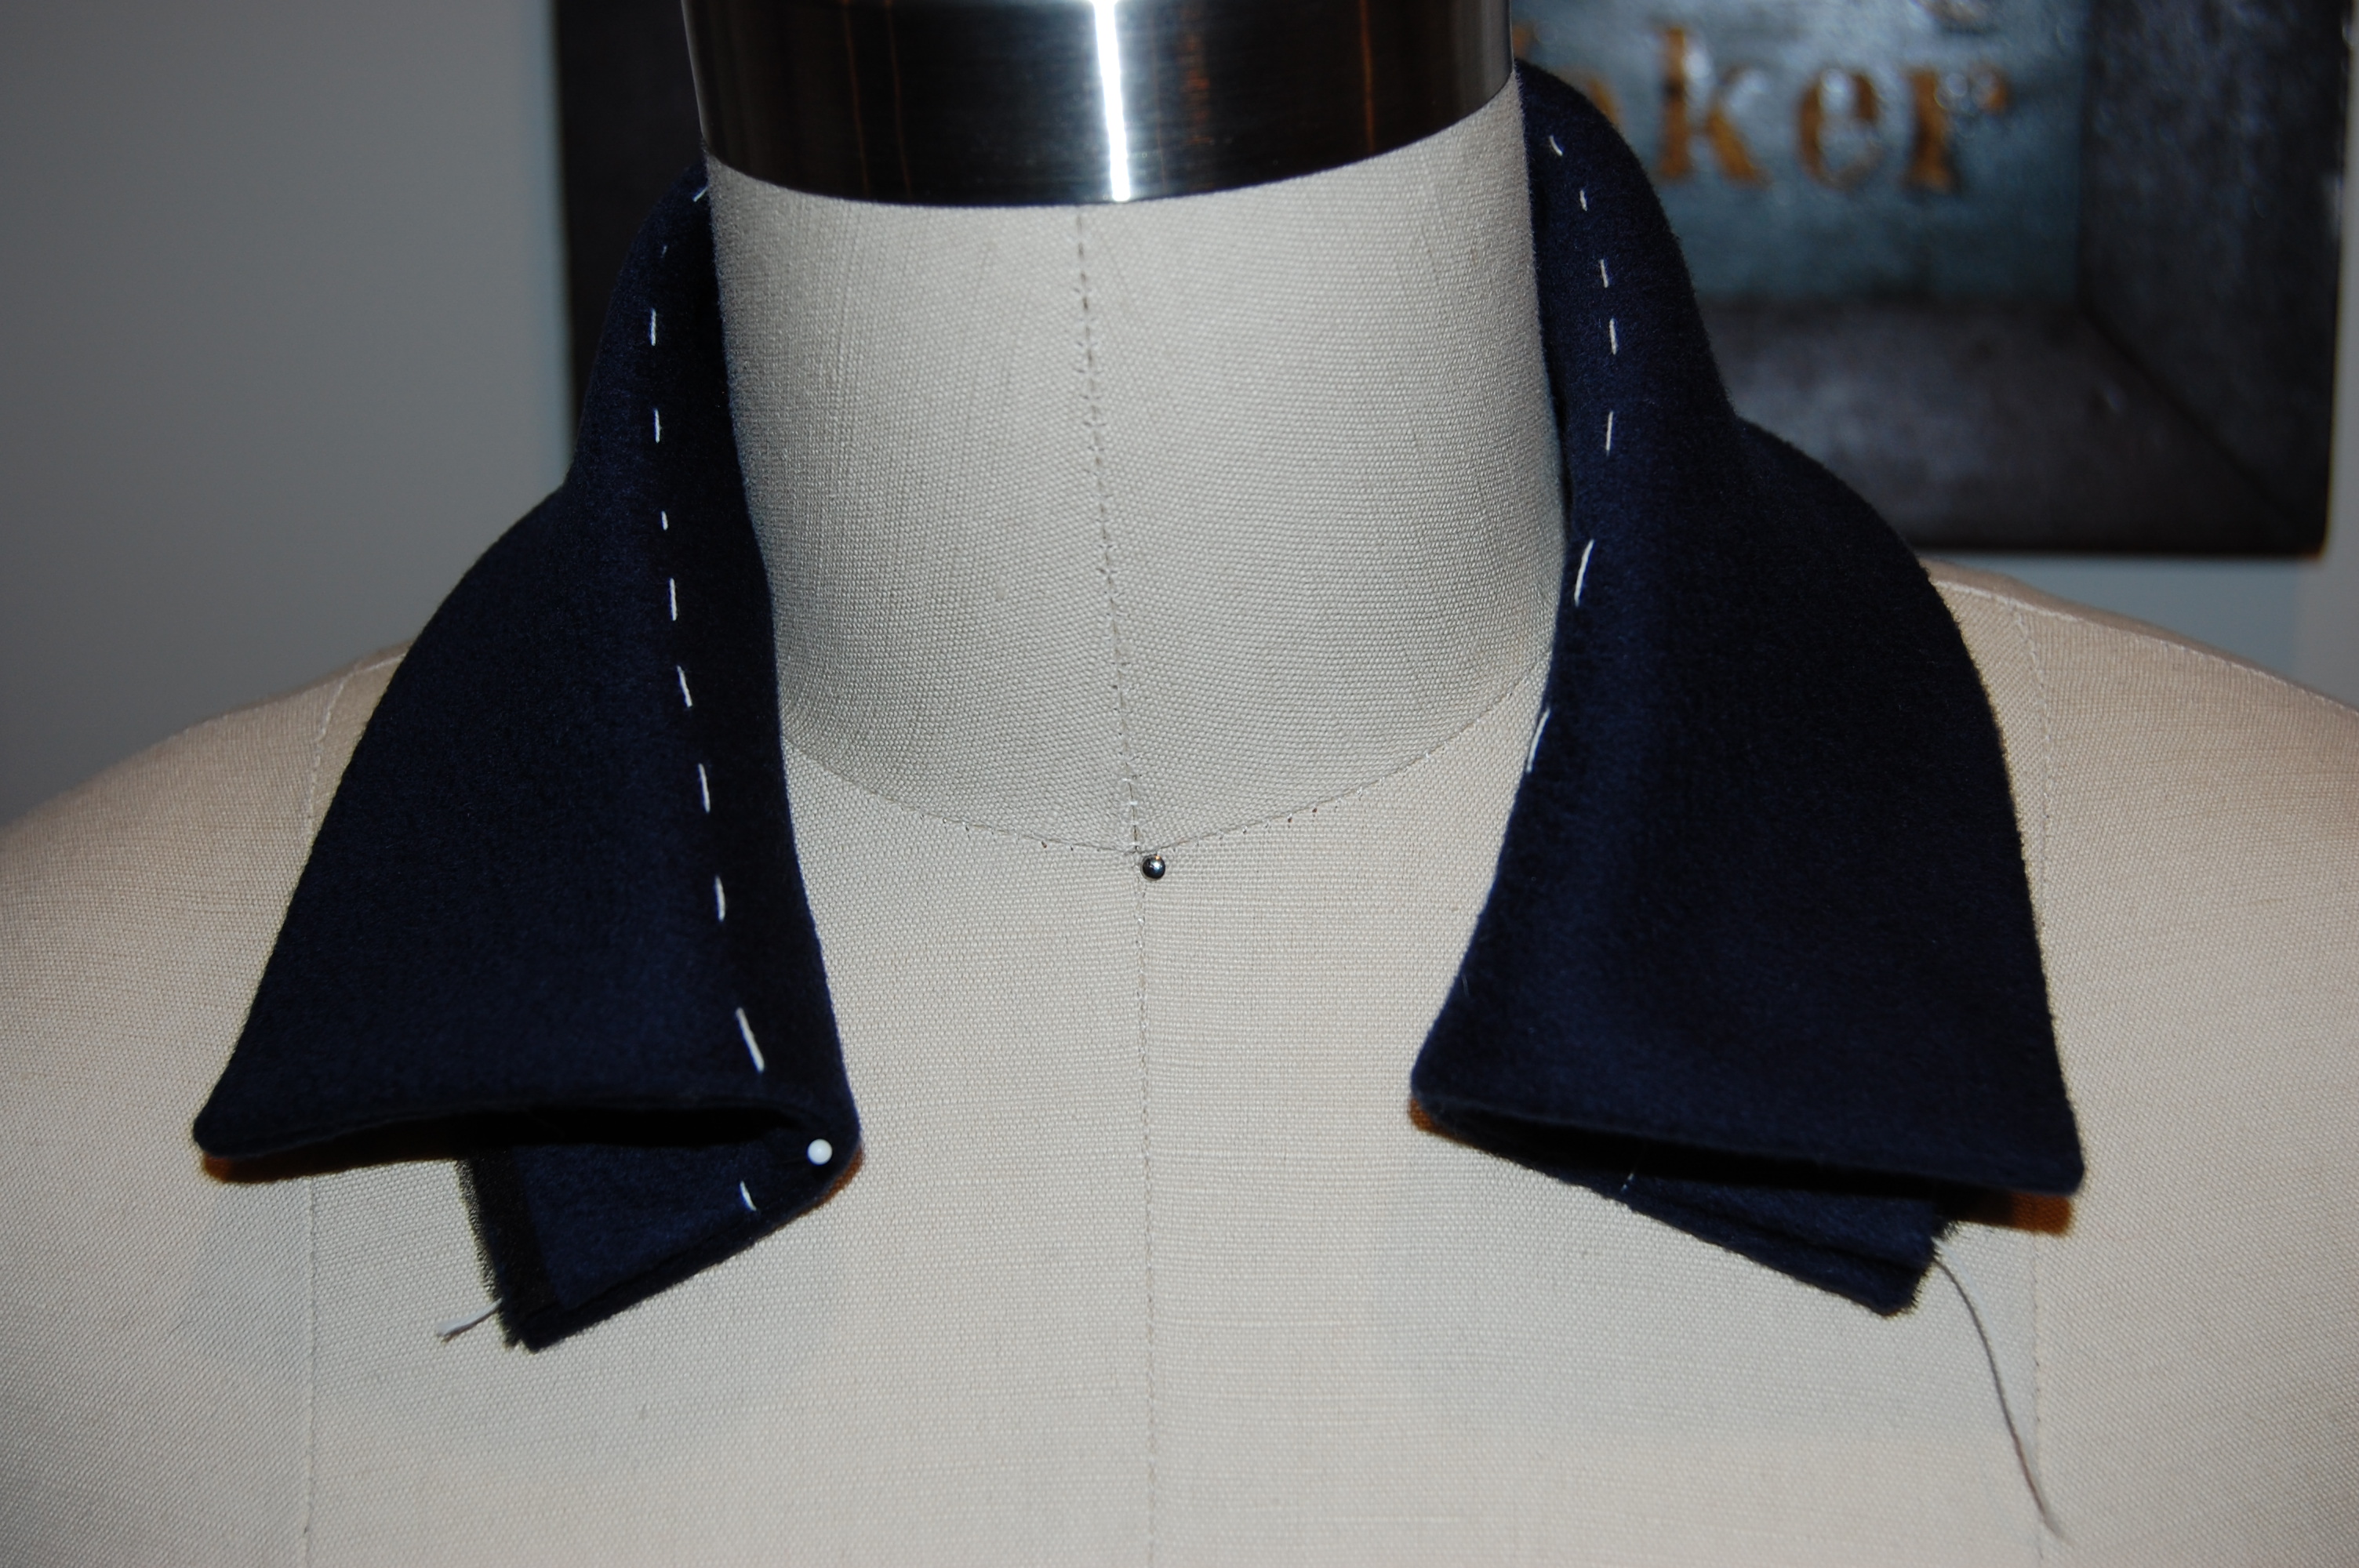
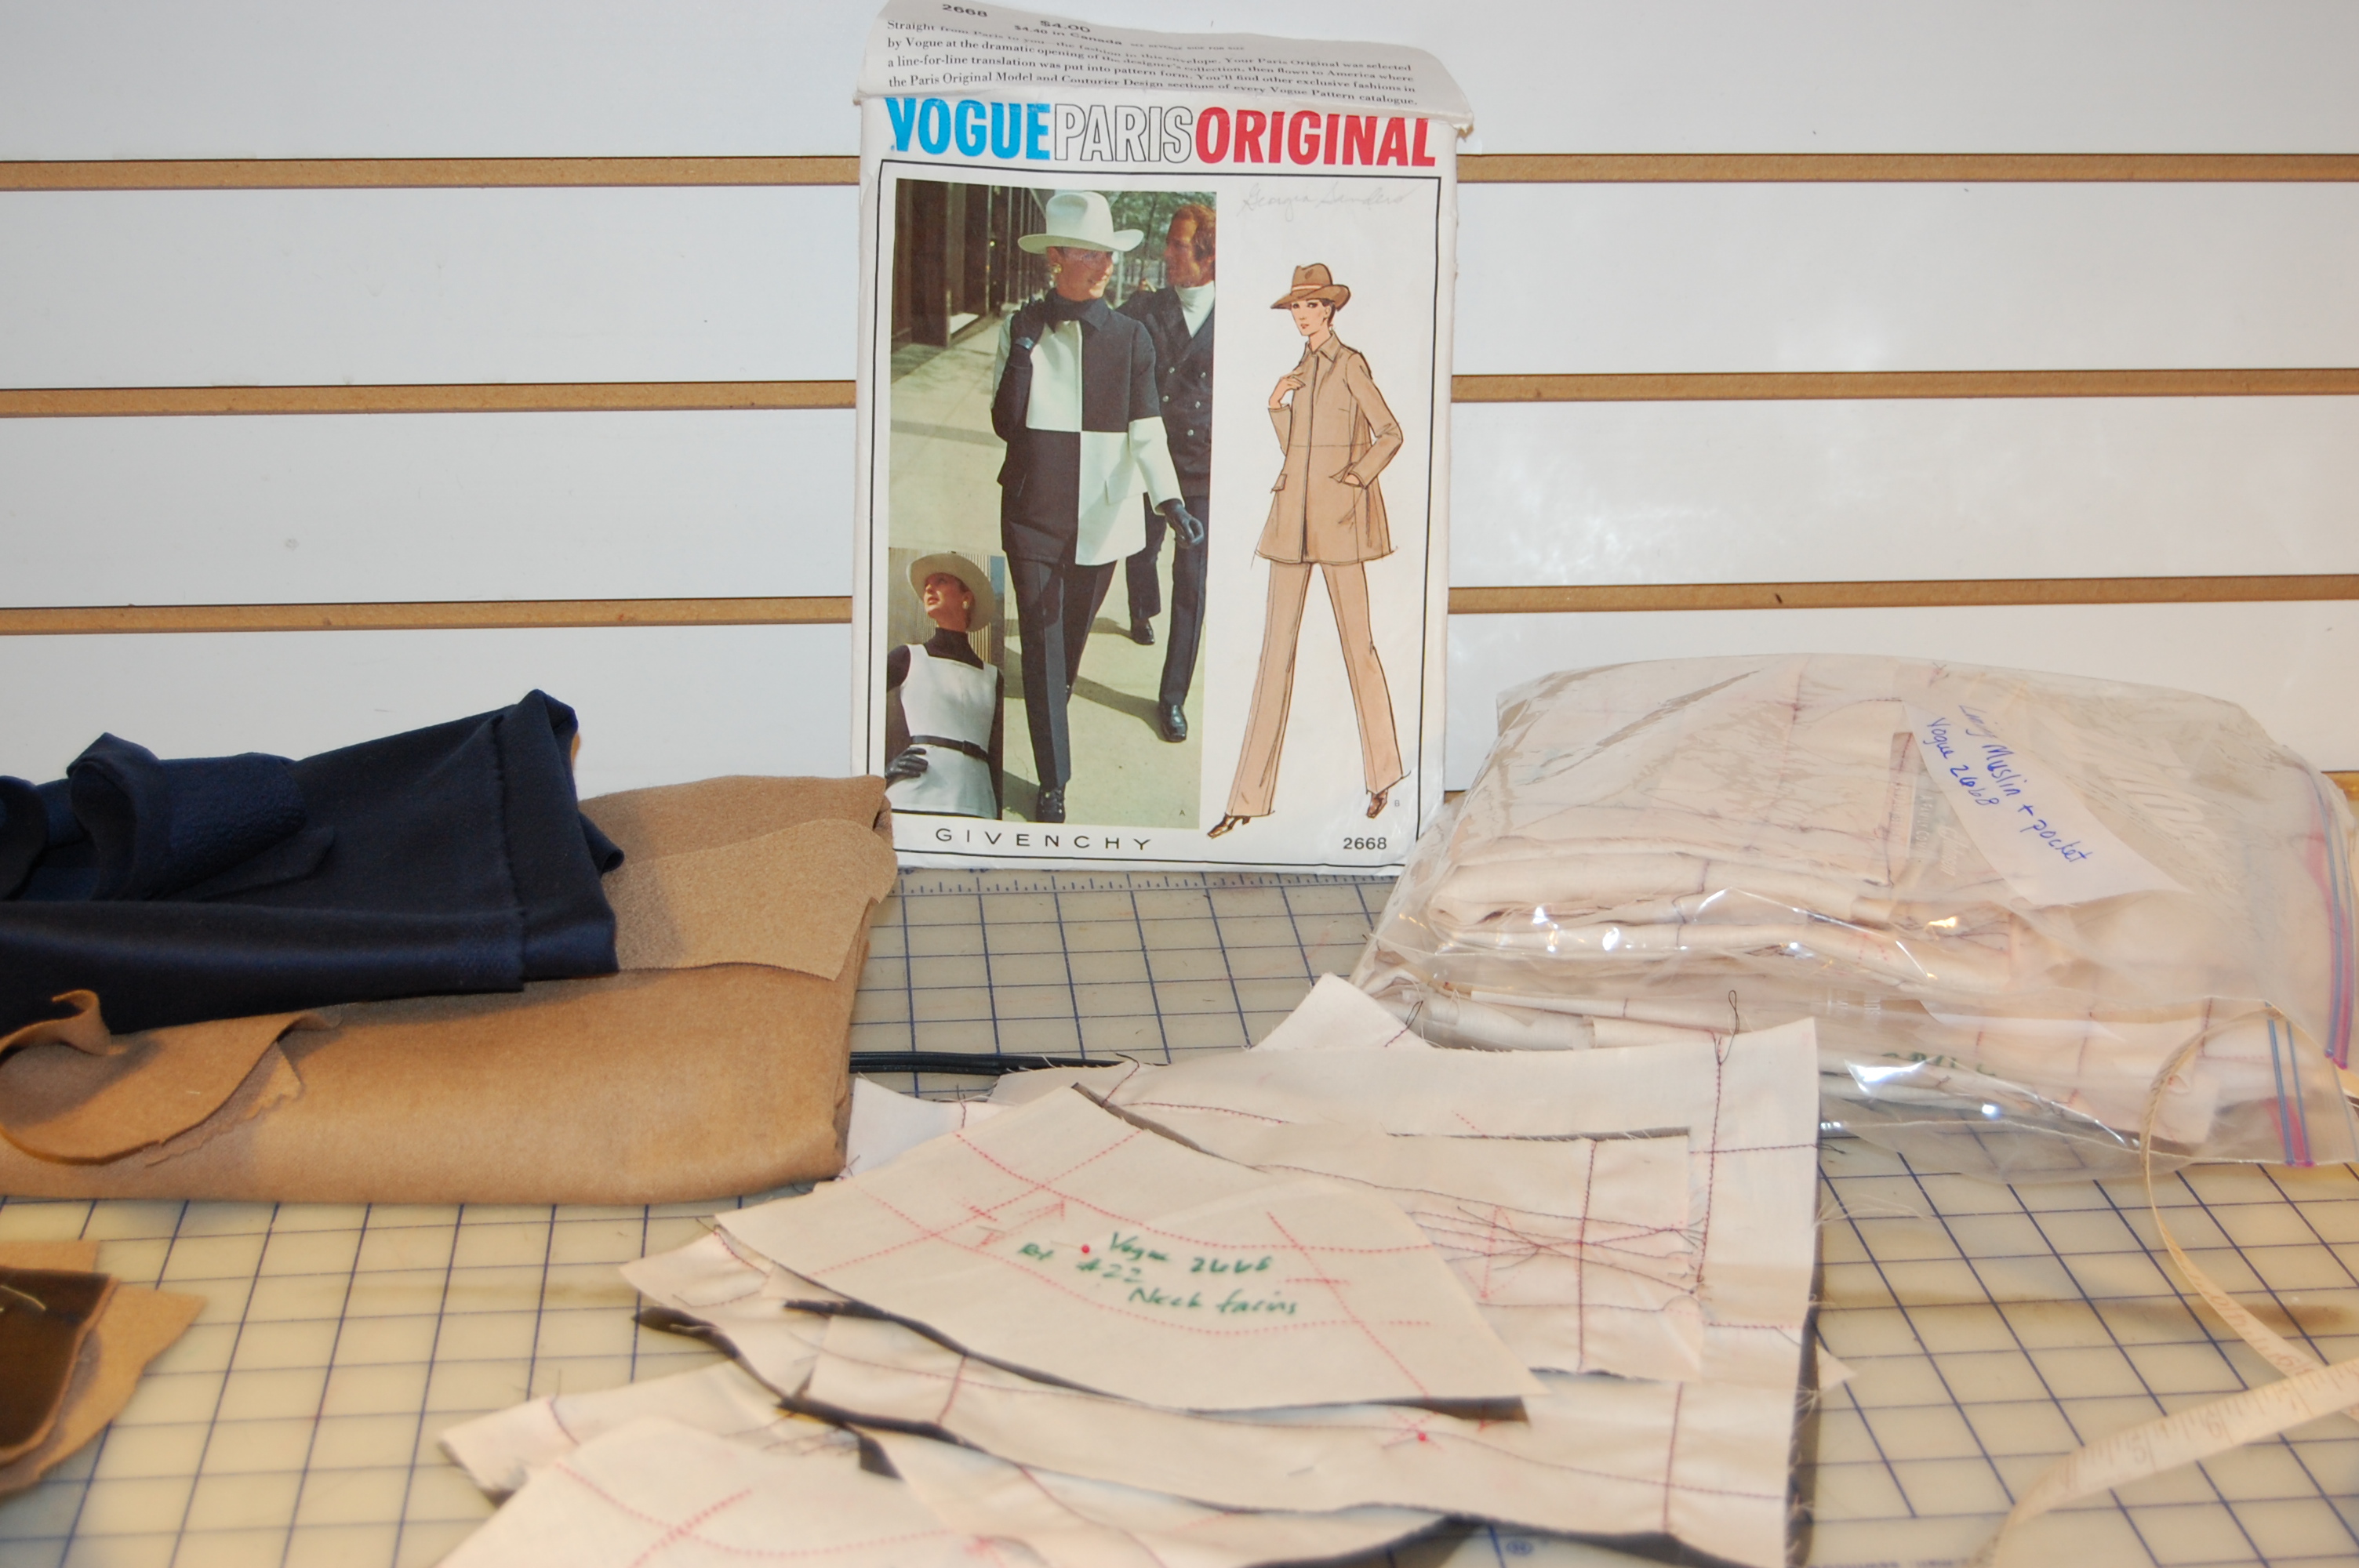
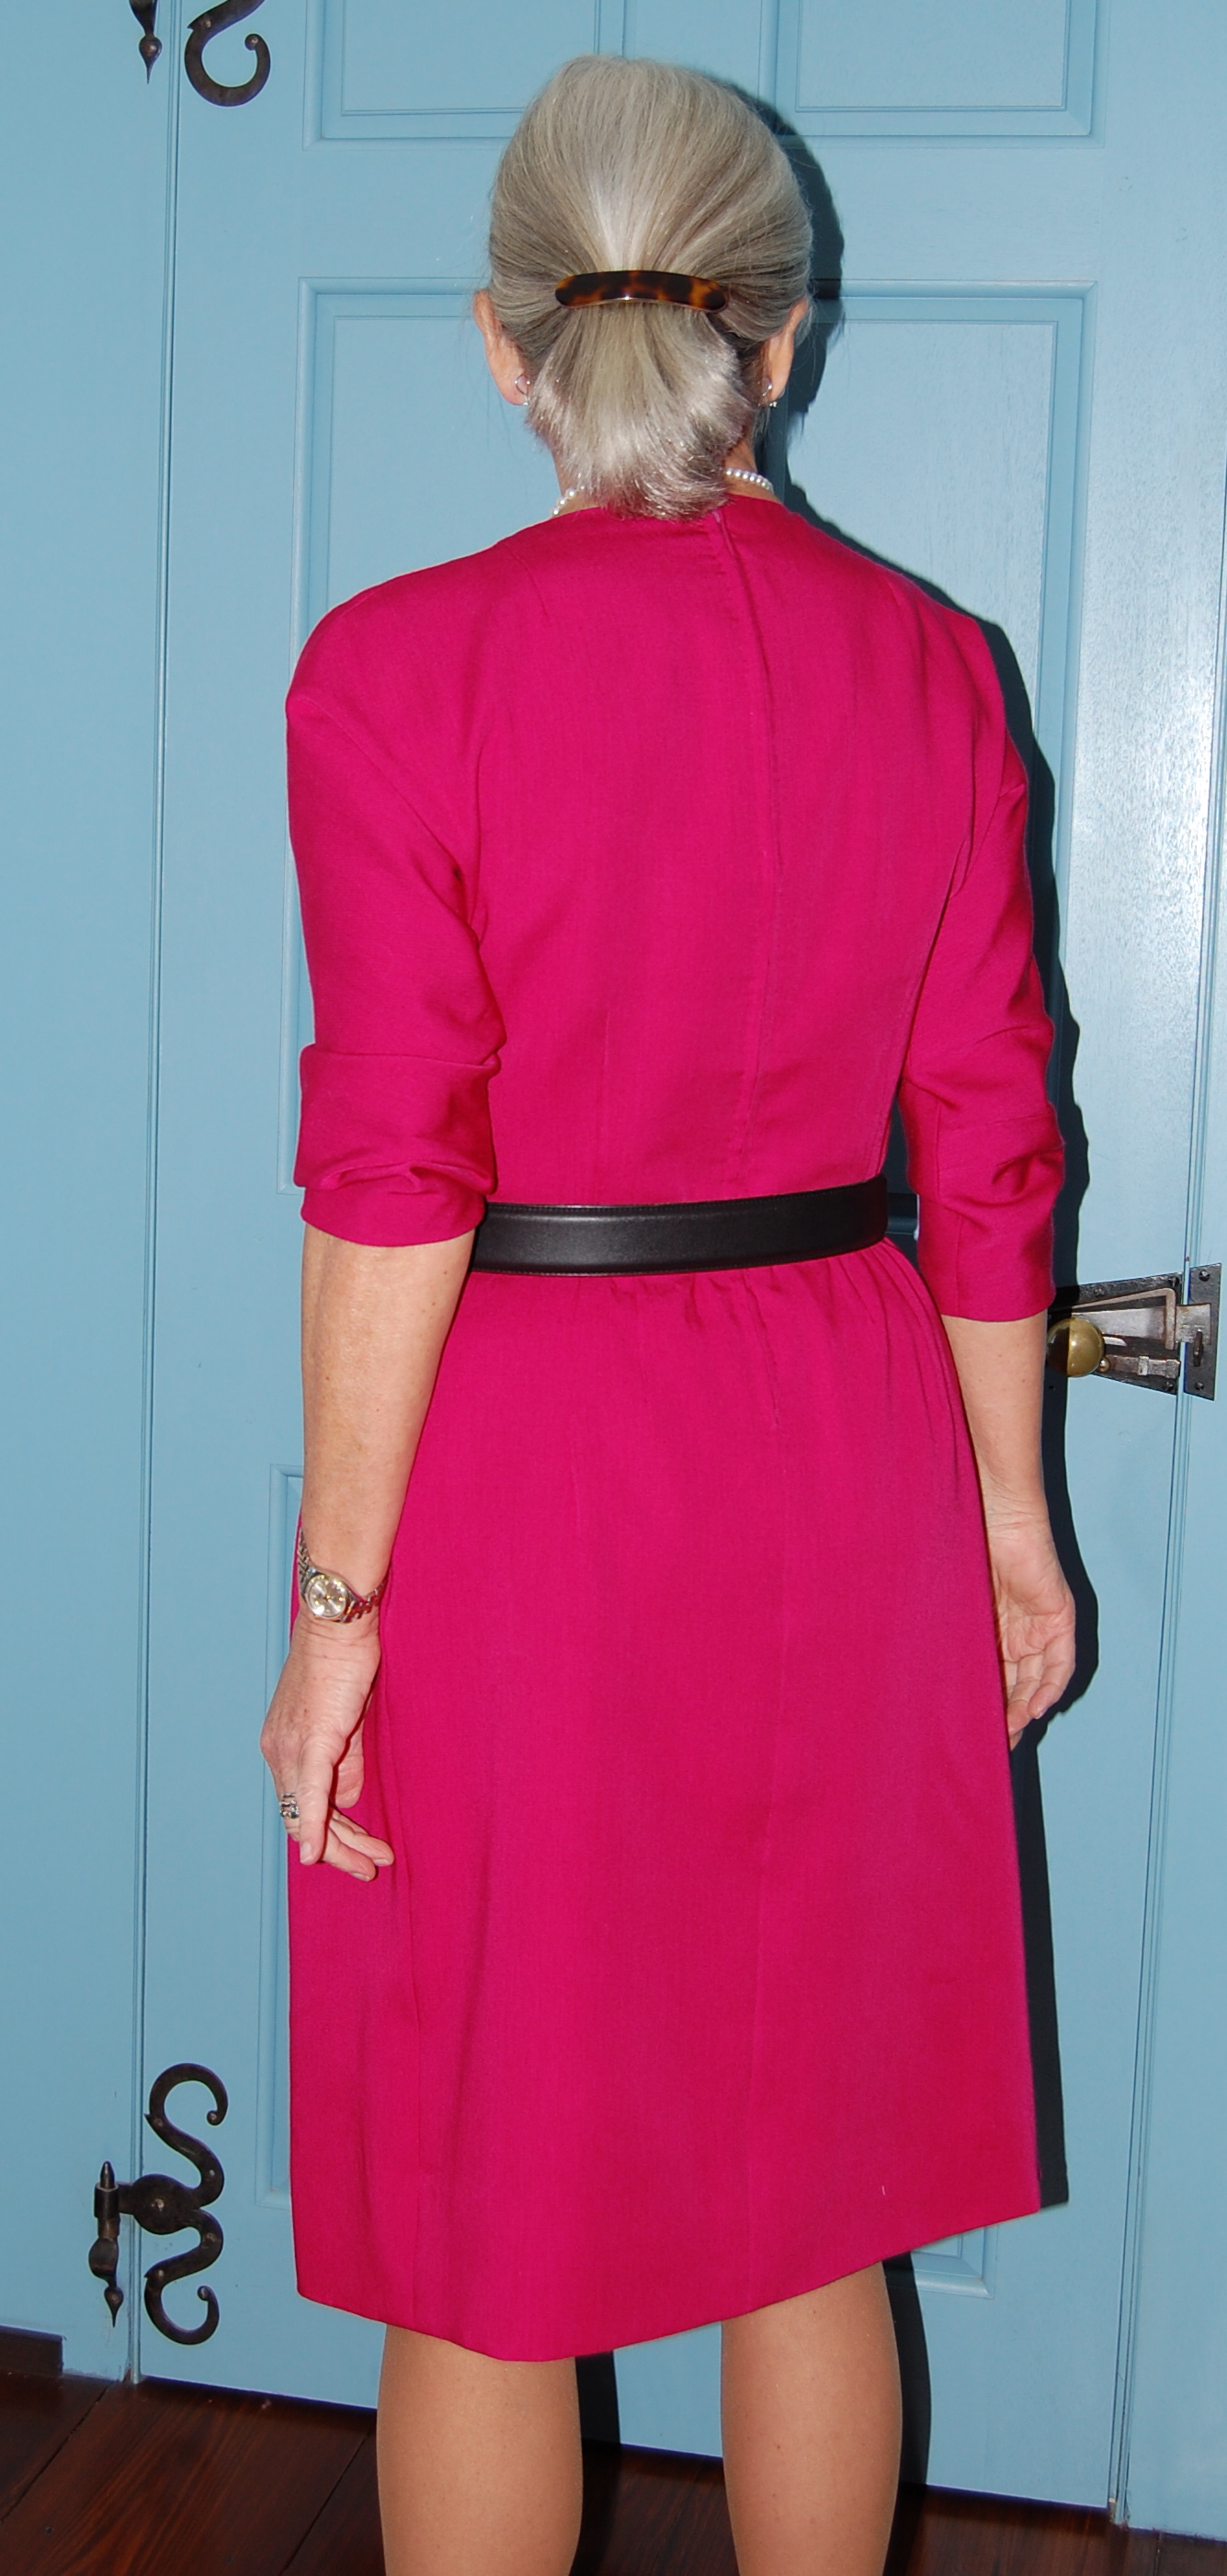
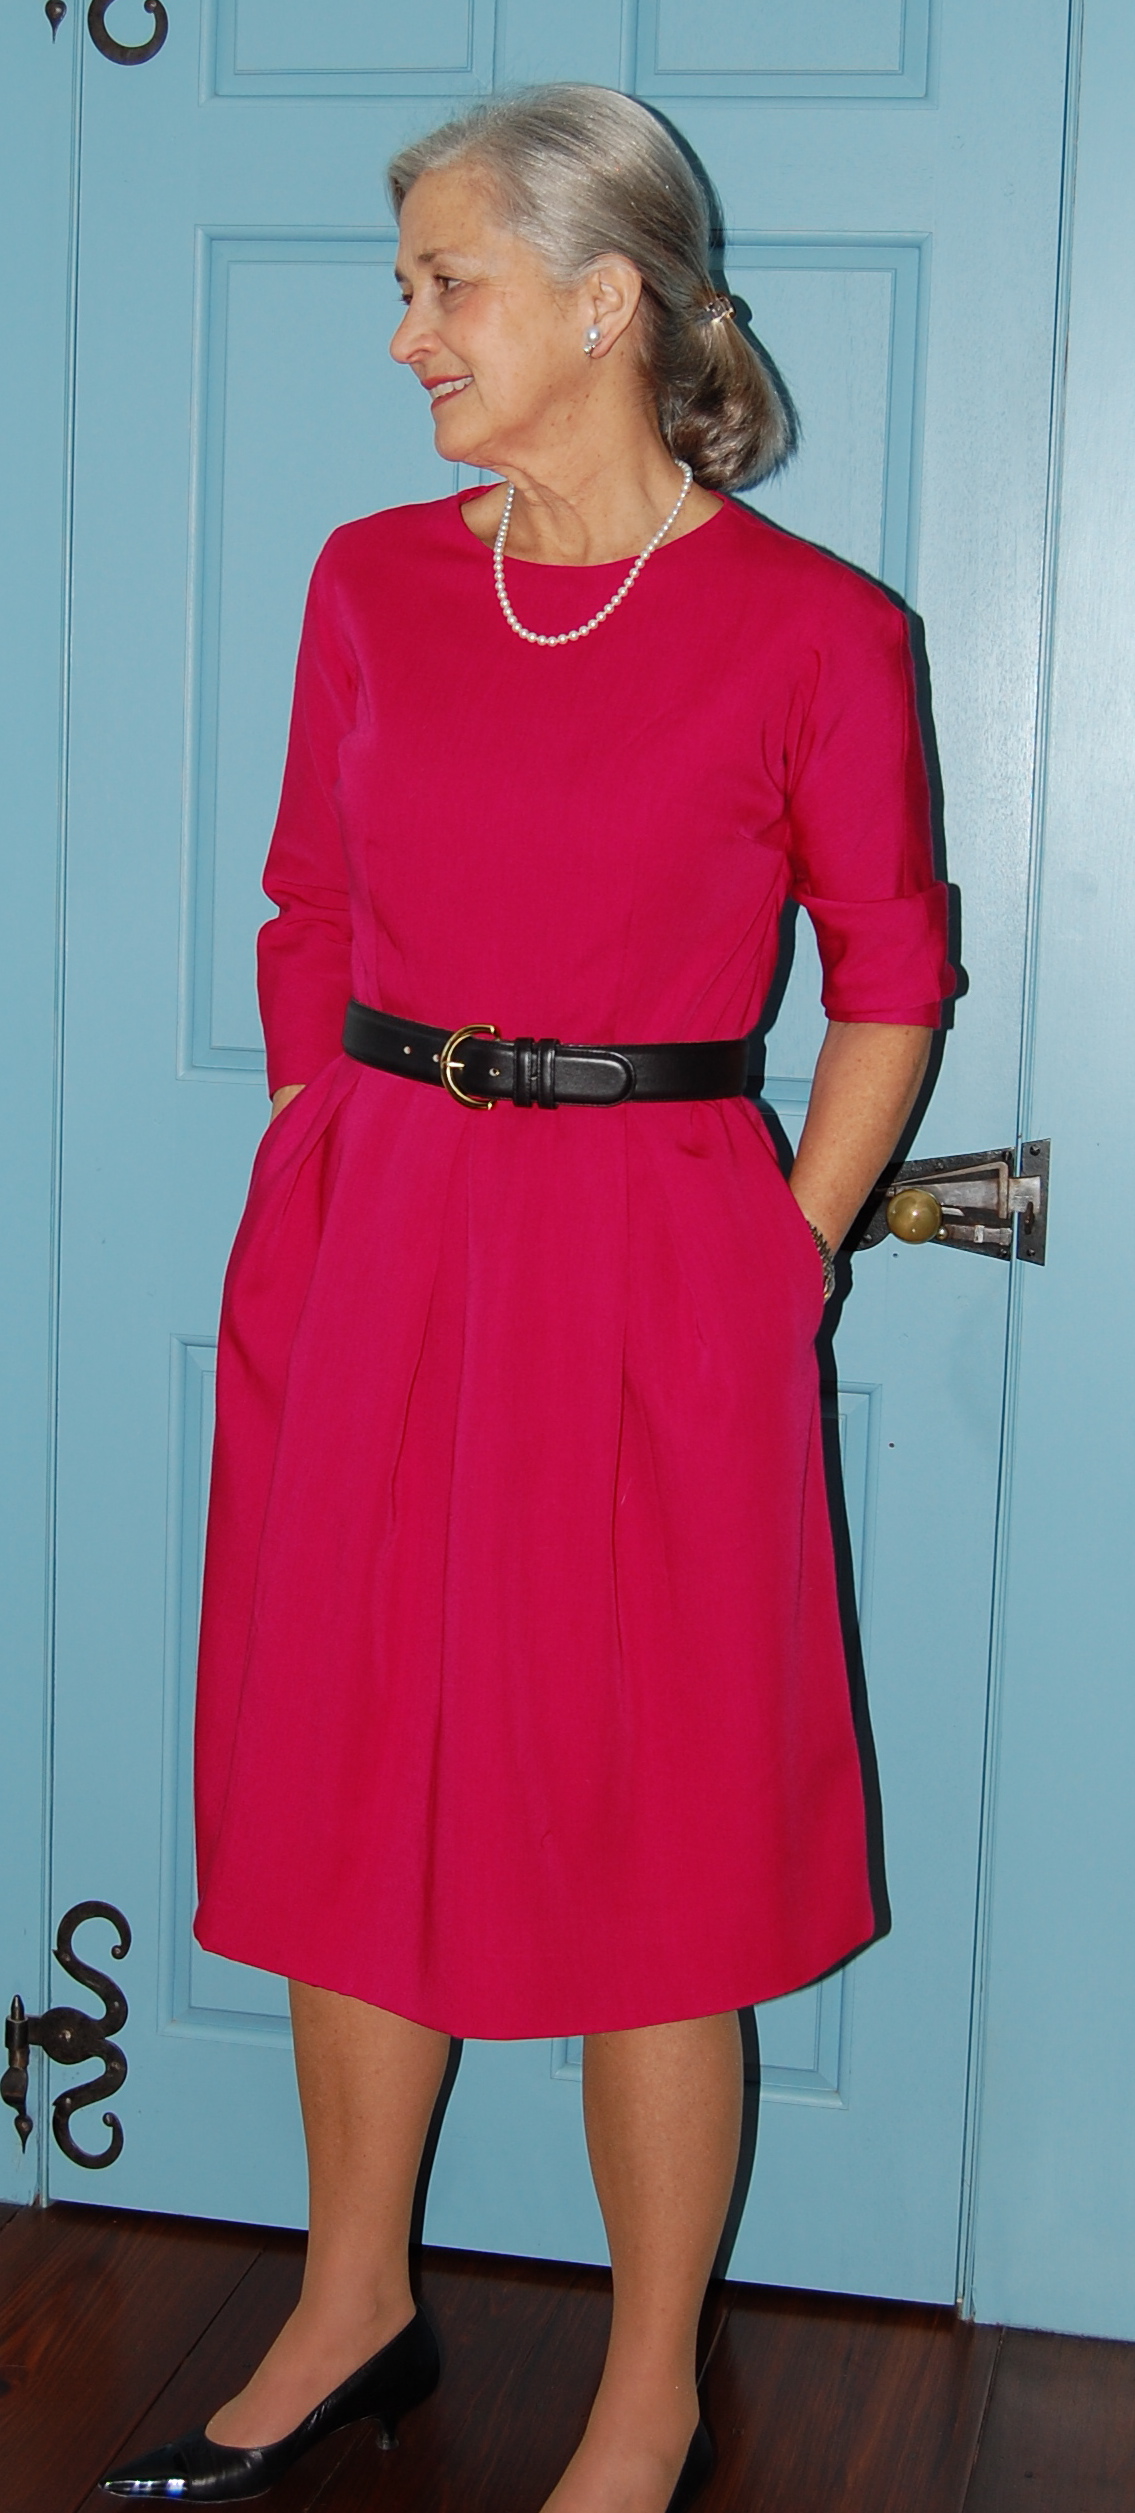
And now, for the rest of this week, I’ll be in the company of —- my sewing room, working on my blue cocktail dress, which must be ready for our next trip! Move over please, cows and sheep …