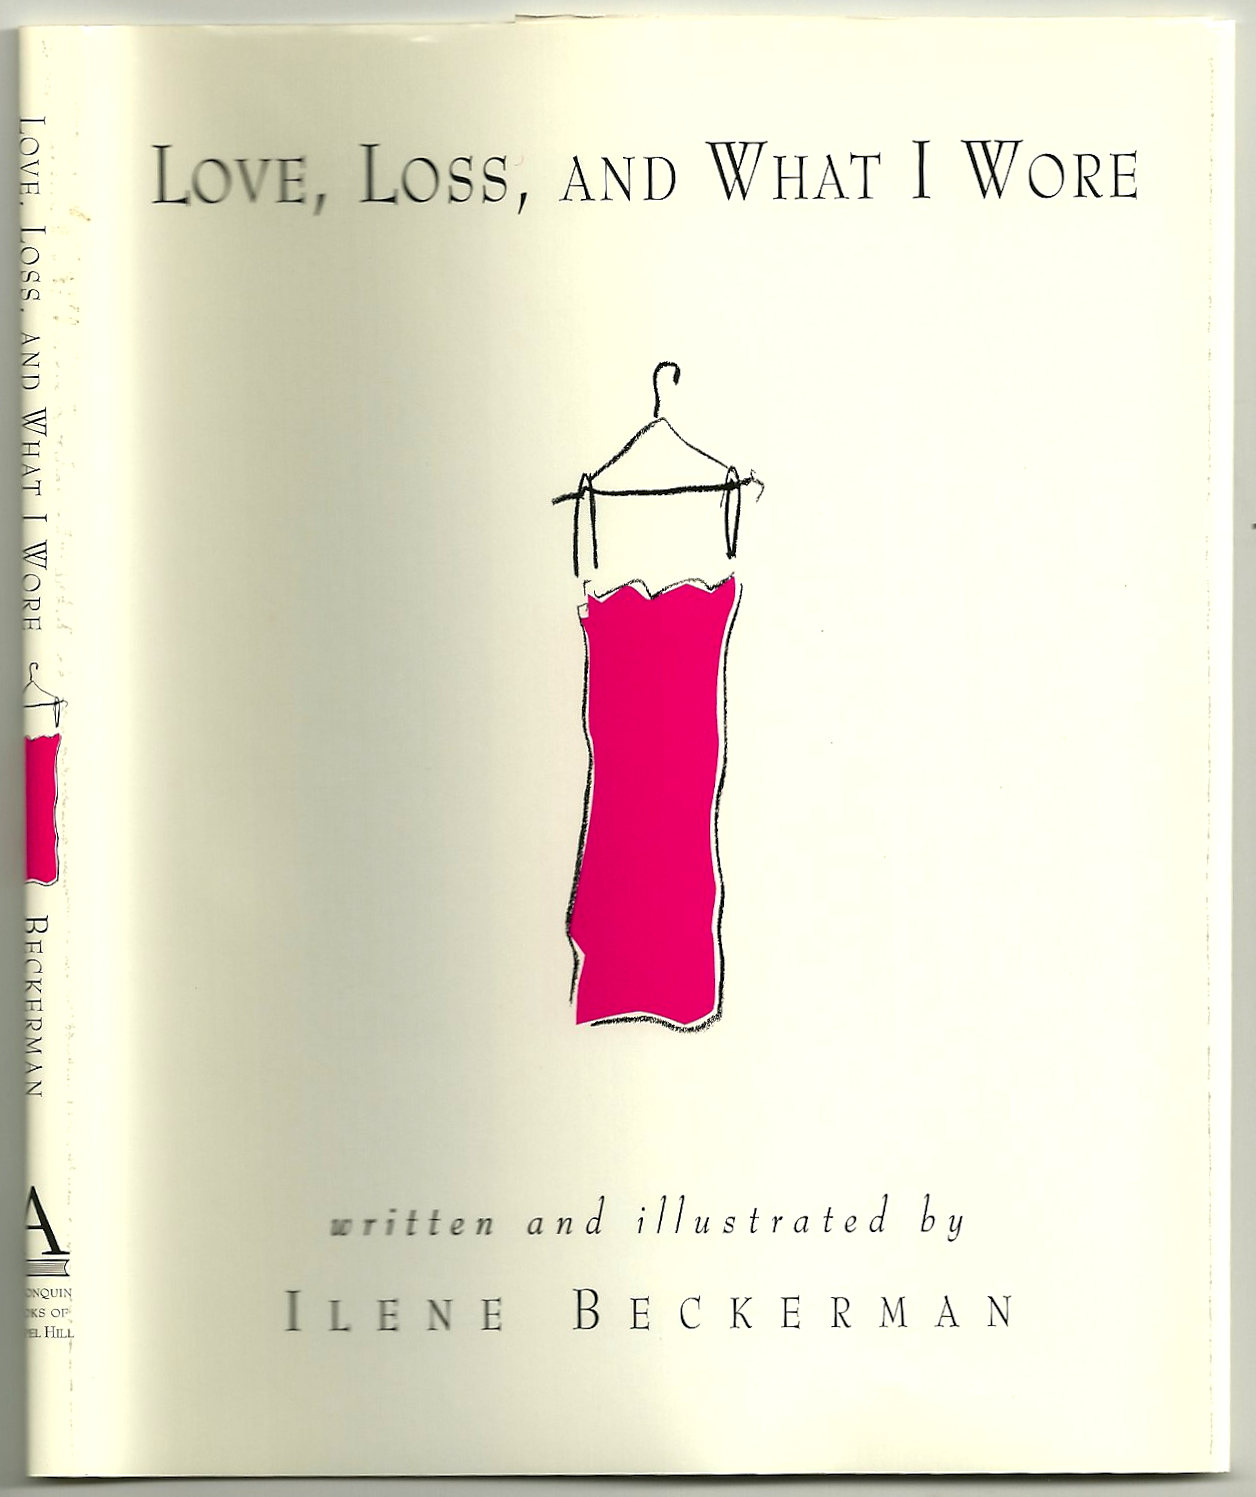
Many years ago I ran across this little book:
This book was published in 1995 by Algonquin Books of Chapel Hill. All illustrations are copyright 1995 by Ilene Beckerman.
I don’t remember how I found it or where I saw it, but I bought a copy for my mother-in-law, which she loved. I finally gave in a few years later and bought one for myself. It’s a very straightforward kind of book, with un-fancy writing and unsophisticated, but charming, drawings by the author. Within the book’s simple demeanor, however, is an expressive, and touching tribute to the power of what we wear and how we remember – and measure – our lives.
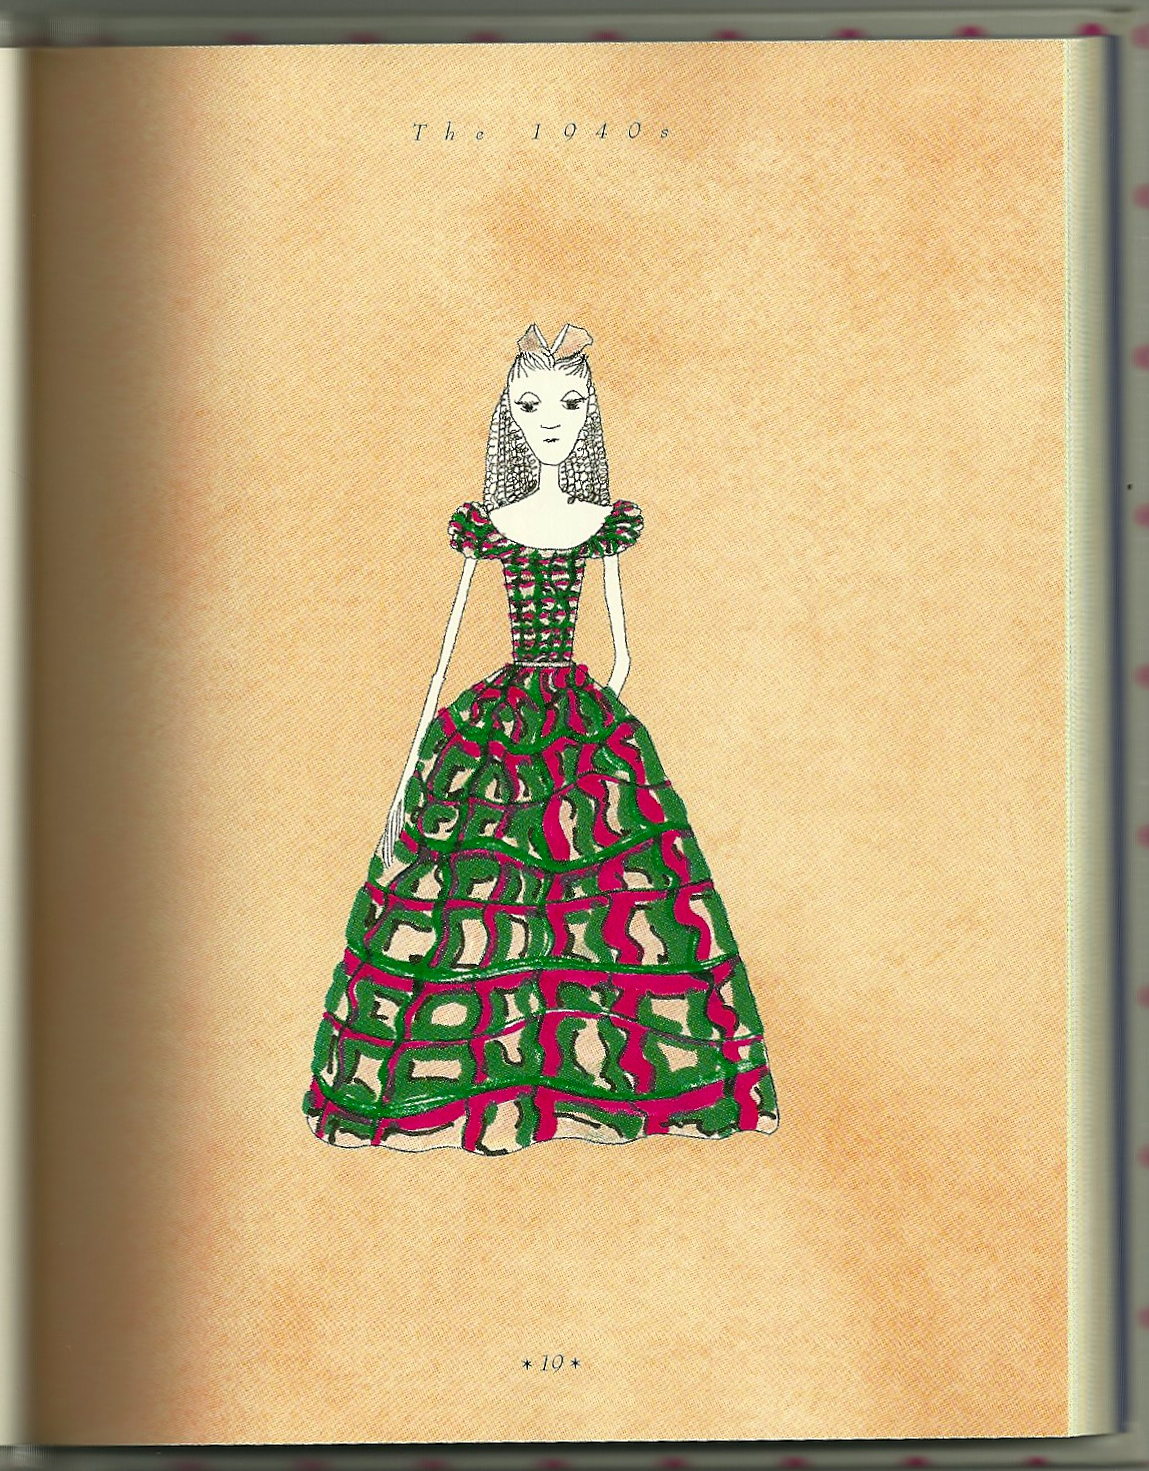
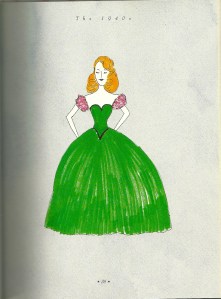
The contents are divided according to decades, starting with the 1940s and continuing into the first part of the 1990s. The author was born in 1935, so her recollection of clothing and fashion begins when she is a child. She had the great fortune, as did so many from that era, of having a mother who sewed – beautifully and extensively – for her and her sister. Here are a few examples:
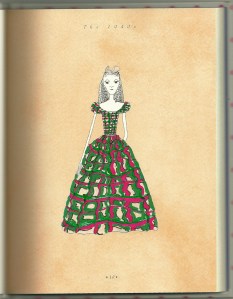
About this dress which she wore to her cousin’s wedding, Beckerman wrote: “ My mother made this pink, green, and black iridescent-metallic plaid taffeta gown. We bought the material at Macy’s at Herald Square [New York City]. They had a whole floor for selling patterns and fabrics.”
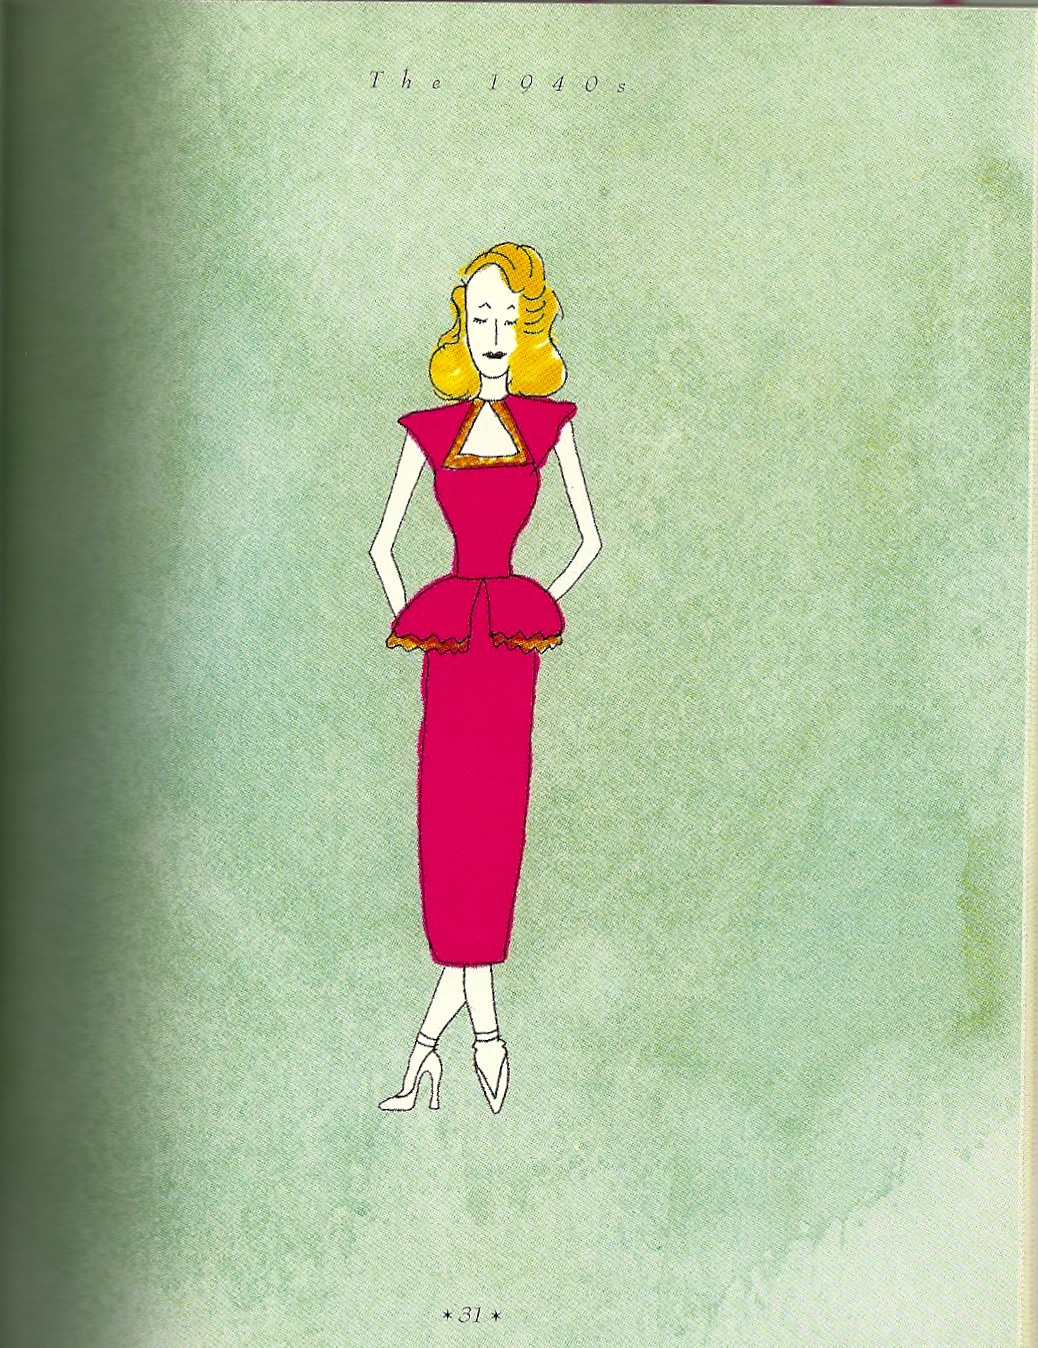
One of the author’s sister’s dress is featured here:
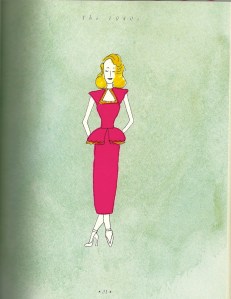 “My mother made this sexy red dress for my sister. It had a . . . peplum and was accented with hand-sewn gold sequins.” This prompted the memory of her mother sewing sequins on printed silk scarfs, which served as Christmas gifts for the author’s teachers.
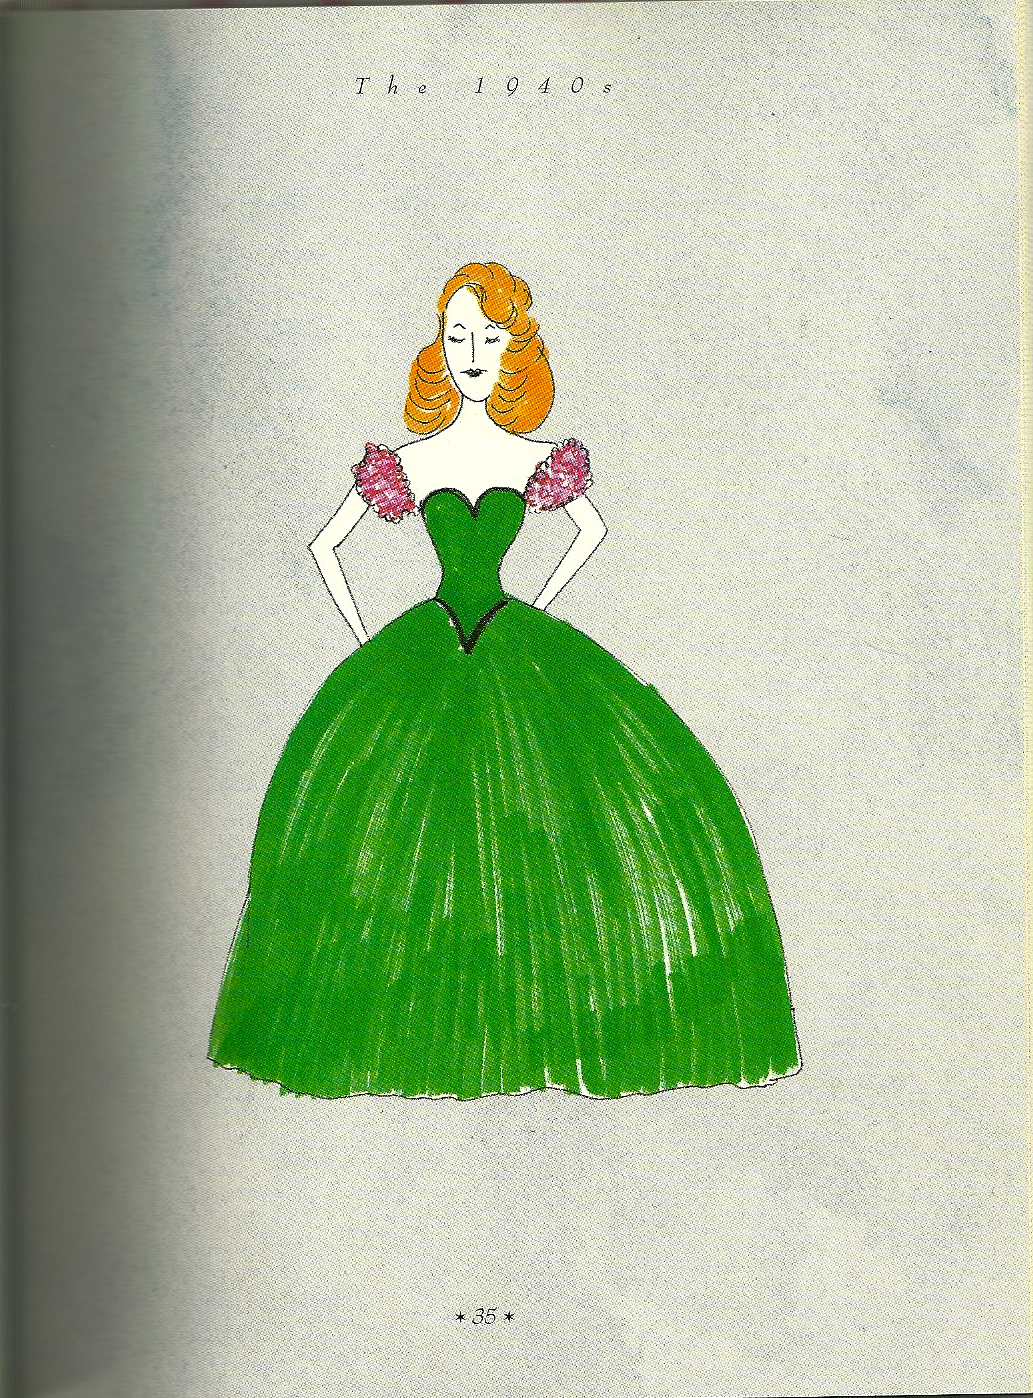
Here is another dress made by the author’s mother – this one for her sister to wear to their cousin’s wedding.
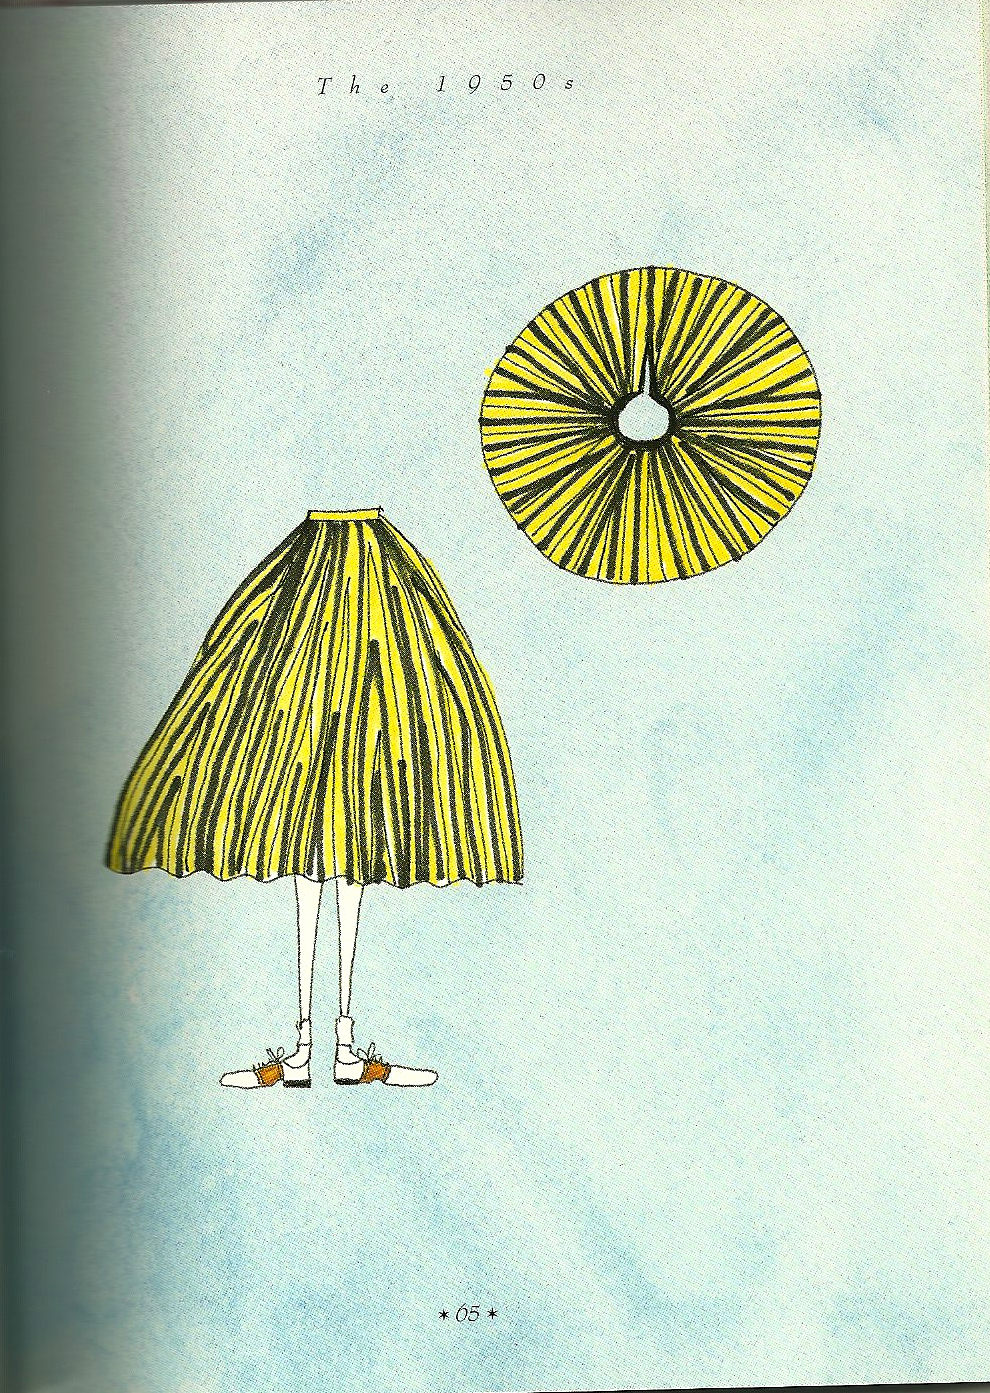
 By the 1950s, the author’s mother had died, and with her death came the end of the joy of wearing her sewn creations. However the author and one of her best friends ventured into some sewing themselves with the making of these cotton circle skirts:
 “It took forever to hem them” – says Beckerman, a statement with which any home dressmaker can identify!
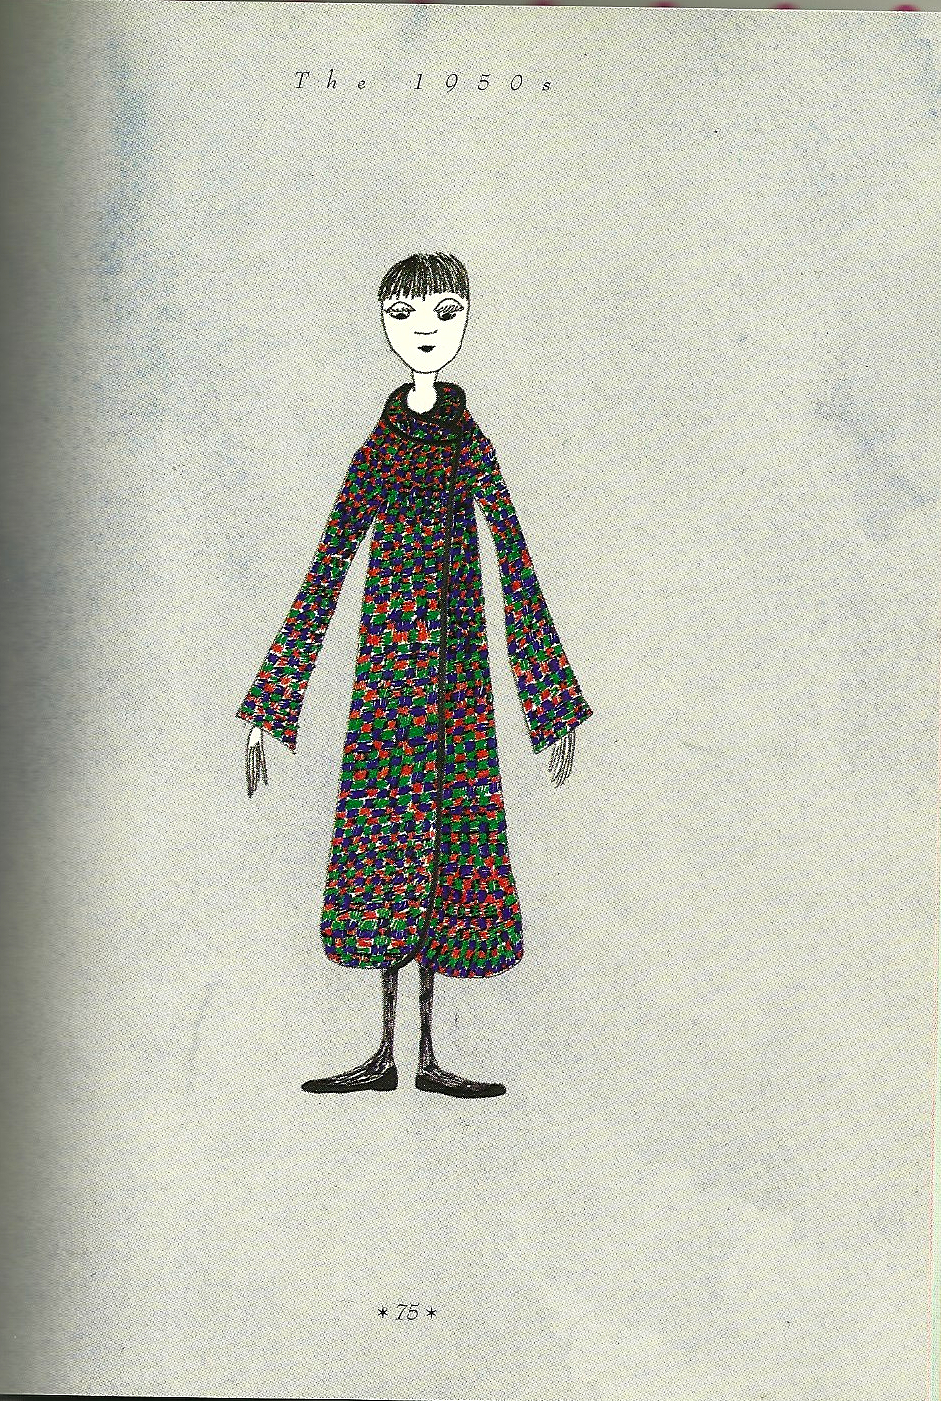
This stylish coat was purchased by Ilene, and when shown to another best friend’s mother, Miriam Landey, who happened to be a dress designer/dressmaker, Mrs.Landey told her daughter to go and buy one as well. Such a compliment!
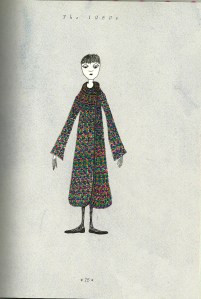 Mrs. Landey, according to Beckerman, “would go to Europe in the summer to buy fine and fancy fabrics…”
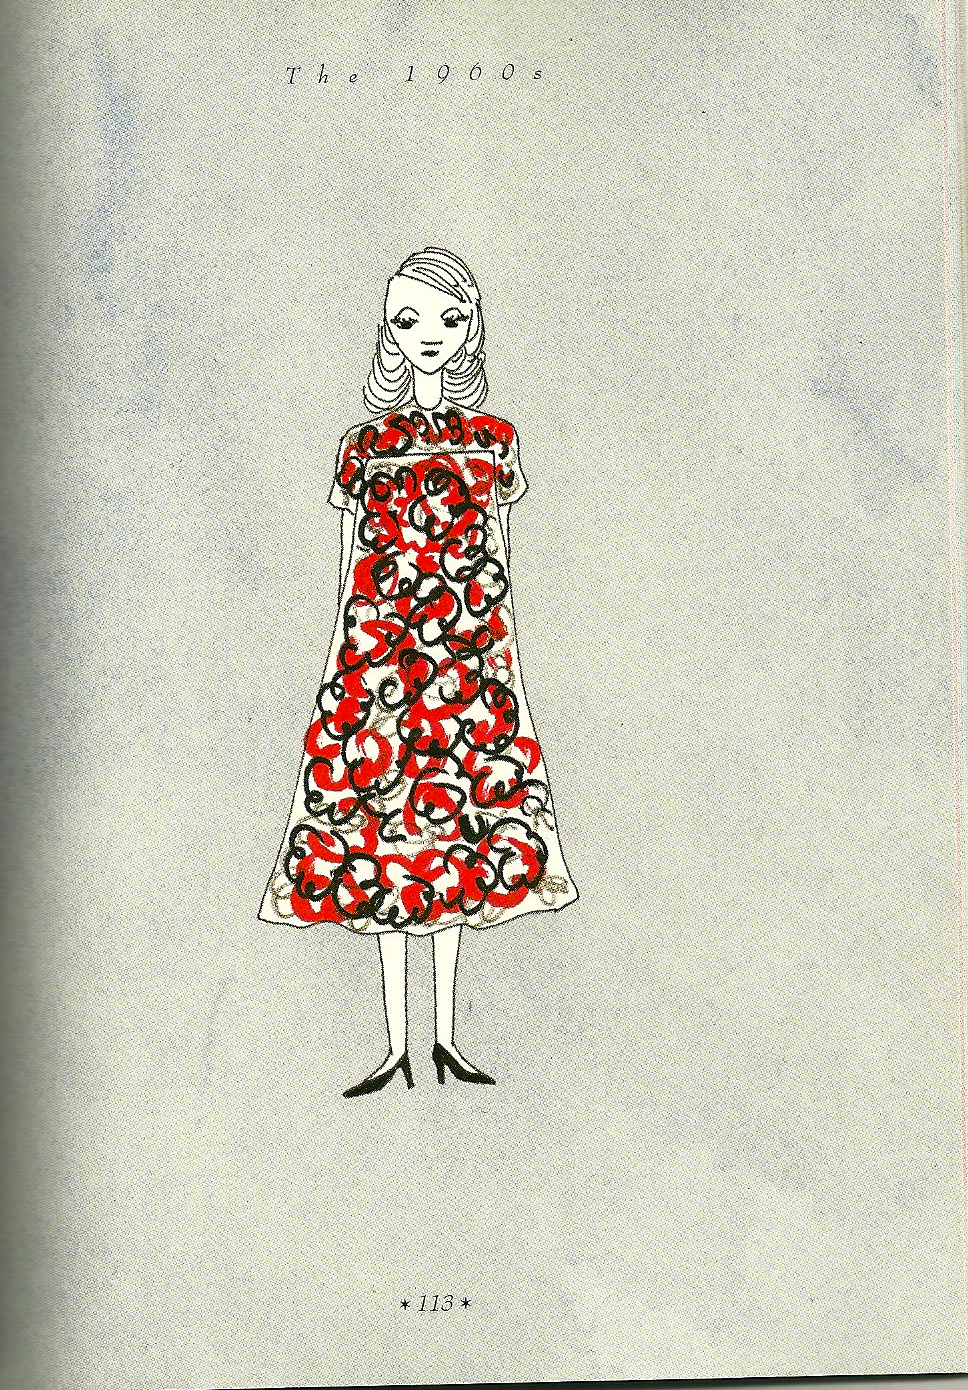
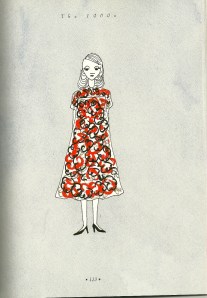
The 1960s are marked by only two fashions, one of which is a maternity dress.
 Six pregnancies during the decade surely are the reason for the dearth of fashion memories from that period of time. Or perhaps the death of one of those children made the memories too painful.
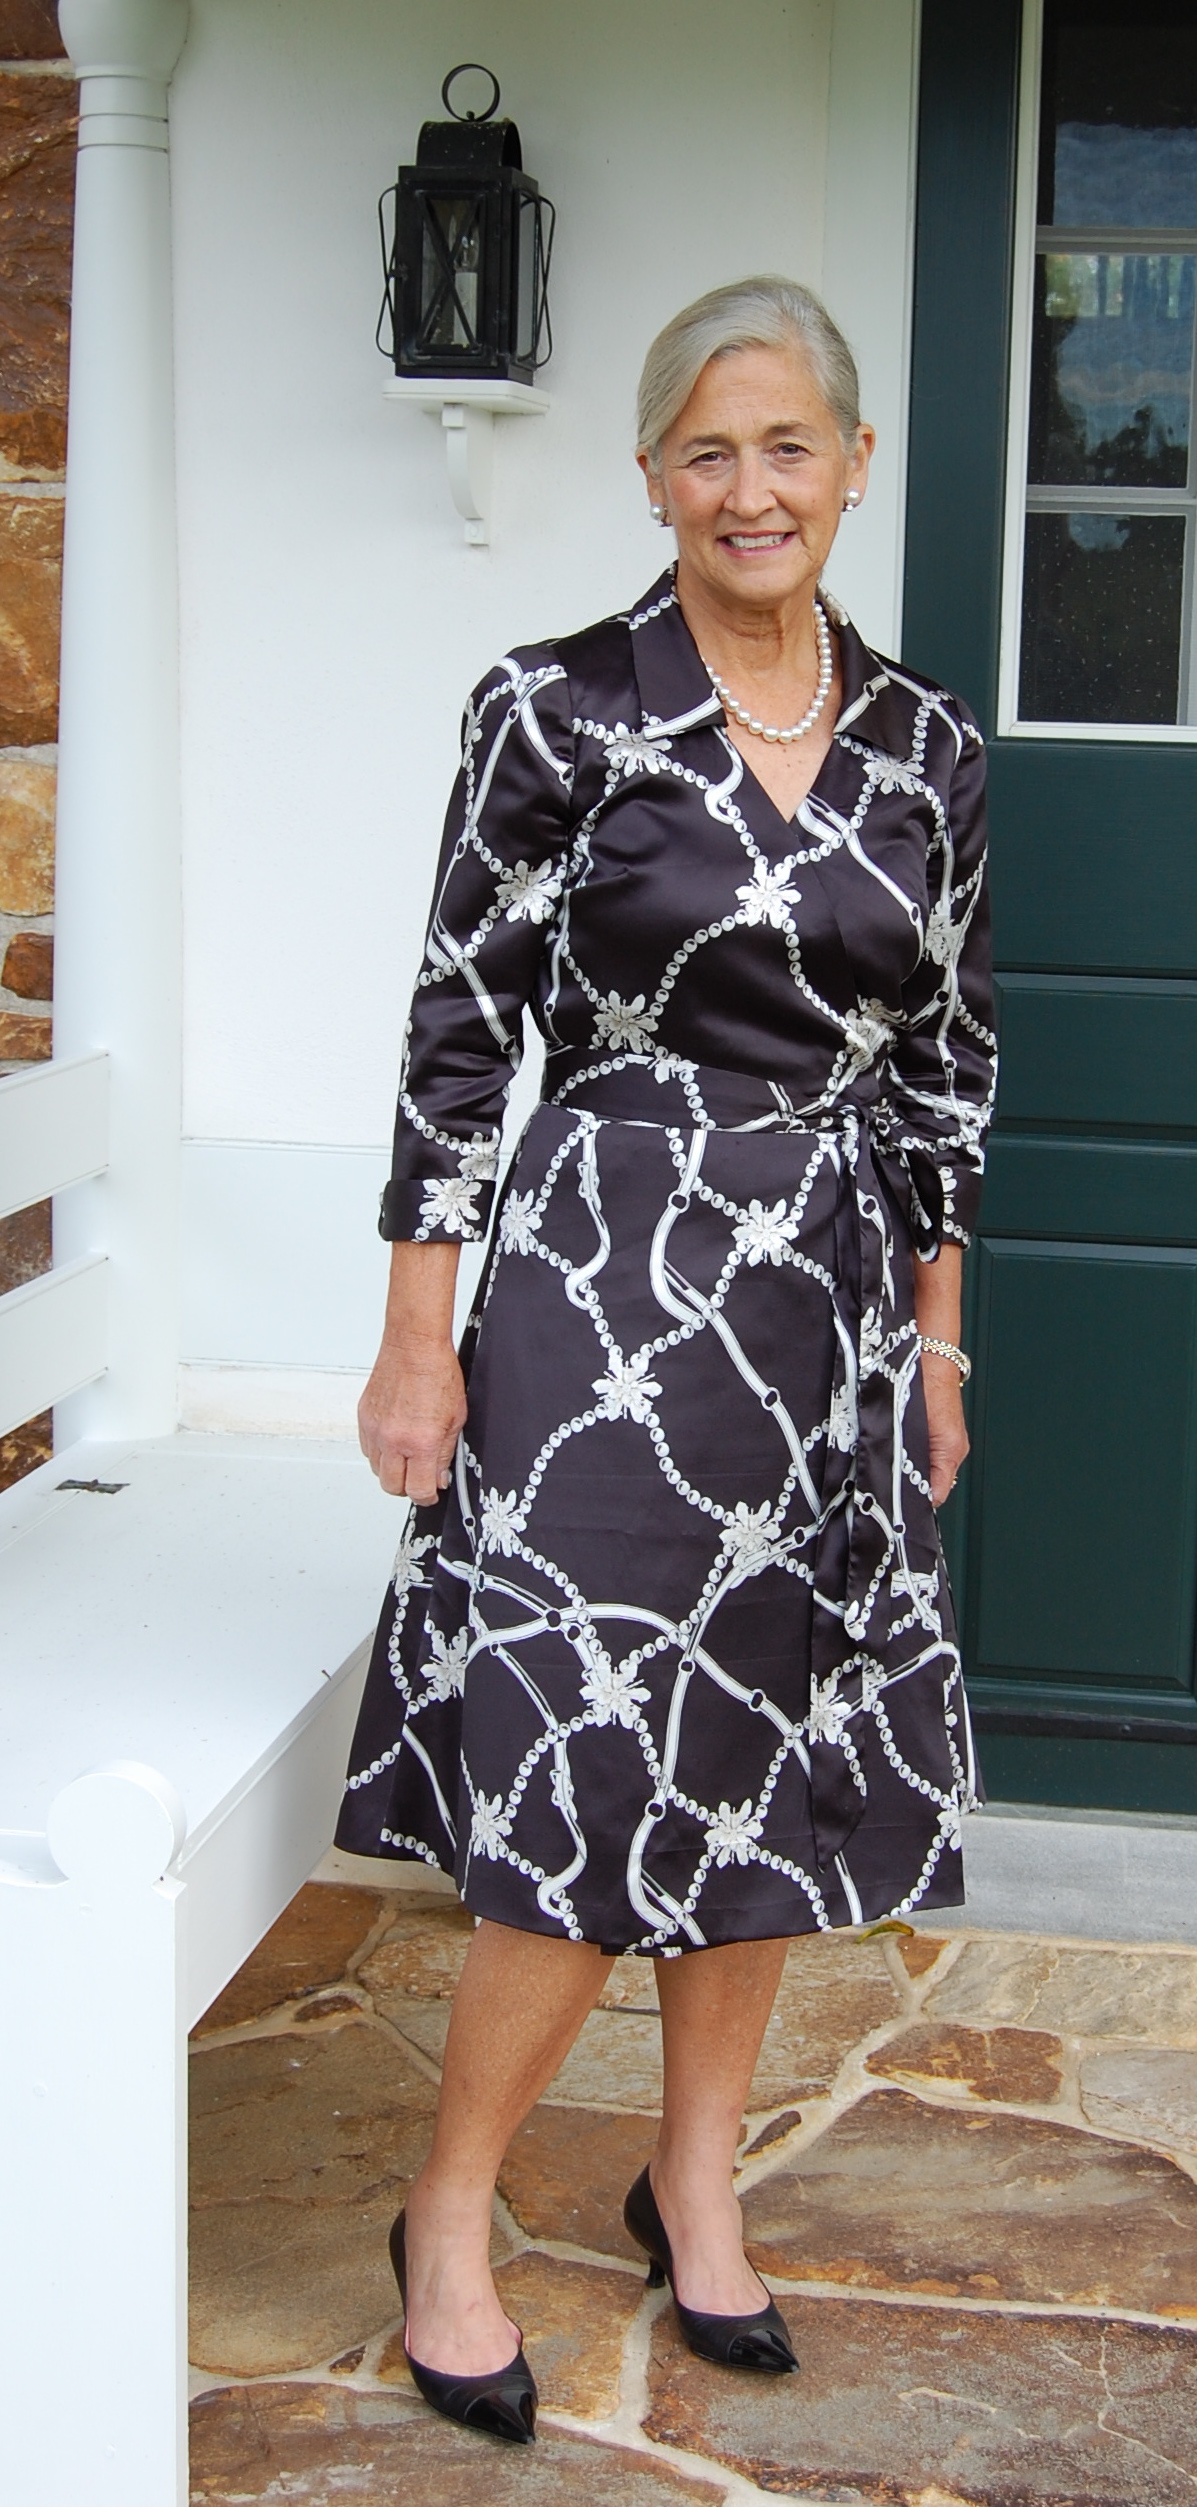
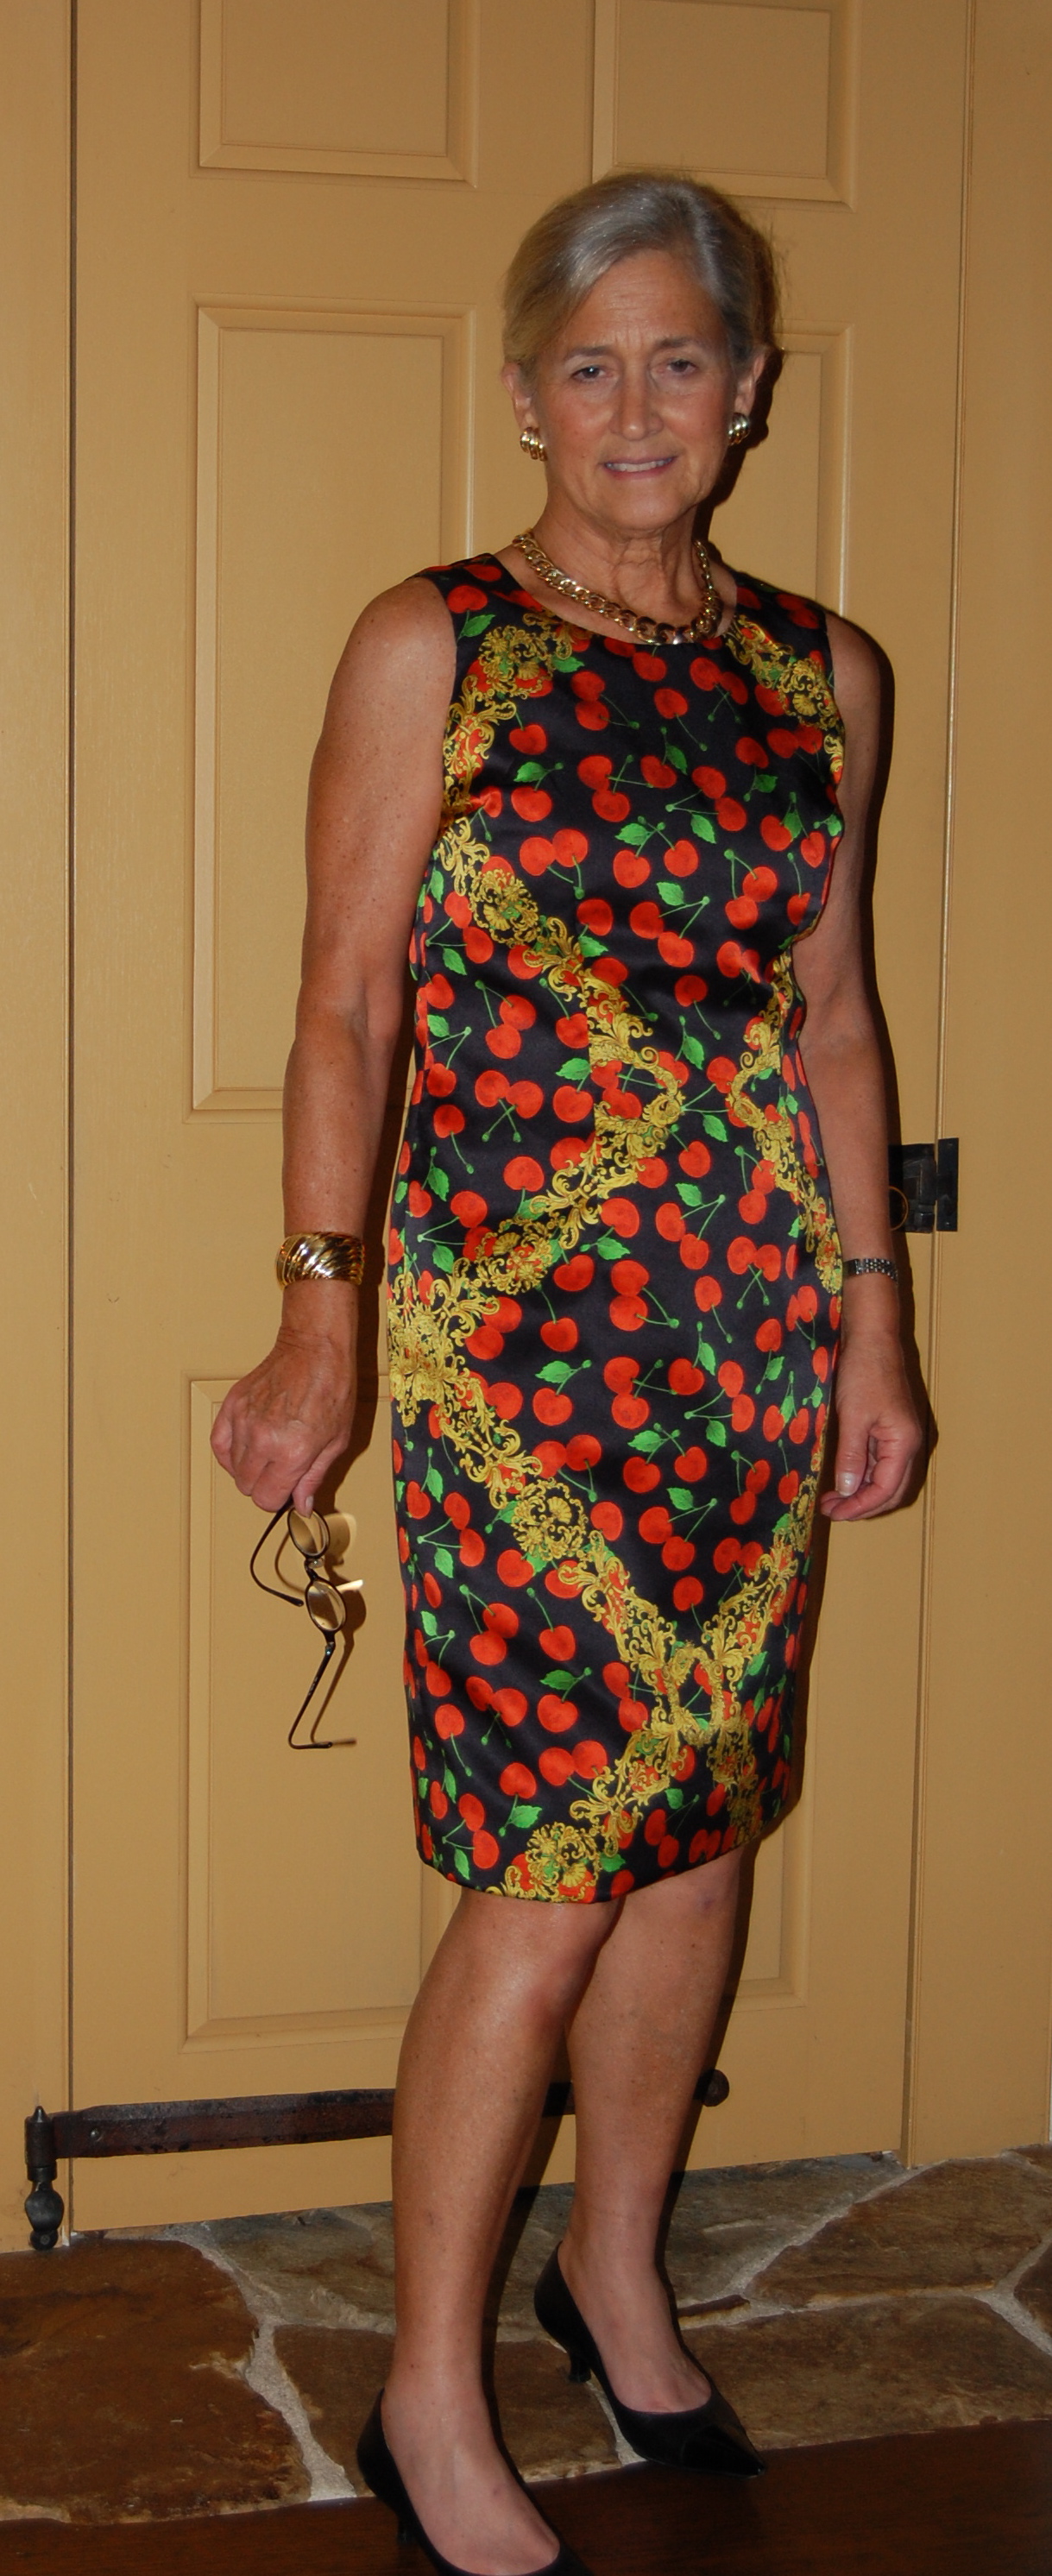
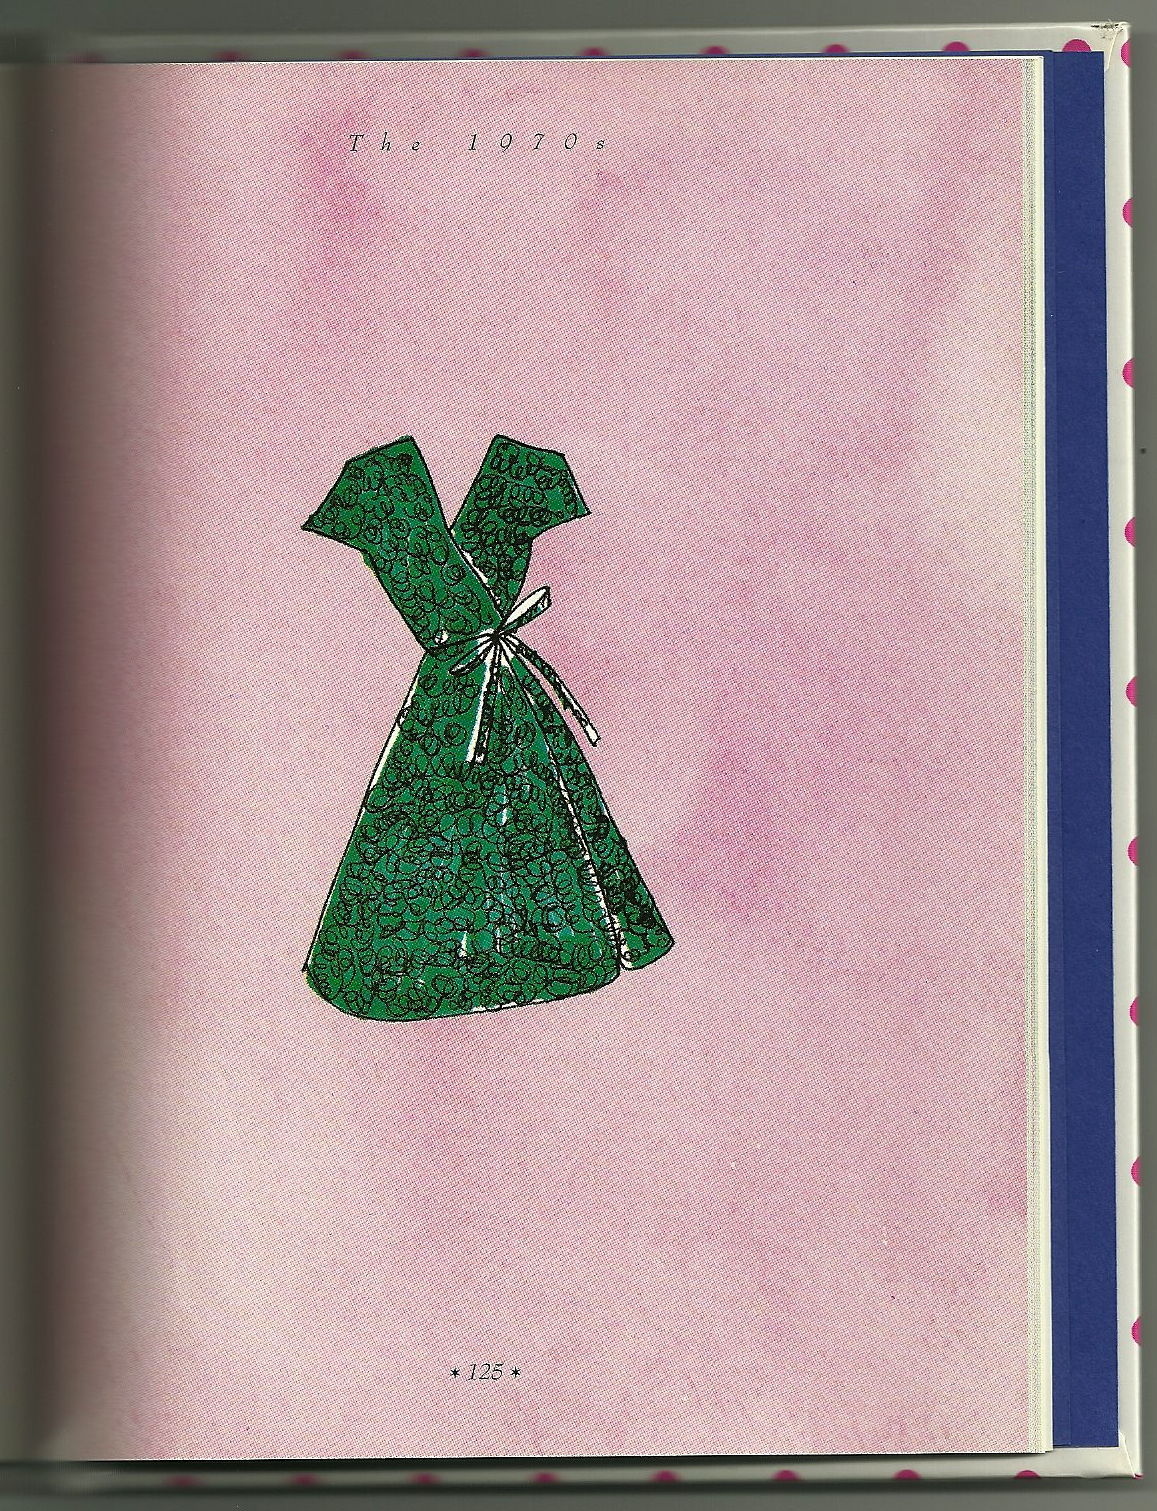
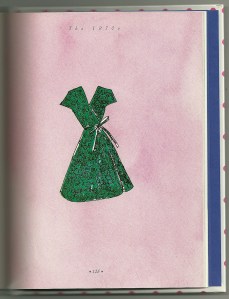
The 1970s, 1980s, and 1990s are lumped together, and are set off most dramatically by this Diane Von Furstenberg wrap dress from the ‘70s. While wearing this dress, the author came to the decision to end her marriage. How could one not remember what she wore at such a time in her life?
 As the story ends, grown children marry and have children of their own. But at night, says Beckerman, she reflects on her mother and the dresses she made. “I like to think I got my fashion sense from my mother and from Dora’s mother [Mrs. Landey].” Thus is a life remembered by what she wore, and so many of those memories have their foundation in home-sewing.
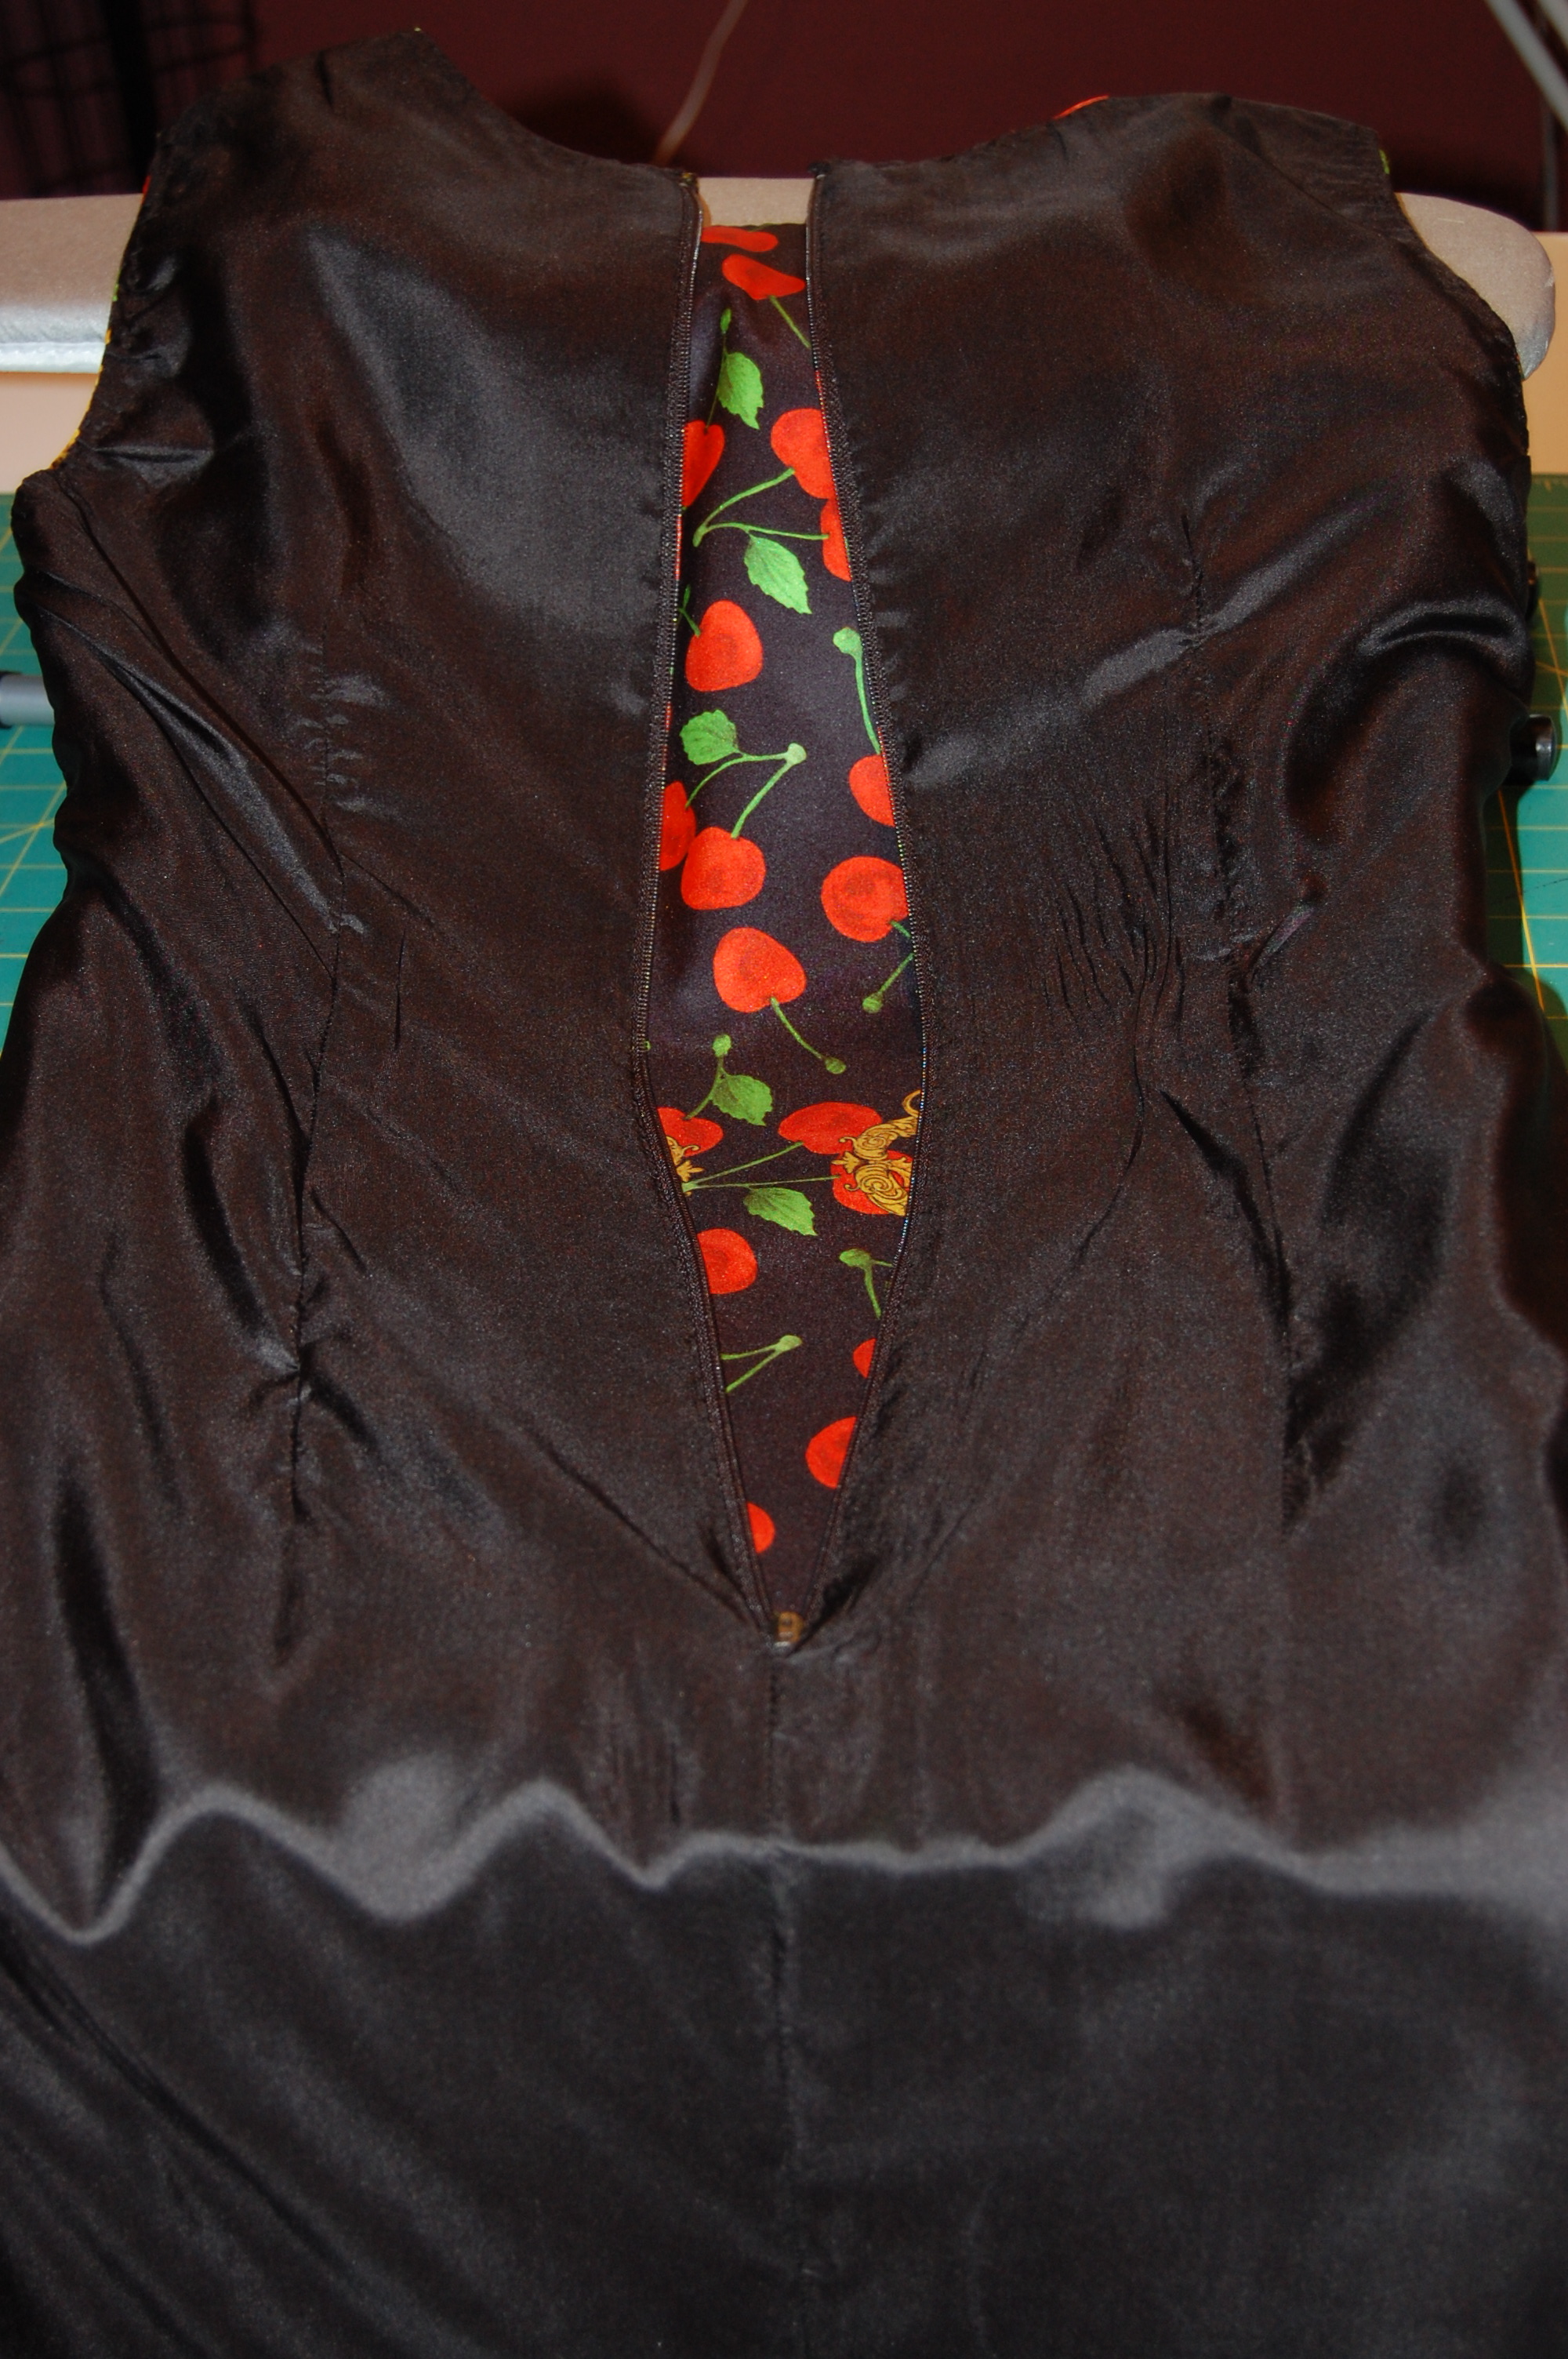
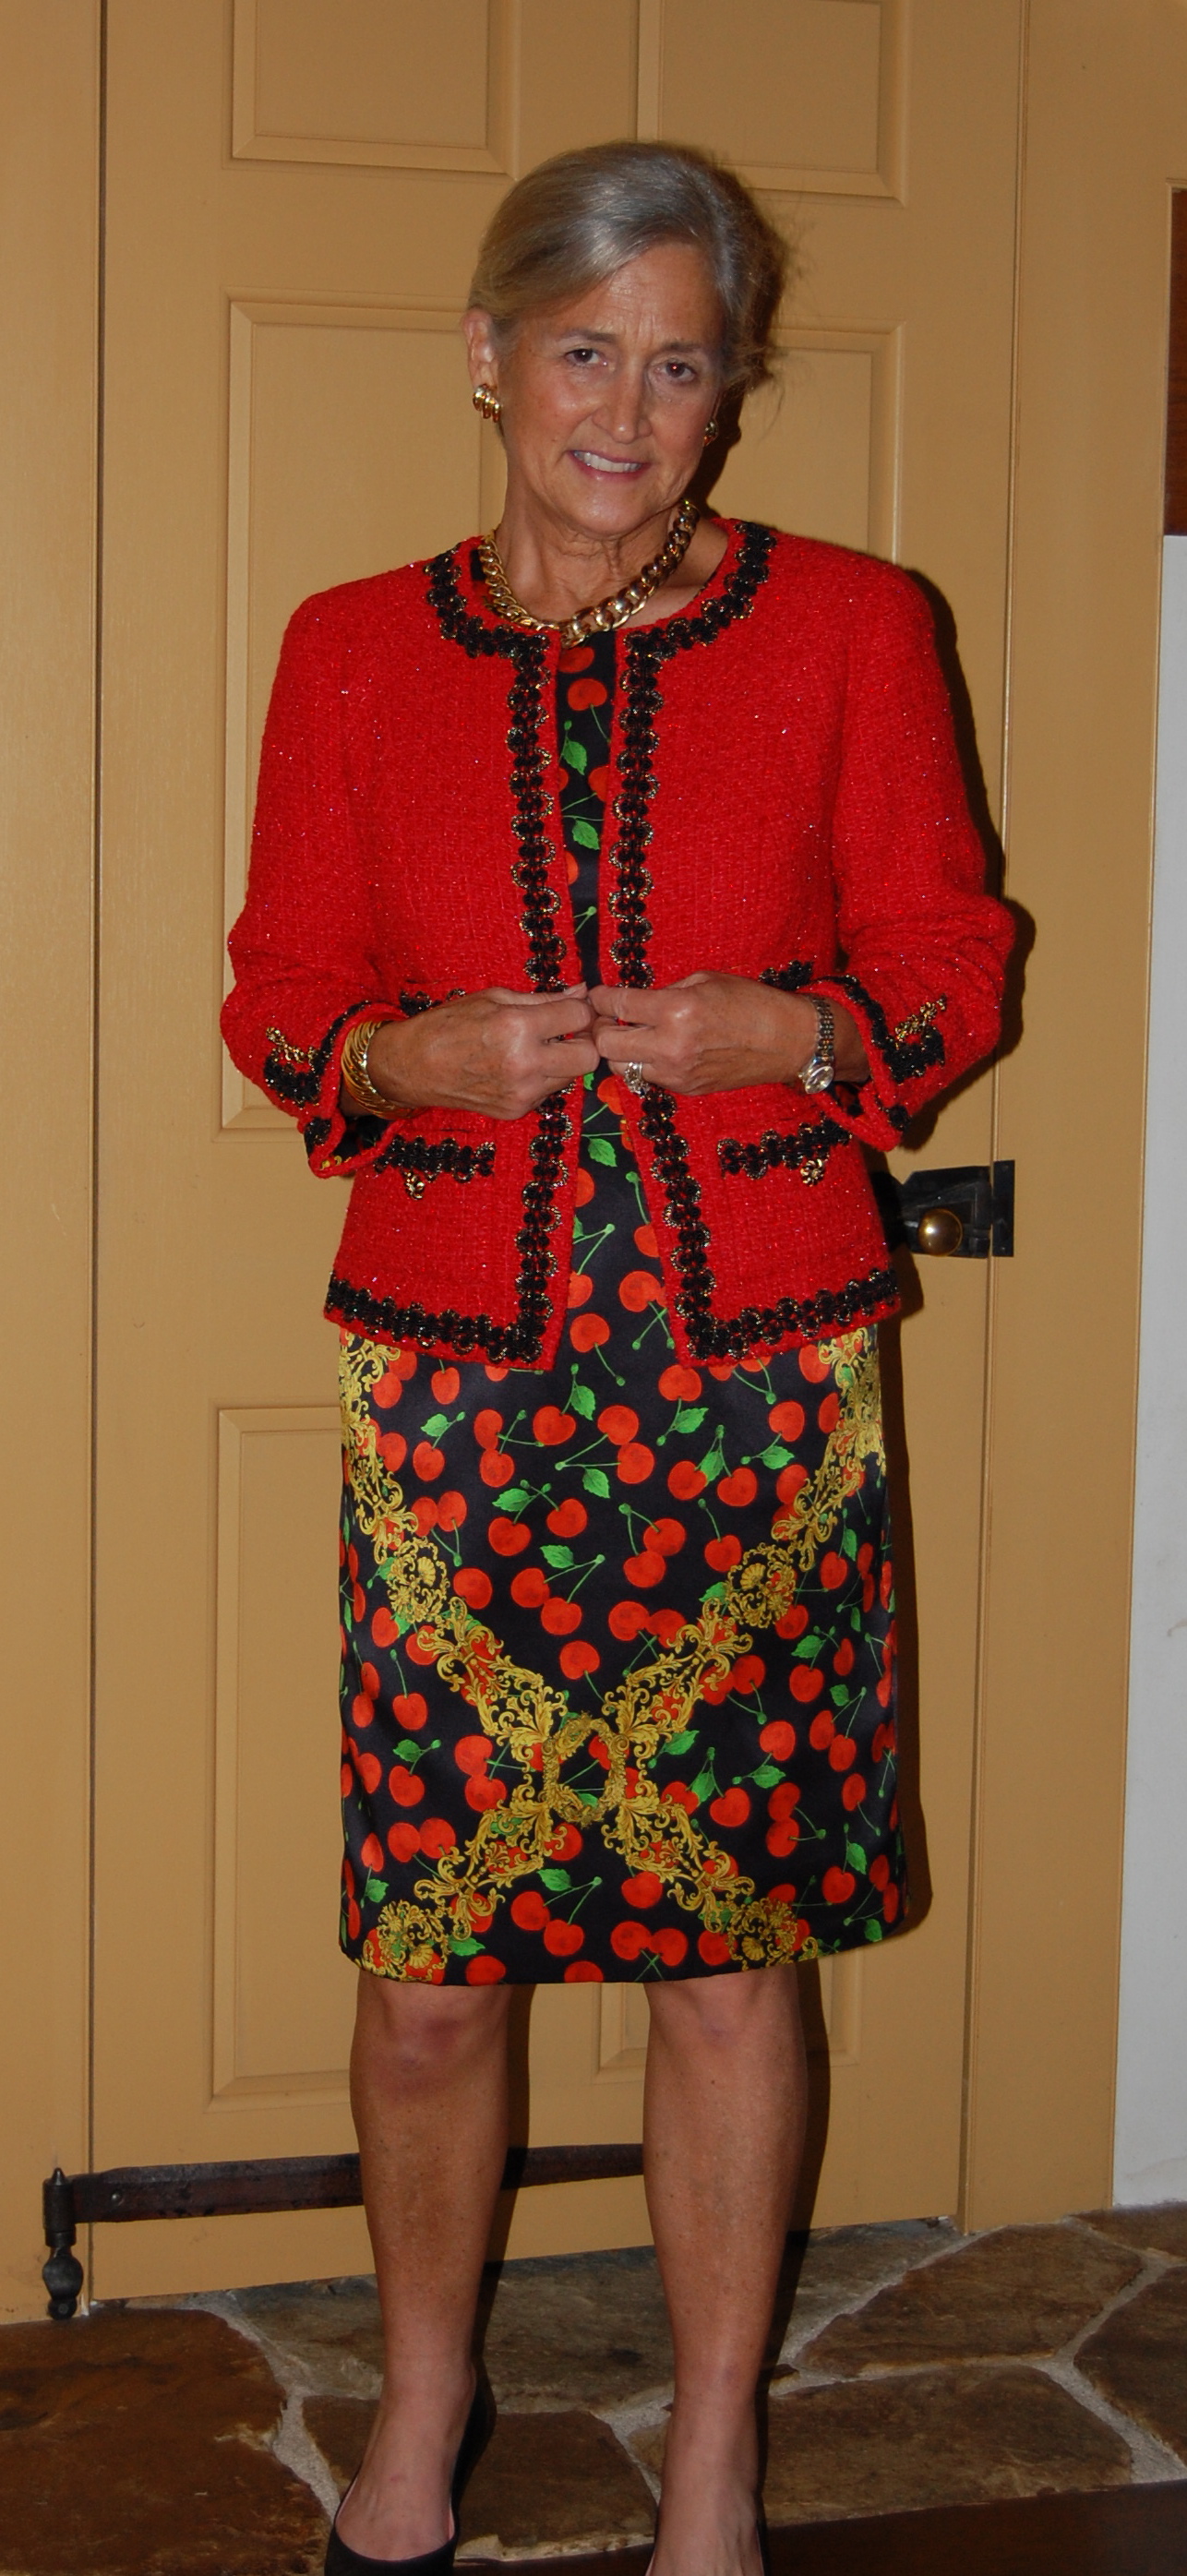
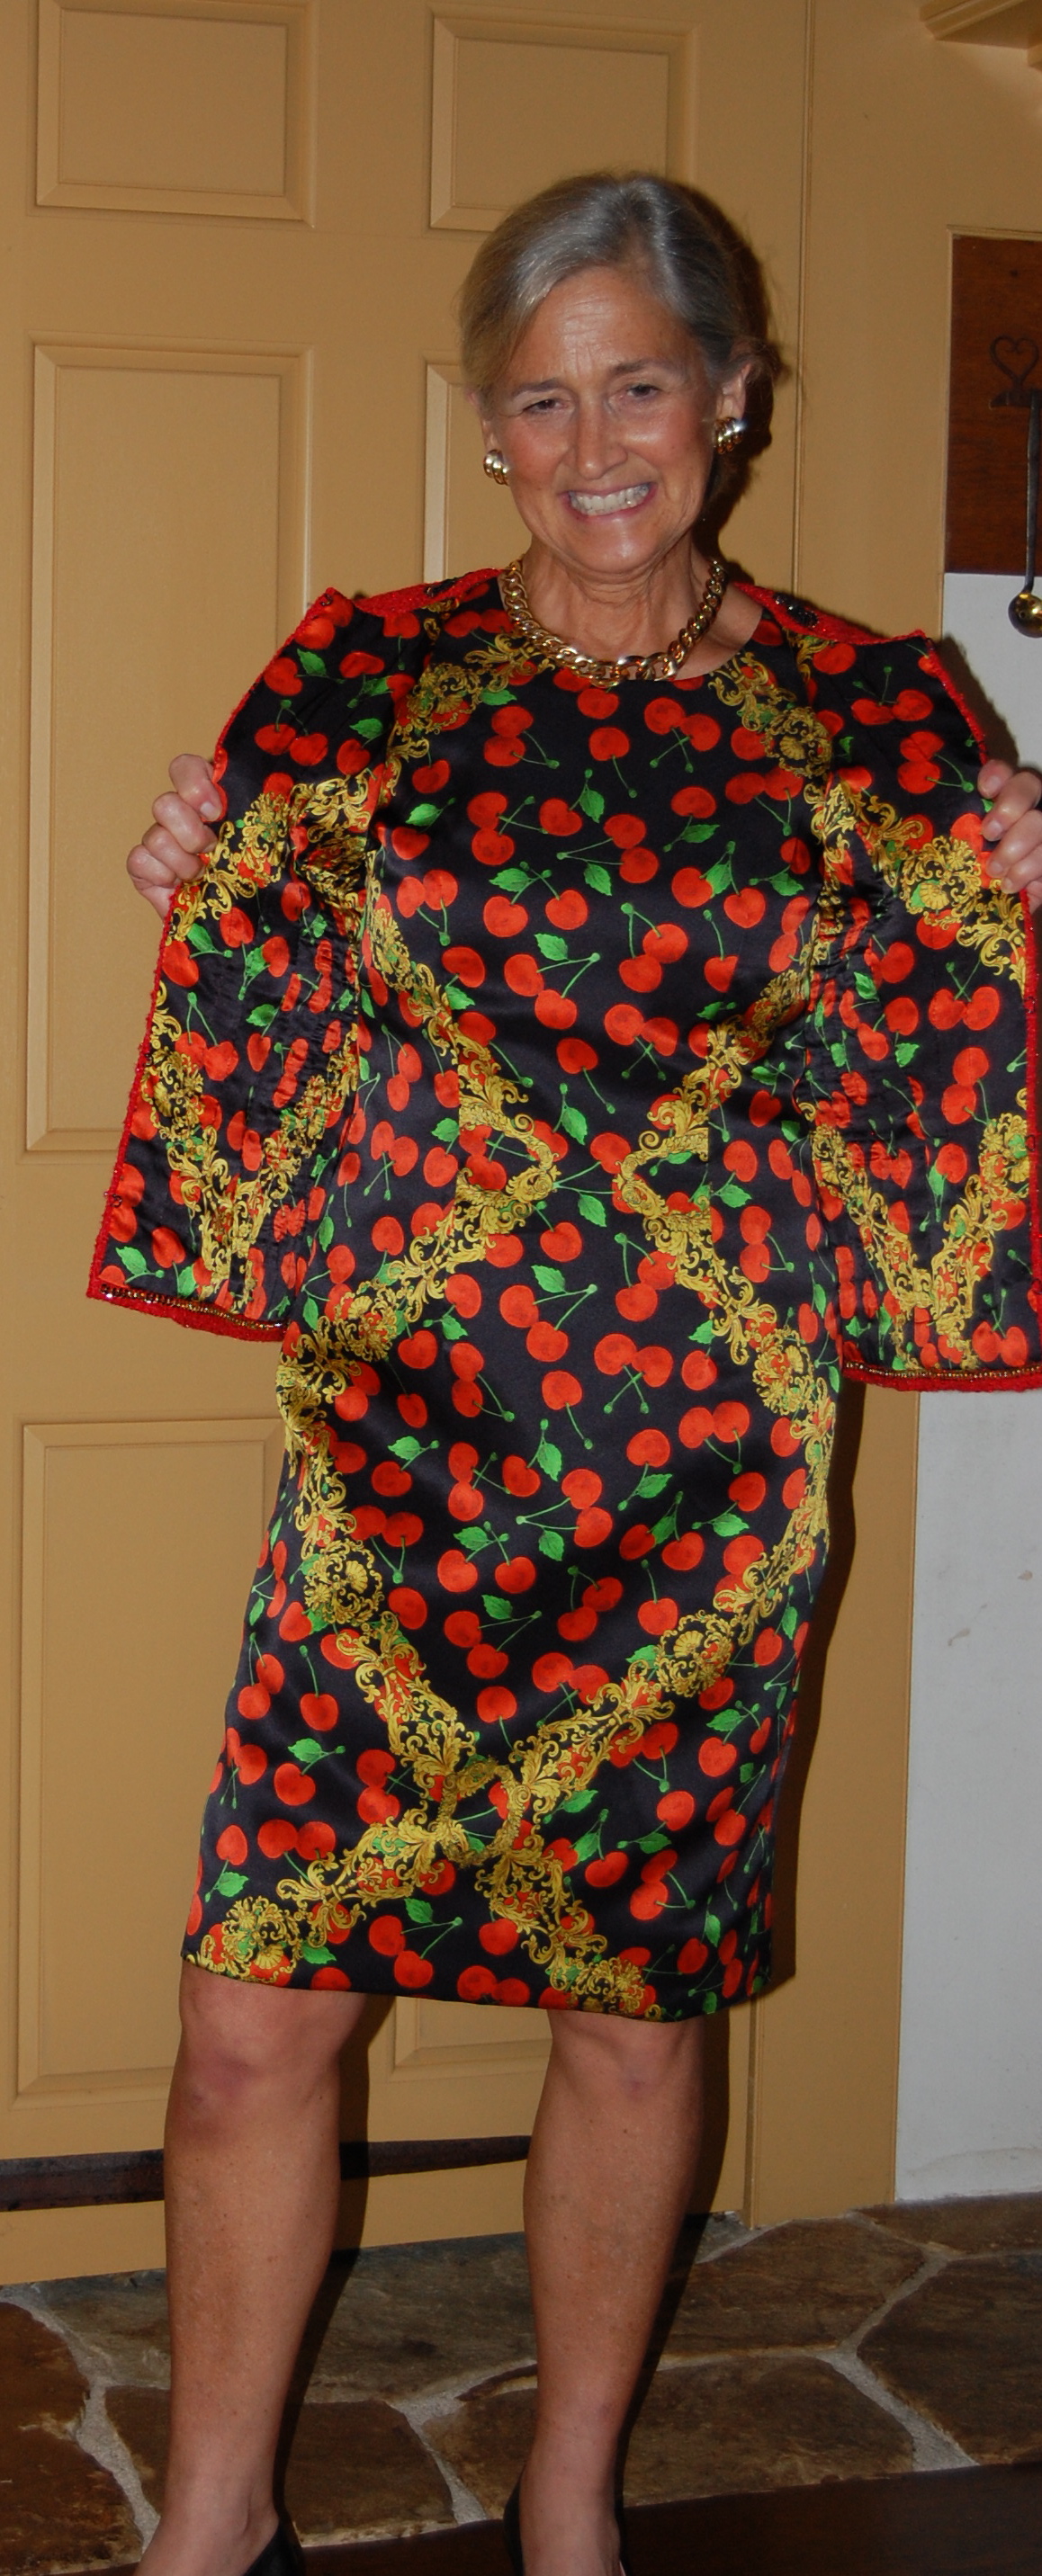
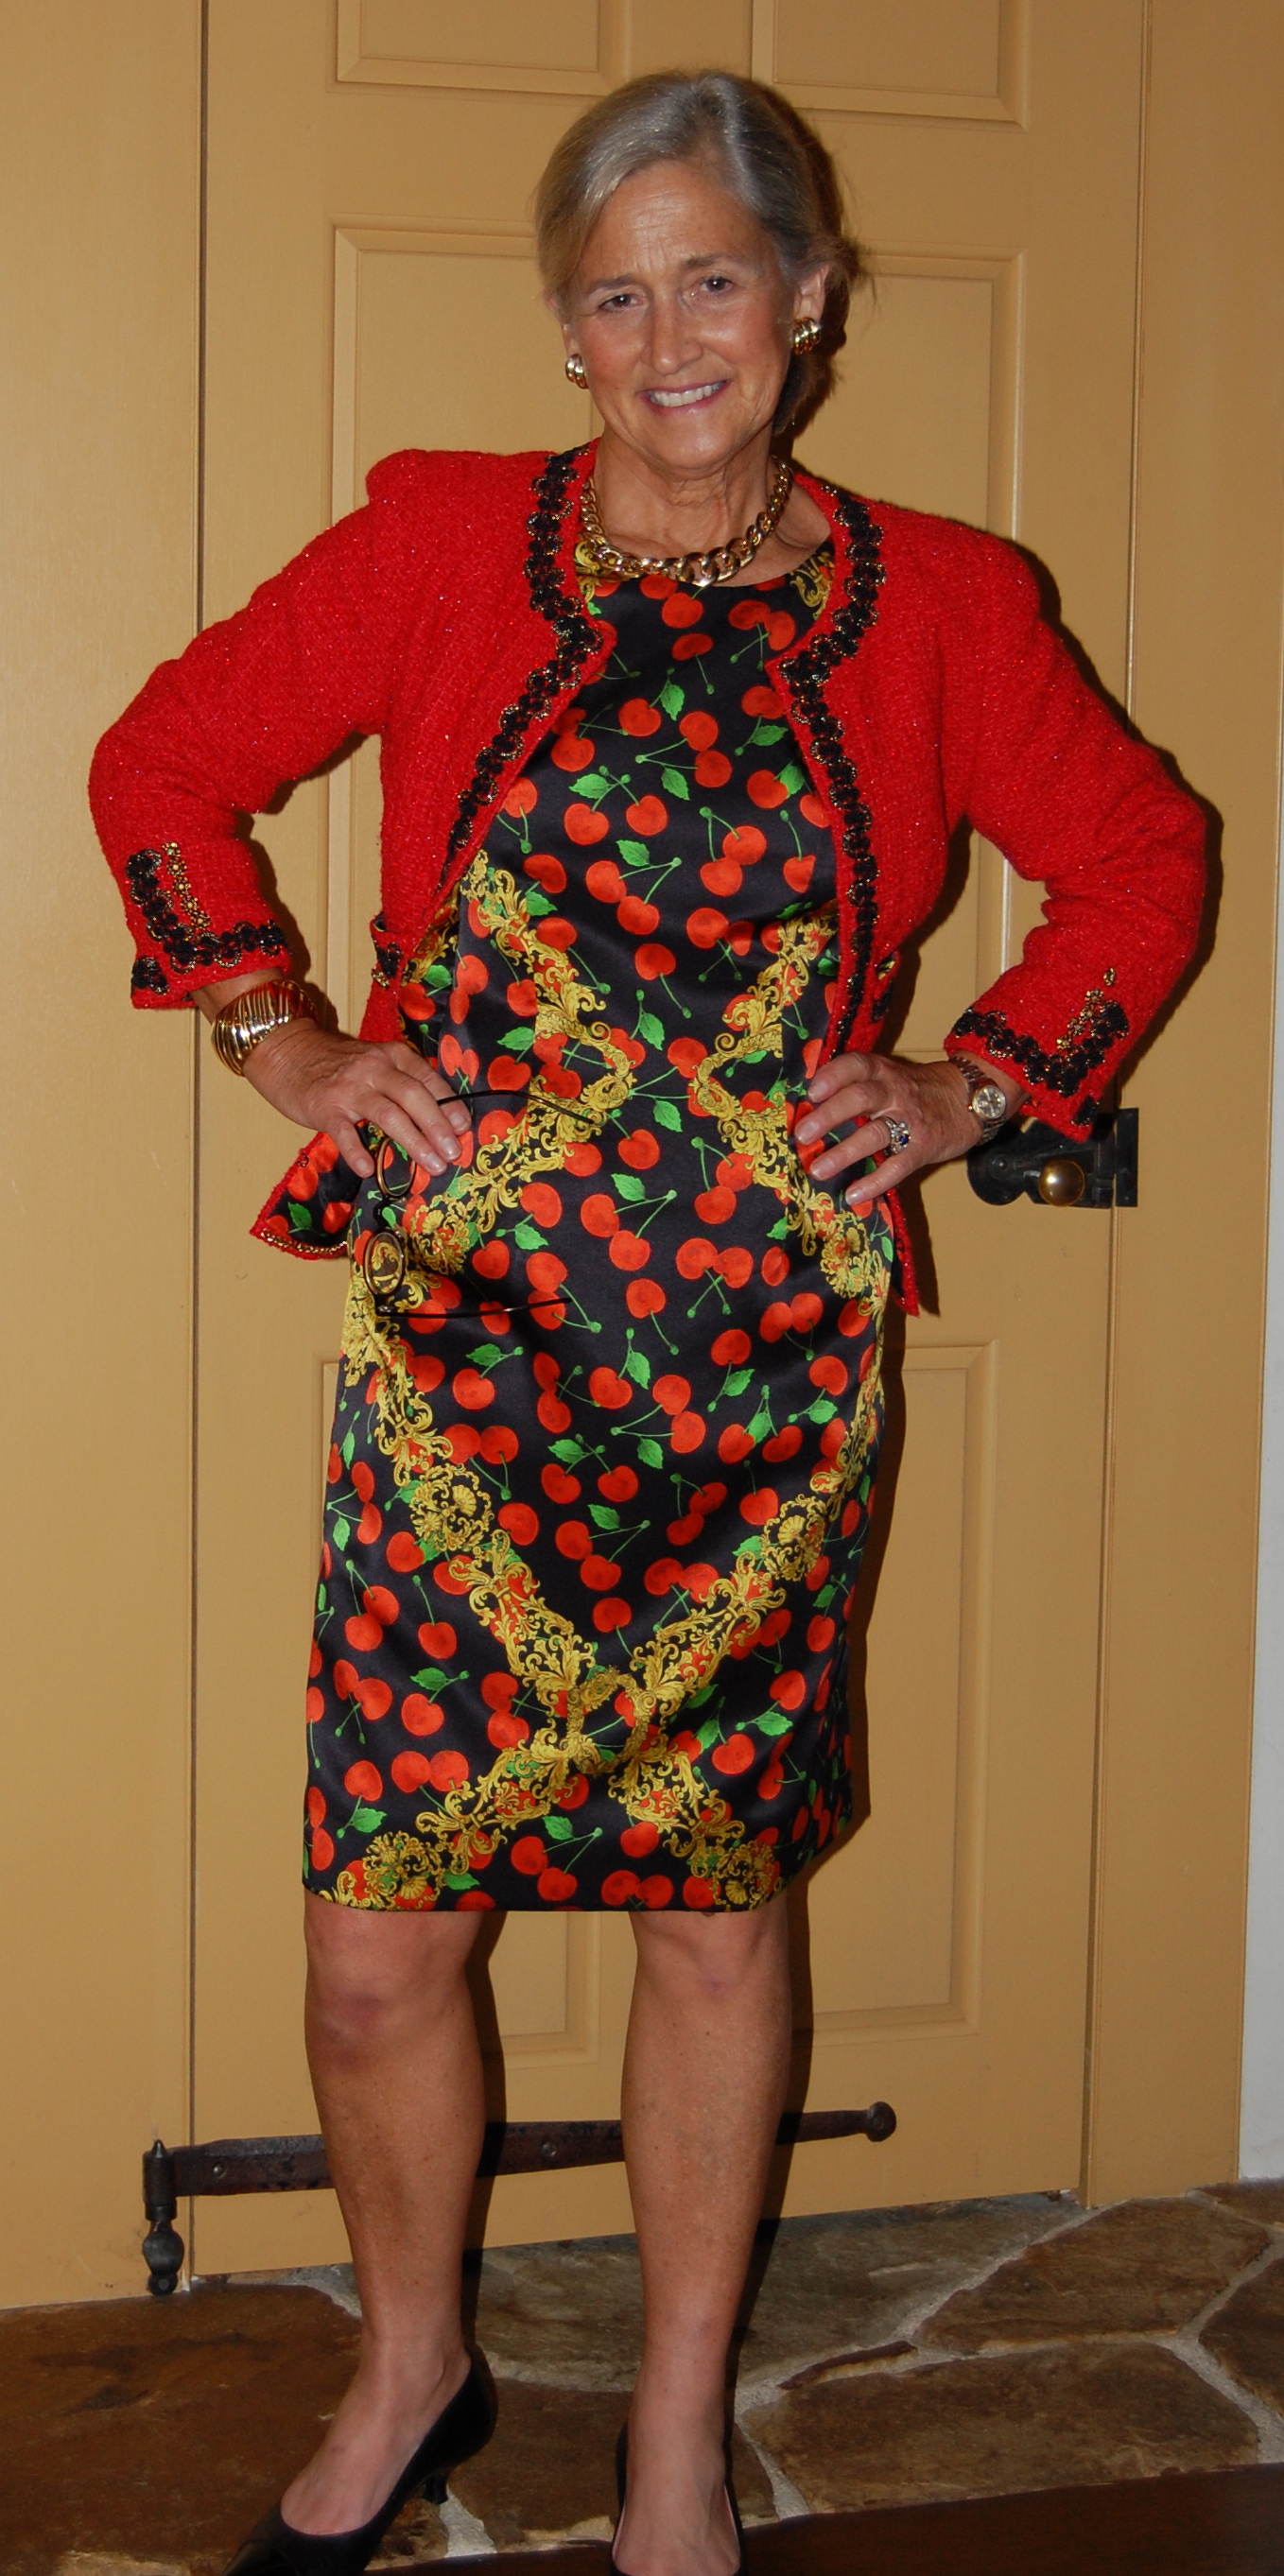
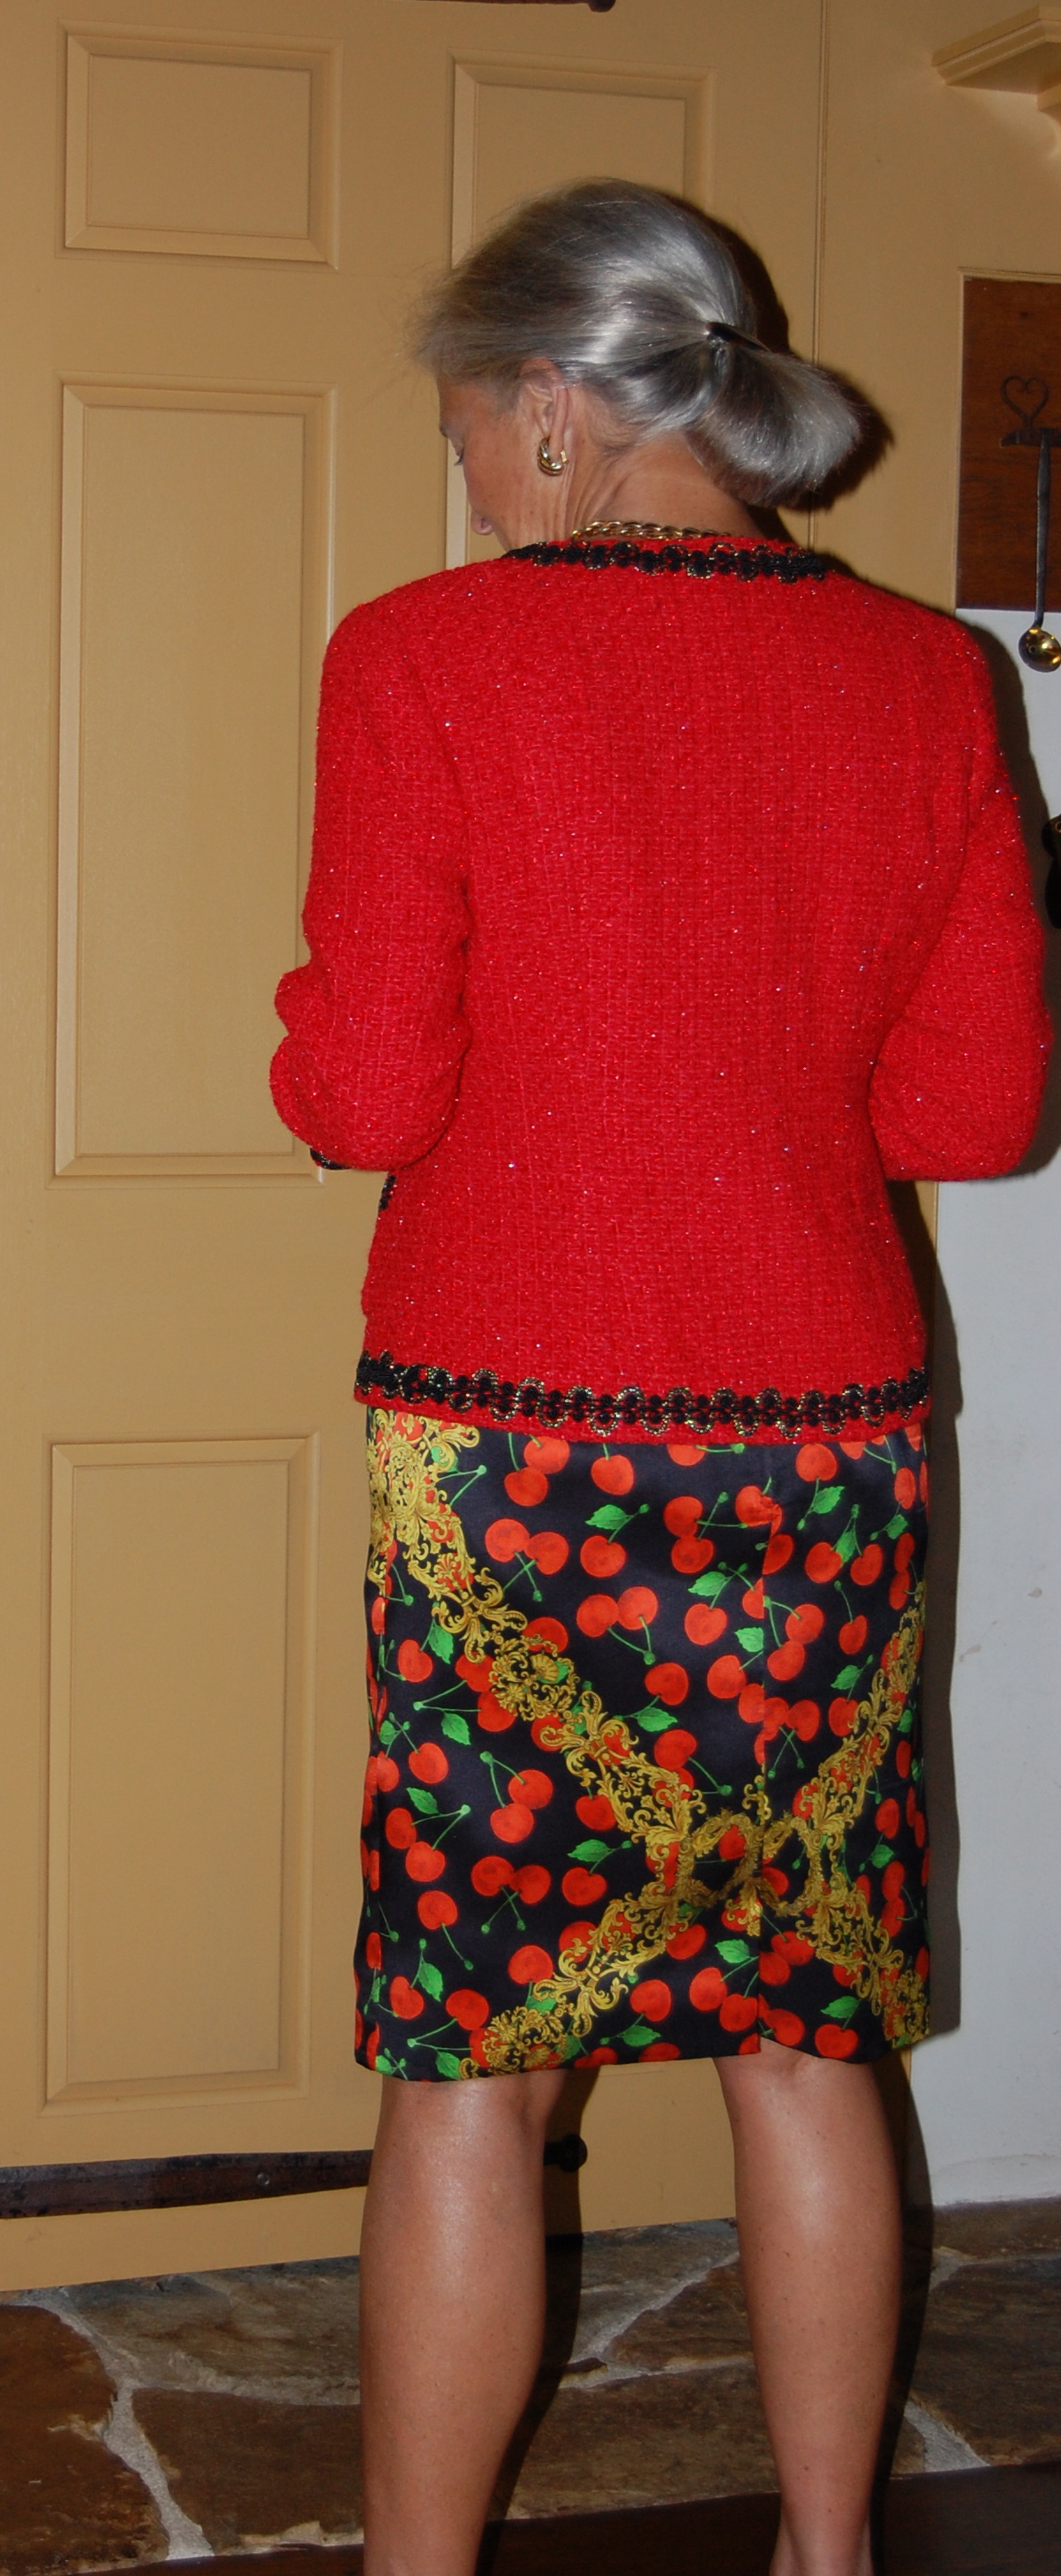
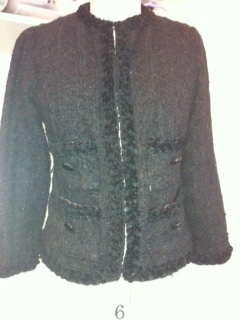
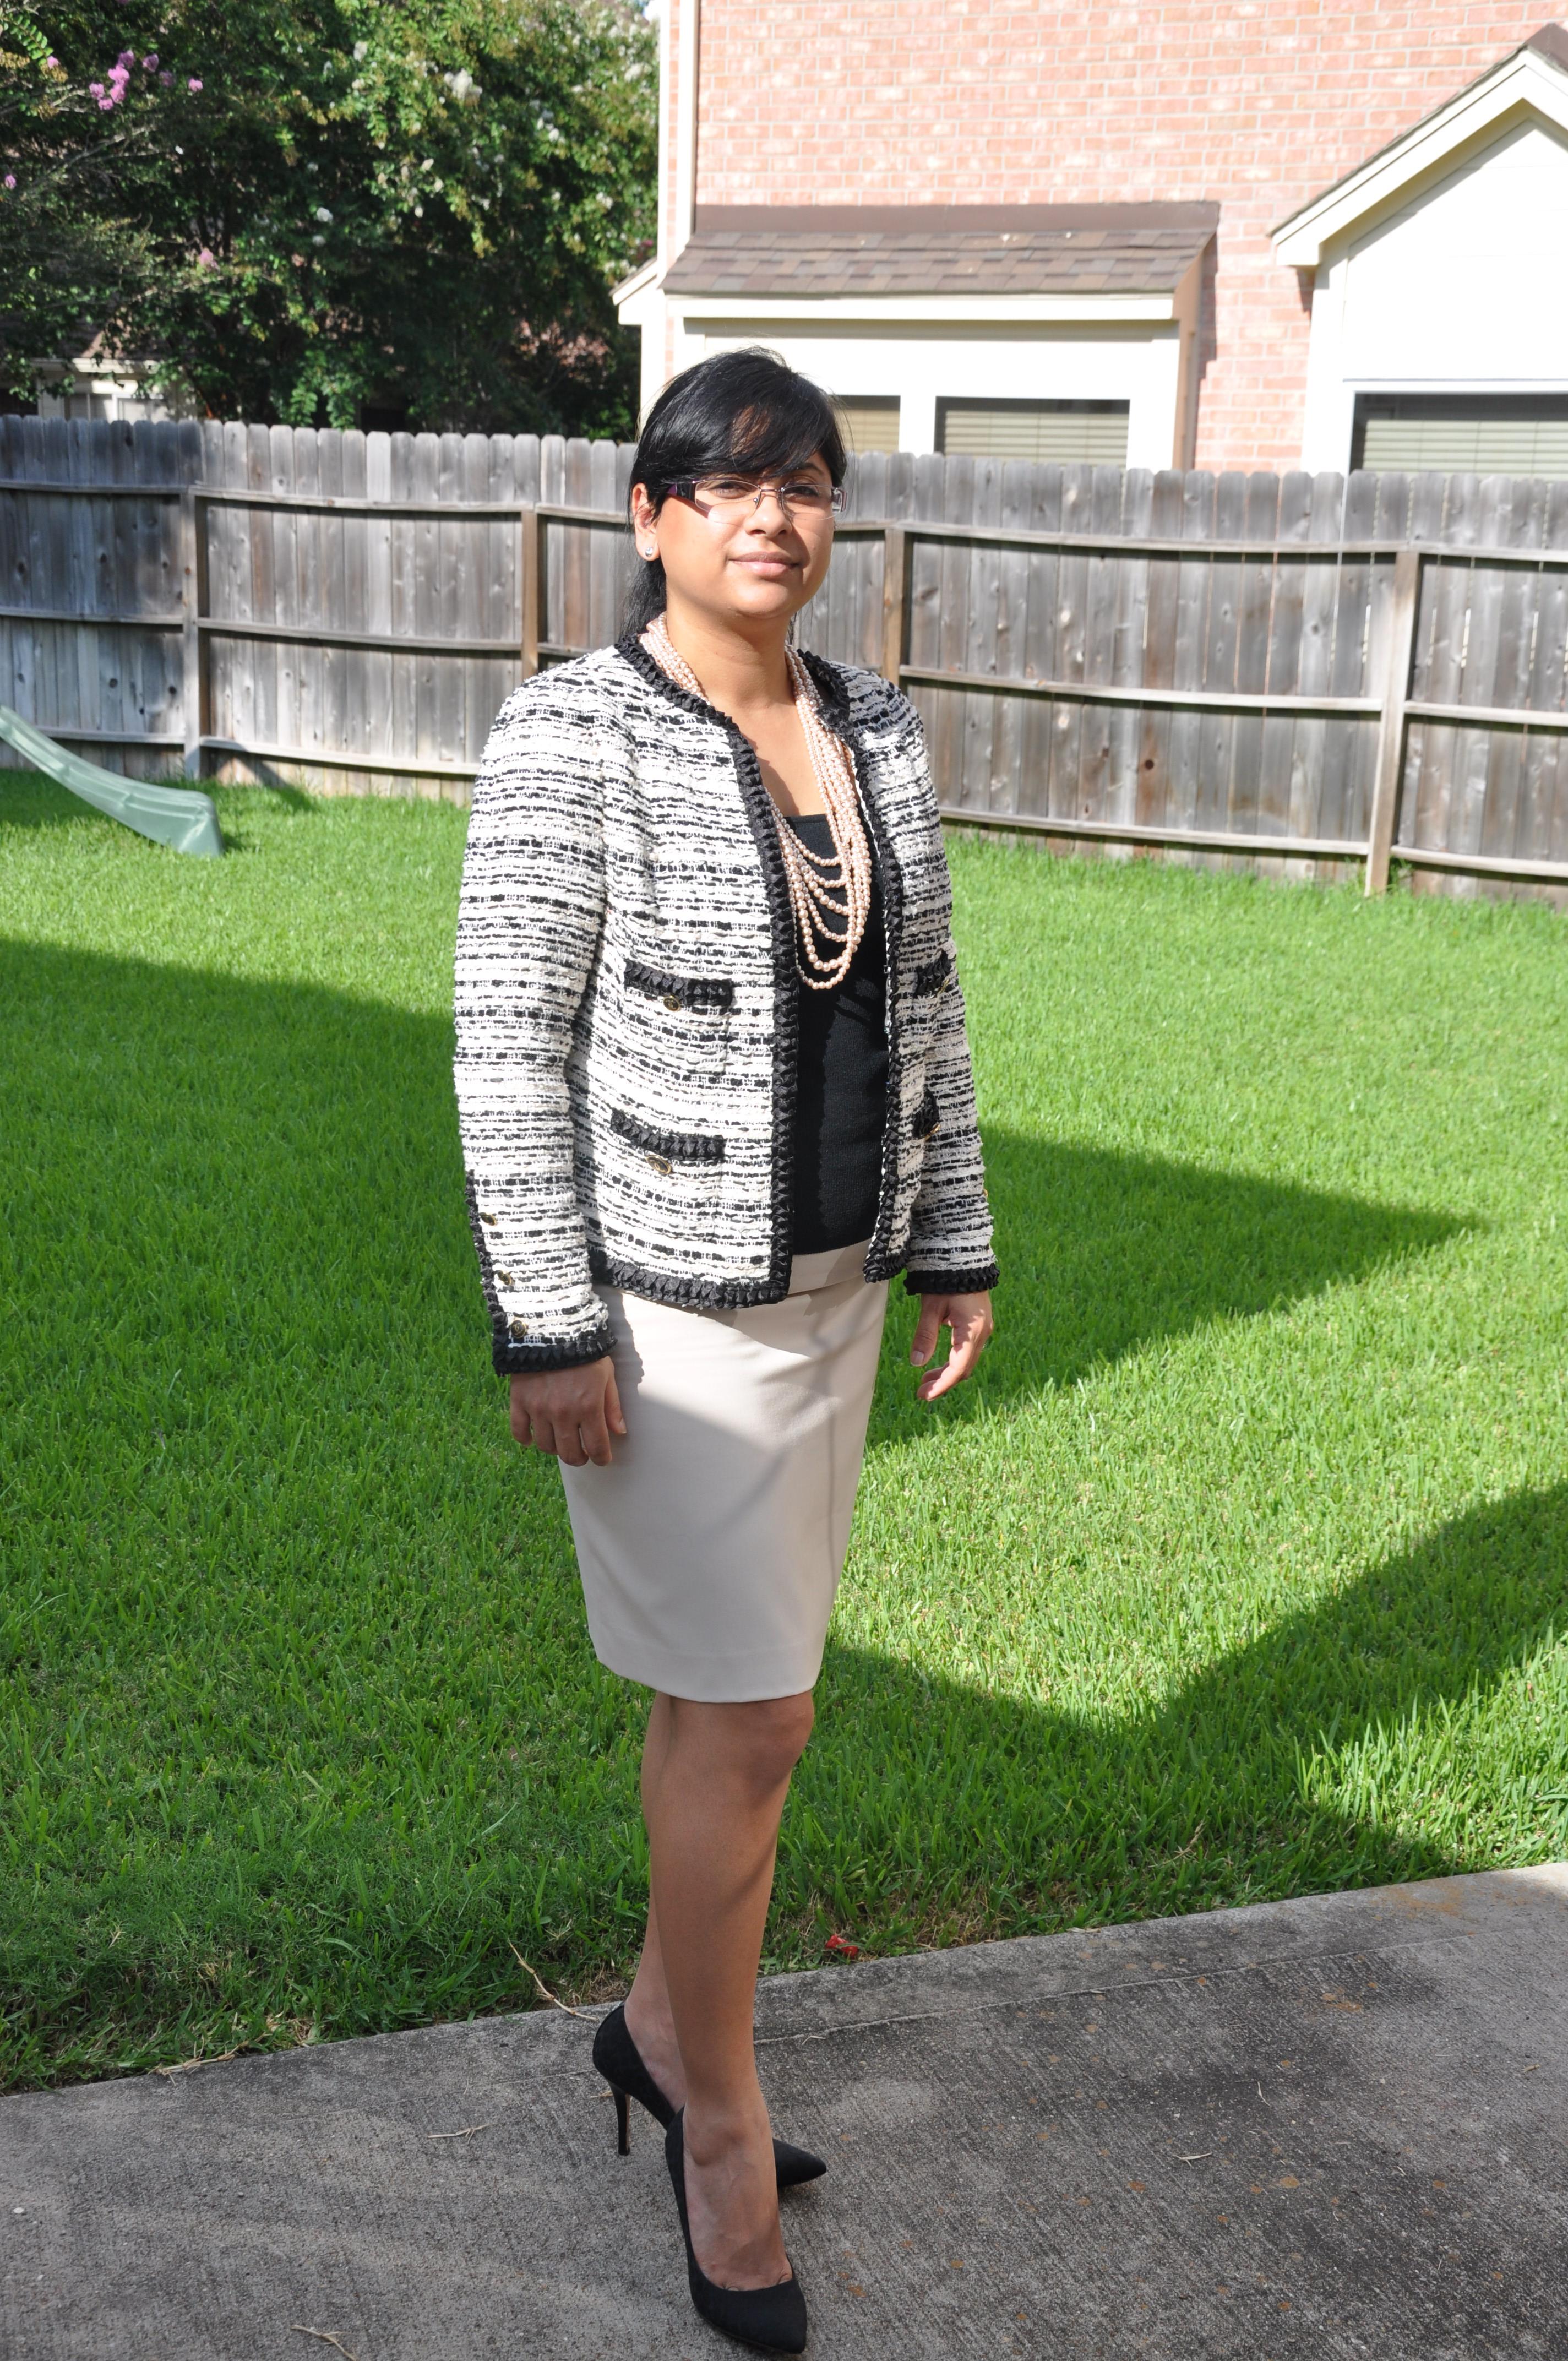
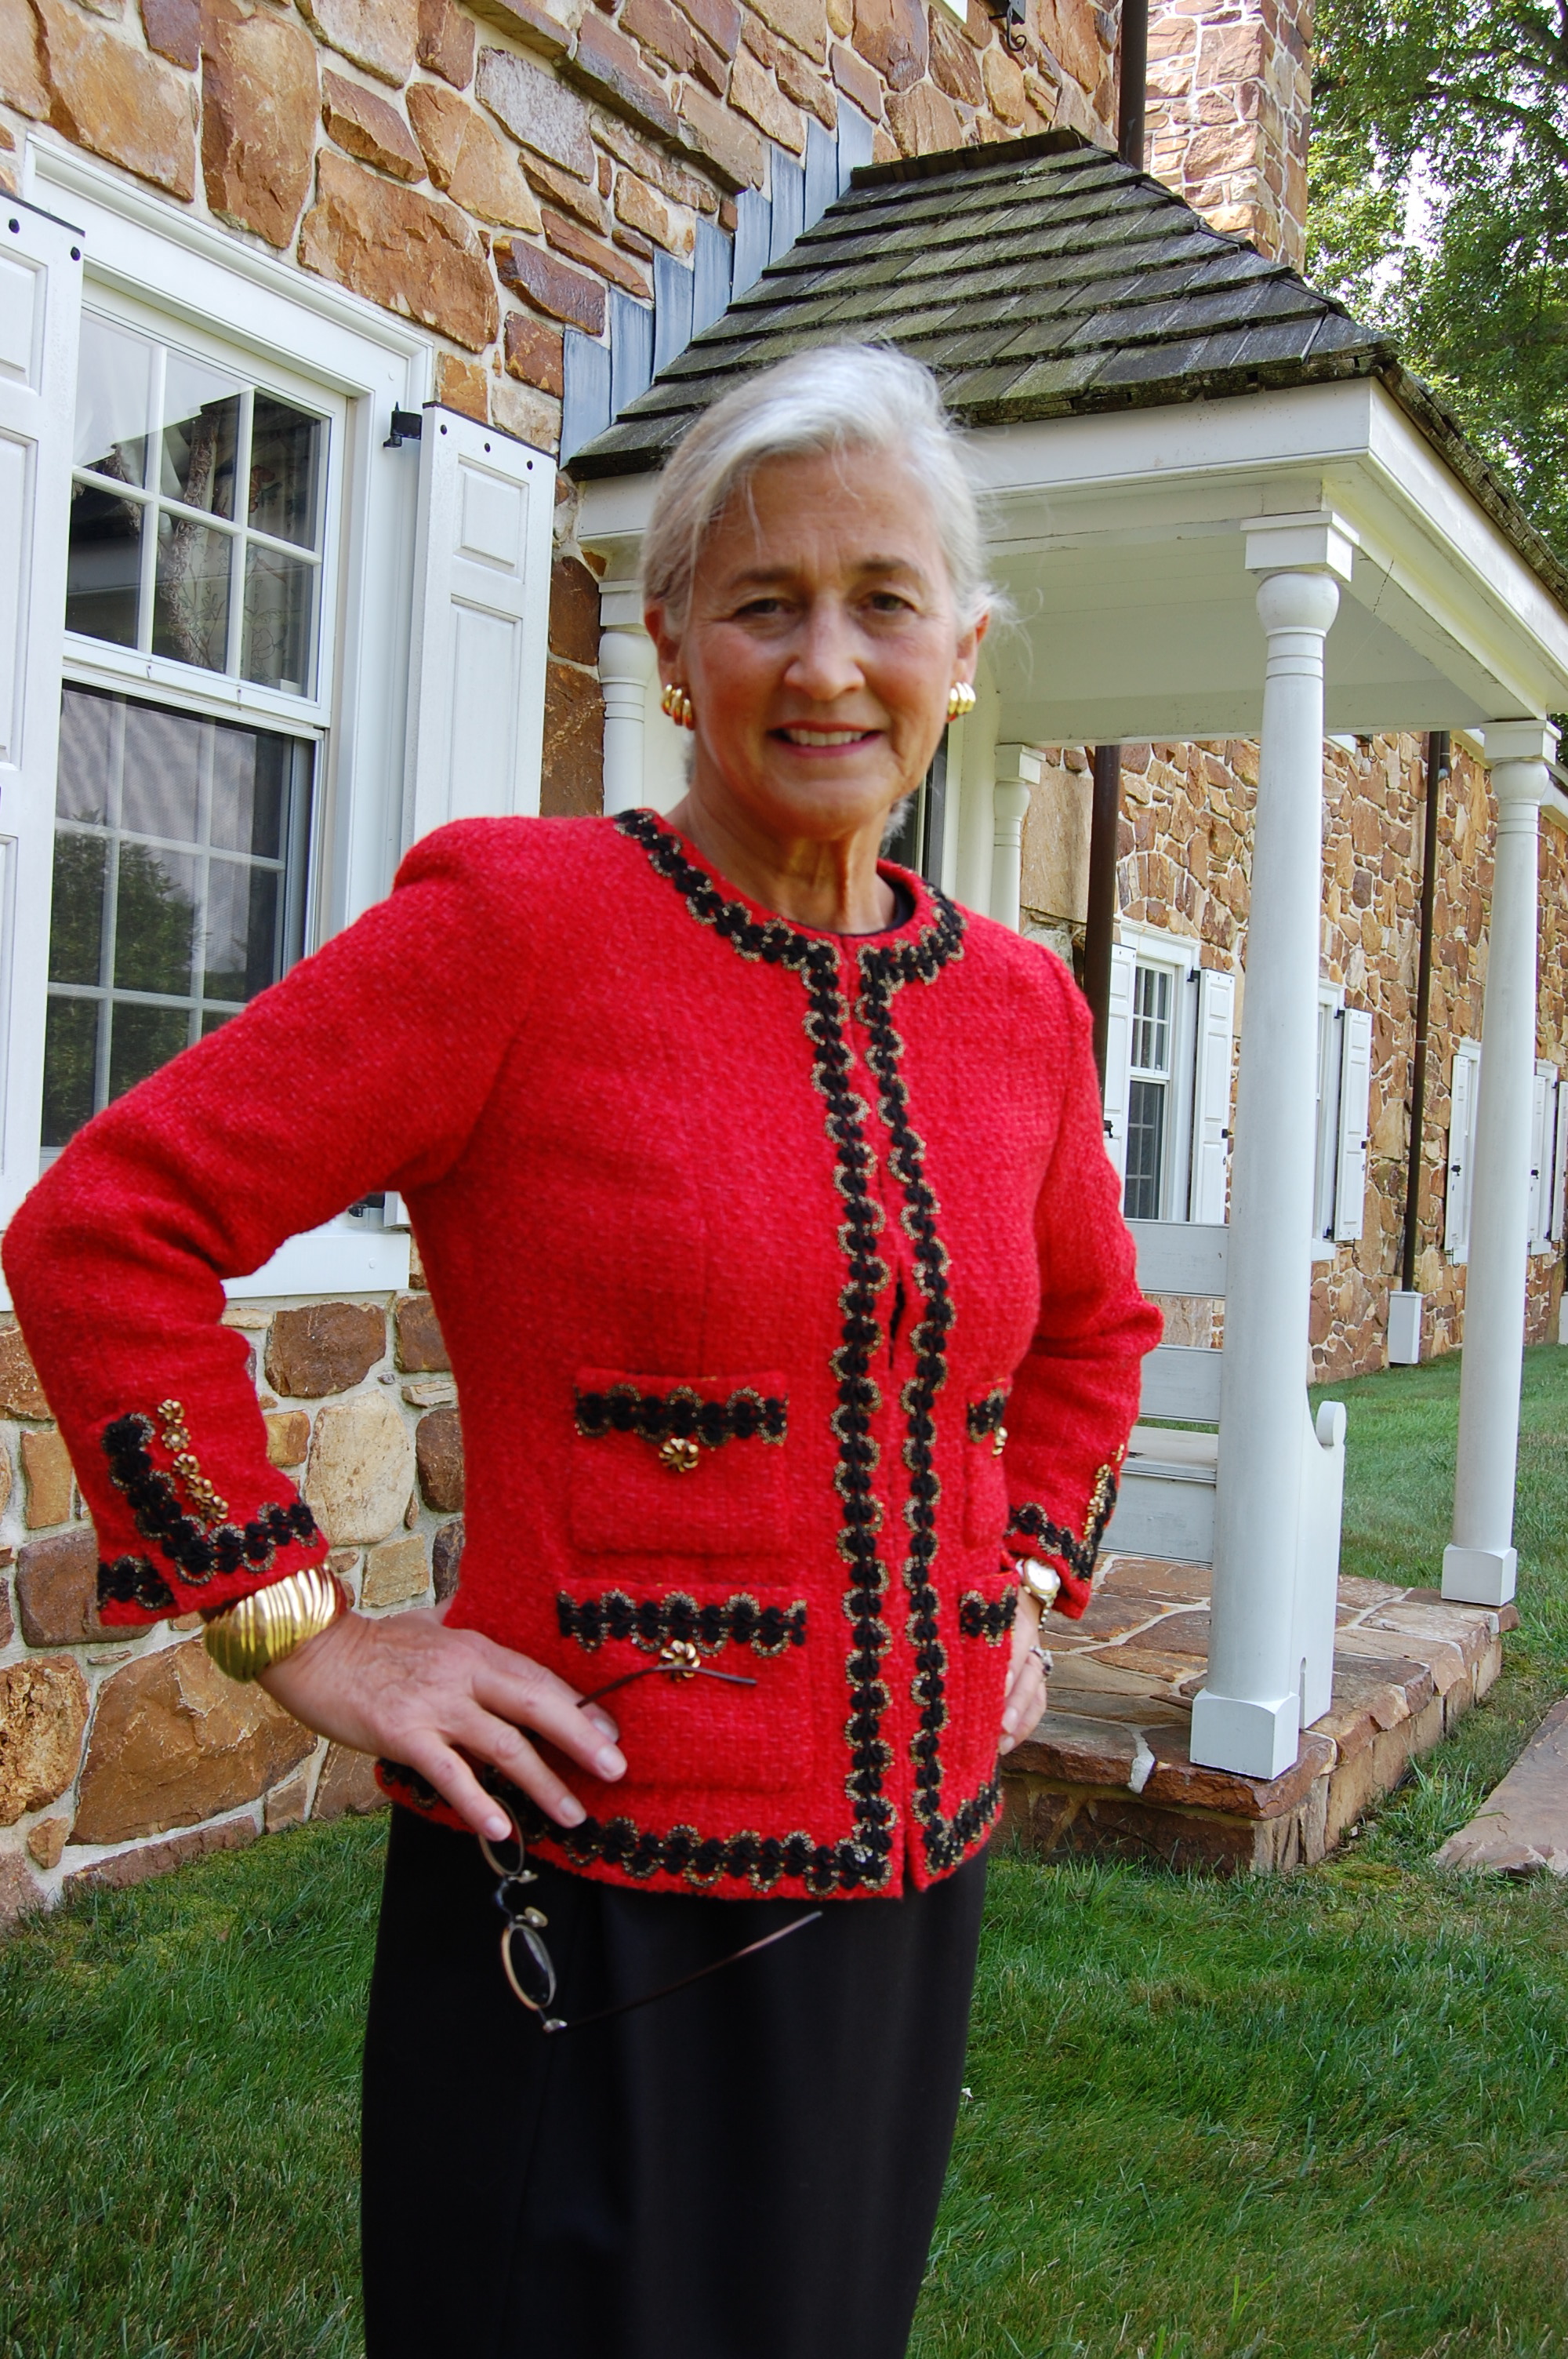
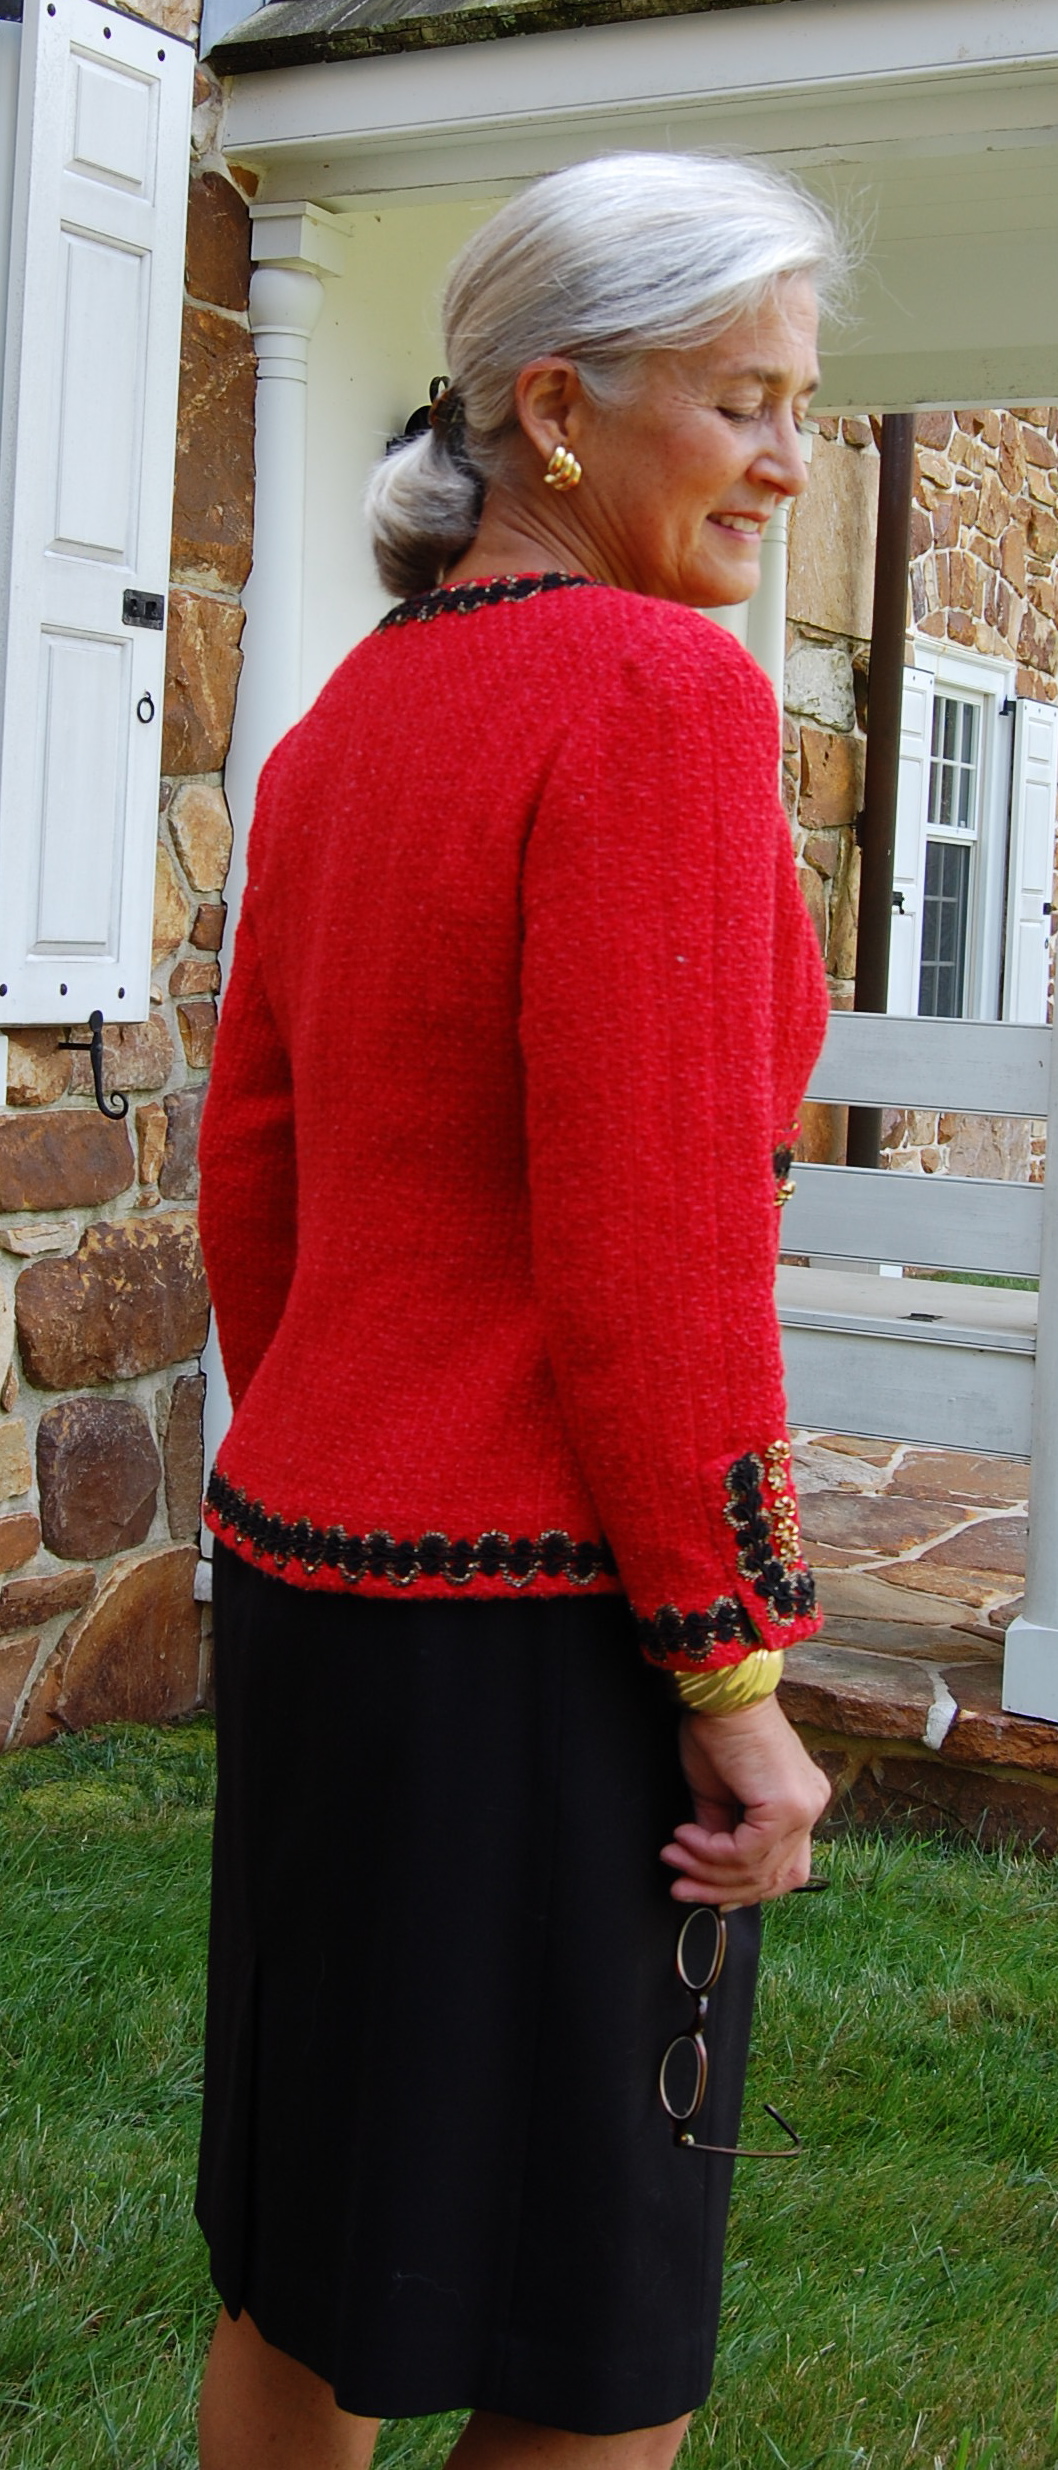
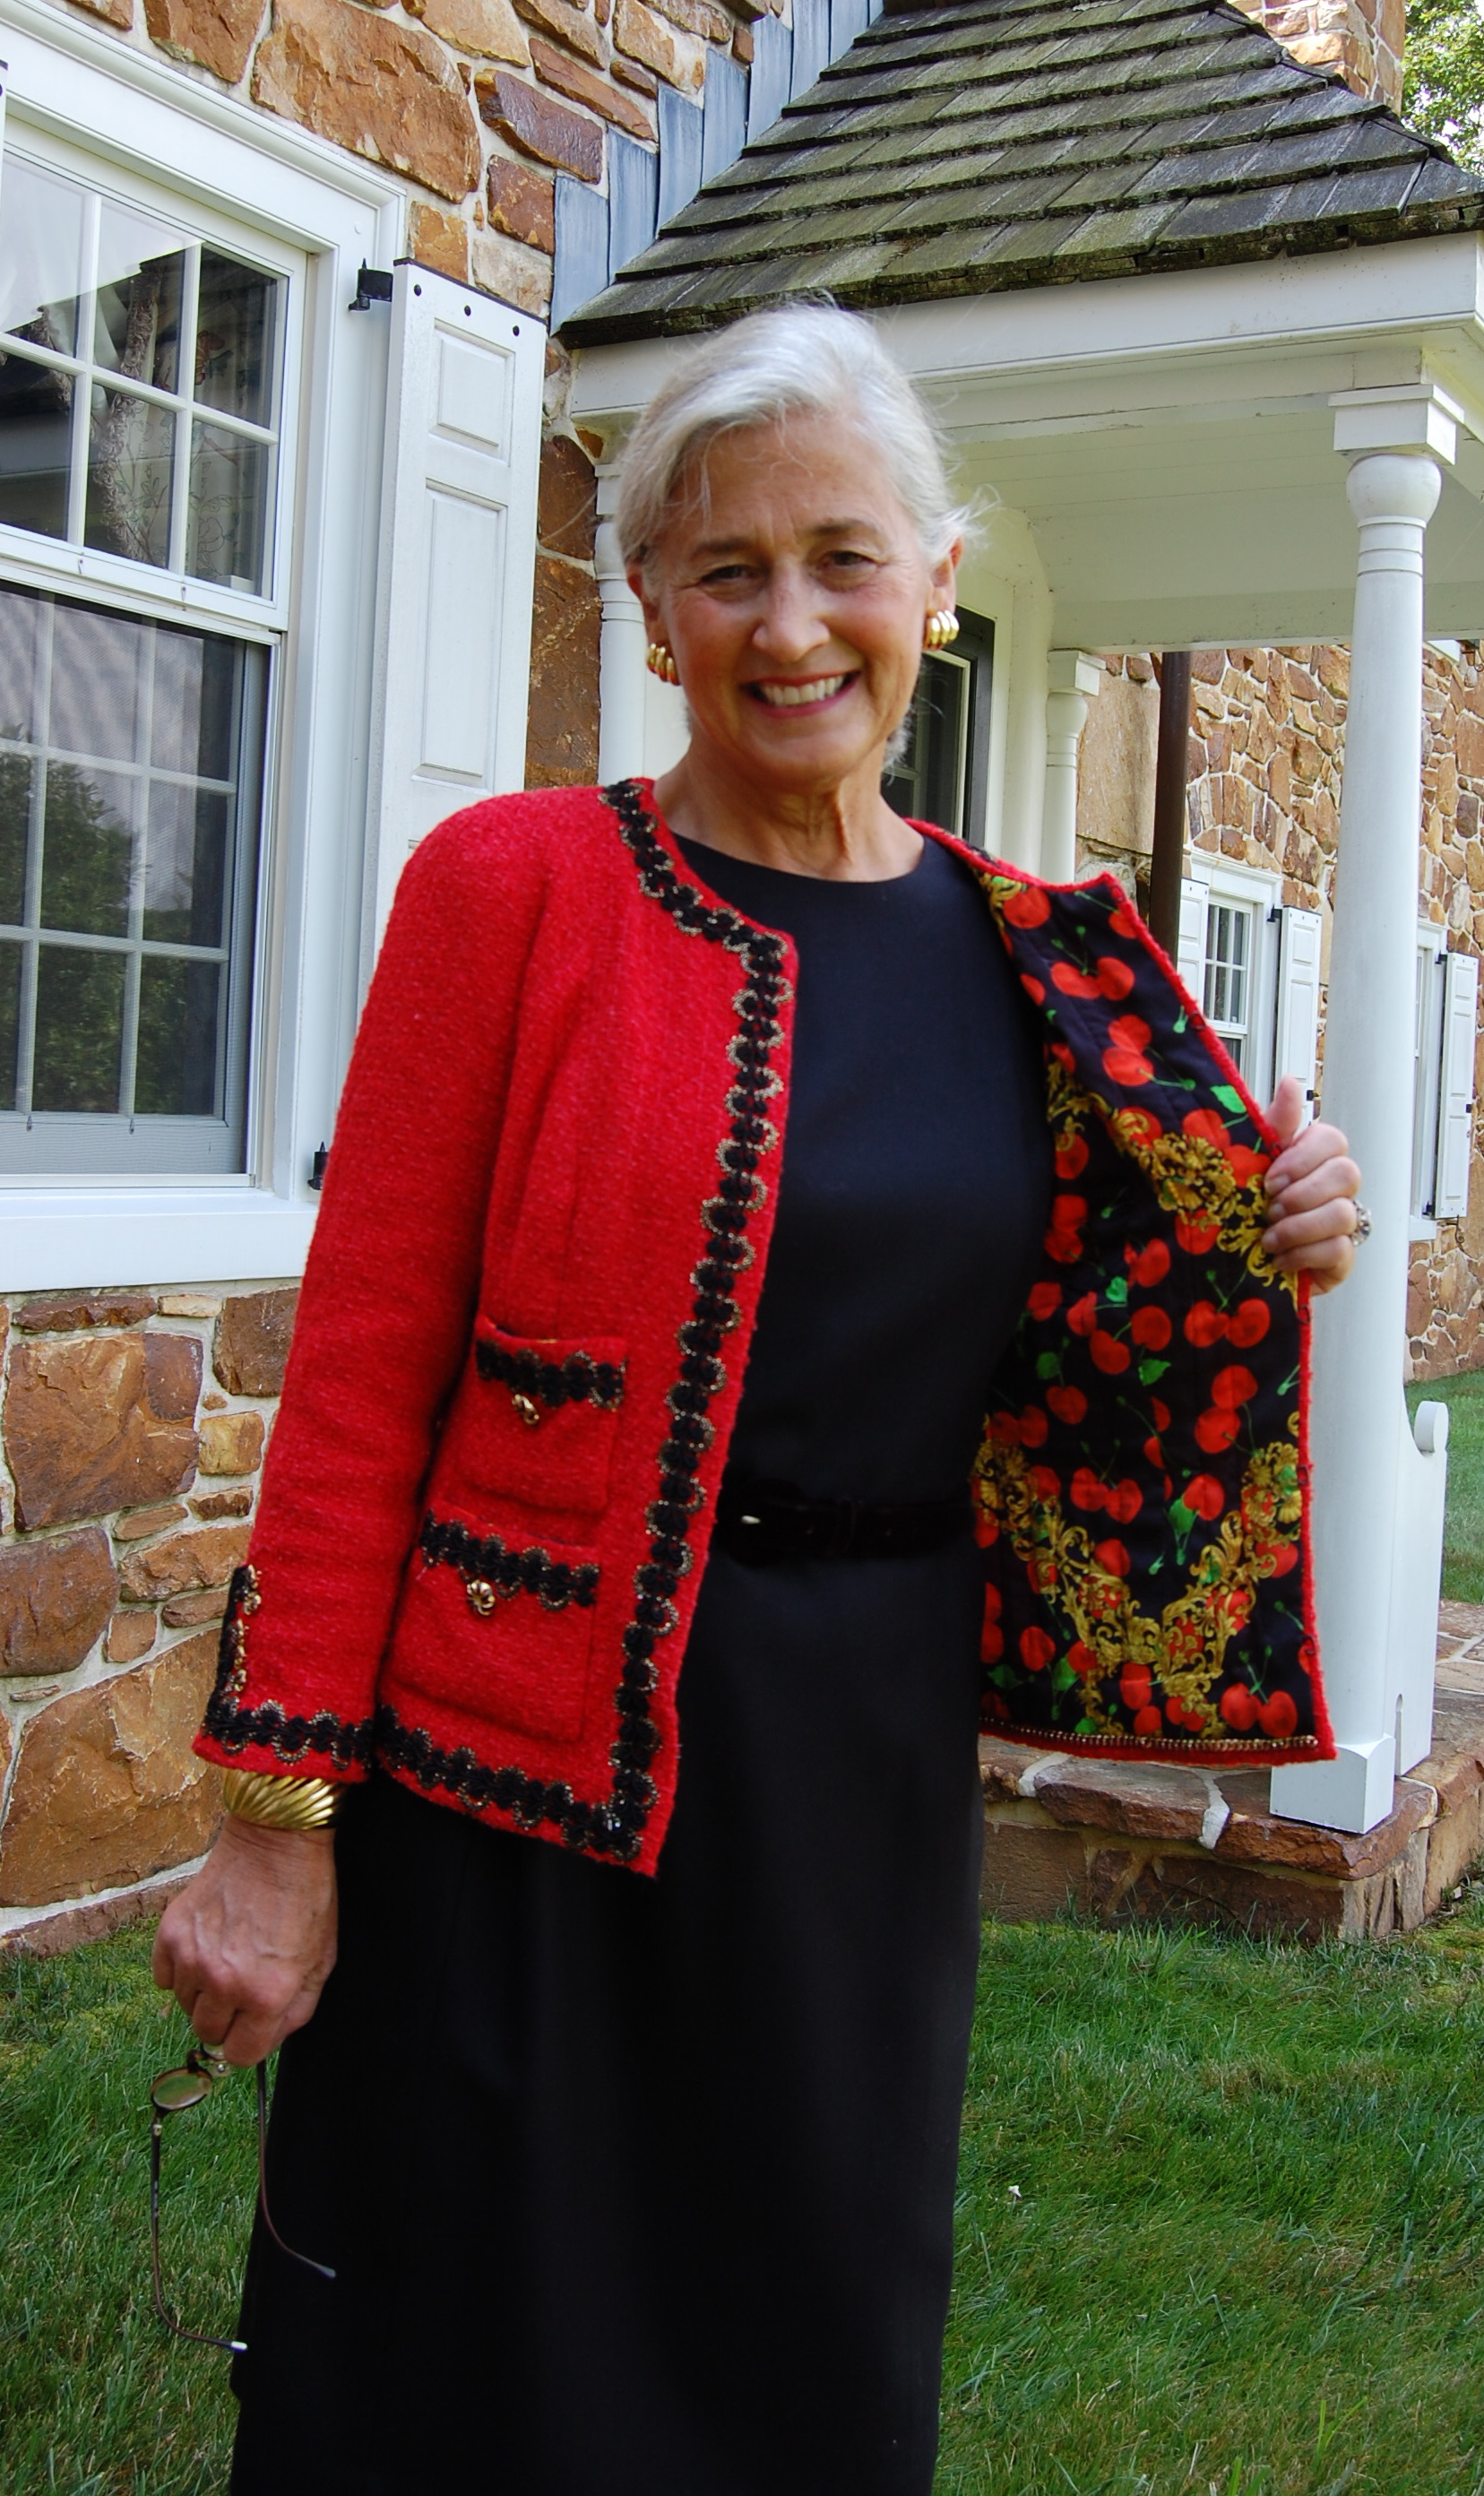
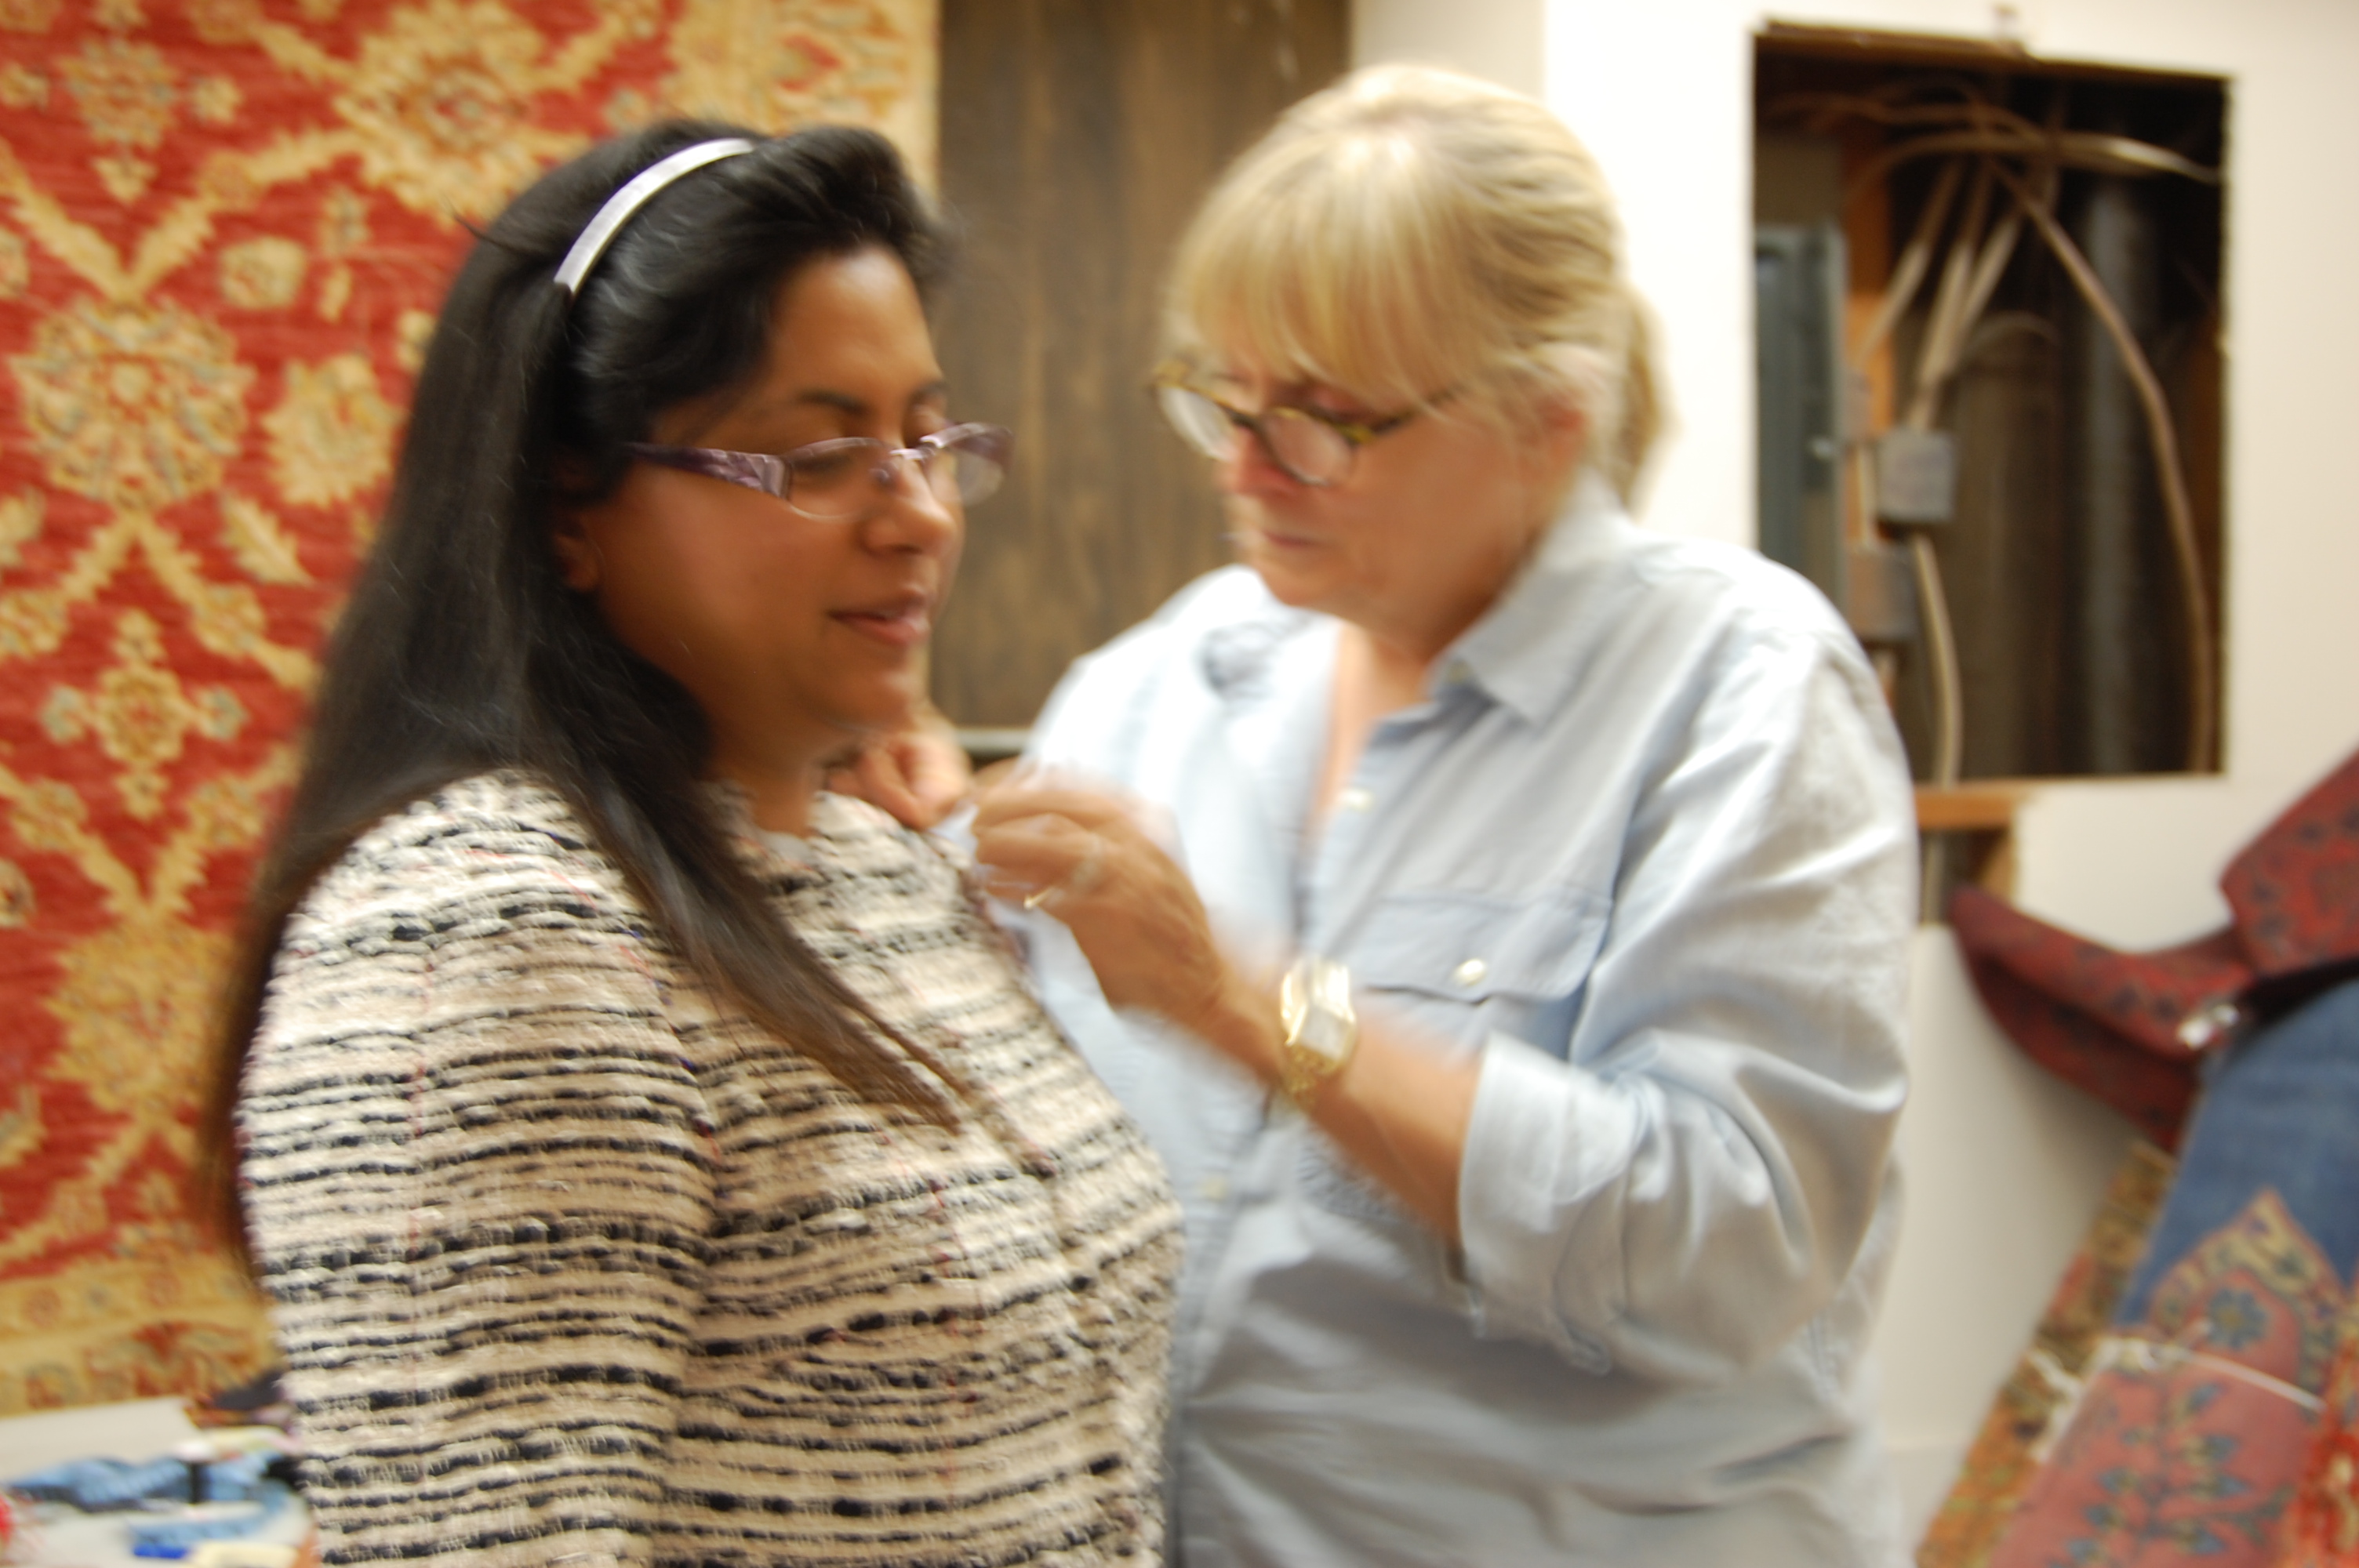
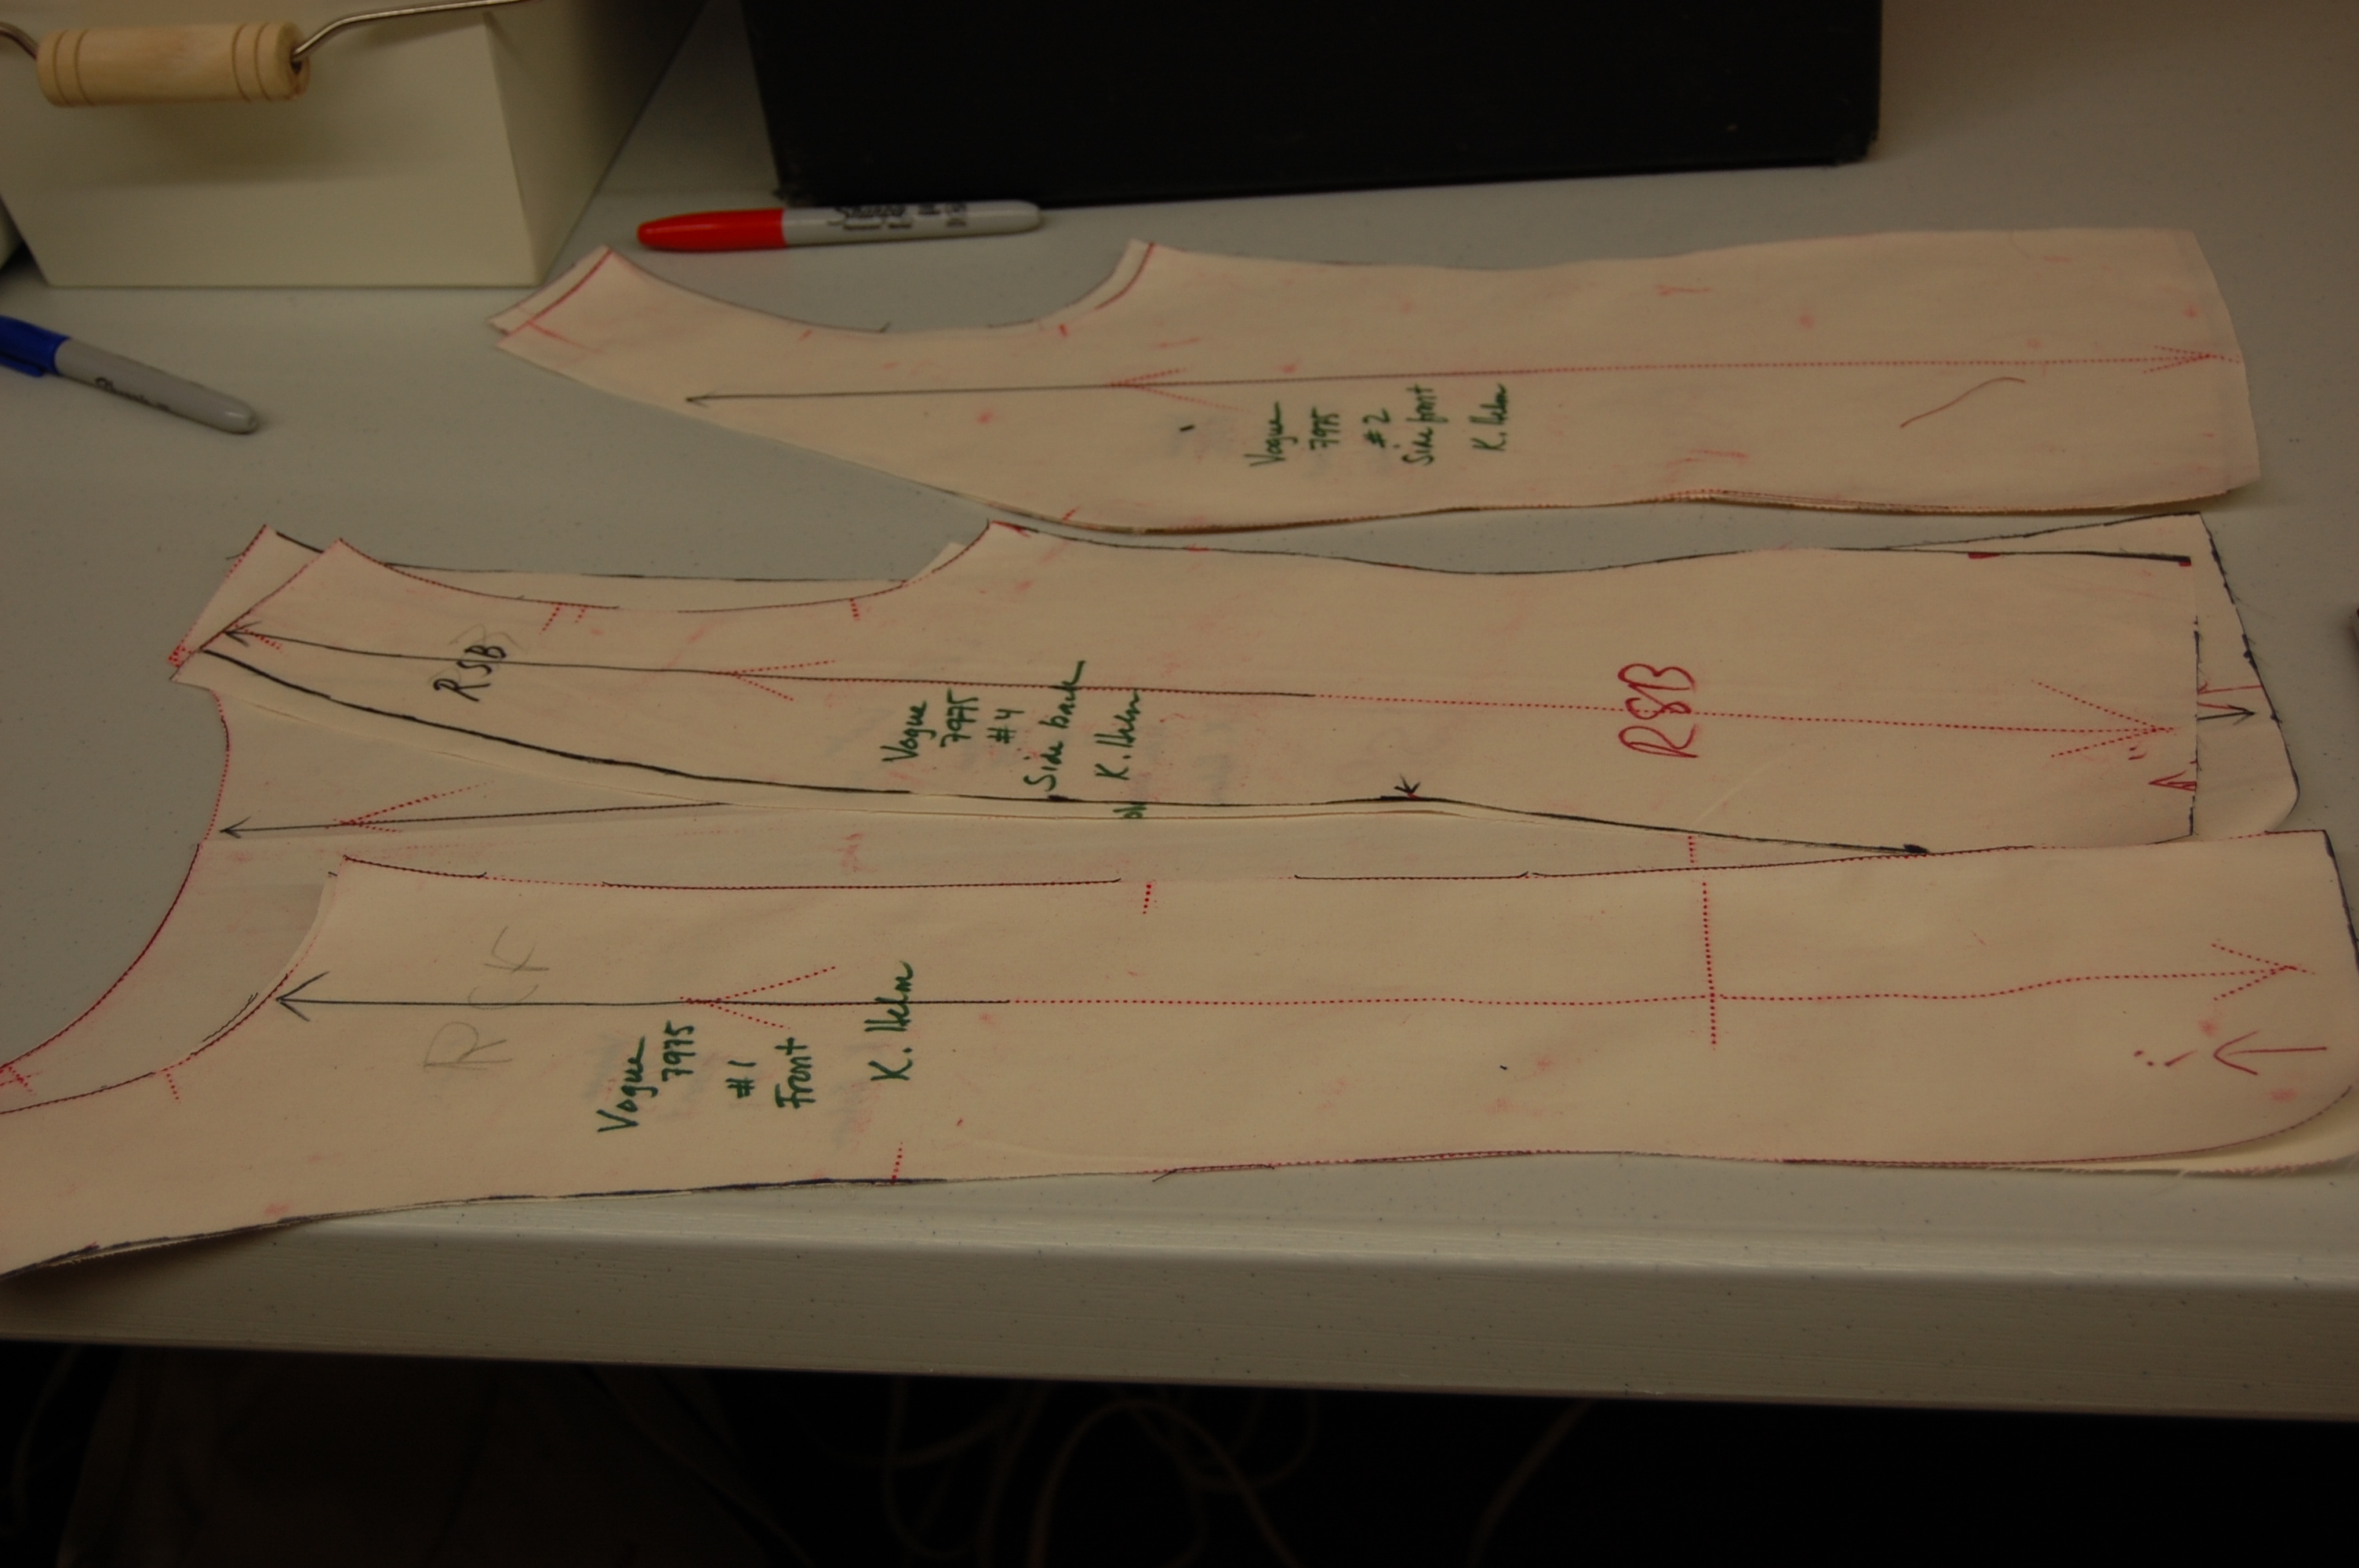
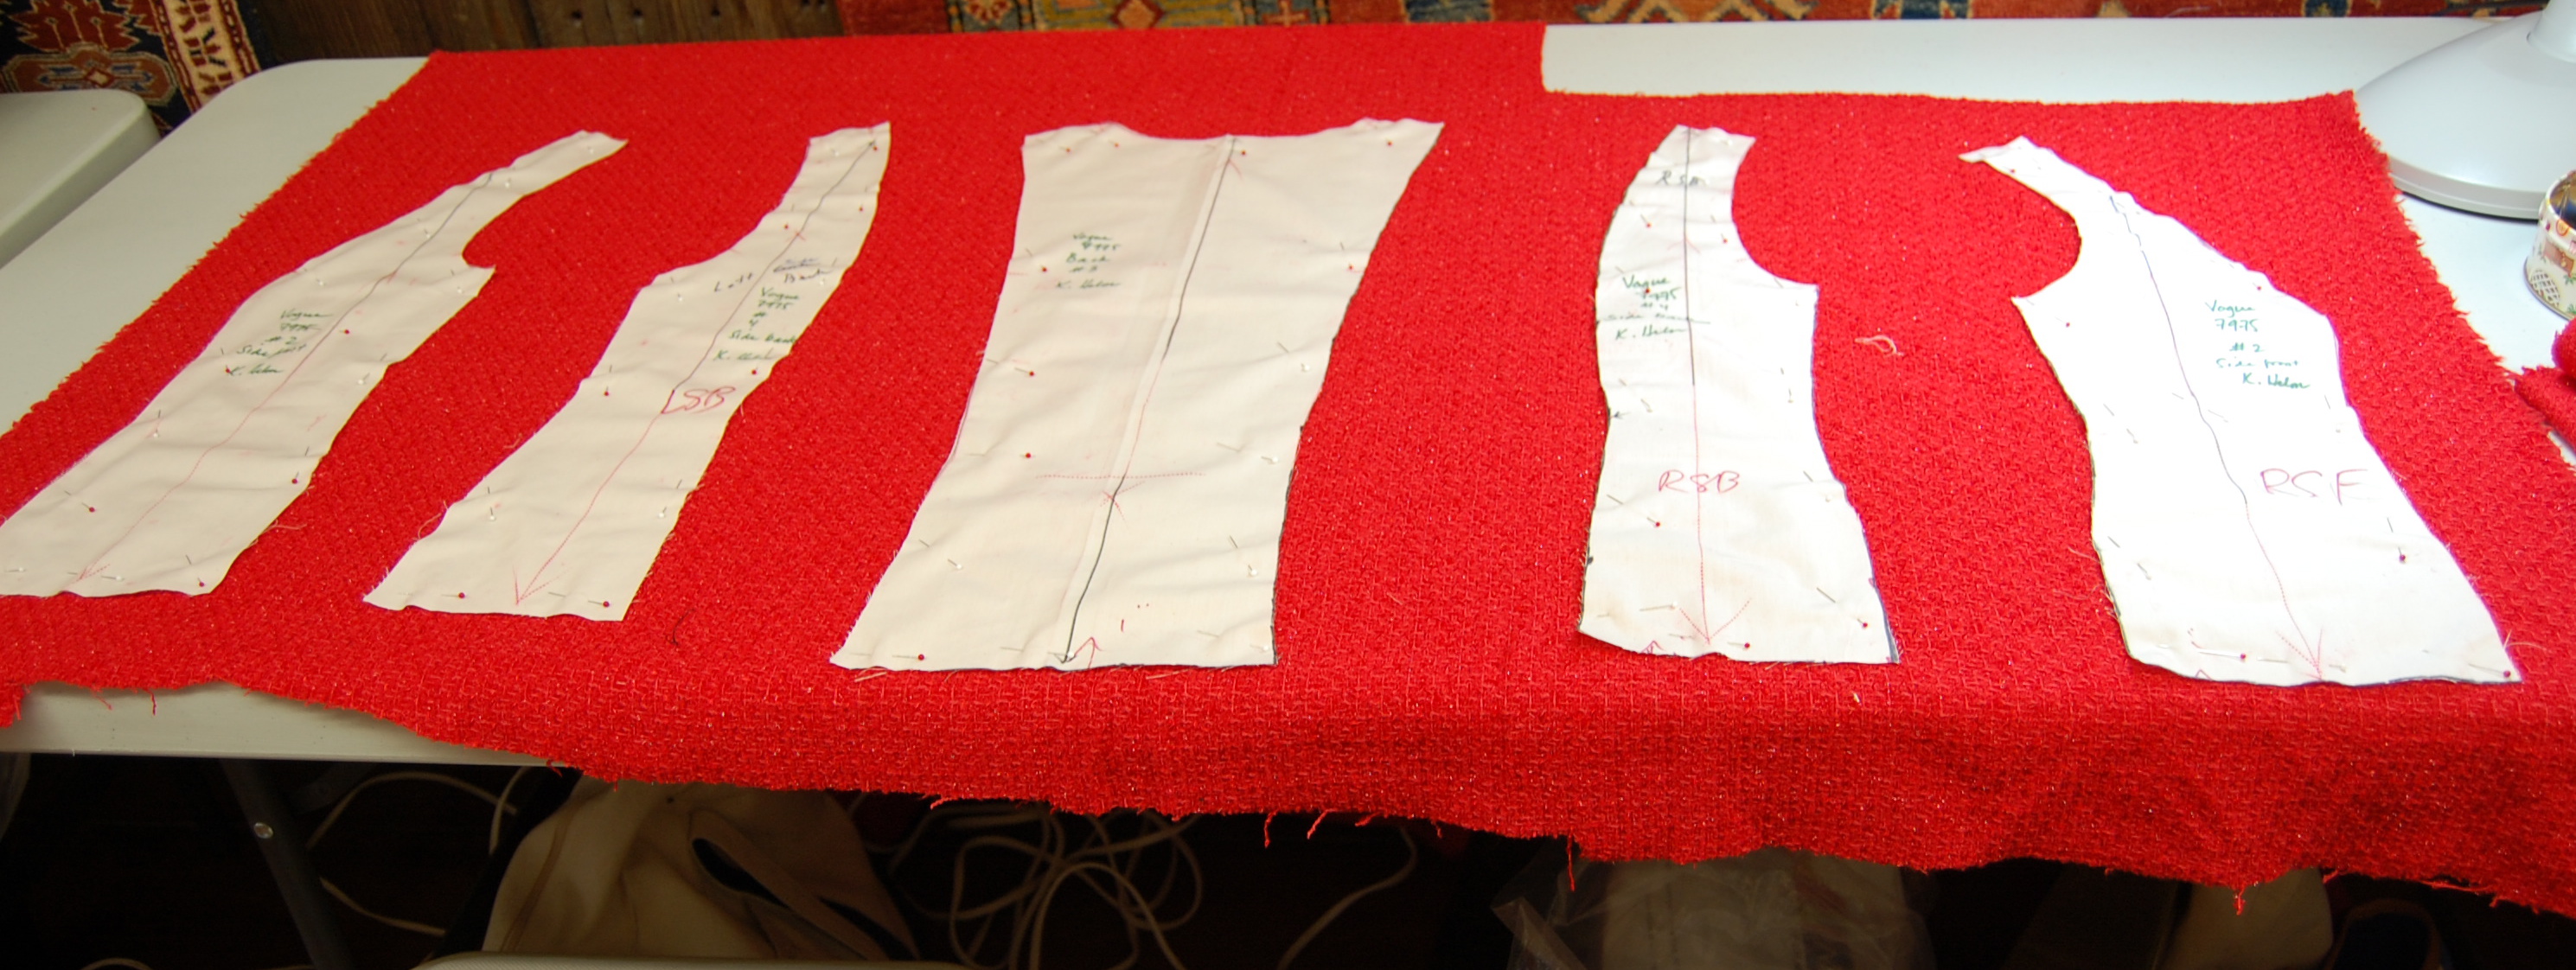
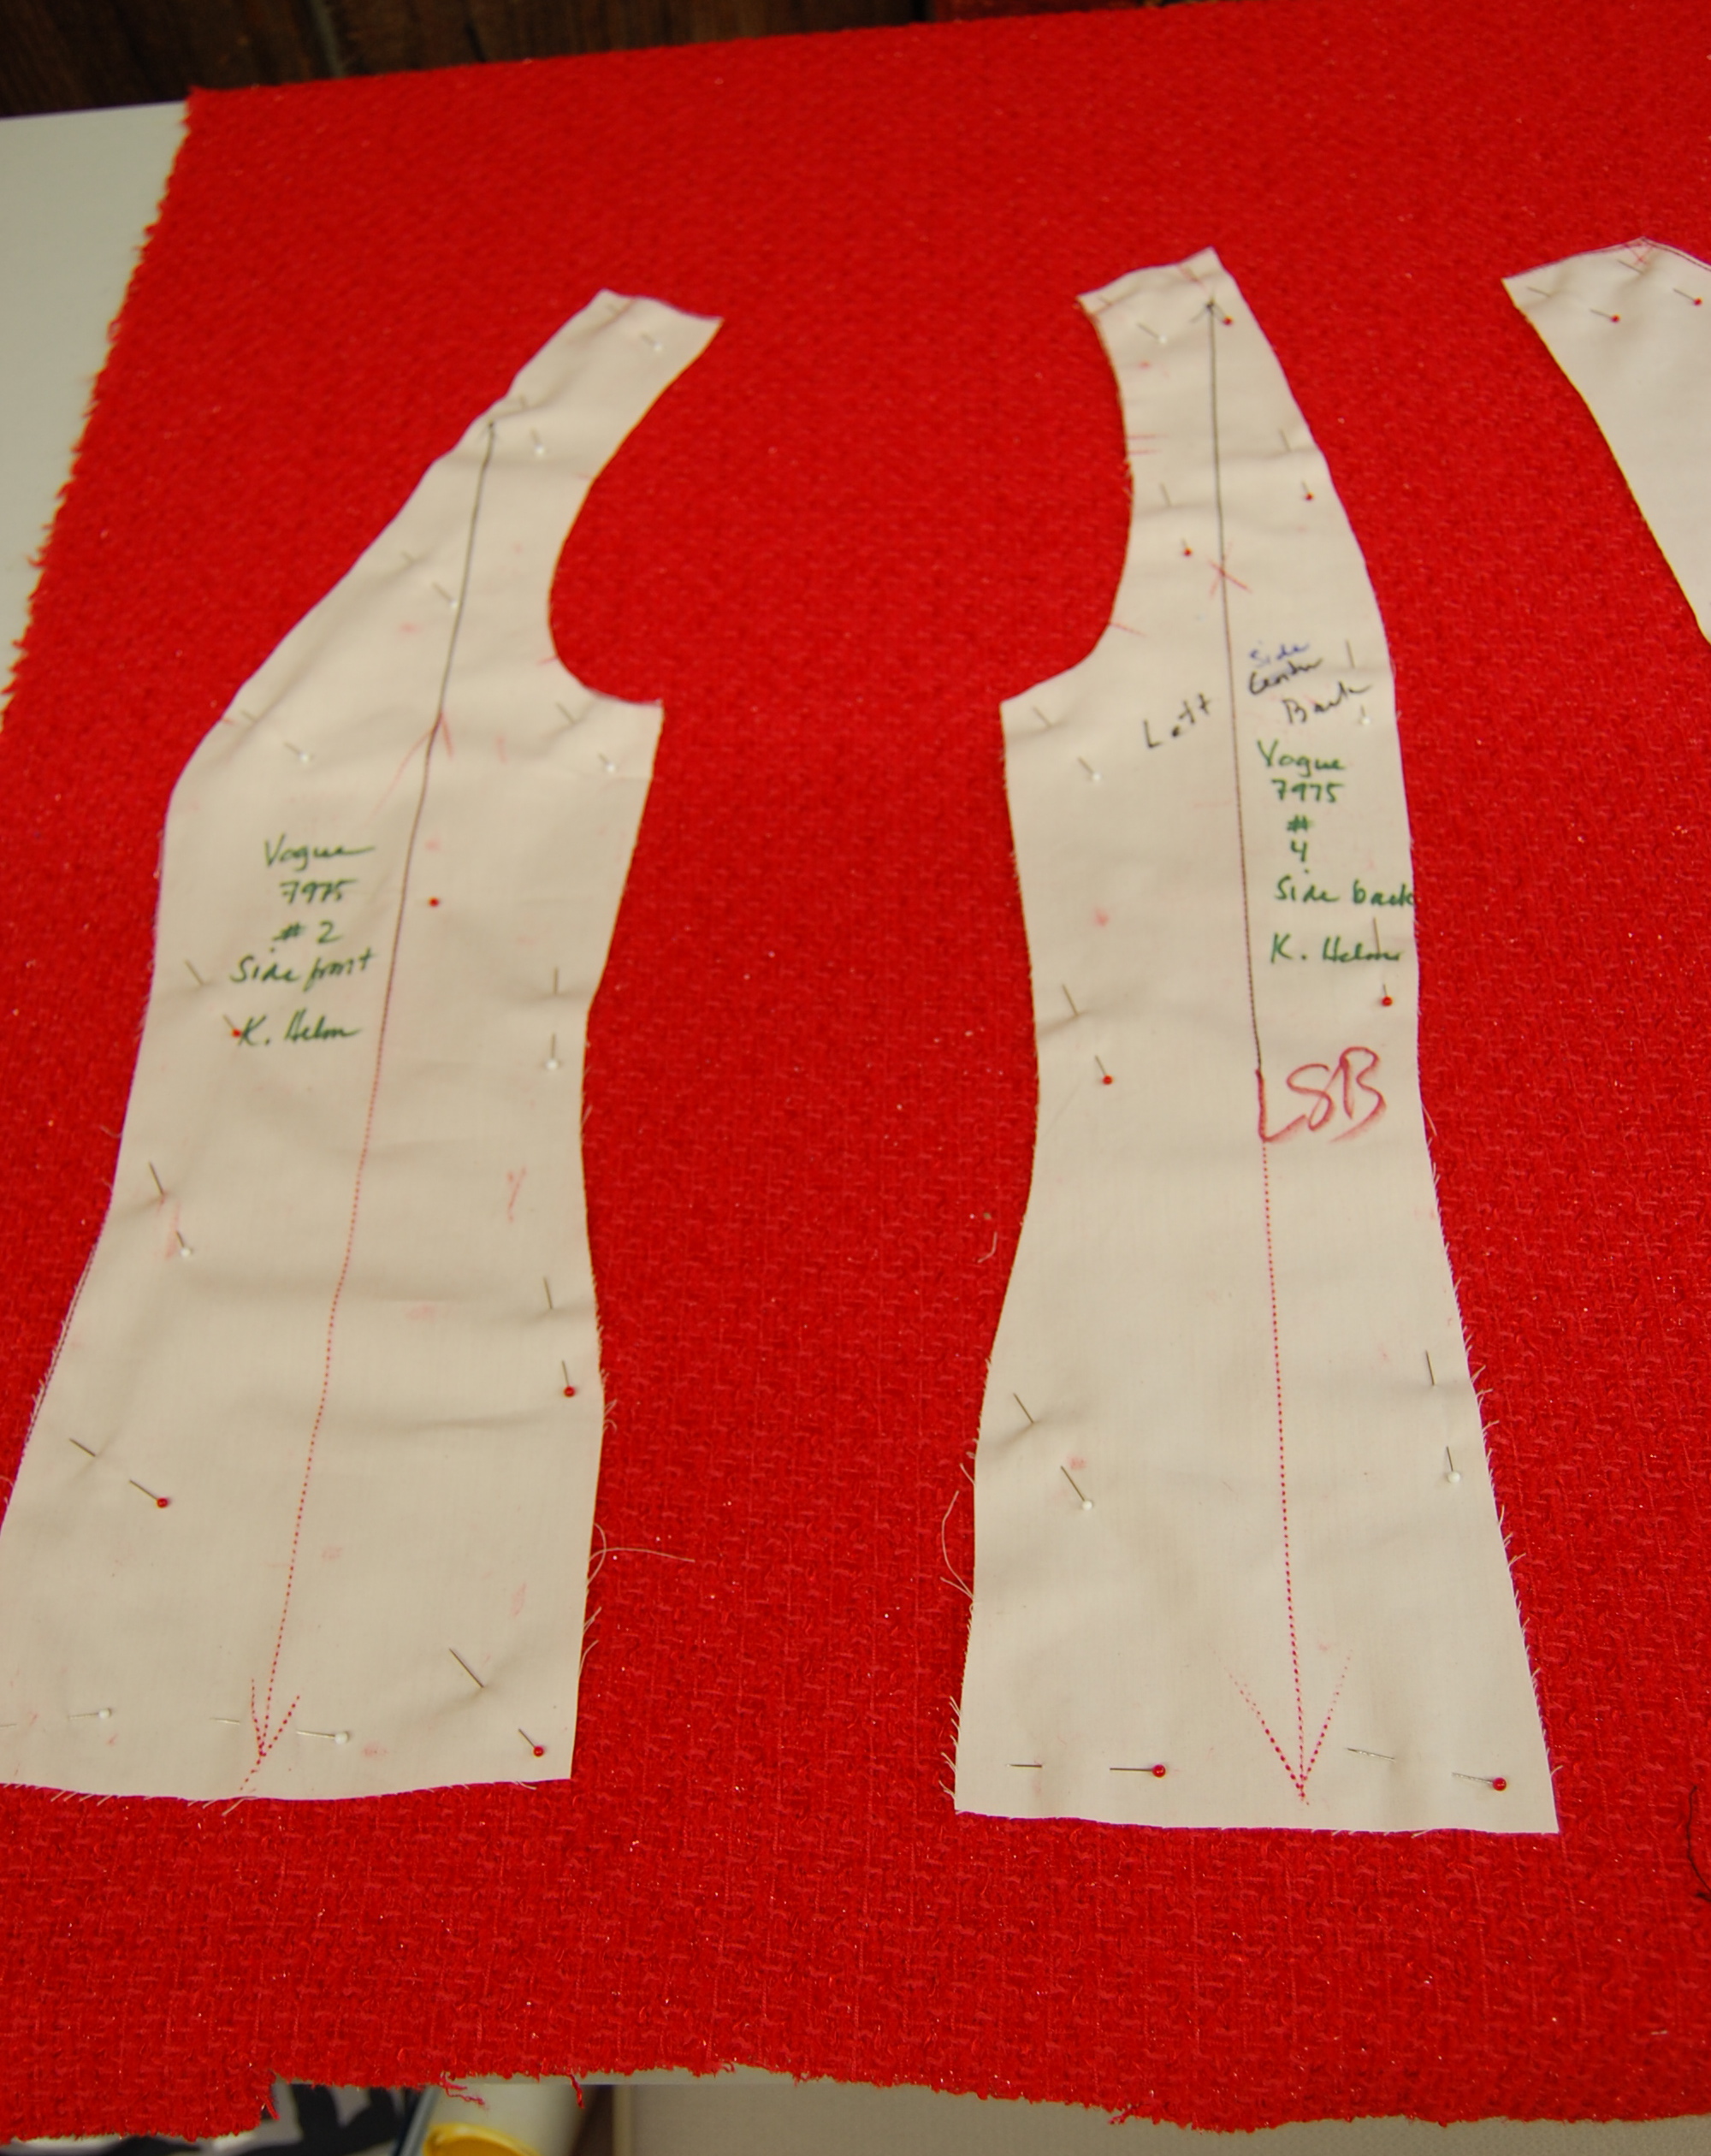
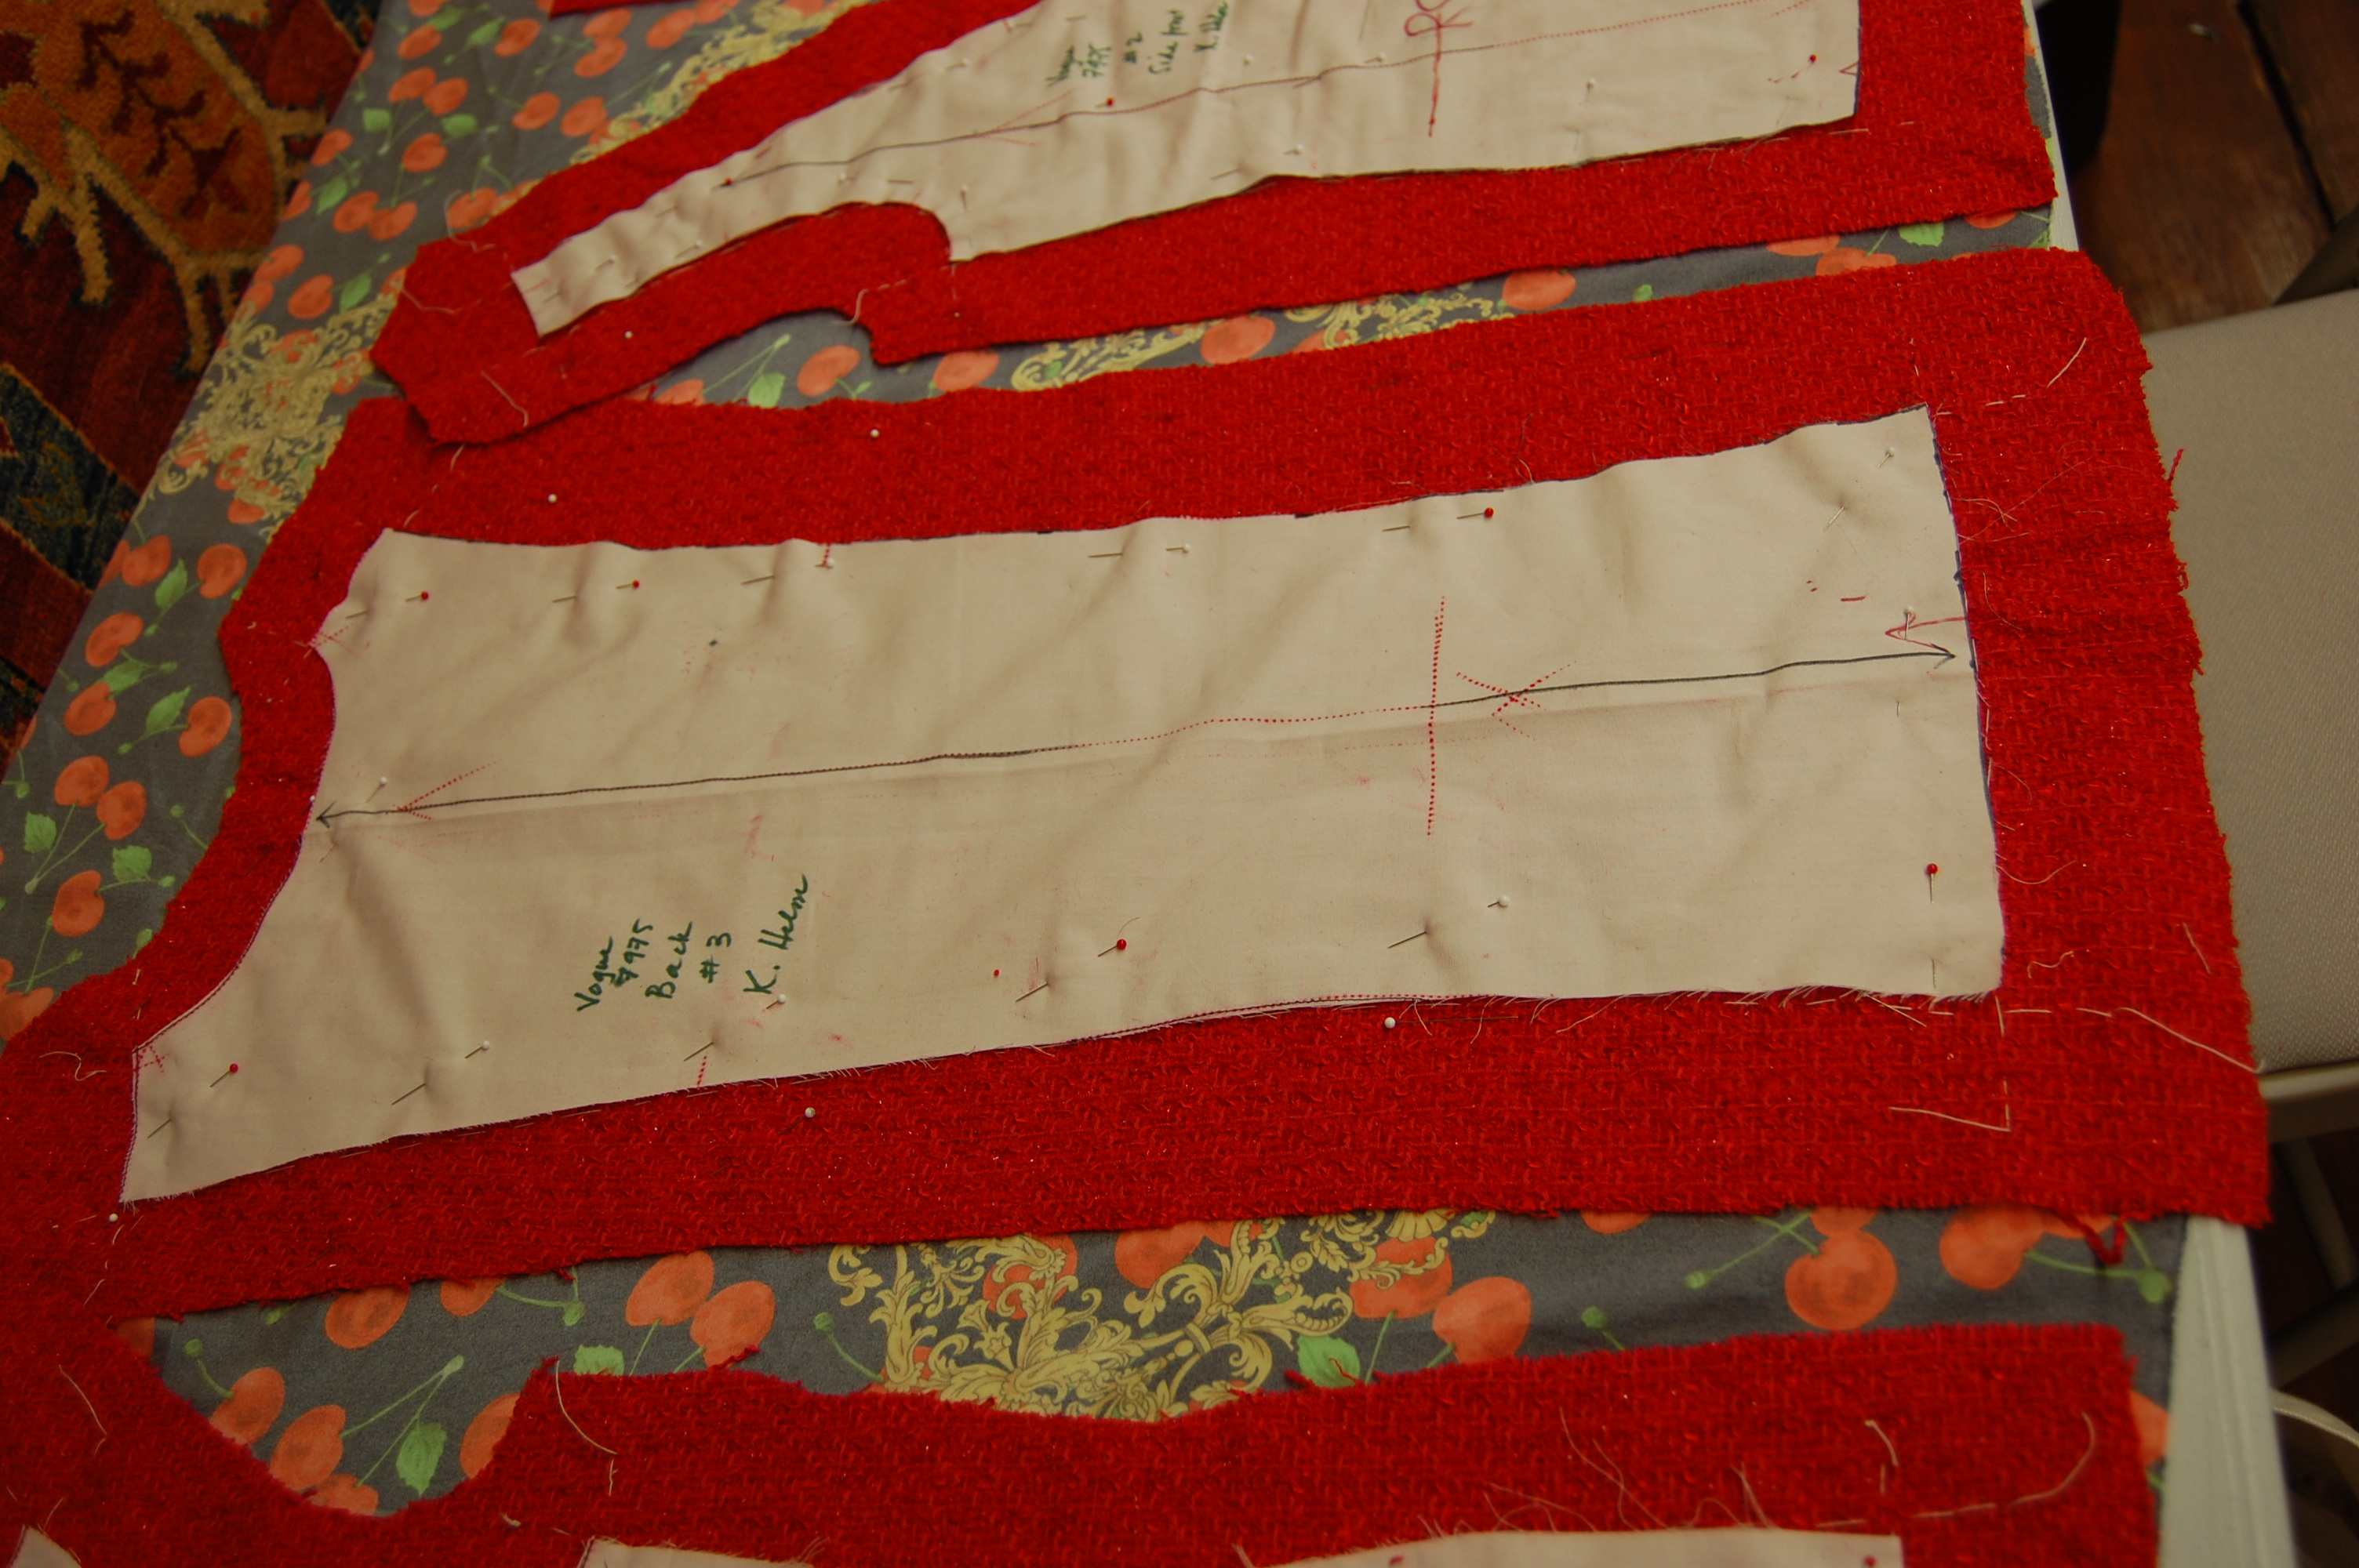
It had been a while since I had looked at this little book, but I had occasion to dig it off the shelf recently, right after I finished my Chanel-inspired red jacket. I went to it after a difficult life event, which I know I will now always associate with that jacket.
I was happily expecting to finish all the final hand-work on my jacket within a day or two (okay, maybe three!), when, as the saying goes, “life is what happens when you are making other plans”. After a fairly routine diagnostic medical test, my husband and I unexpectedly found out he had to have open-heart surgery for a triple coronary by-pass. I was still in shock (my fit, active, healthy husband?), when the surgery was quickly scheduled for the following morning at 6:30 AM.
Suddenly I was relieved that I still had much to complete on my jacket. Facing what I knew would be some of the longest hours of my life – the 5 to 6 hour operation – I packed up my unfinished jacket, thread, pins, etc. in the very still and long, lonely hours of the night preceding the surgery. And so – the next morning, sitting in the hospital, I sewed and sewed and sewed as the hours slipped by, the time punctuated by phone calls and, blessedly, by occasional good reports from the Operating Room. My needle and thread kept me calm – I equated every stitch with repairing my husband’s heart. And so it was – beautifully, successfully repaired . . .
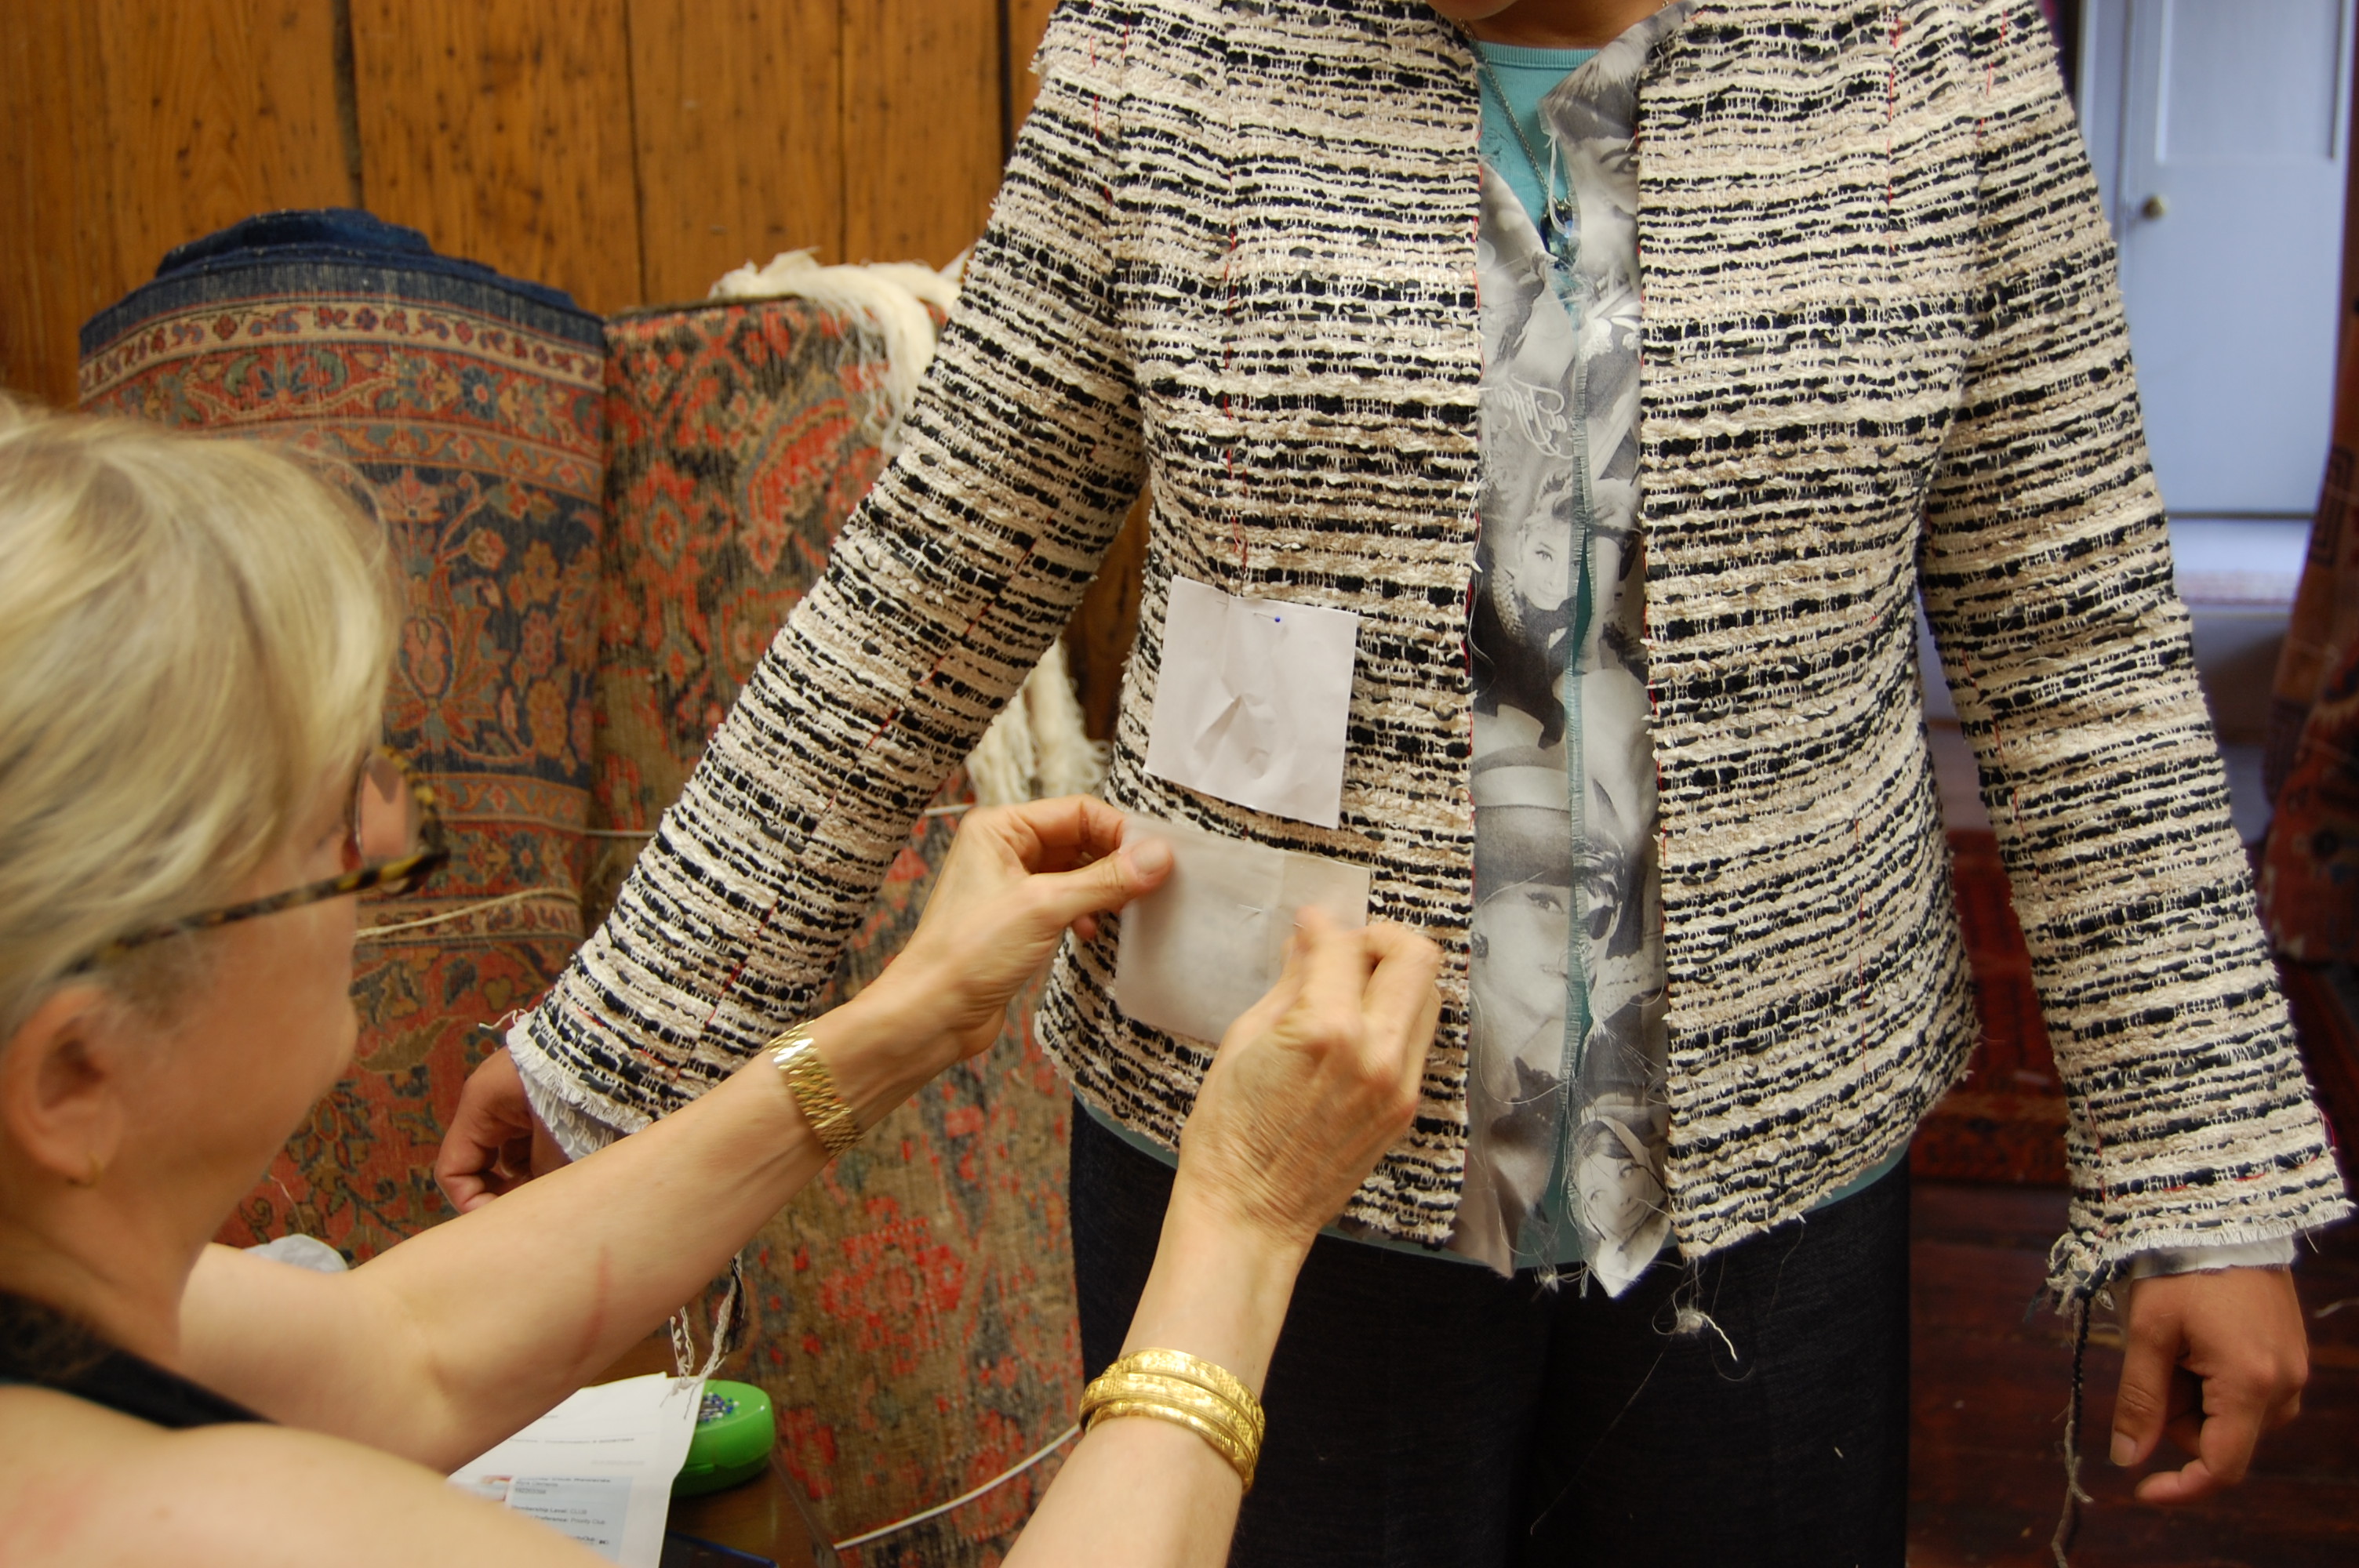
The following days took on a life of their own, as I shuttled back and forth to the hospital, spending hours every day by my husband’s bedside. And then one day, on a whim, I brought in the as-yet-incomplete pockets for my jacket. I sat and sewed the trim on to the top edge of each one (much to the delight of my husband who did some bragging about my sewing skills), arousing much curiosity among the doctors, nurses, staff, and visitors.
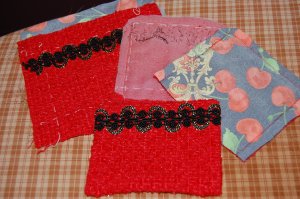
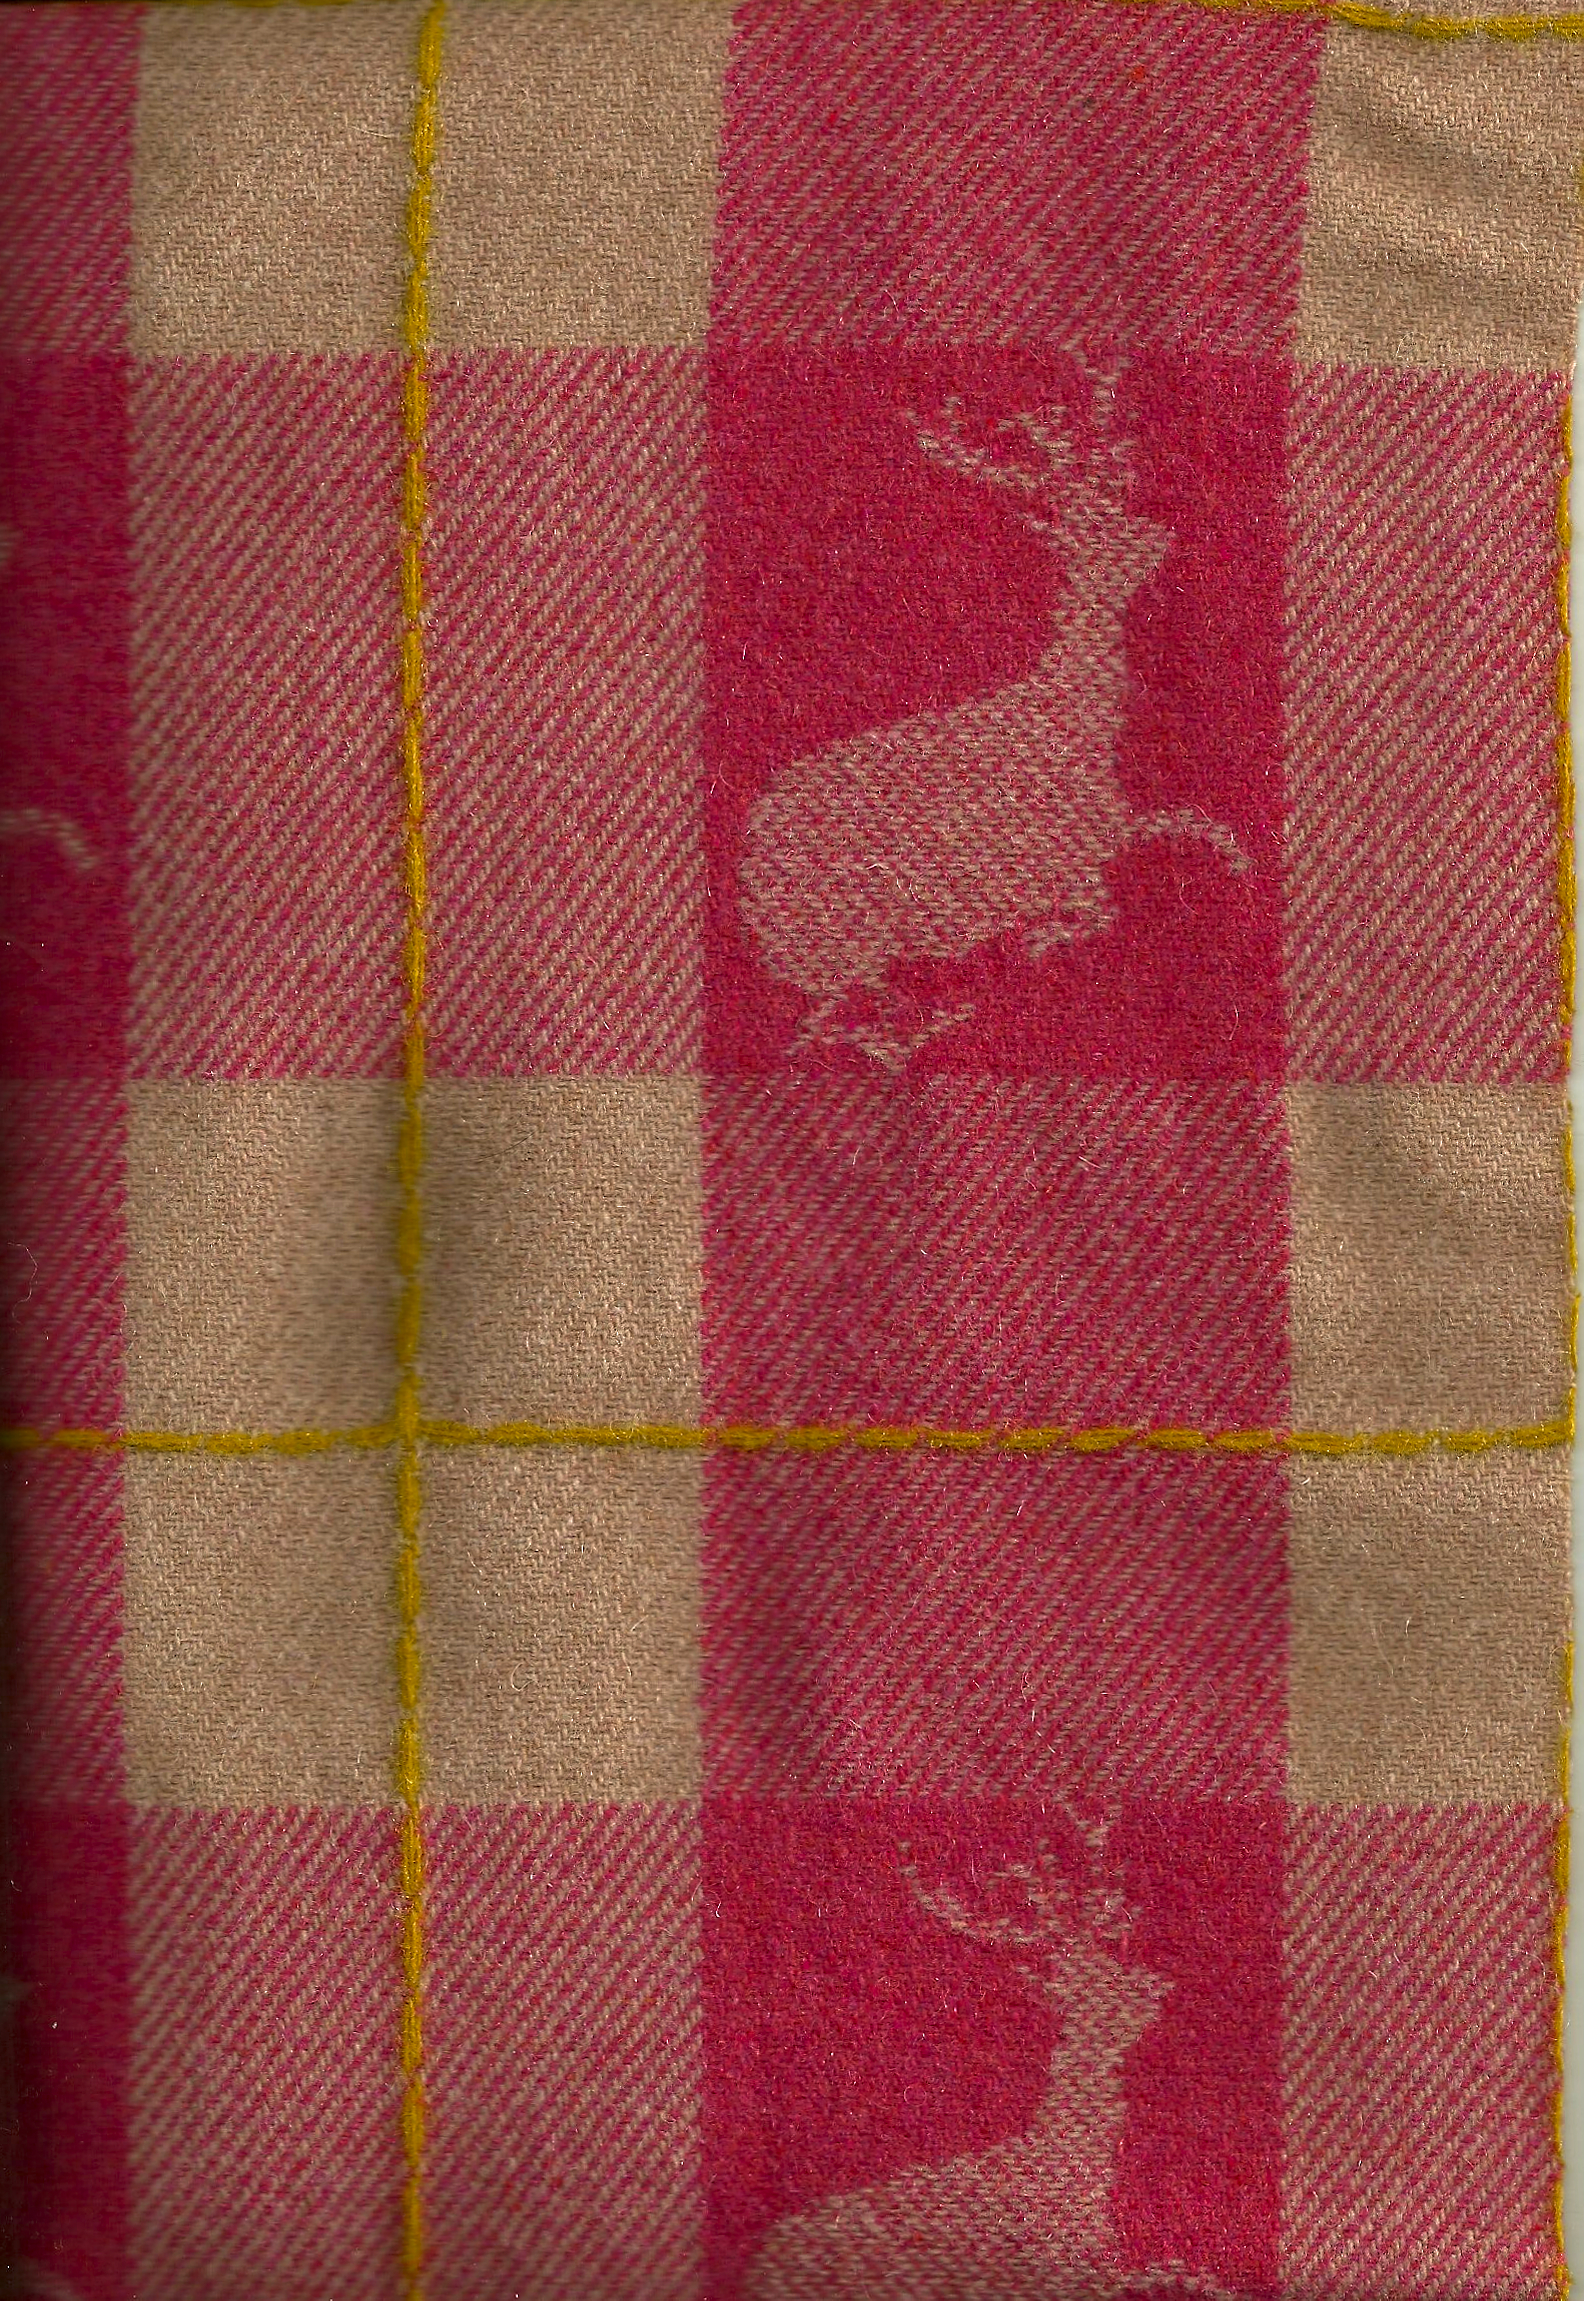
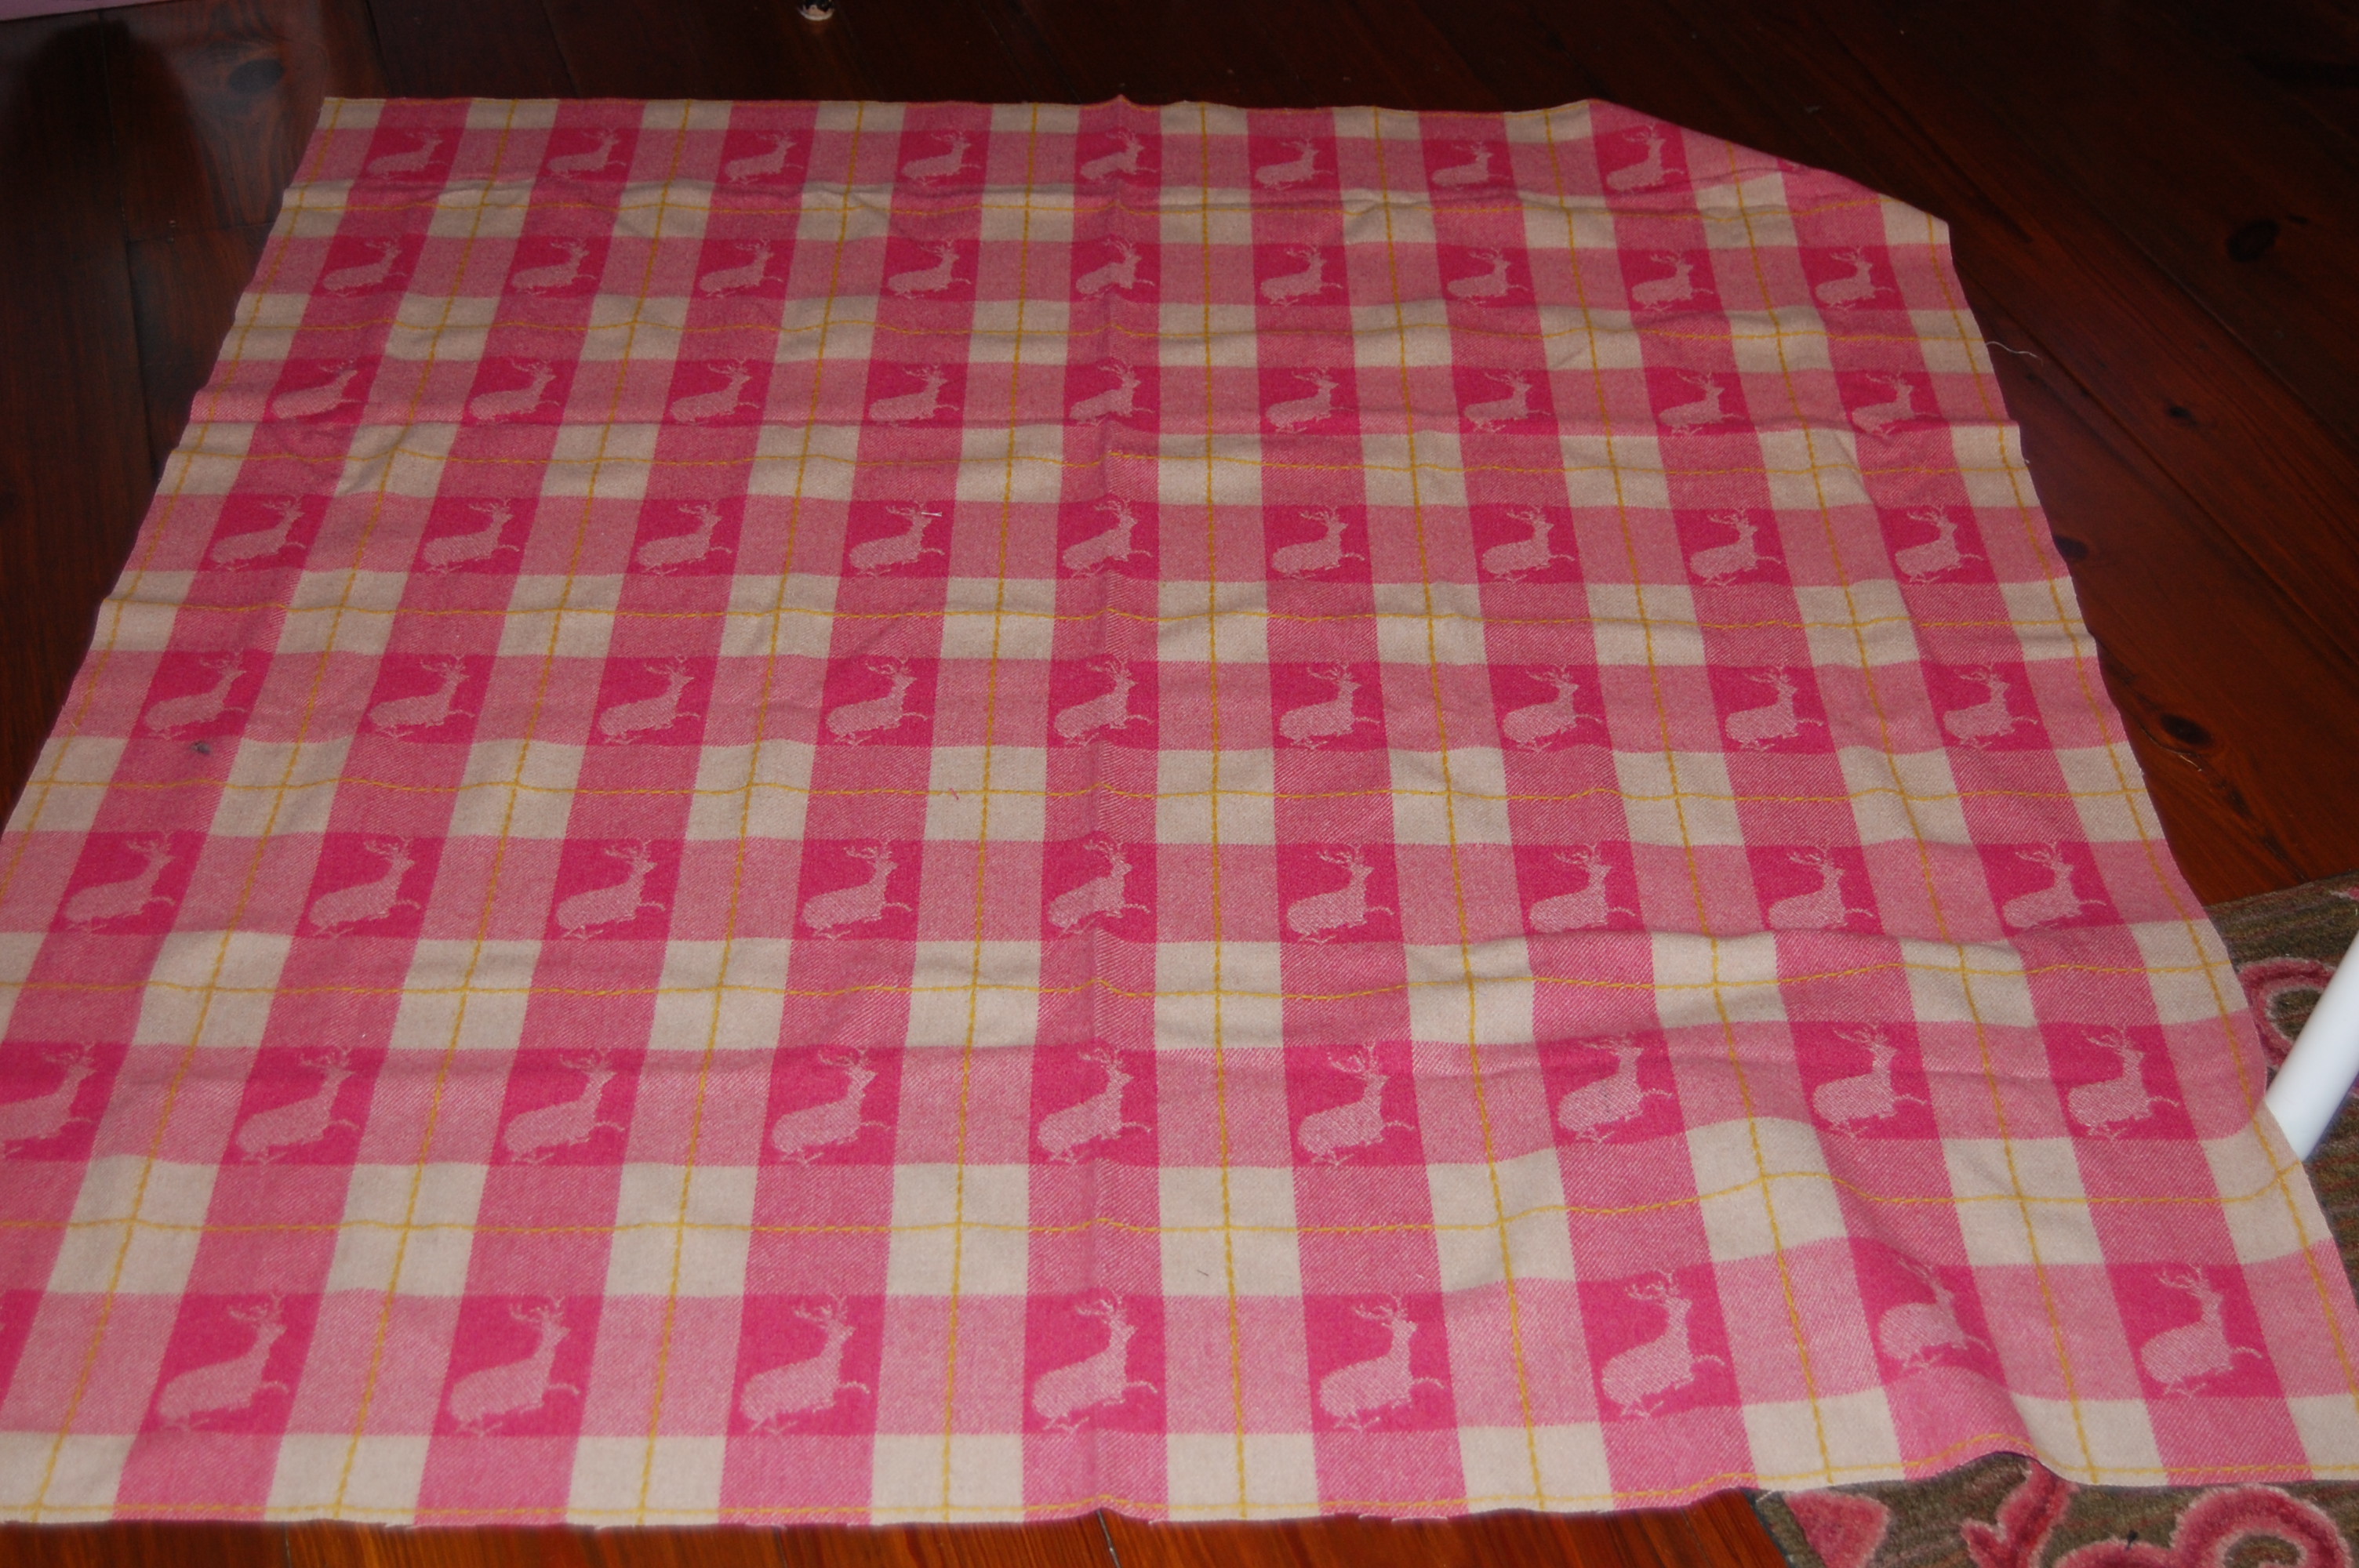
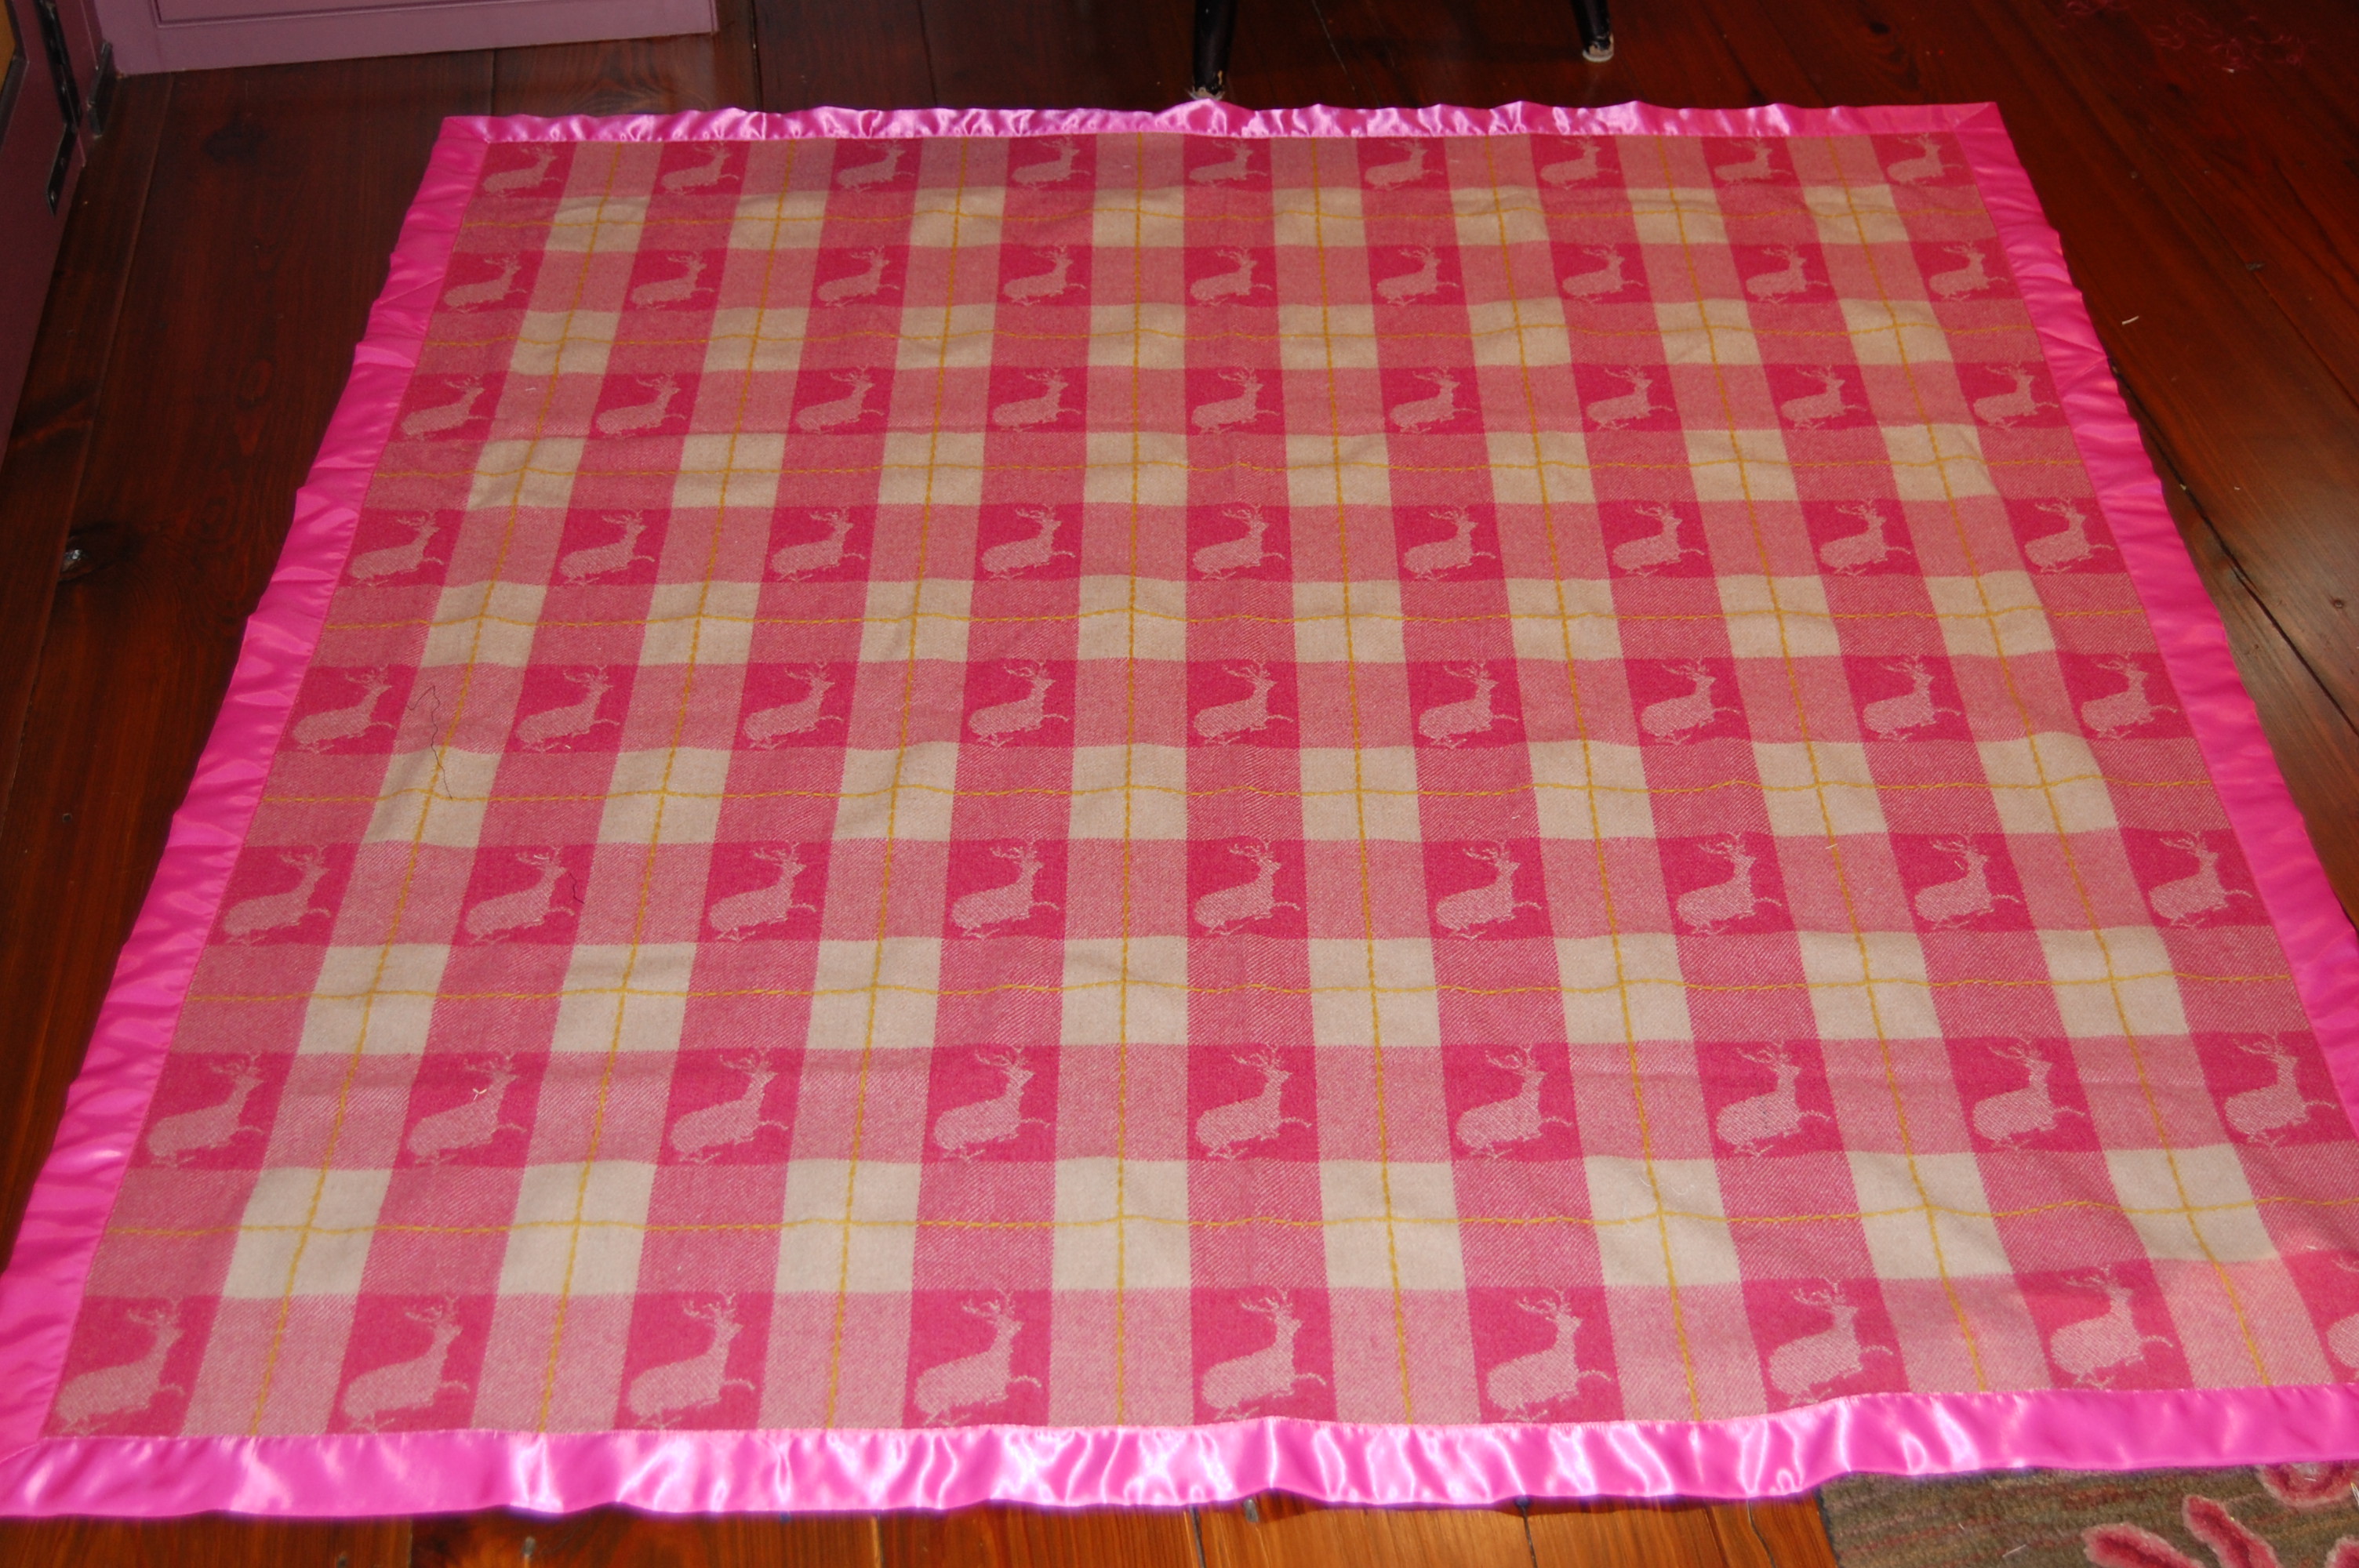
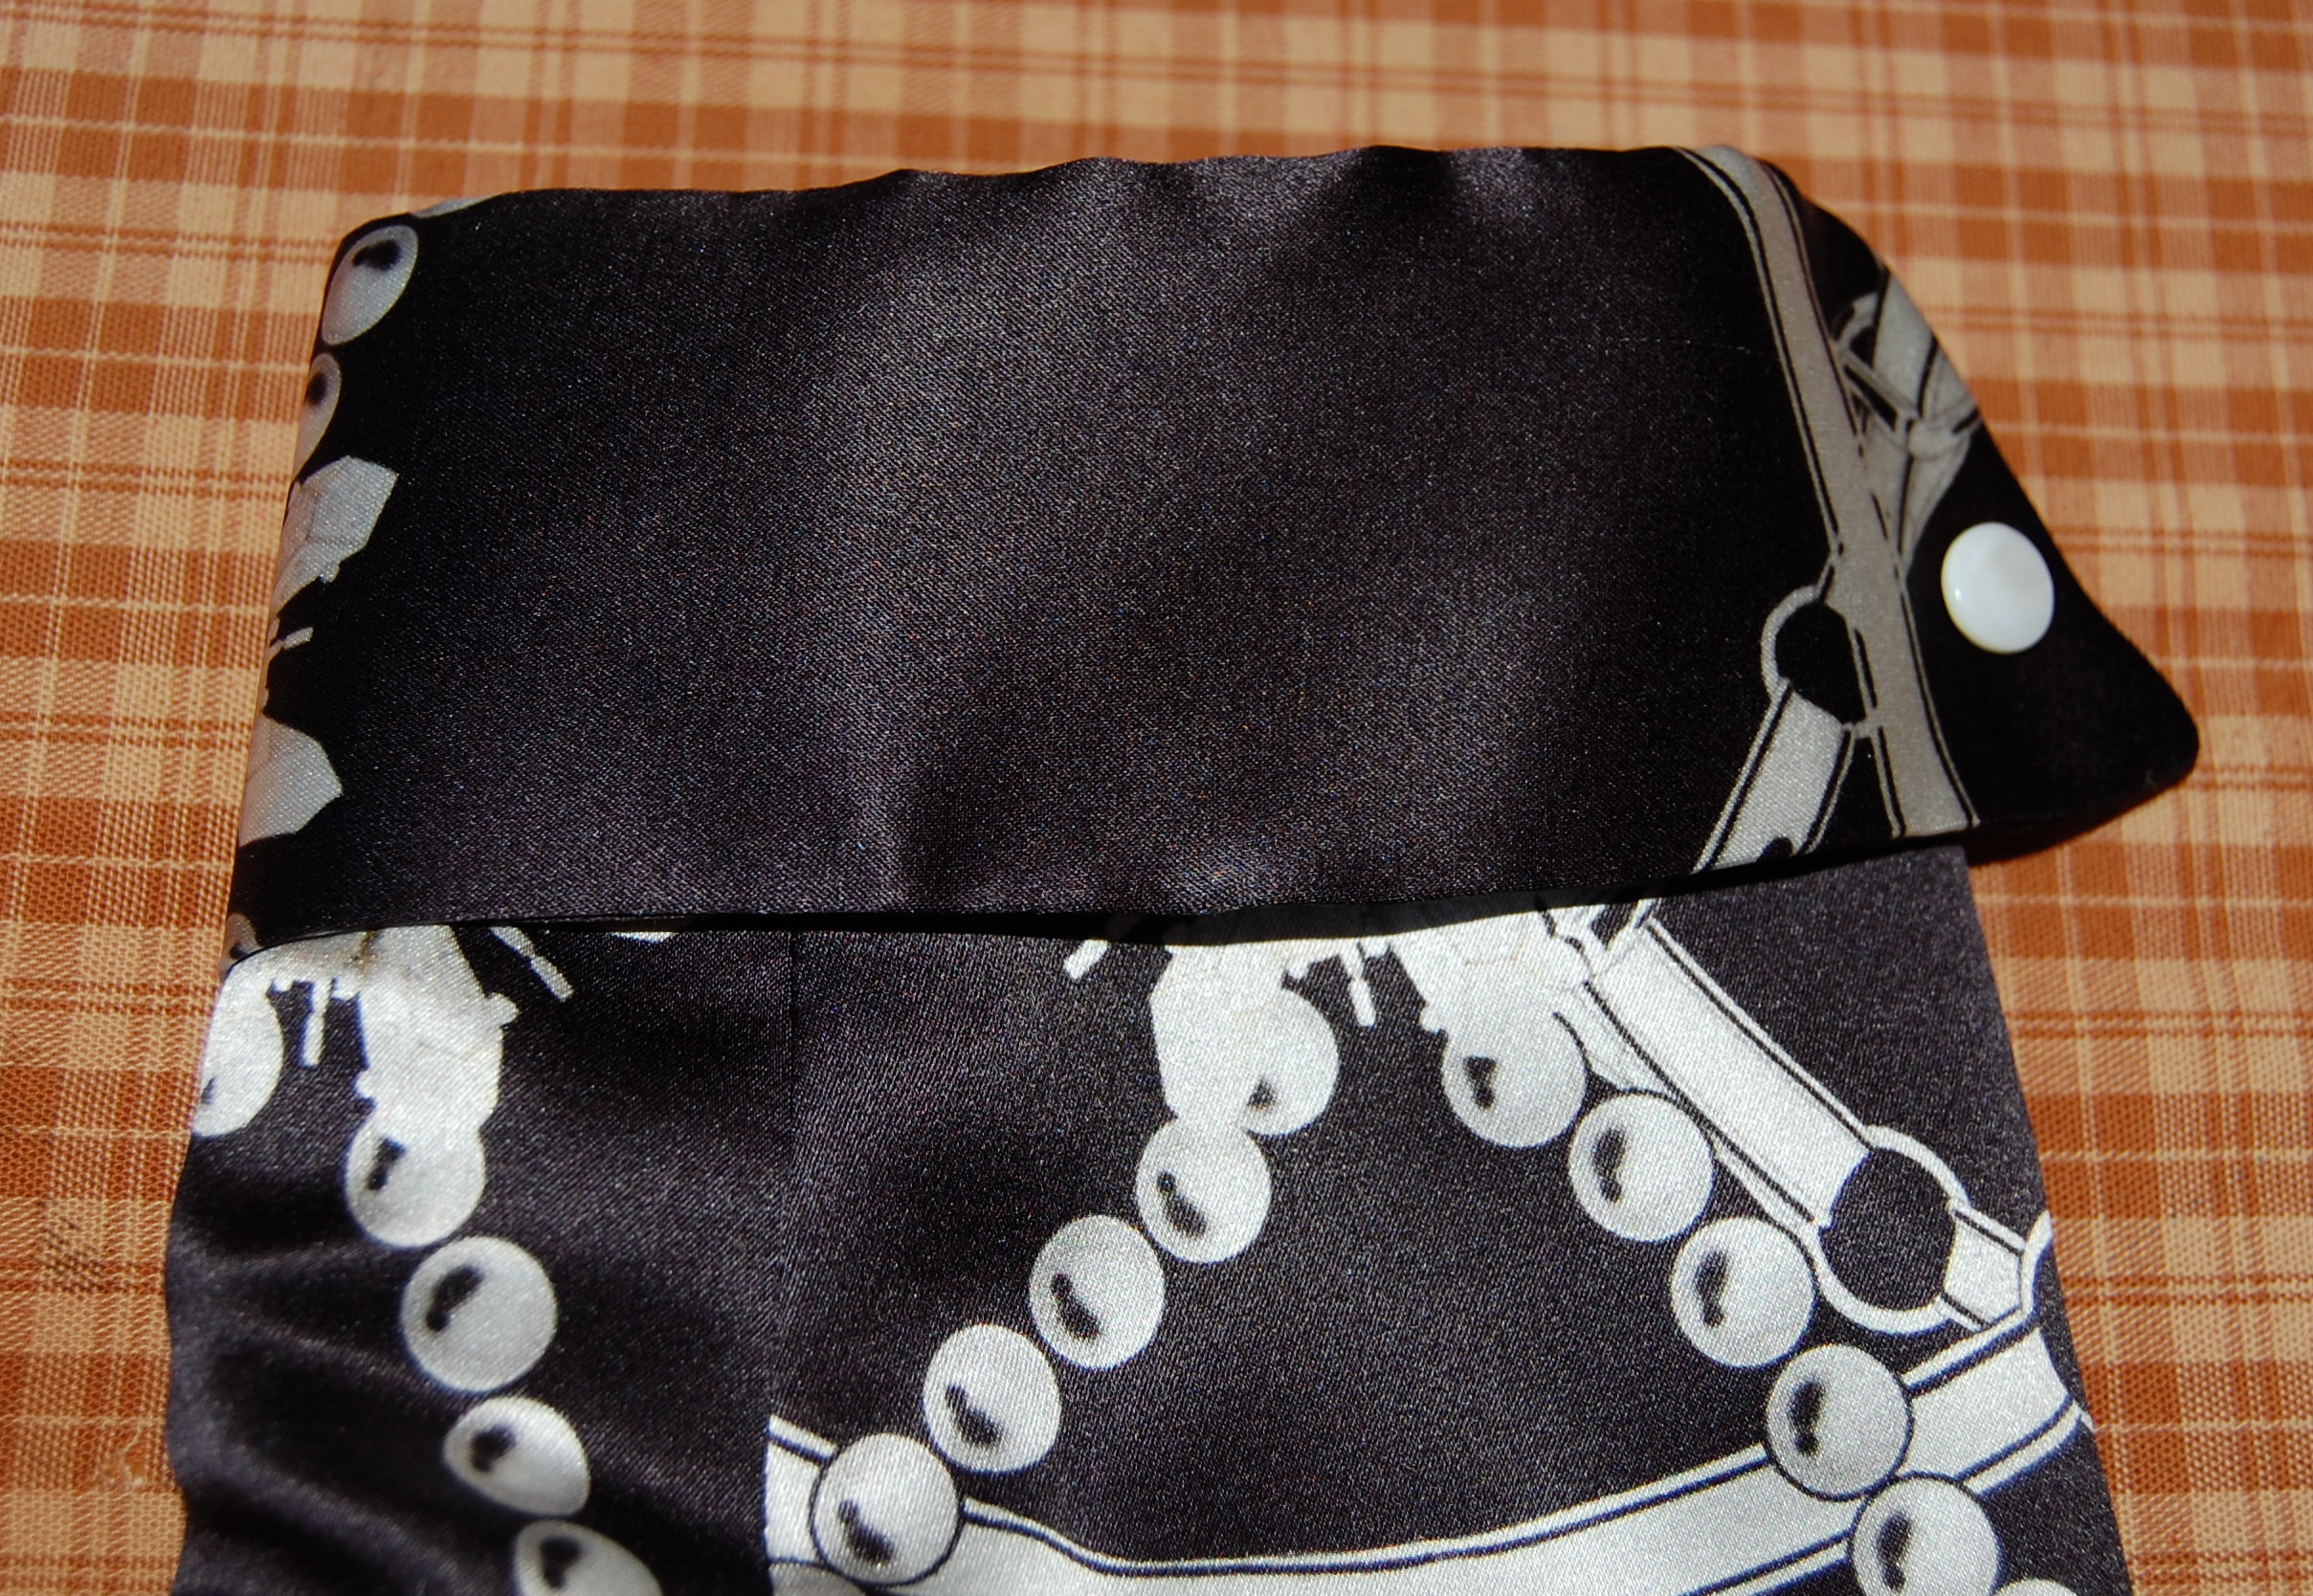
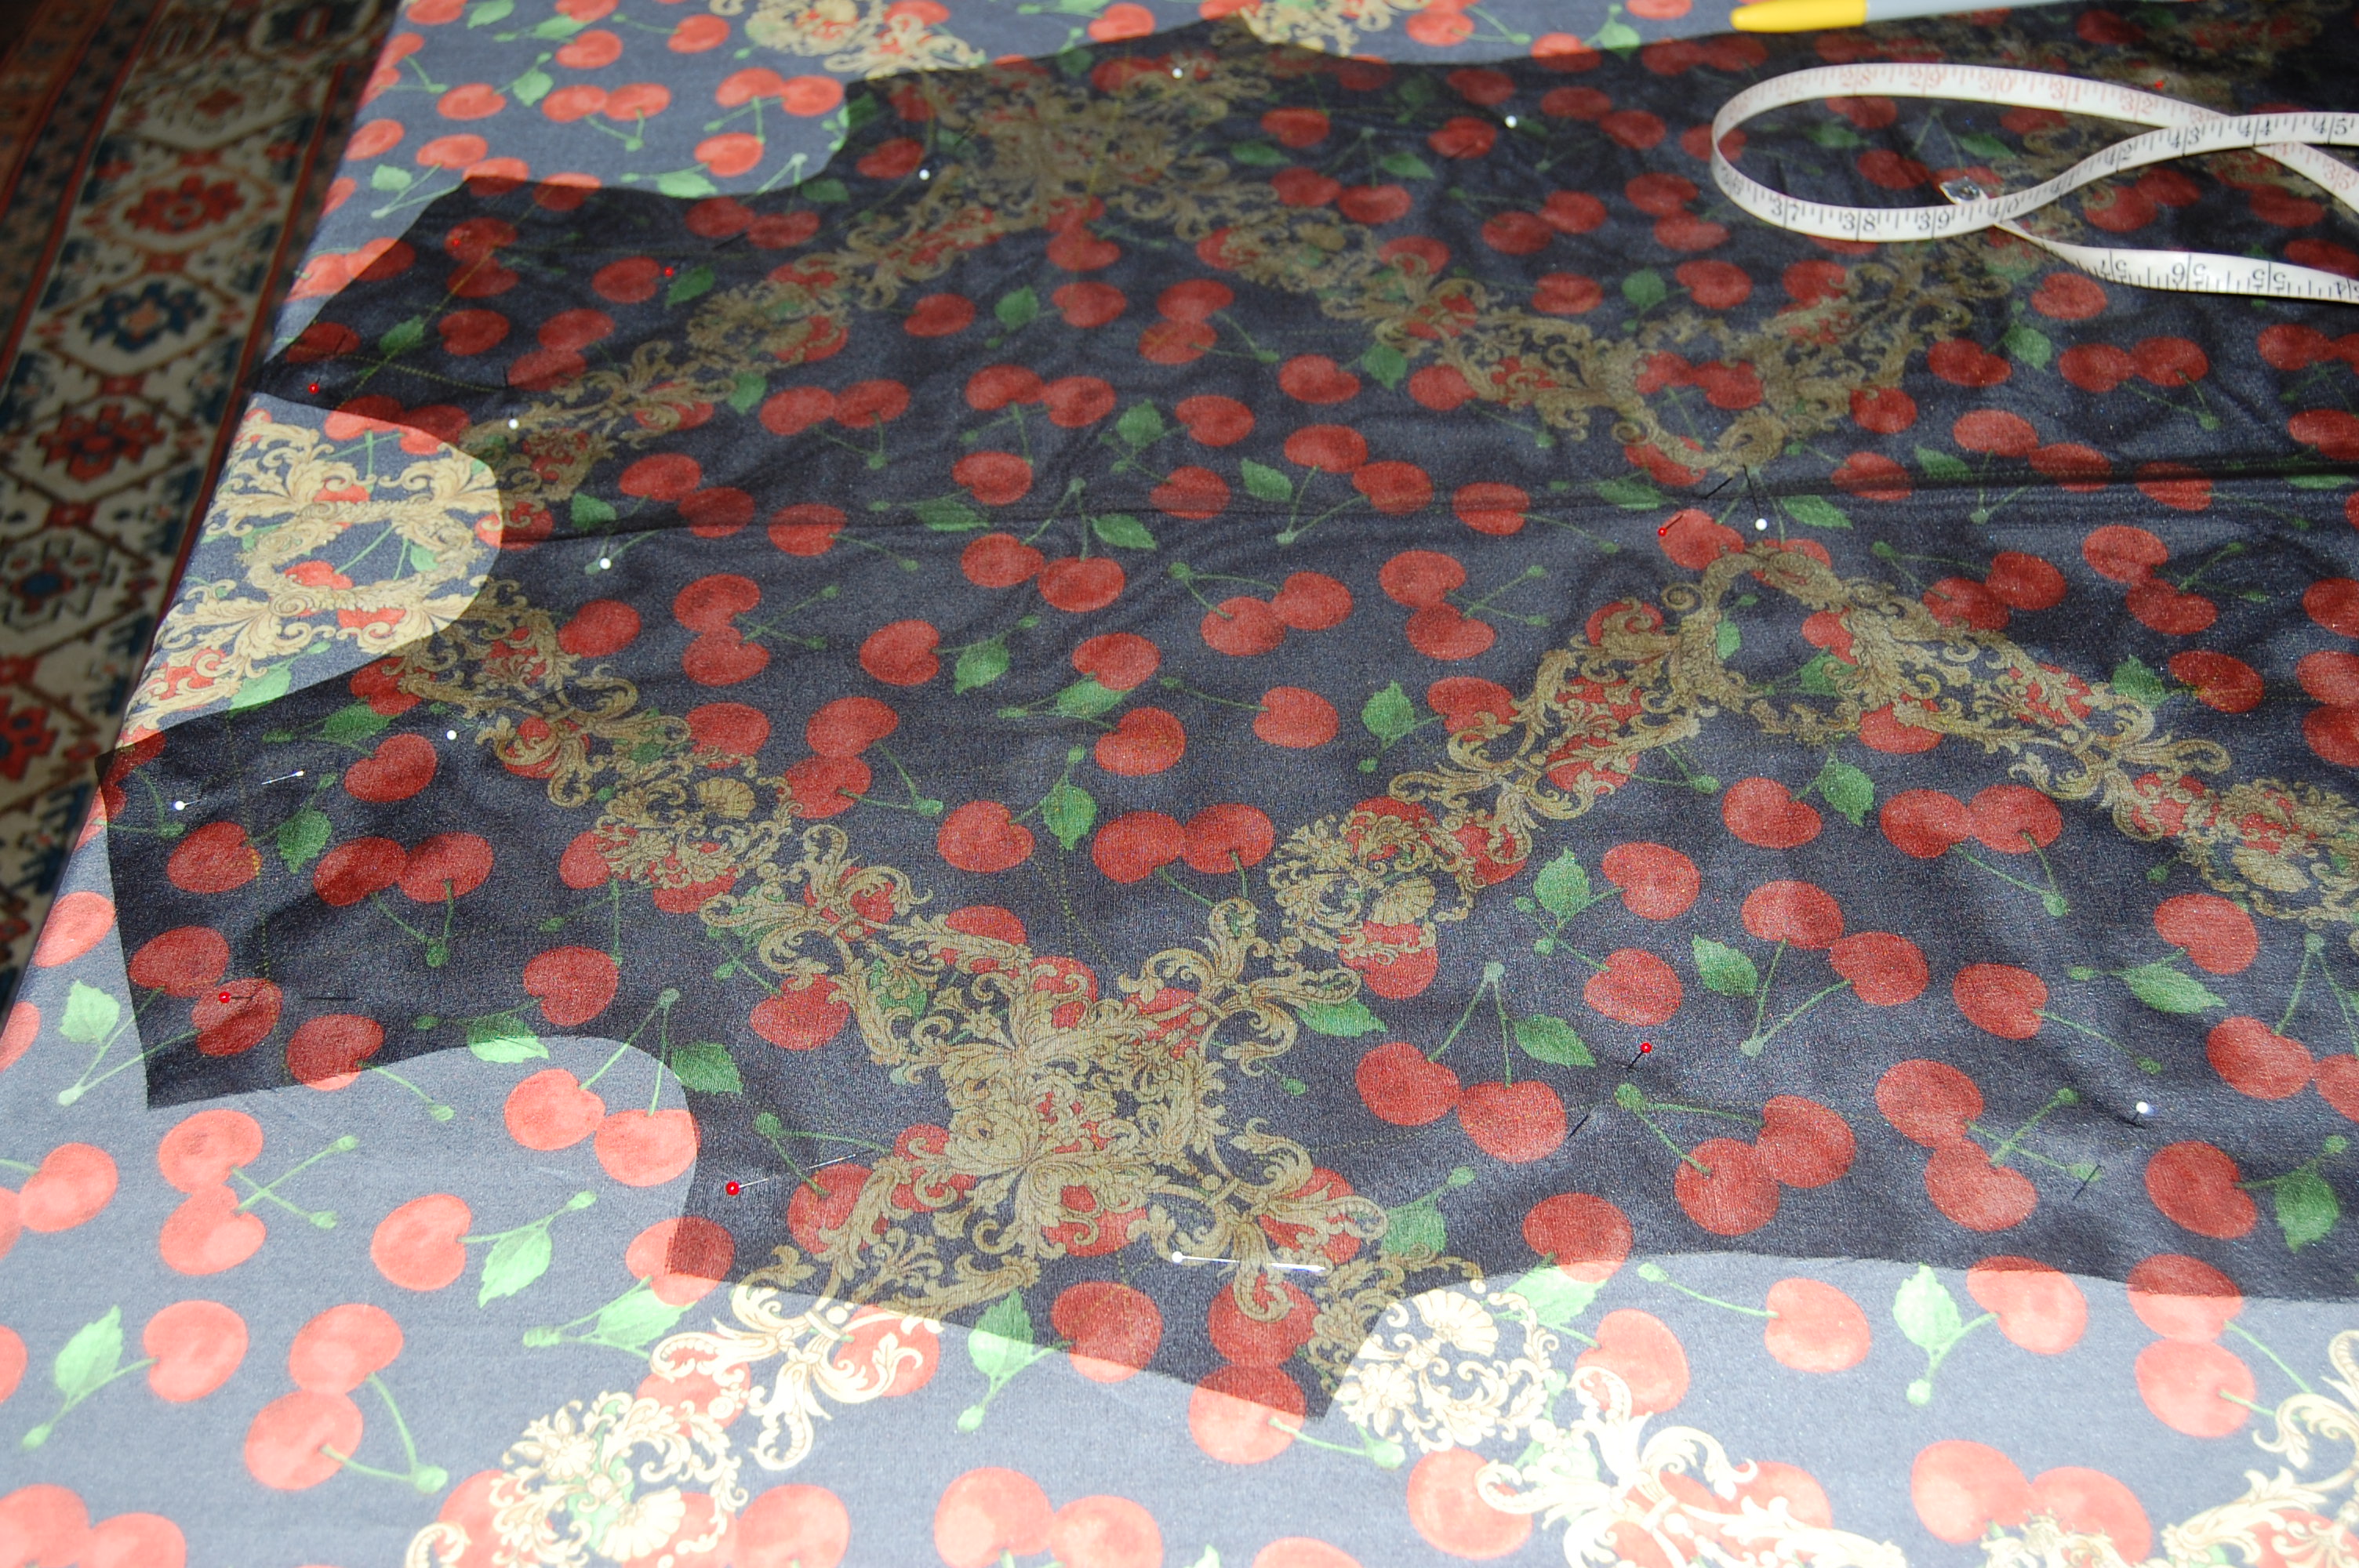
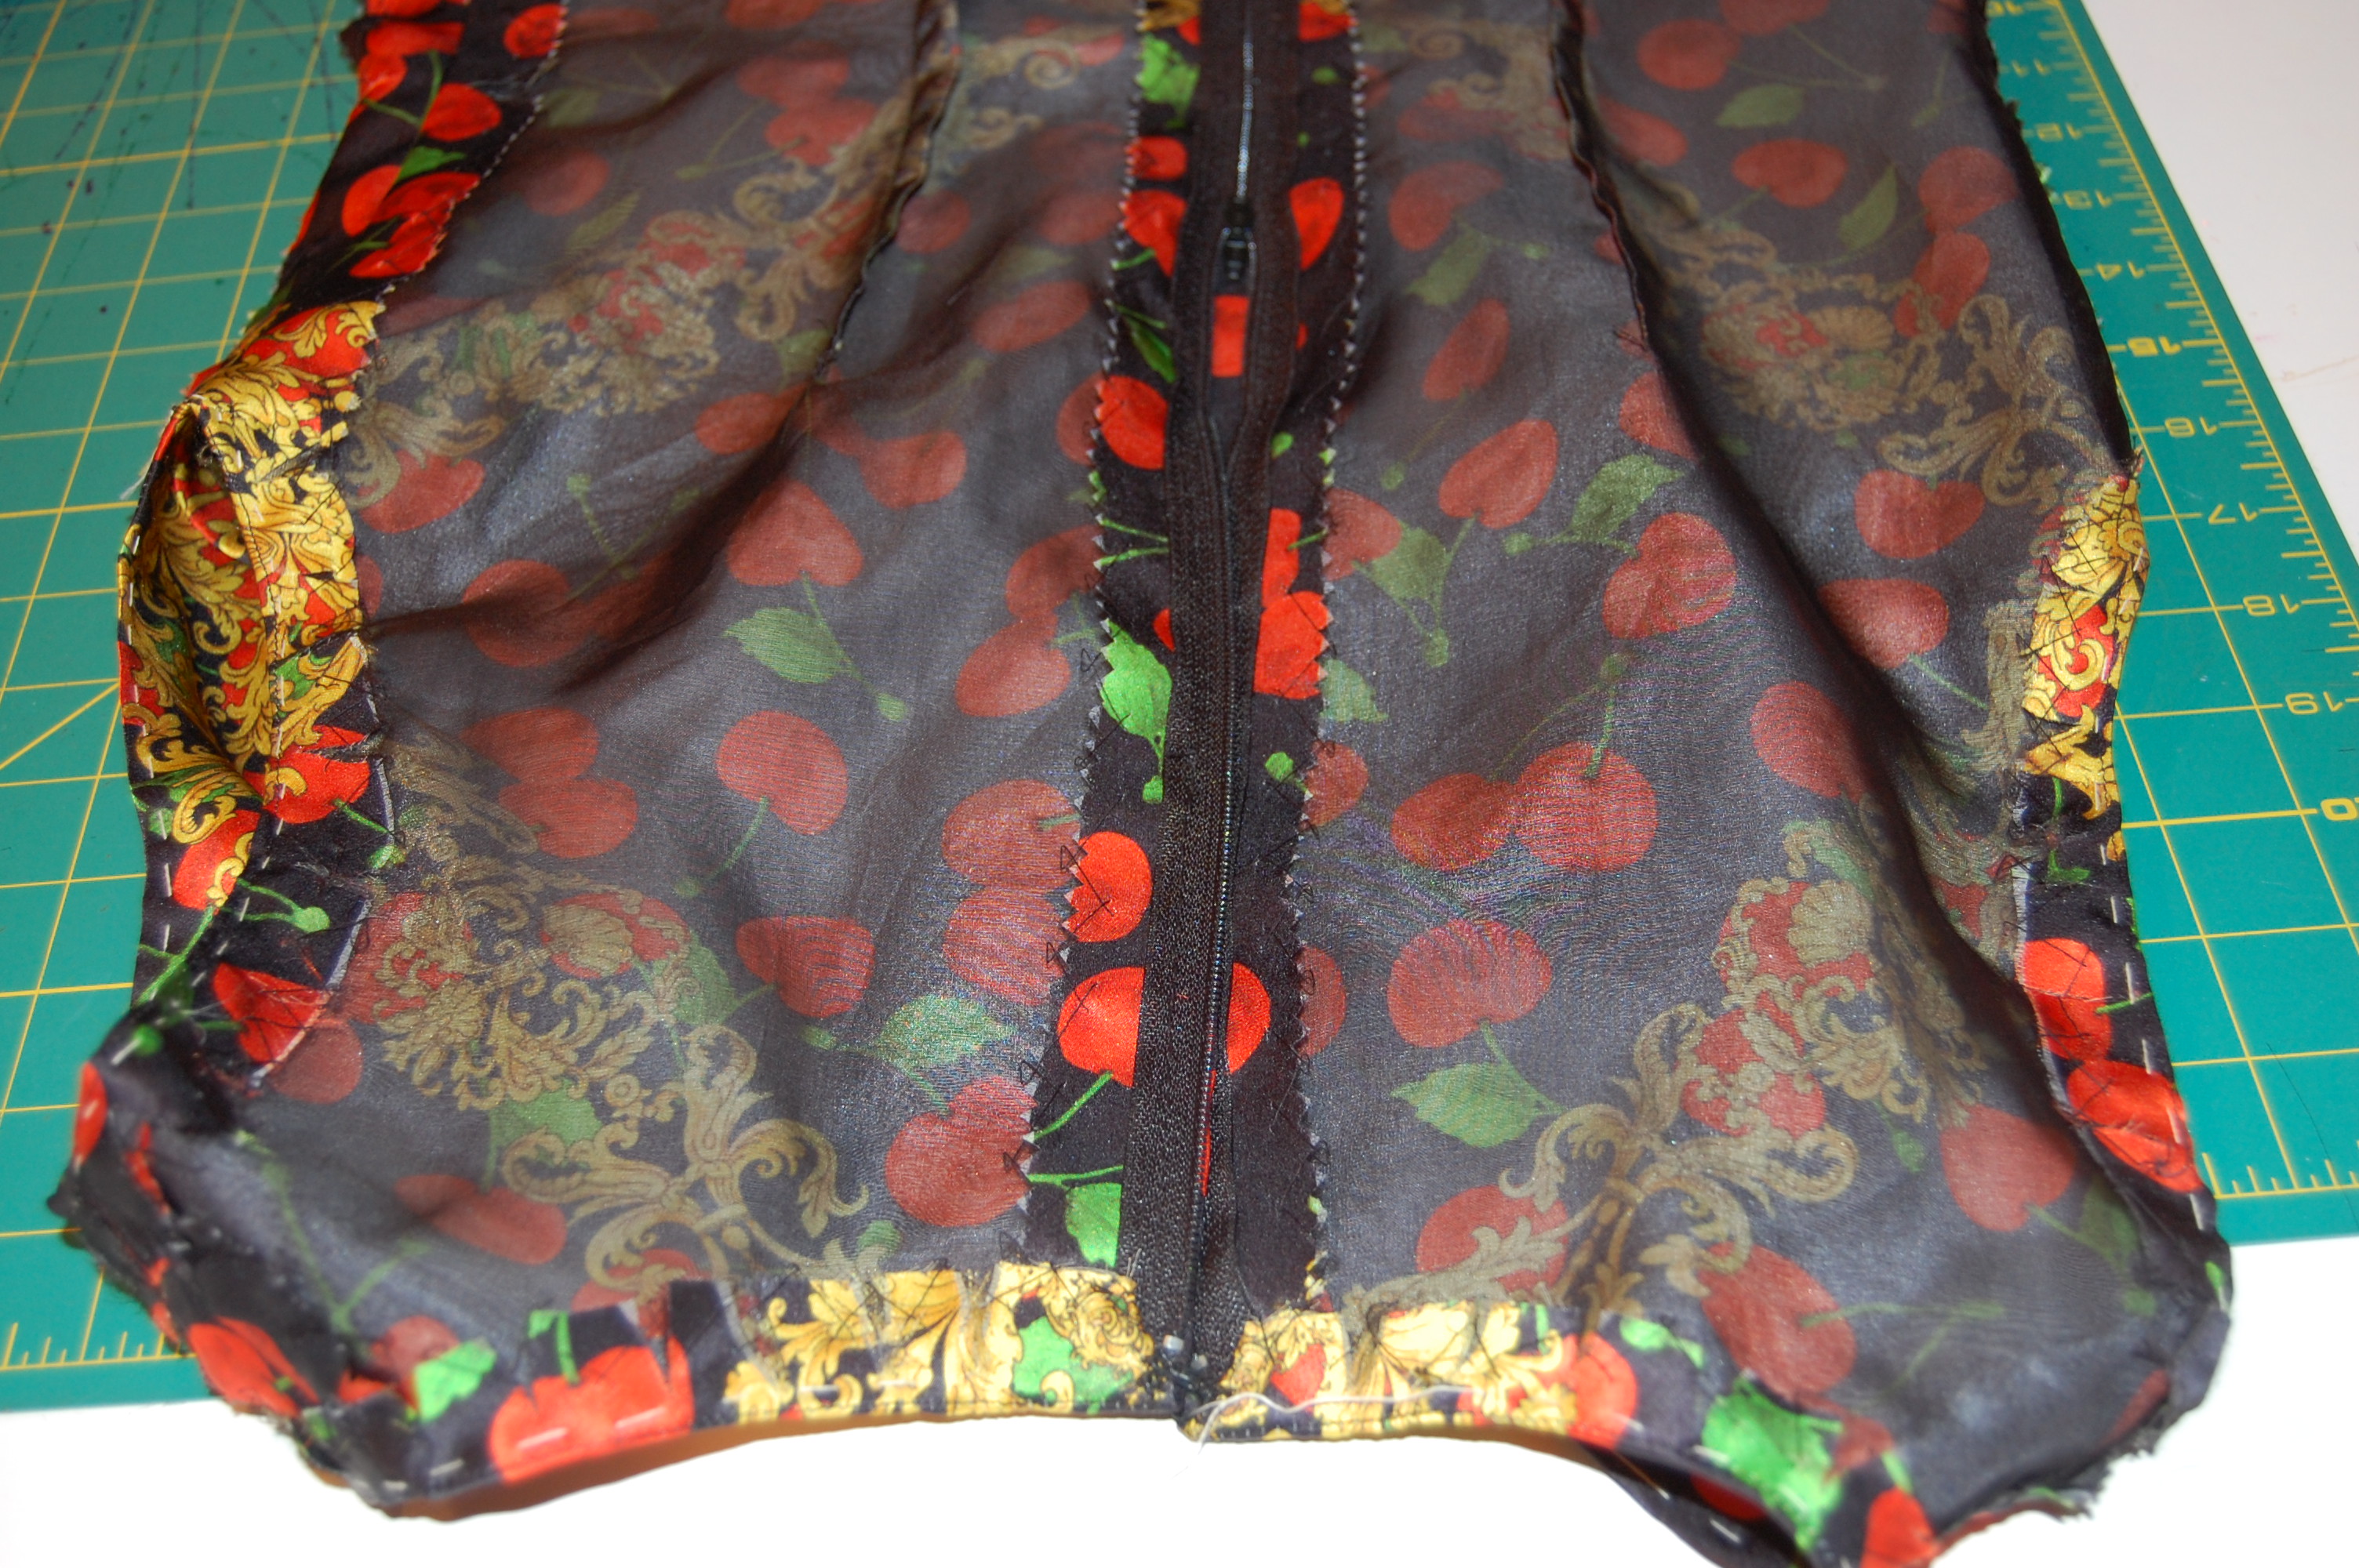
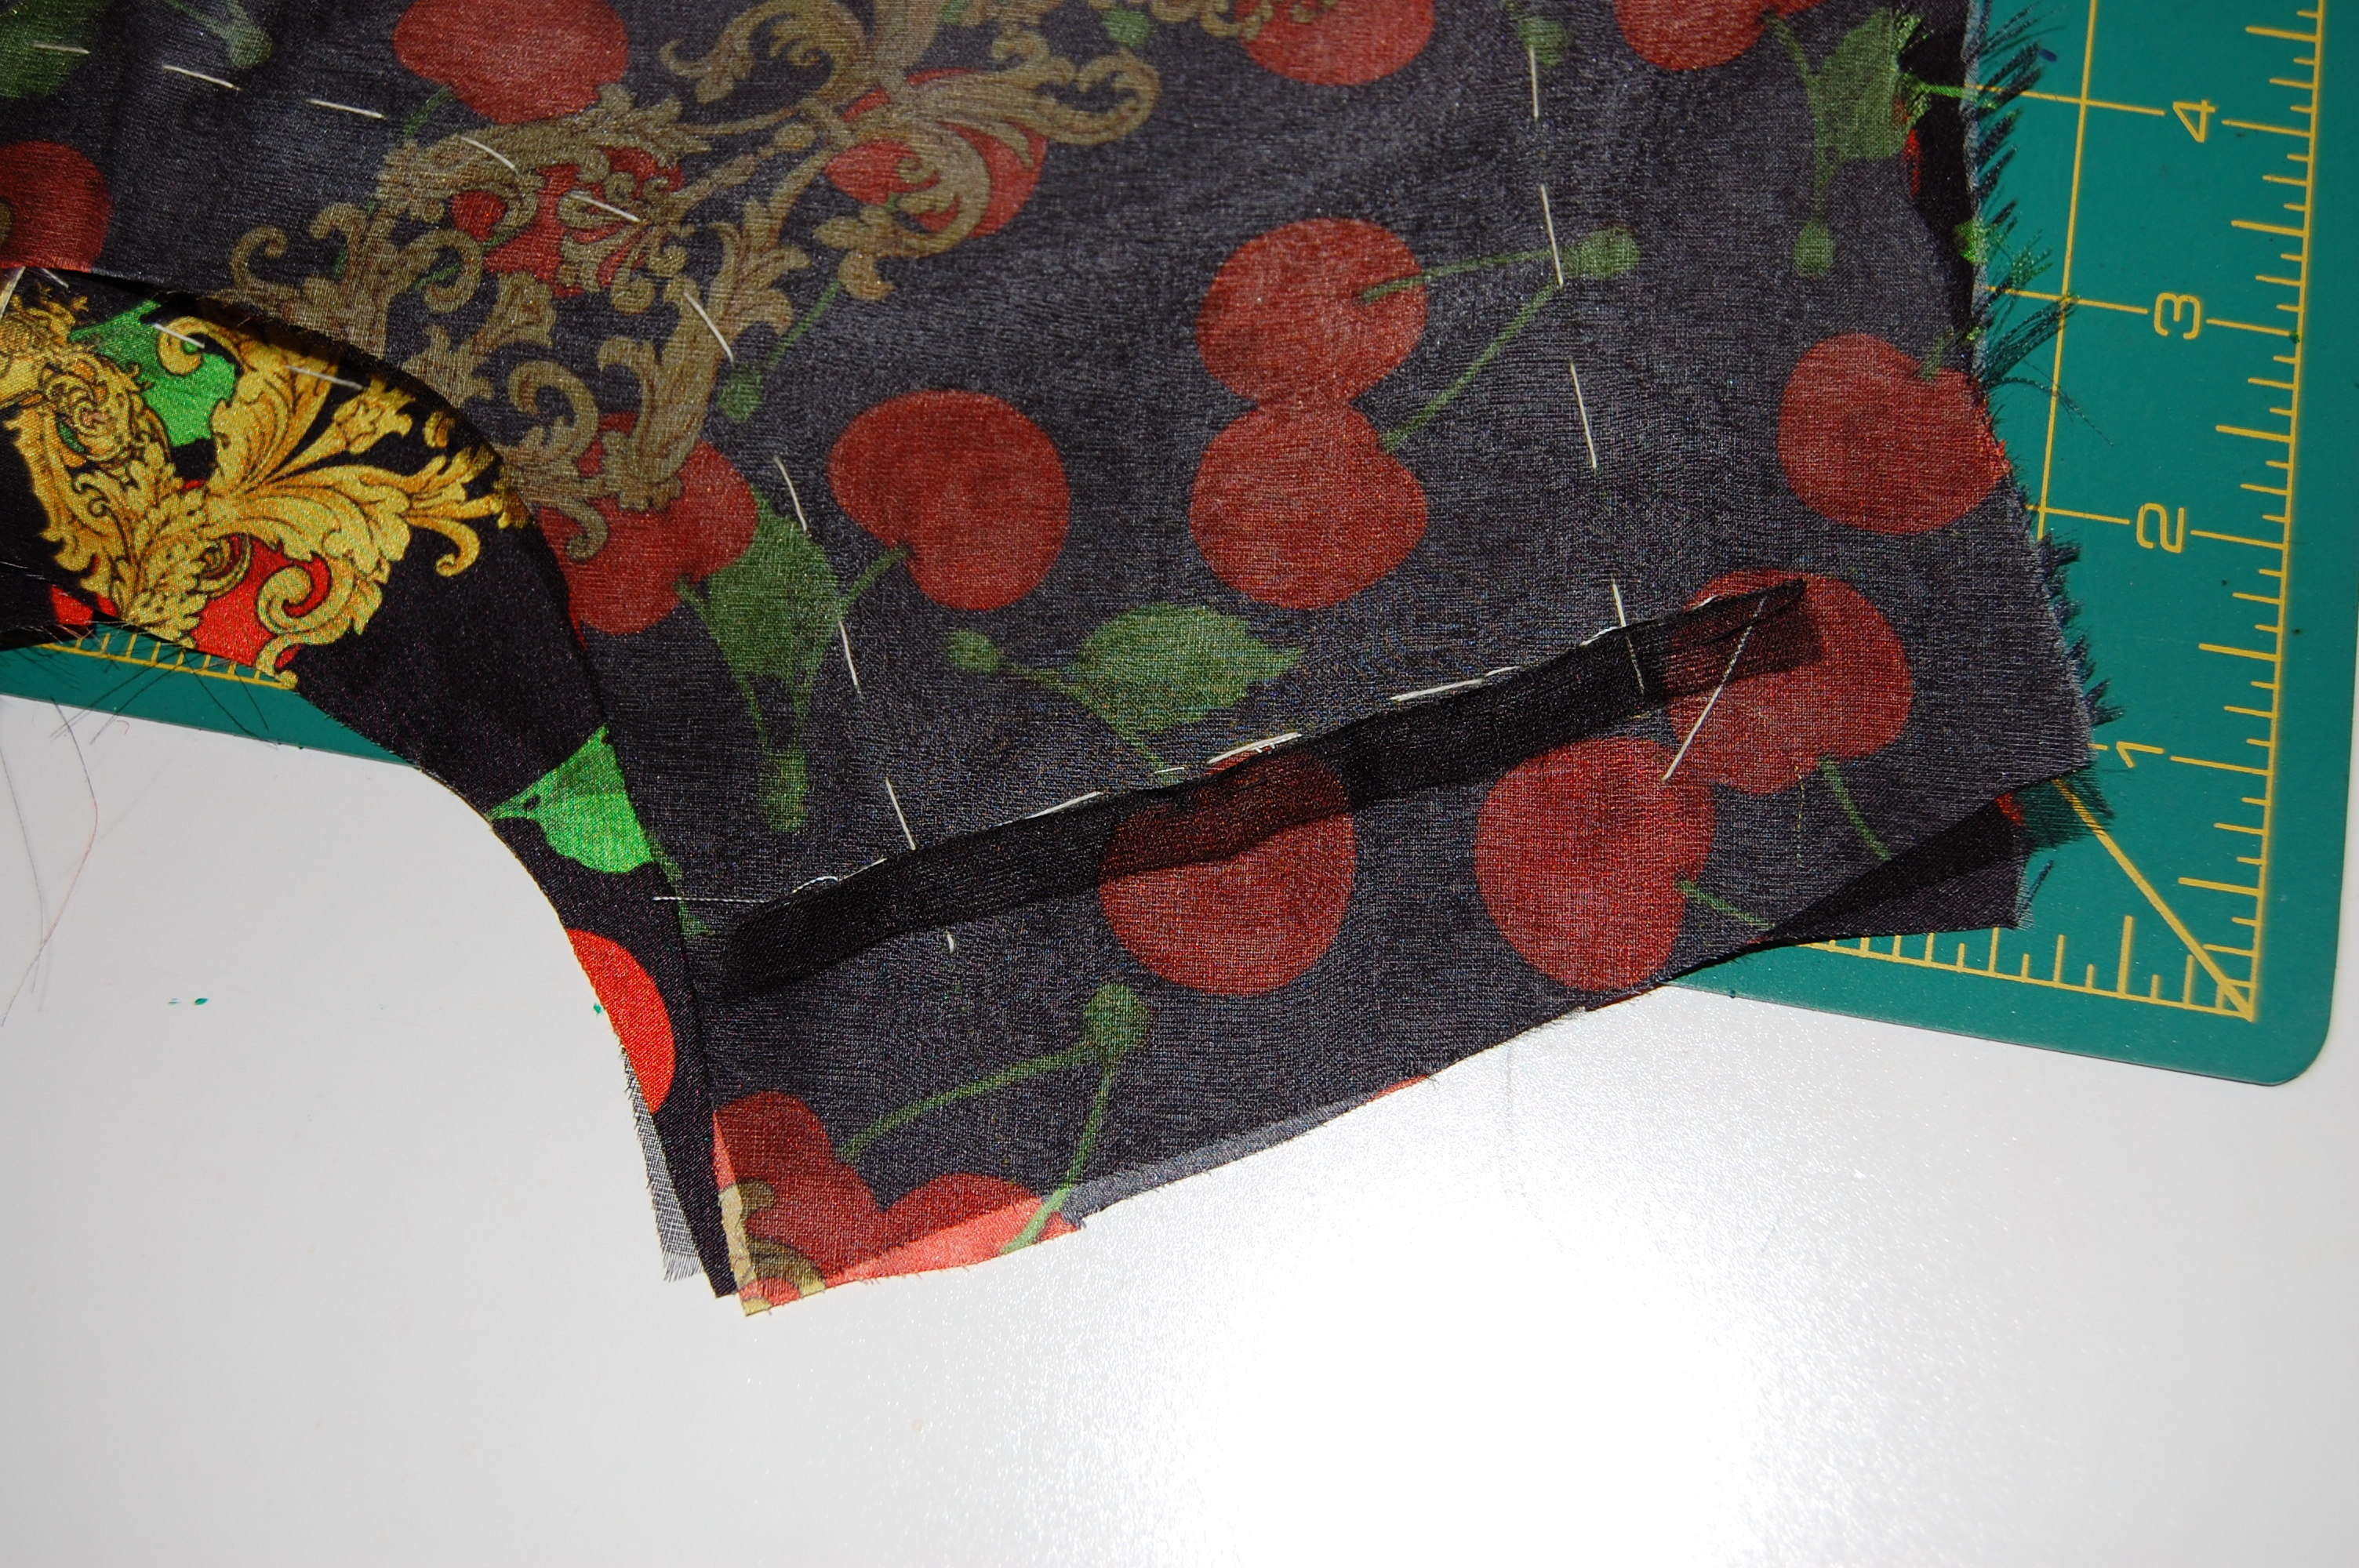
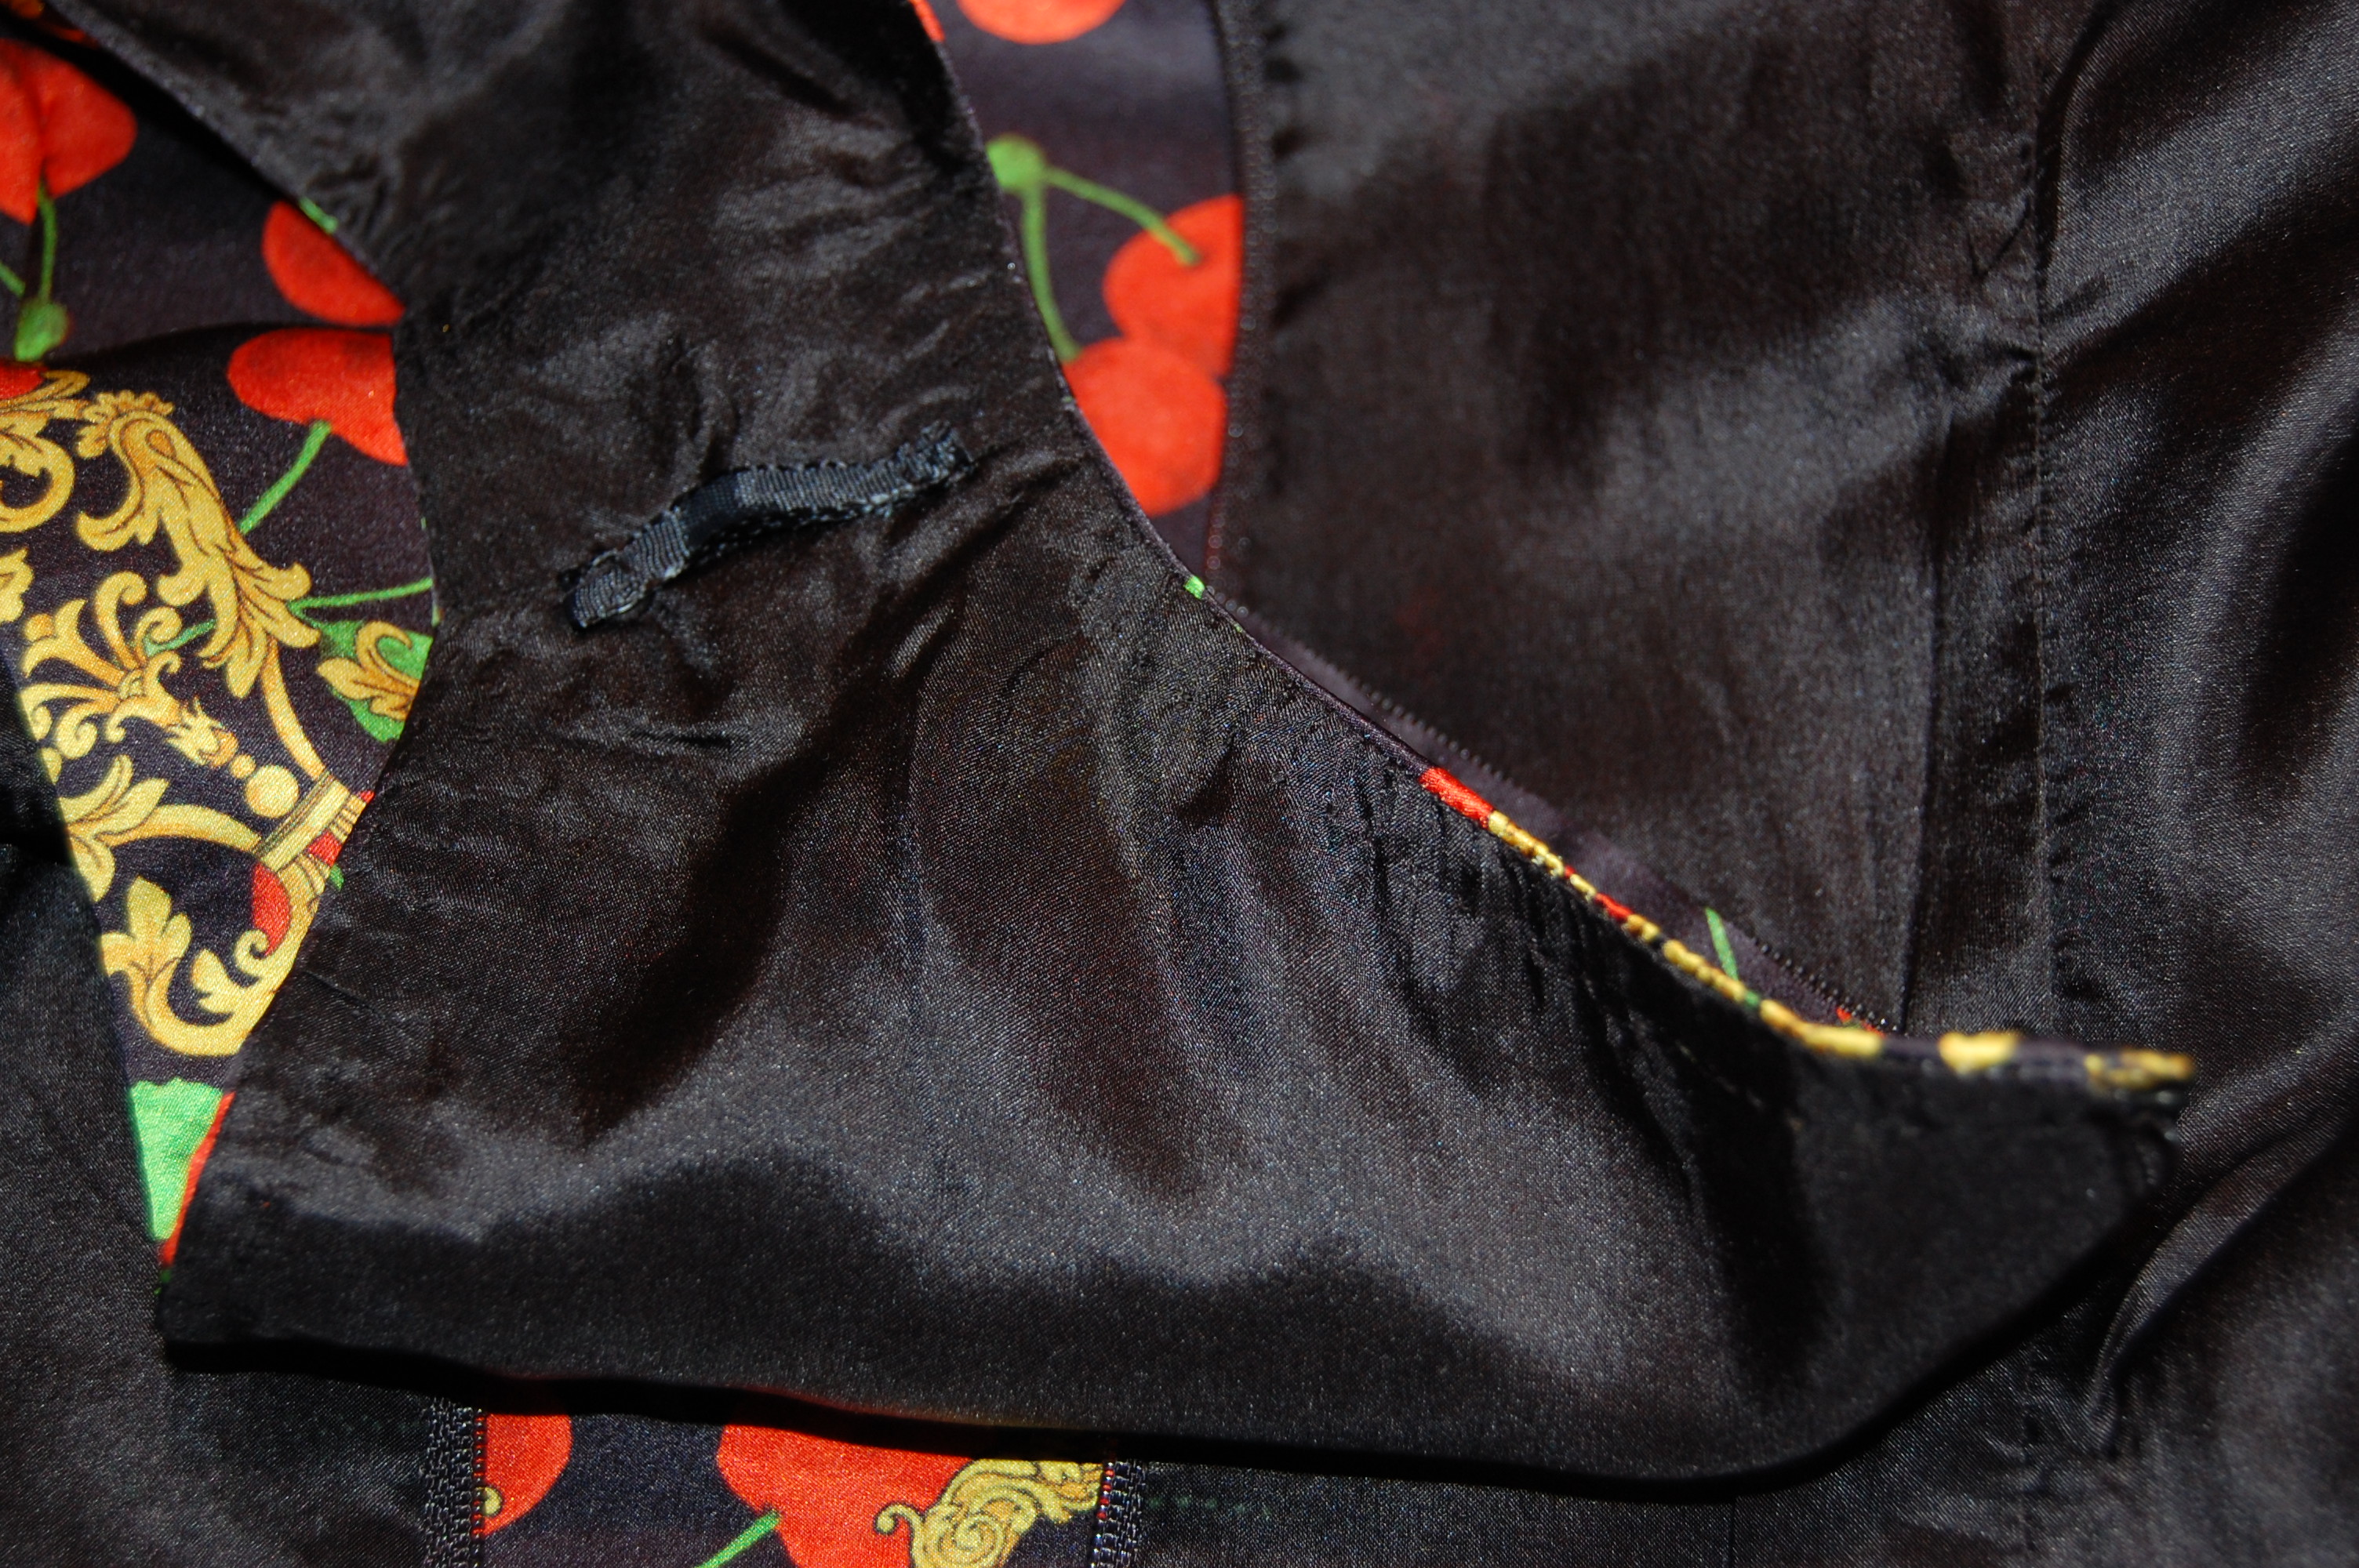
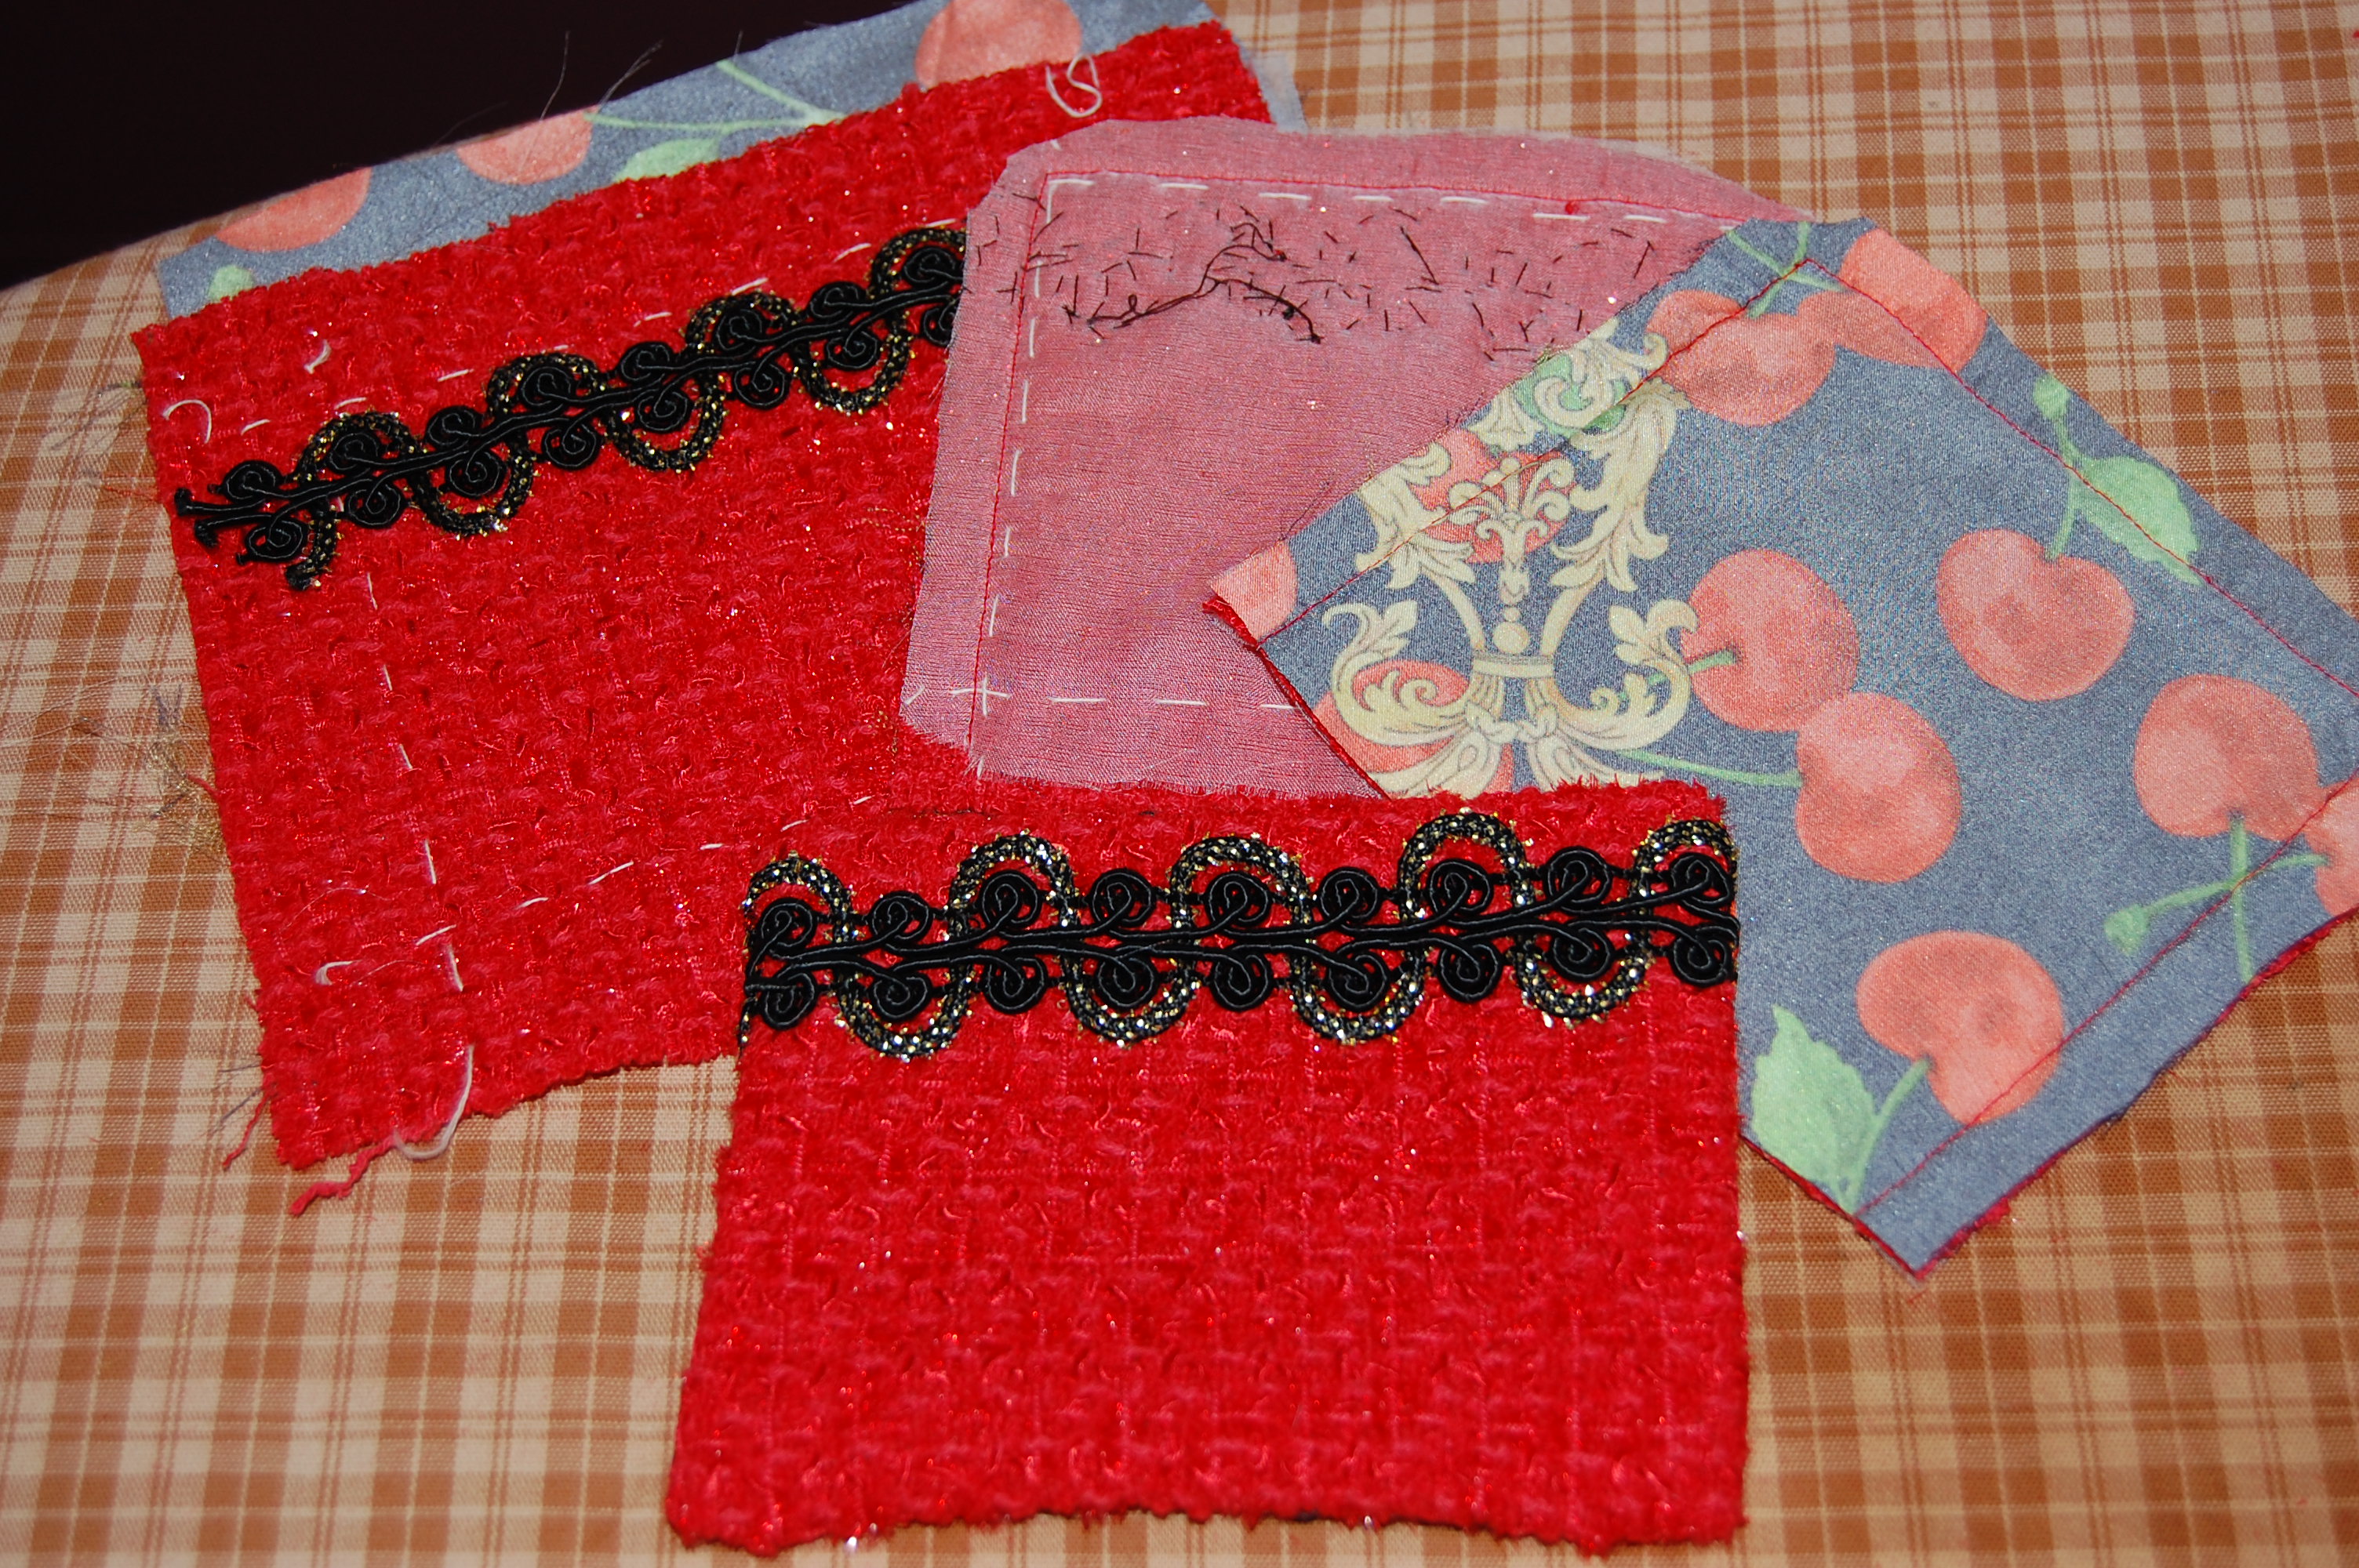
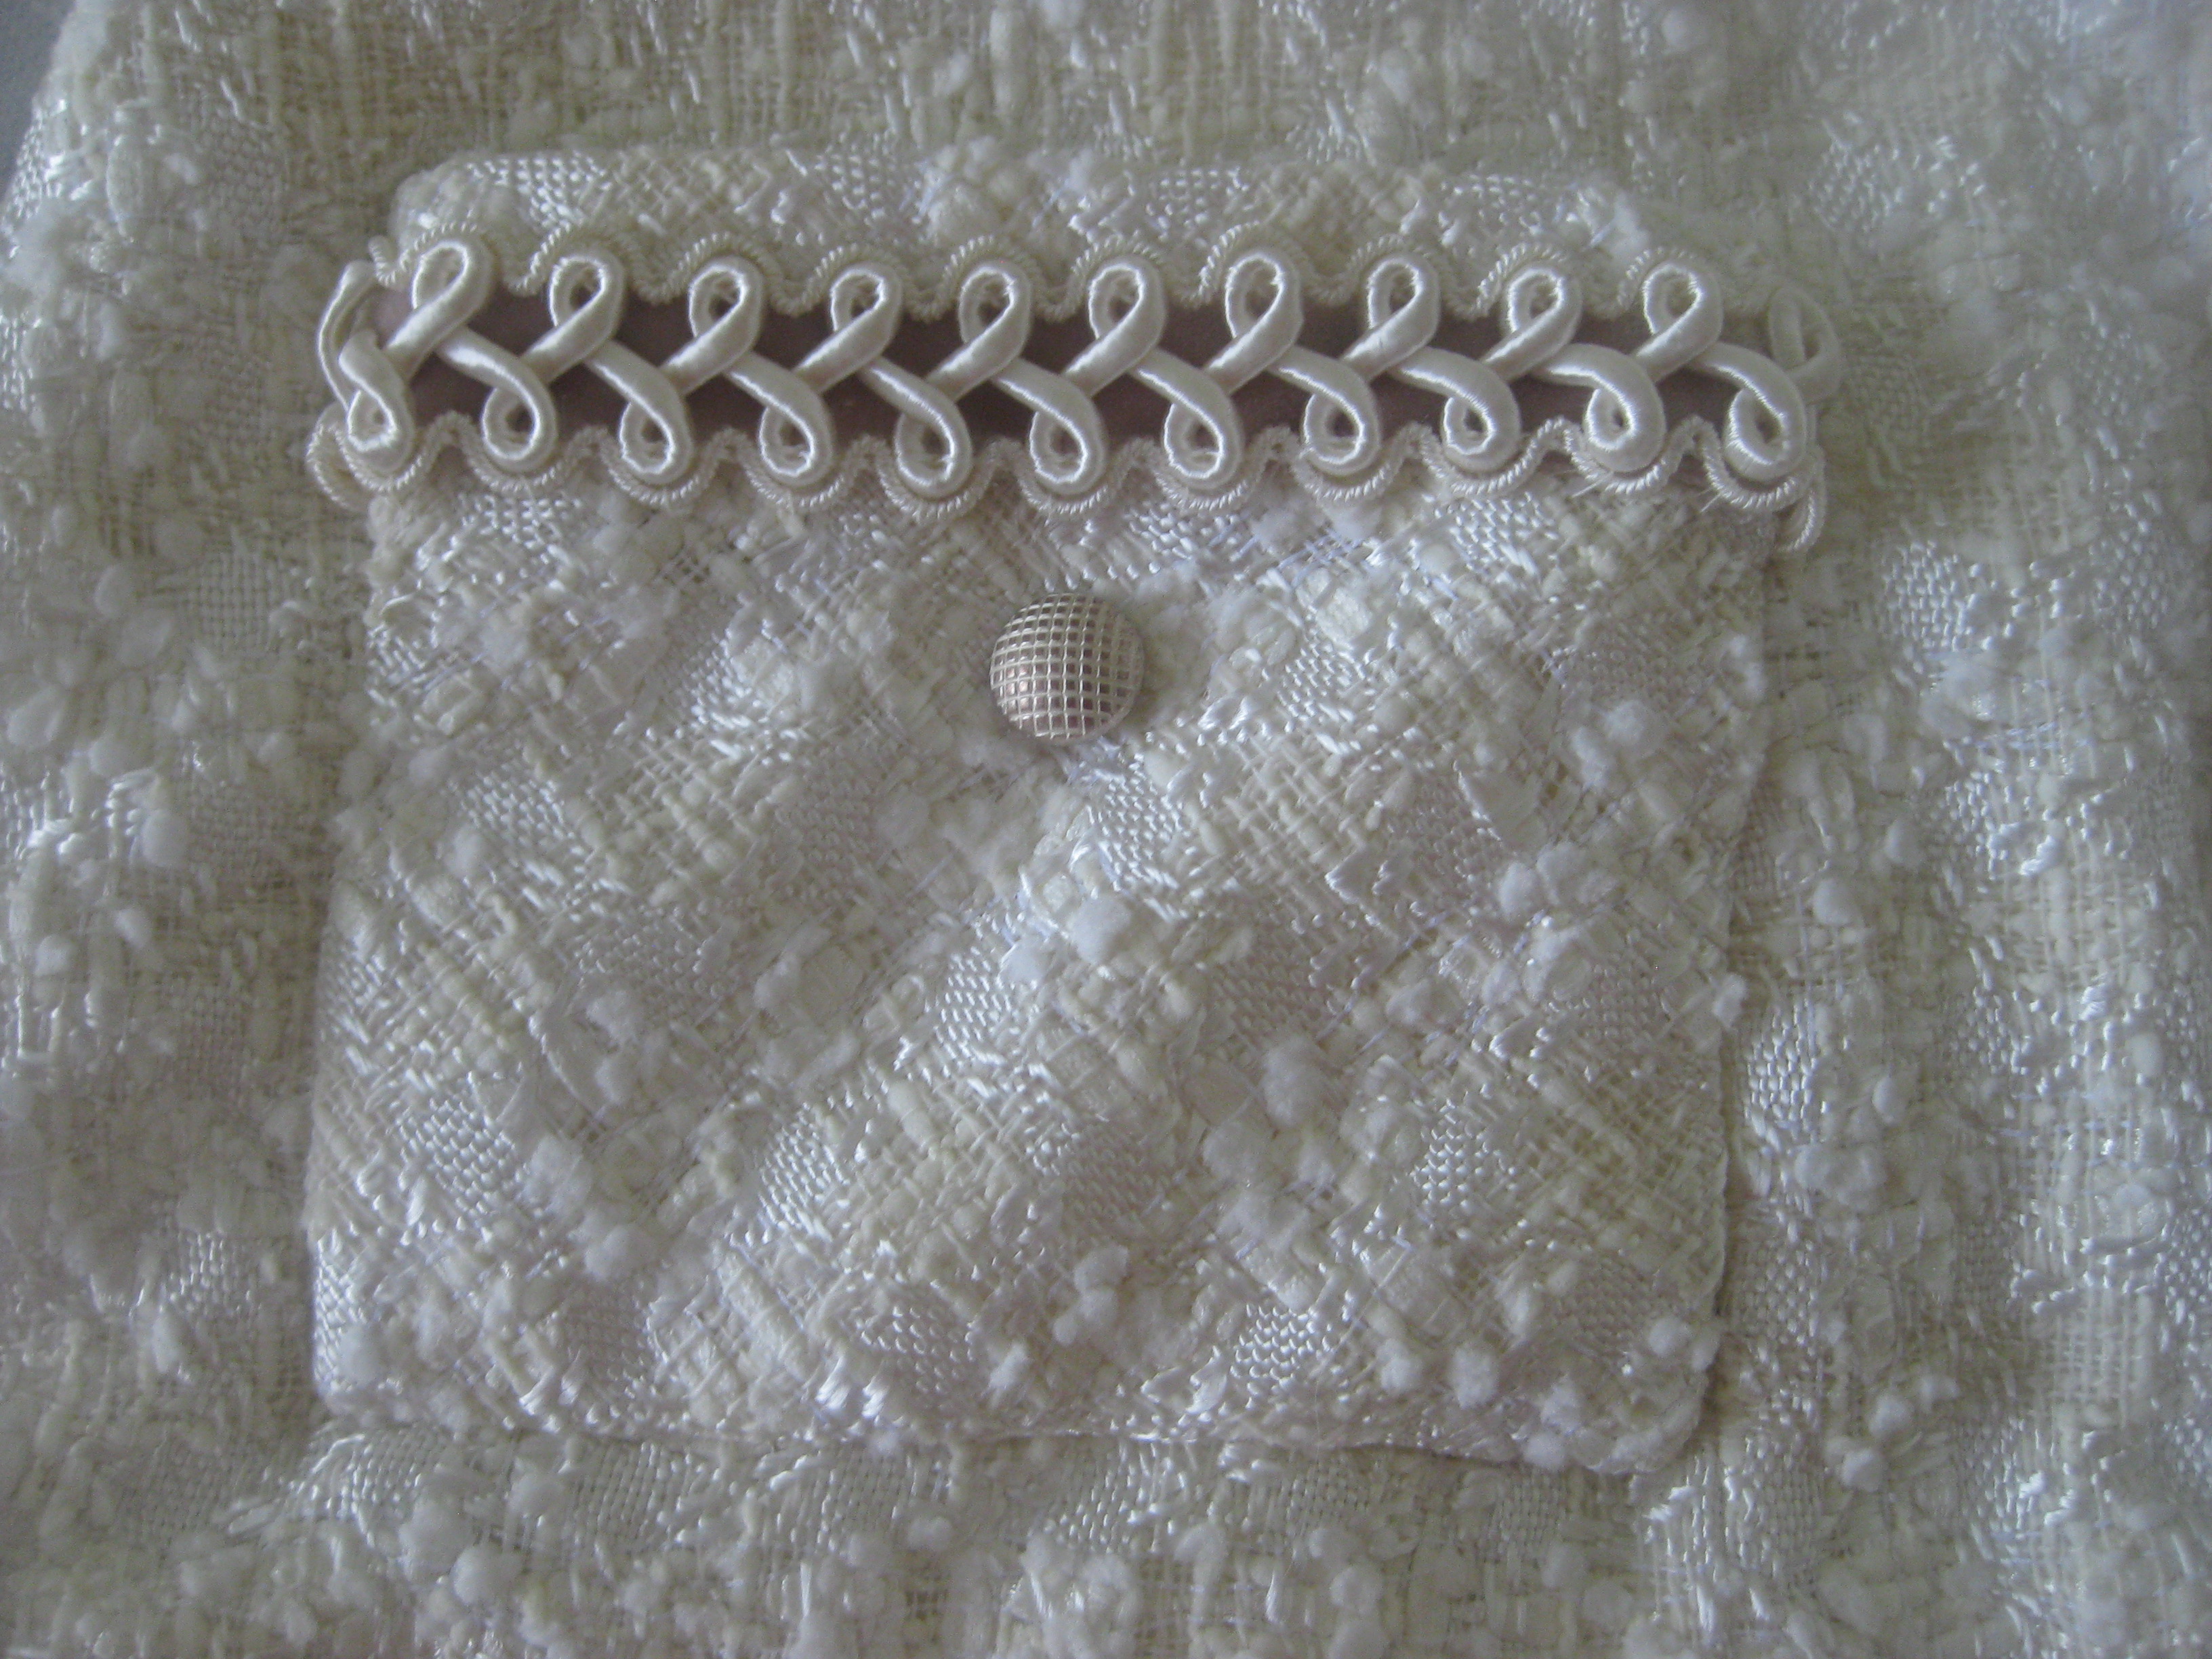
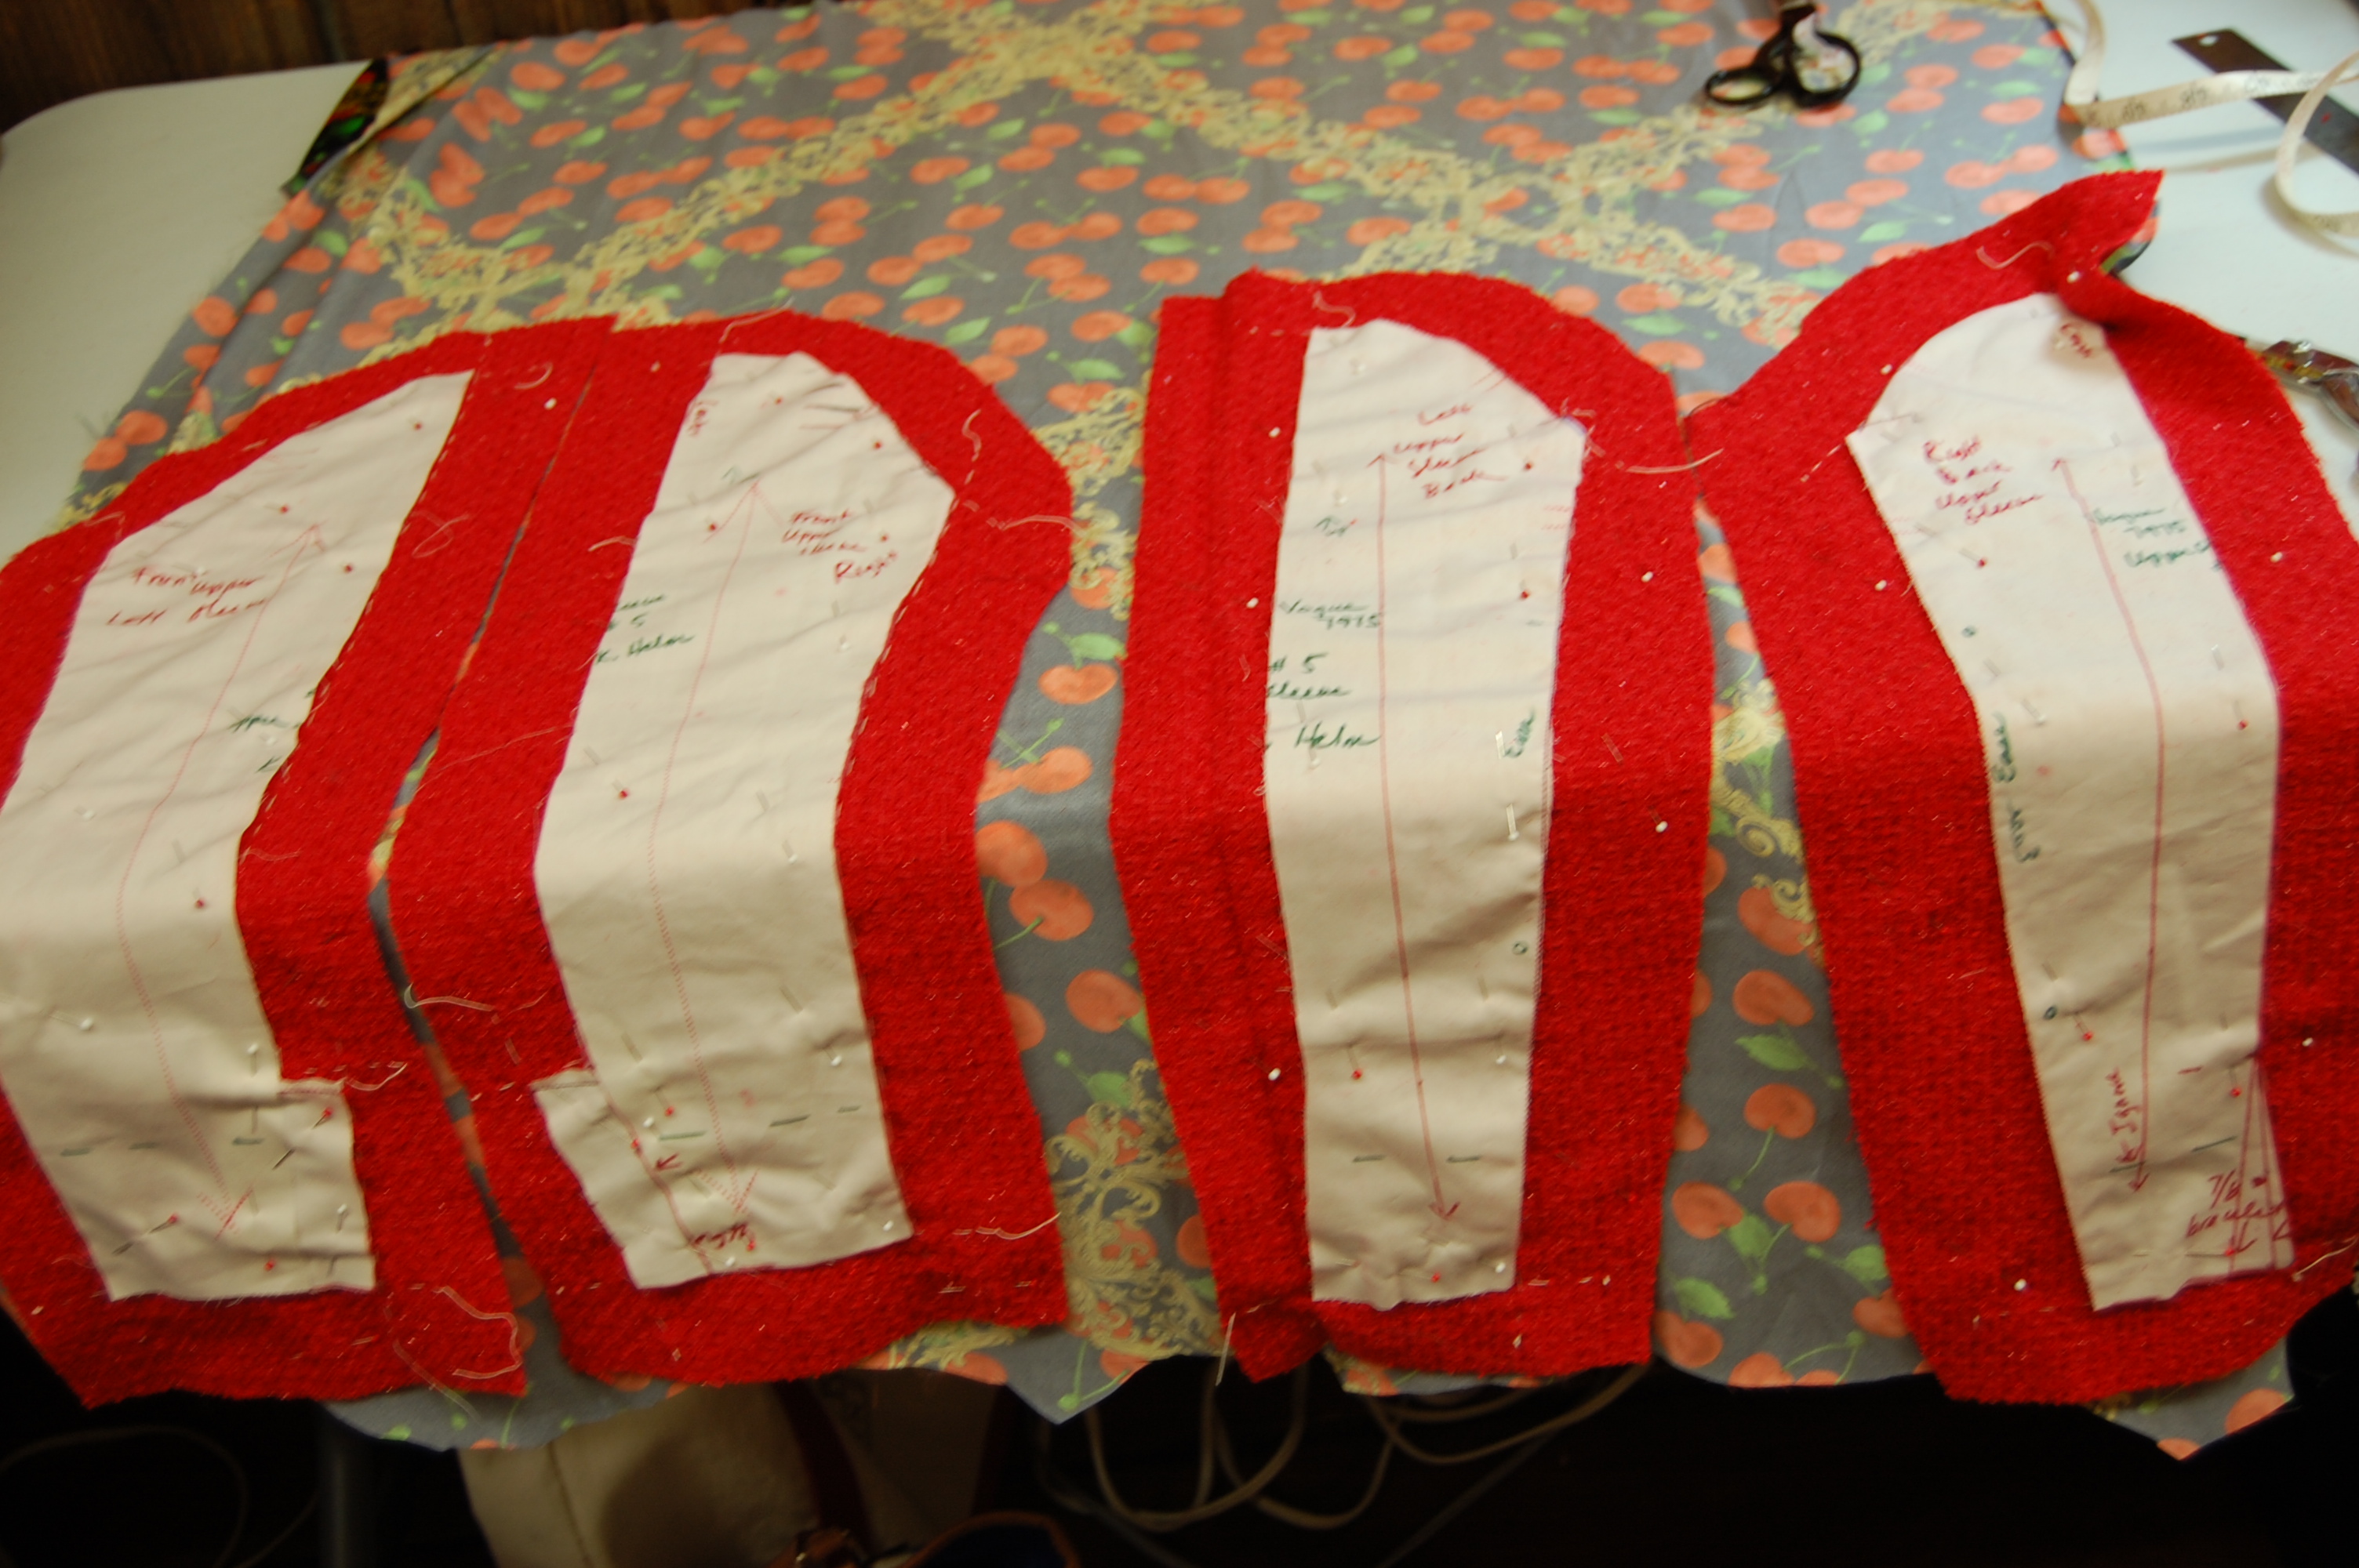
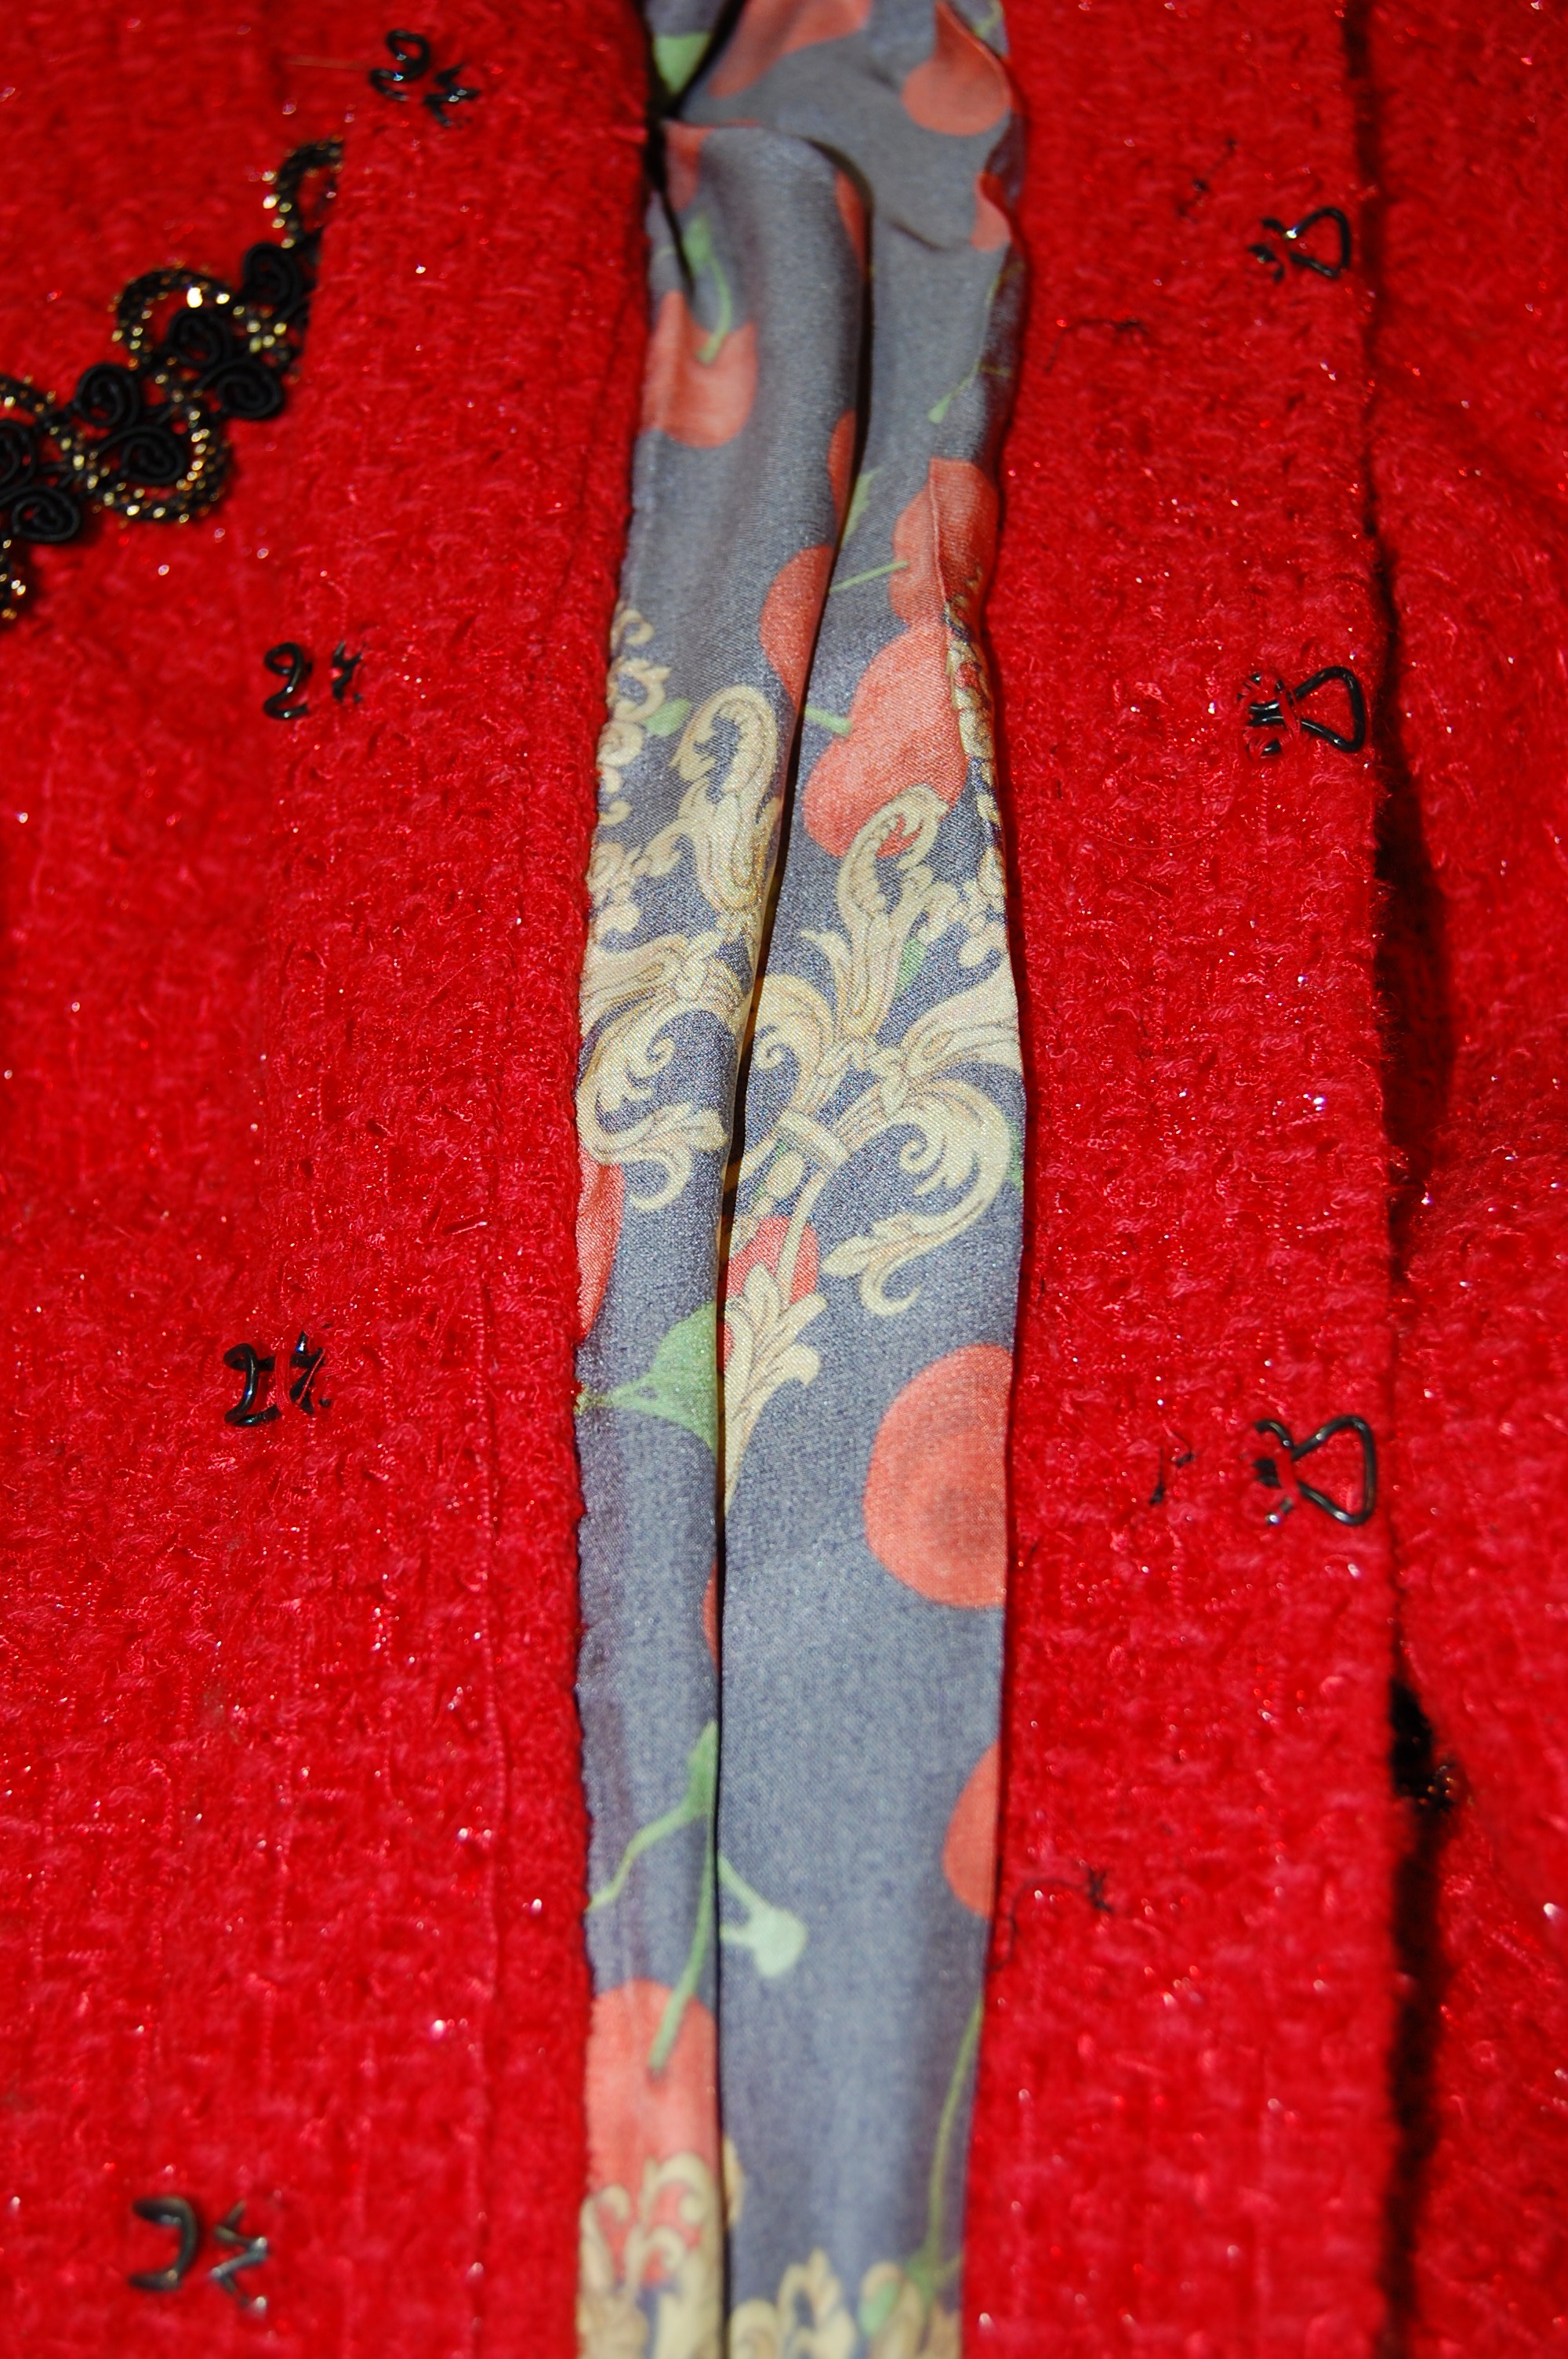
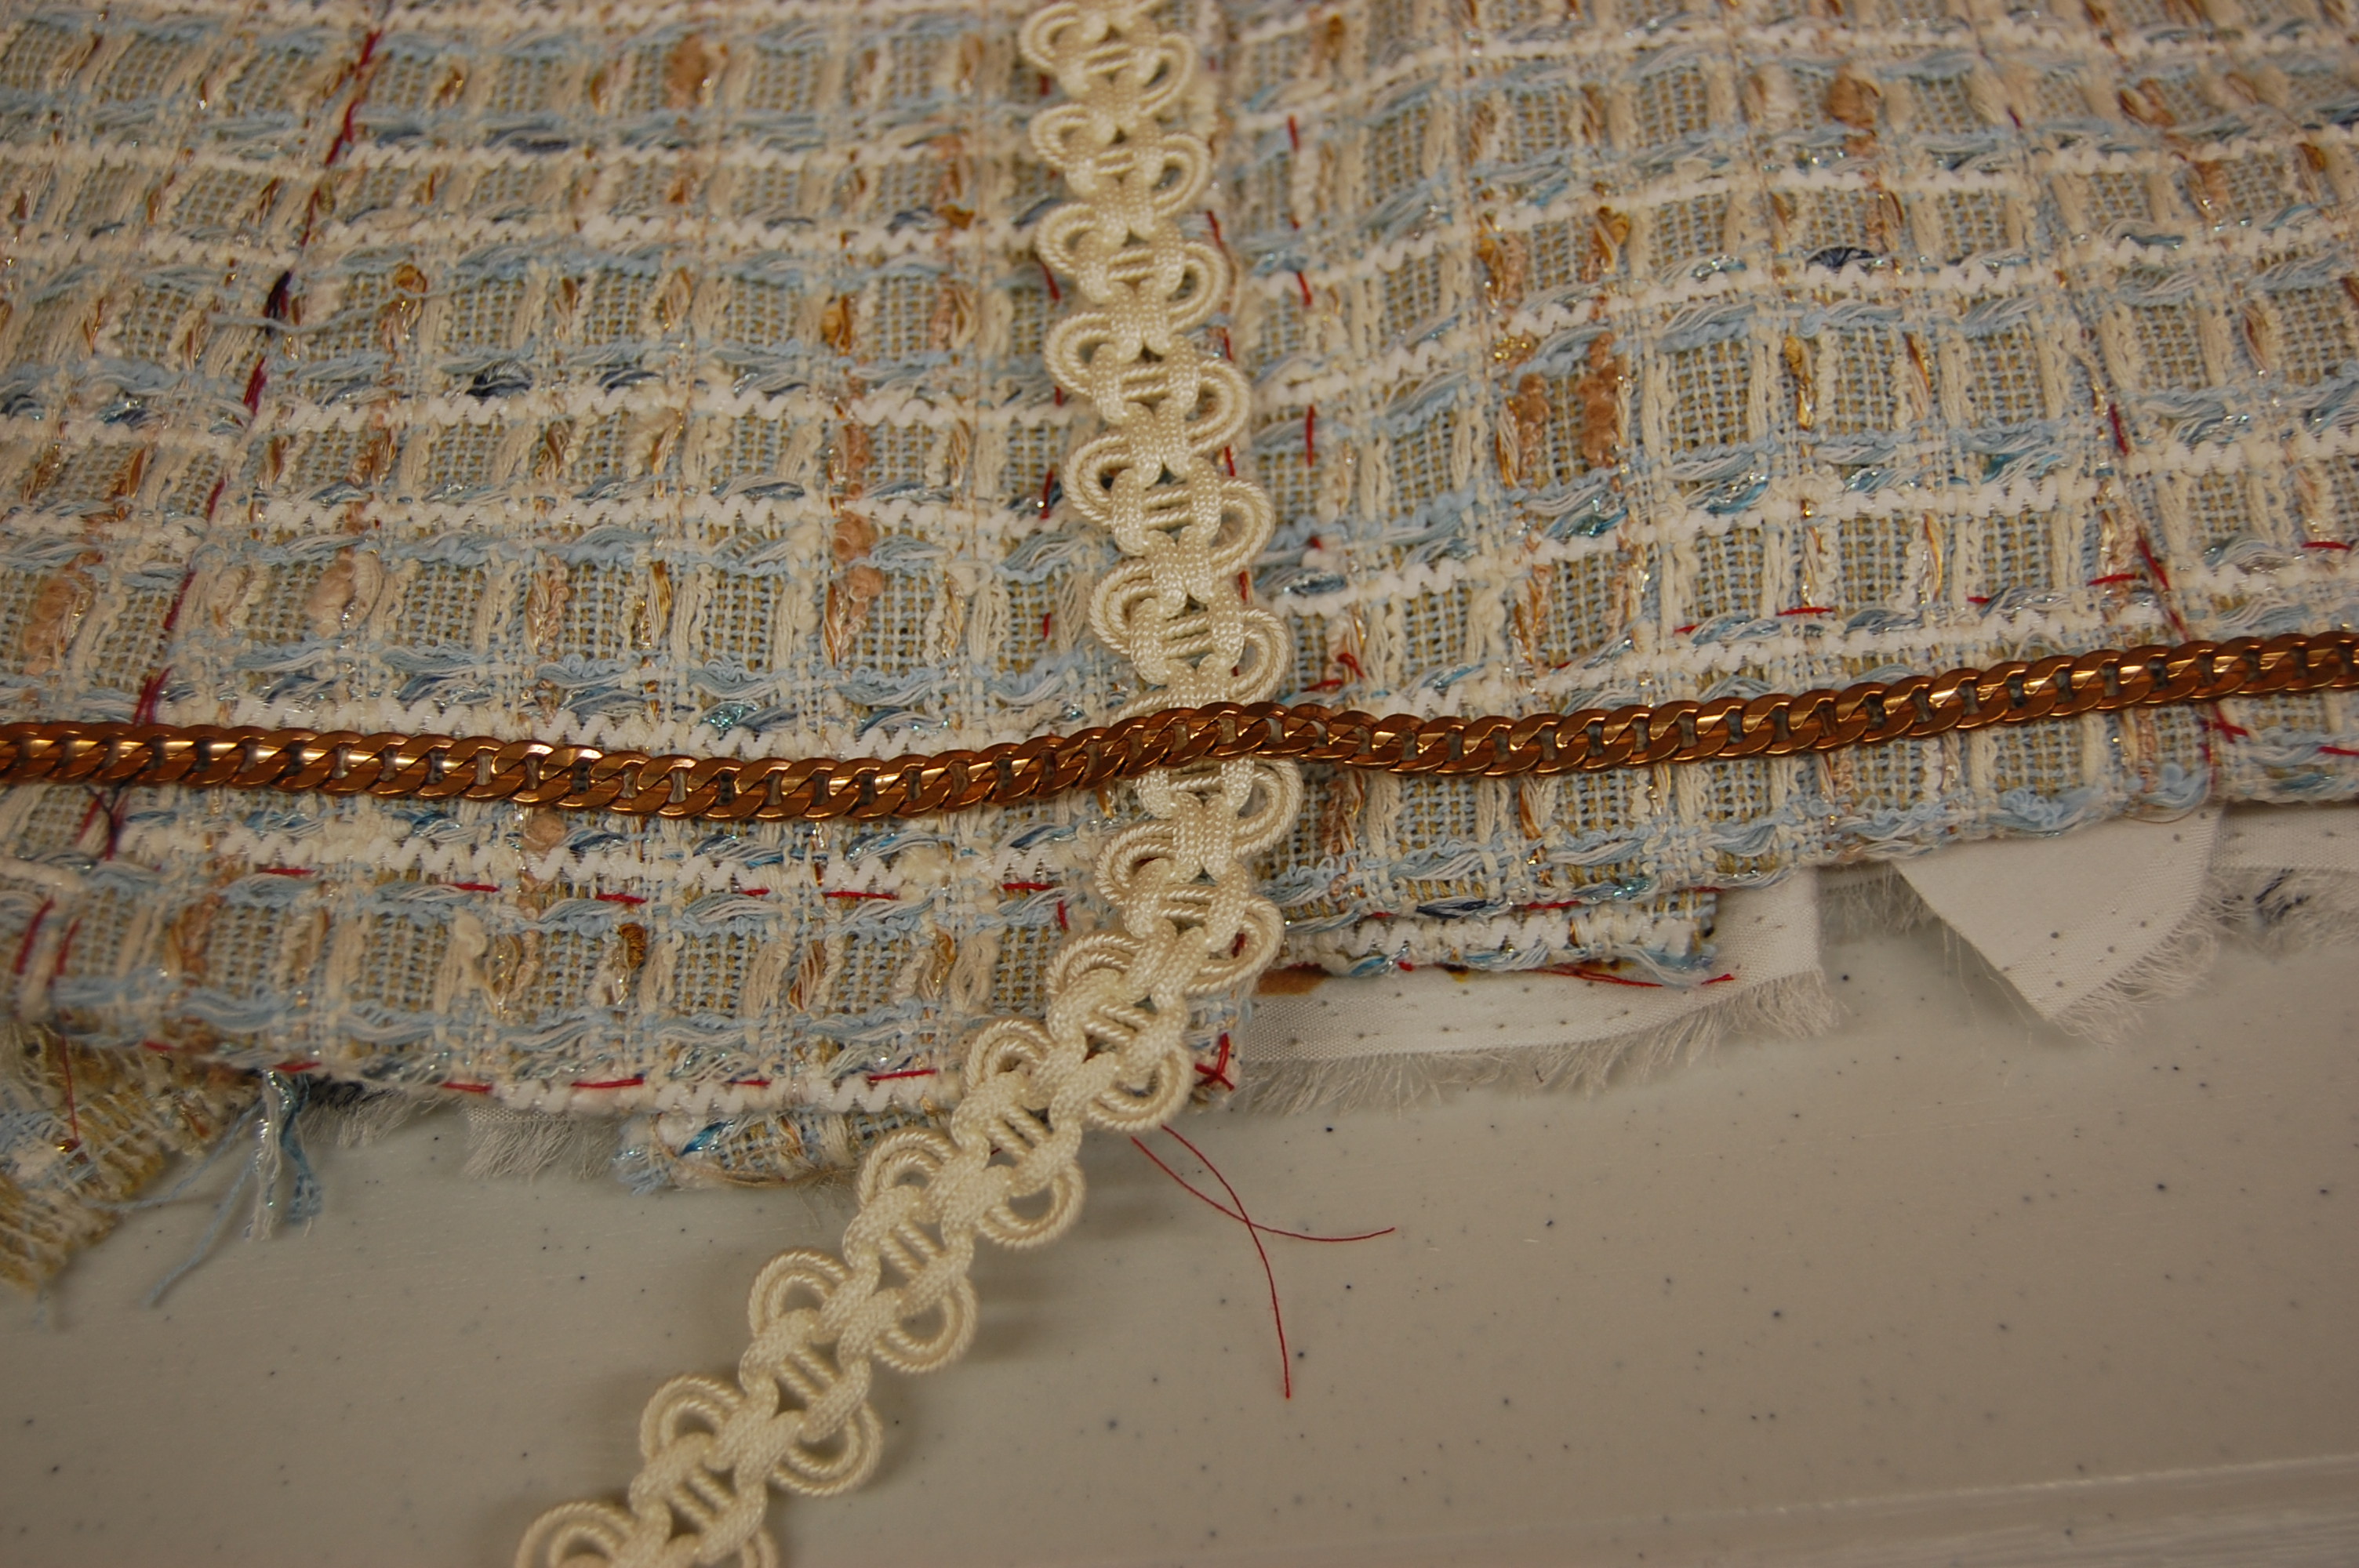
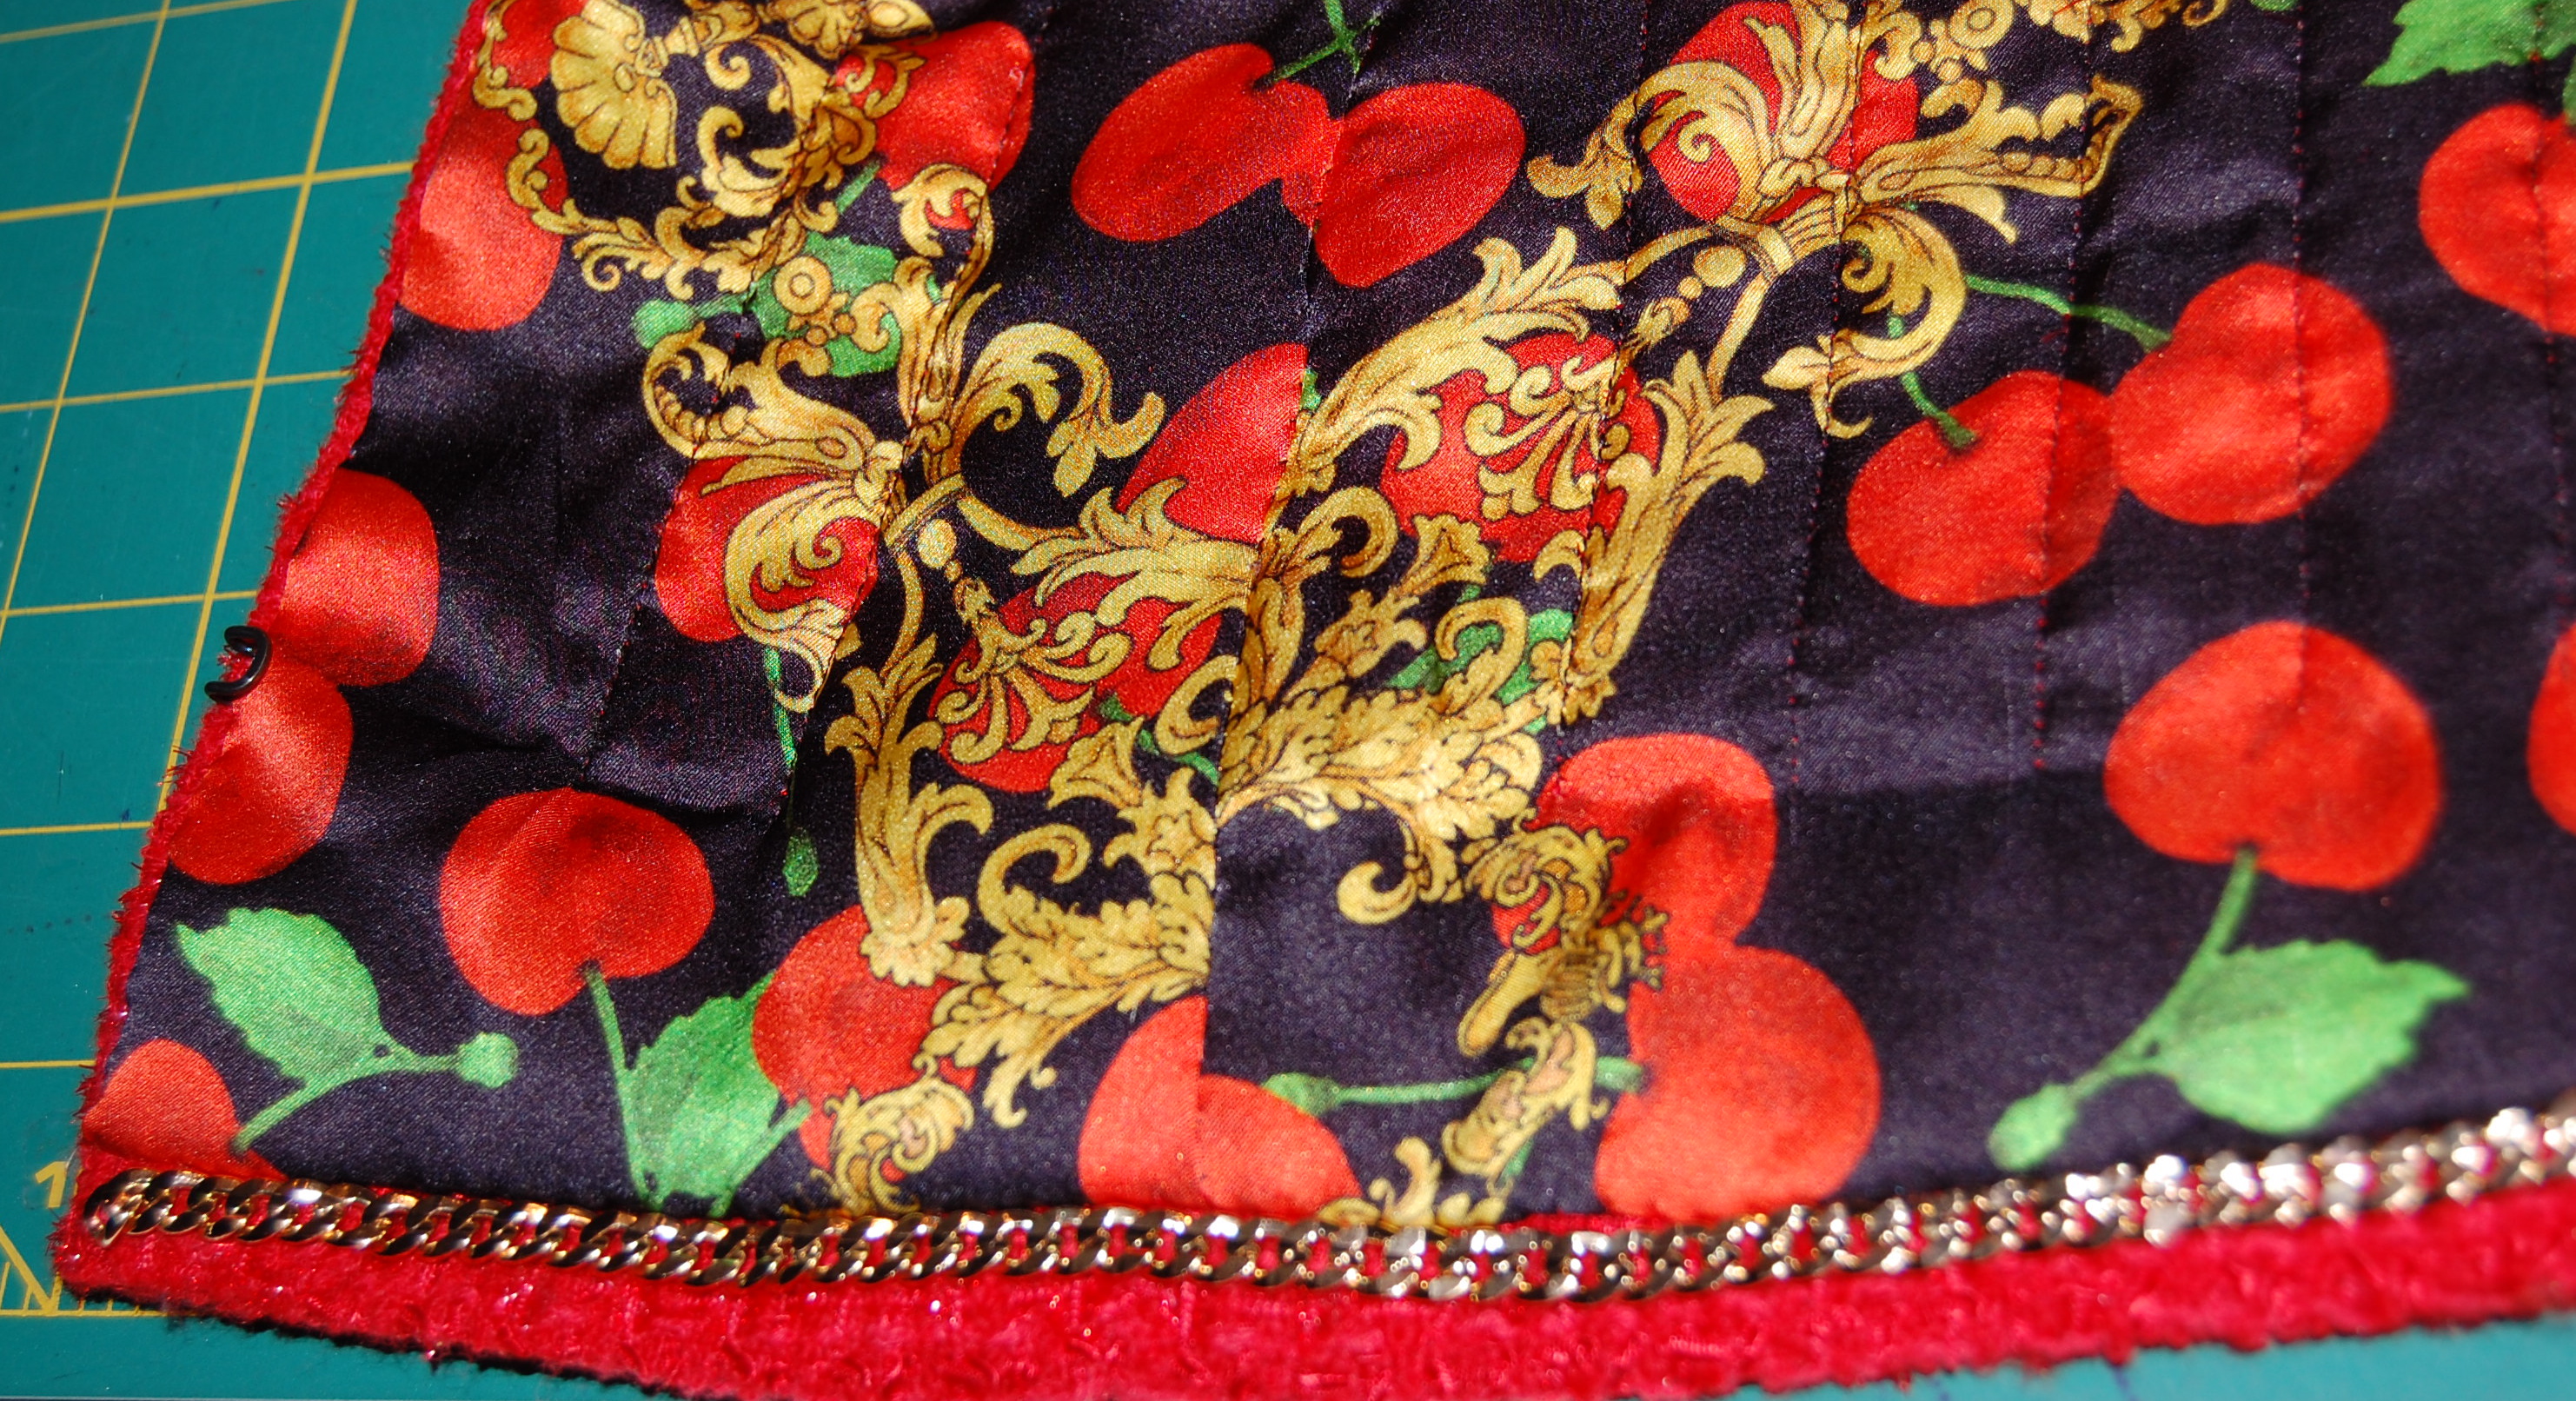
Here are the four pockets, in various stages of completion. I decided to add silk organza interfacing to them (suggested by Susan Khalje, but optional).
It seems that construction of parts of a Chanel-inspired jacket was a first for the Intensive Care Unit and then the Progressive Care Unit! By the time my husband came home a week after the surgery, he had made tremendous progress. I had made progress on my jacket, too, but most importantly, sewing on it had given me a sense of normalcy during a time of great uncertainty.
So many people have told us how lucky we are, and it is difficult to express how very correct they are. Instead of “loss”, we have, indeed, been abundantly blessed with love and luck.