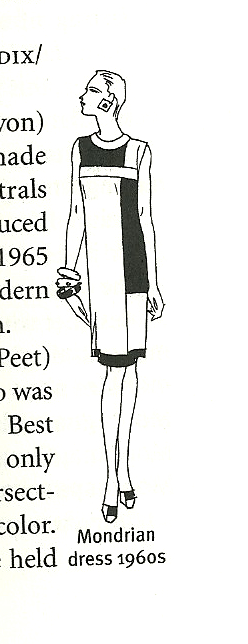
When the weather turns wintry, warm coats become a wardrobe staple. One or two “practical – wear everywhere” coats are a must. (I just added years to the life of a 2+ decades-old cashmere, classic, double-breasted coat by having the tattered lining replaced by a local tailor – and I will continue to wear this coat often!) But how delightful to have a collection of coats – and how much better if they are not only warm, but also stylish. If you were sewing in the 1950s and 1960s you were fortunate to have many, many coat styles and patterns available to you – and if you are sewing now, you are also fortunate to have access to many of these same patterns through the internet – and they are just as stylish now as they were 50+ years ago. I am, of course, speaking of “dressmaker coats.”
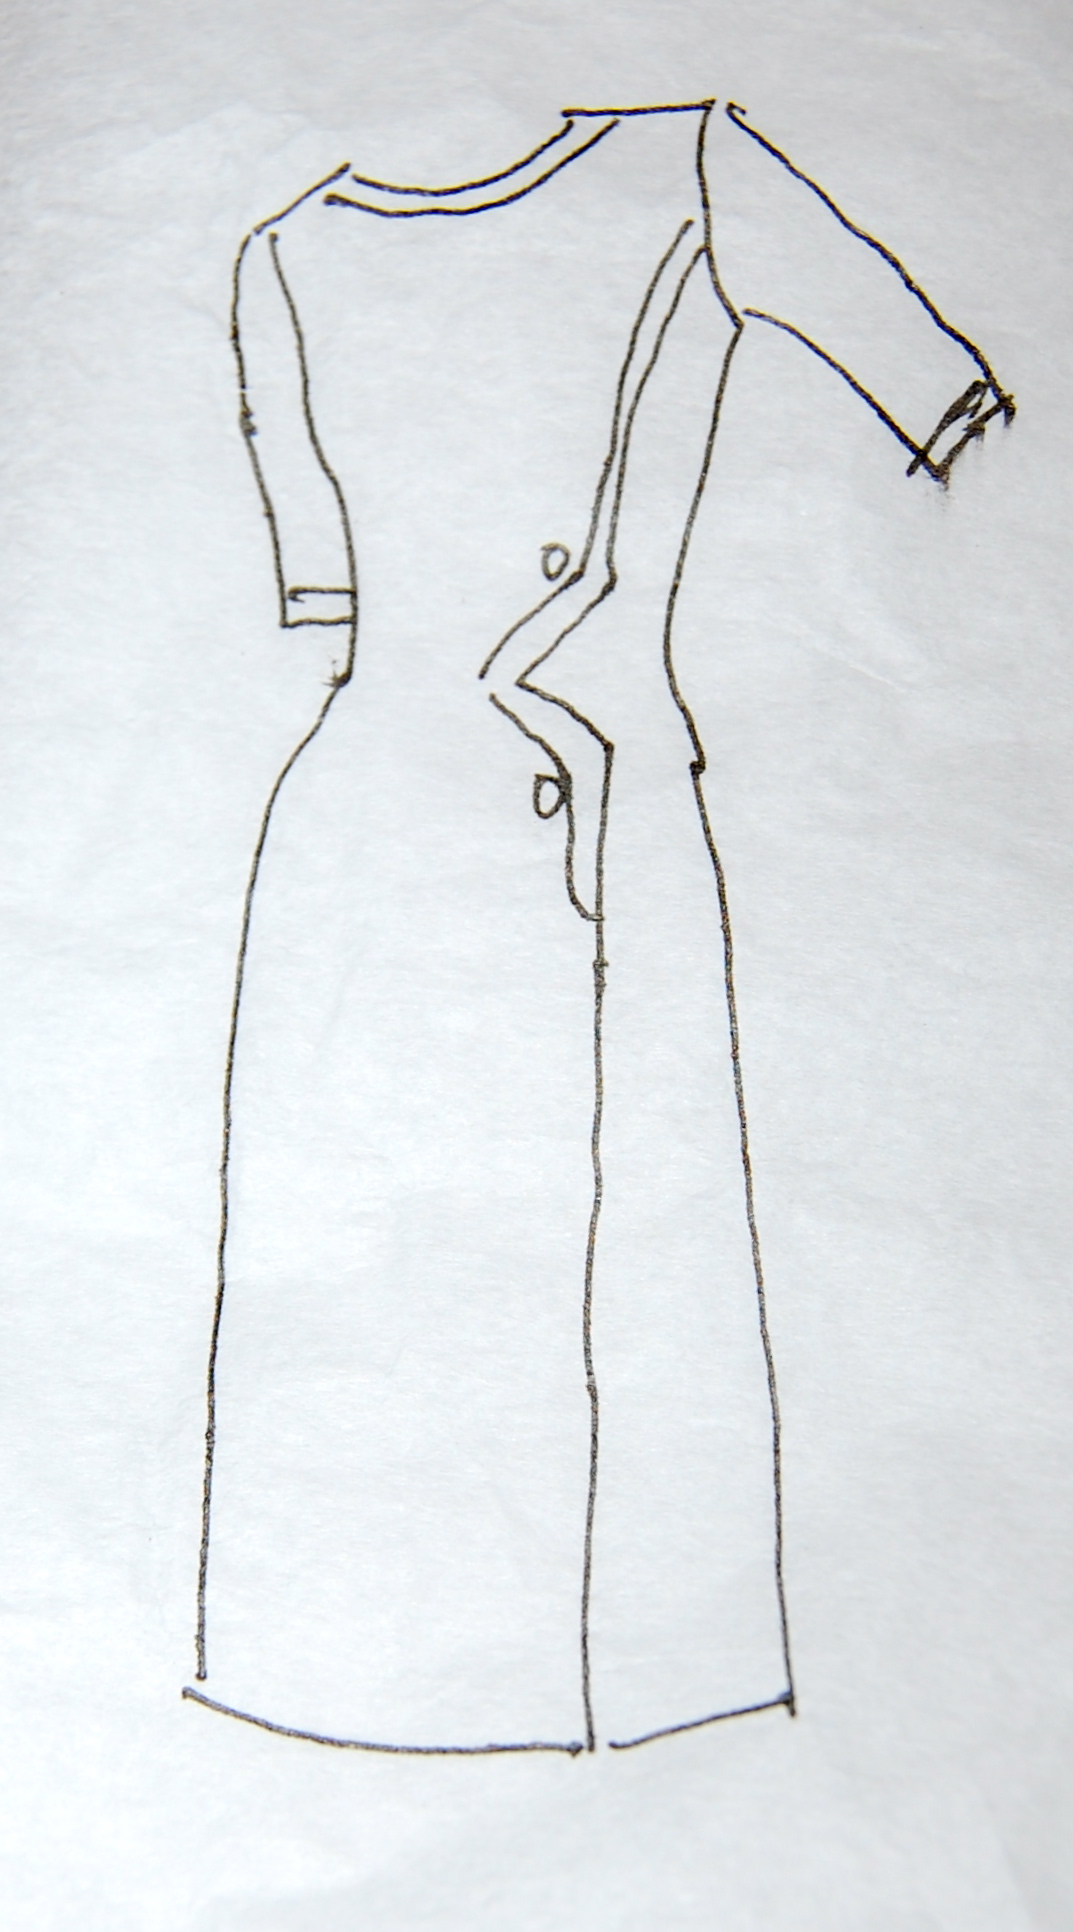
Quoting from Fairchild’s Dictionary of Fashion, (Third Edition, by Charlotte Mankey Calasibetta and Phyllis Tortora; Fairchild Publications, Inc, New York, New York, copyright 2003) a dressmaker coat is: “A woman’s coat designed with softer lines and more details than the average coat. May have a waistline and unusual details, e.g., tucks or pleats.” Such coats are so-called because they are styled more like a dress.
It doesn’t take very long to find examples of such coats in the Vogue Pattern Book Magazines from those two decades. The sheer numbers of patterns for such coats – and coat and dress ensembles – make me believe that home dressmakers from that period of time did not shy away from such sewing challenges. And why should we when so many gorgeous coats are waiting to be sewn?
Here are a few examples to tempt you:
“The Rectangle Coat: New Fashion Geometry” was a feature in the December 1958/January 1959 Vogue Pattern Book Magazine.
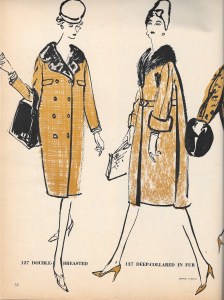
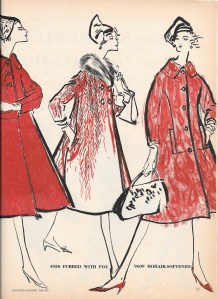
Both of these coats feature fur collars “added by your furrier.” The one on the left has a “slight oval to the back” – and a half belt.
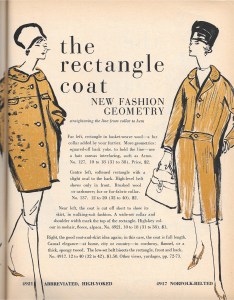
Suggestions for suitable fabrics are given for each of these designs.
Continuing with the theme of “New Fashion Geometry,” the following pages of the same Vogue Pattern Book Magazine show examples of “the triangle coat.” Other terminology for this style of coat is the A-line coat. First introduced in 1955 by Christian Dior, this coat was “made close and narrow at the shoulders, flaring gently from under the arms to hem; shaped like letter A, made in single-or double-breasted style with or without a collar,” according to Fairchild’s Dictionary of Fashion, page 85.
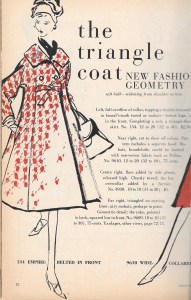
The coat on the right has unusual princess seaming.
A few years later, the December 1962/January 1963 issue of Vogue Pattern Book Magazine featured “7 new ways to keep warm and look wonderful.”

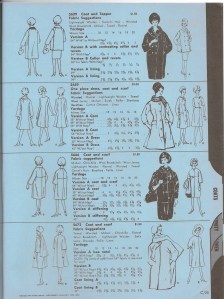
Several of the designs in this section feature “fullness” in the body of the coat.
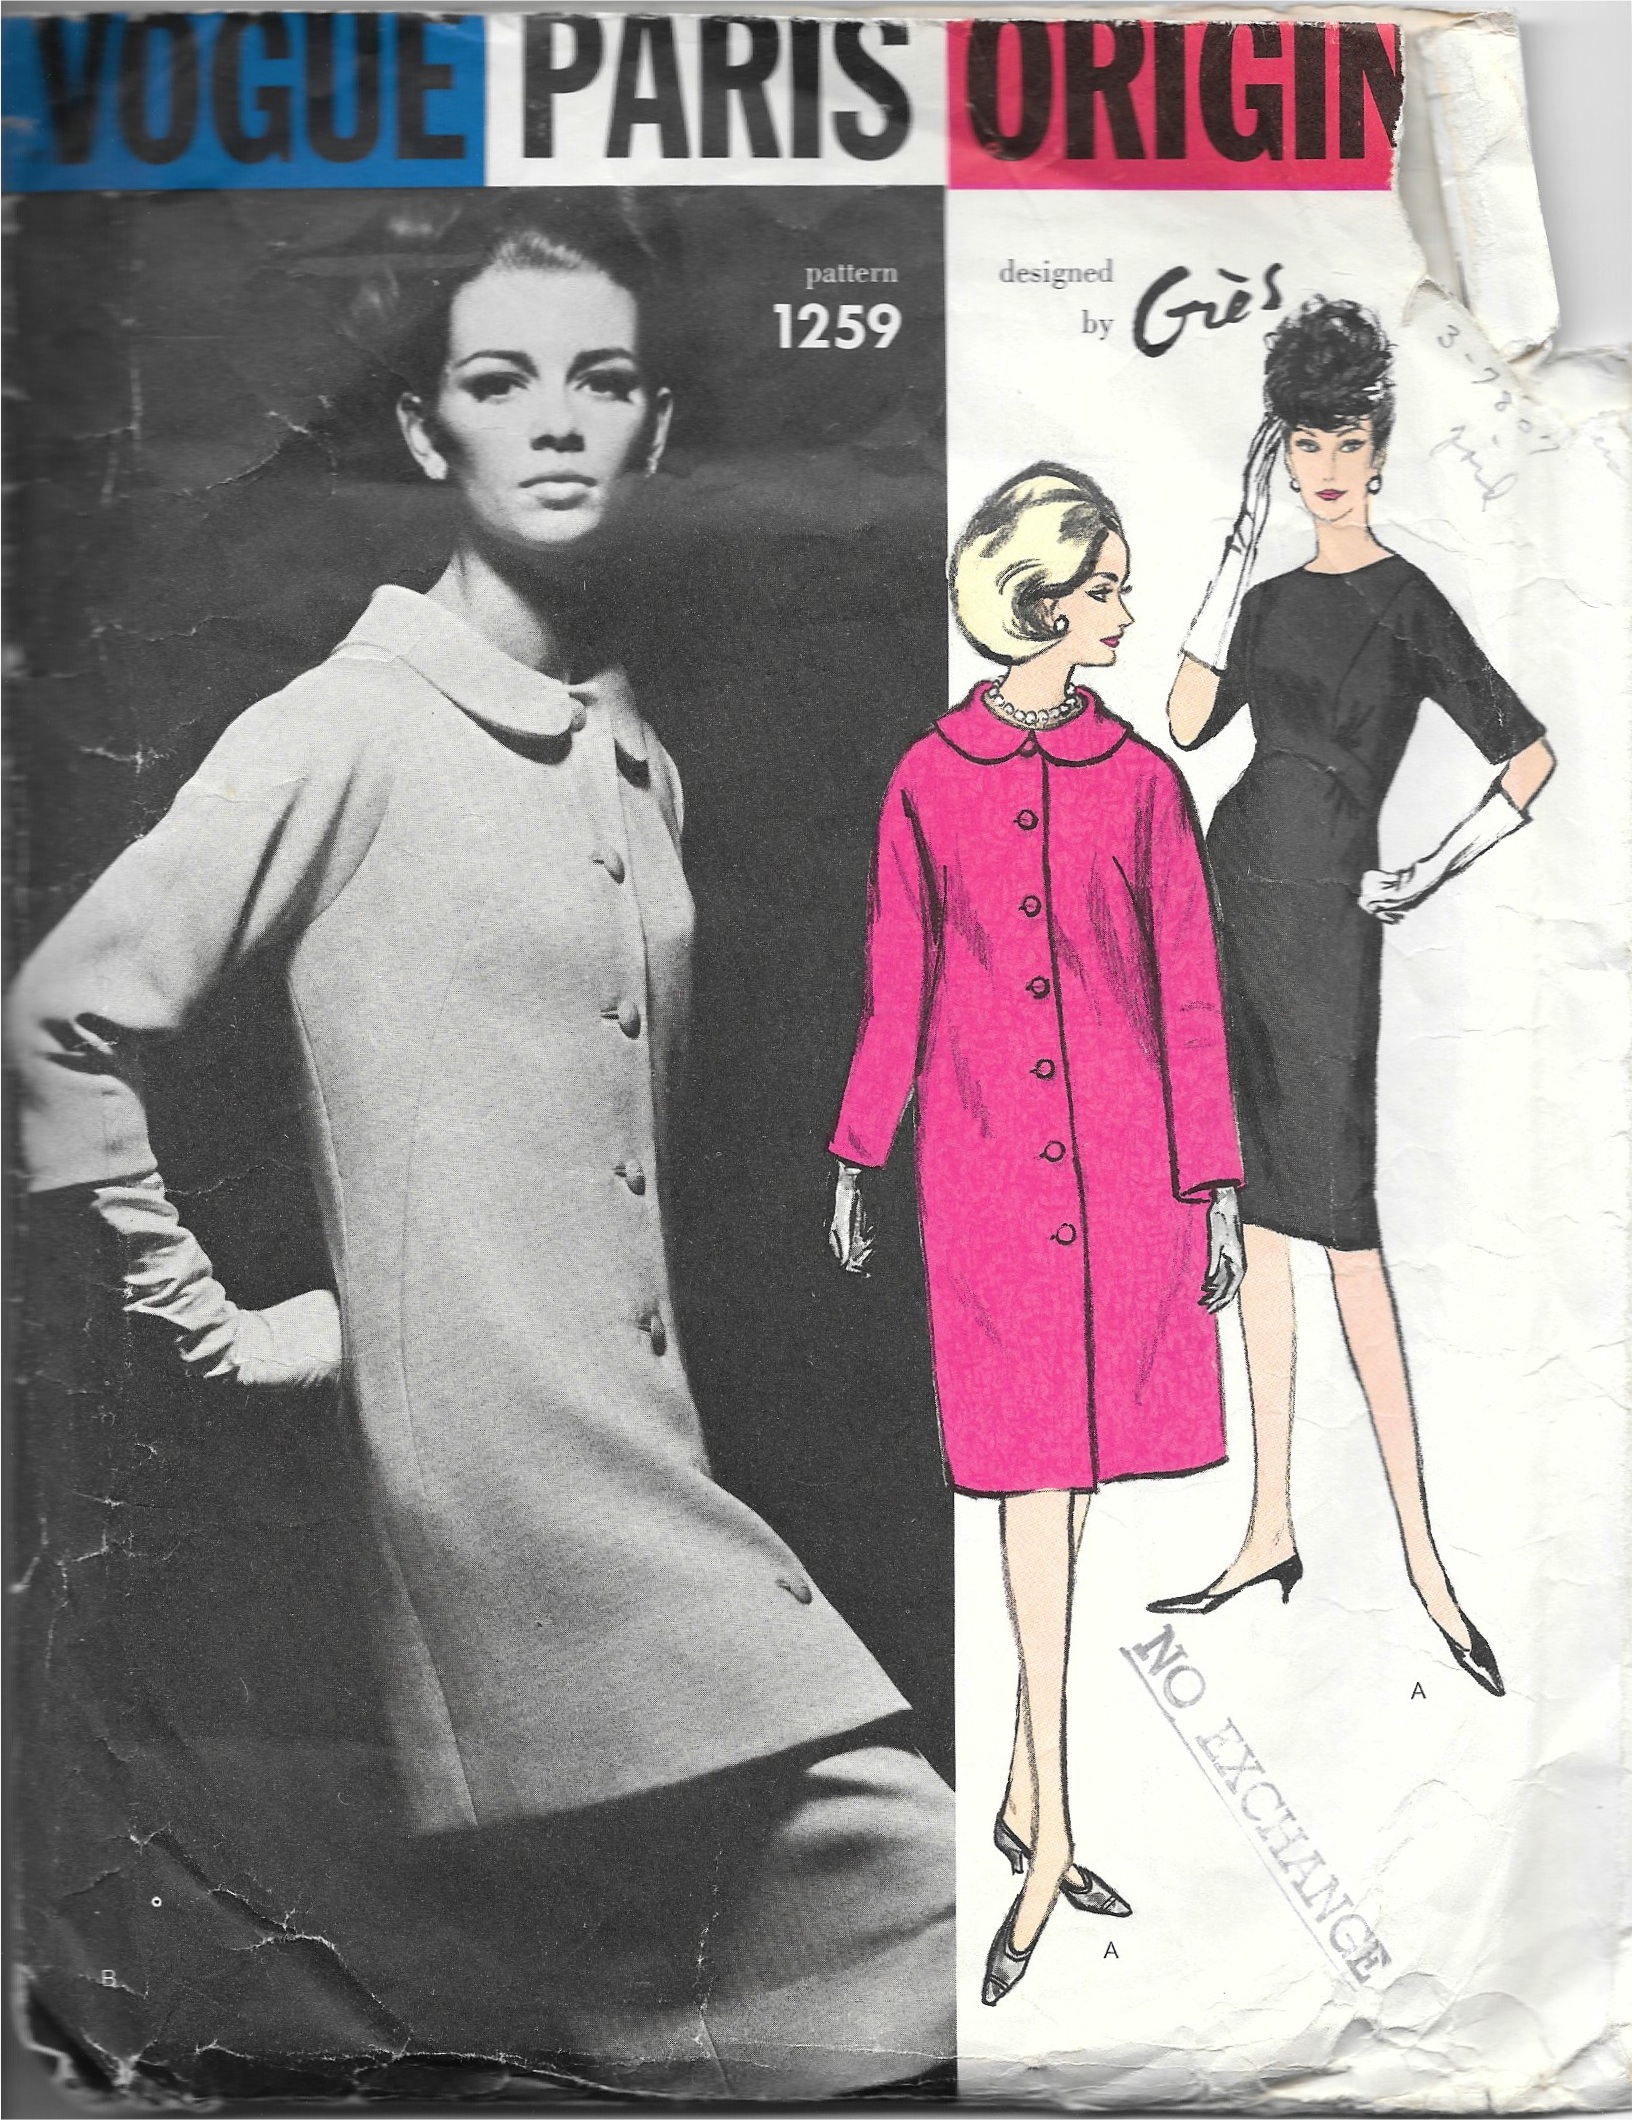
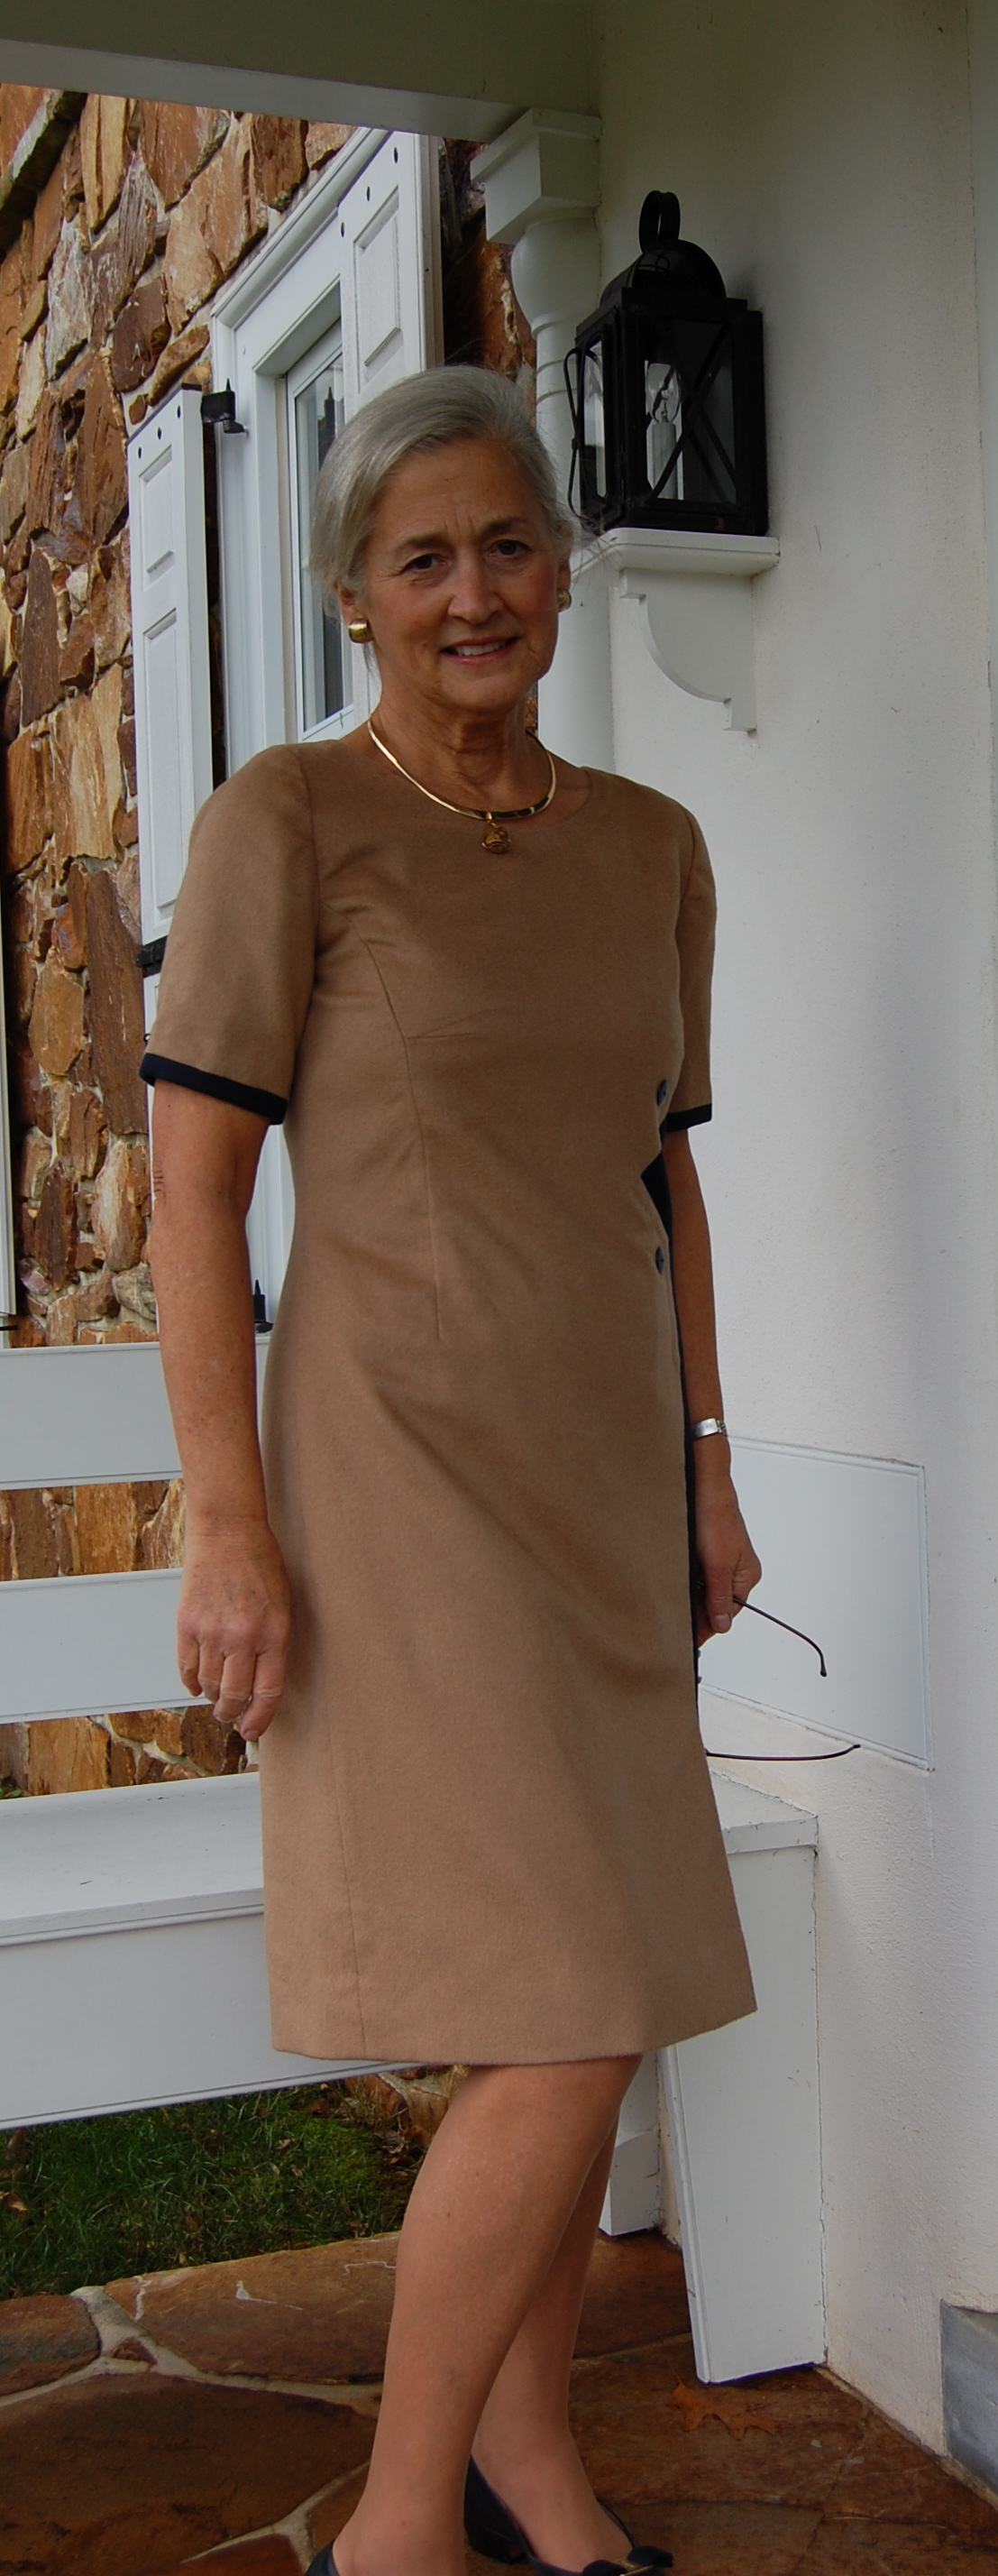
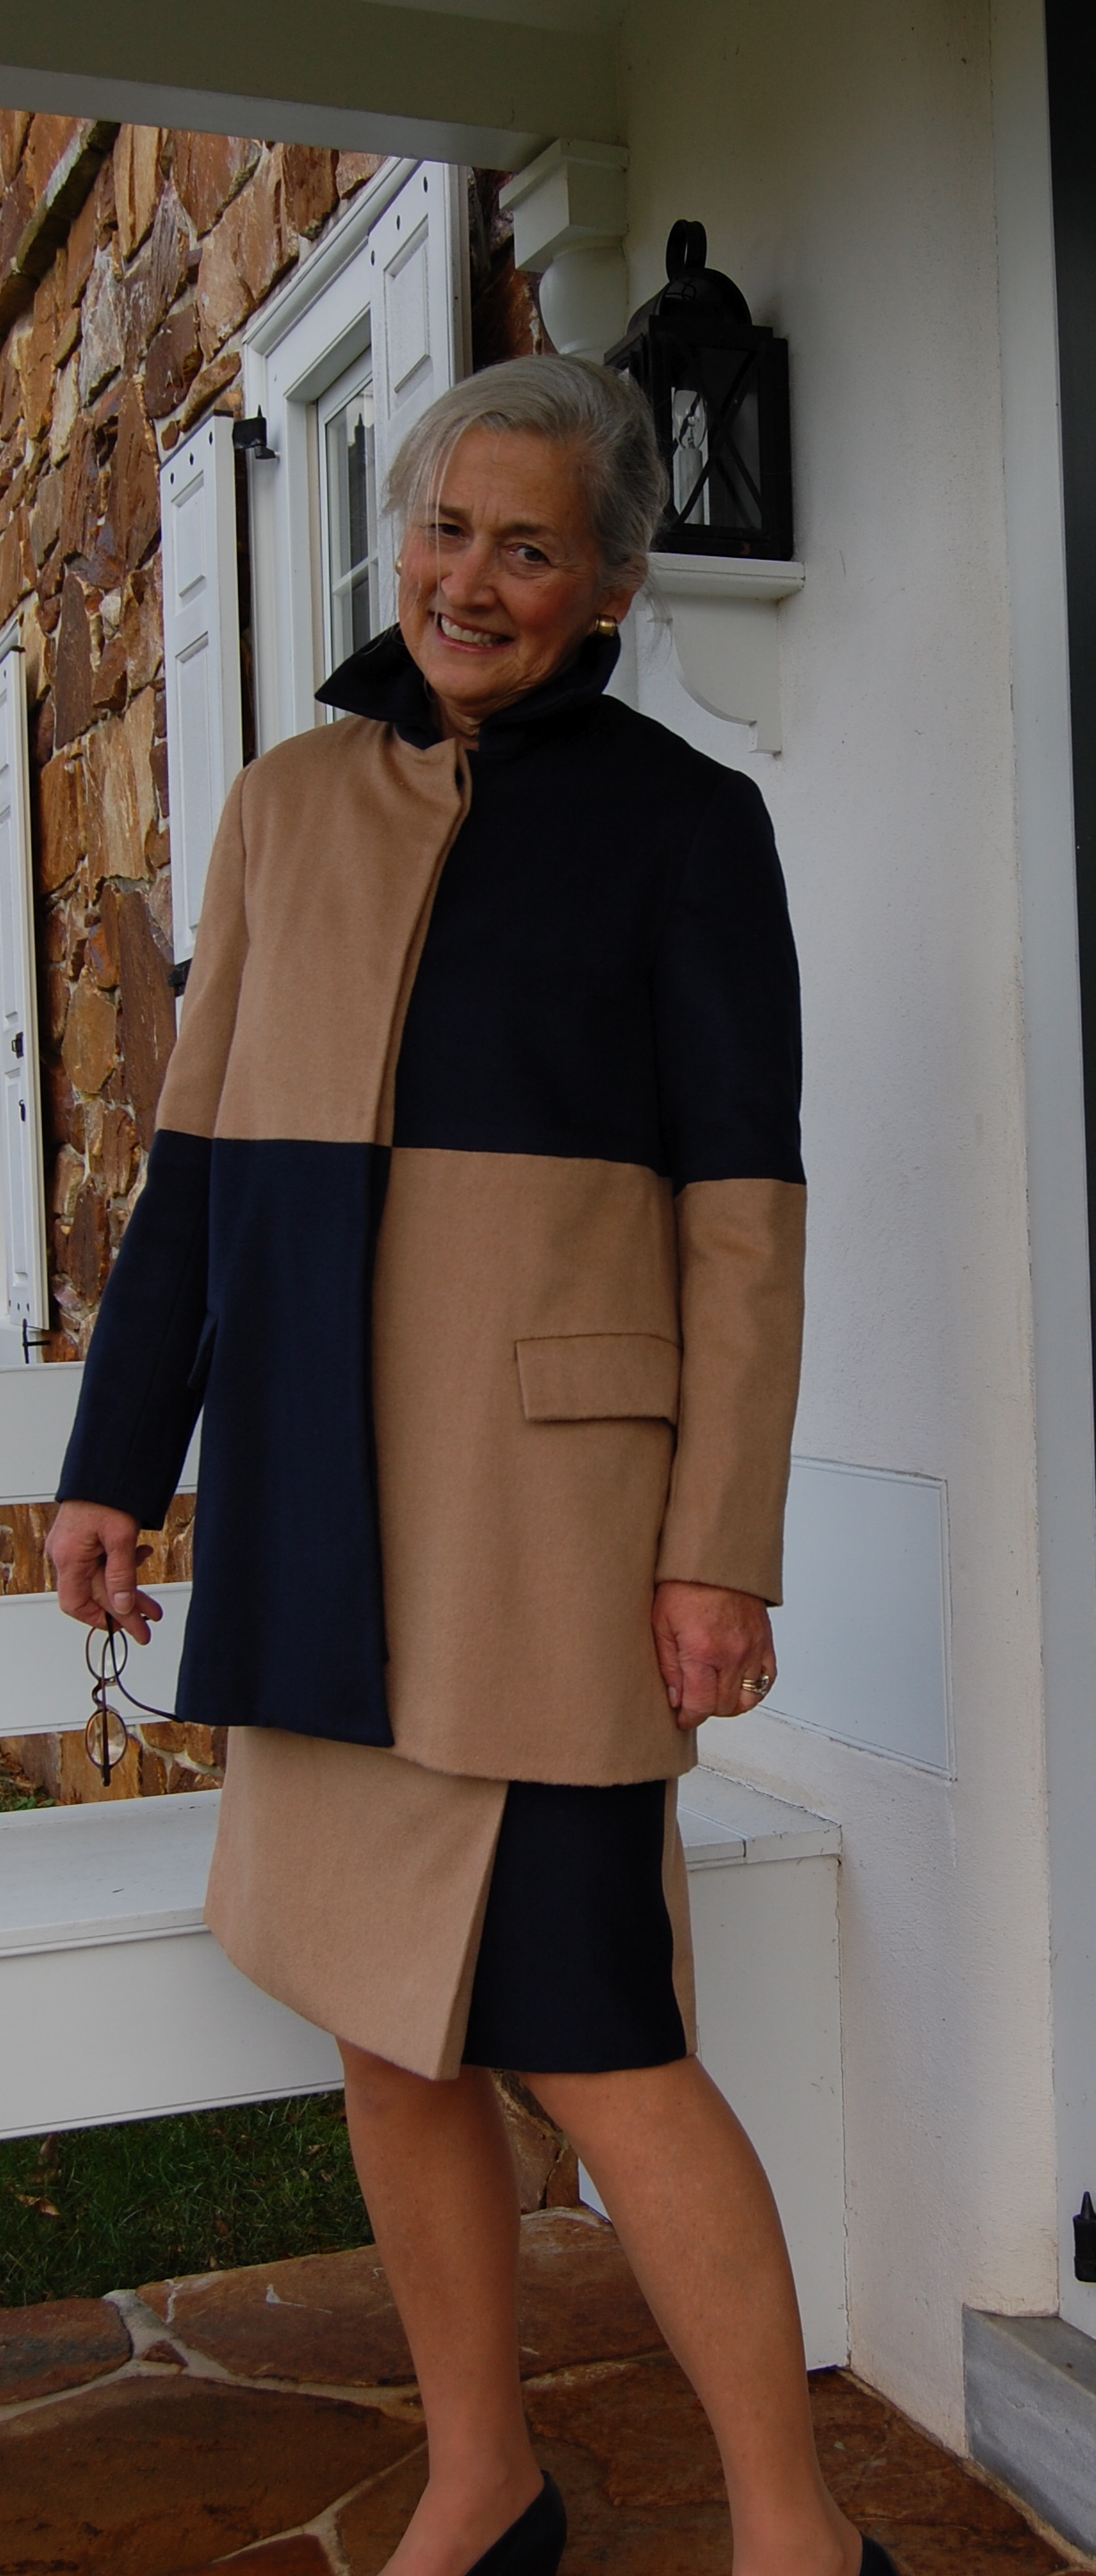
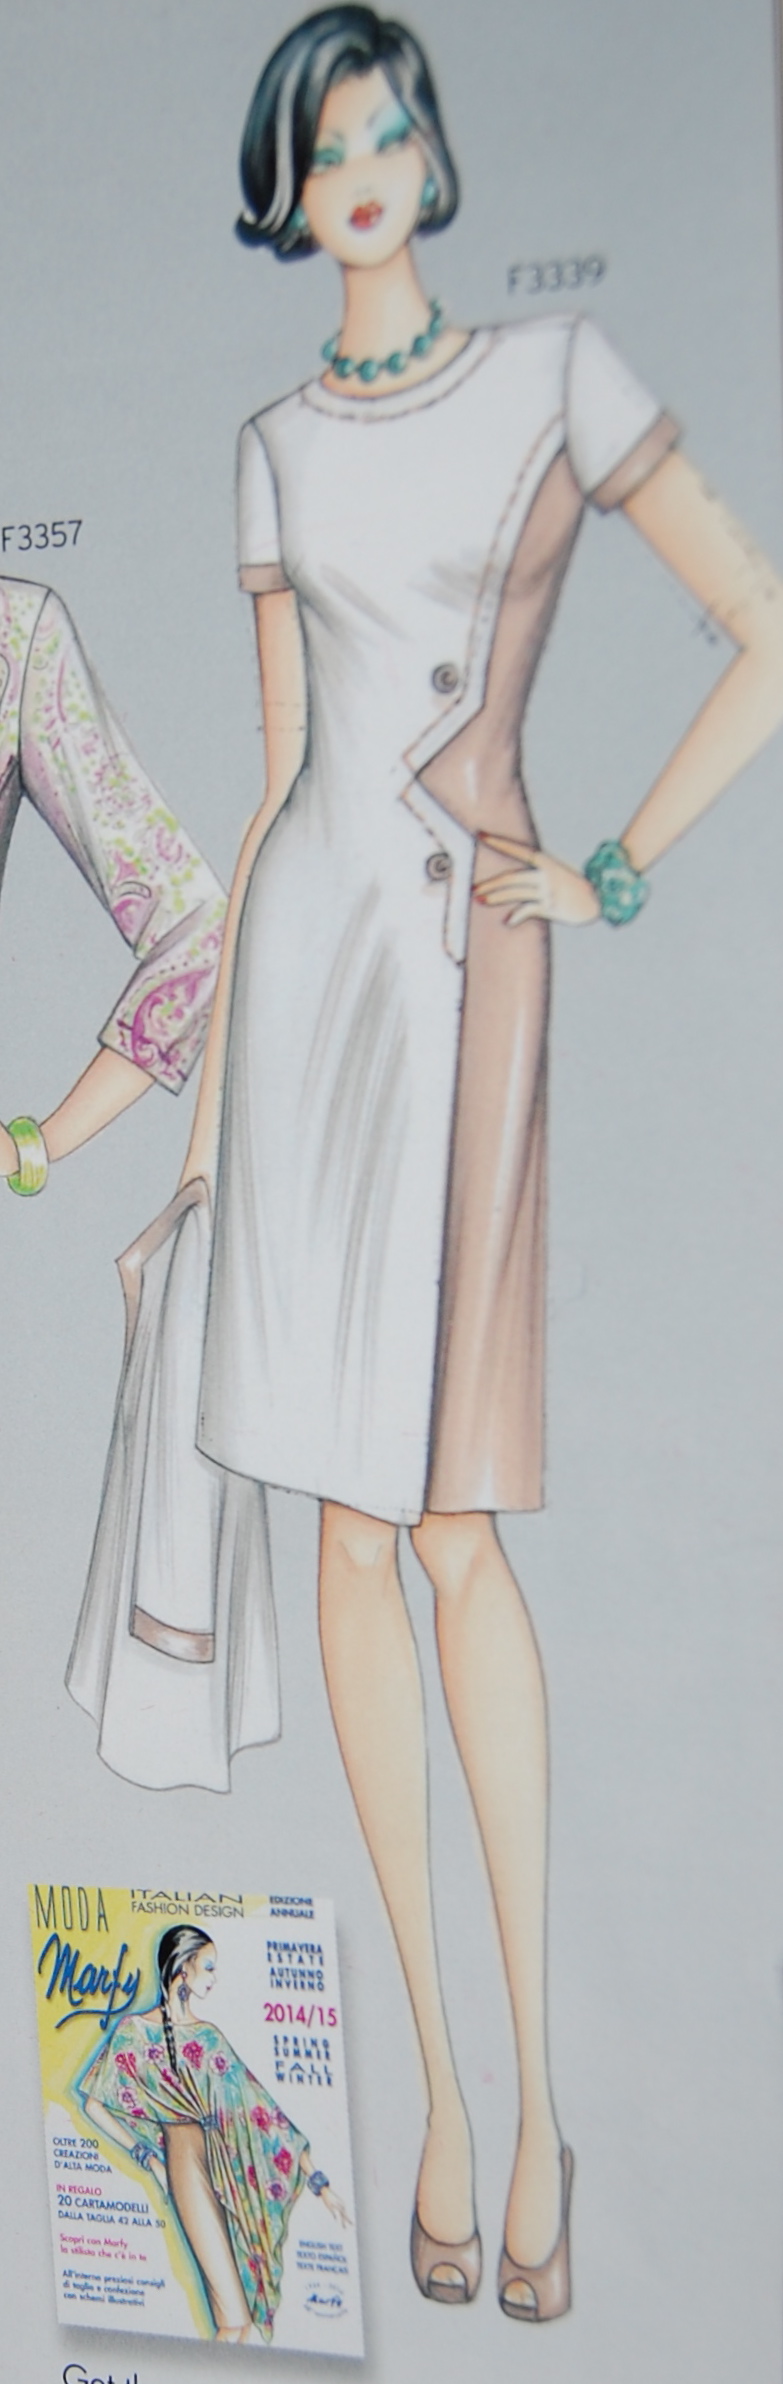
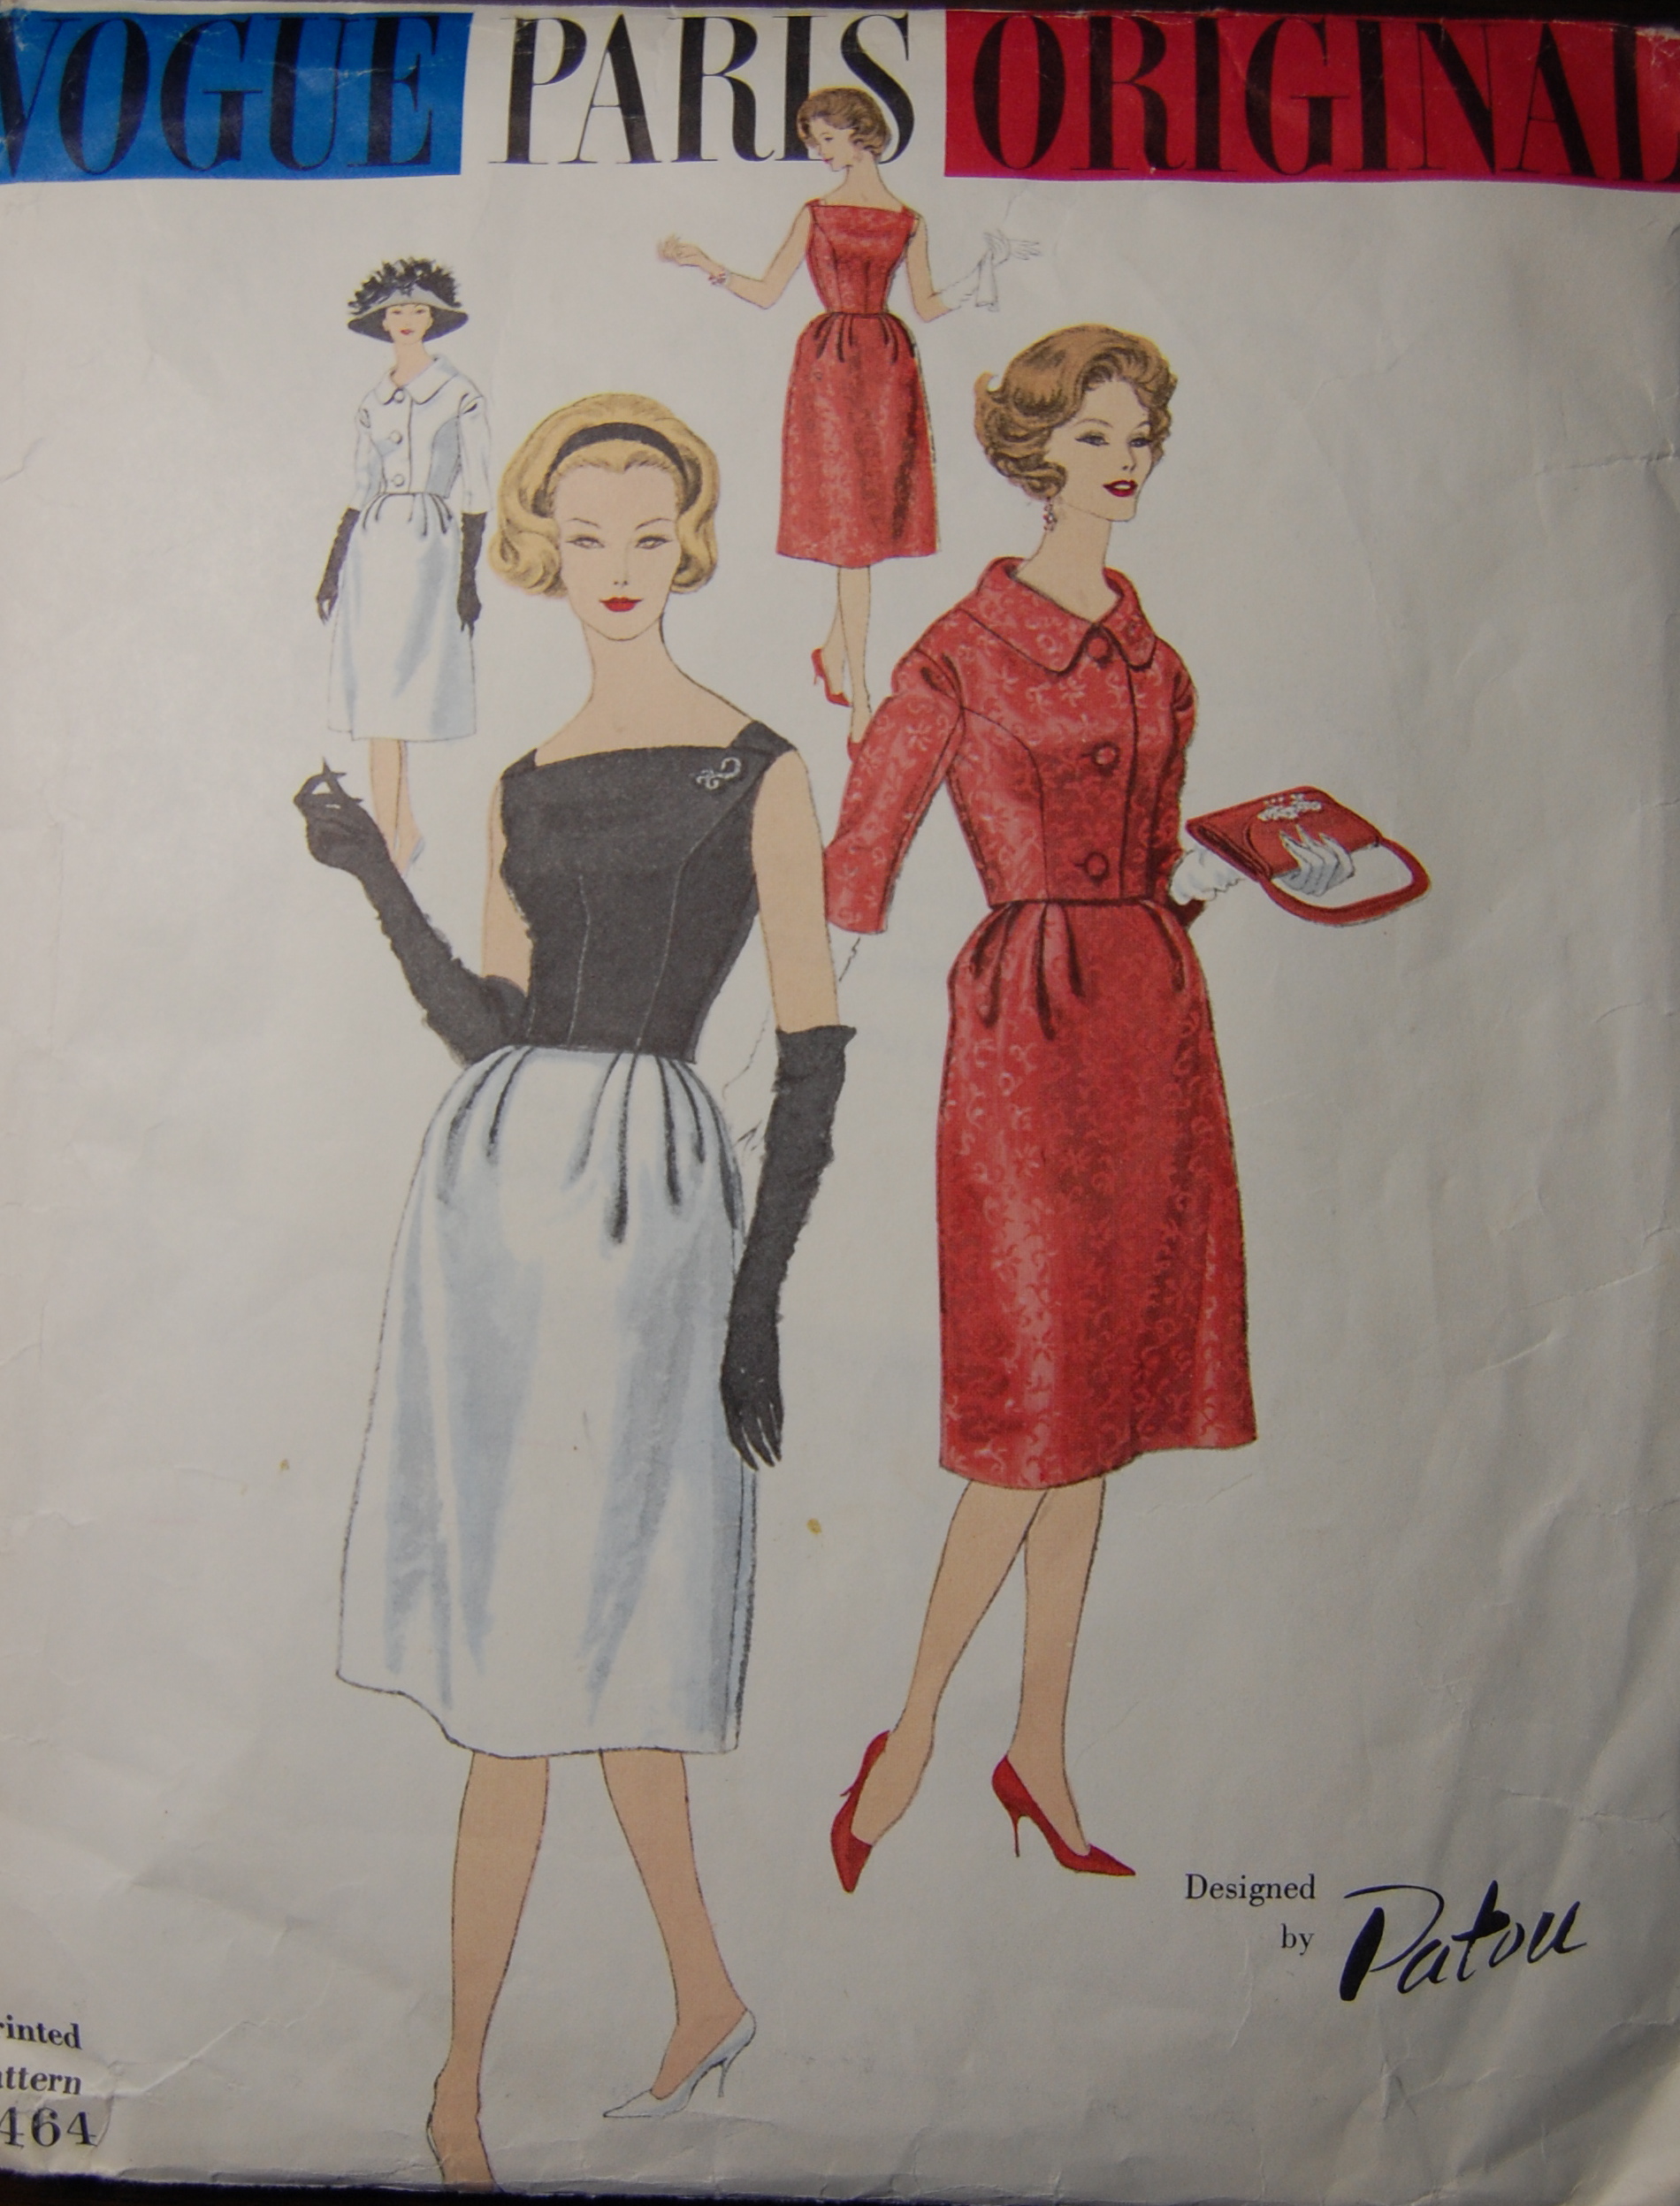
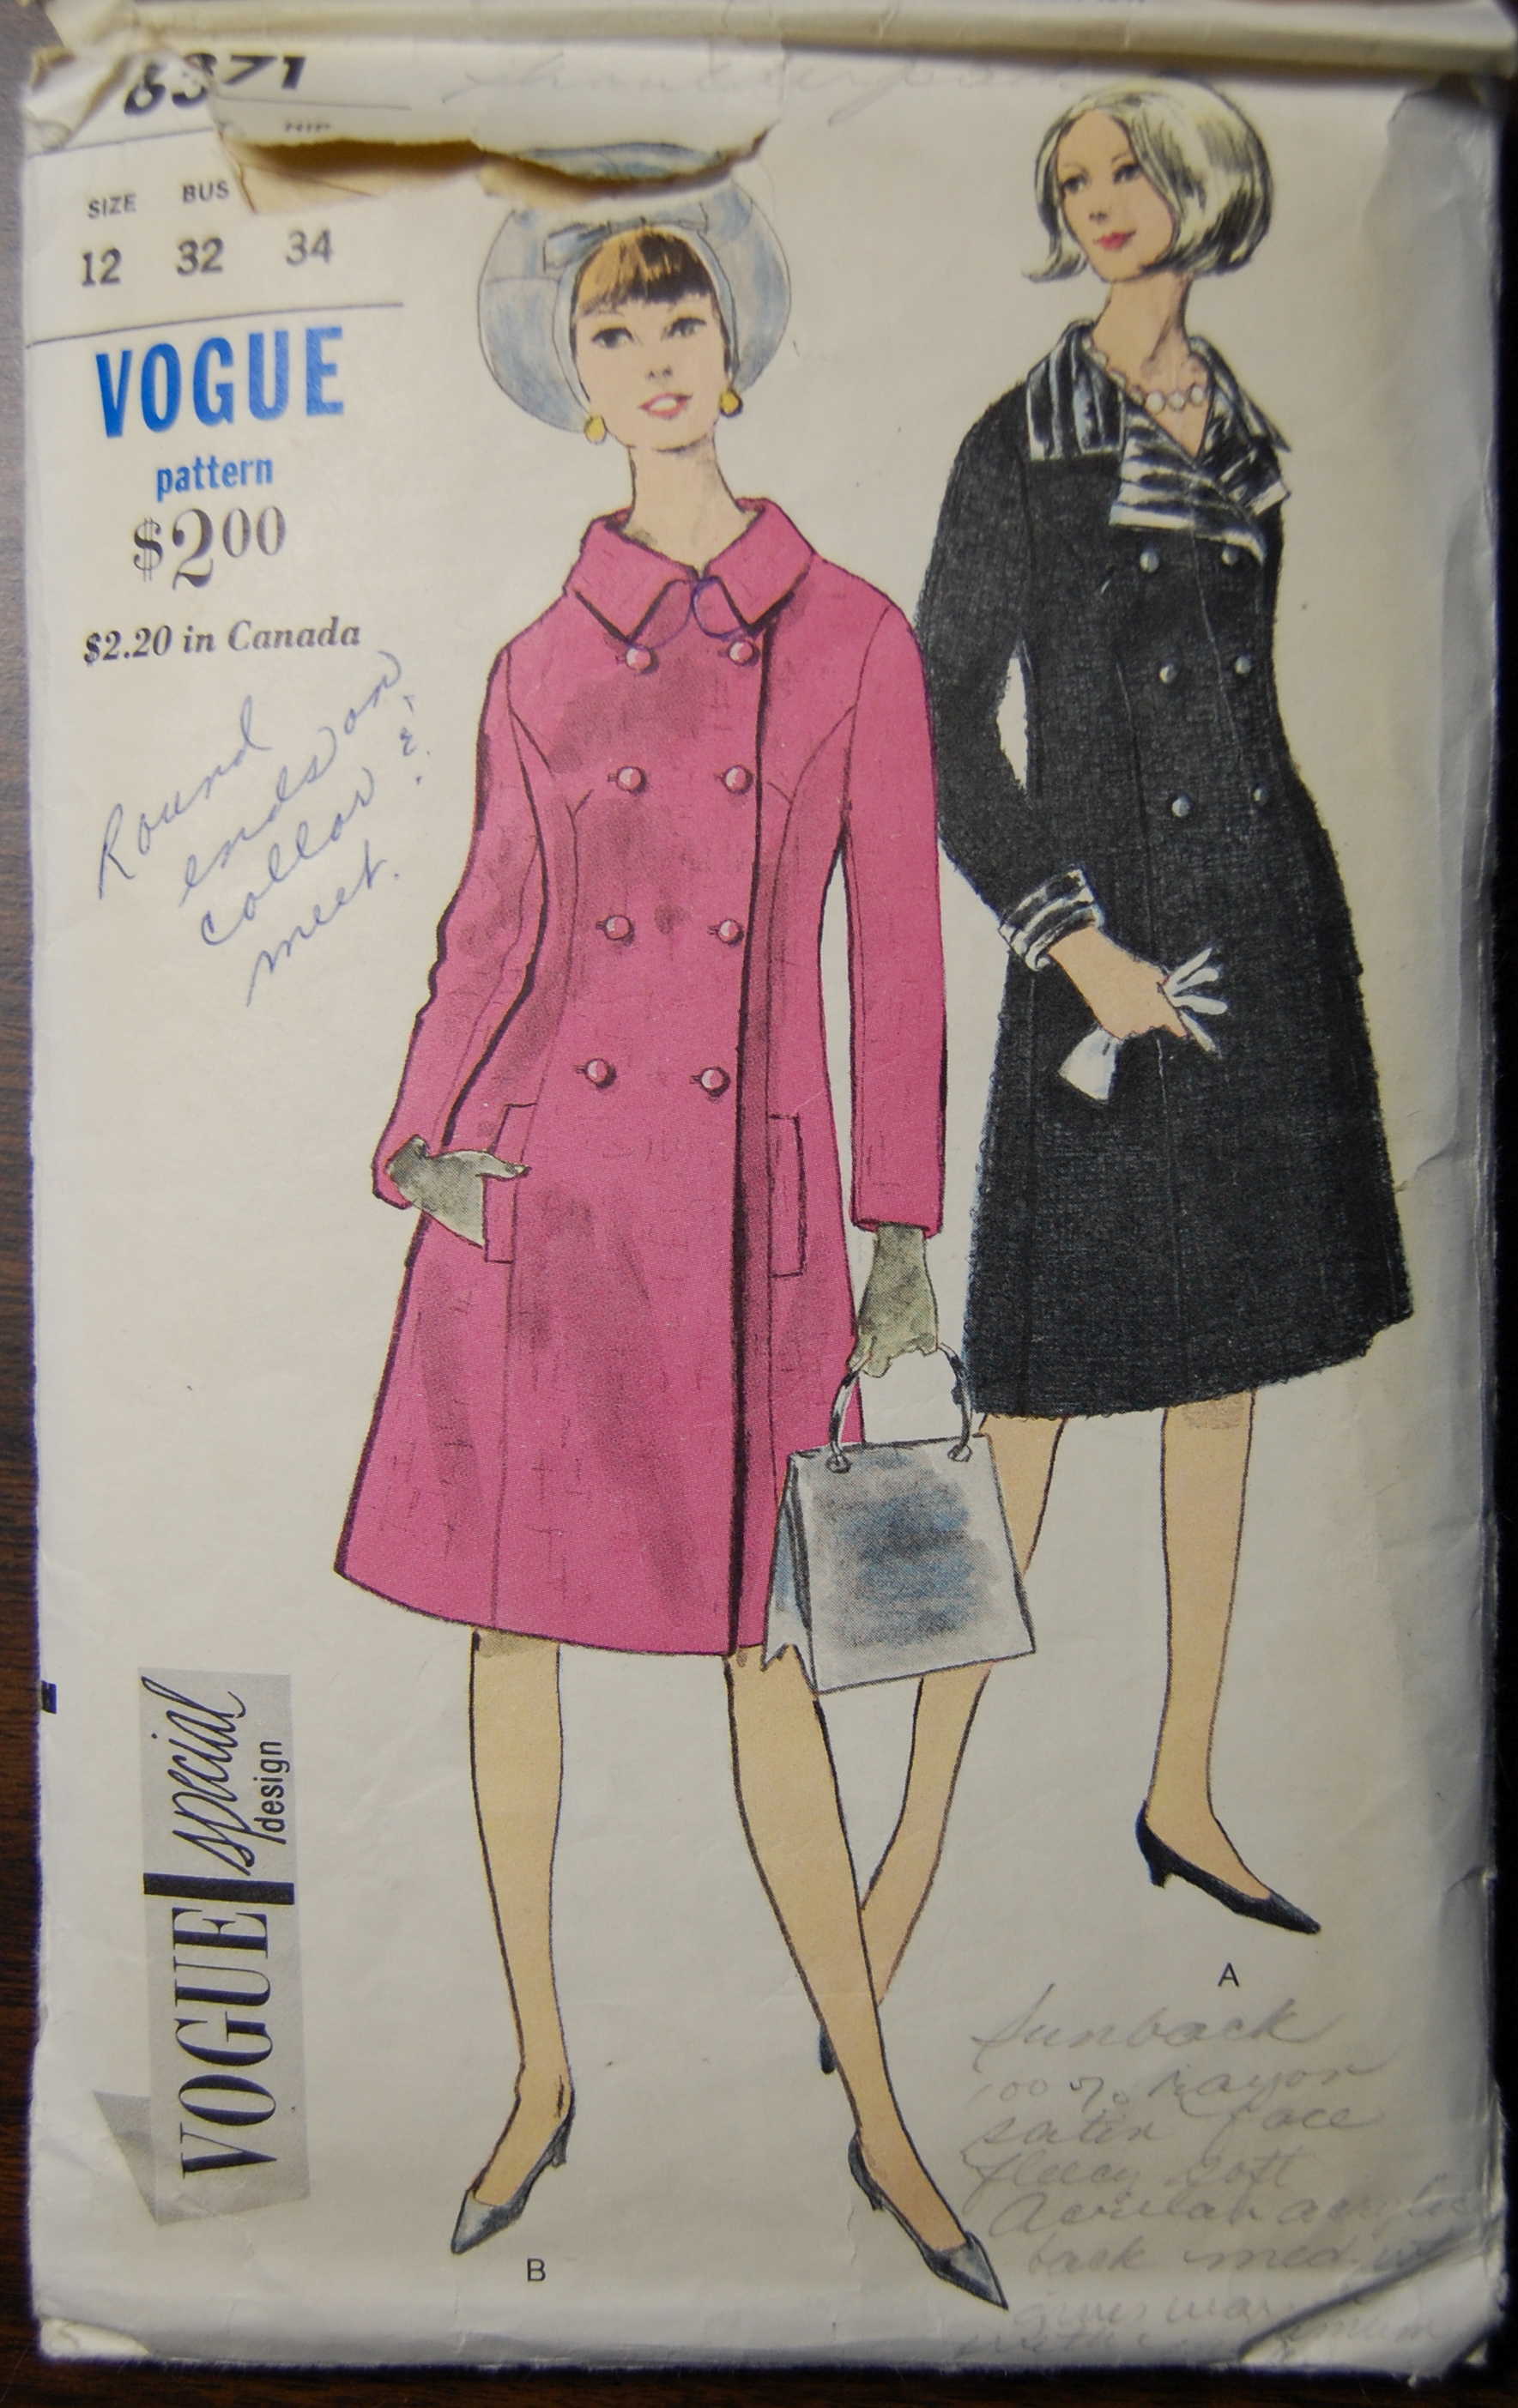
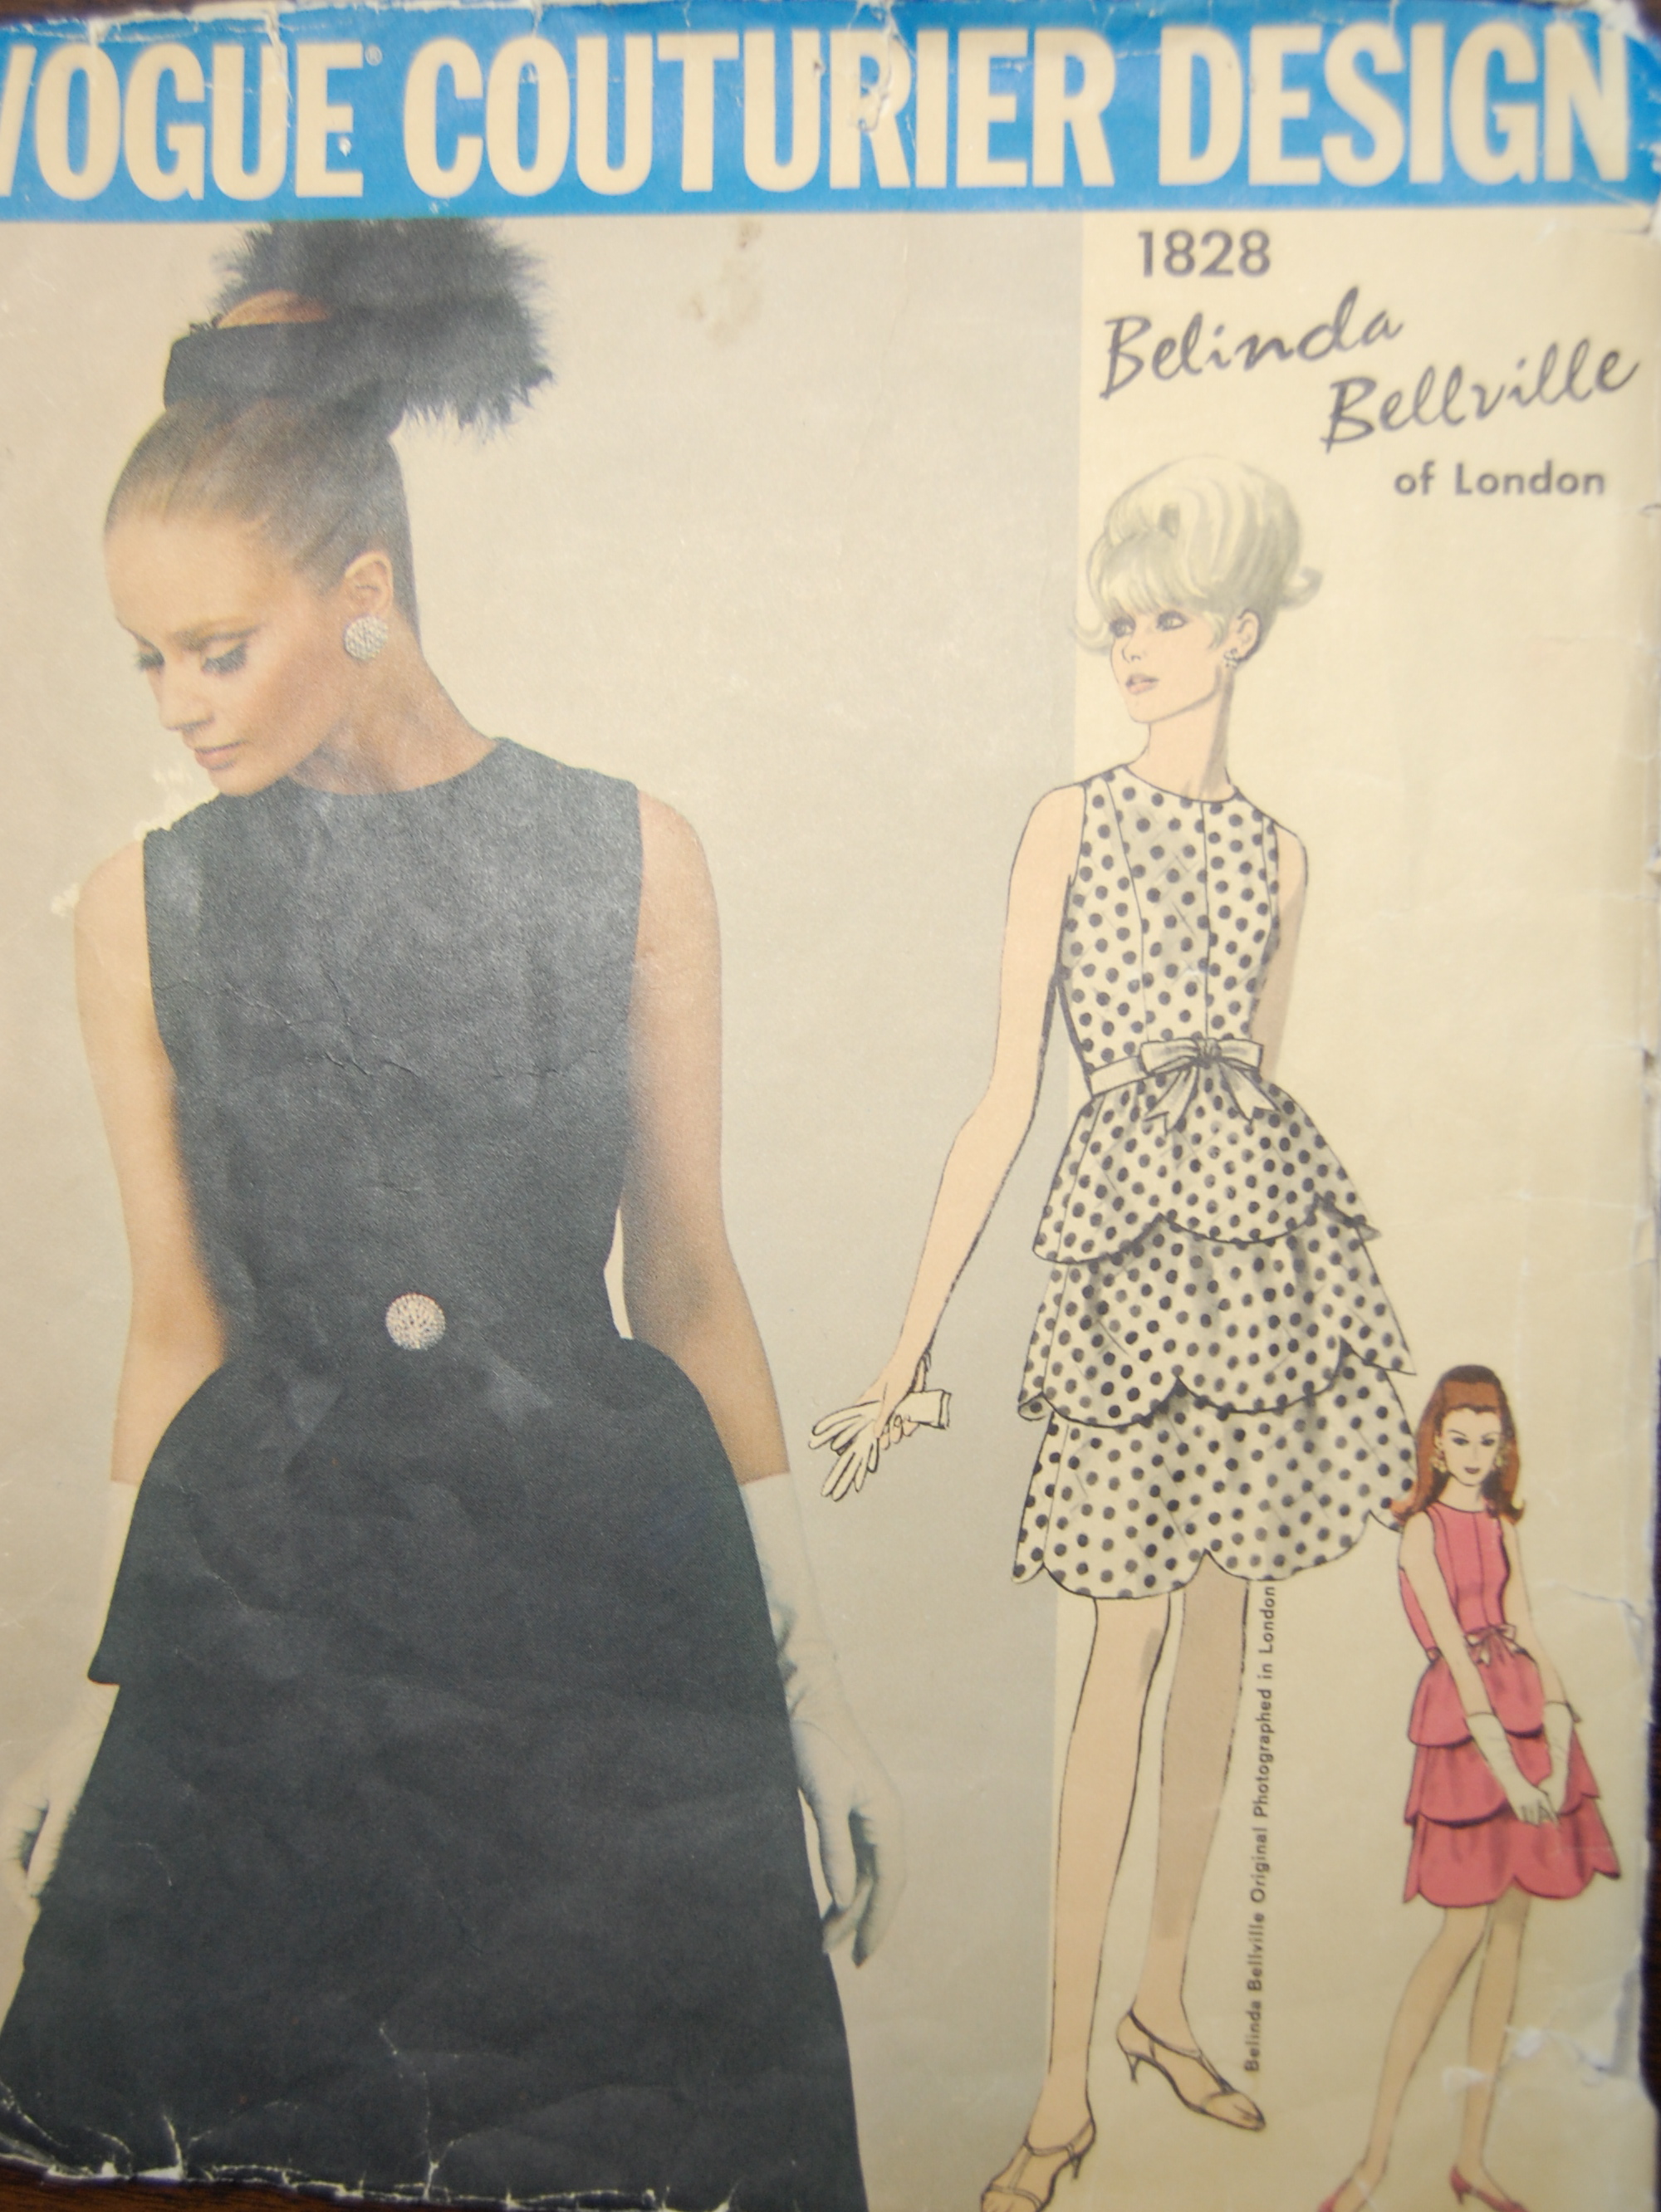
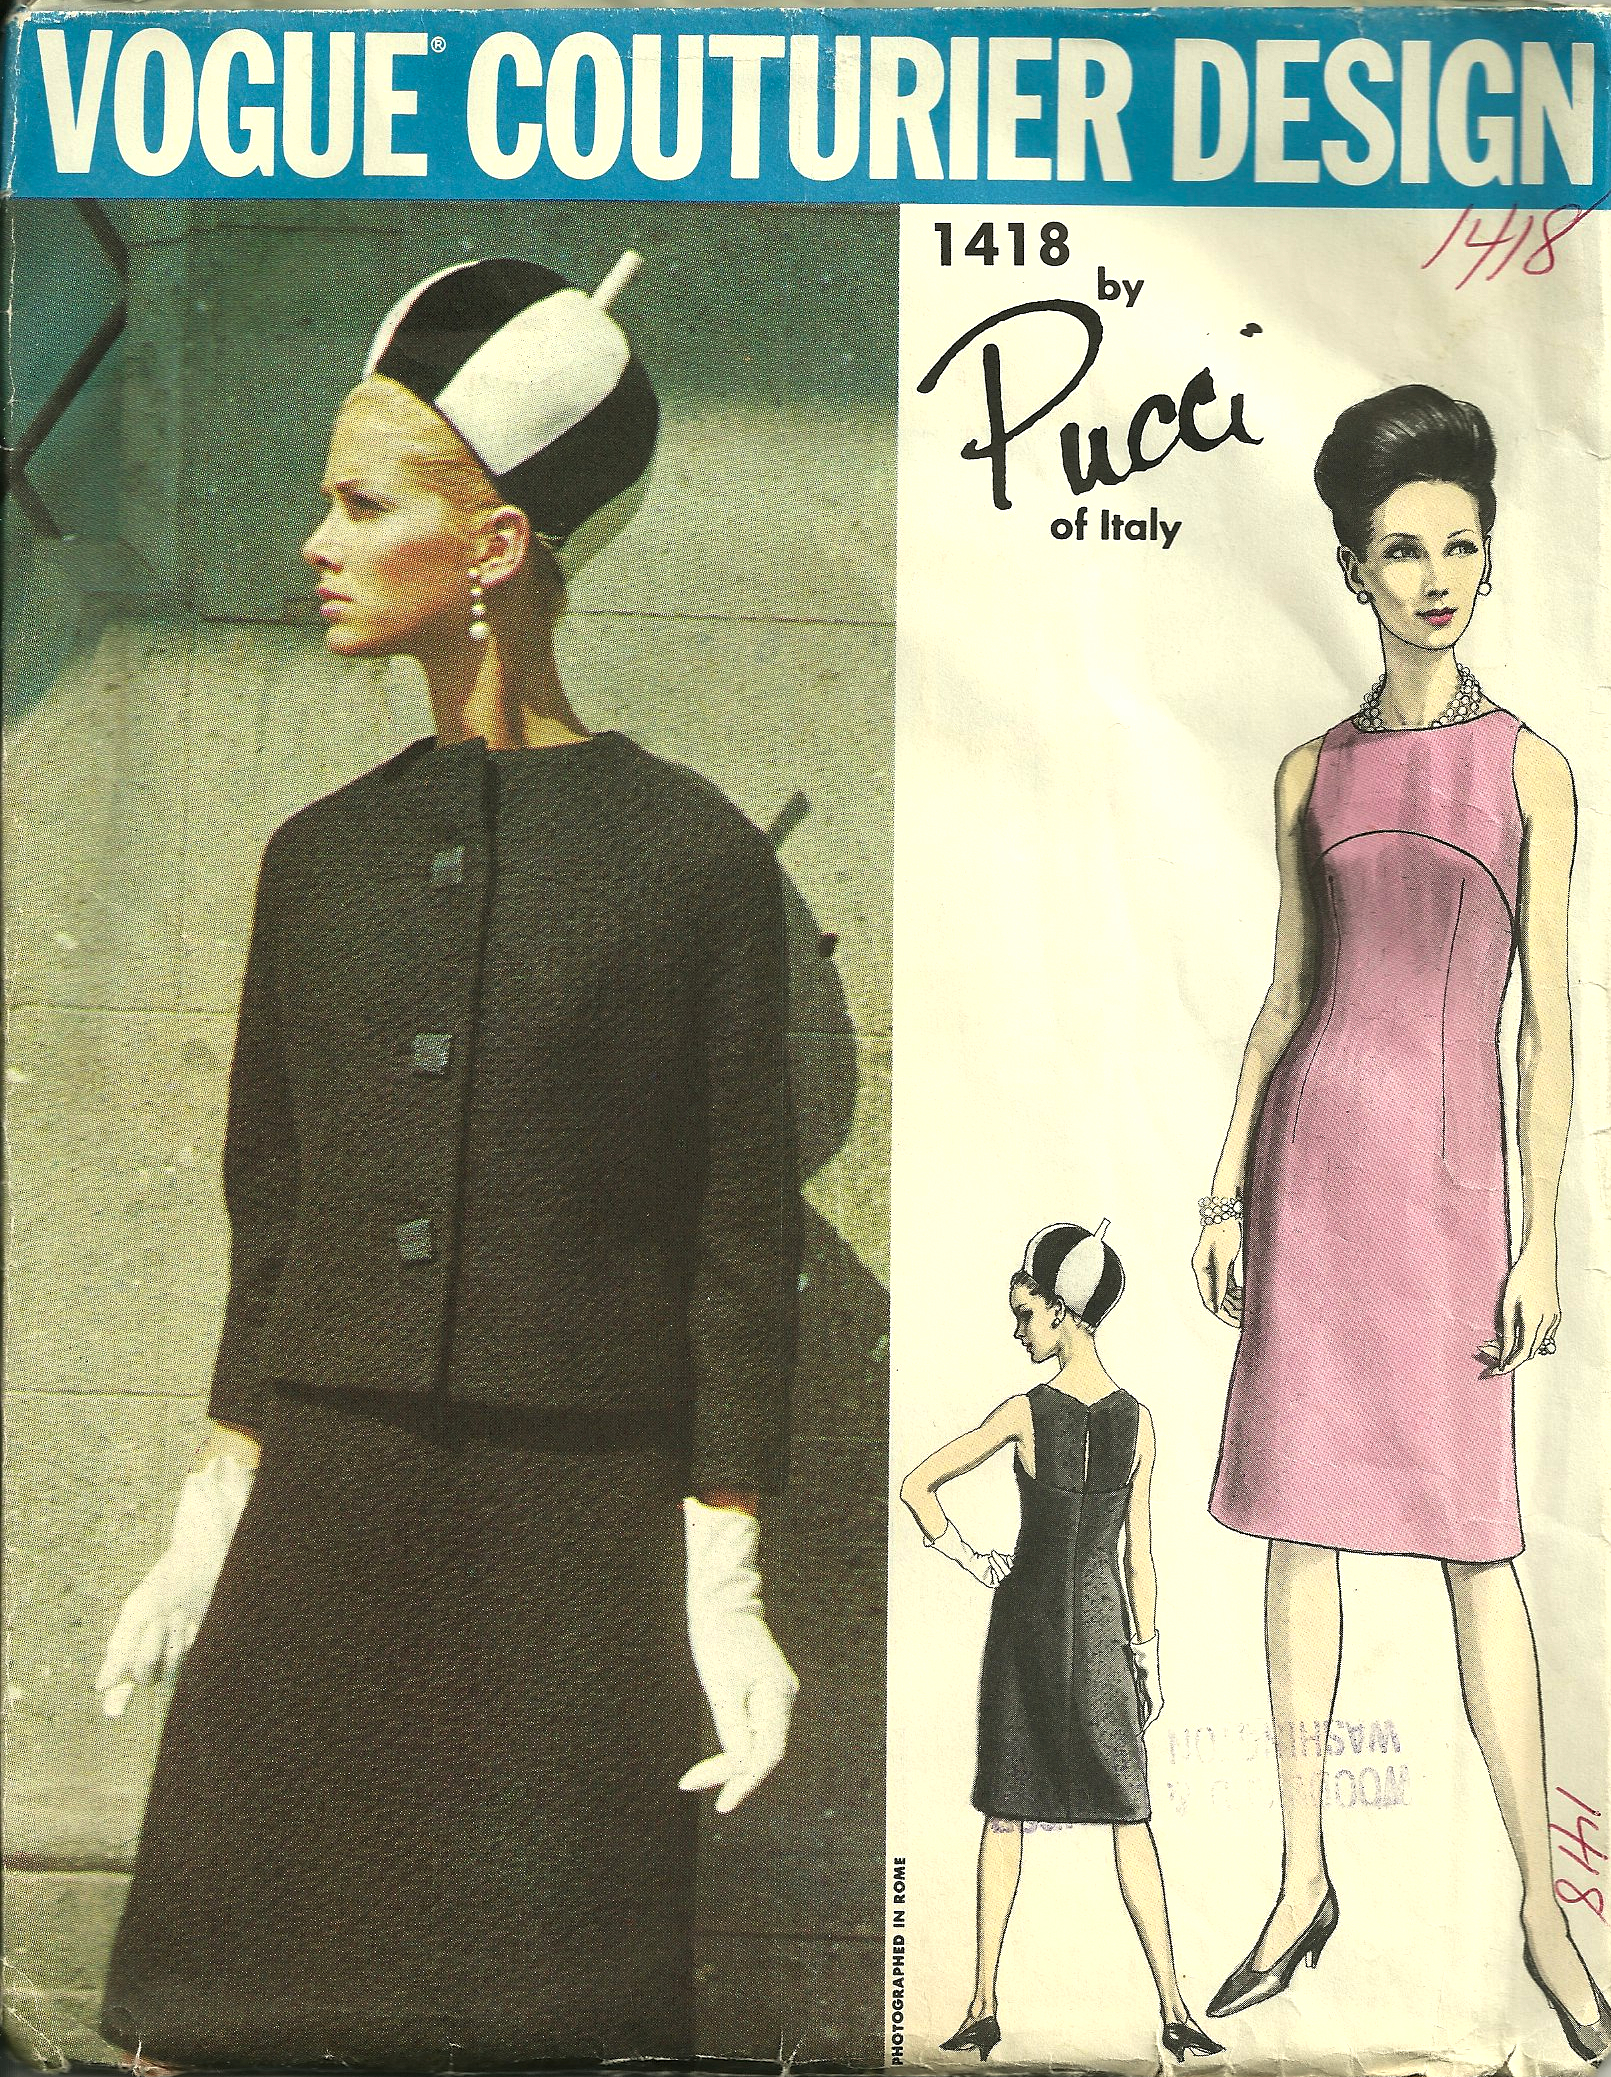
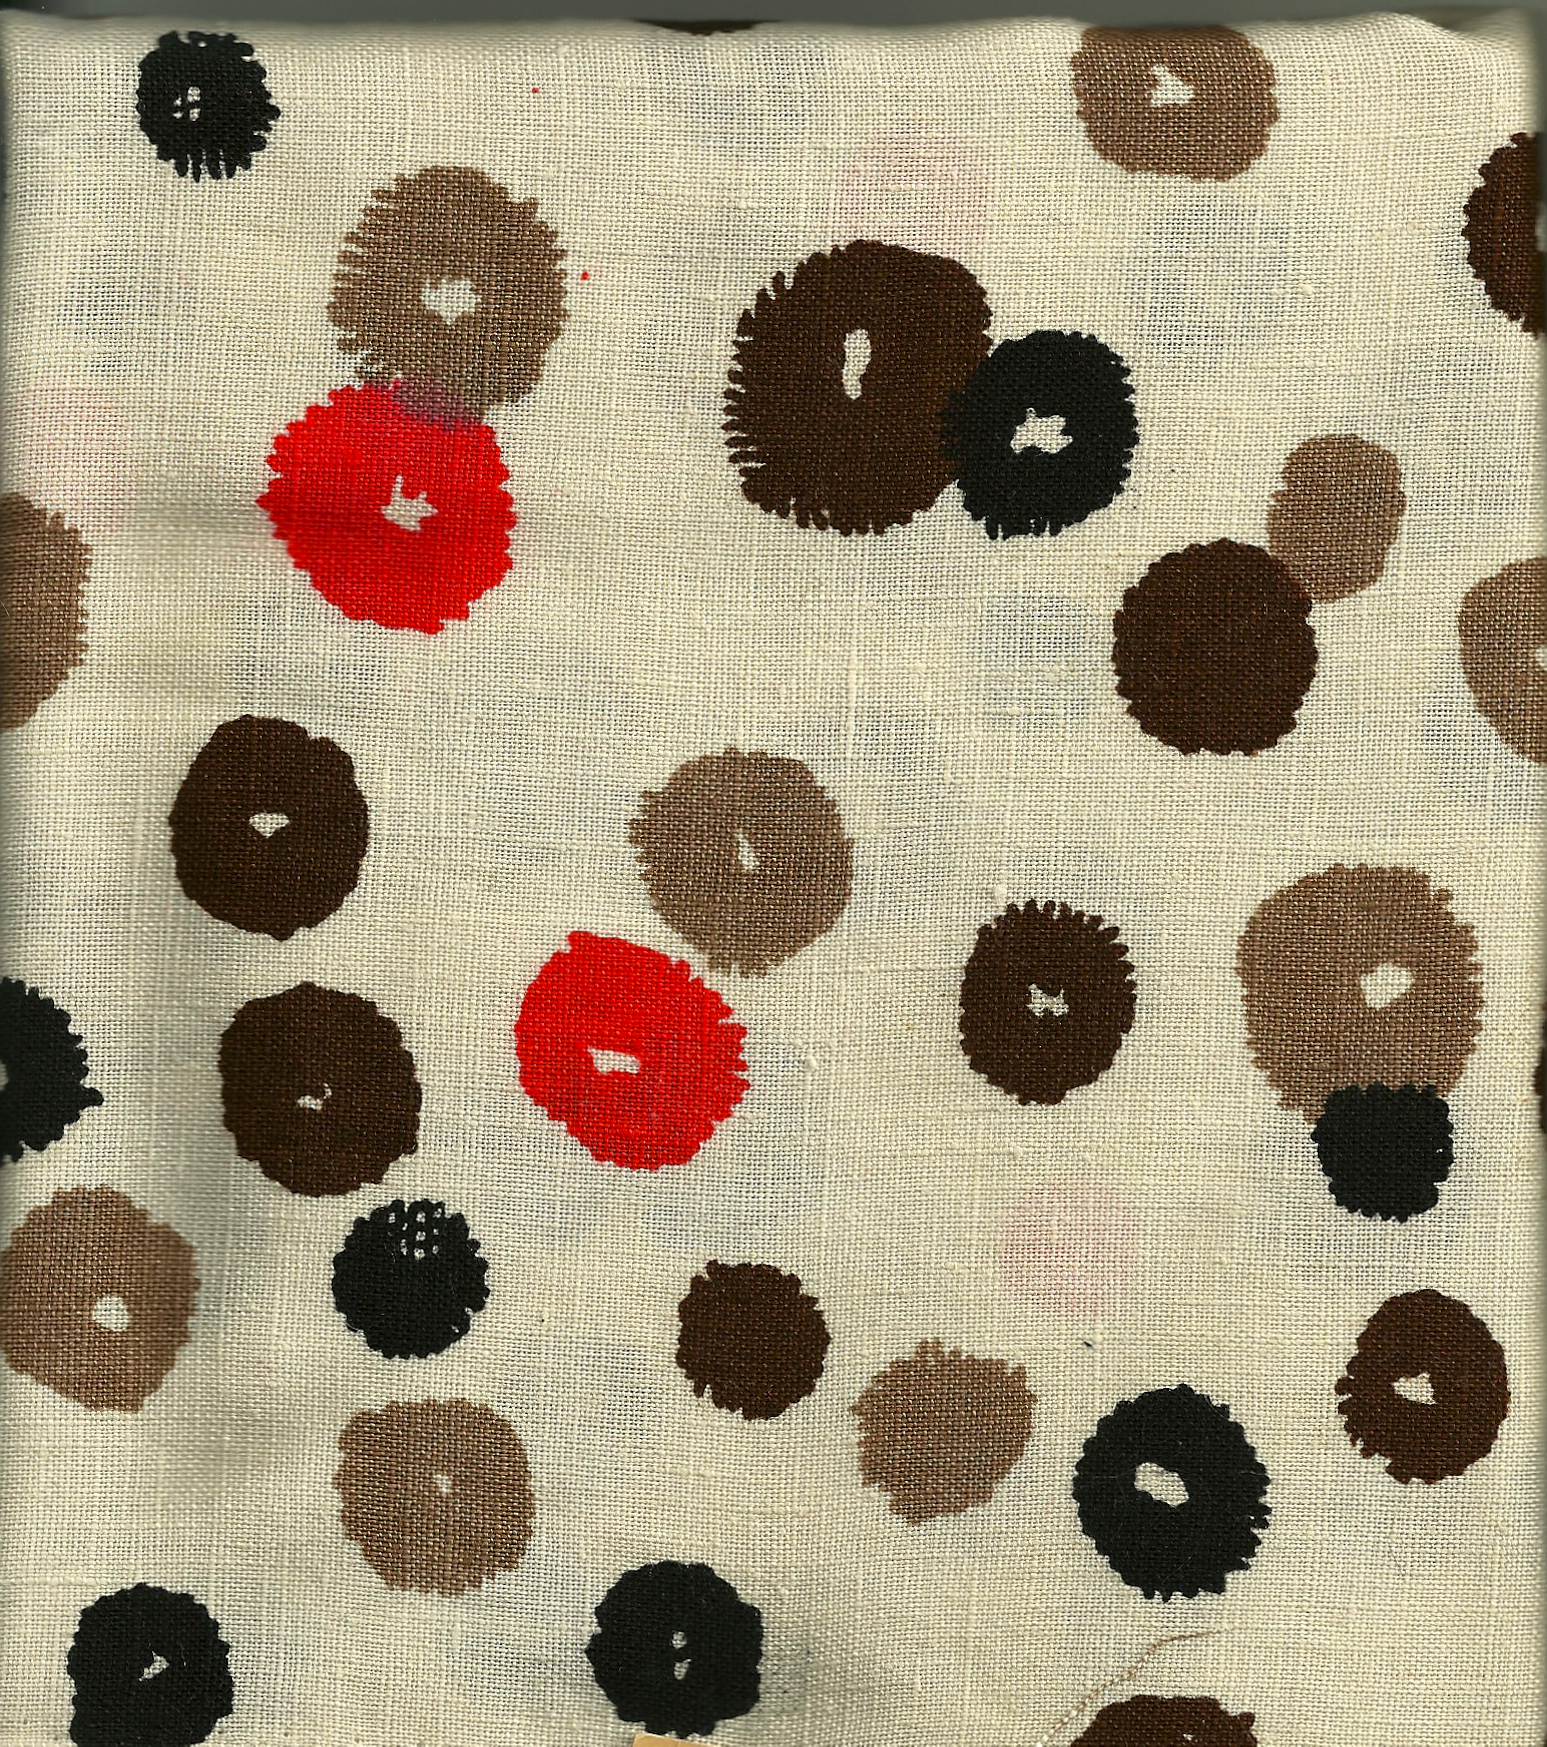
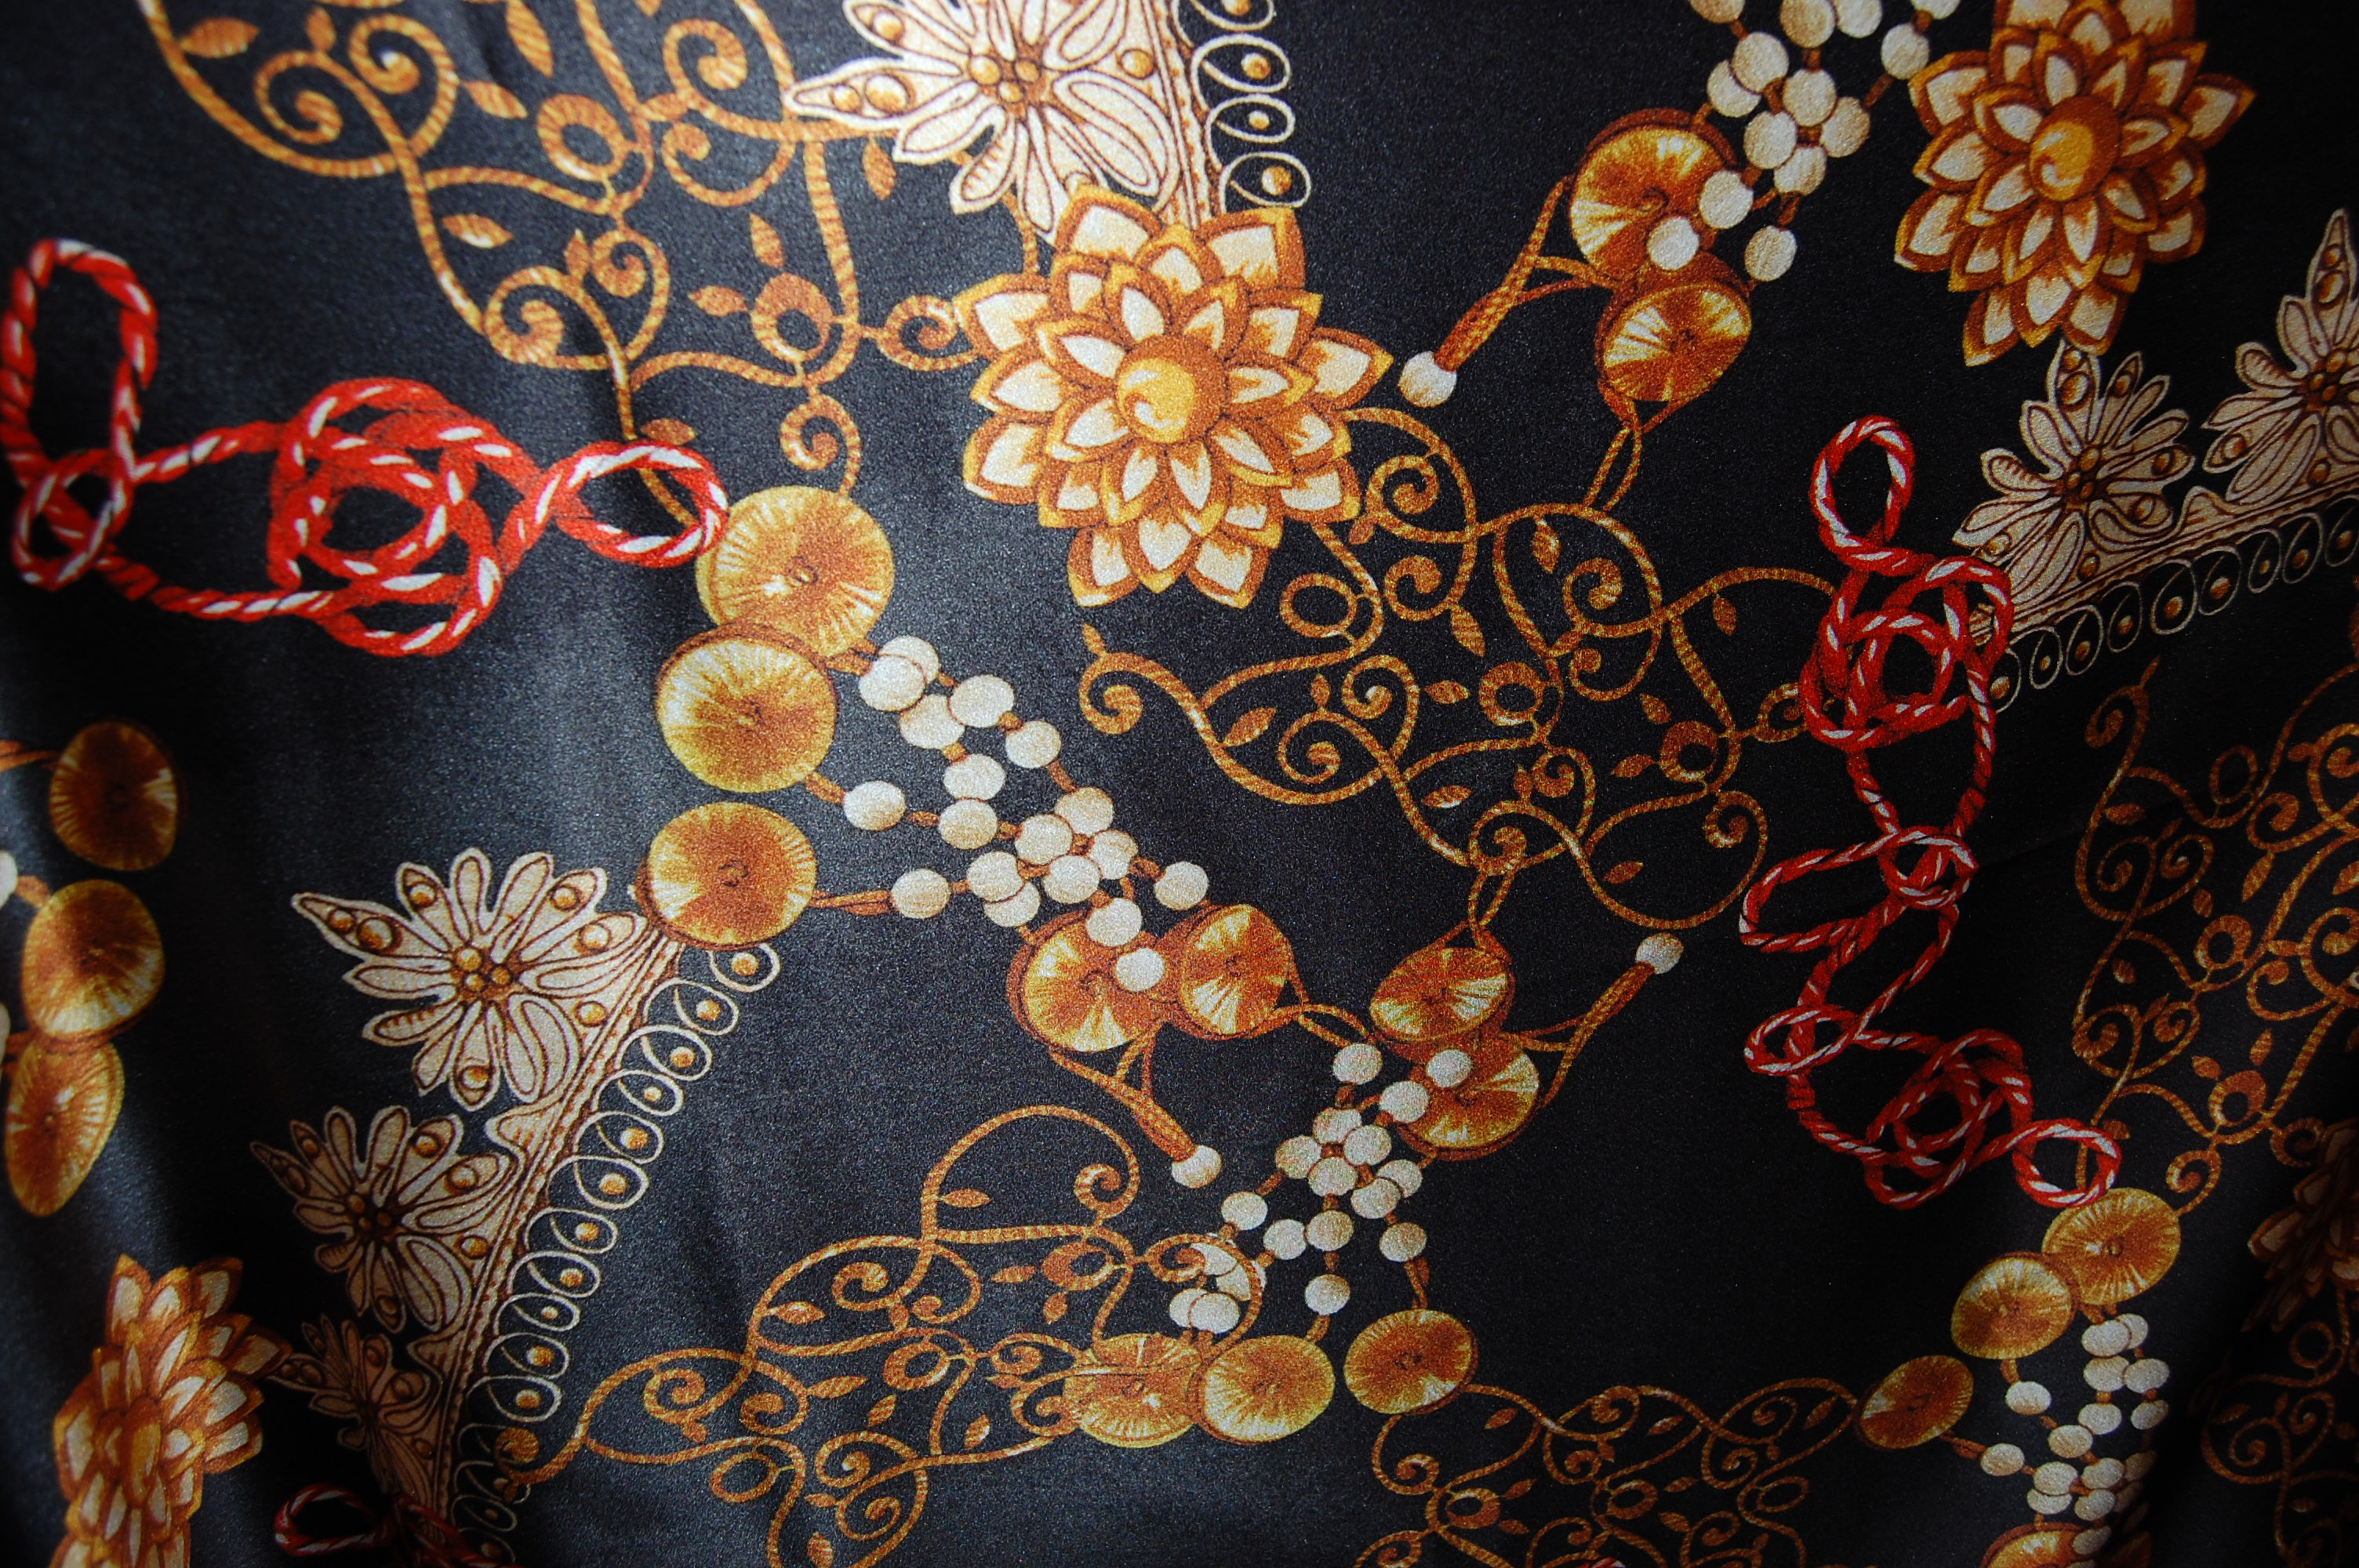
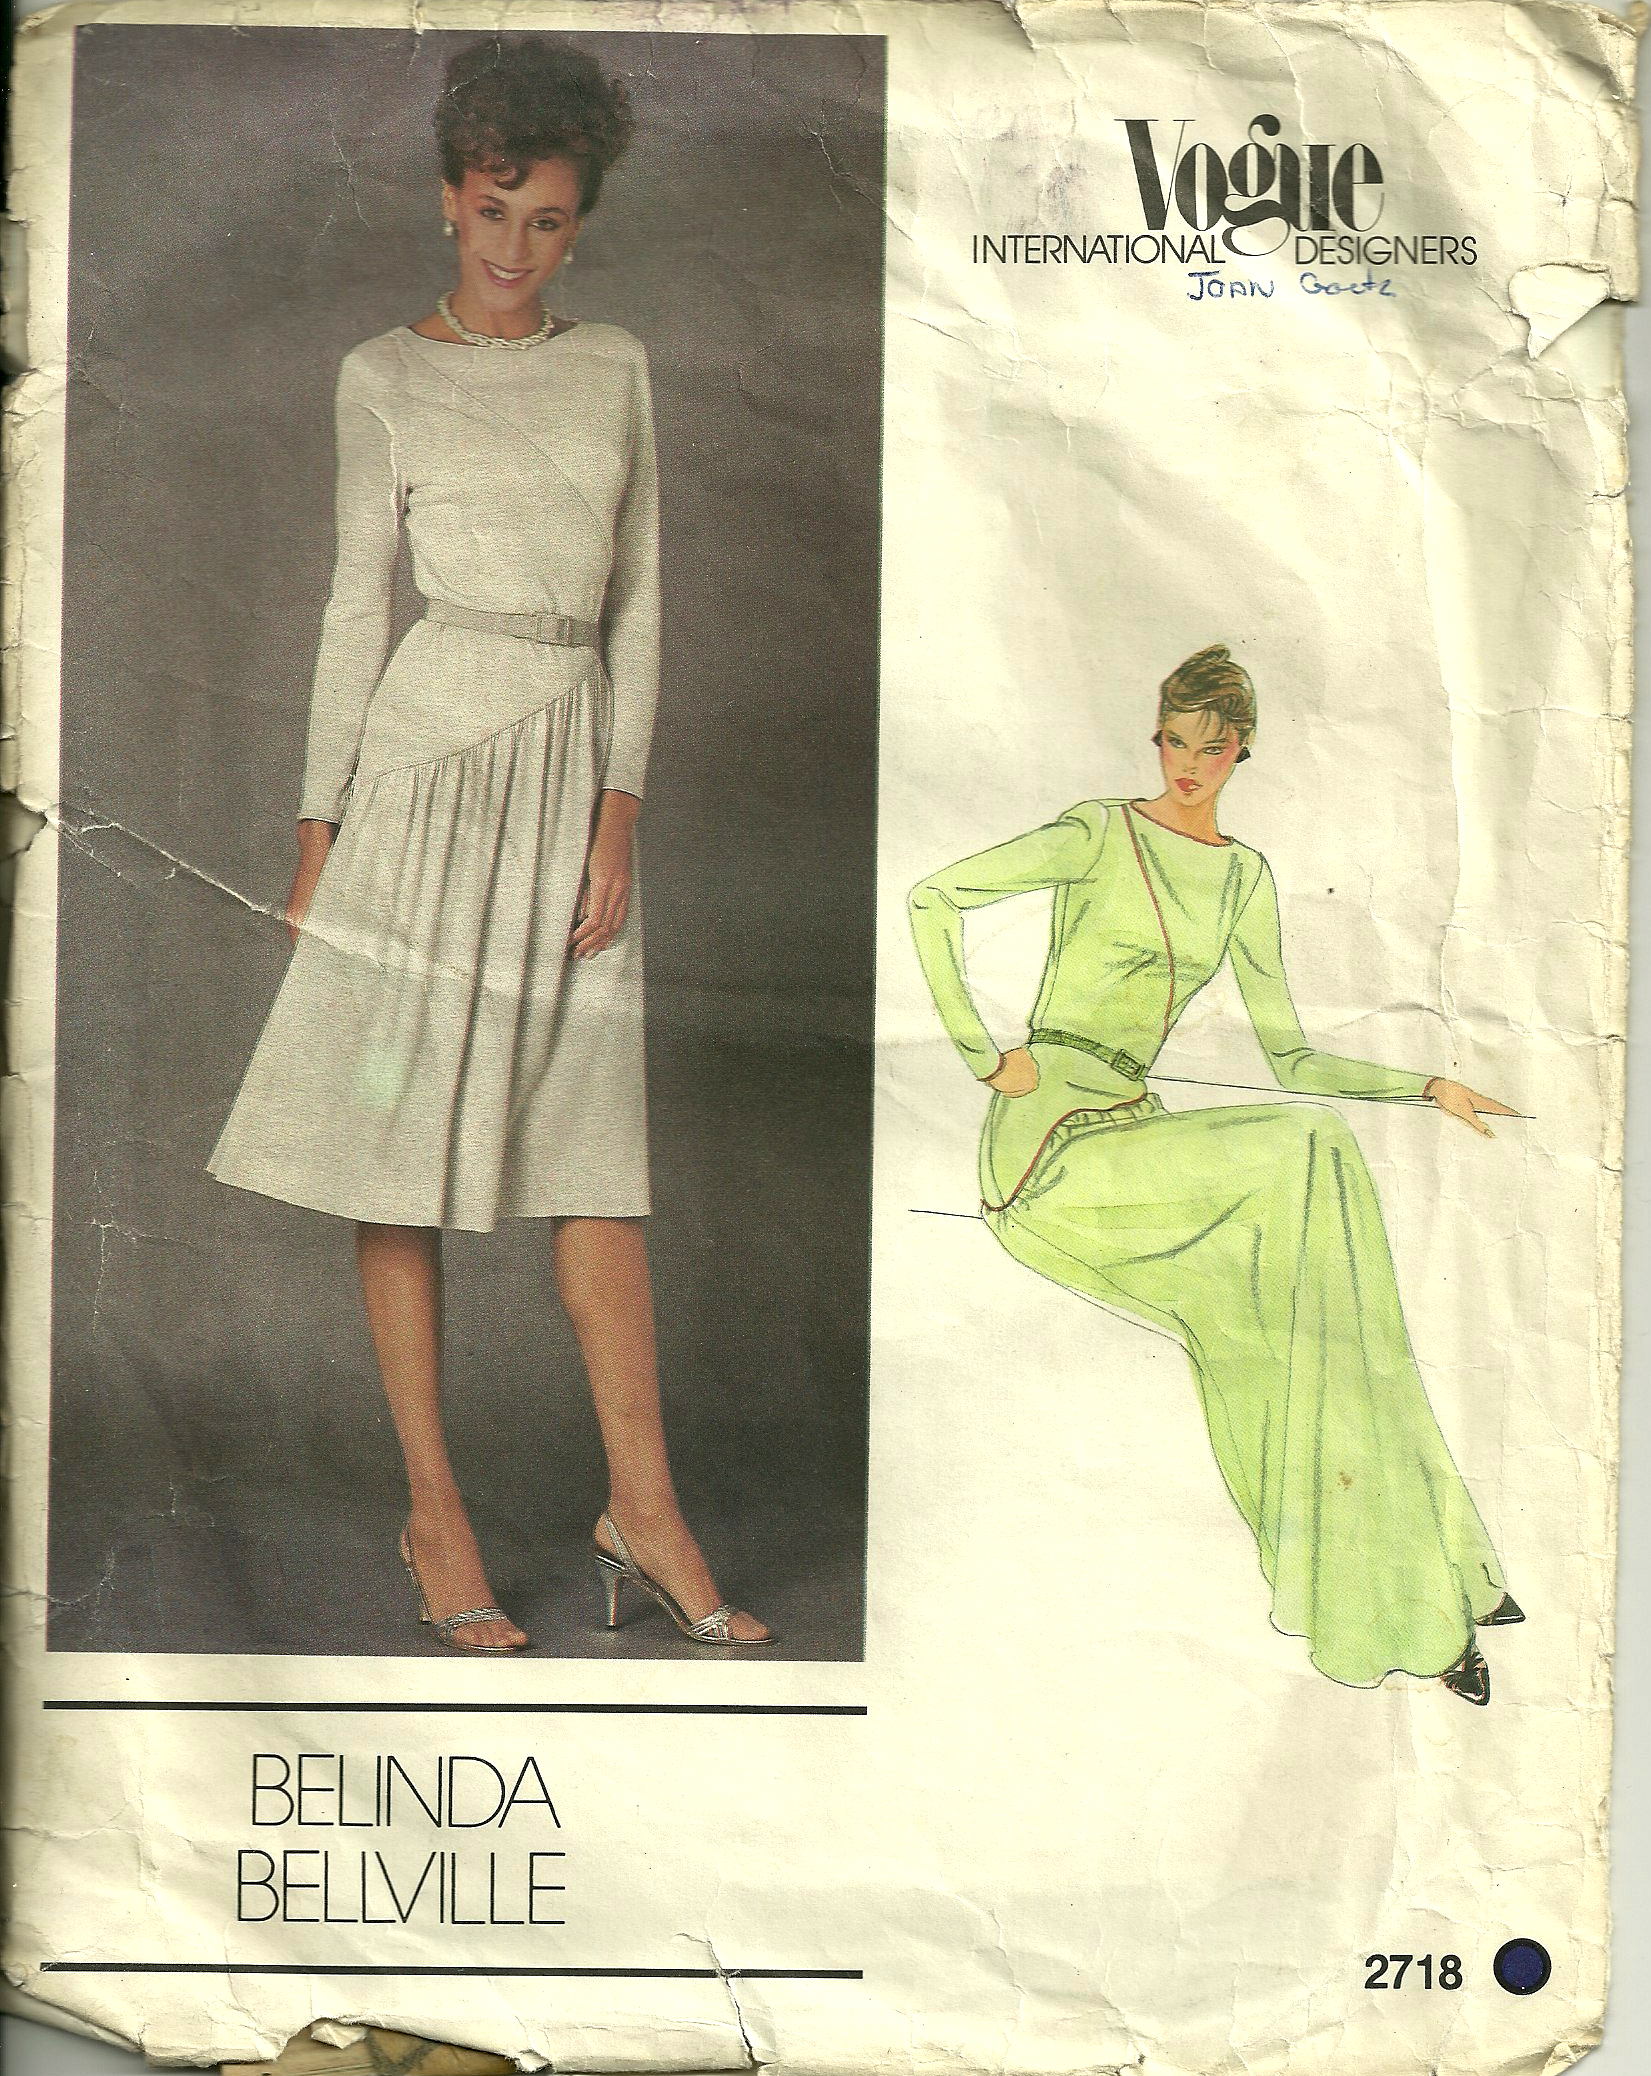
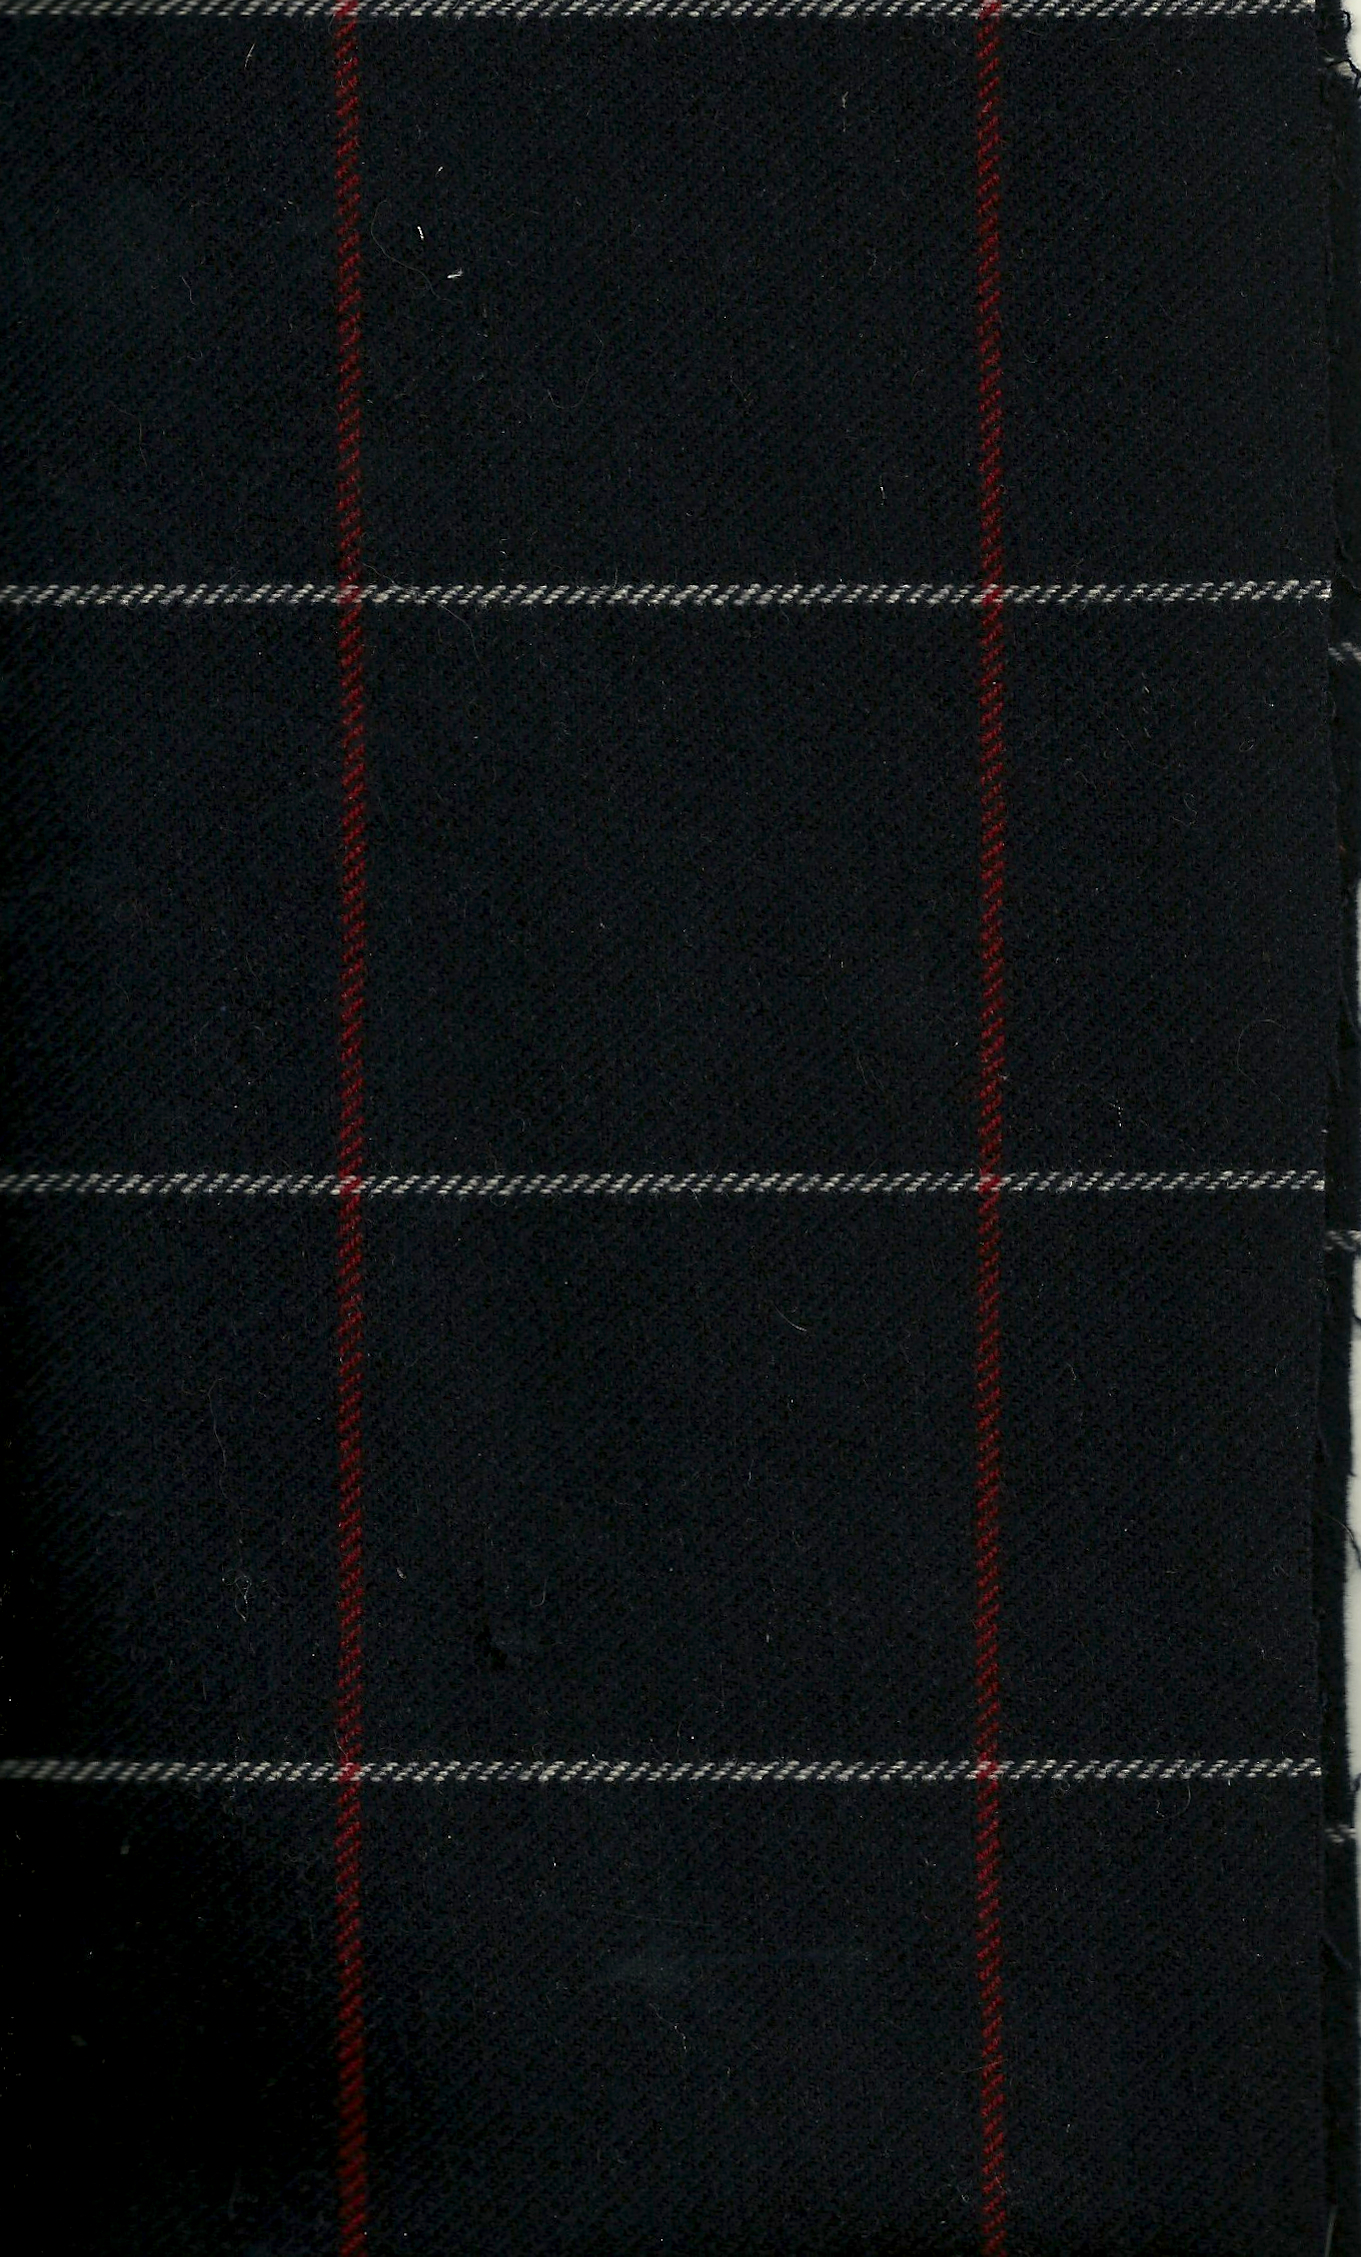
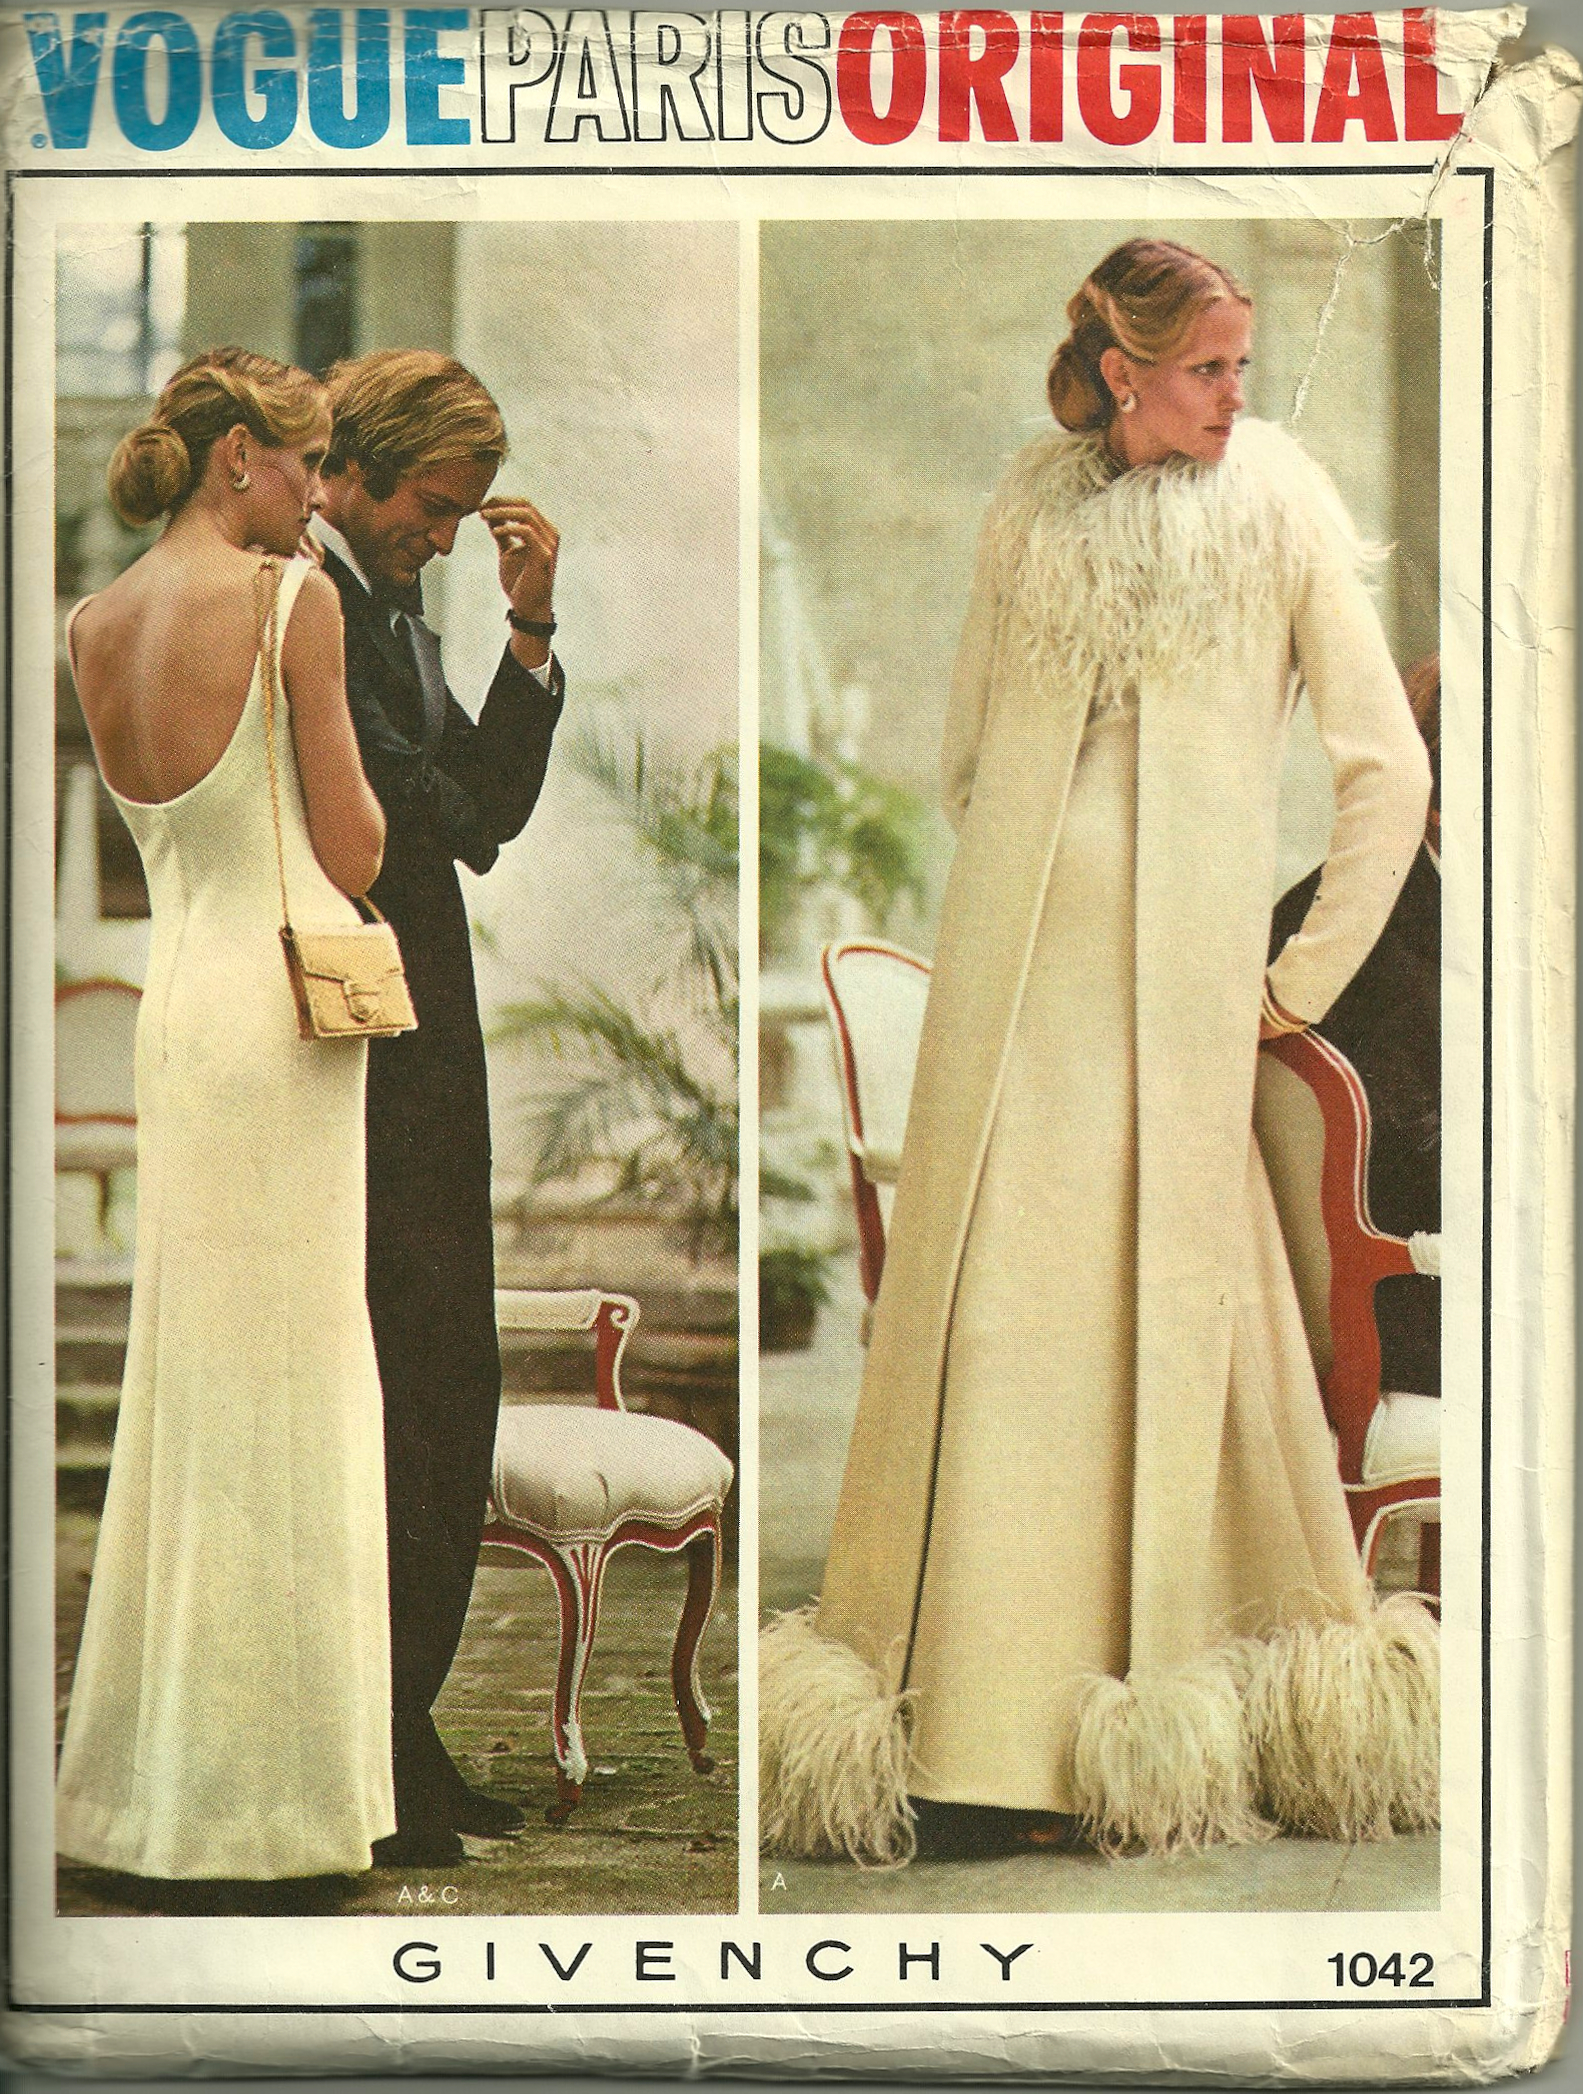
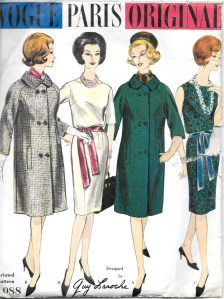
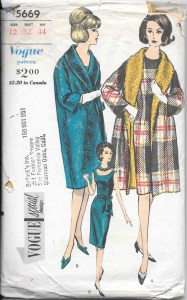
For me, however, it is the “ensembles” that make the ultimate fashion statement when speaking of coats. Christian Dior succinctly sums up their allure in The Little Dictionary of Fashion (Abrams, New York, New York, copyright 2007), page 40: “A very elegant way of dressing is to have a coat and dress matching together, making an ensemble… The frock should be fairly simple and the coat can be either fitted or loose, according to your taste. It can also be either long or short.” Vogue Patterns had no shortage of offerings for such ensembles. Here are four wonderful Vogue patterns – which are part of my pattern collection – and which are “ensembles.”

Note the “fullness” in this coat as well.
The princess seaming on this coat is similar to the red one mentioned above.

Another view of this Guy Laroche pattern; it seems to show better in a photograph than in its pattern illustration.
This pattern was featured in that same VPB Magazine issue from December 1962/January 1963.
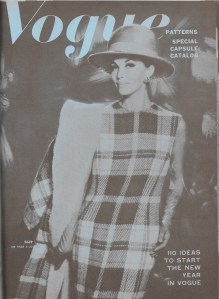
And here it is in black and white in that issue. Stunning, isn’t it?
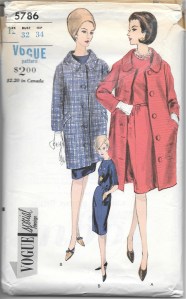
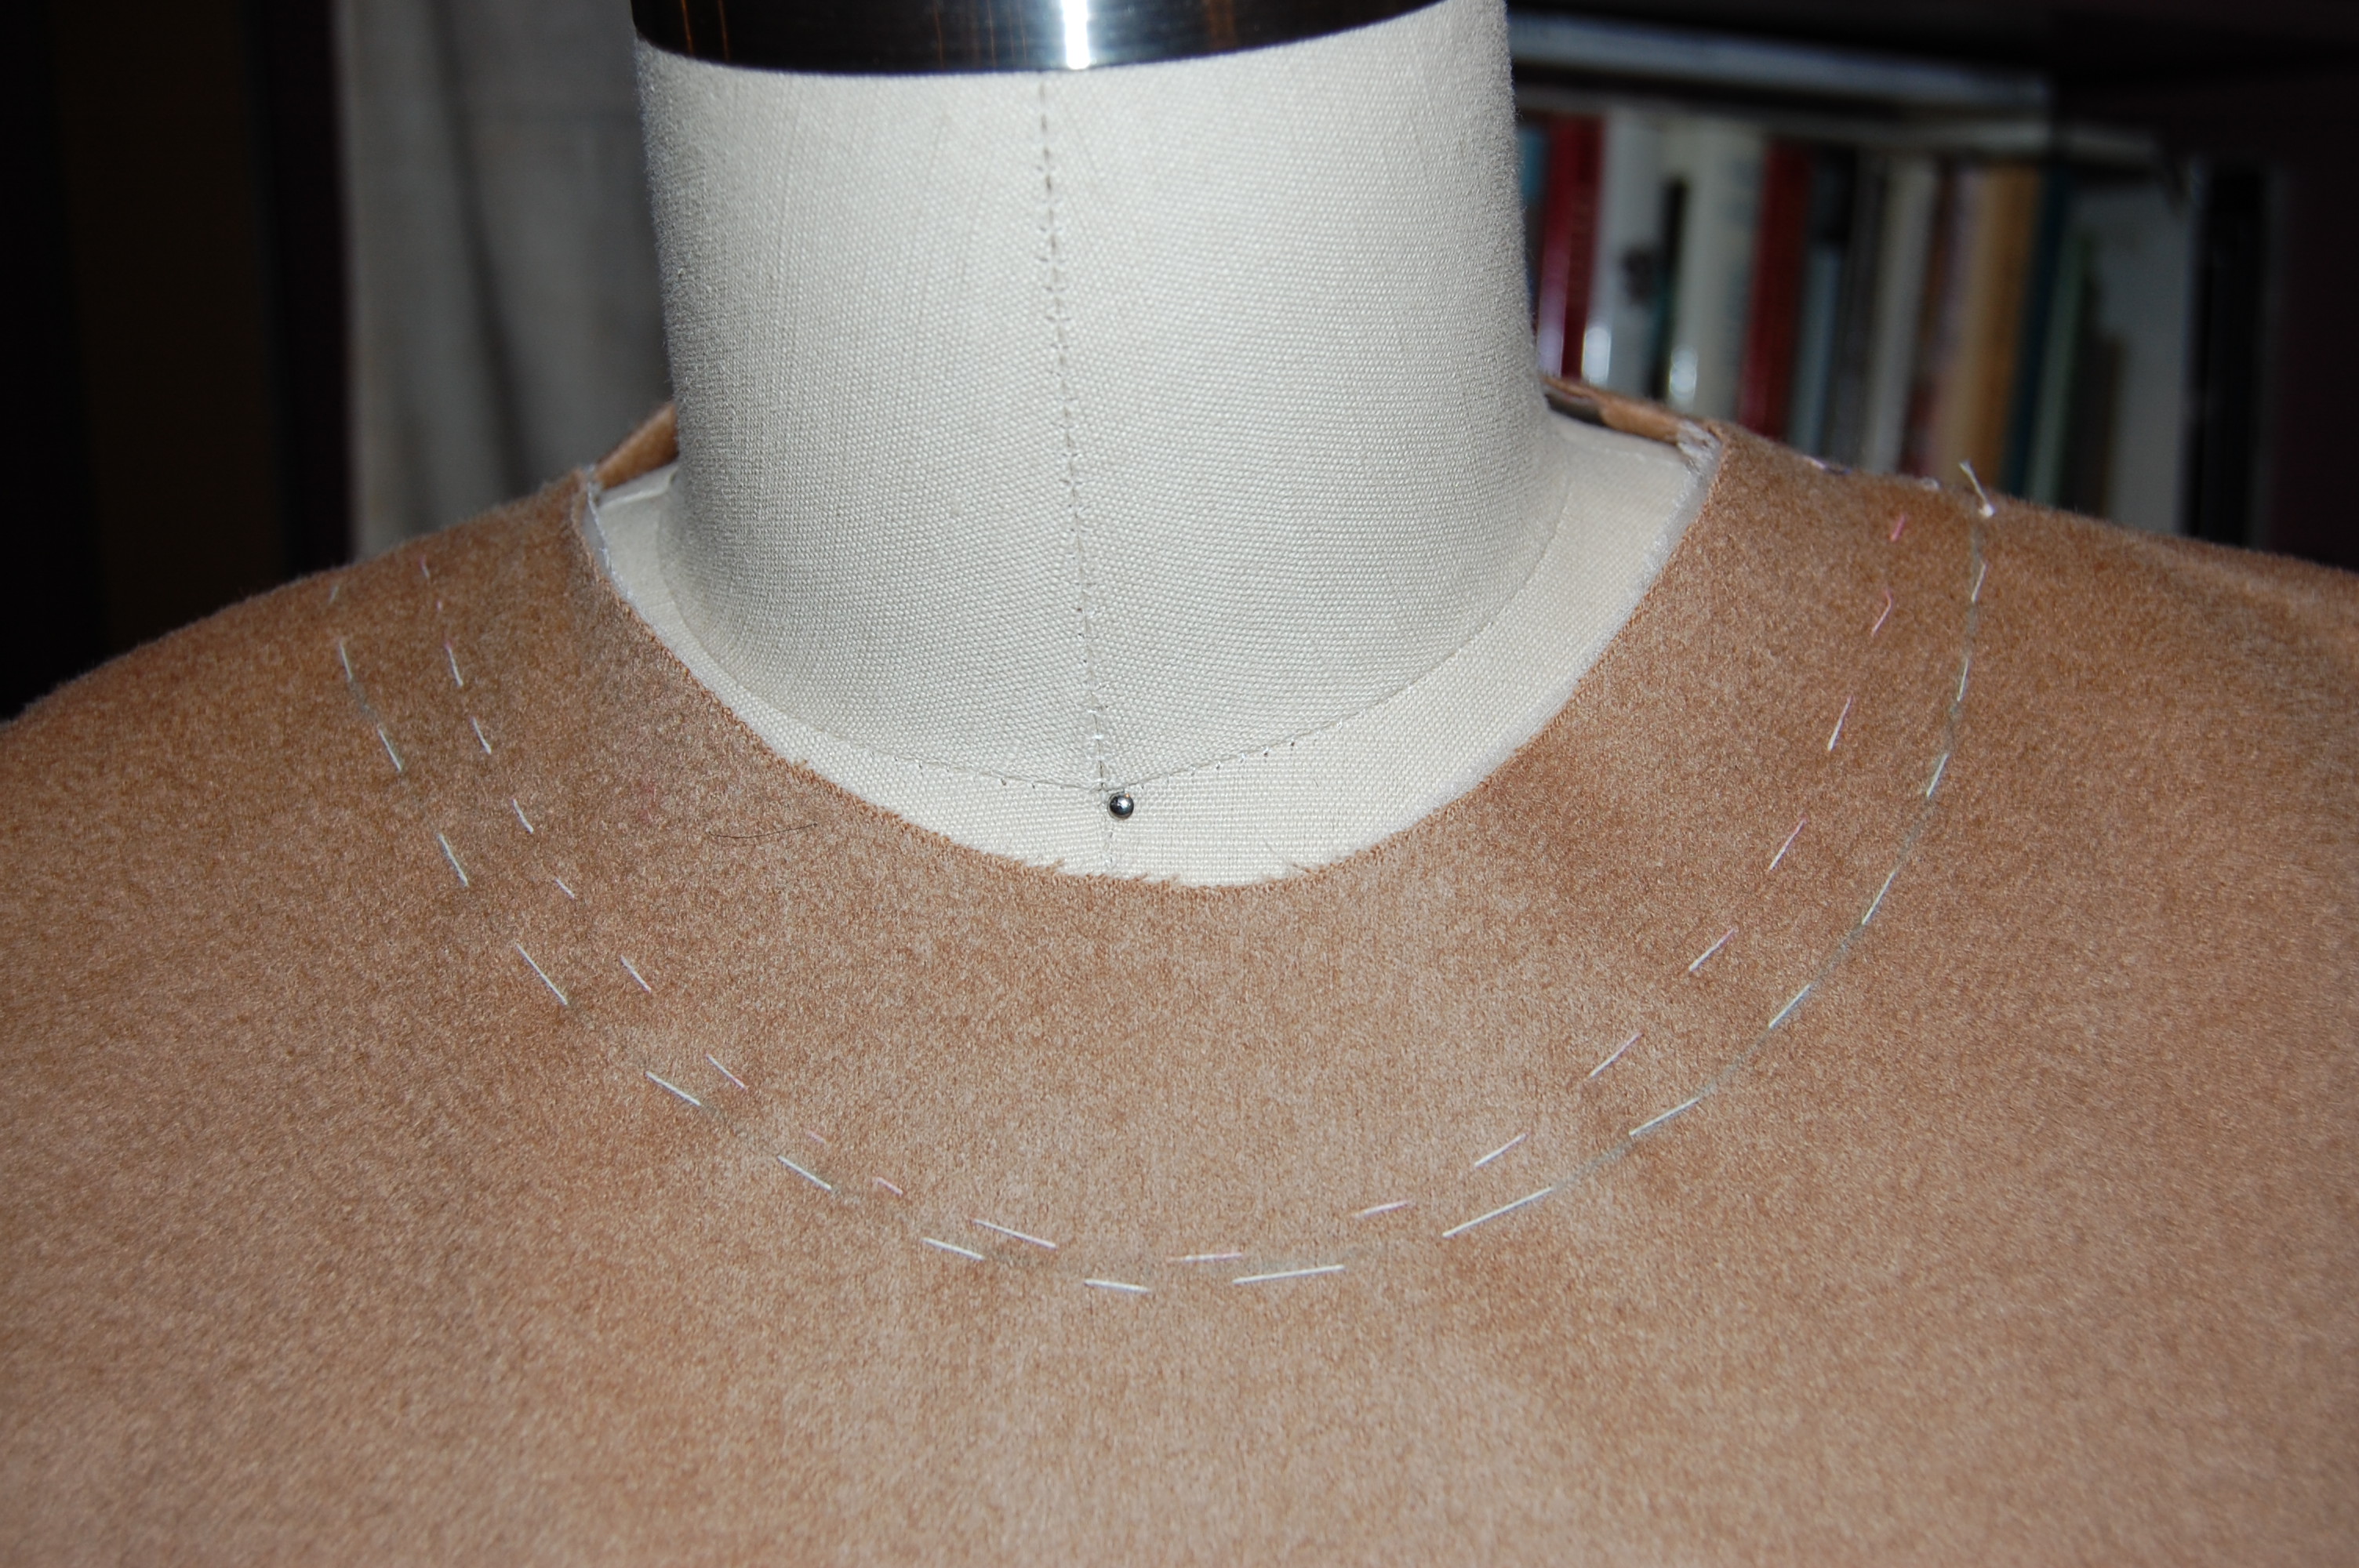
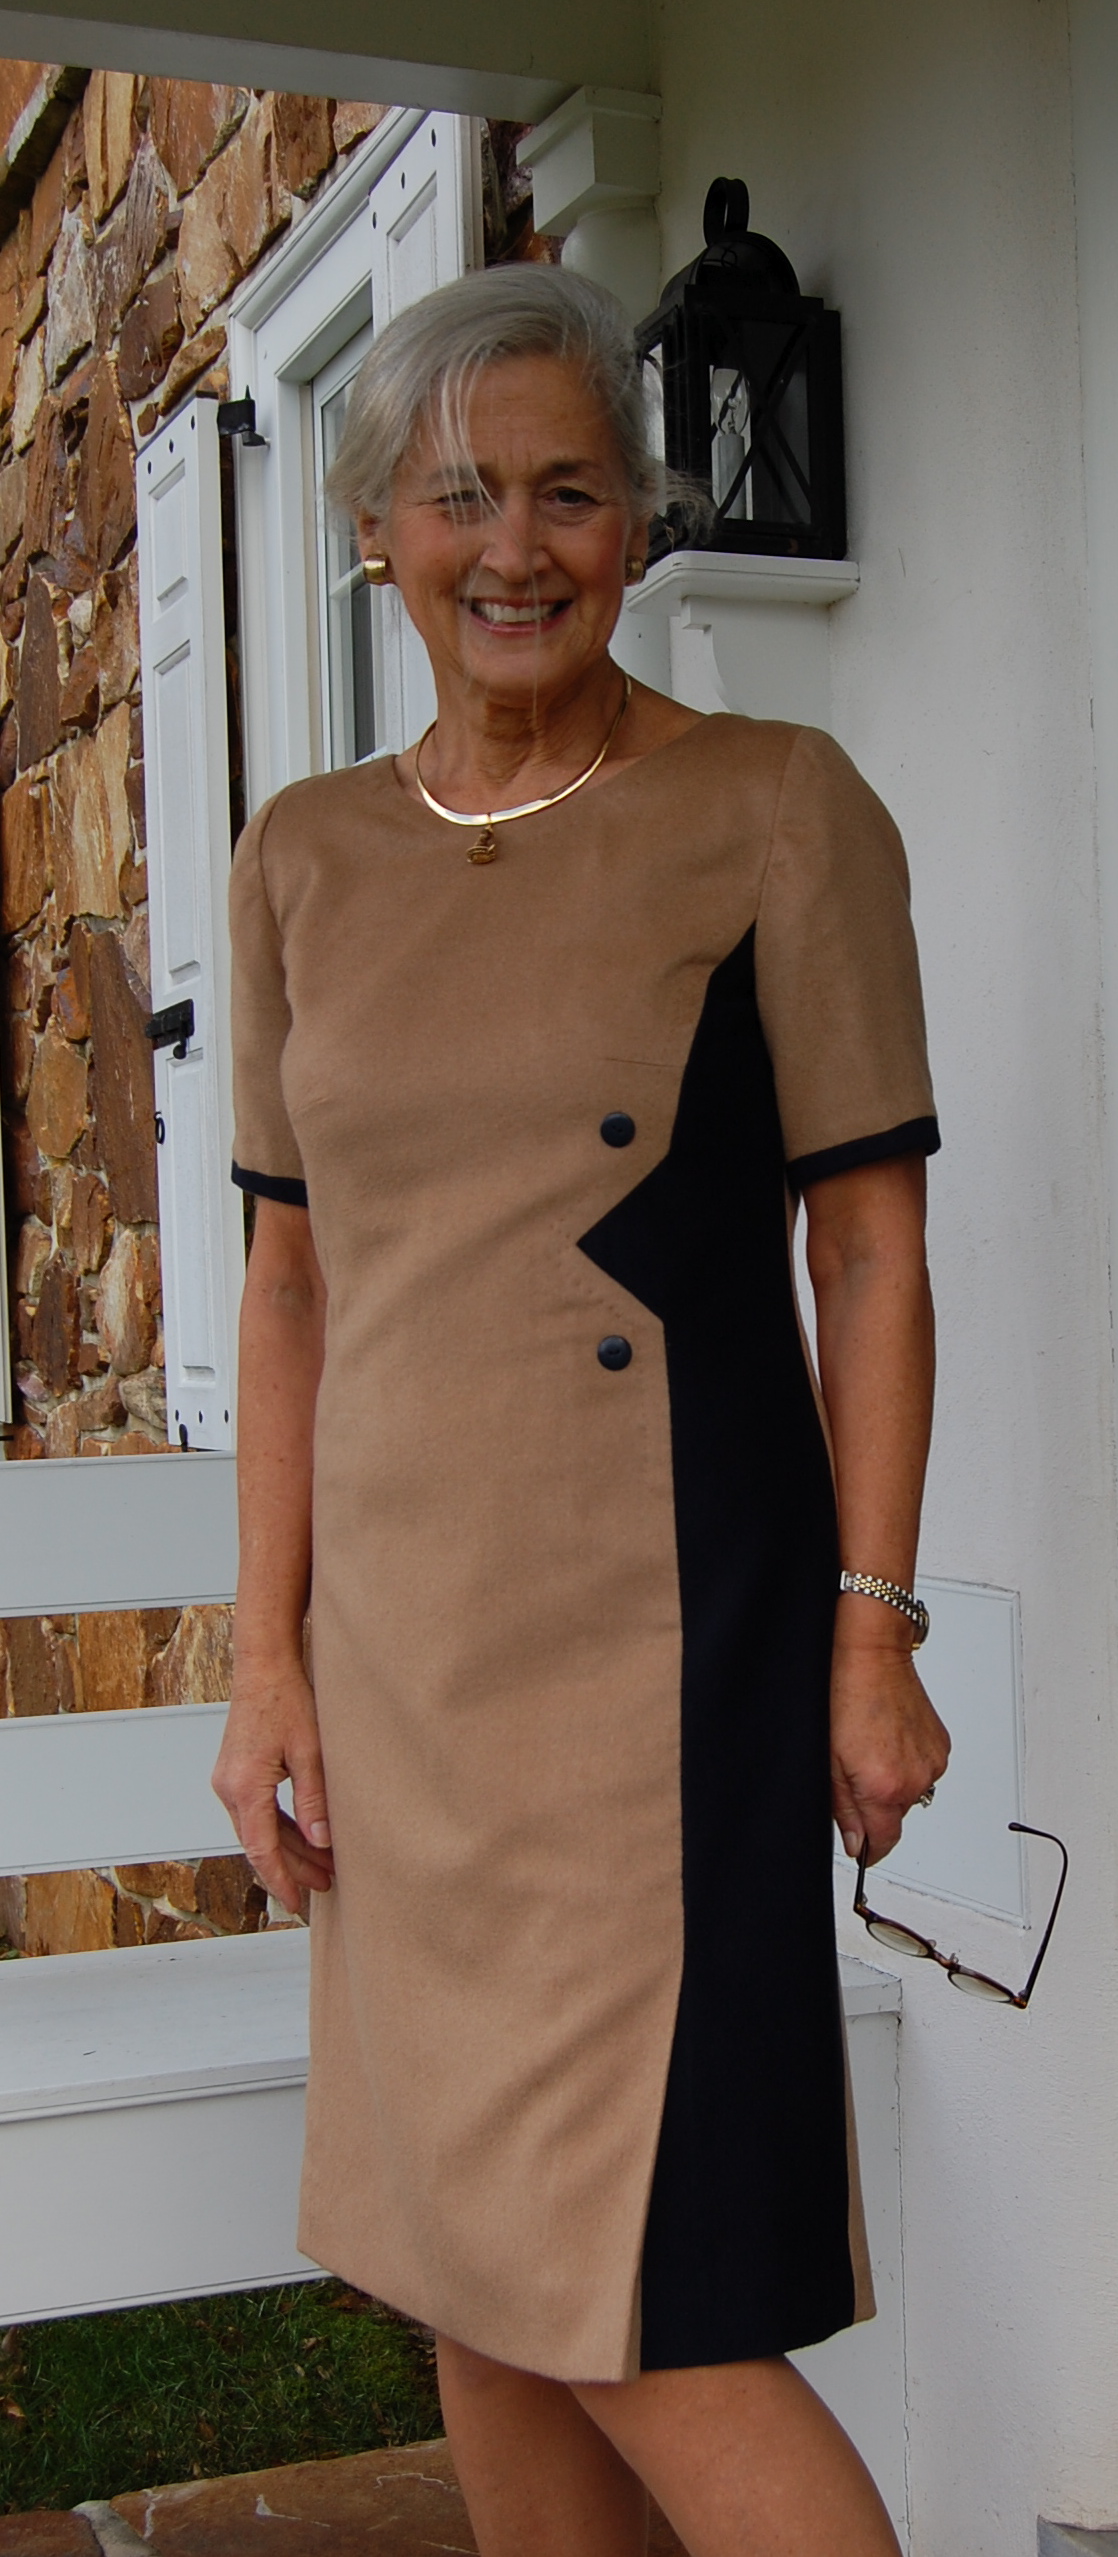
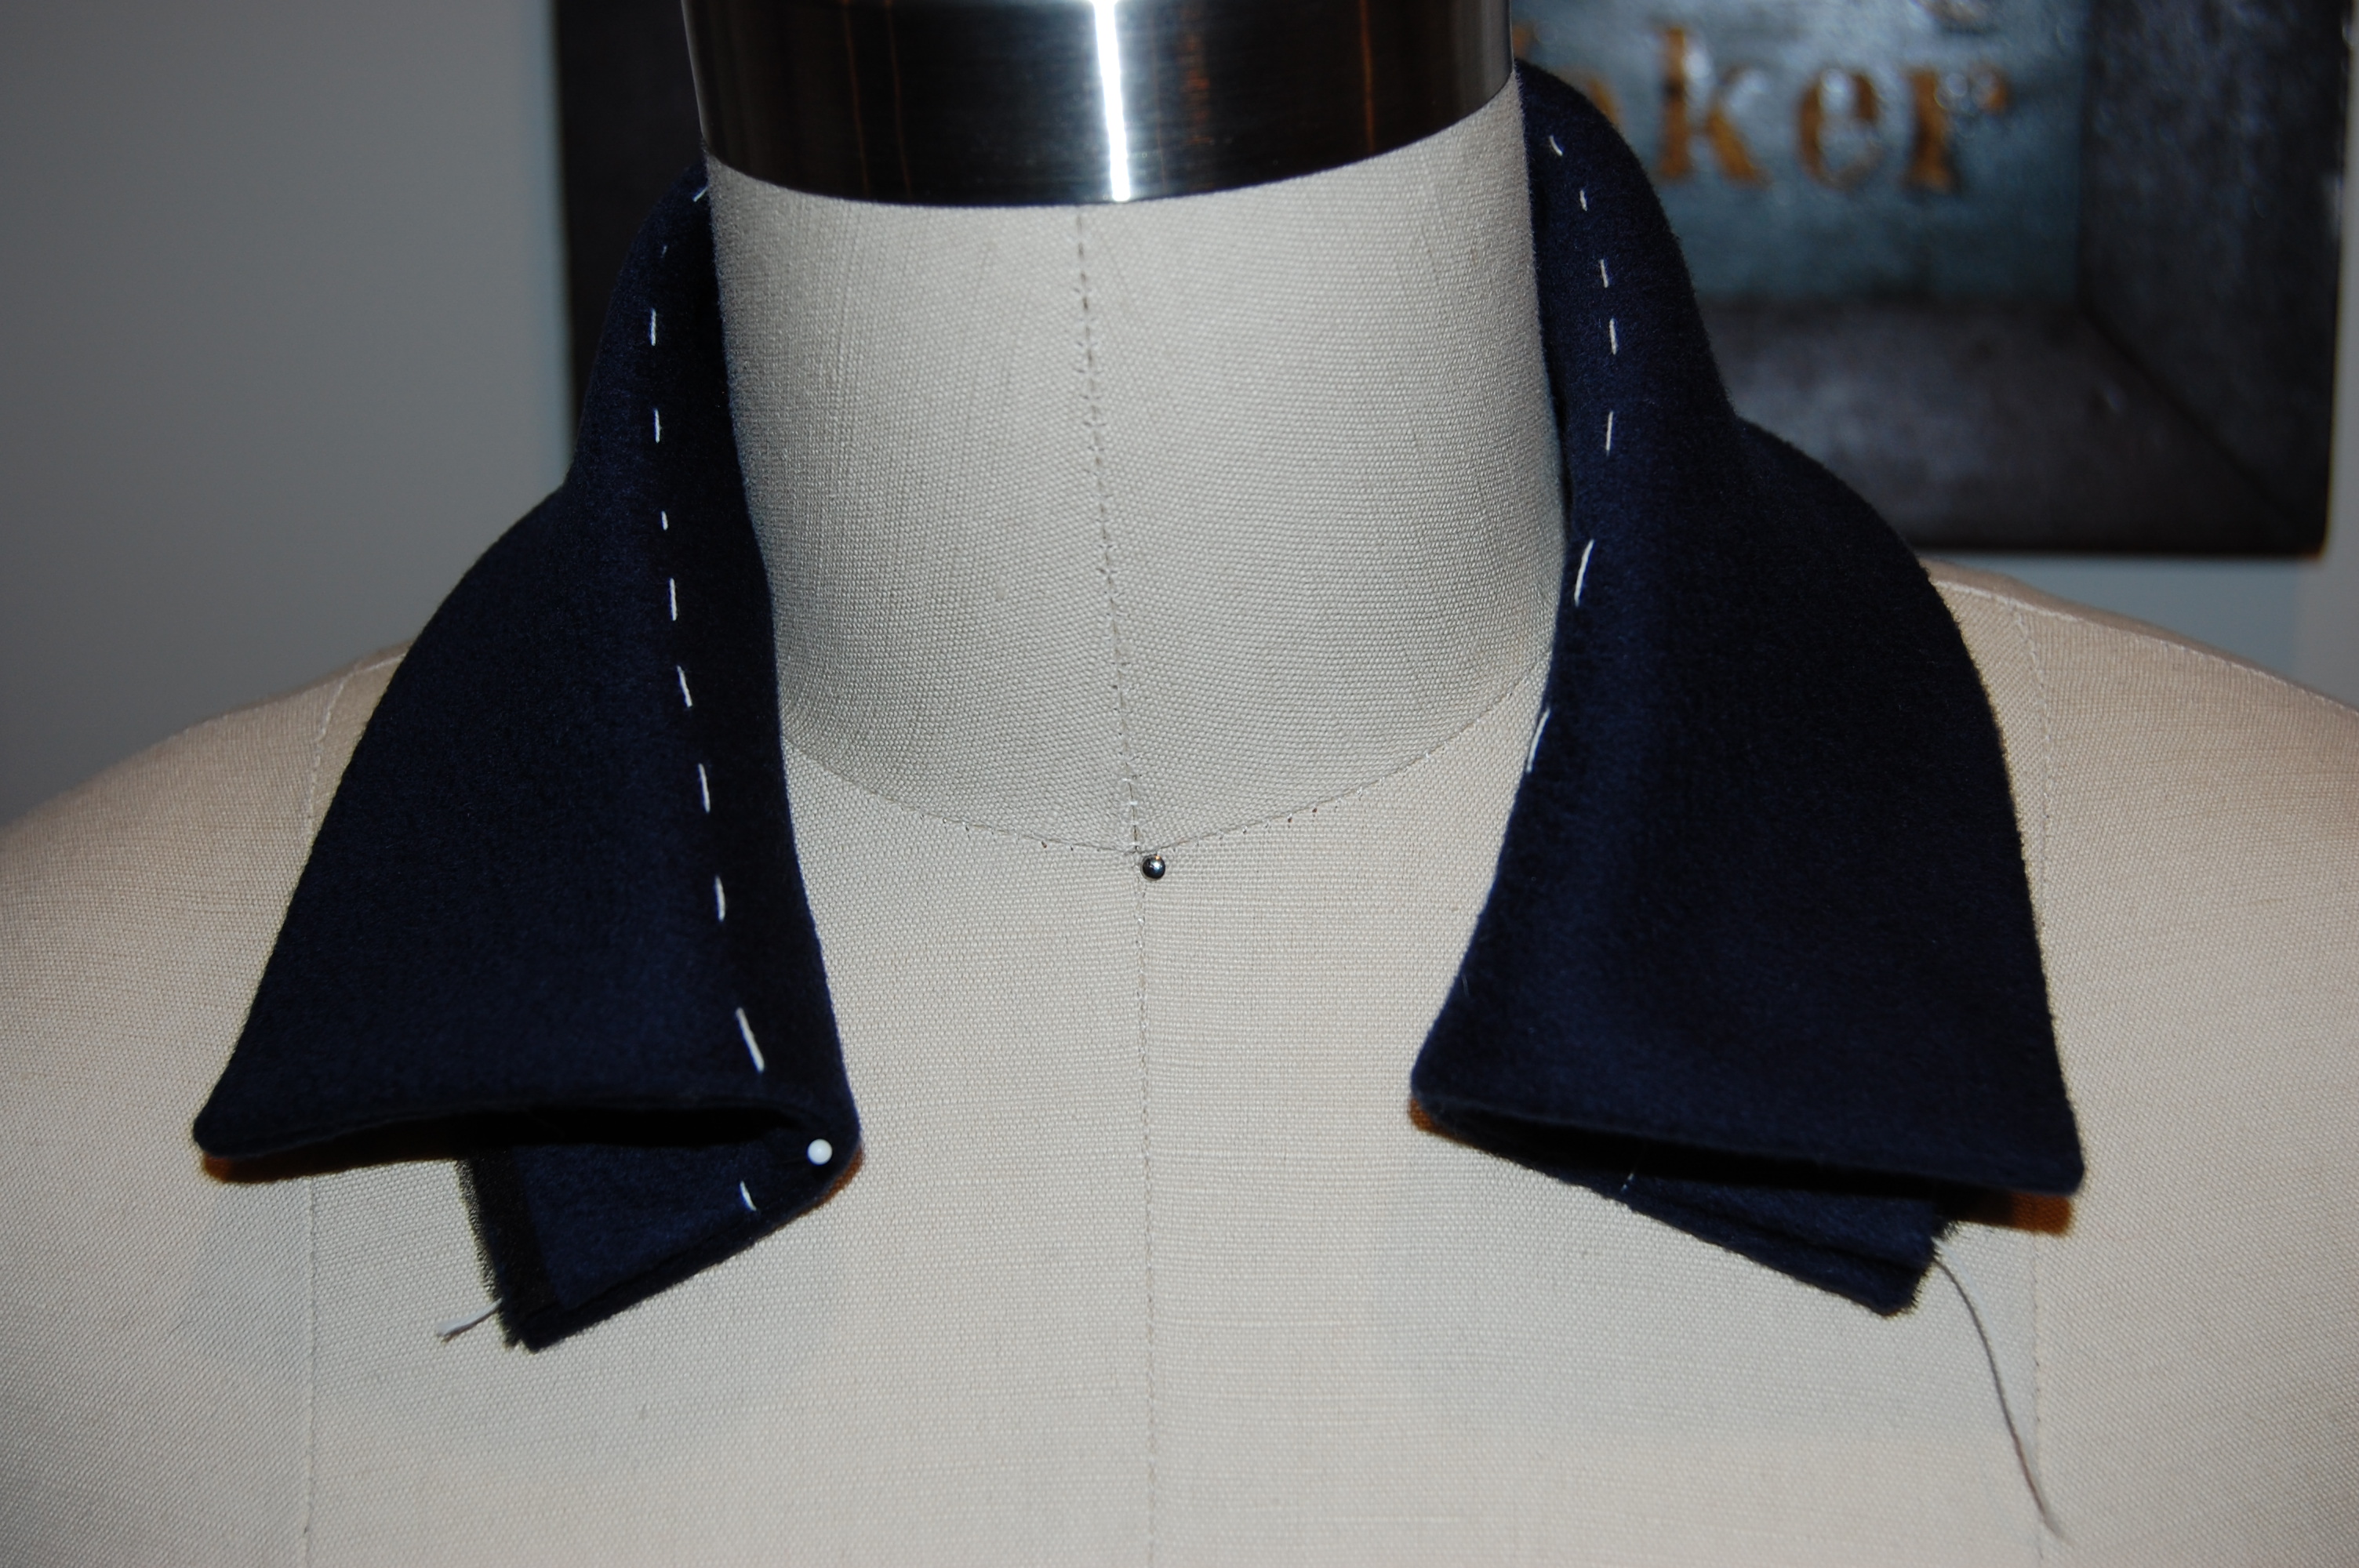
The neckline on this coat is lovely and perfectly suited for a coordinating dress.
I actually have fabric for three of these patterns – with plans to sew them of course. (Can you guess which one is the fabric-less orphan?) However, all of them will remain part of my sewing dreams until after the holiday season – which “officially” begins this week with our American Thanksgiving celebration. I have festive attire and a few homemade gifts to fill my sewing days through December. Building my collection of coats will just have to wait.
Happy, Happy Thanksgiving to all my American readers – and my heartfelt thanks to my loyal readers worldwide in this season of gratitude.