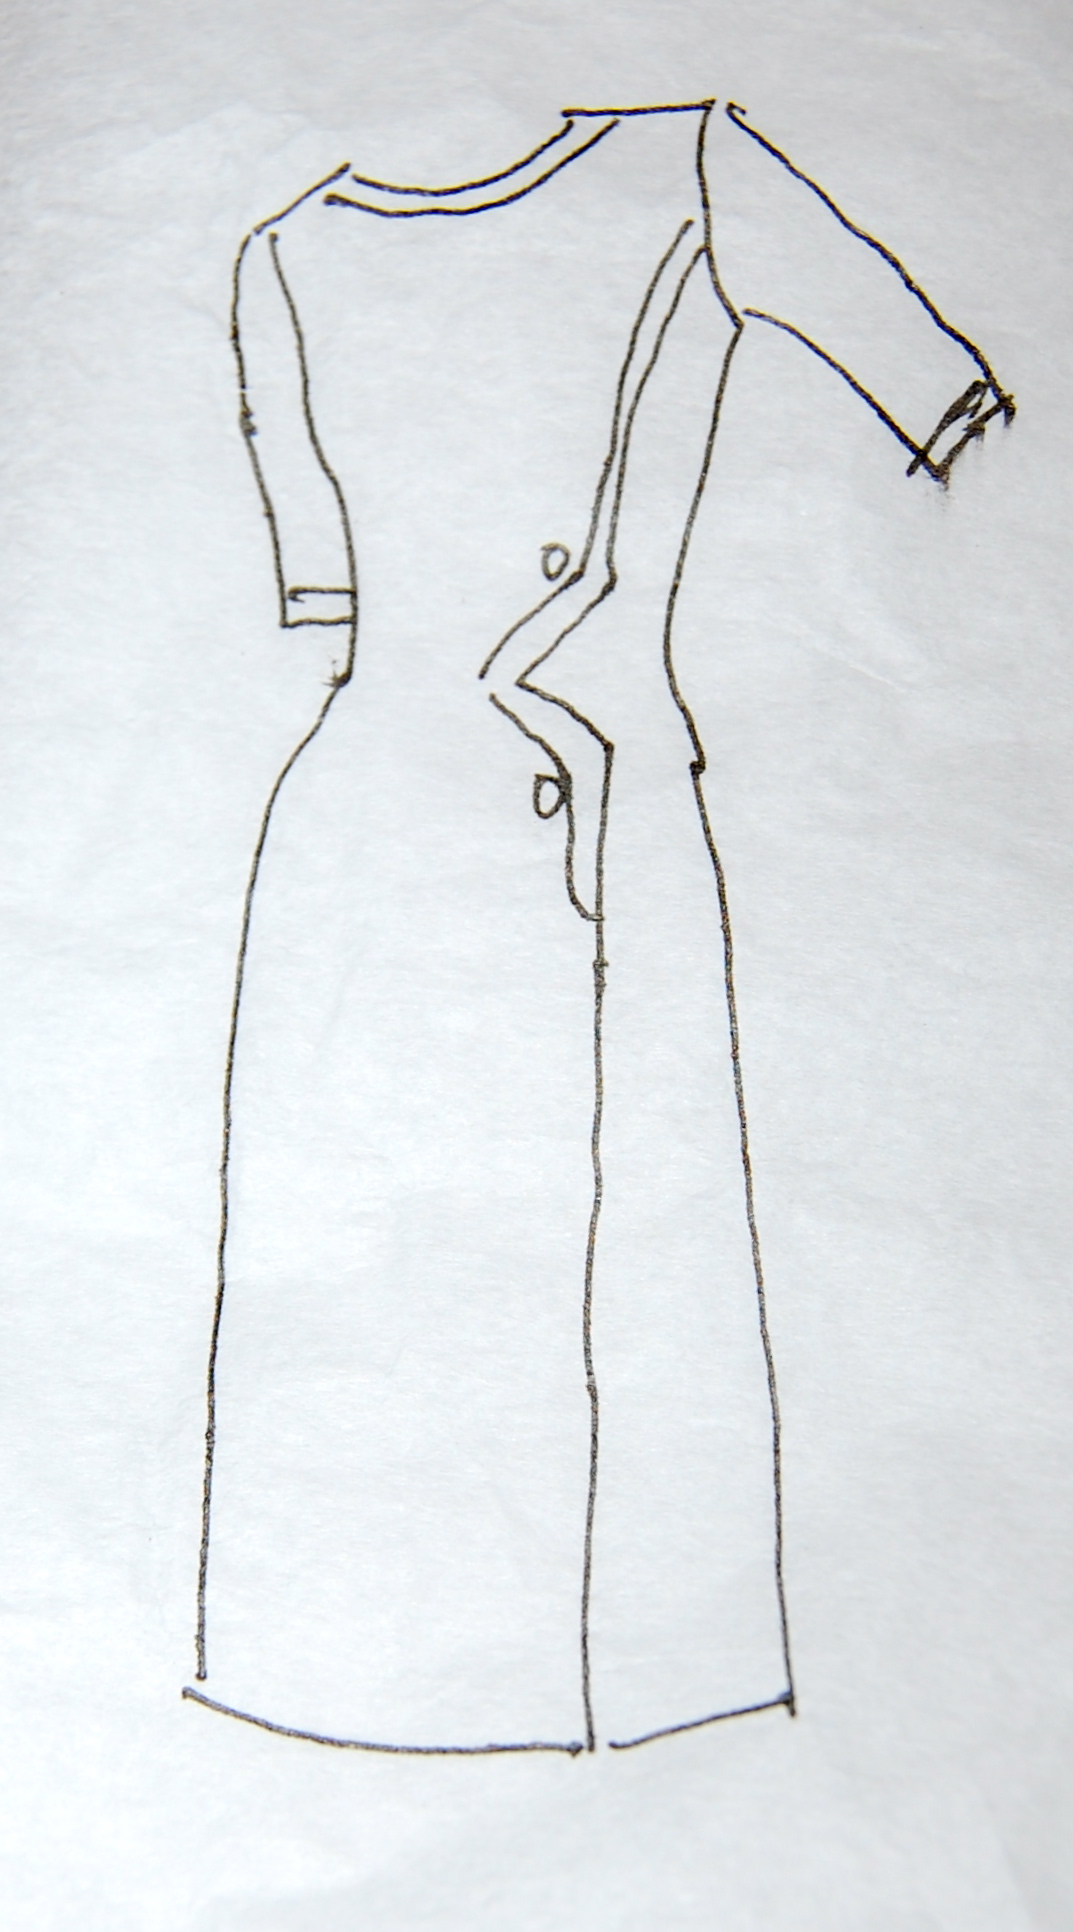
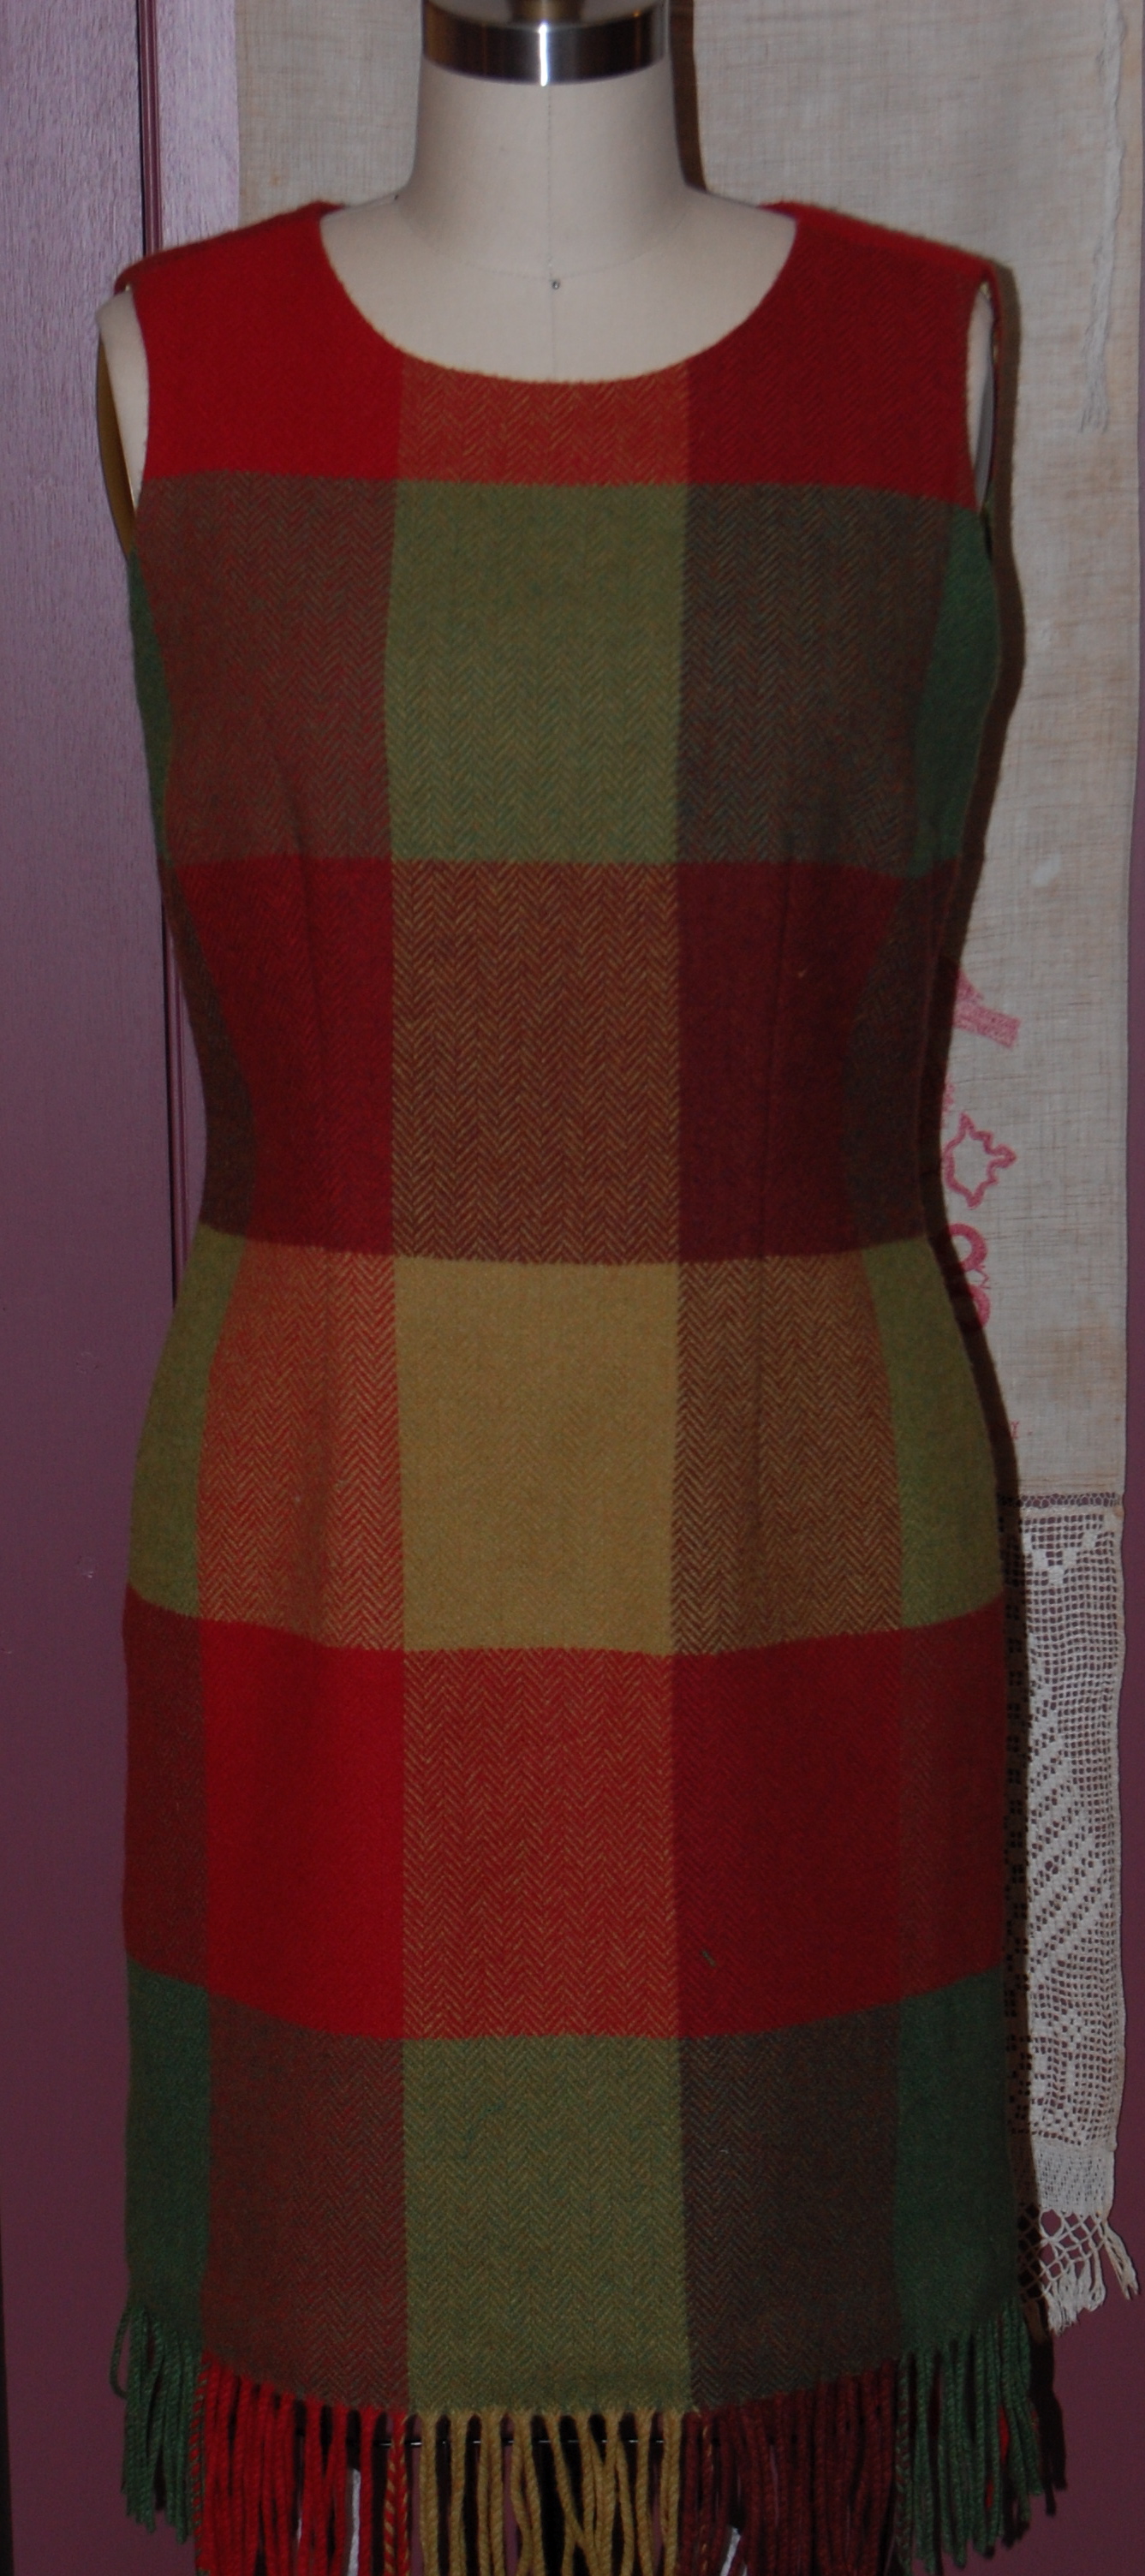
My blanket dress has morphed into a jumper. Not that that means it is going to look any different. Probably the biggest question I had when deciding to make my Irish blanket into a dress instead of a skirt was “how practical is this”? A sleeveless “everyday” dress for Winter? It was a given fact that I would be wearing a cardigan sweater with it, but I wasn’t sure I could find a suitably hued sweater to go with the bold plaid of the blanket. I had visions of taking up knitting (which I still should do…) in order to get the correct sweater match for this dress.
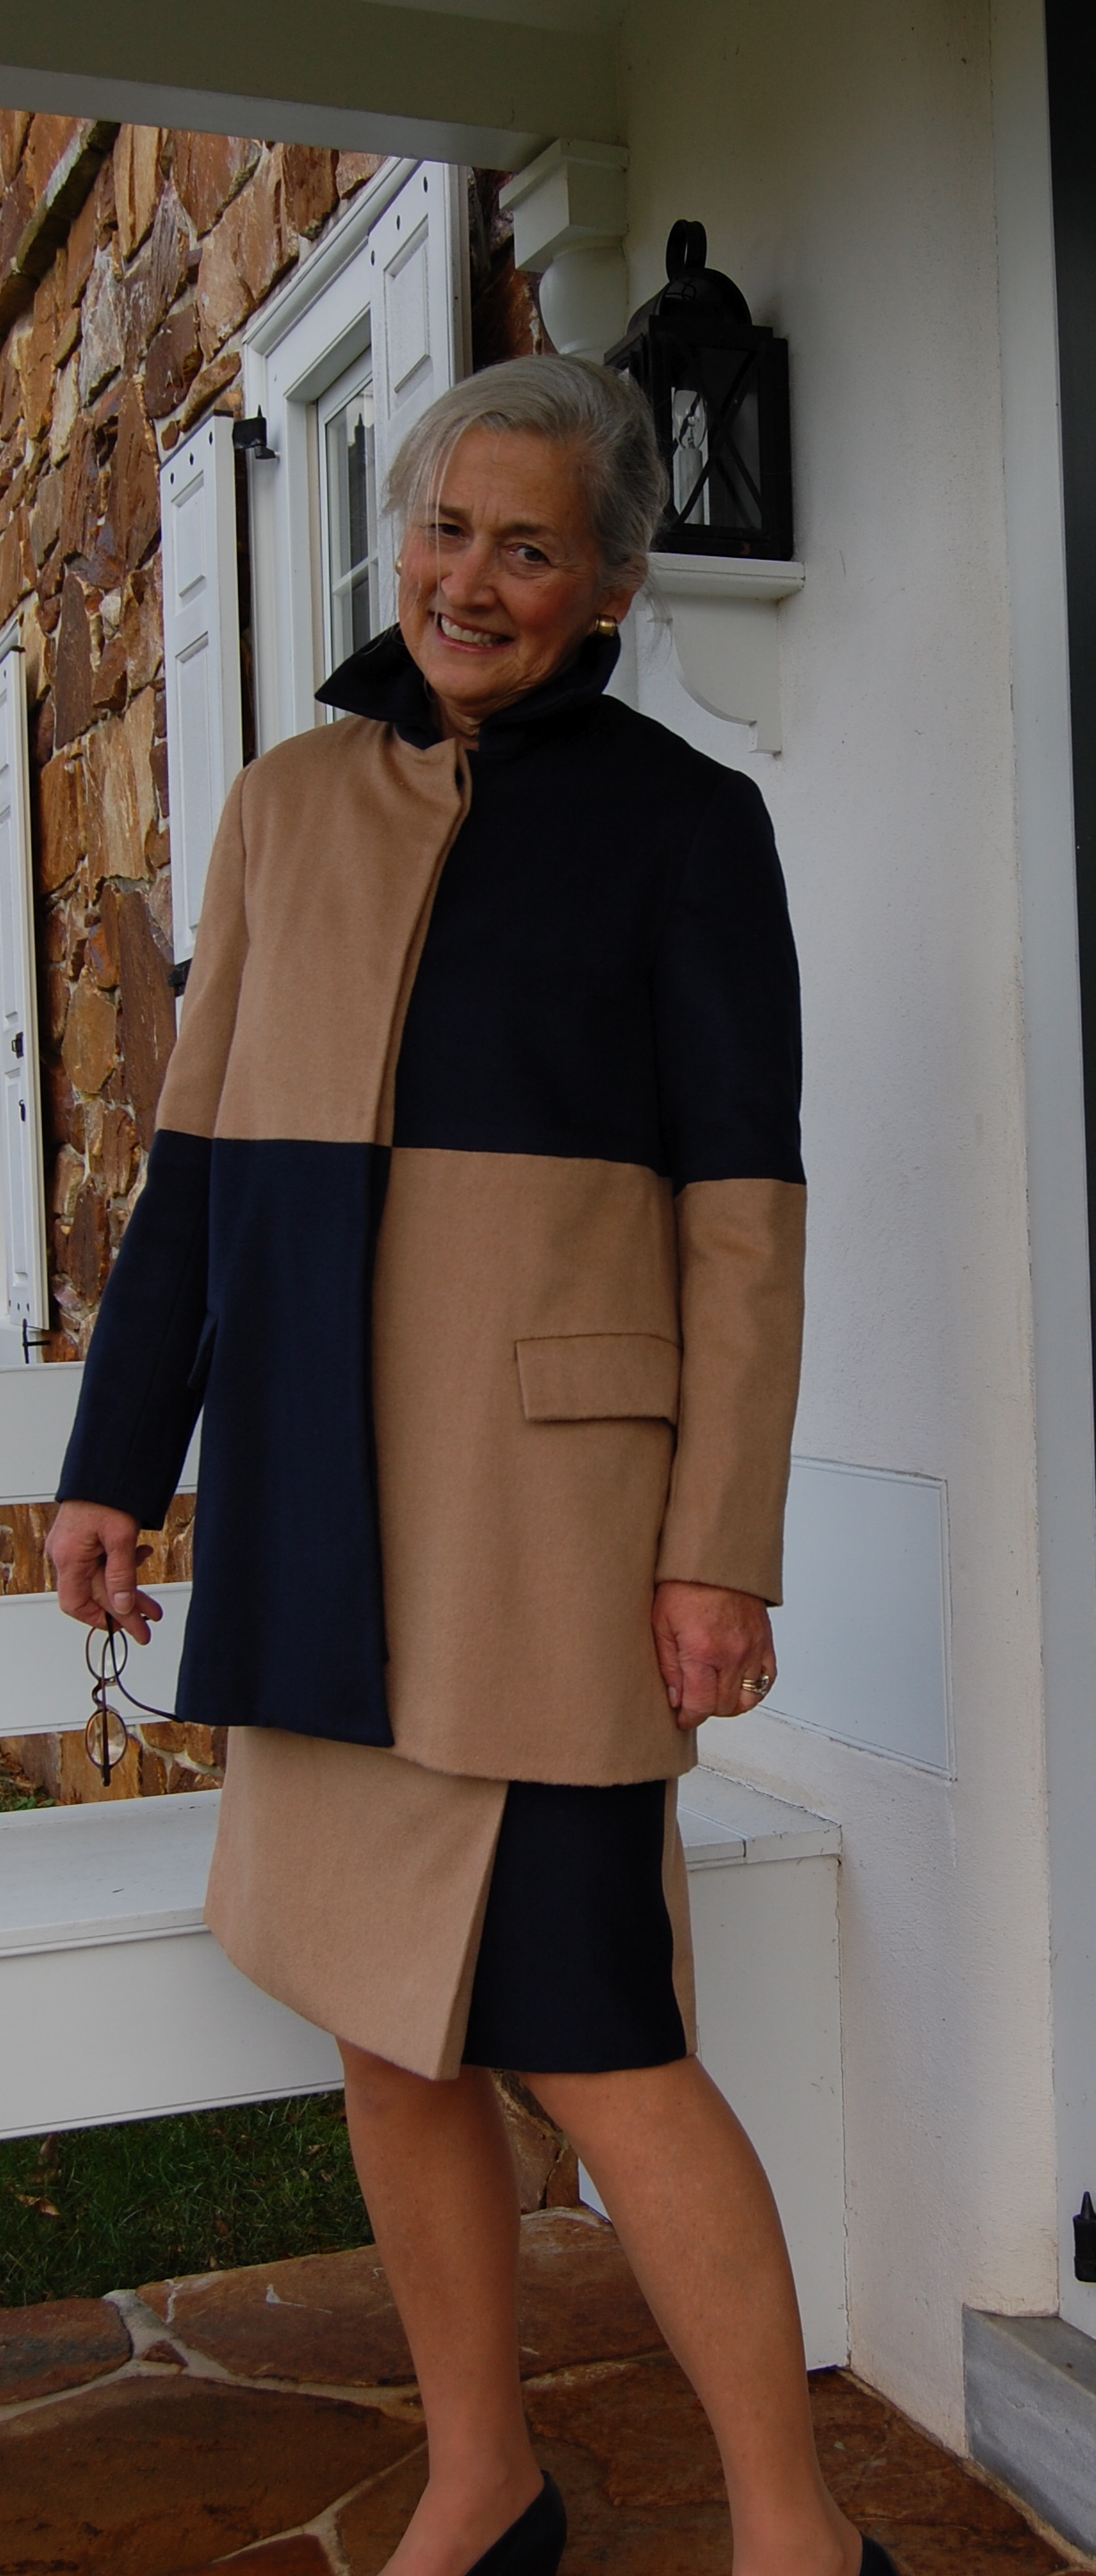
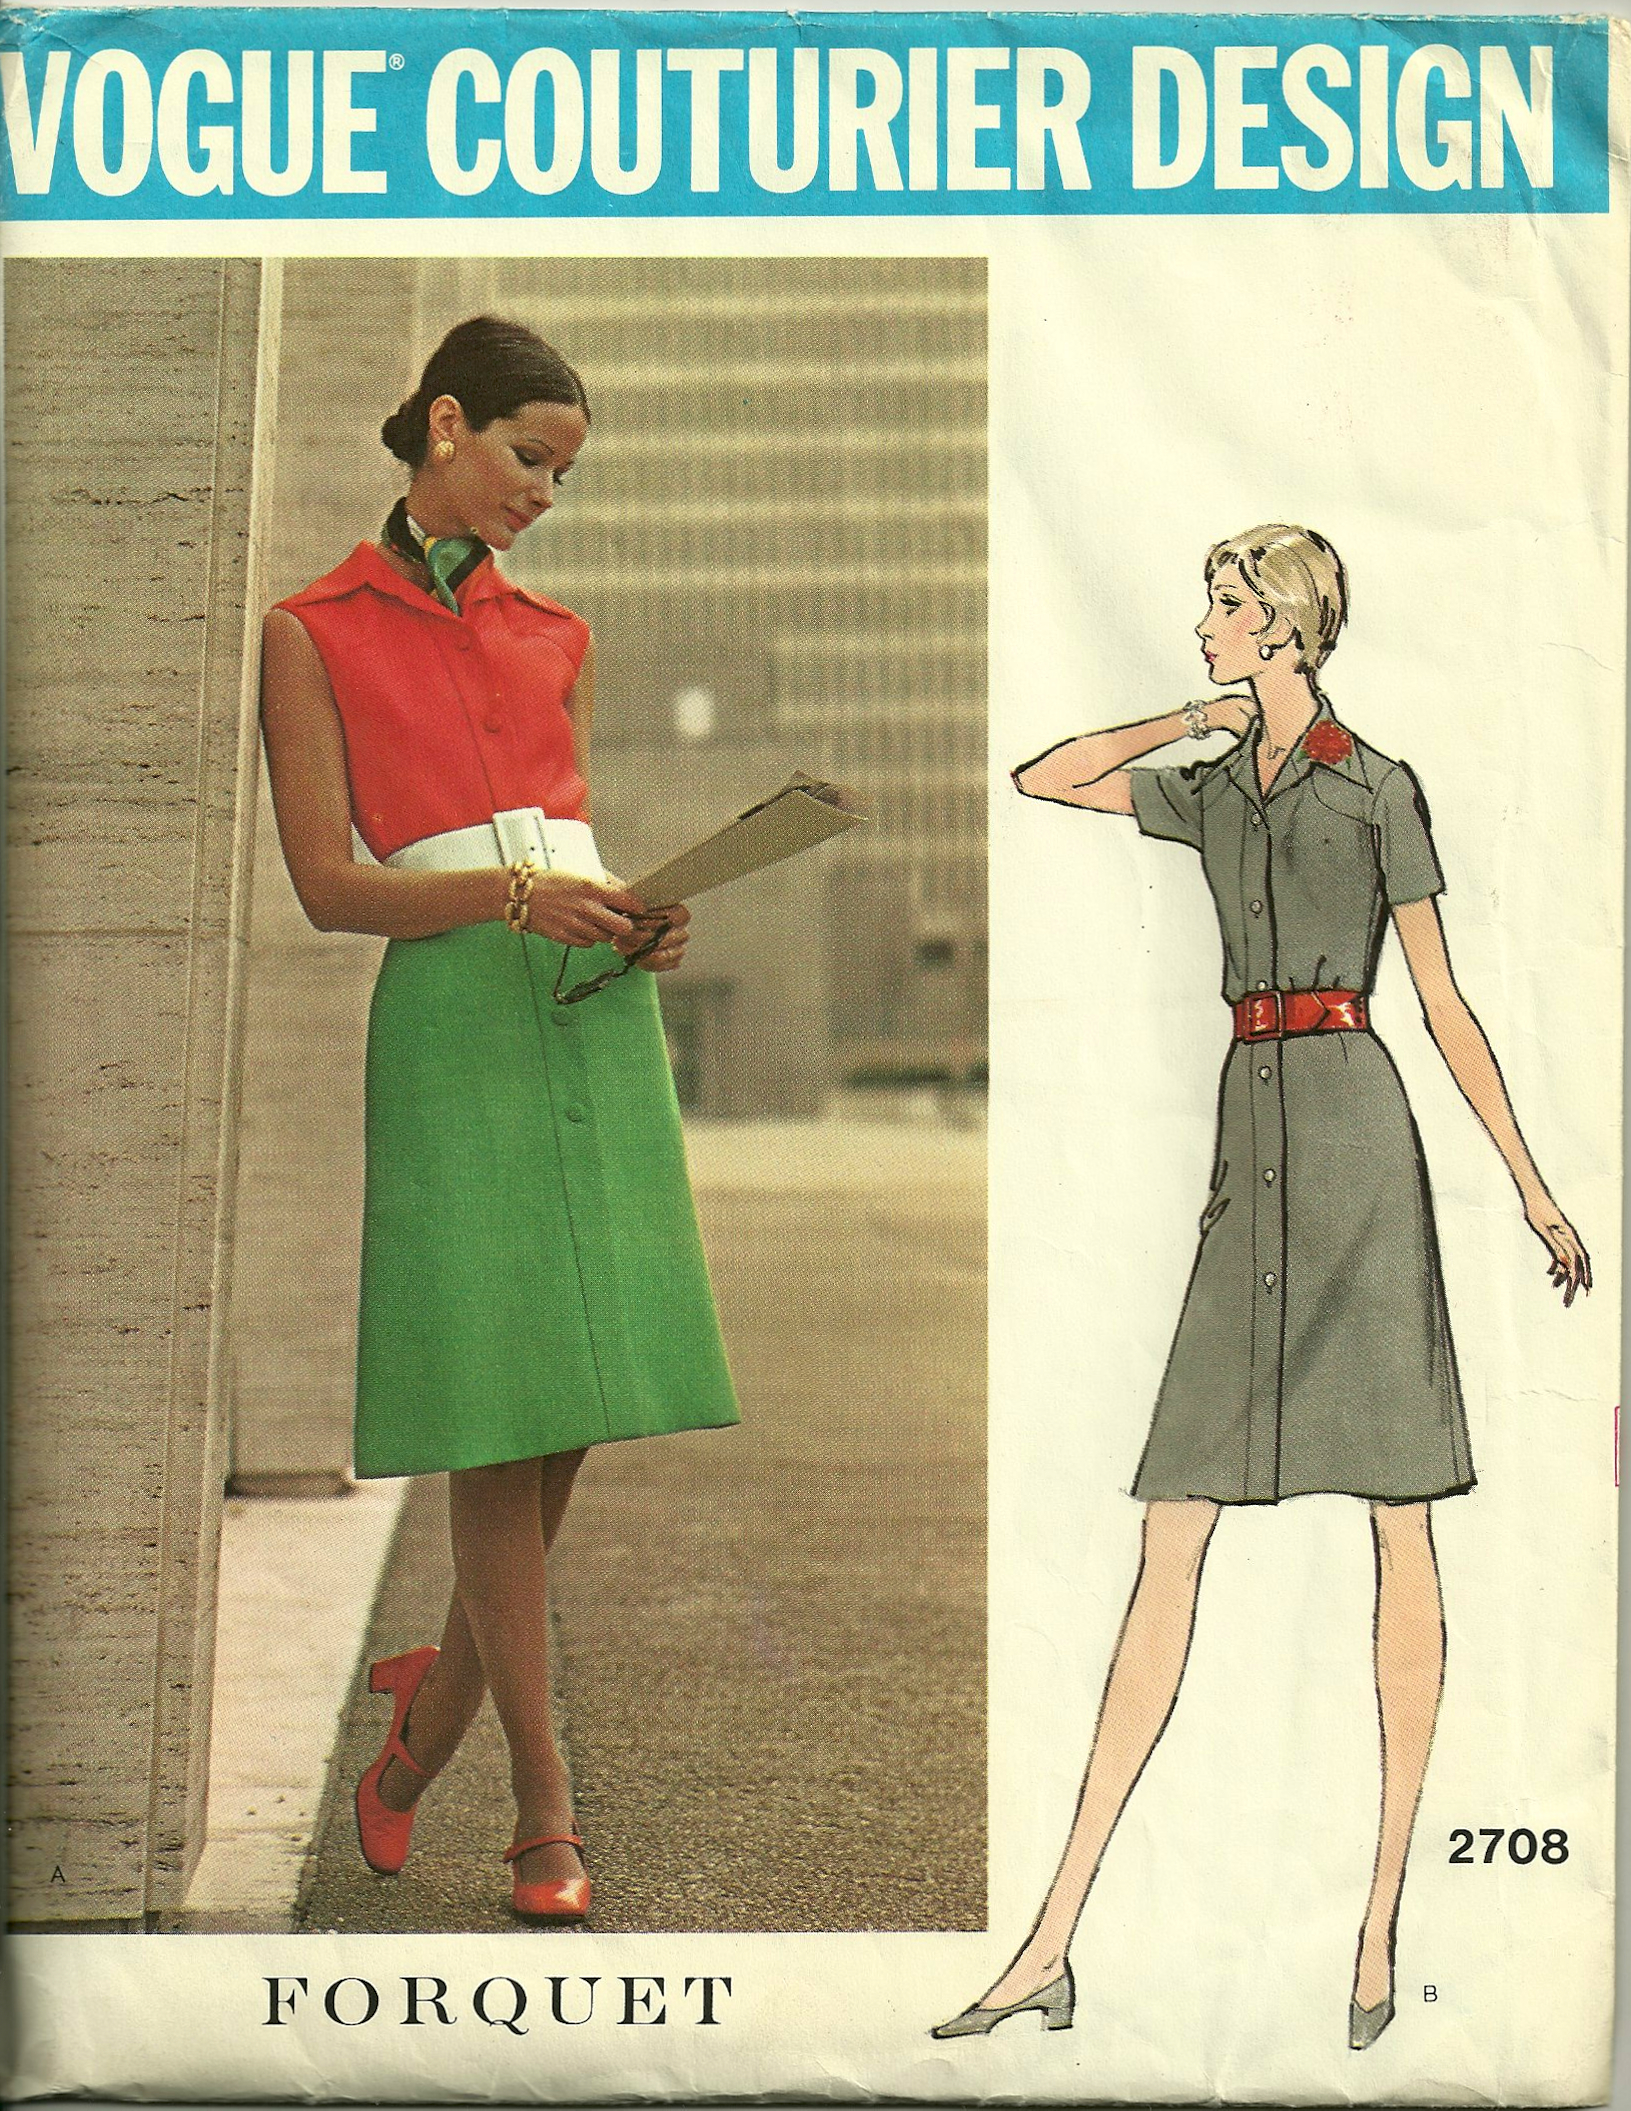
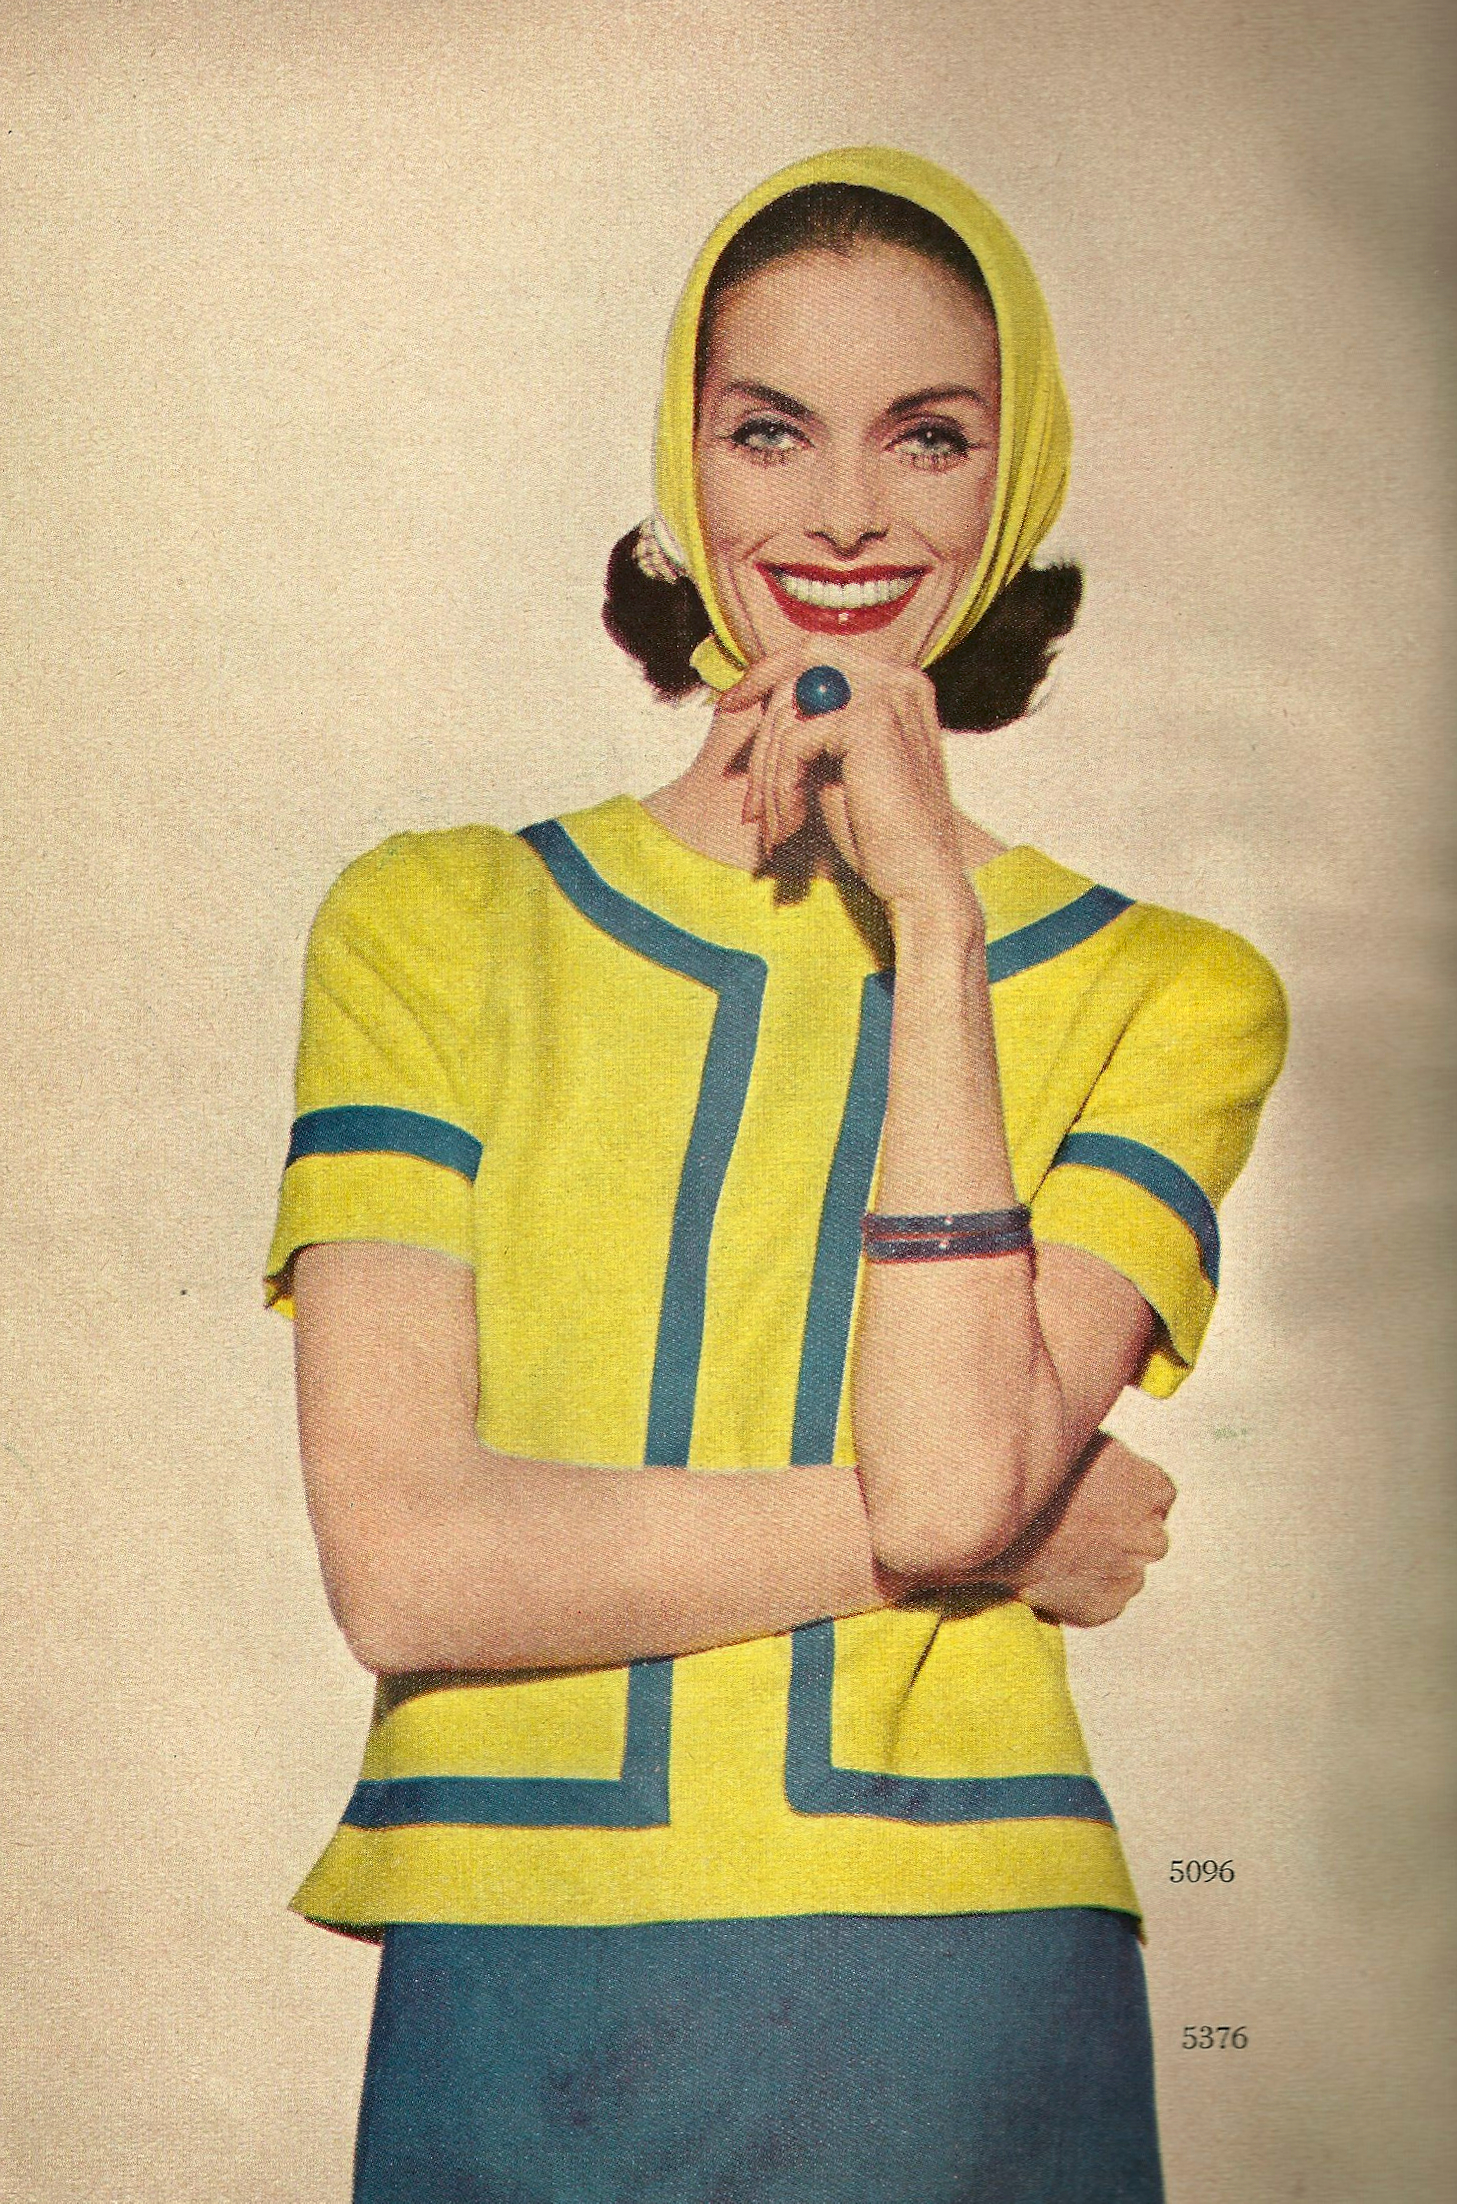
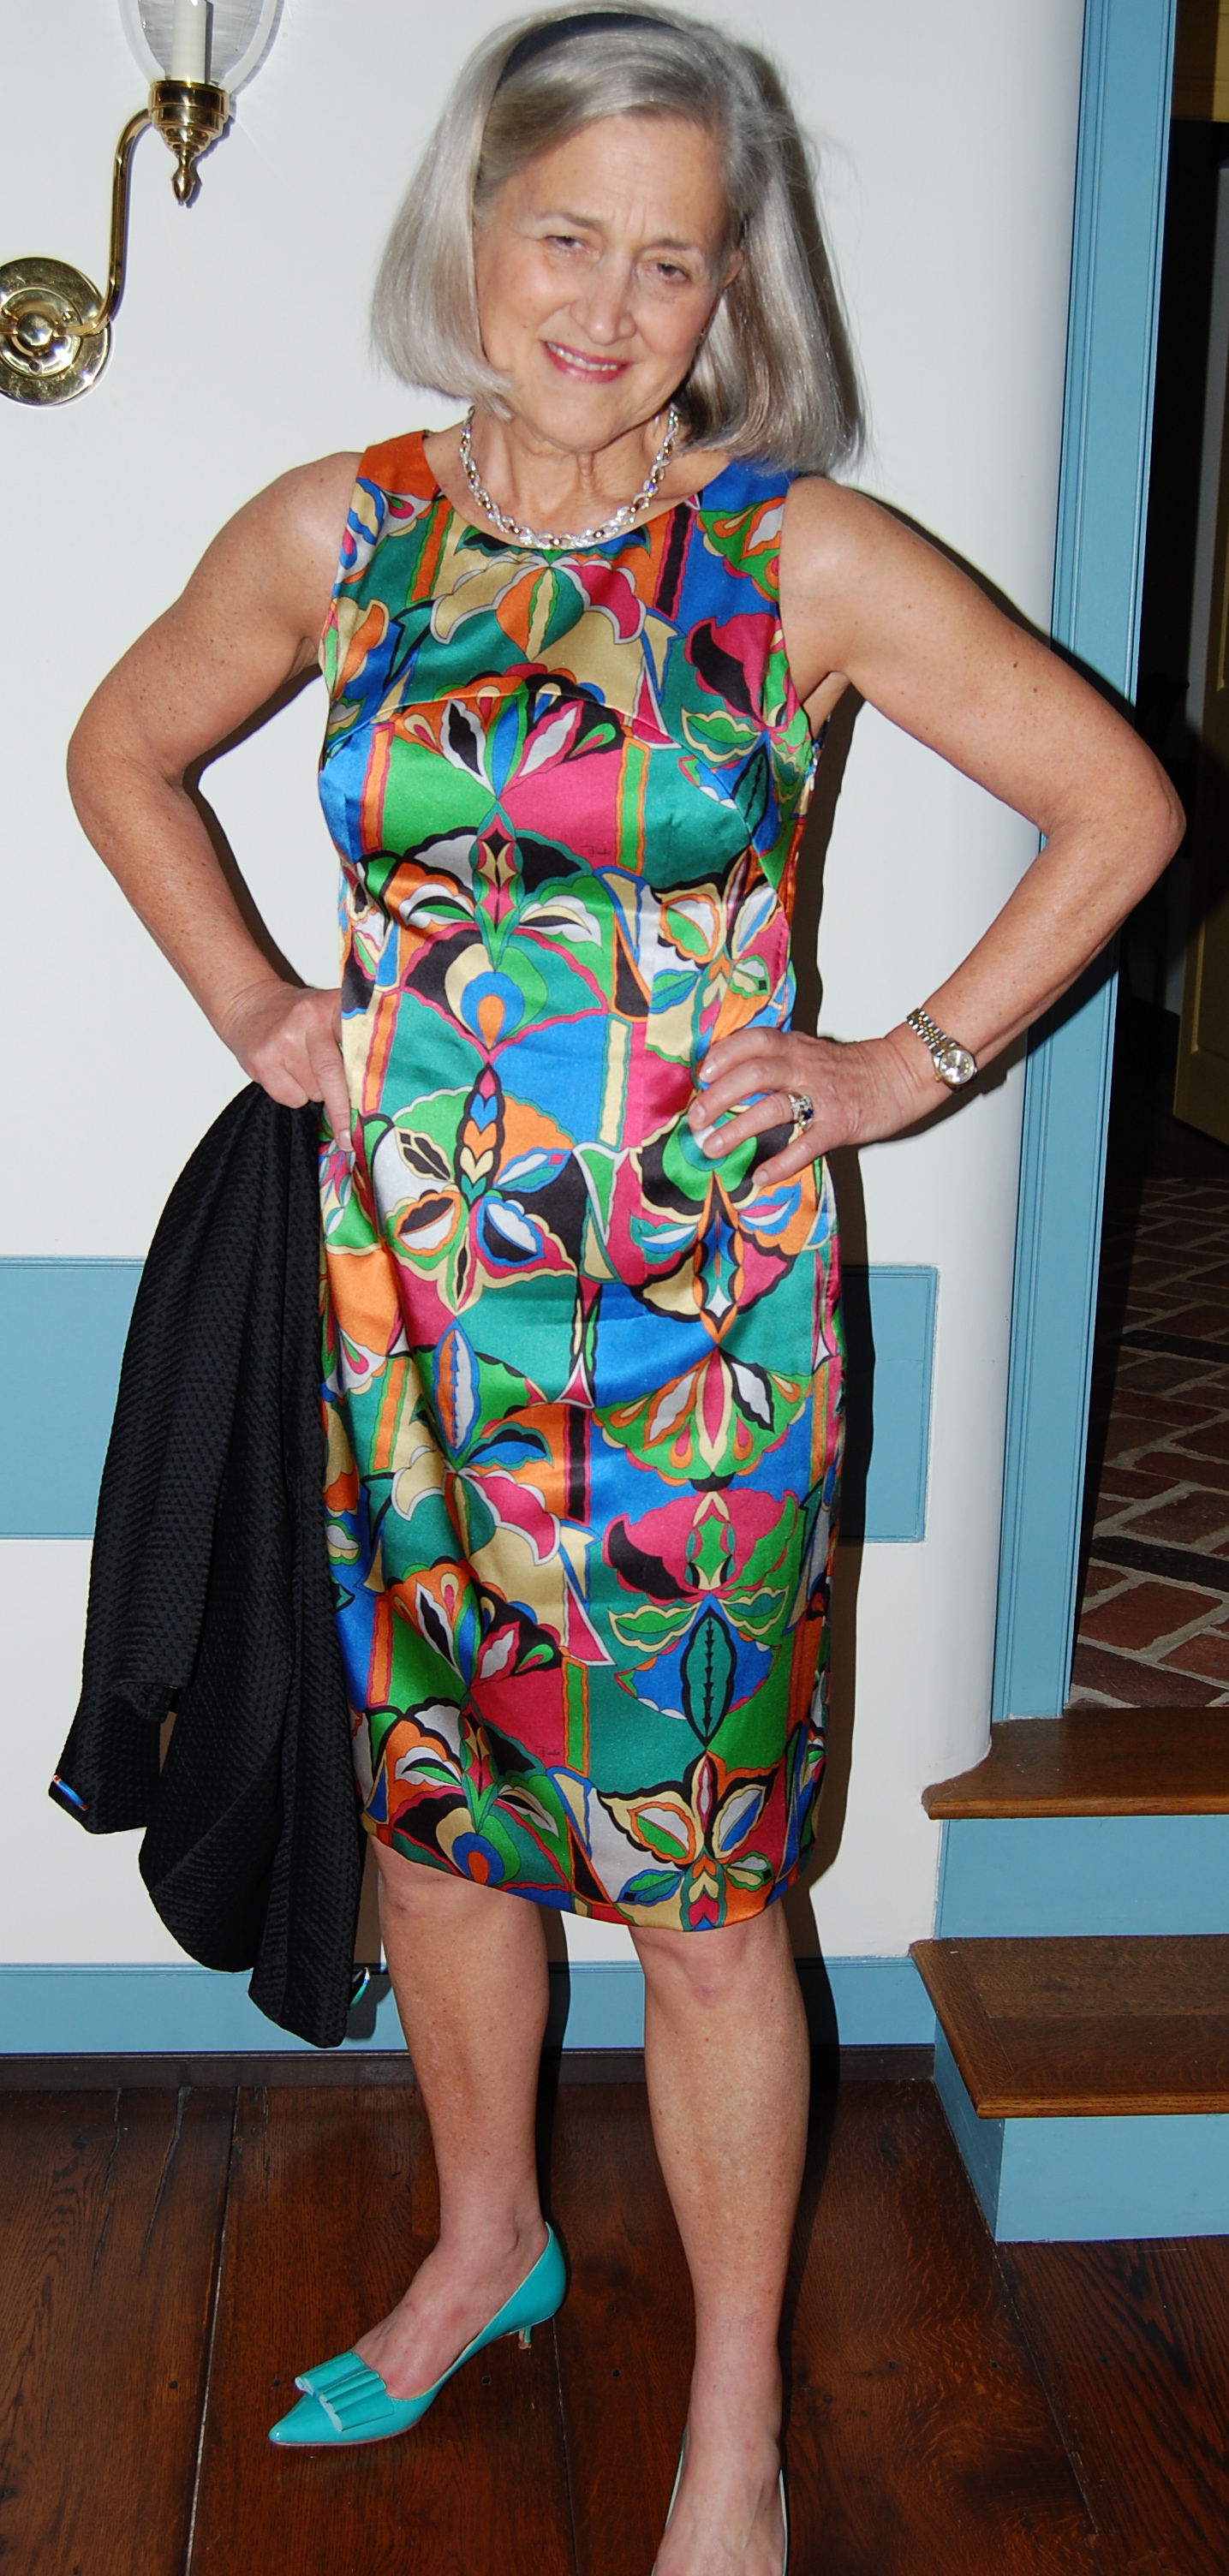
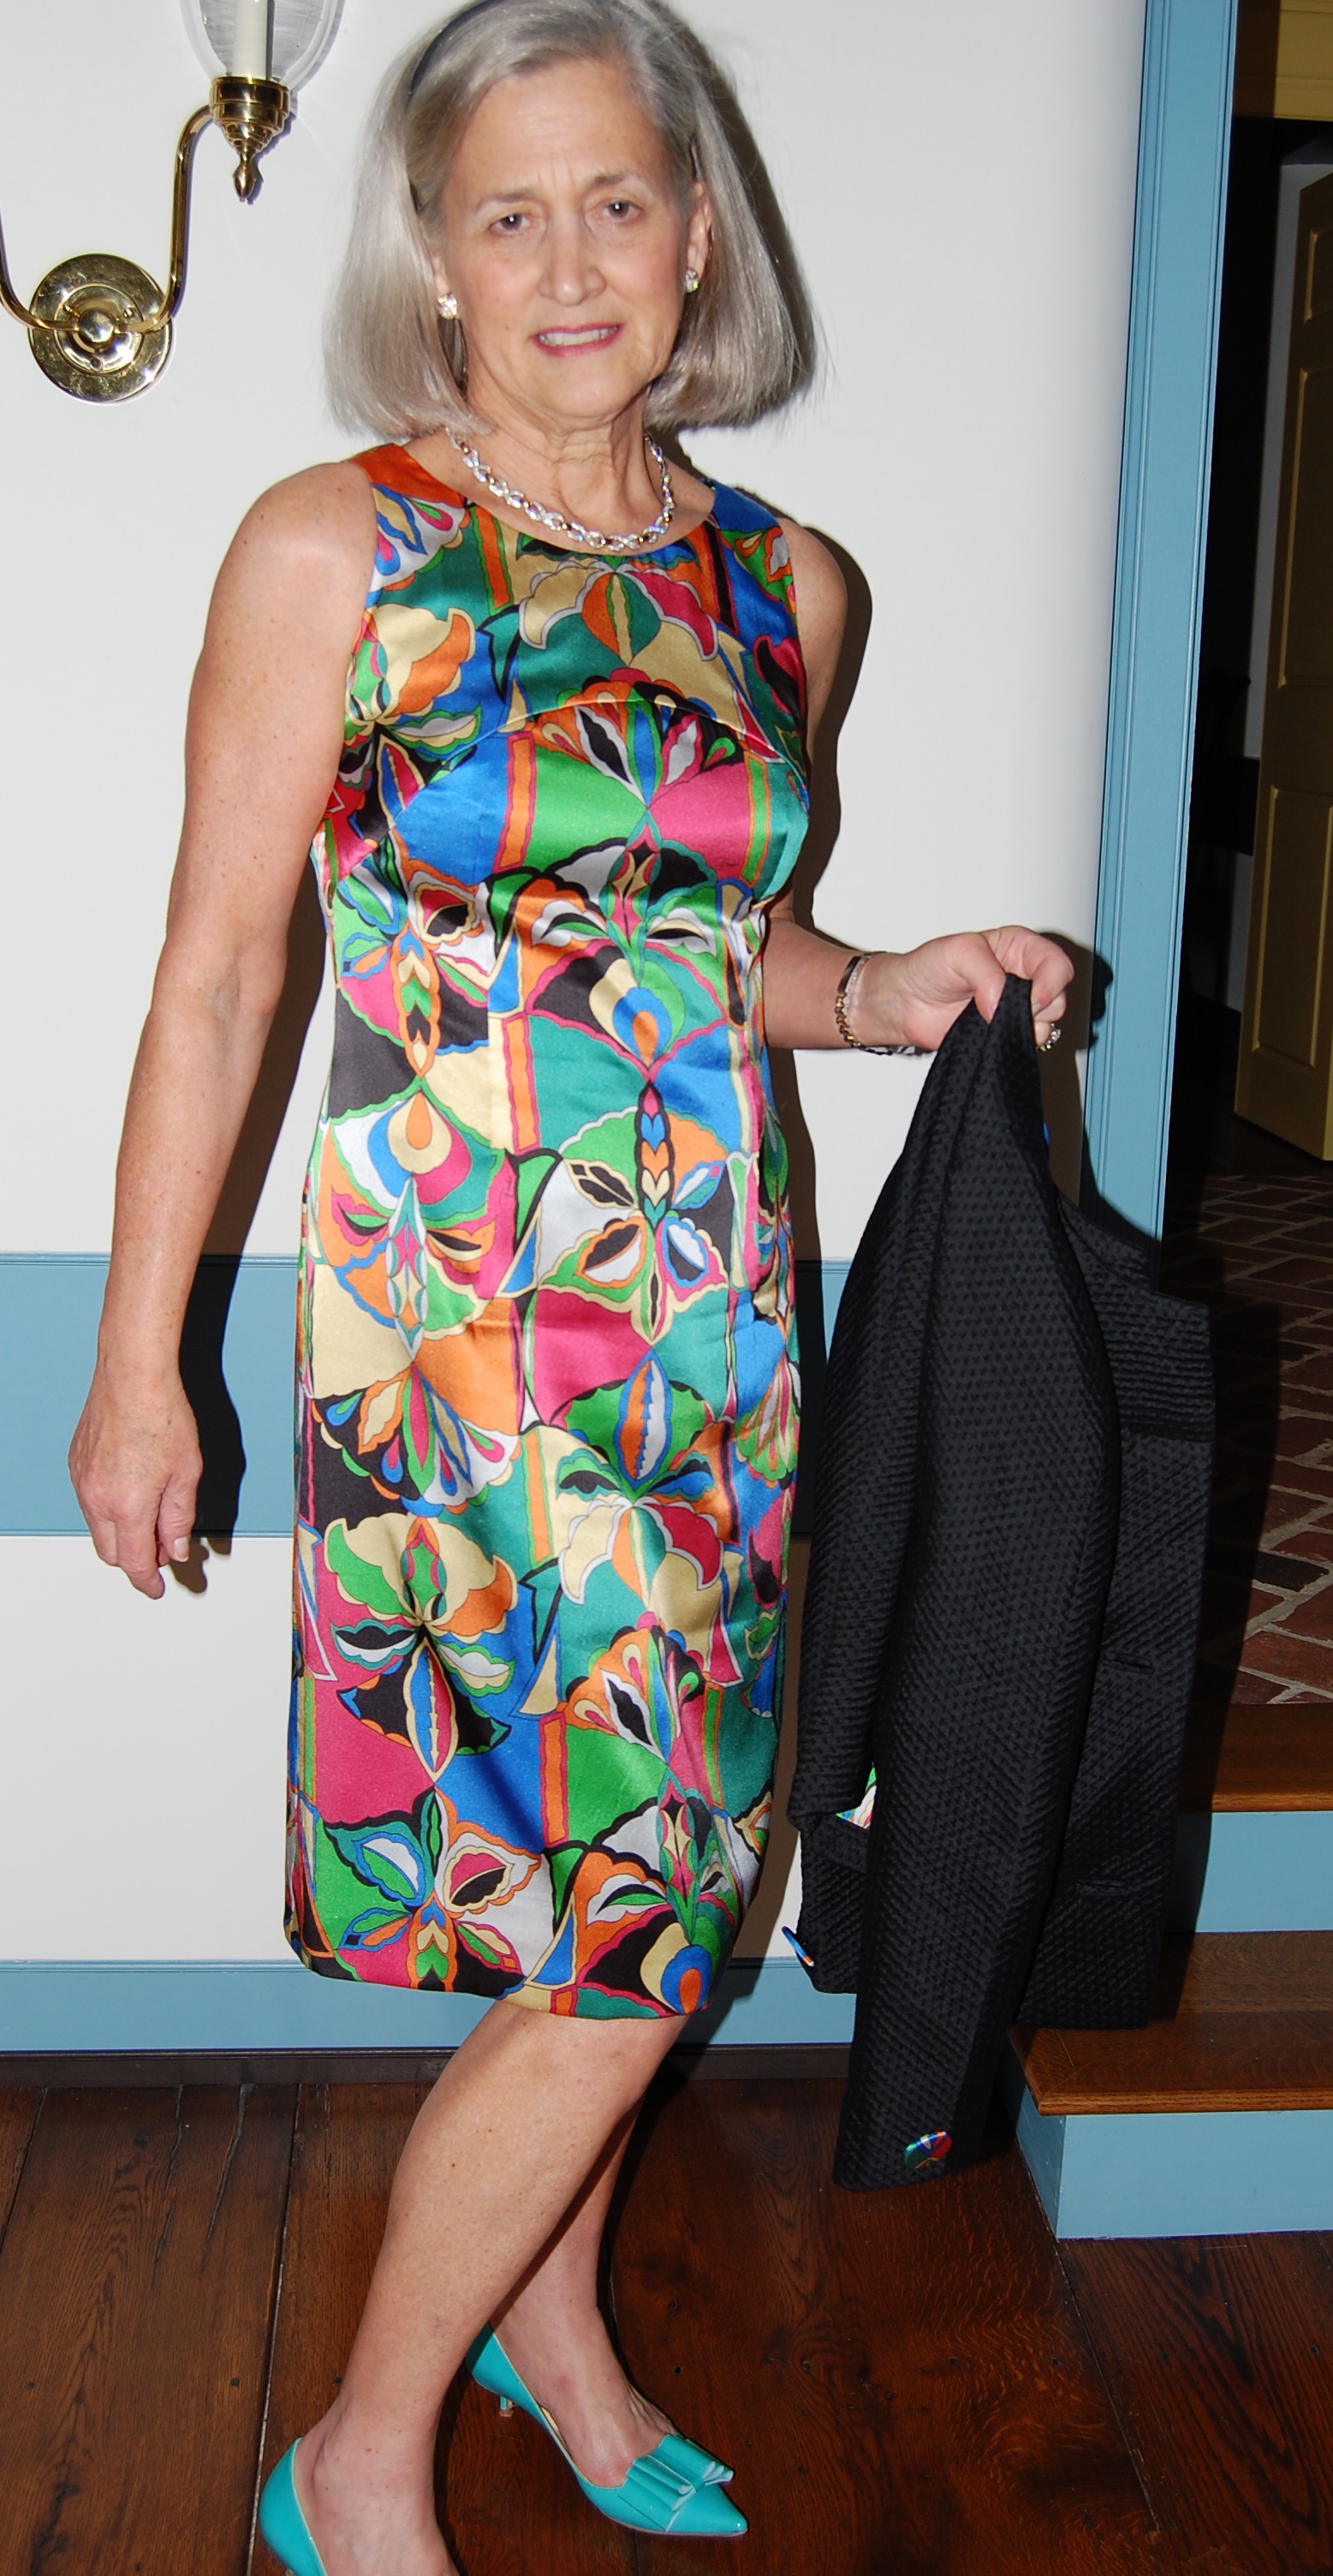
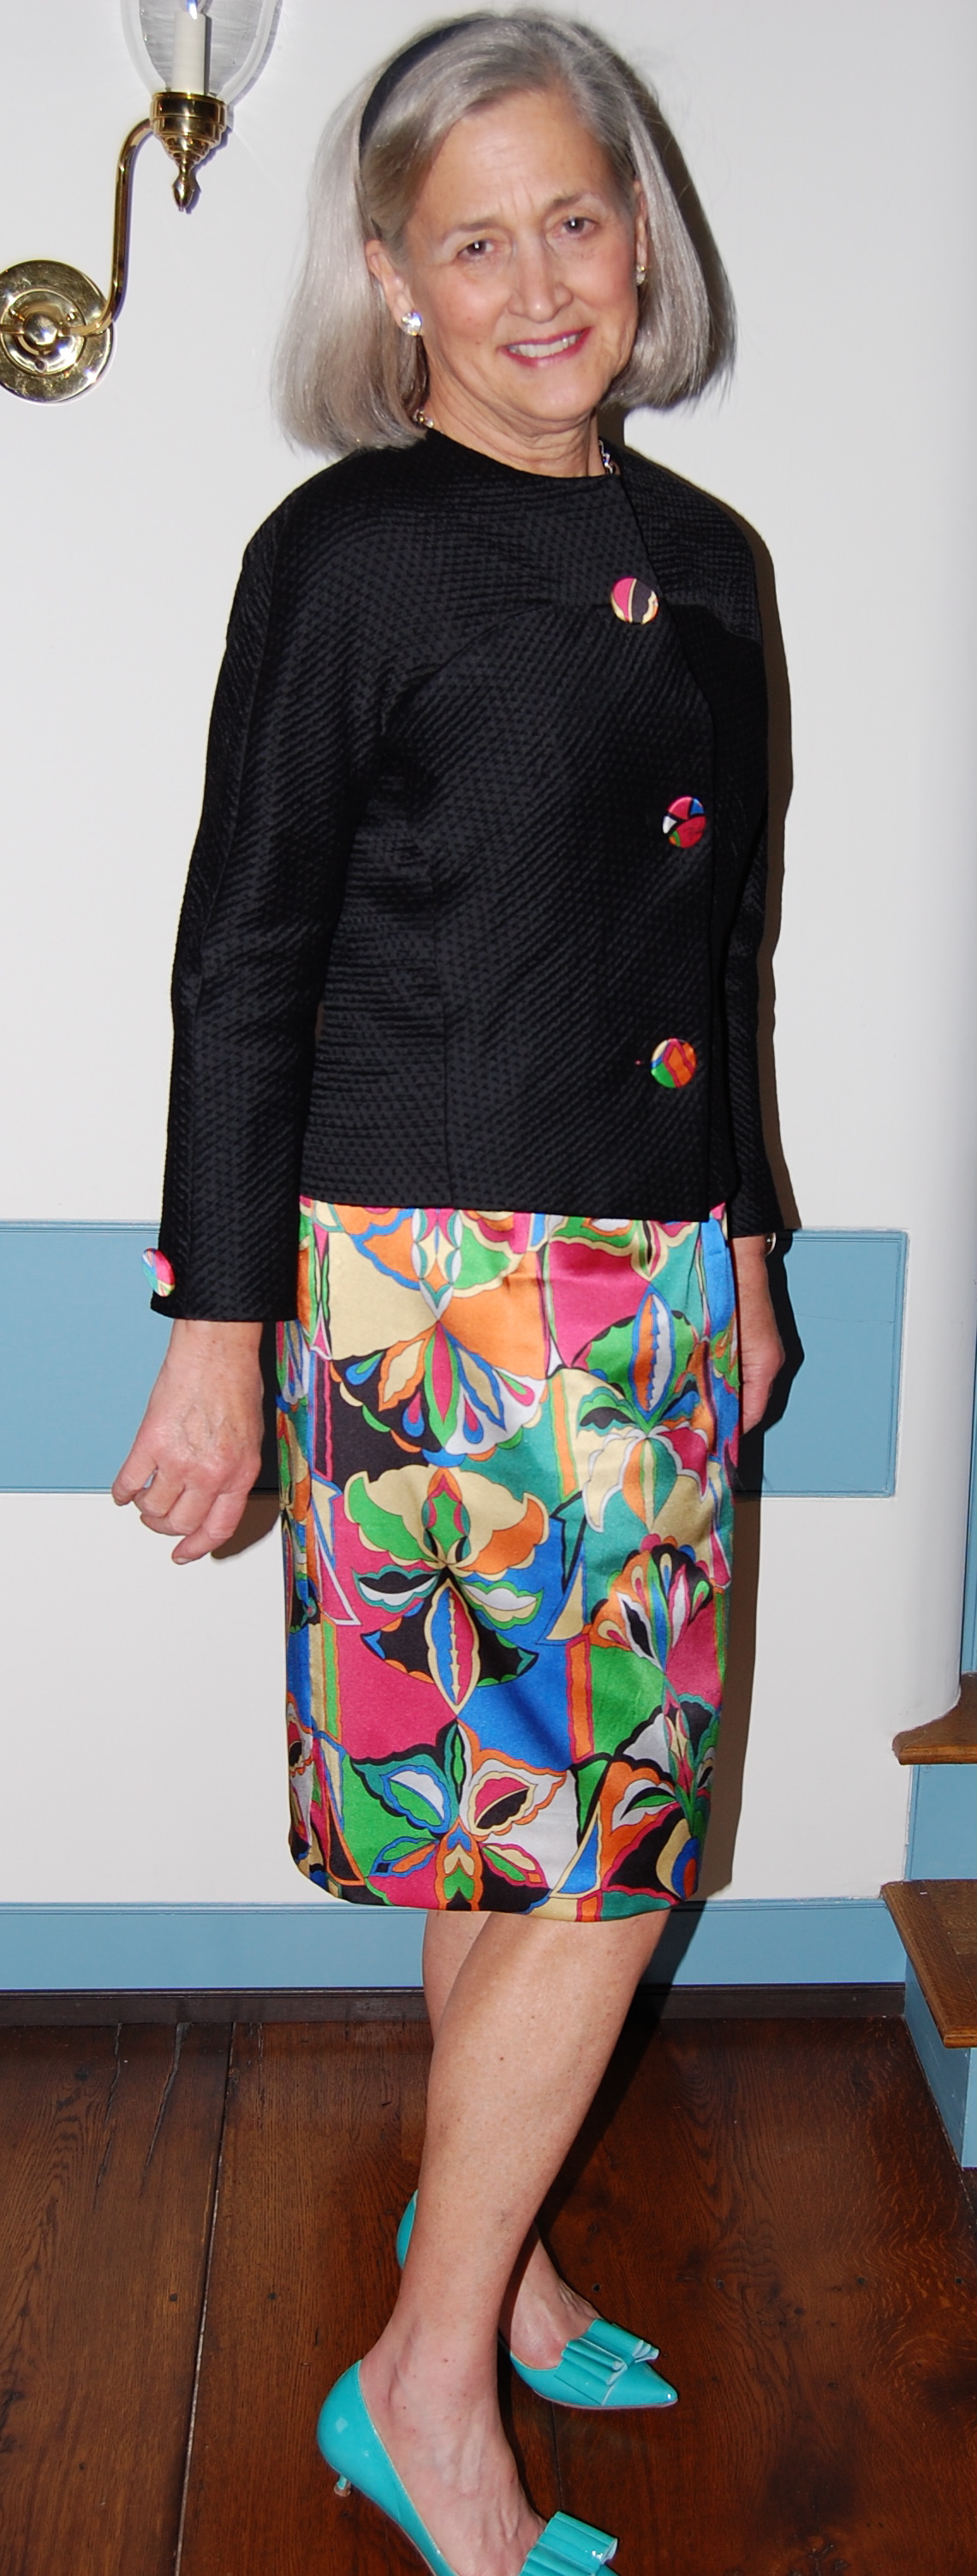
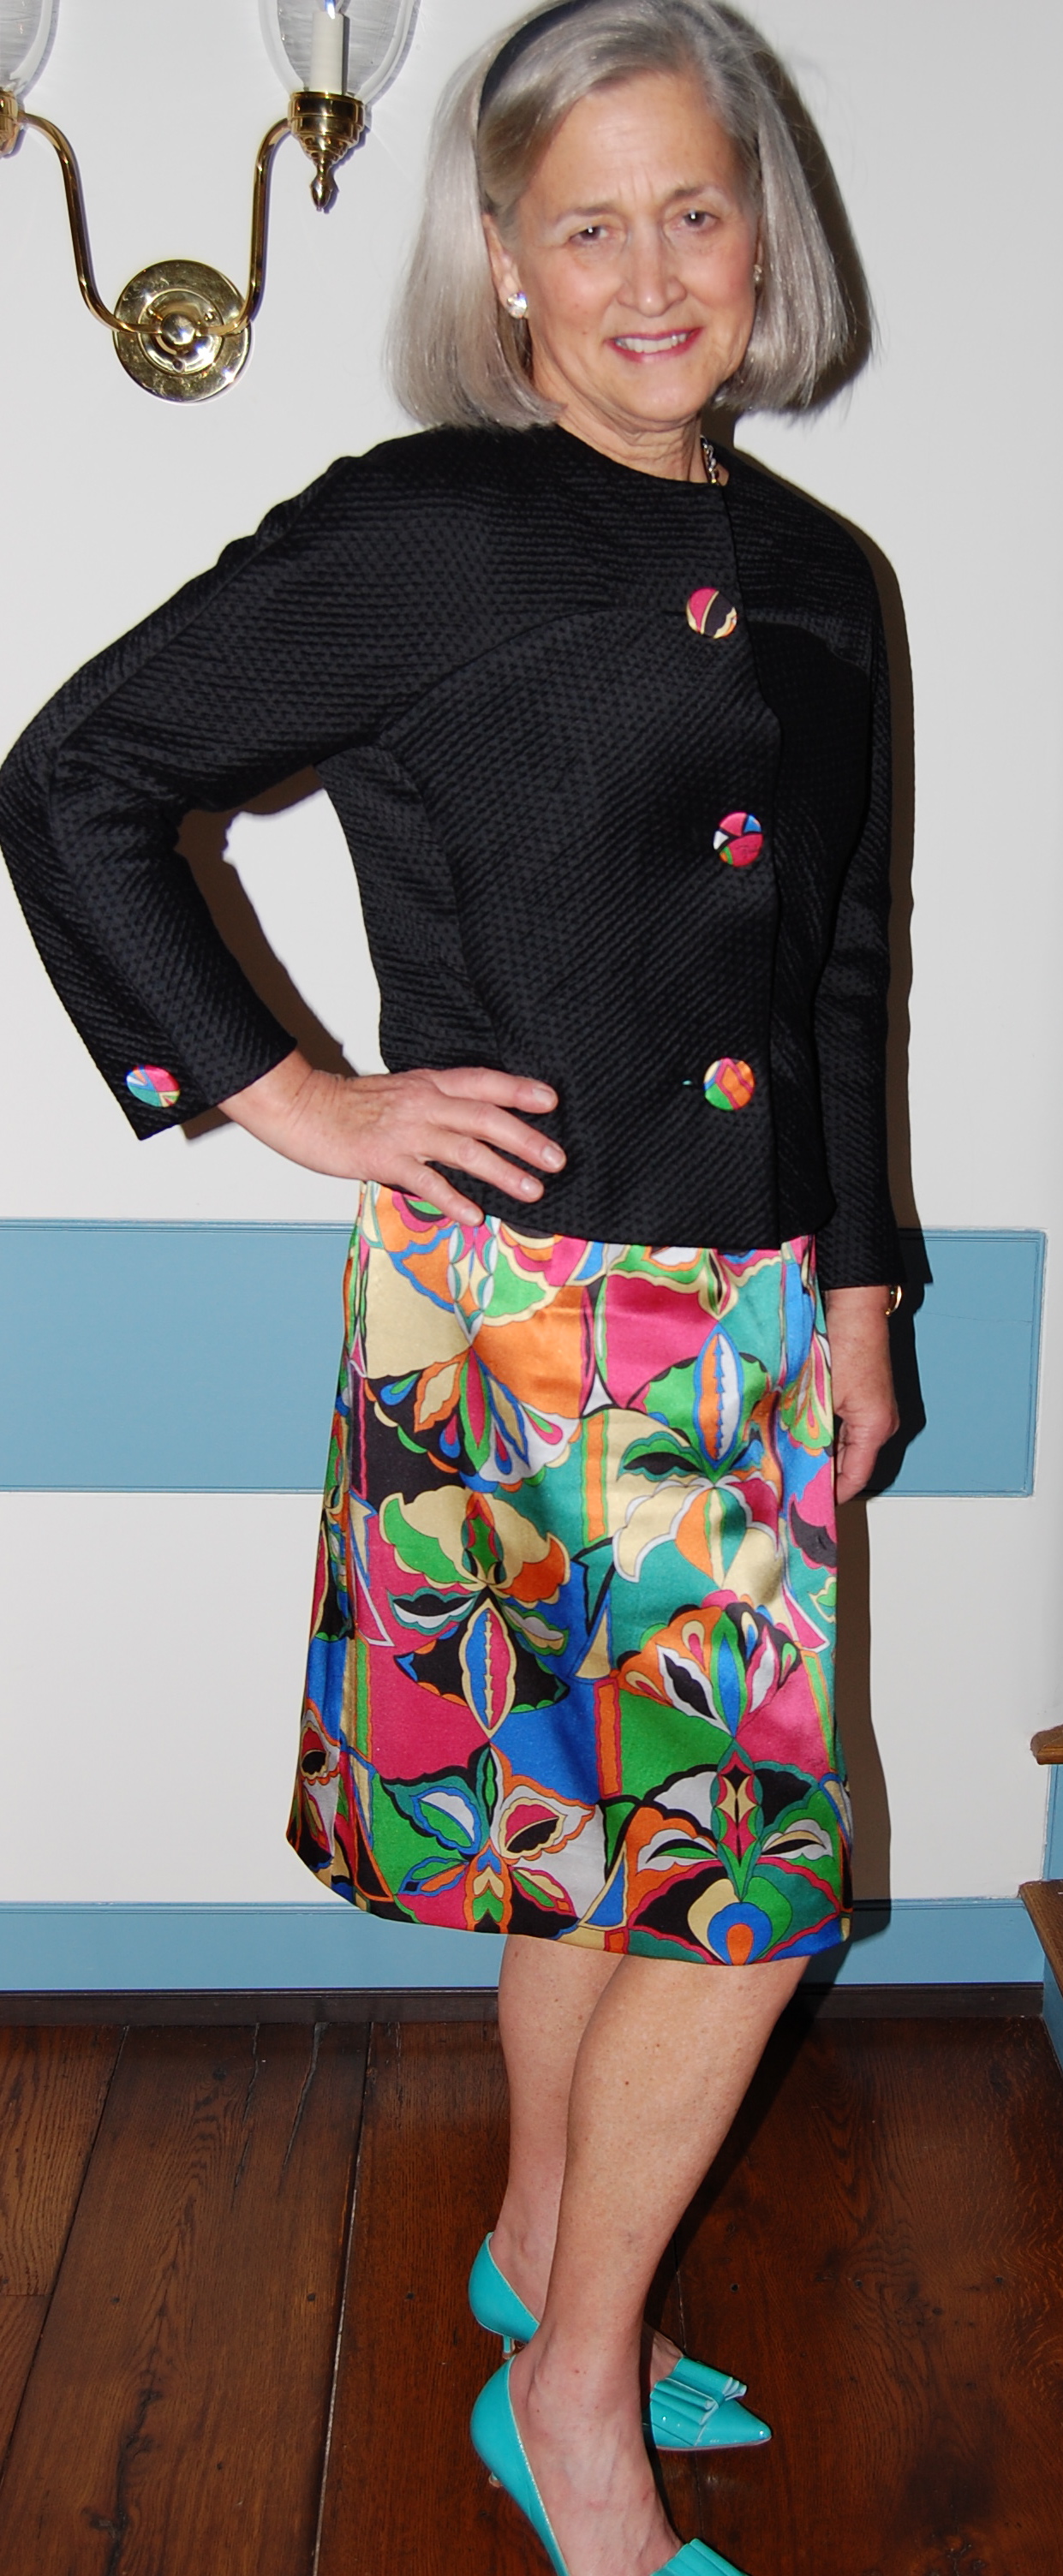
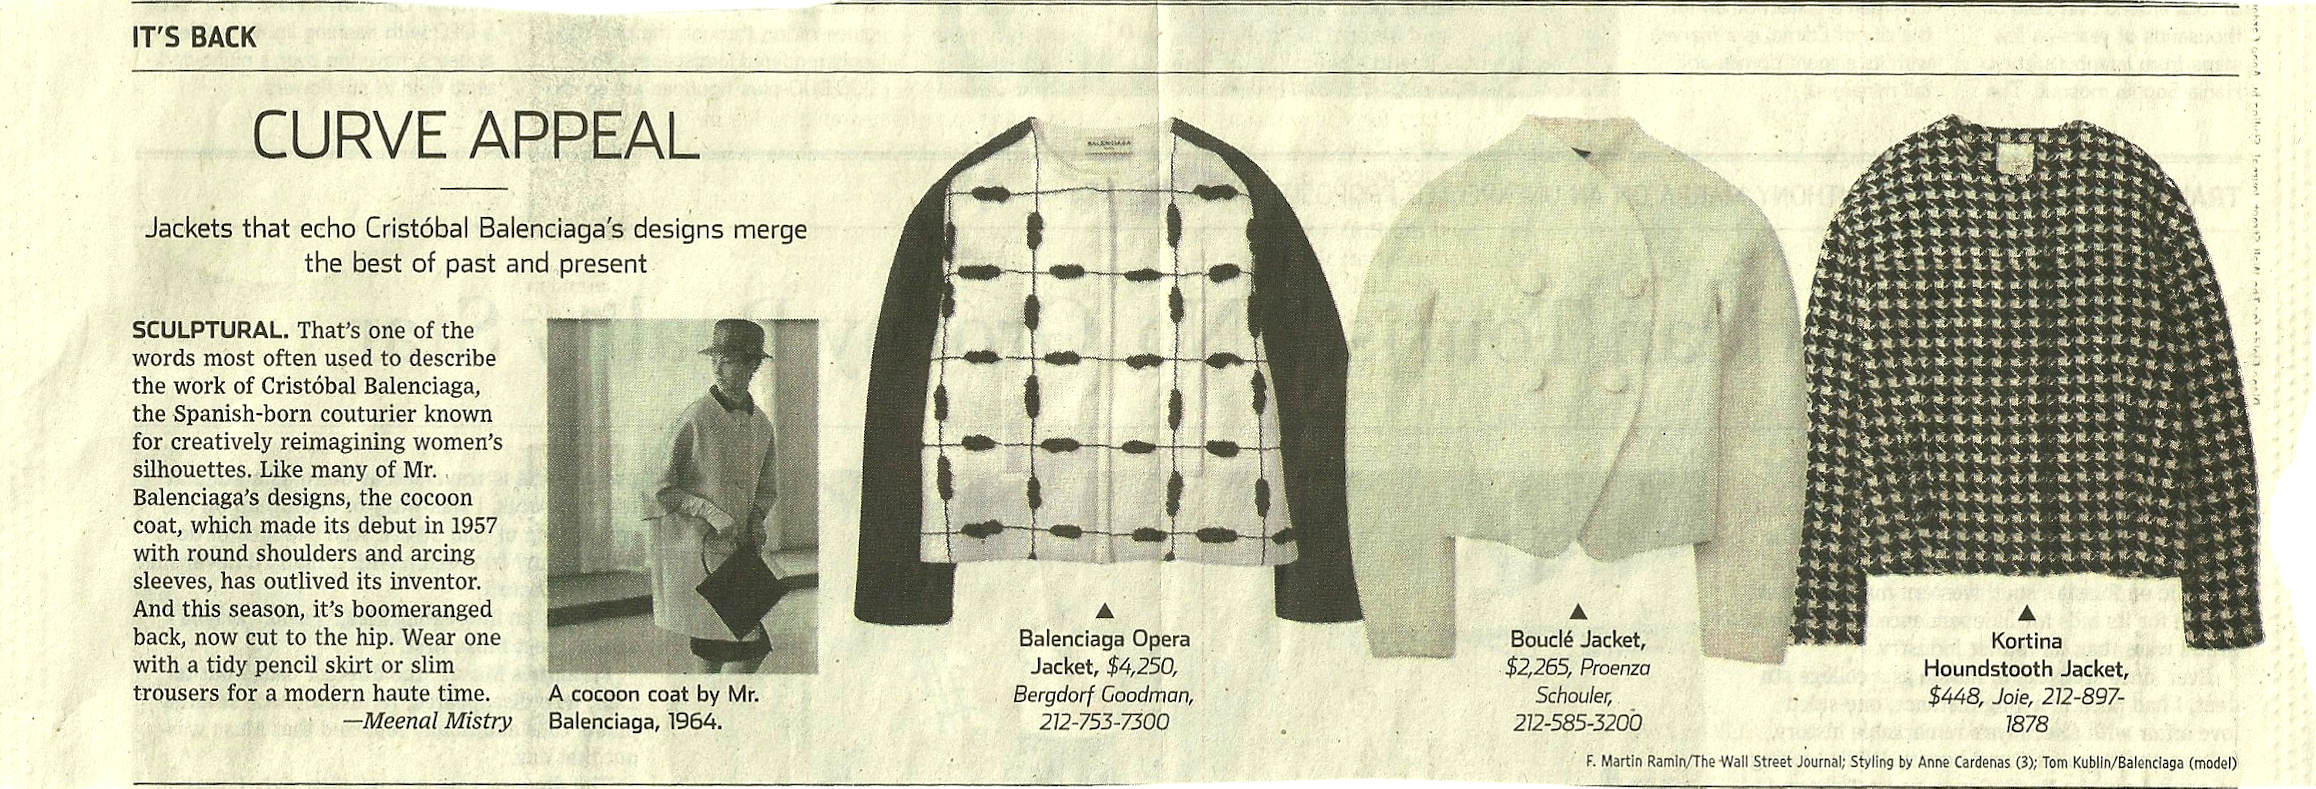
And then, last week in the Style section of The Wall Street Journal the lead article was entitled “How Dresses Lost Their Sleeves.” The sub-caption was “Women Want to Cover Their Arms Comfortably, but Designers Say That is Asking too Much.” It seems that many designers consider sleeves to be “frumpy”. Apparently, it is “so tricky to make a flattering sleeve that is roomy enough to offer a full range of motion.” (I can’t help but insert here a MEMO to current designers: take a hint from styles in the ‘50s and ‘60s. Sleeves were often designed in two pieces to create extra give without bulk, many sleeves had two or even three elbow darts to add ease of movement, and of course, kimono and dolman sleeves were stylish and their roominess added to the overall look of a dress or coat.) But – back to the sleeveless dress dilemma. The three solutions offered in the article are, of course, first, pairing that sleeveless dress with a cardigan sweater; second, wear a coordinating blazer or jacket with the dress; and third, “layer a thin T-shirt, turtleneck, or blouse under the dress – taking care to choose a neckline that looks graceful with the dress.” Of course! This solution makes the dress into a jumper! The term “jumper” conjures up visions of school uniforms, little girls’ attire, and bib aprons for many people, but for me, it reminds me of a look I have always loved and enjoyed wearing.
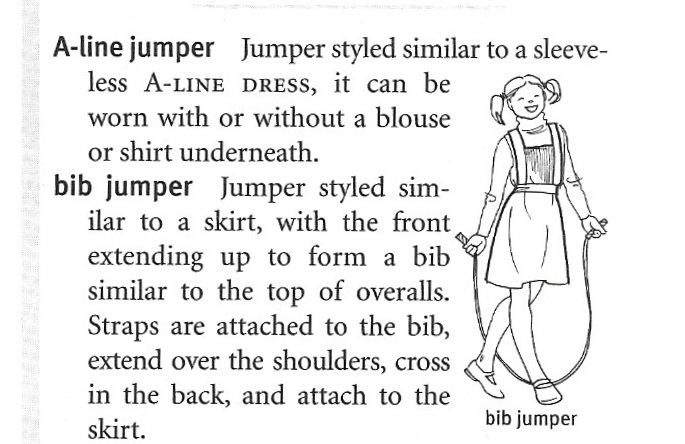
This entry from The Fairchild Dictionary of Fashion, Third Editiion, Fairchild Publications, Inc., New York, New York, 2003, defines various types of jumpers, including the A-line jumper.
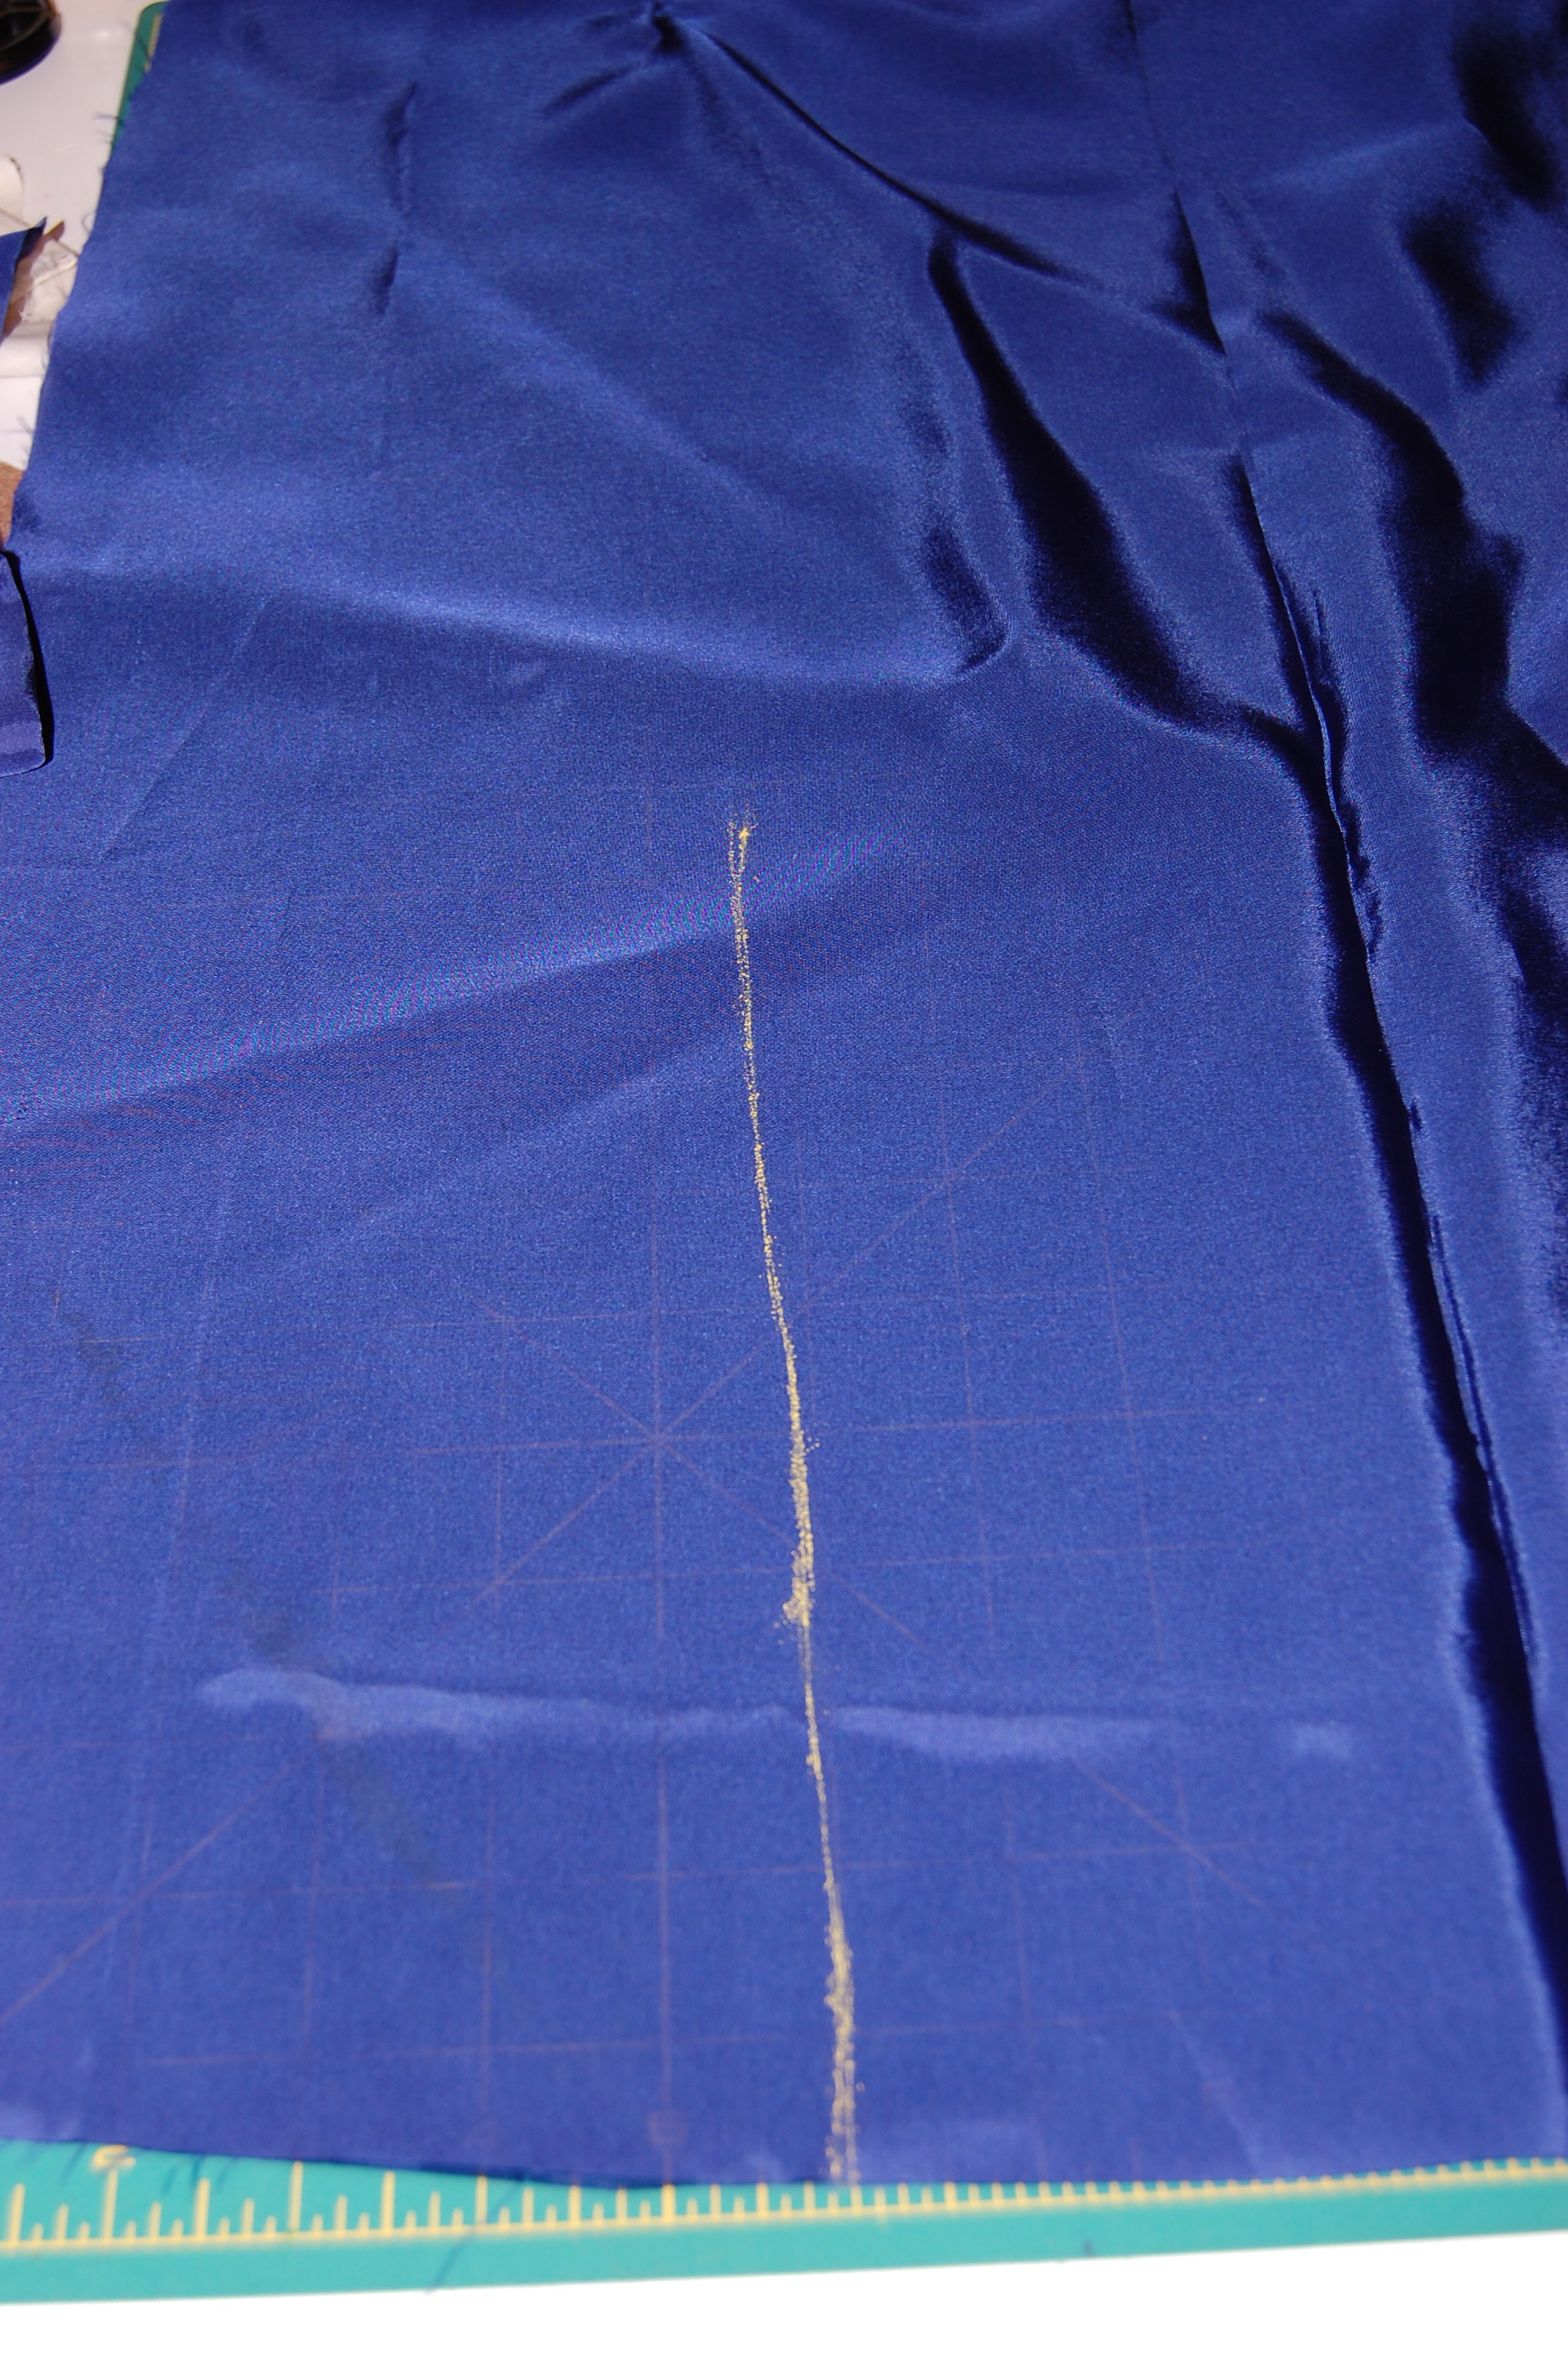
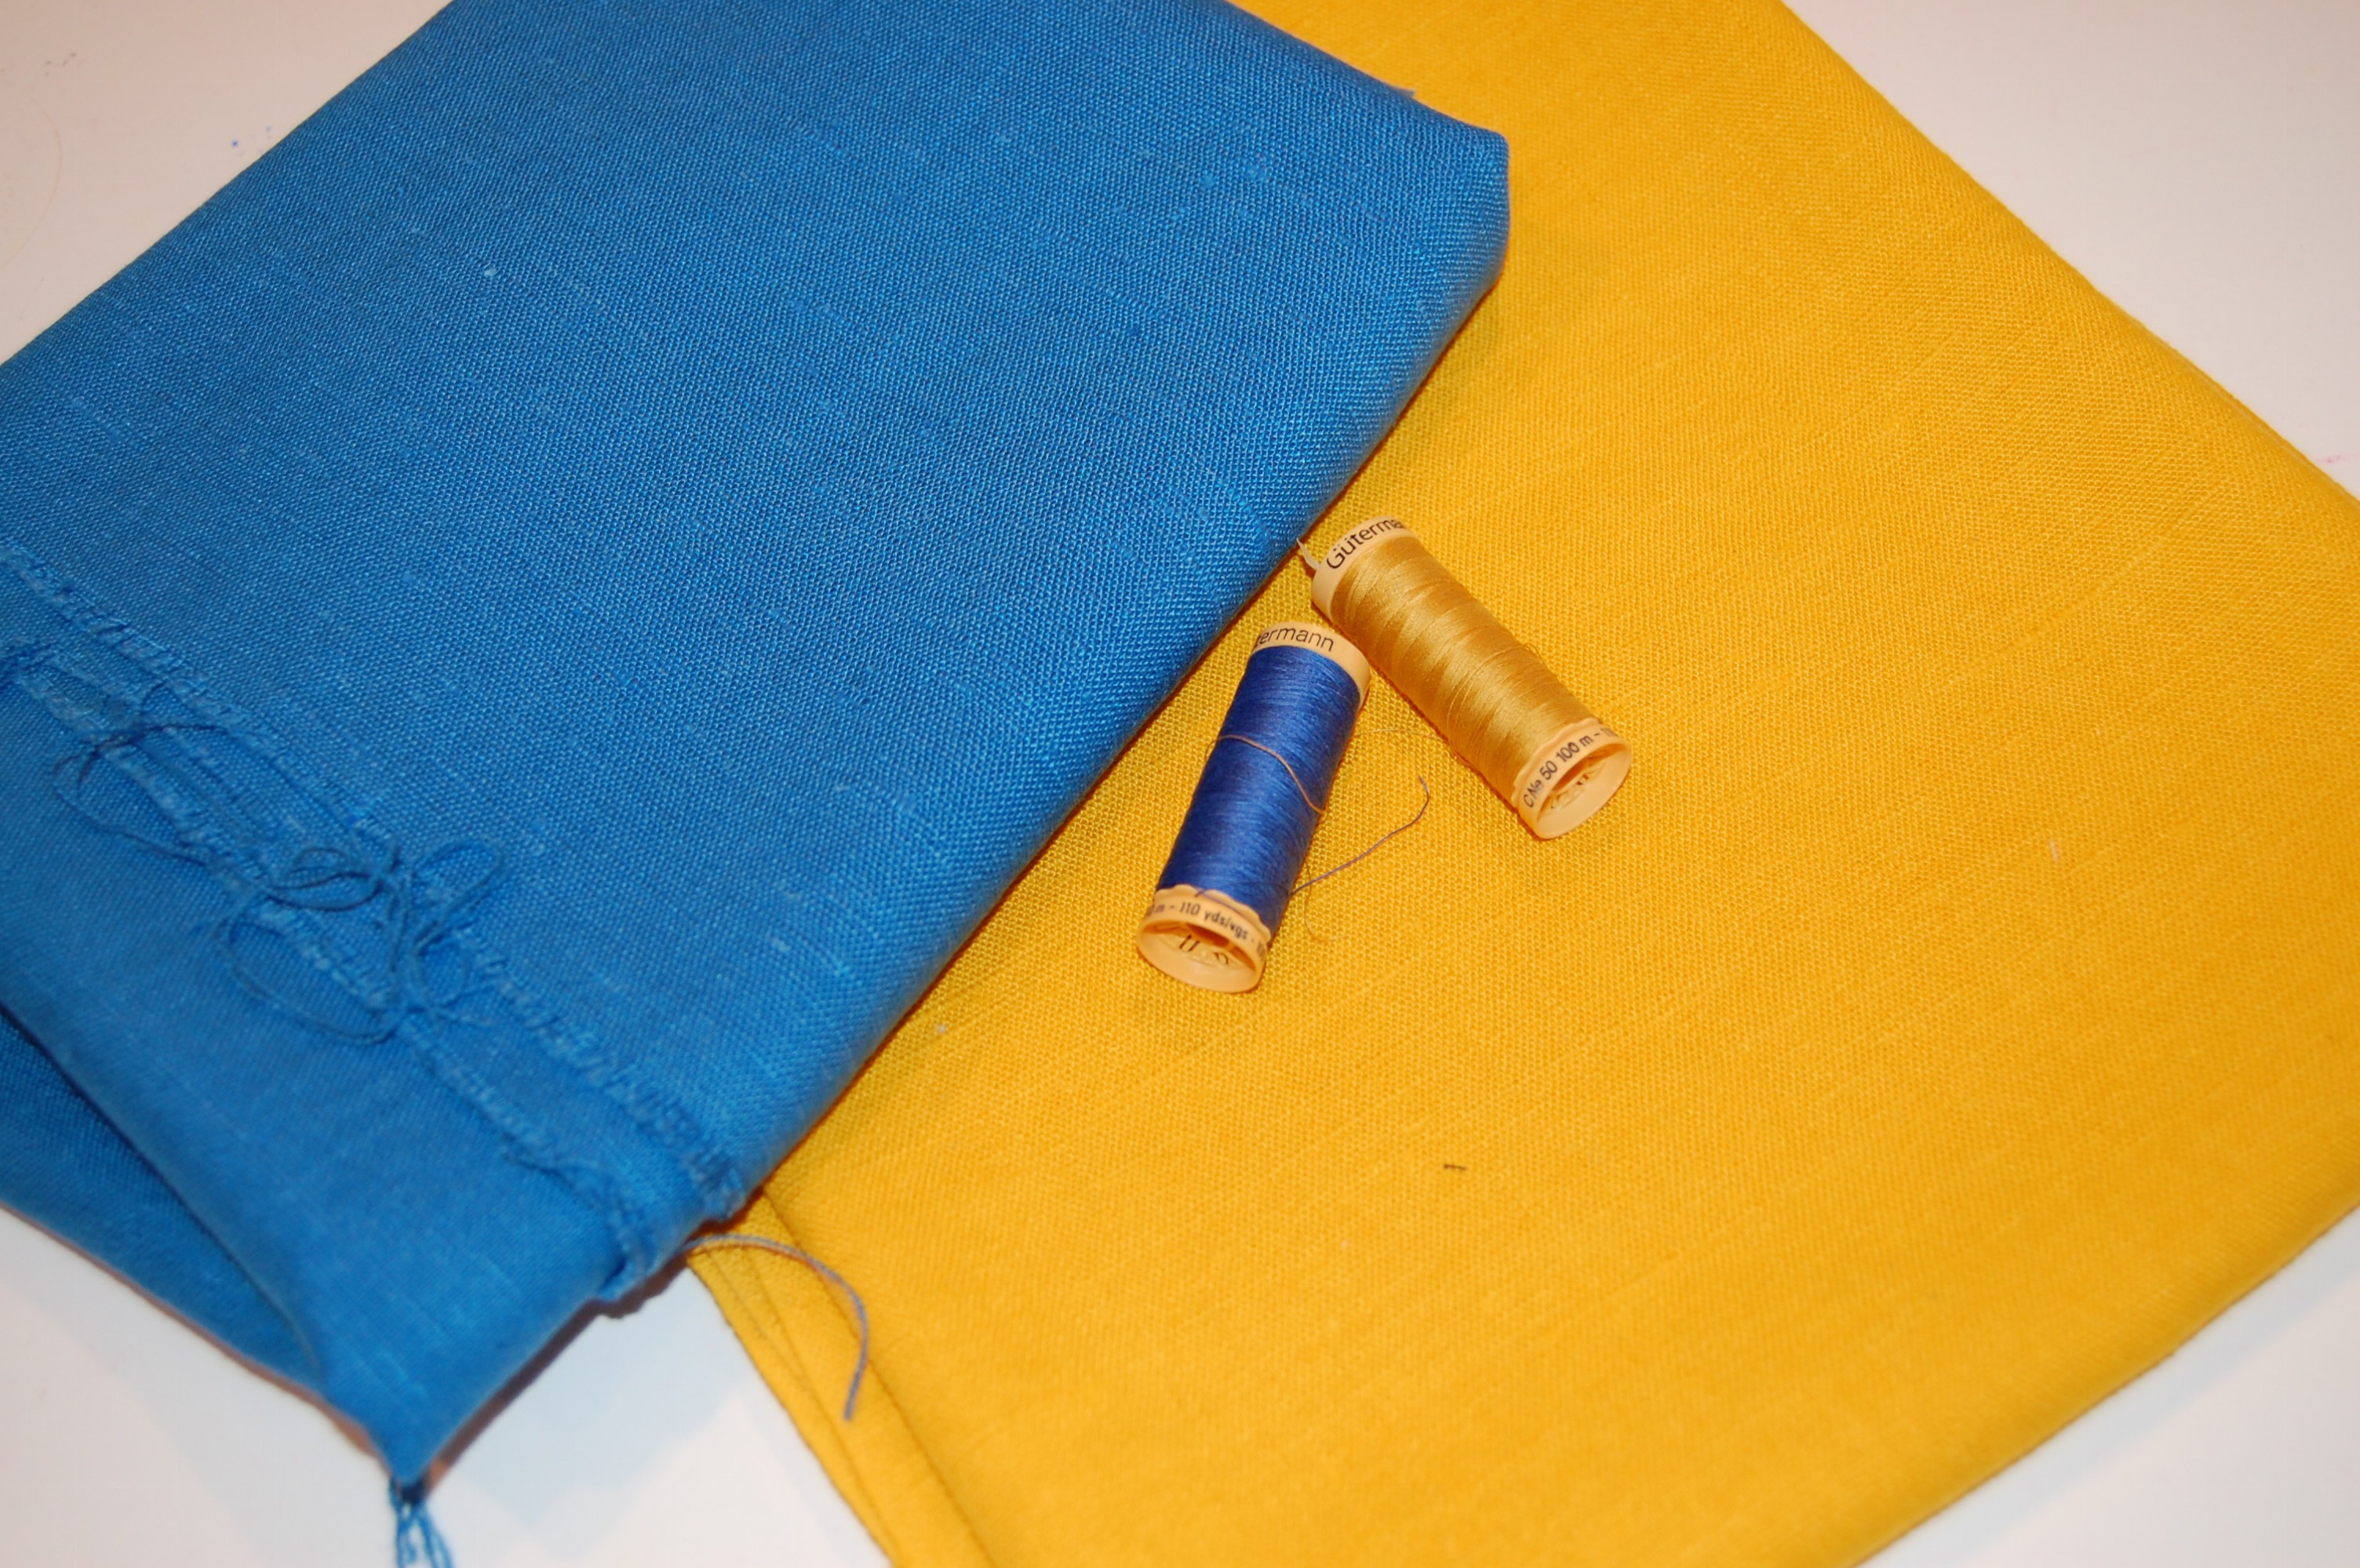
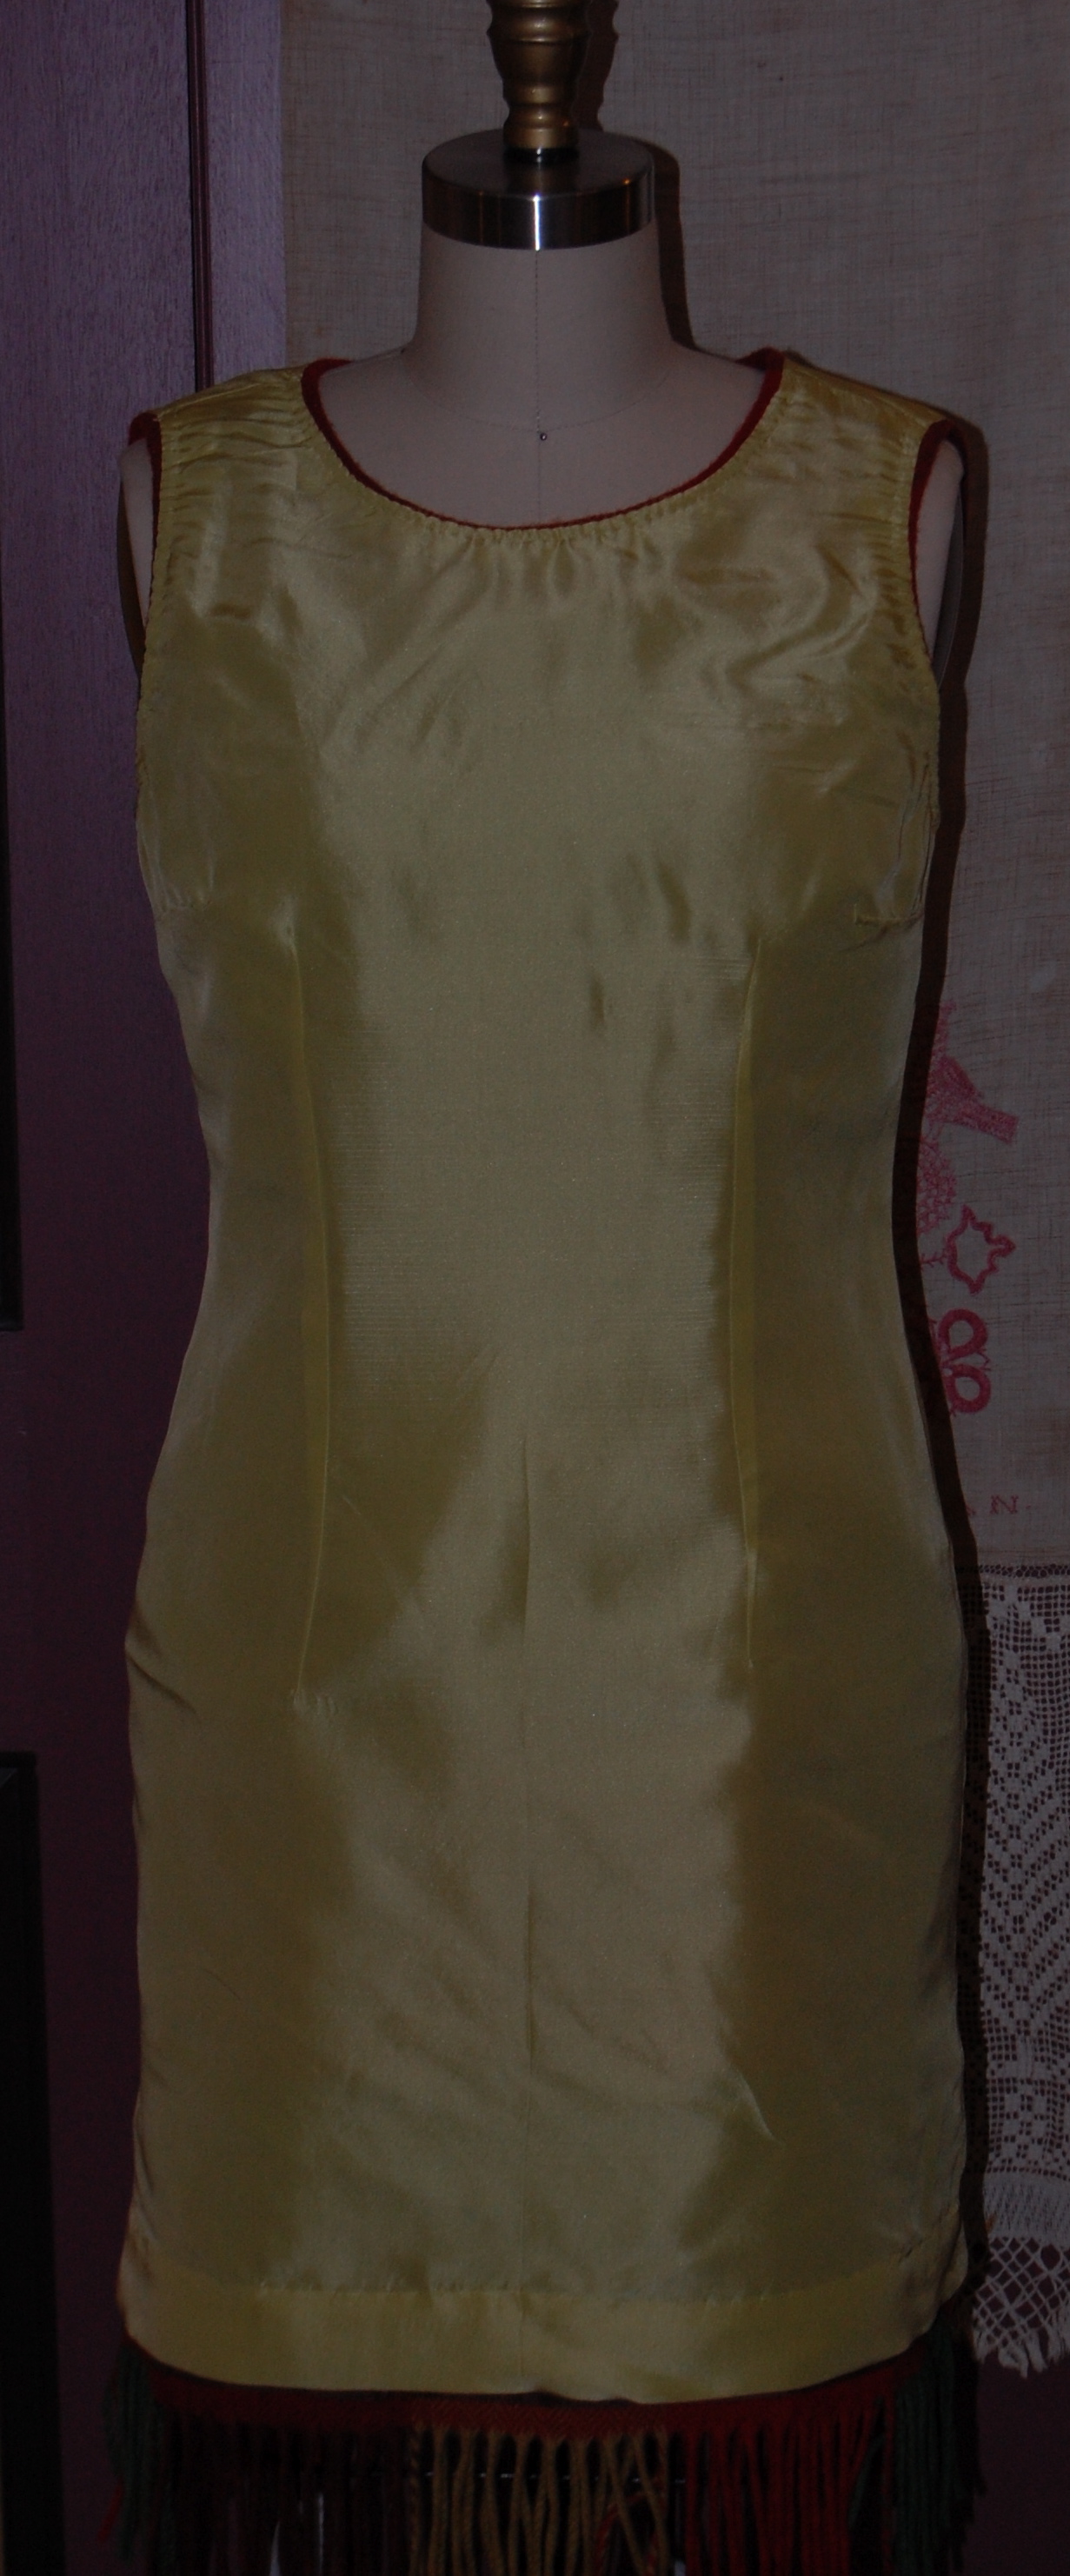
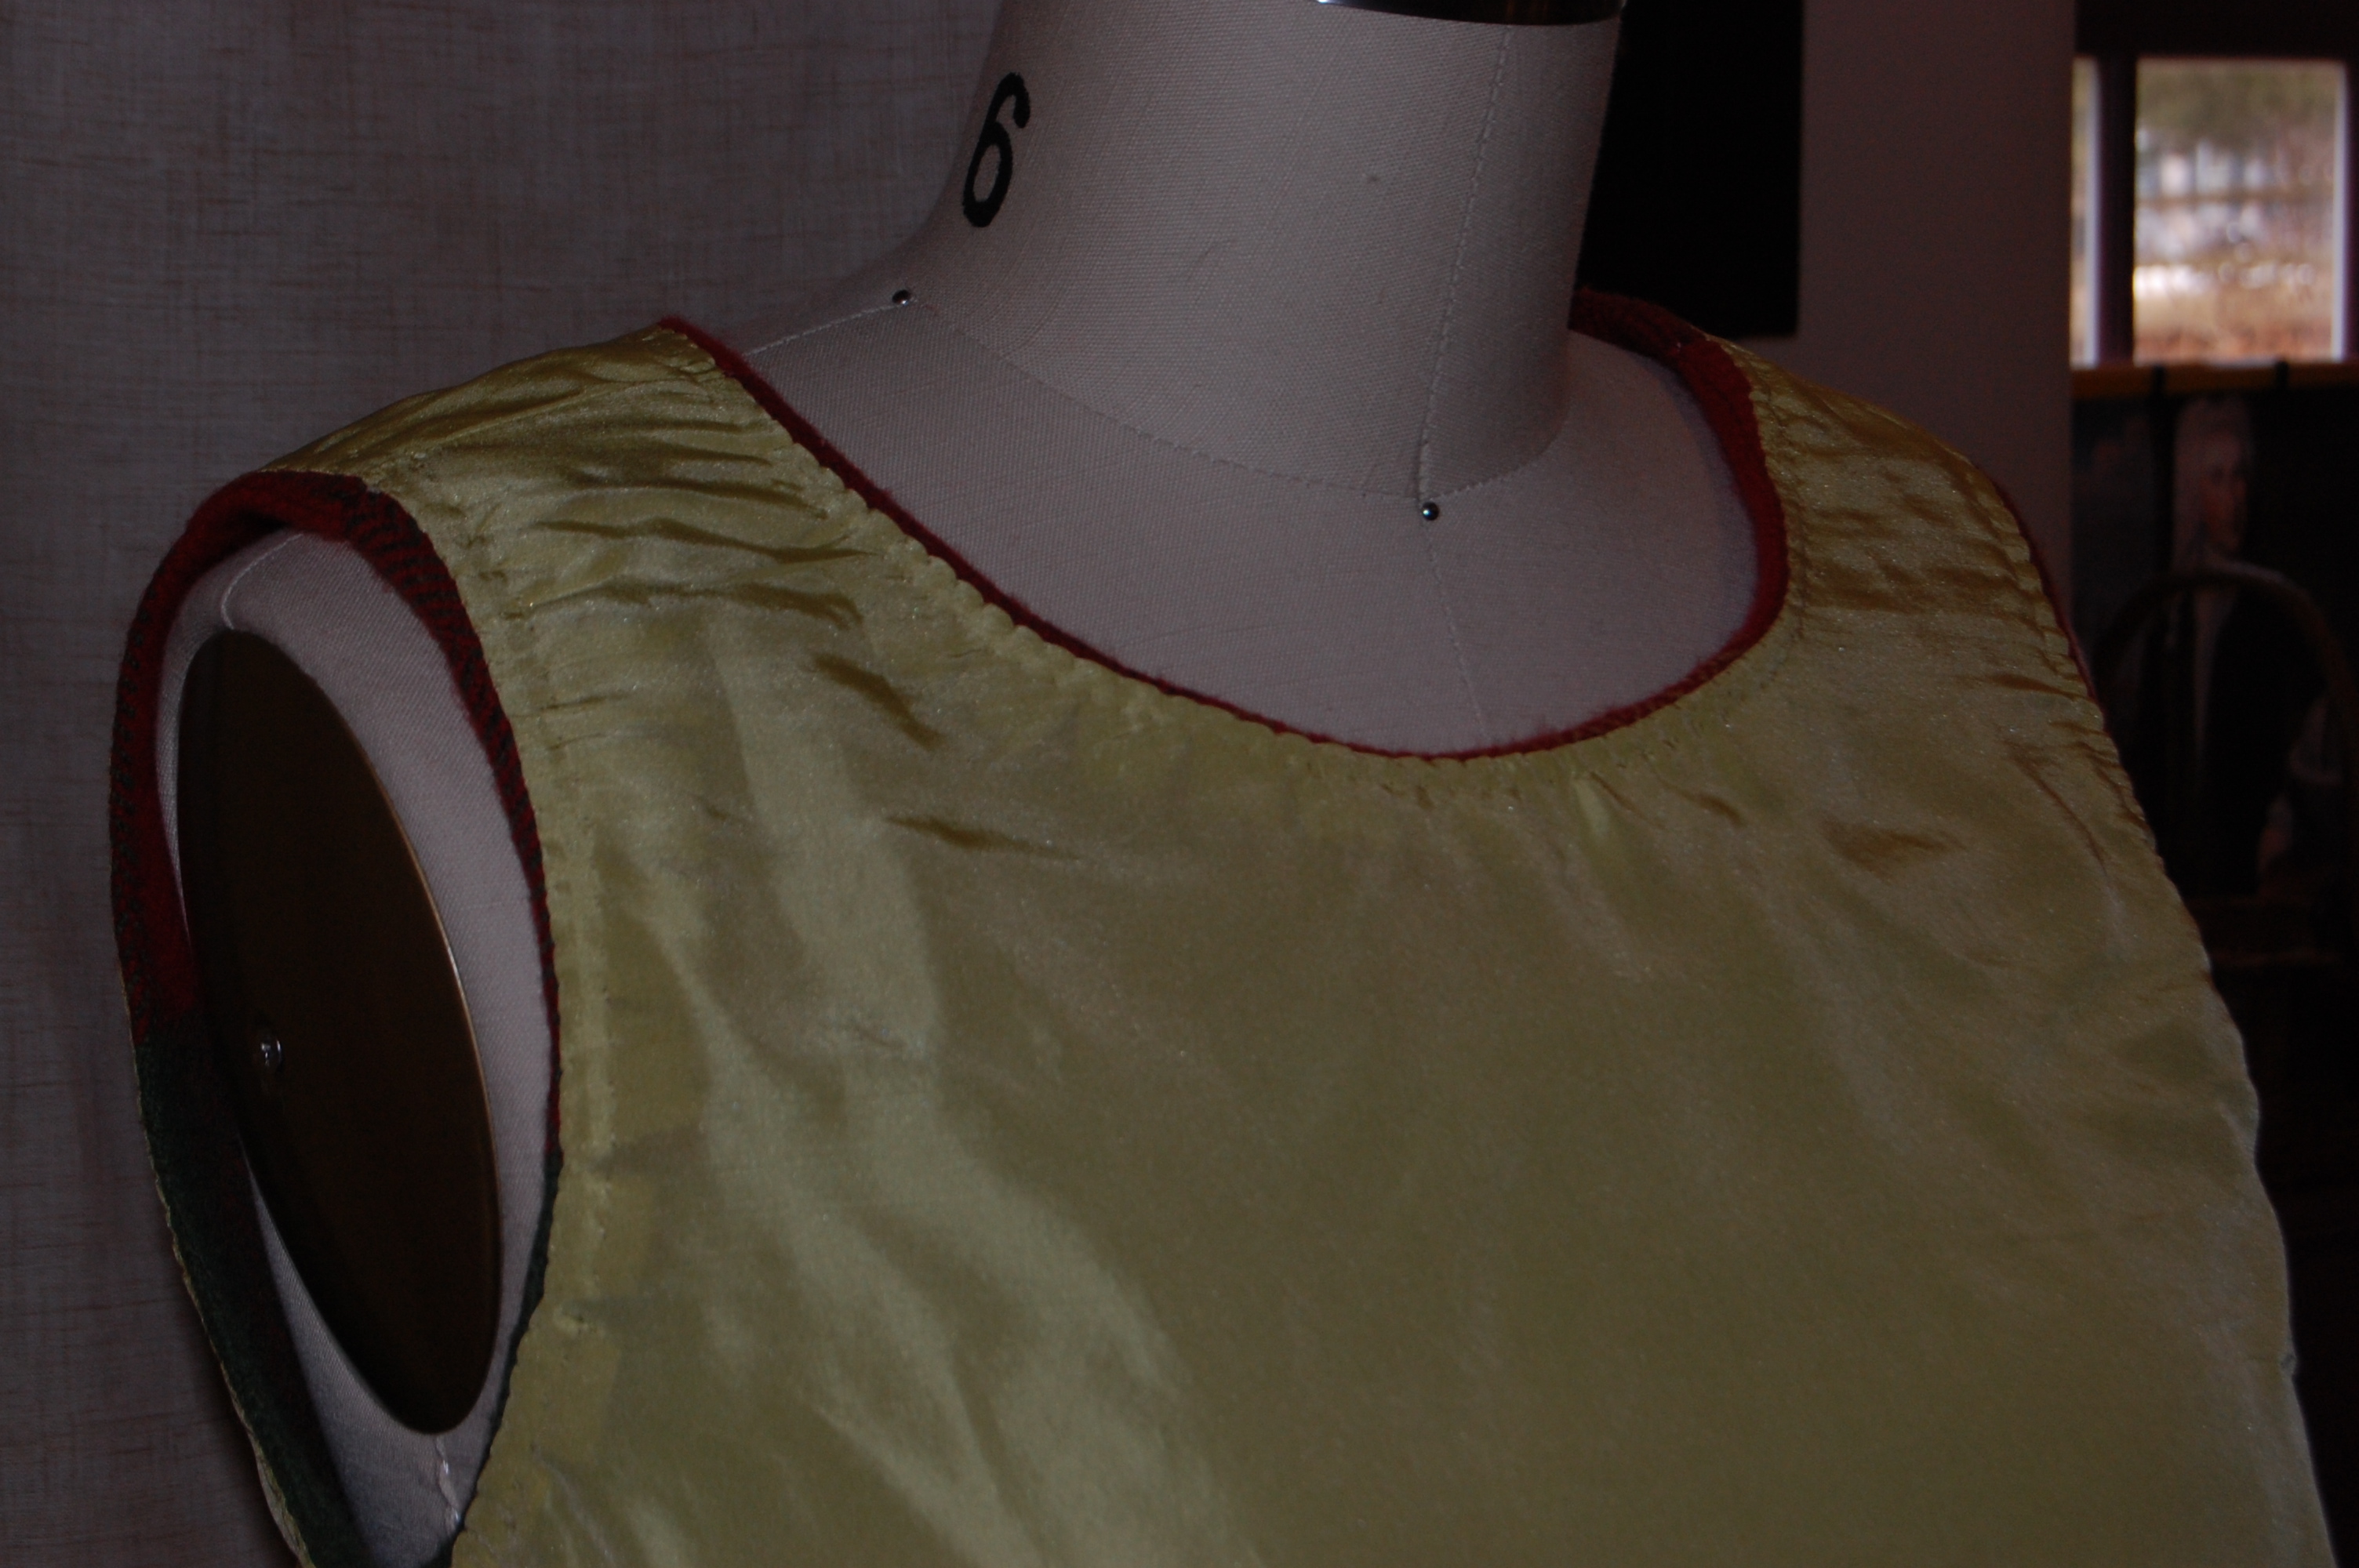
About the time I was reading this article, I had already cut the lining for my blanket dress. I had (very proudly, I might add) found some yellow crepe de chine in my fabric collection which I knew would be perfect for the lining. Not only did this mean I would not have to buy another piece of silk, but this particular color of yellow also had a slight brownish-greenish tinge to it, making it a pretty and pretty perfect complement to the plaid of the blanket.
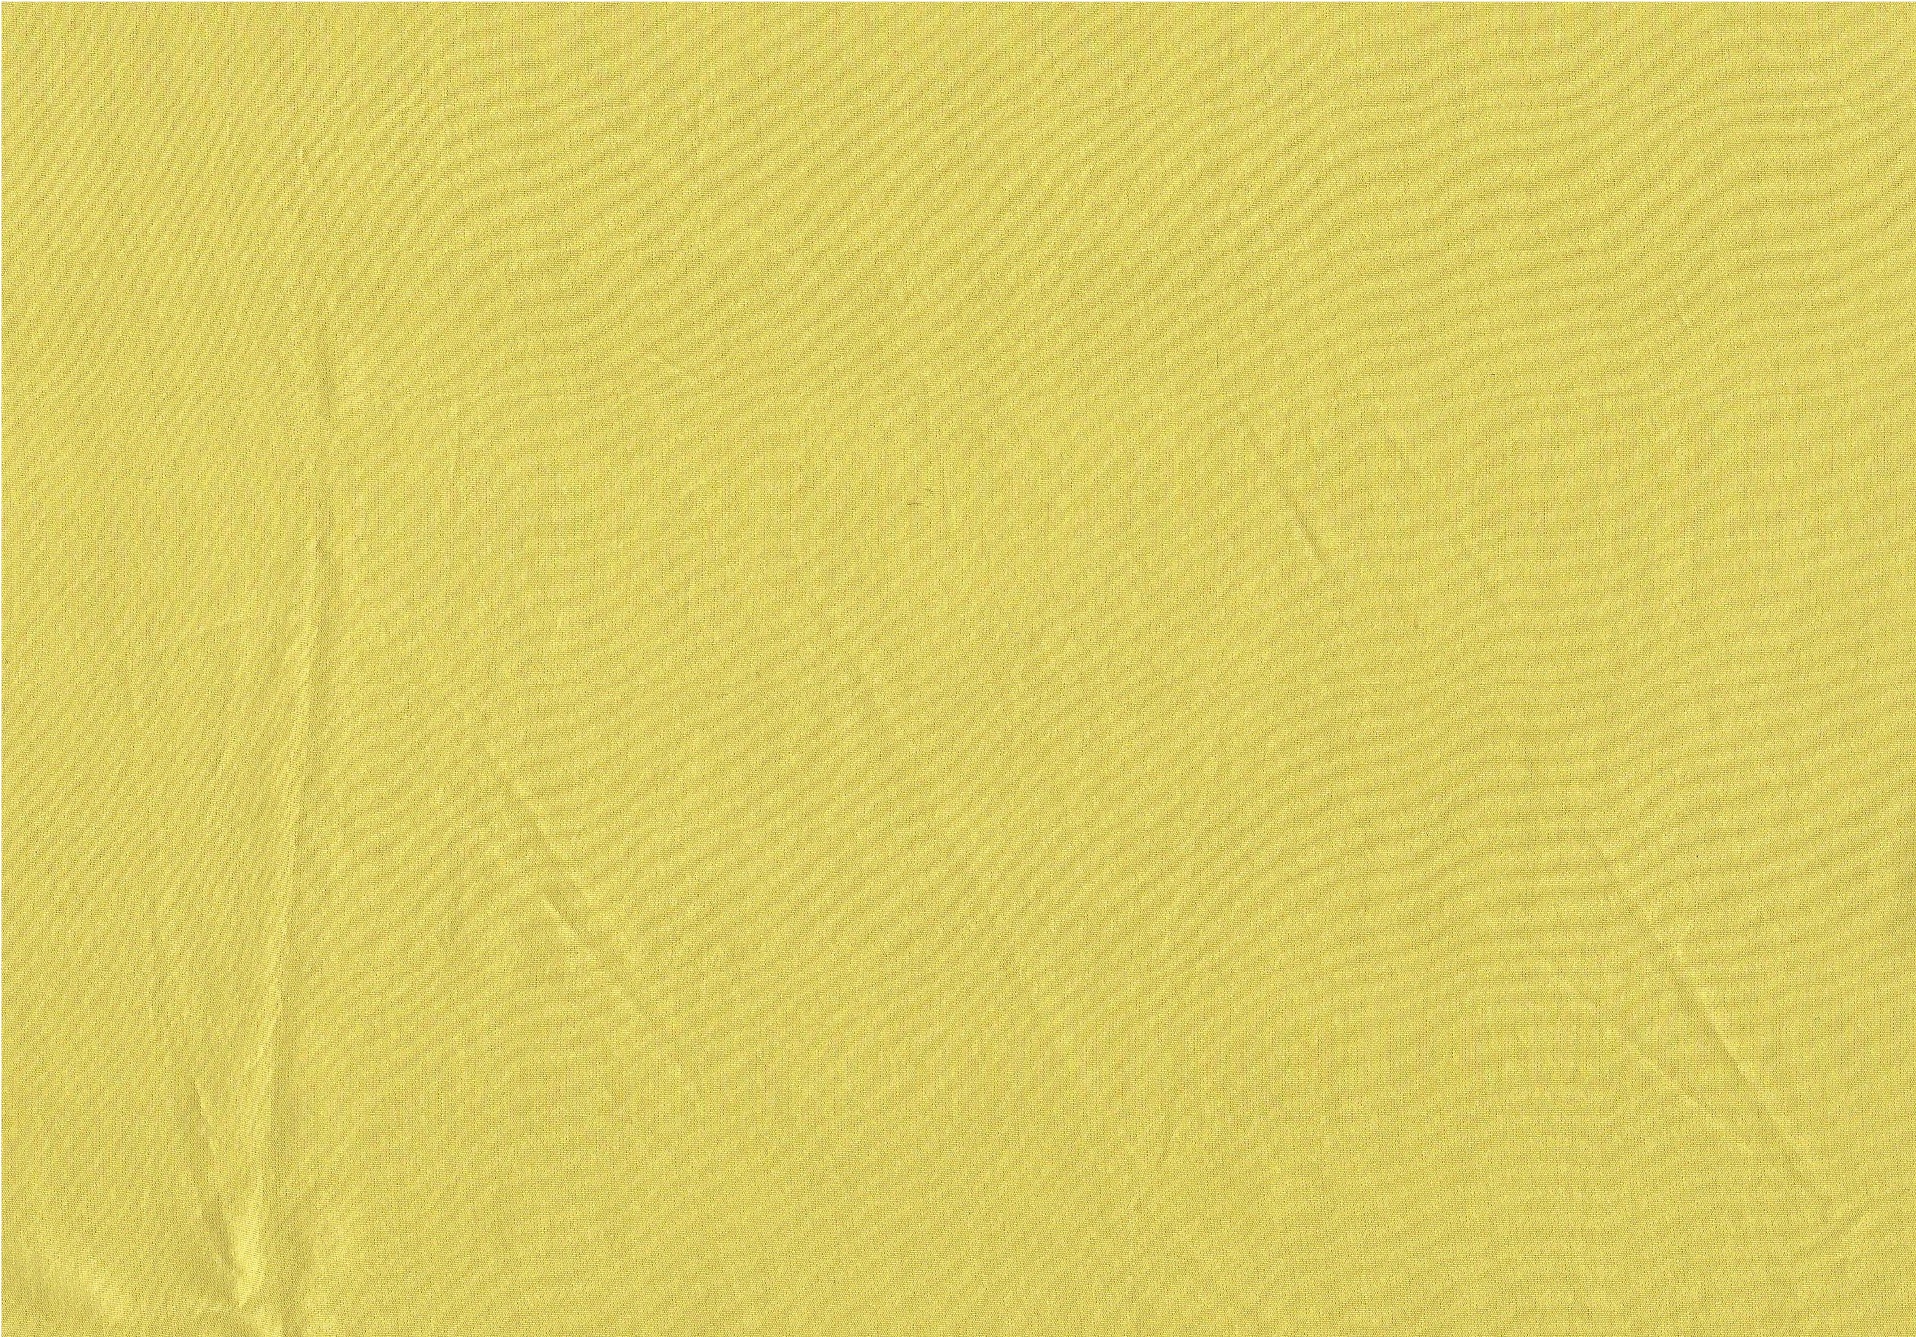
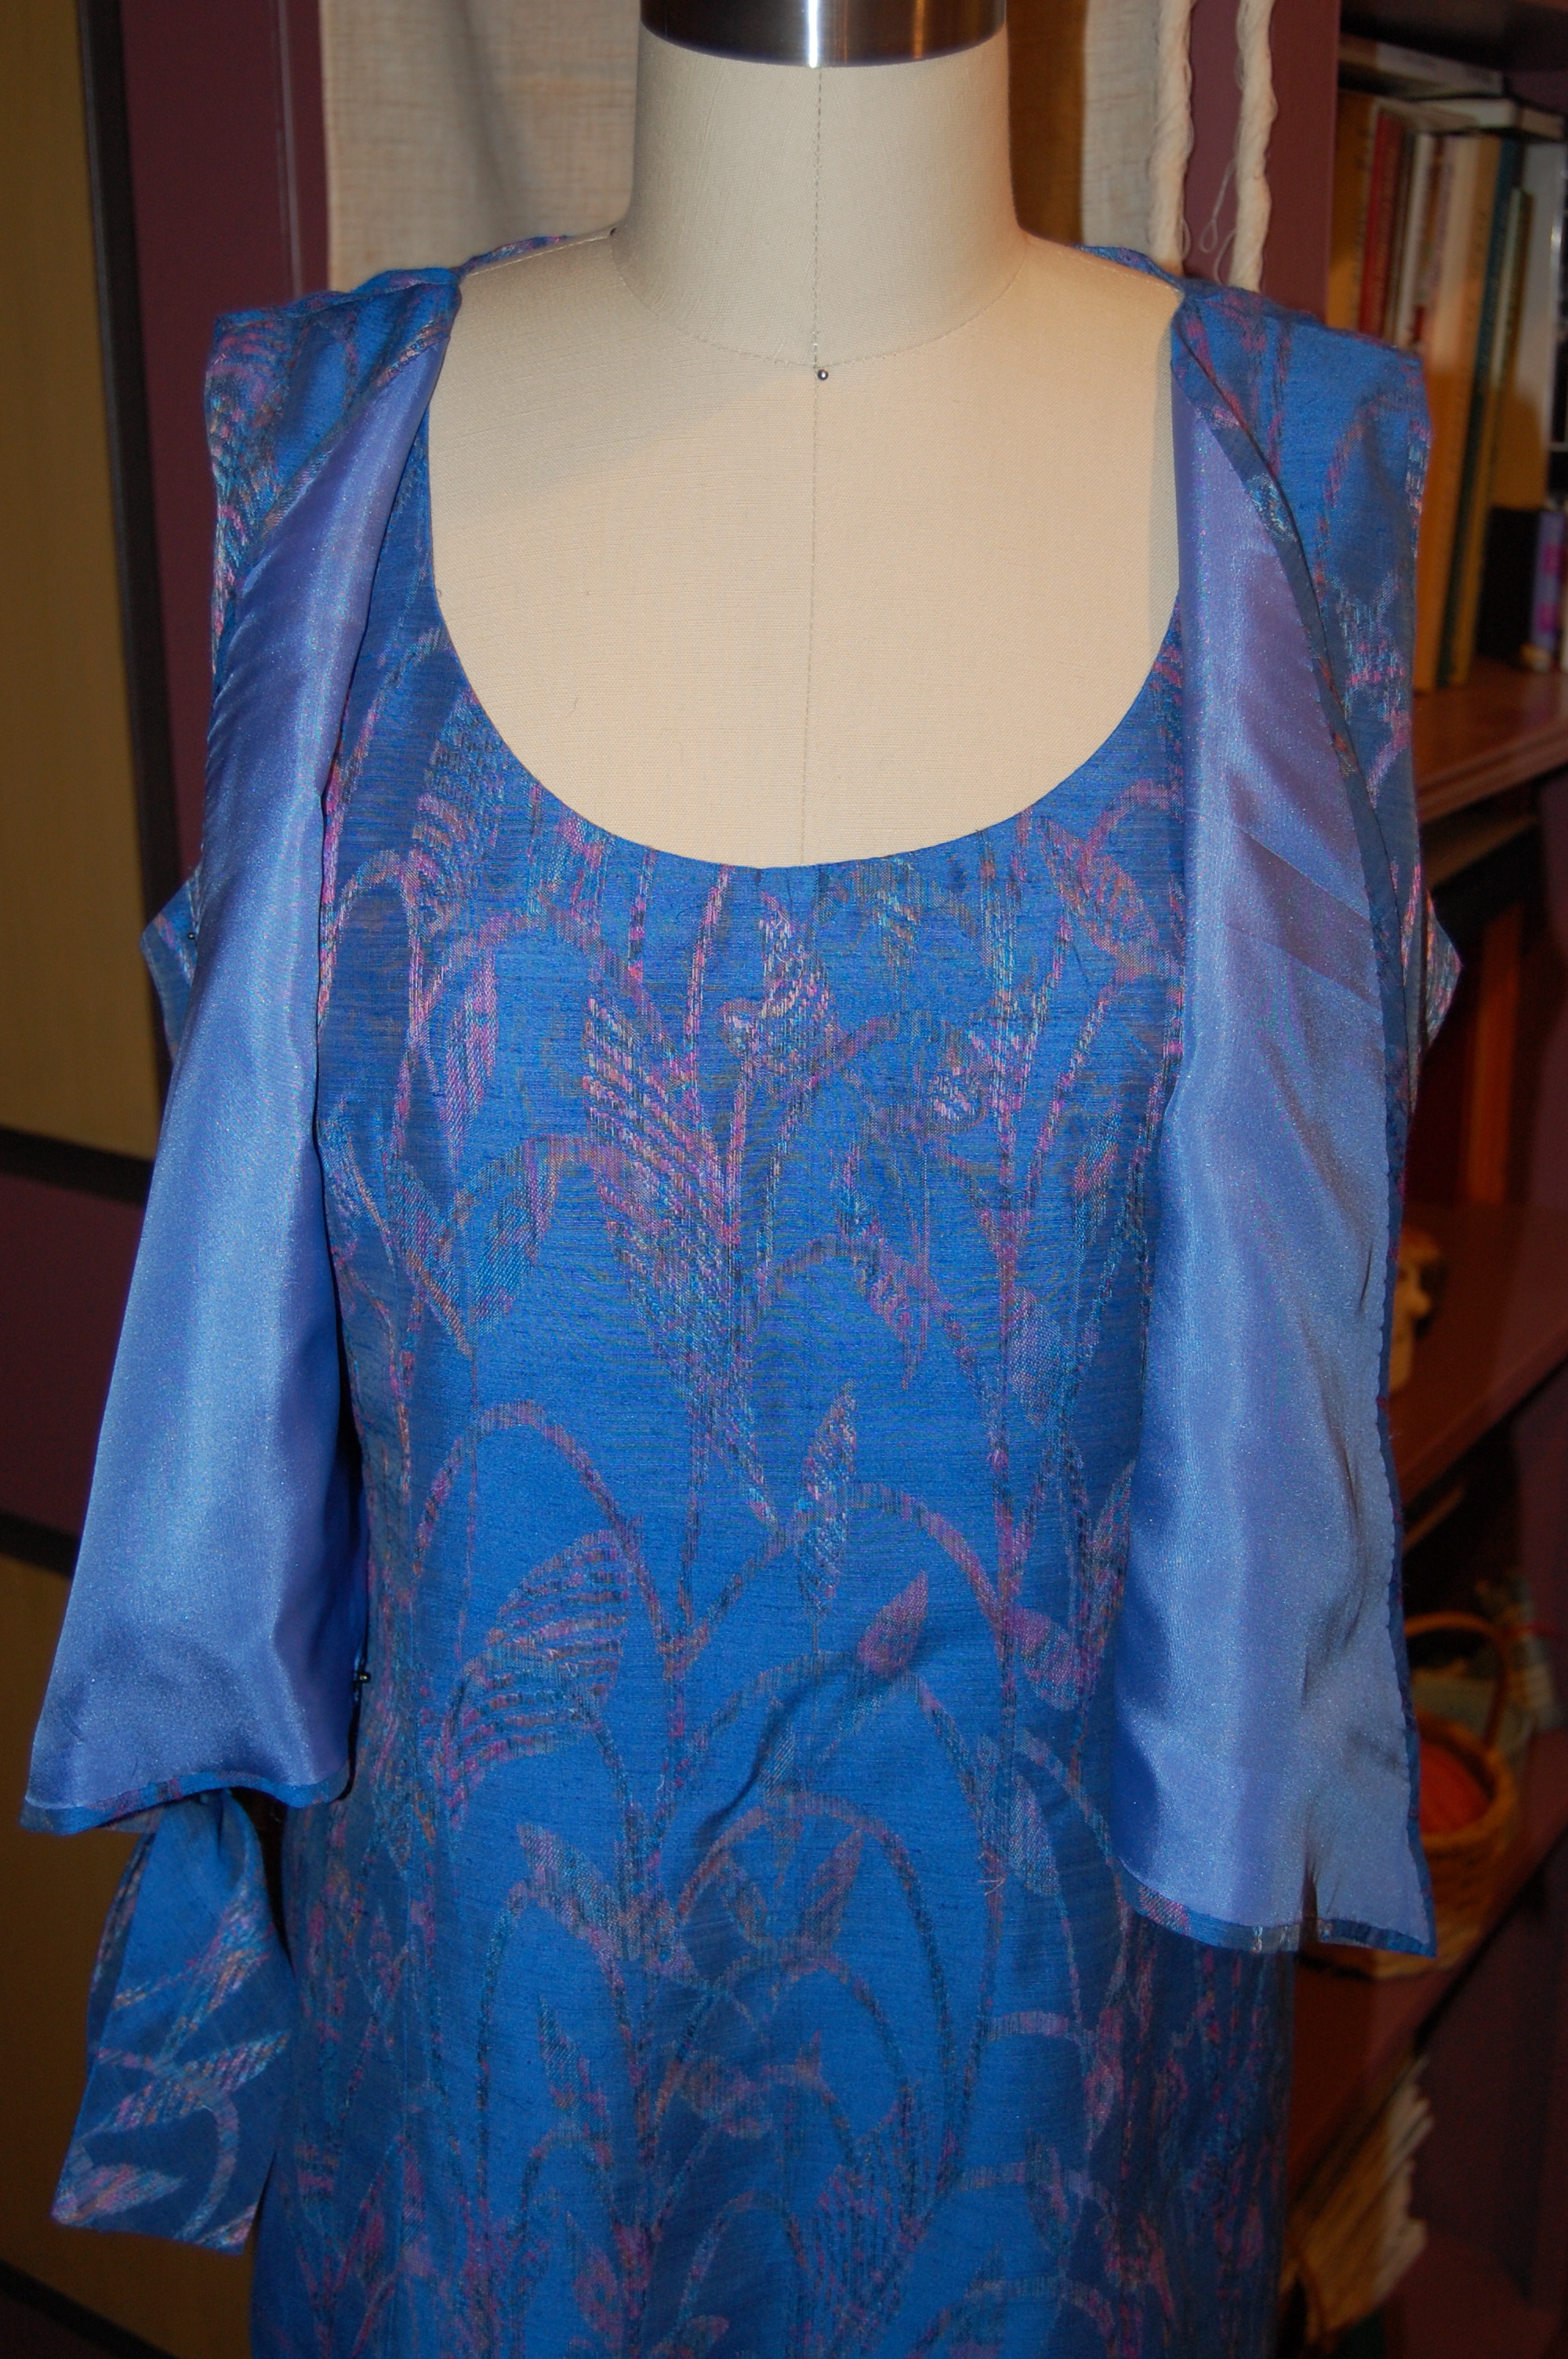
Not sure the real color of this silk comes through here, but it’s close!
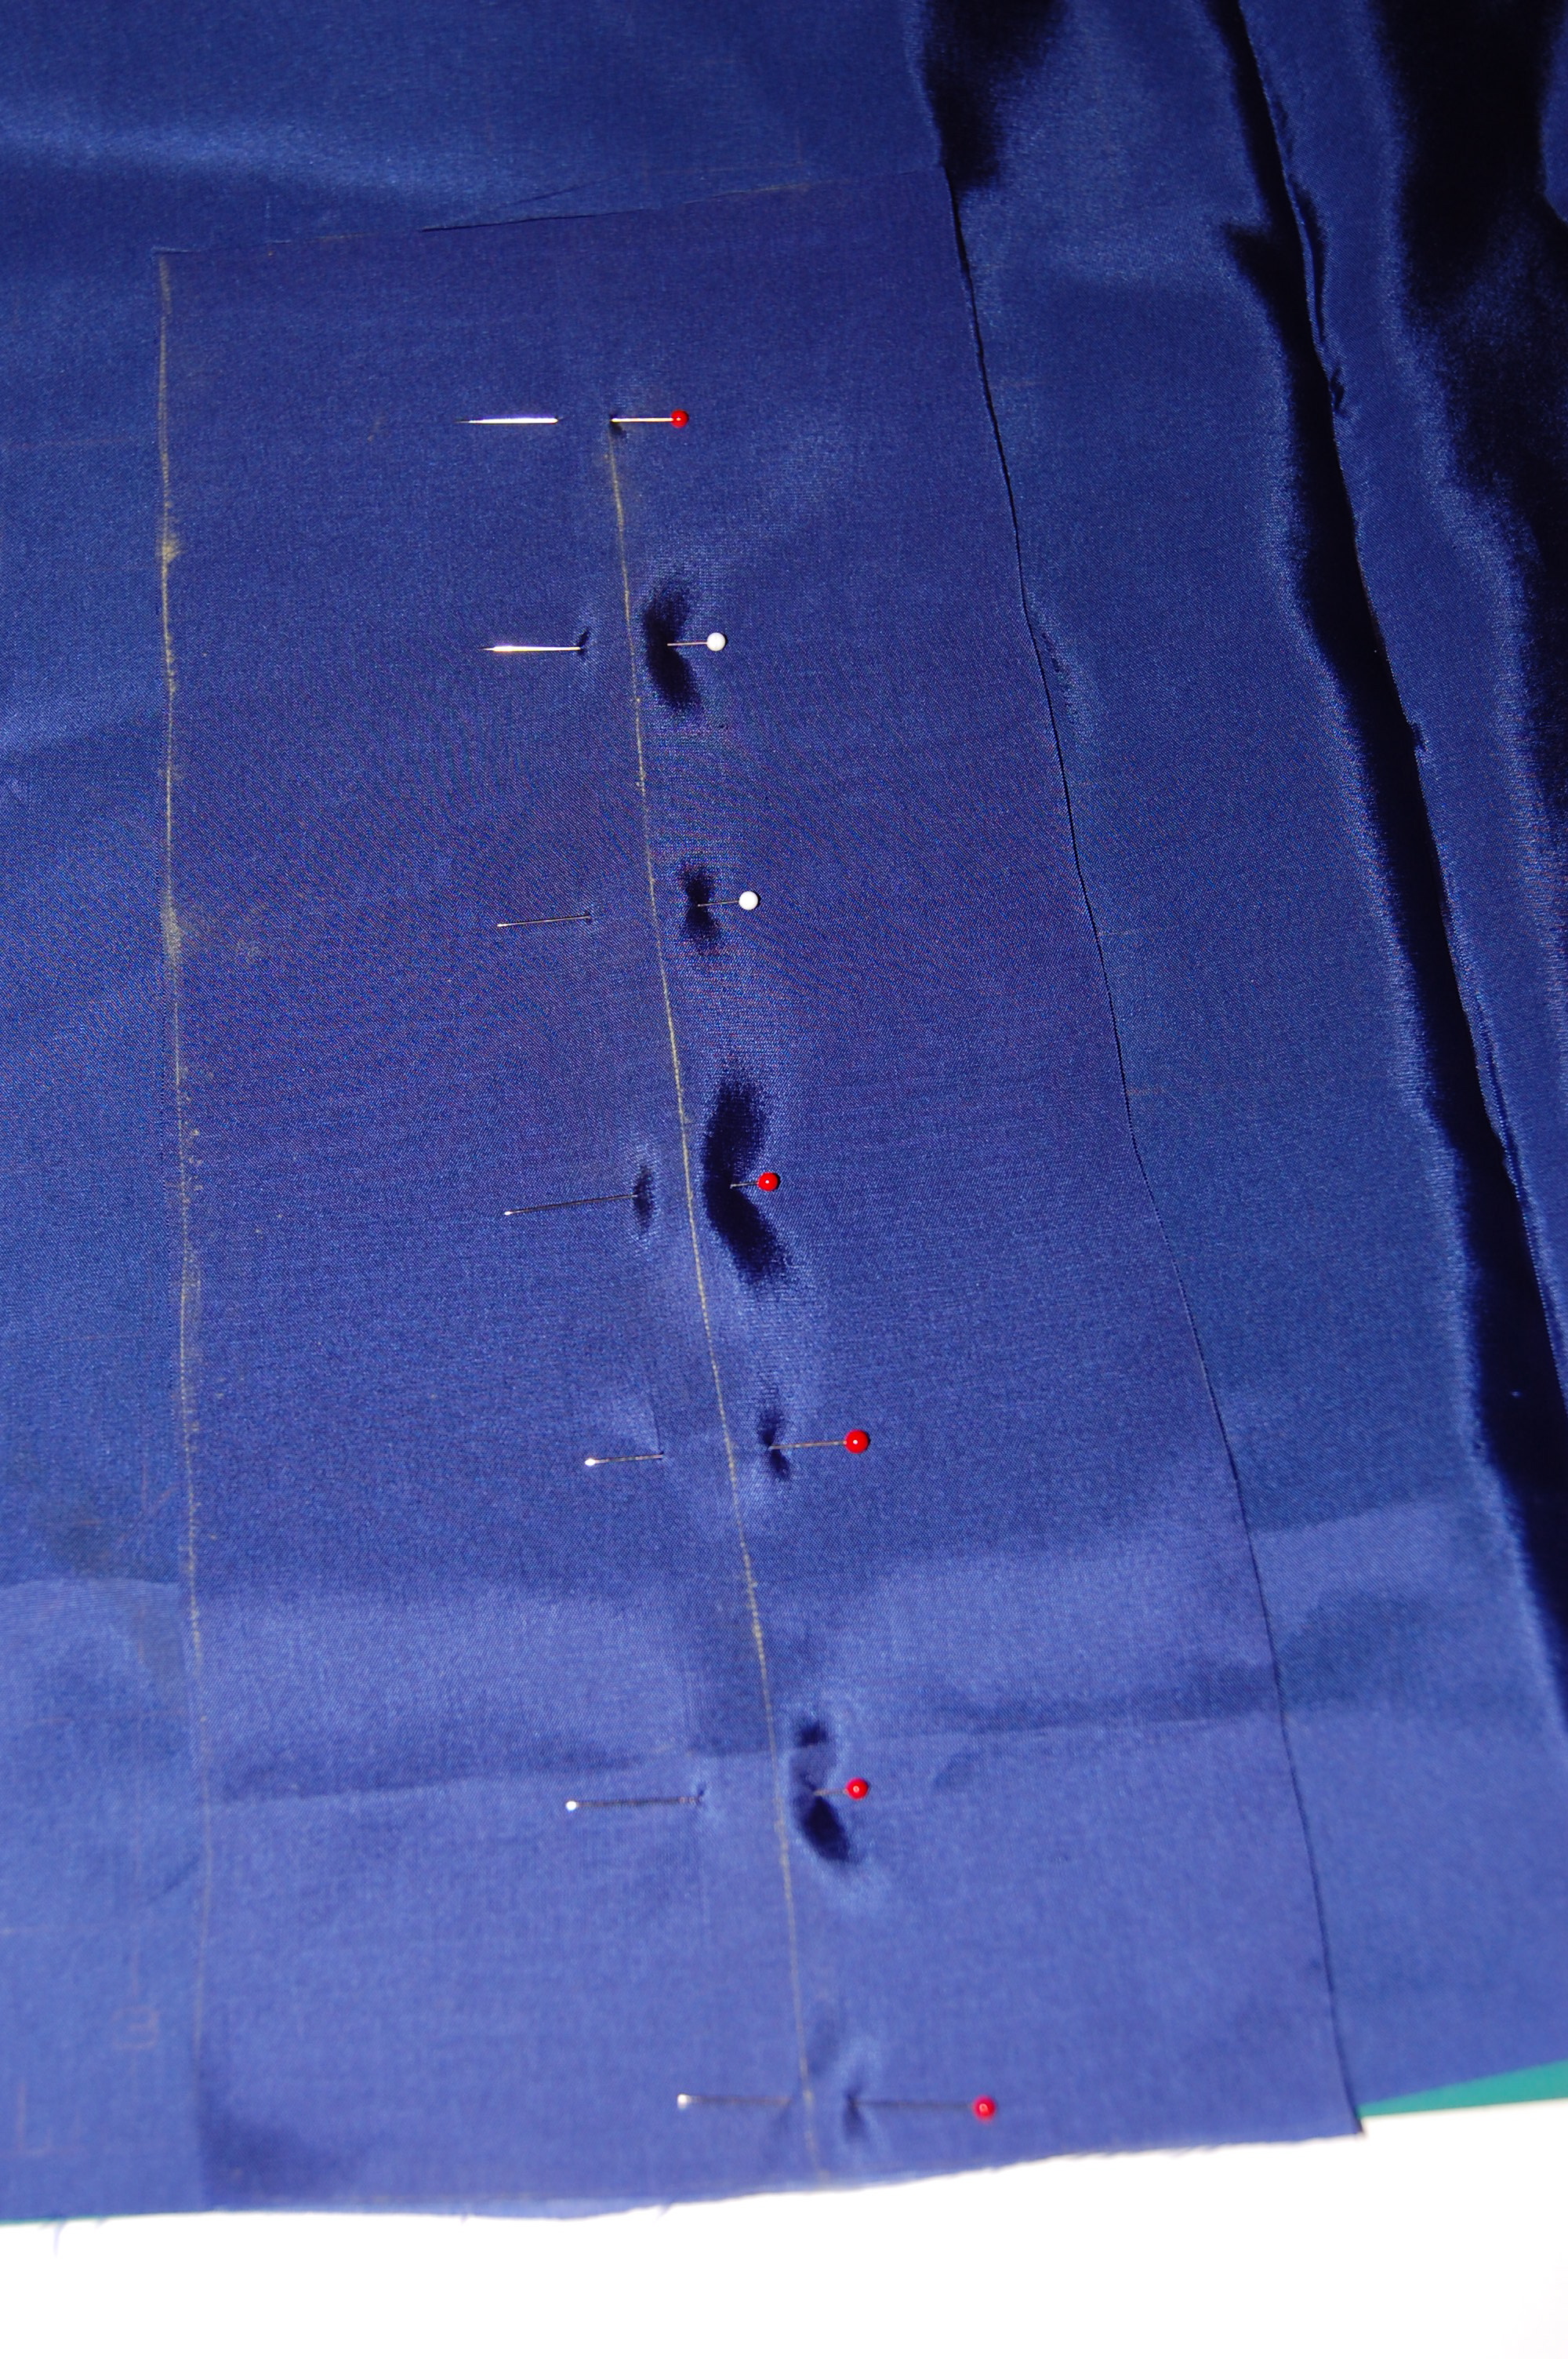
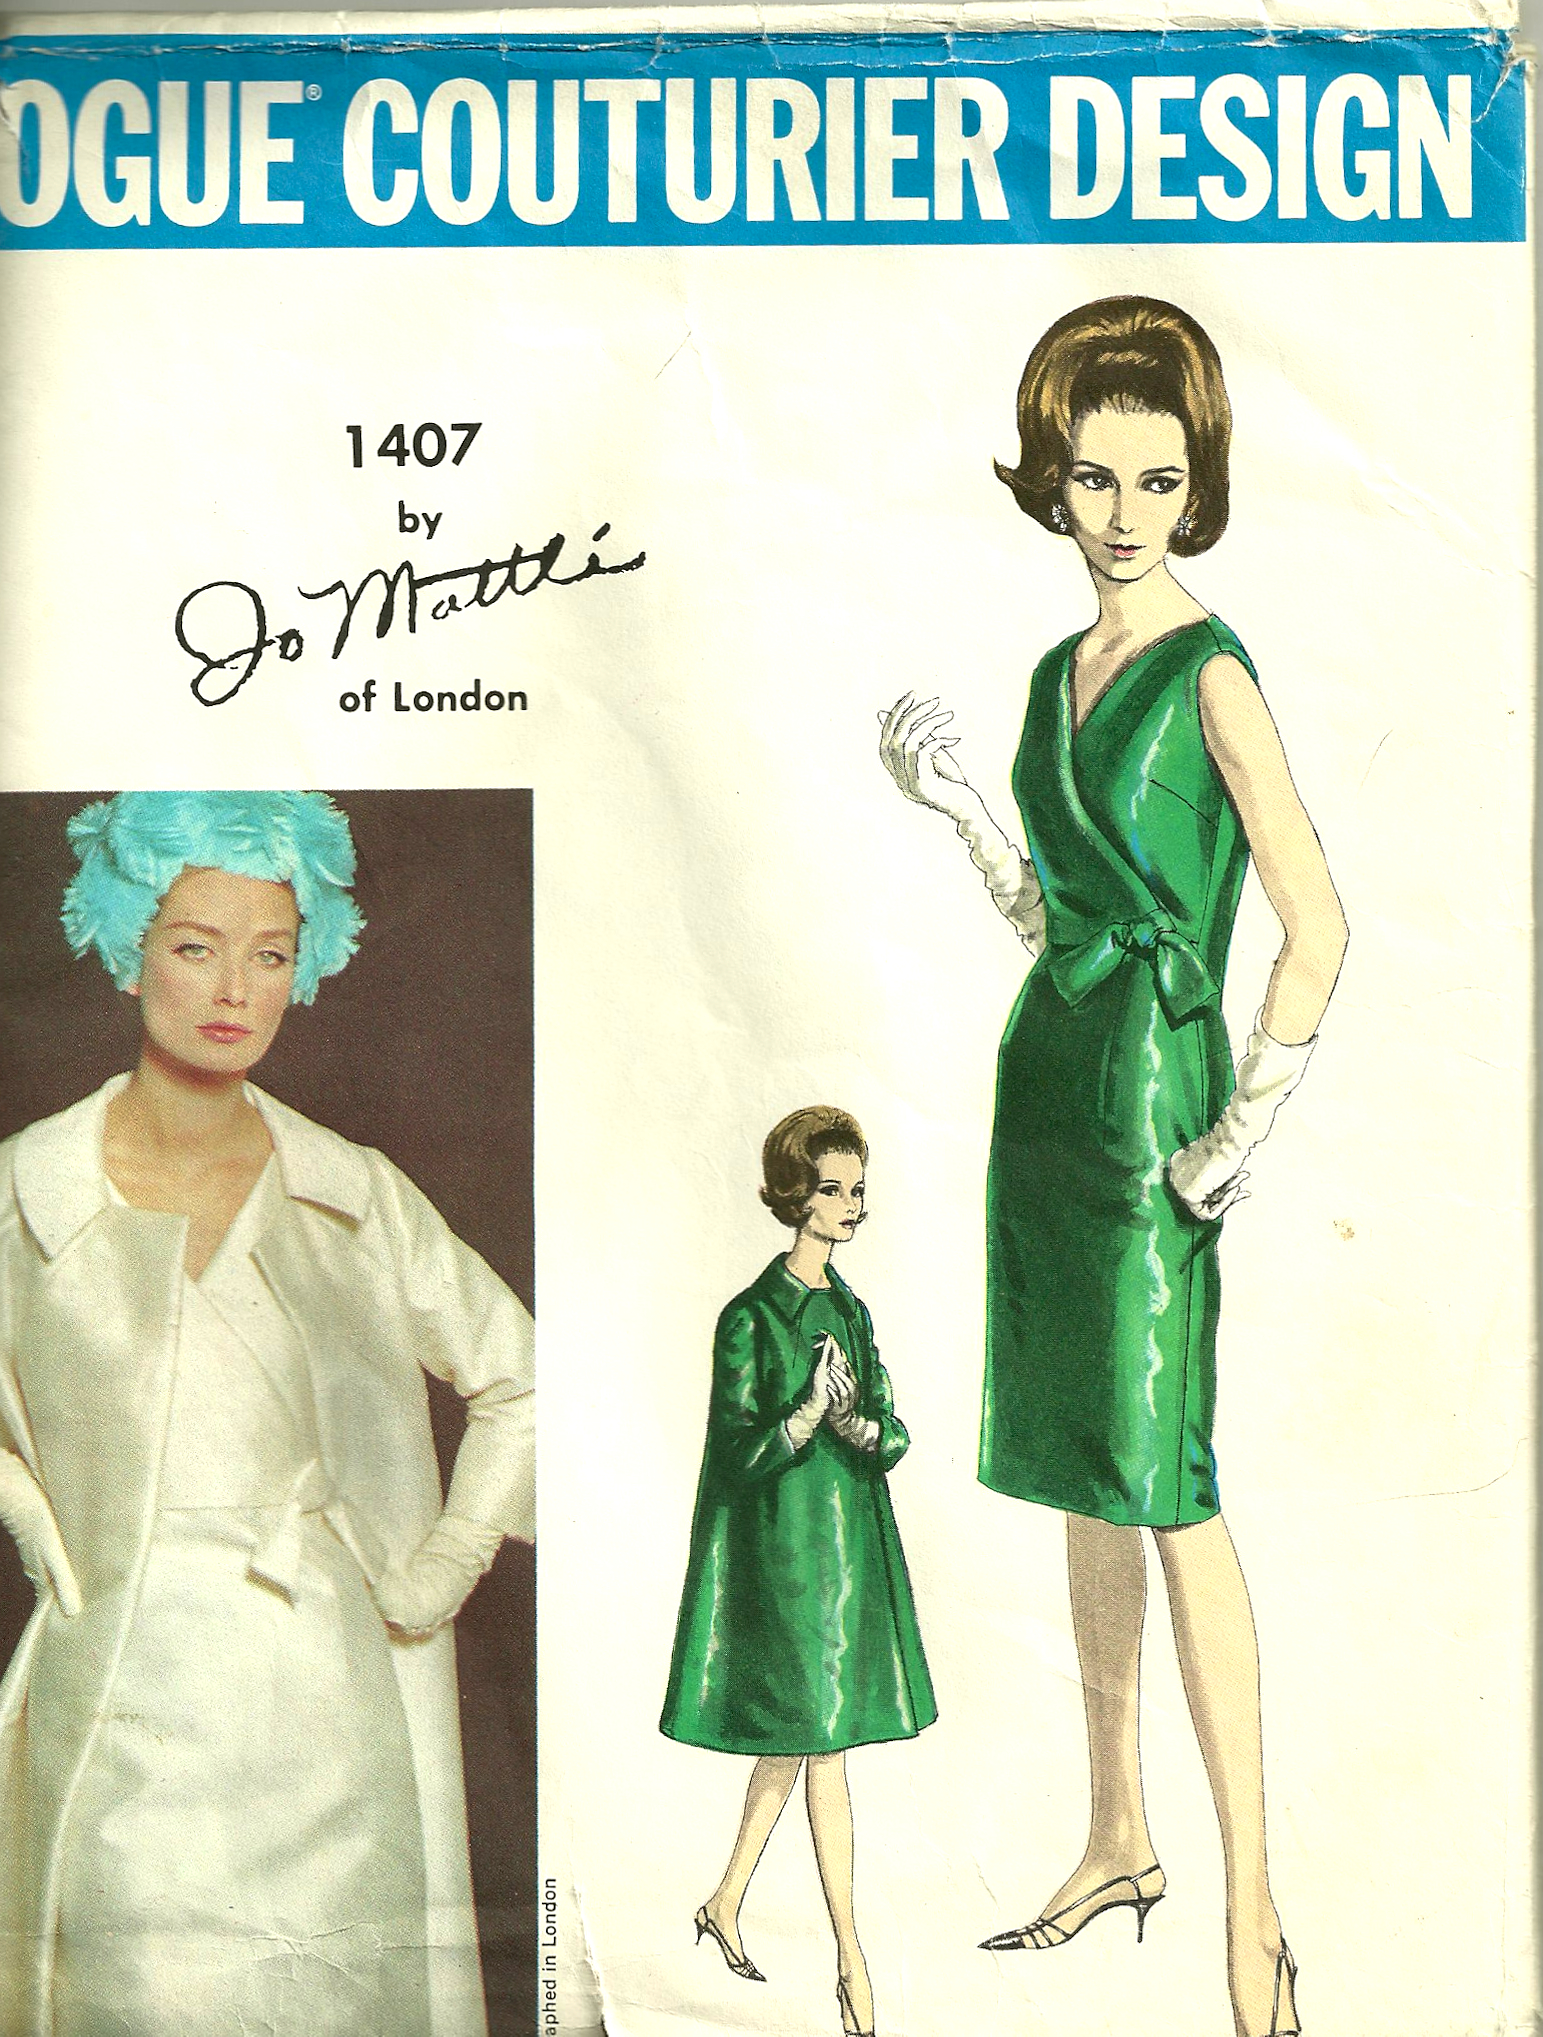
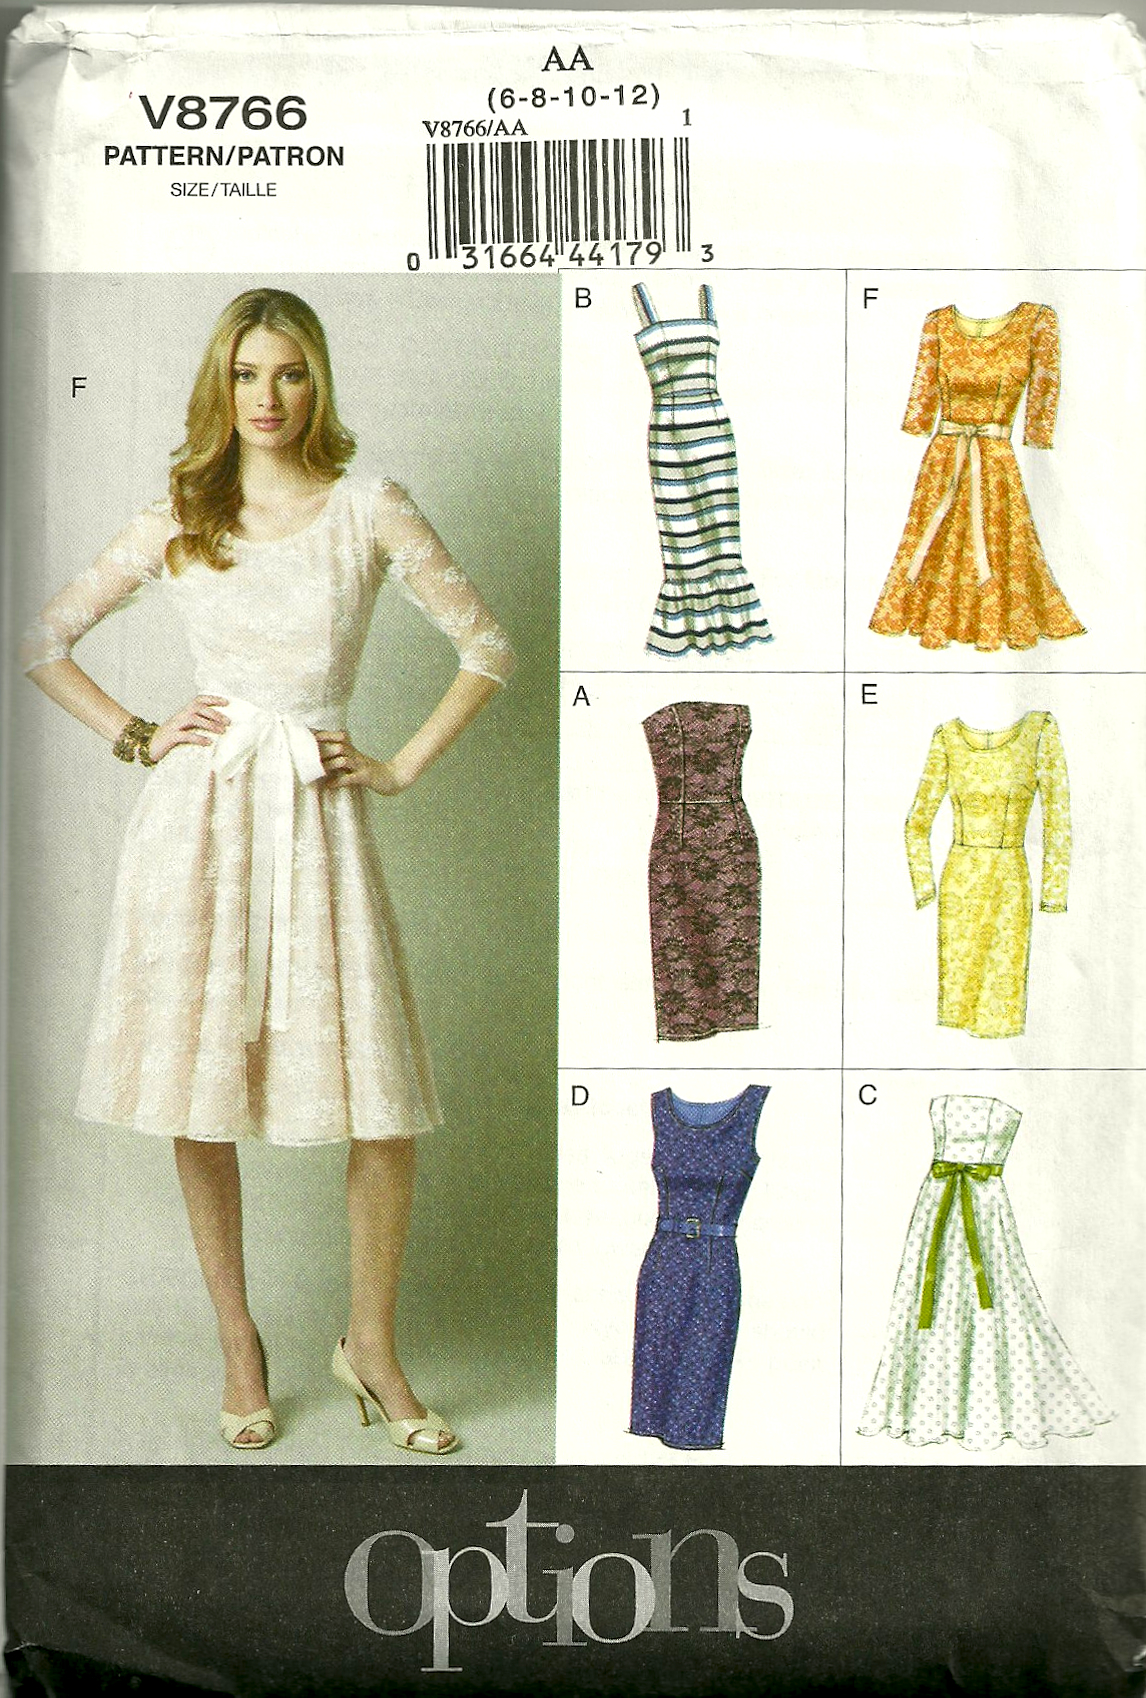
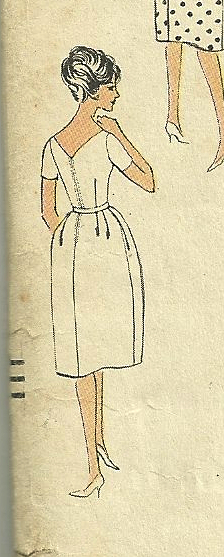
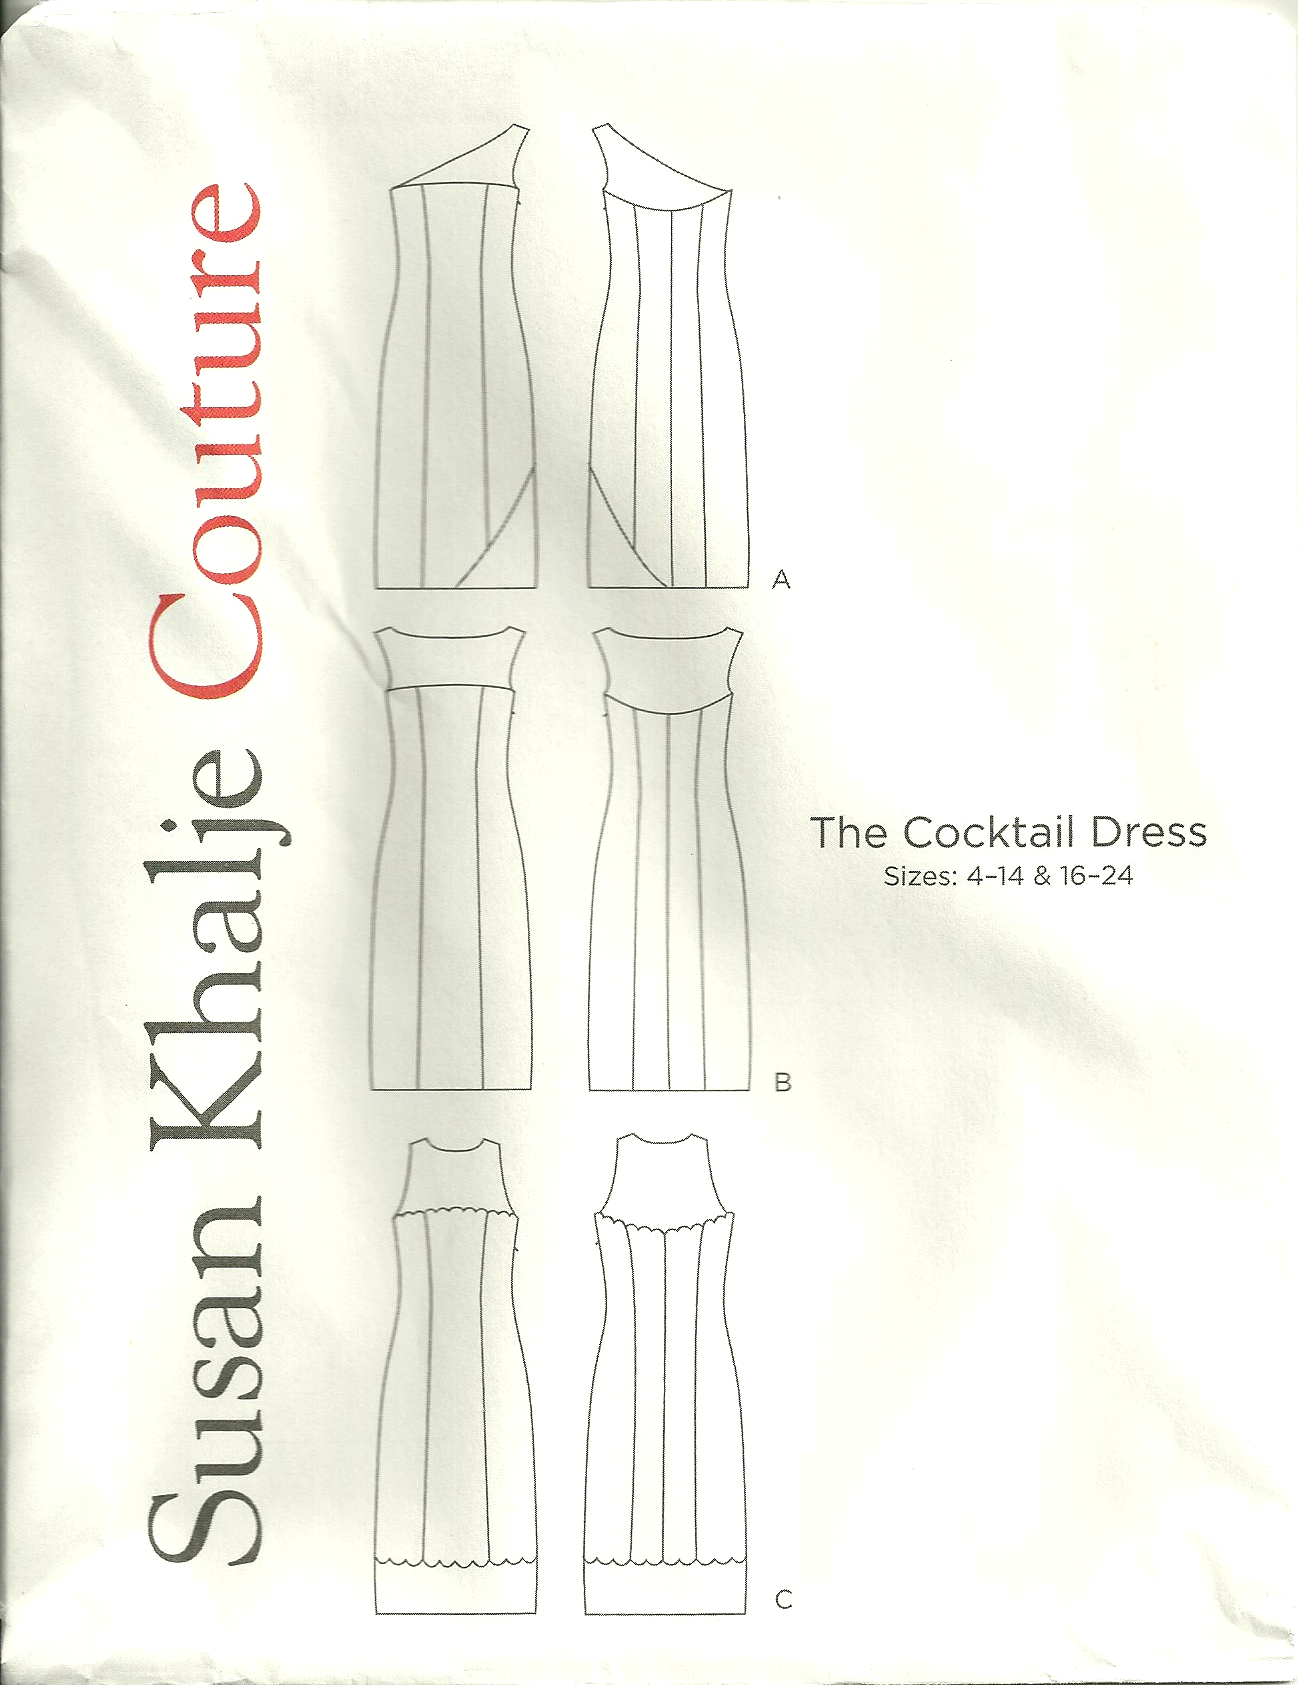
Now a woman with a mission, I checked on the remaining yardage of the yellow silk. I pulled out a vintage blouse pattern which I thought would compliment the lines of the dress and the neckline. I laid the pattern pieces out to determine if I had enough fabric to make a long-sleeved blouse. Yes, I am sure I do if I am “creative” when laying it out.. (When do I ever not have to be creative in my pattern lay-outs?)
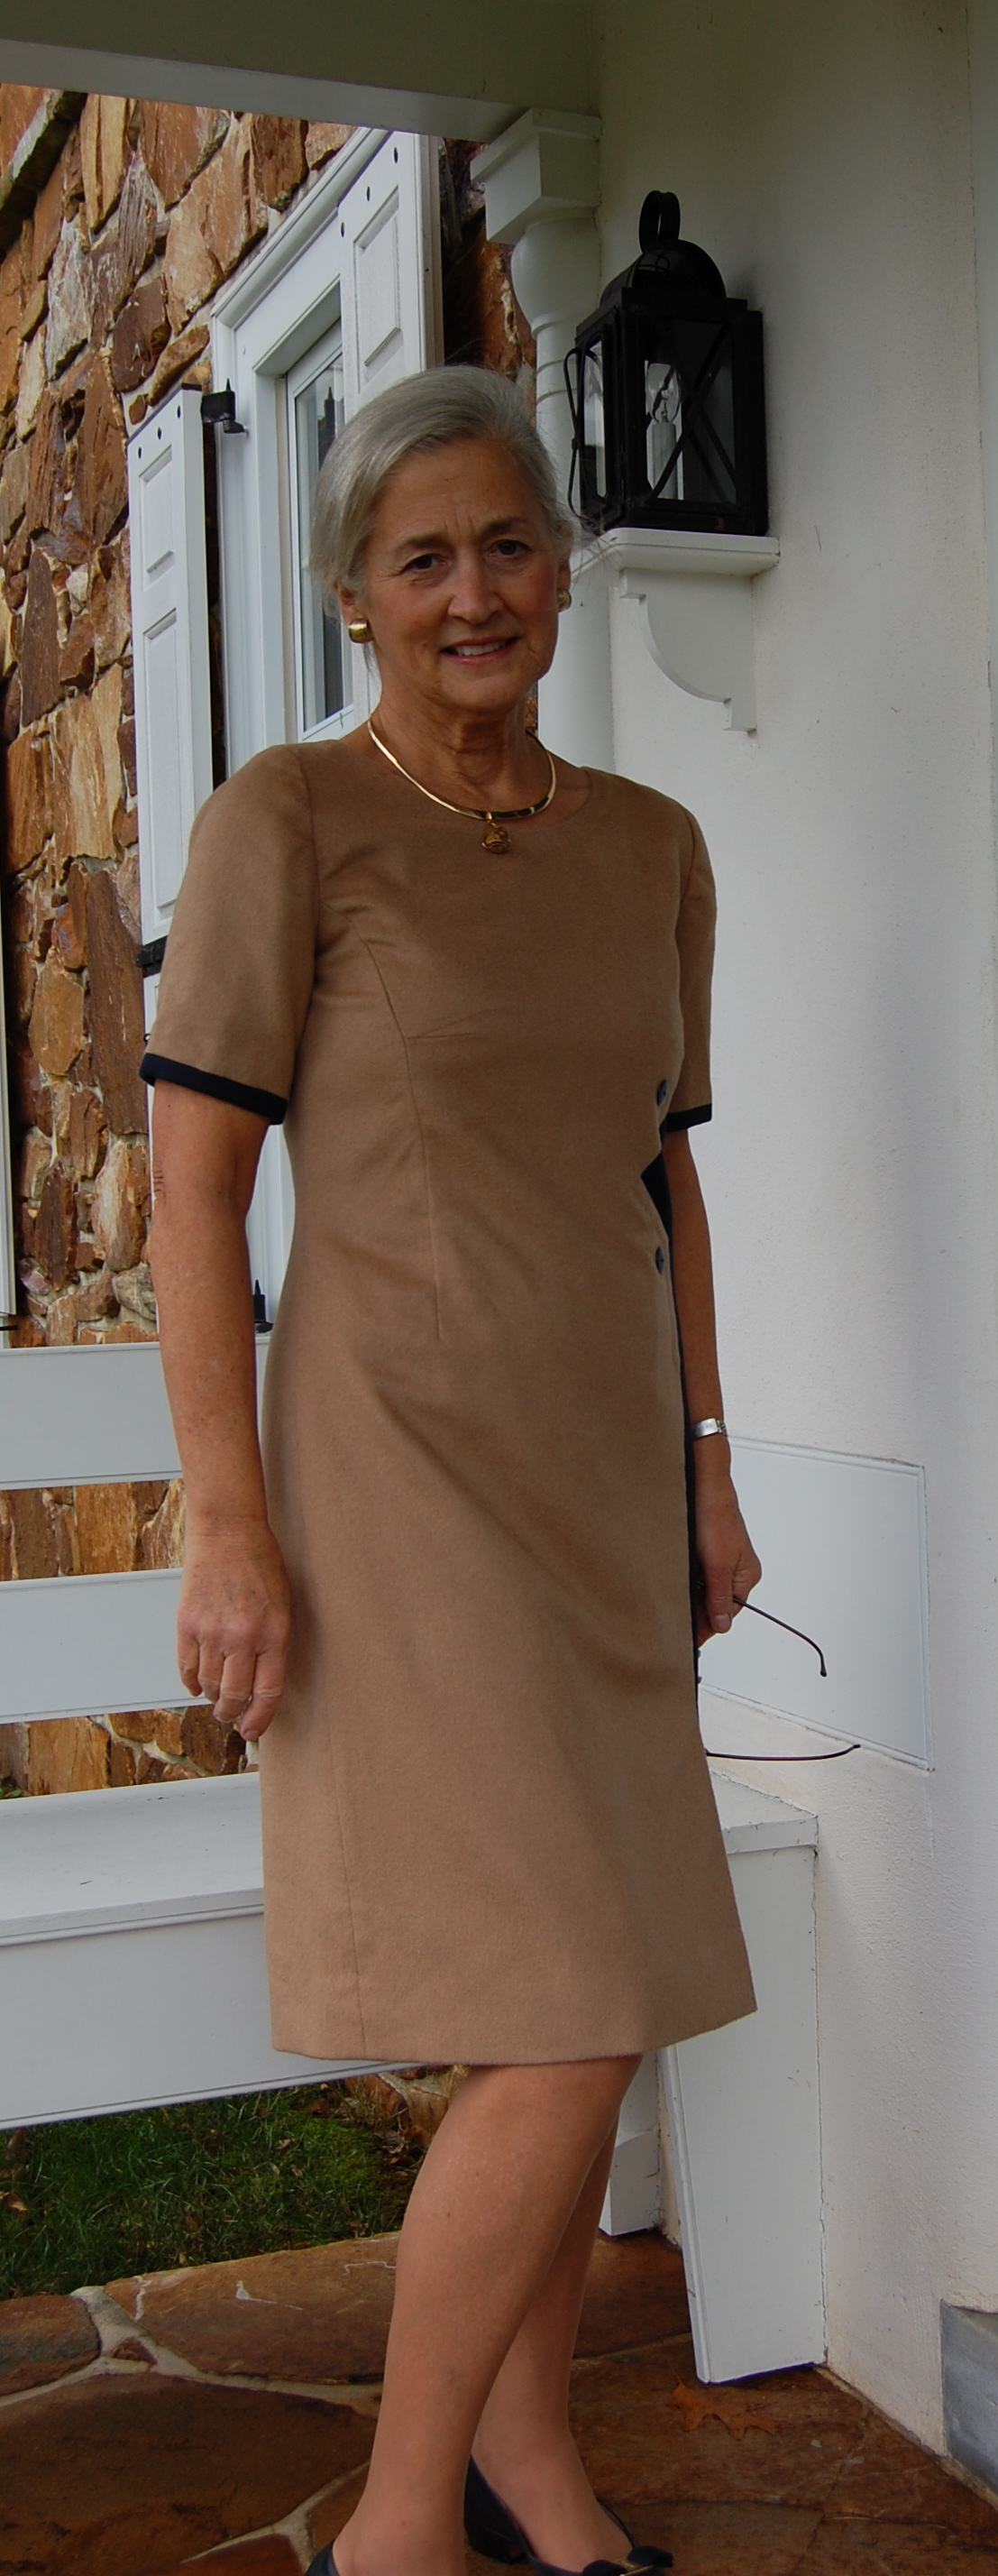
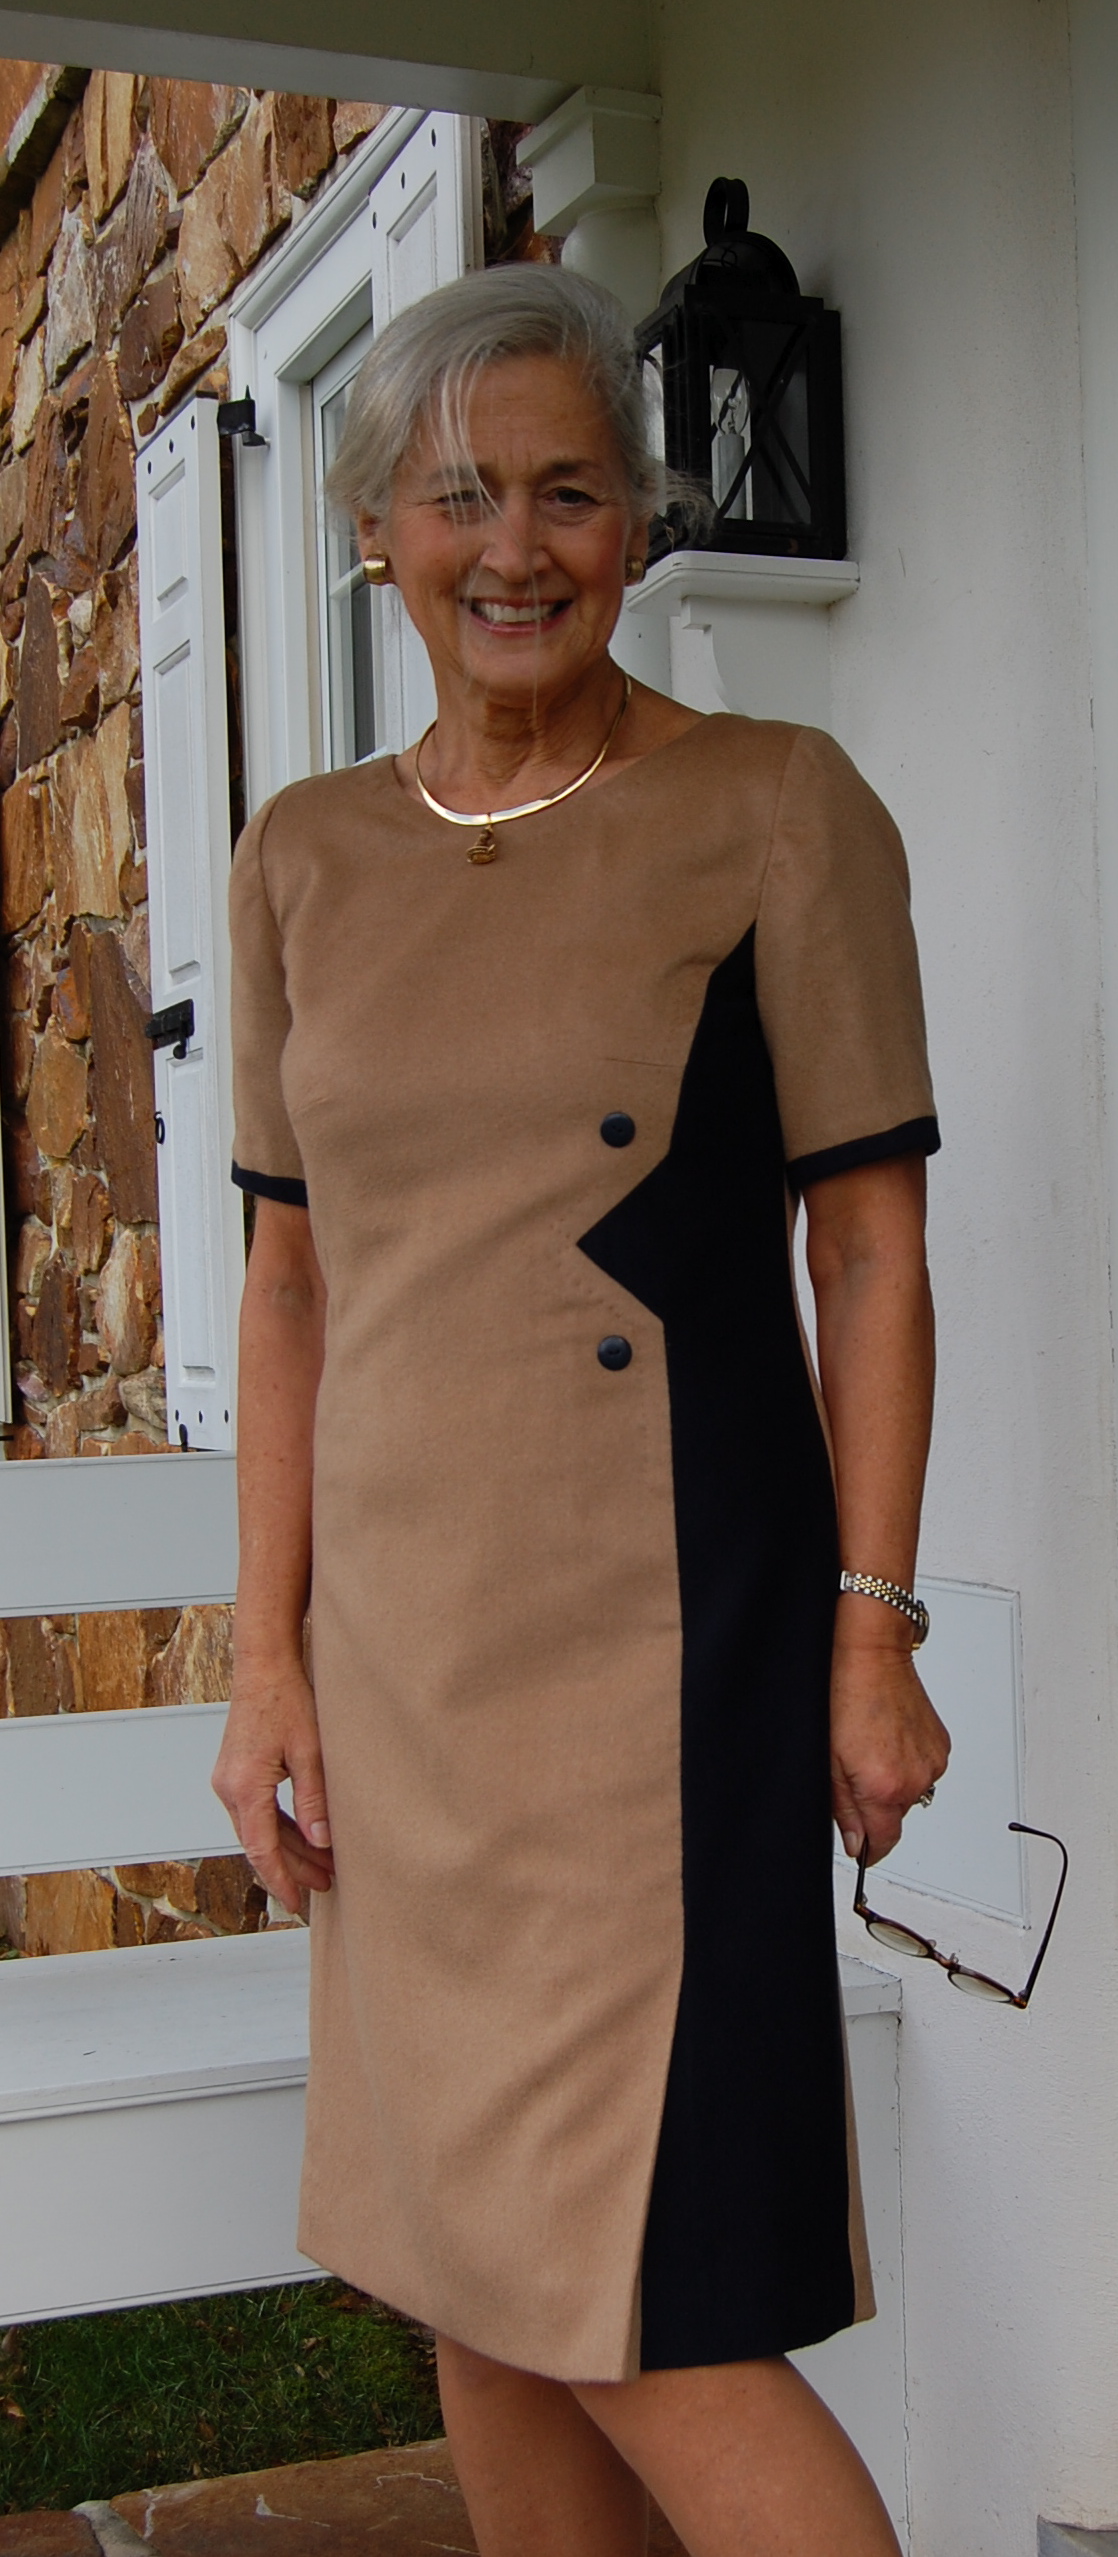
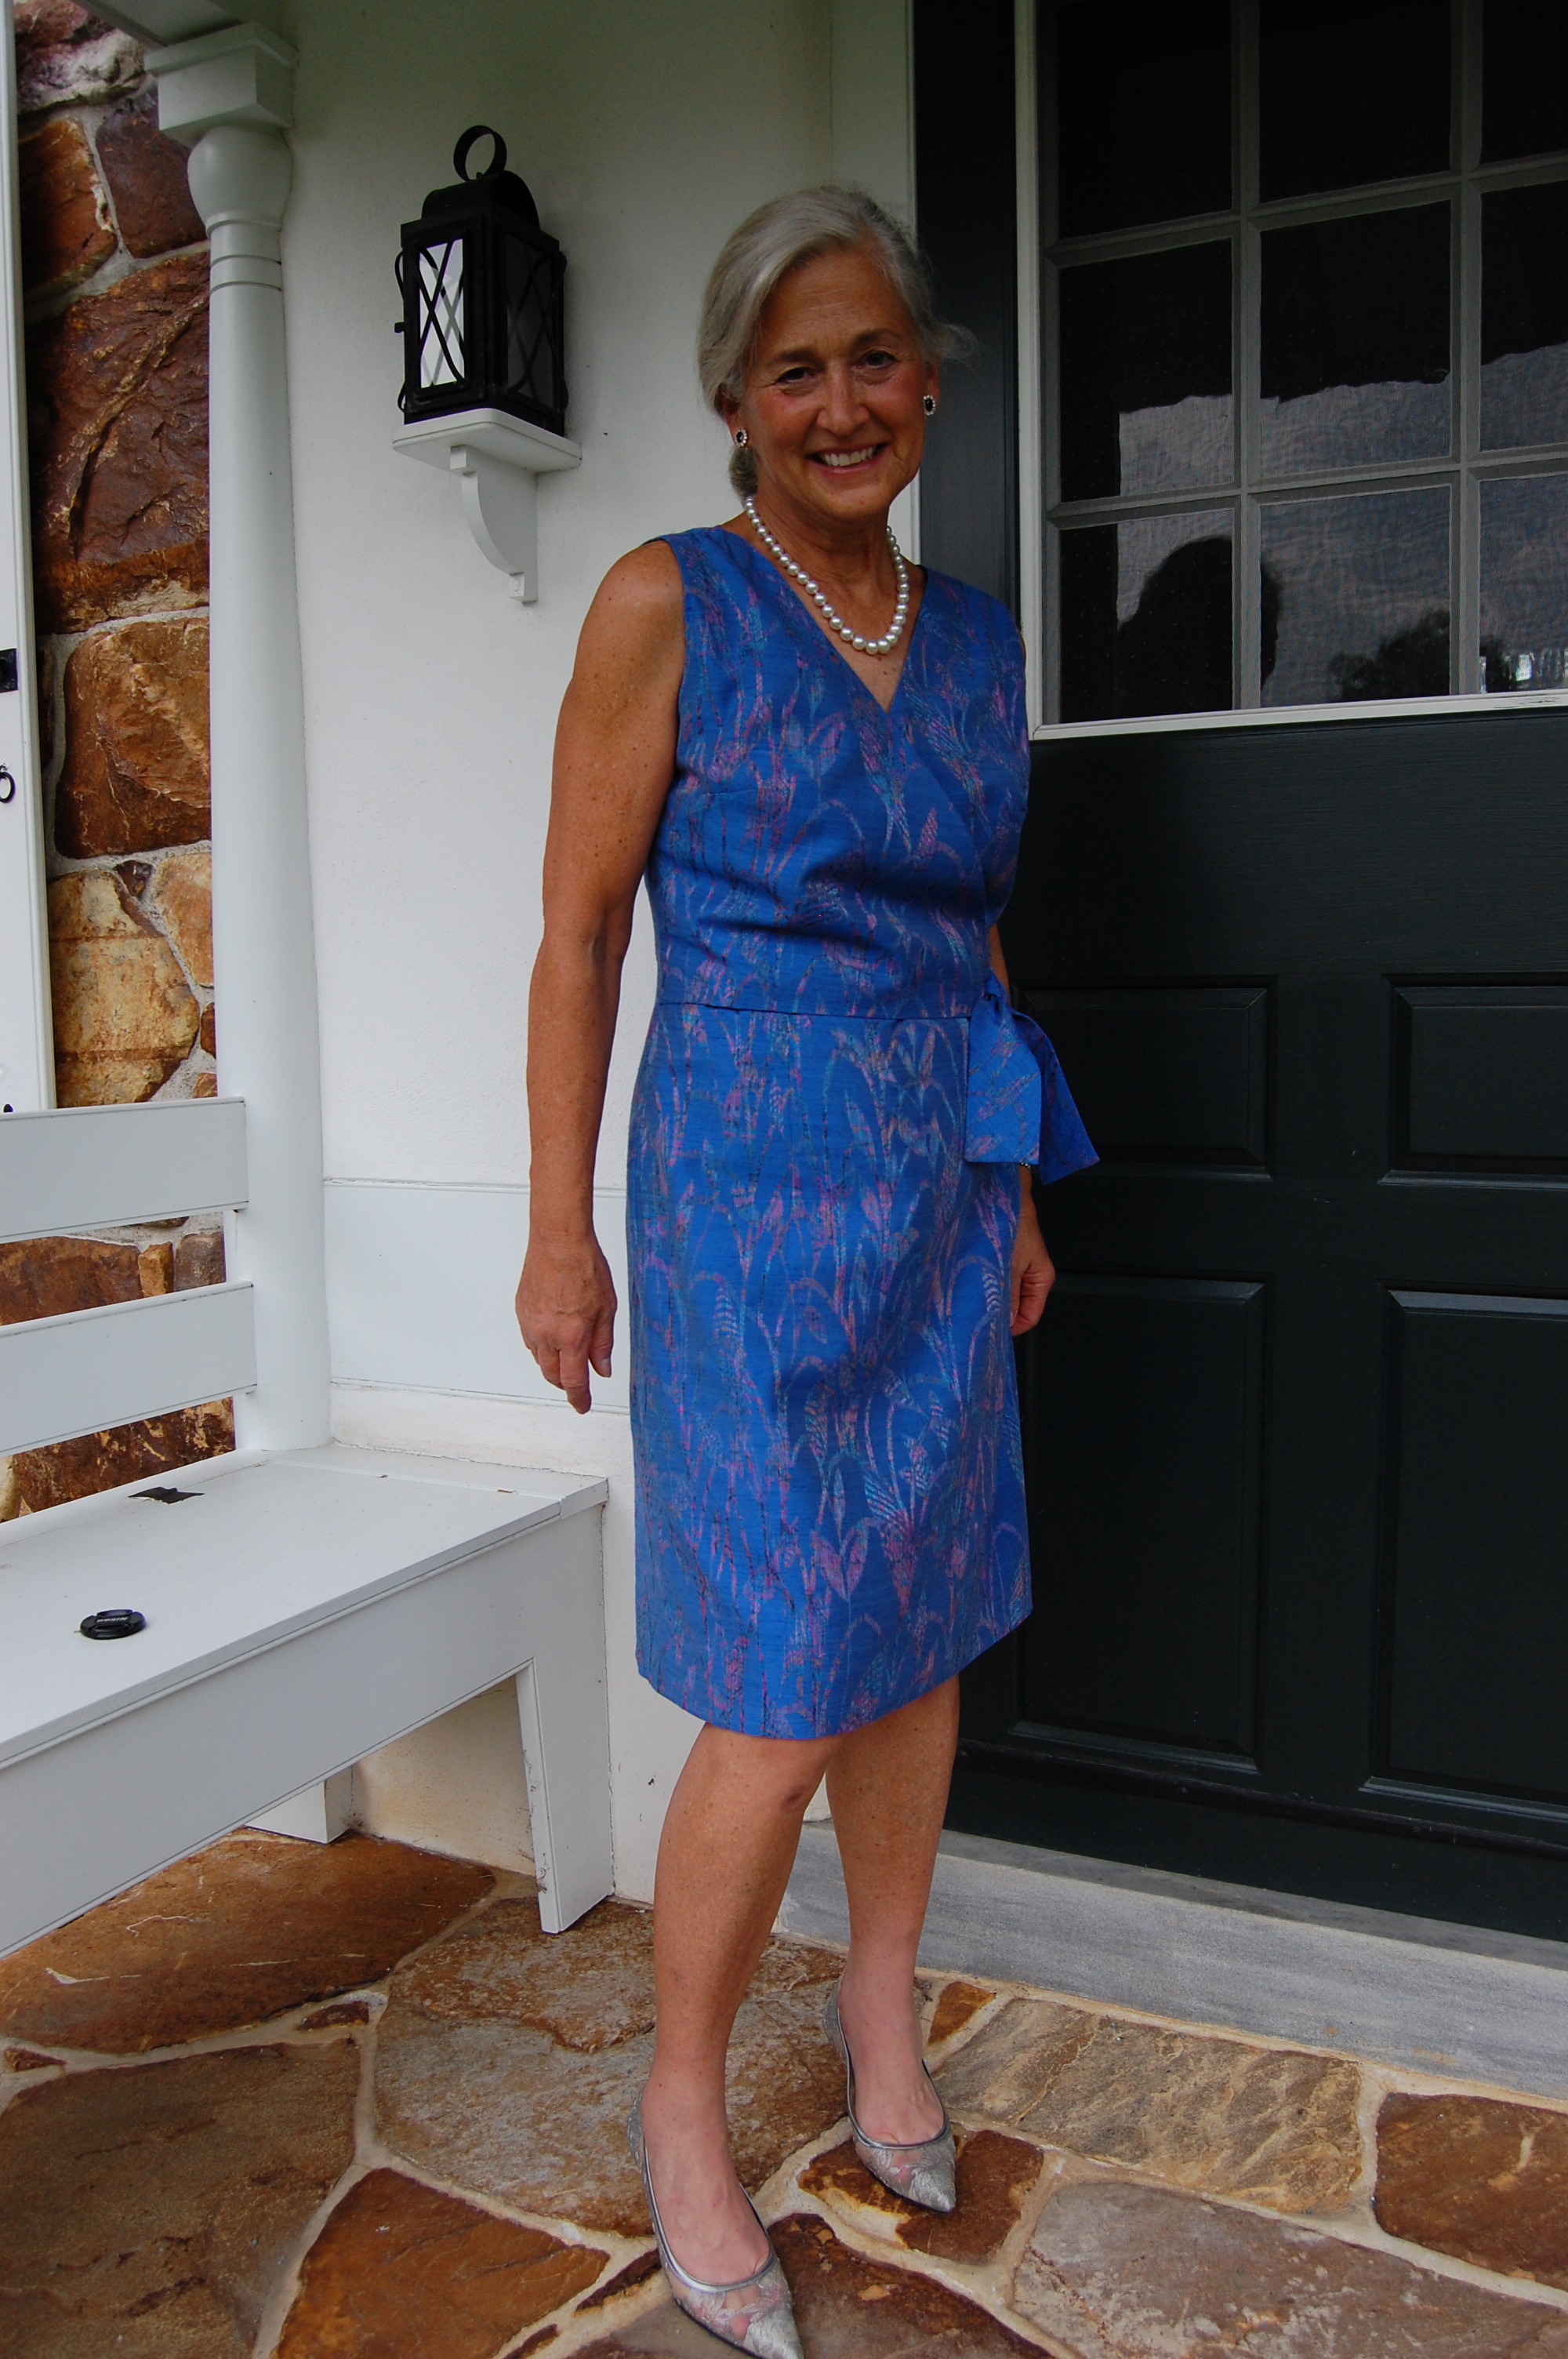
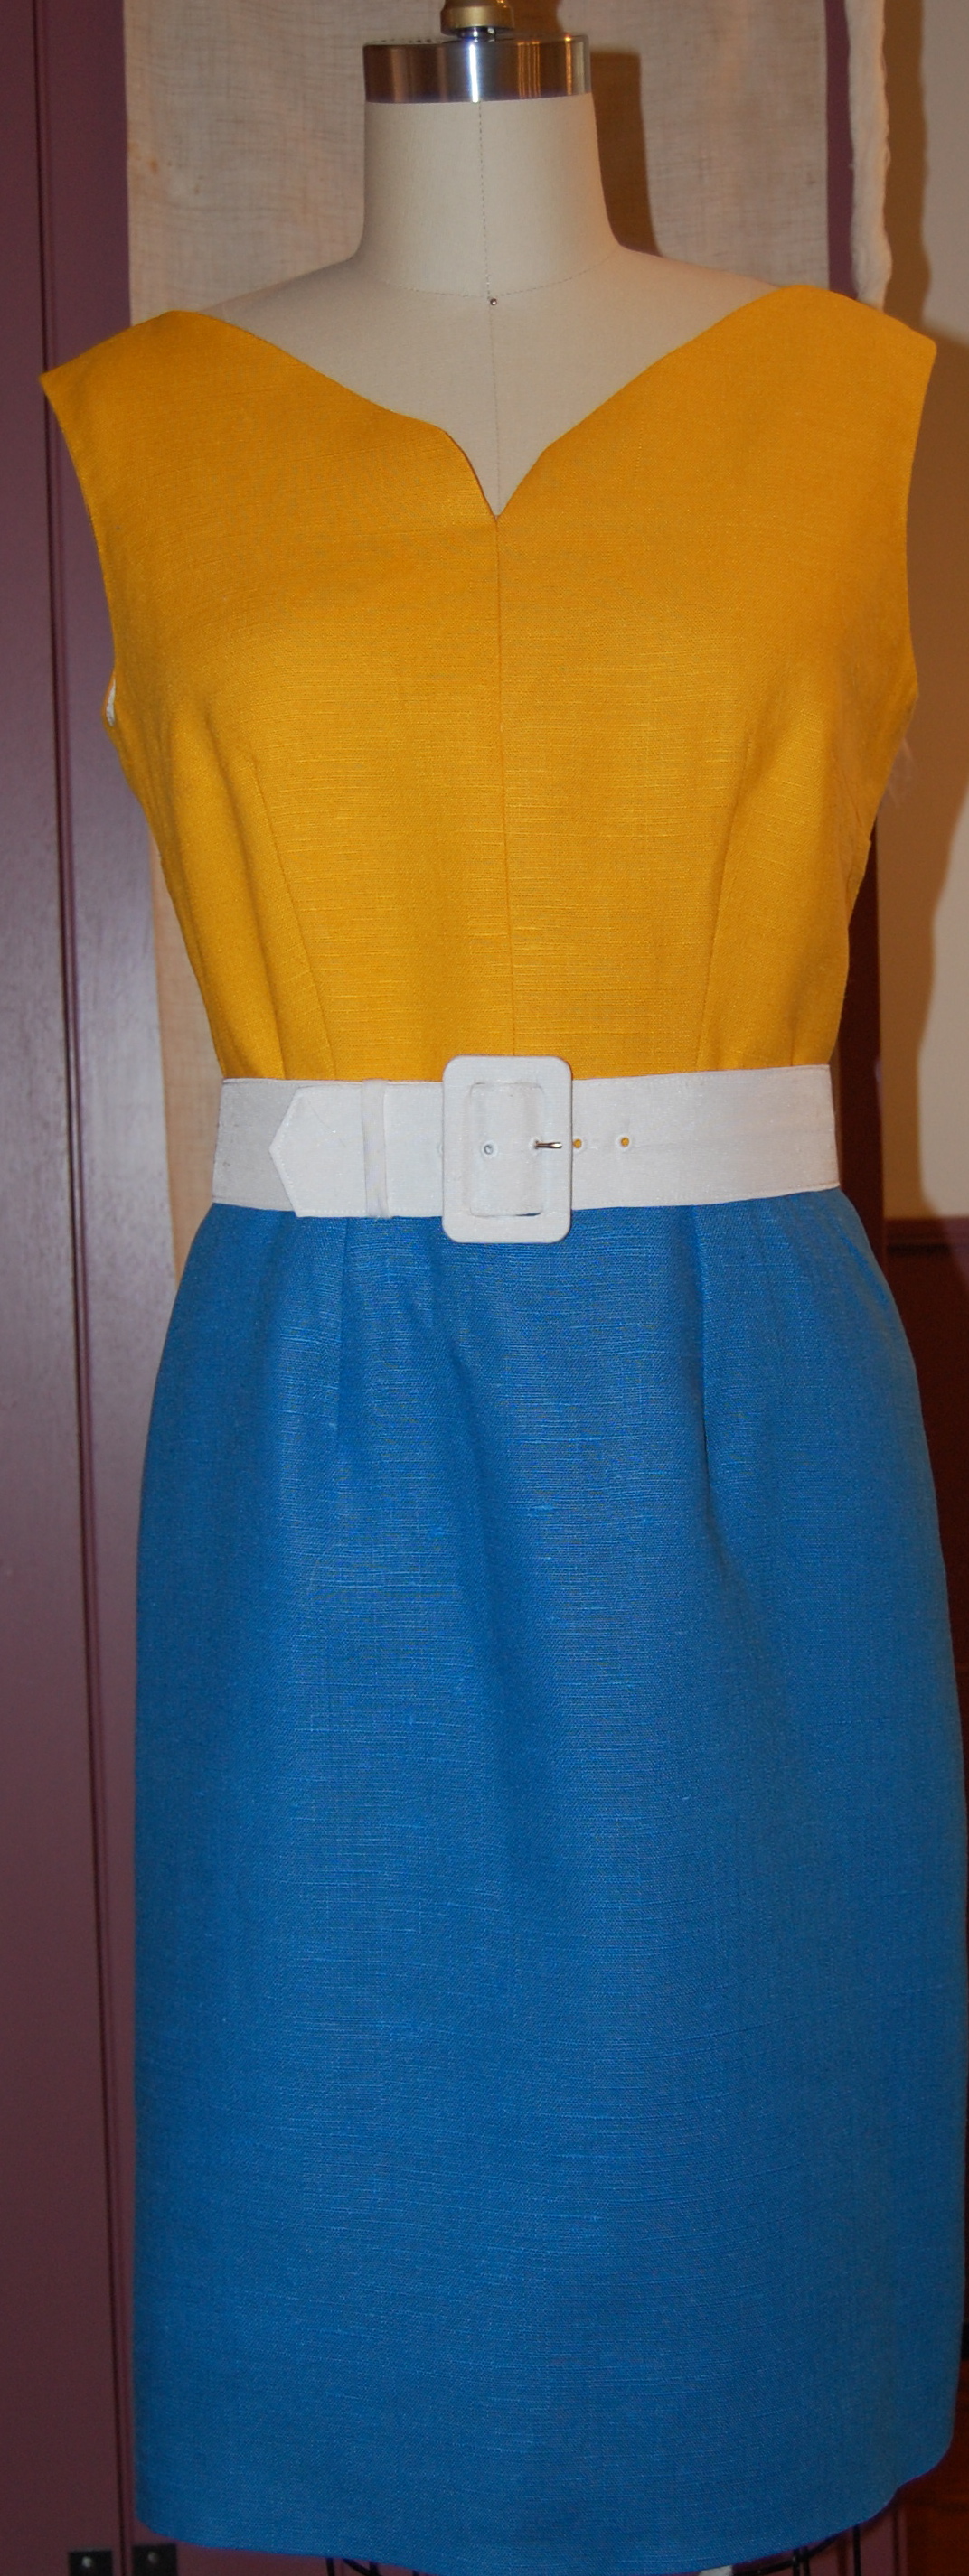
And that’s how my dress turned into a jumper. Talk about frumpy! But seriously, how frumpy can a fringed-hem jumper be? I don’t think it will be, but I guess we’ll see for certain after the “ensemble” is complete. In the meantime, I’ll share the details of the finished jumper/dress .

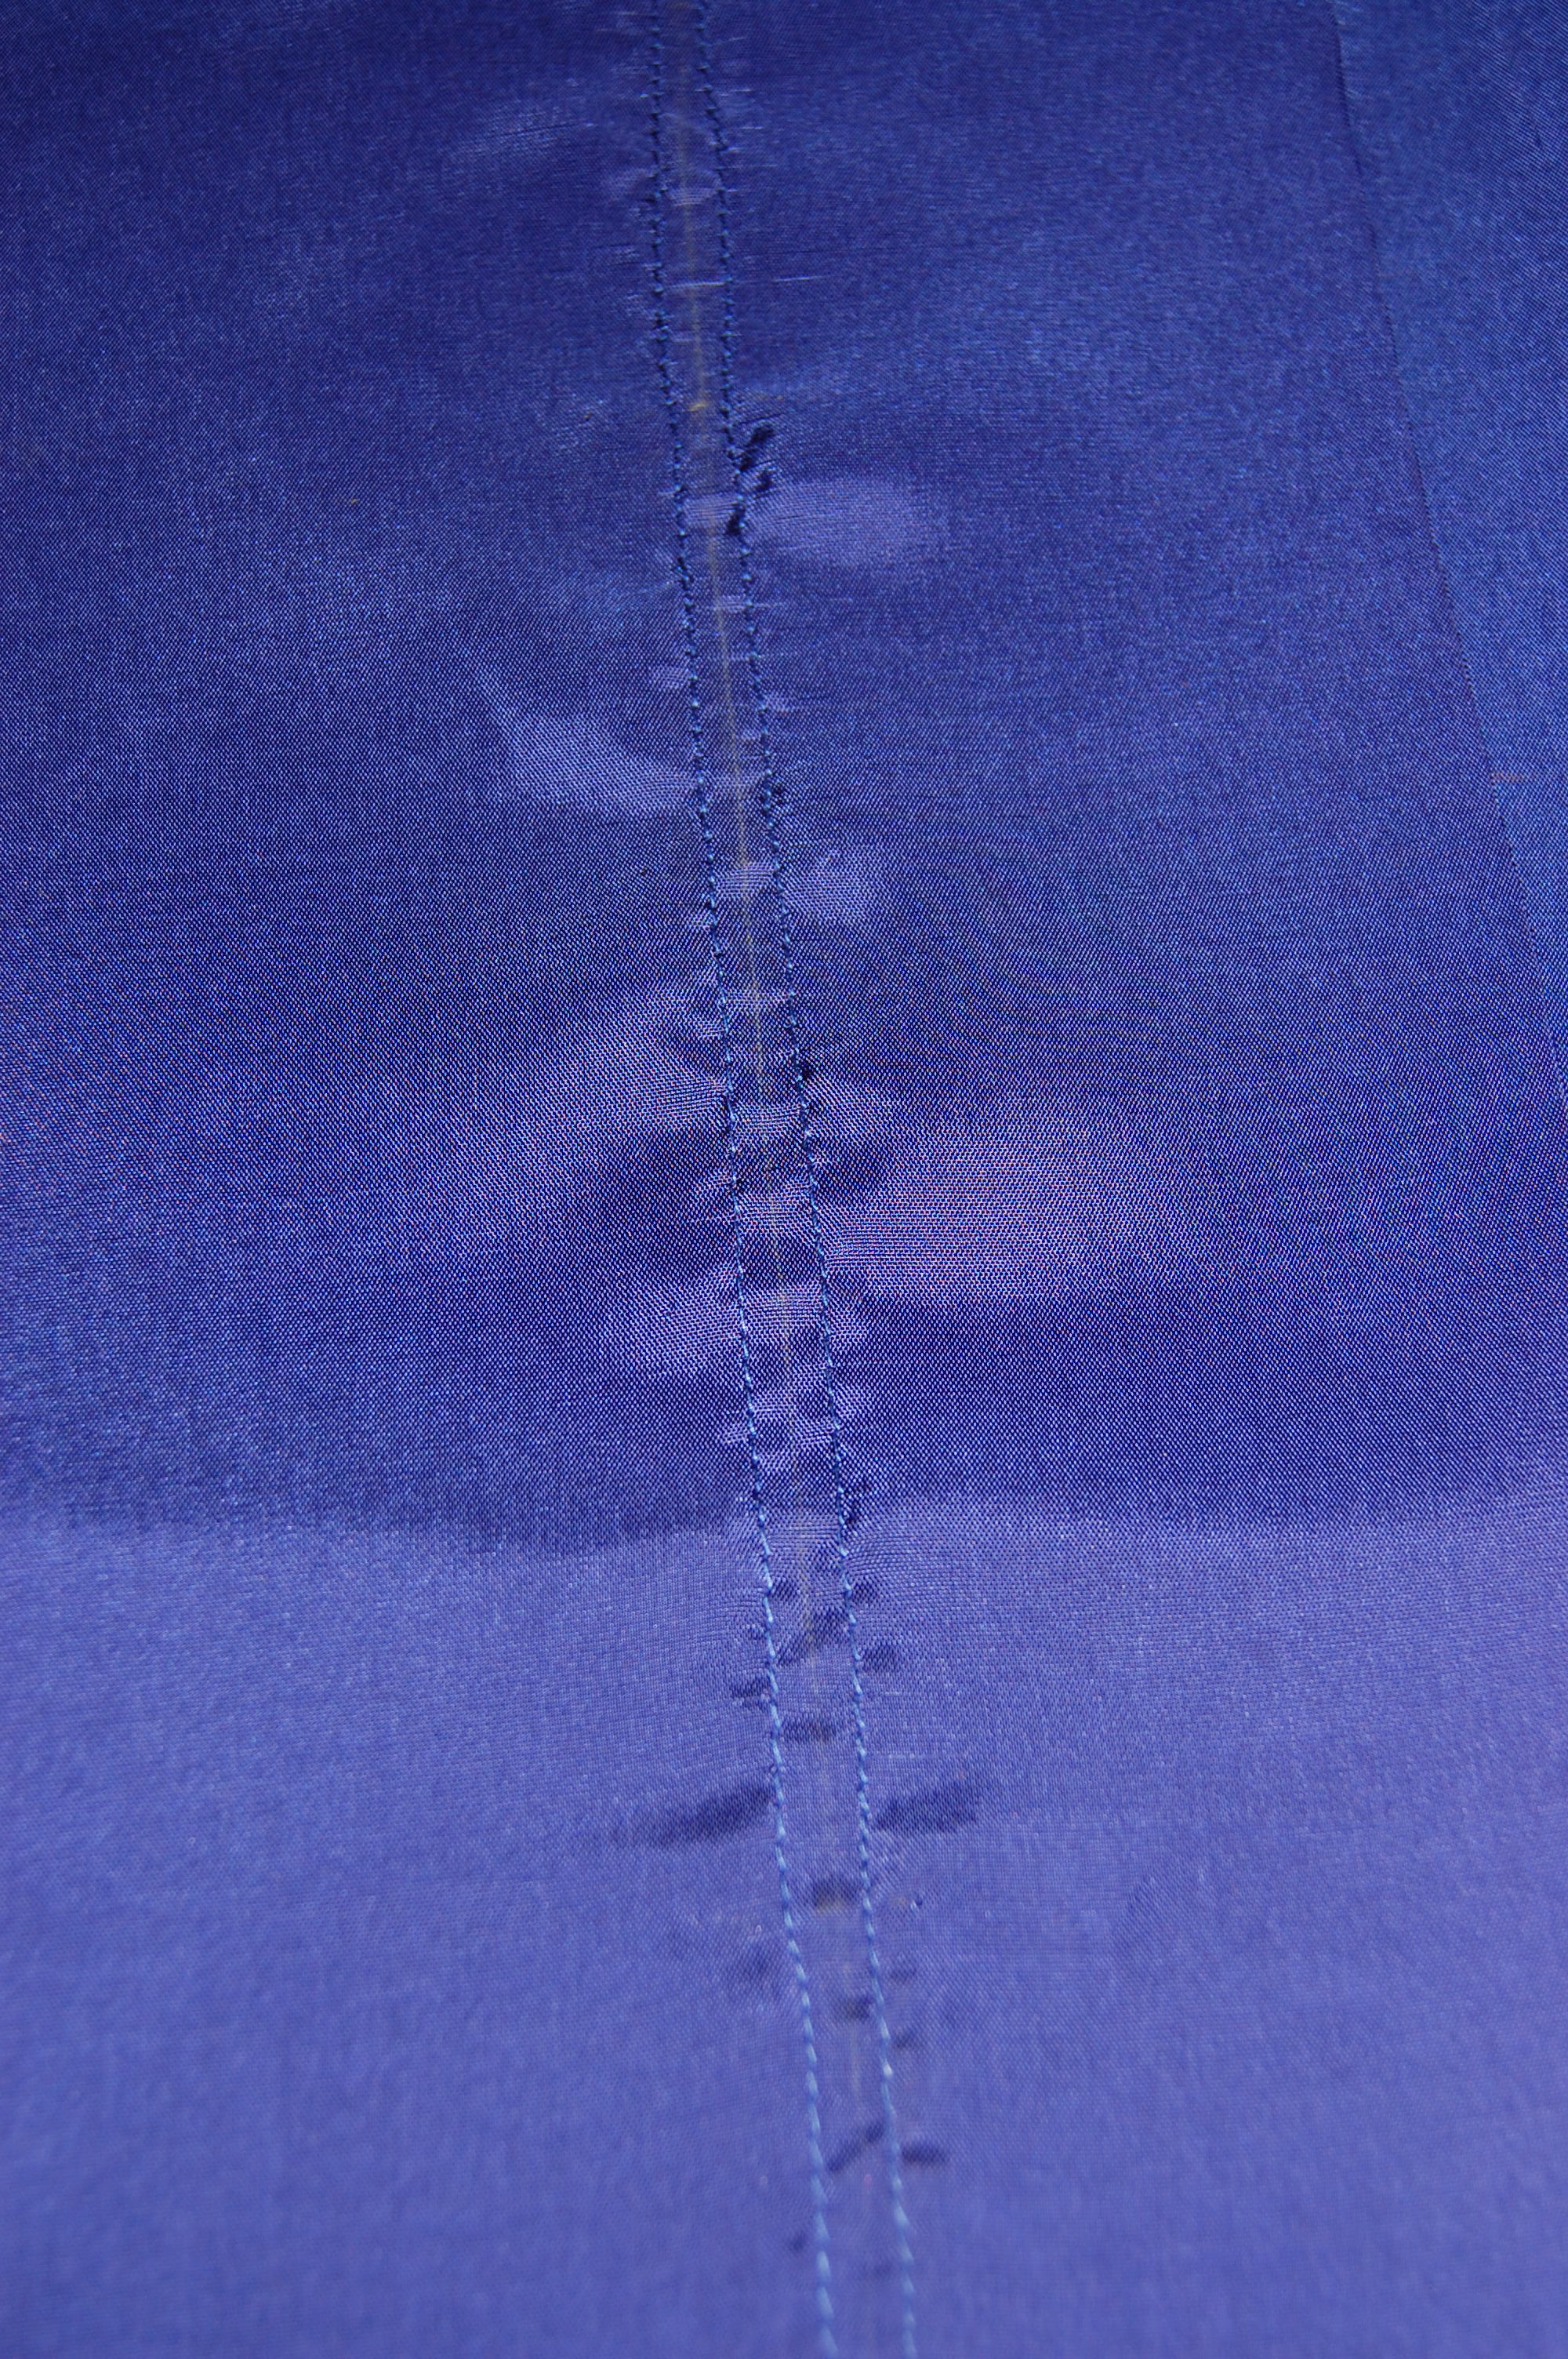
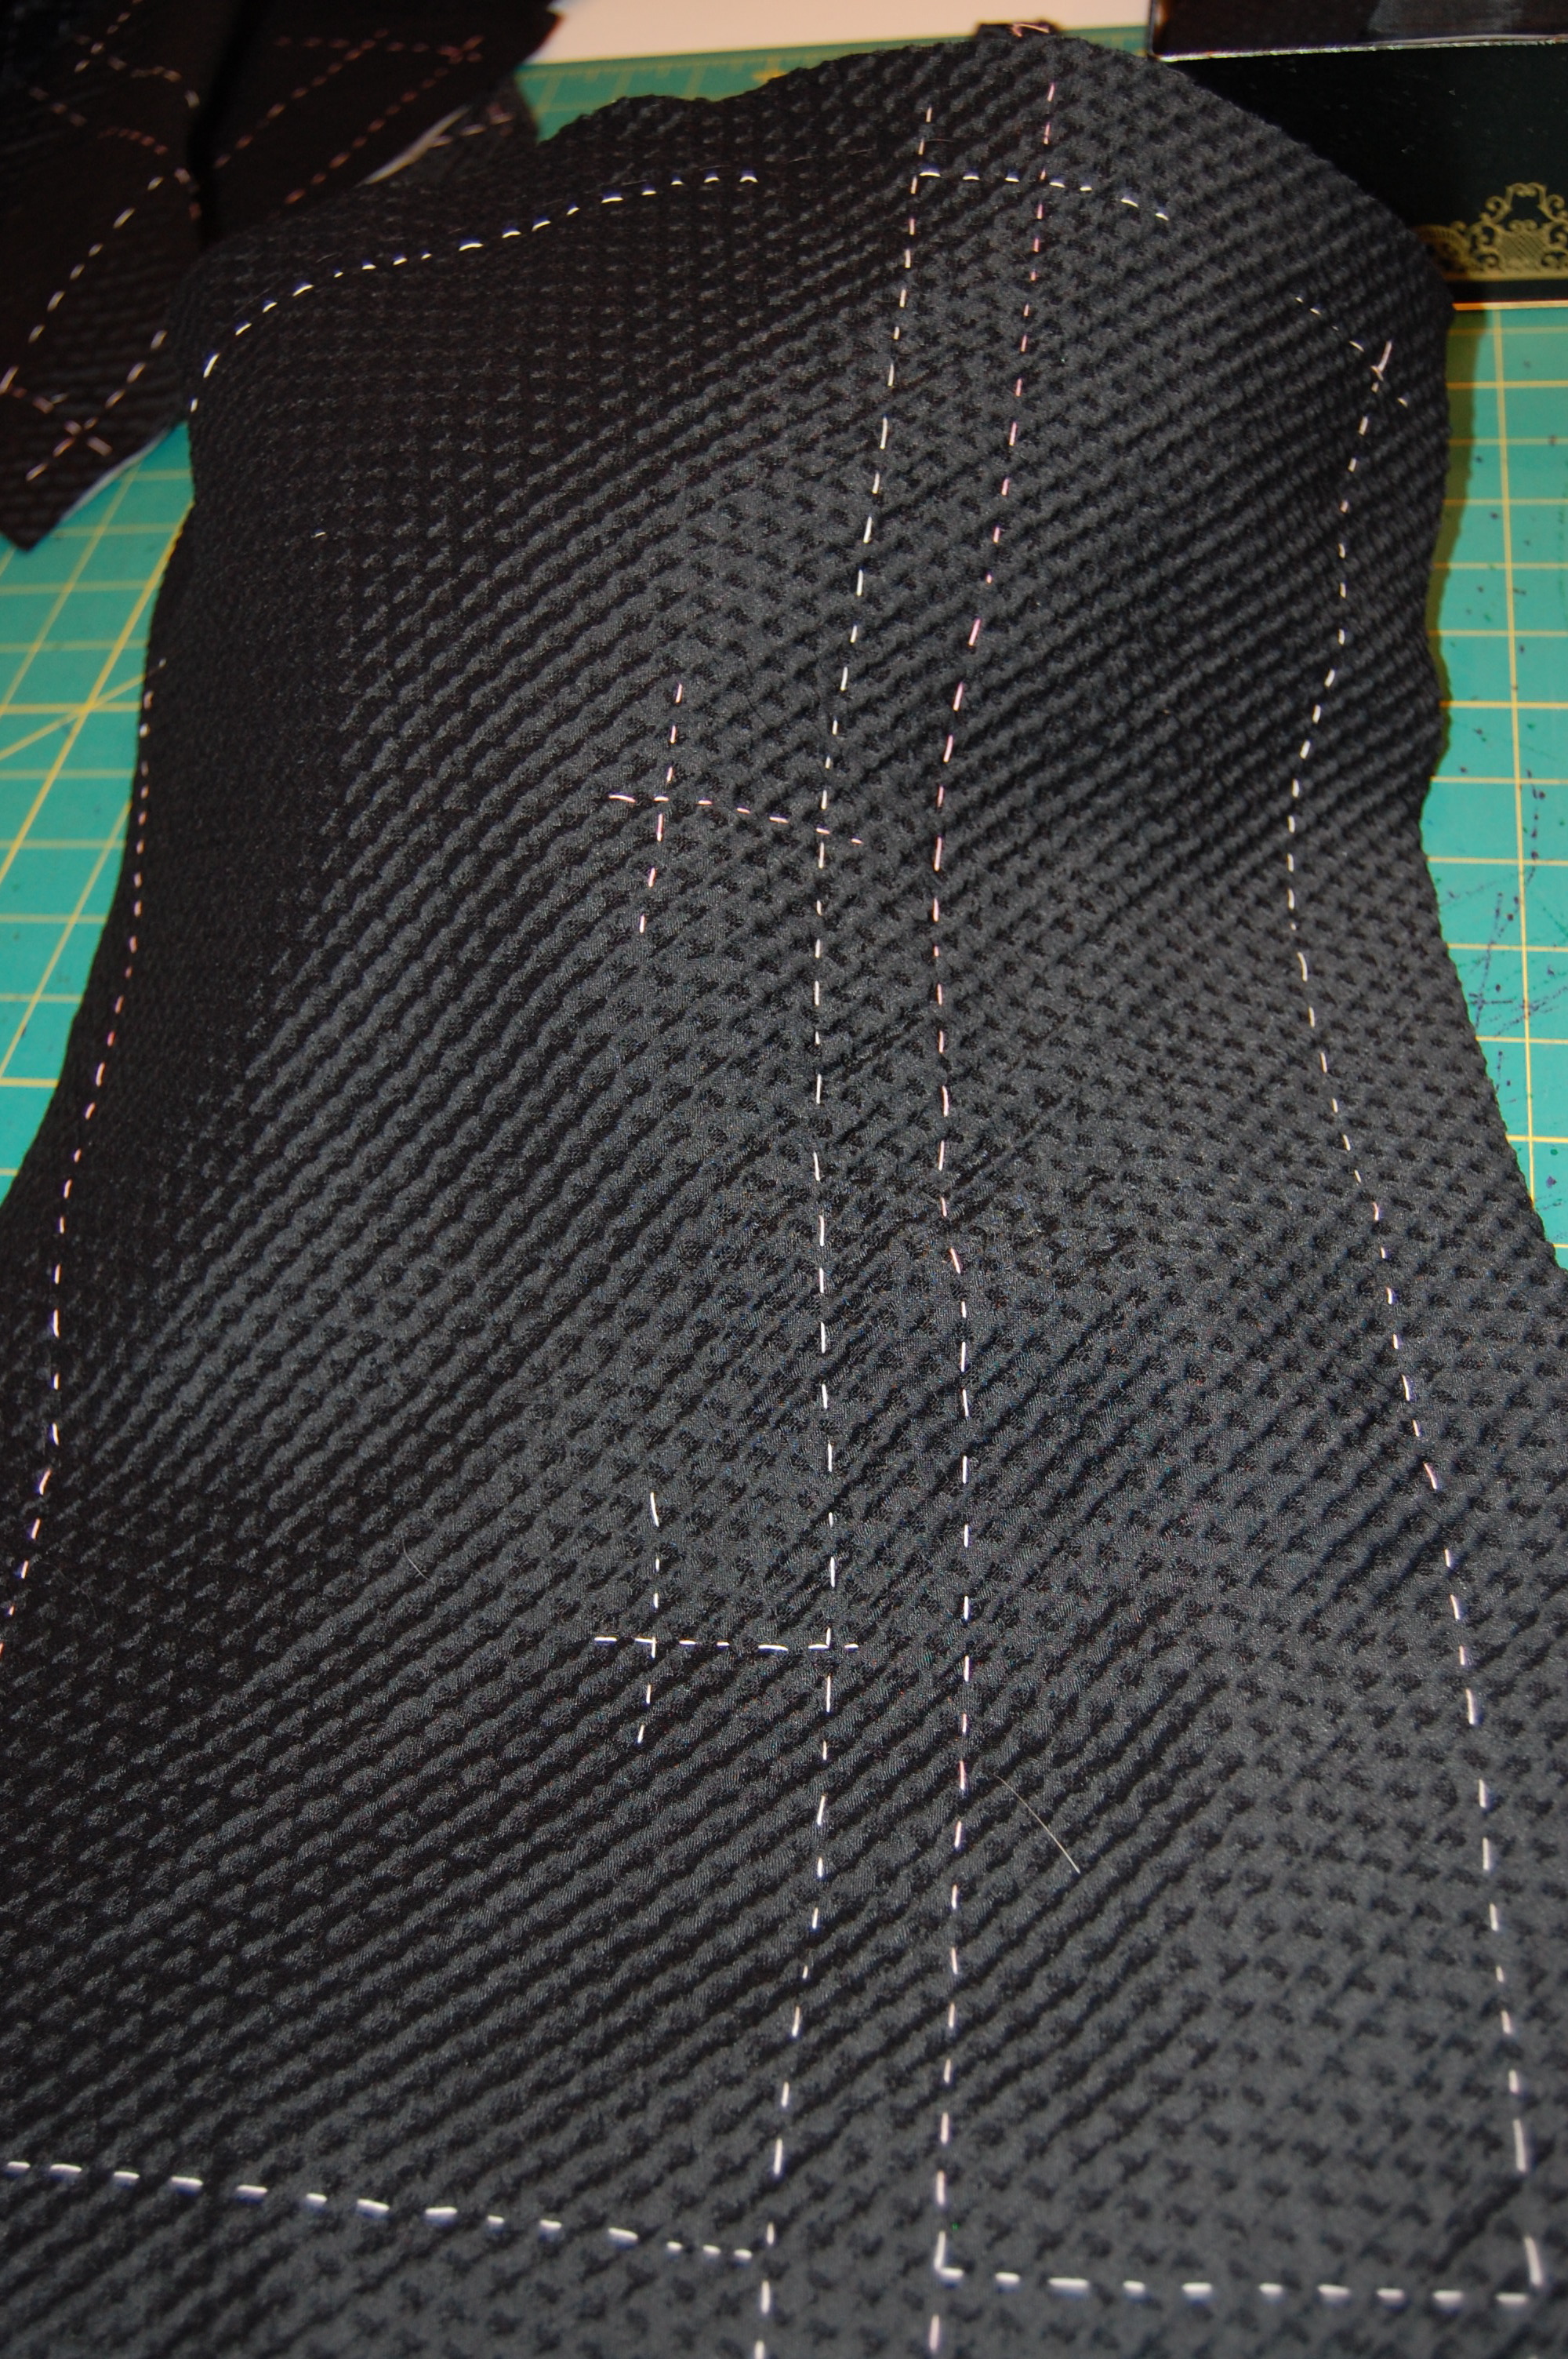
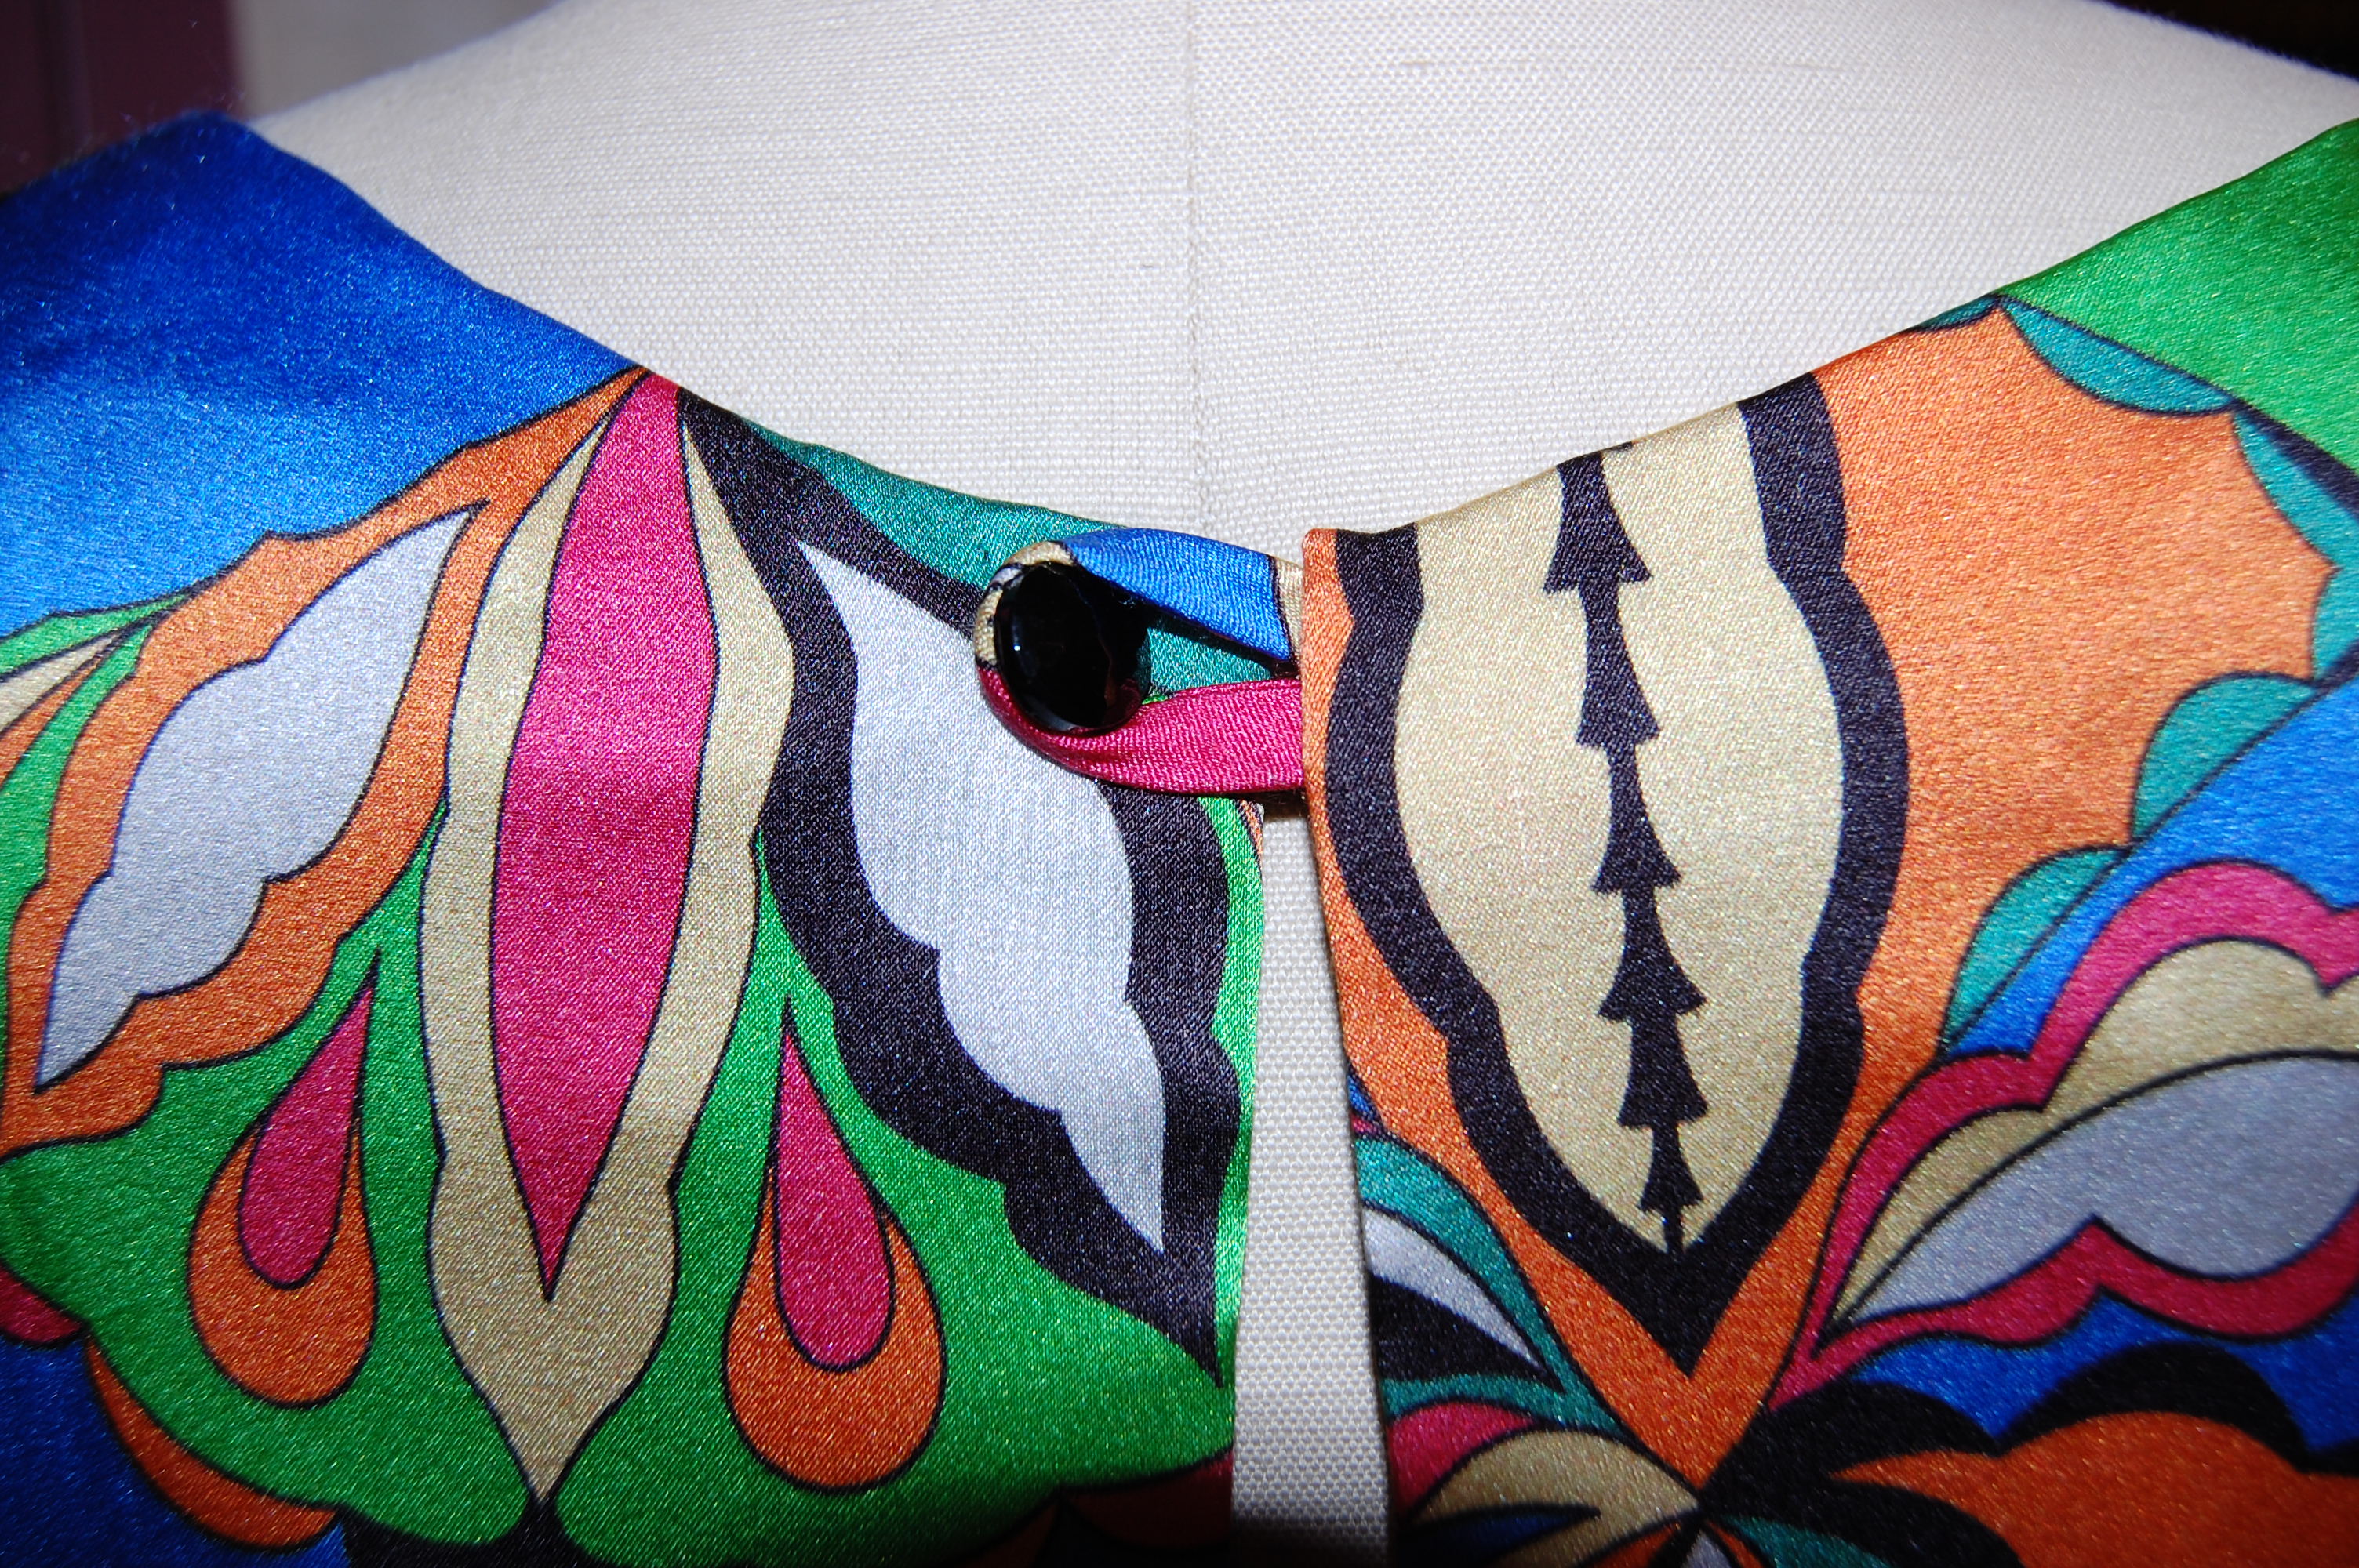
1) I used brown thread to sew the fashion fabric, and it blended in beautifully.
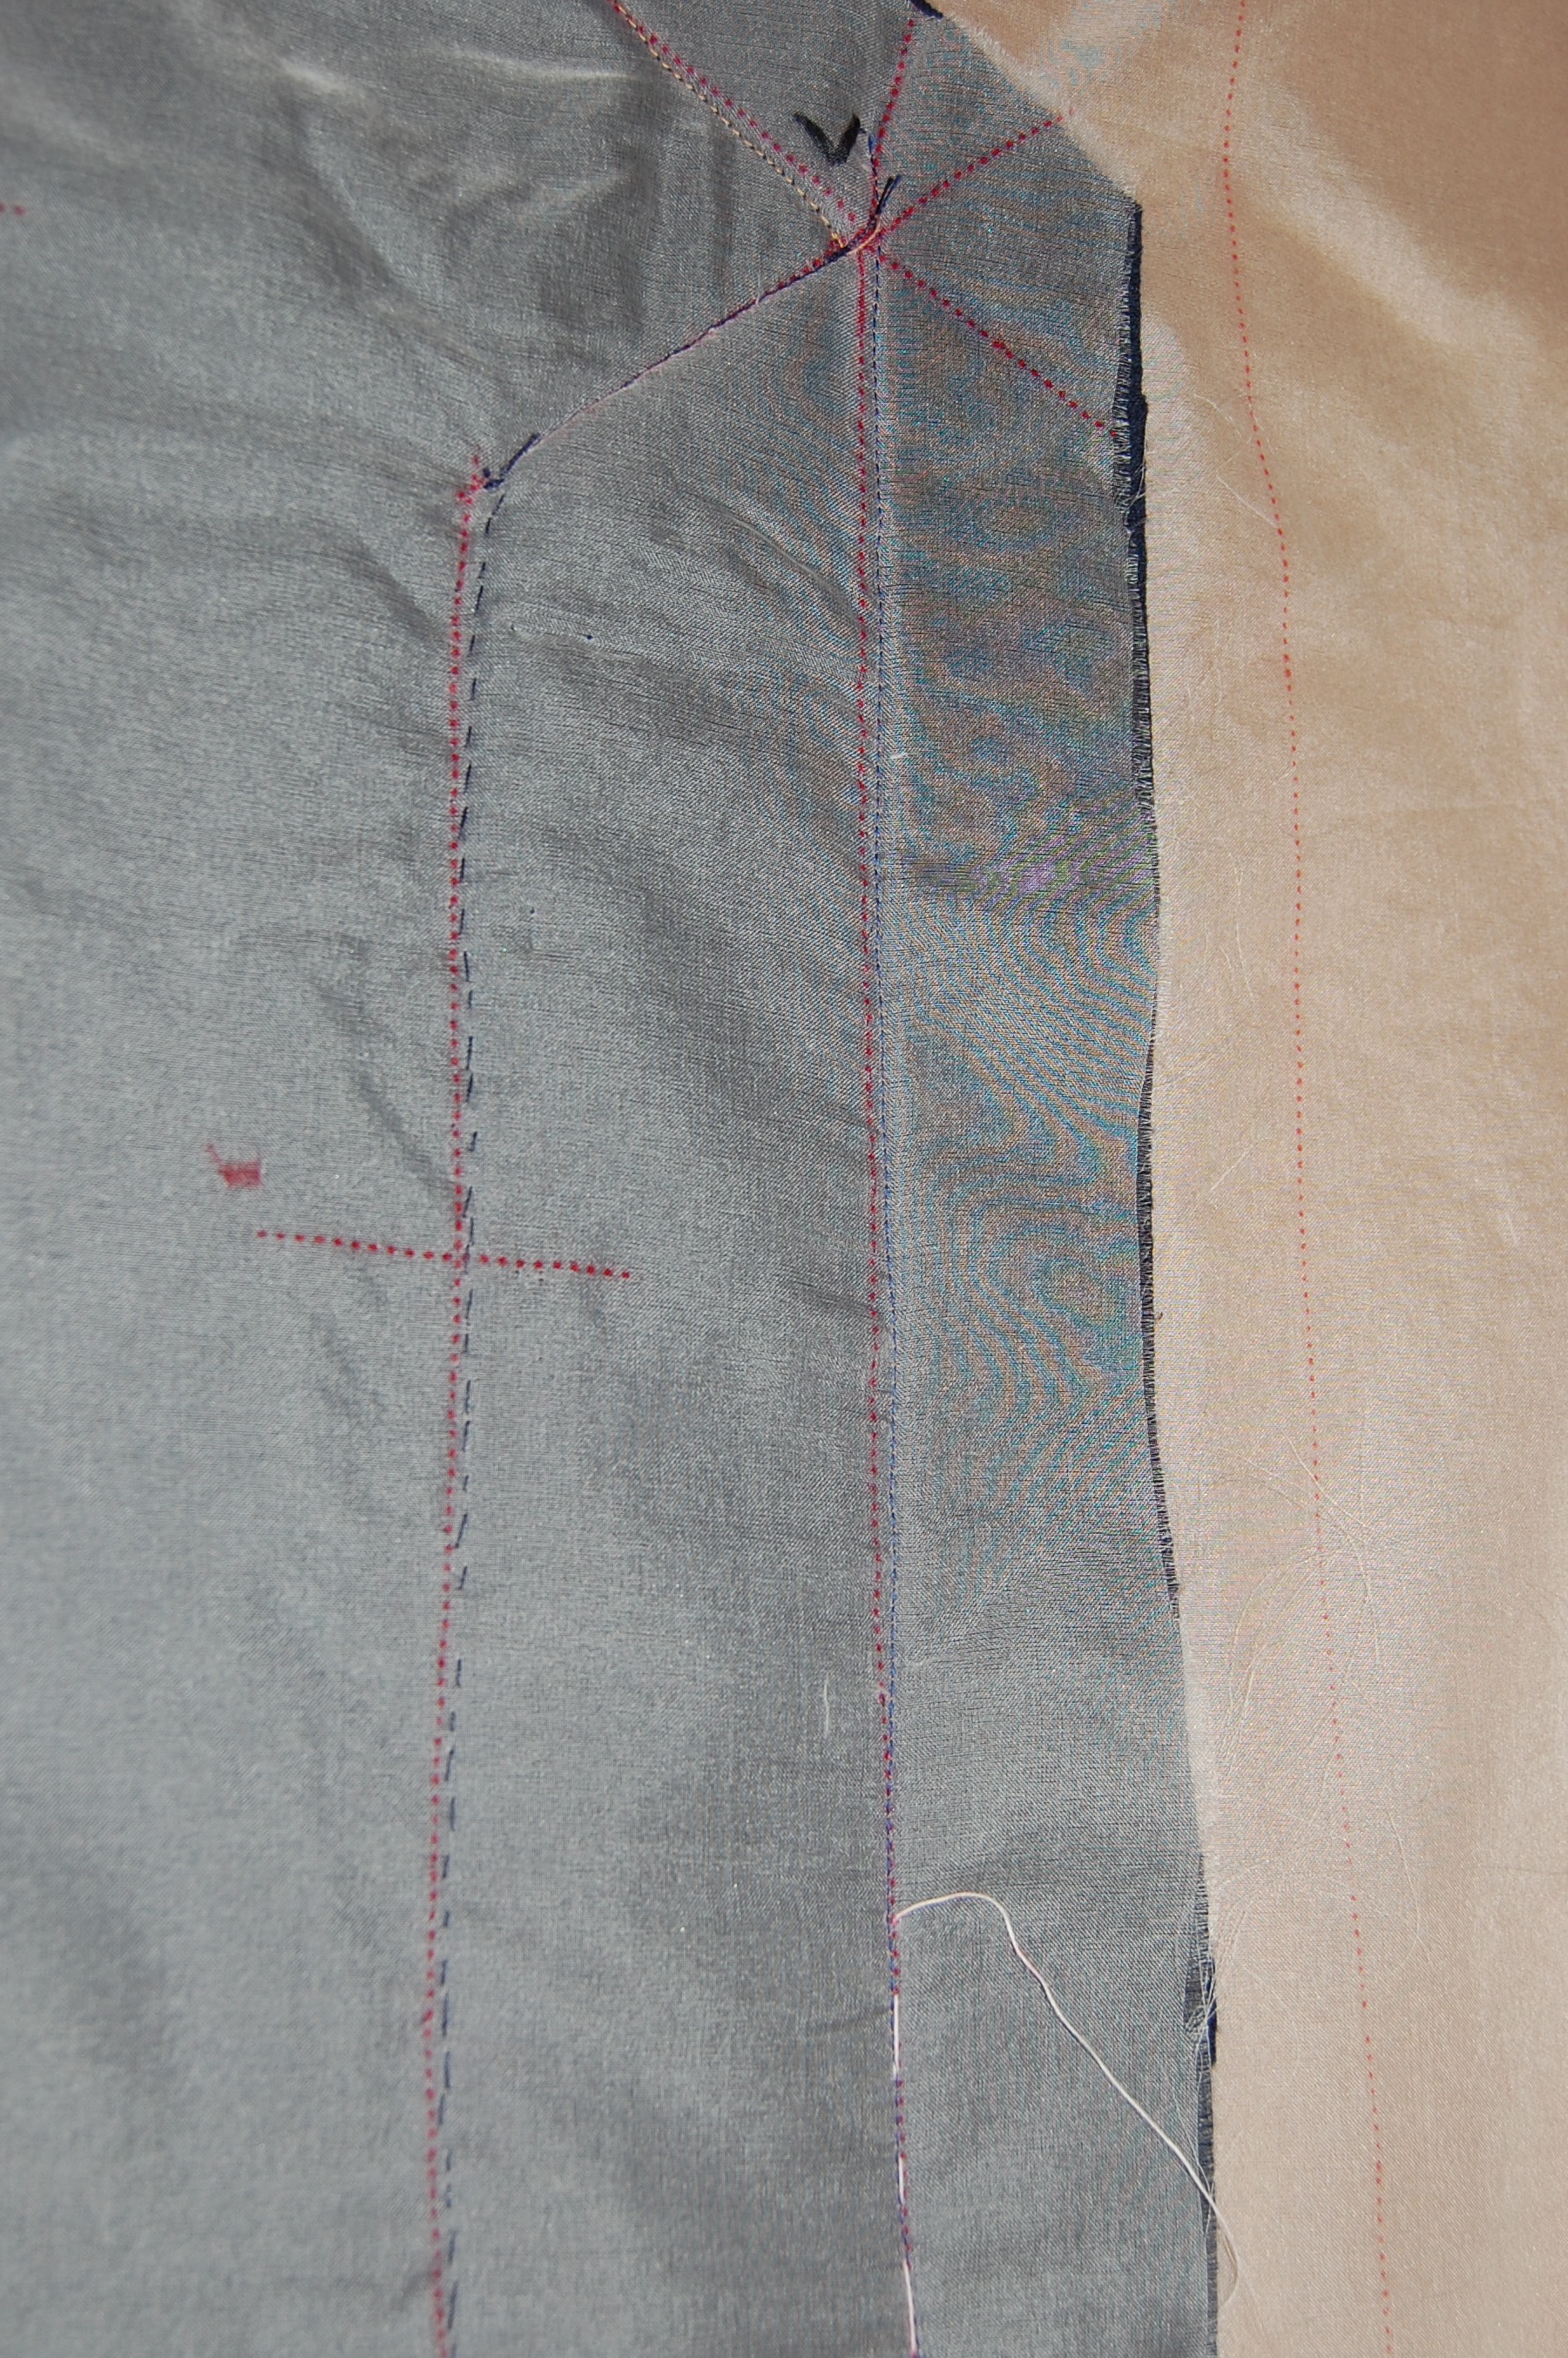
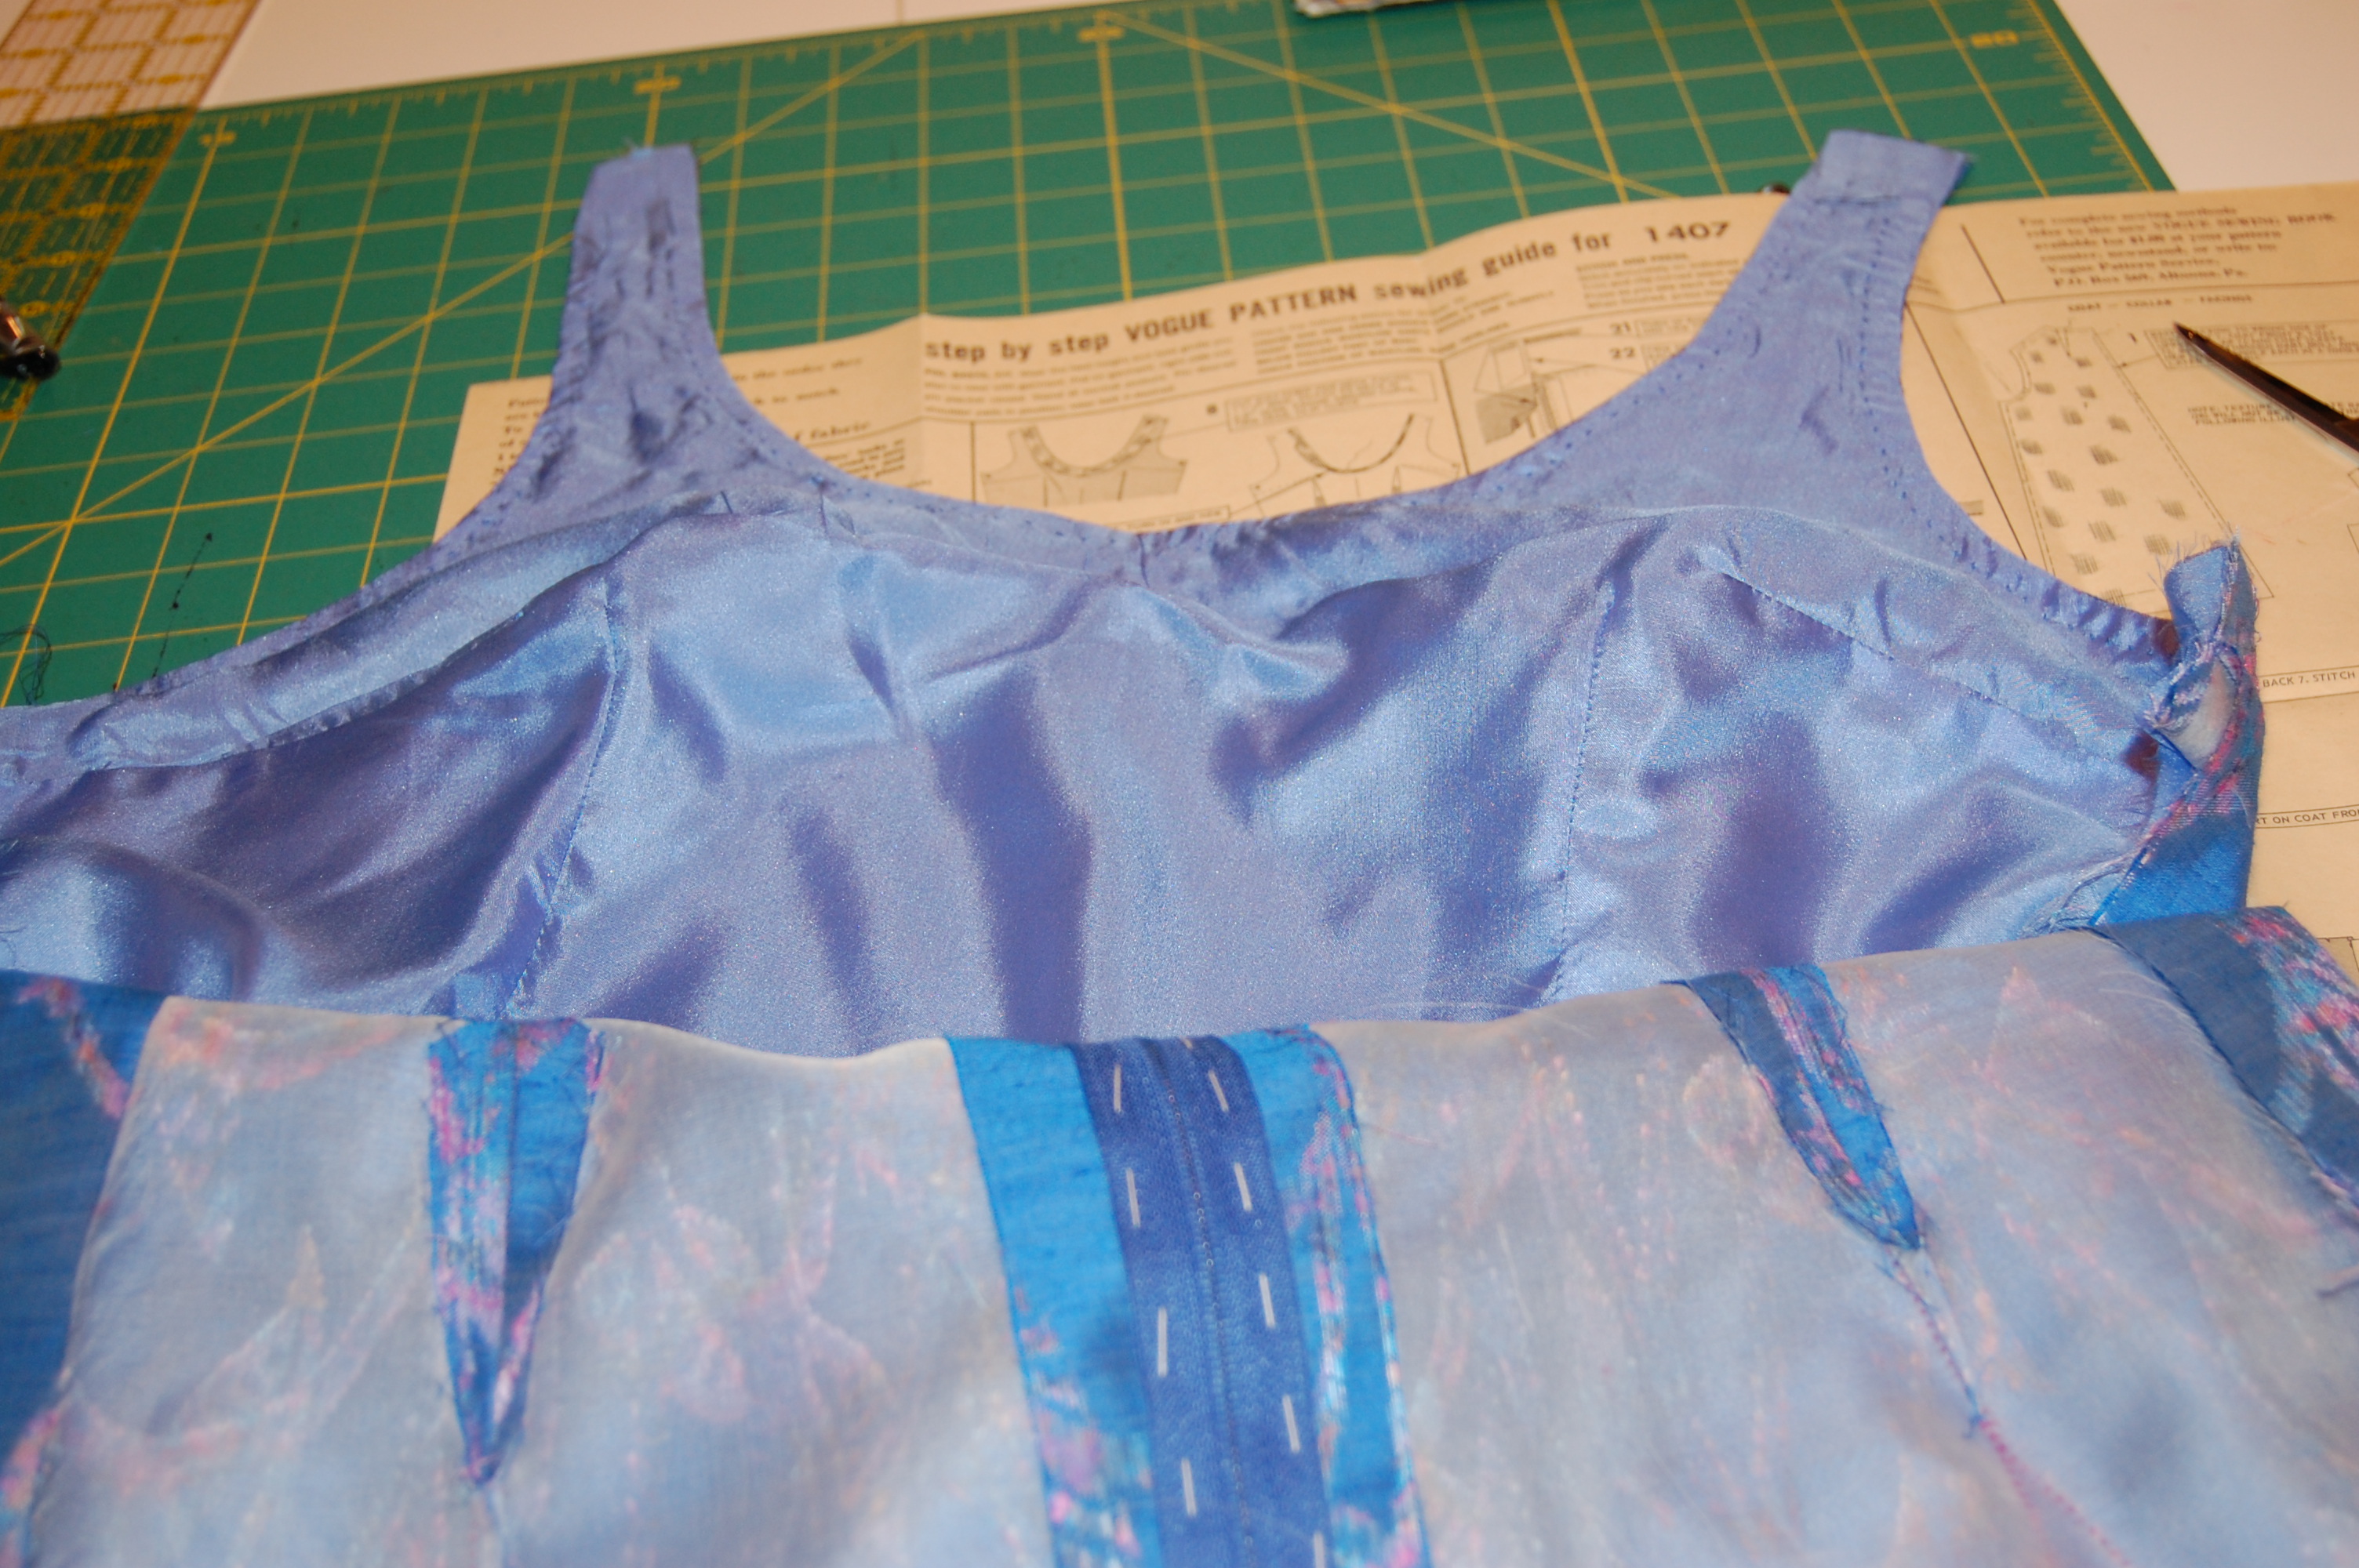
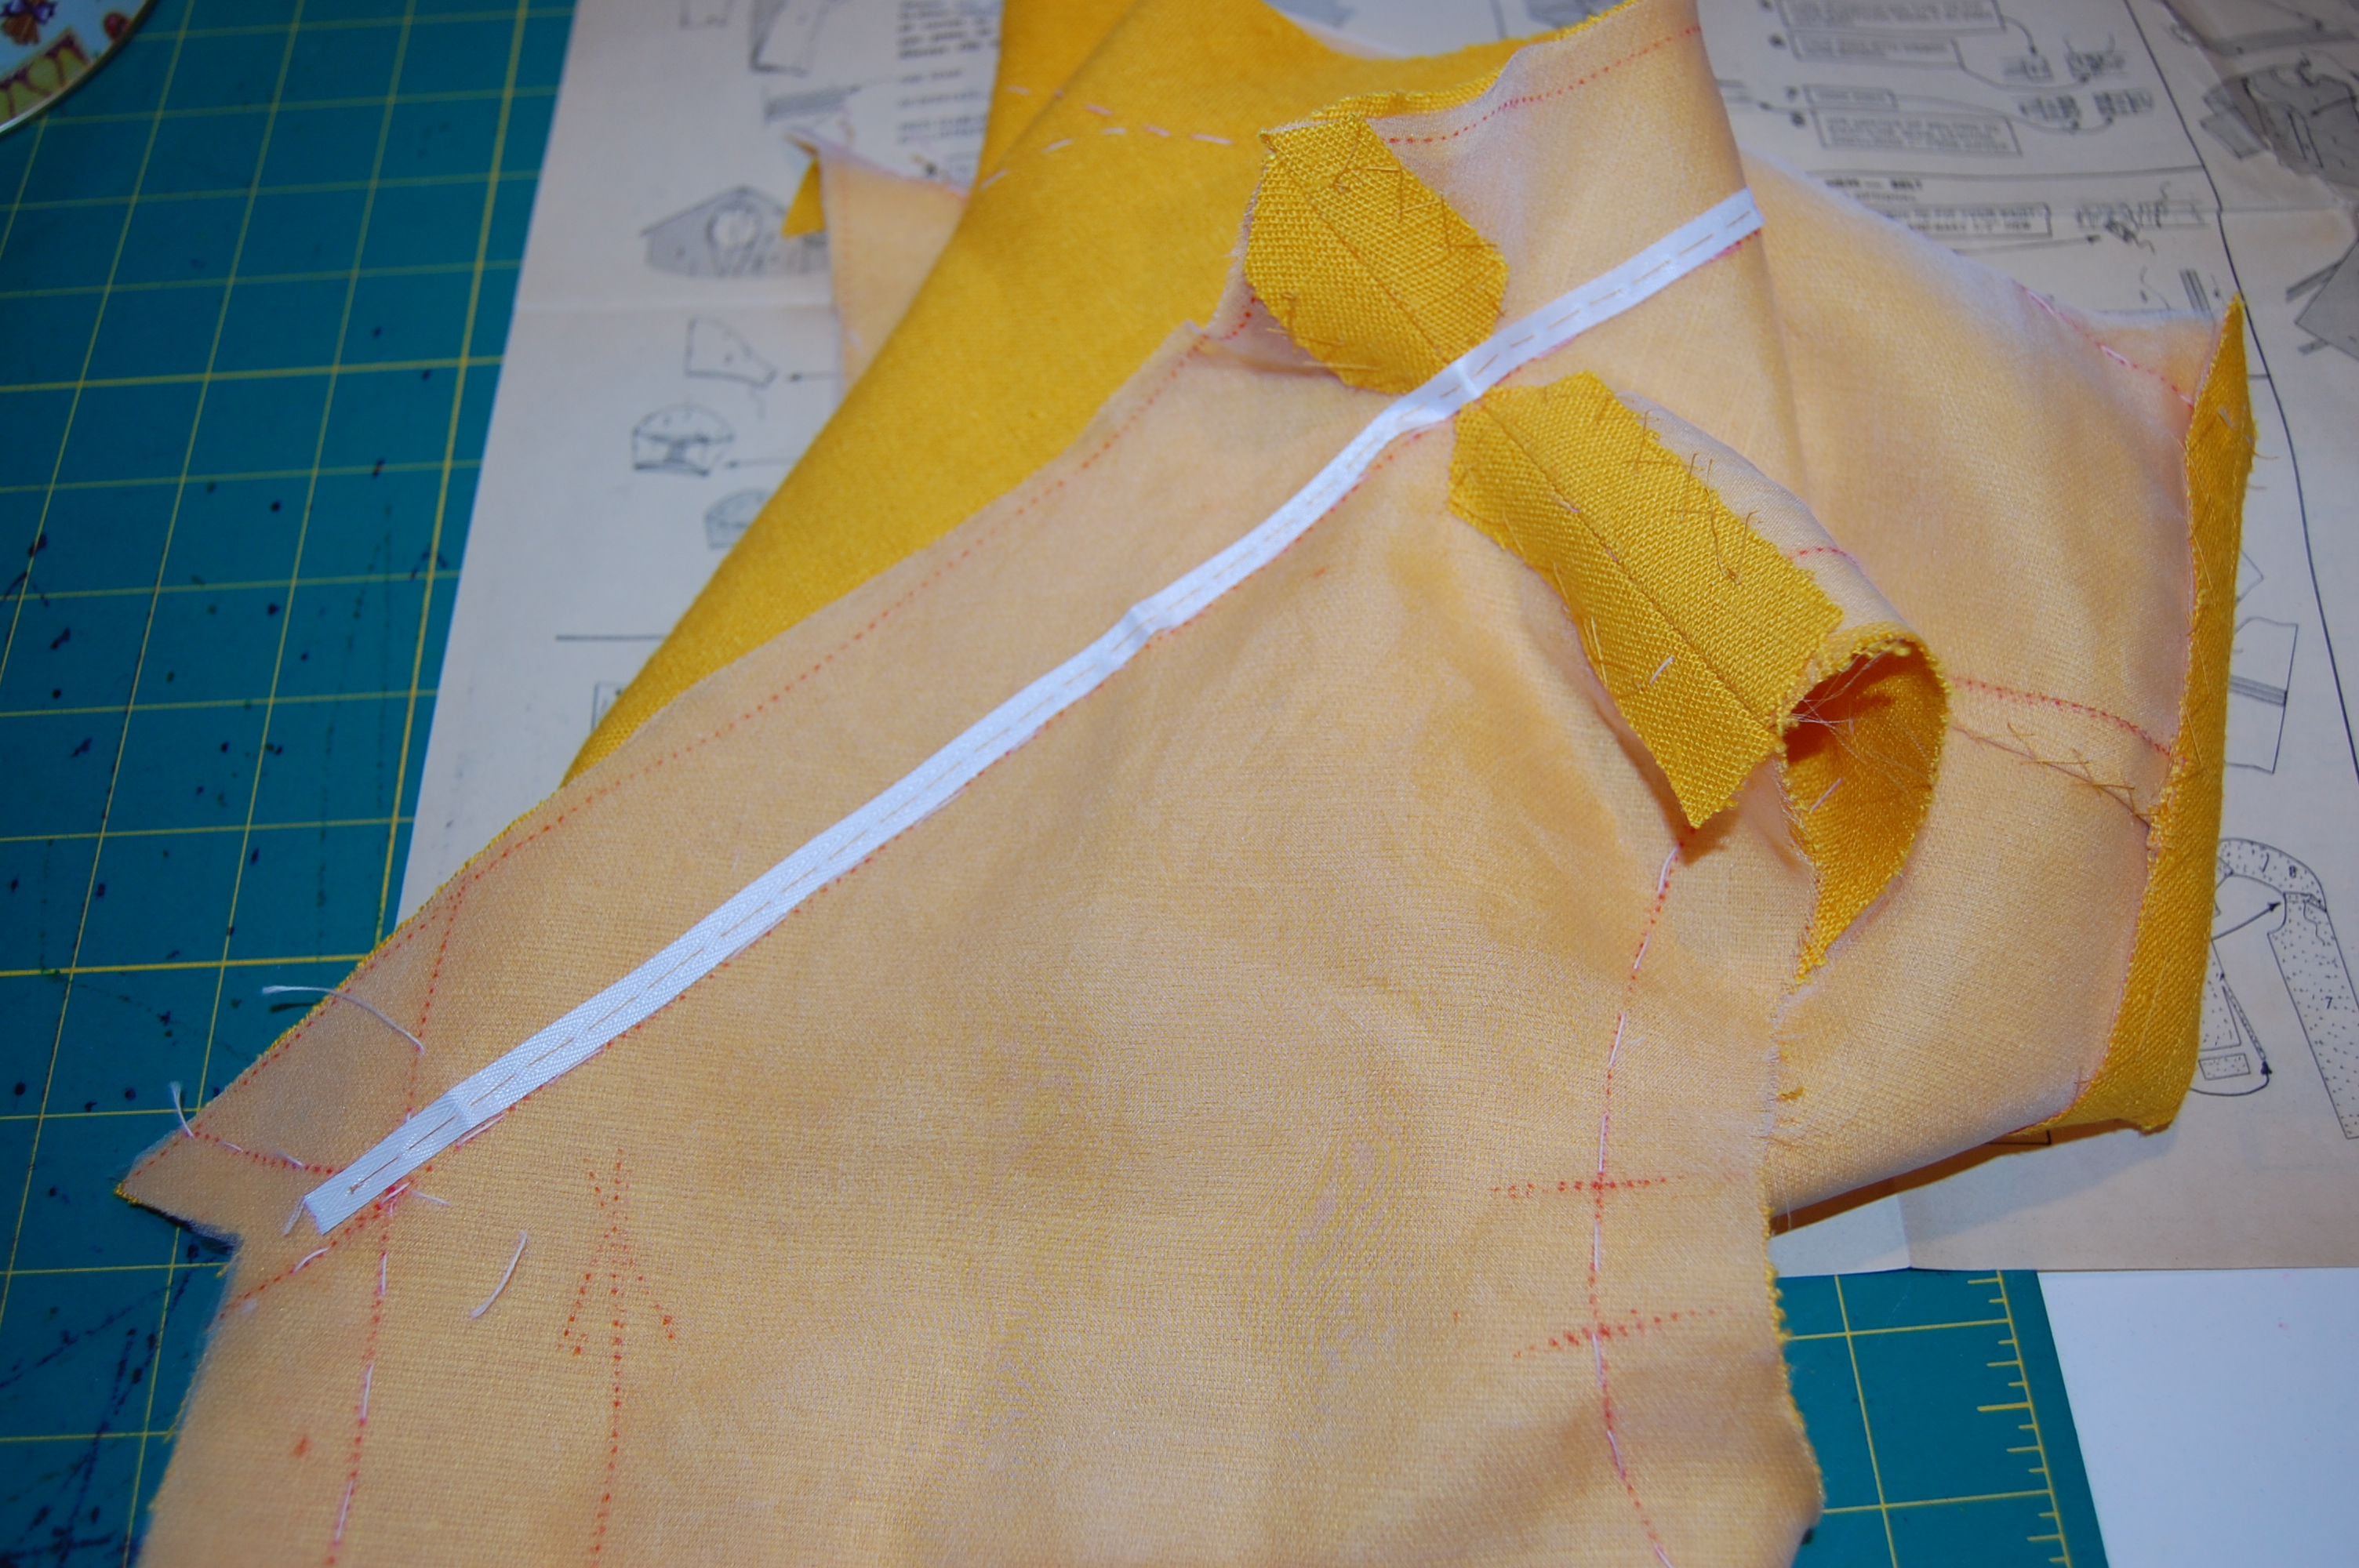
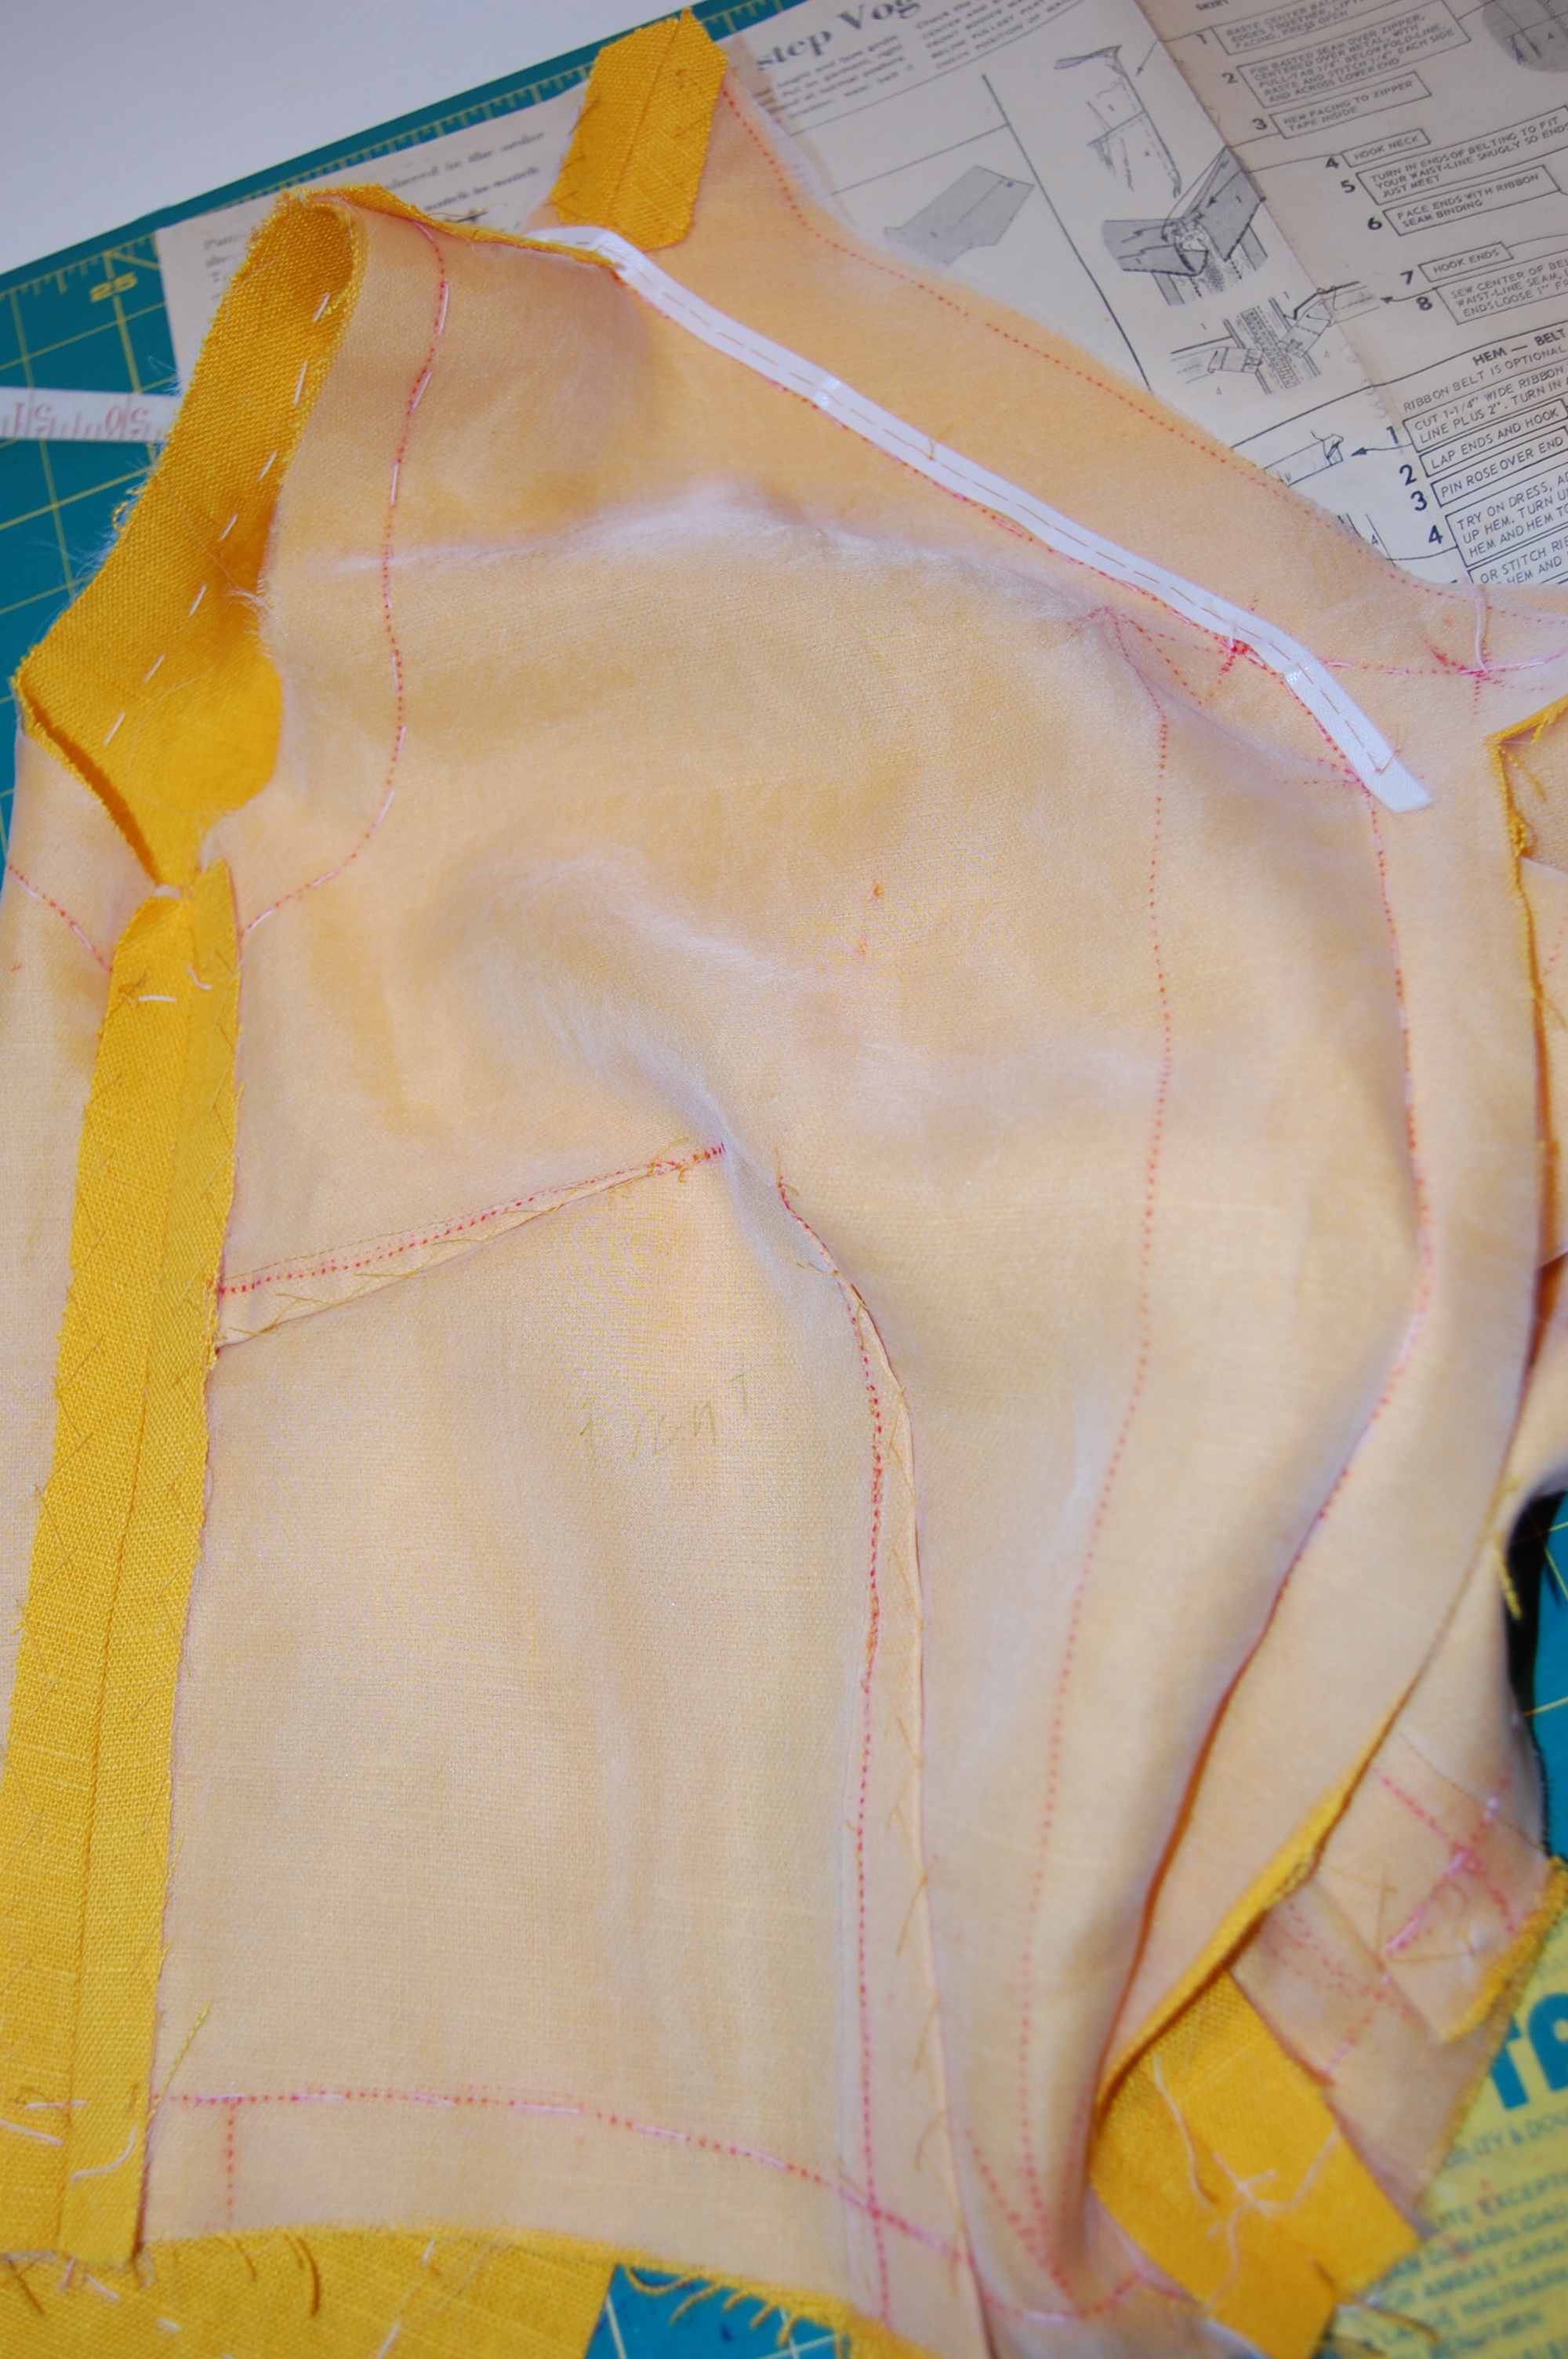
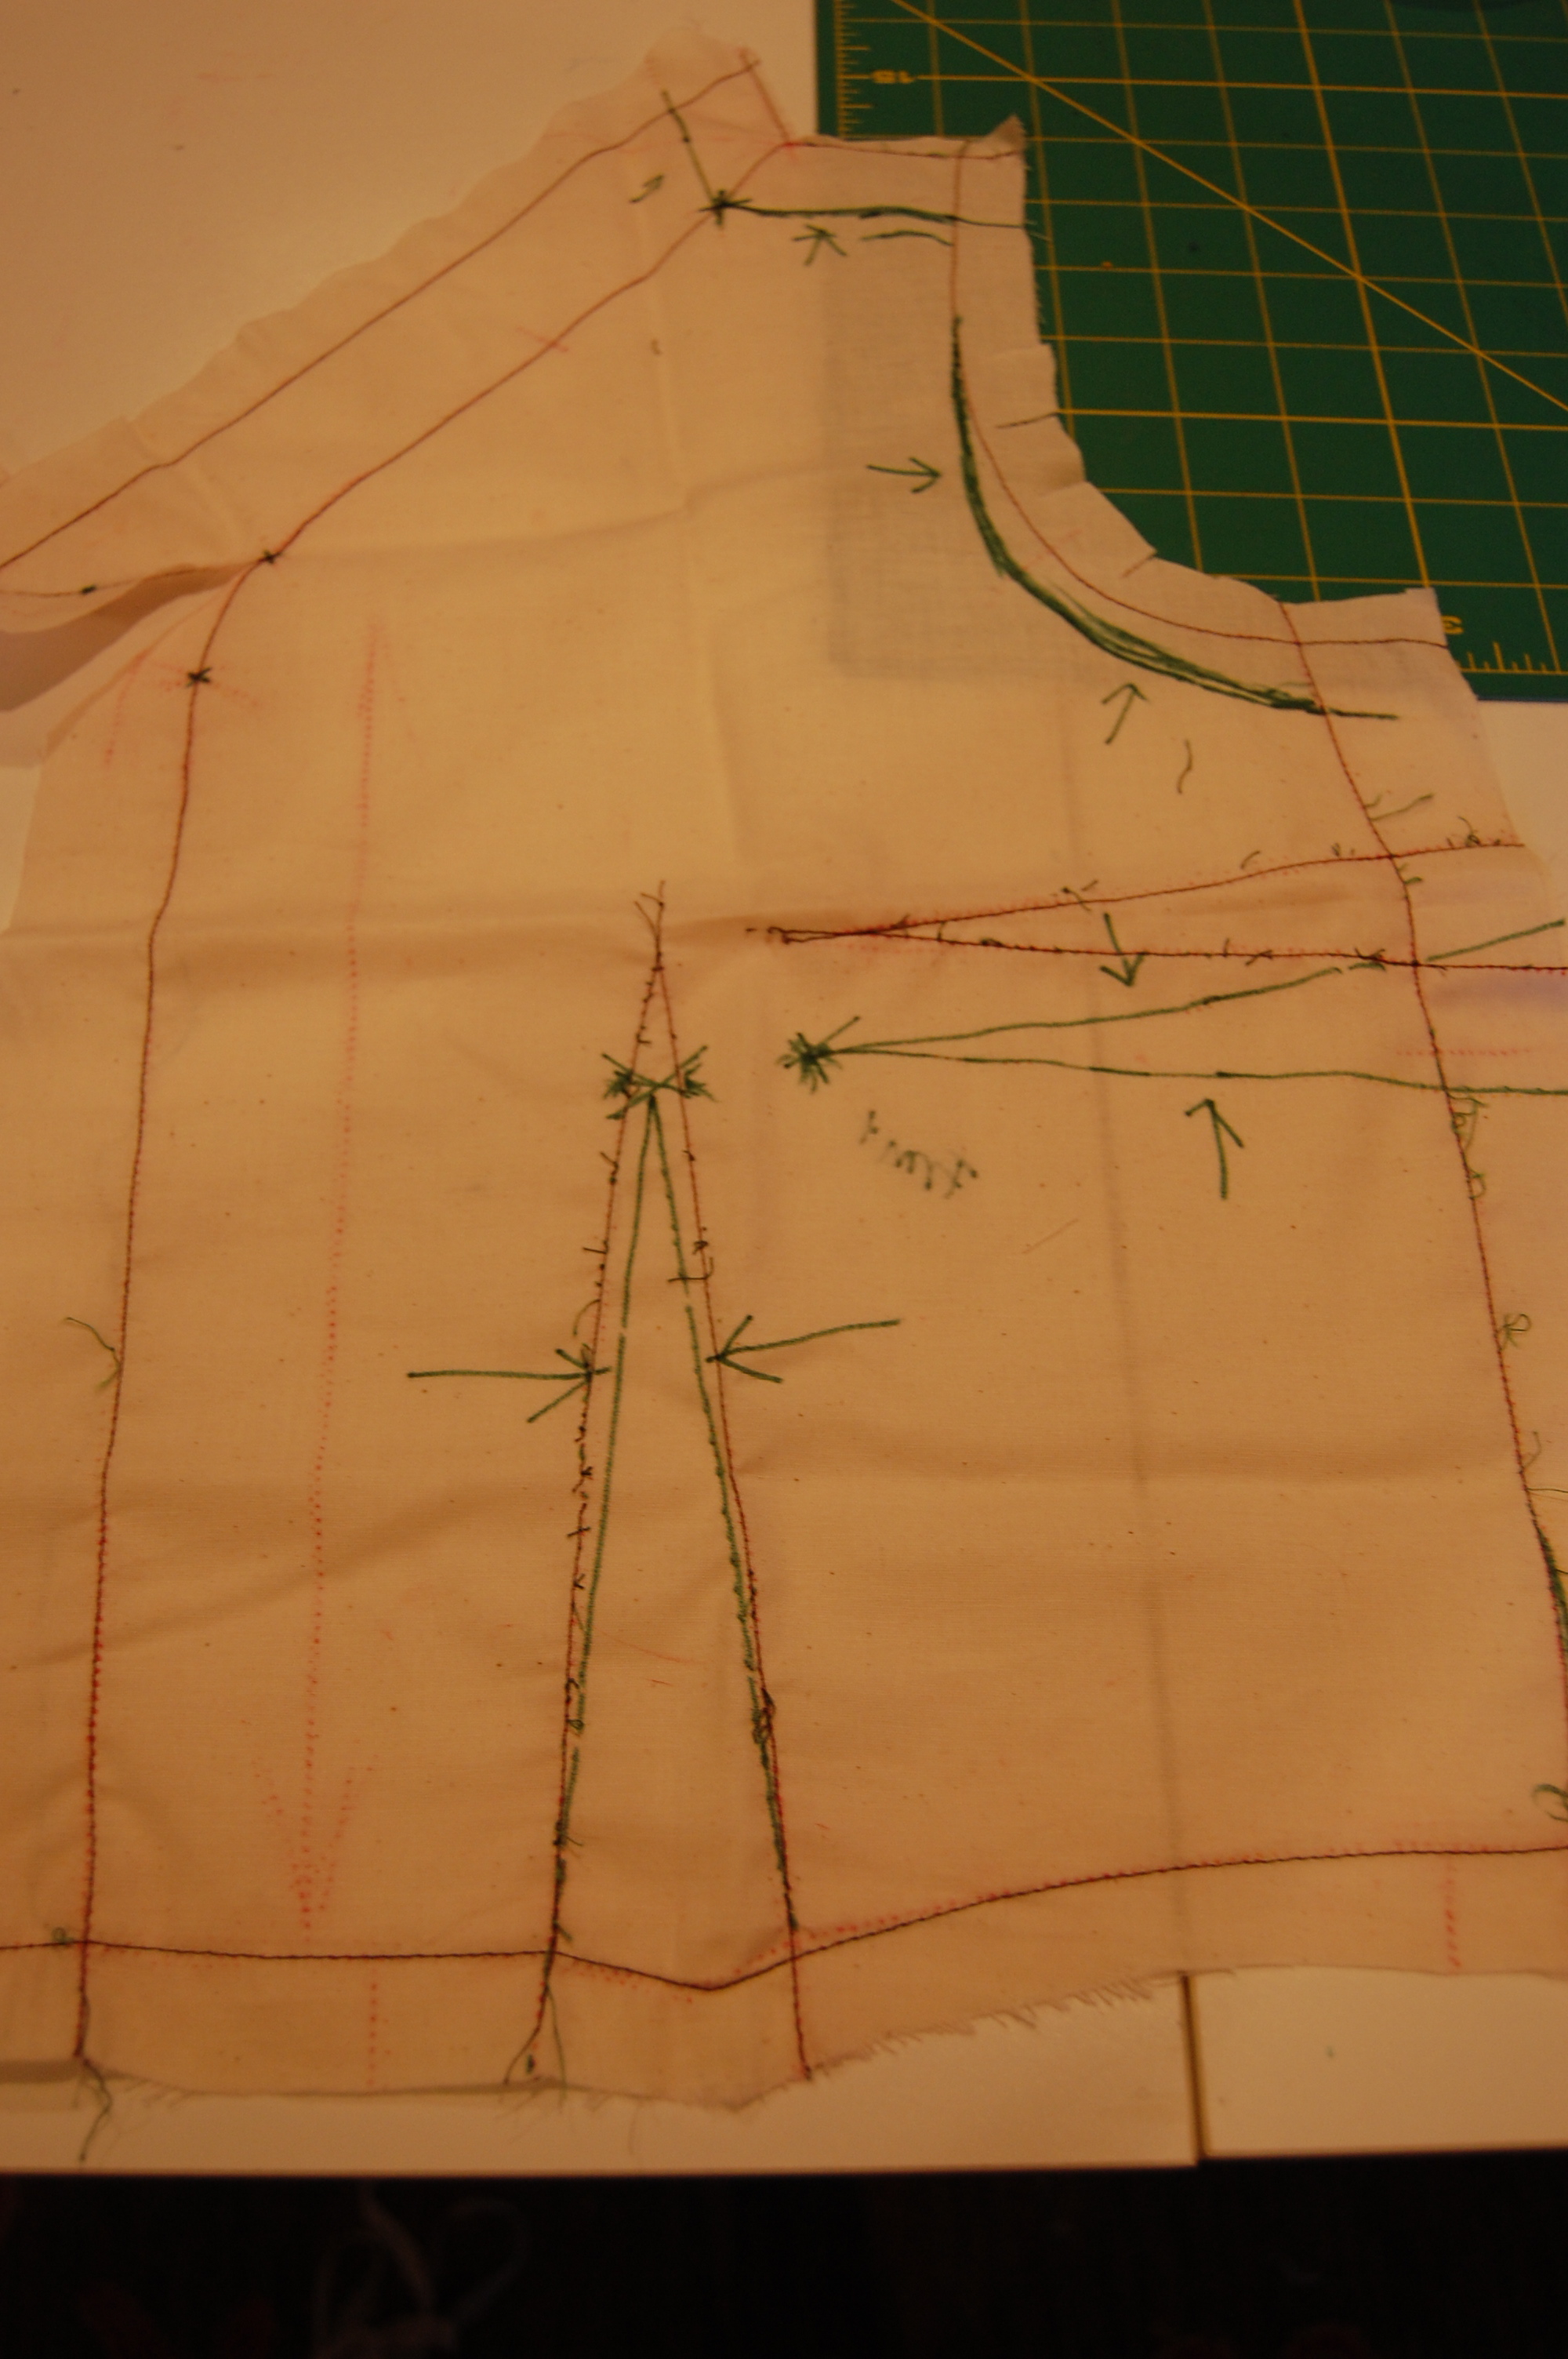
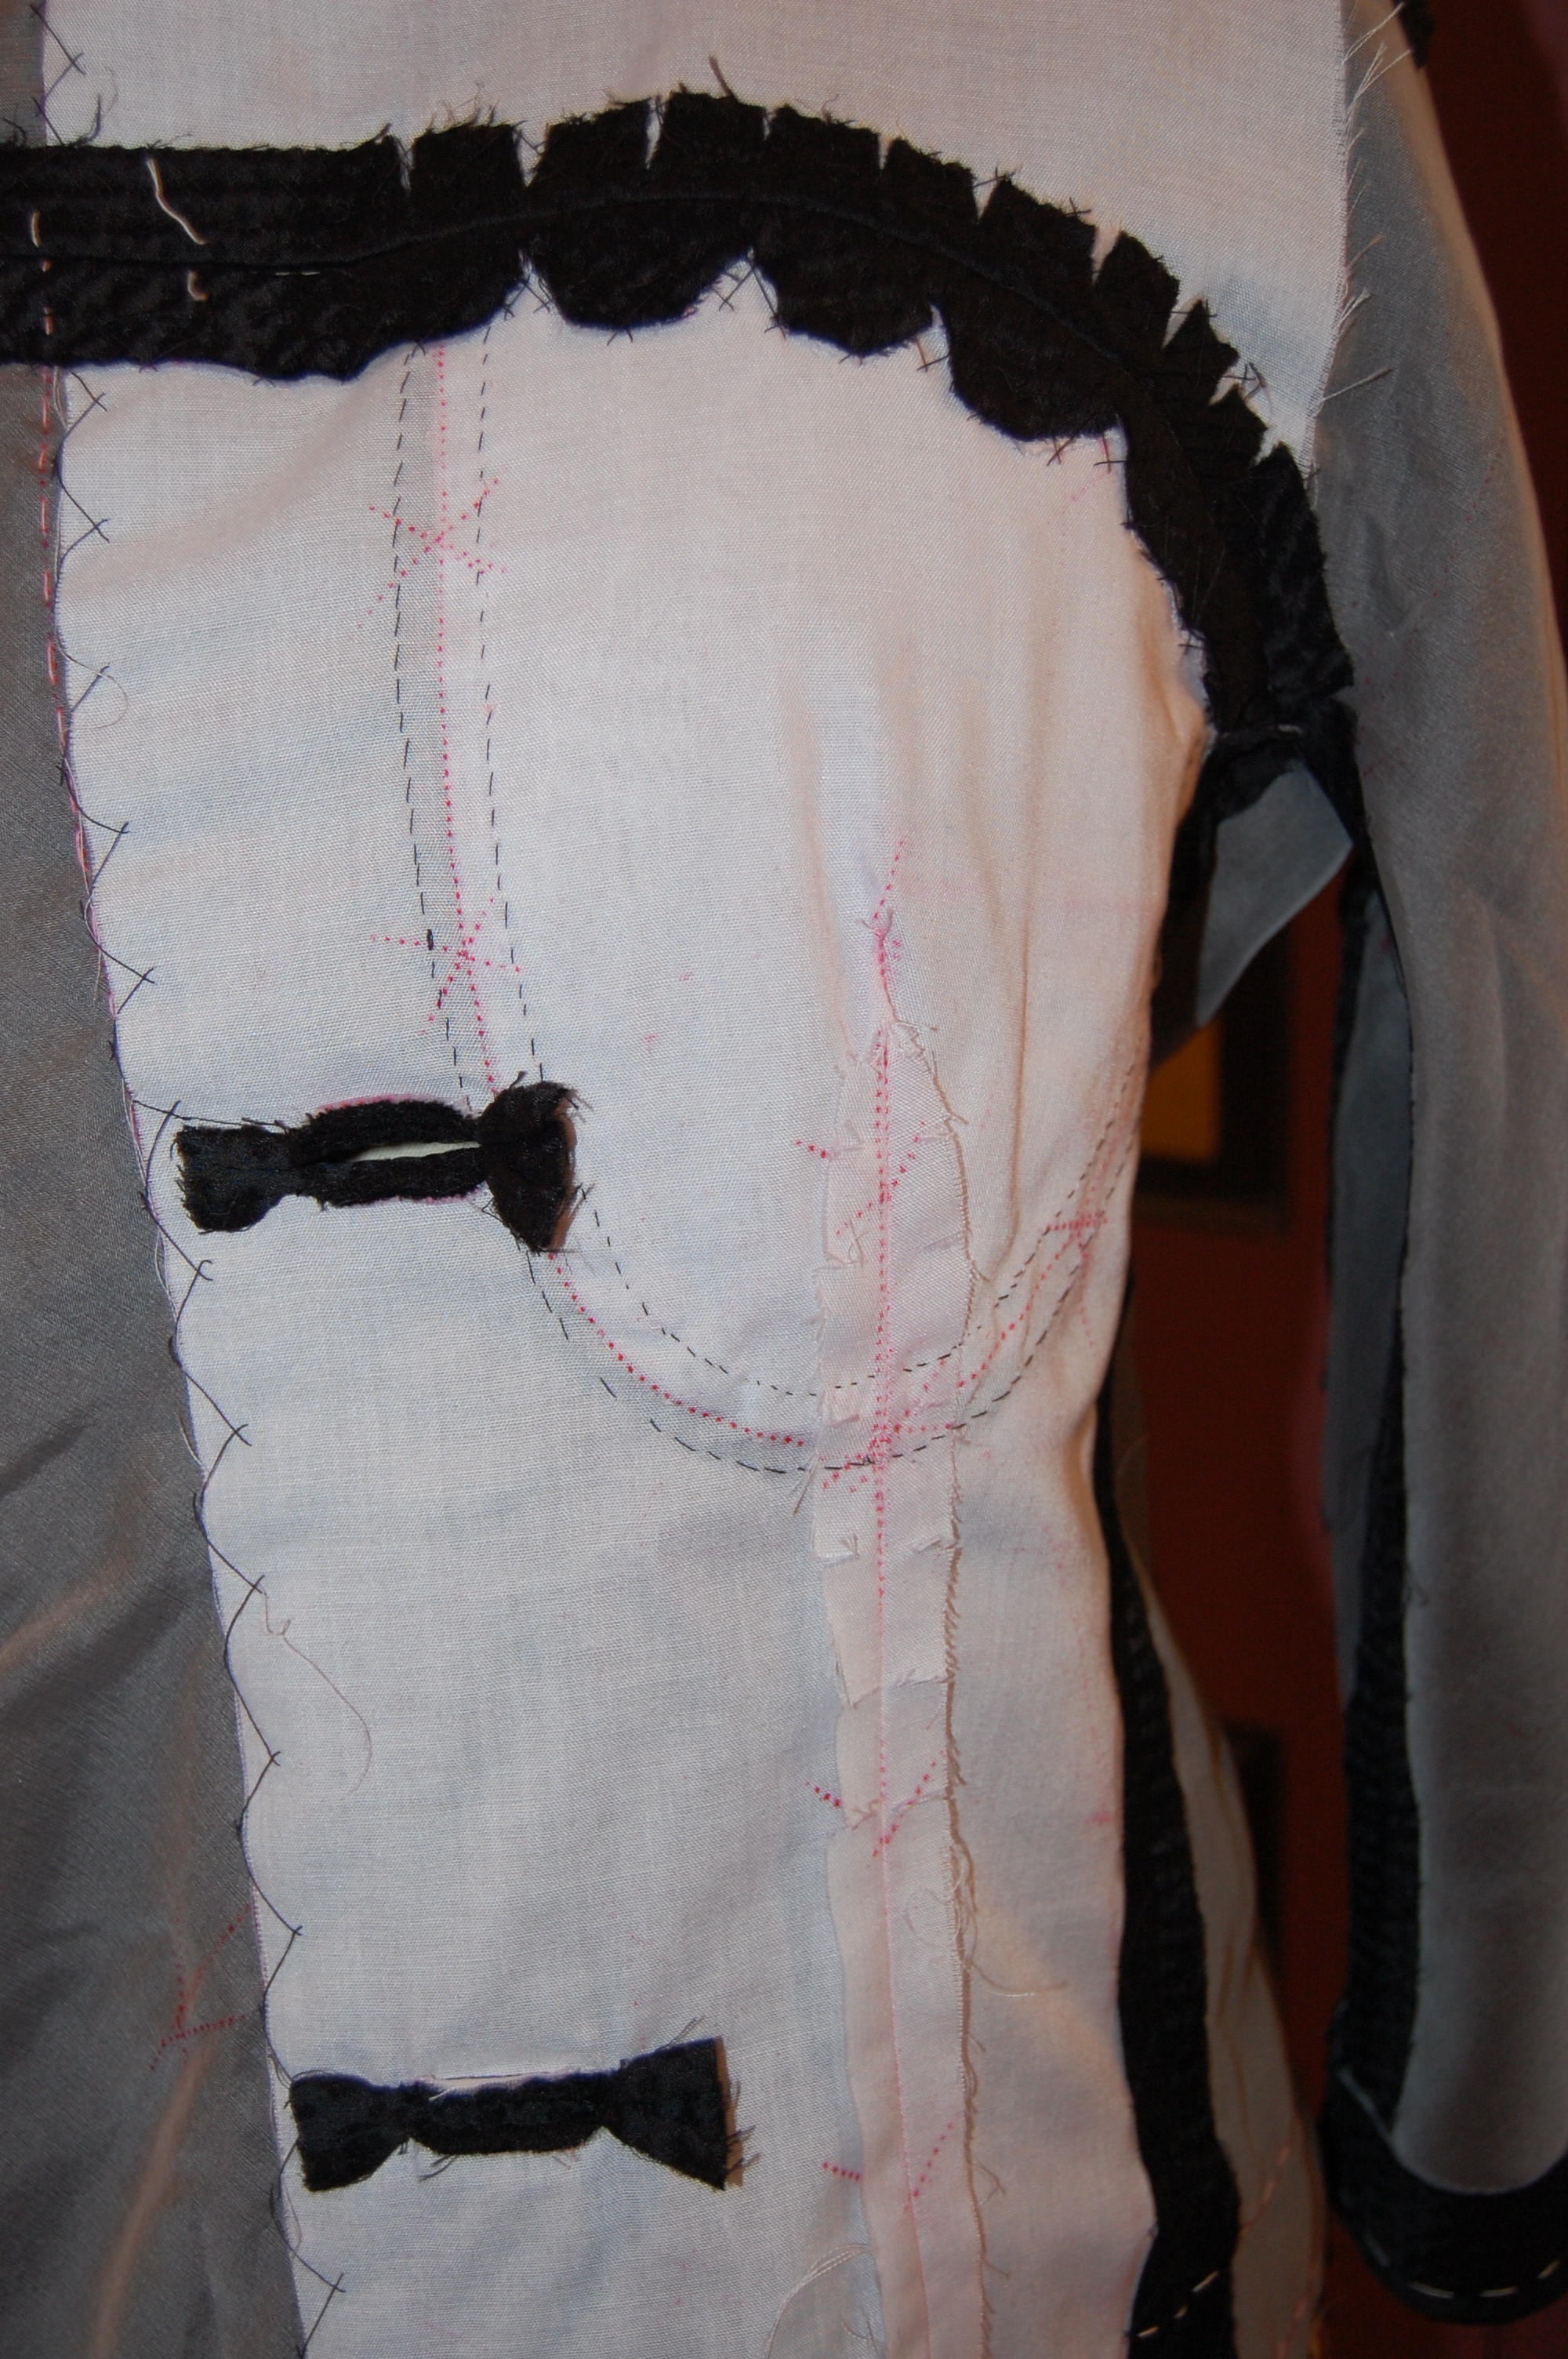
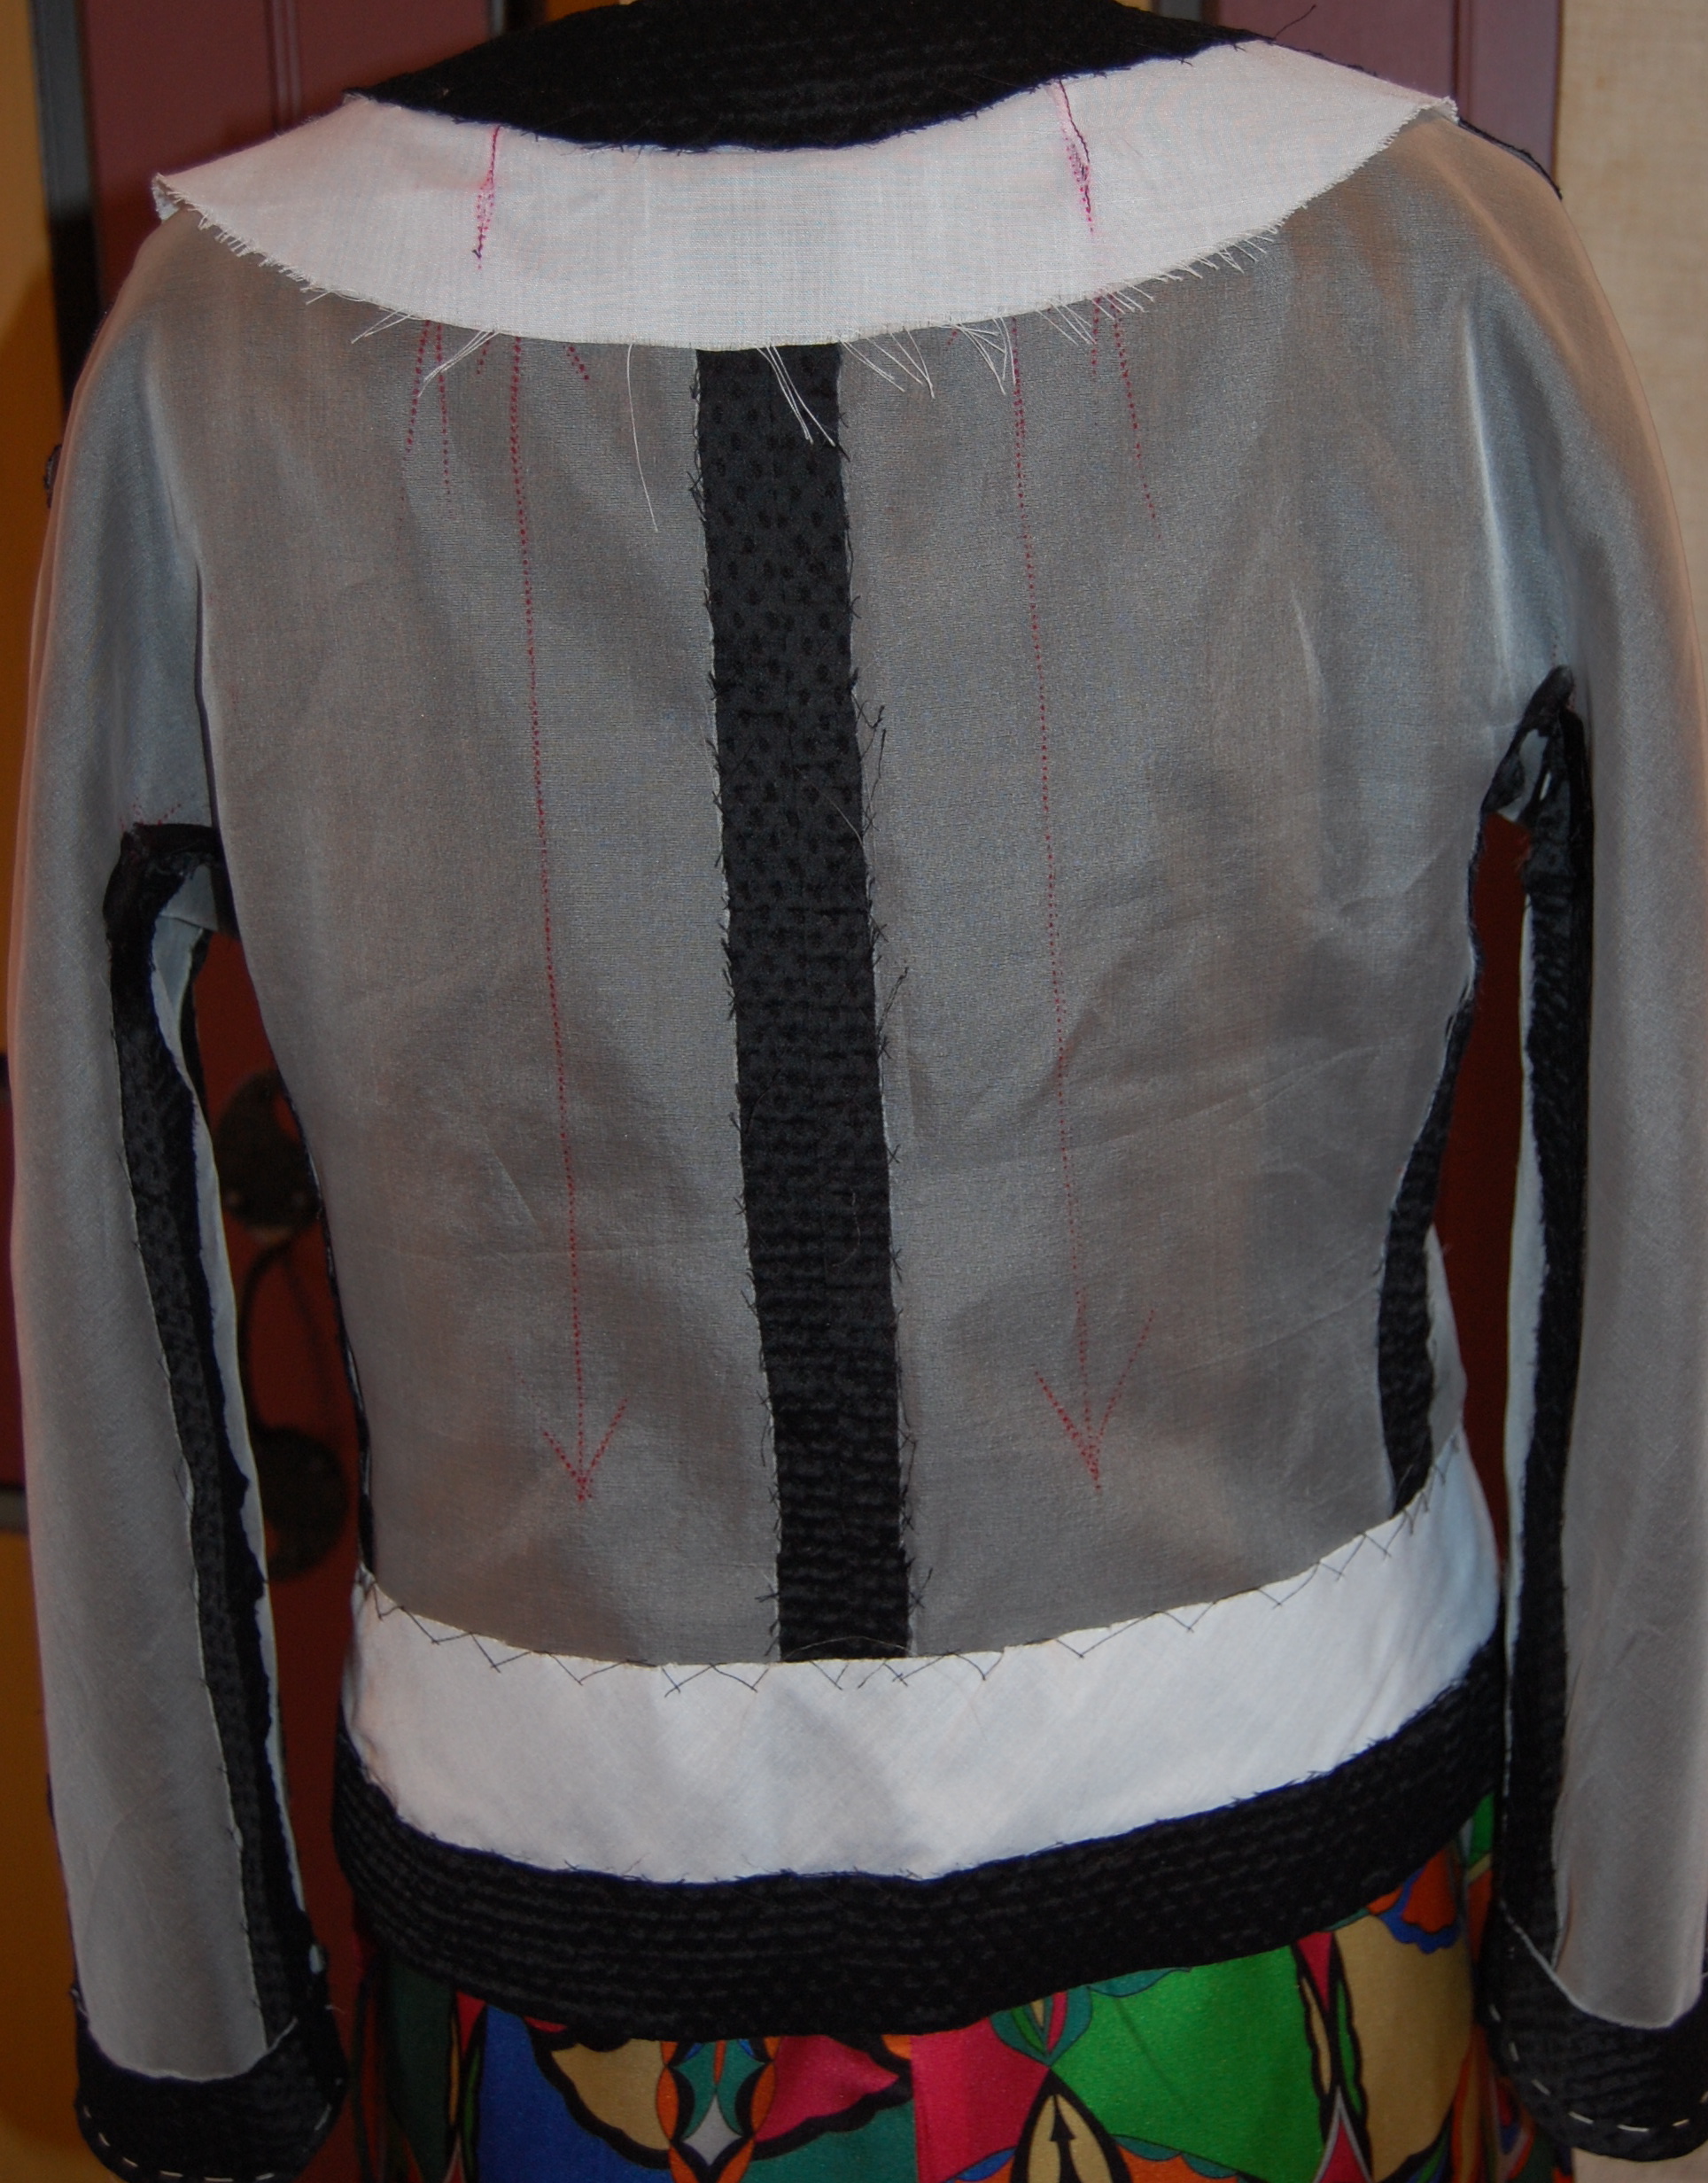
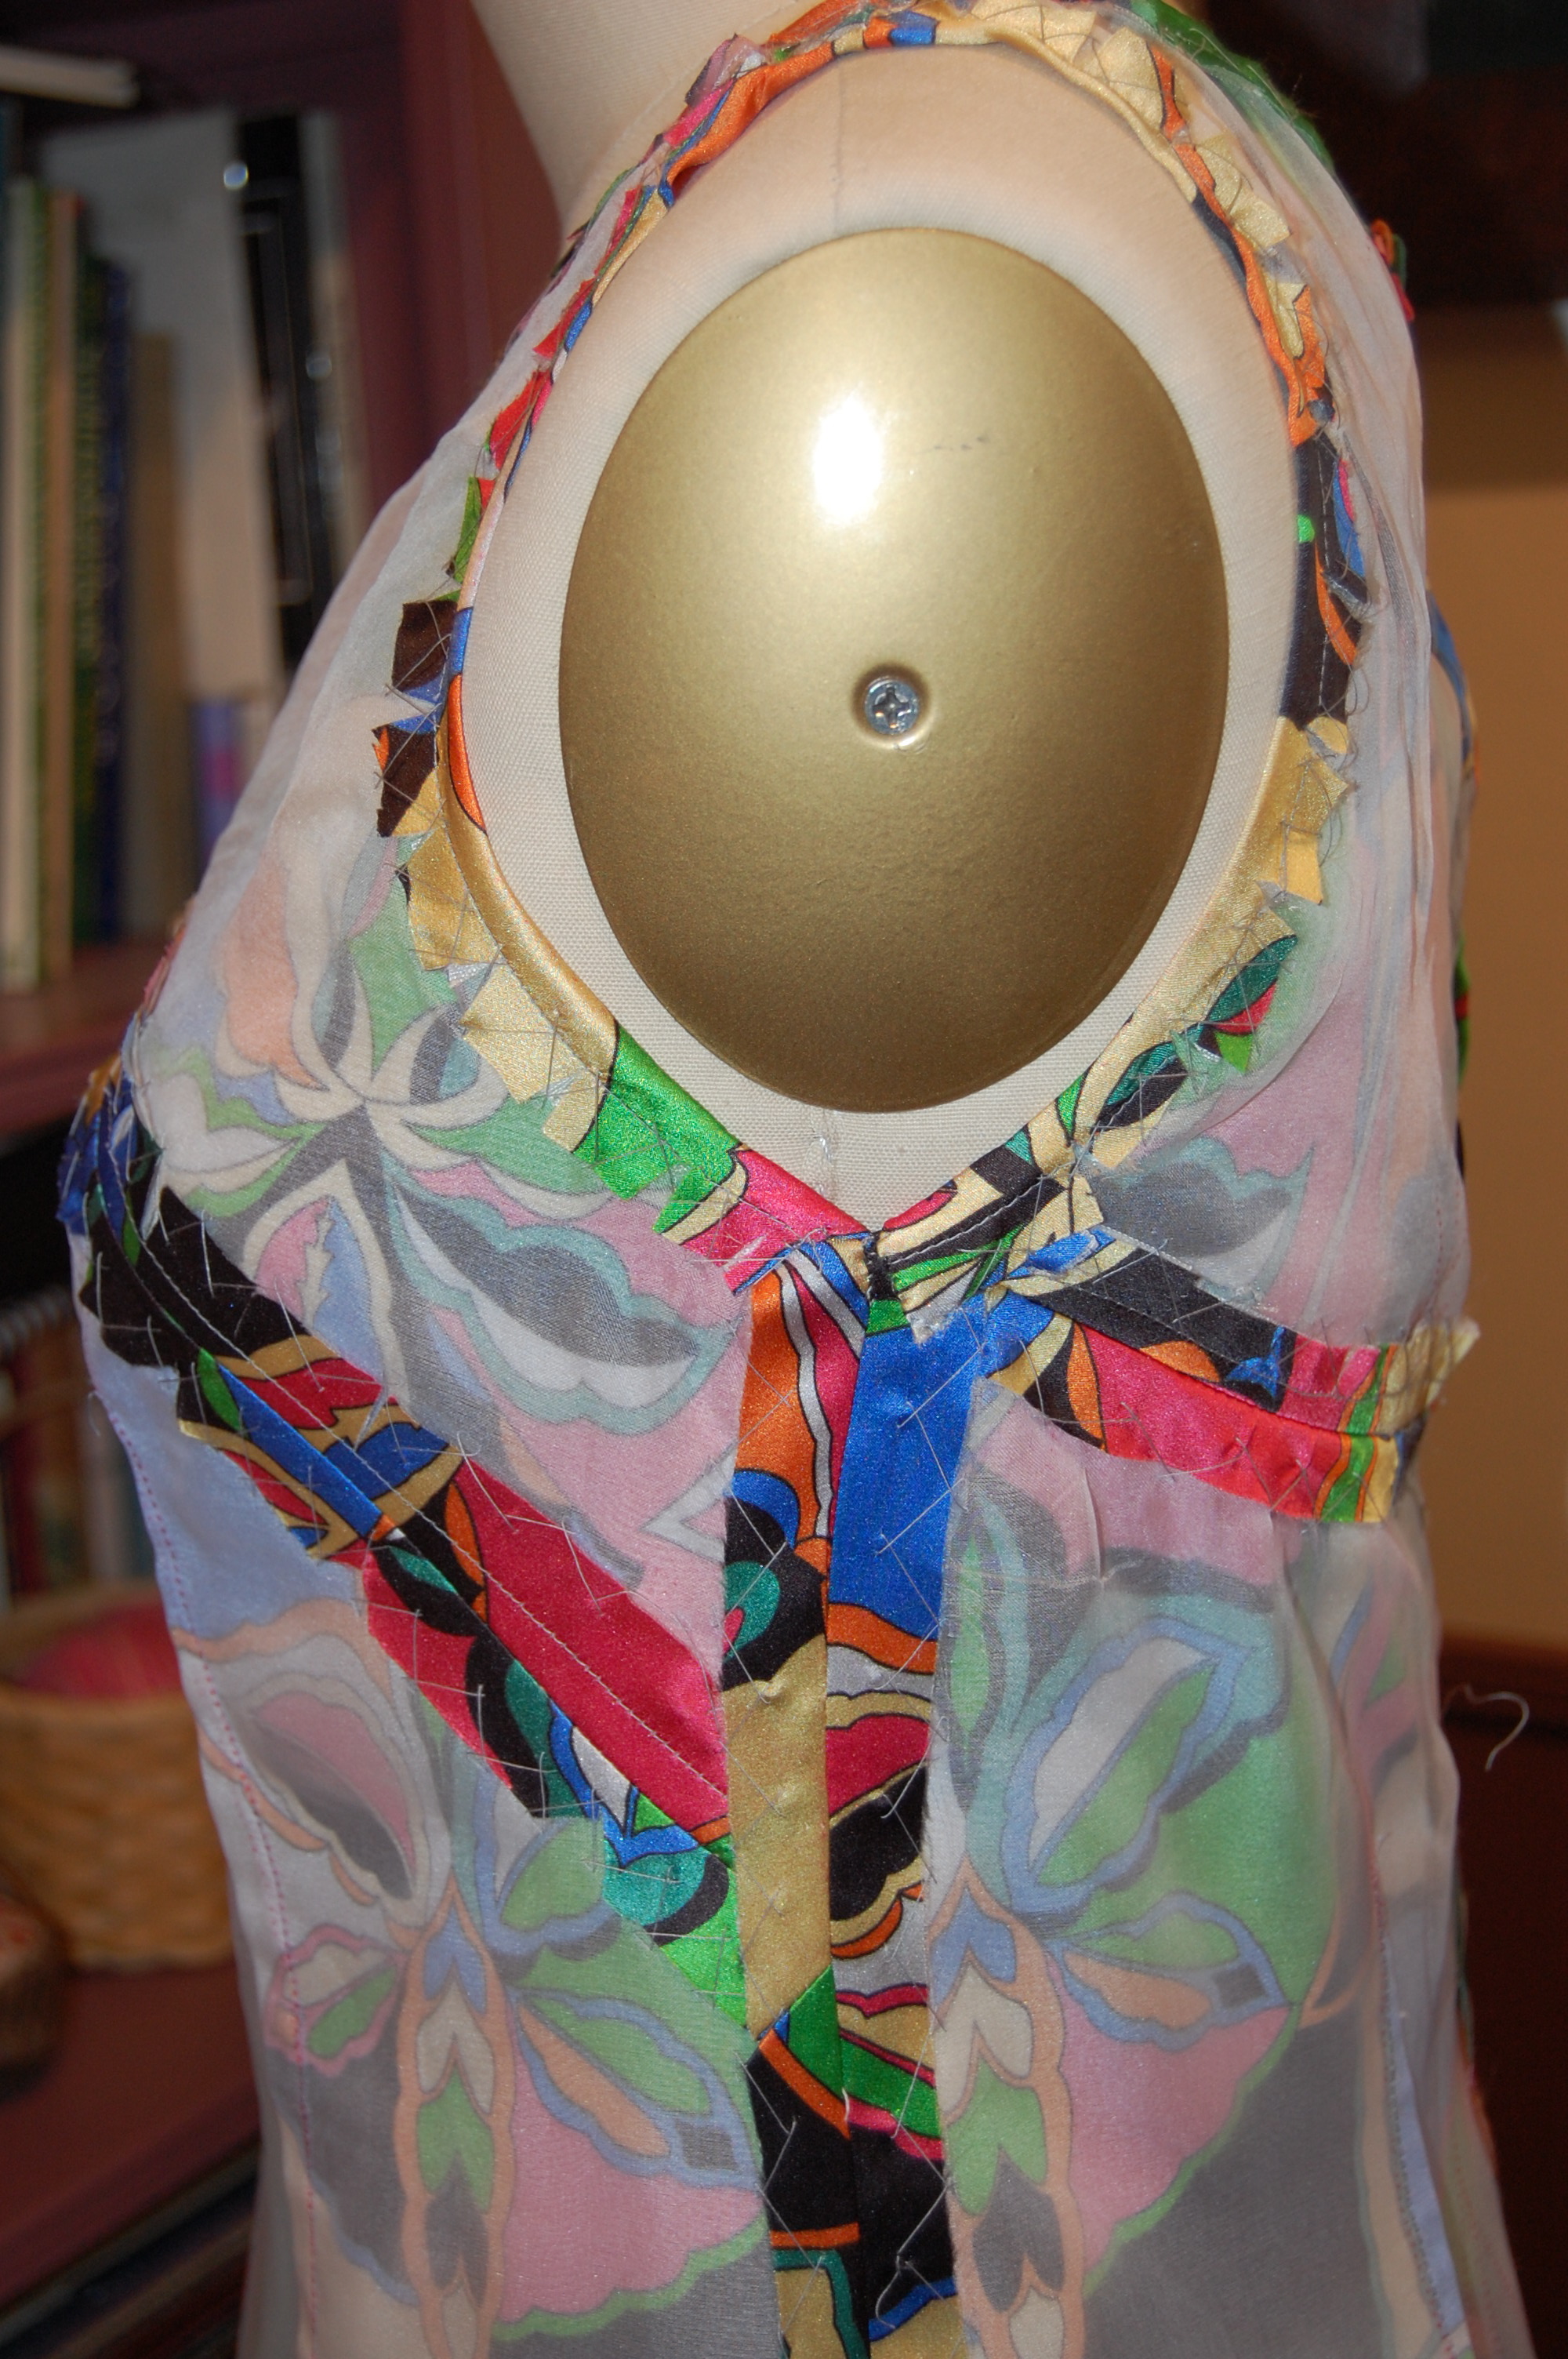
2) The dress is underlined in white silk organza.
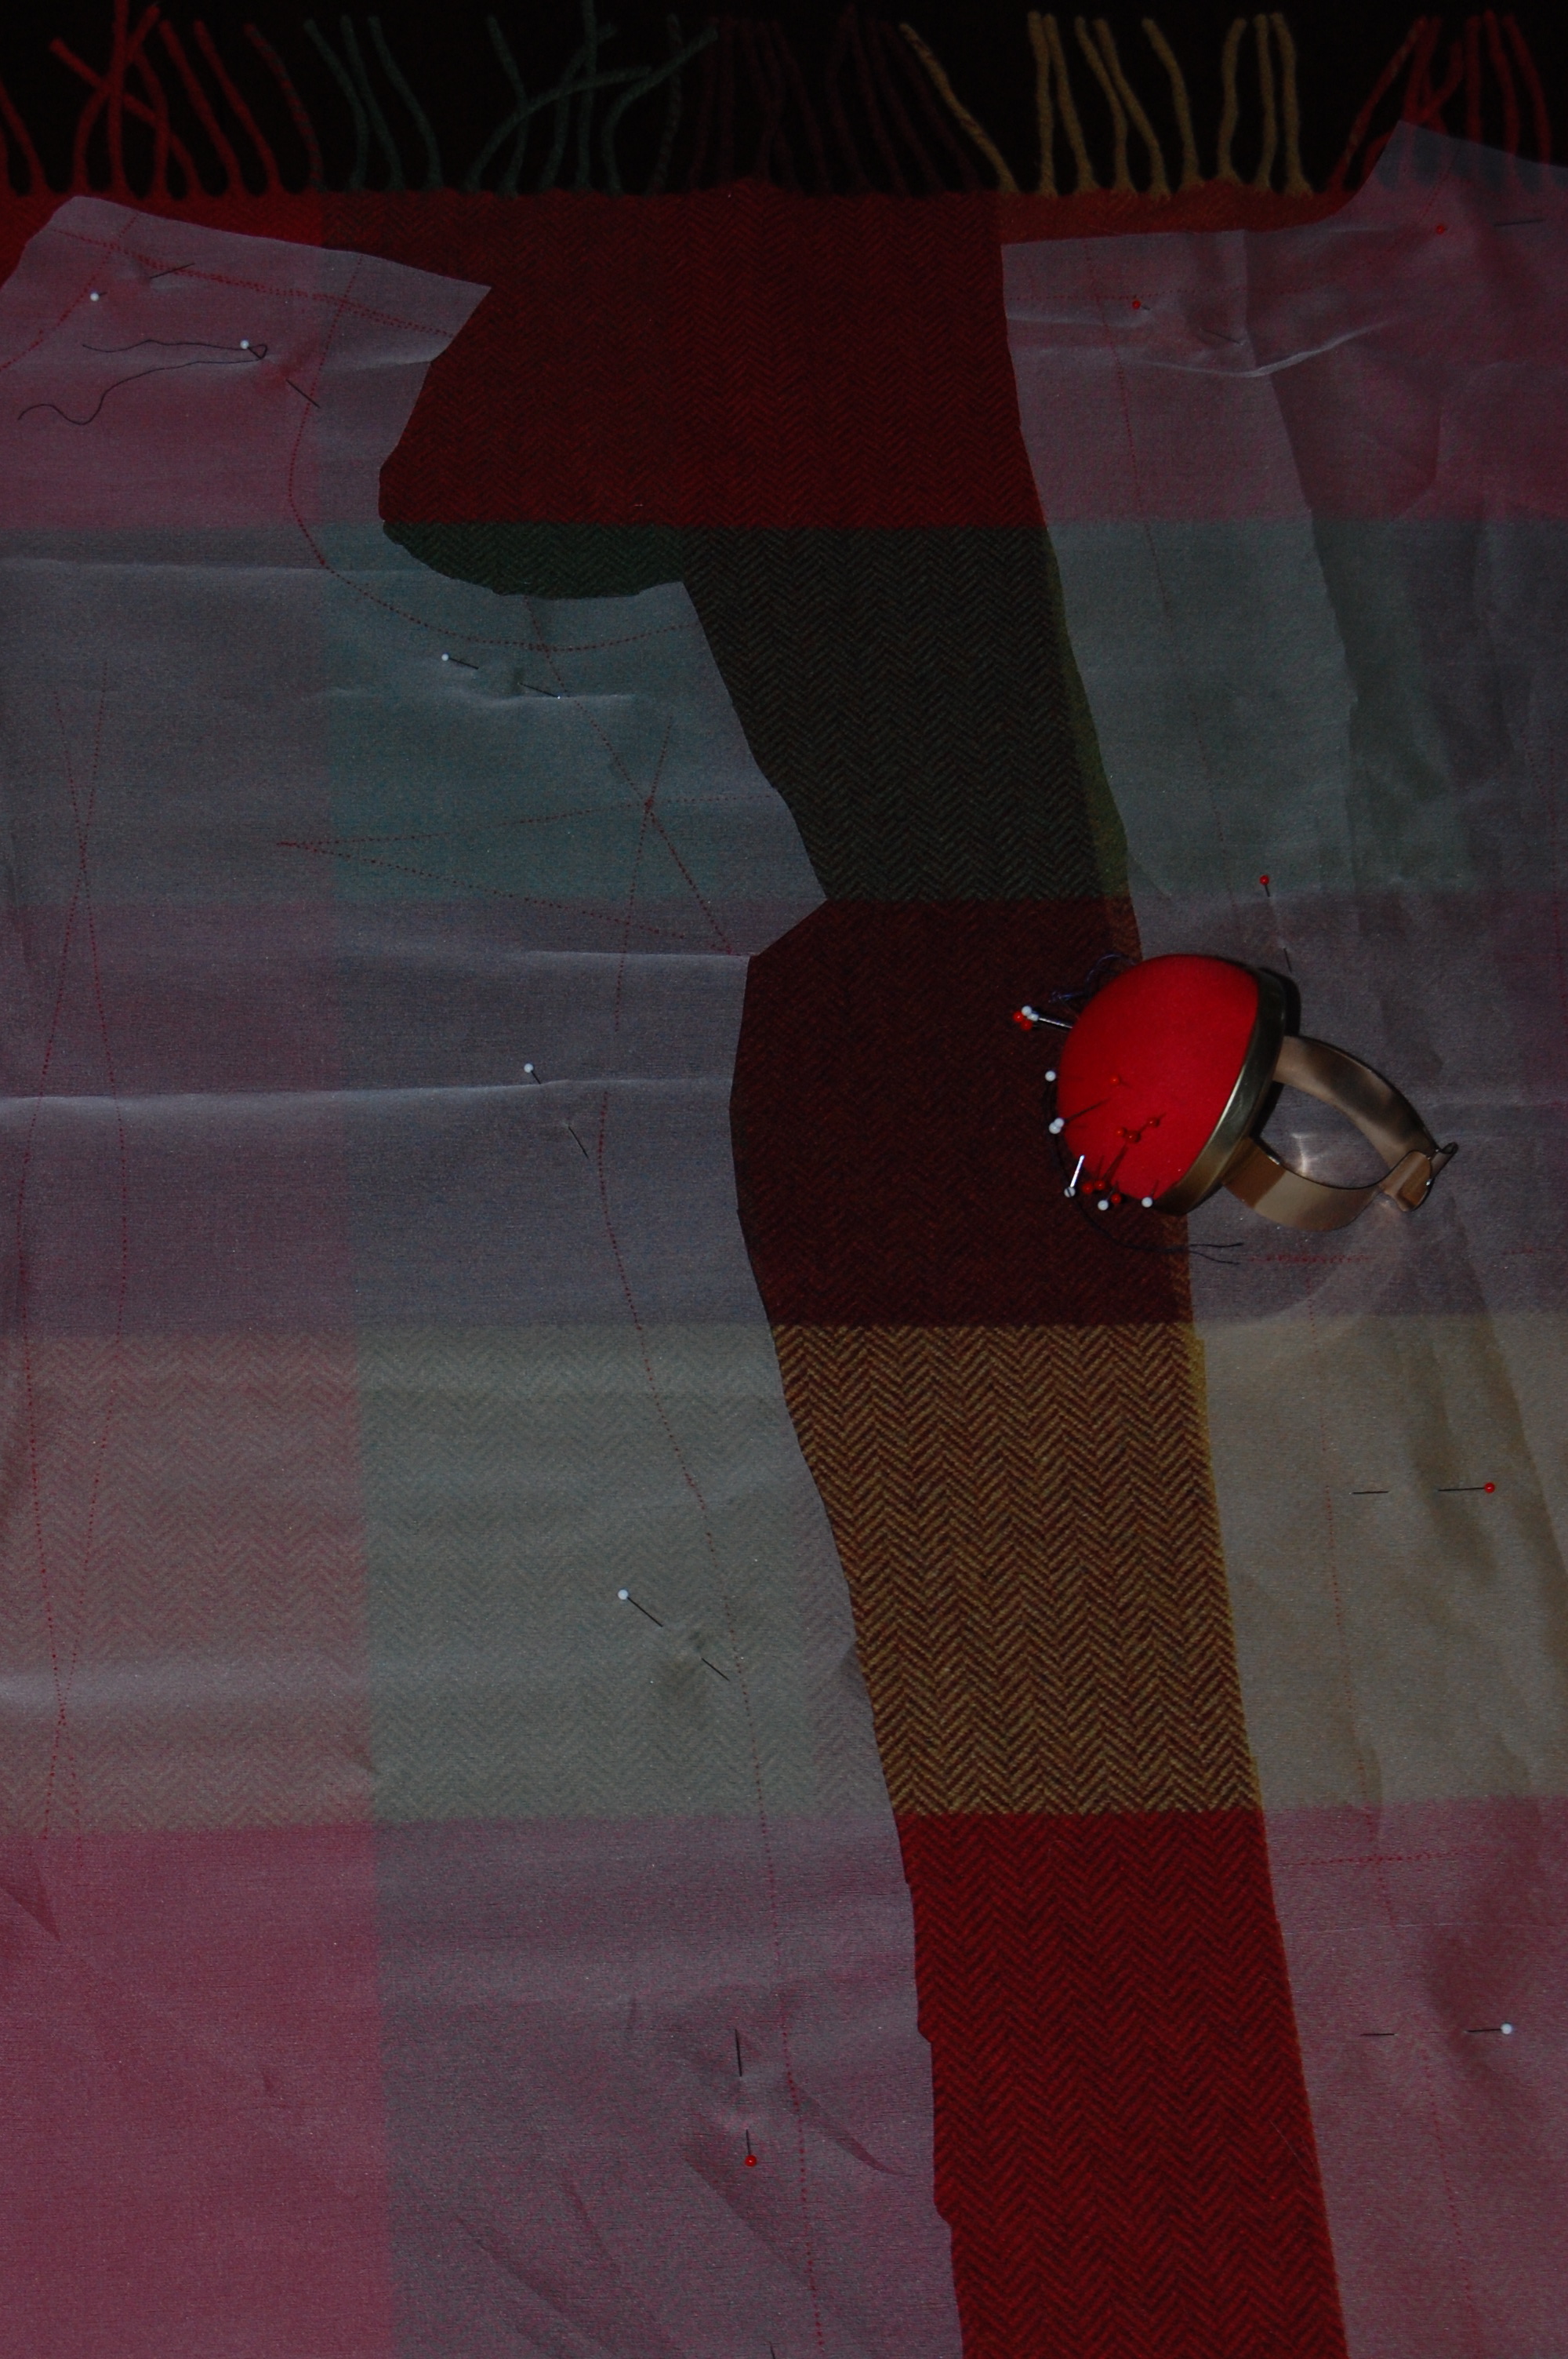
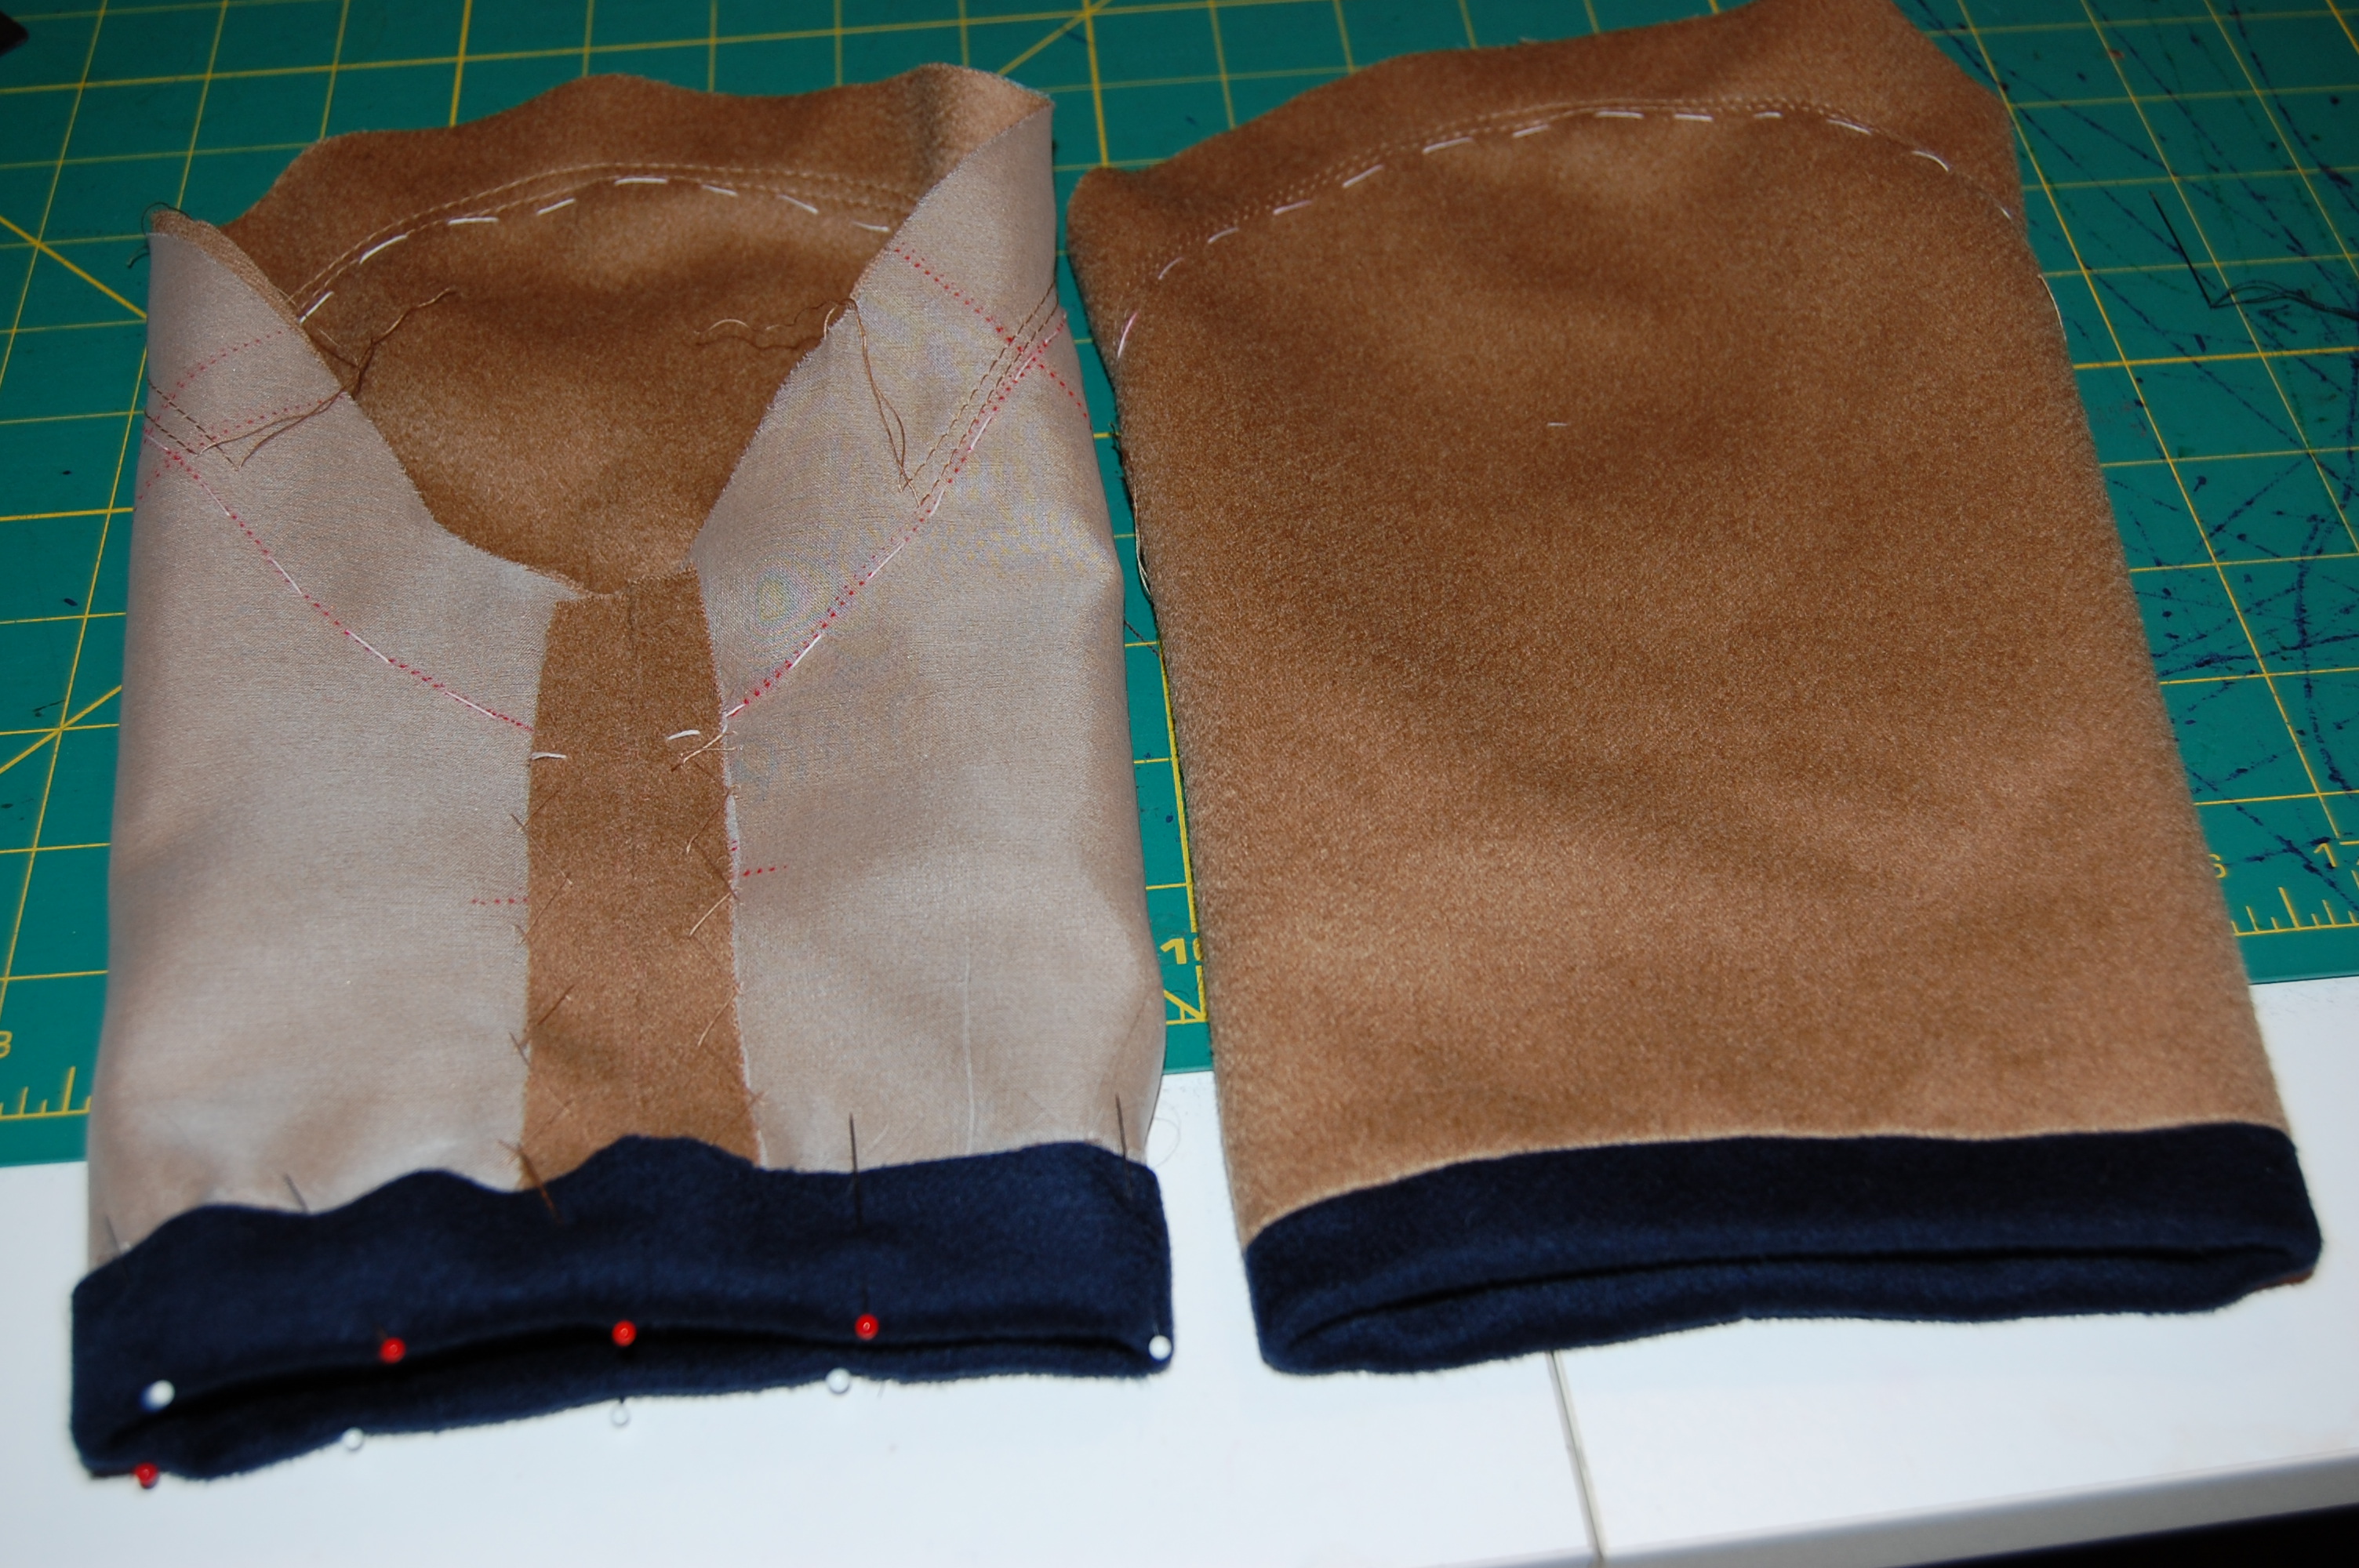
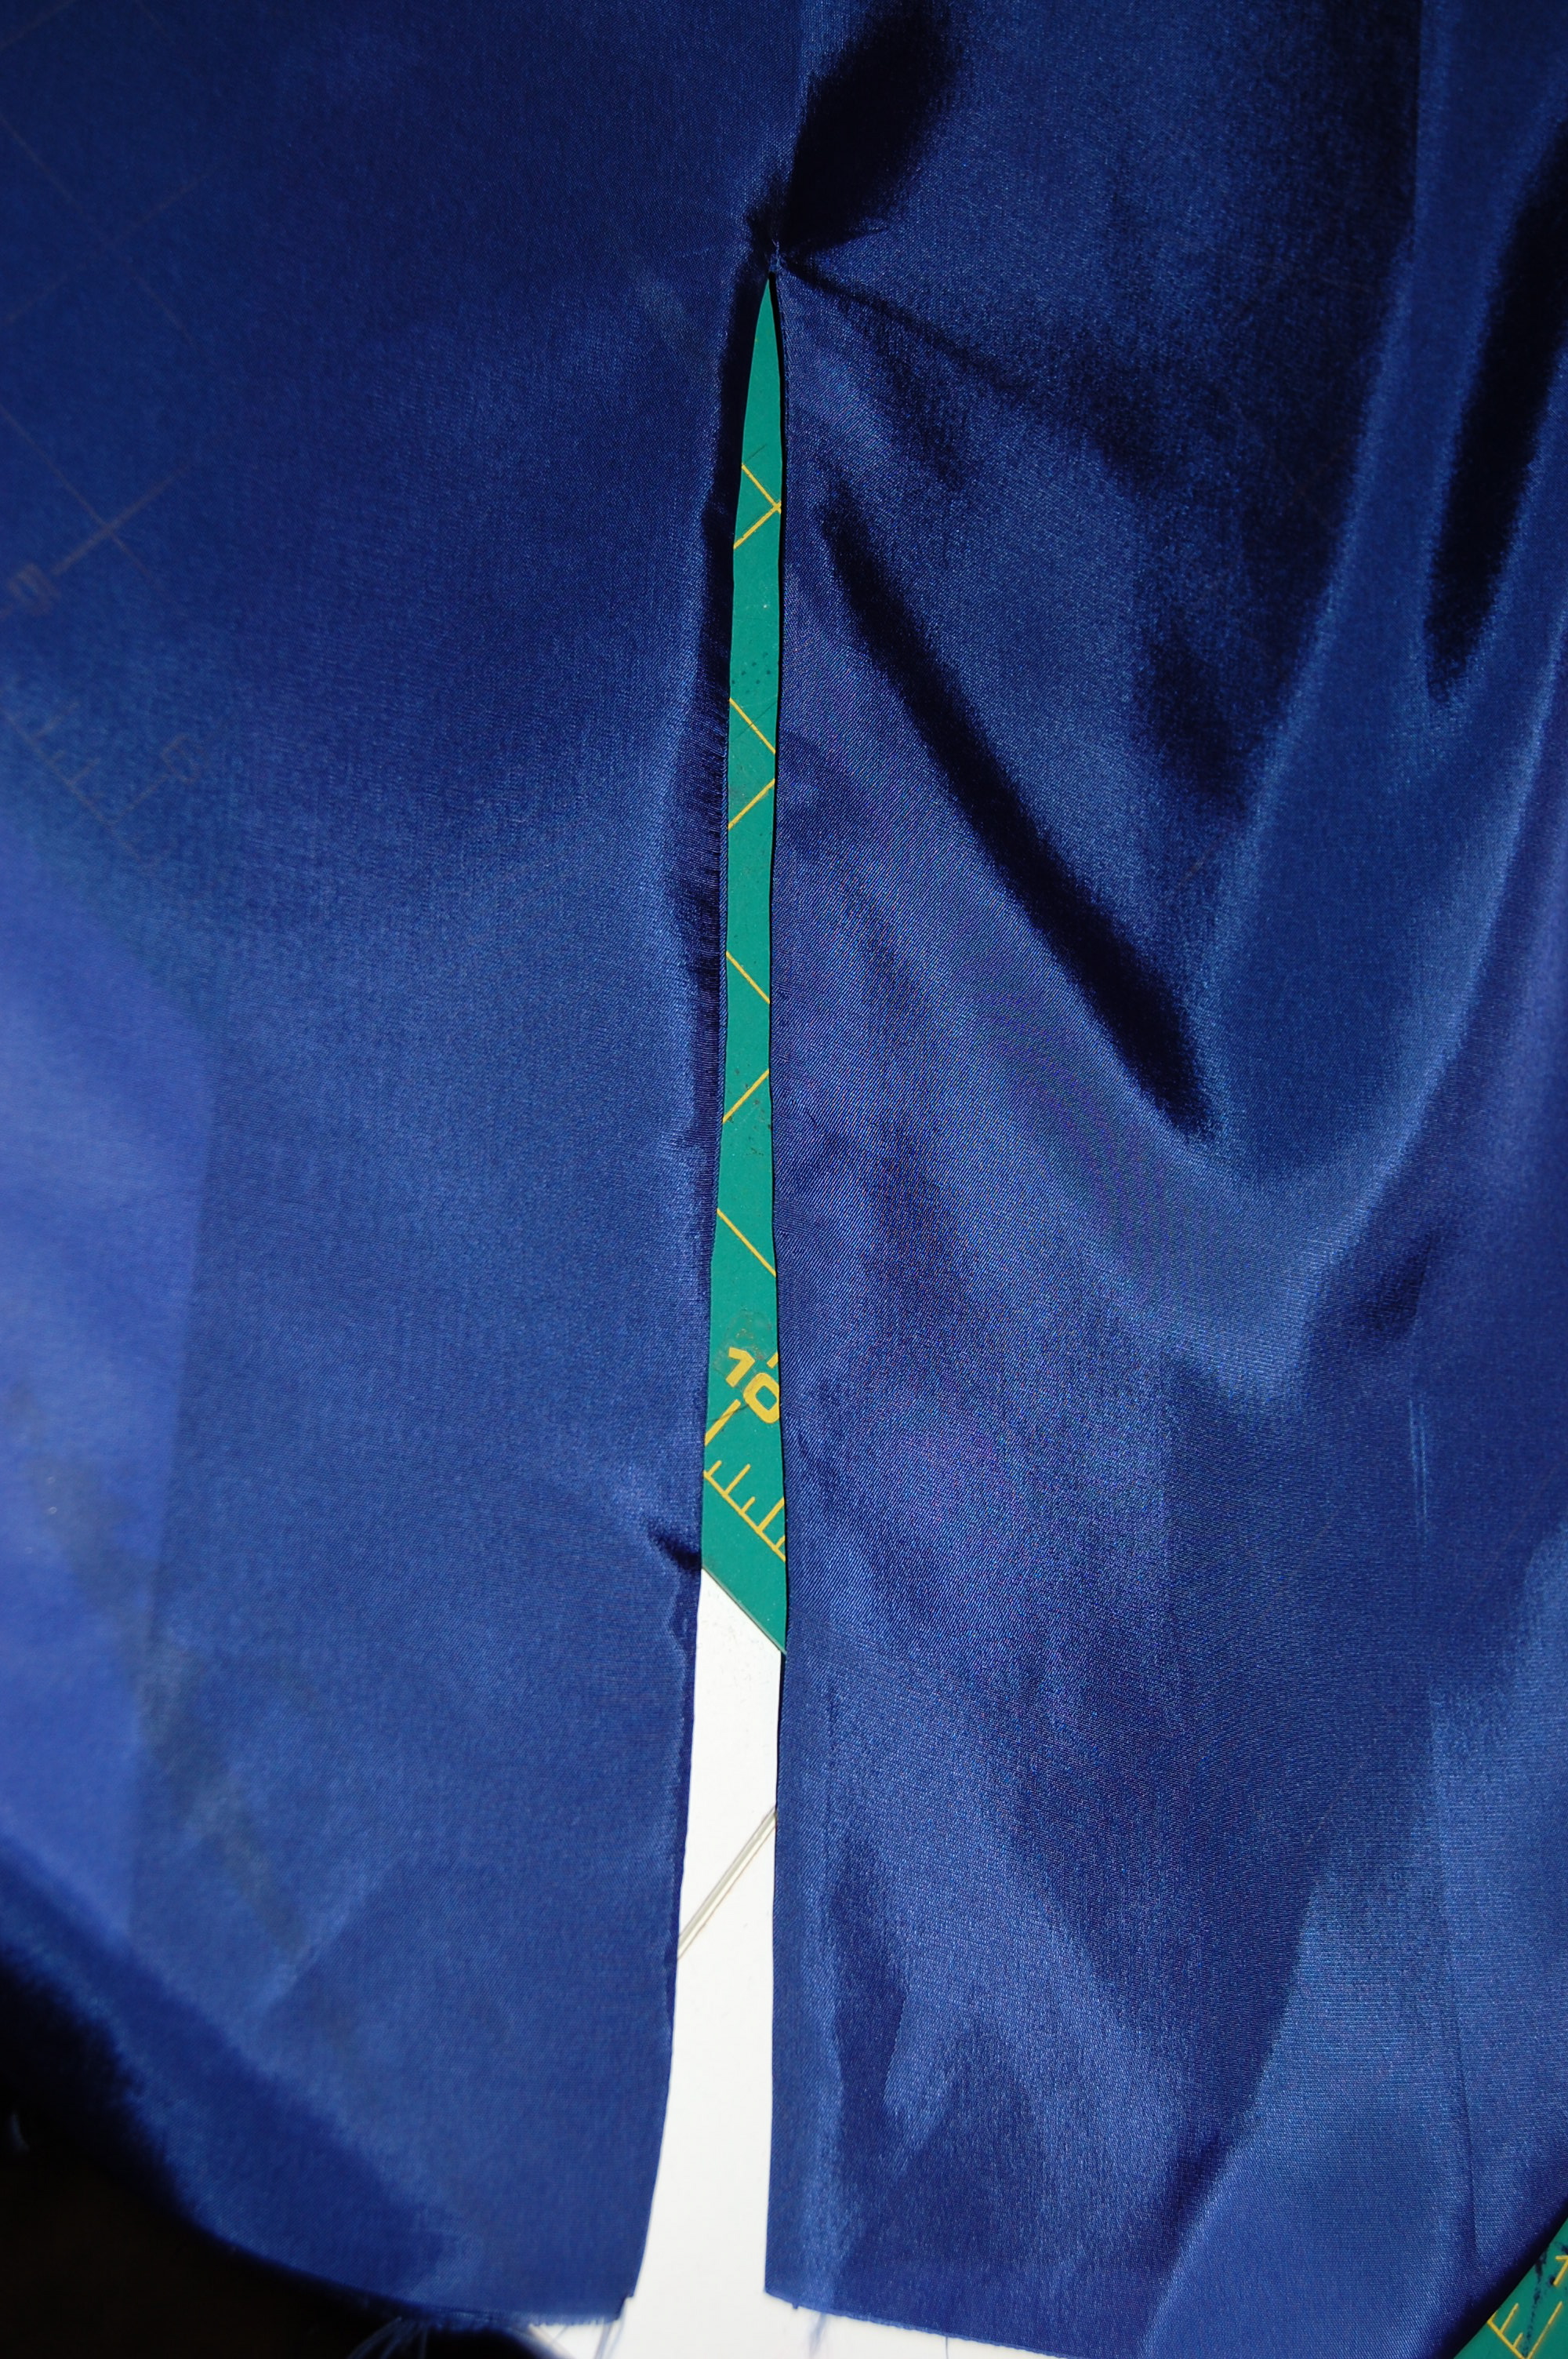
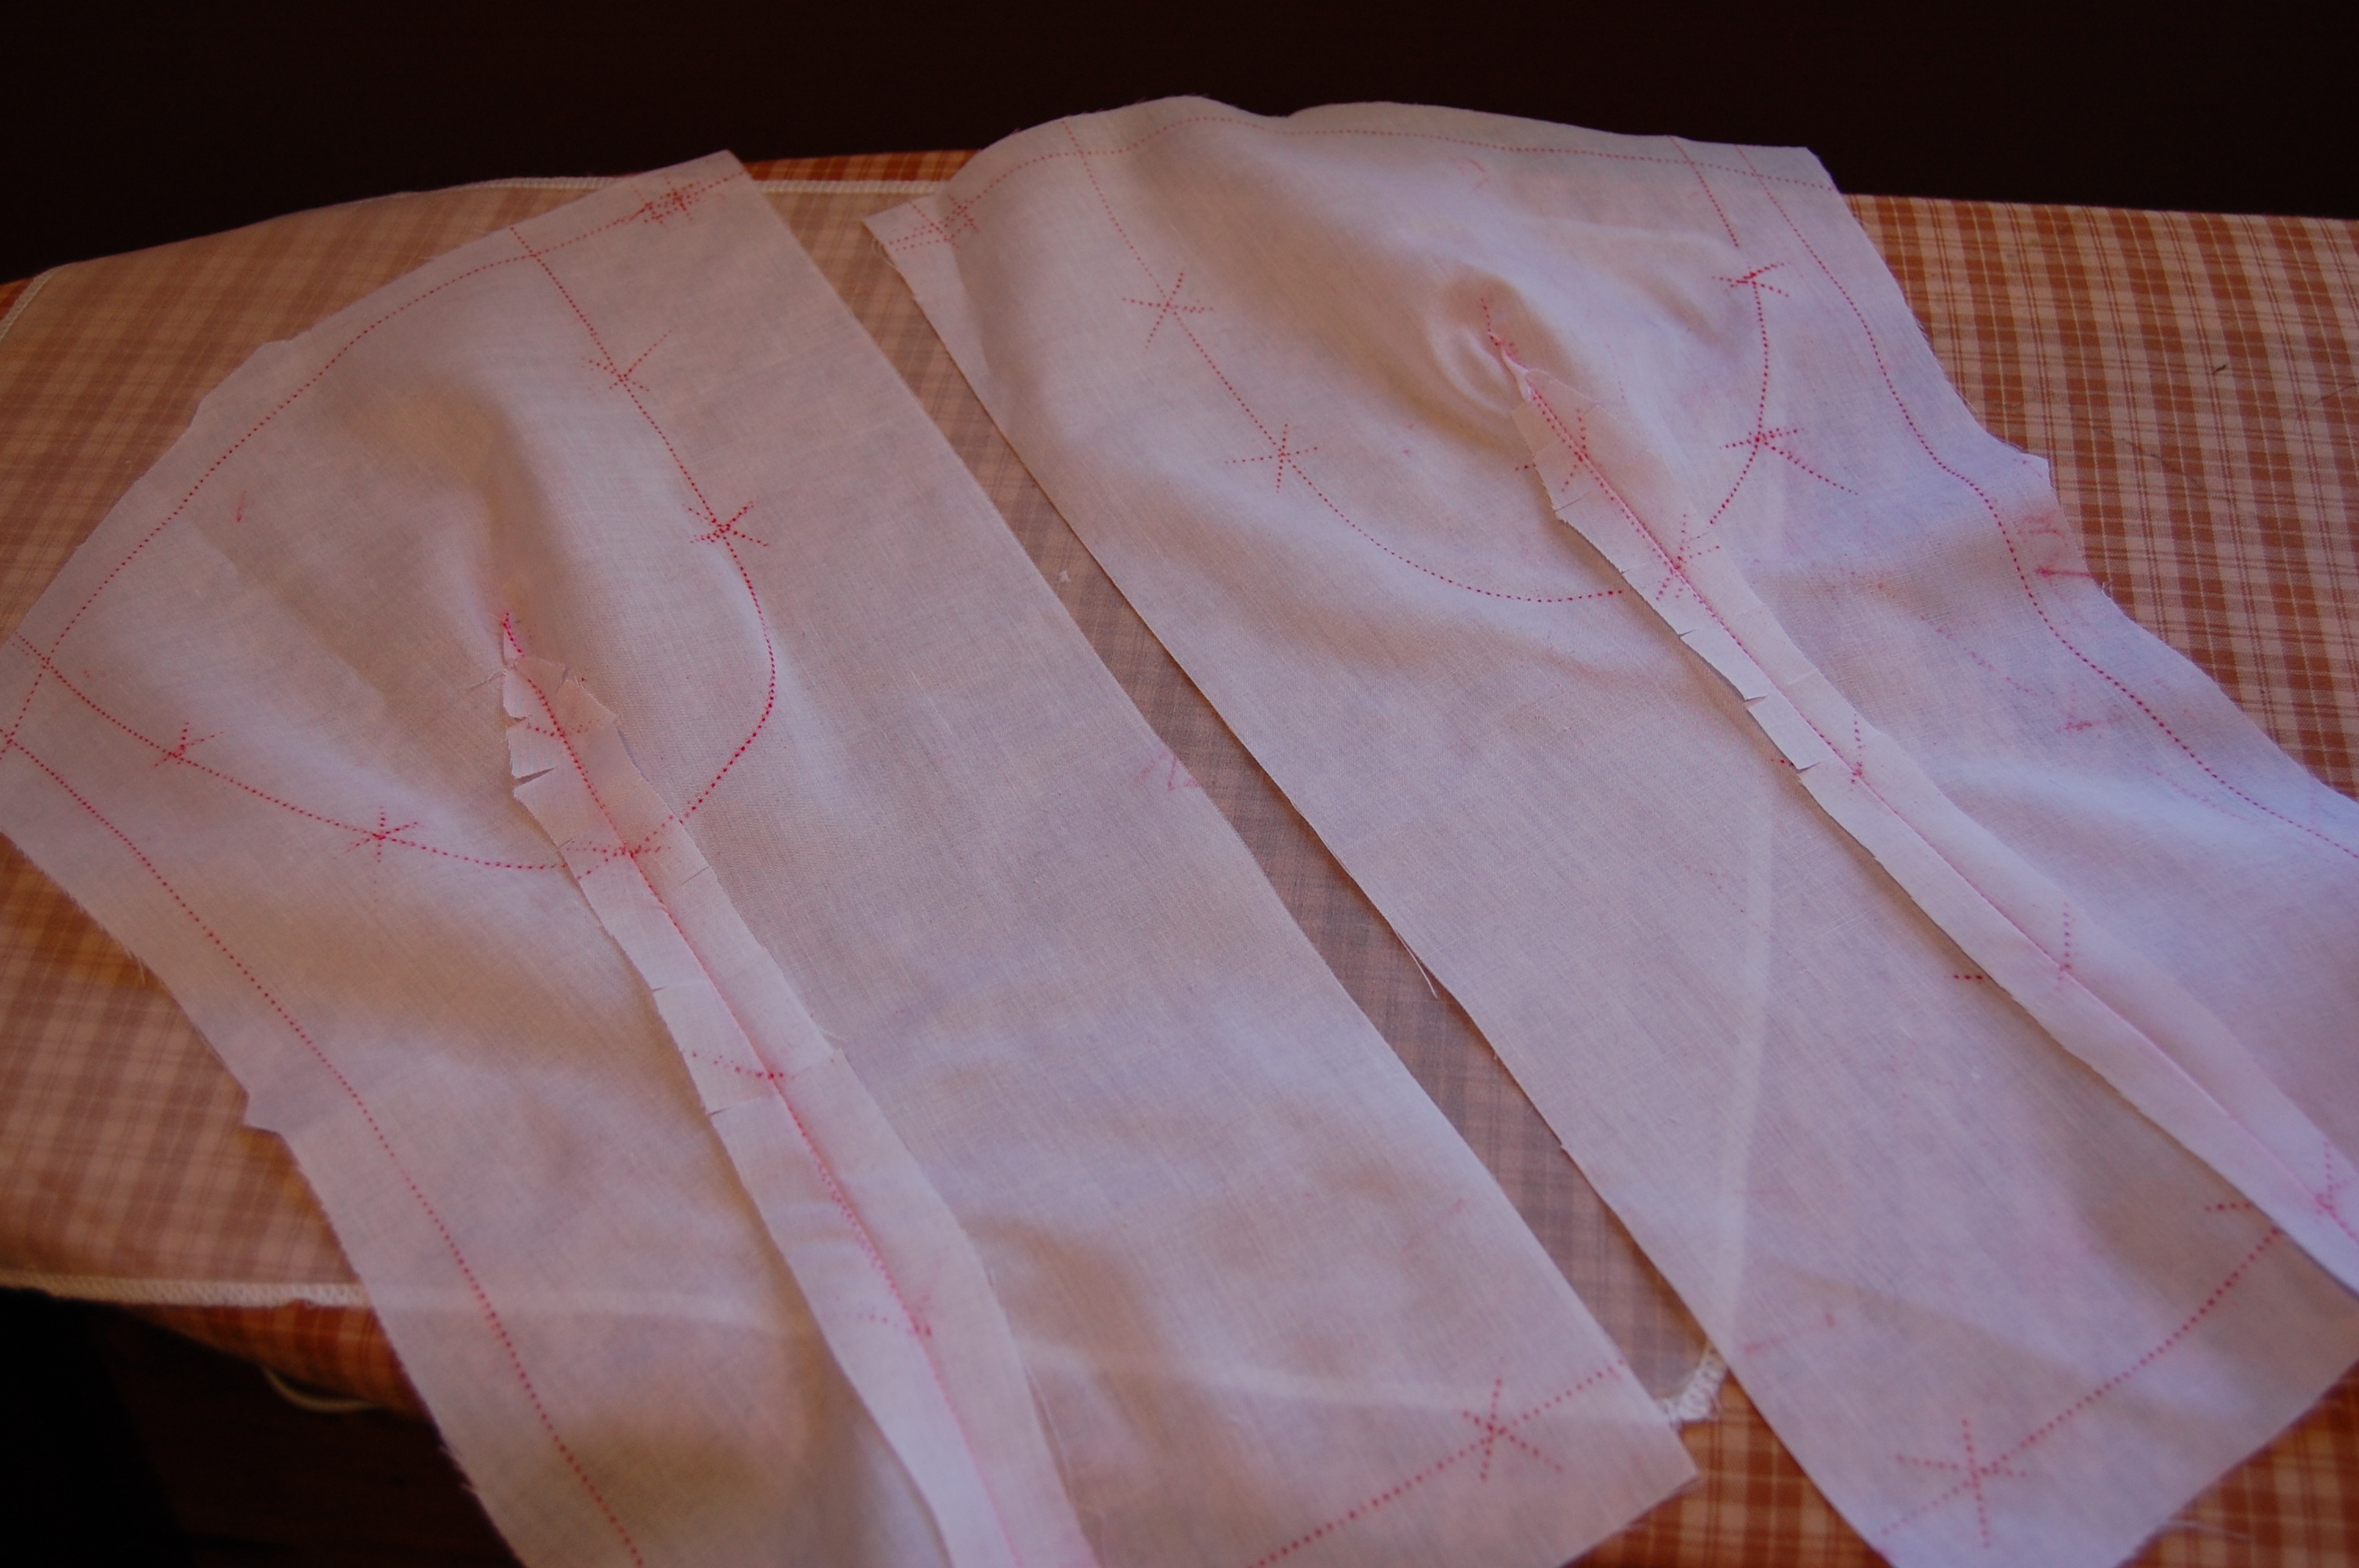
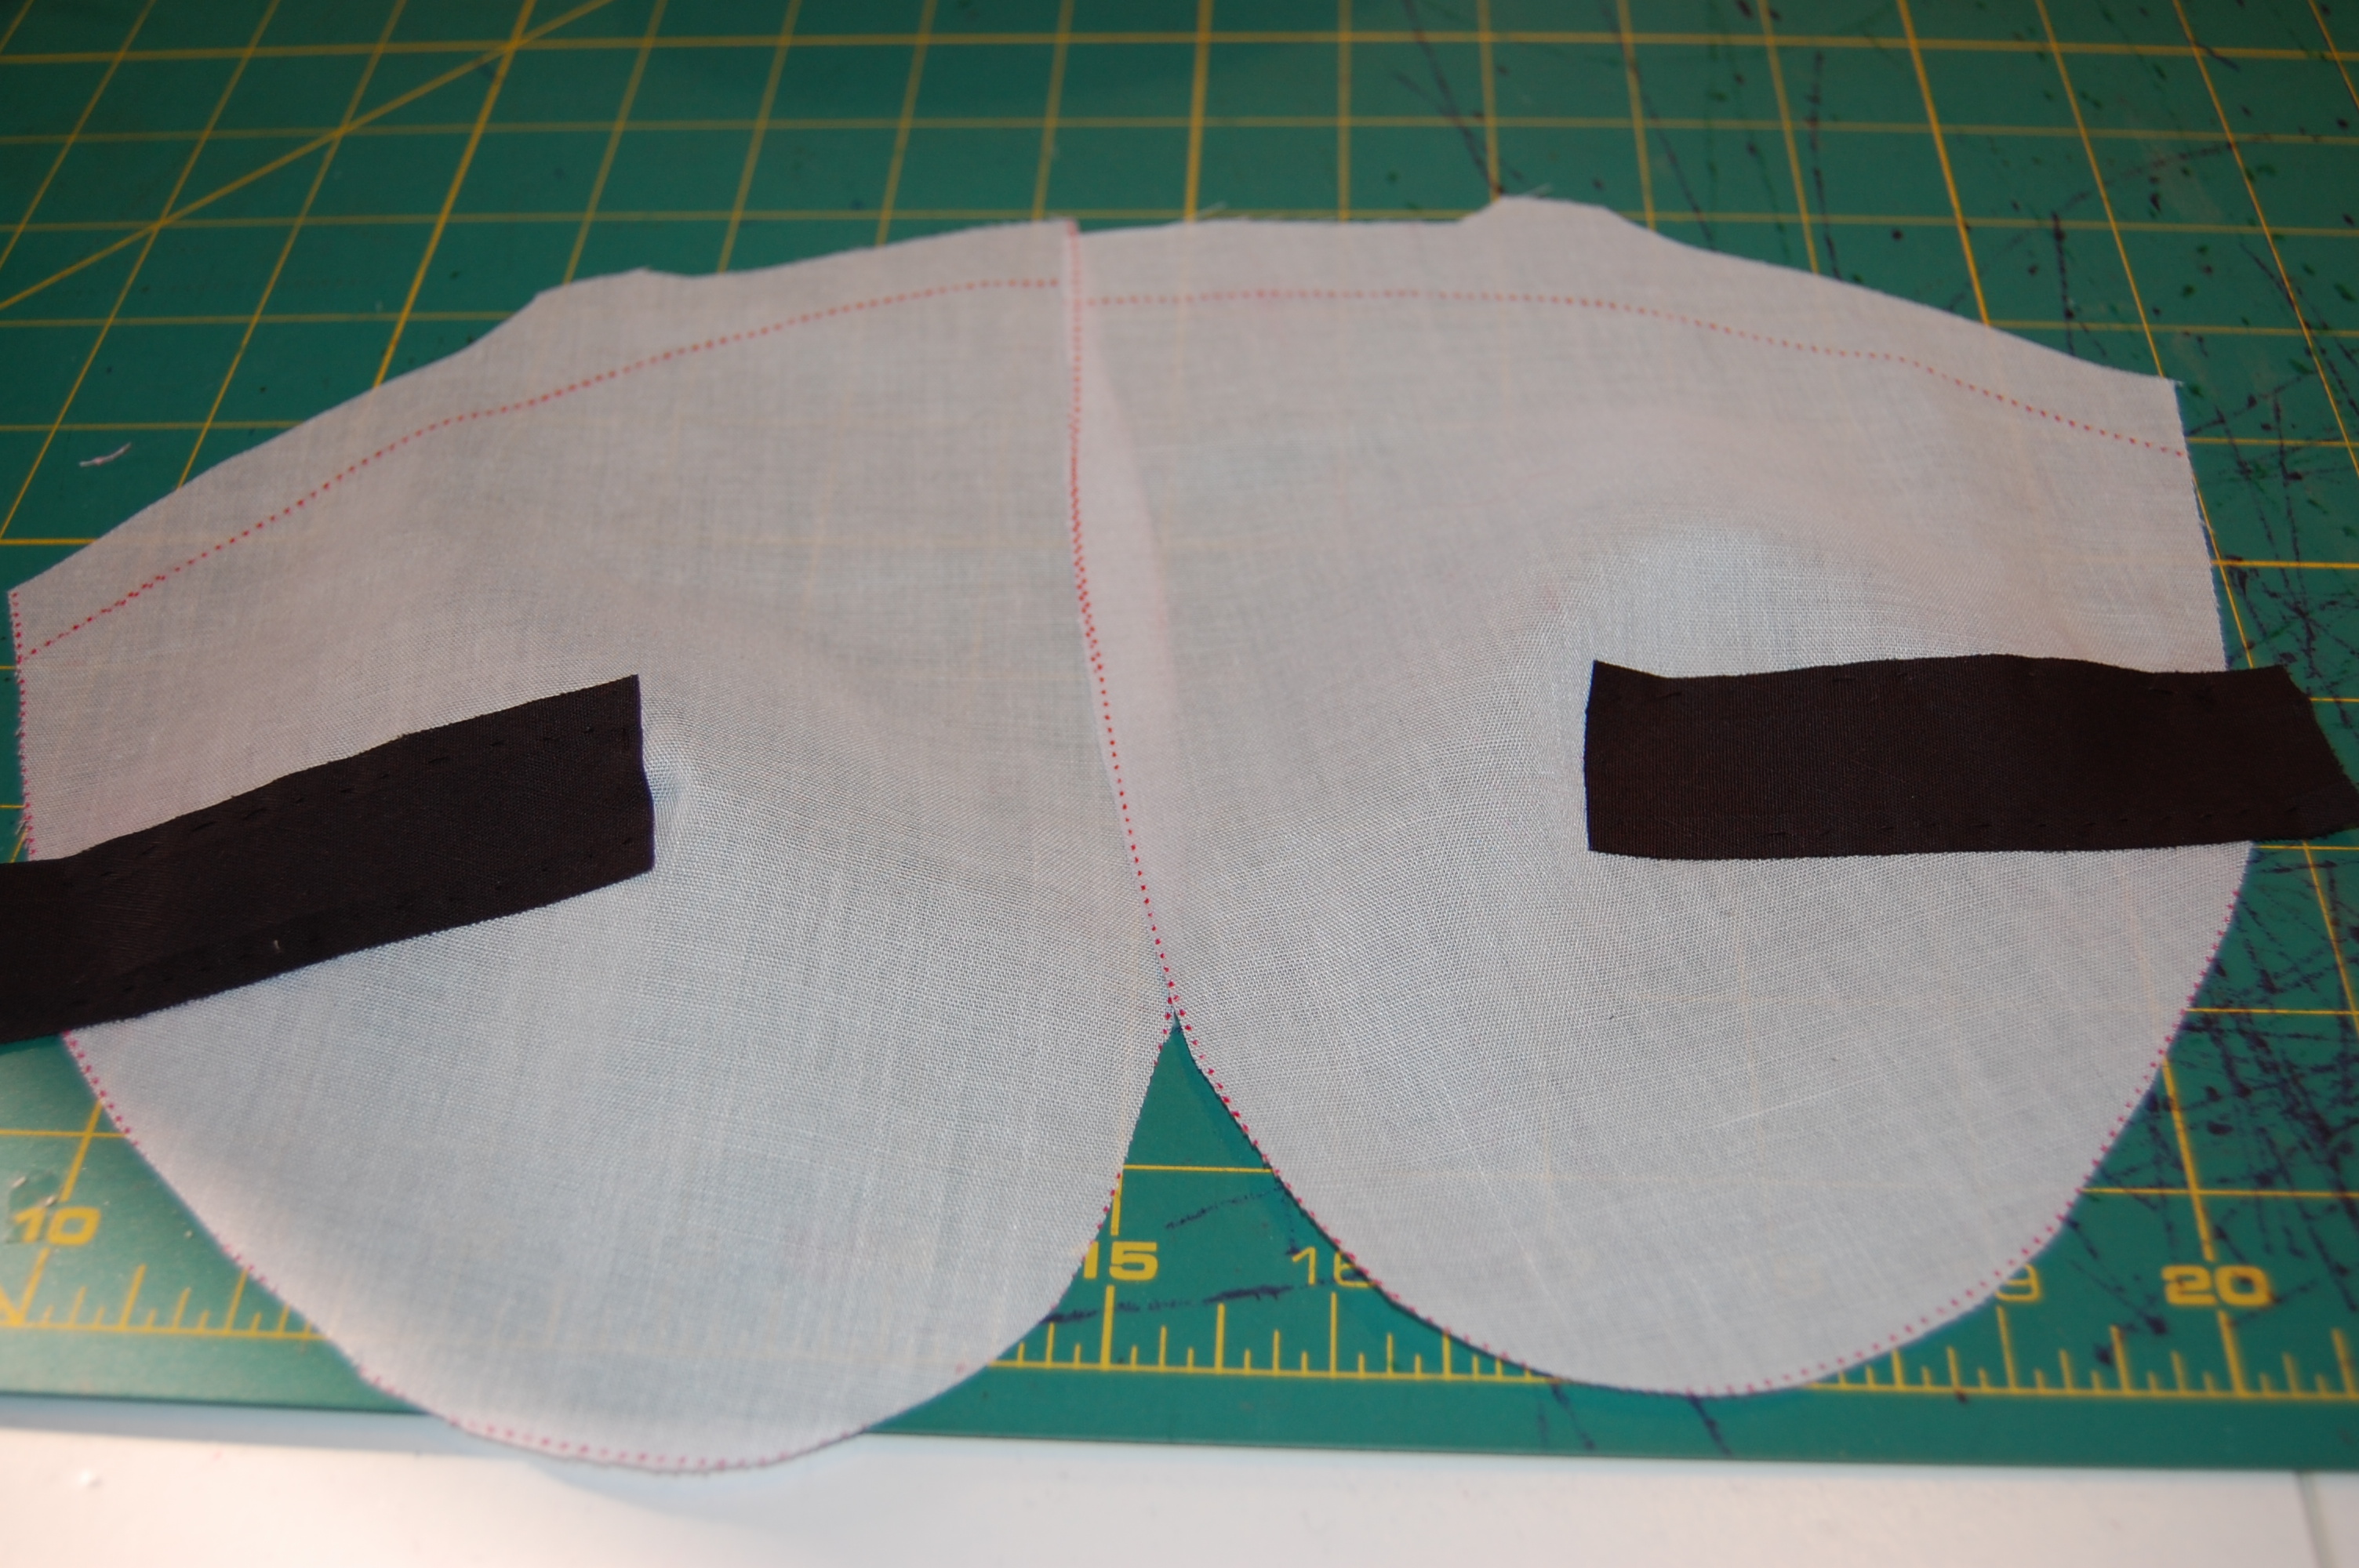
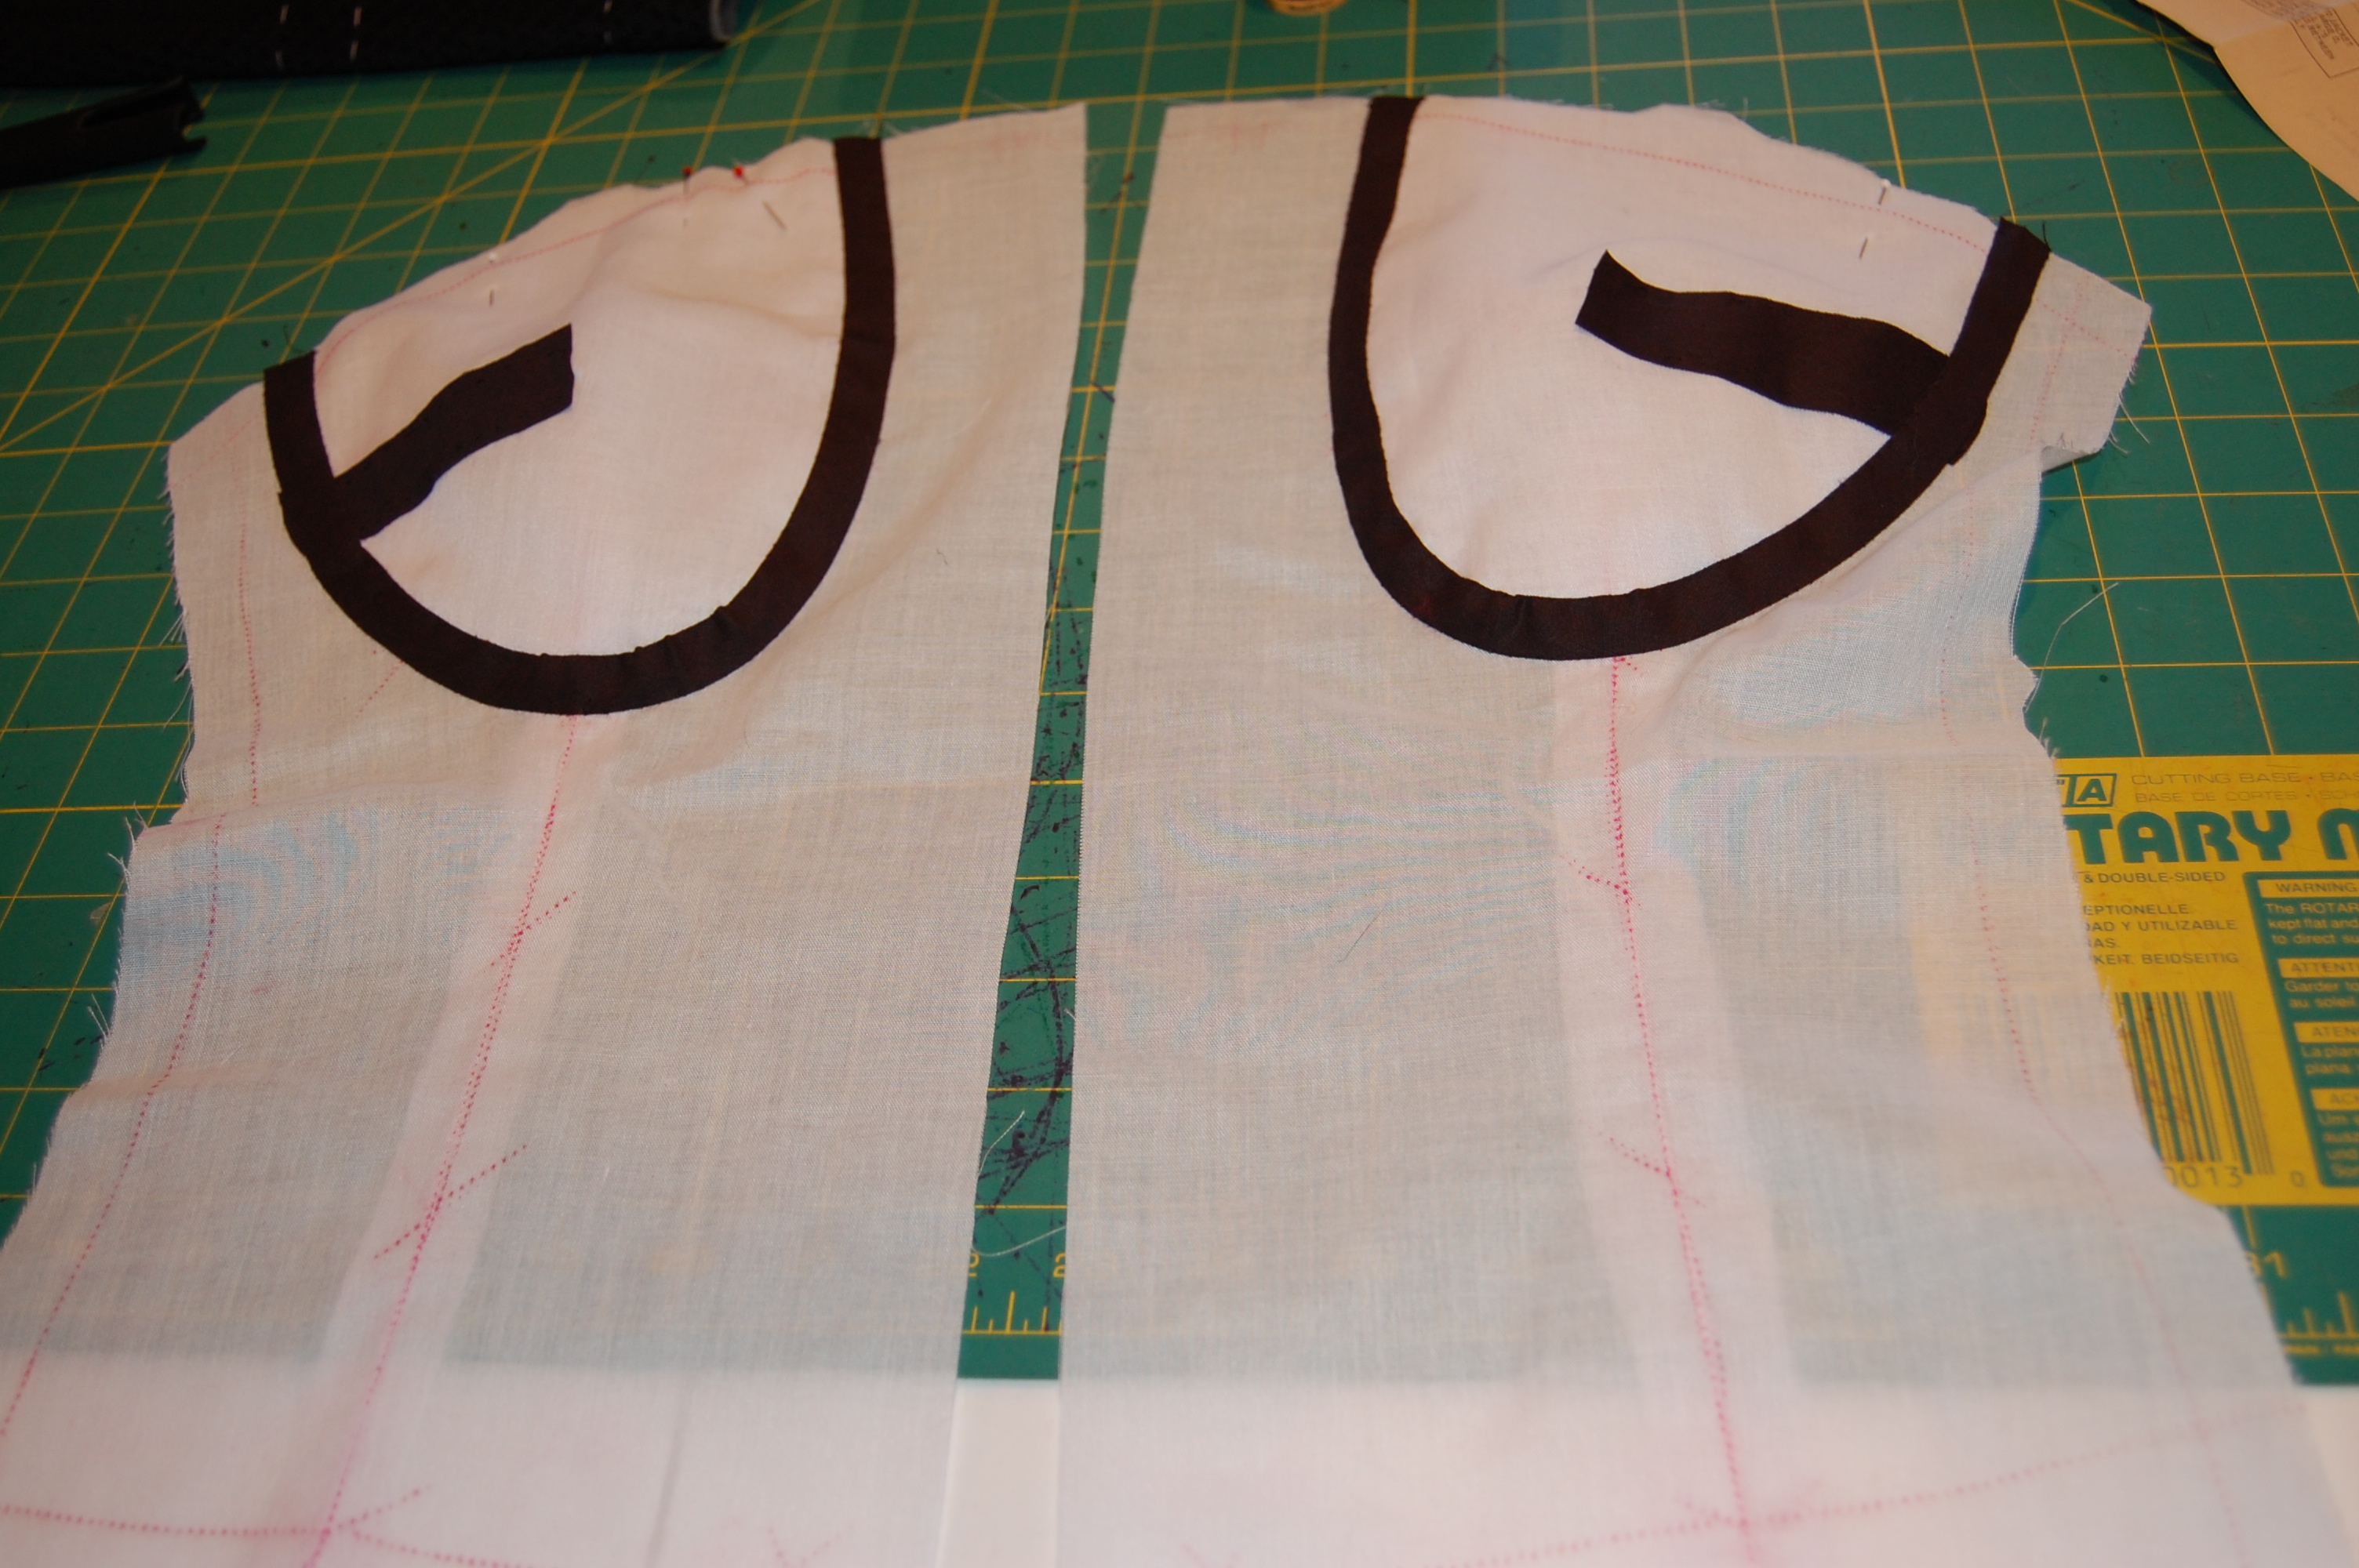
Here are the silk organza pattern pieces arranged on the fashion fabric.
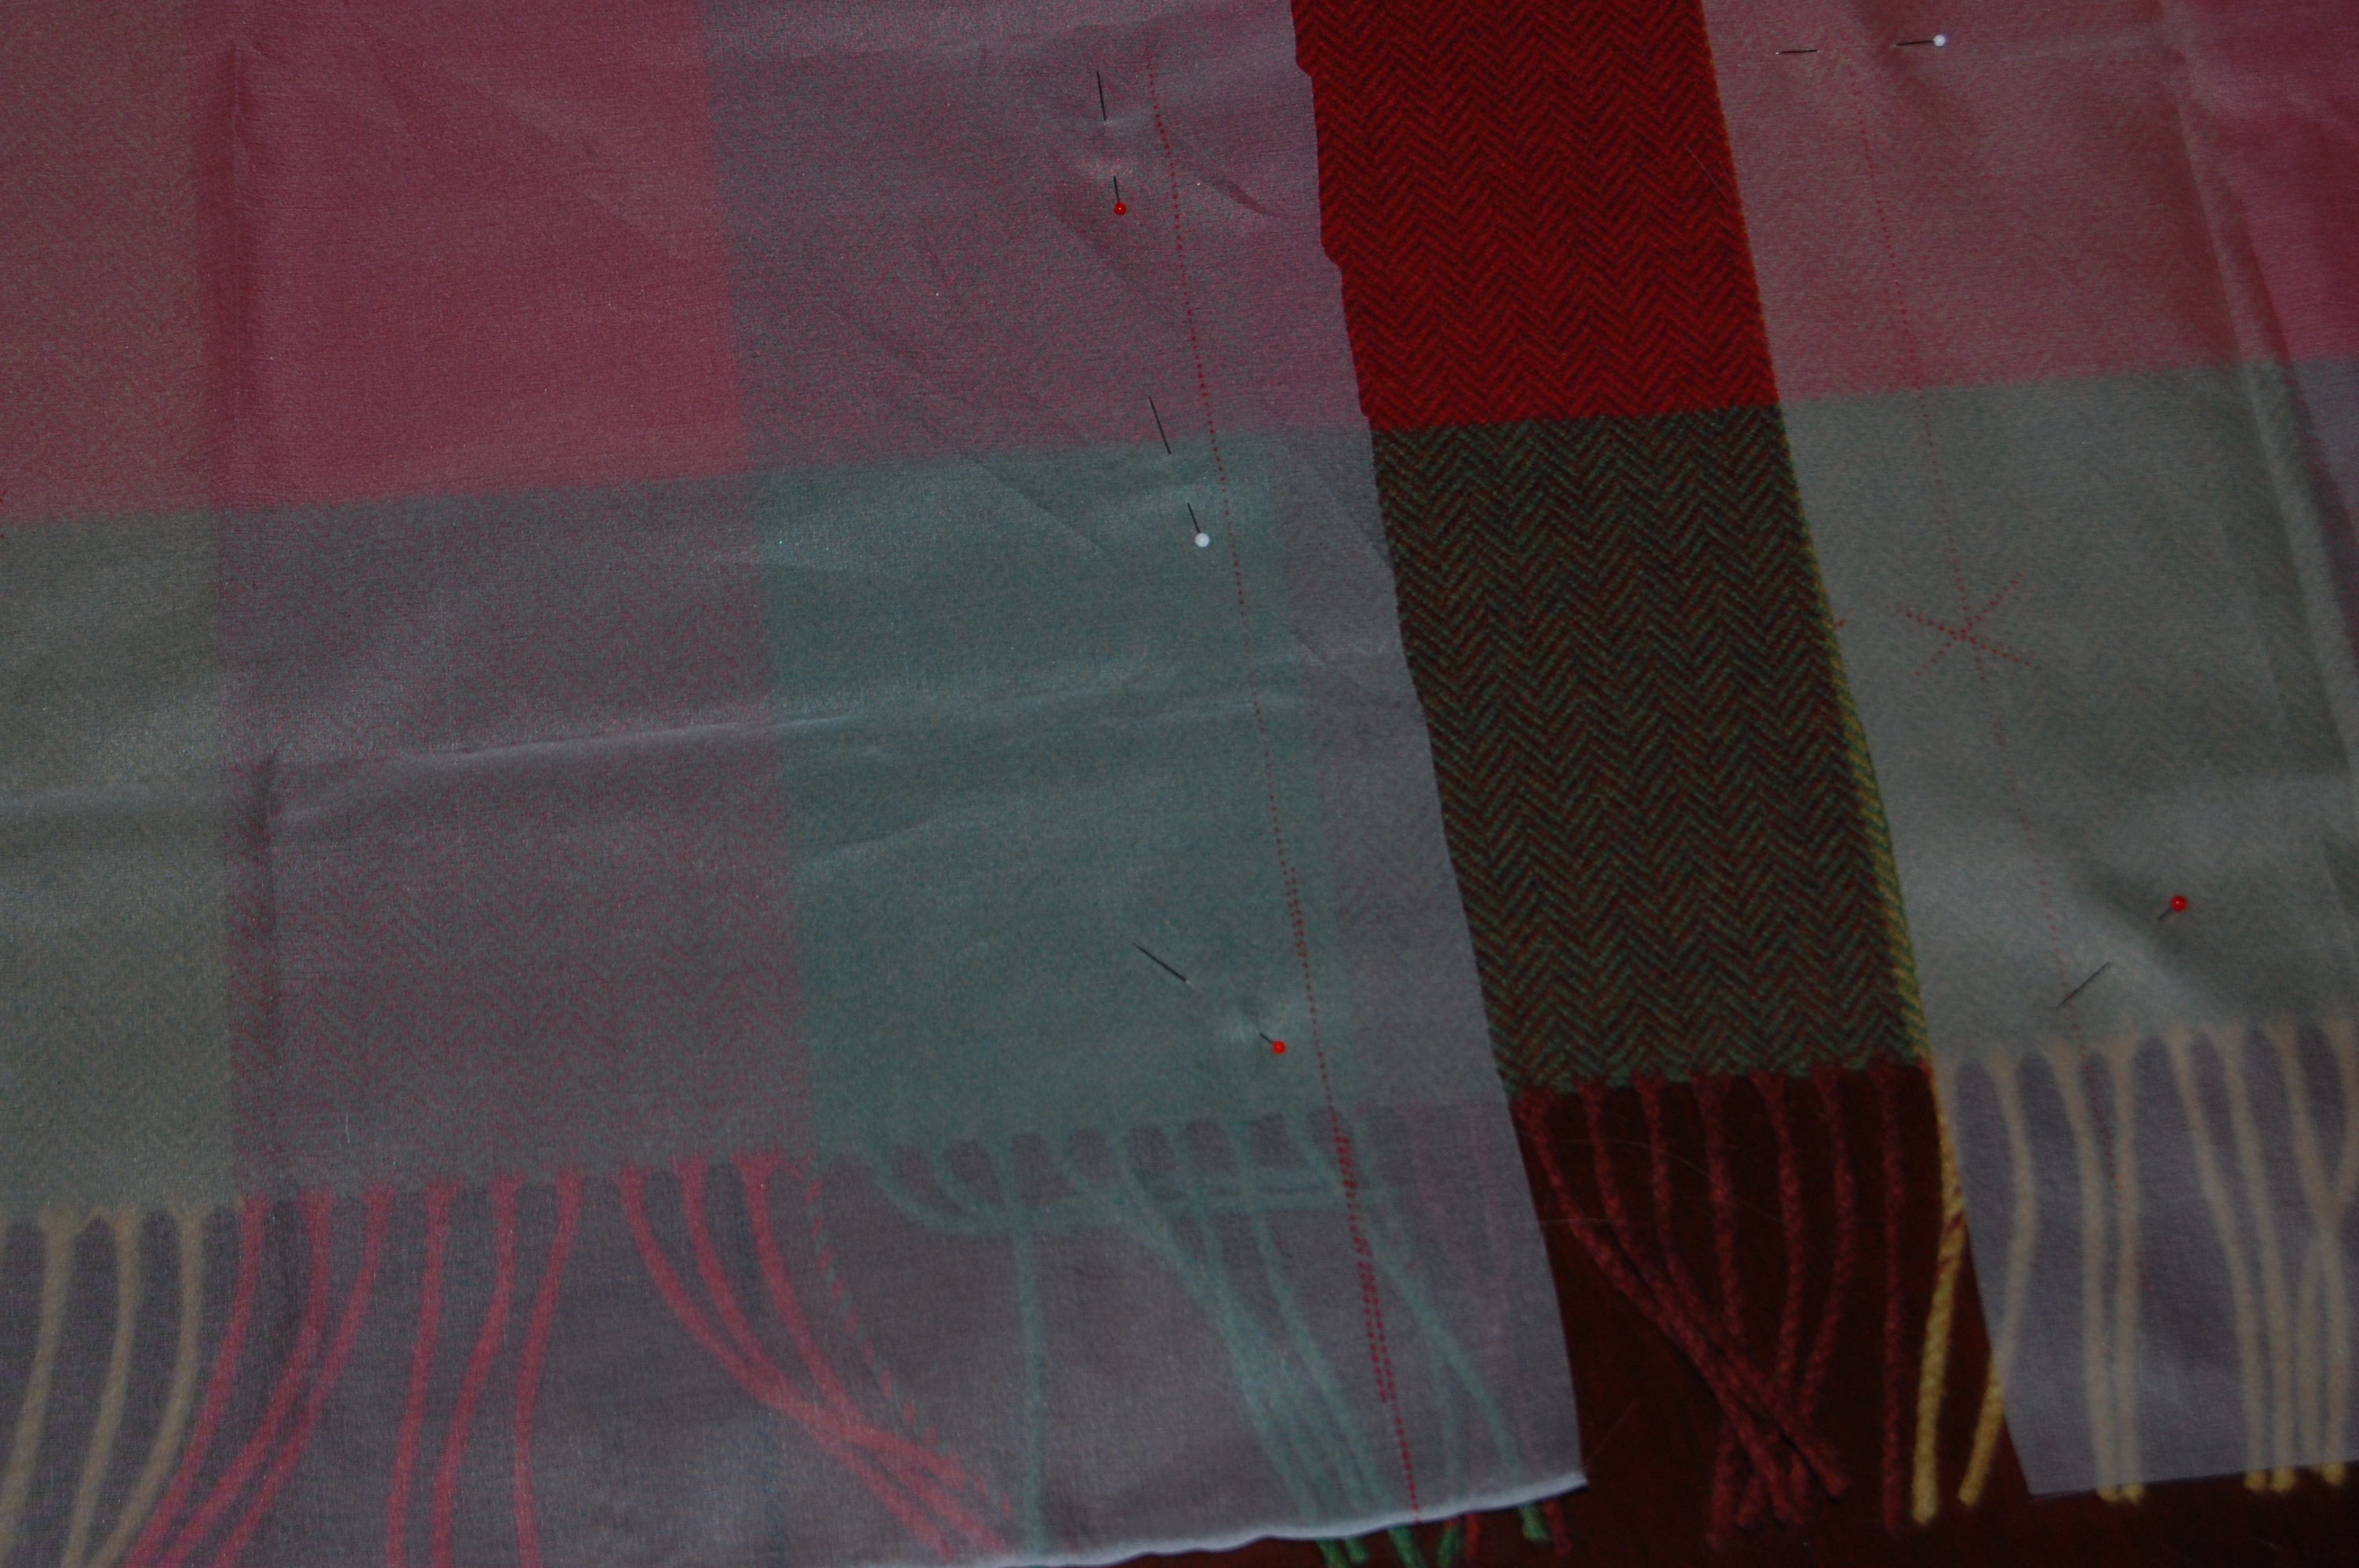
I cut the silk organza the full needed length of the dress in order to know exactly where the fringe should be placed for the hemline.
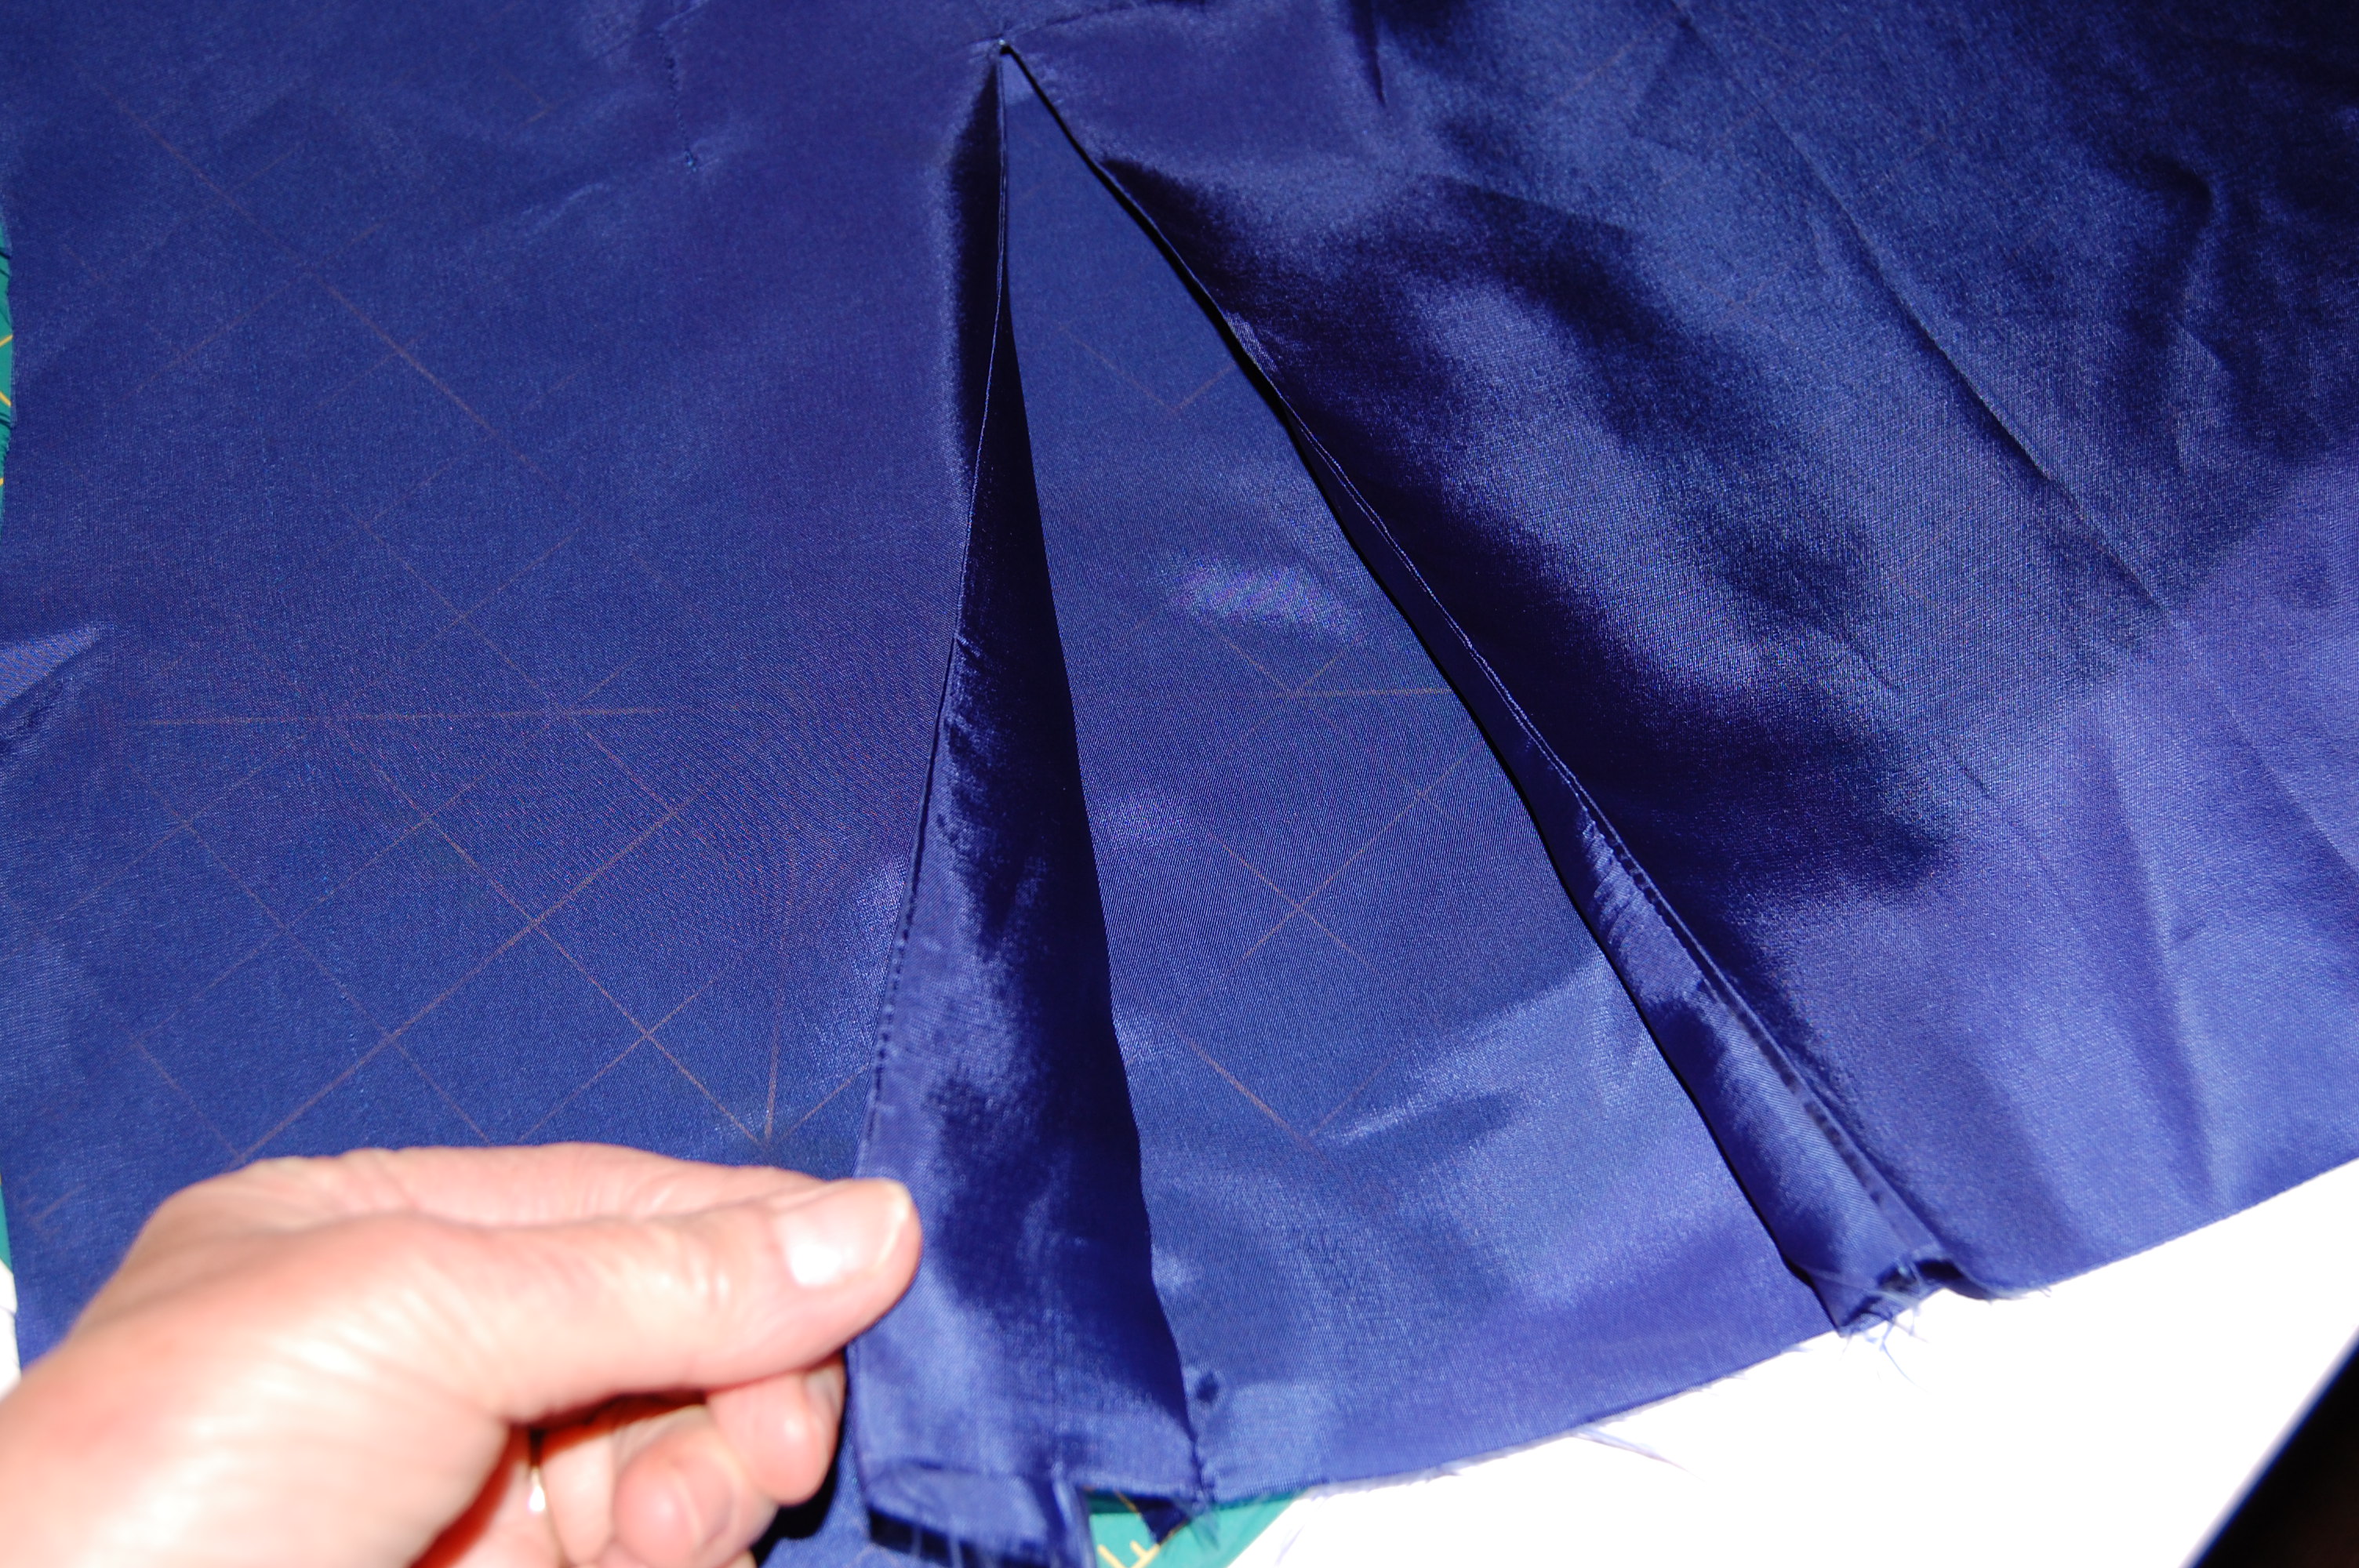
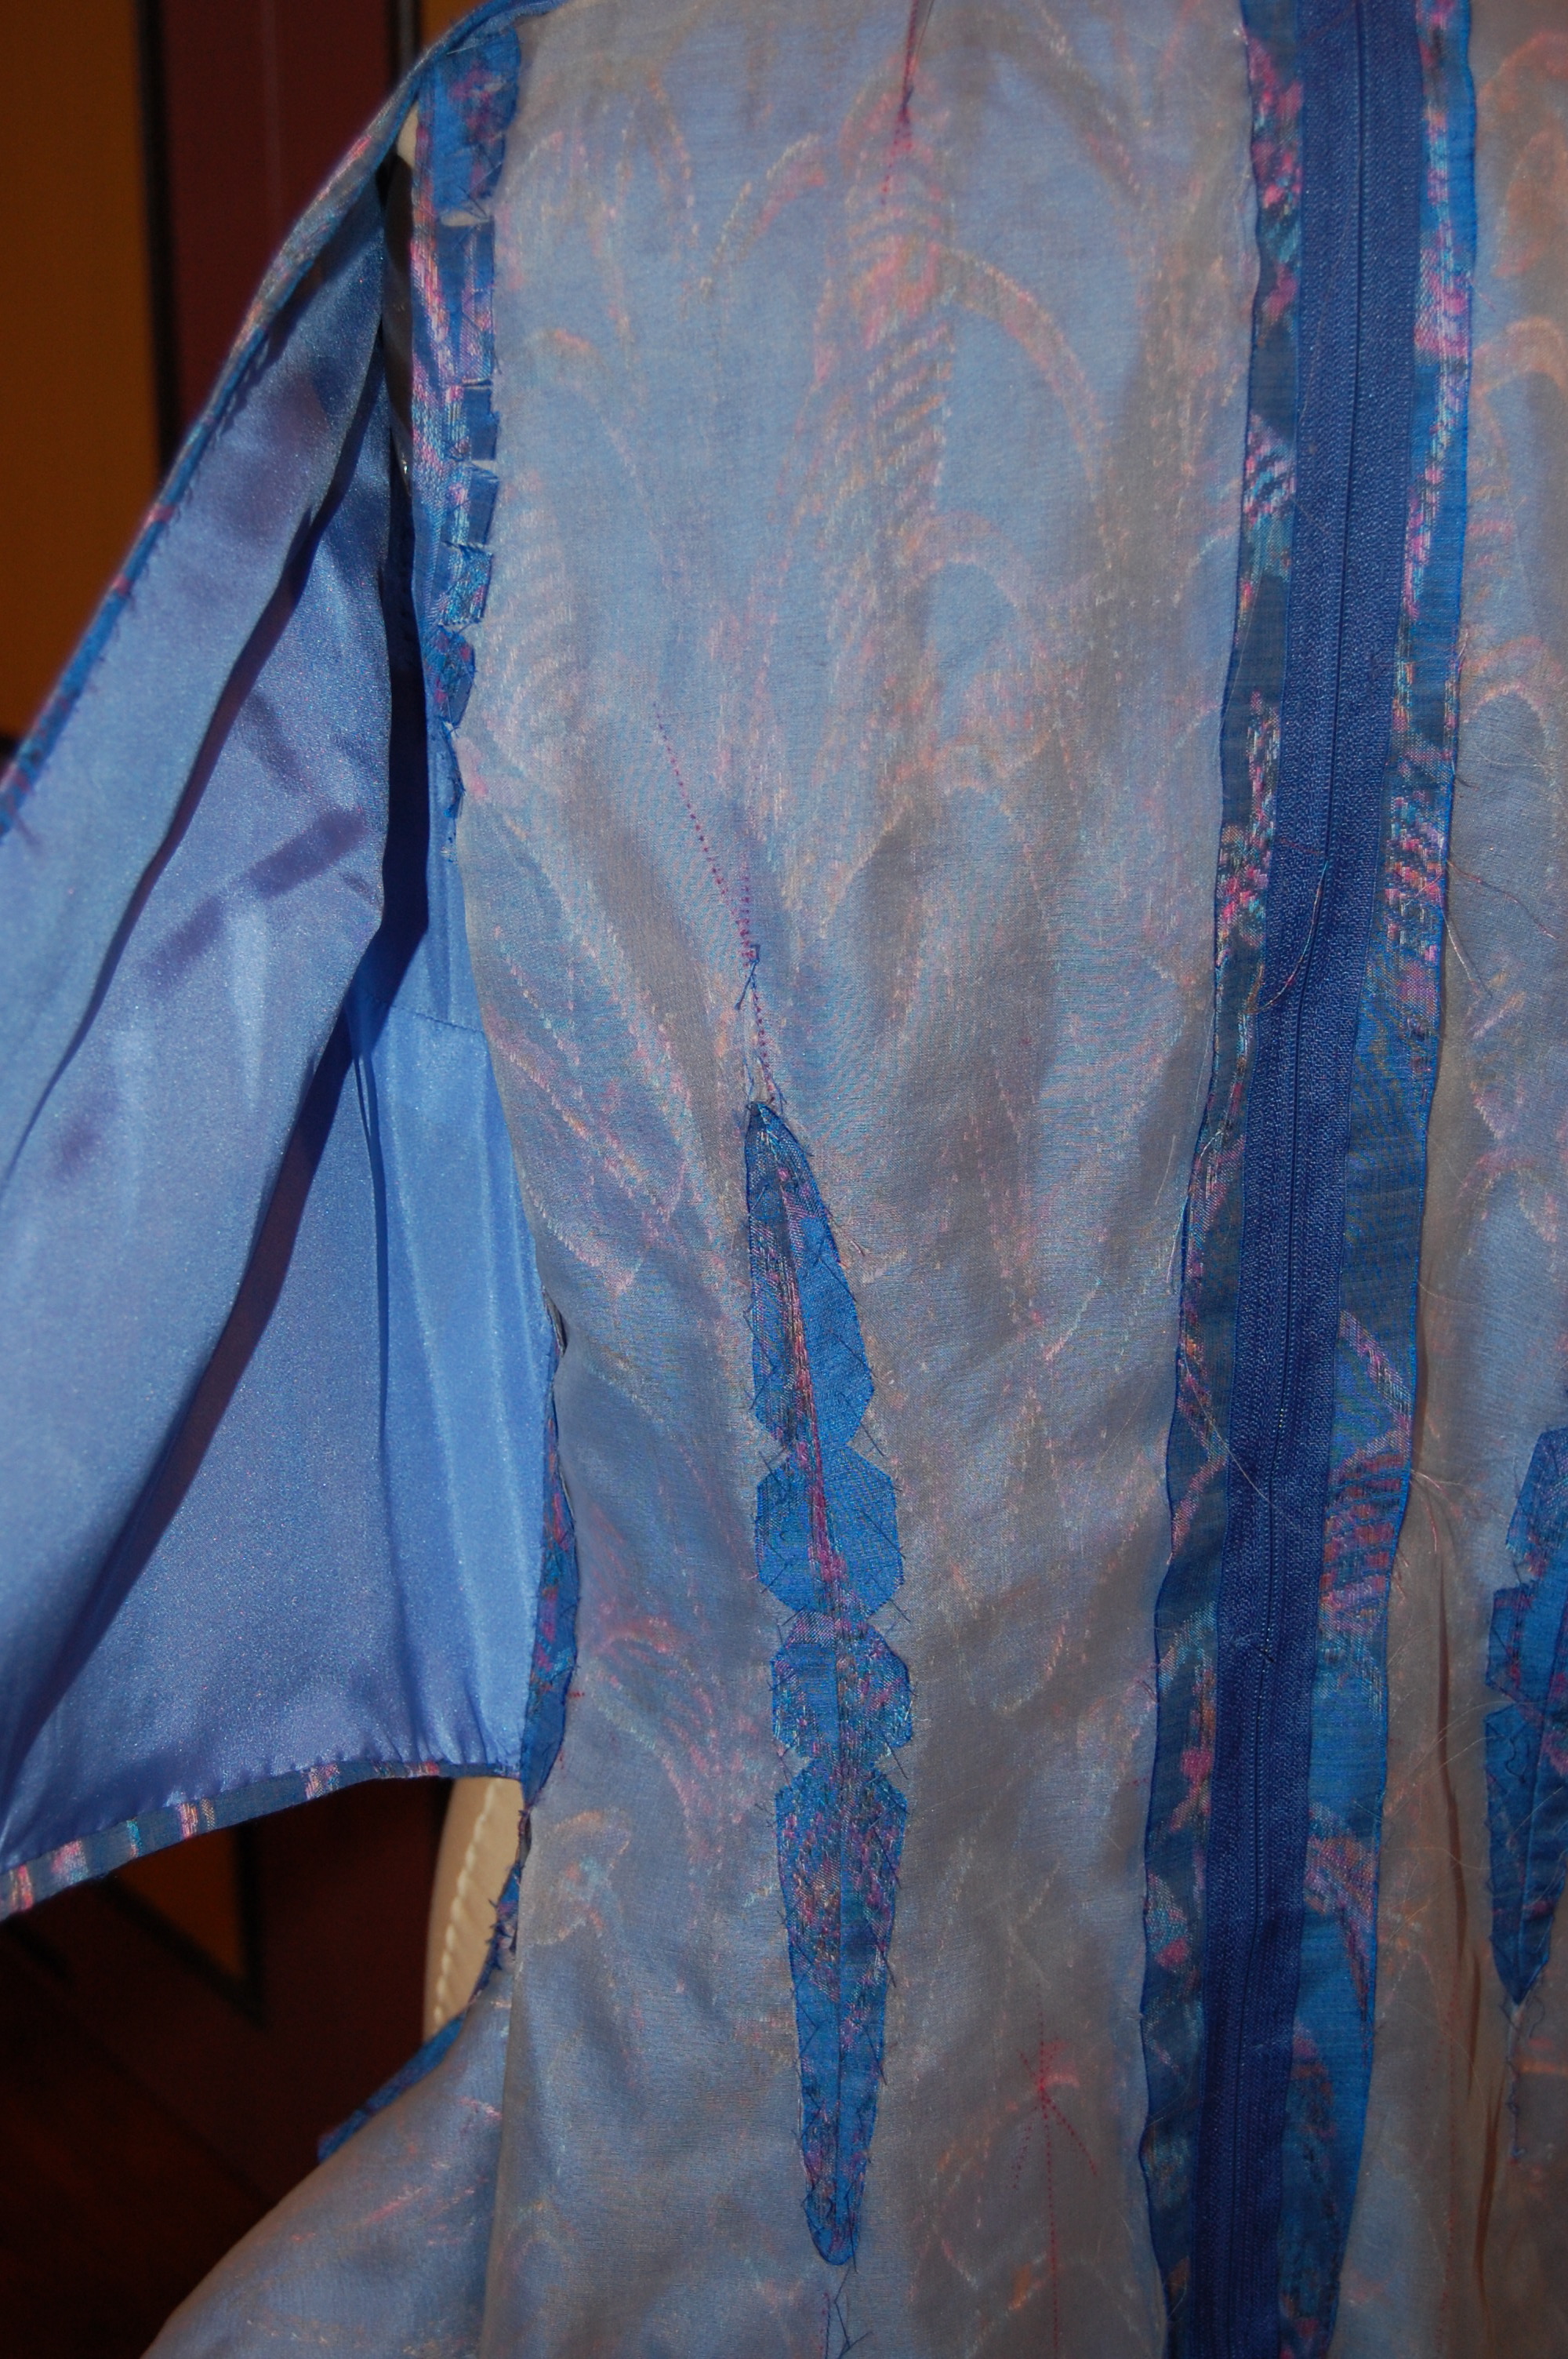
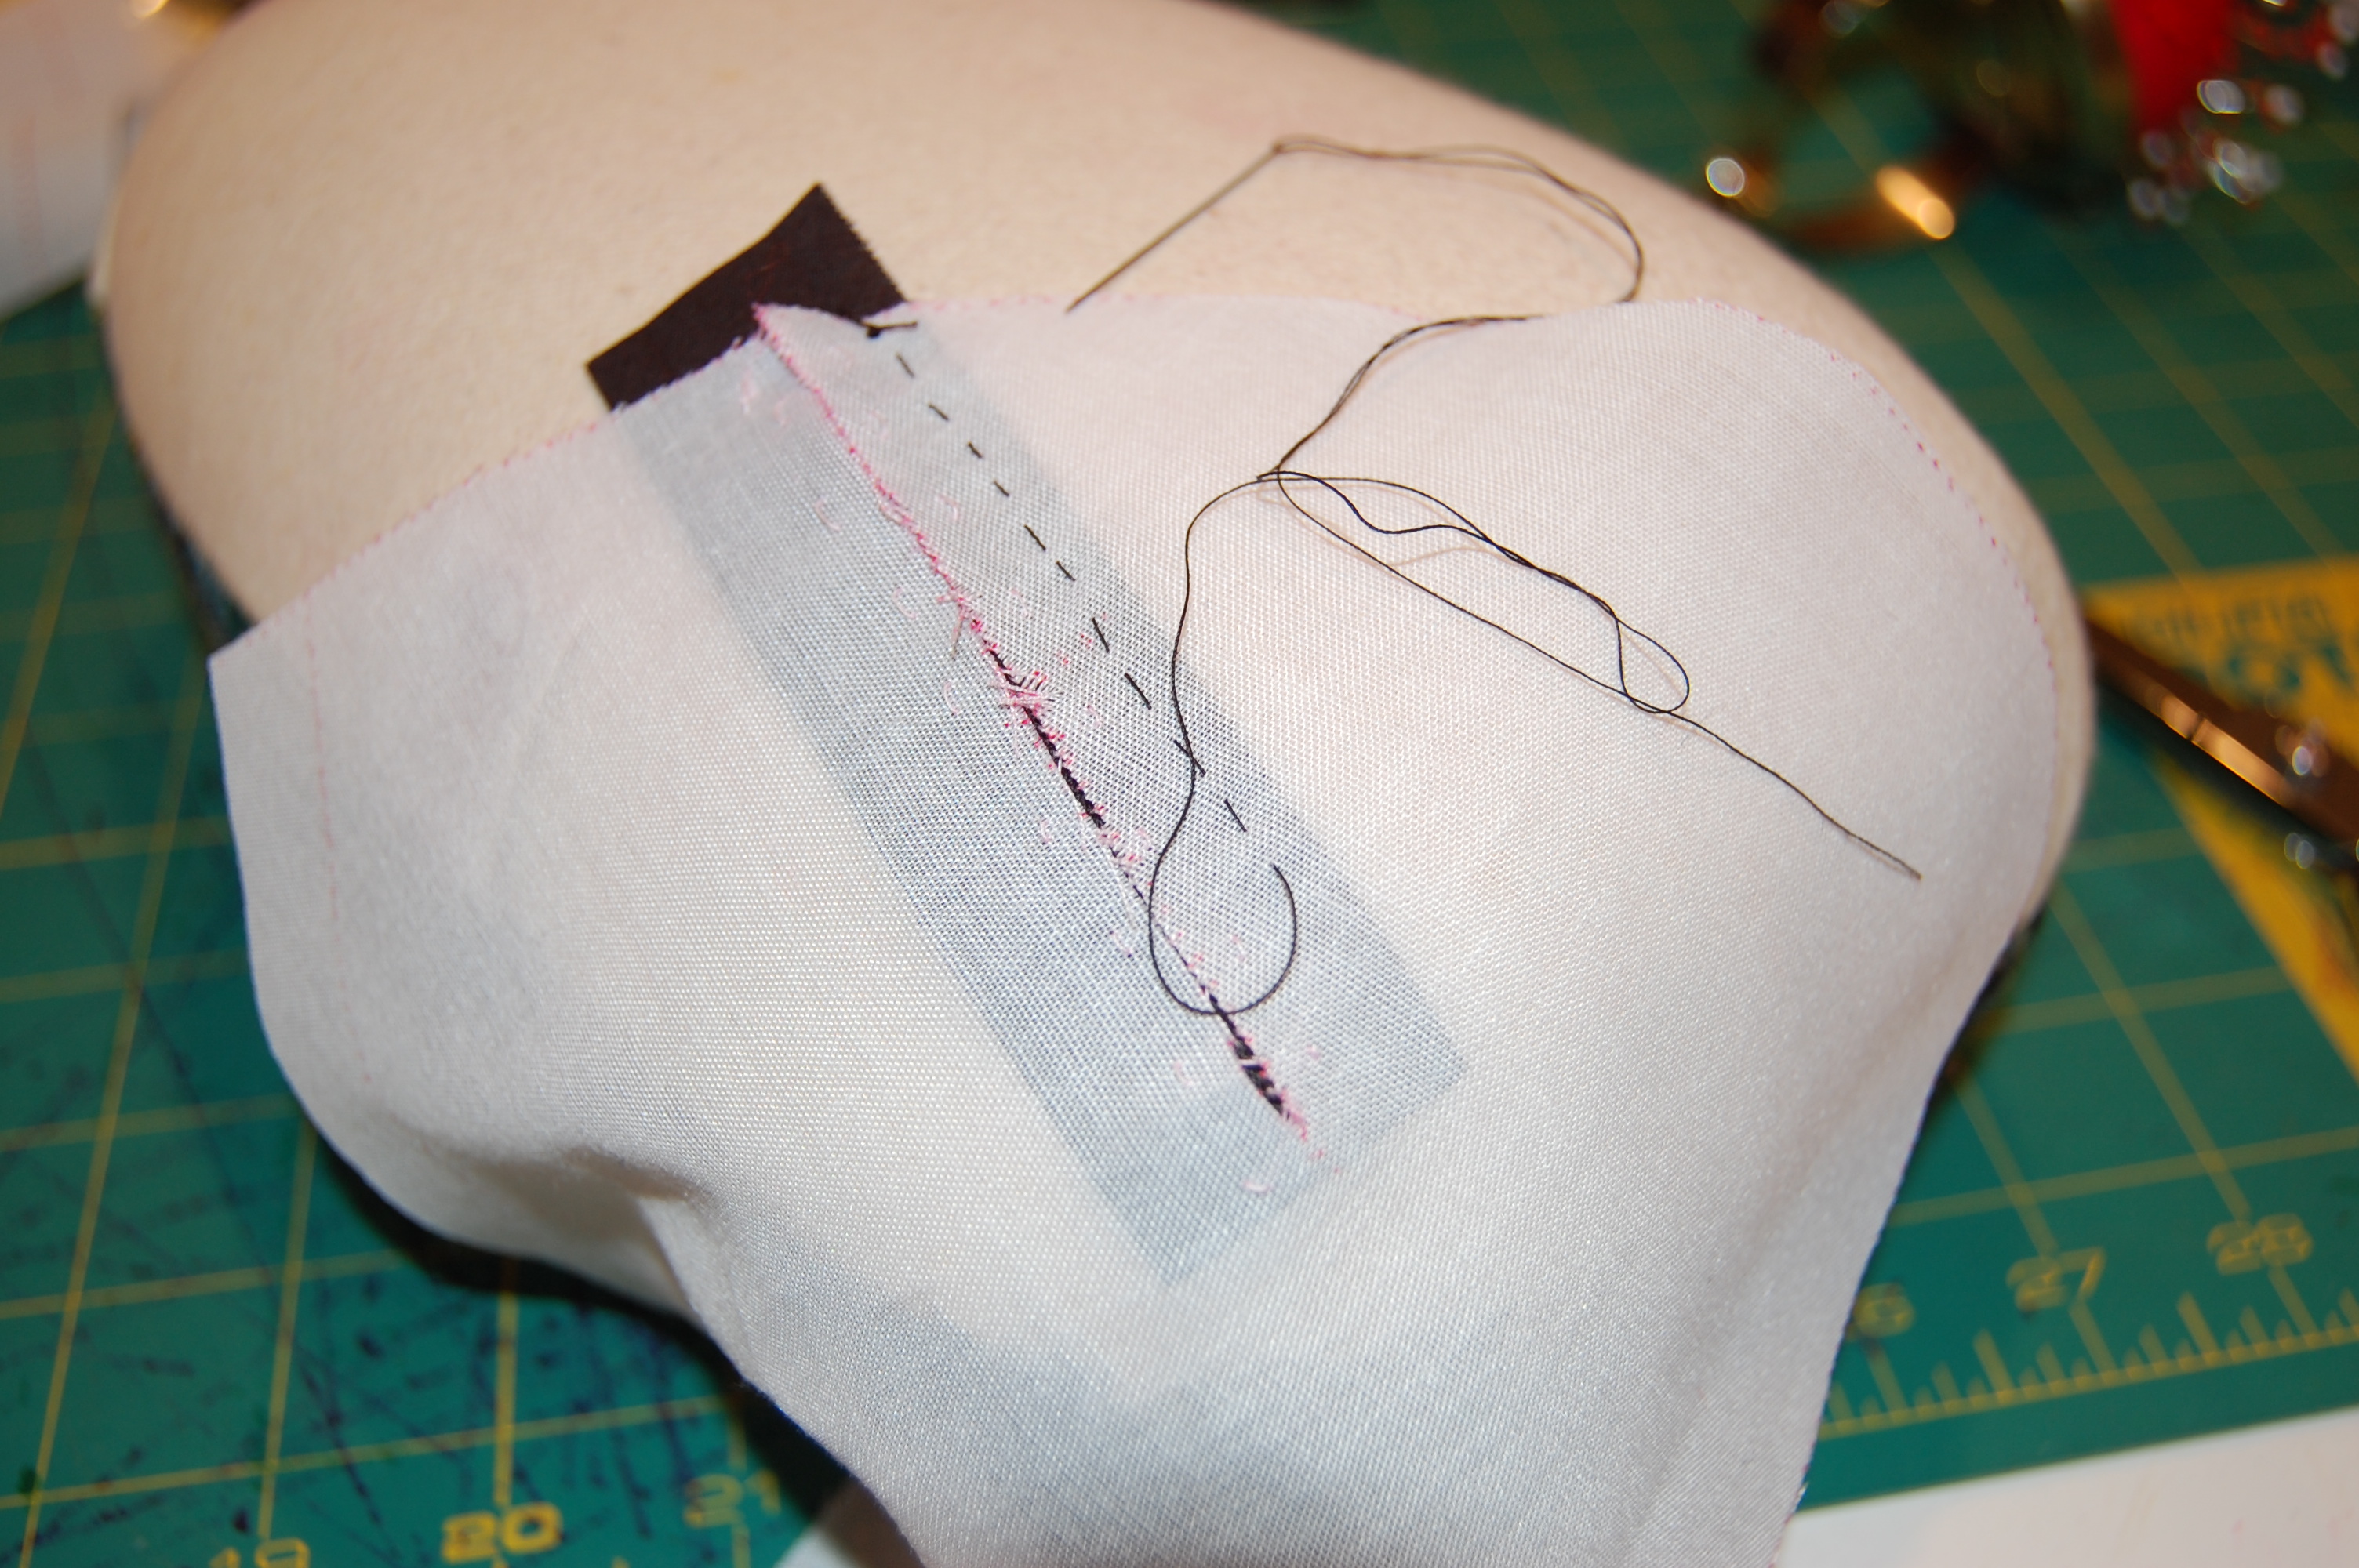
I trimmed the organza about an inch from the beginning of the fringe and catch-stitched the edge of it very carefully to the fashion fabric. The tight weave of the blanket allowed me to do this without stitching or pulling showing on the right side of the dress.

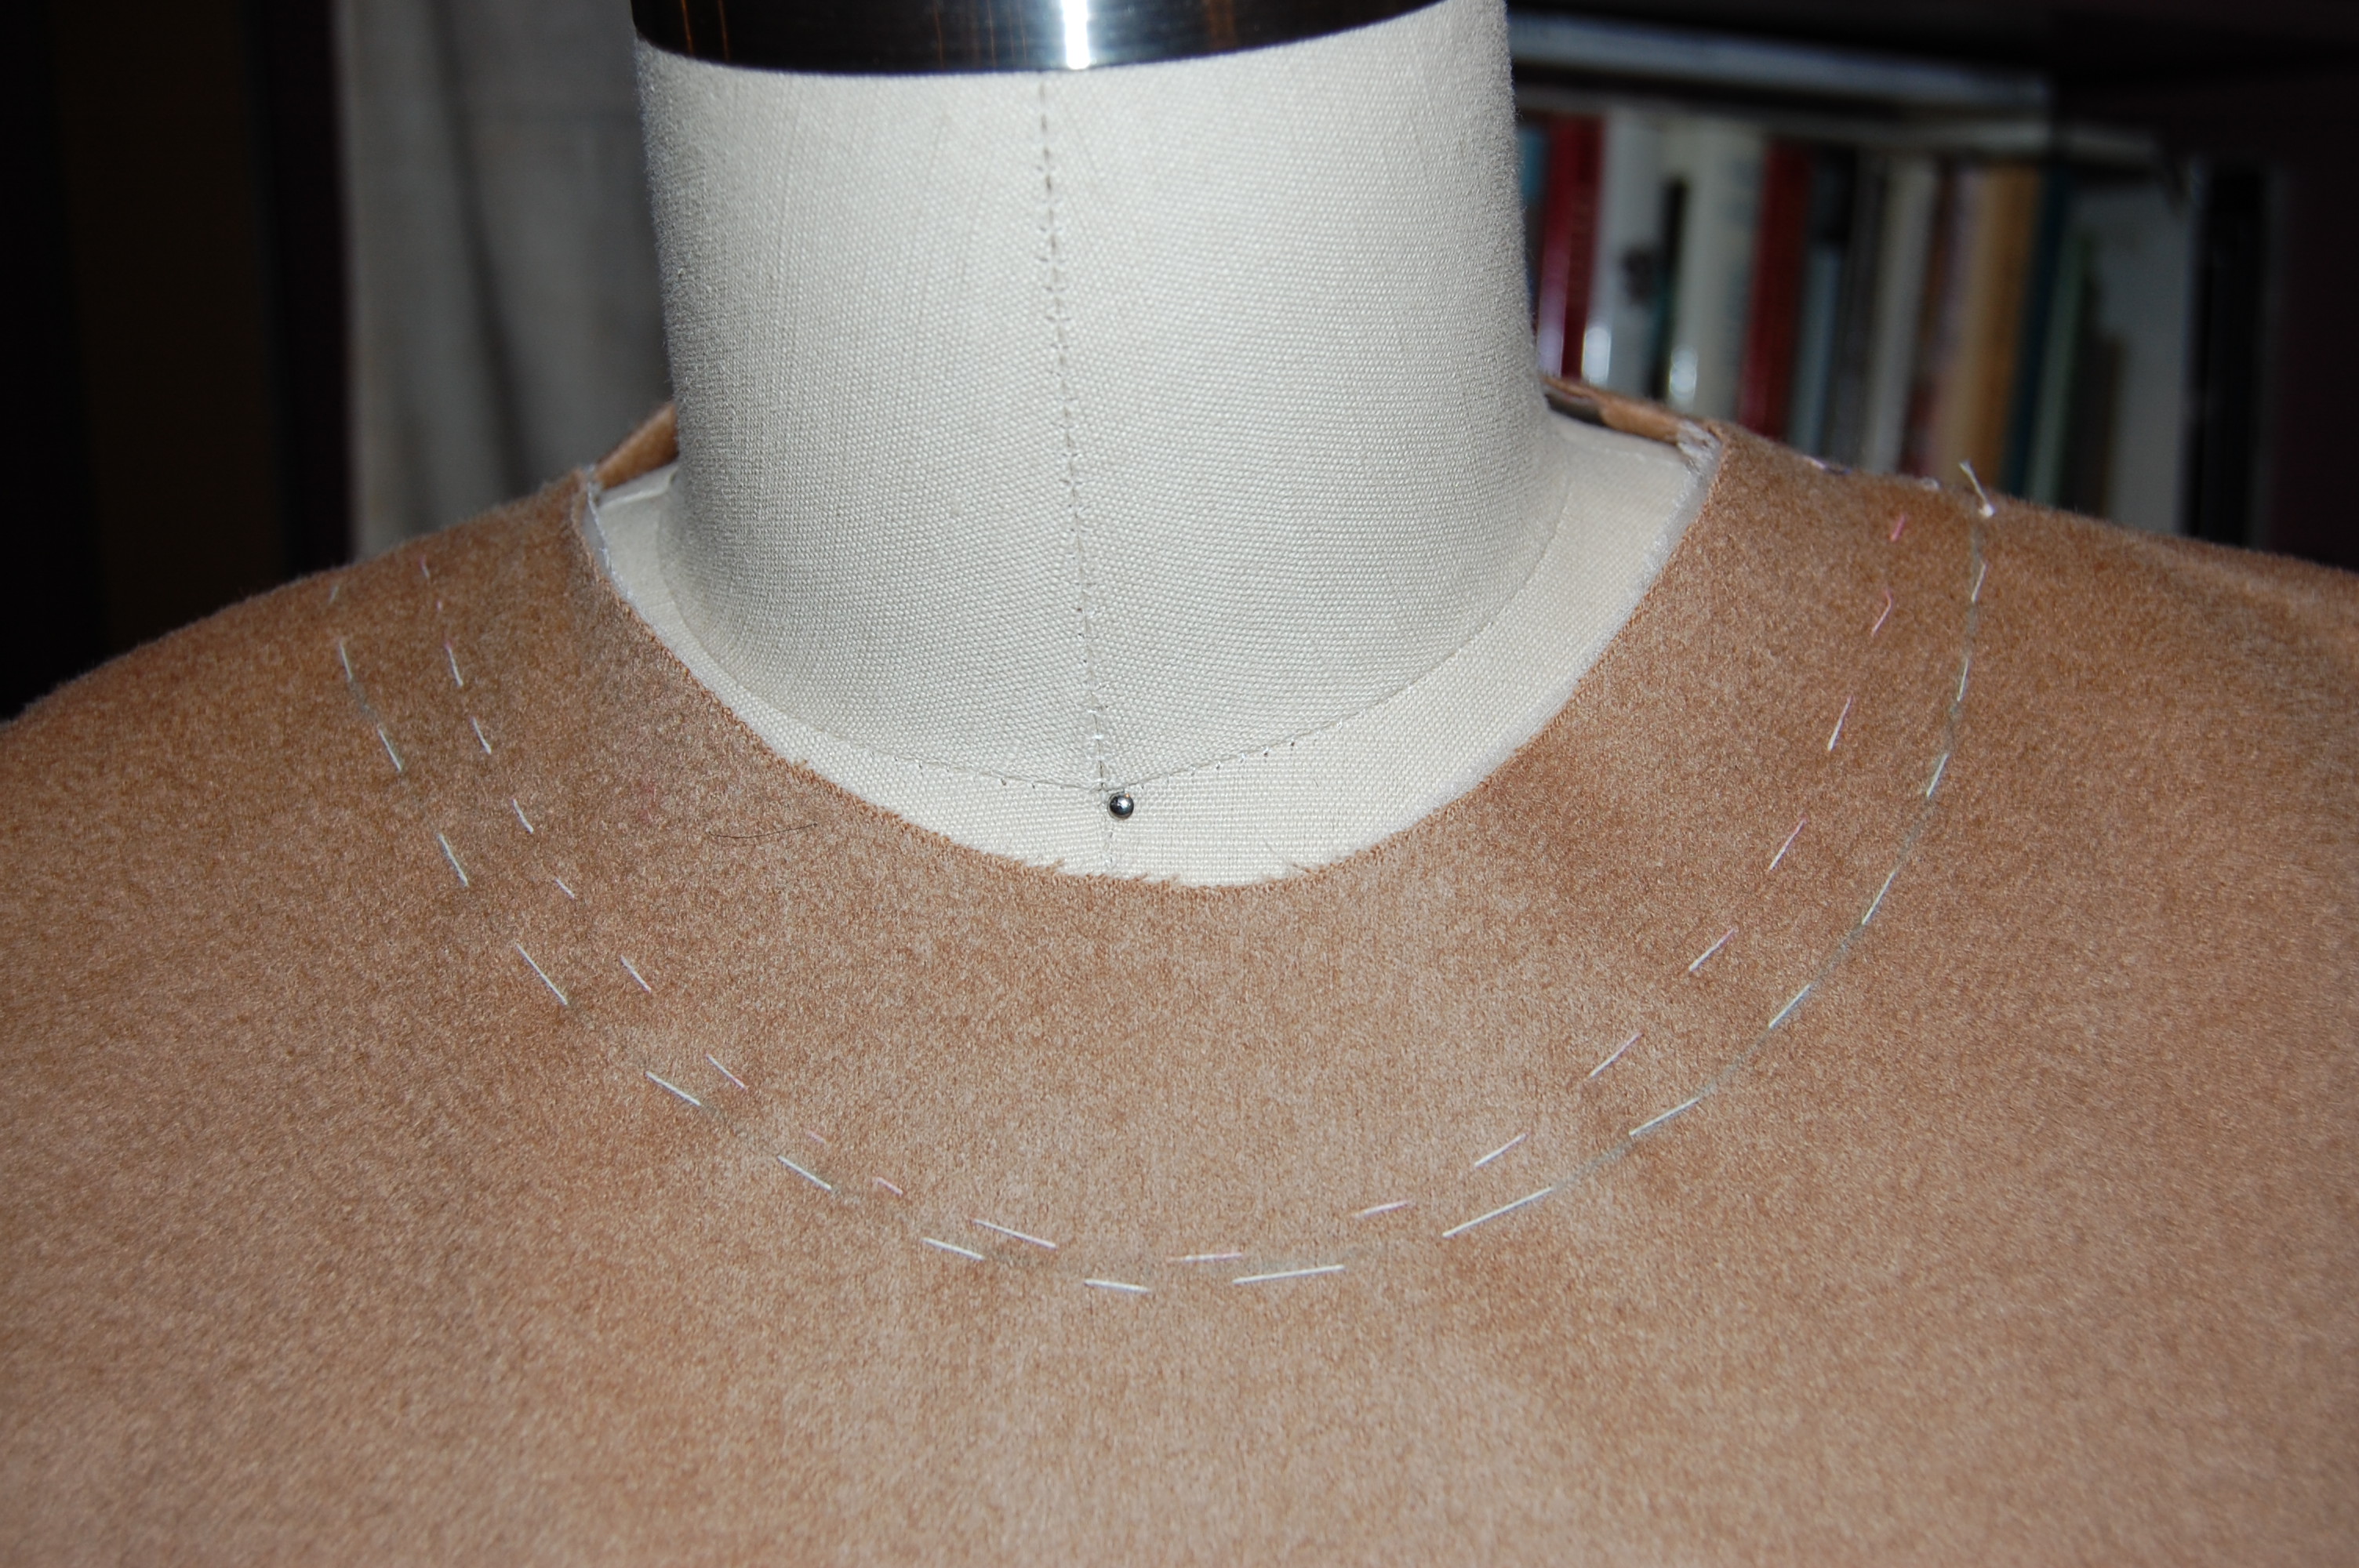
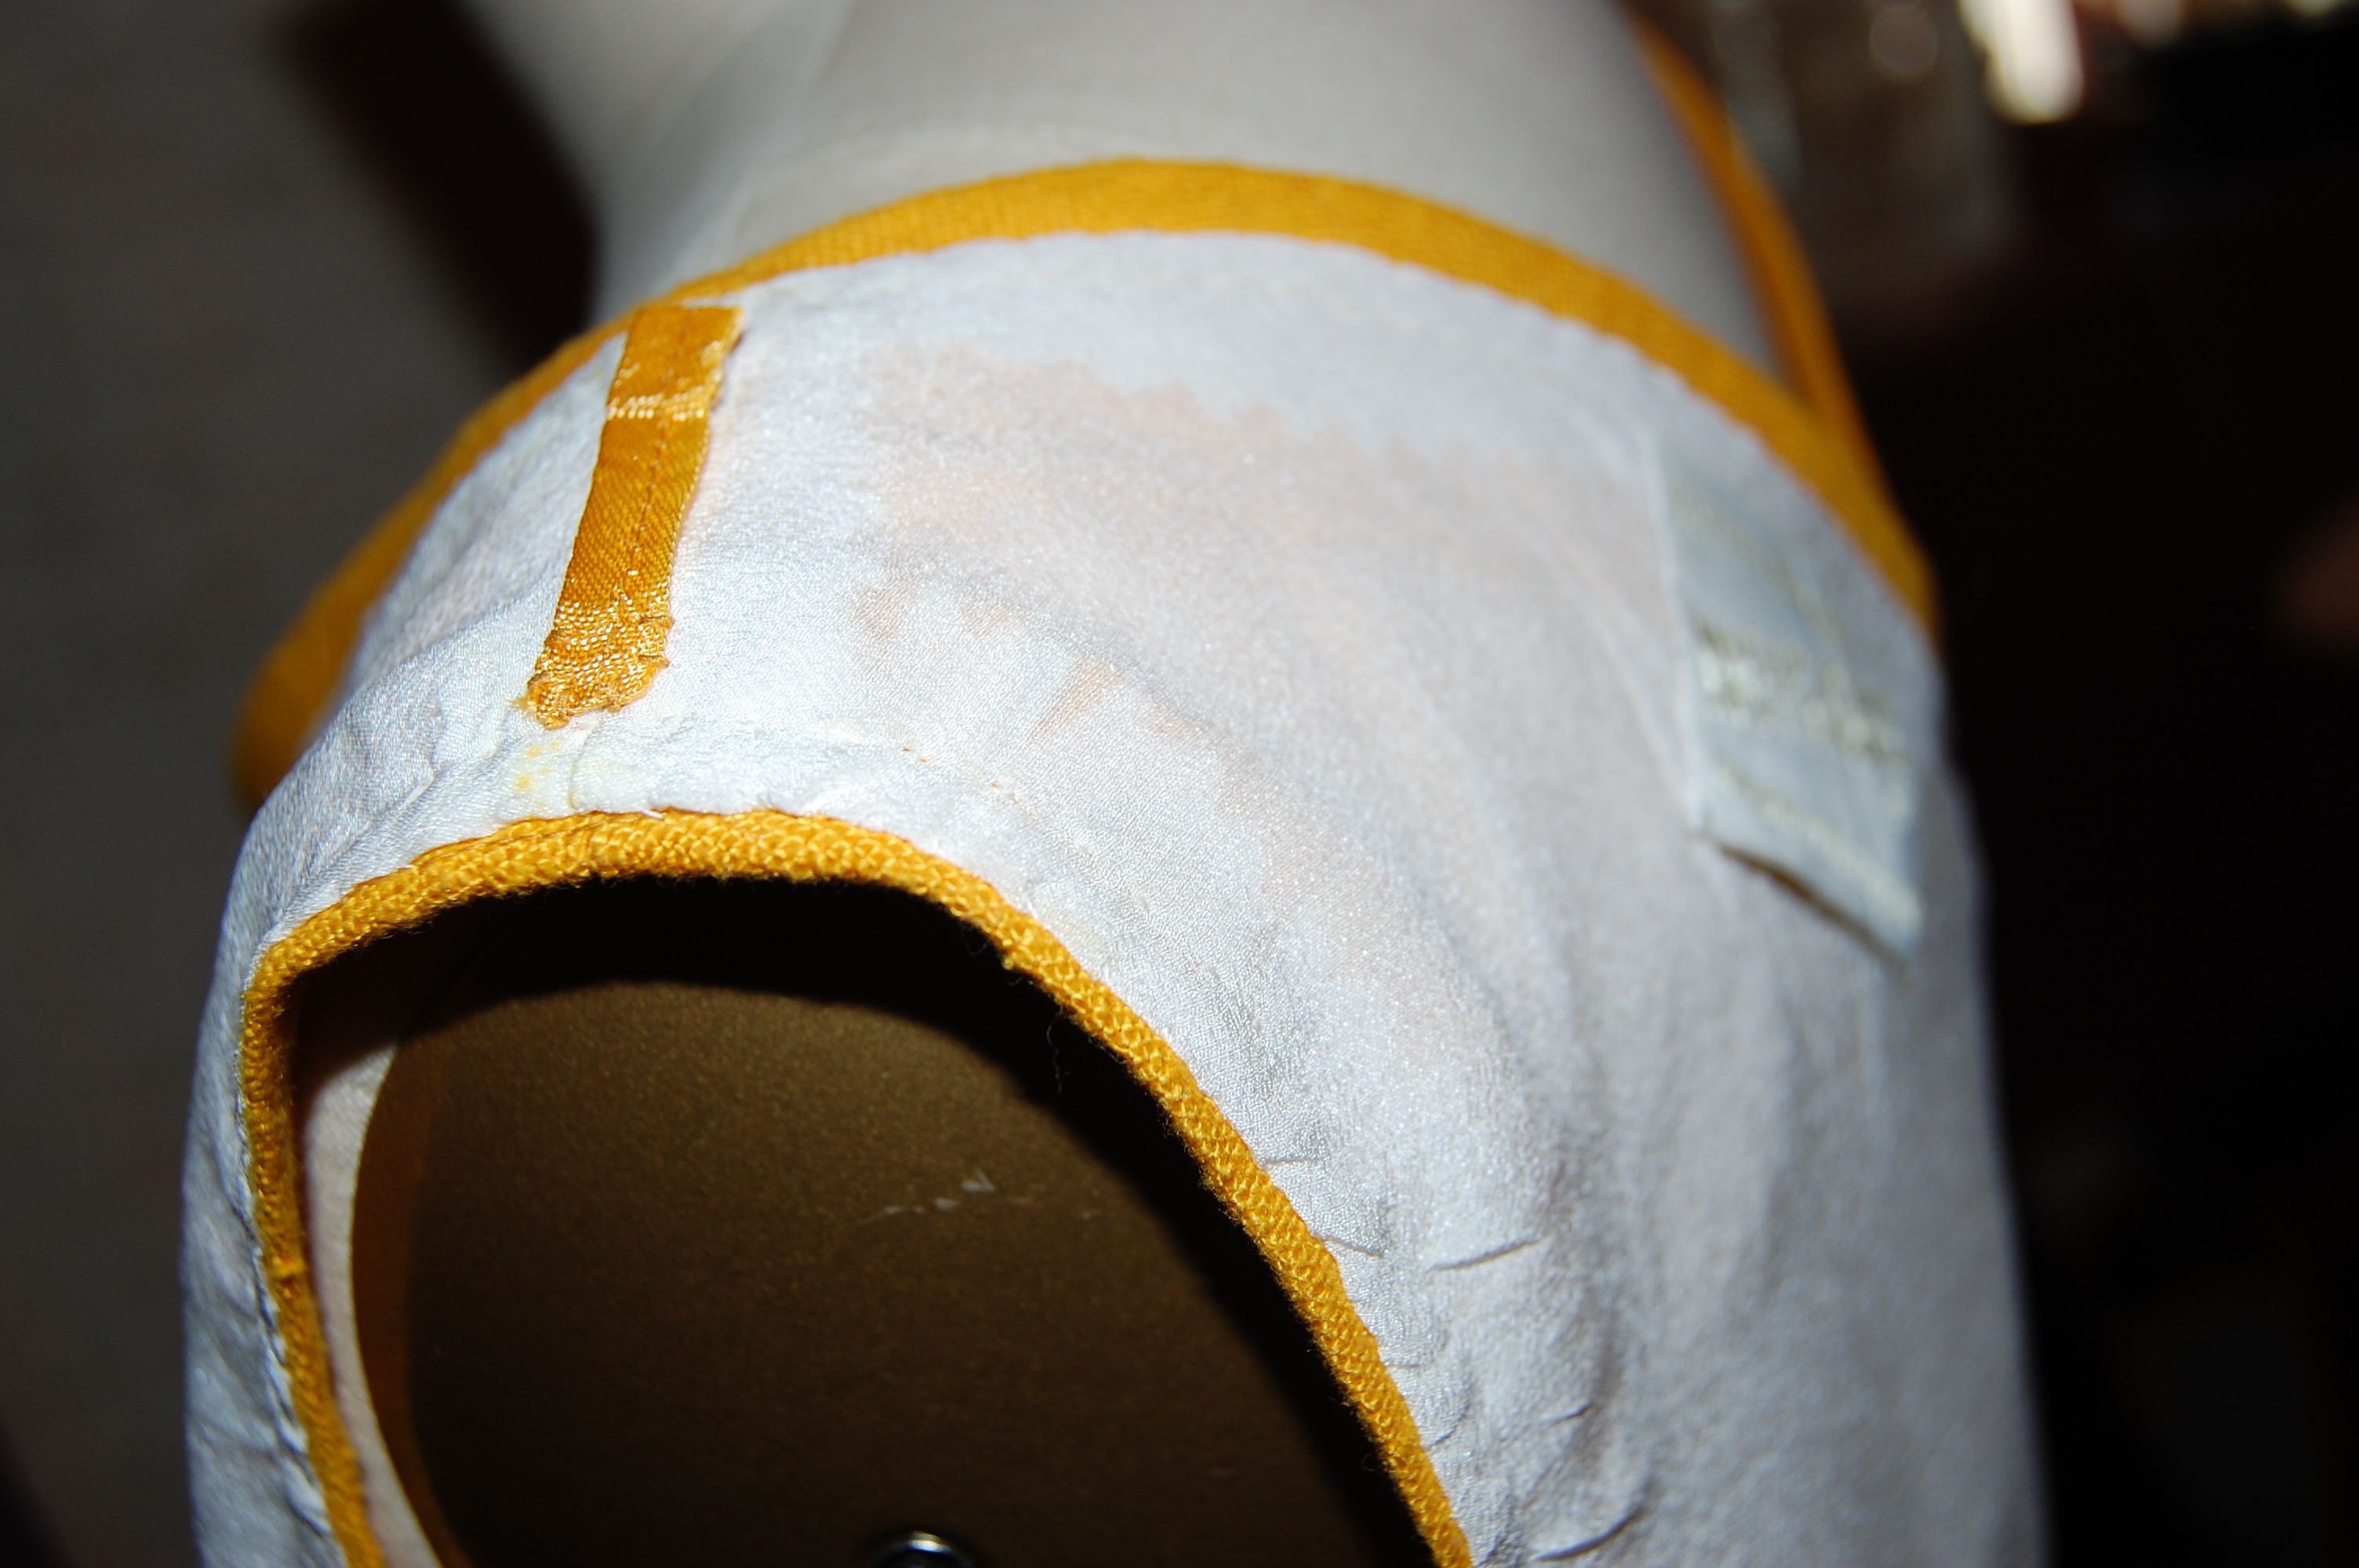
3) I cut the armholes a little deeper than I would for a sleeveless dress, in order to accommodate the sleeves of the still-to-be-made blouse.

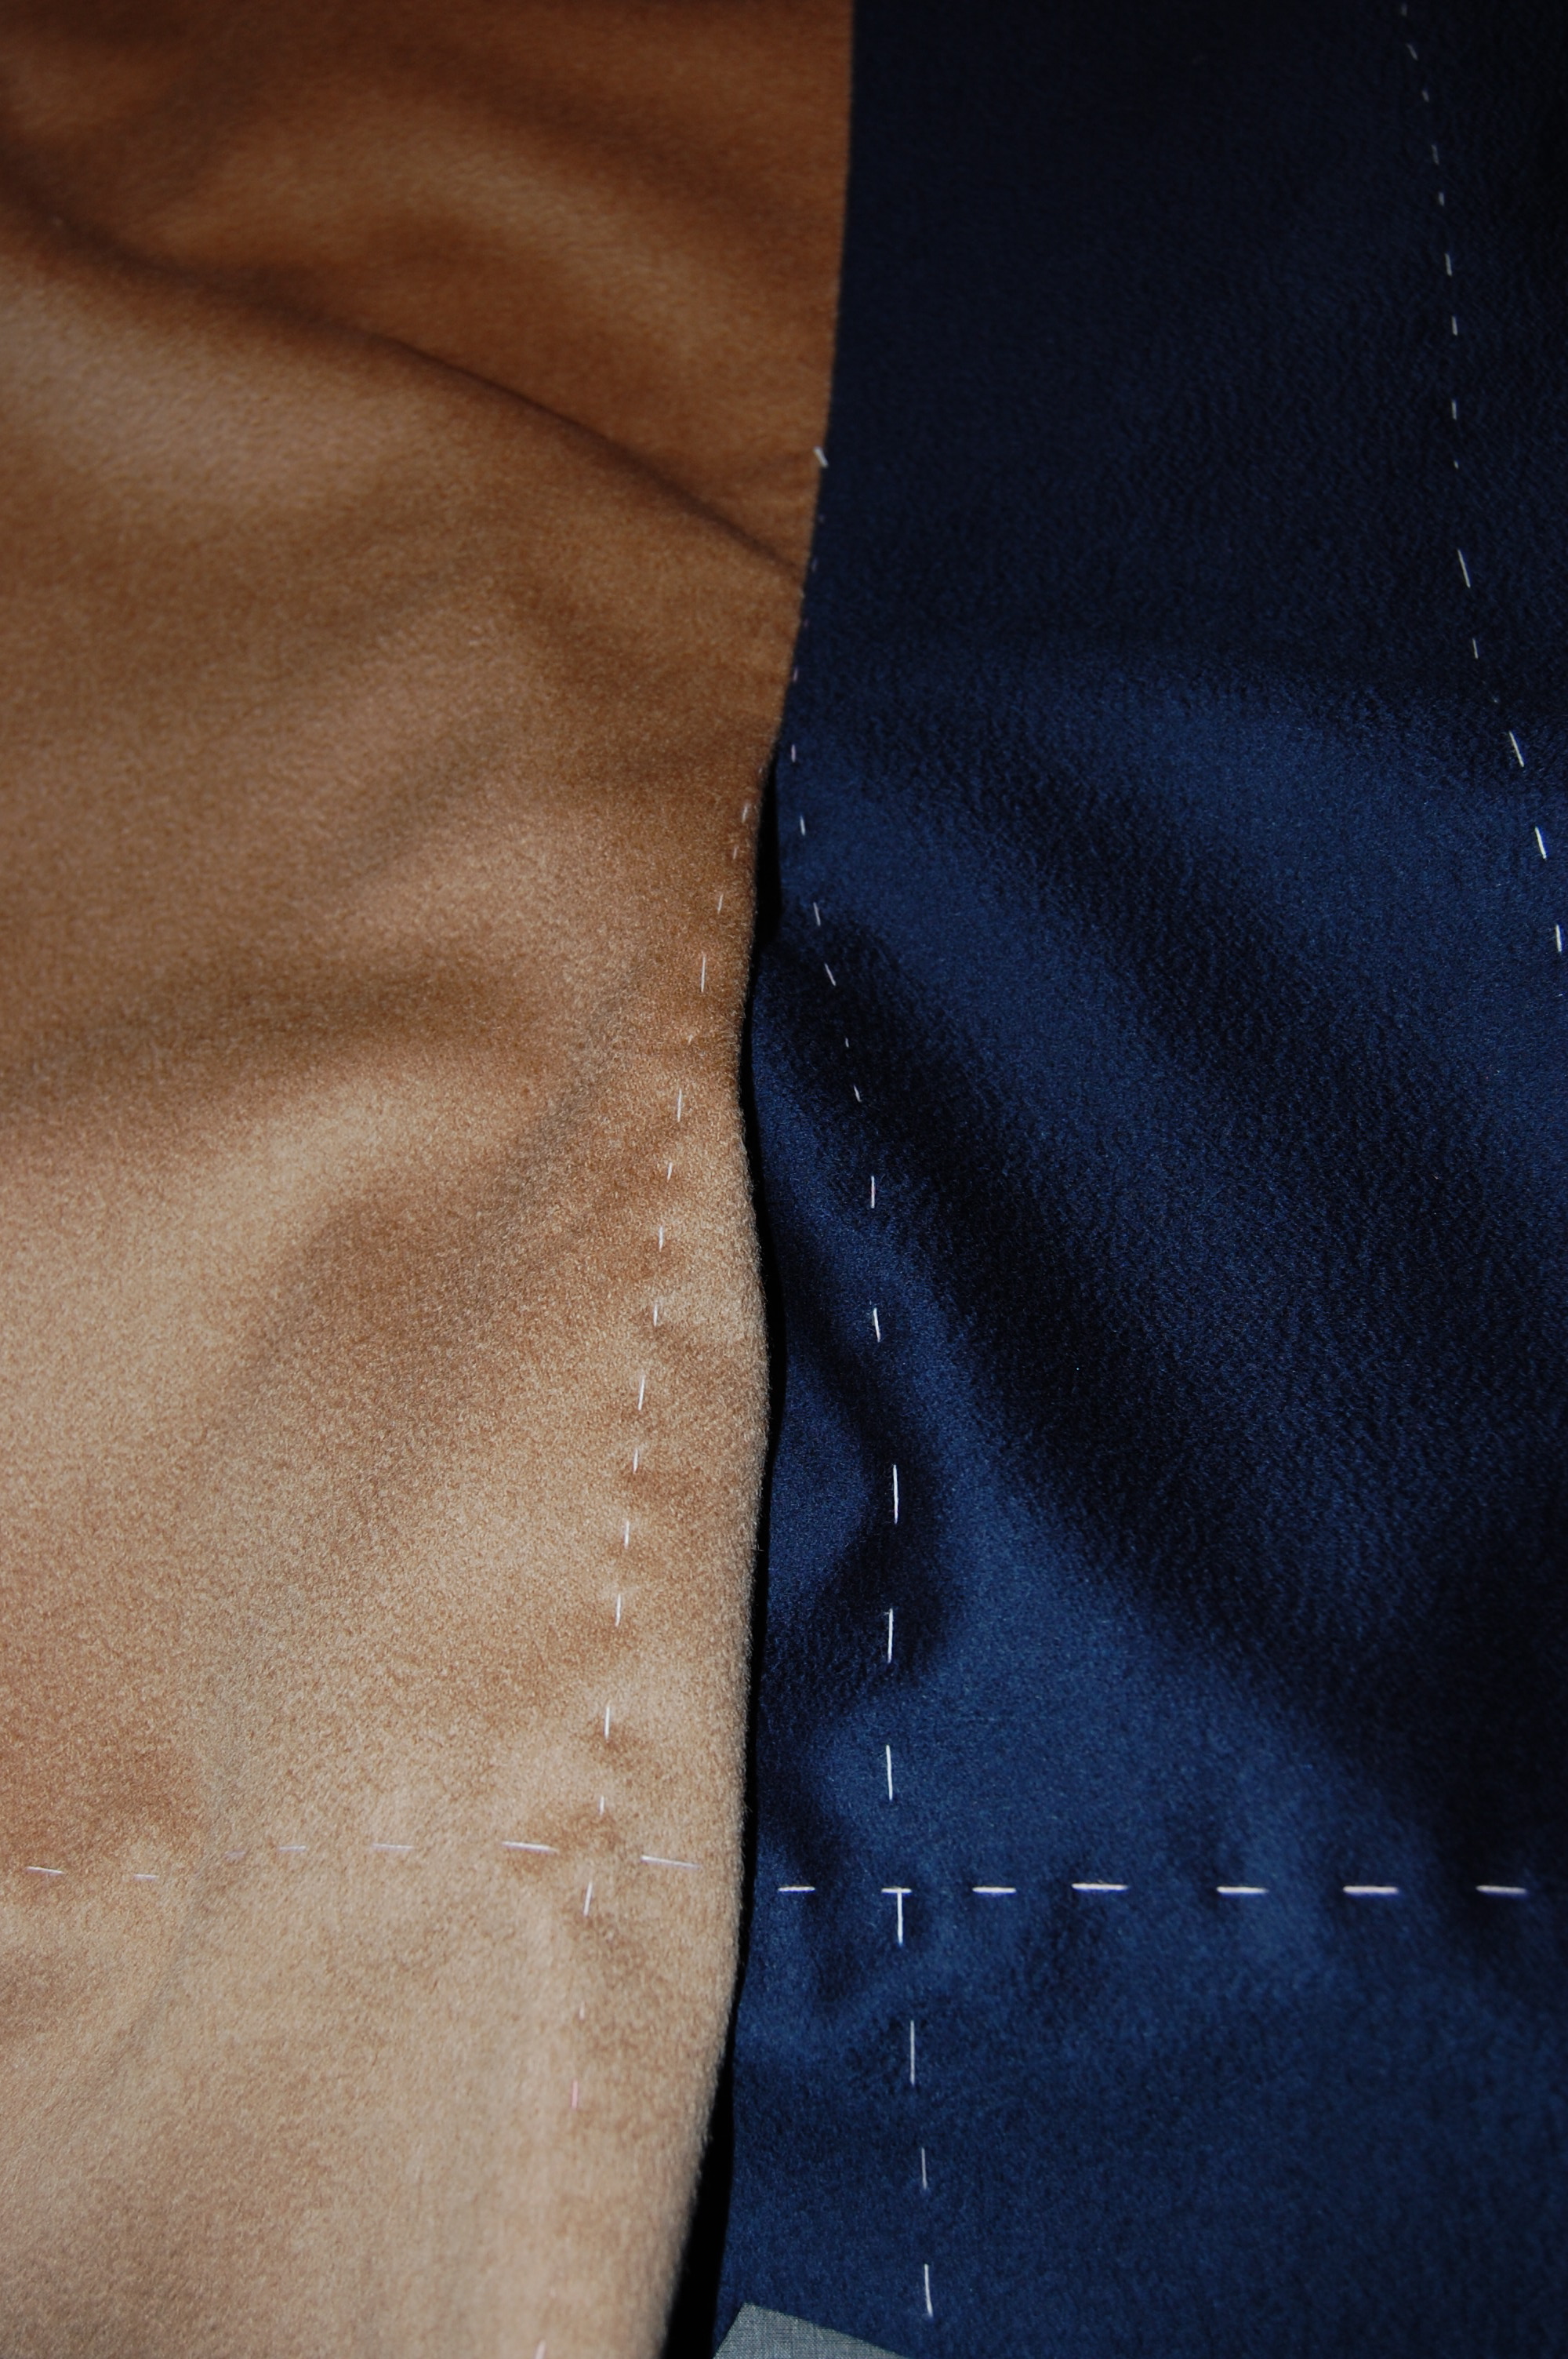
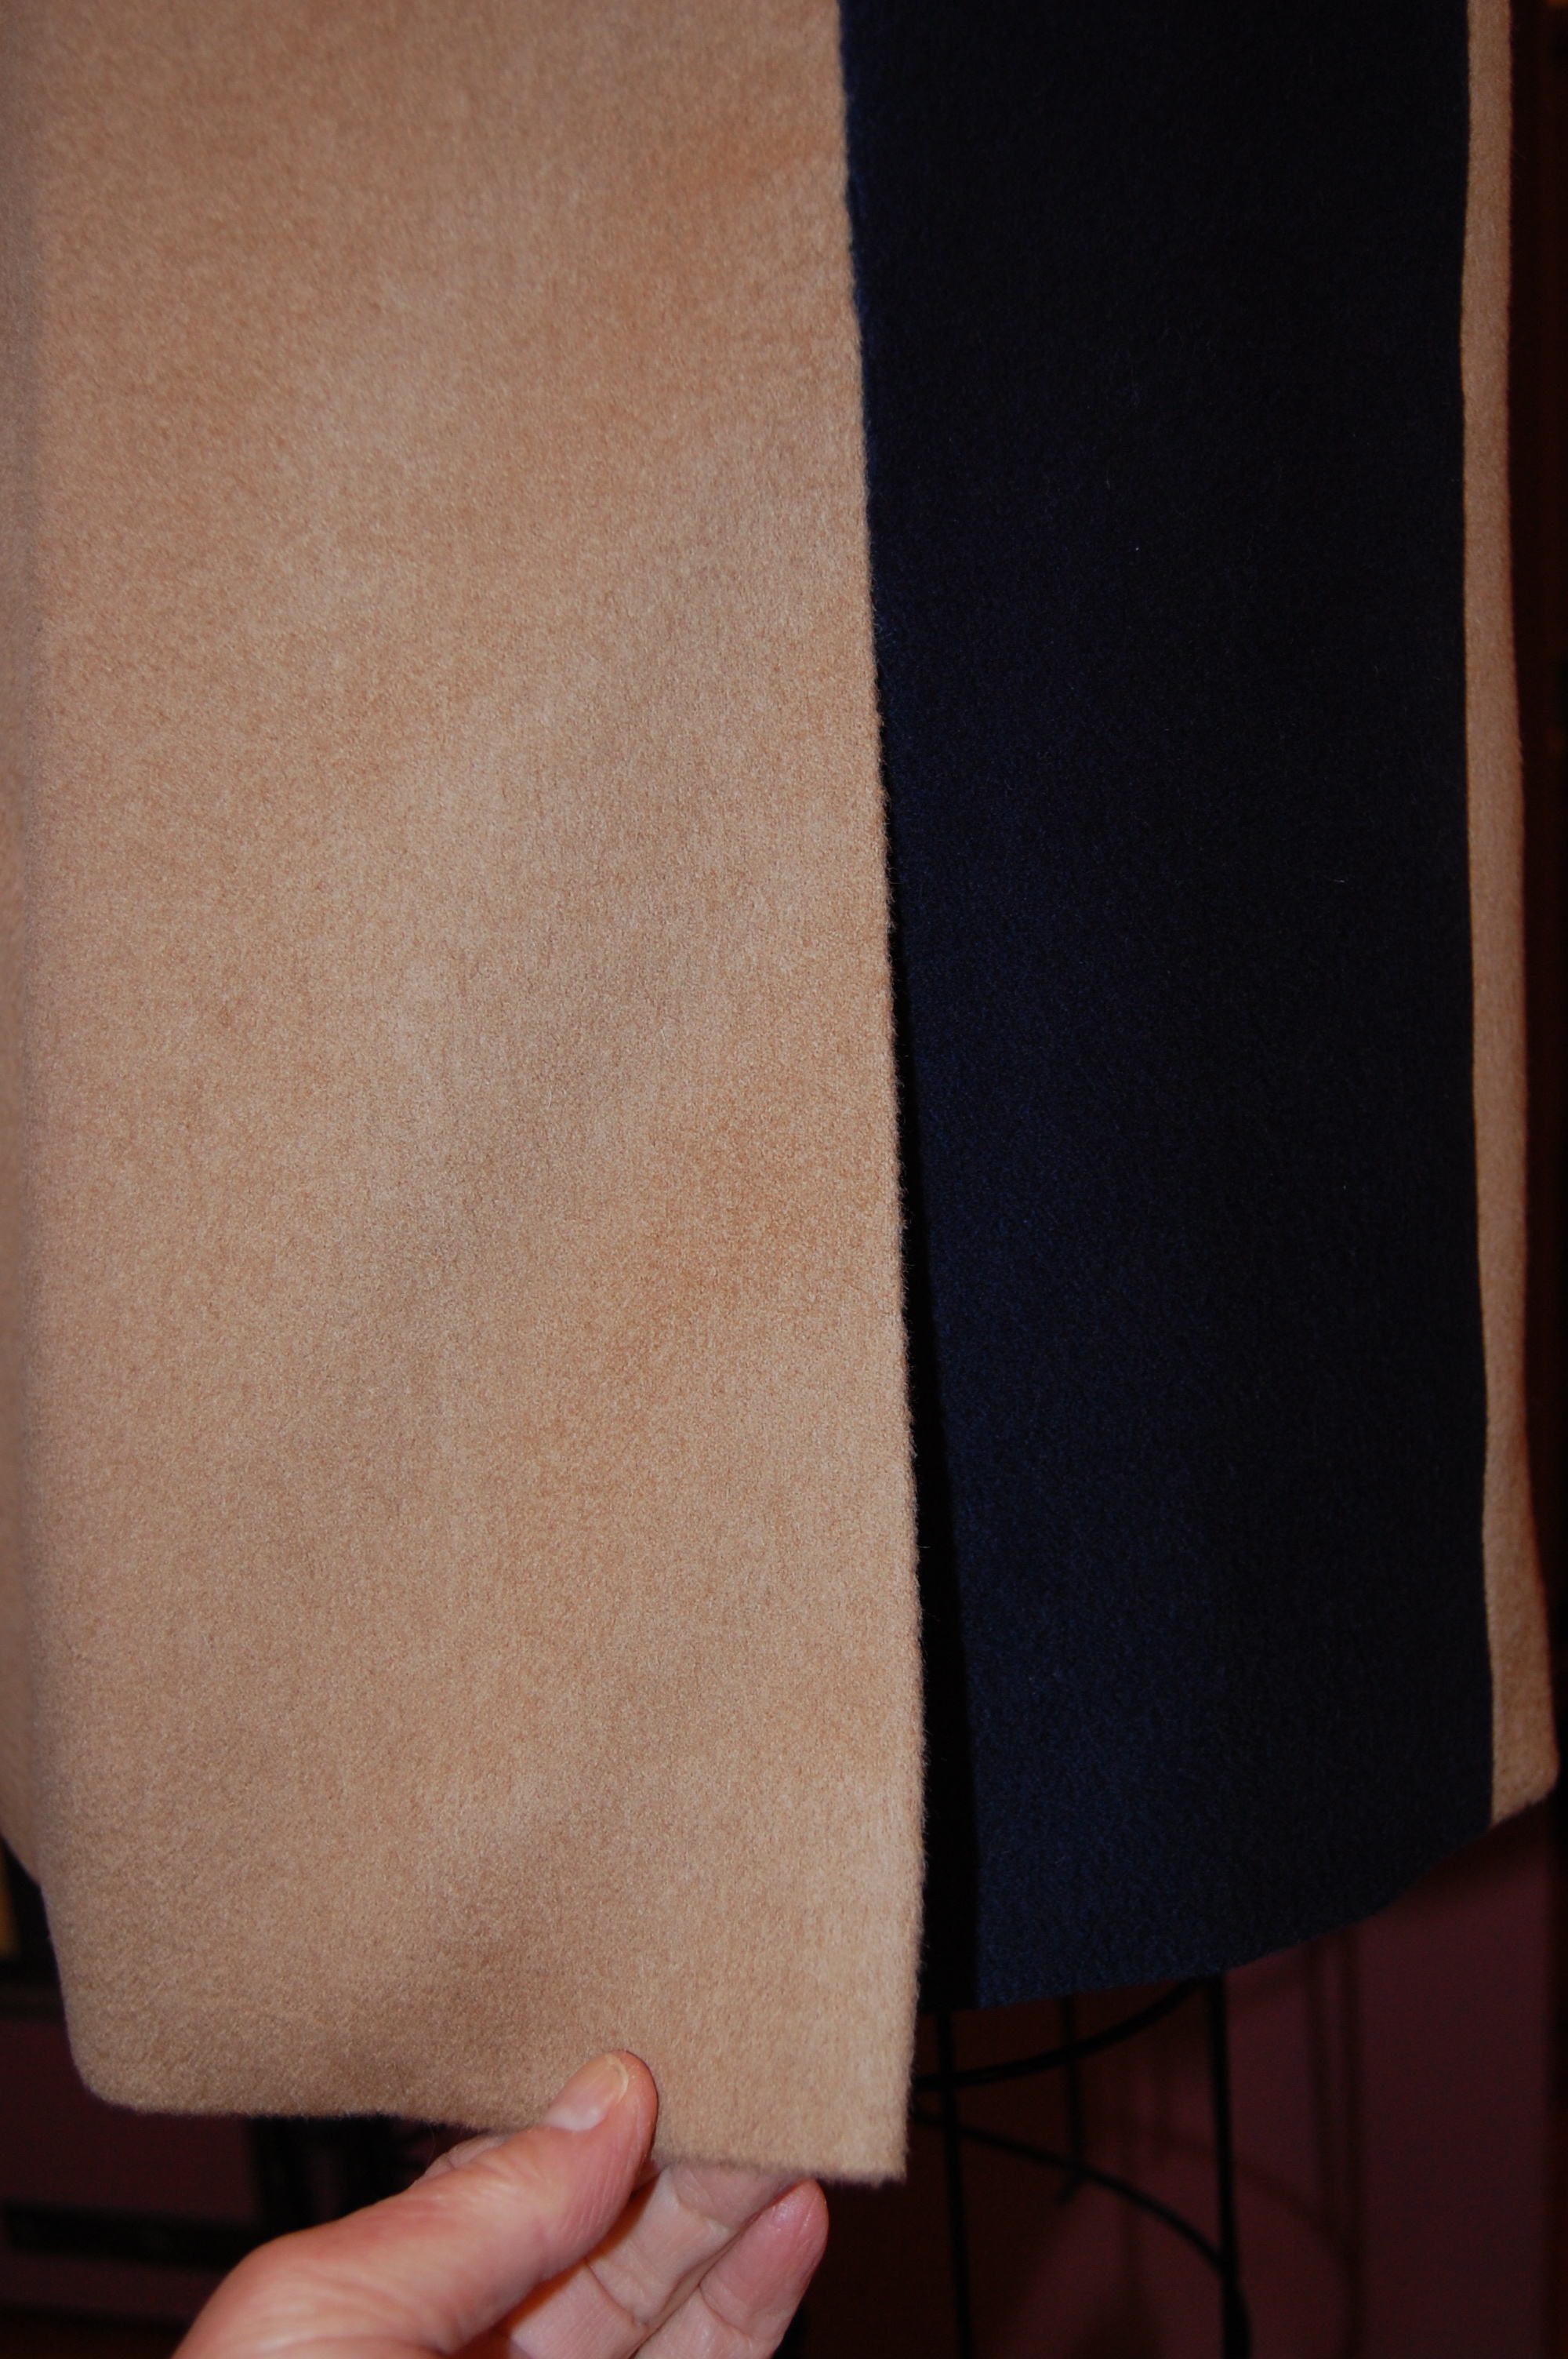
4) After trying it on to check the fit, it felt funny not have more weight at the hem other than the single layer of fringe. So I got the brainy idea to double up the fringe if I had enough left in my scraps. I wasn’t sure how I was going to do this, but I thought I could somehow figure it out. Sure enough, with piecing and matching, I had enough fringe to add another layer directly underneath the existing layer. When I found a long piece of brown rayon hem tape (vintage, no less, complete with rusted pin holding it all together!), I knew I had a plan. I stitched the pieced sections of fringe onto the rayon tape, and then hand-applied it to the dress. First I attached the upper edge to the lower raw edge of the silk organza , and then carefully slip-stitched along the “hem” edge to make the two layers of fringe act as one.


Another look at this!
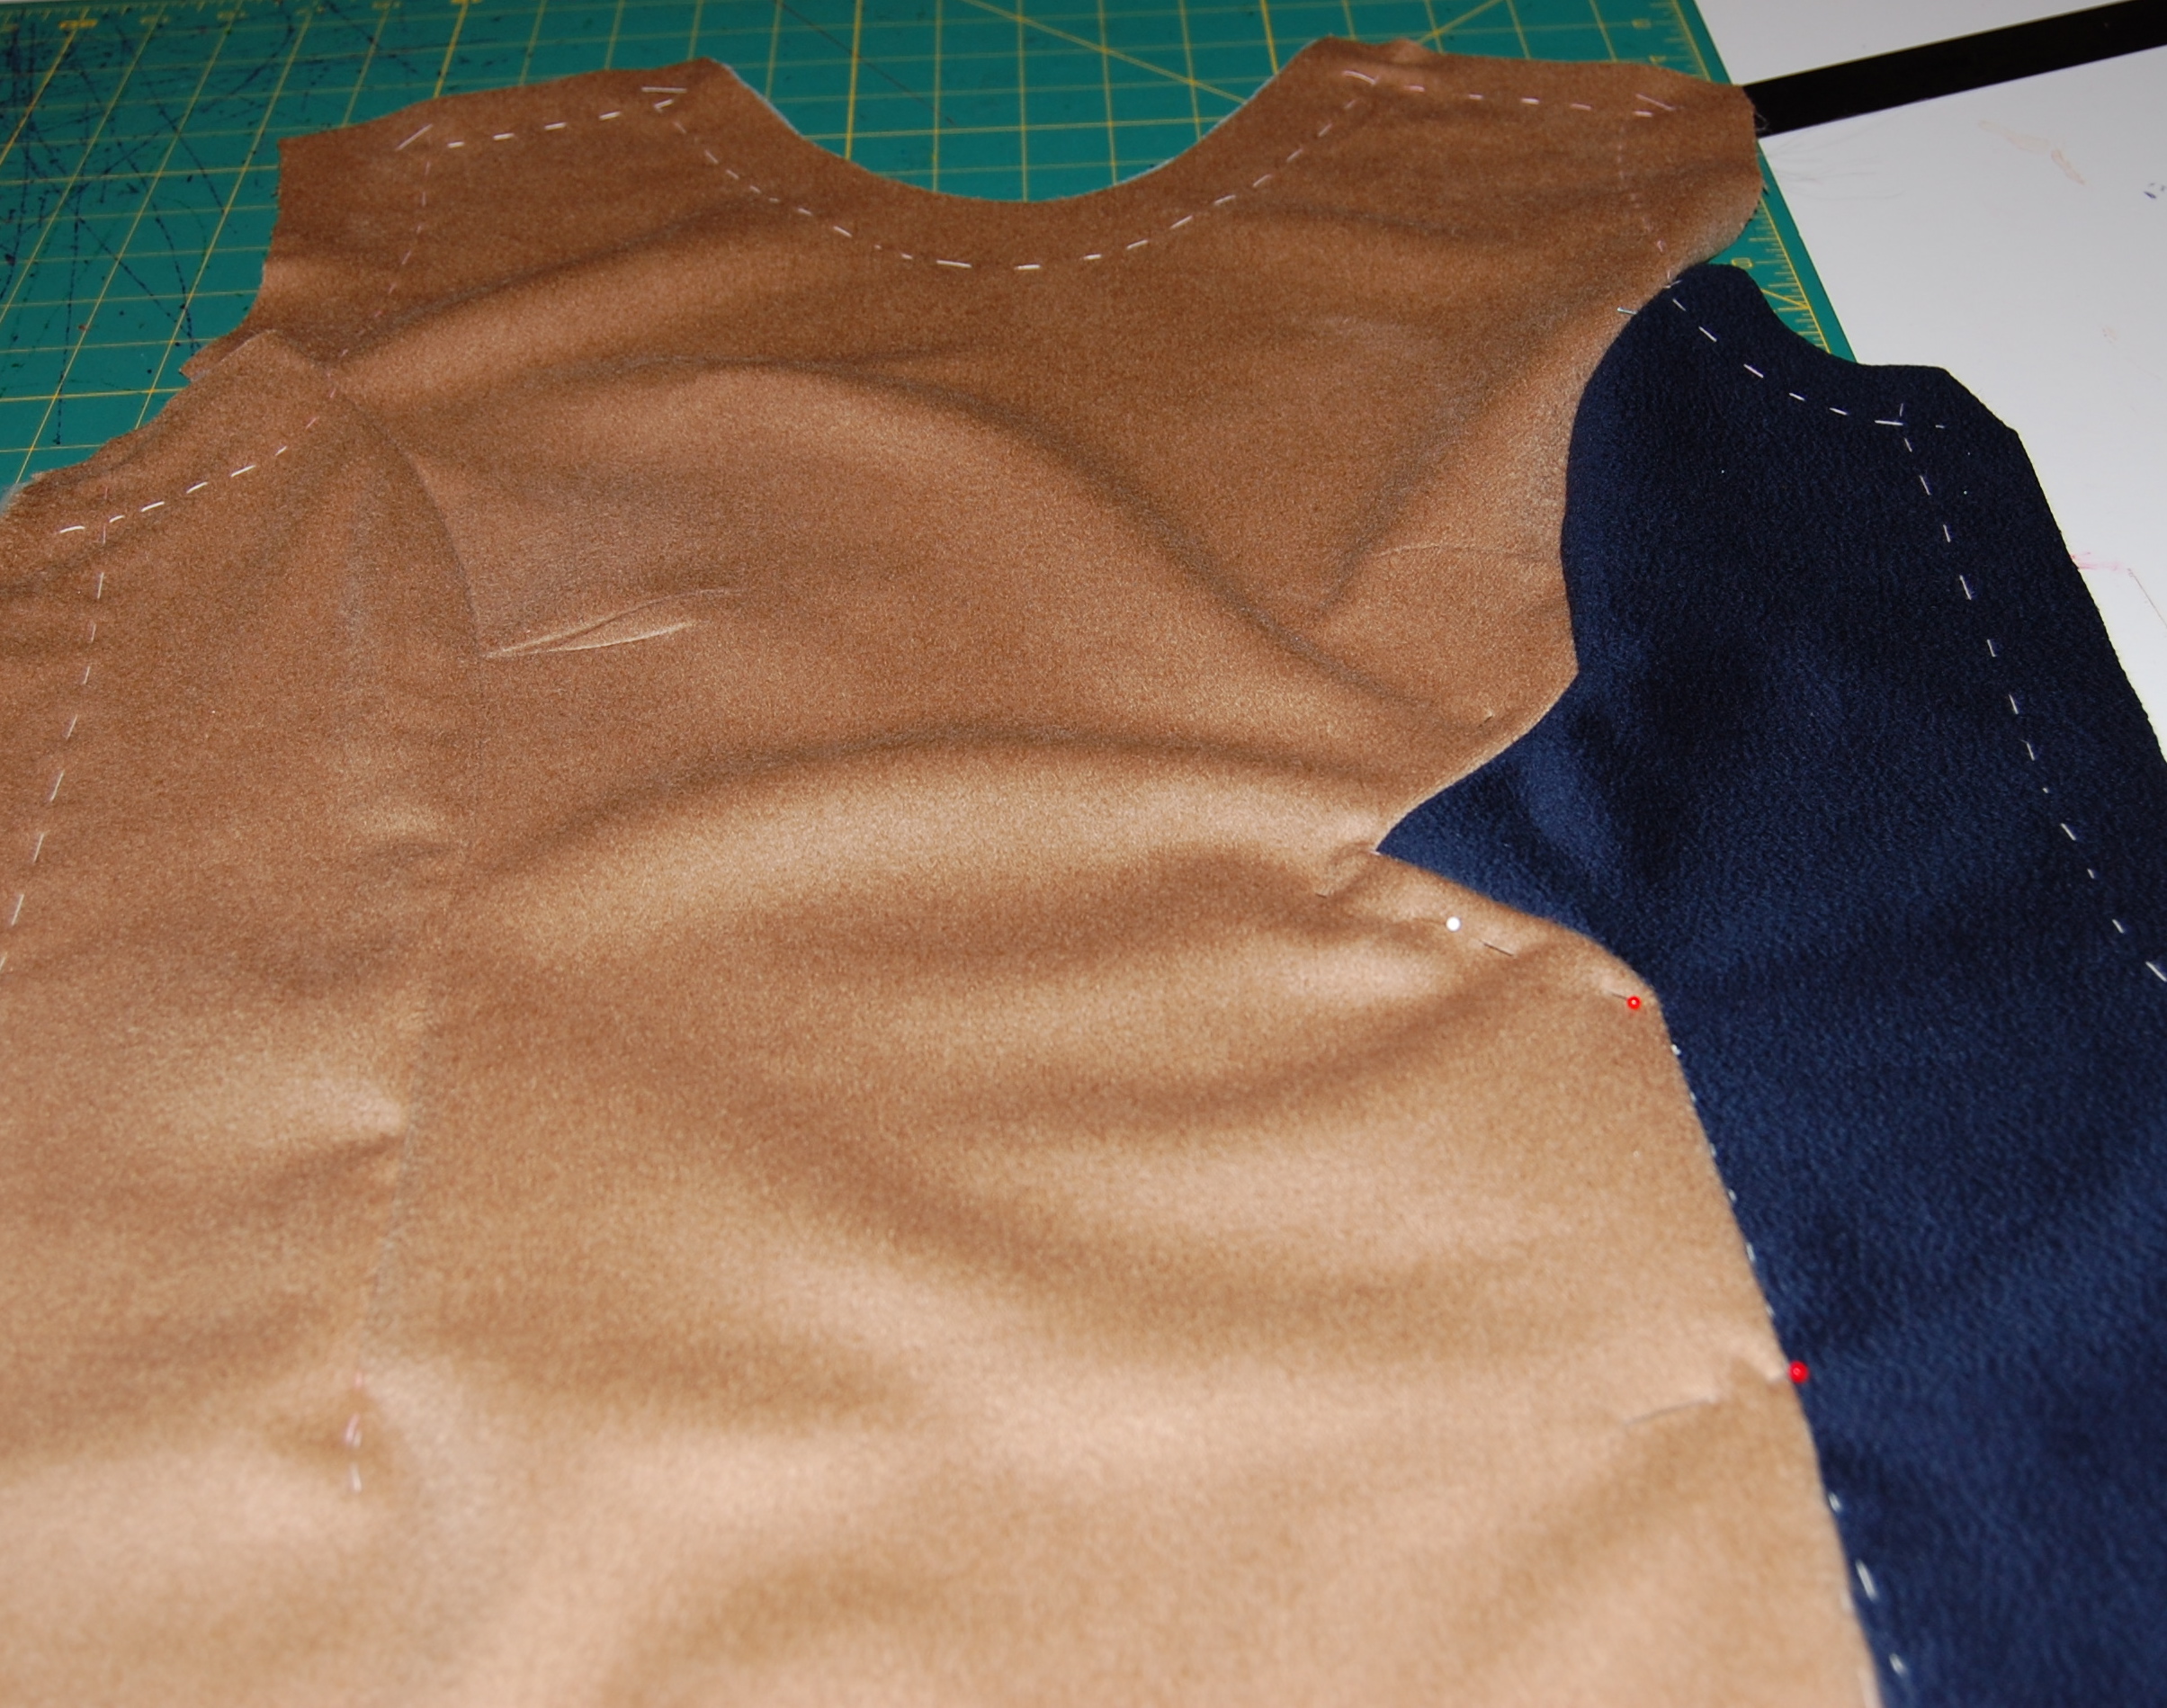
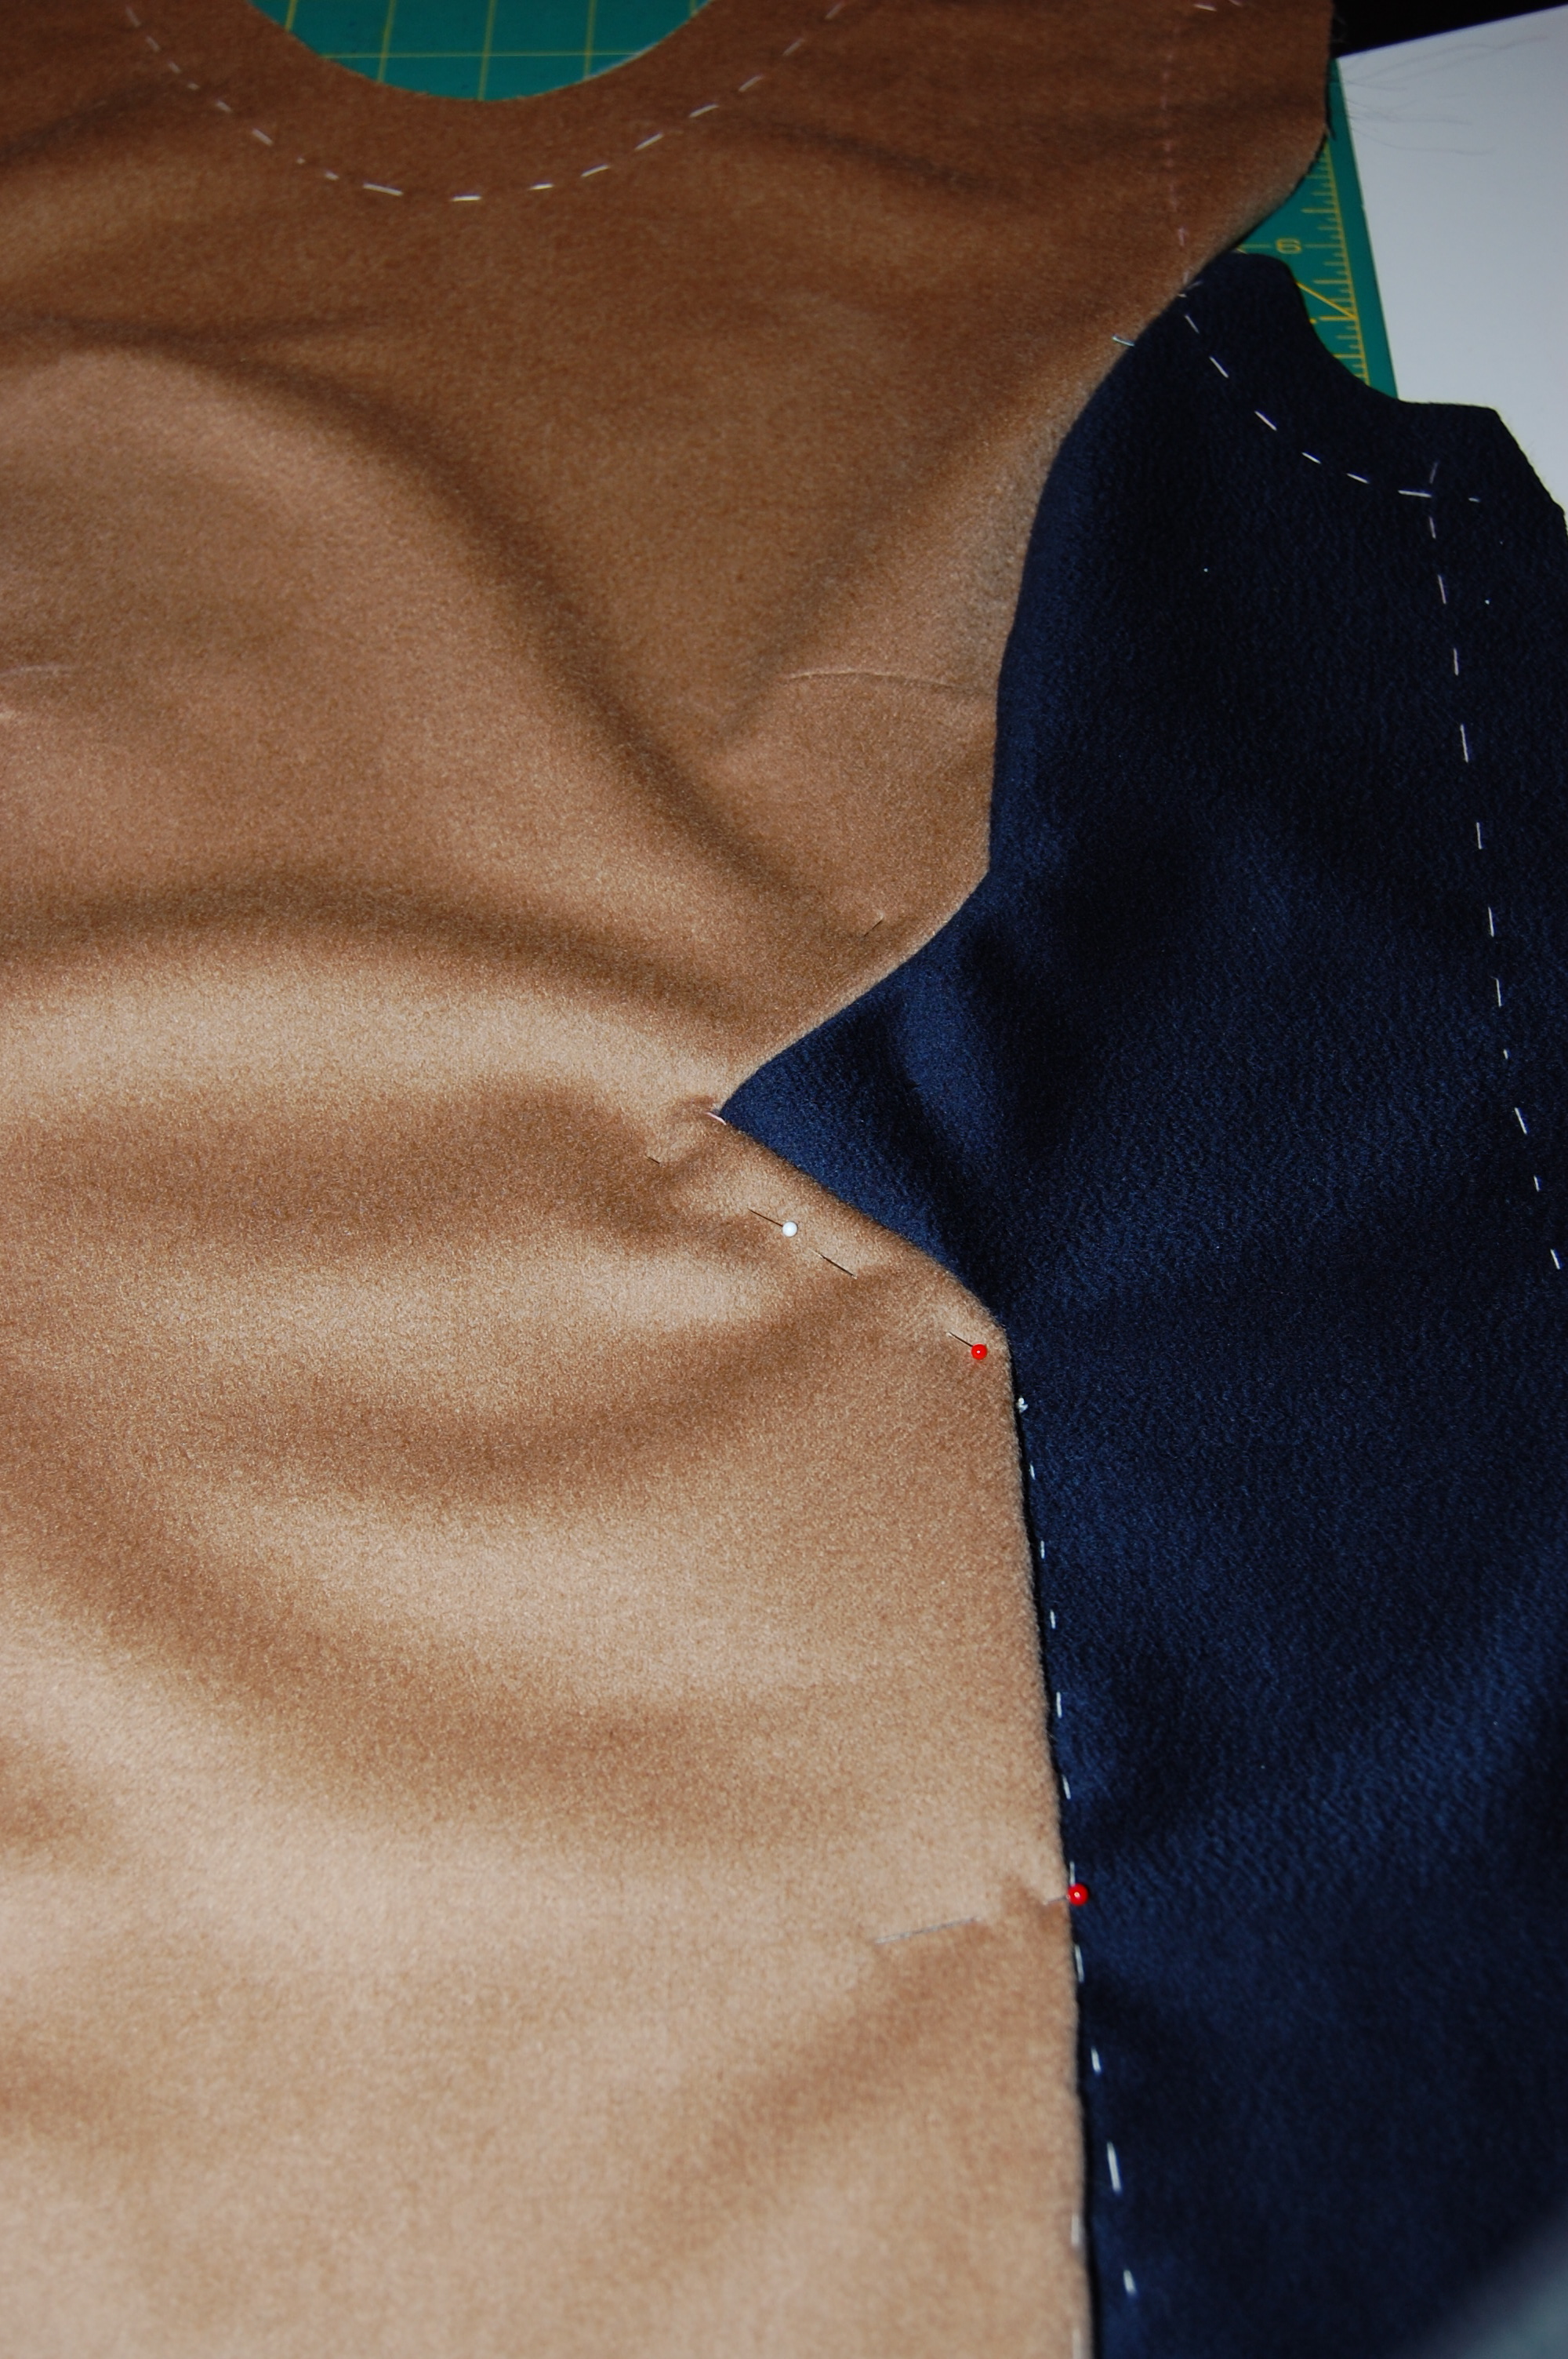
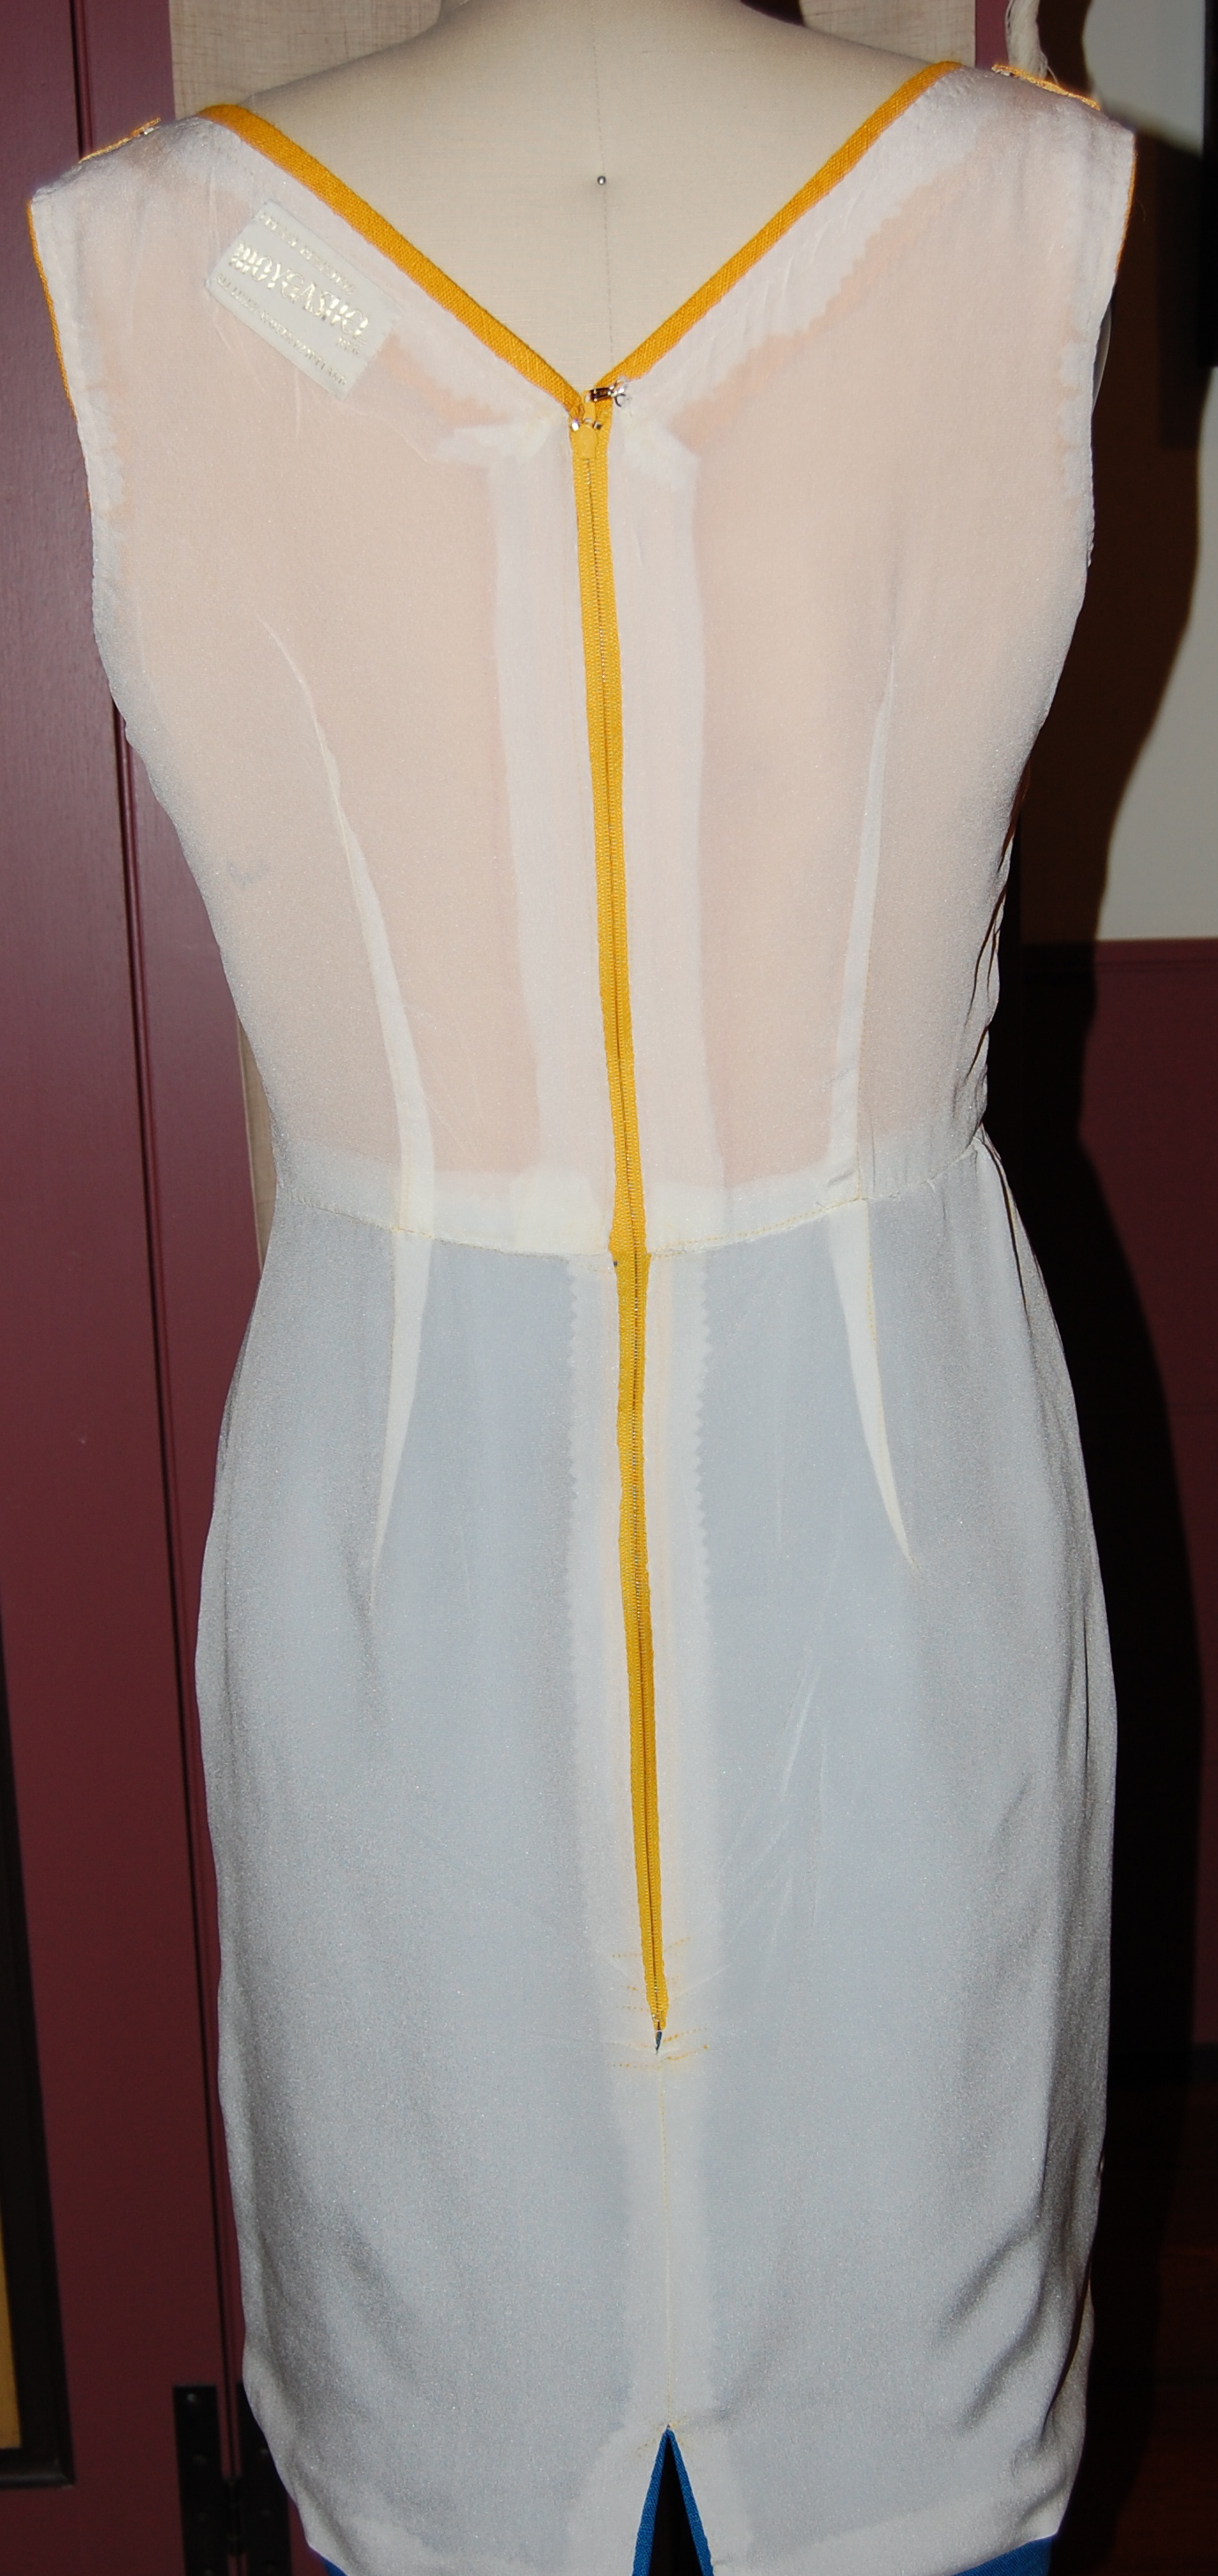
5) Of course you already know the dress is lined in yellow crepe de chine!
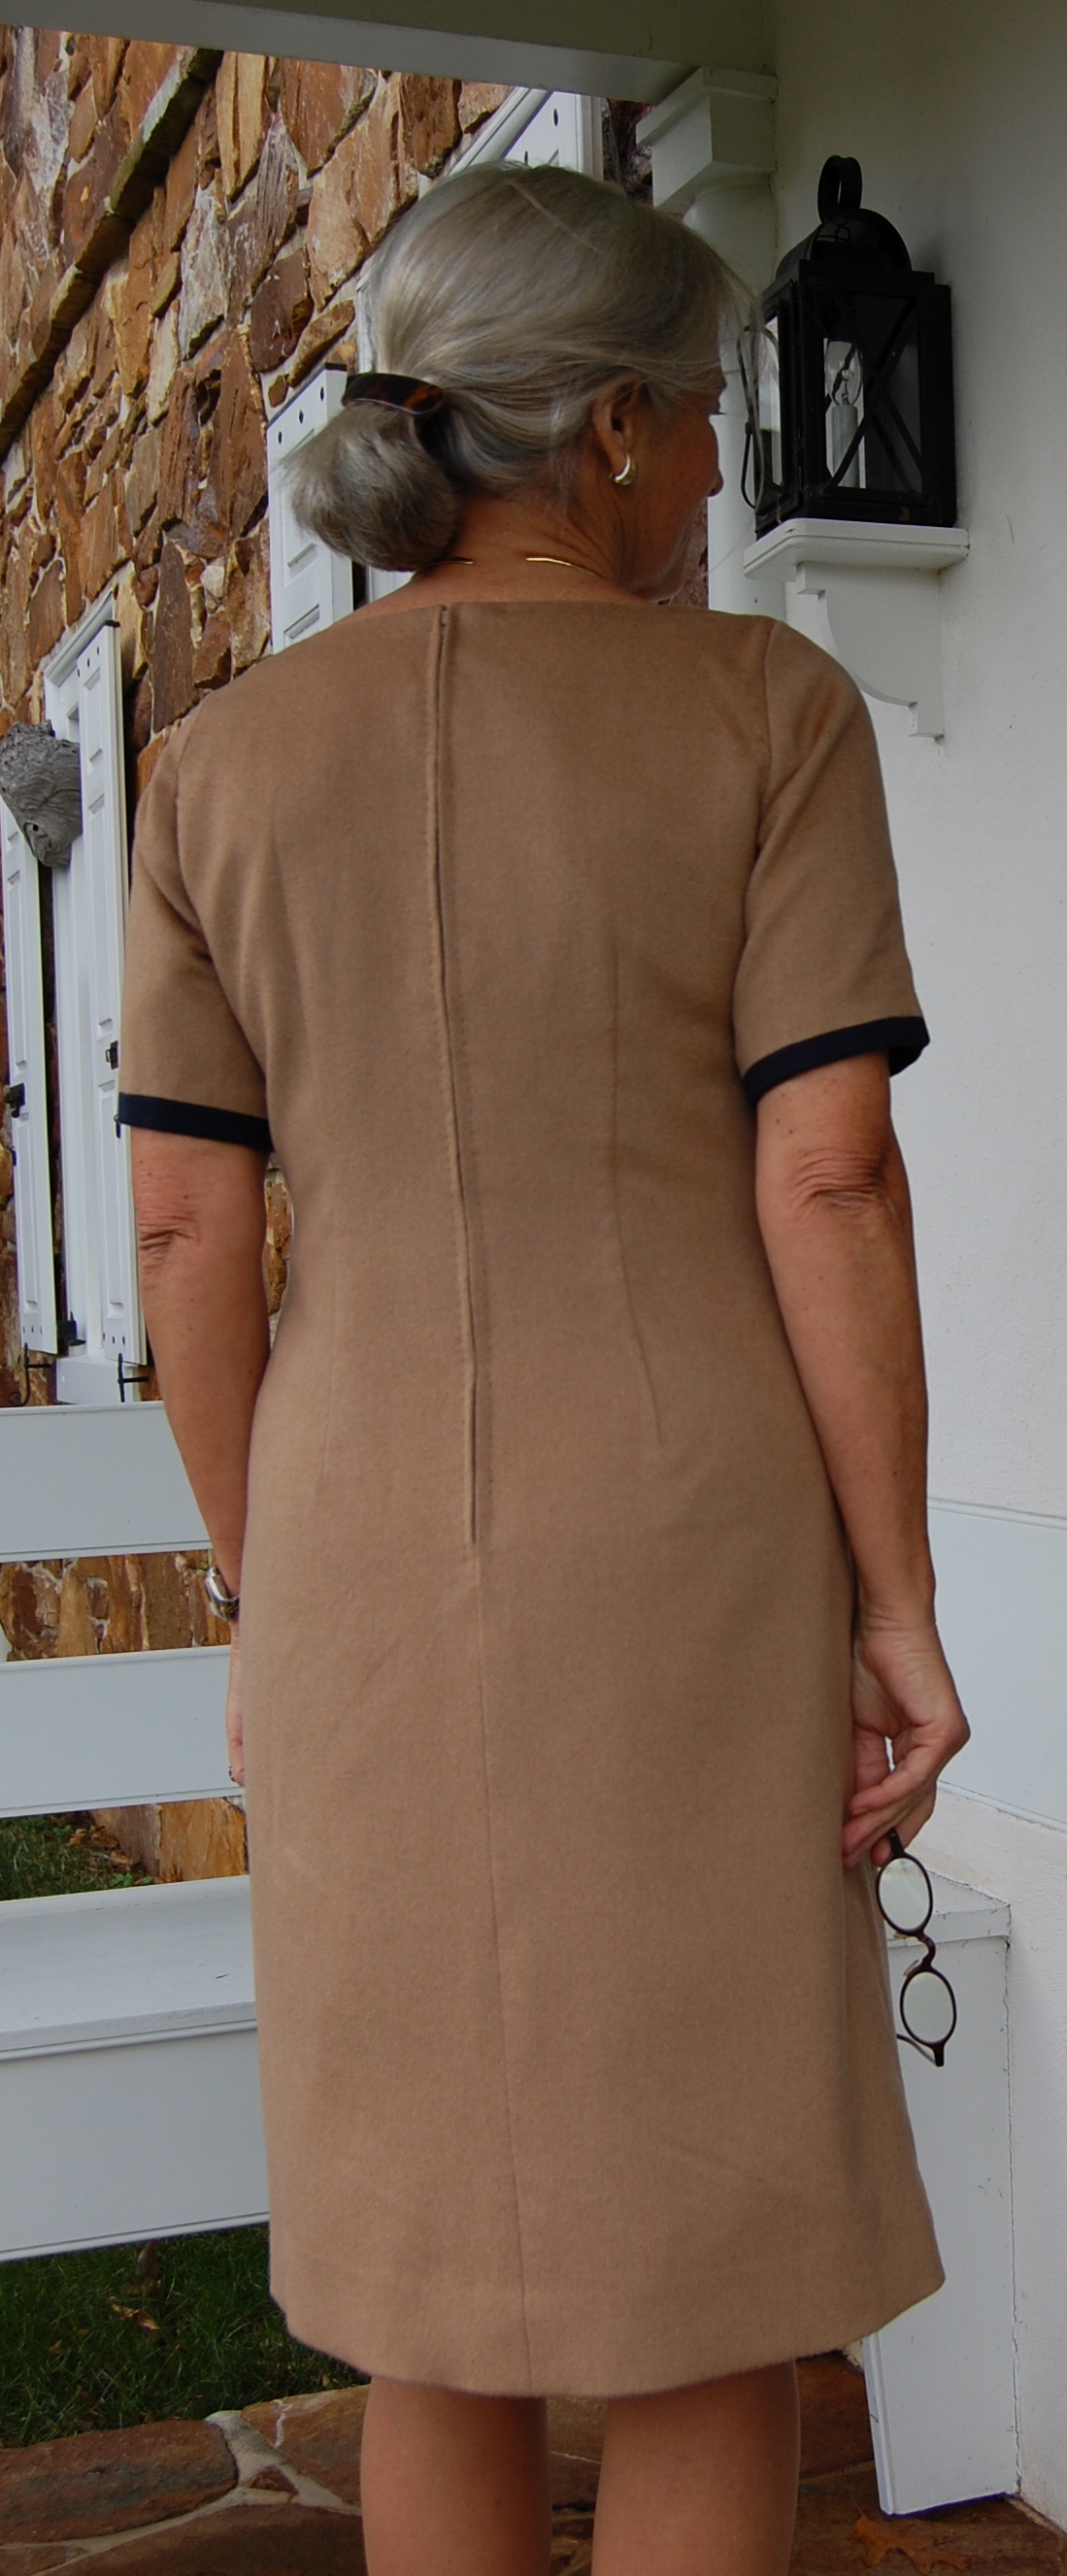
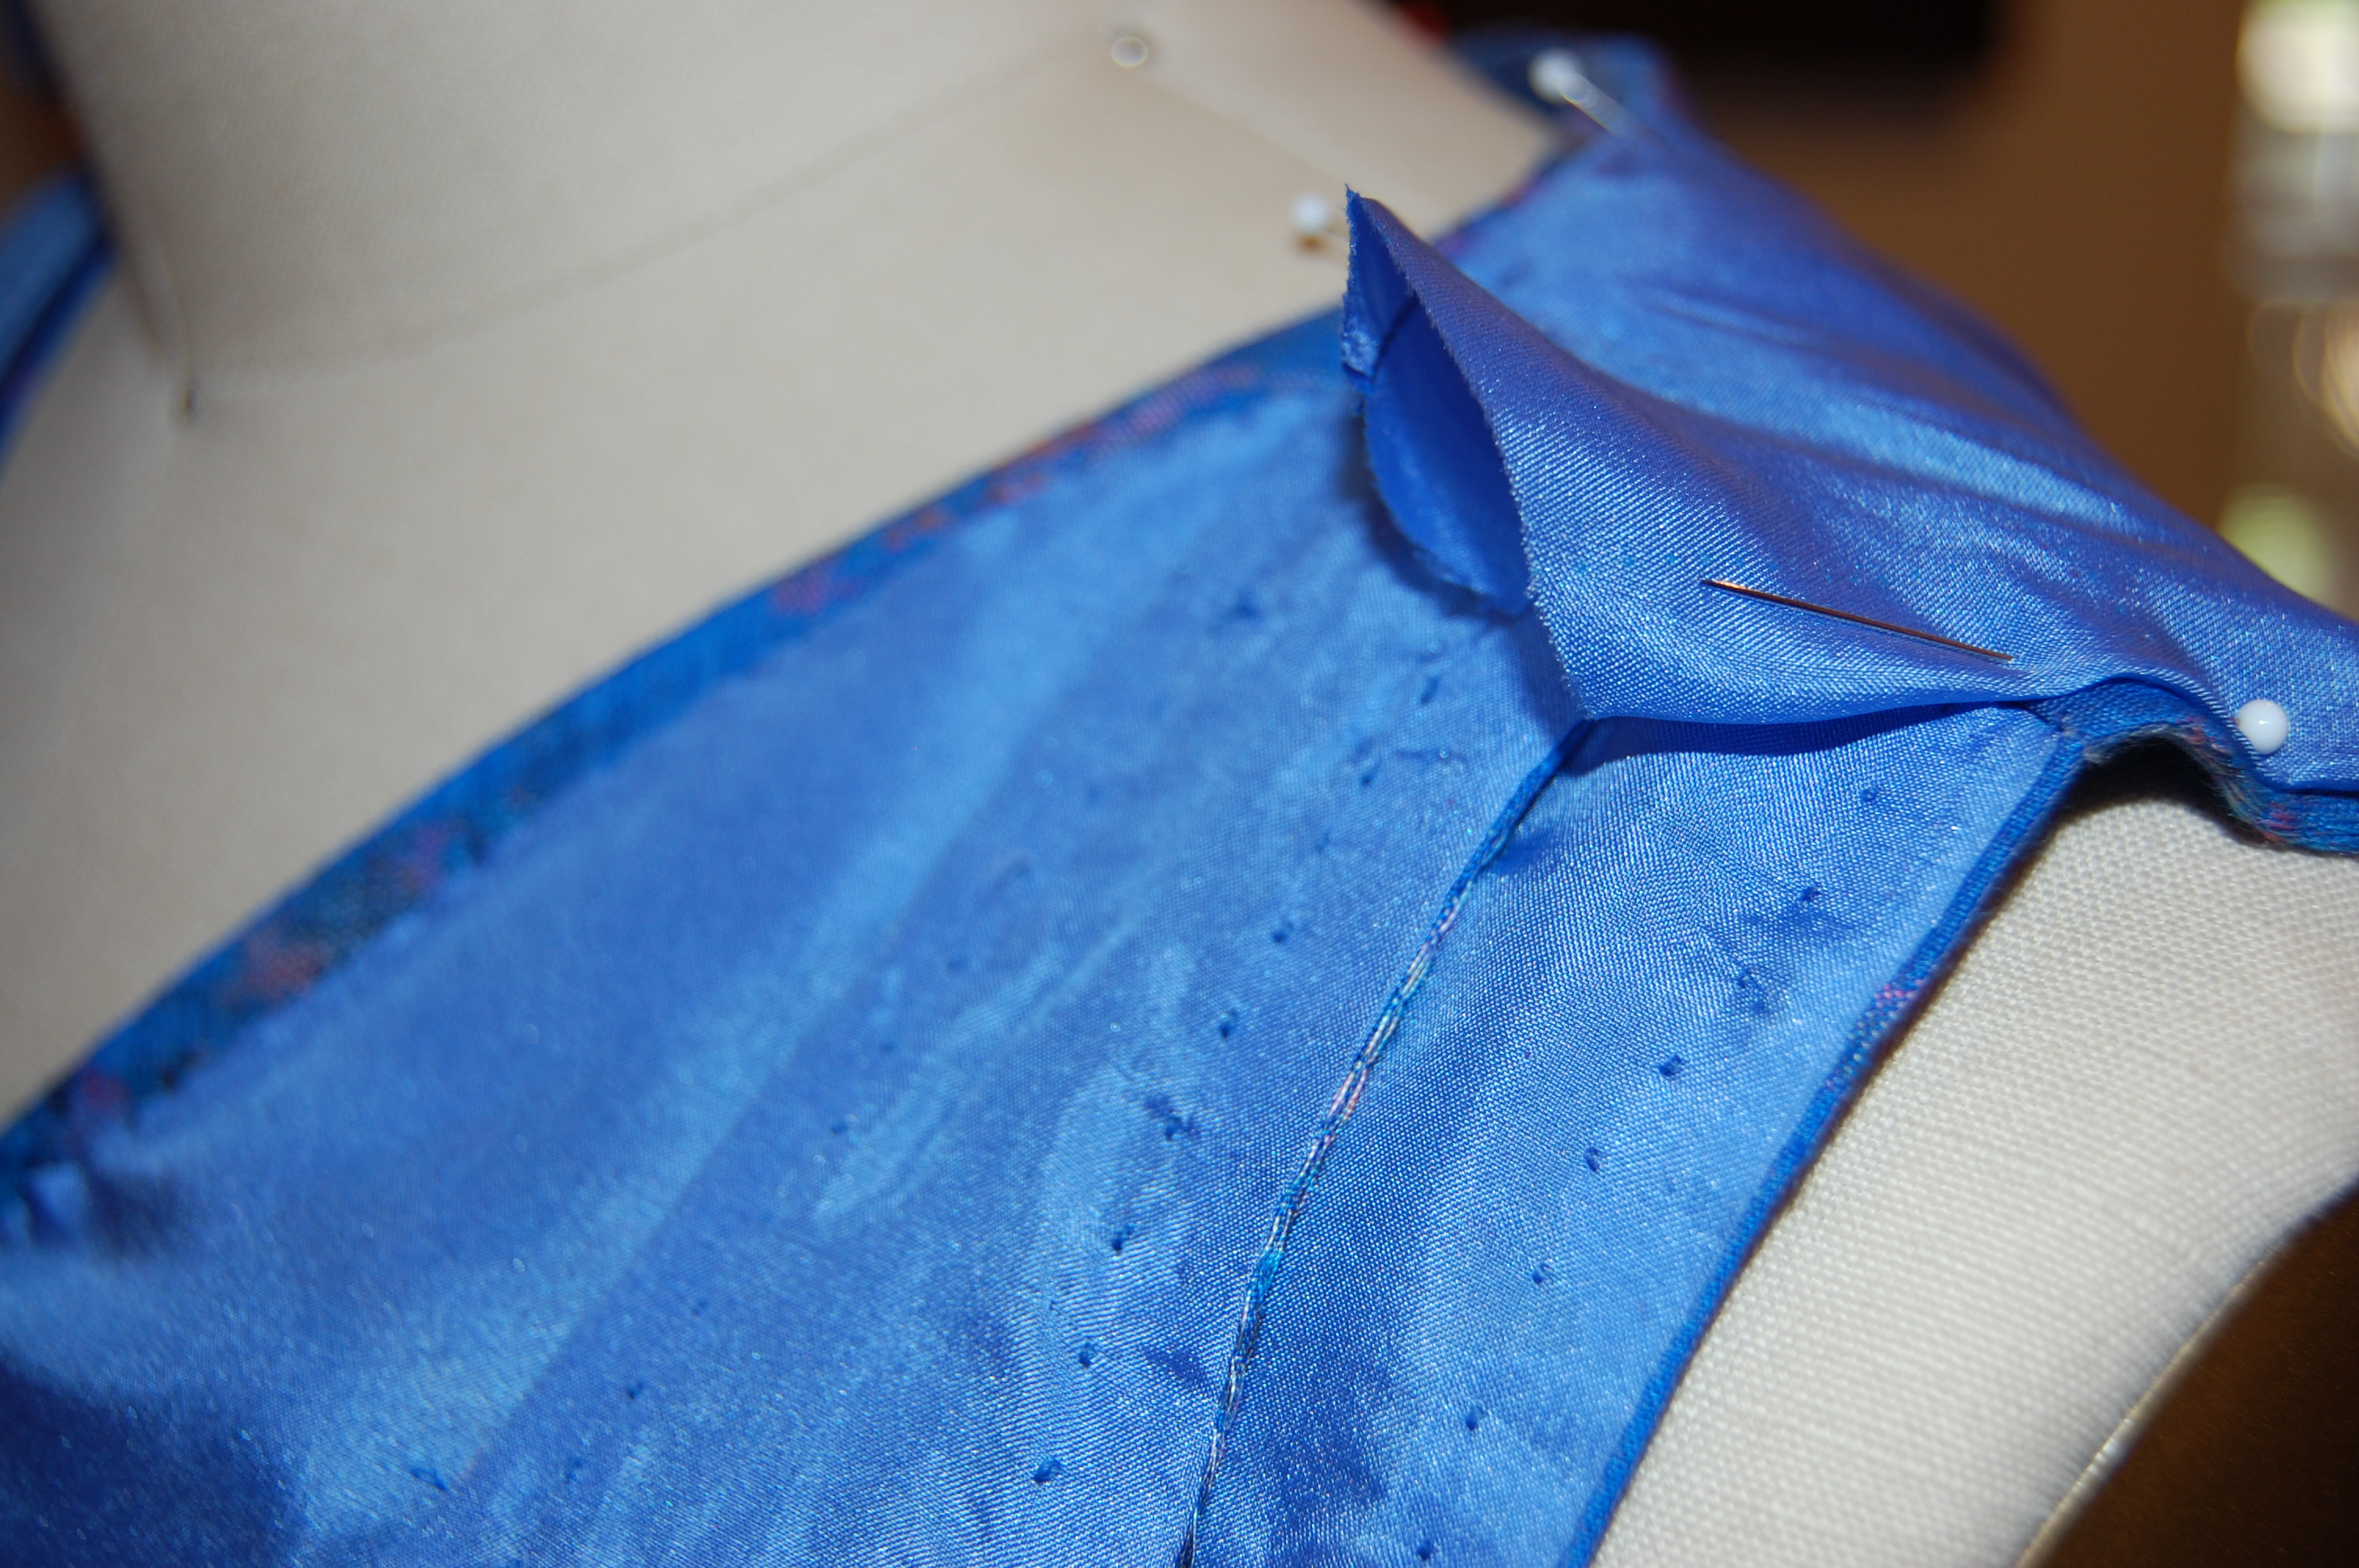
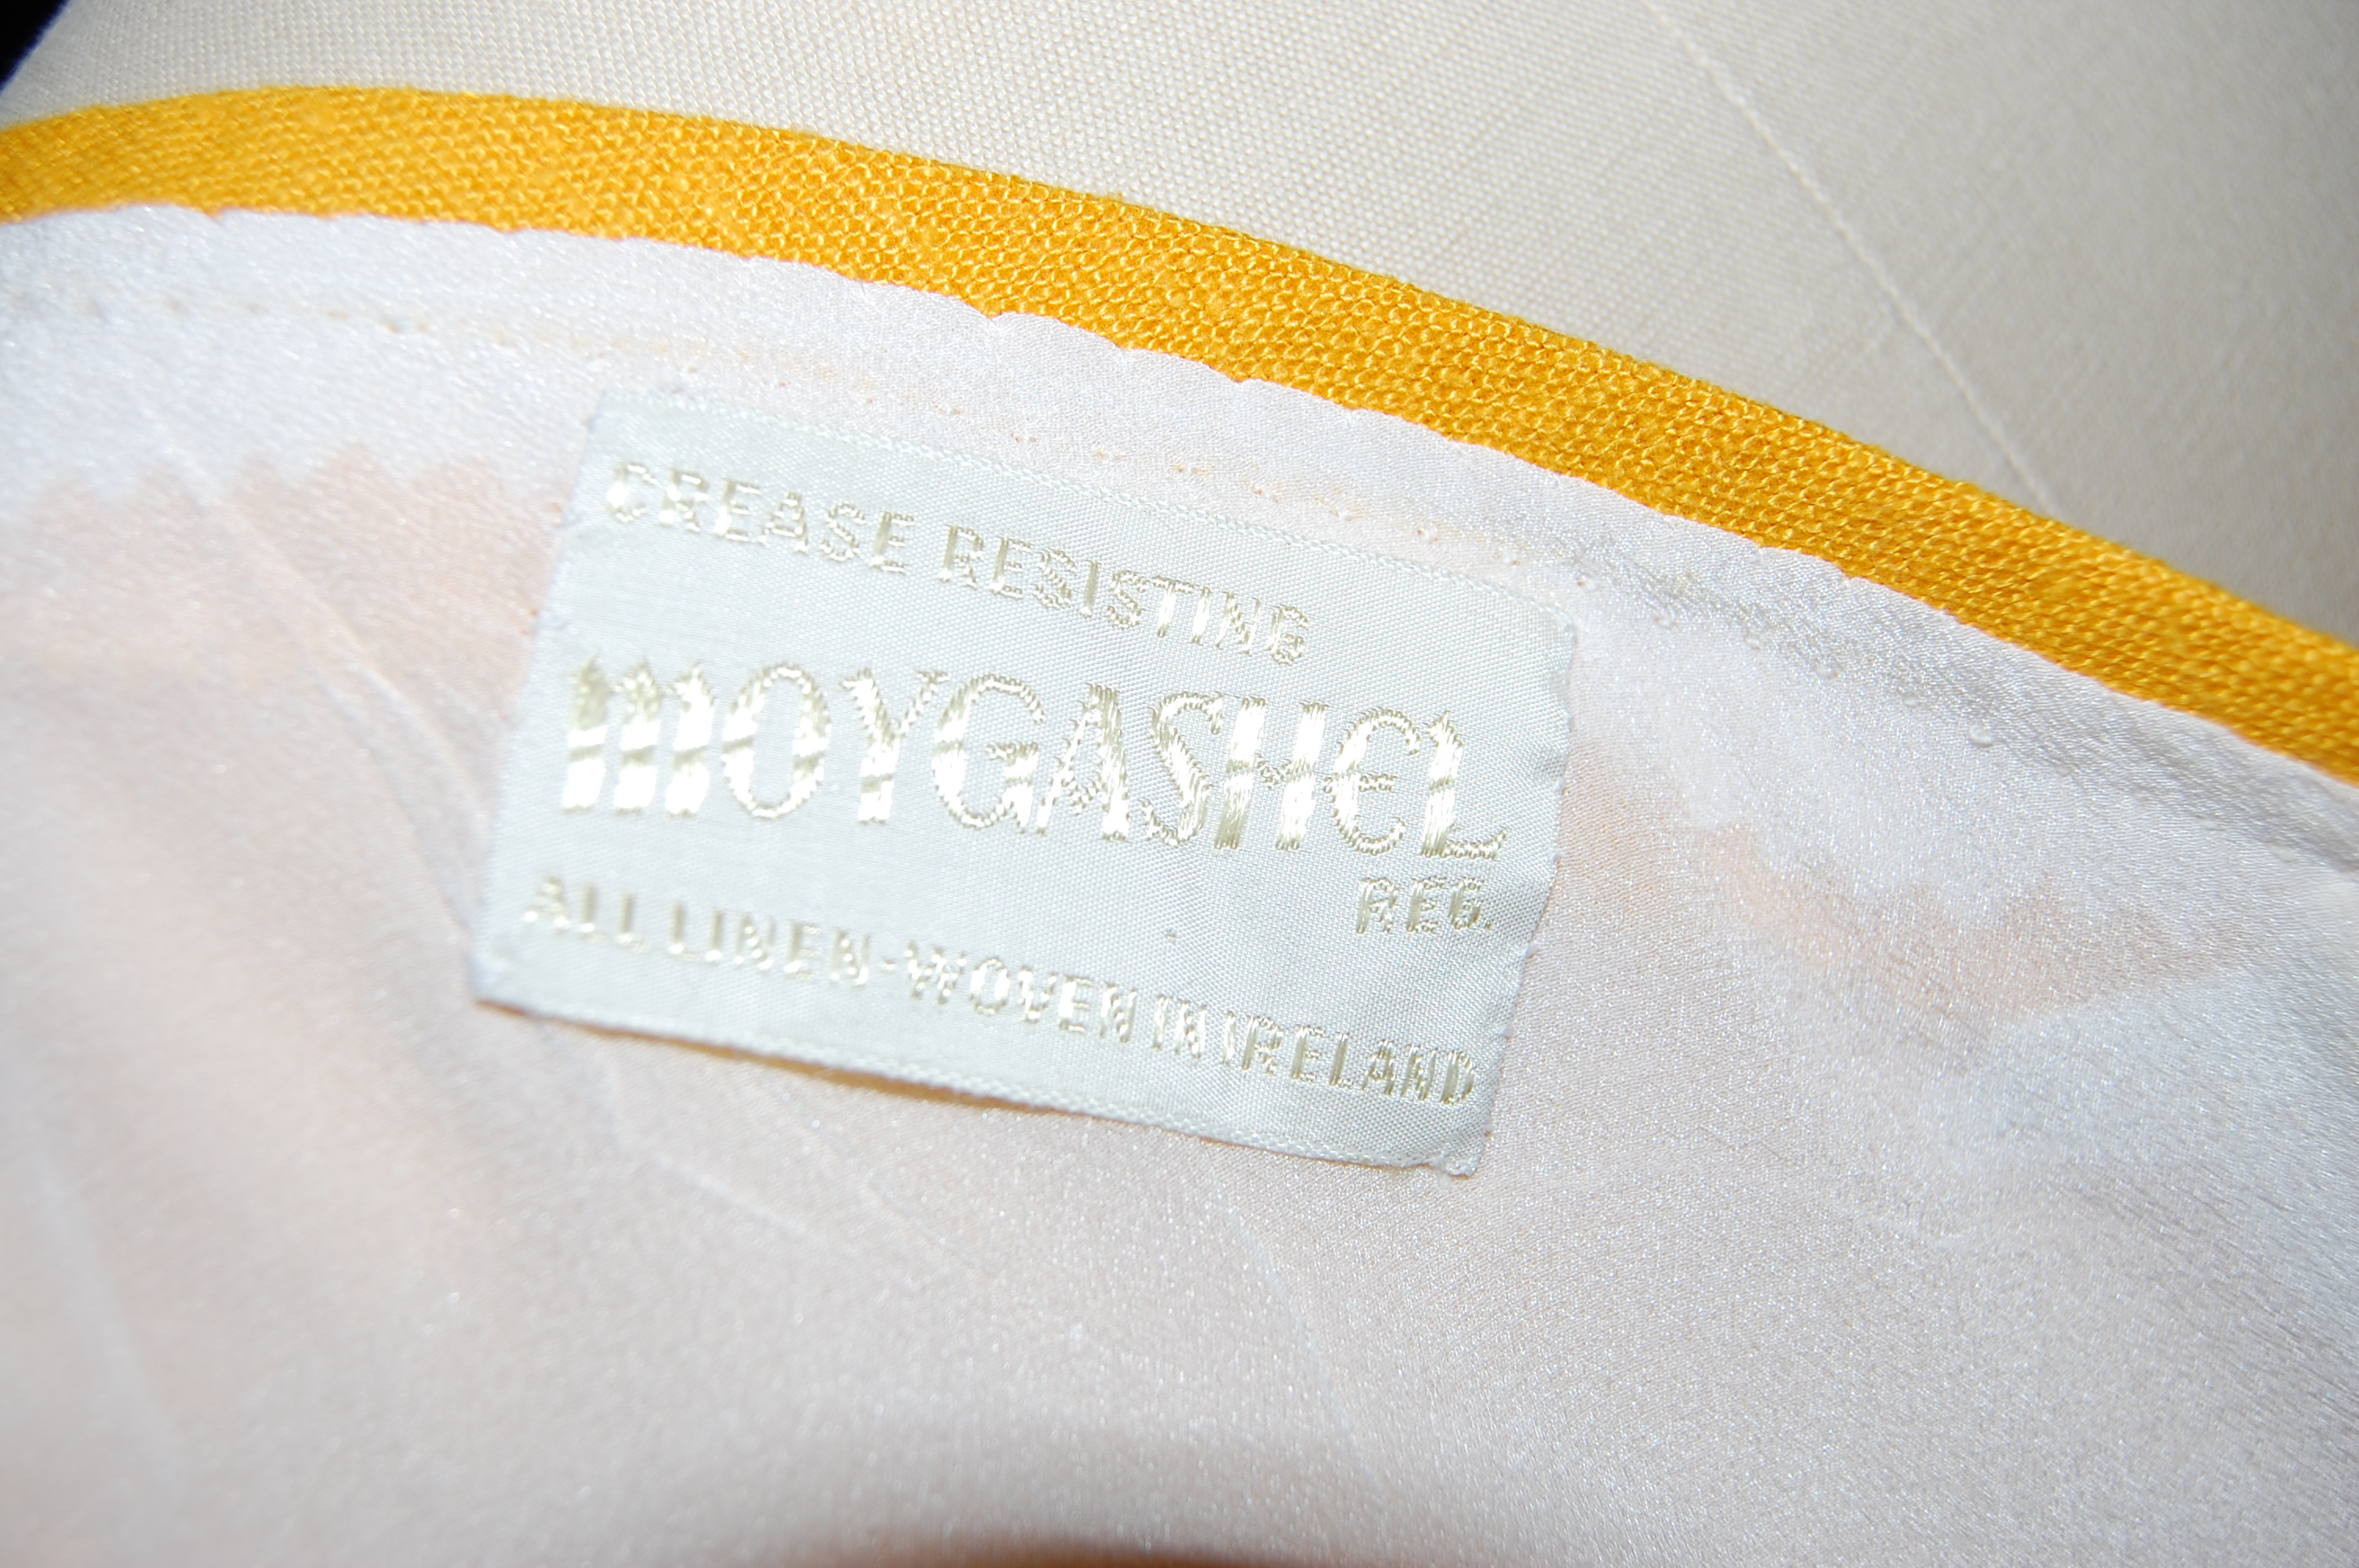
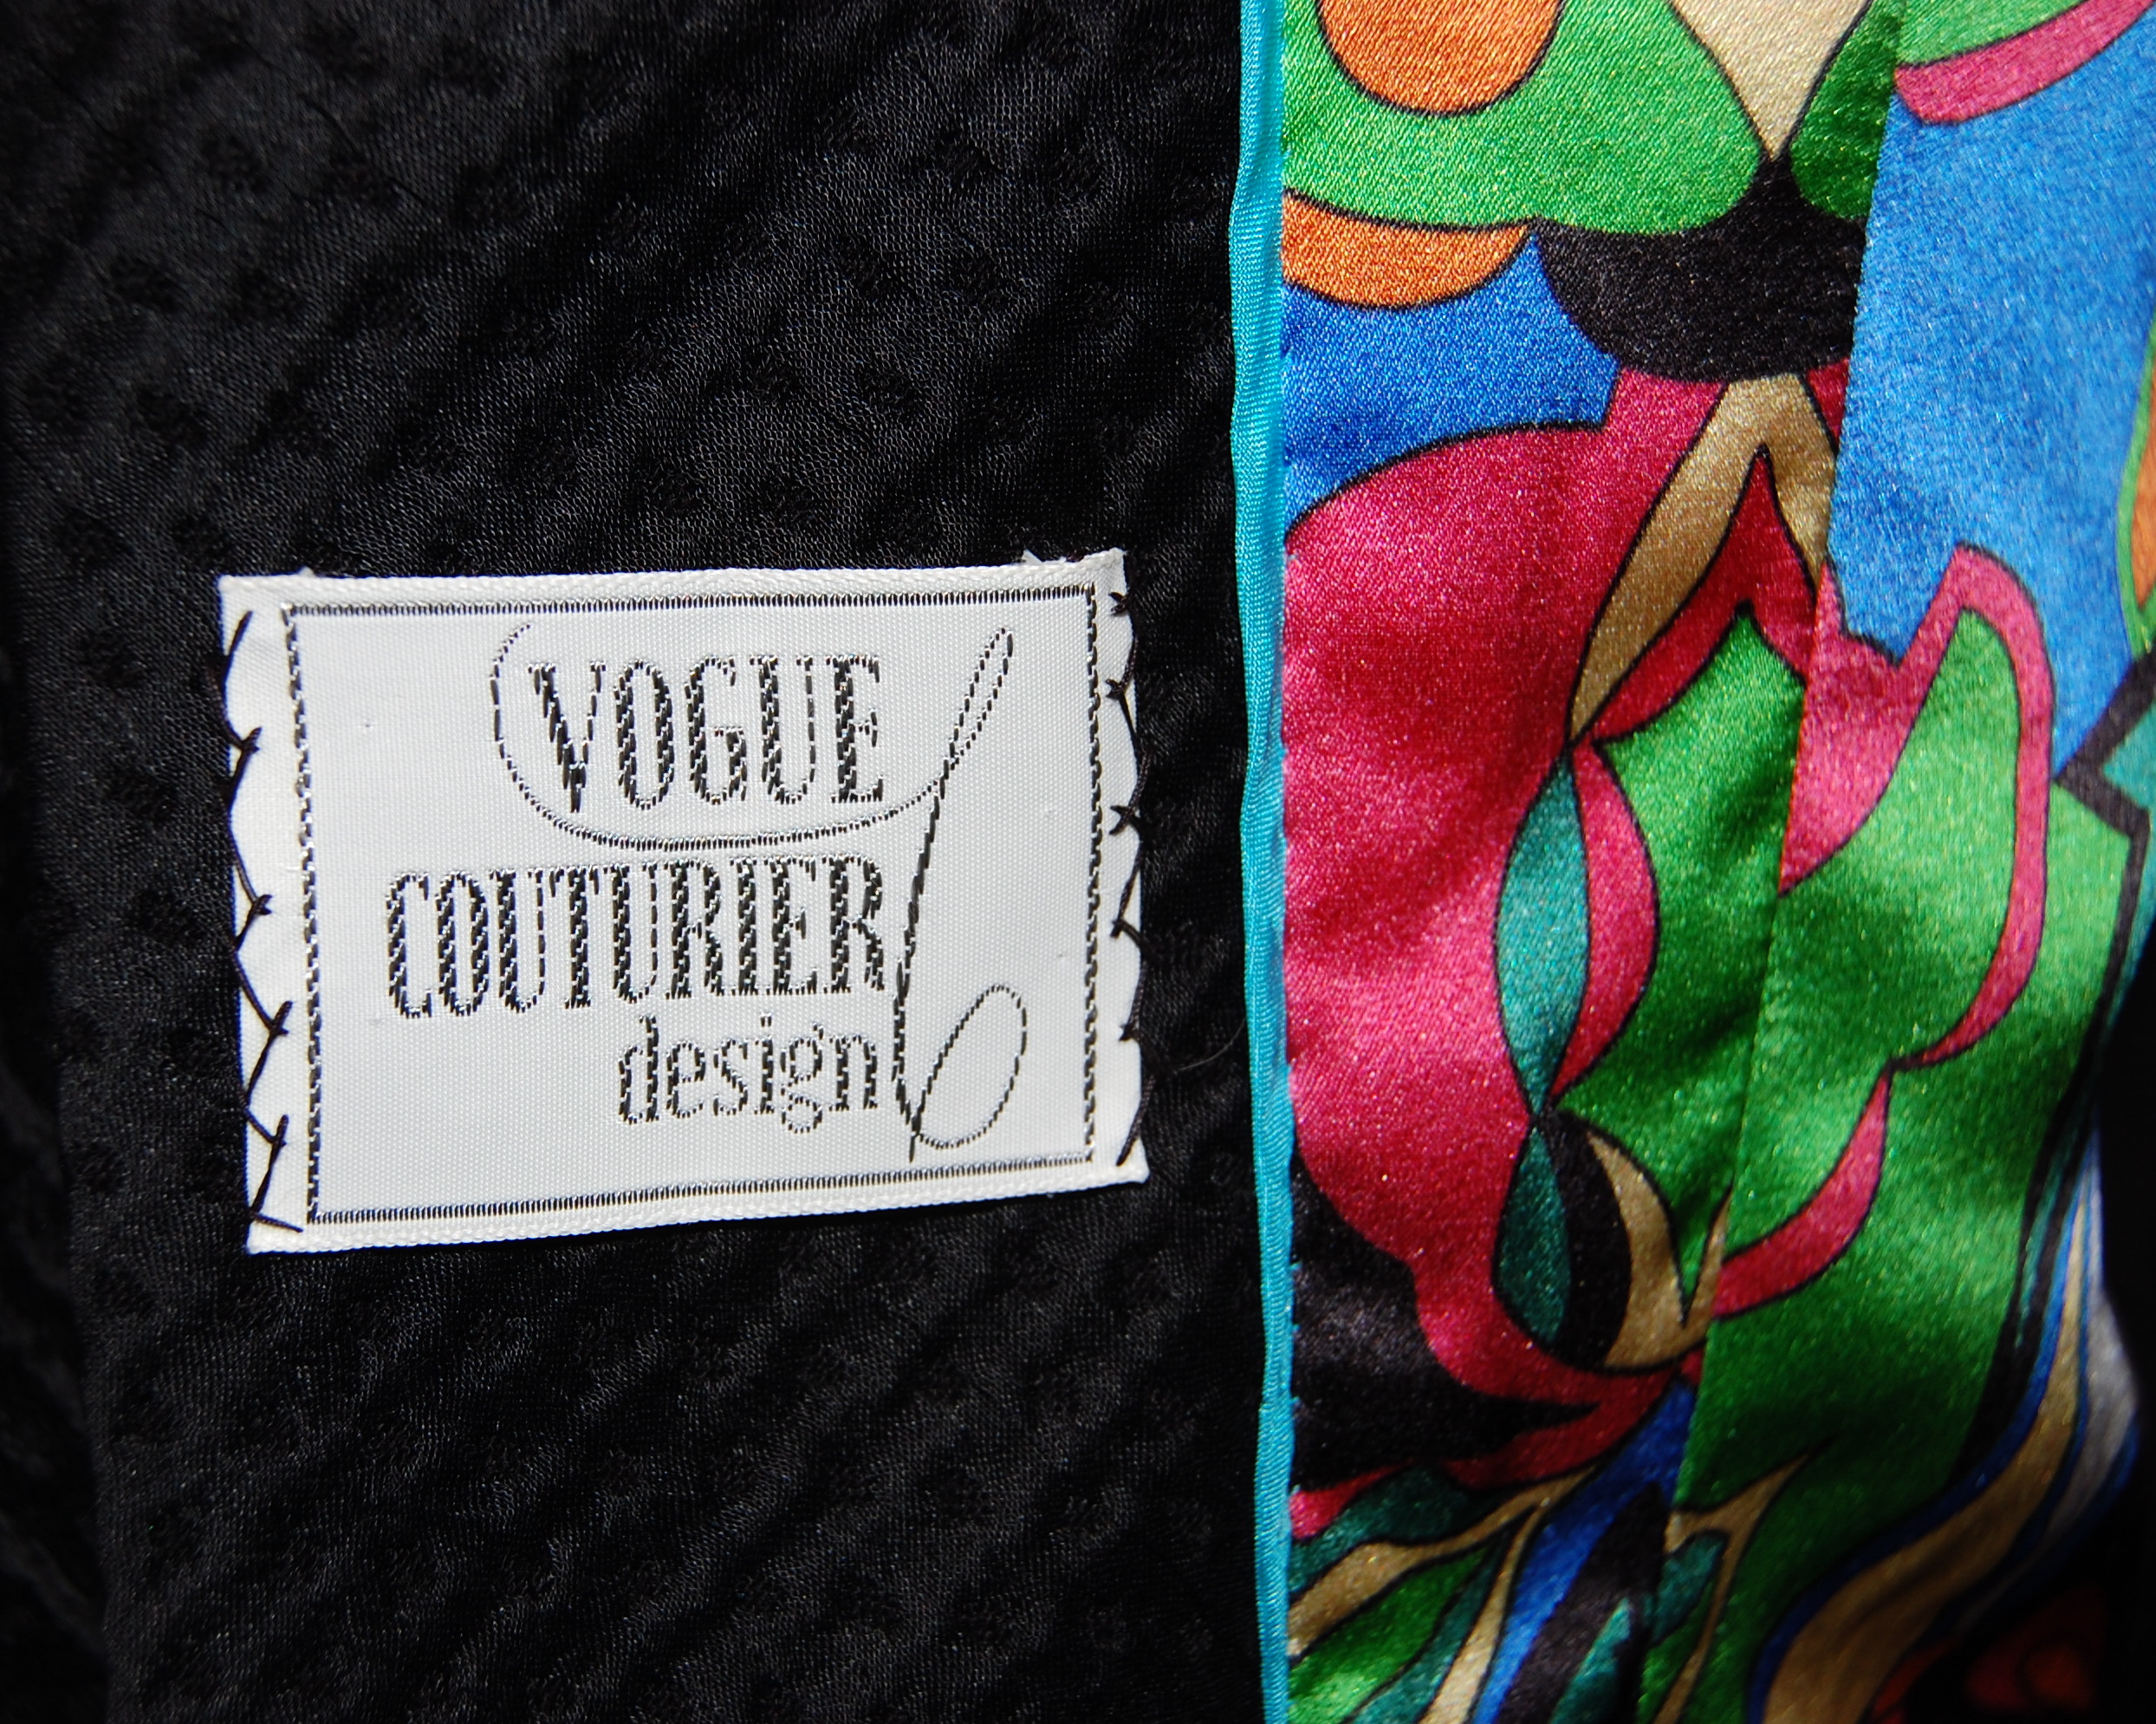
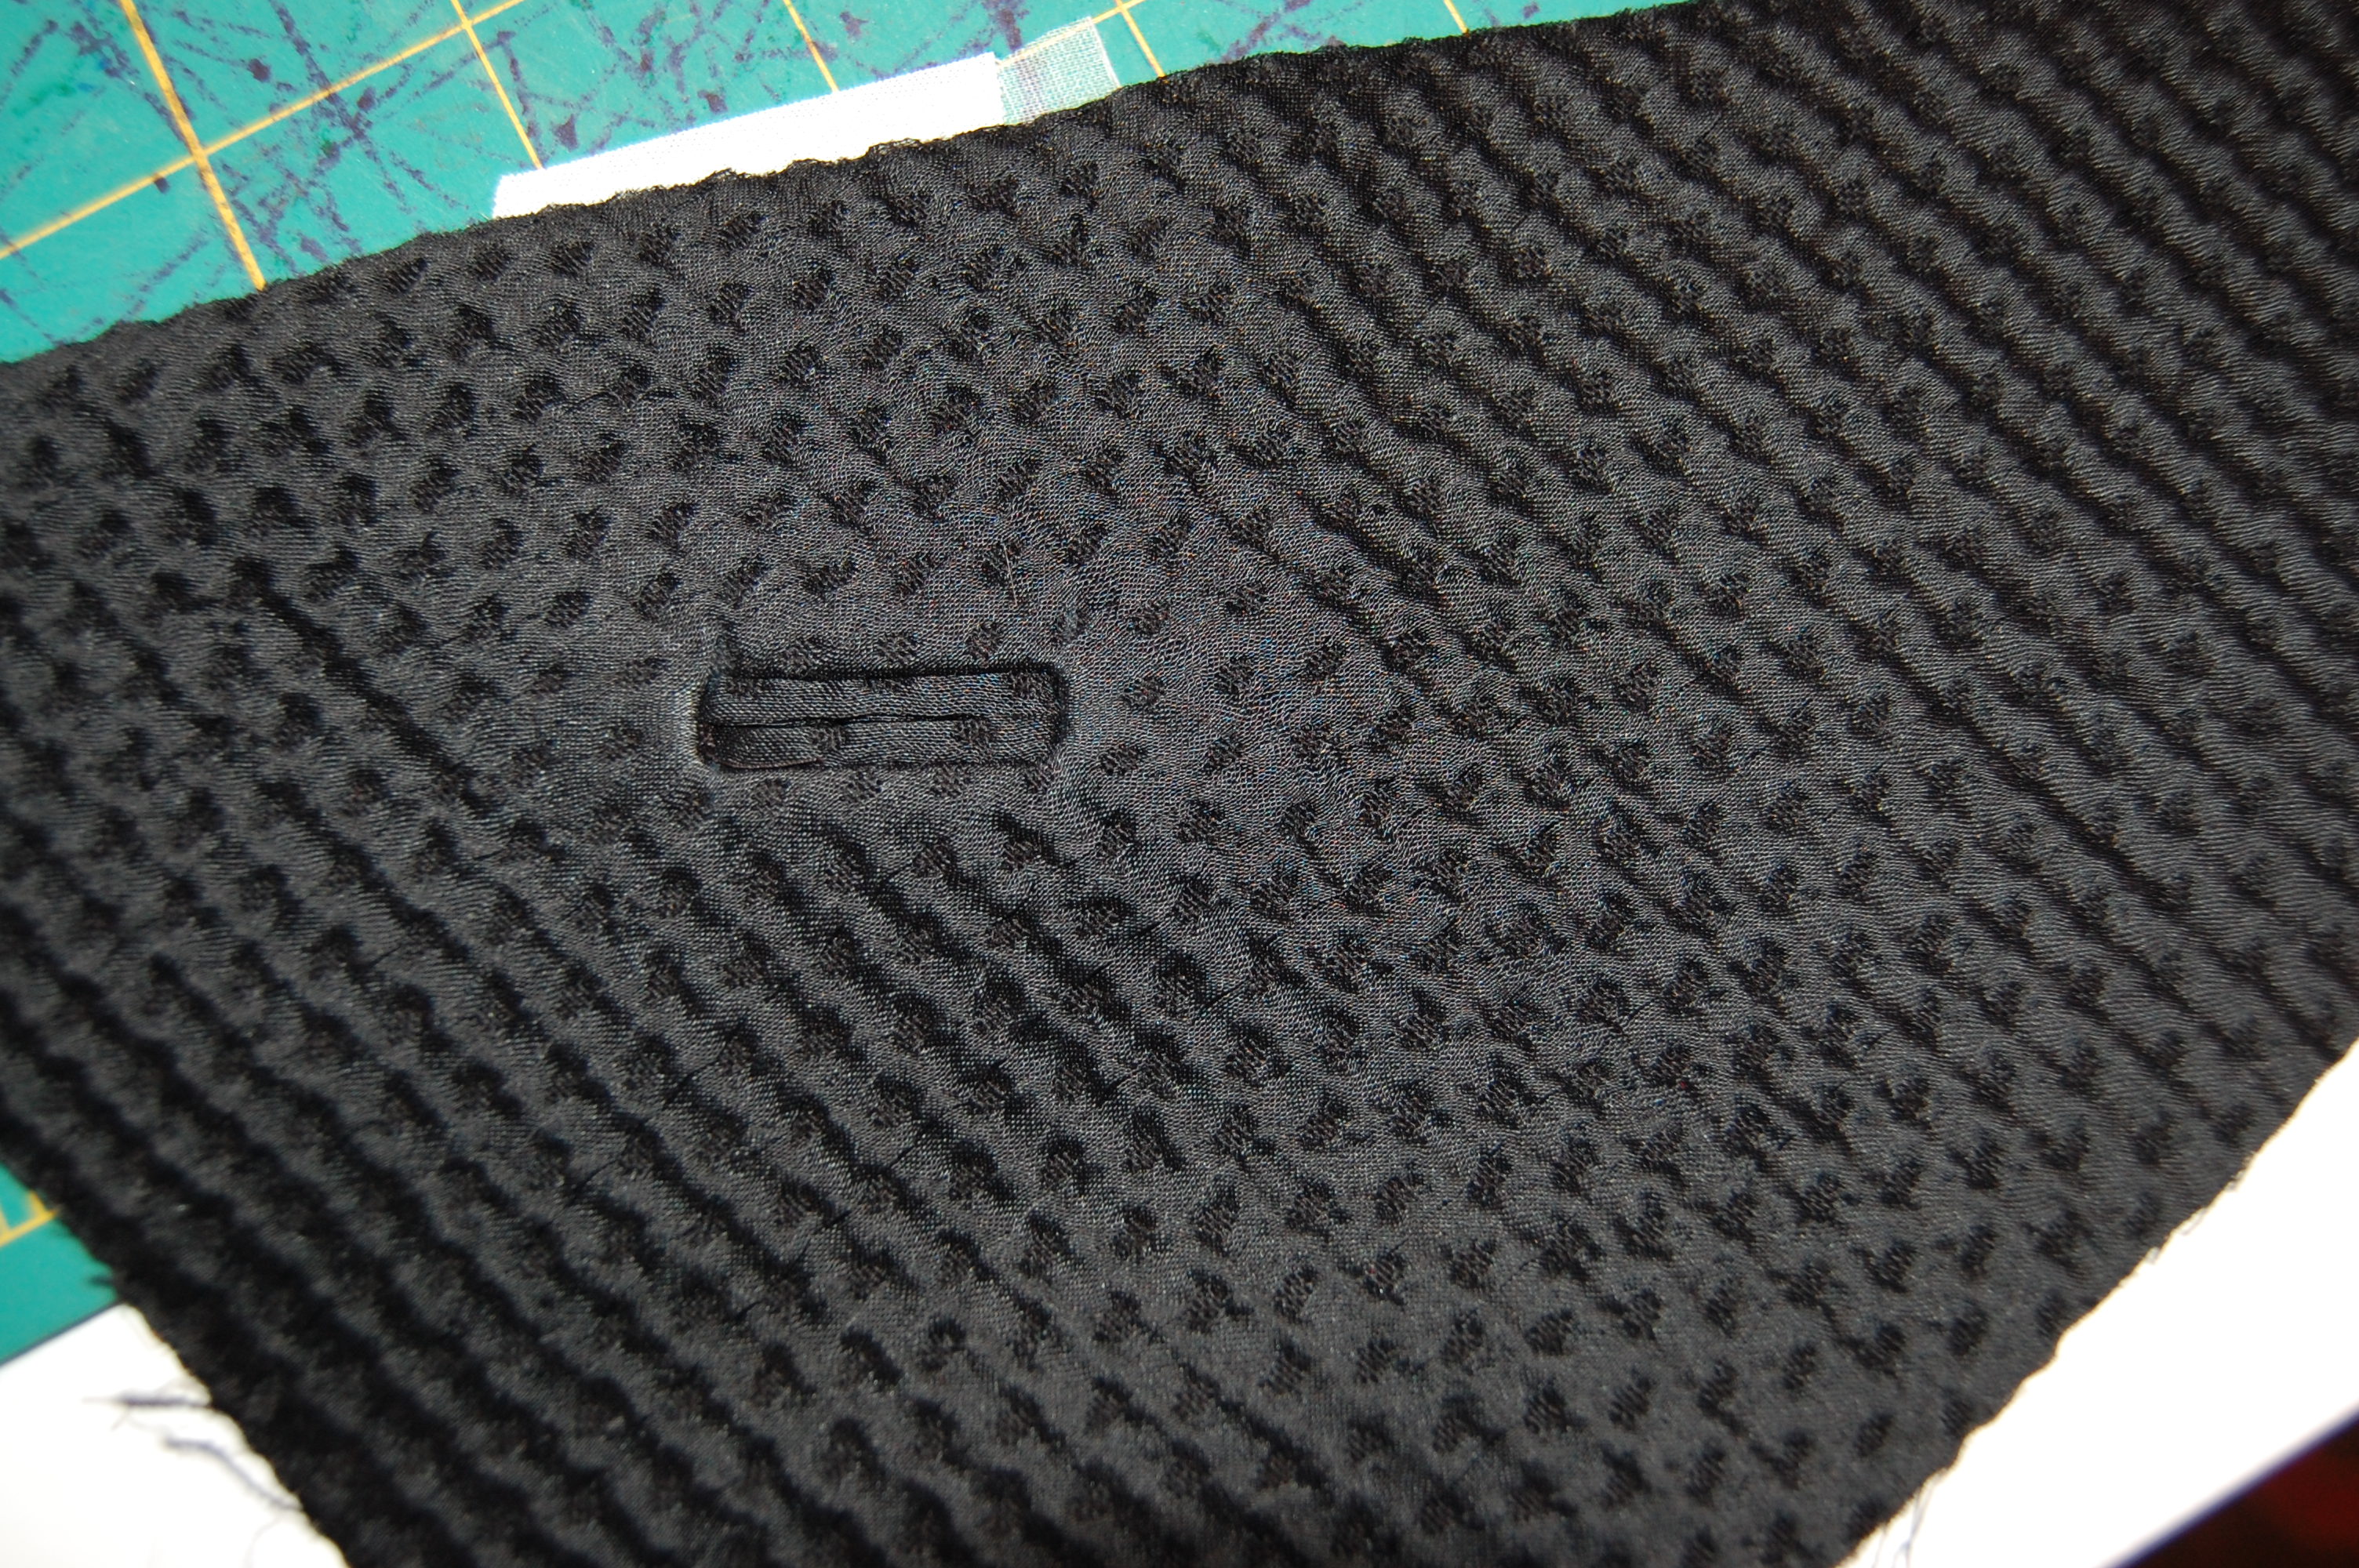
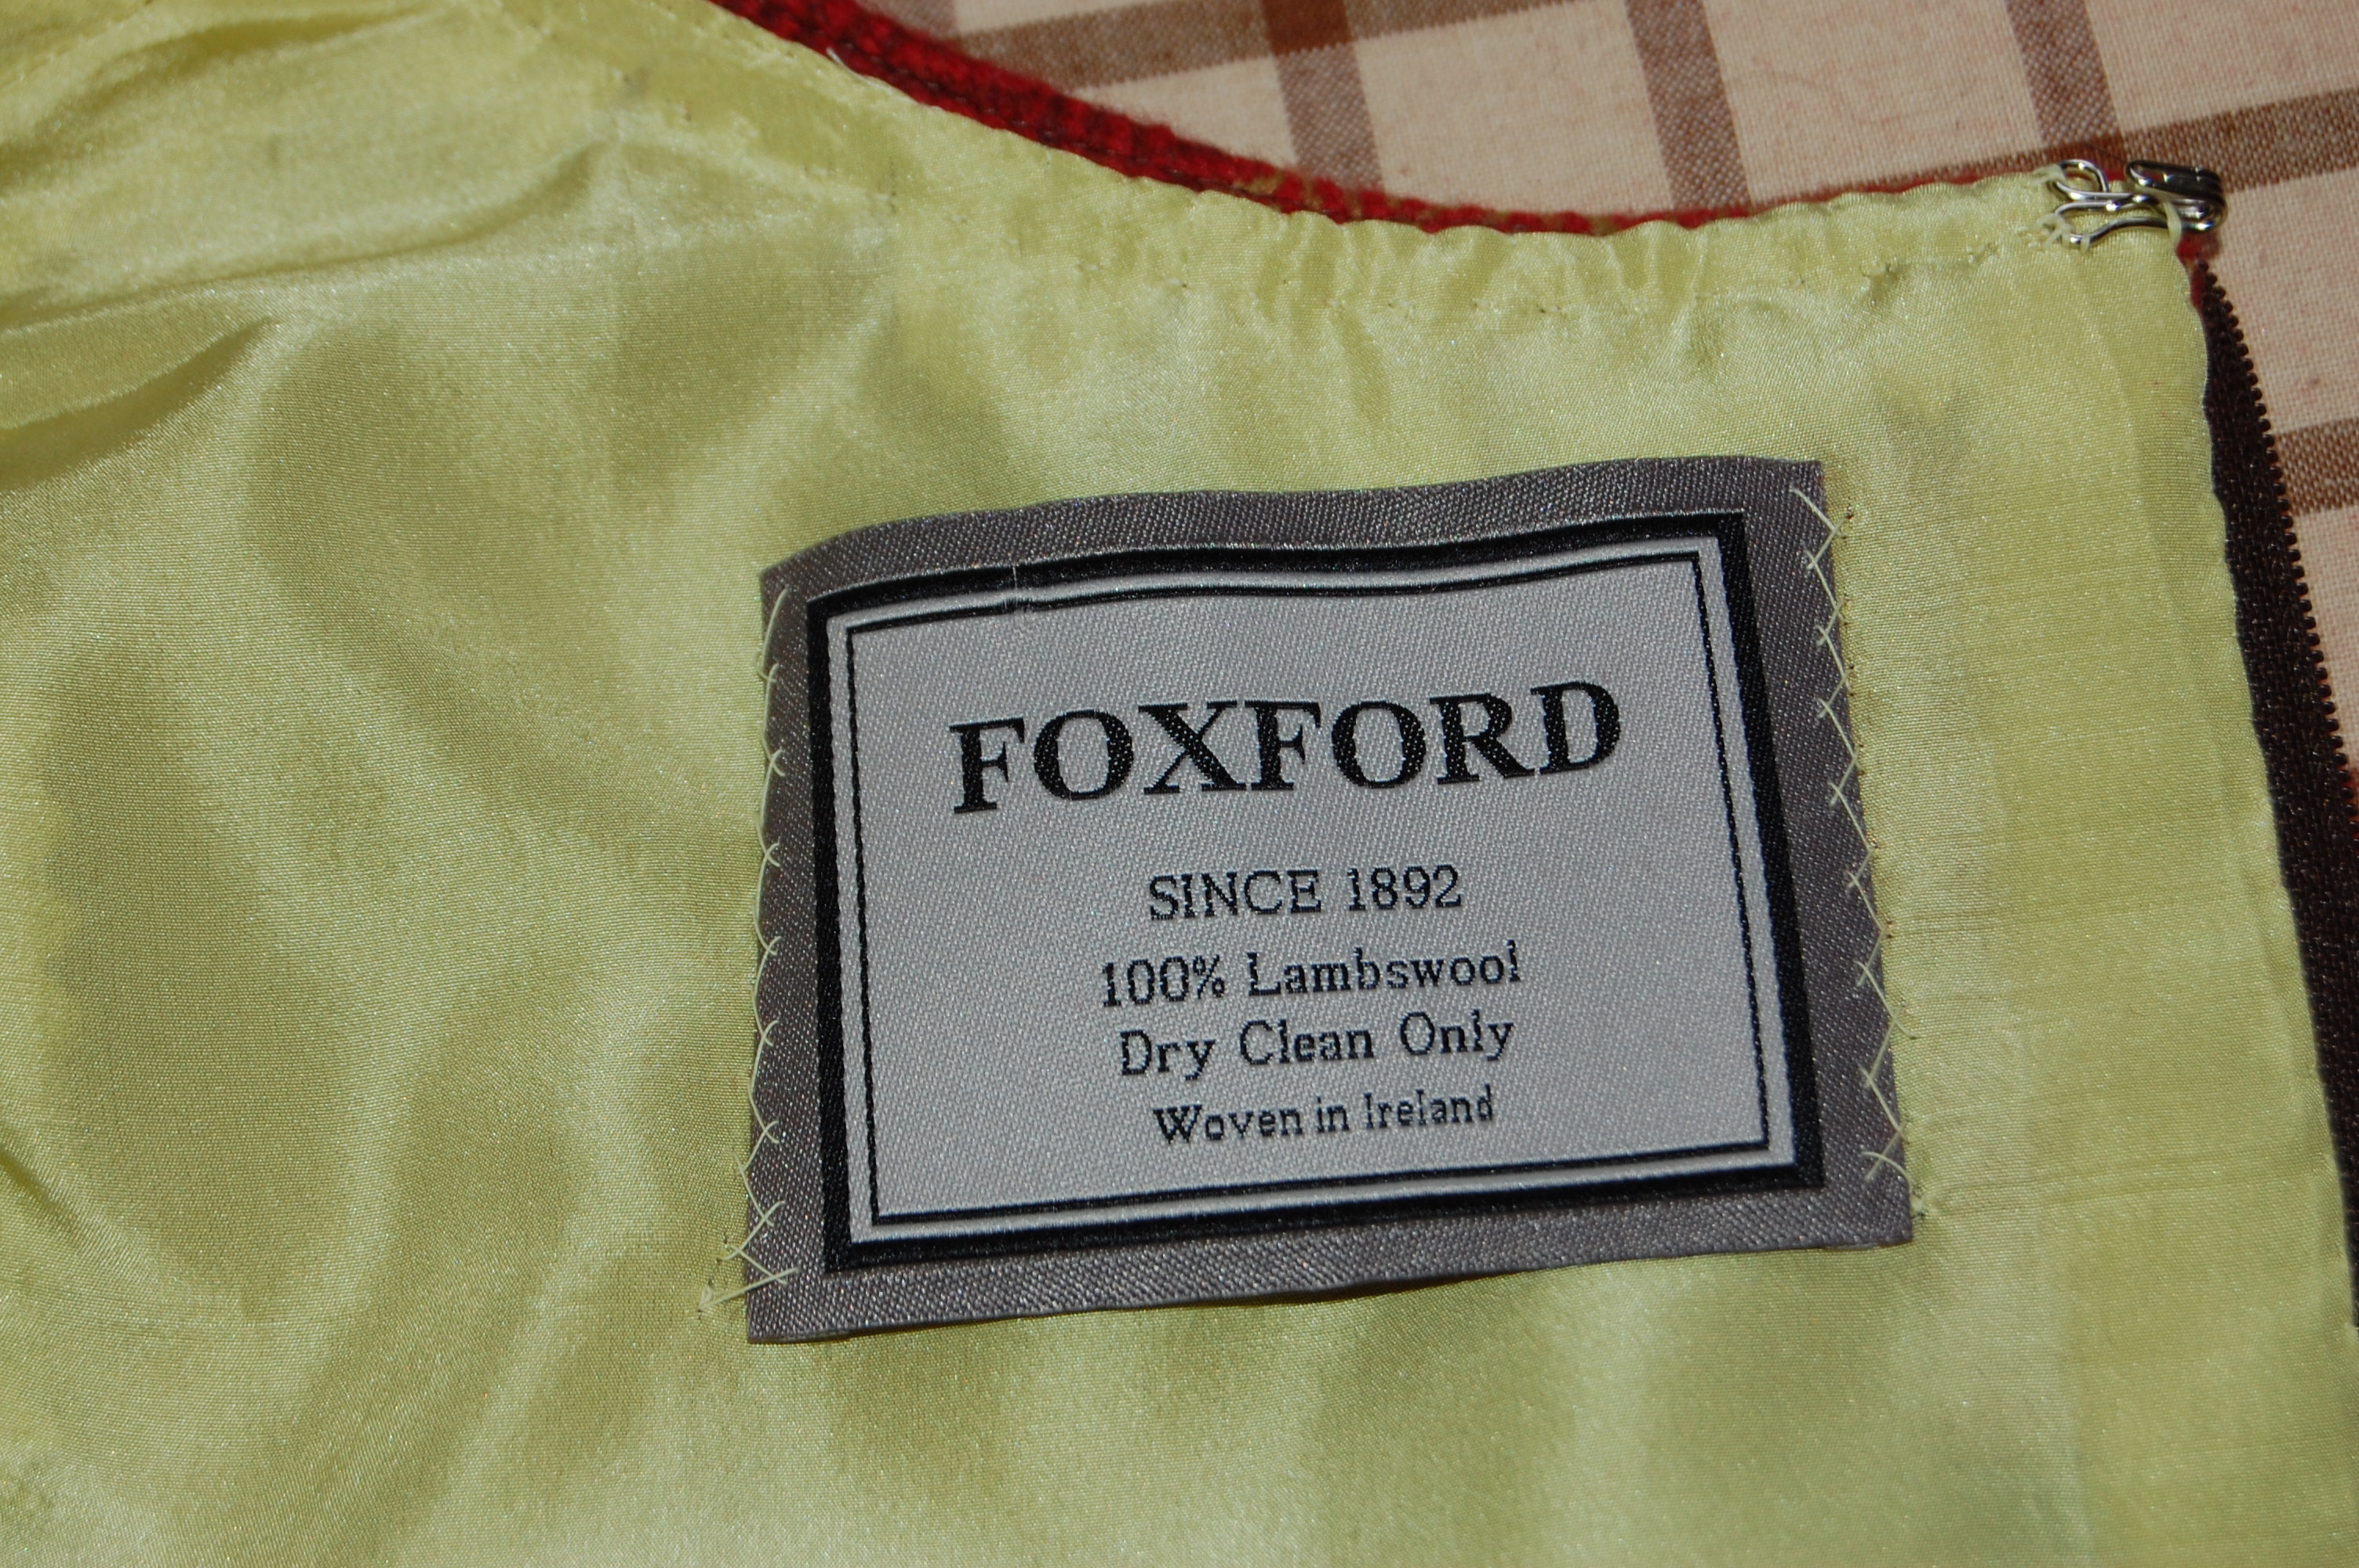
 6) I saved the label from the blanket and sewed it into the back neck edge, so I’ll always be reminded of our lovely trip to Ireland when I put this on!
I guess on really cold days, even a blouse may not be enough to keep arms warm. I just may have to be really frumpy and wear a long-sleeved silk under-shirt underneath it all. Or maybe I really should take up knitting?