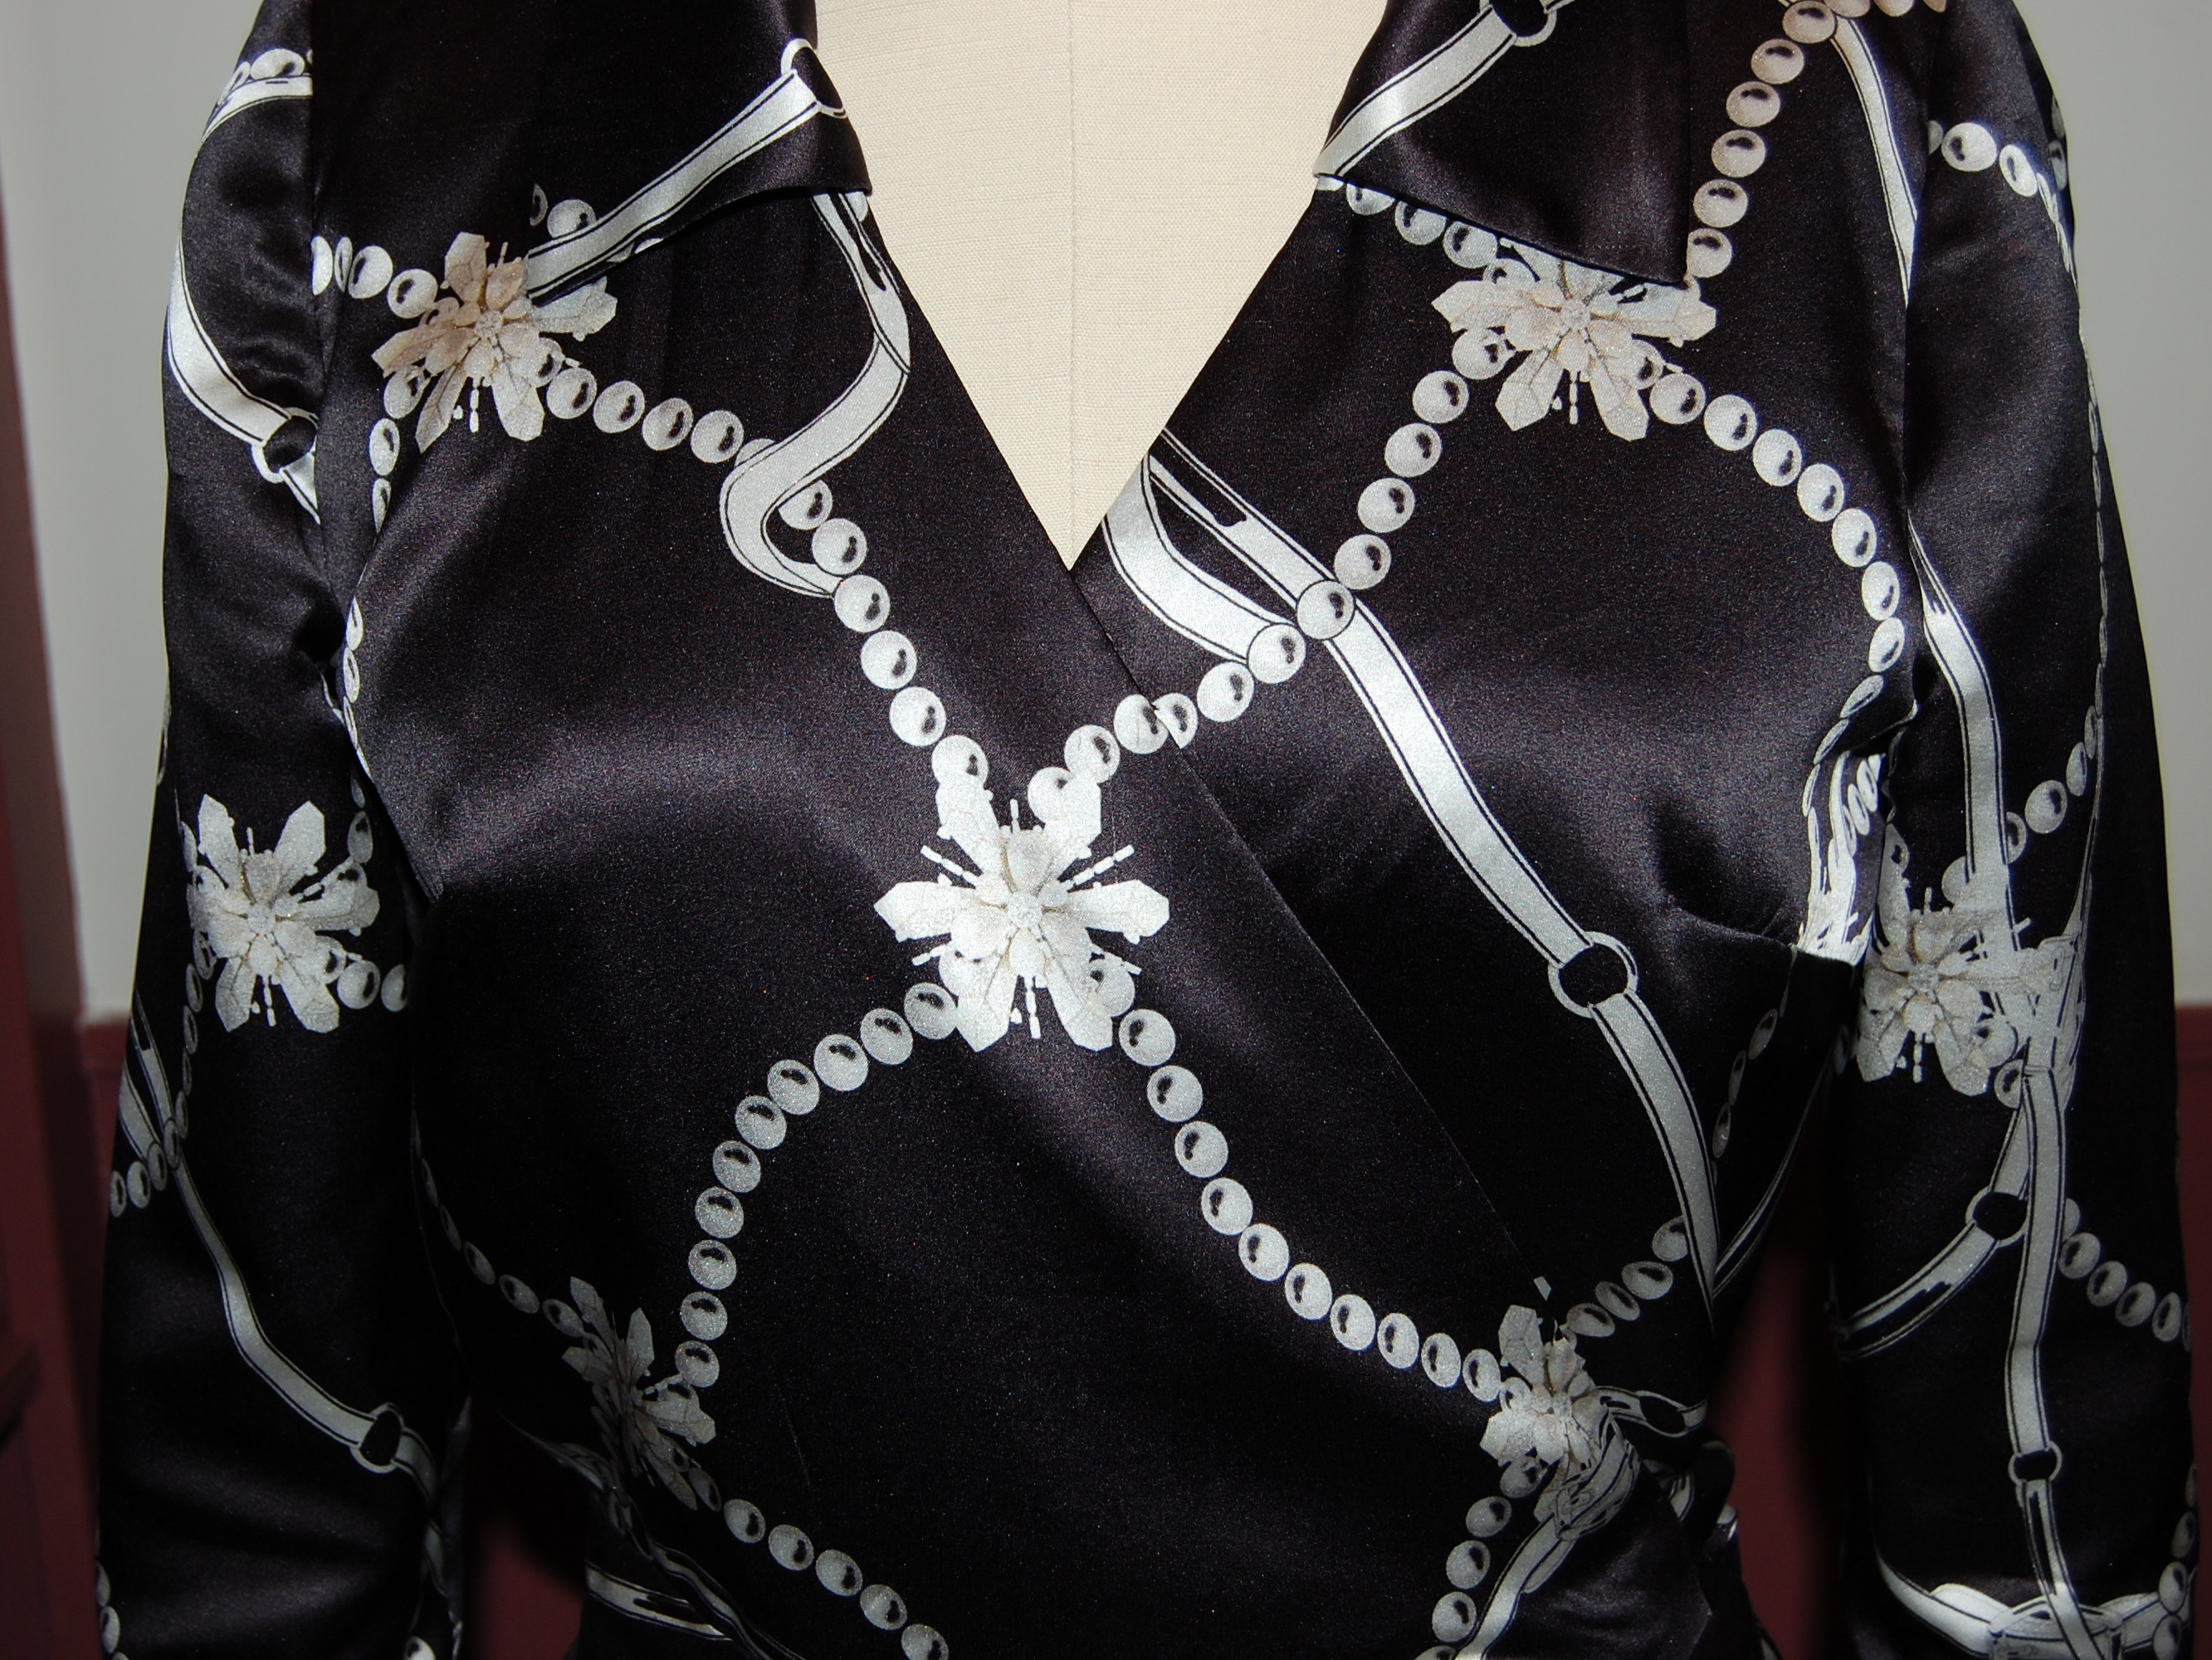
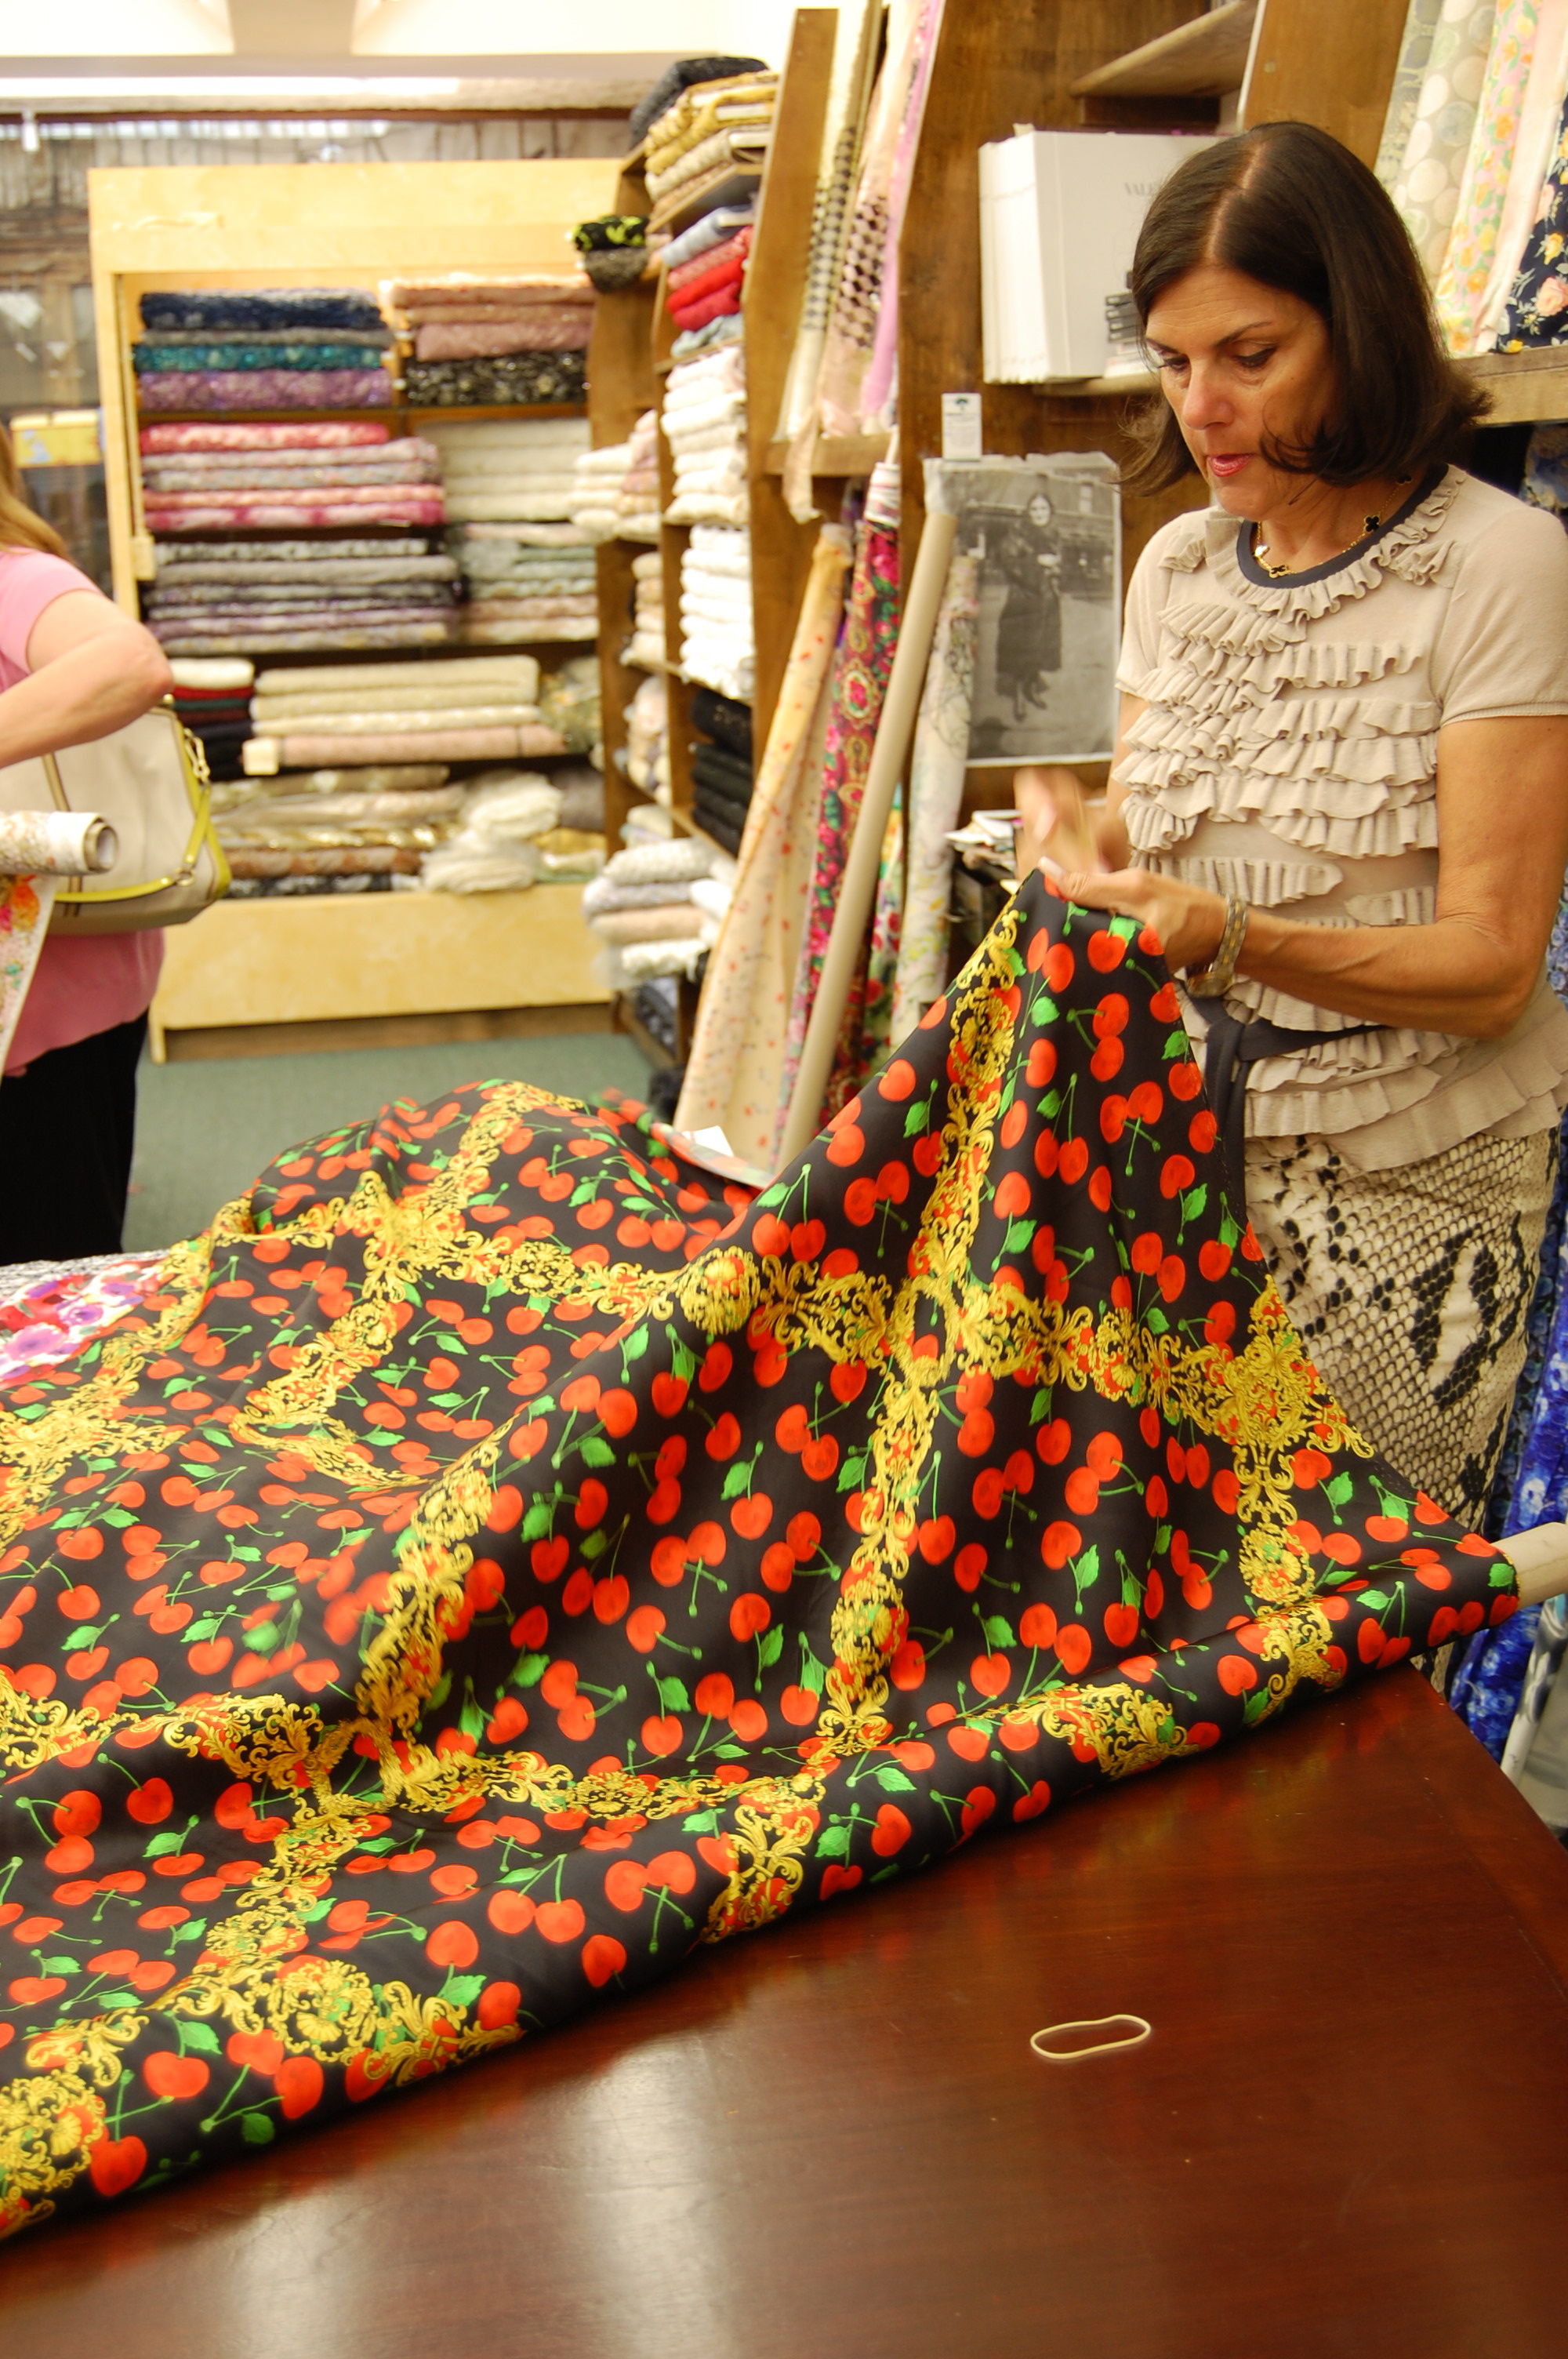
Rarely do I not have enough fabric for a sewing project. I am one of those people who usually errs on the side of excess when I am buying fabric. Sometimes, however, I buy a piece for which I have no immediate plans, and therefore, no real idea what I will end up making. This, of course, was the case when I bought my Pucci silk. Little did I know I would be making a dress, and hoping to line its accompanying jacket in the same matching silk.

I dutifully measured and calculated and figured there was a good chance I could eke it out. I had two things going for me: the silk was 60” wide, and I knew I would be taking about three inches off the length of the dress pattern (and still have a nice 3” hem). But I also had two things going against me: I would need to do some matching of the design on the dress, which could prove interesting with a print that seemed to change both its color and motif on a whim. More concerning was the fact that the jacket has kimono sleeves. Kimono sleeves usually require more fabric than set-in sleeves.
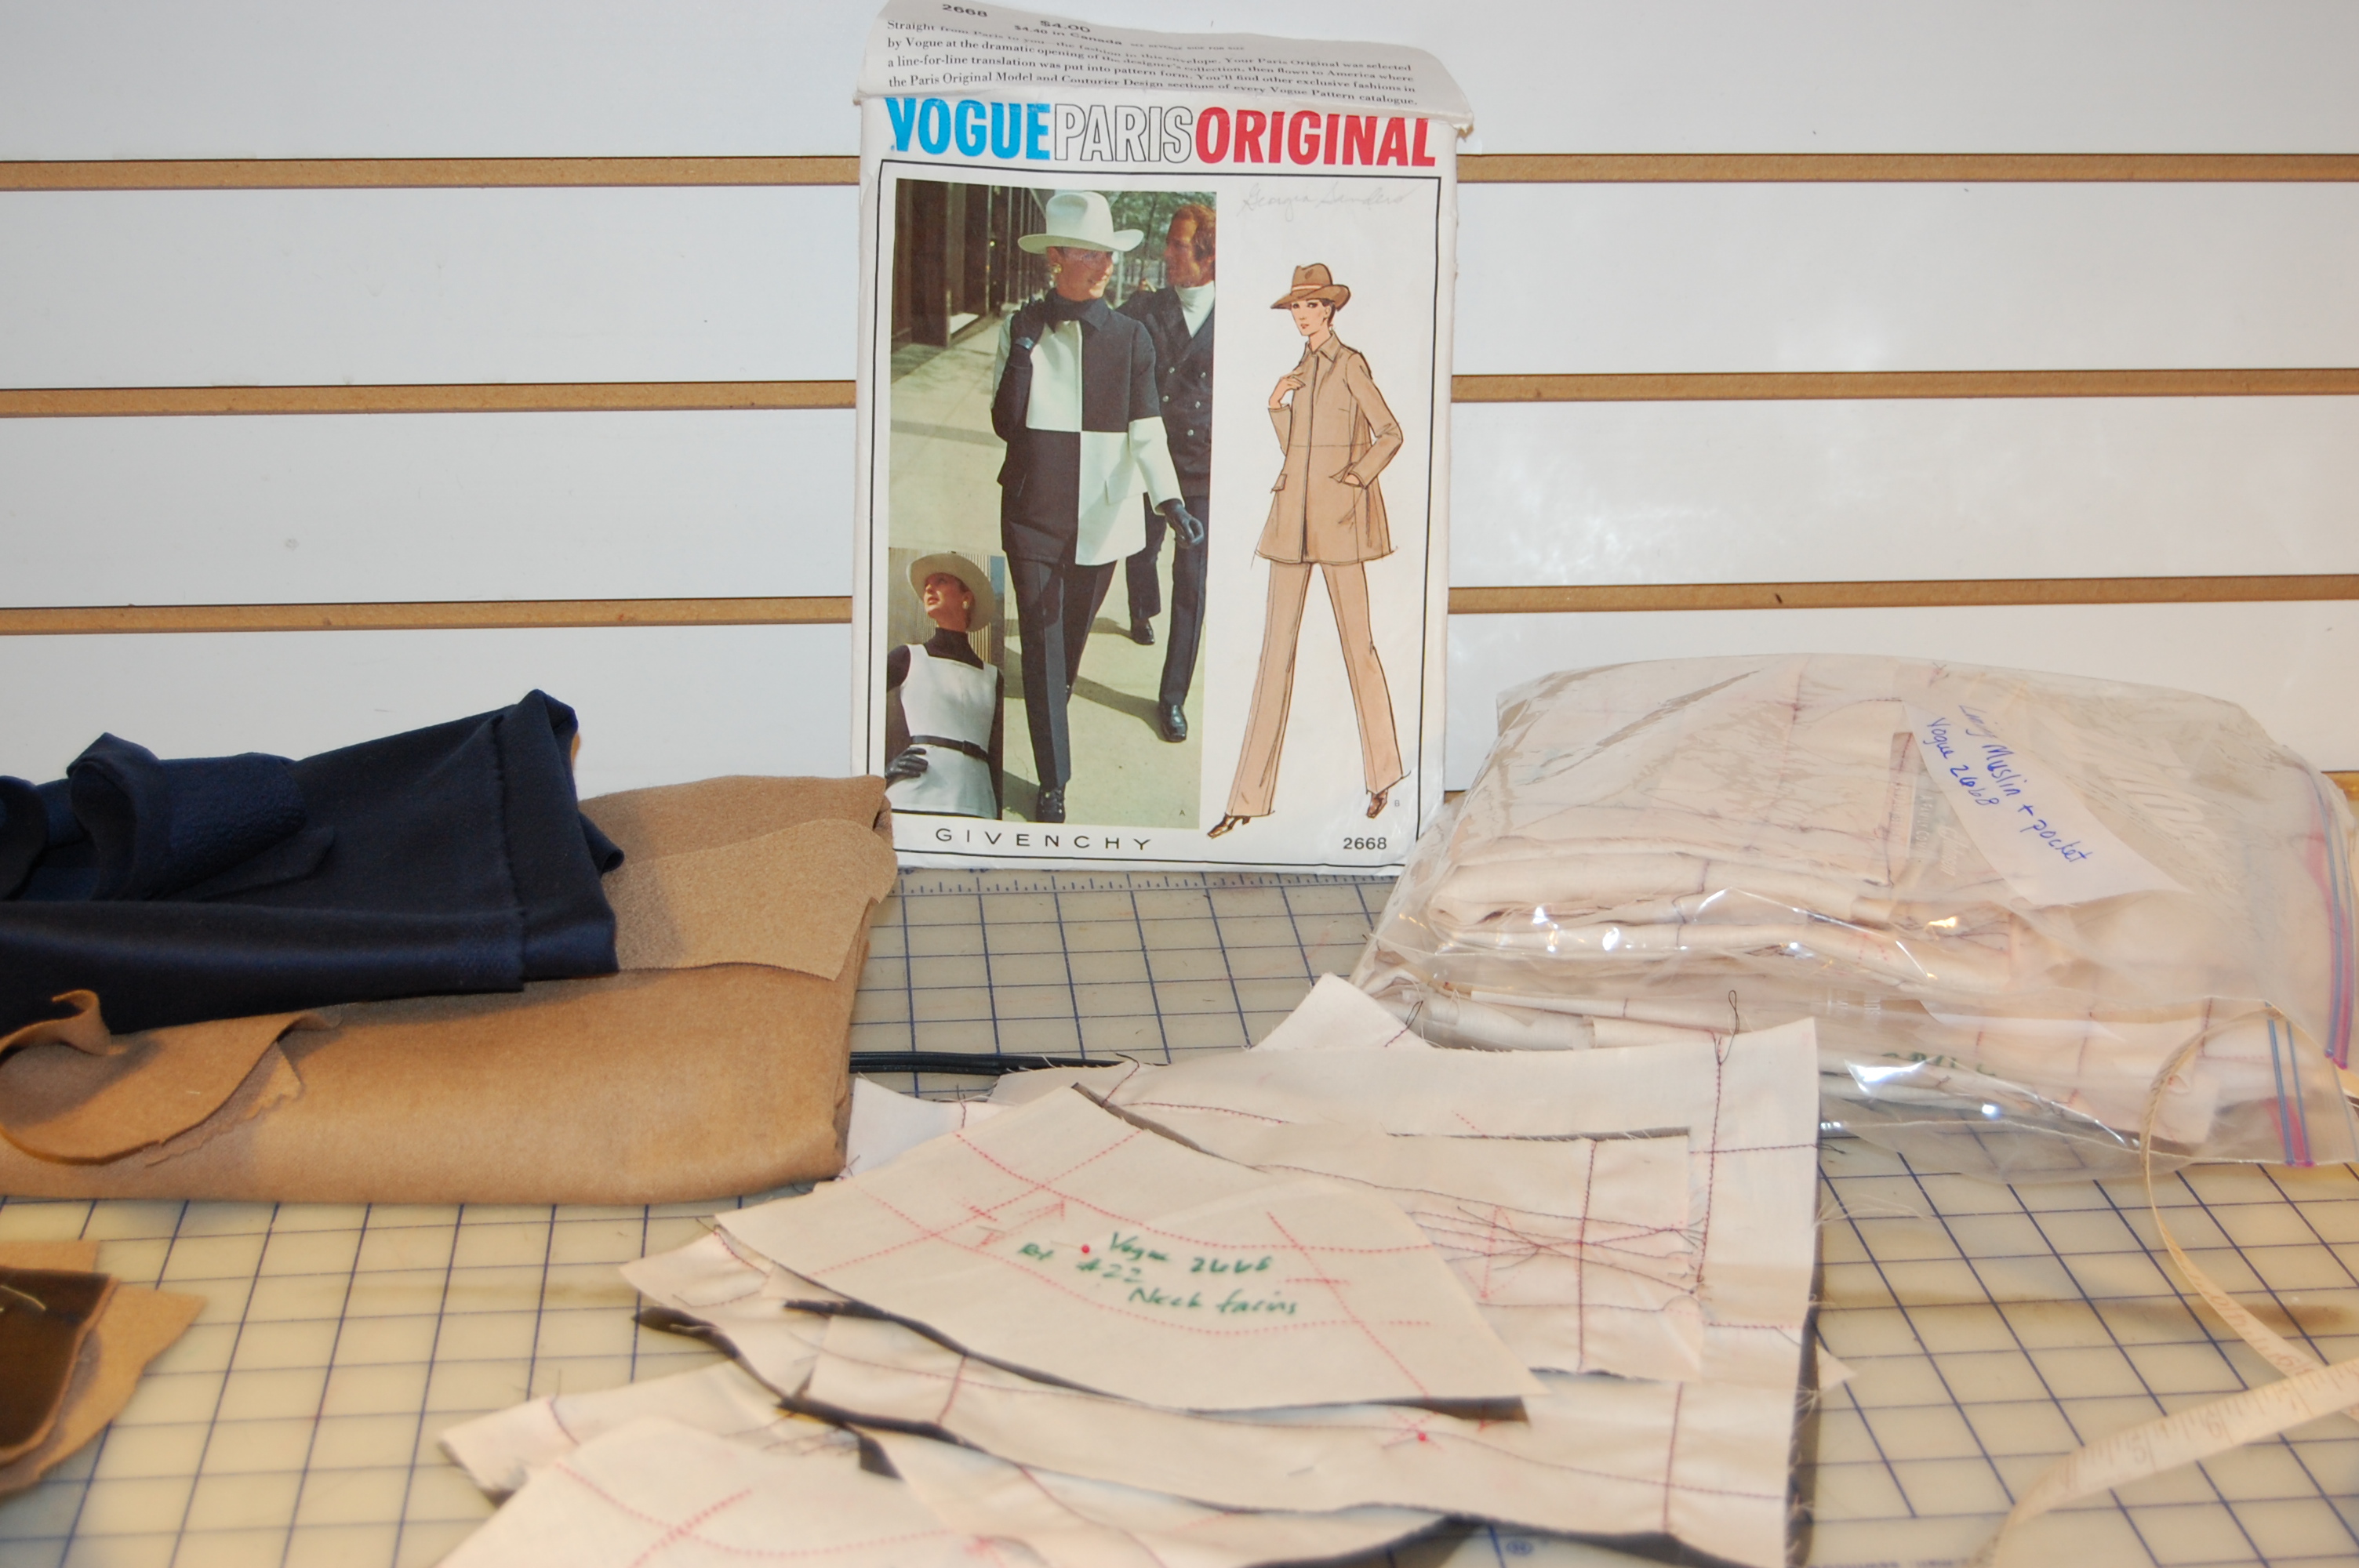
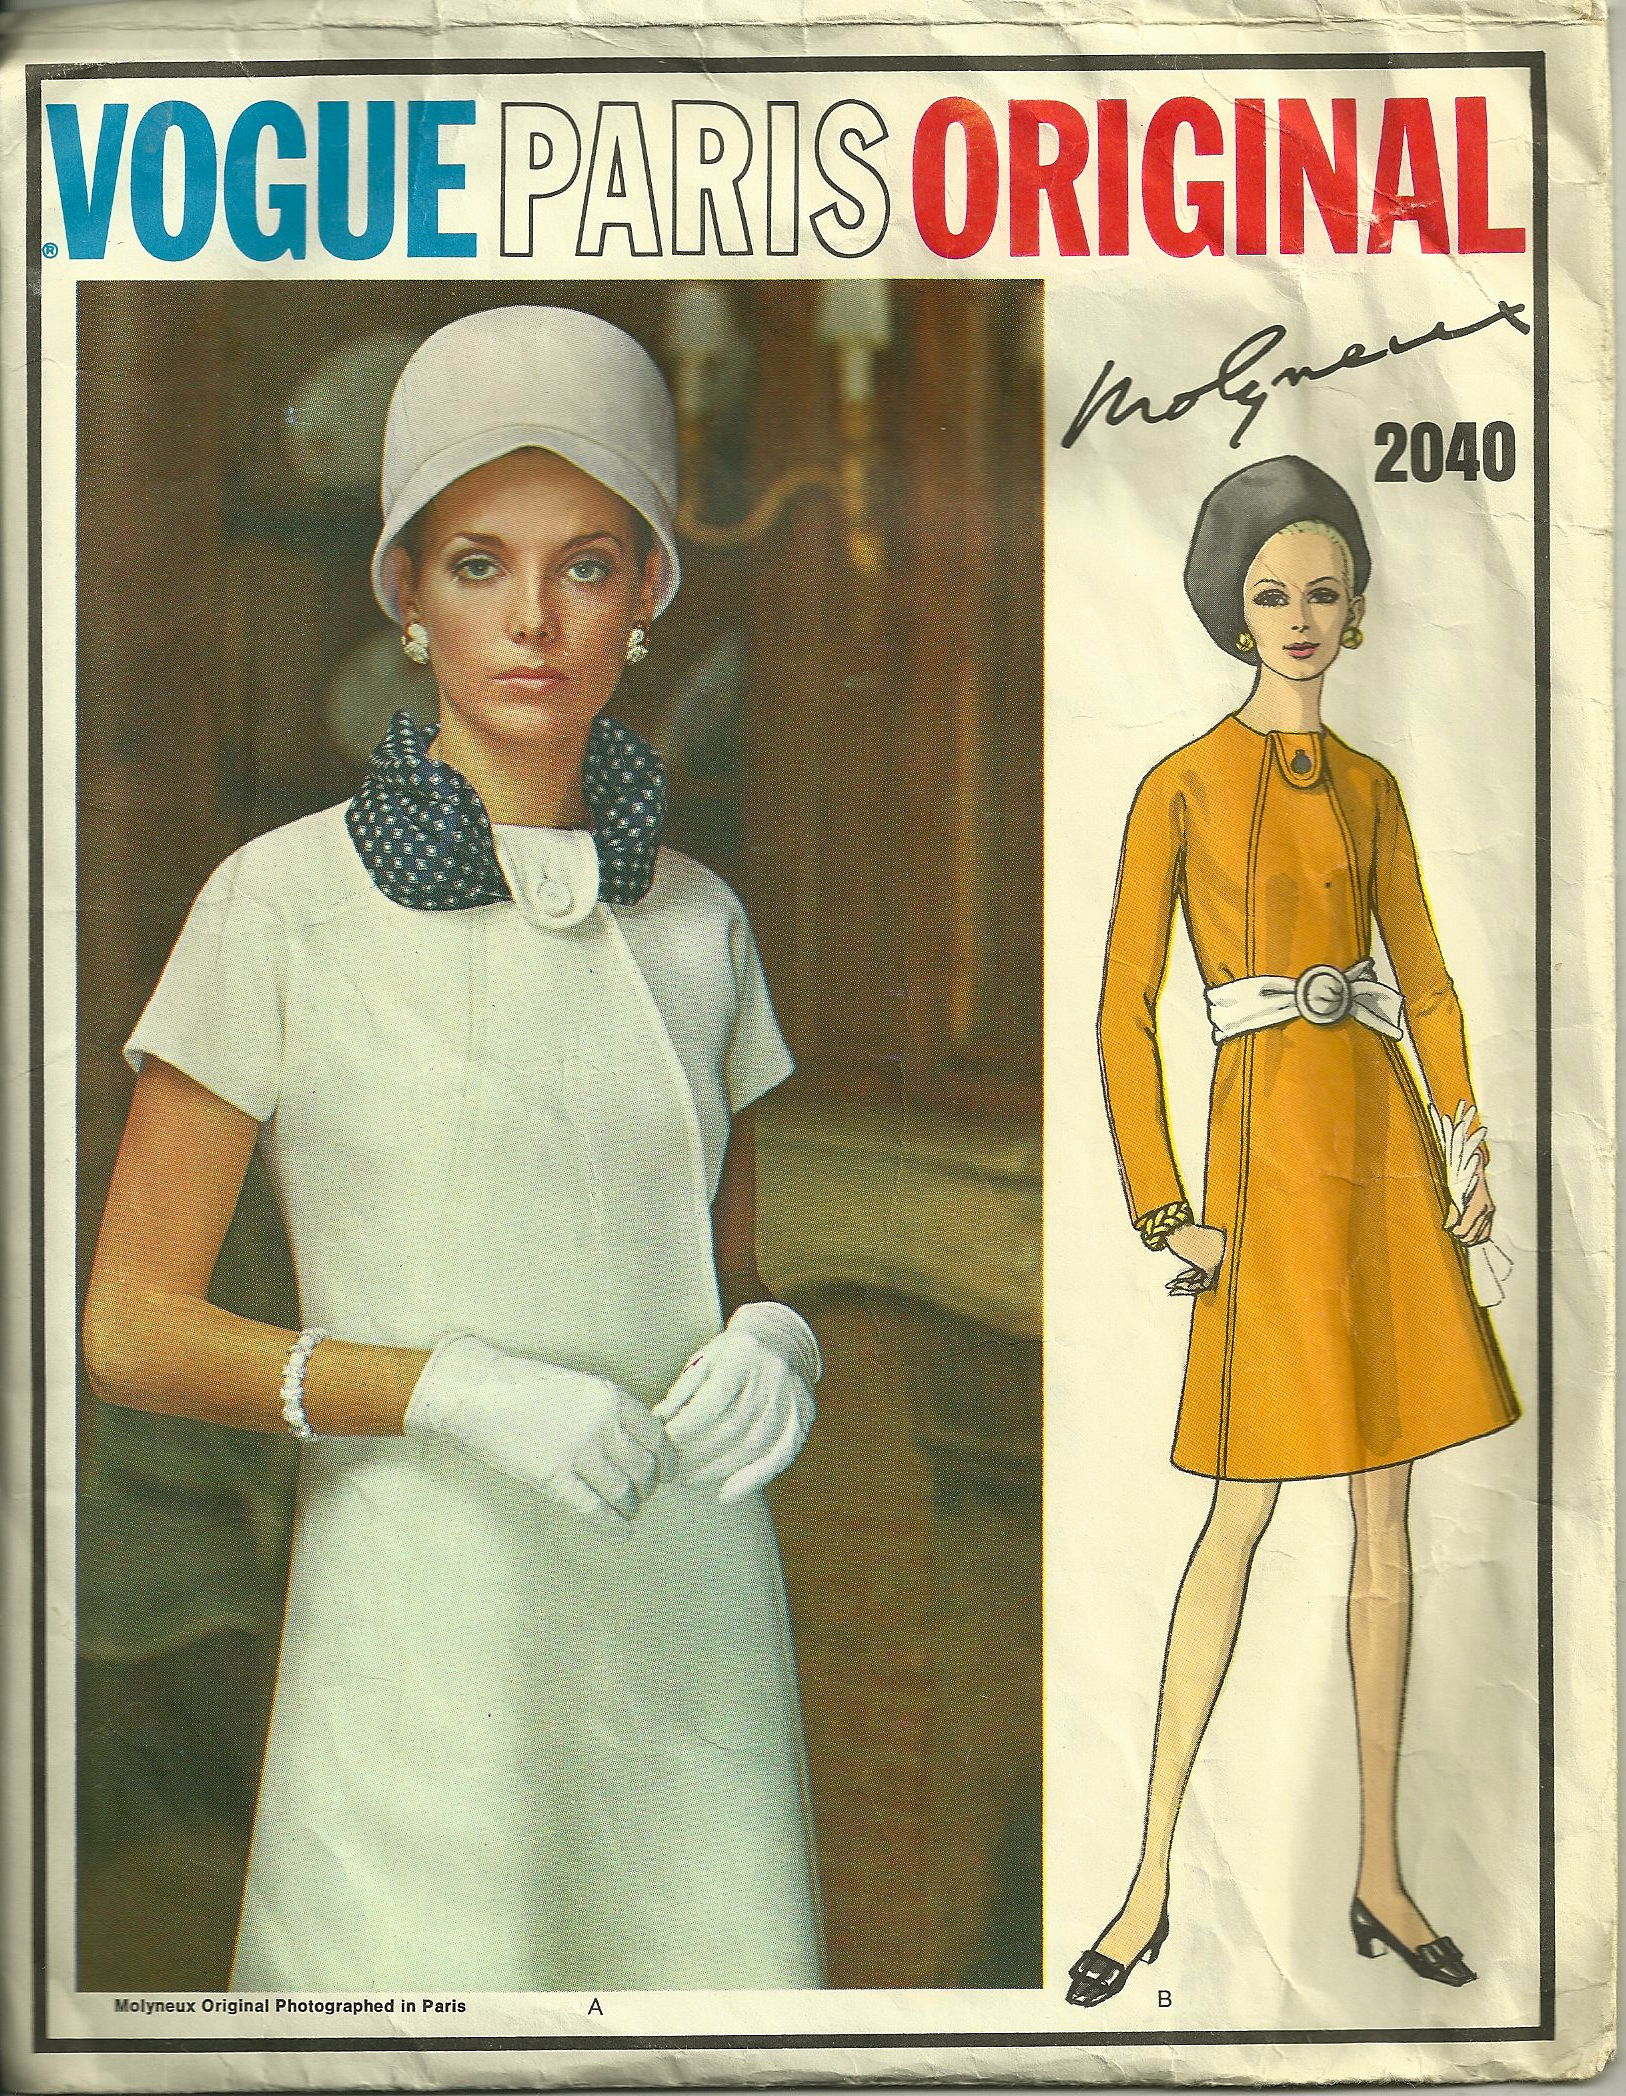
I wasn’t about to panic – yet. First I had to make muslins (toiles) of both the dress and the jacket. Both needed some fitting adjustments (mostly minor), which I will not go into now. One of the most helpful parts of making a muslin, at least for me, is the opportunity it gives me to get acquainted with the construction of whatever it is I am making. In this case, the dress was very straightforward, but the jacket really intrigued me. No wonder, I thought, that the flap on the pattern envelope states “Emilio Pucci’s designs are distinguished by marvelous cut and construction.”
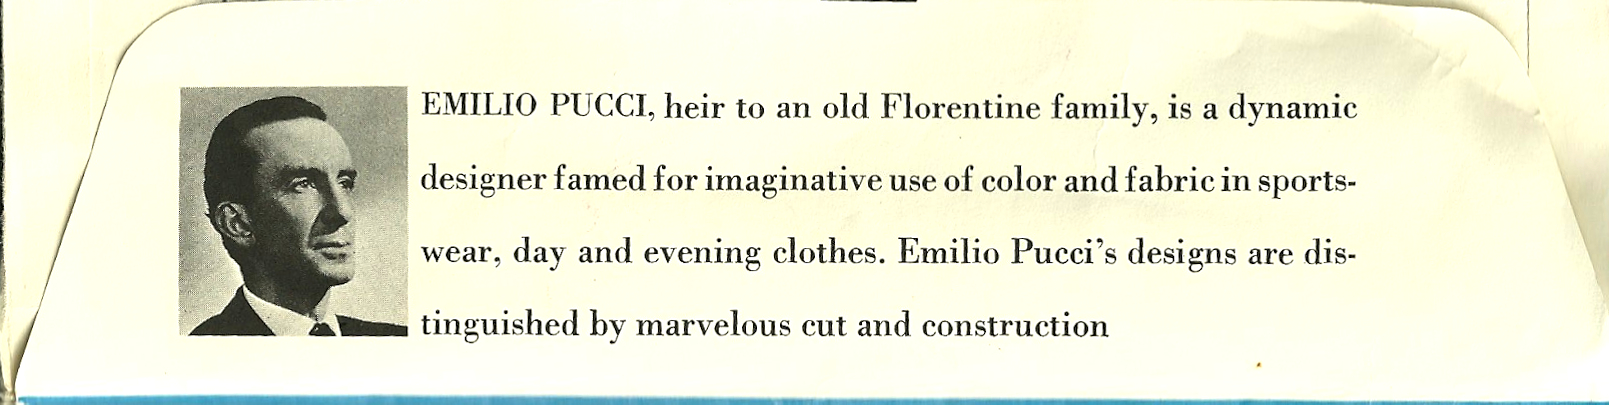
The vintage Vogue Designer patterns include a short statement about each featured designer on the pattern envelope flaps.
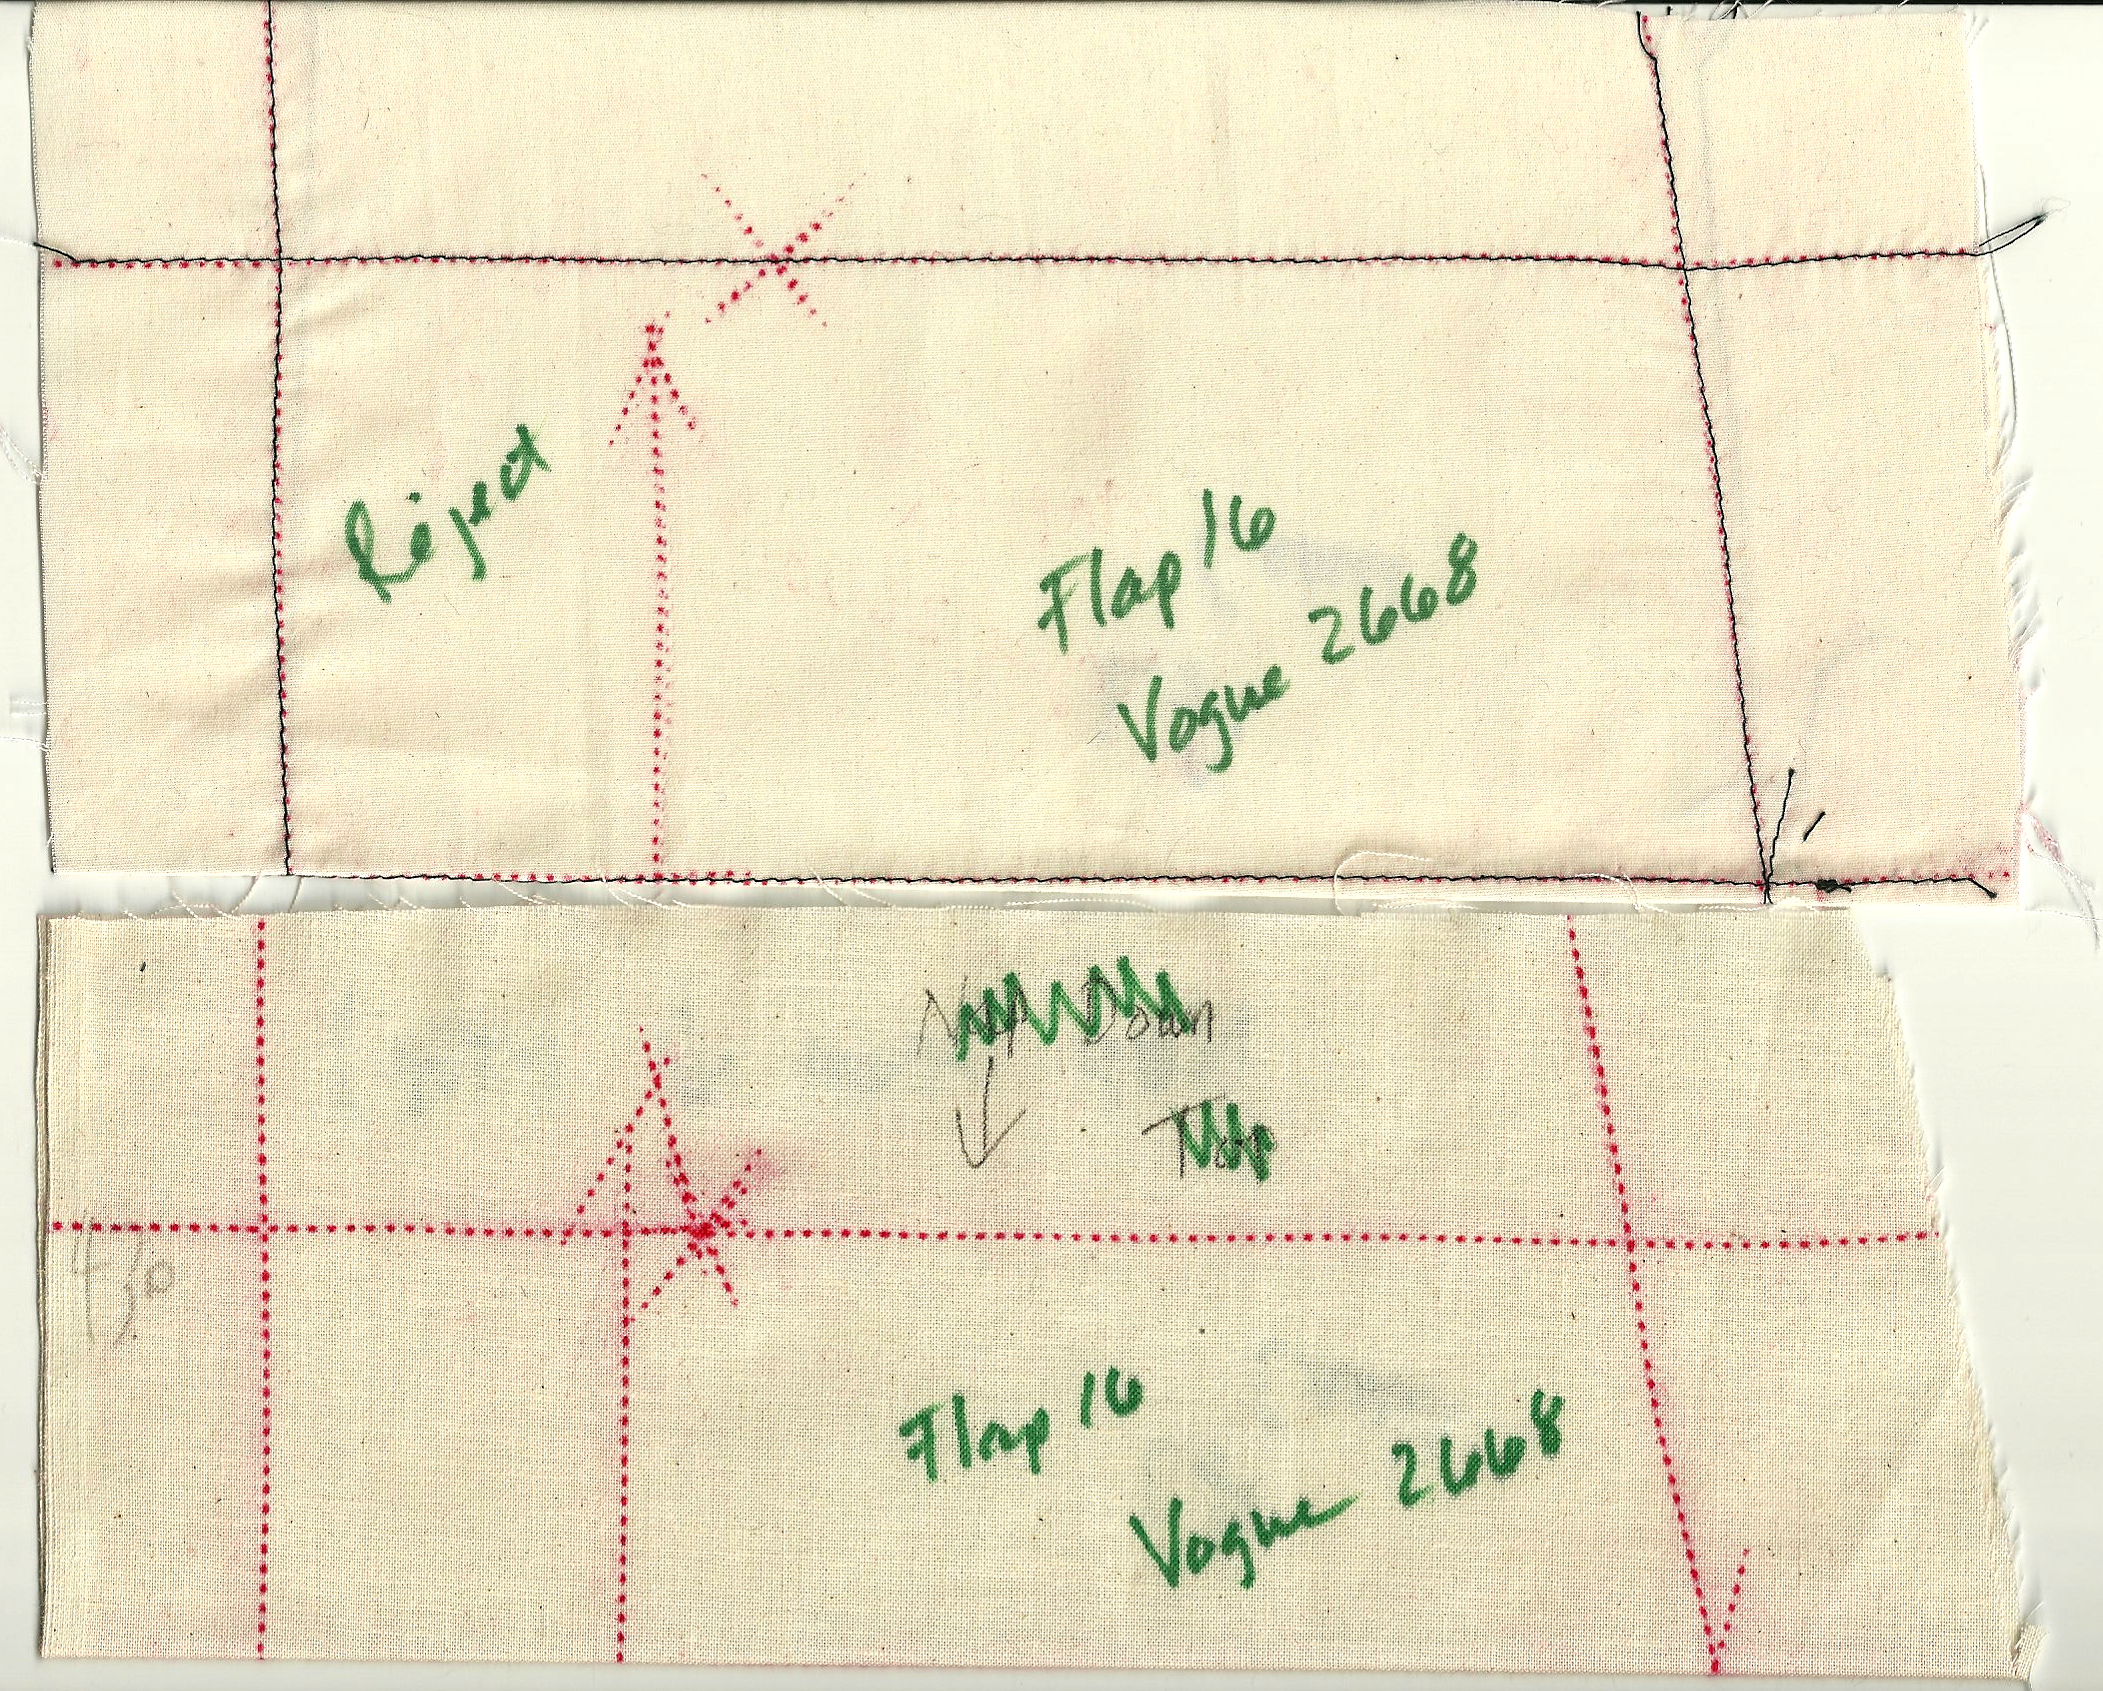
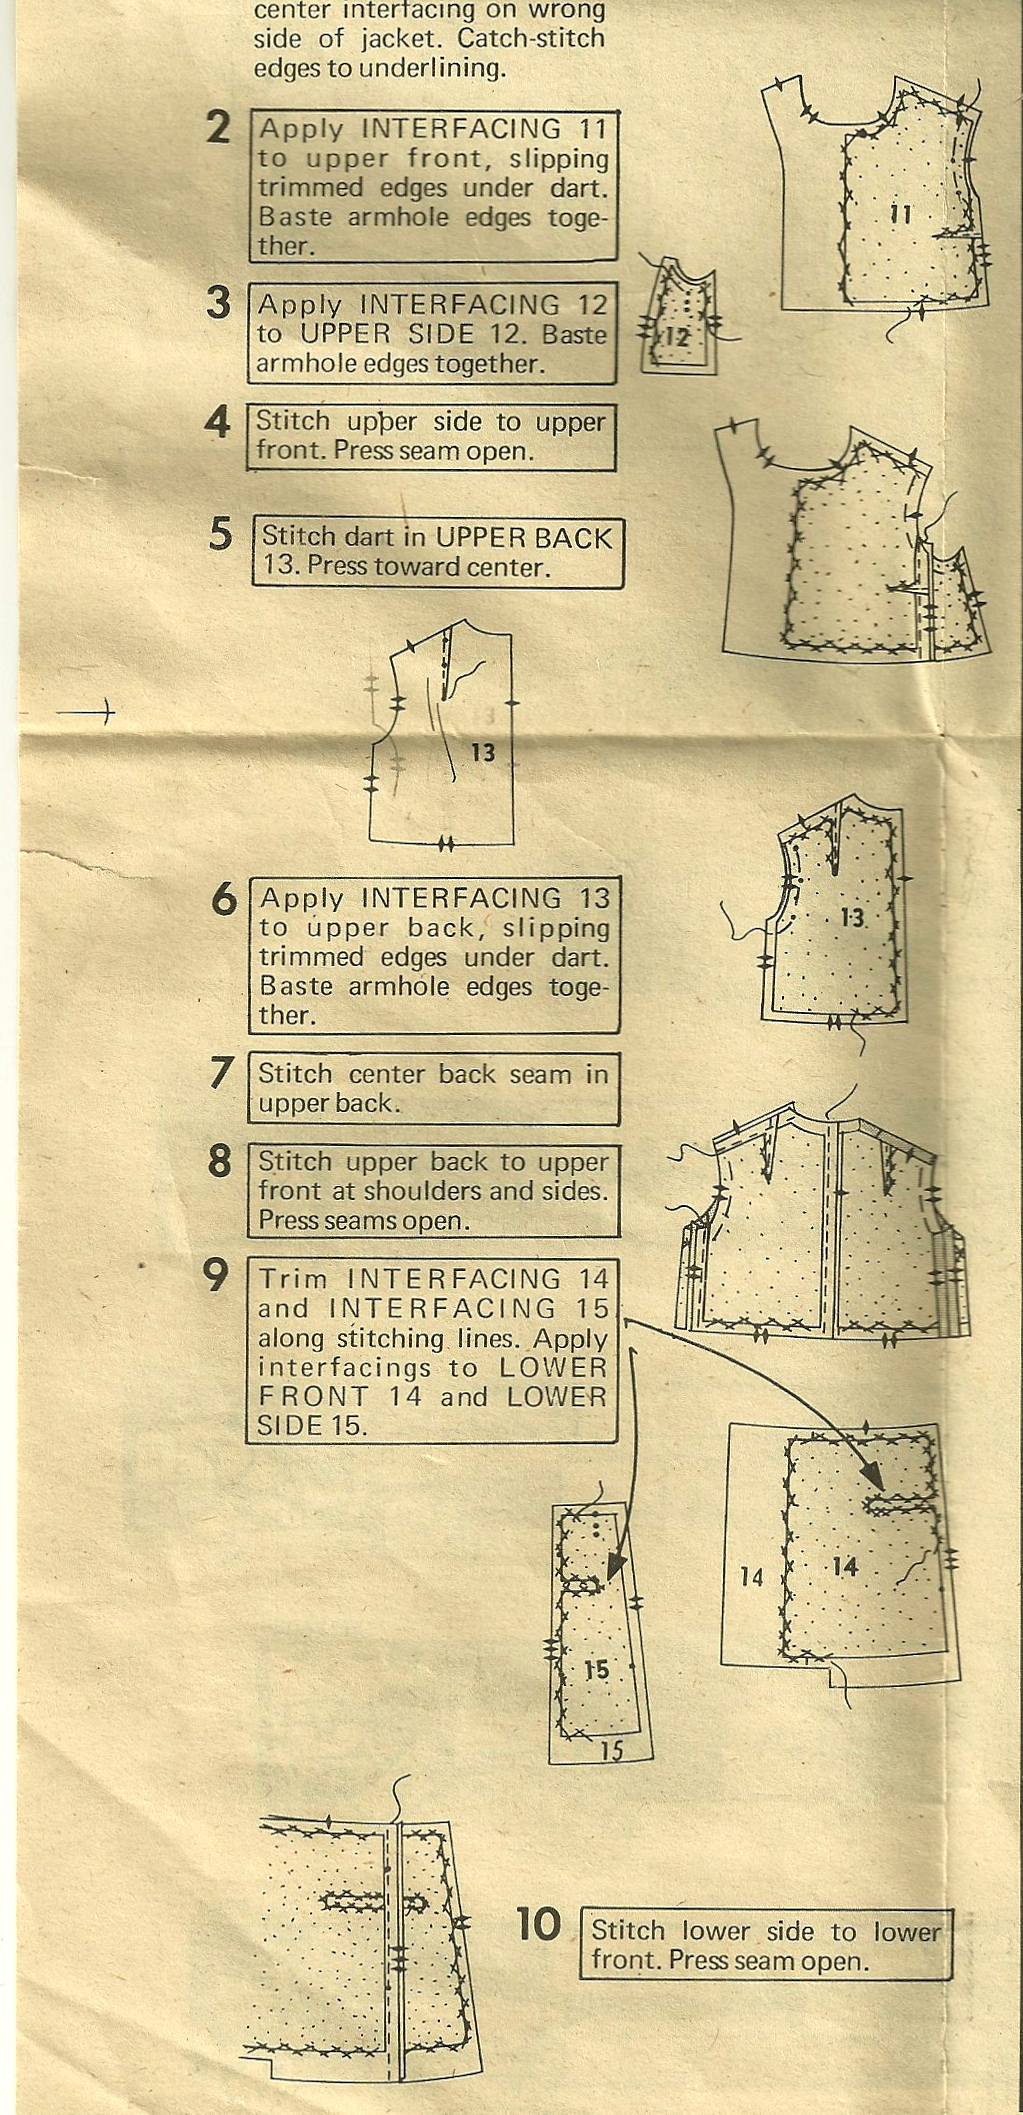
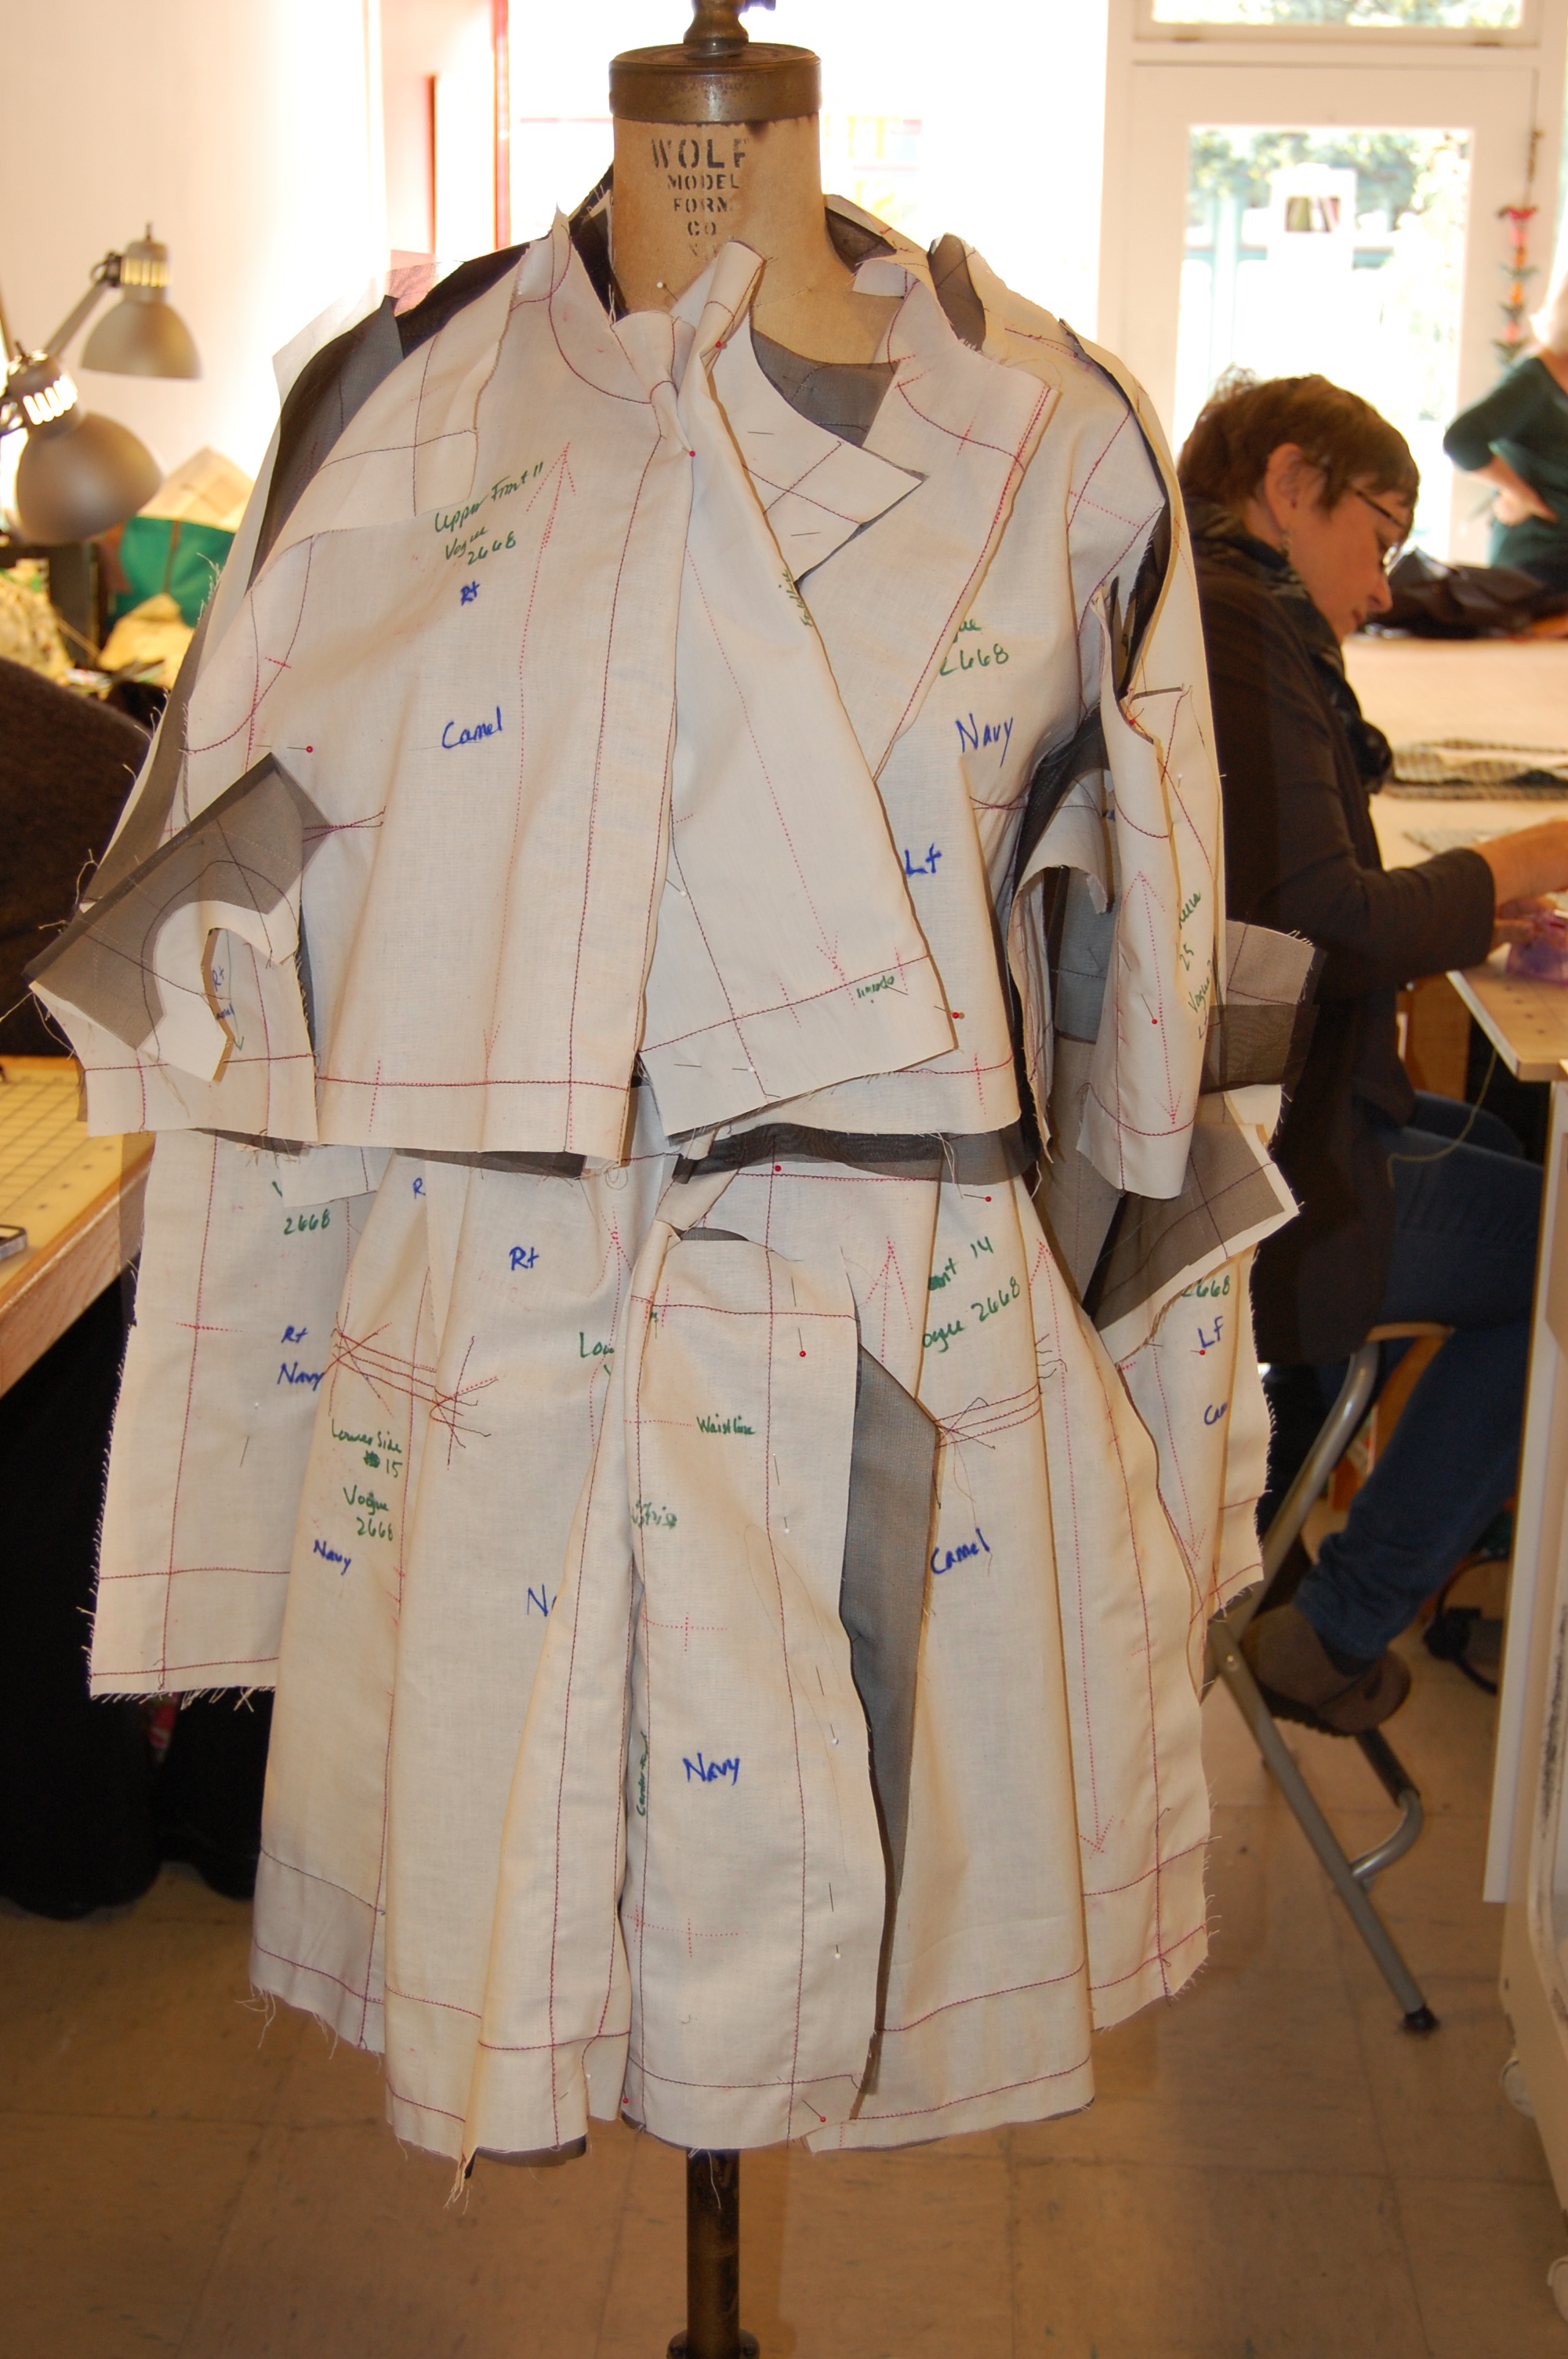
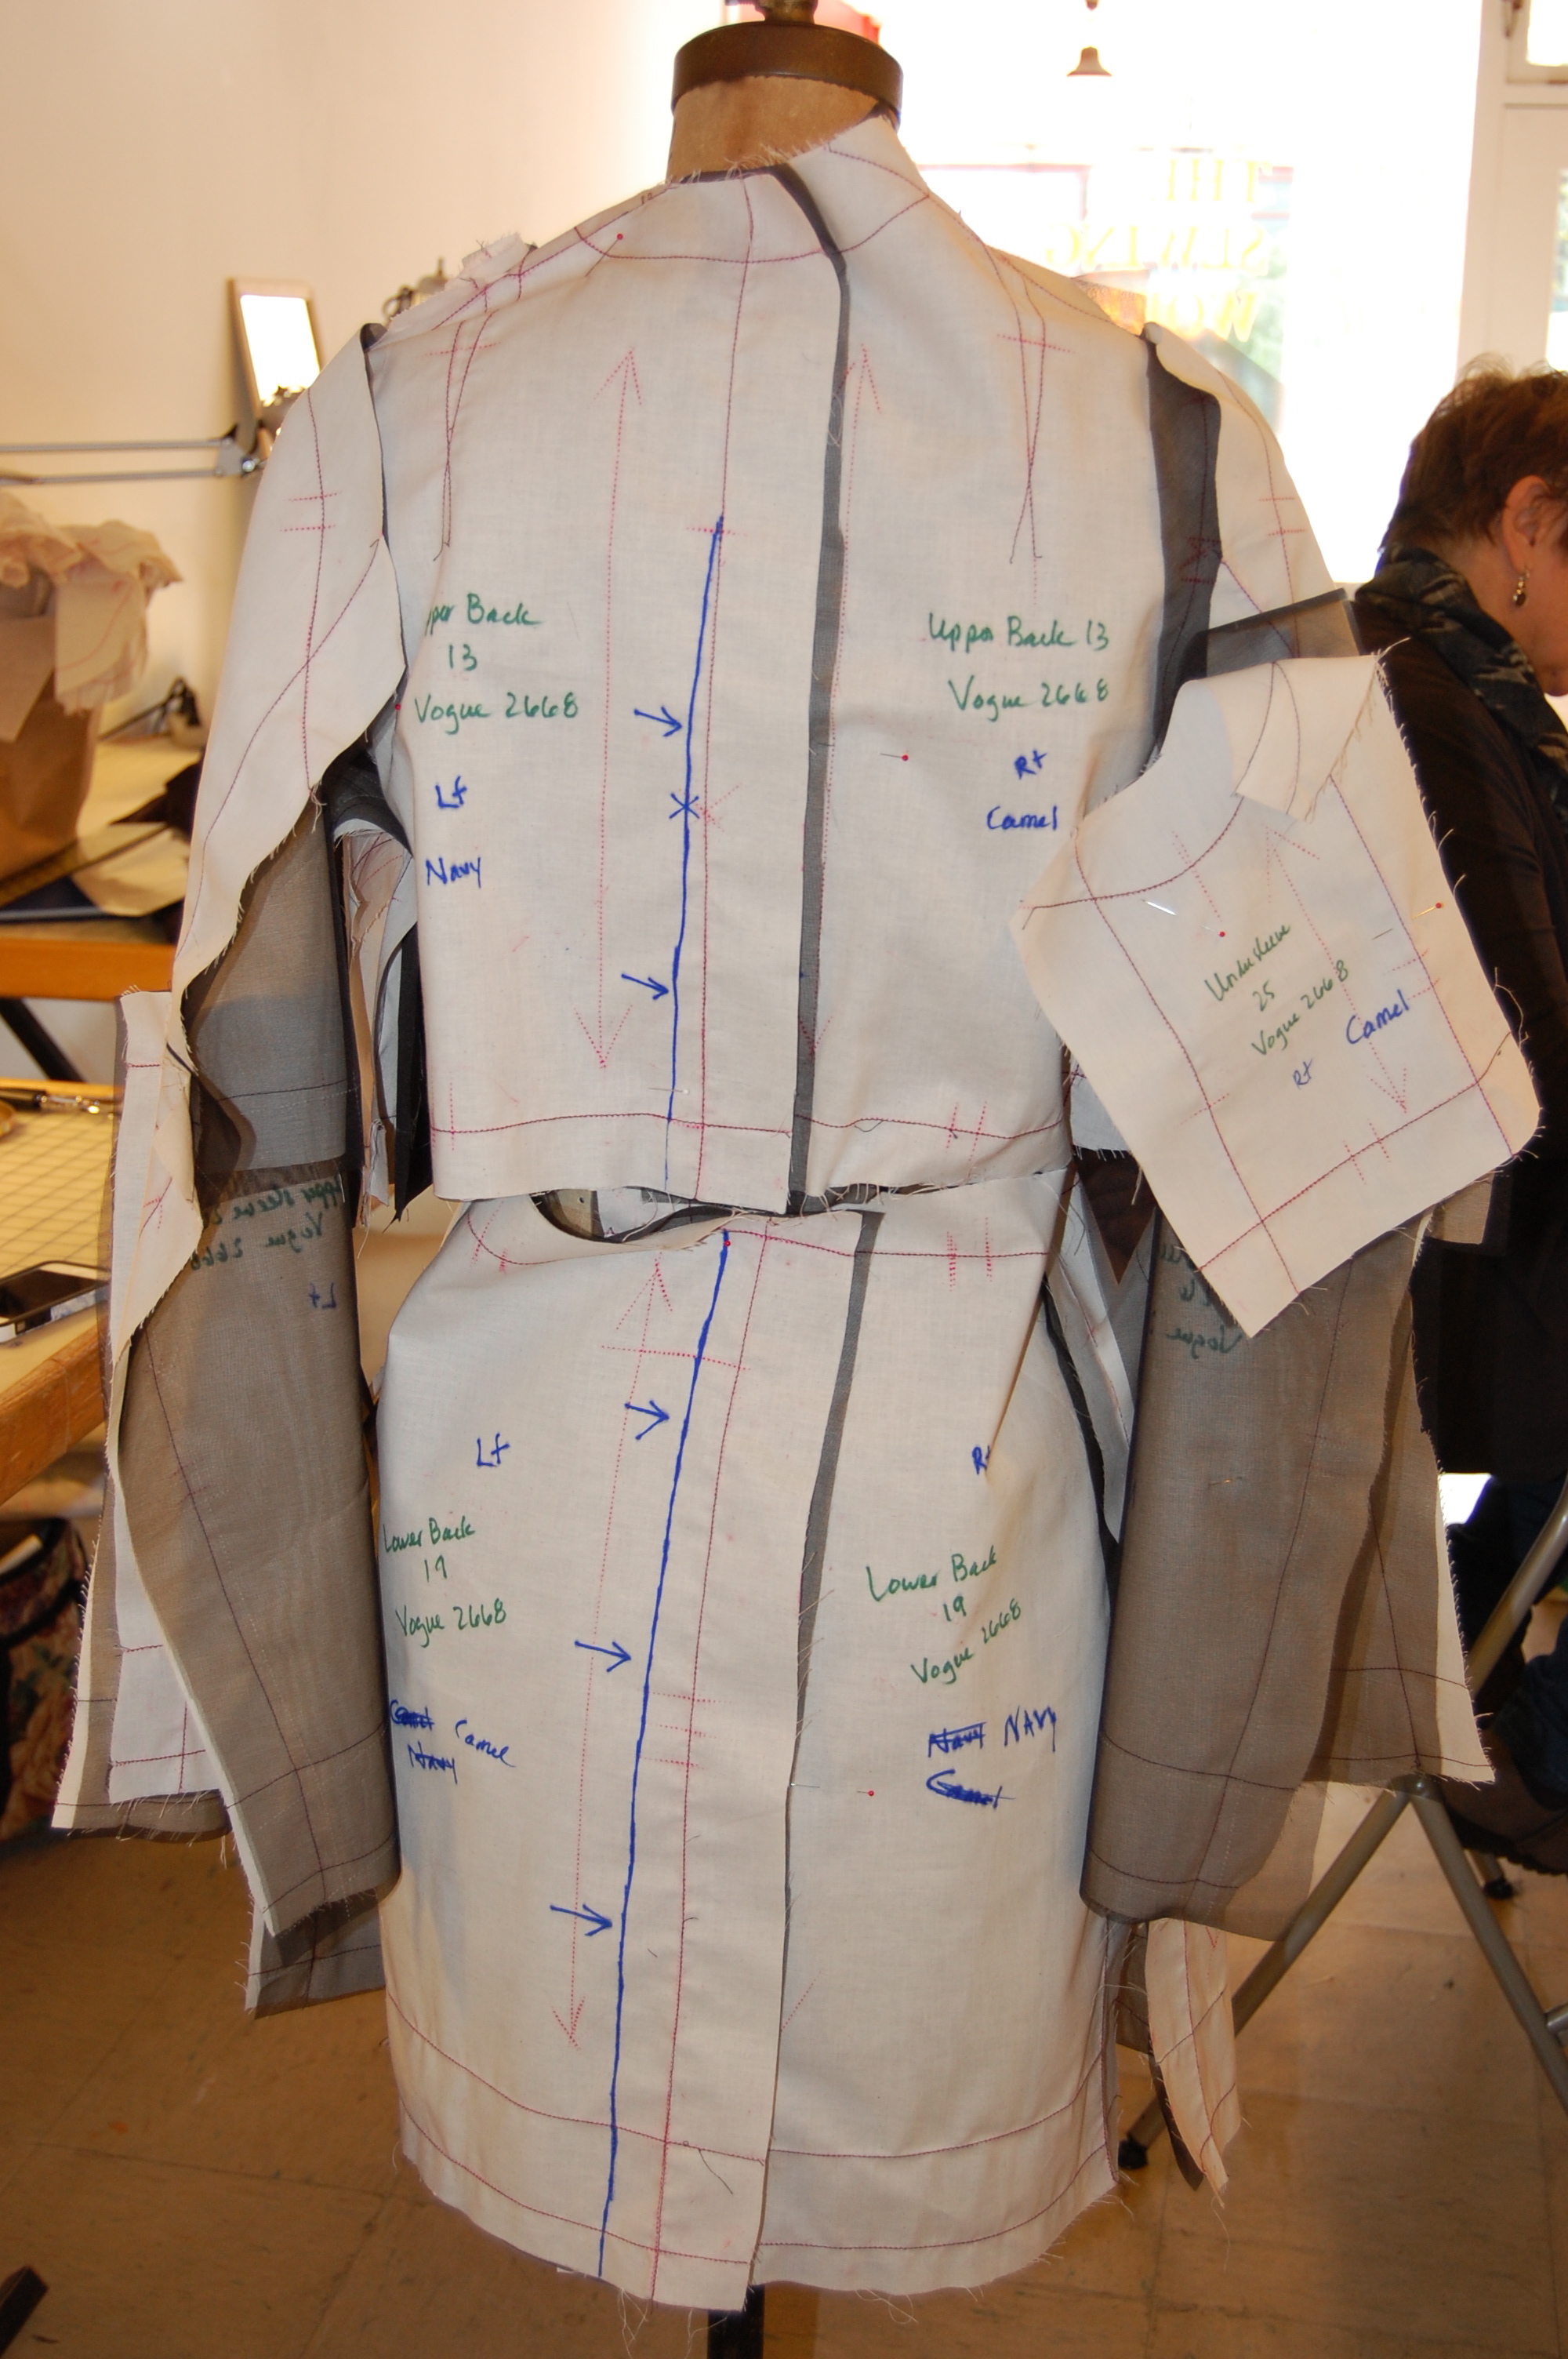
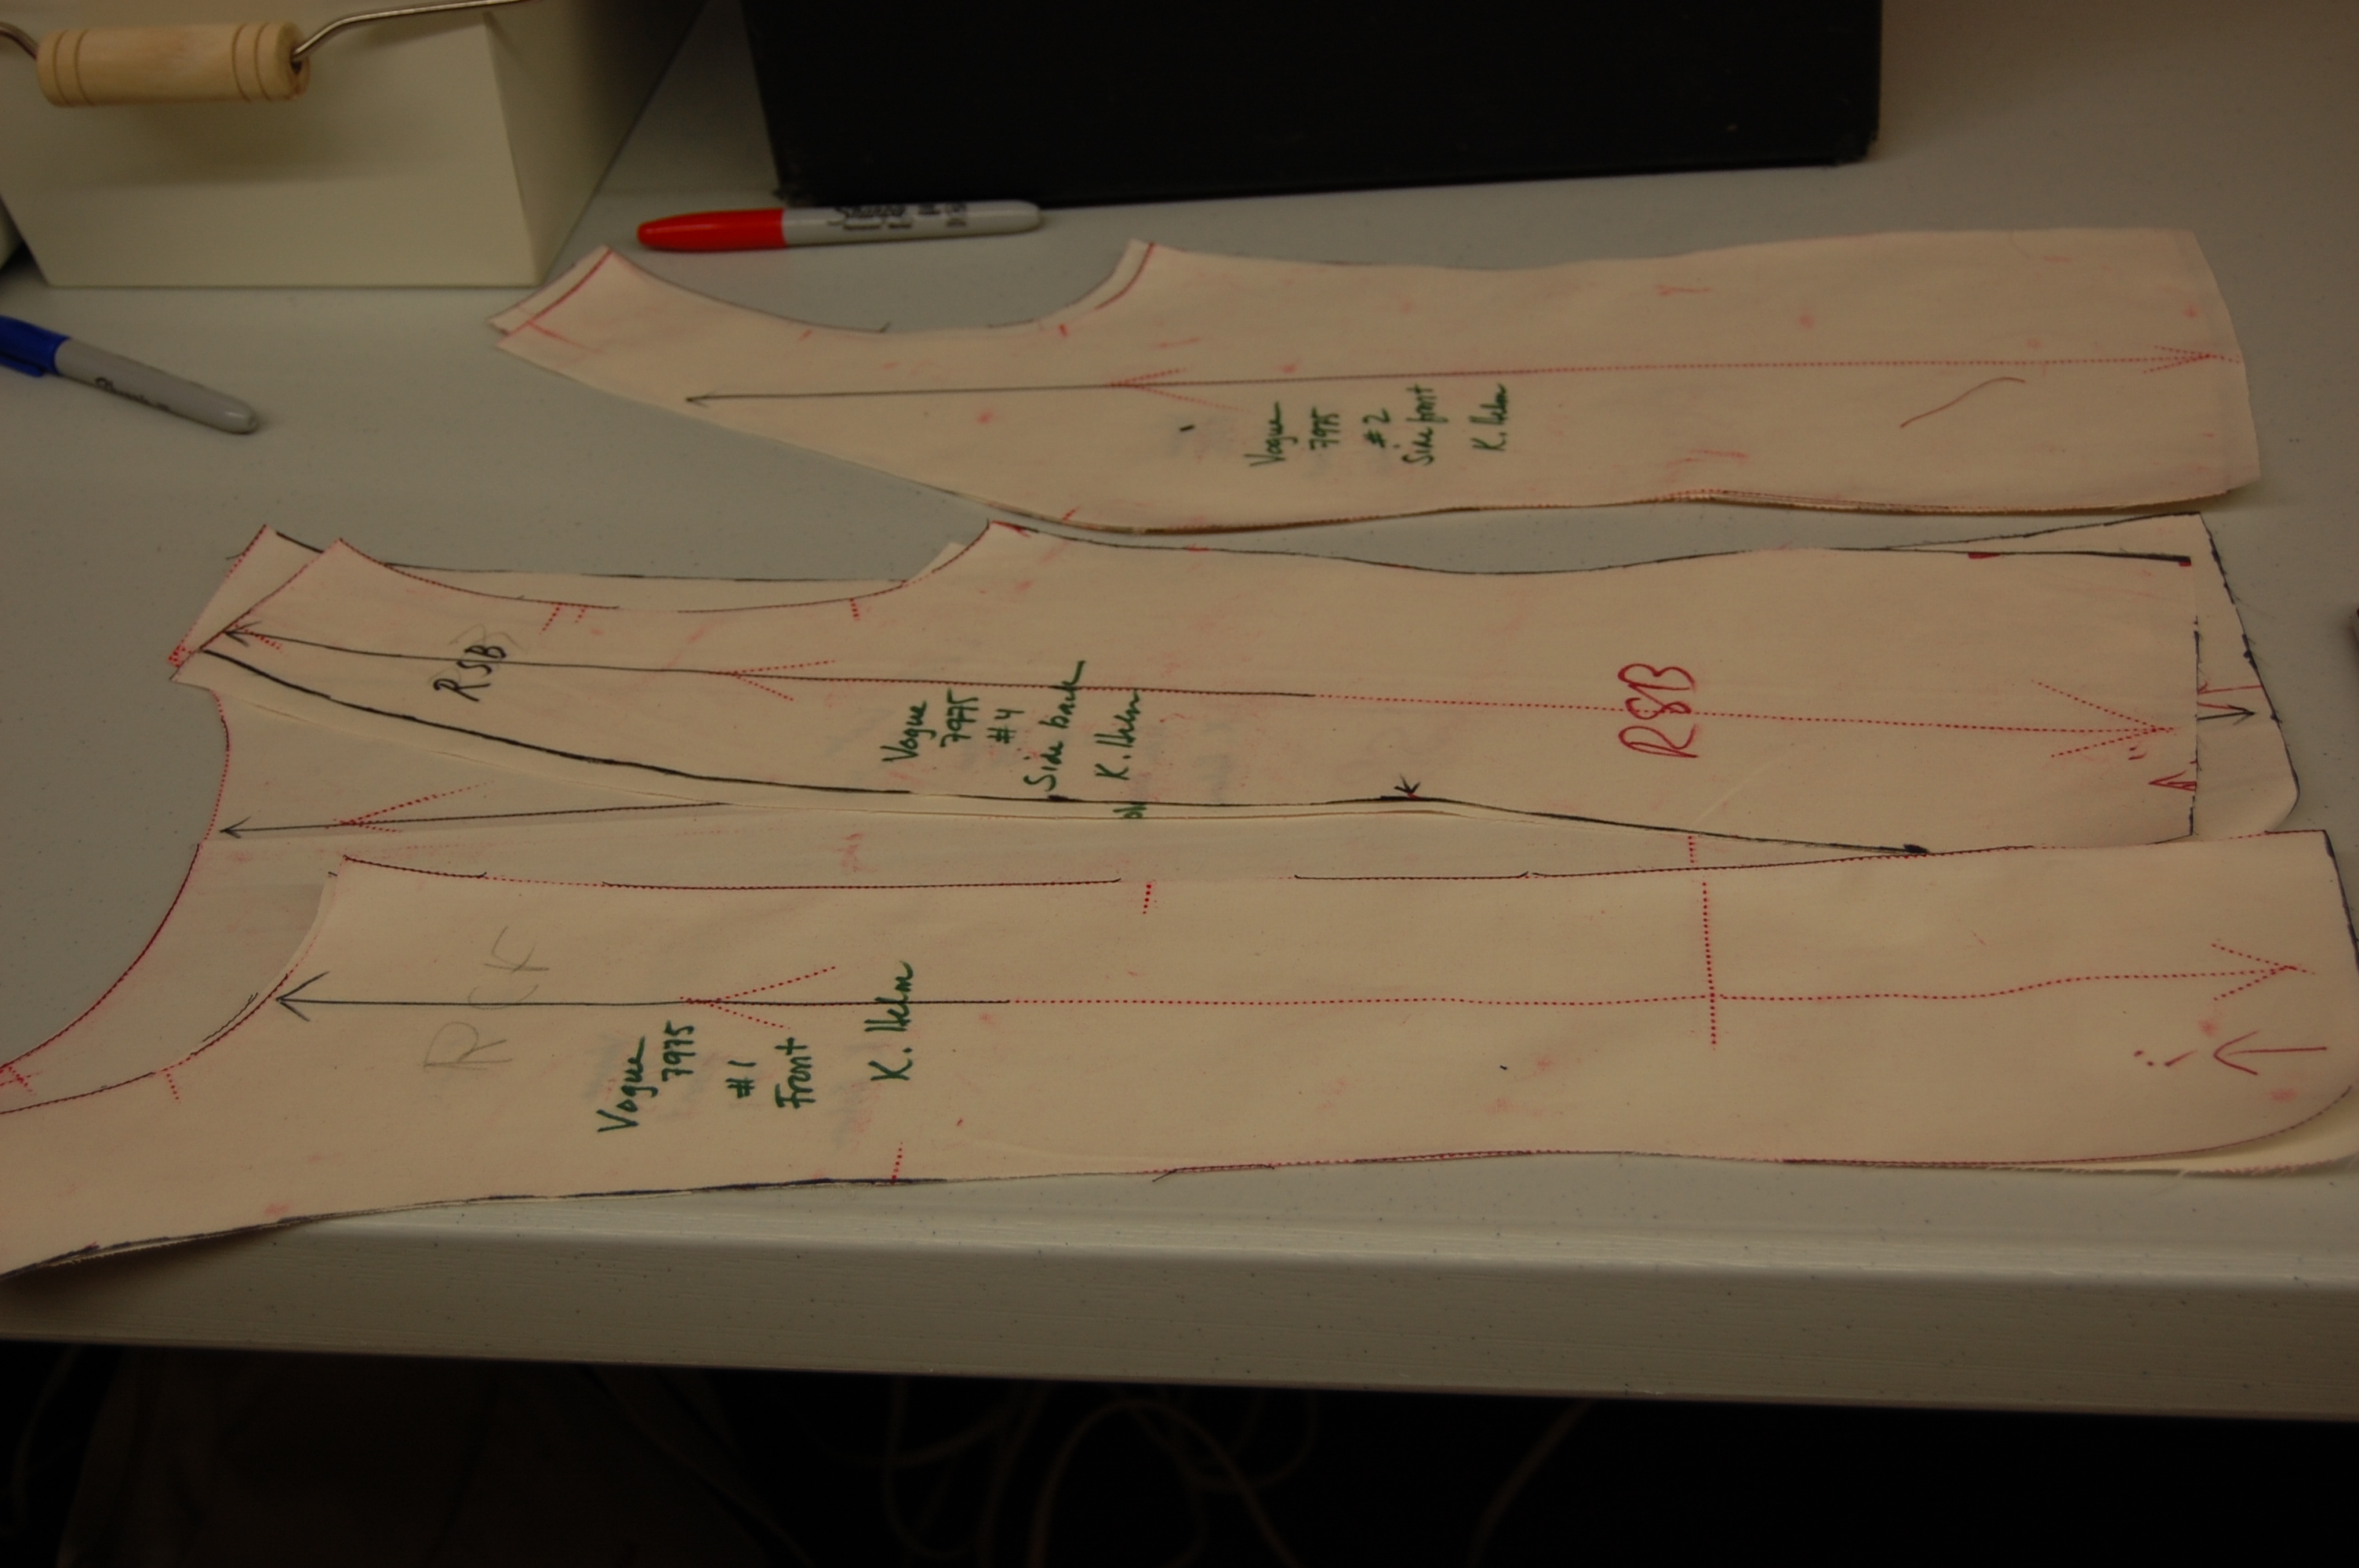
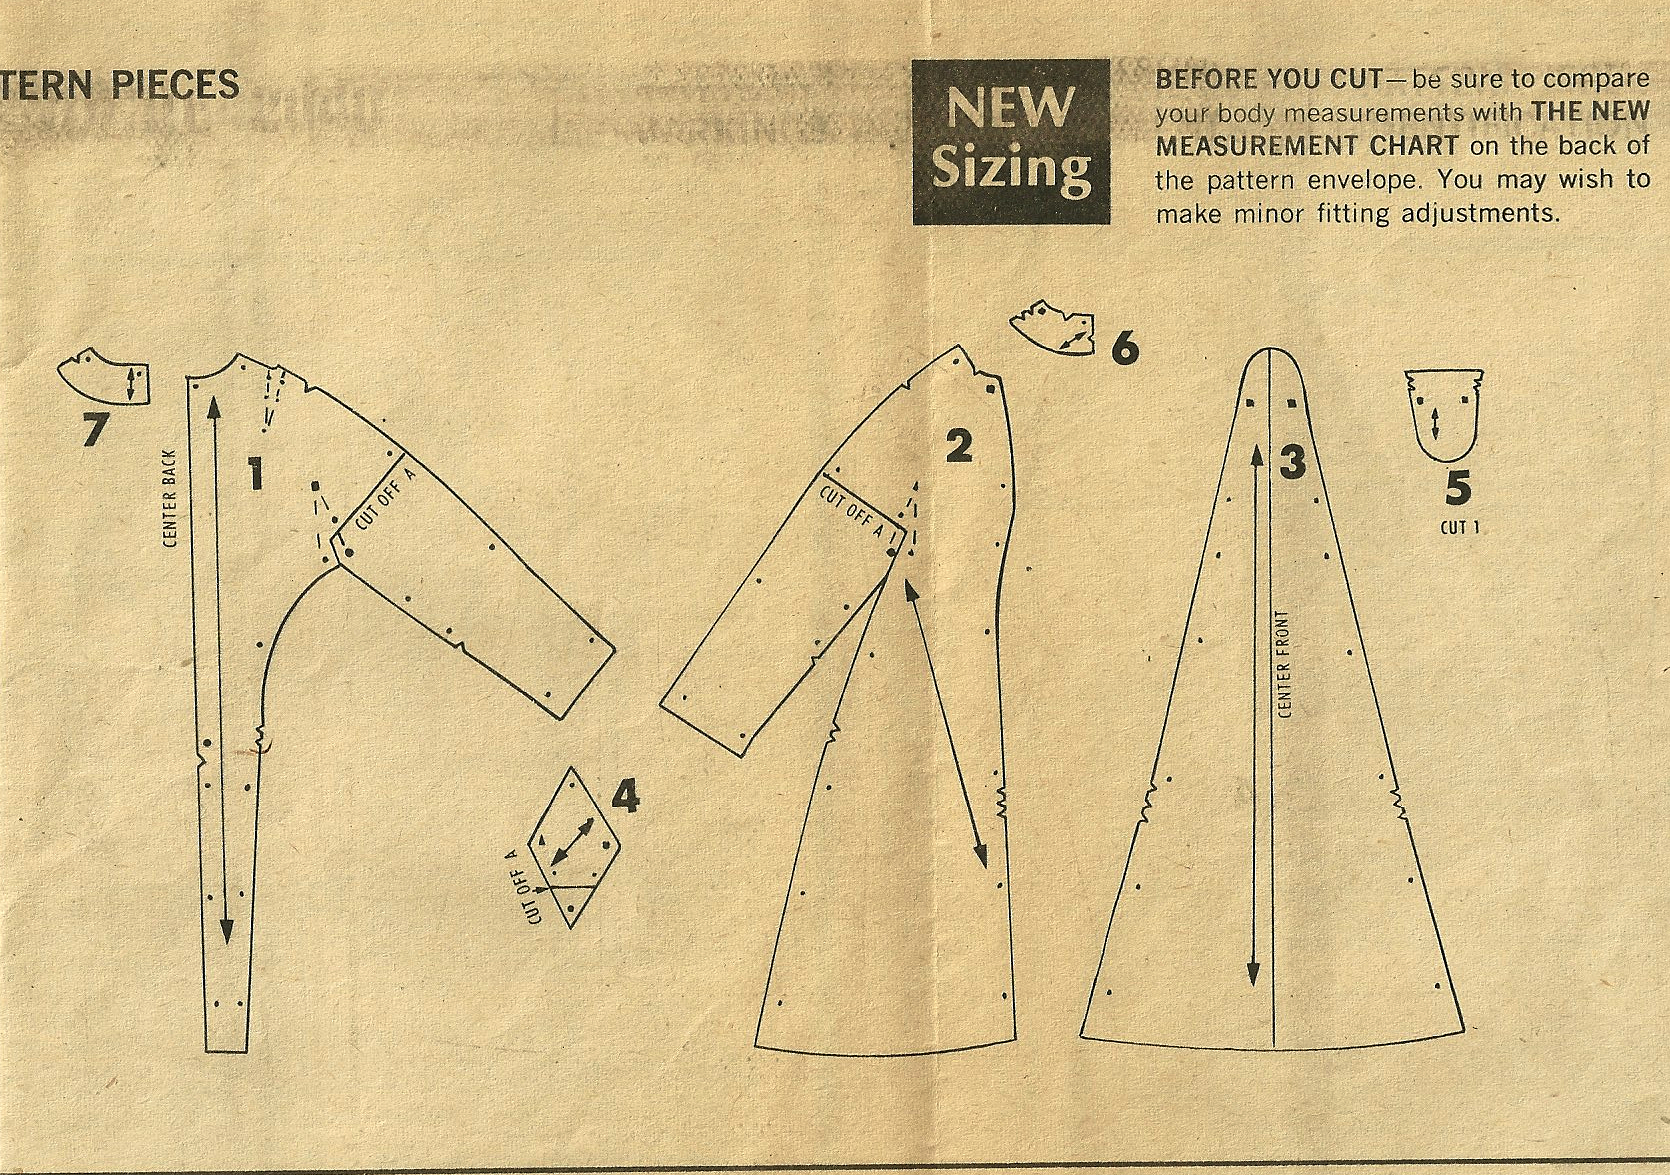
Take a look at the pattern pieces for the jacket. The jacket front (#8) is cut on the diagonal while the accompanying lining front (#16) is cut on the straight of goods, with a deep dart to accommodate the fullness for the bust..
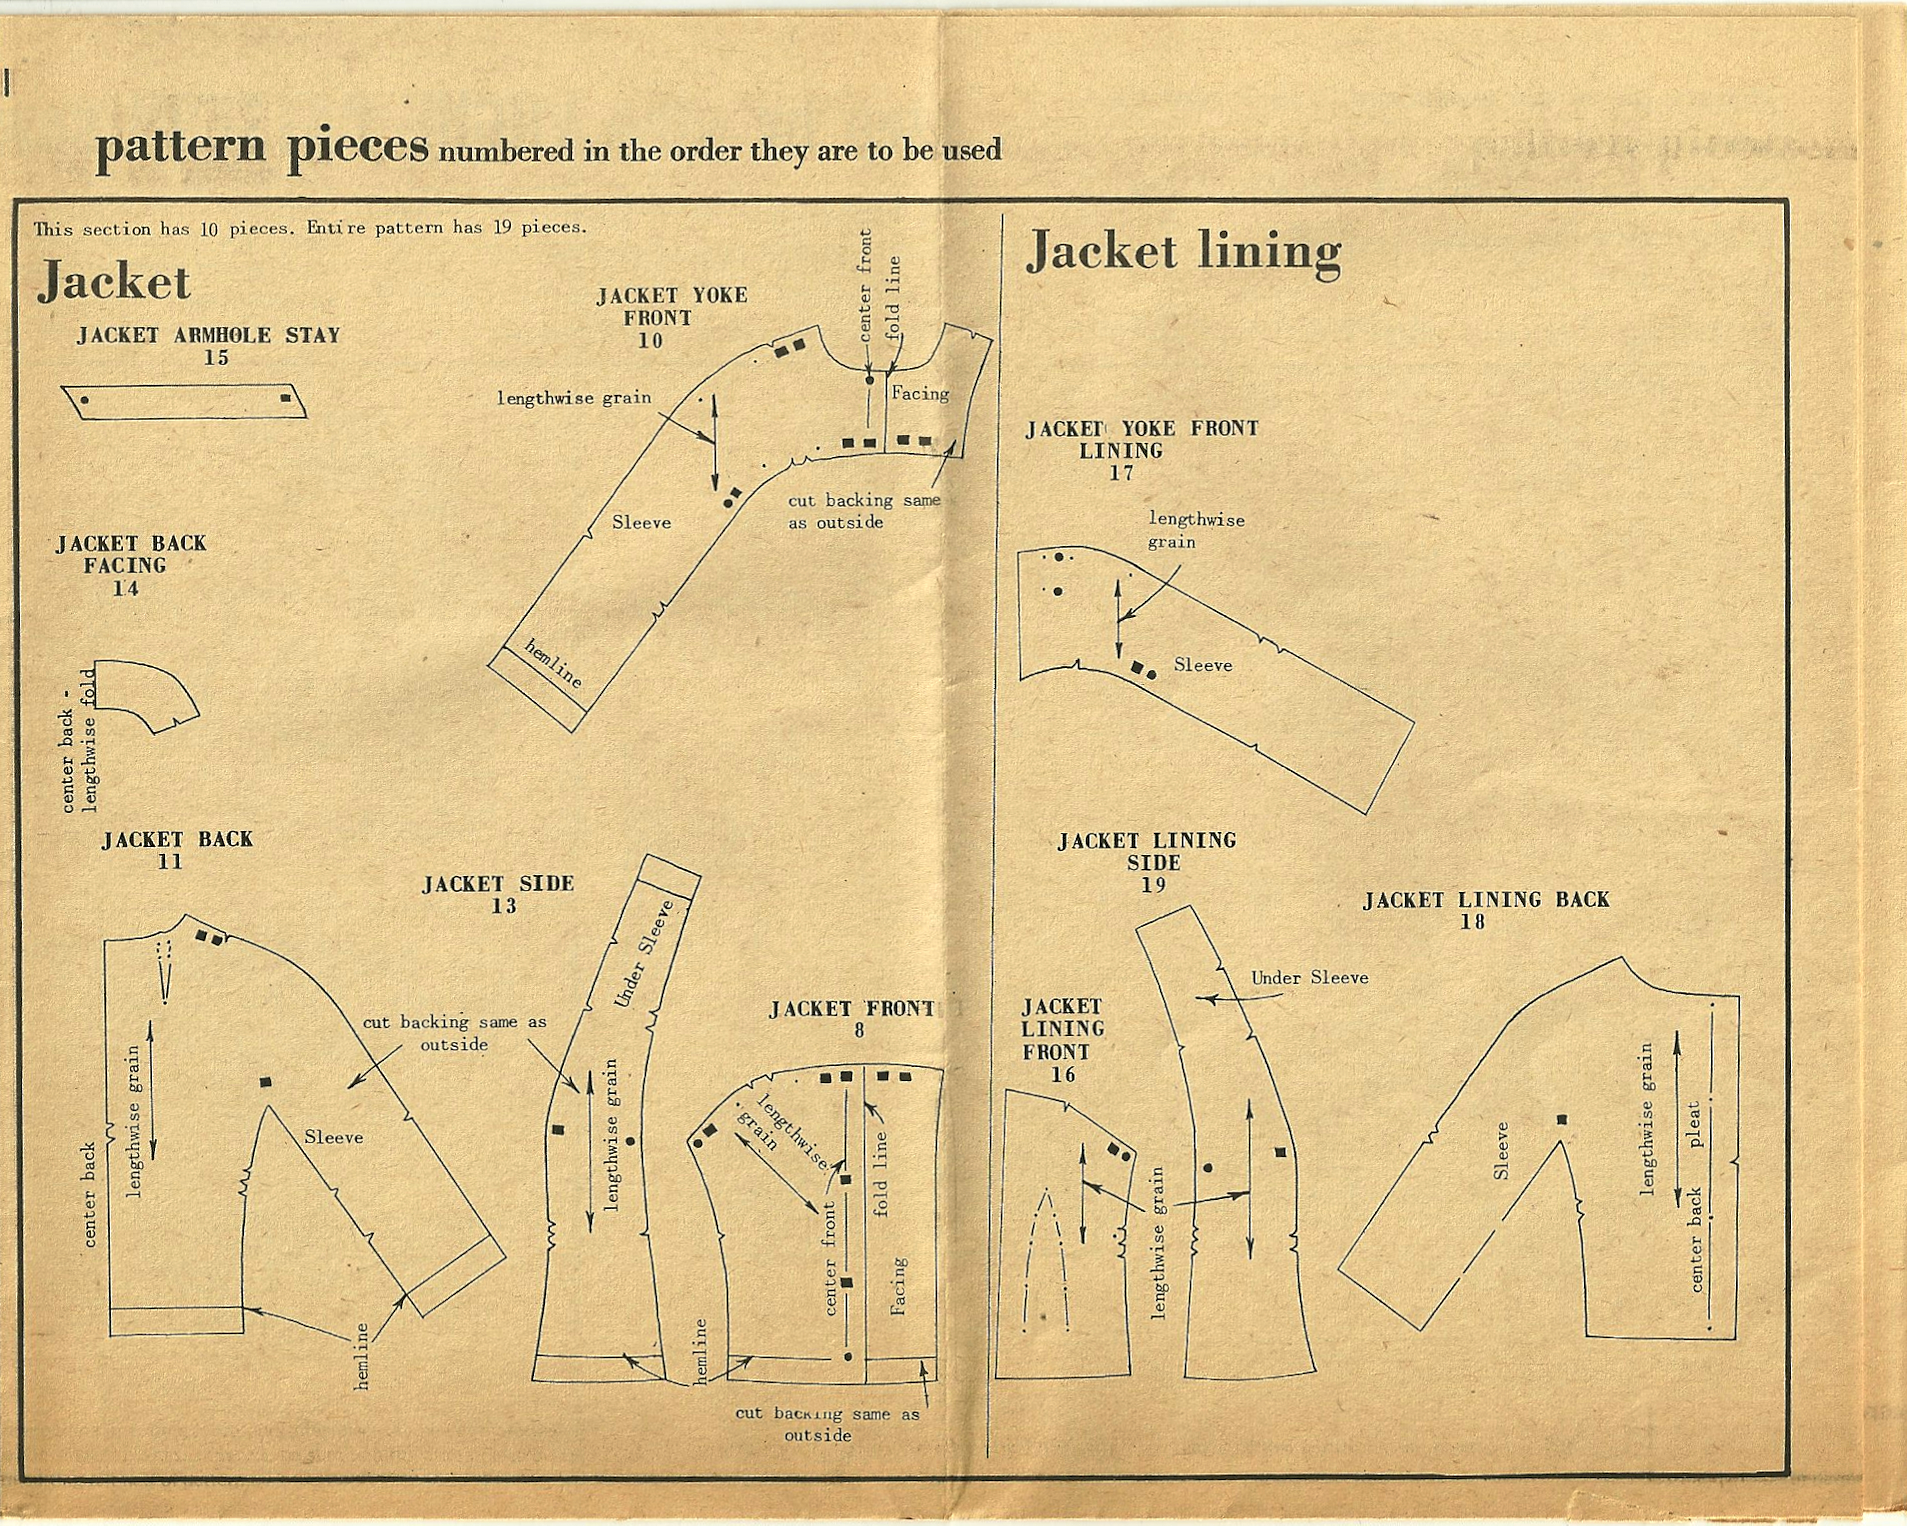
Click on the image for a clearer view of the pattern pieces. Also, note the grain lines.
Now take a look at the jacket side (#13). It is both the jacket side and the under sleeve at the other end. Sewing the muslin together showed me how ingenious this construction is – and I’ll show more about this in another post.
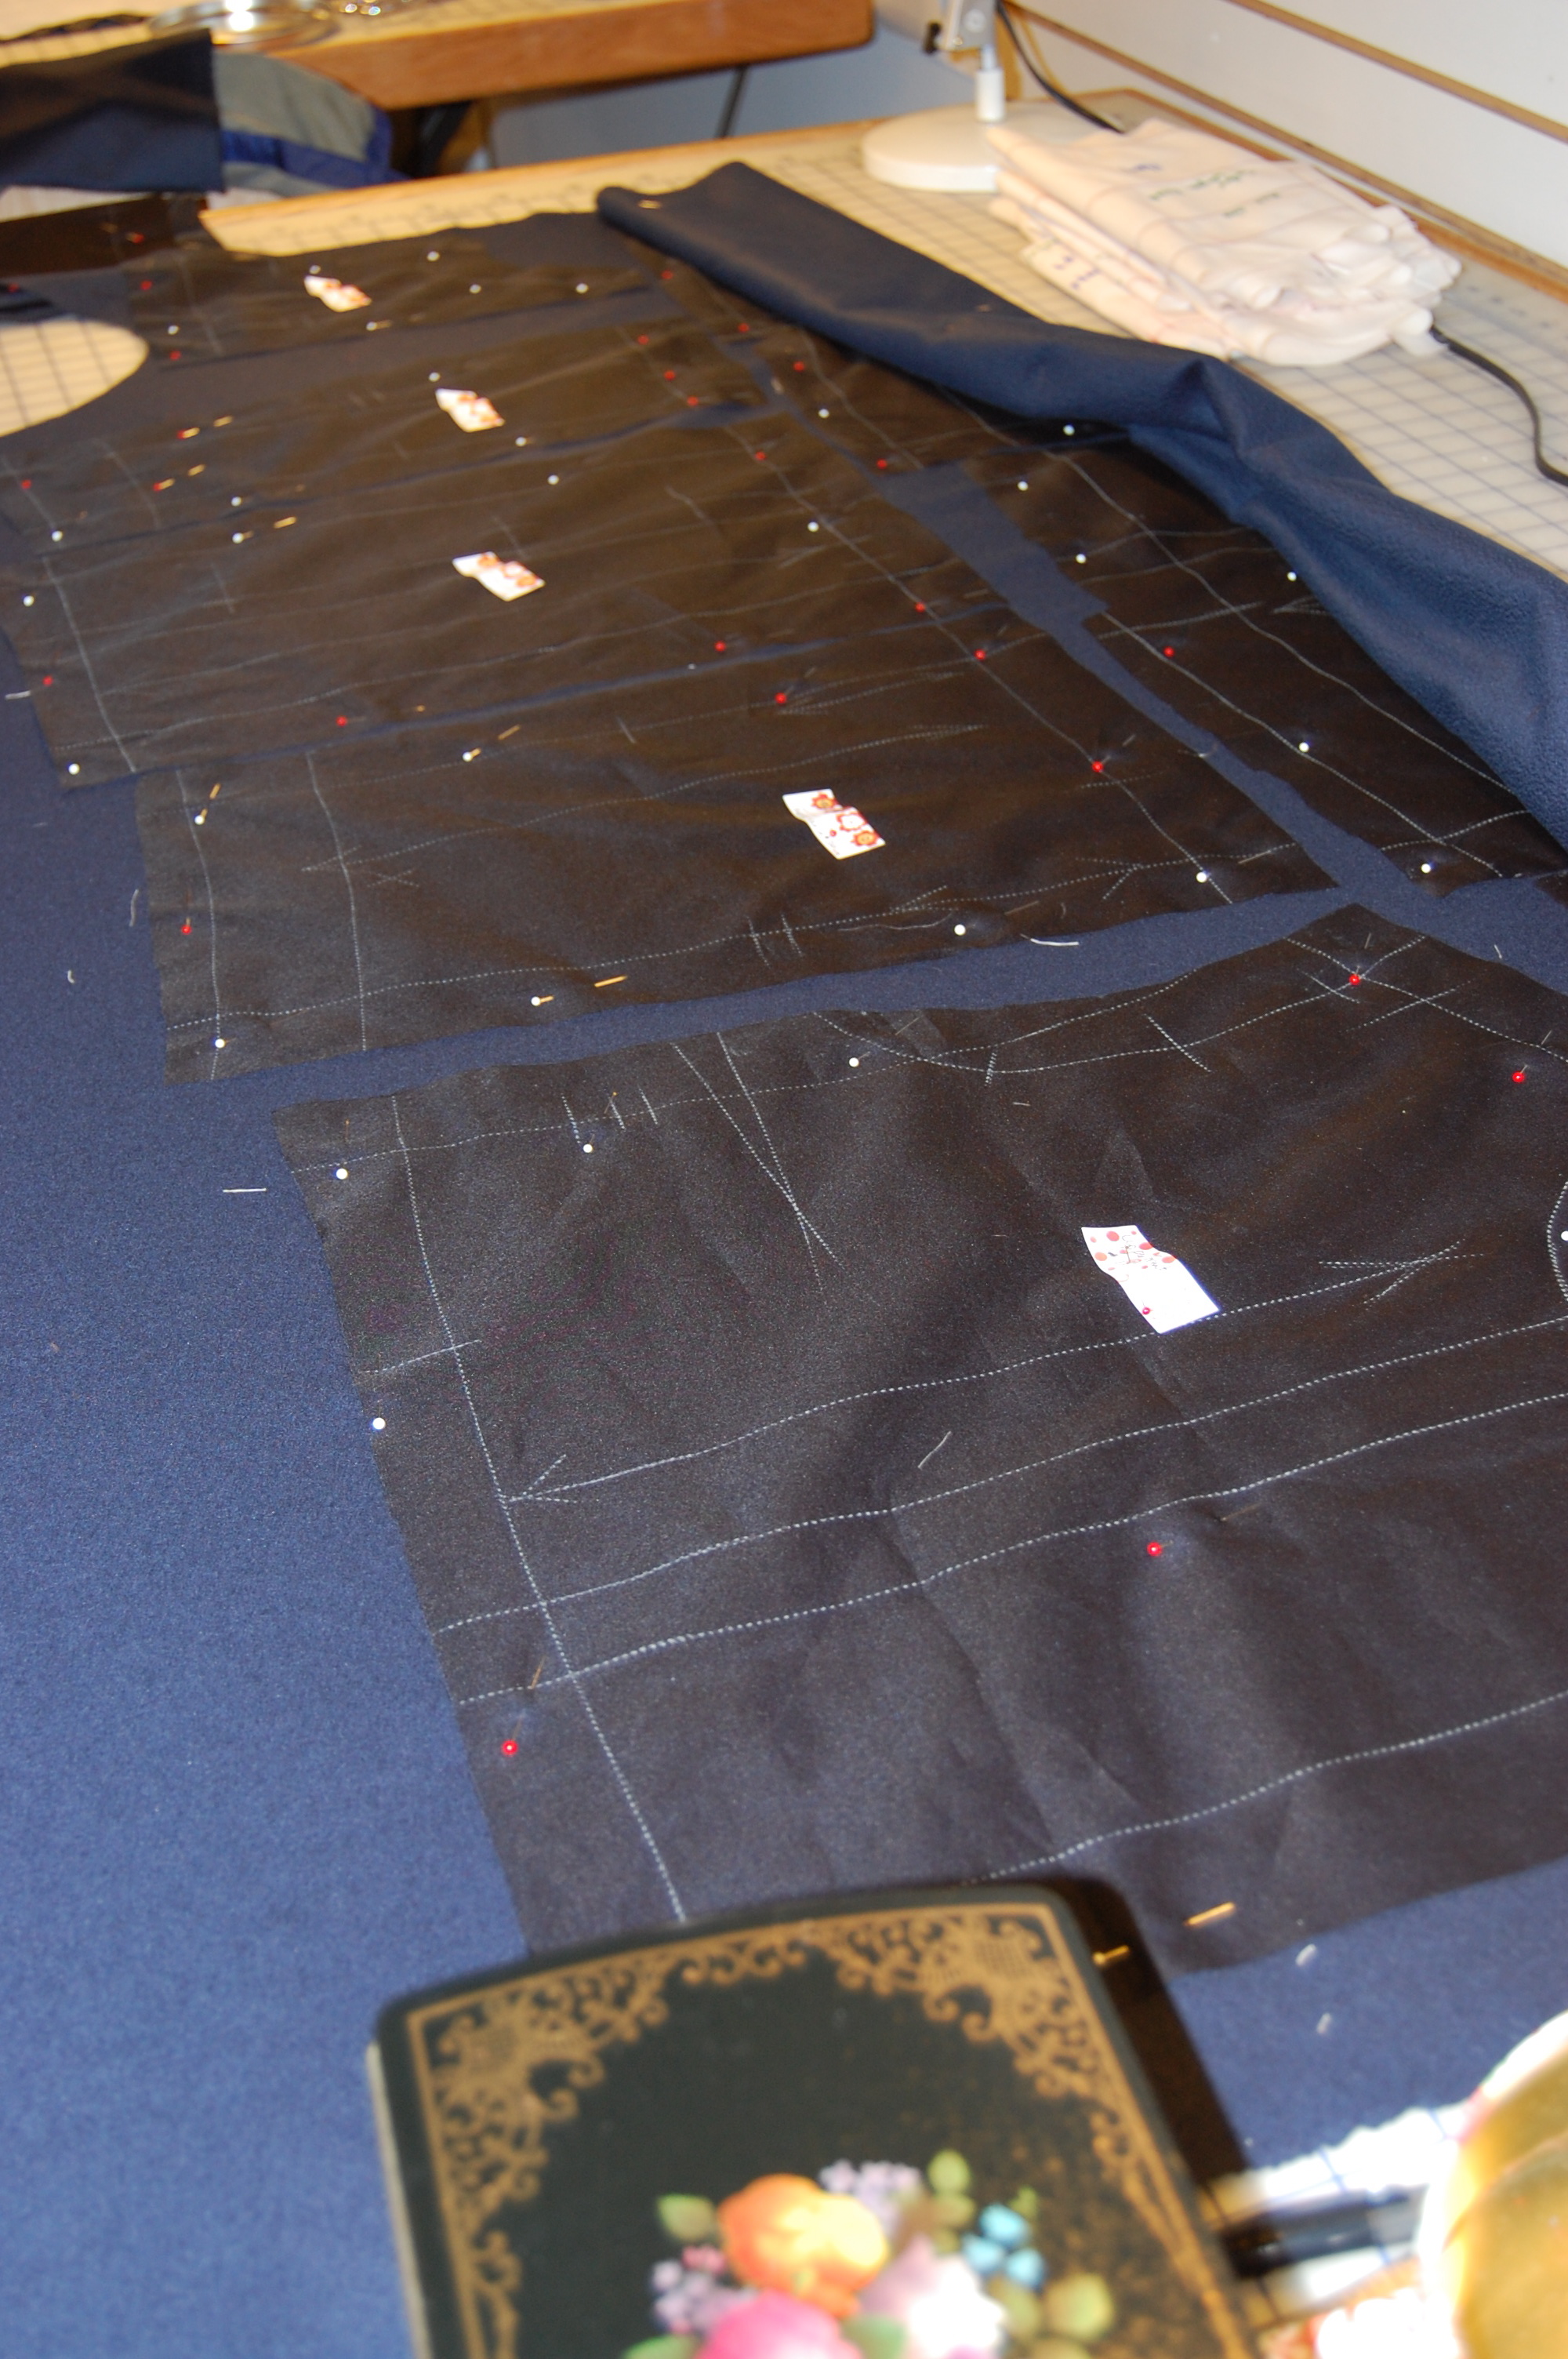
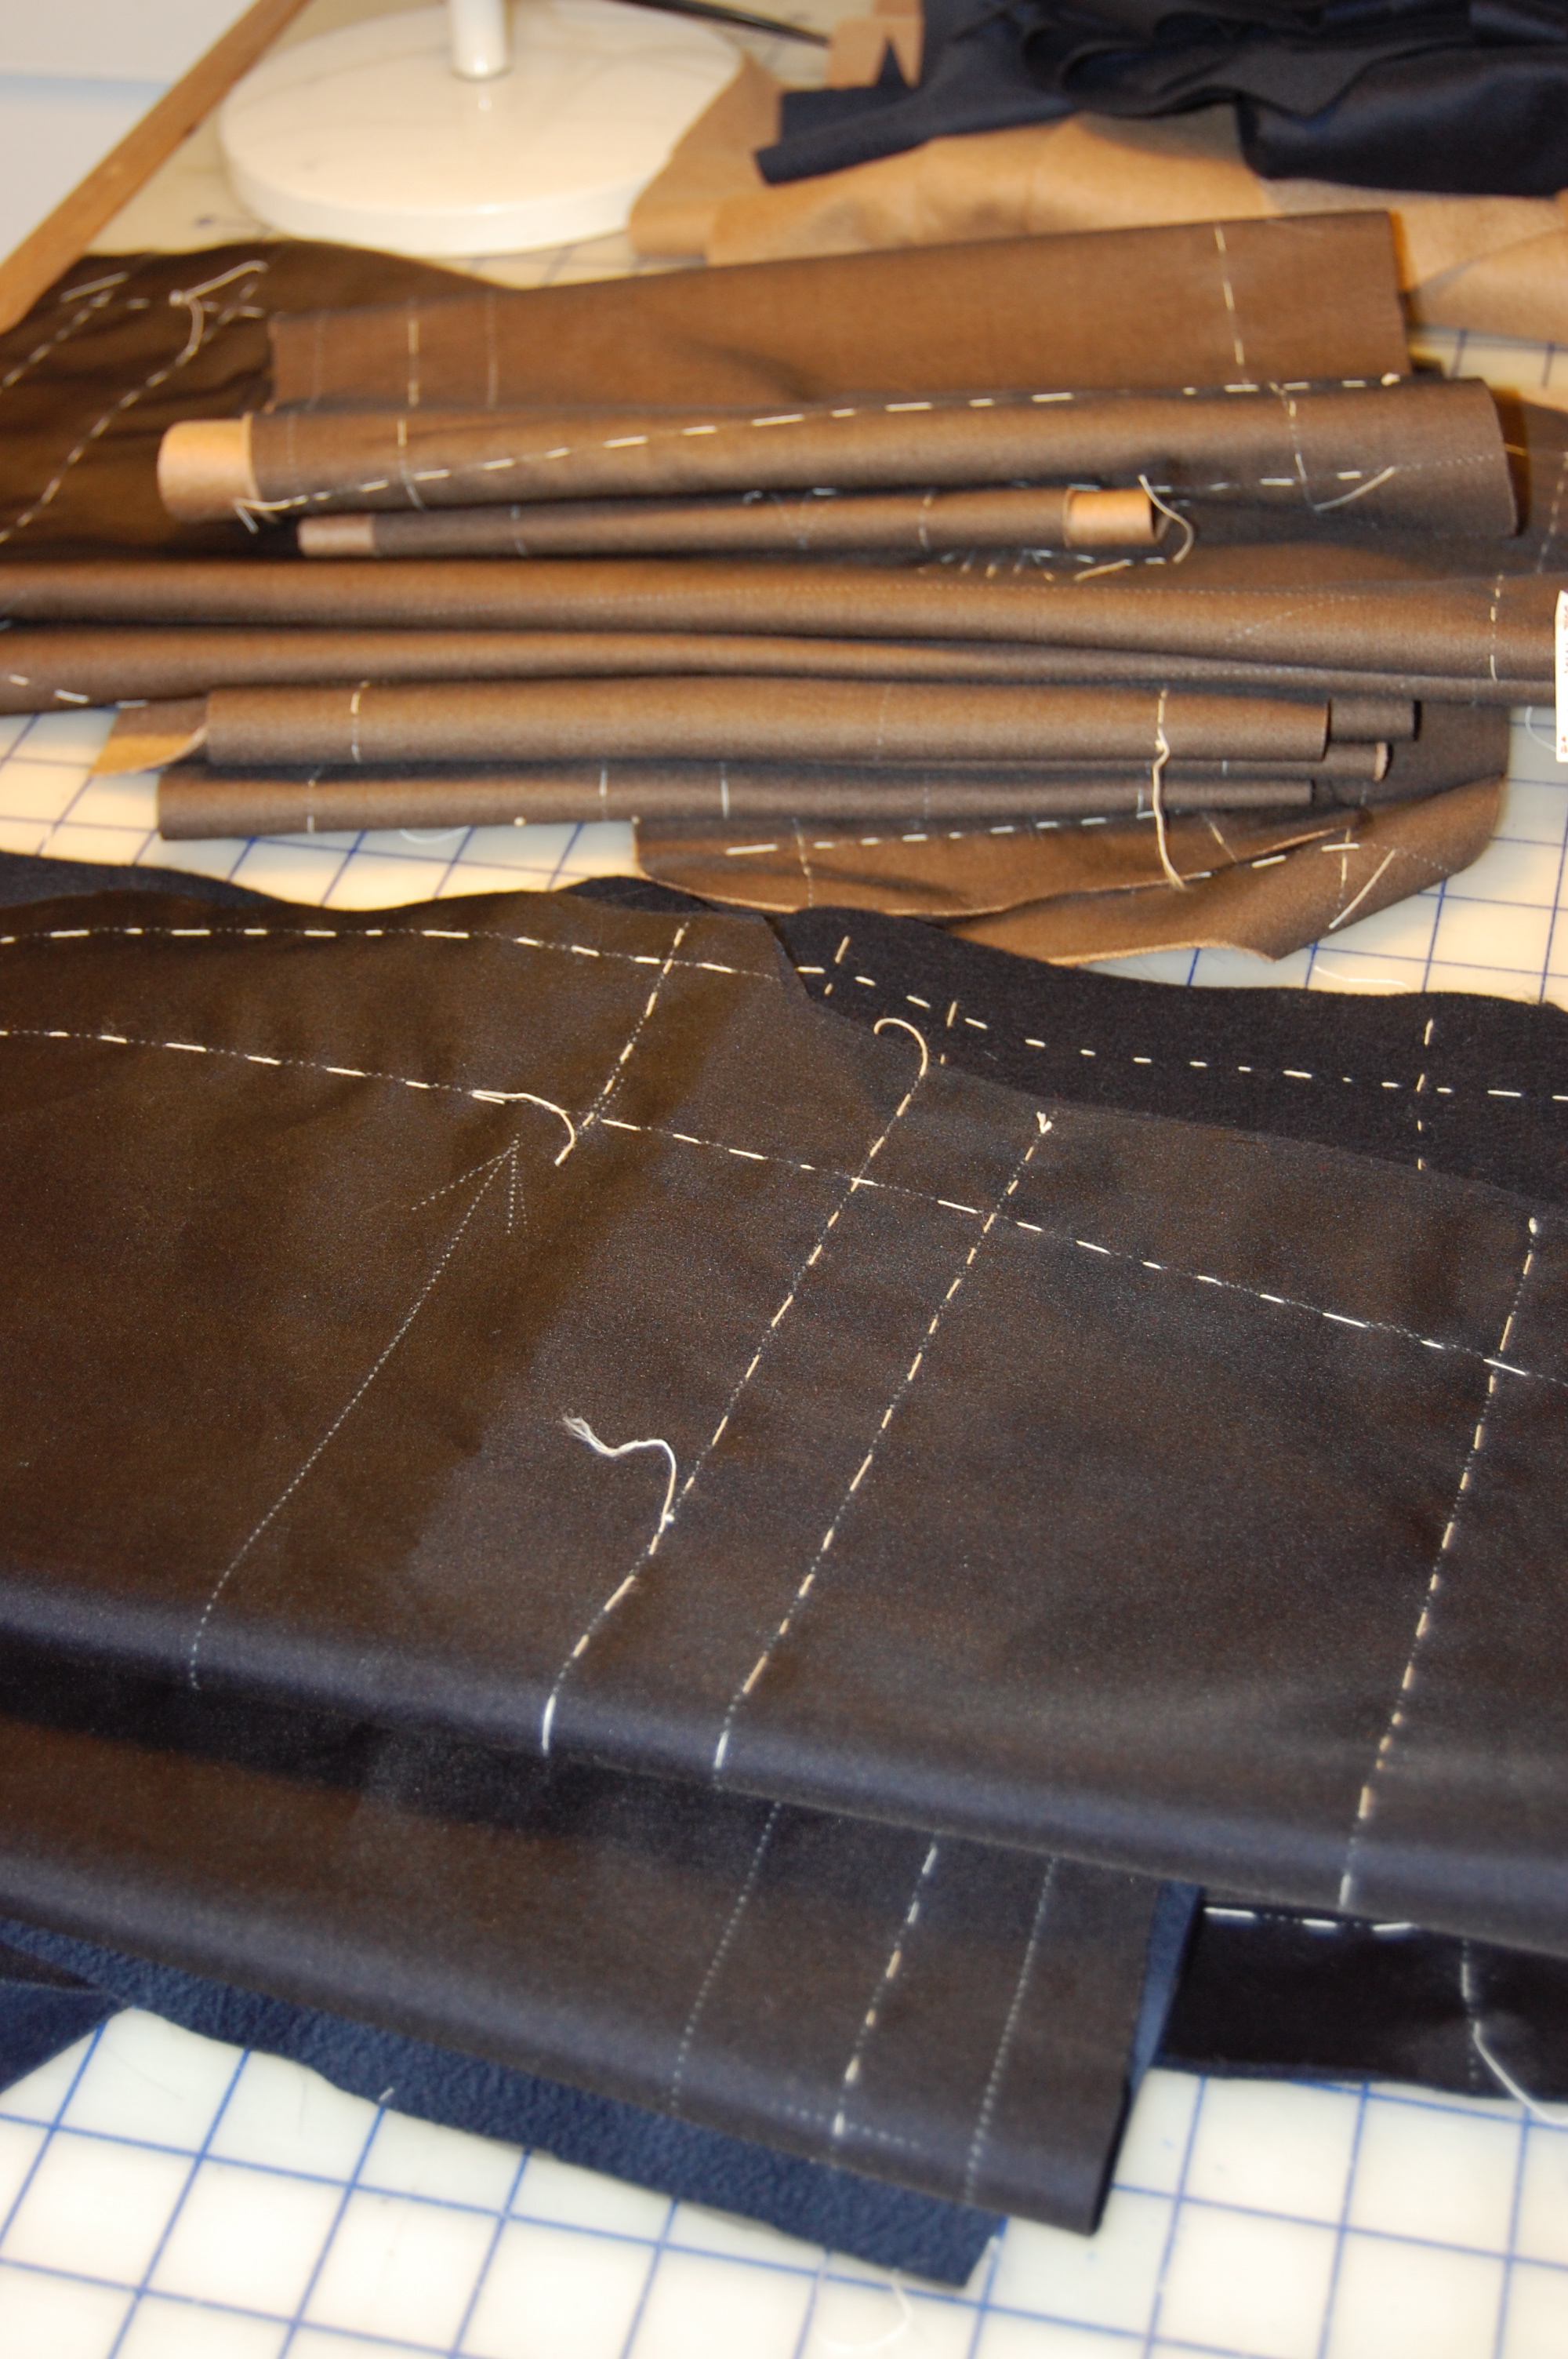
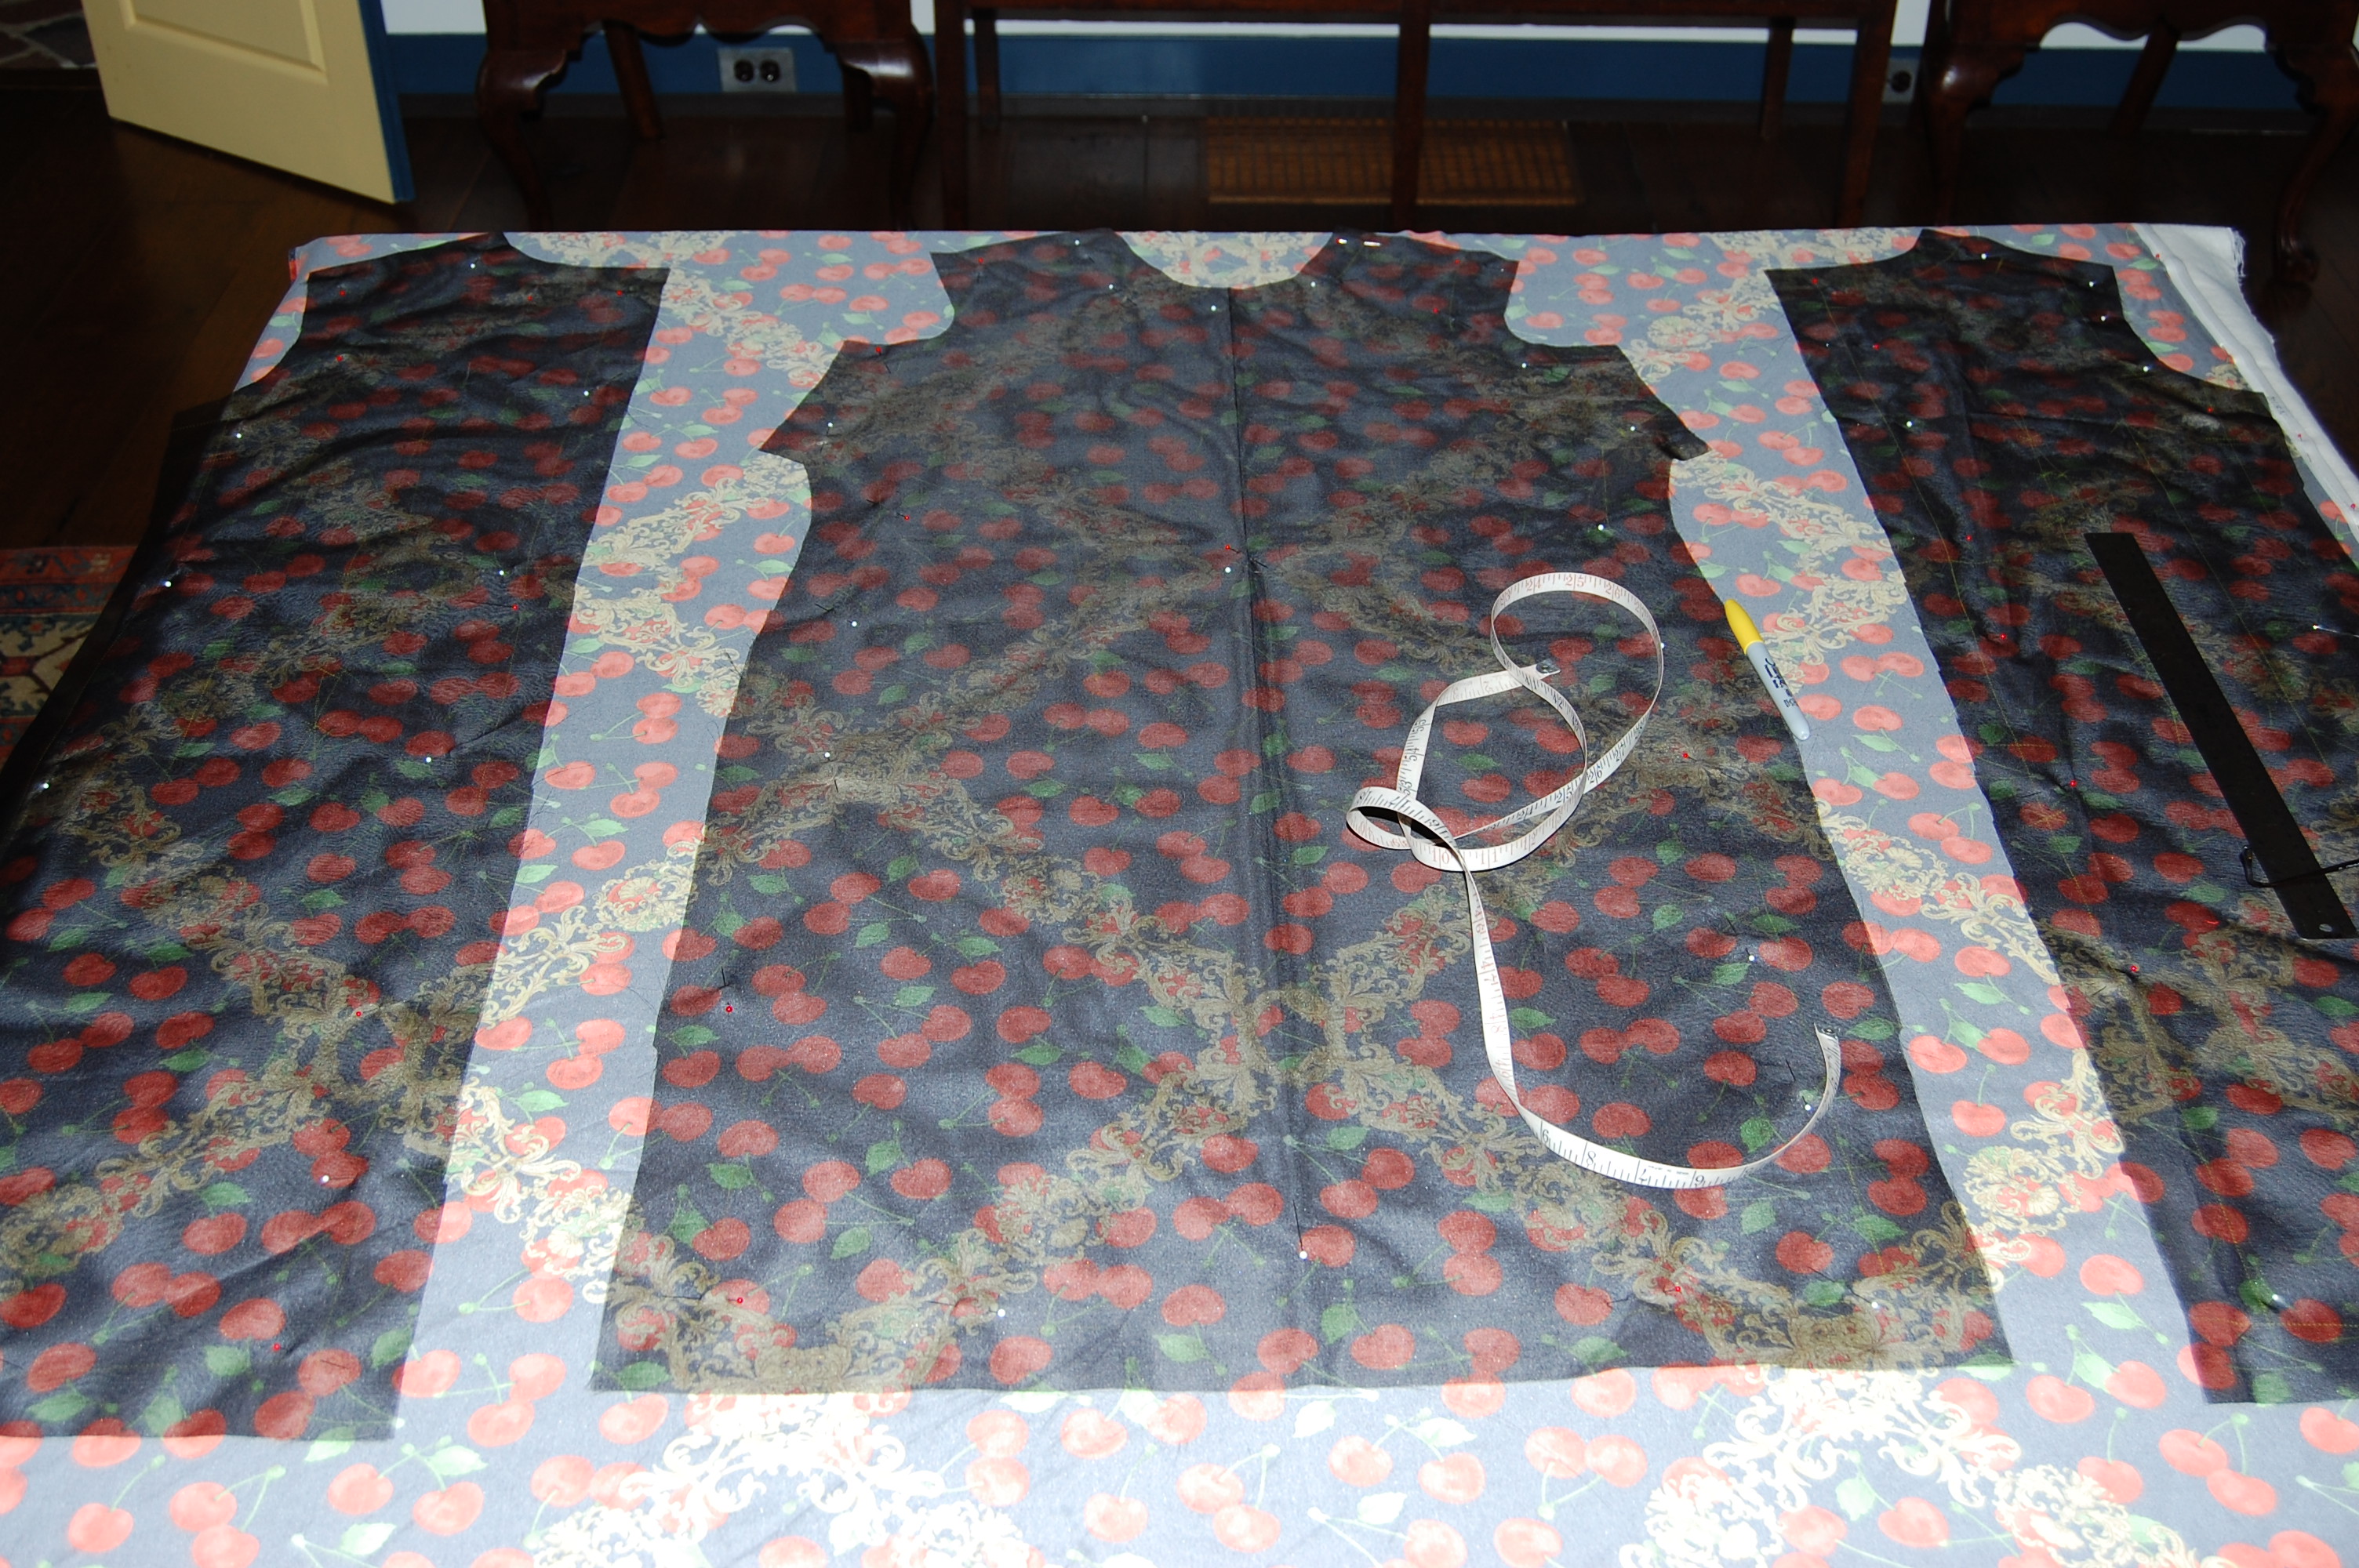
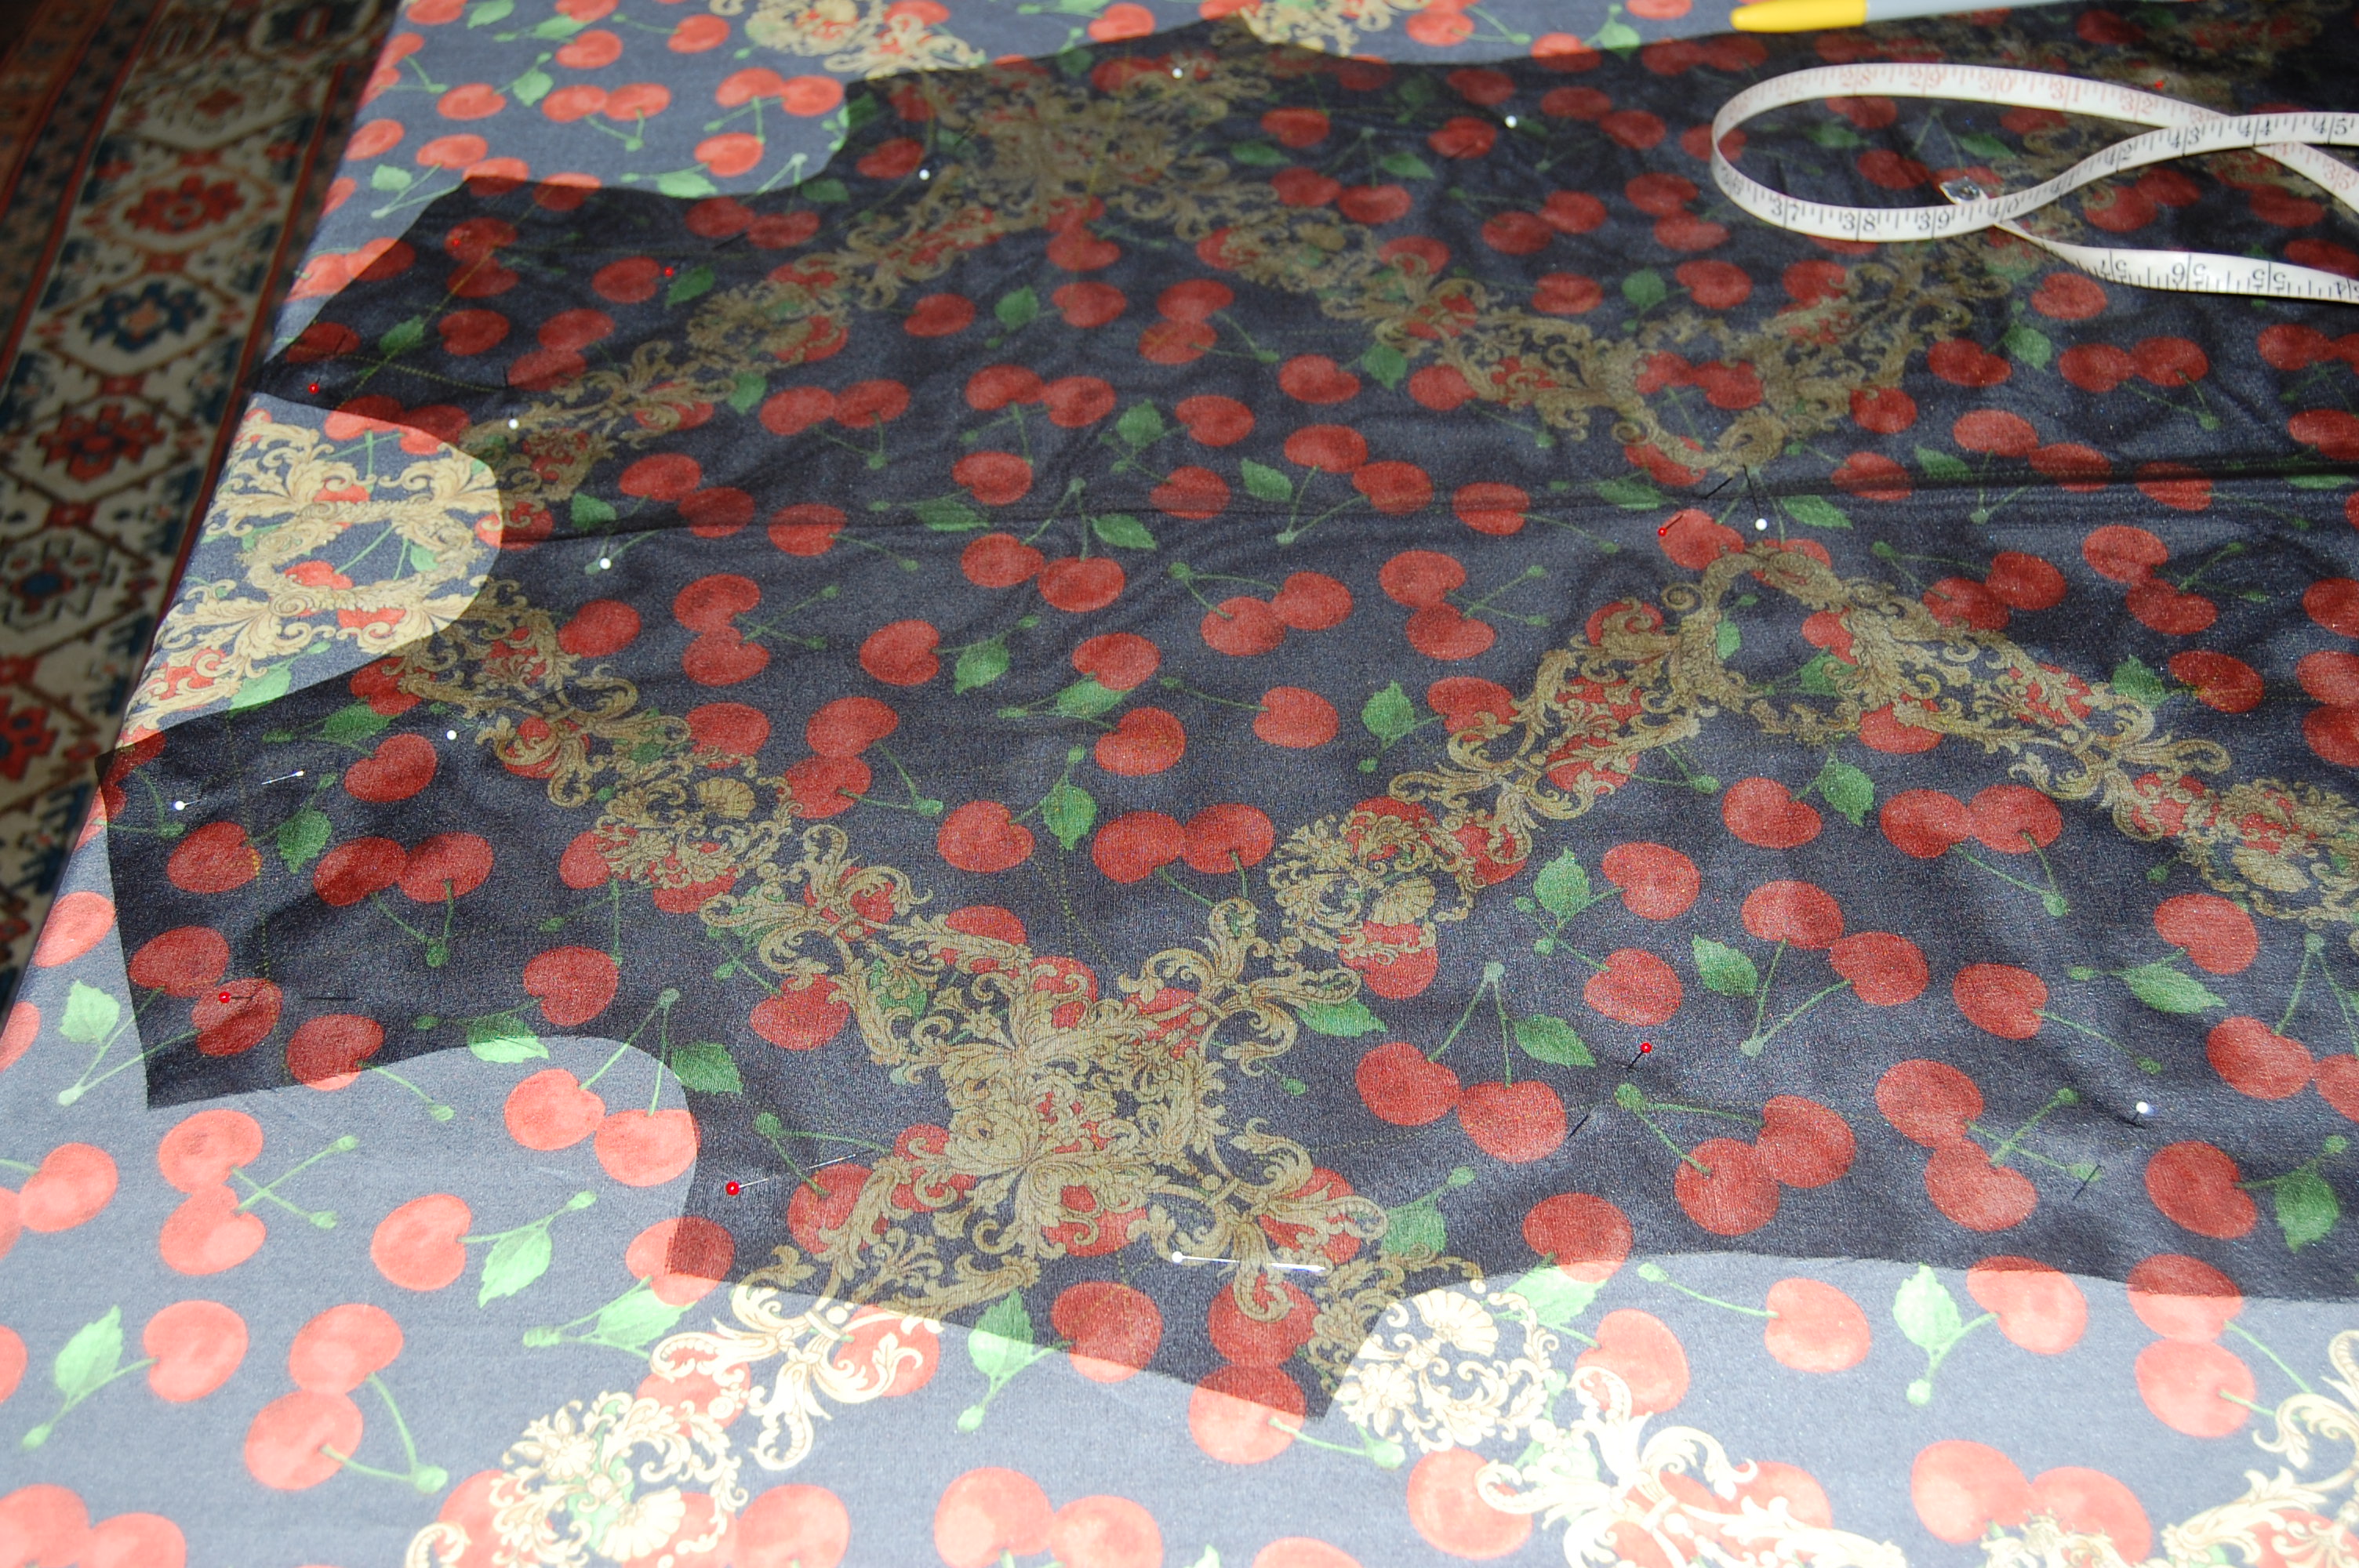
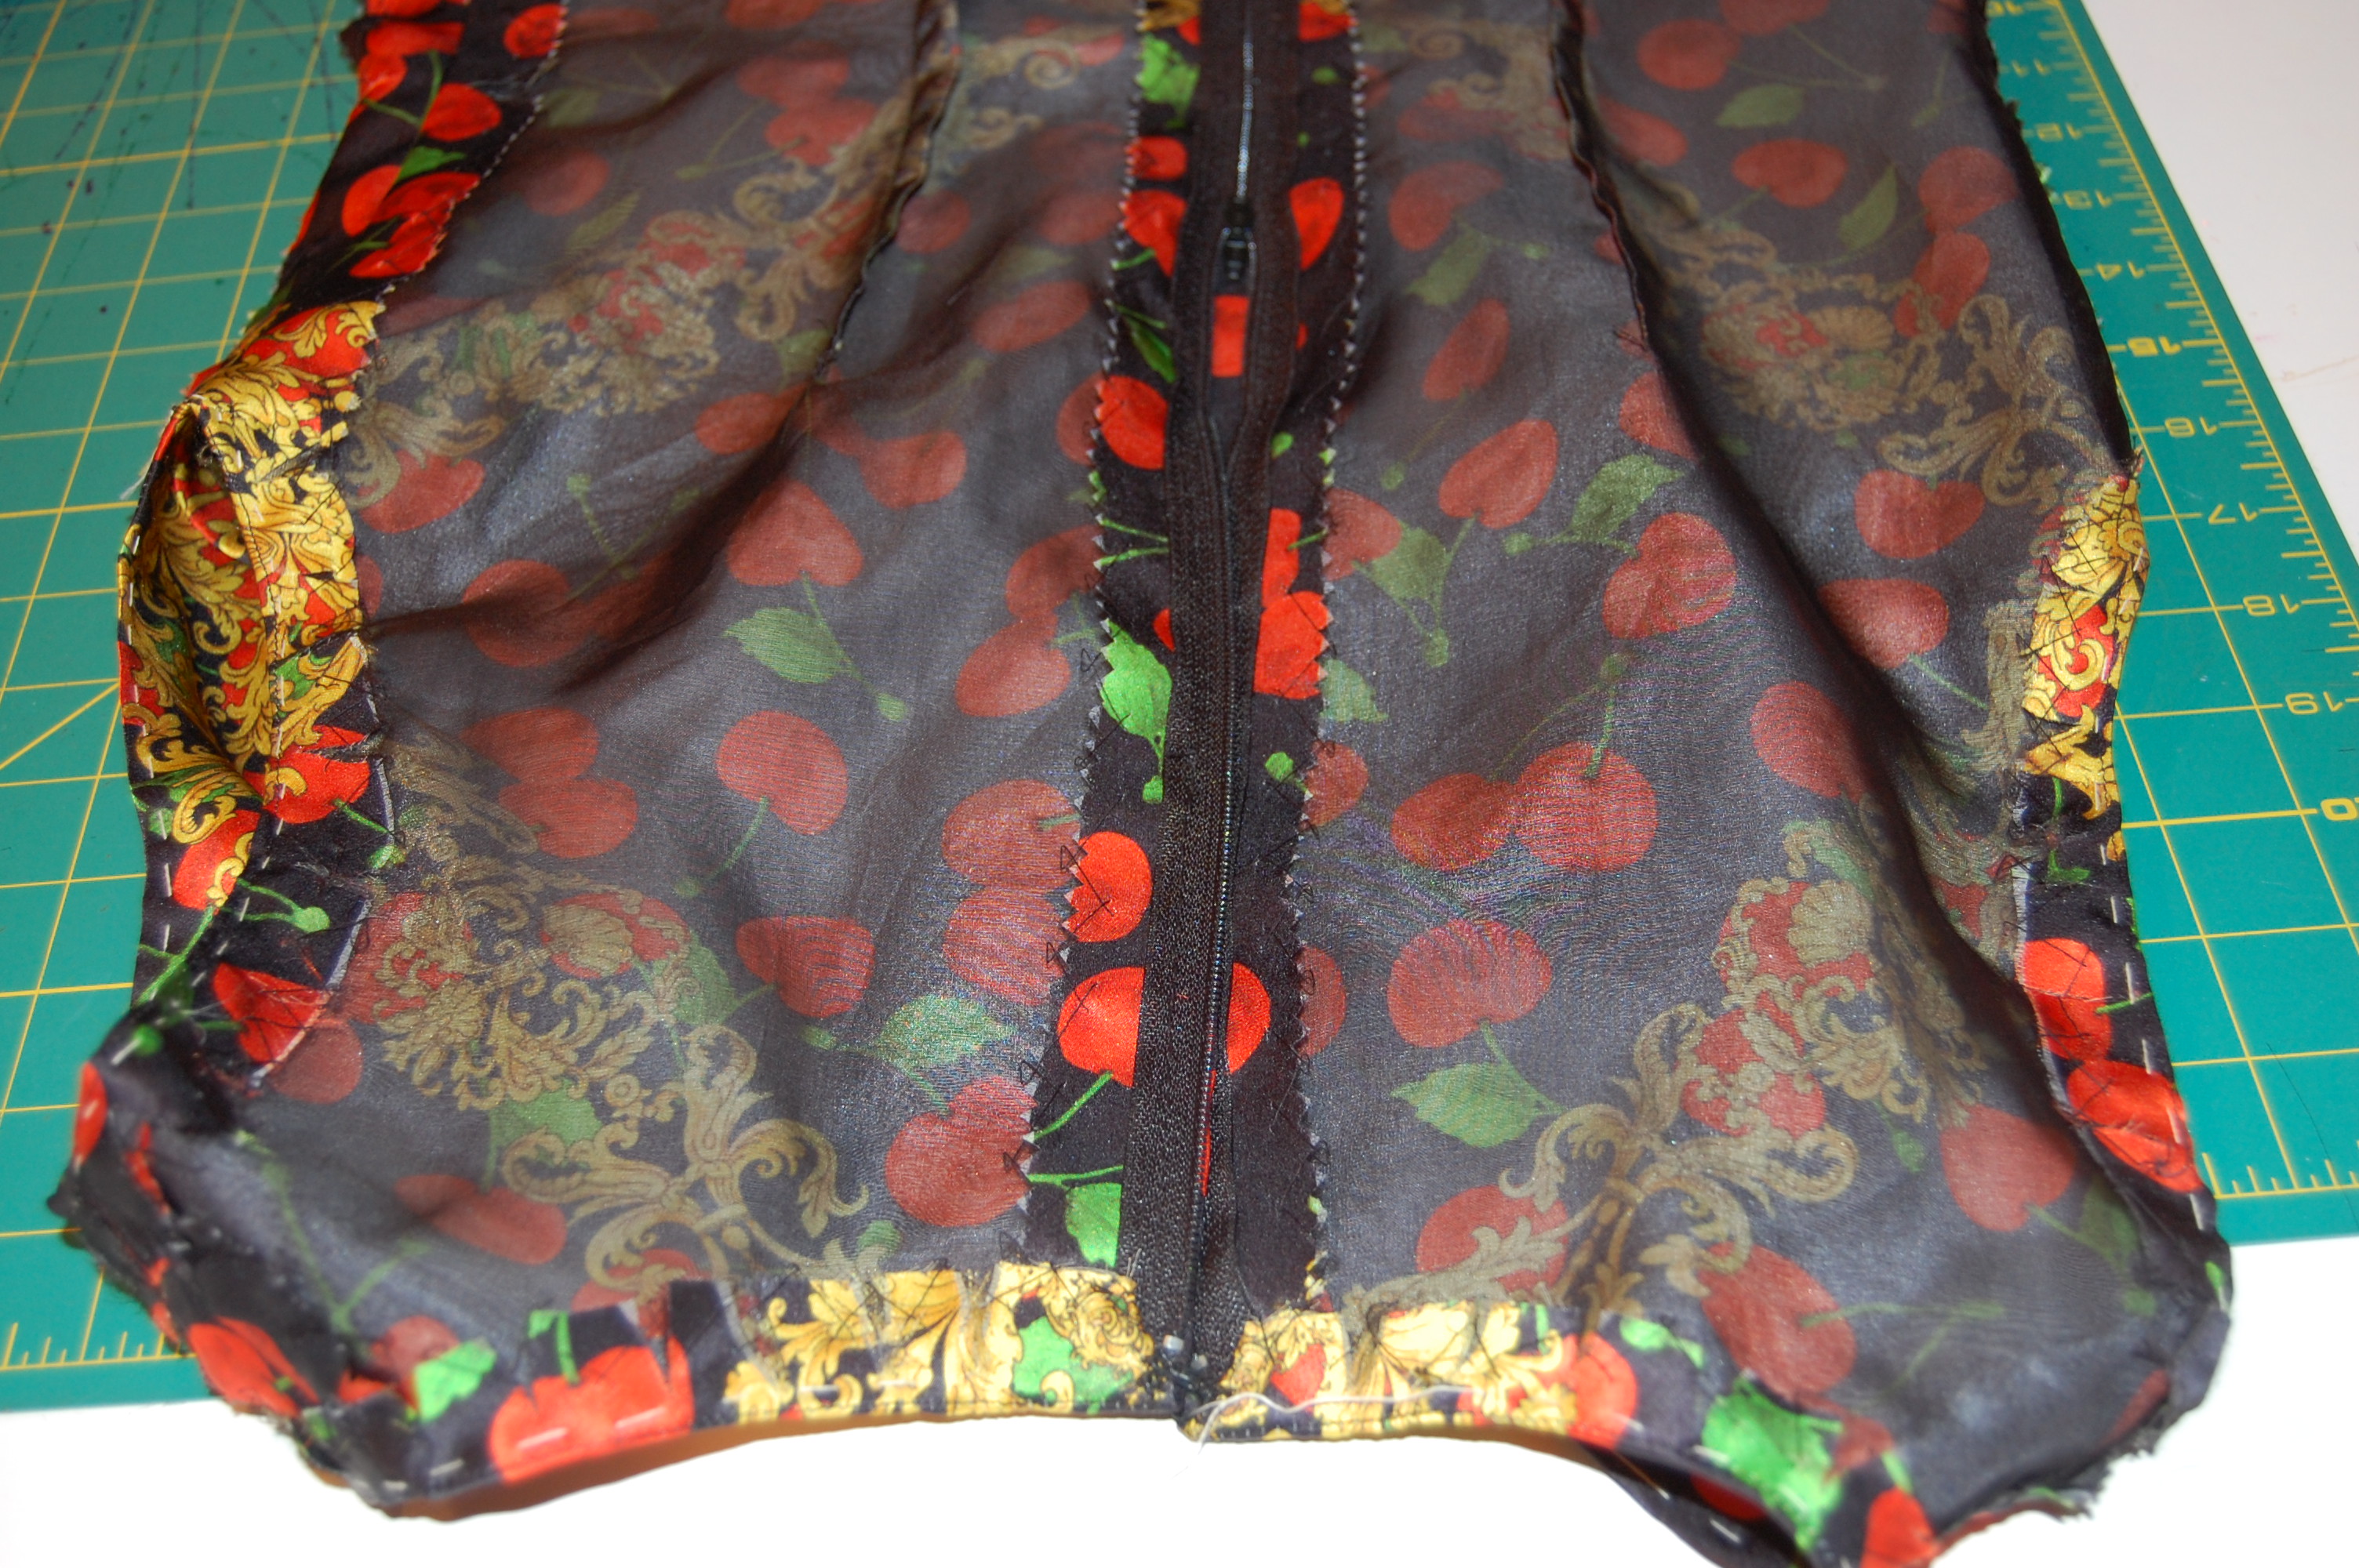
But – back to that silk. Using my adjusted muslin as my pattern, I cut out the silk organza underling for the dress. So now I had all the dress pieces ready to place on the silk, spread out single layer on the dining room table. Then using the tissue pattern pieces for the jacket lining, I was able to eyeball my chances of having enough fabric. There was a thudding moment of truth when I knew in no uncertain terms that there was no way I was going to have enough fabric without making some change in plans.
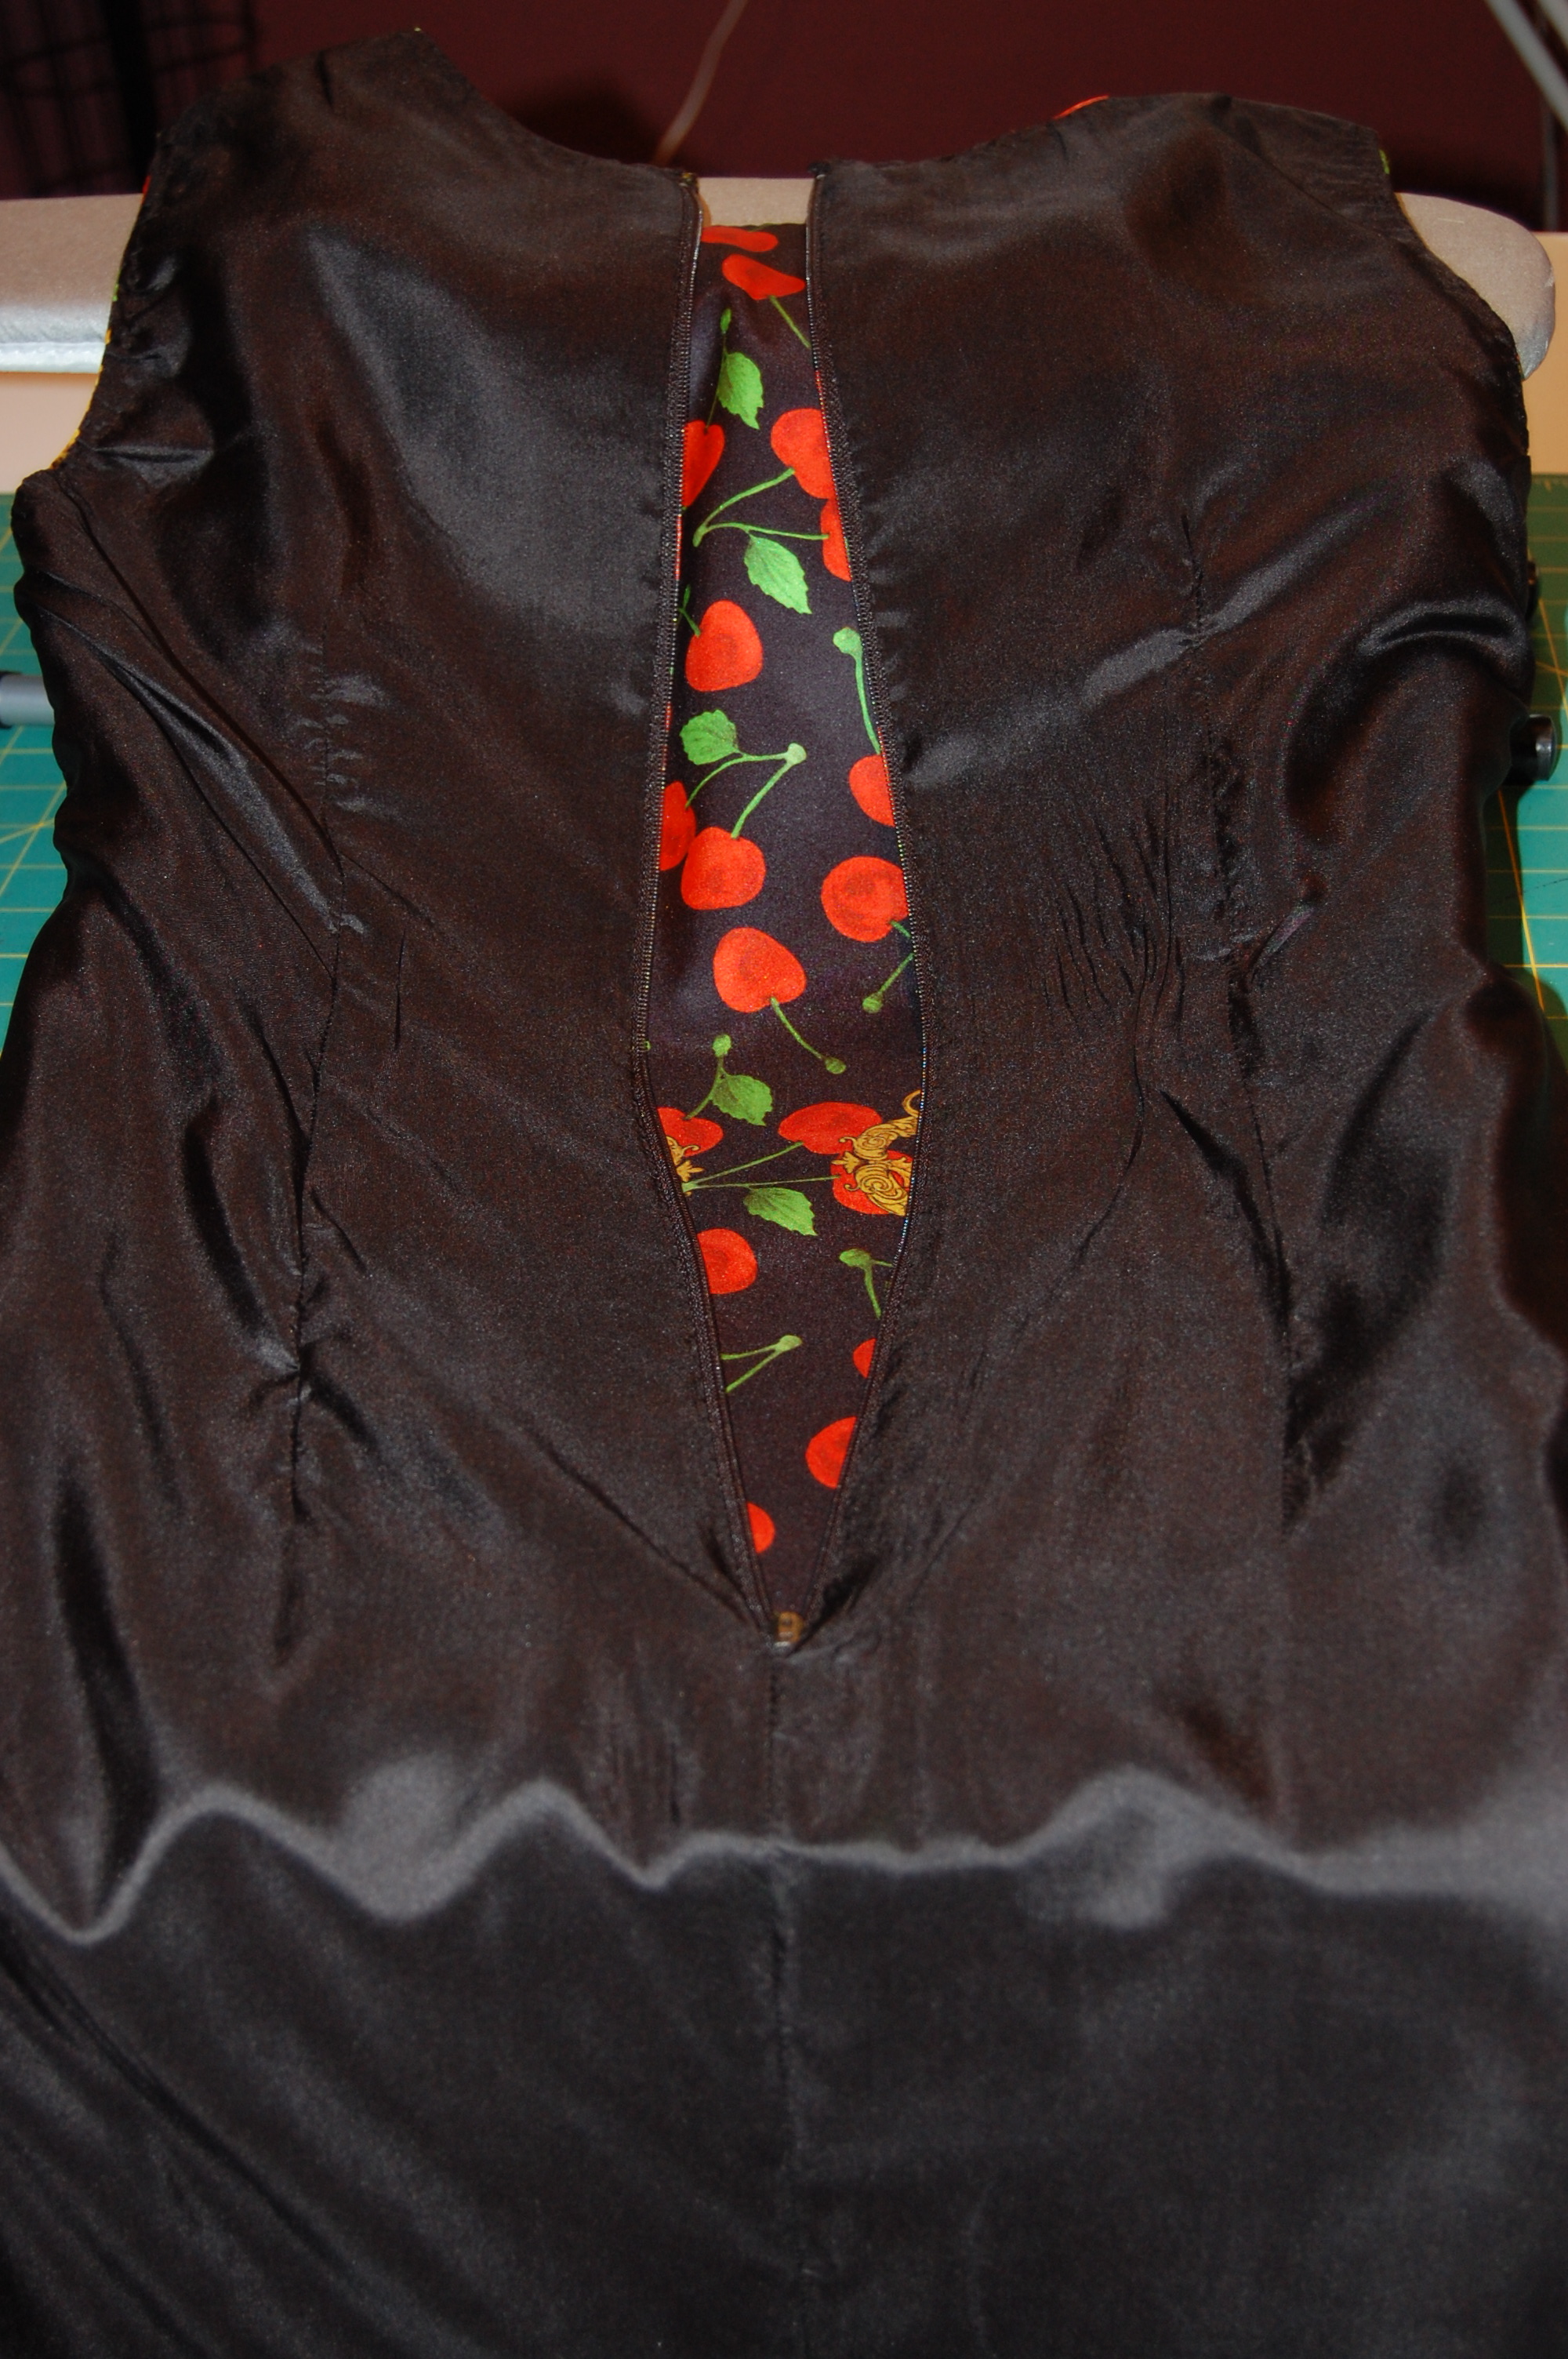
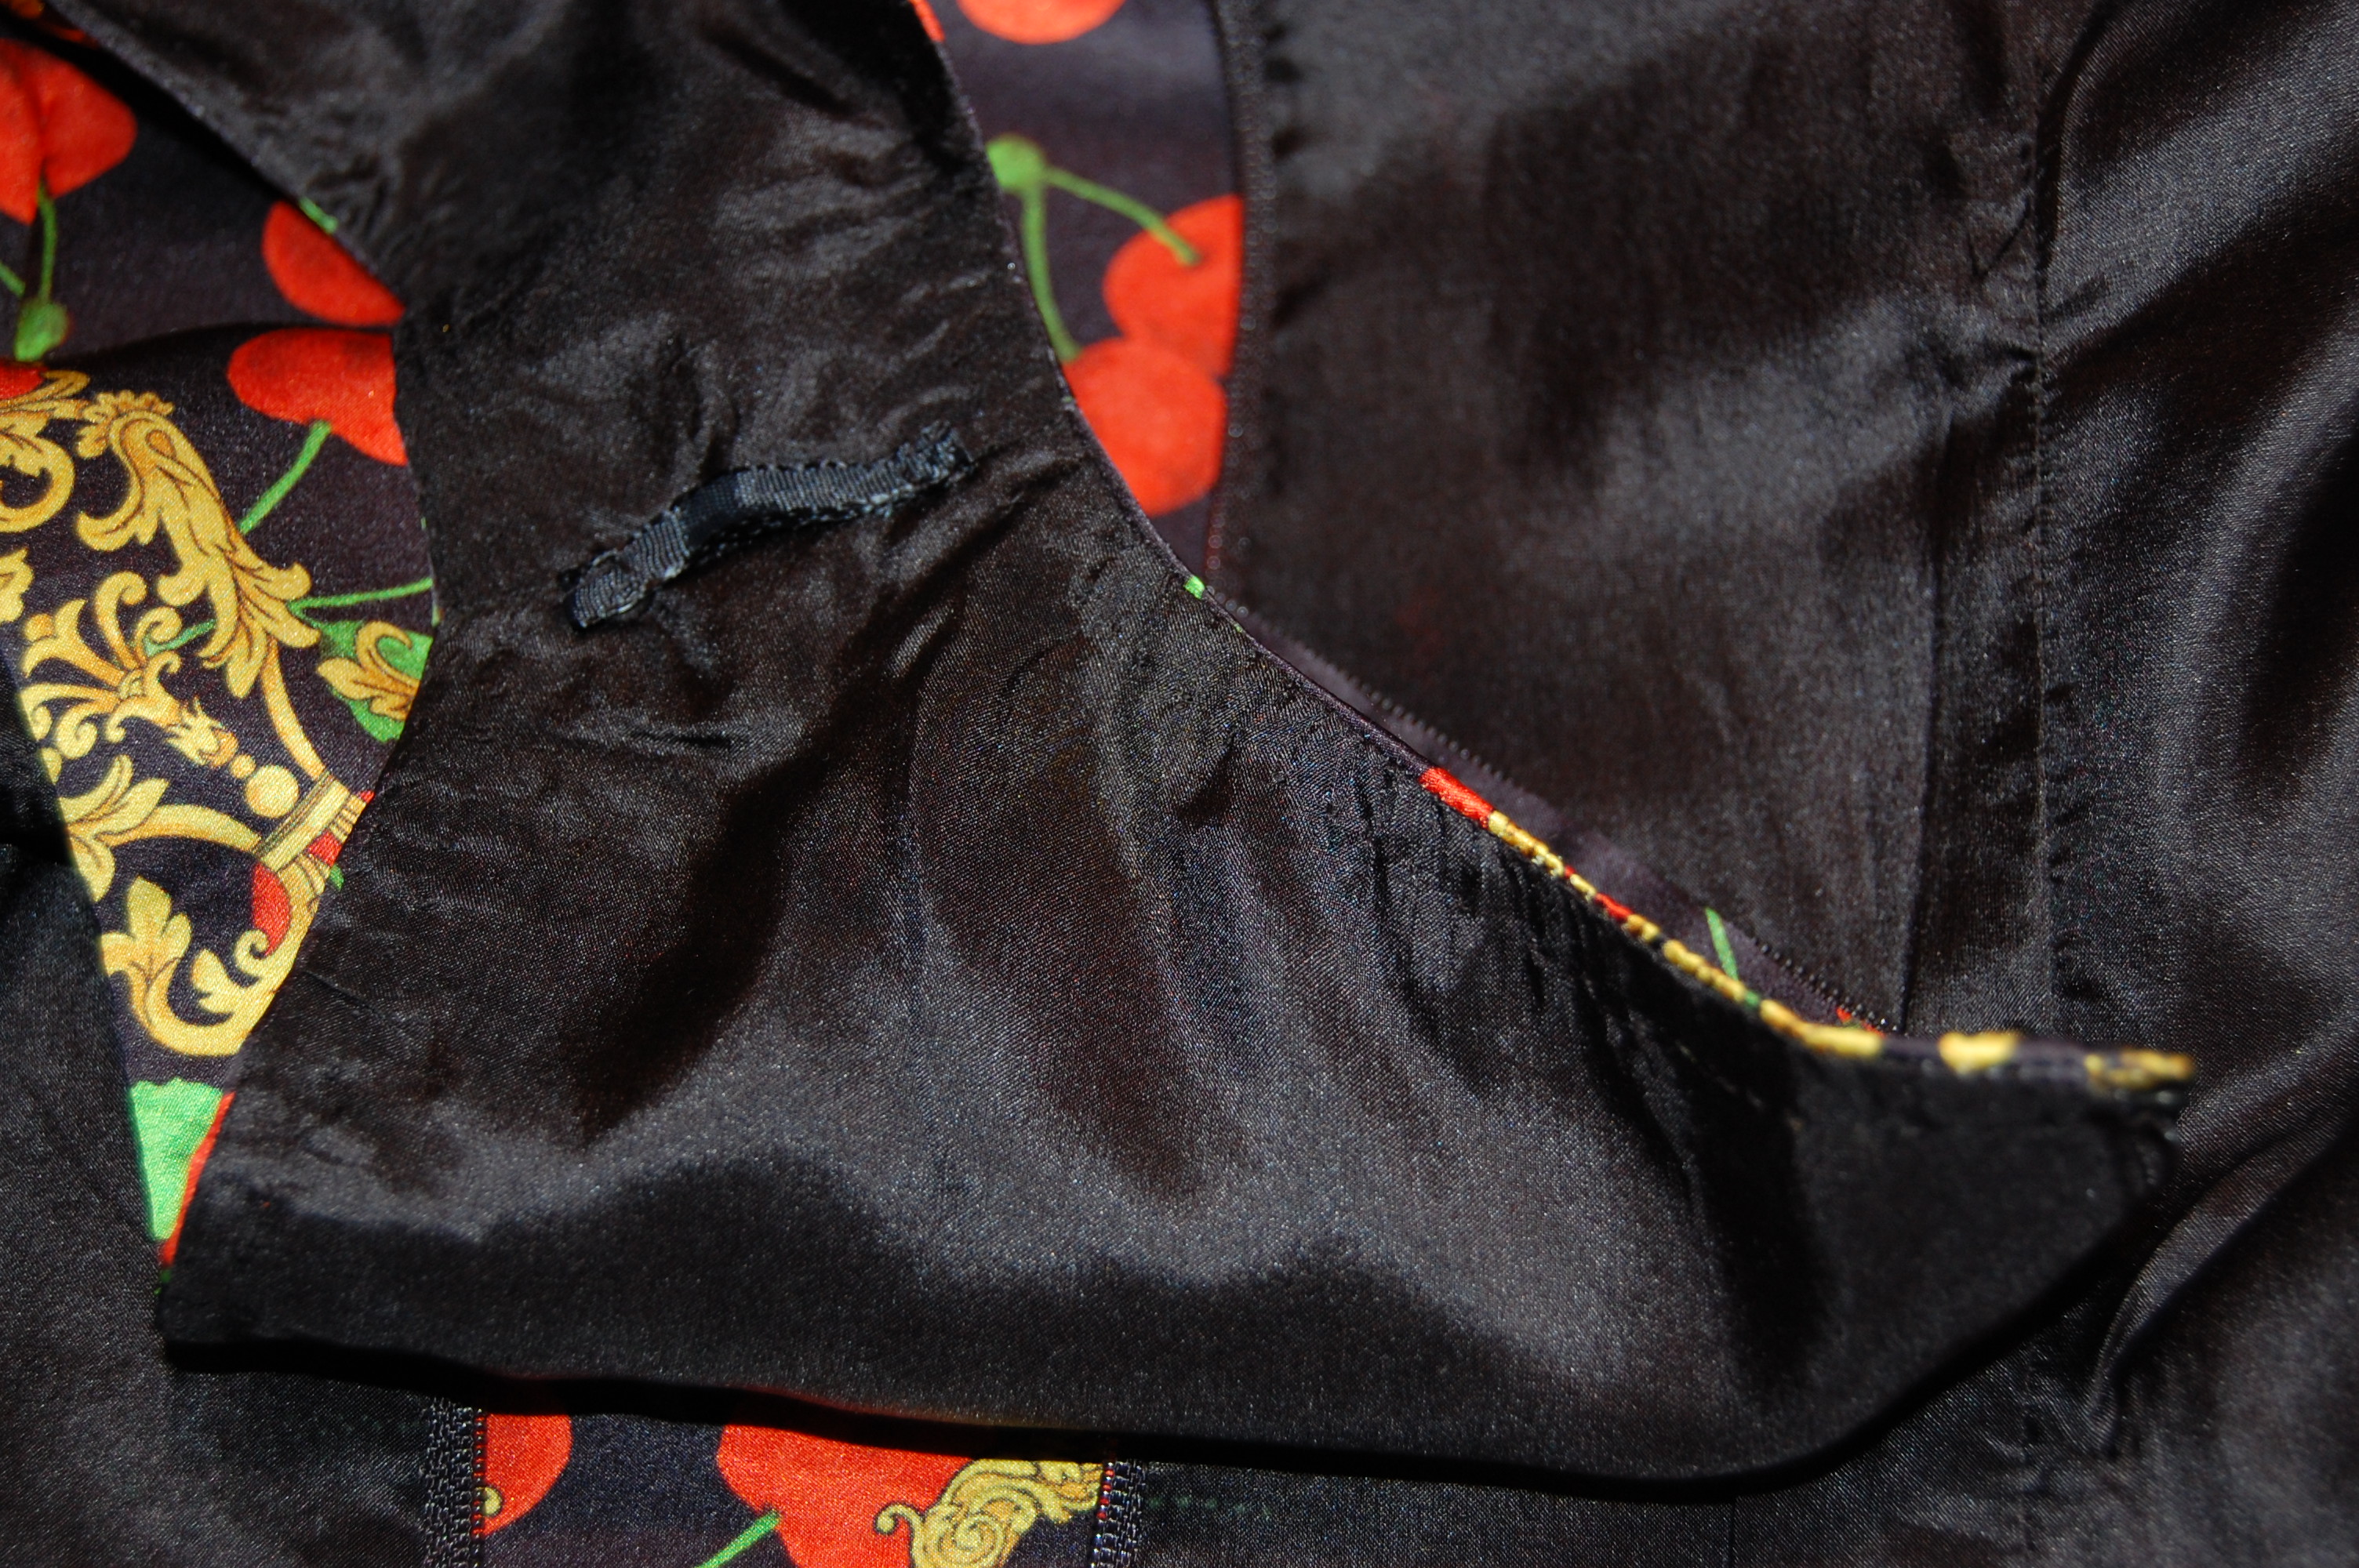
Where was Rumplestiltskin and his magical spinning powers when I needed him? Alas, I knew I would have to make my own magic to solve this problem! And I could see only one way to make this work. I would have to piece the sleeves so that the lower half of them – the part you can’t really see – were in another fabric, the logical choice being, of course, the black crepe de chine that I would be using to line the dress.
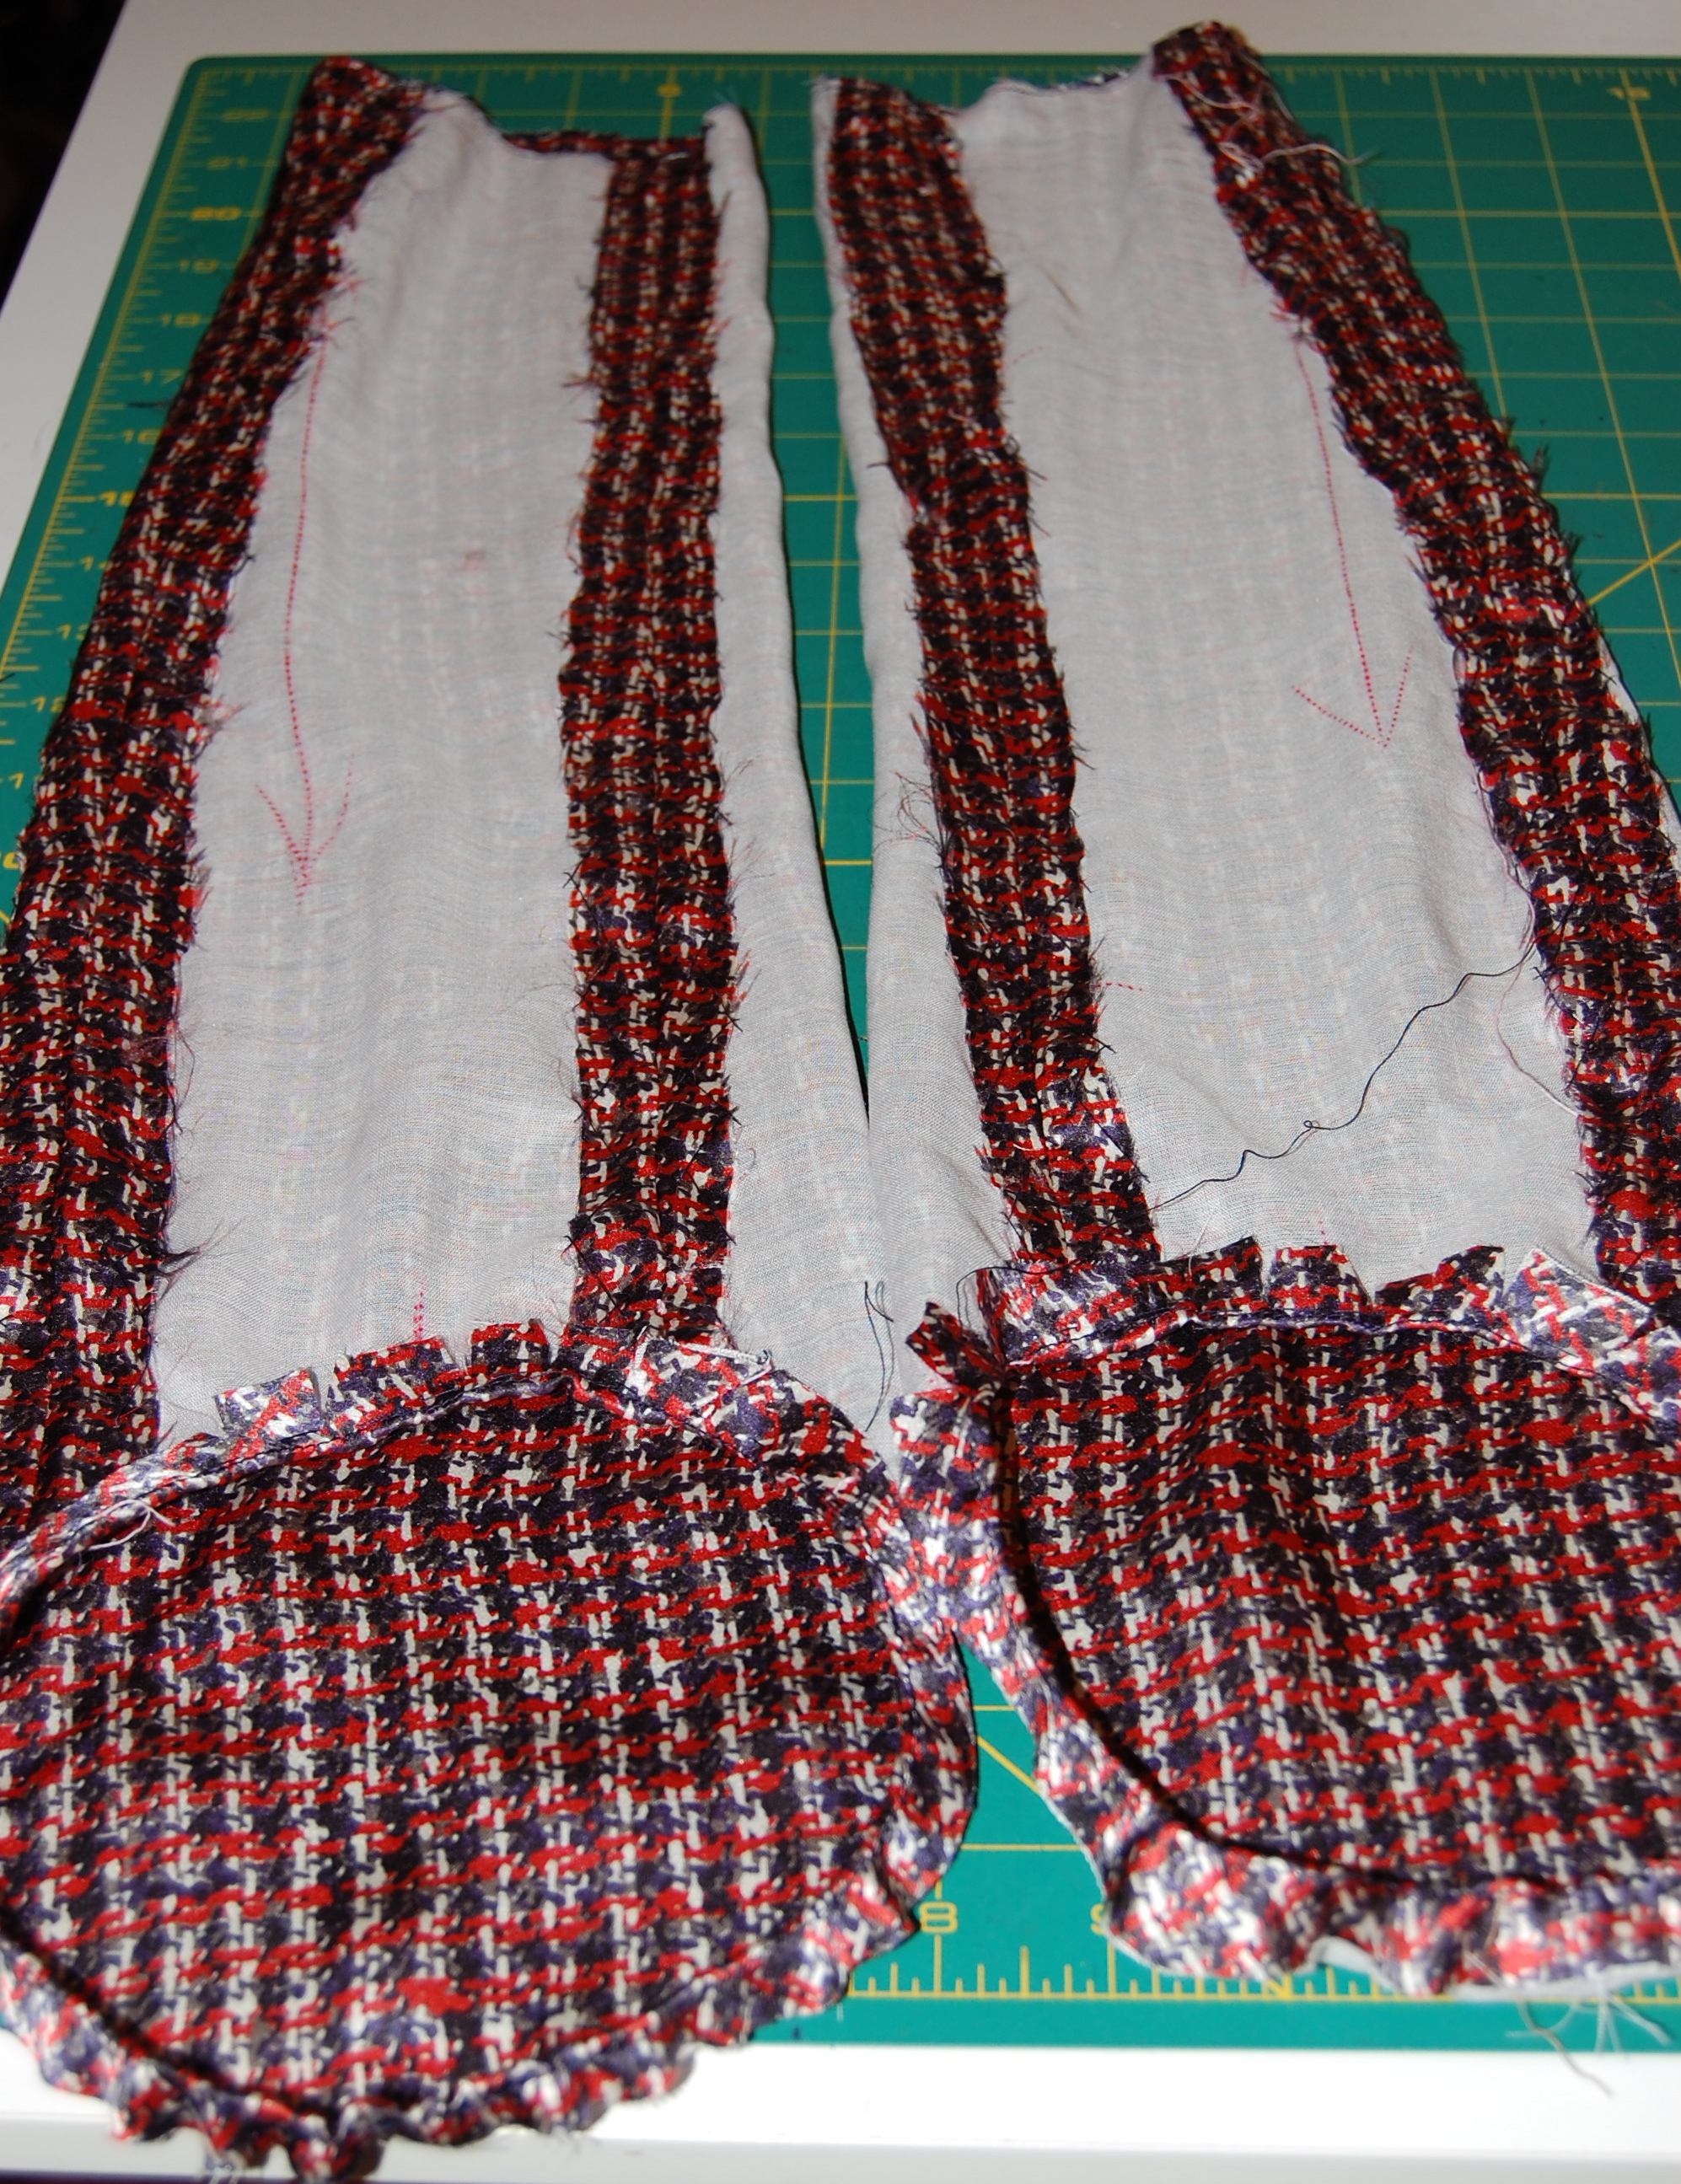
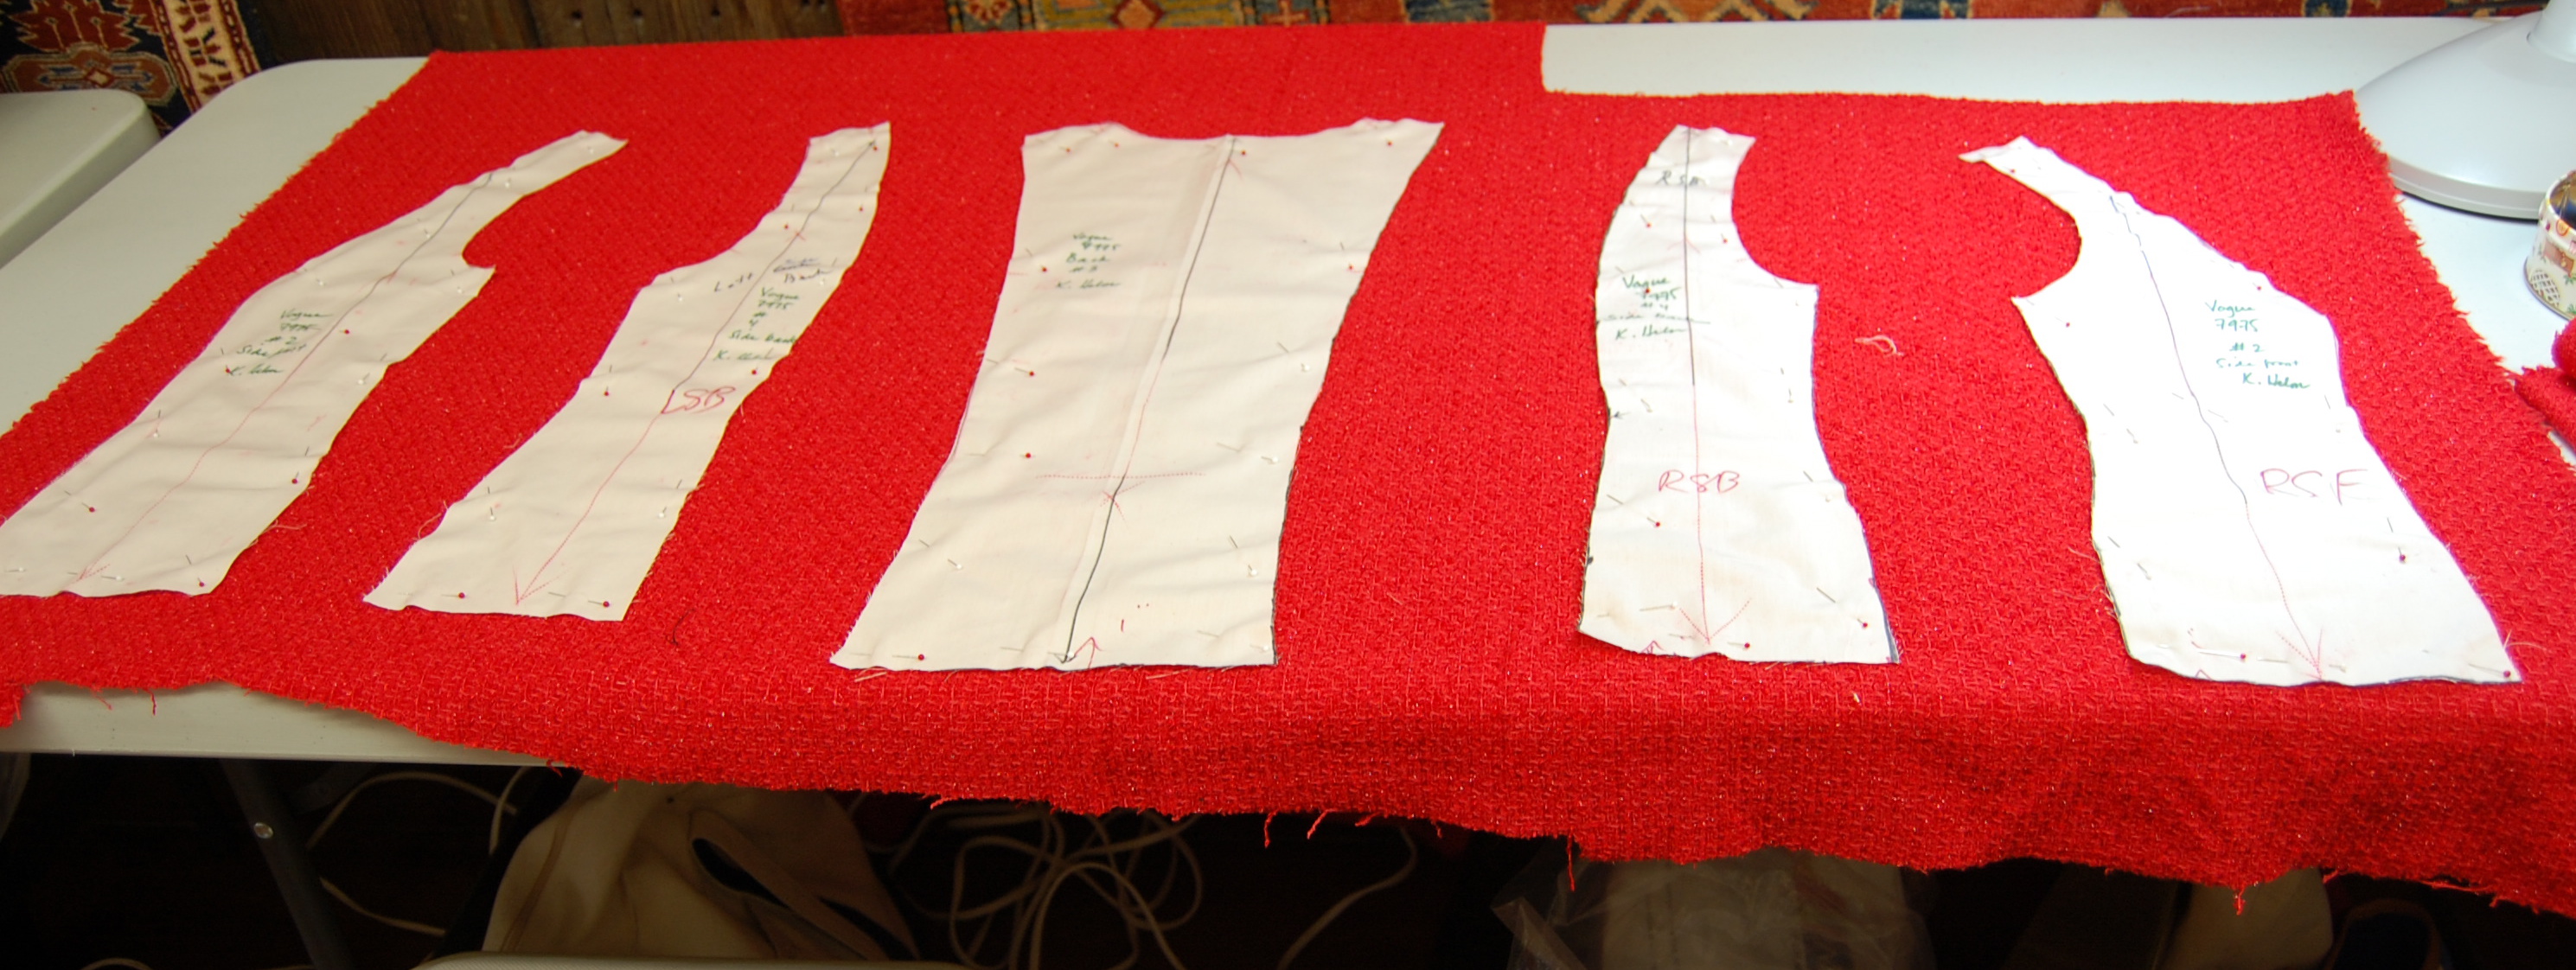
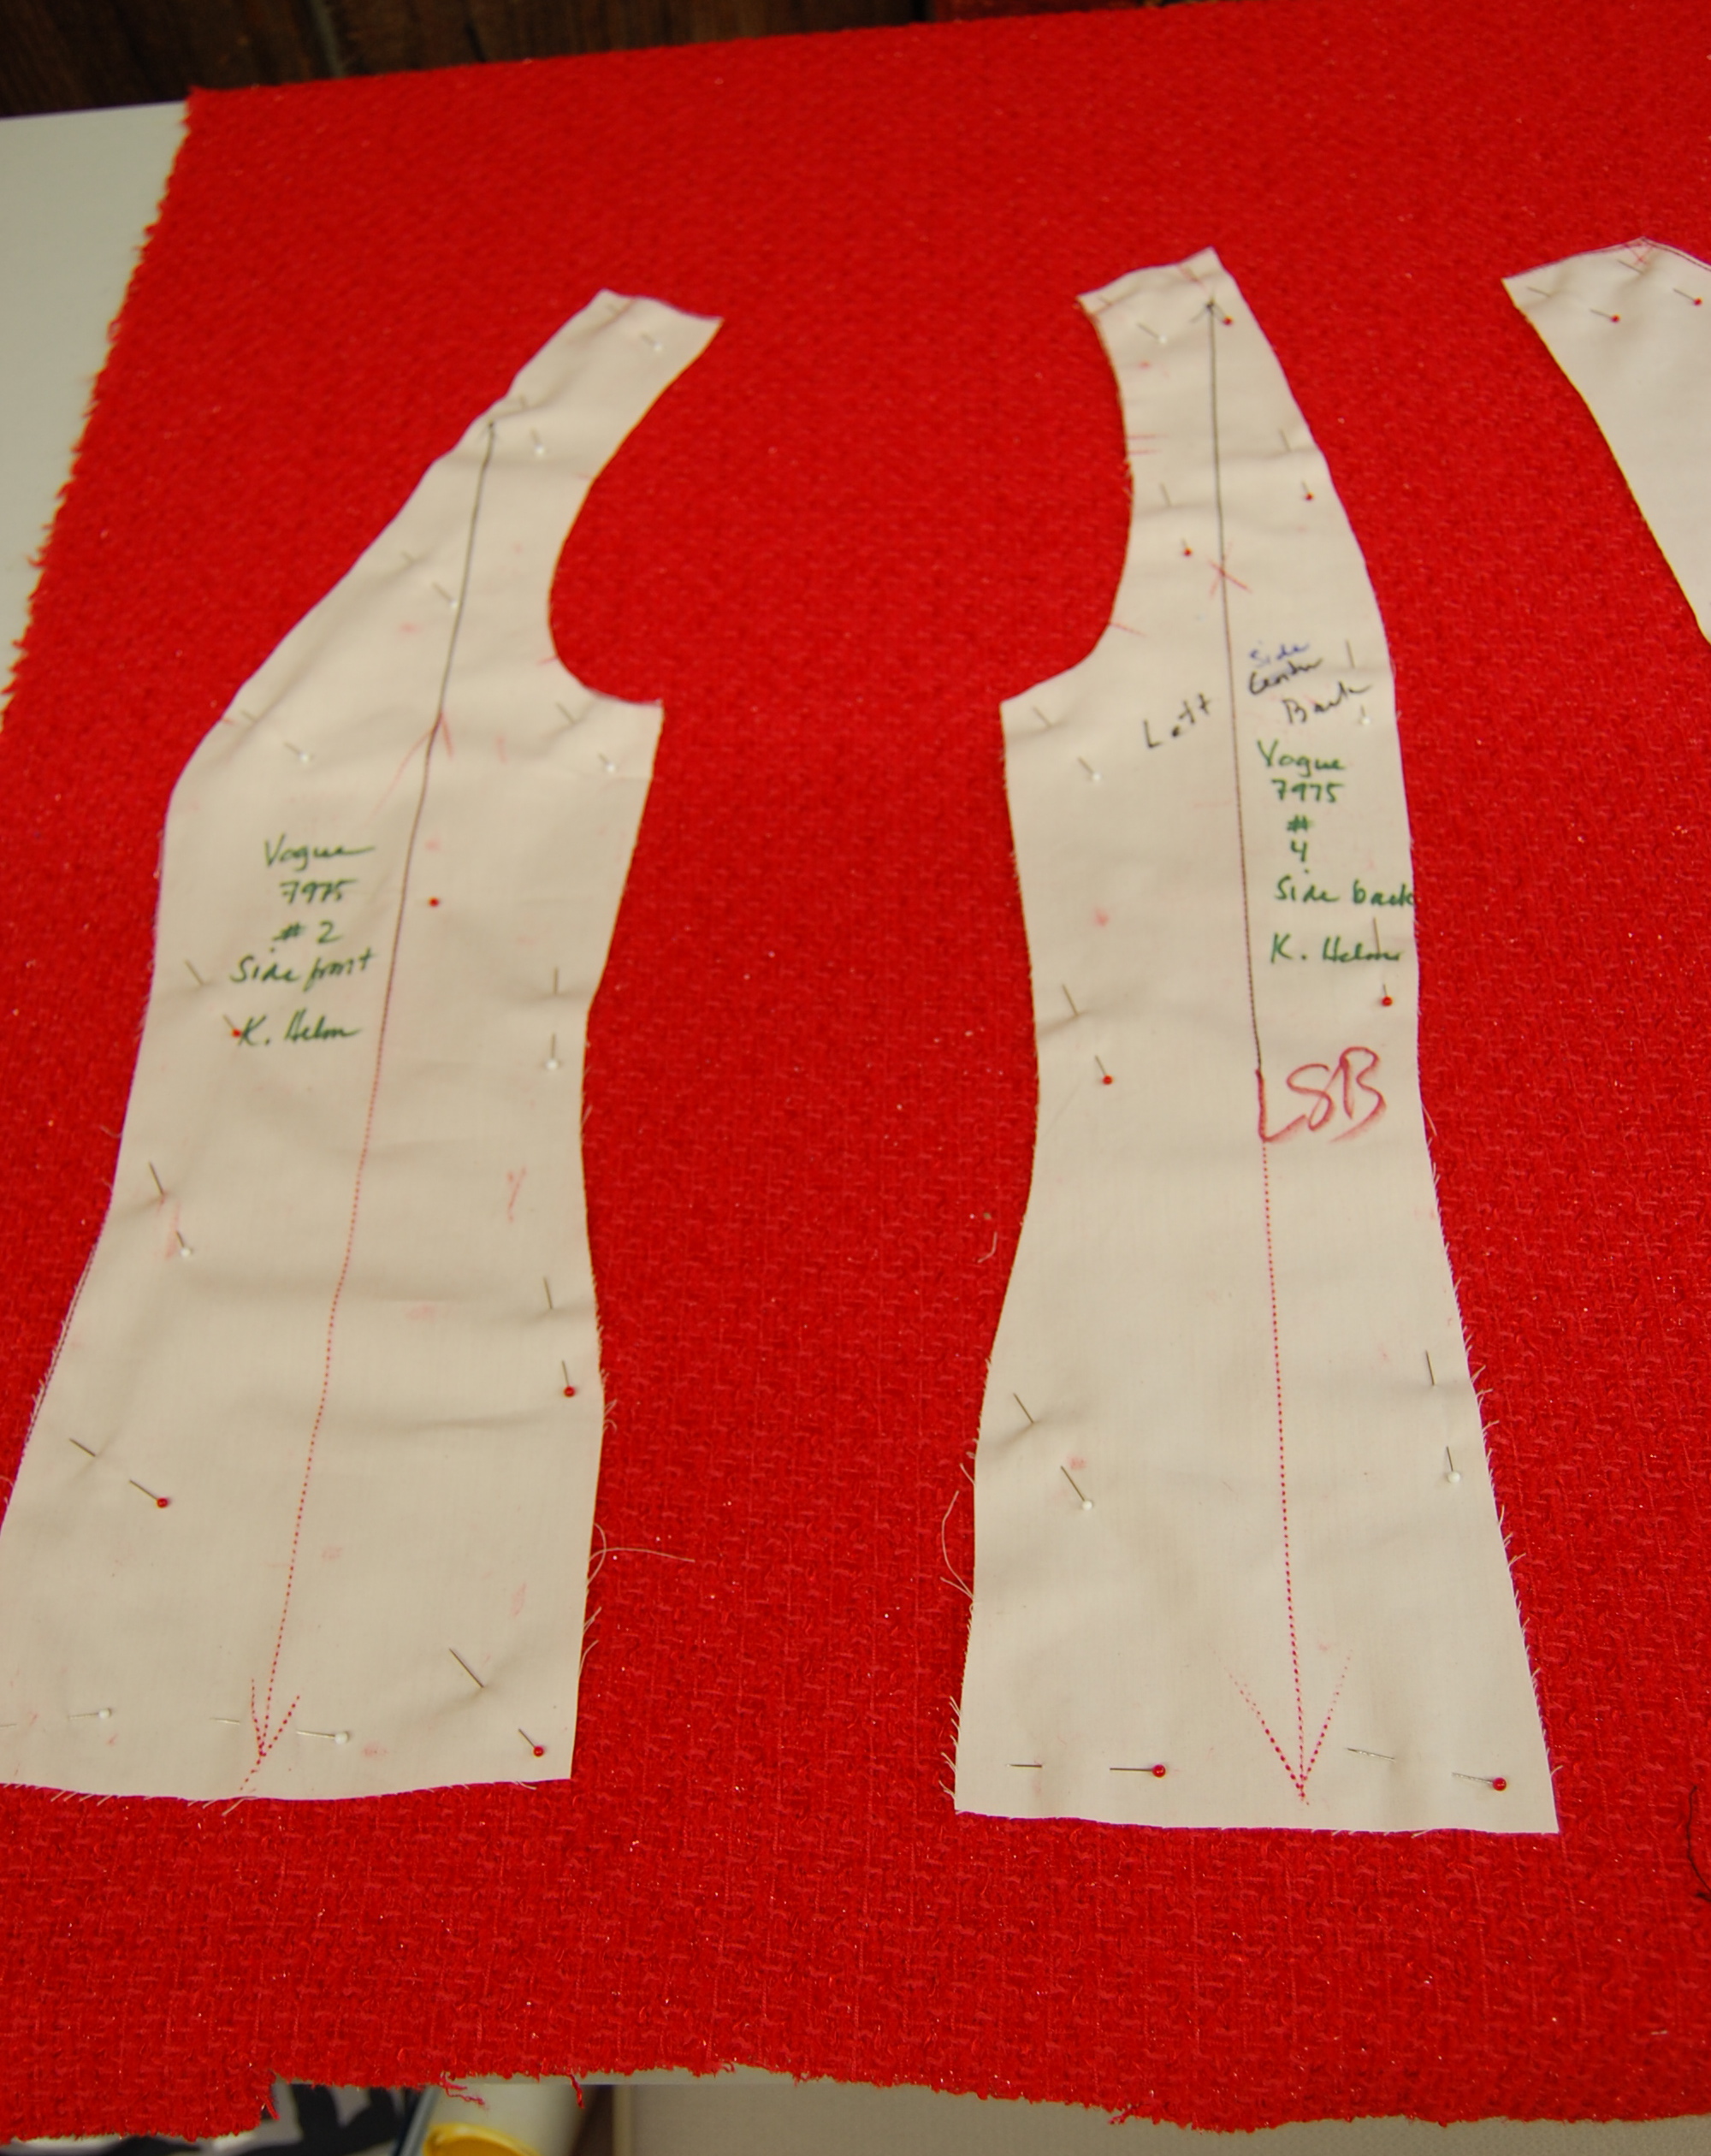
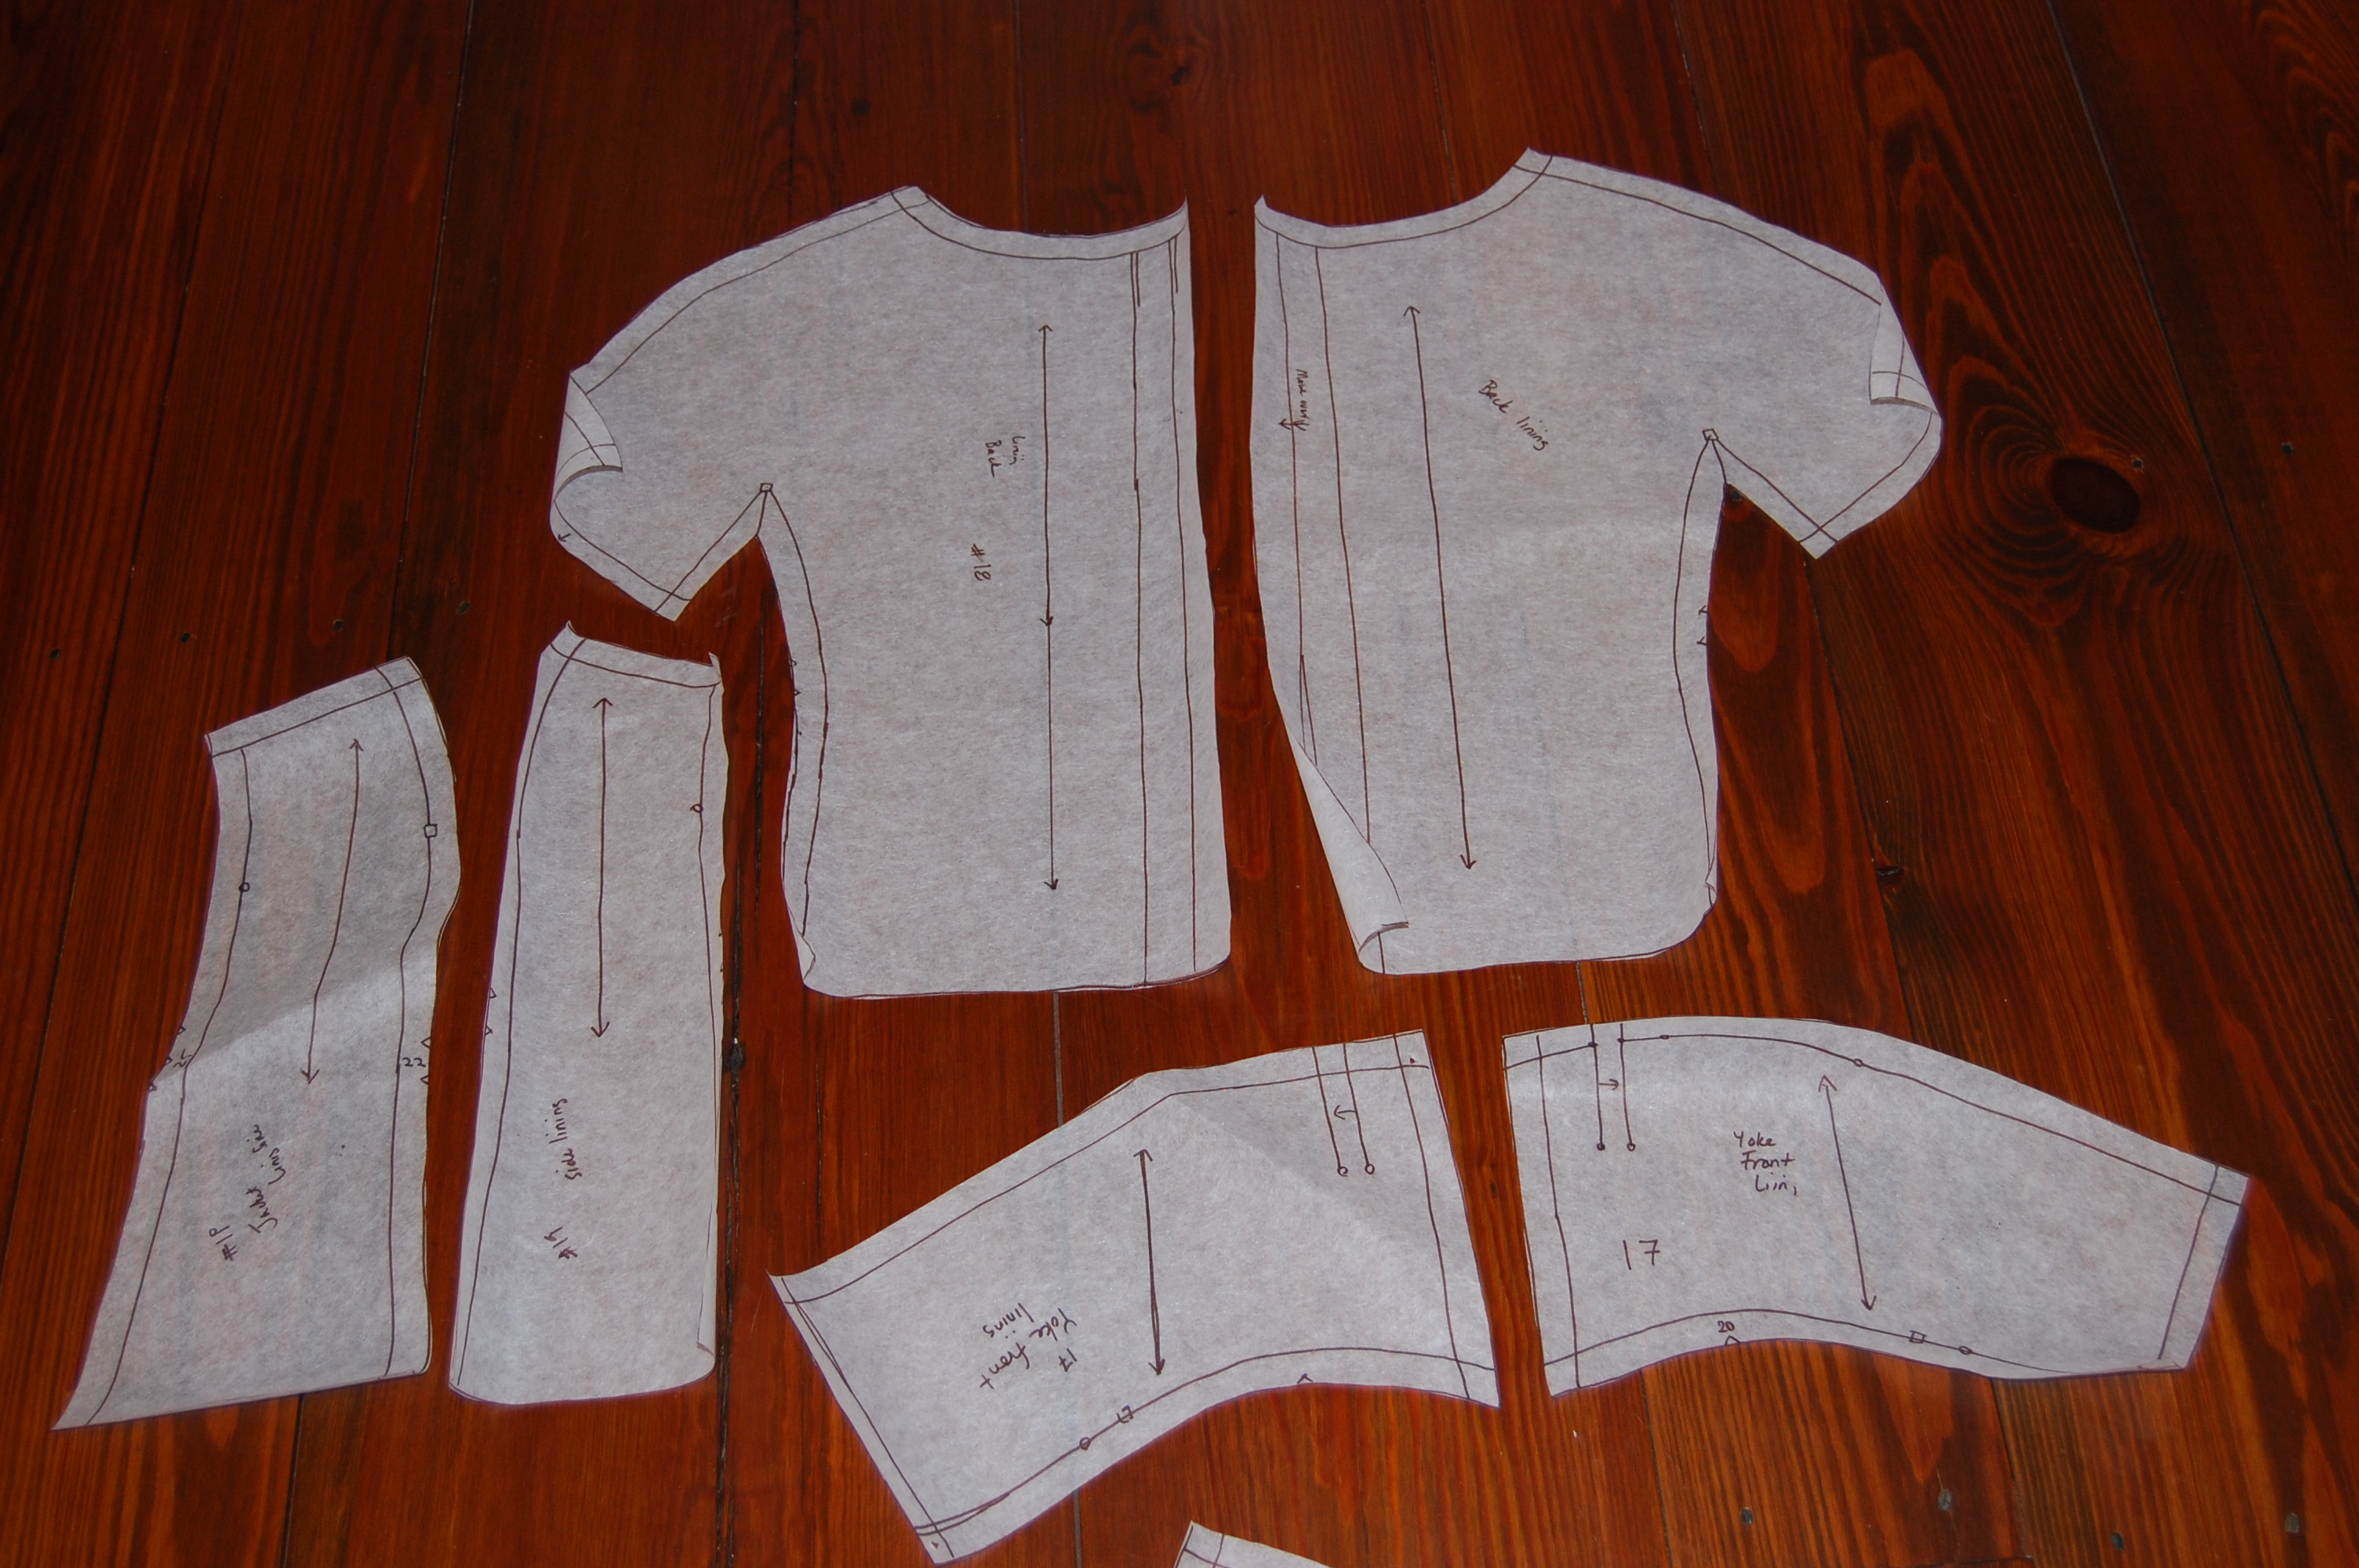
I set about making new pattern pieces for the lining, separating each sleeve section at the “lengthen or shorten here” line and adding seam allowance for sewing the new “bottoms” on each of the three sections. Here are the new patterns for the lining, minus the sleeve ends:
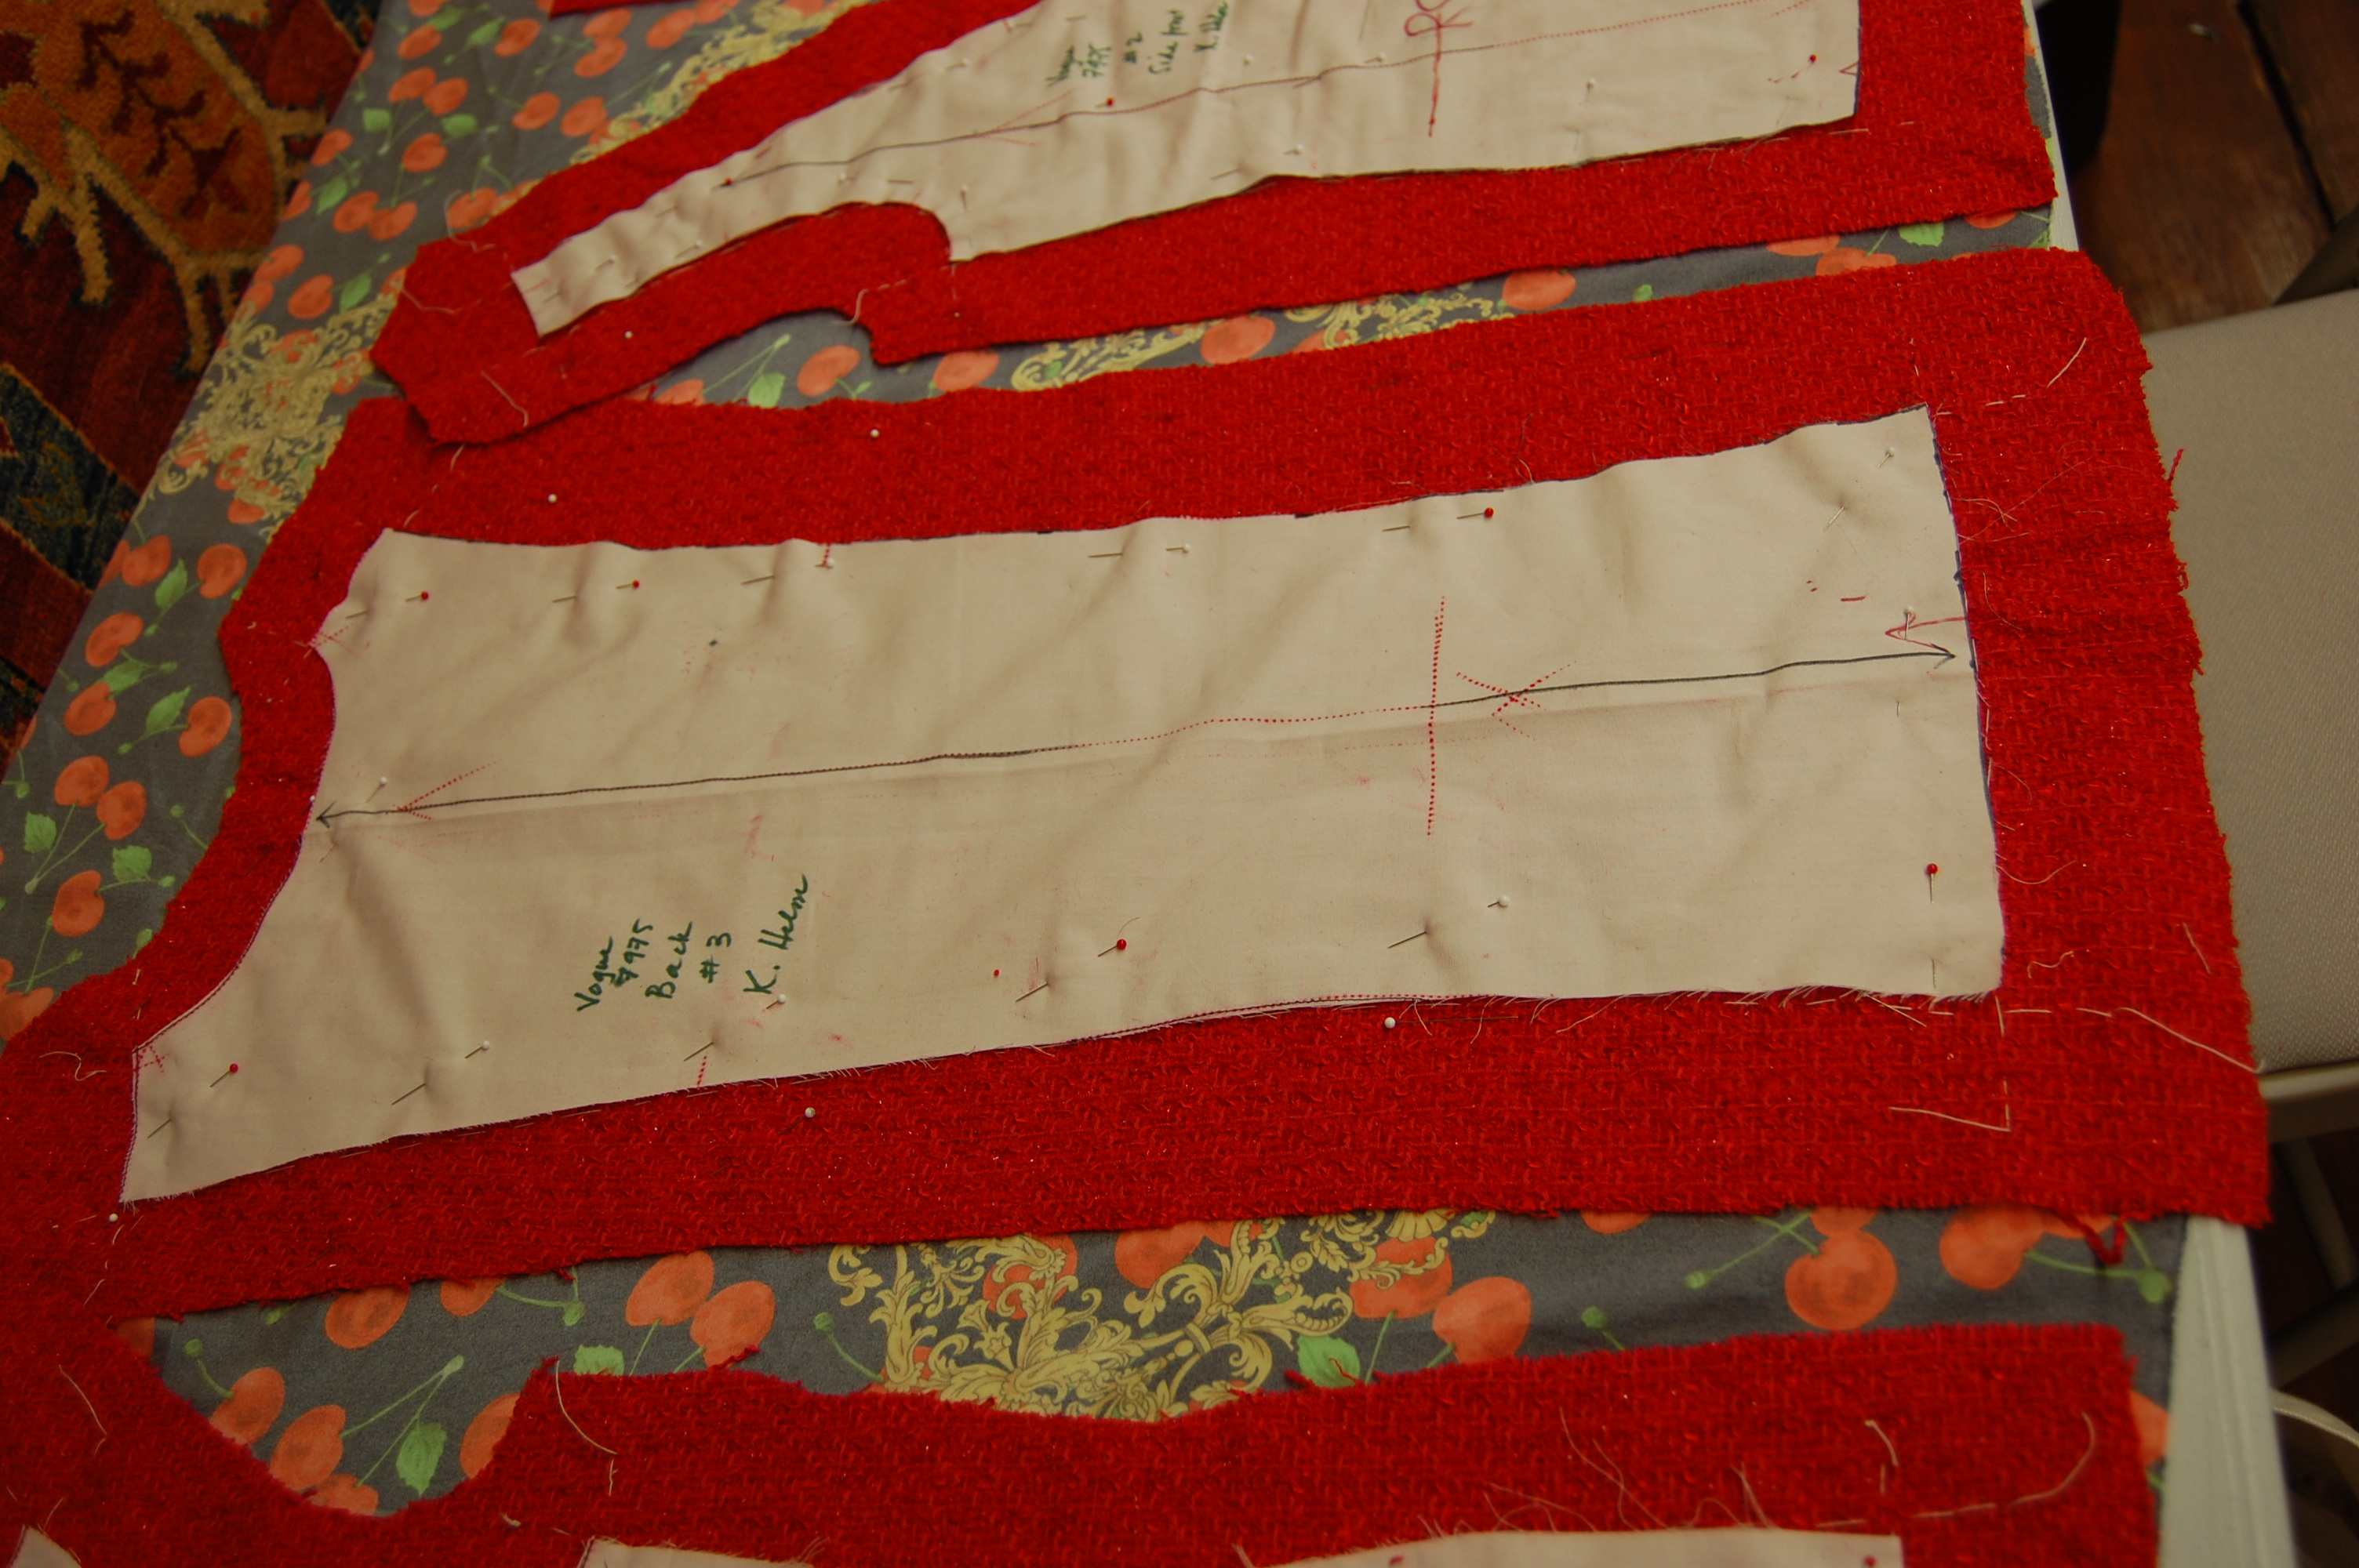
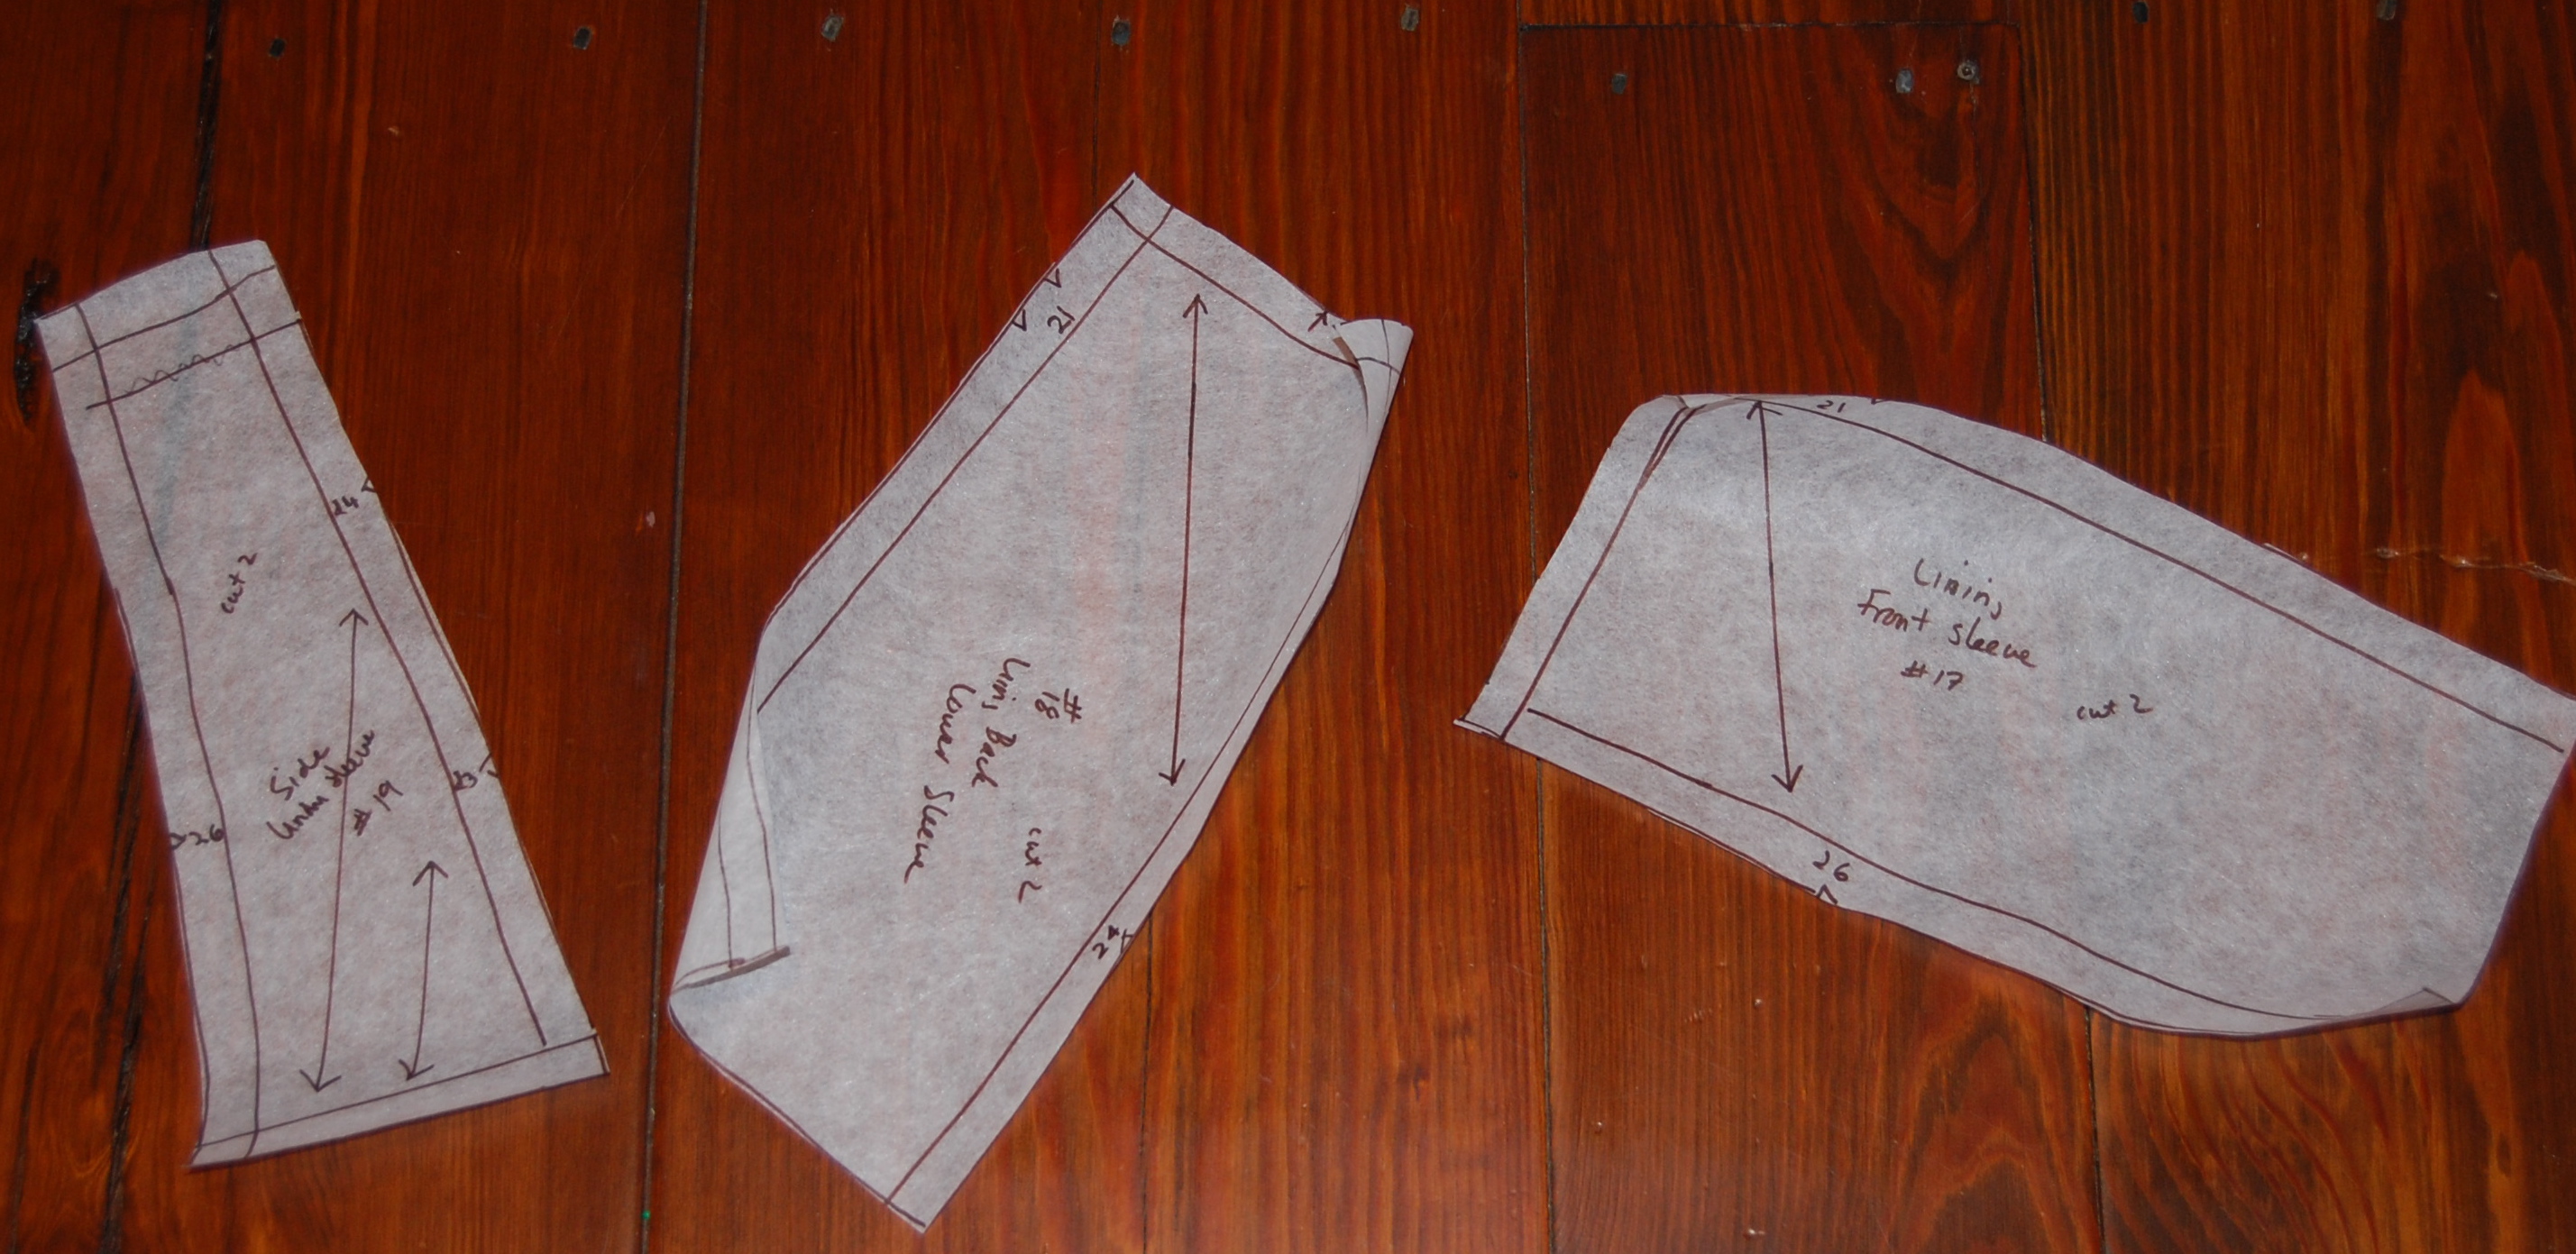
 And here are the sleeve ends. Since I would be able to use the crepe de chine doubled for these pieces (no matching required!), I only needed to make one pattern for each lower sleeve, thus three pattern pieces instead of six:
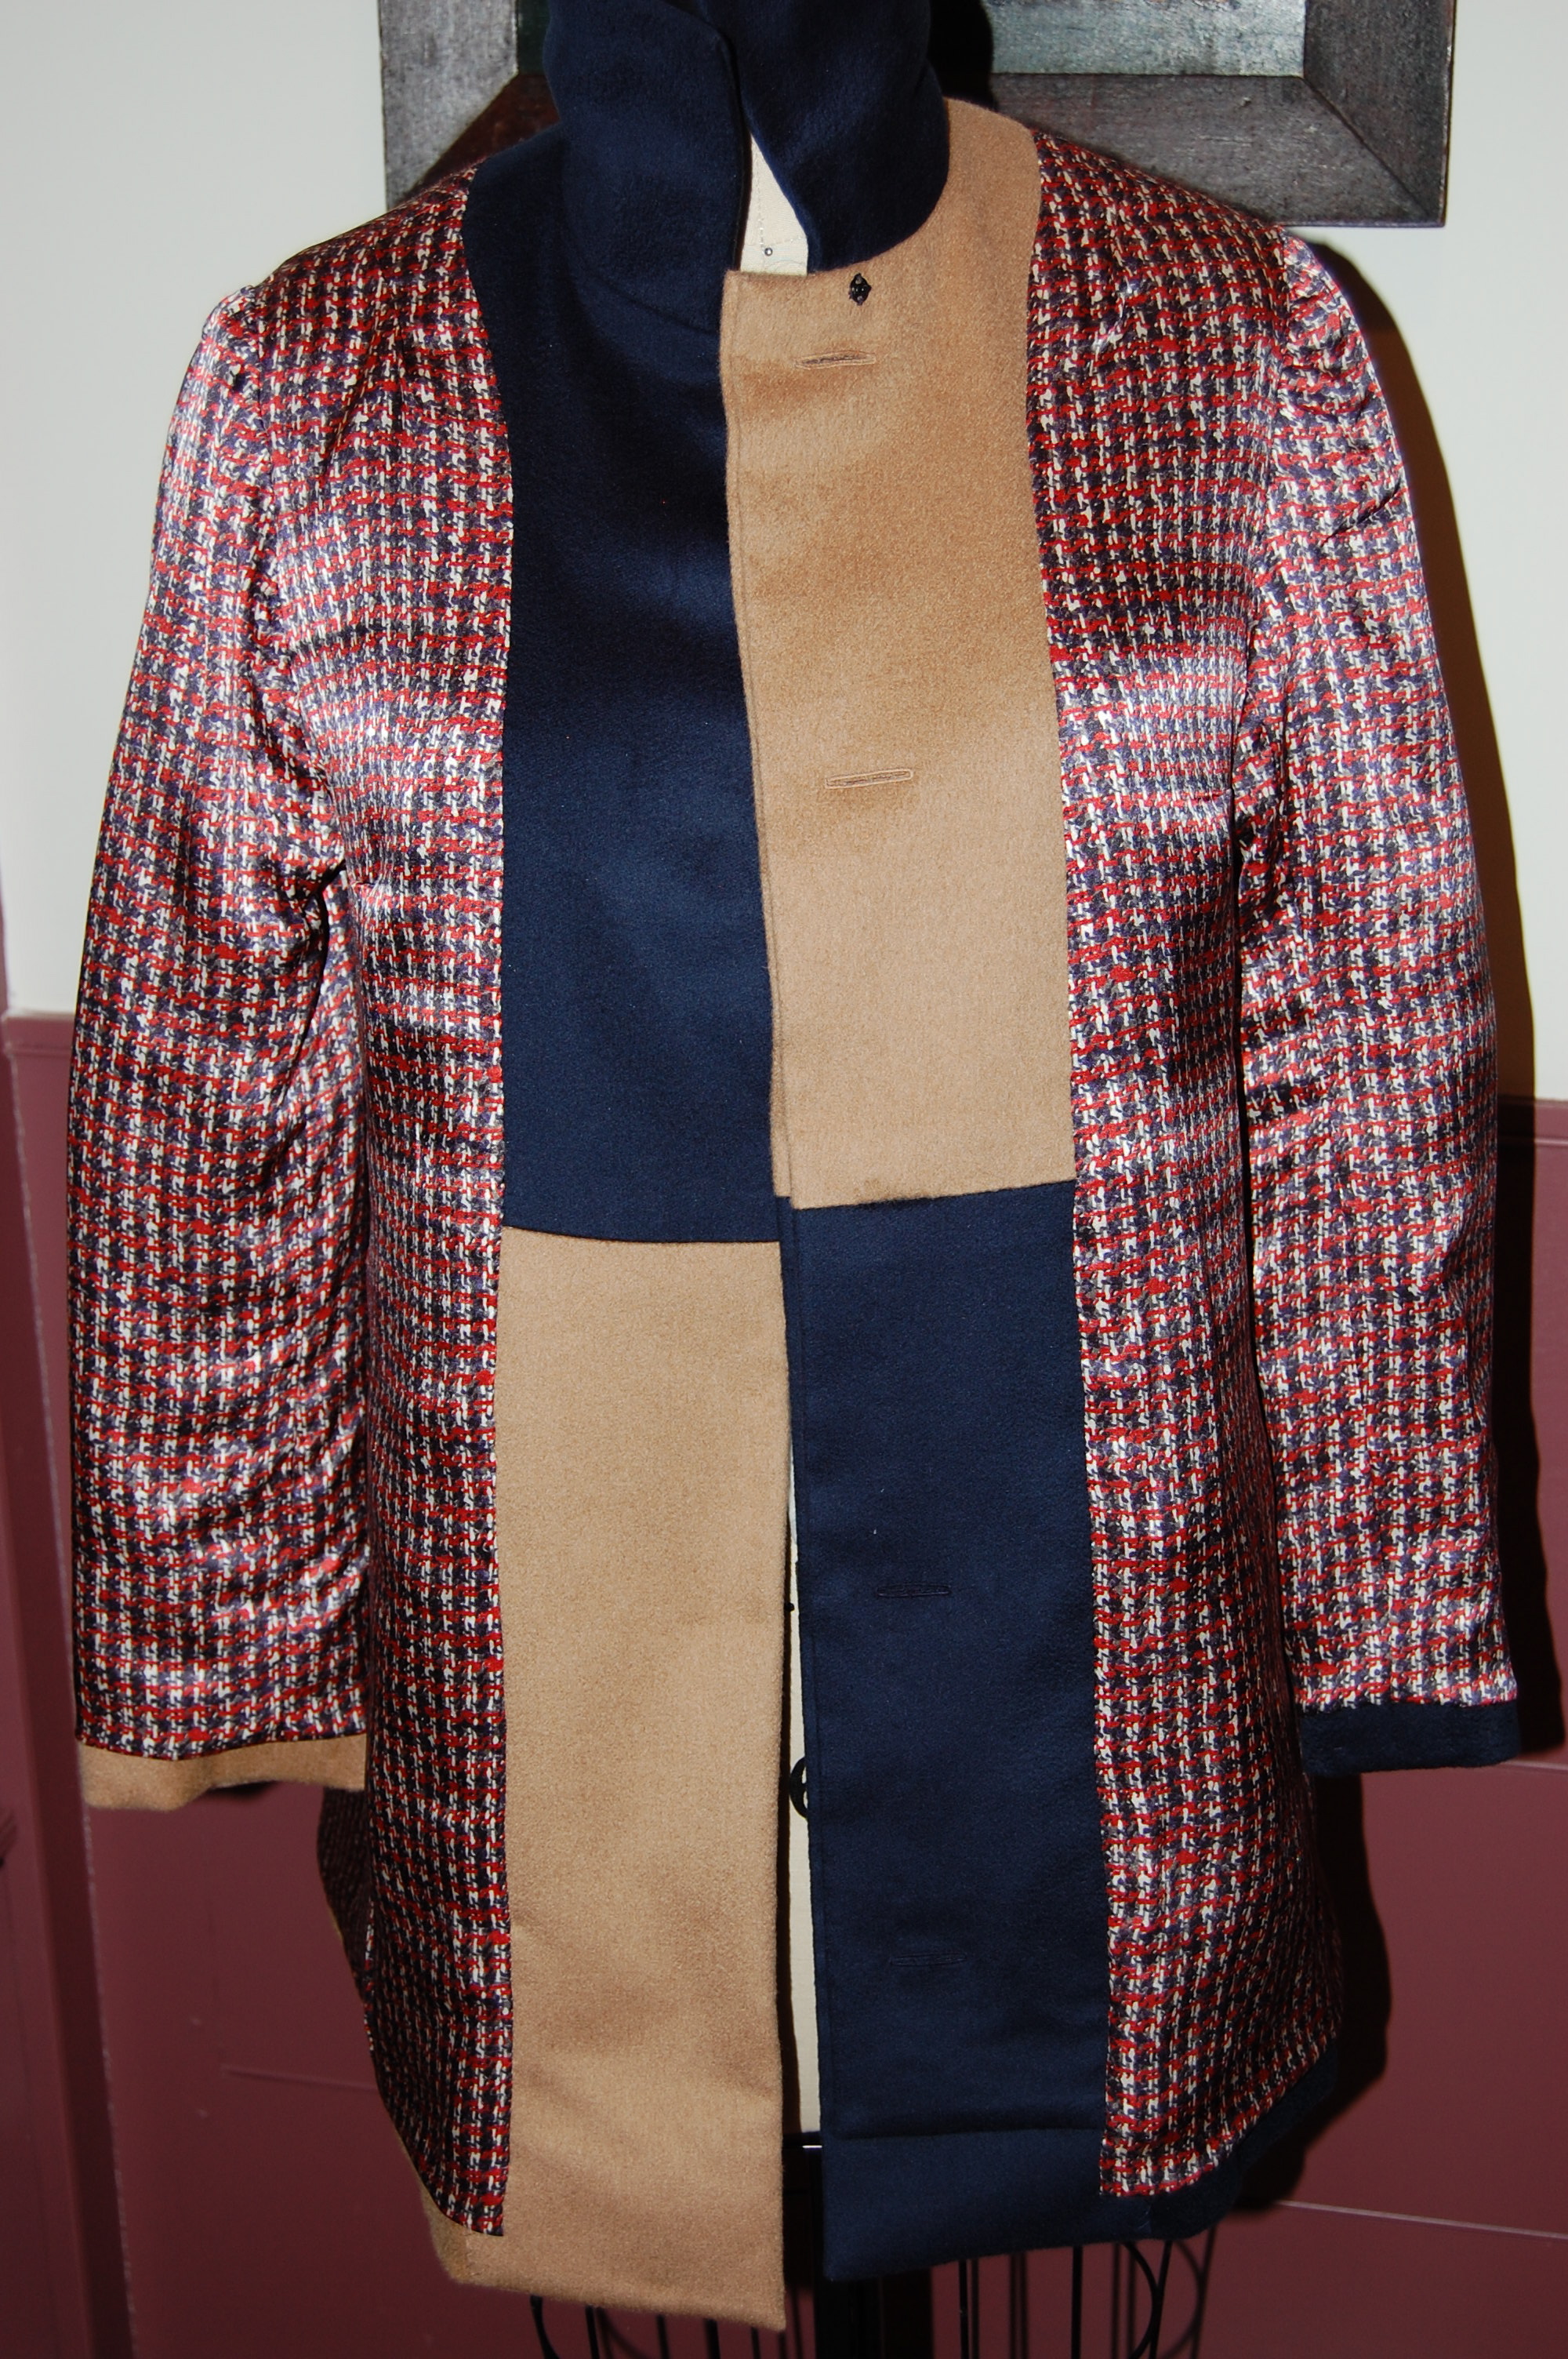
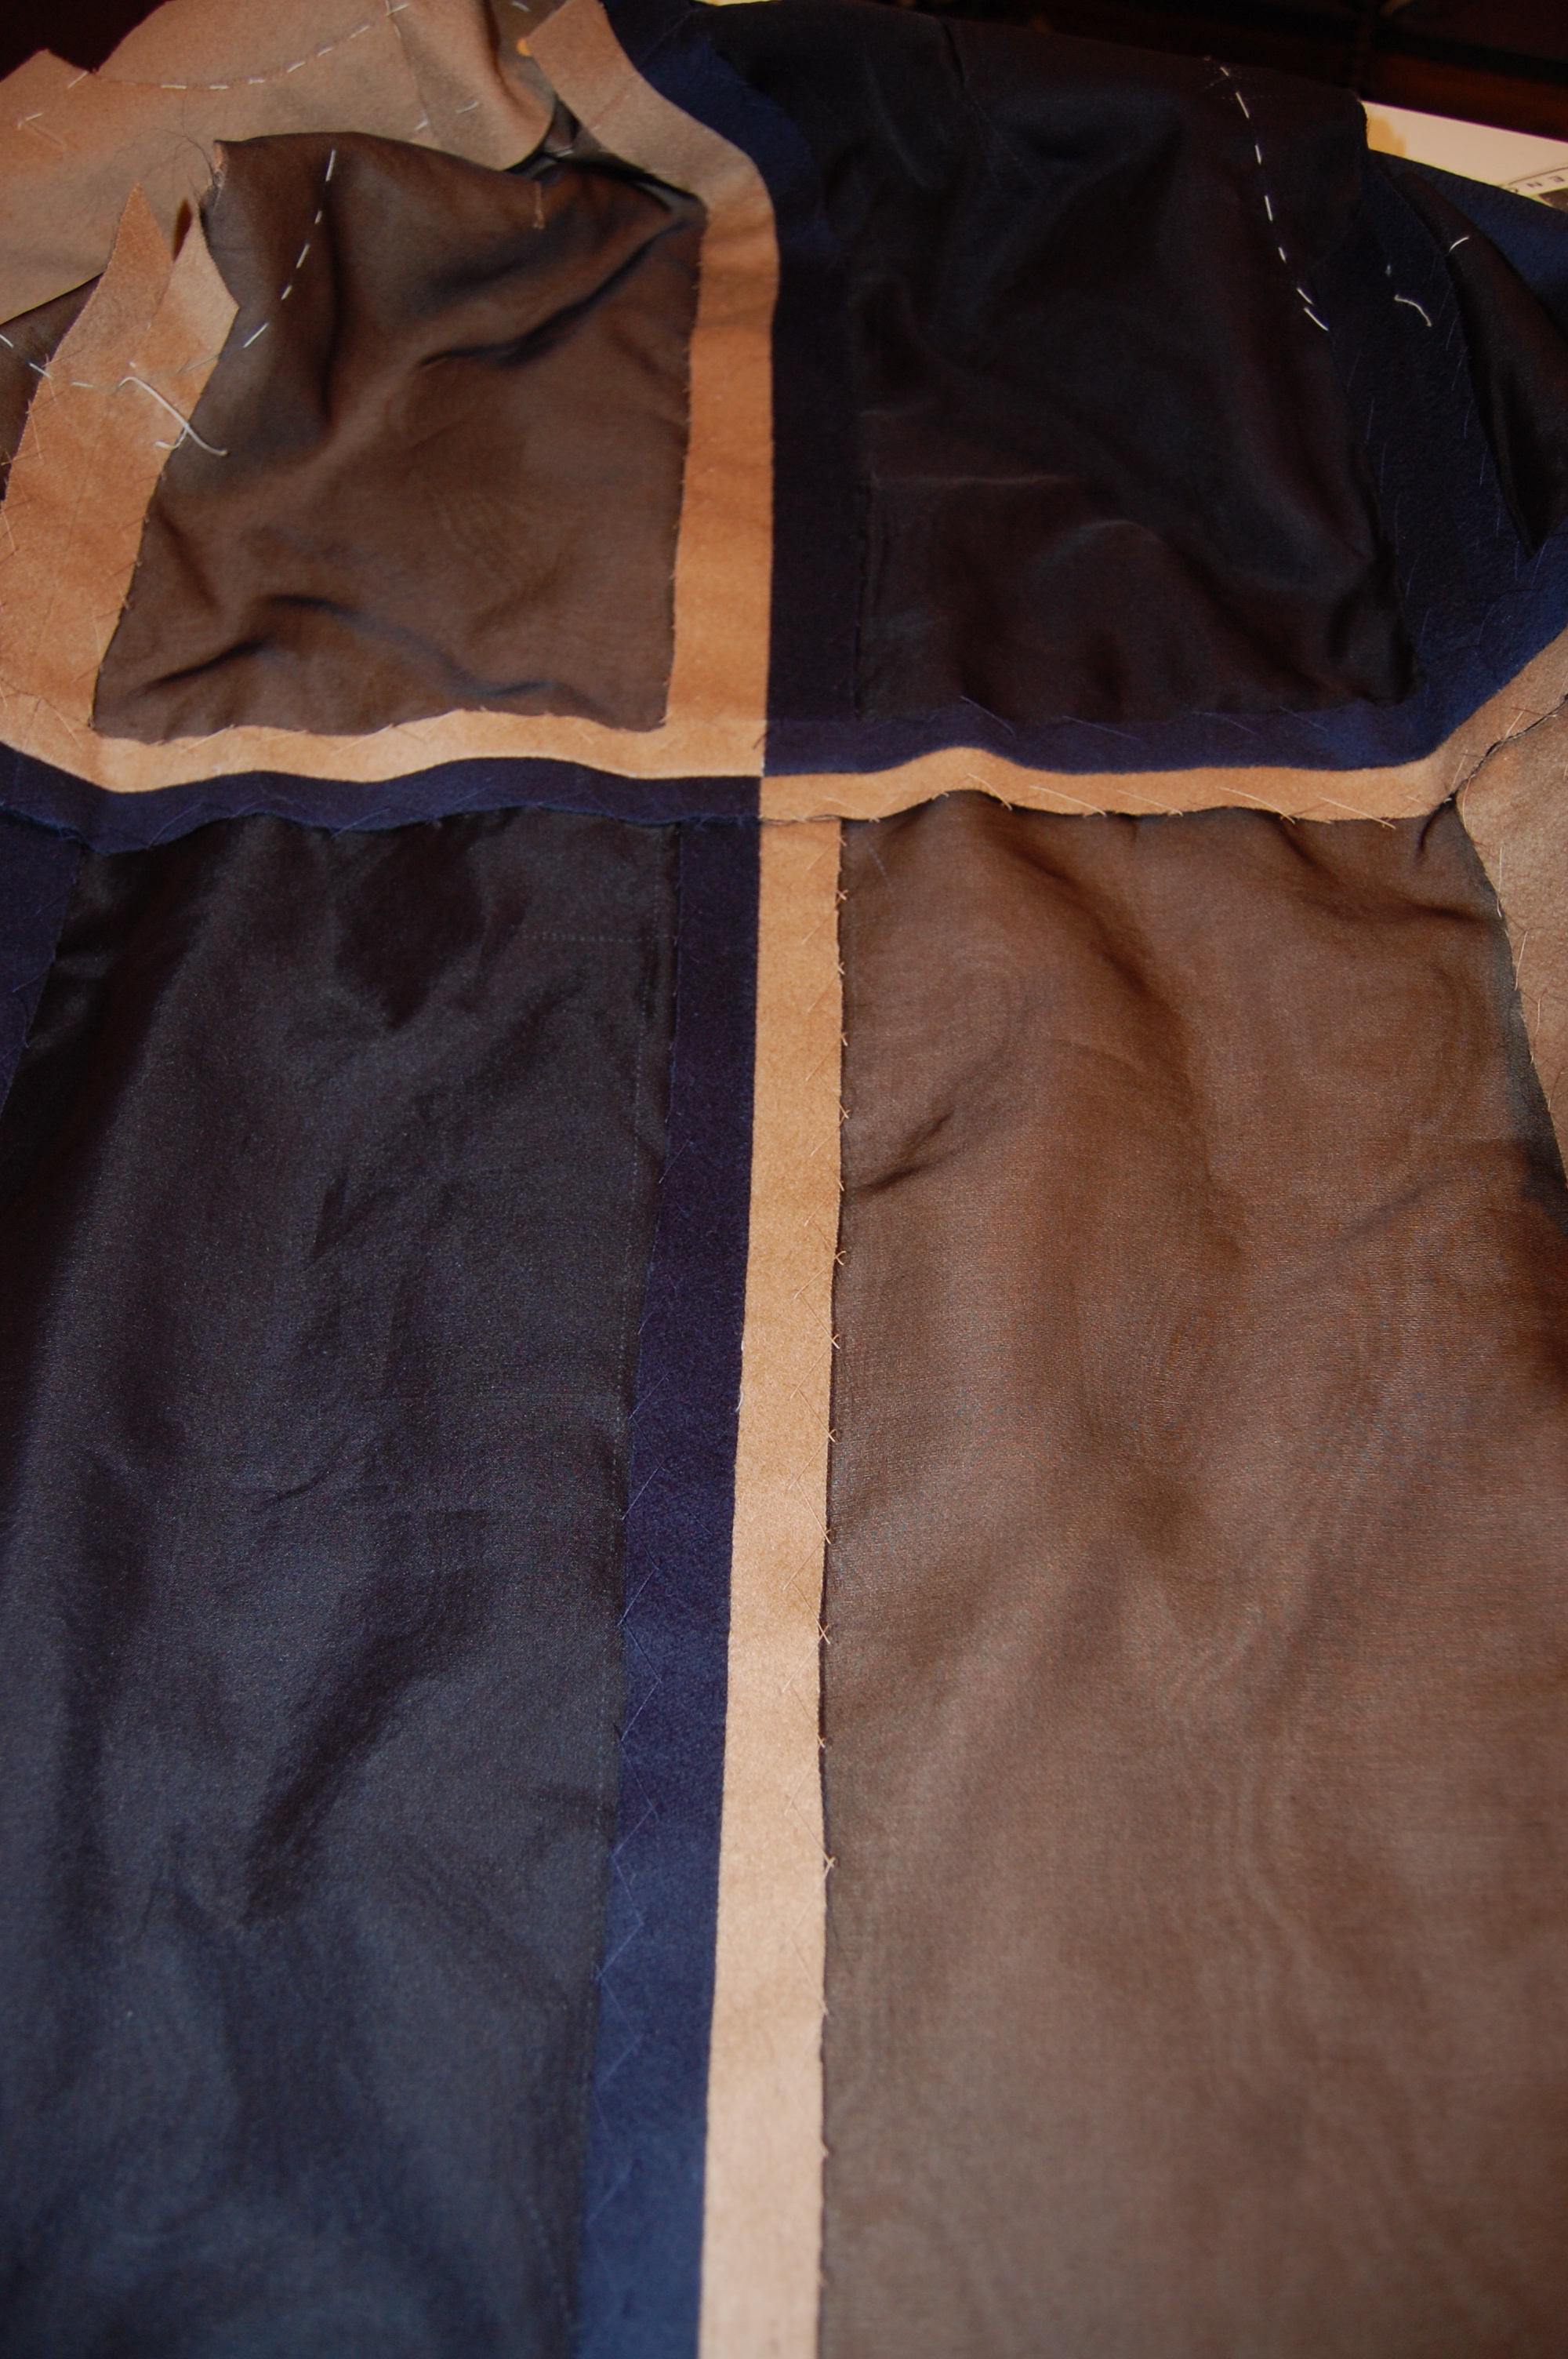
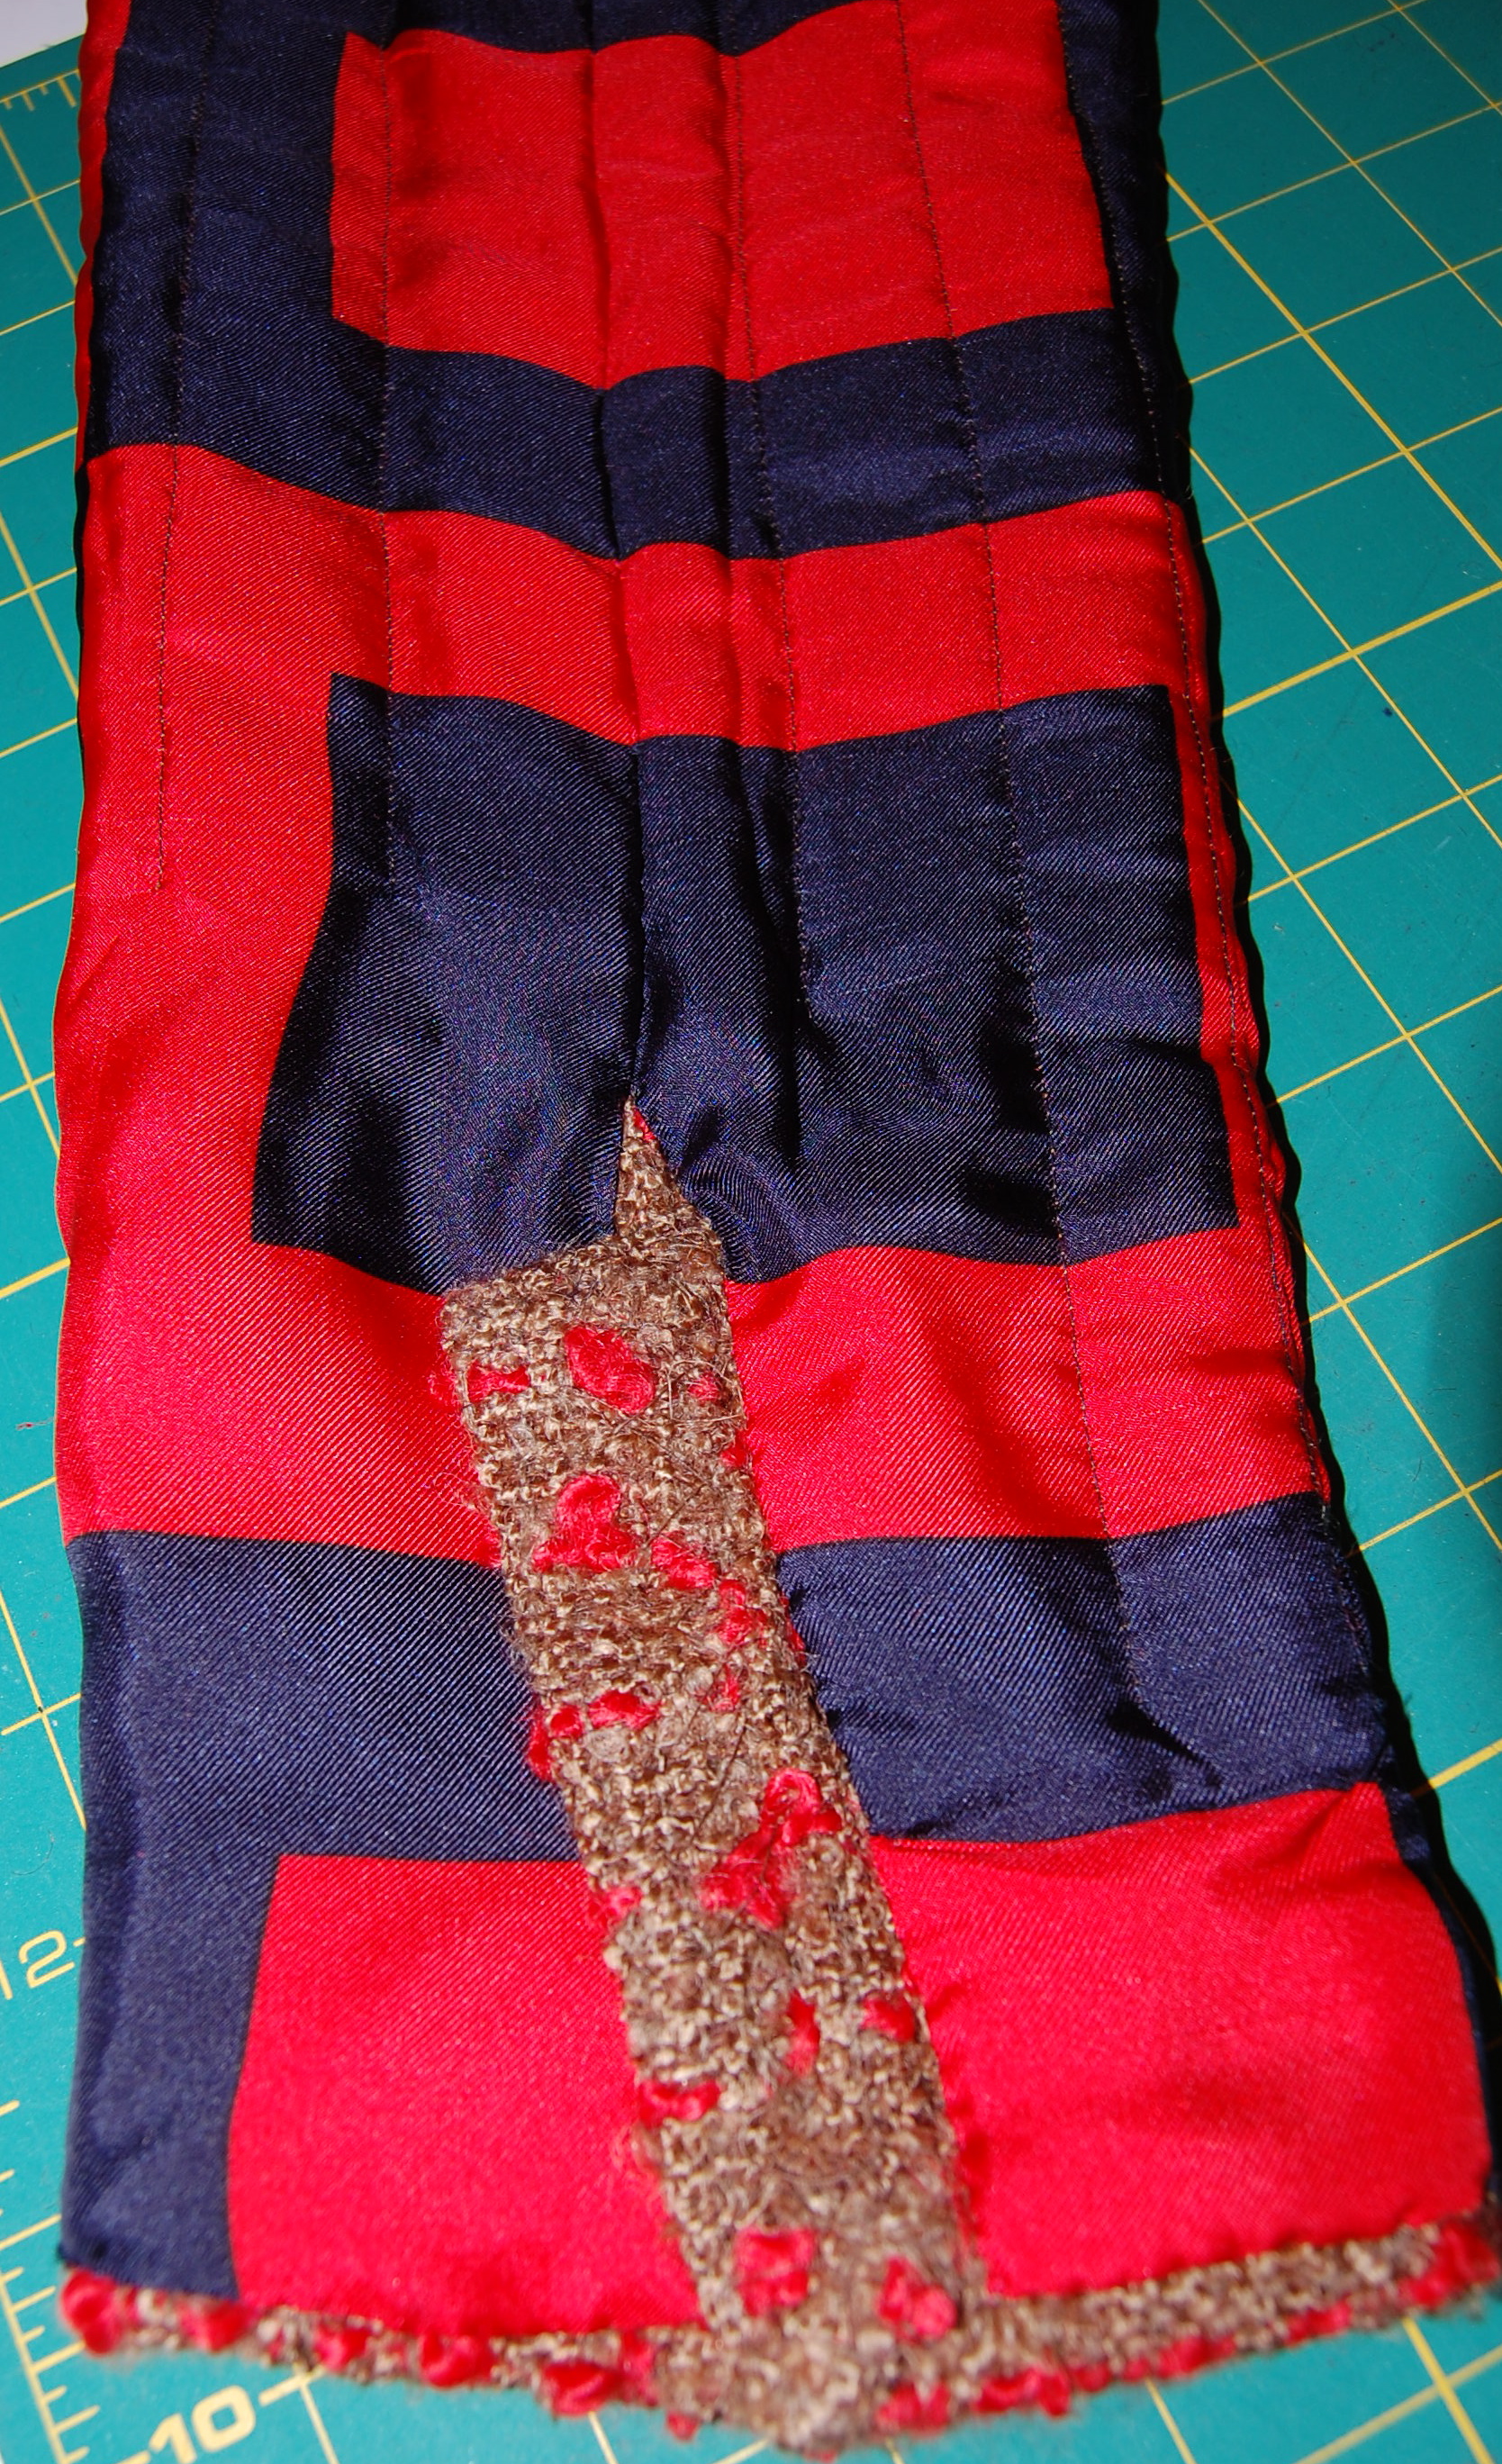
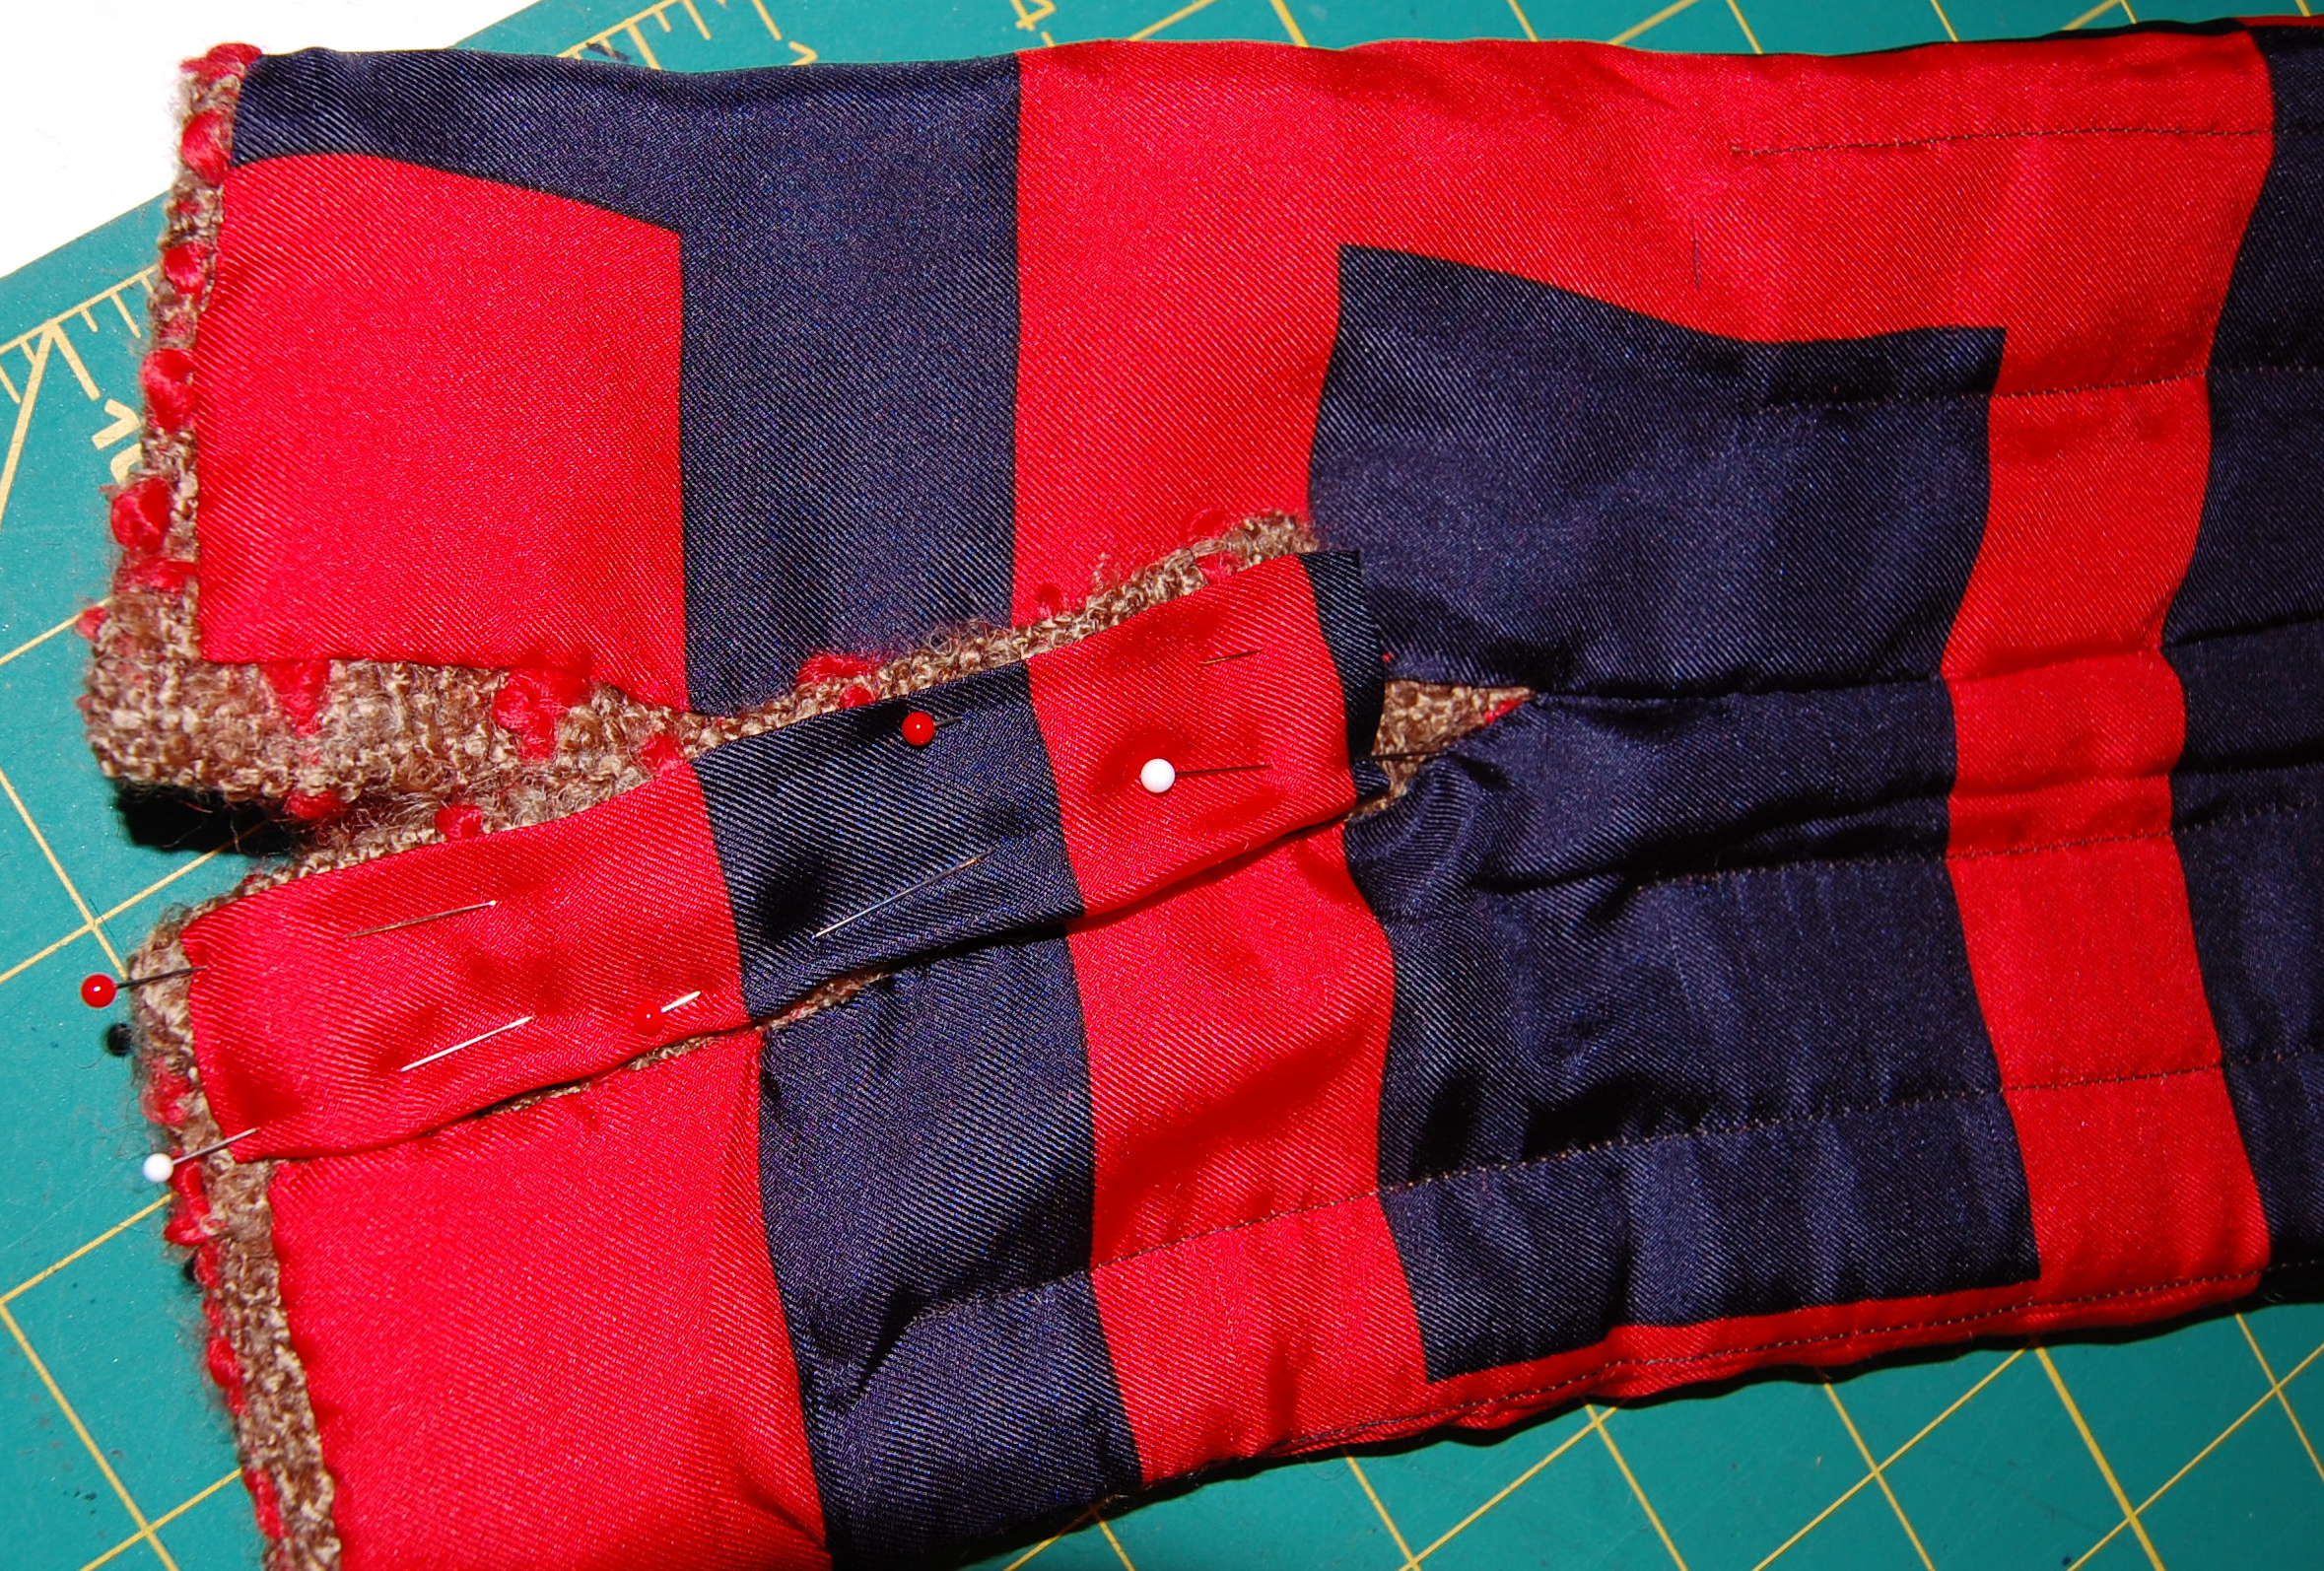
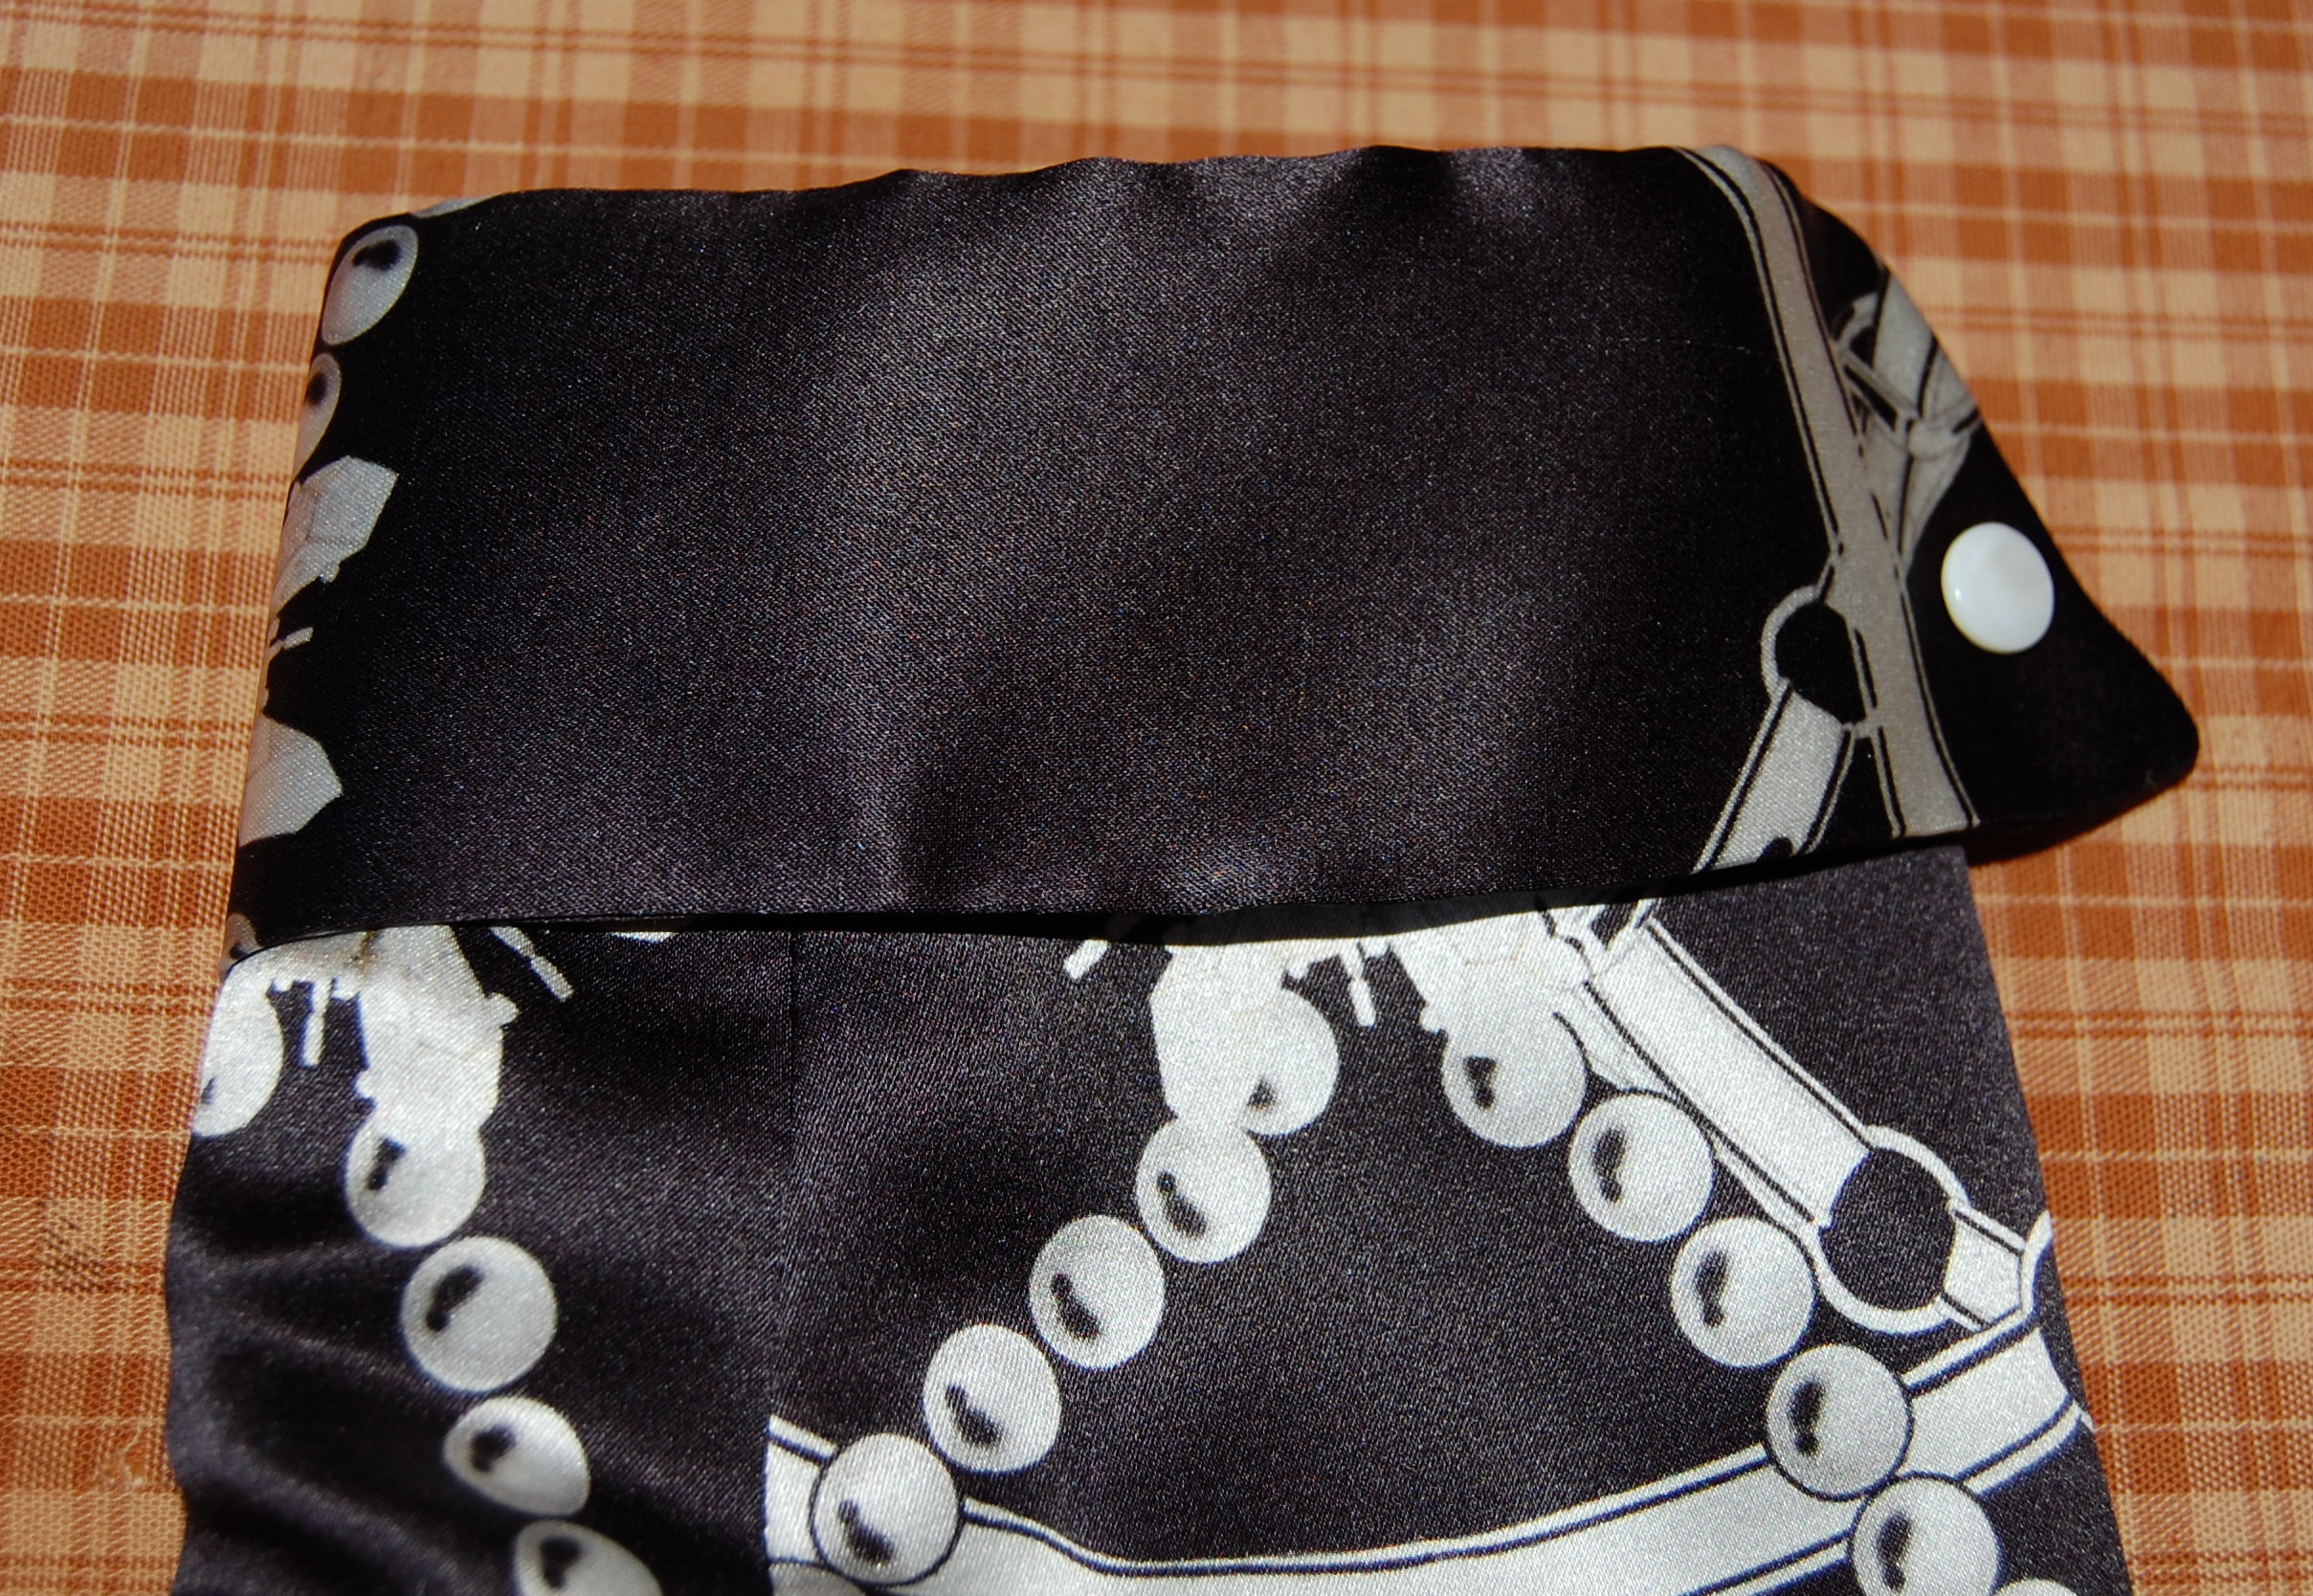
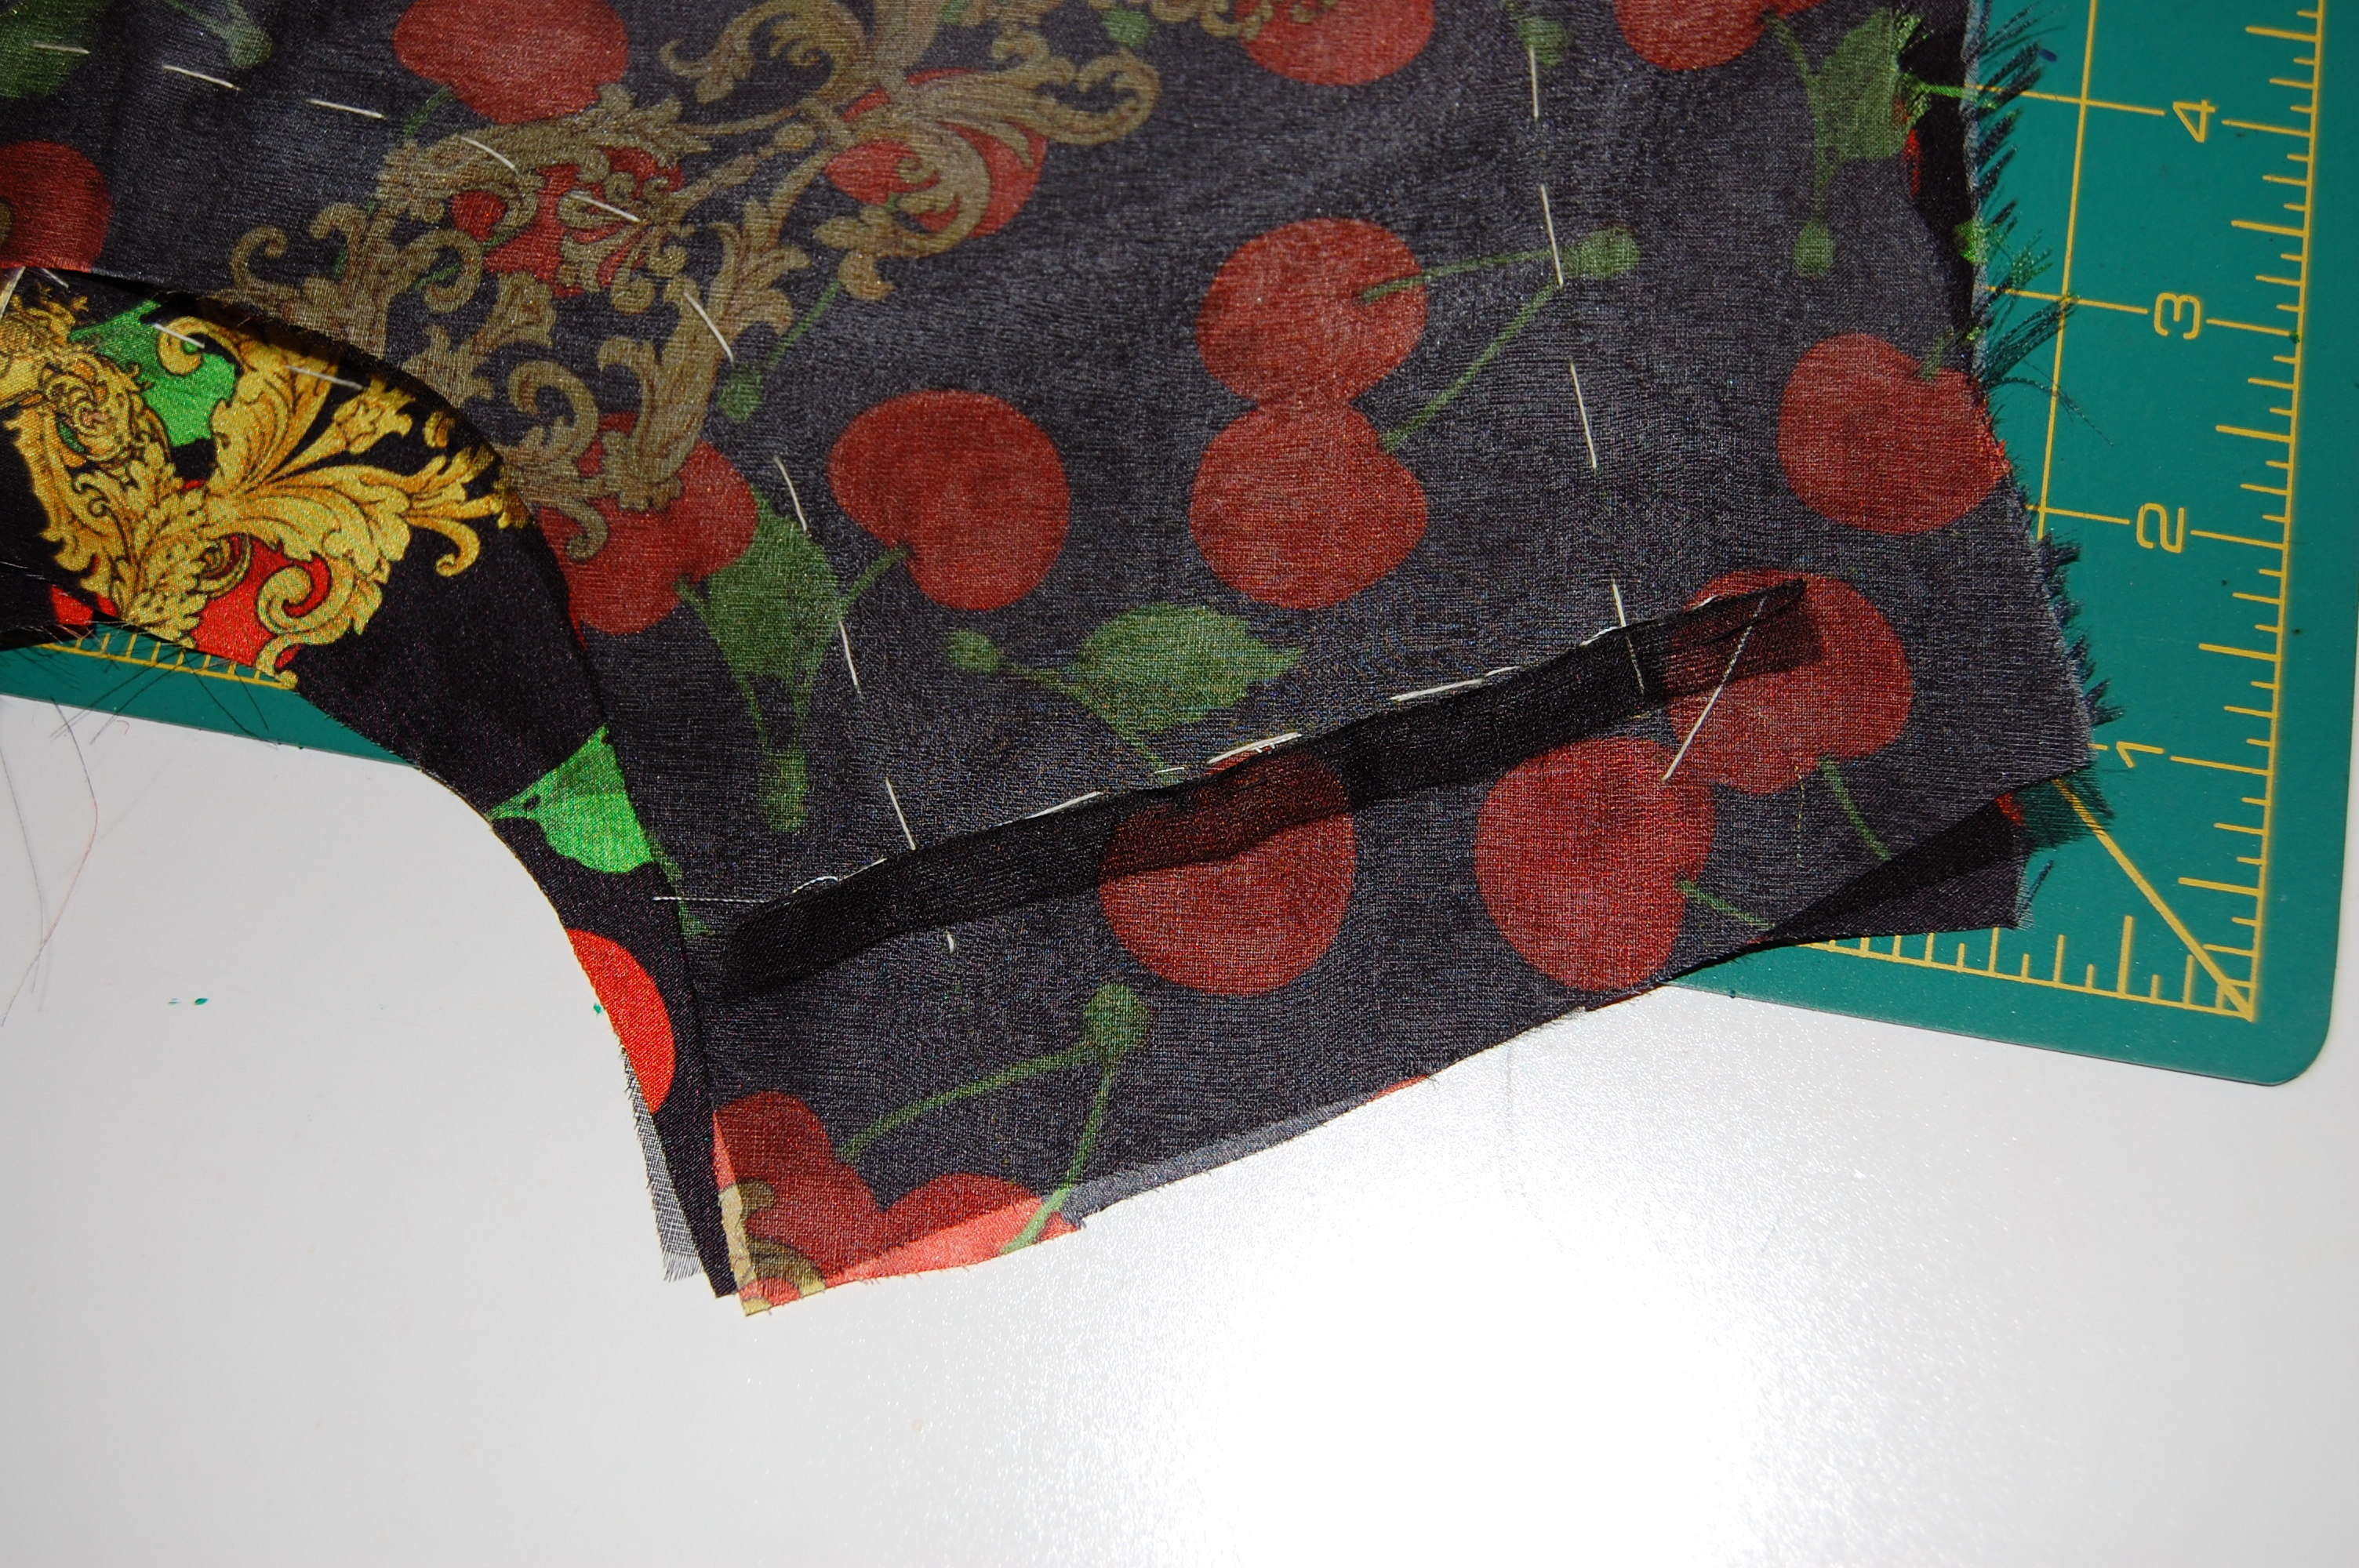
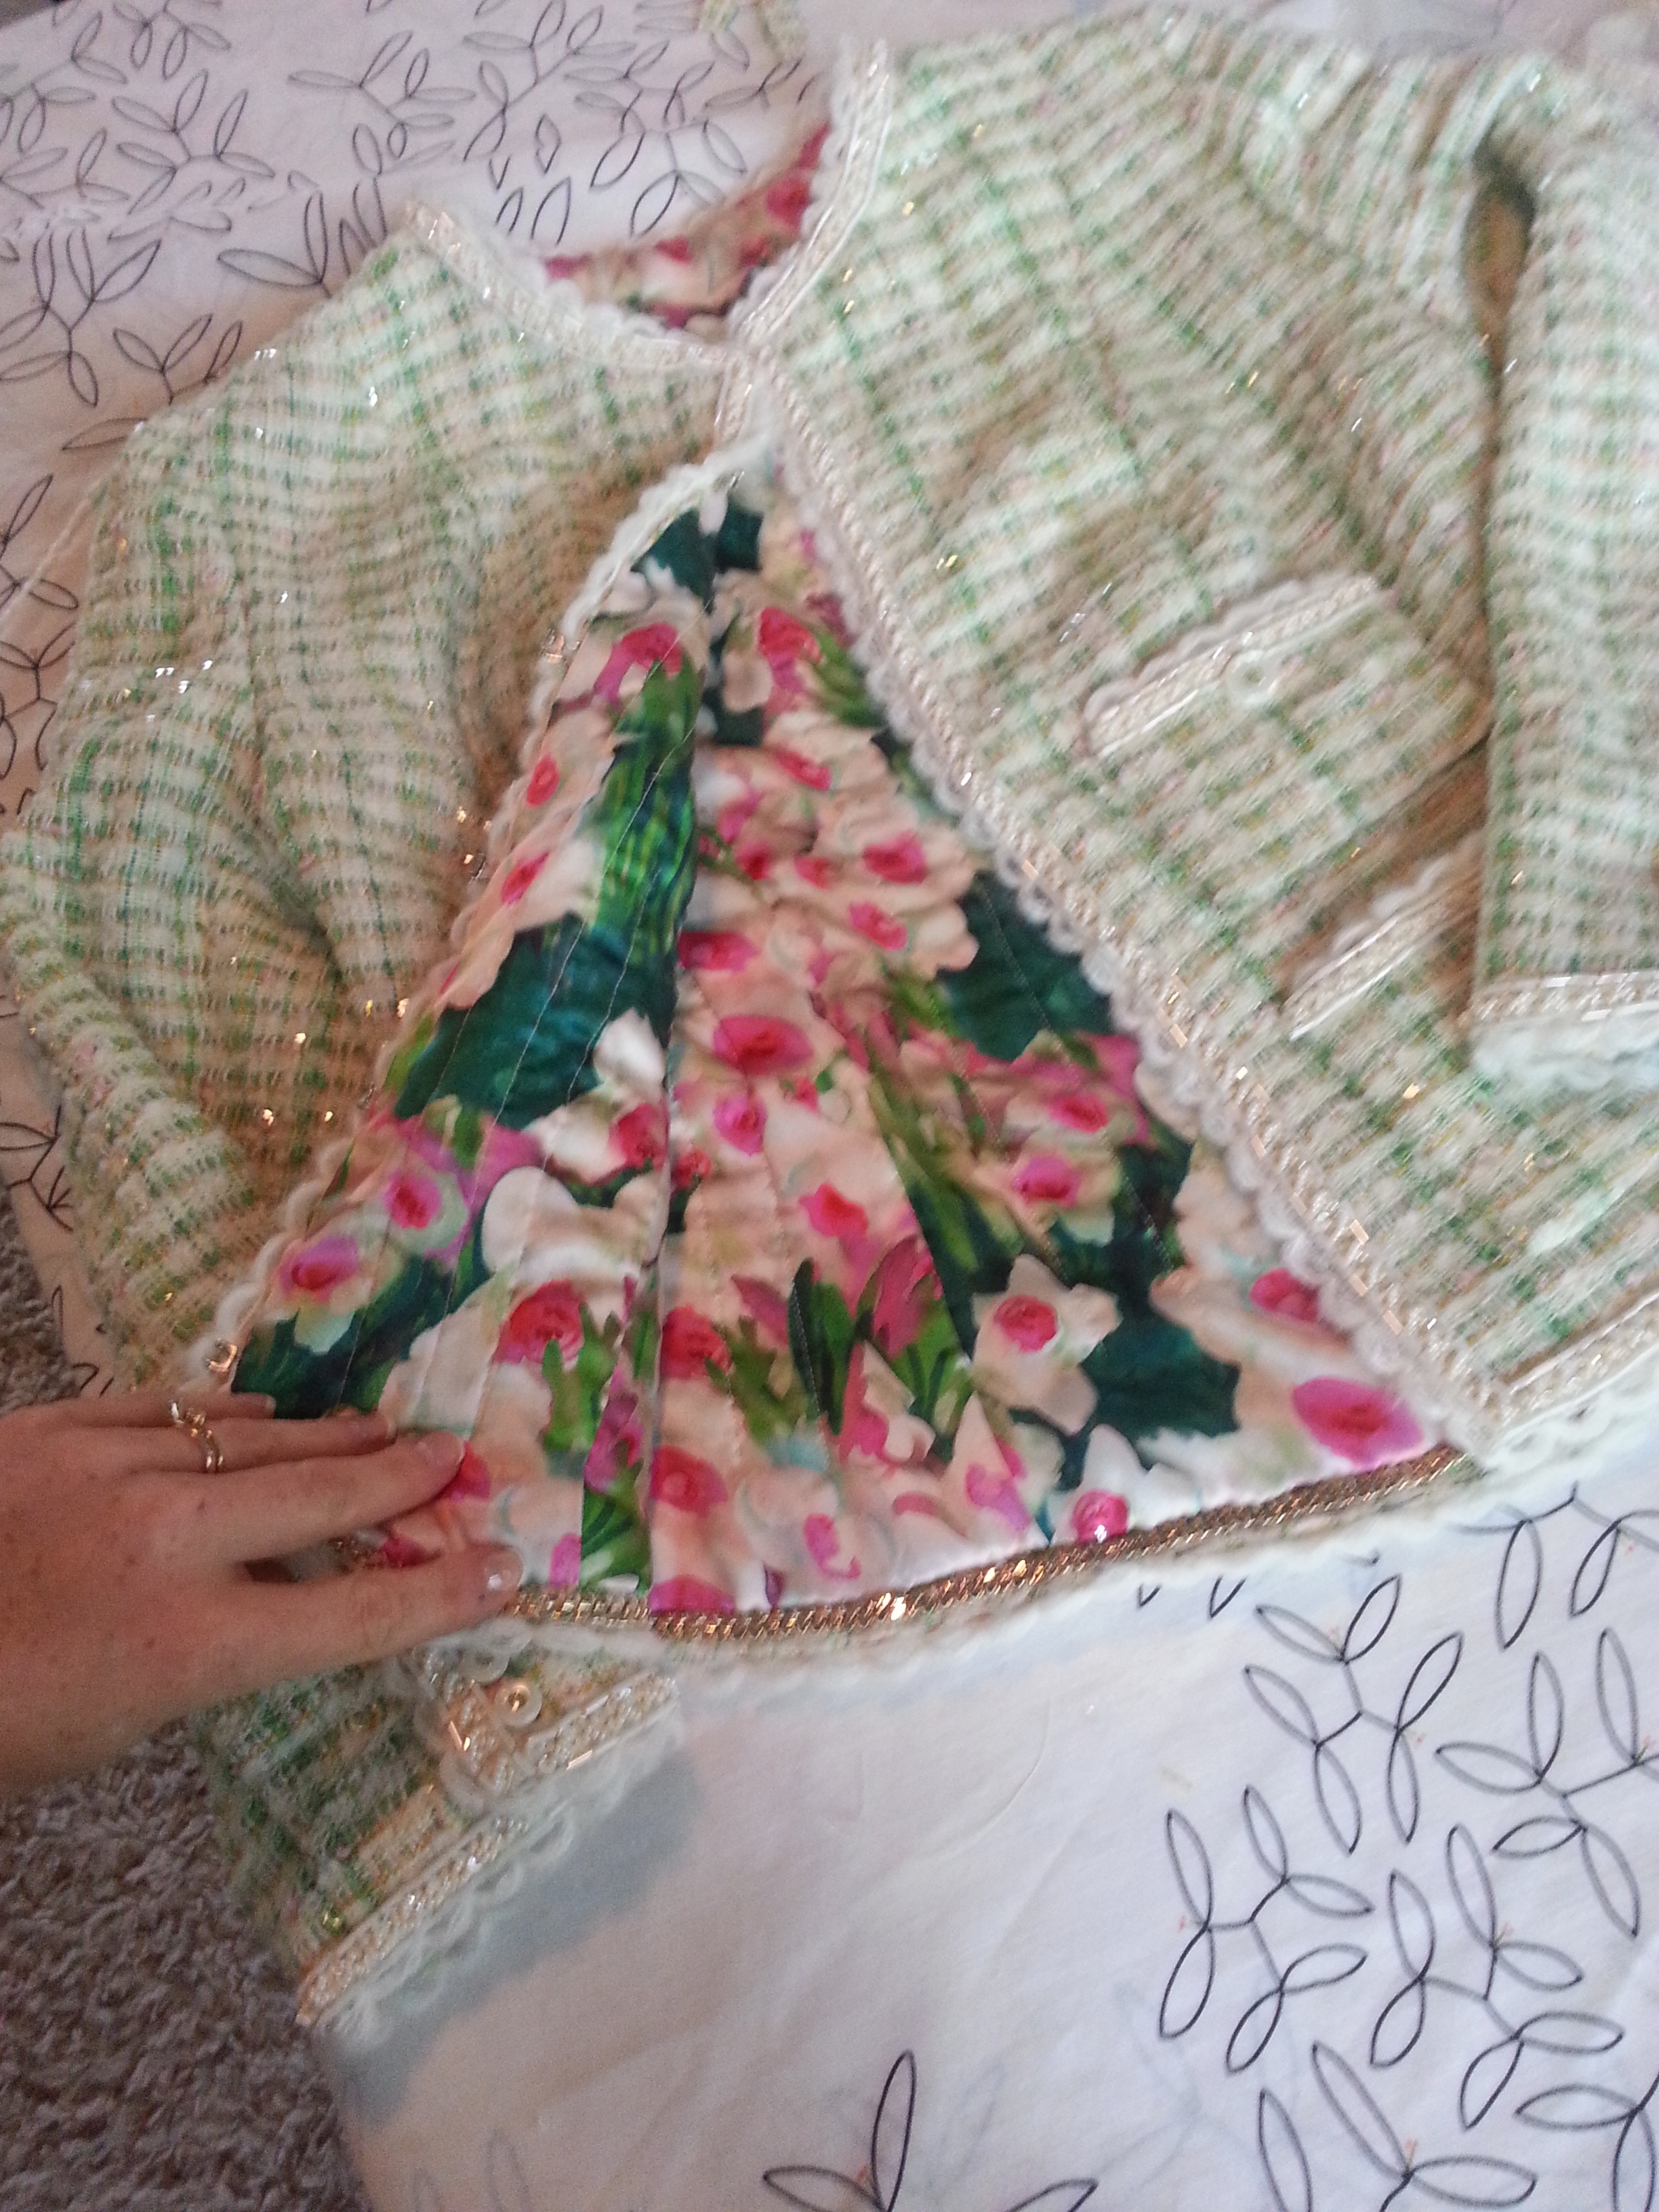
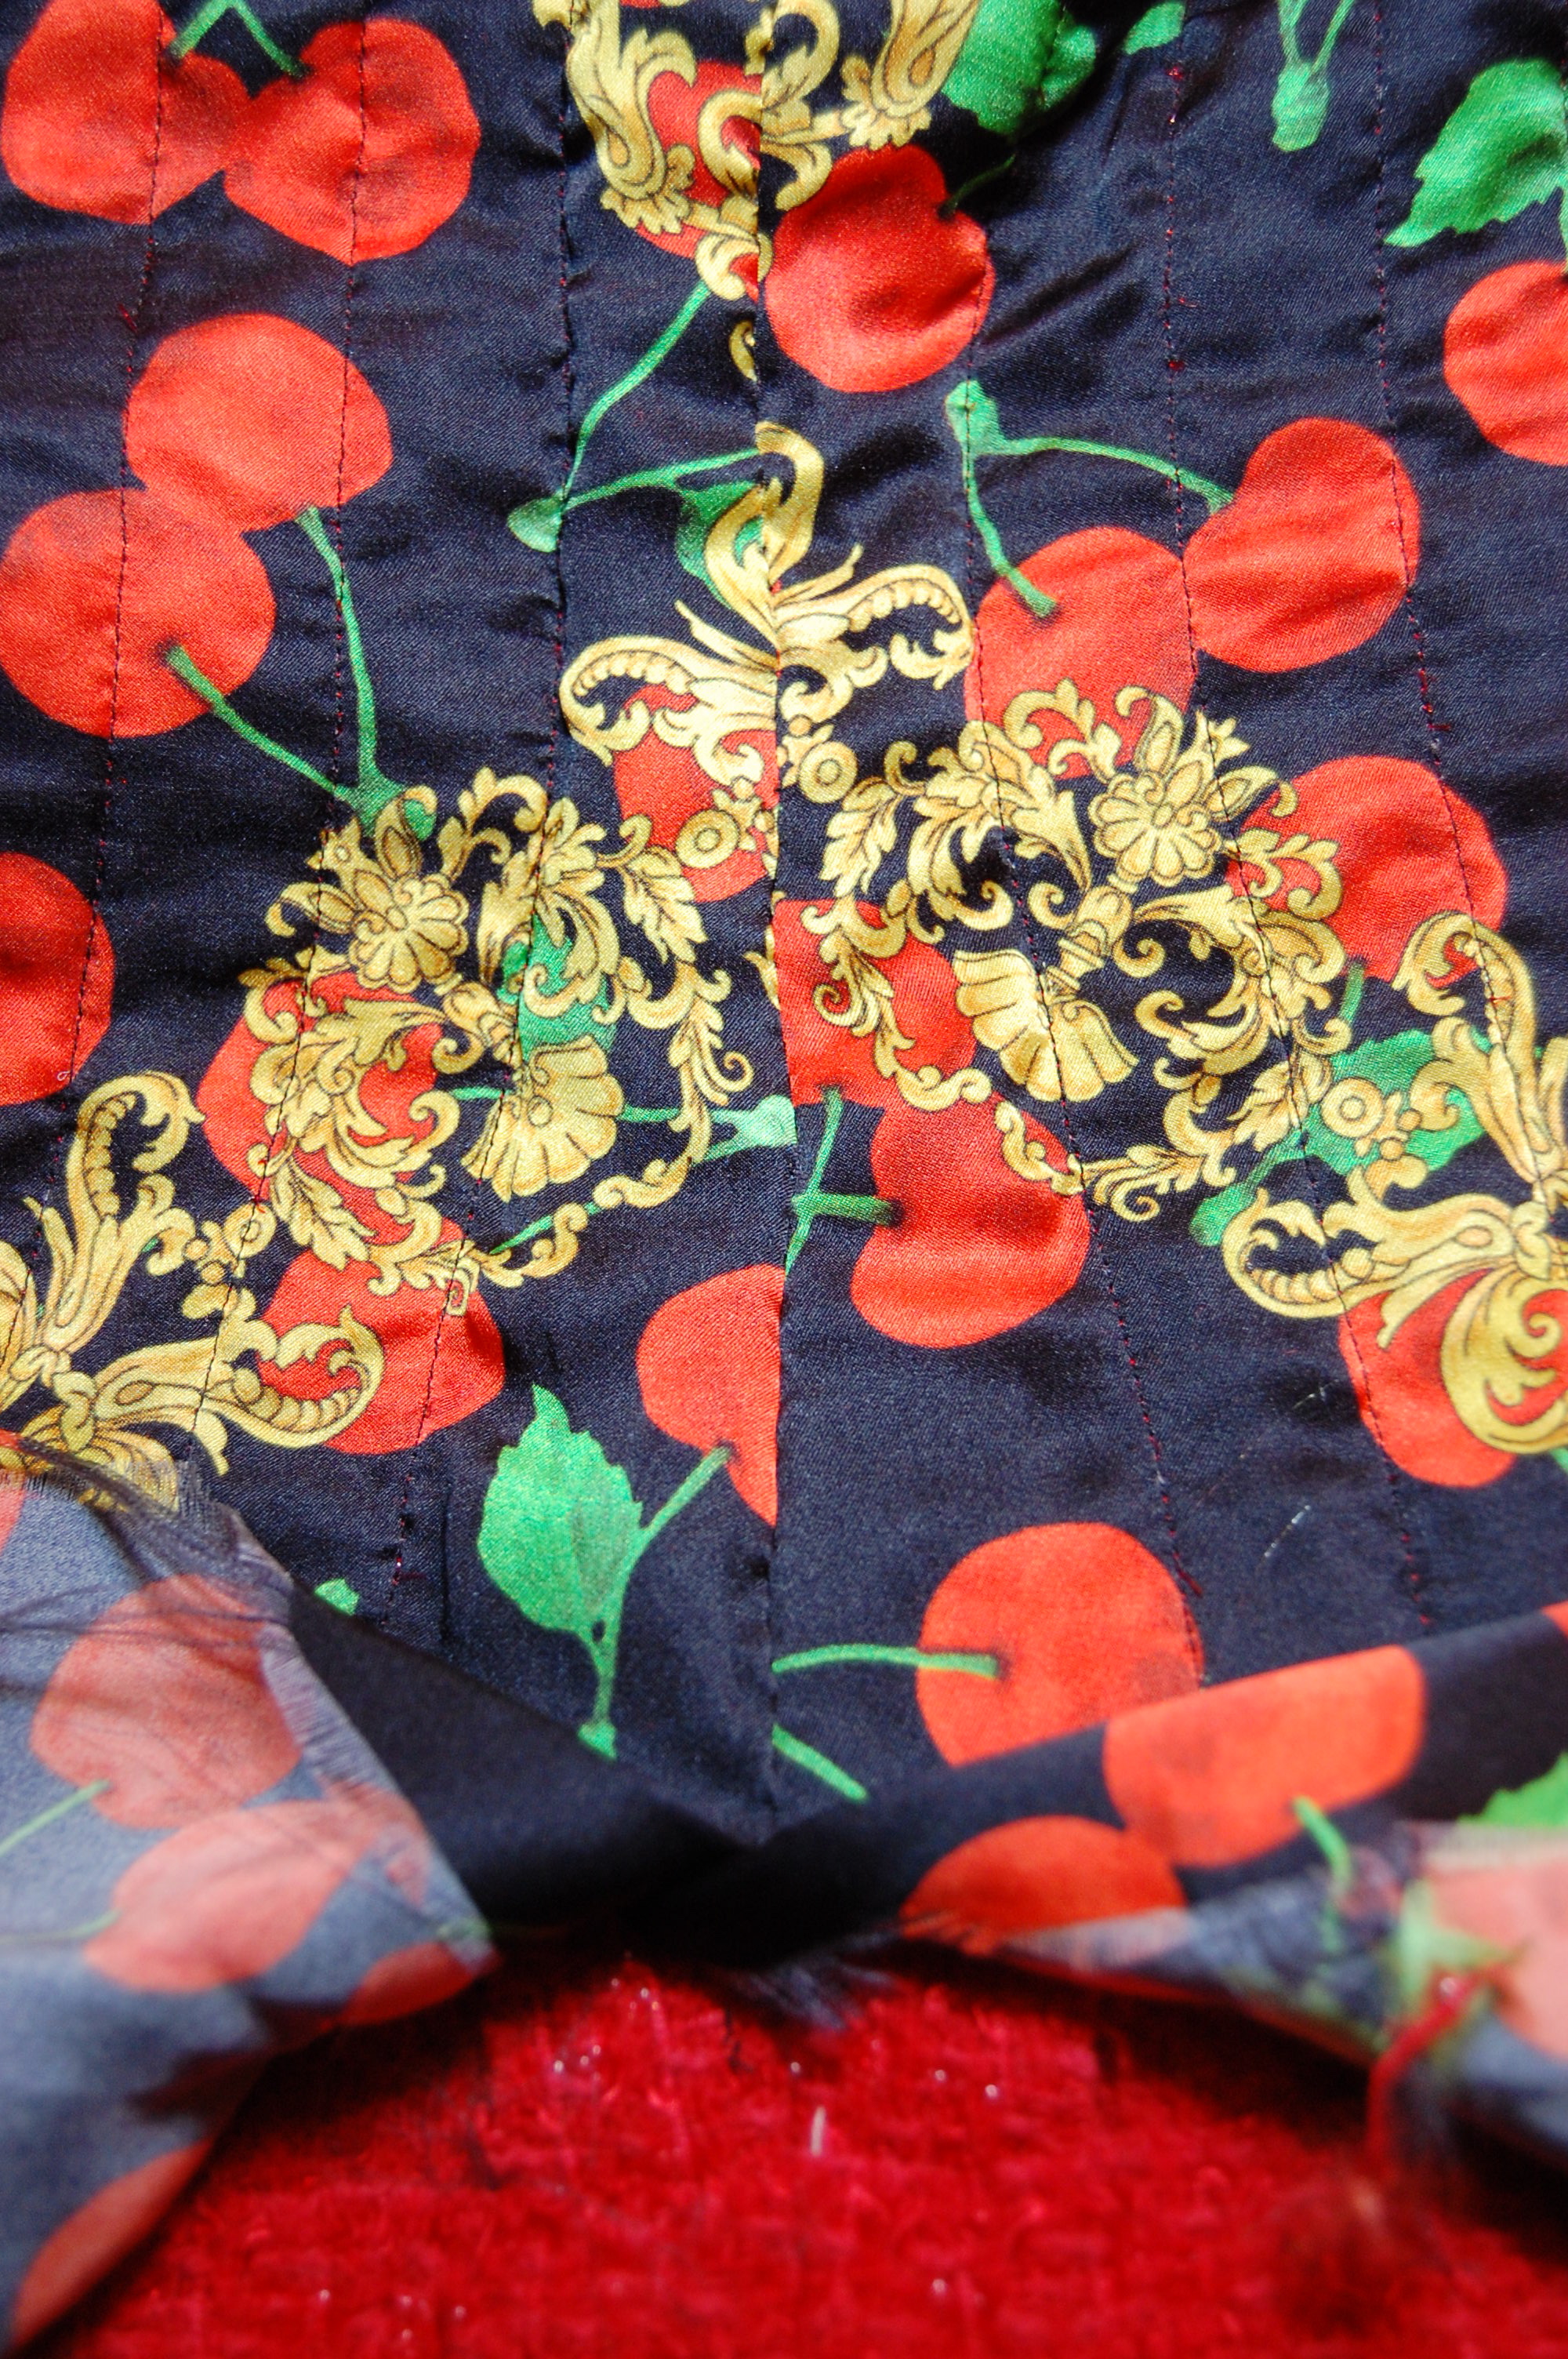
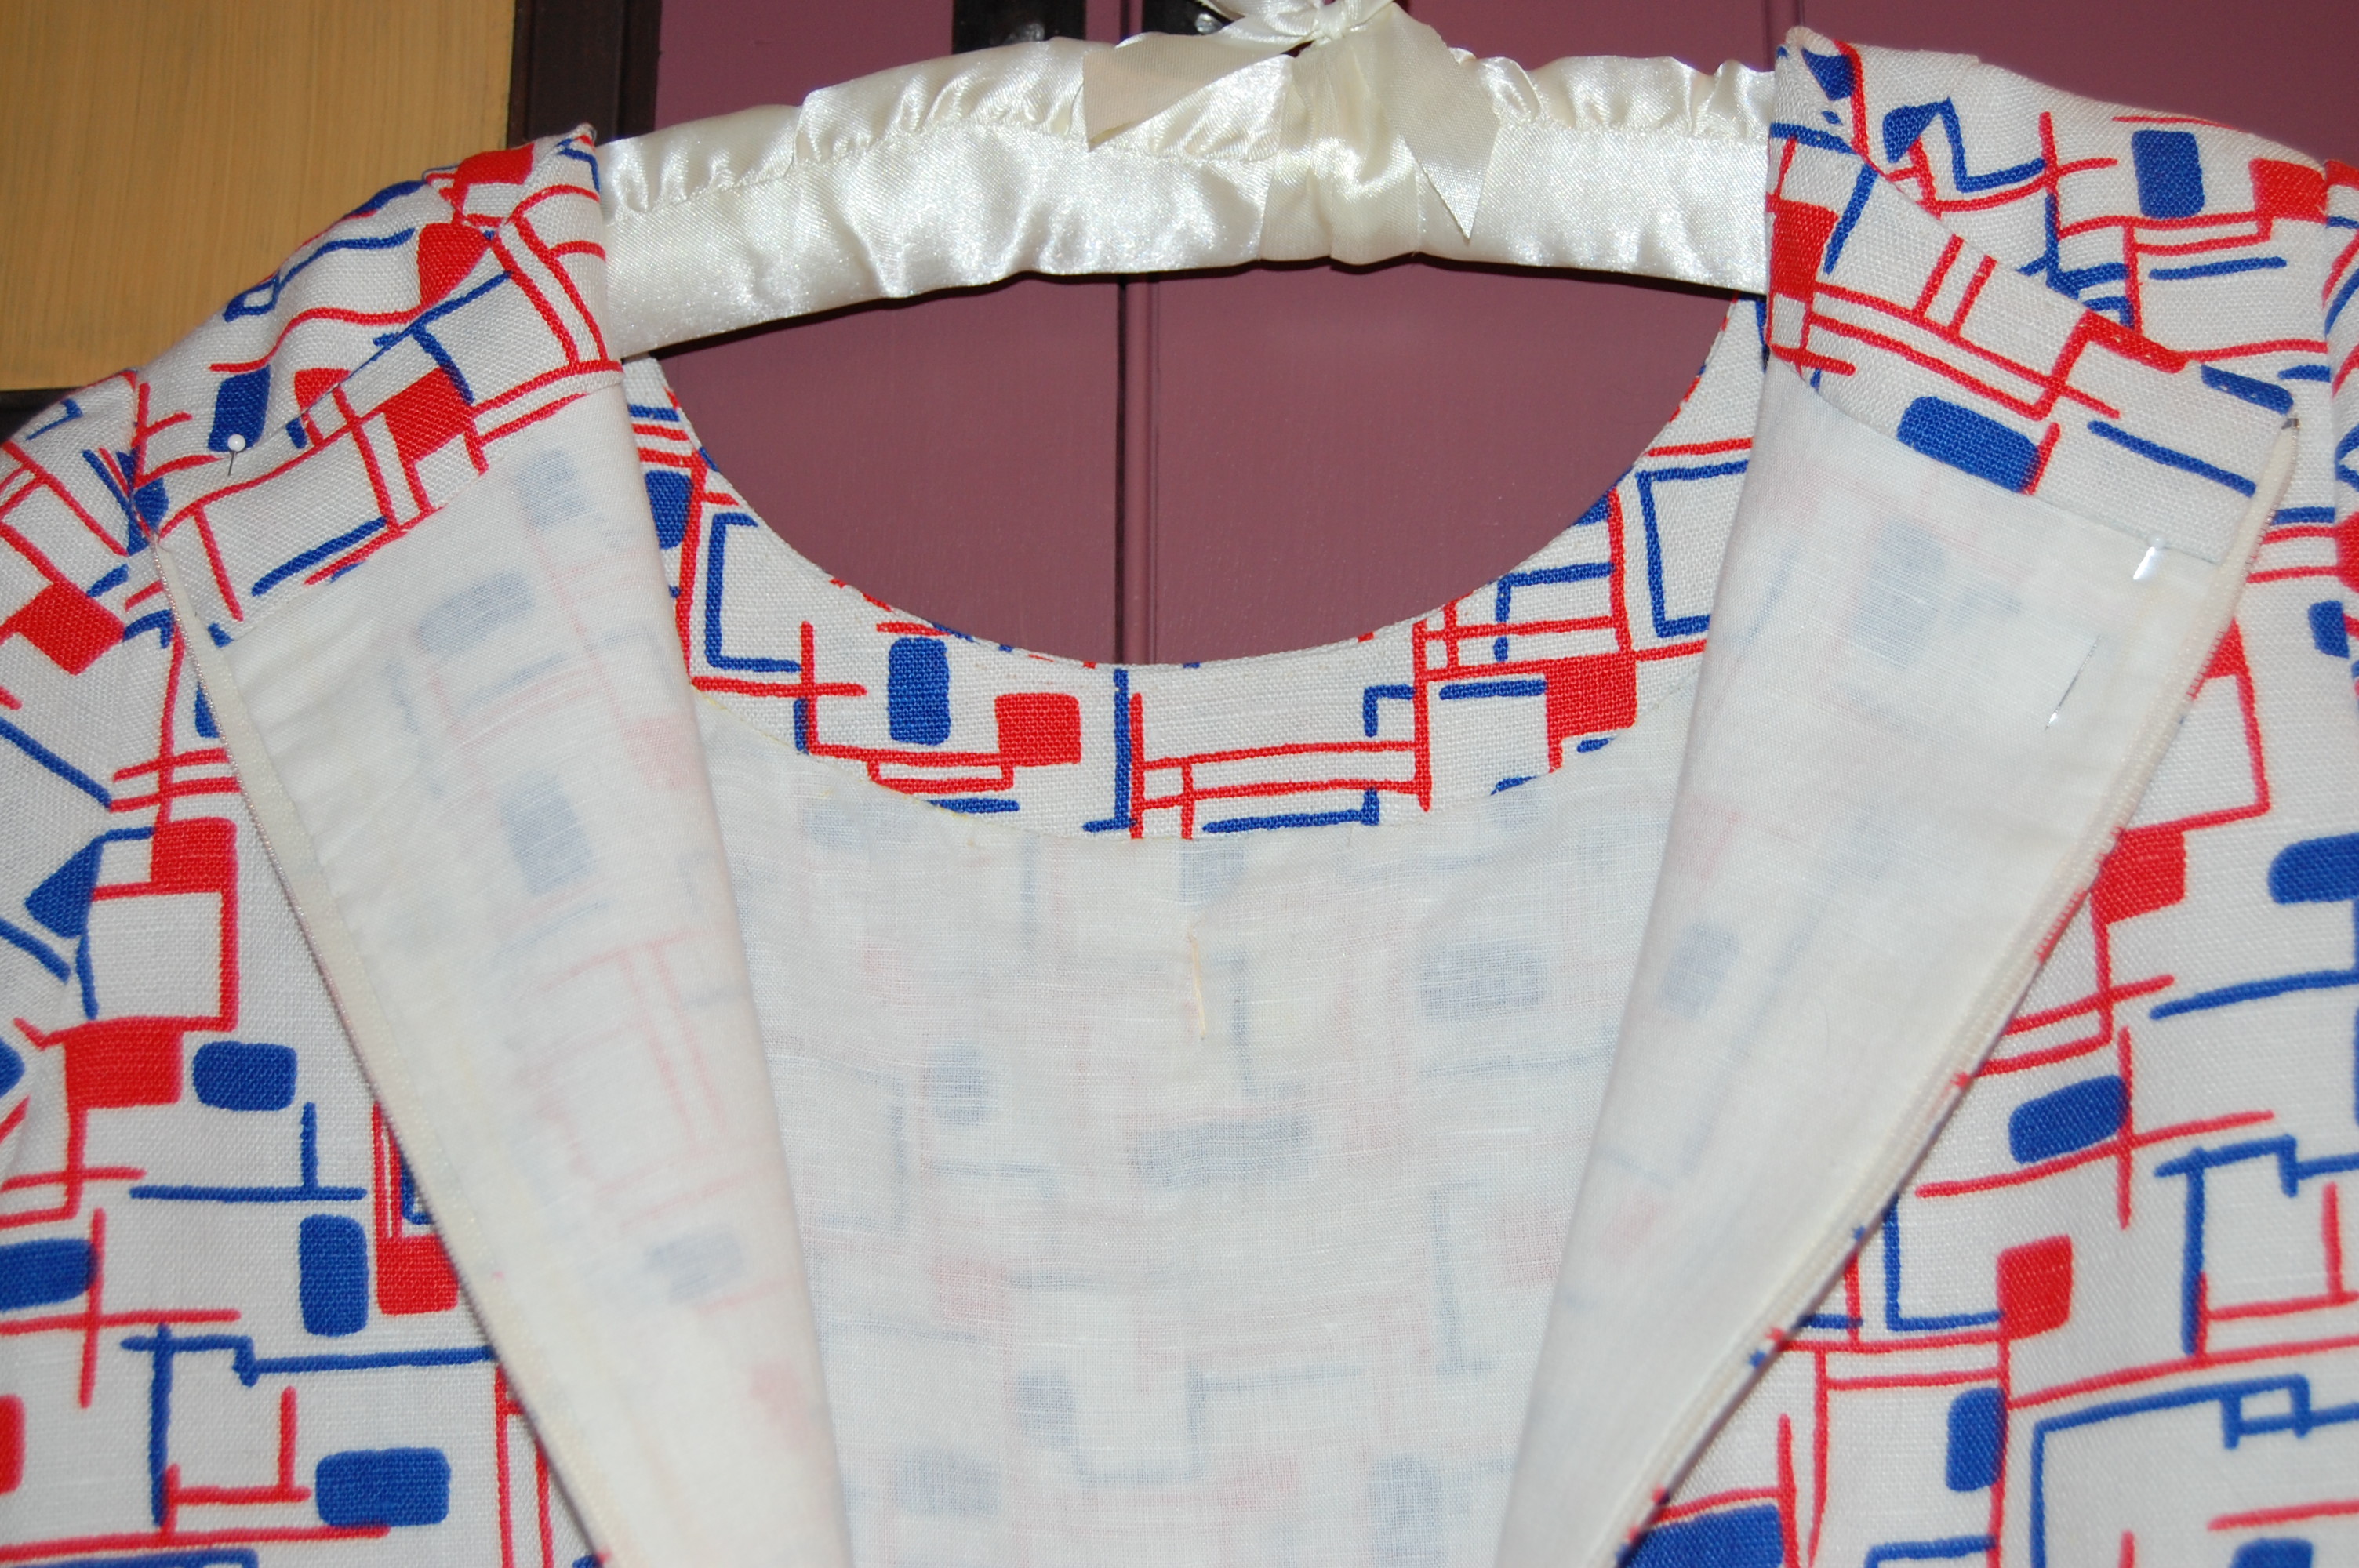
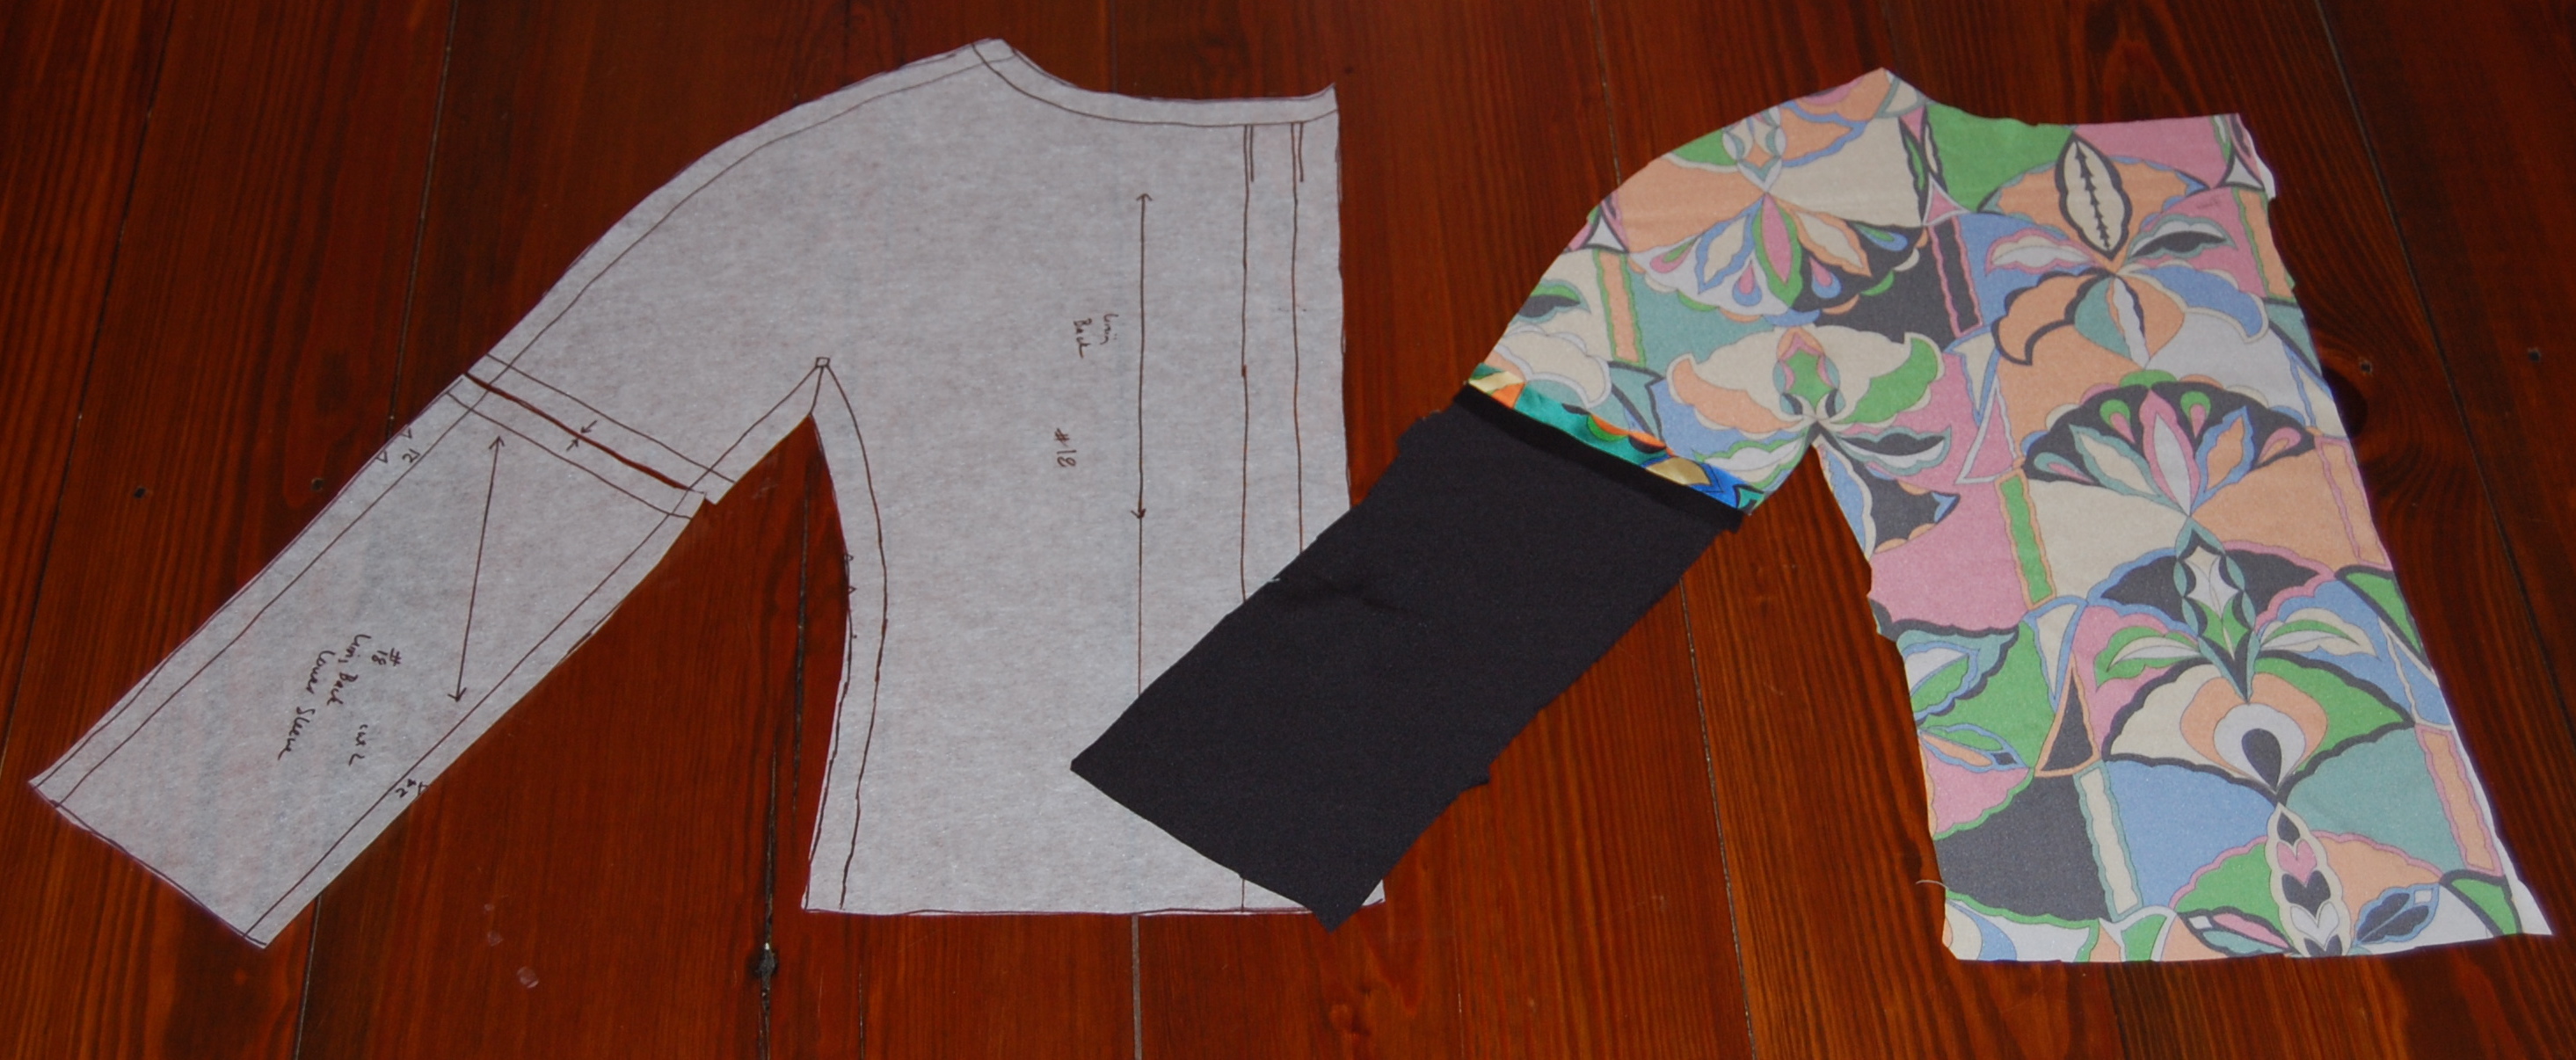
 When I took my new “chopped off sleeve-ends” pattern back to my silk, I was able to fit everything on, including matching the dress yokes to the body of the dress. I checked and rechecked all the pieces. Then I took a leap of faith and cut it out. Although I am currently working on the dress, I wanted to see how the “new” sleeves, with their pieced ends, would look. So, here is one lining back section assembled, with its lower sleeve end added to it.
Am I positive this will work and not look glaringly – like I didn’t have enough fabric? Not really. I’ll know soon enough, however. In the meantime, I am enjoying every minute I spend with this Pucci silk. Eat your heart out, Rumplestiltskin!