And what exactly is glamour? A recent quote by Carolina Herrera – “It’s important for women to feel glamorous and feminine but always themselves” – prompted me to look up the definition of the word “glamour” – and I was surprised by what I found. Here is how Webster’s defines it in its noun form: 1) the quality of fascinating, alluring, or attracting, esp. by a combination of charm and good looks 2) excitement, adventure, and unusual activity, like the glamour of being an explorer 3) magic or enchantment; spell; witchery. And then there is the definition of “glamorous”: 1) full of glamour; fascinatingly attractive; alluring 2) full of excitement, adventure , and unusual activity: to have a glamorous job.
Glamour was the last thing on my mind when I started out on my current coat project. Making a muslin (toile) can be time-consuming and tedious, especially when it shows you that some serious alterations need to be made. Fortunately, my coat muslin revealed only some small changes to the shoulder of my raglan sleeve coat, compensating for my square shoulders. My go-to book to guide me through these complexities is Fitting and Pattern Alteration, by Liechty, Rasband, and Pottberg-Steineckert (recommended to me by Susan Khalje.)
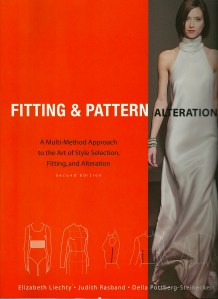
I highly recommend this book.
One of the things I love about this book is that it covers all sorts of situations. Square shoulders for Raglan sleeves? Not a problem.
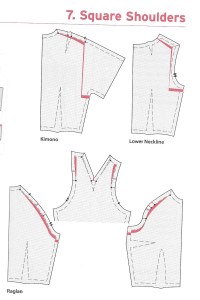
The diagrams take the guess work out of alterations to patterns.
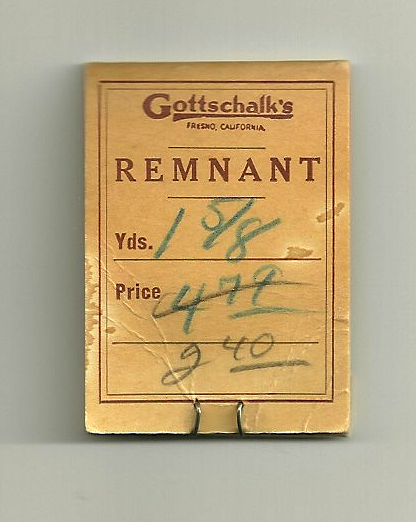
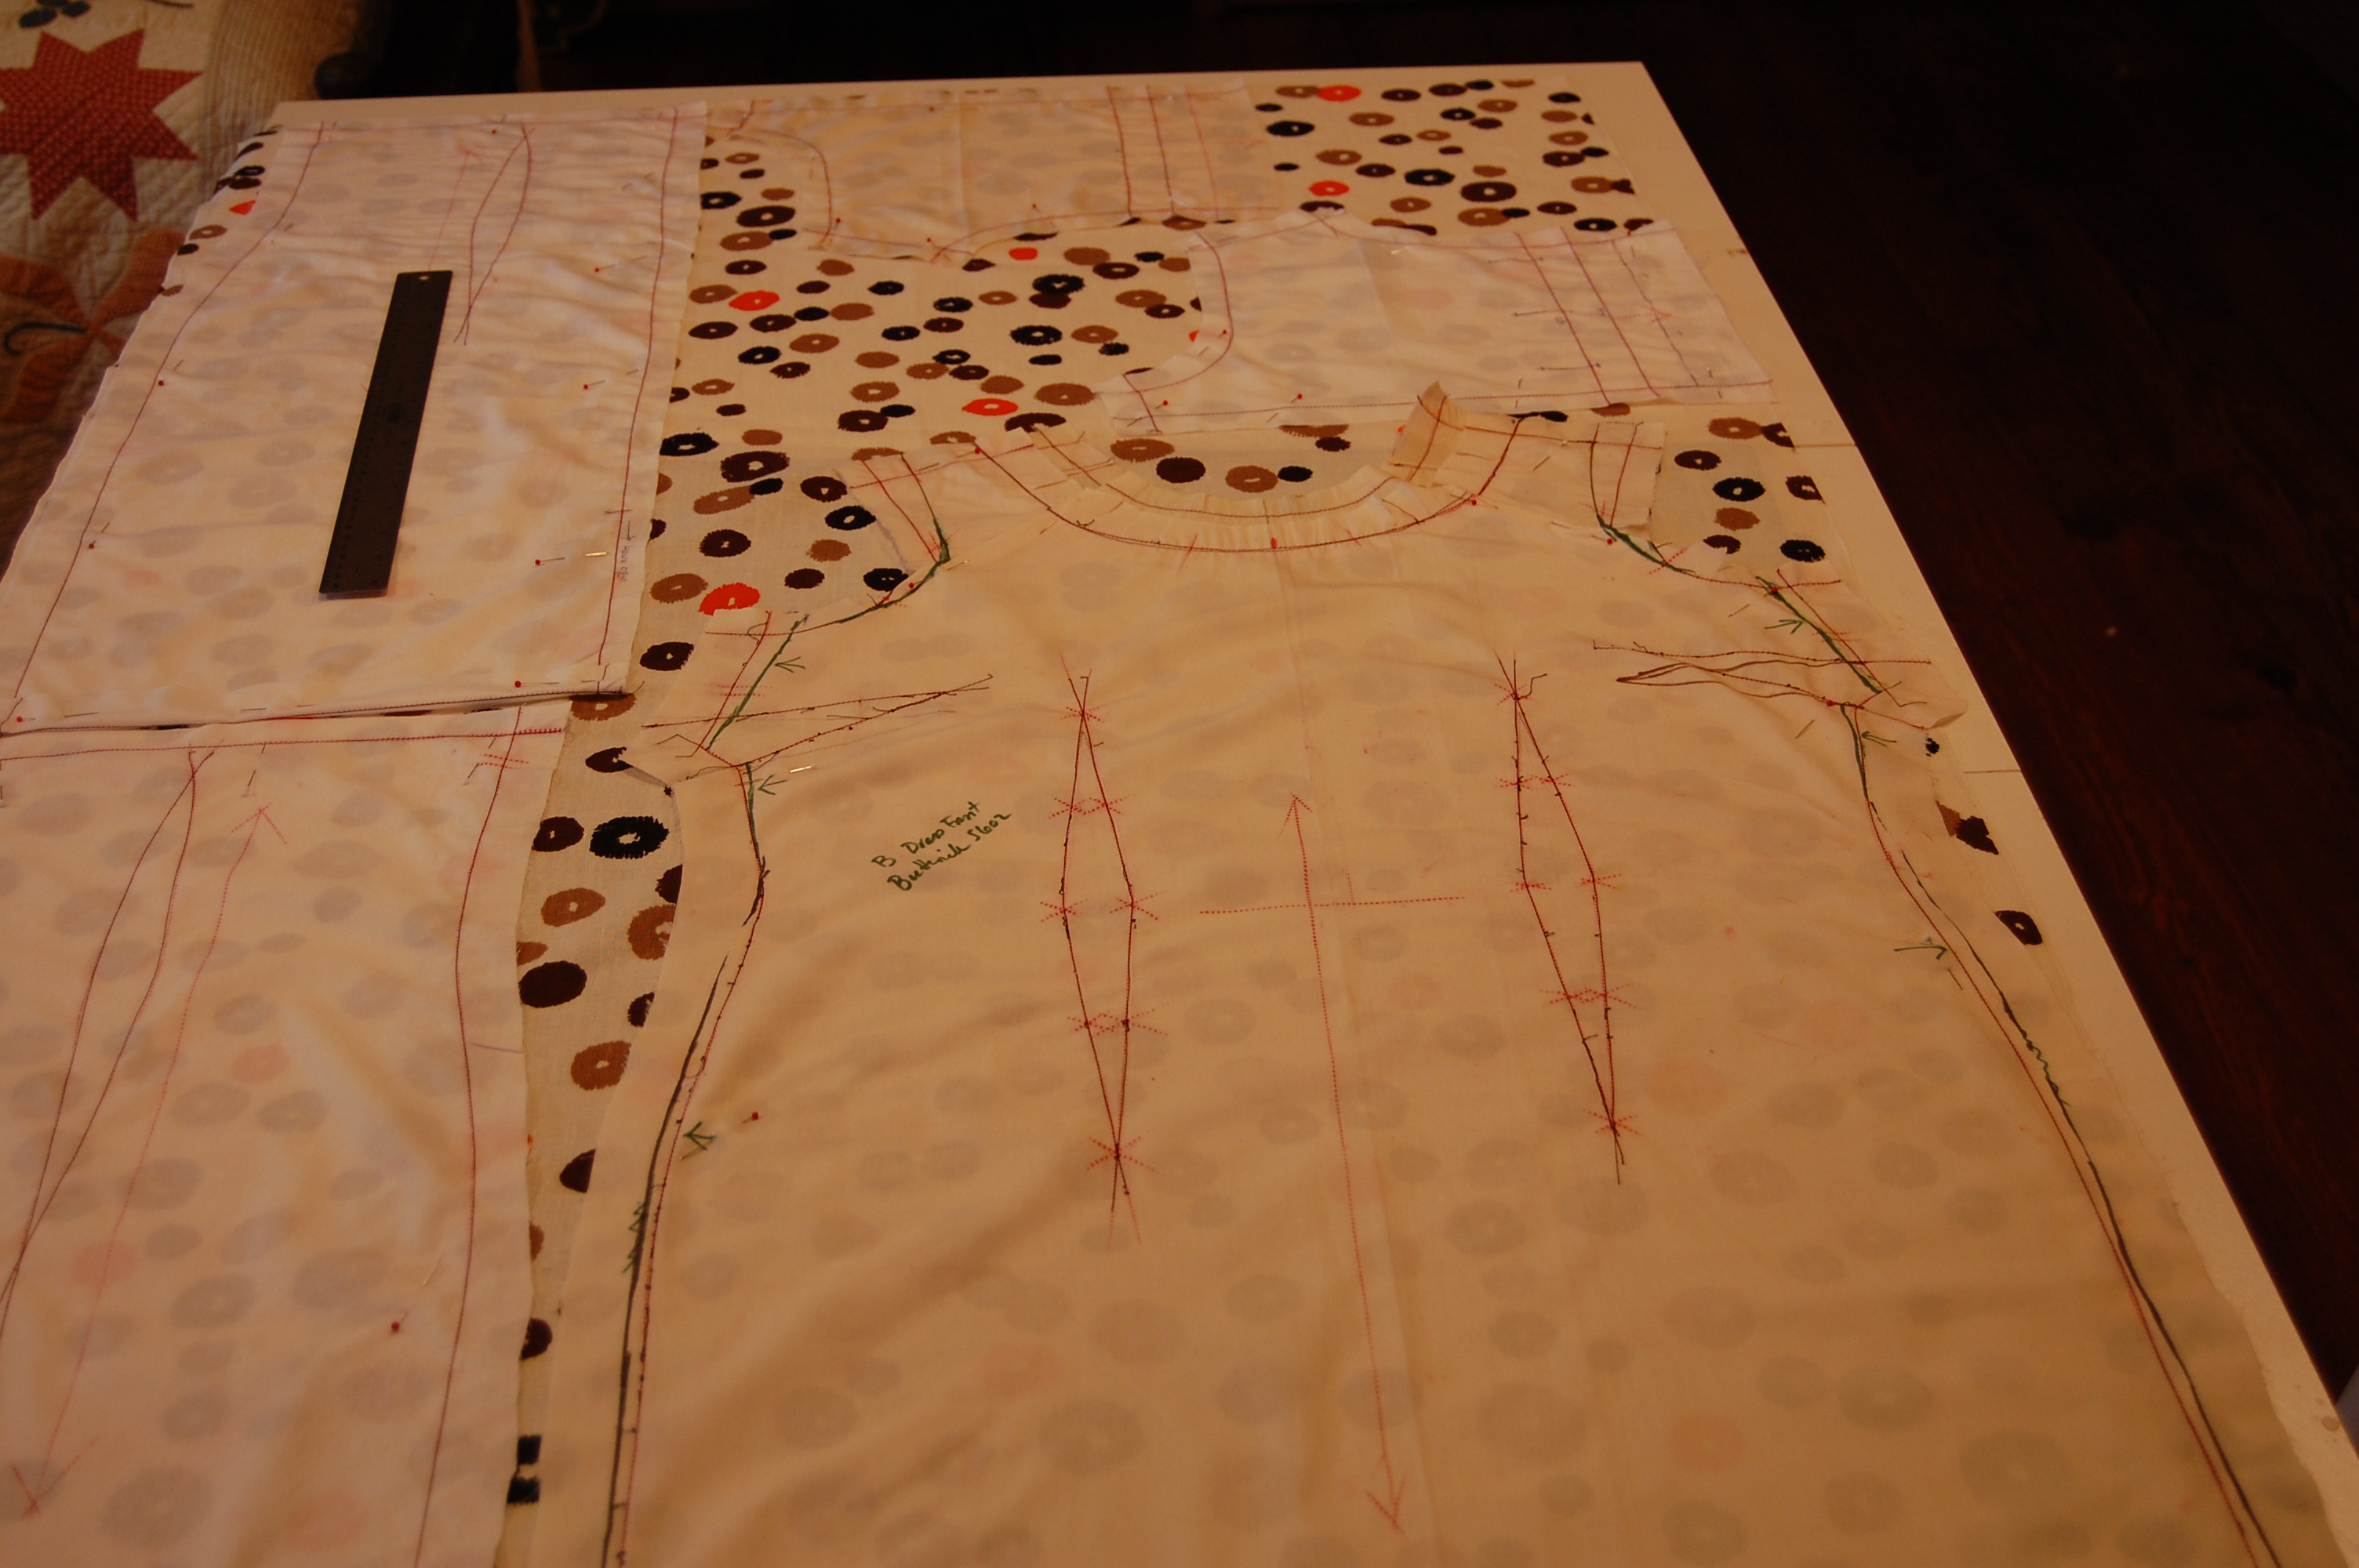
Once I had my muslin adjusted, my silk organza interlining marked and cut (to be used as the pattern for the wool), I felt like I was off to the races. Not so fast. A careful steaming of my wool fabric revealed three small “thin” areas (not holes, but thin enough that I would need to work around them). This is not unusual for vintage fabric, and is one of the reasons why a careful pre-steaming or pre-pressing of any fabric is important, but especially so for vintage goods.
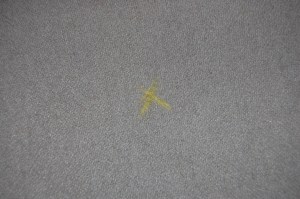
I marked these small imperfections with yellow chalk.
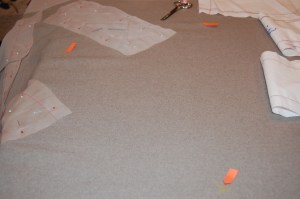
And then double-marked the areas with orange post-its when I was arranging the pattern pieces.
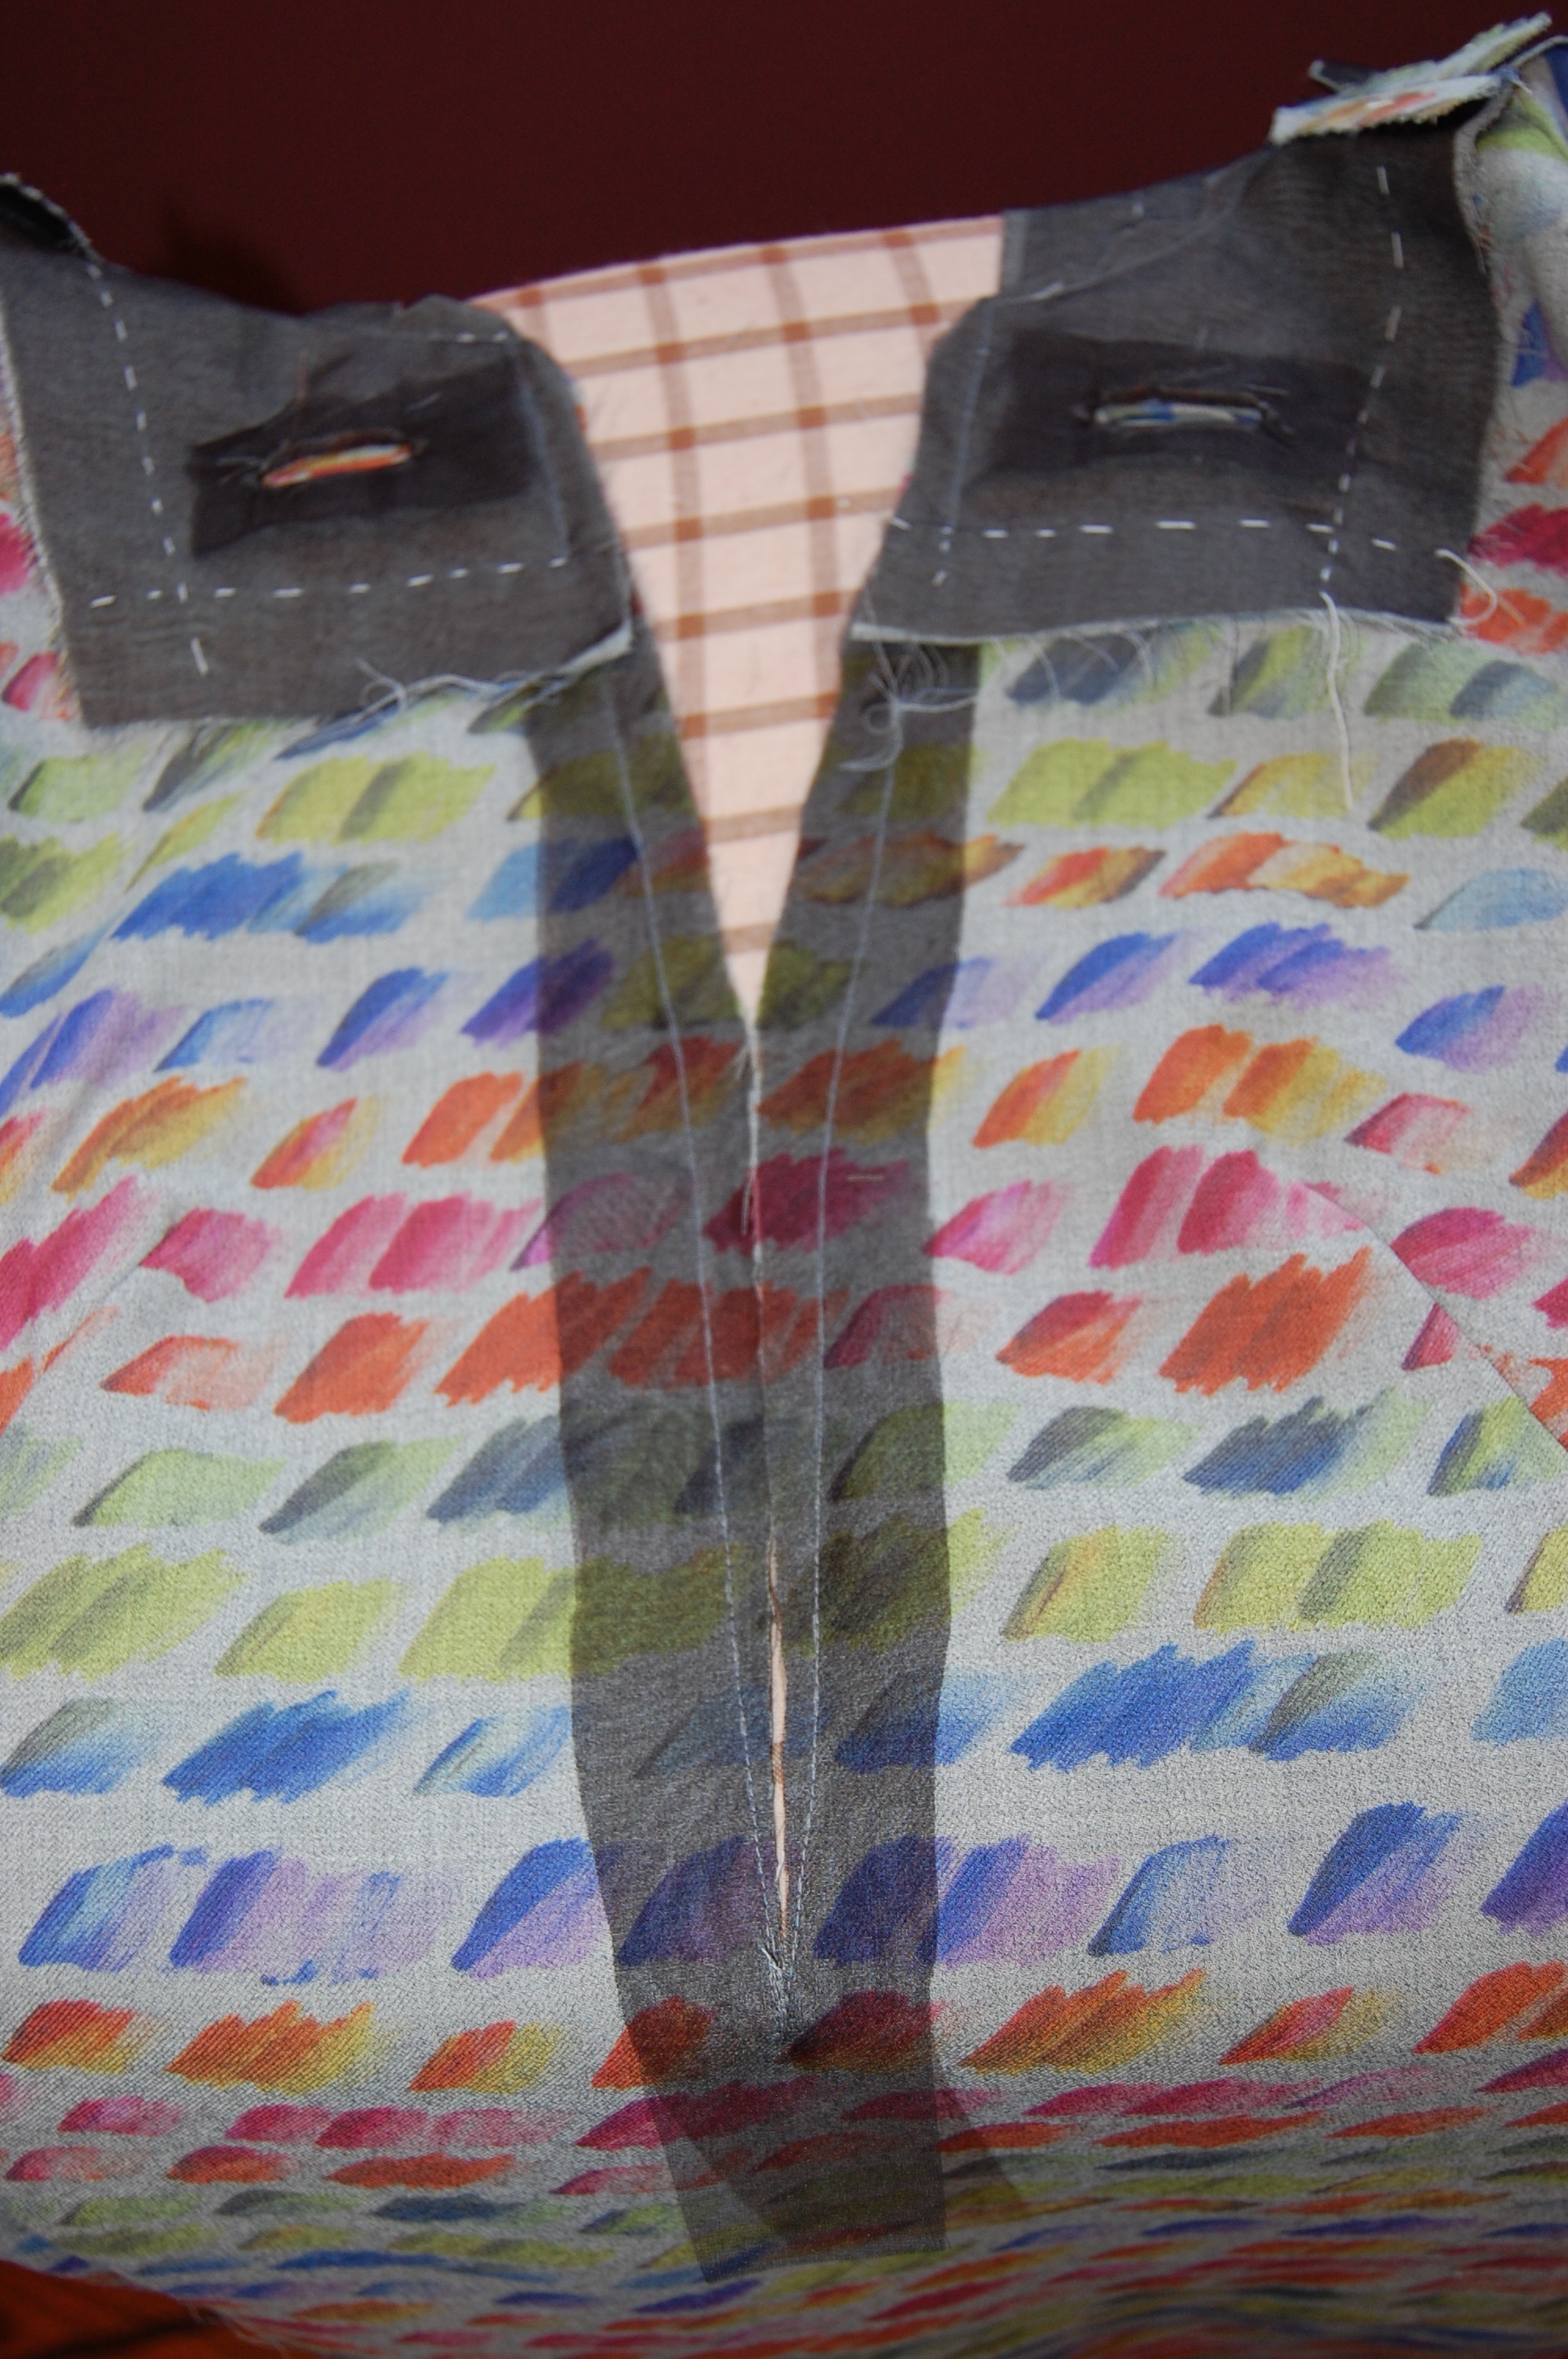
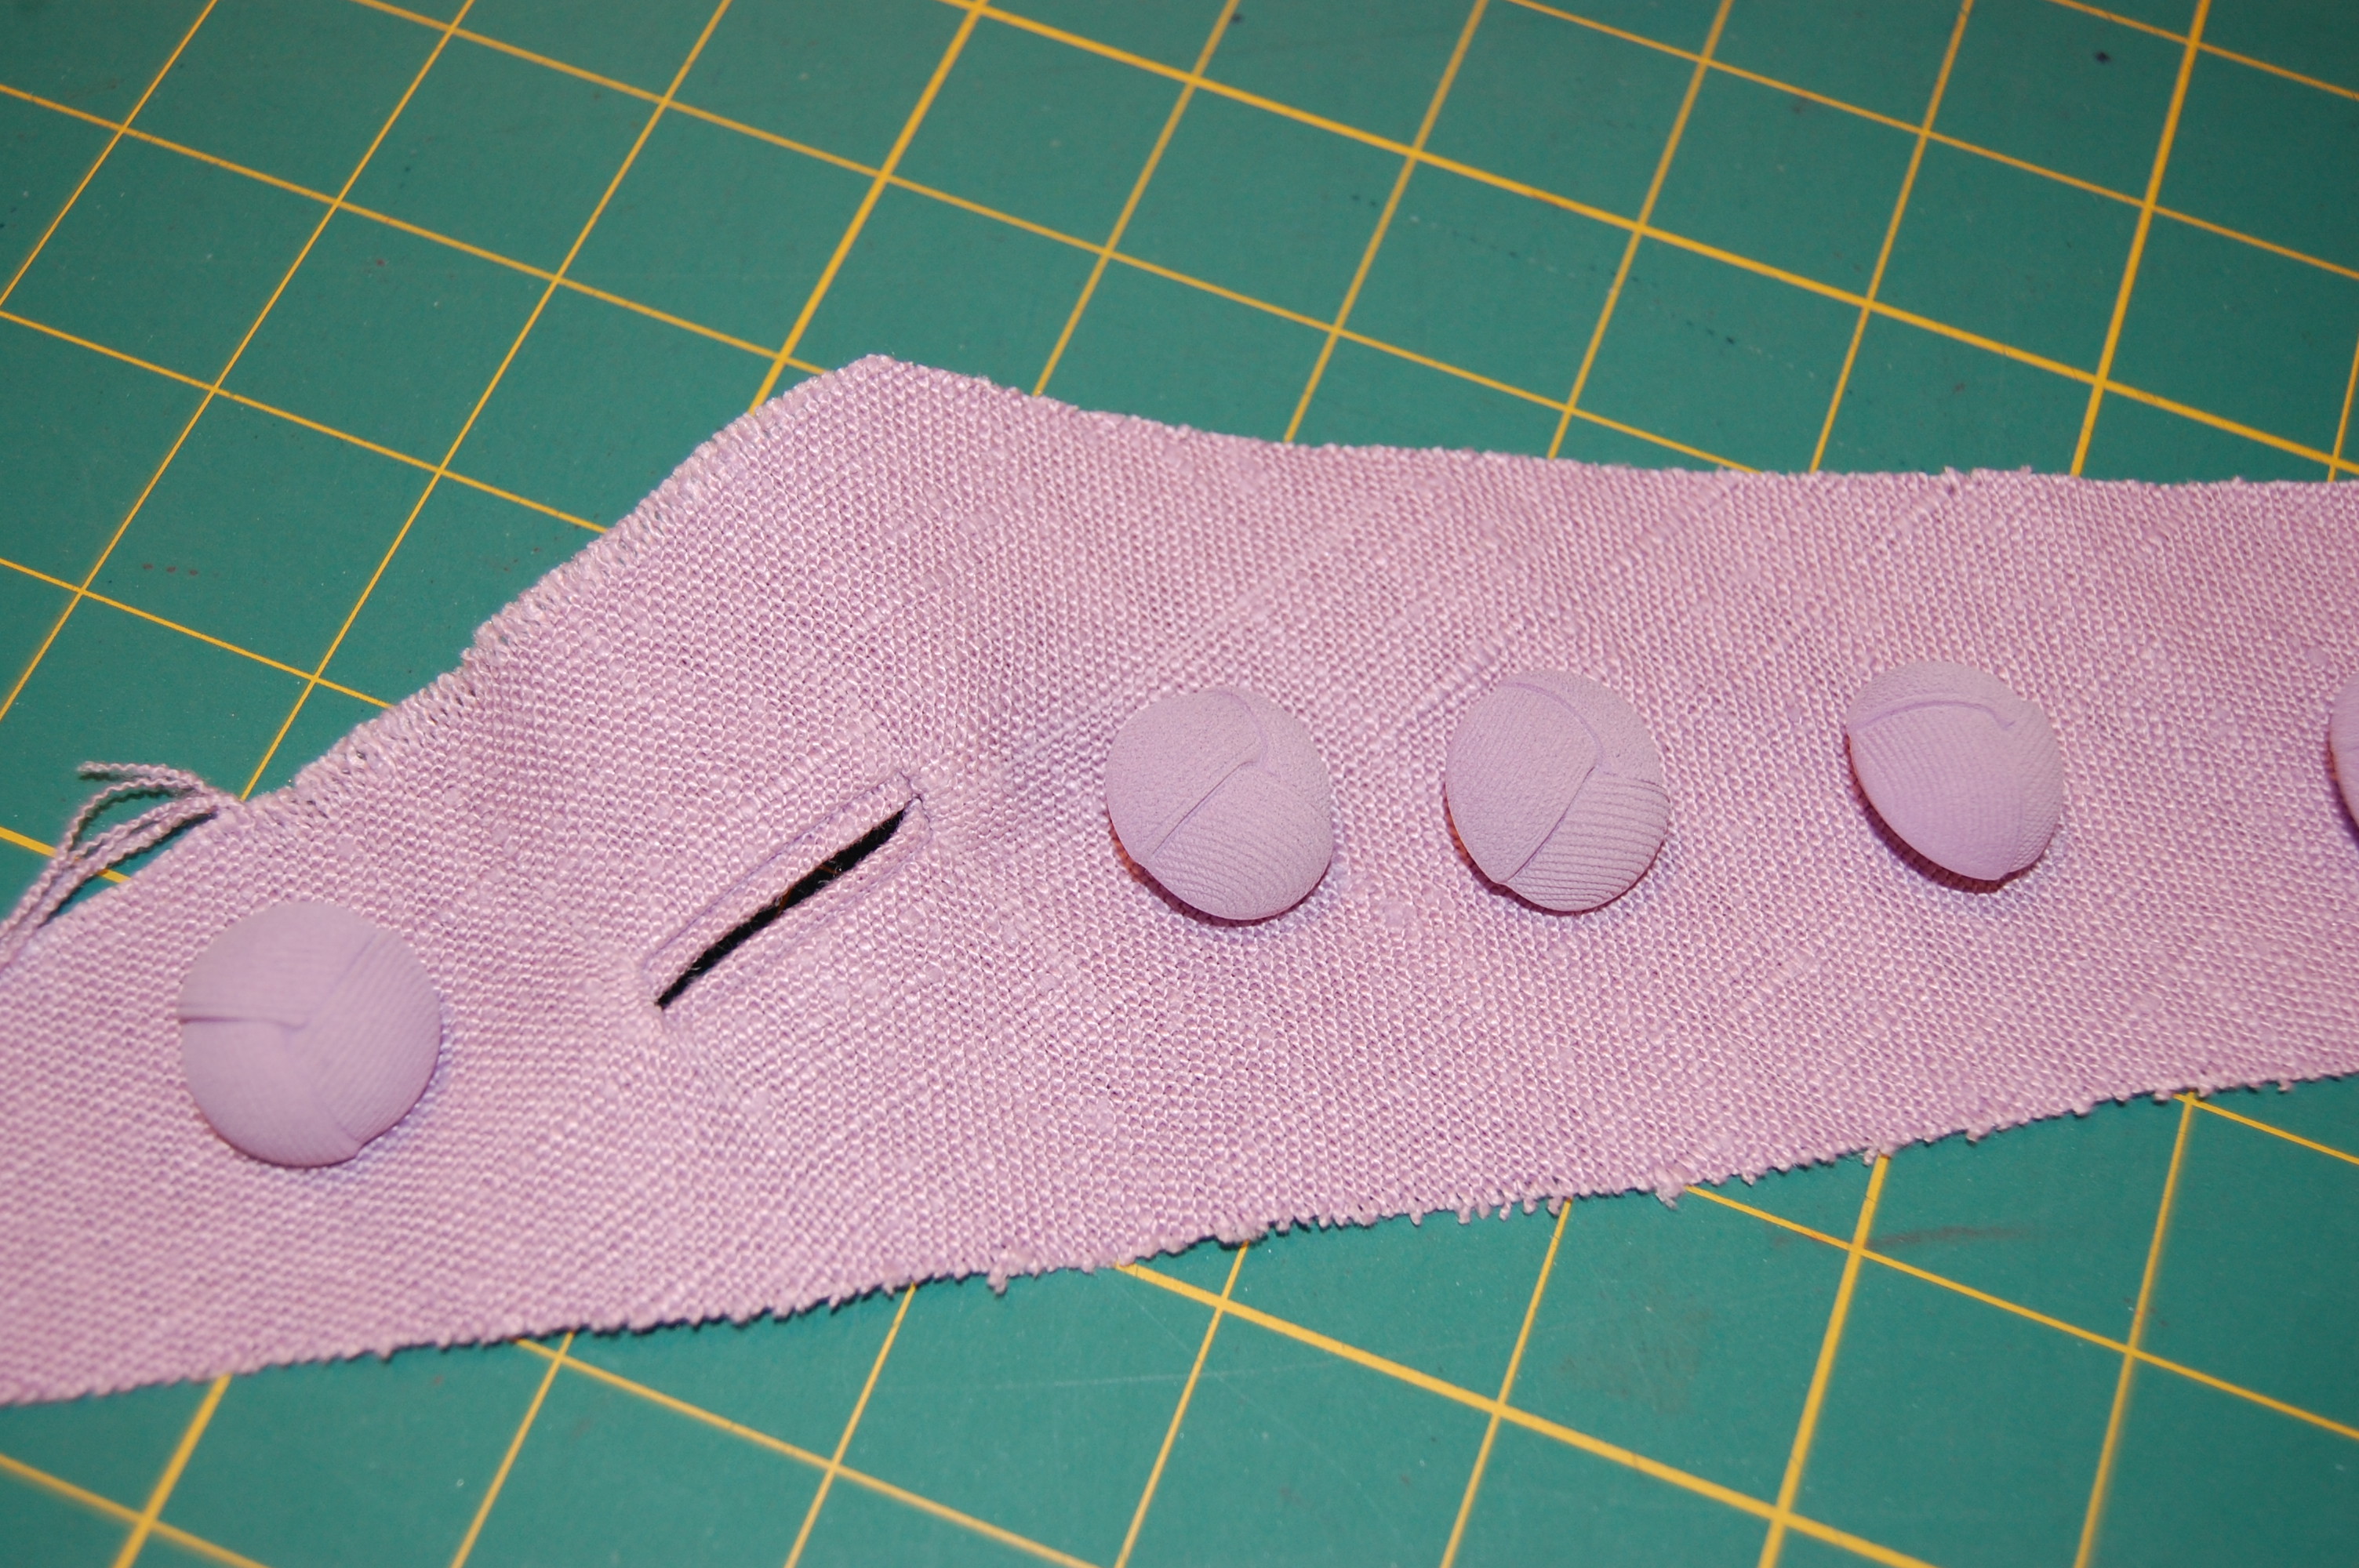
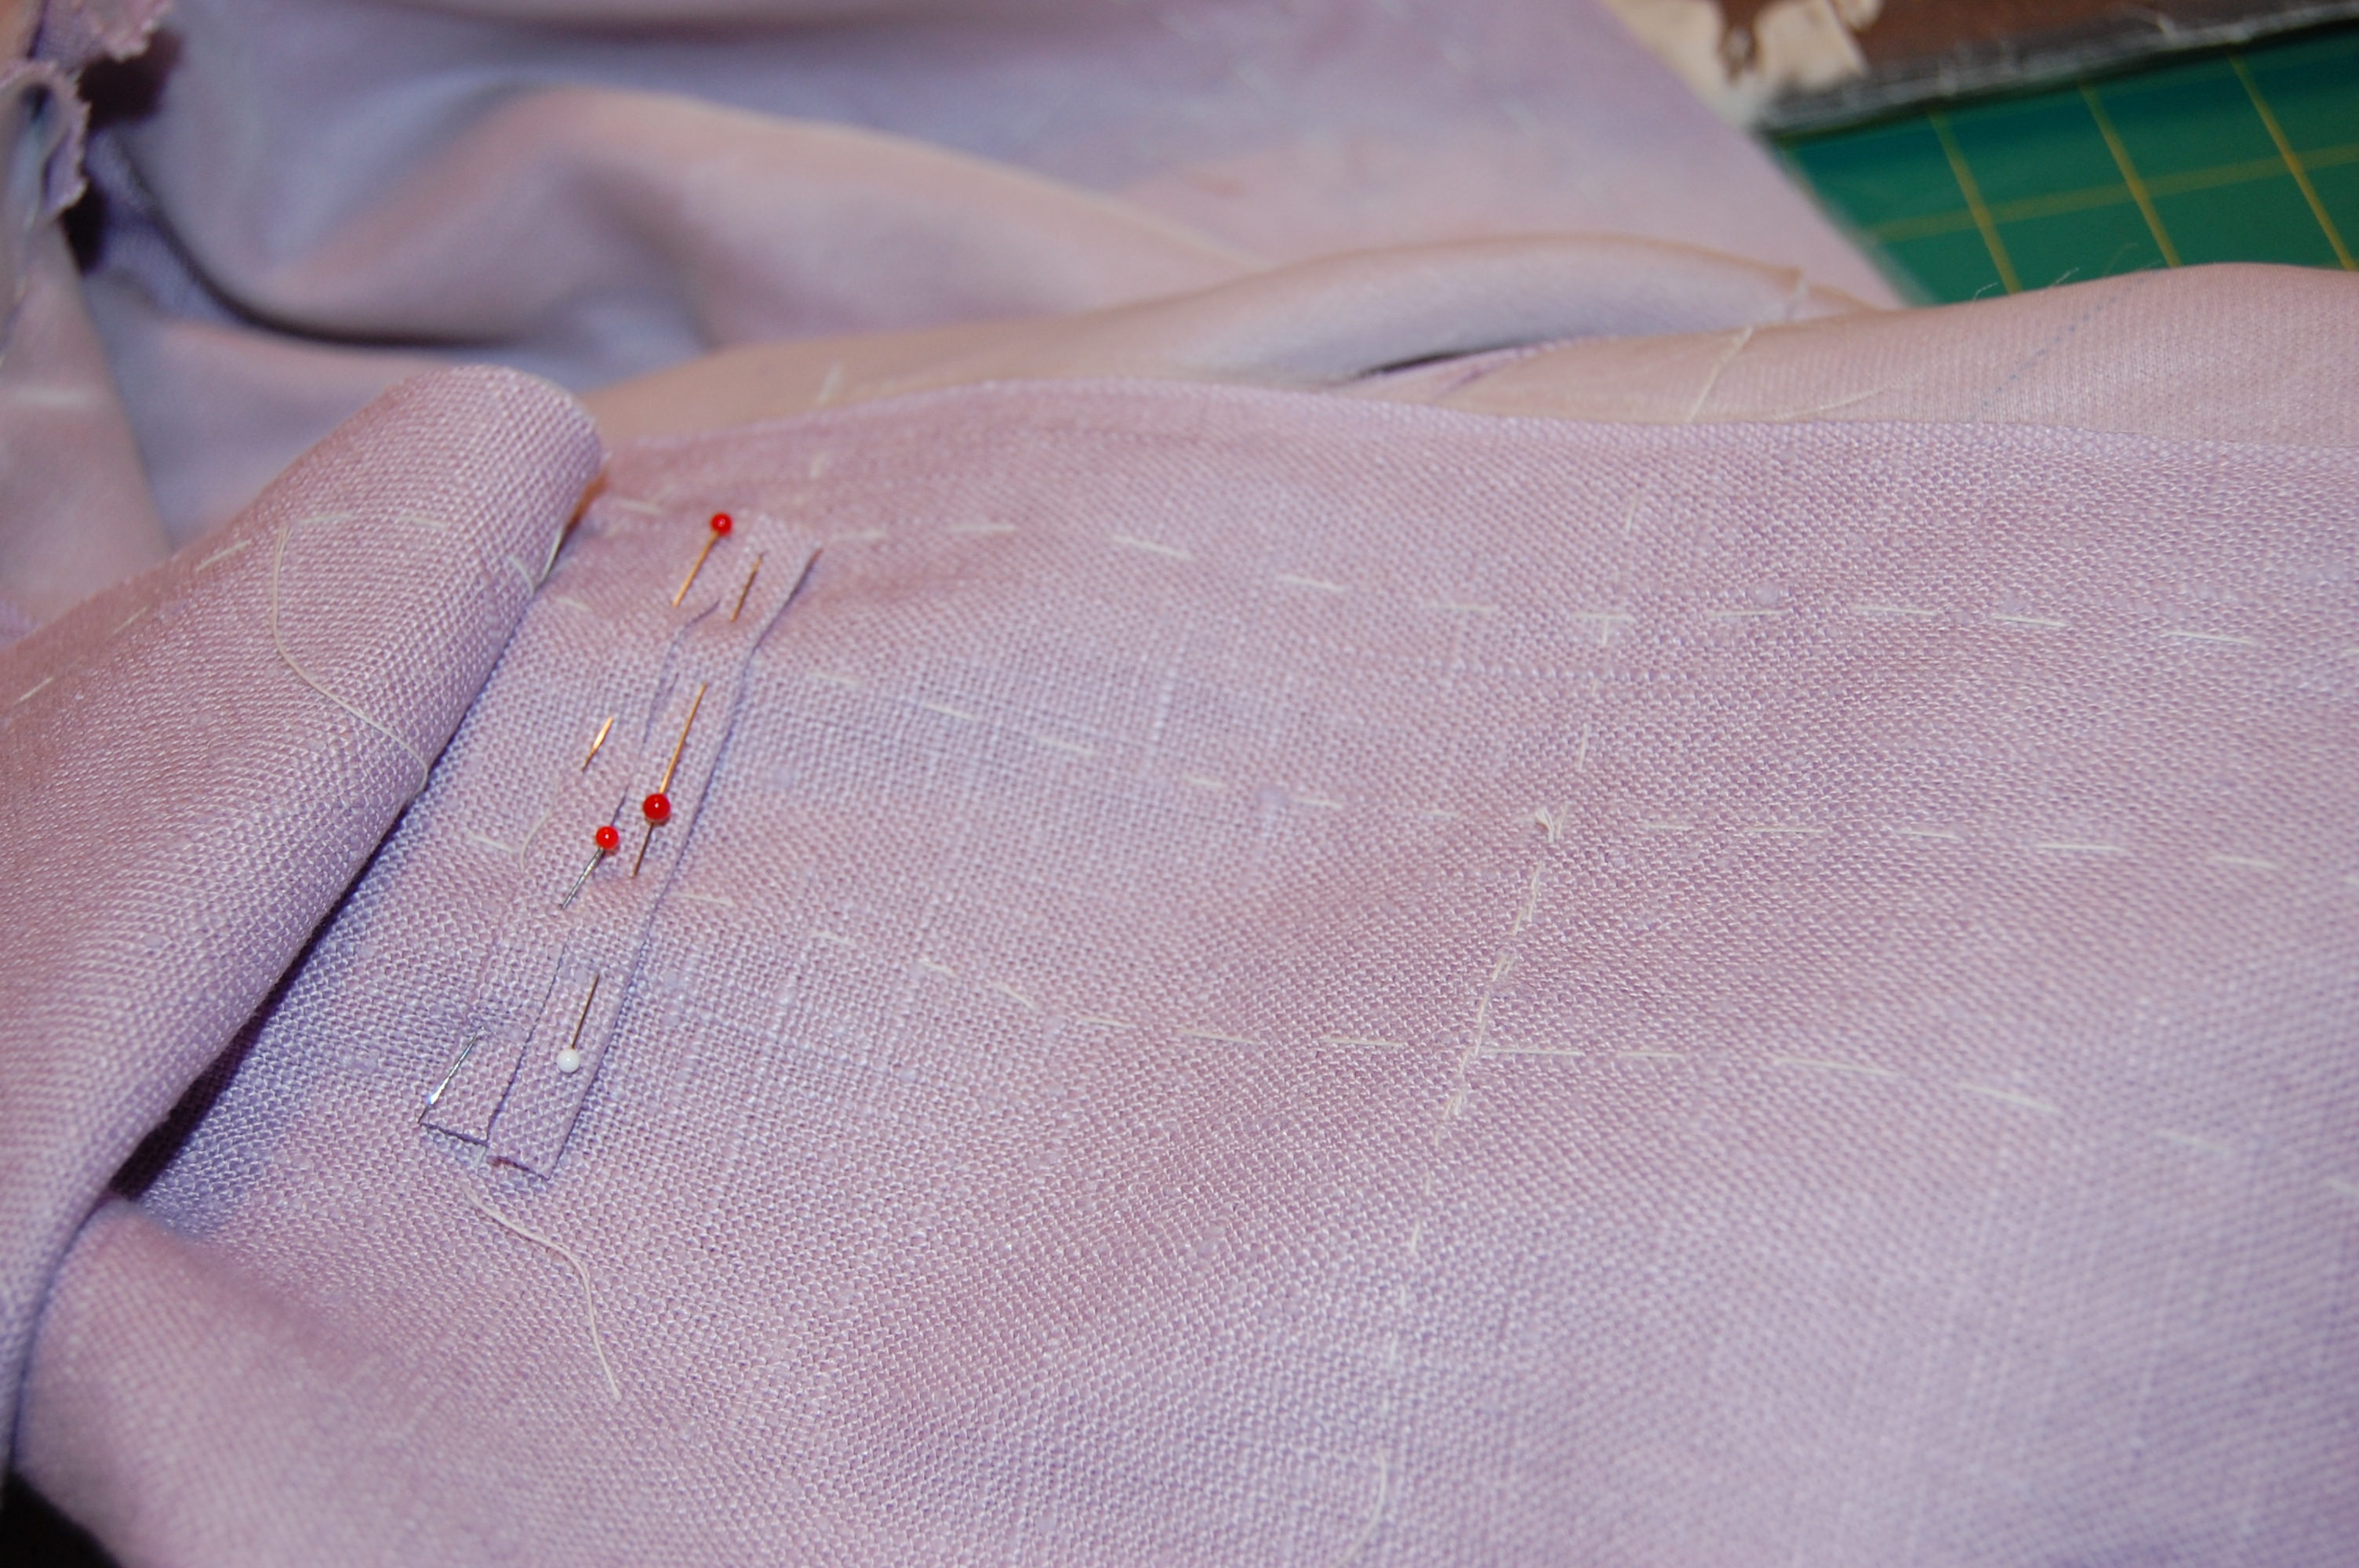
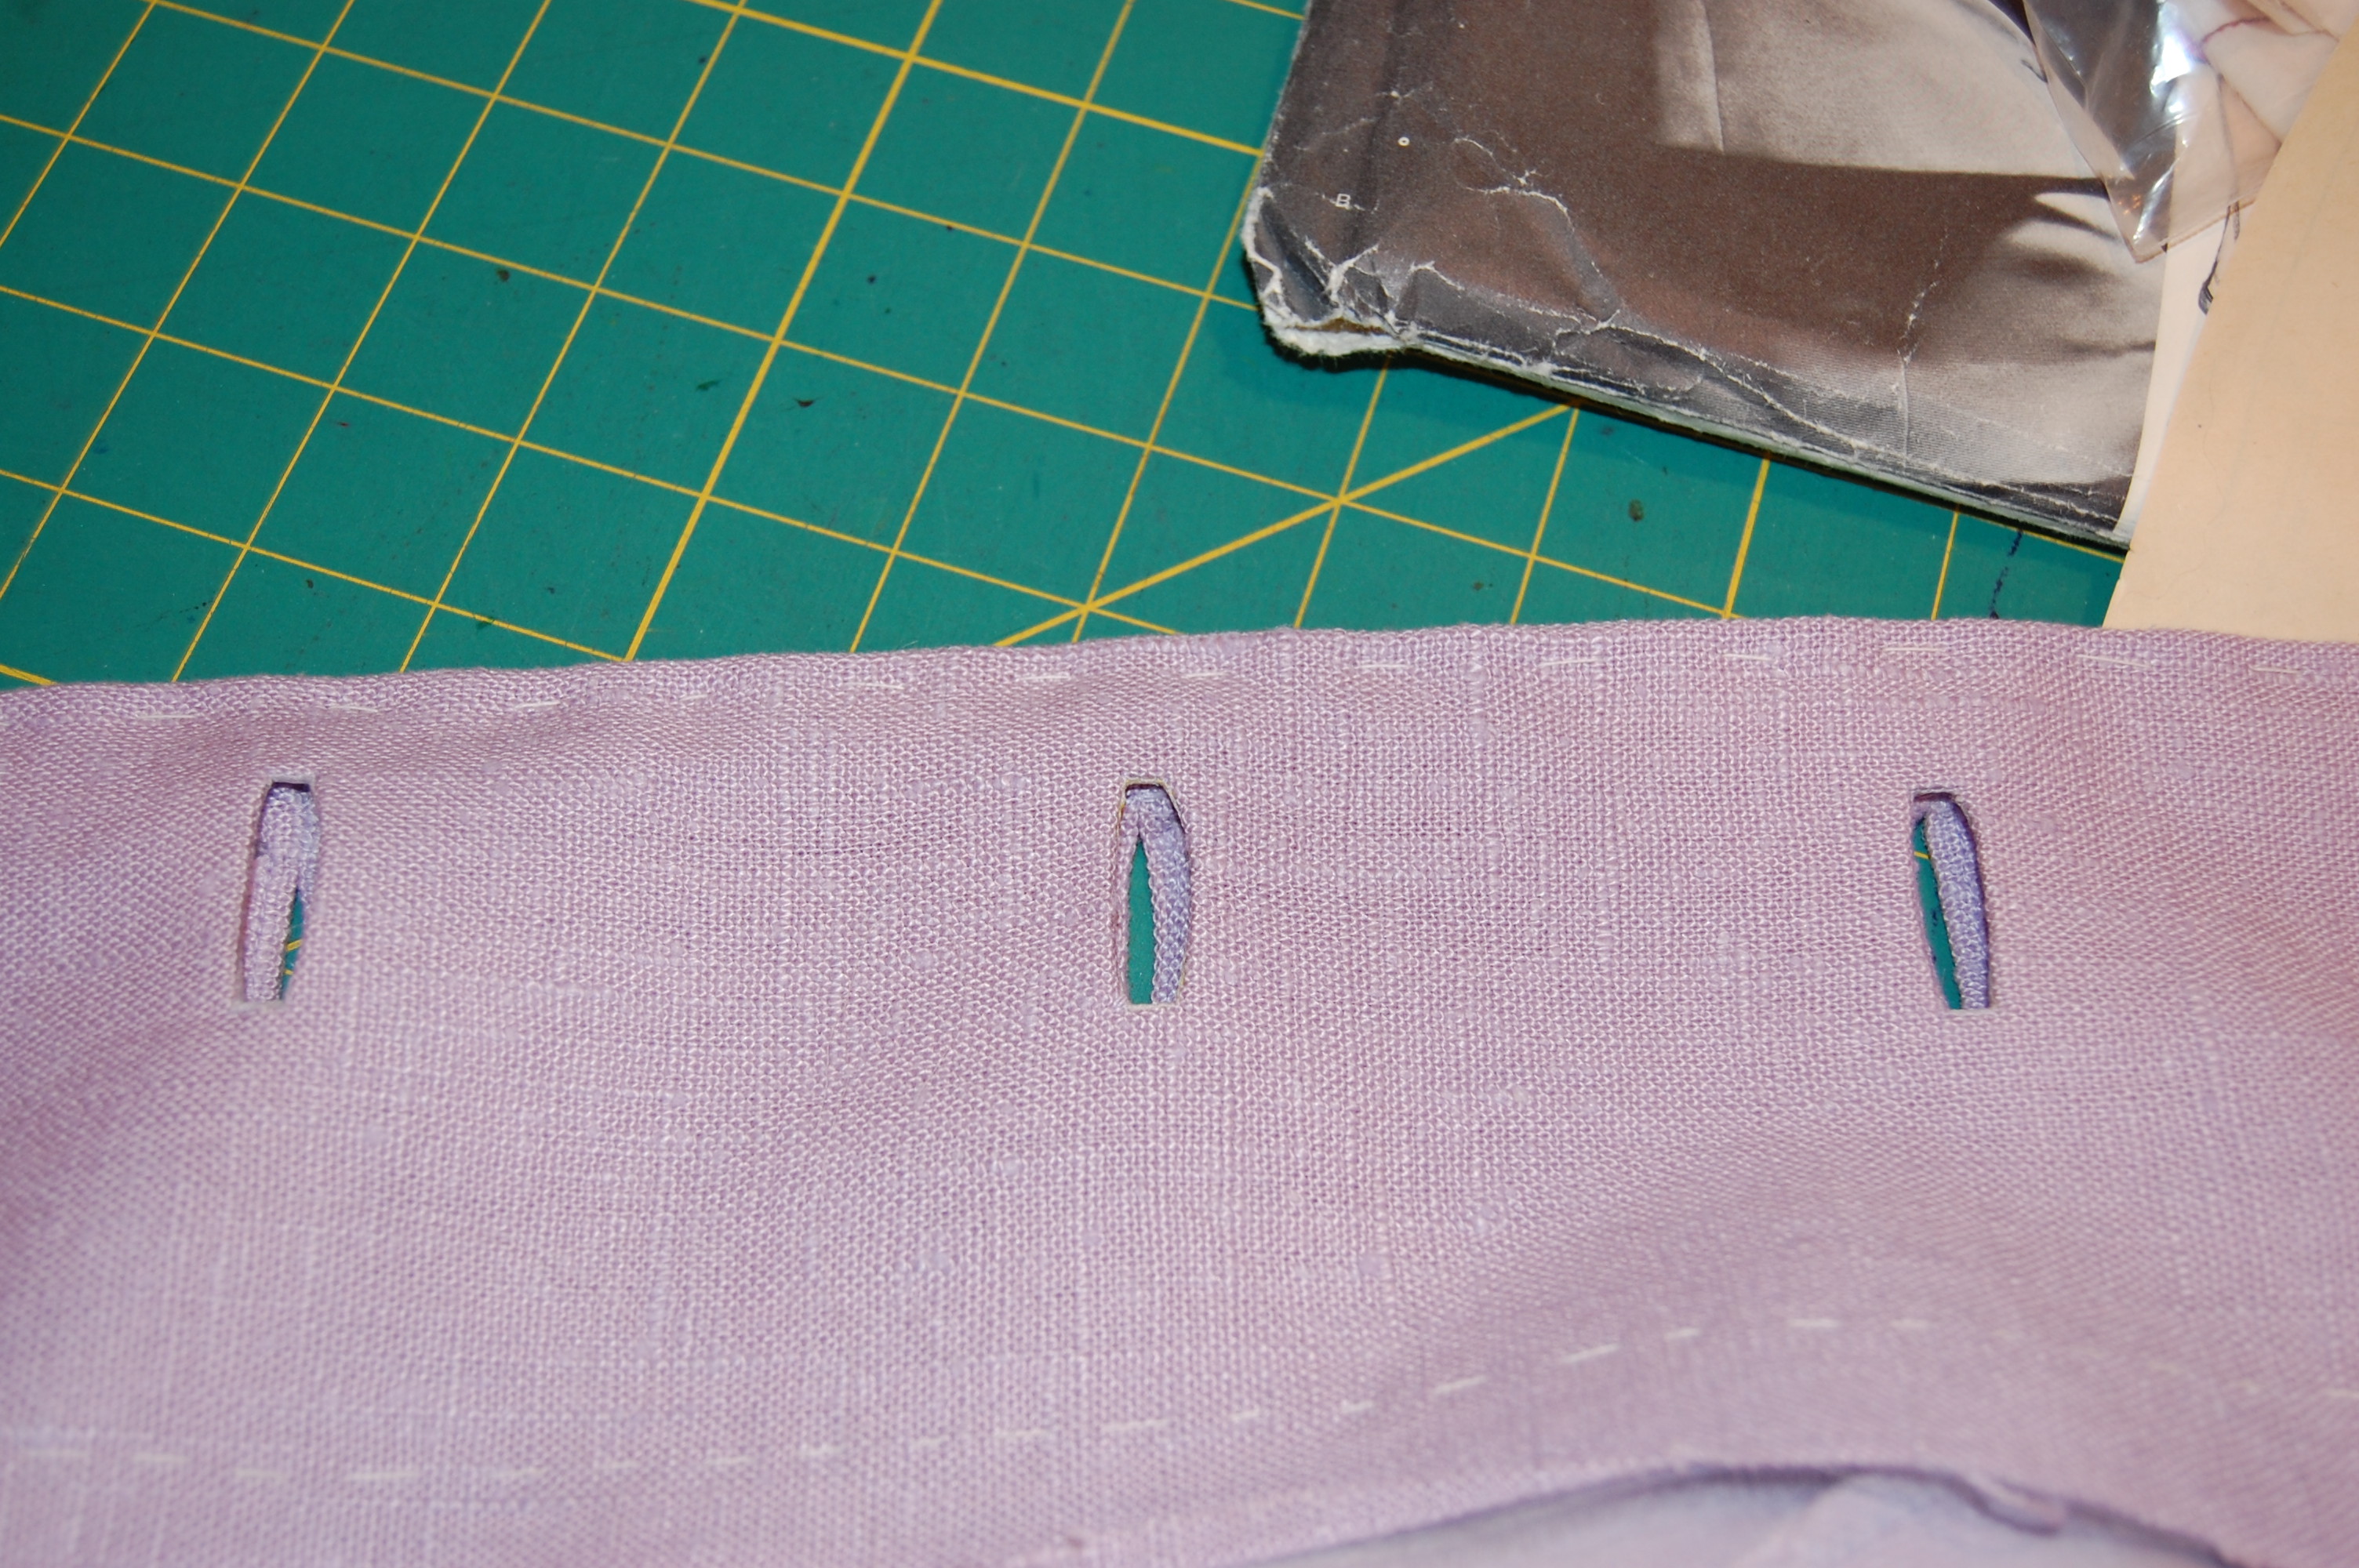
After untold hours of basting the layers of silk organza and fashion fabric together, I was finally ready to sew. And this is when I think it began to get glamorous. The first major details to be completed were the pocket plackets. I thought I might faint when I had to make that first cut into one of the side panels of the coat front. But bravery saw me through!
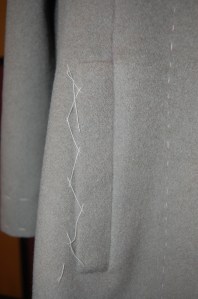
I have the placket catch-stitched temporarily so it does not get caught on something while I finish the remainder of the coat.
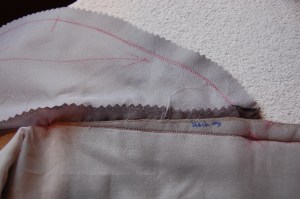
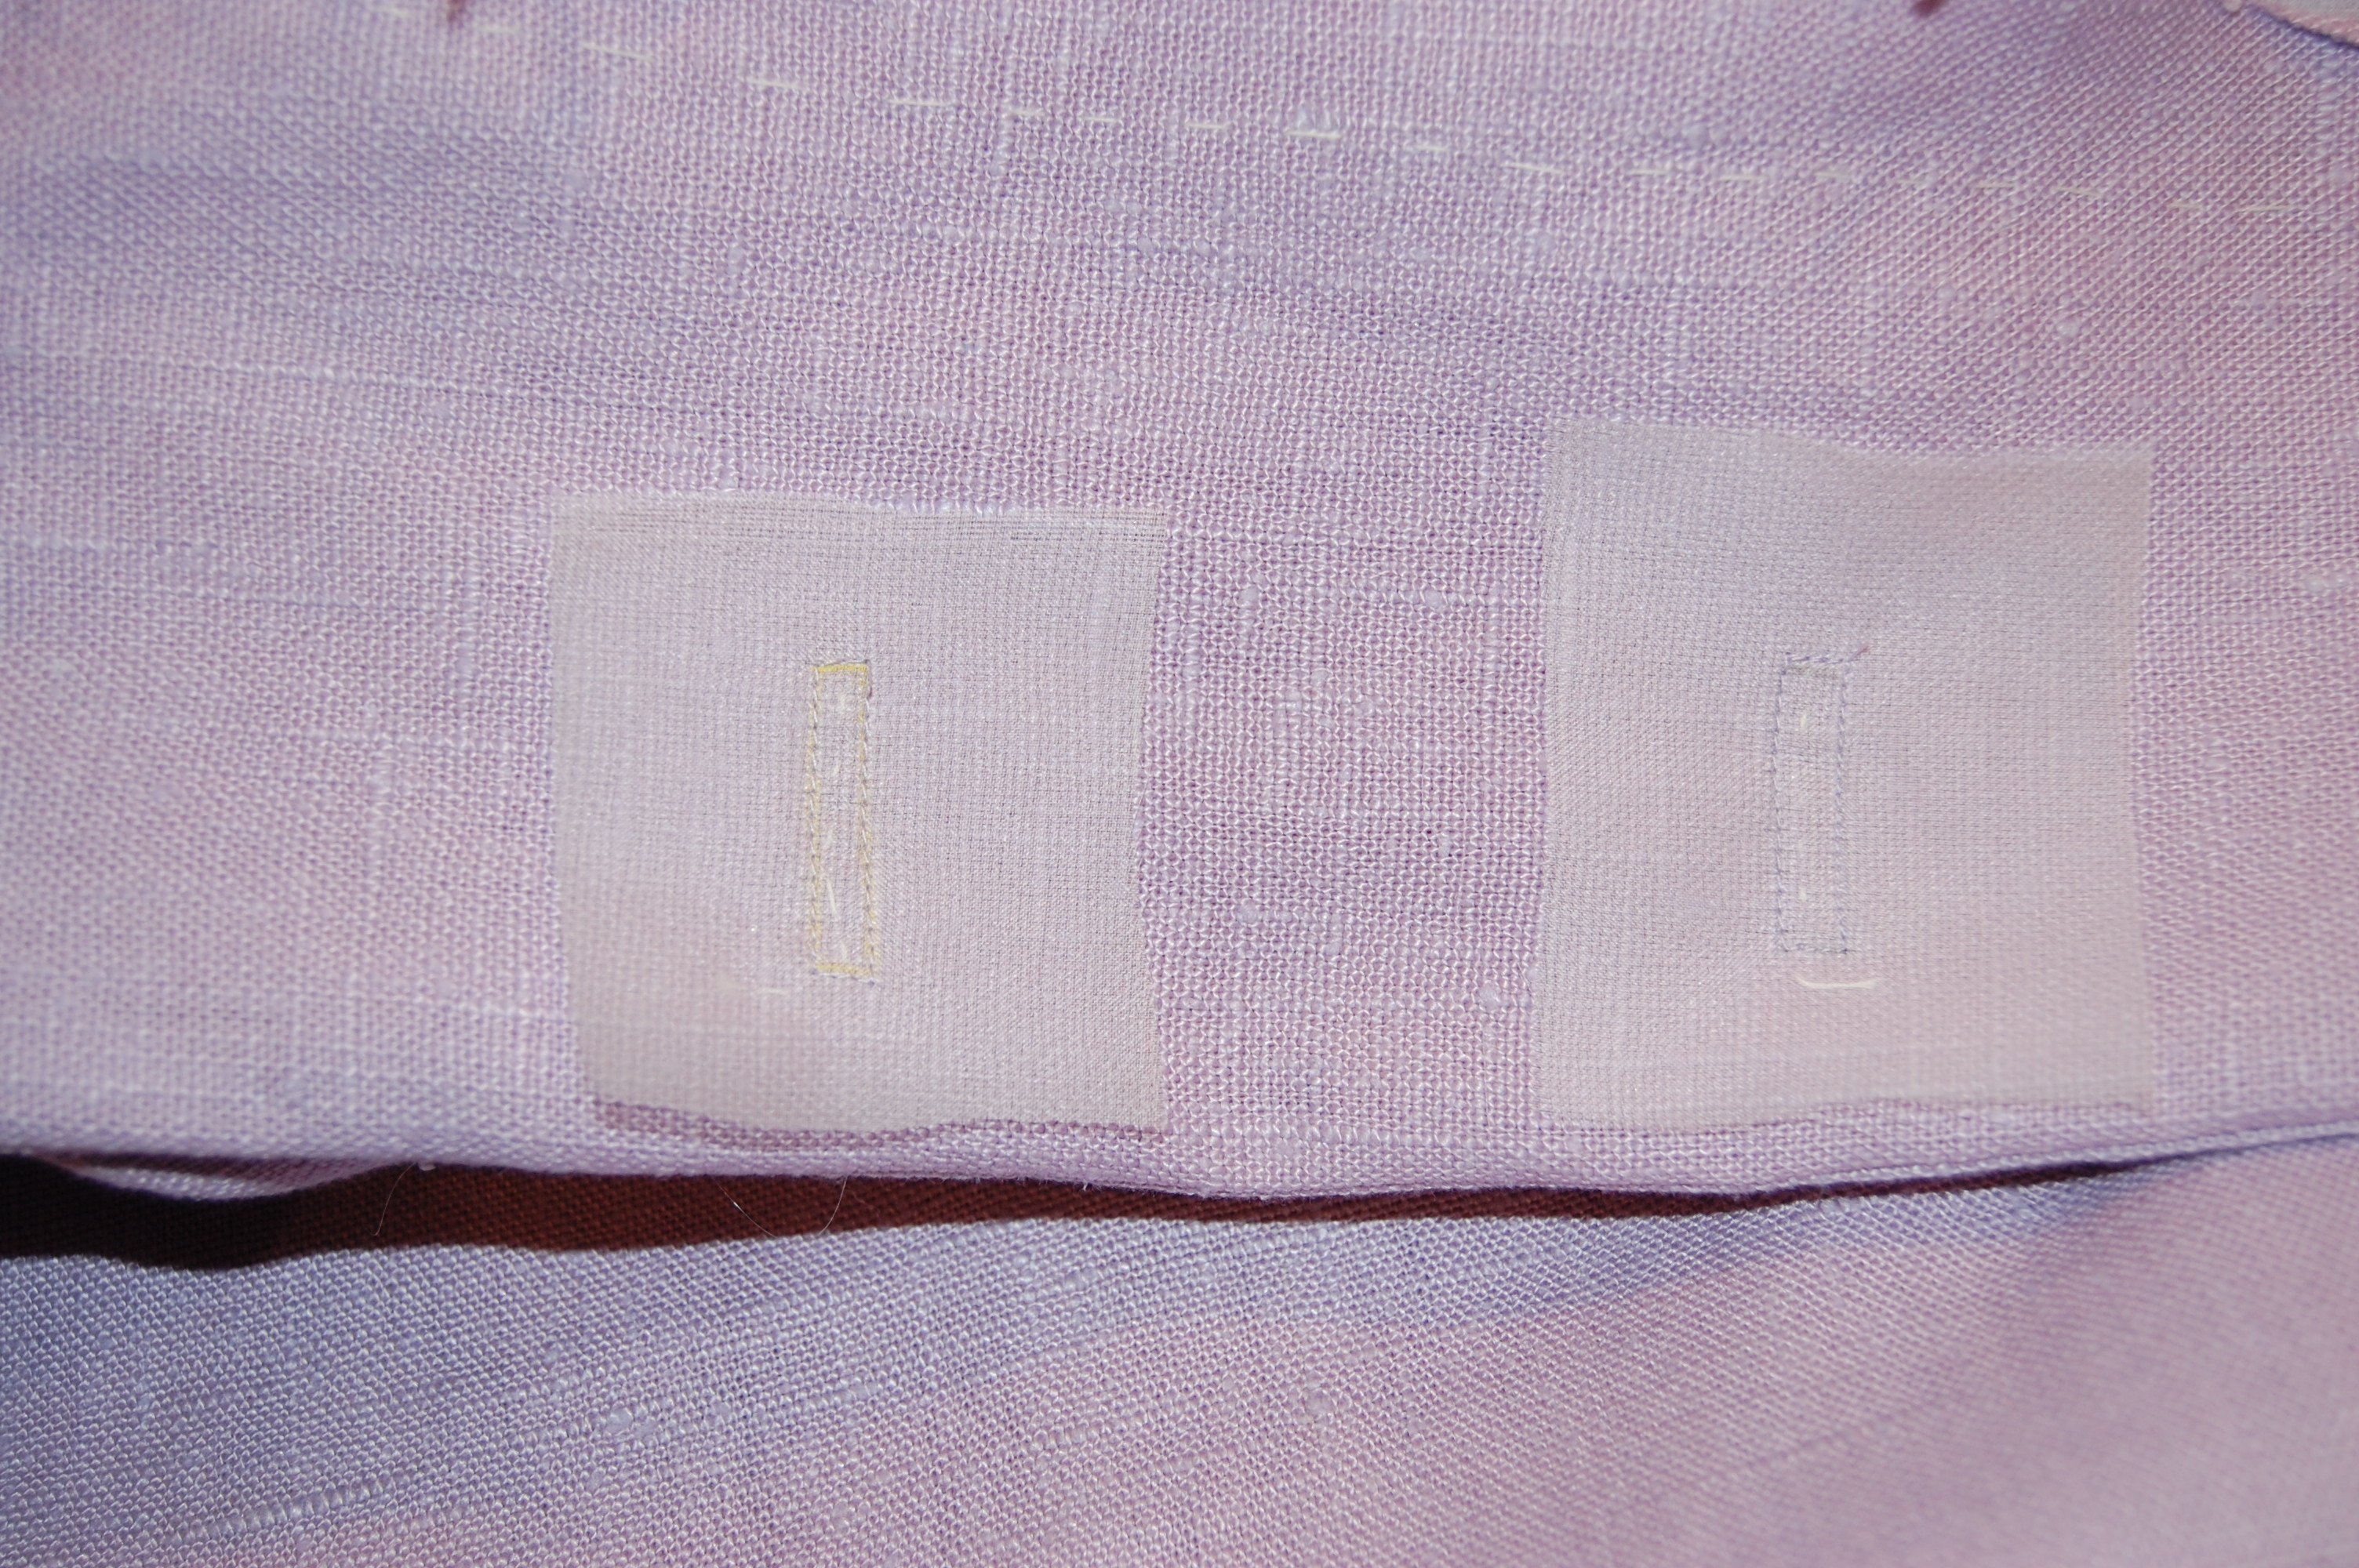
Here is the inside of the pocket and placket.
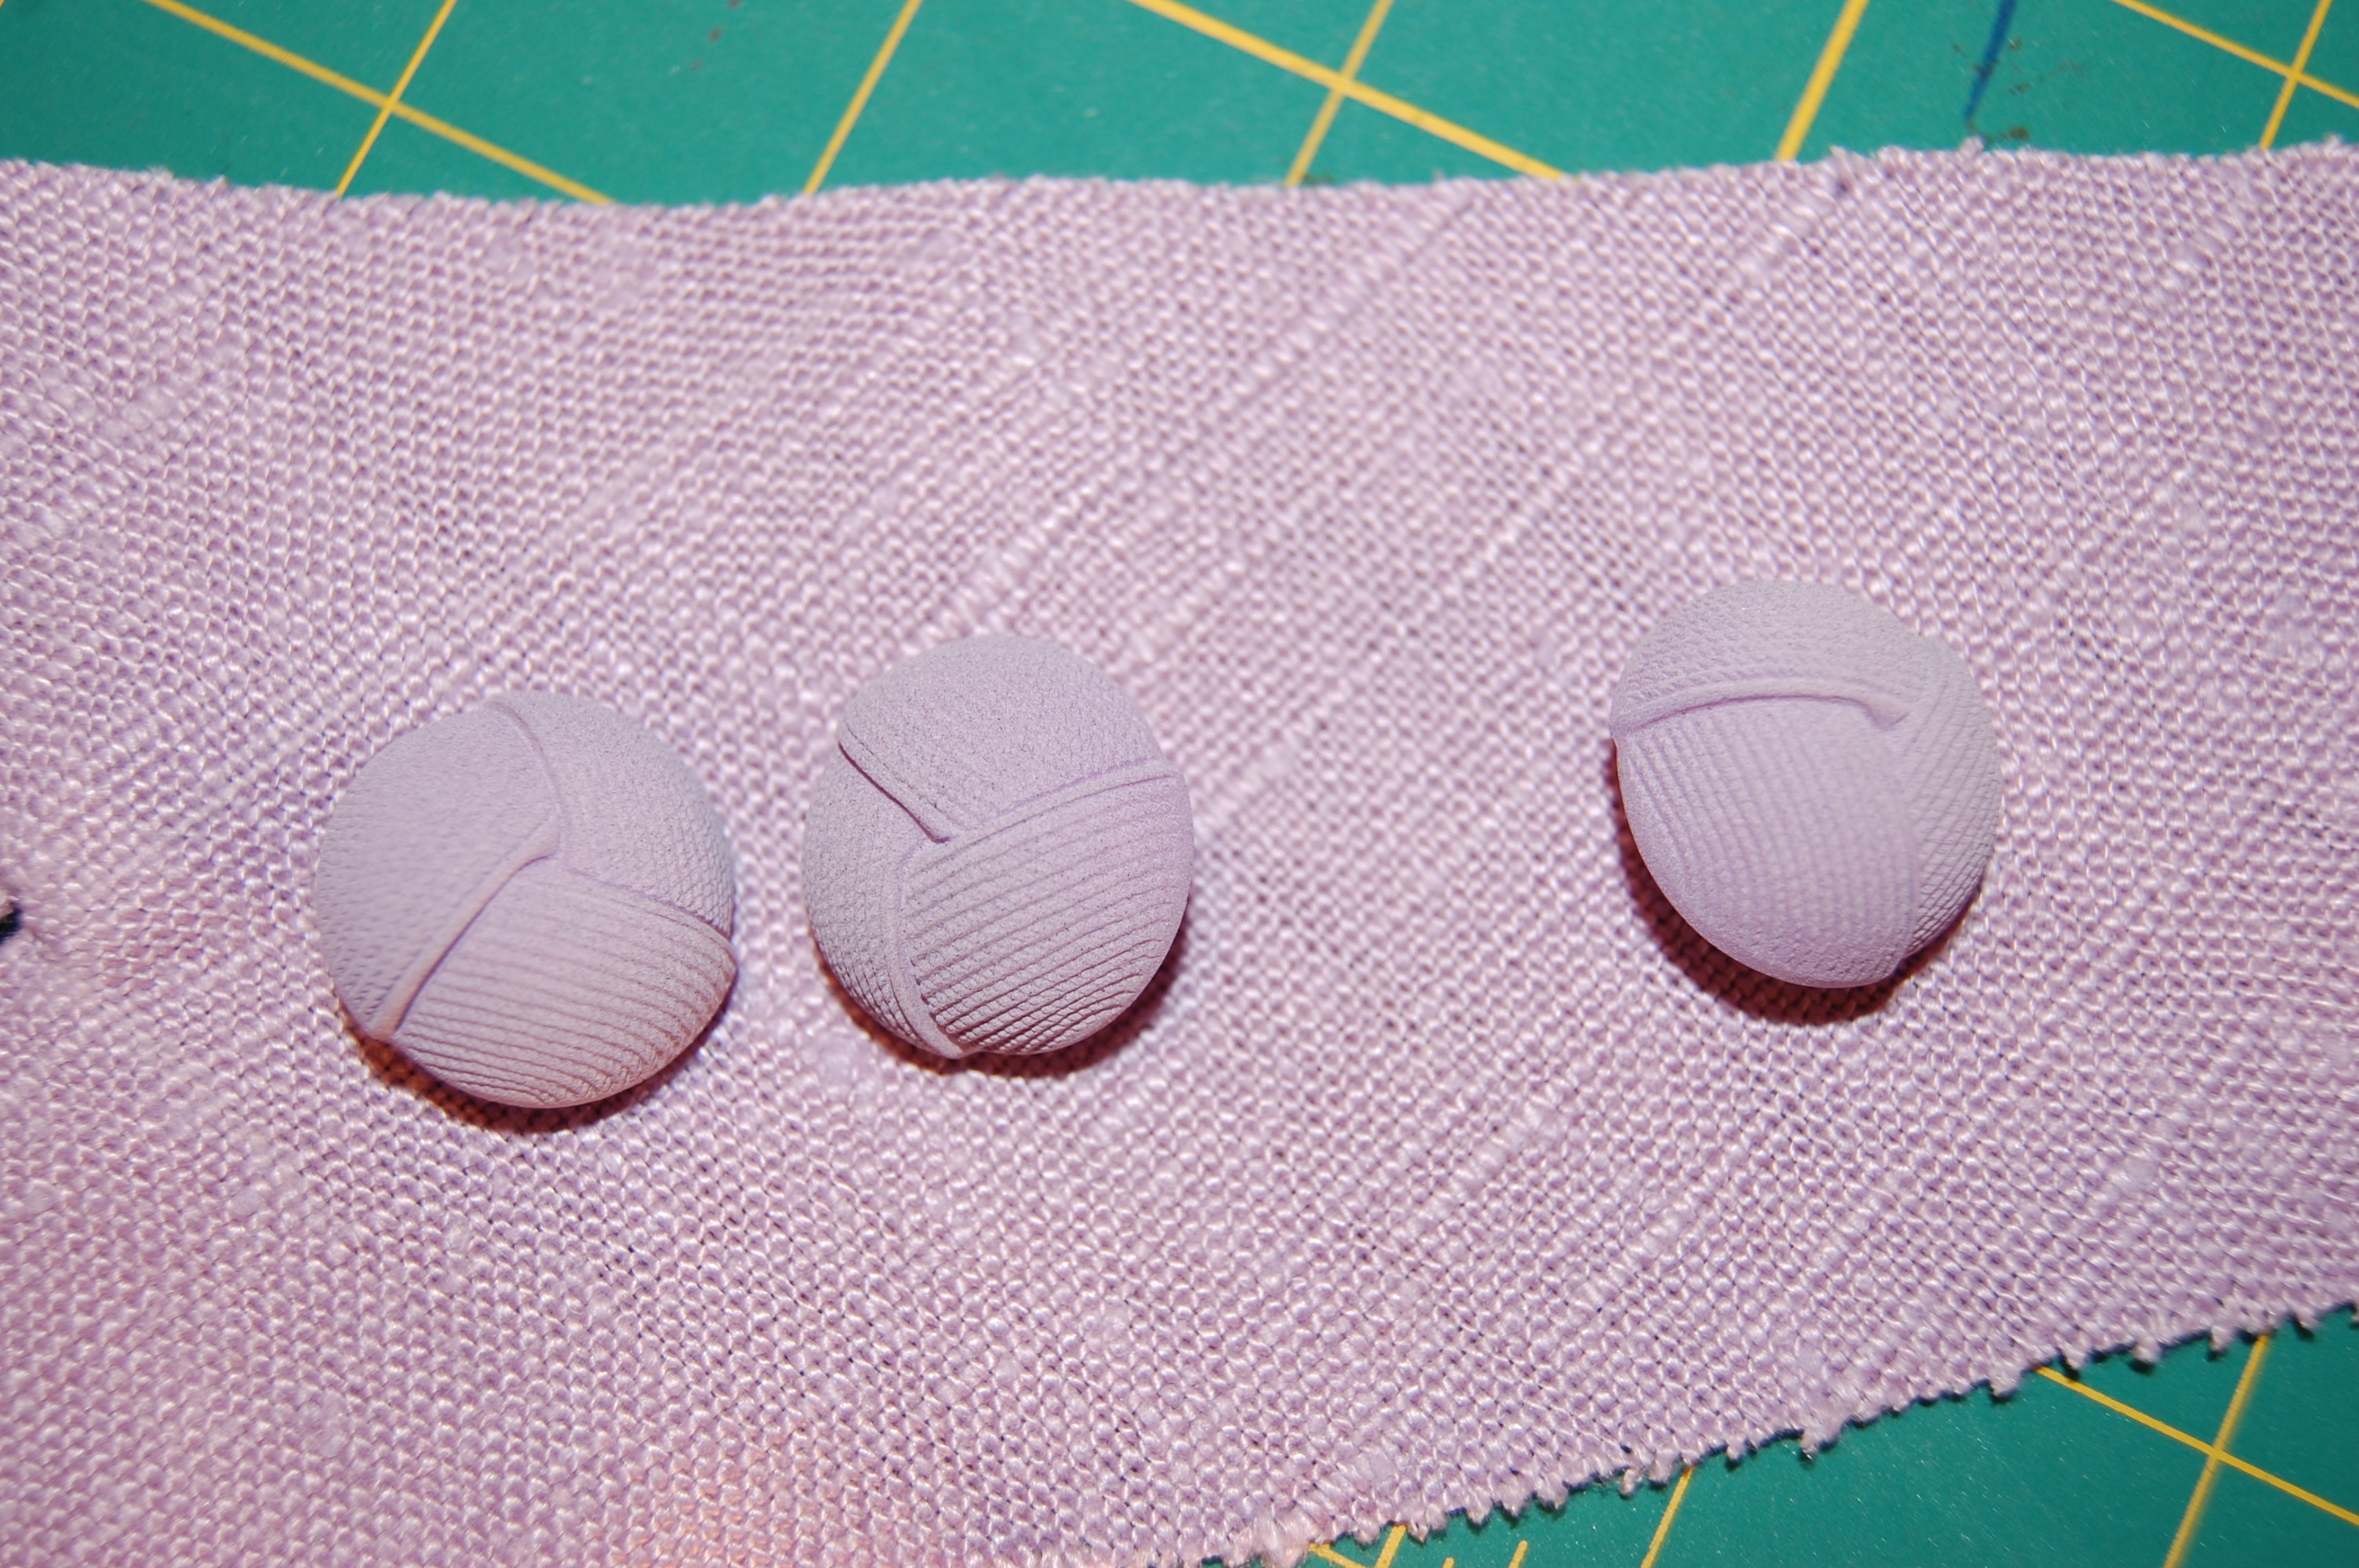
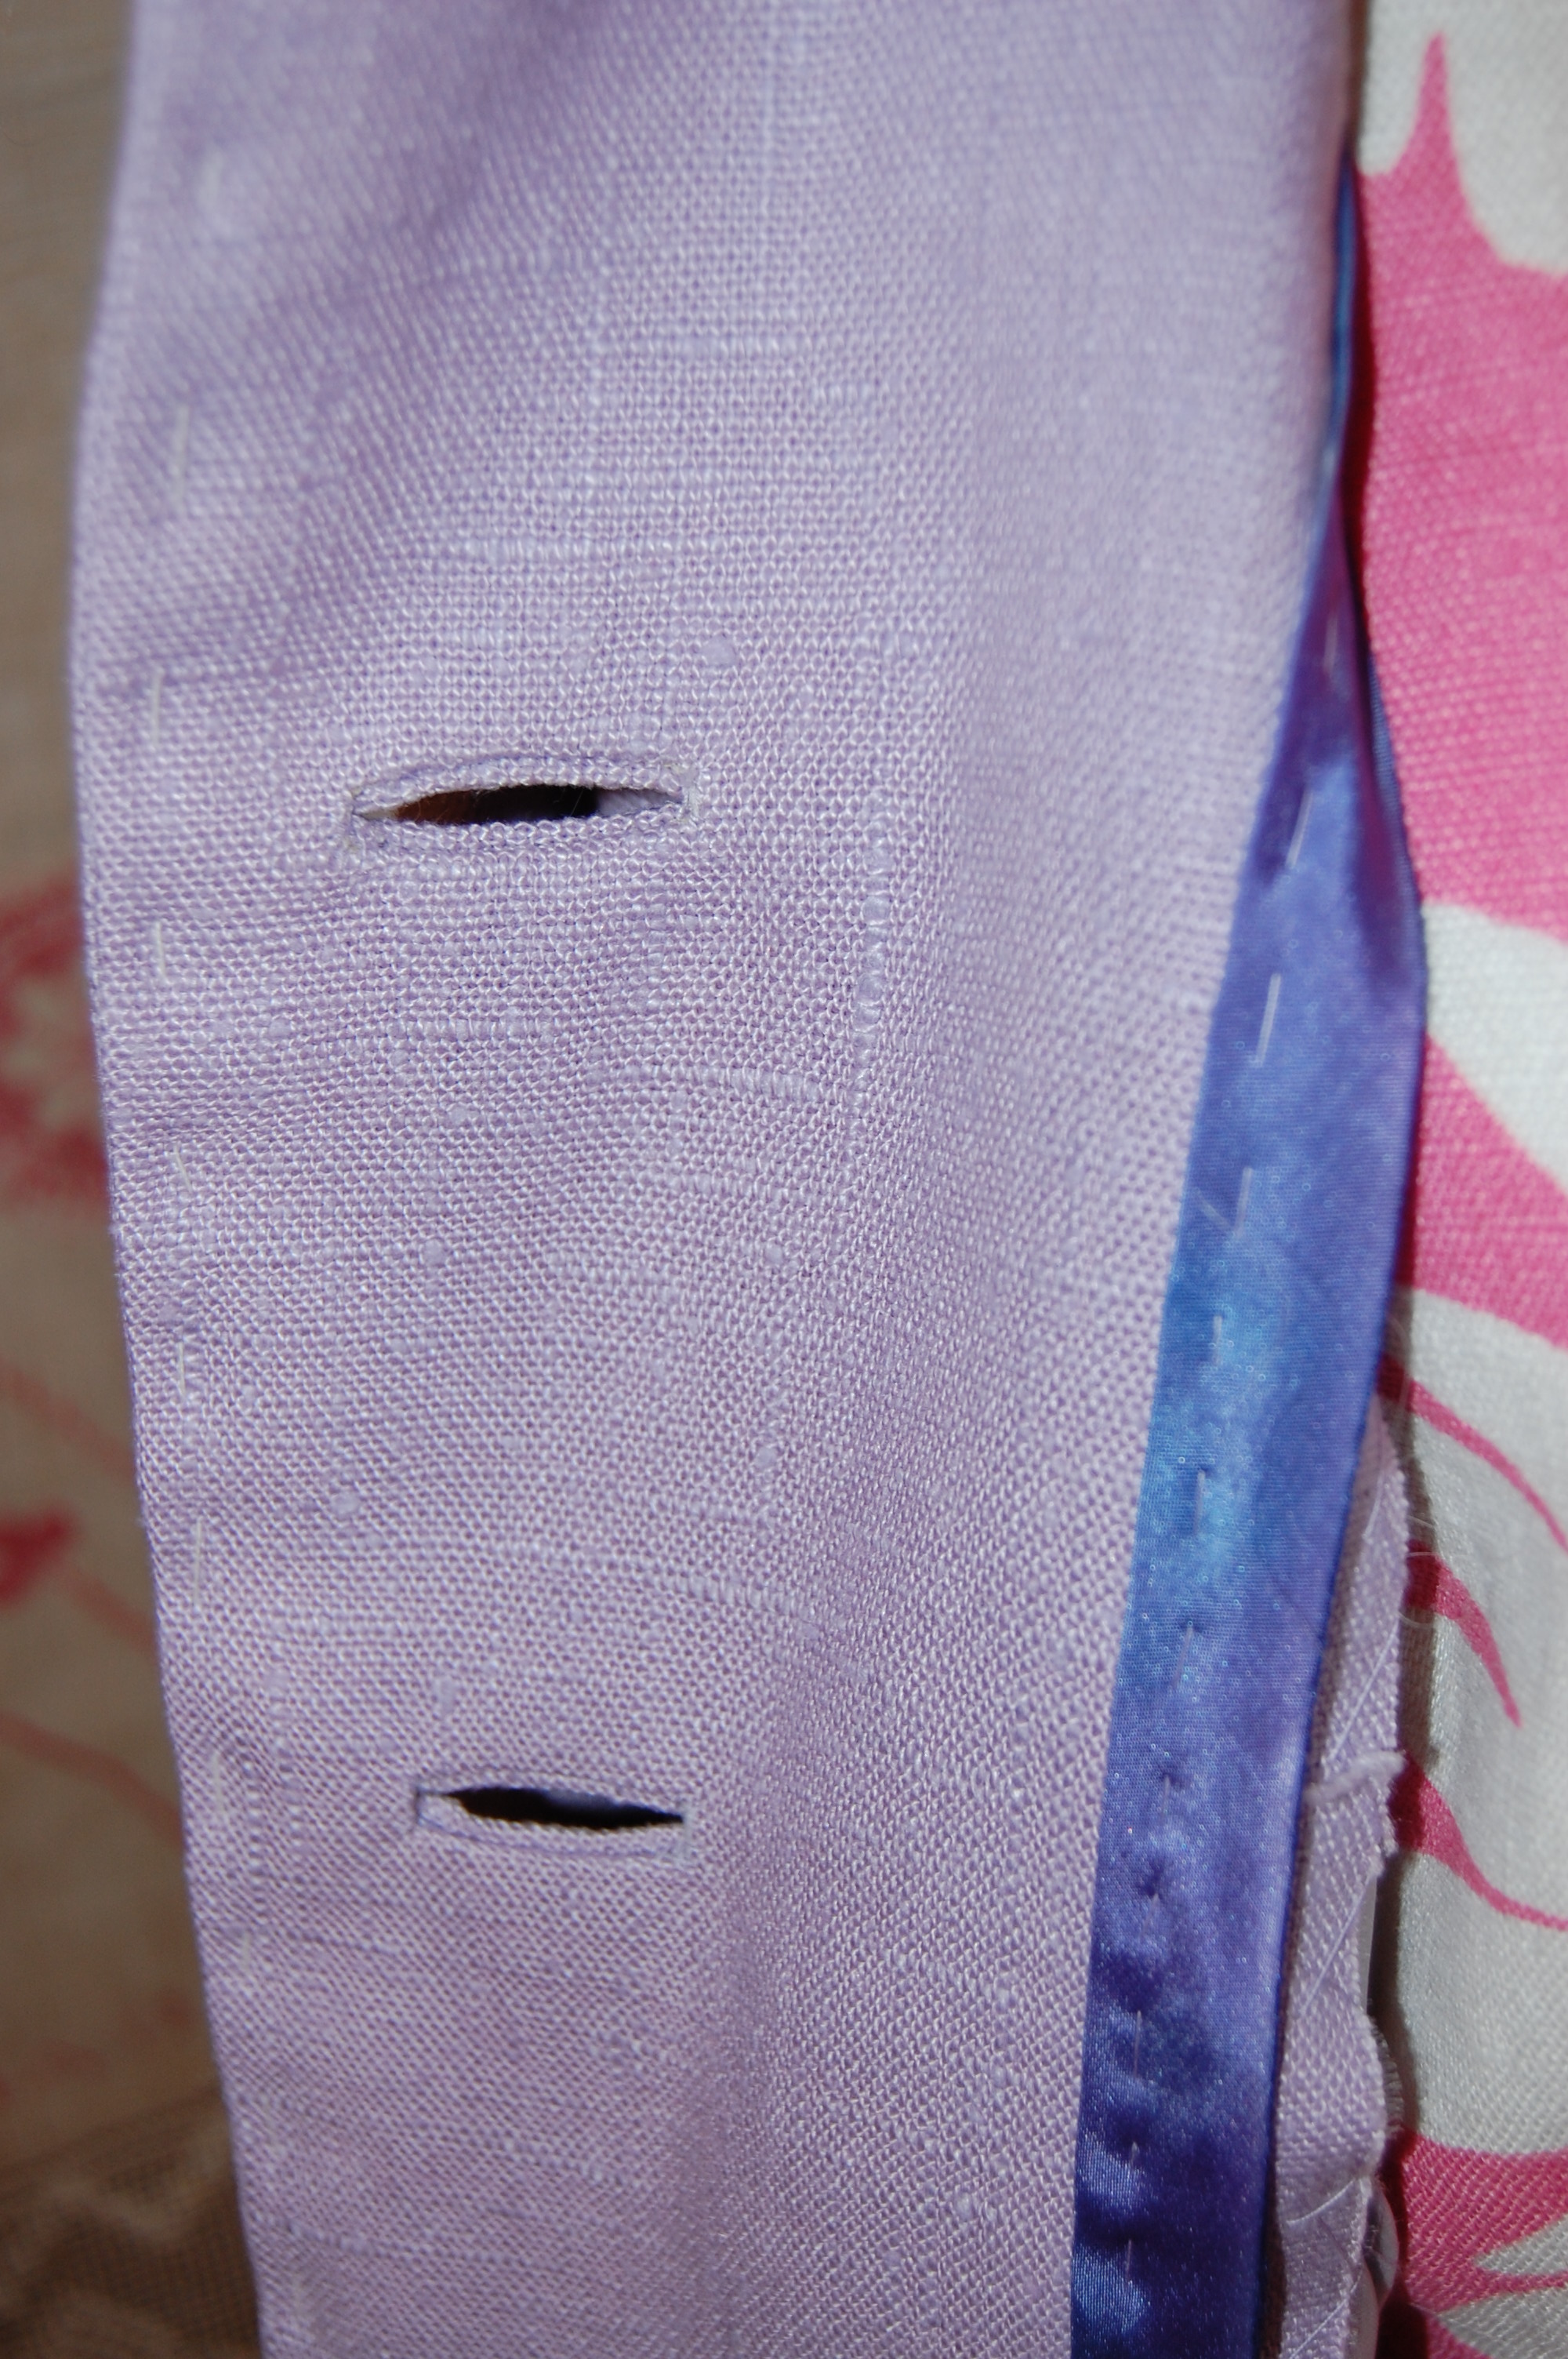
With the first pocket and pocket placket successfully completed, the second pocket placket was simply fascinating and alluring, my progress encouraged by the charm and good looks of the first one. Definitely glamorous!

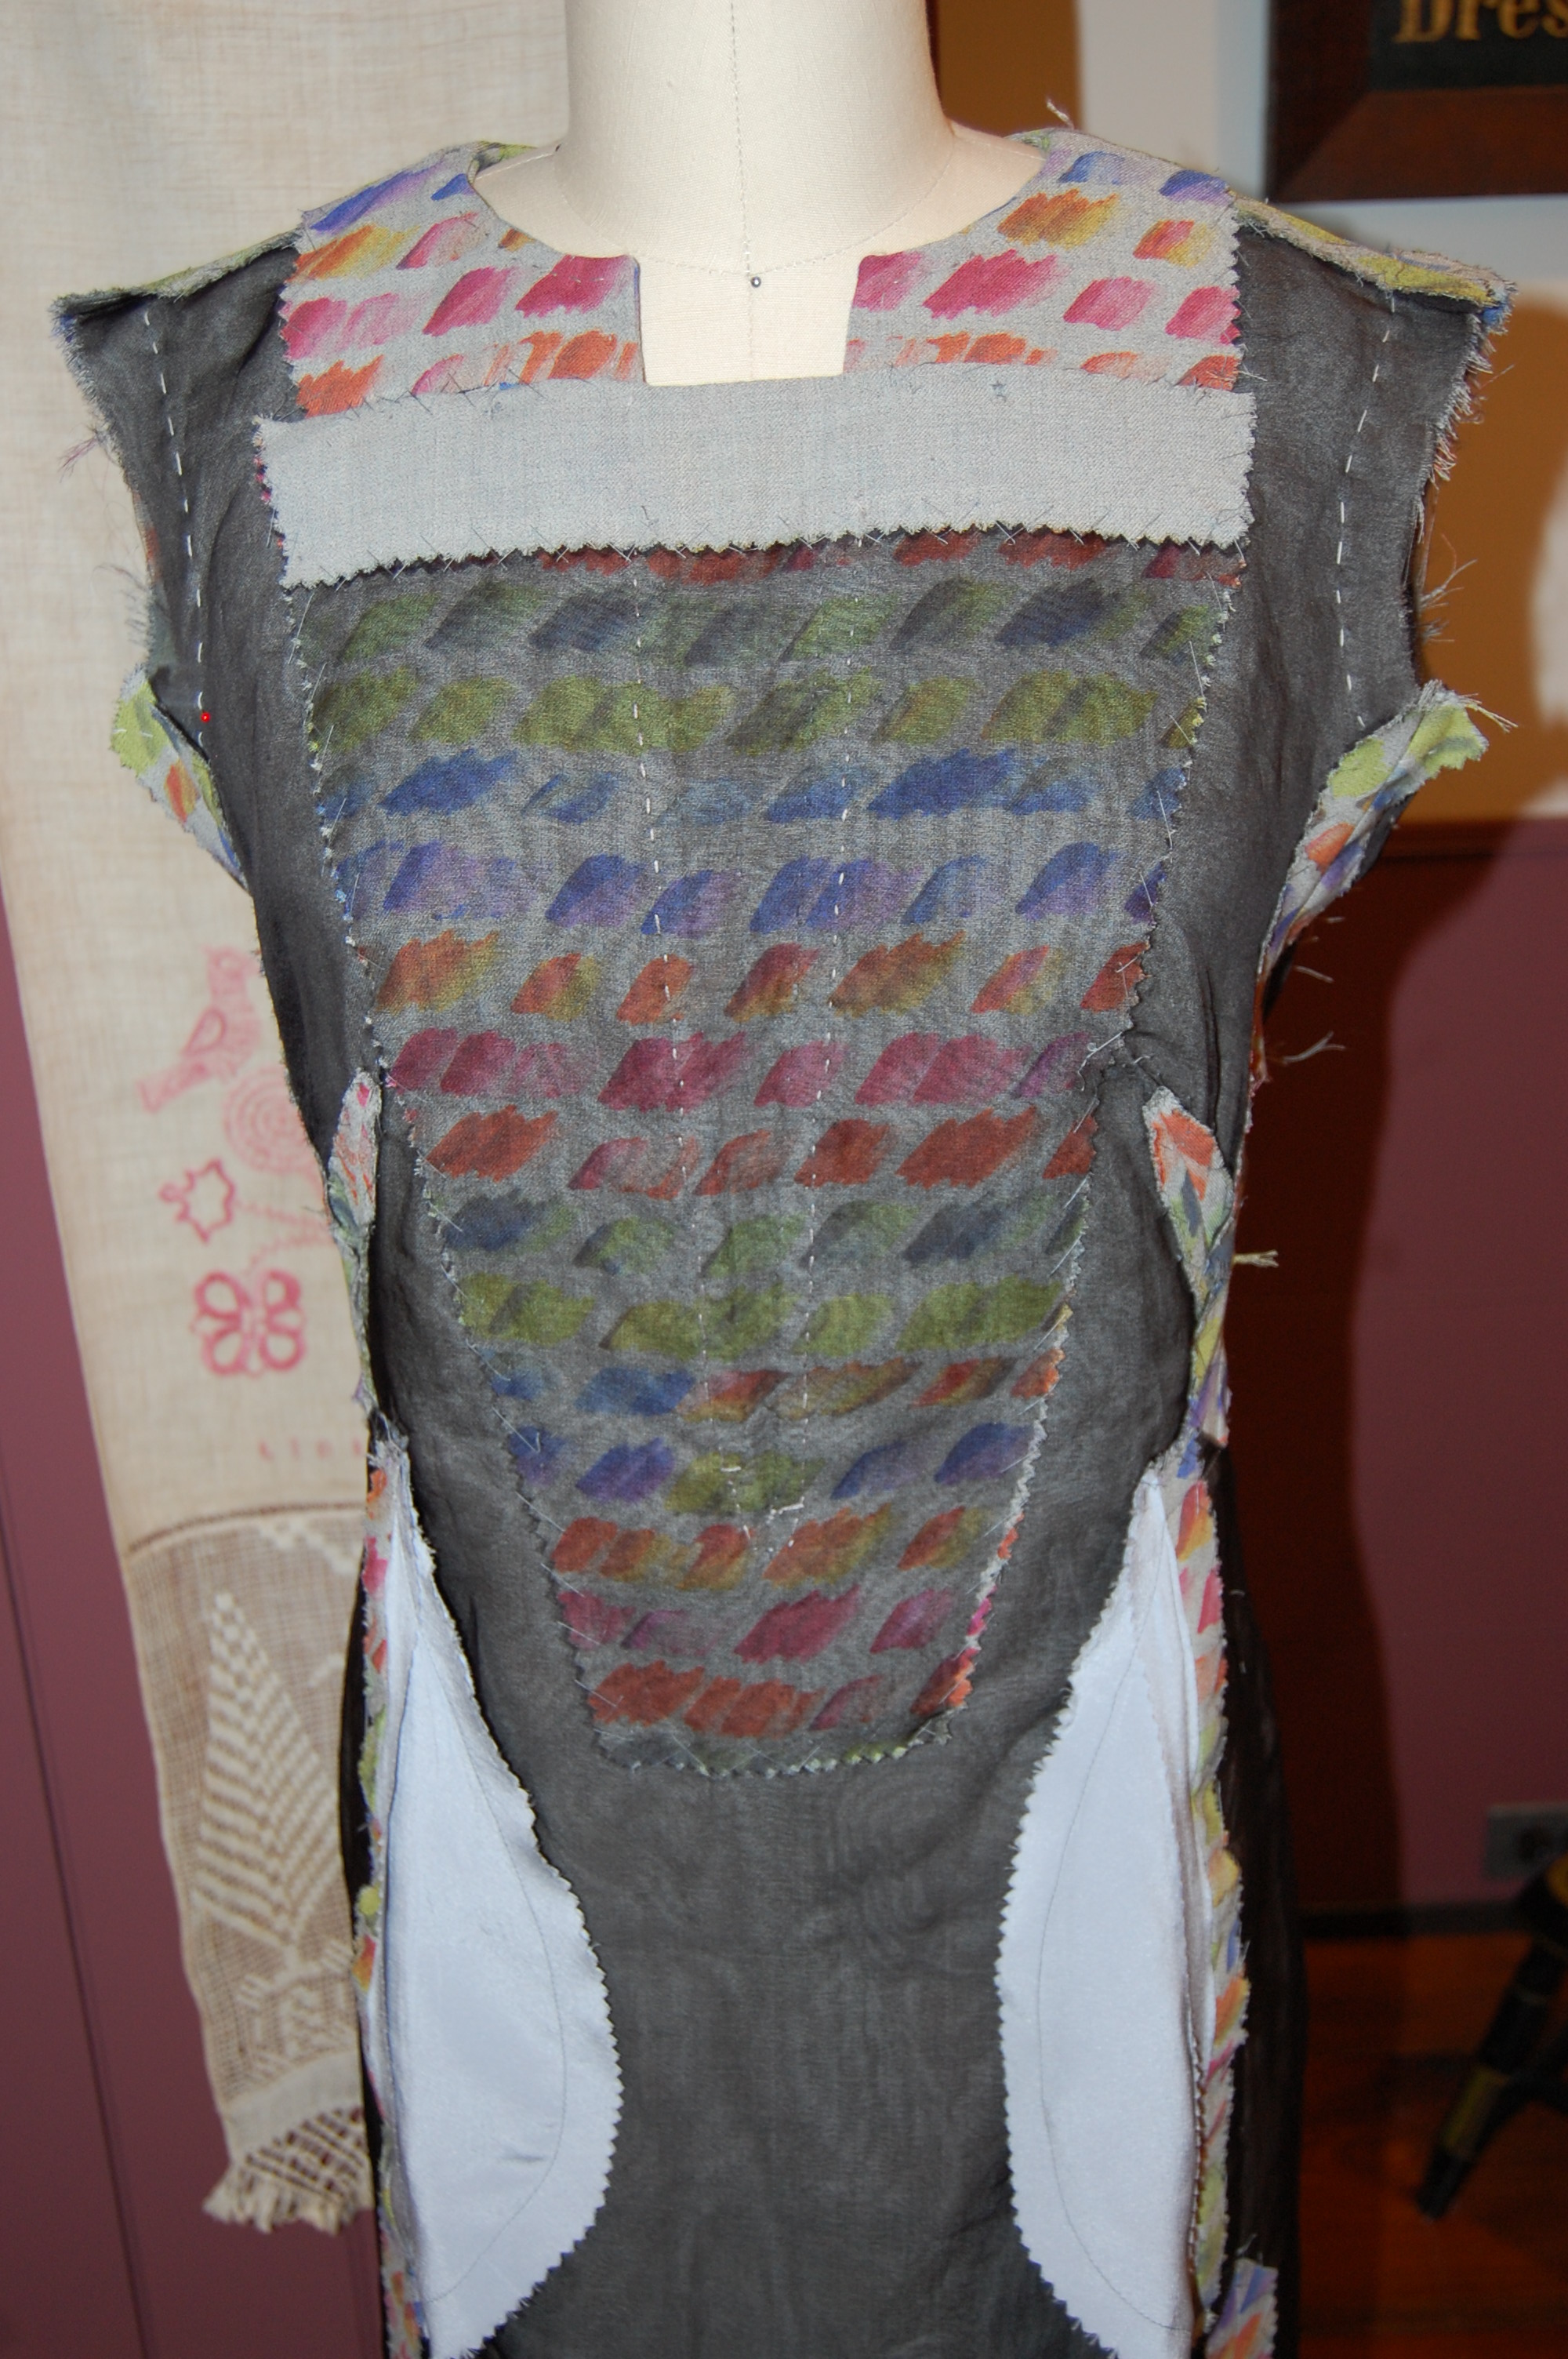
Progress – both pockets/plackets finished!
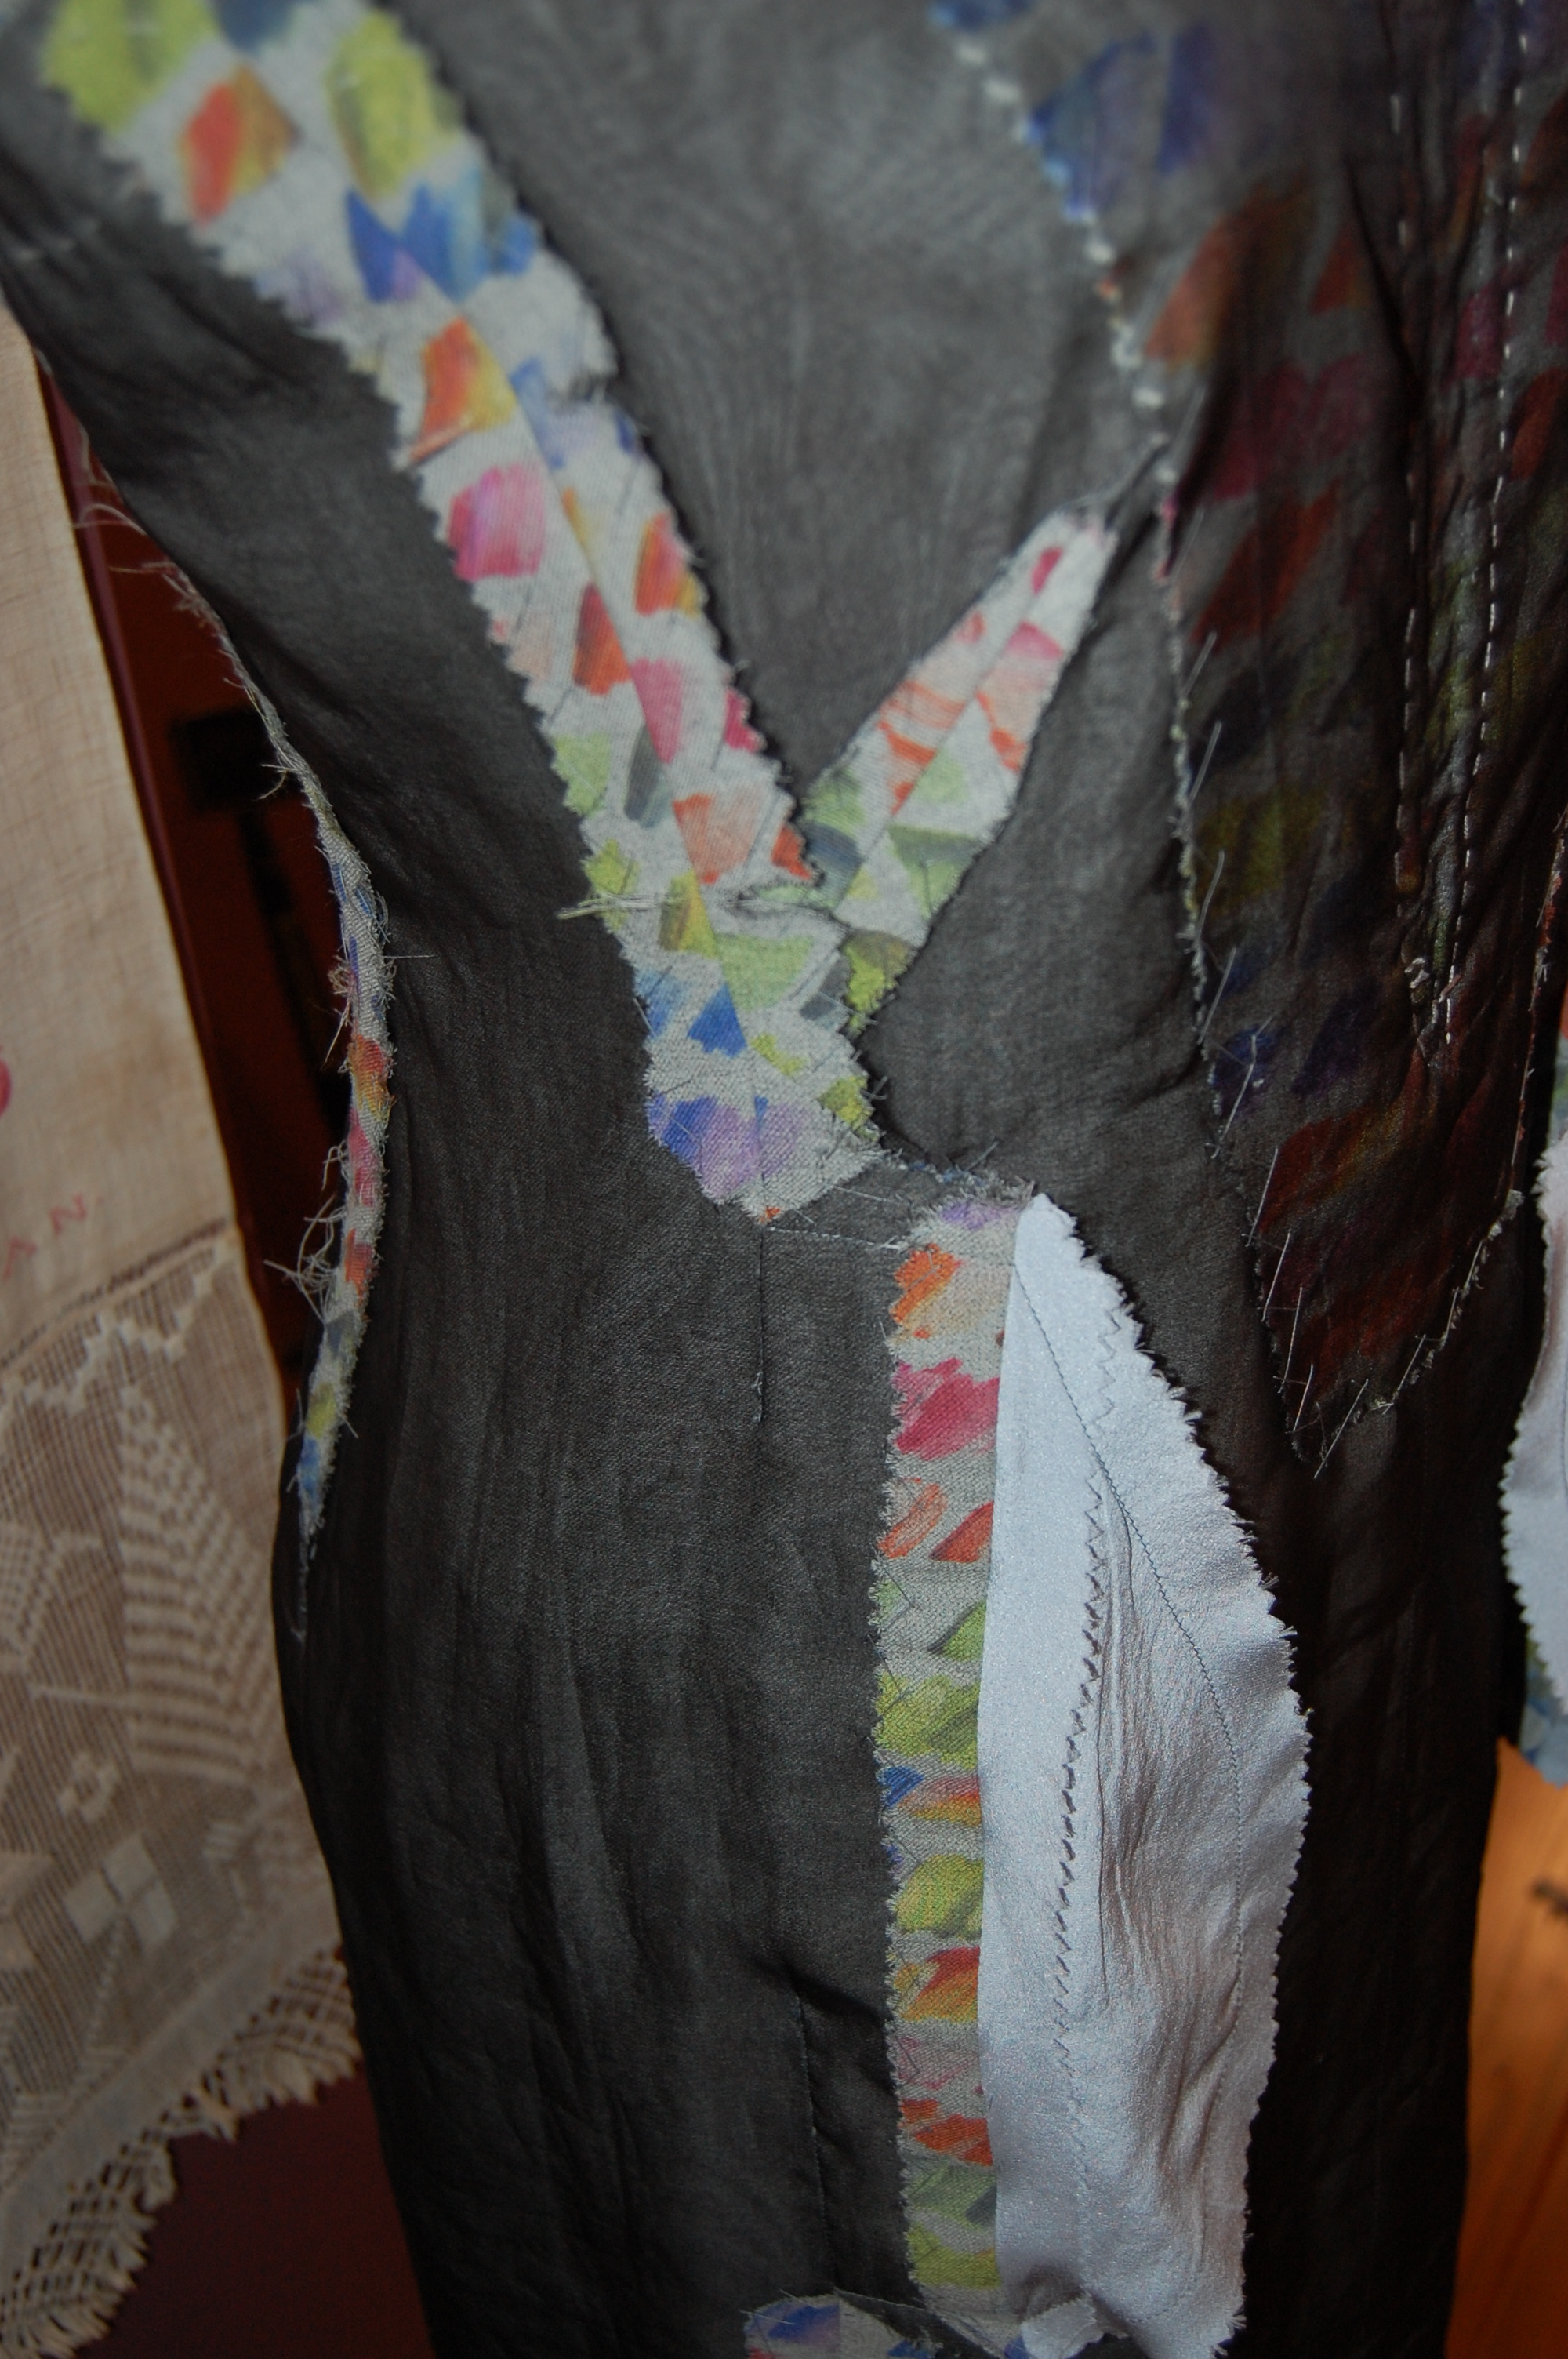
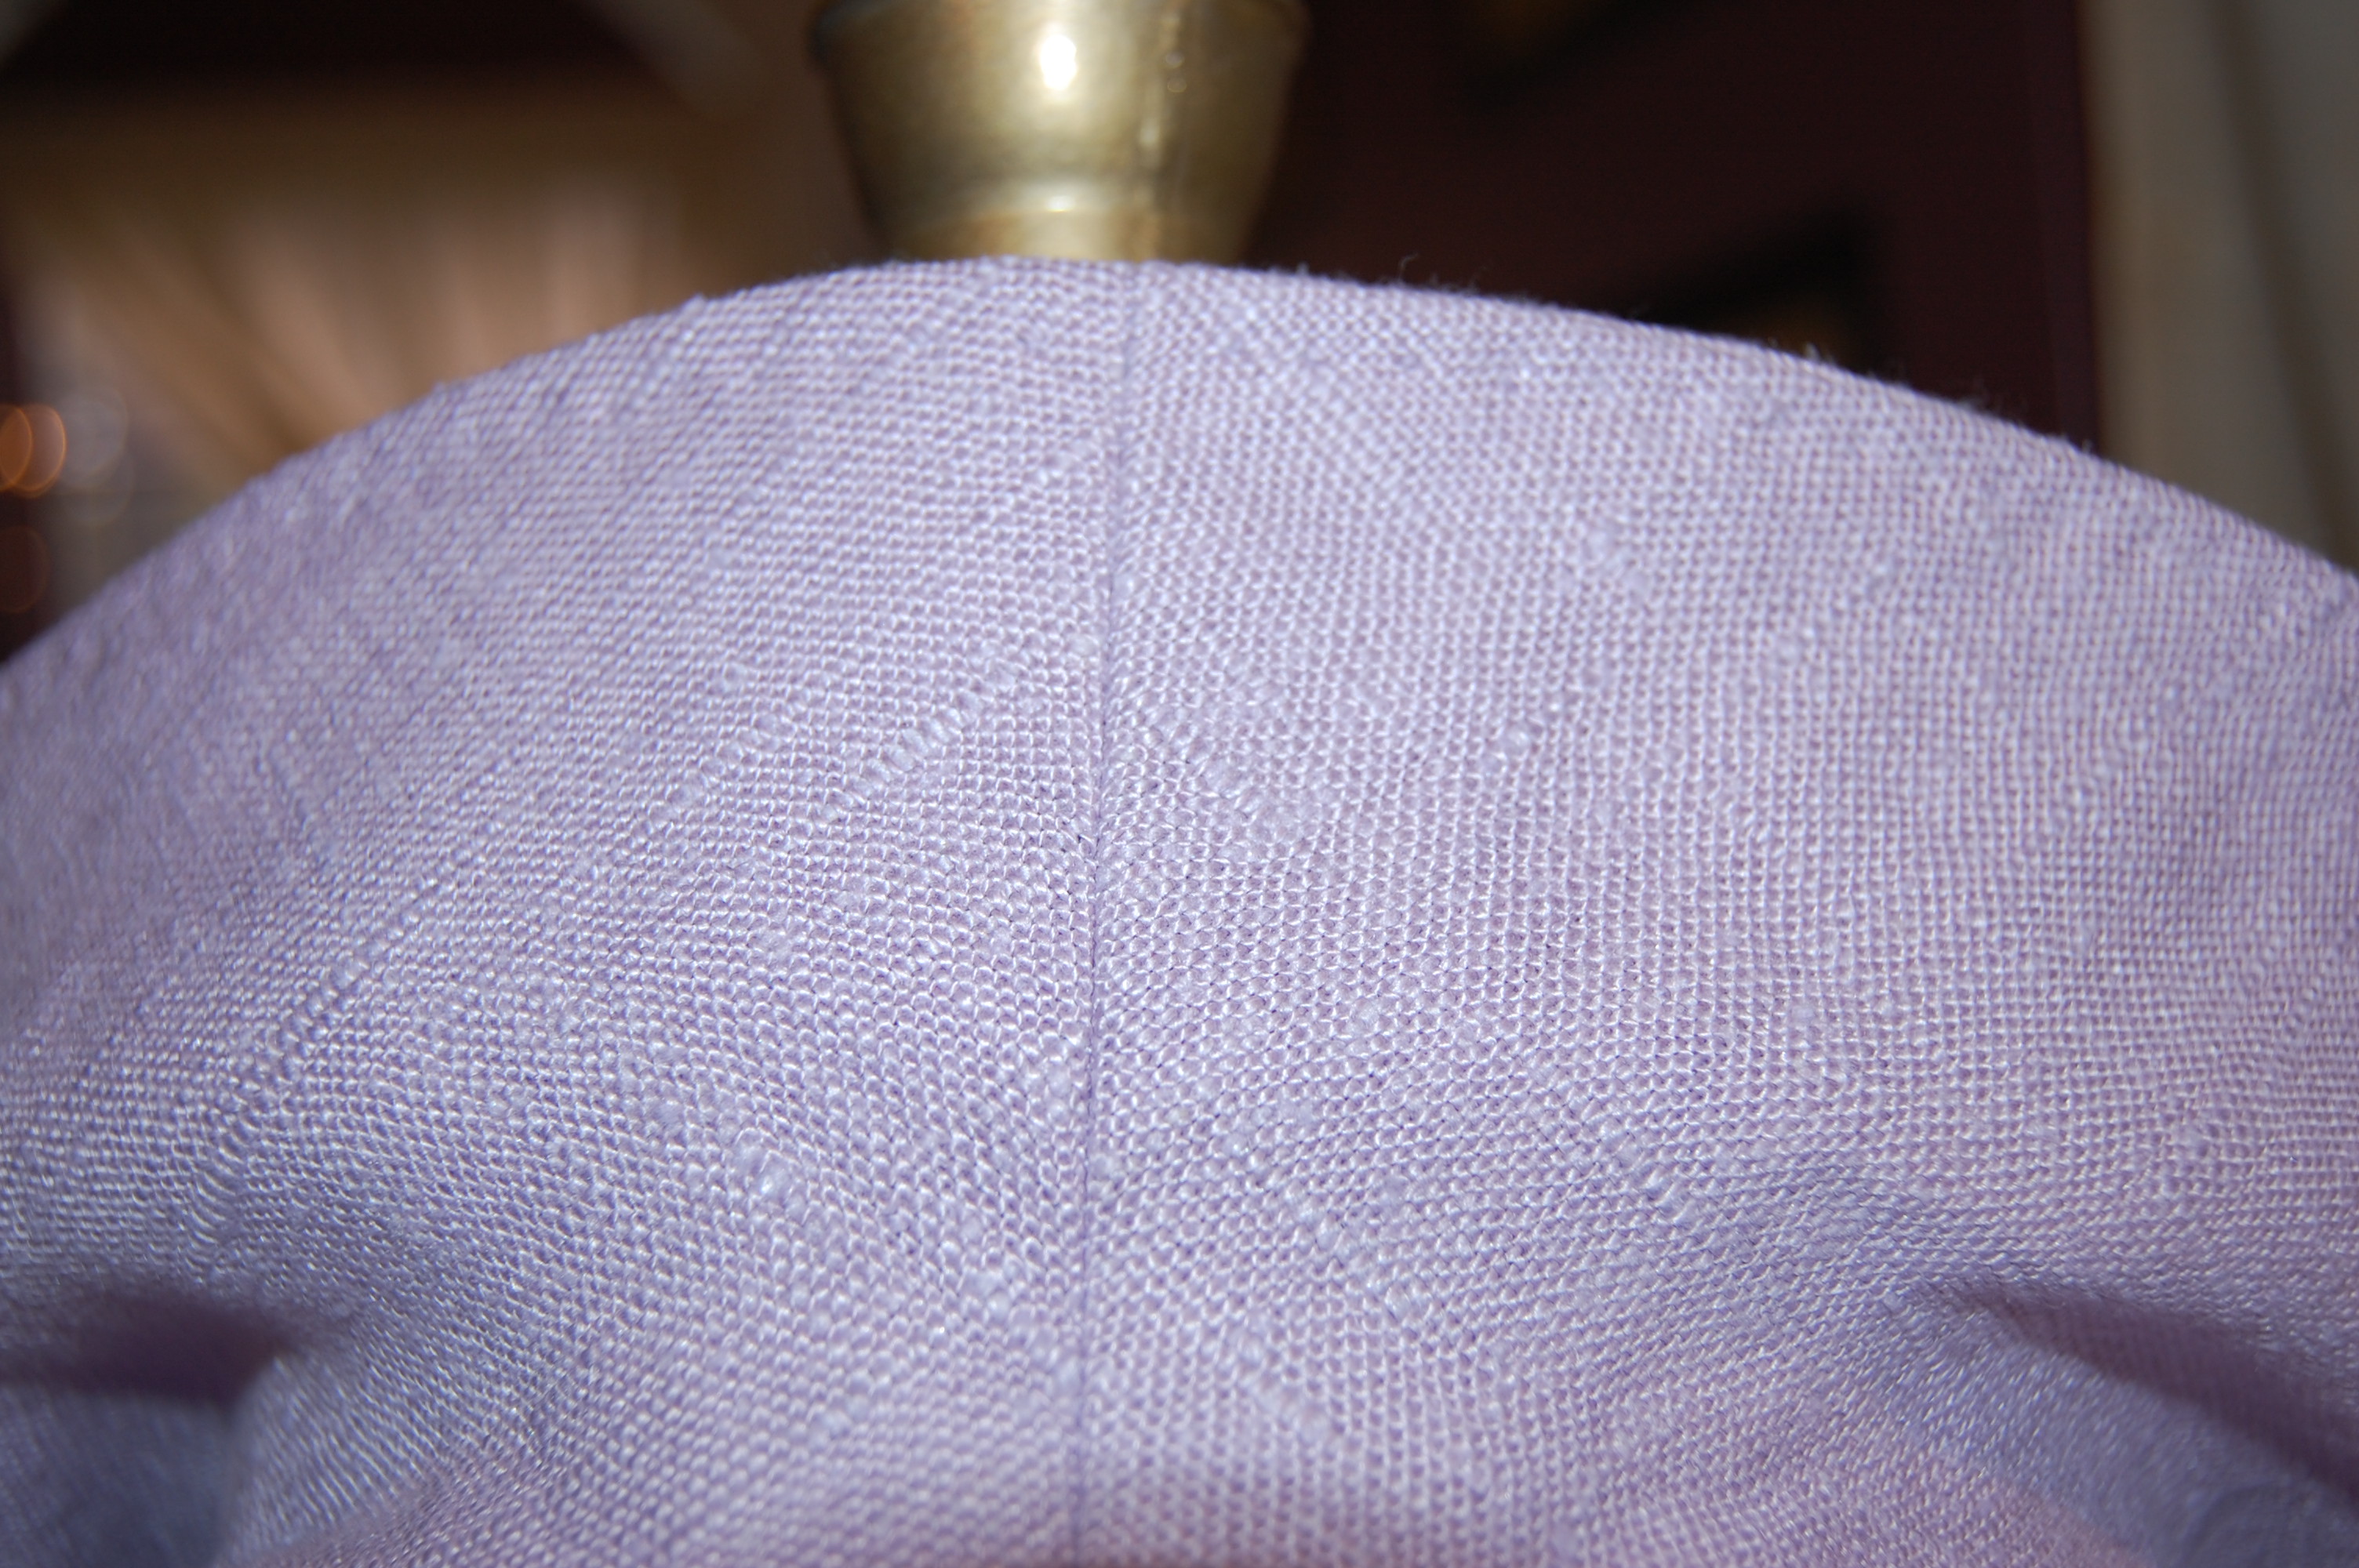
More seams ensued, each one carefully pinned, sewn, pressed and catch-stitched. Particularly rewarding were the shoulder seams of the raglan sleeves. Properly clipped, pressed and catch-stitched, the seams lie beautifully and look good, too.

The benefits of a silk organza interlining (or underlining) are manifold, not least of which is a foundation upon which to secure the seams.
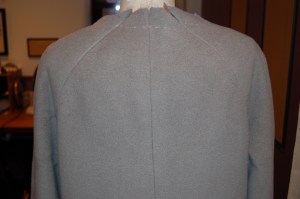
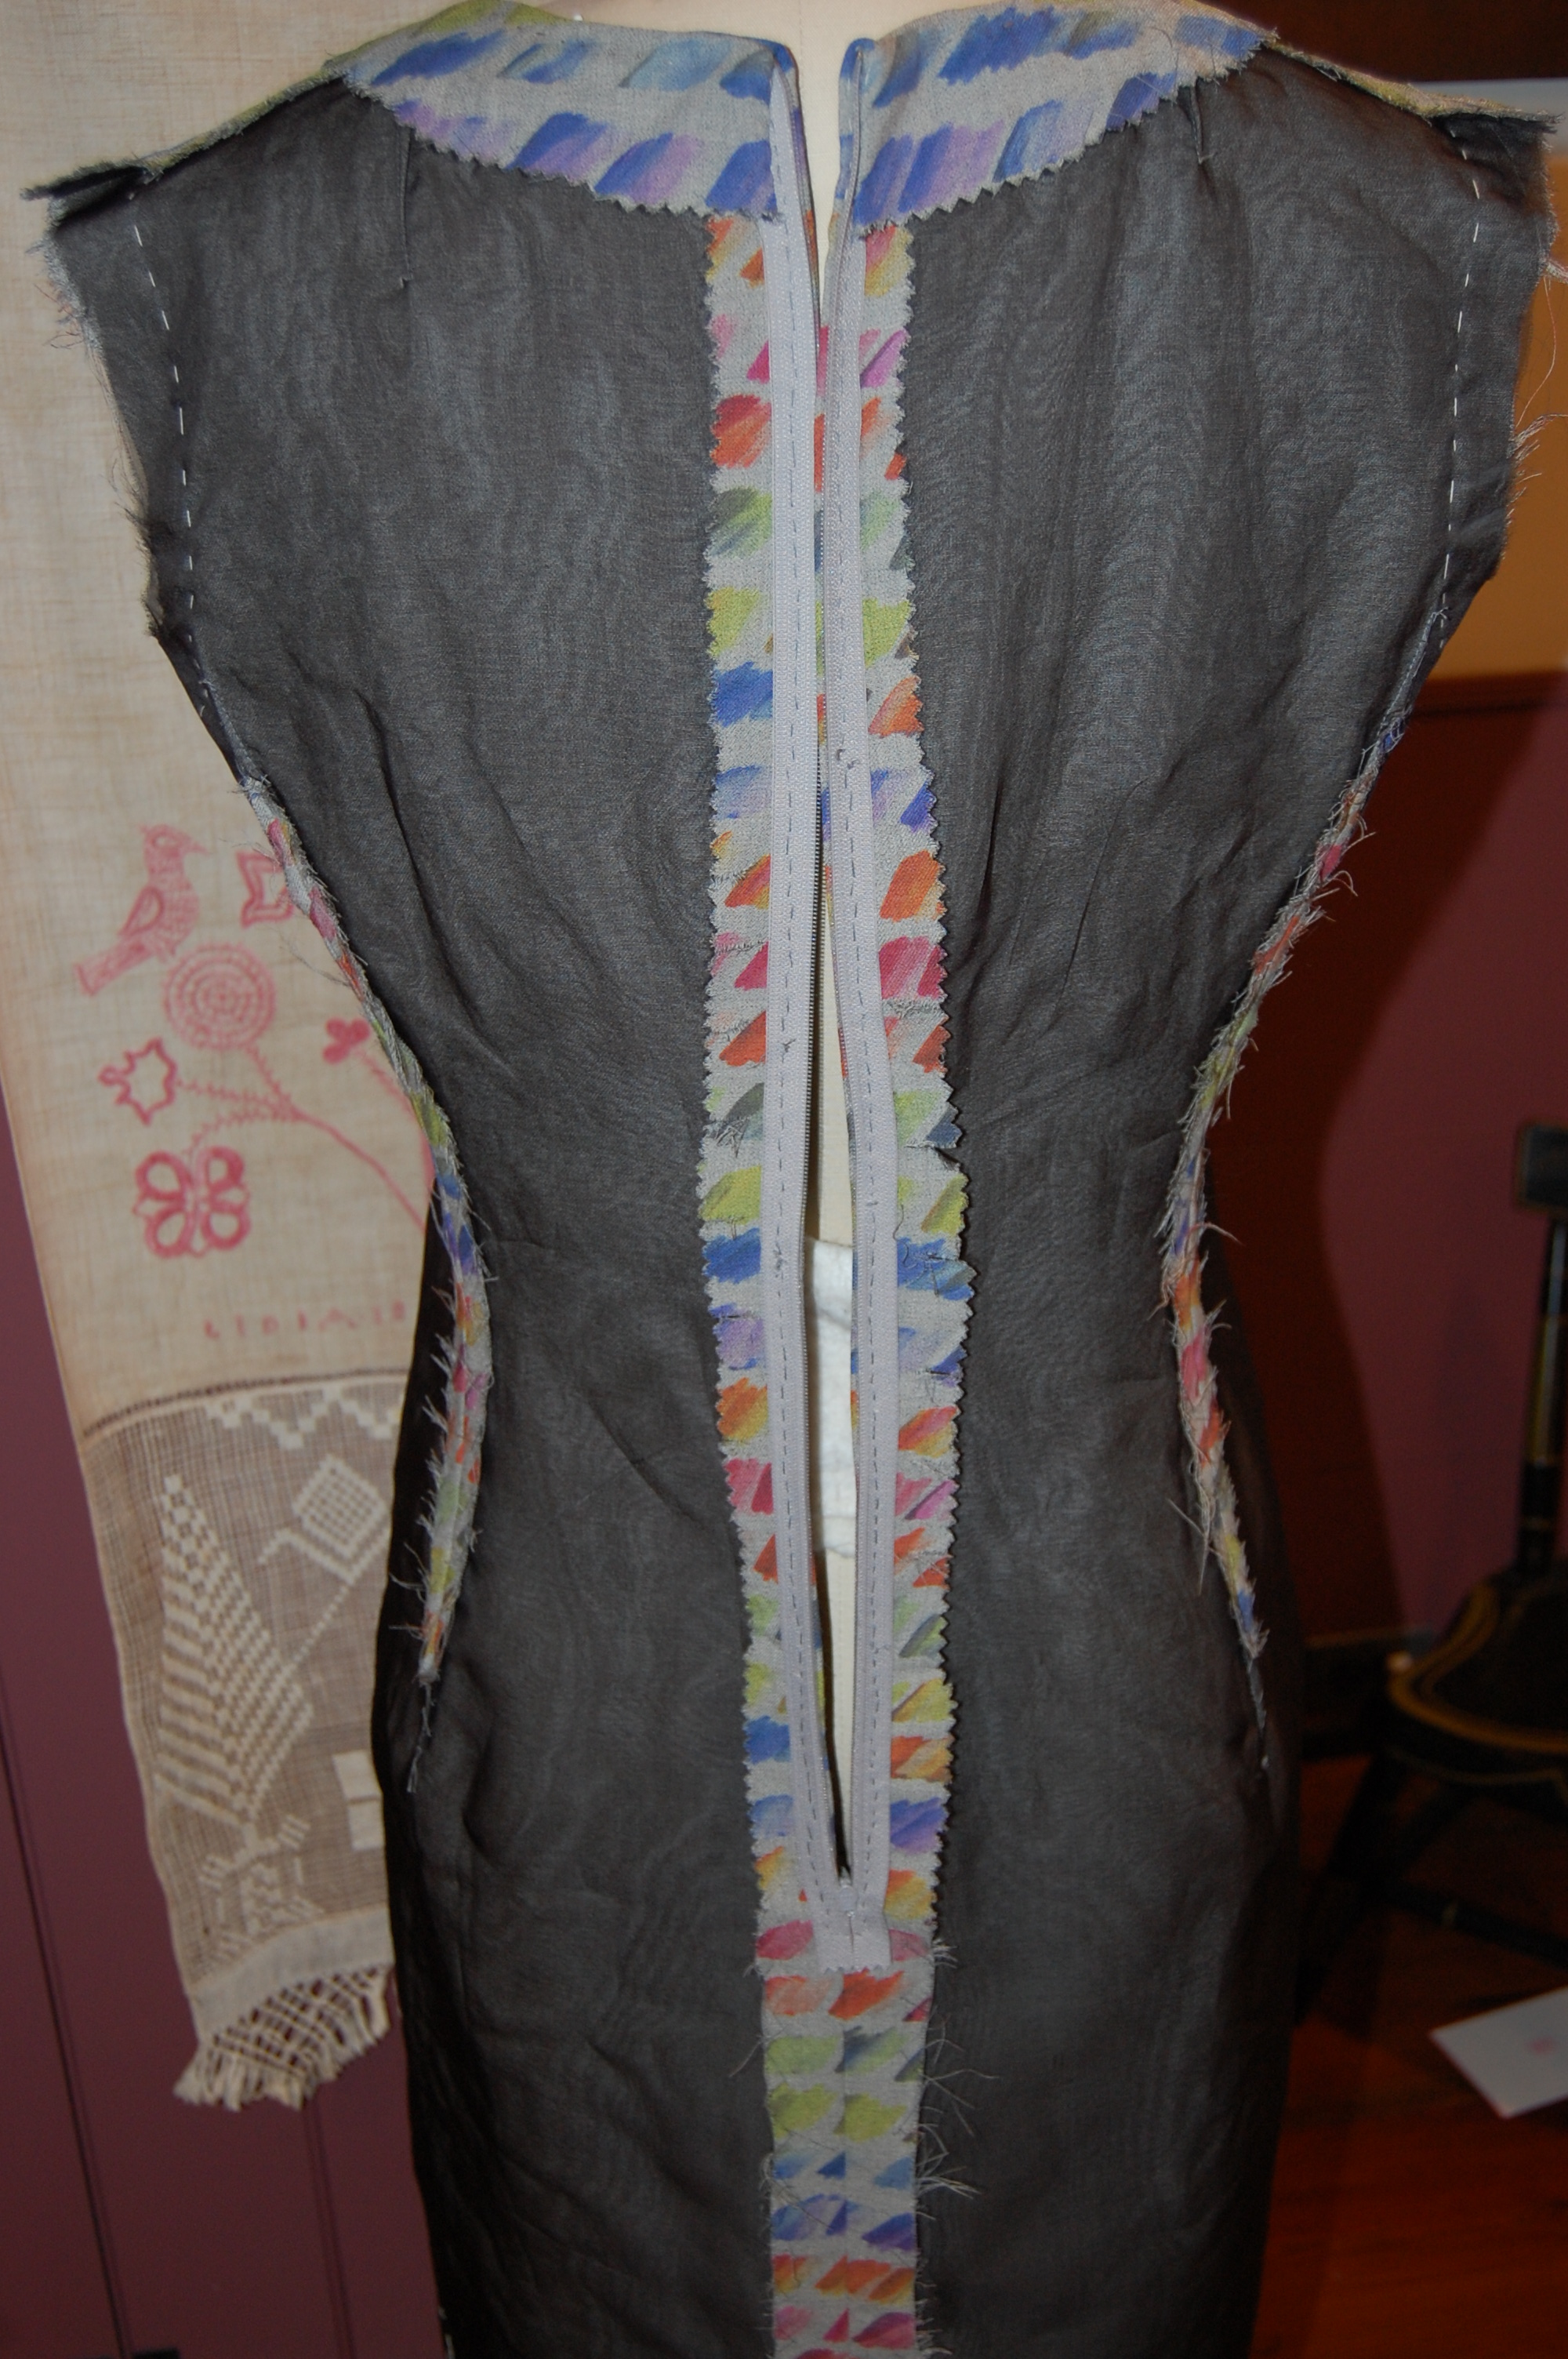
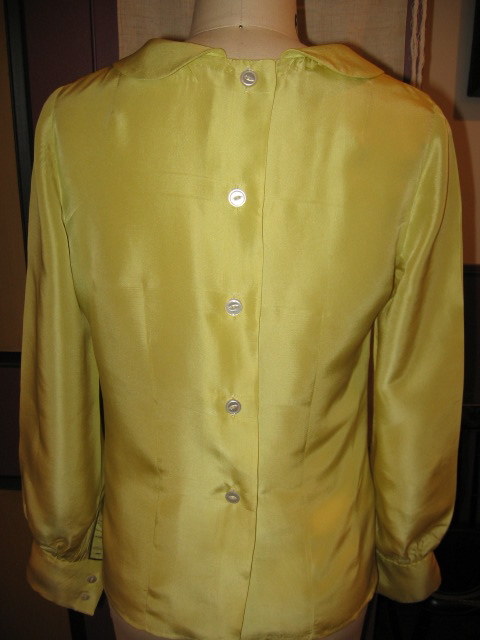
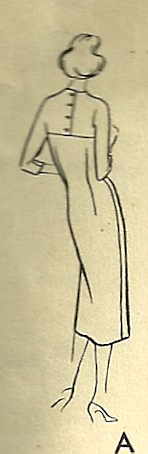
A view of the back of the coat (in progress.)
Although I have many more hours to go with the construction of this coat, I can’t help but feel that not only is this coat going to be glamorous, with its elegant gray cashmere, its vintage sensibility and all its hidden, inside secrets used to tame those seams, it is also going to be feminine and definitely me.
Perhaps the next question to ask is “Can sewing be glamorous?” It is “fascinatingly attractive, full of excitement, adventure and unusual activity.” It is magical and enchanting, too. The answer would have to be, “Yes, sewing most definitely can be very glamorous!” Even when we are in our bedroom slippers and blue jeans, covered in threads and pins, if we are sewing, I say we are glamorous.