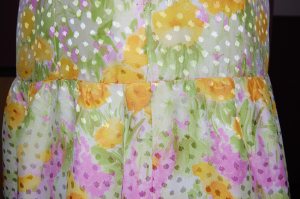
We are almost halfway through the sewing year! Time for me to just keep plugging along, being grateful for any hours I can spend sewing – or dreaming about sewing. Lately it seems I have spent more time dreaming about it than actually accomplishing anything. But that’s not quite true. I have actually done a lot of sewing (I call it necessary sewing) – just not anything worth sharing. But that is about to change.
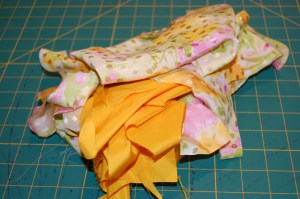
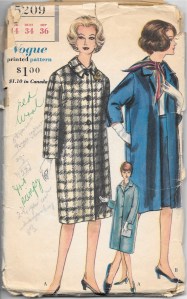
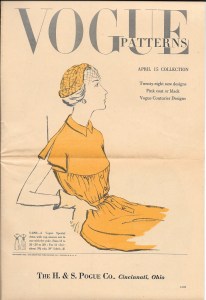
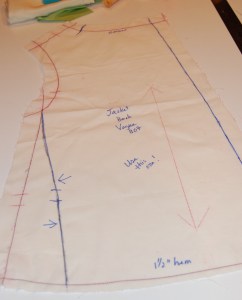
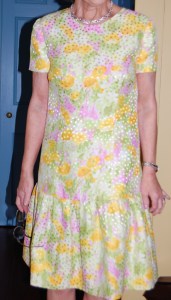
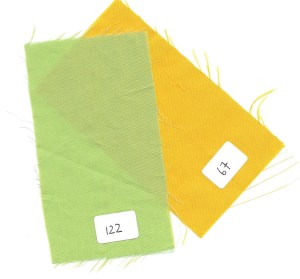
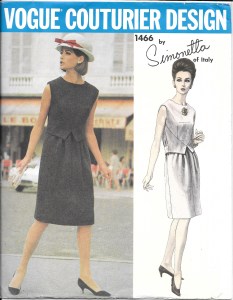
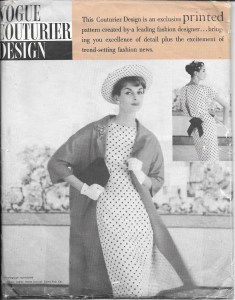
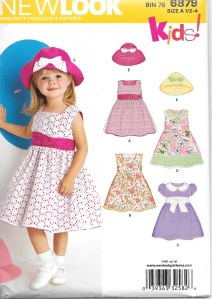
I am working on a yellow linen shirtdress, using this pattern:
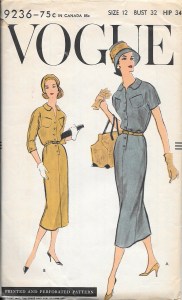
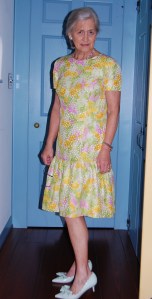
I am making the short sleeve version – but a little shorter!
I am really getting to be a fan of kimono sleeves. They were incredibly popular in the 1950s (and early ‘60s), and their construction varies according to the type of gusset used. The dress in this pattern has a gusset that forms part of the sleeve, itself.
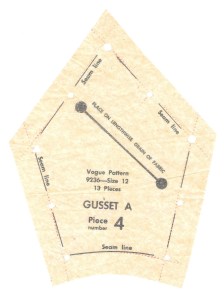
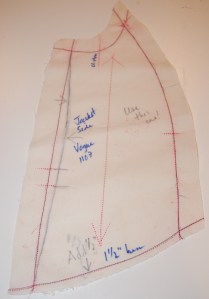
Usually gussets are diamond shaped. However, the curved lower edge shows that this gusset incorporates part of the sleeve in it.
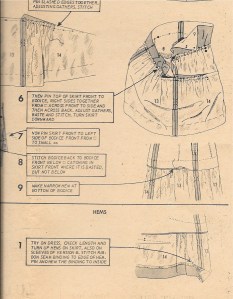
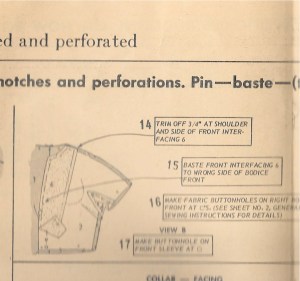
The instructions for inserting the gusset are quite explicit and interesting, I think. The first step is to work a “bar” across the point on the bodice where the matching point of the gusset is placed. I have actually never seen this done, but it makes sense as it reinforces that stress point.
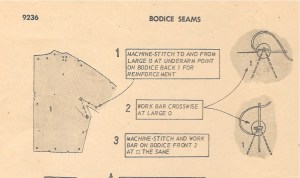
I also like the double stitching on the interior seams of the gusset as shown in this section:
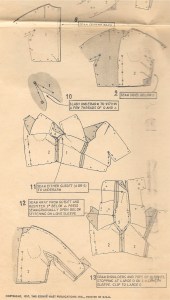
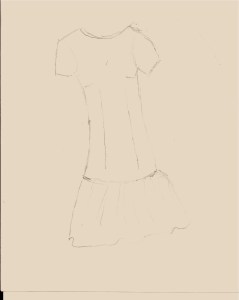
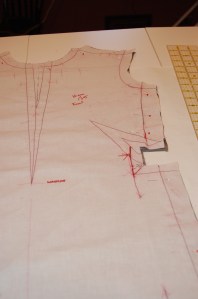
Here is how the finished short sleeve is diagrammed:
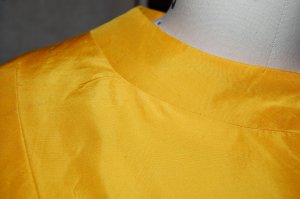
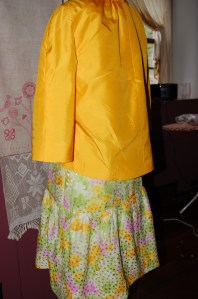
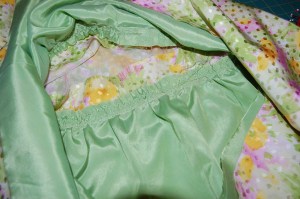
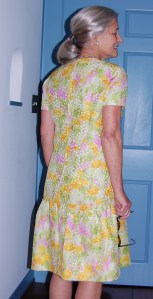
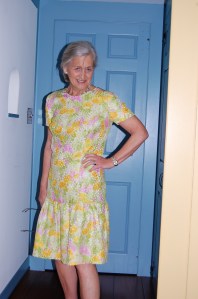
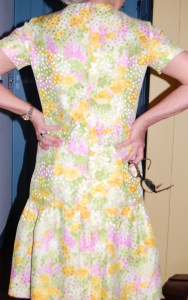
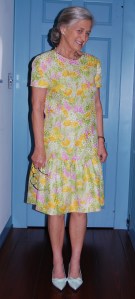
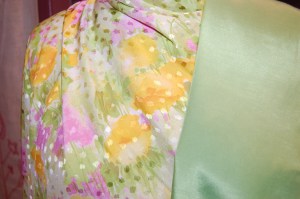
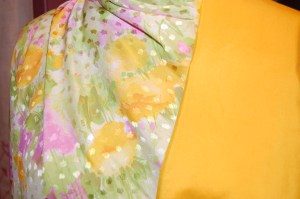
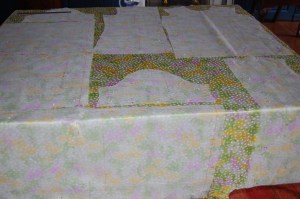
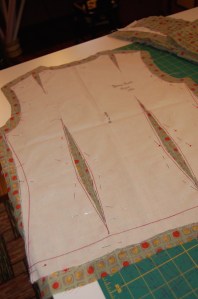
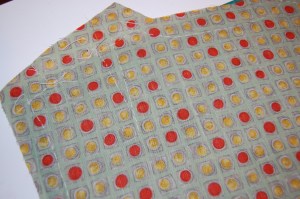
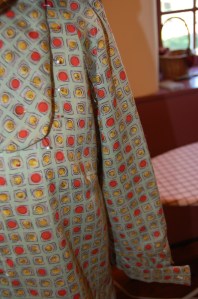
And here are some photos of the finished gussets on my dress:

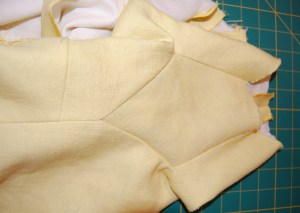
This photo clearly shows how the gusset becomes part of the under-section of the sleeve.

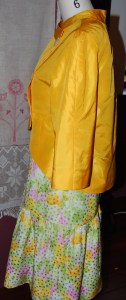
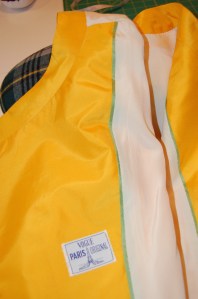
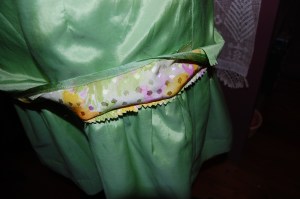
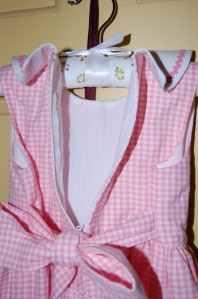
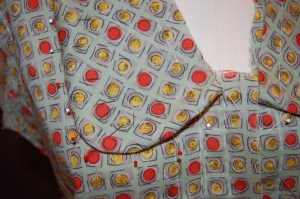
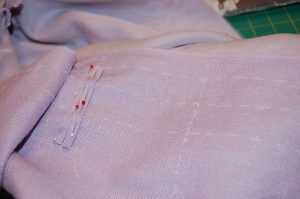
Here is an inside look. While the dress is underlined in a very light weight cotton/linen blend, I opted not to underline the gusset, in order to add to flexibility. I got this brilliant idea from Laura Mae of Lilacs and Lace sewing blog.

The seam you see at the top of this photo is the shoulder seam which runs down the length of the sleeve.
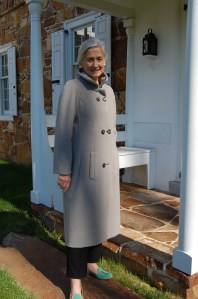
I managed to tear myself away from my sewing room for a few hours this week to go to see an exhibit at the Michener Museum in Doylestown, Pennsylvania (USA). Entitled Philadelphia In Style, the exhibit featured fashions either made, worn or purchased in Philadelphia, PA over the course of about 100 years (1880-1980).

All are part of the Robert and Penny Fox Historic Costume Collection at Drexel University in Philadelphia, a veritable treasure trove of designer, haute couture and ready-to-wear dresses, coats, ensembles, shoes, handbags, and accessories of all types. The Exhibit has special meaning for those of us with Philadelphia ties, but universal meaning for lovers of fine fashion anywhere.
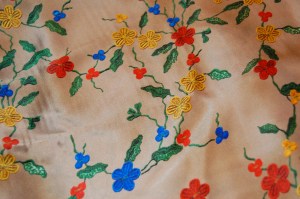
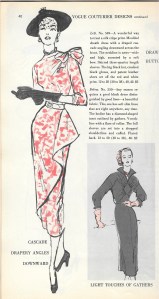
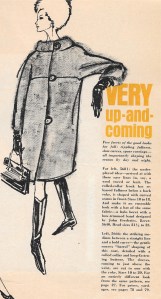
Although the clothing on display was fascinating and, for the most part, lovely, it was the numerous fashion illustrations, framed and lined up one after the other, which really caught my attention. They had all been done in 1954 for a specialty ladies’ shop in Philadelphia, called Nan Duskin. The most amazing thing is that each one had a swatch of the intended fabric taped in the corner of each drawing. Here is a sampling:
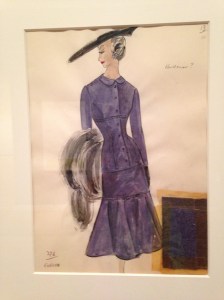
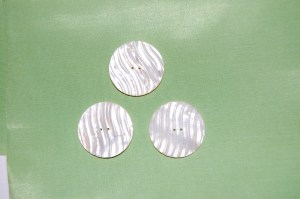
The buttons were still in question for this dress – note the line in the upper right side “buttons?”
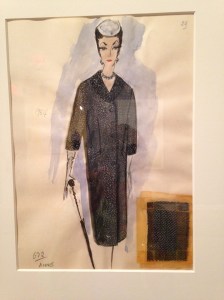
Such a lovely coat! Note the fabric swatch, held in place with yellowing tape!
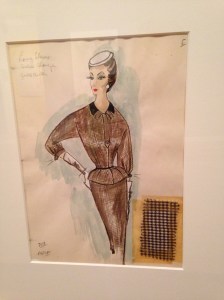
So many of the illustrations were of dressmaker suits. This one is made in brown checked wool.
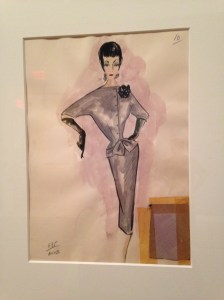
I love the saucy pose in this sketch – and the posy perched on the shoulder!
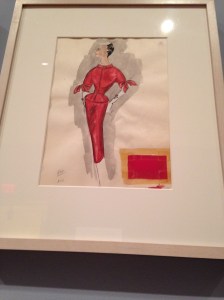
One of my favorites: in red, of course!
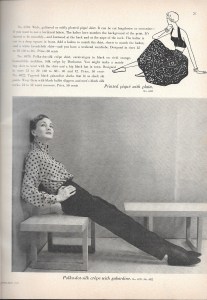
Here are a couple of the fashions represented in the Exhibit:
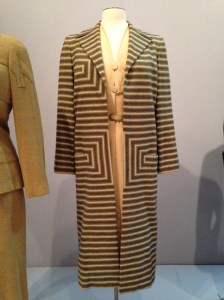
This was called a Day Ensemble. It bears the table “Irene for Nan Duskin.” (Irene Lentz Gibbons, 1952-53, USA)

This shirtwaist dress, Norman Norell for Trina-Norell, circa 1955, had finely done bound buttonholes. The fabric is silk and wool brocade.
The Exhibit did manage to include one of the most unattractive Chanel suits I think I have ever seen.

The Chanel suit on the left is shown with an ultra-suede shirtdress by Halston, on the right.
But it was still fascinating to look at the cuff detail:

One of the most charming displays in the Exhibit was a collection of hat boxes from the stores in Philadelphia which were the purveyors of so many fine fashions over the decades.

As a lover of pretty boxes and bags, I found this vignette not only delightful, but also evocative of the thought and care inherent in buying and wearing beautiful fashions. They reminded me of the same little thrill I get when a piece of beautiful fabric which I have purchased shows up in the mail, elegantly presented in crisp tissue and tied with silky ribbons. It makes it oh-so-easy to fall in love immediately!