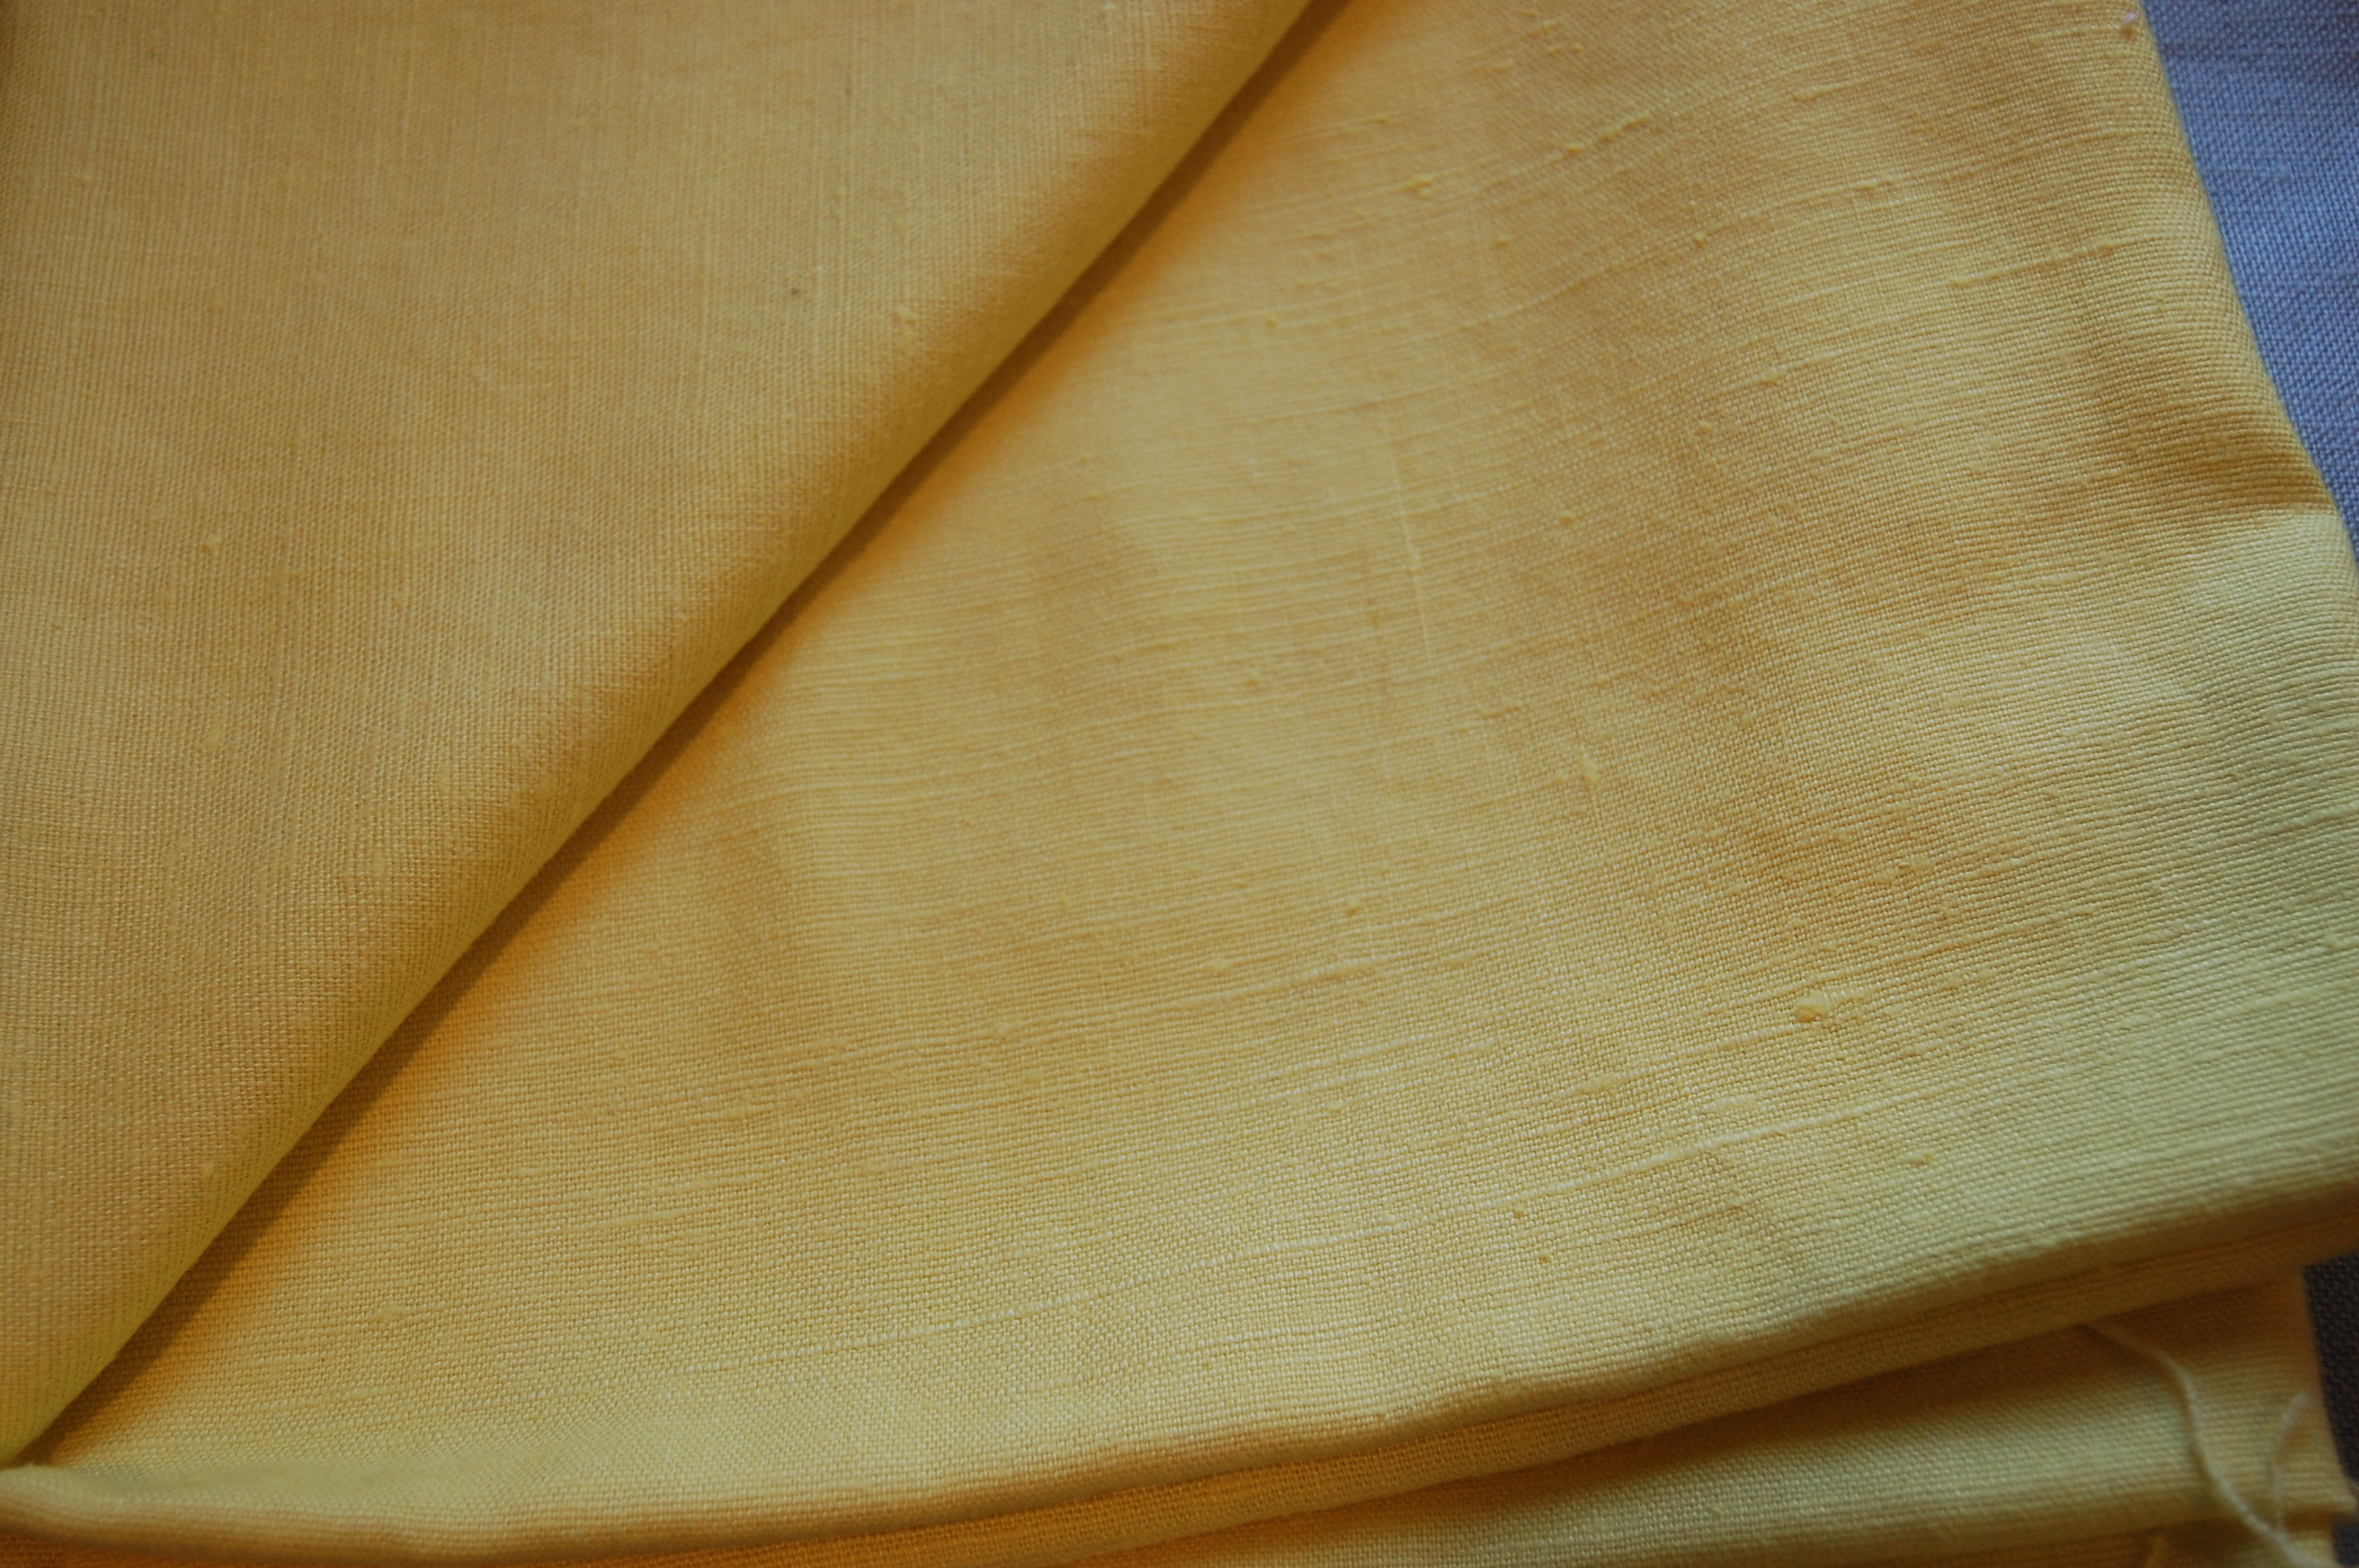
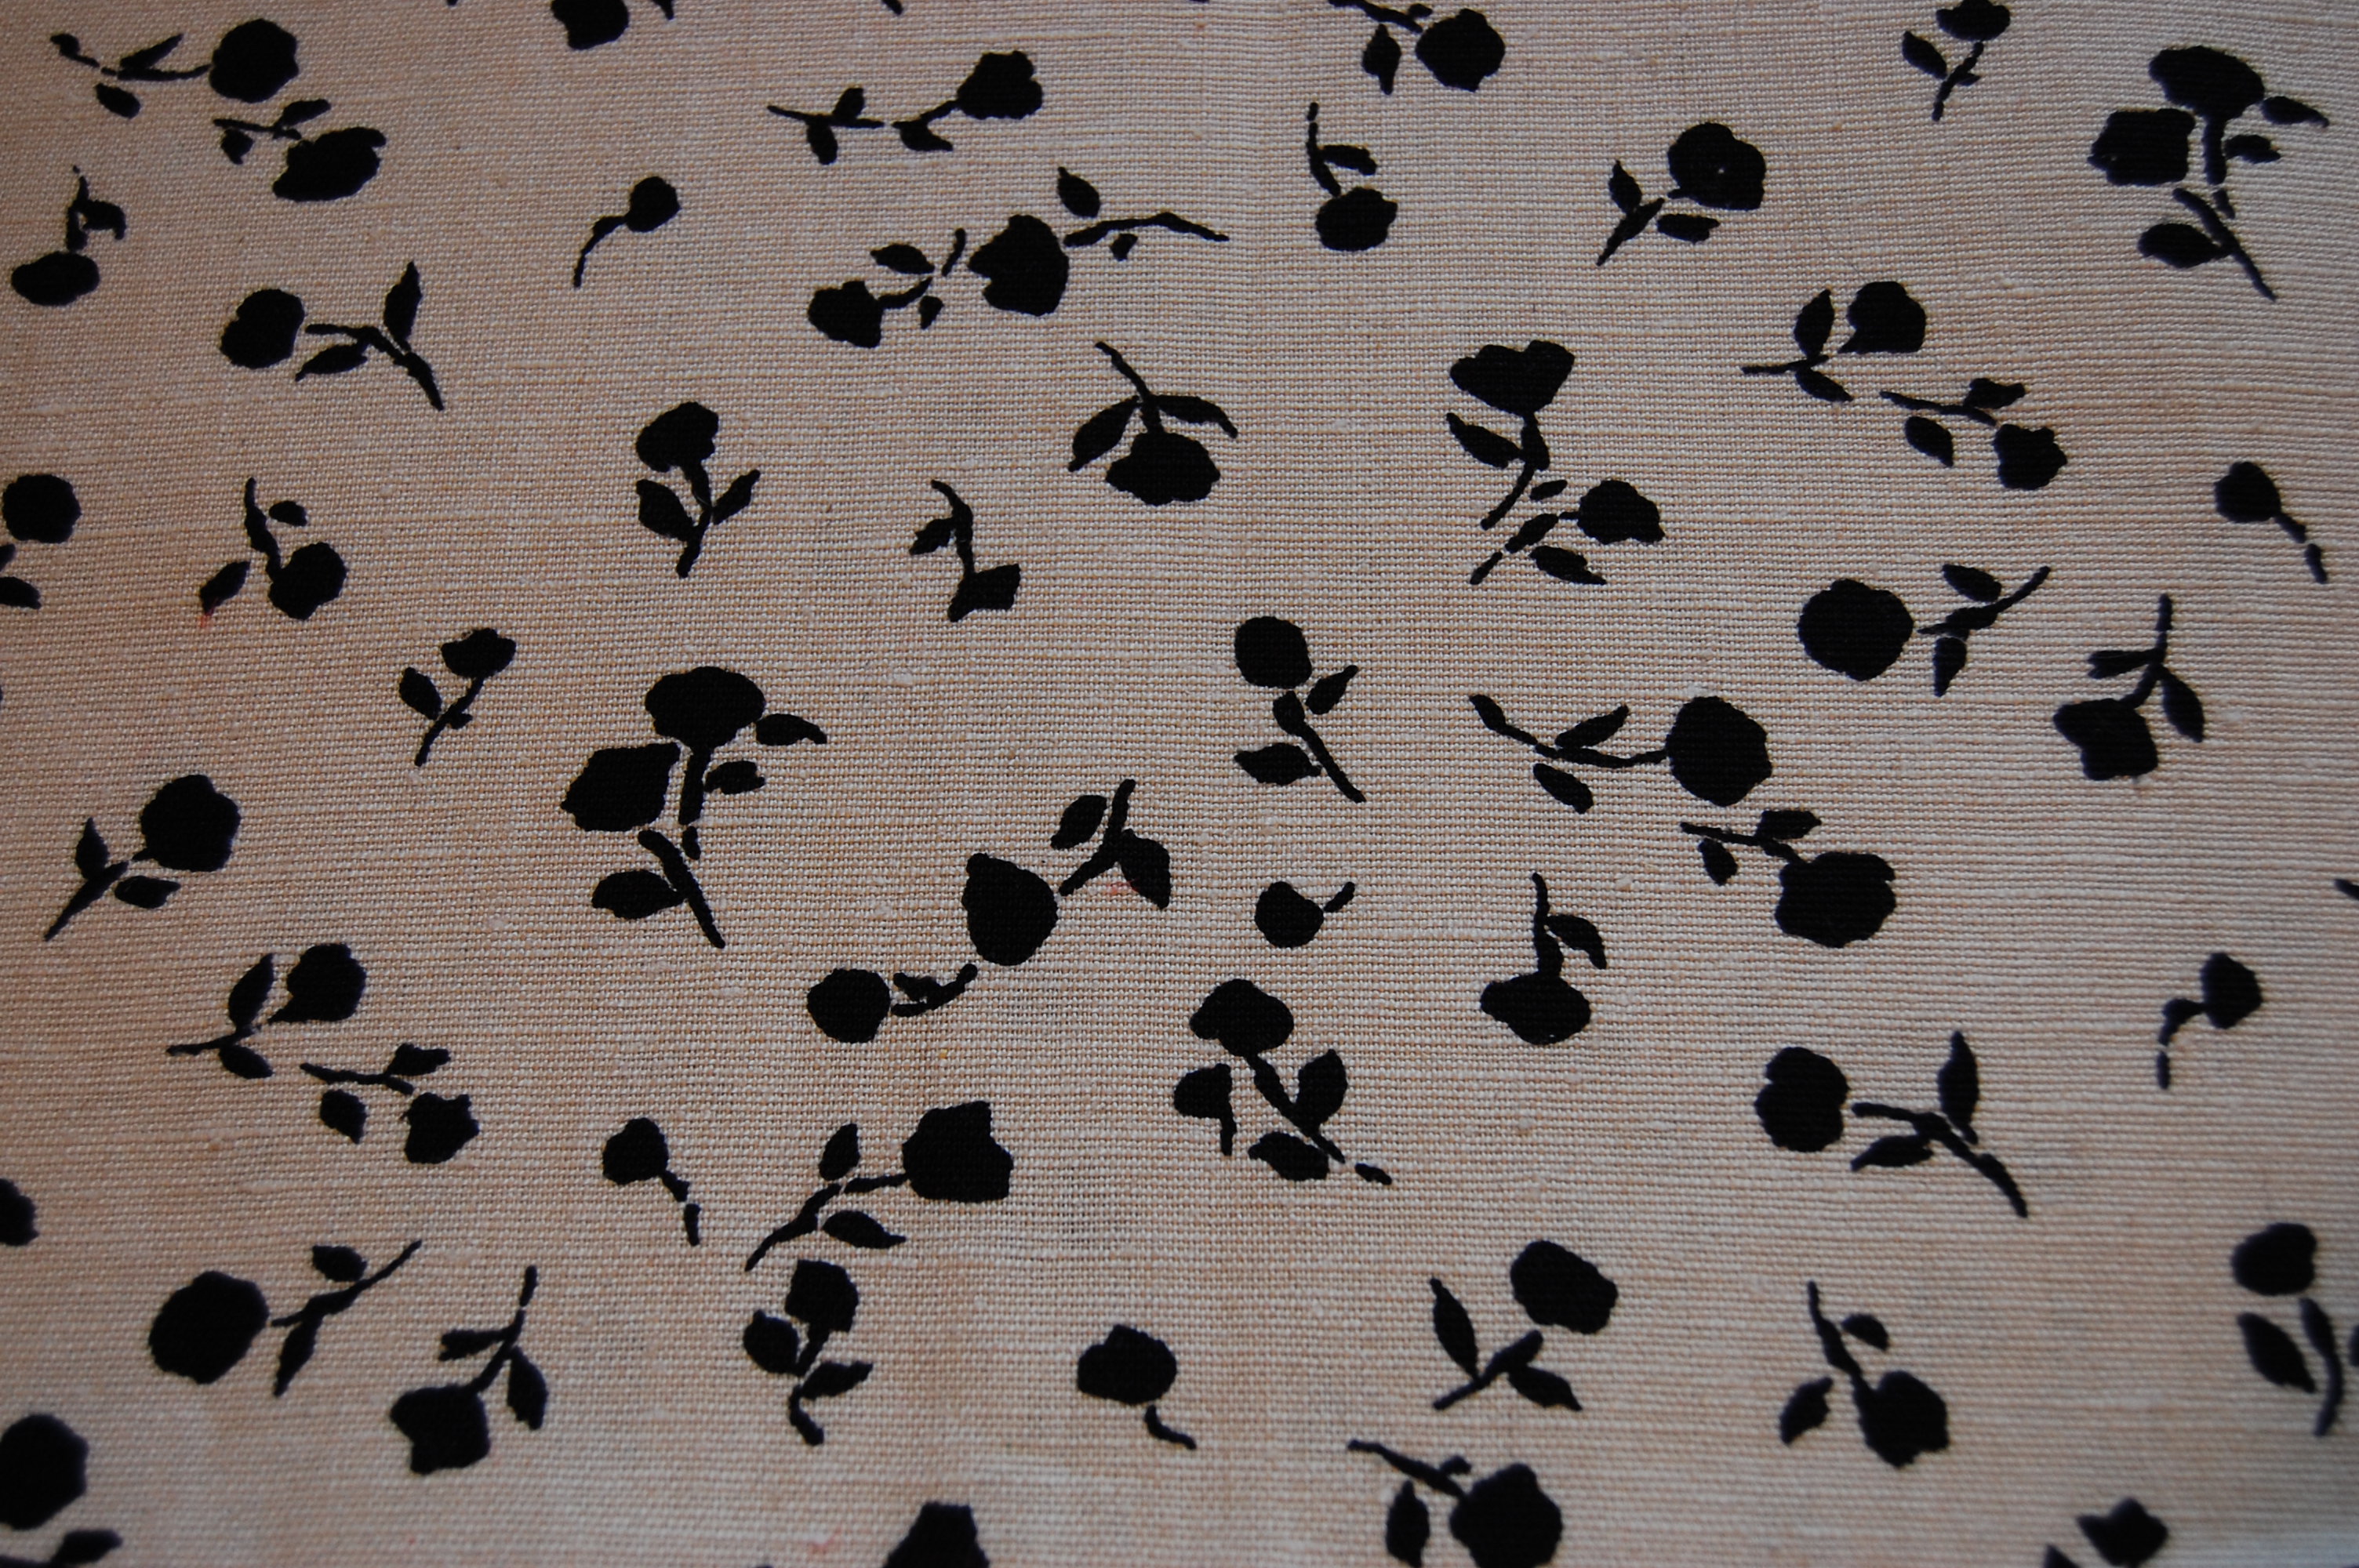
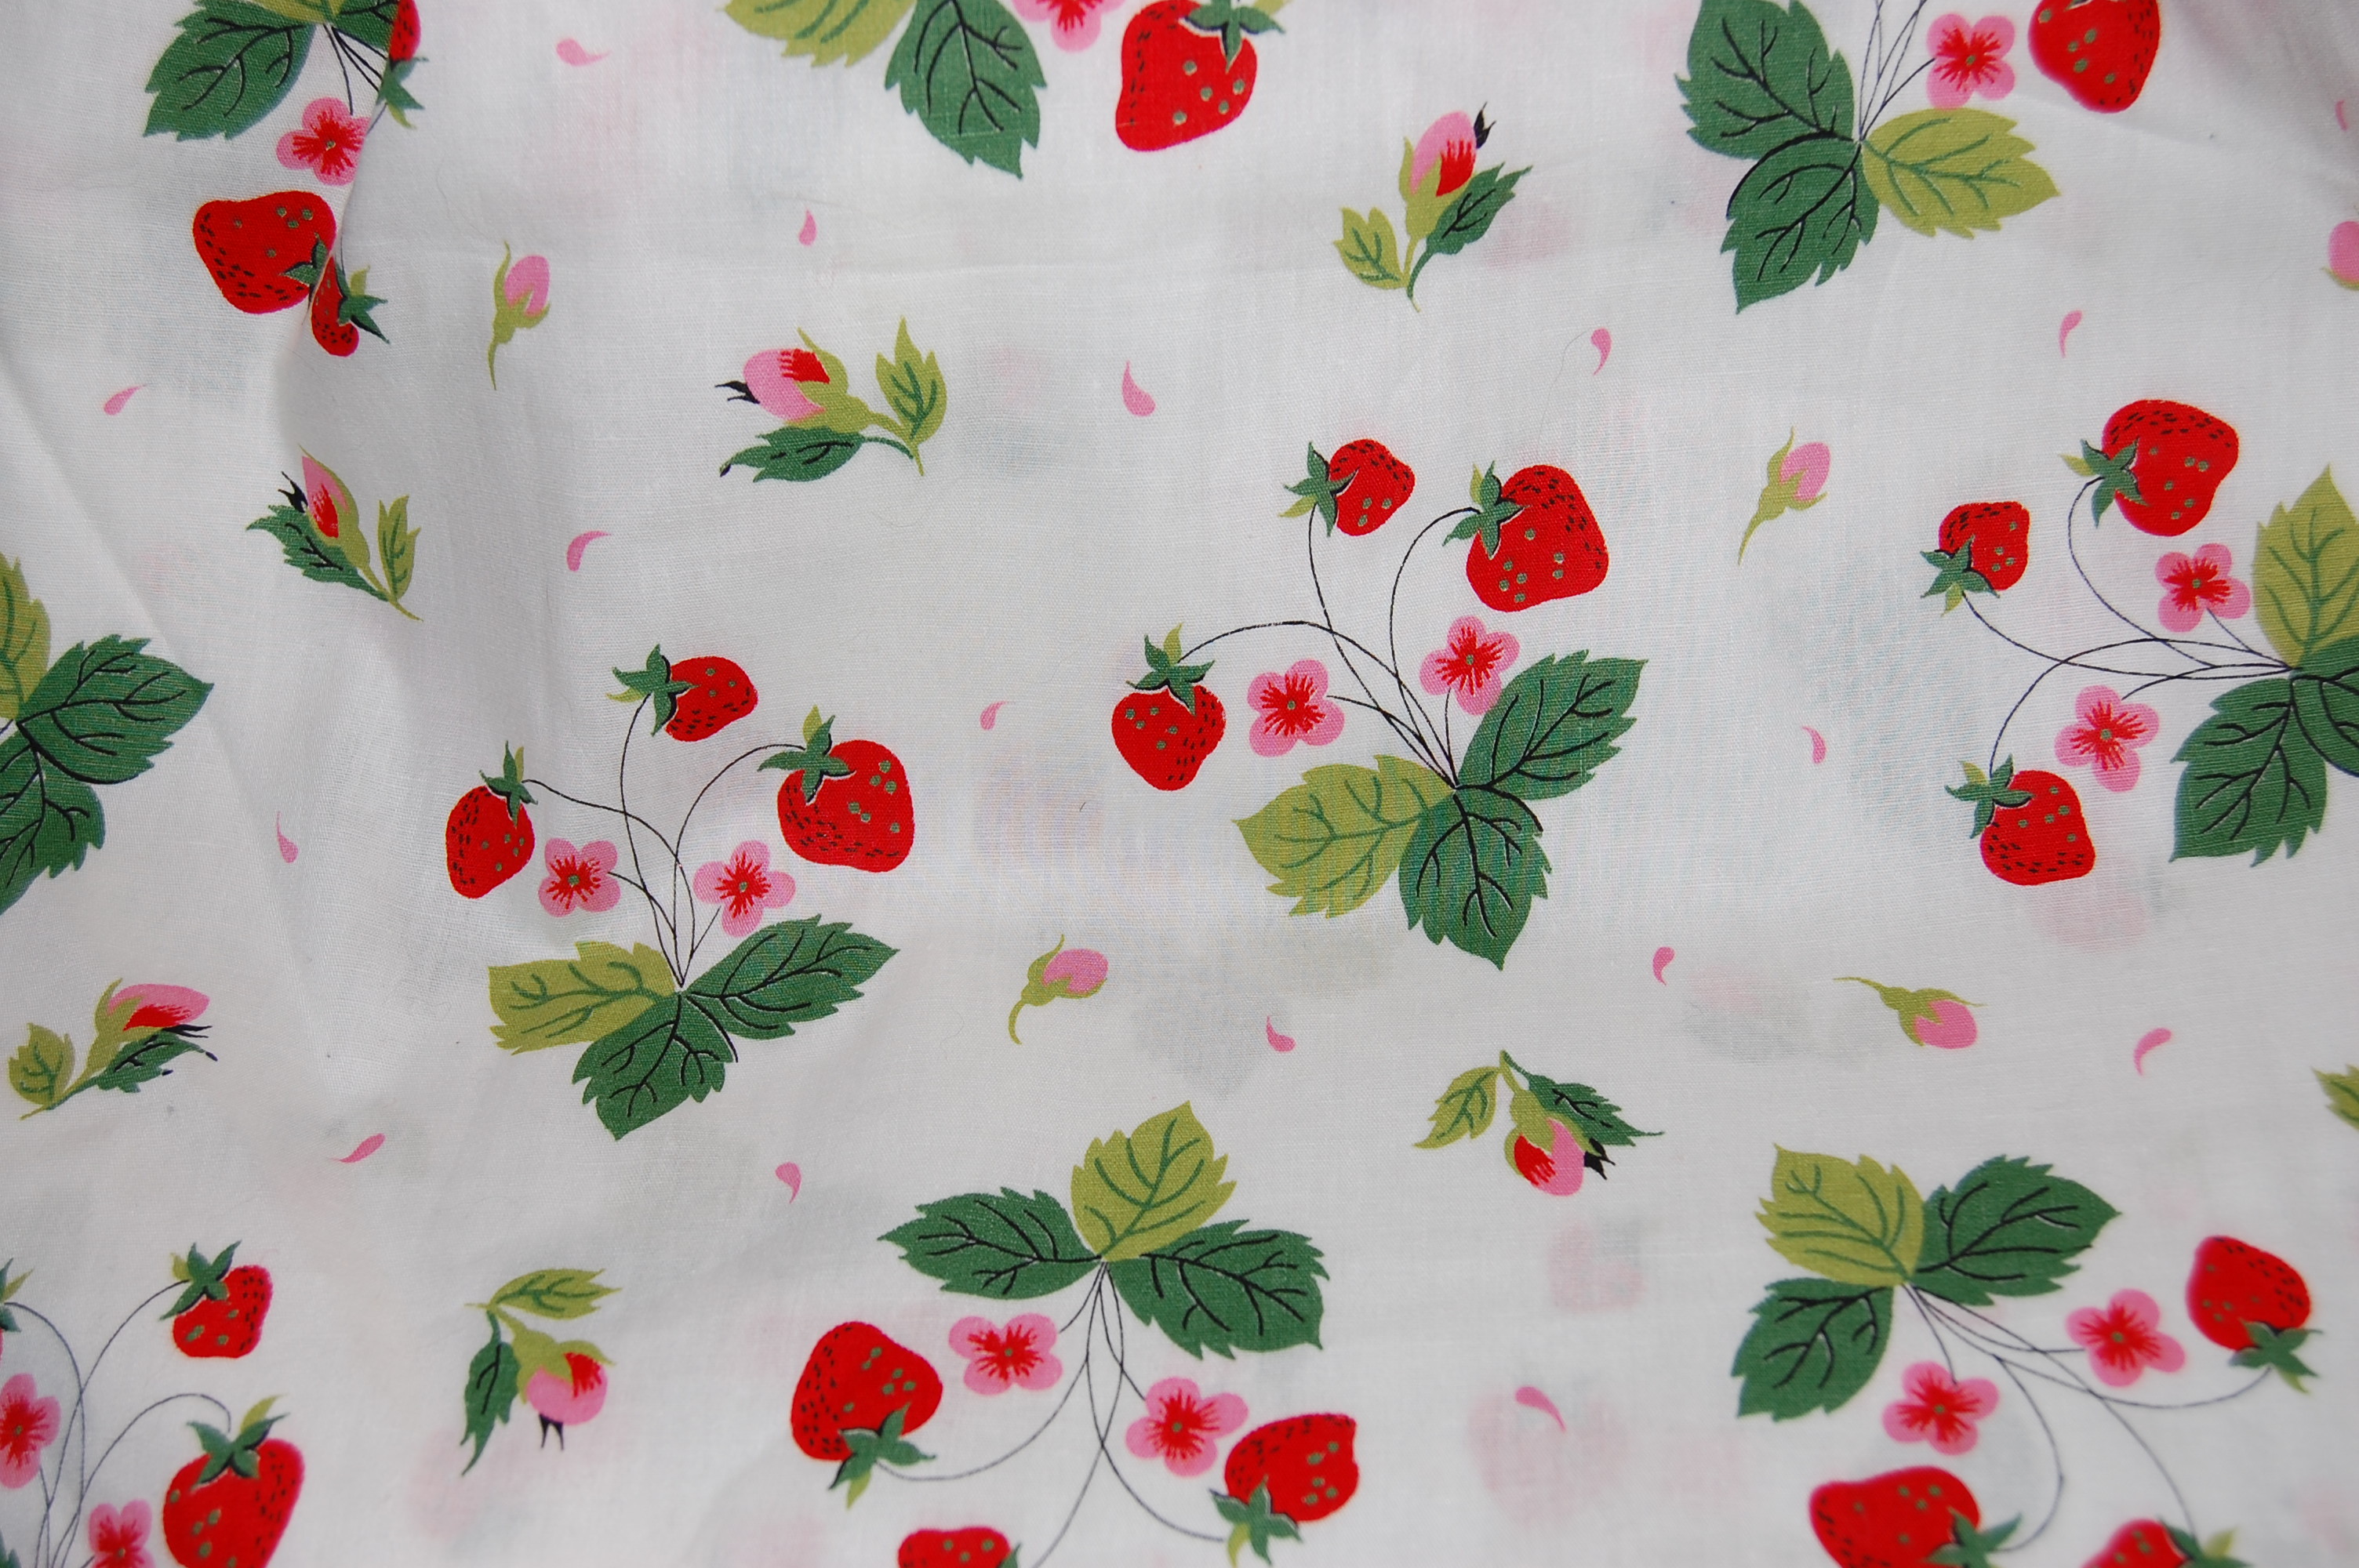
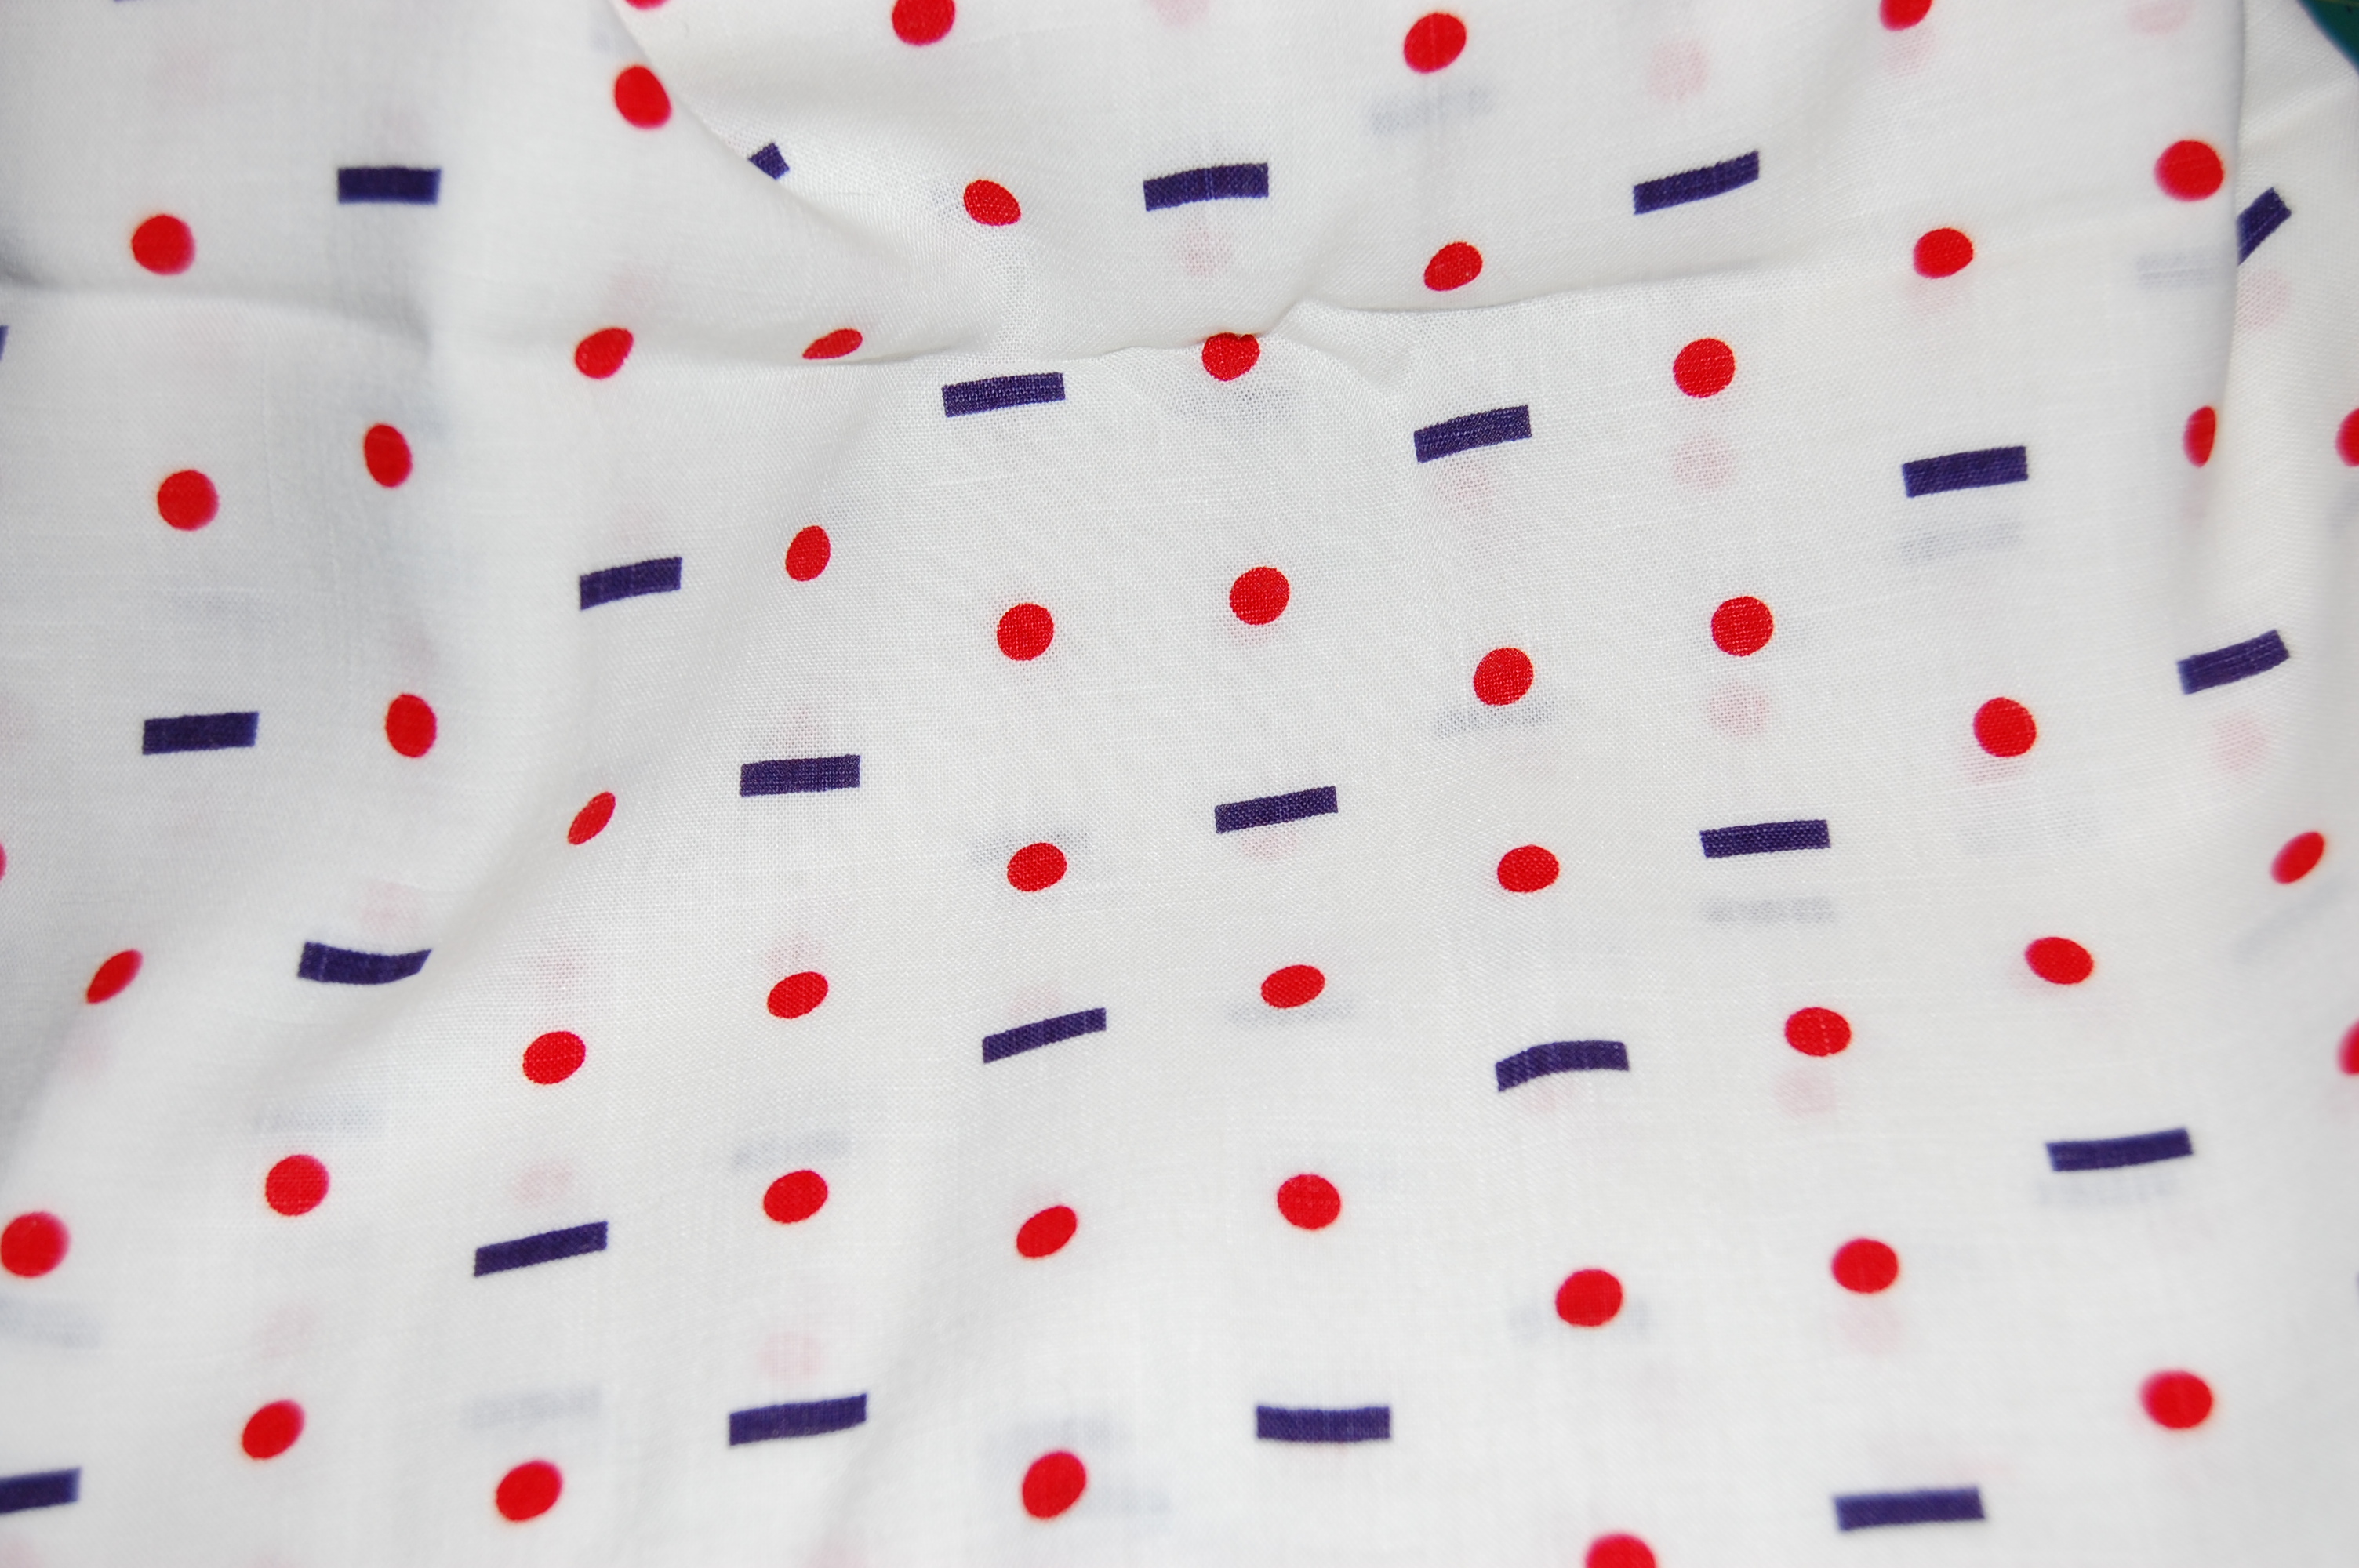
Being totally smitten with this bold floral linen, purchased within the past year, I have had my heart set on making it into a day dress this Summer.
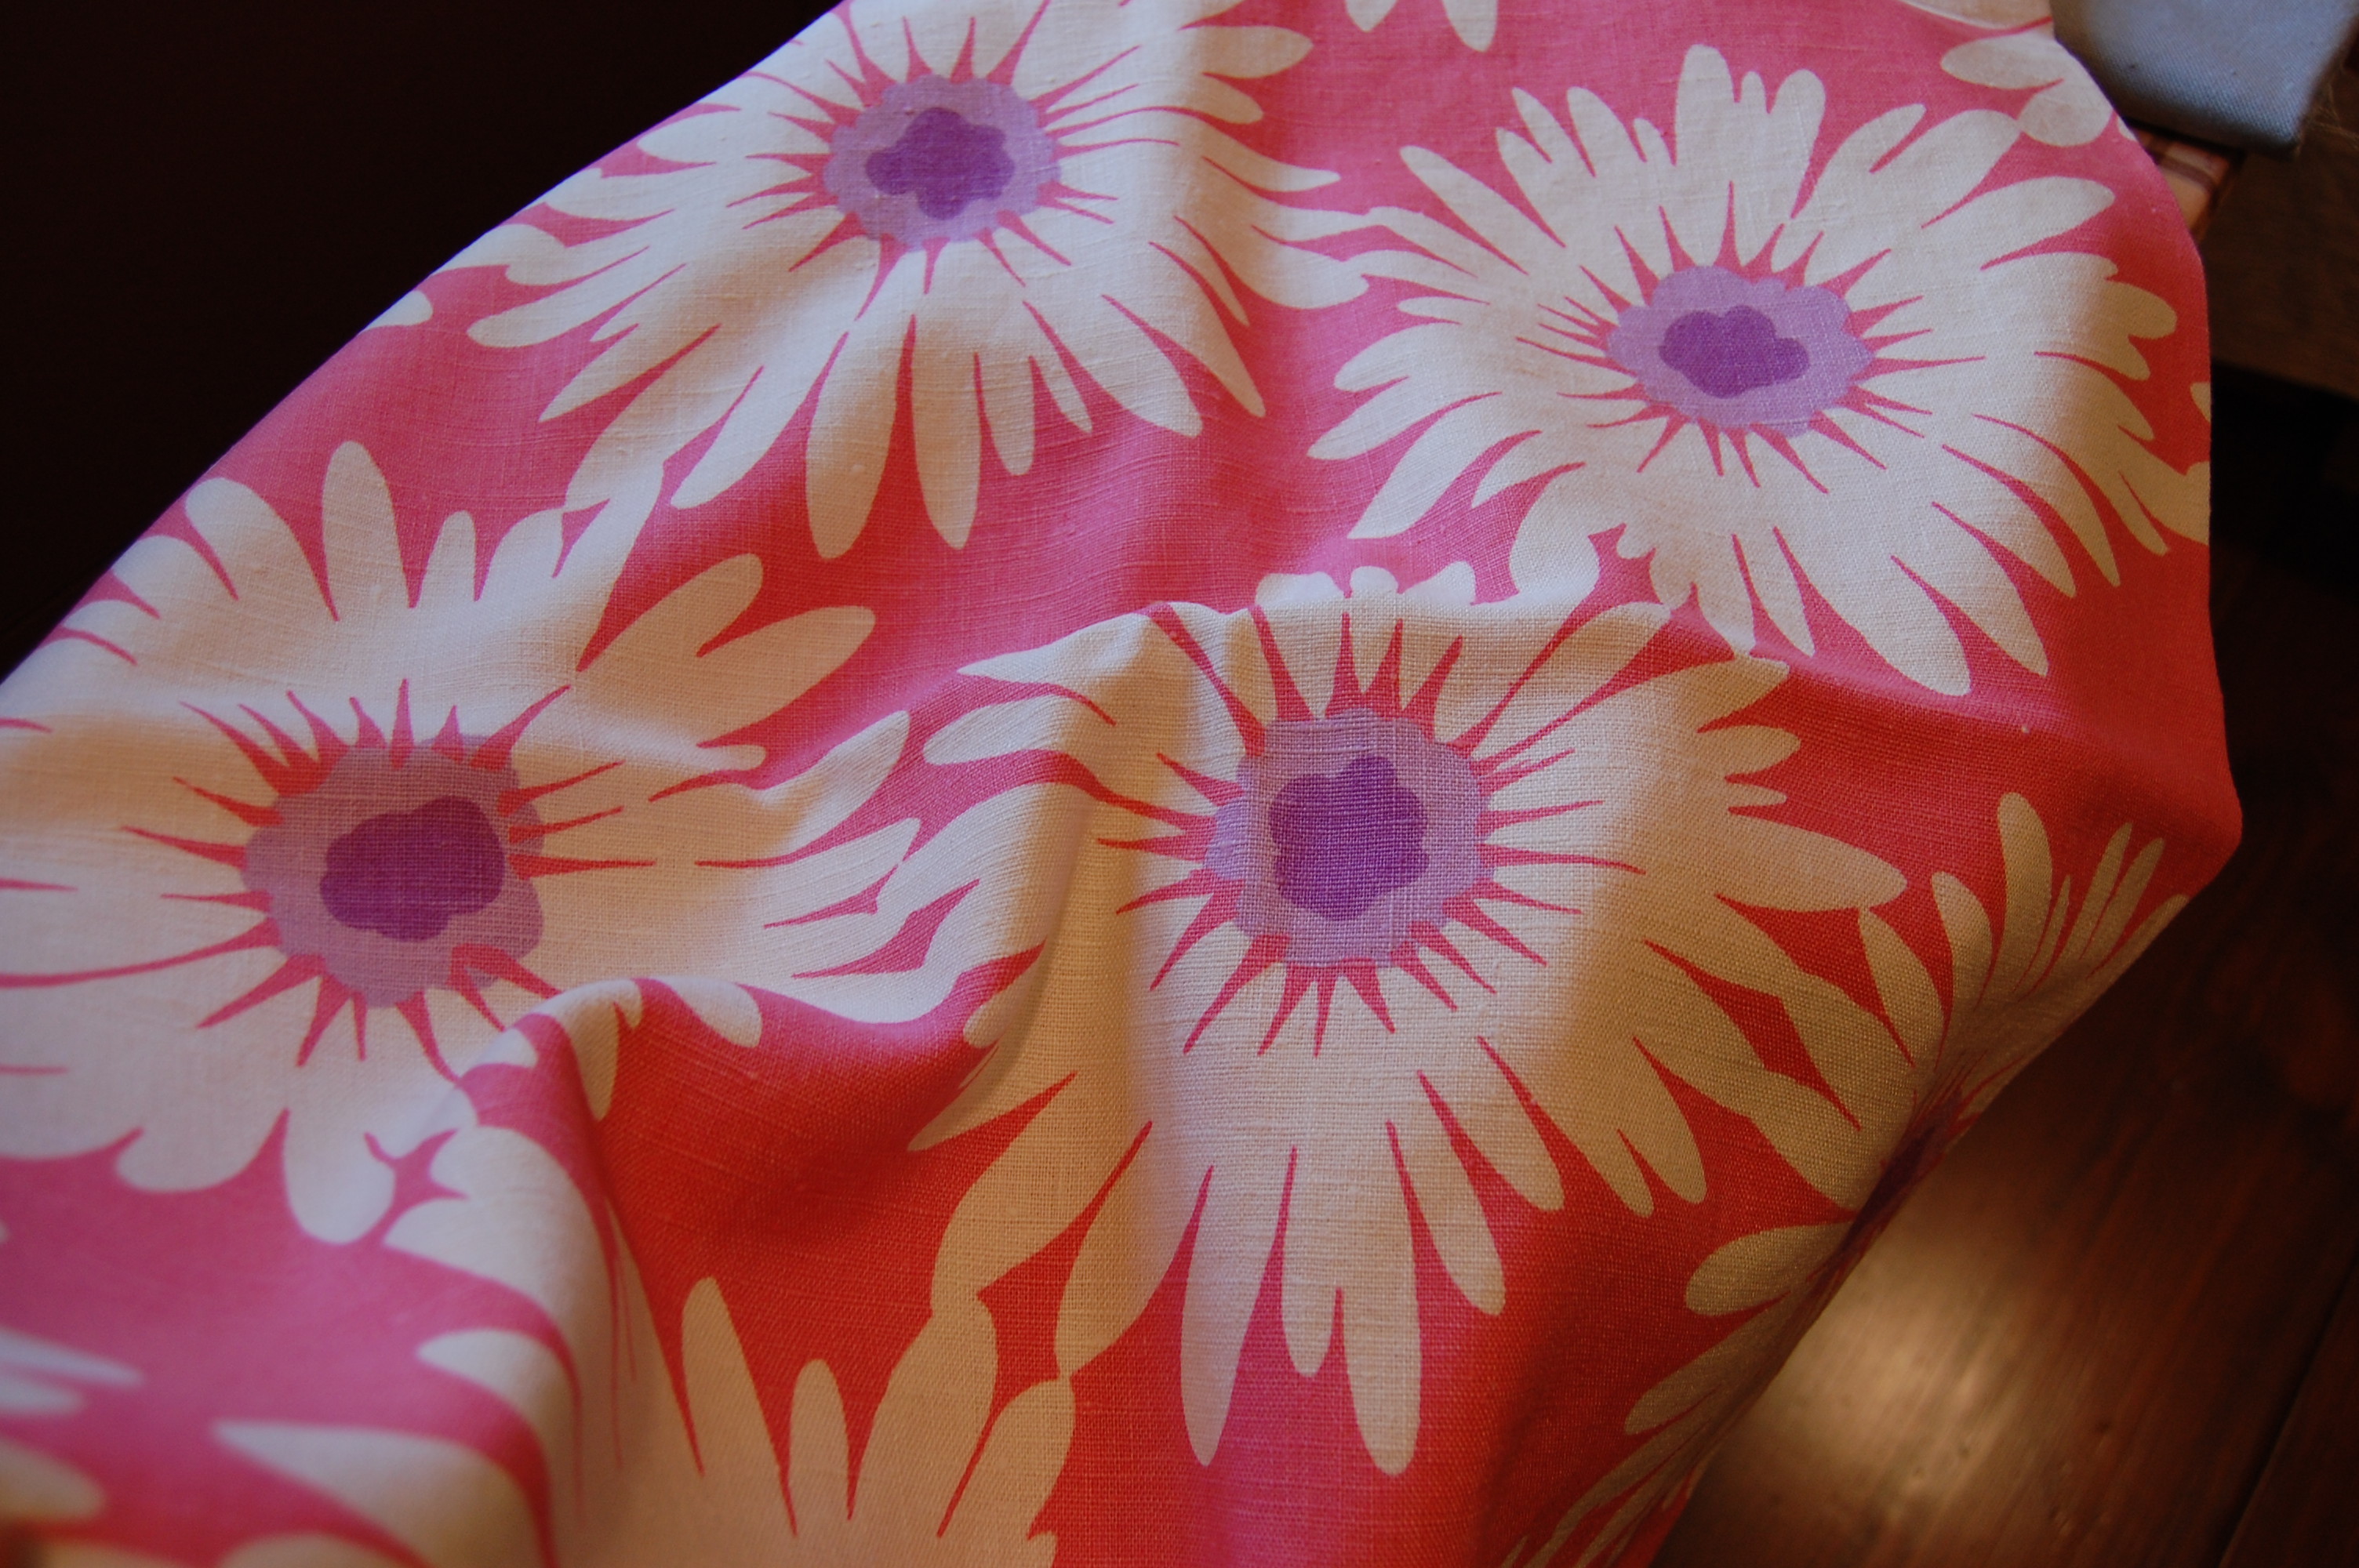
Big, bright daisies with lavender centers.
Not long after I purchased it, this small article on “Signs of Spring 2015 On New York Runways” appeared in the September 10, 2014 Wall Street Journal.
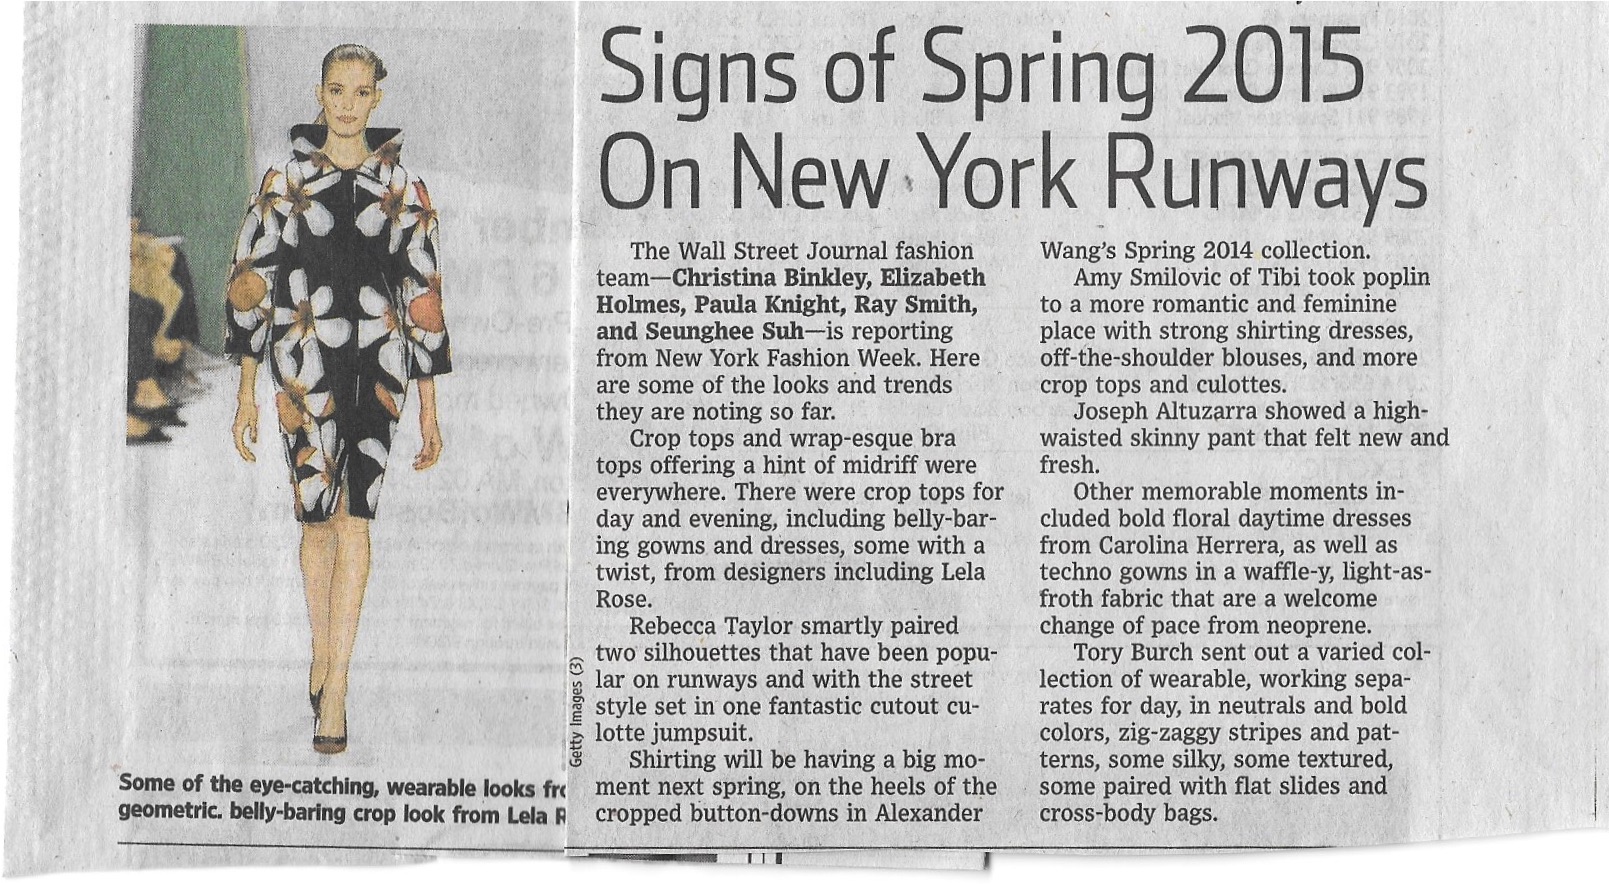
“Memorable moments included bold floral daytime dresses from Carolina Herrera…”
And then in November of 2014, more of Carolina Herrera’s Spring/Resort collection for 2015 was featured in Town & Country magazine.
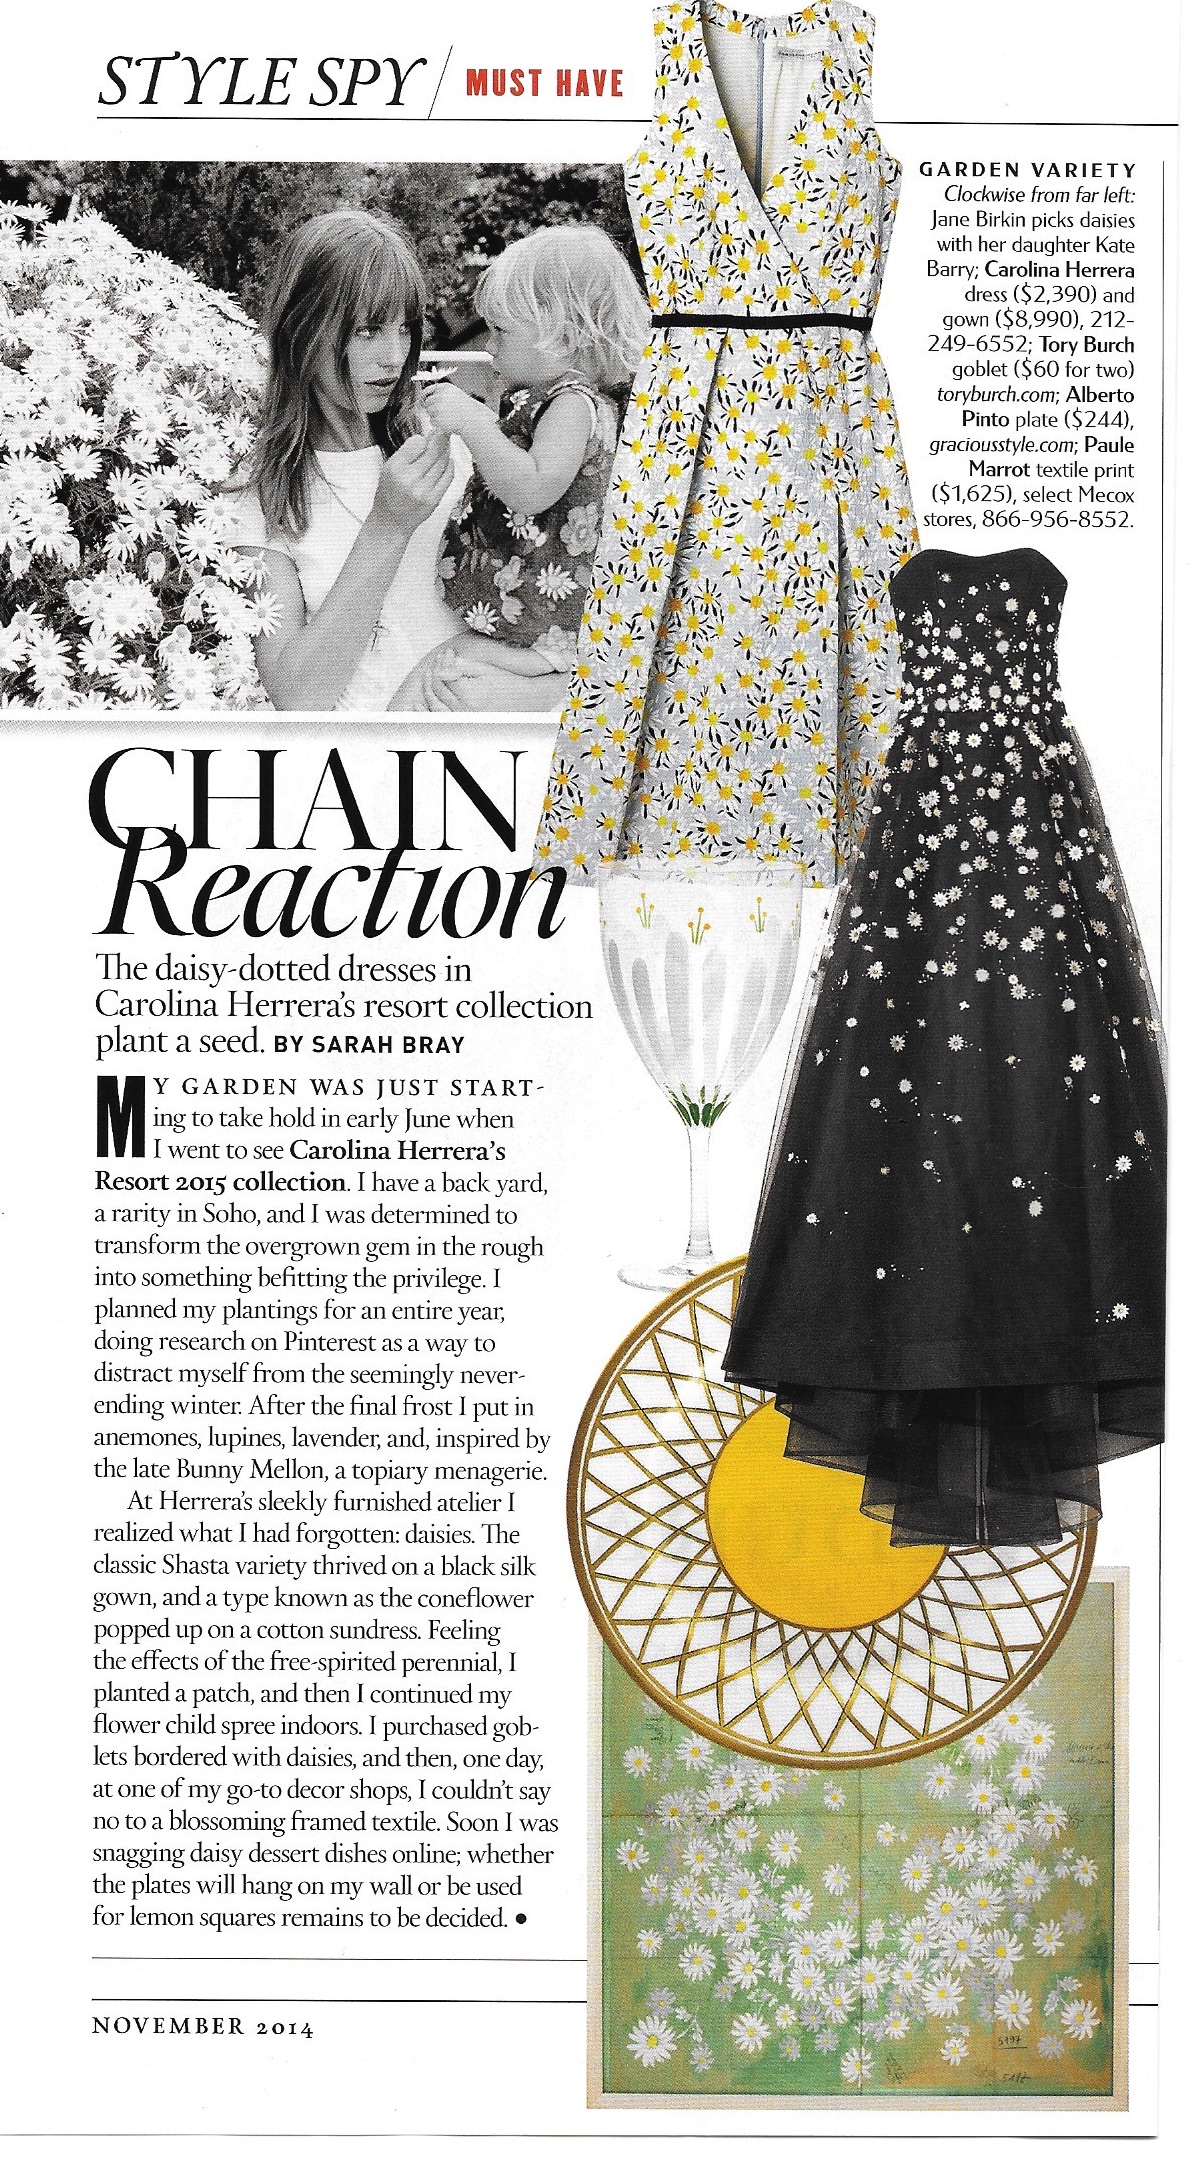
Perennial daises on two lovely Carolina Herrera dresses.
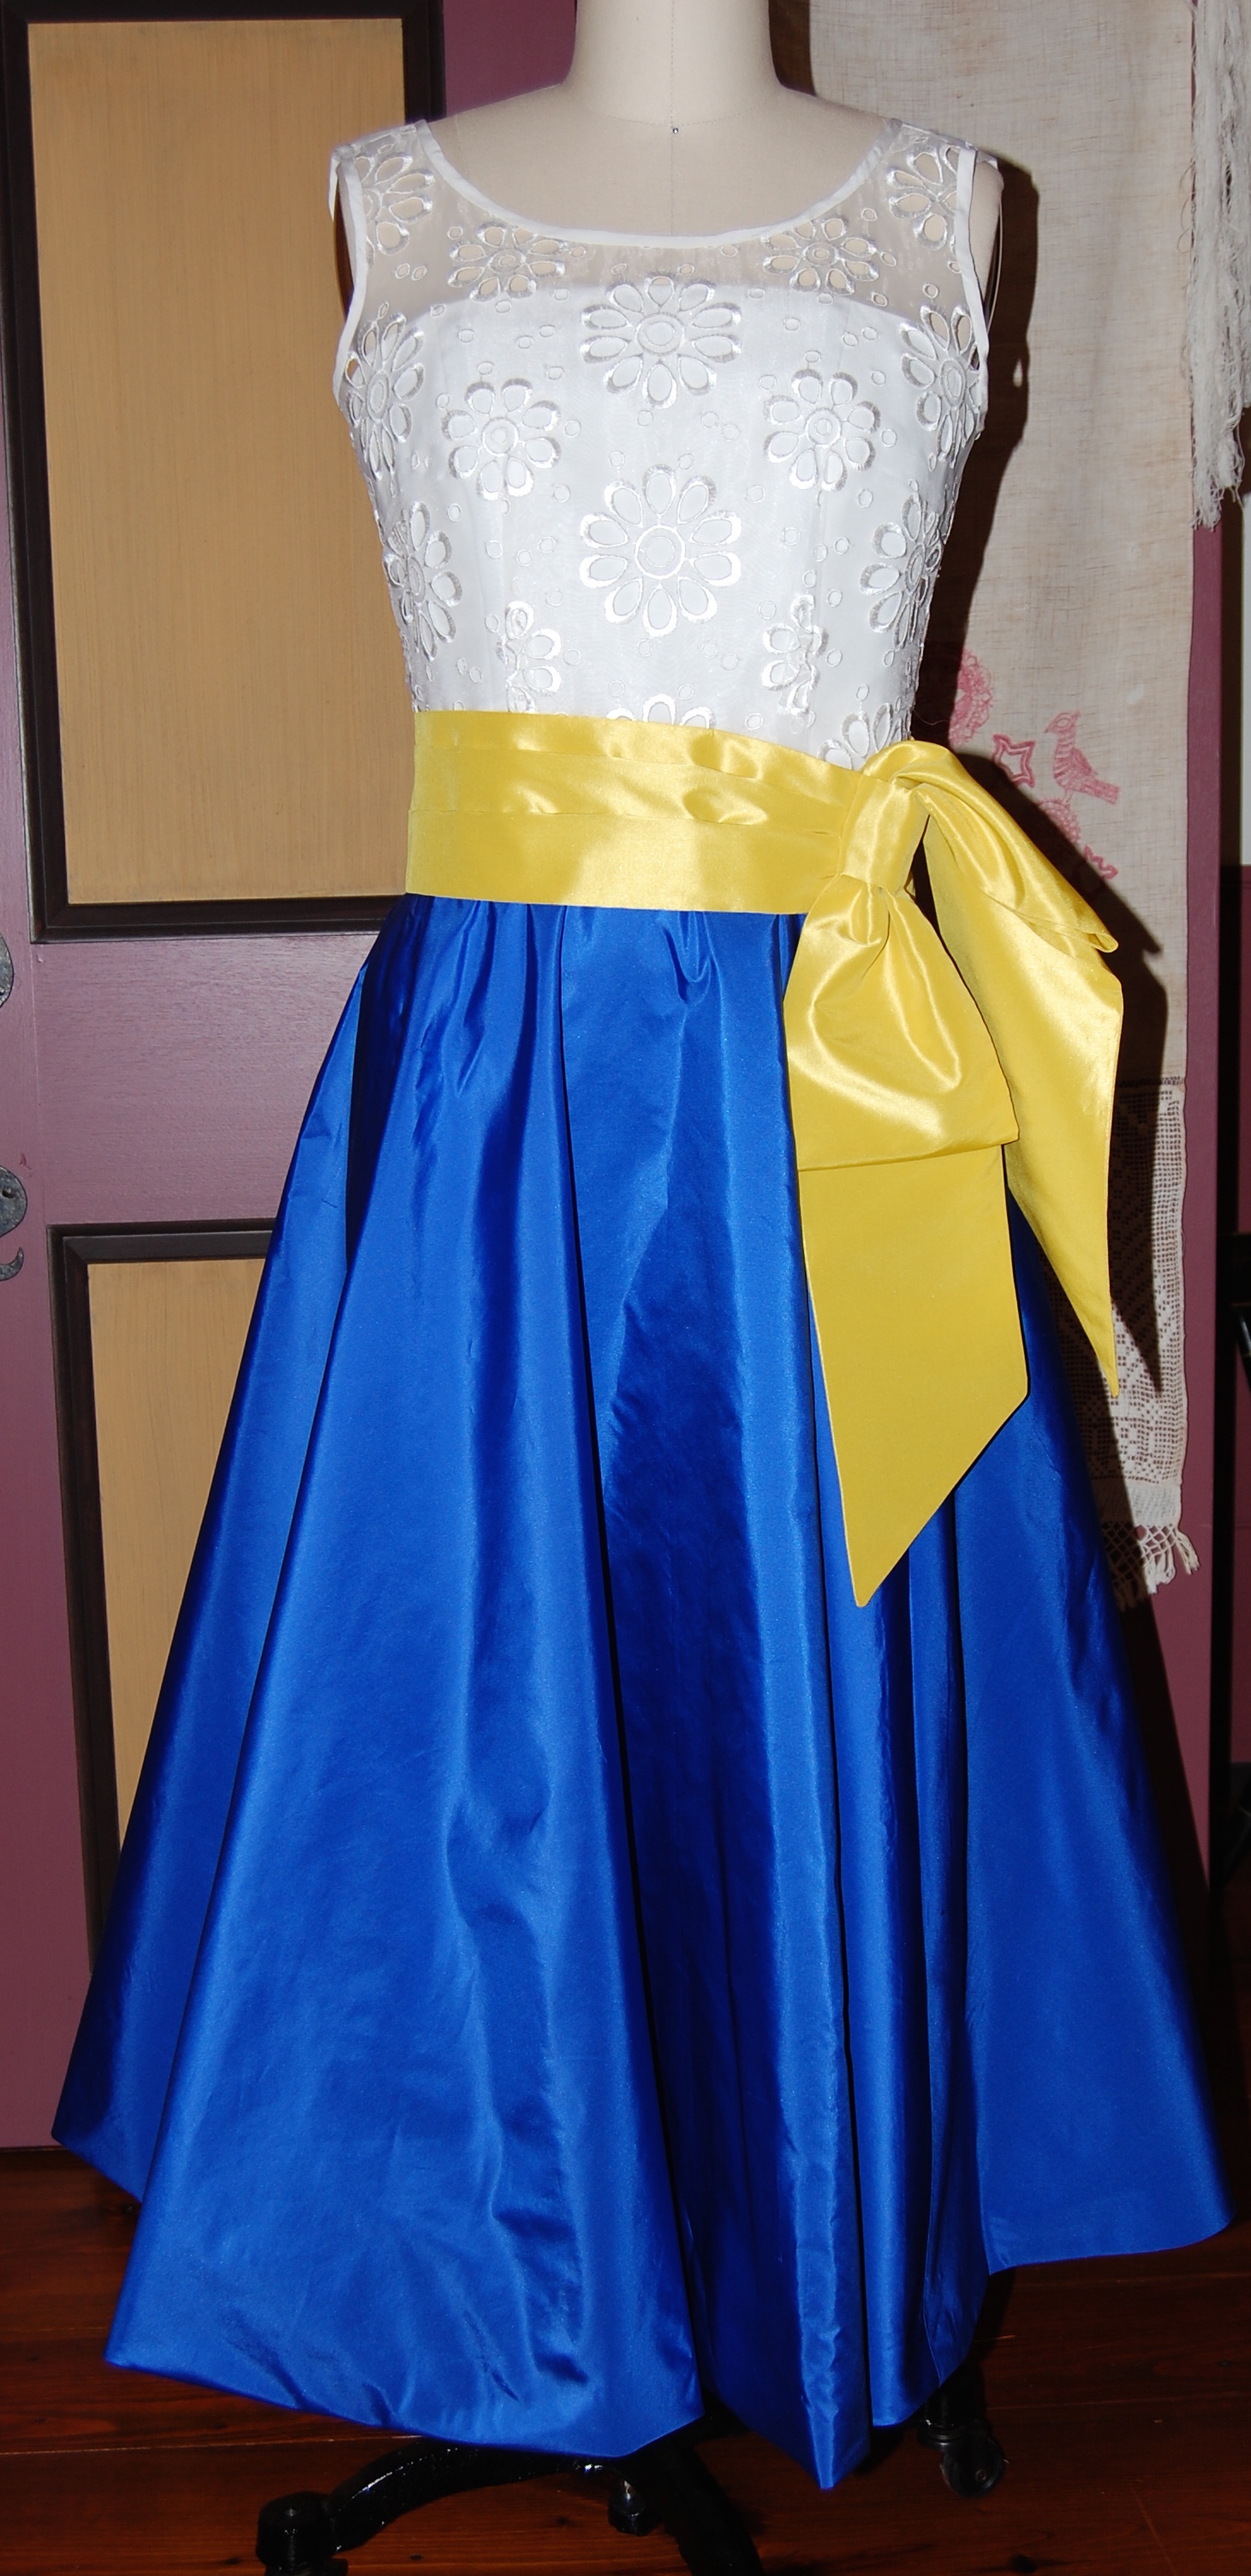
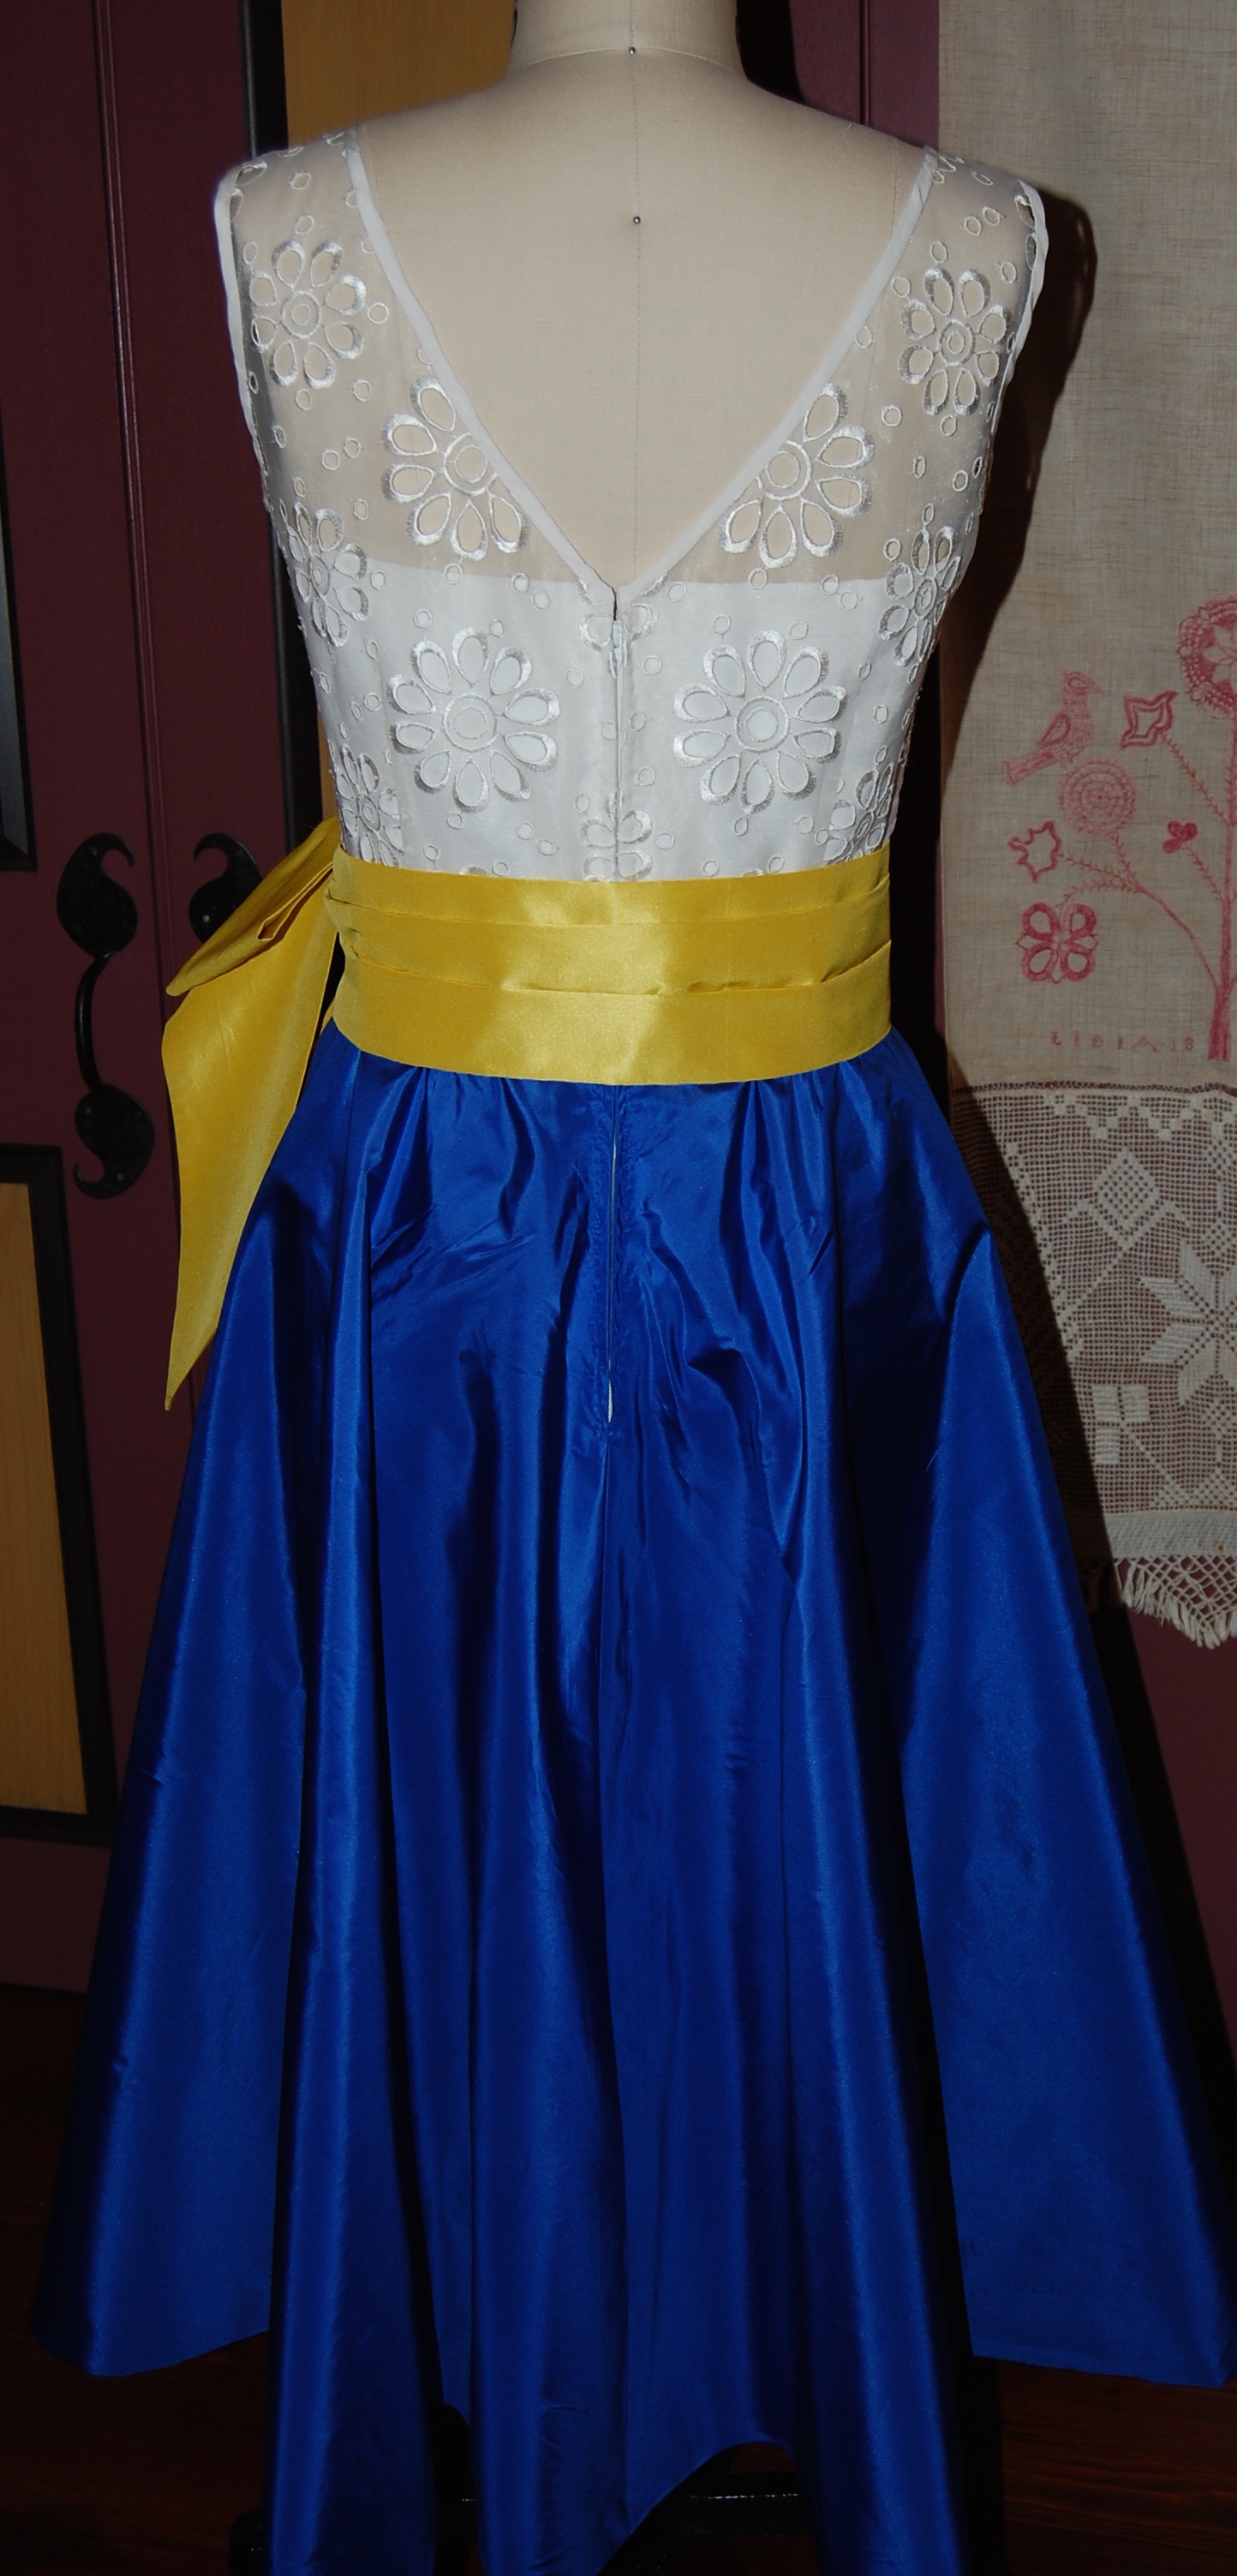
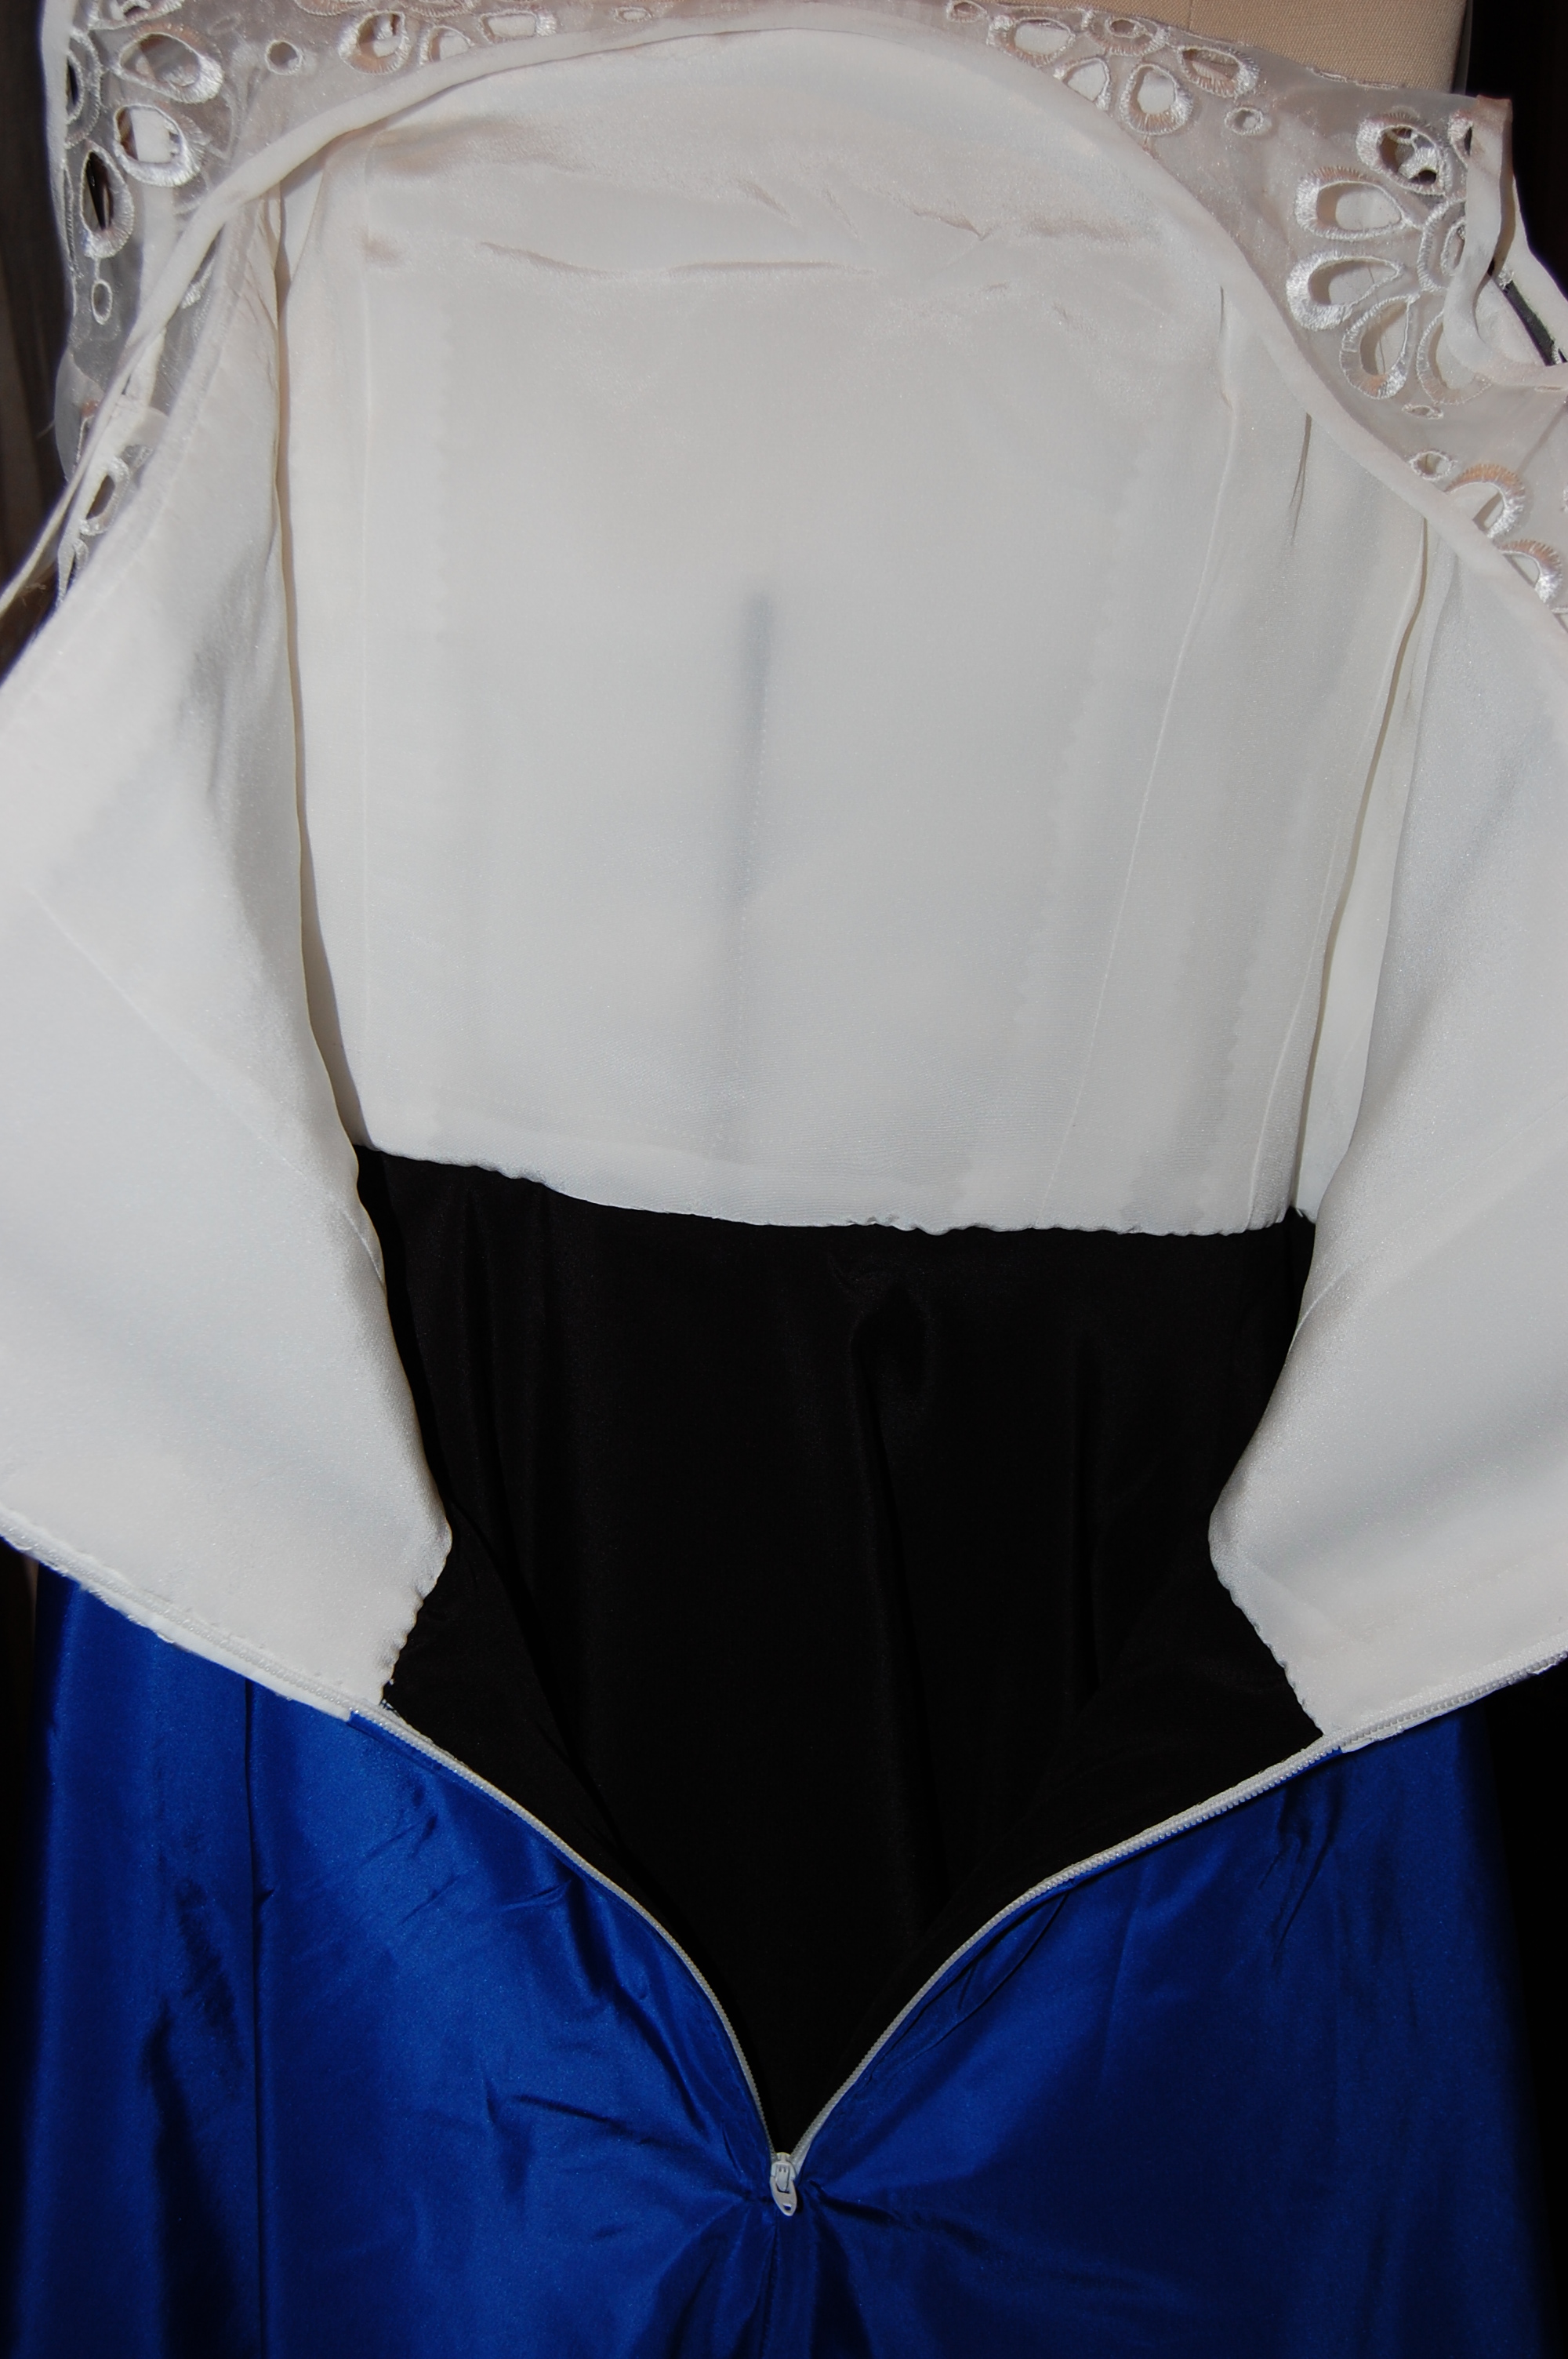
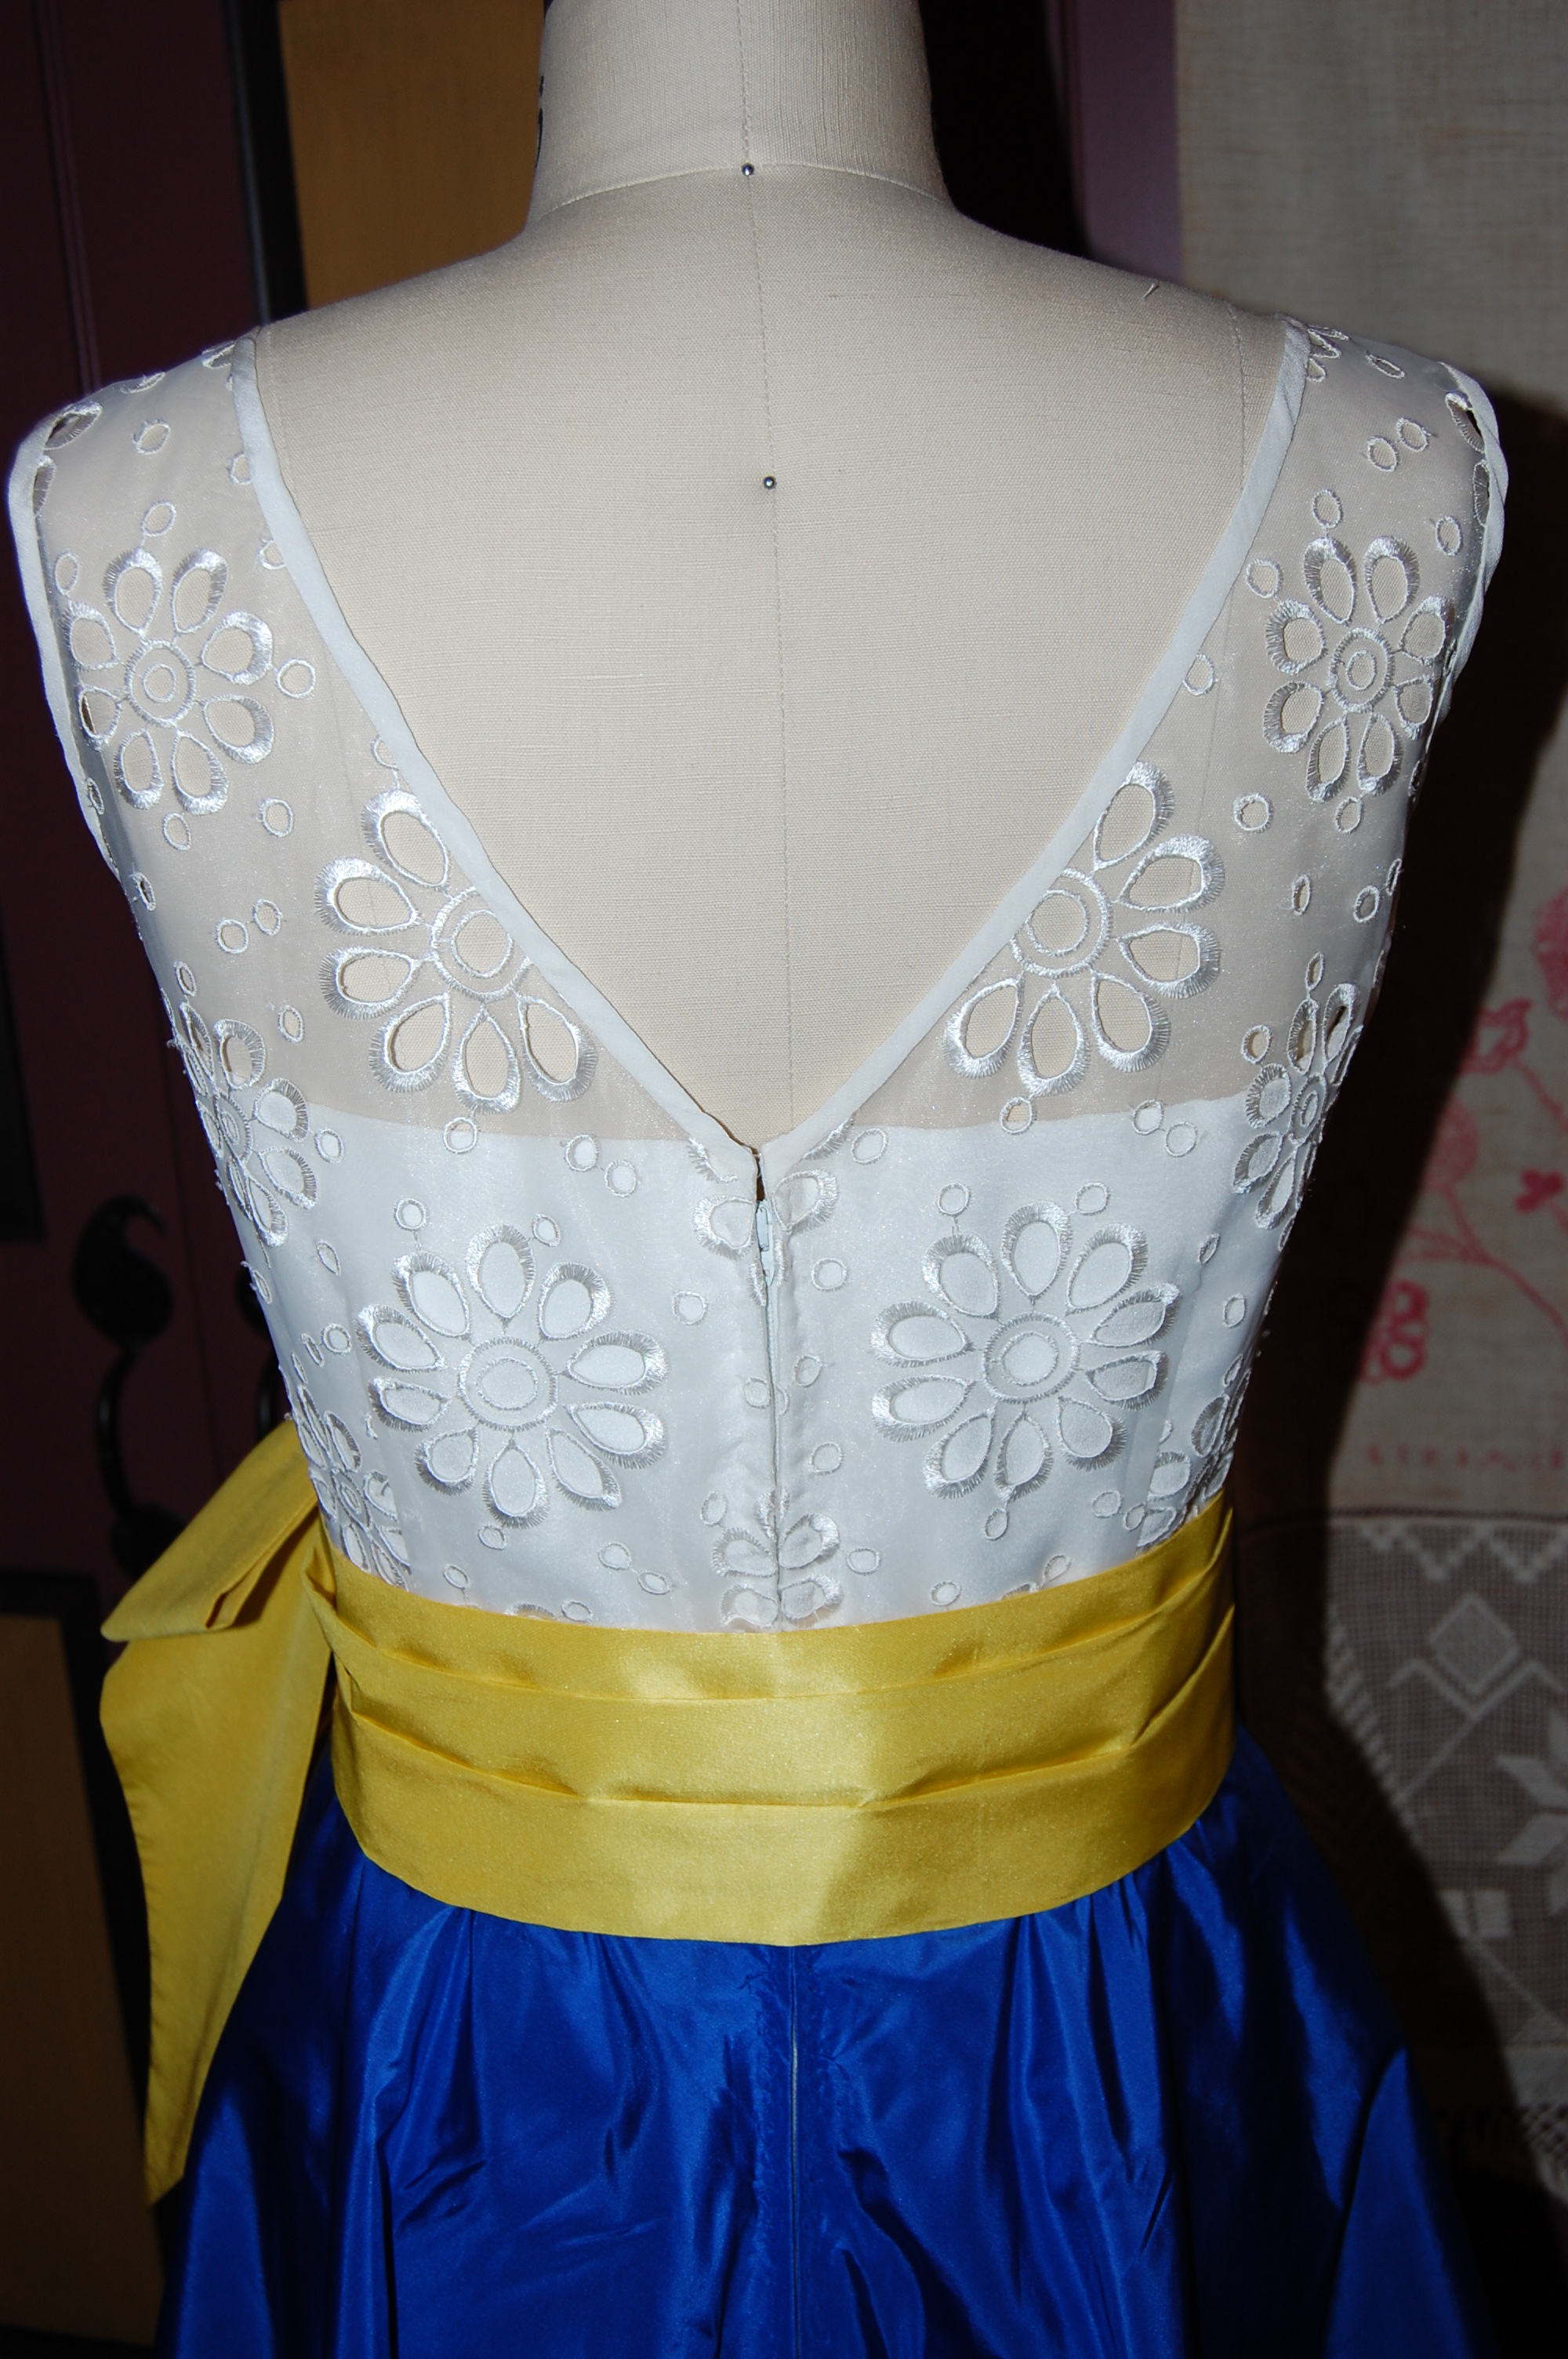
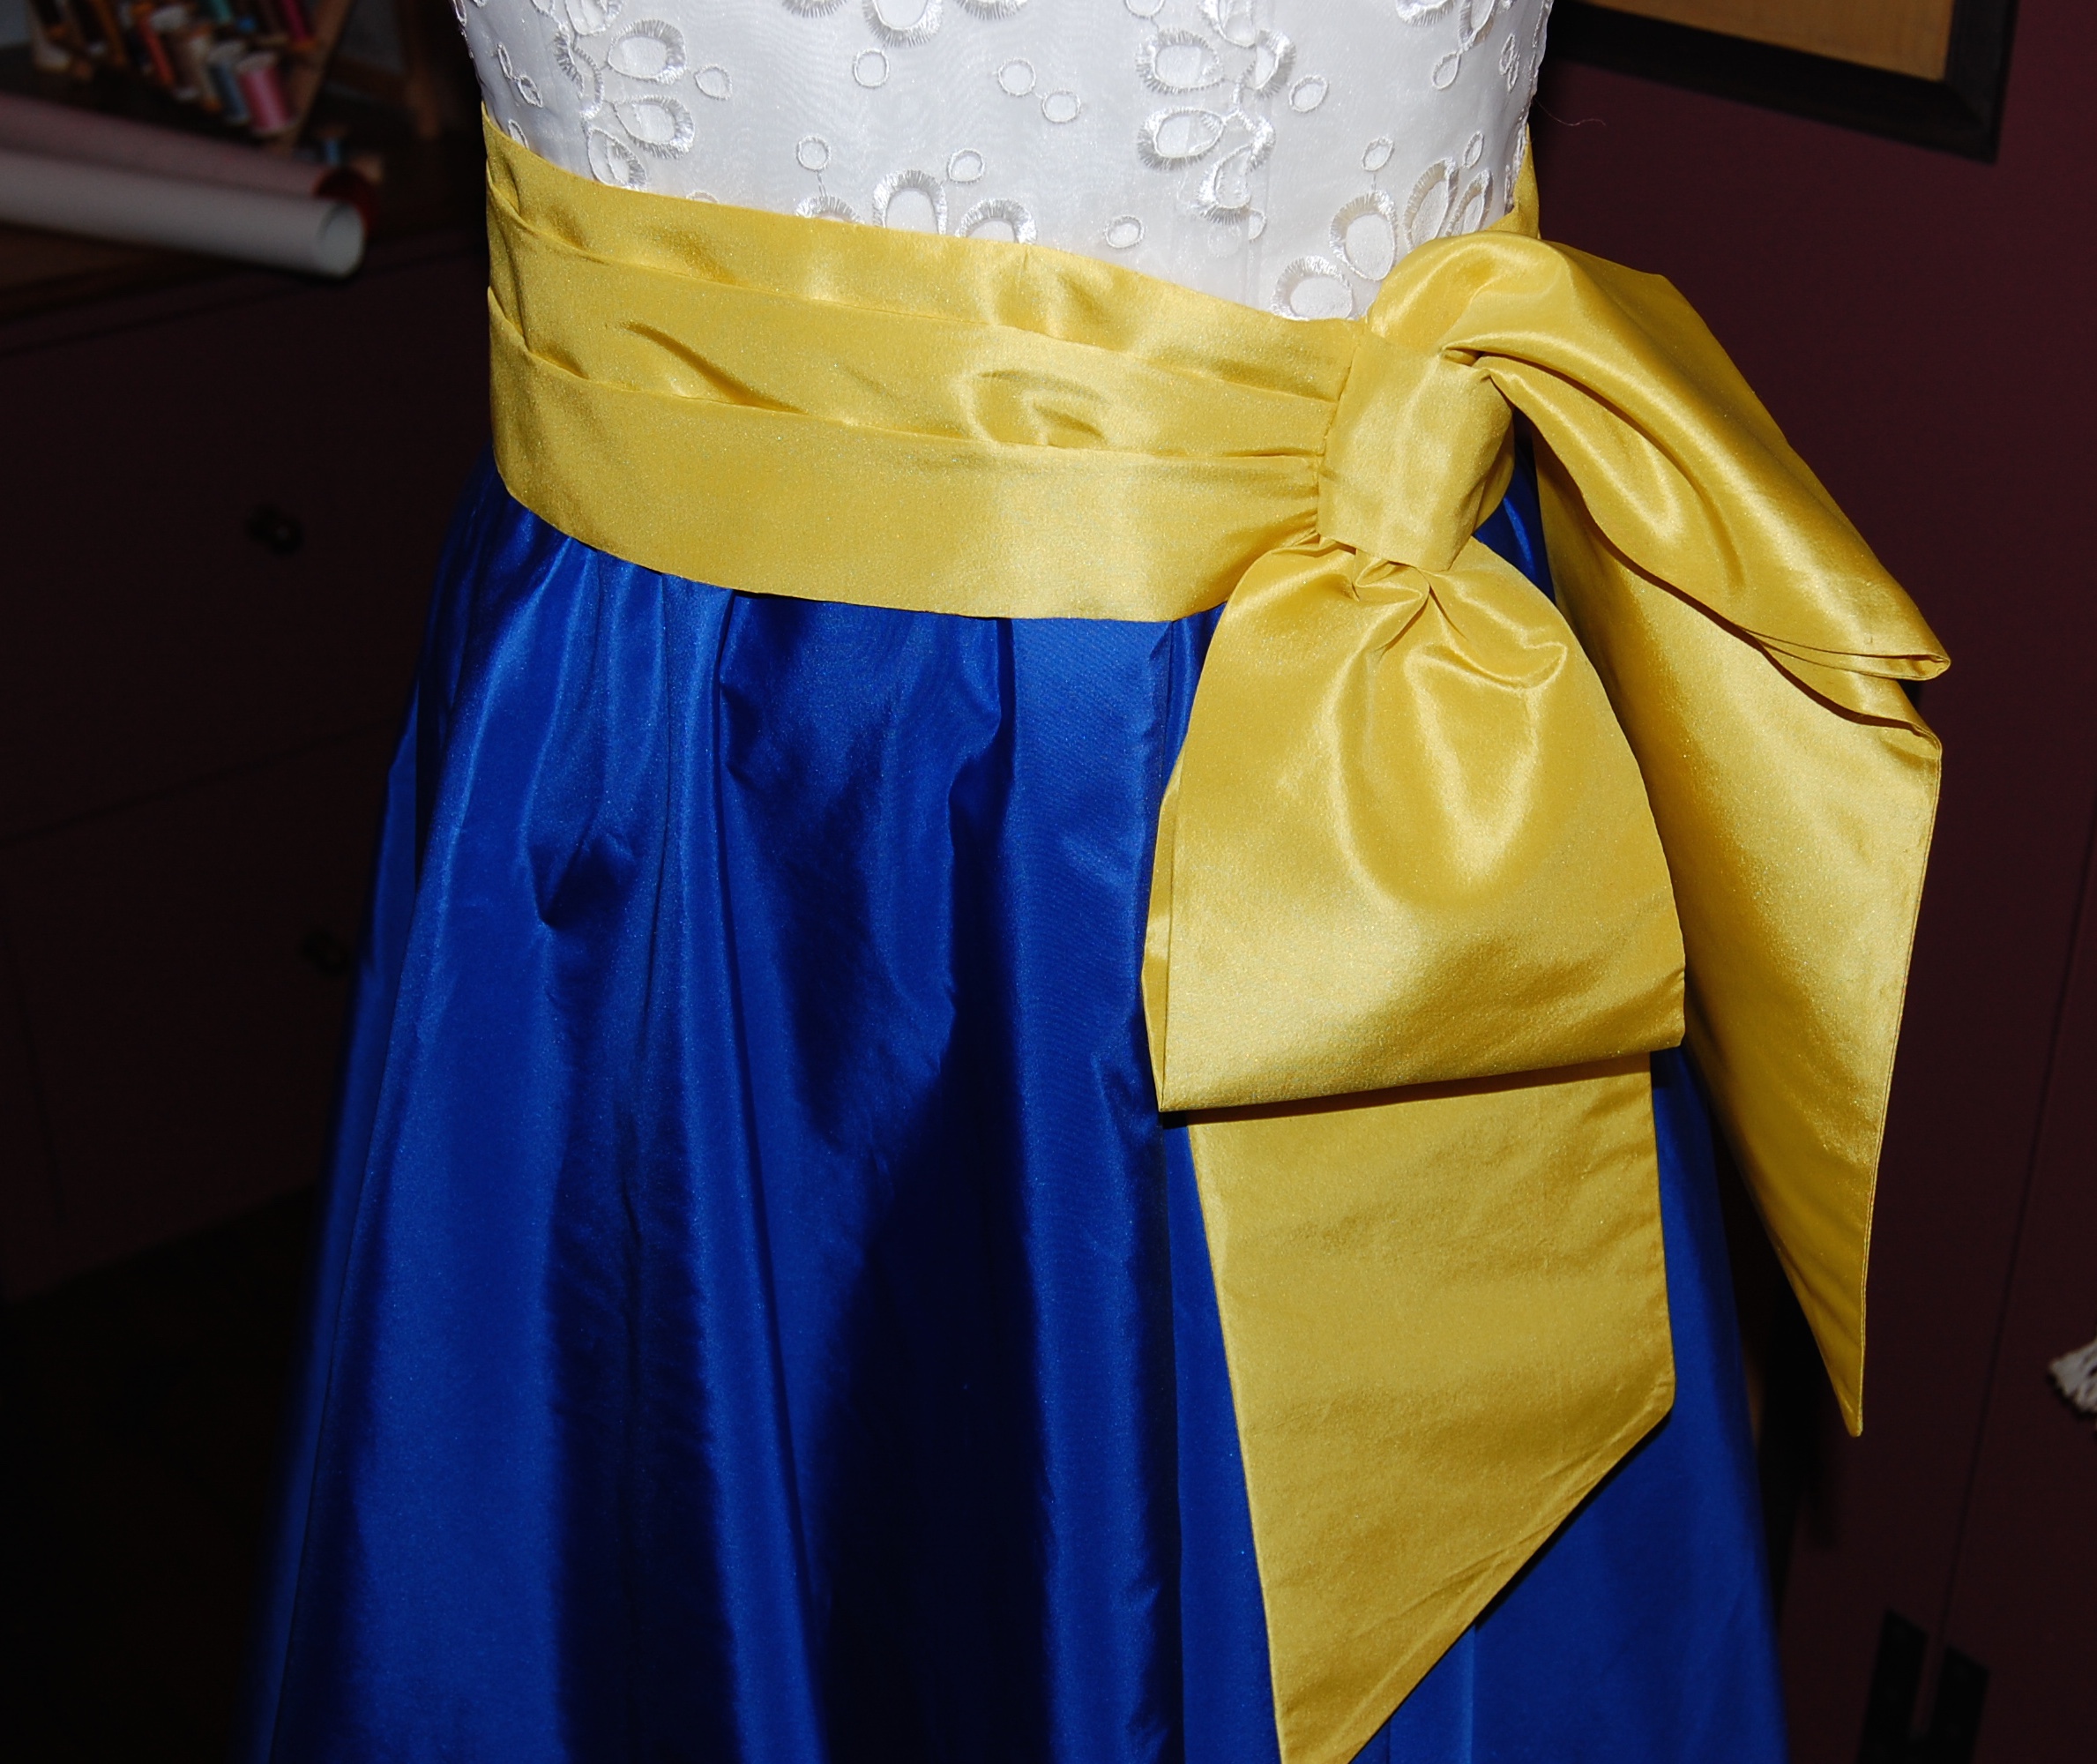
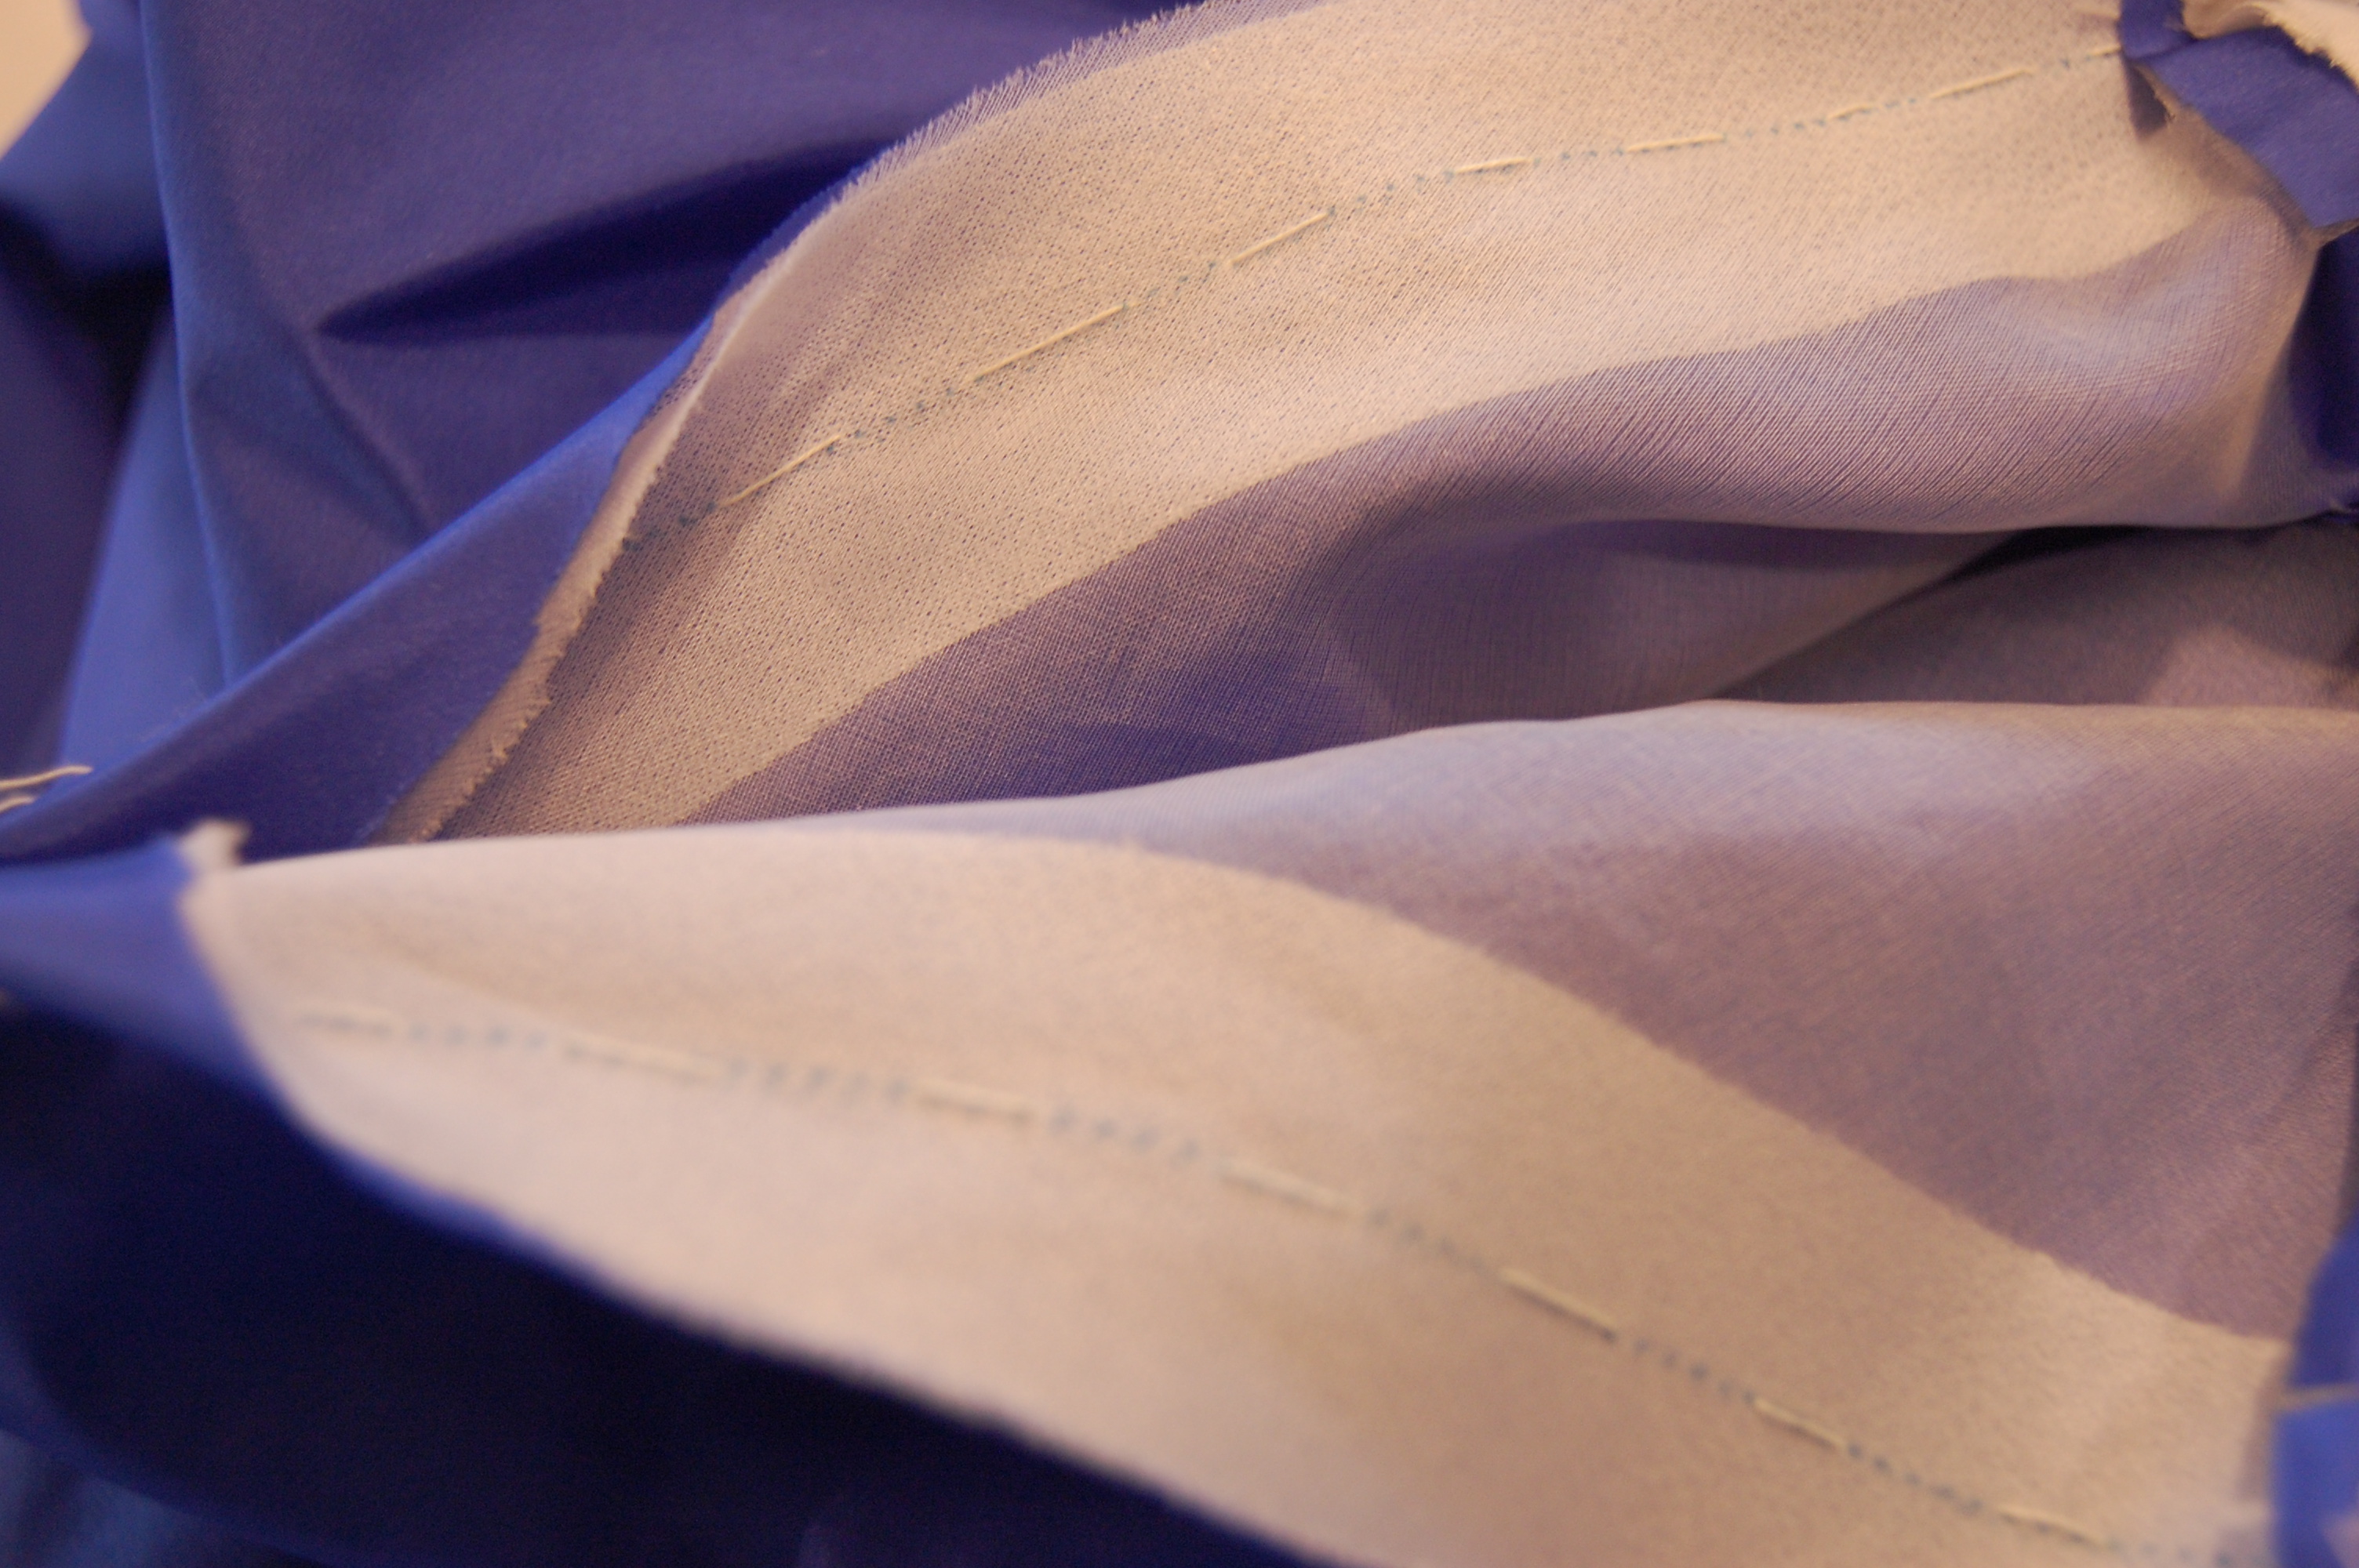
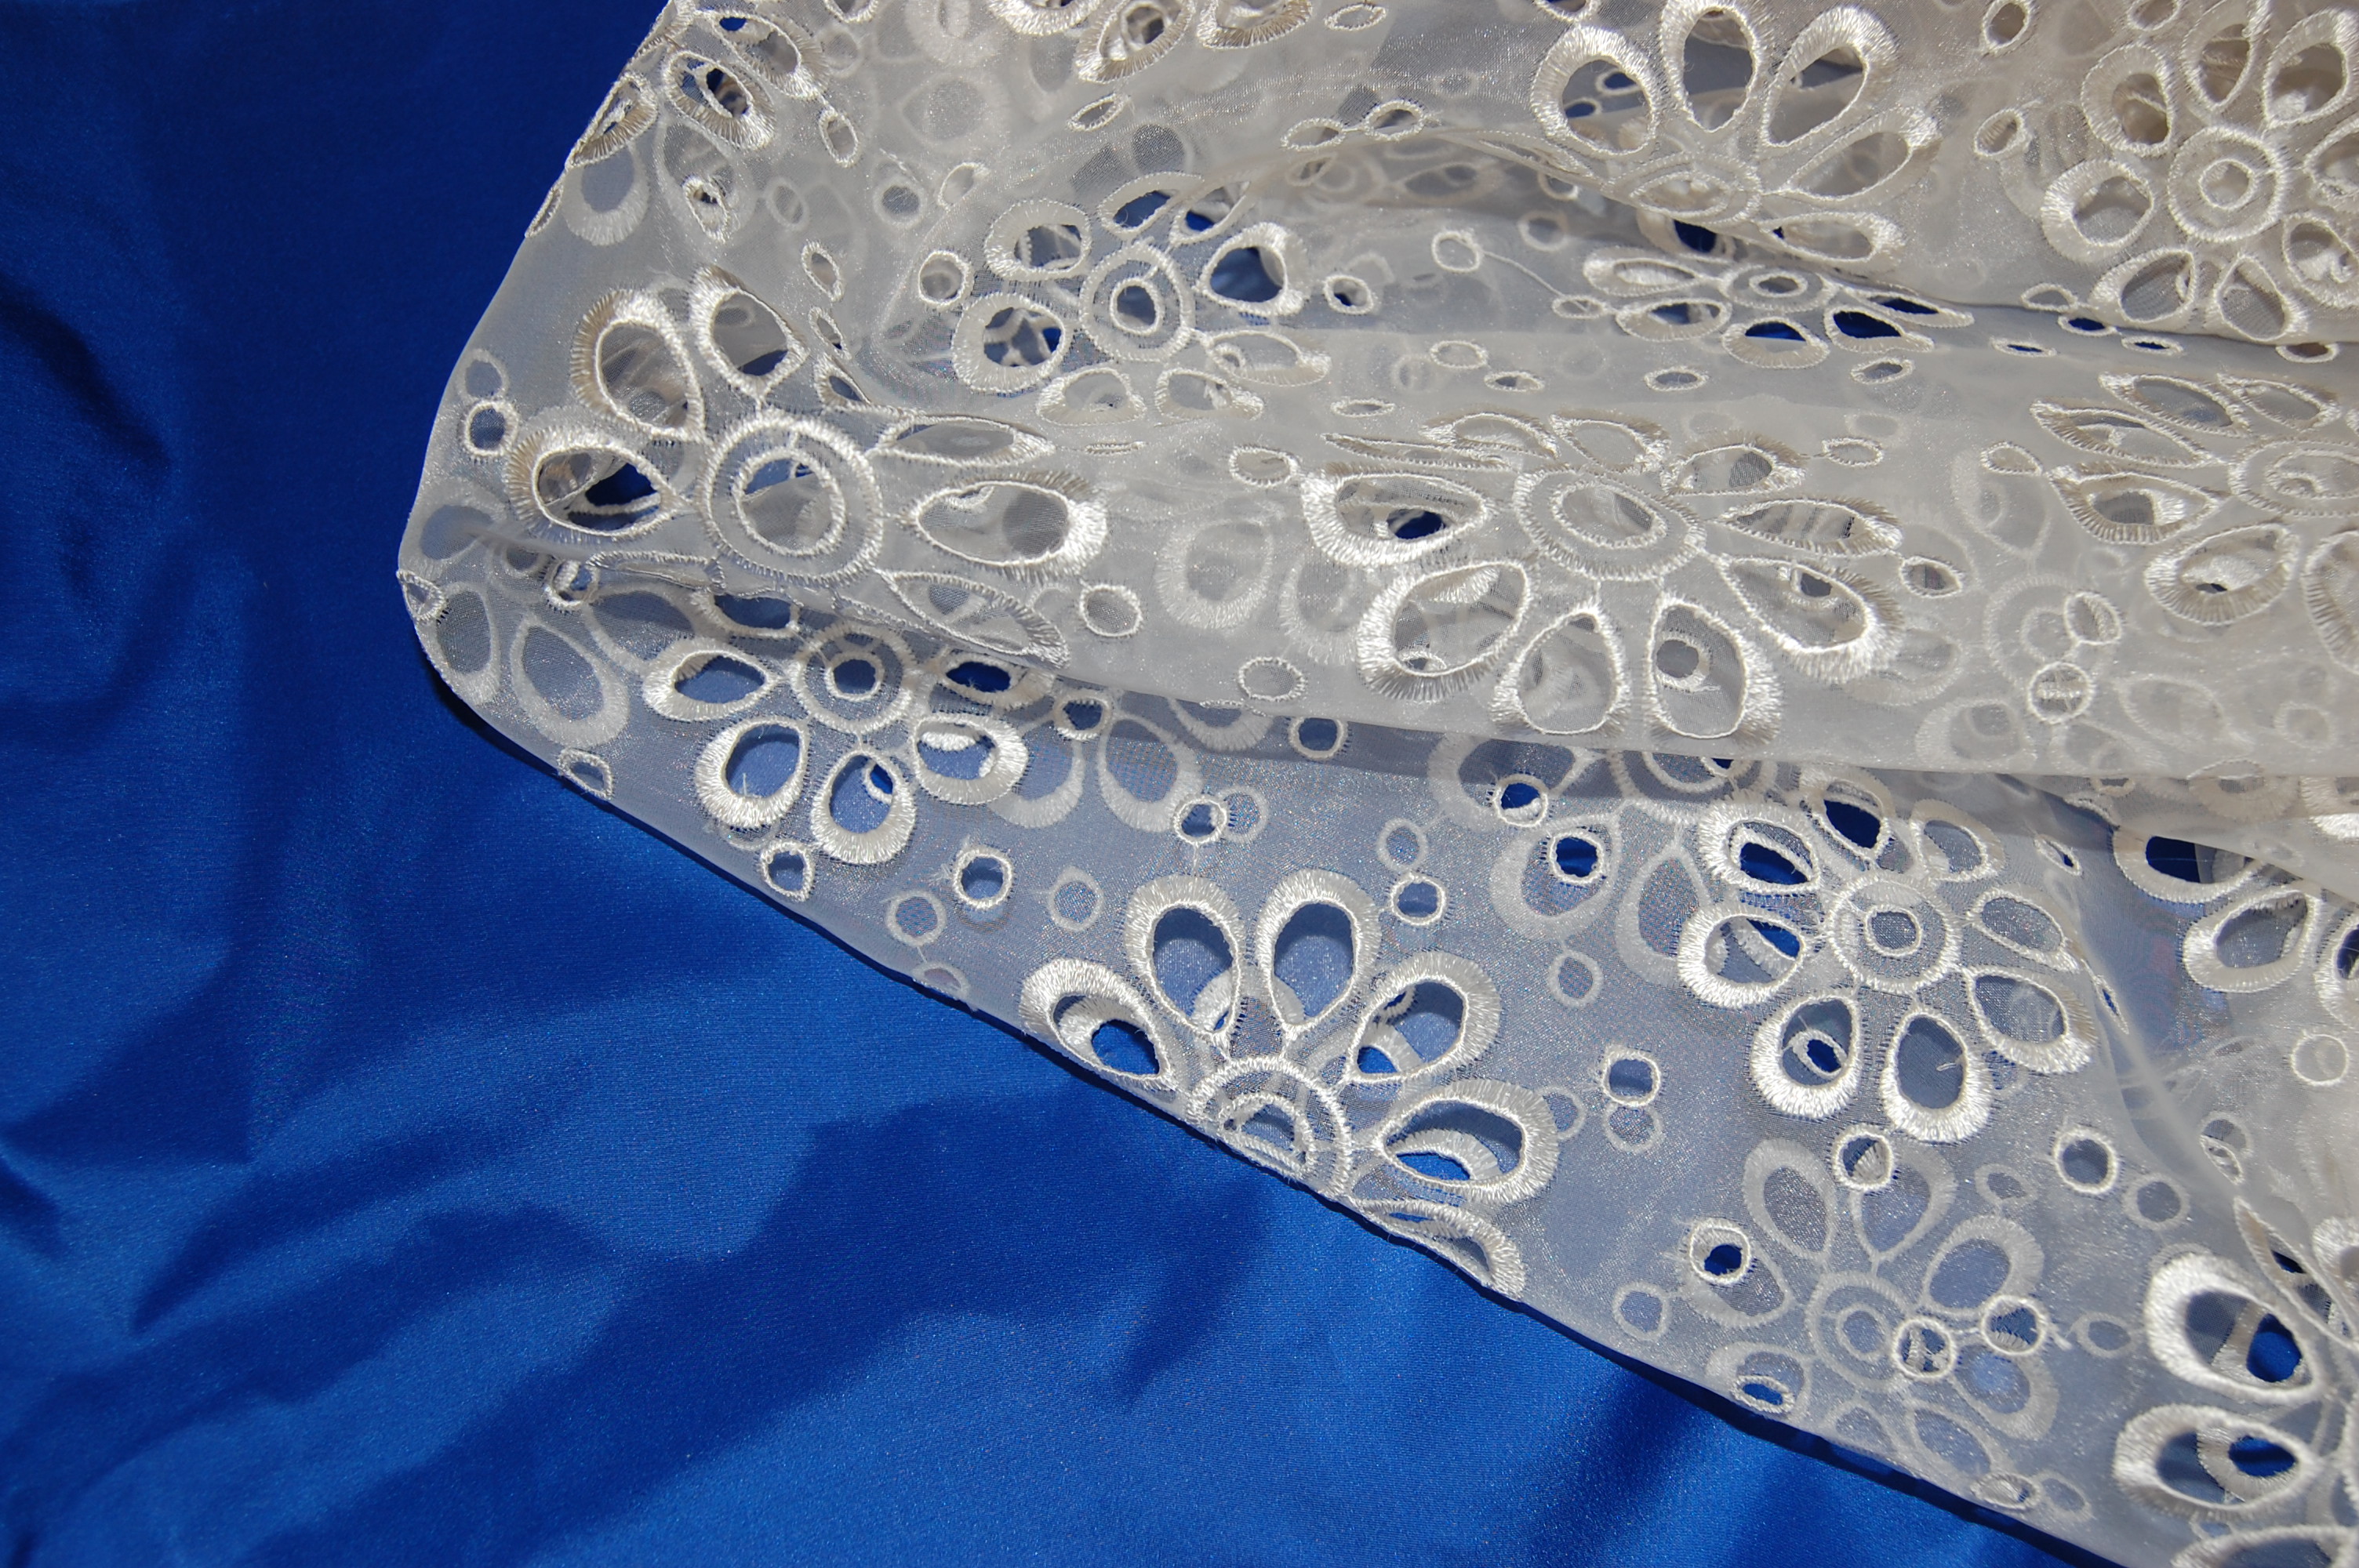
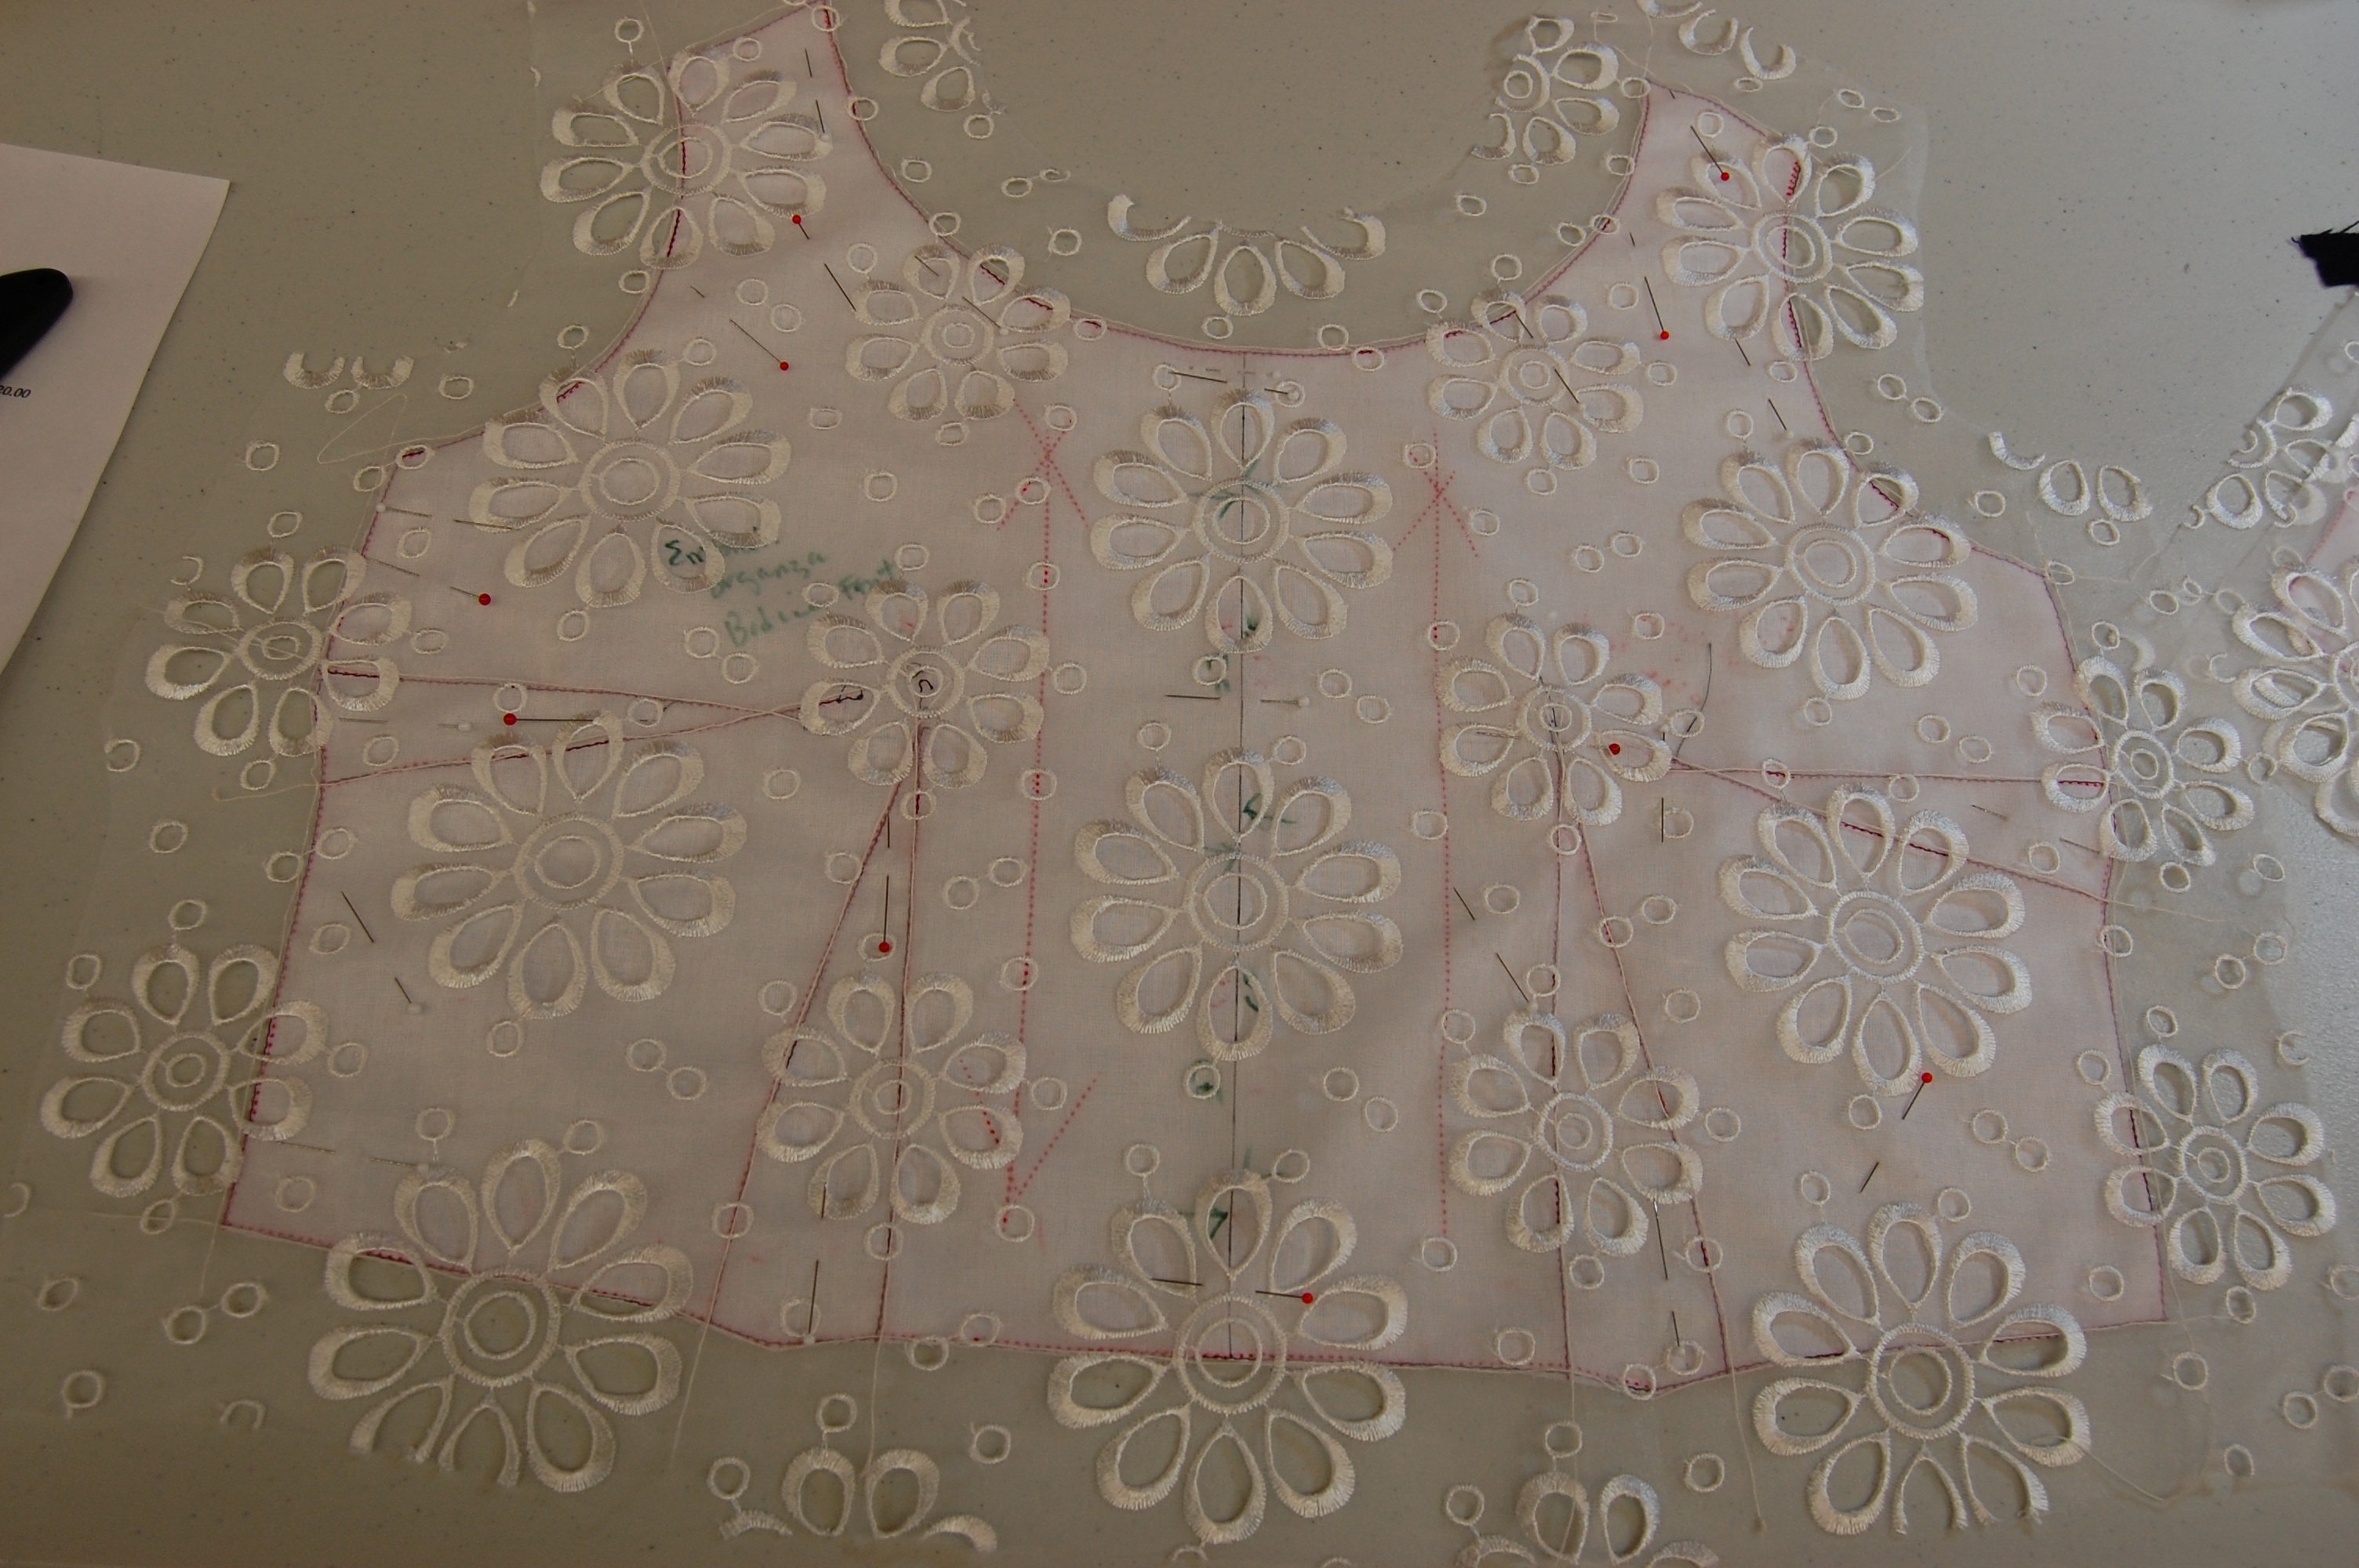
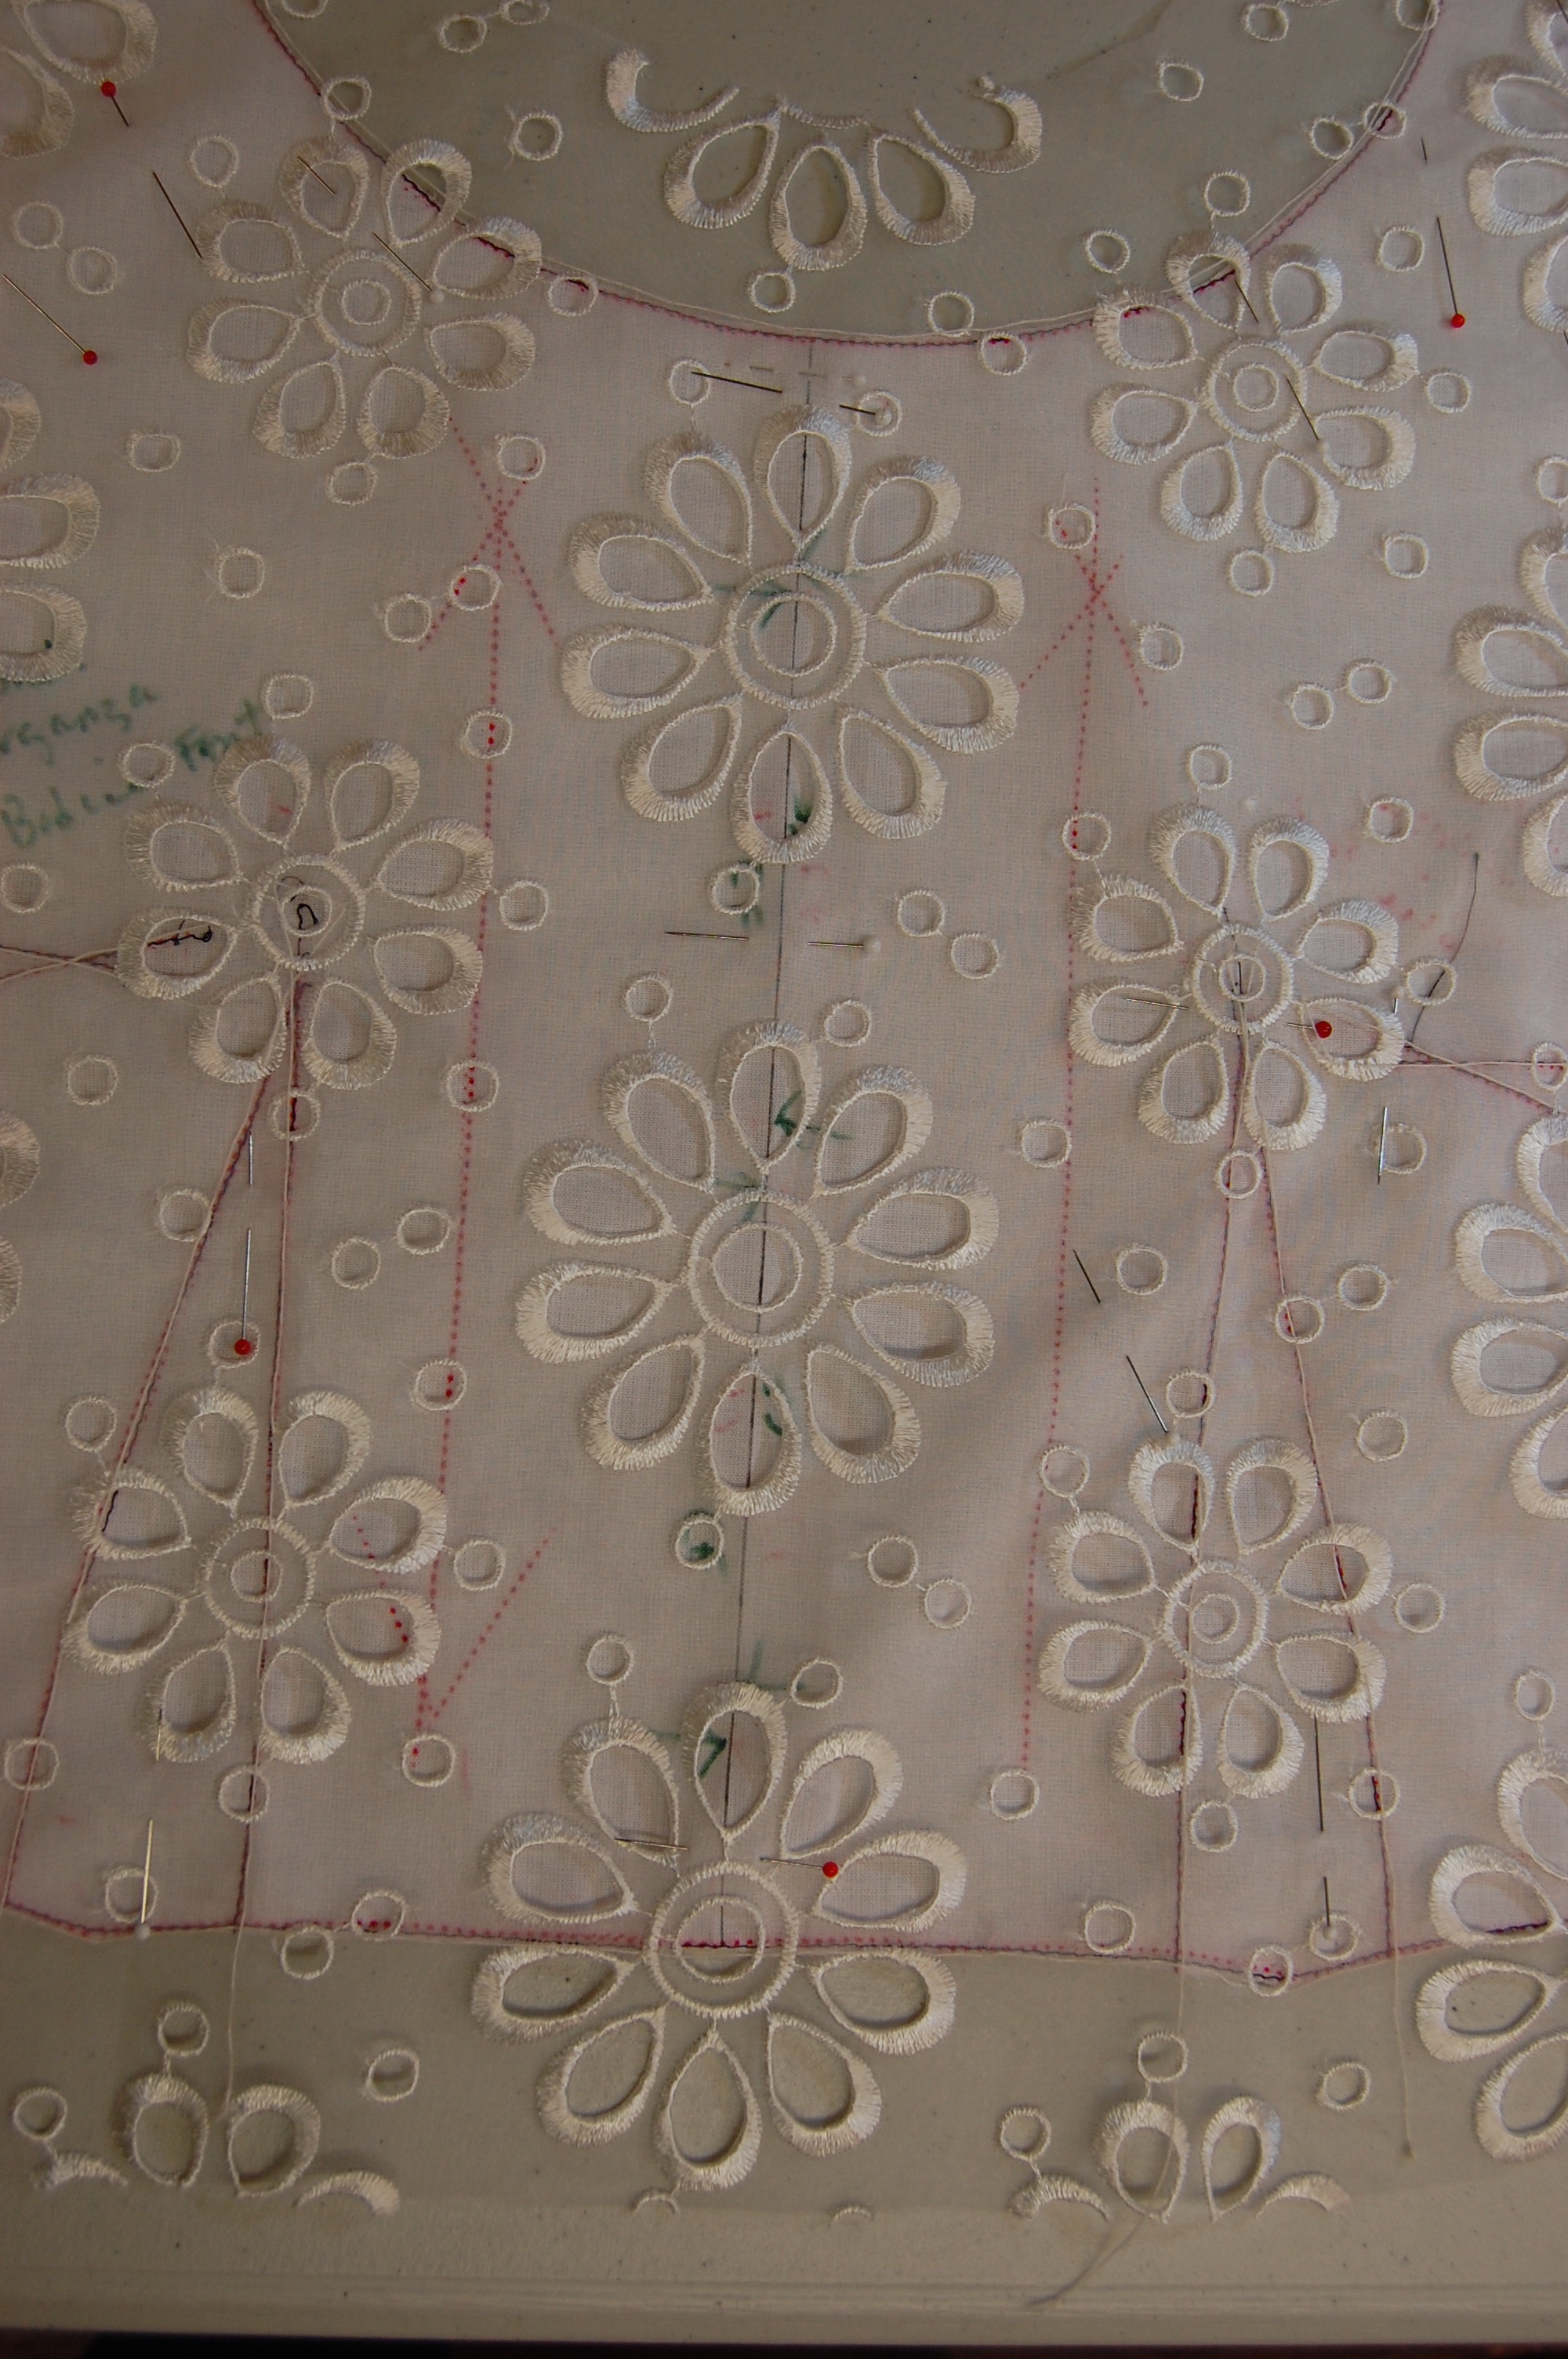
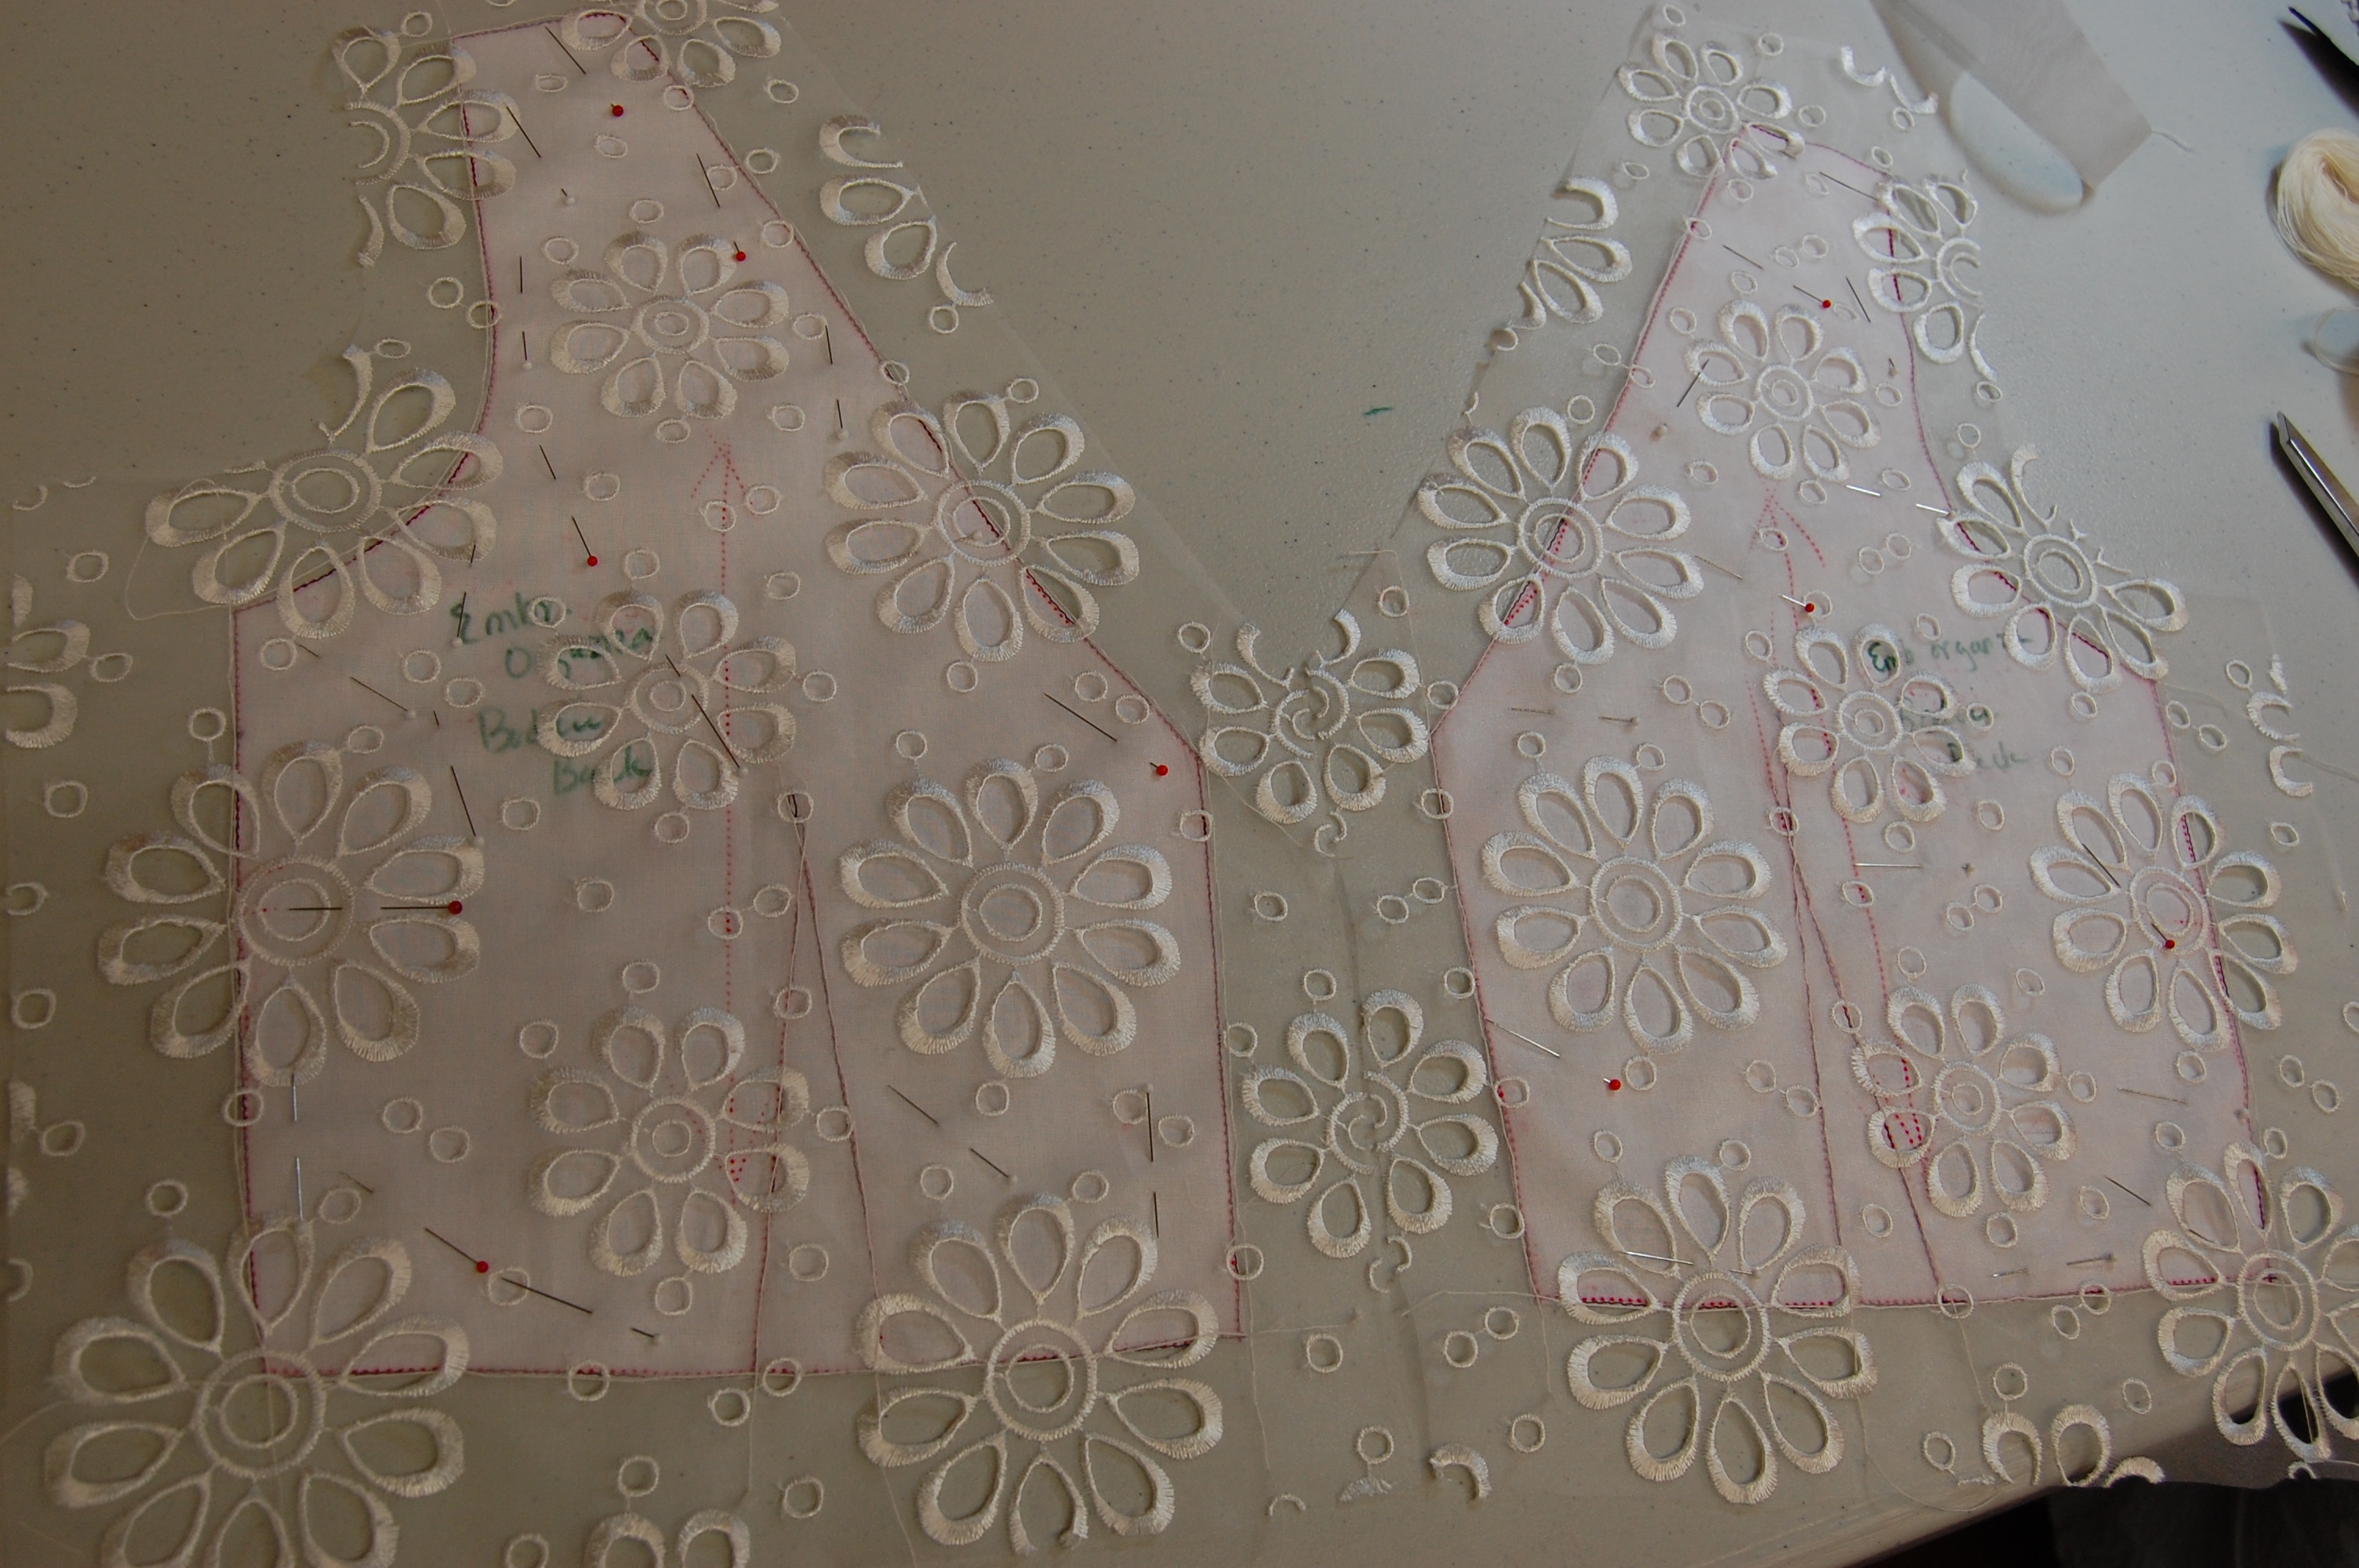
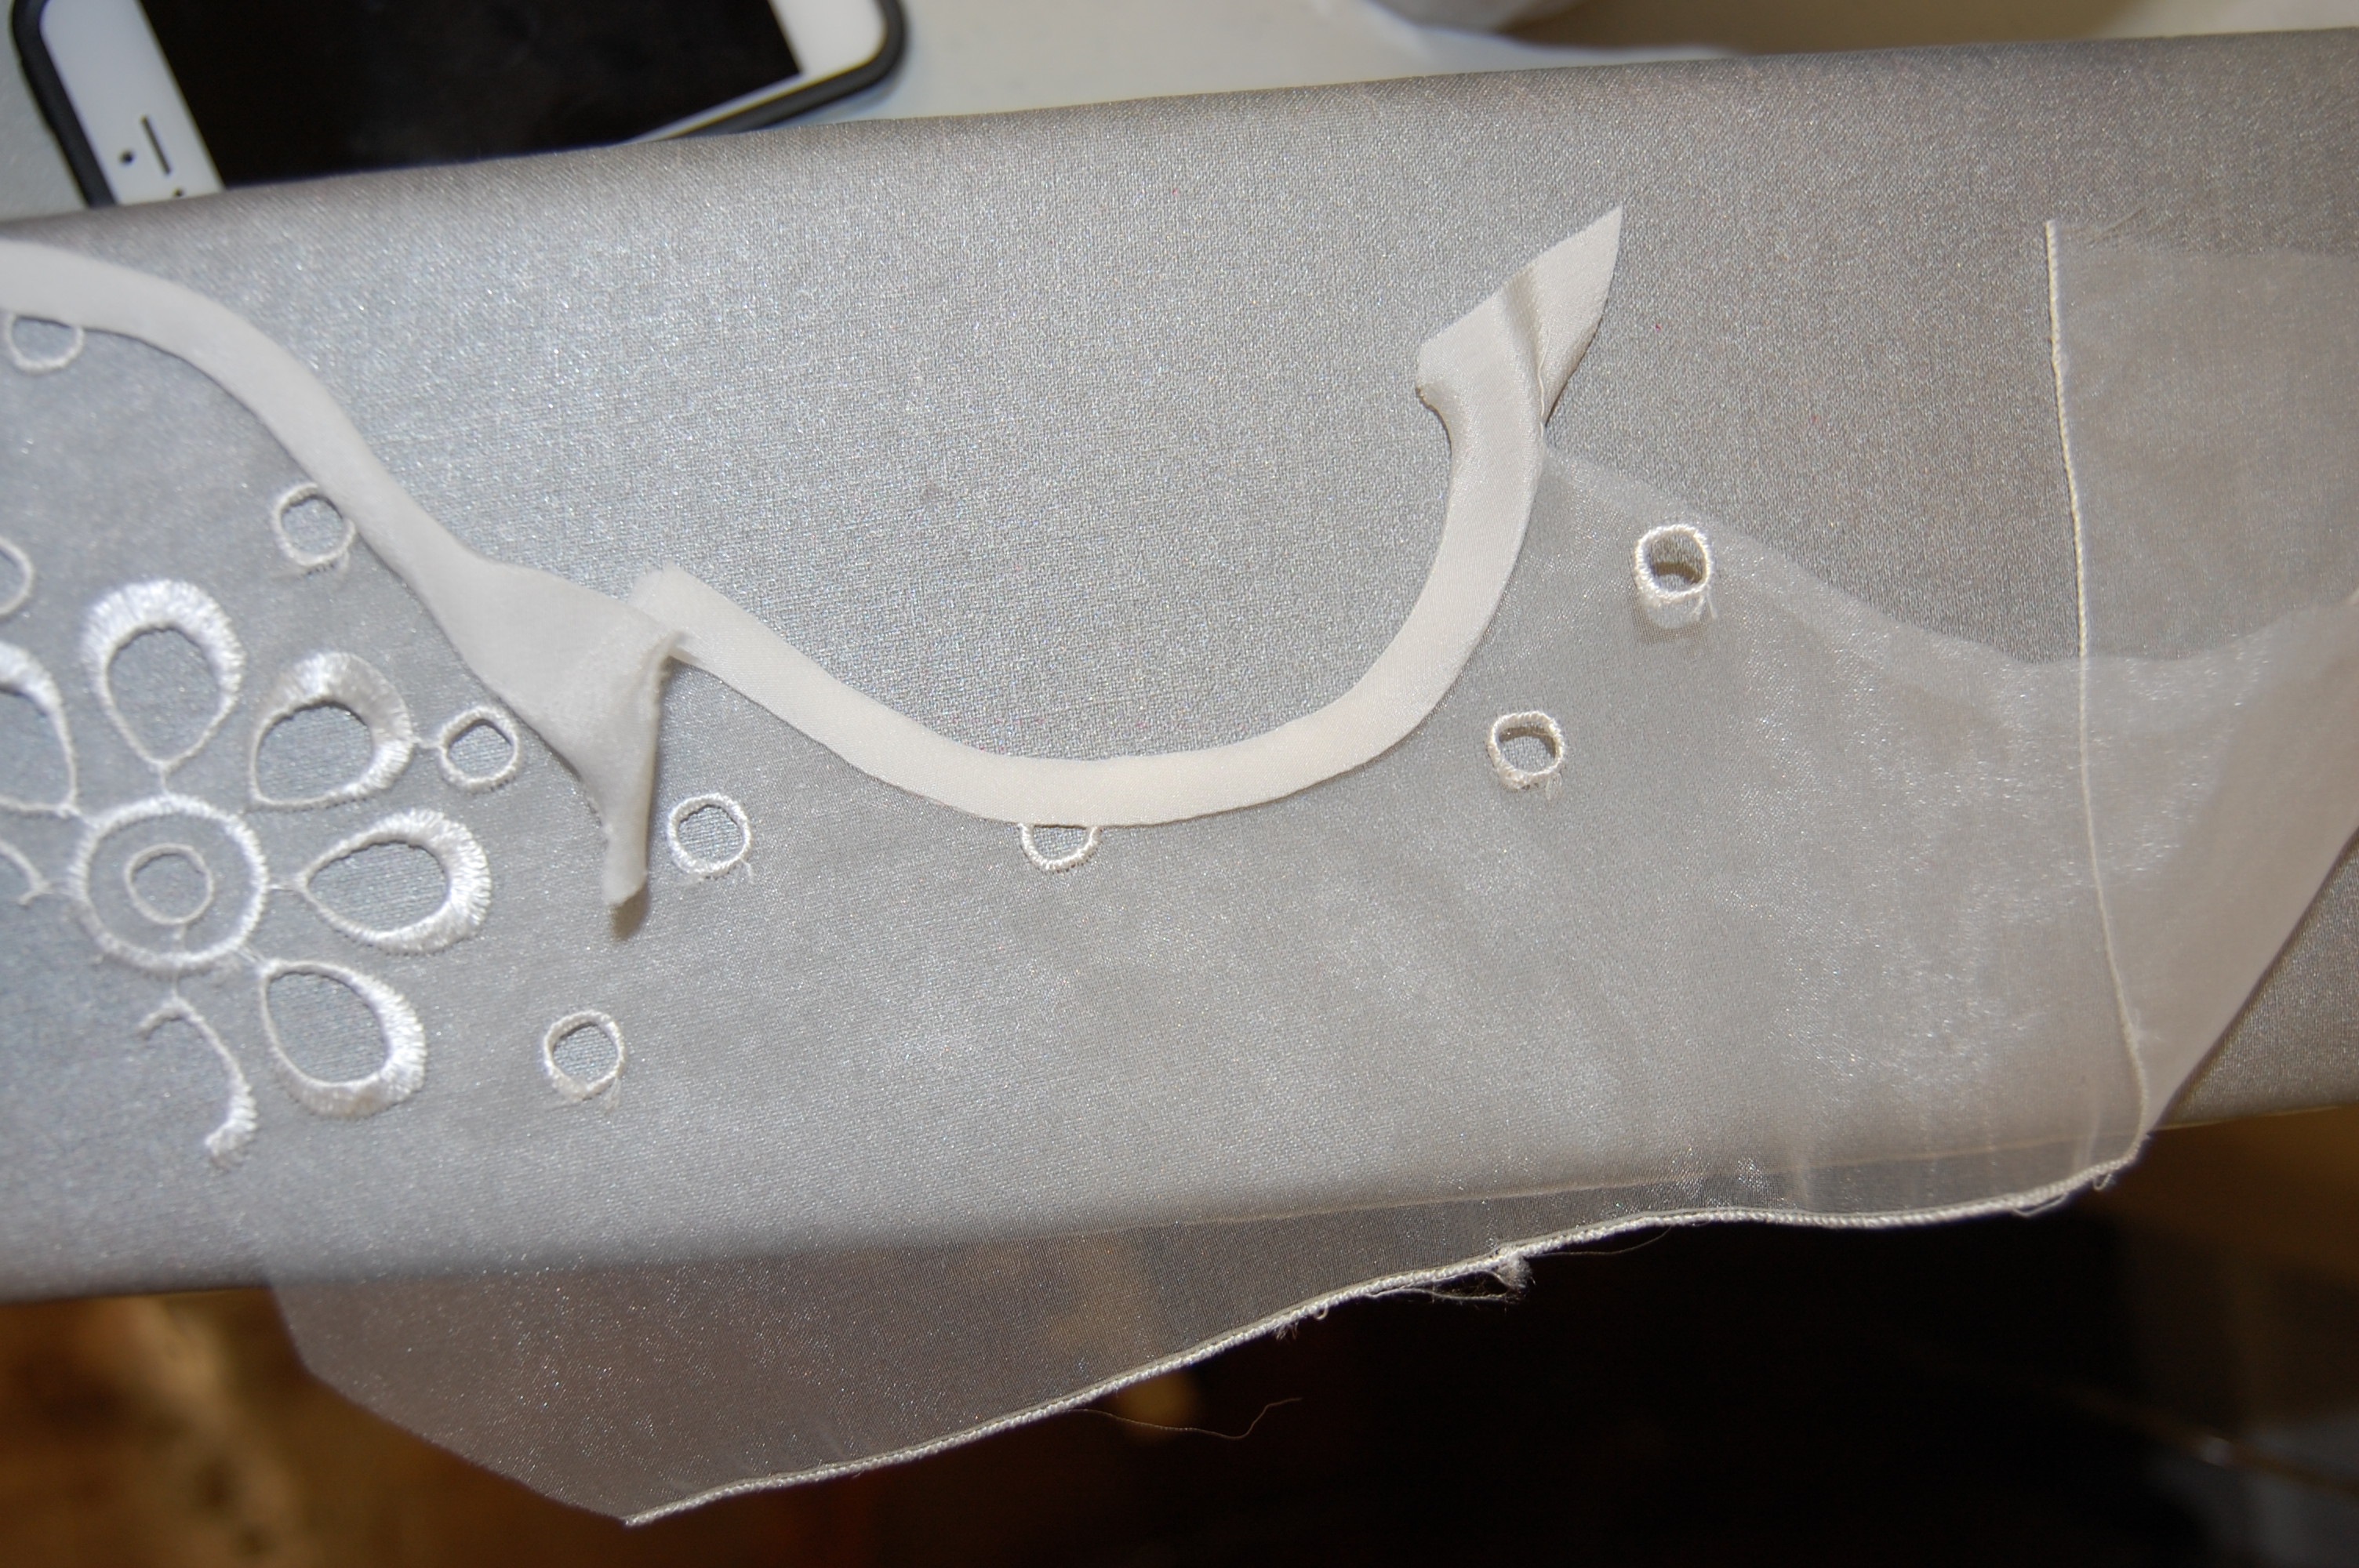
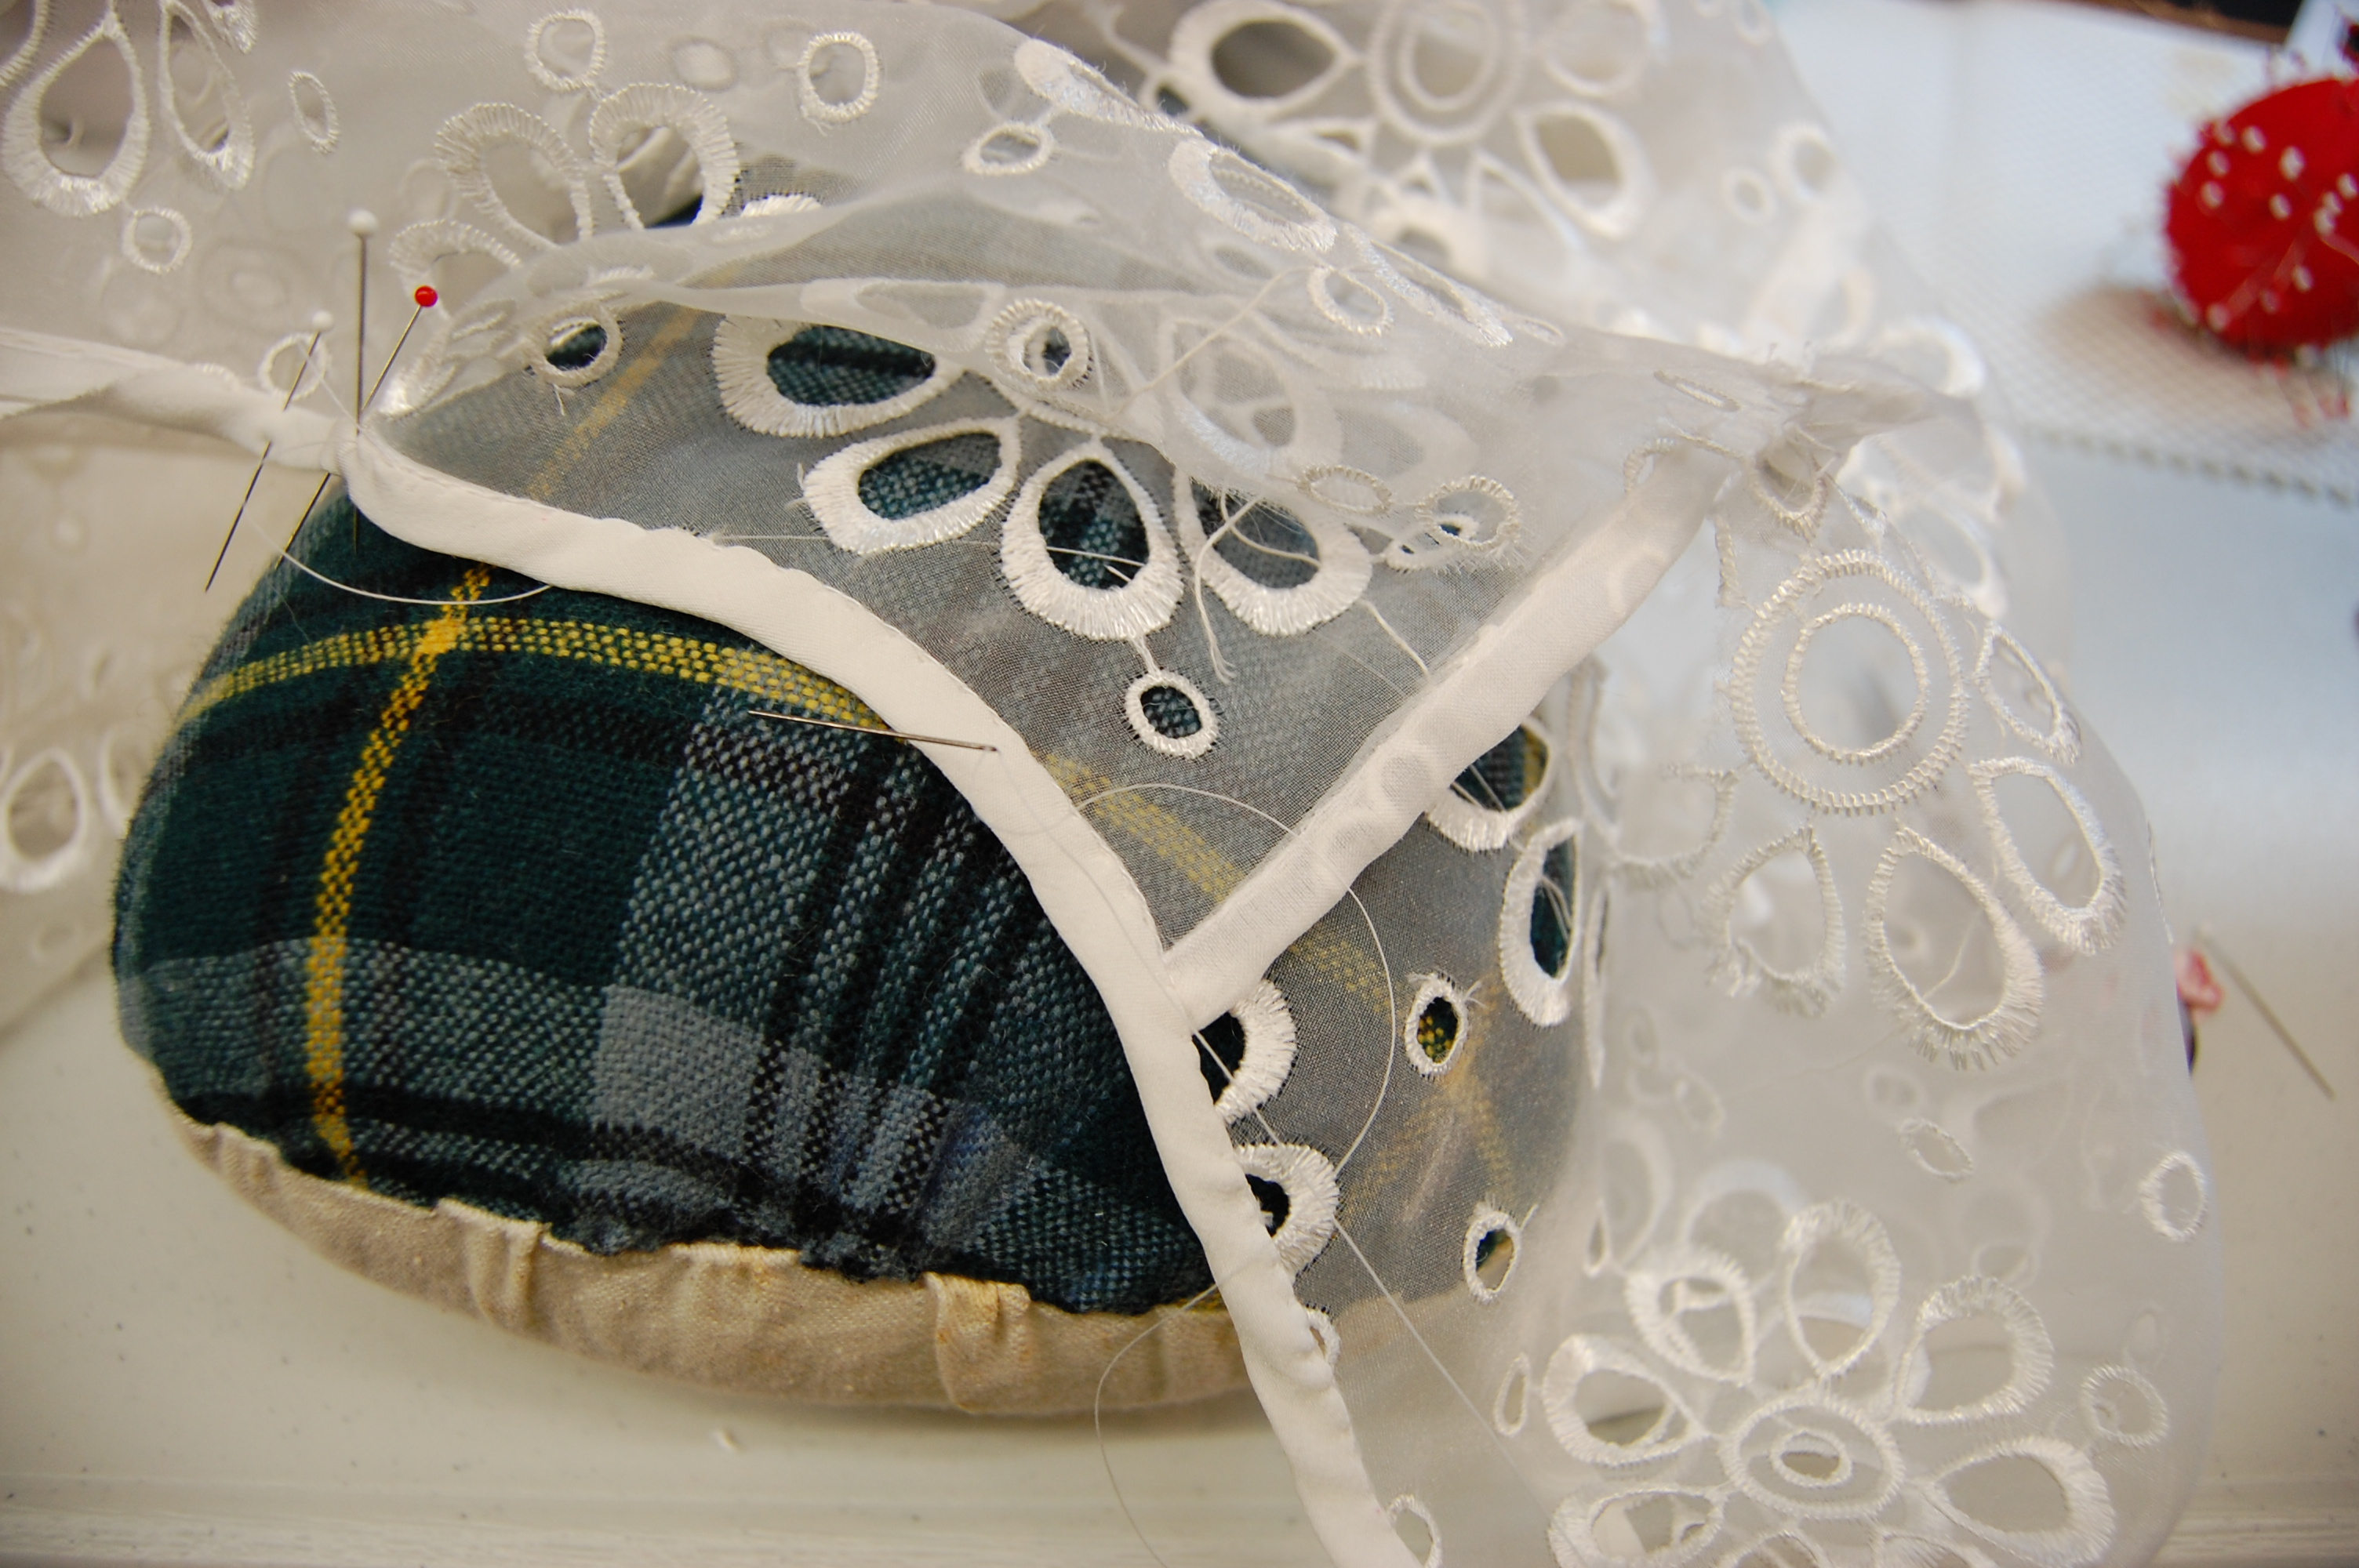
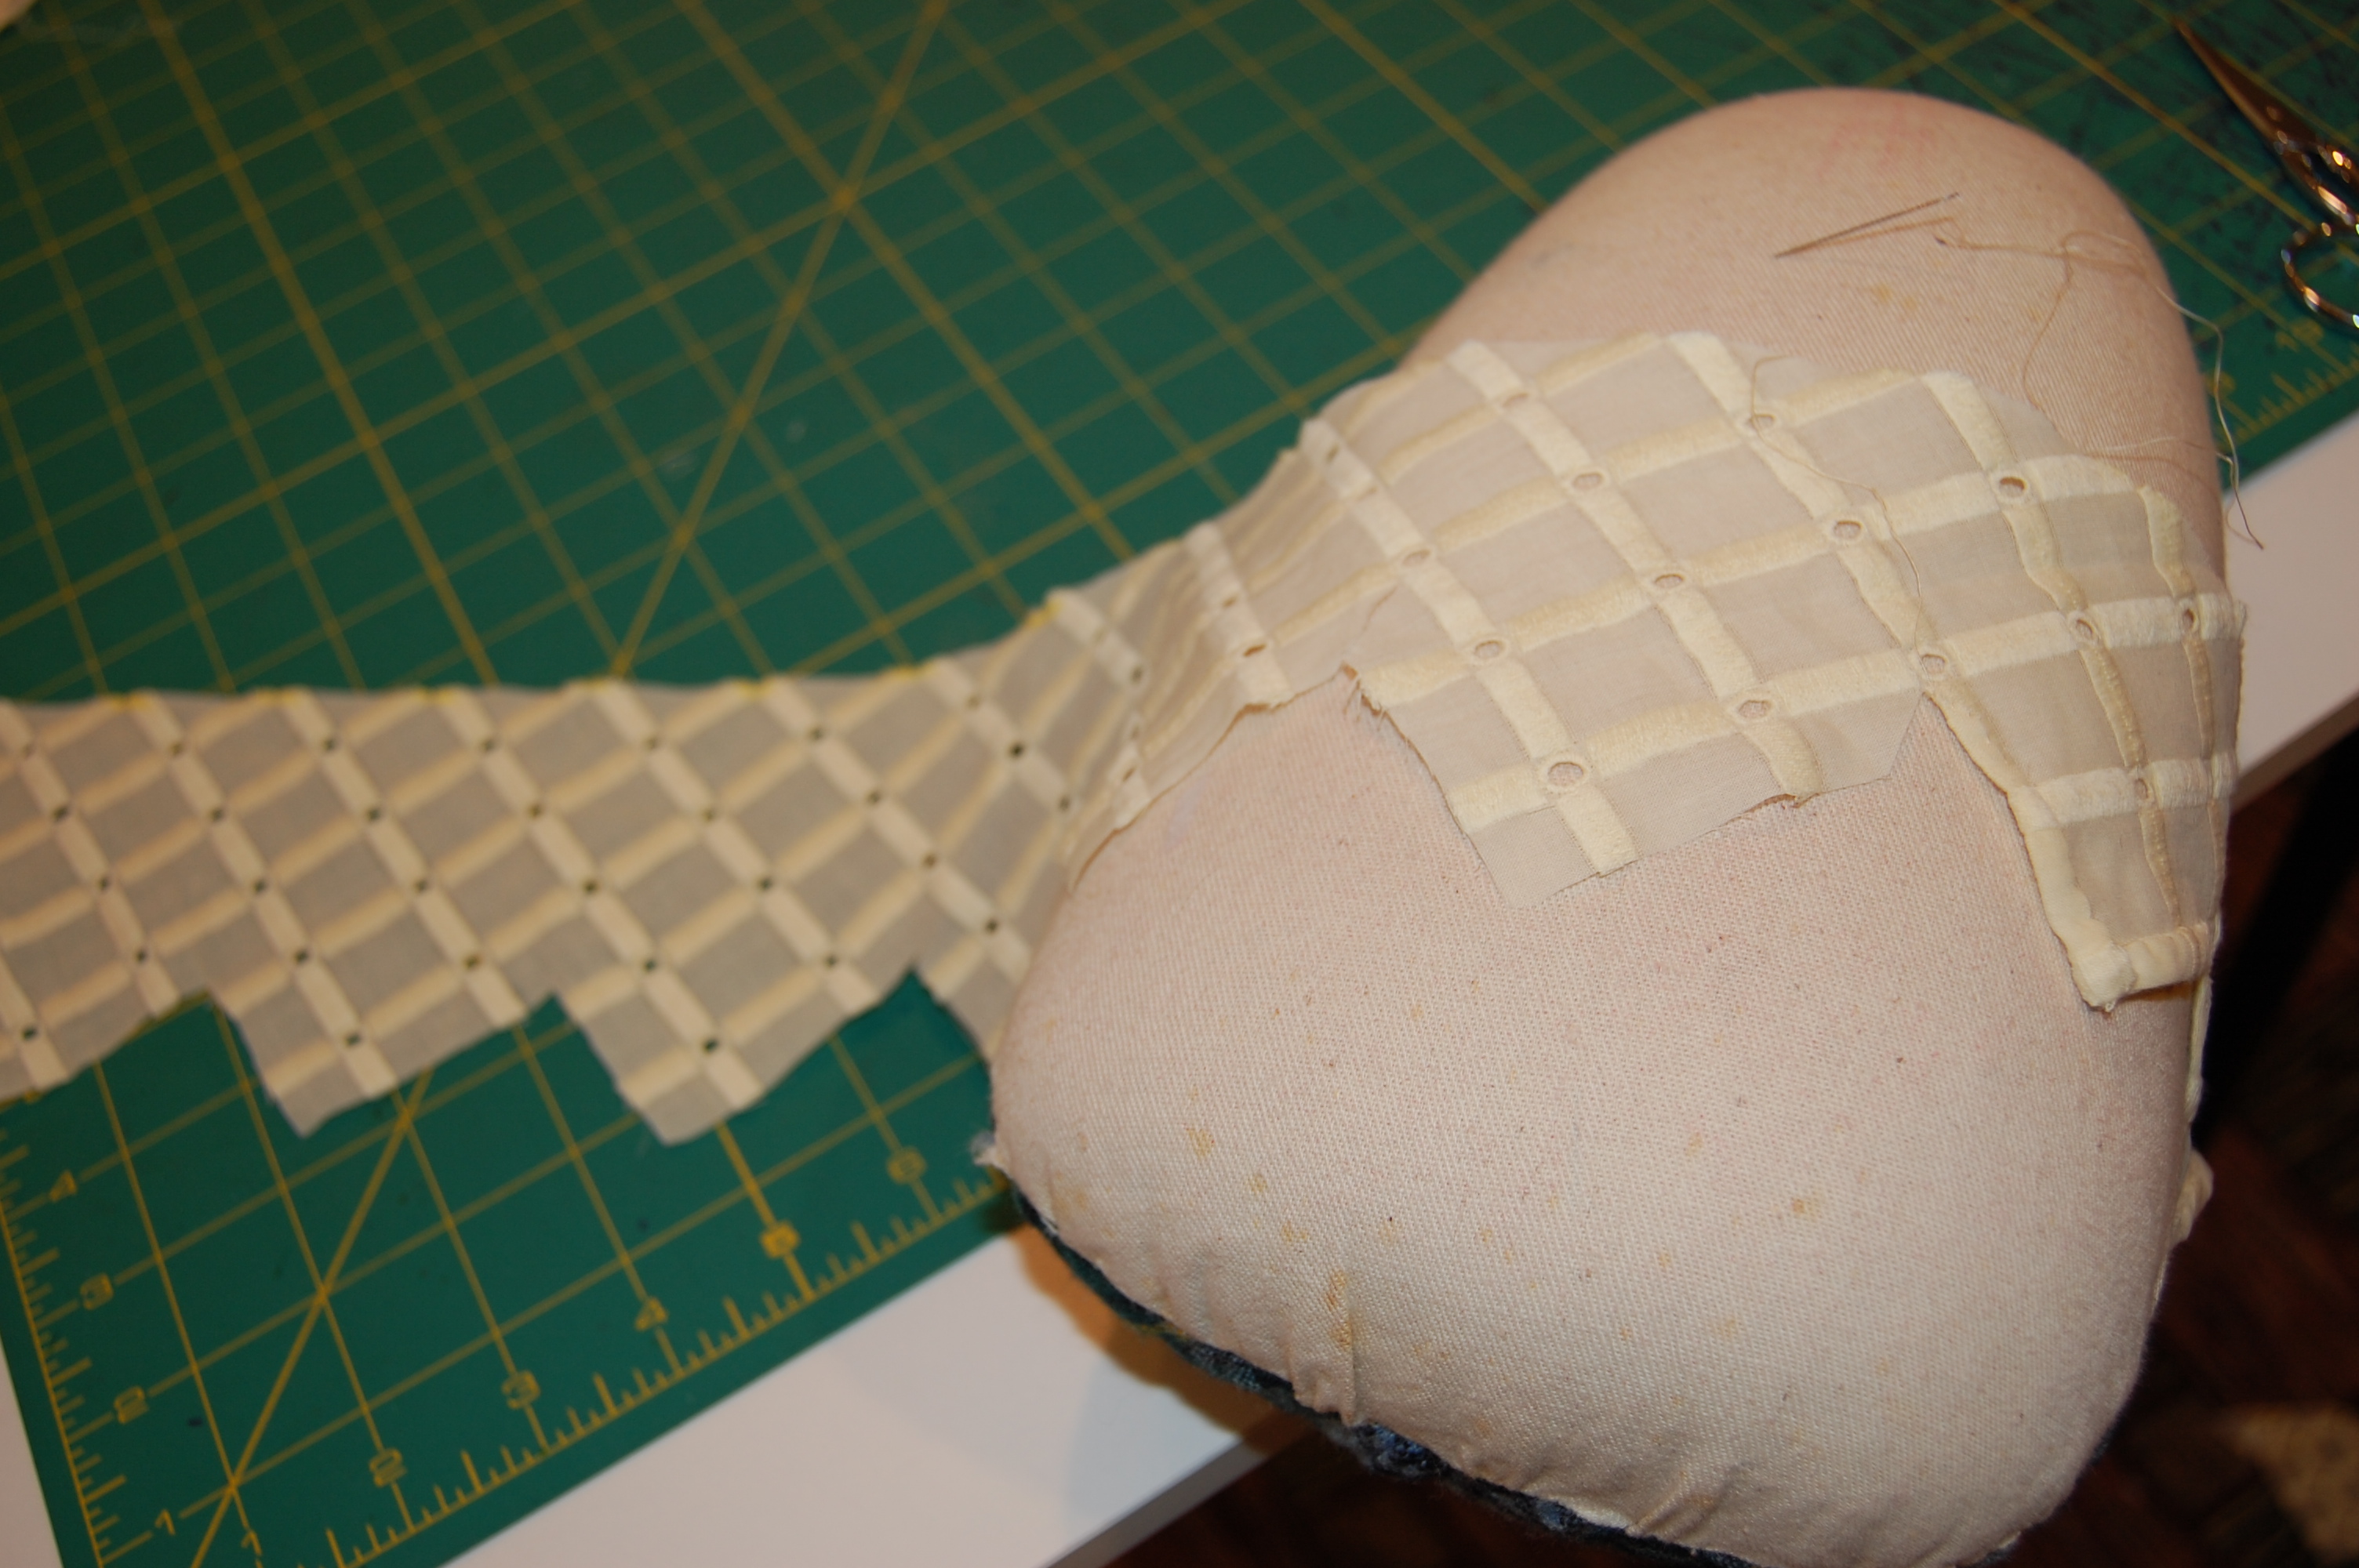
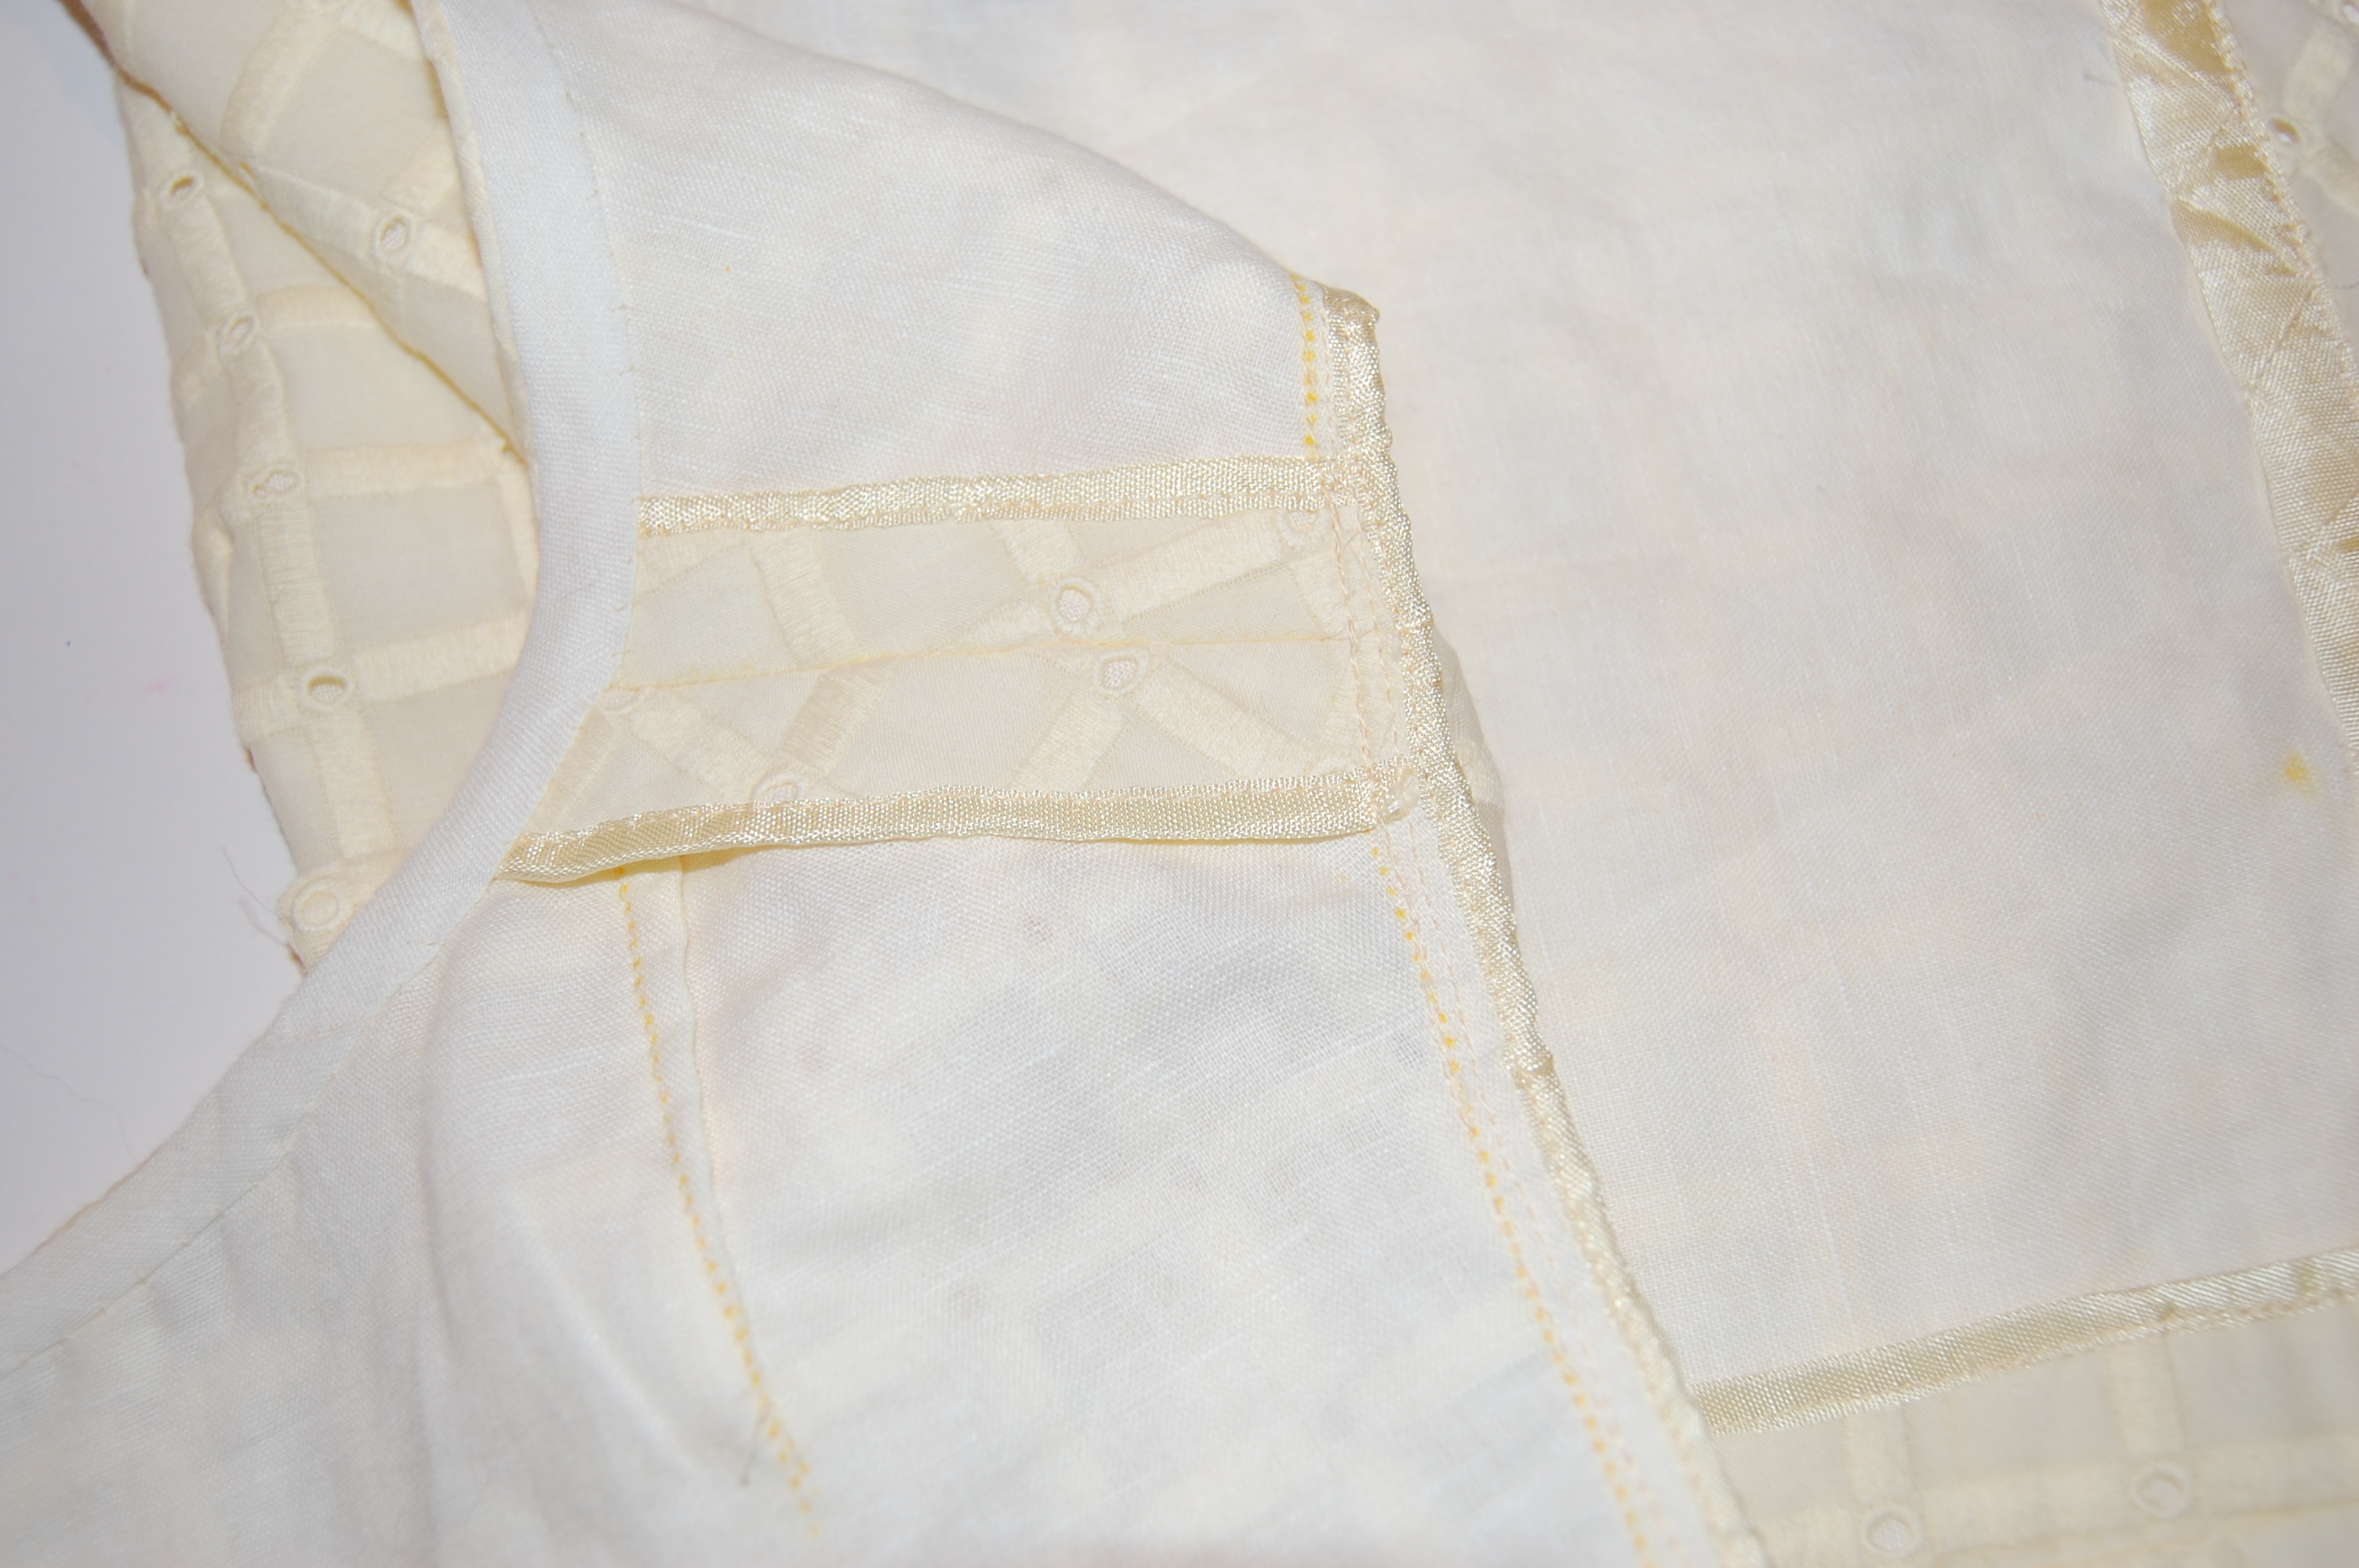
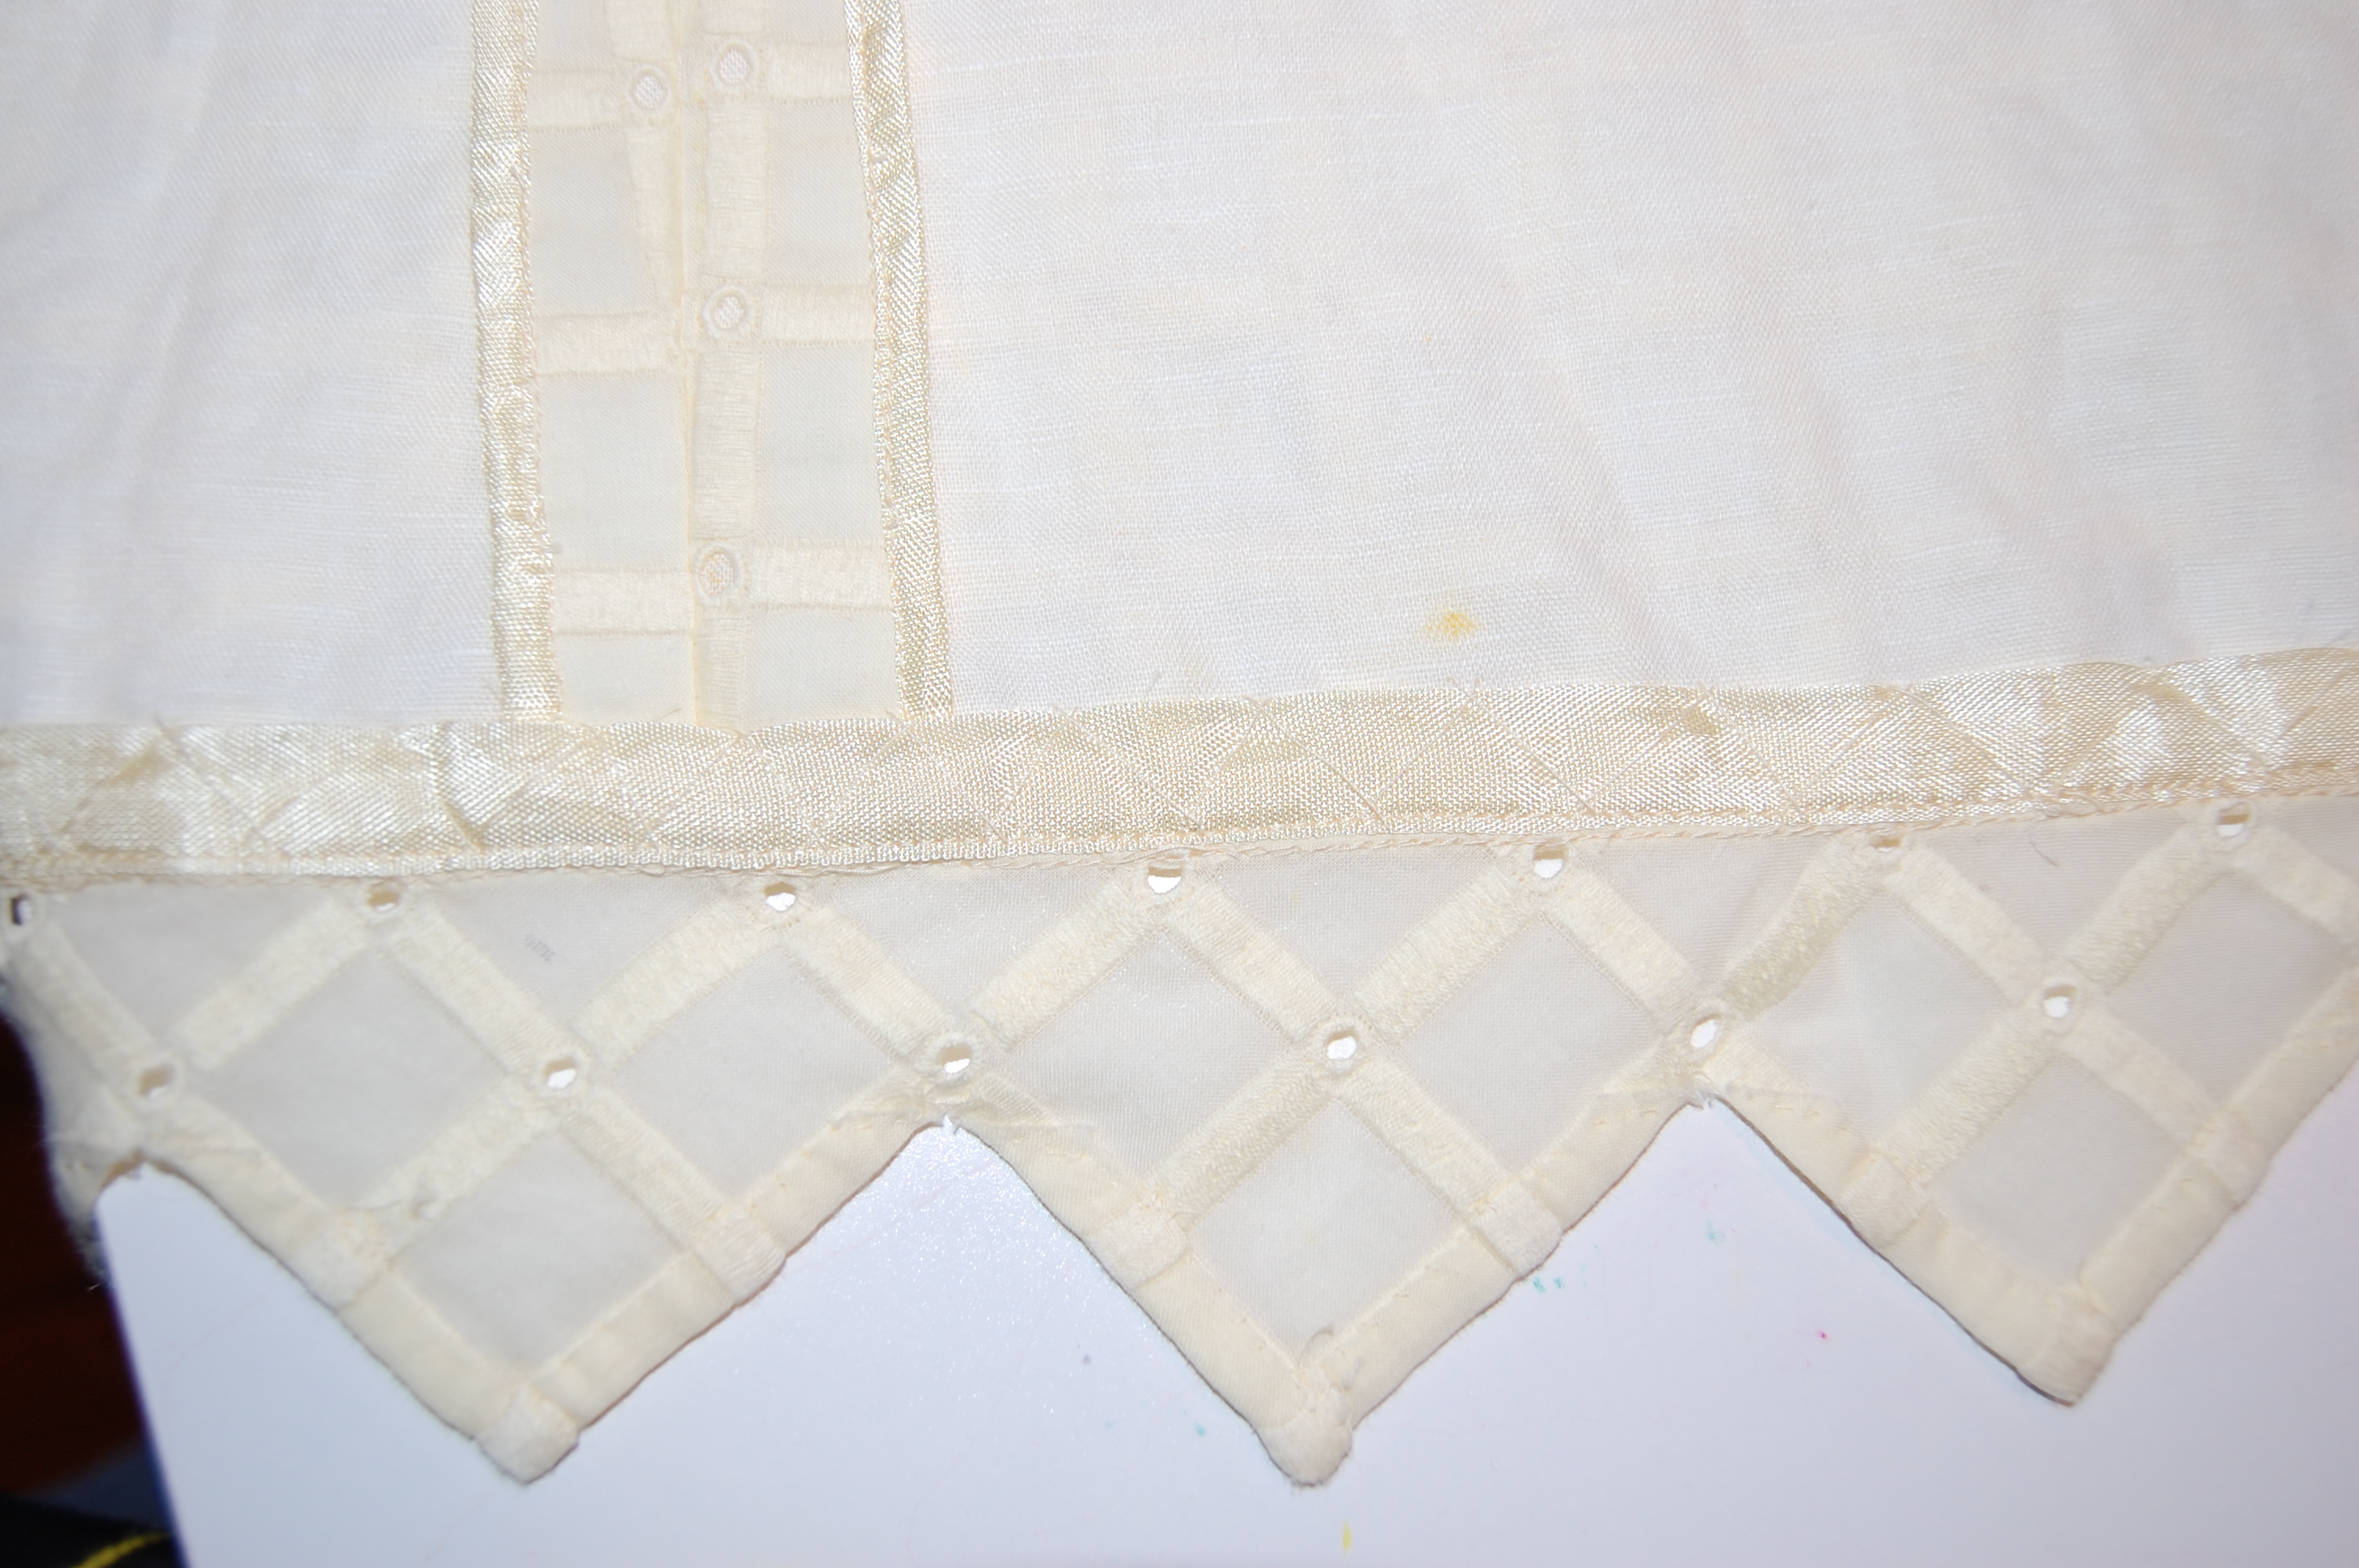
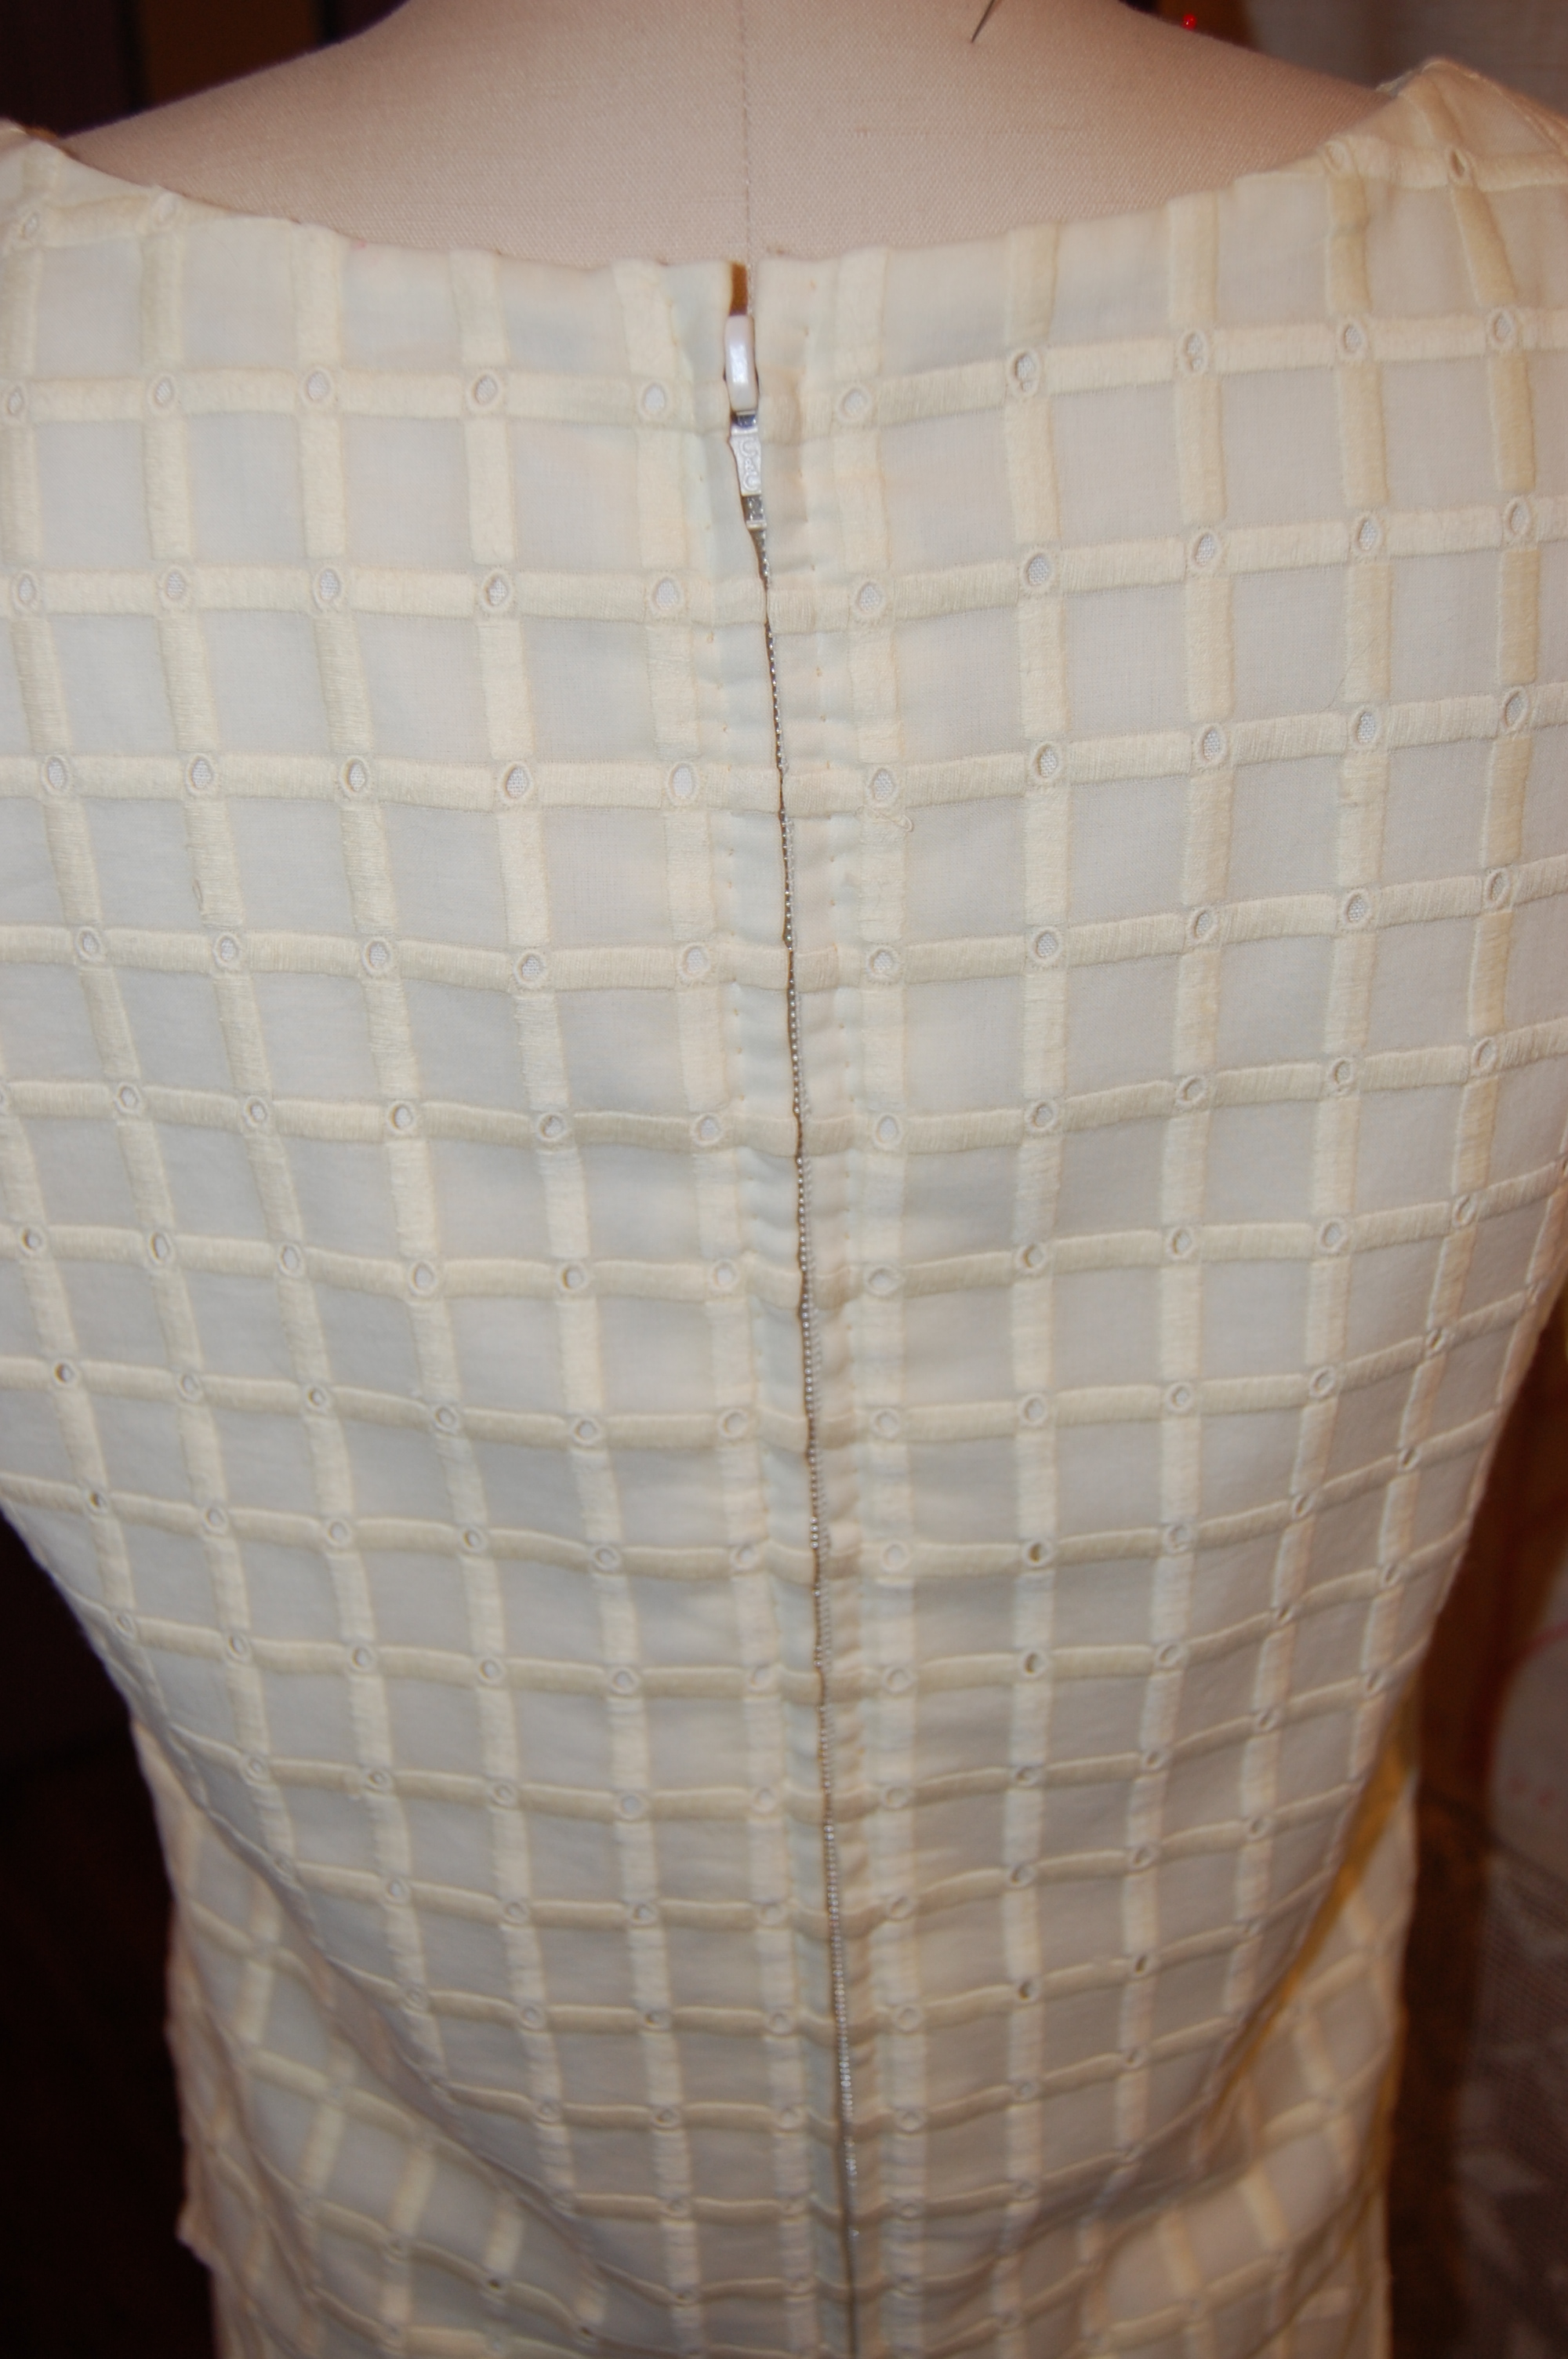
It seems this vintage Moygashel linen from the late 1960s, with its bold daisy design is very much in vogue currently, both for its size and its floral motif. (The bodice of my recent fancy dress also featured a “daisy” motif in the silk embroidered organza):

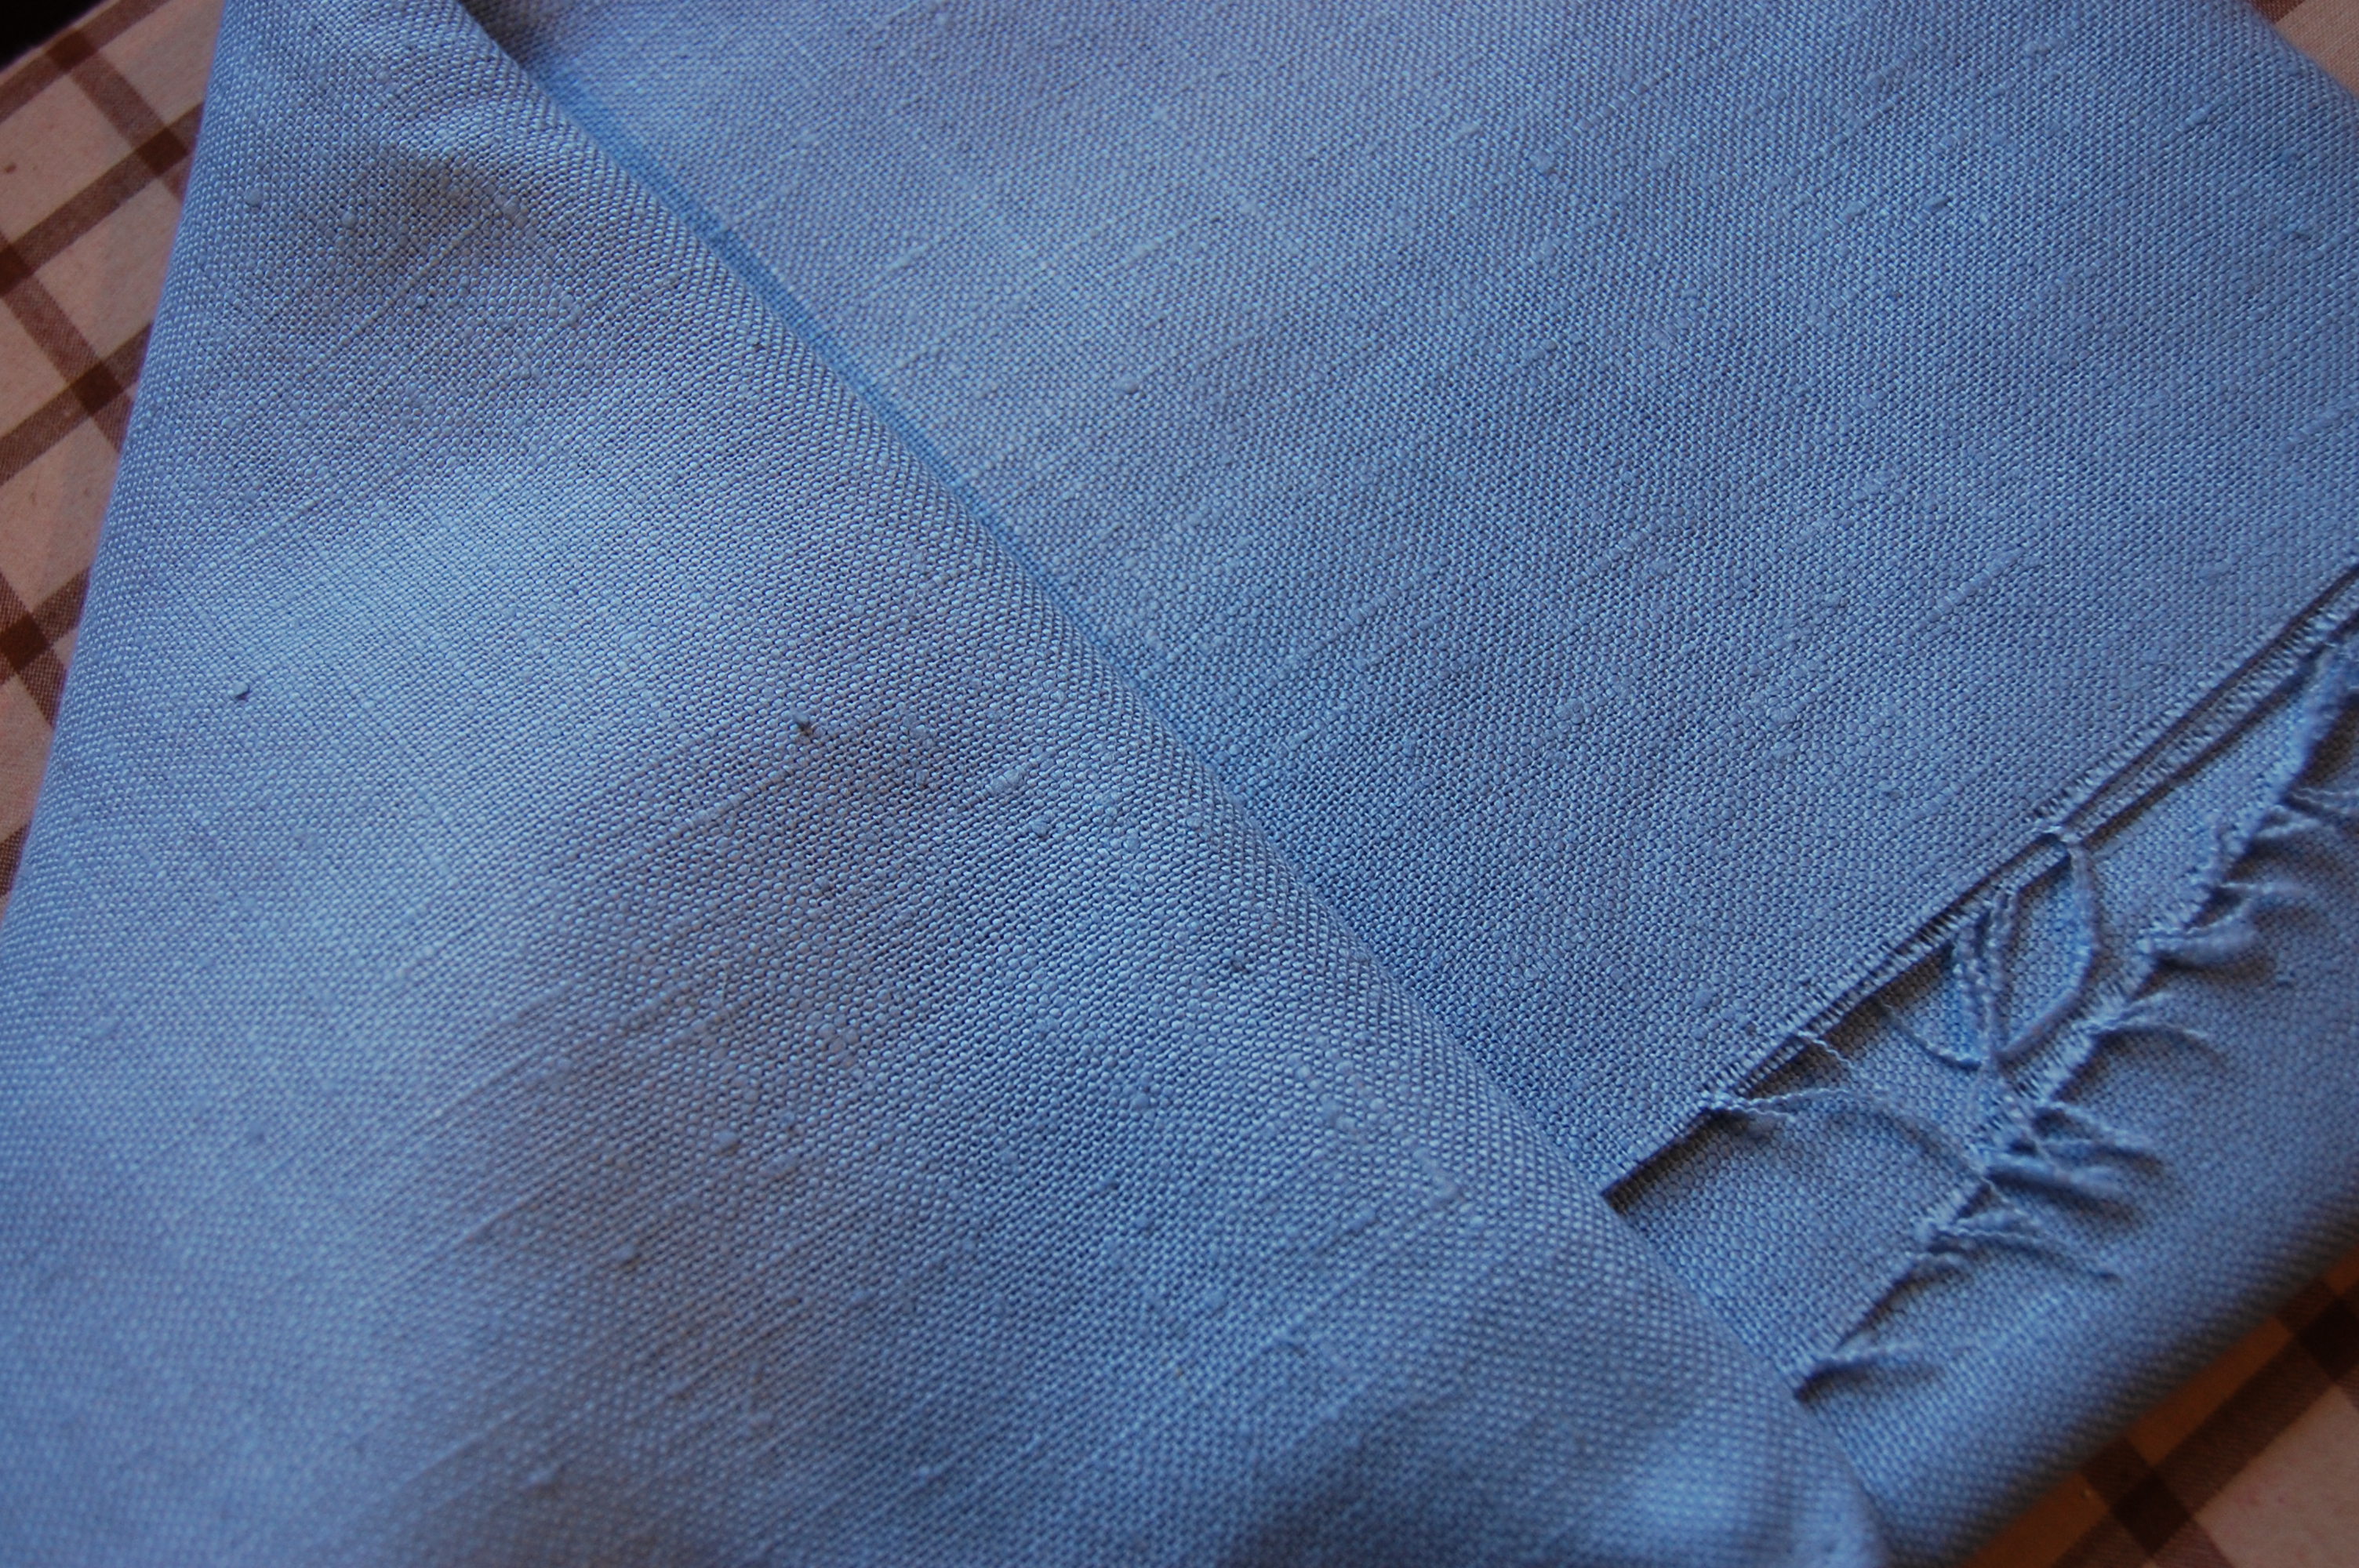
Although I am of the mind that daisies are always in vogue, nevertheless, this seems like the perfect year to fashion a dress from this linen. Such a demonstrative print begs for a simply-styled dress, such as – you guessed it – a sheath dress. The fabric will make this dress, not the pattern. How could I, I wondered, do something a little different and still keep it simple? The answer to that question began to take shape when I found a length of pale lavender Moygashel linen this past Spring. Suddenly I envisioned a V-back to a sheath dress with a rounded neck, detailed with piping made from this lavender linen.
Then it began to get complicated. With just a few inches over 3 yards of the 35” wide lavender fabric, I knew I would have to calculate carefully when I cut bias strips for the piping, if I wanted to fashion another garment out of the lavender. And of course, I do! Actually, when I looked at the lavender fabric, and paired it with any number of my other fabrics and/or dresses, it seemed the only thing to use it for was a “Spring” coat. But would I have enough fabric for both a coat and bias strips for piping?
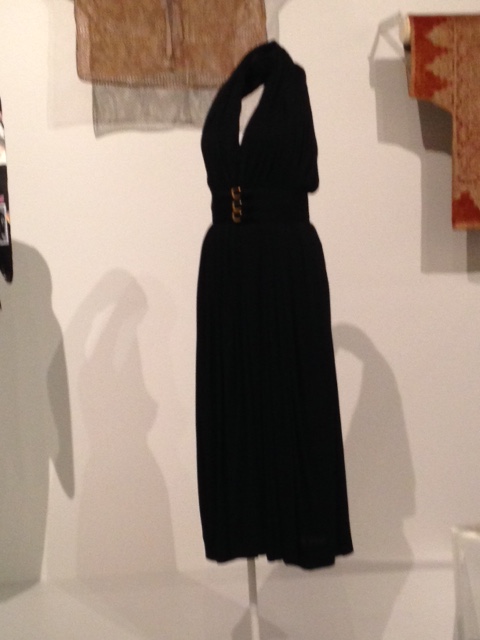
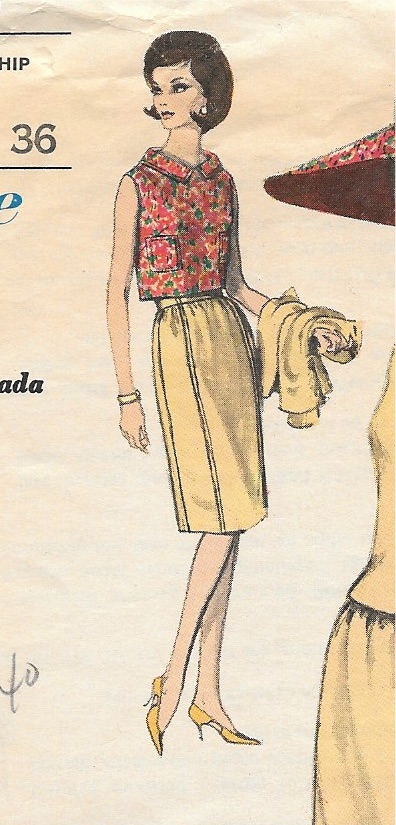
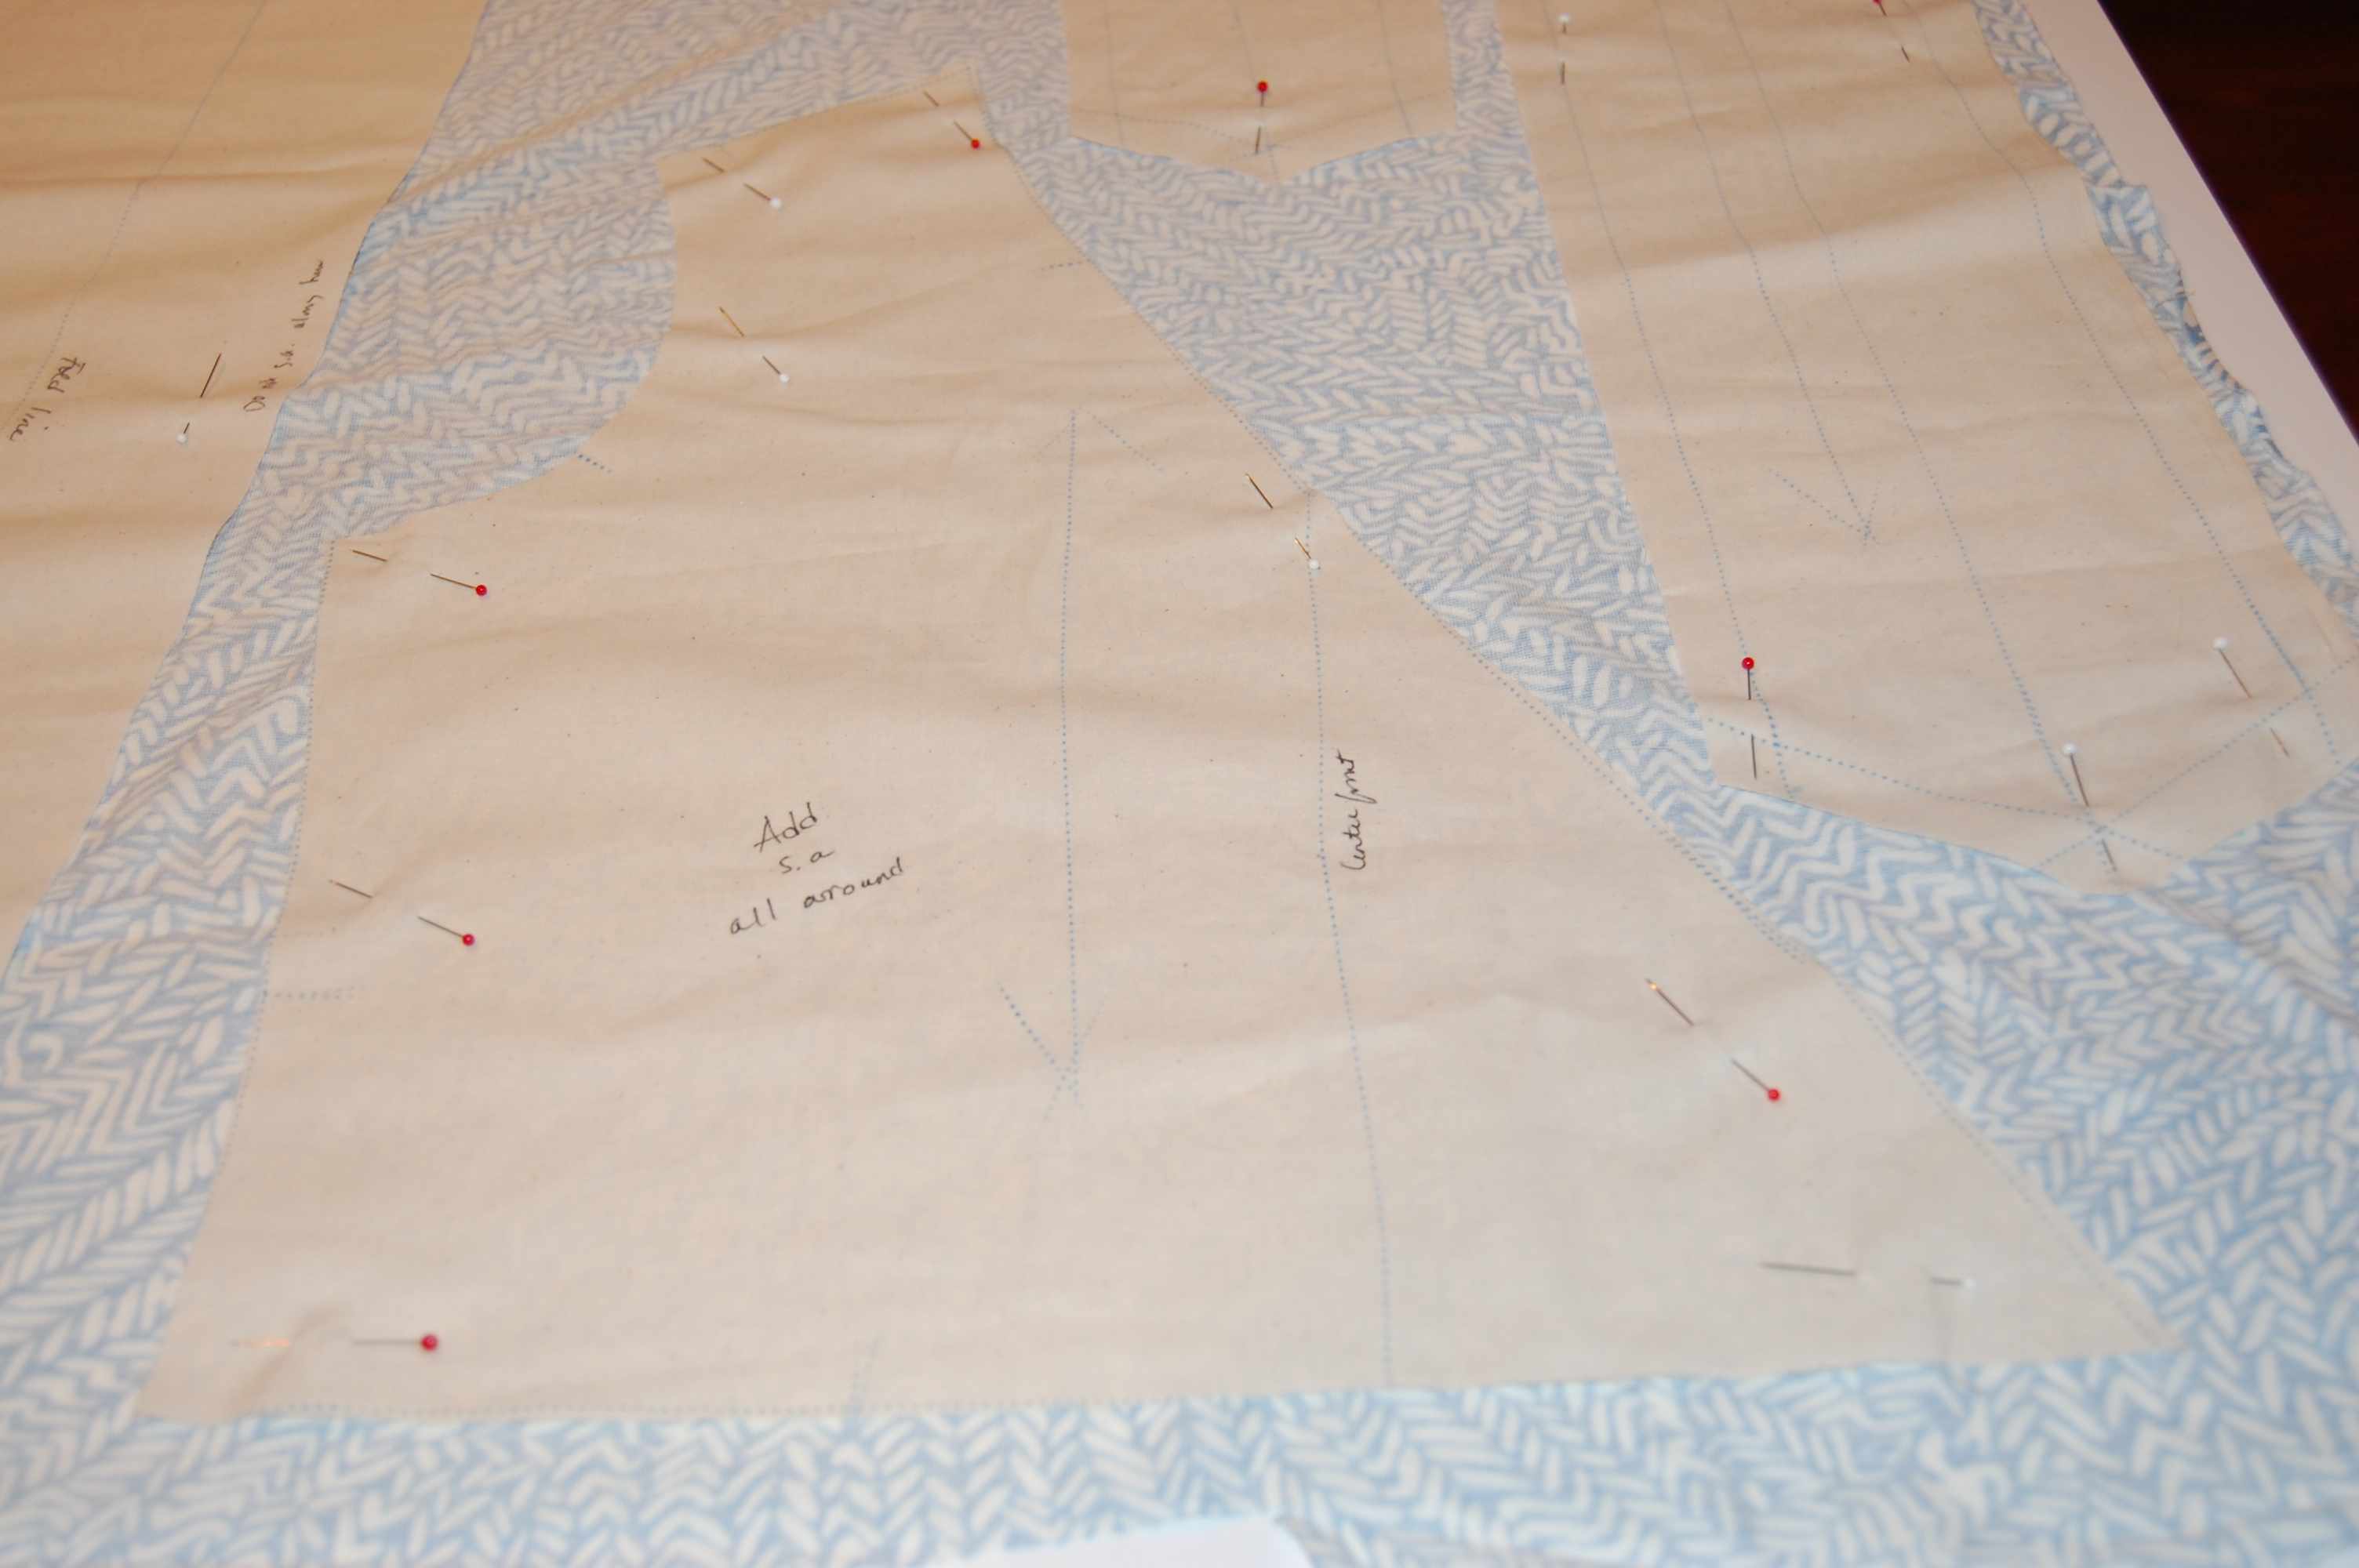
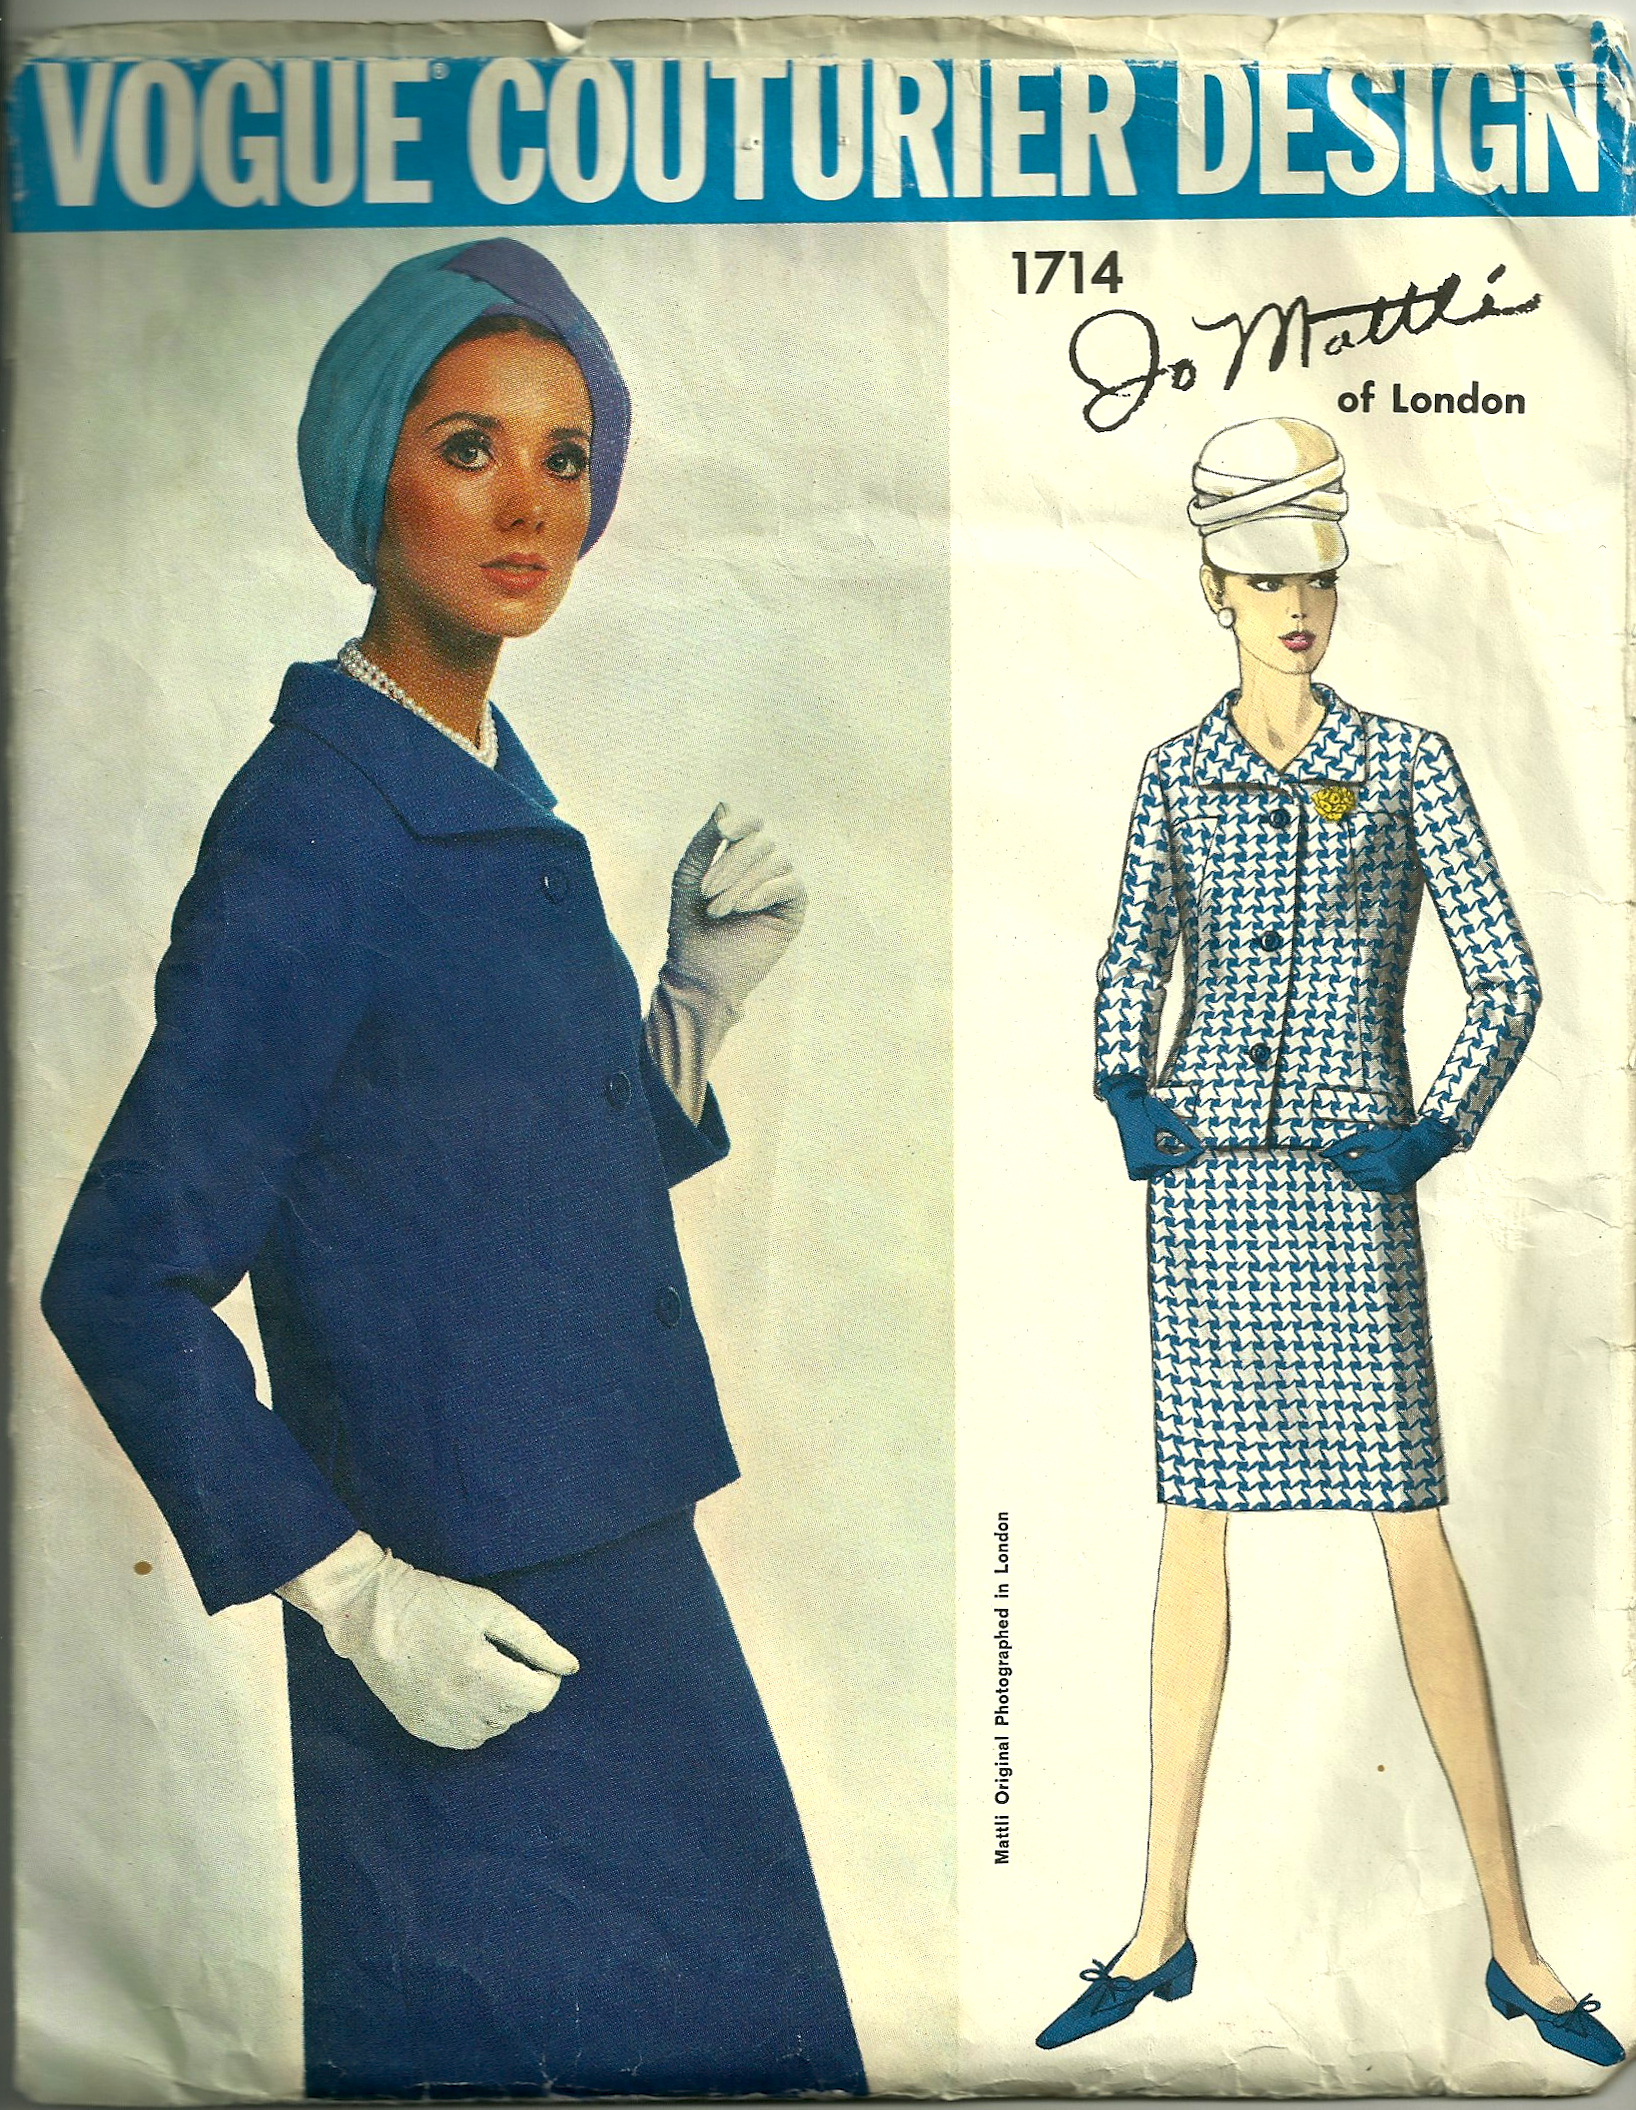
Obviously, I would have to find a coat pattern and lay it out leaving enough space for bias strips, to see if I could manage this minor miracle. Of all my coat patterns, this Madame Gres design is the one I decided had the best chance of working, both for my limited yardage and for the pattern’s simple, uncluttered lines:
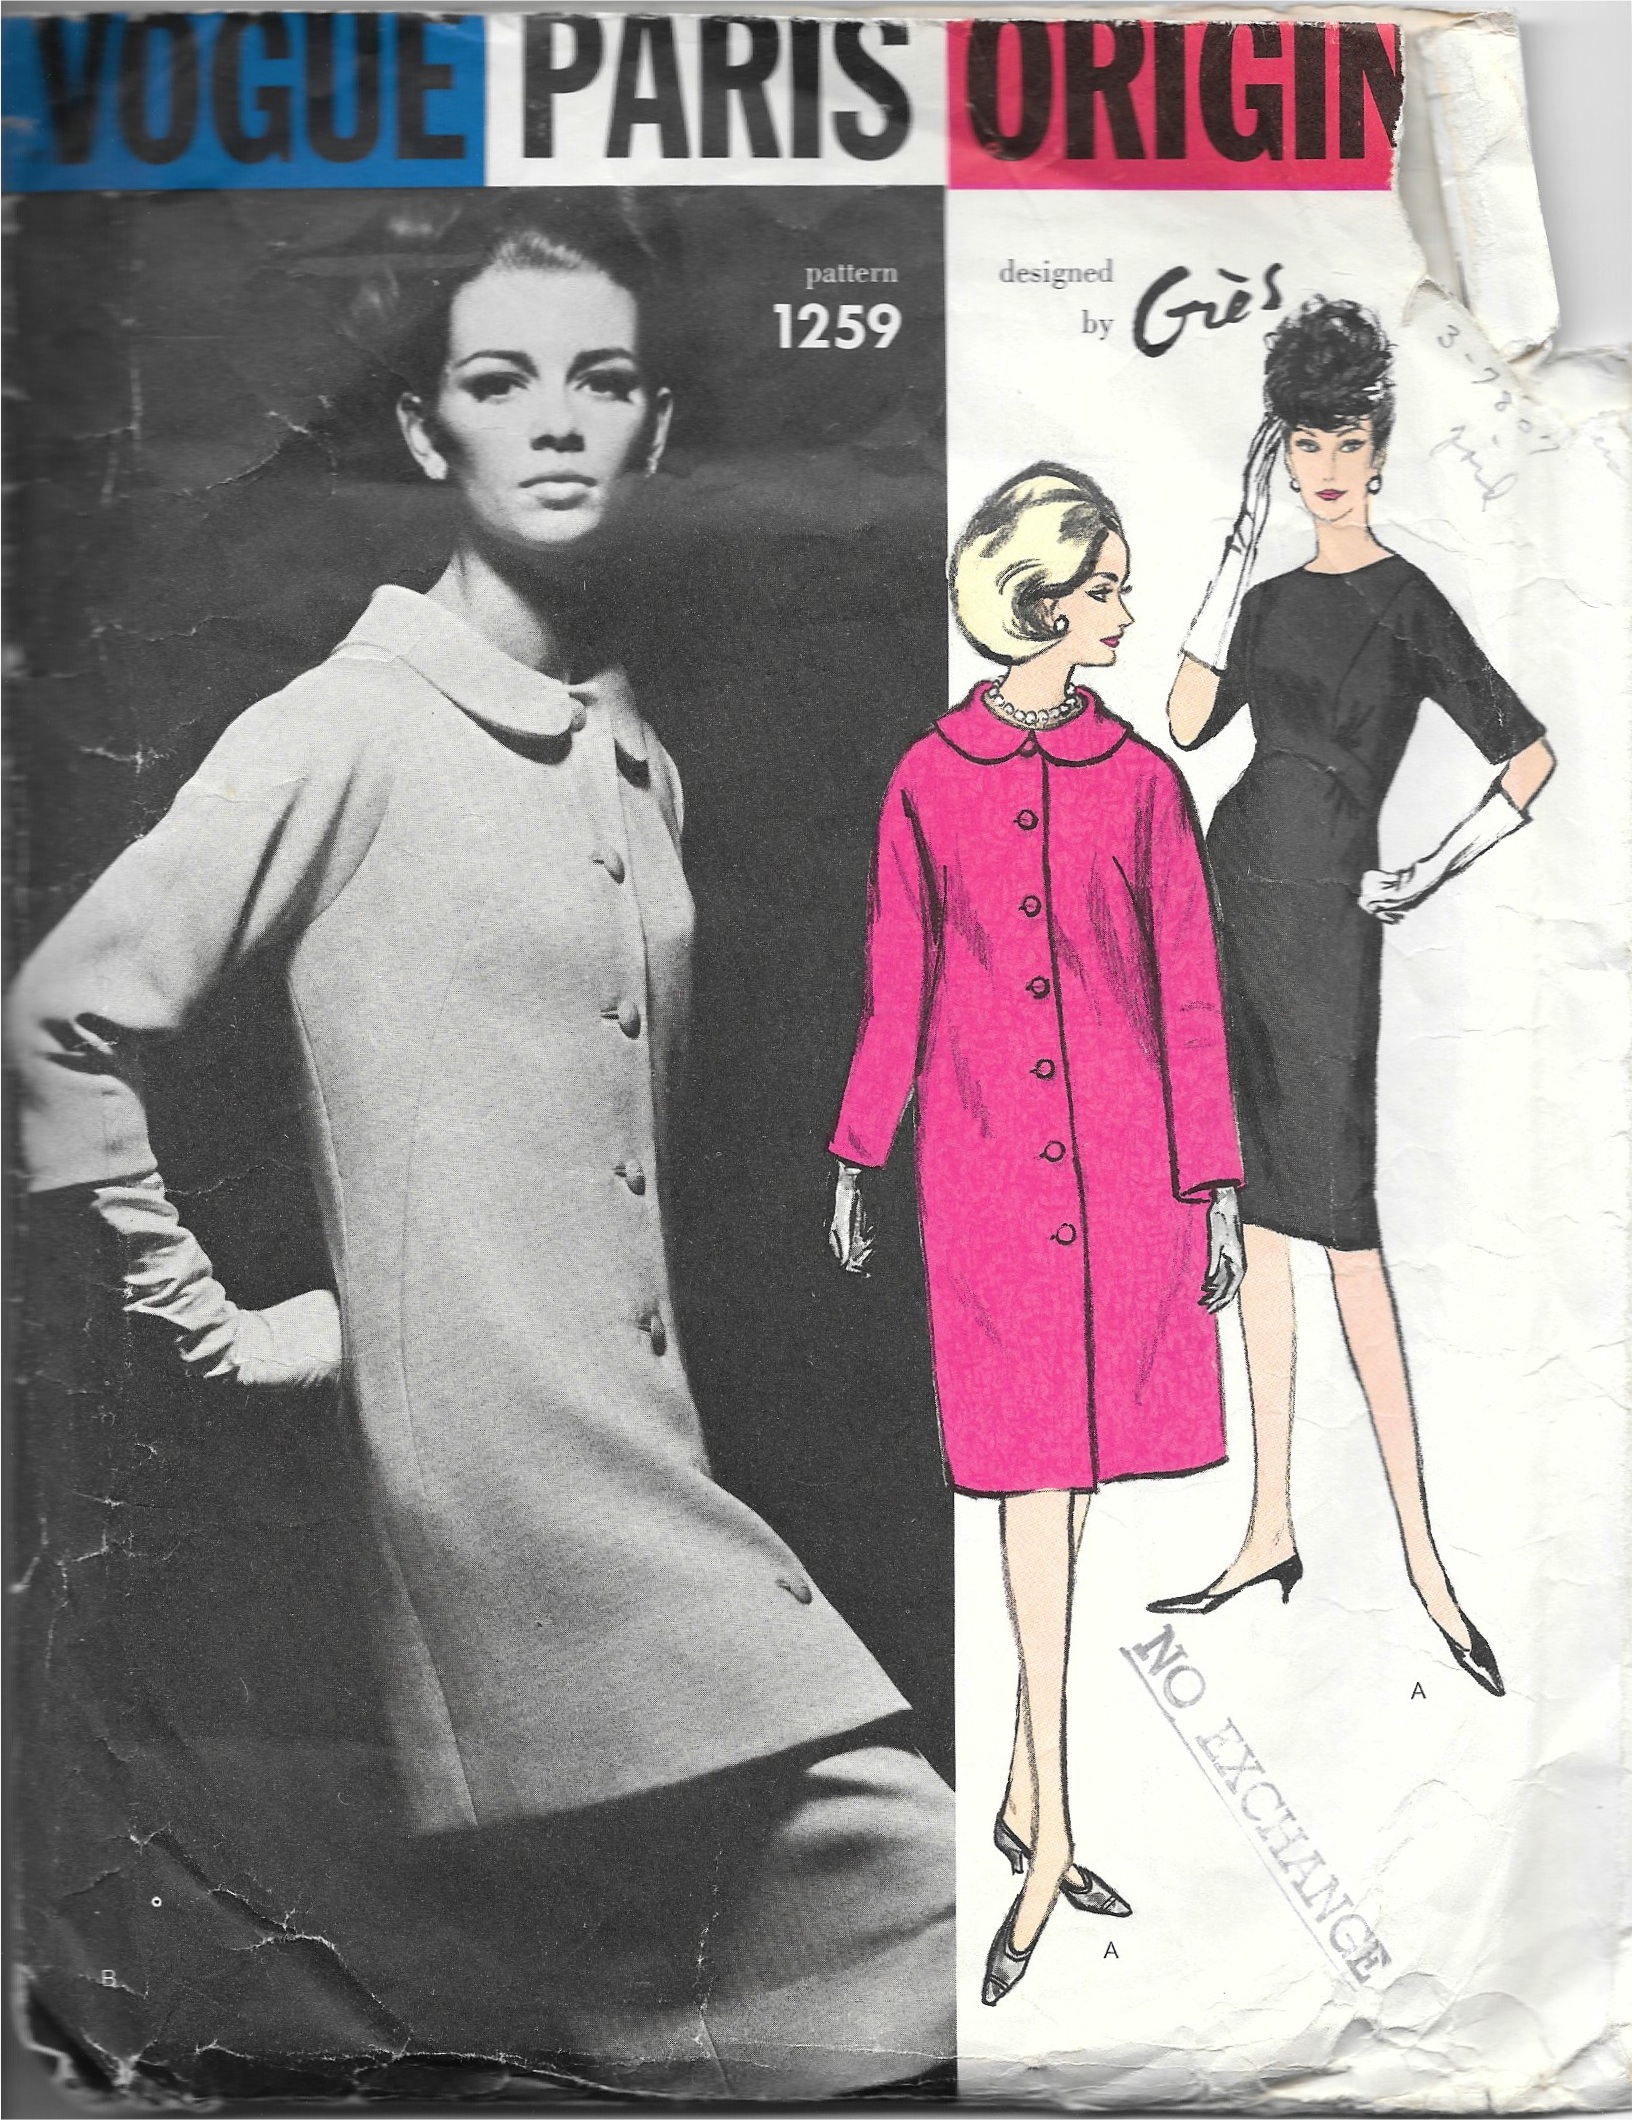
The short version of the coat is on the left.
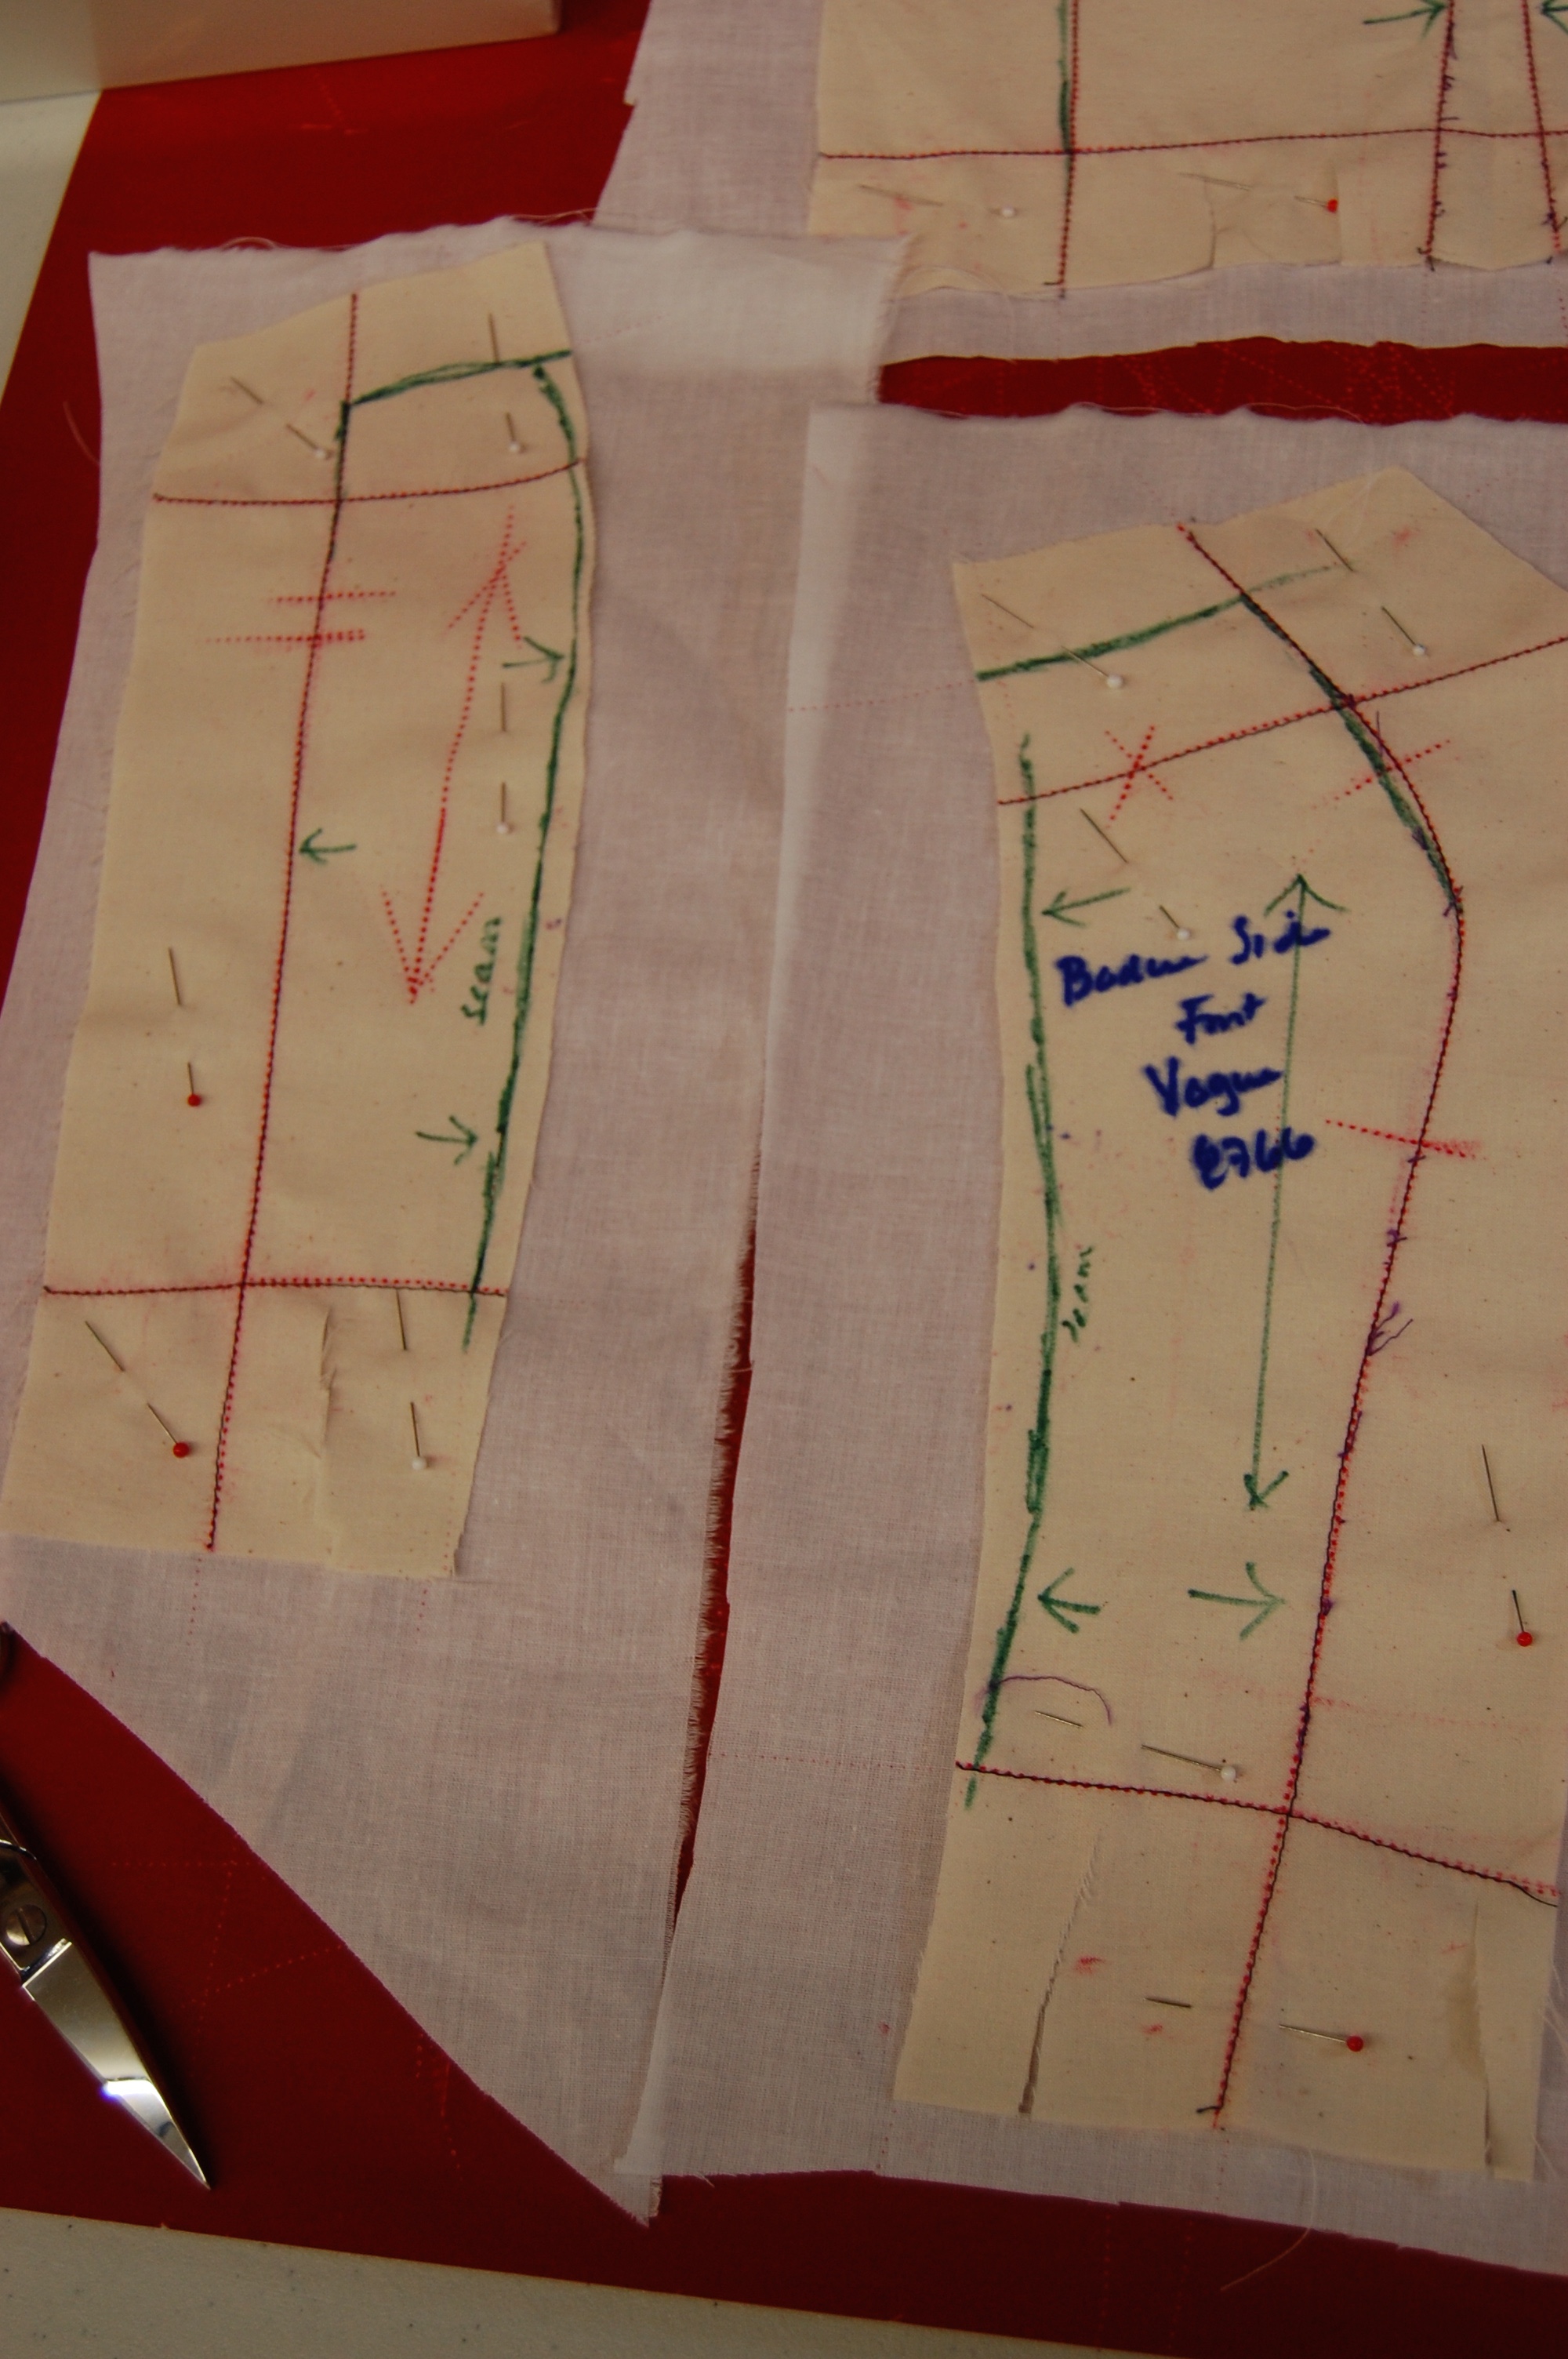
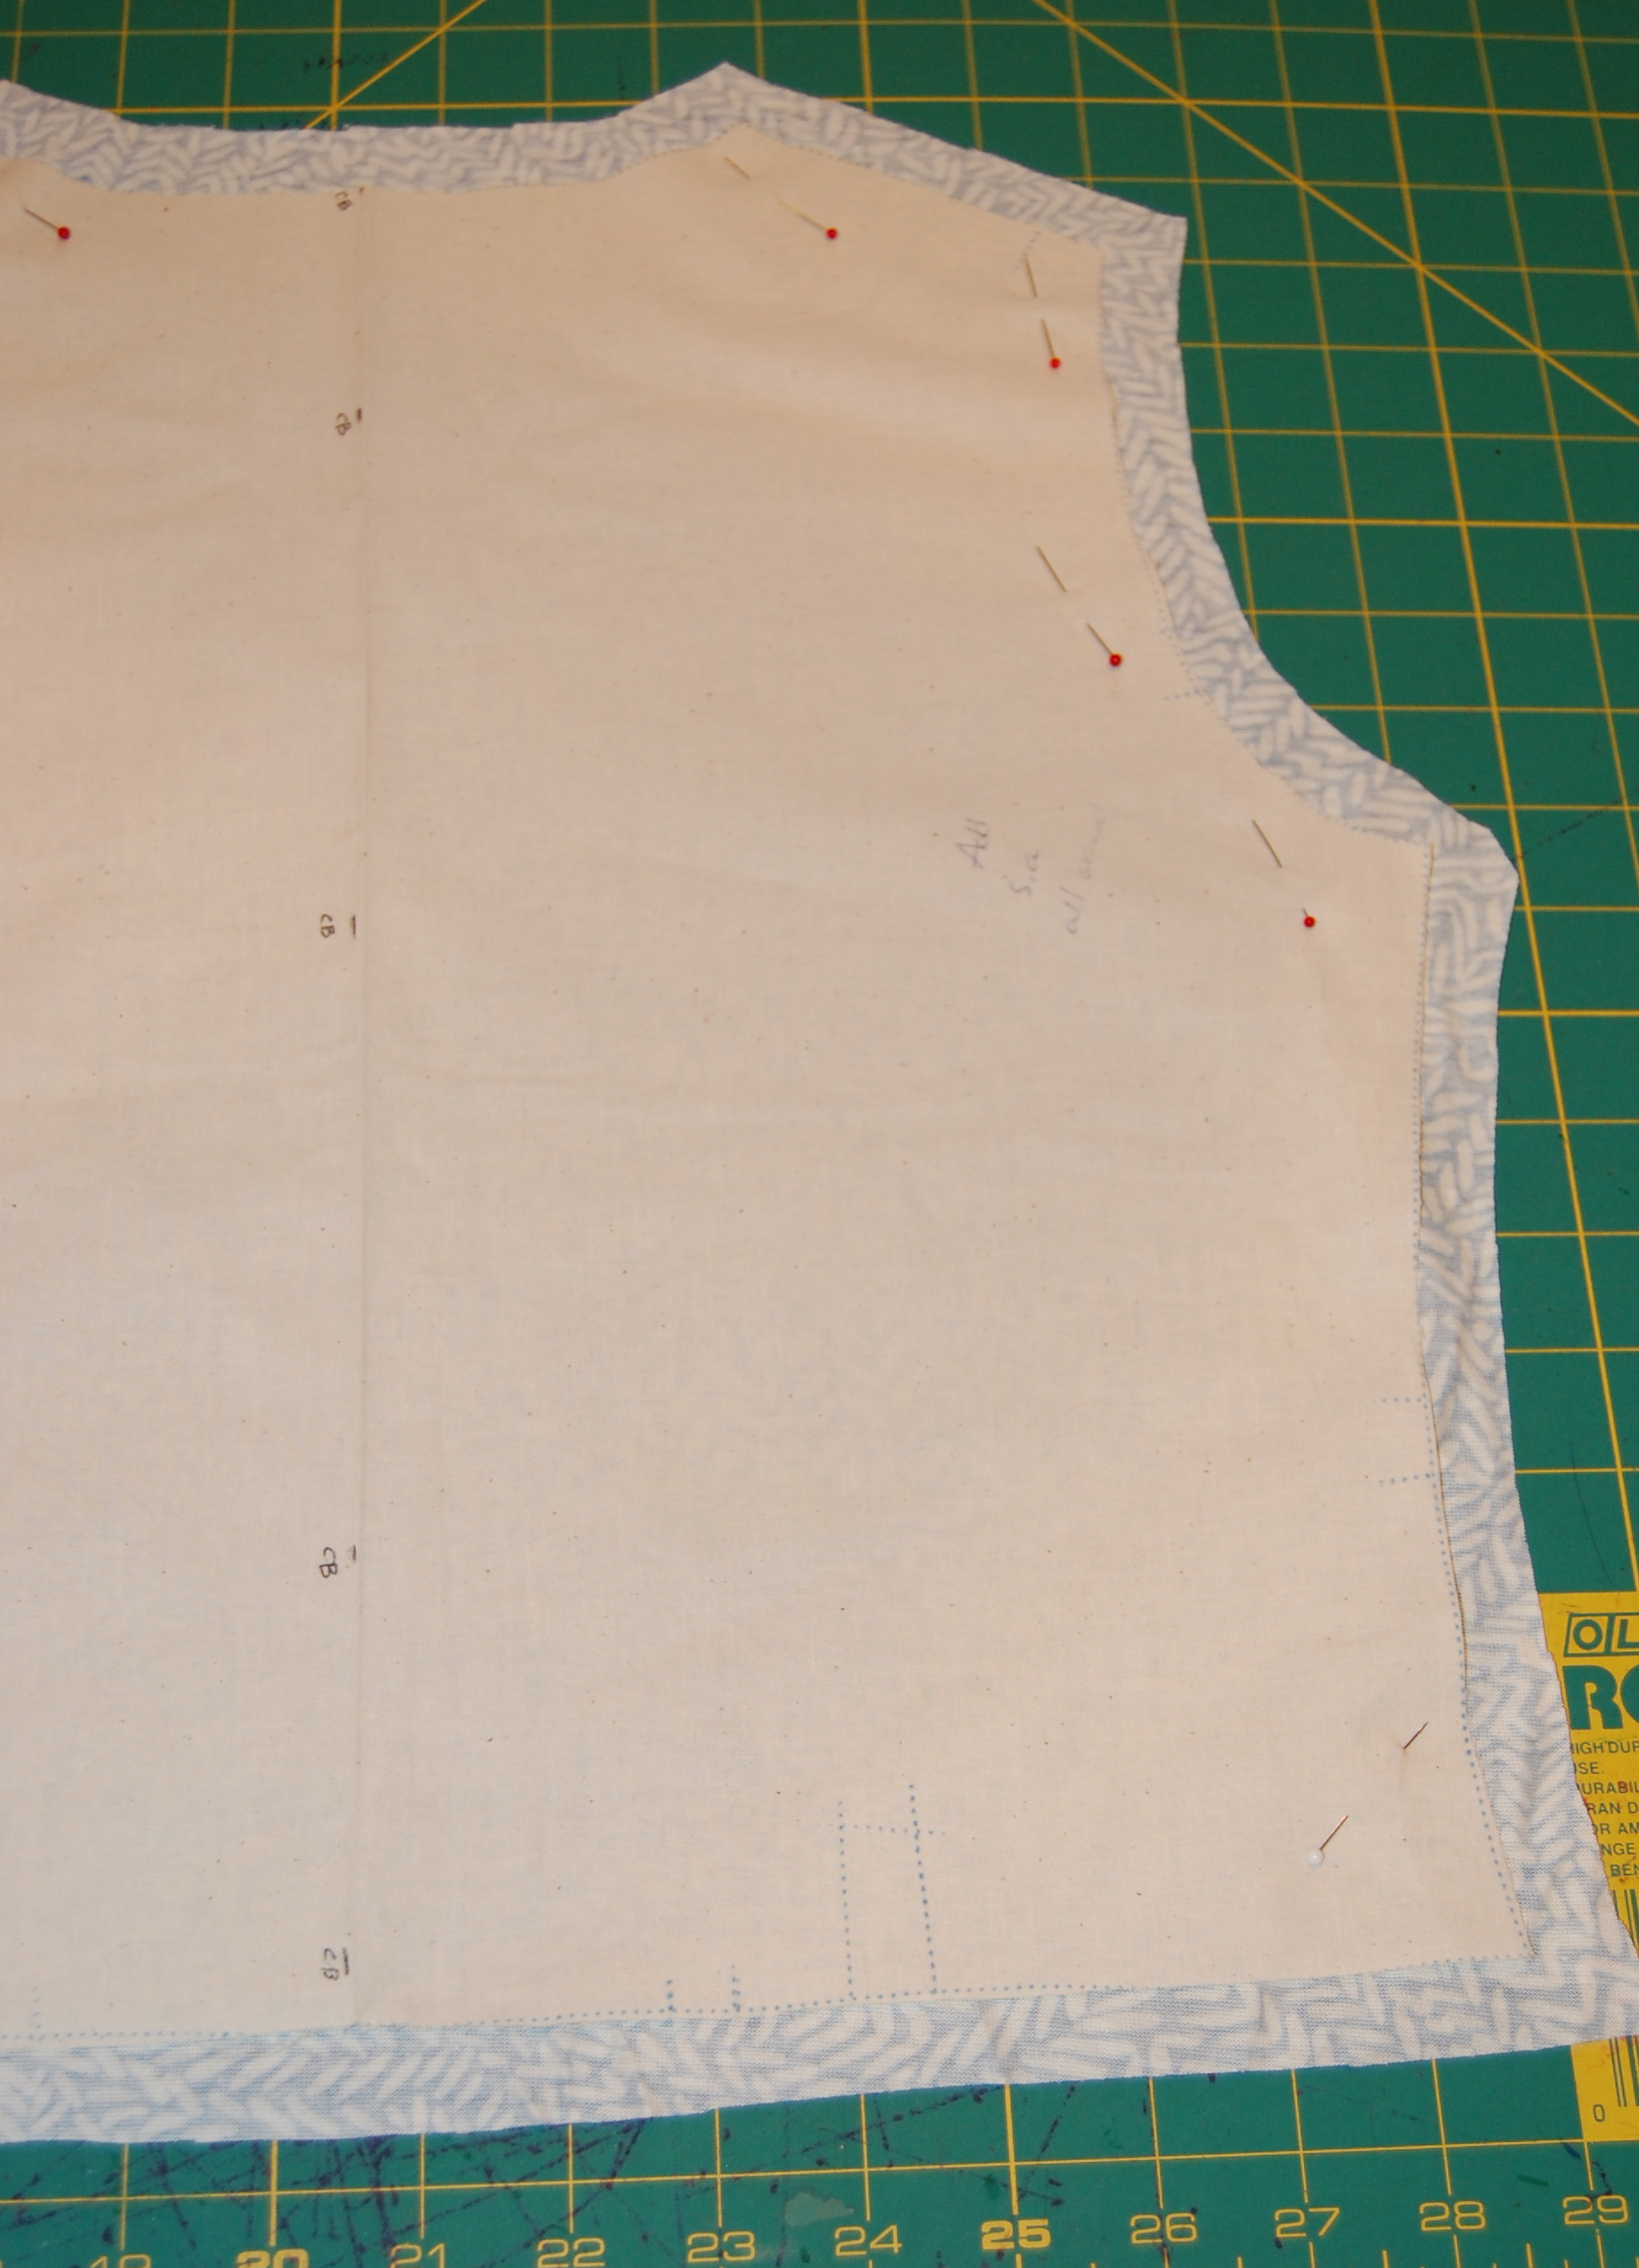
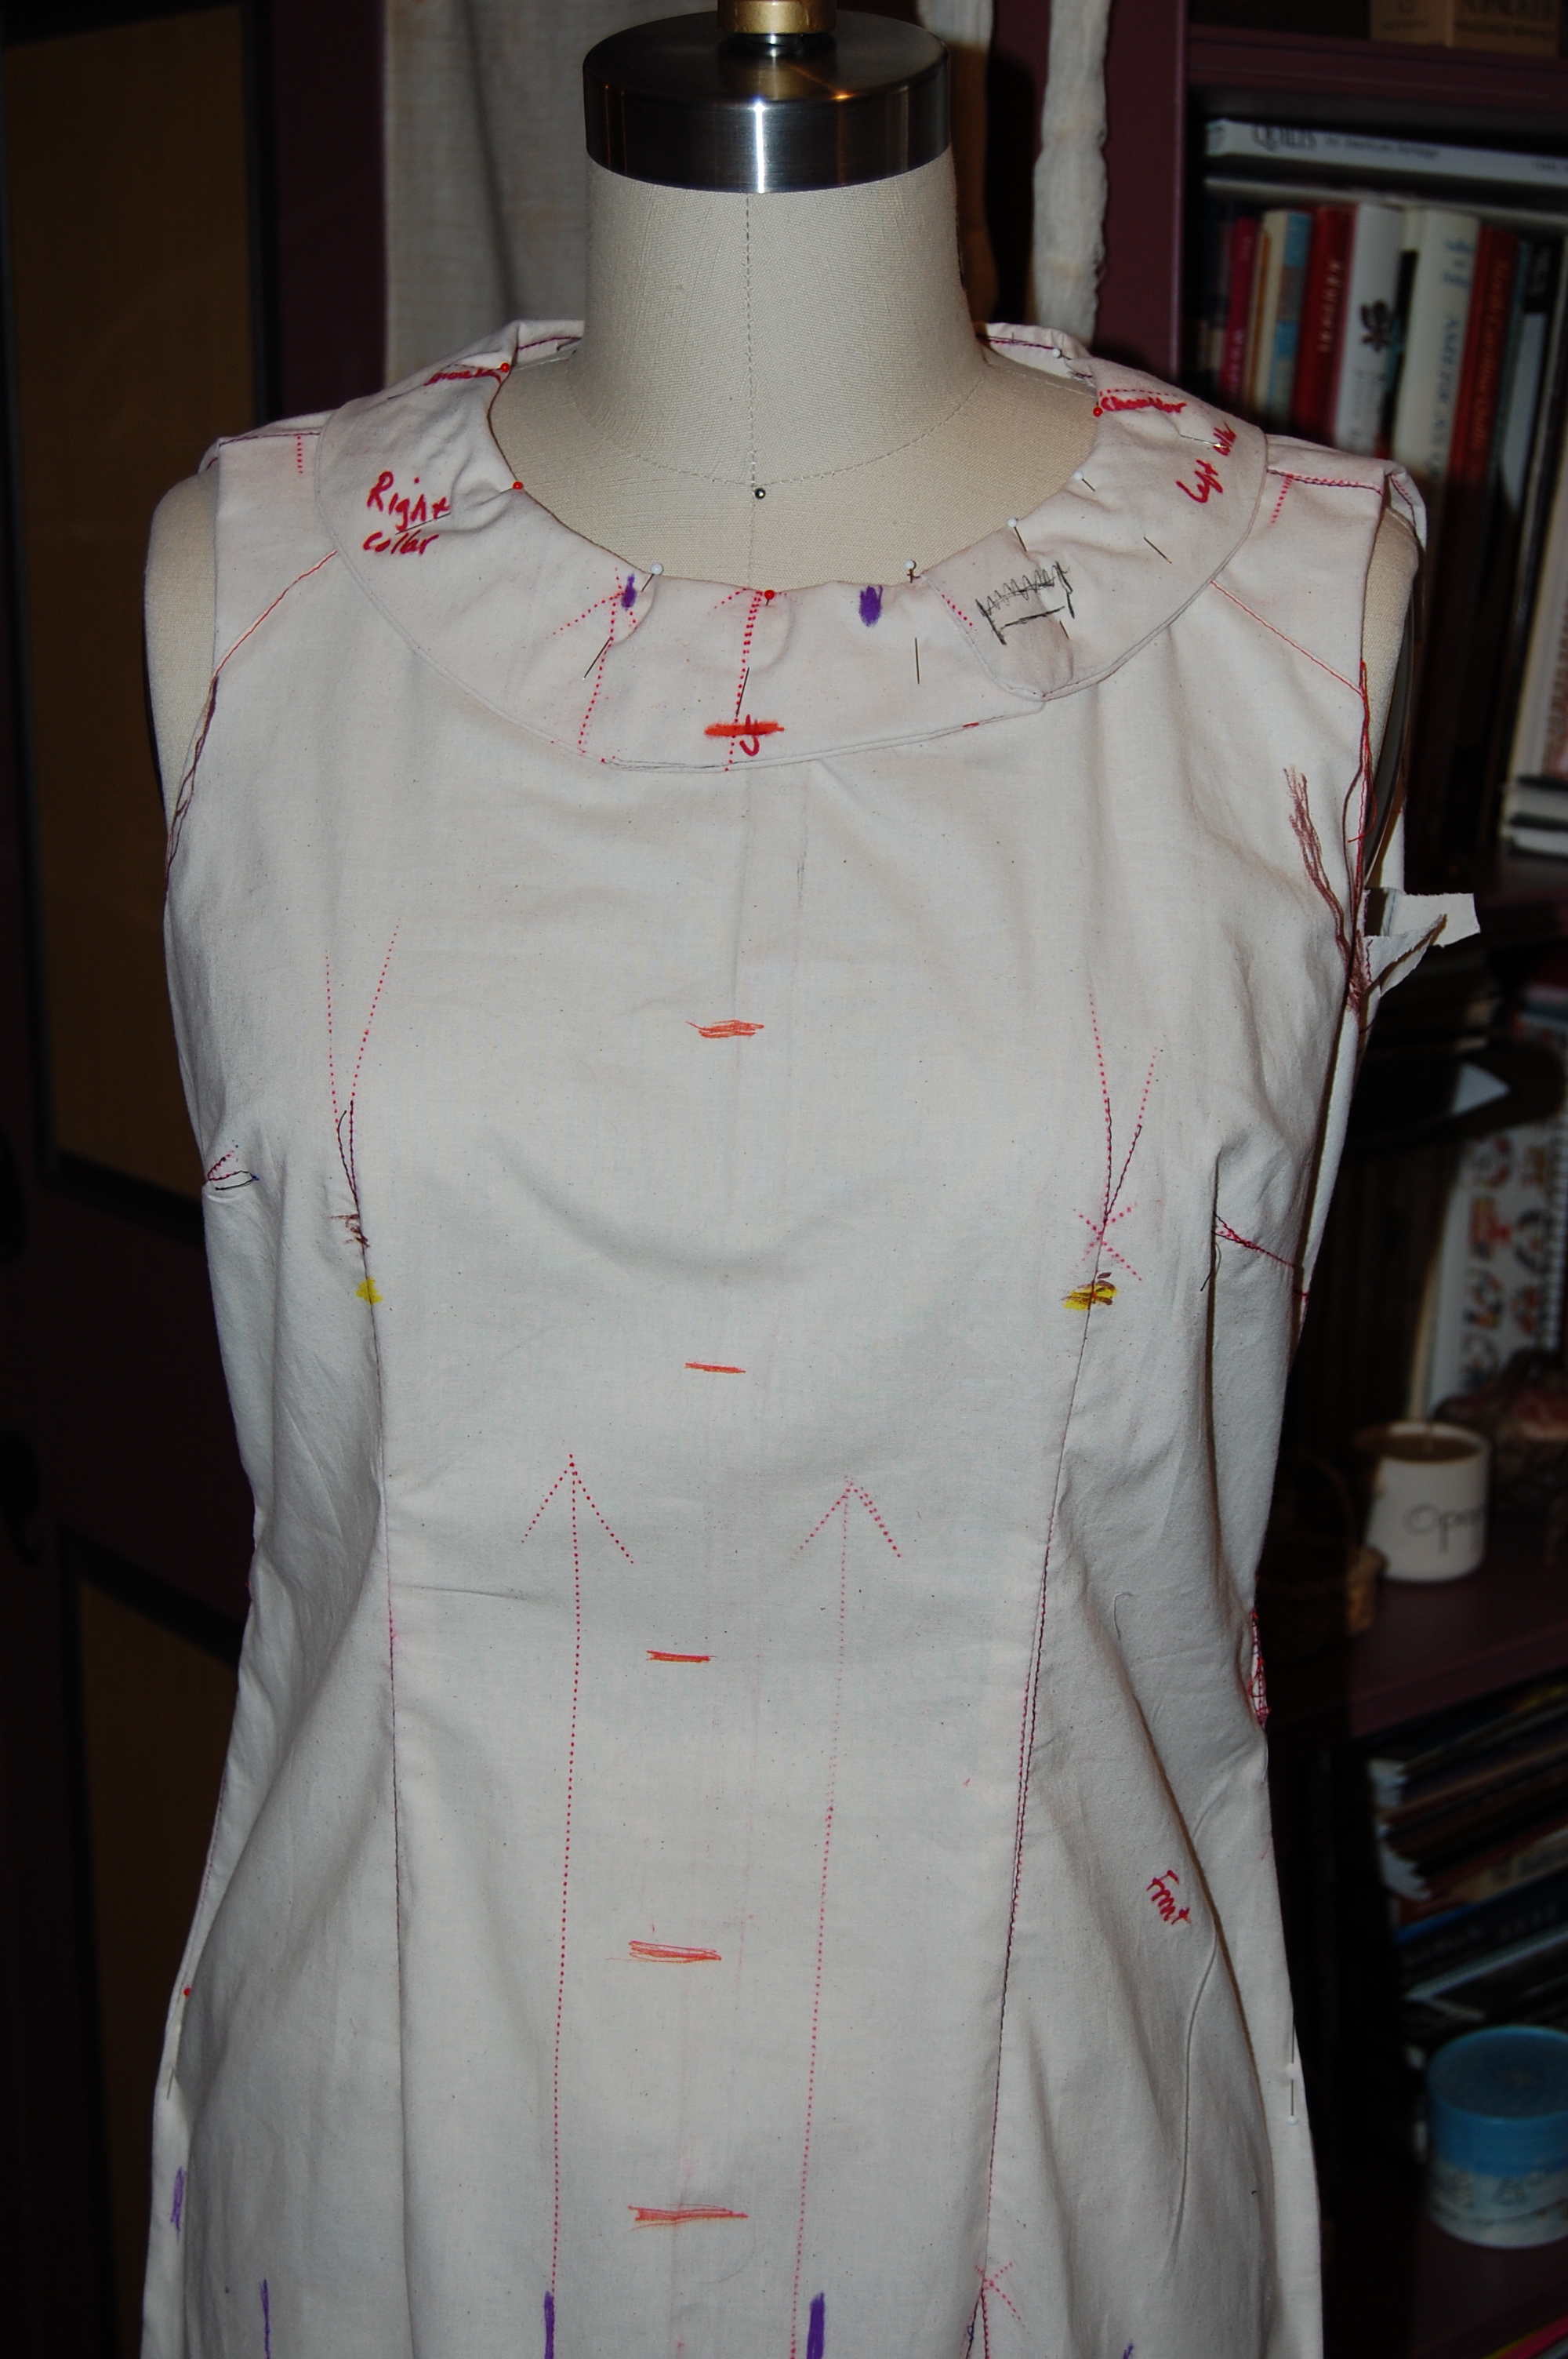
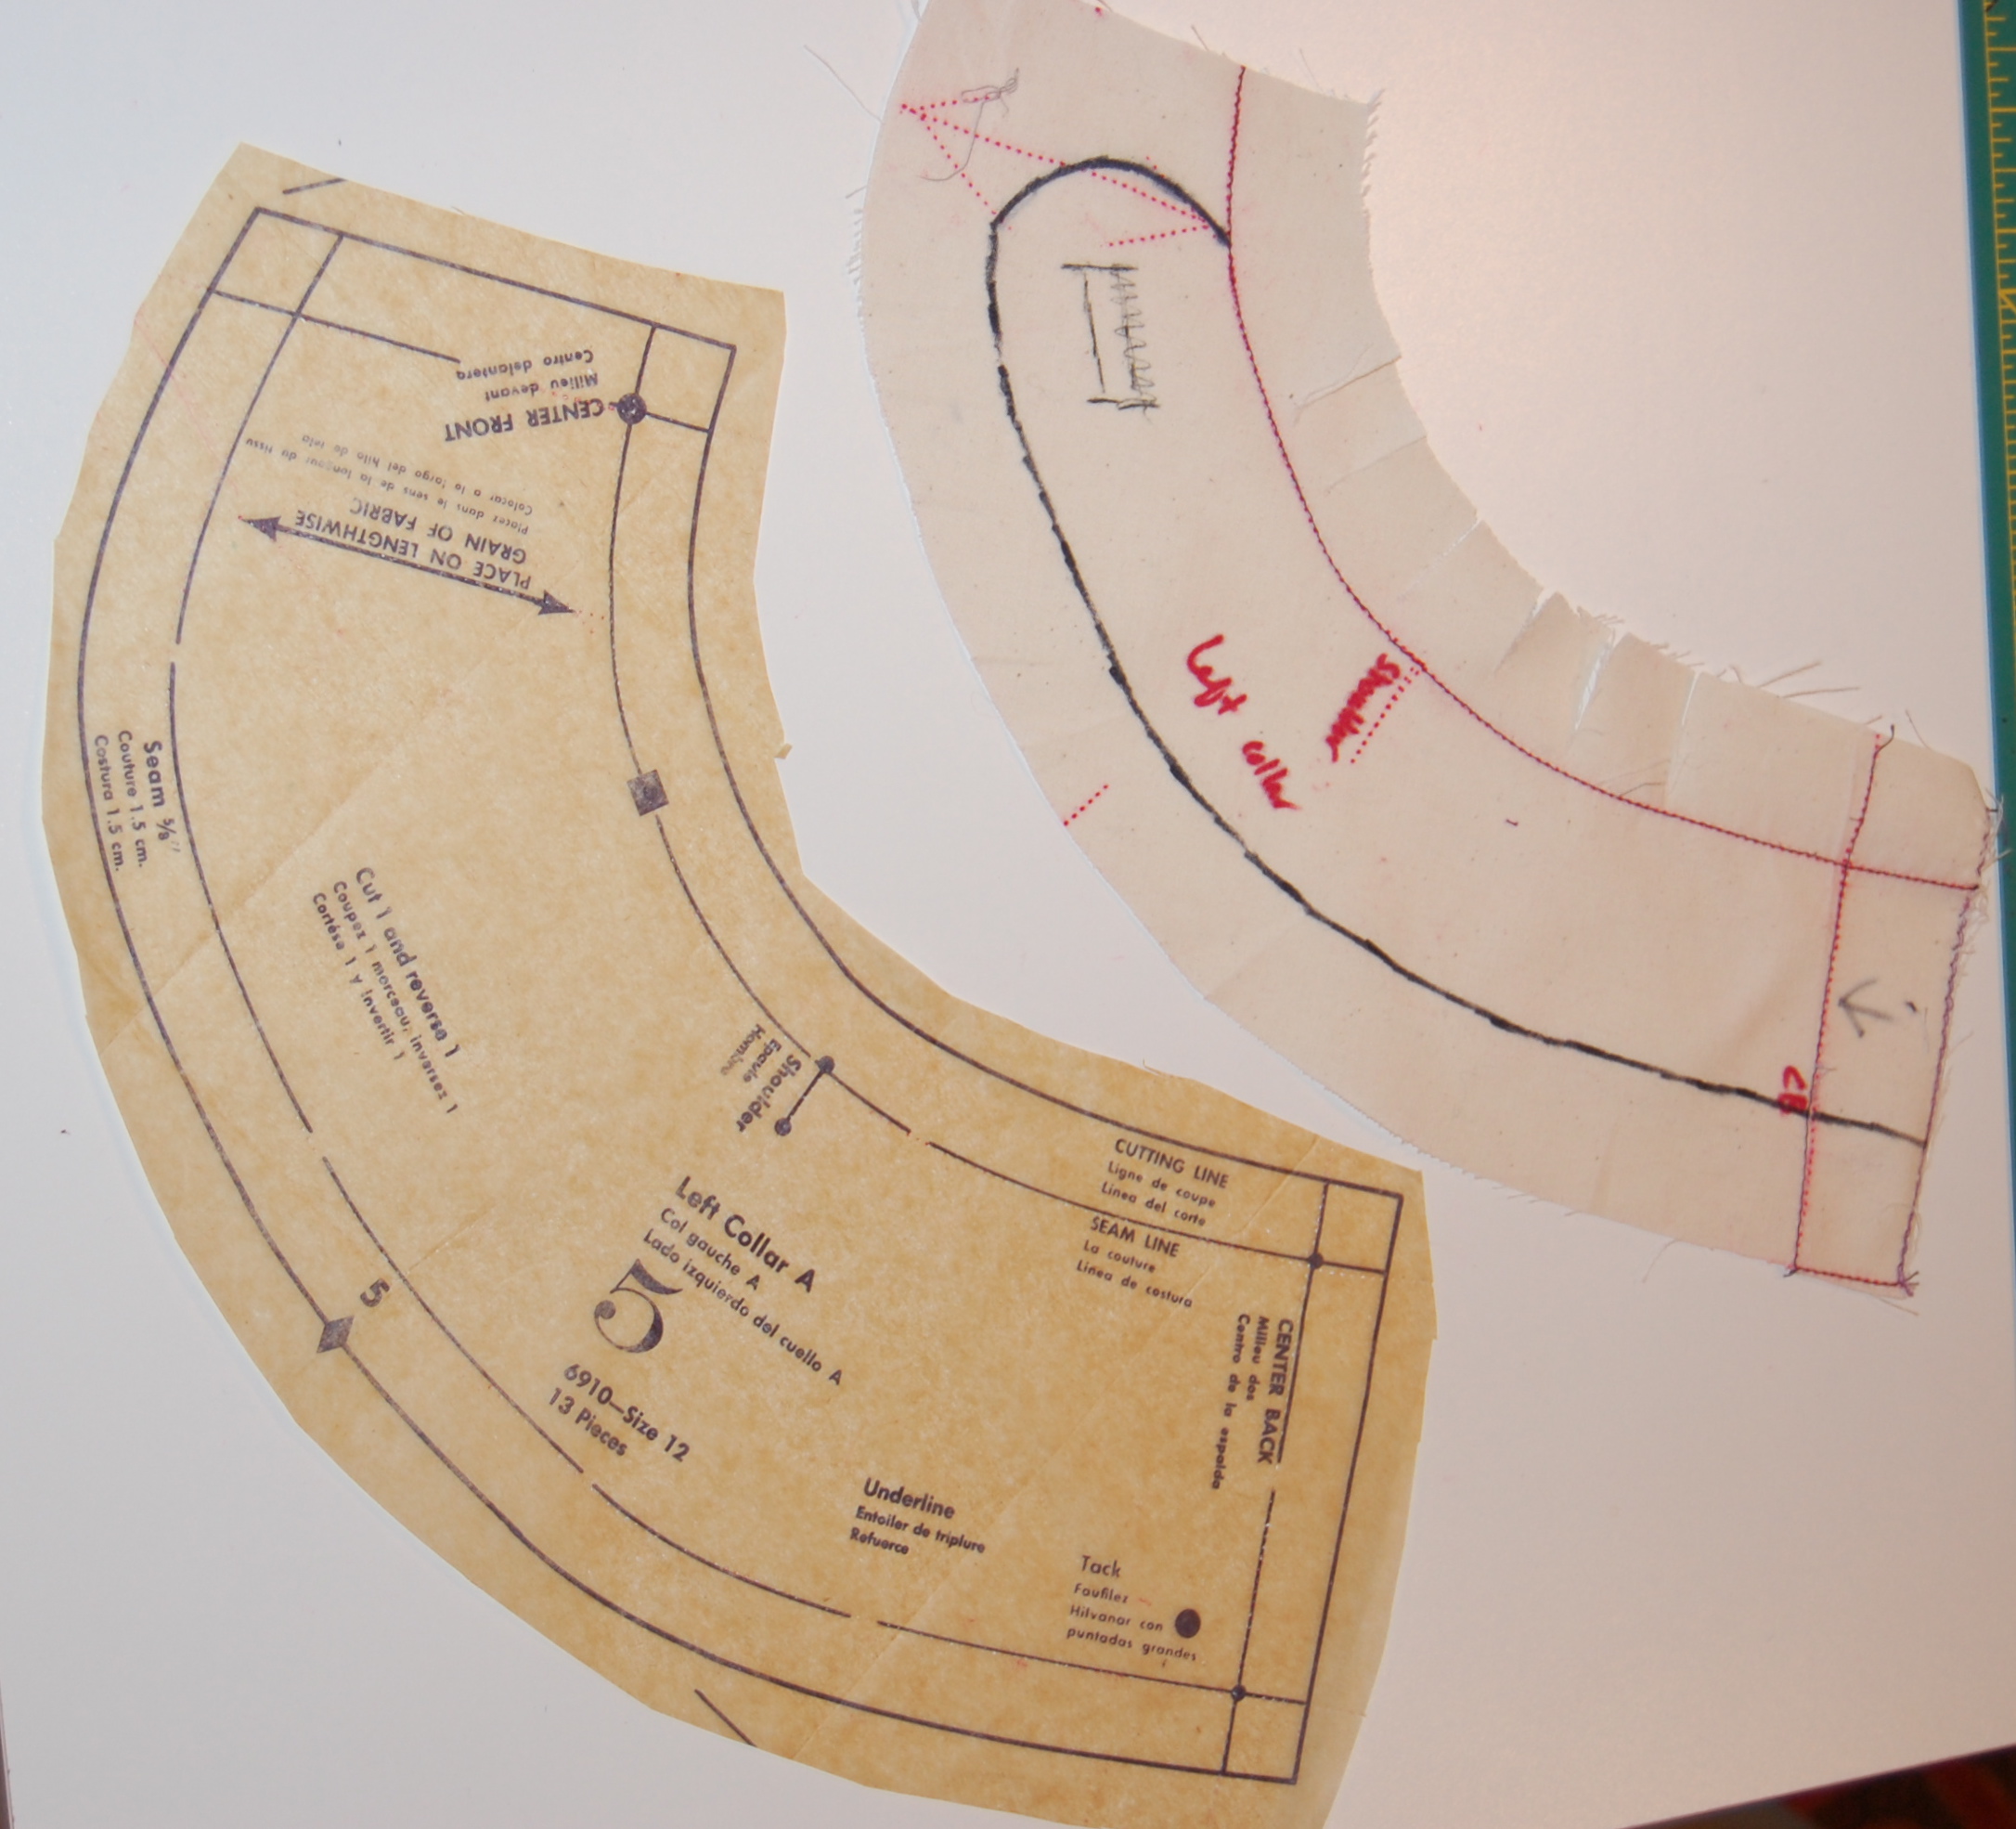
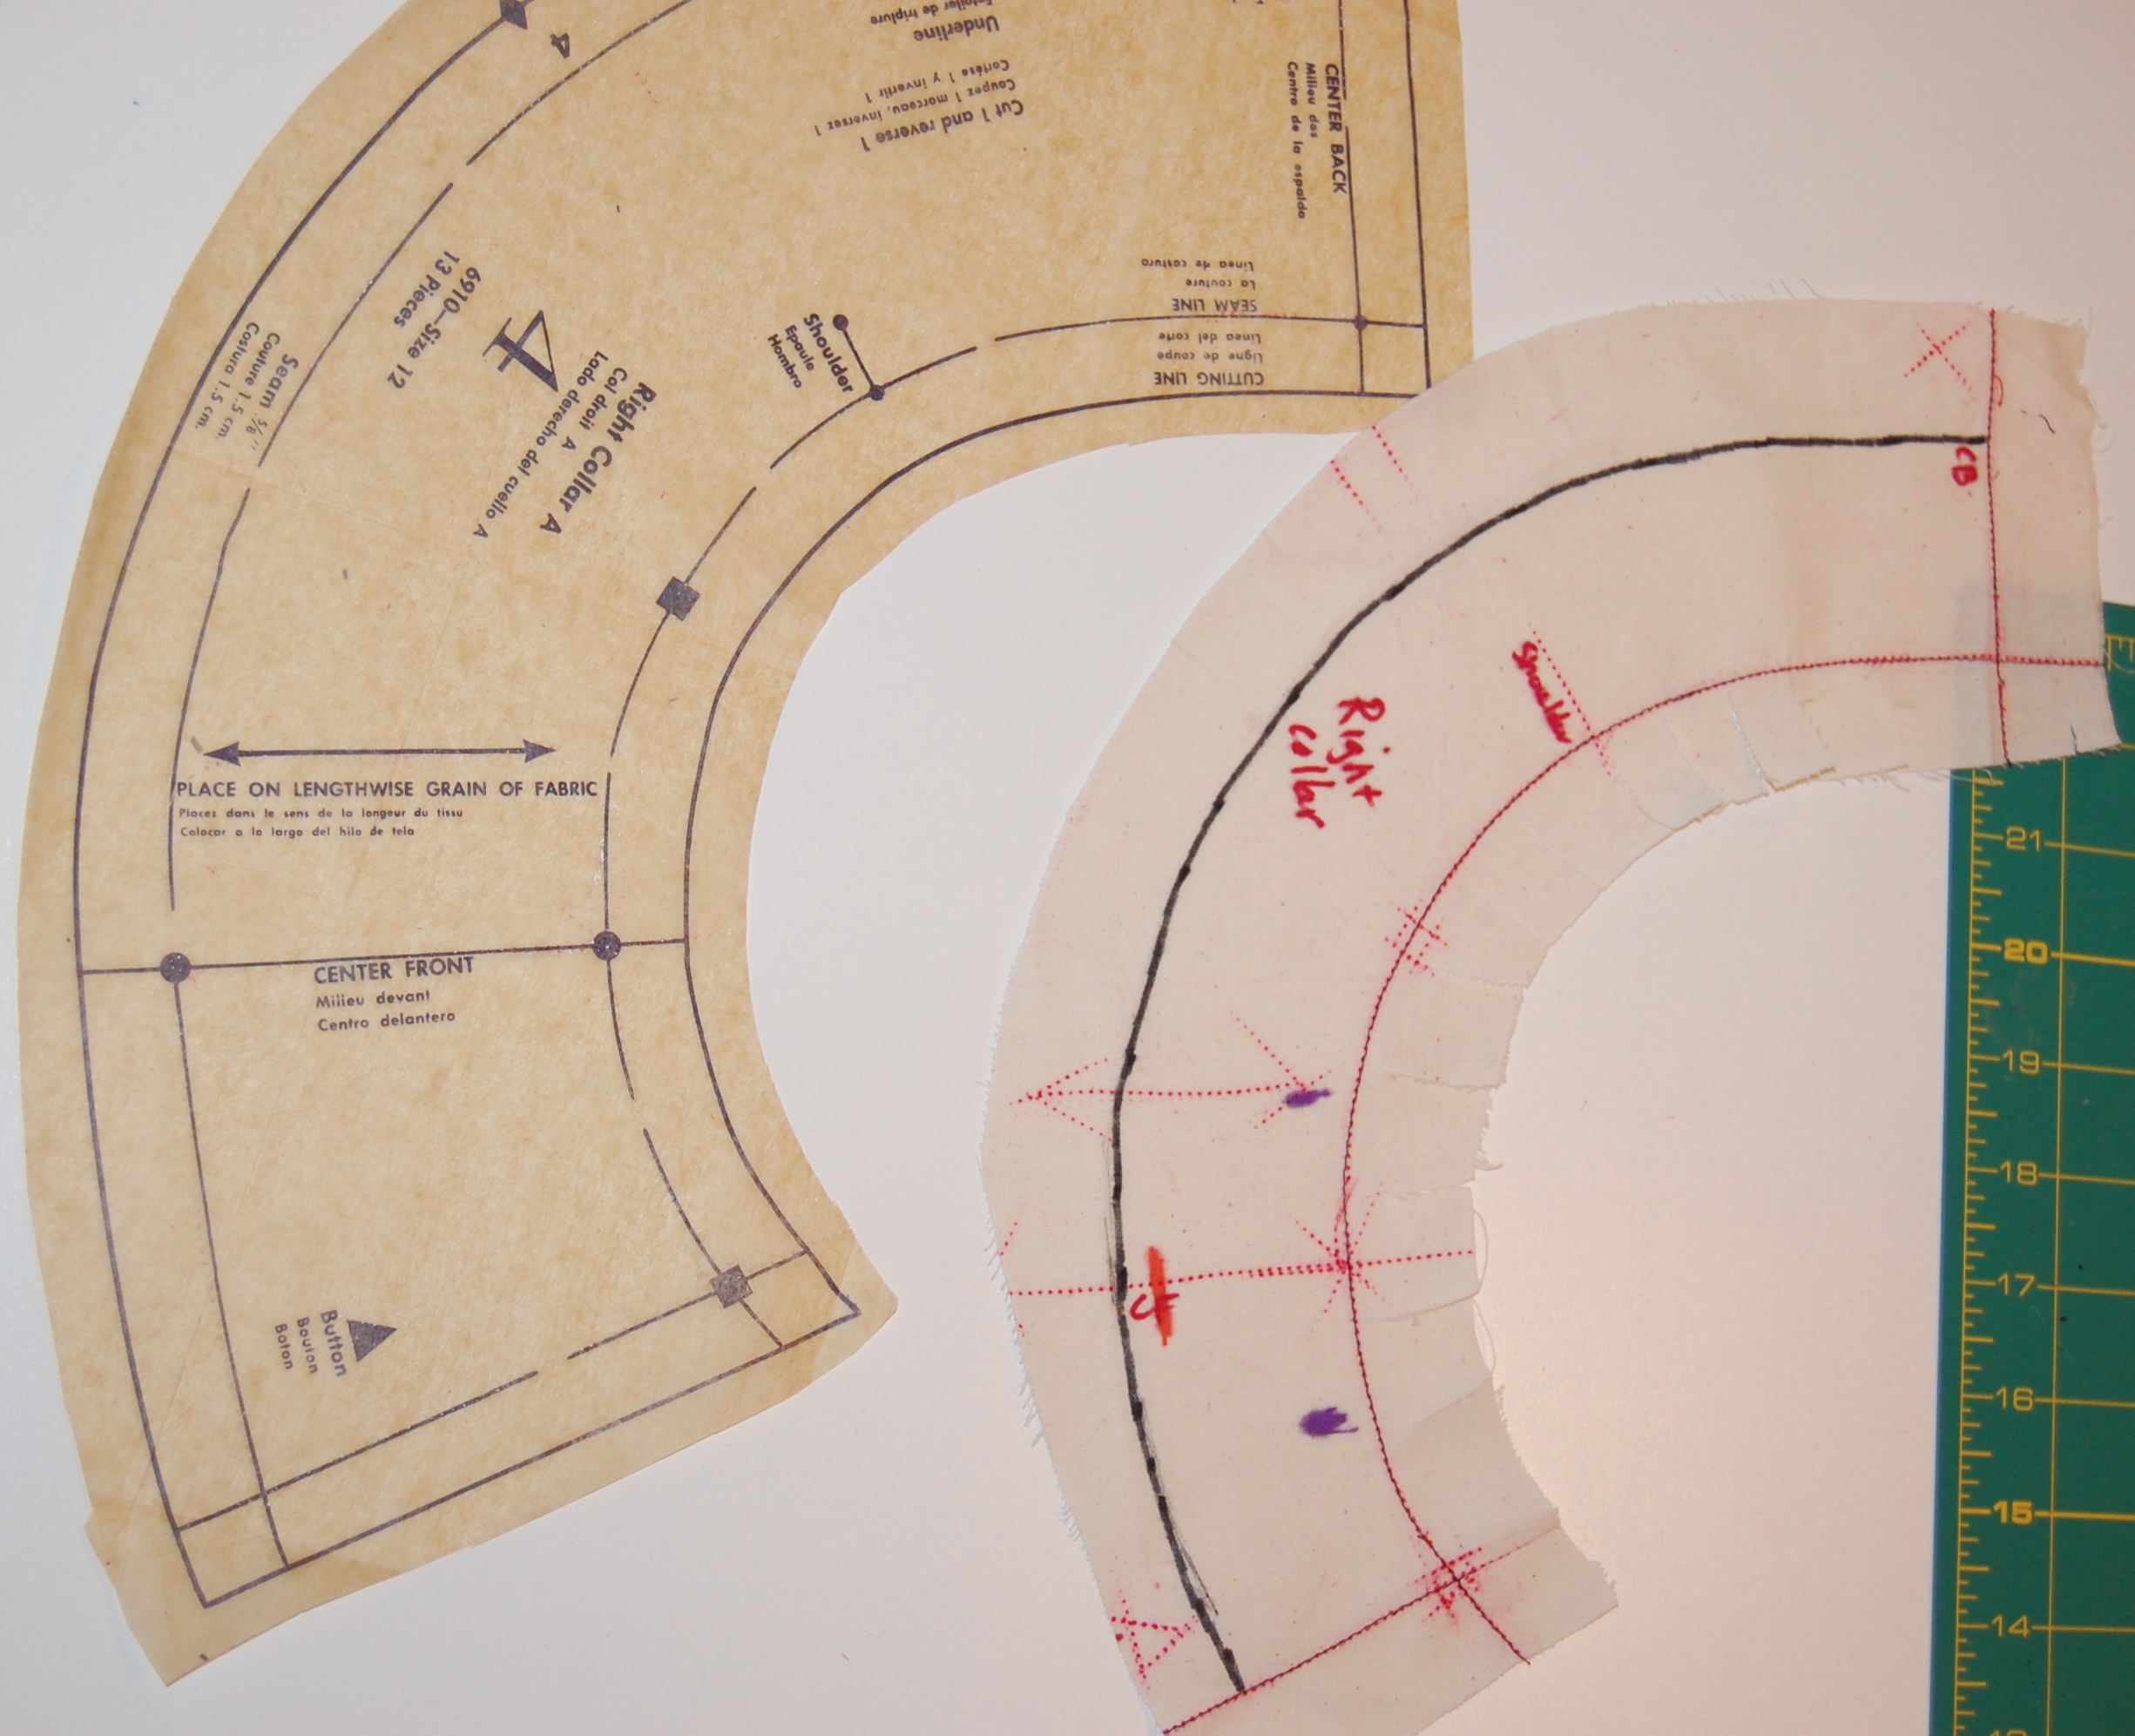
The fact that it is featured with below elbow length sleeves and in a shorter version – perfect for pairing with coordinating dresses – worked in my favor. The entire coat has only 5 pattern pieces: front, back, collar, undercollar, and front facing. First I positioned the tissue pattern pieces on my fabric, strewn out on the floor selvedge to selvedge. I was heartened enough by this exercise to go ahead and make a muslin, so I could have a “real” pattern to work from. All this time, the pink flowered daisy linen lay folded, awaiting her turn.
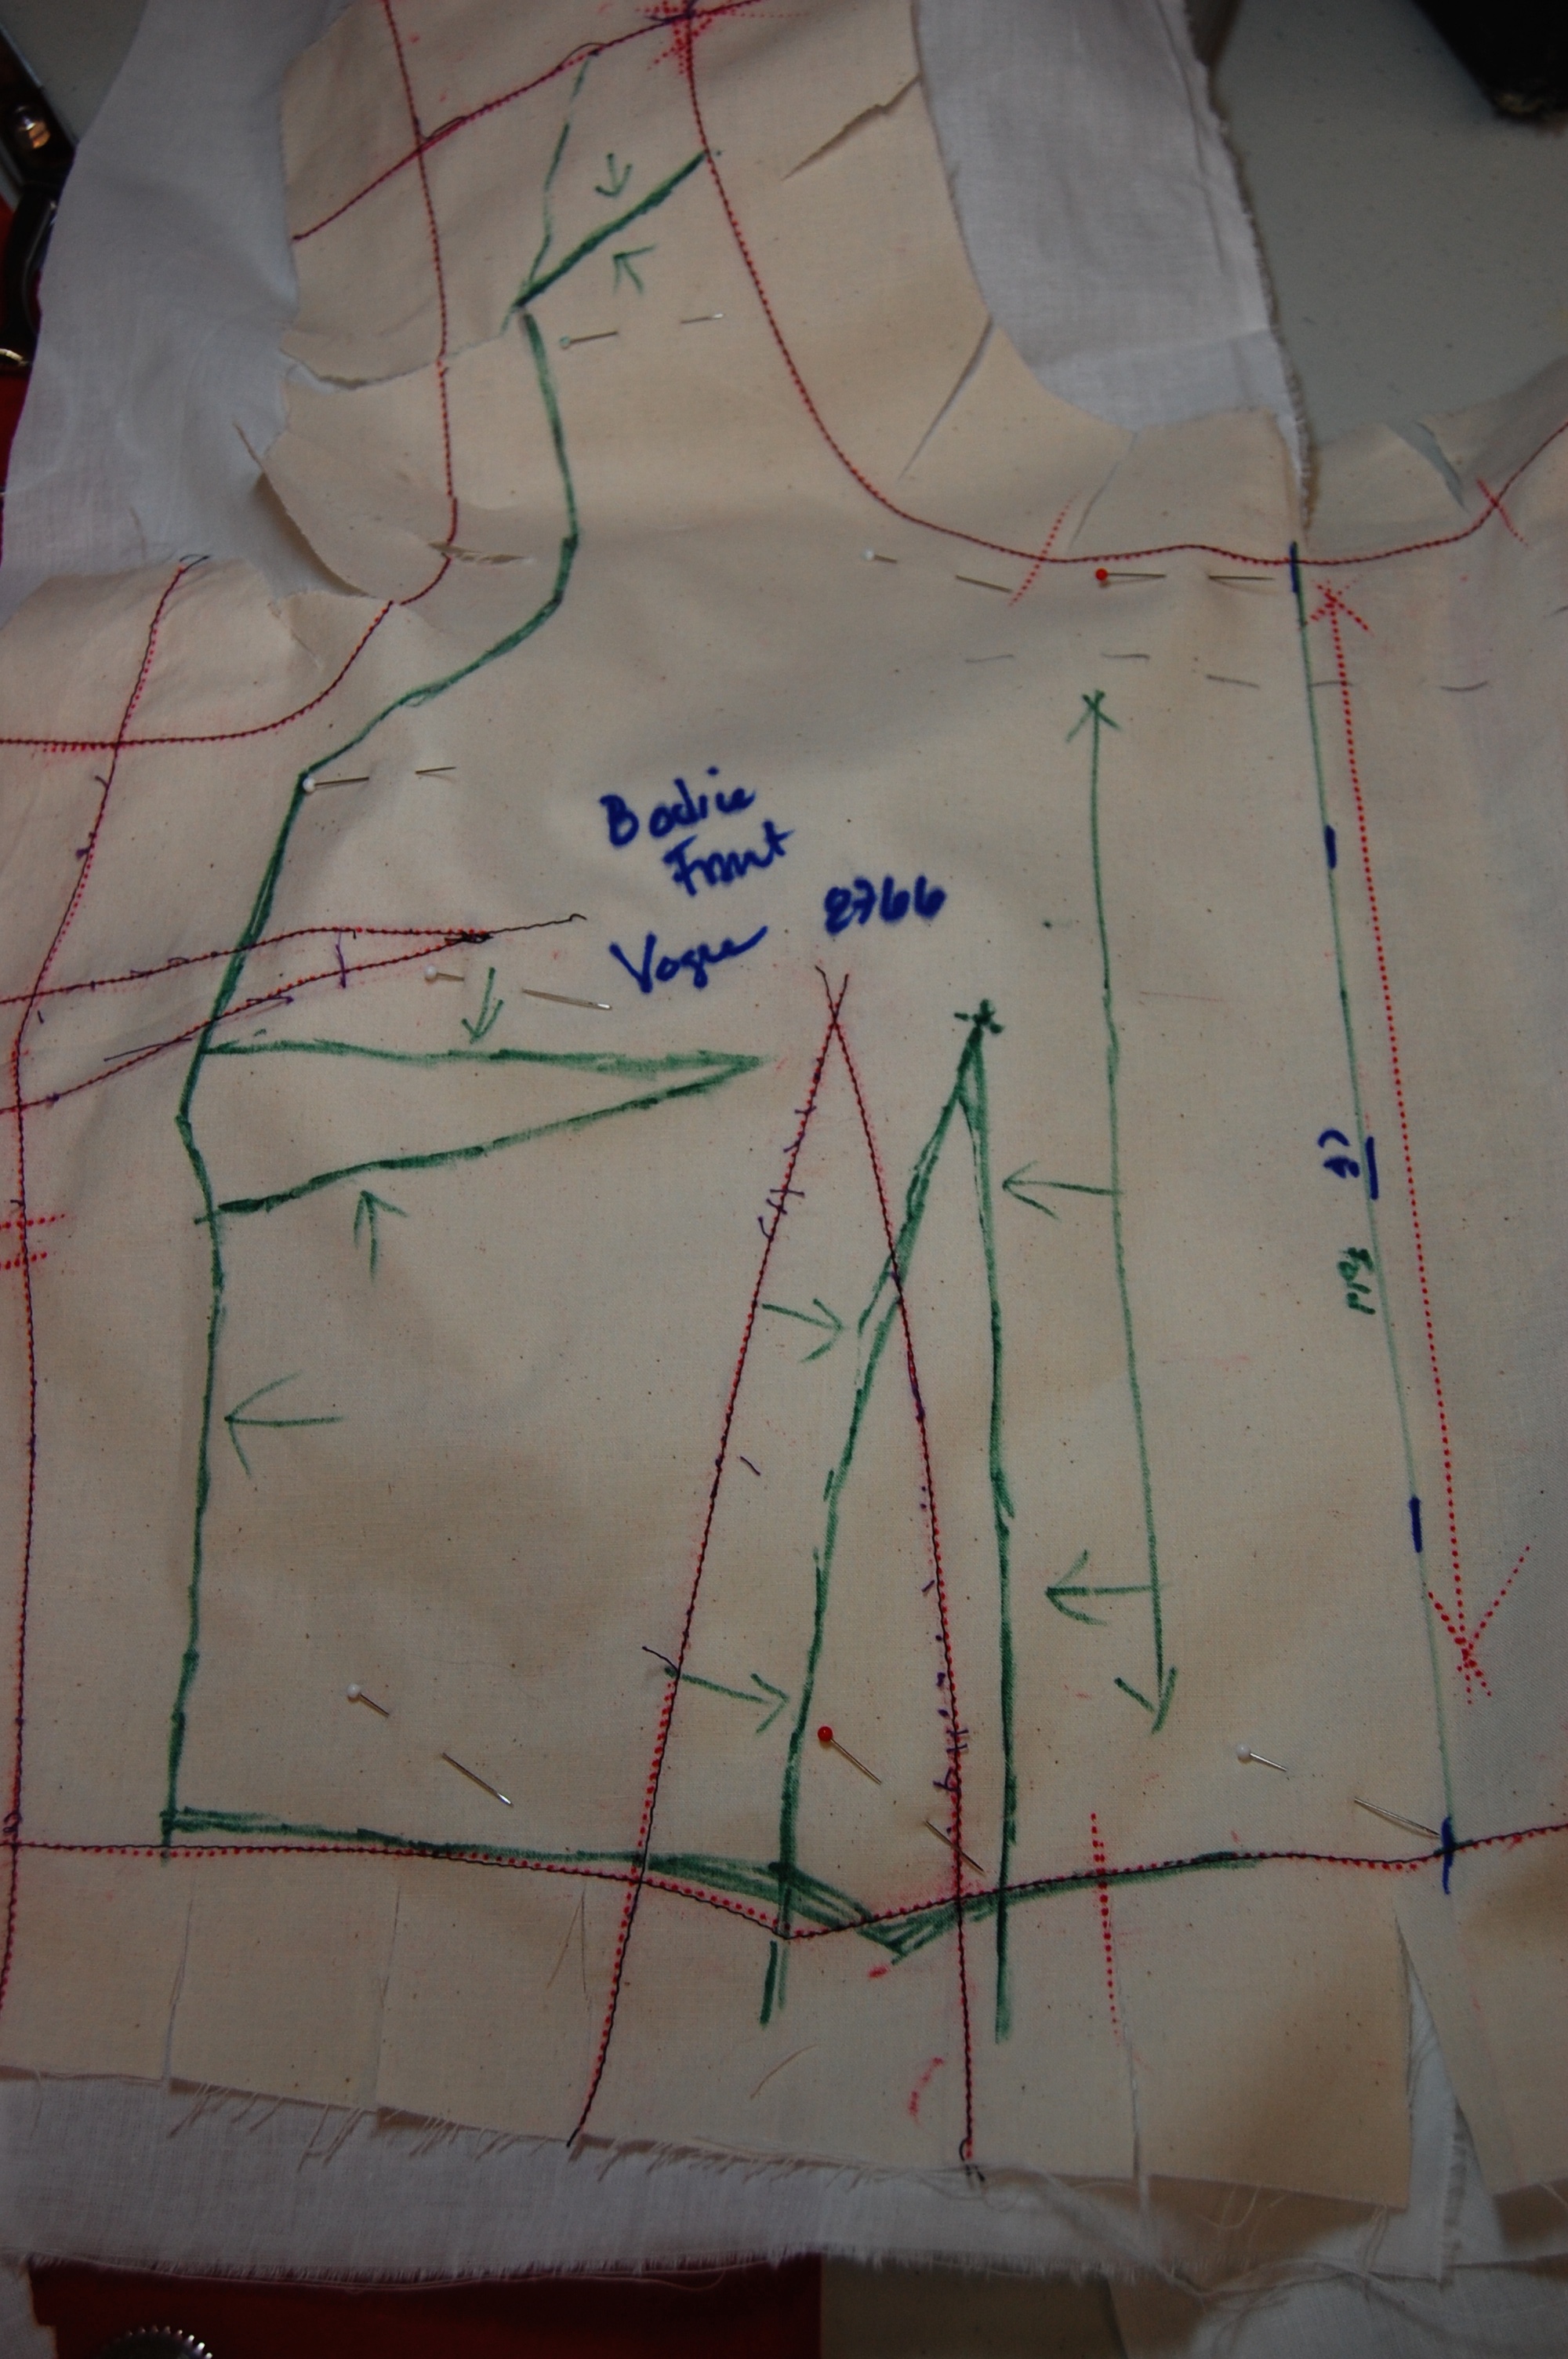
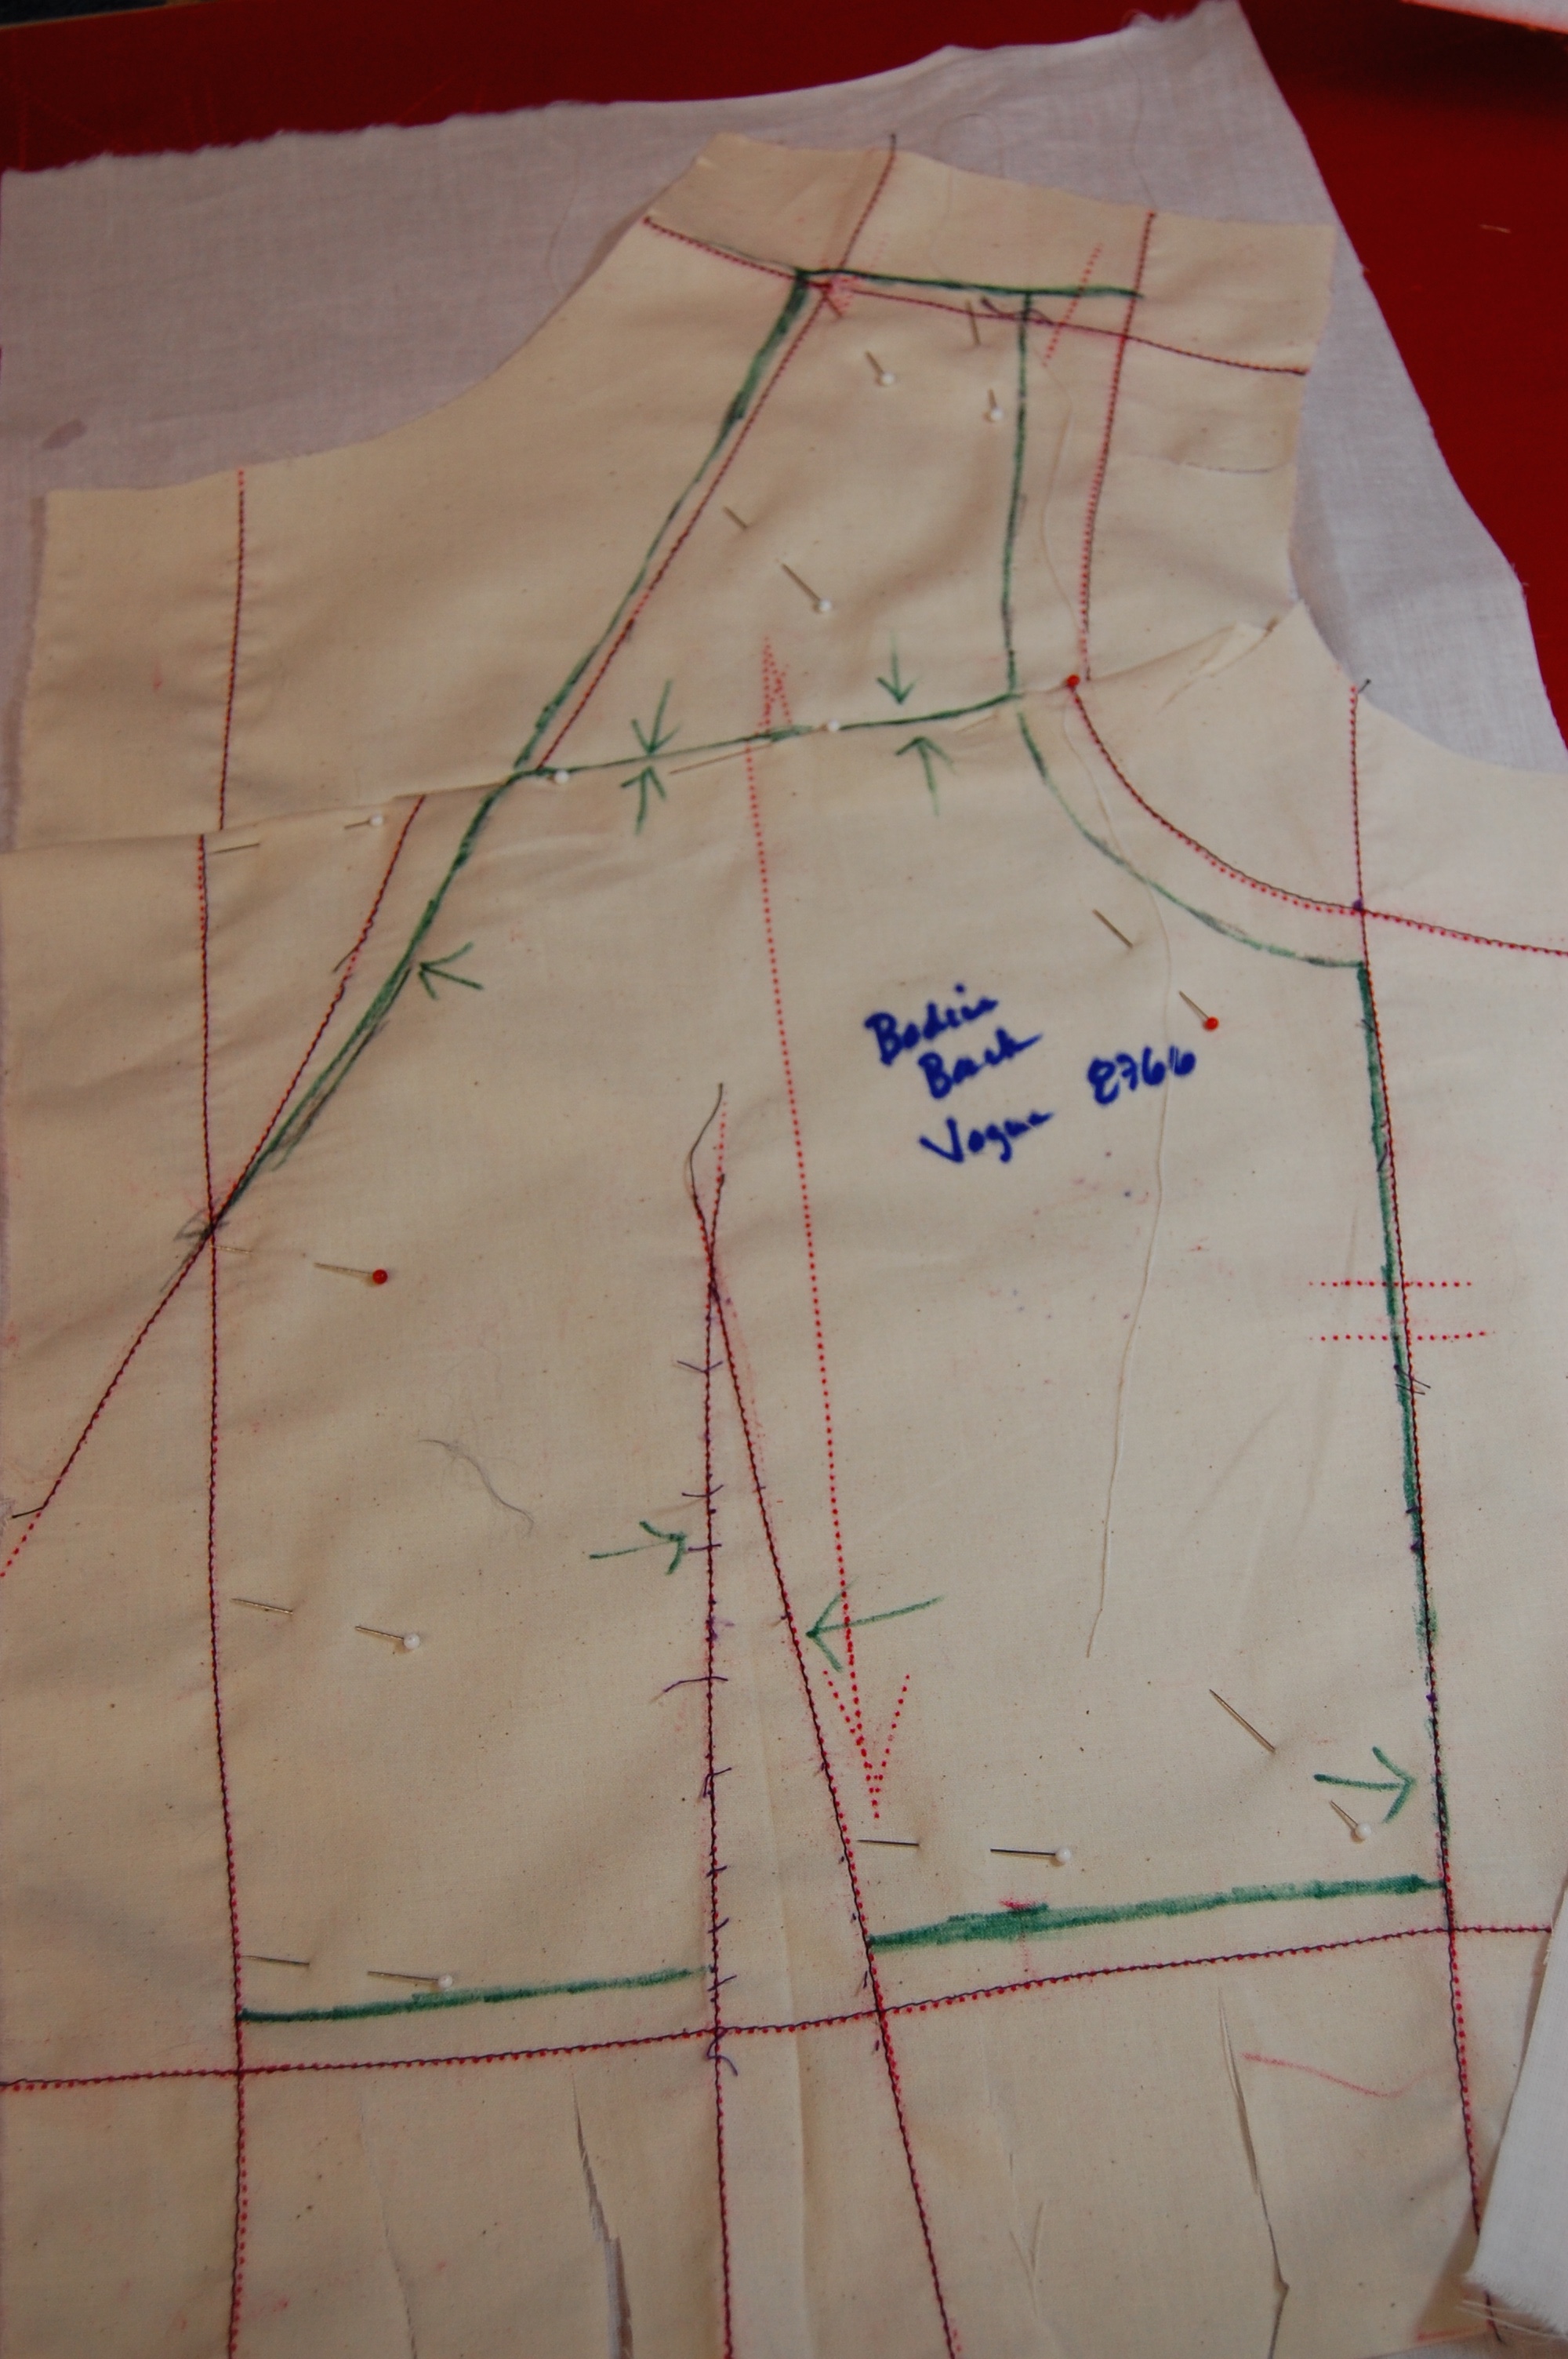
One of the most unusual features of the coat design is the front dart, which serves both as a bust dart and as a side-shaping dart. As is so often the case with these vintage patterns, the dart sewn as indicated on the pattern was too high for me. In addition, it pulled and stretched the kimono shoulder in all the wrong ways. I lowered the apex of the dart and re-sewed it, trying to preserve its curve, and suddenly it fit like a charm.
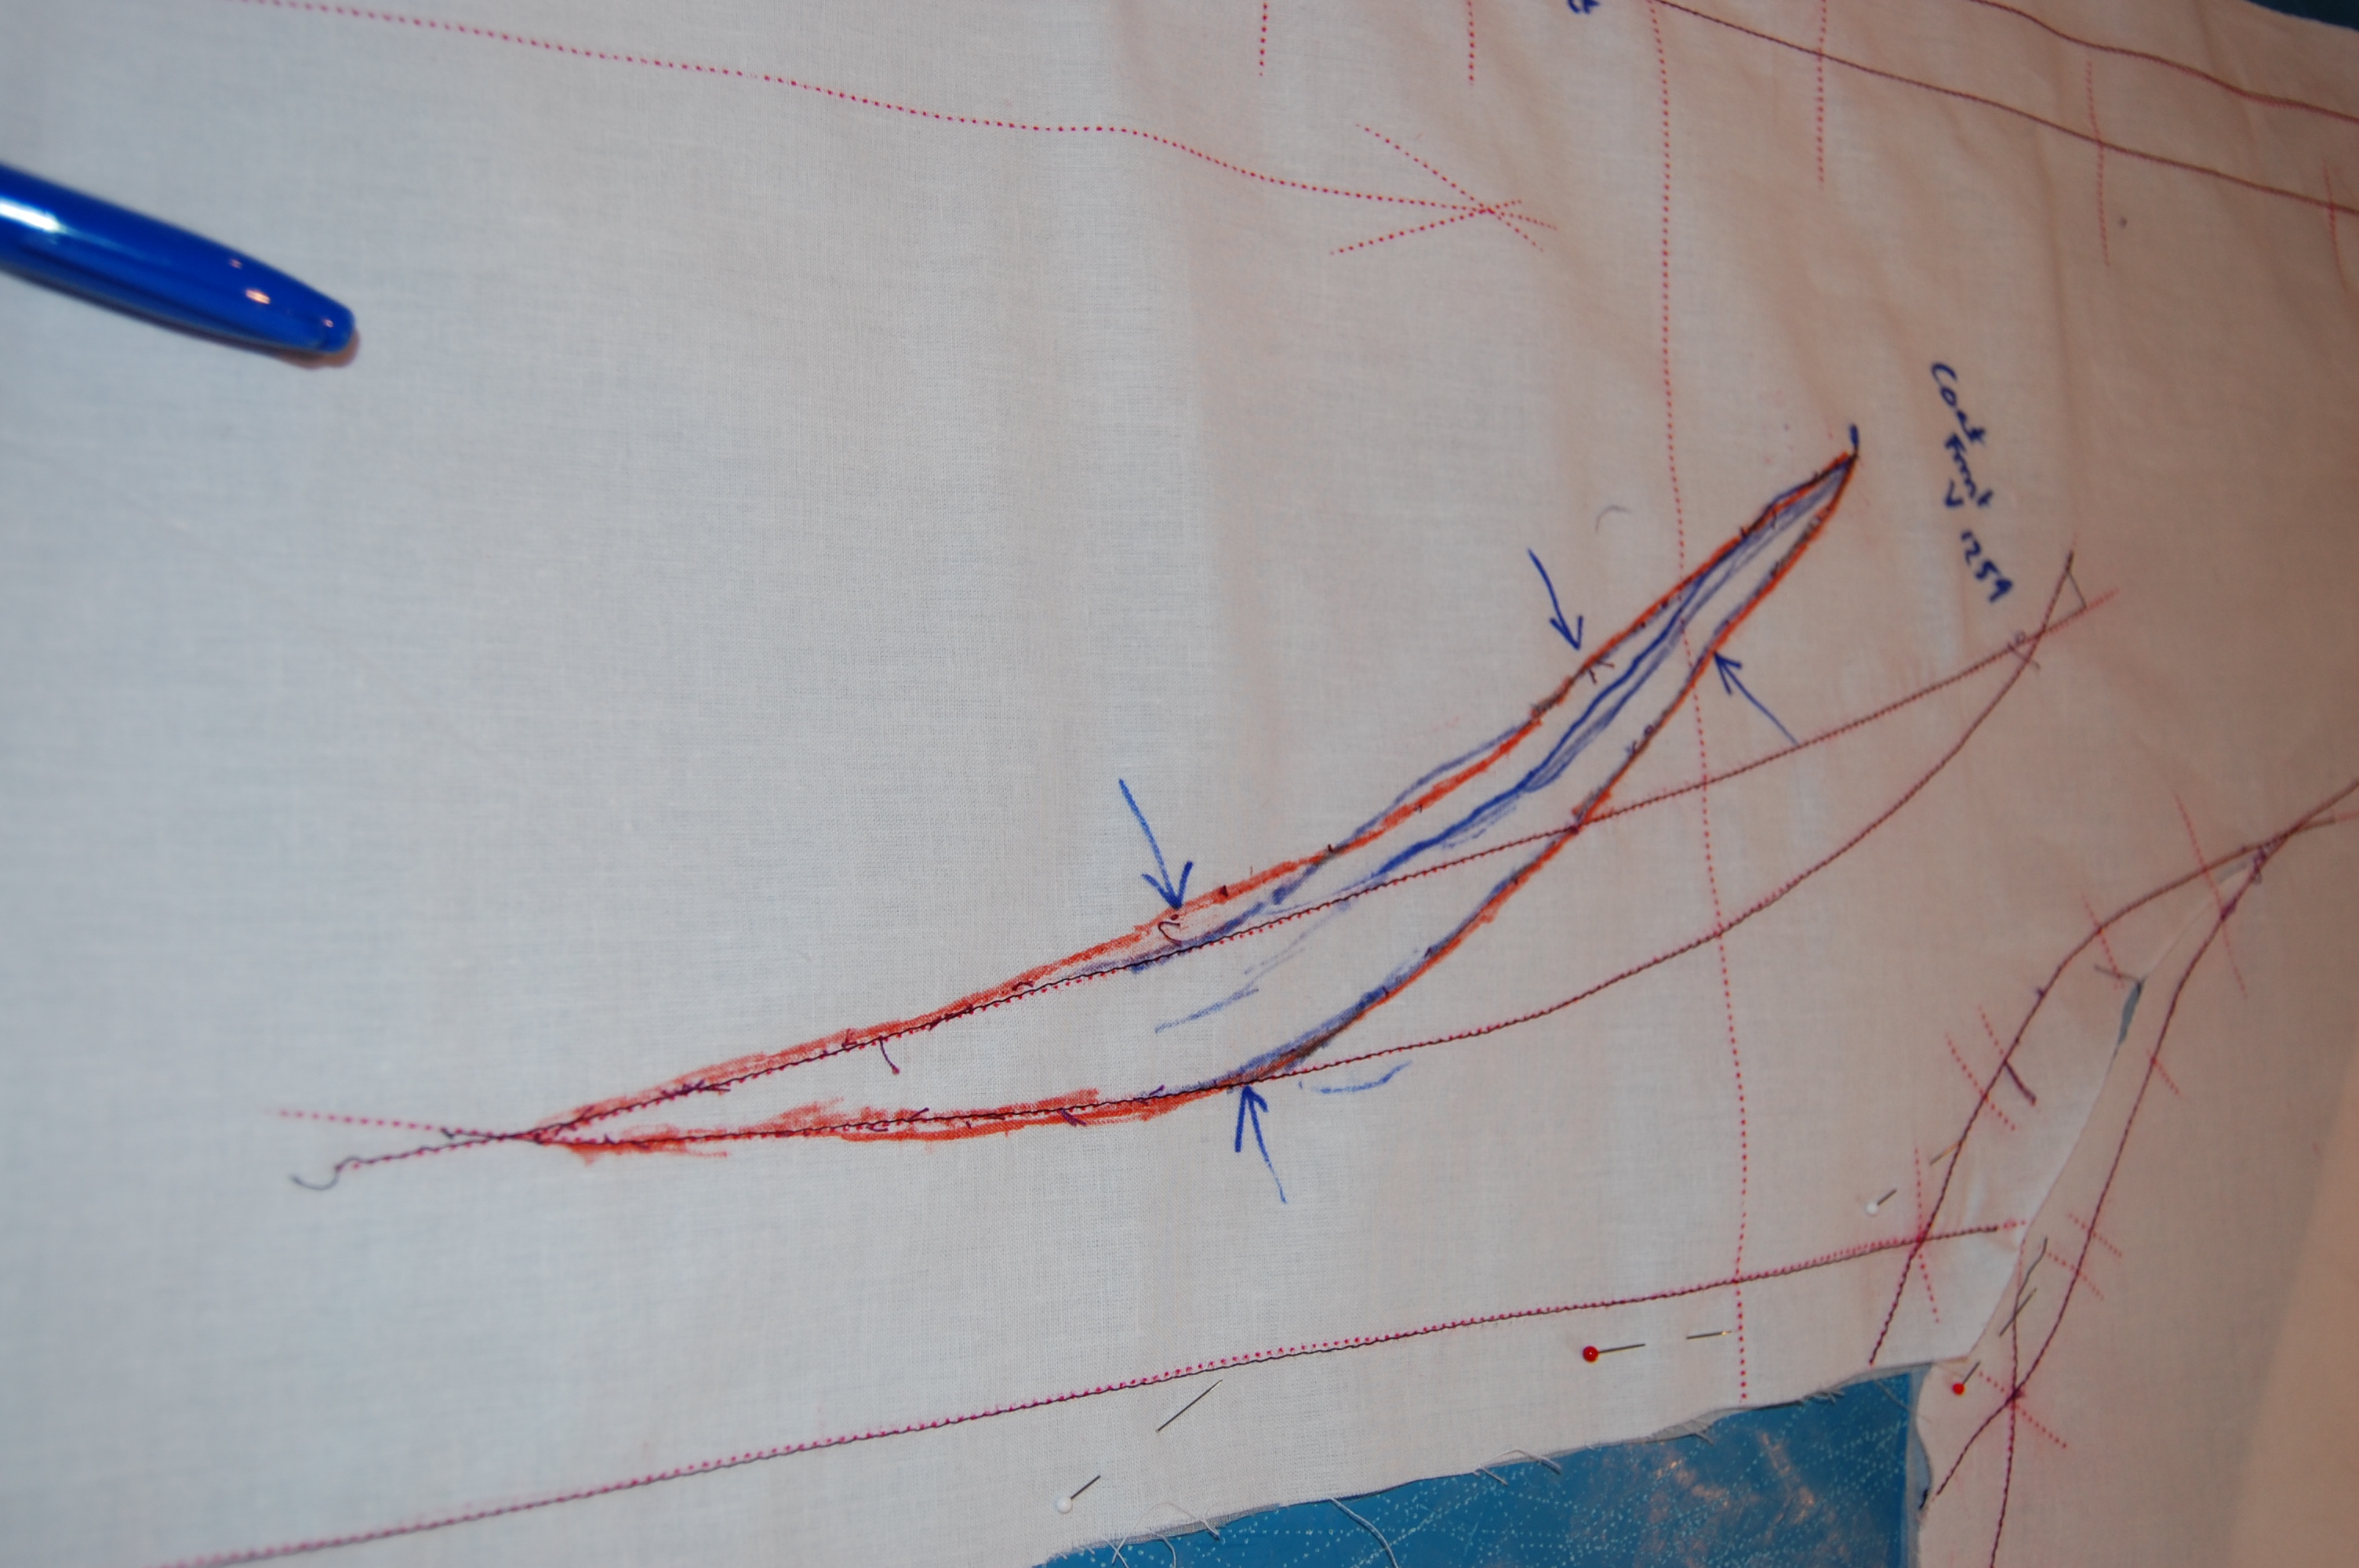
The newly drawn dart is in orange, while its original position is in red.
Now that I had a workable pattern, I knew I could just eke out the coat if I “pieced” the left front facing. I could live with that! And, just as important, I would have enough of the fabric to cut bias strips for piping for my daisy sheath. Whew!
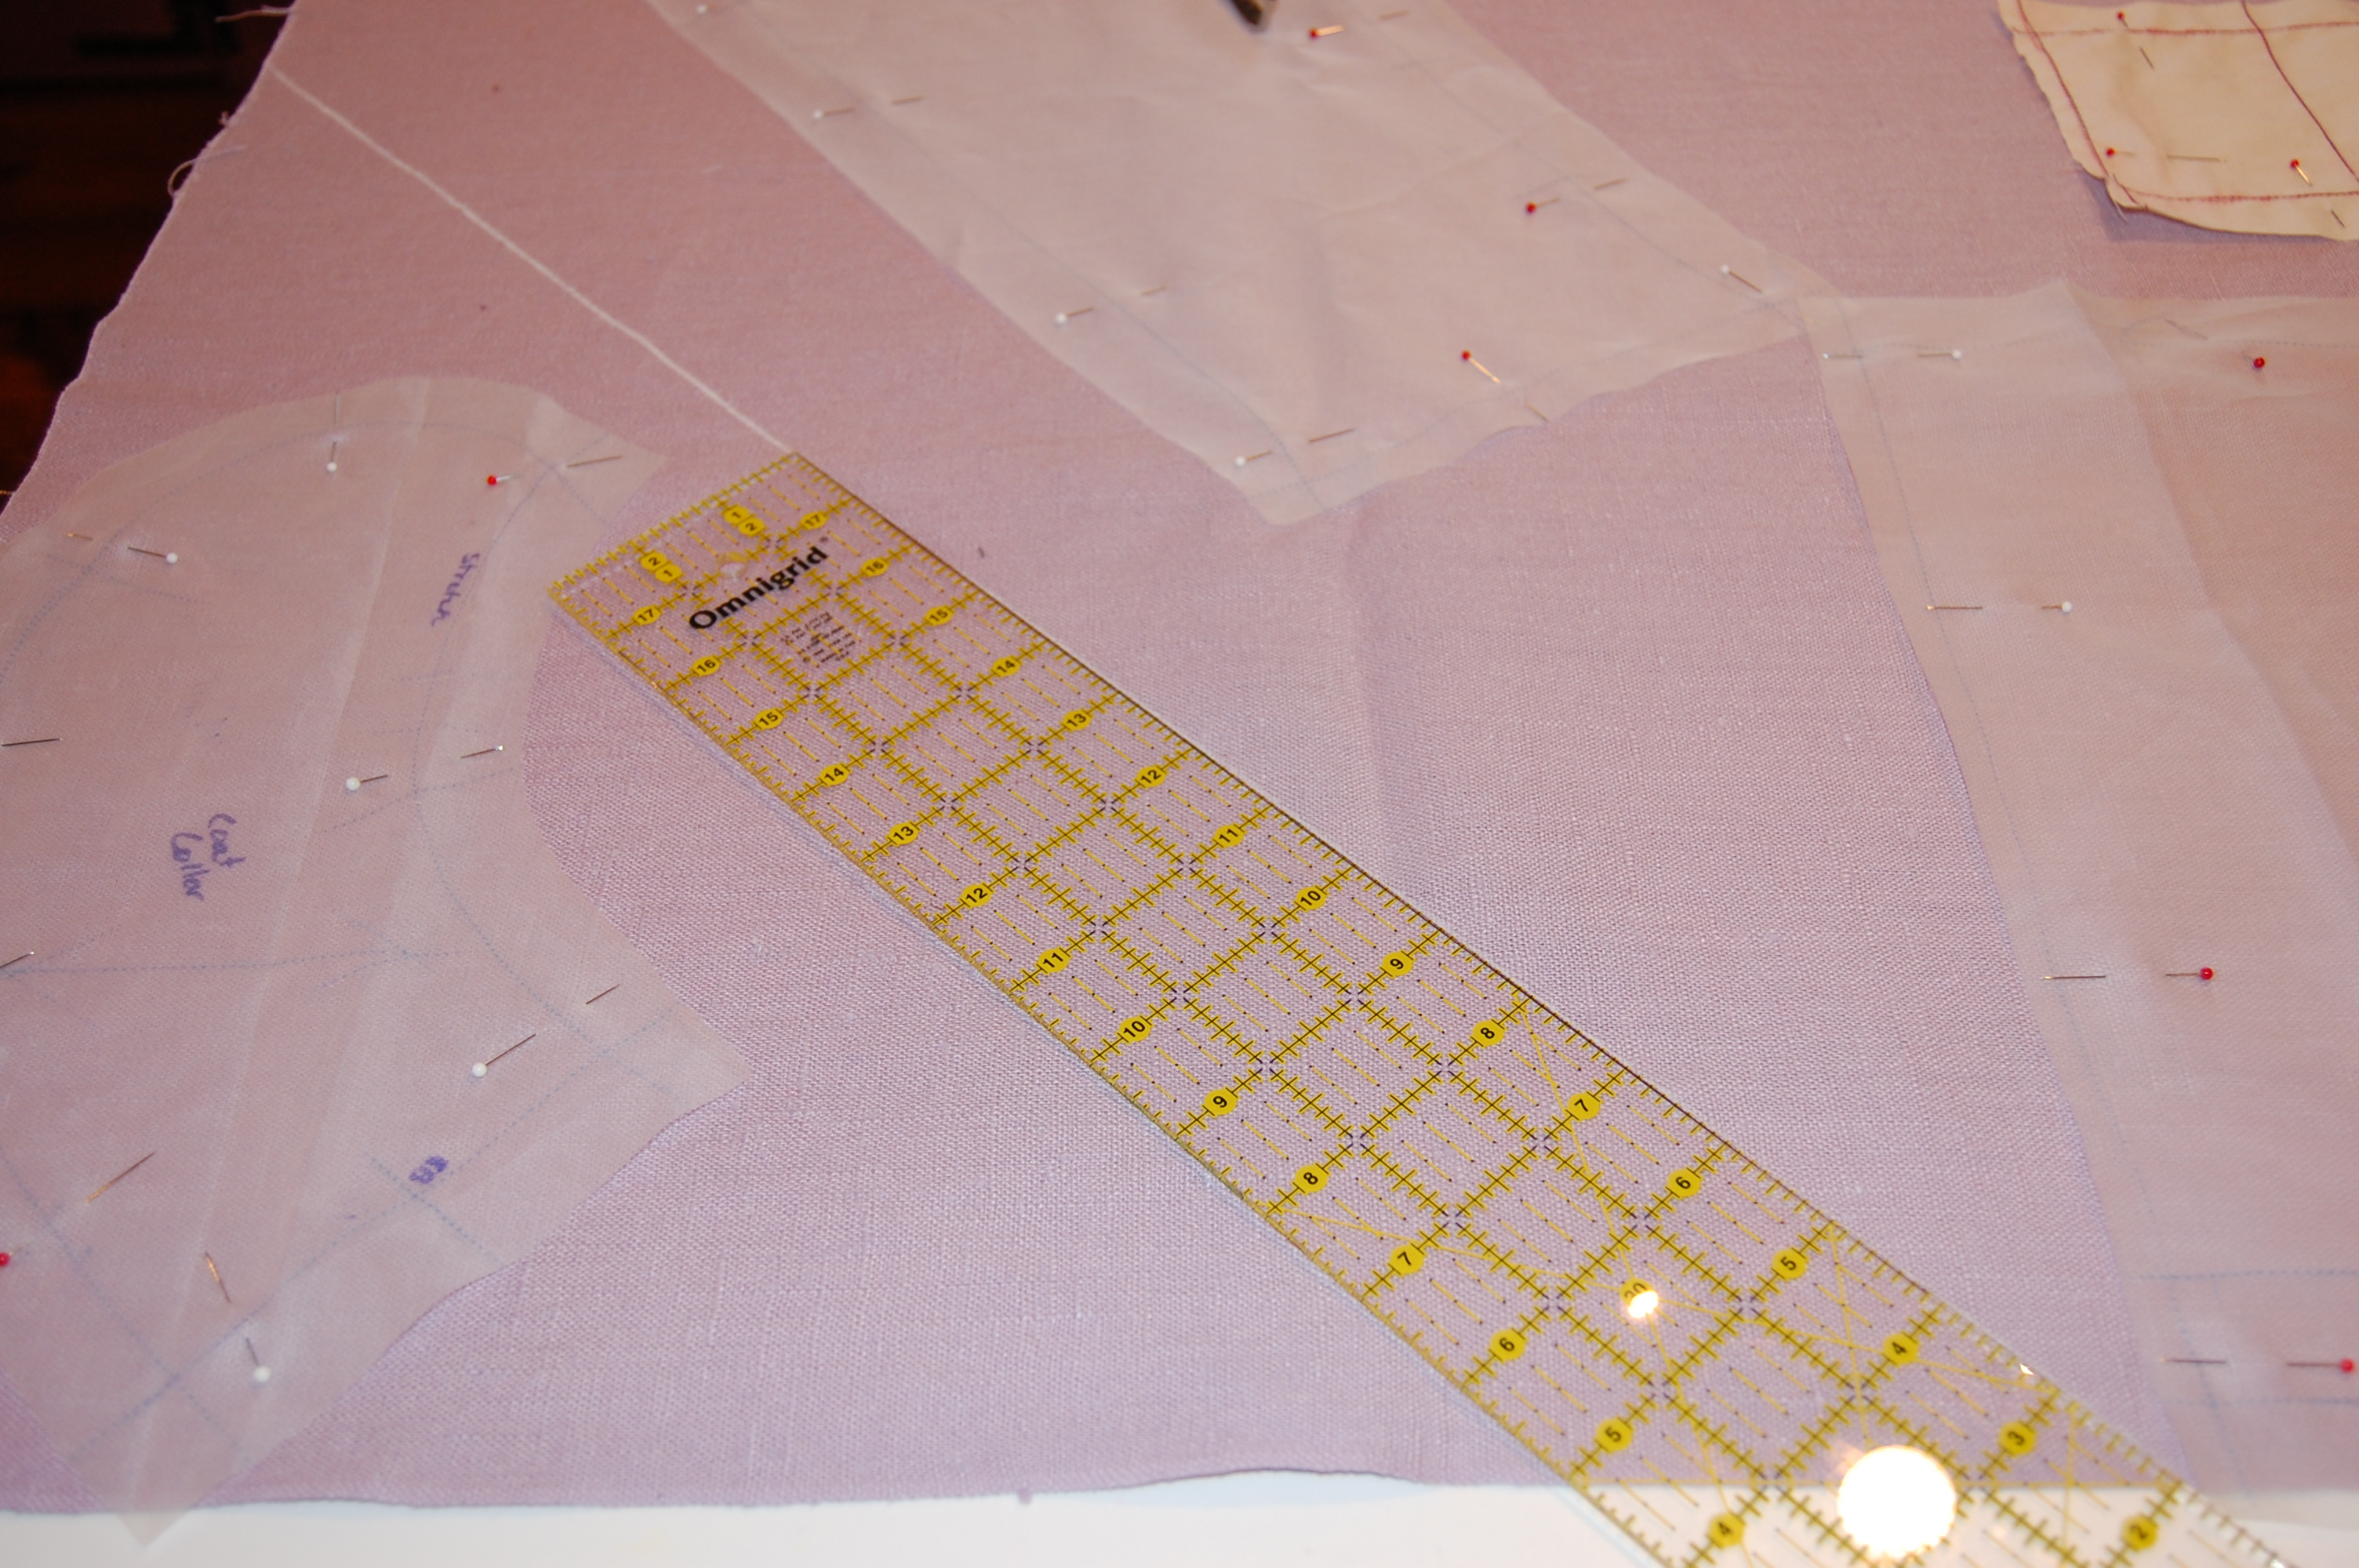
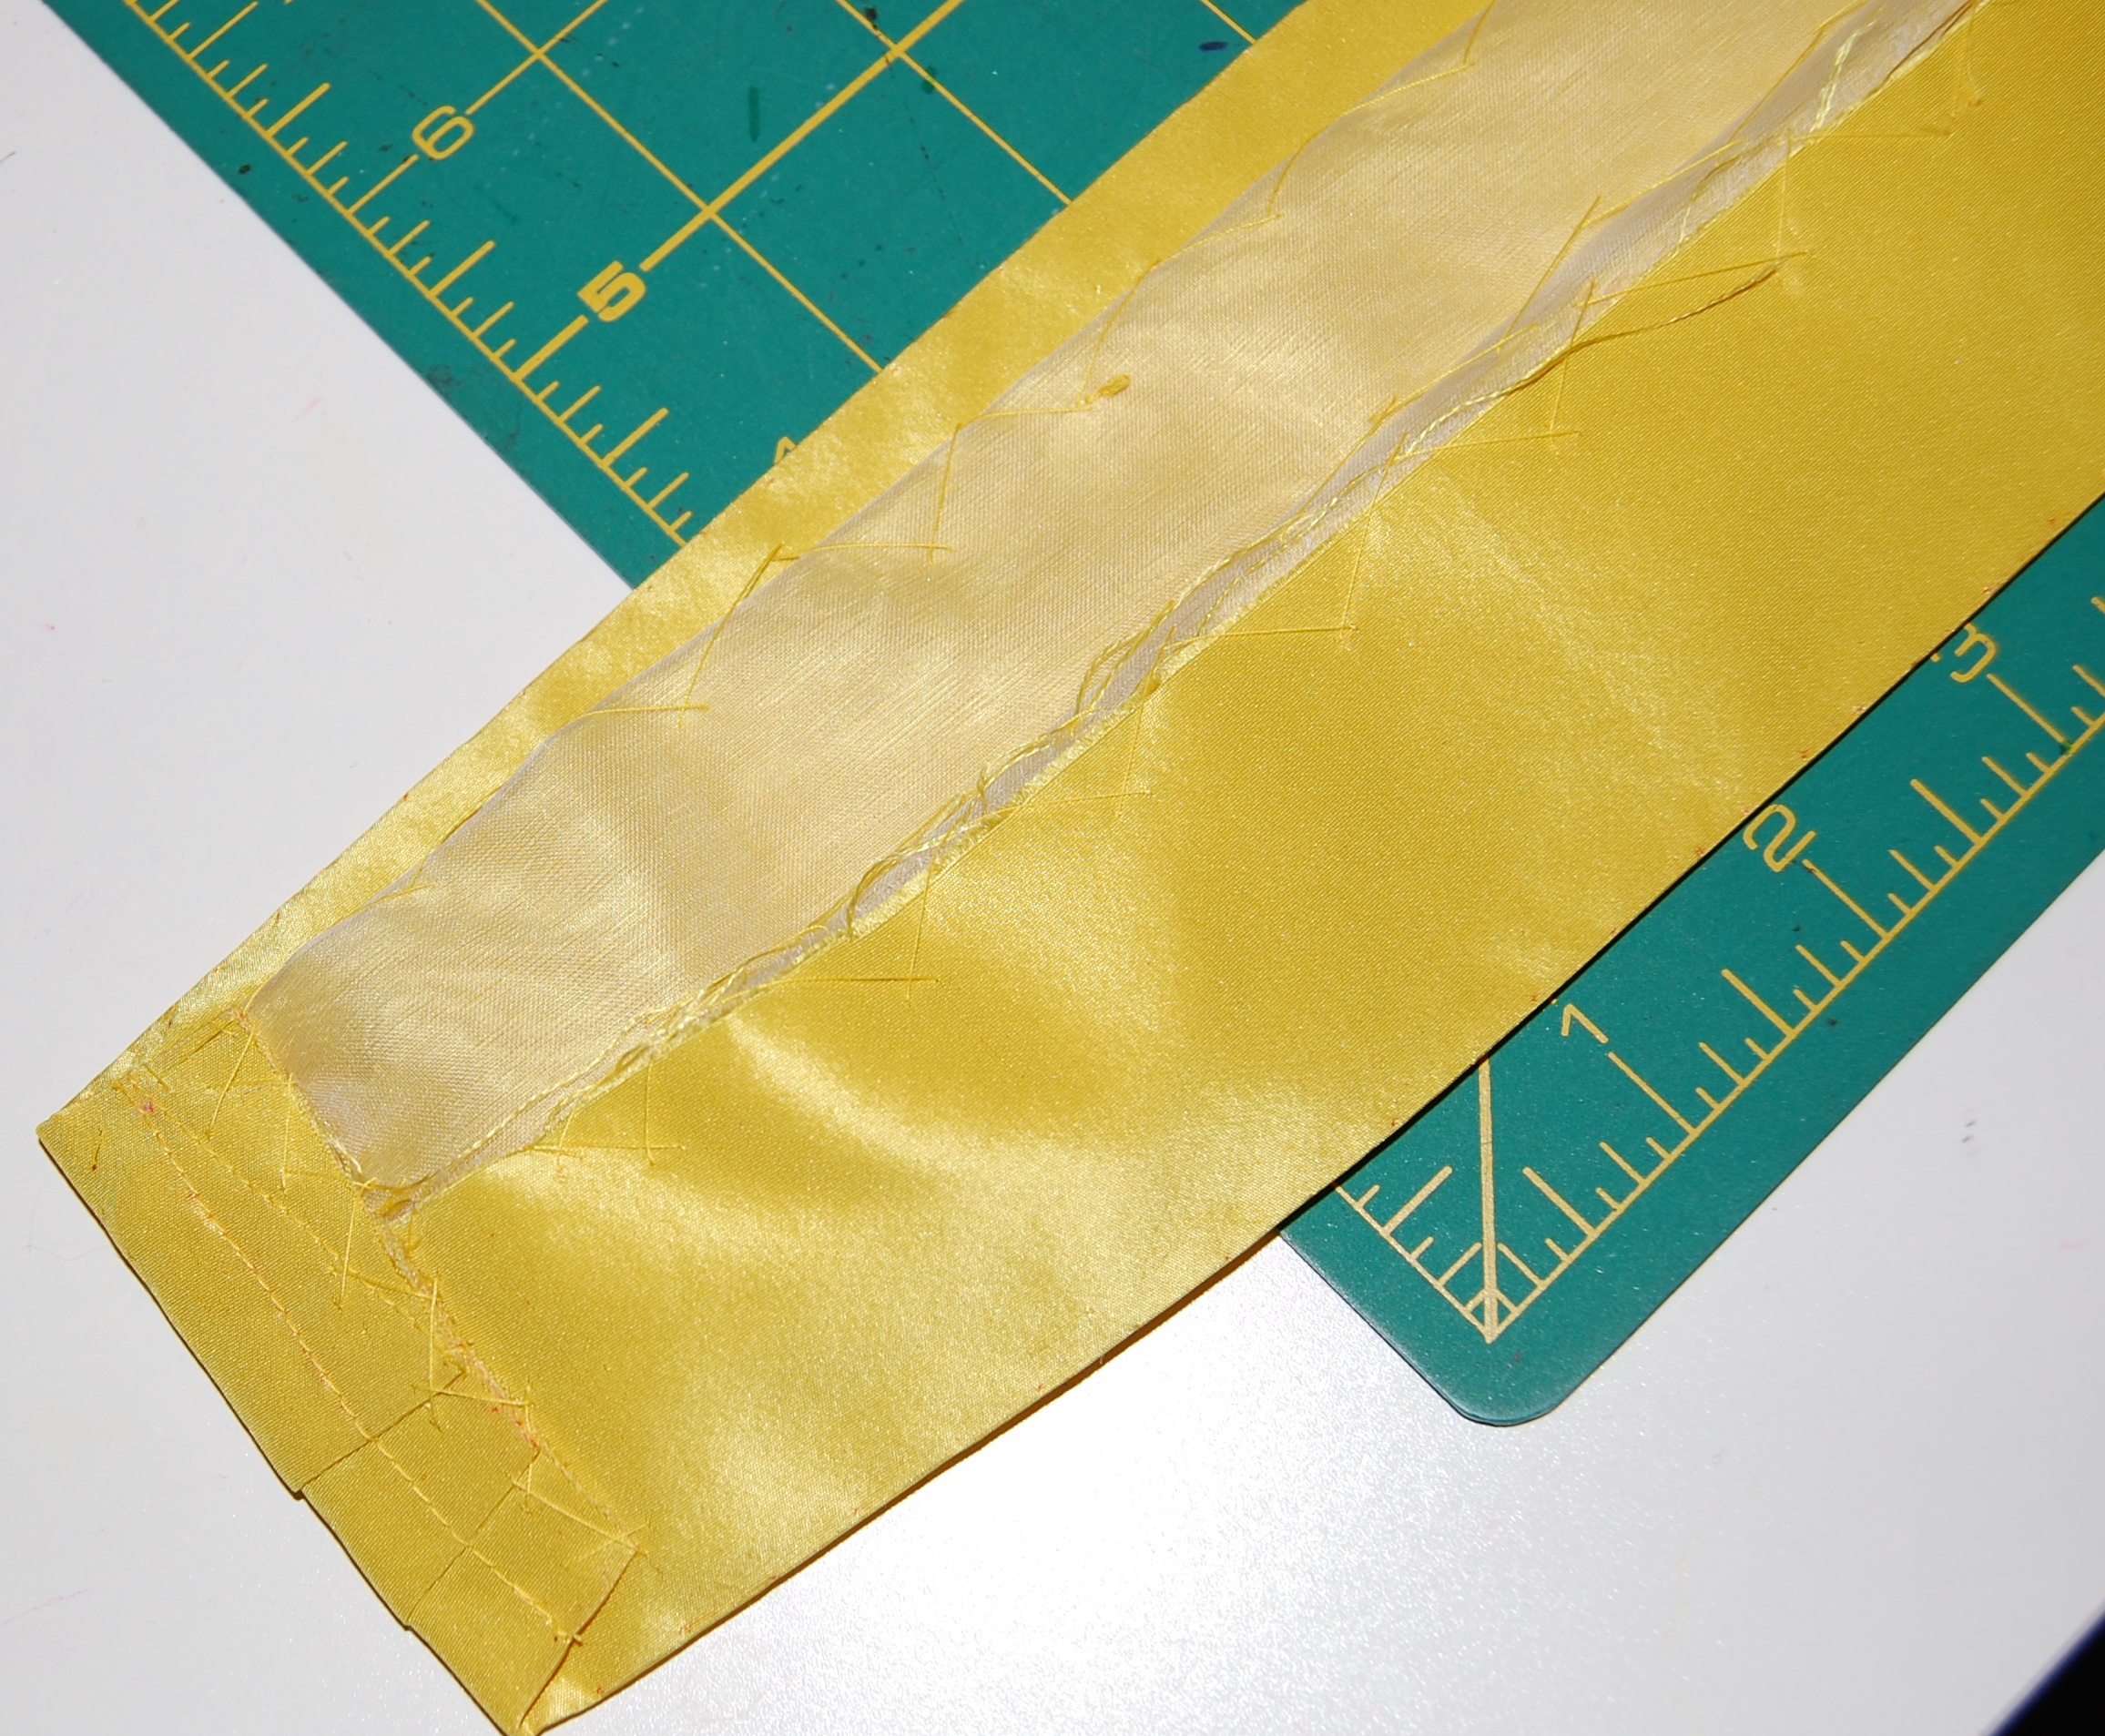
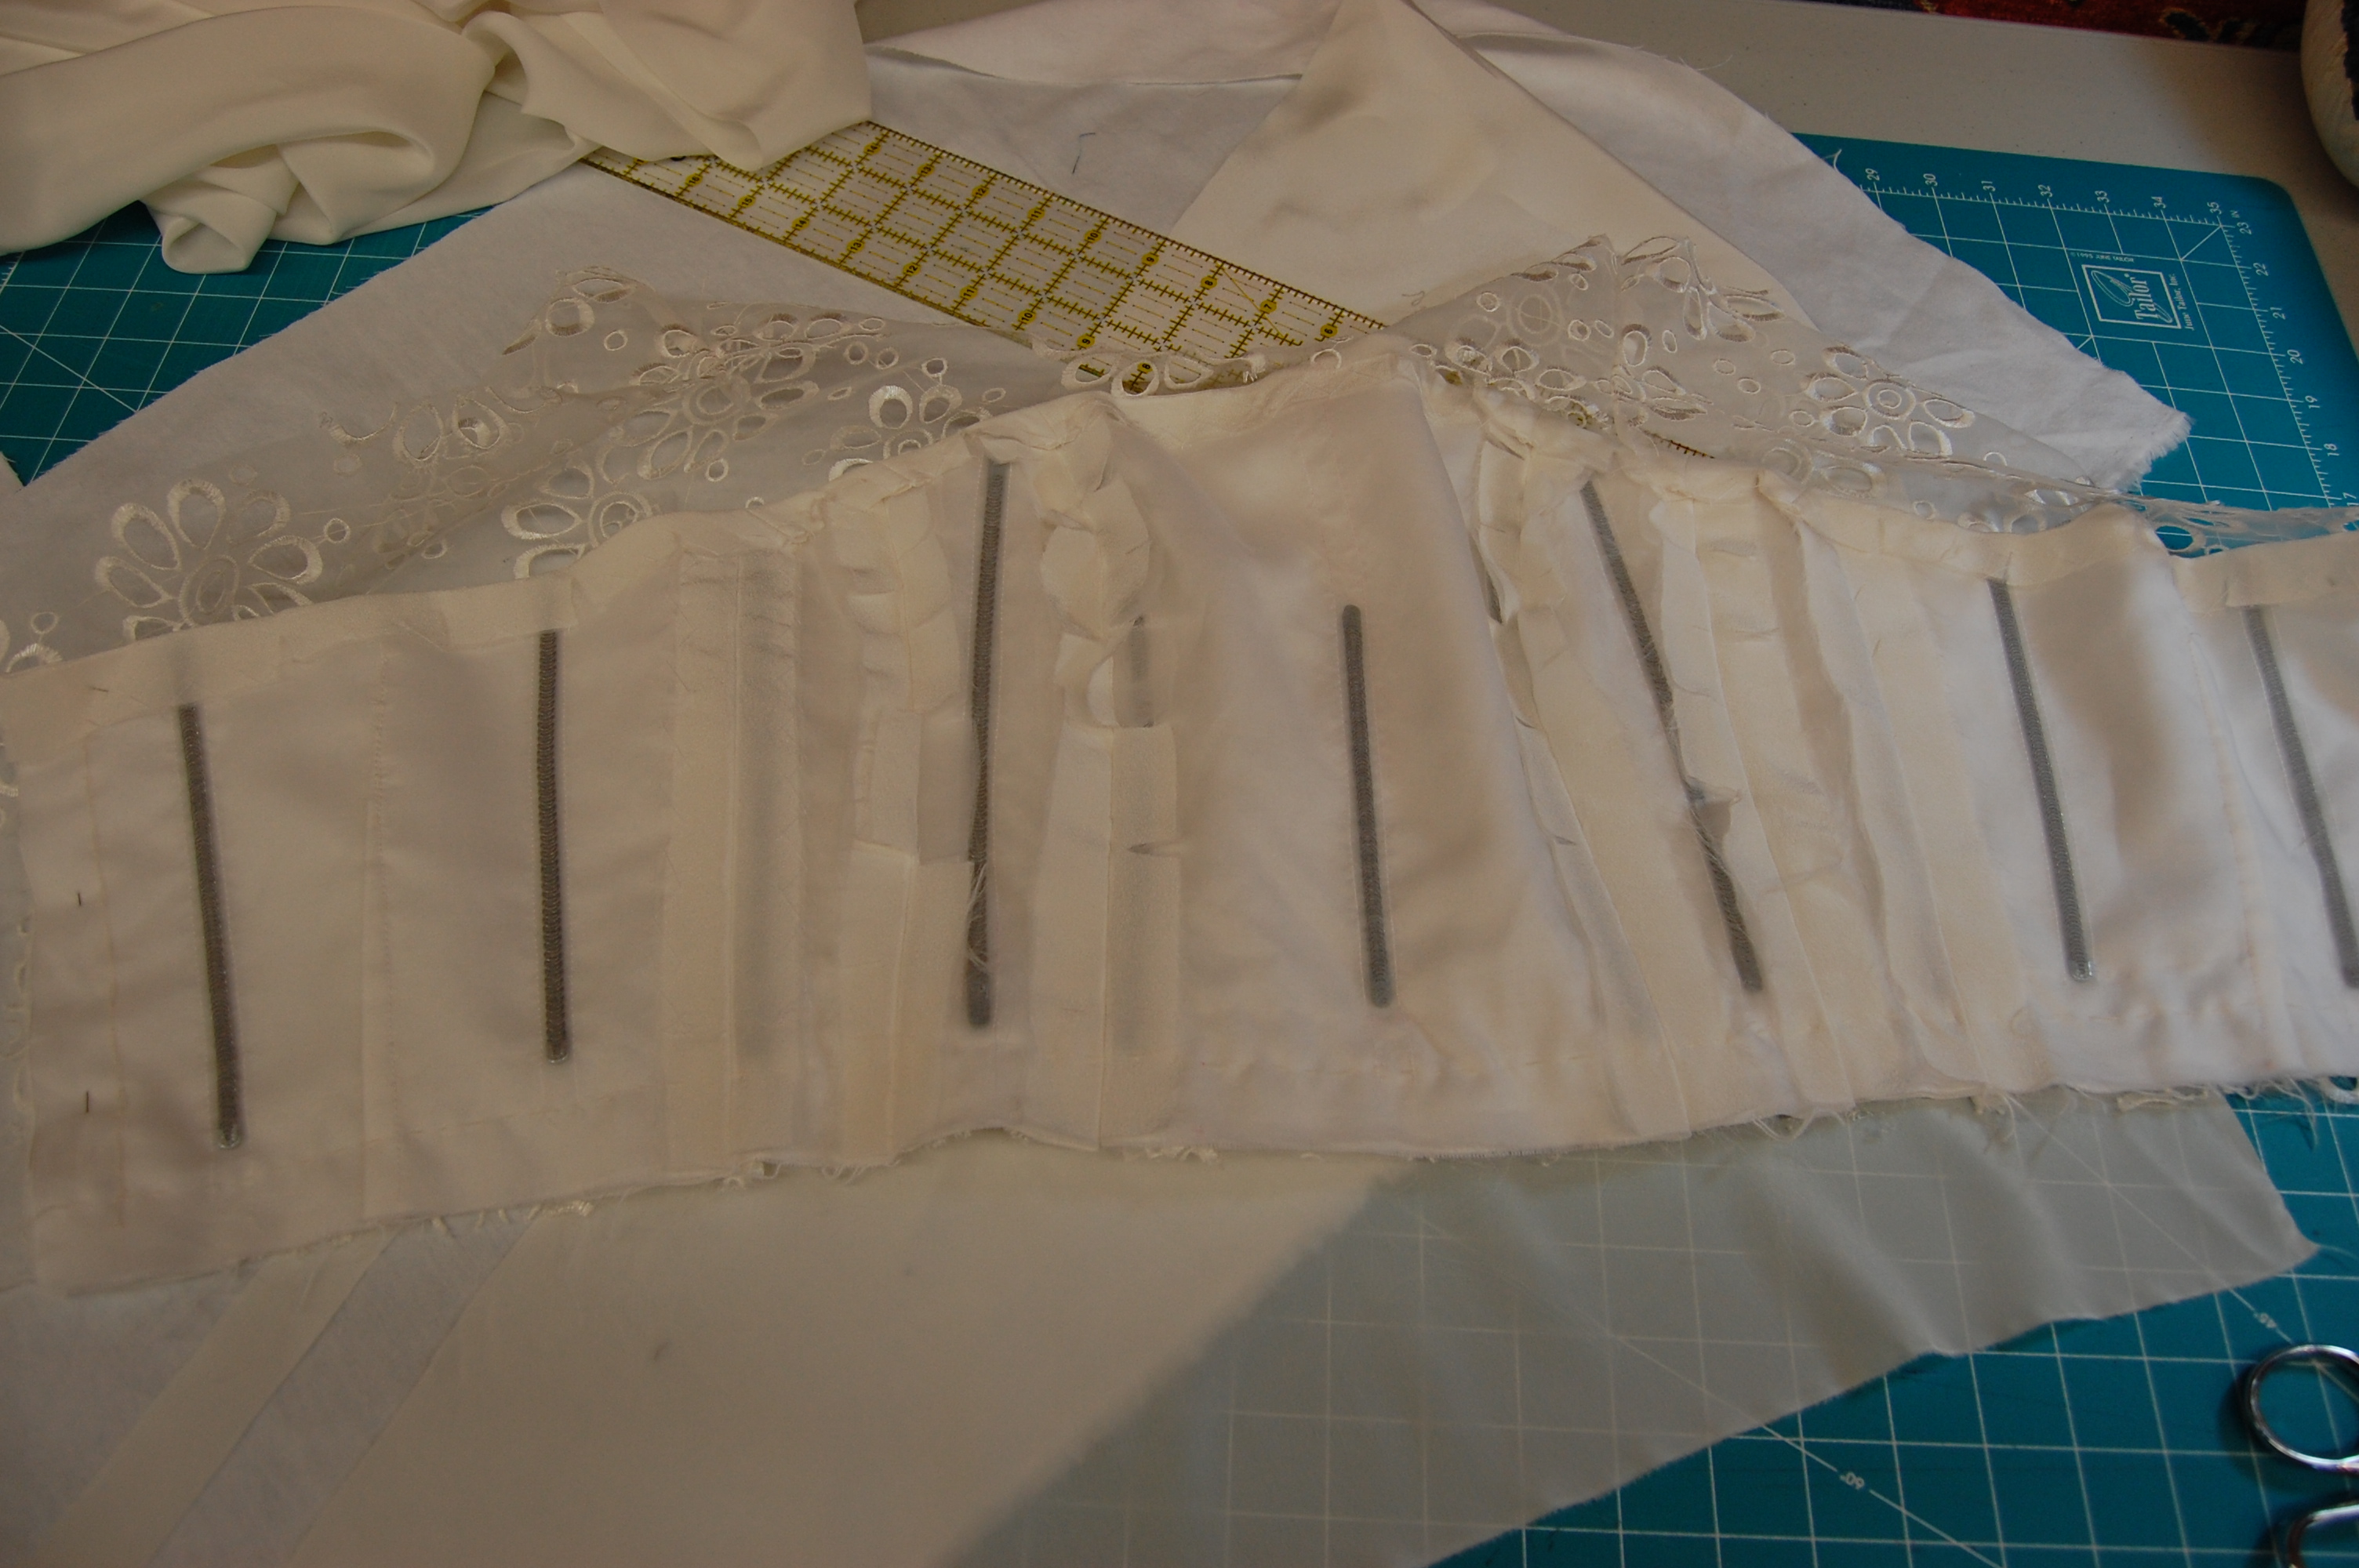
This see-through ruler helped me find a corner from which to cut the bias strips for the piping.
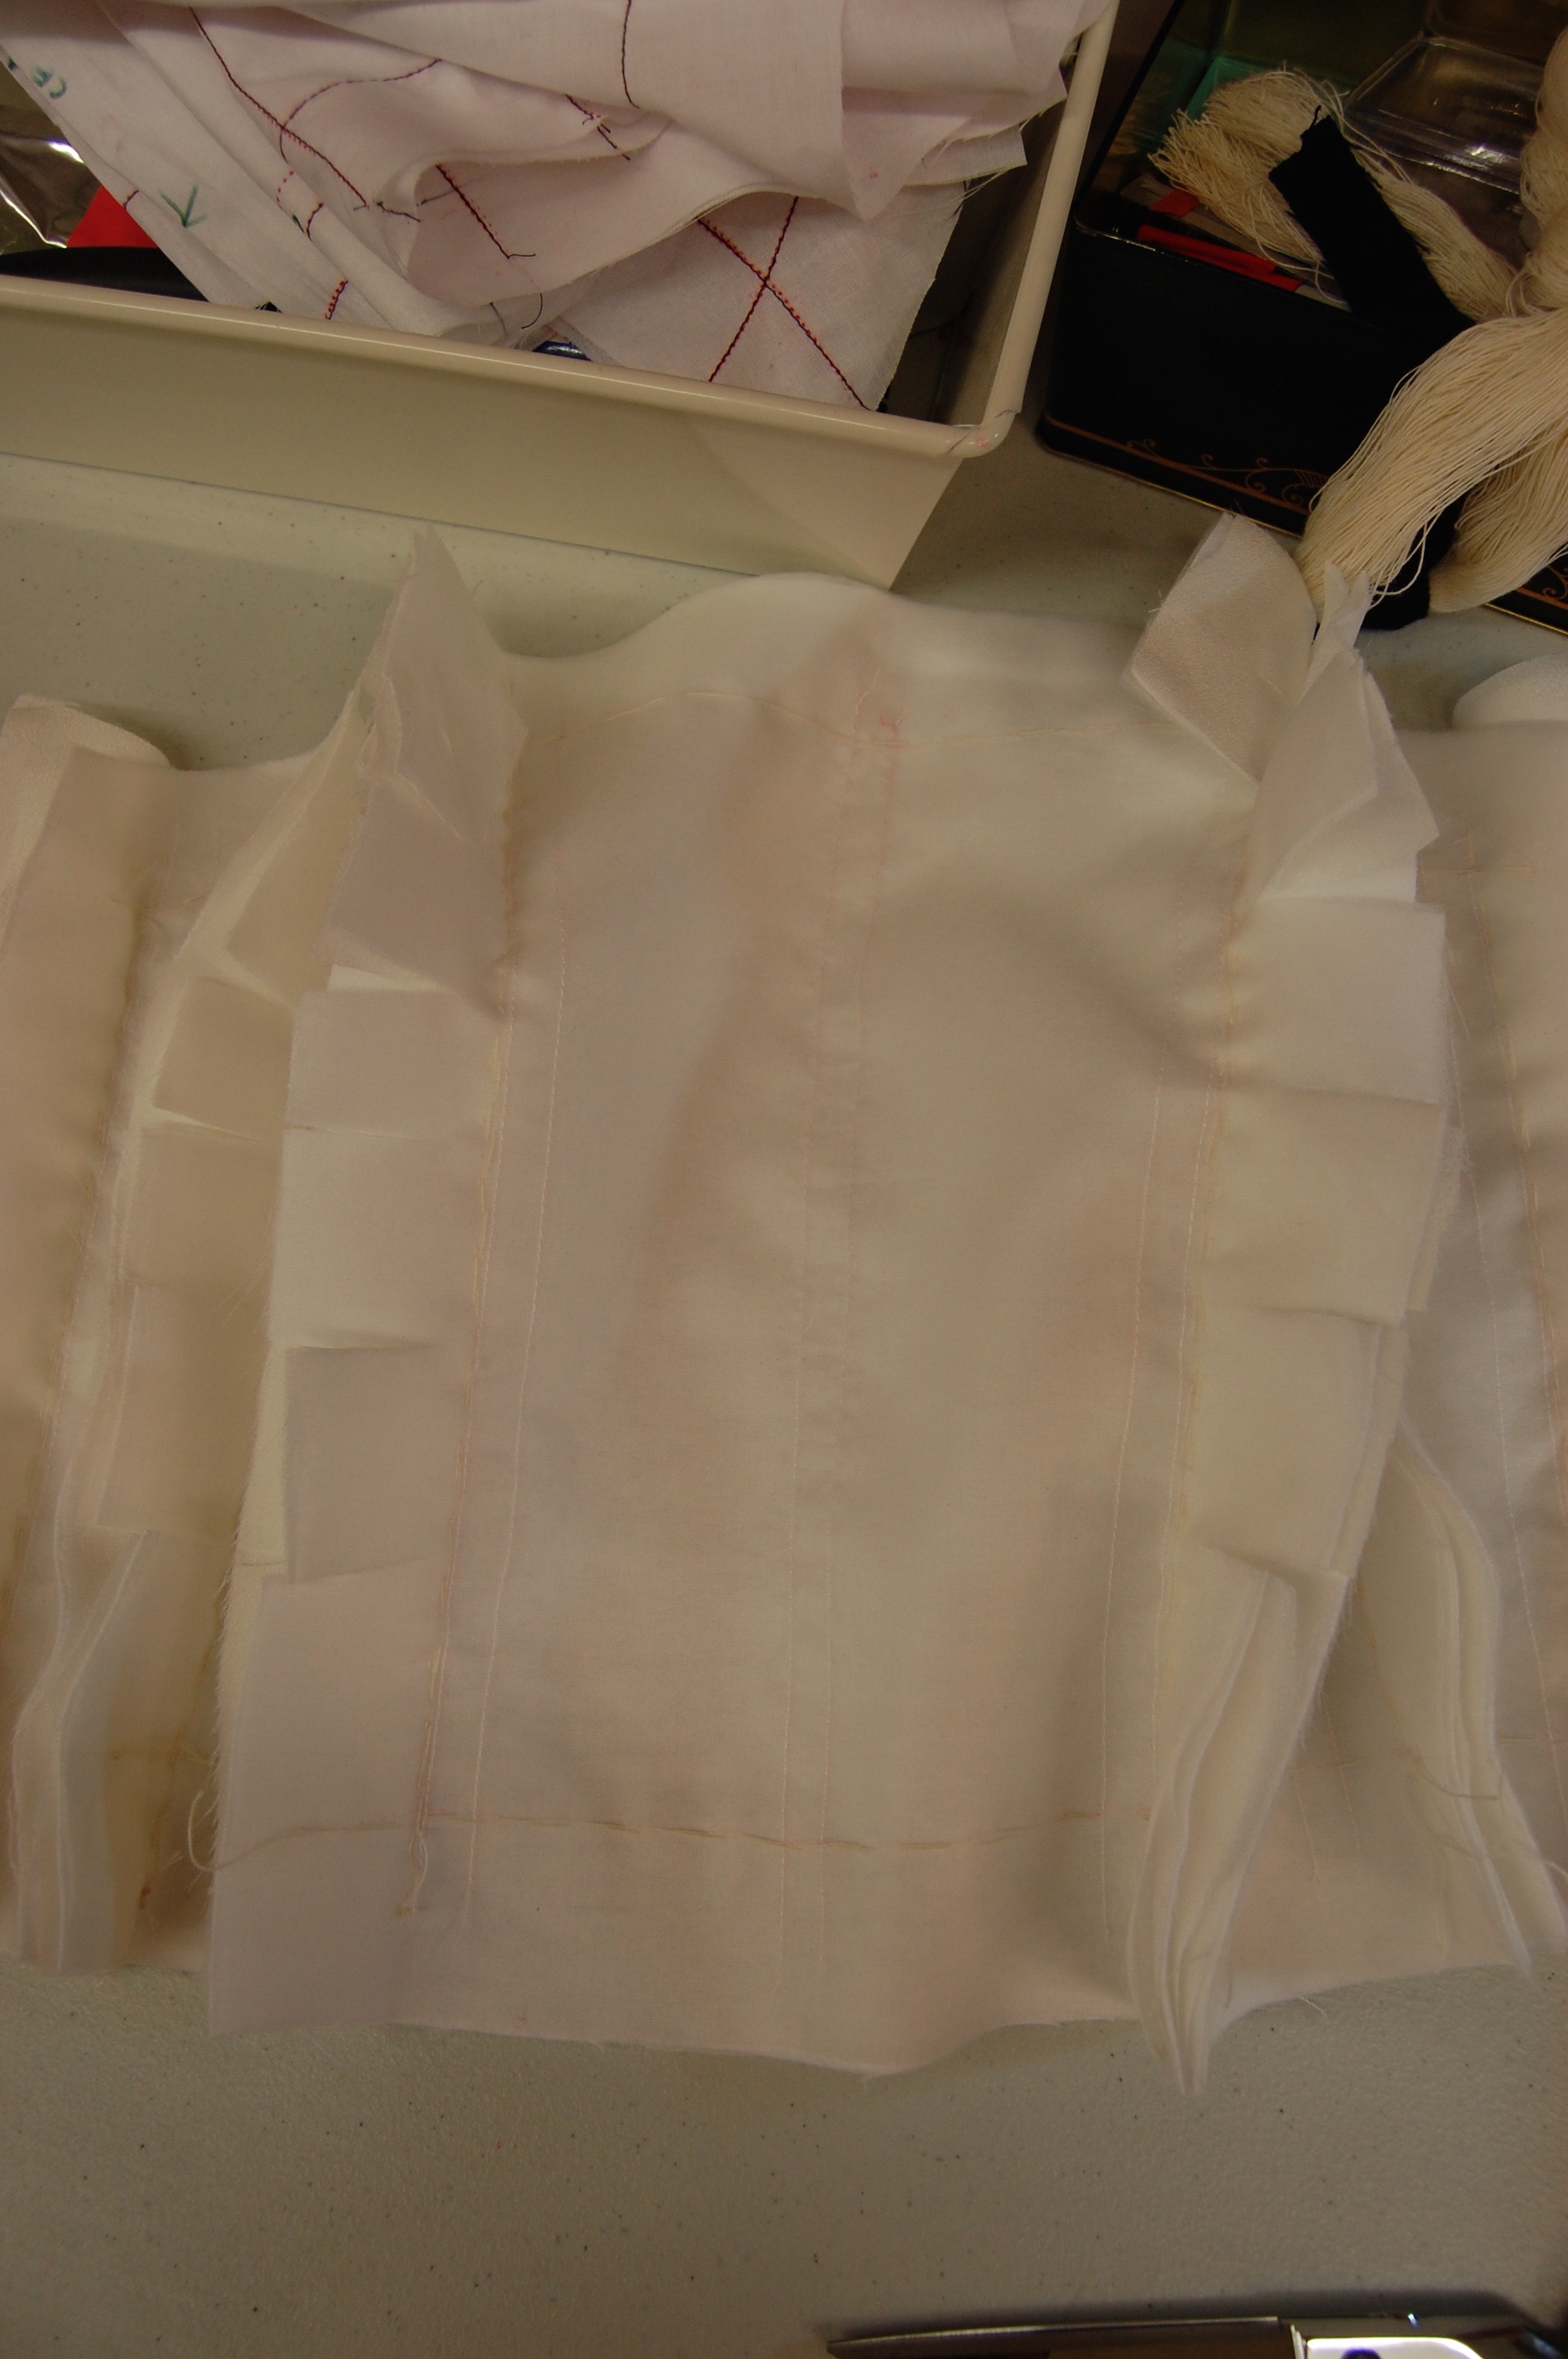
So now, the pieces for the coat, with their silk organza underlinings pinned in place, are taking their turn waiting for further attention. One project started another and now both are lined up like a circle of dominoes, ready to go down in an orderly fashion, albeit in slo-o-o-w motion.