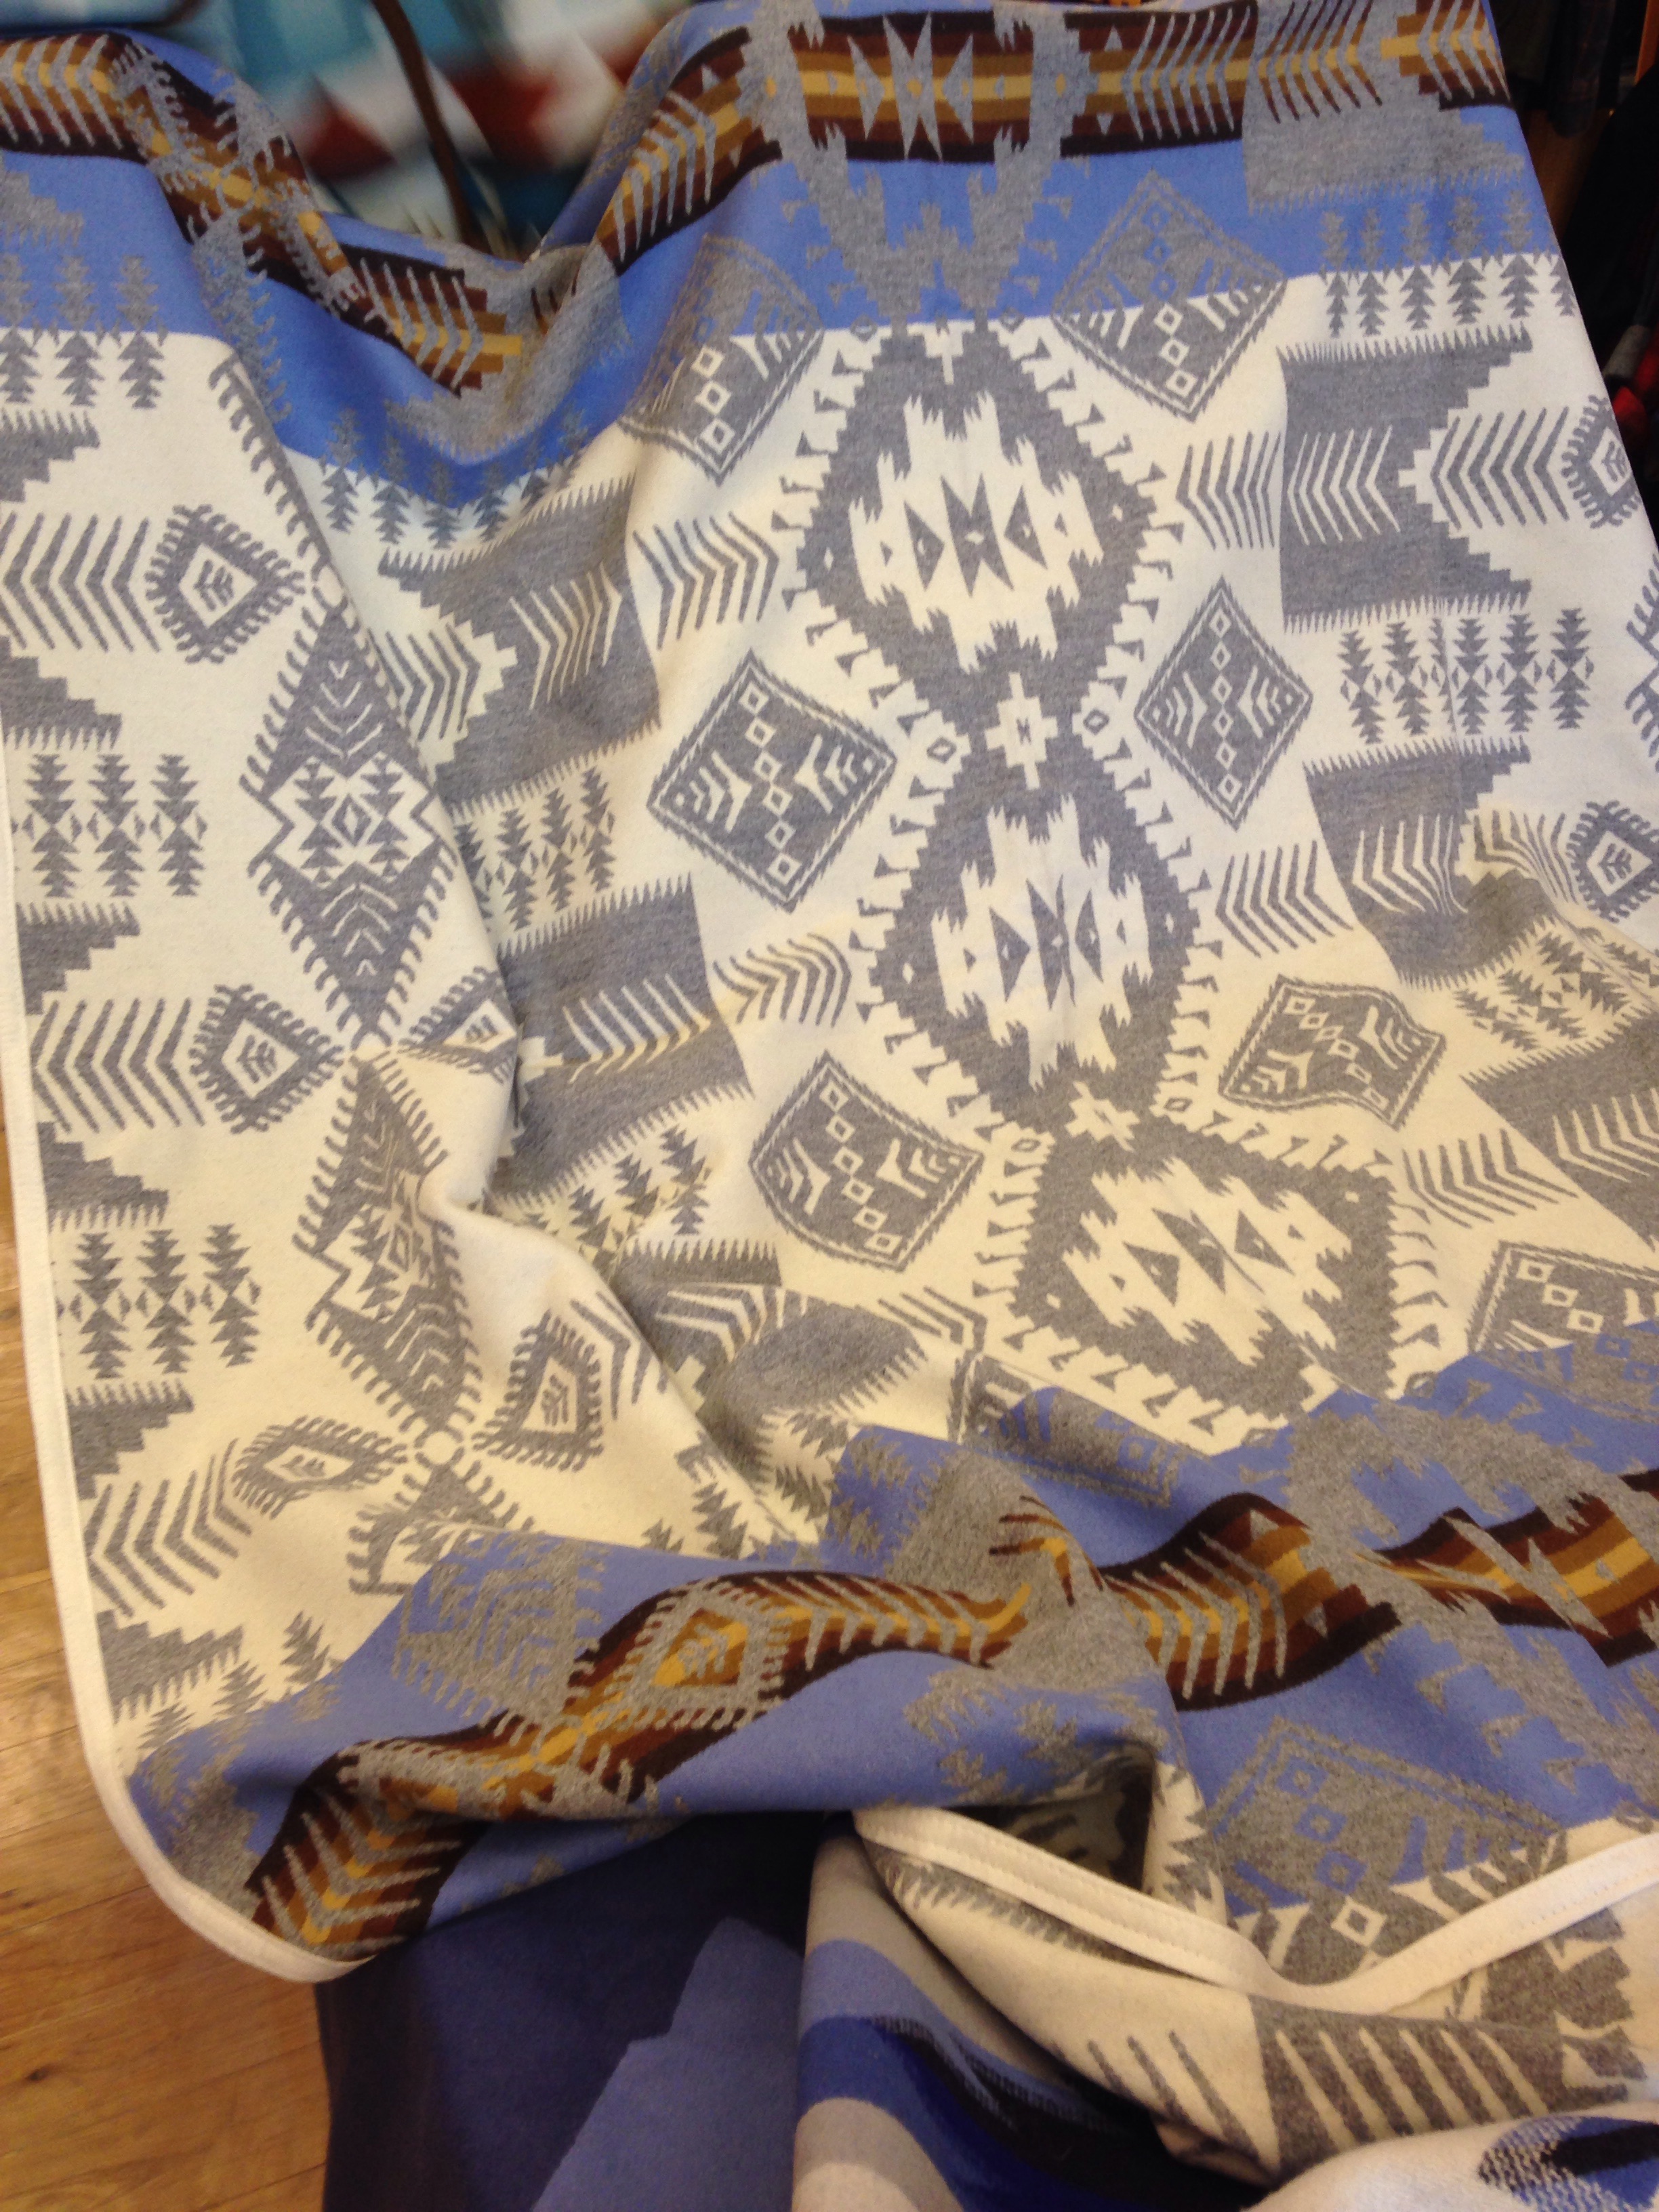
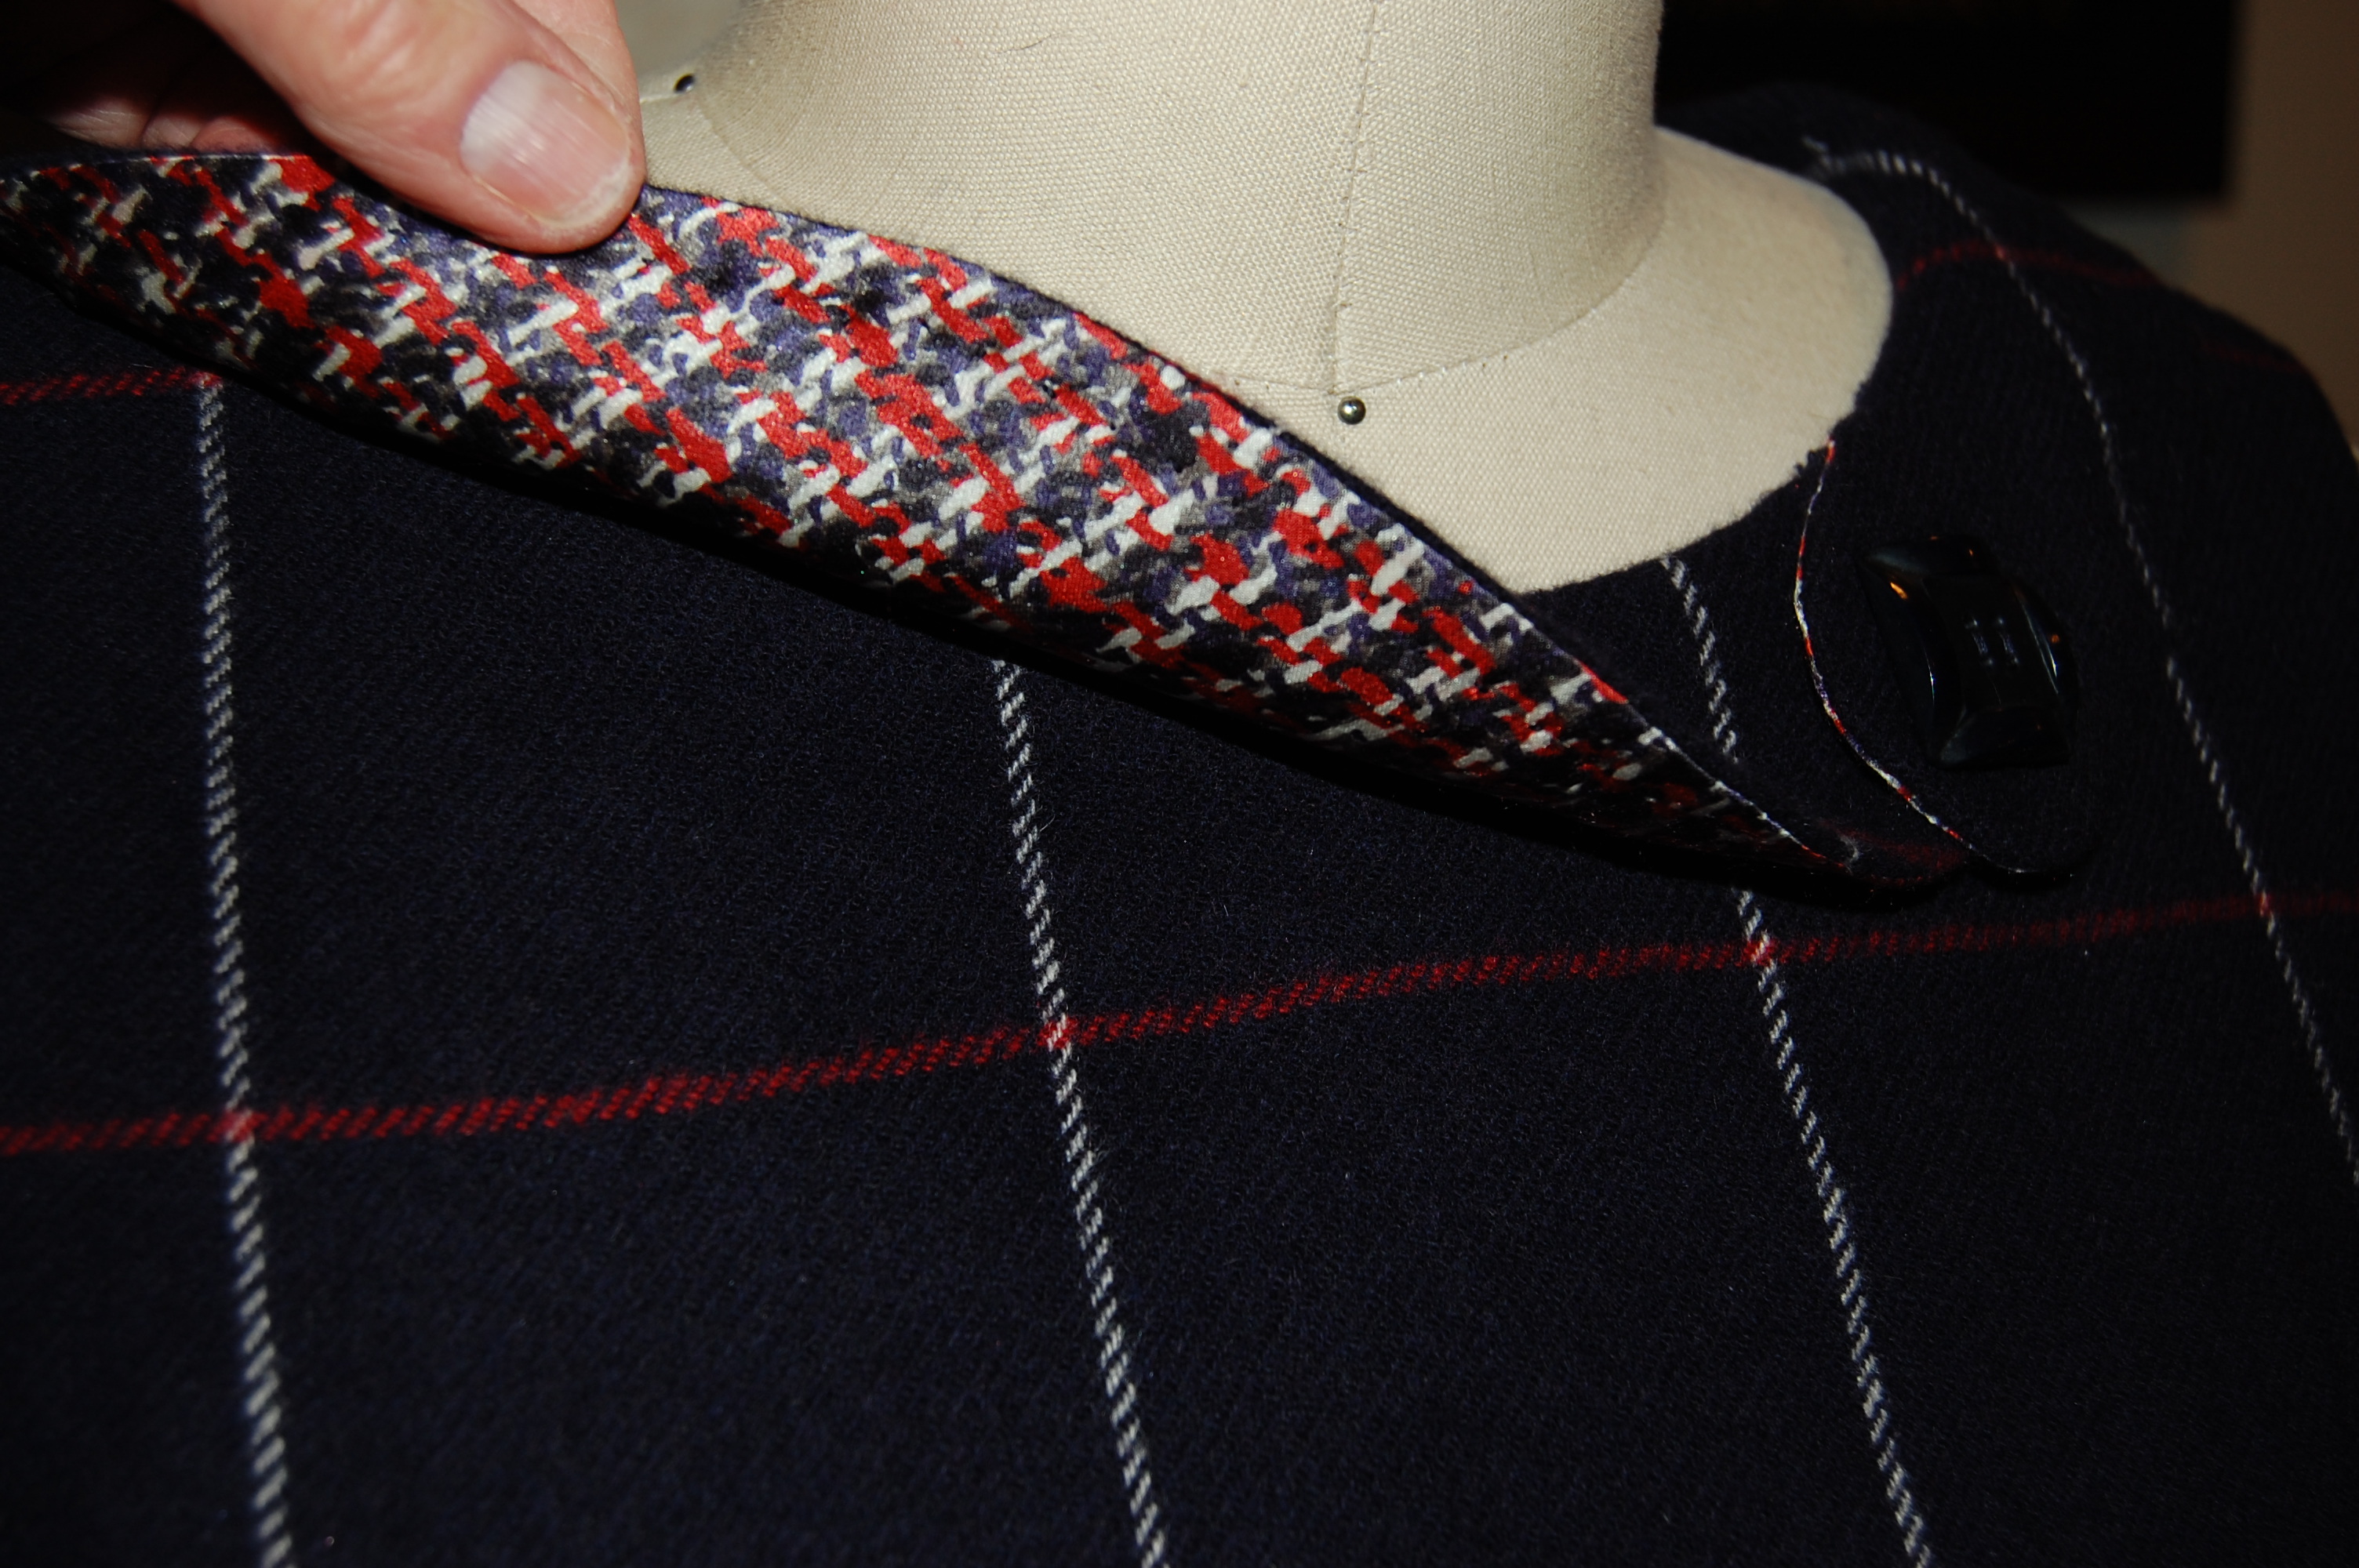
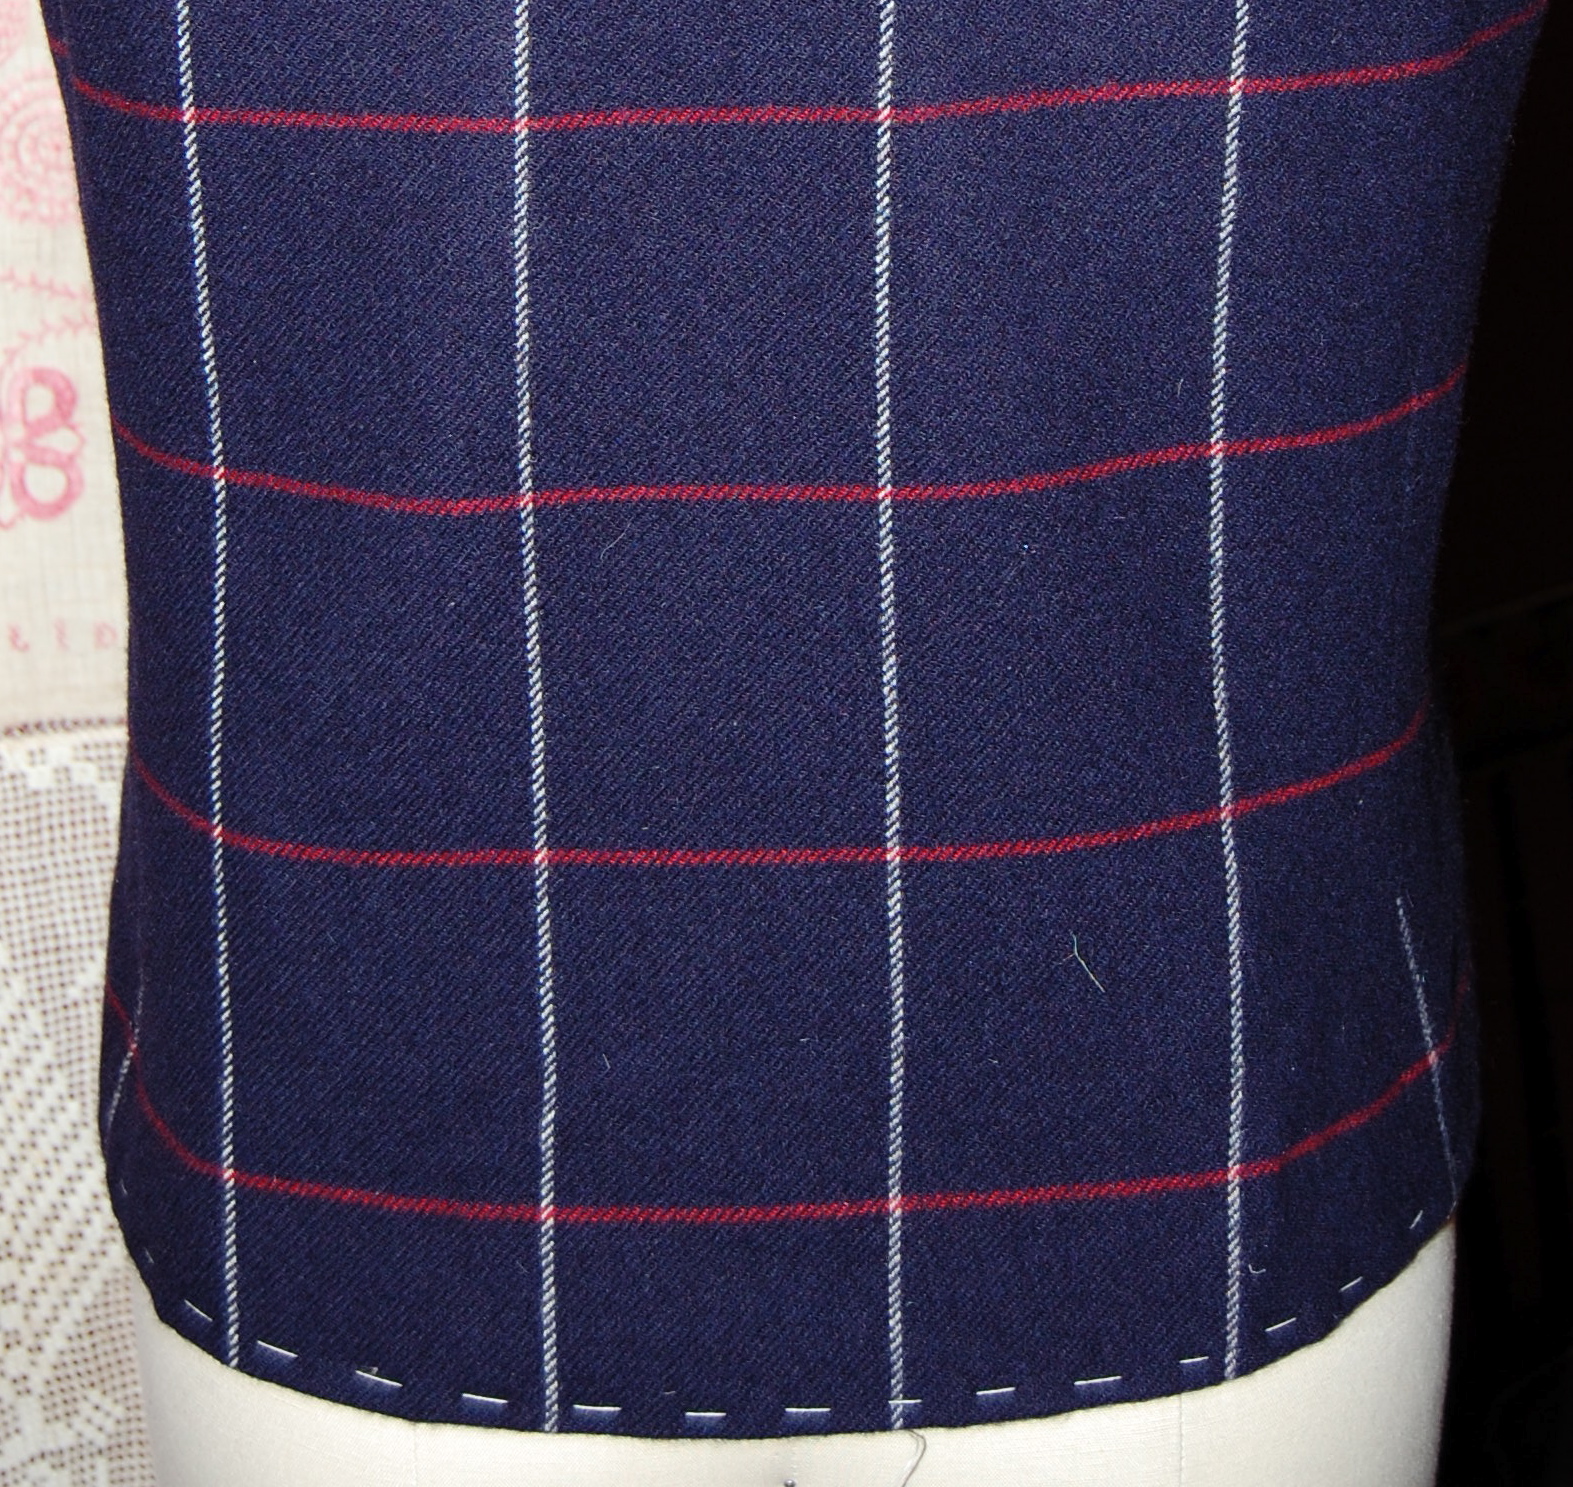
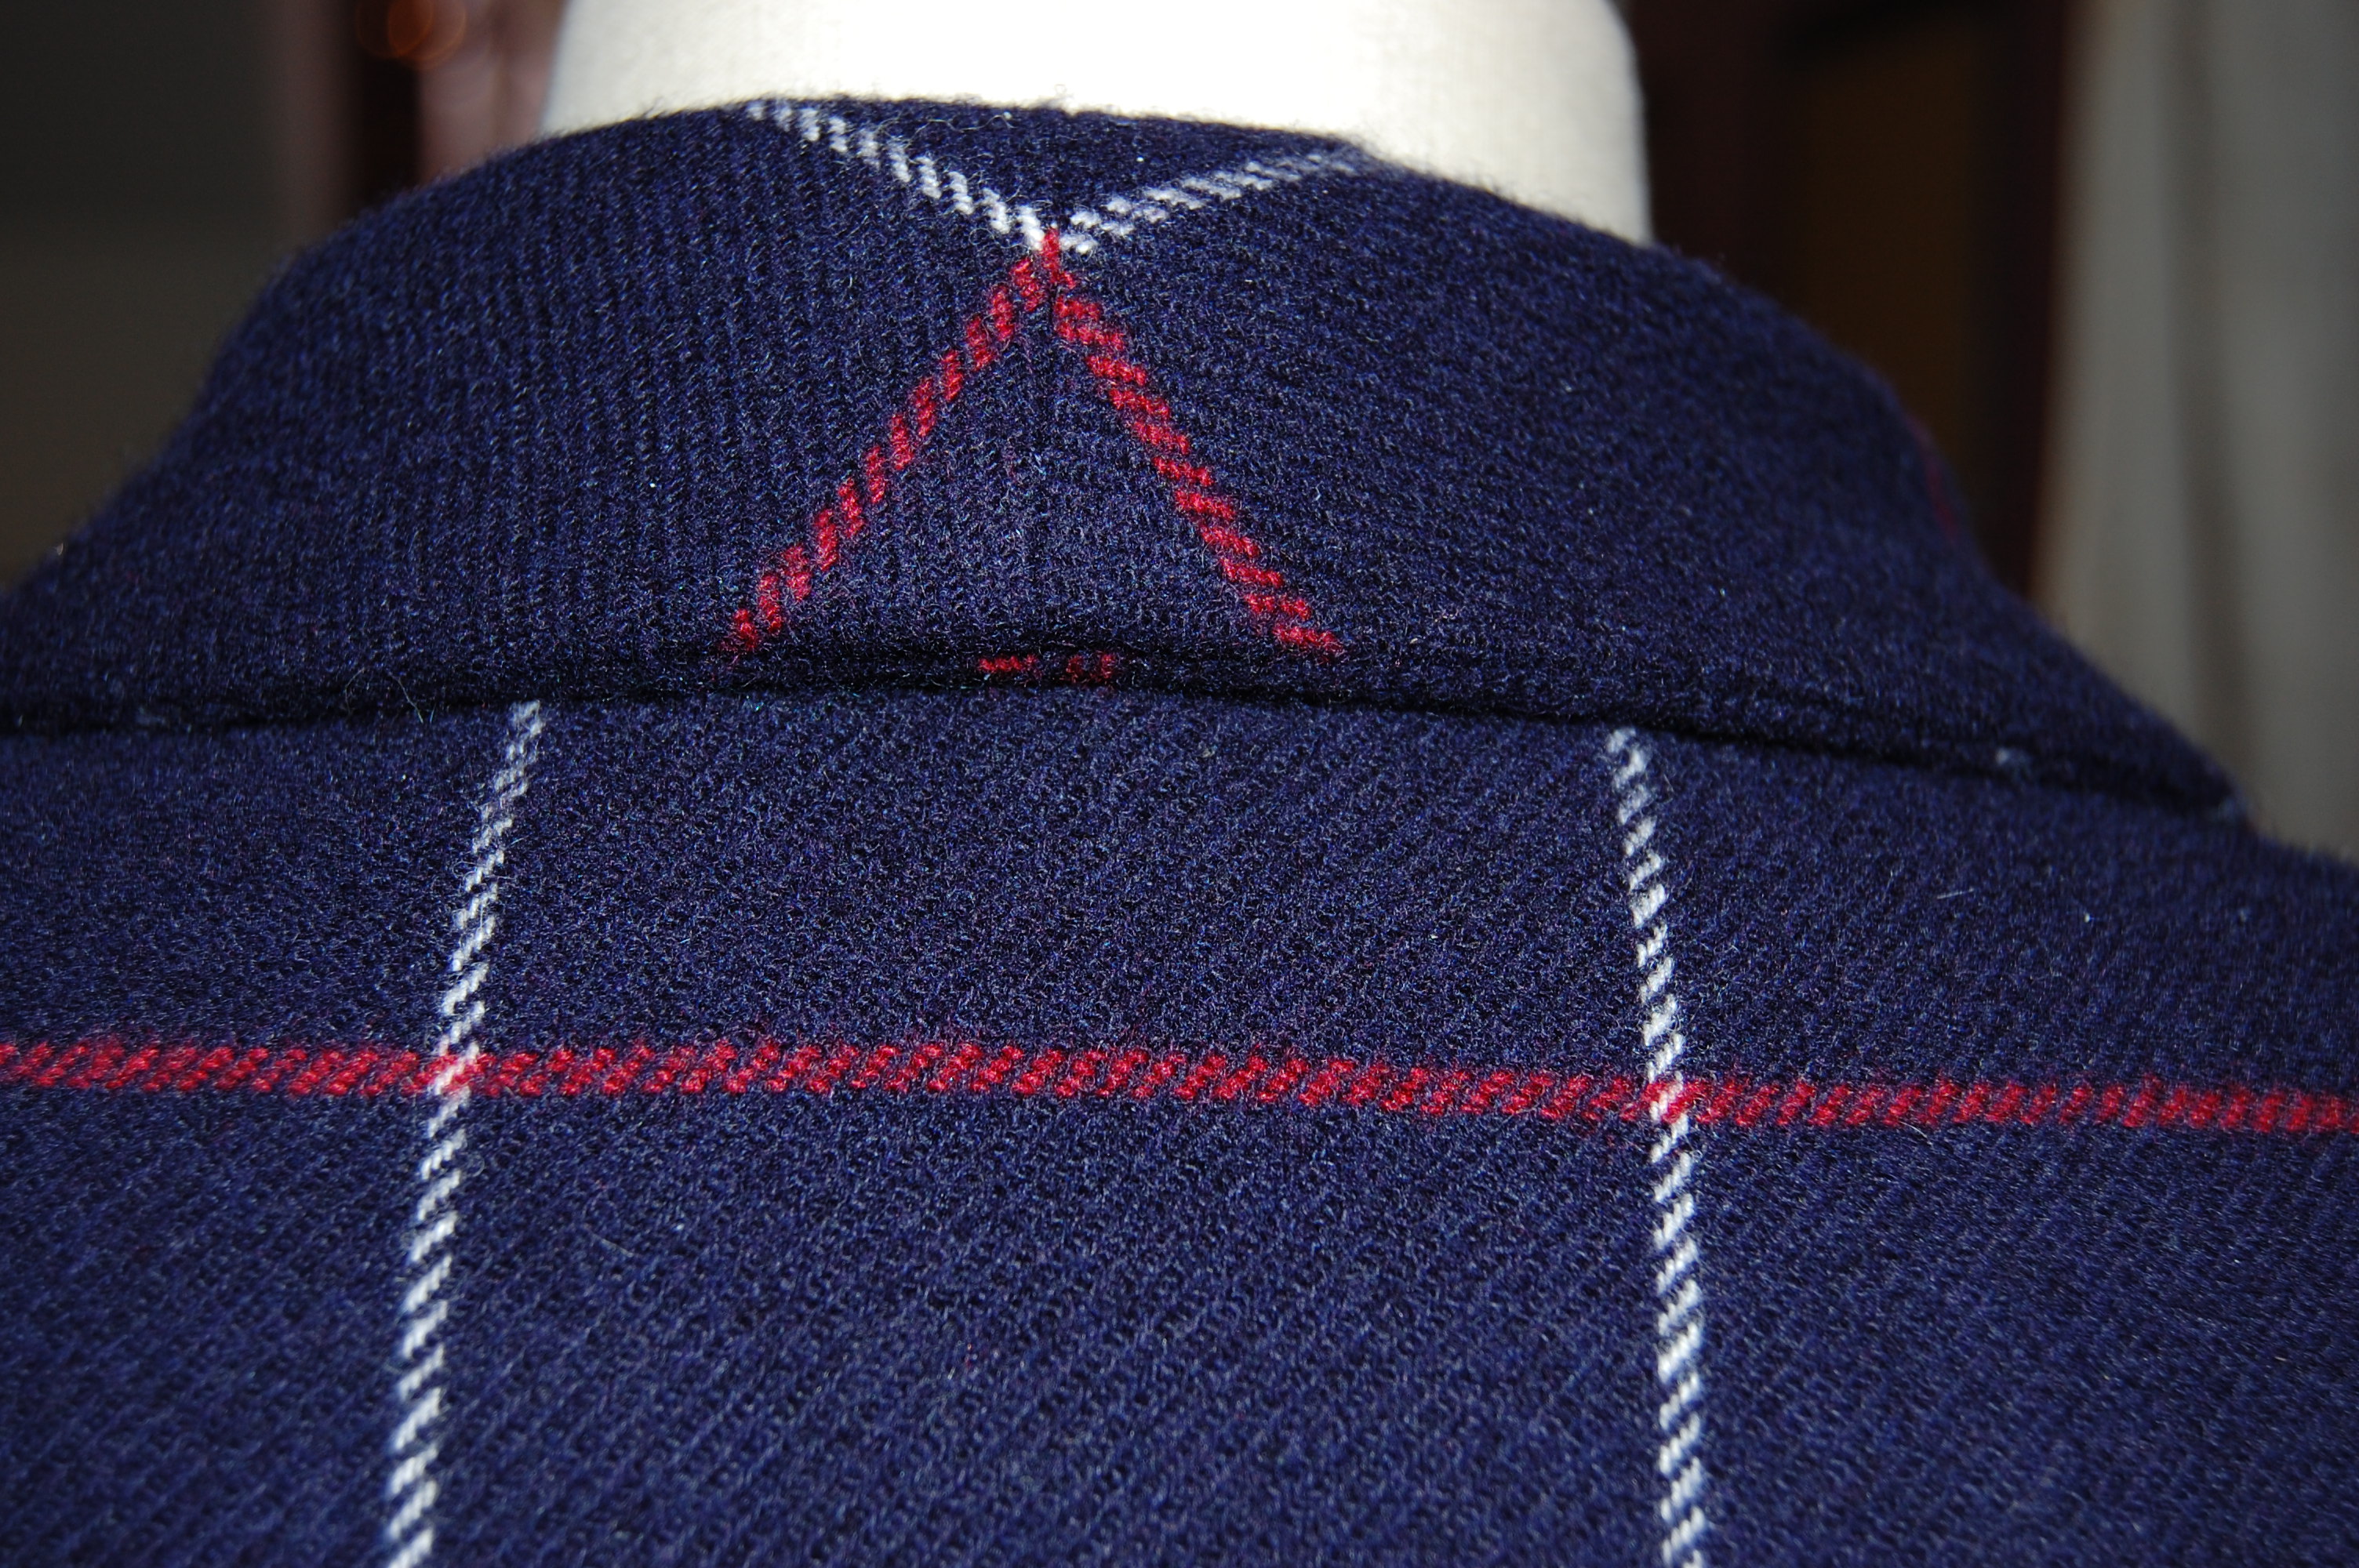
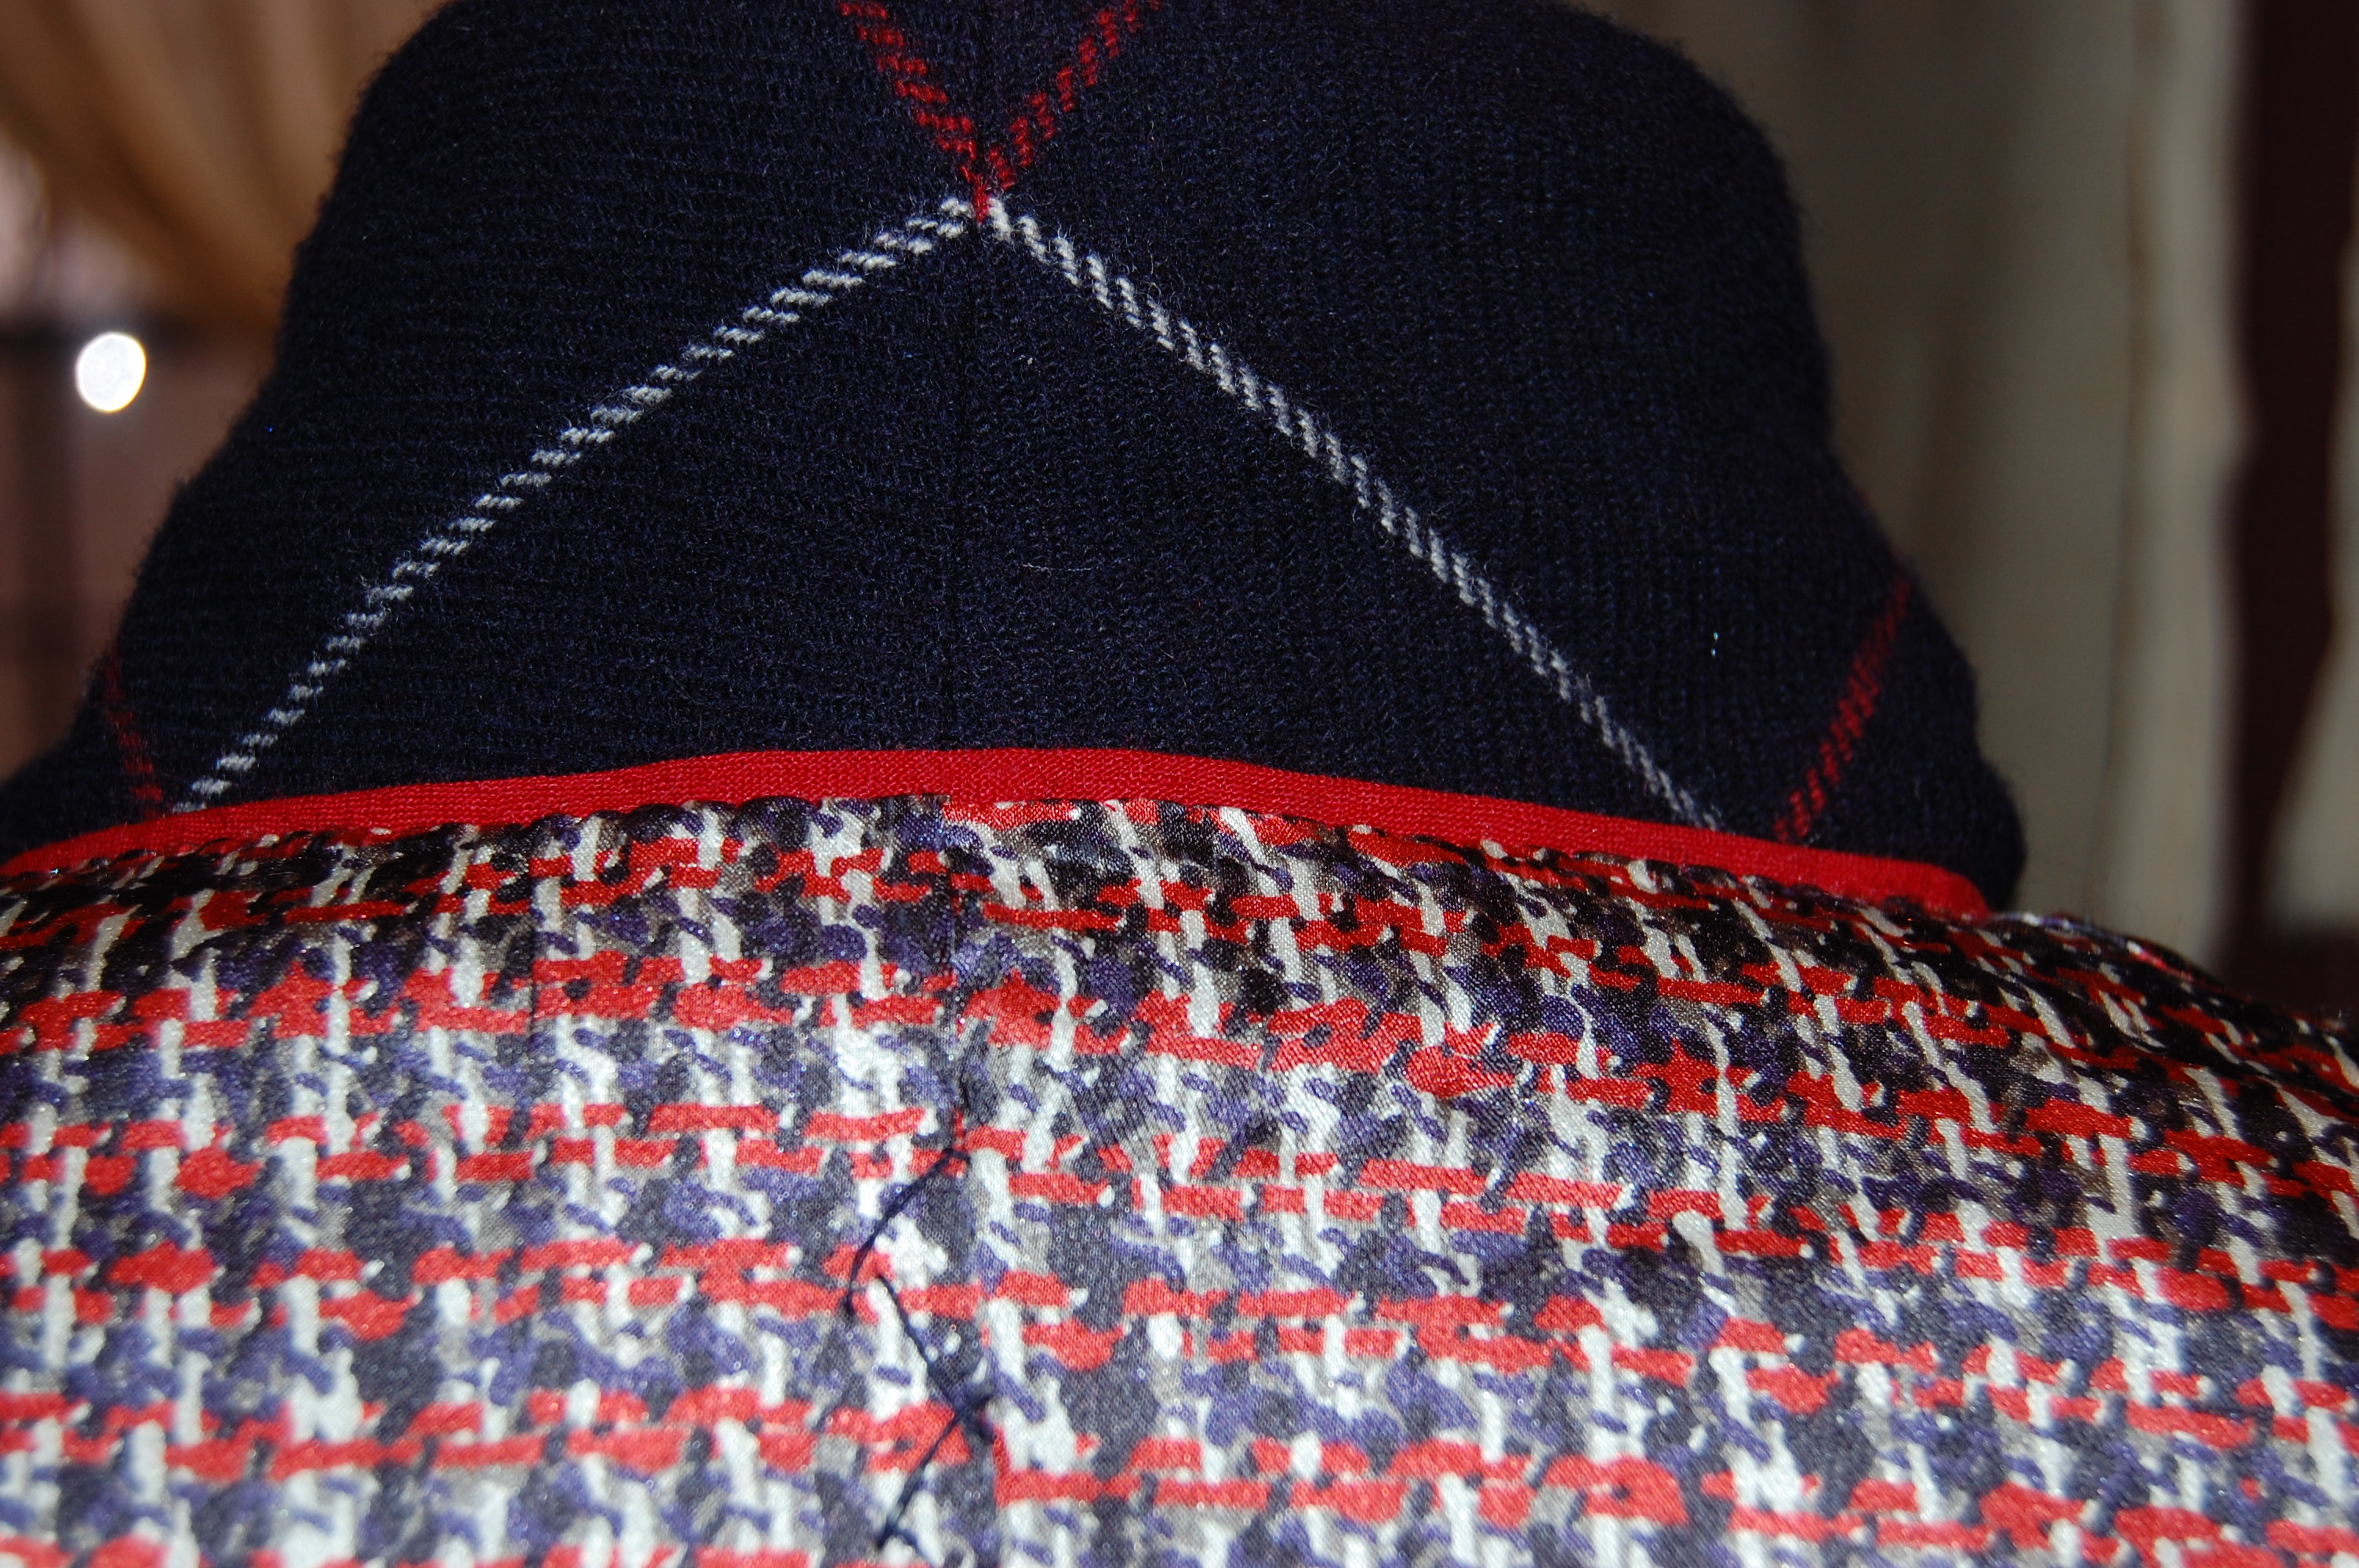
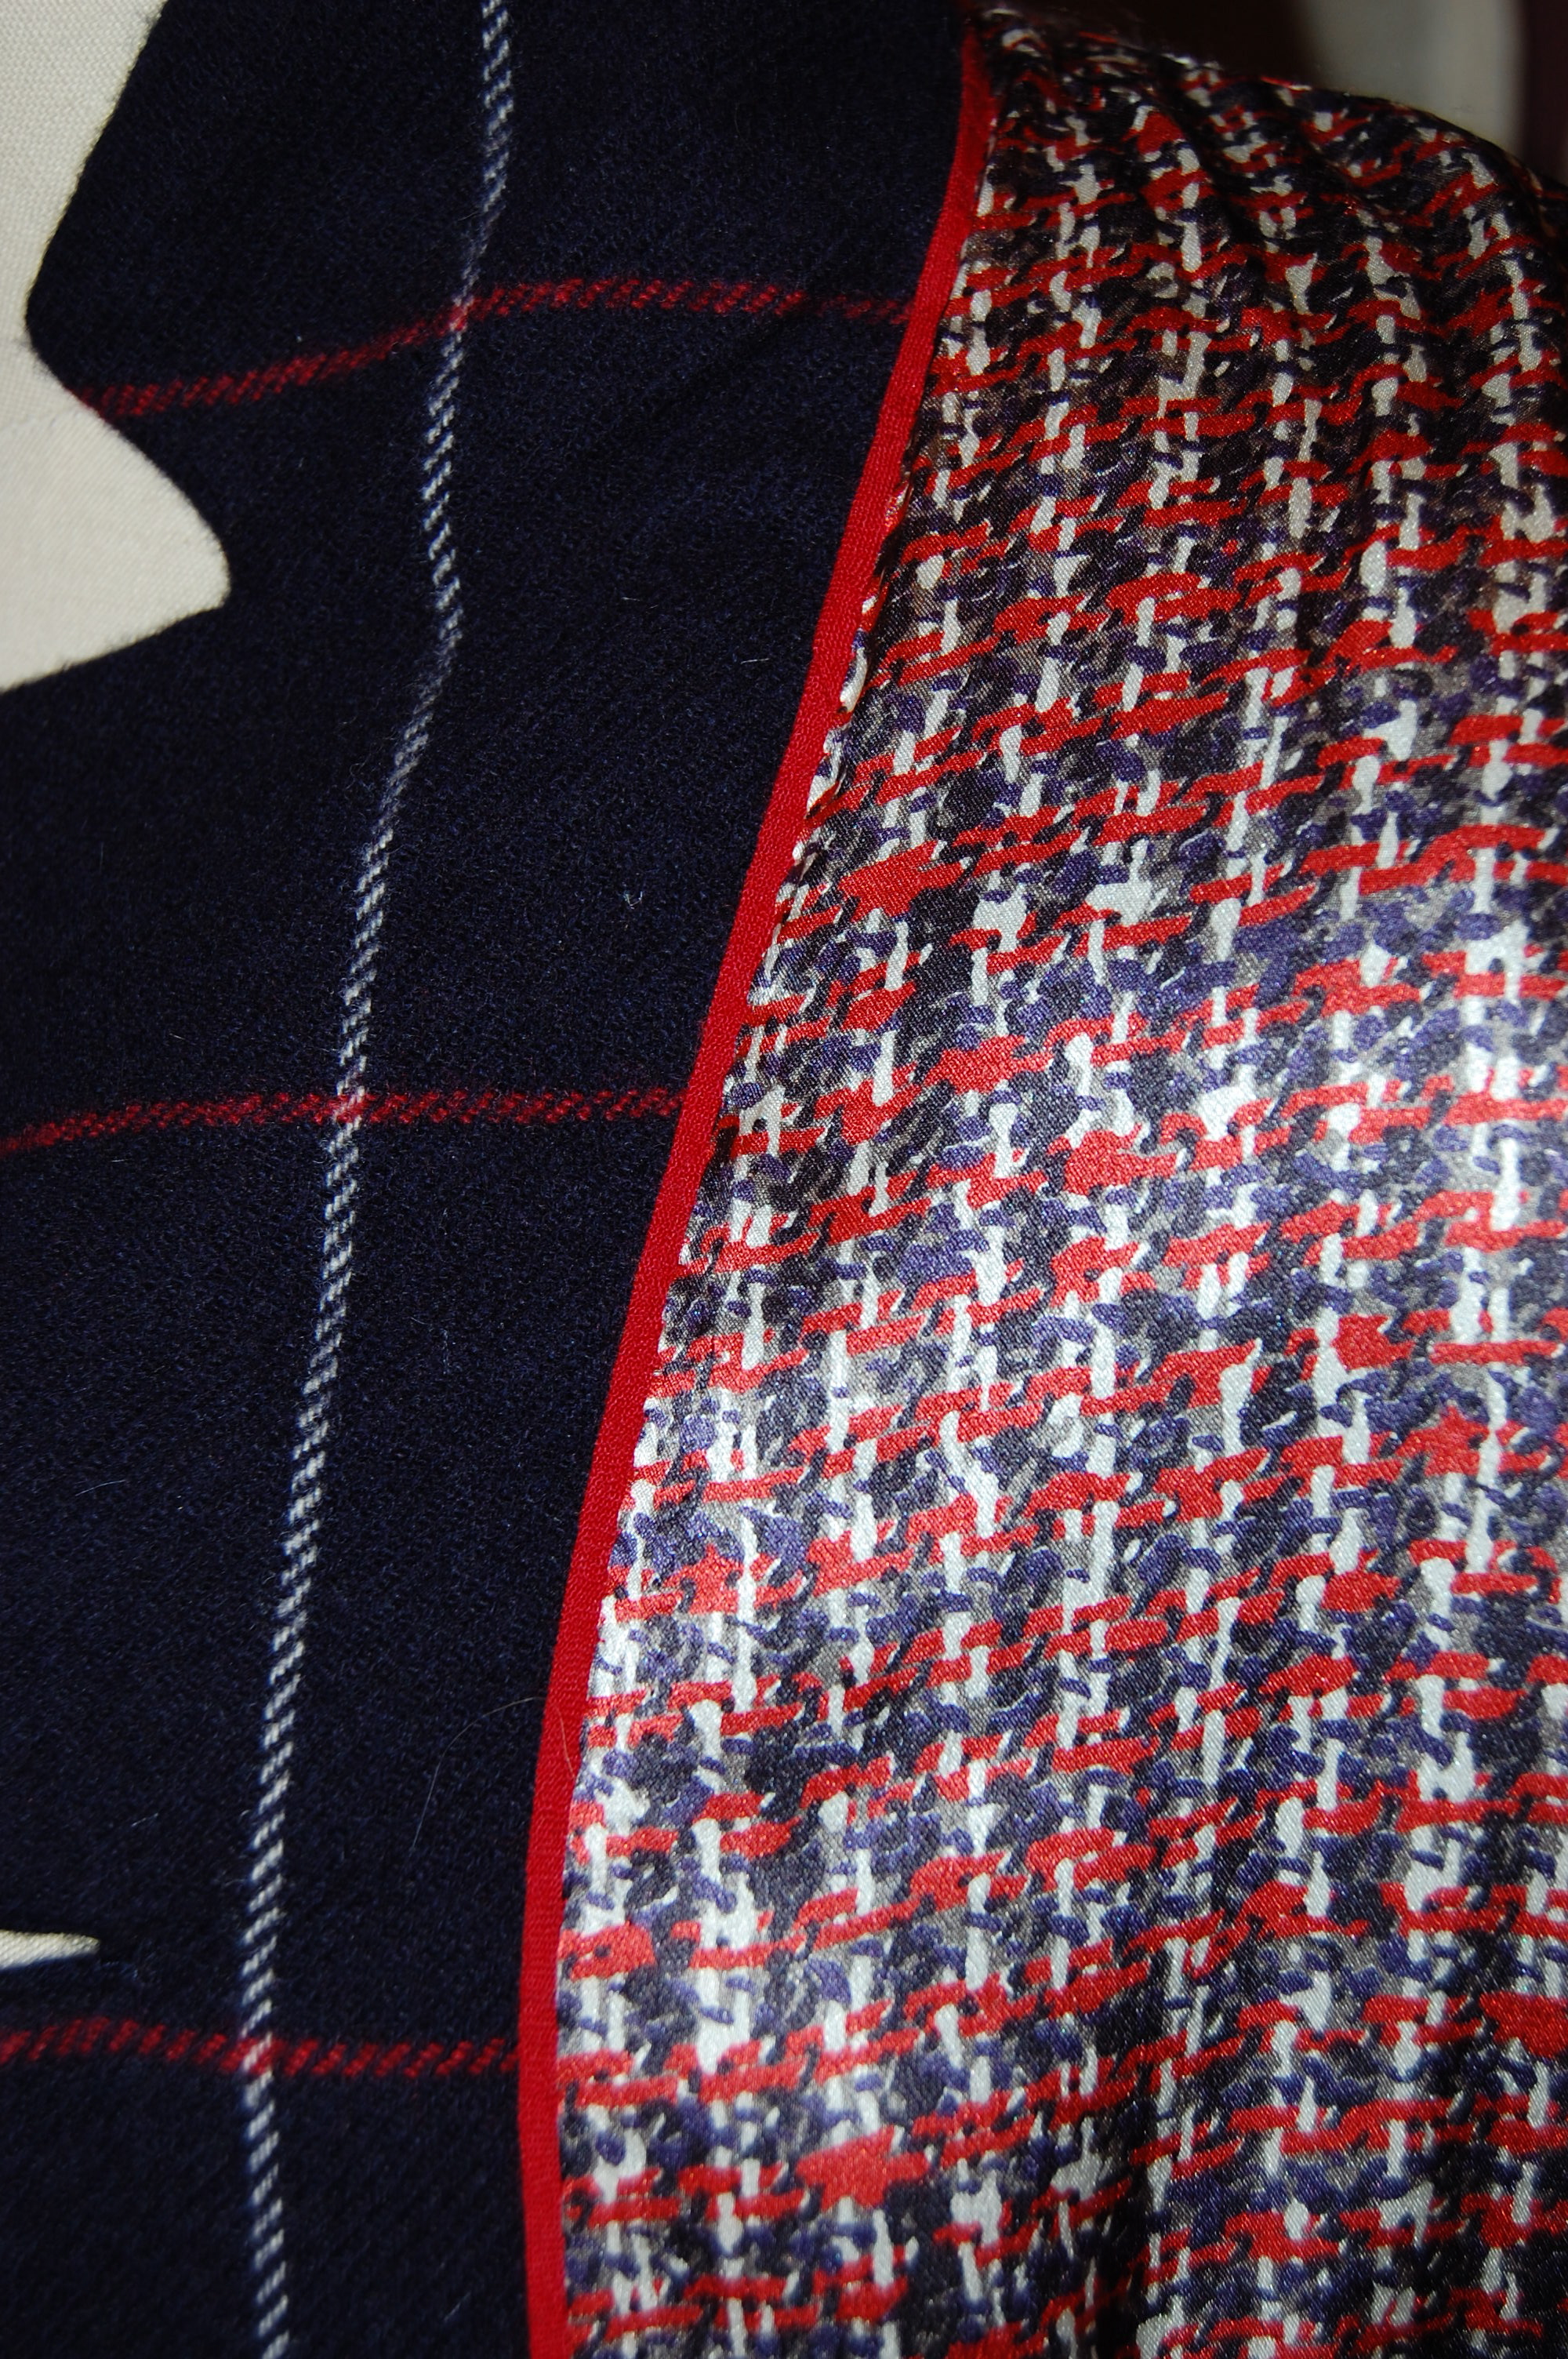
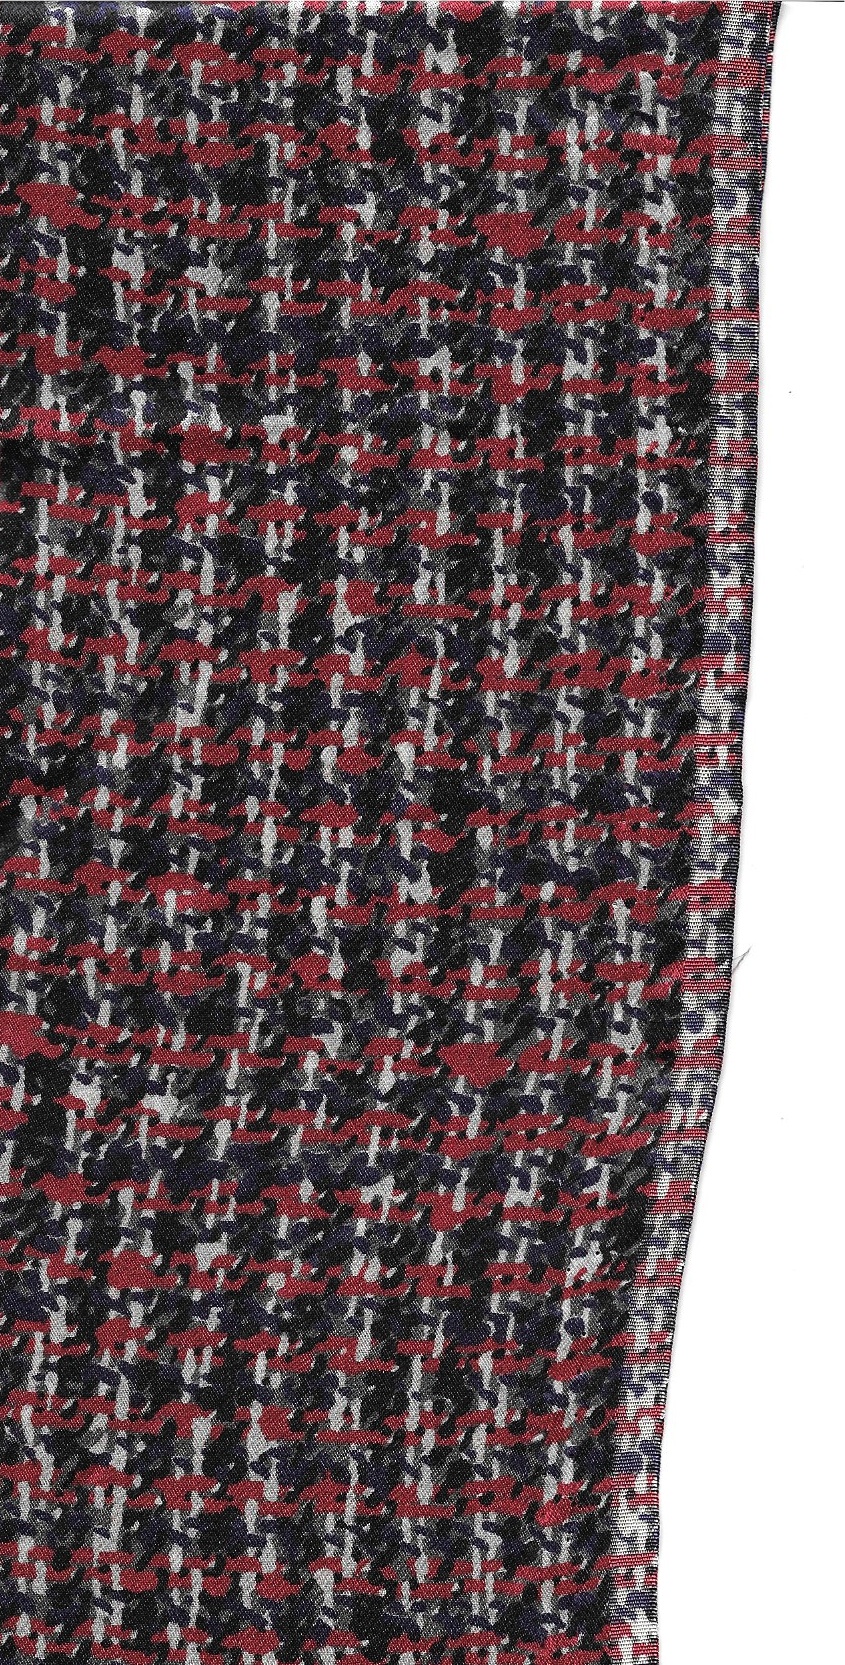
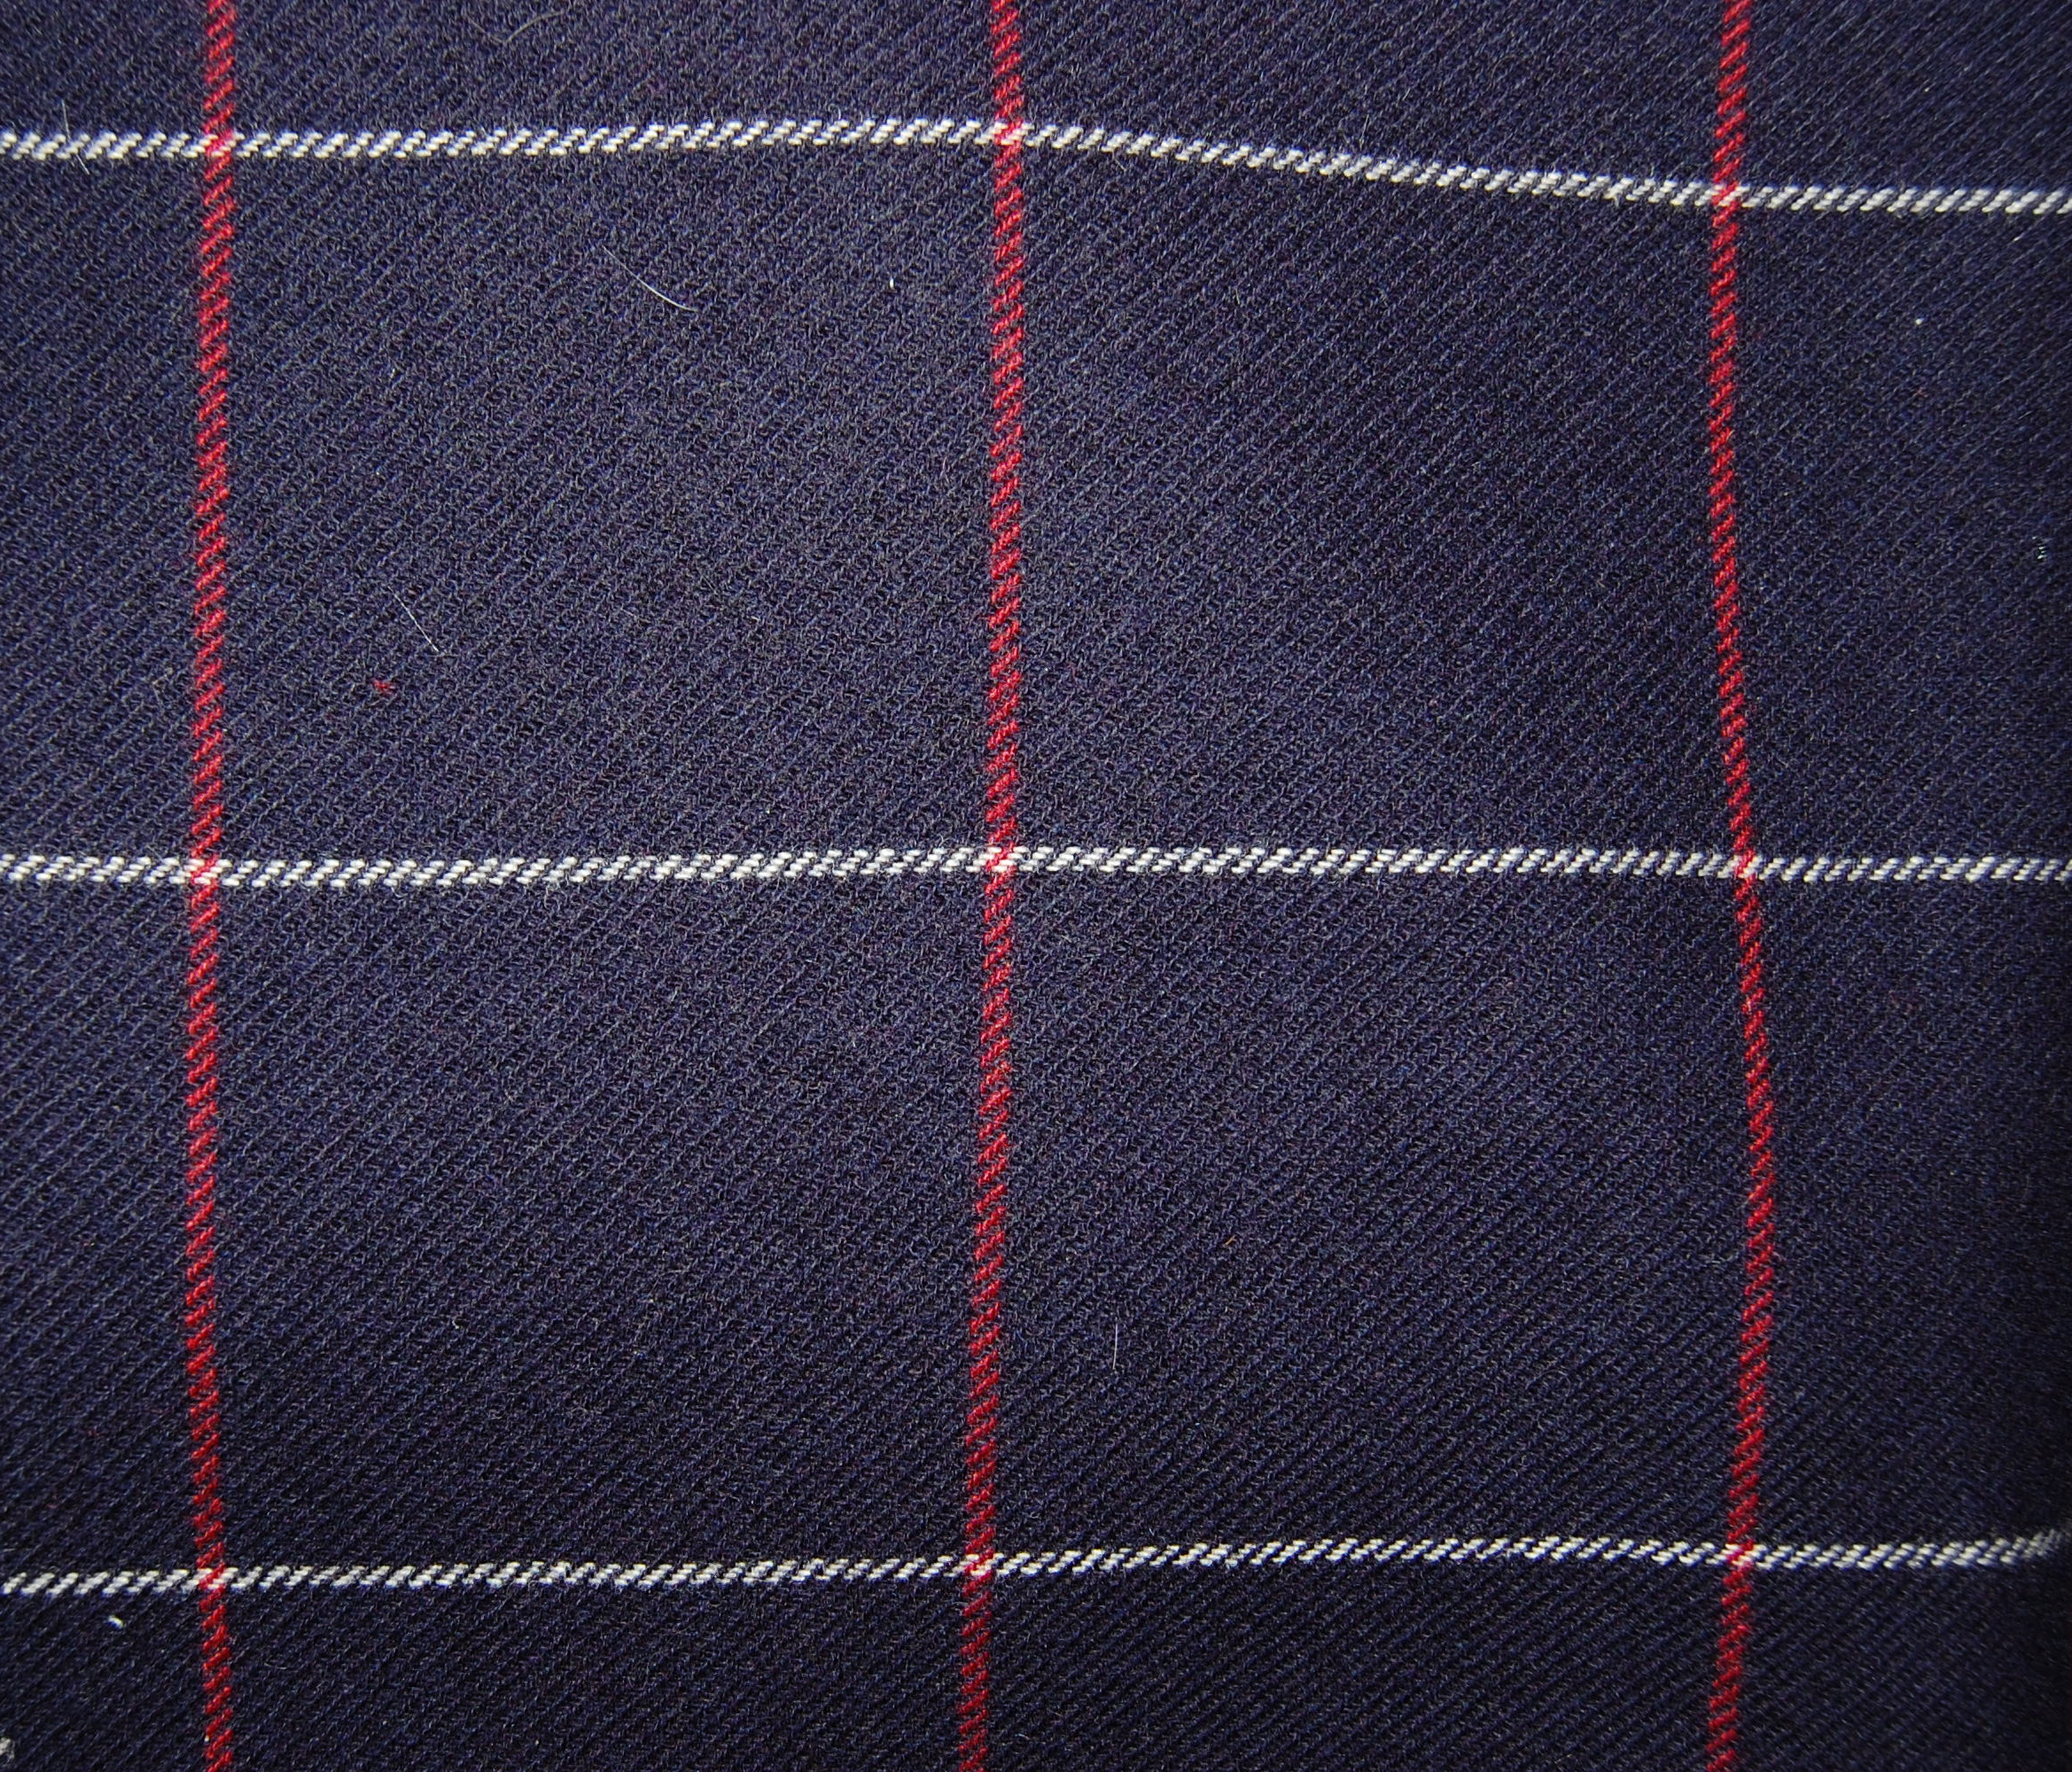
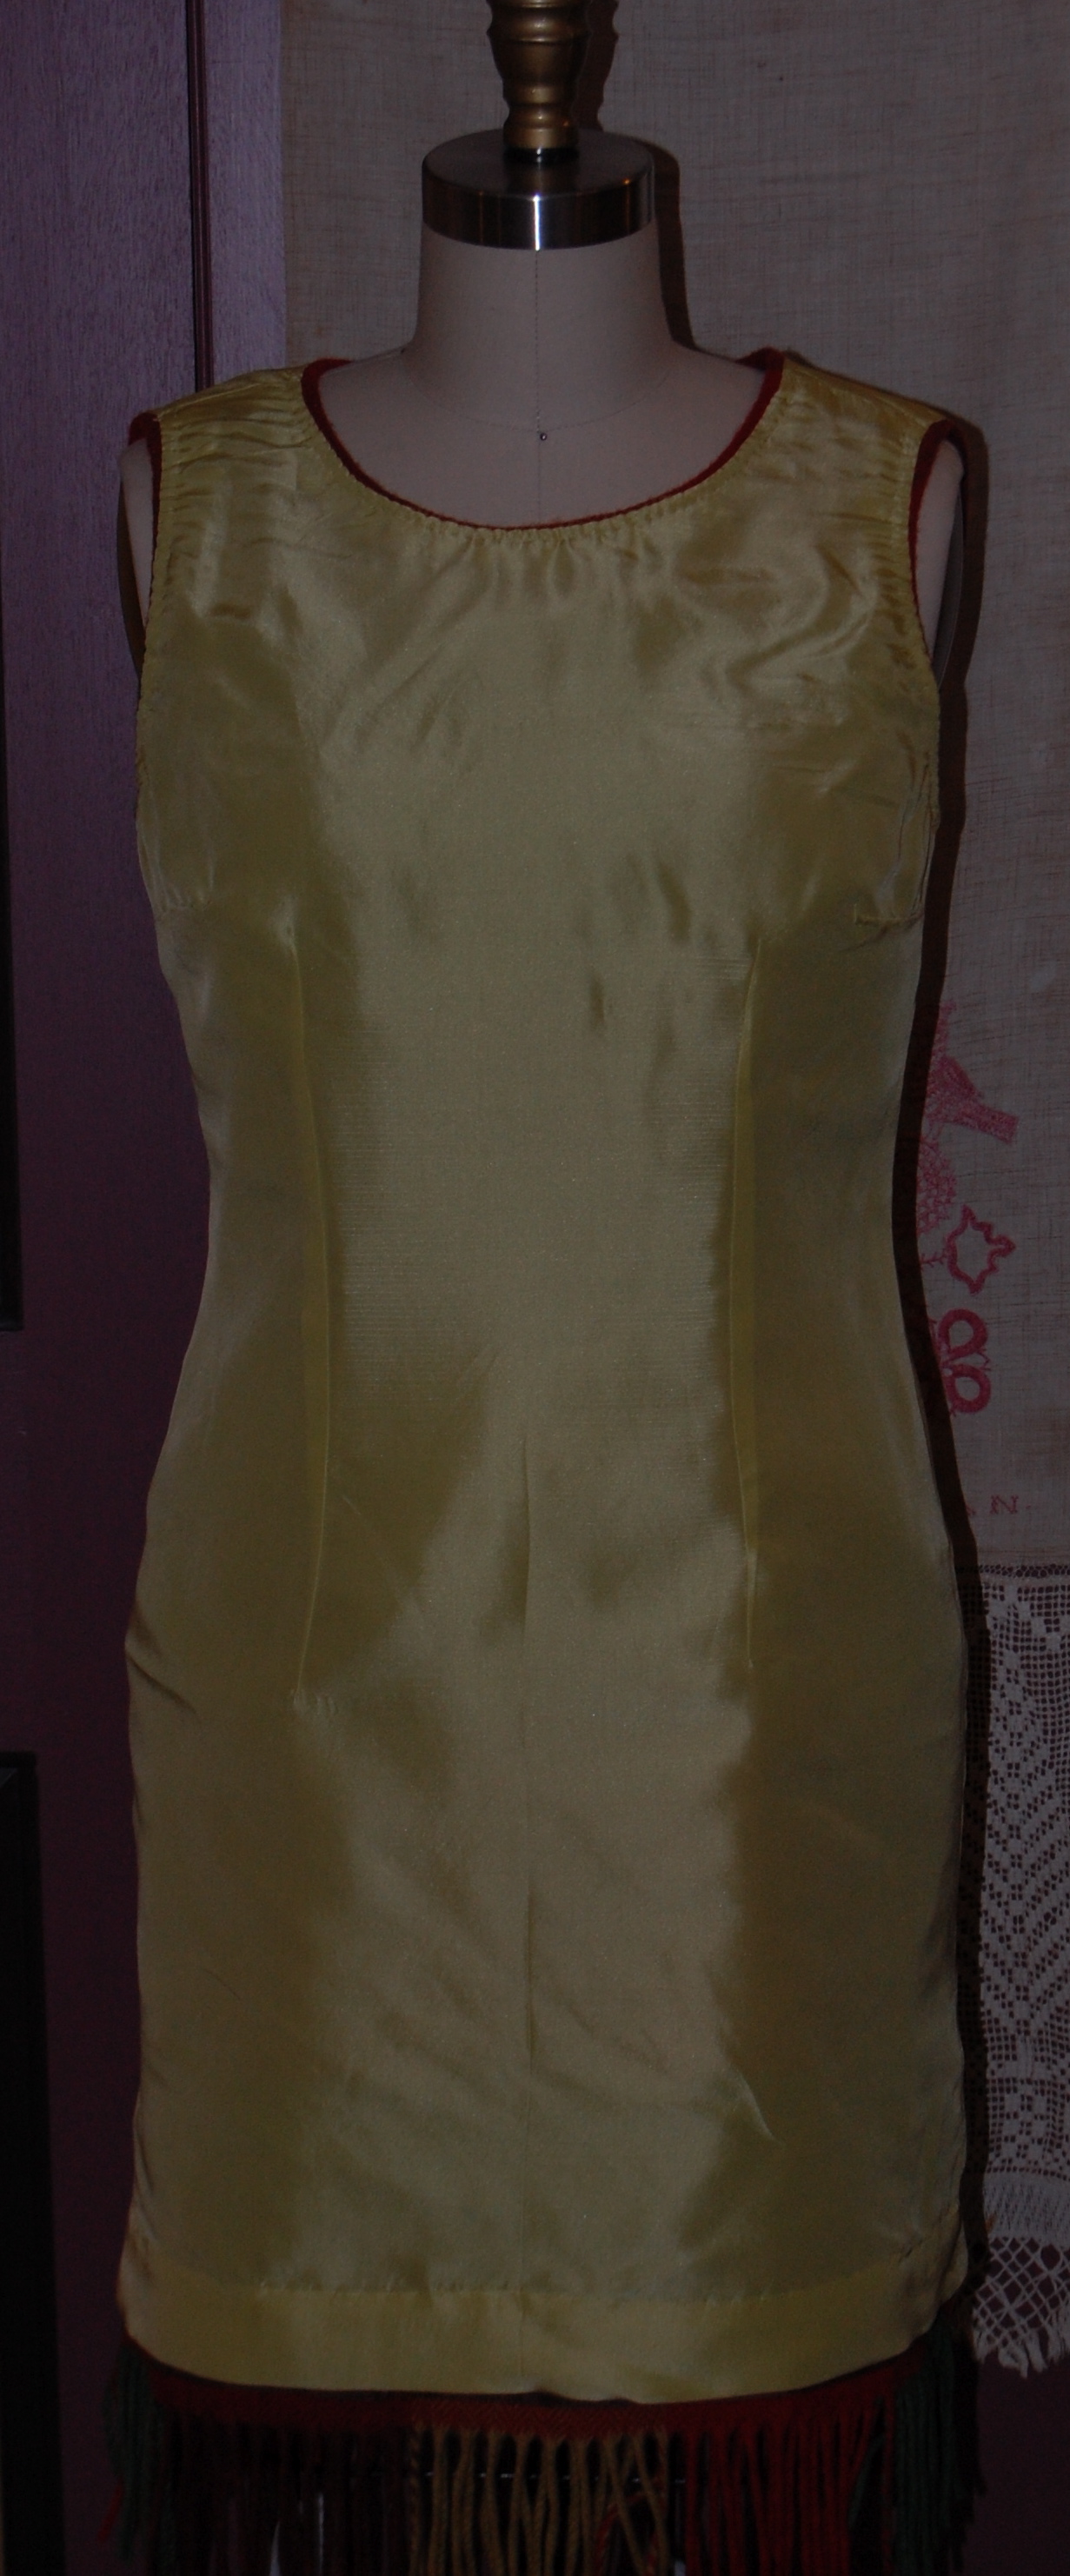
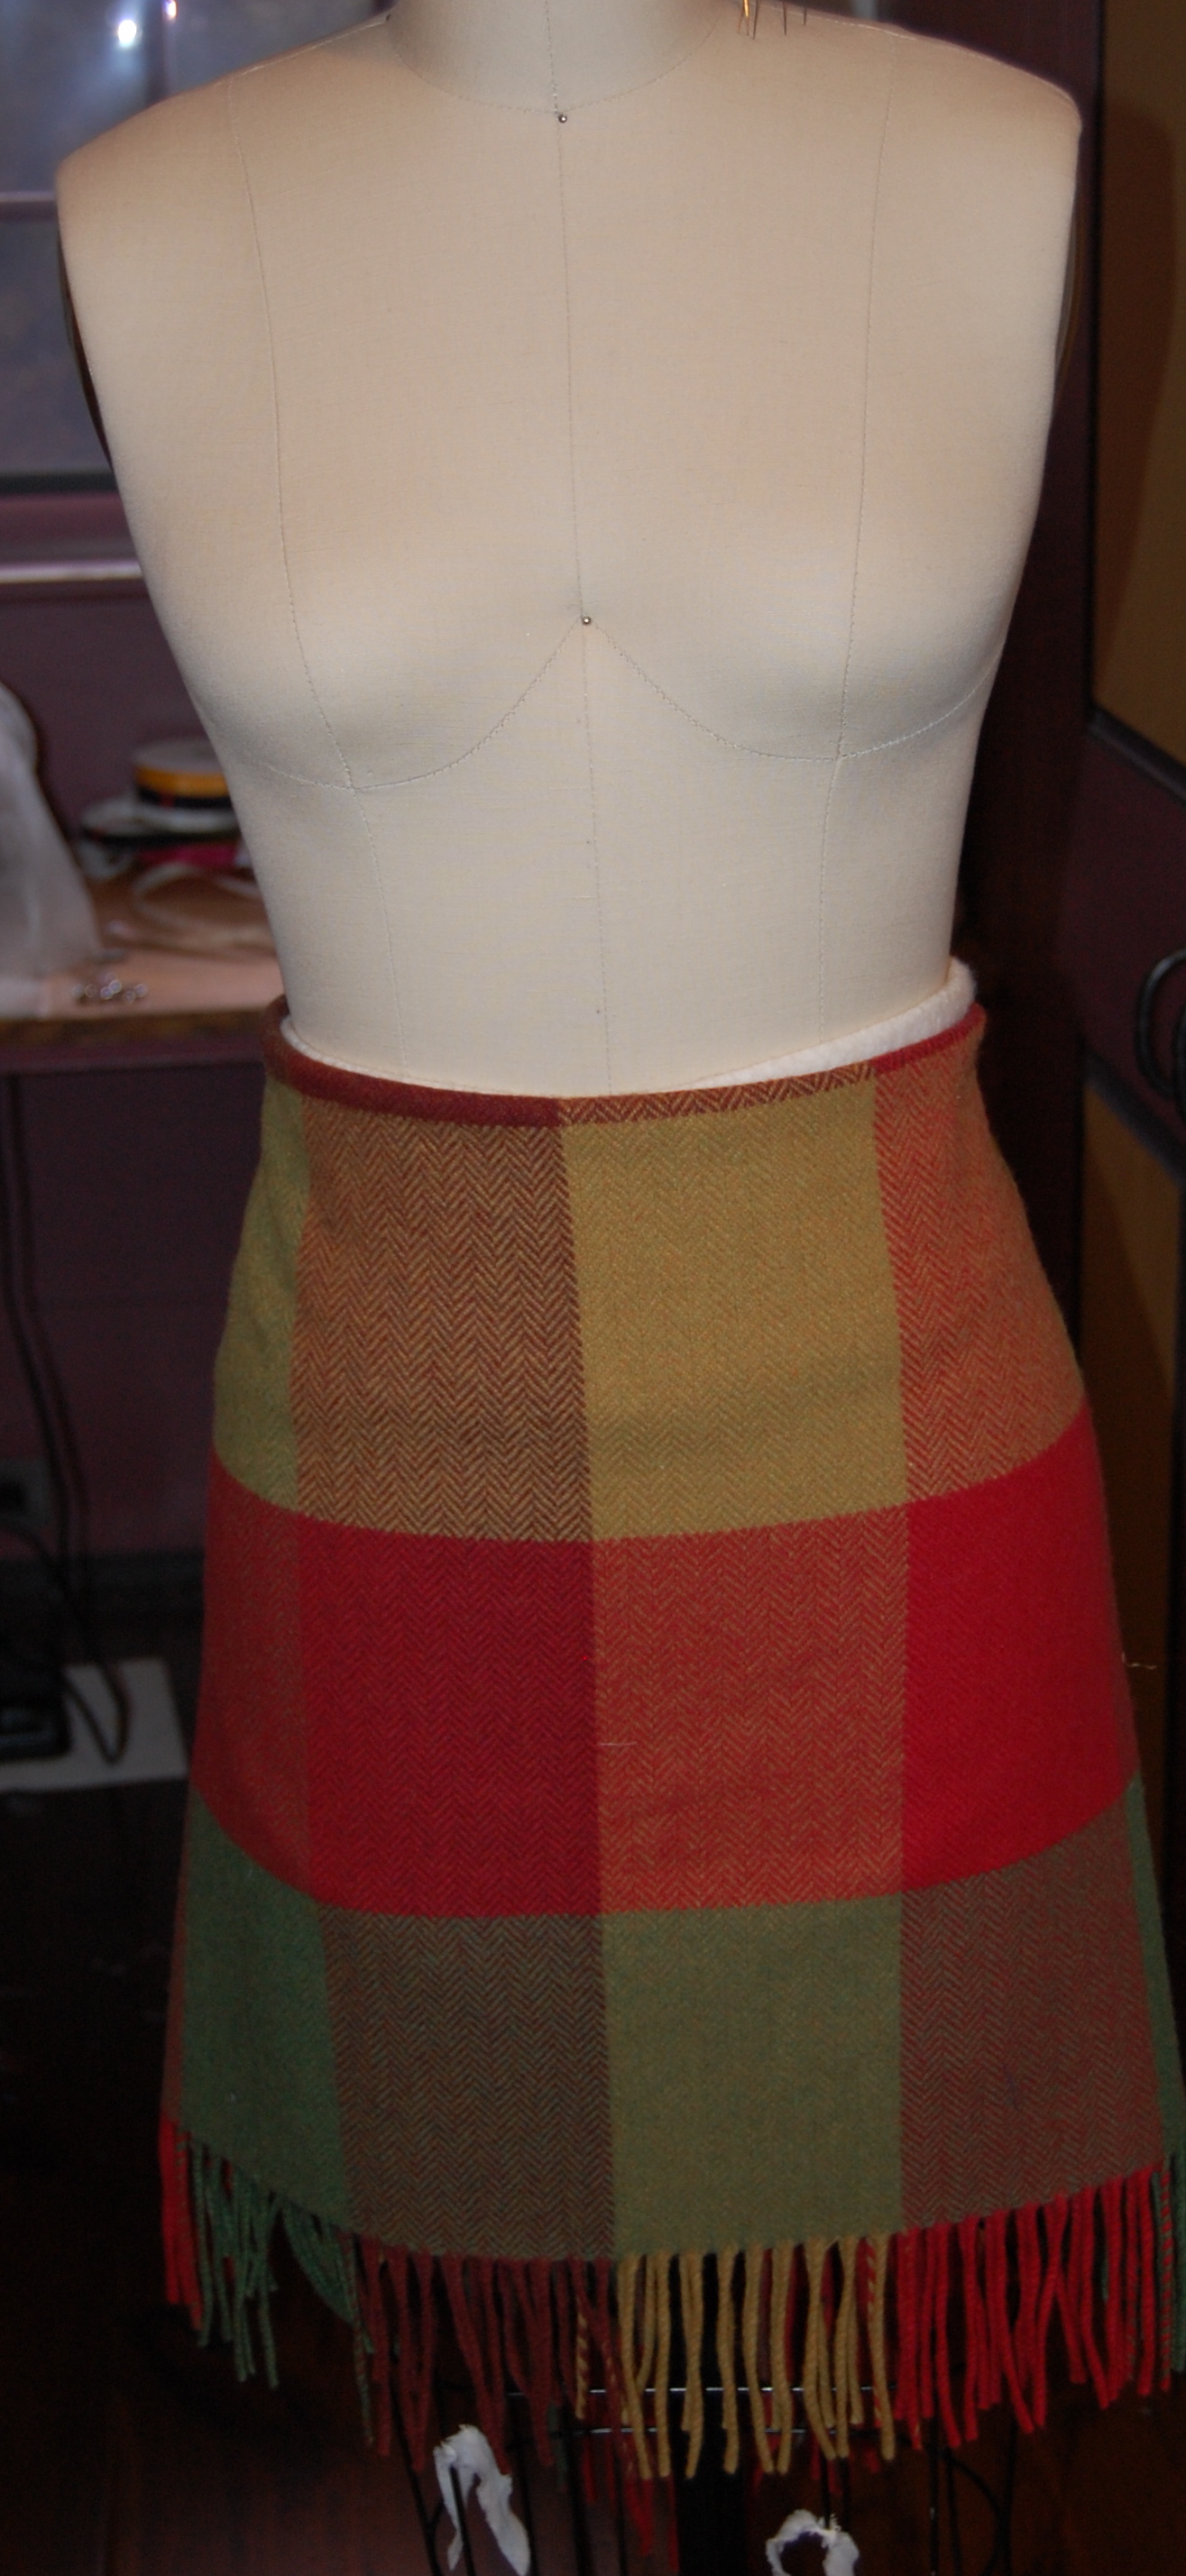
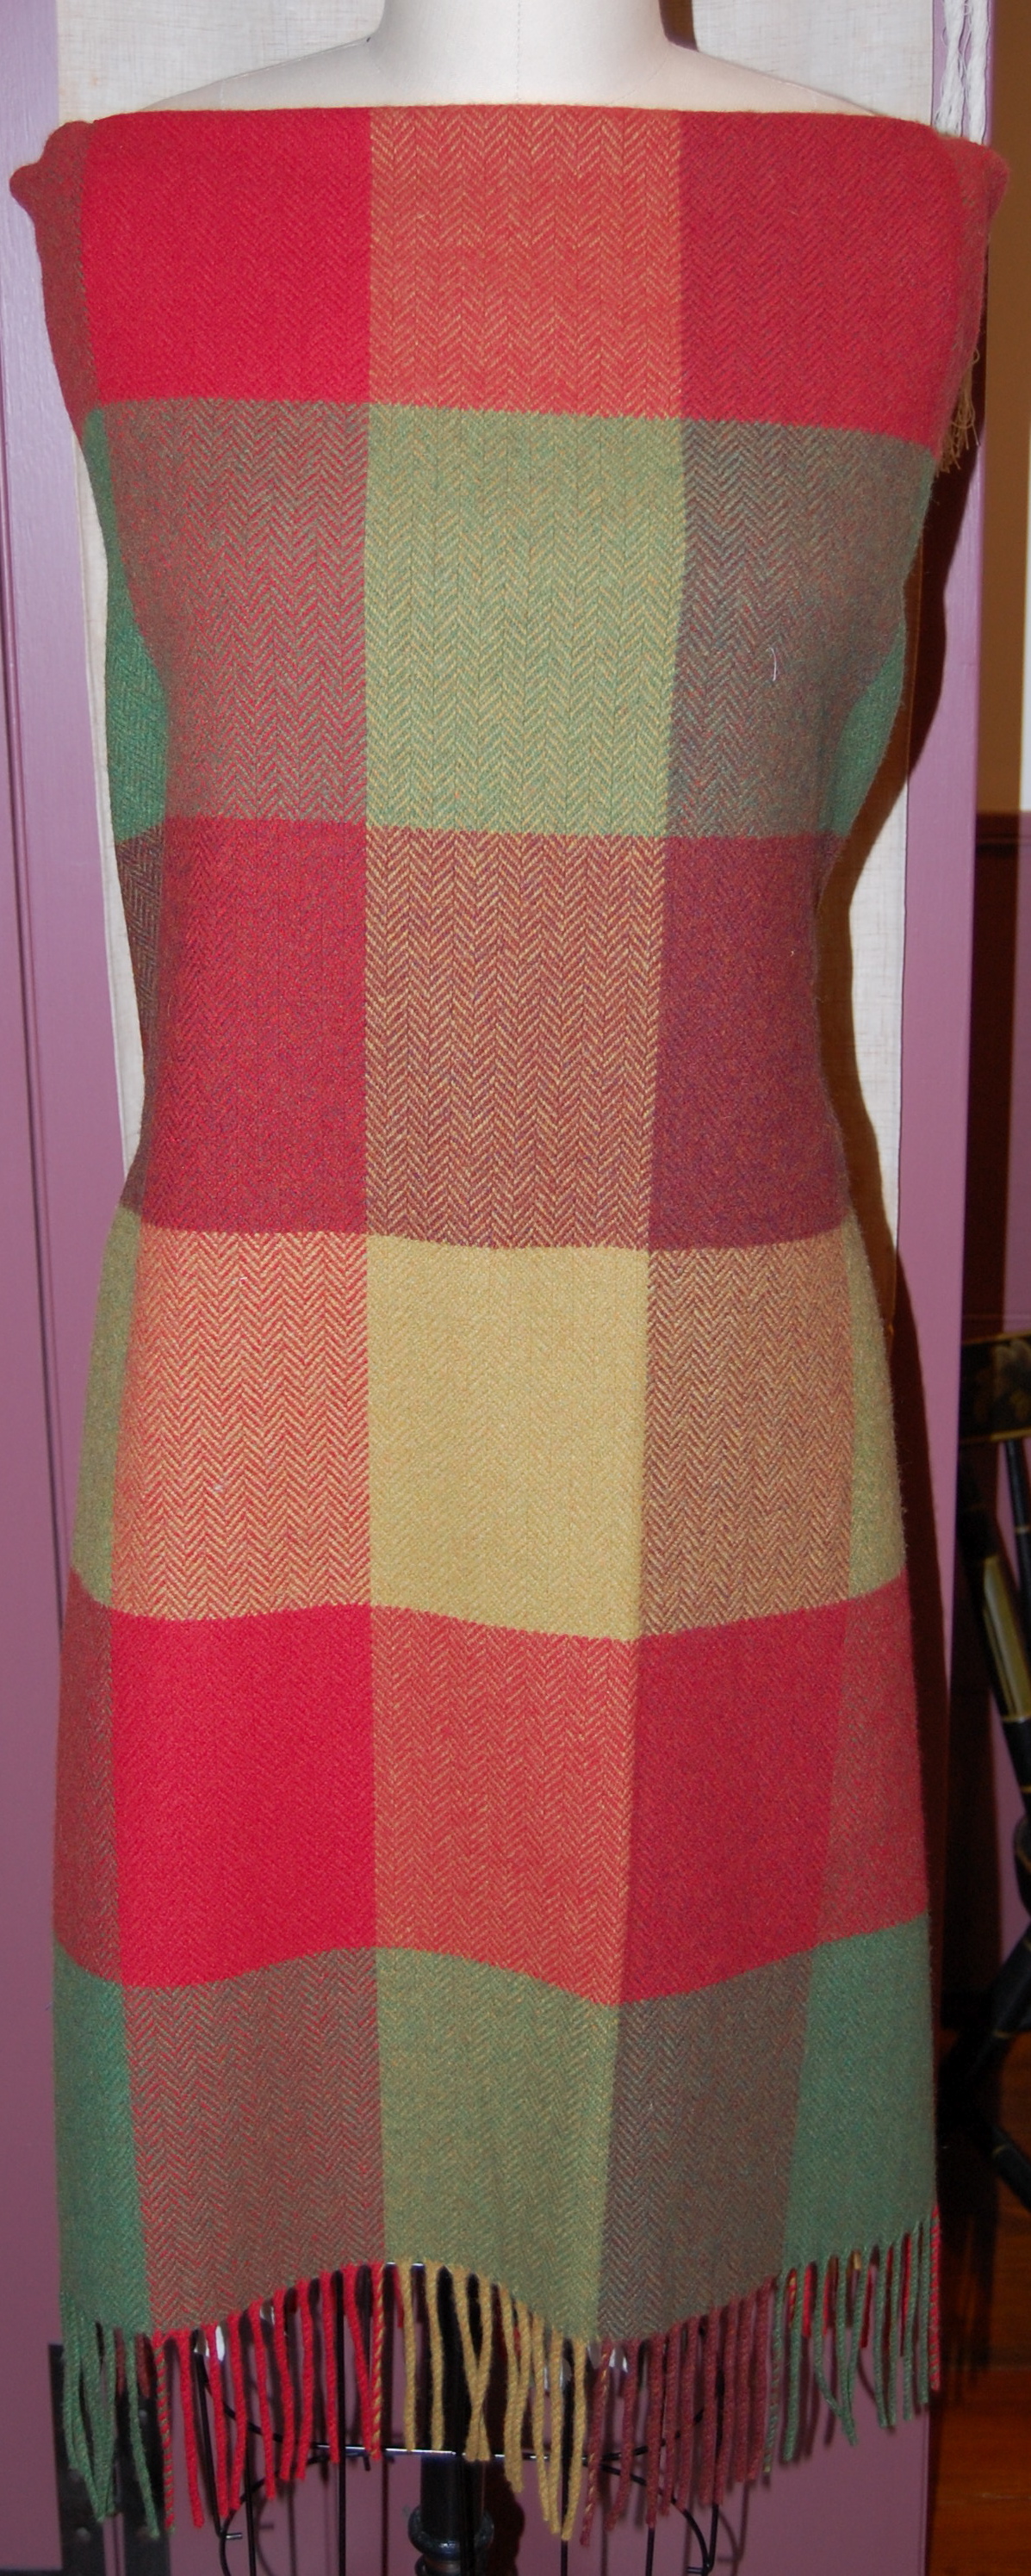
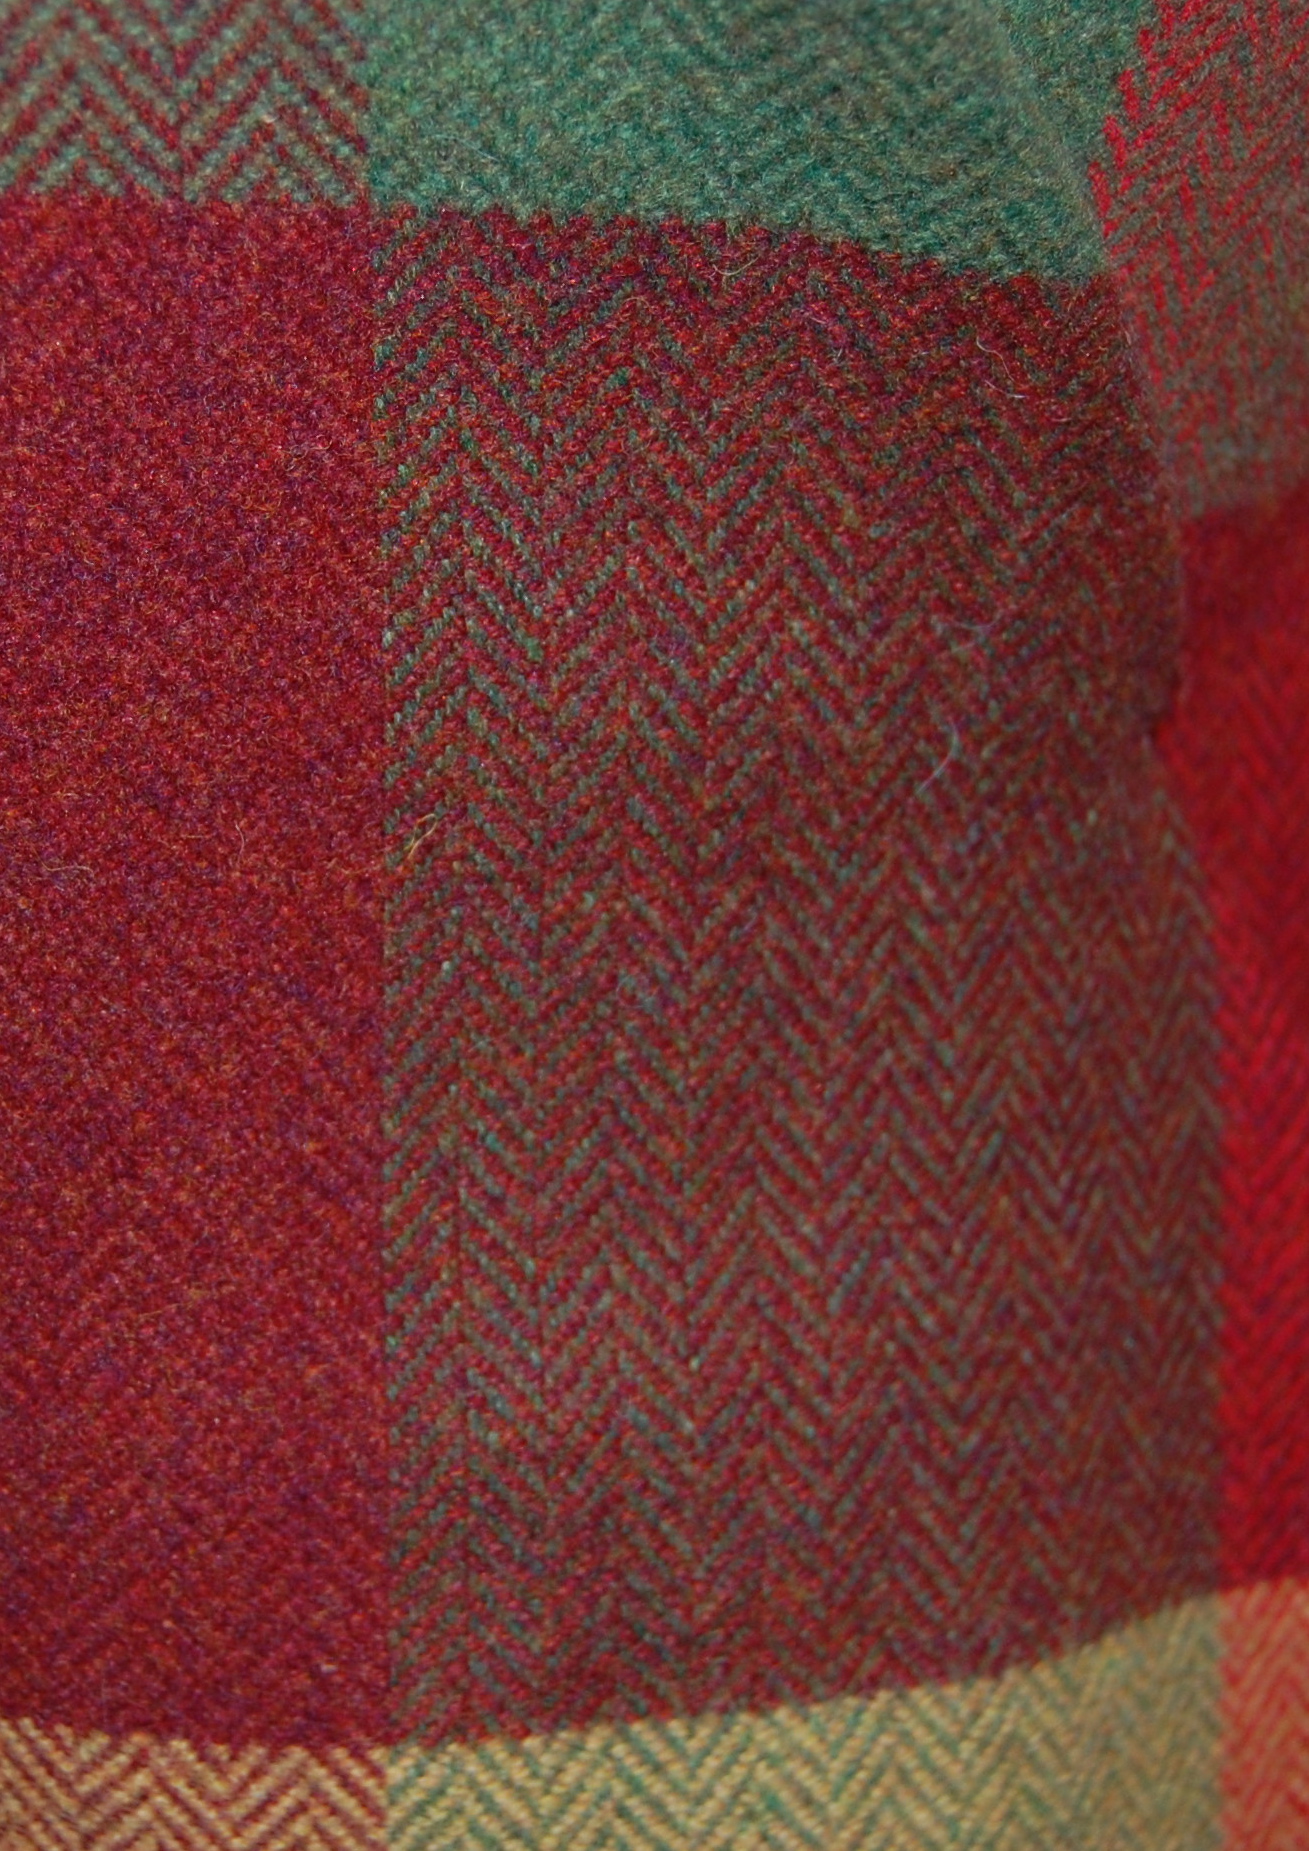
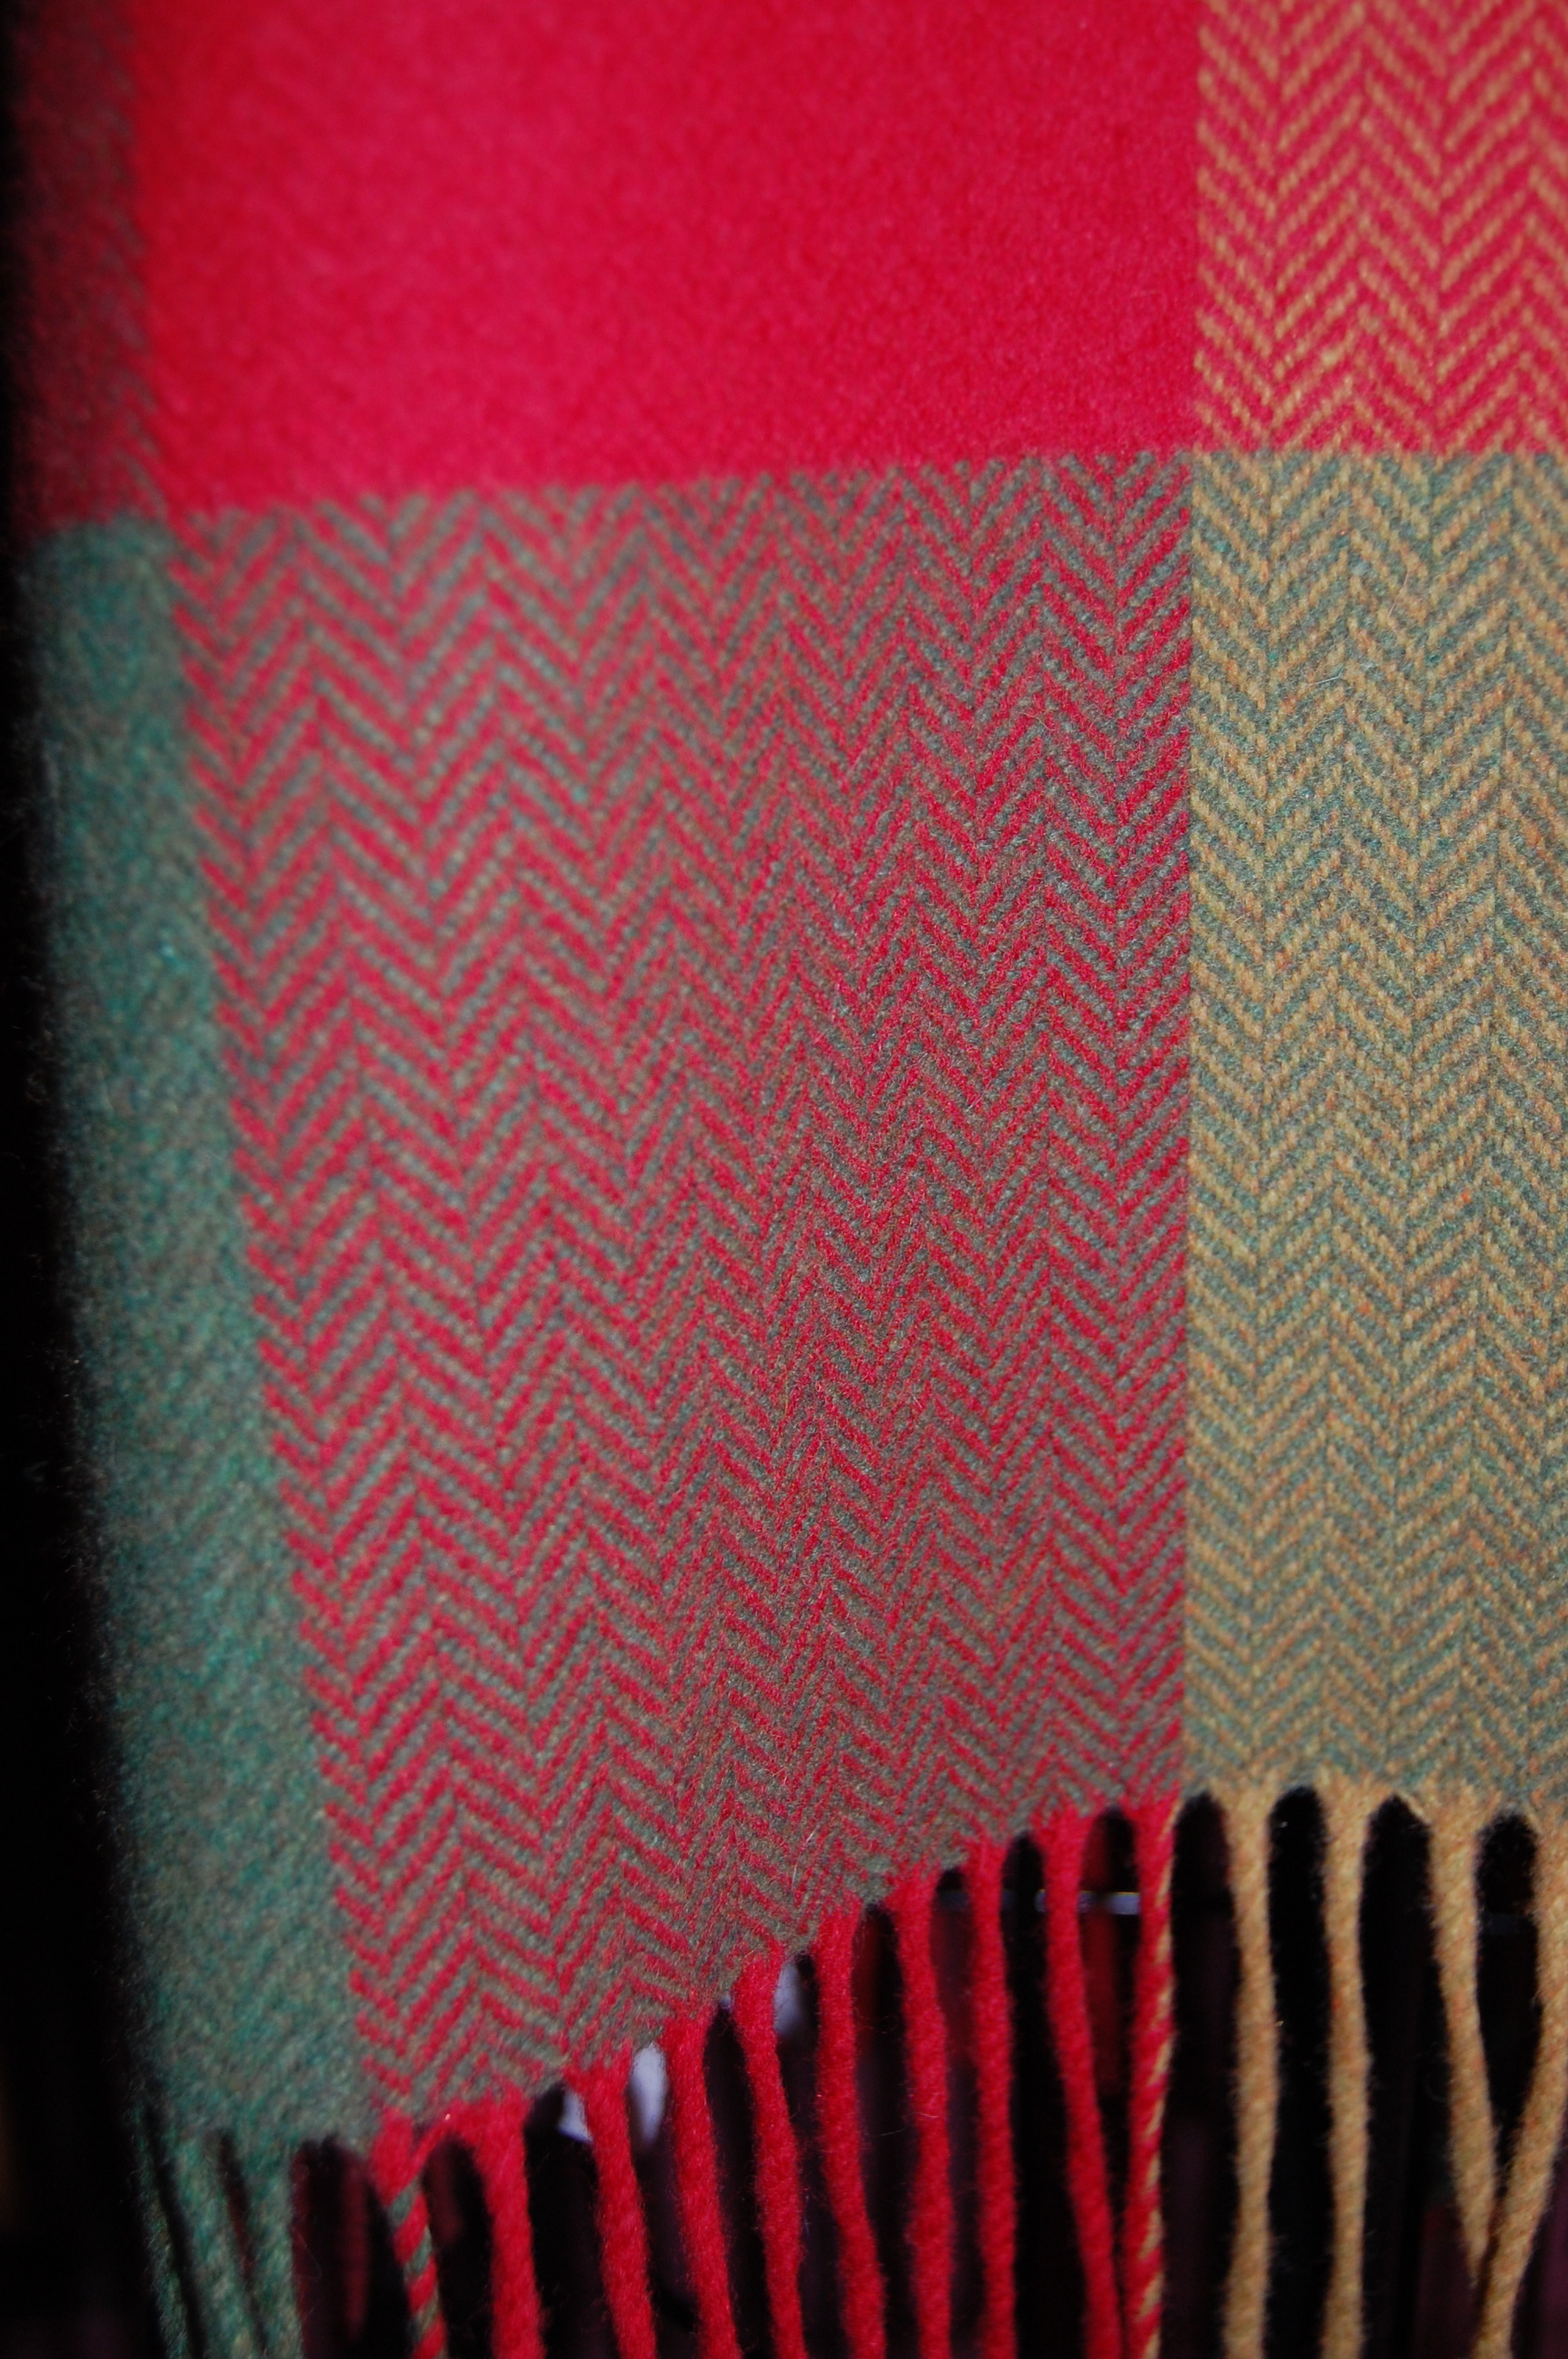
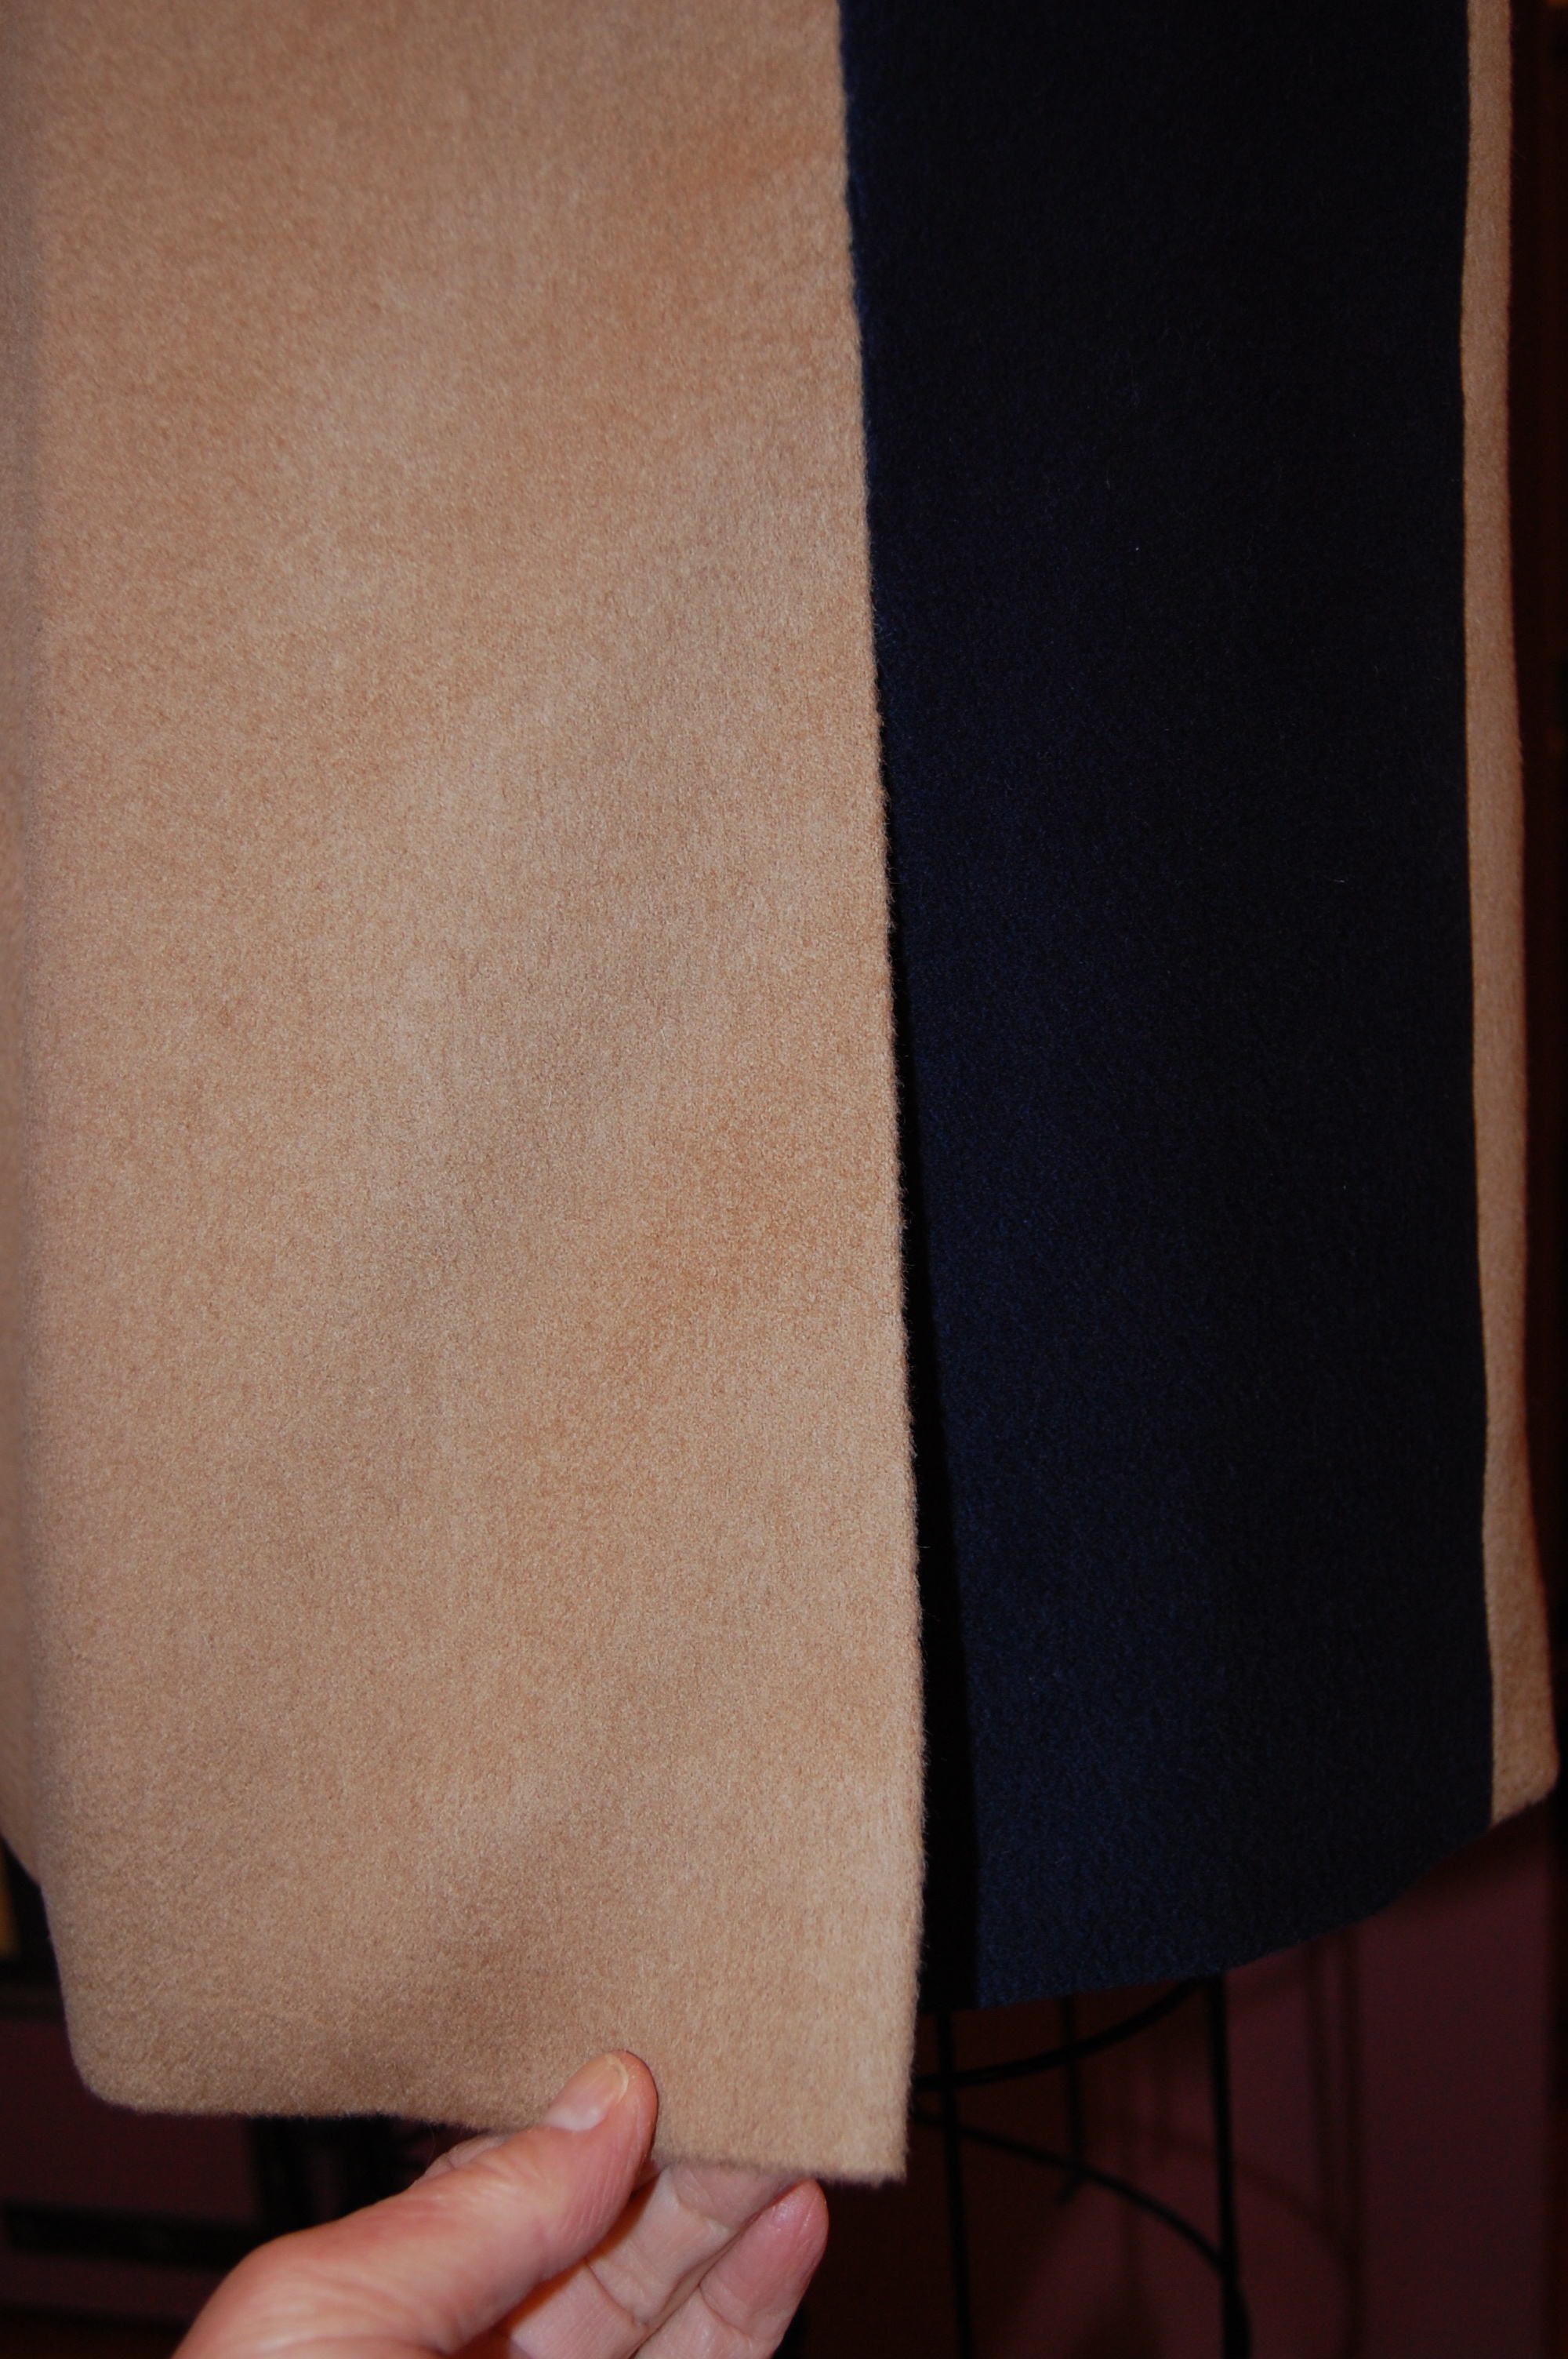
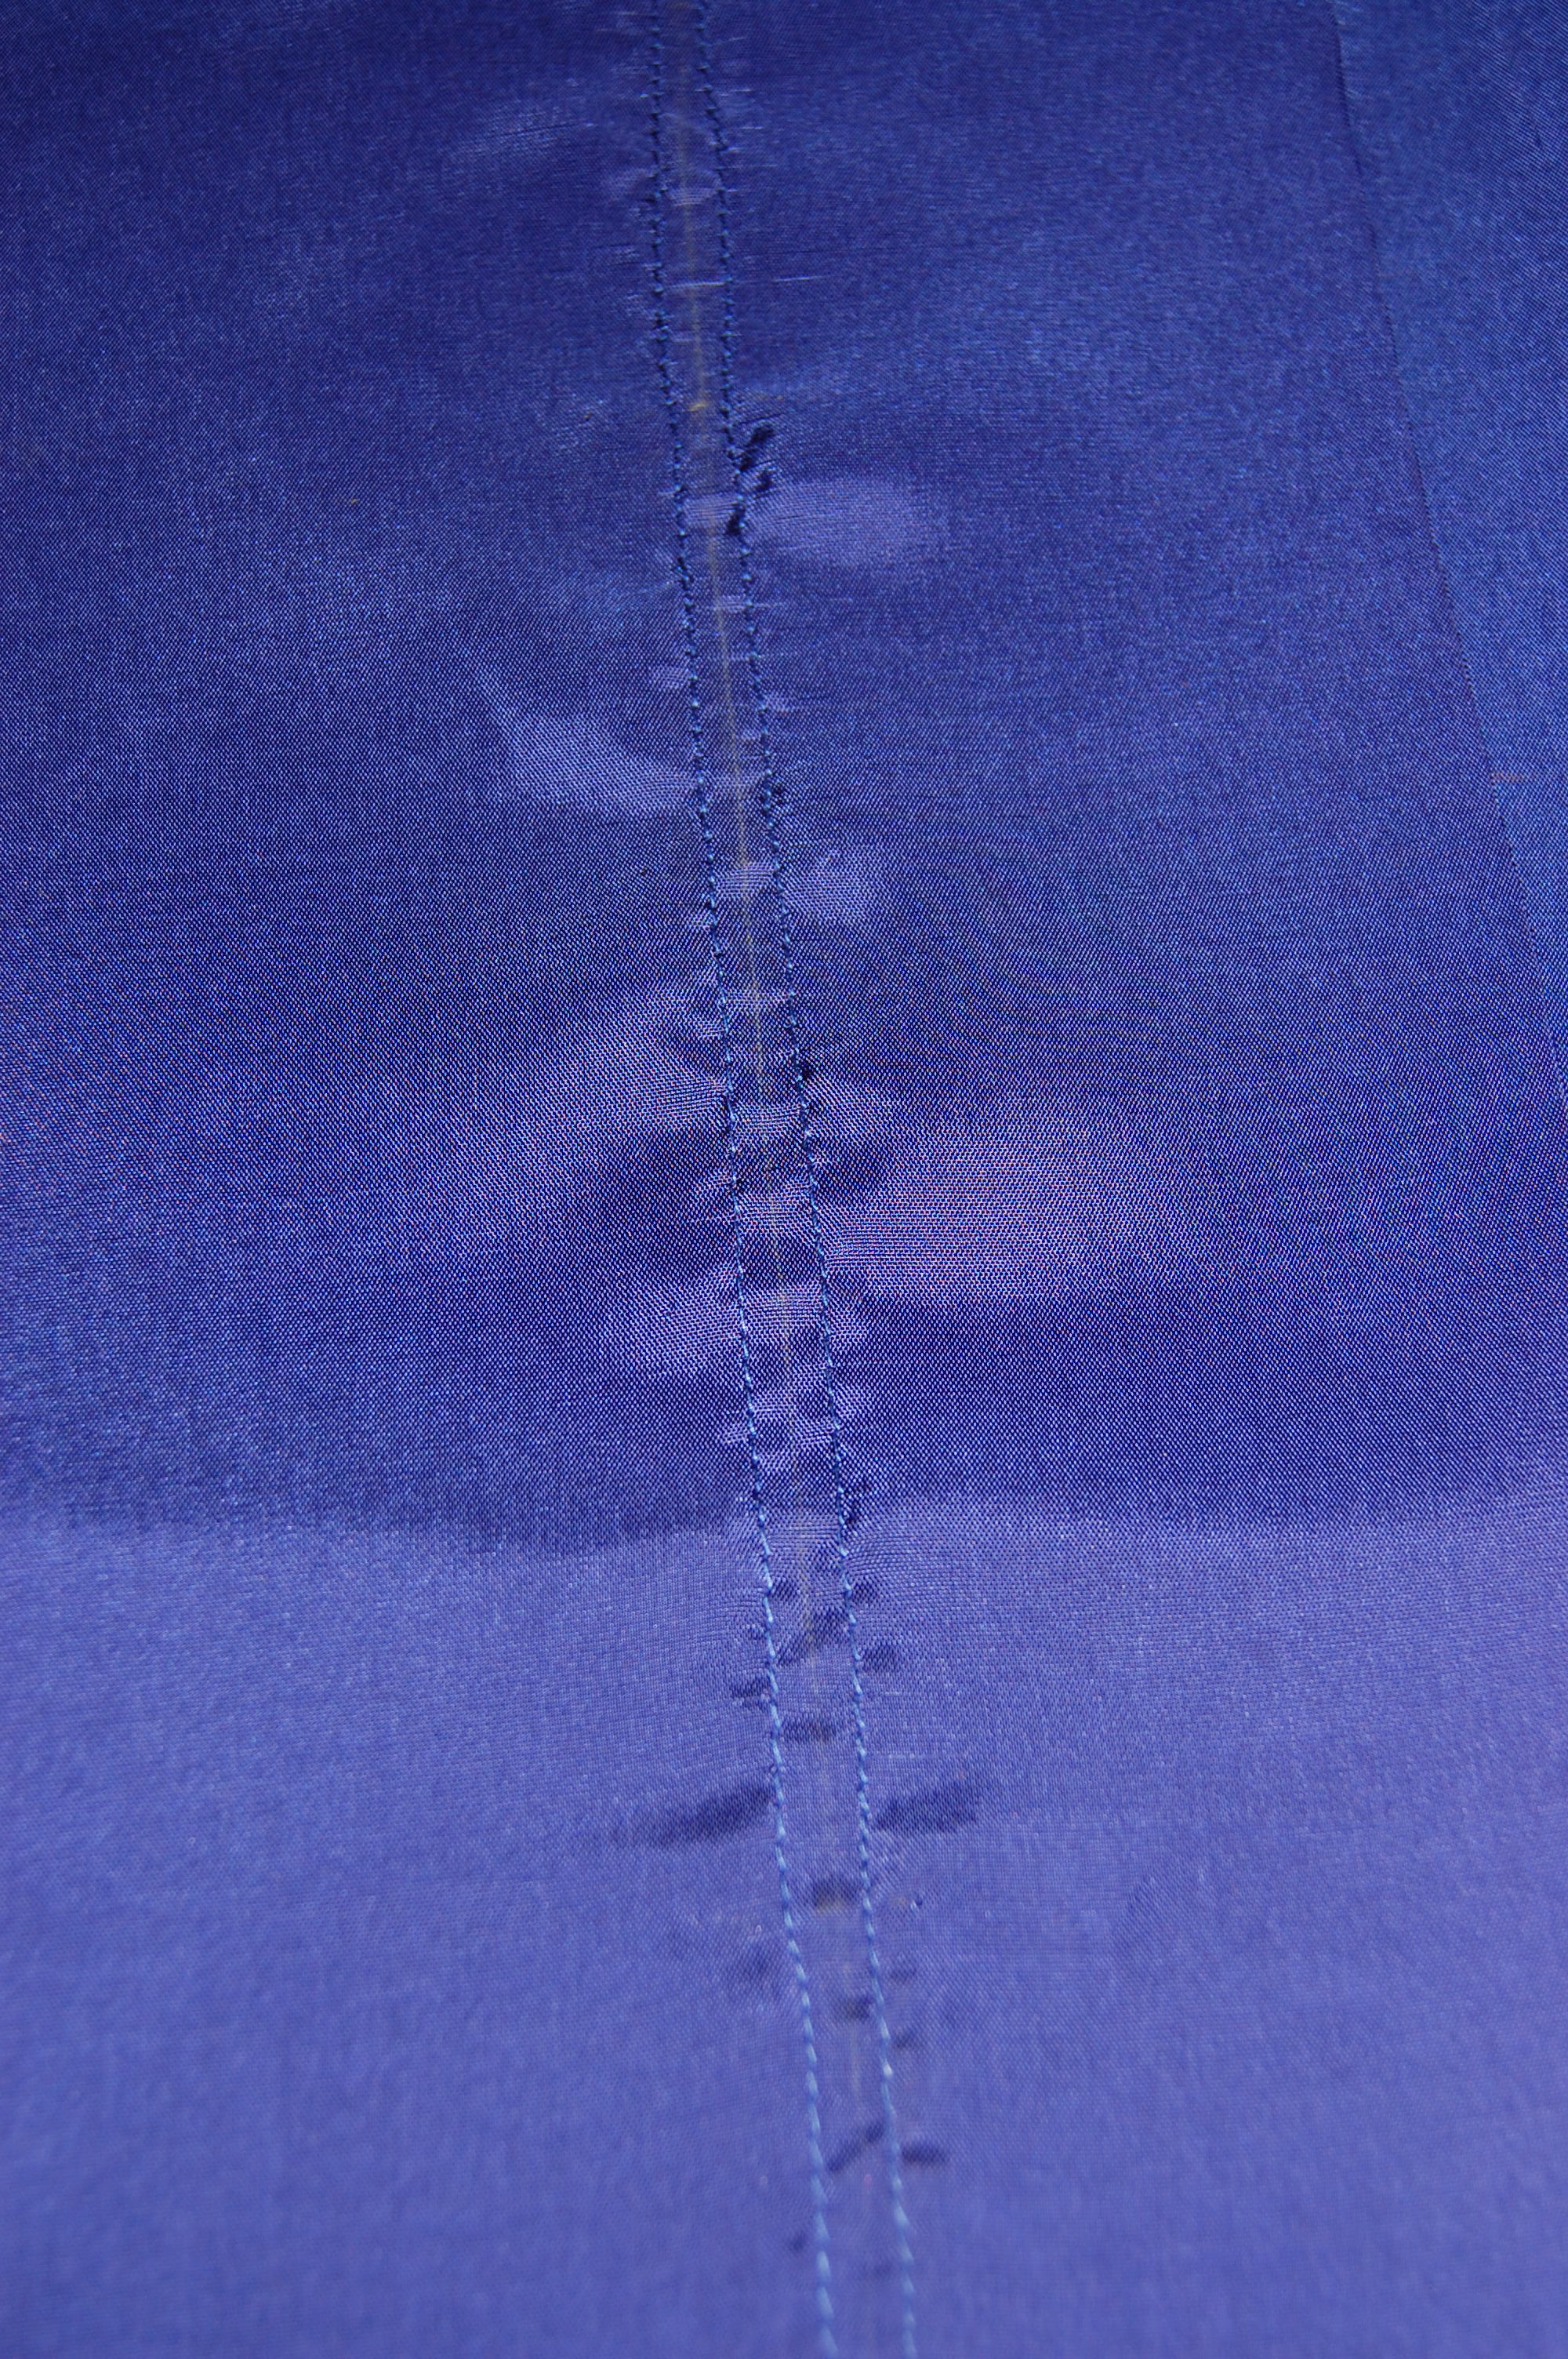
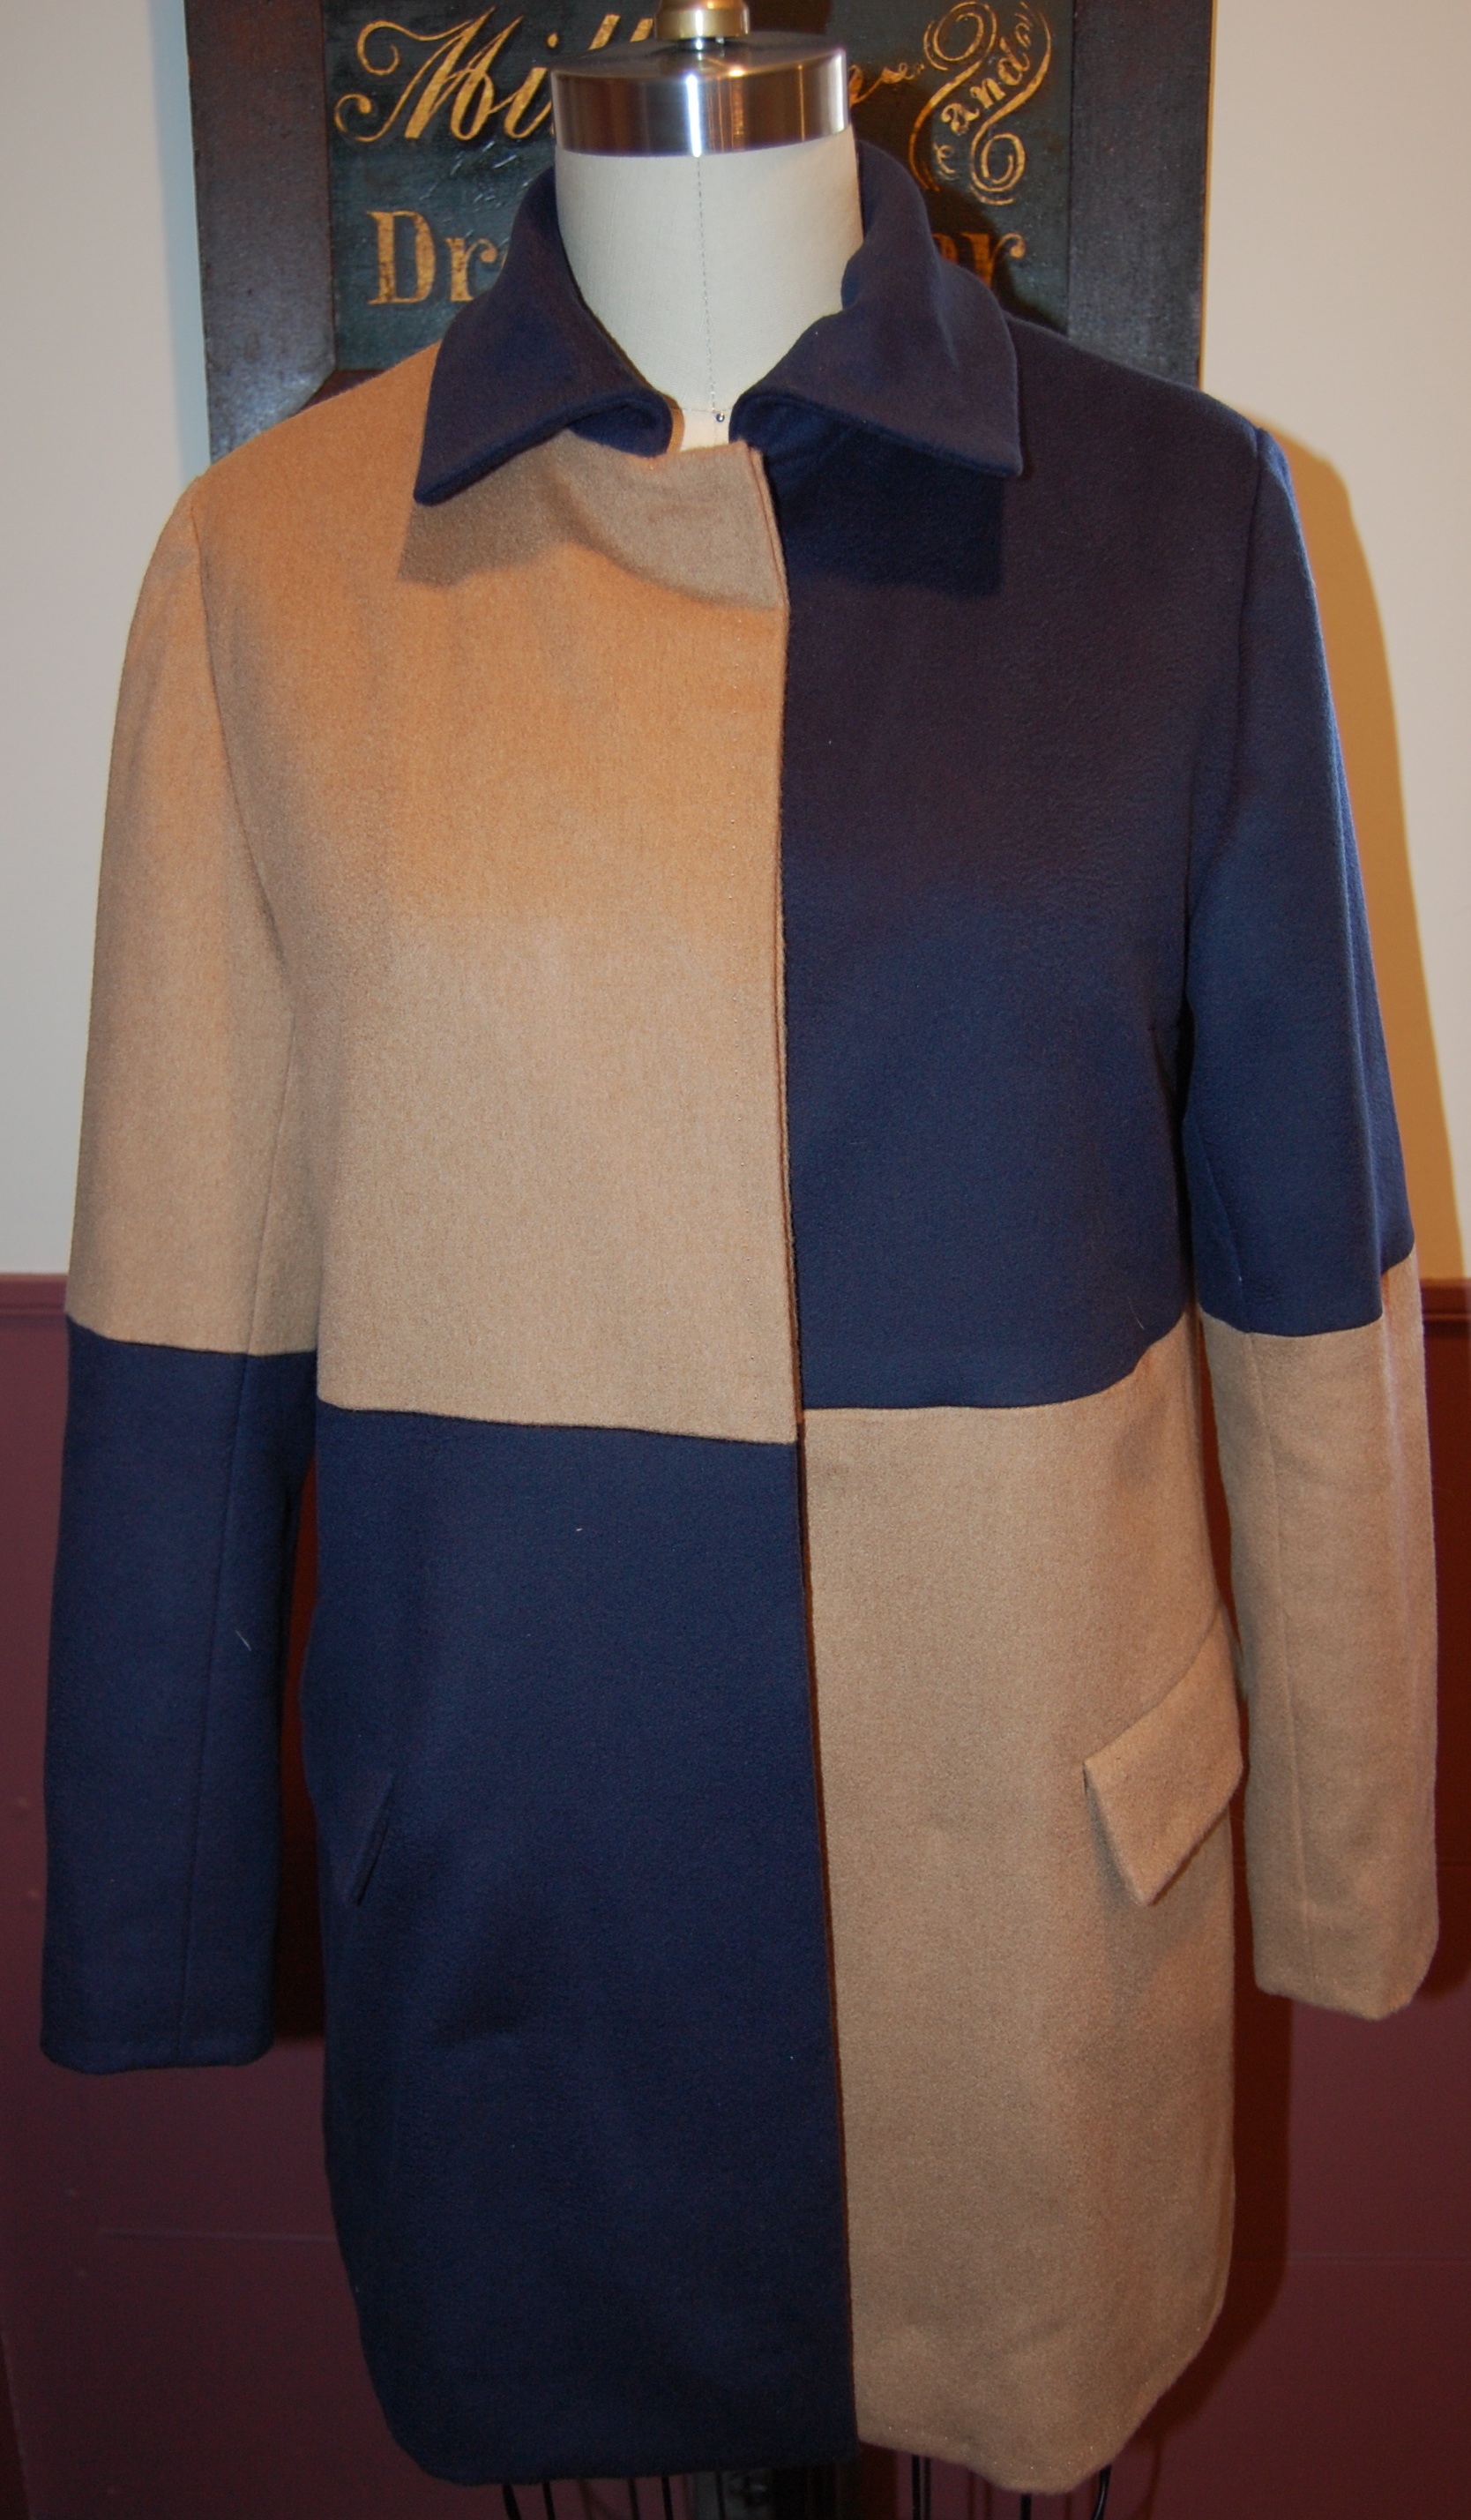
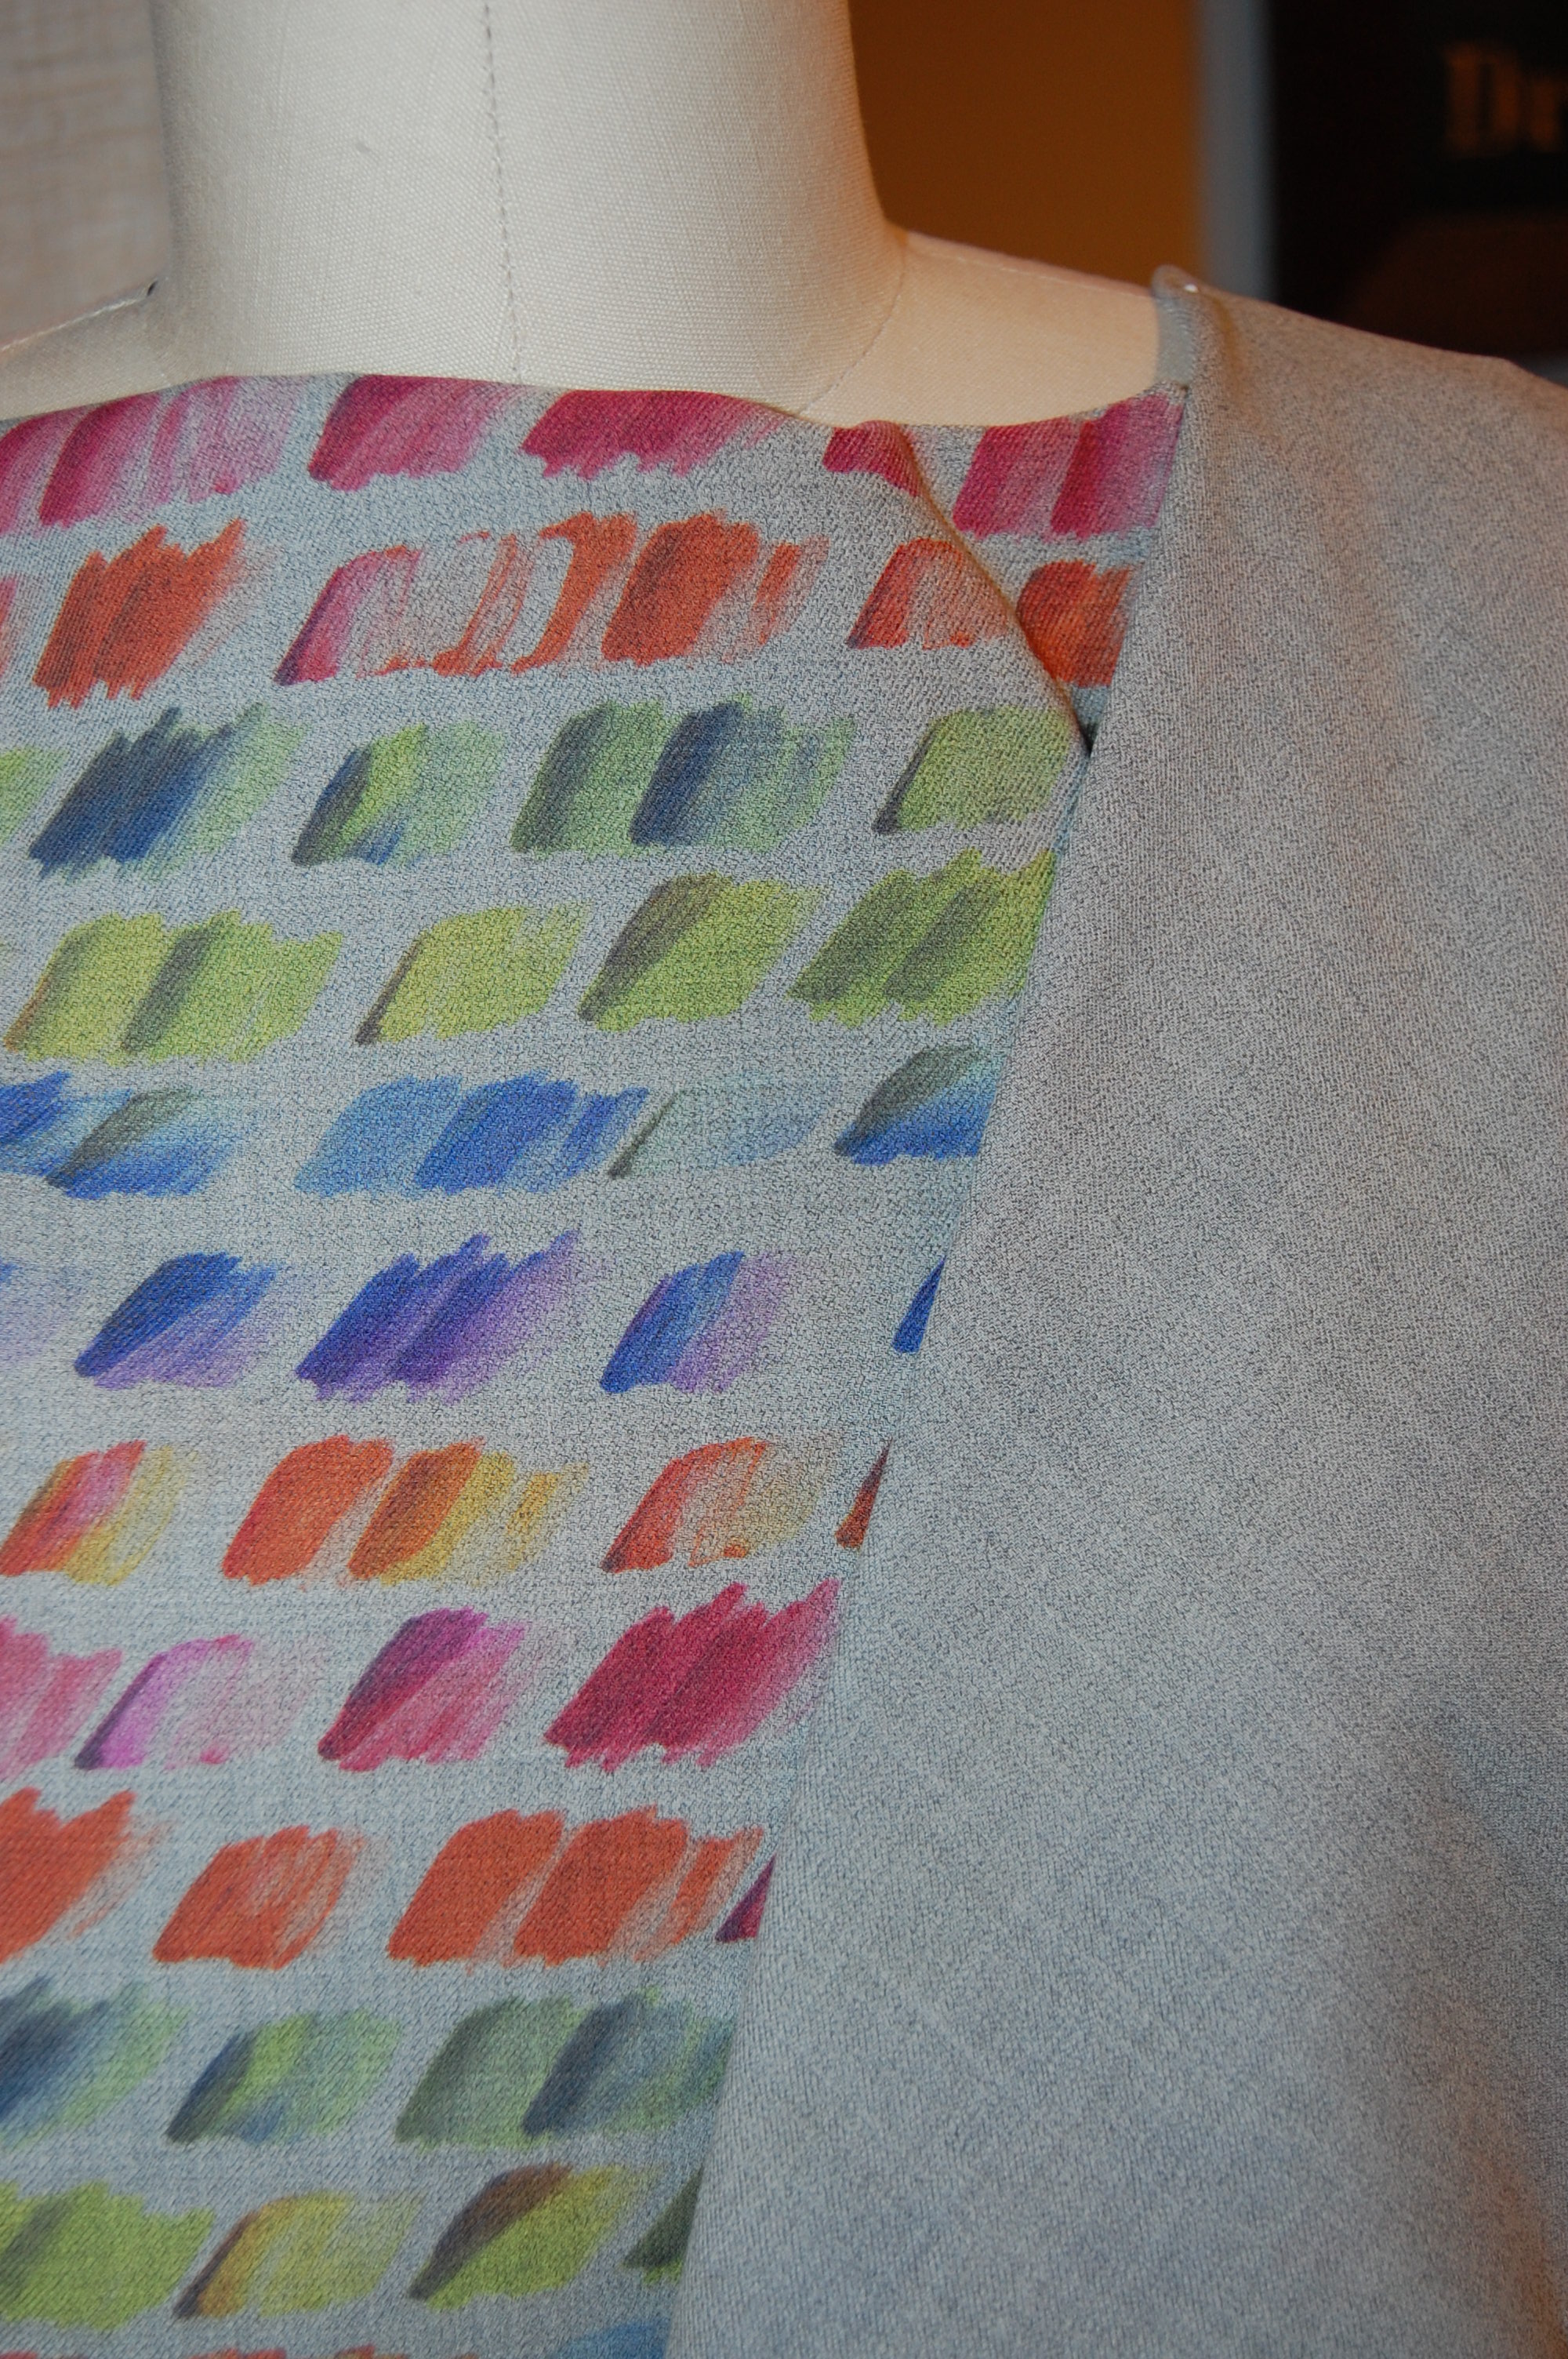
This particular word seems to sum up my experience – so far – with my new project of the month. I have had to “scrap” three complete muslins – as in “throw away” and “discard.” I rather like one of the other definitions for this particular word to sum up my past week of sewing – “a fight or quarrel.” Yes, it’s been a battle, but I believe I am winning! It all started with this fabric – a soft, lovely, light-weight wool and silk blend – from Mendel Goldberg Fabrics.
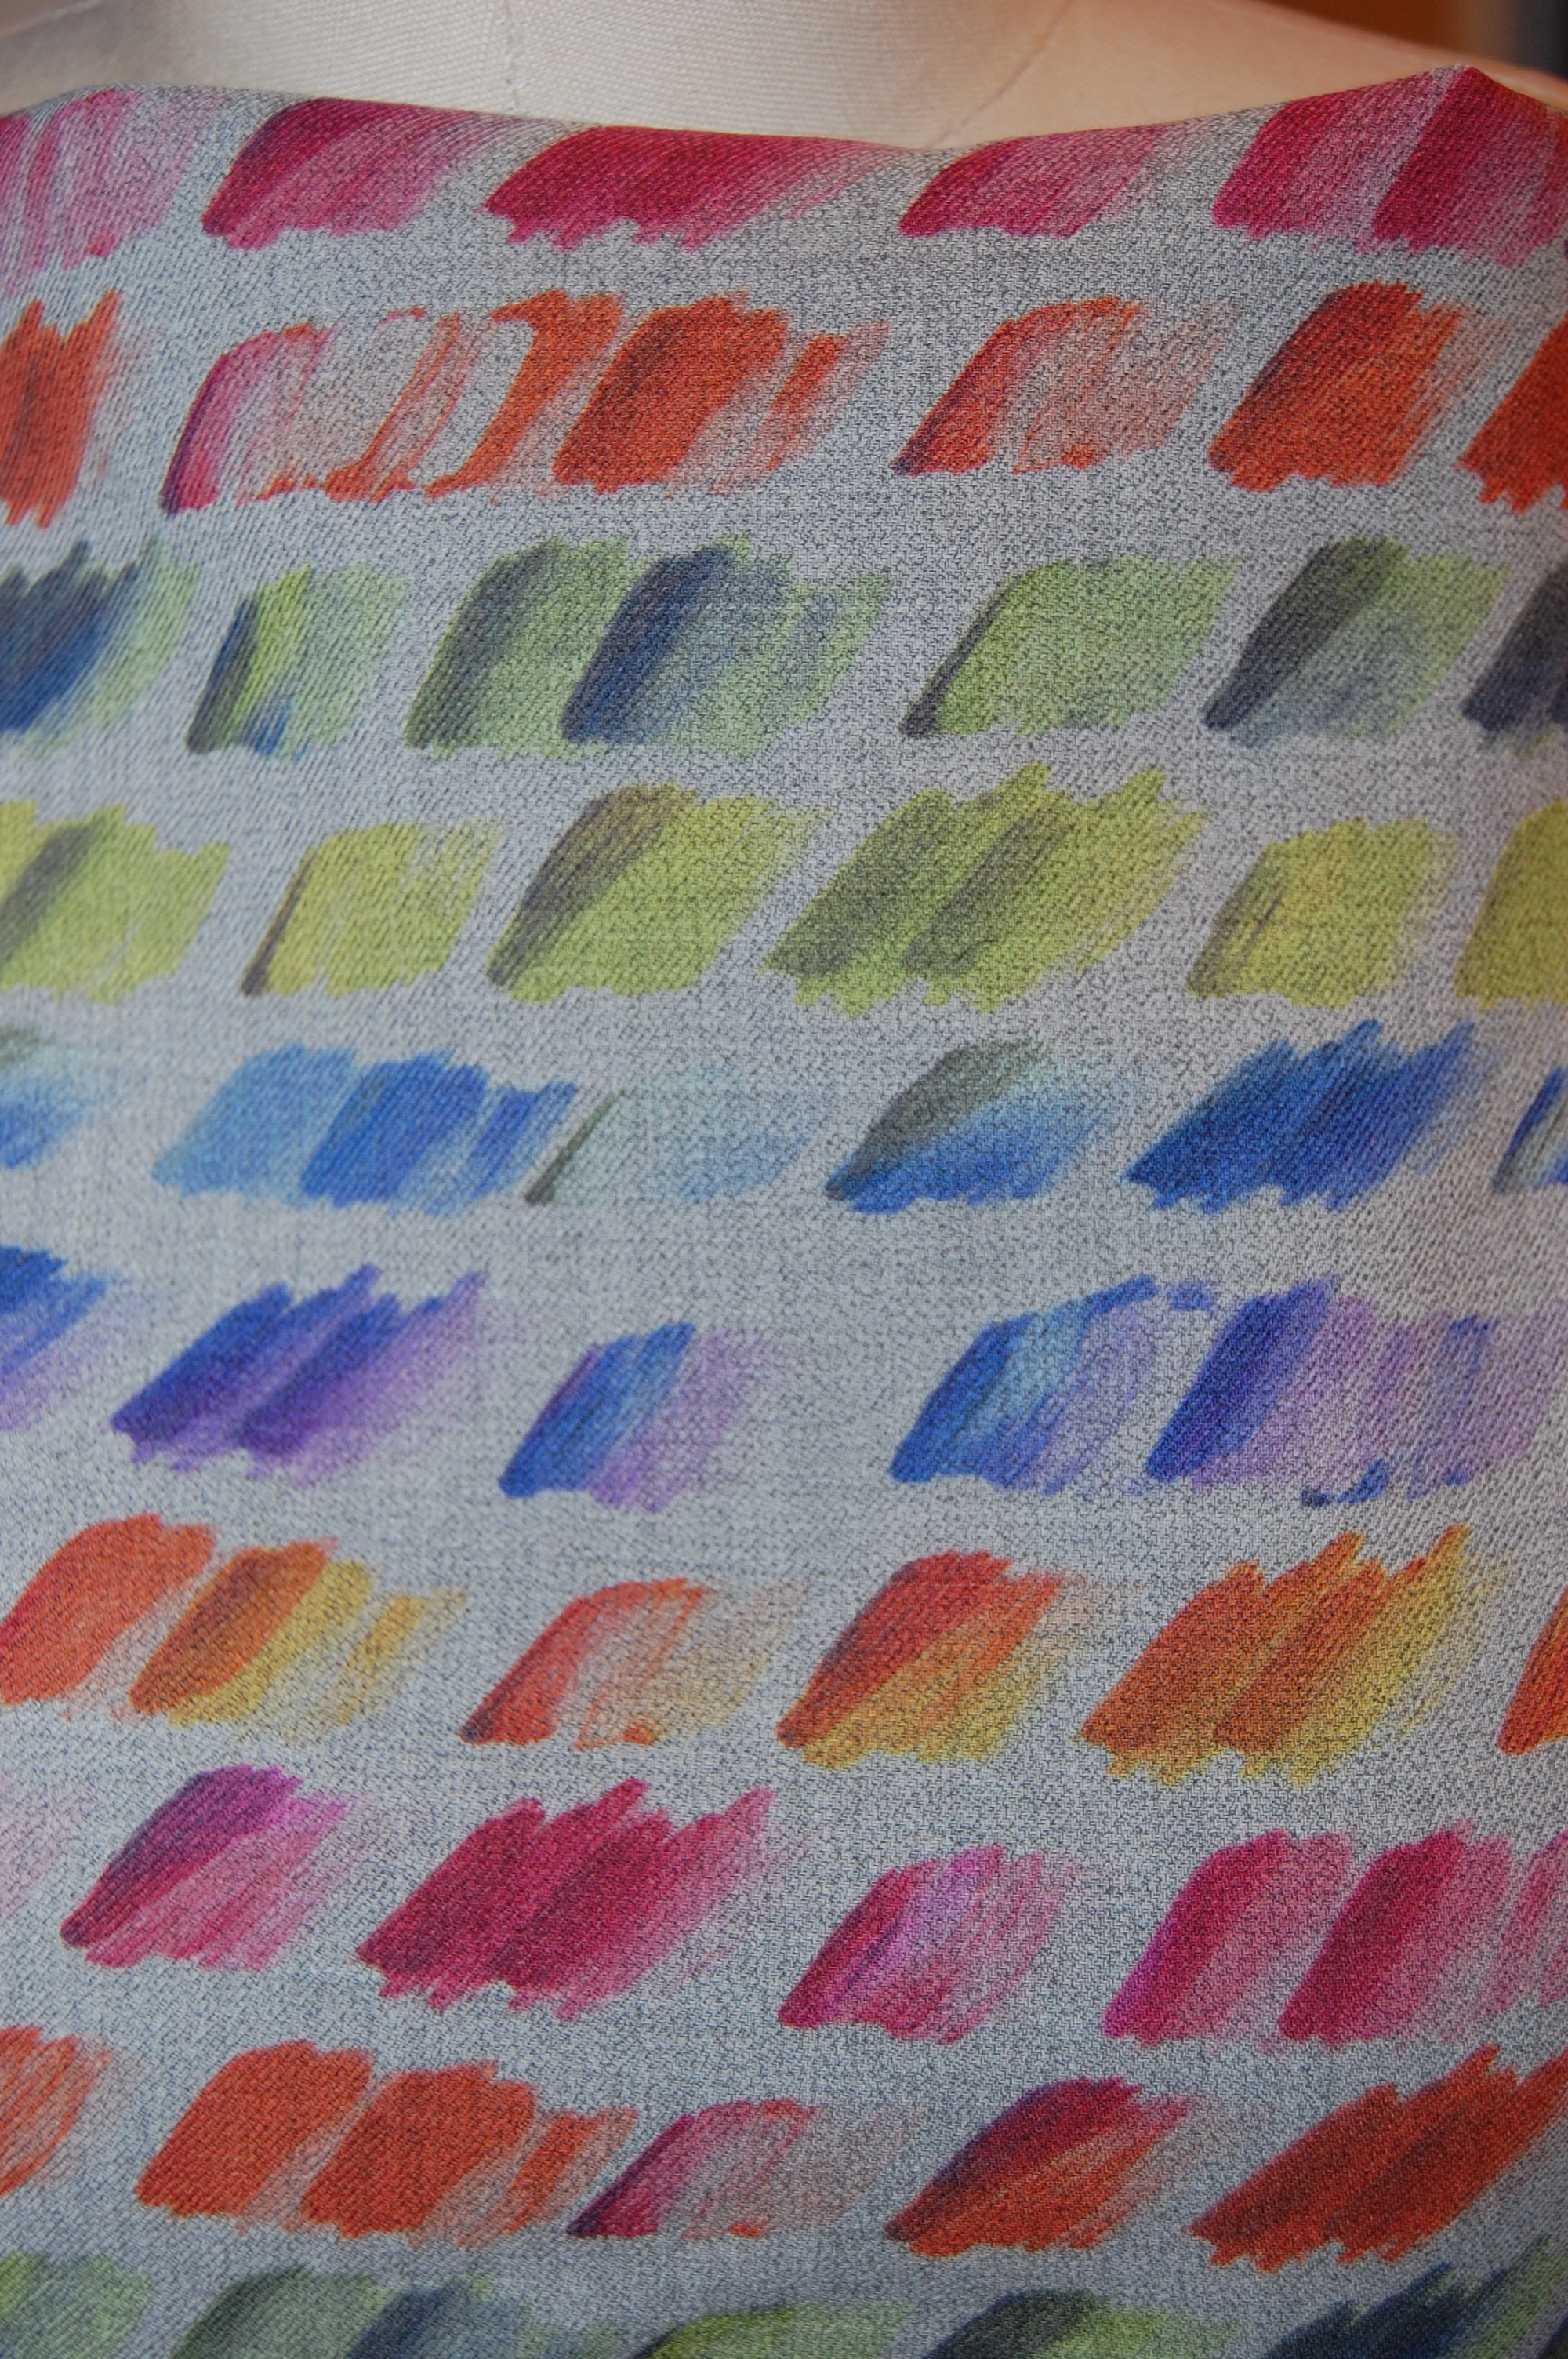
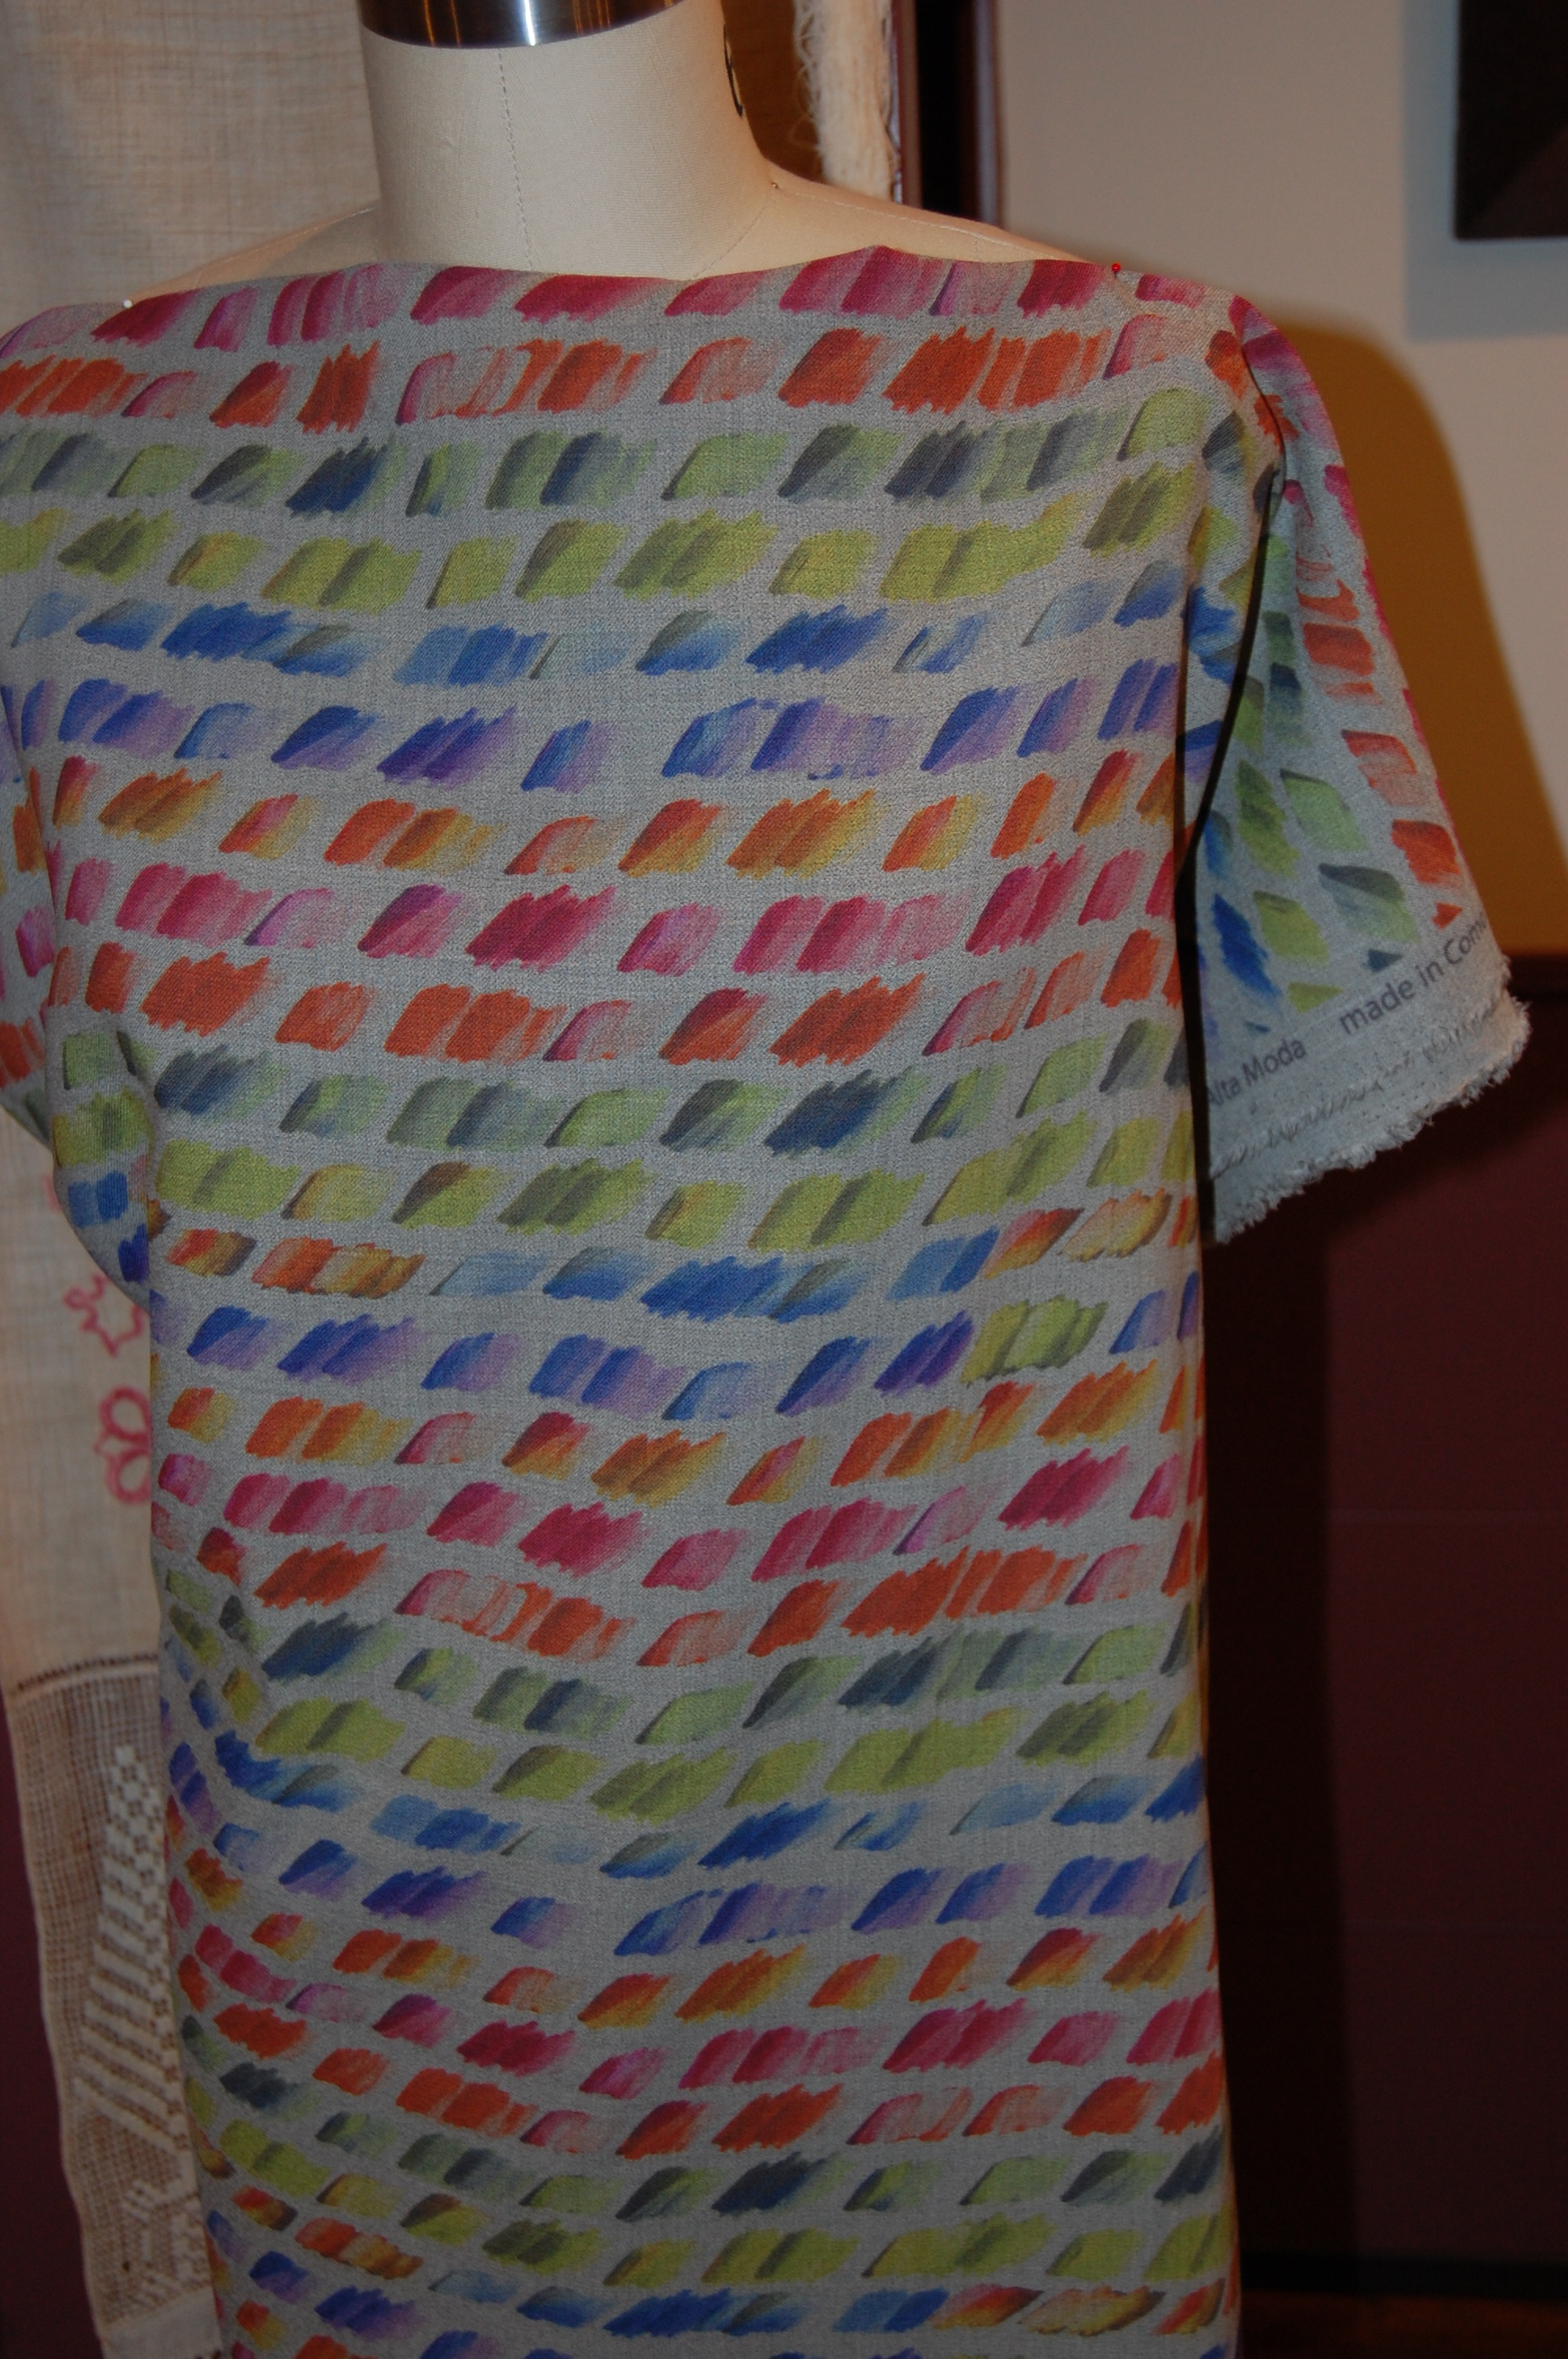
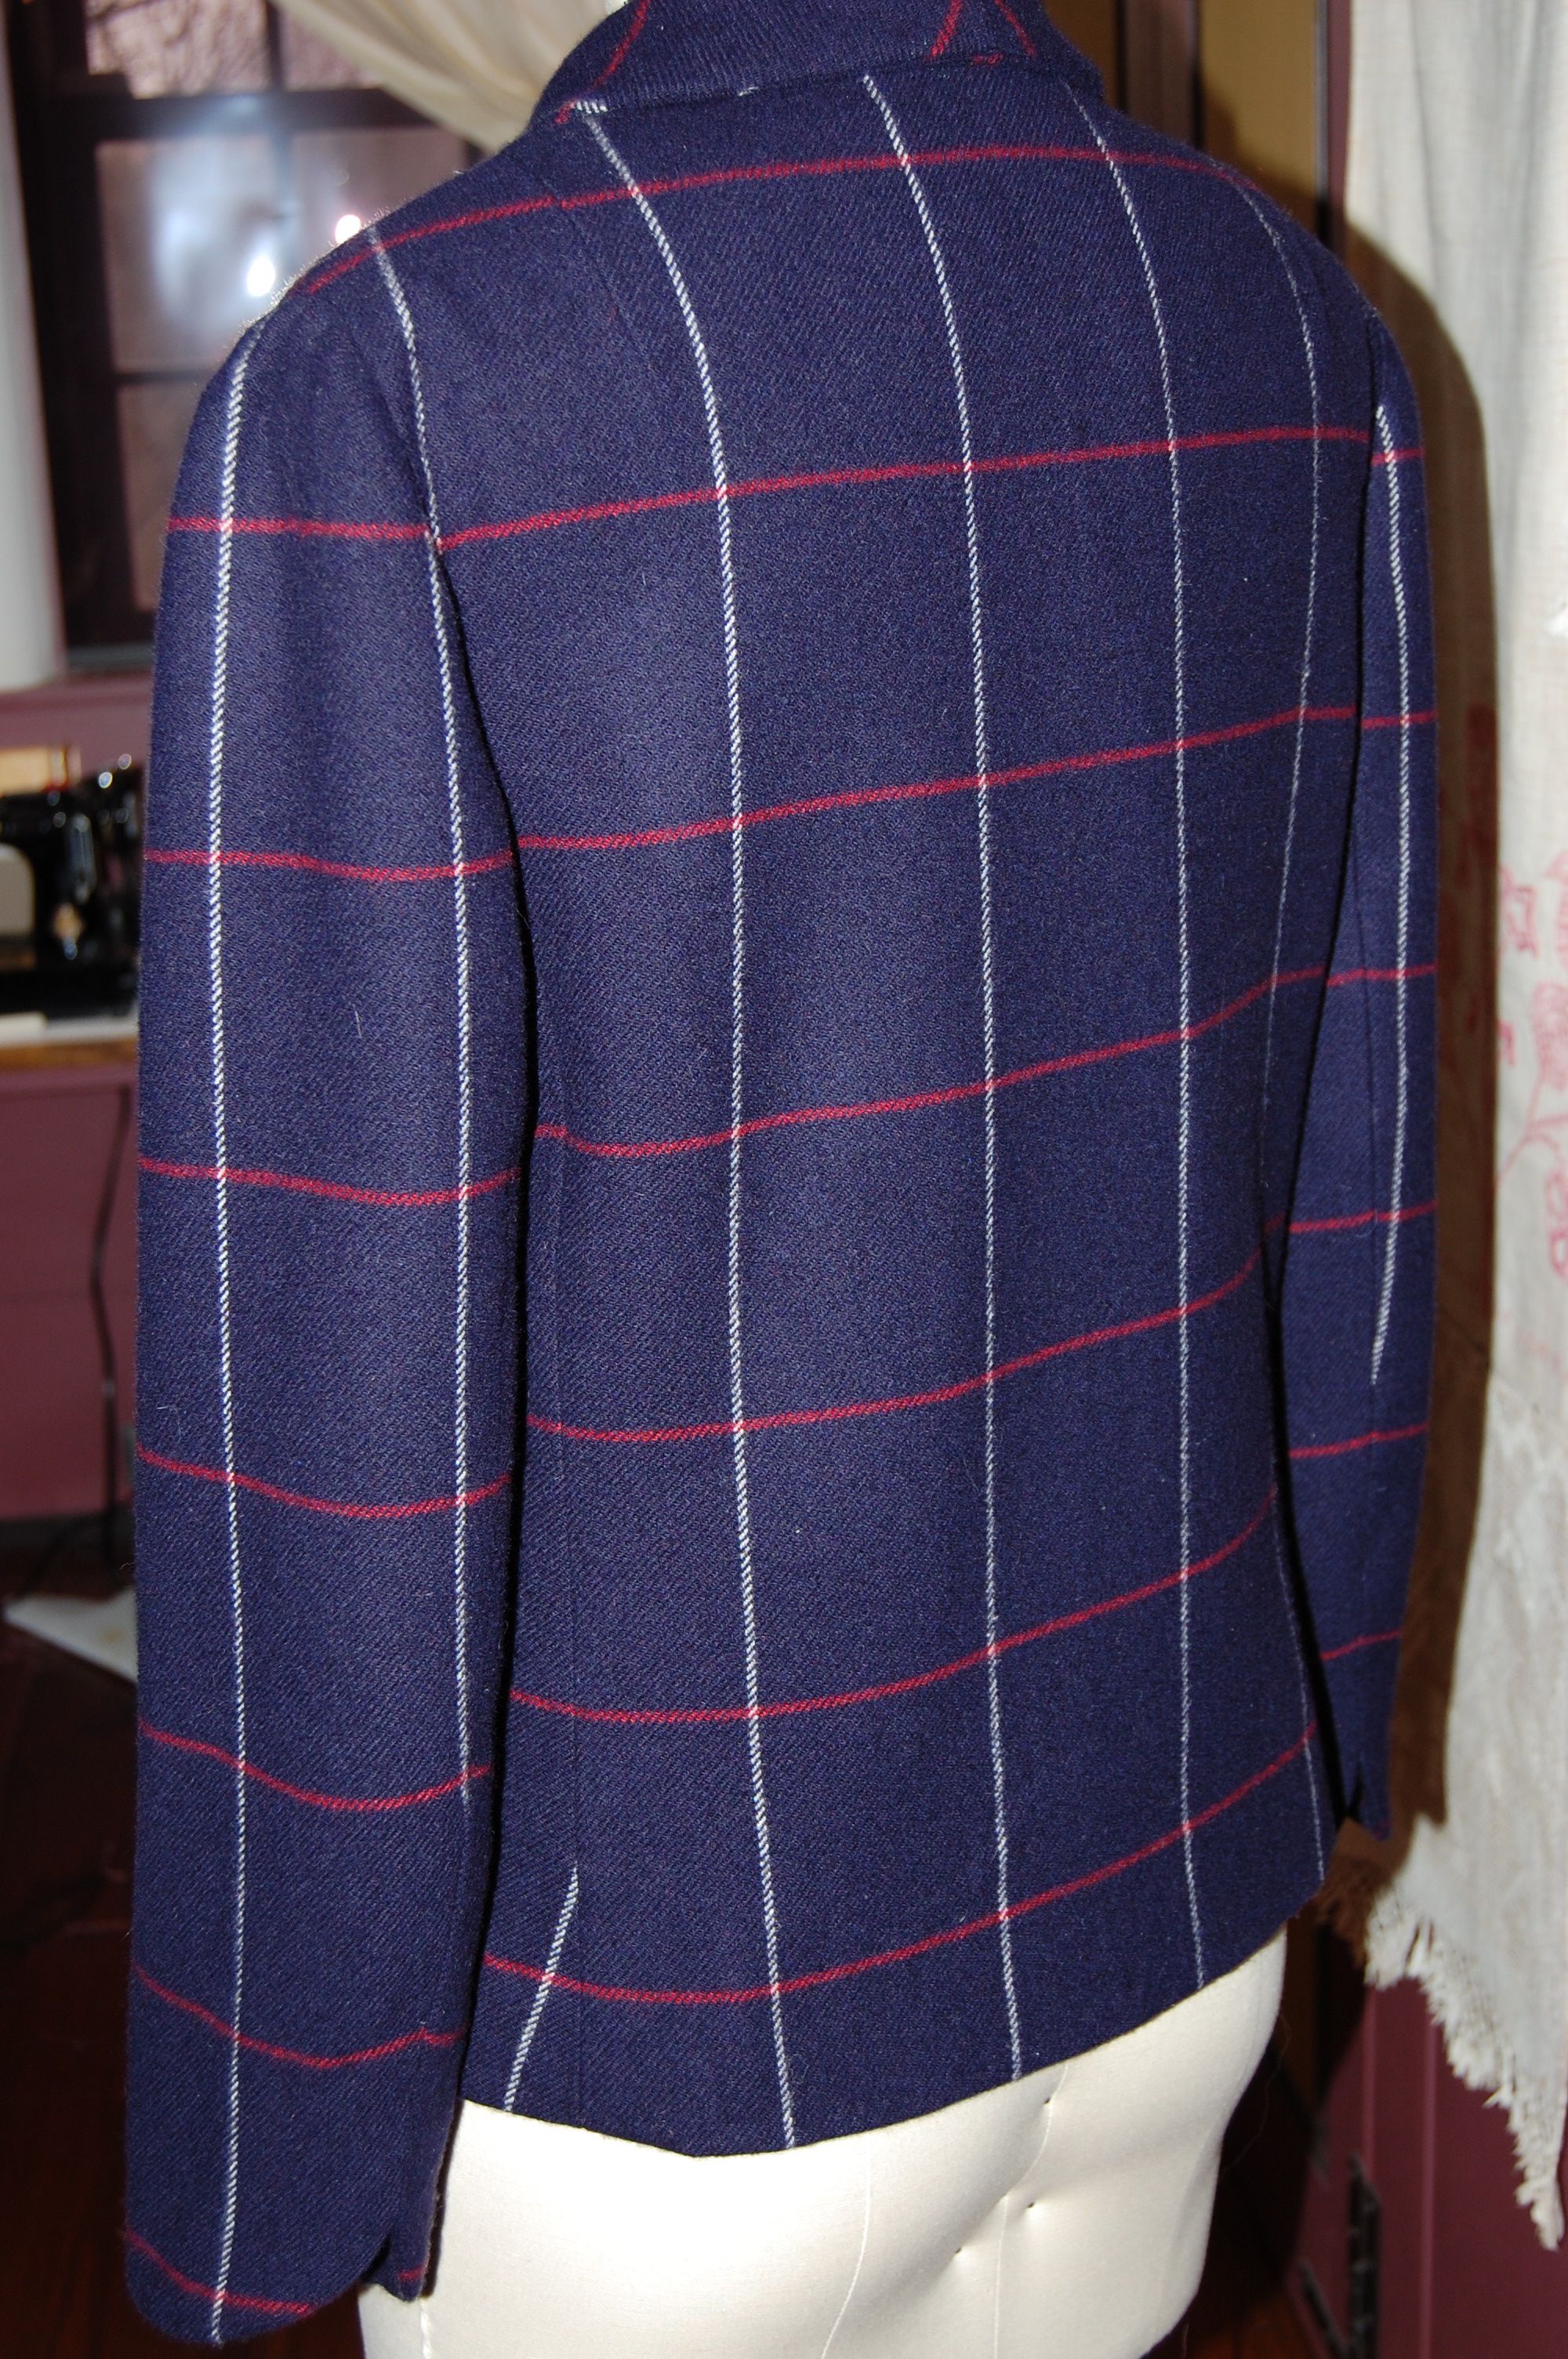
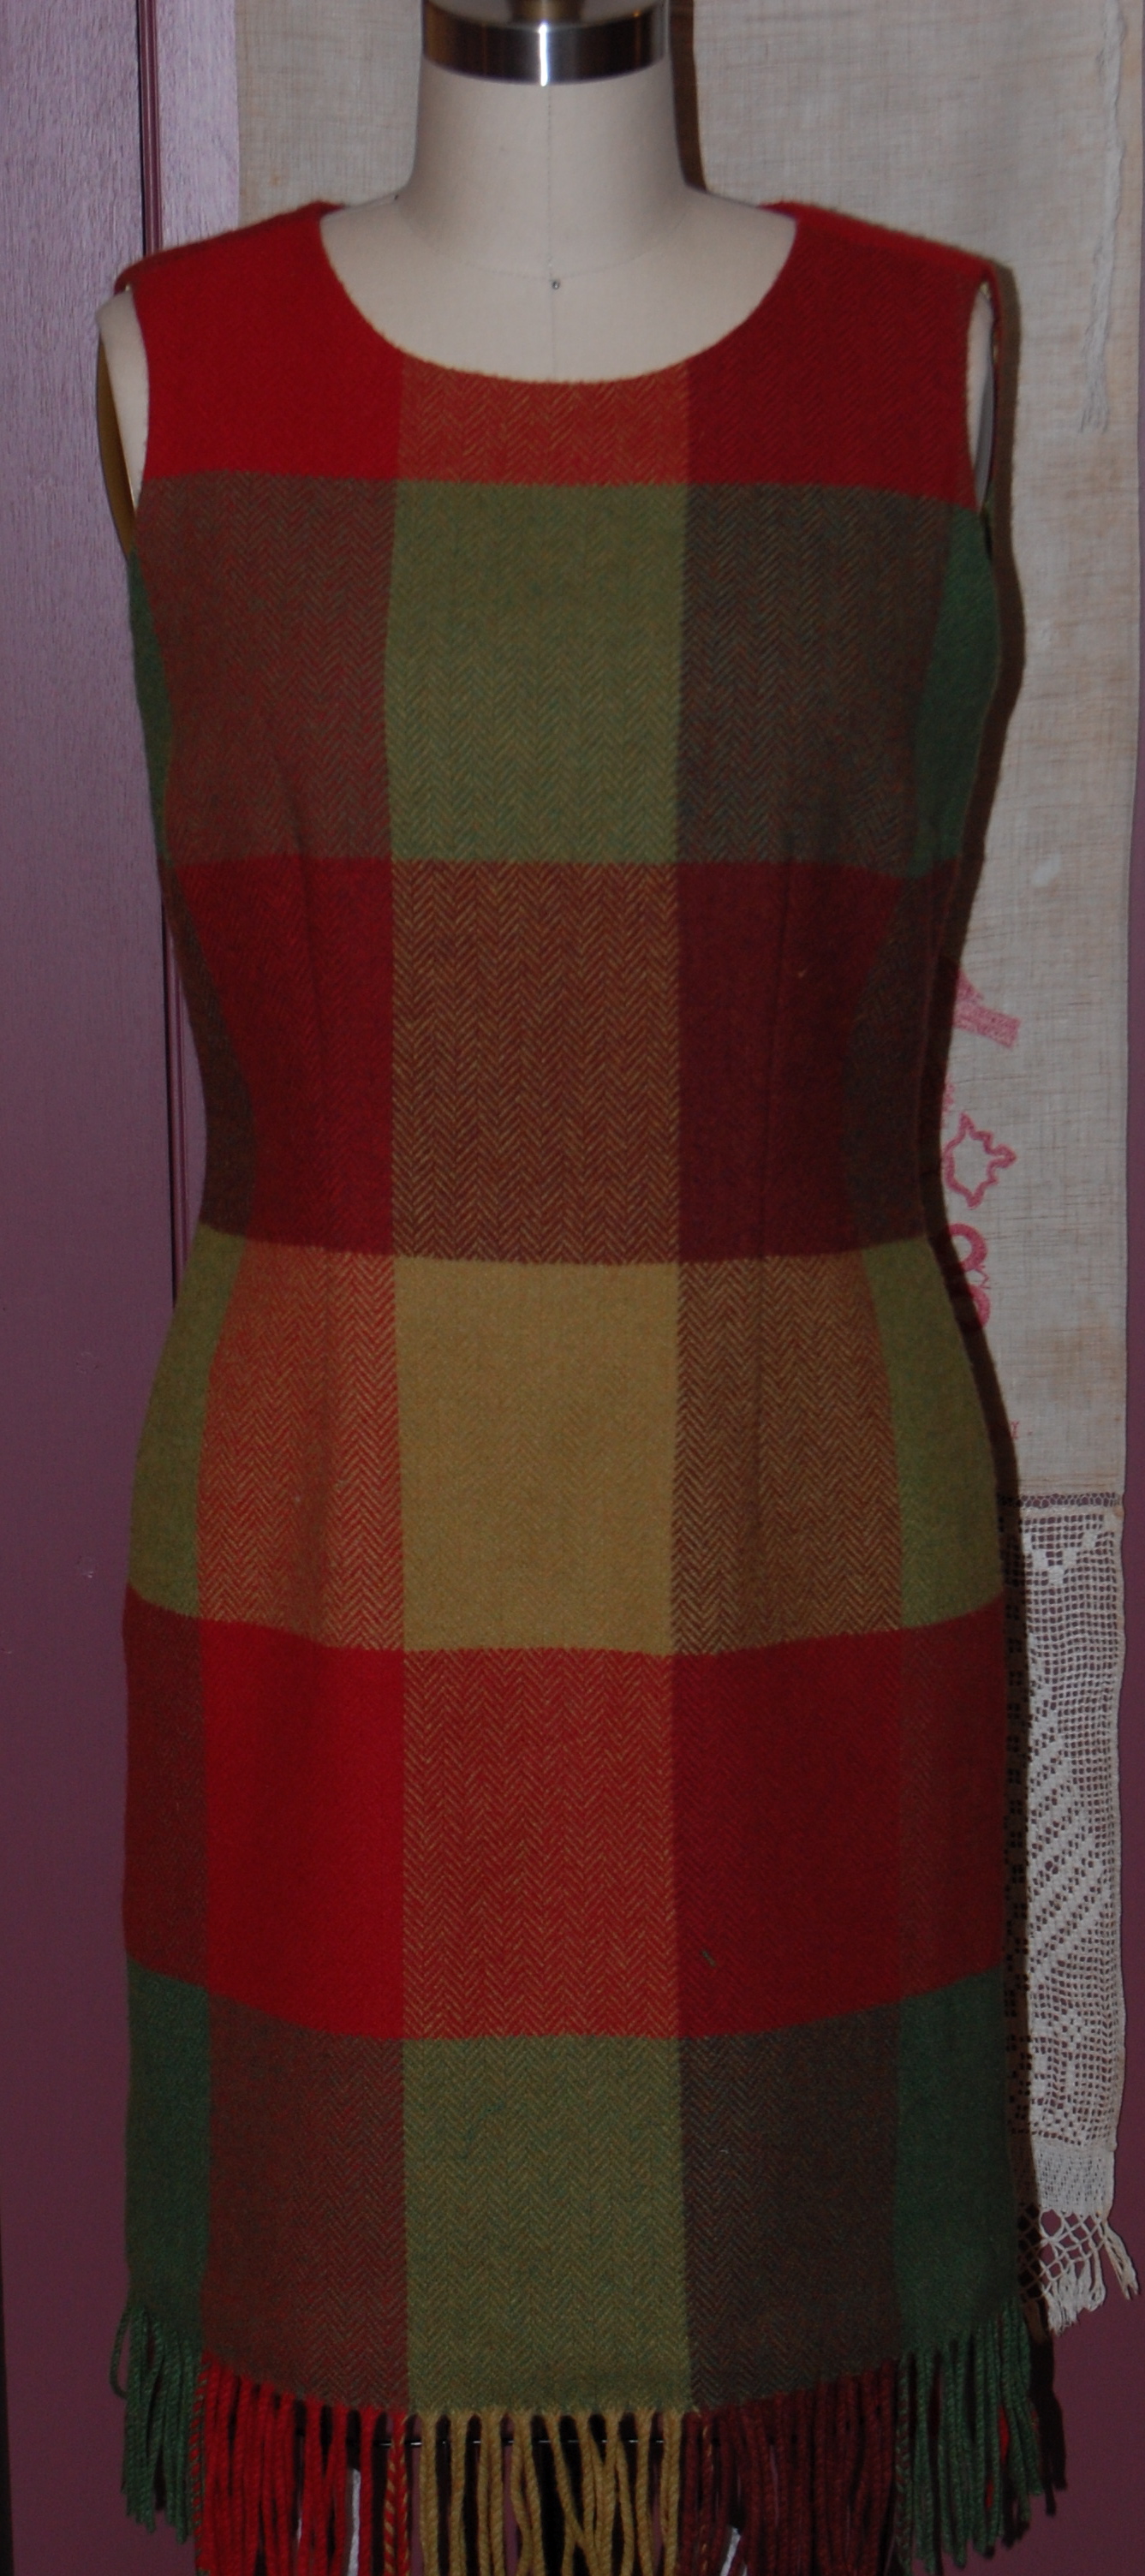
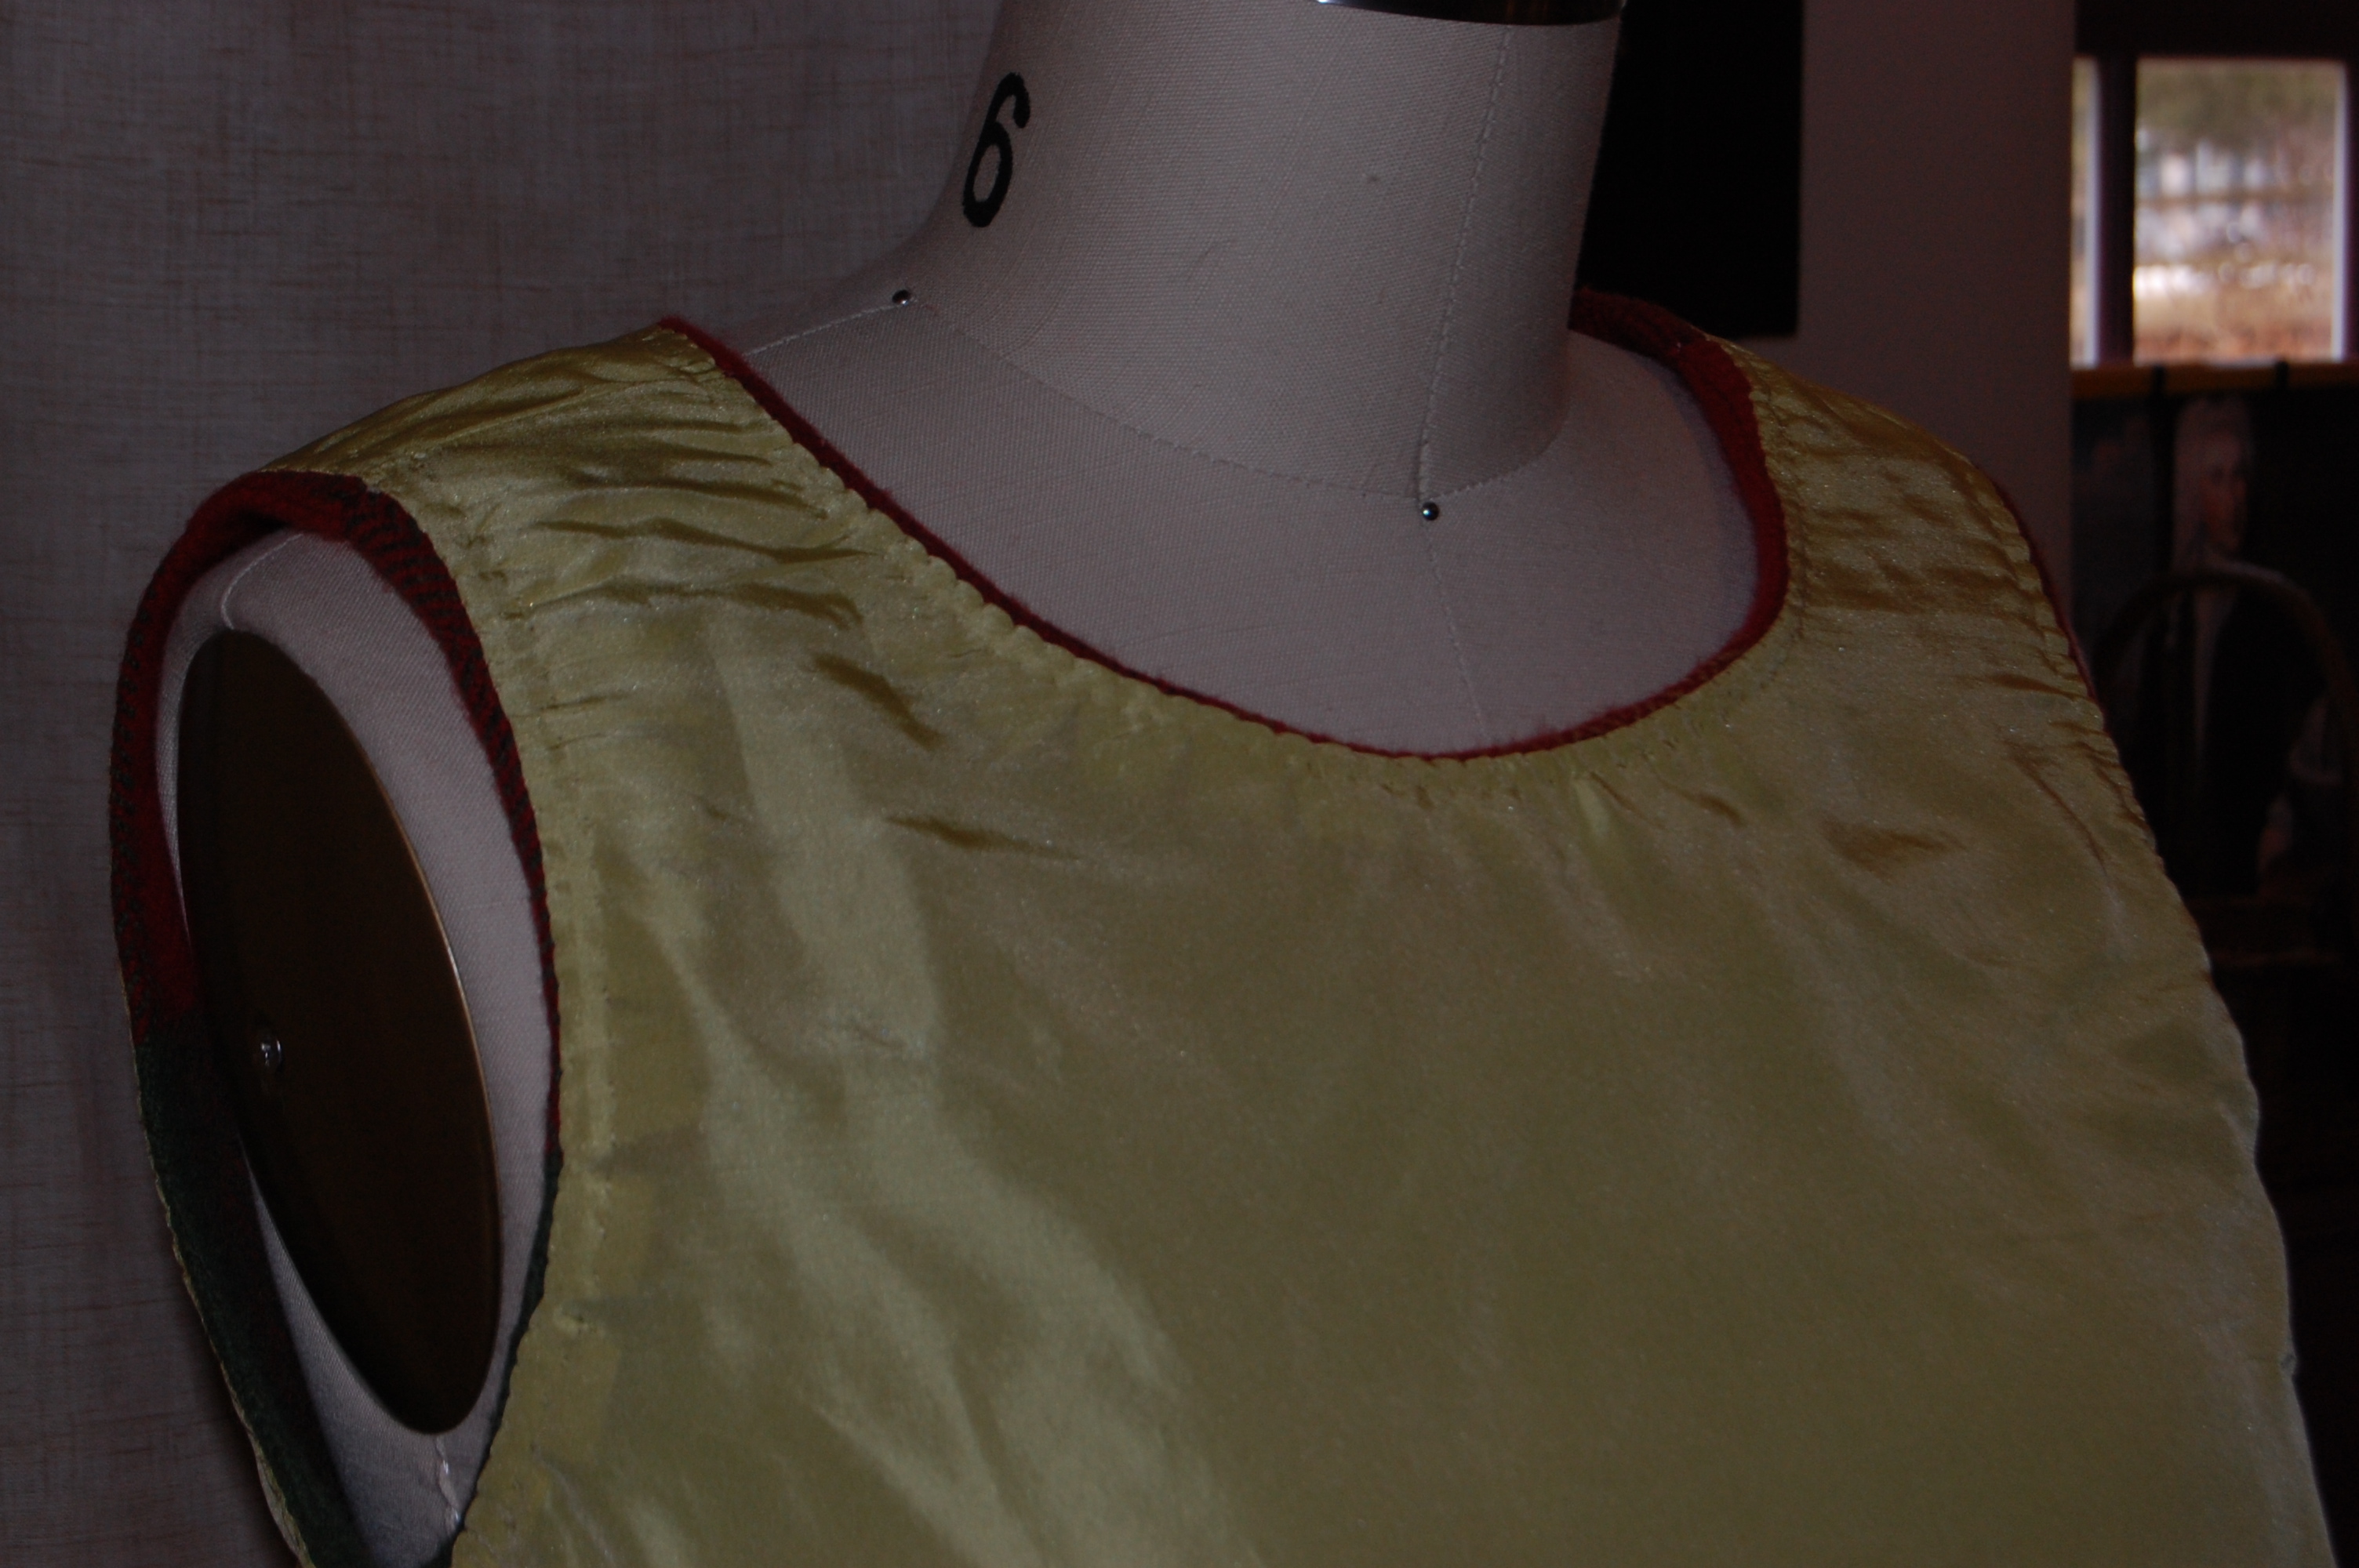
Here it is draped over my dress form.
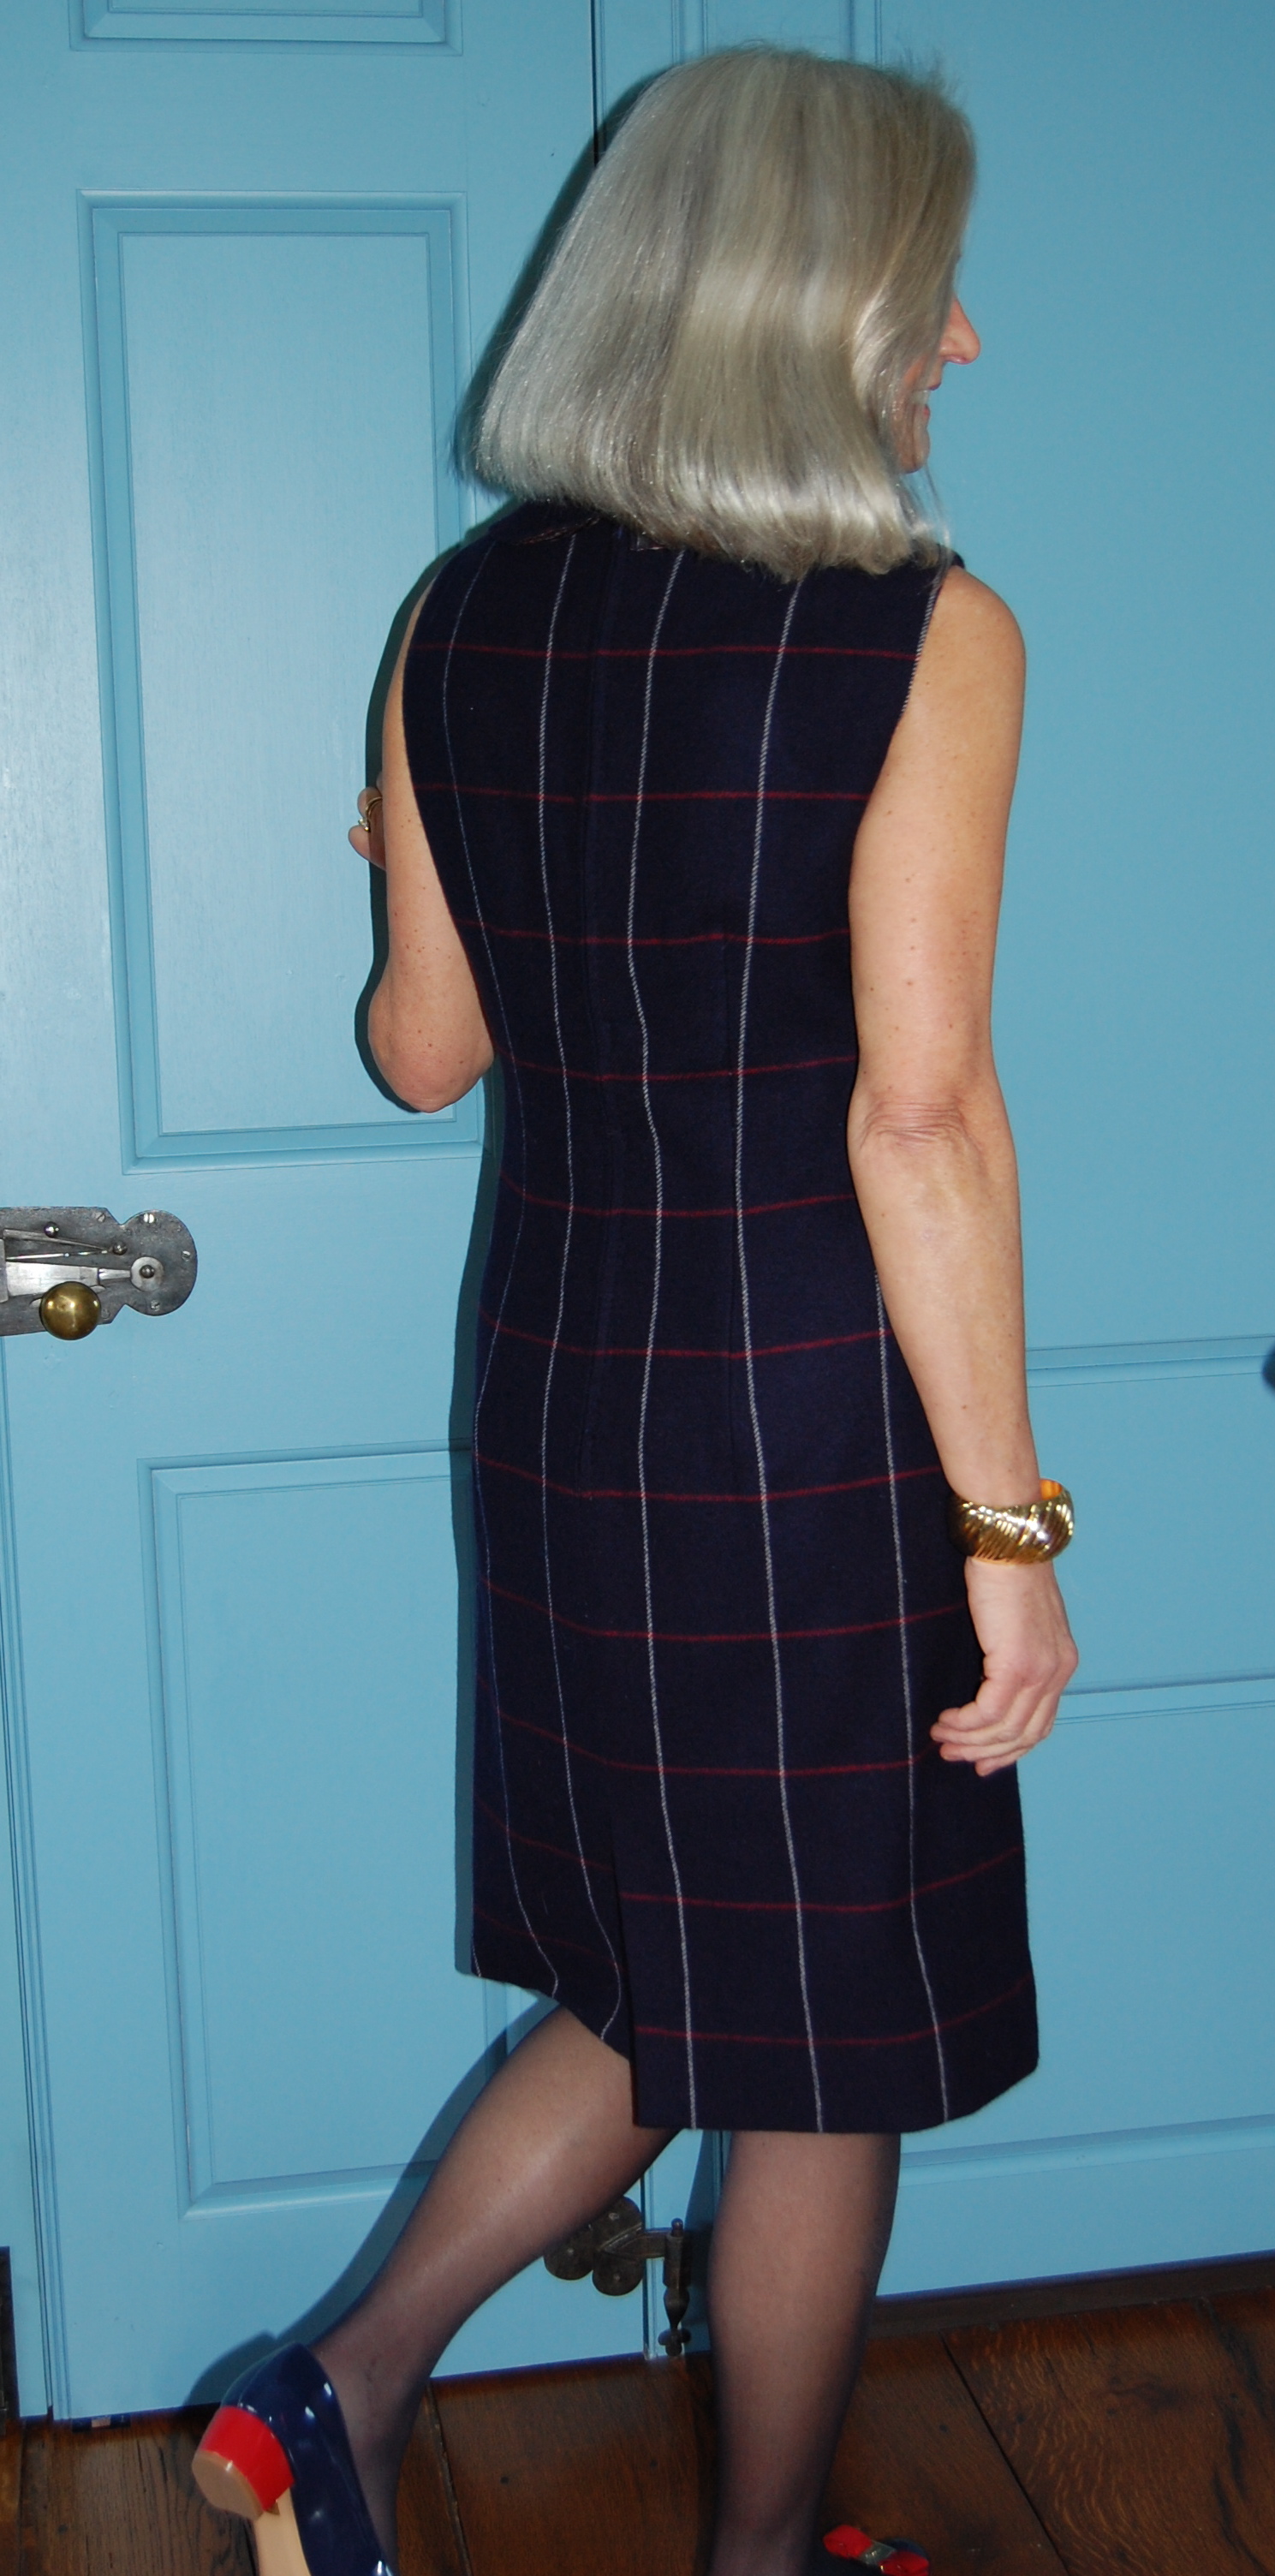
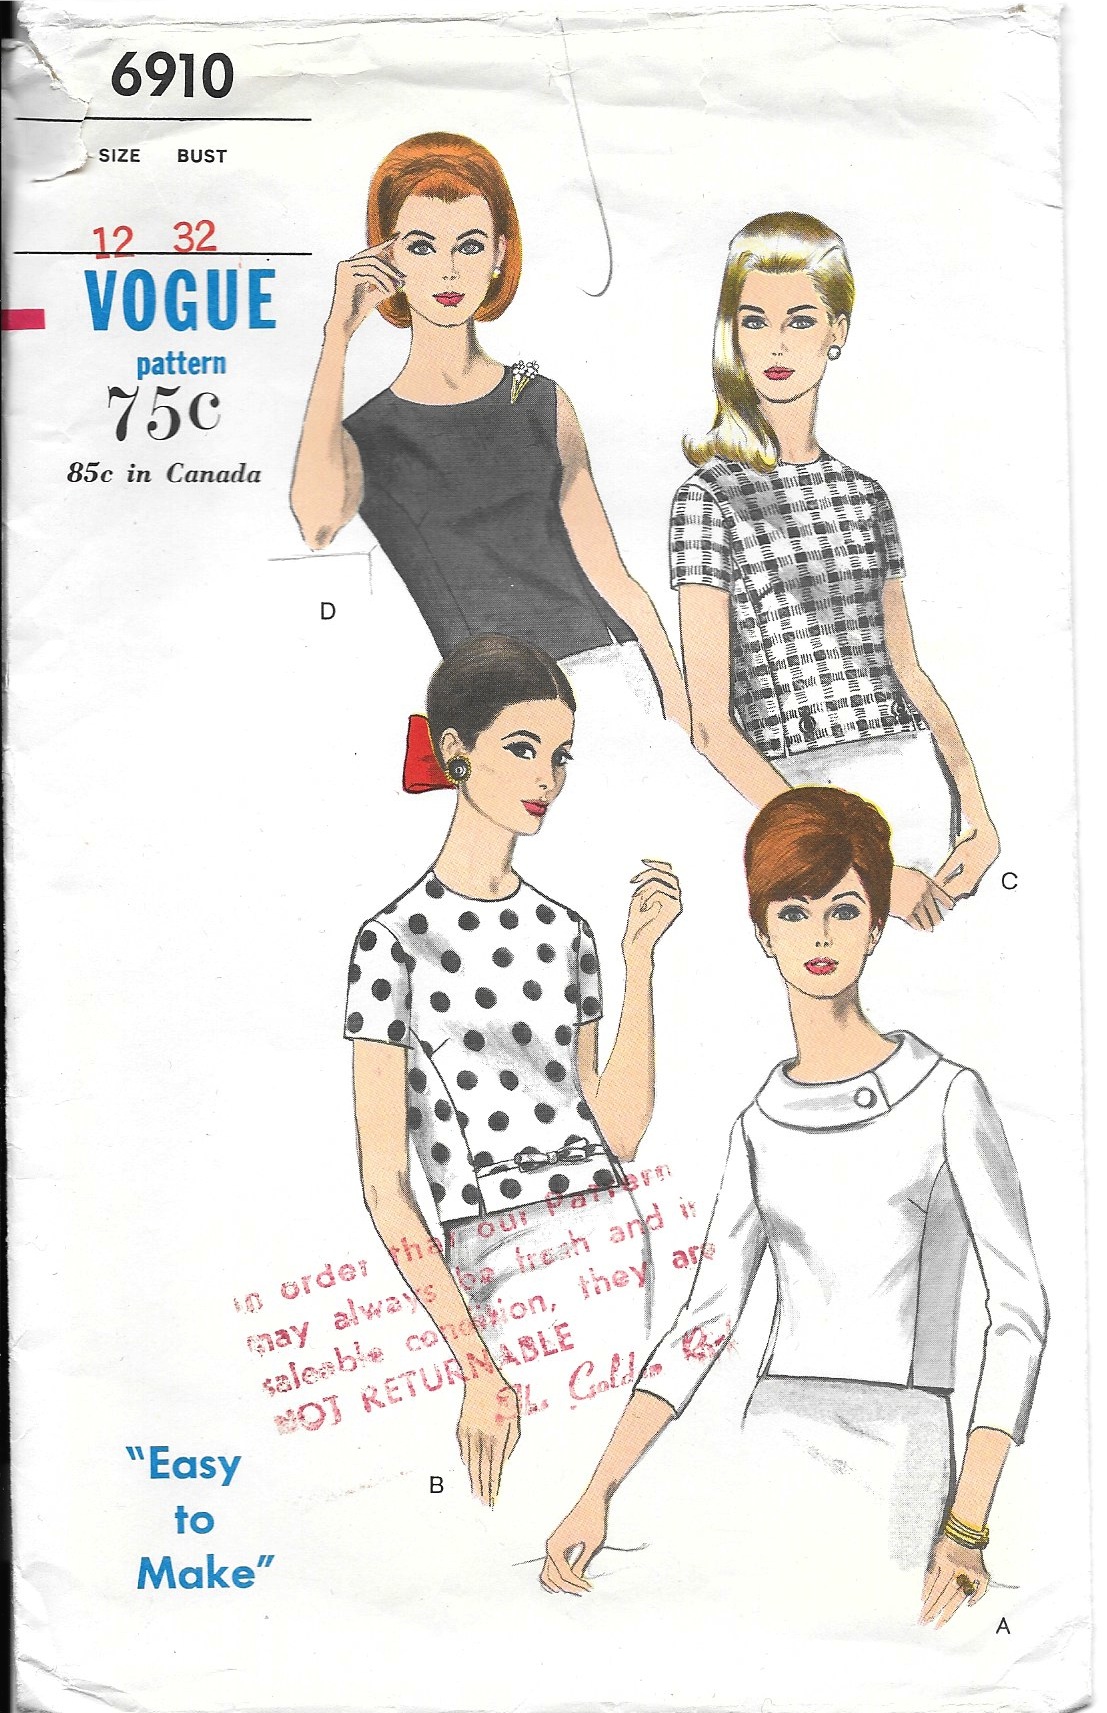
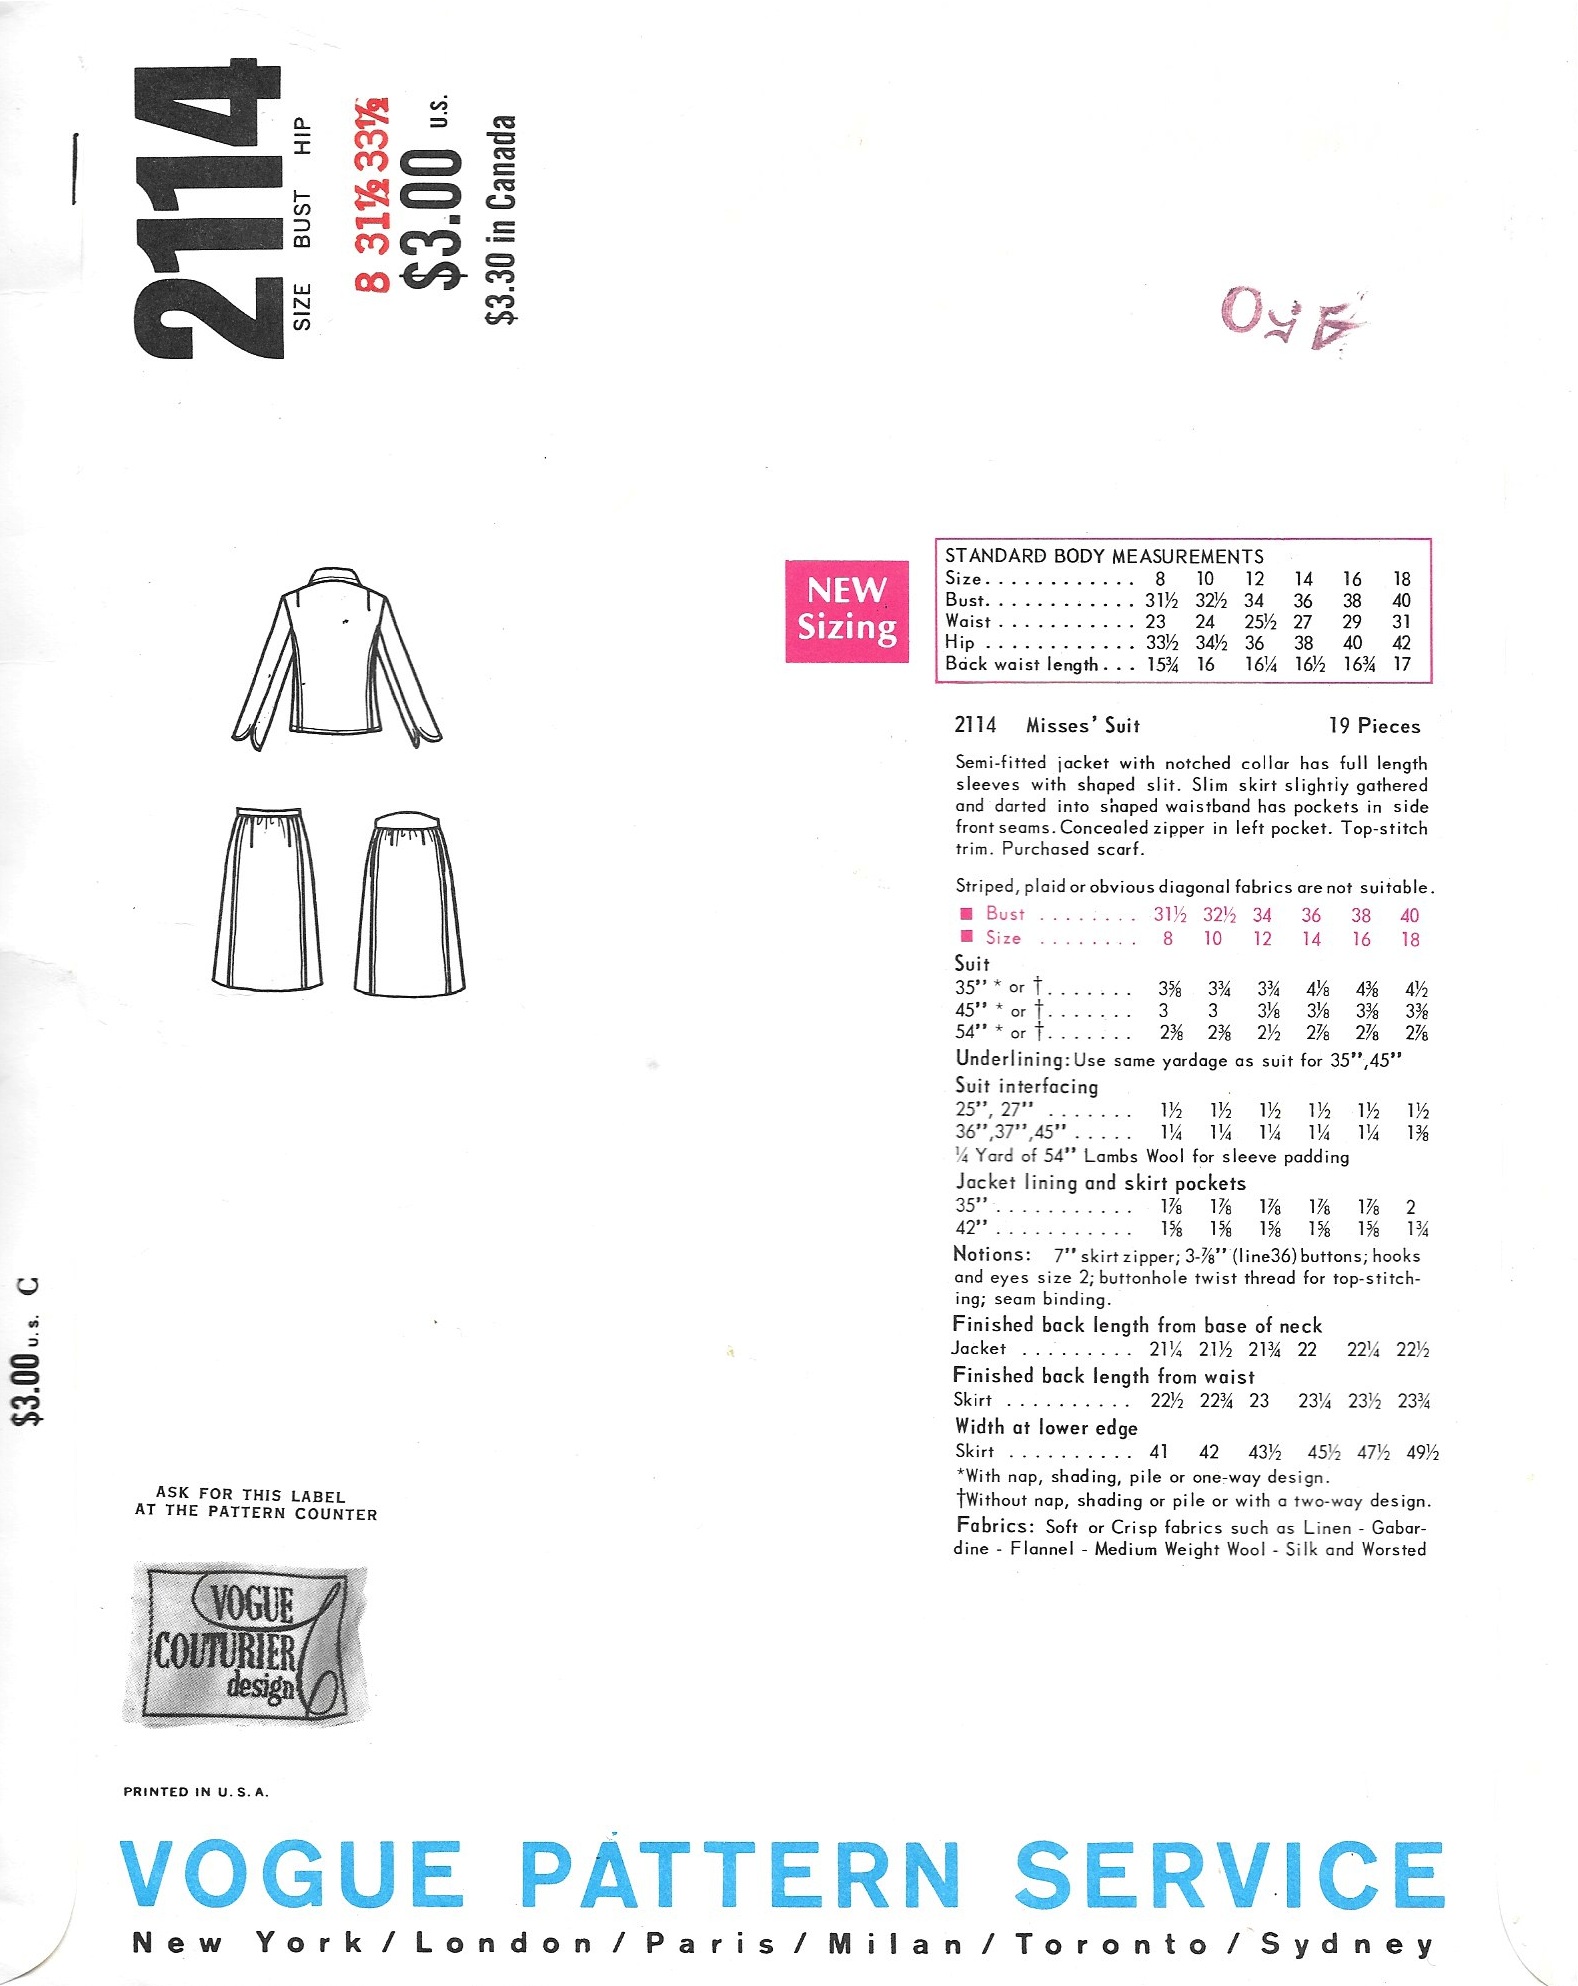
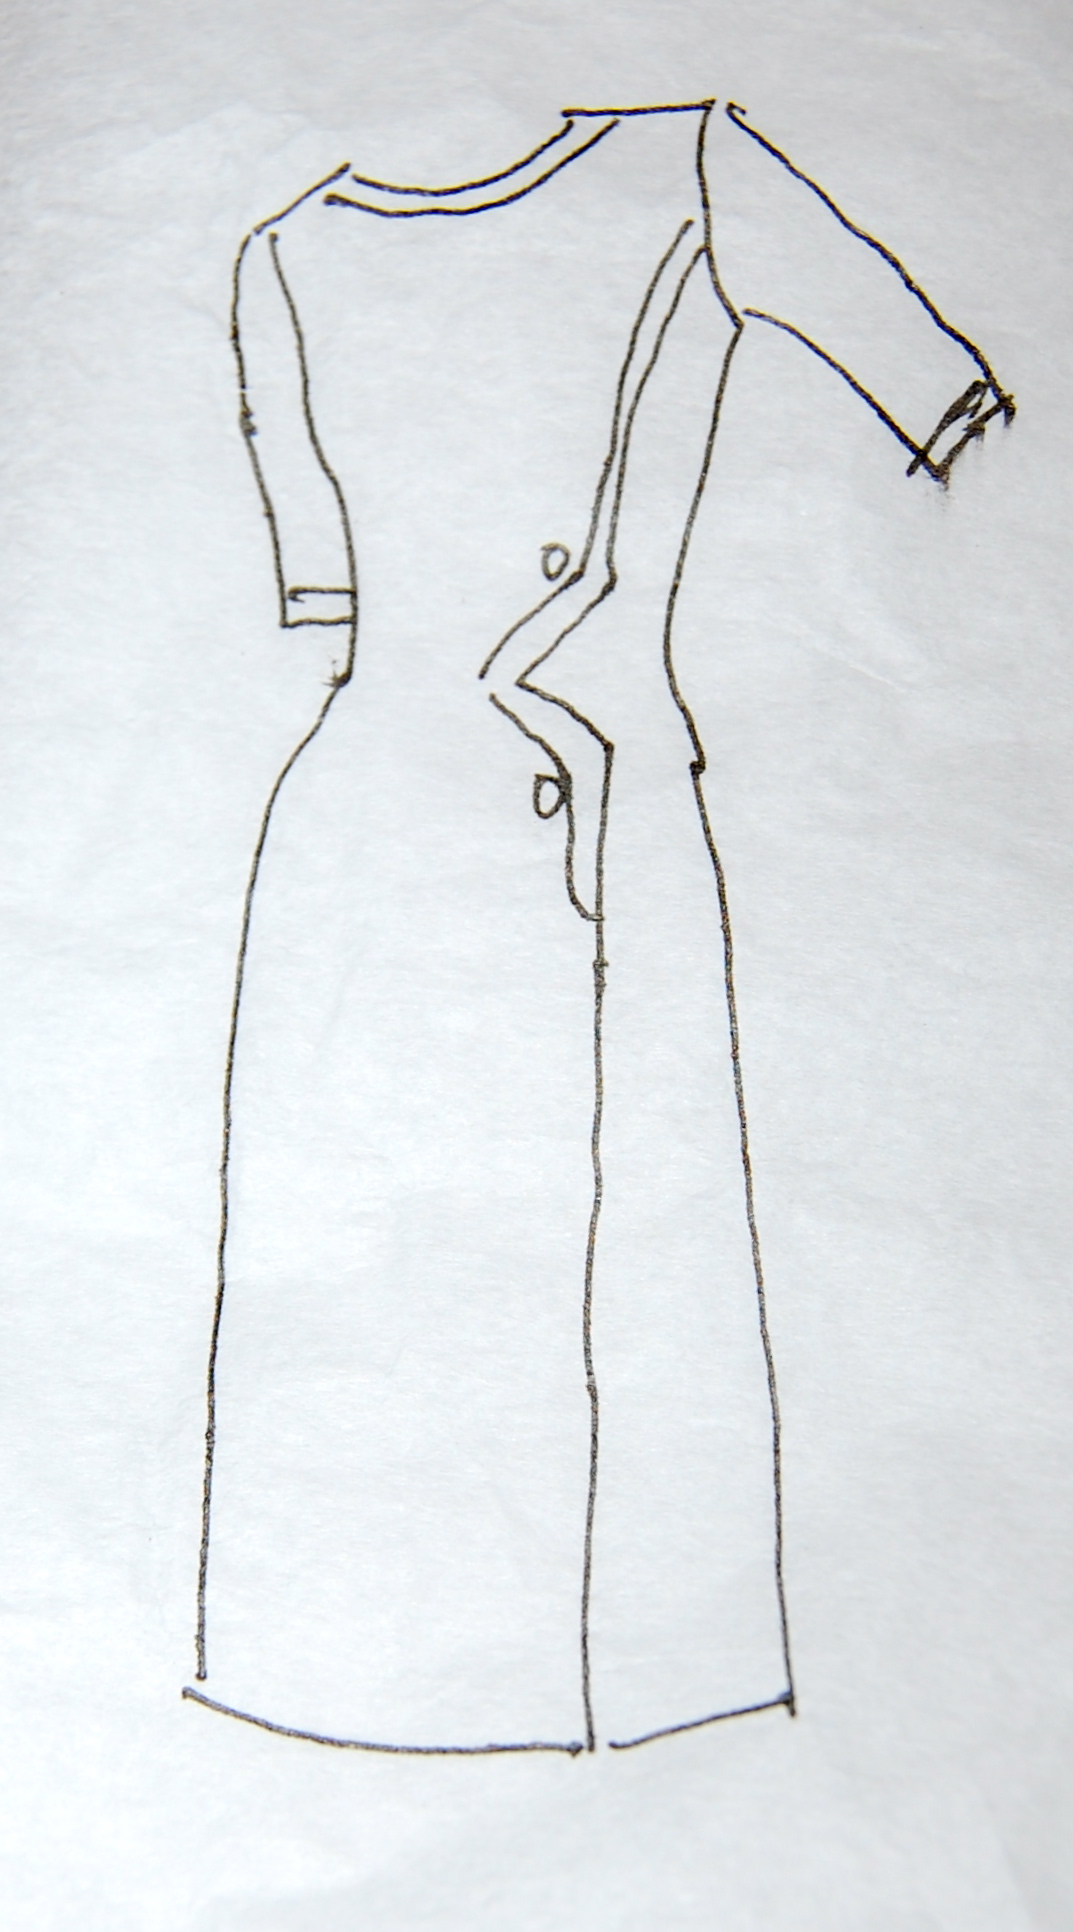
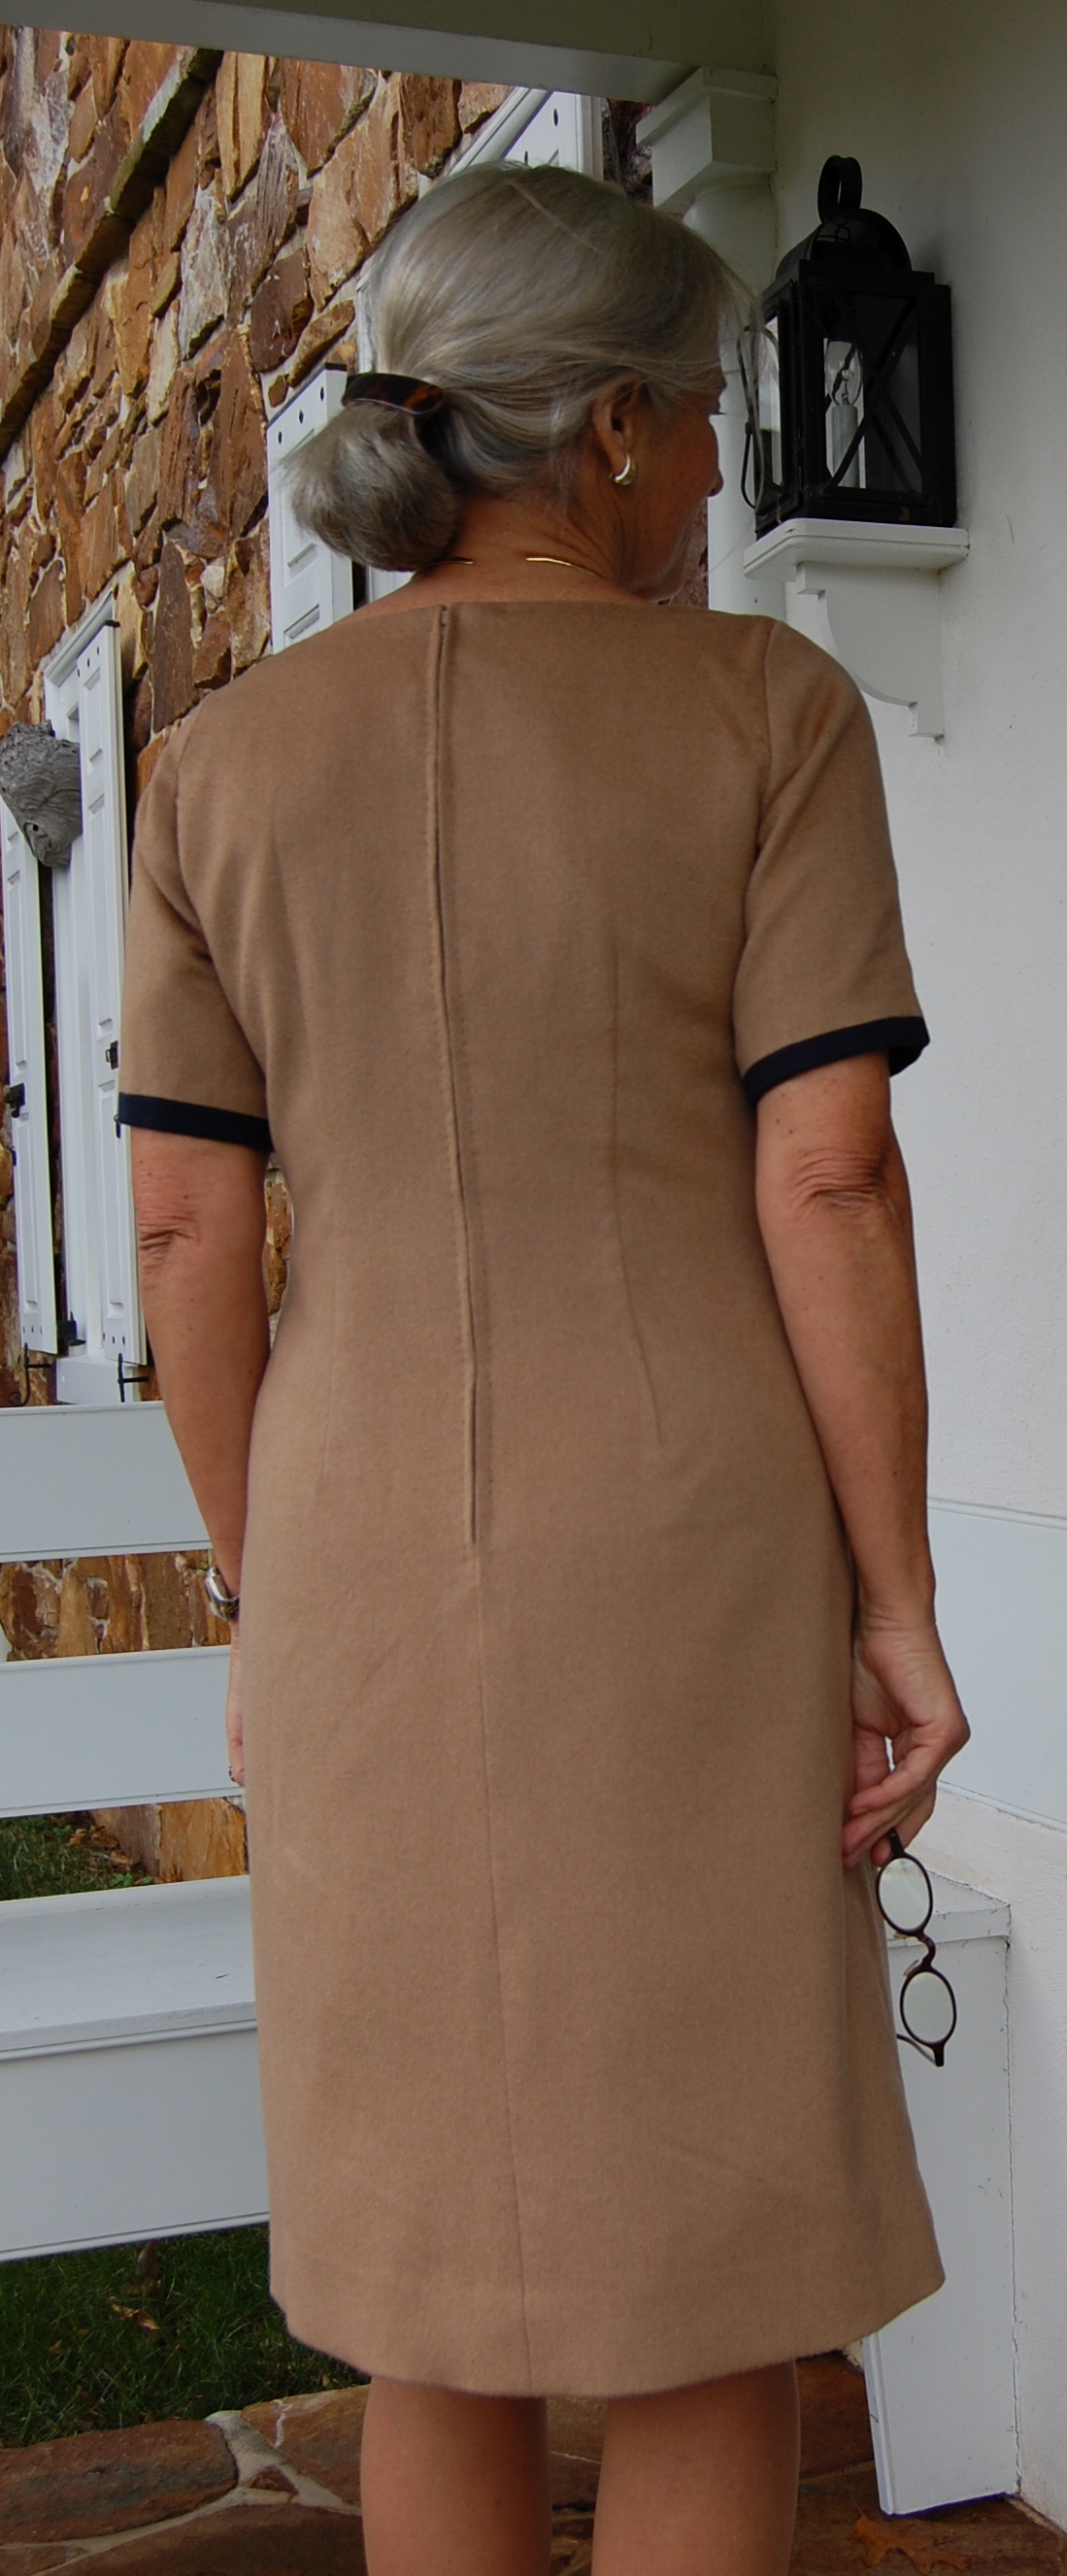
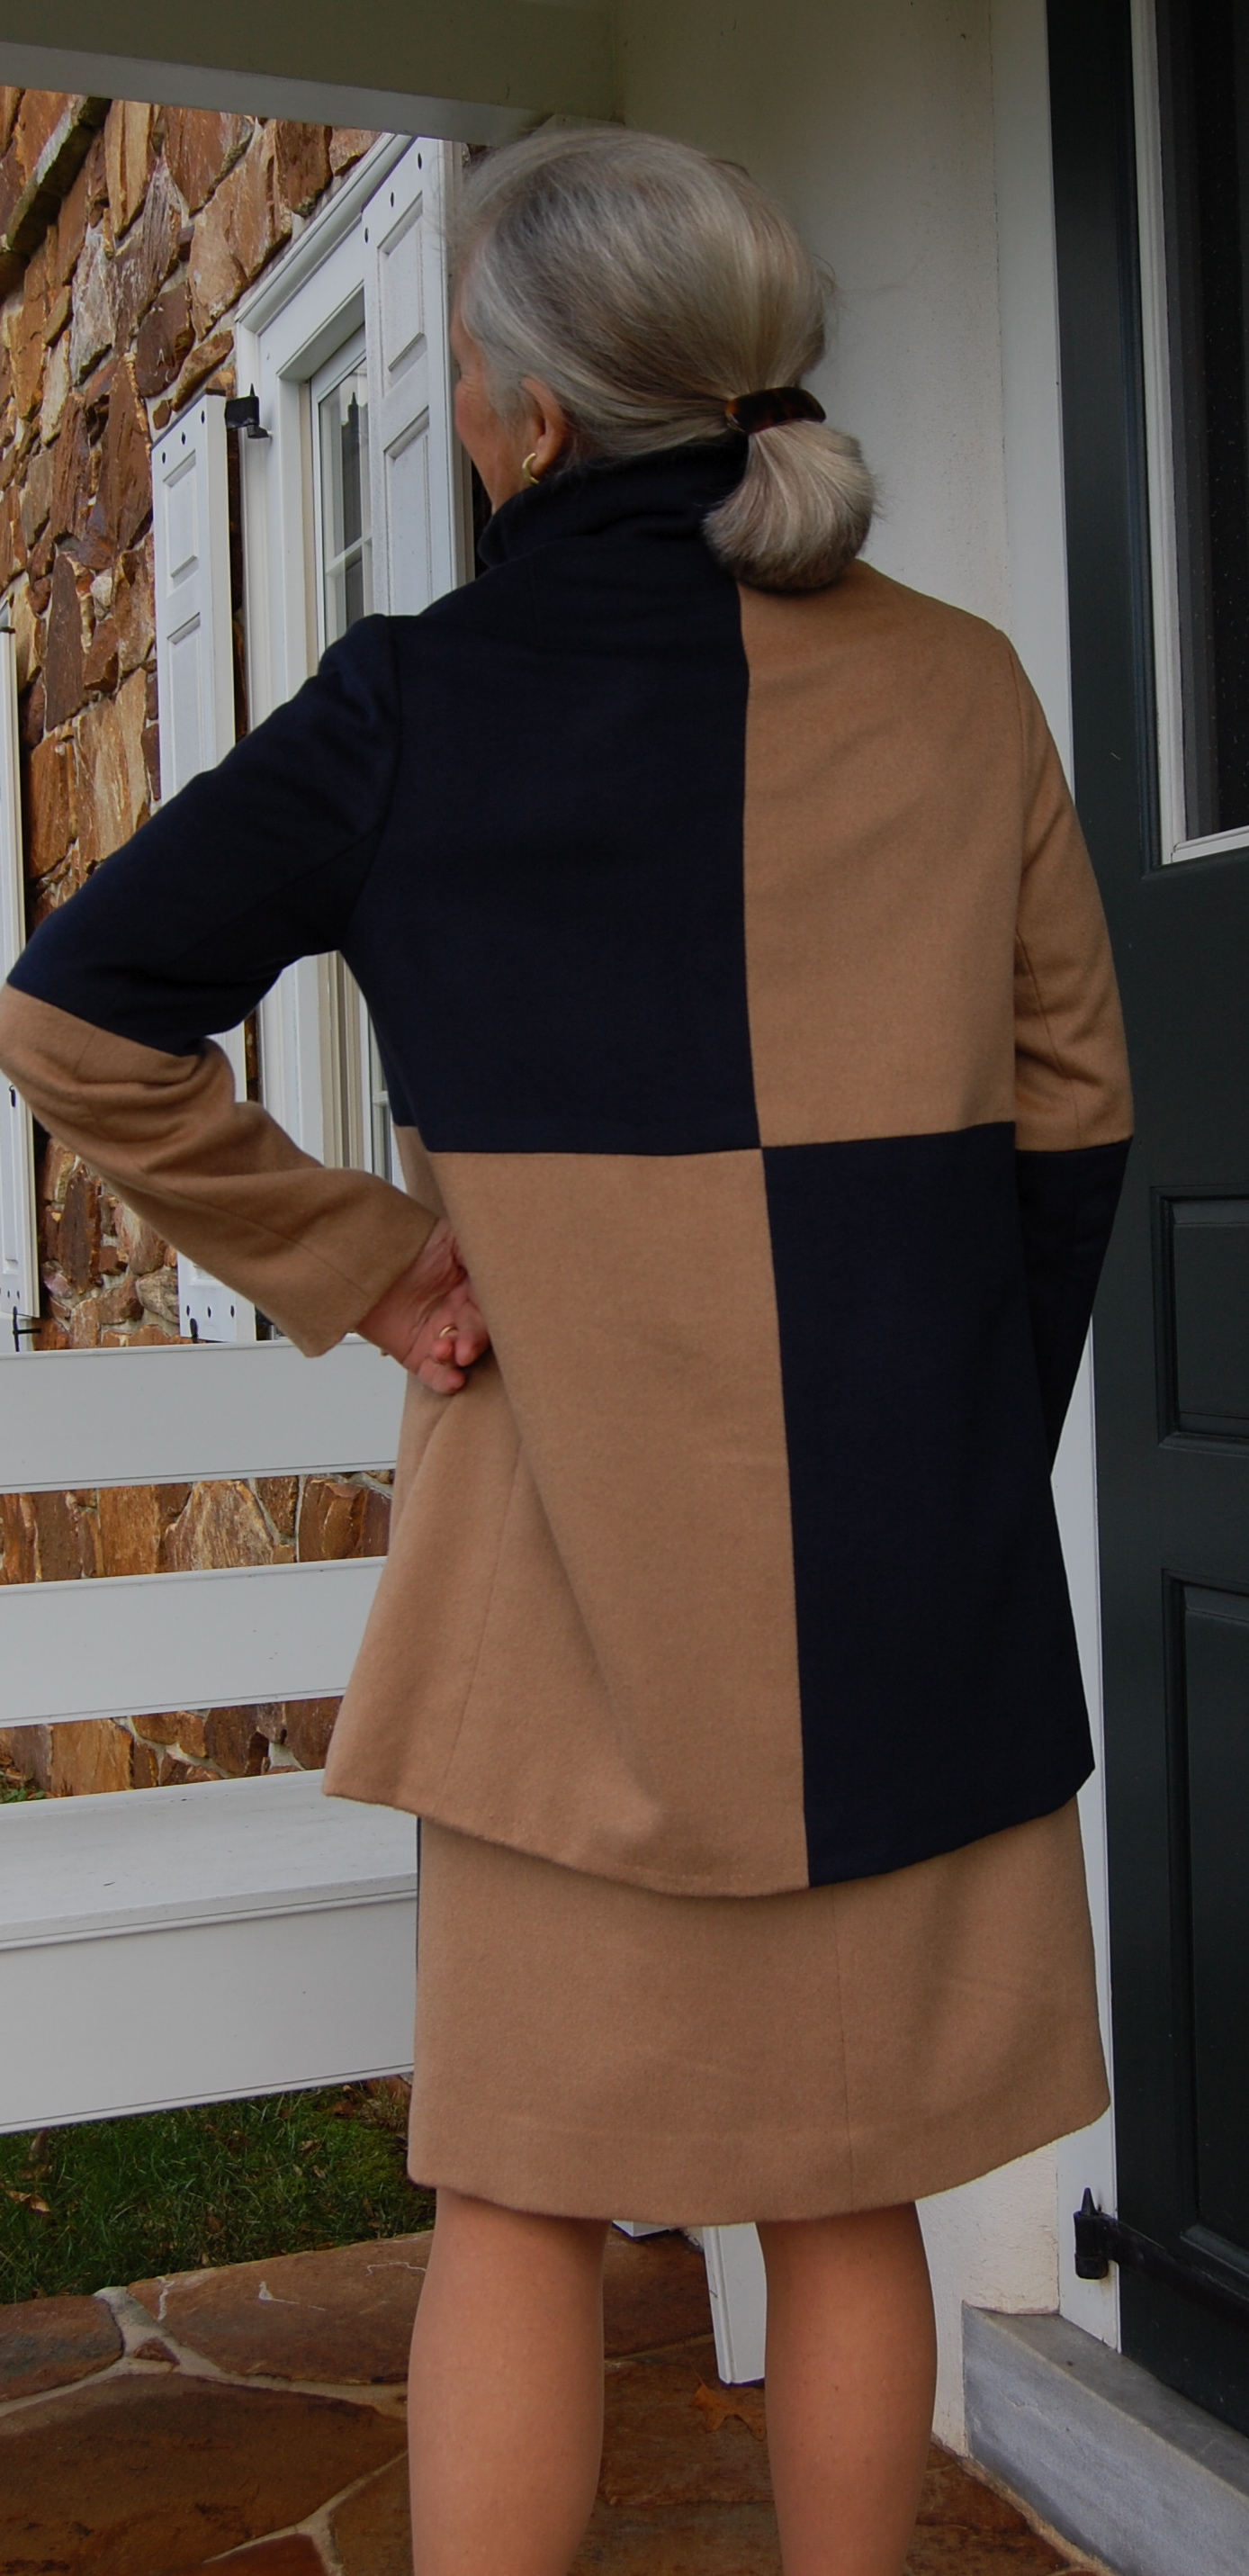
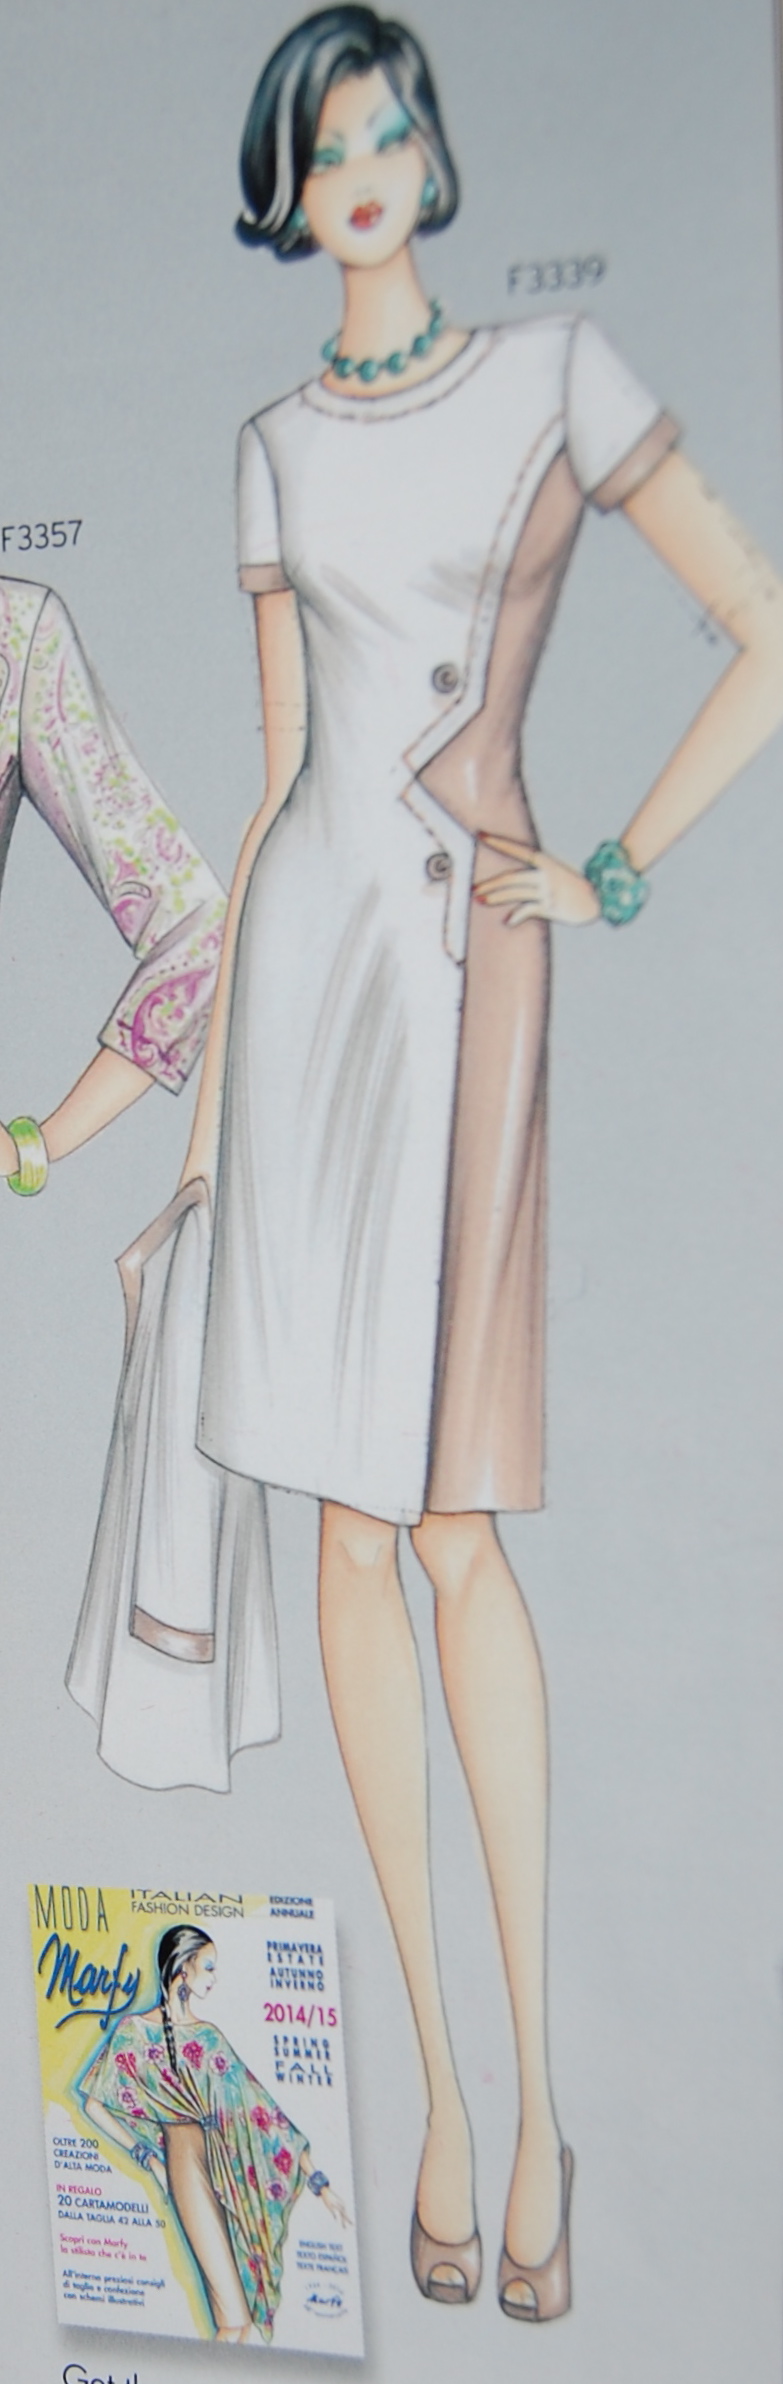
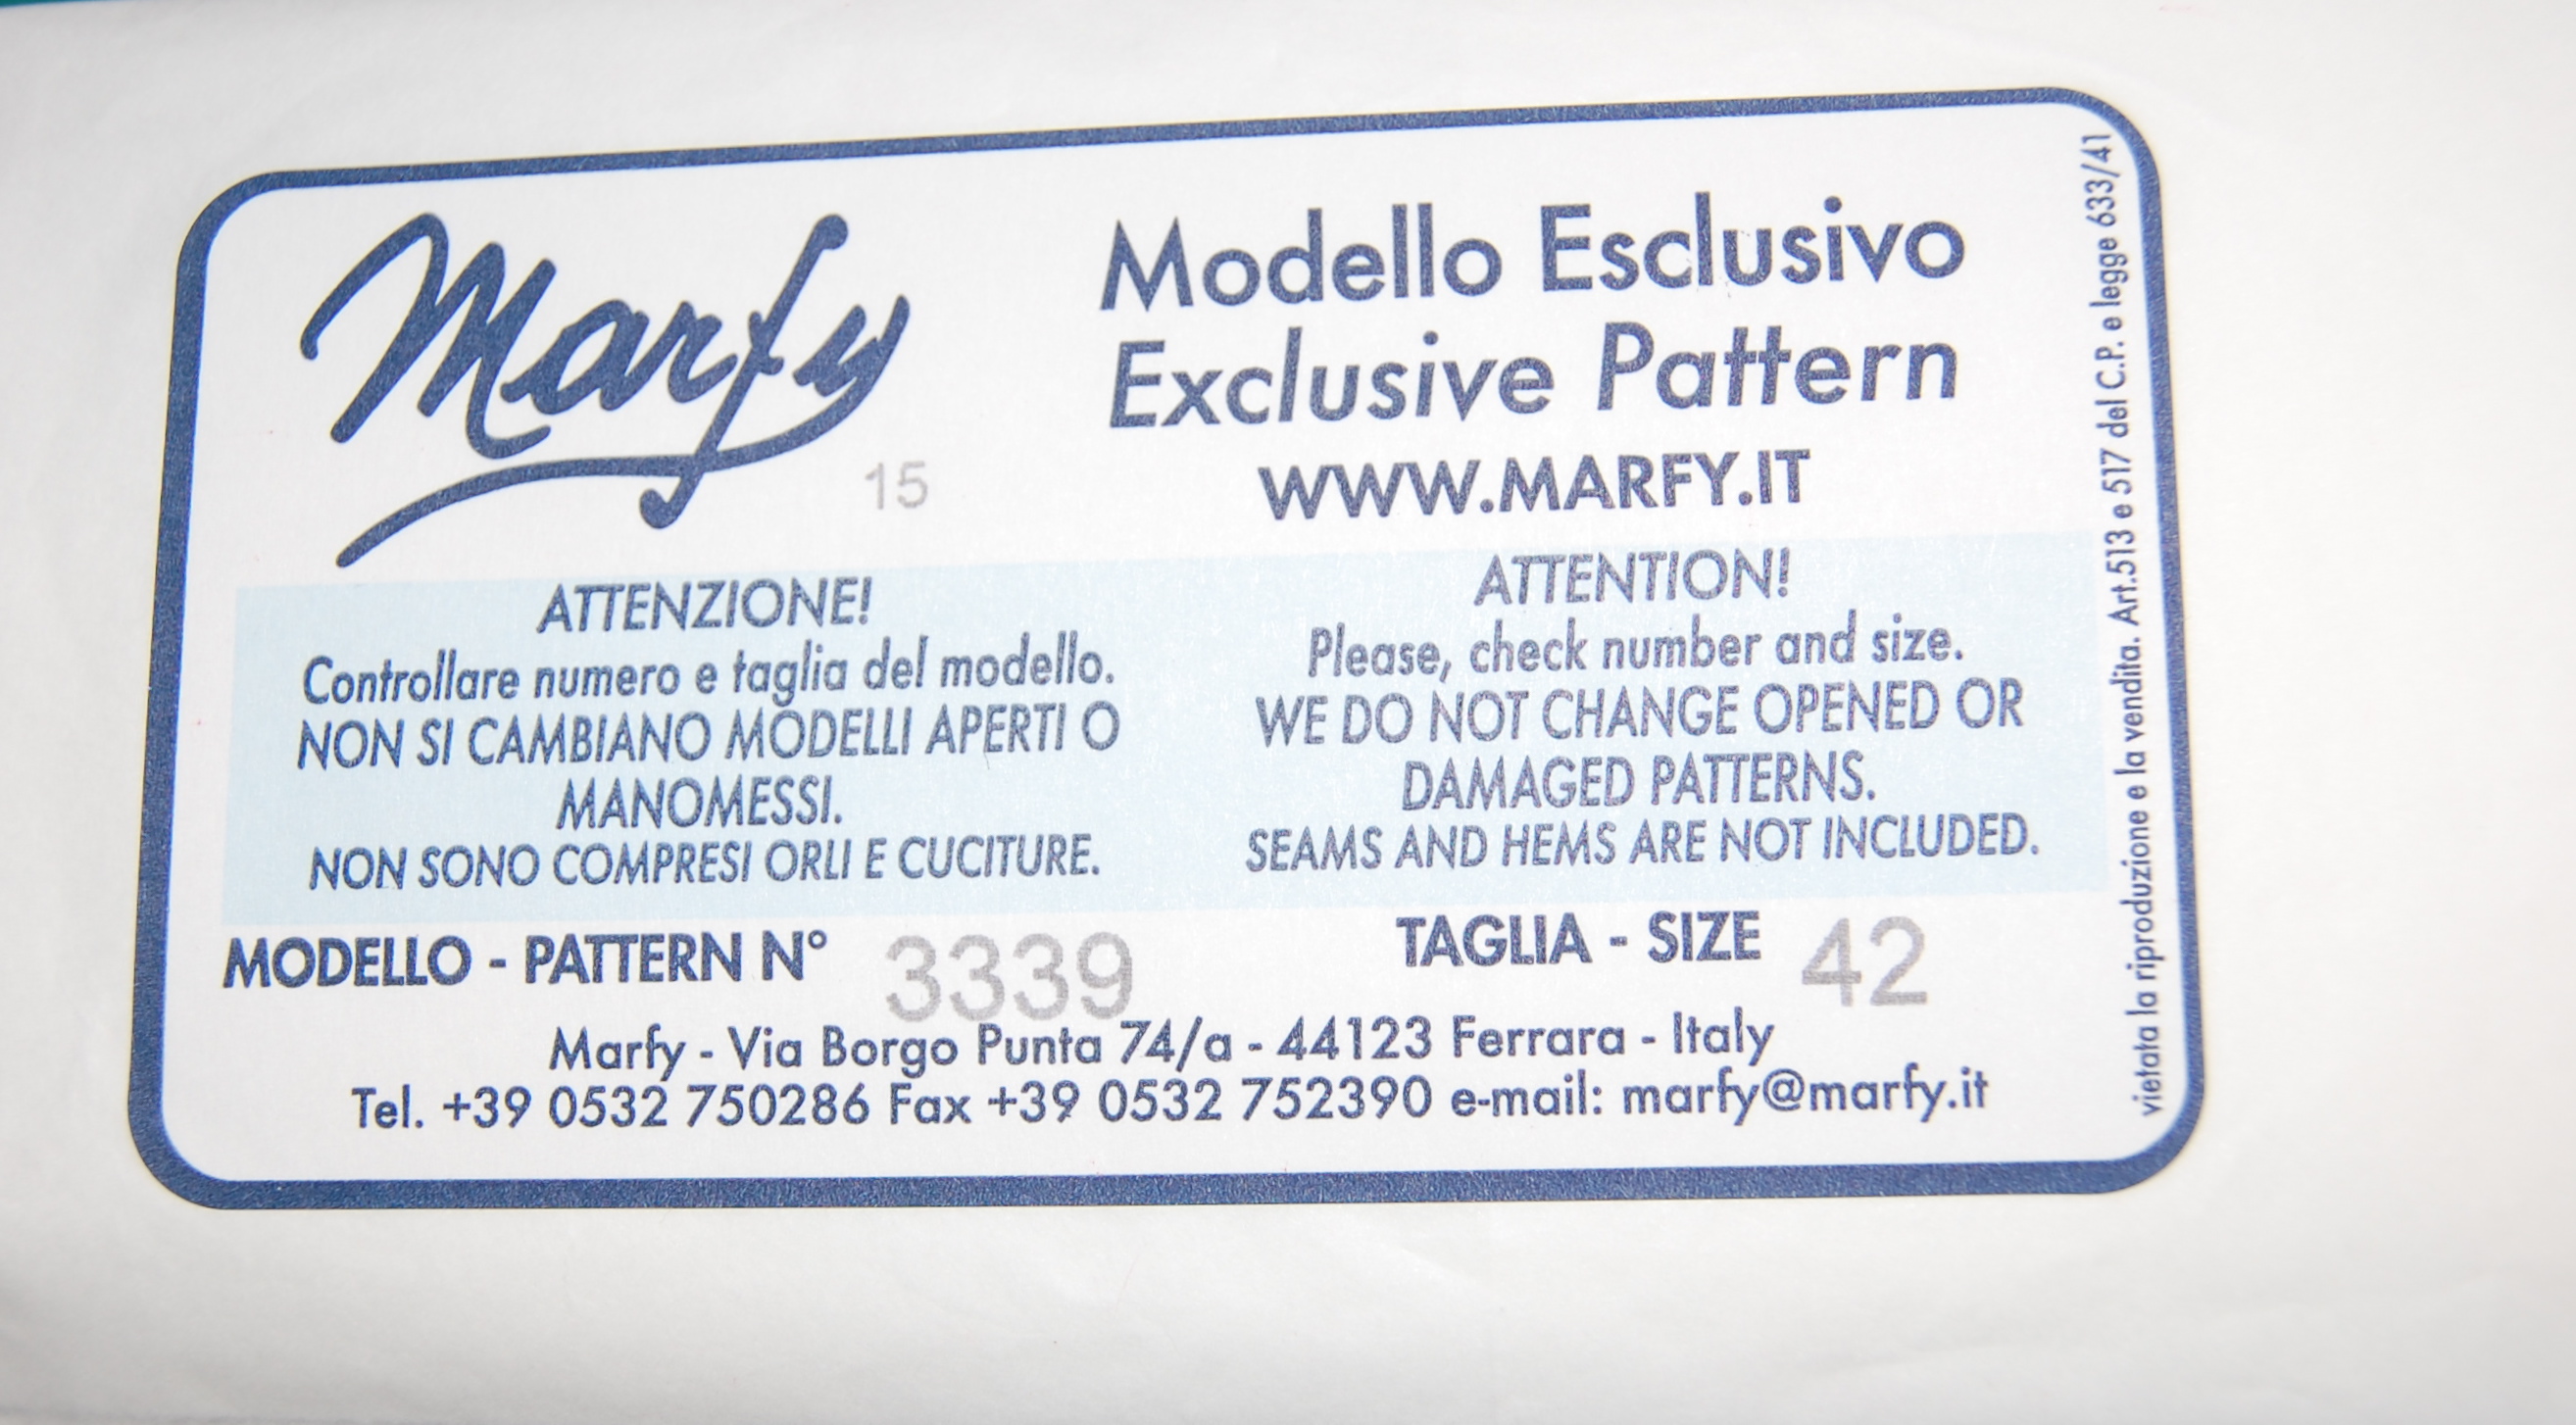
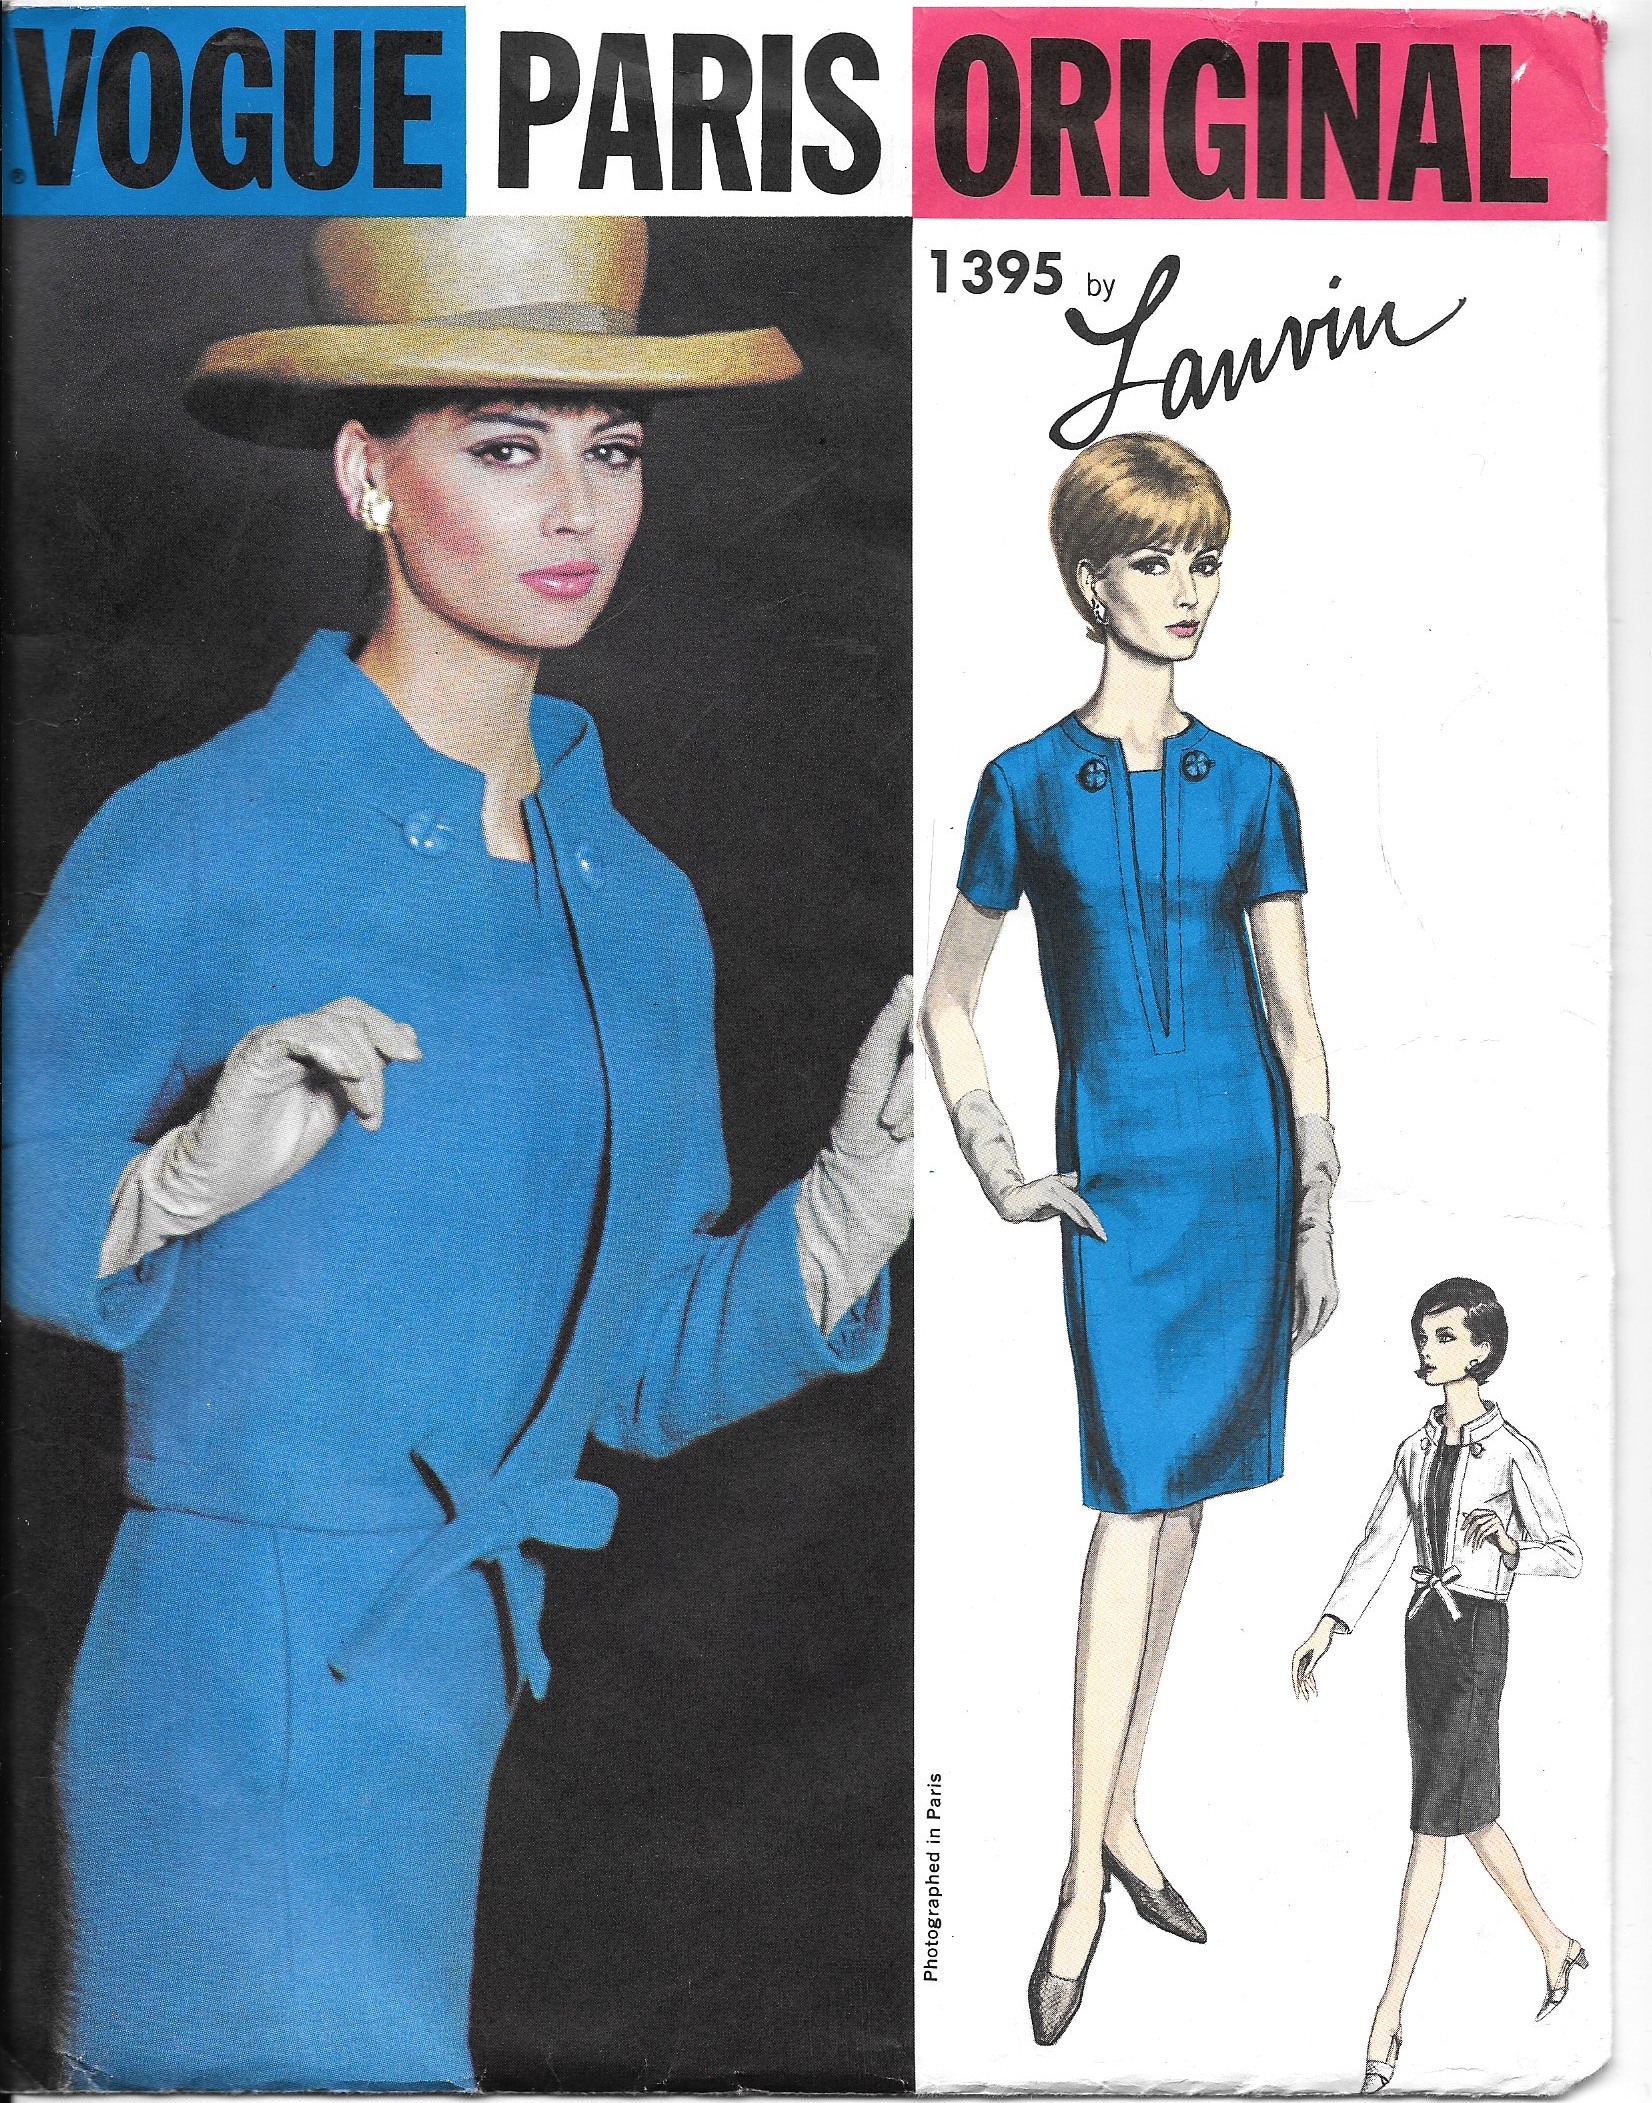
Although I knew I wanted to make a dress with a slim profile – to minimize the fabric’s horizontal design – it took me a while to find the right pattern. I started with one that had curved lines in its bodice and “scraped” that idea after my muslin (toile) revealed many fitting issues. I took that as a sign that the pattern wasn’t the best one to use anyway (which I suspected all along. It’s really important to listen to one’s intuition in things like this!) After another search in my pattern collection, I settled on this dress.
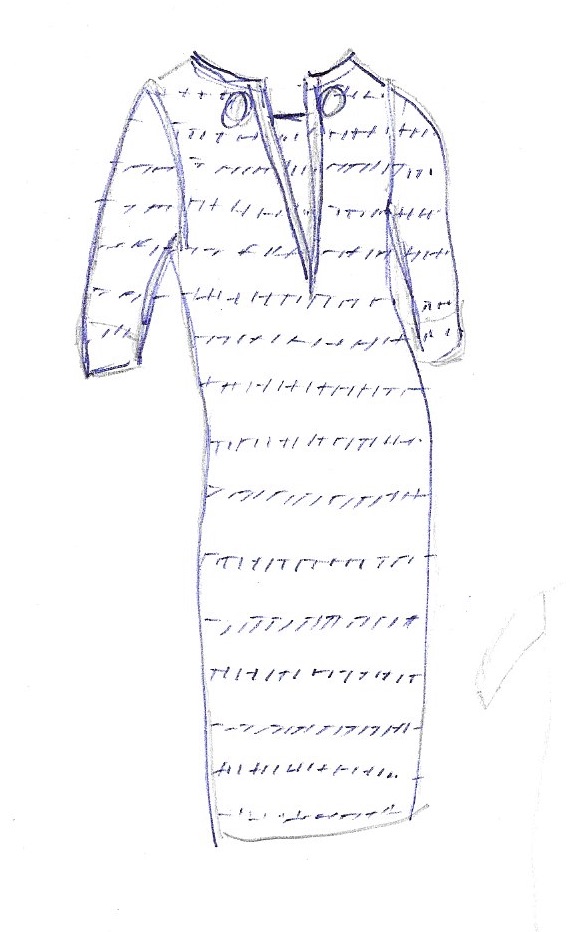
However, I want below-elbow length sleeves so I did a little sketch to try out the look:
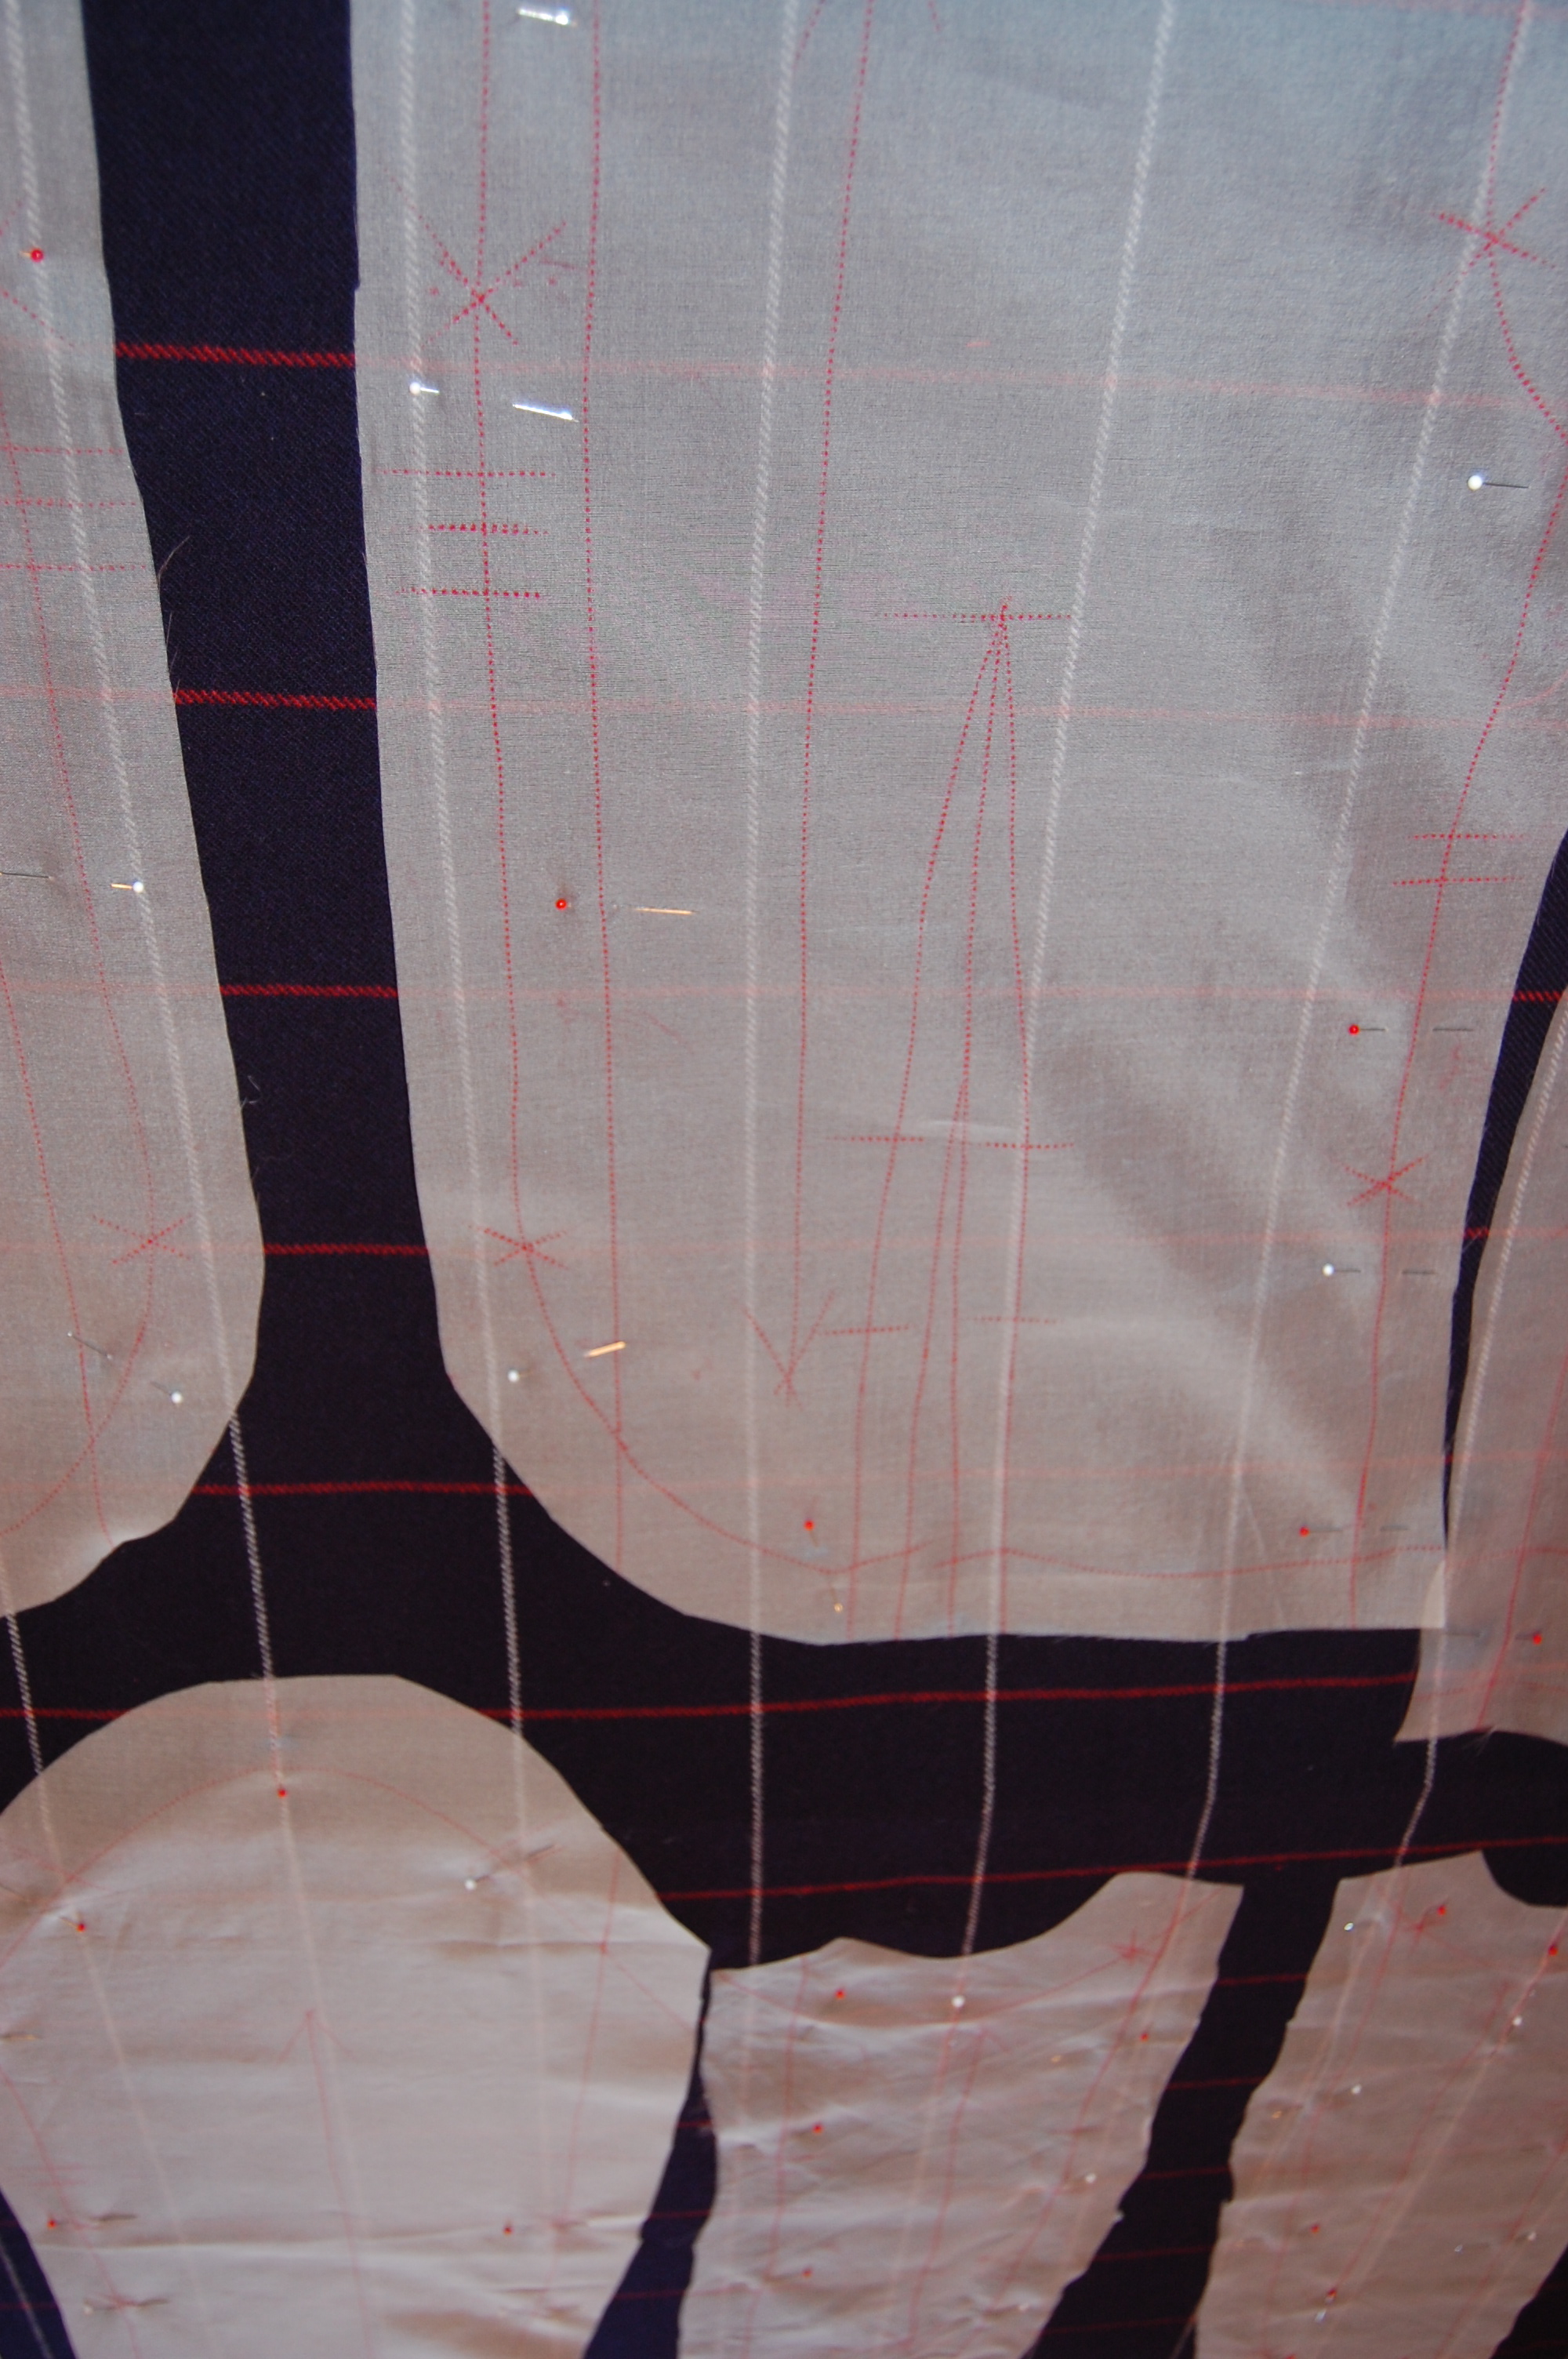
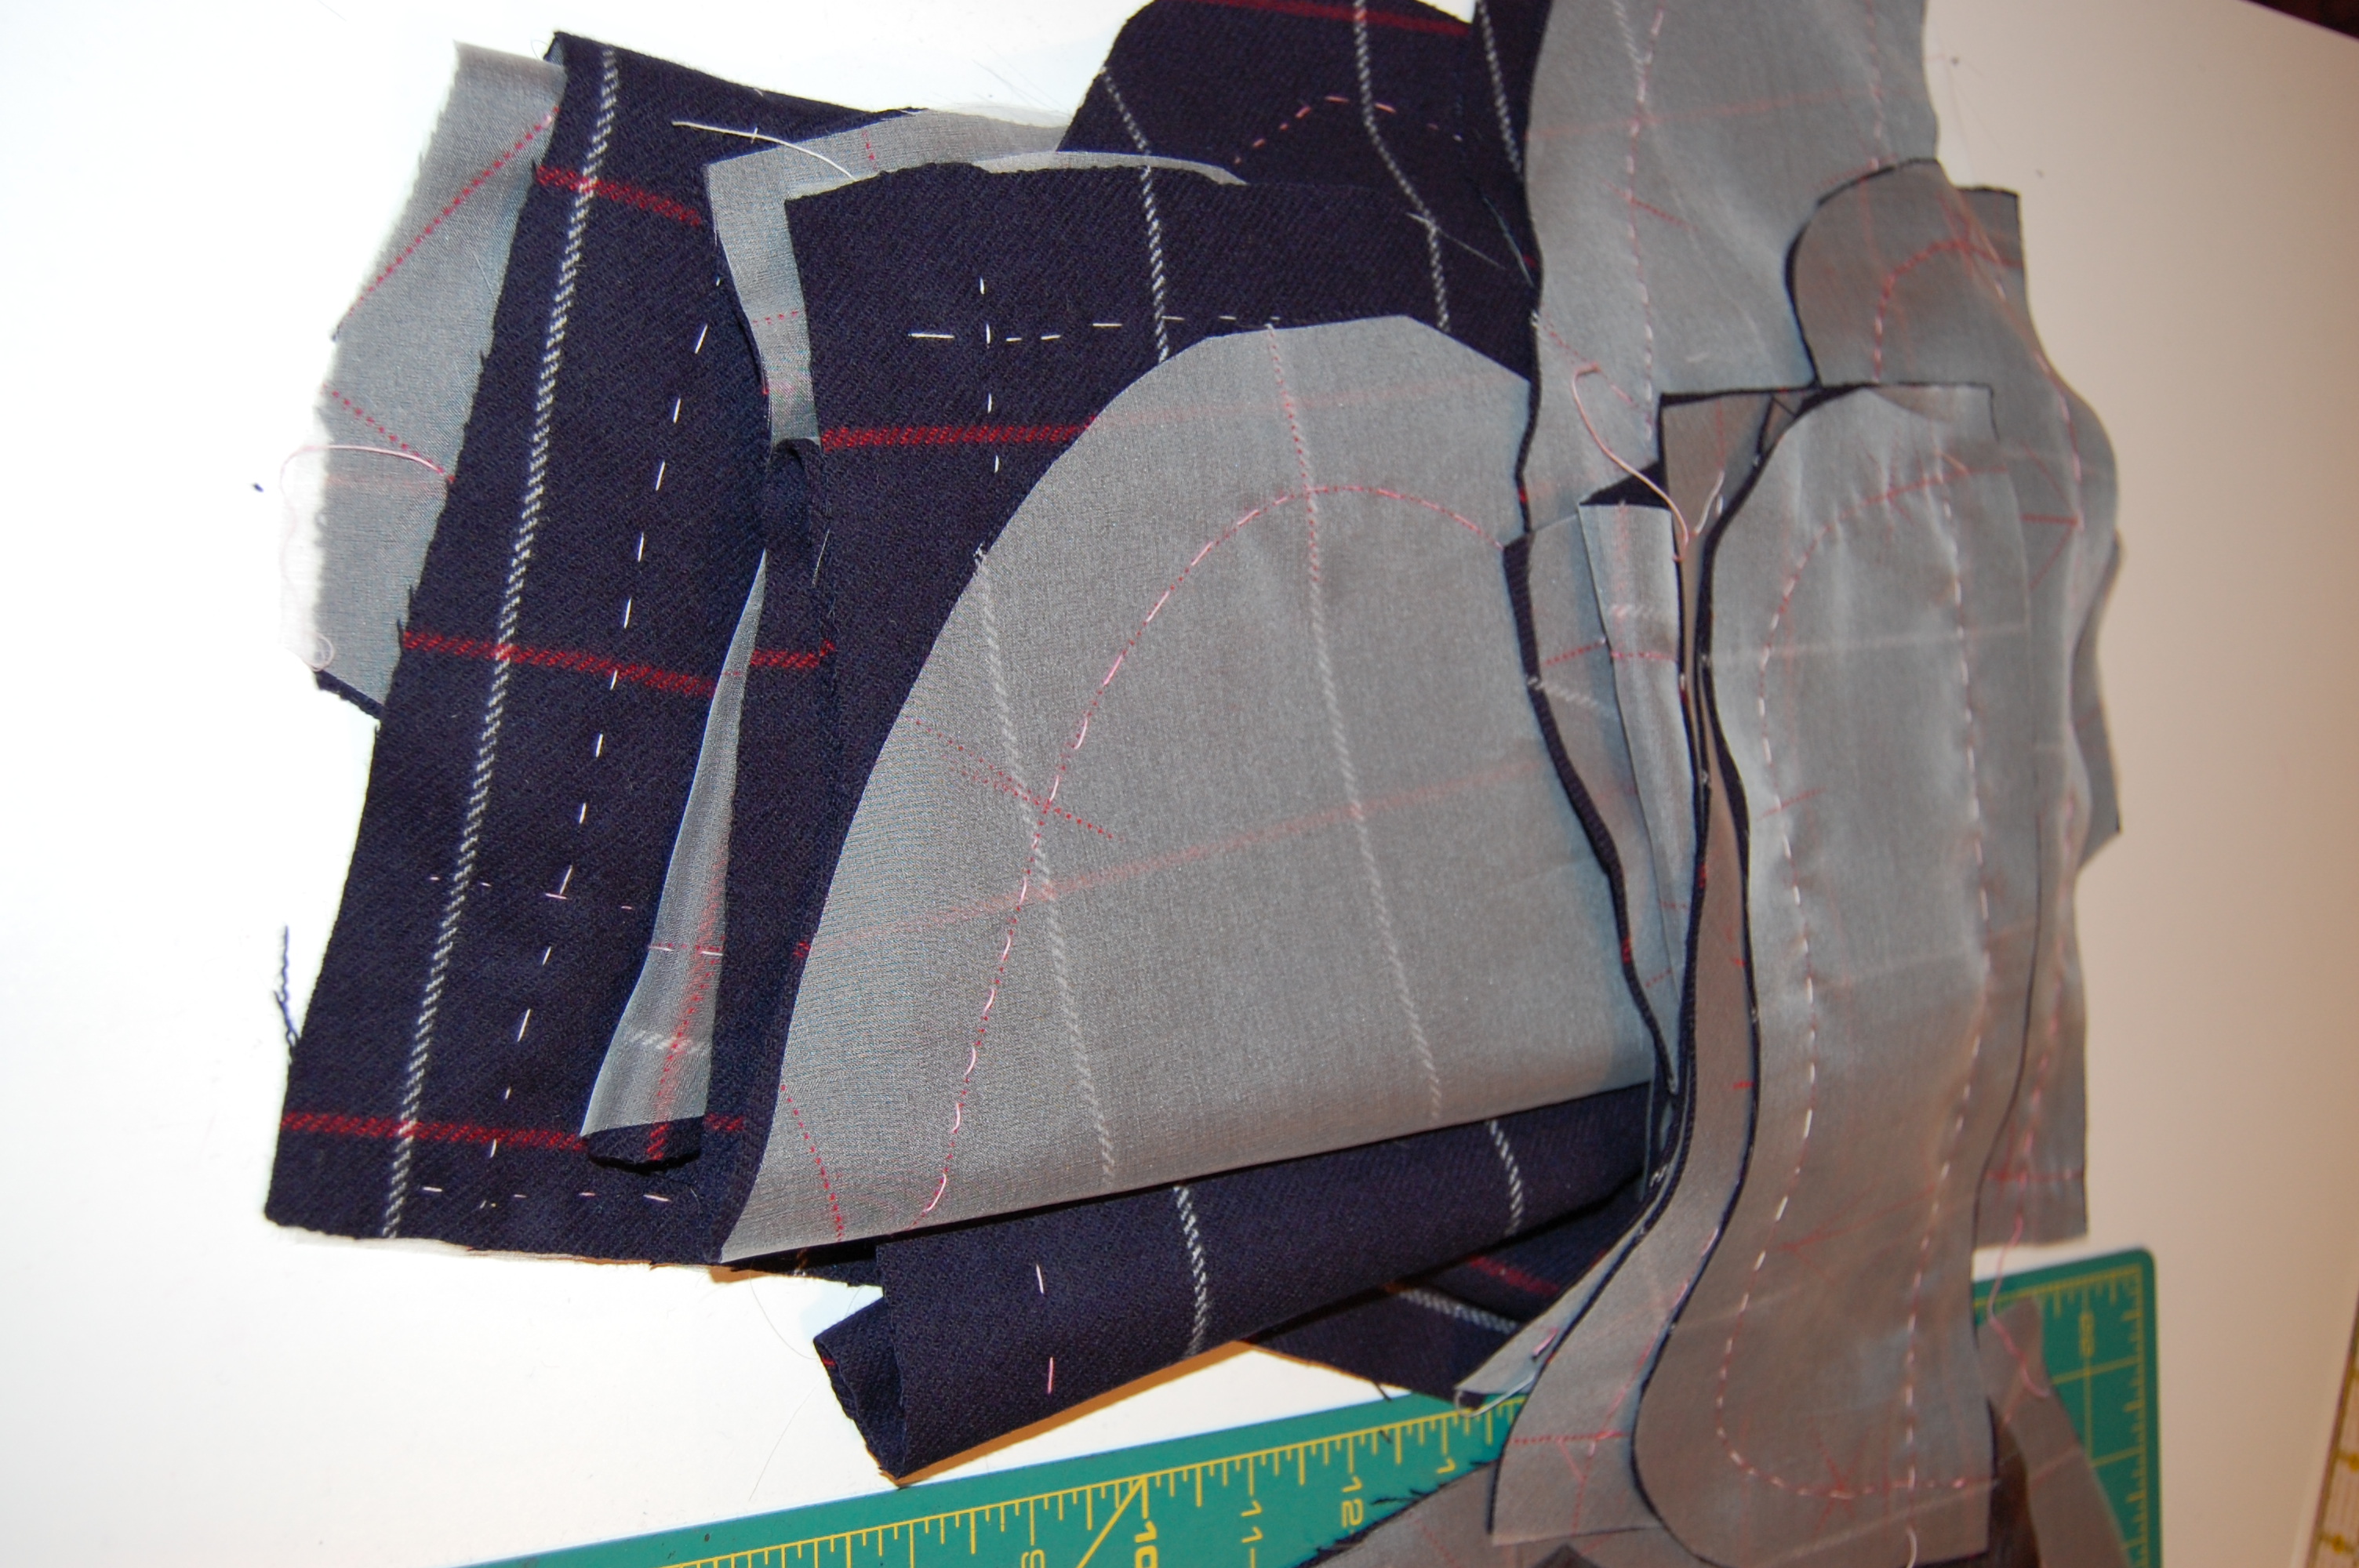
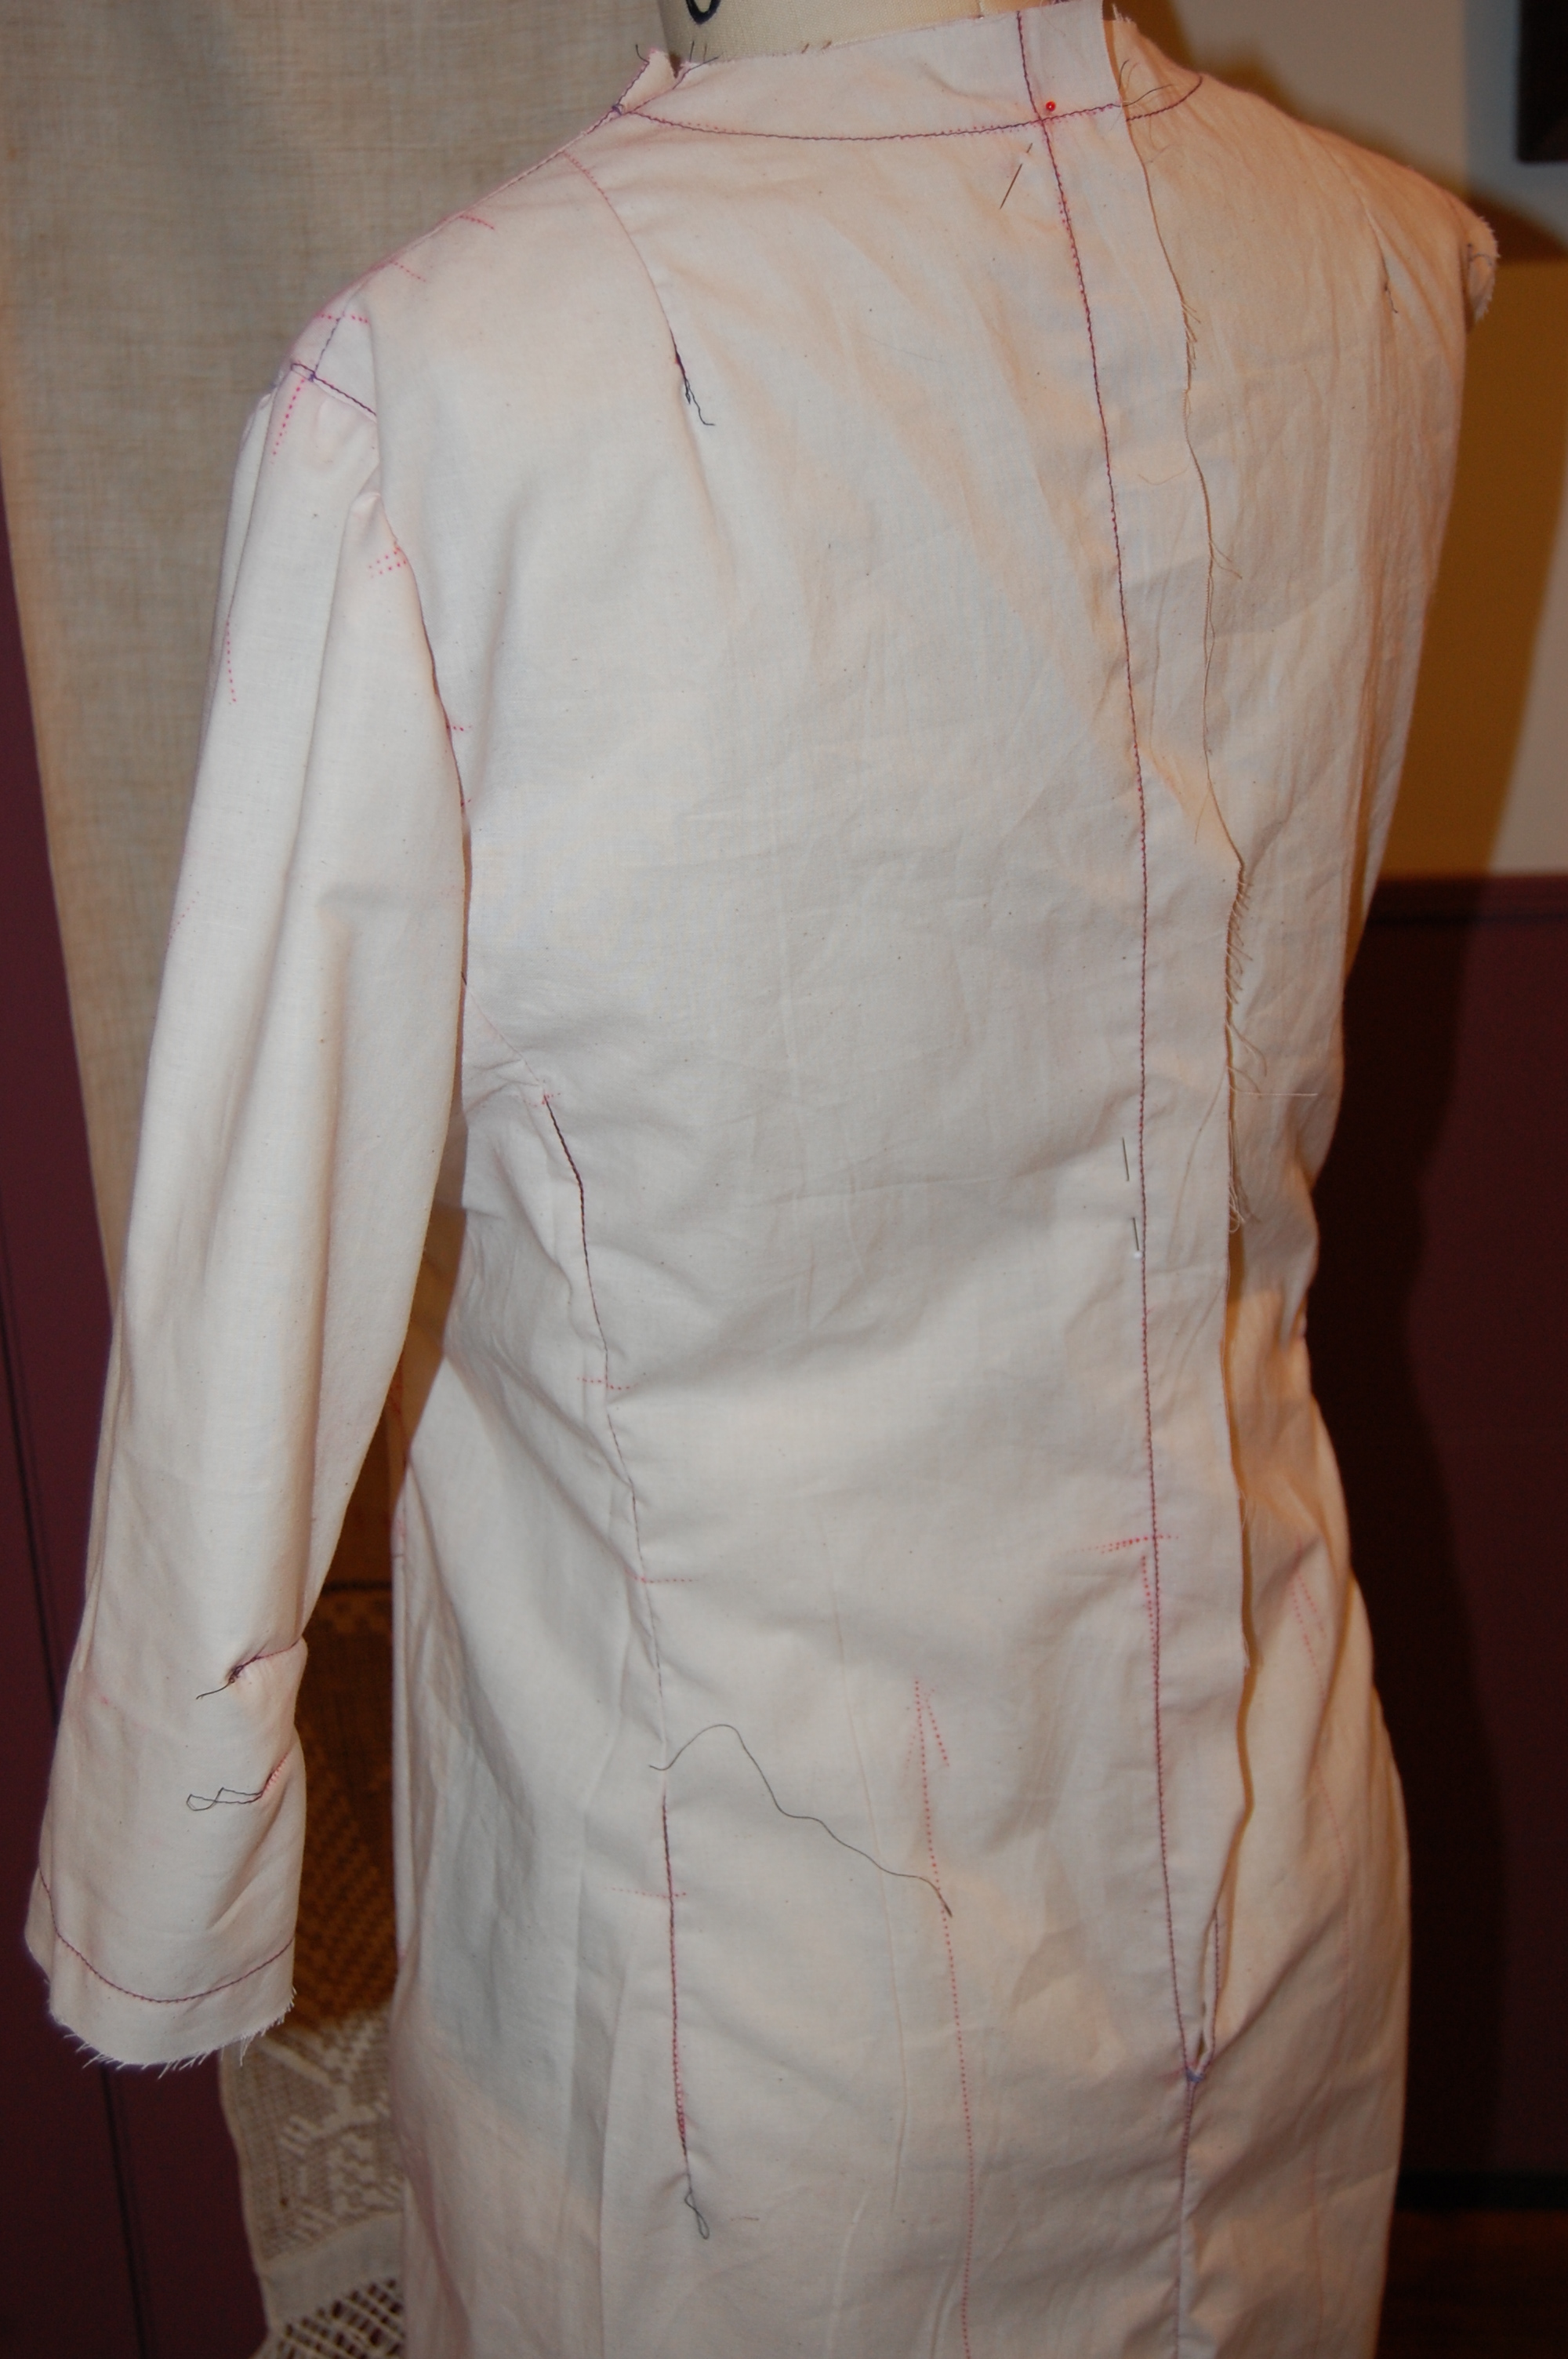
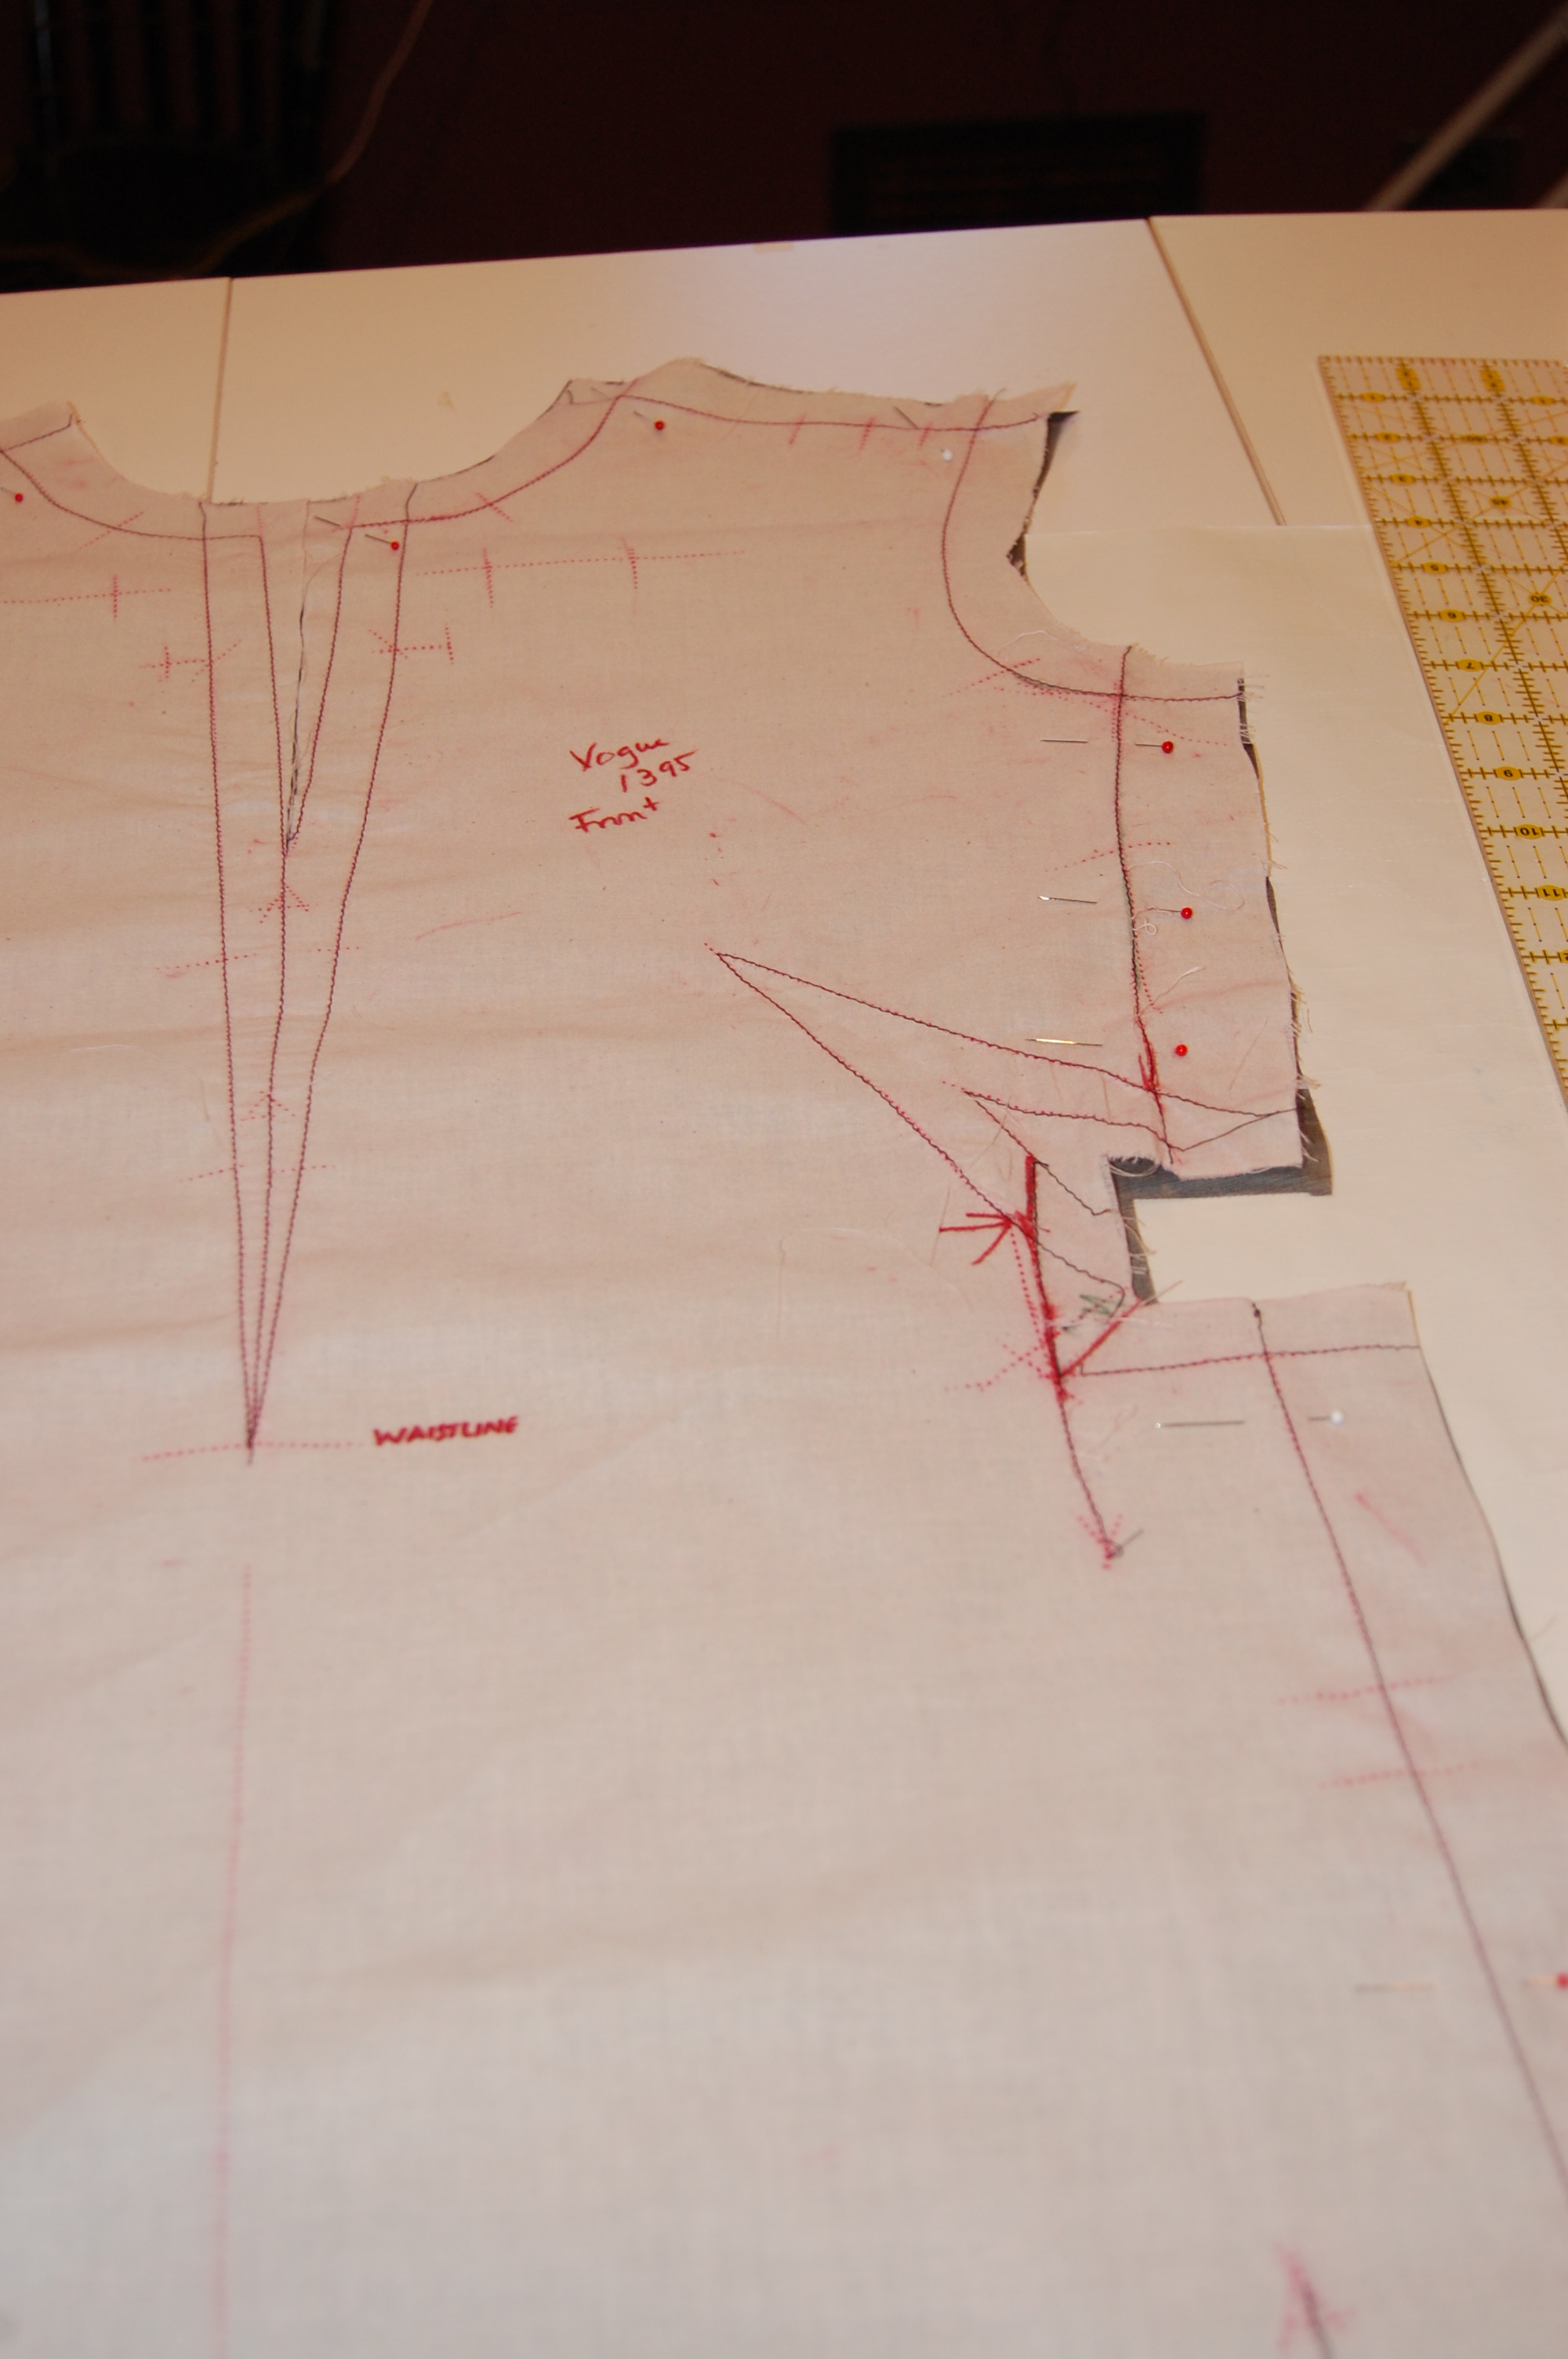
 After finding a sleeve pattern from another dress which sports two elbow darts, I figured I was in business. Ah, the battle was just beginning. The first muslin I made revealed bust darts that were two inches (two!!) too high. And although I wanted a slim profile, I do have to be able to move in the dress! I figured I needed to add two inches in total width from the lower armscye down. Here is a diagram of the pattern pieces. The angle of the bust darts is vital to the fit of the dress so I could not just pivot the apex of the bust. I had to reposition the entire dart, which was getting it awfully close to the pocket.
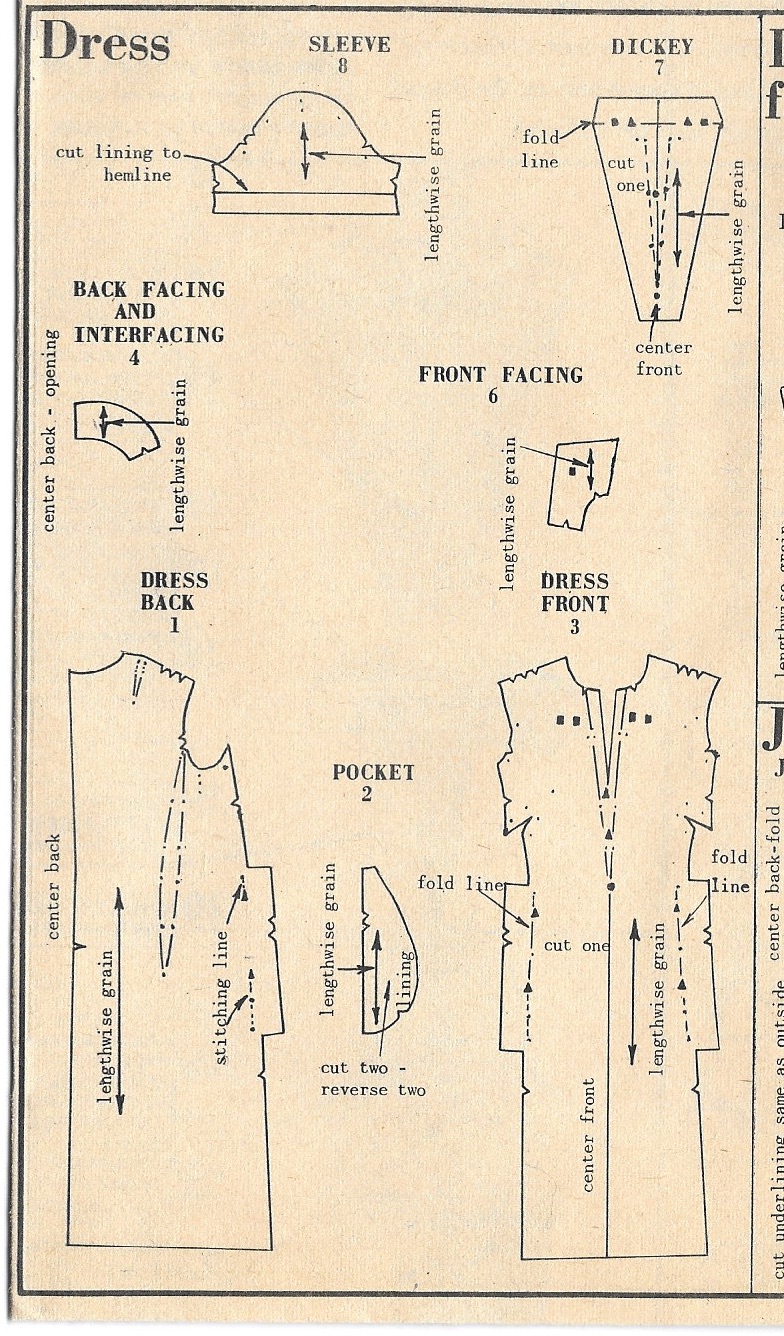
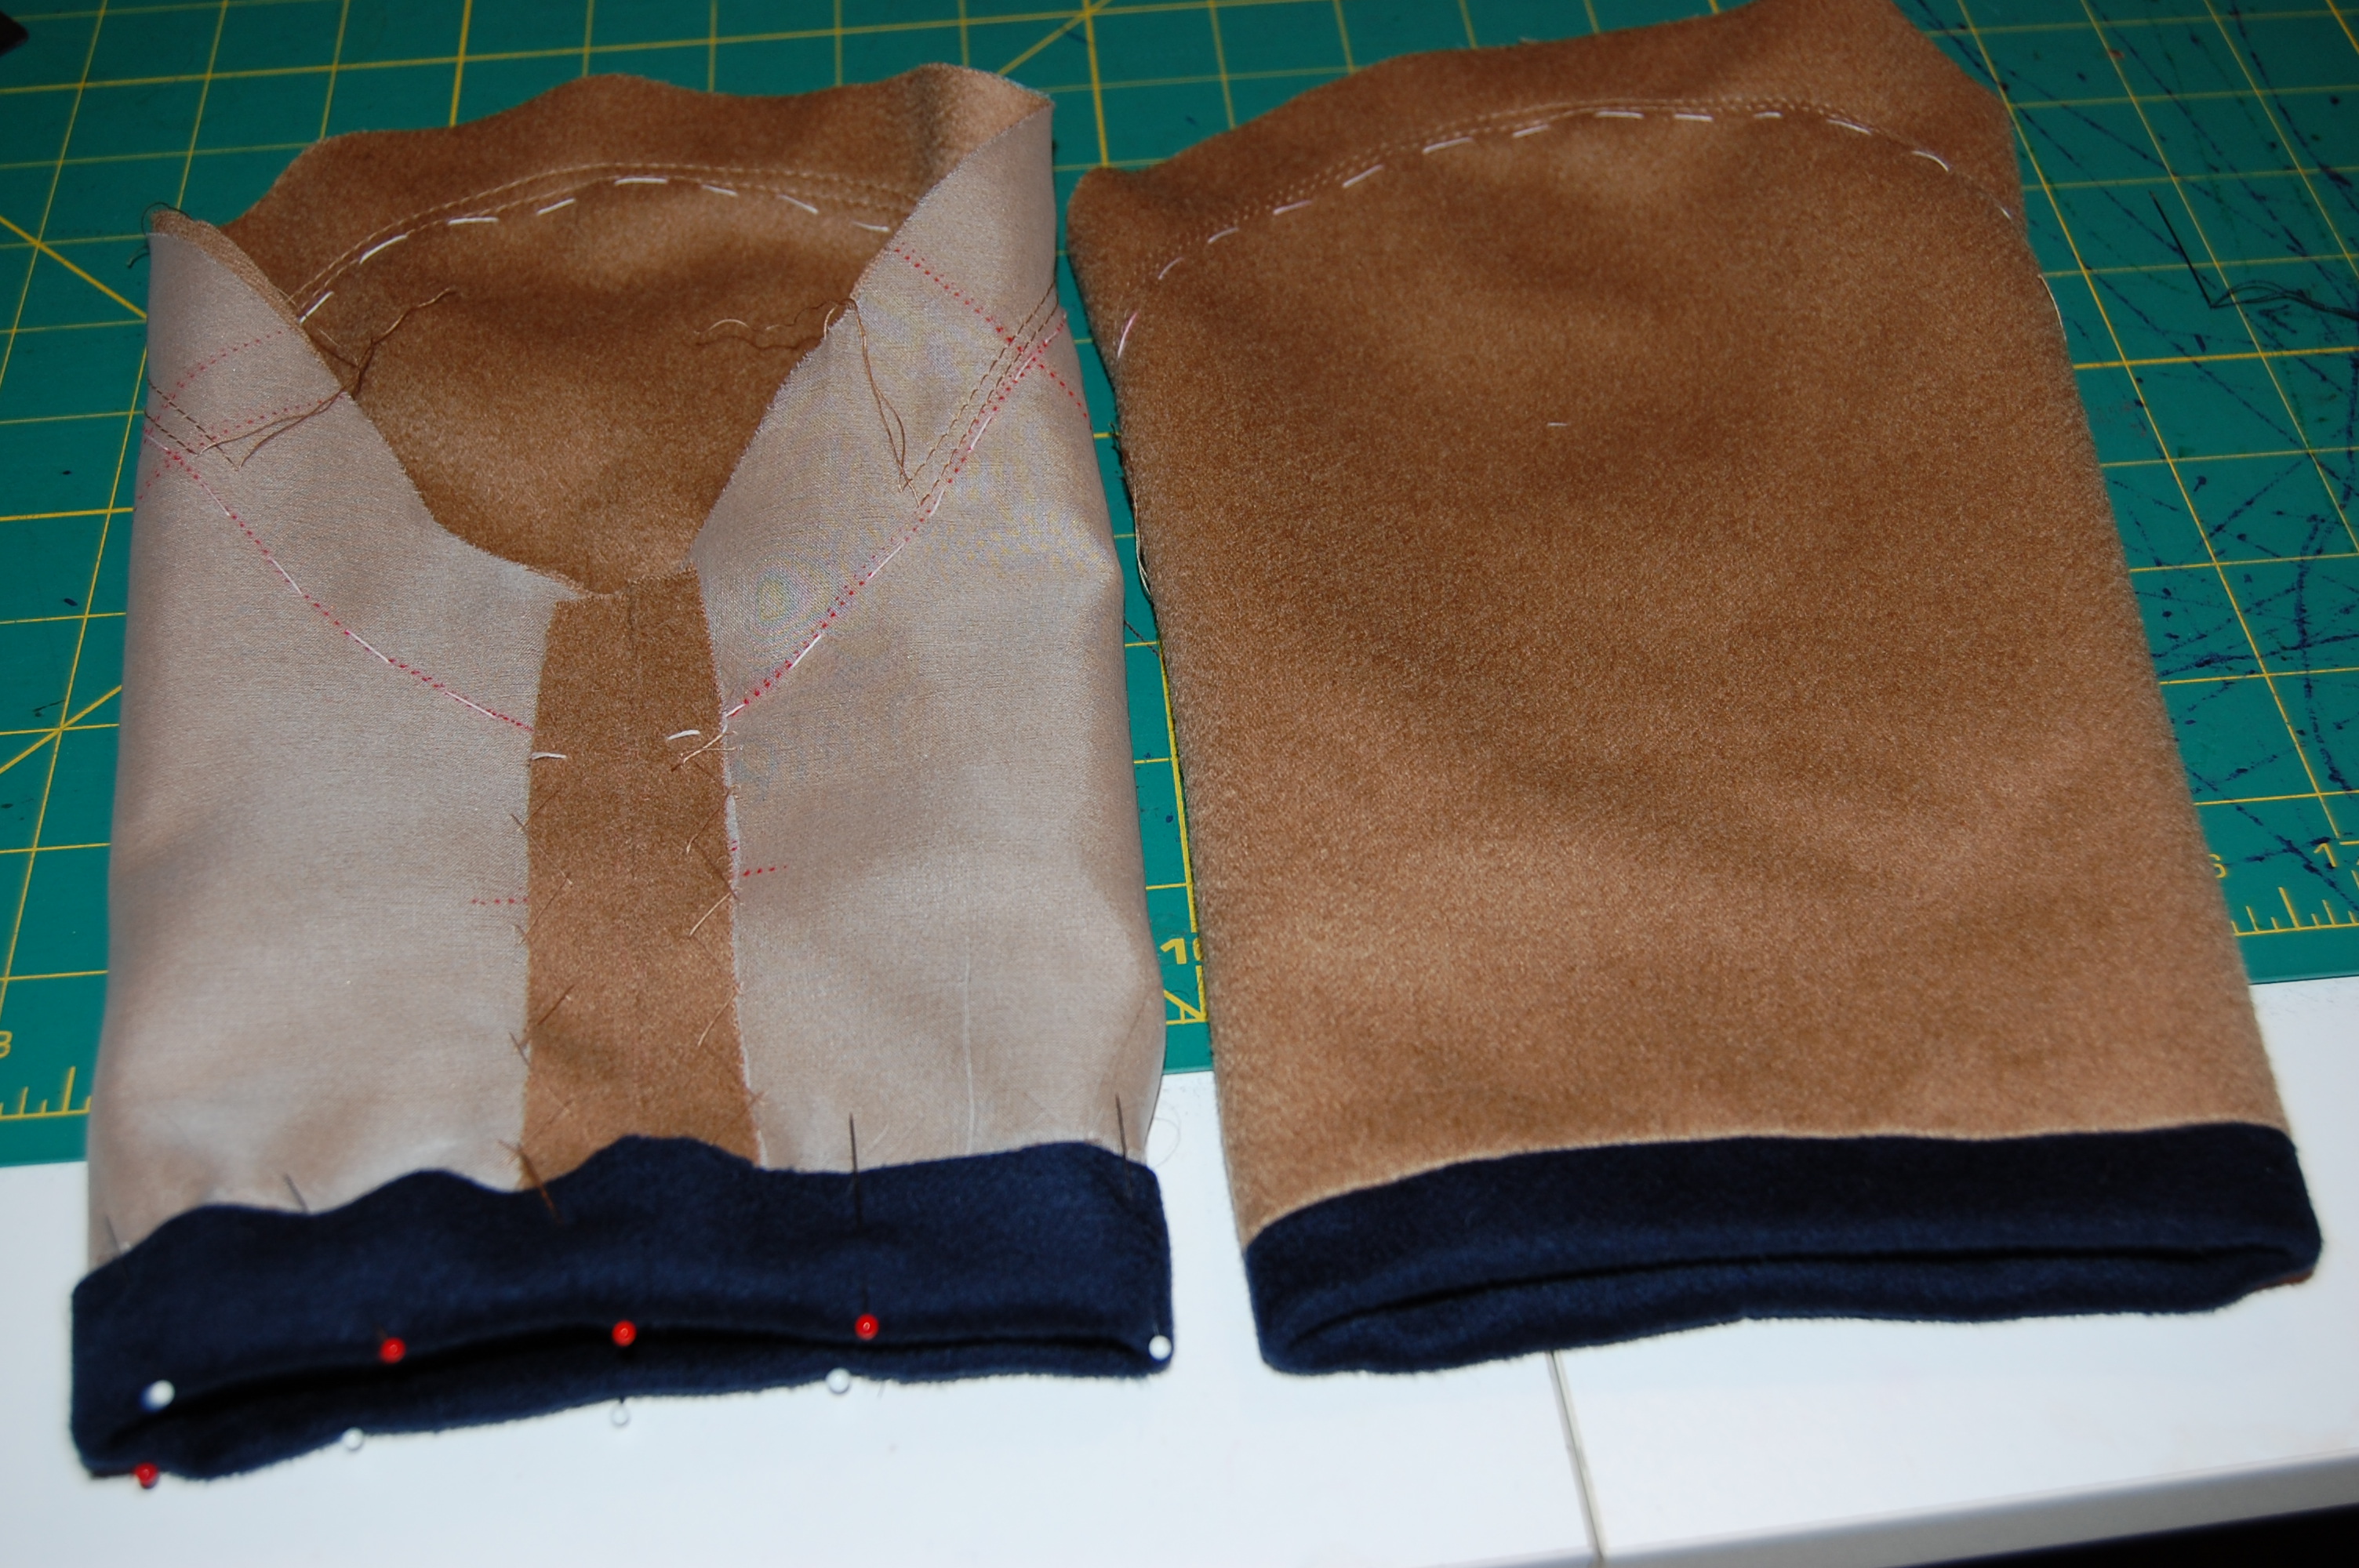
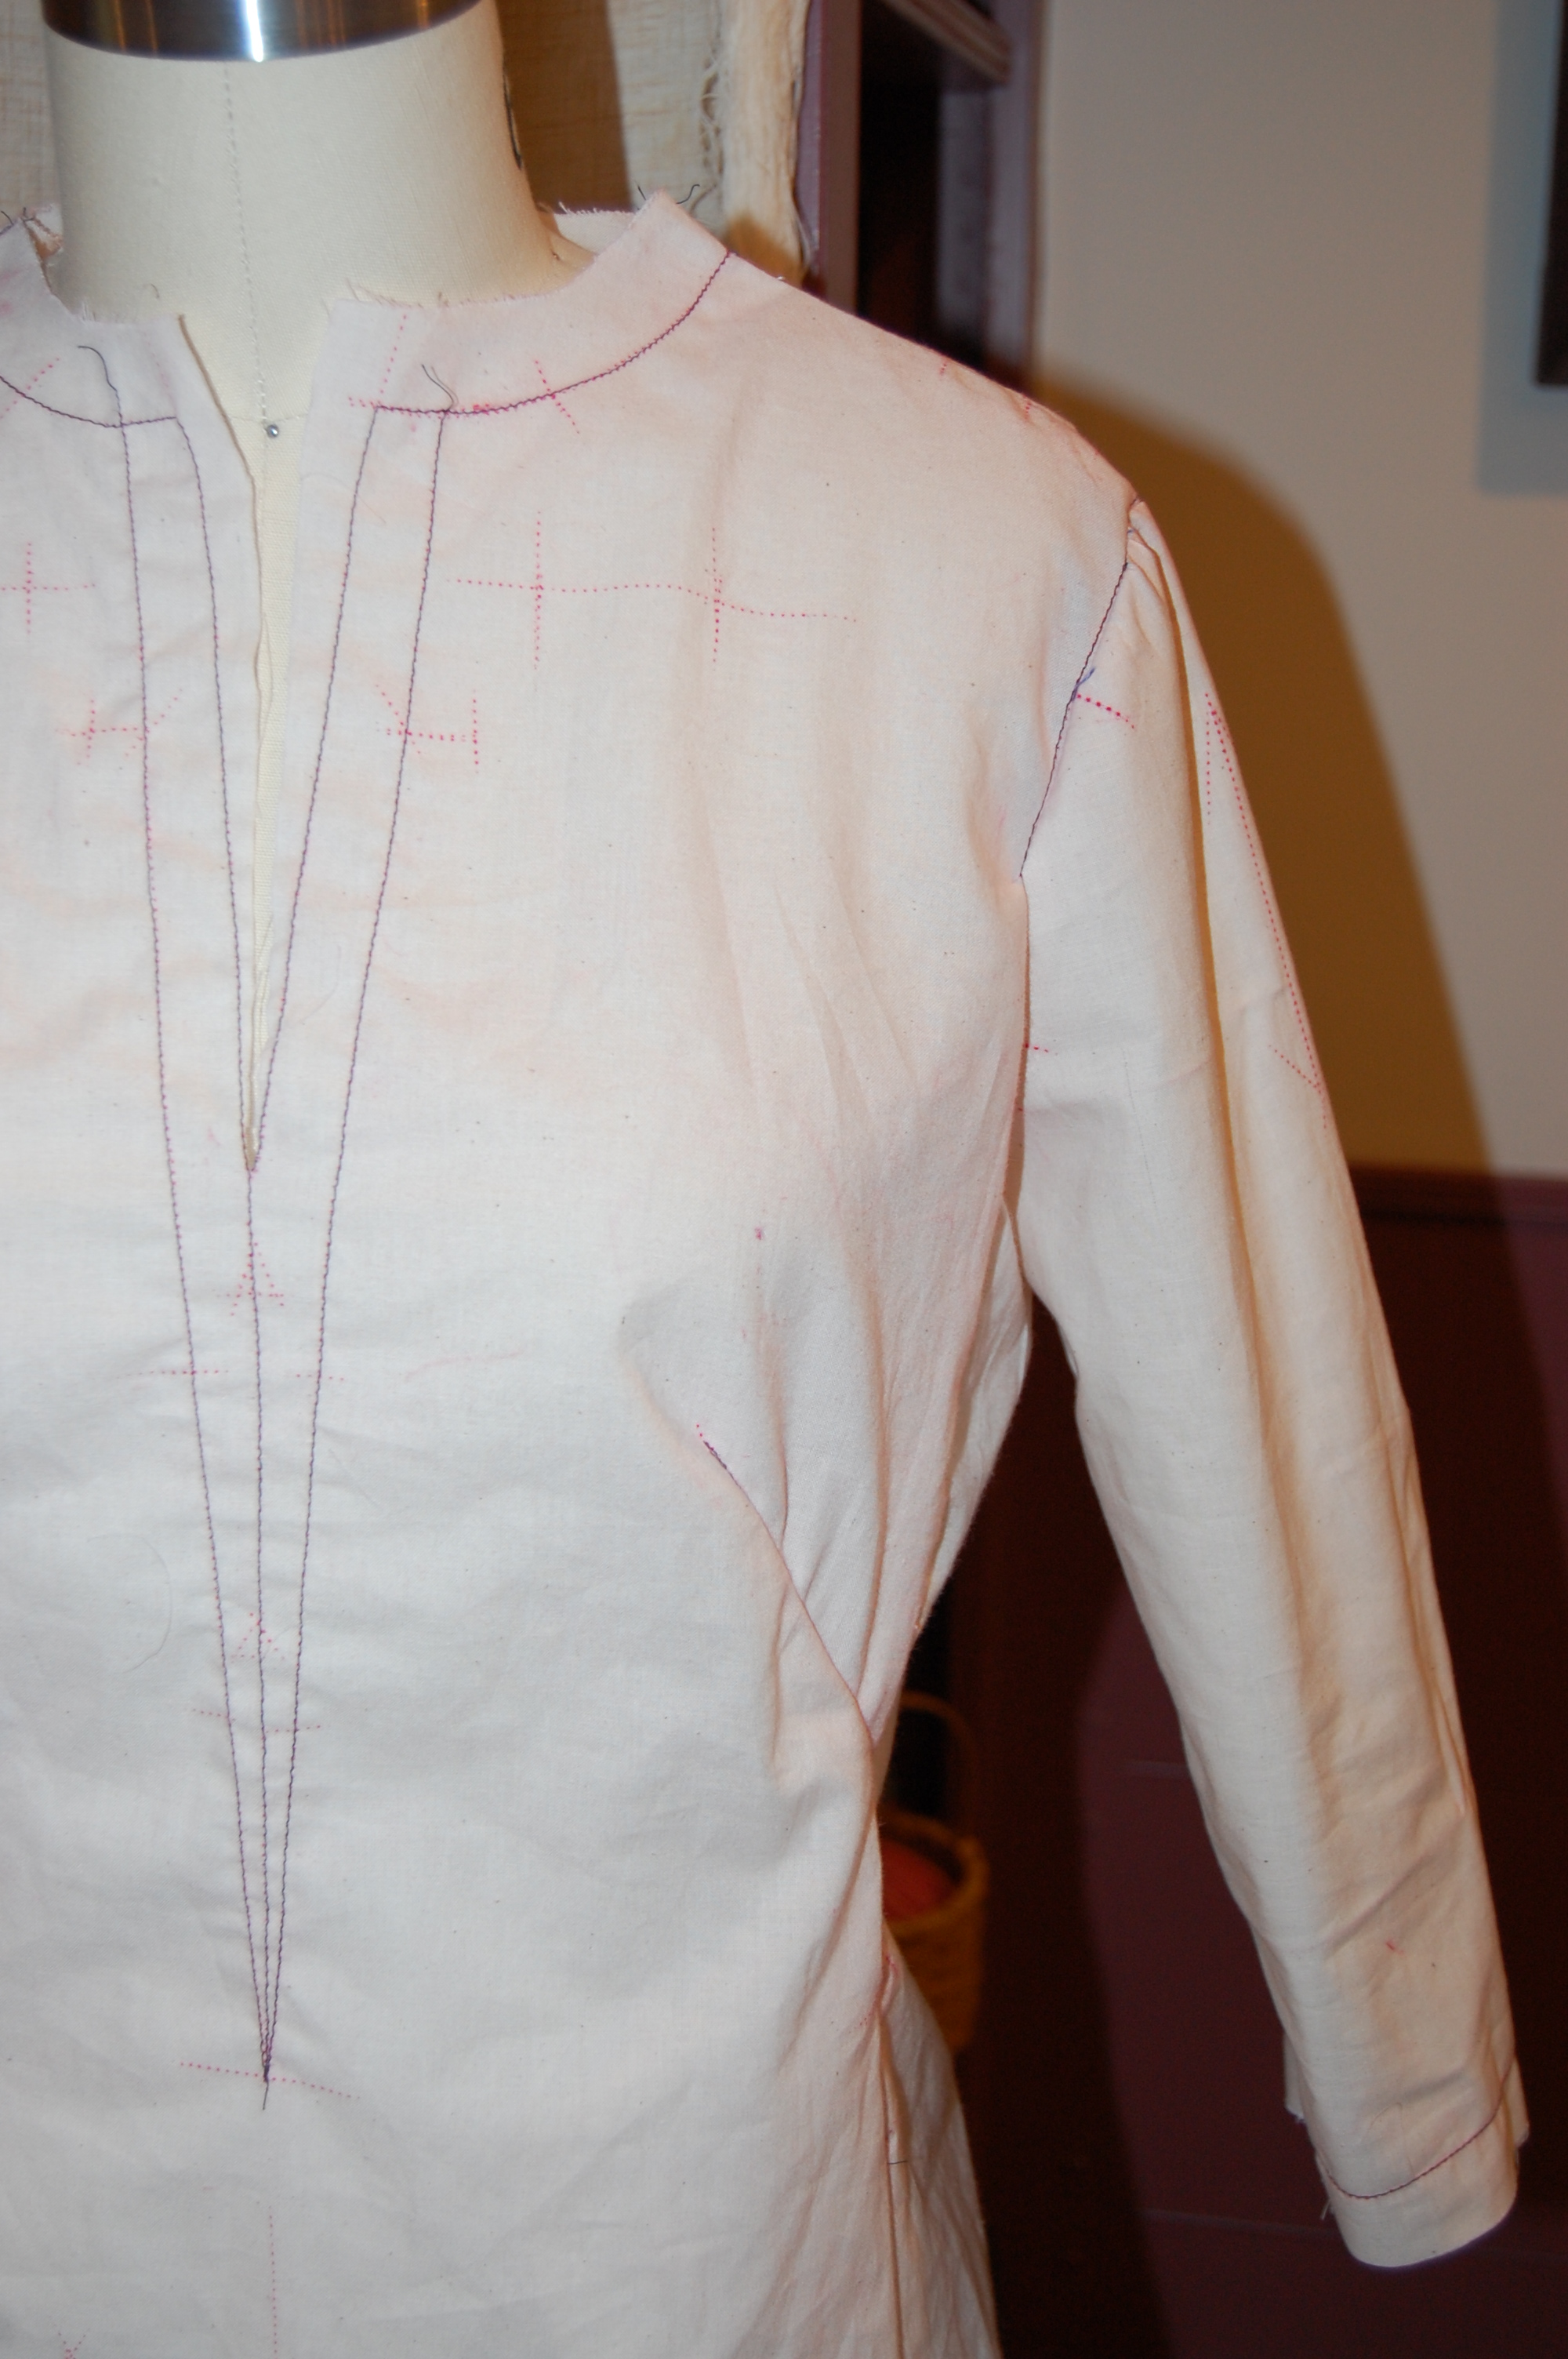
Making changes in that first muslin was just a study in frustration, so I scraped it and made a new one. My second one was better, but still had some kinks in it. The armscye seemed to be off kilter, the reason for which I could not figure out. I’m telling you these are the things that keep me up at night. At this point I went to JoAnn’s and bought more muslin. I was determined to win this fight! A whole new muslin and finally I had one that fit. I was even happy with my mish-mash sleeve (after making a few minor adjustments.)
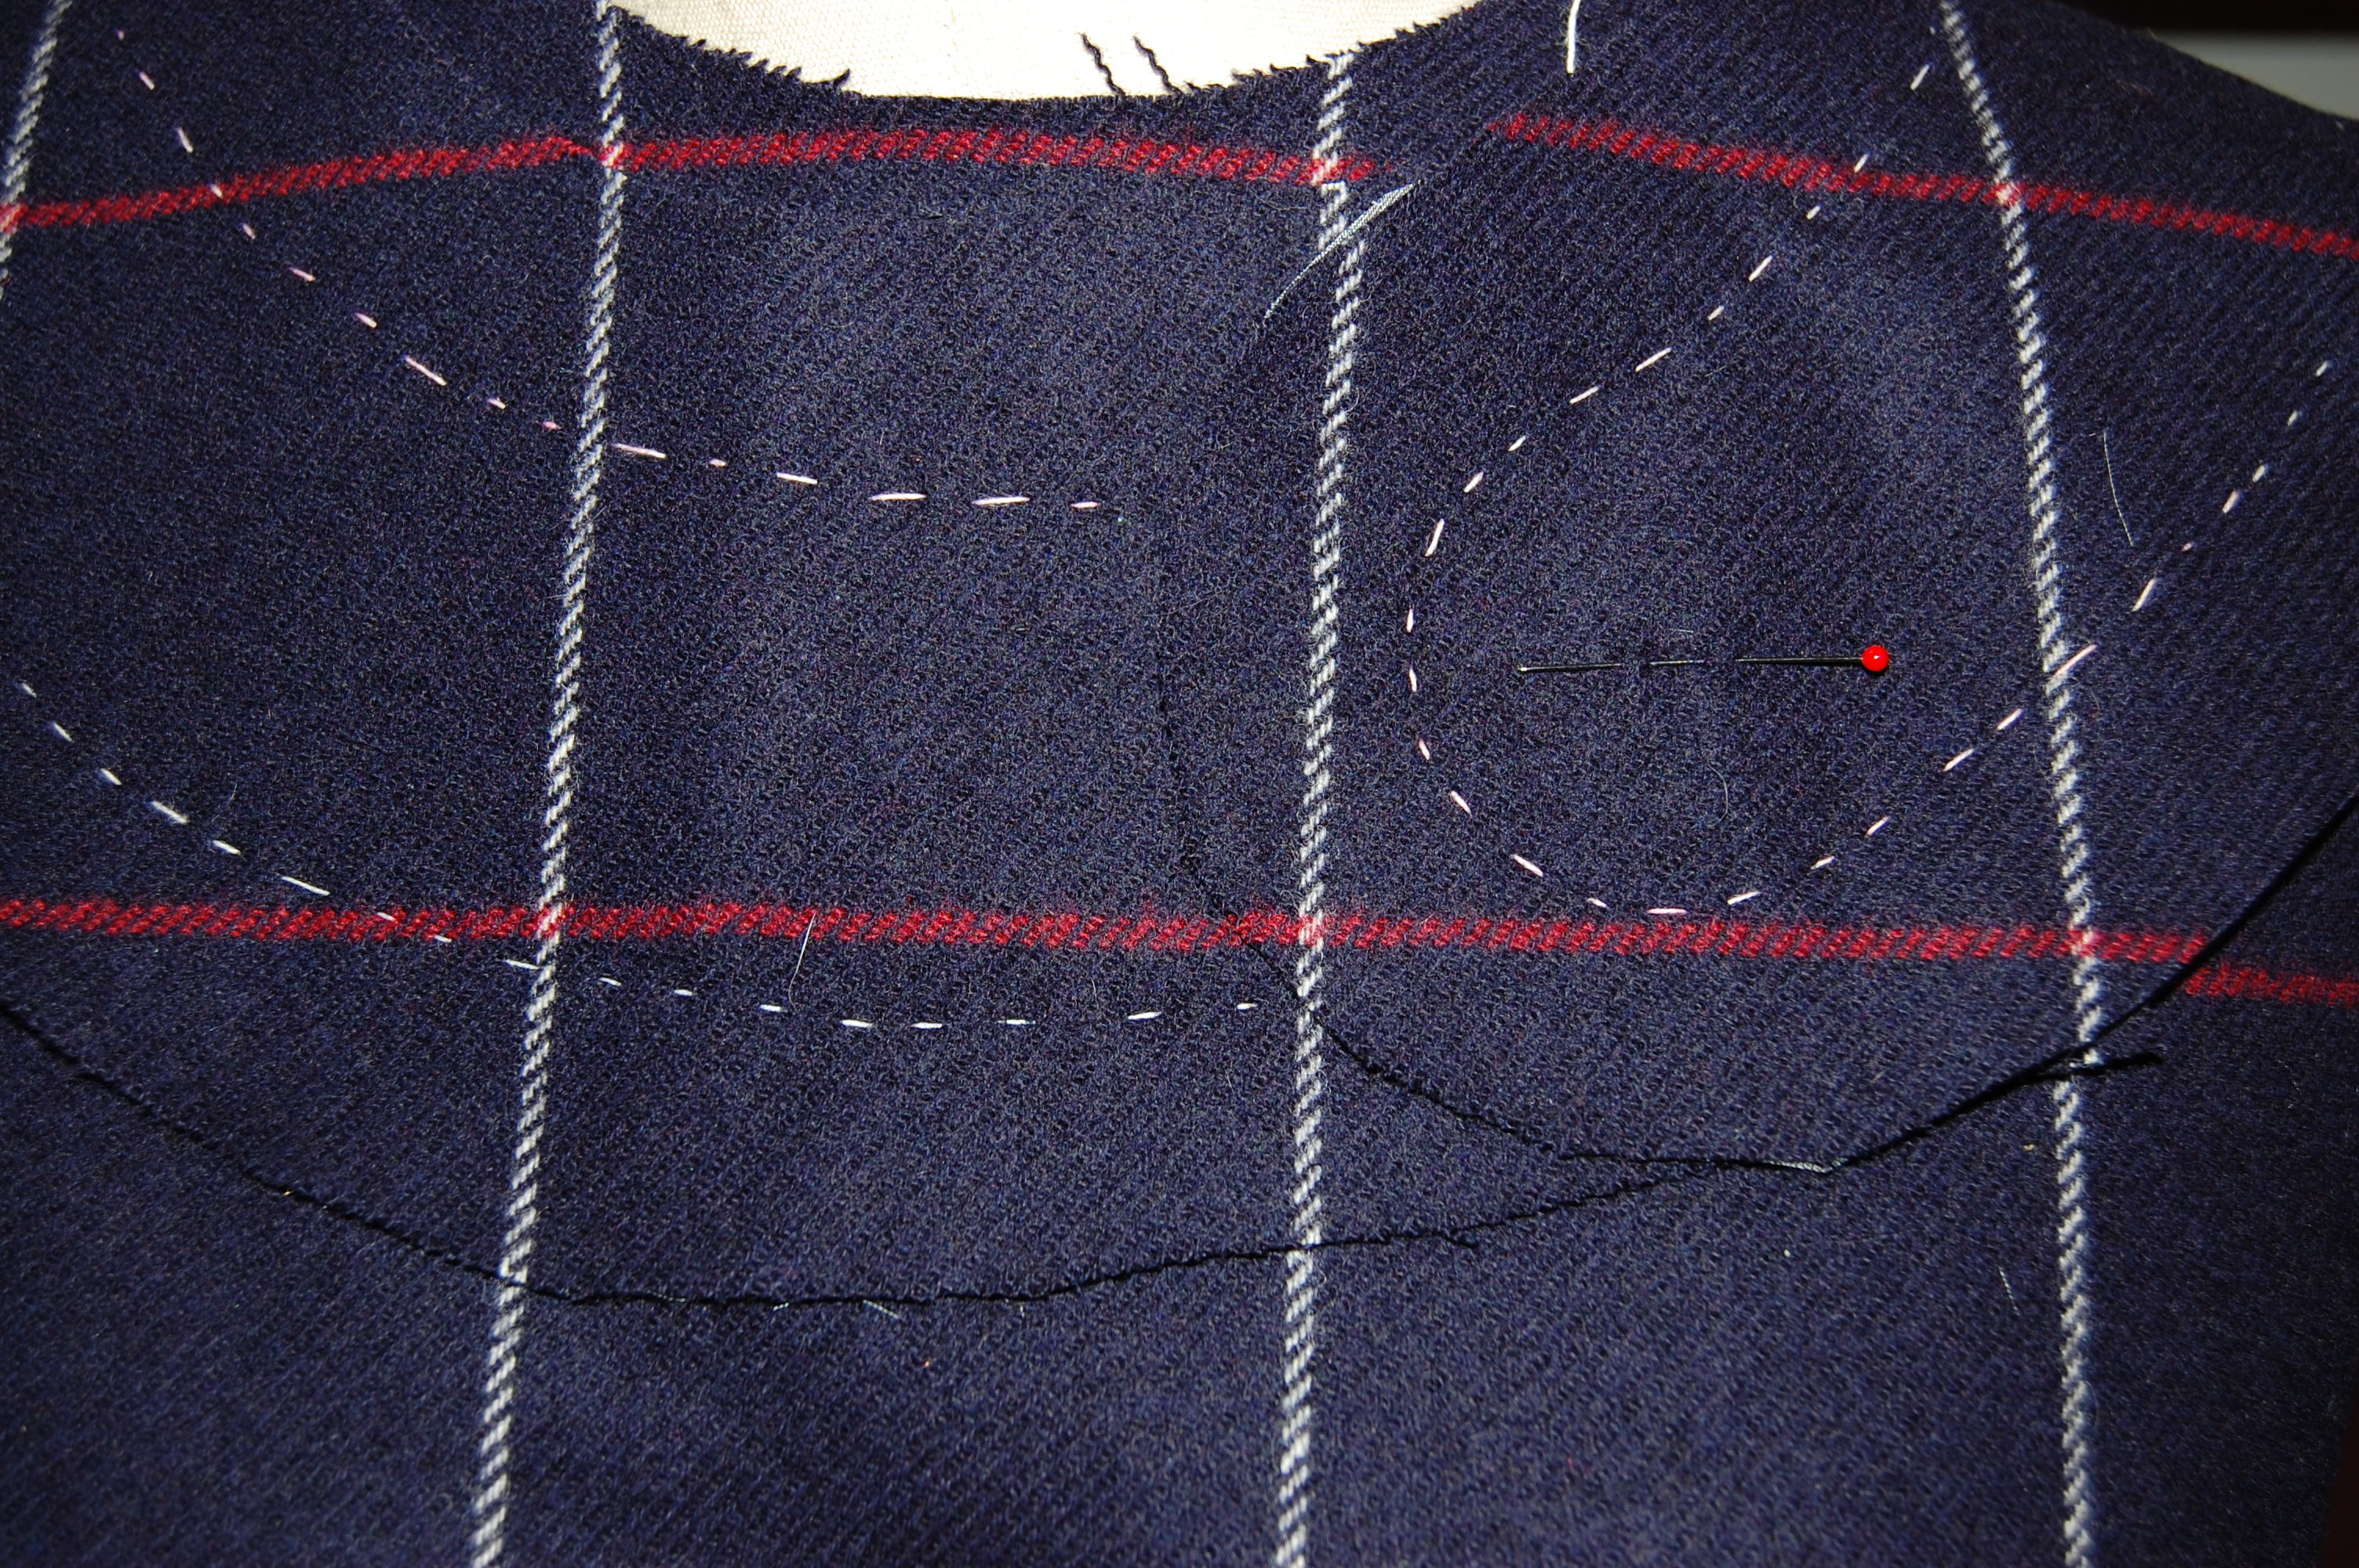
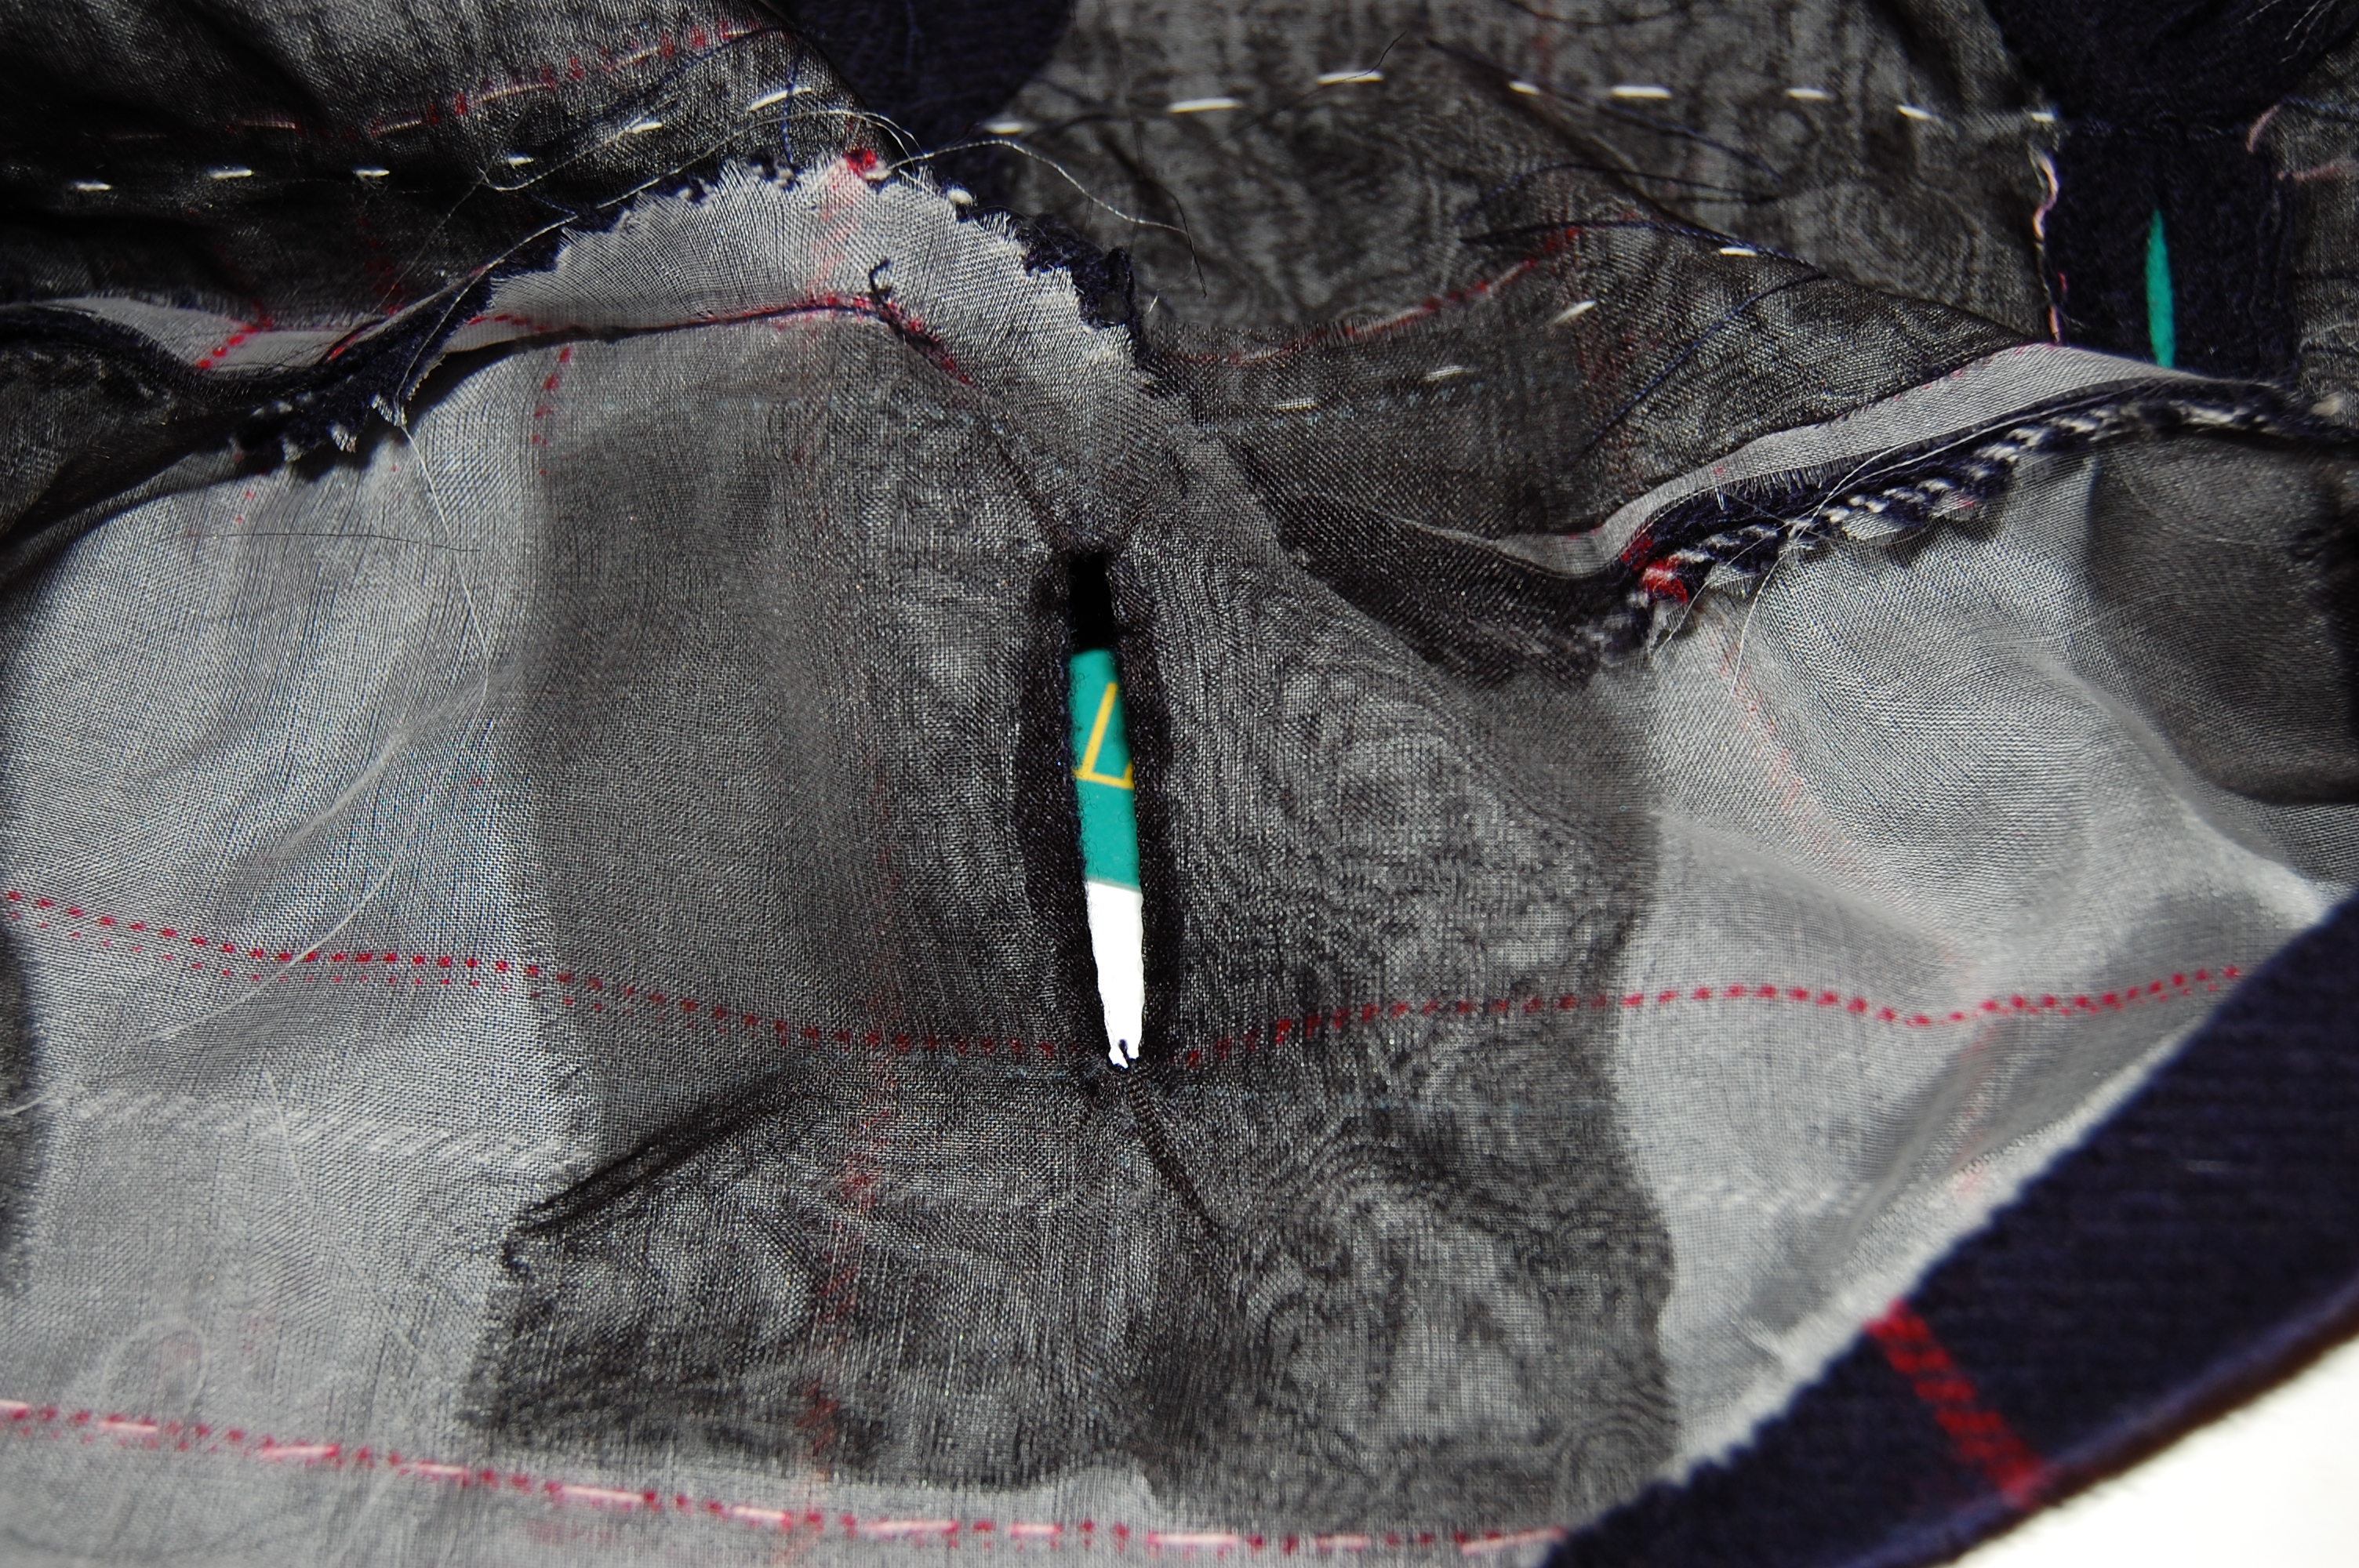
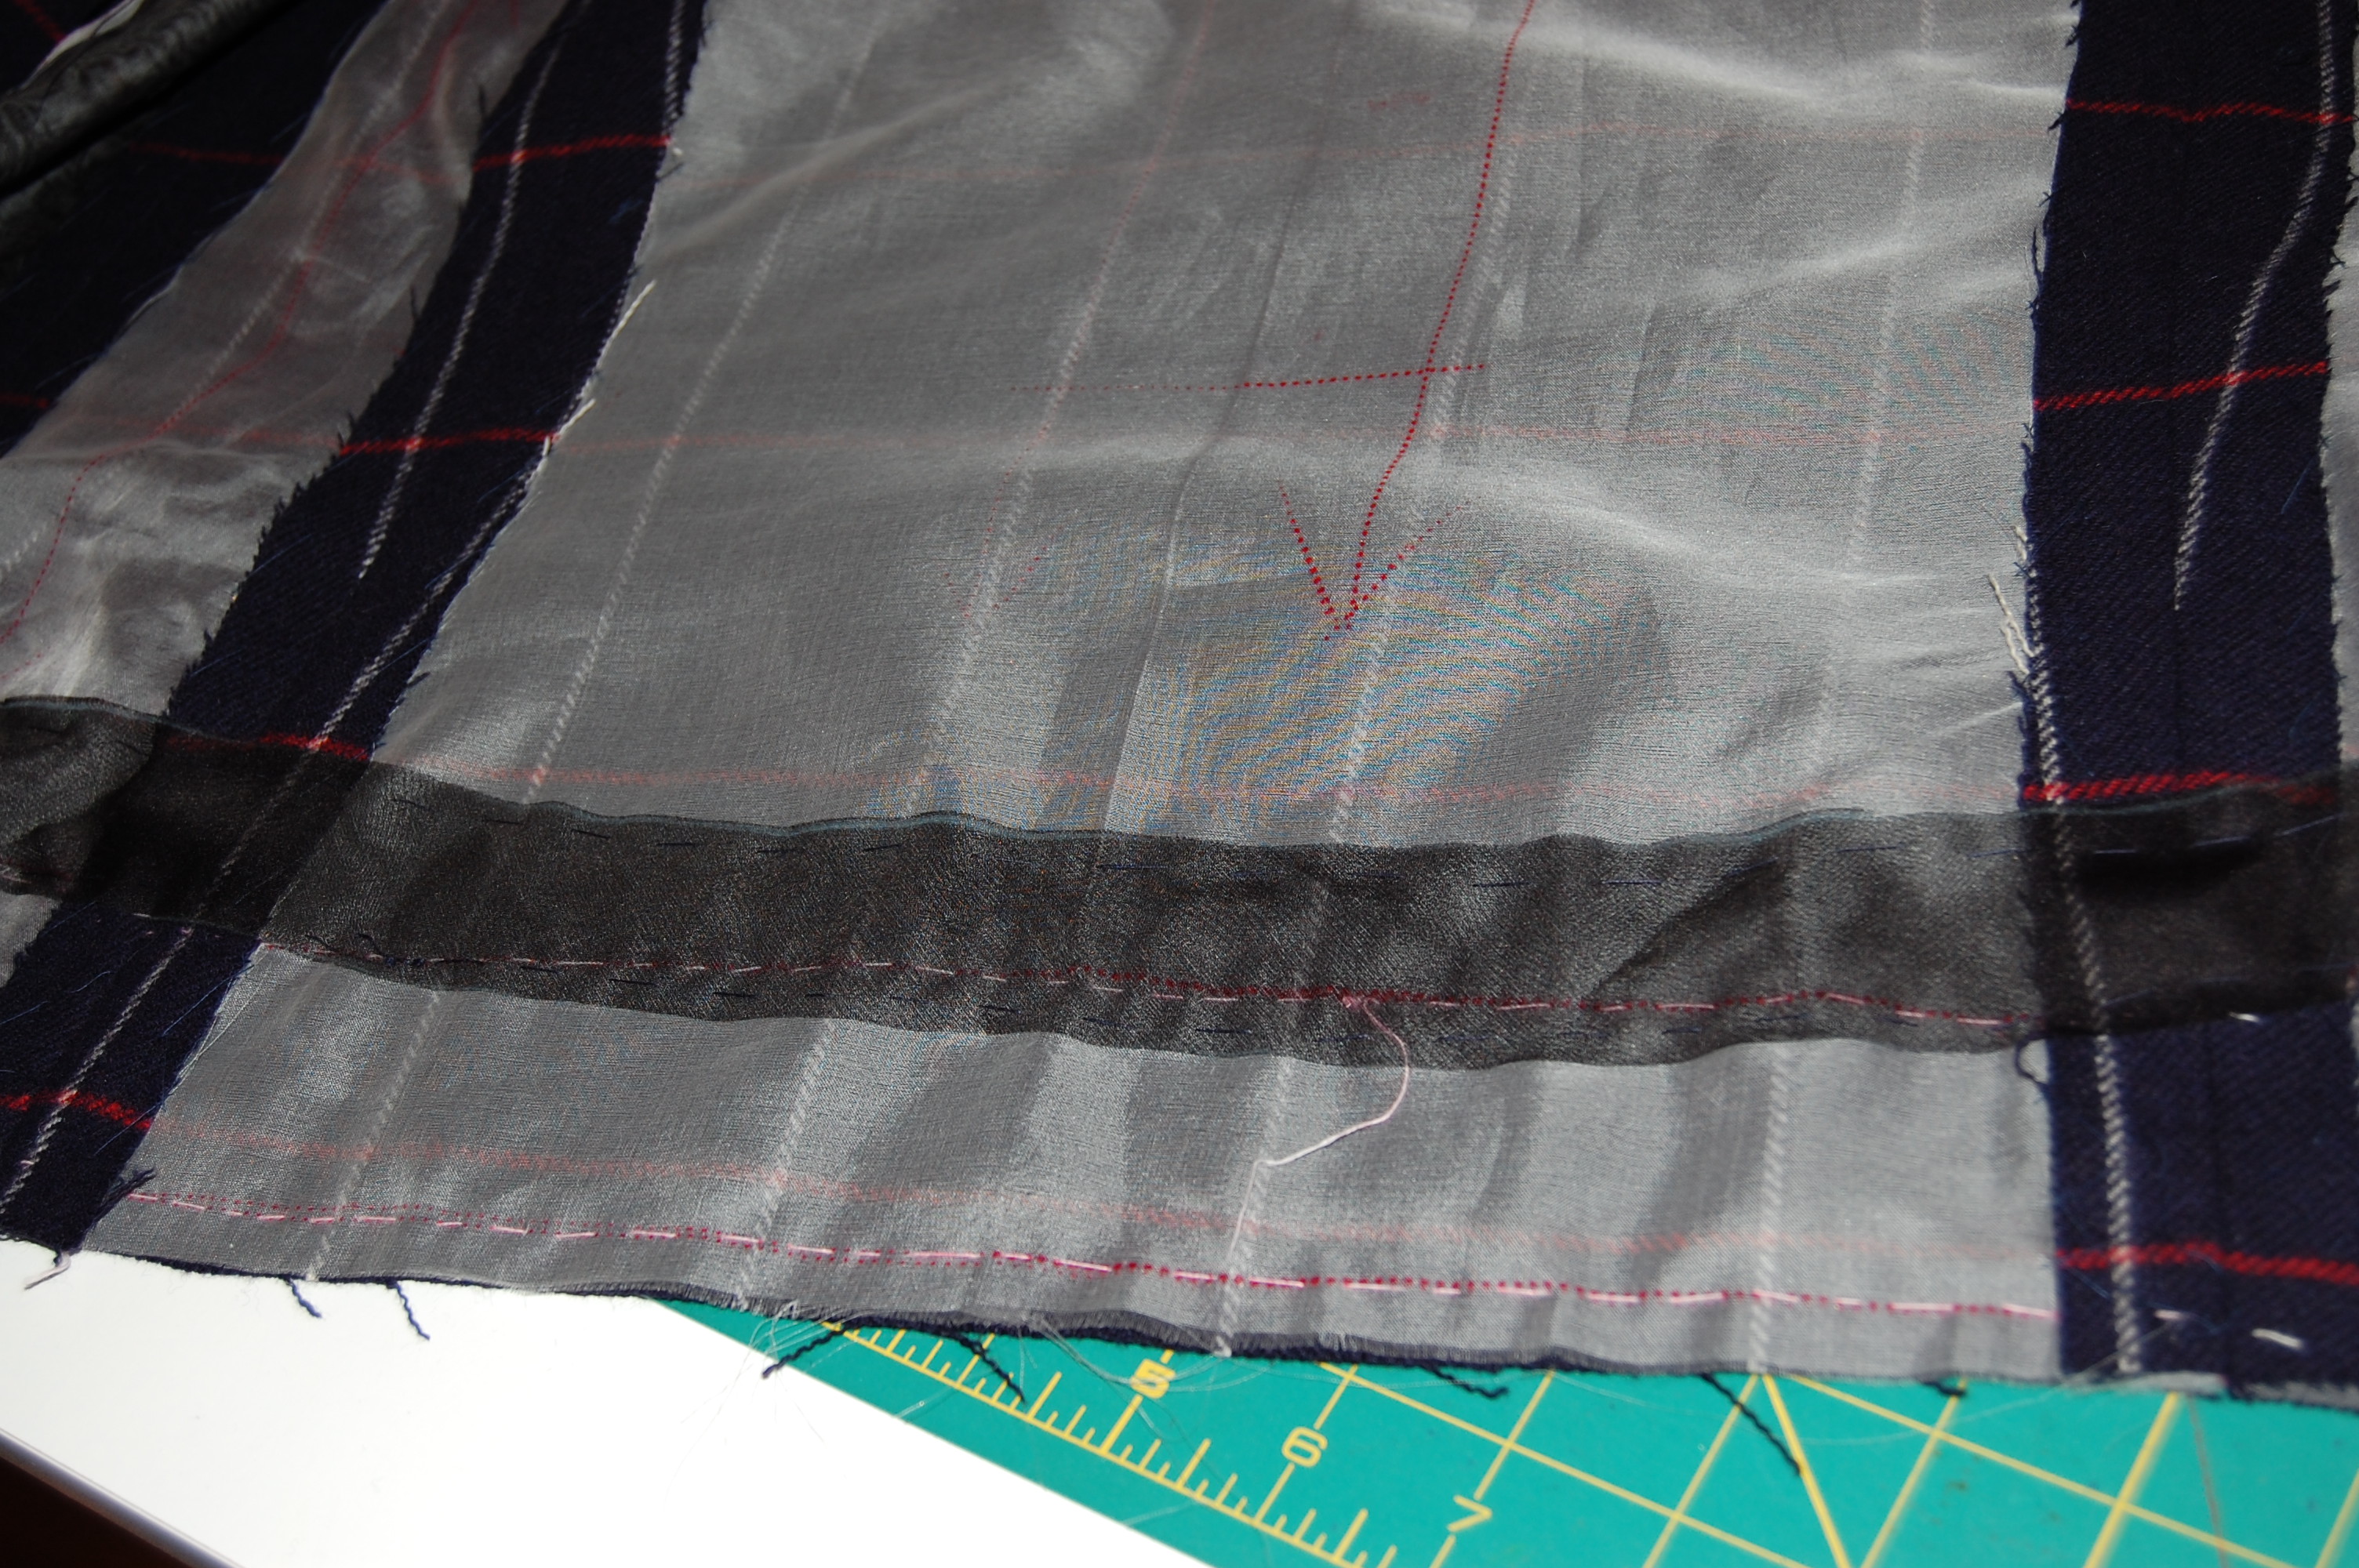
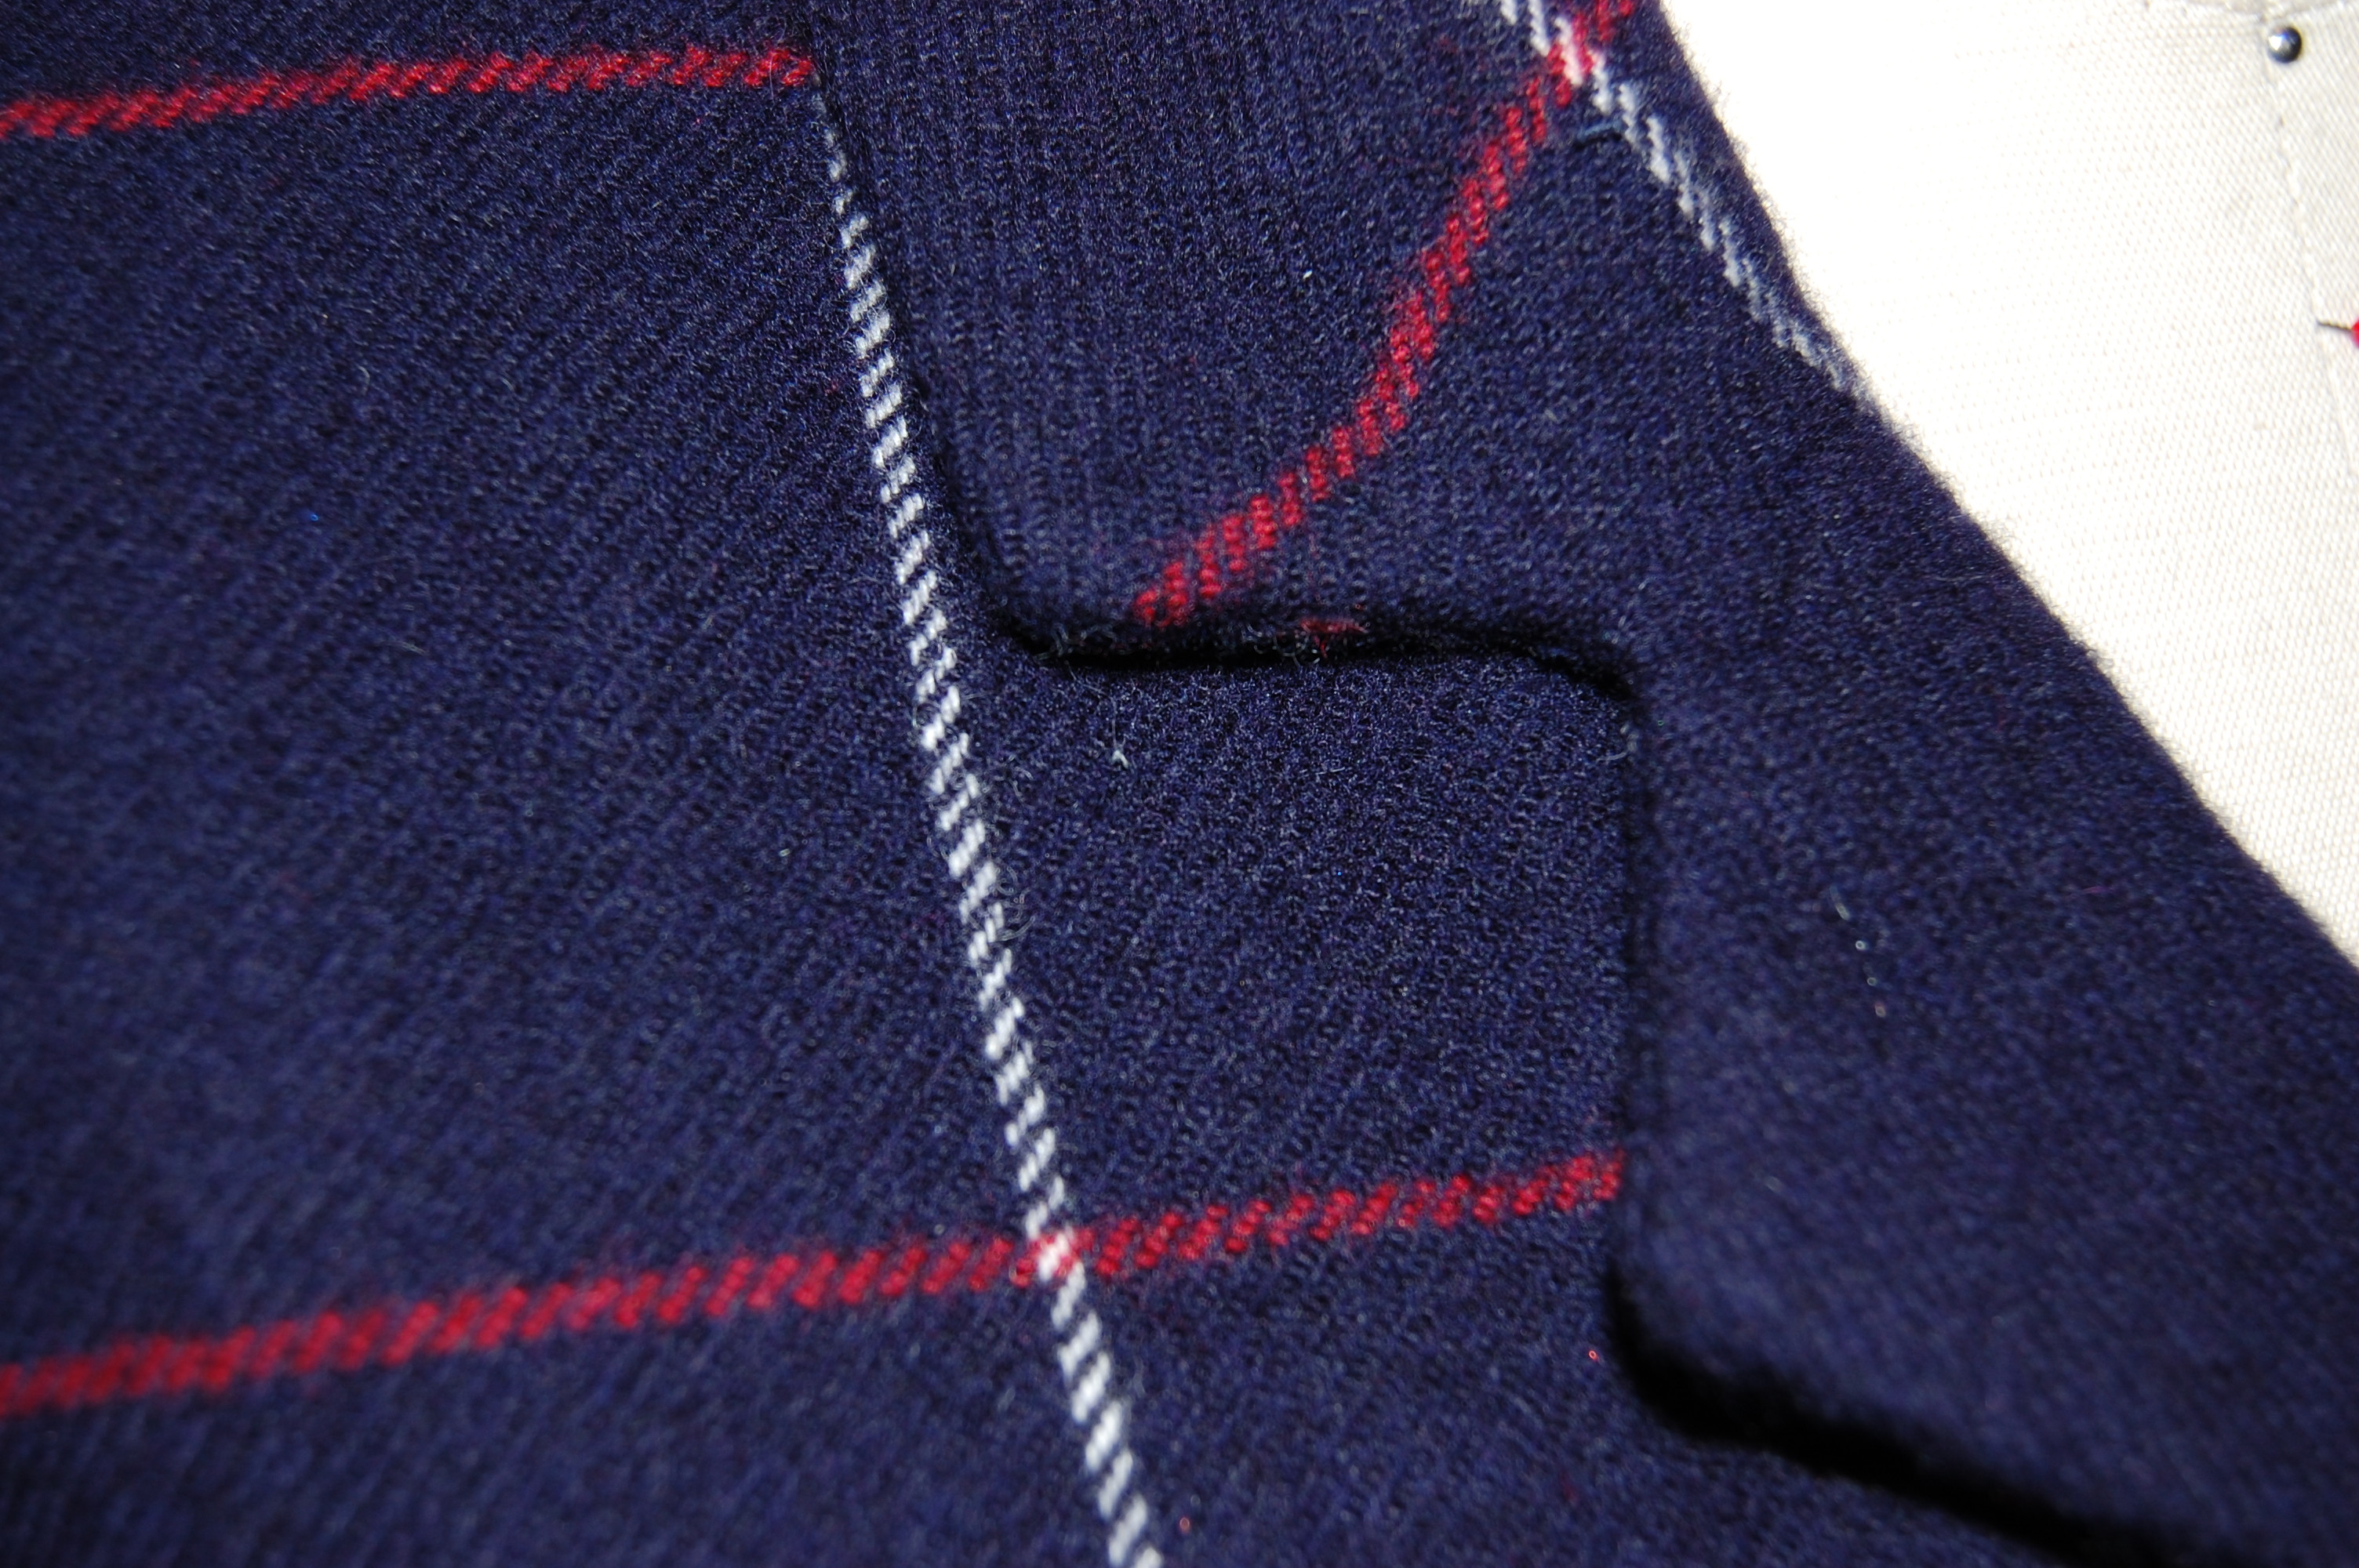
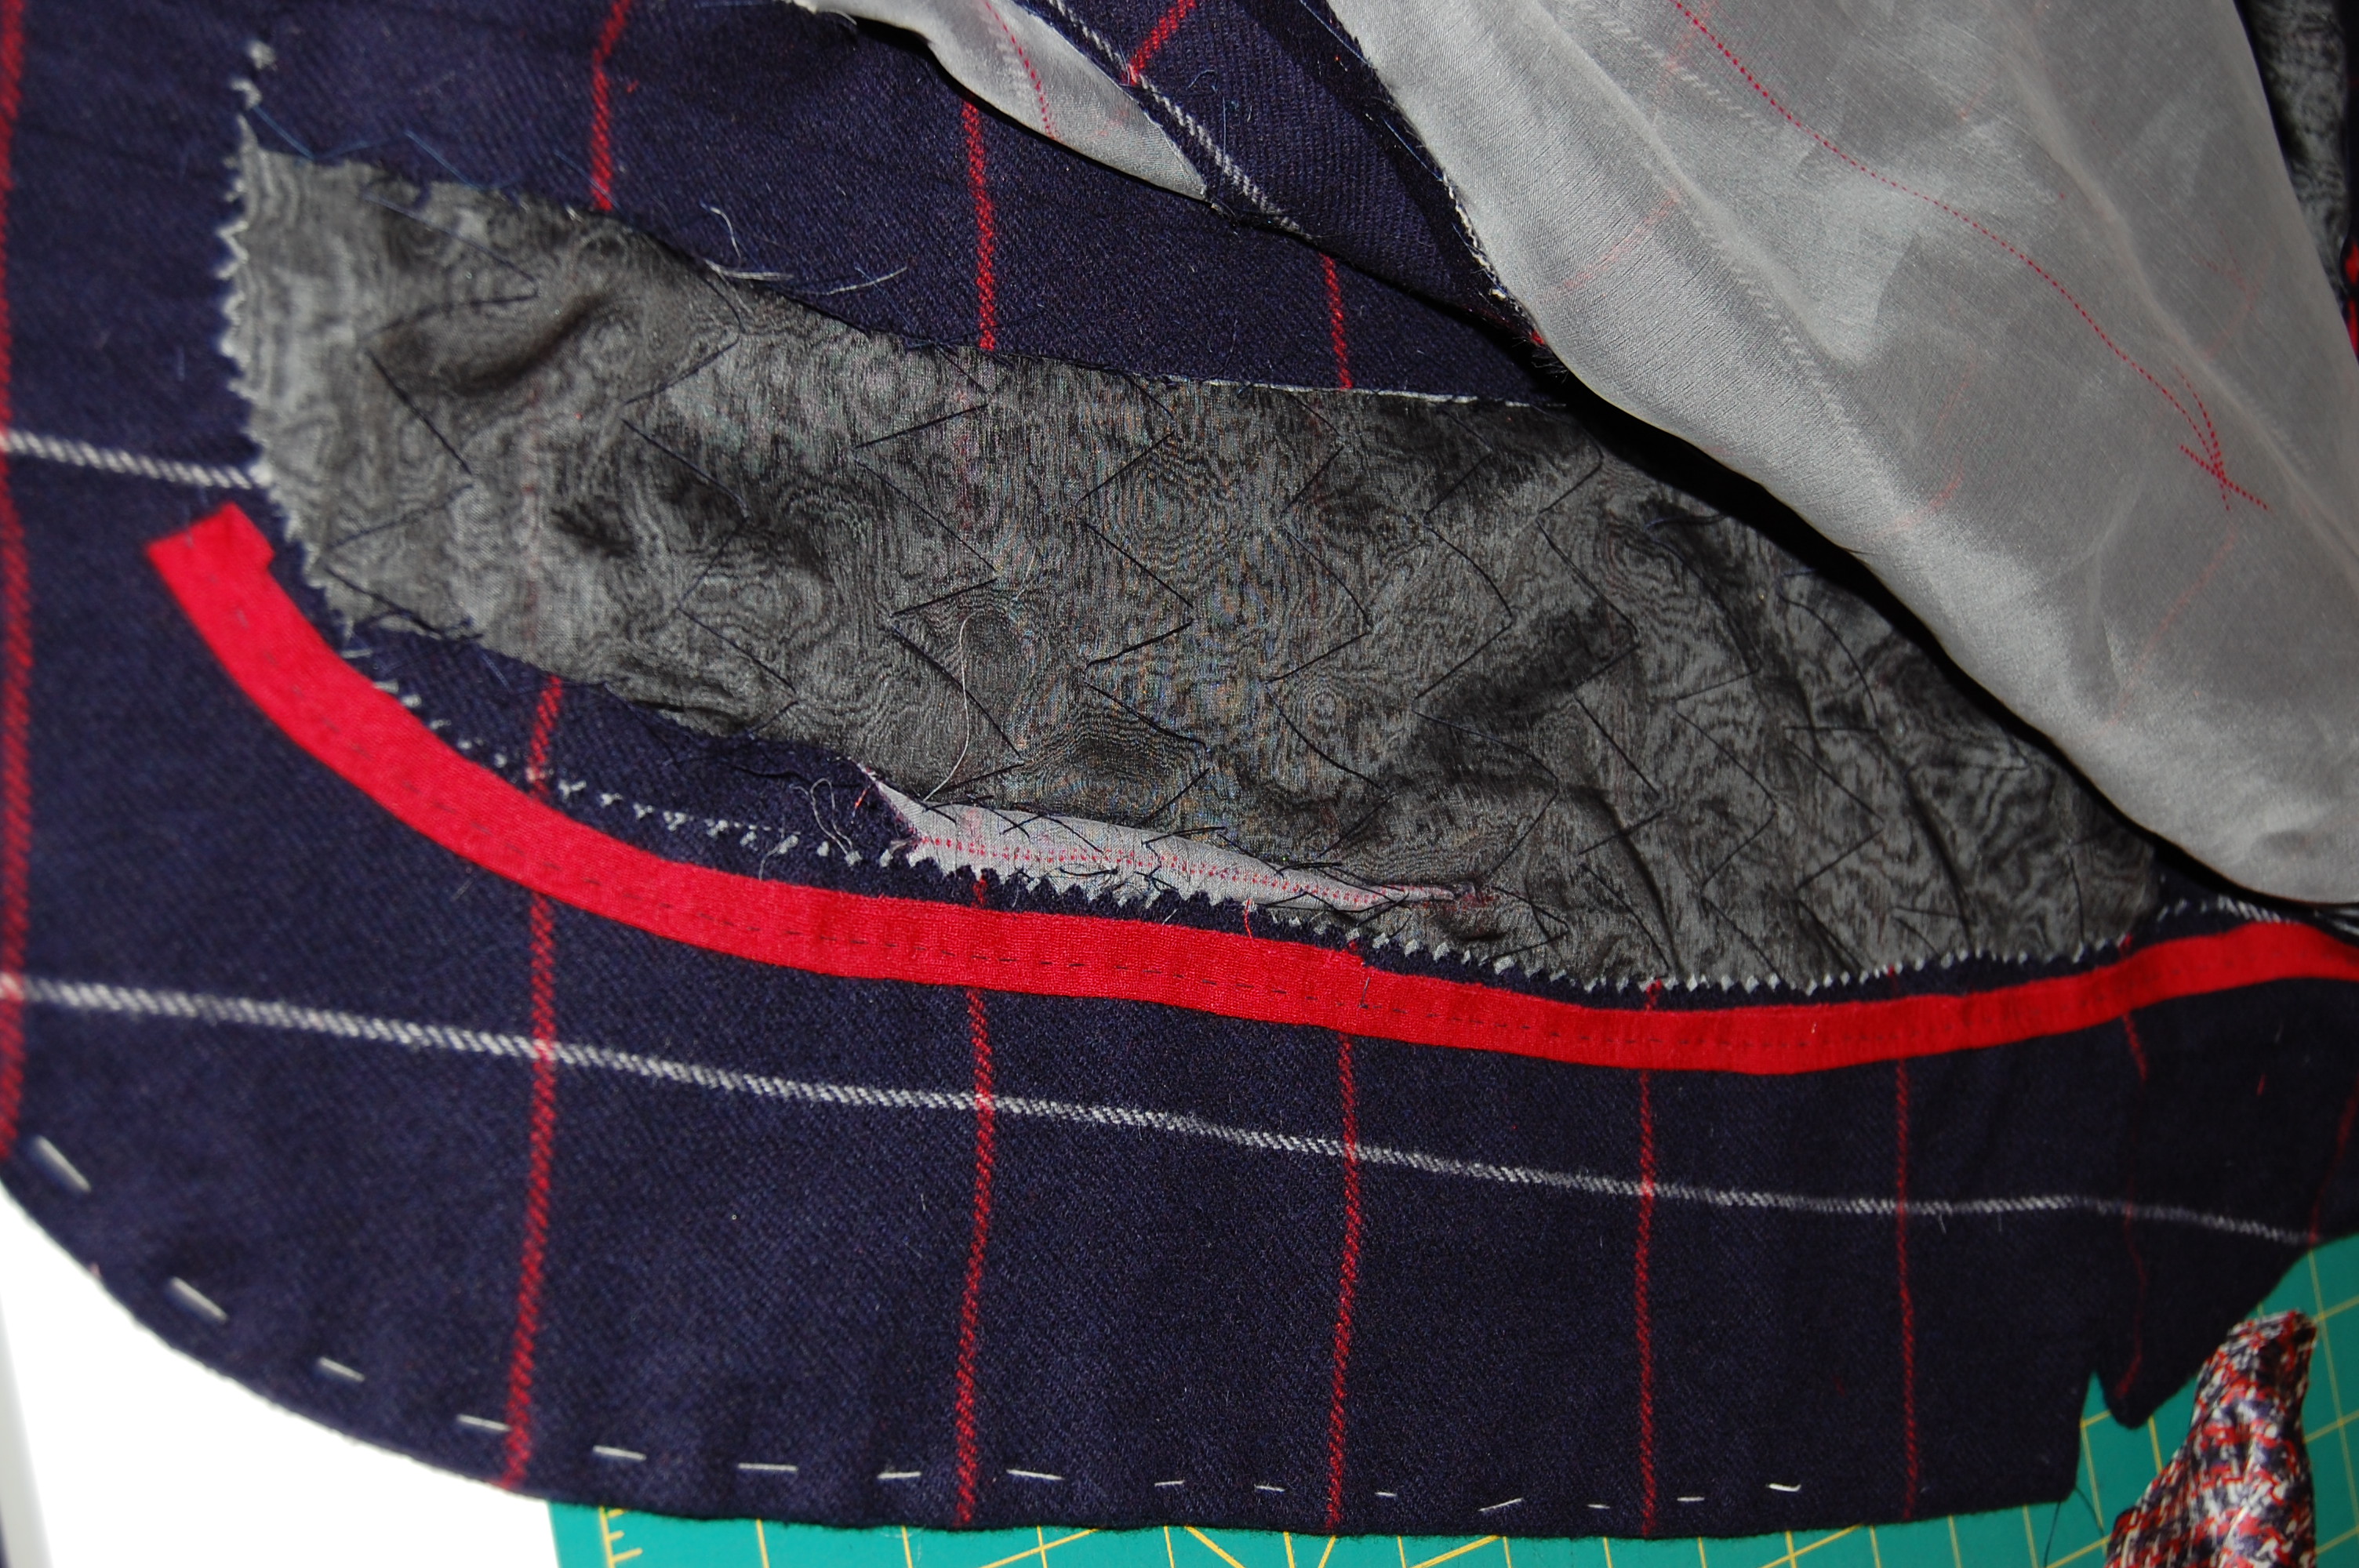
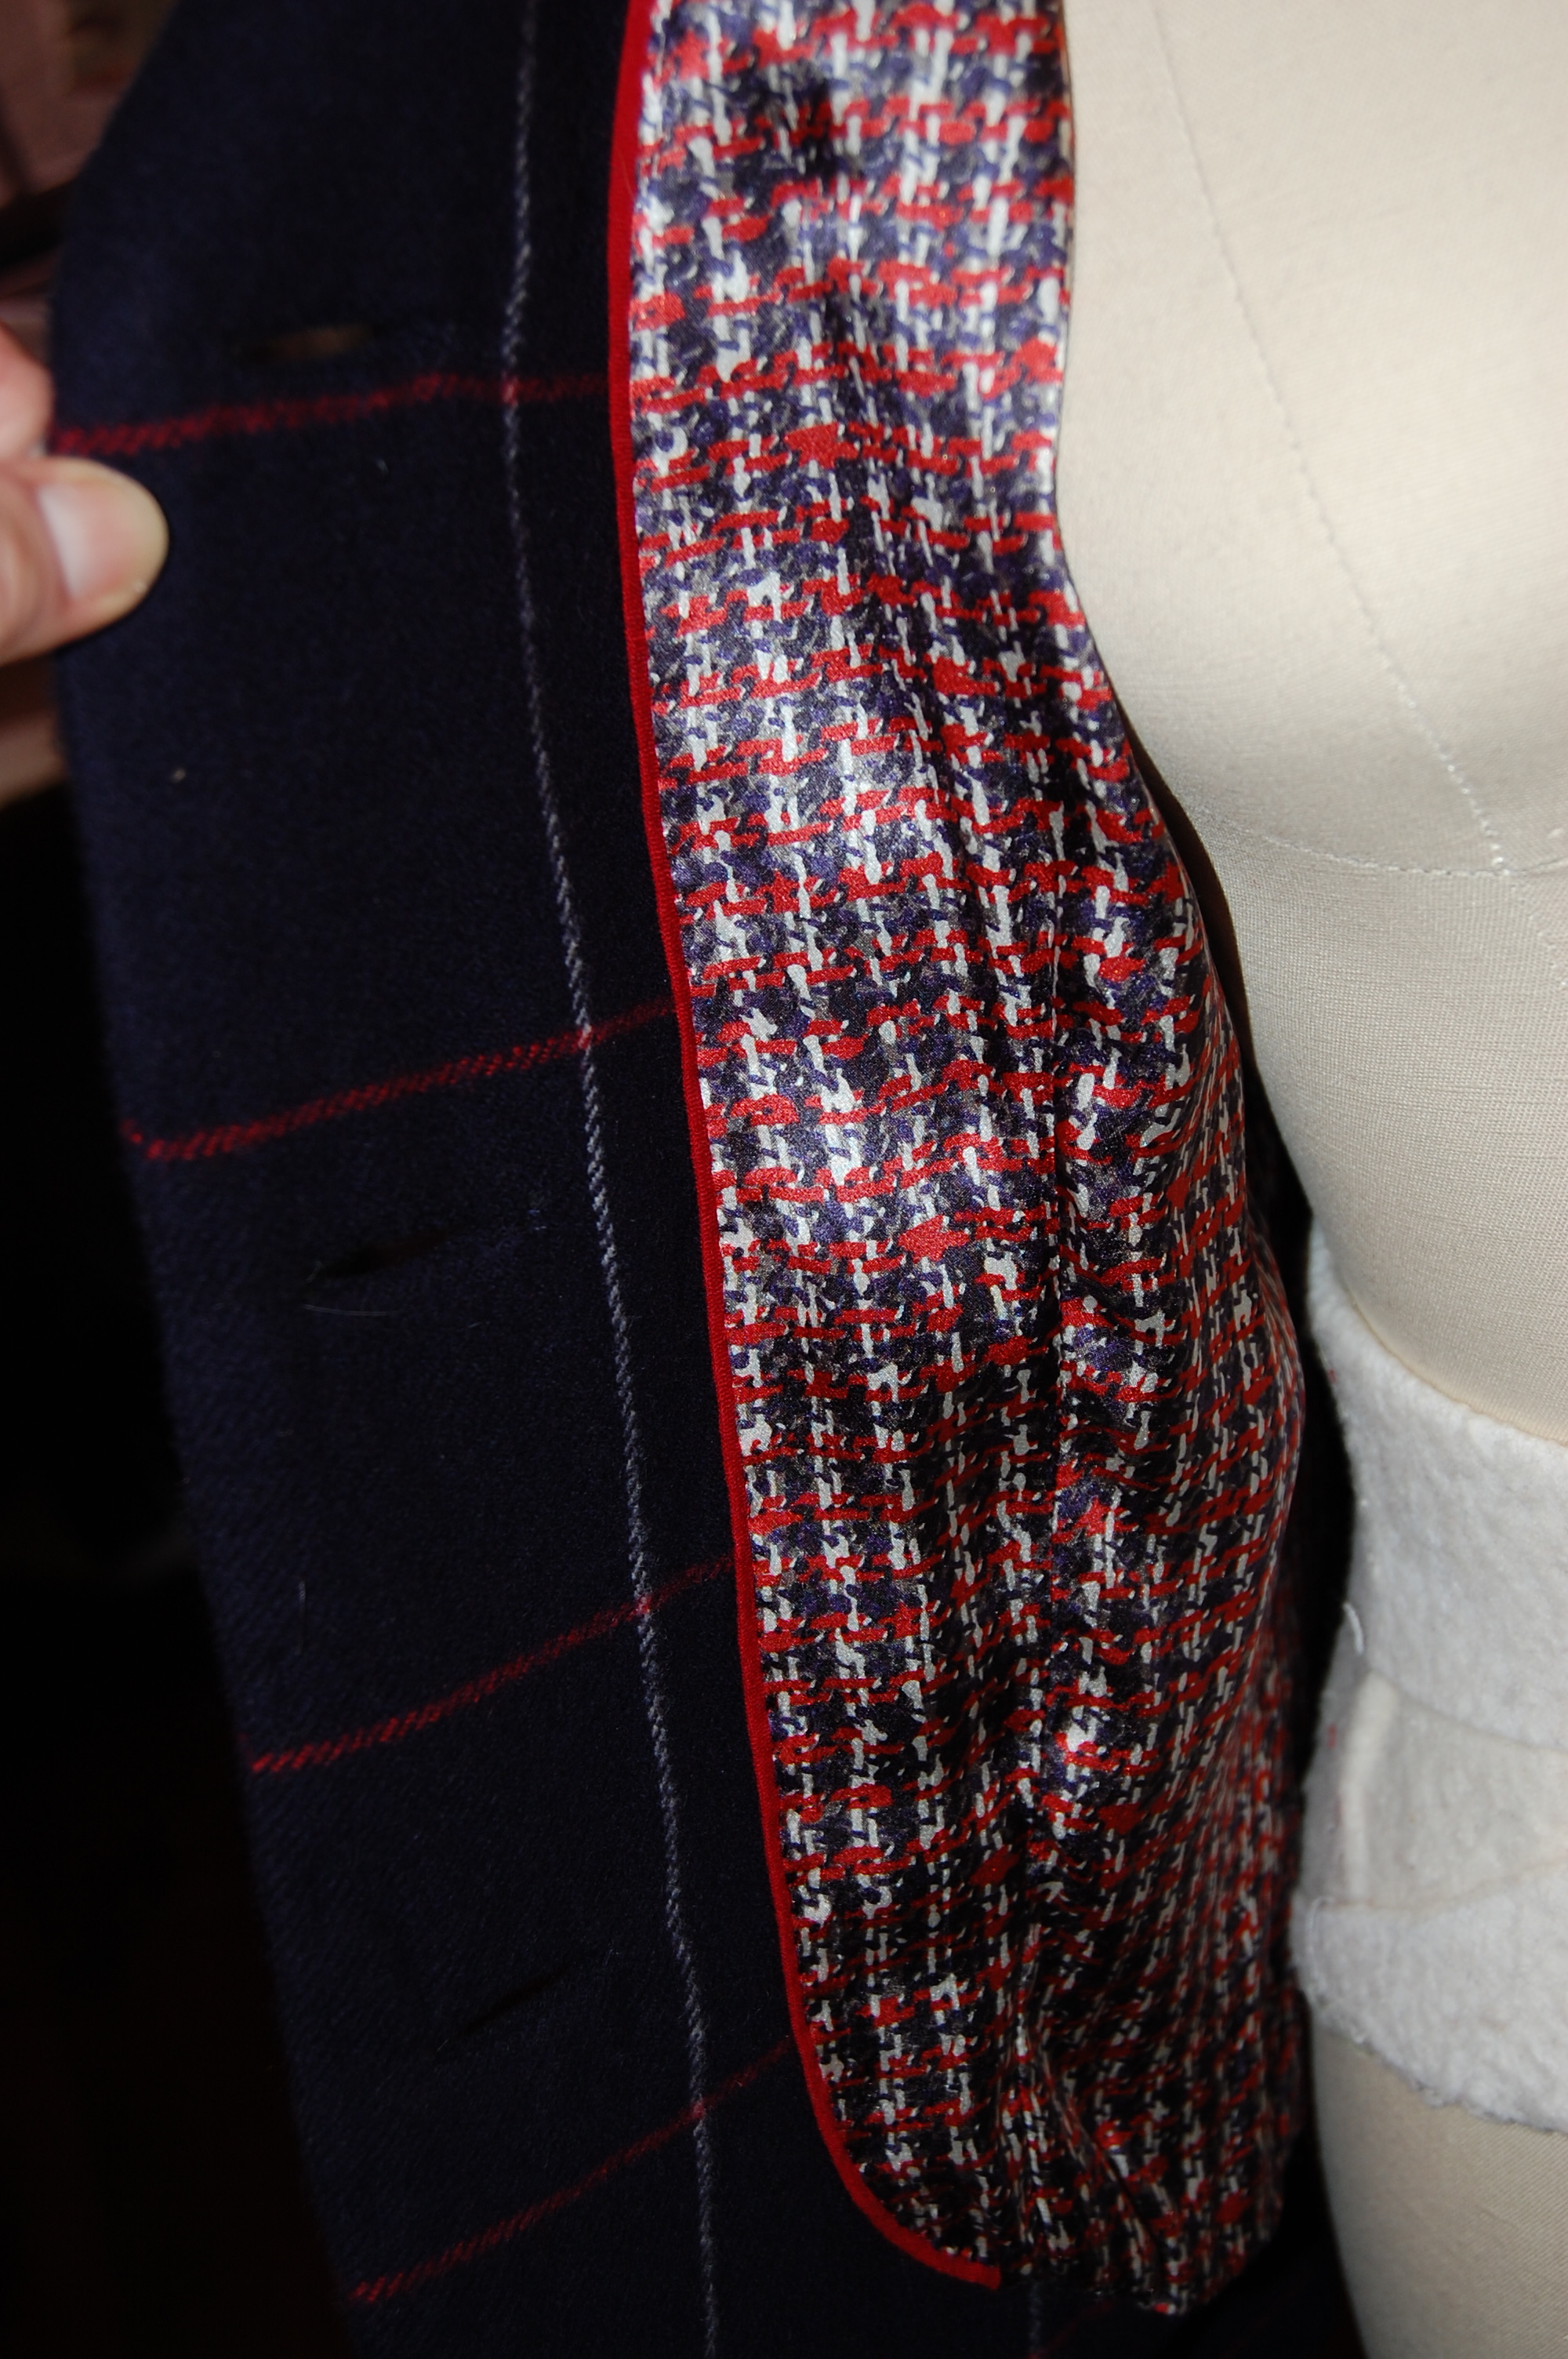
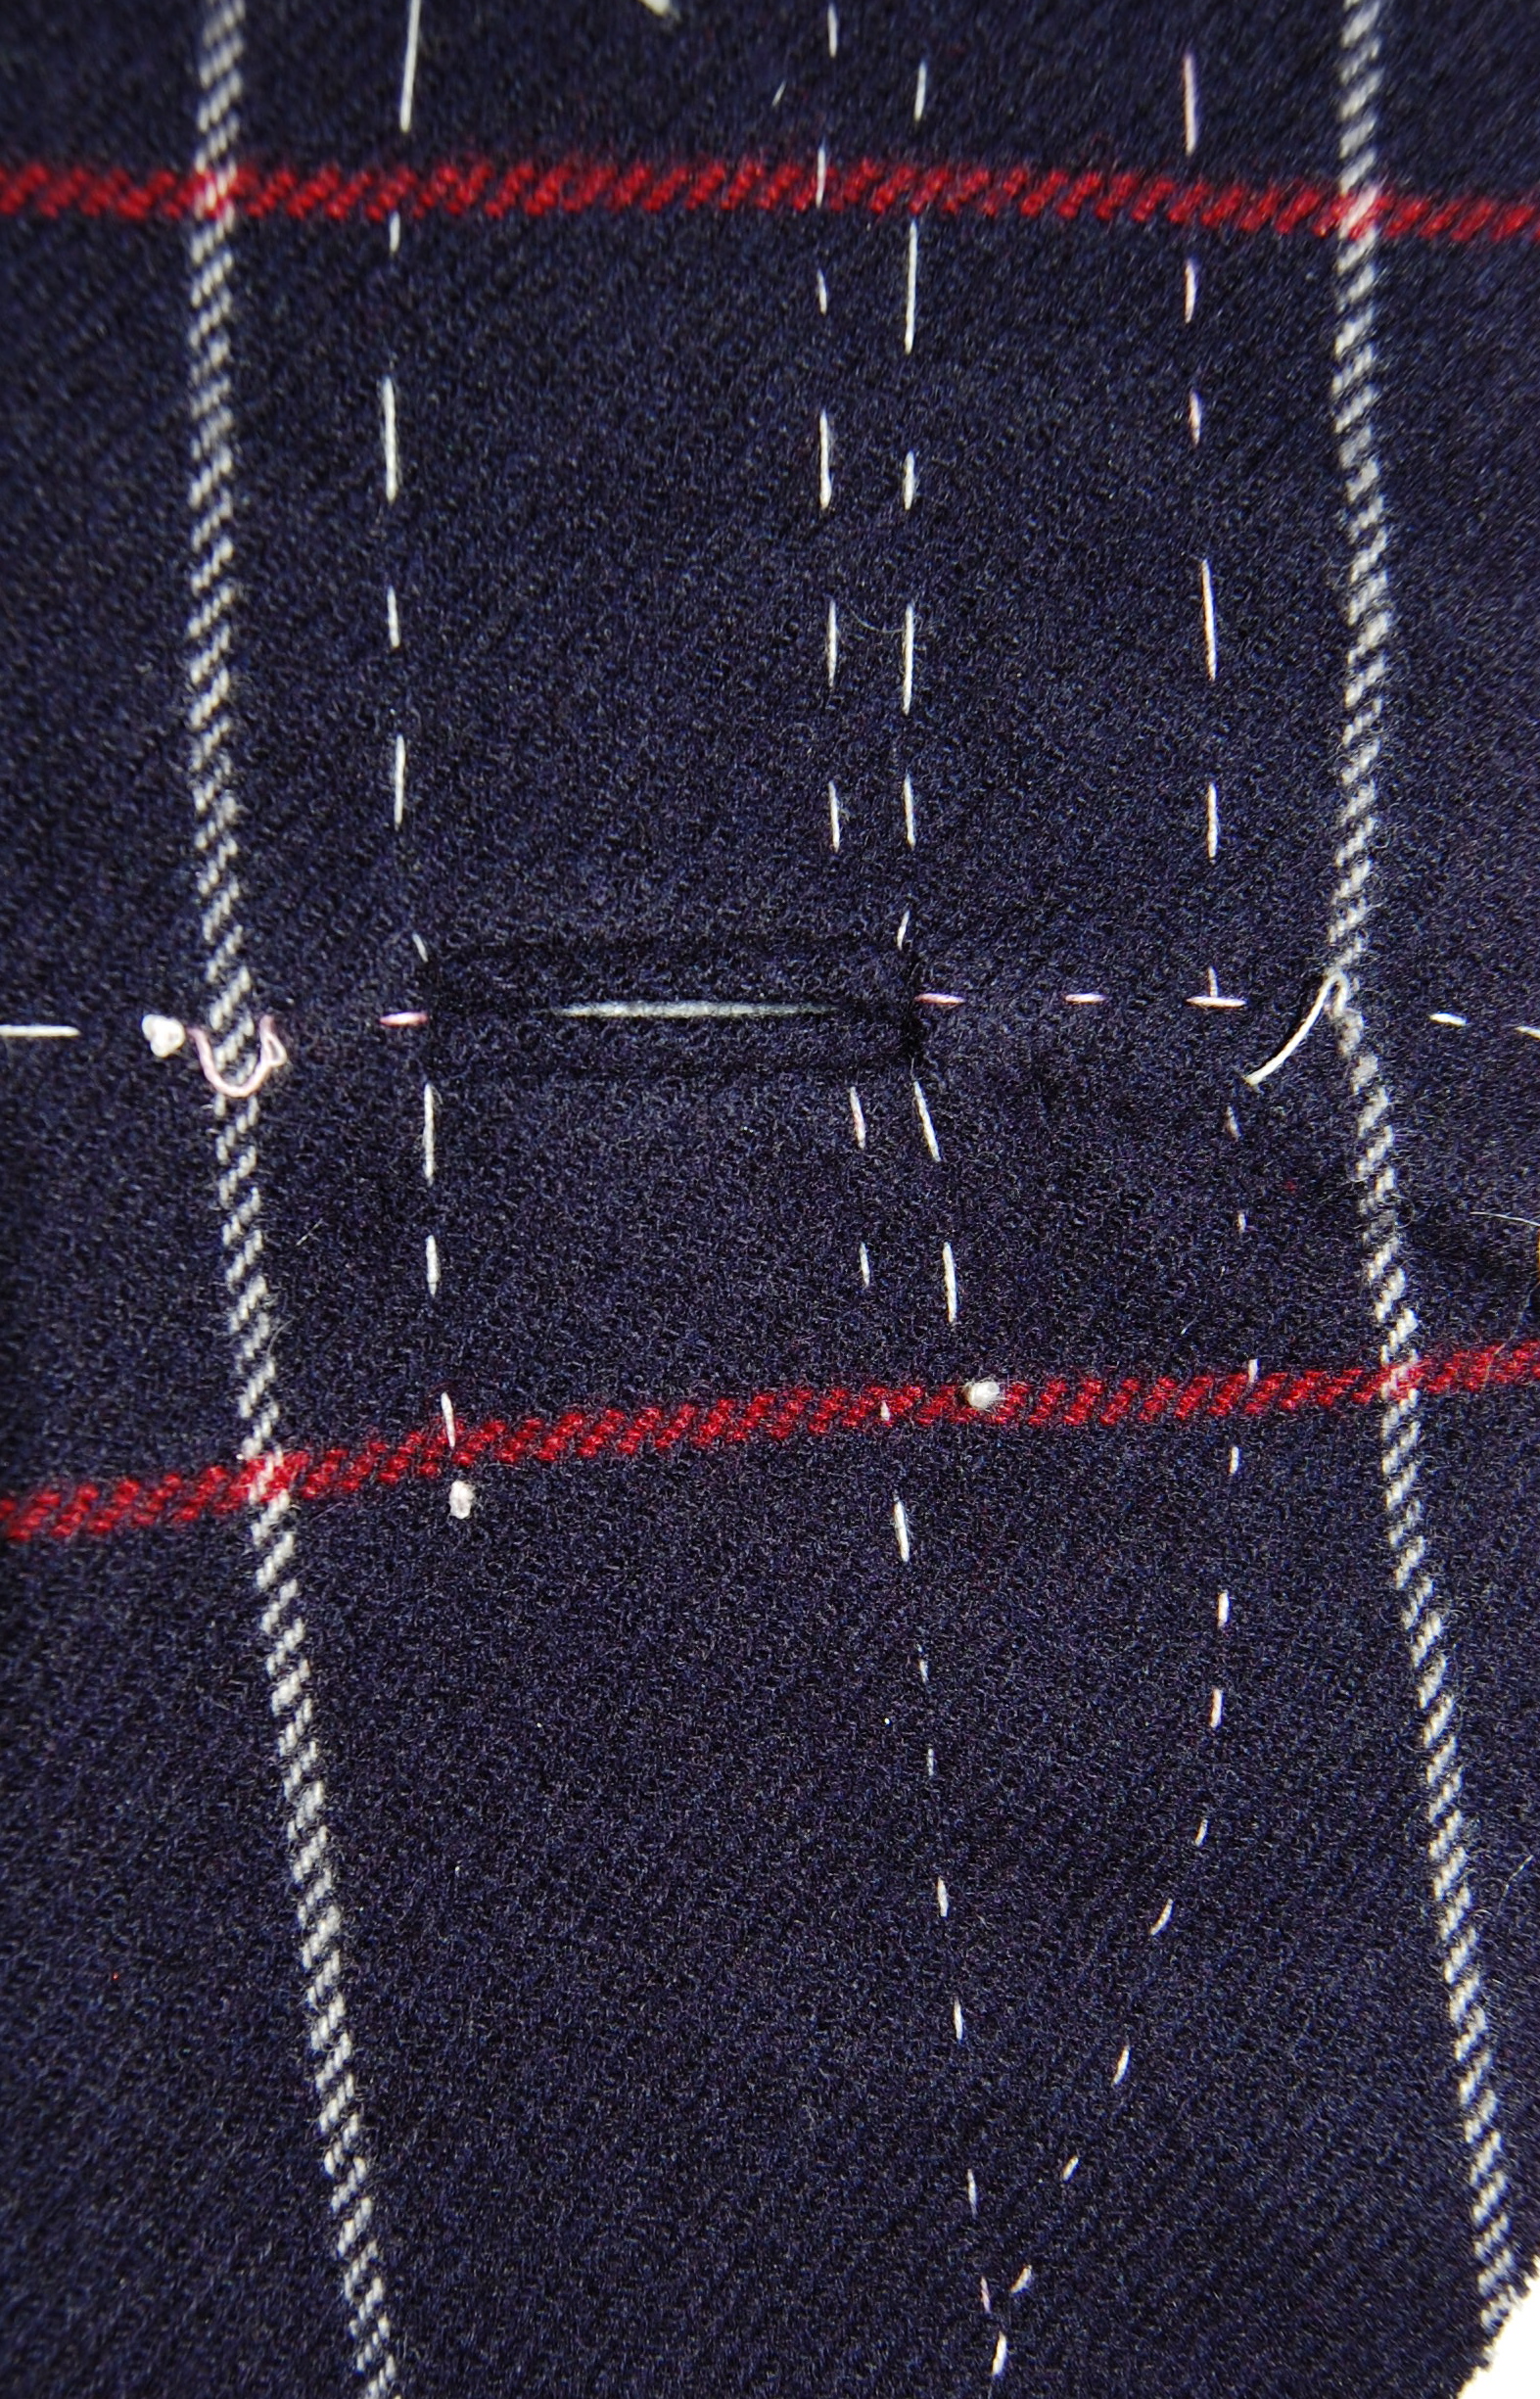
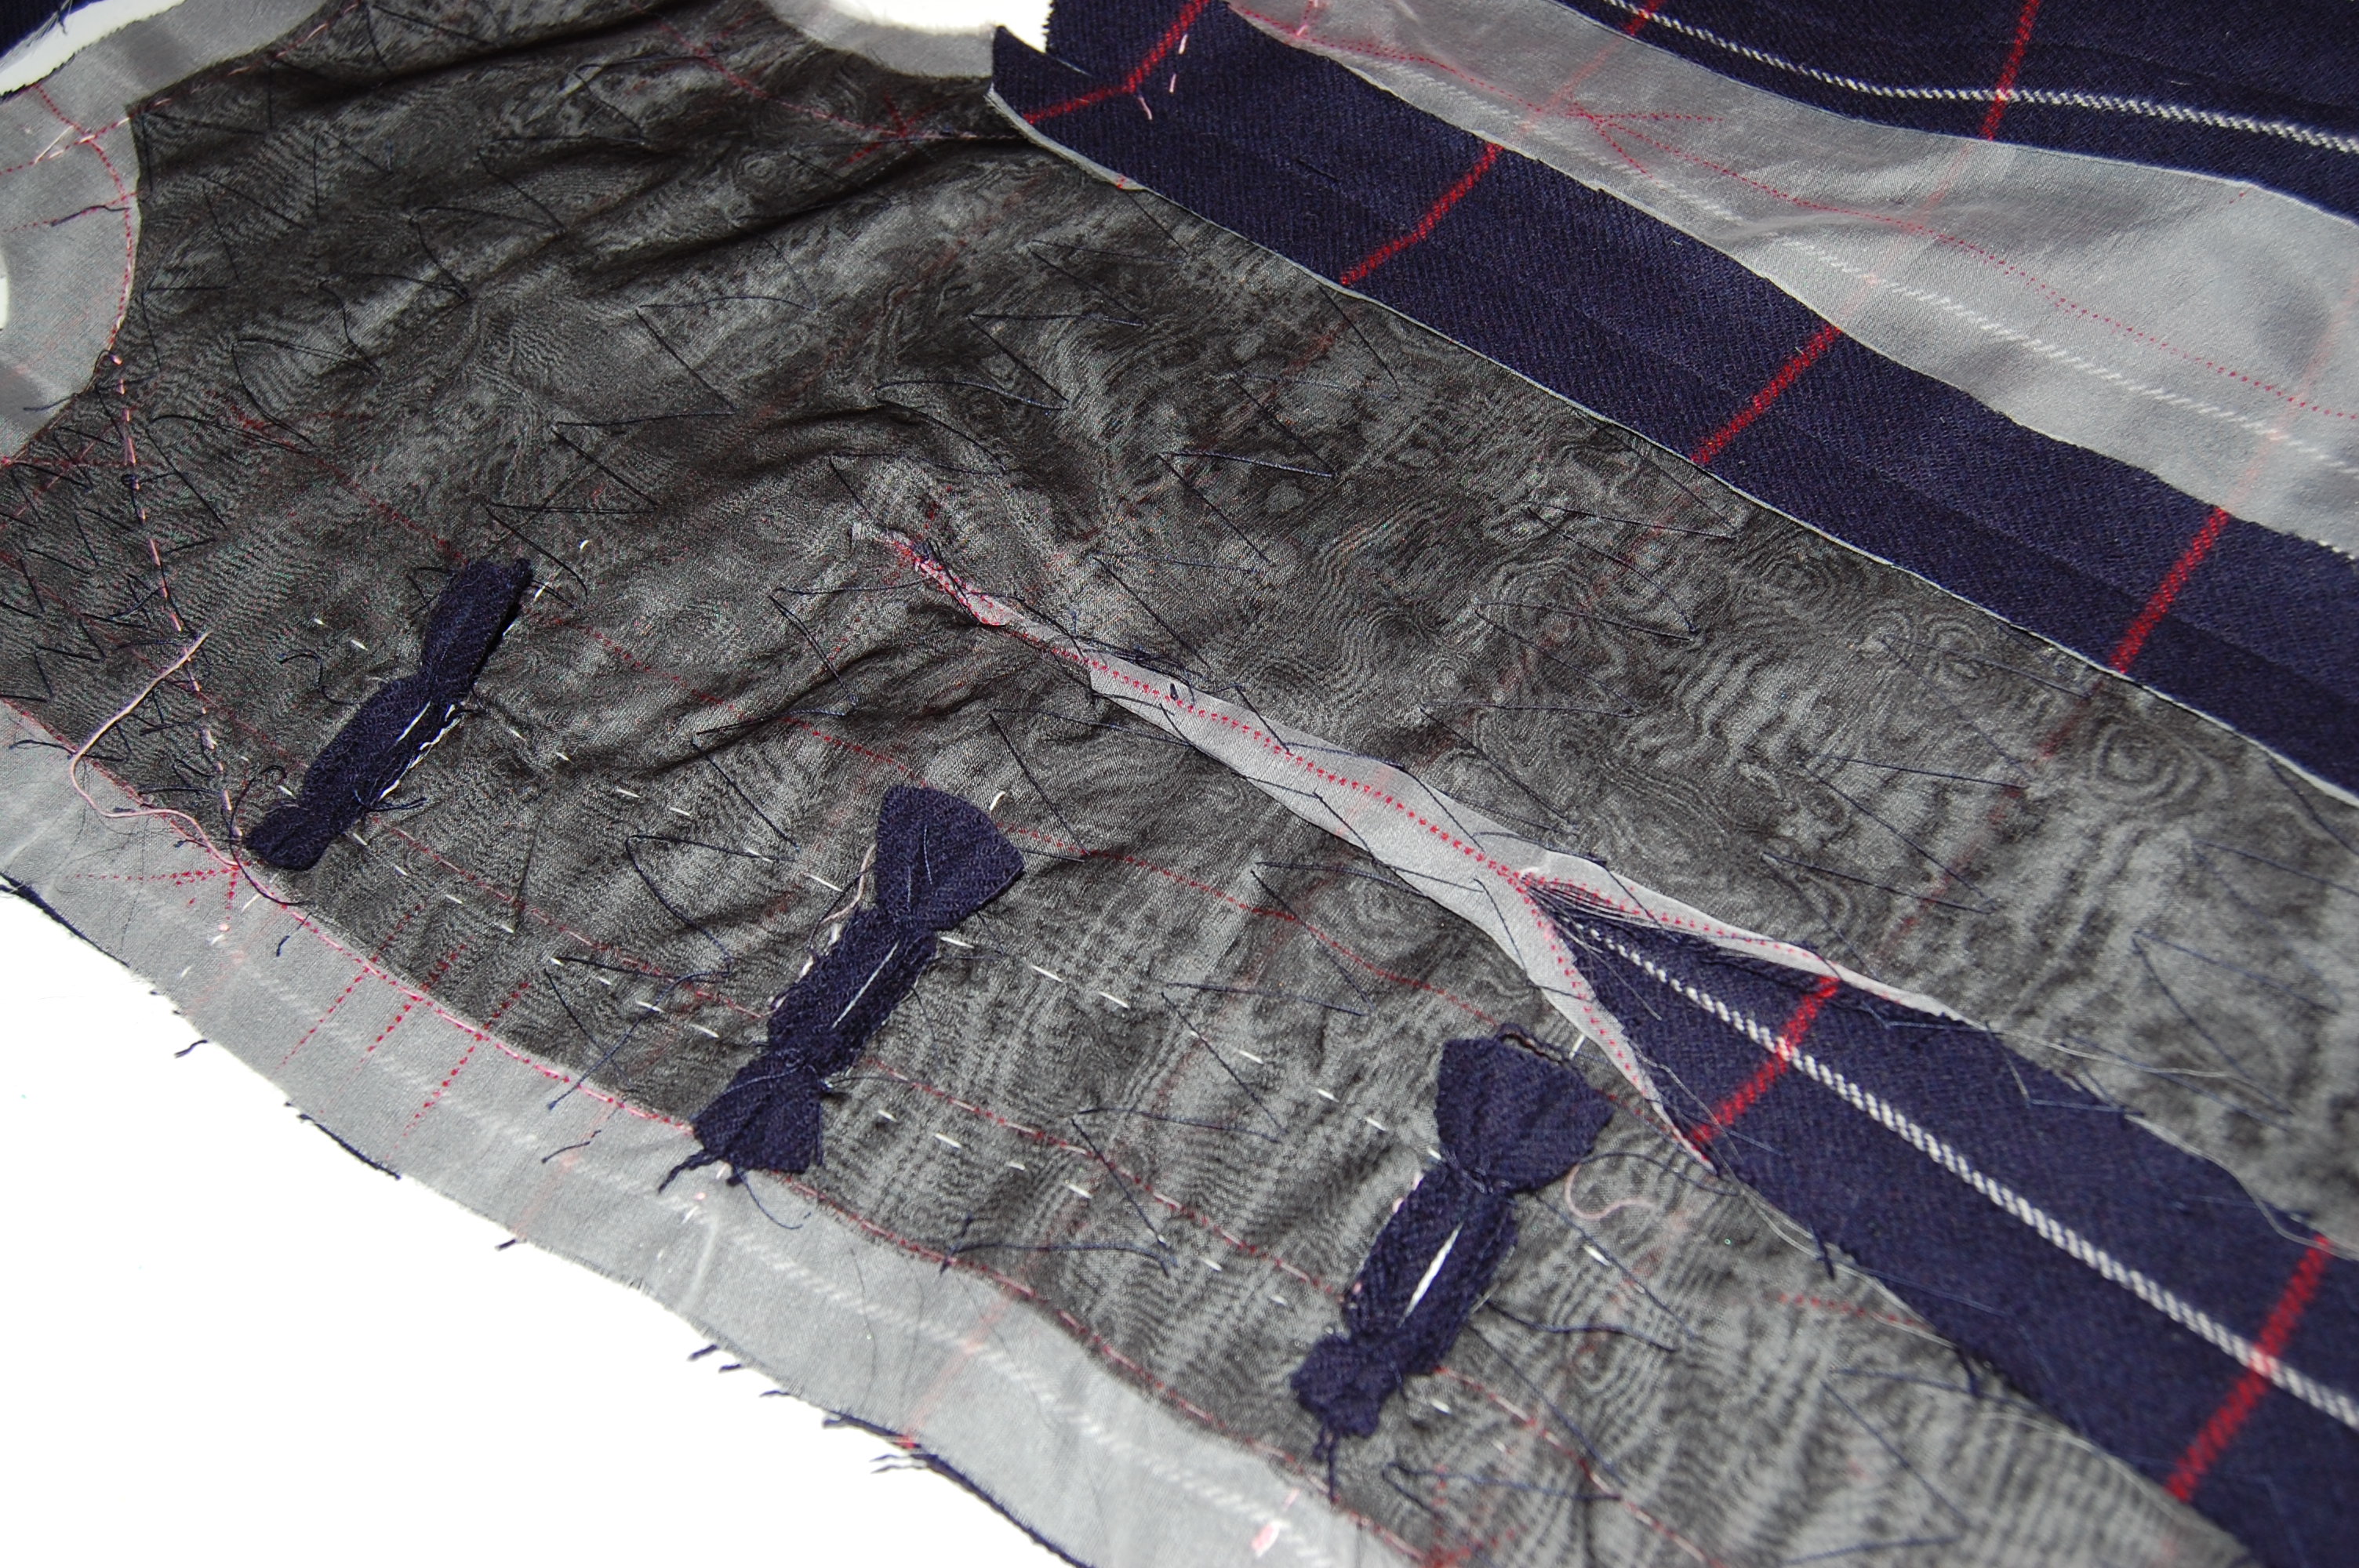
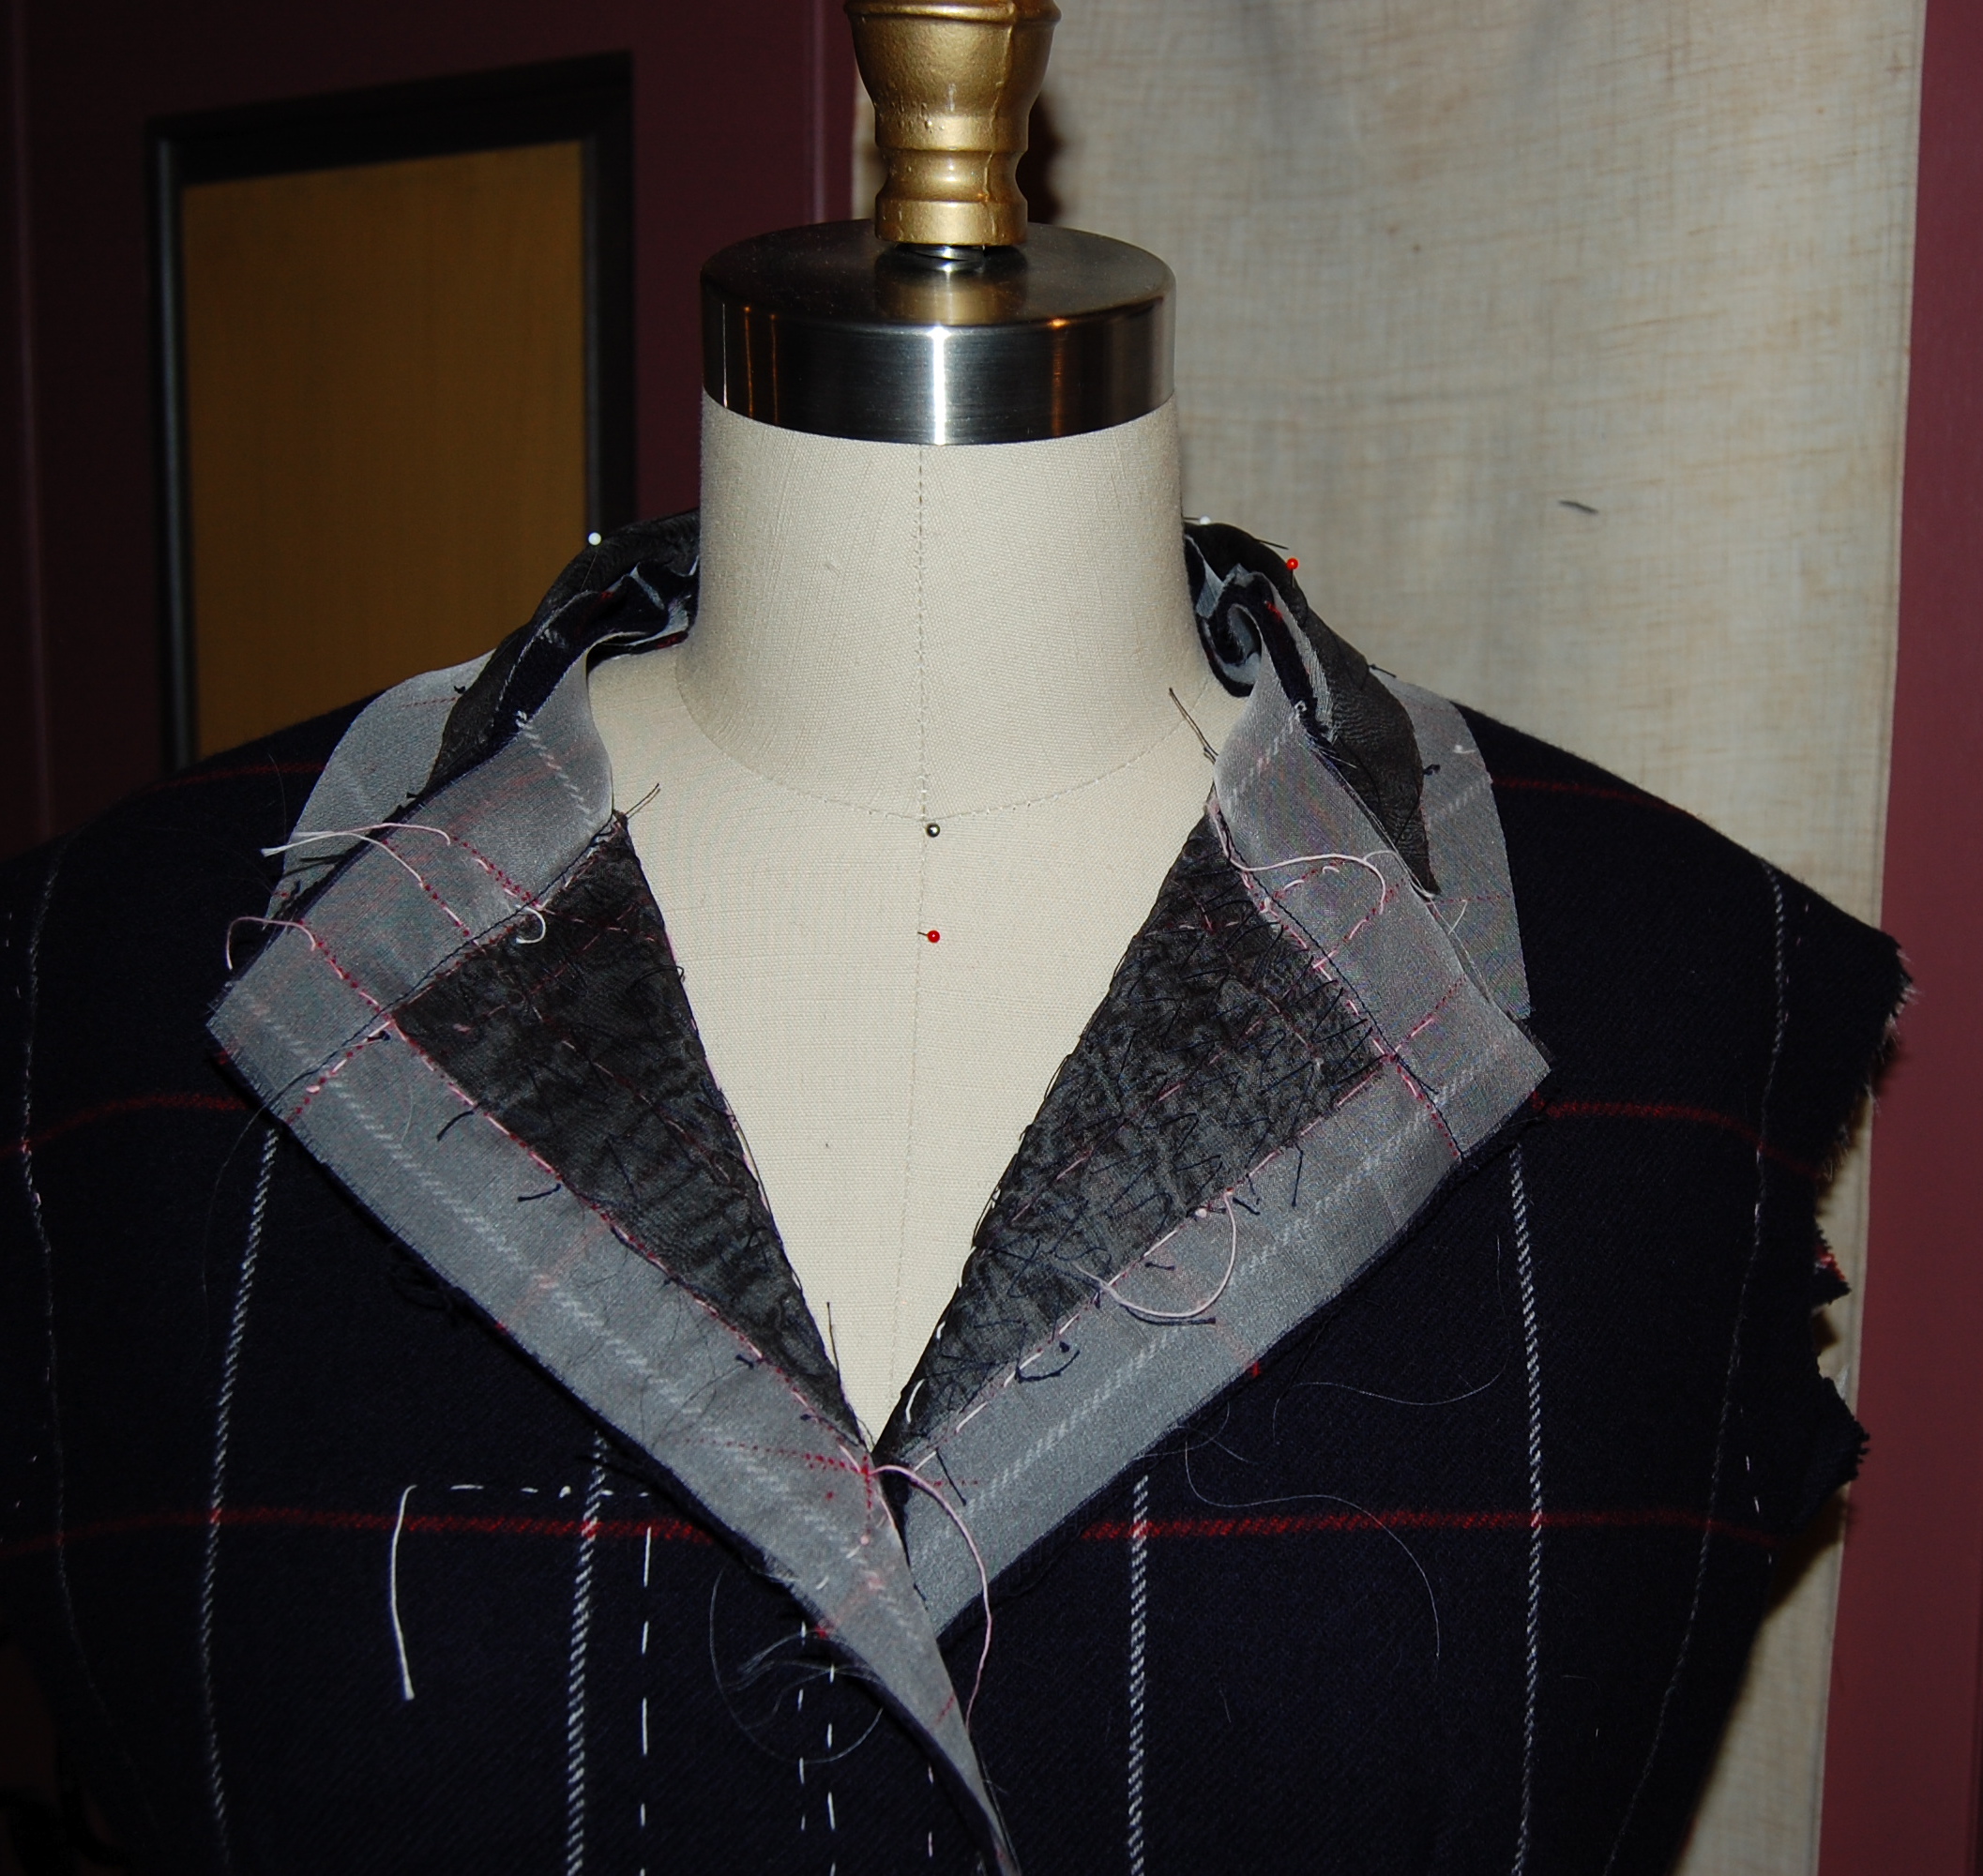
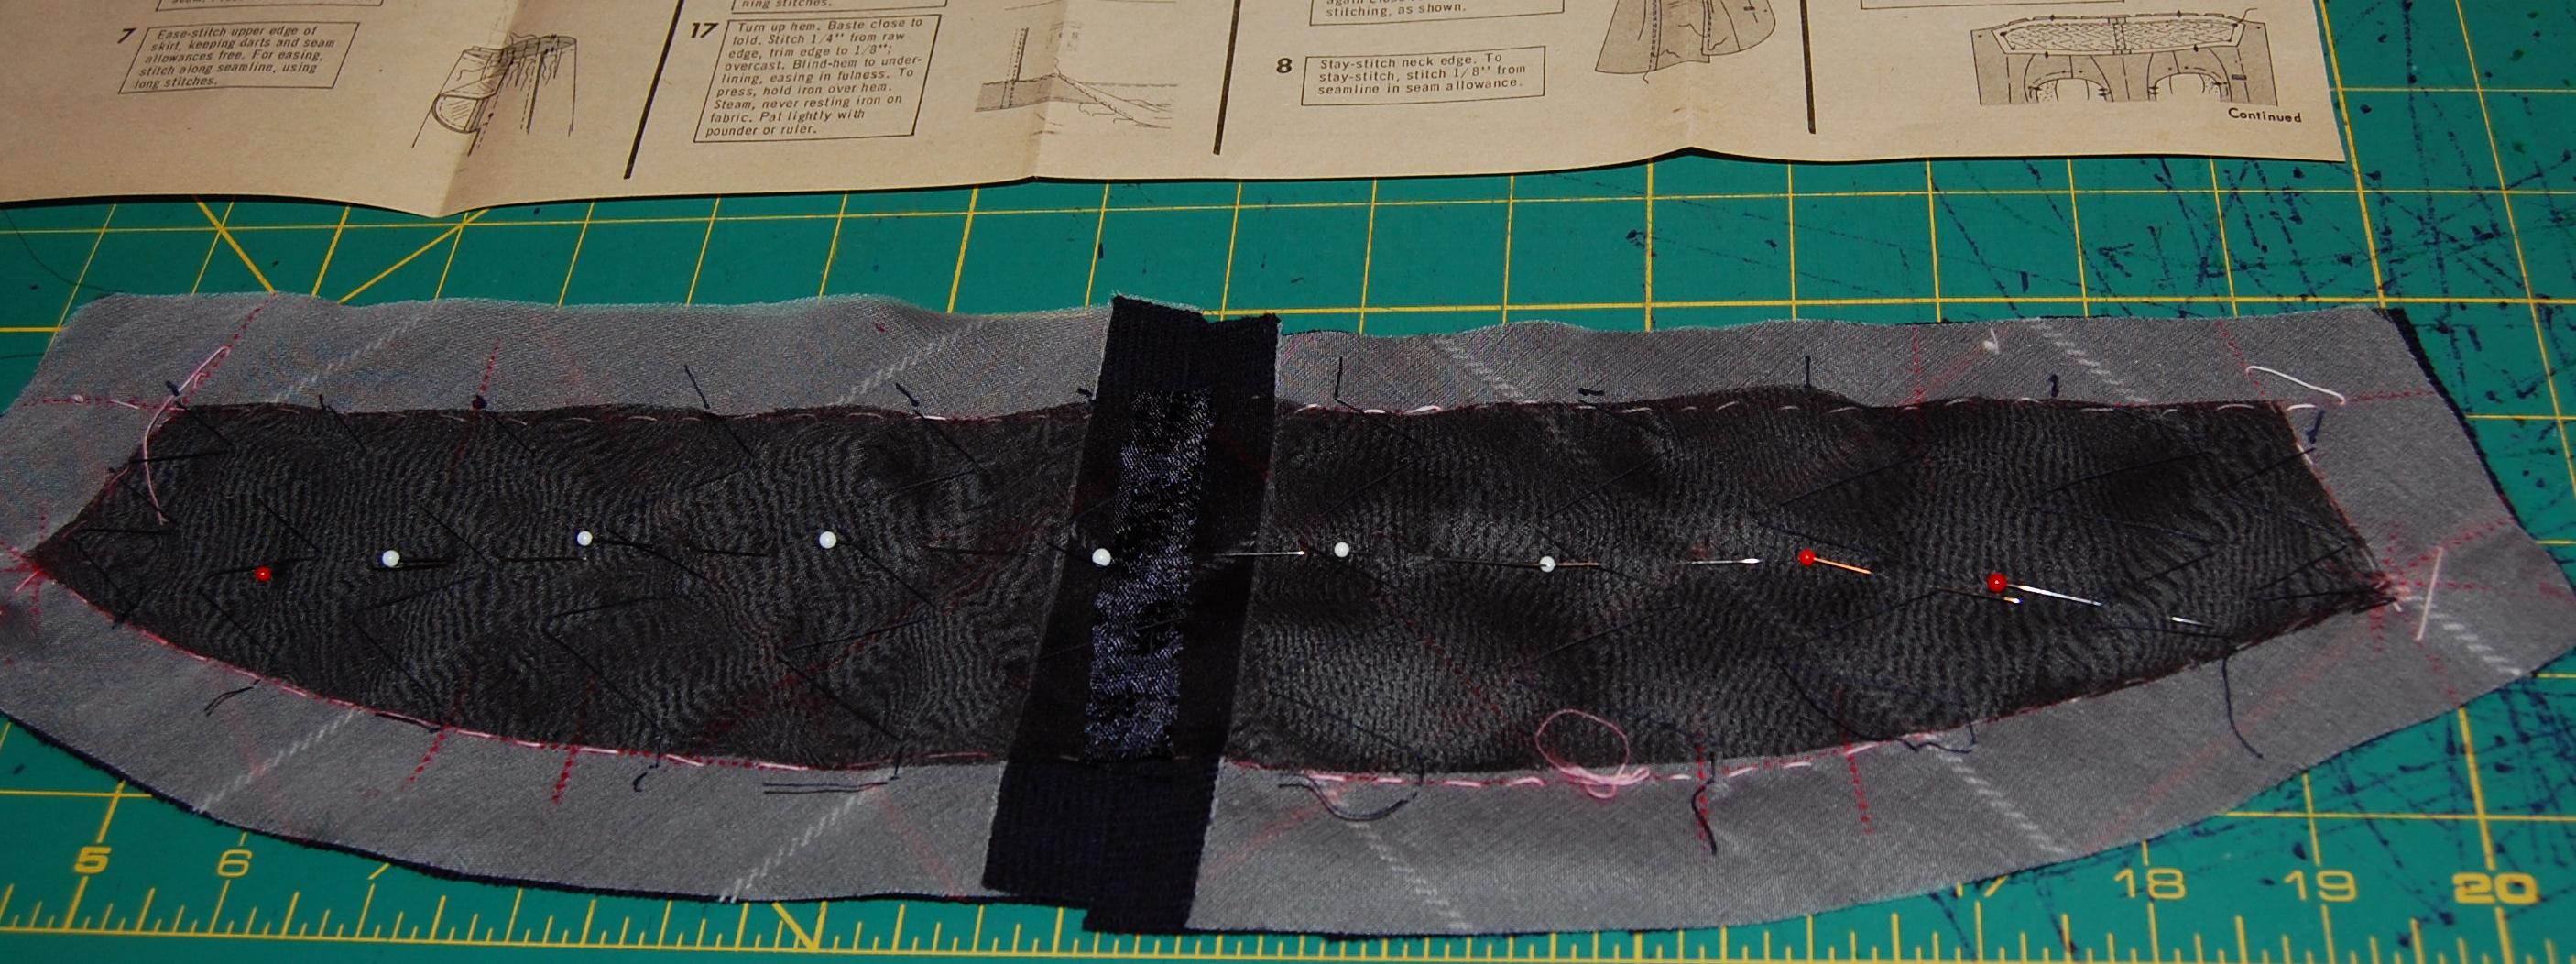
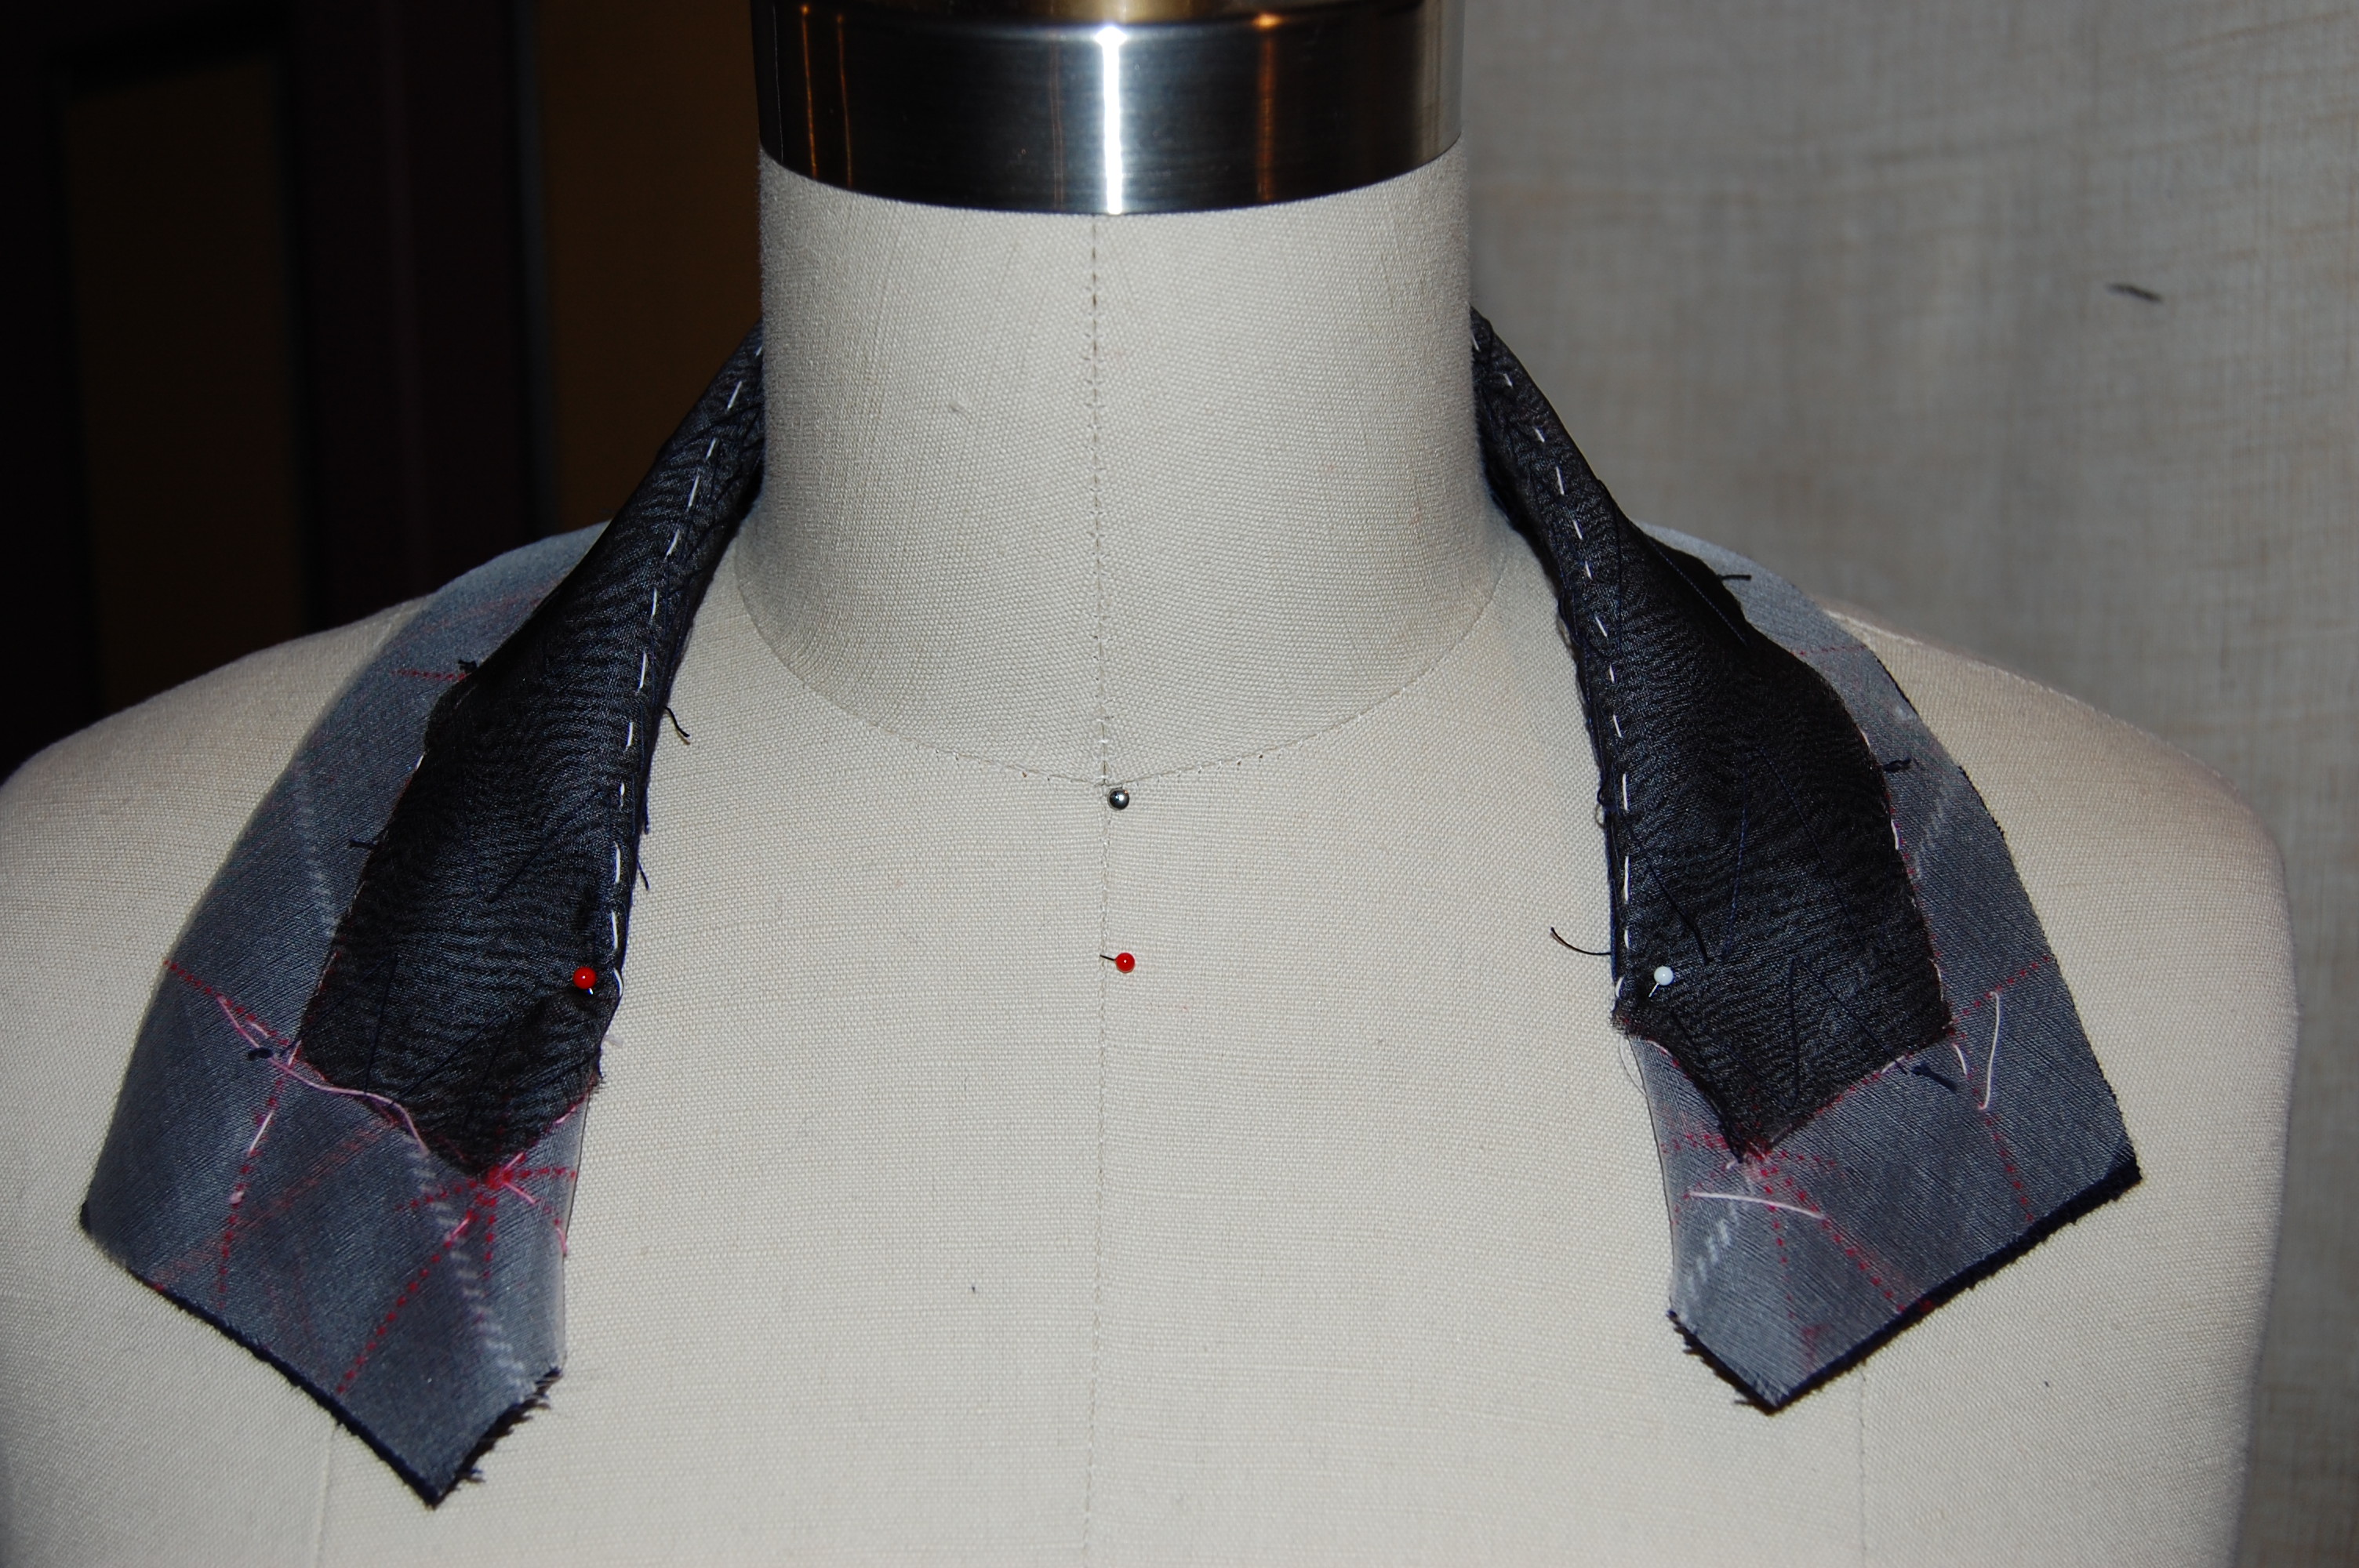
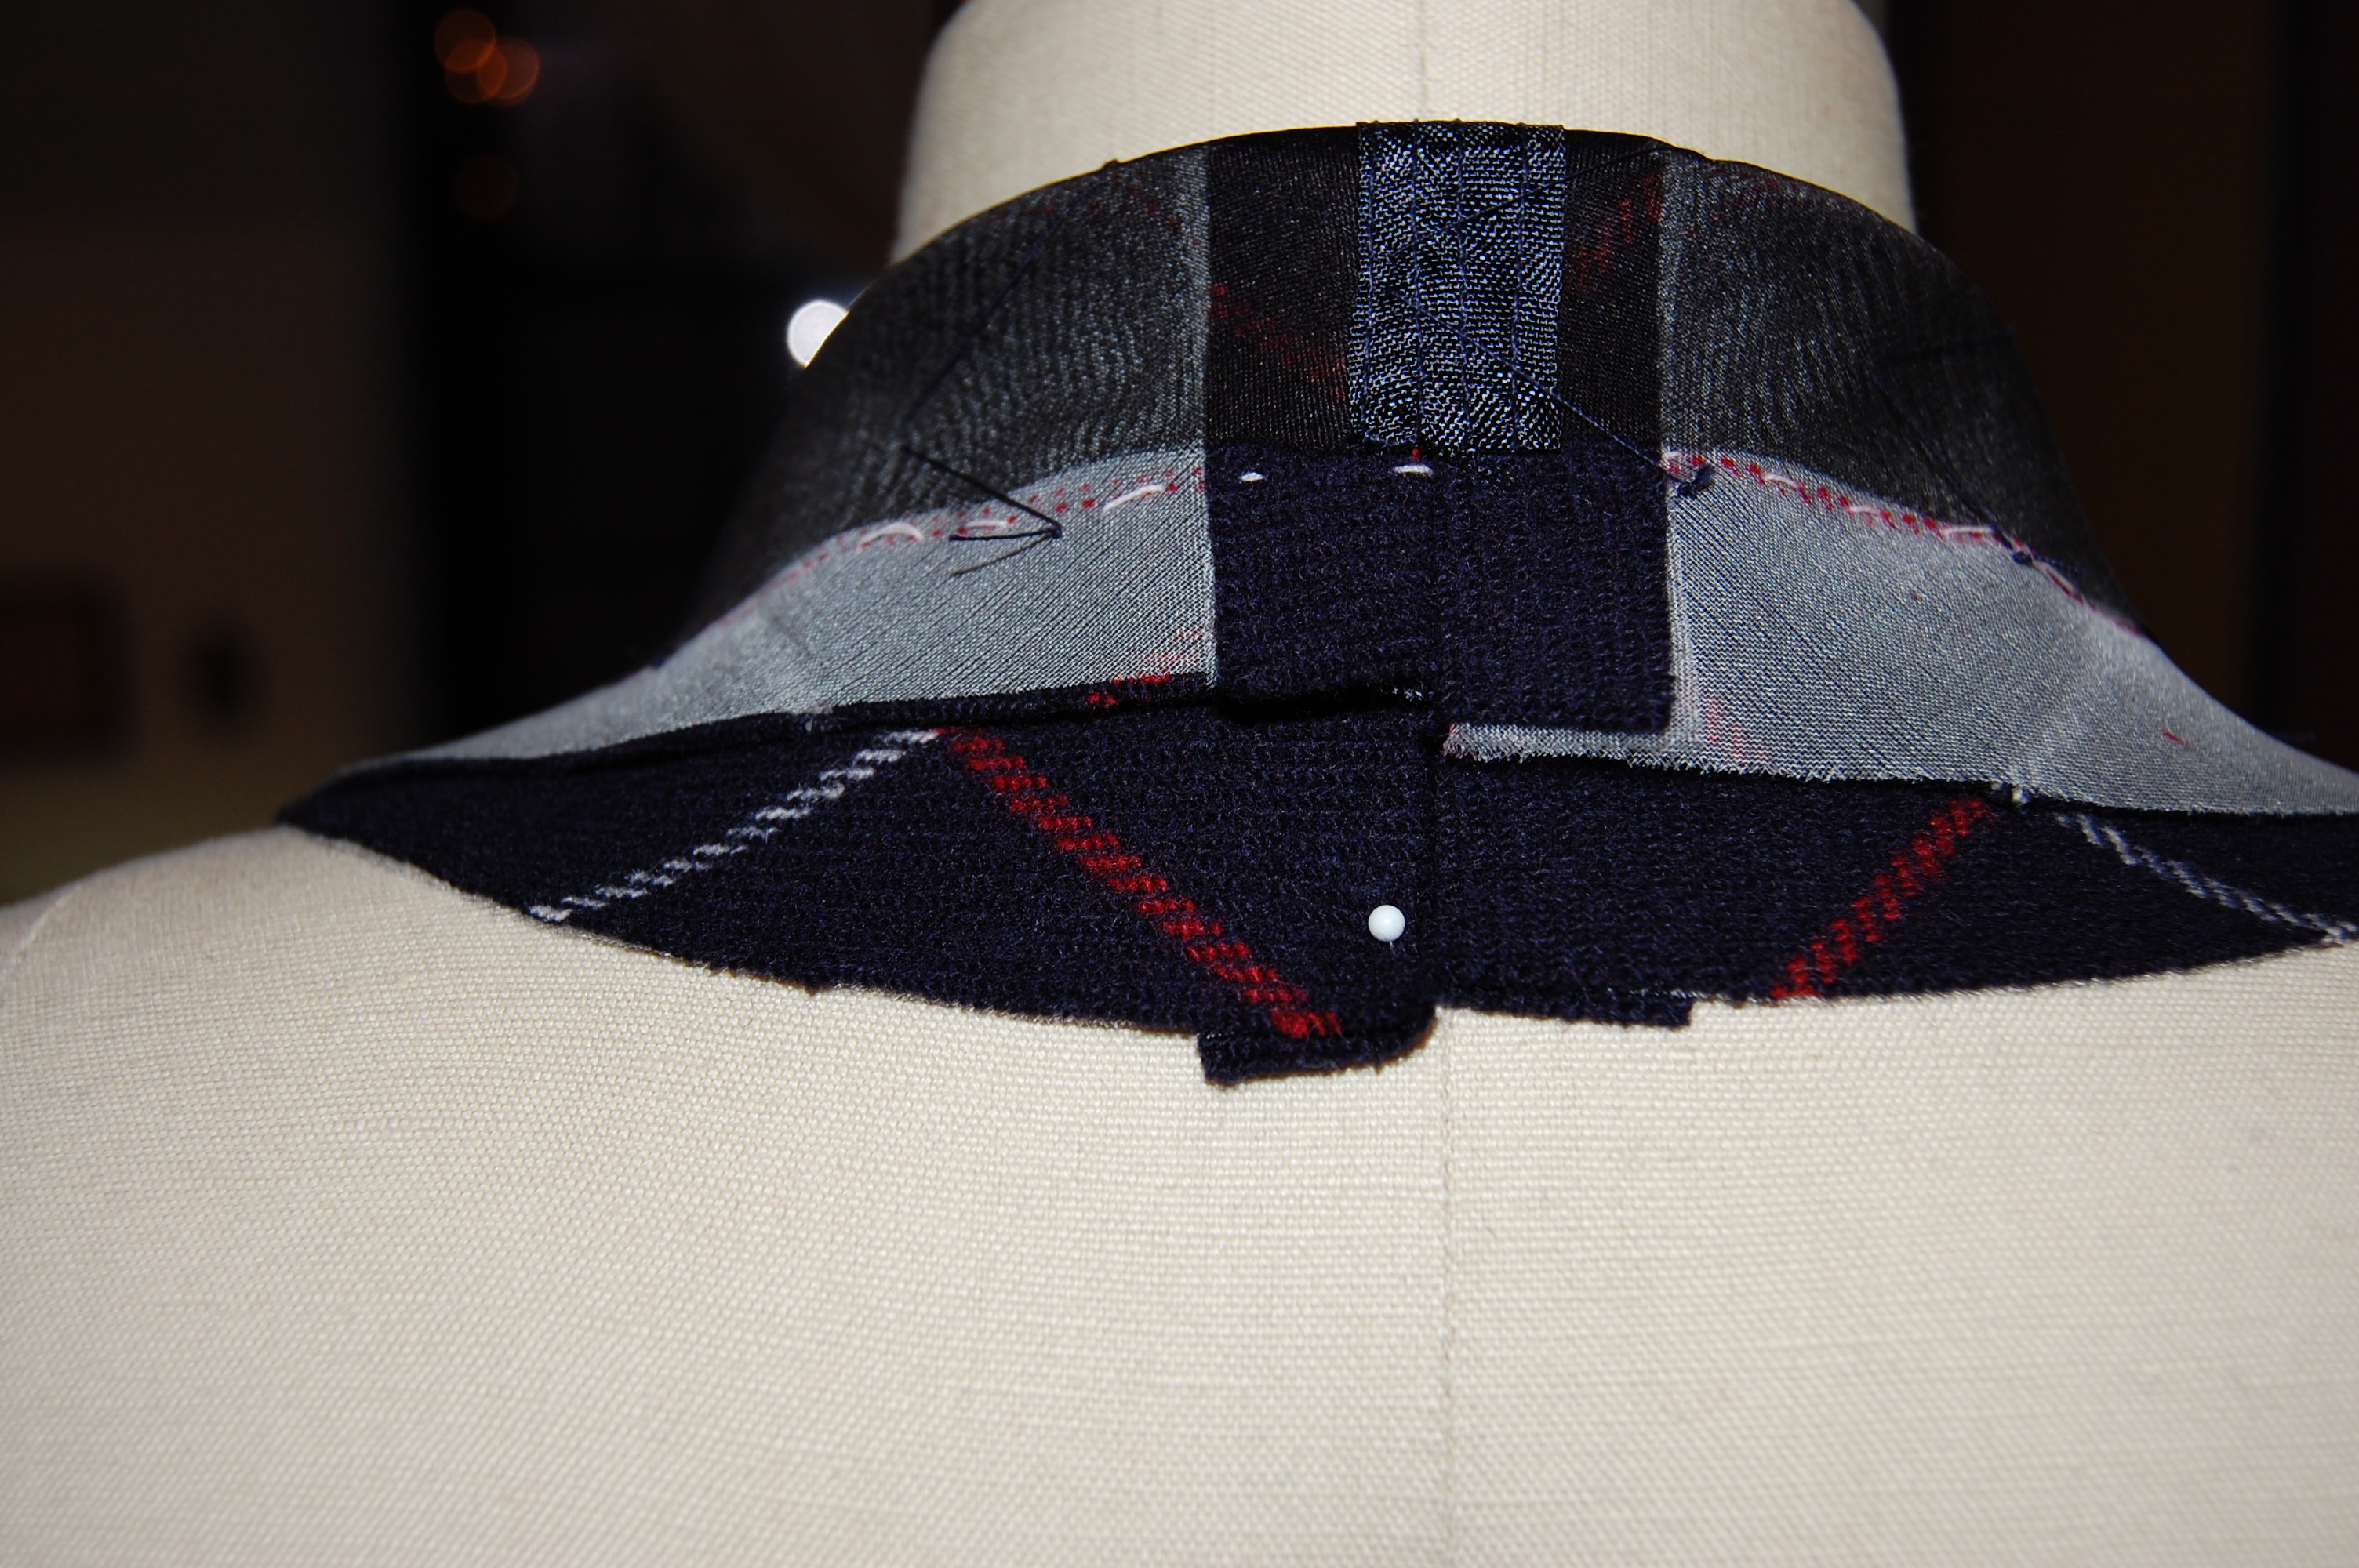
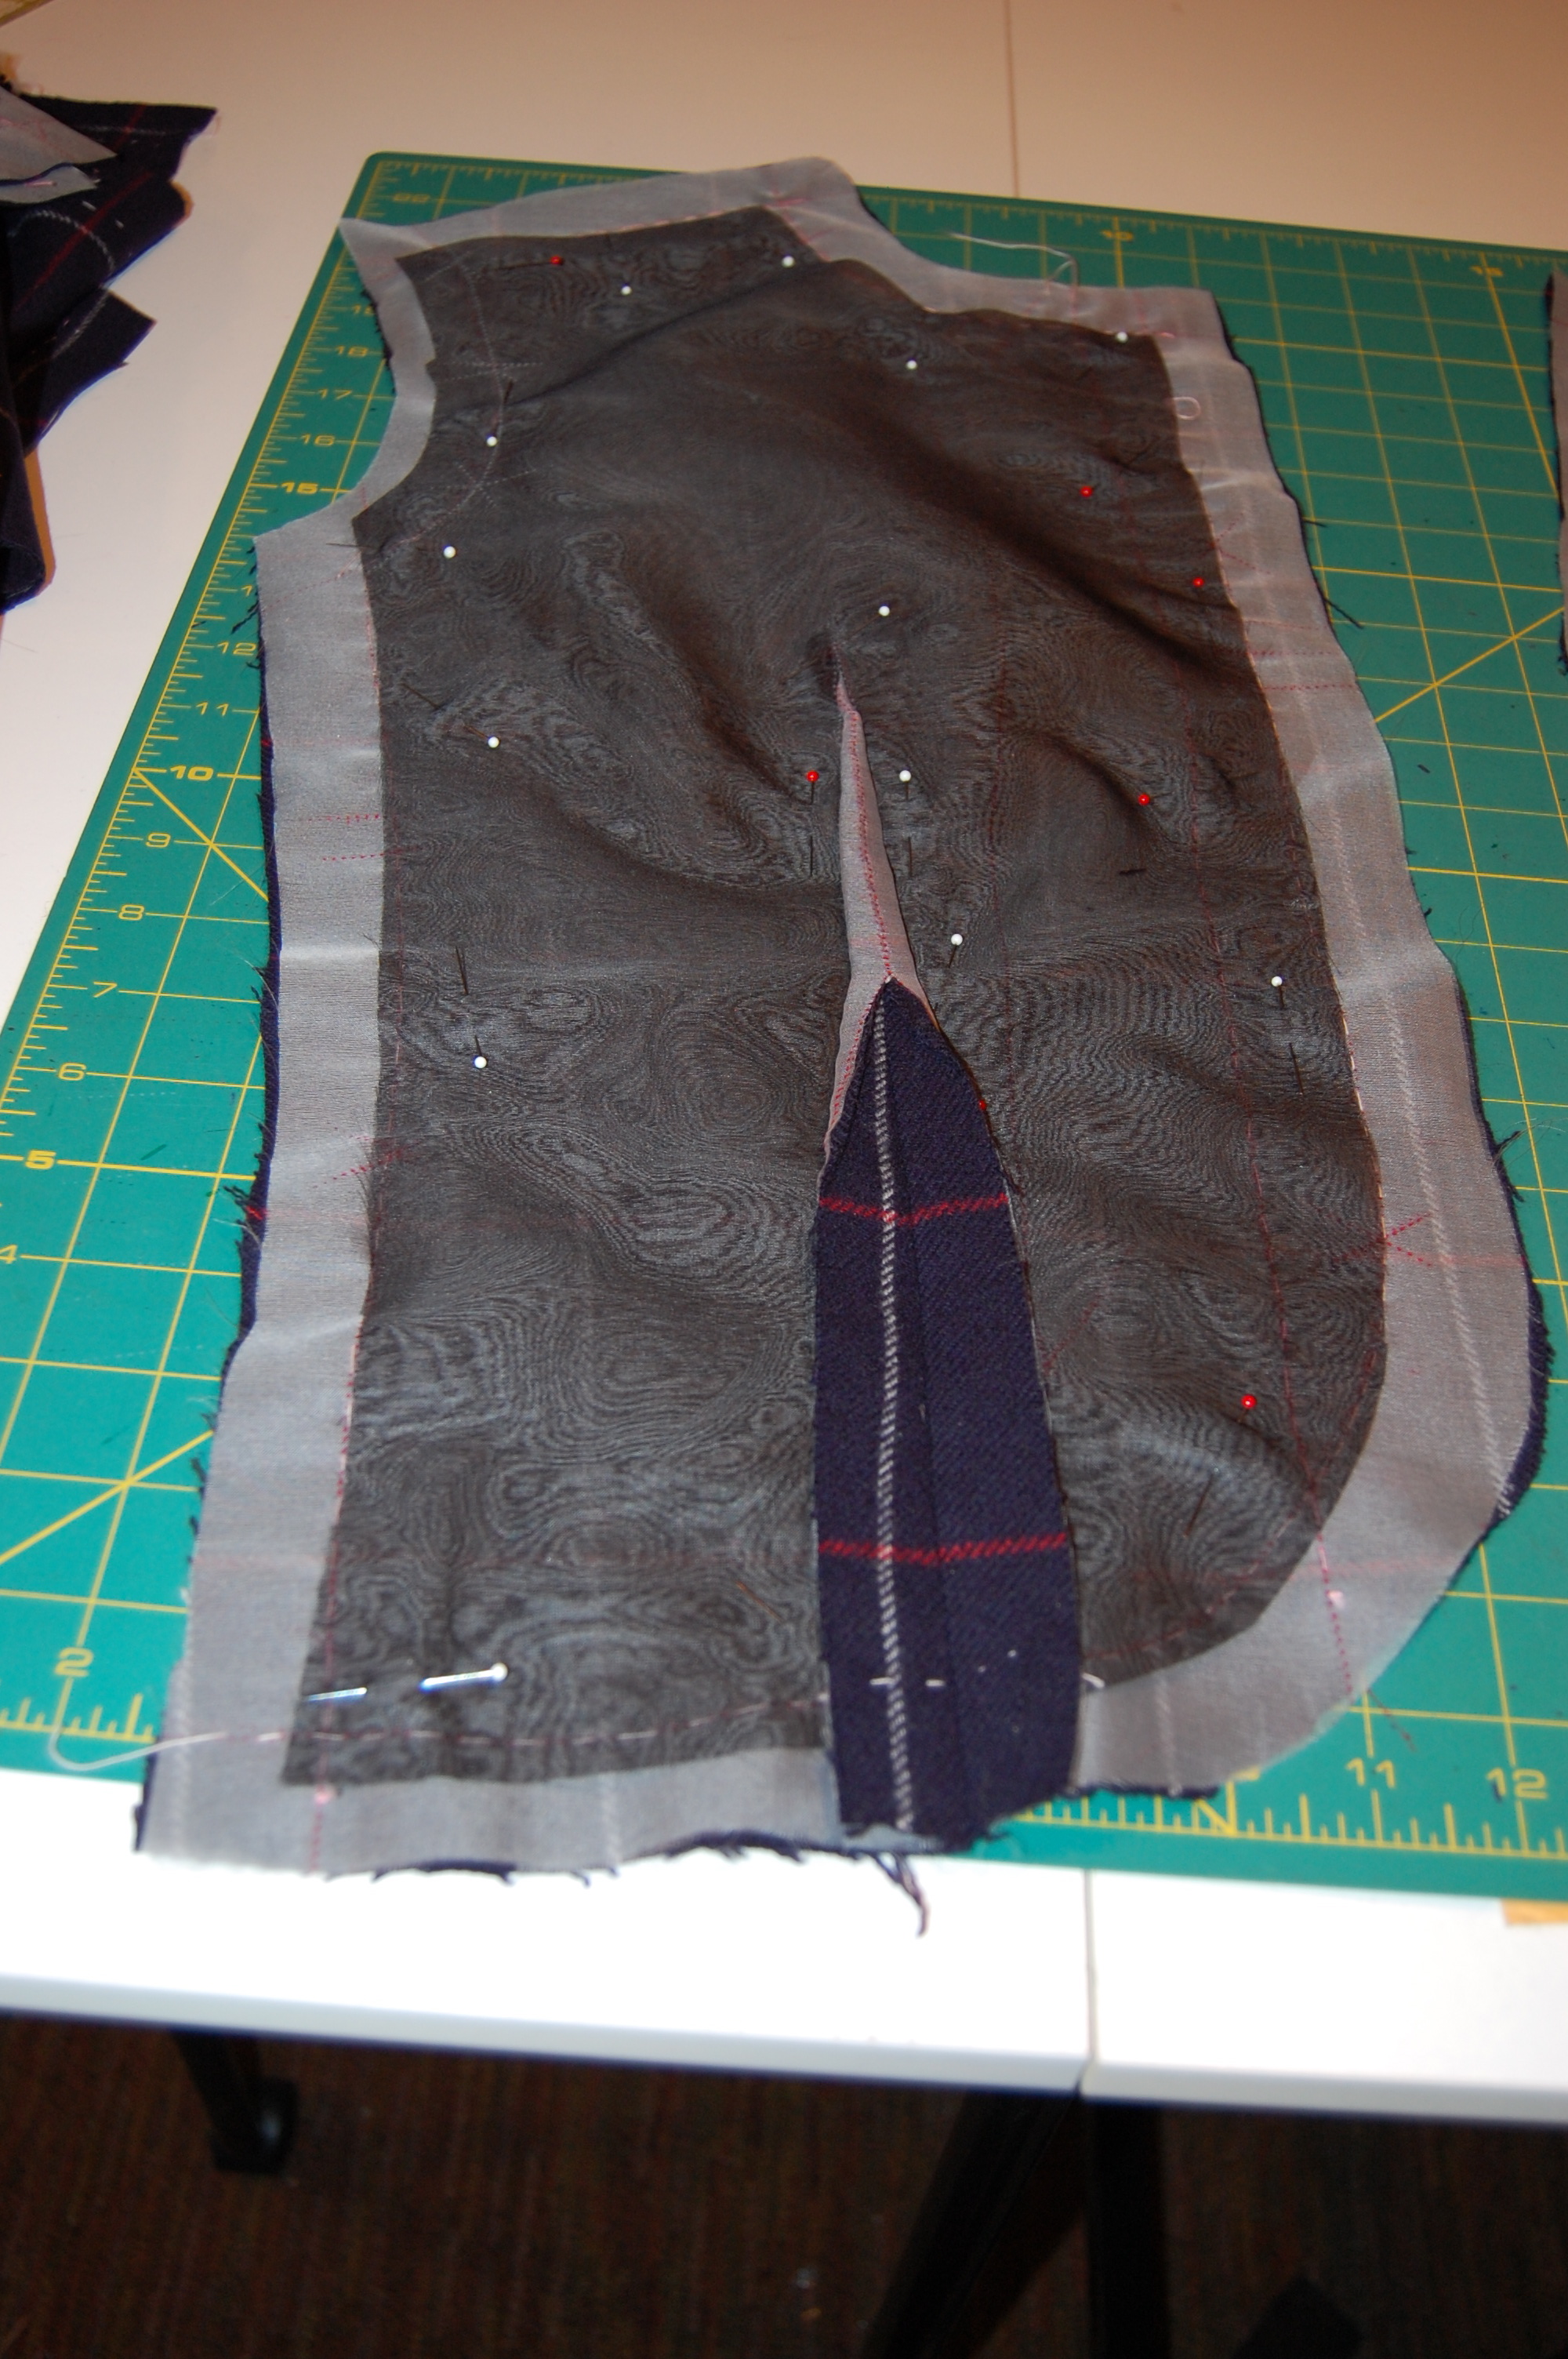
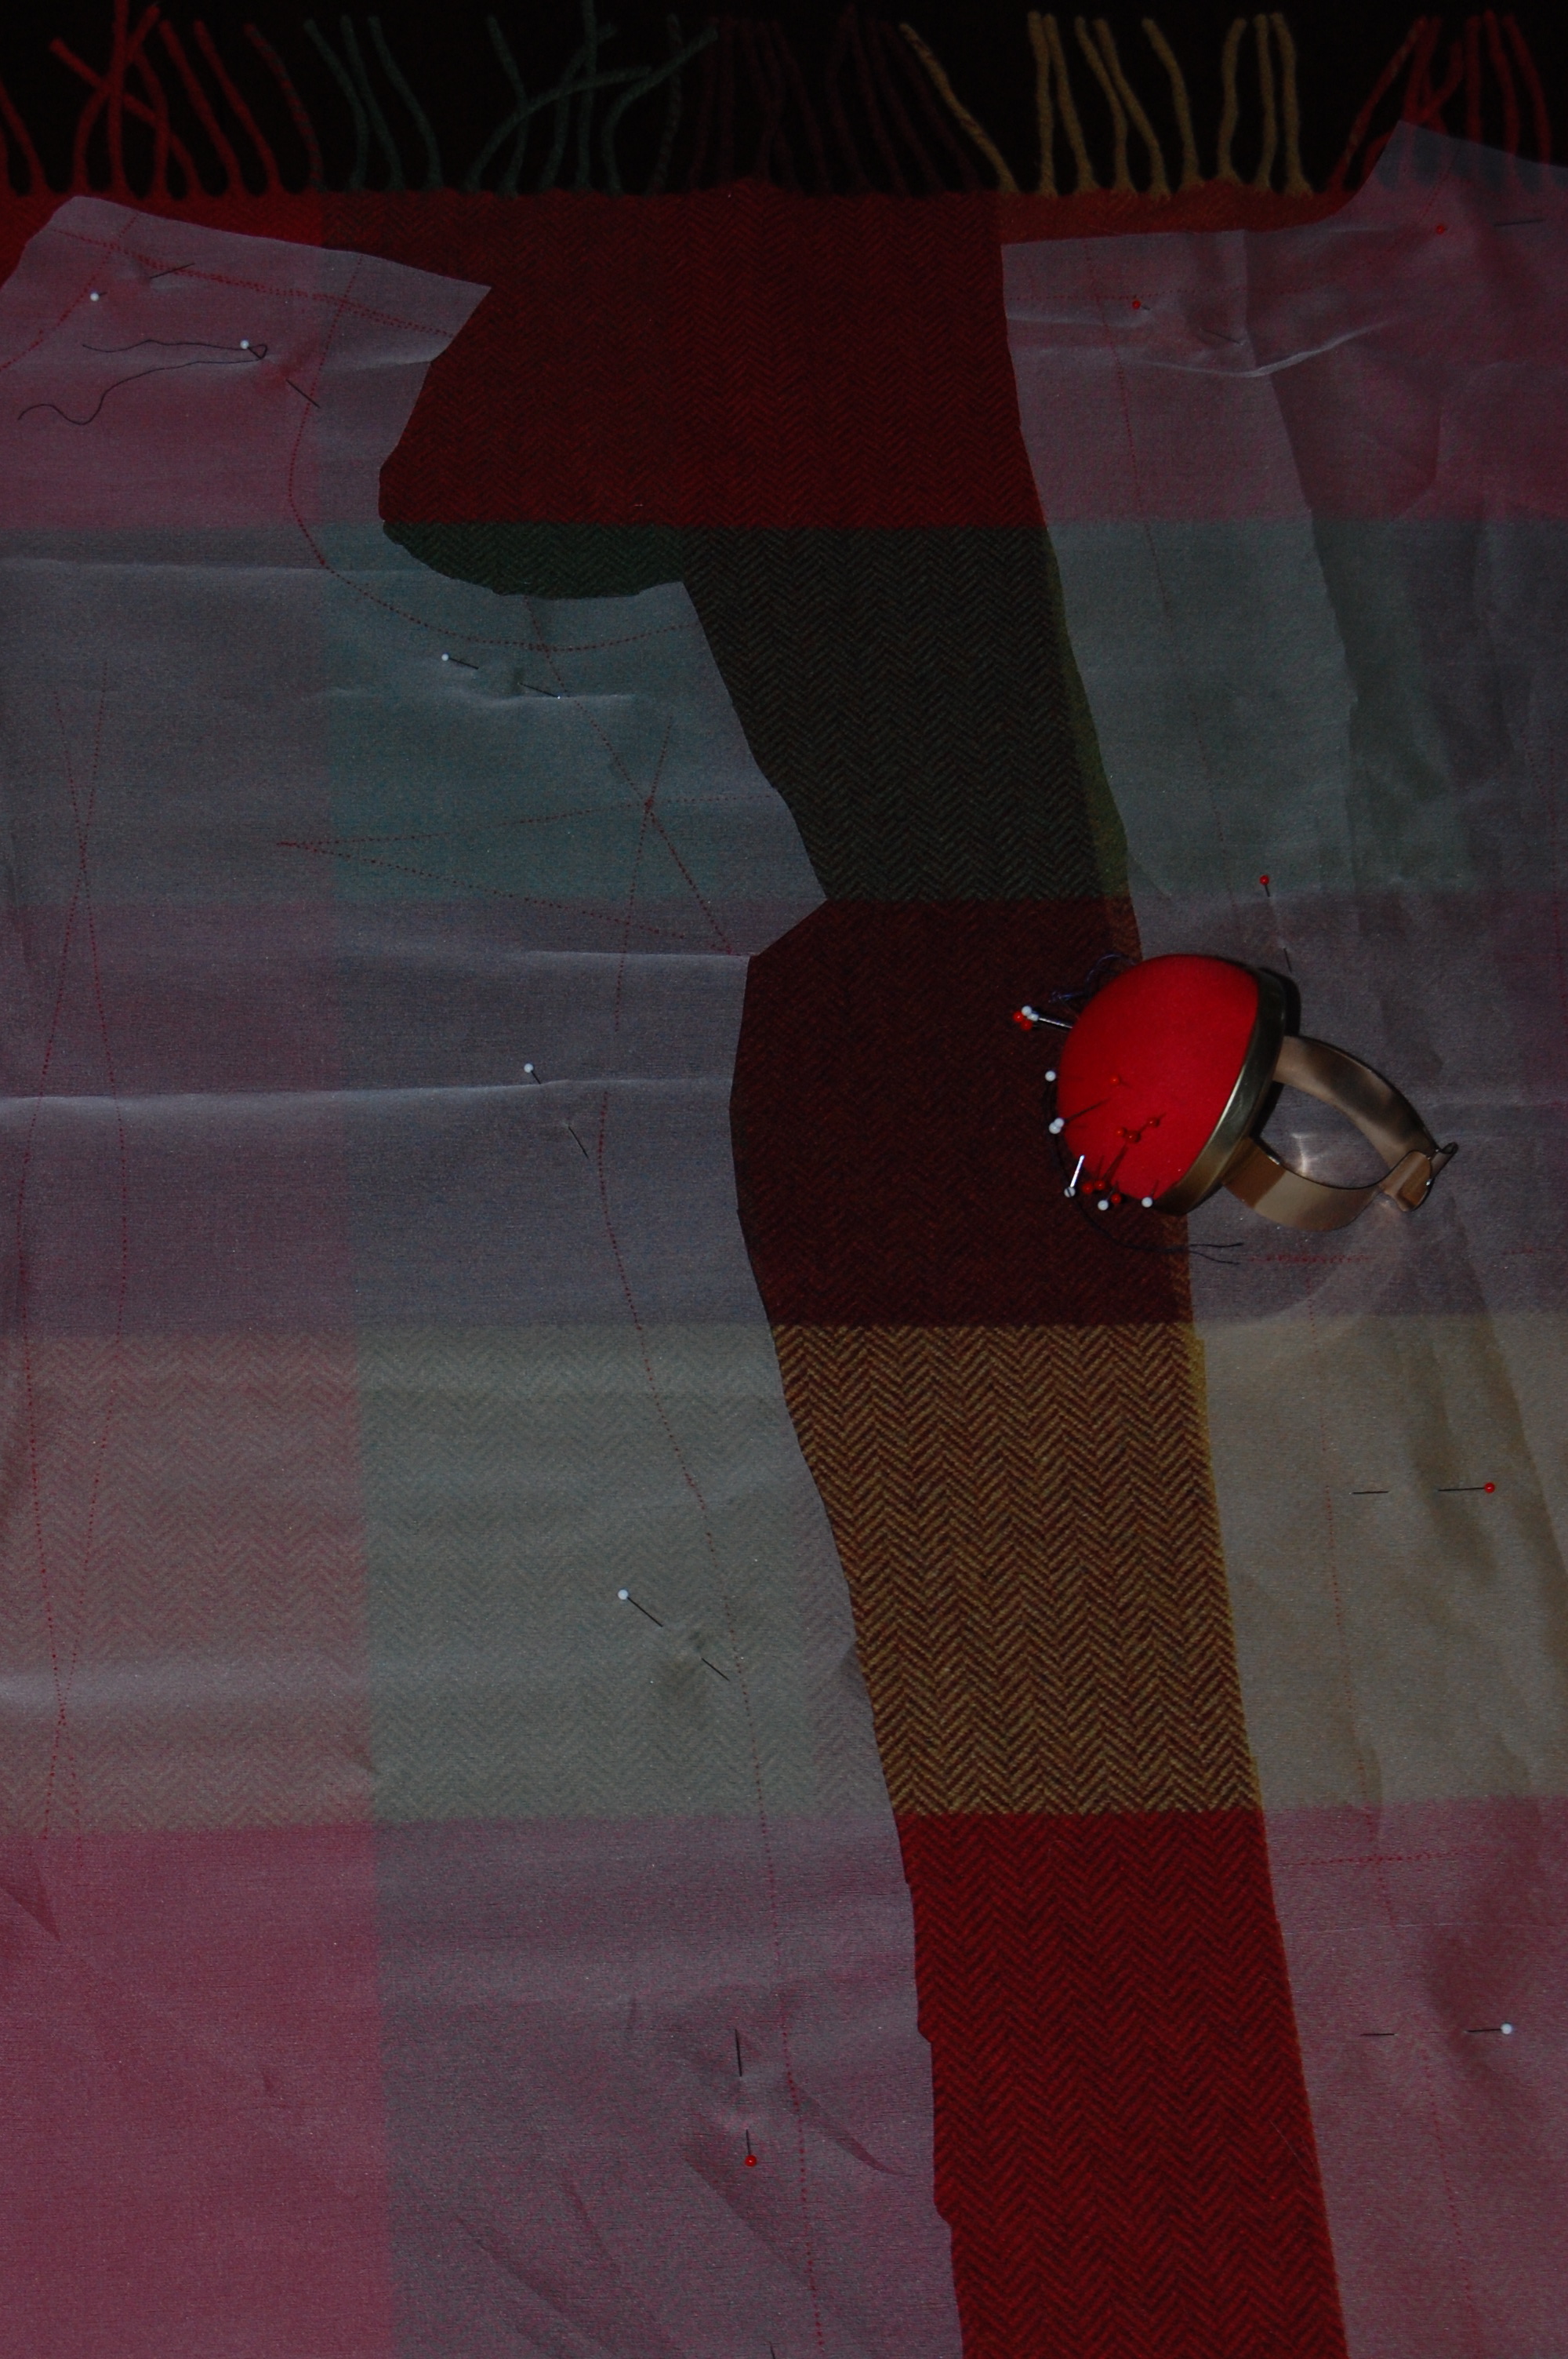
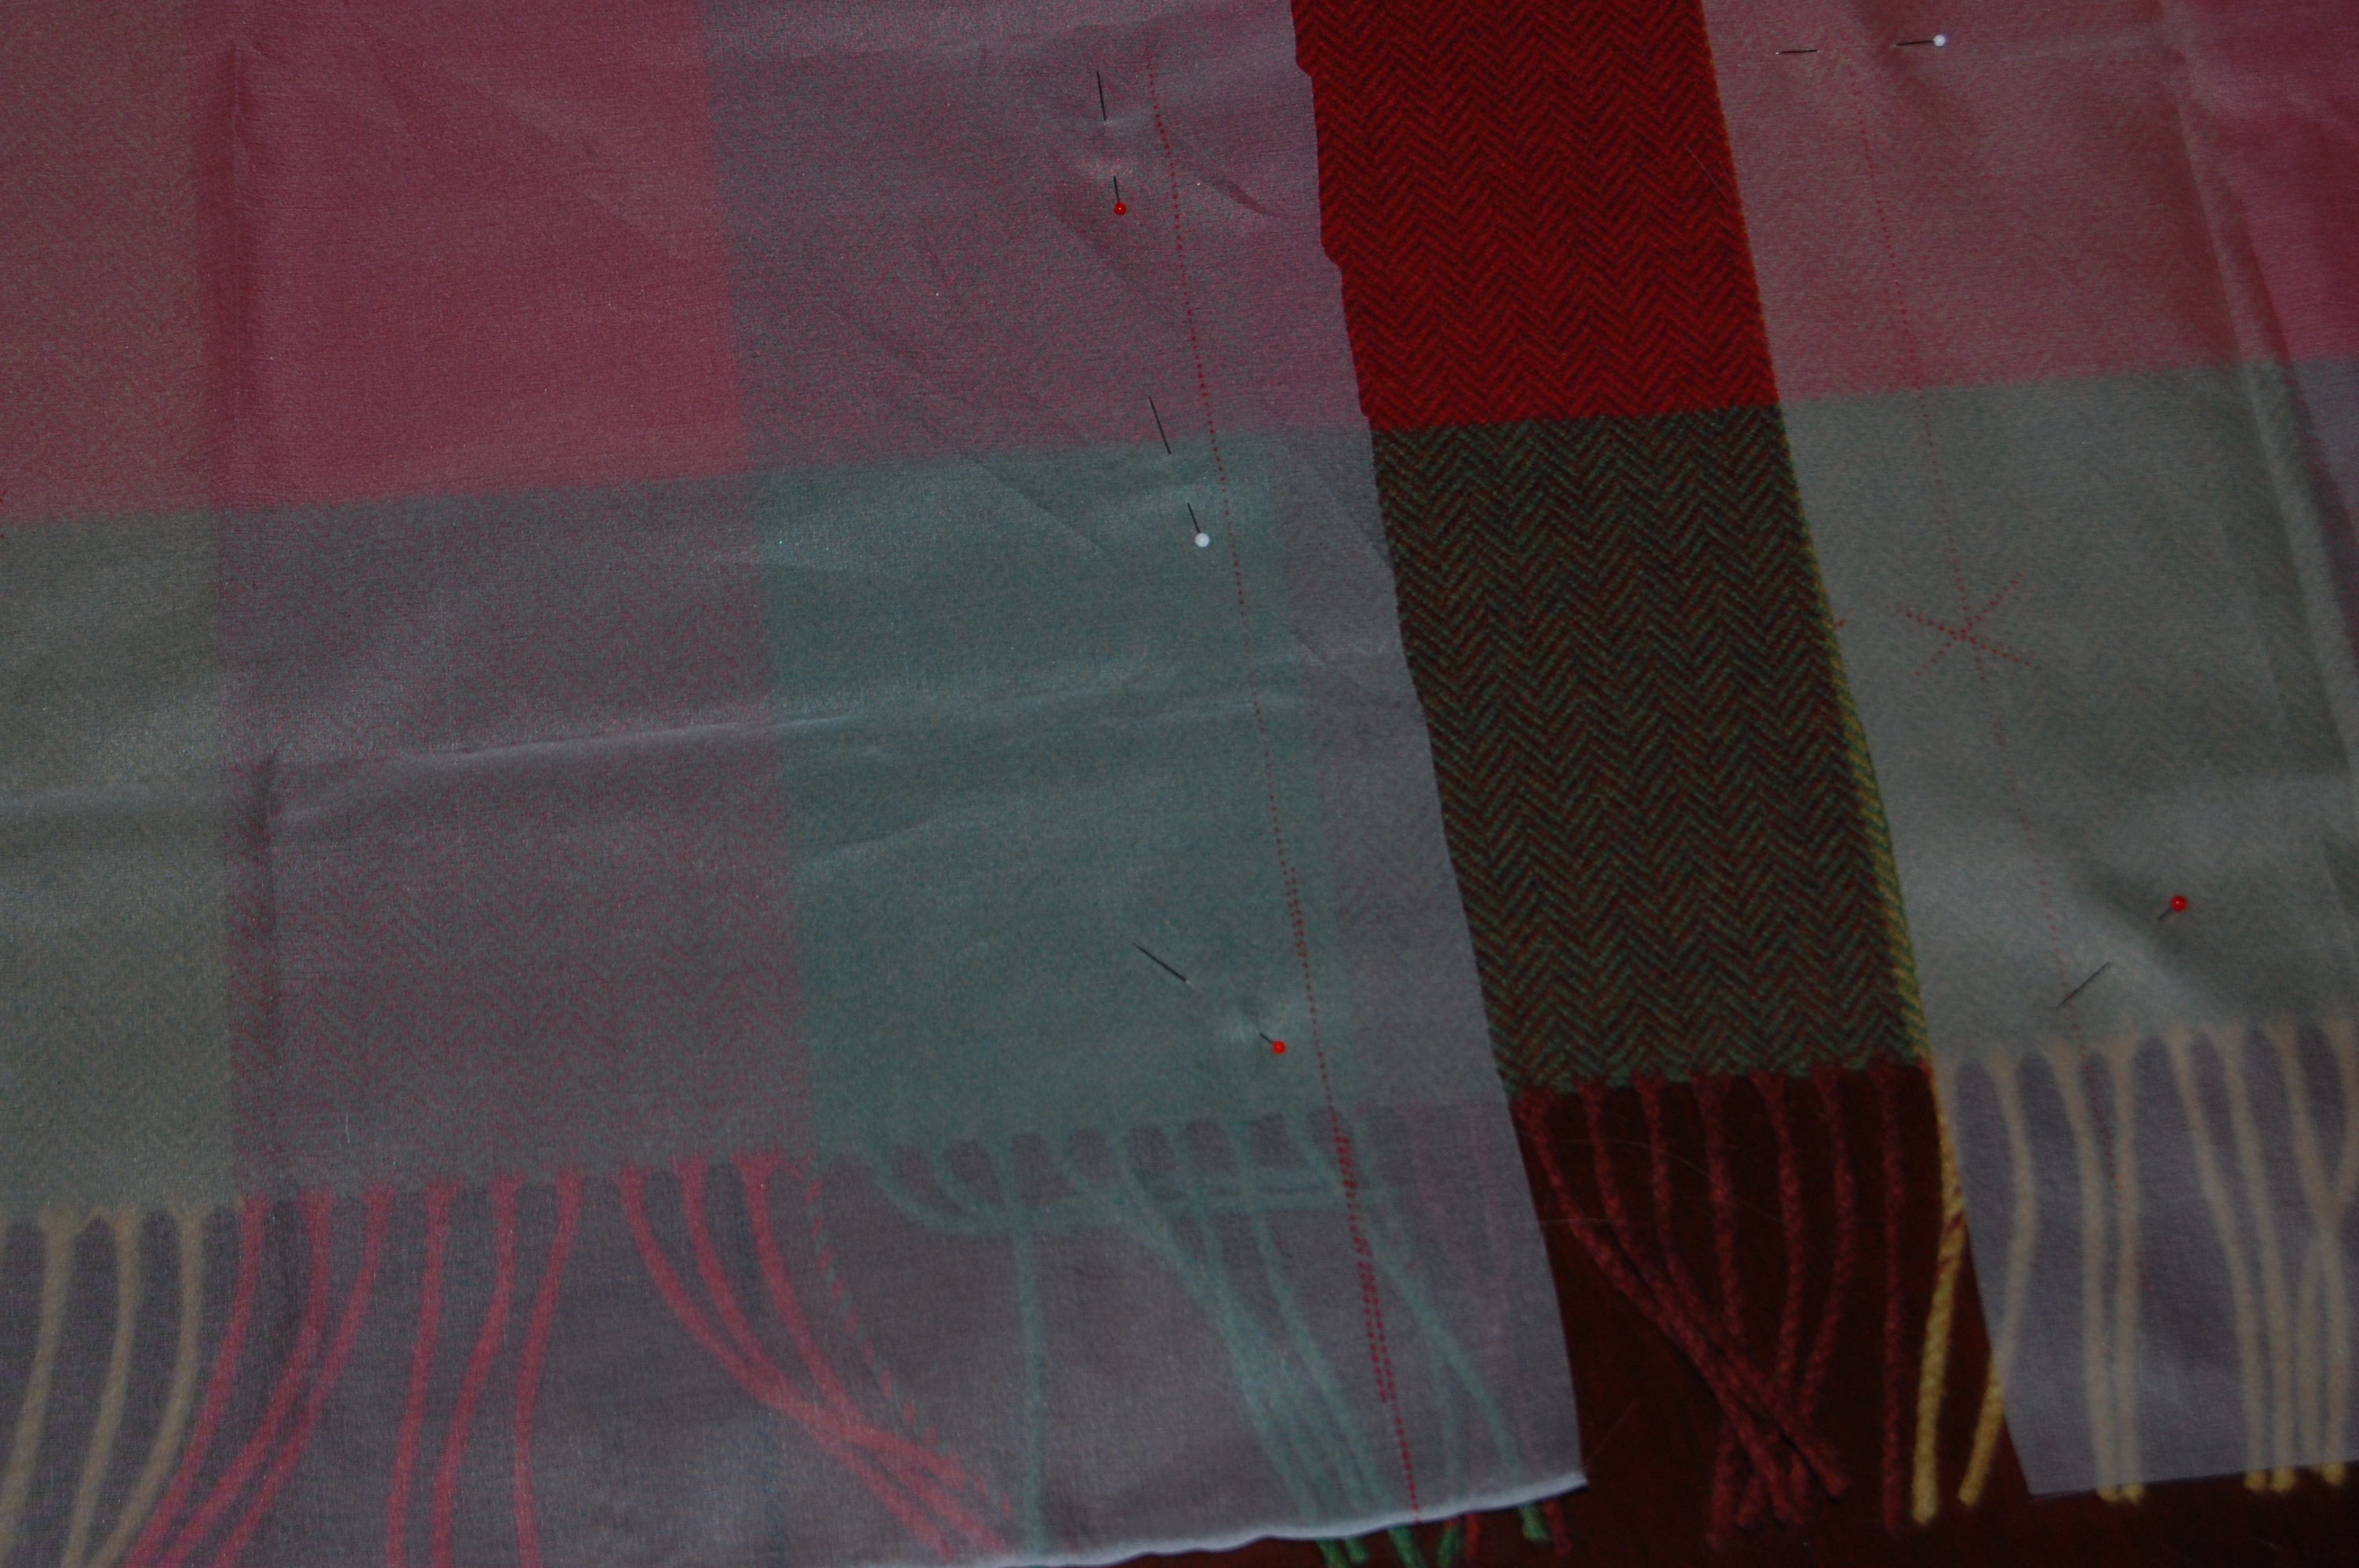
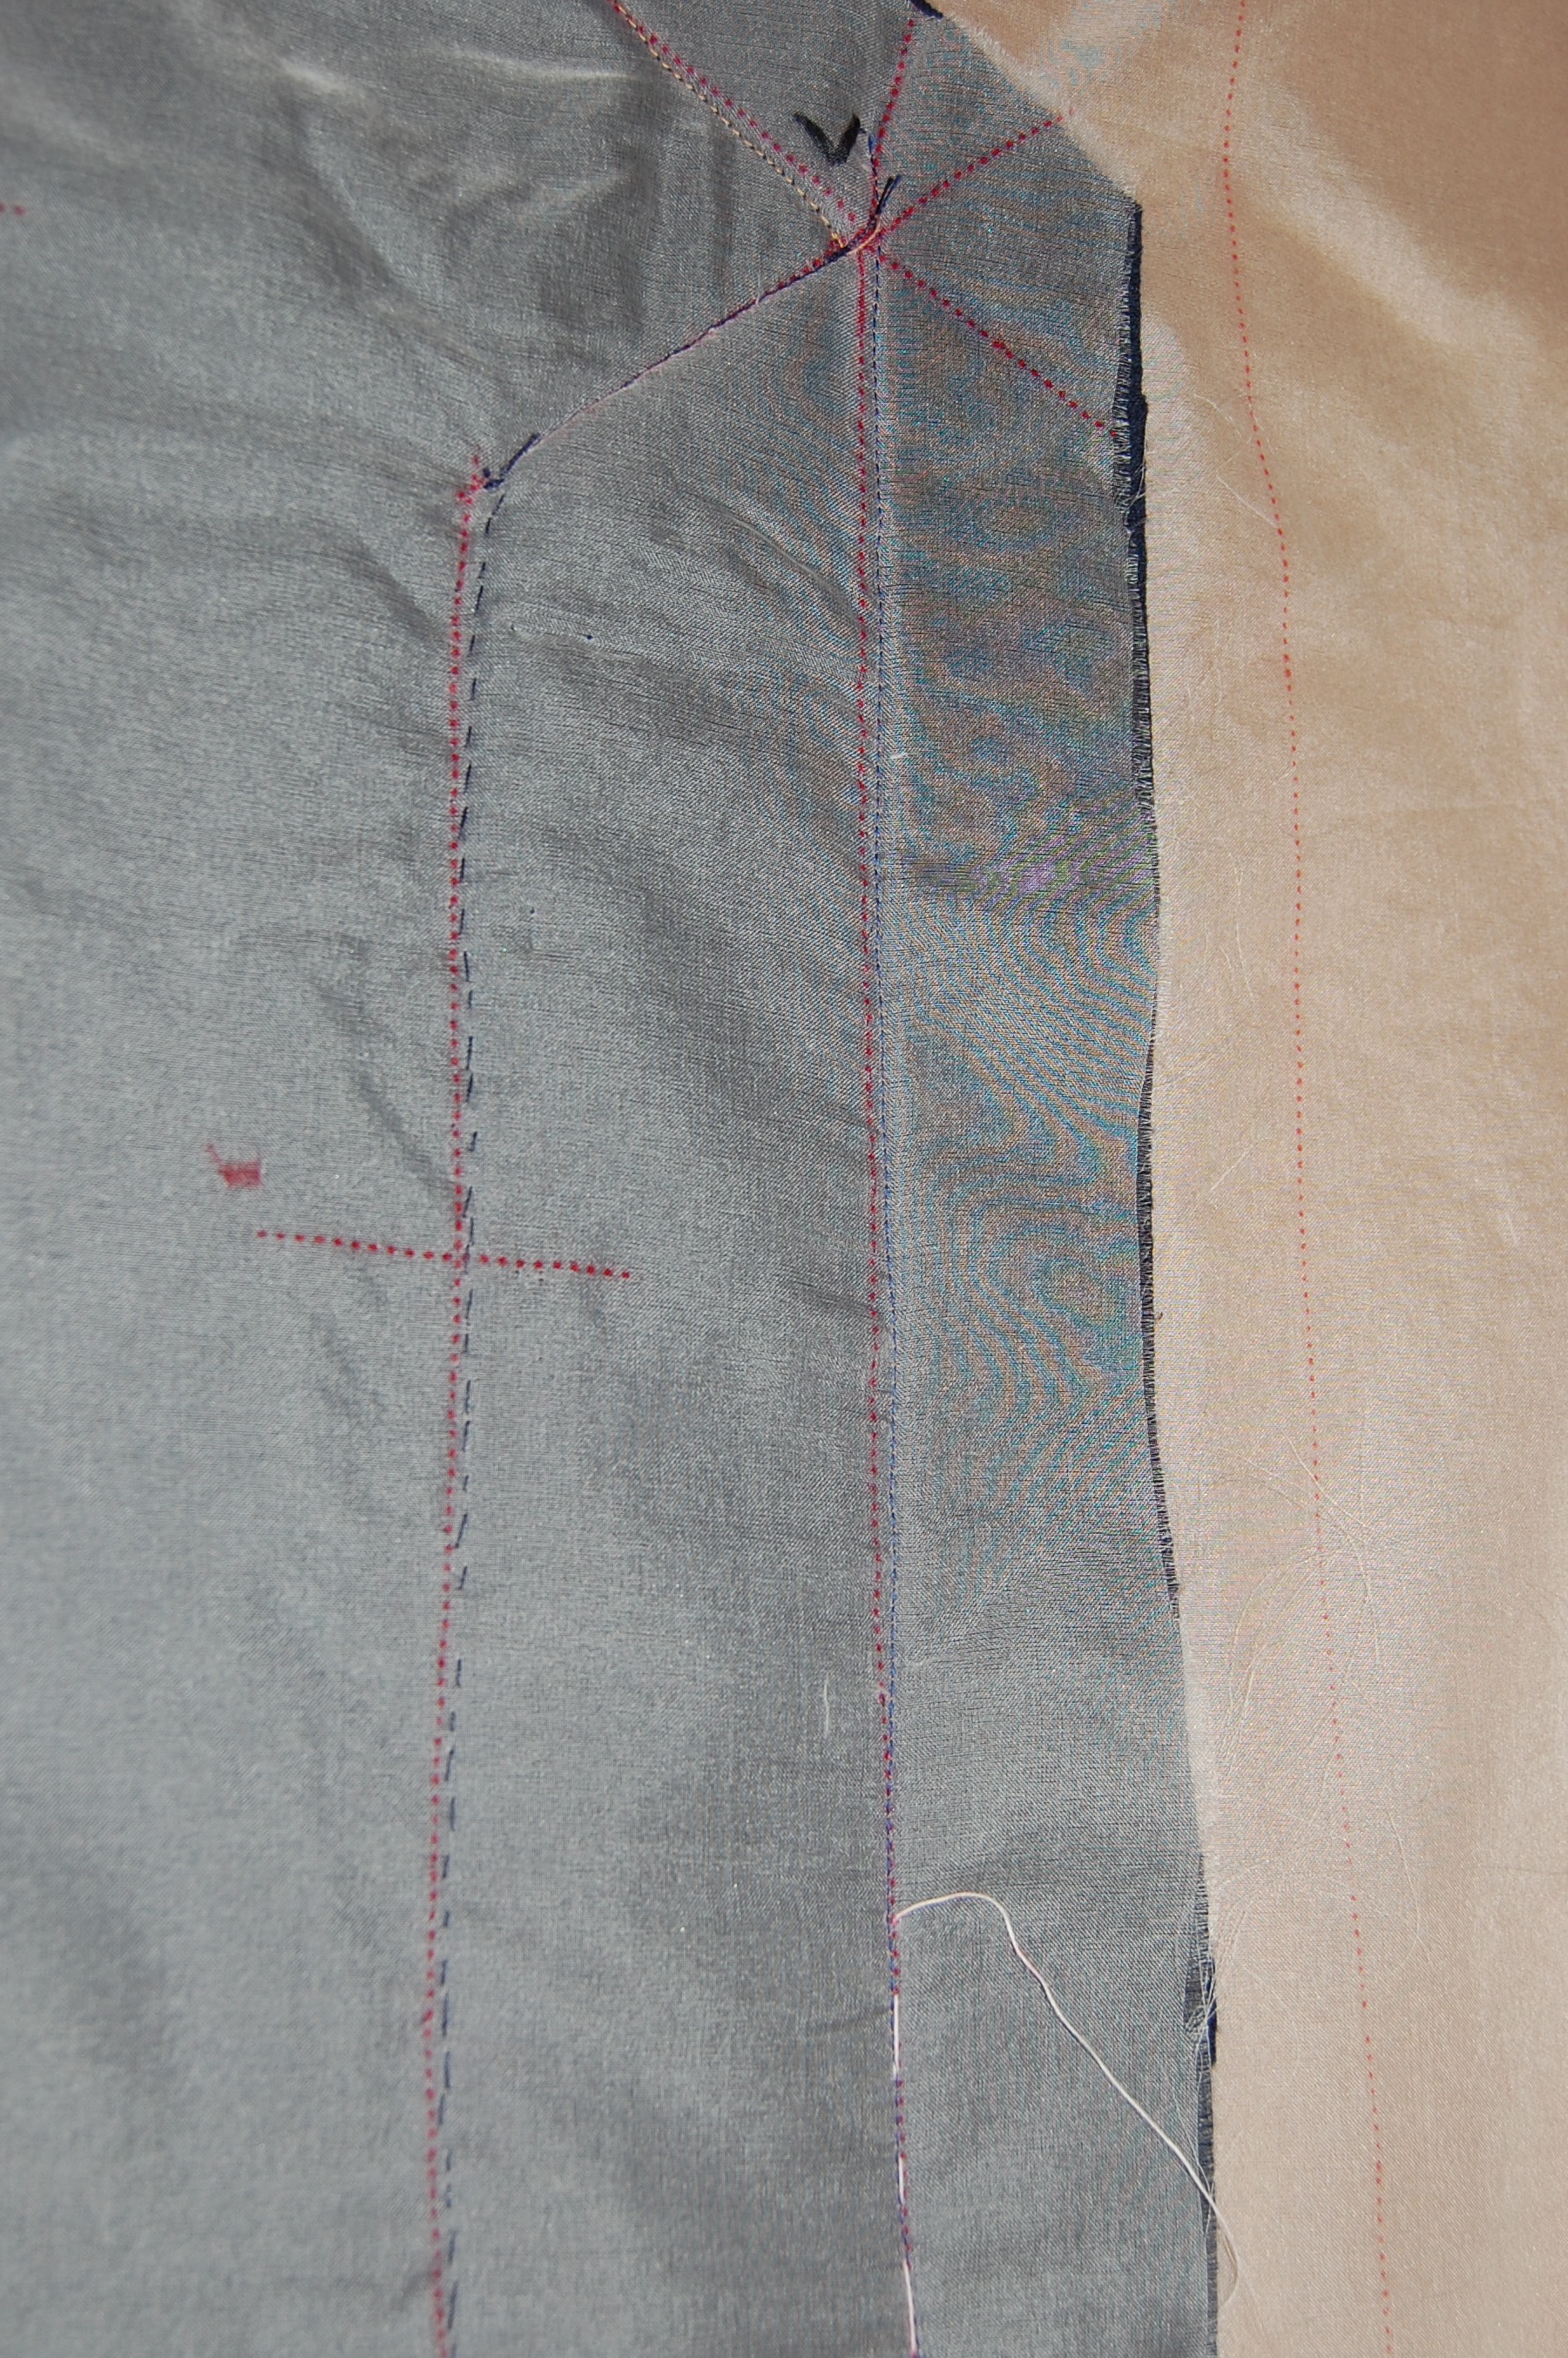
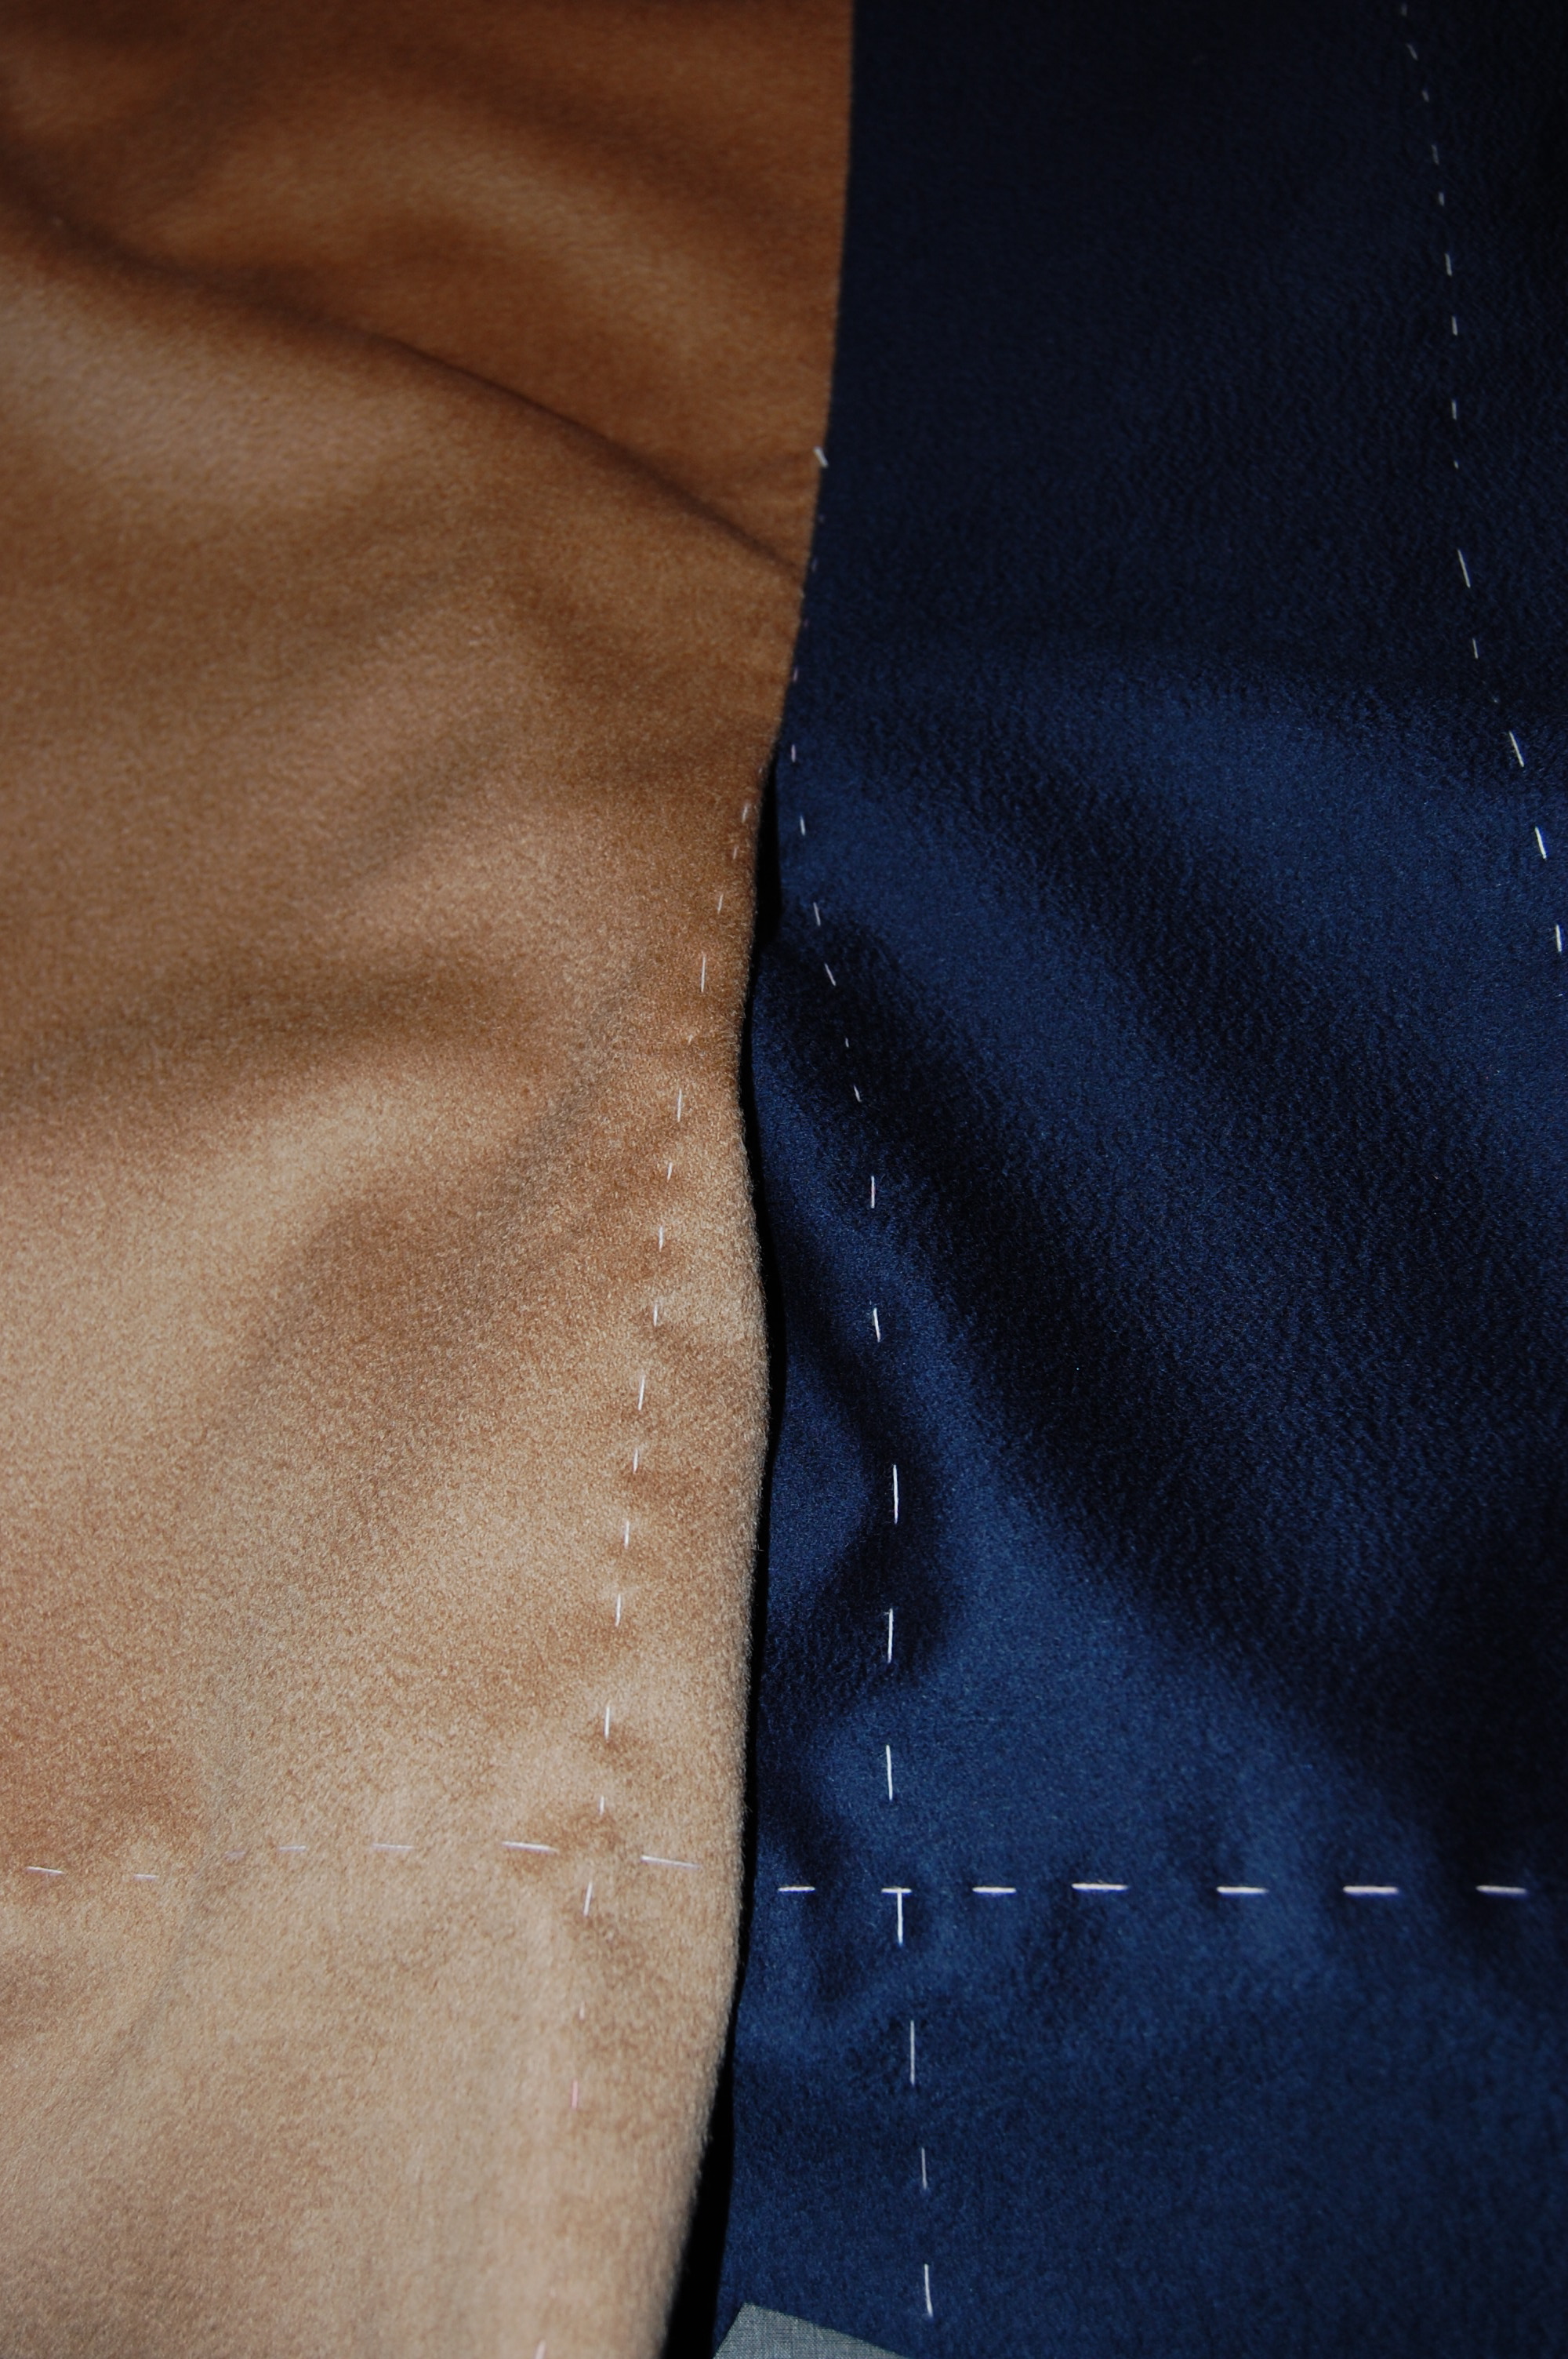
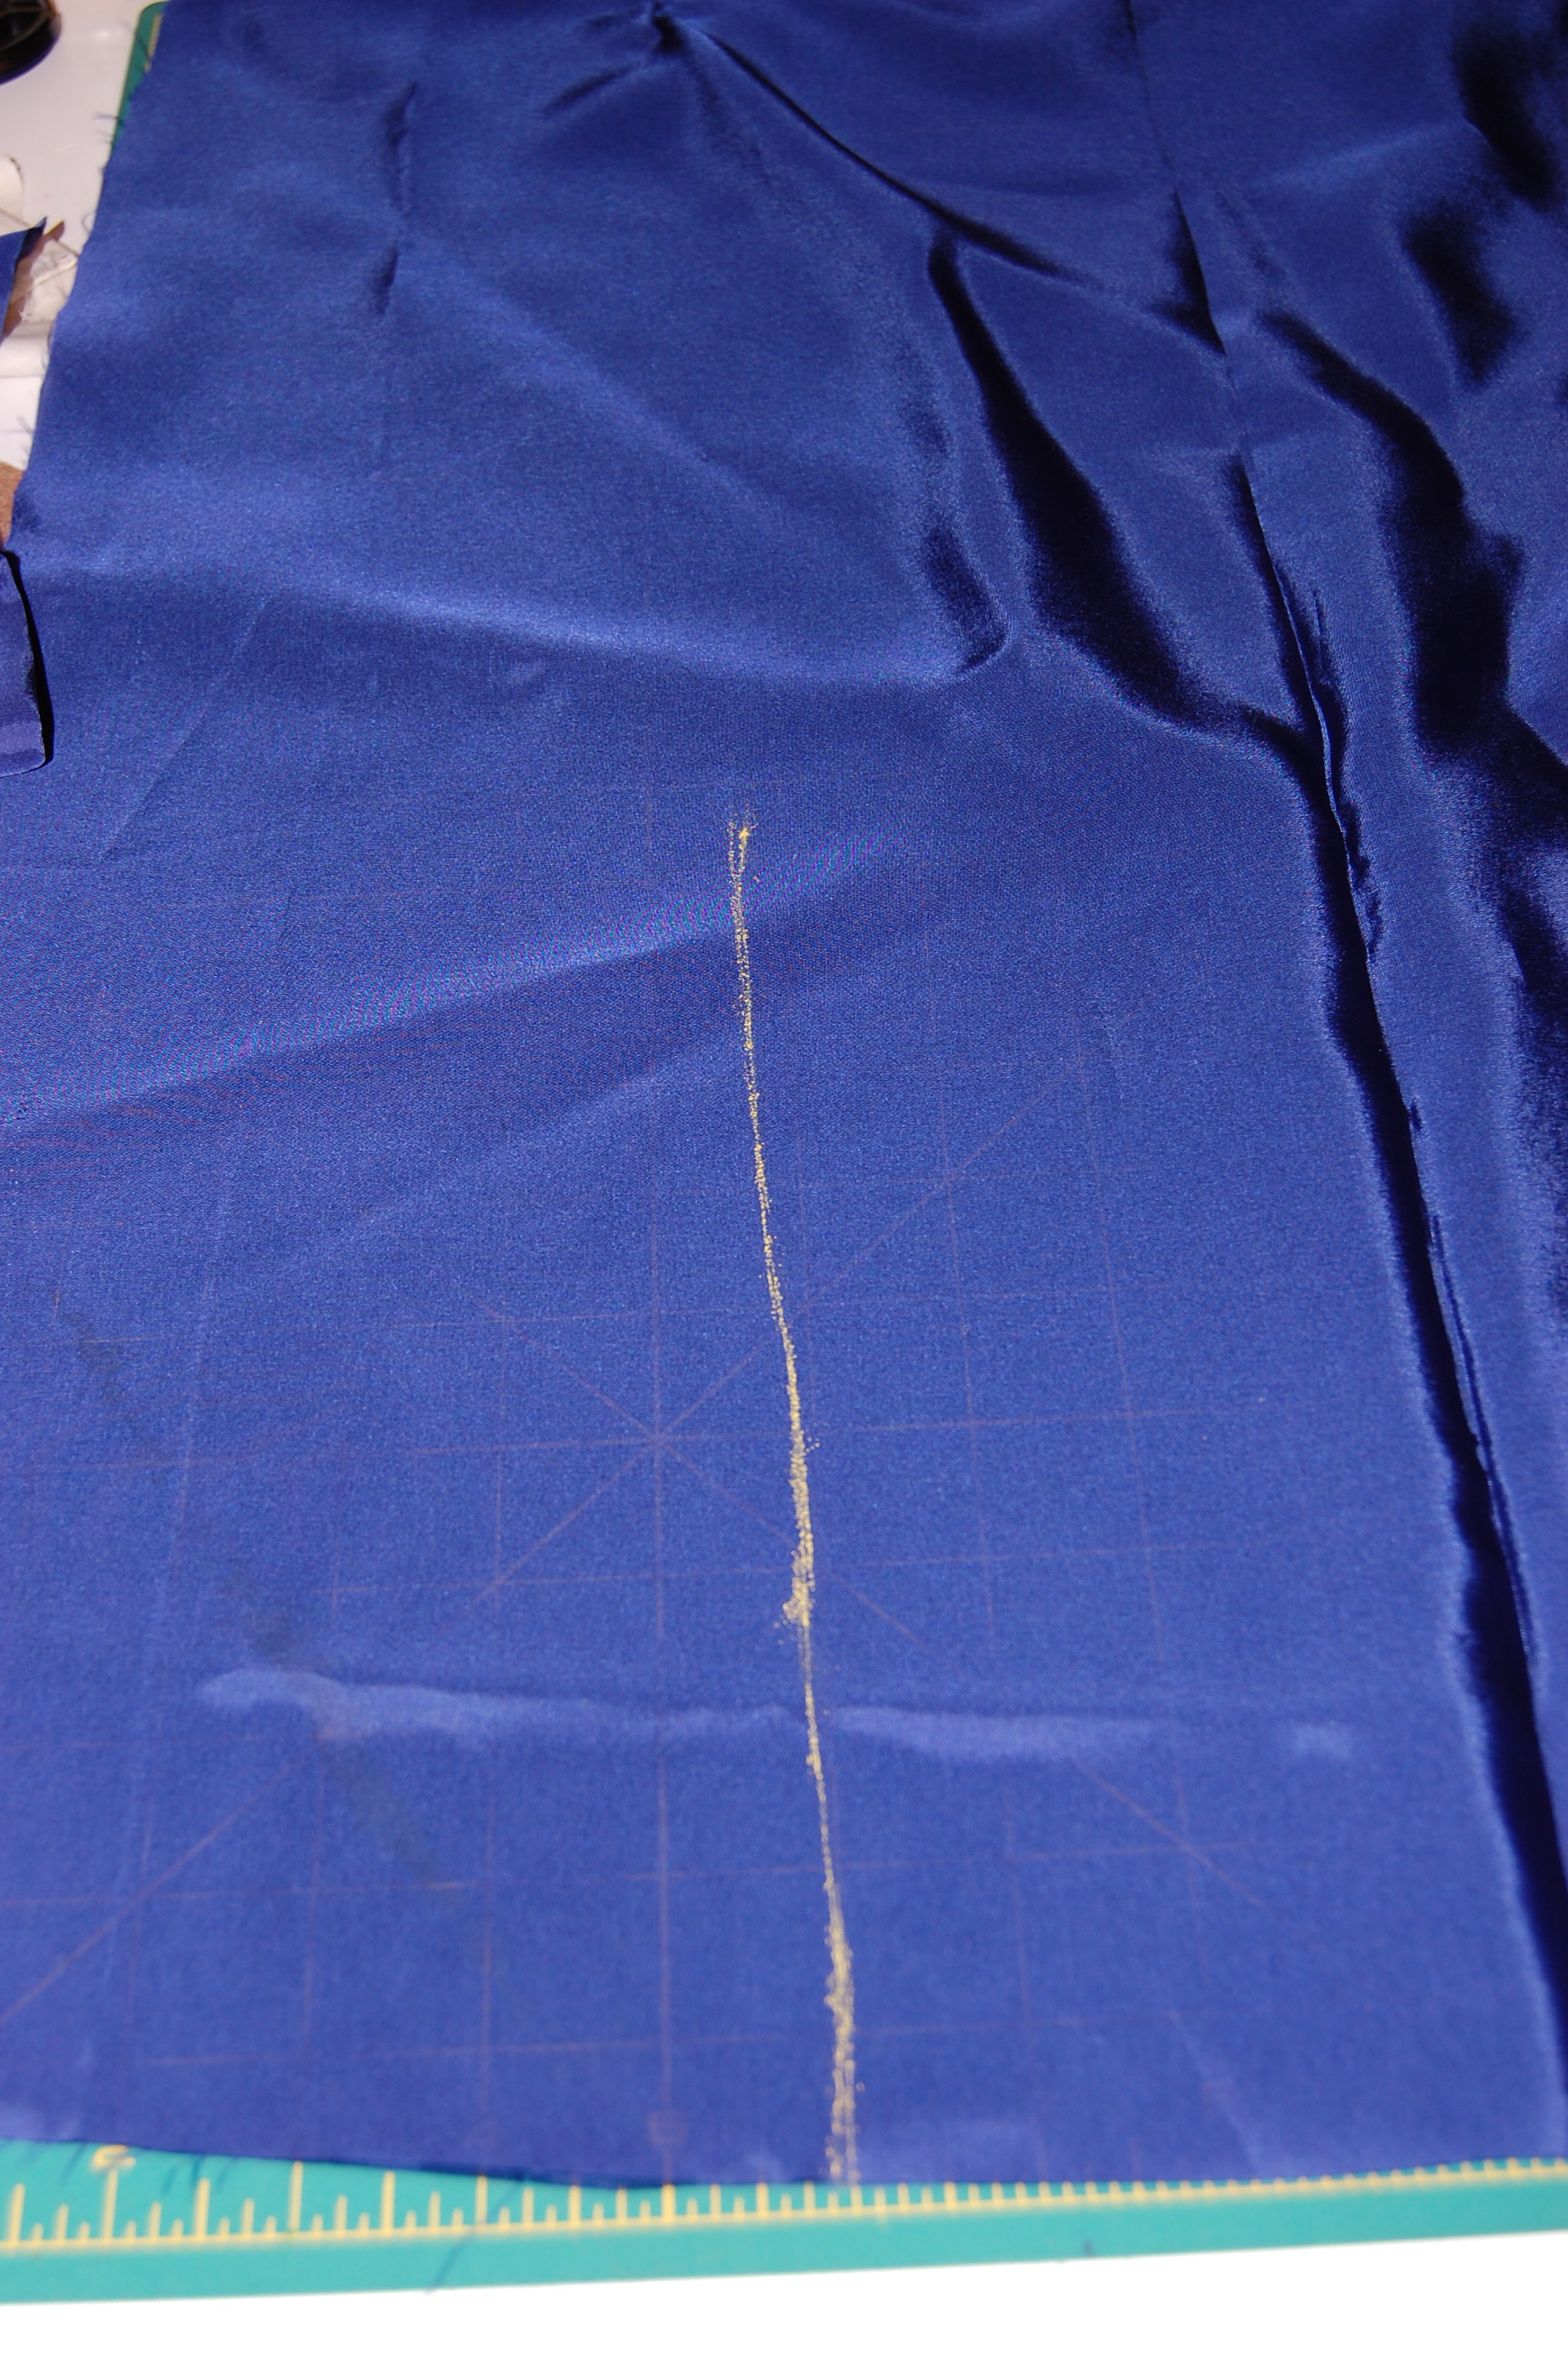
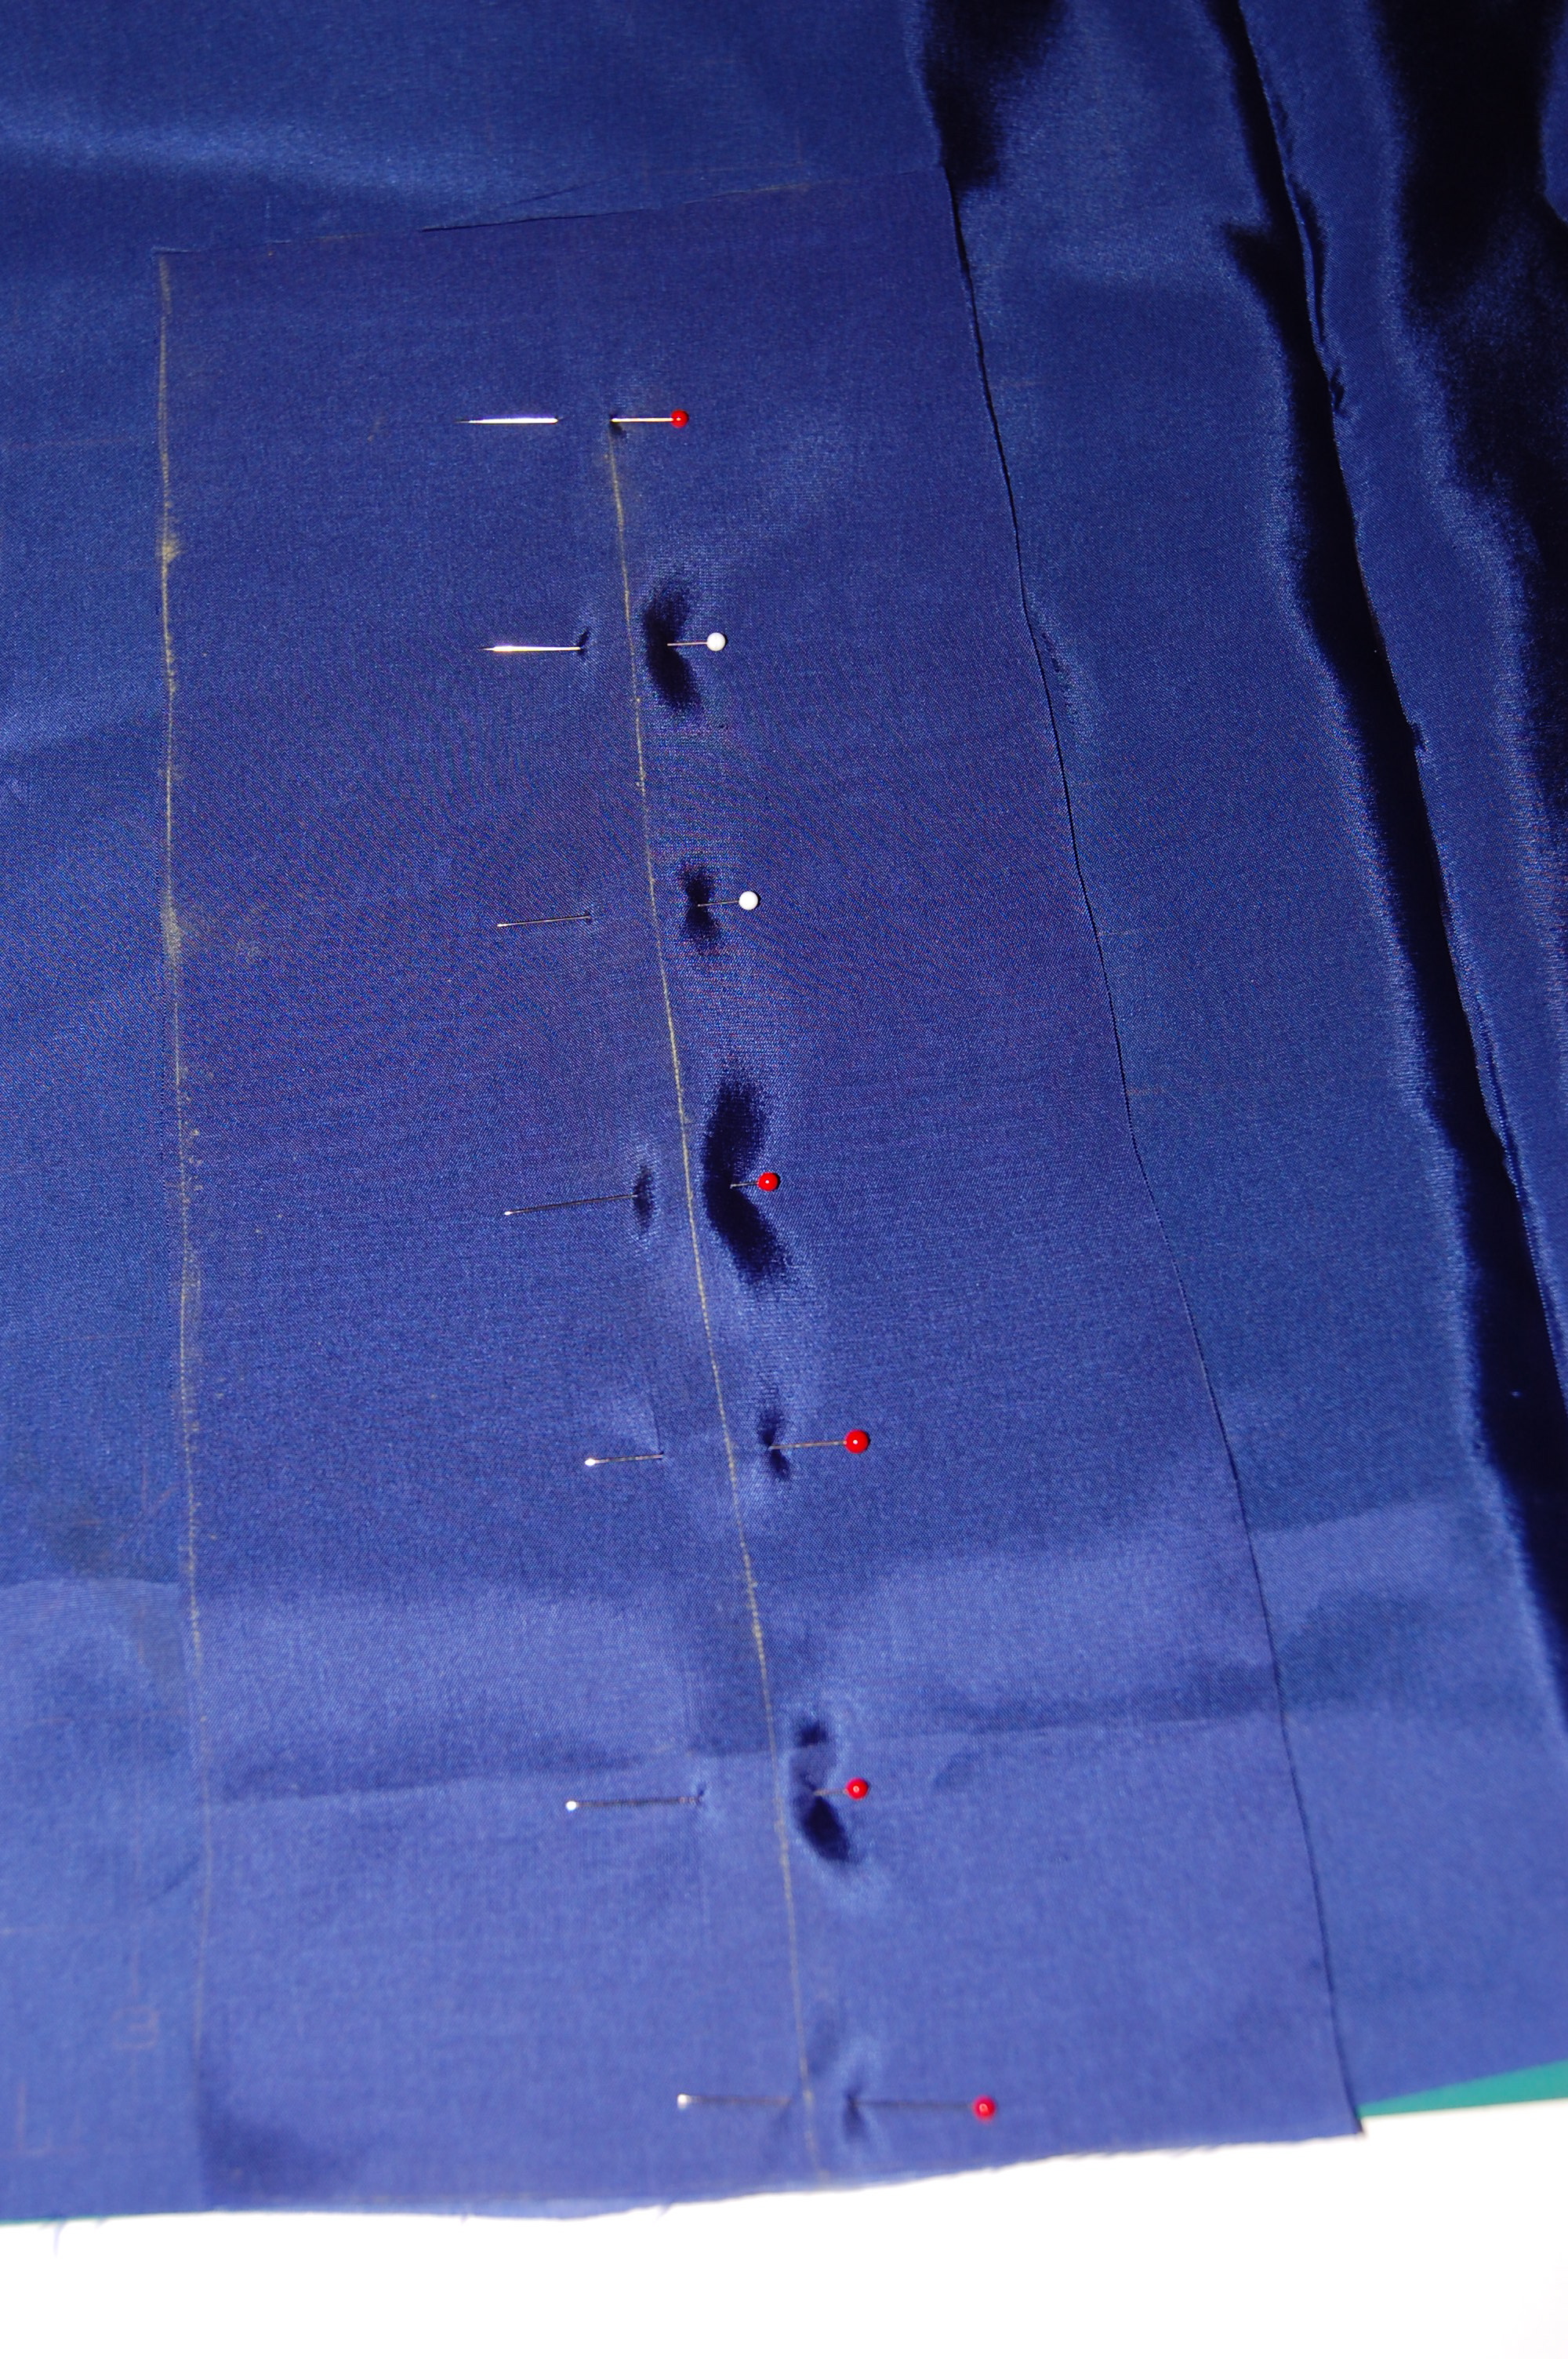
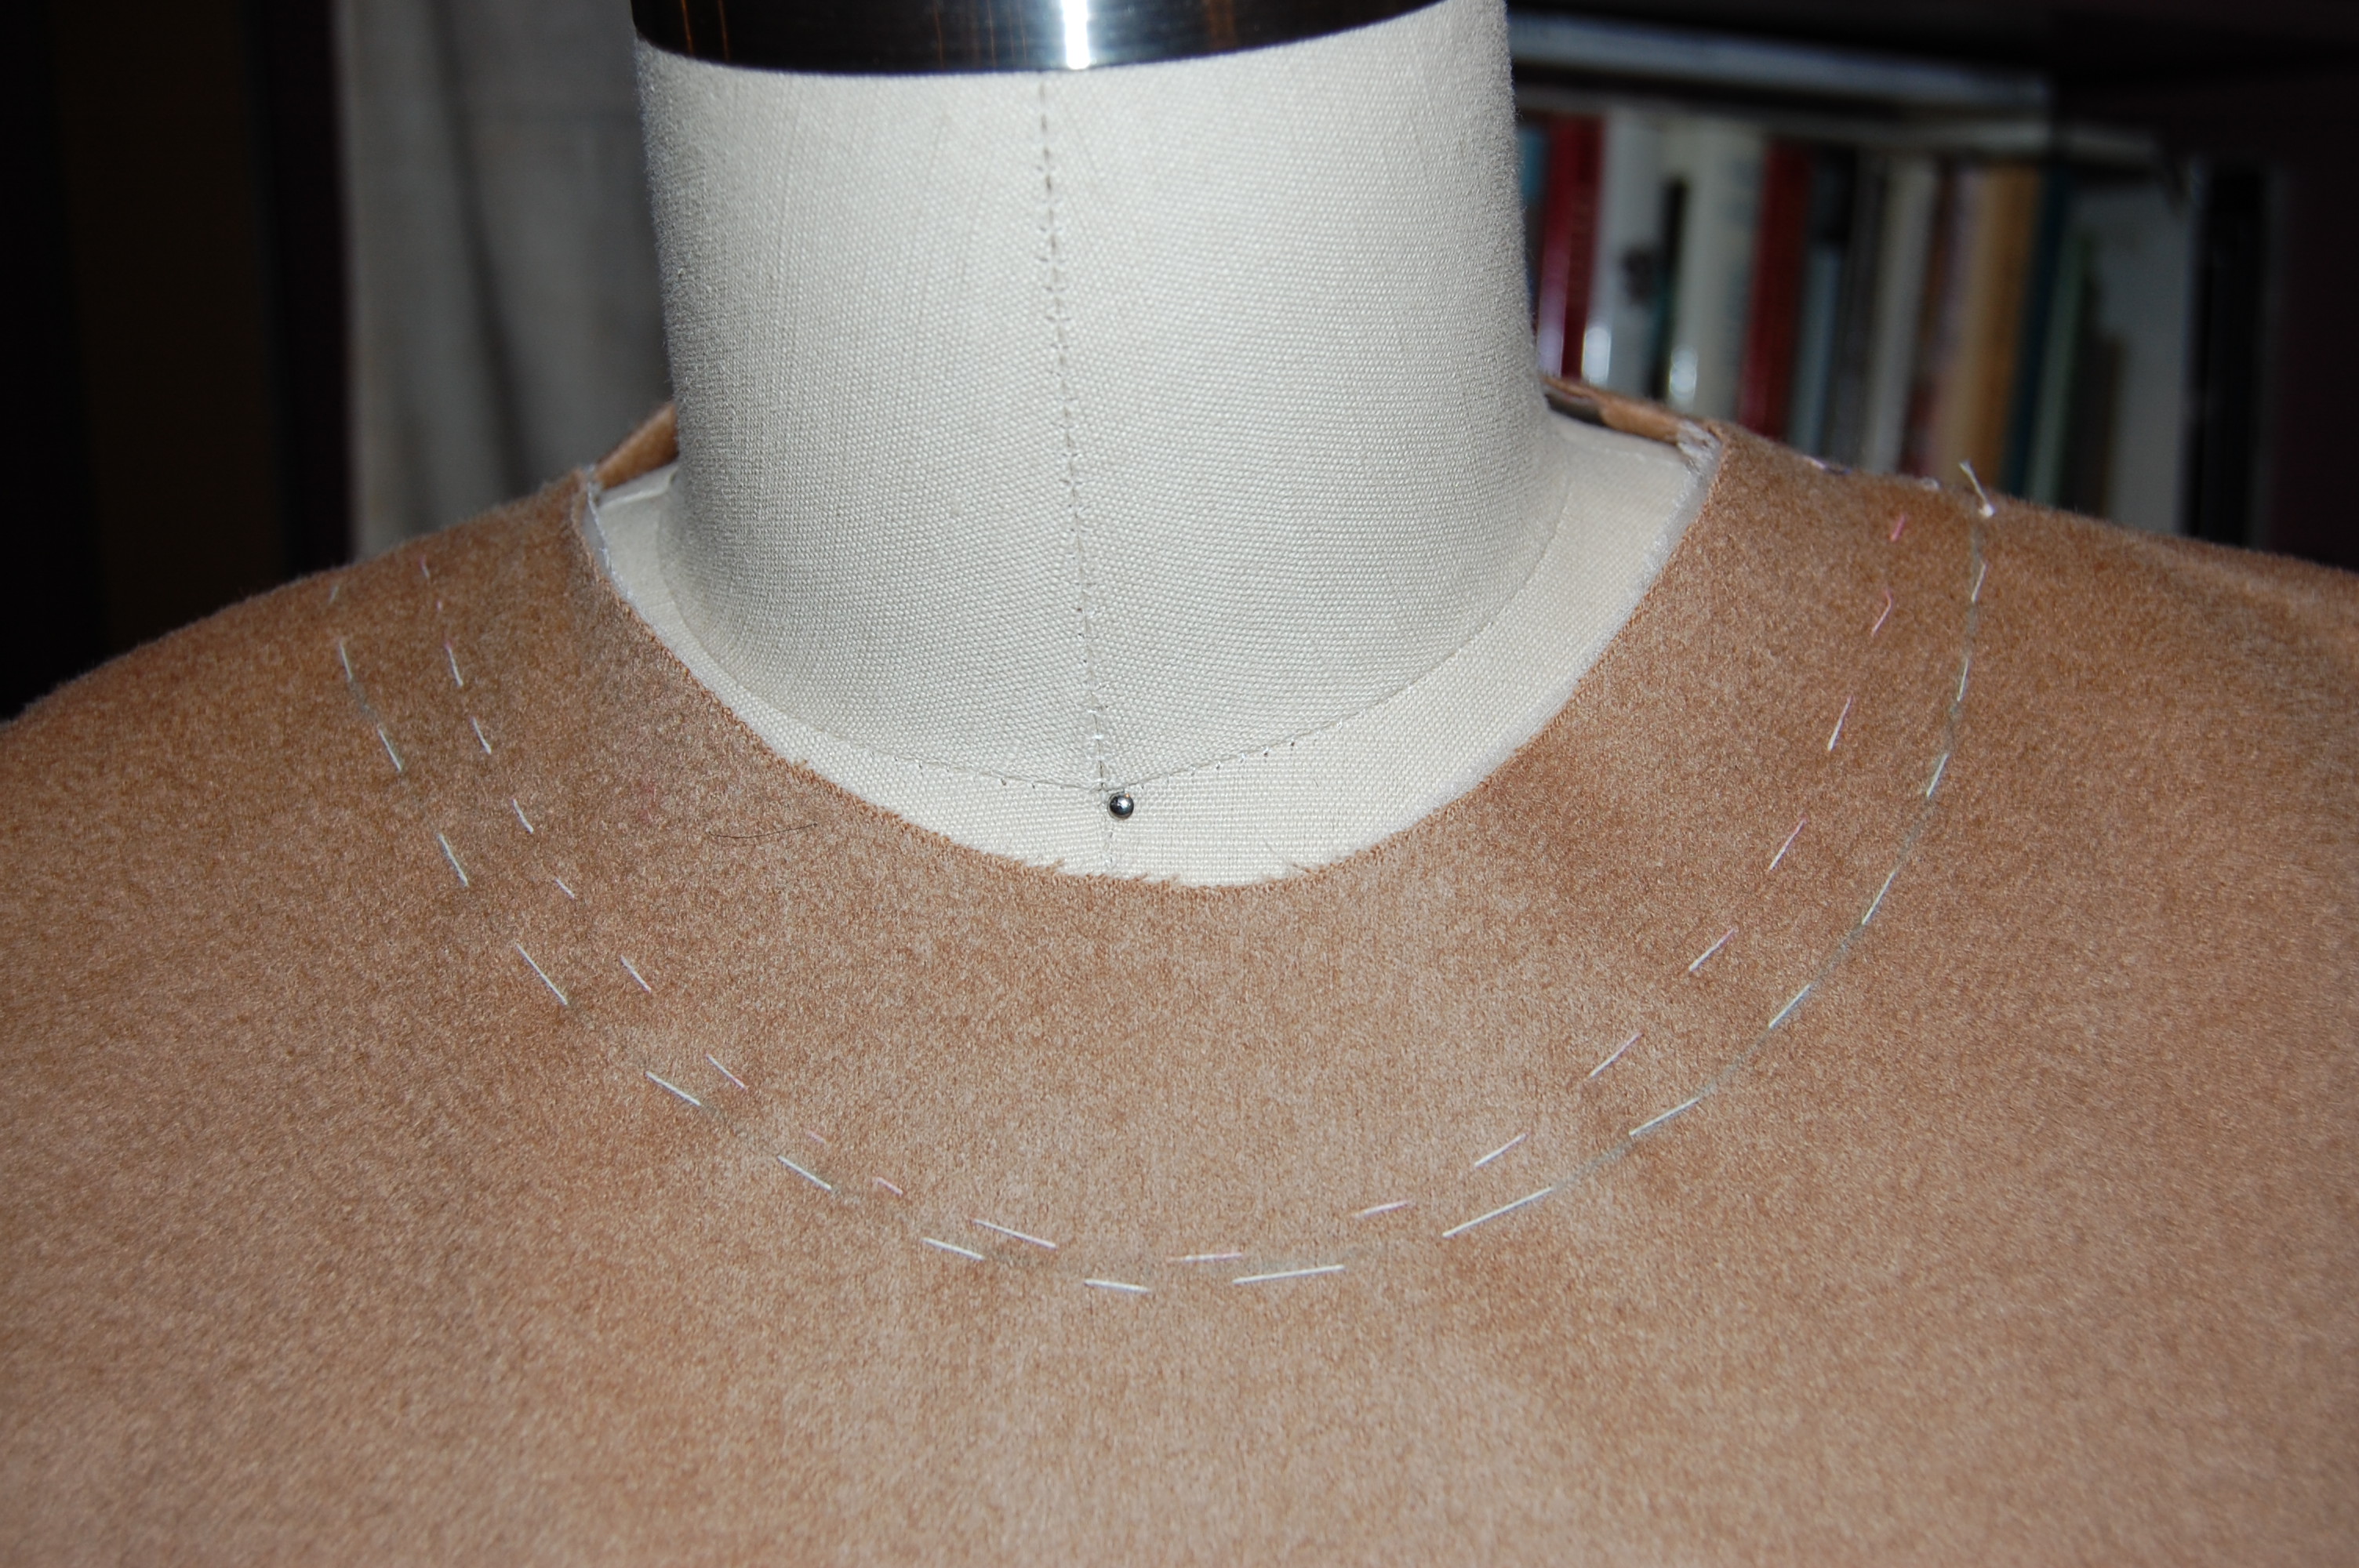
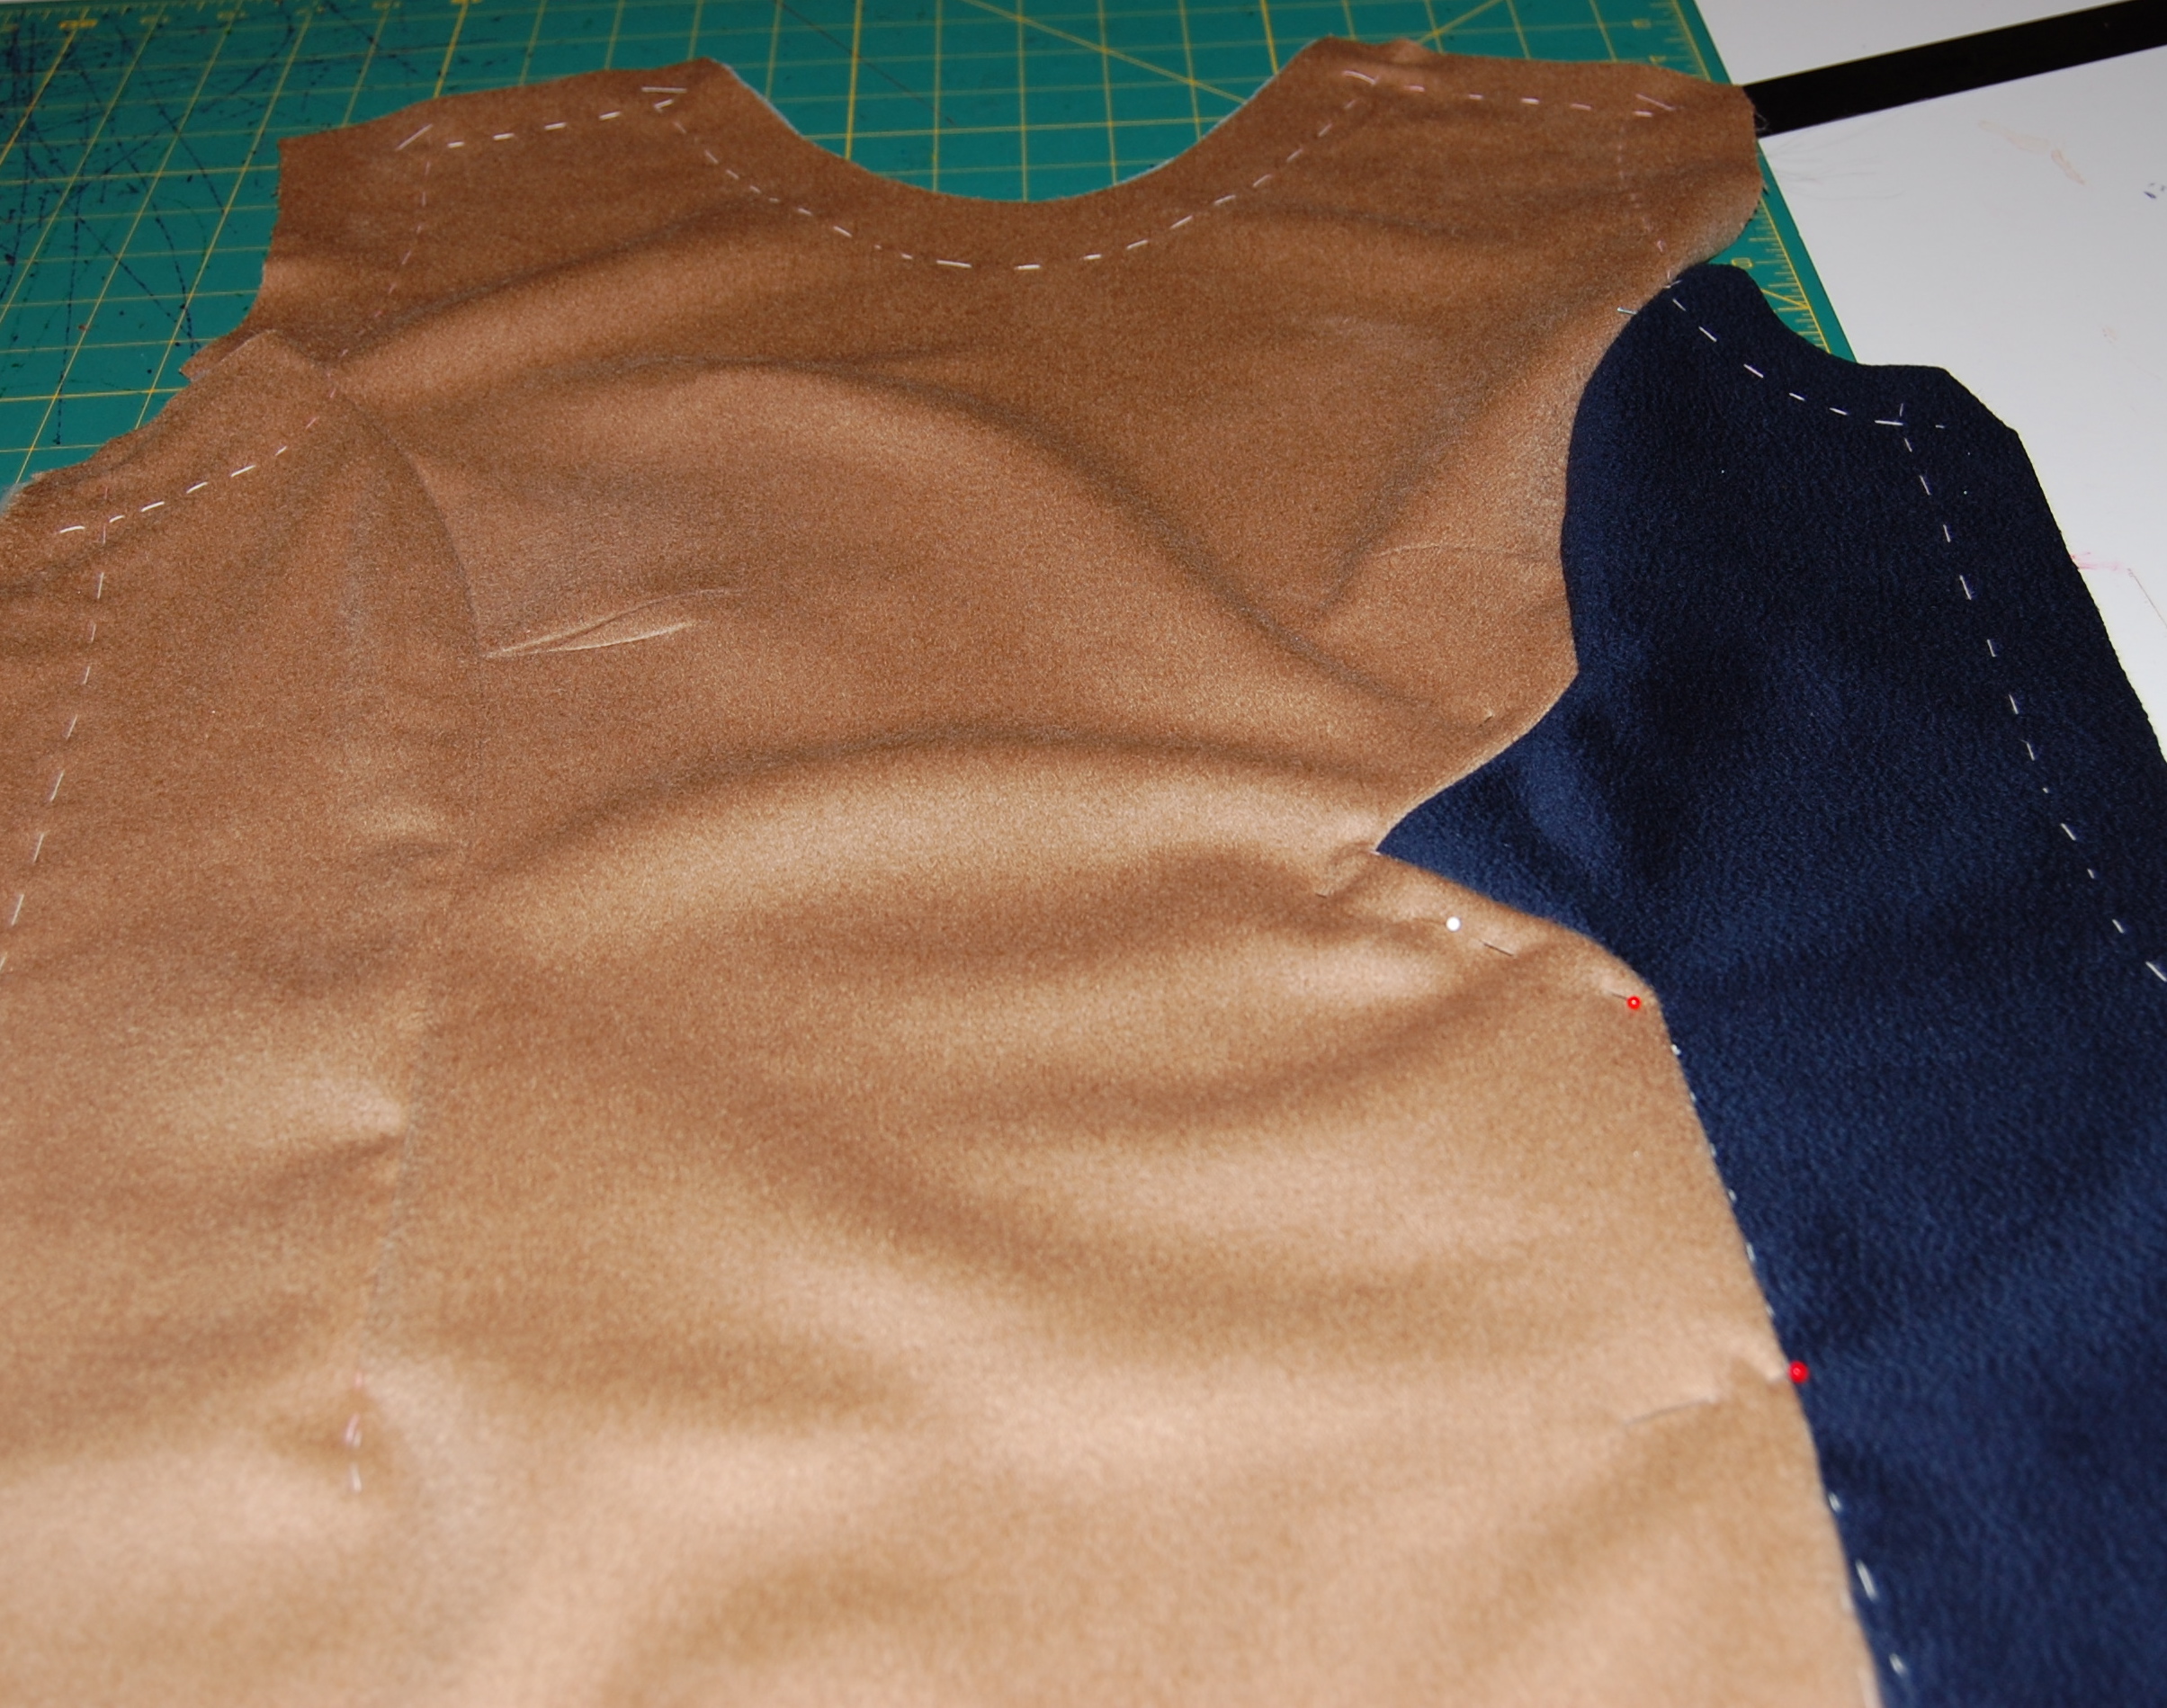
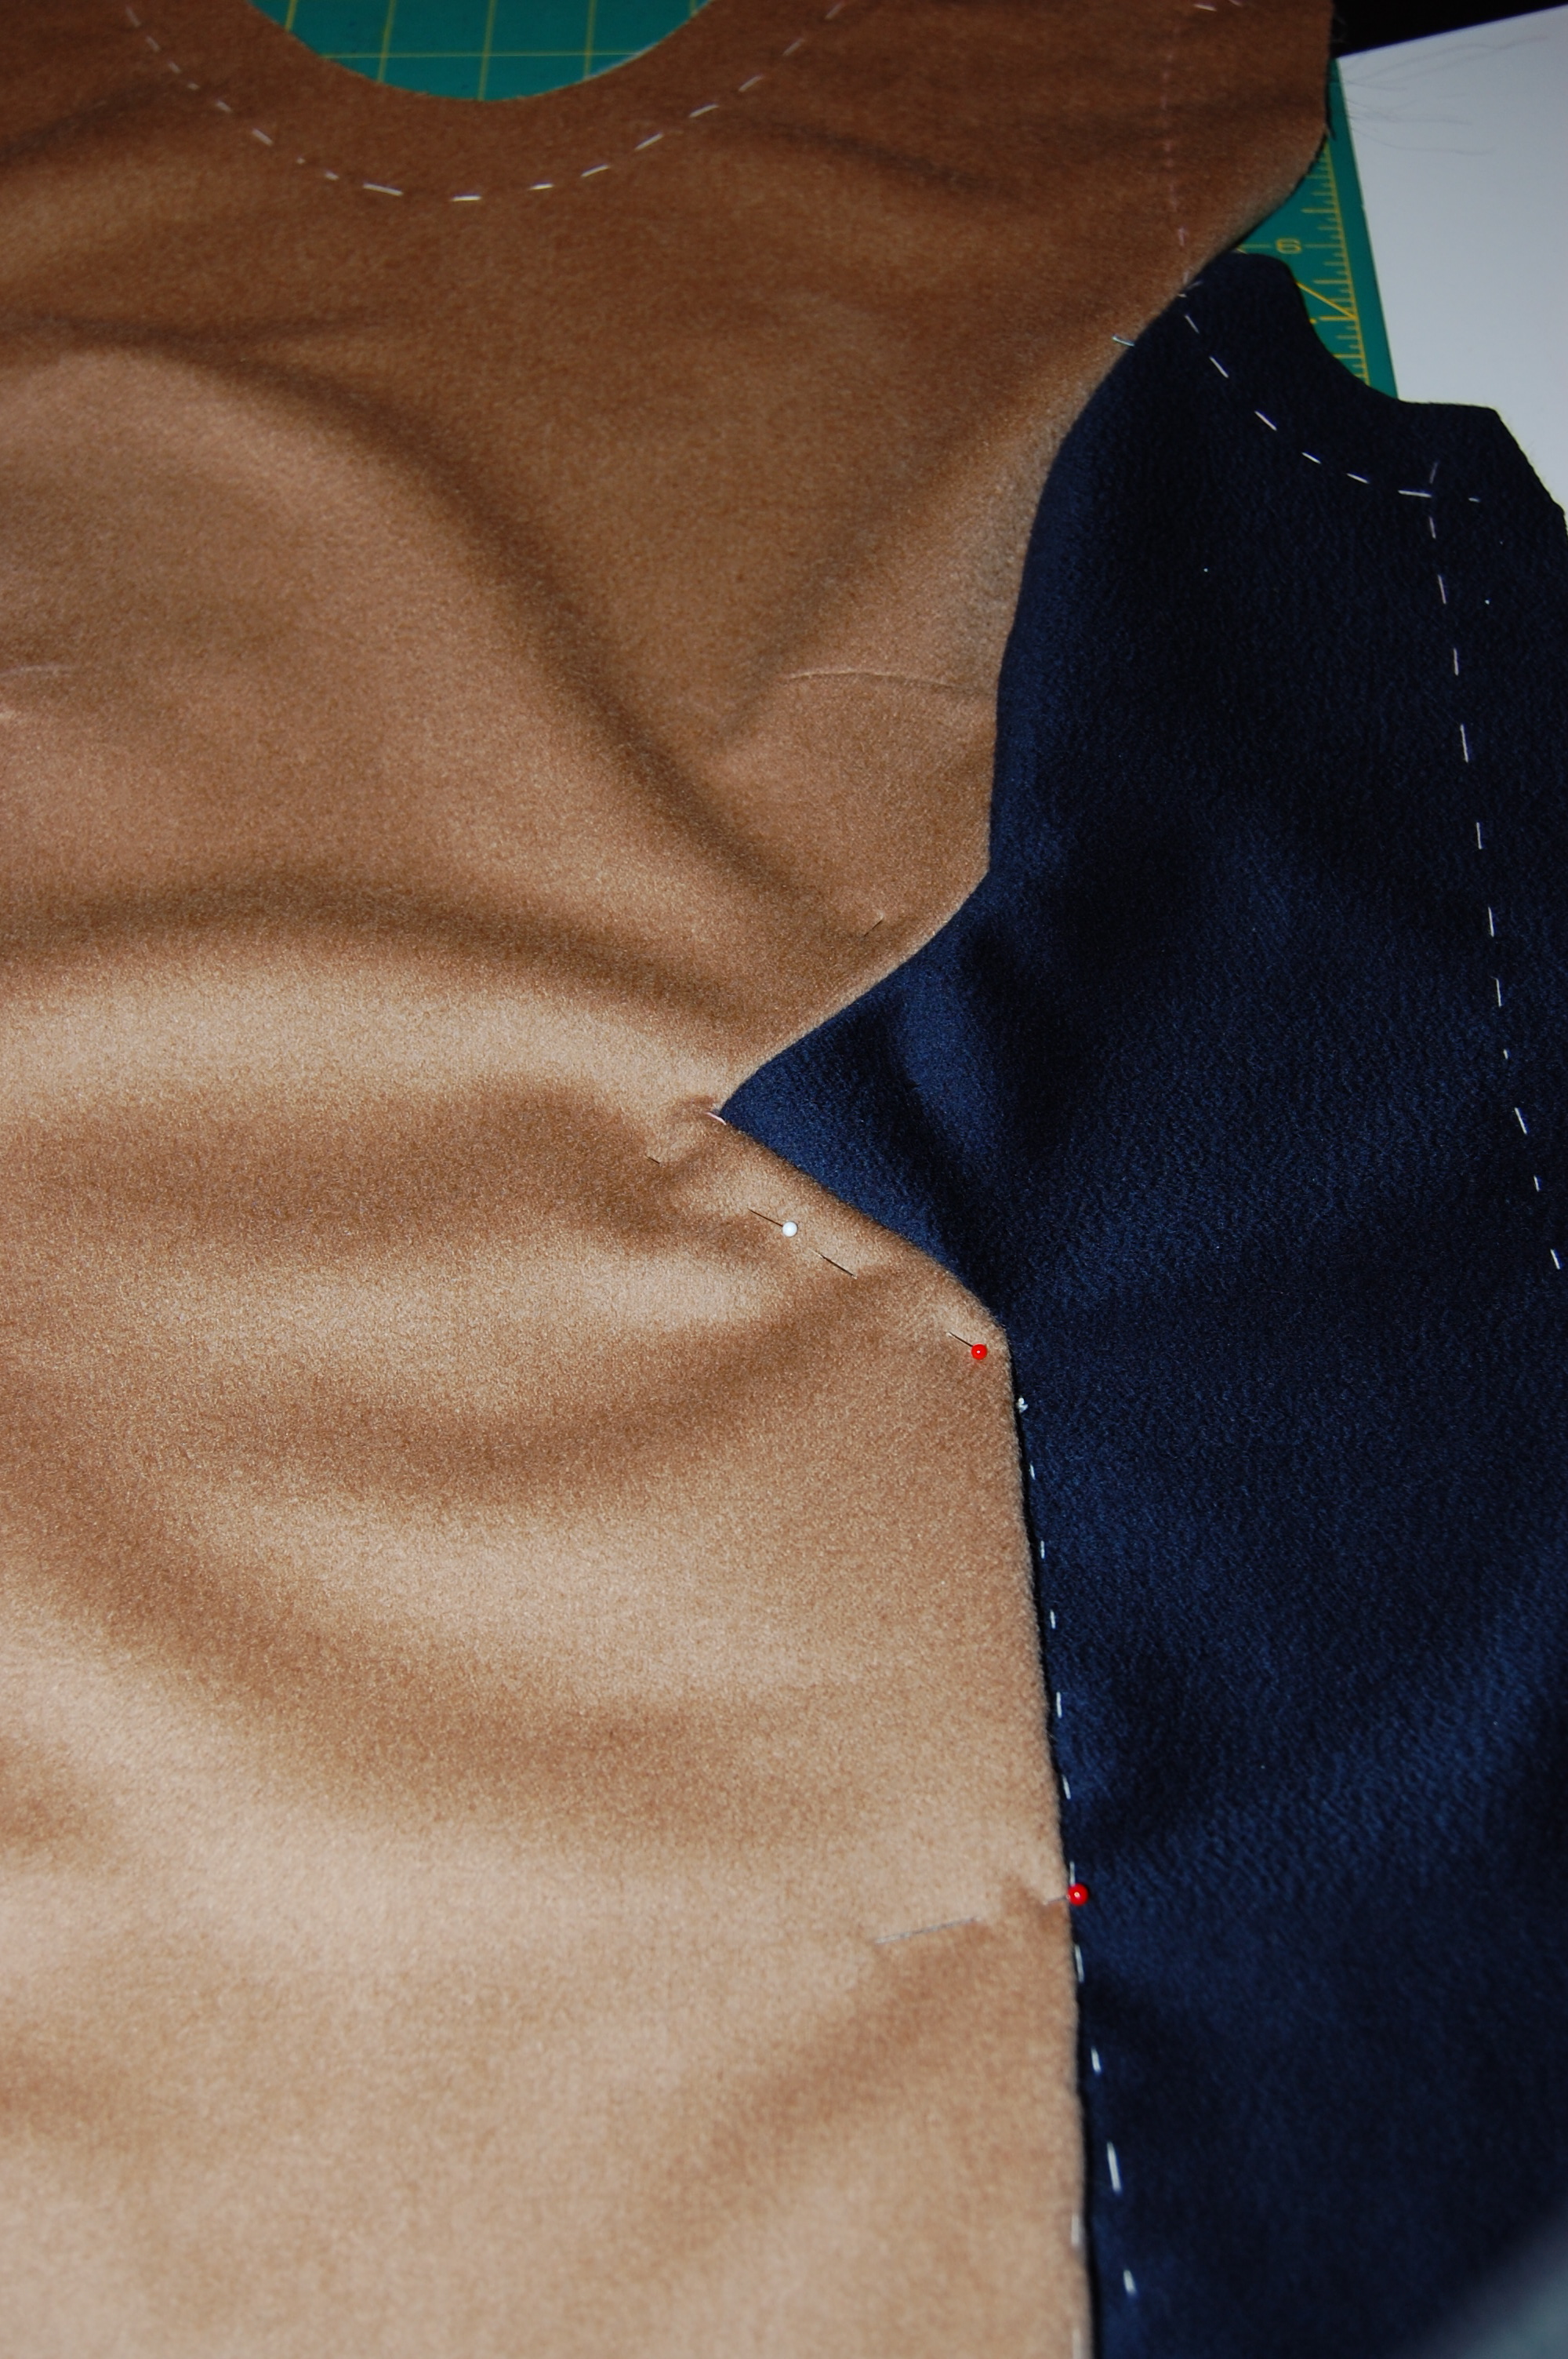
I have now progressed to the silk-organza underlining stage of construction. Matching the horizontal design of the fabric across the various components of the pattern will take concentration, but that’s a task that always intrigues me.
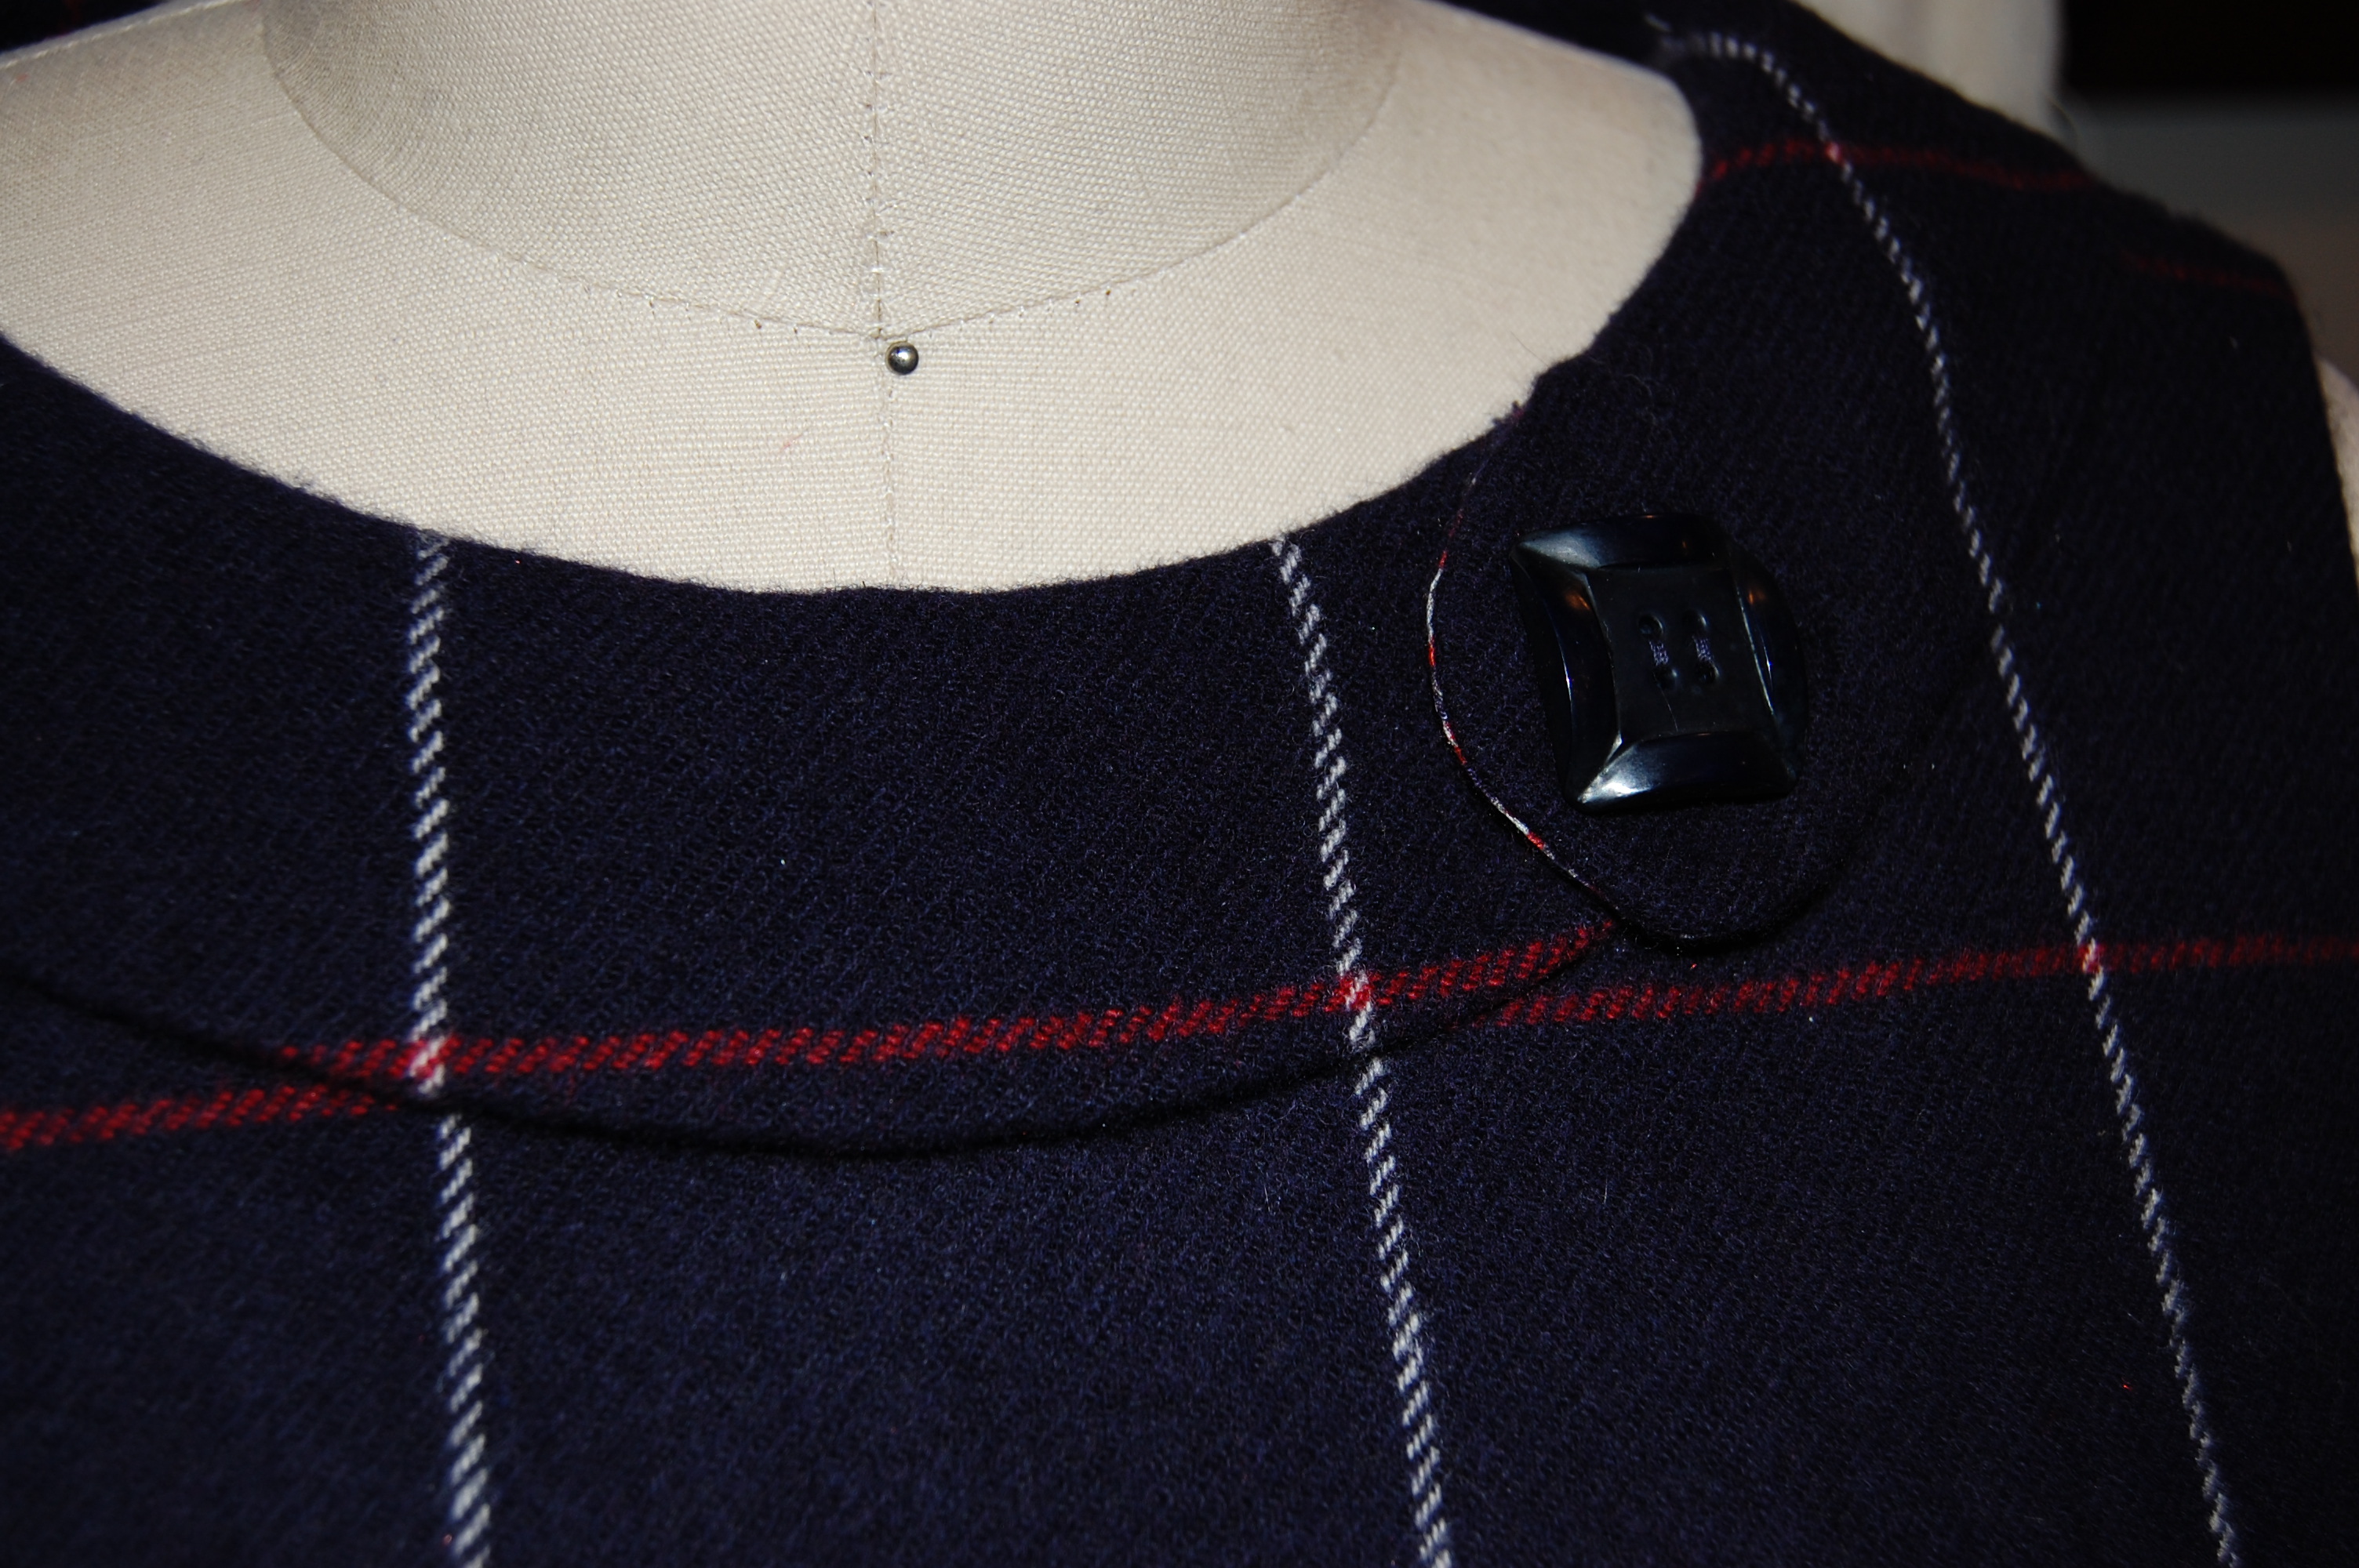
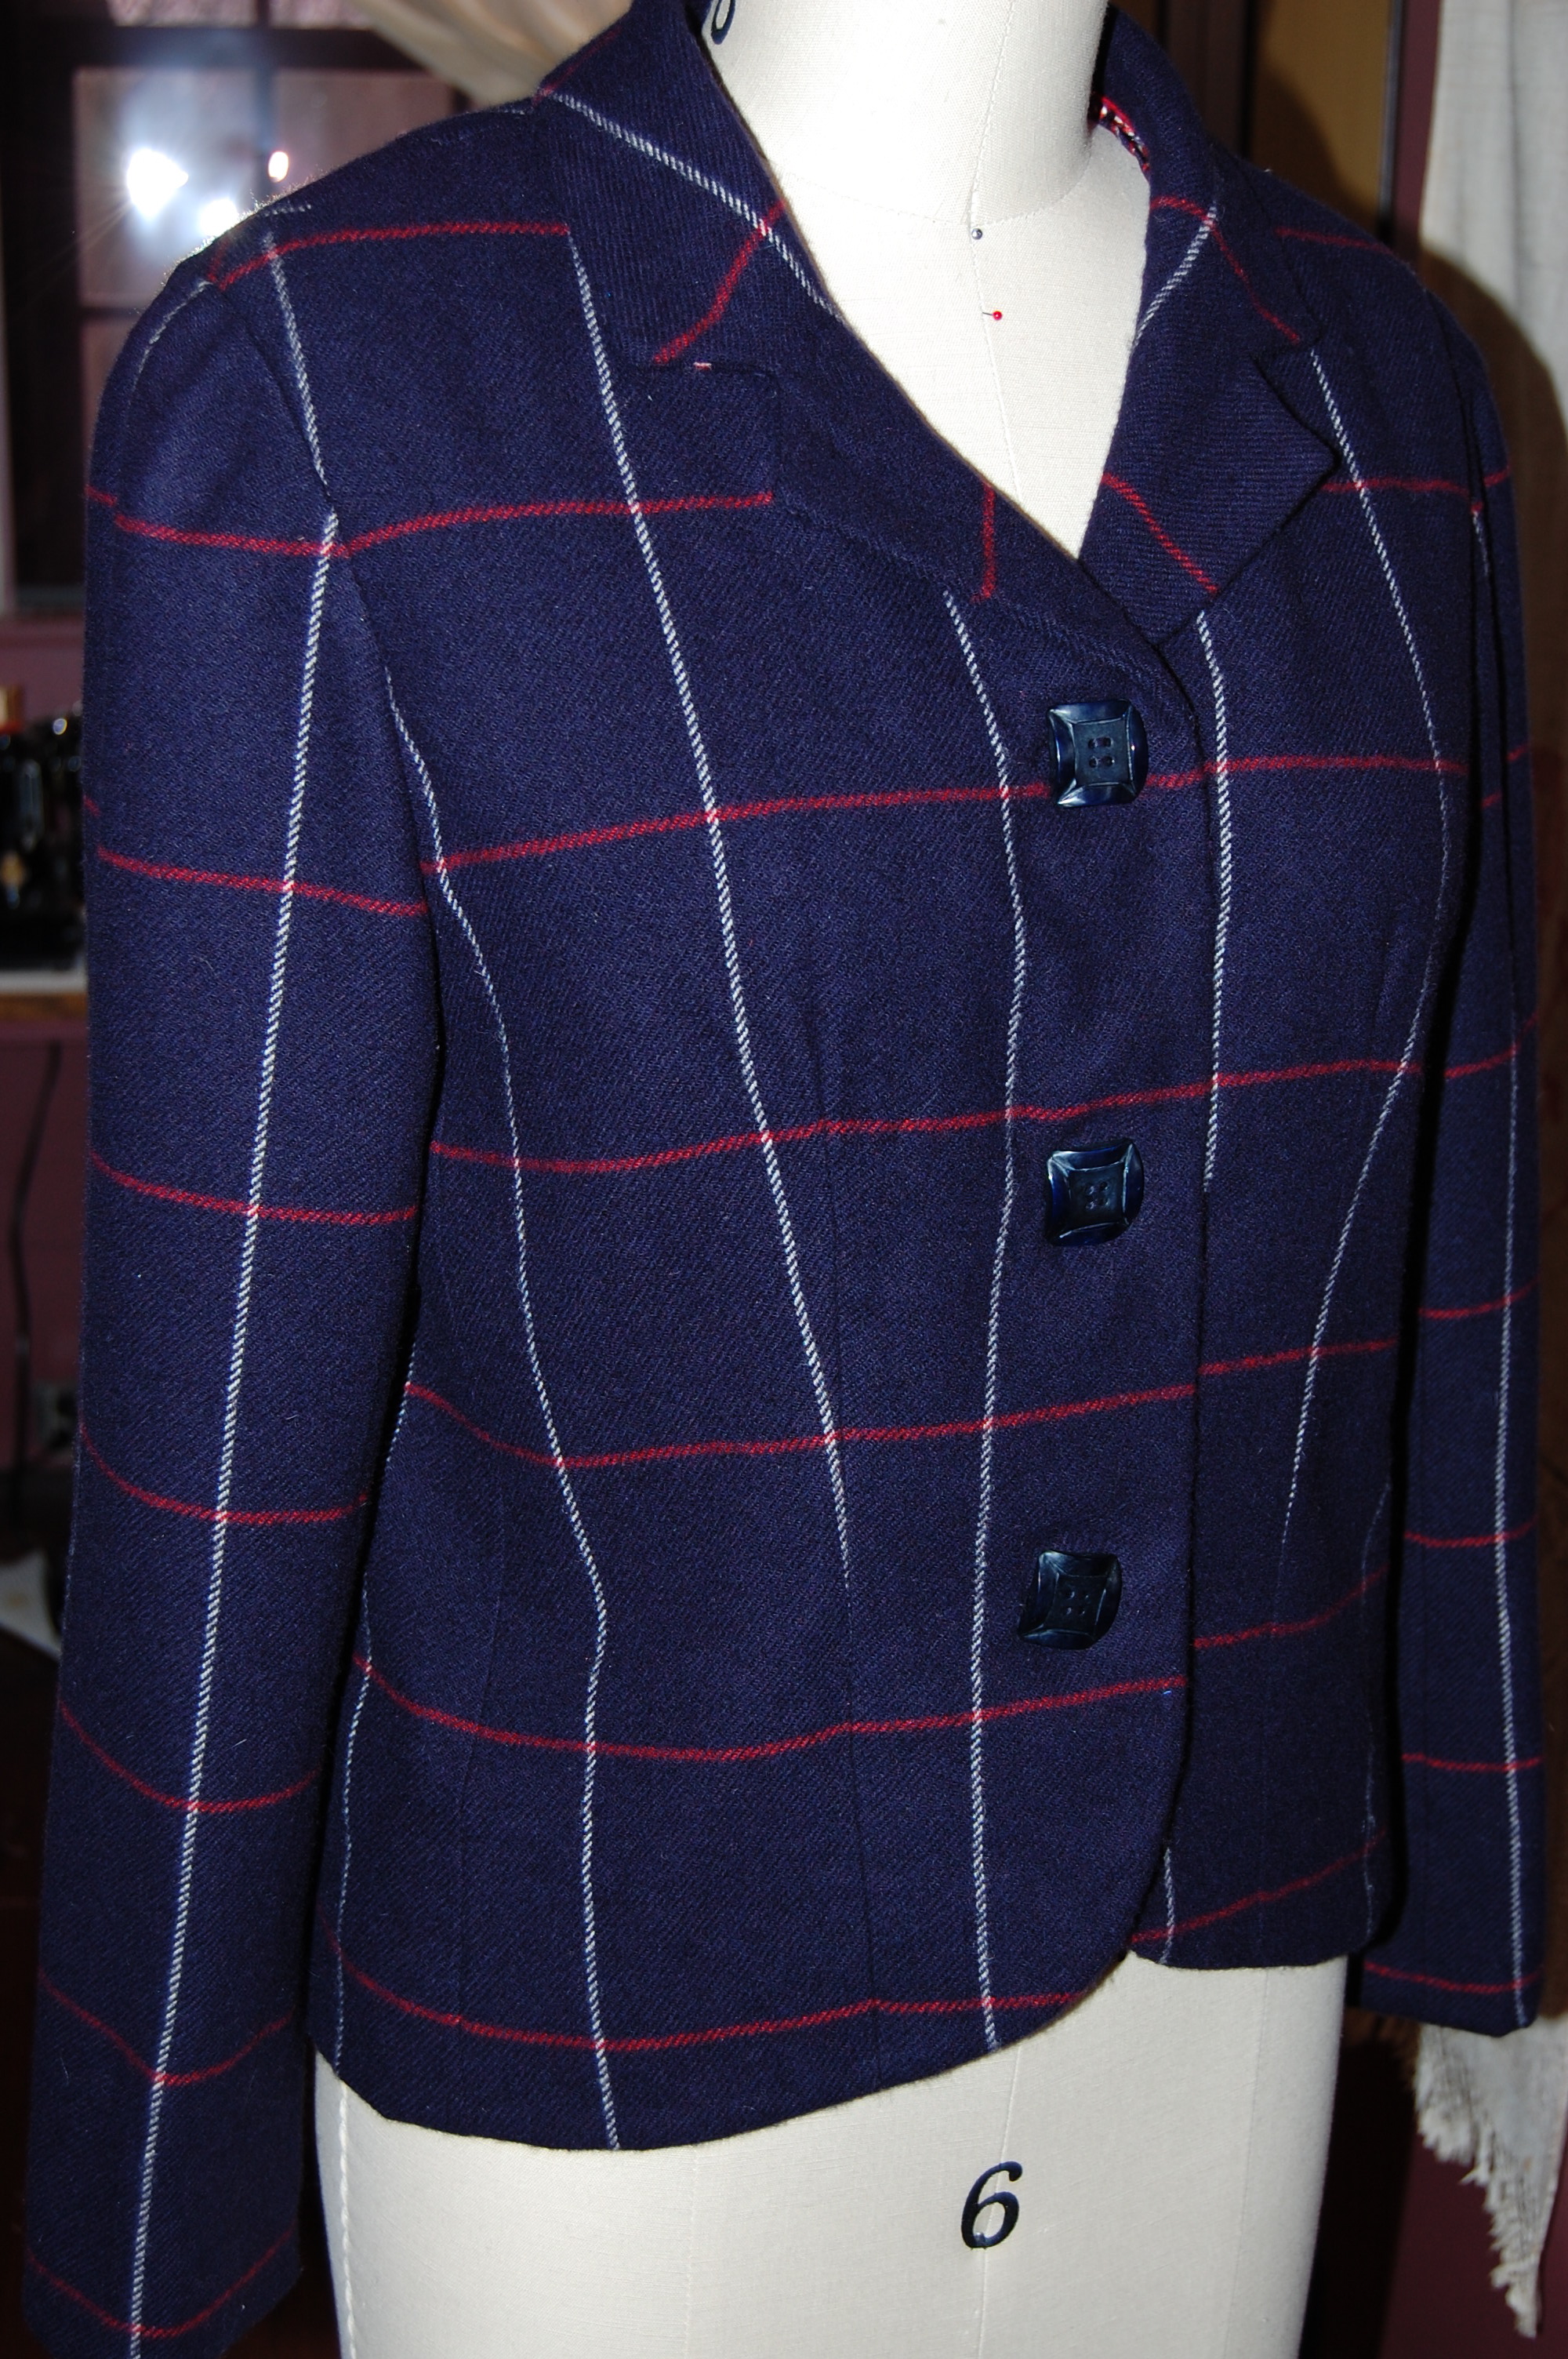
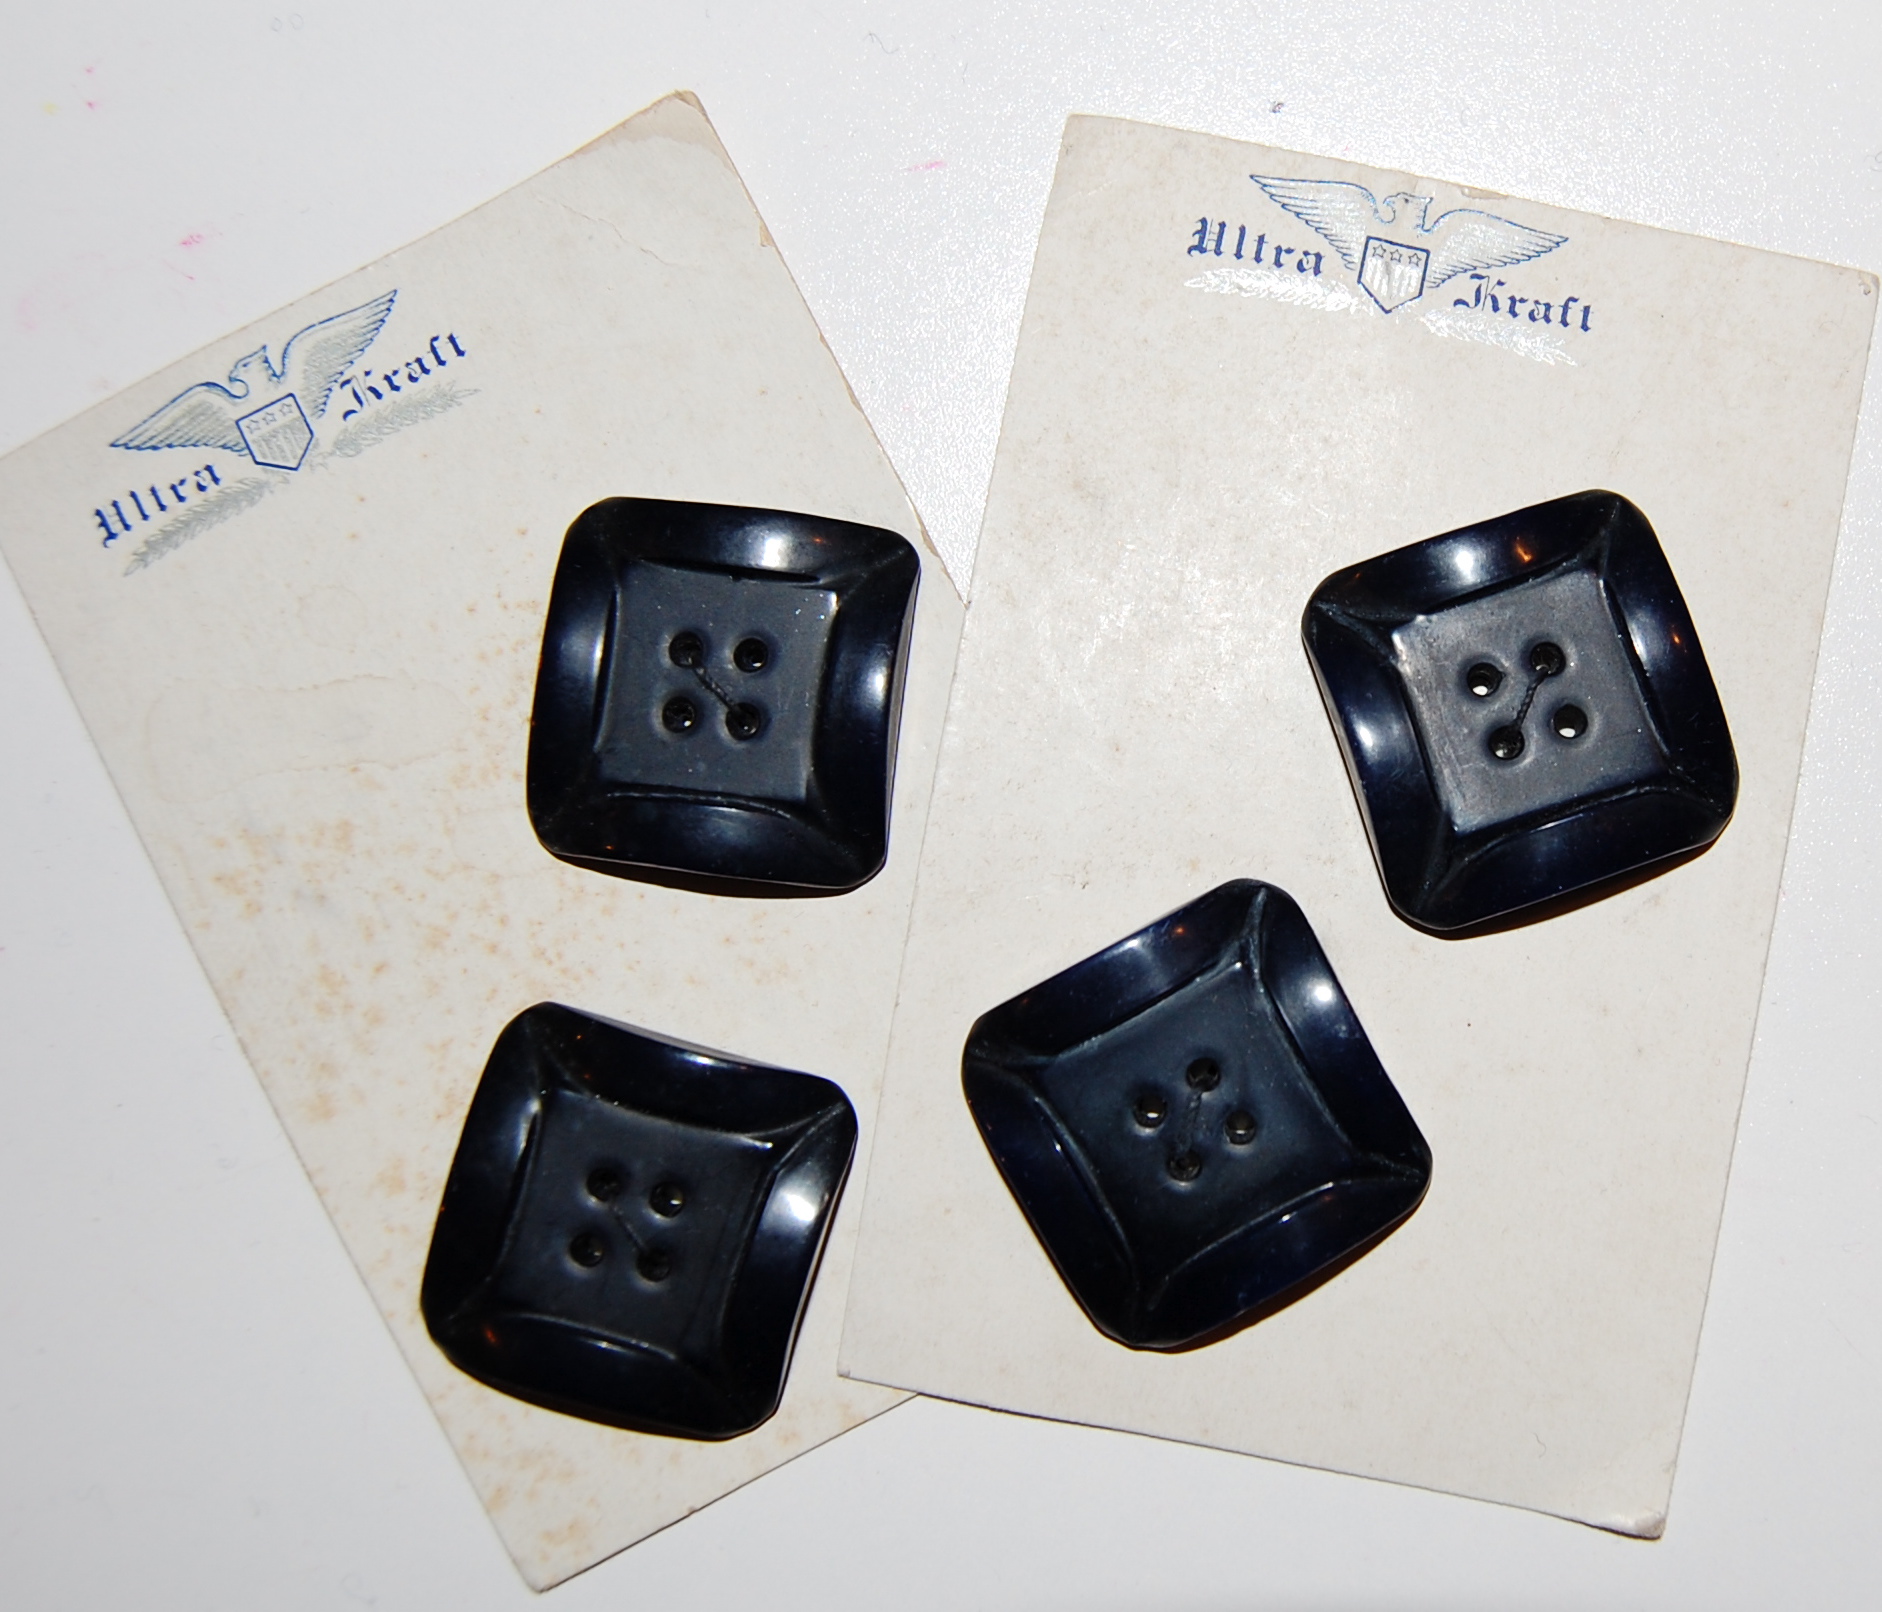
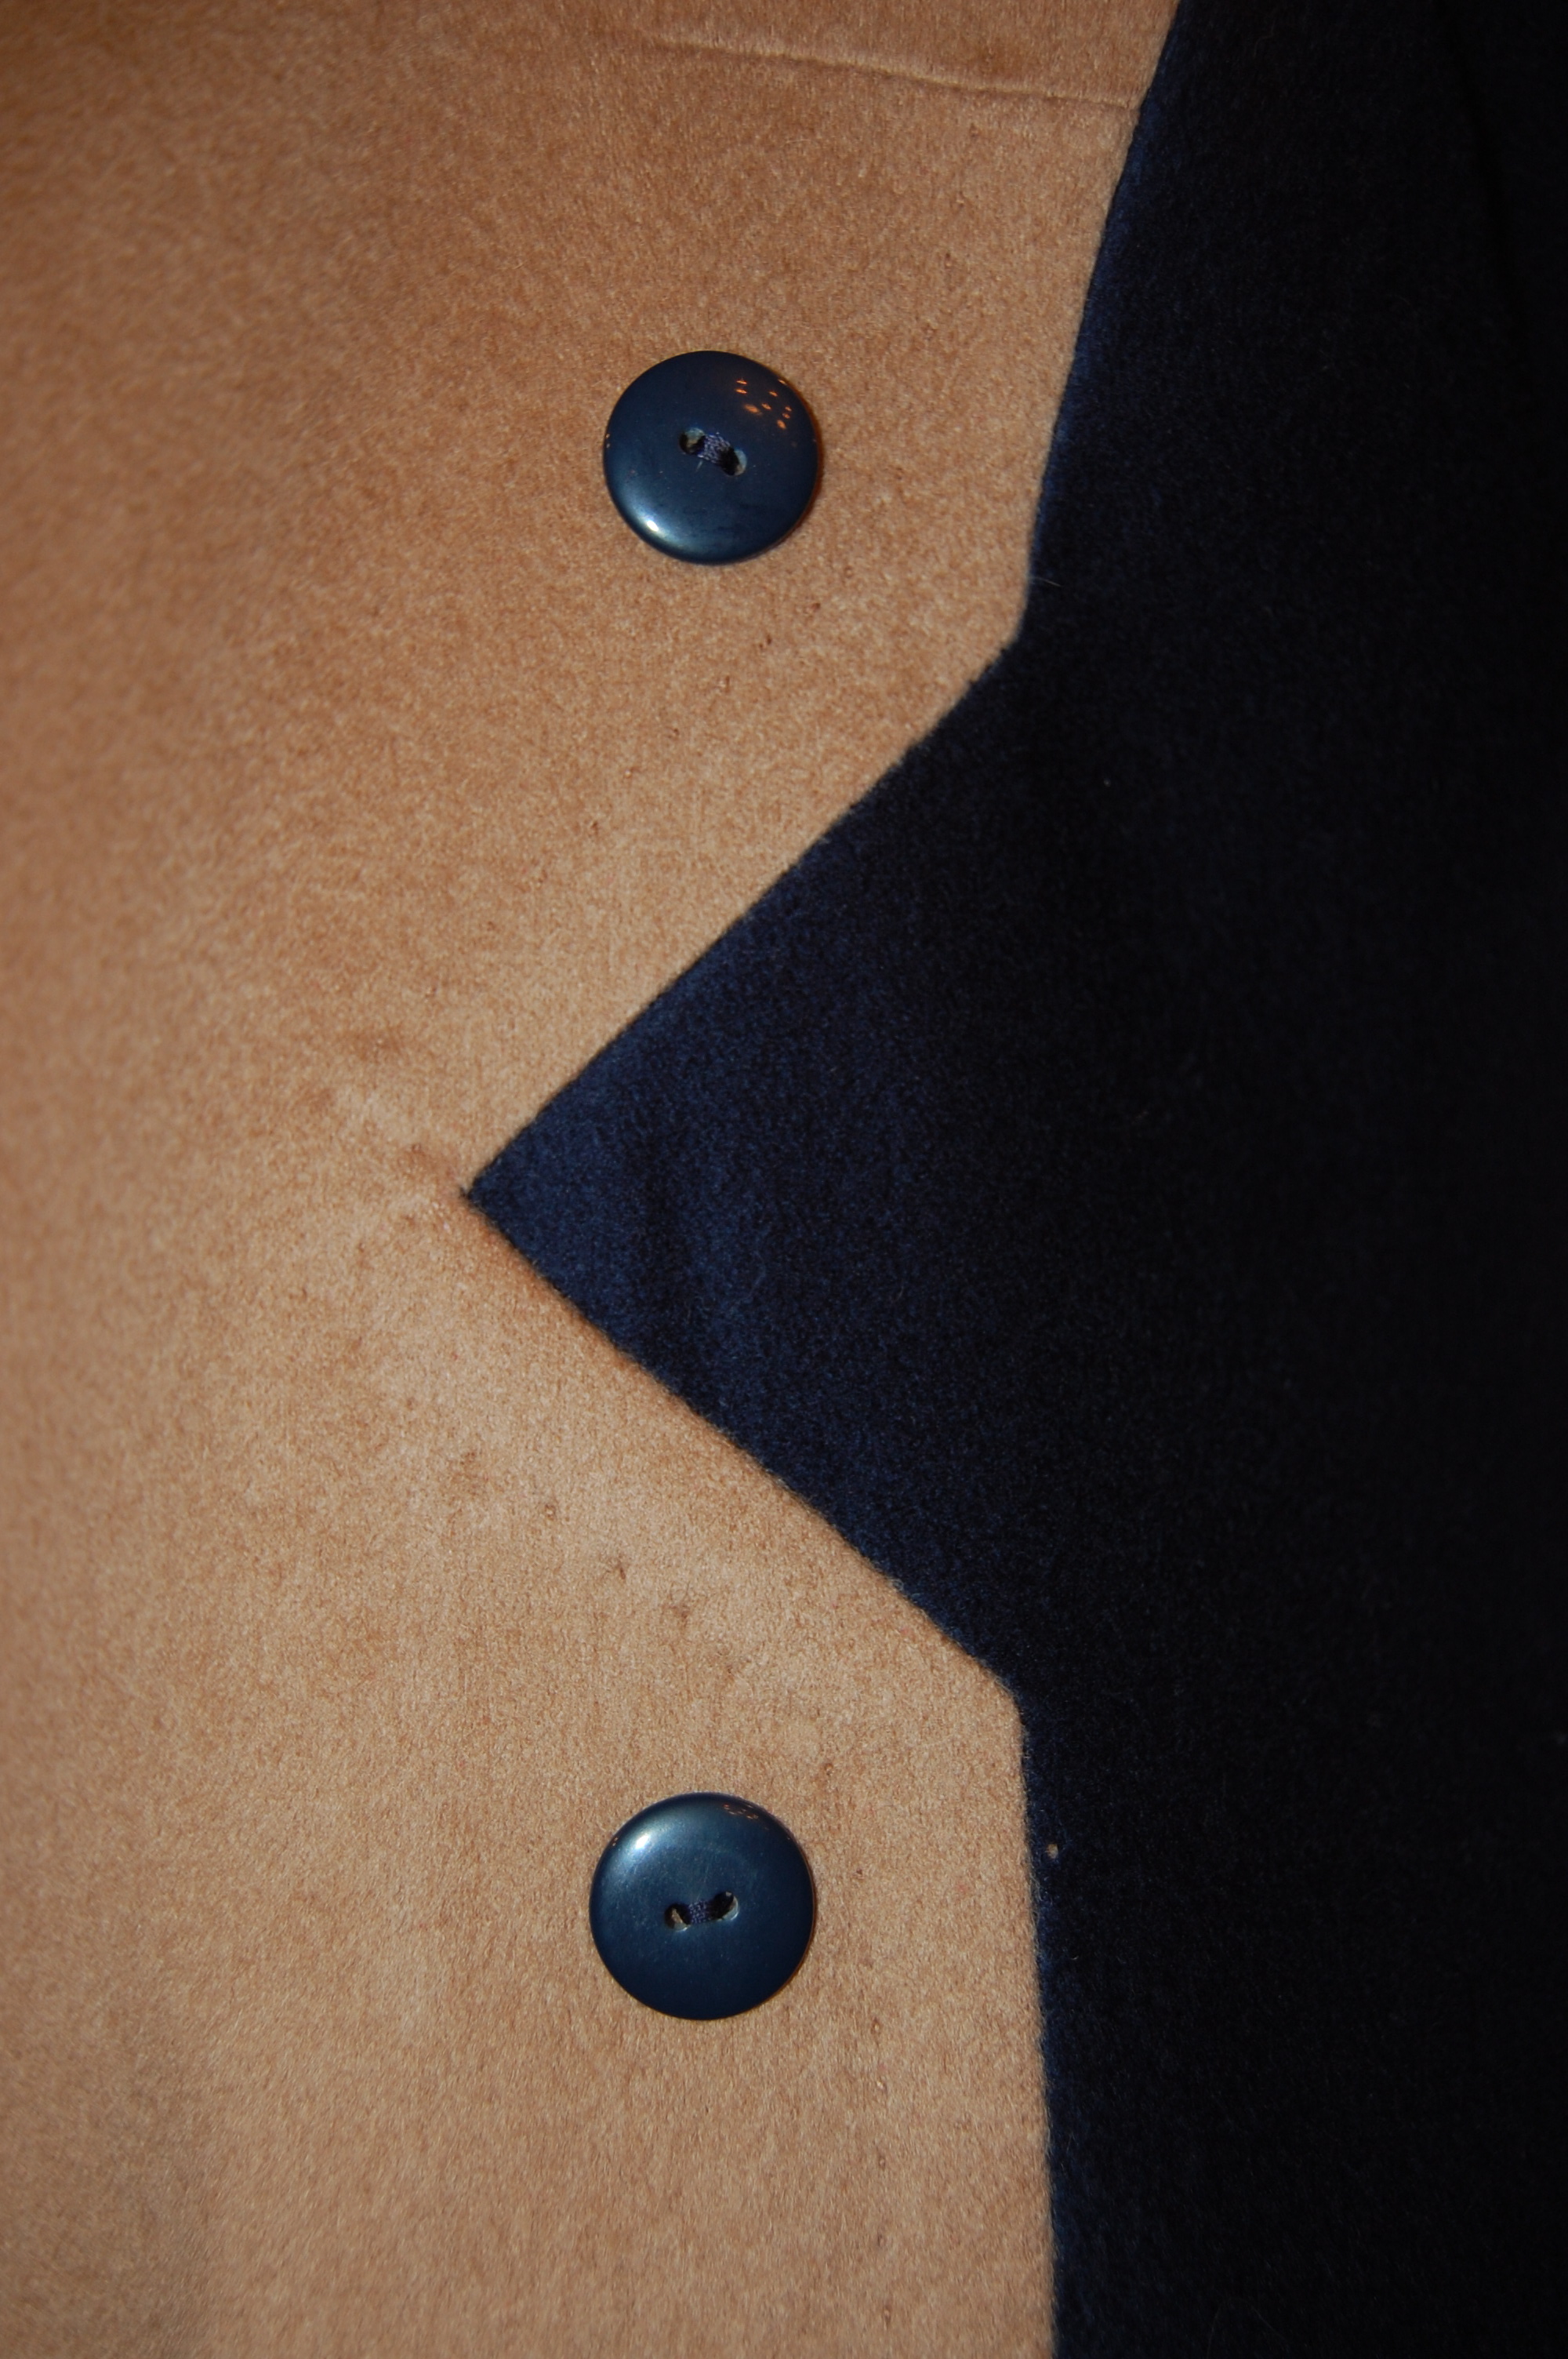
A decision about those two buttons, such an important focal point of the dress, is still to be made. The wrong side of the fabric is plain gray, so I might end up using that side for covered buttons. Suggestions, anyone??
Other than these challenges, I am feeling fairly confident that my next post will not have to be entitled “Scrap – Continued.”