Every new sewing year seems to have its own personality. Some of that depends on significant events that may be happening during the year, for which certain outfits must be sewn. Other influences might be travel, or the need to add some “basics” to your wardrobe, or, better yet, sewing classes, requiring planning/ muslin-making/special purchases. For me, this new year of 2017 – it is still new, isn’t it? – is going to have a focus on fabrics. I wish I could say I am resolved not to purchase new fabrics until I use some of what I already have, but I have already made that an impossibility, and the year is a scant three-weeks-old. (Thank you, Mendel Goldberg Fabrics, for tempting me beyond any recognition of reasonable doubt!) However, back to my premise – sometimes I have patterns which are just keeping me awake at night until I use them. Not so much of that this year; it is rather some of the gorgeous fabrics in my collection which are doing their best to disrupt my sleep.
Here are some of them, starting with Winter sewing.
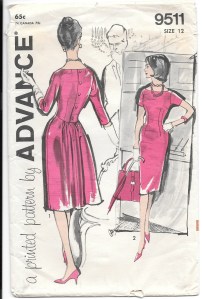
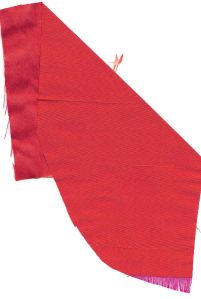
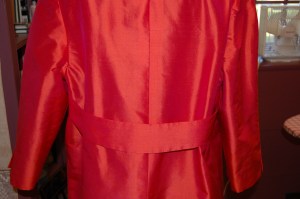
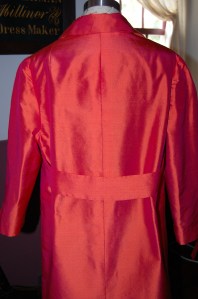
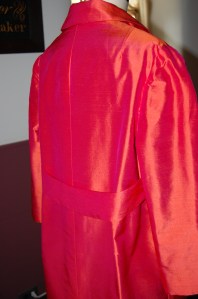
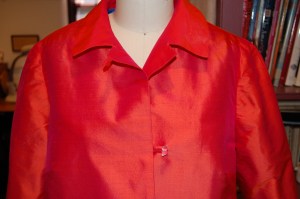
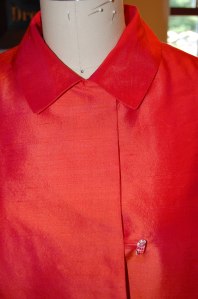
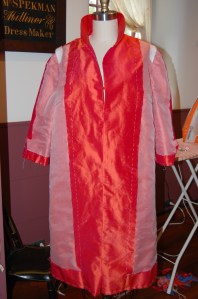
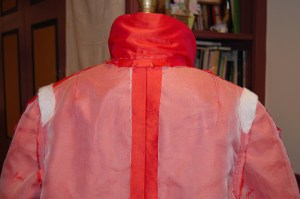
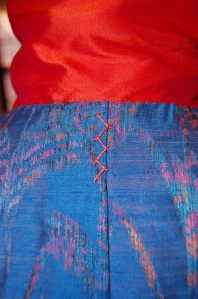
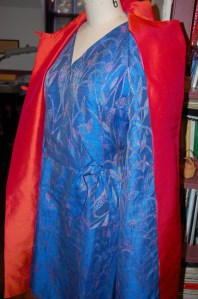
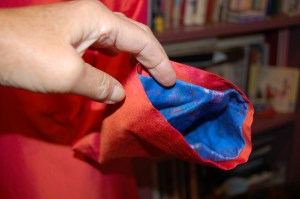
I purchased this fabric from Mendel Goldberg in New York City. It is a wool/silk blend, and it is my current project.
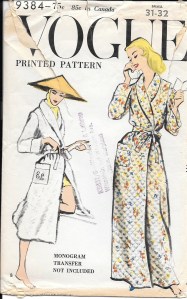
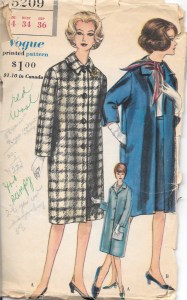
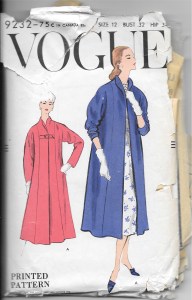
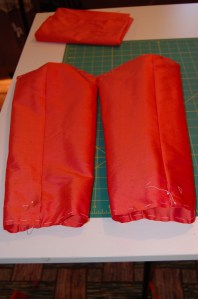
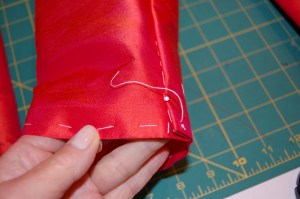
My current bathrobe is in desperate need of replacement. This is the fabric I want to use for this new addition to my cozy home attire.
This boucle bridges the gap between Winter and Spring. Given to me for Christmas of 2015, it is a blend of wool, cotton and silk, tightly woven and lightweight. I will be trying to devote most of March to making this into a Classic French Jacket. I will be able to wear it well into Spring and then, of course, it will be perfect for next Fall and Winter, too.
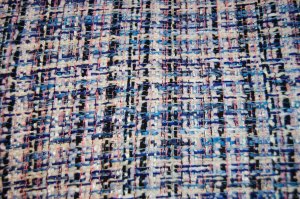
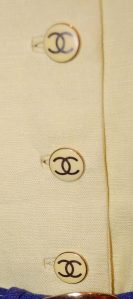
2 full yards of this glorious boucle! This past summer, I purchased a variety of trims to coordinate with this fabric. Now I just have to decide which one(s) to use.
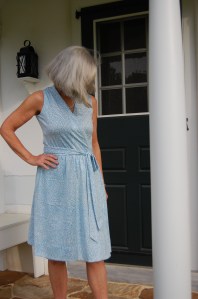
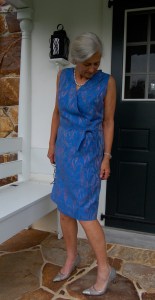
Spring and Summer sewing always poses the most difficult decisions for me. That is because I have so many gorgeous pieces of vintage linen, and trying to determine which ones to use is a frustrating exercise for me. I would love to make a simple sheath out of this baby blue Moygashel linen, as it would look so lovely with that jacket mentioned above.
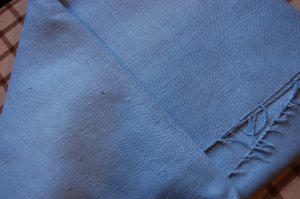
Crisp, pale blue linen from the 1950s.
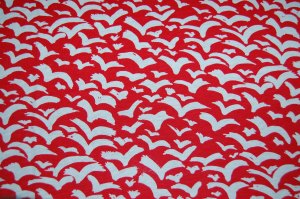
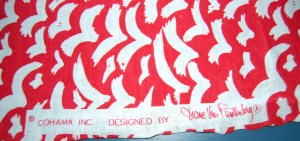
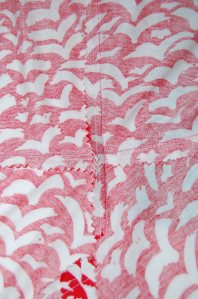
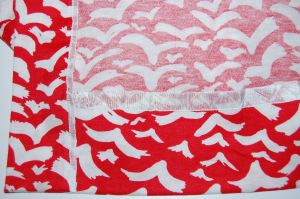
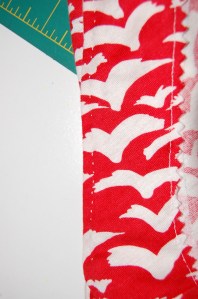
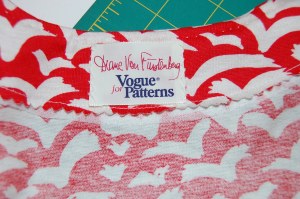
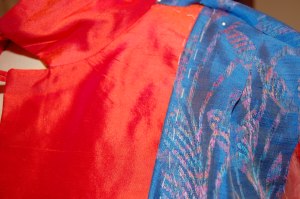
Then there is this amazing abstract design in red and white – also Moygashel – which somehow just has to wiggle its way into the sewing queue:
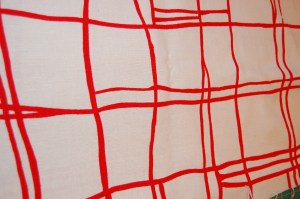
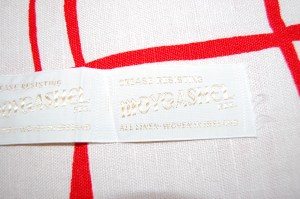
This fabric is from the mid to late 1960s, and it arrived with the label intact.
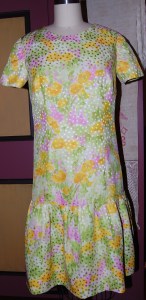
On the other extreme is this demure flower print, an early 1950s’ Moygashel linen. I have been wanting to make a dress from this for several years. Perhaps this will be the year I get it done.
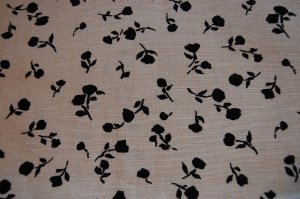
Petite black flower silhouettes on a pale ecru background.
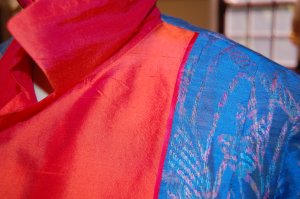
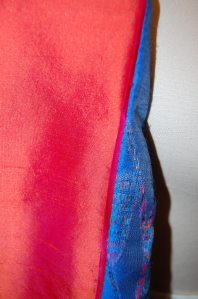
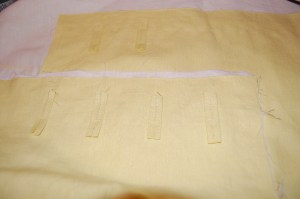
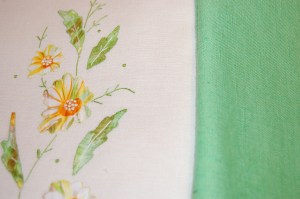
Another piece of vintage linen is this duo with lengths of plain and embroidered panels. Originally intended for an A-line shift, I envision it as a dress-length tunic, accented with the grass-green linen shown here. That would be one way I could honor the Pantone Color of the Year, Greenery, as well as make a unique and versatile dress.
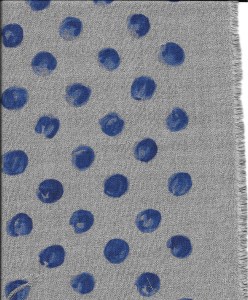
How I will ever find the time to make a blouse out of this white dotted cotton, I don’t know, but hope springs eternal for this, too:
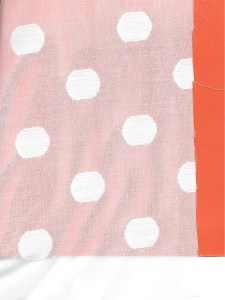
I backed this fabric with a piece of orange paper so that the polka dot design shows. The dots are woven into this fine cotton from Britex Fabrics.
With weeks of travel planned for parts of the final five months of the year, it will be folly to plan too much, but I do hope to make one more linen dress which will have wearing power into the Fall.
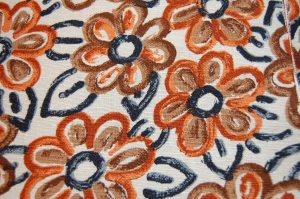
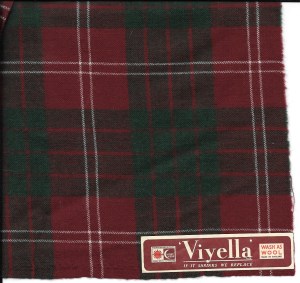
Navy, rust and brown – perfect for early Fall.
And can I possibly get one more Classic French Jacket completed before Thanksgiving? If so, it will be made from this boucle:

Sprinkled among all these projects will be sewing for my two little granddaughters, too. As usual, I have much more planned than I ever can hope to accomplish, but it is fun to think of the infinite possibilities that dwell in my fabric closet – and in my head.
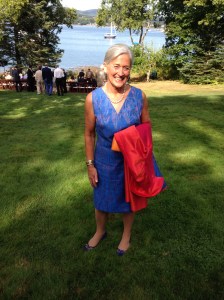
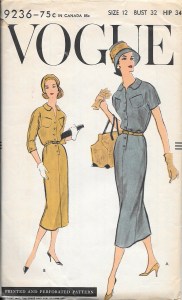
PS – One fashion observation for 2017: DRESS GLOVES ARE BACK!