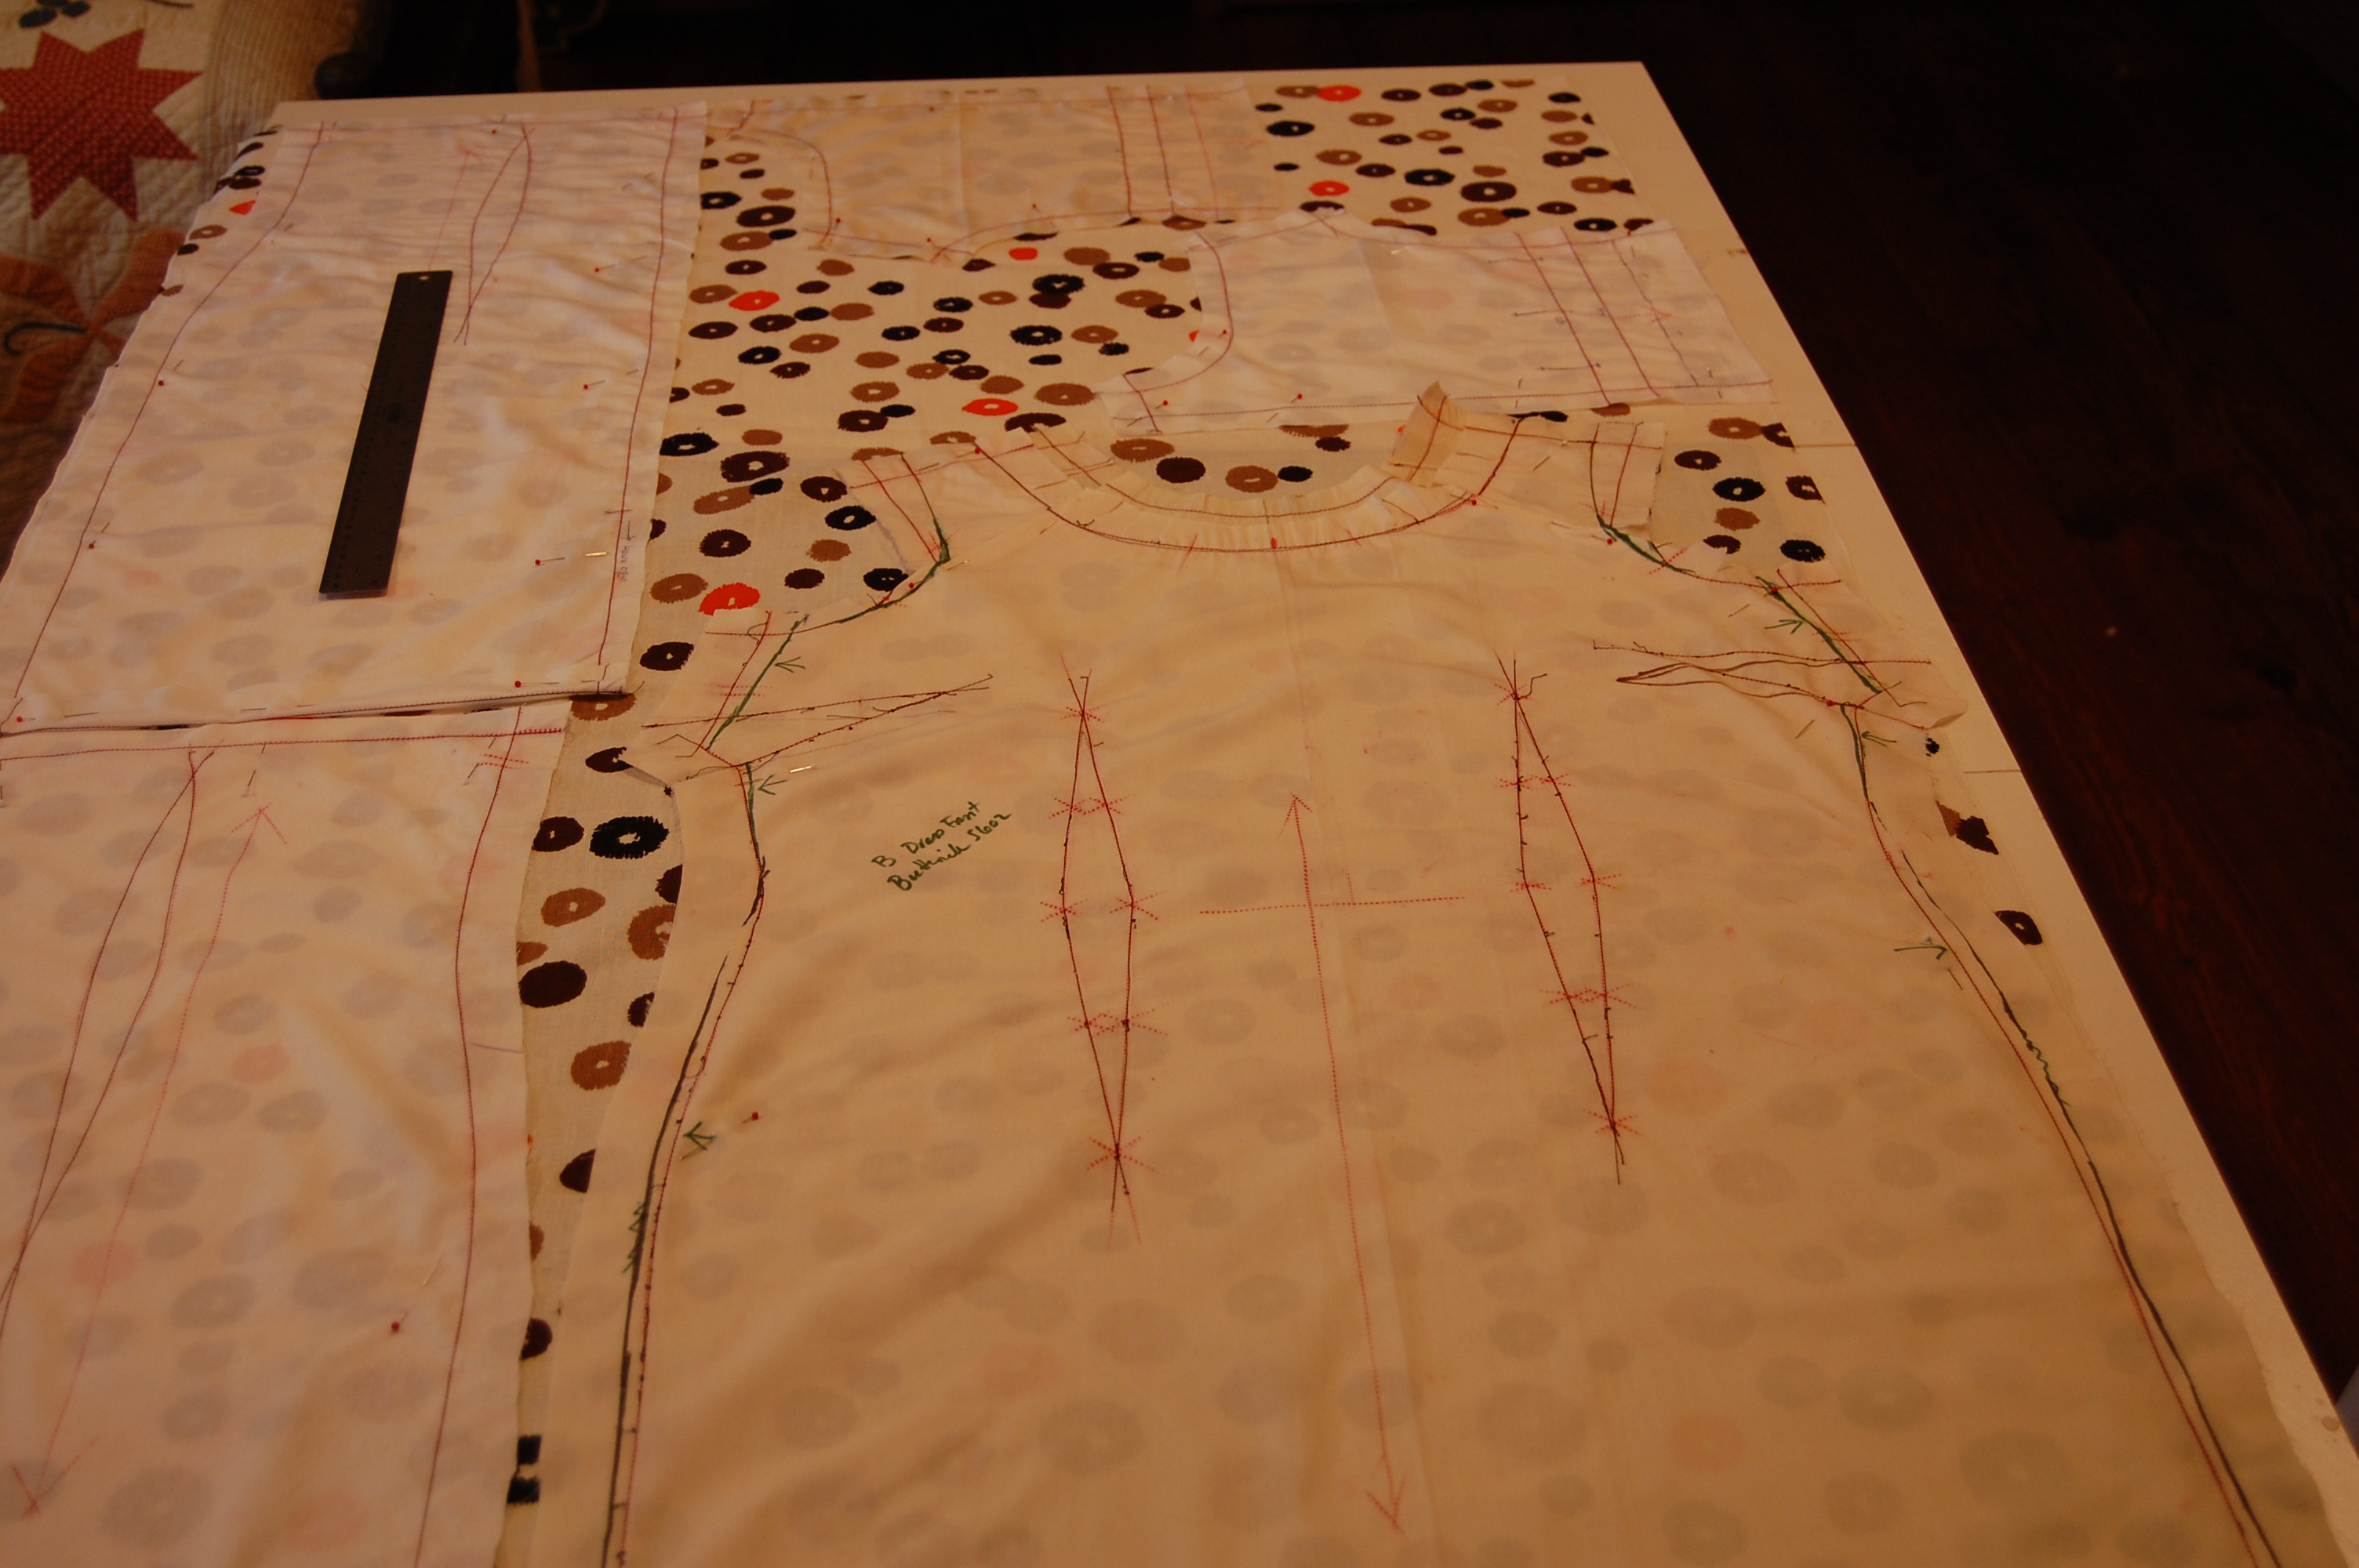
There is one more Summer Dress in my head, begging to be made. However, this one needed some thinking time before I could start it, to help me decipher the correct pattern (or patterns) to use. The fabric is pretty special, so I don’t want to make a mistake. What to do to fill up this time I was spending thinking? It seemed the perfect opportunity to do some really simple sewing, as in “Easy Tunic Top”.
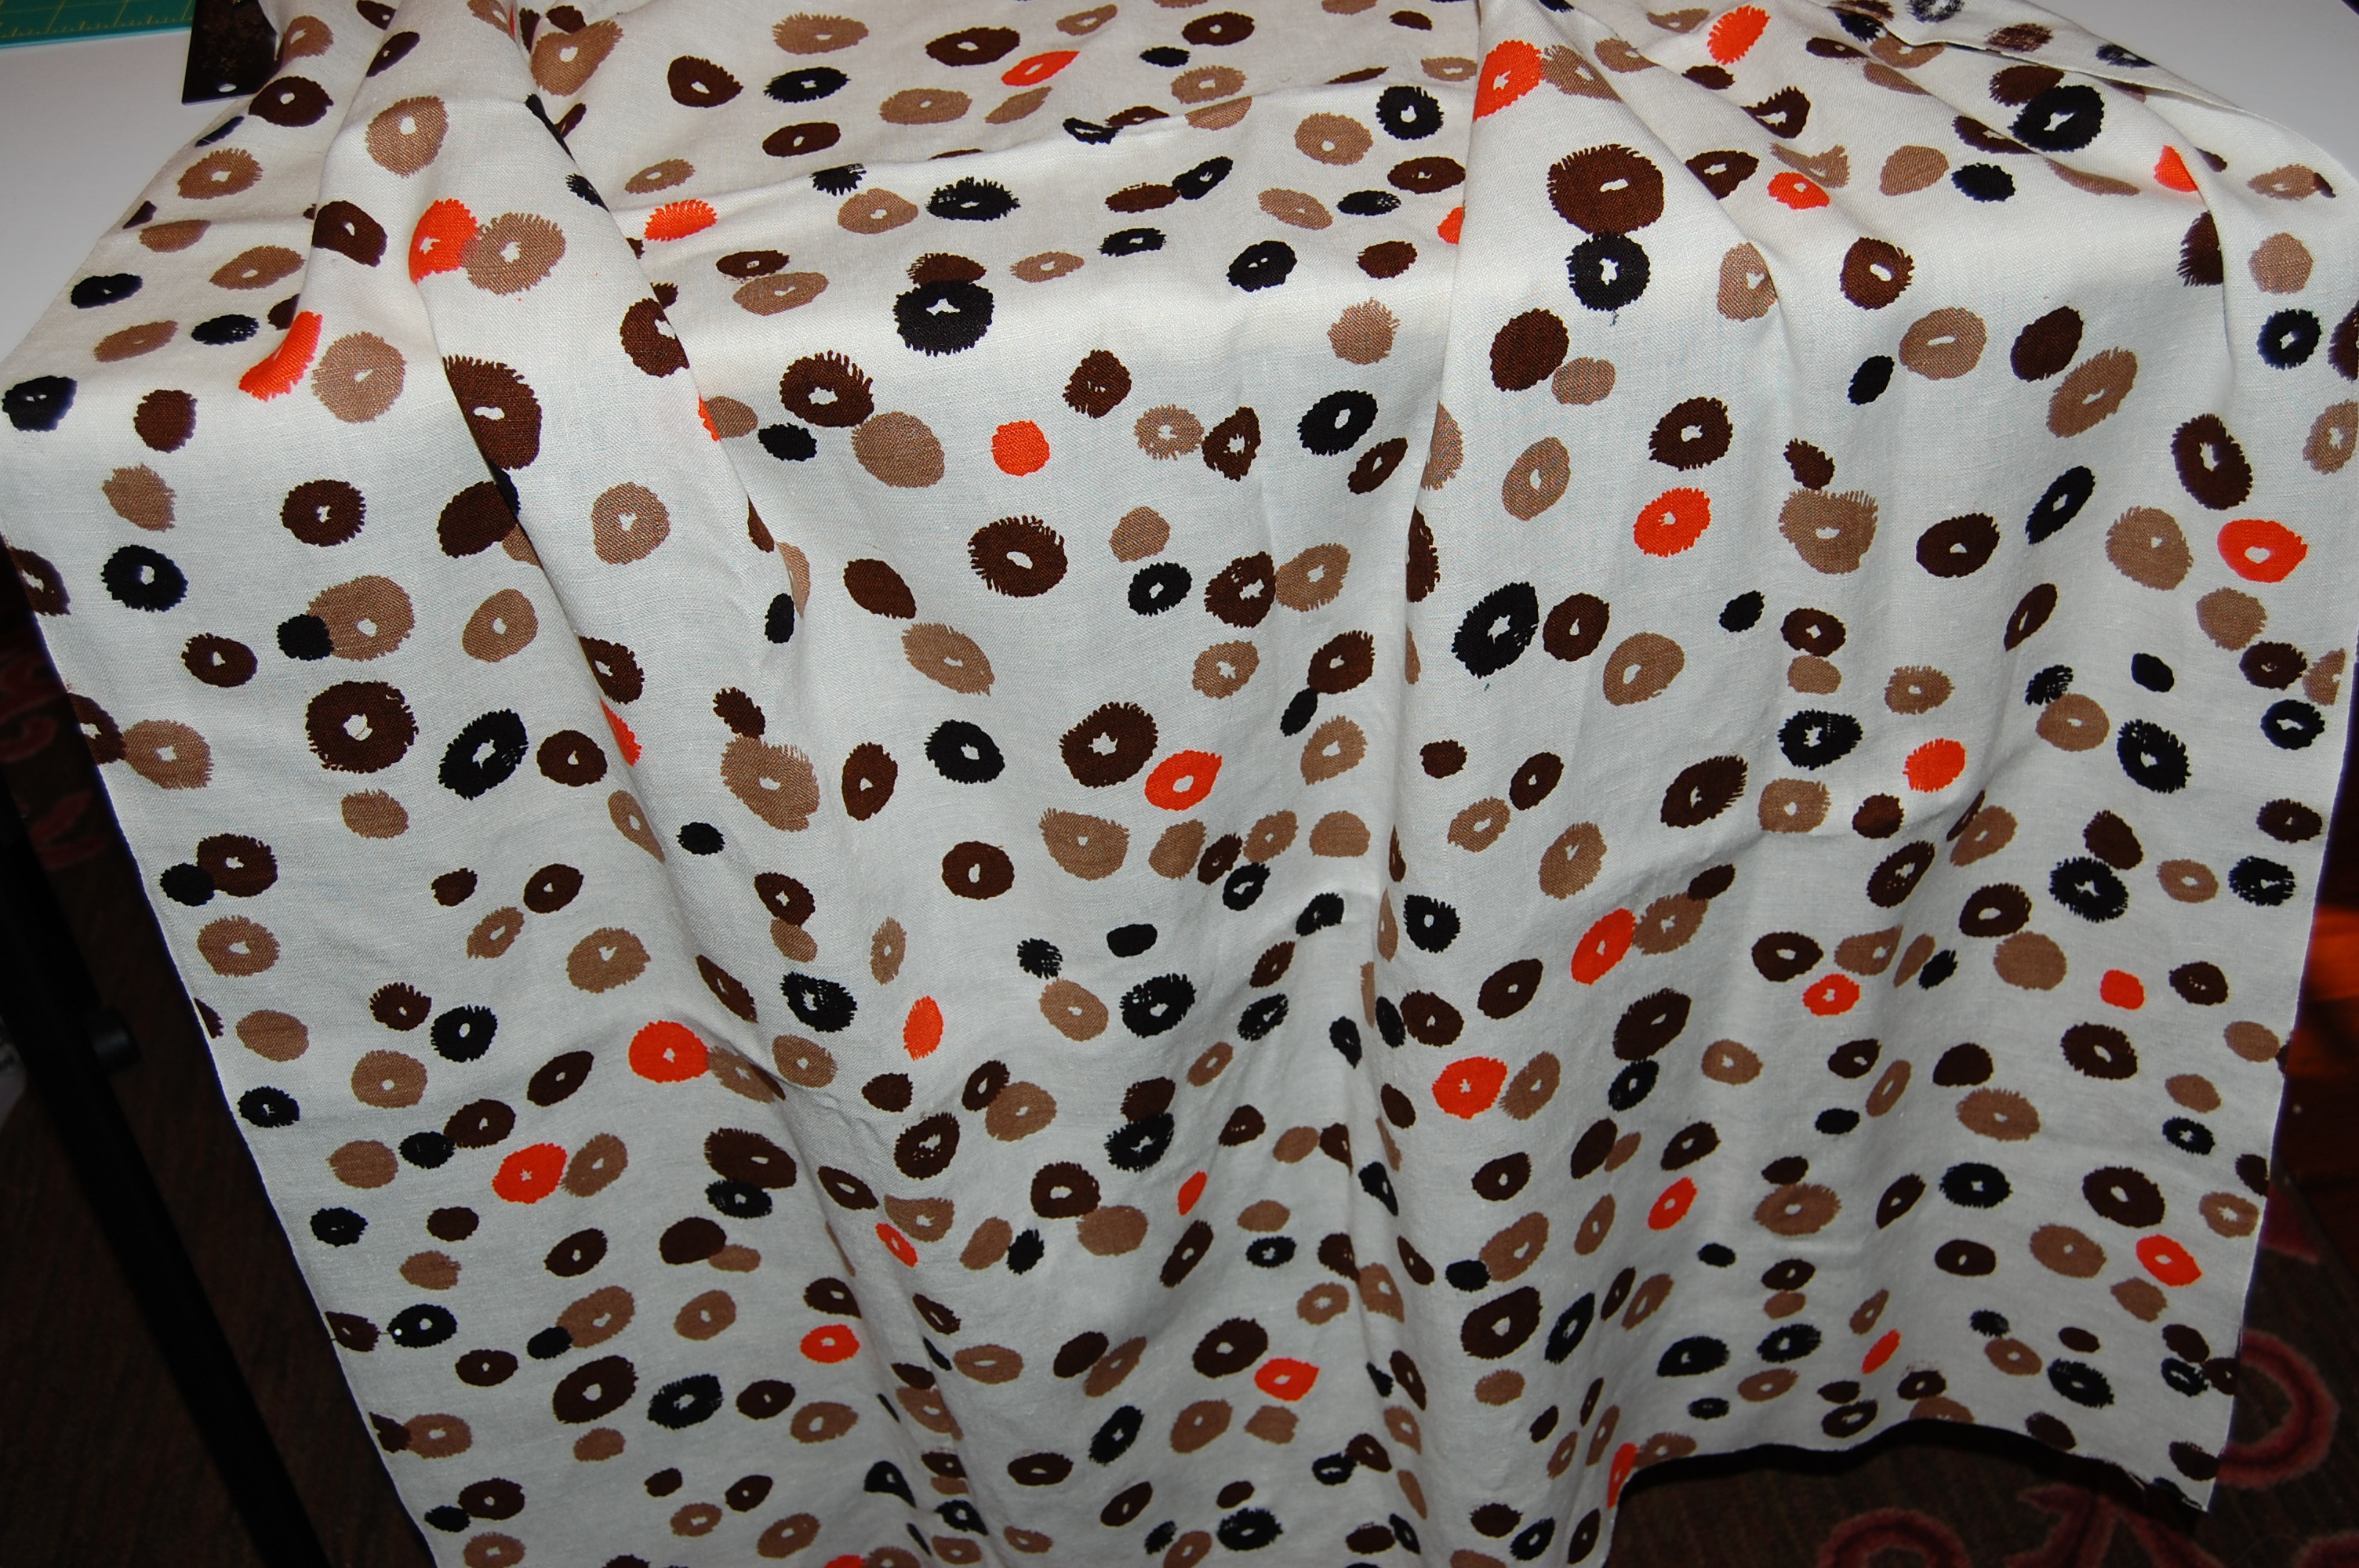
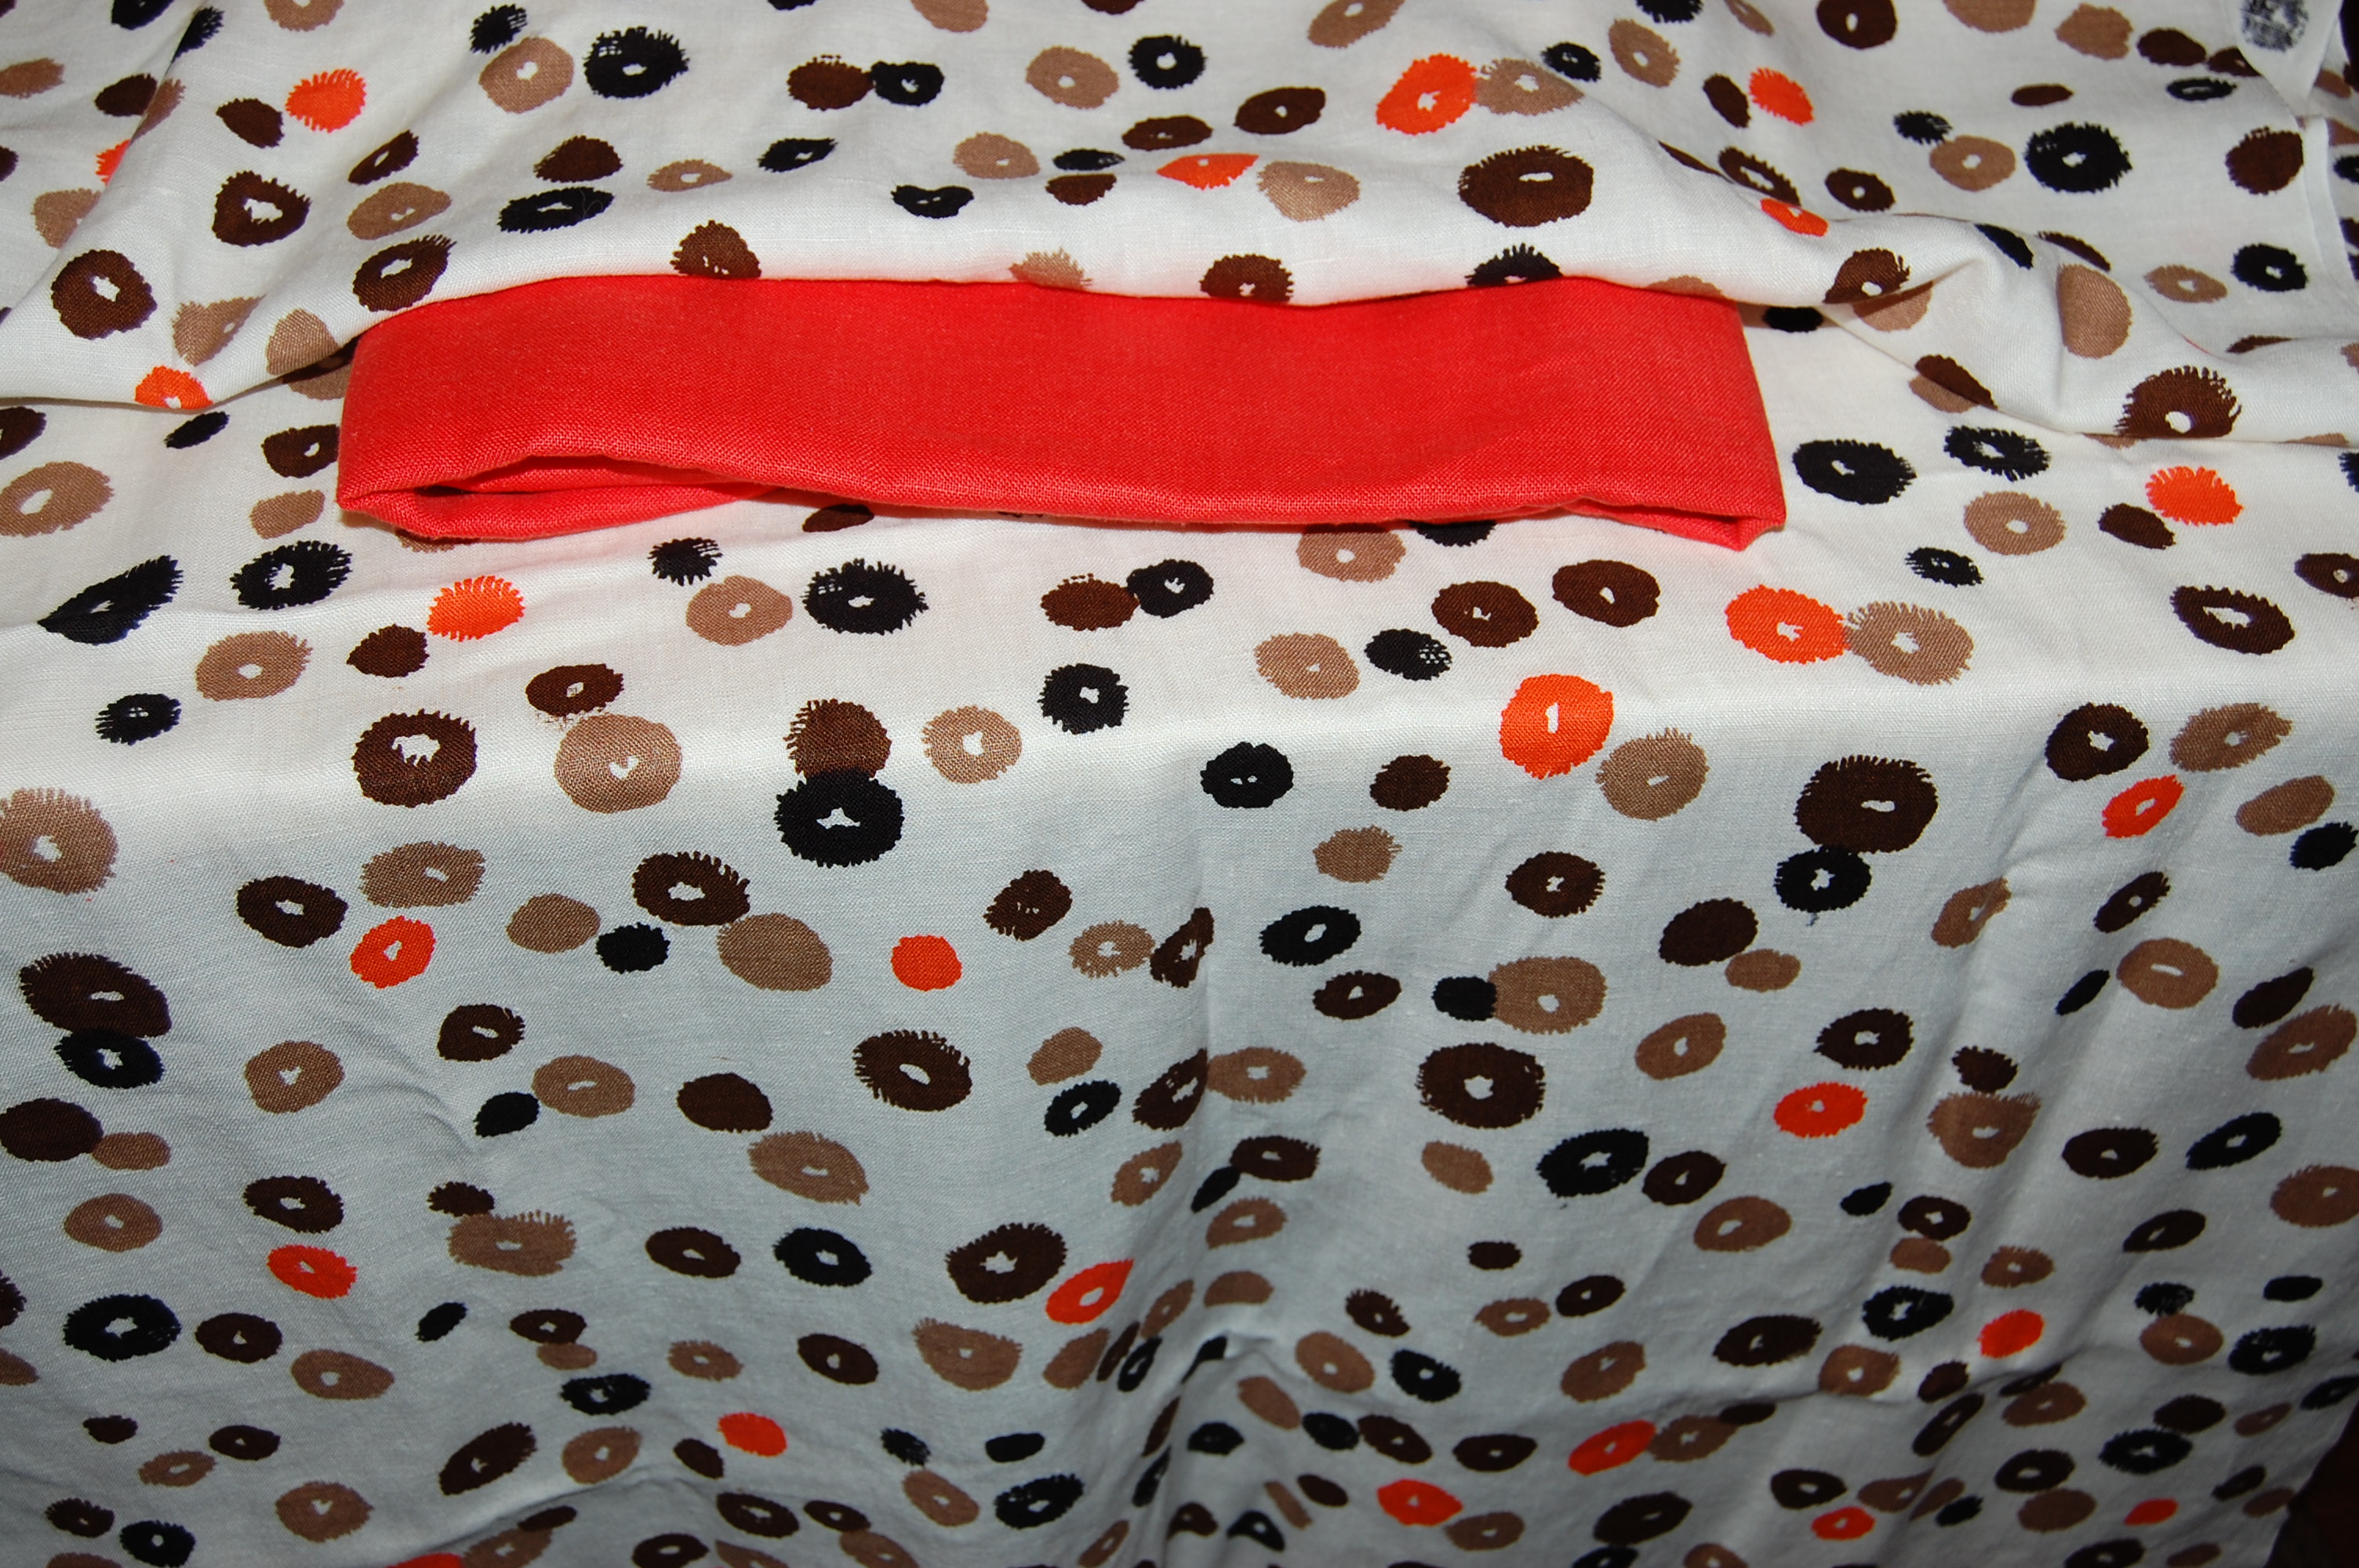
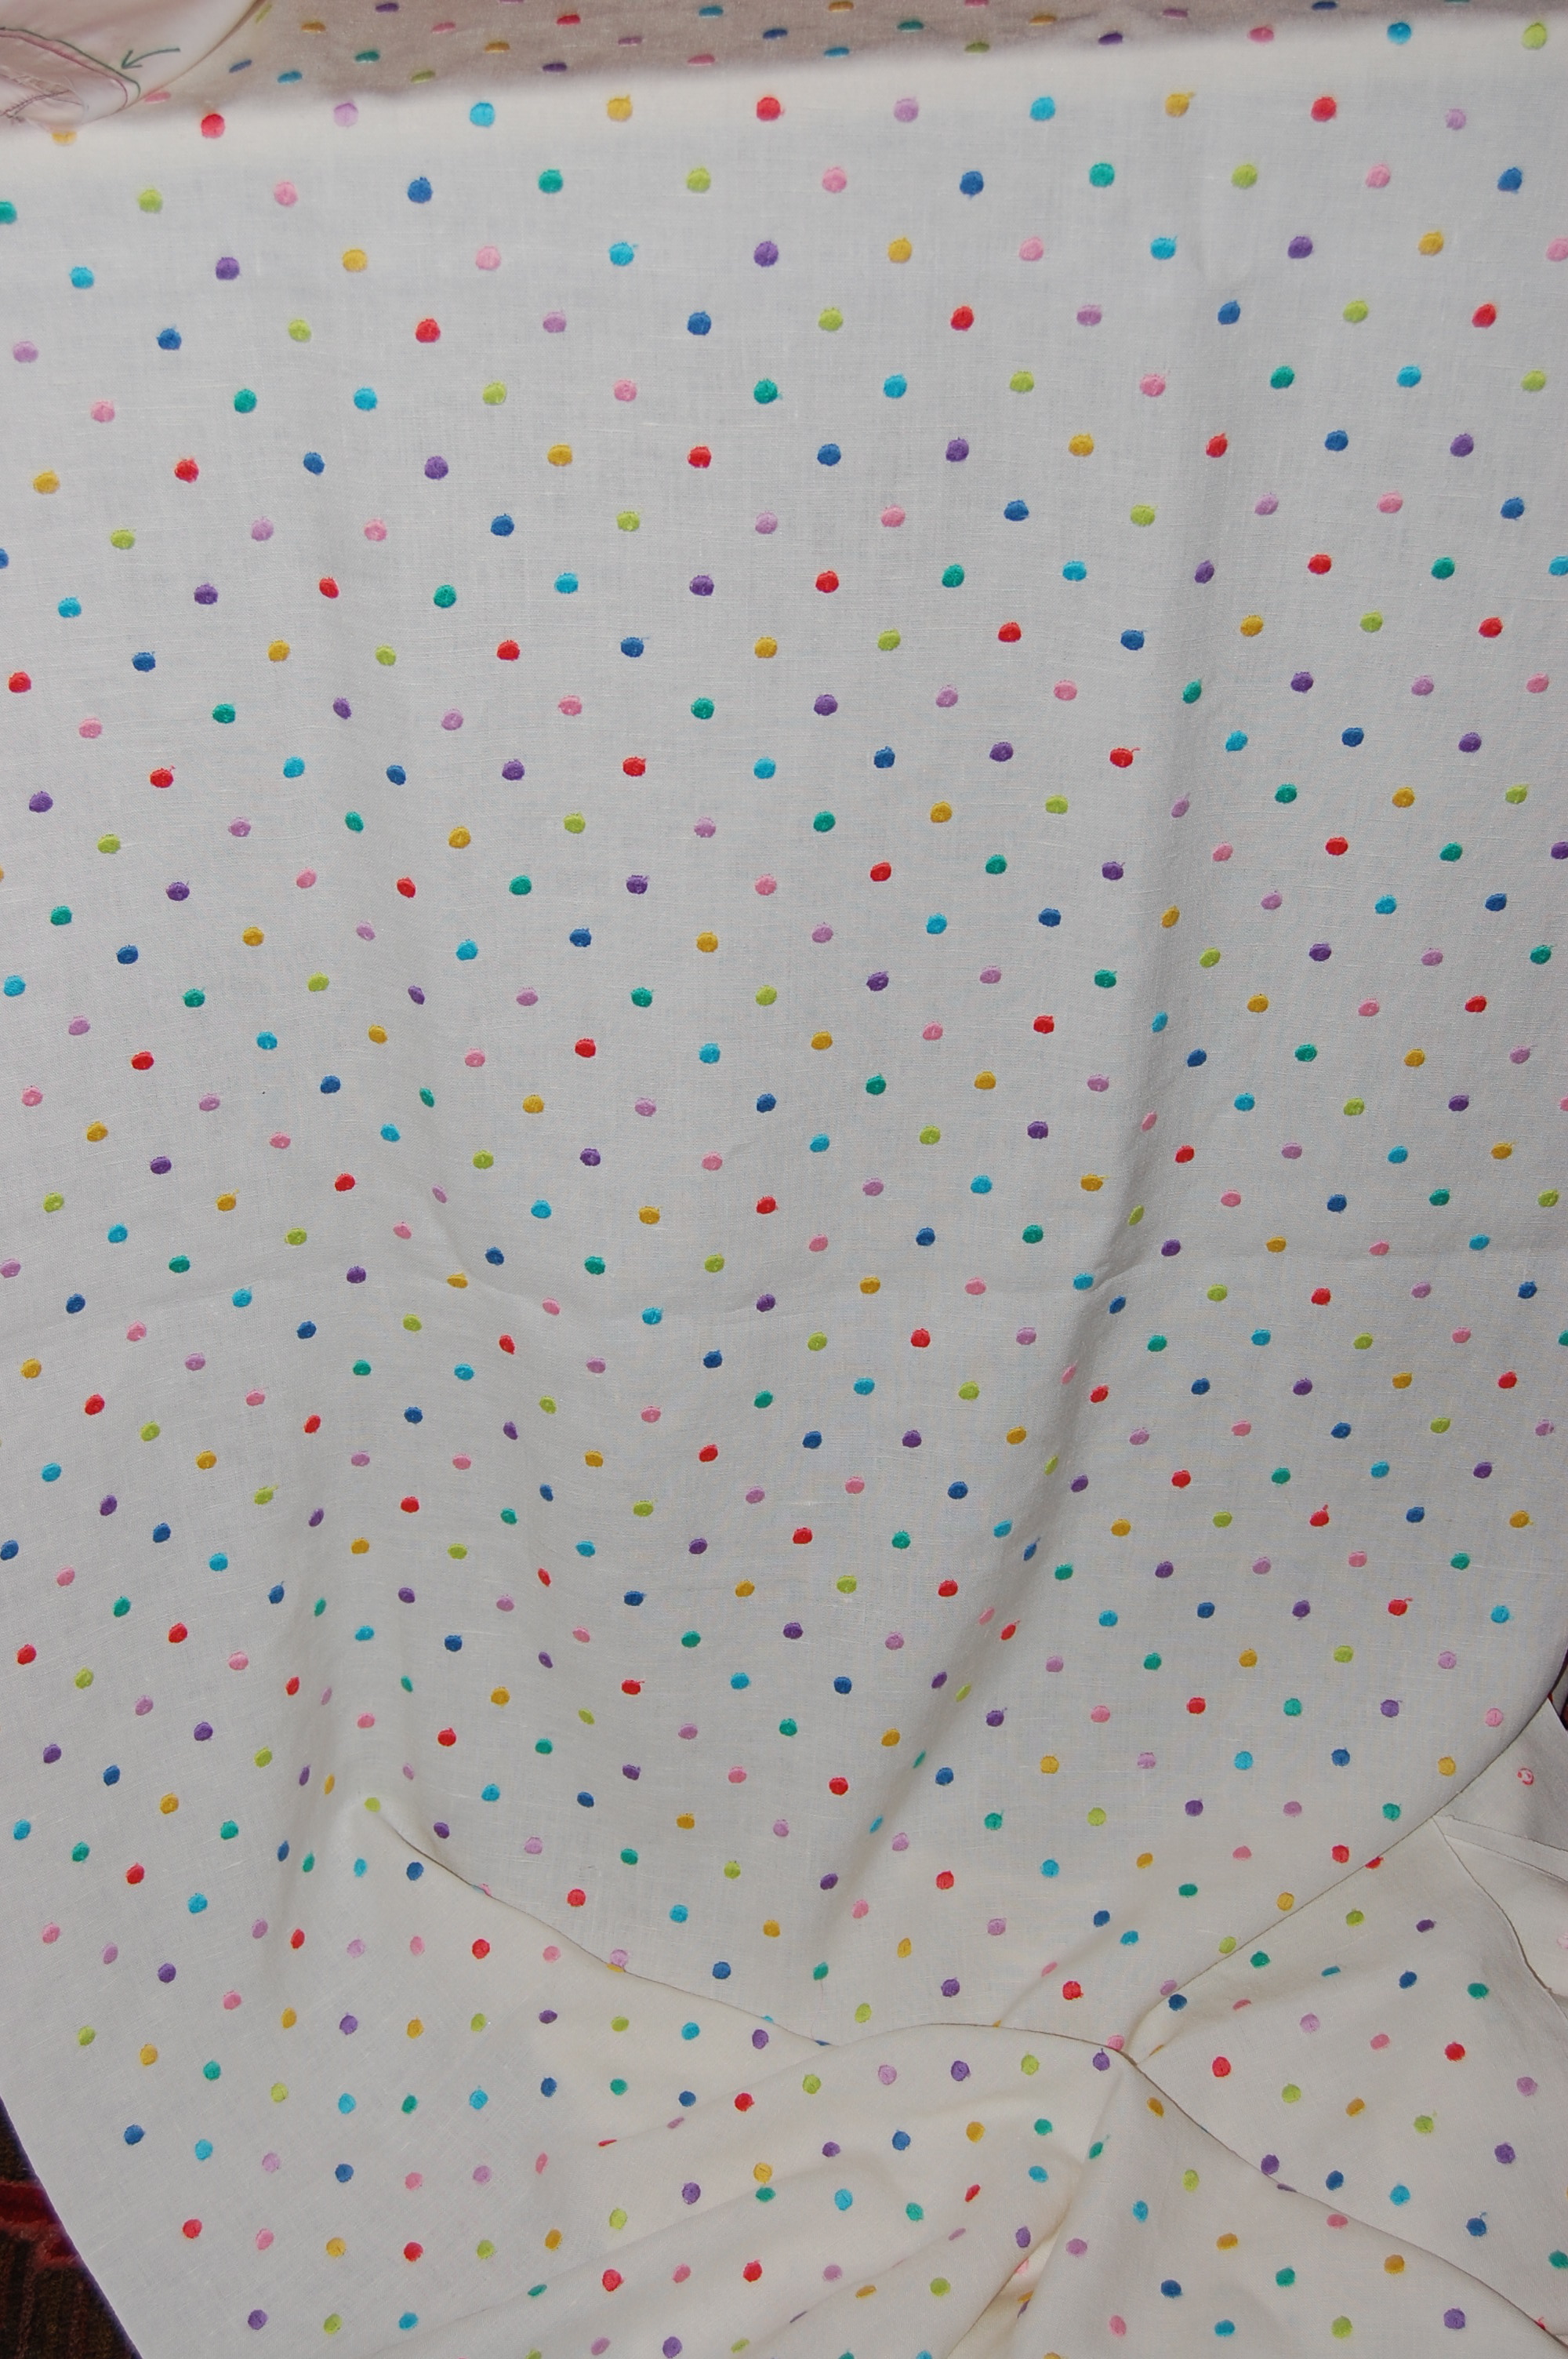
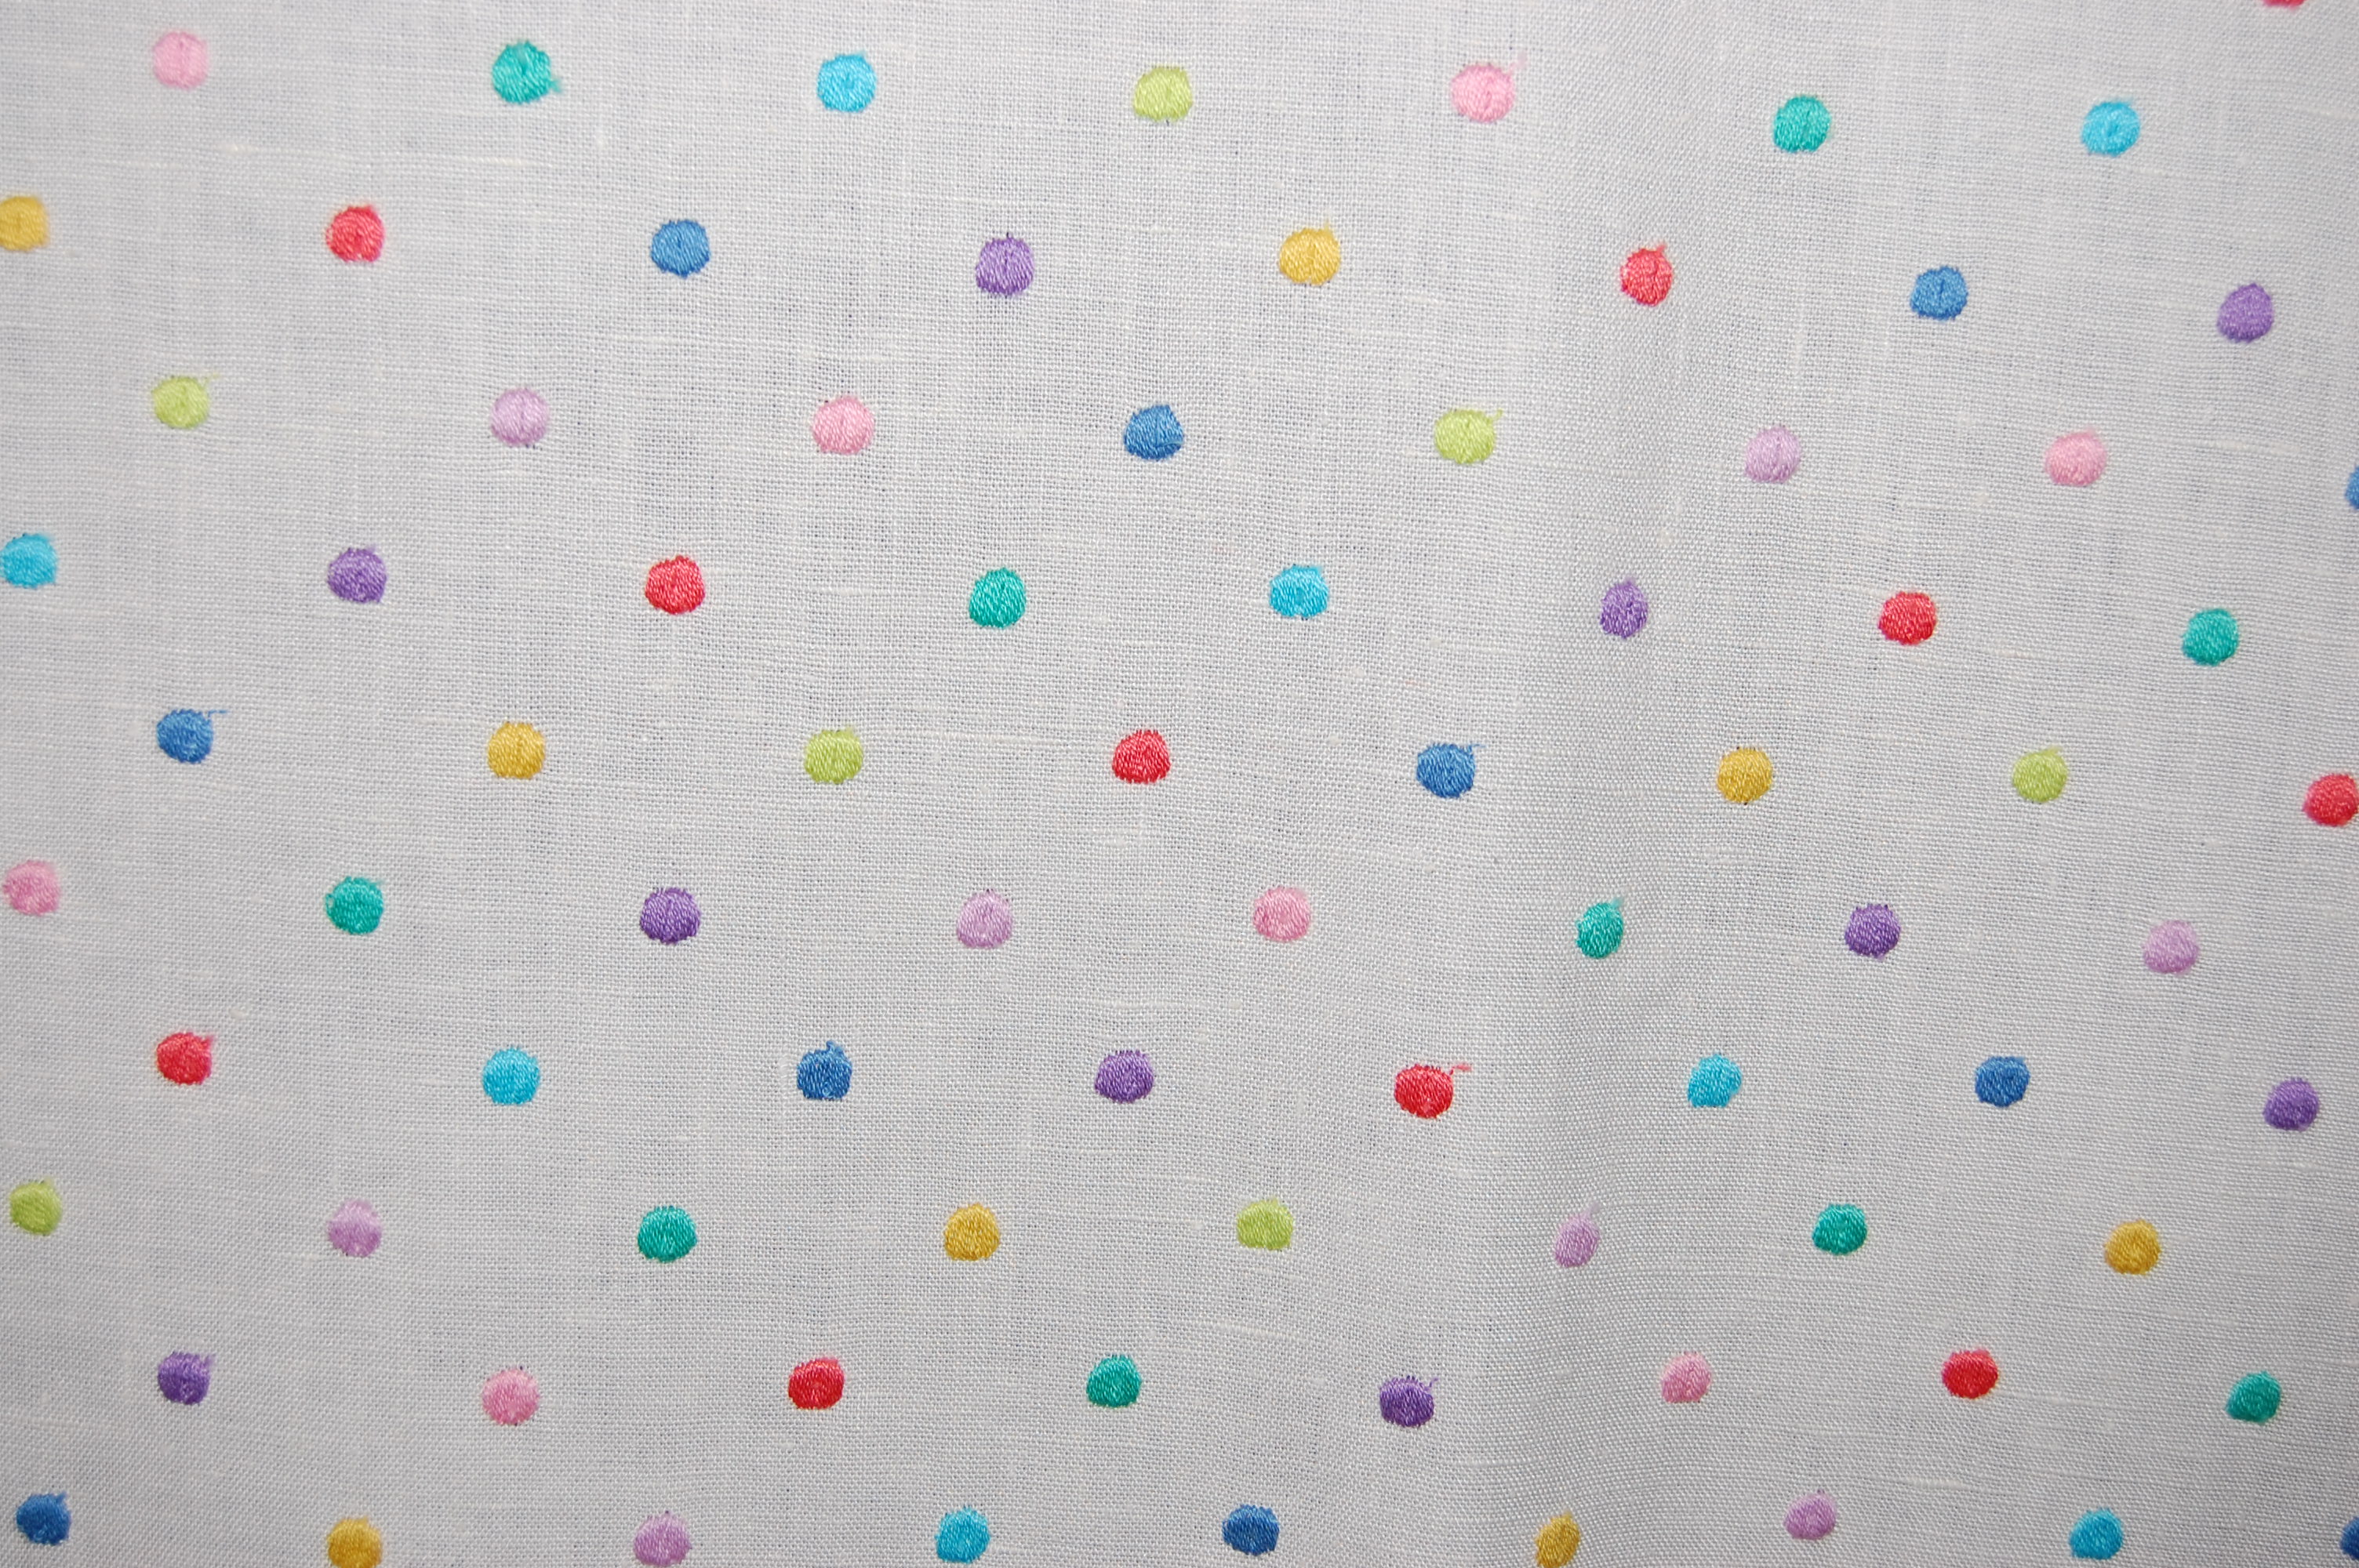
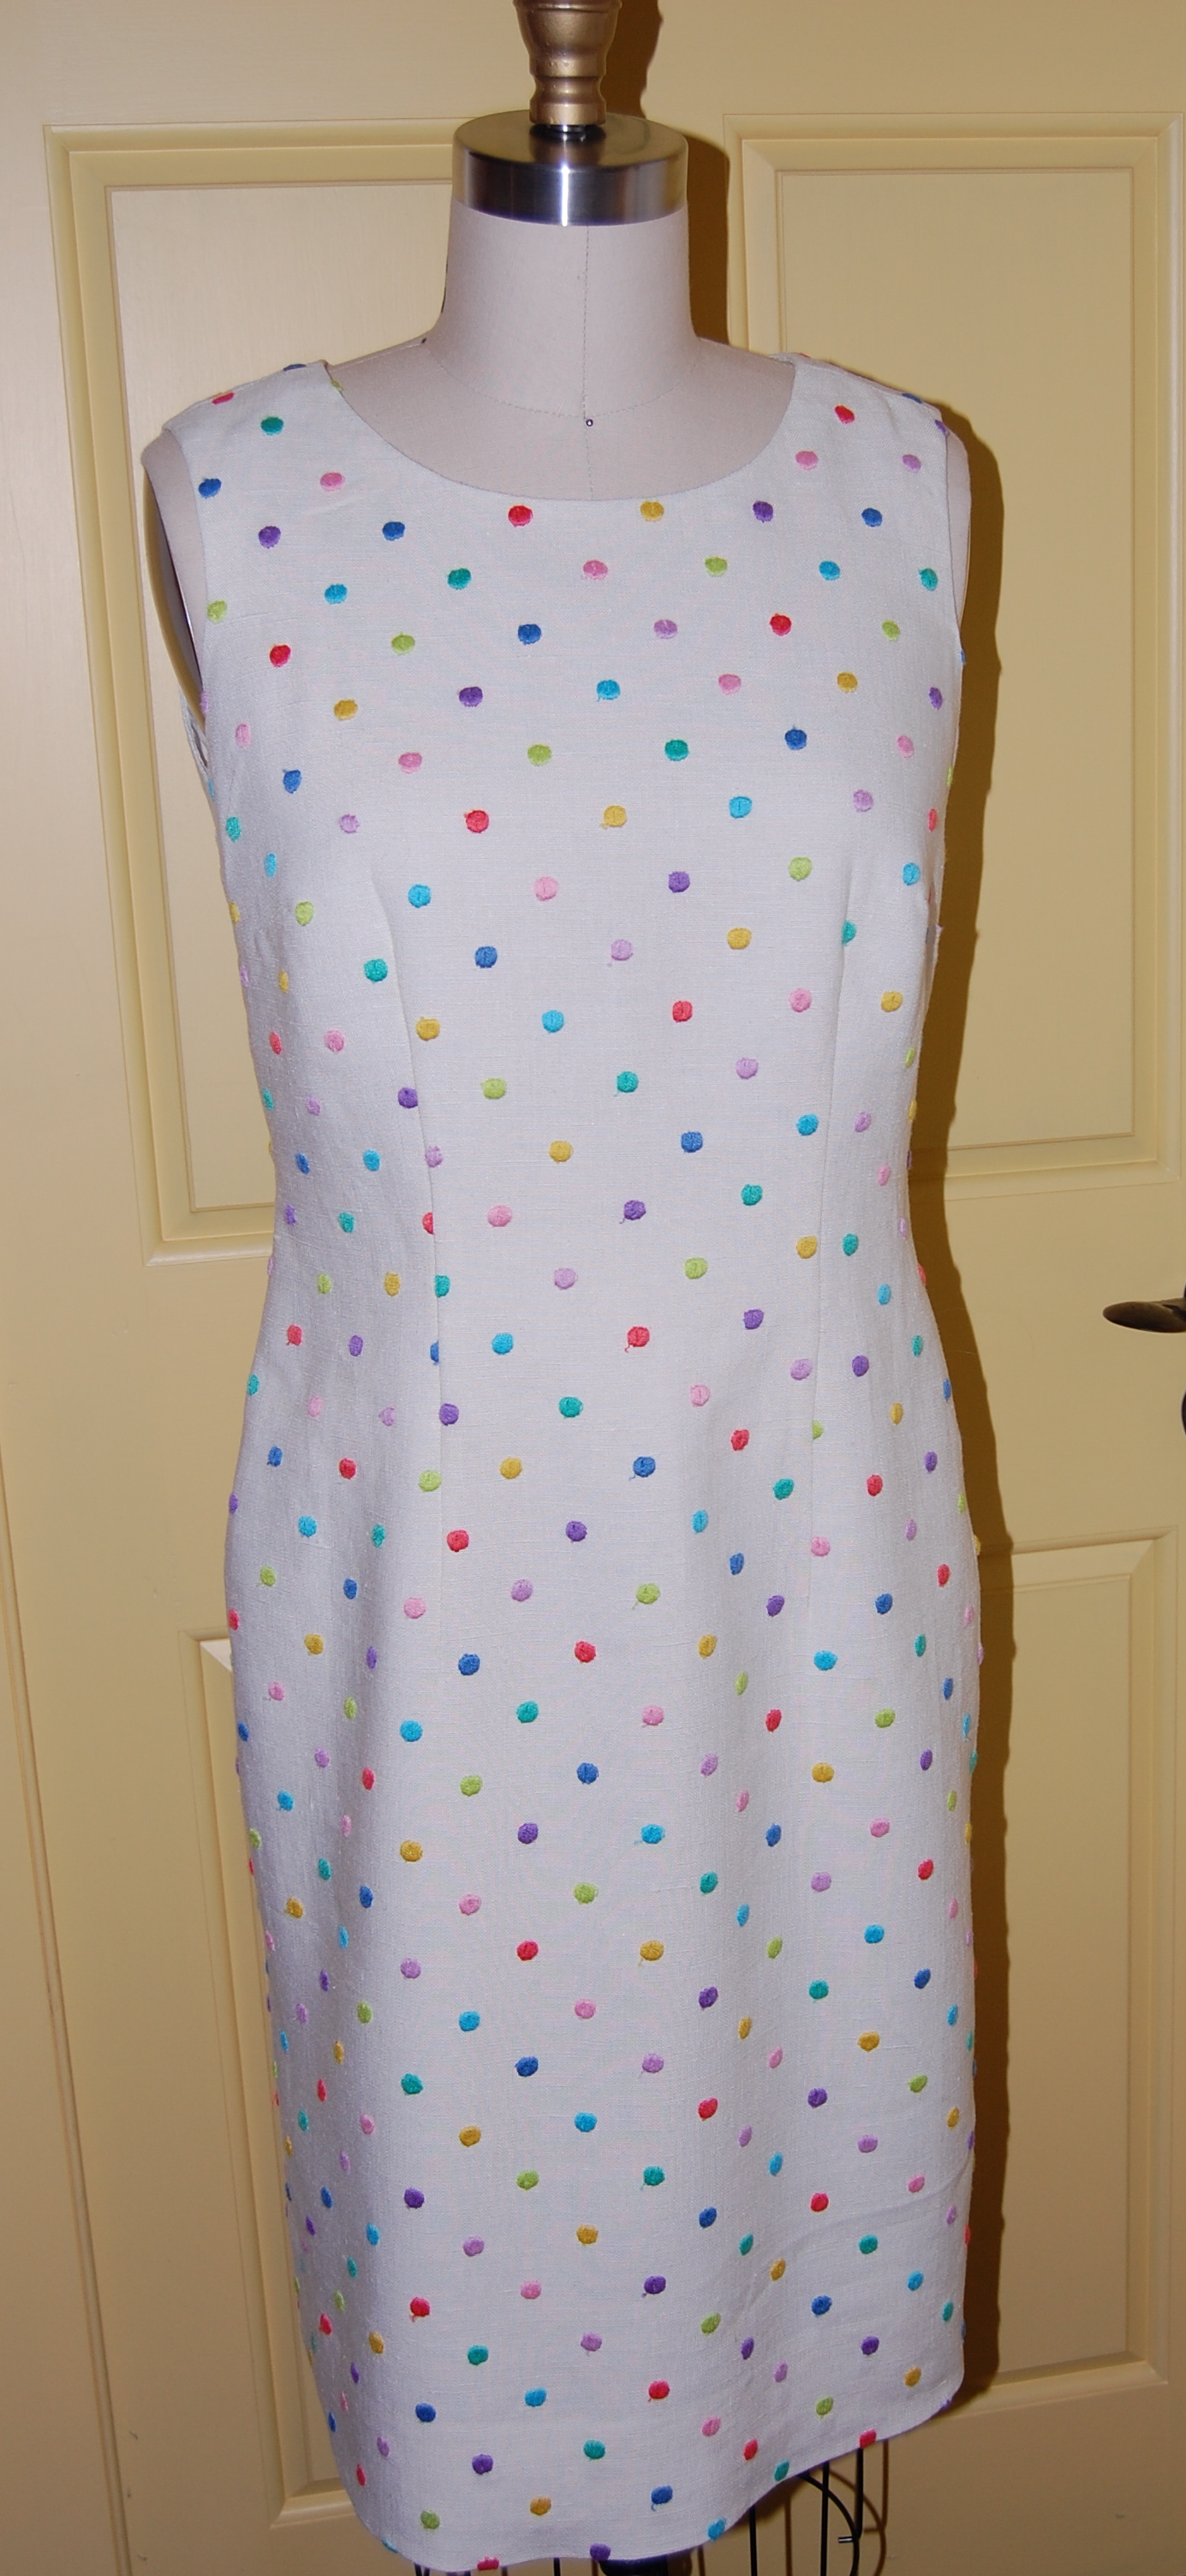
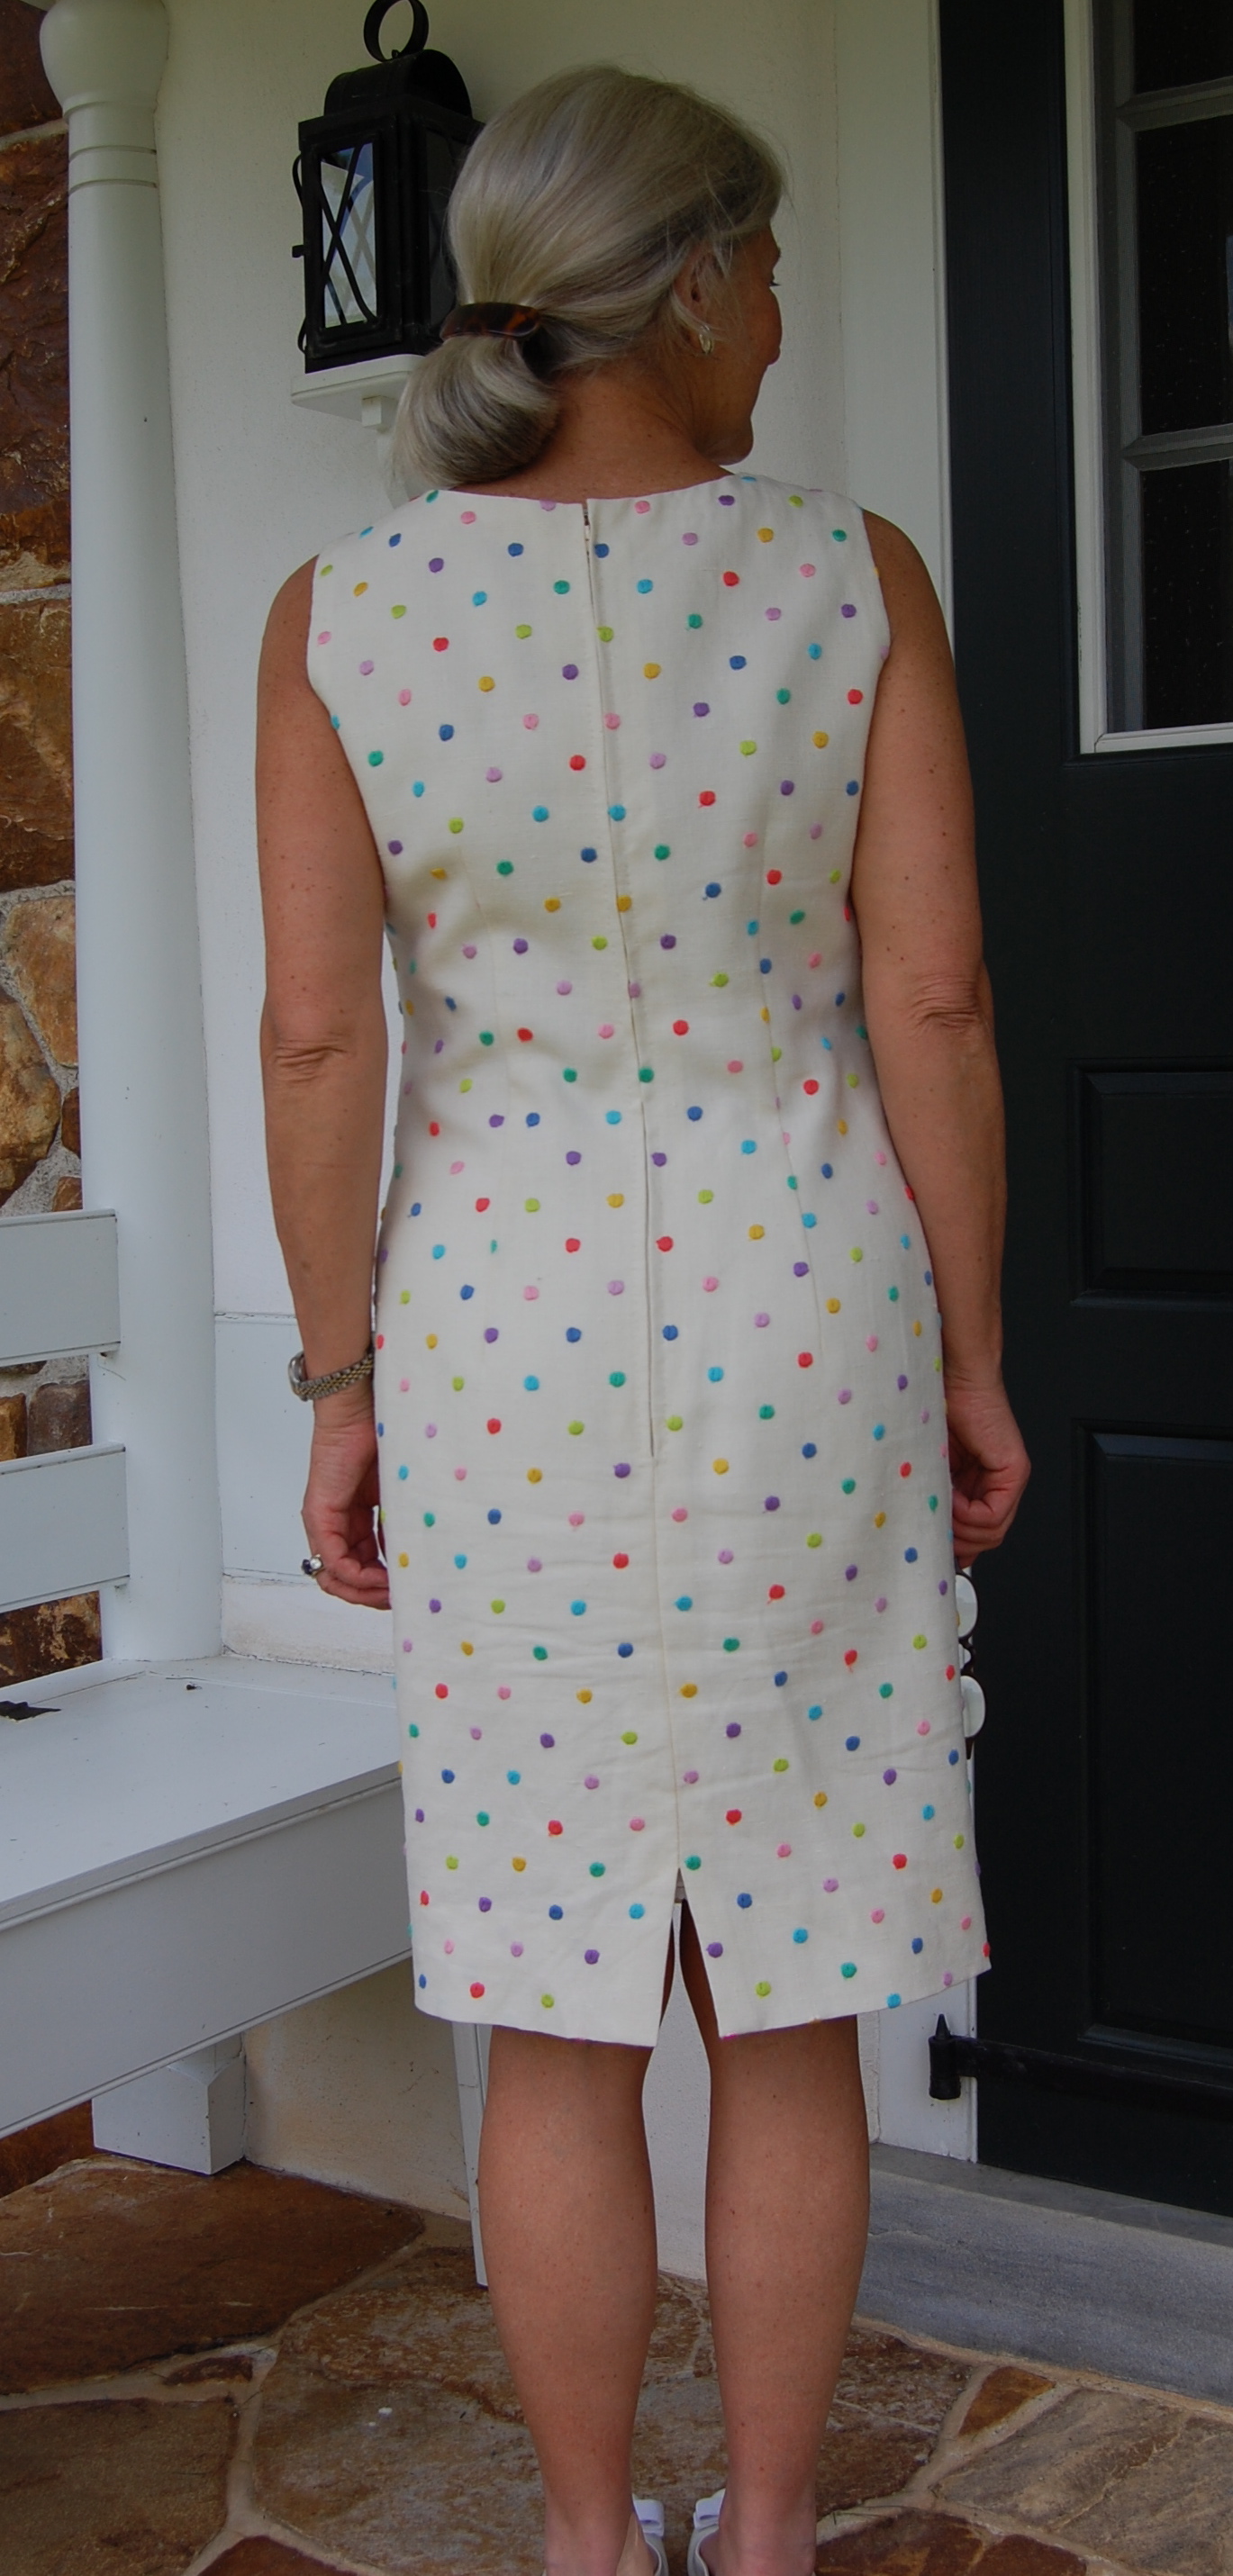
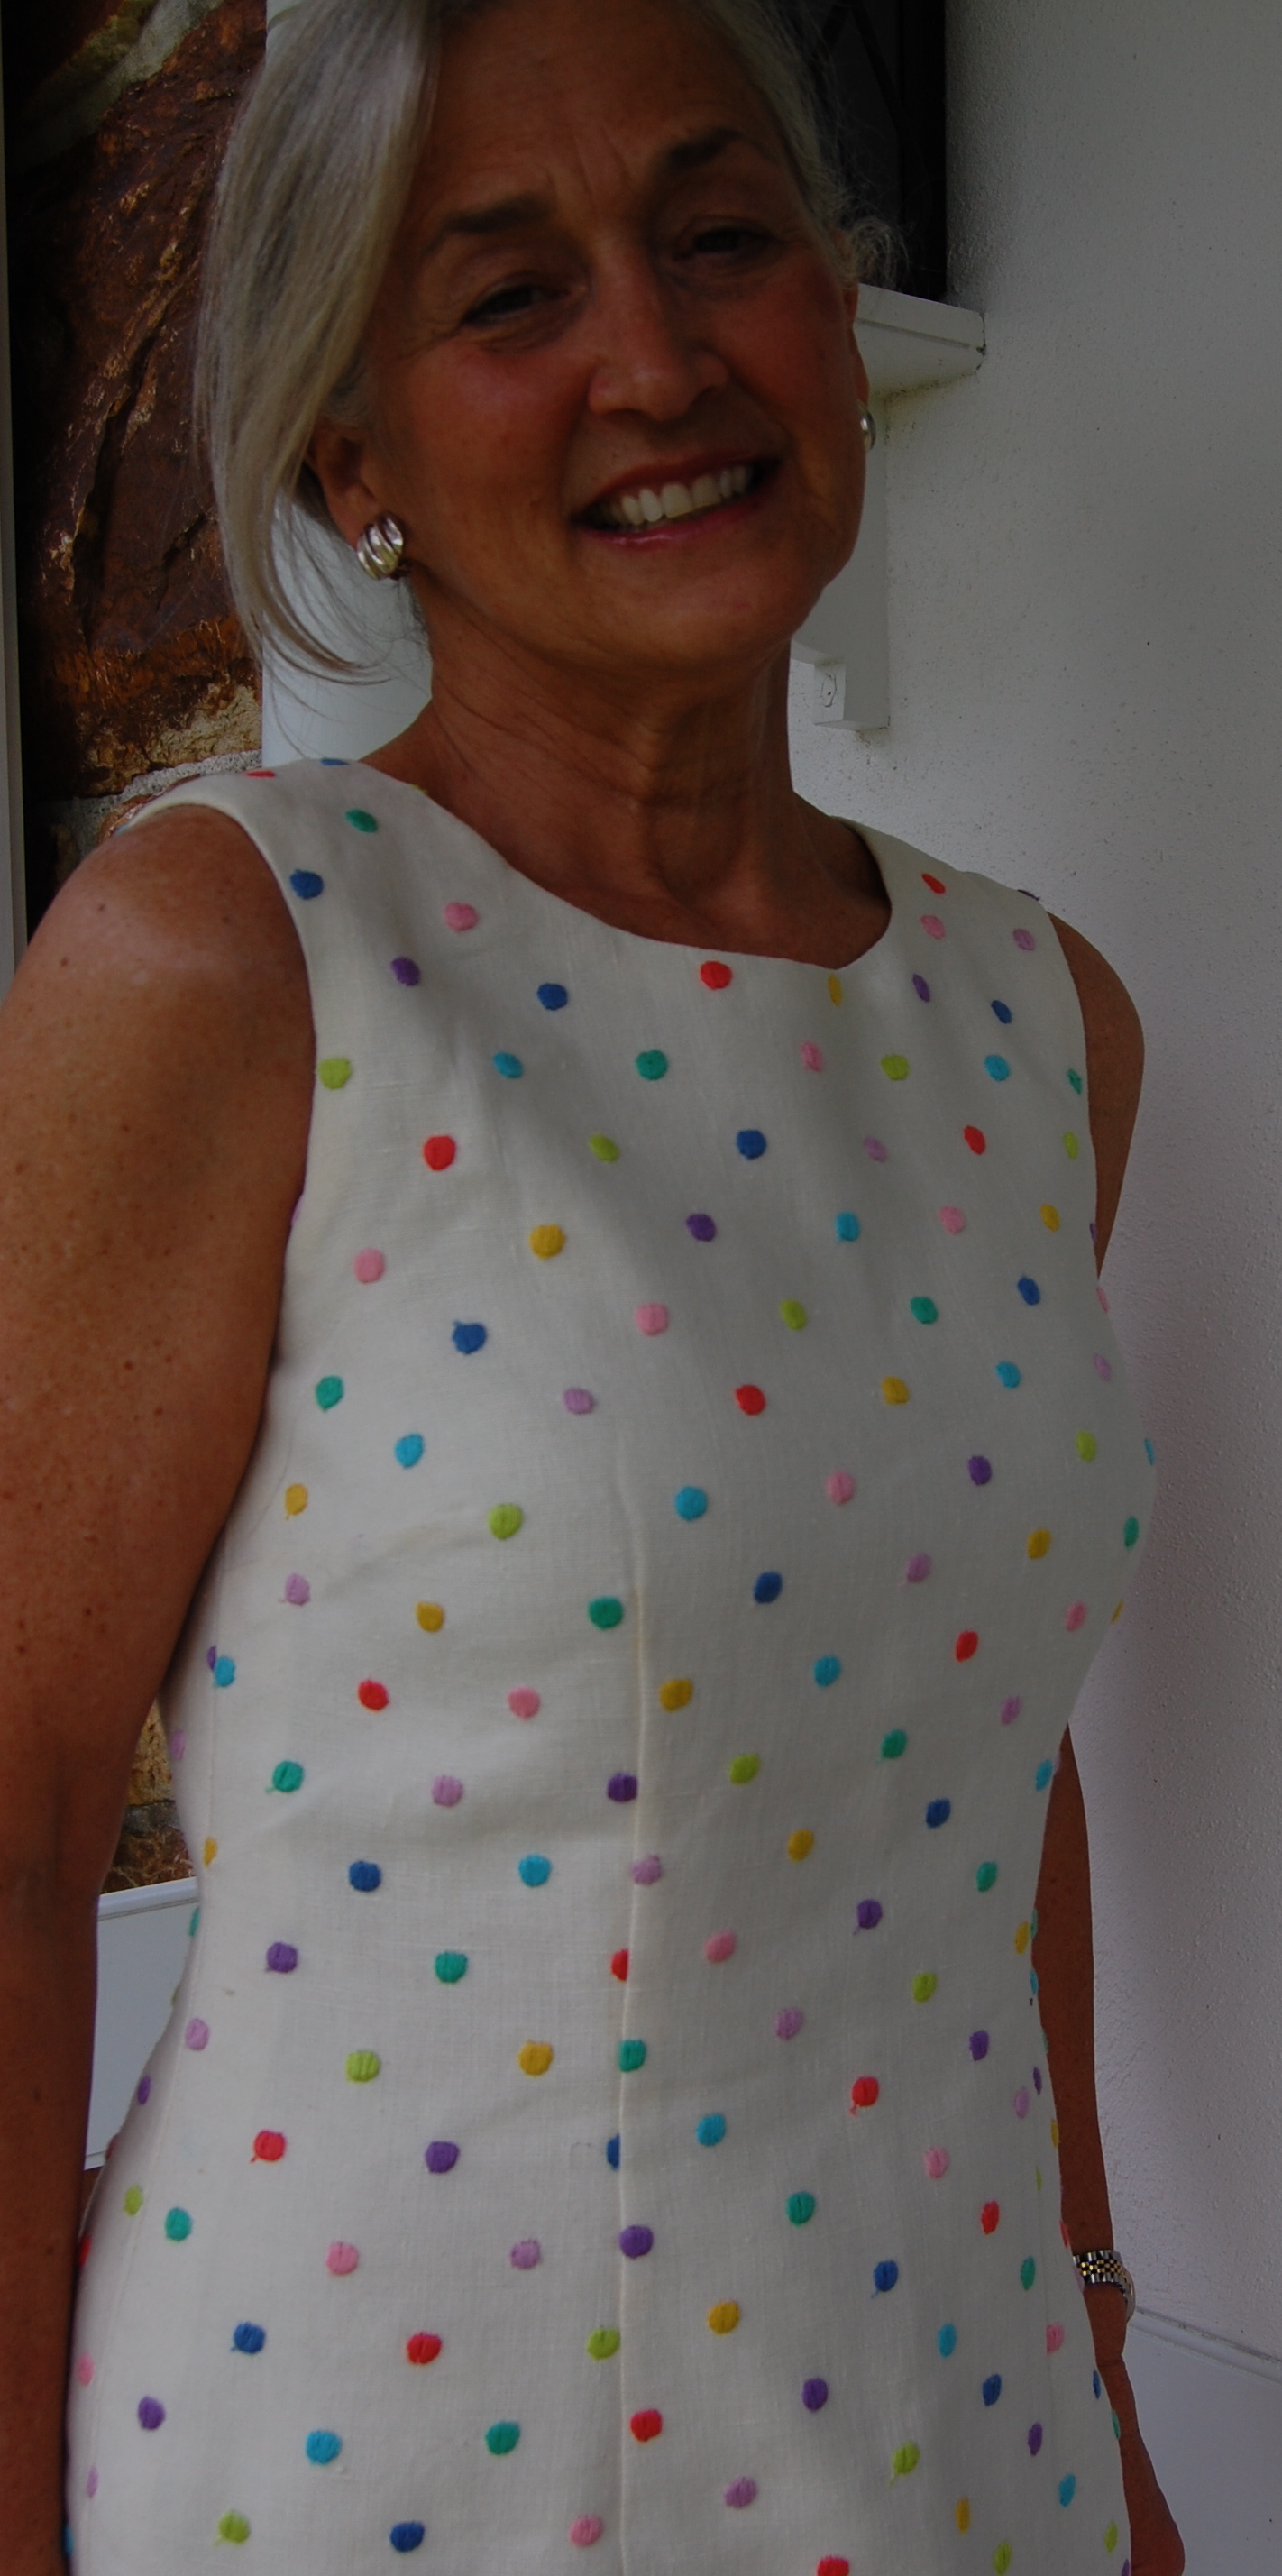
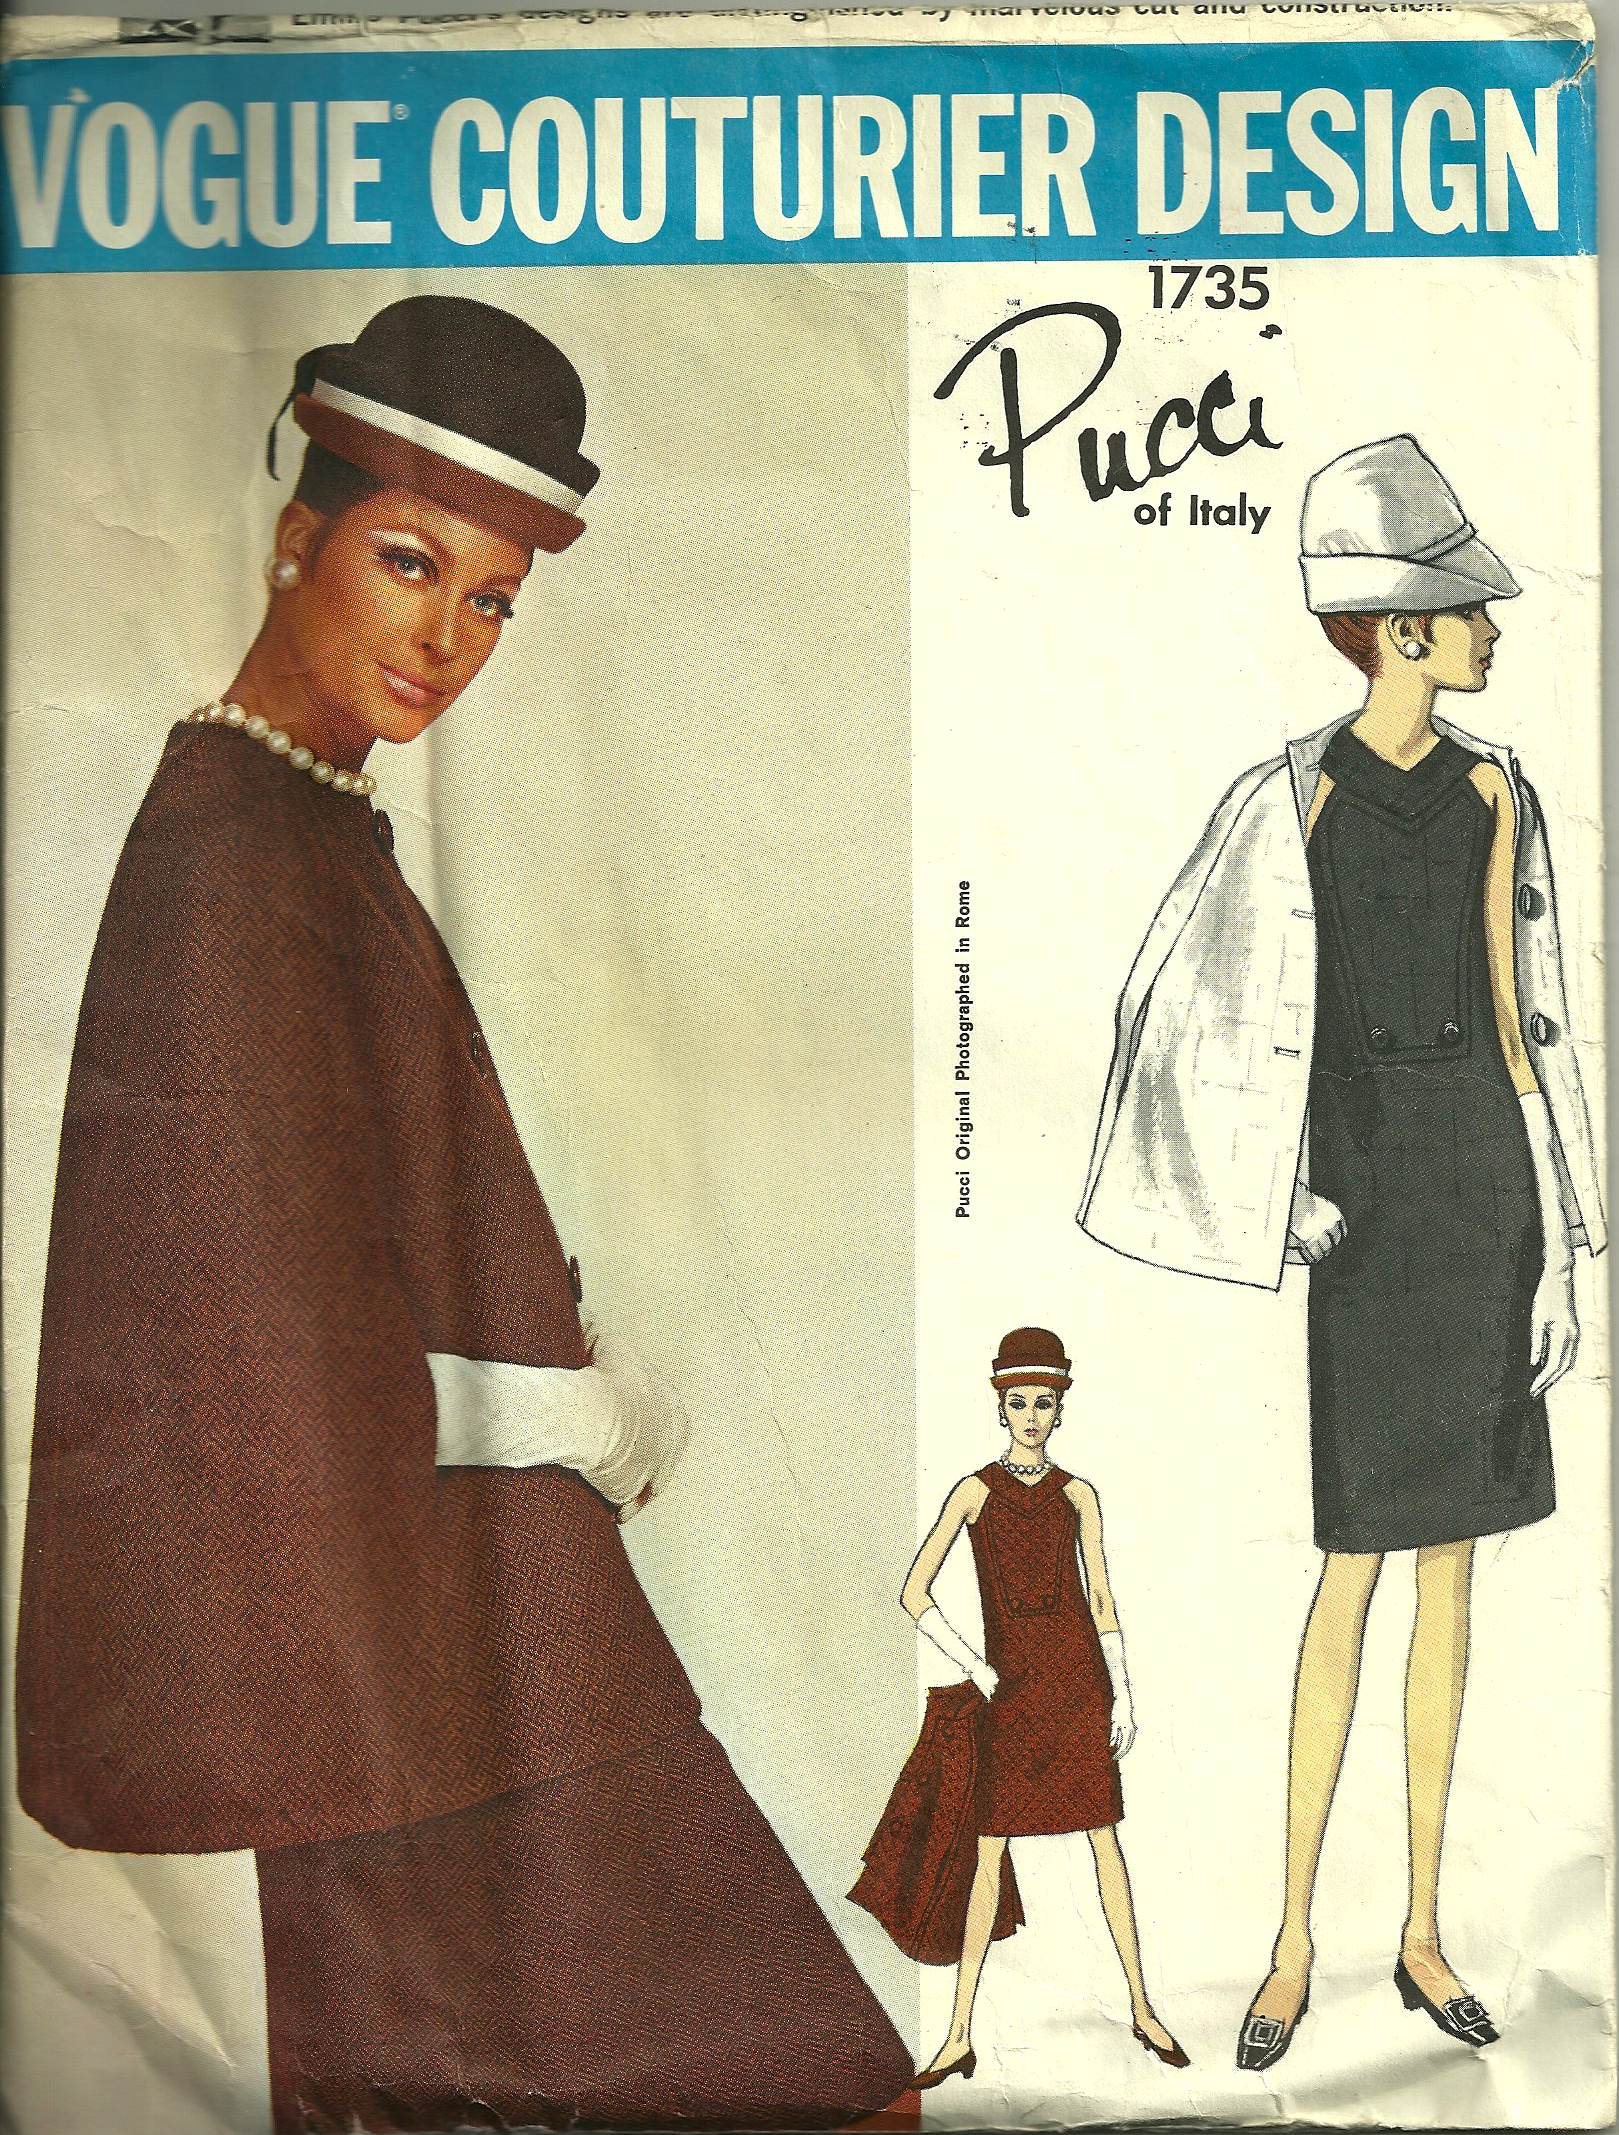
Last summer, while in JoAnn’s for one of my frequent thread or zipper trips, I stumbled onto some pretty linen/cotton blends – and on a whim, purchased two lengths. One I made up immediately into a tunic dress; the other one has just sat around, keeping company with other lengths of fabric folded neatly on my “linen” storage shelf. After finding (in an Etsy shop) this classic tunic top pattern, now out-of-print, I decided this might be a good time to use that second piece of “whim” fabric.
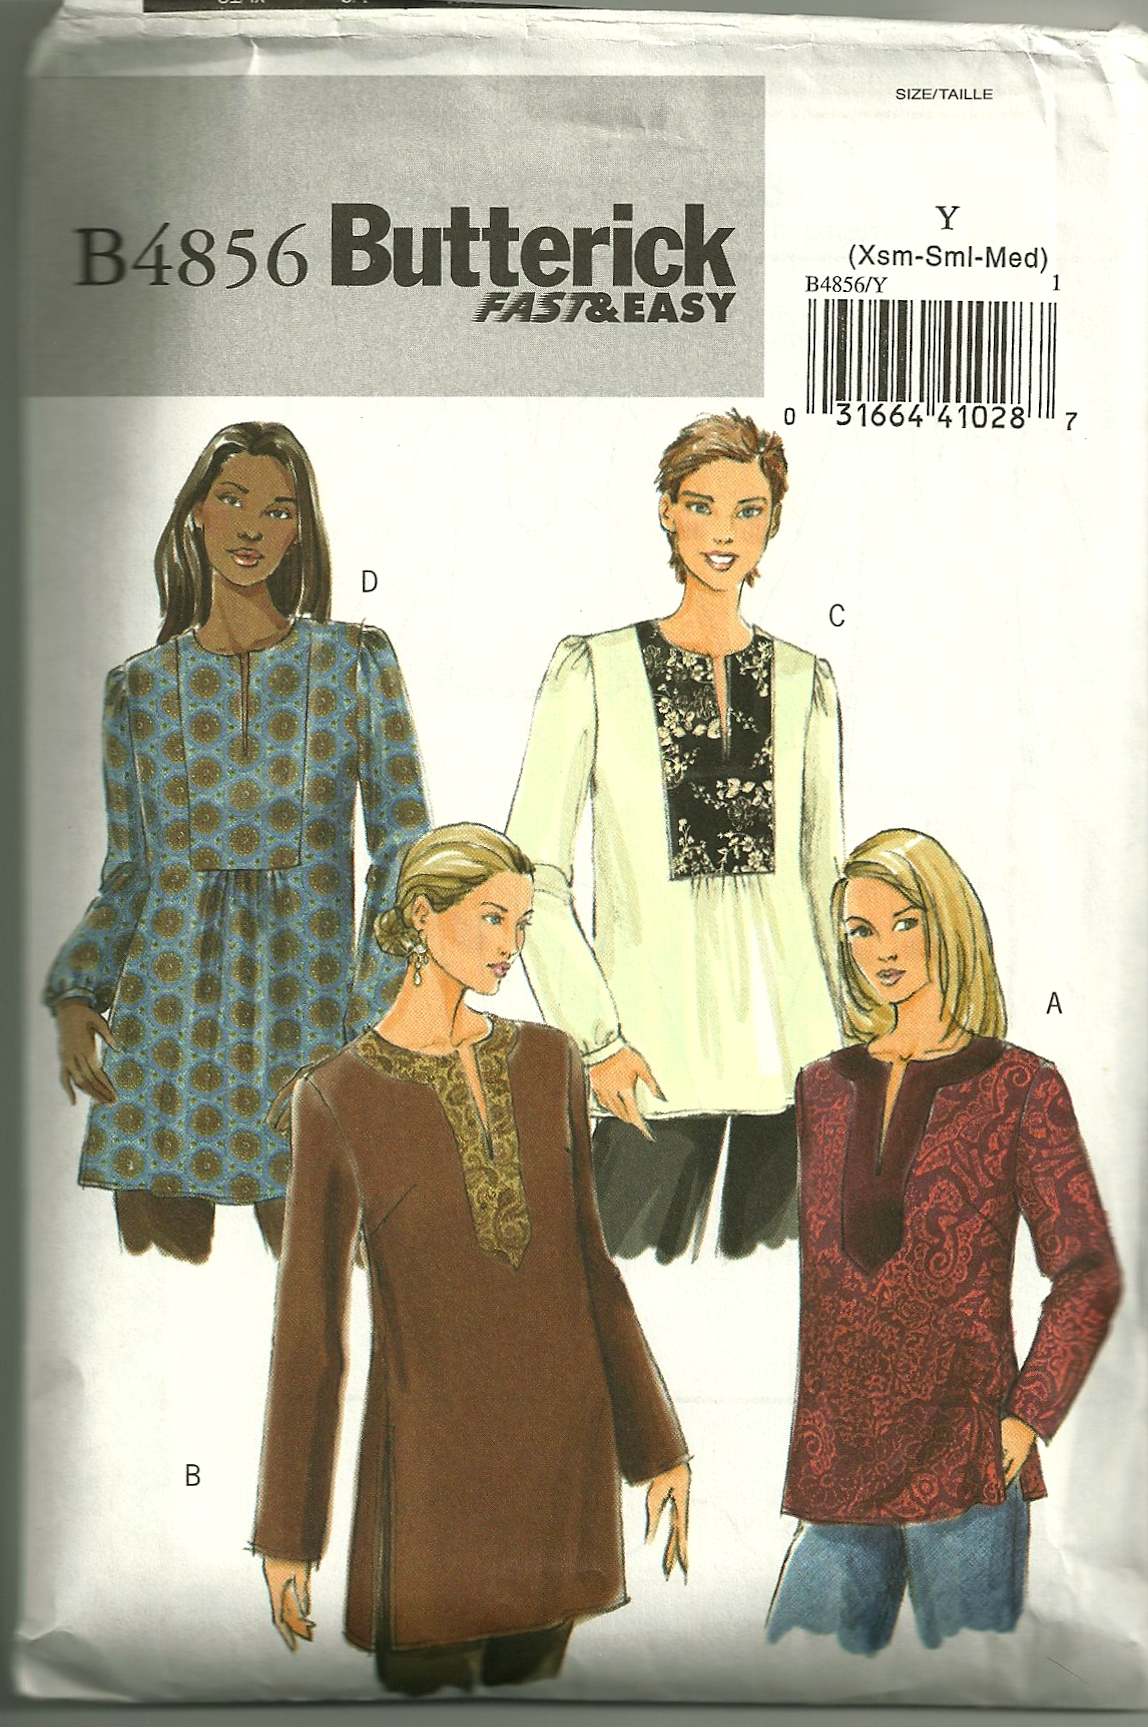
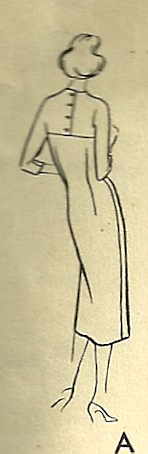
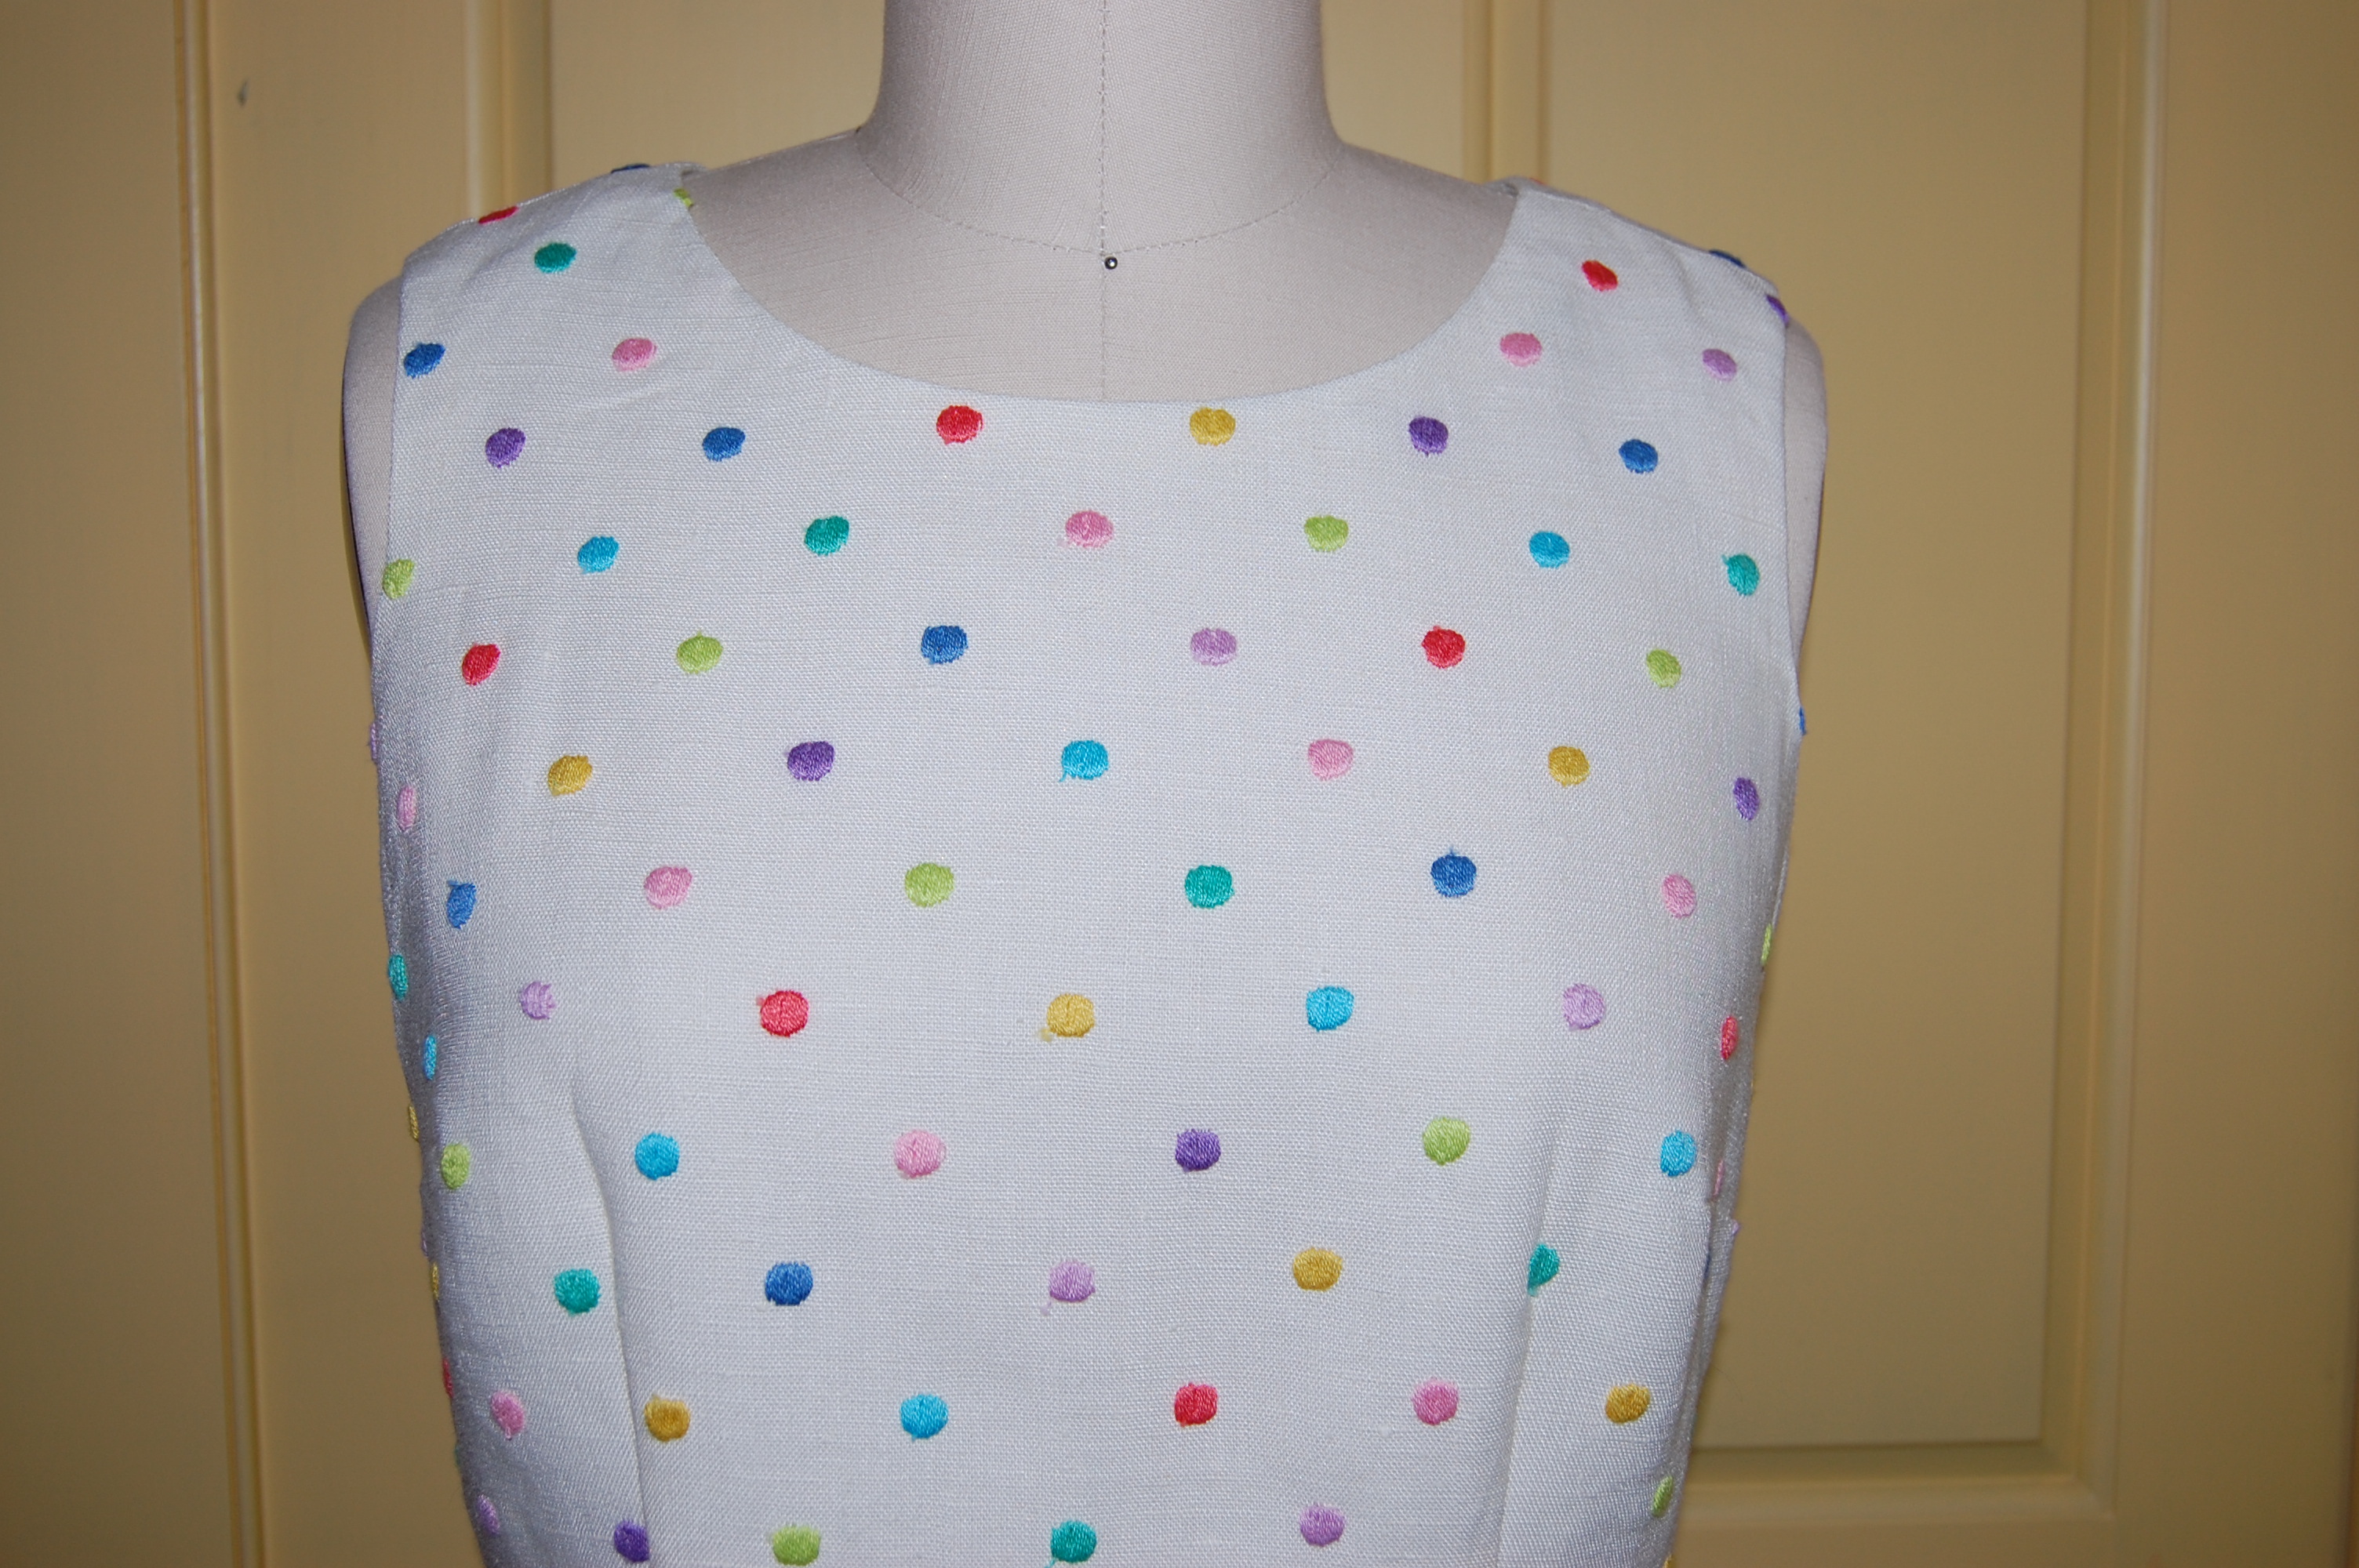
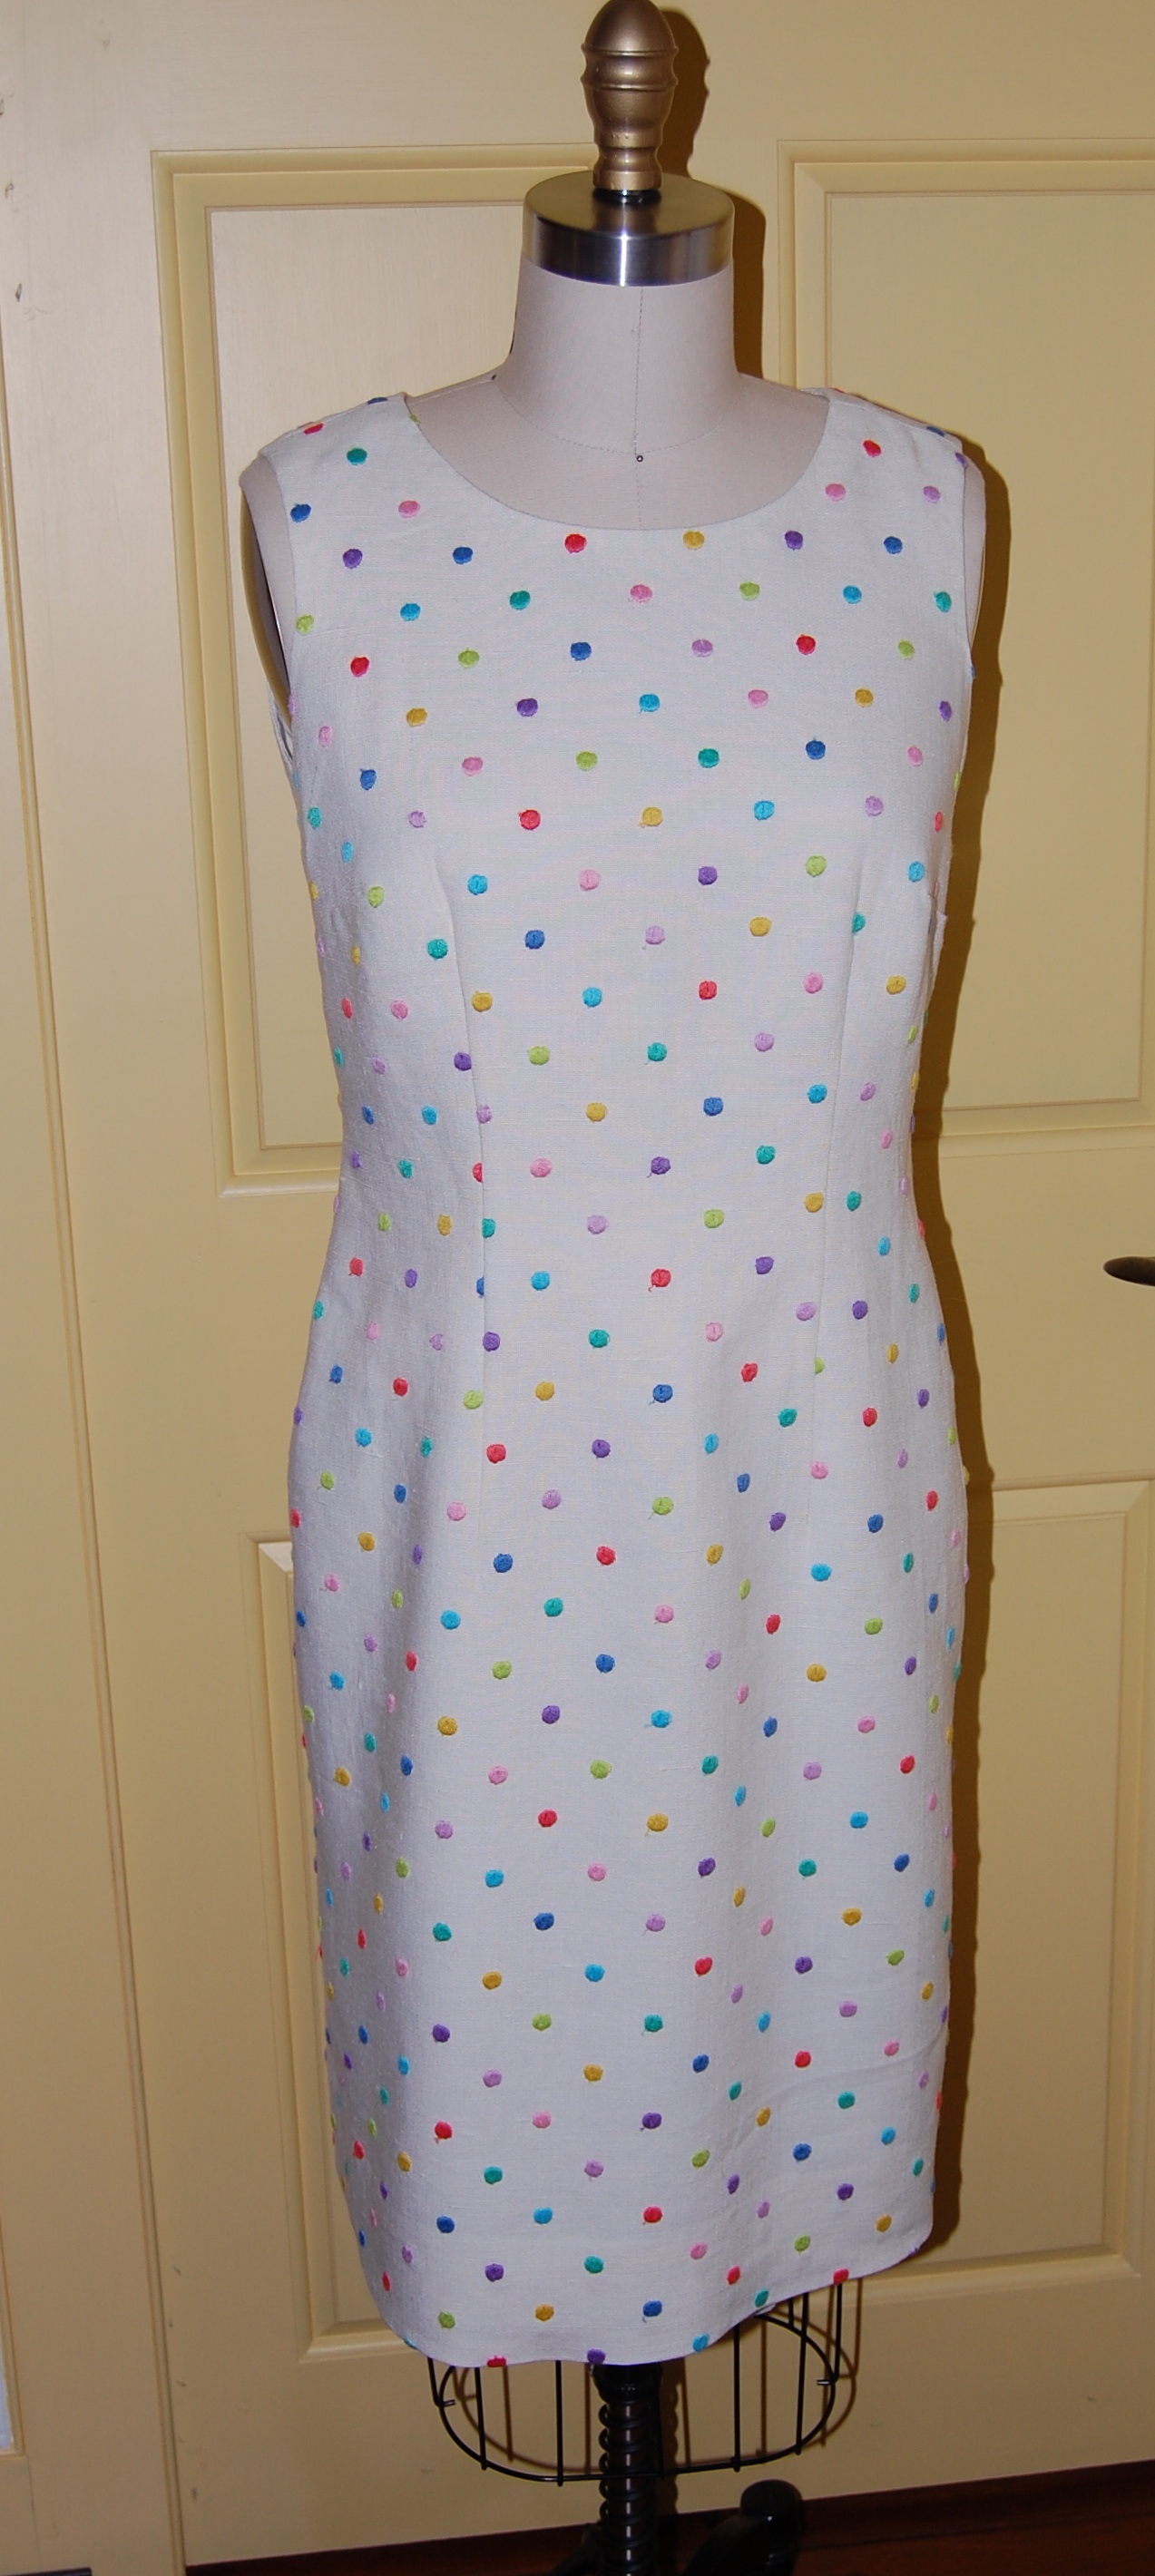
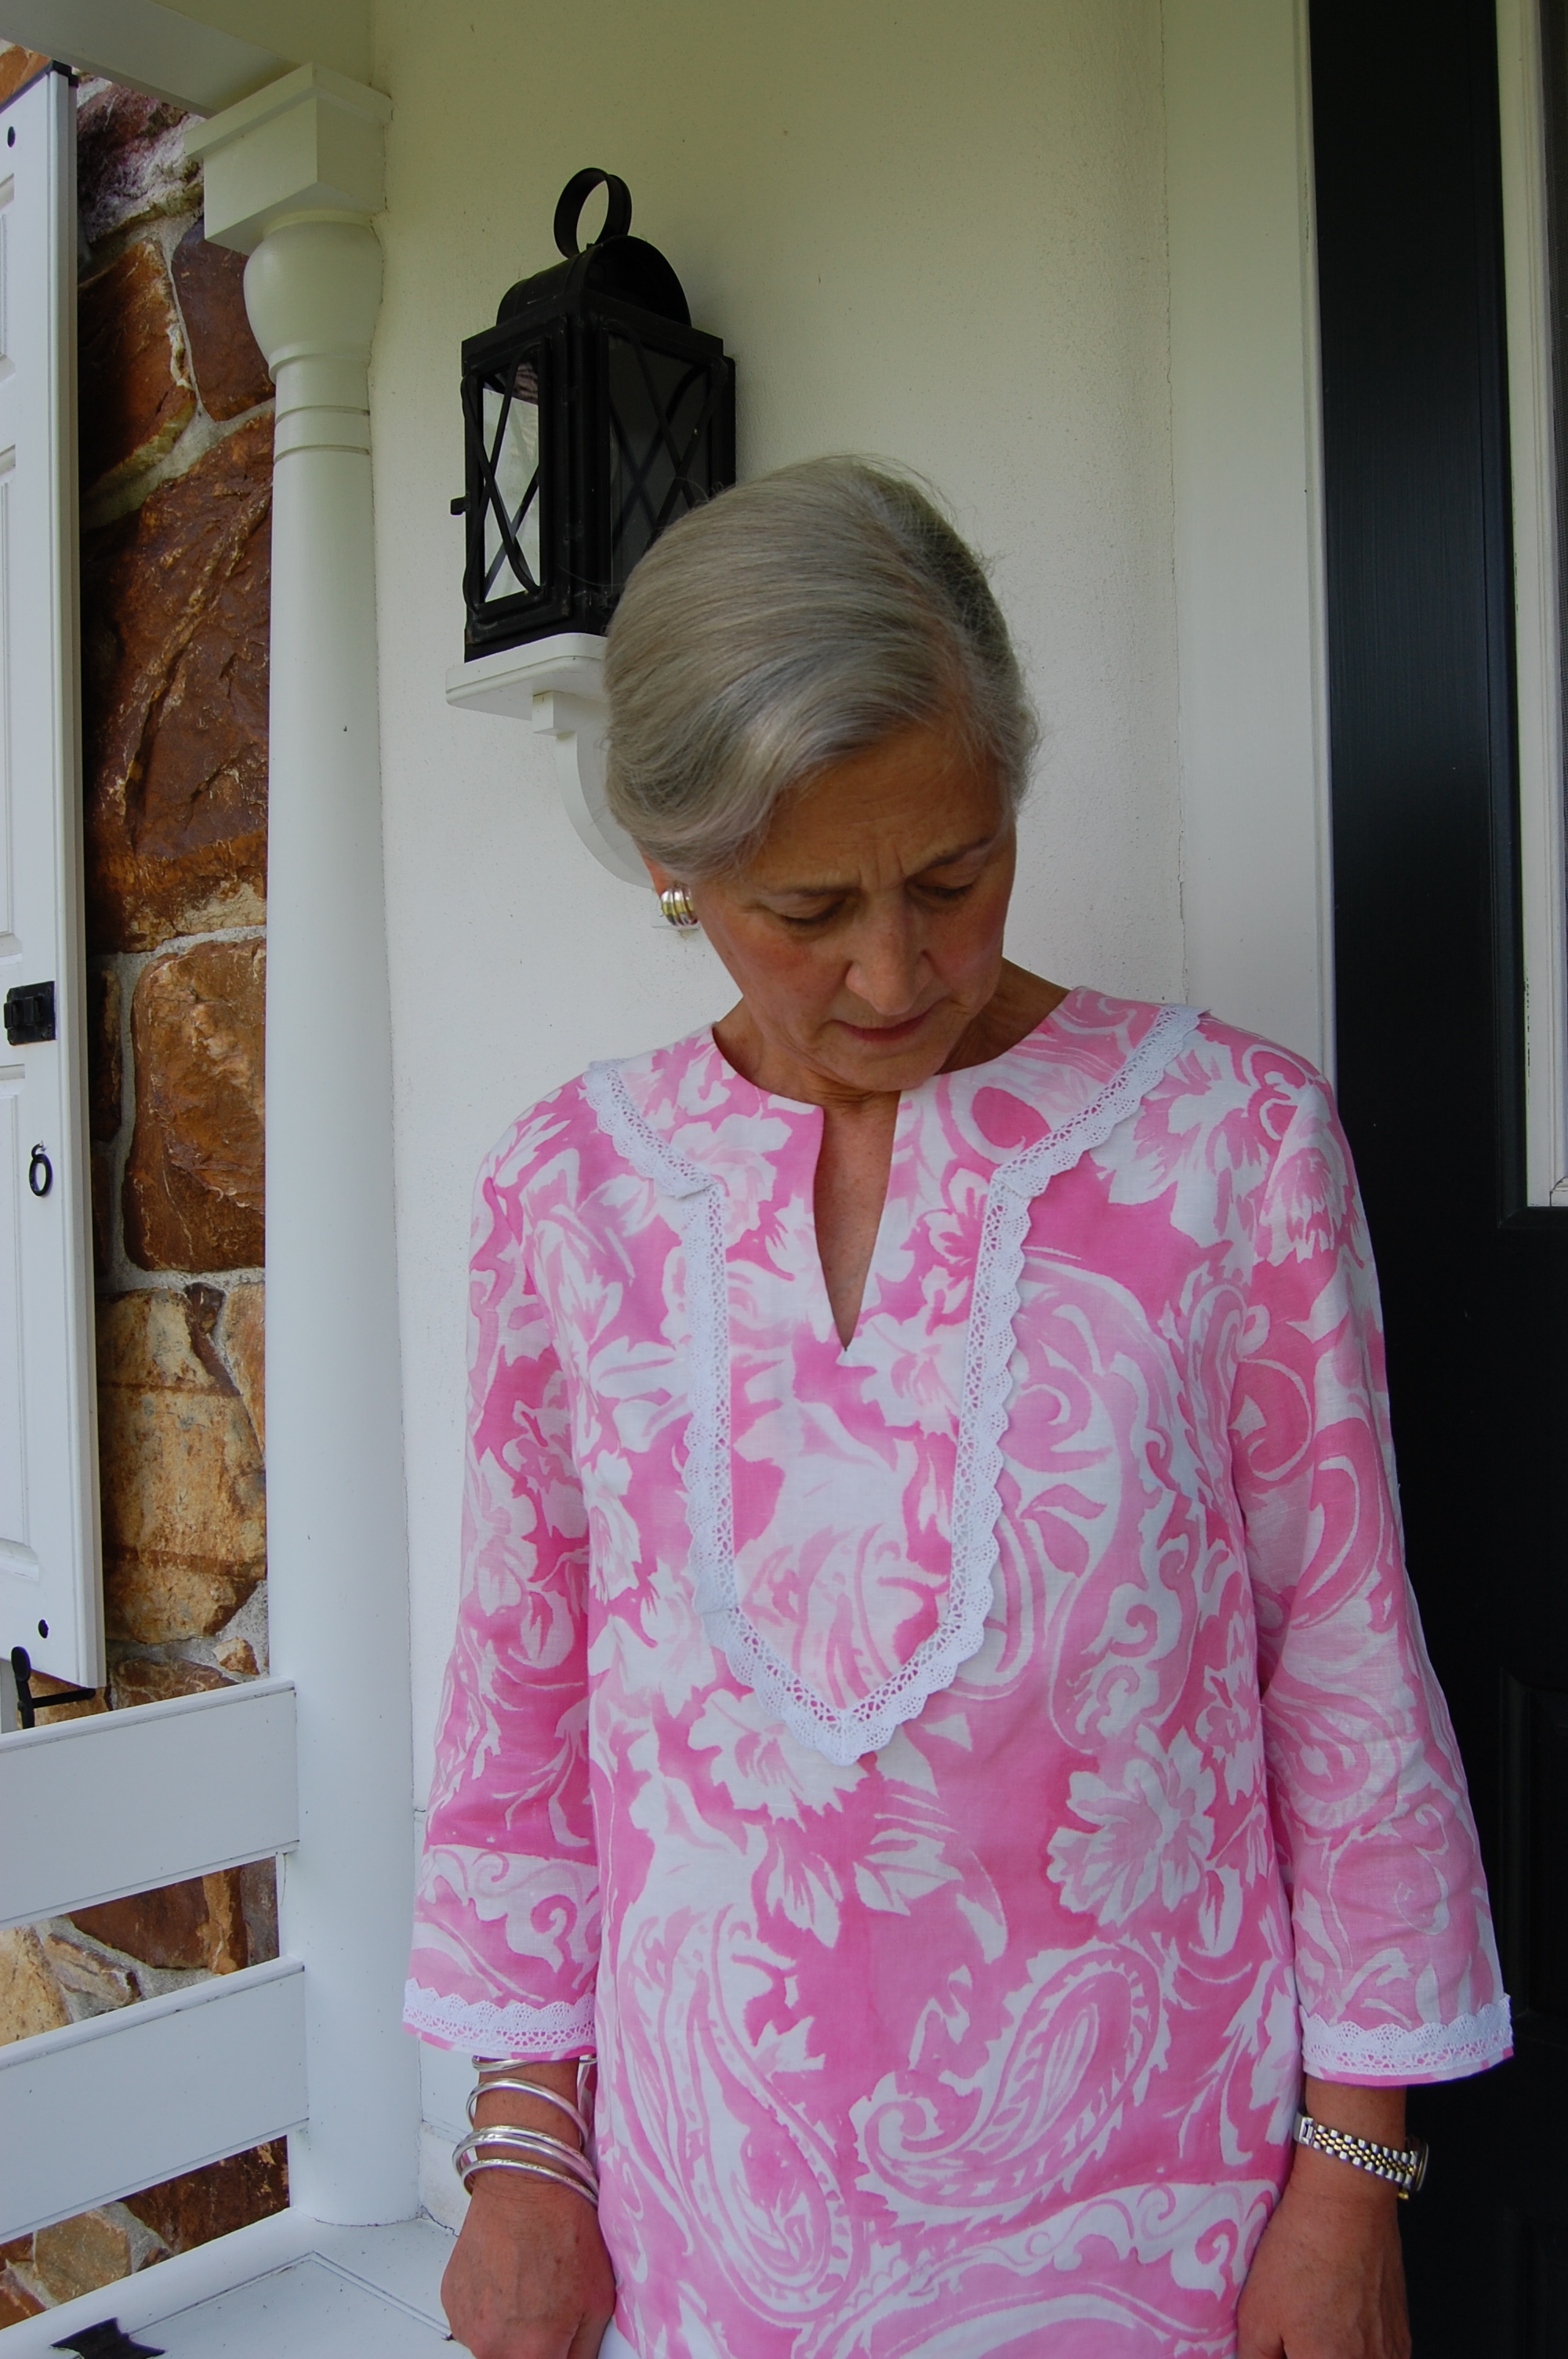
View A is the top I like best…

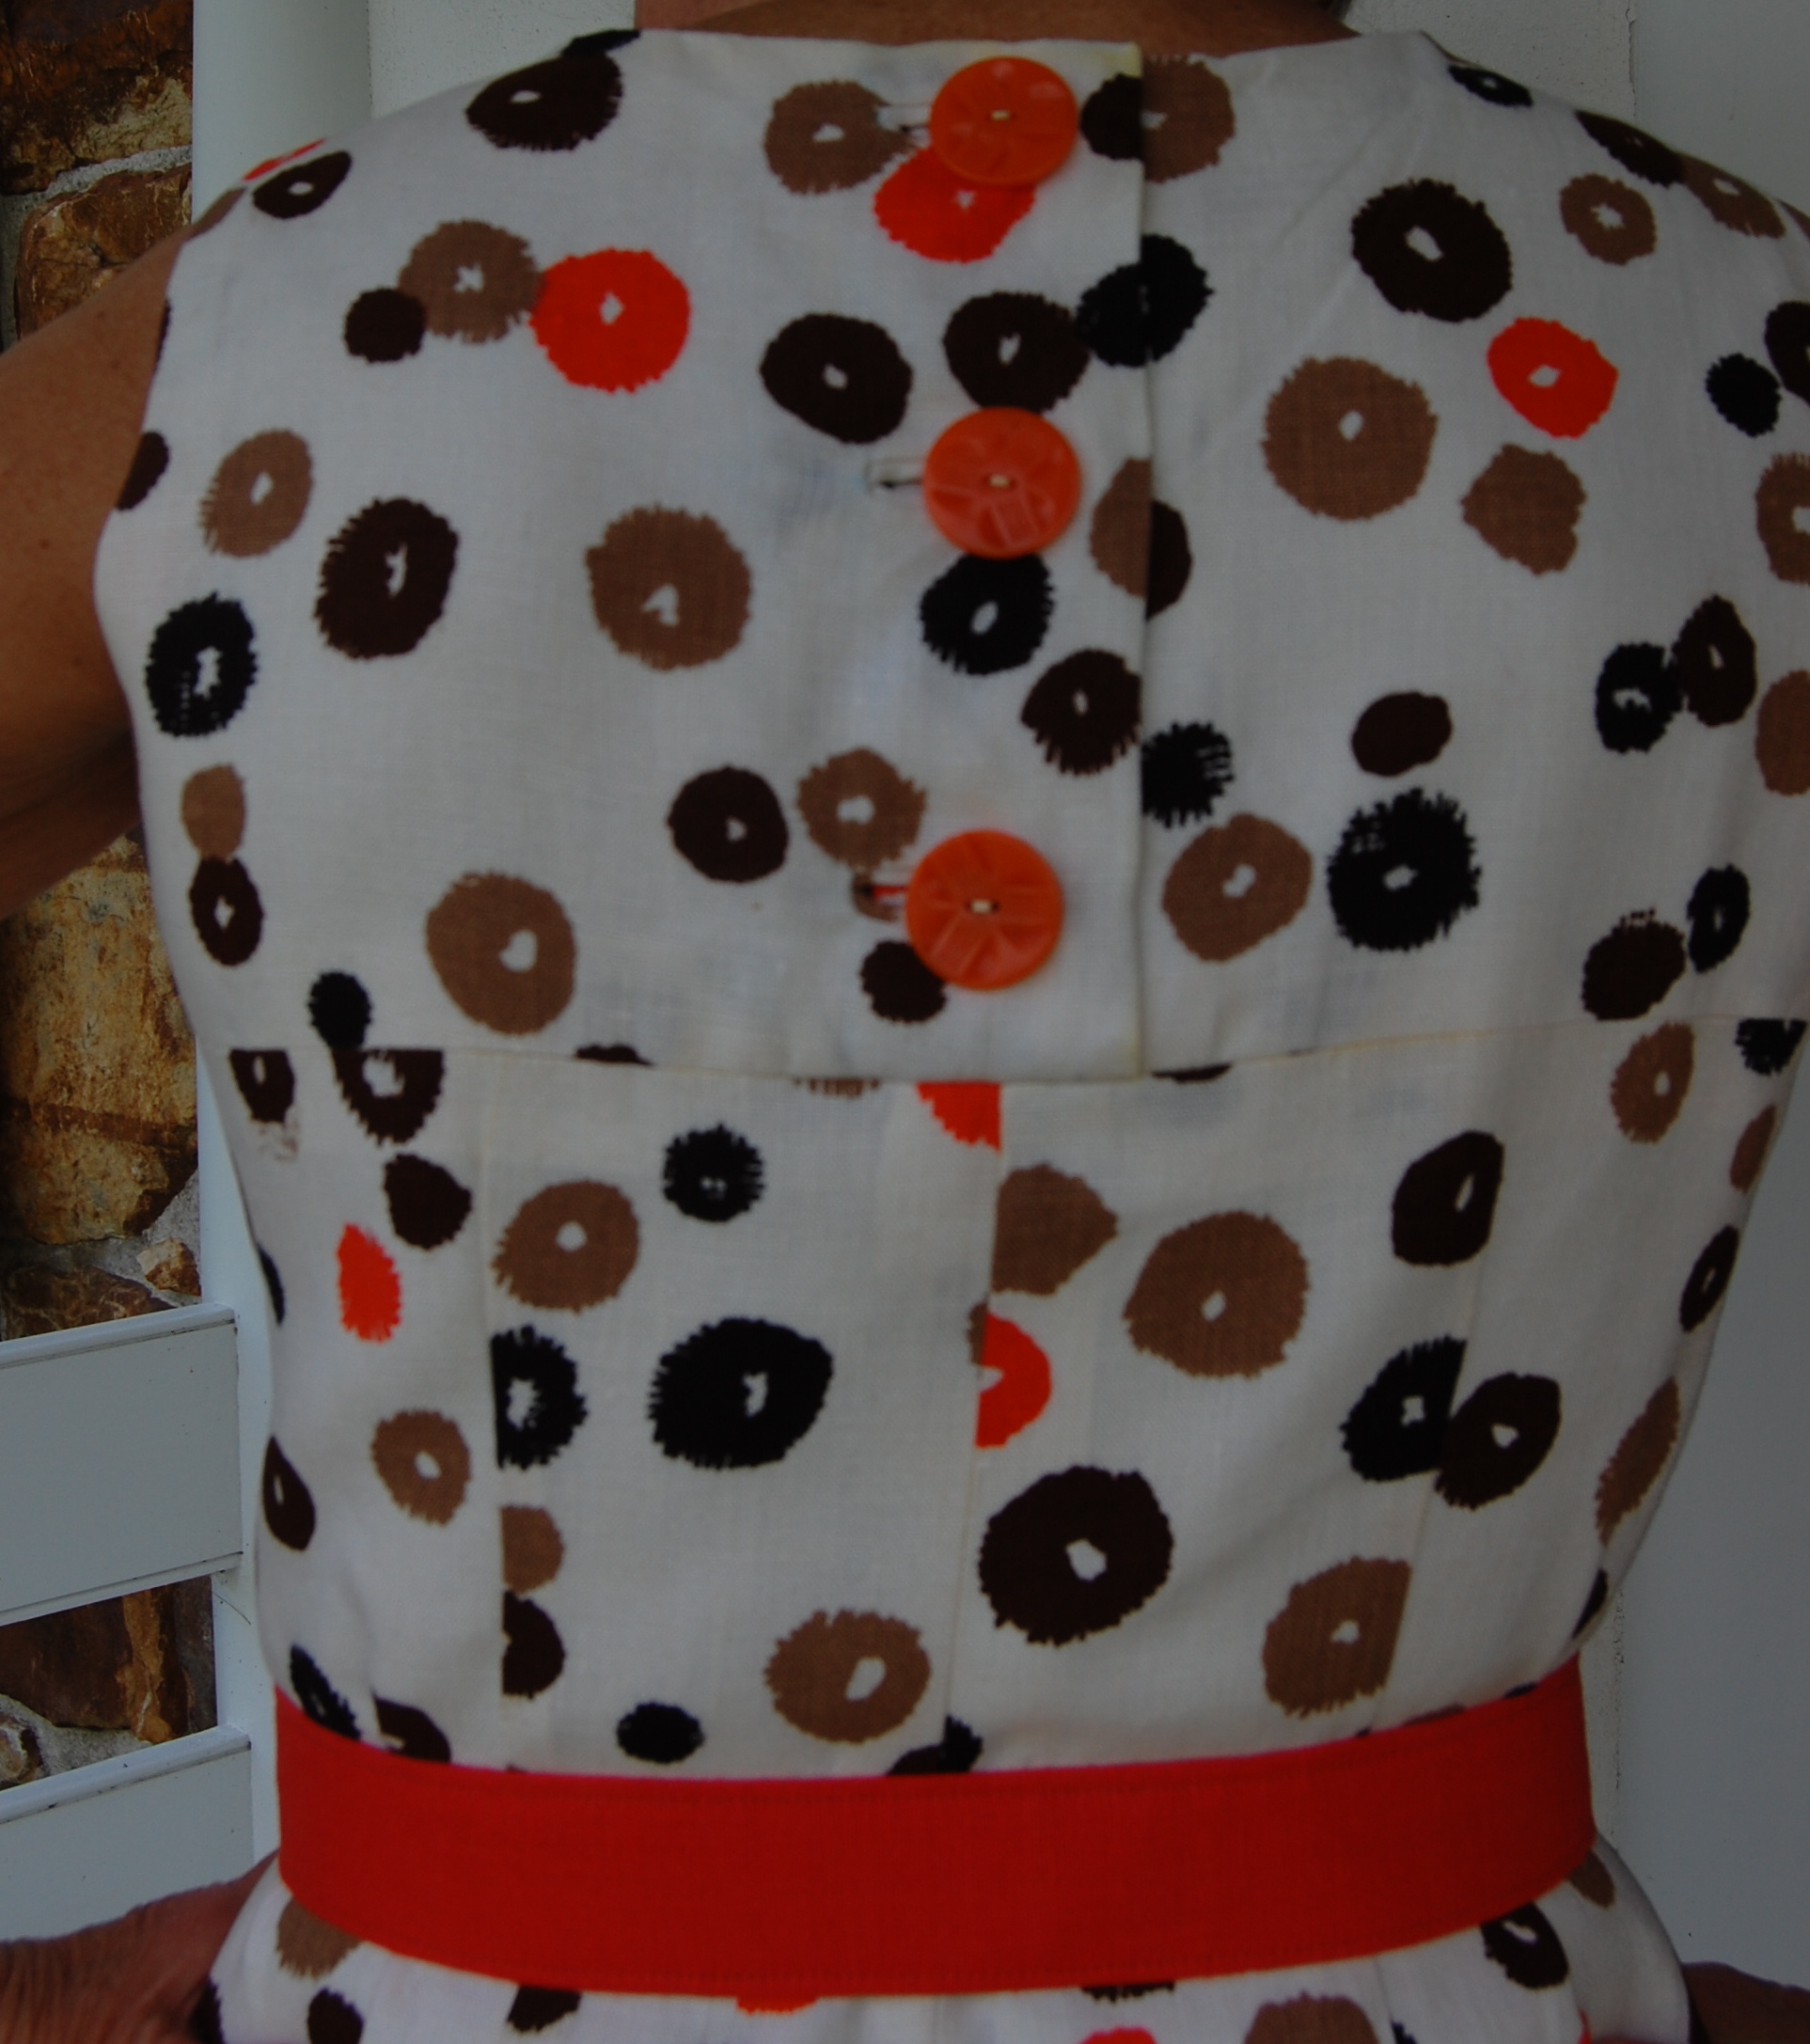
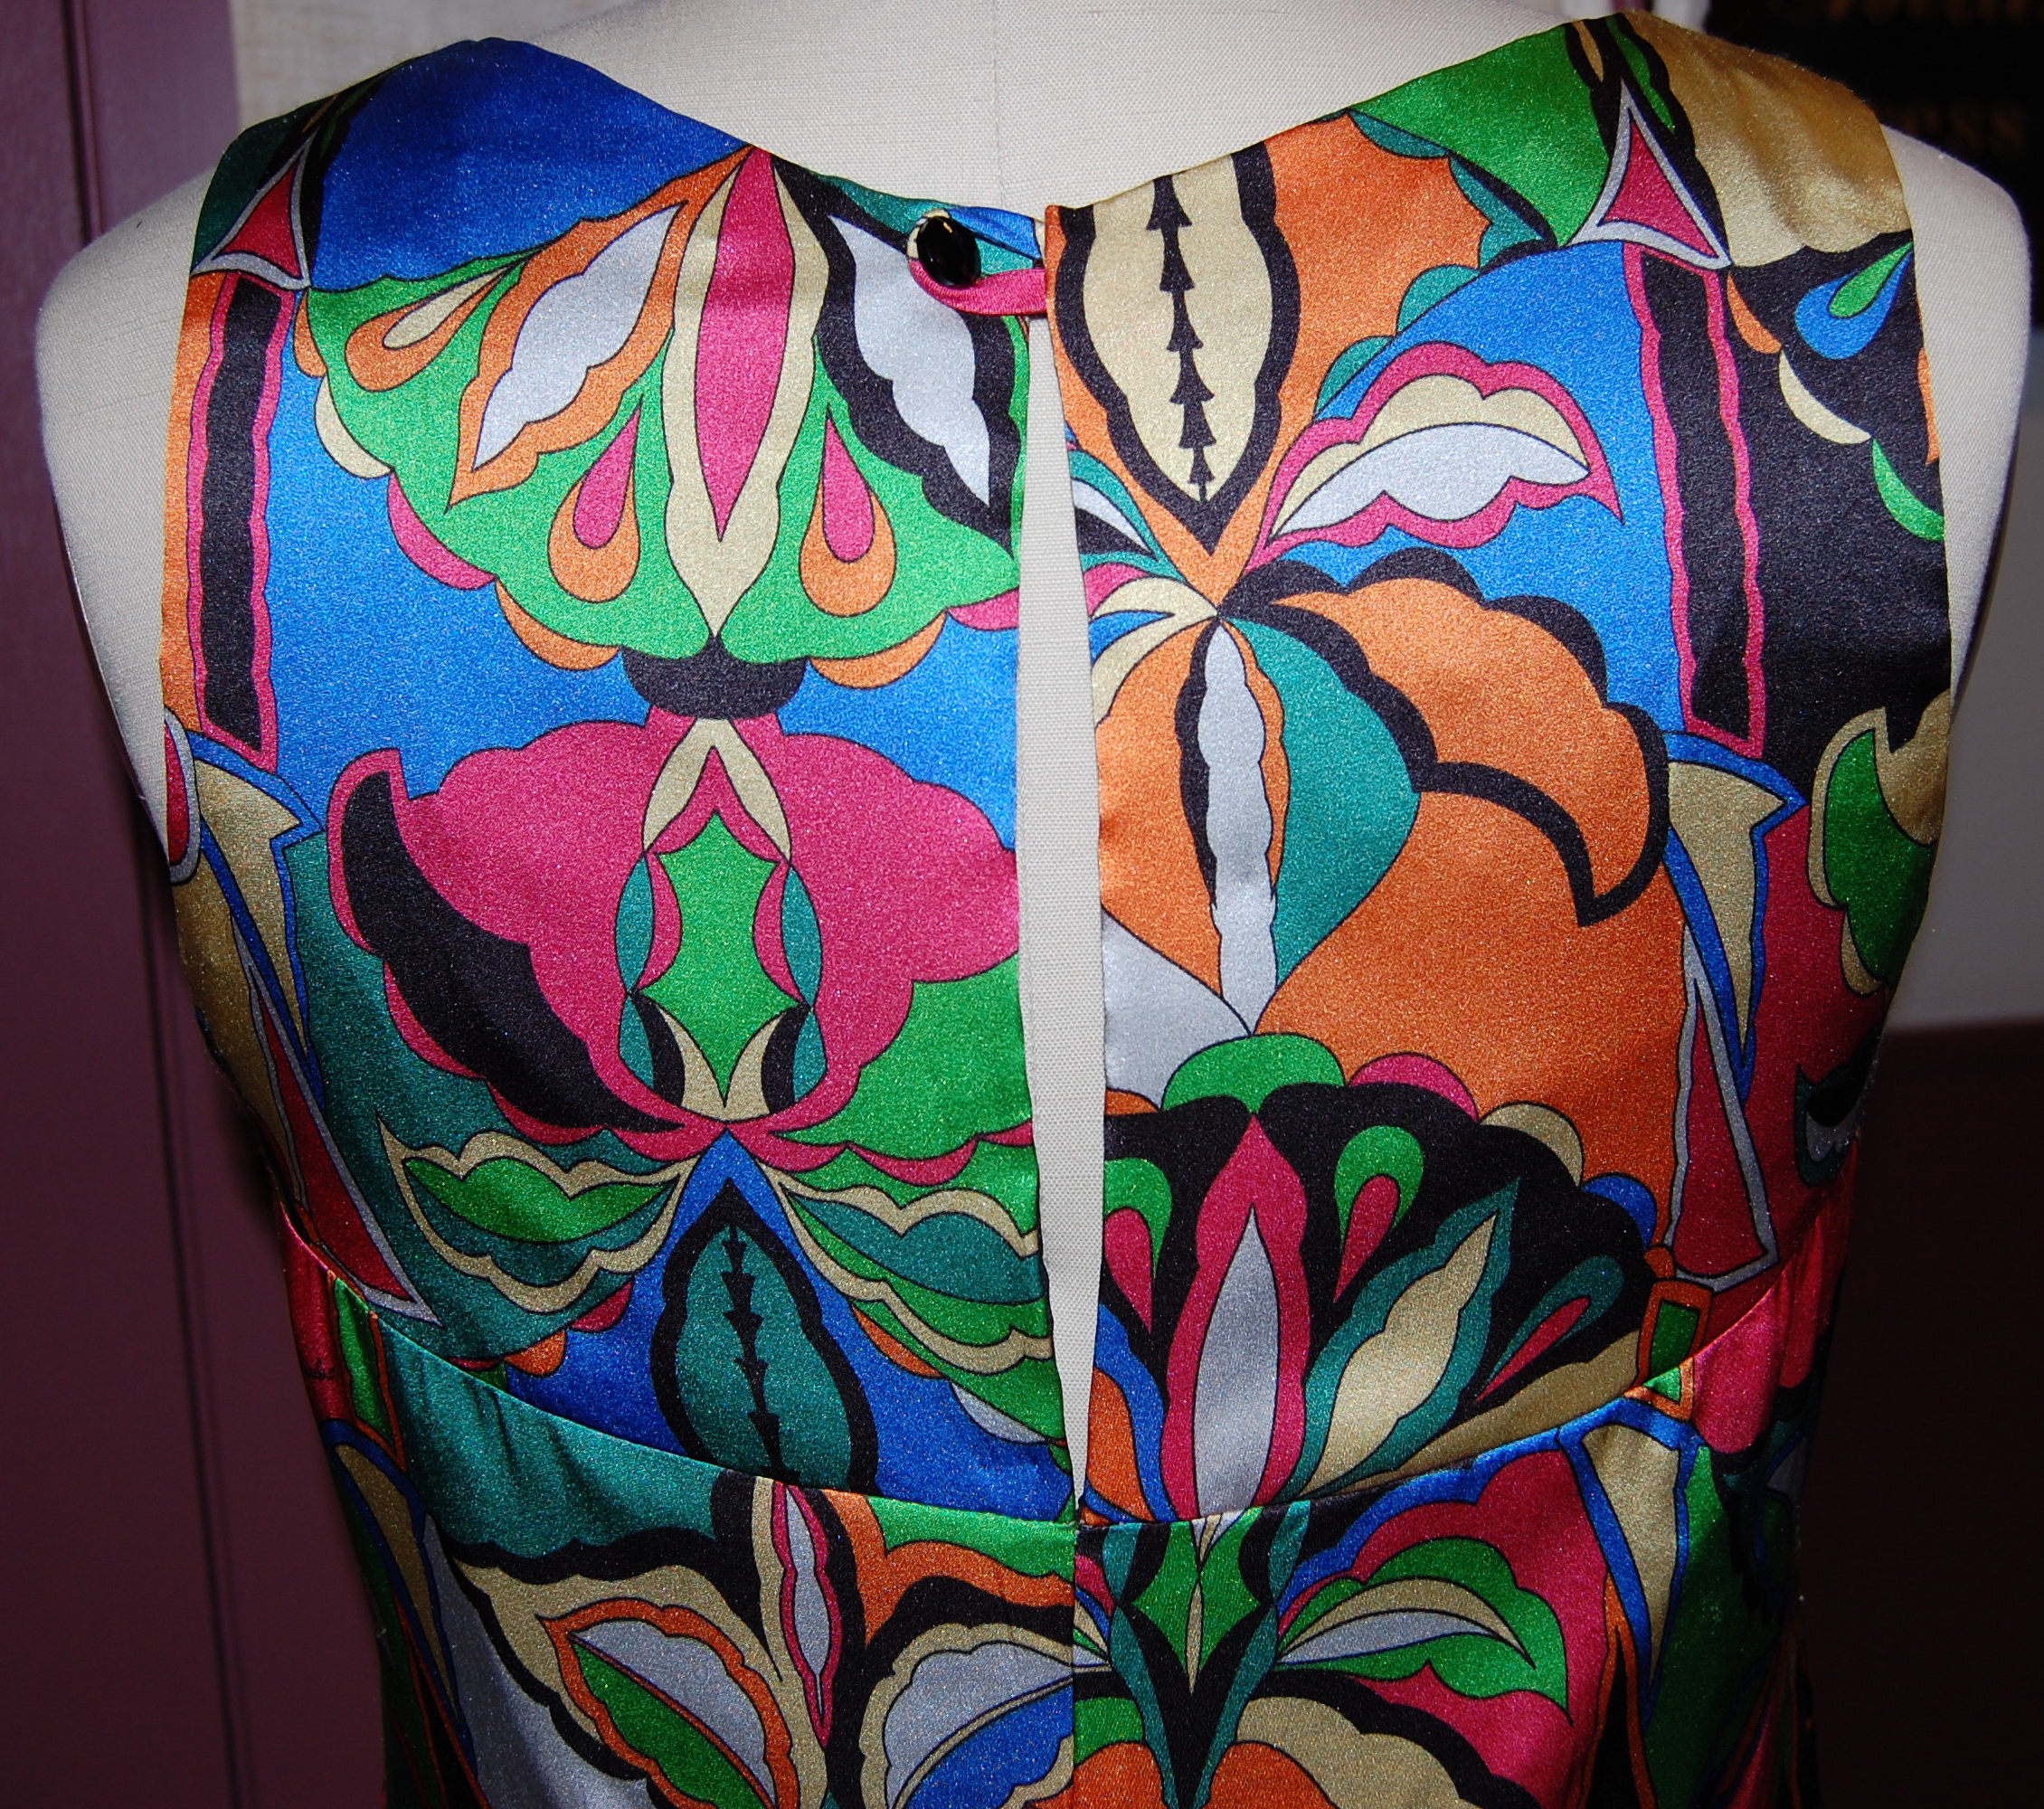
No matching necessary on this “whim” fabric.
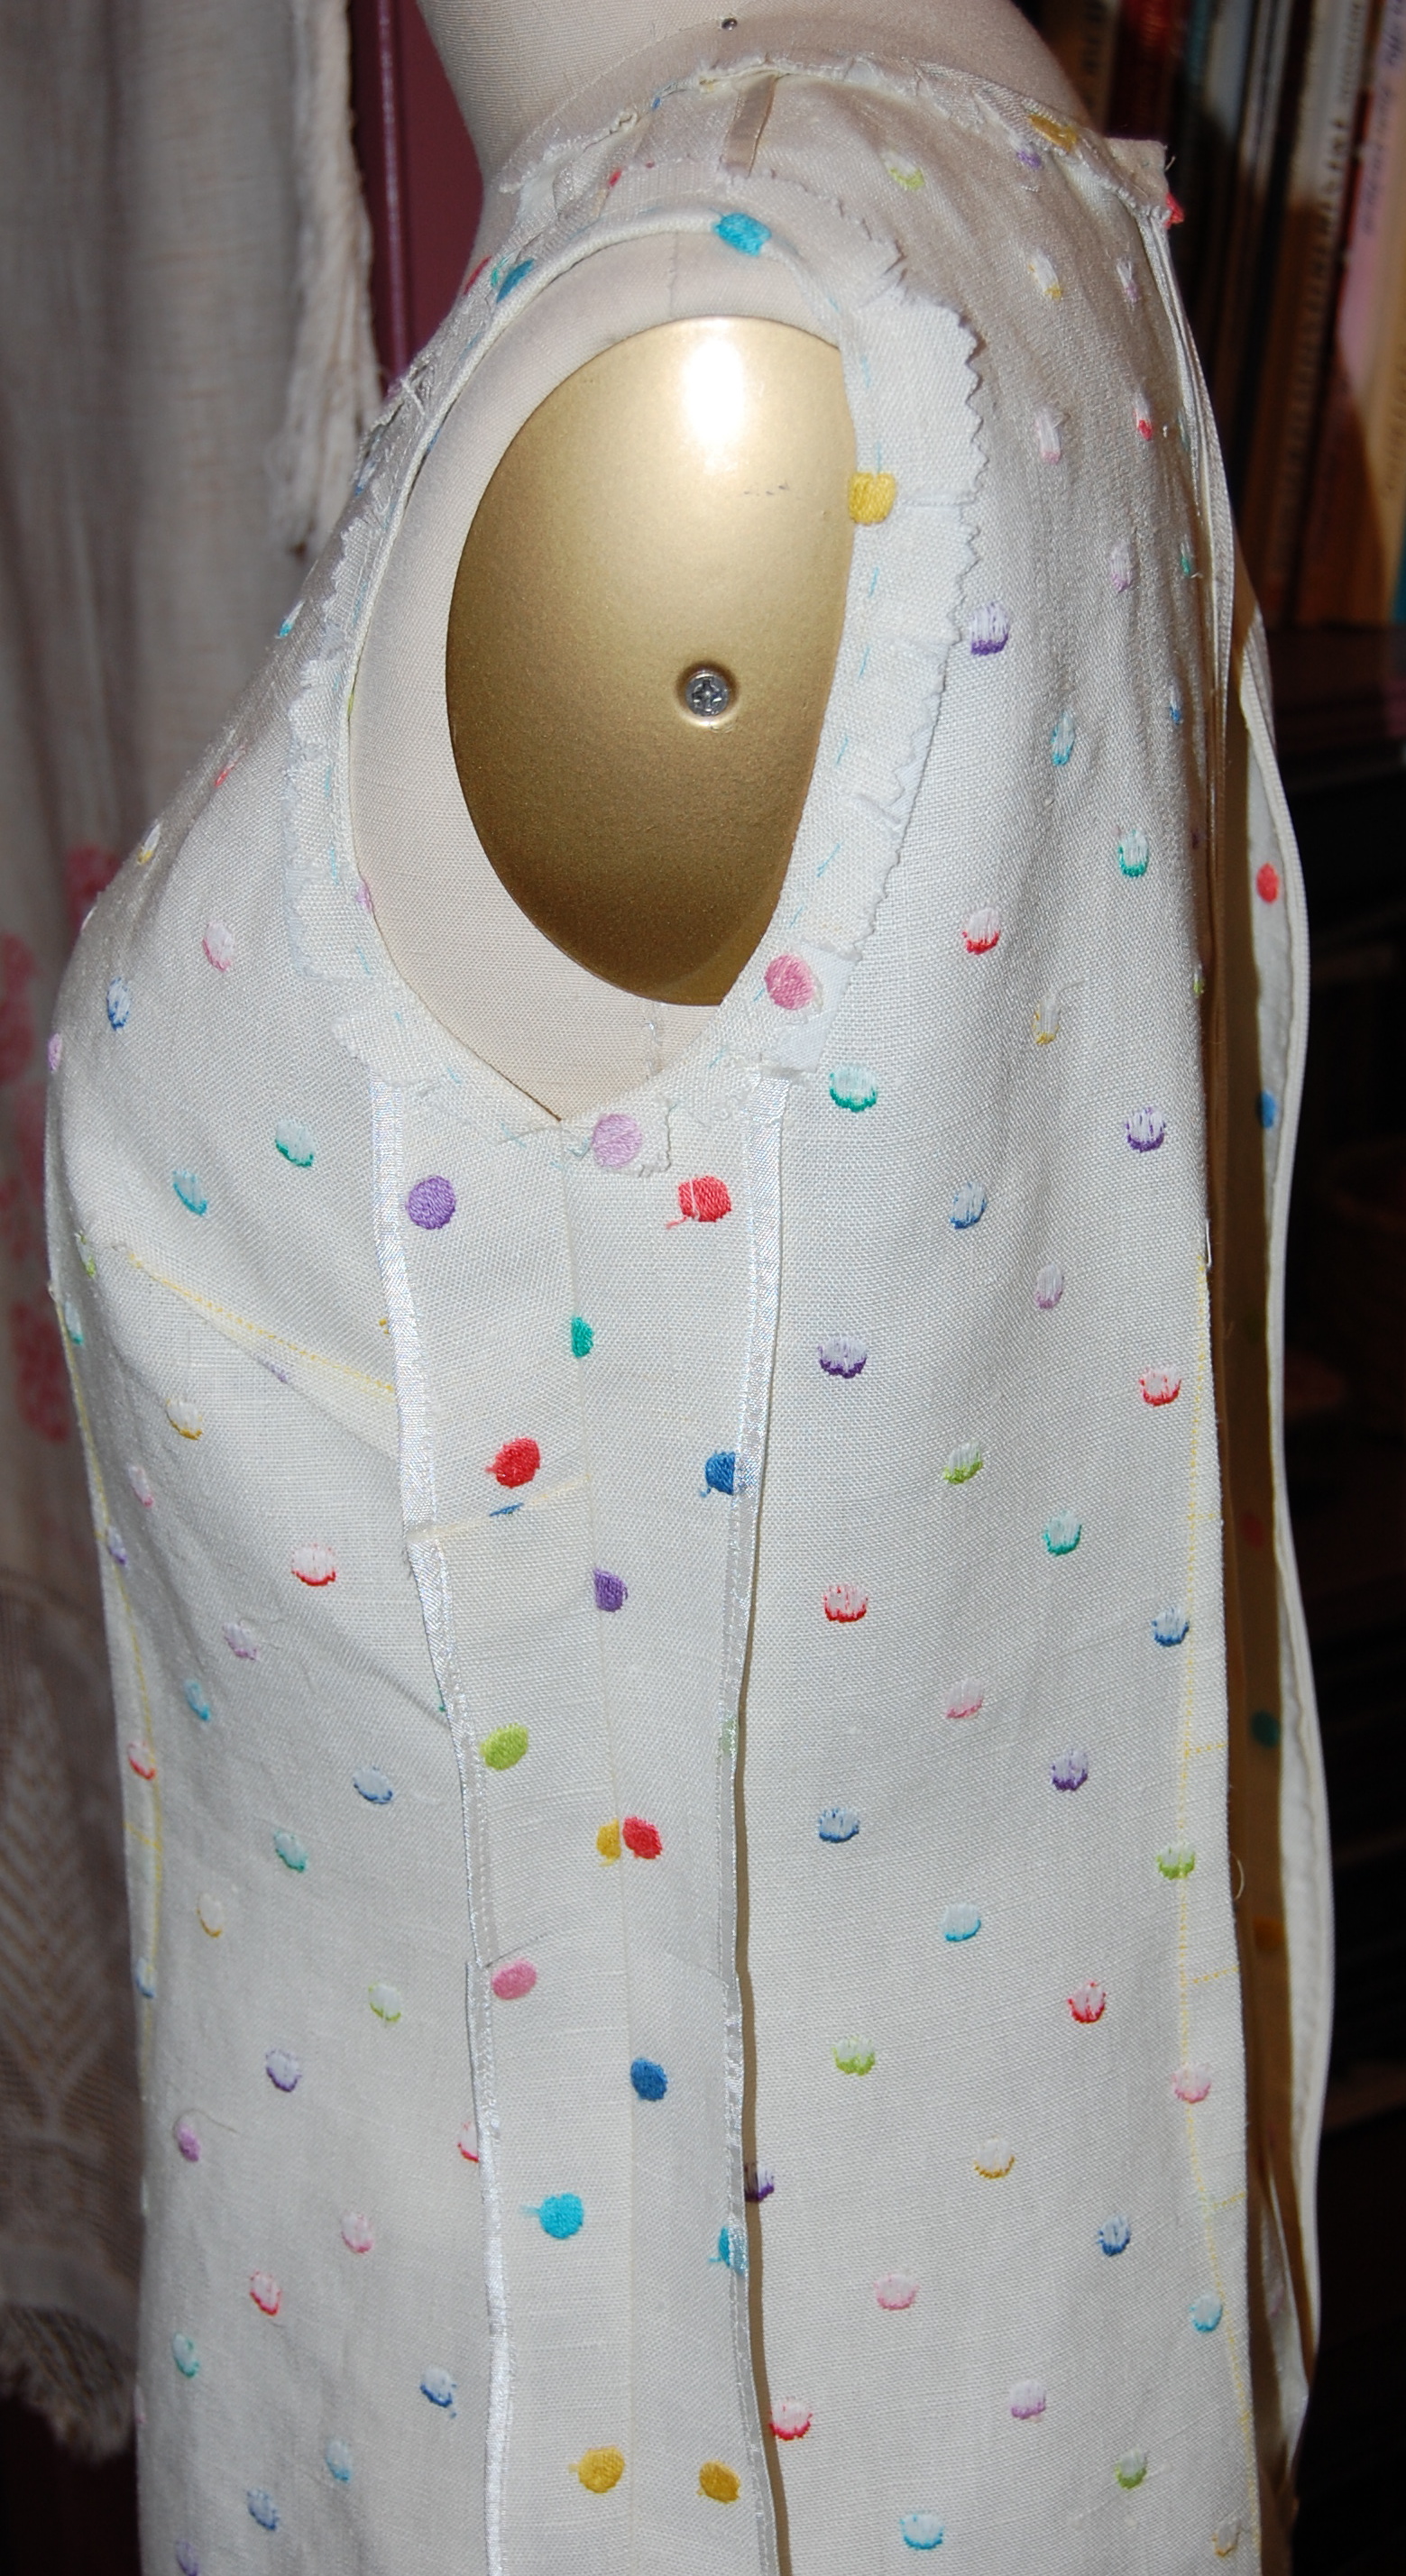
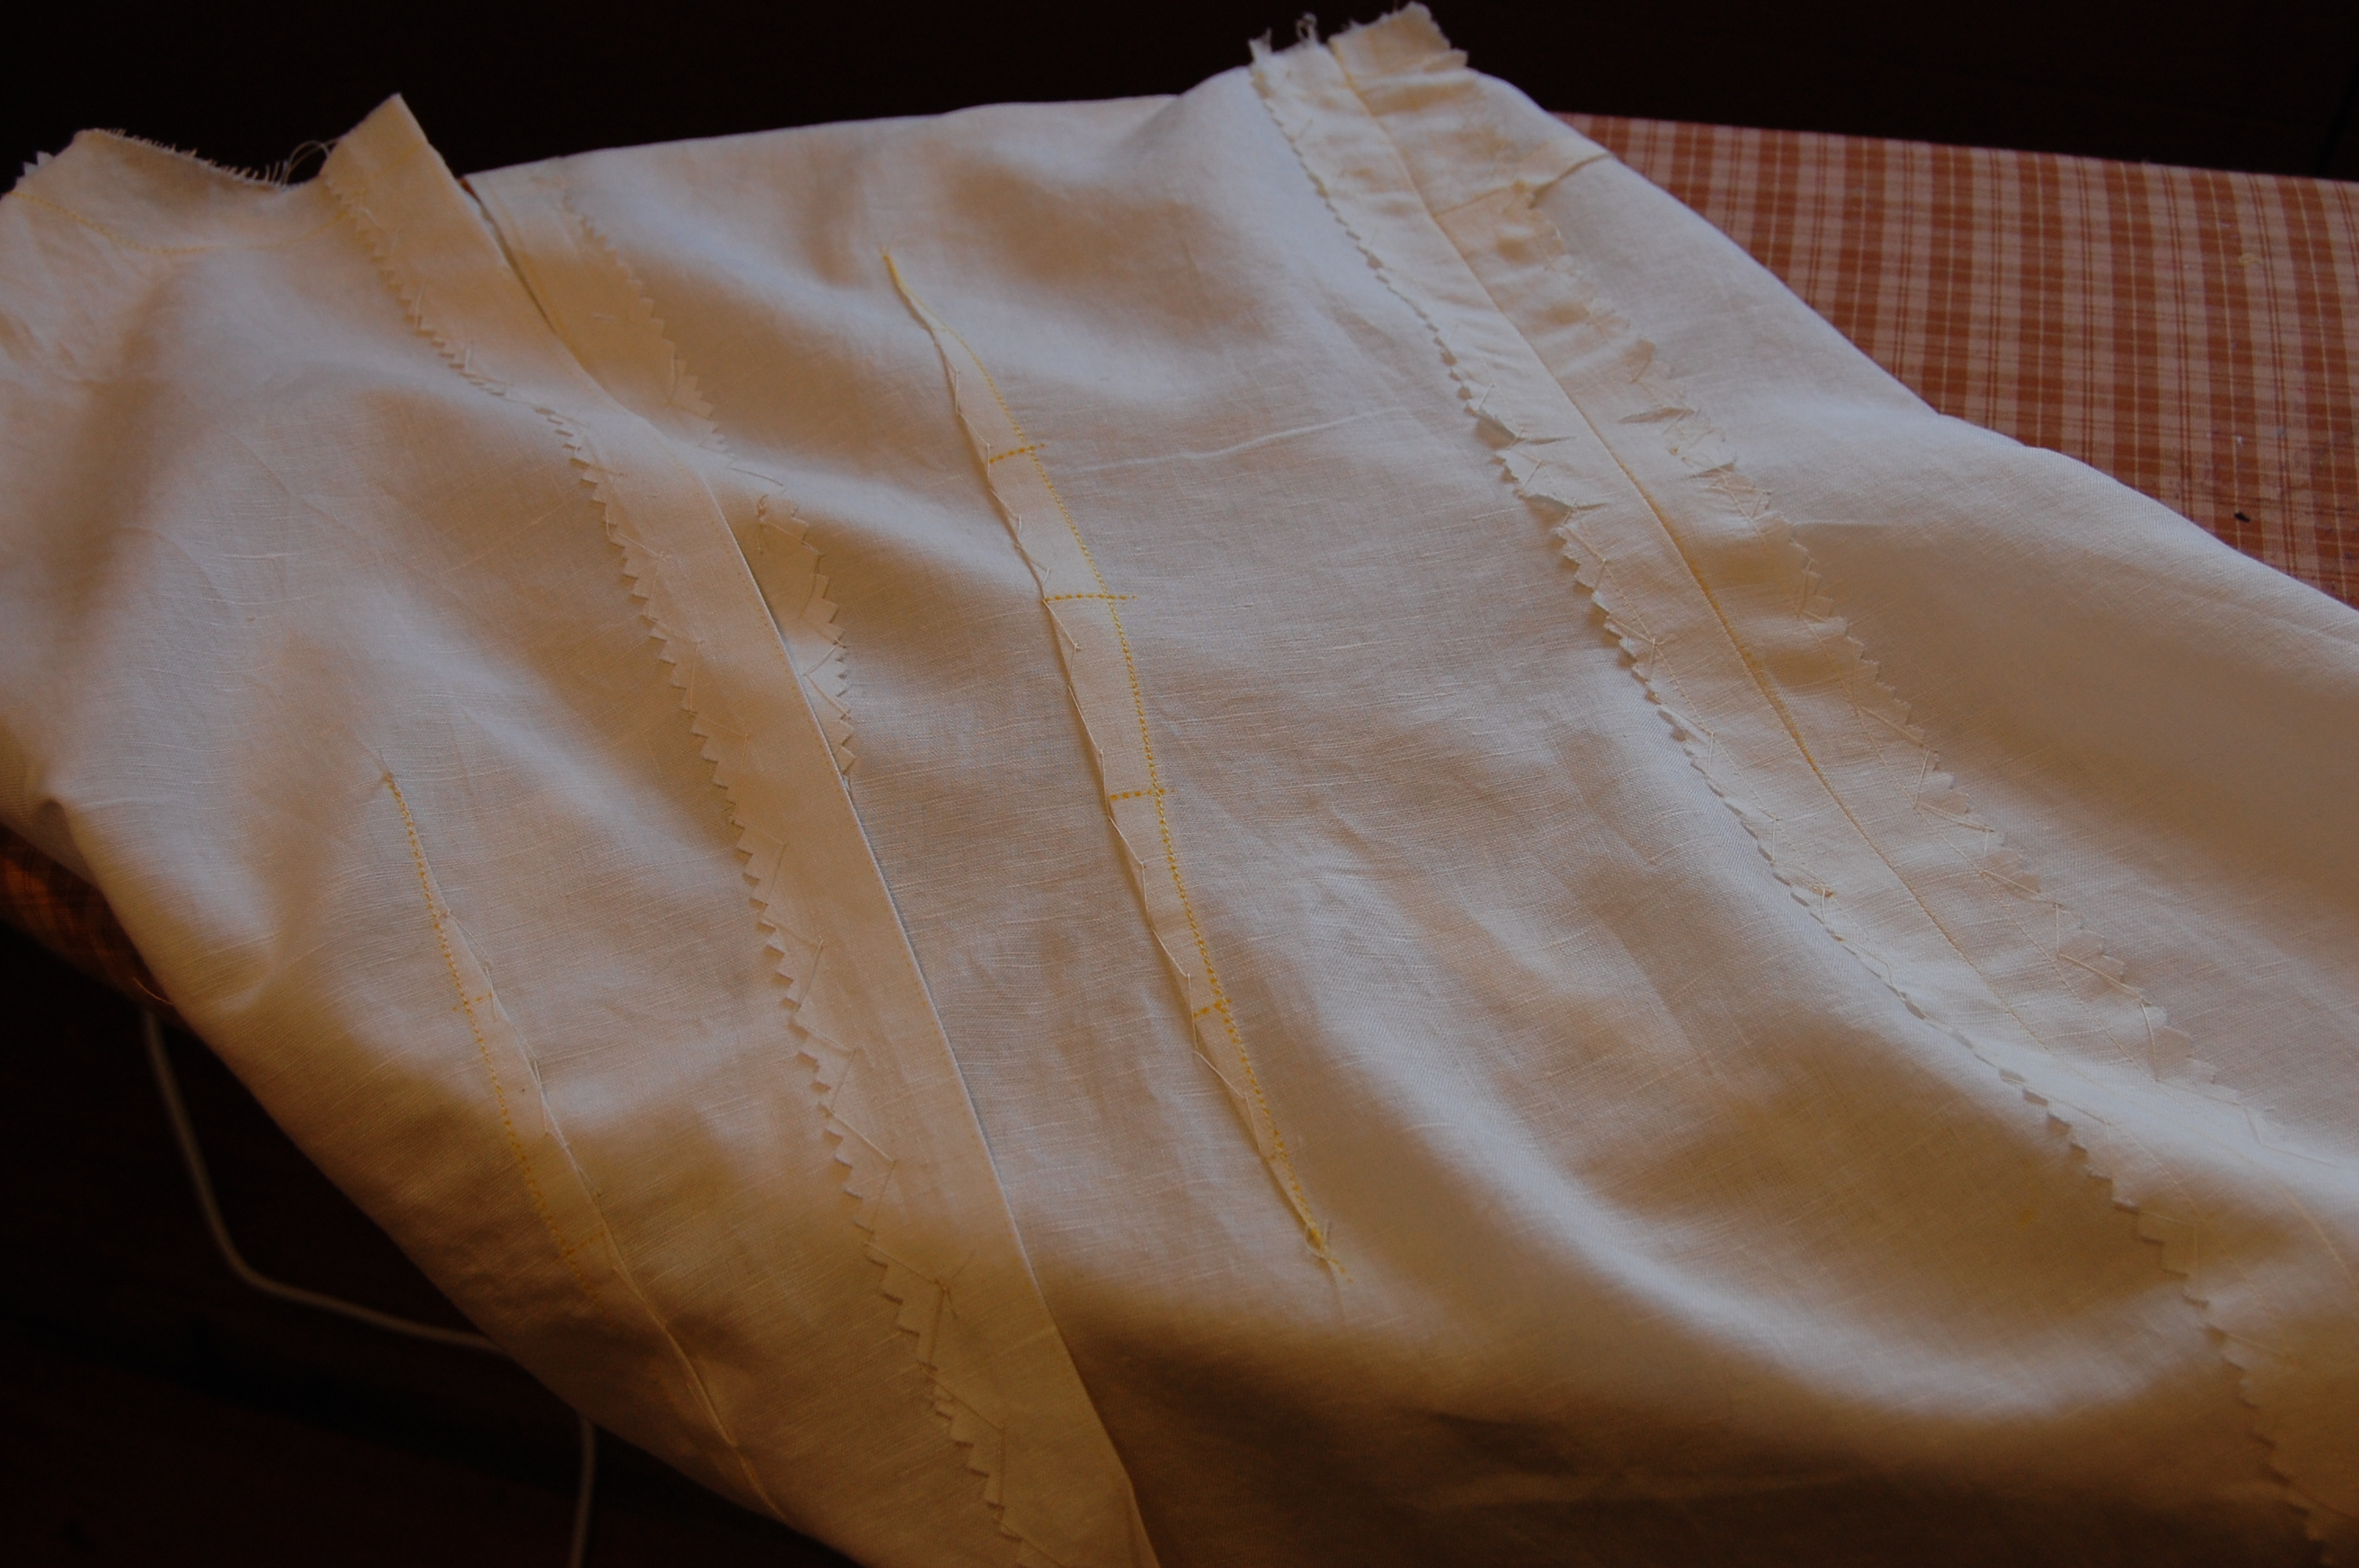
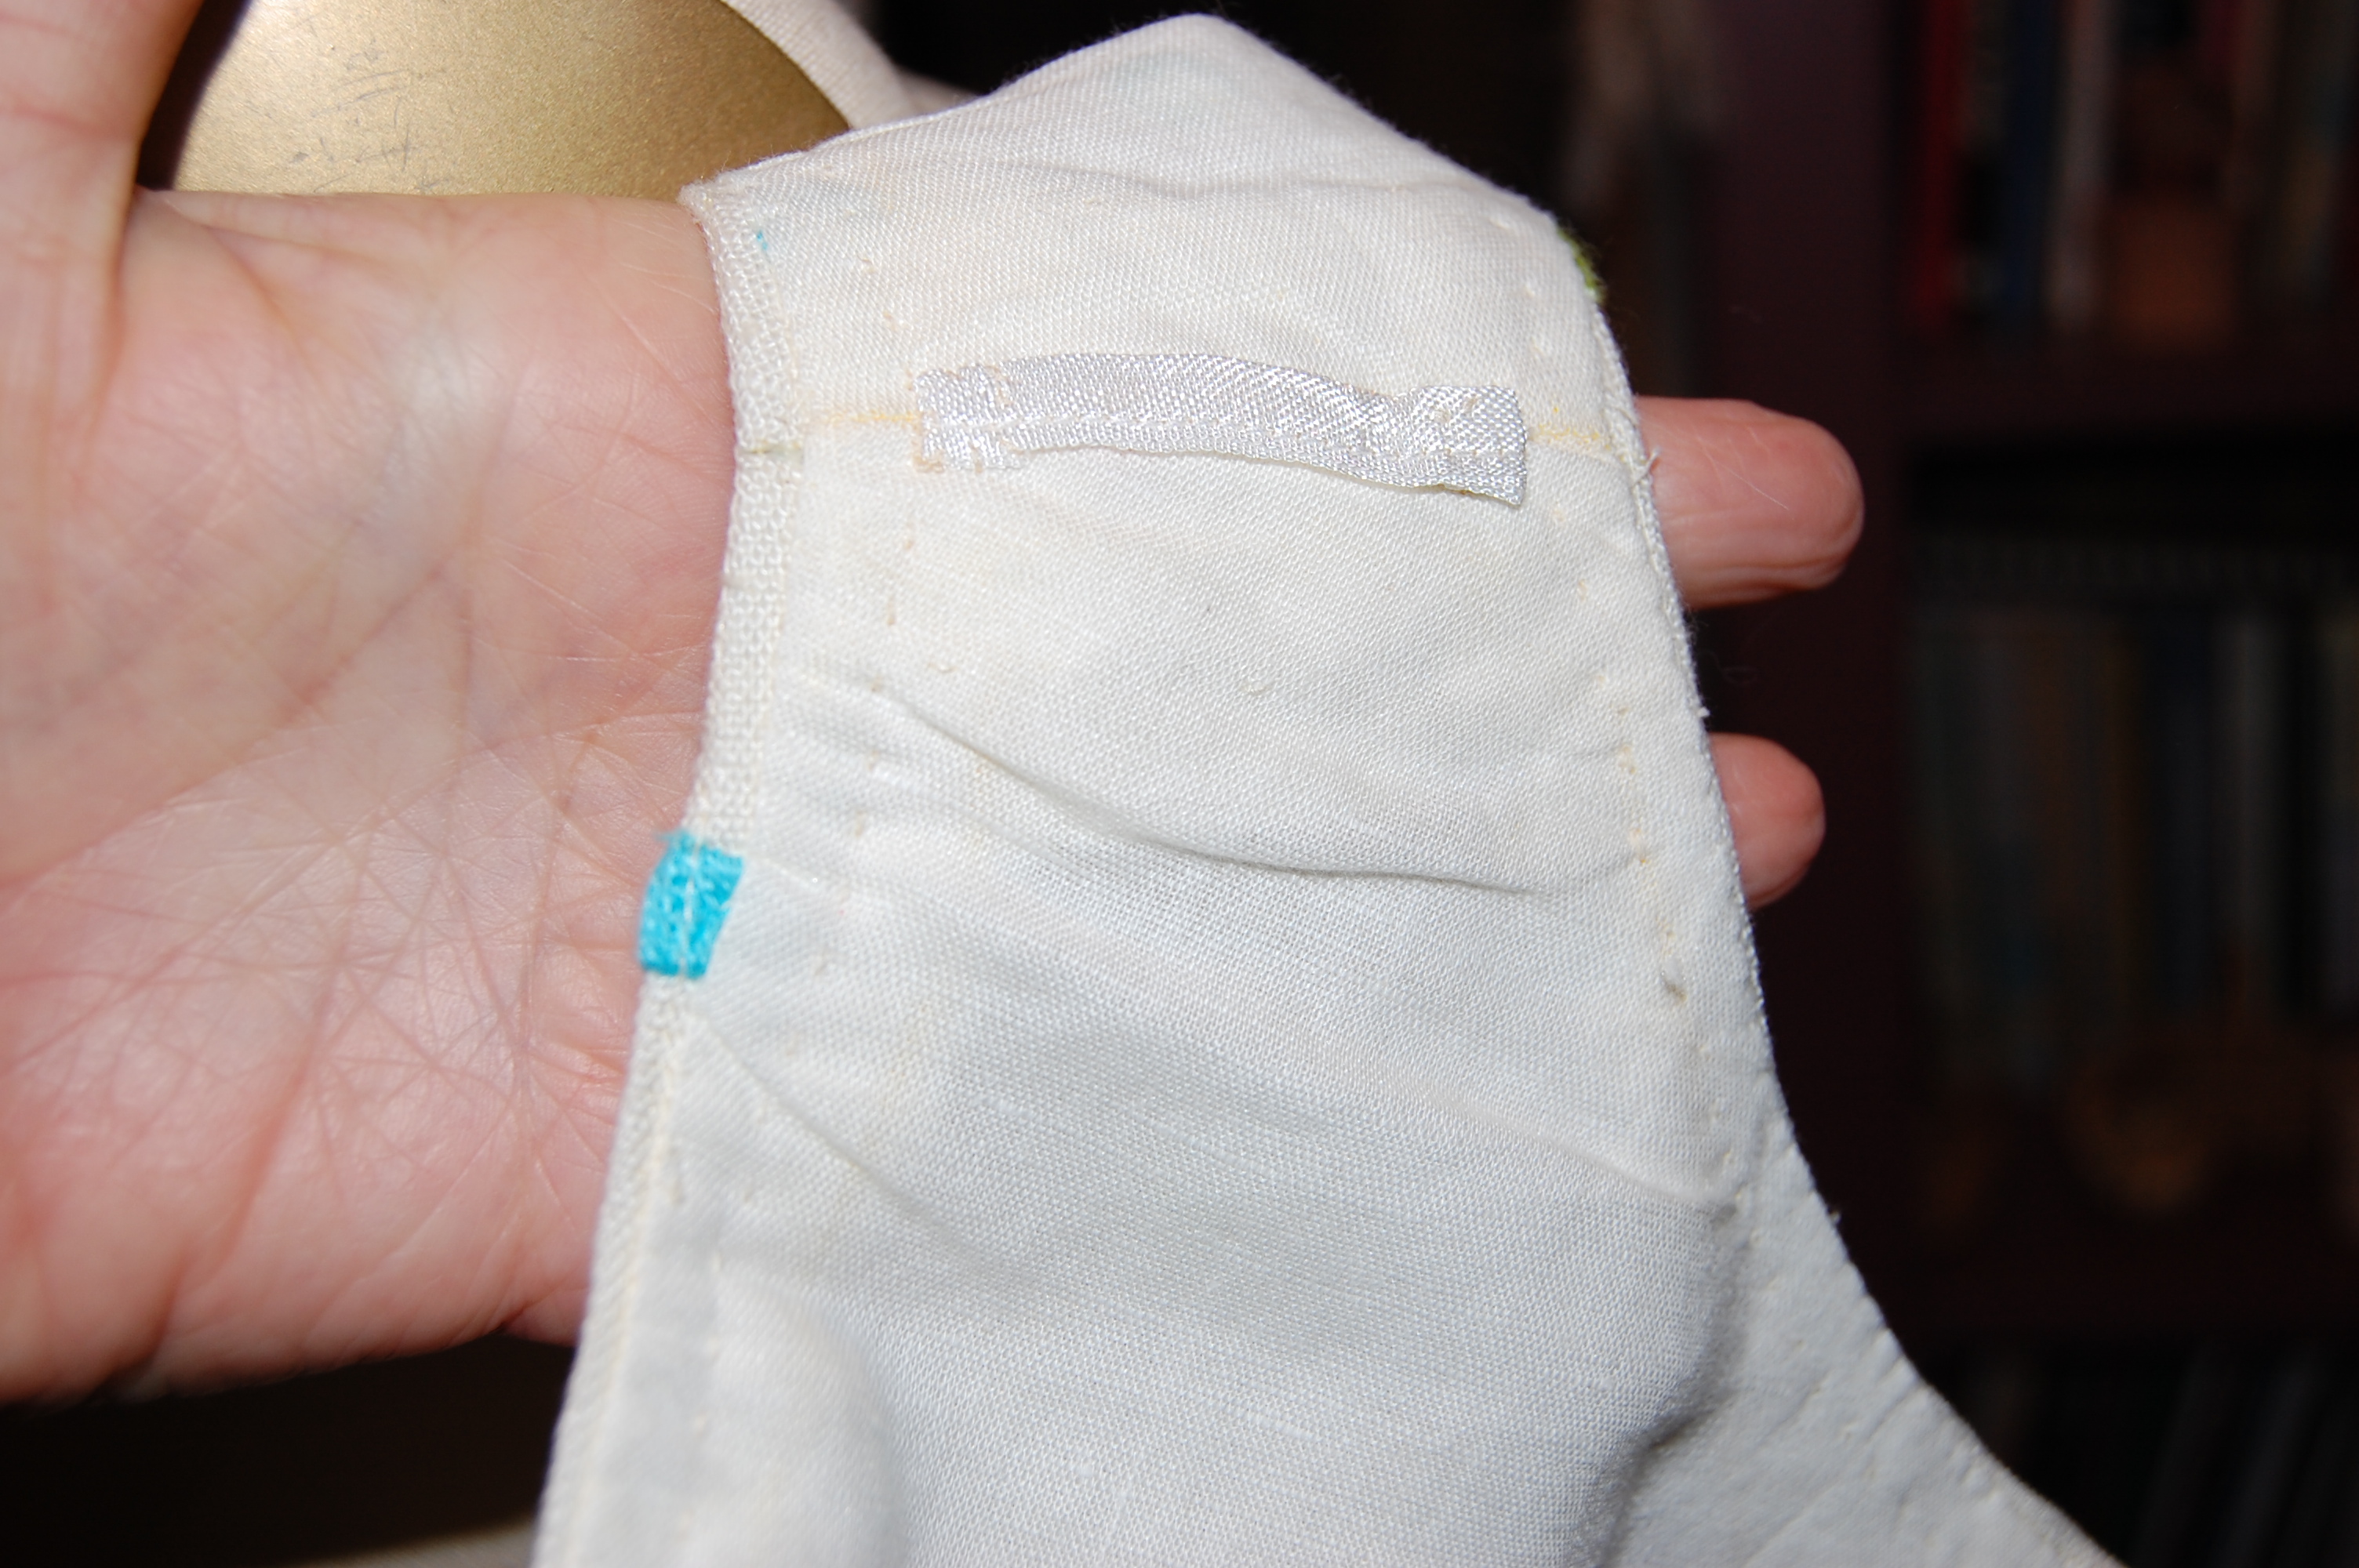
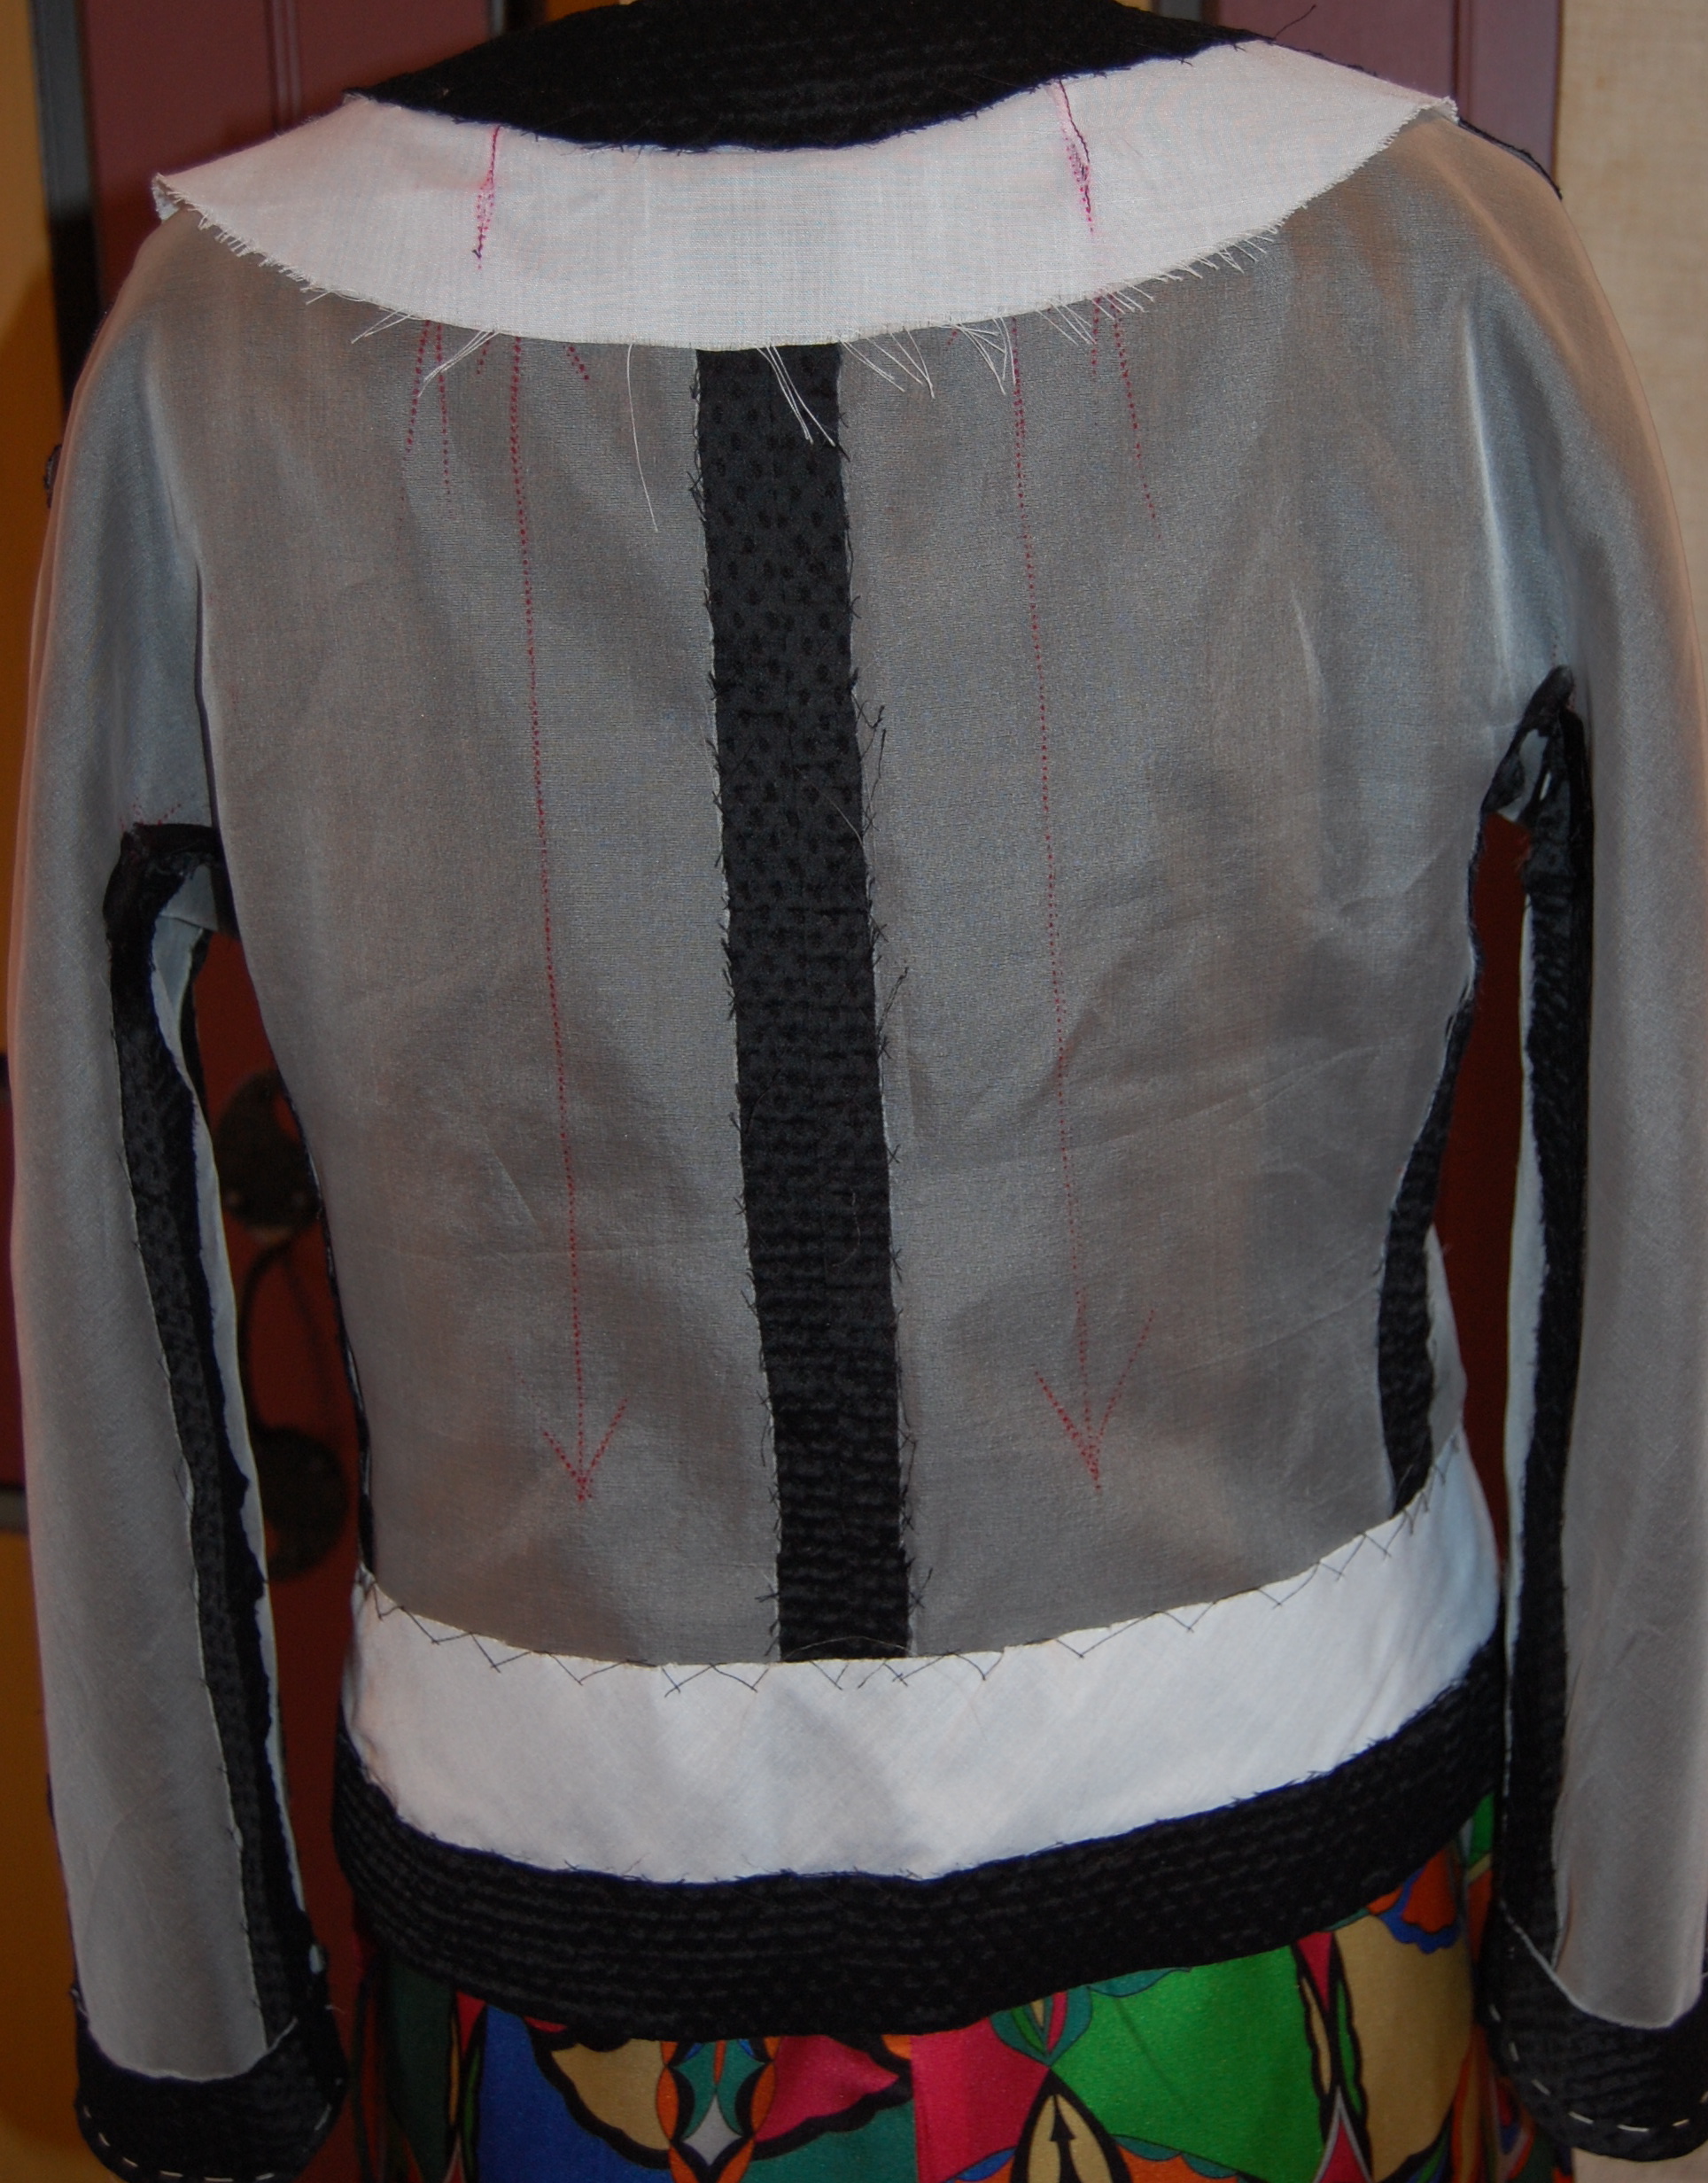
I really did not want to go to the trouble to make a muslin, when I could look at the pattern and make a good guess as to its fit on me. It is loose, as tunics are – so all I did in preparation was to transfer the lines and markings from the tissue pattern onto a sturdier pattern paper. I decided to line the body (not the sleeves) of the tunic, as the fabric is lightweight, and in the sunlight it could be “revealing”. I used a very lightweight rayon voile, which I get at Dharma Trading. I finished the seams with Hug Snug binding tape, which is just so easy to use and makes such a nice finish. The more I use it, the more I wonder how any dressmaker can live without it!
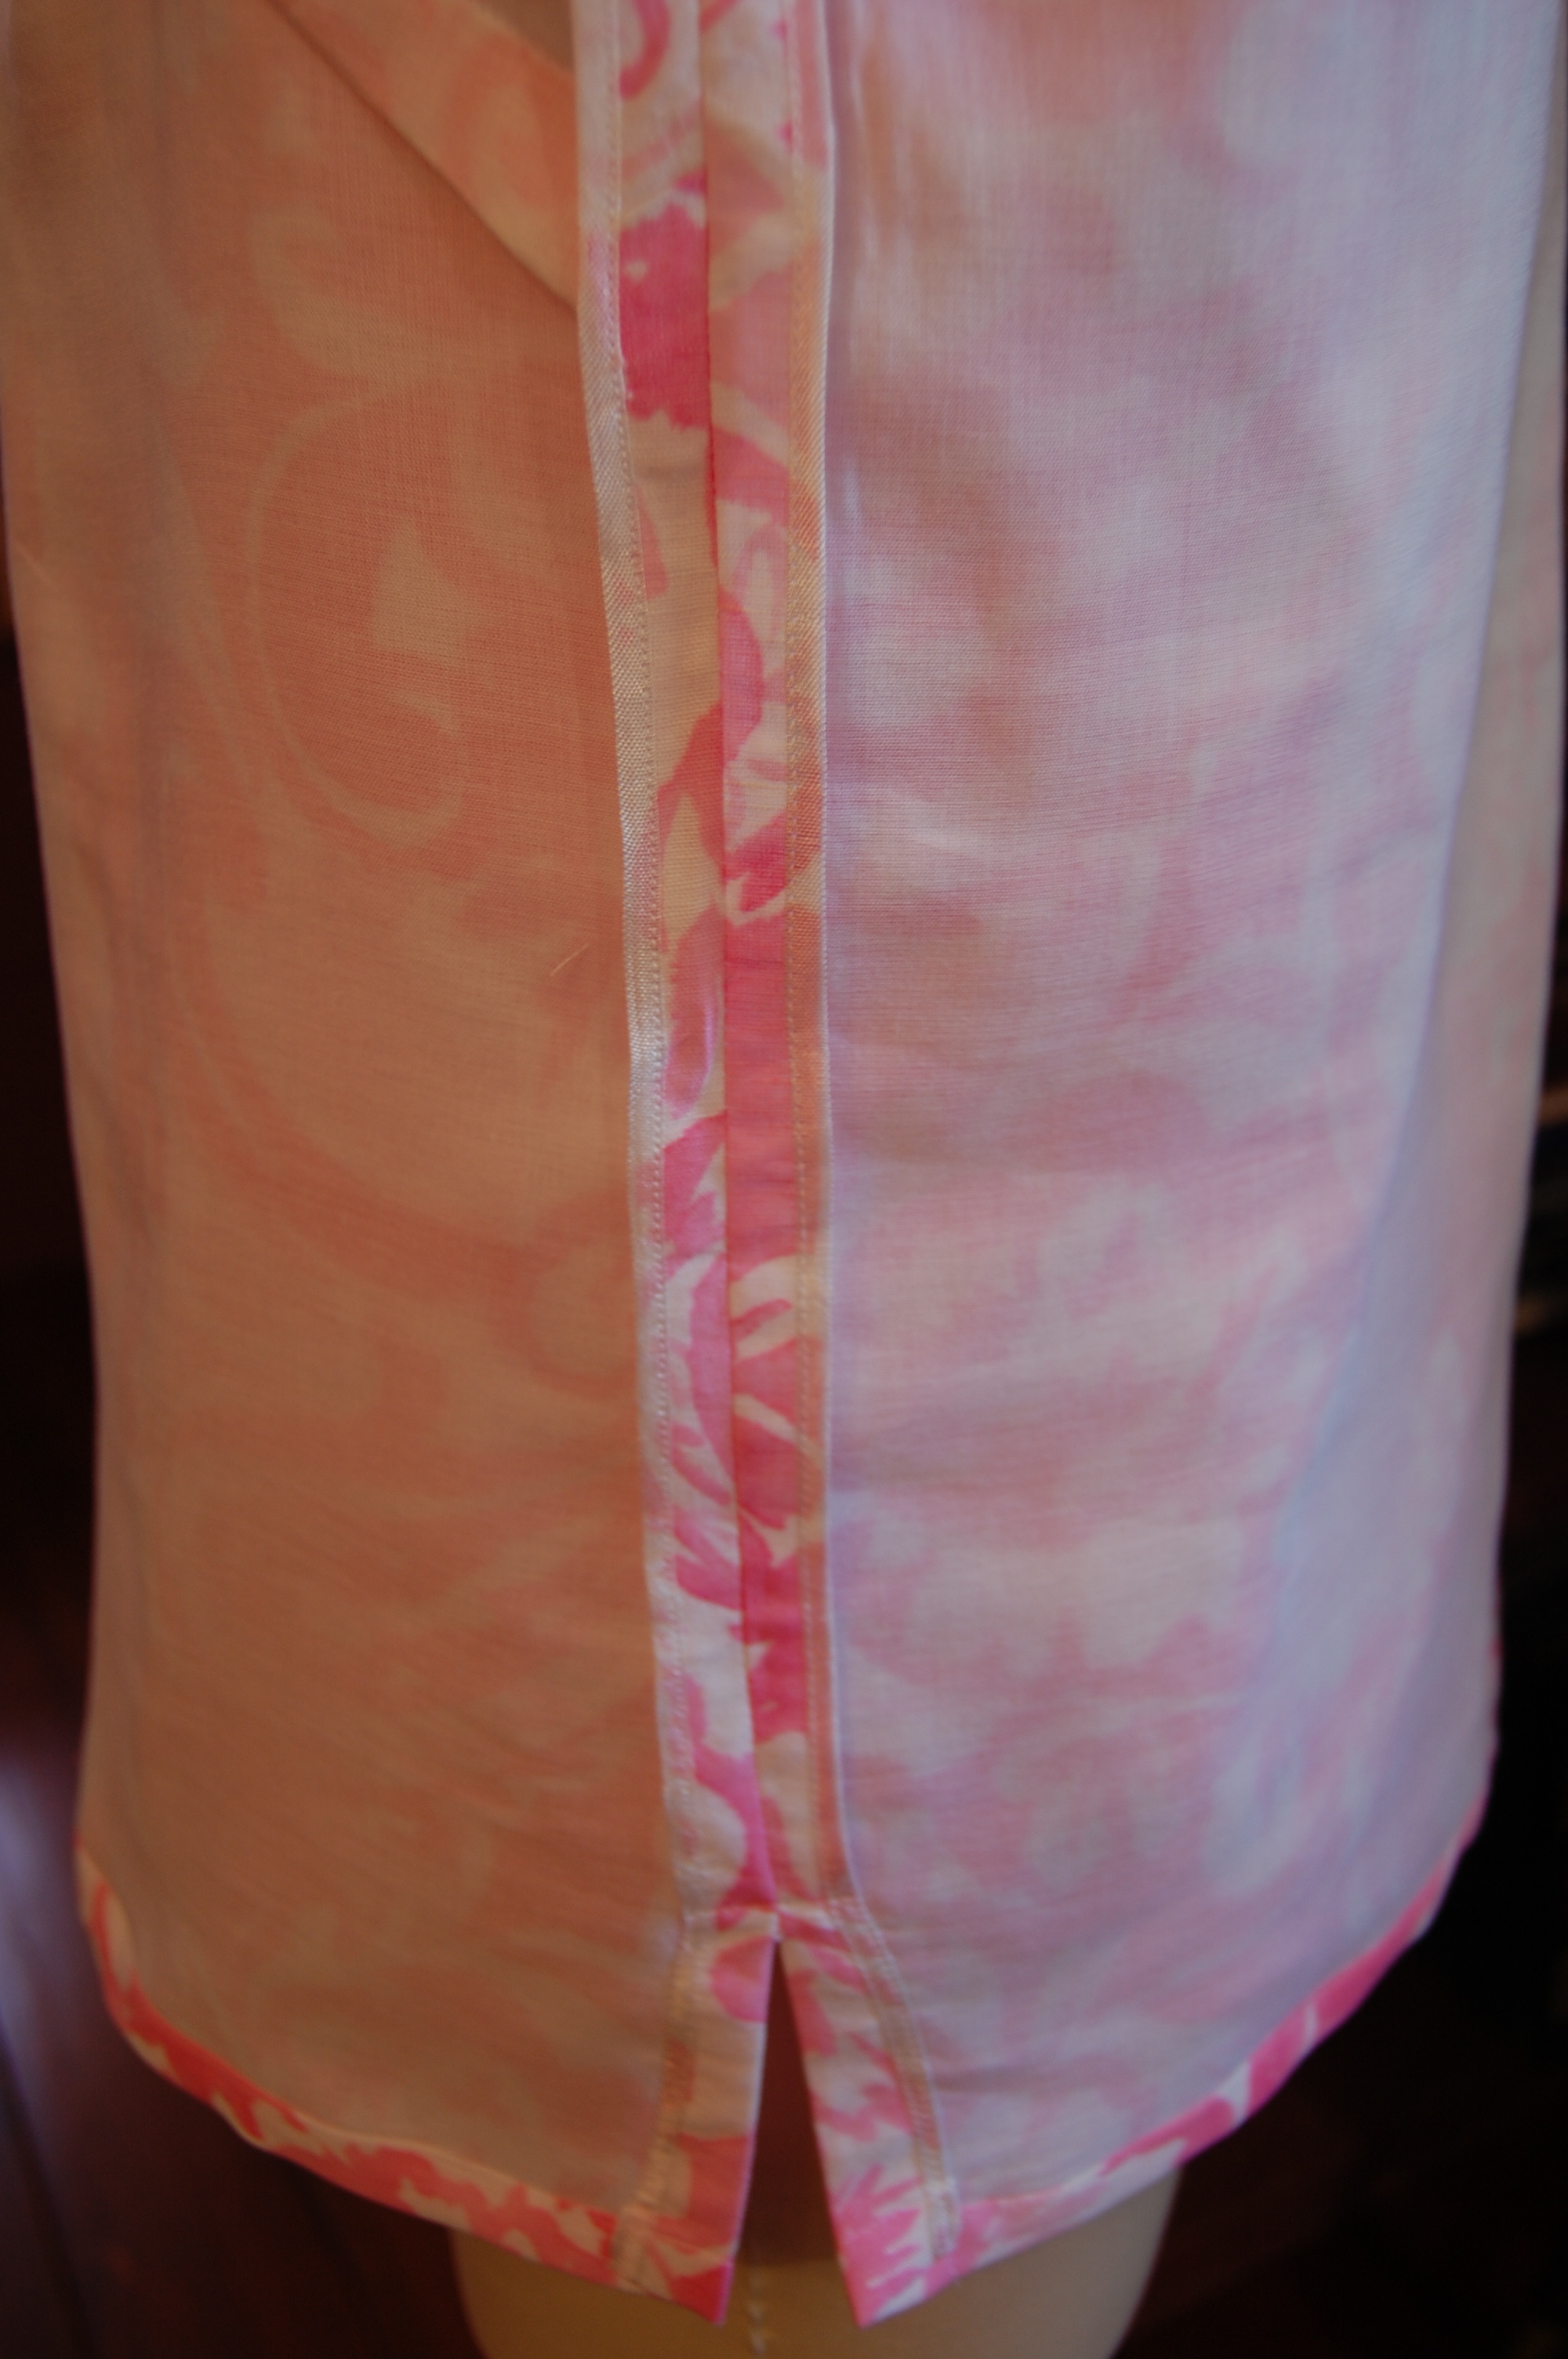
This shows both the seams finished with Hug Snug and the white voile lining.
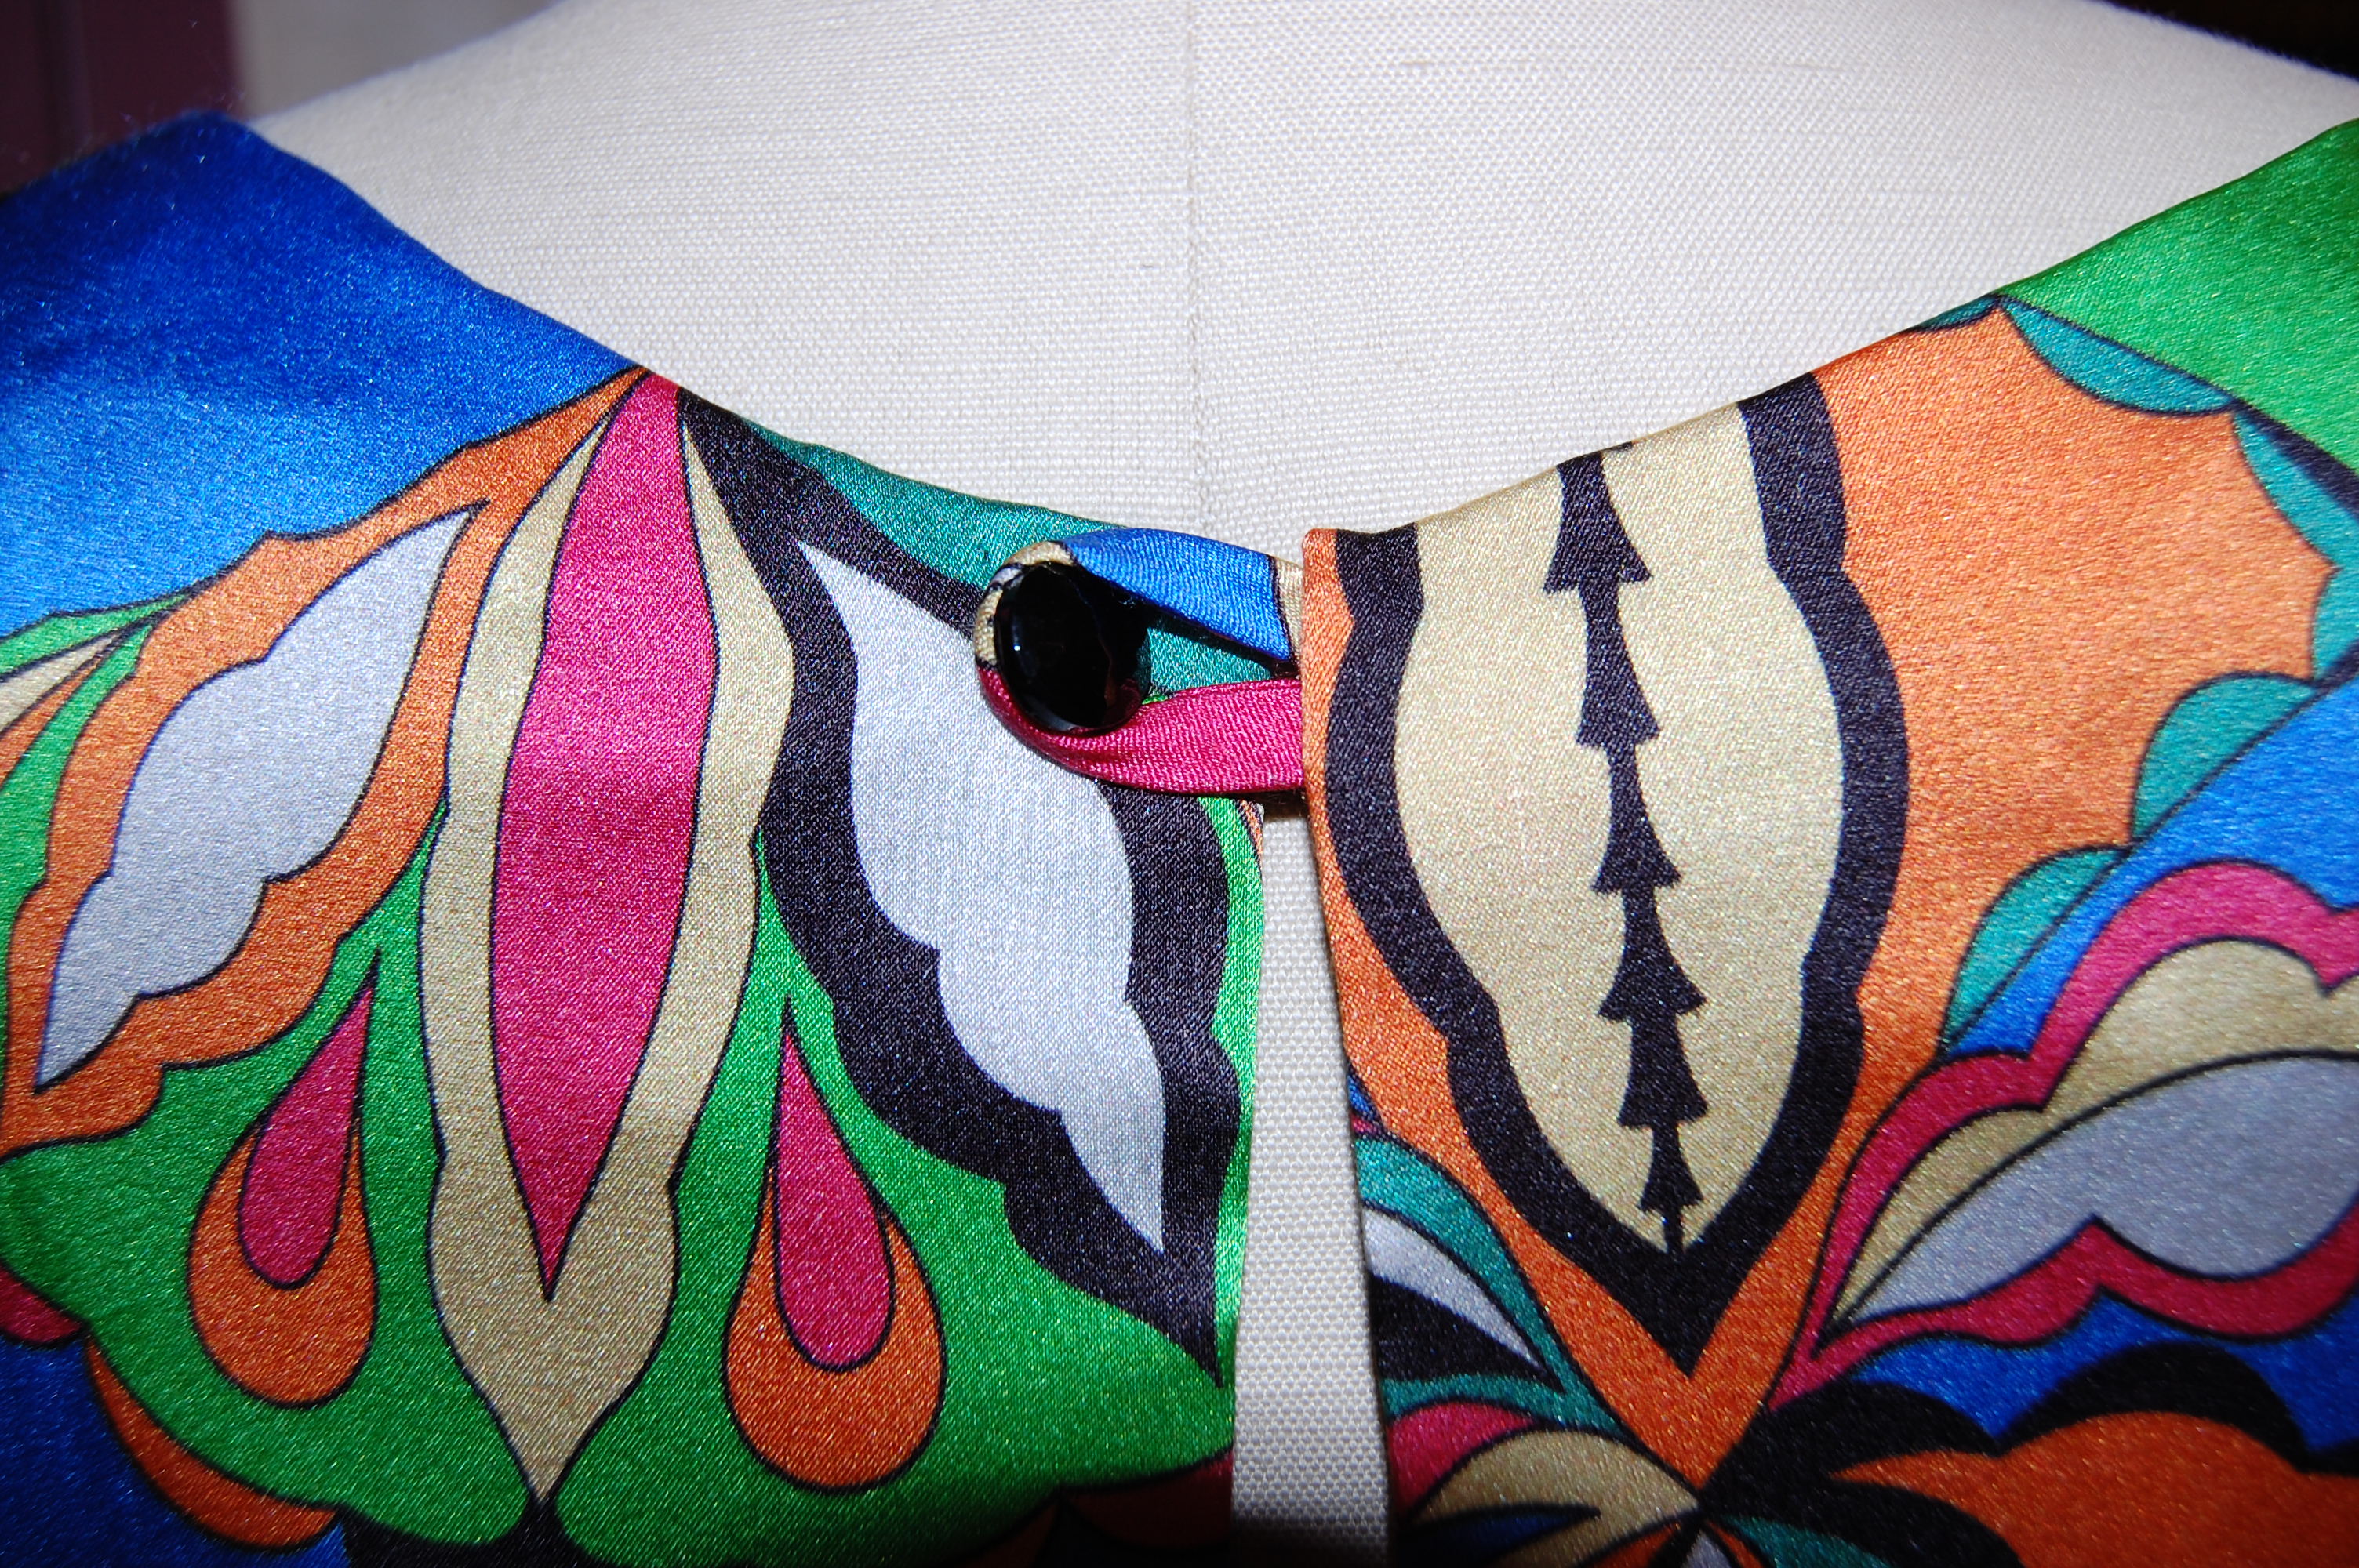
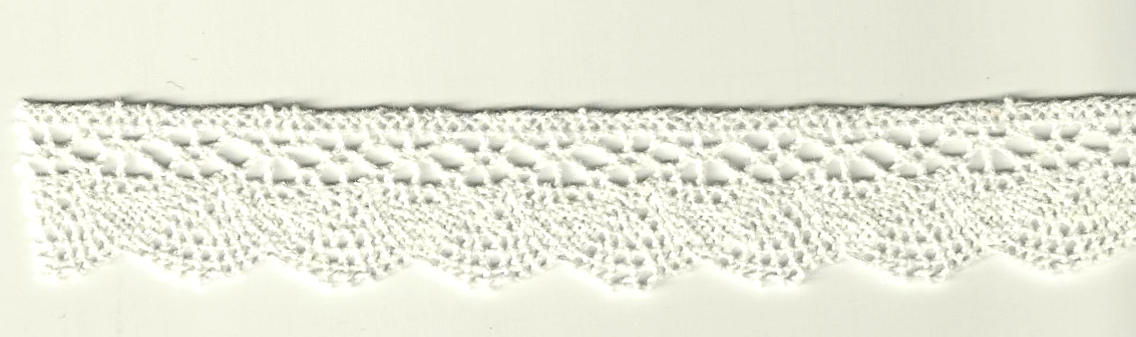
Because I was making the front placket out of the same material as the rest of the top, I knew I would need to do something to differentiate it, so I used a nice, low-profile cotton lace around the edge.
I decided to make the sleeves three-quarter length, which is my favorite sleeve length. At first I wasn’t going to put any lace on the edges of the sleeves, but then it just didn’t look quite right without anything, so I added it.
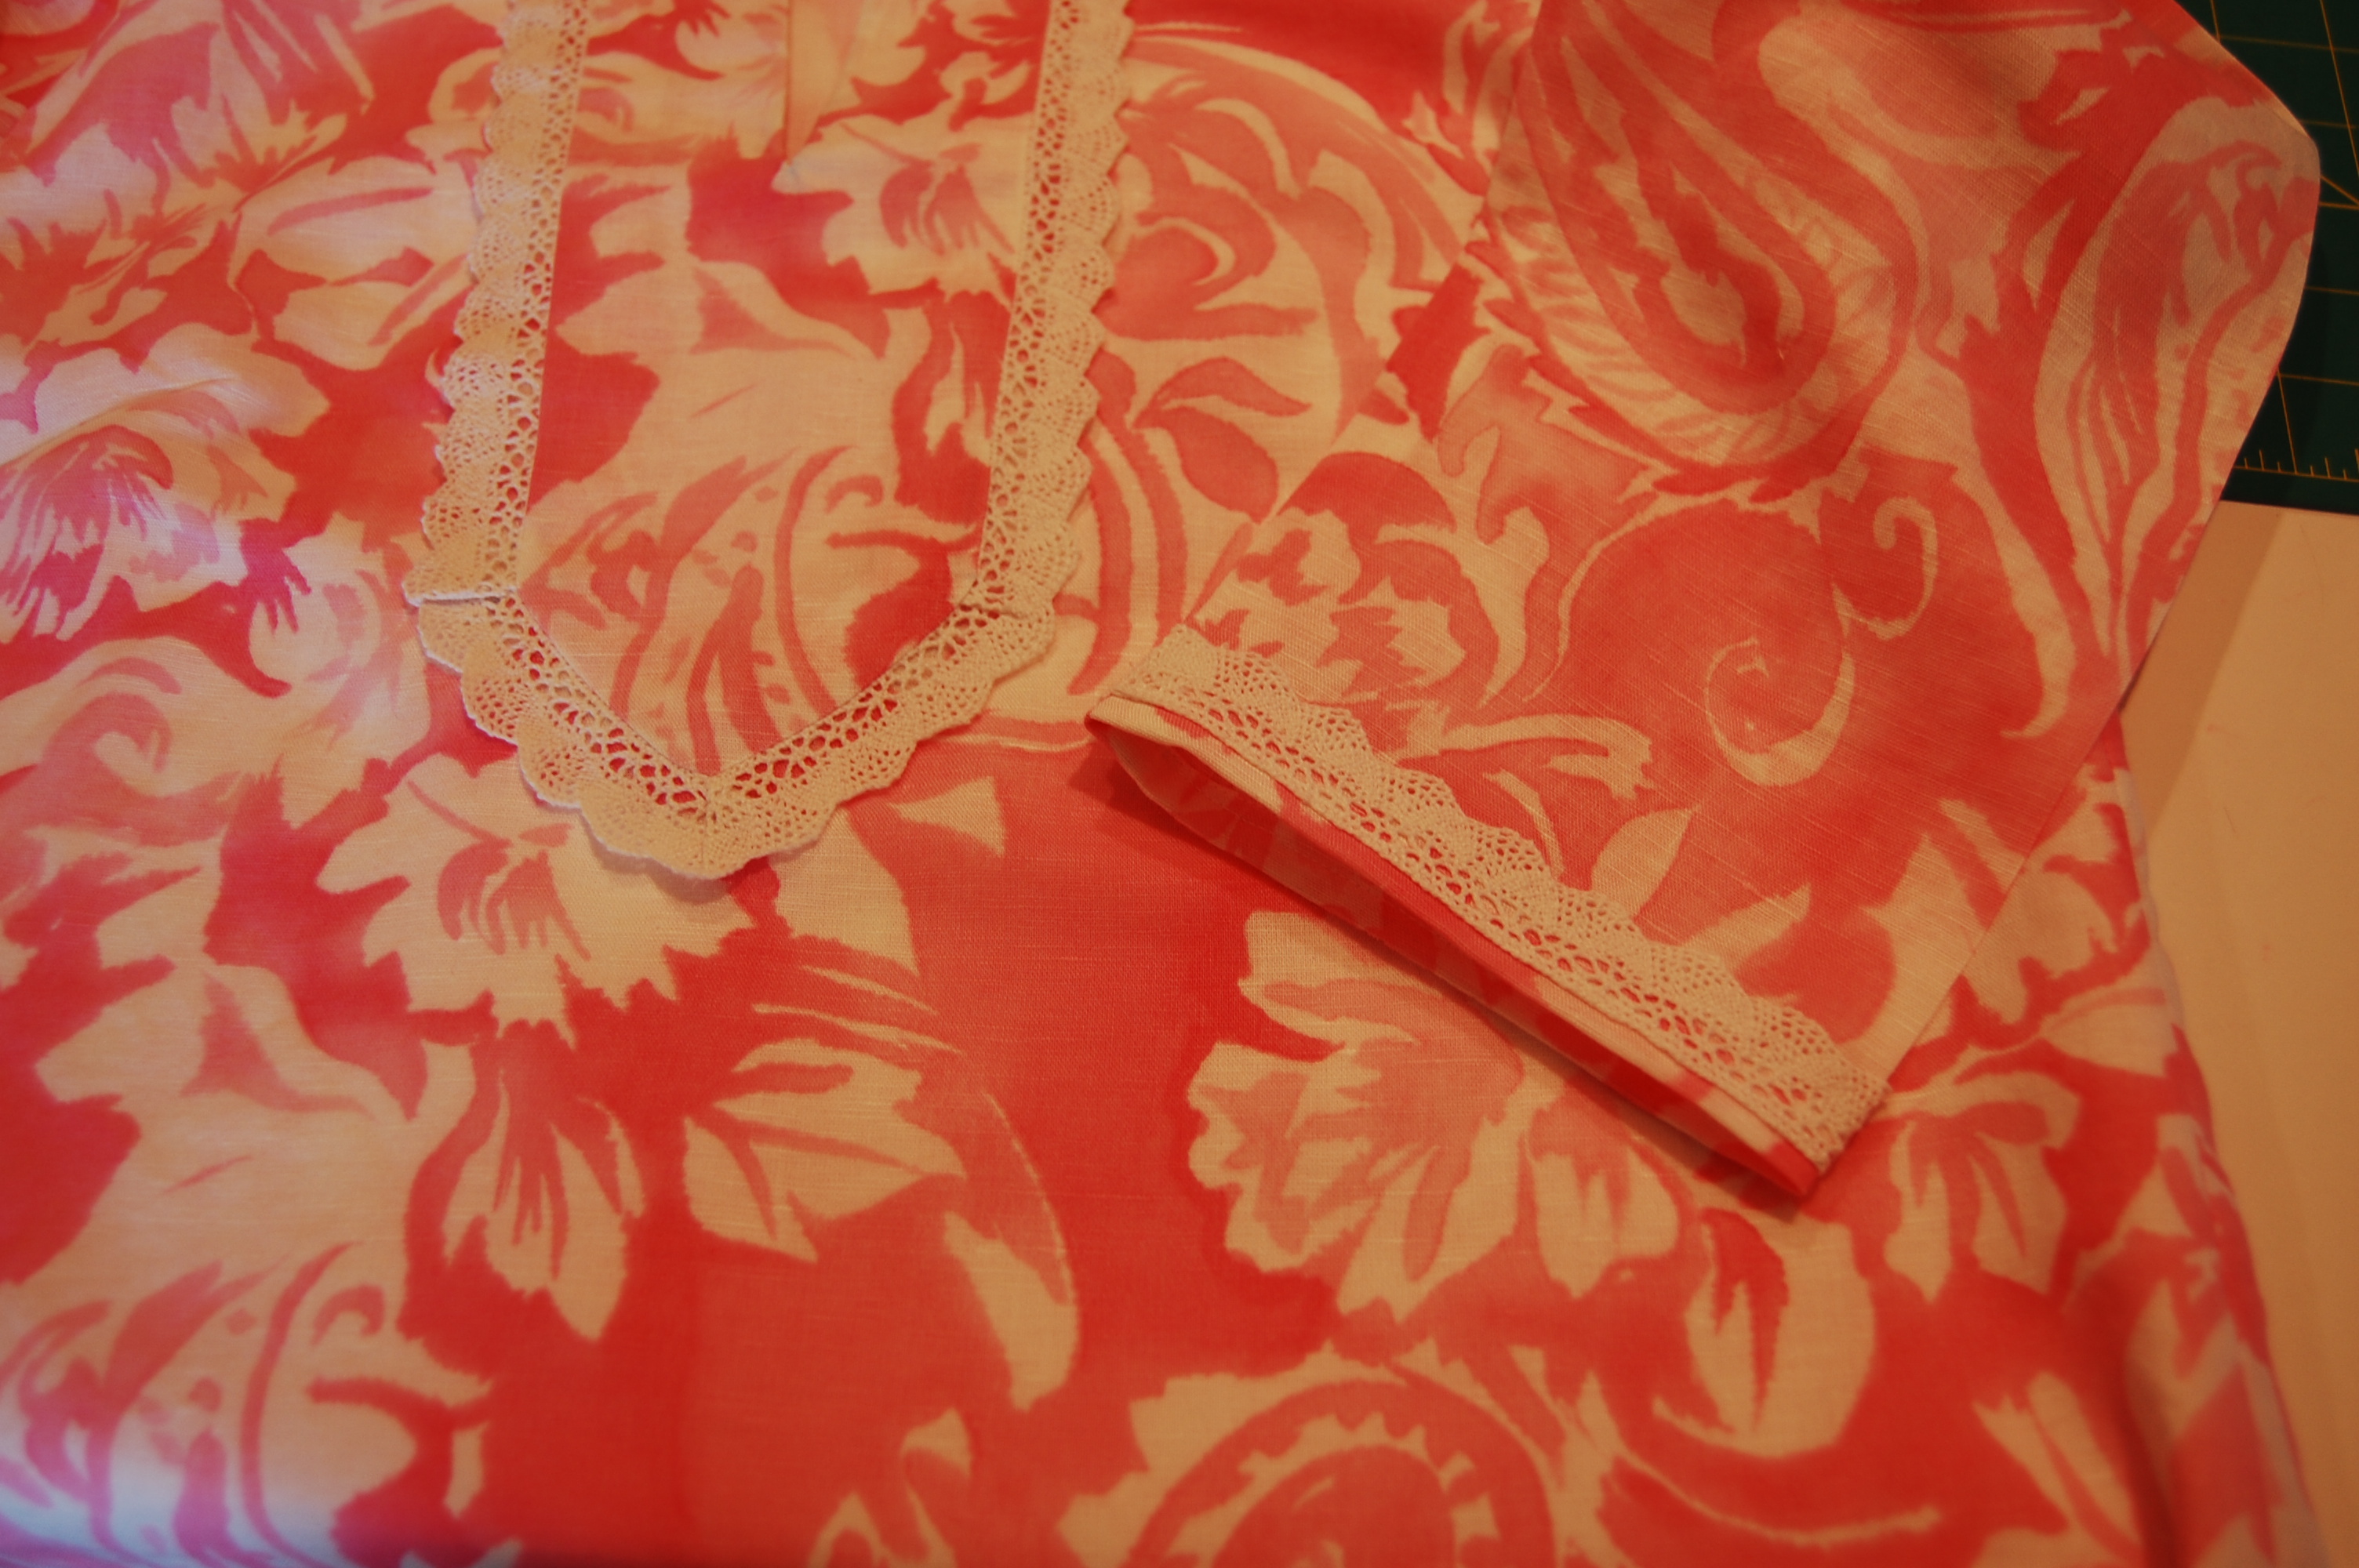
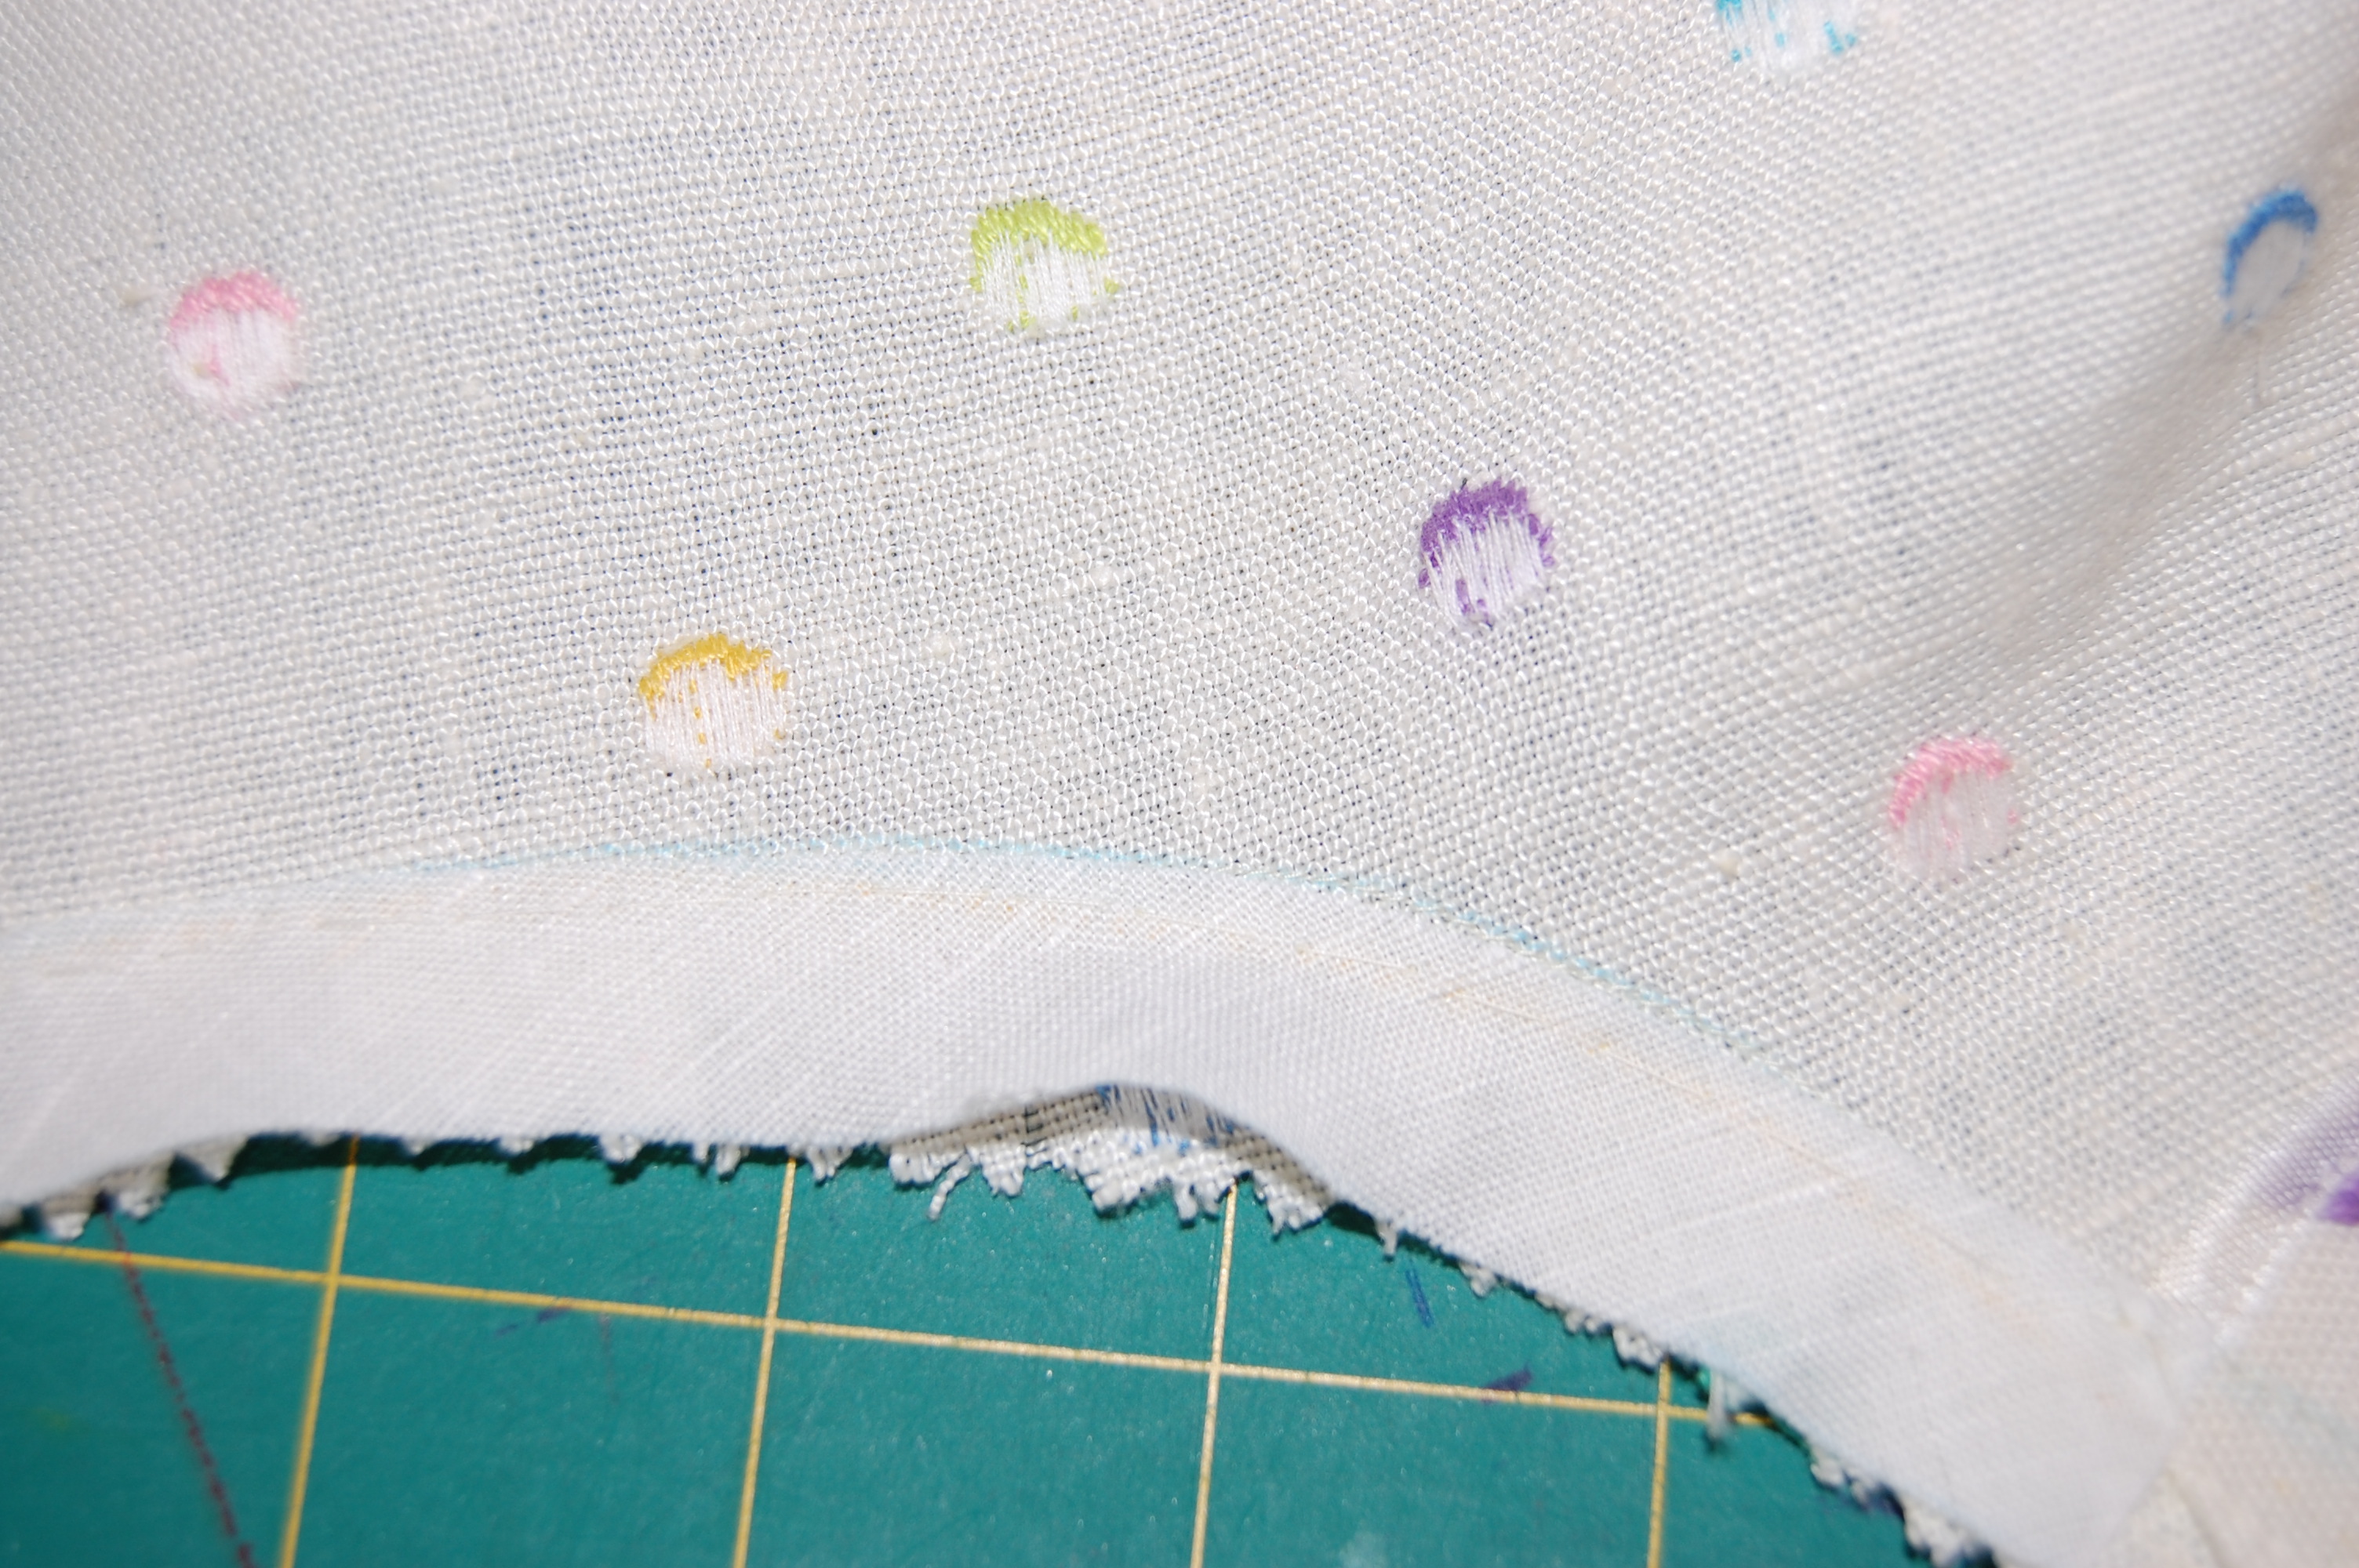
I attached the lace with the straight edge at the bottom of the sleeve, with a narrow margin of fabric showing.

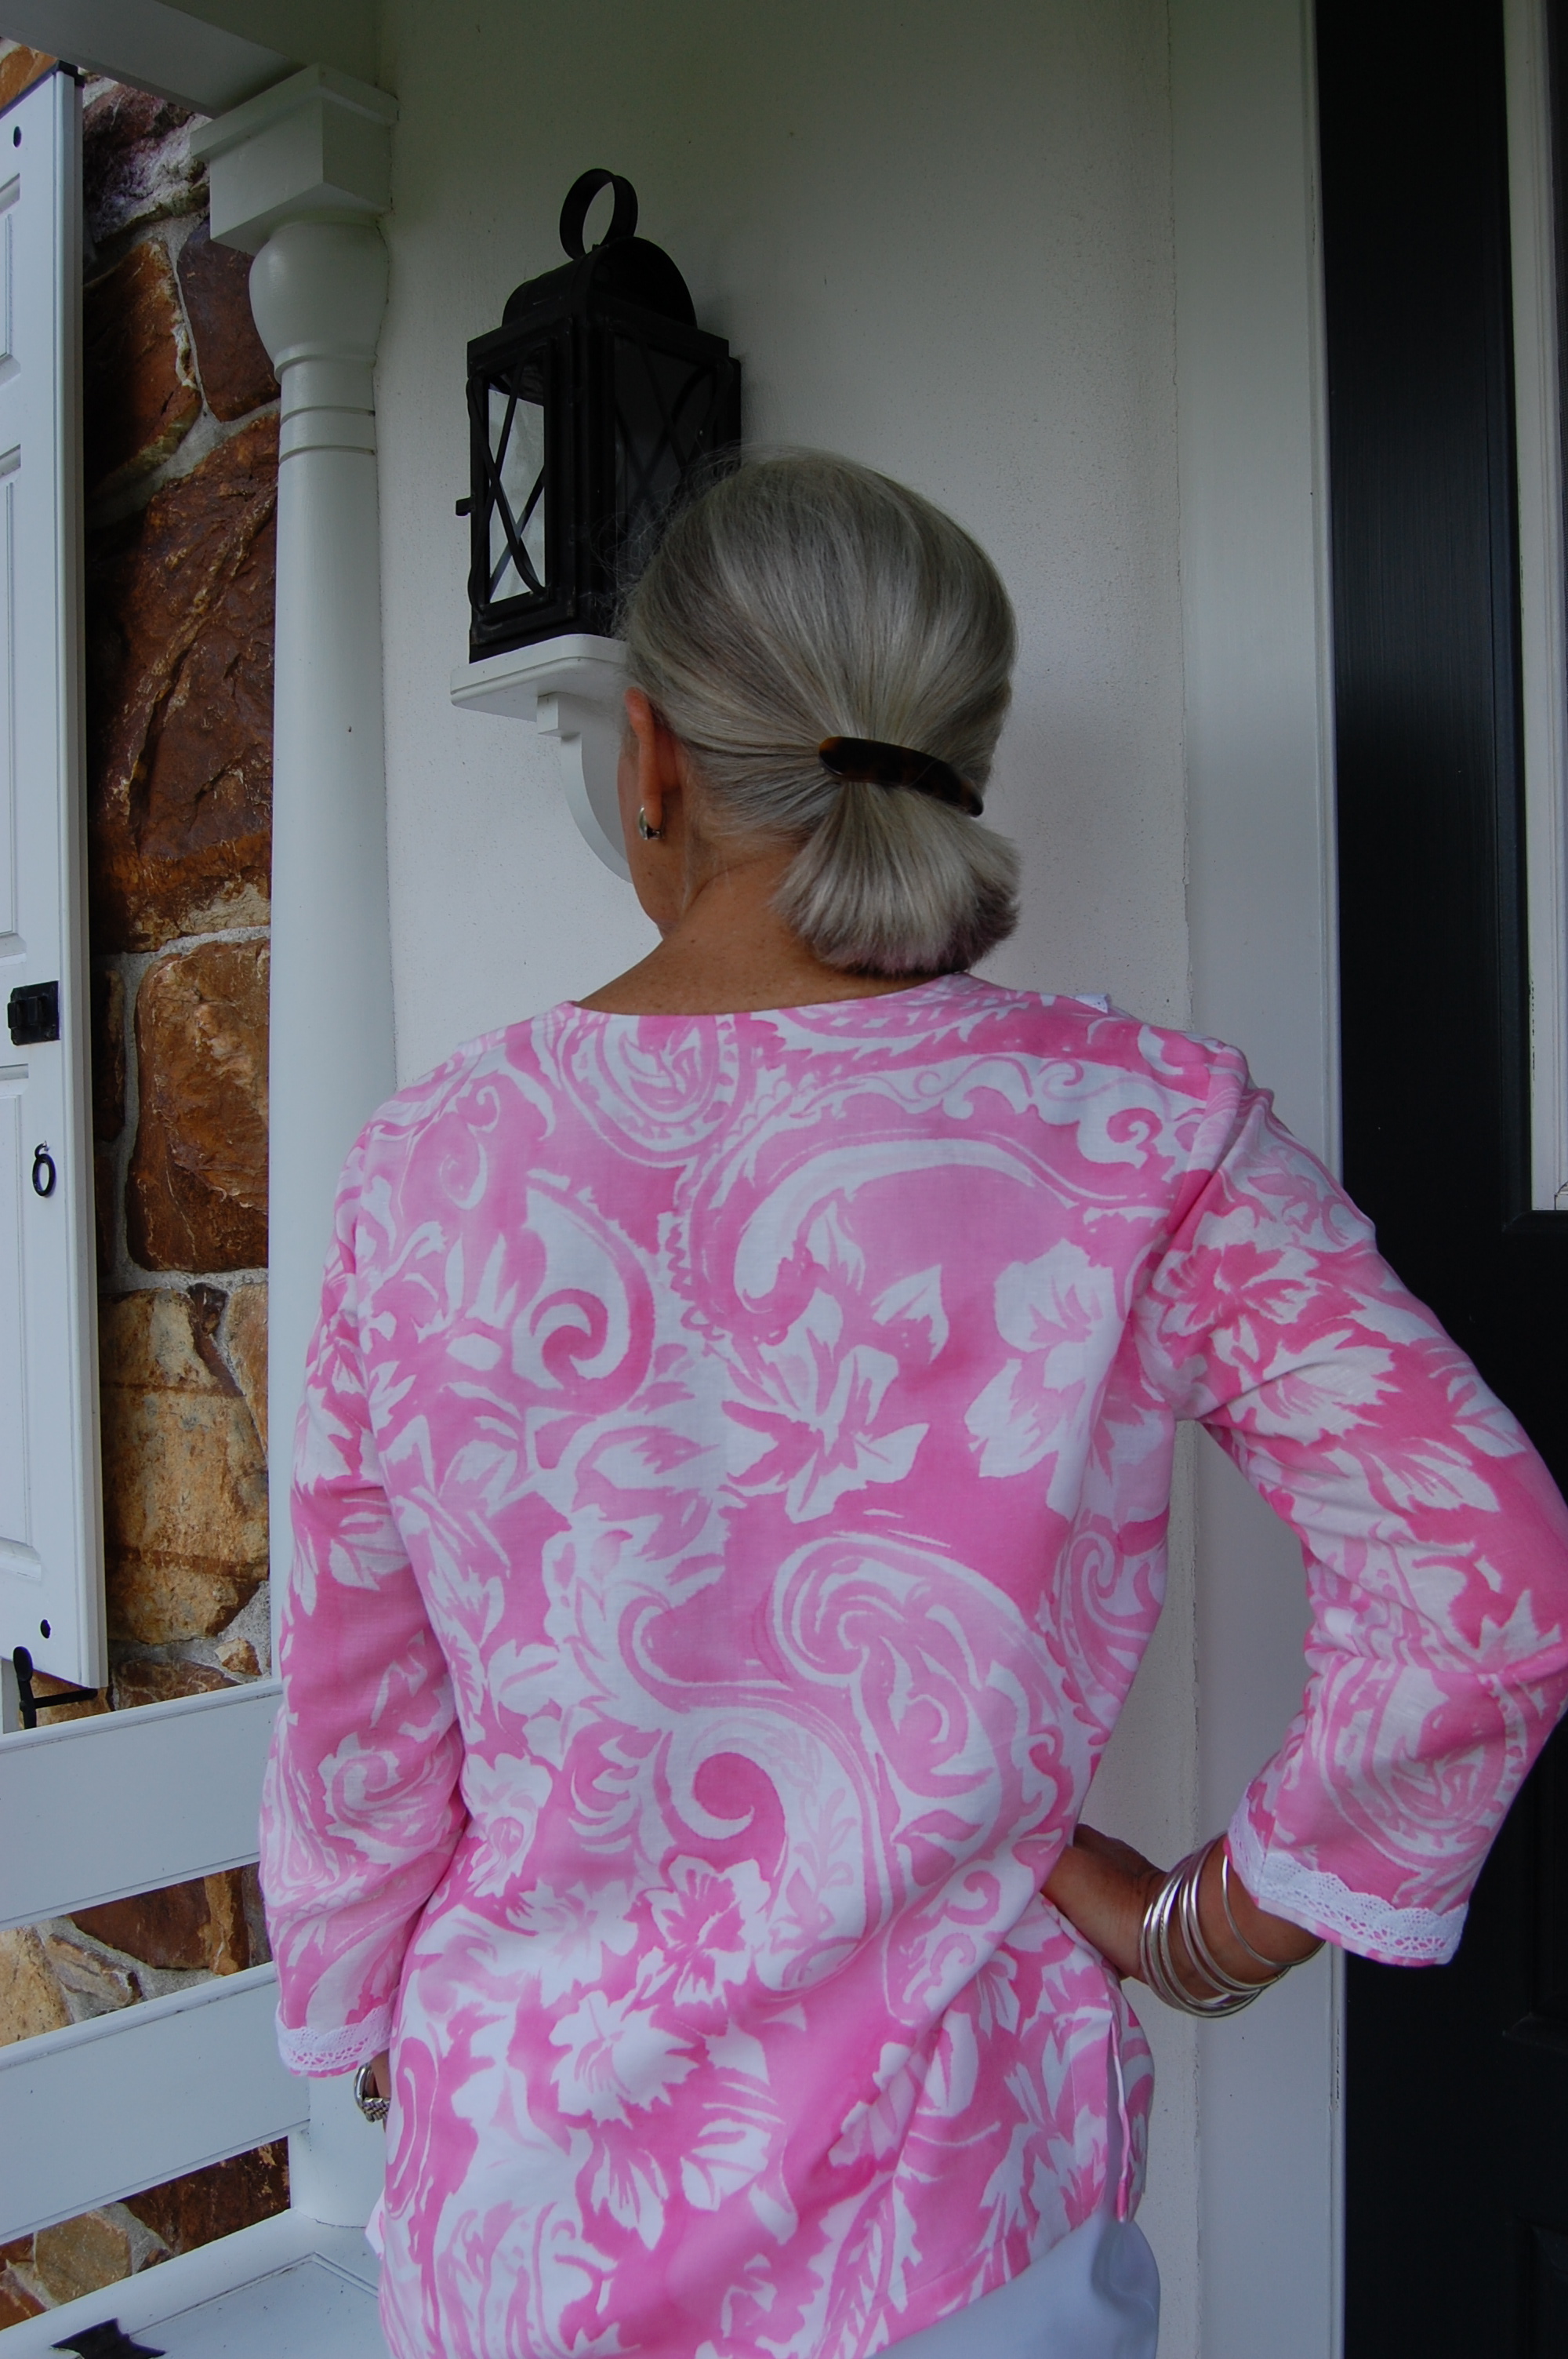
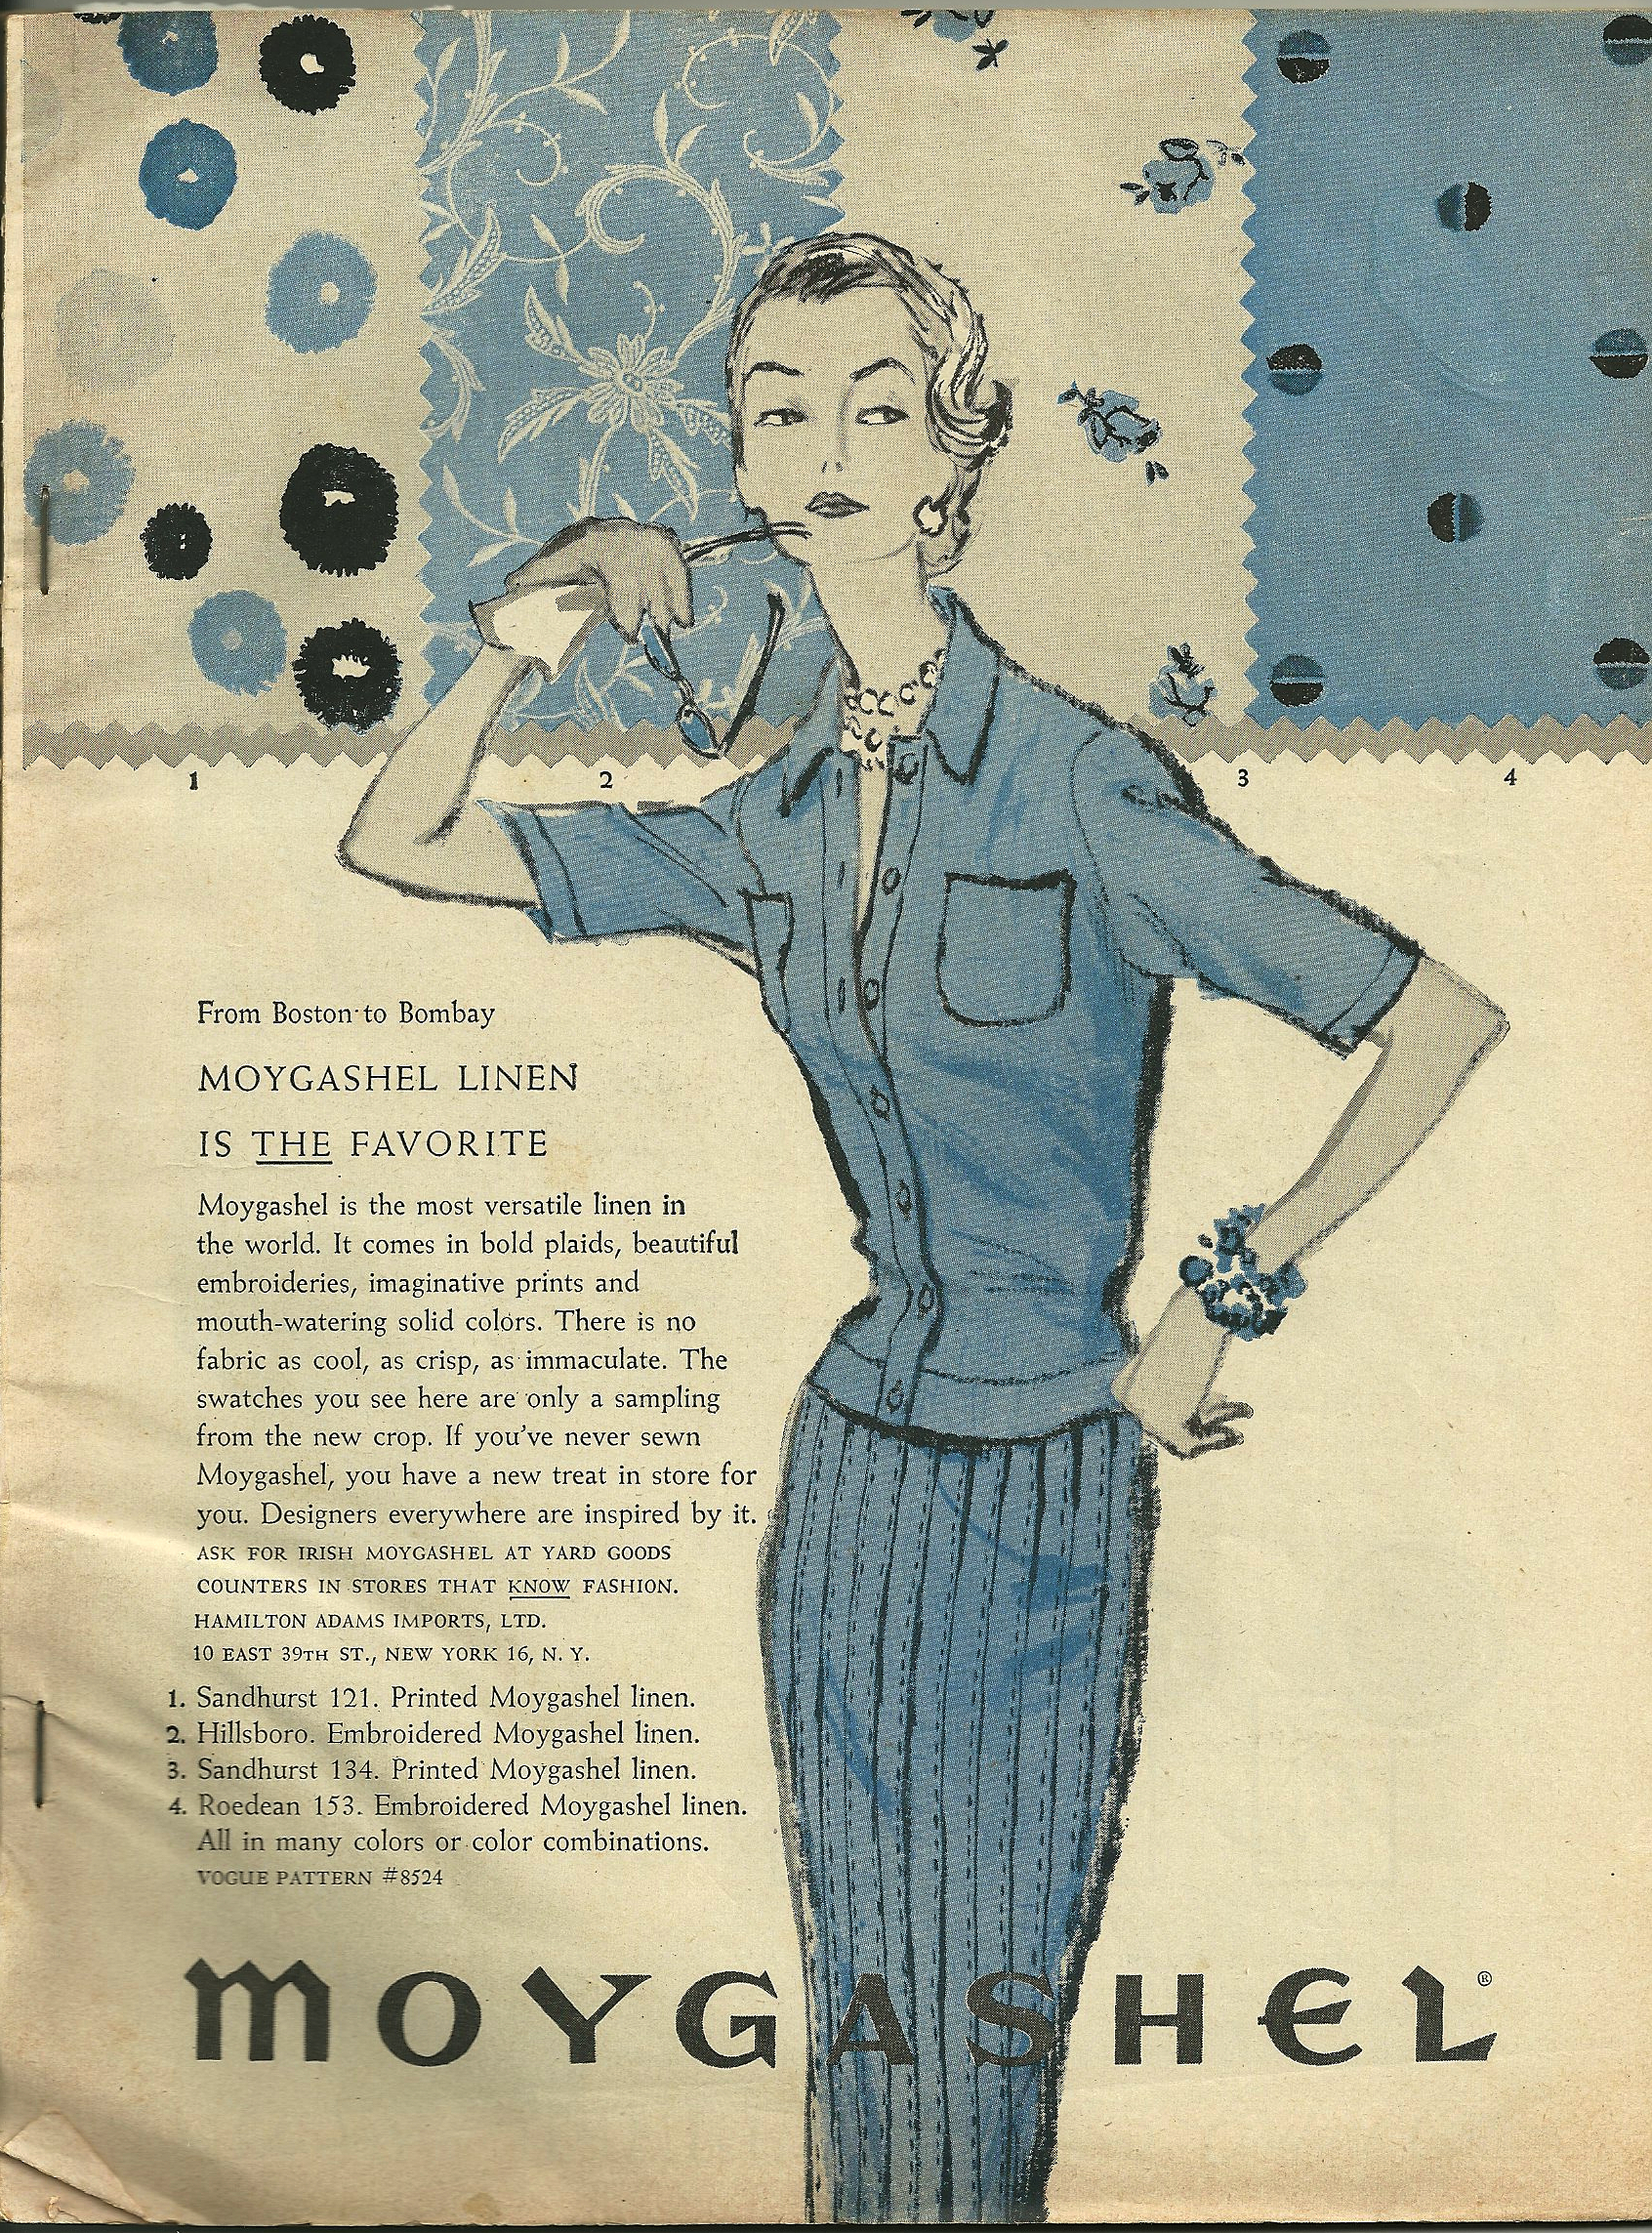
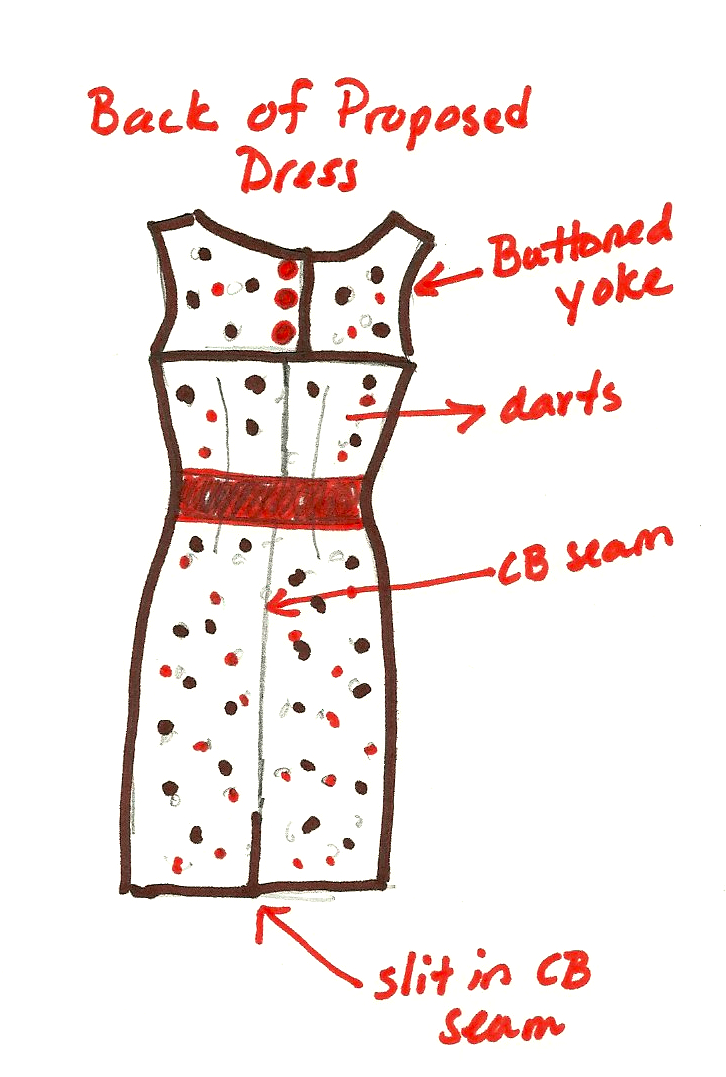
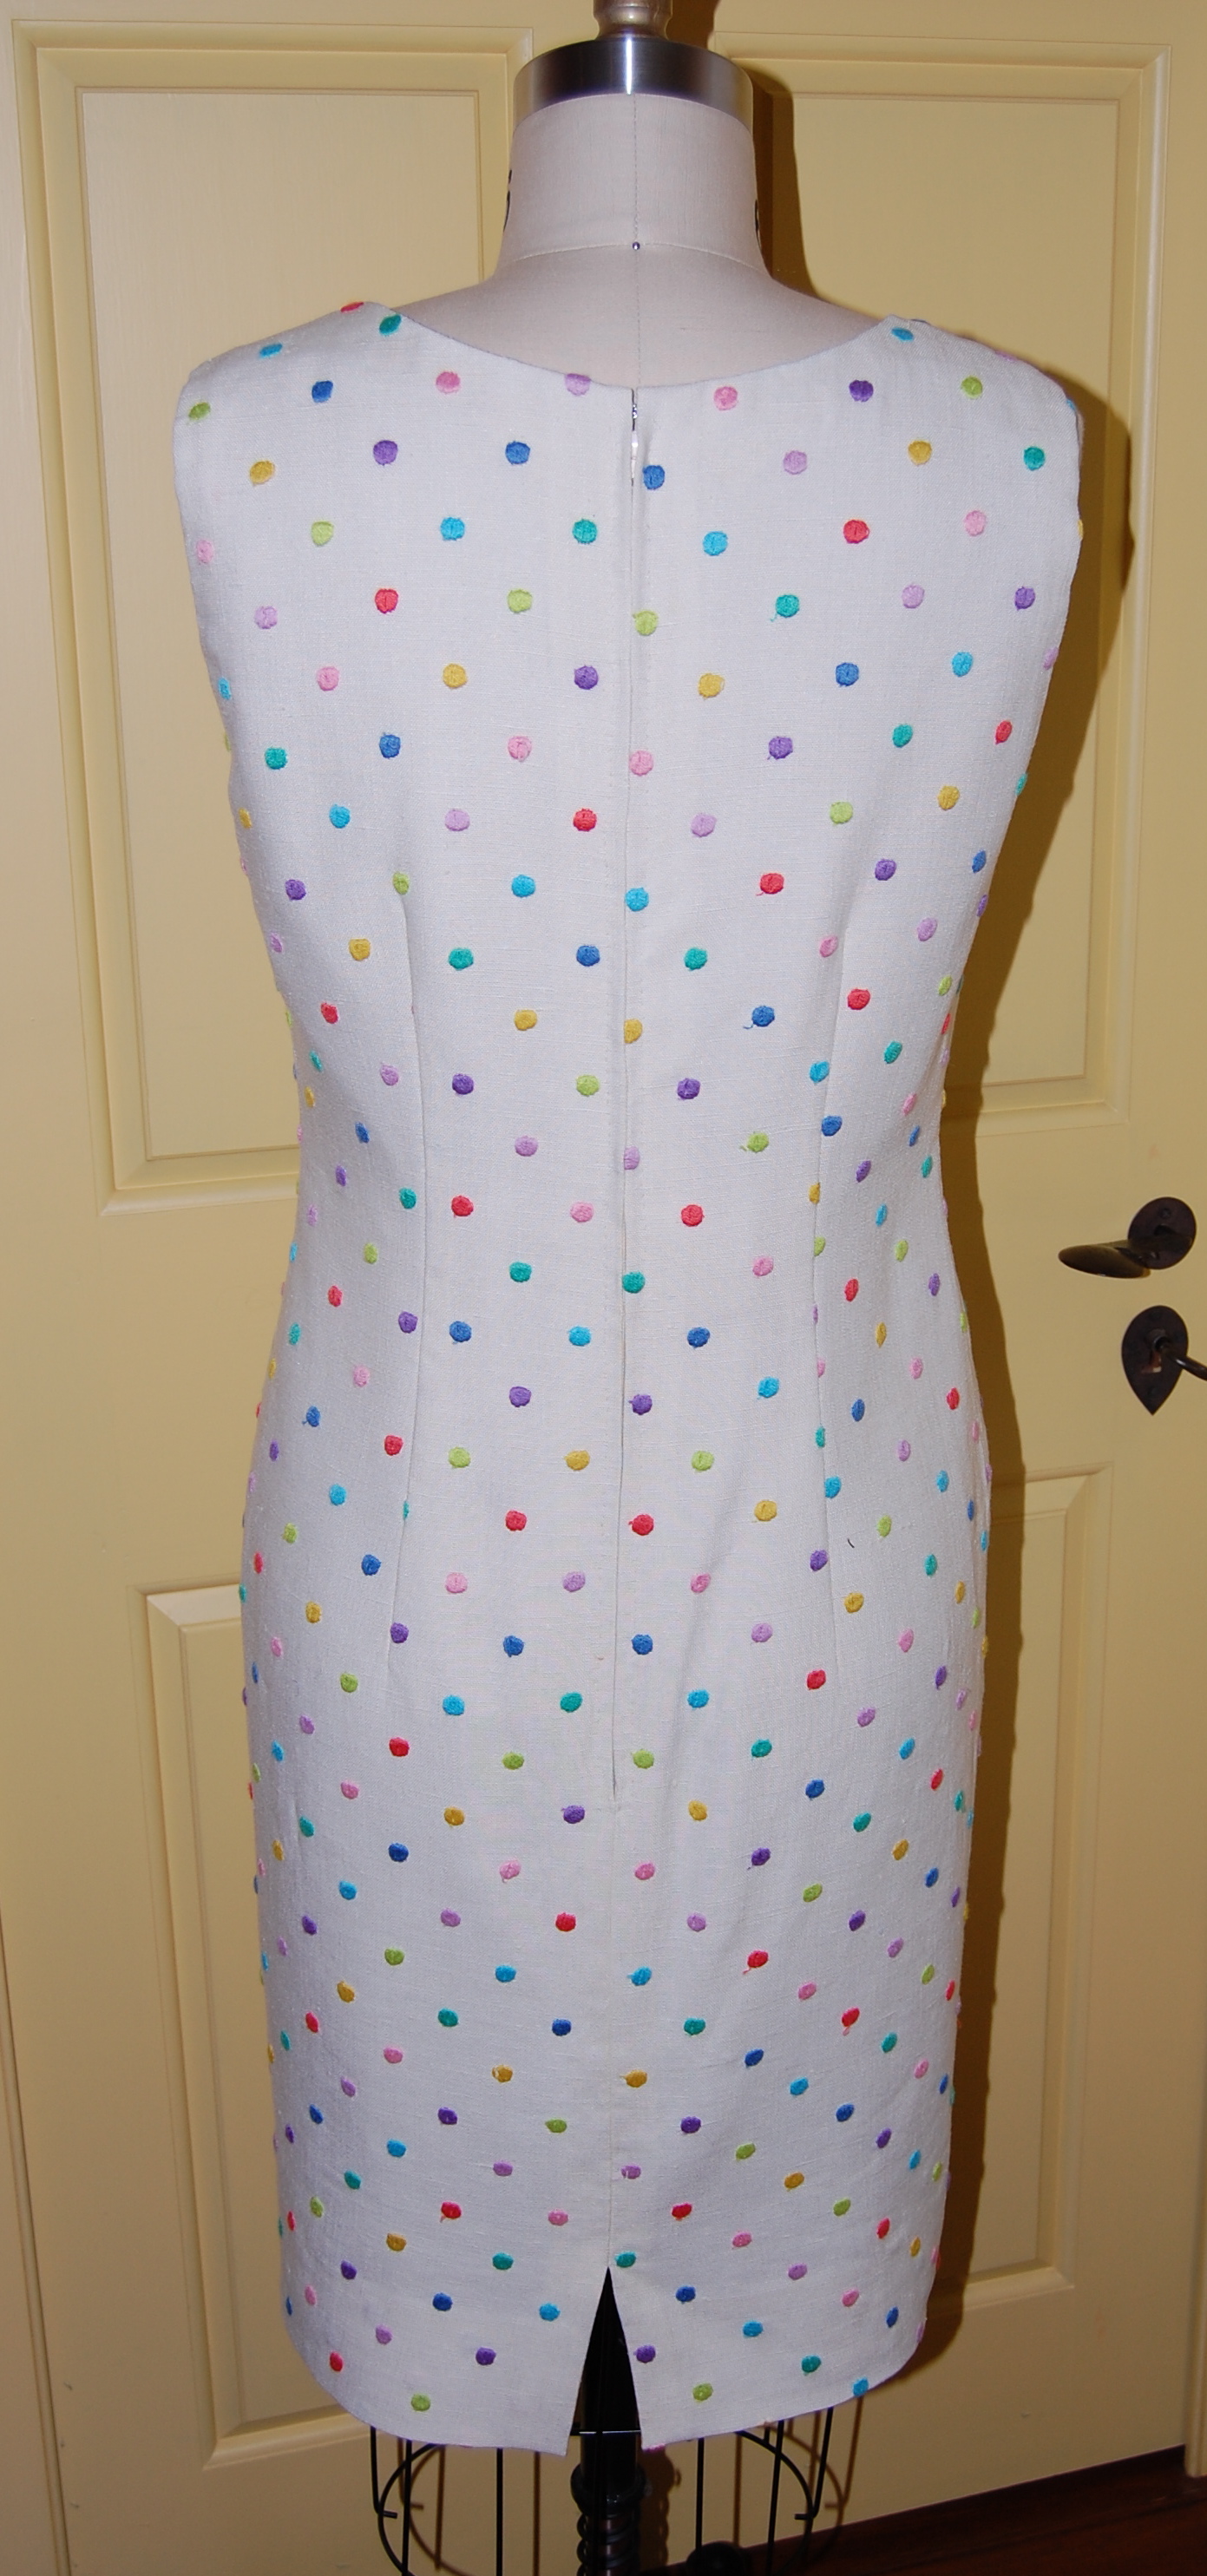
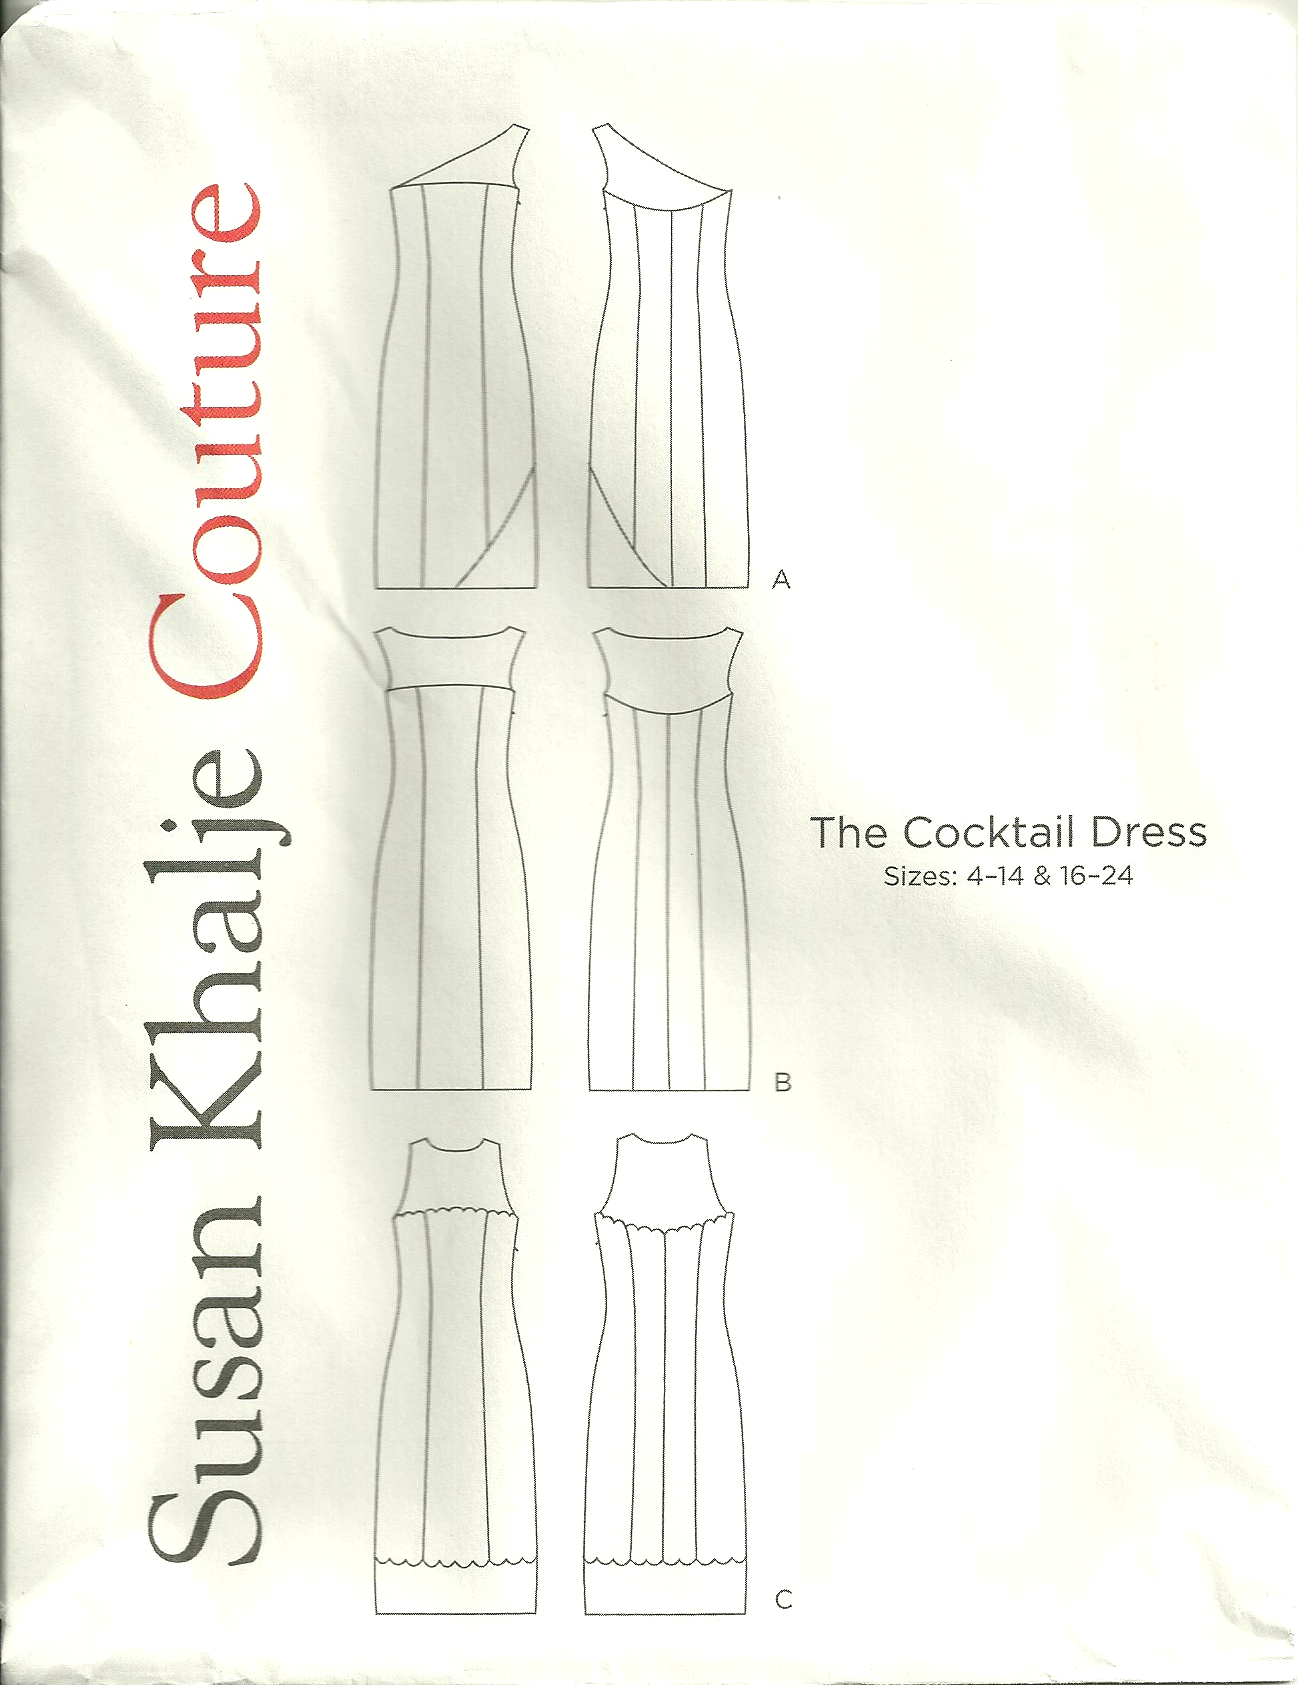
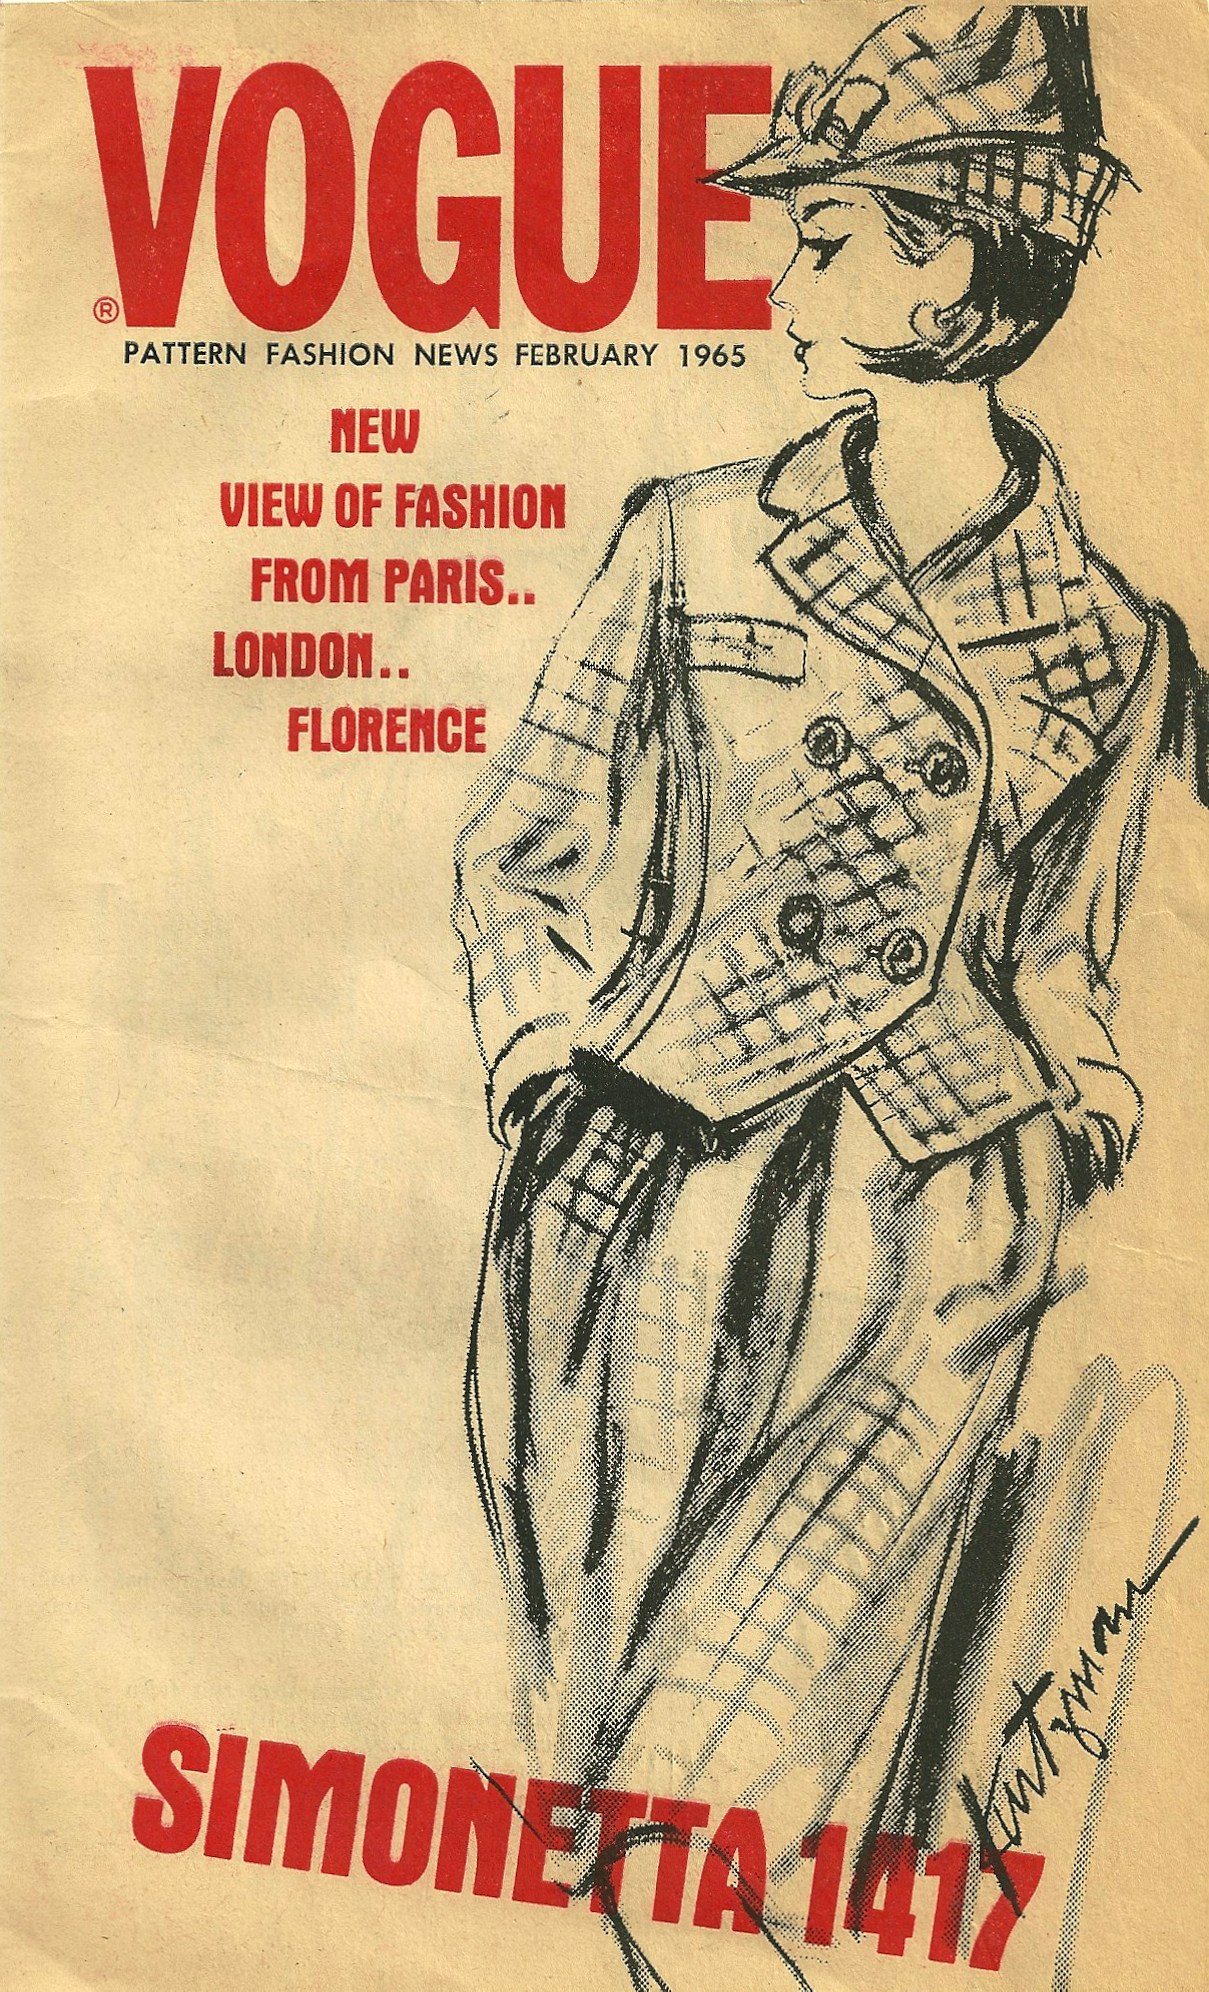
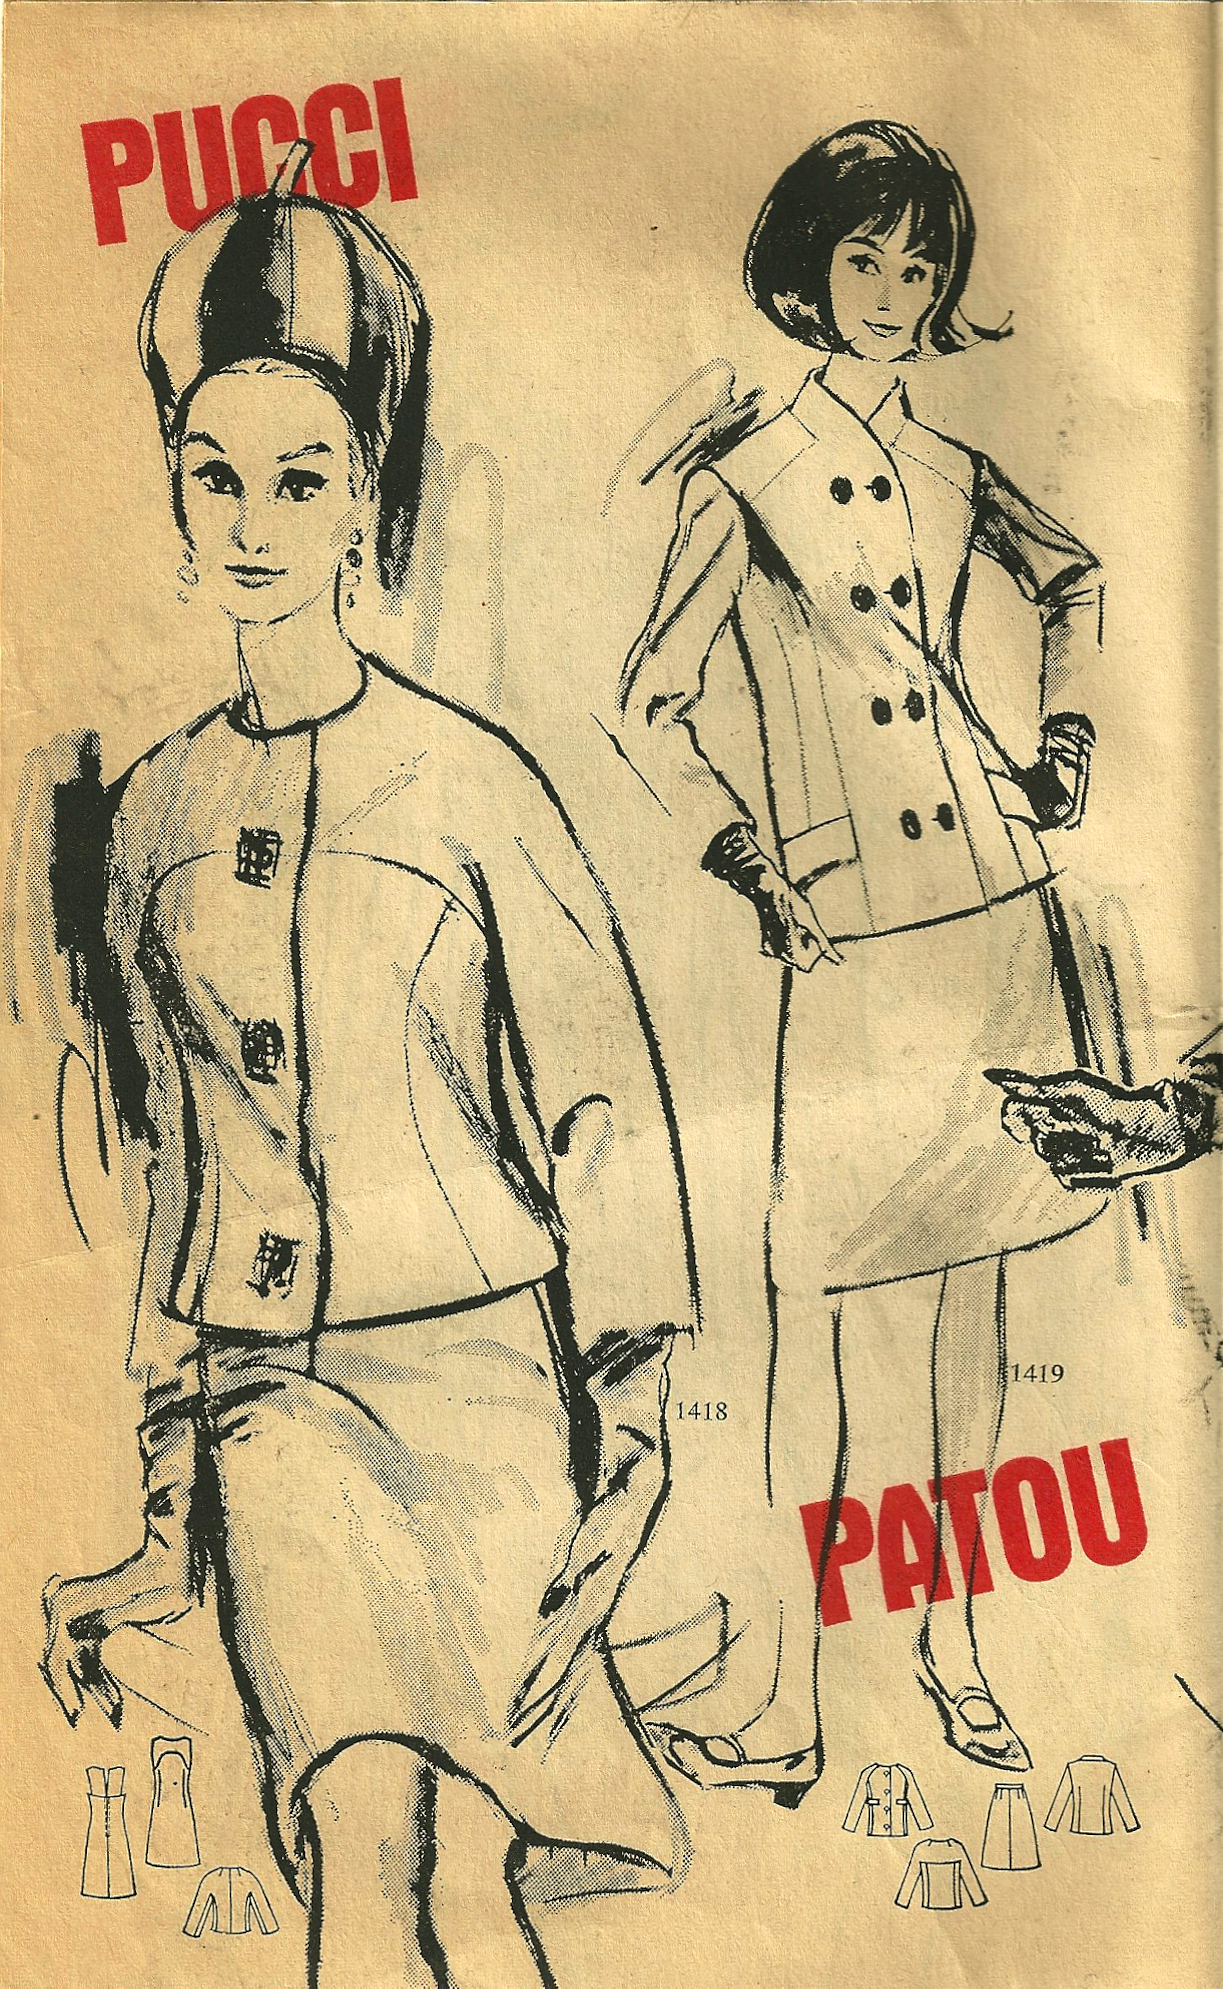
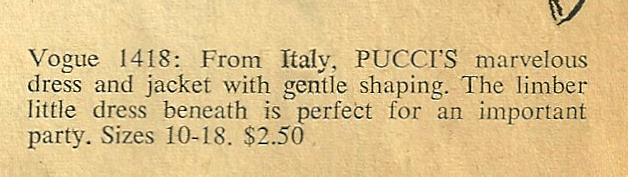
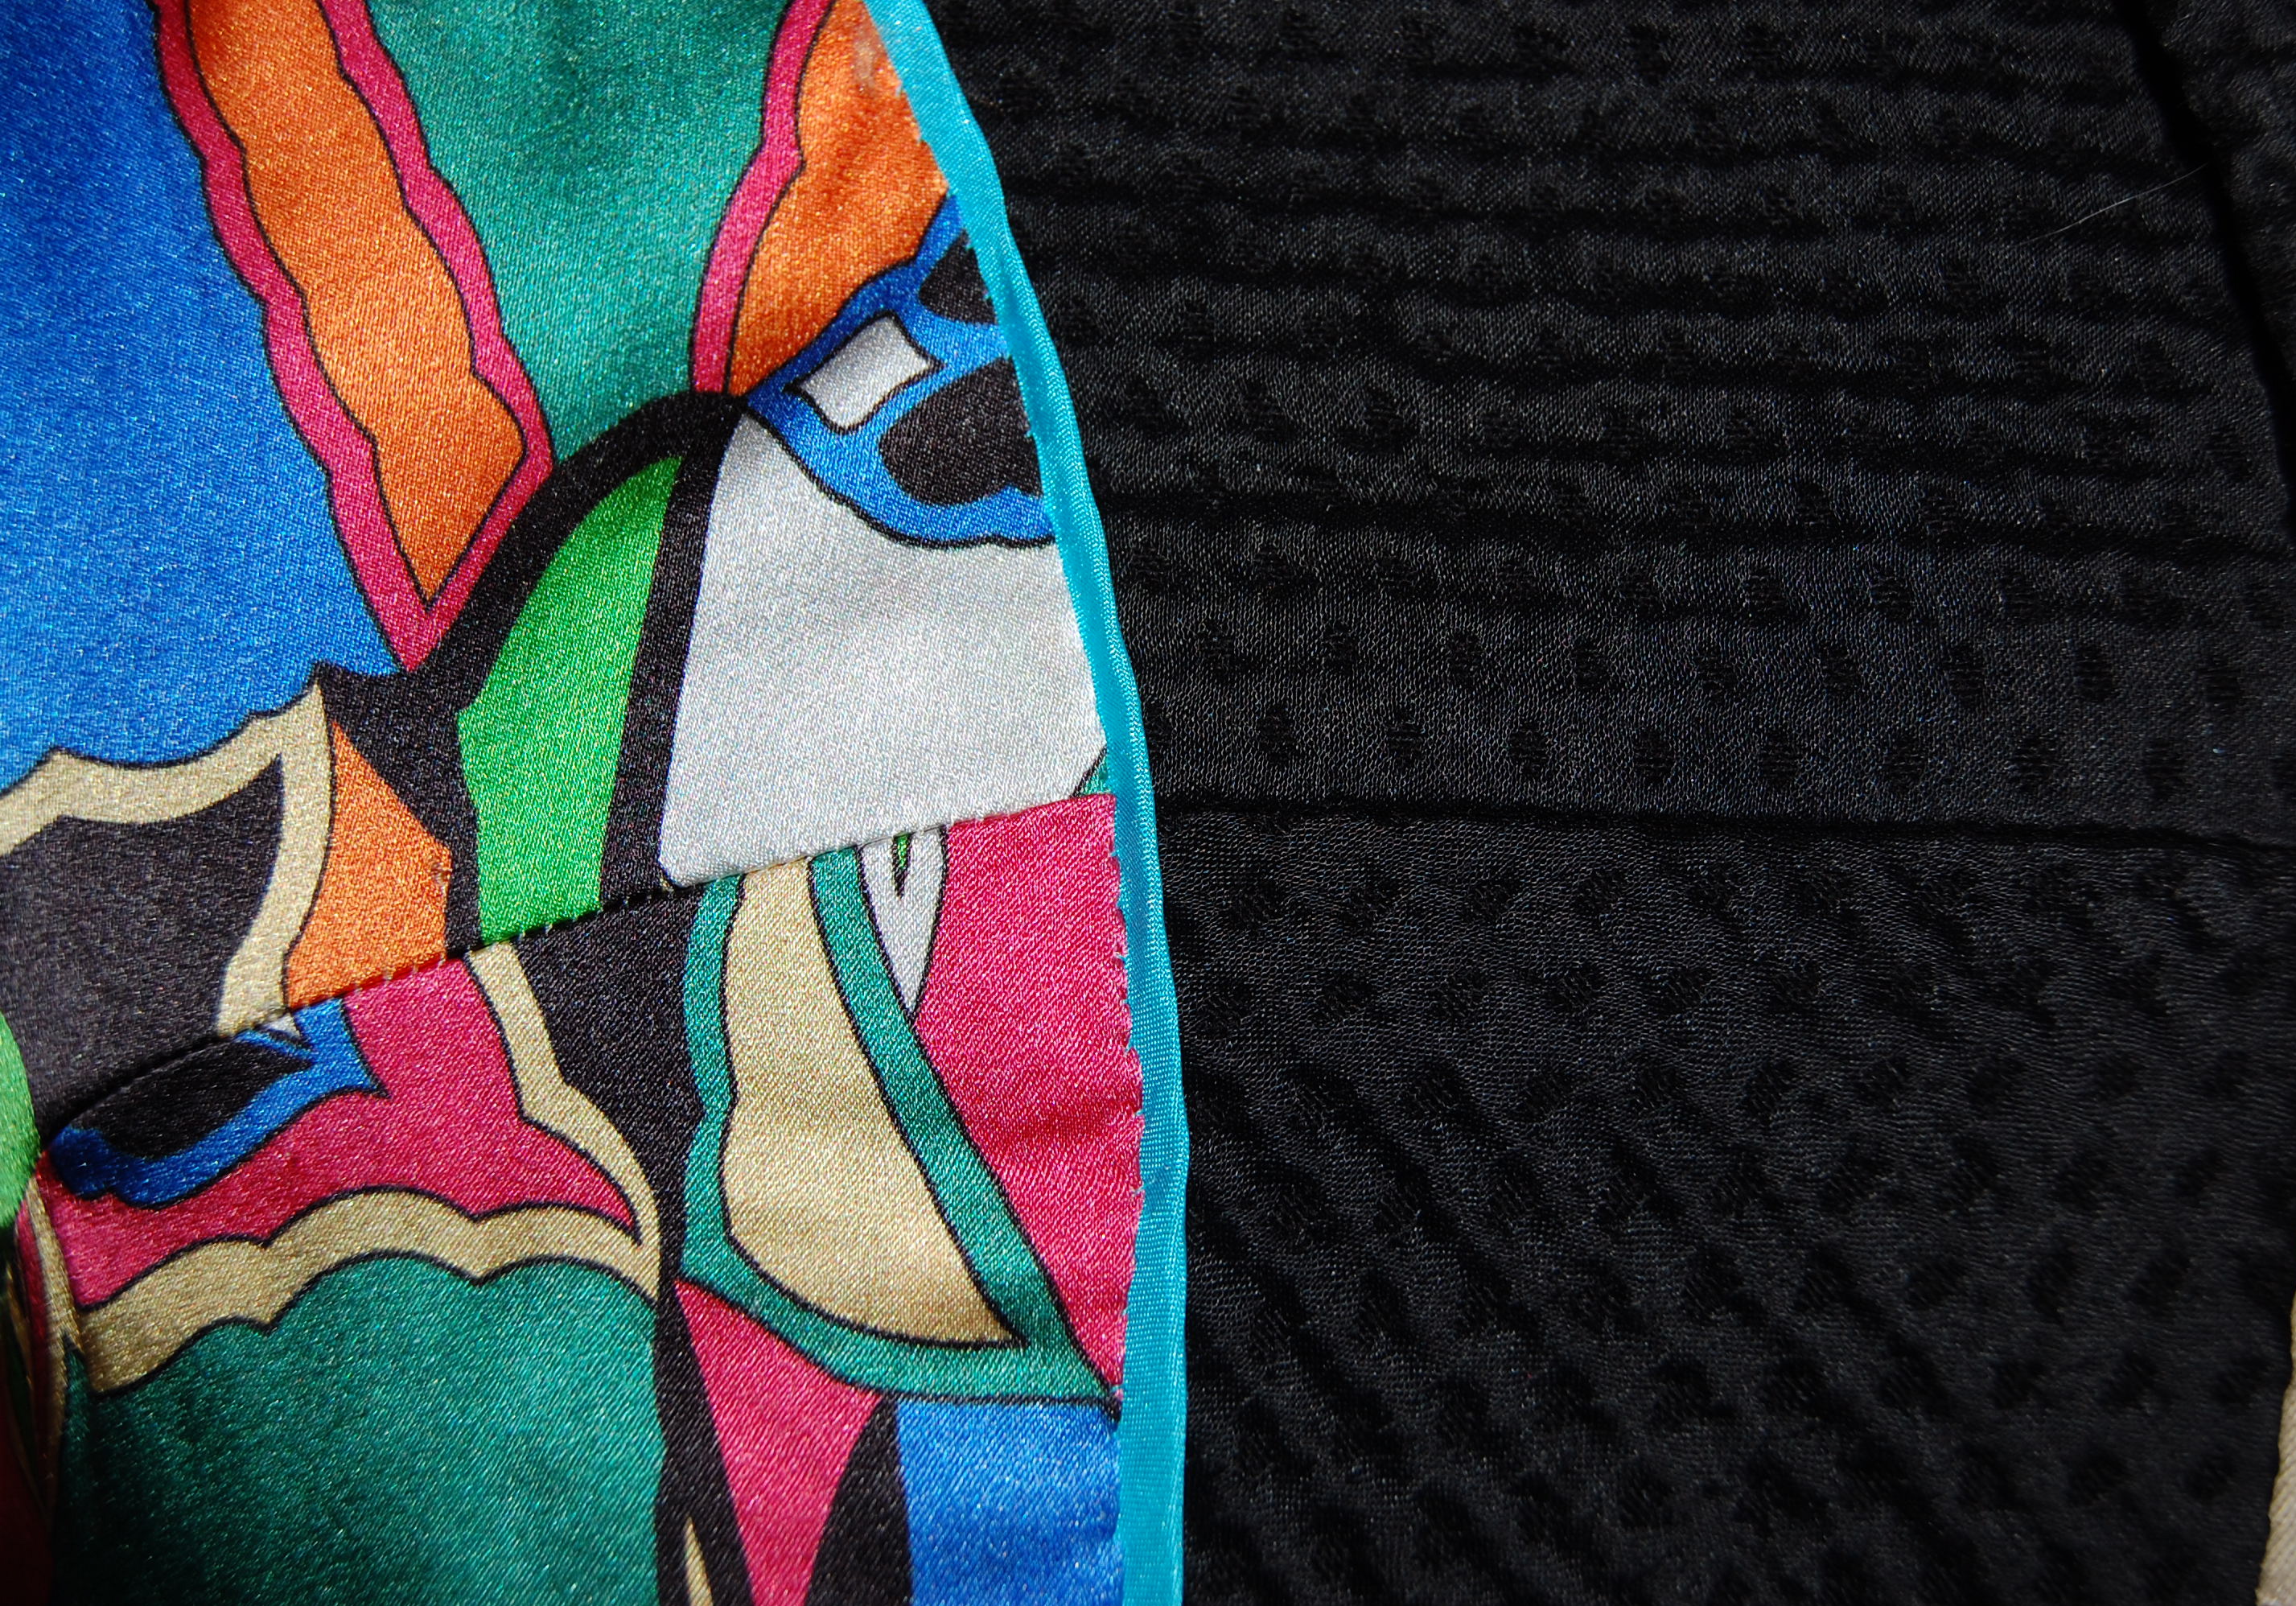
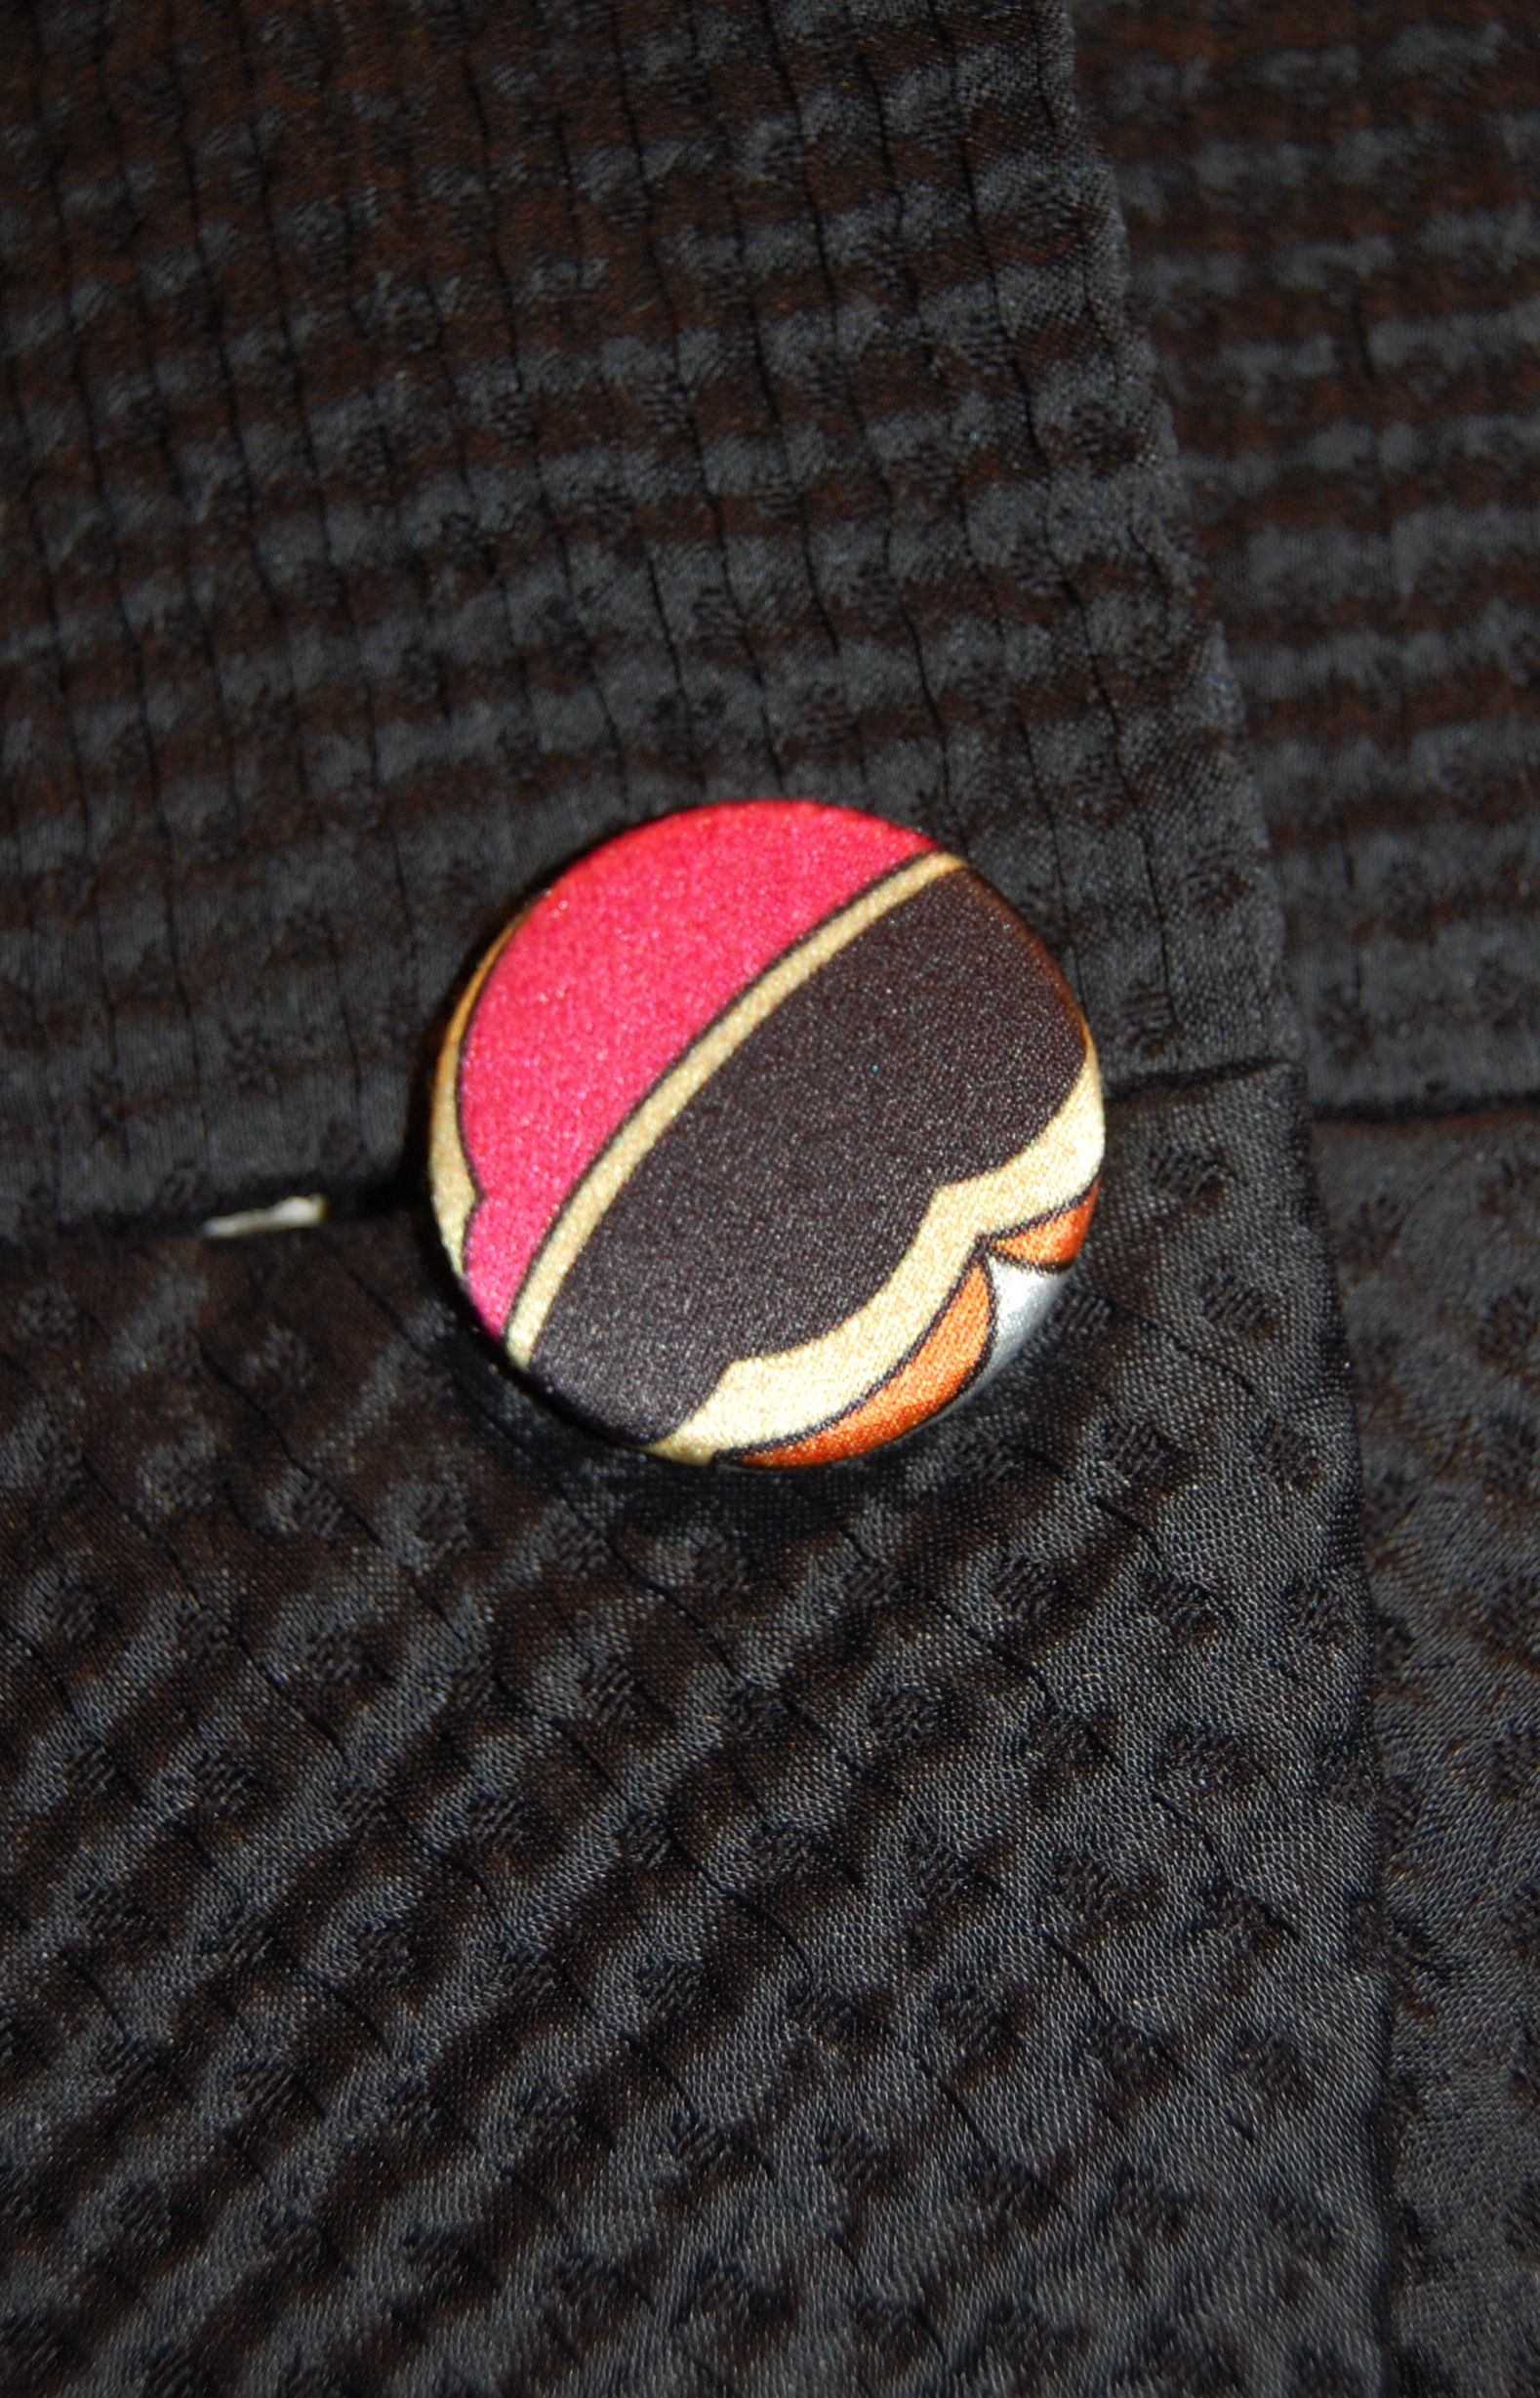
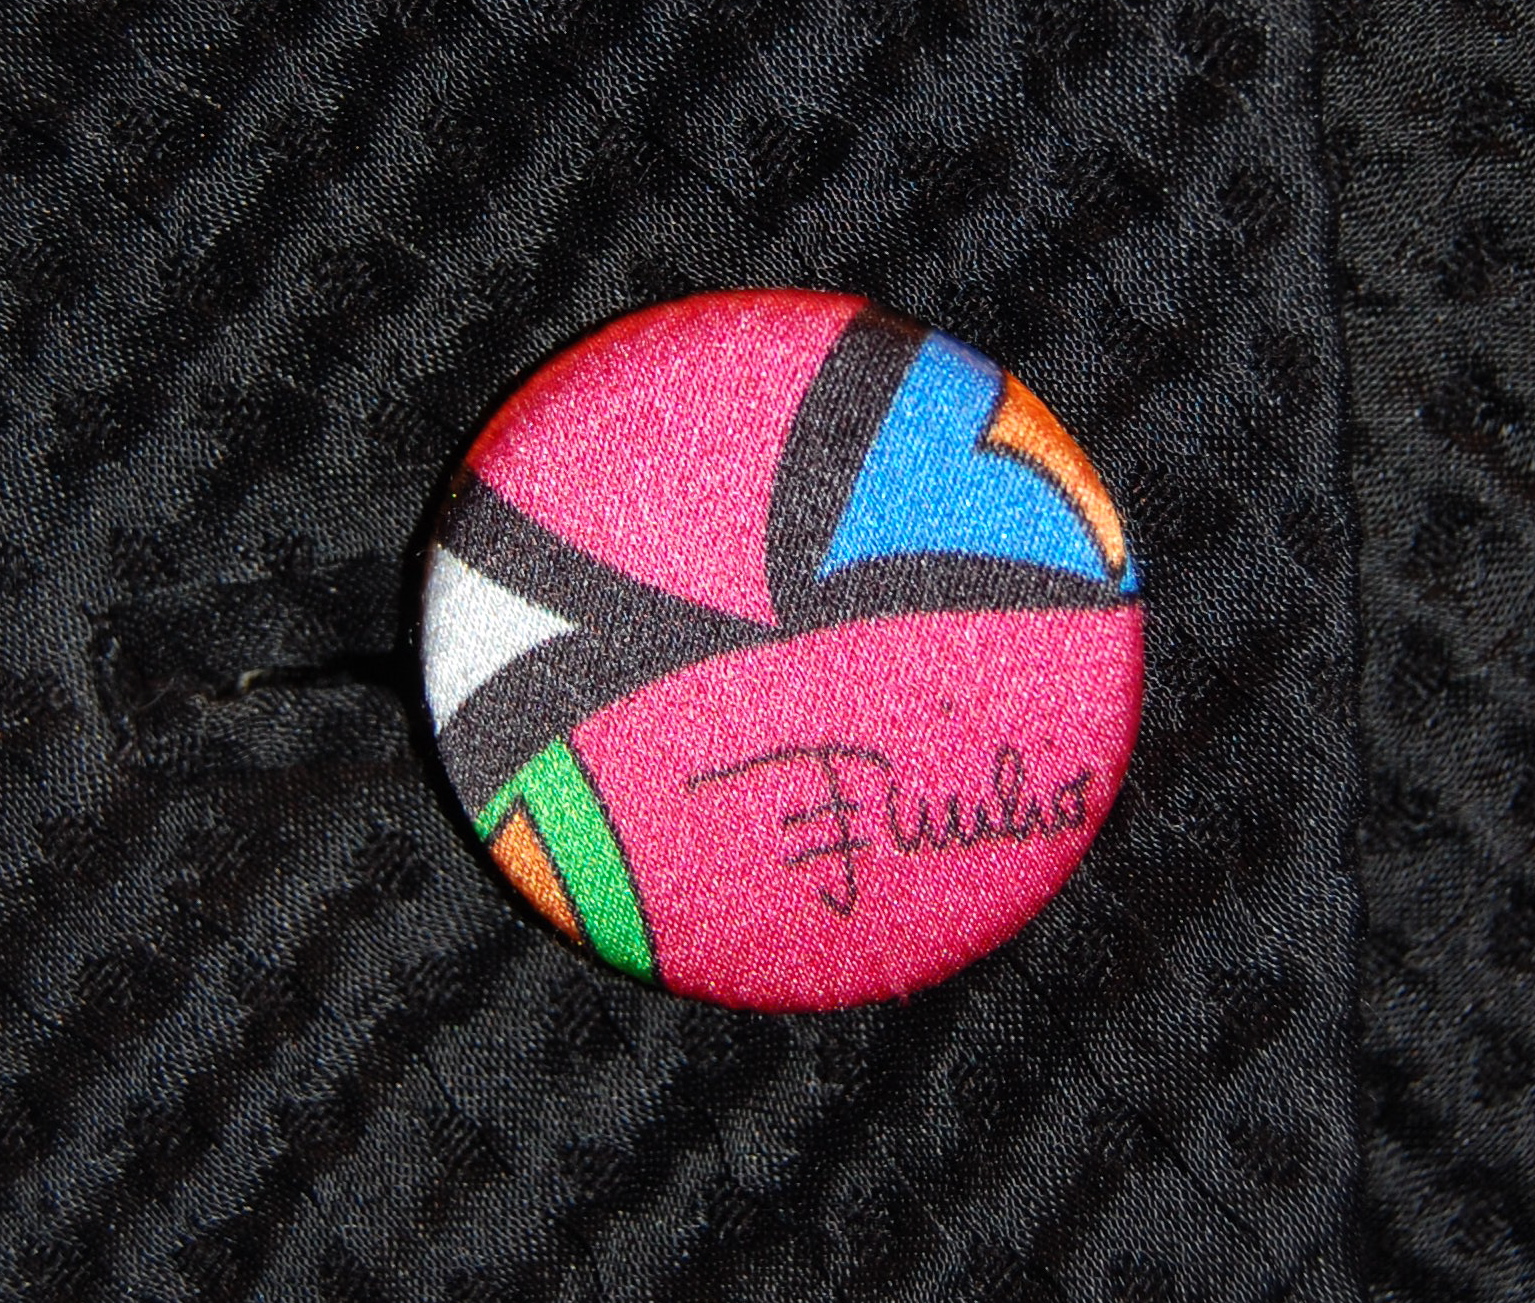
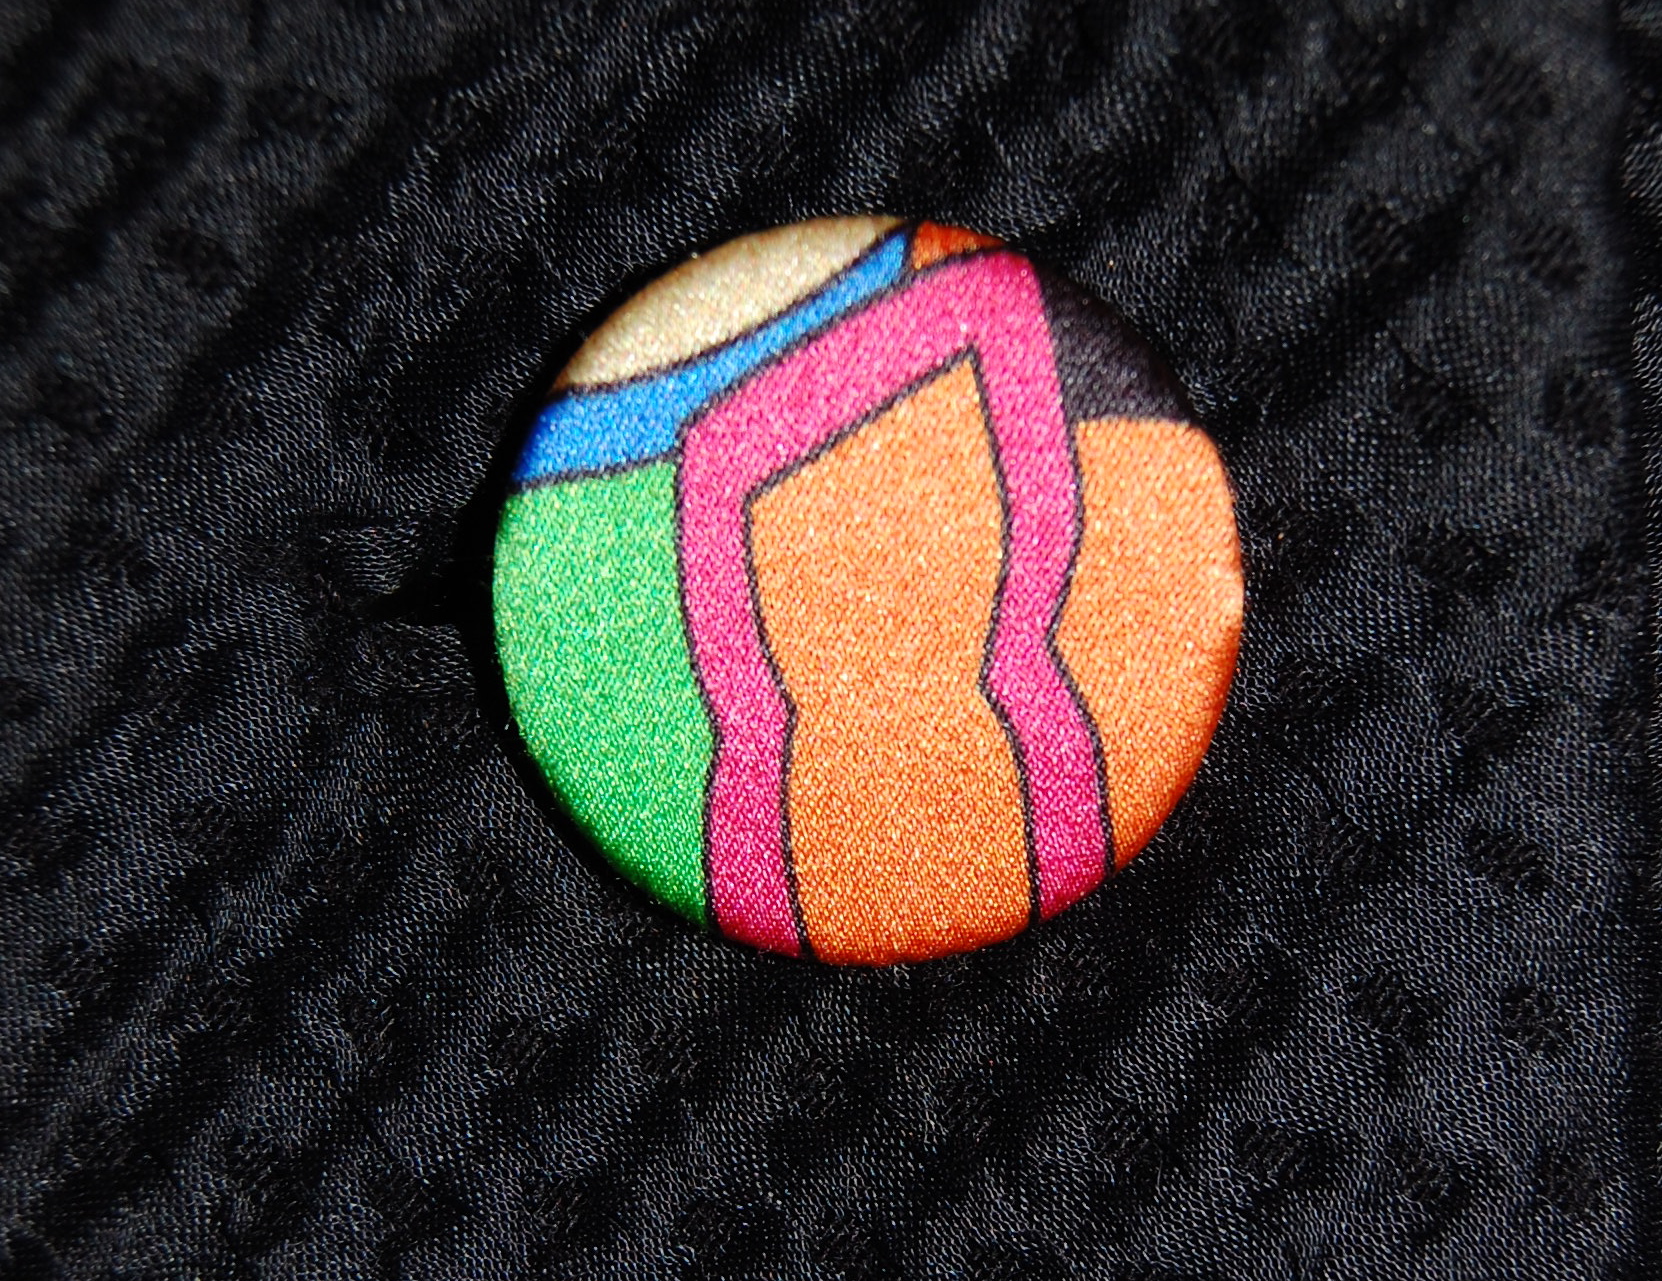
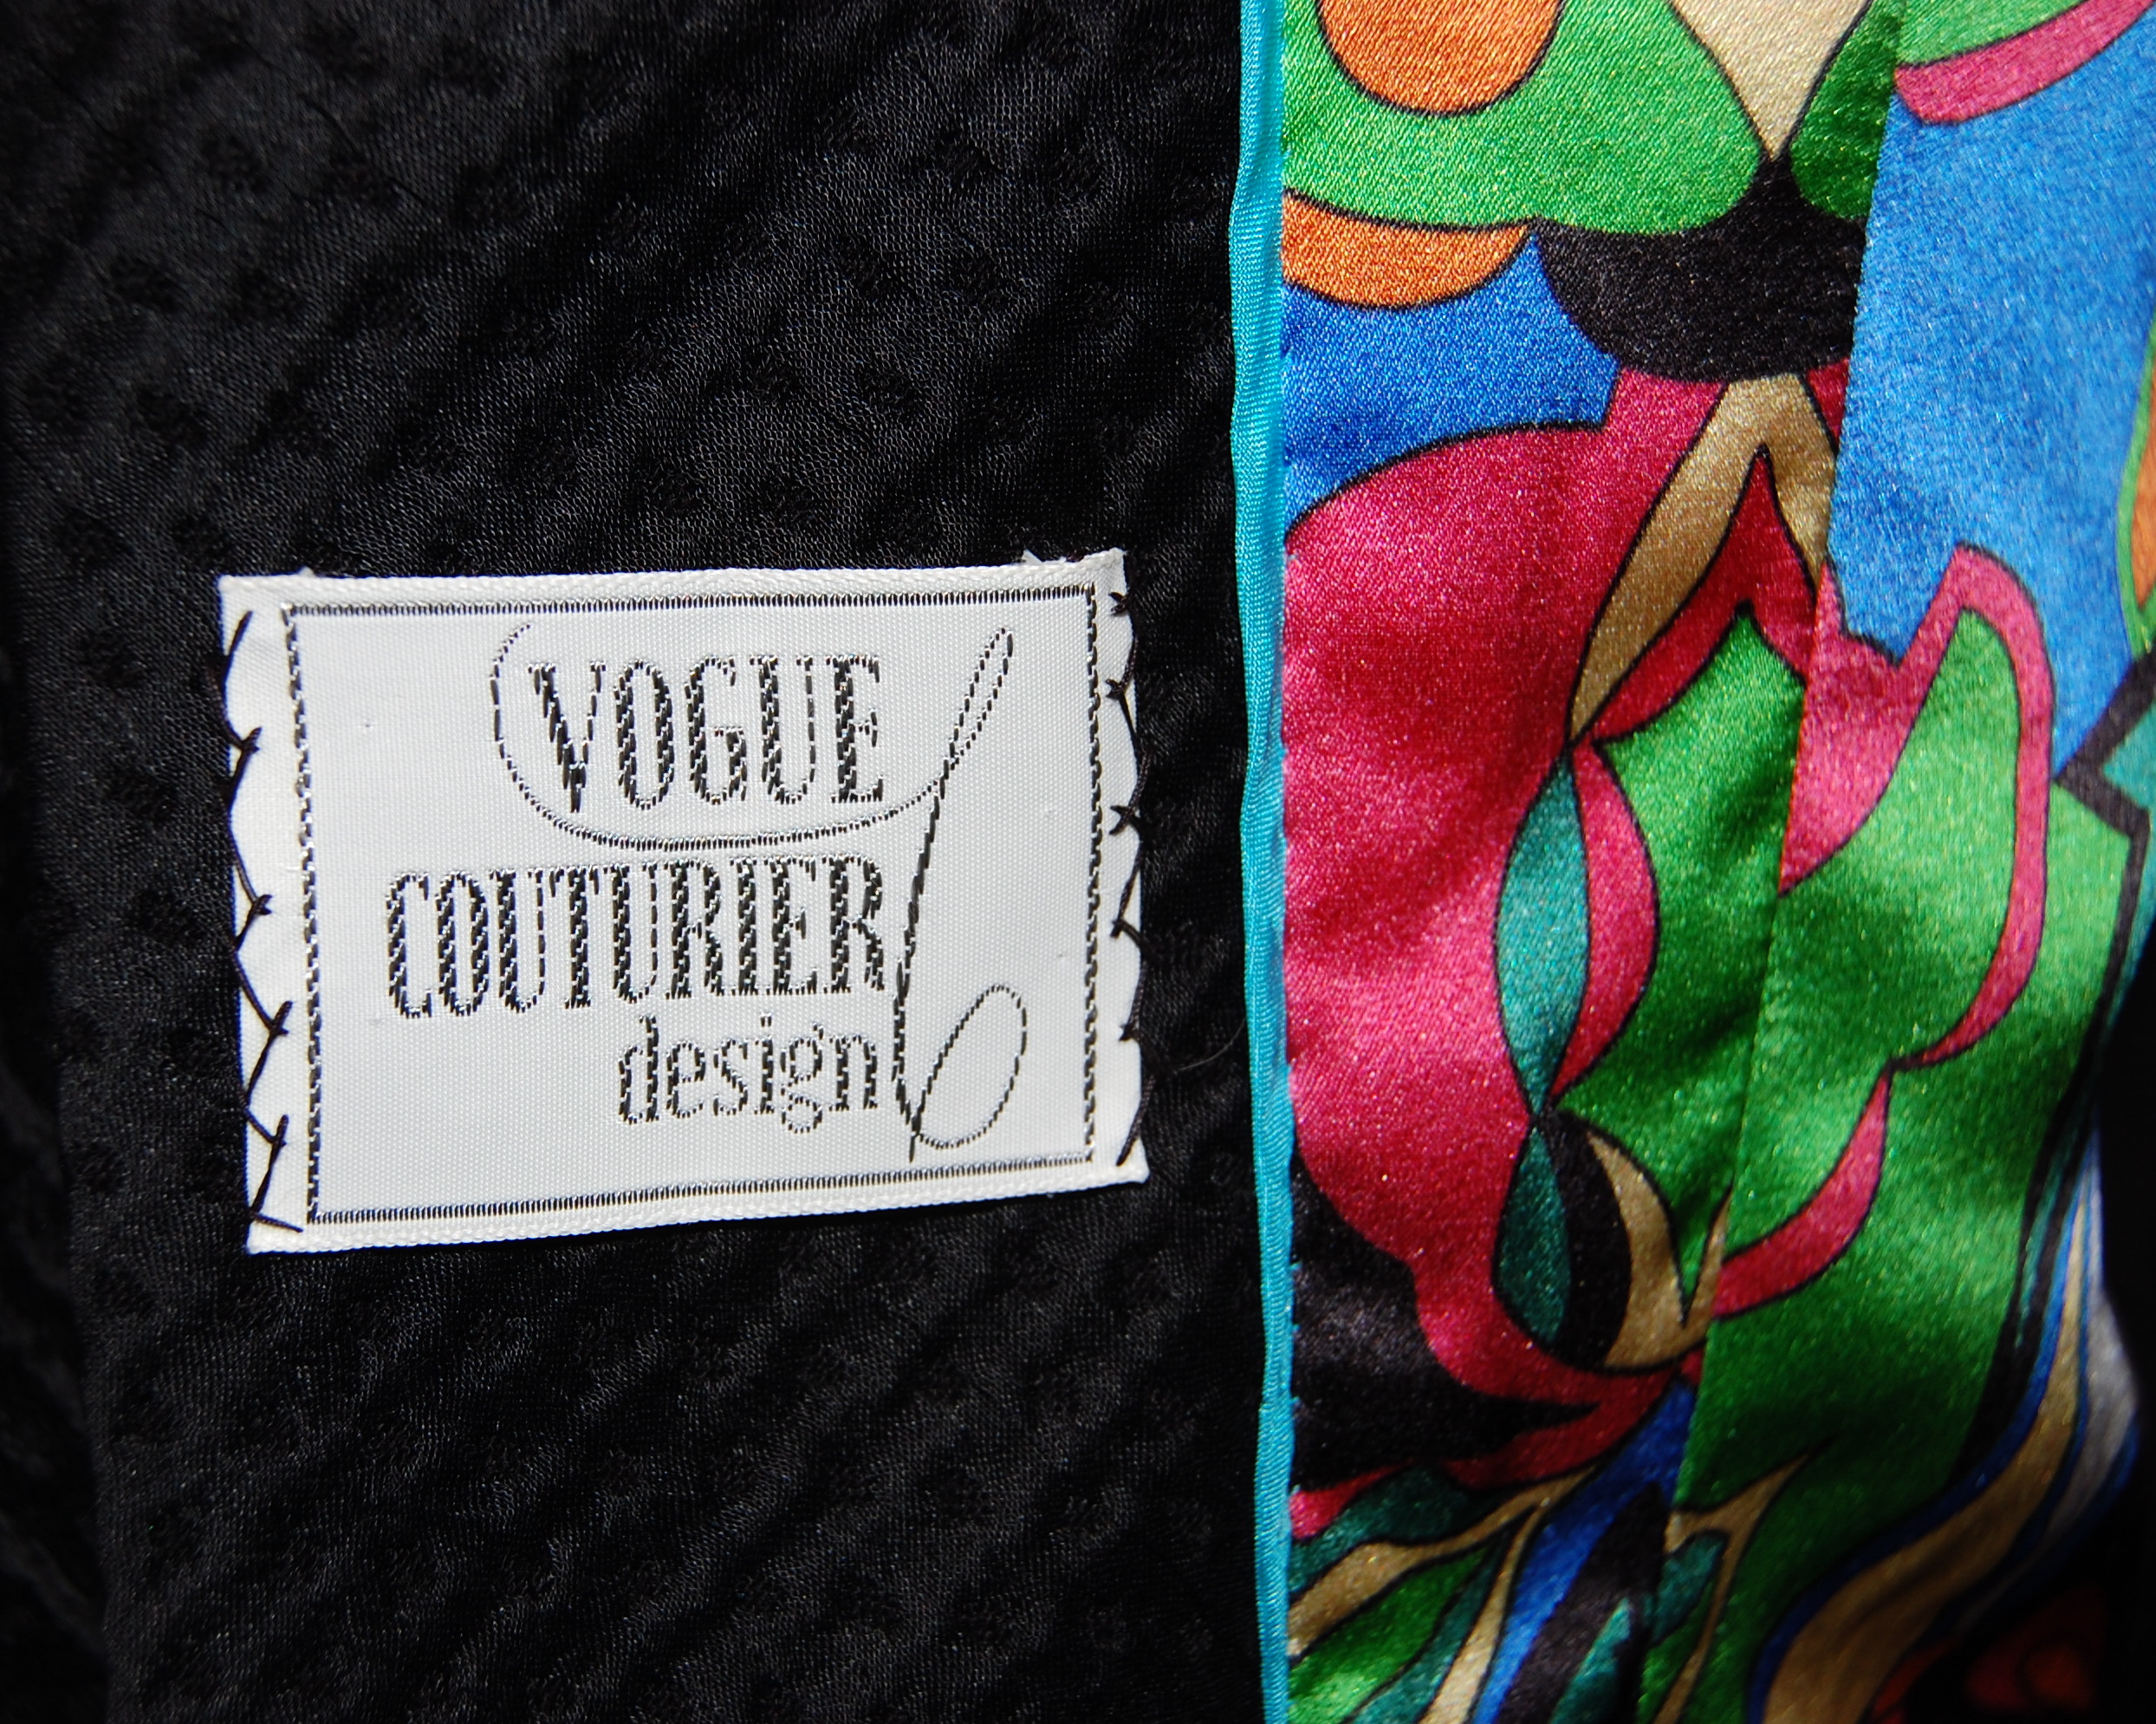
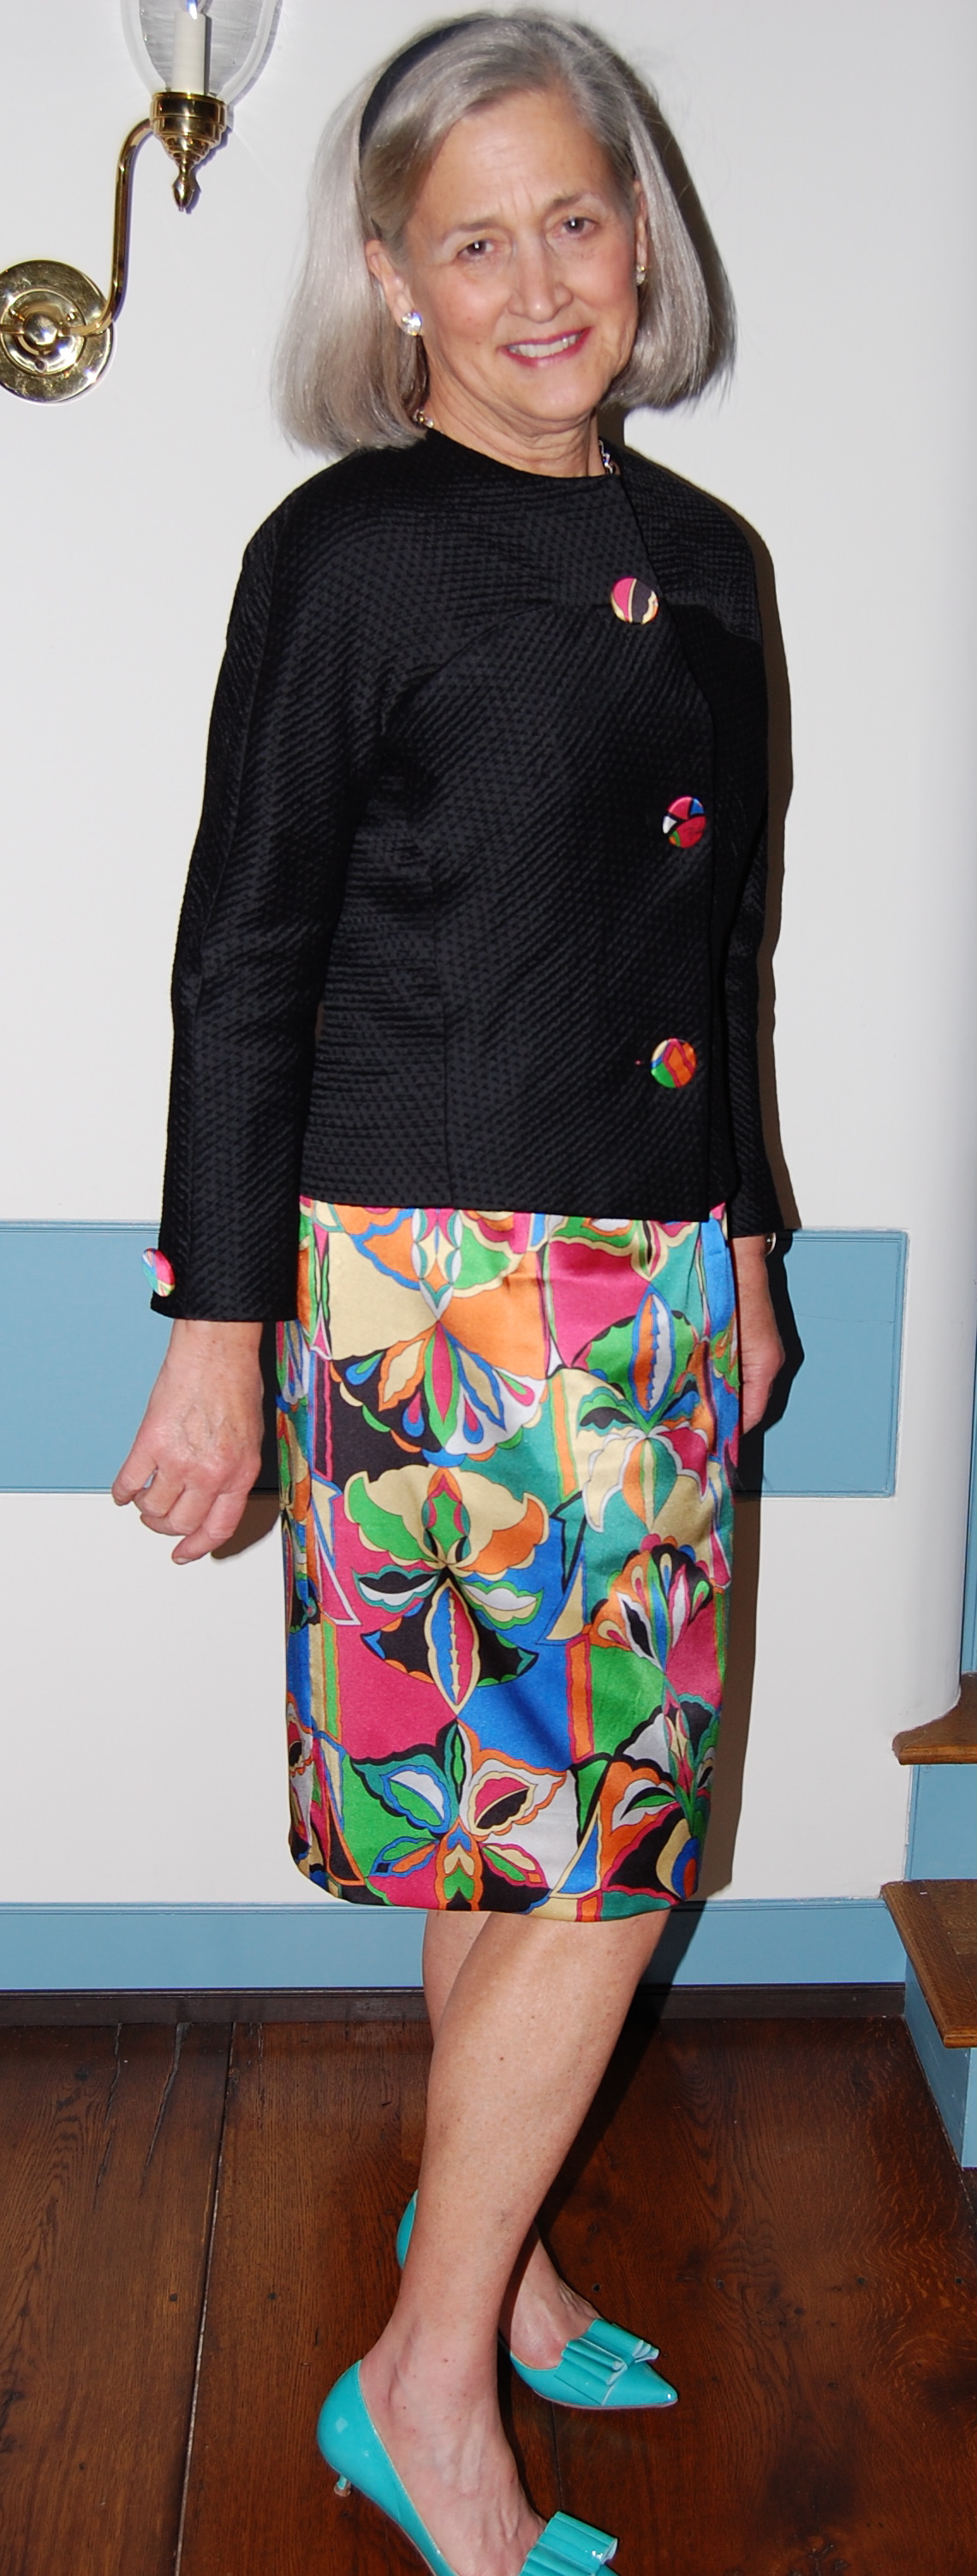
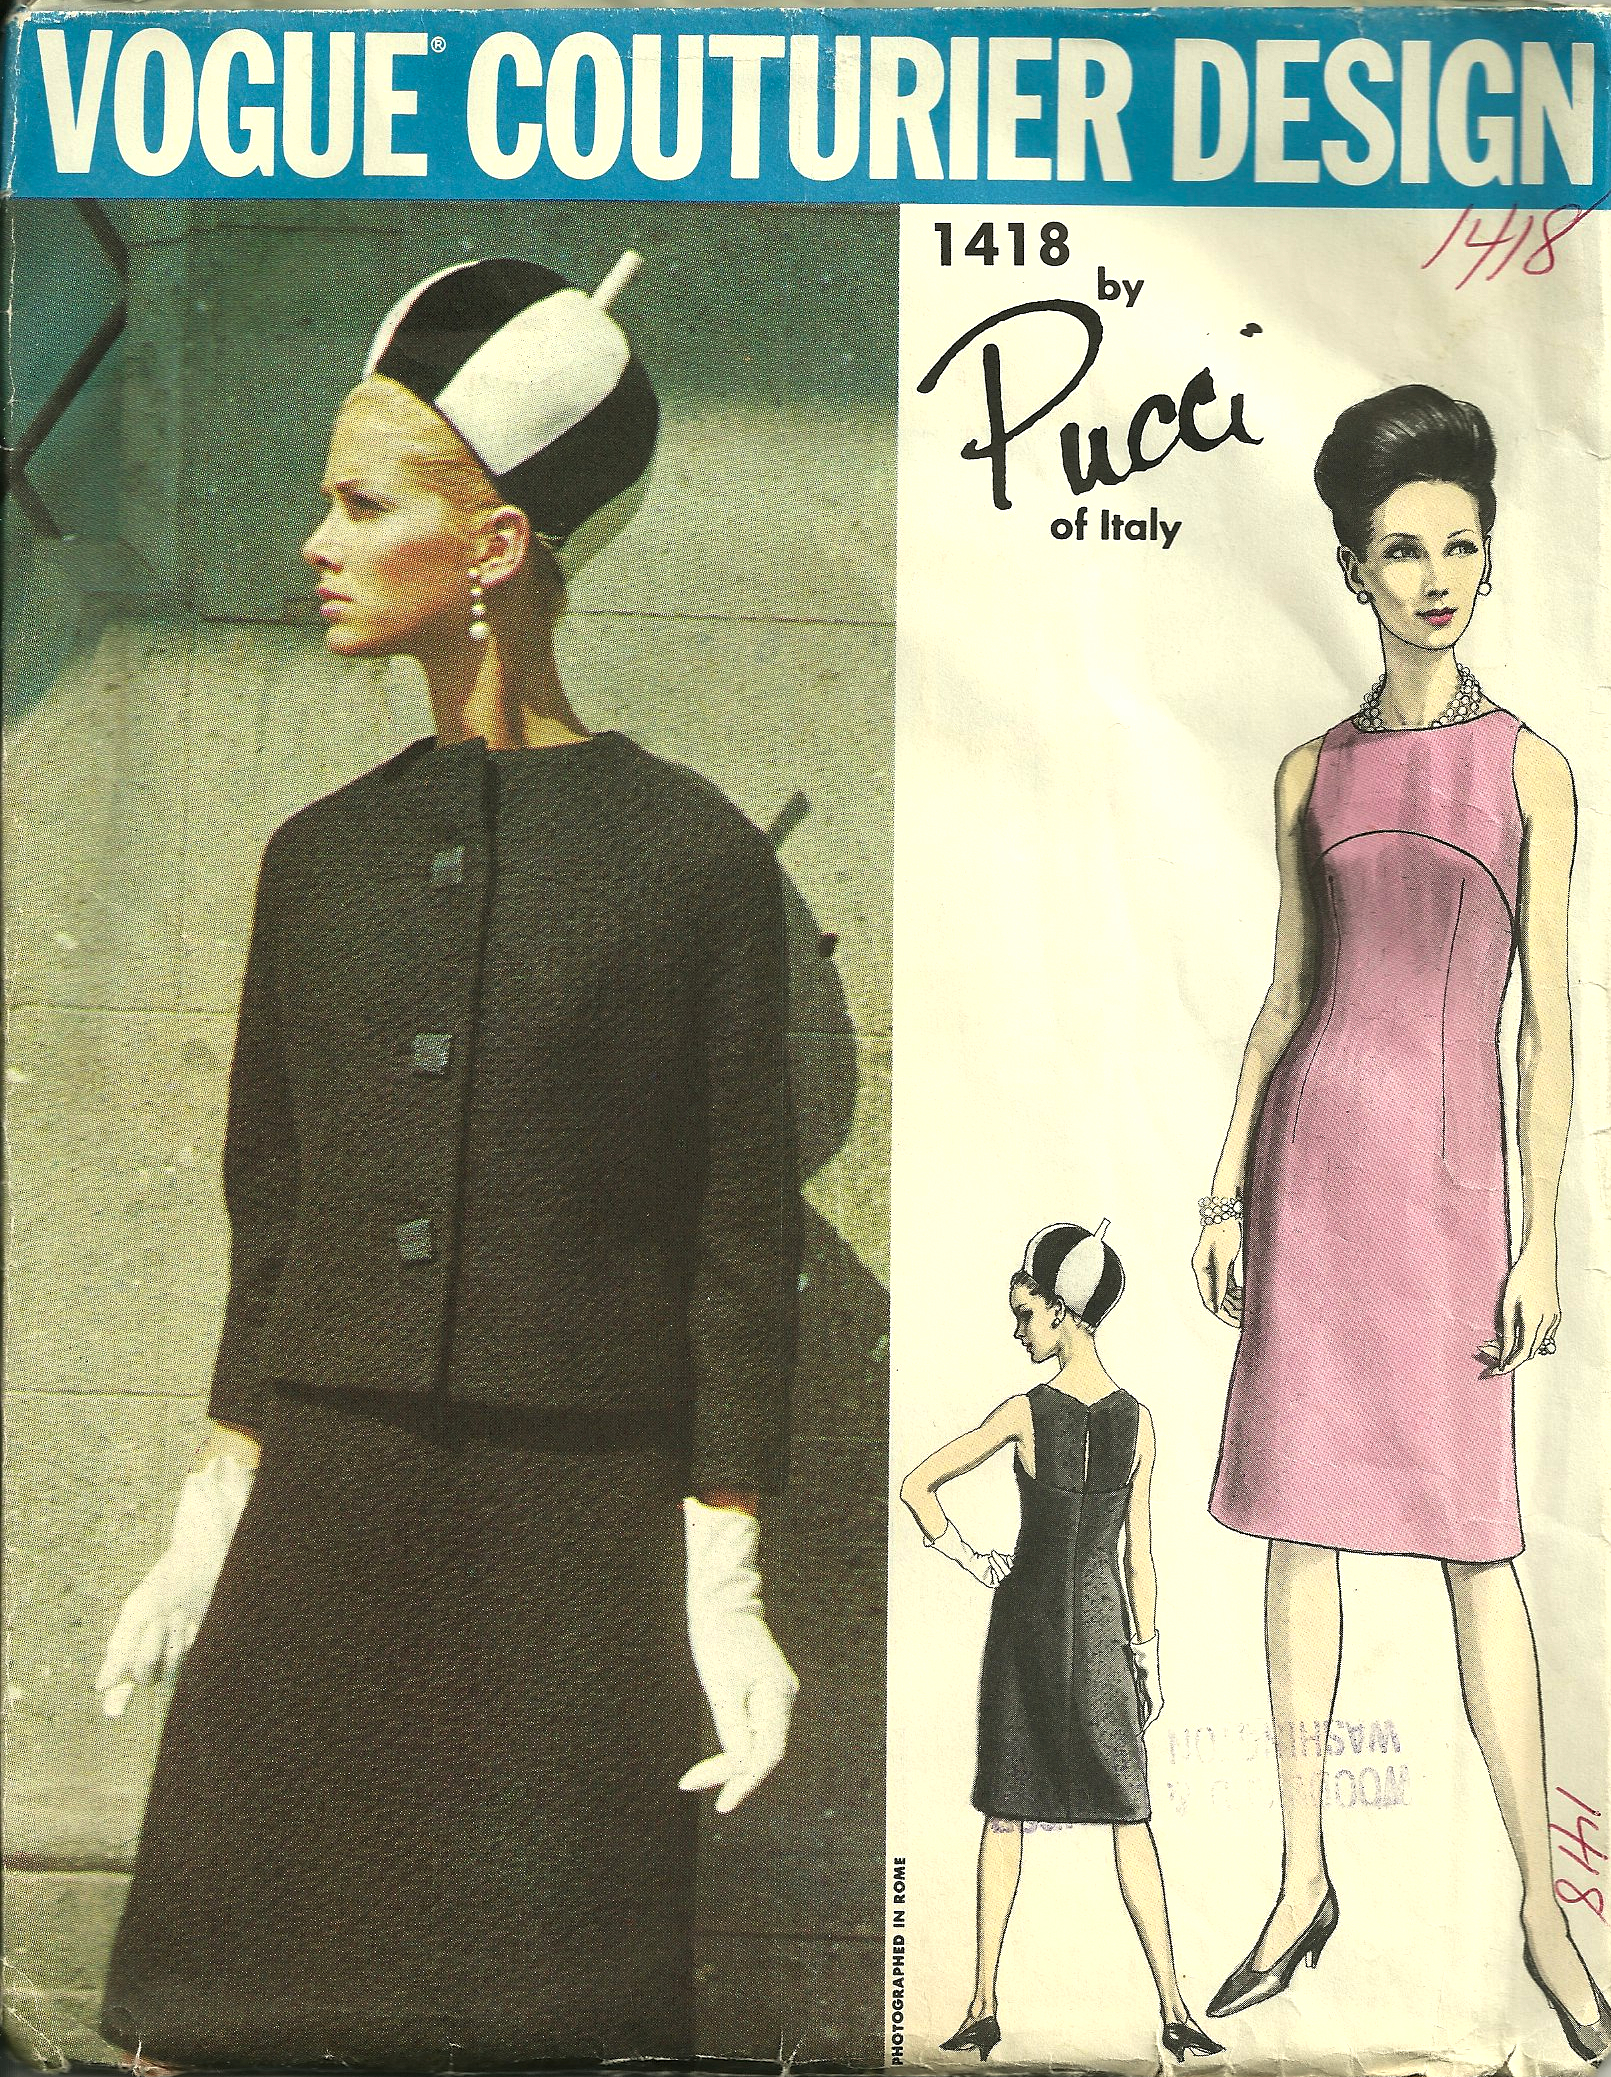
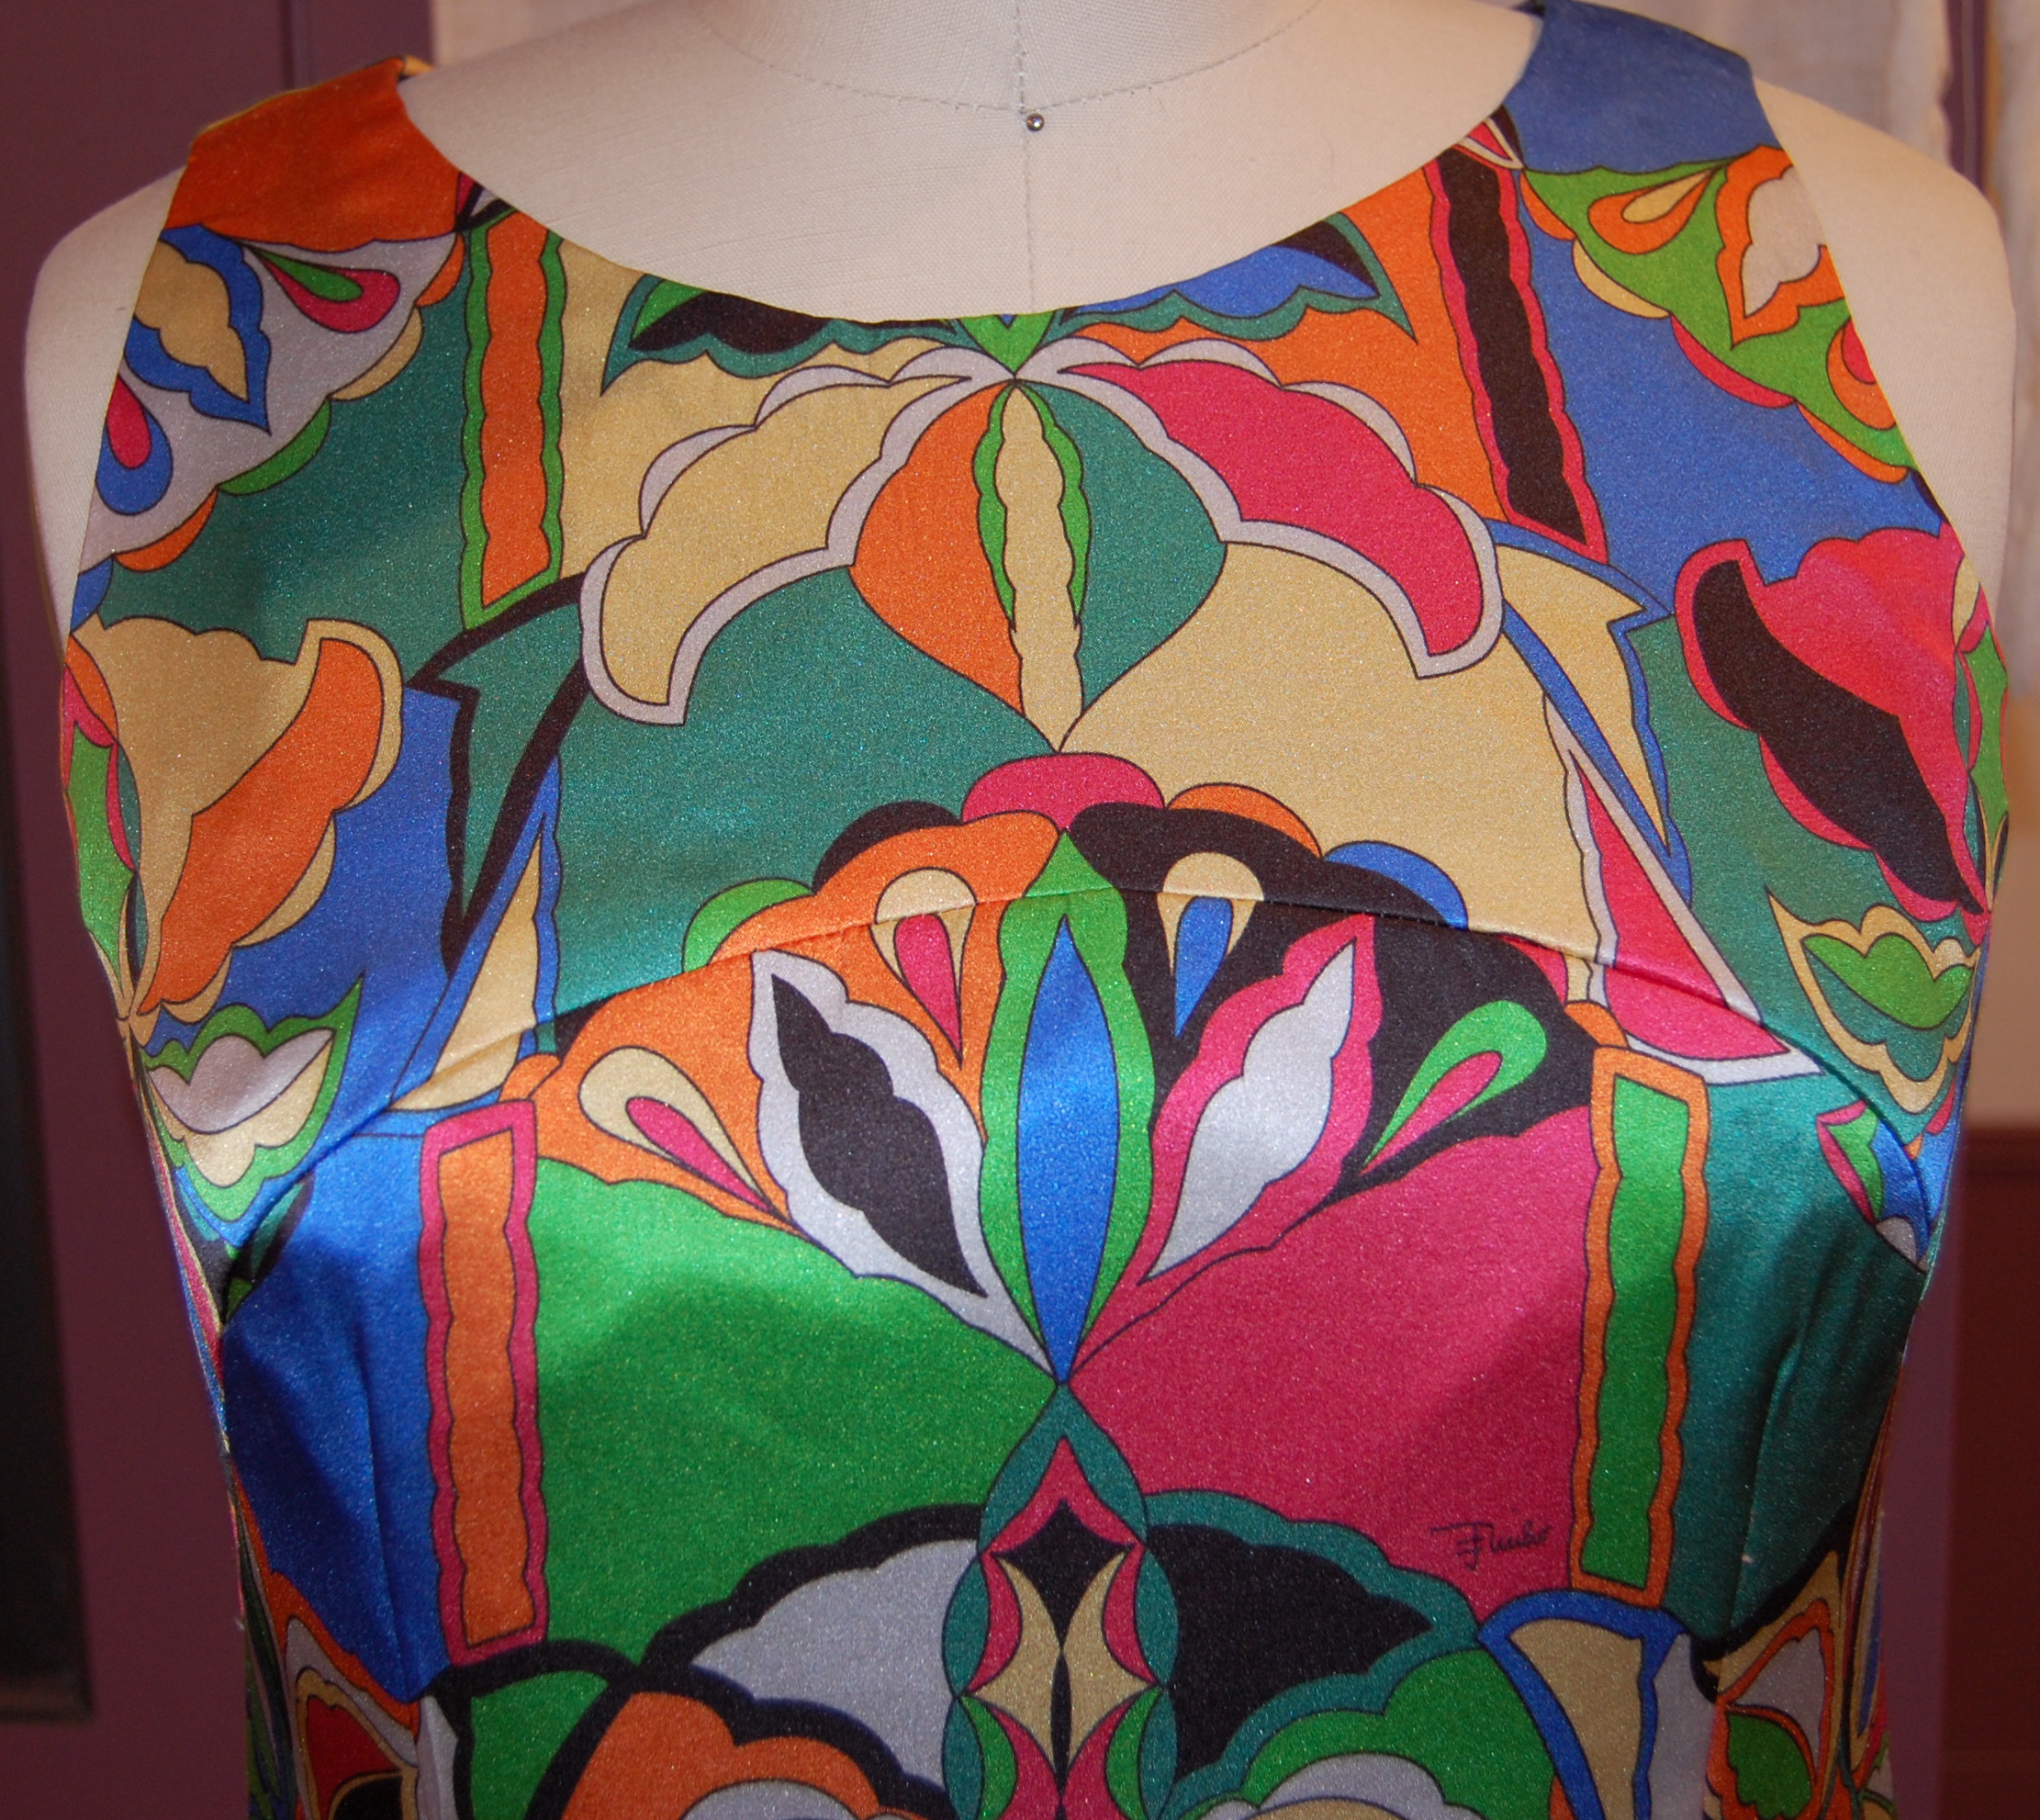
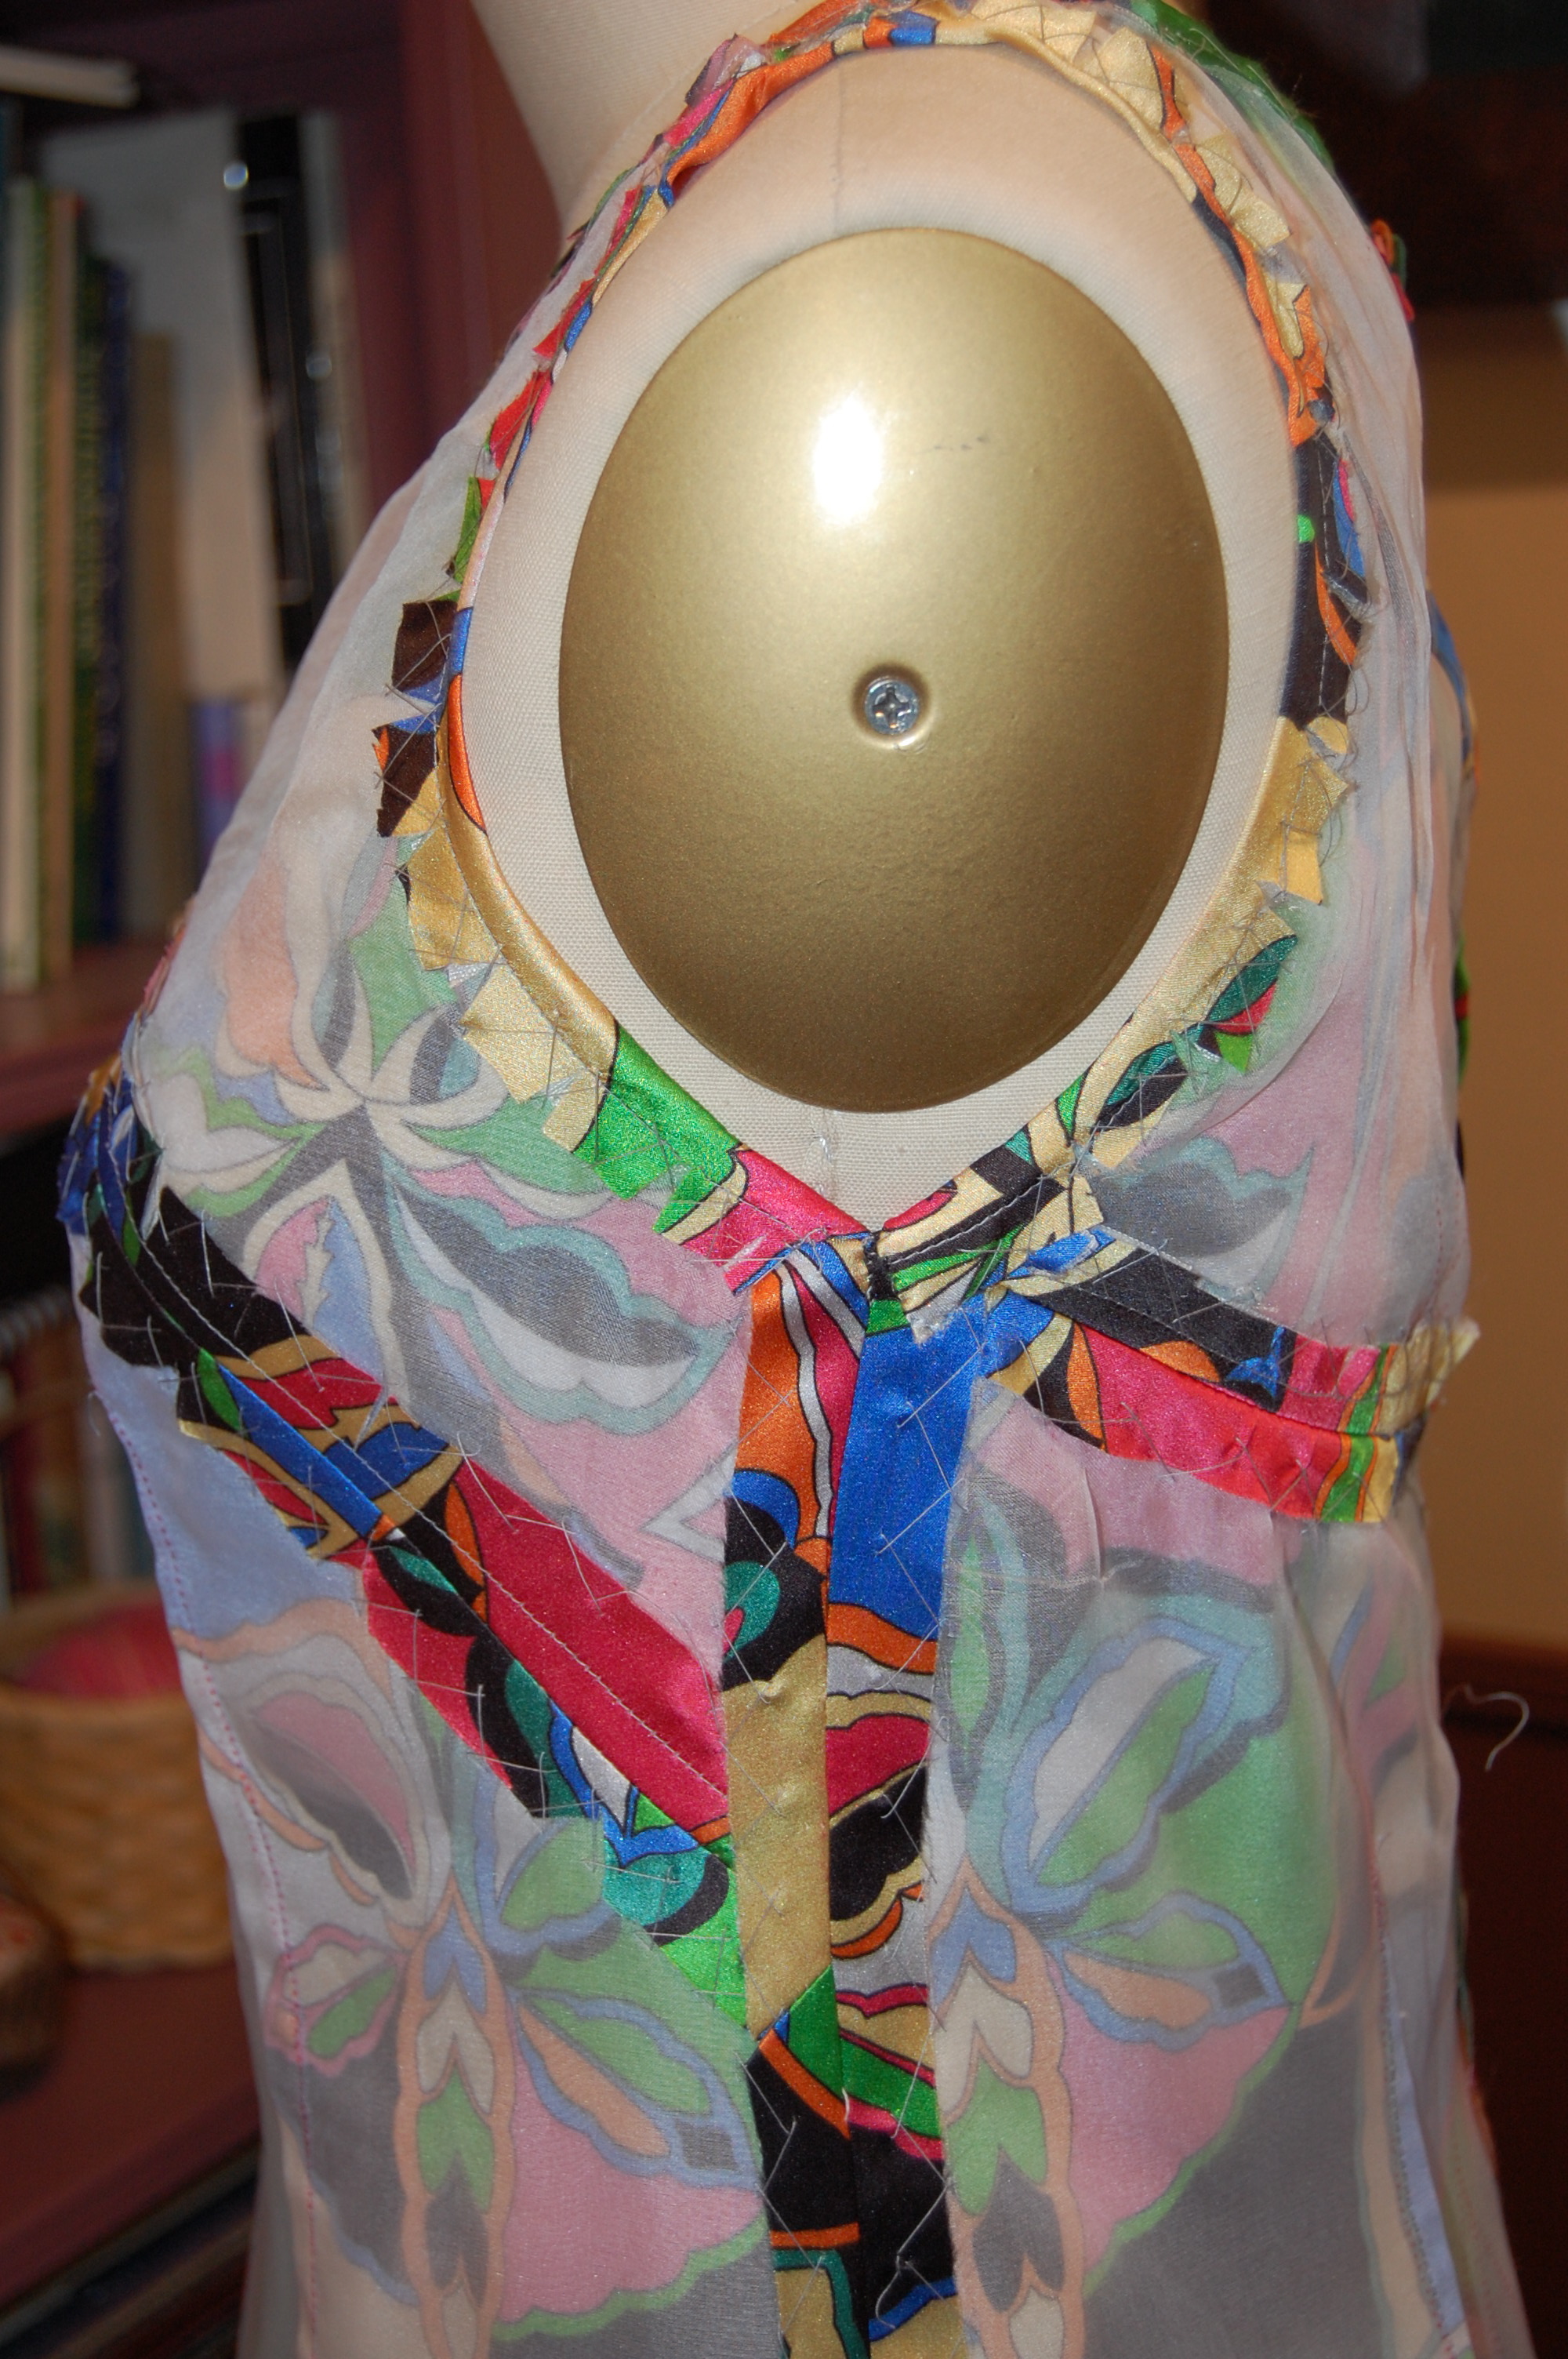
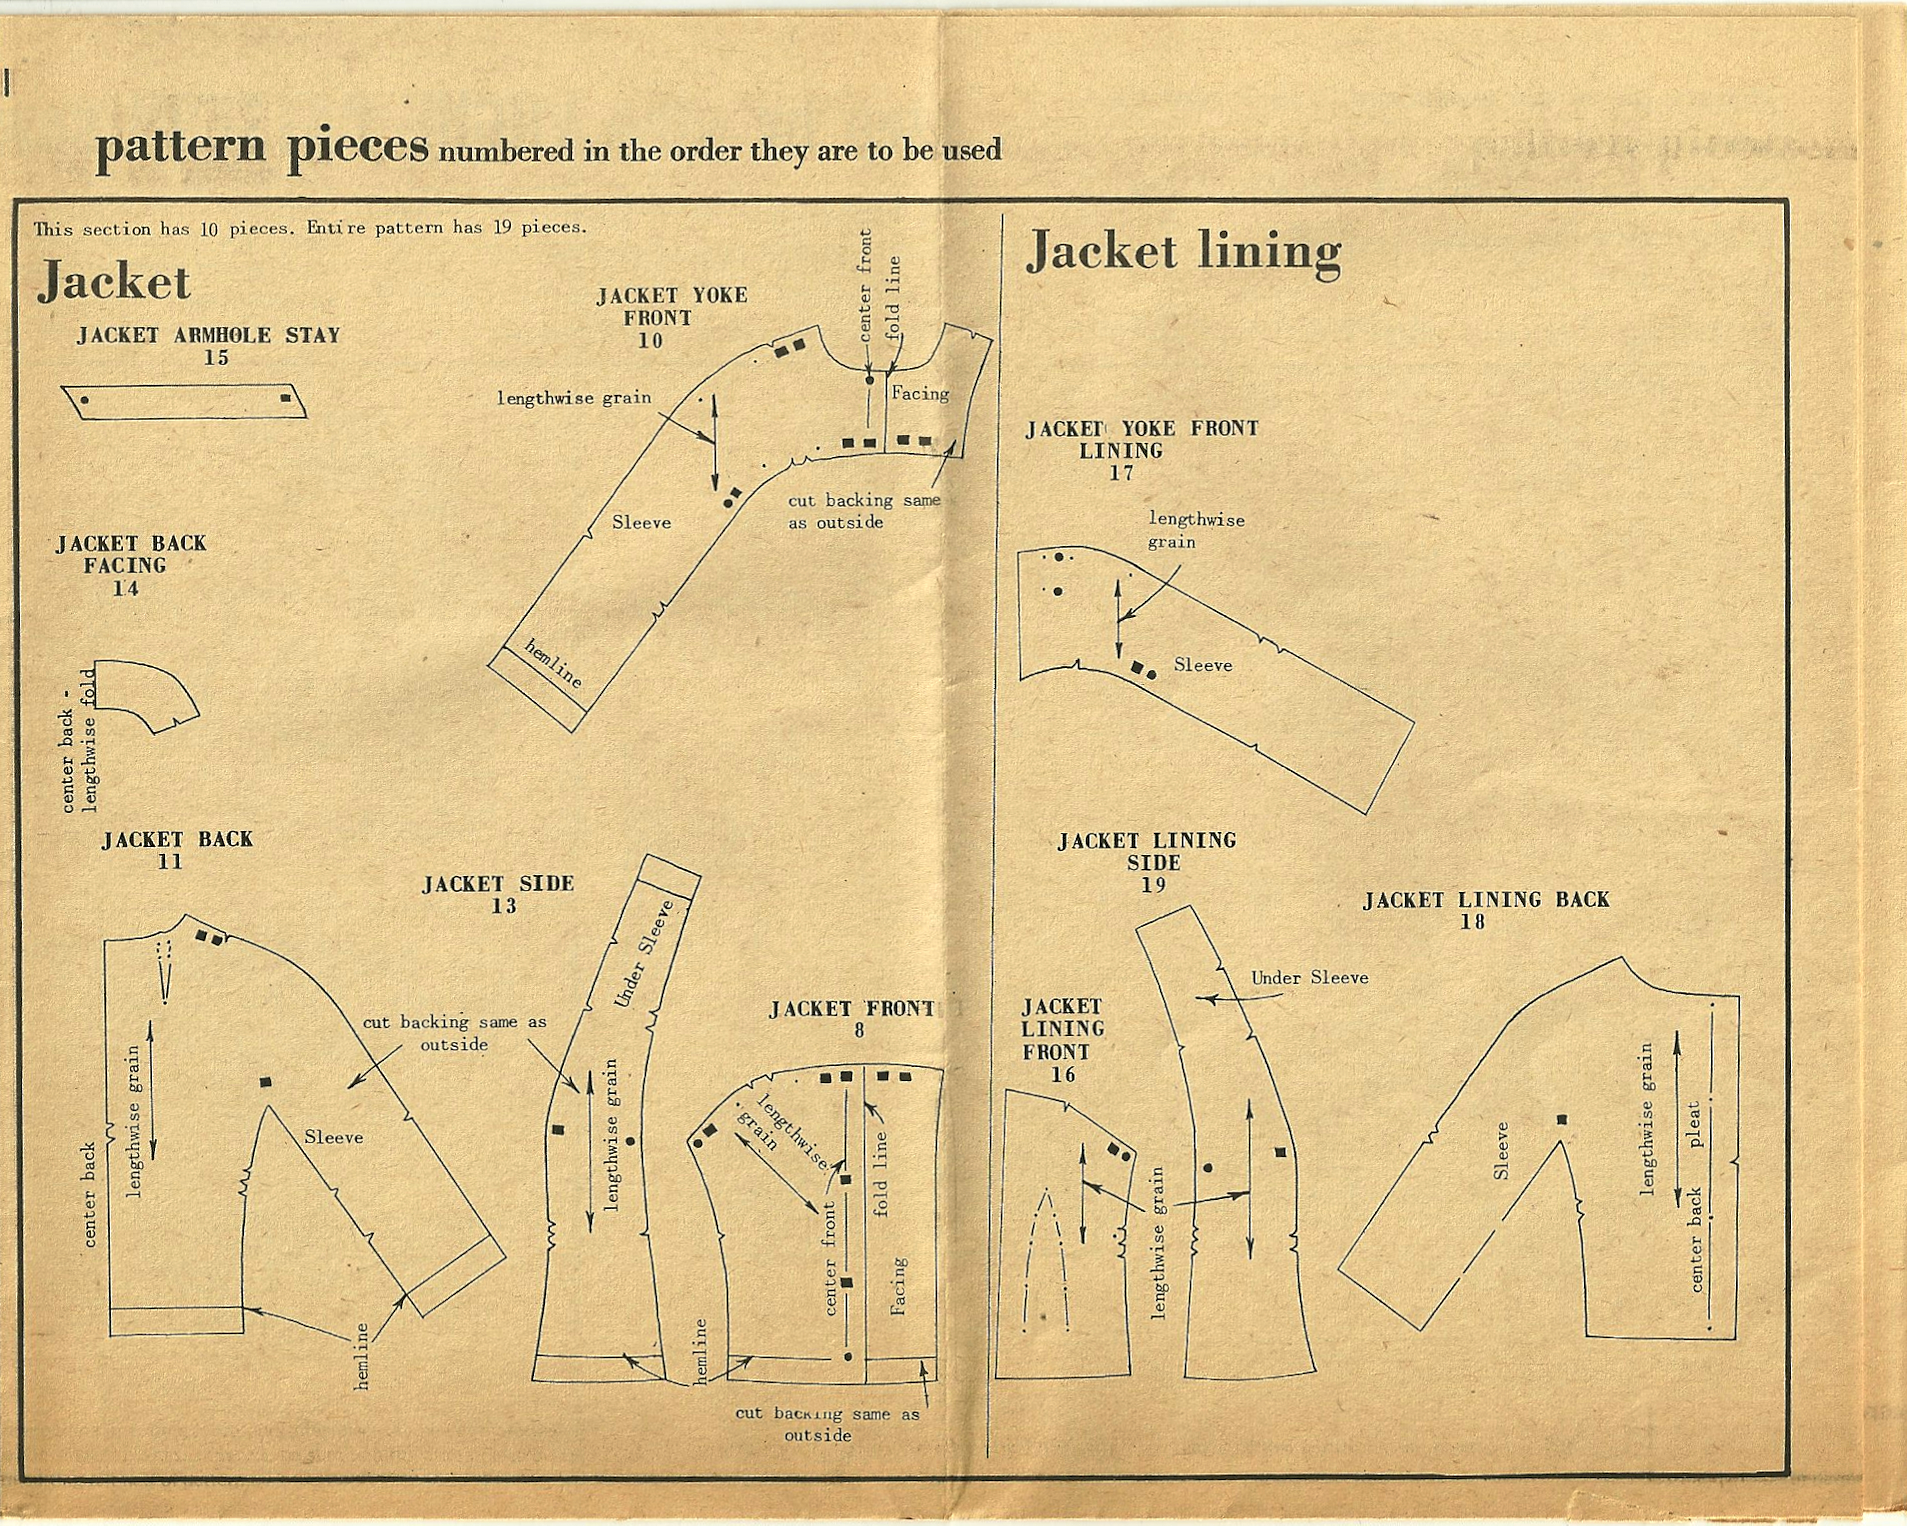
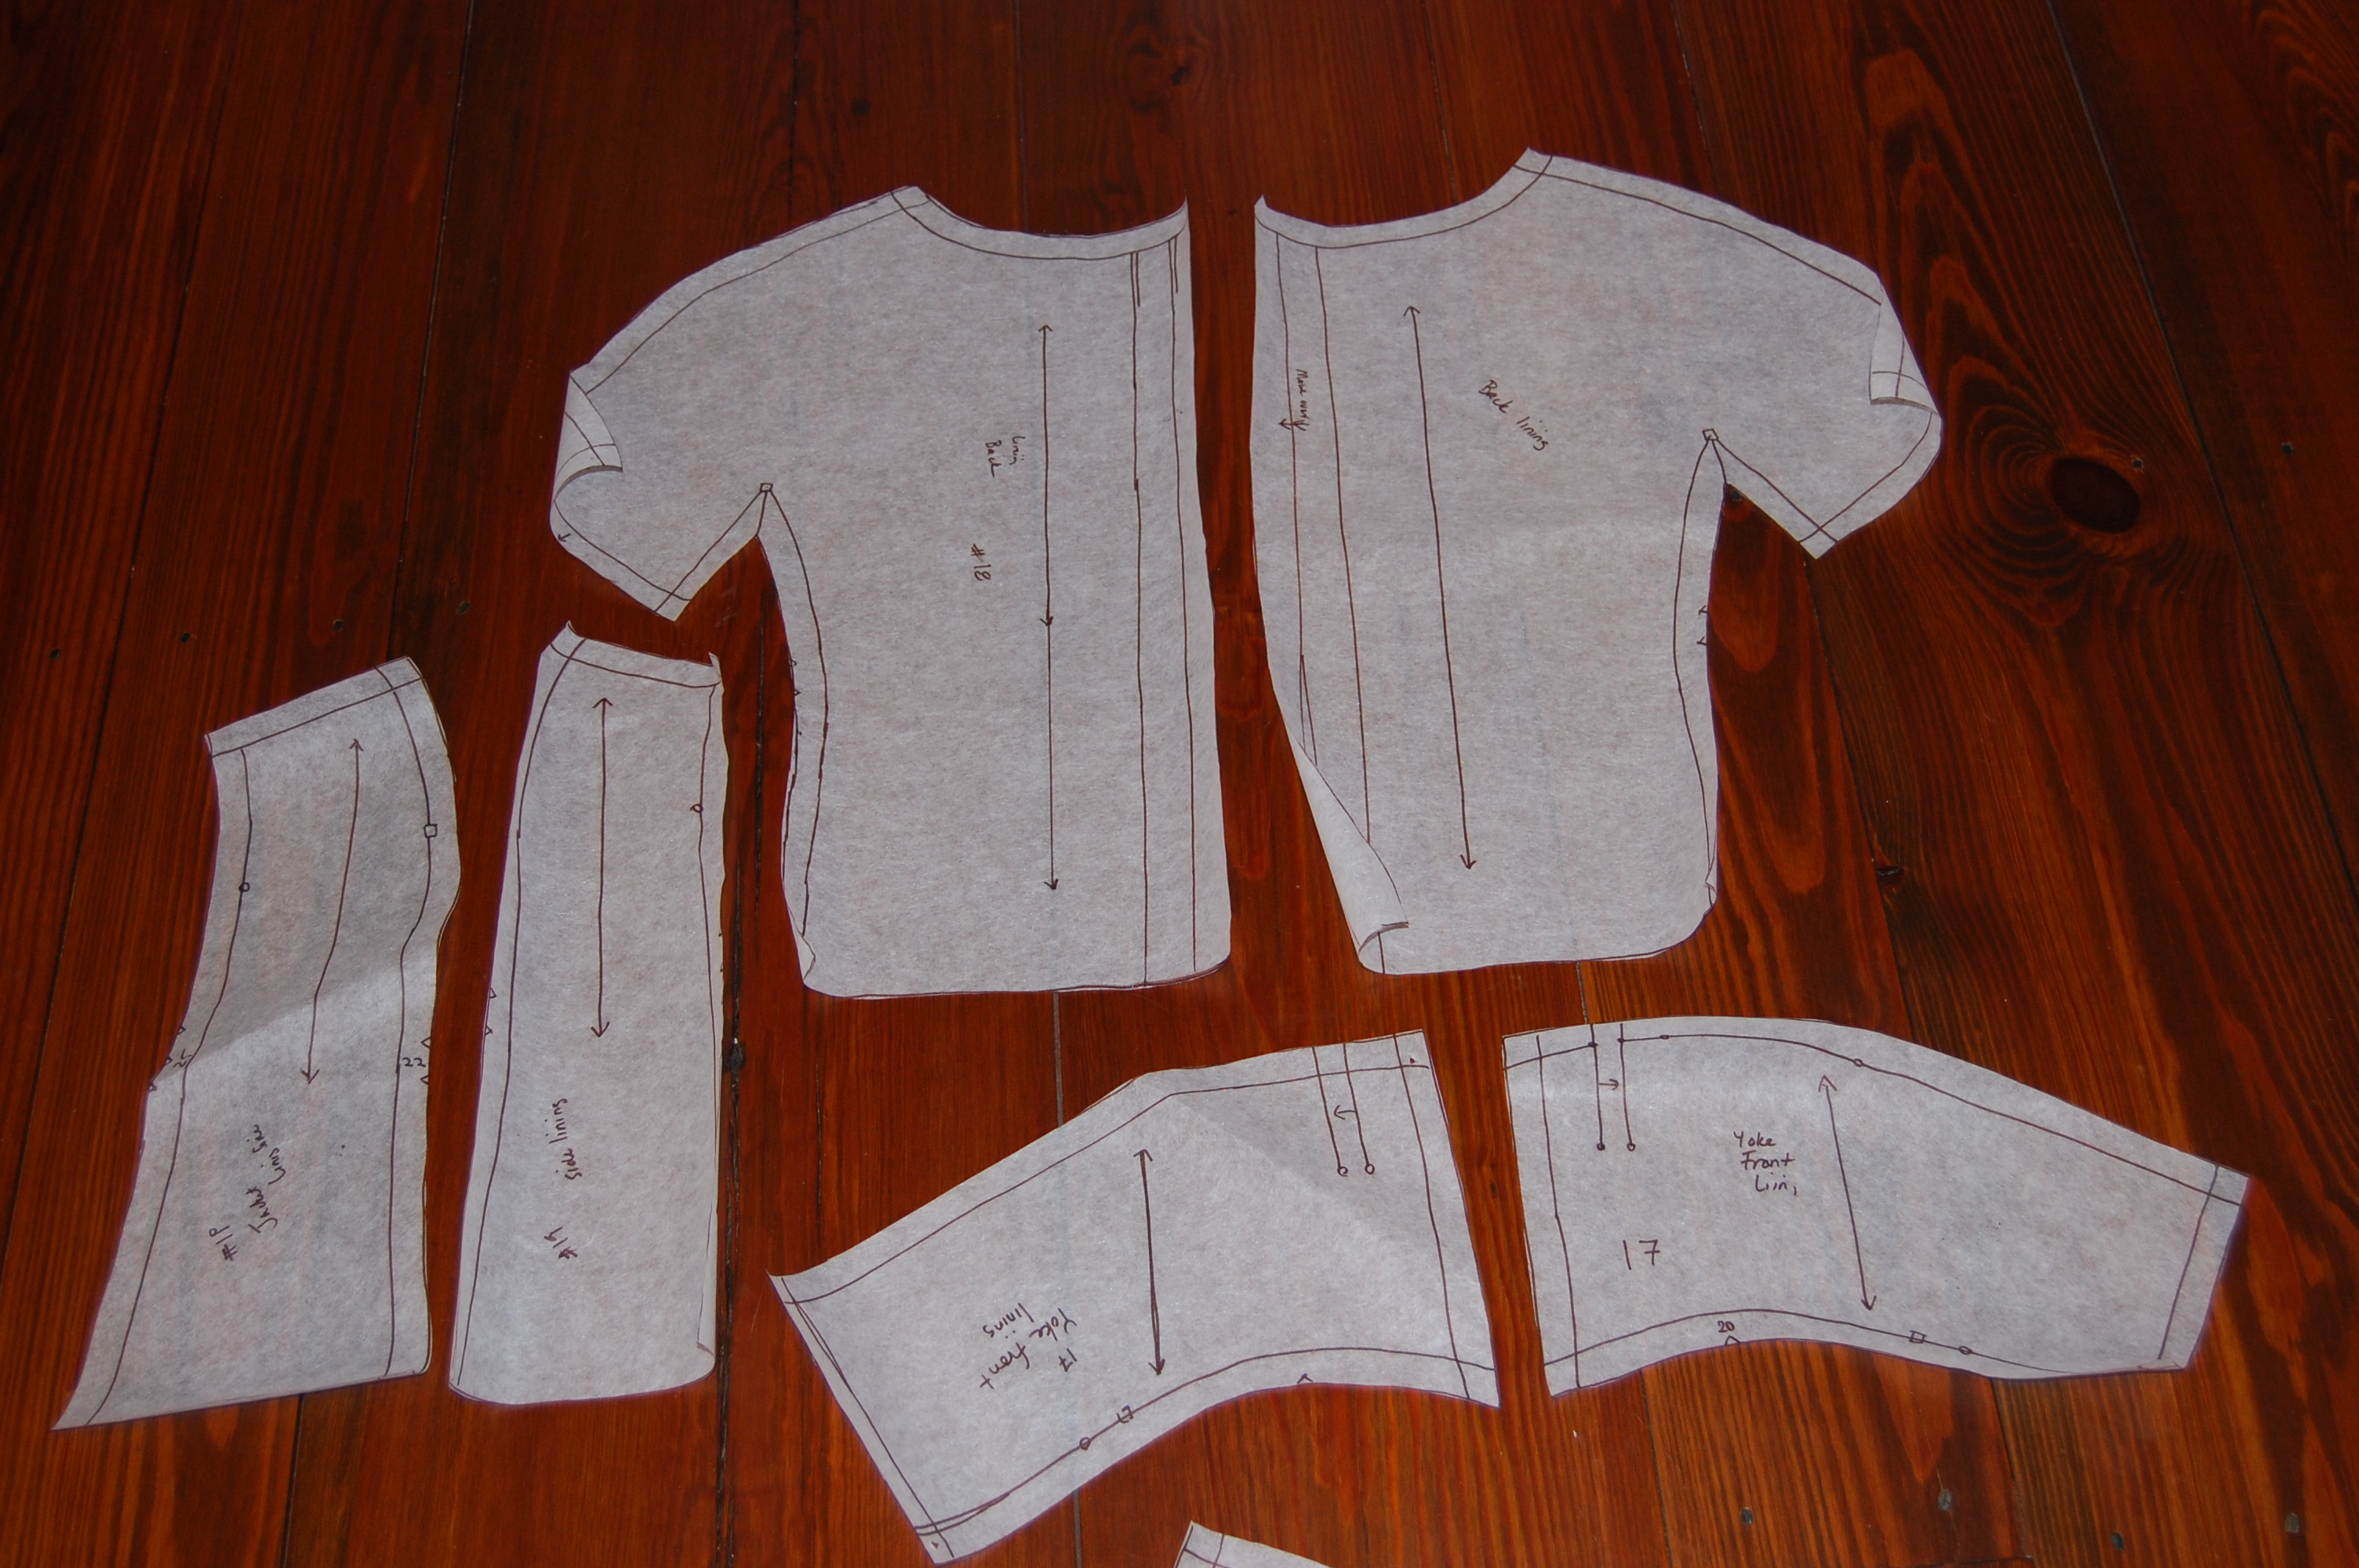
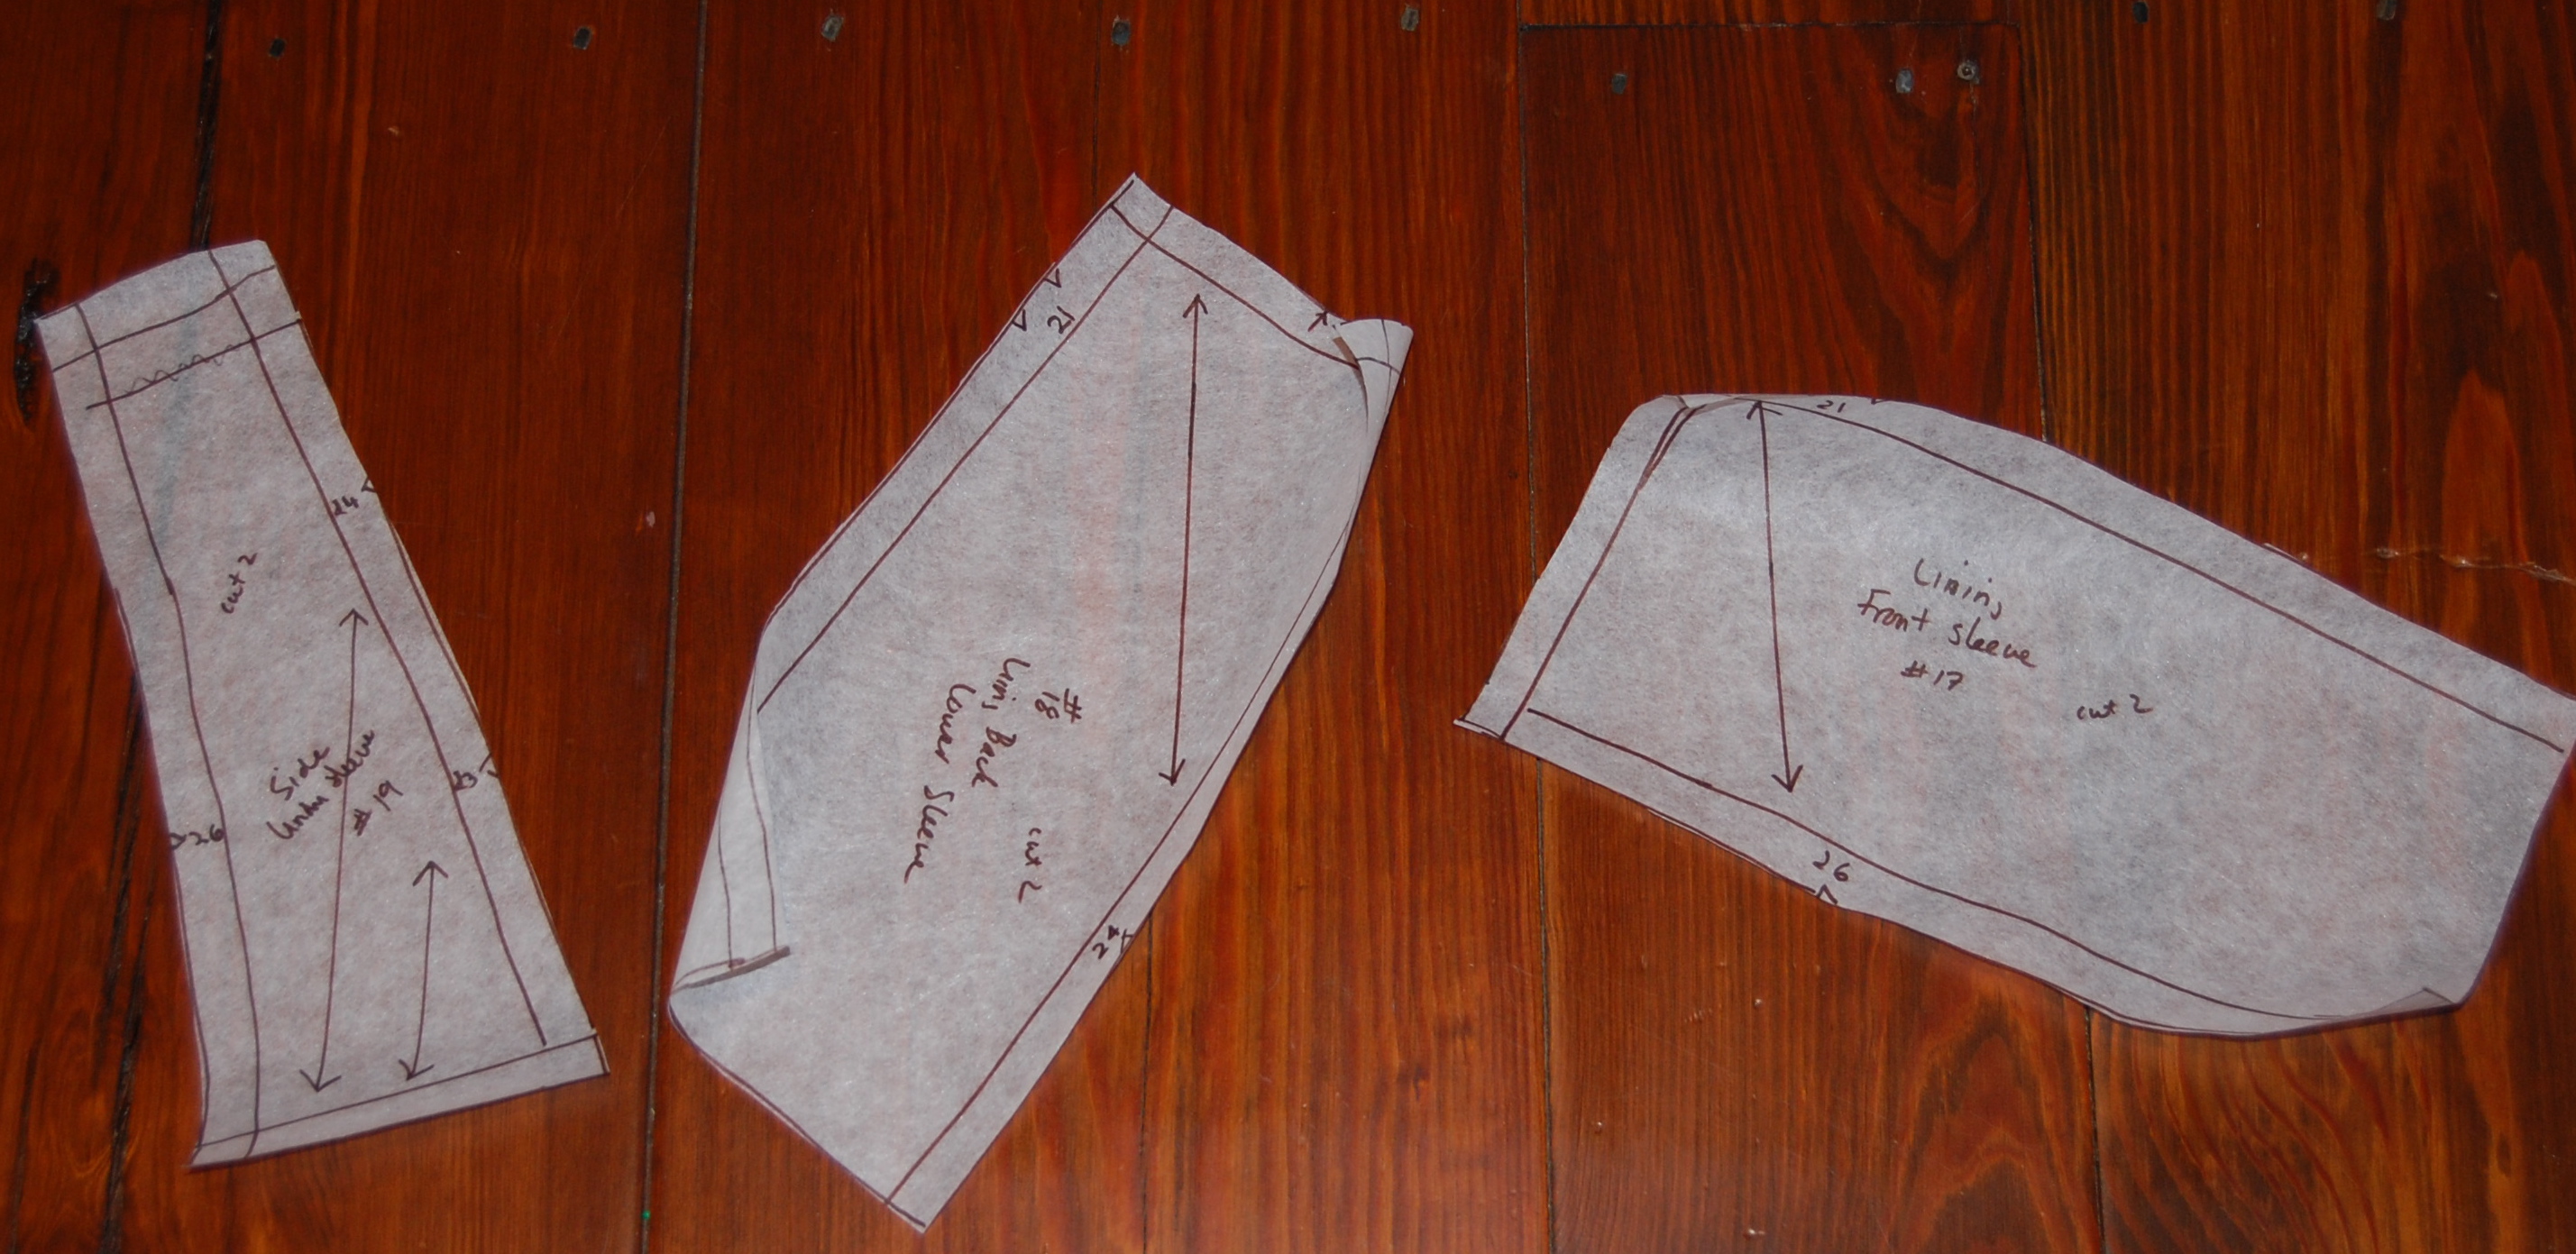
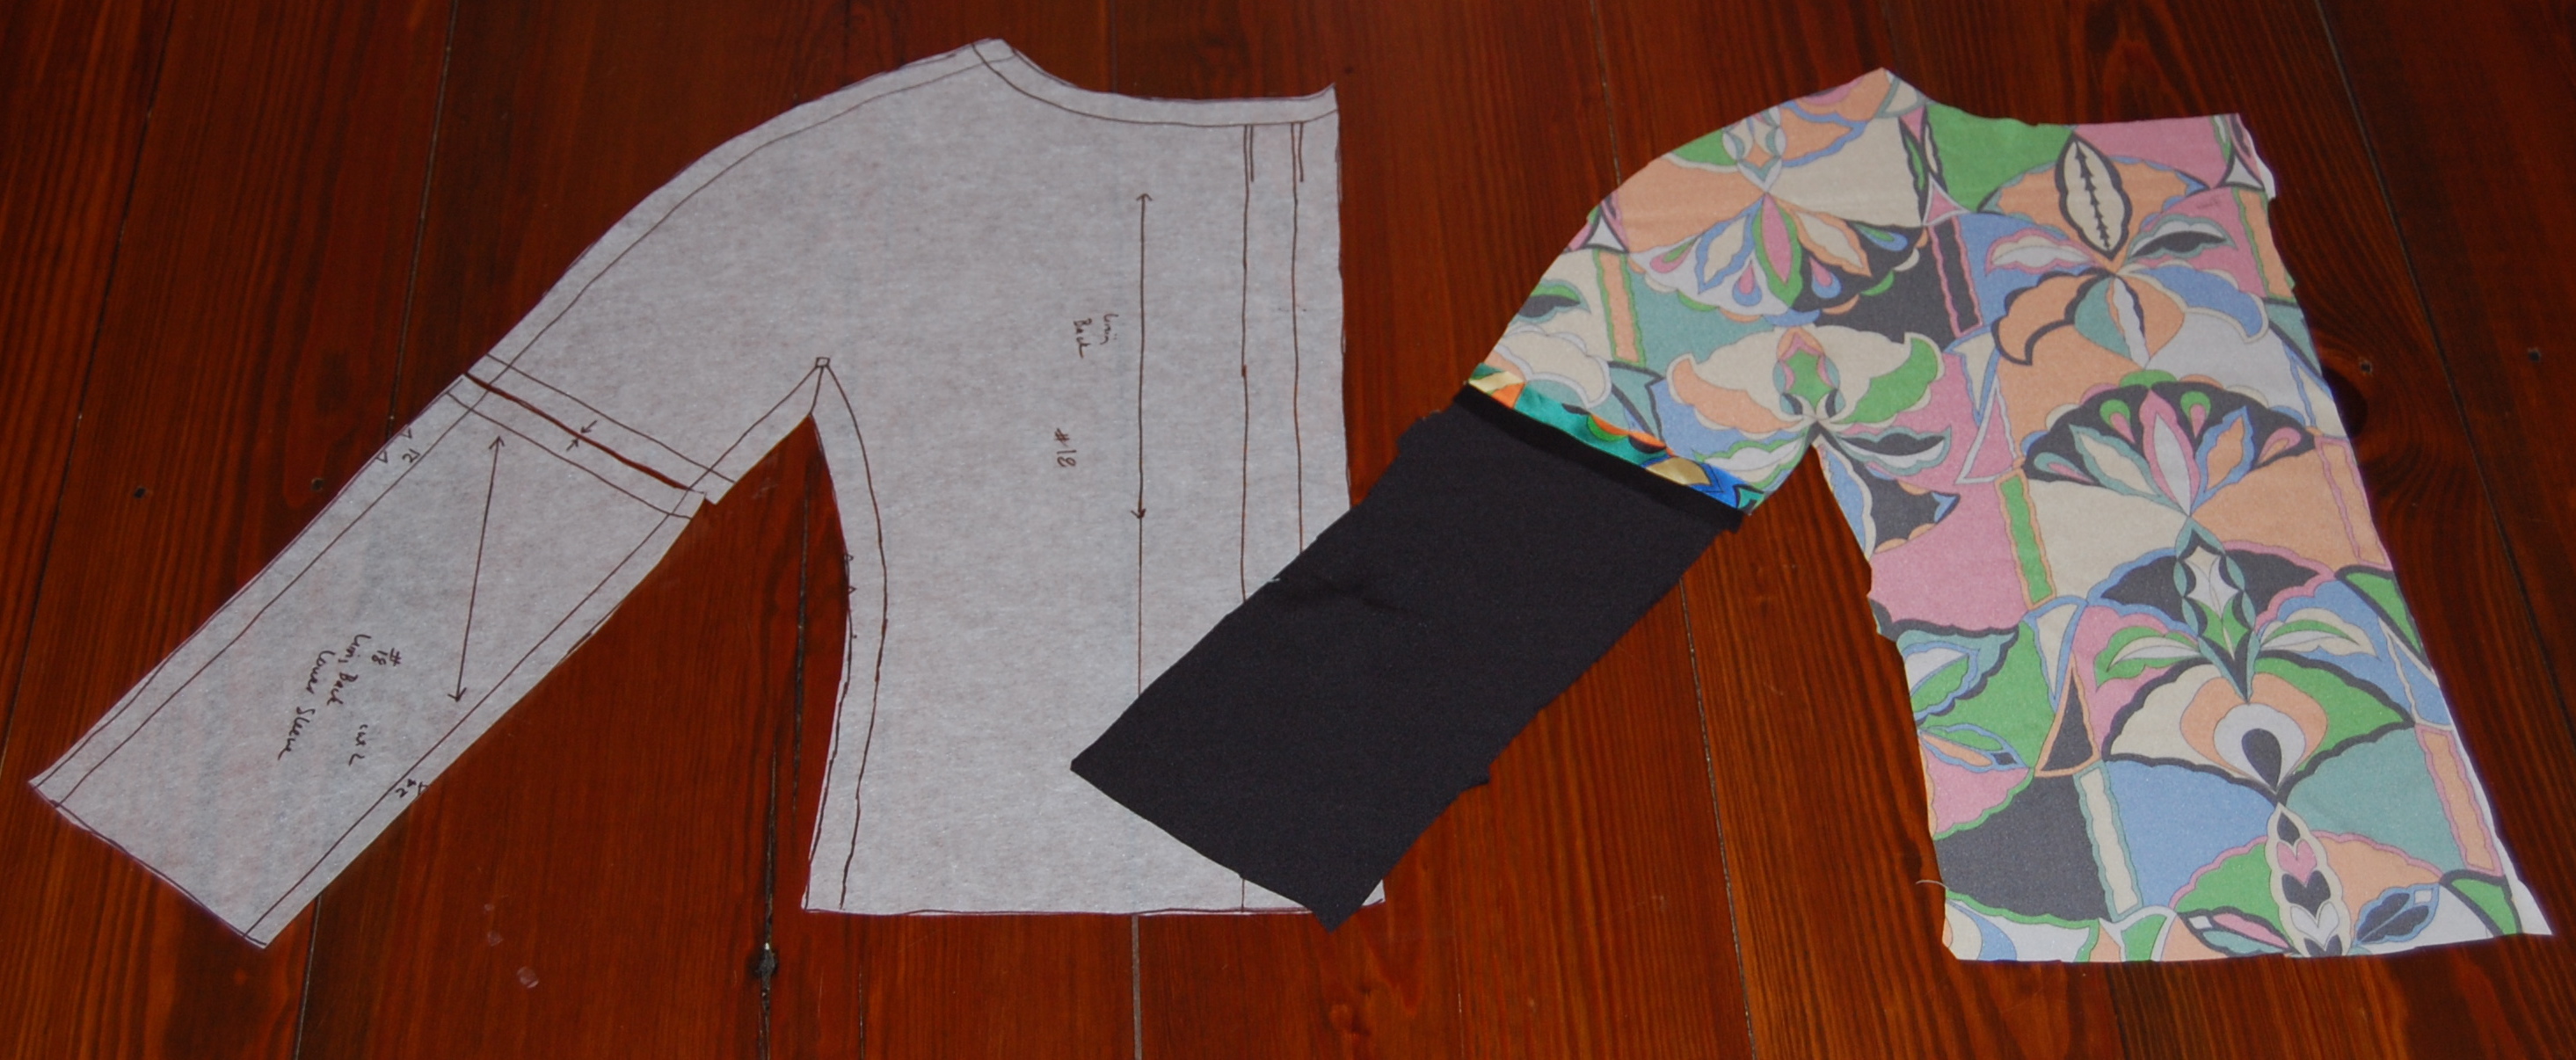
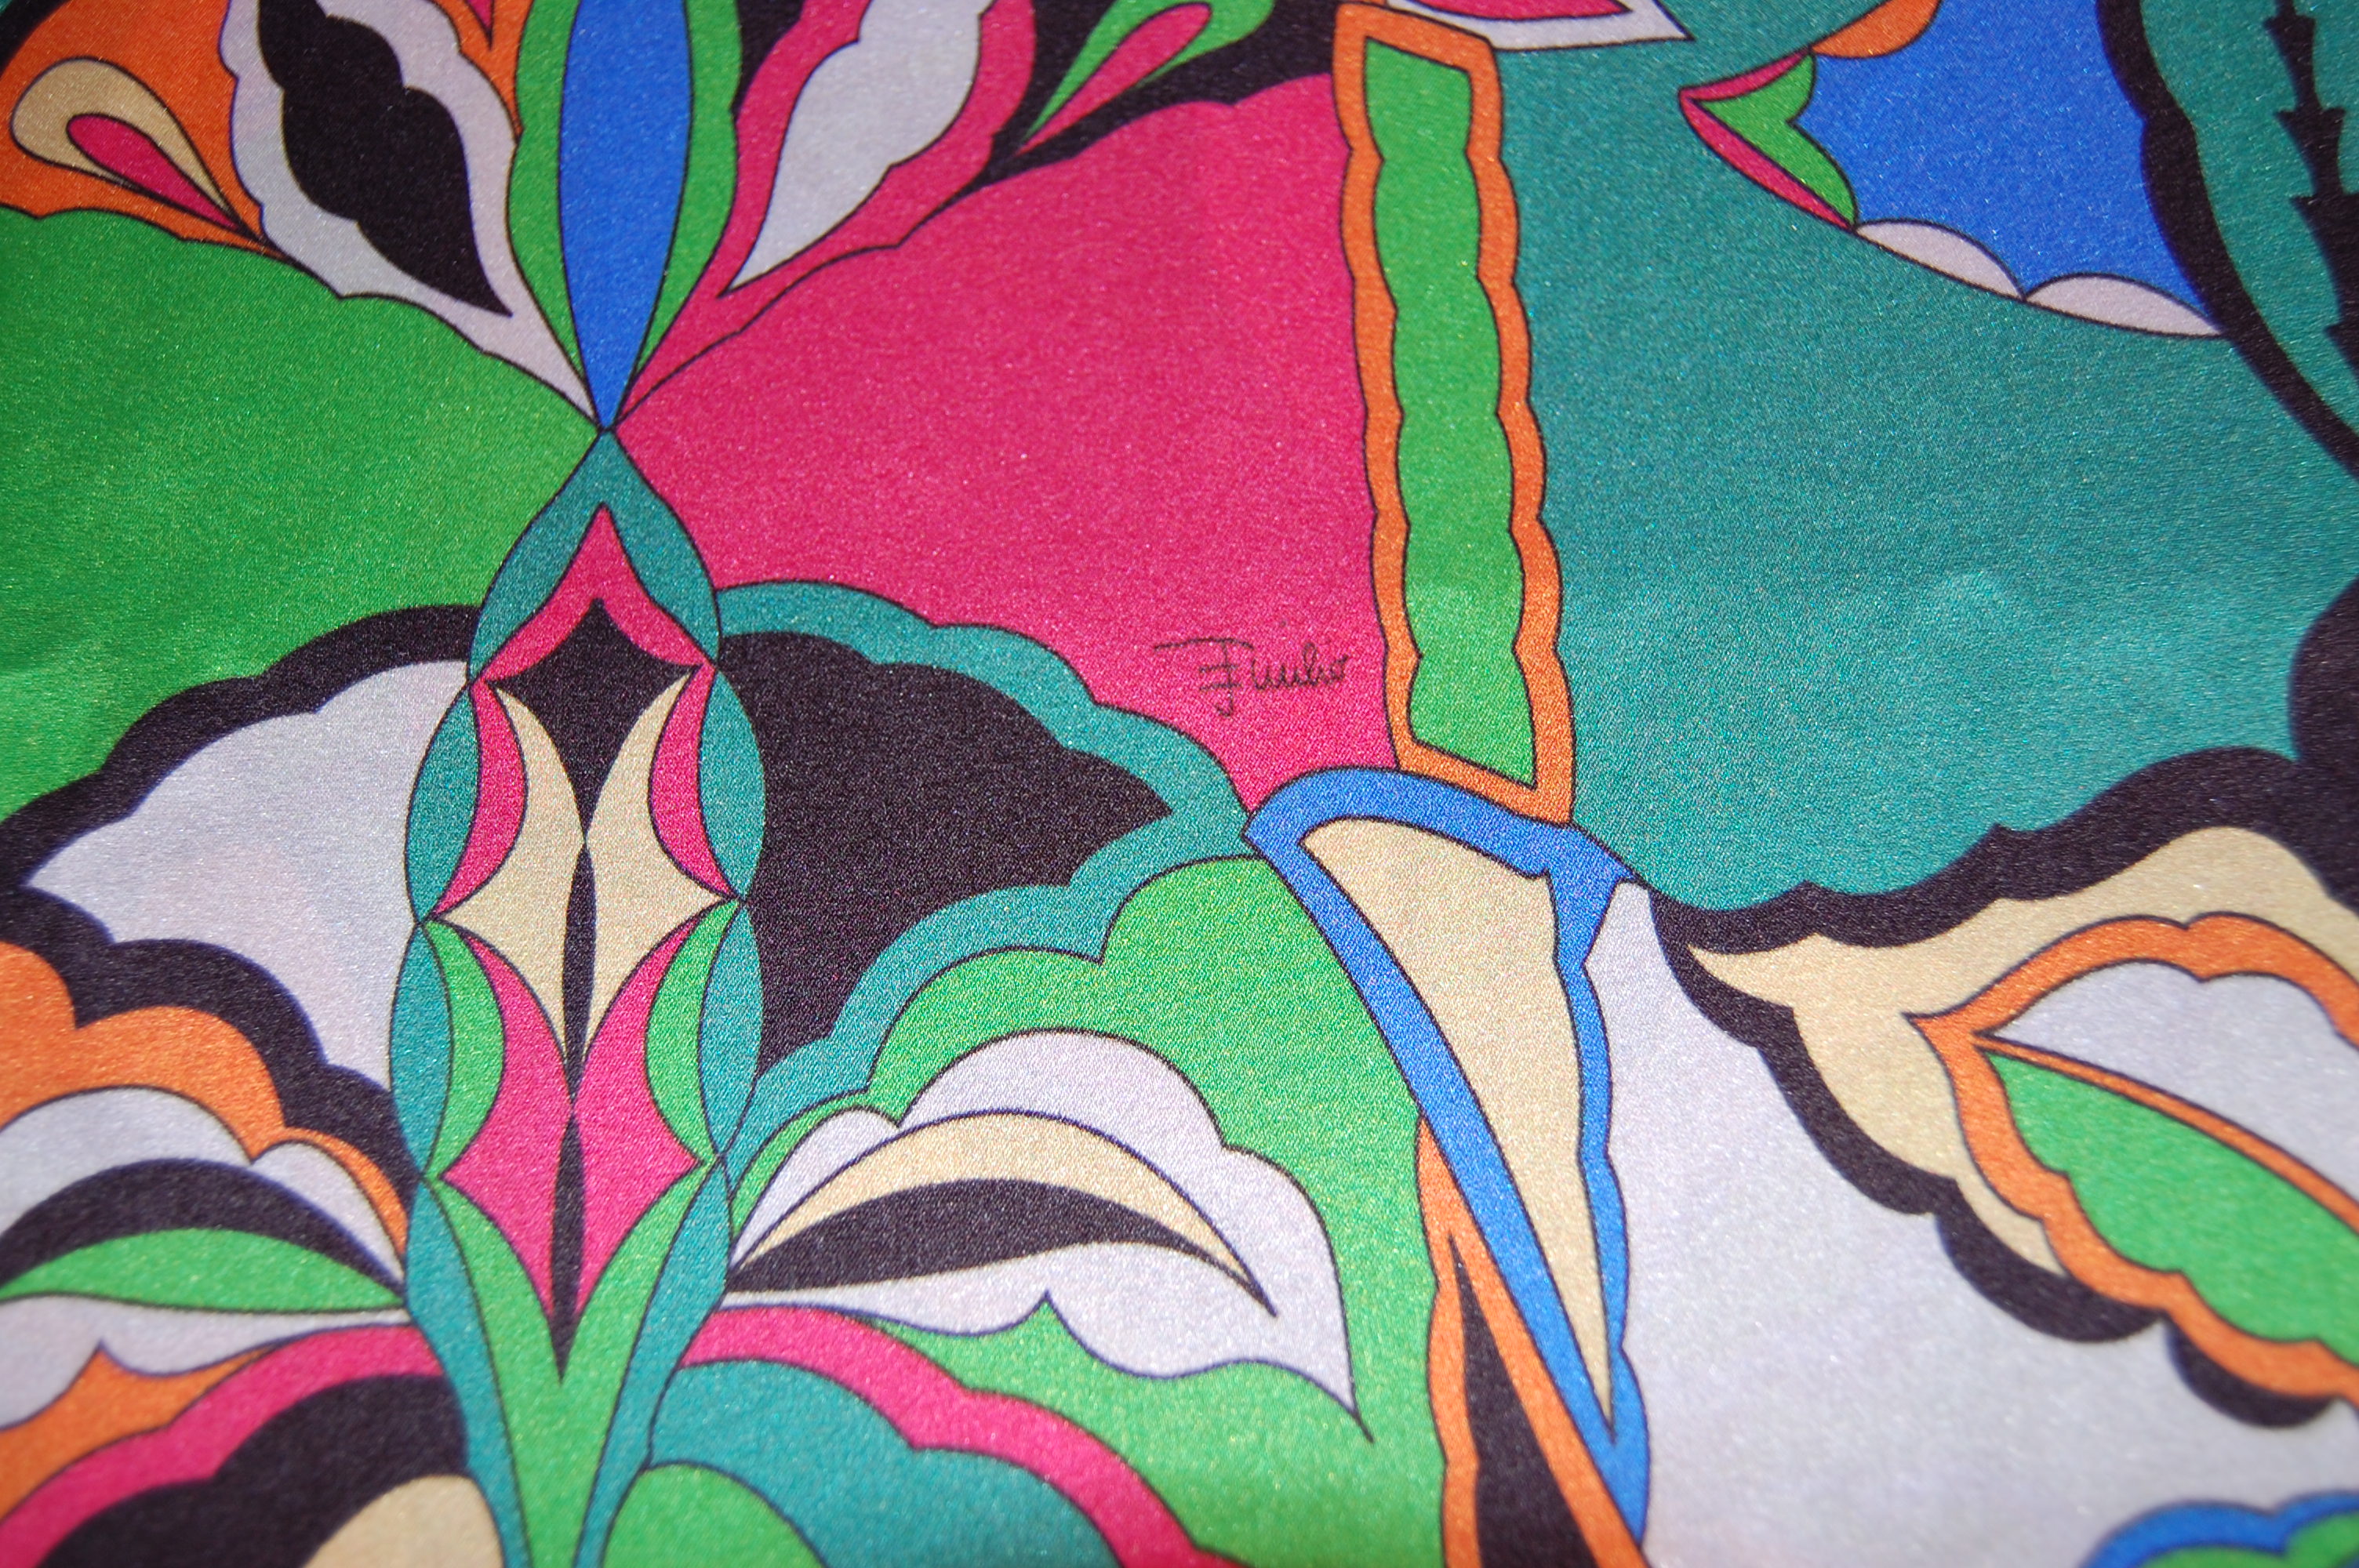
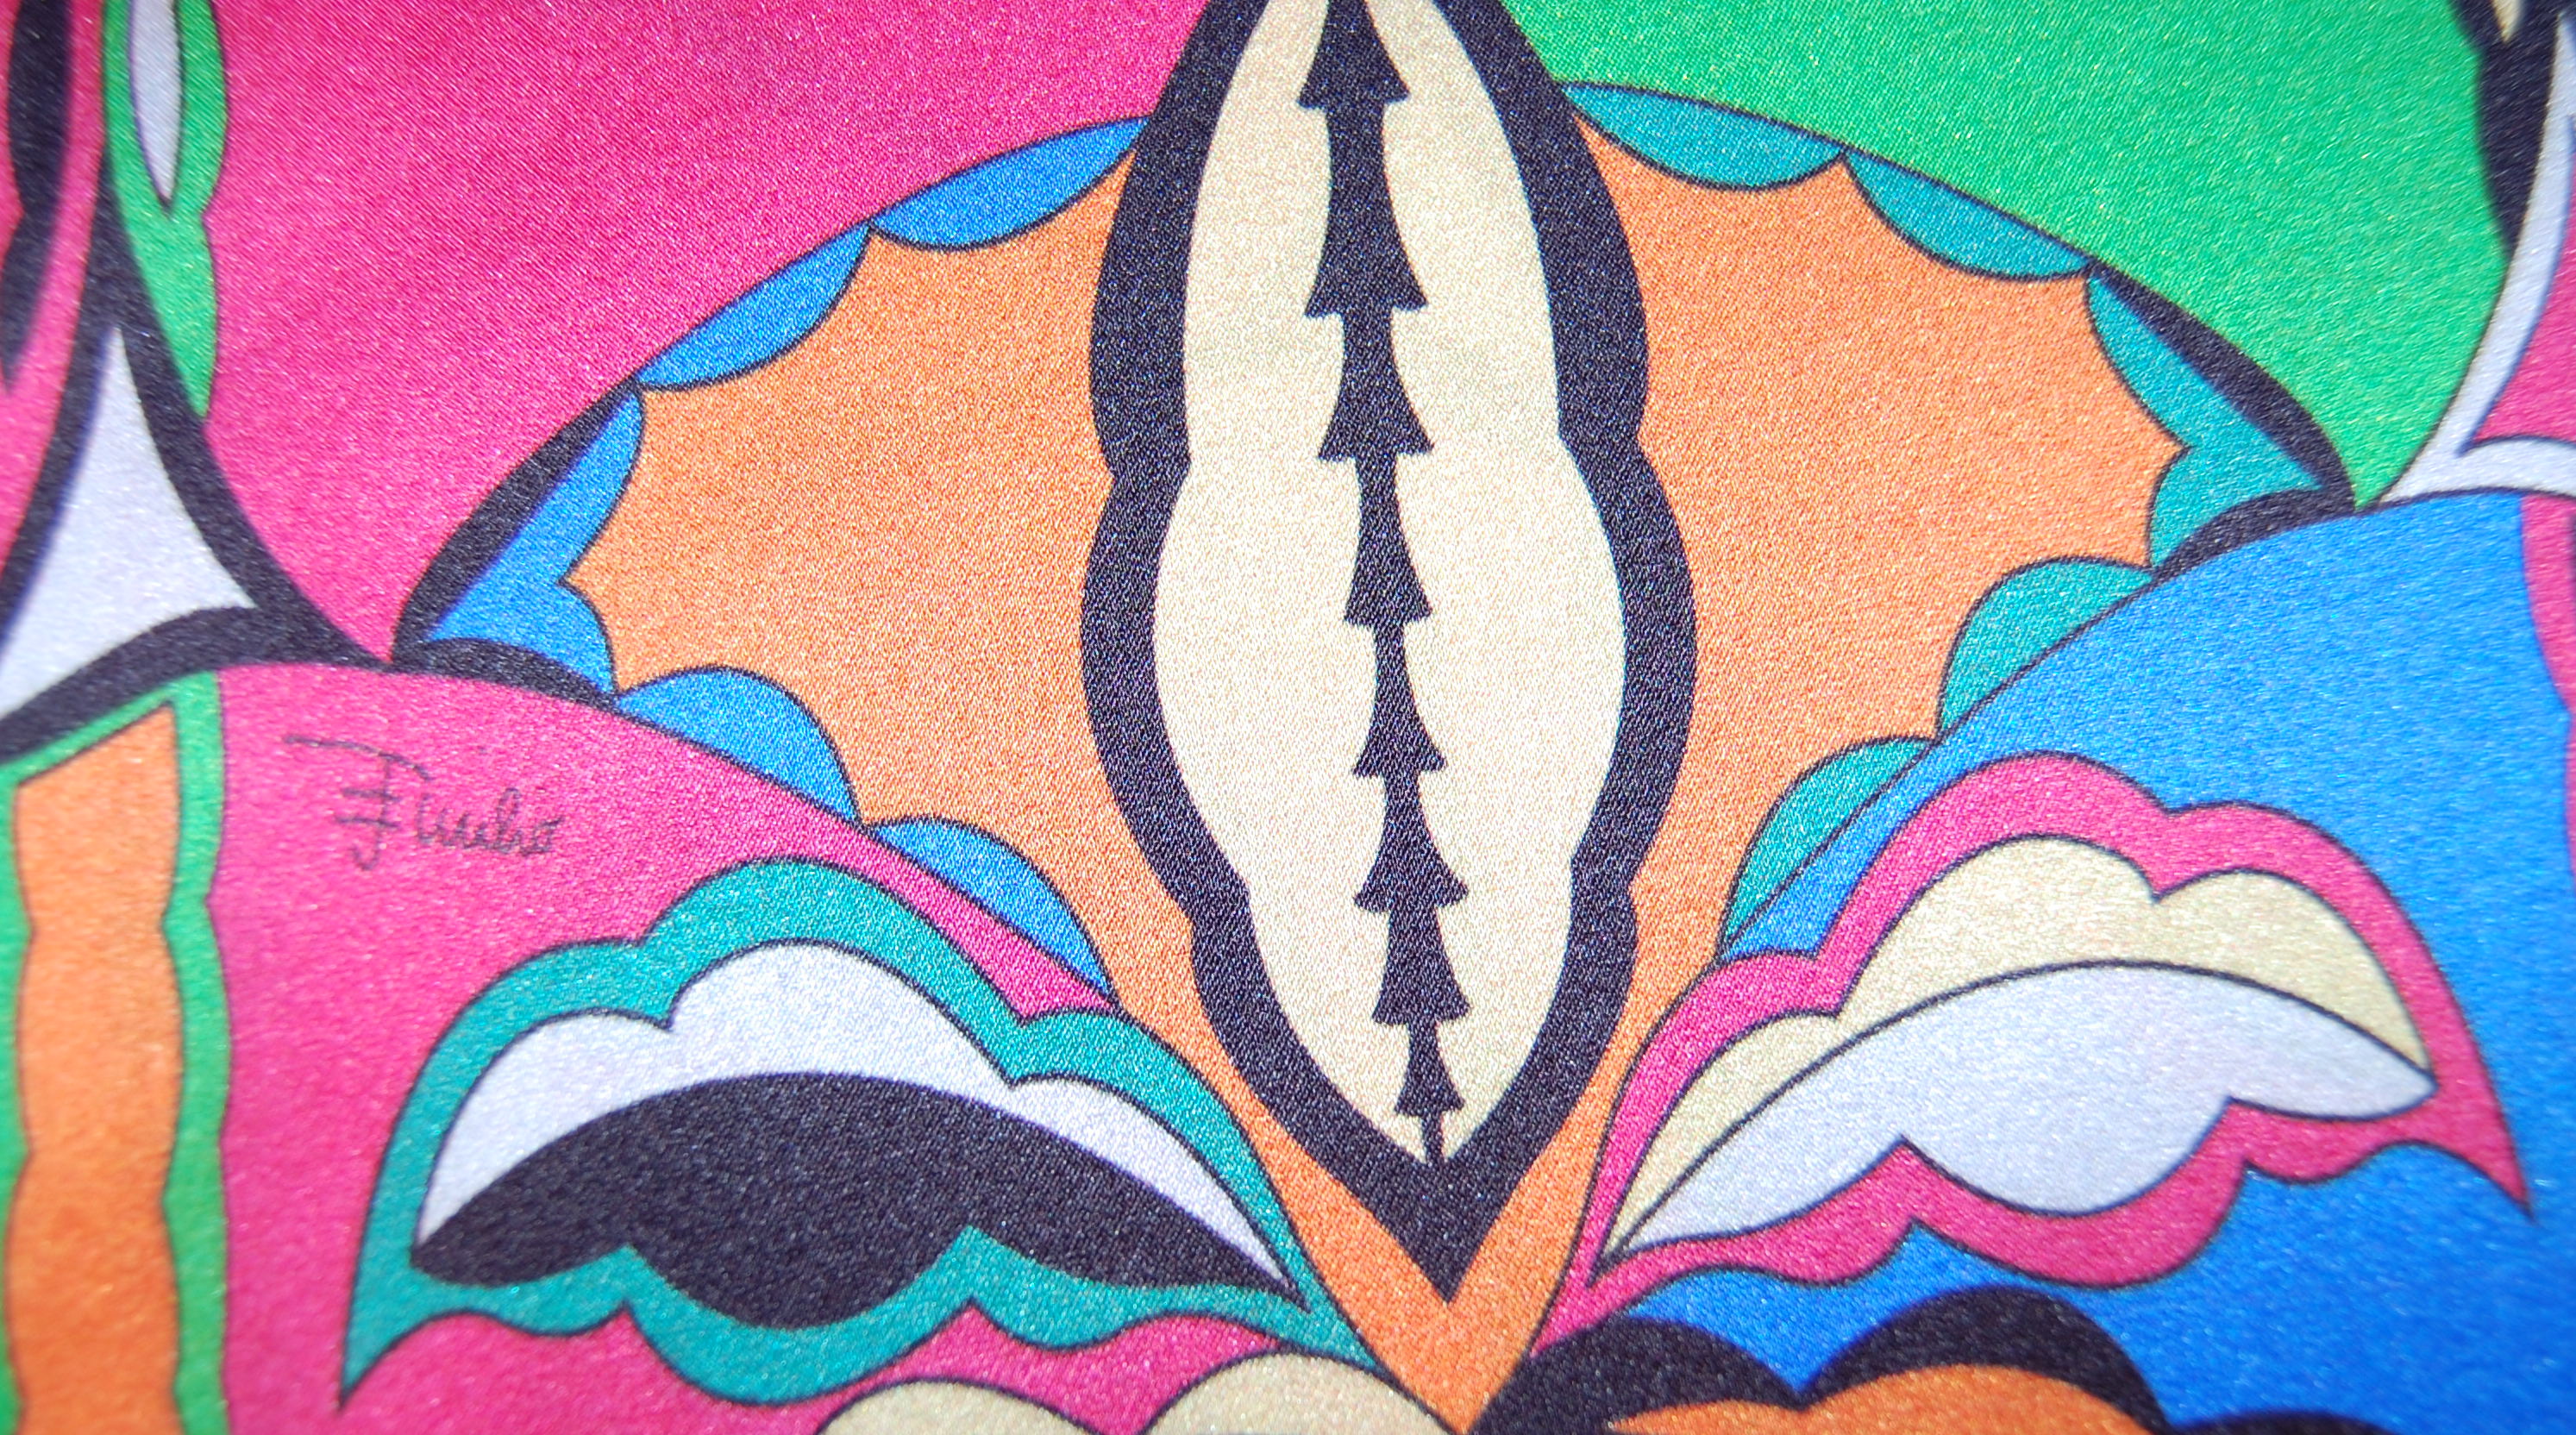
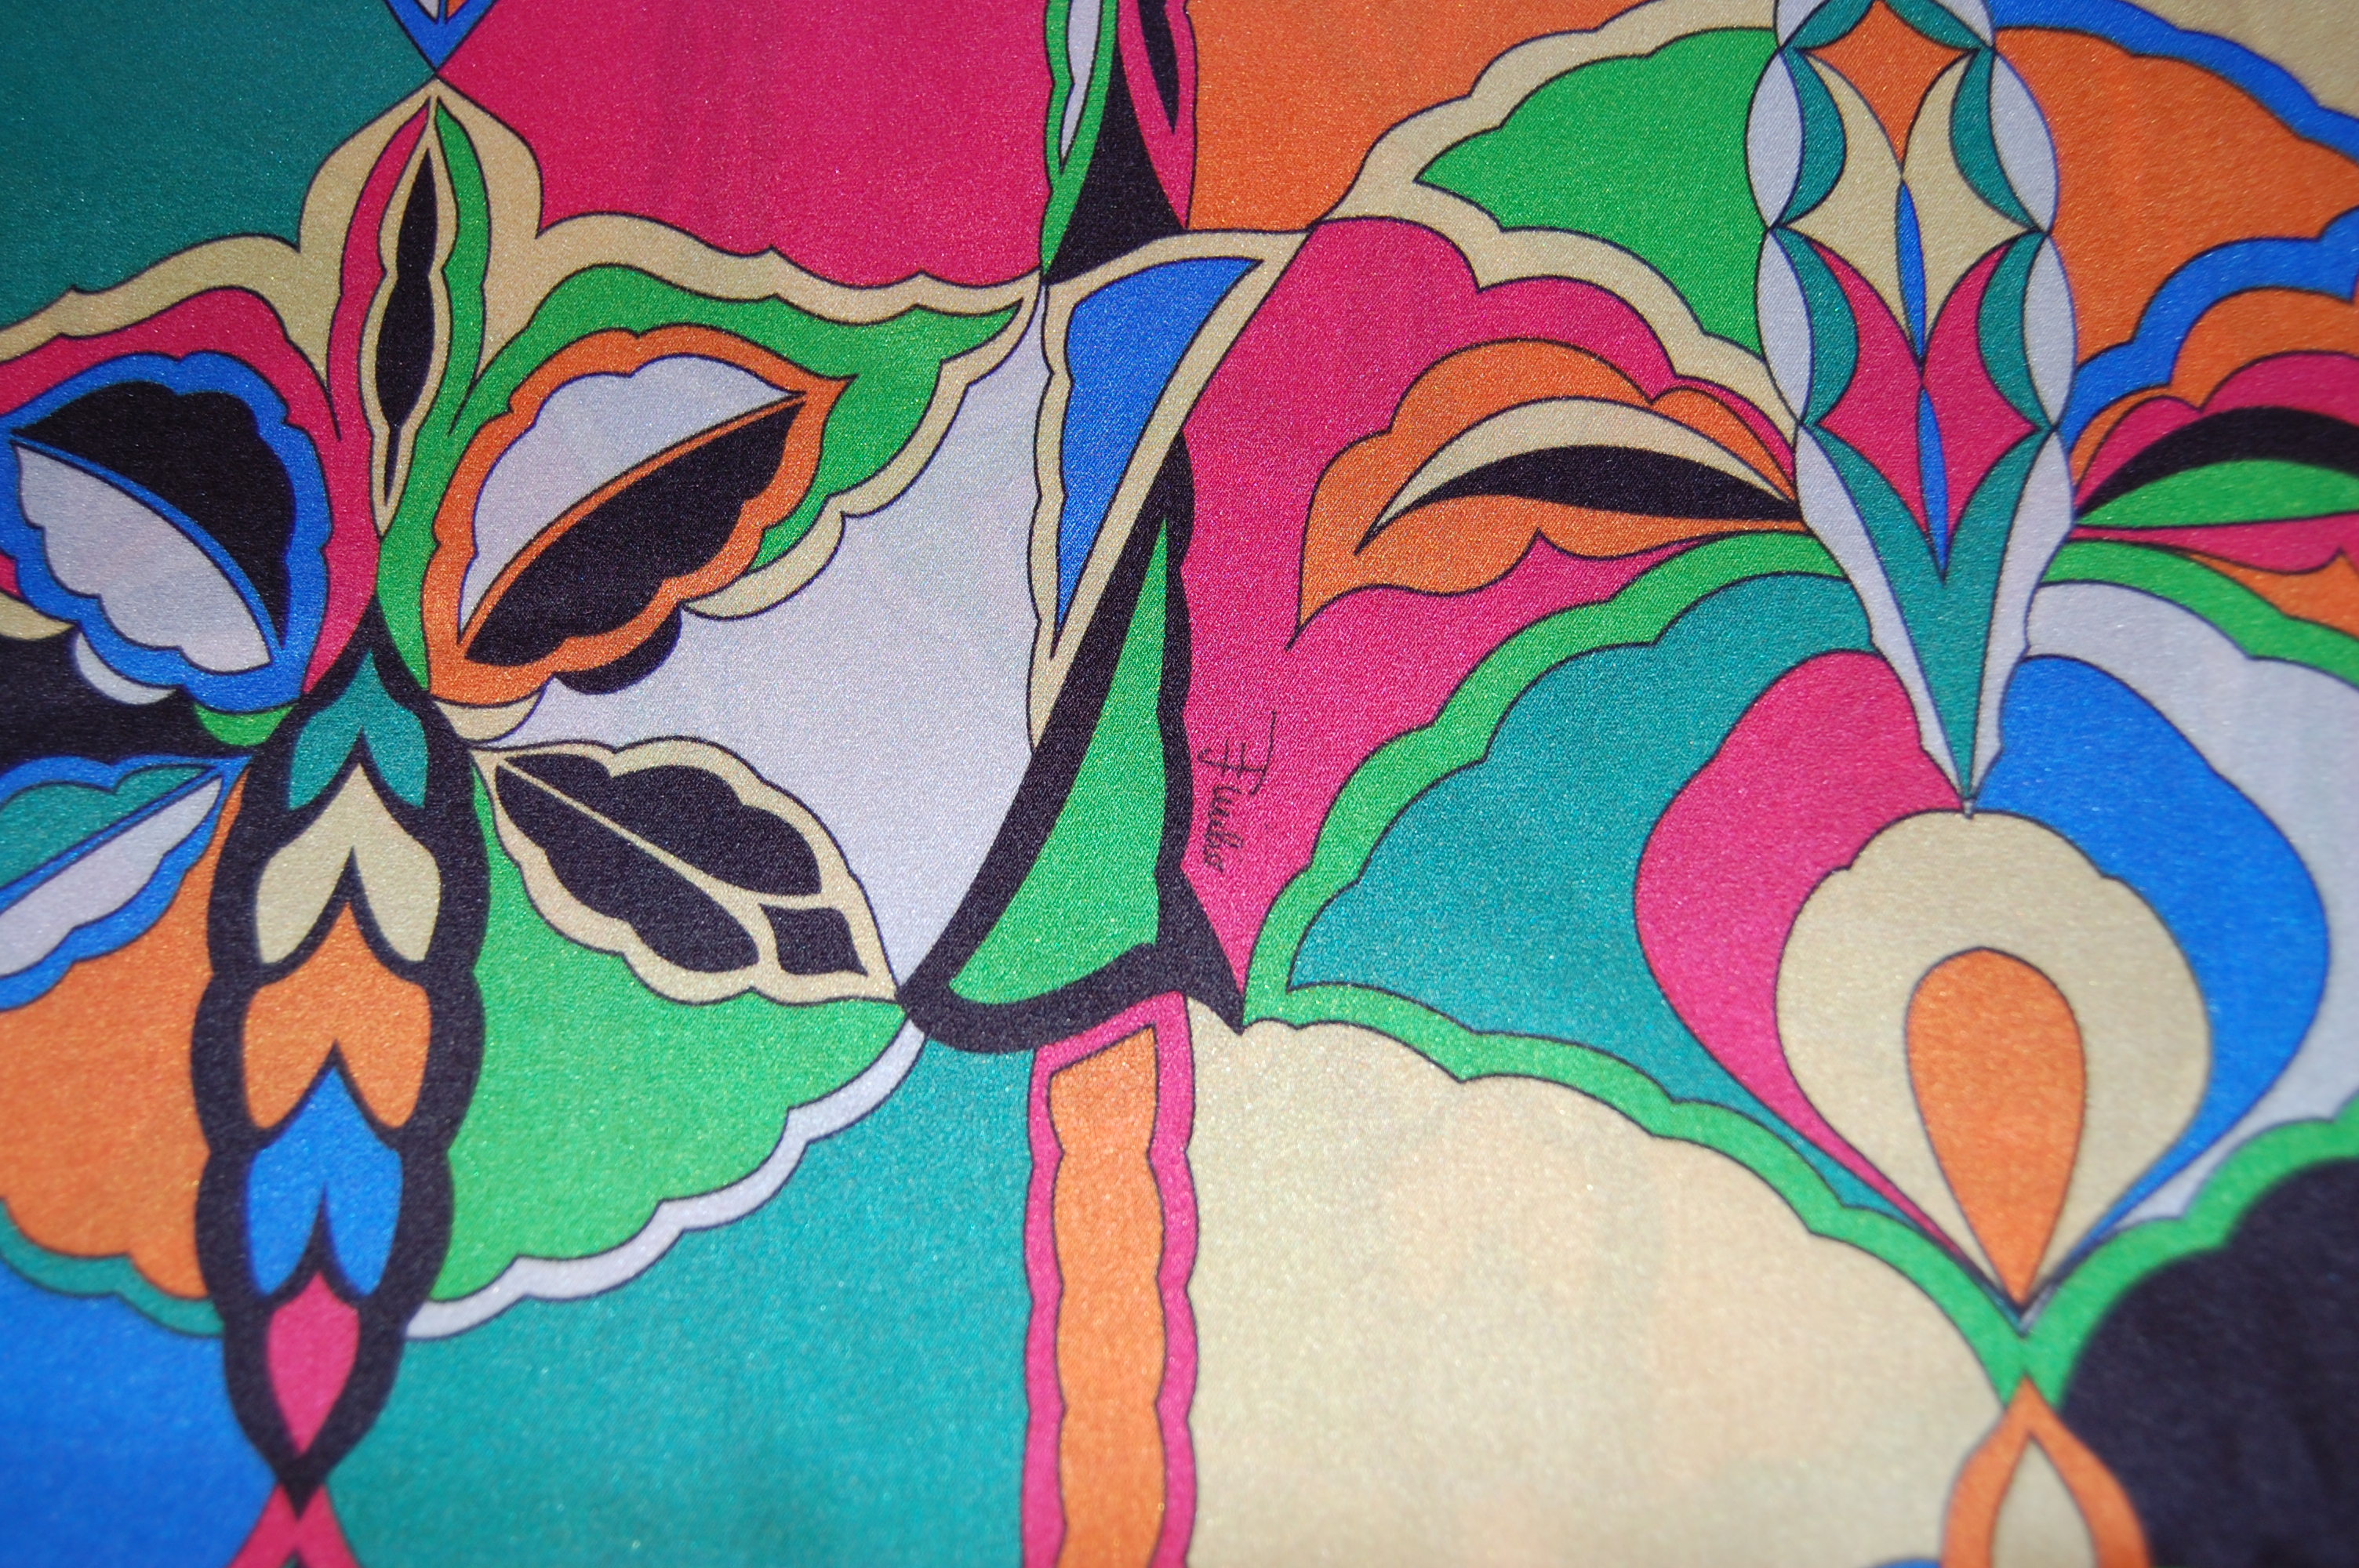
Now come the True Confessions . . . I’m not sure this top is quite “me”. I think I would like it better in a navy blue and white print. I would also take it in a little bit if I make this pattern again – as I think it looks a bit baggy. (However, since the only way into it is over the head, it can’t be too tight!) I have also decided that I am happiest sewing something that is more of a challenge. I’ll remind myself that I actually said this next time I am in a project that tests my sewing mettle! That may be soon, as the “thinking time” for my final Summer Season dress is now turning into “doing time”. Here is a hint as to what I will be working on:
 Any guesses, anyone?