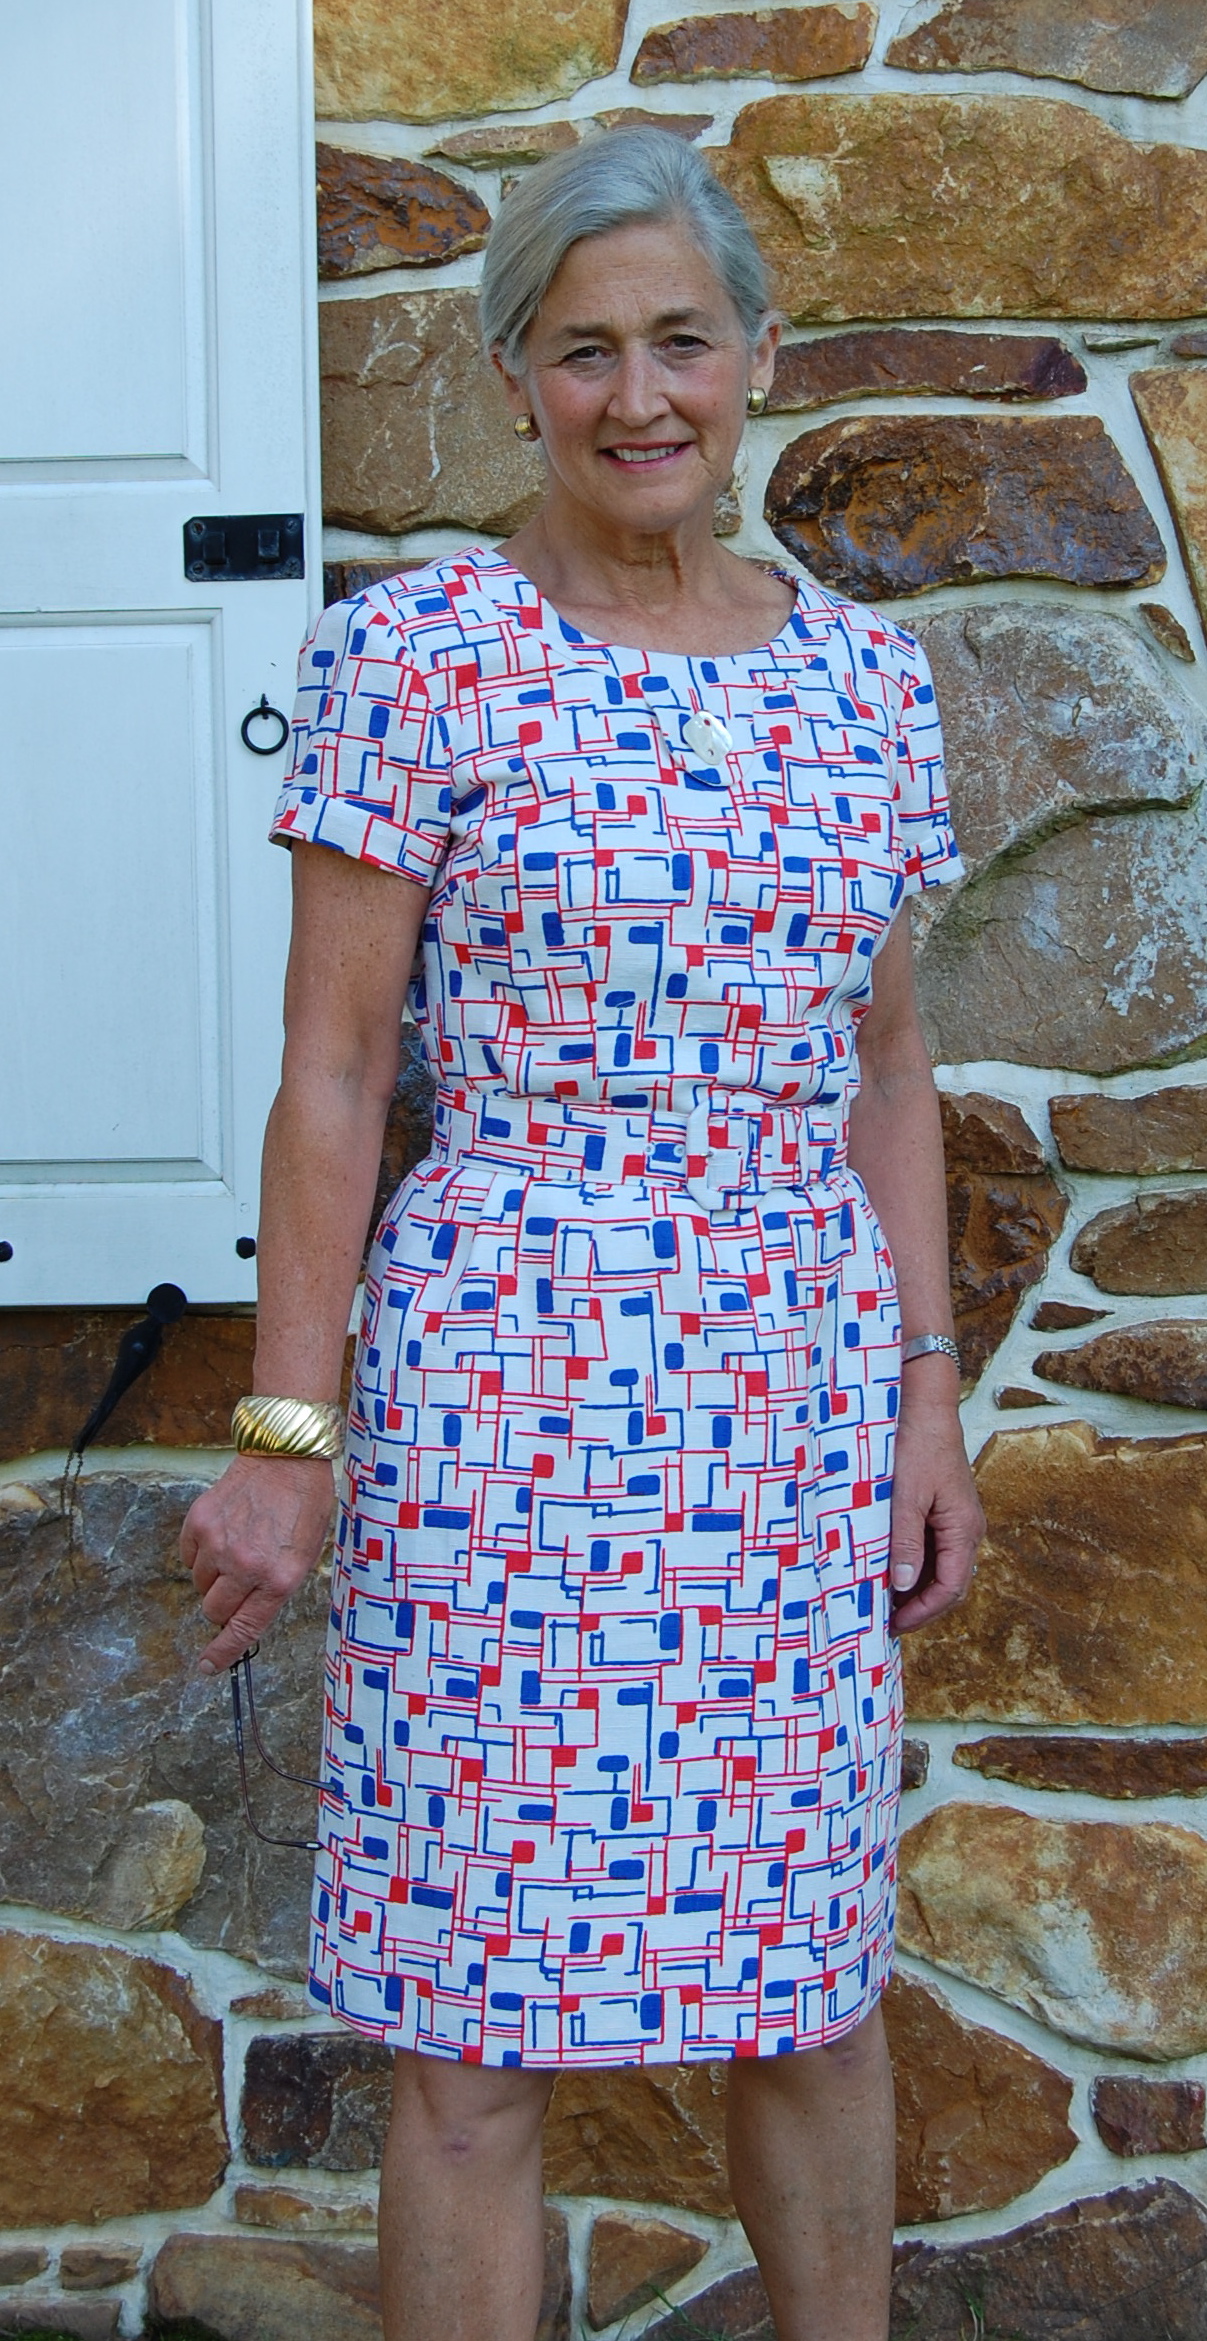
Leap Year, with its extra February day, seemed to be custom made for my sewing schedule. I had hoped to have my gray cashmere coat finished by the end of the month, and thanks to those extra 24 hours, I managed to do just that – barely! I will confess to taking out basting stitches, steaming, and adding two bar tacks to the lining on March 1st (gasp), but now my coat is finished.
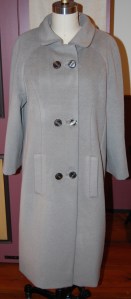
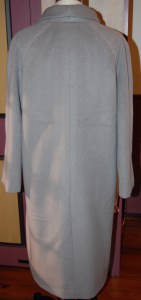
Photos of me in this coat will be in a future post…
Like Claire McCardell, who said “I believe in a collection of coats,” and coats are “revealing, a clue to your taste, and your knowledge of Fashion,” I also believe that one should not “make a coat too basic.” The unique aspect of fashion sewing is that one can start with a basic (or not-so-basic) coat pattern and then make it her own.
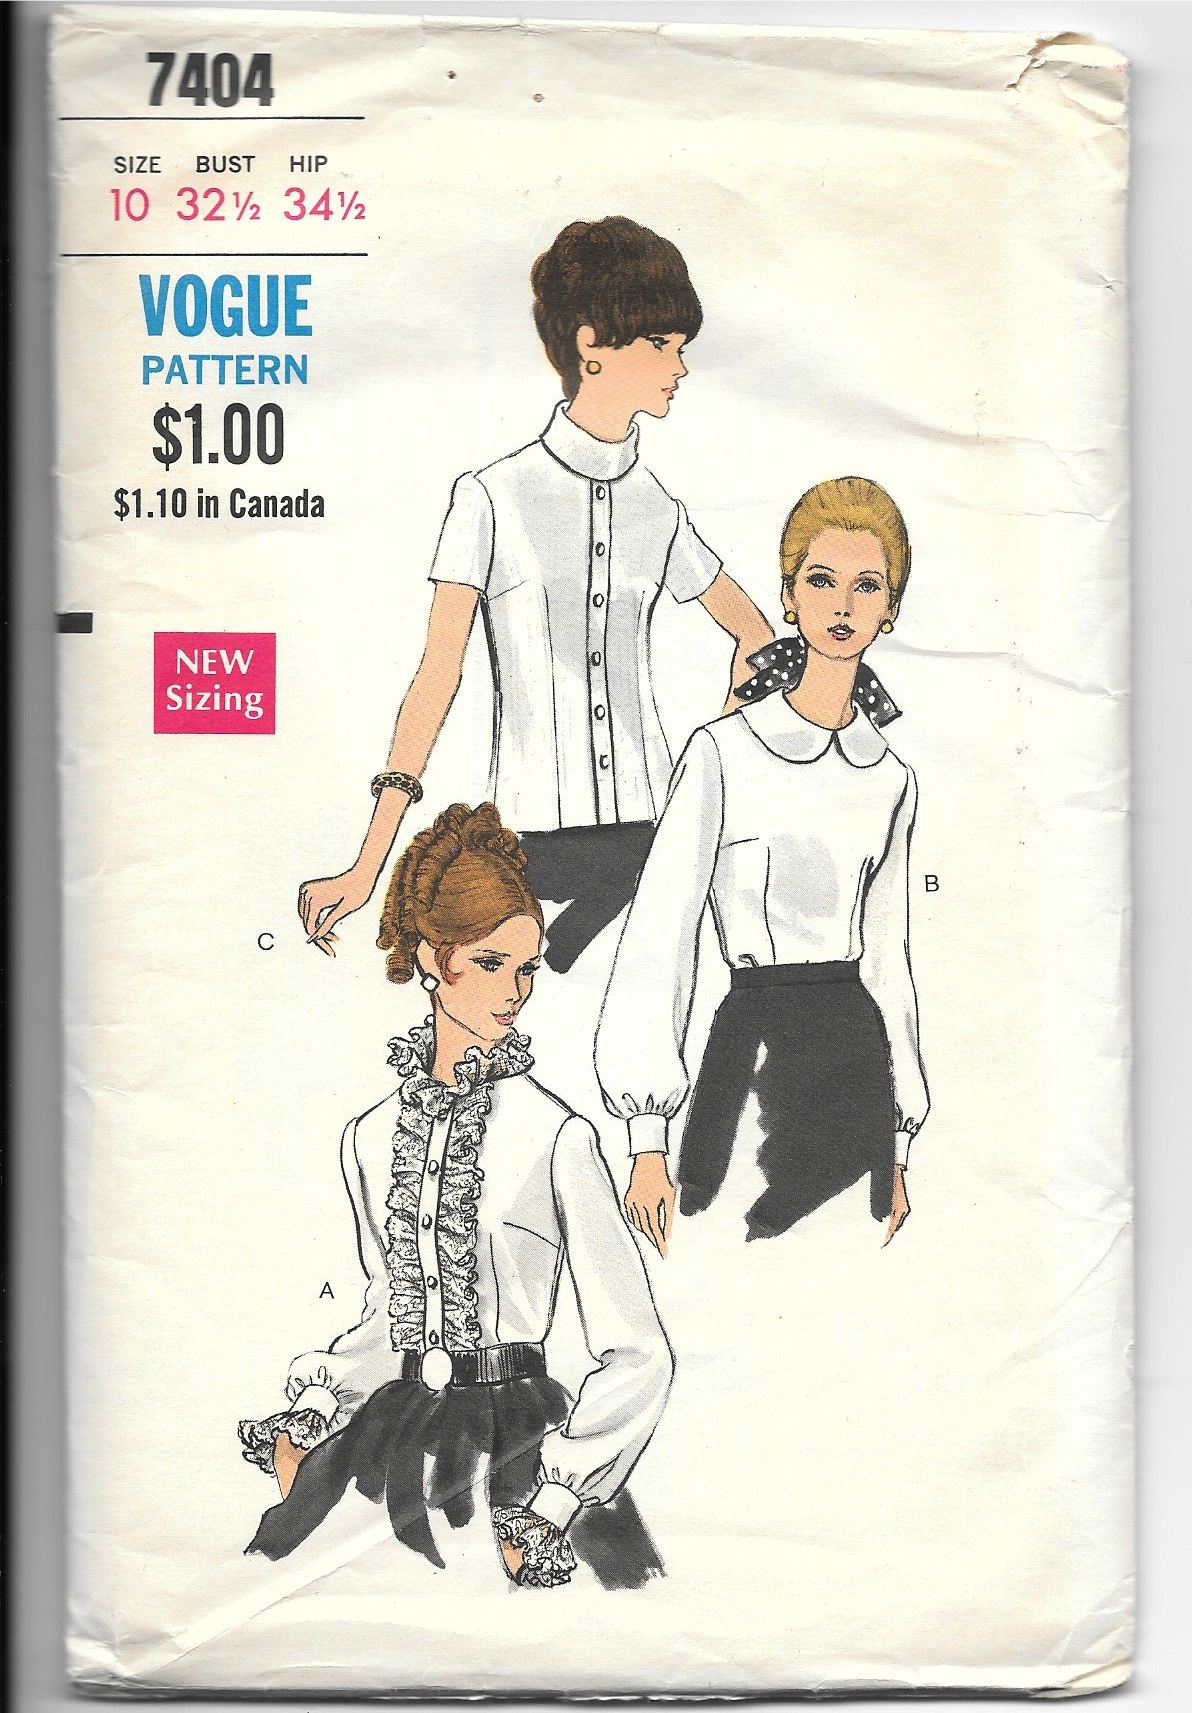
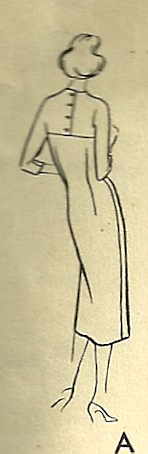
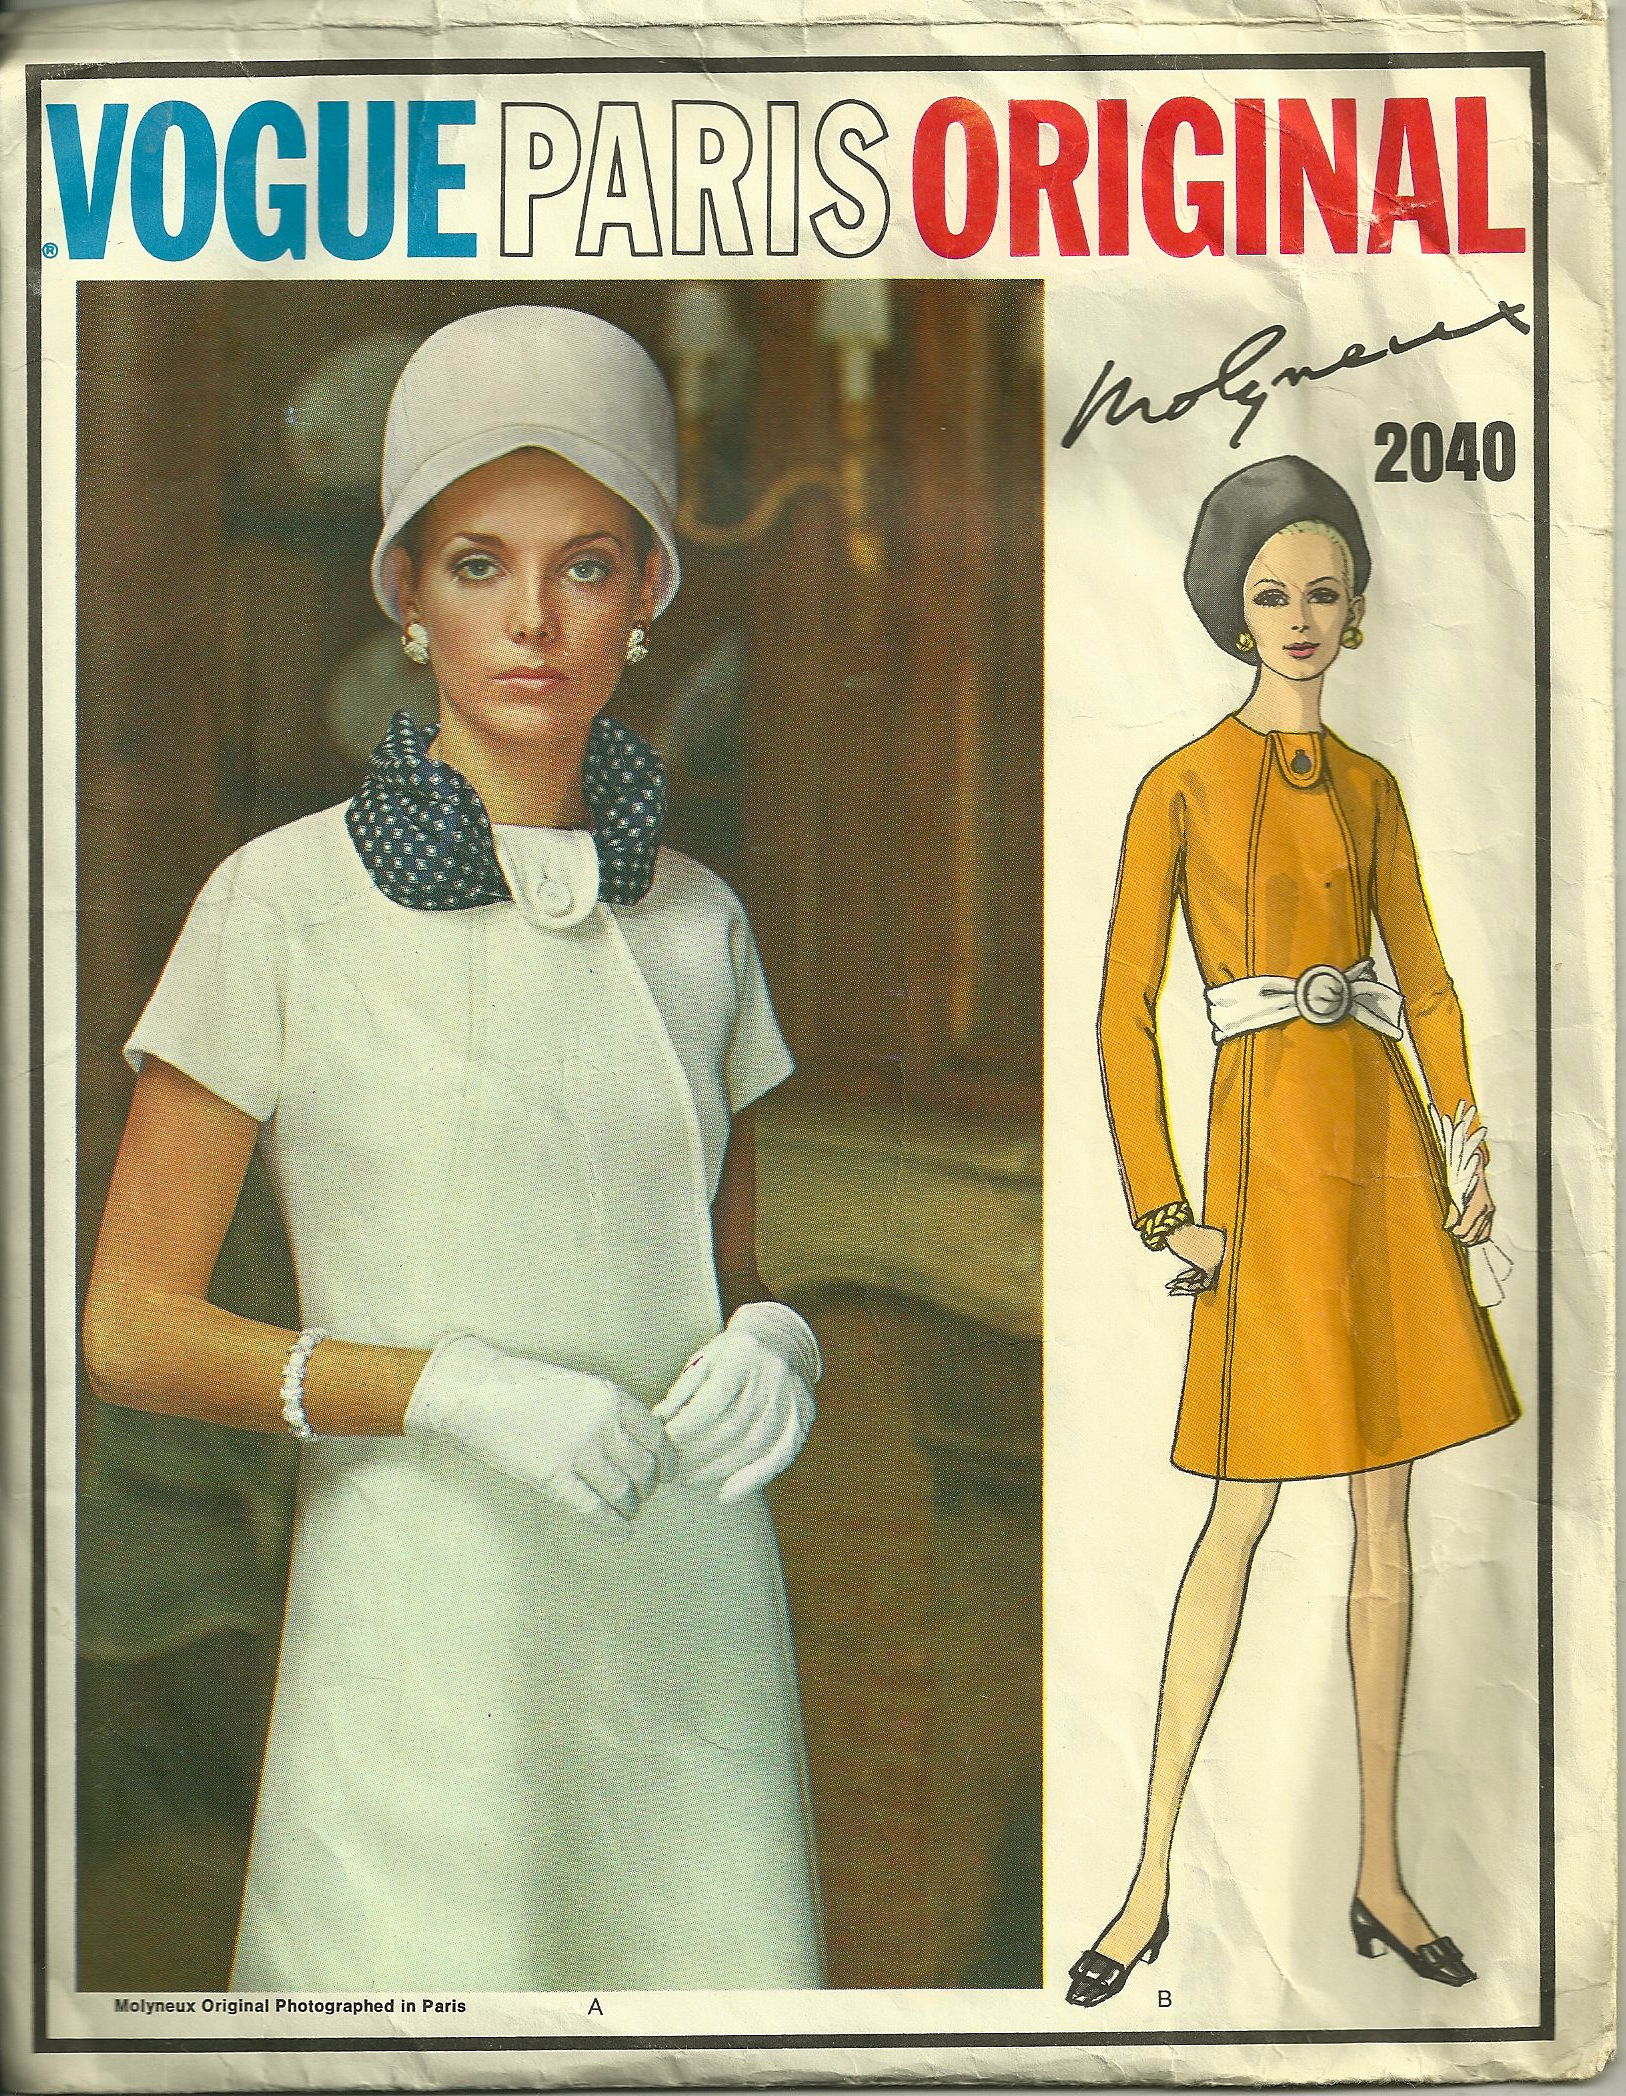
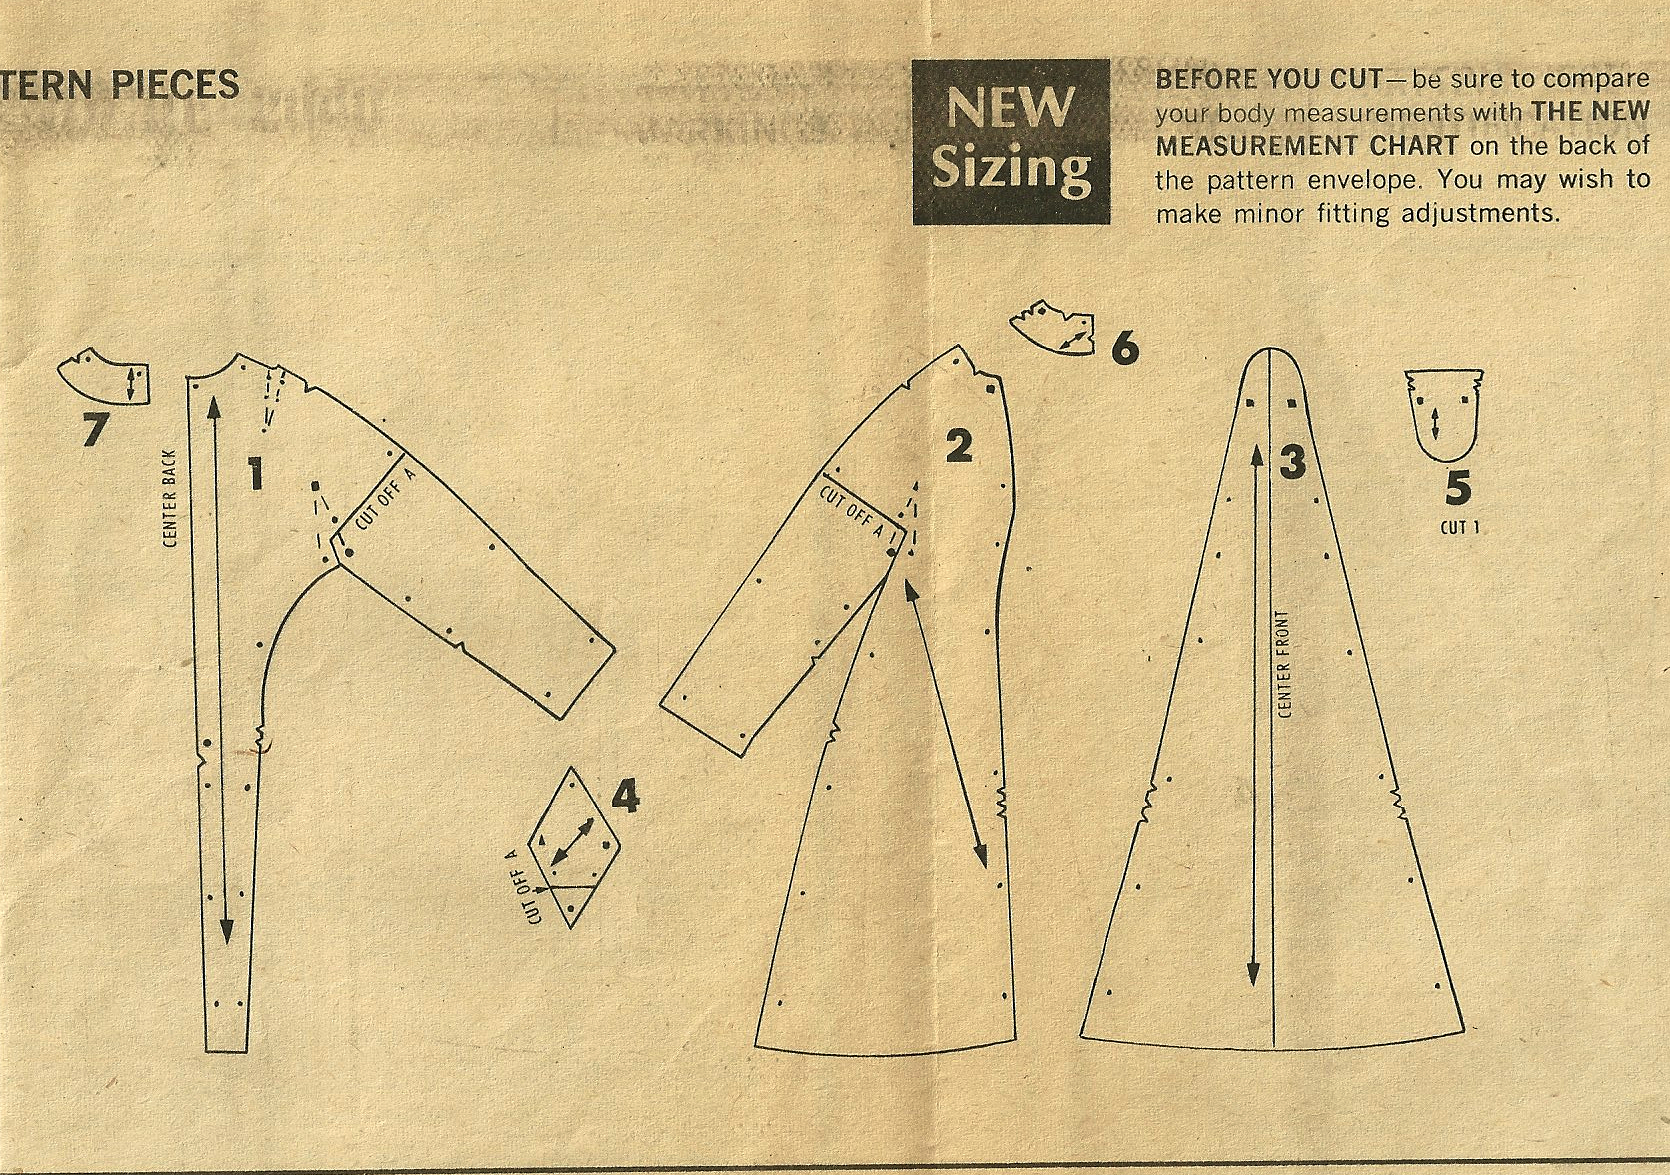
The first owner of this Vogue Designer Original pattern, designed by Guy Laroche, which I used for my coat, had obviously used it. (This isn’t always the case – many vintage patterns are still “factory-folded” and in their unused condition.)
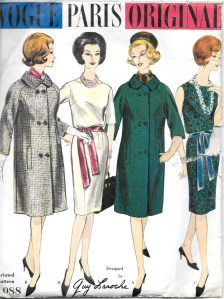
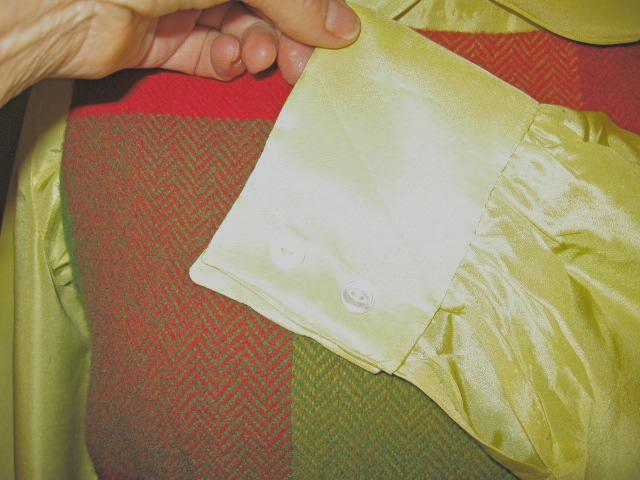
When I purchased the pattern, I had already decided to lengthen the sleeves, which are shown on the pattern envelope as “below-elbow” or bracelet-length. I wanted full-length sleeves as a practical matter. Much to my delight, the original owner had decided the same and had added tissue paper inserts into the sleeve pattern pieces. As it turned out, the length she had decided upon was also exactly right for me.
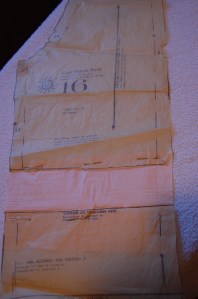
What a nice surprise to find the sleeves already lengthened!
There are really only a few details I chose for this coat which serve to make it “not basic.” Besides the bound buttonholes (which used to be basic but are not so much anymore!), I put emphasis on the buttons, the lining and a couple of the finishing details.
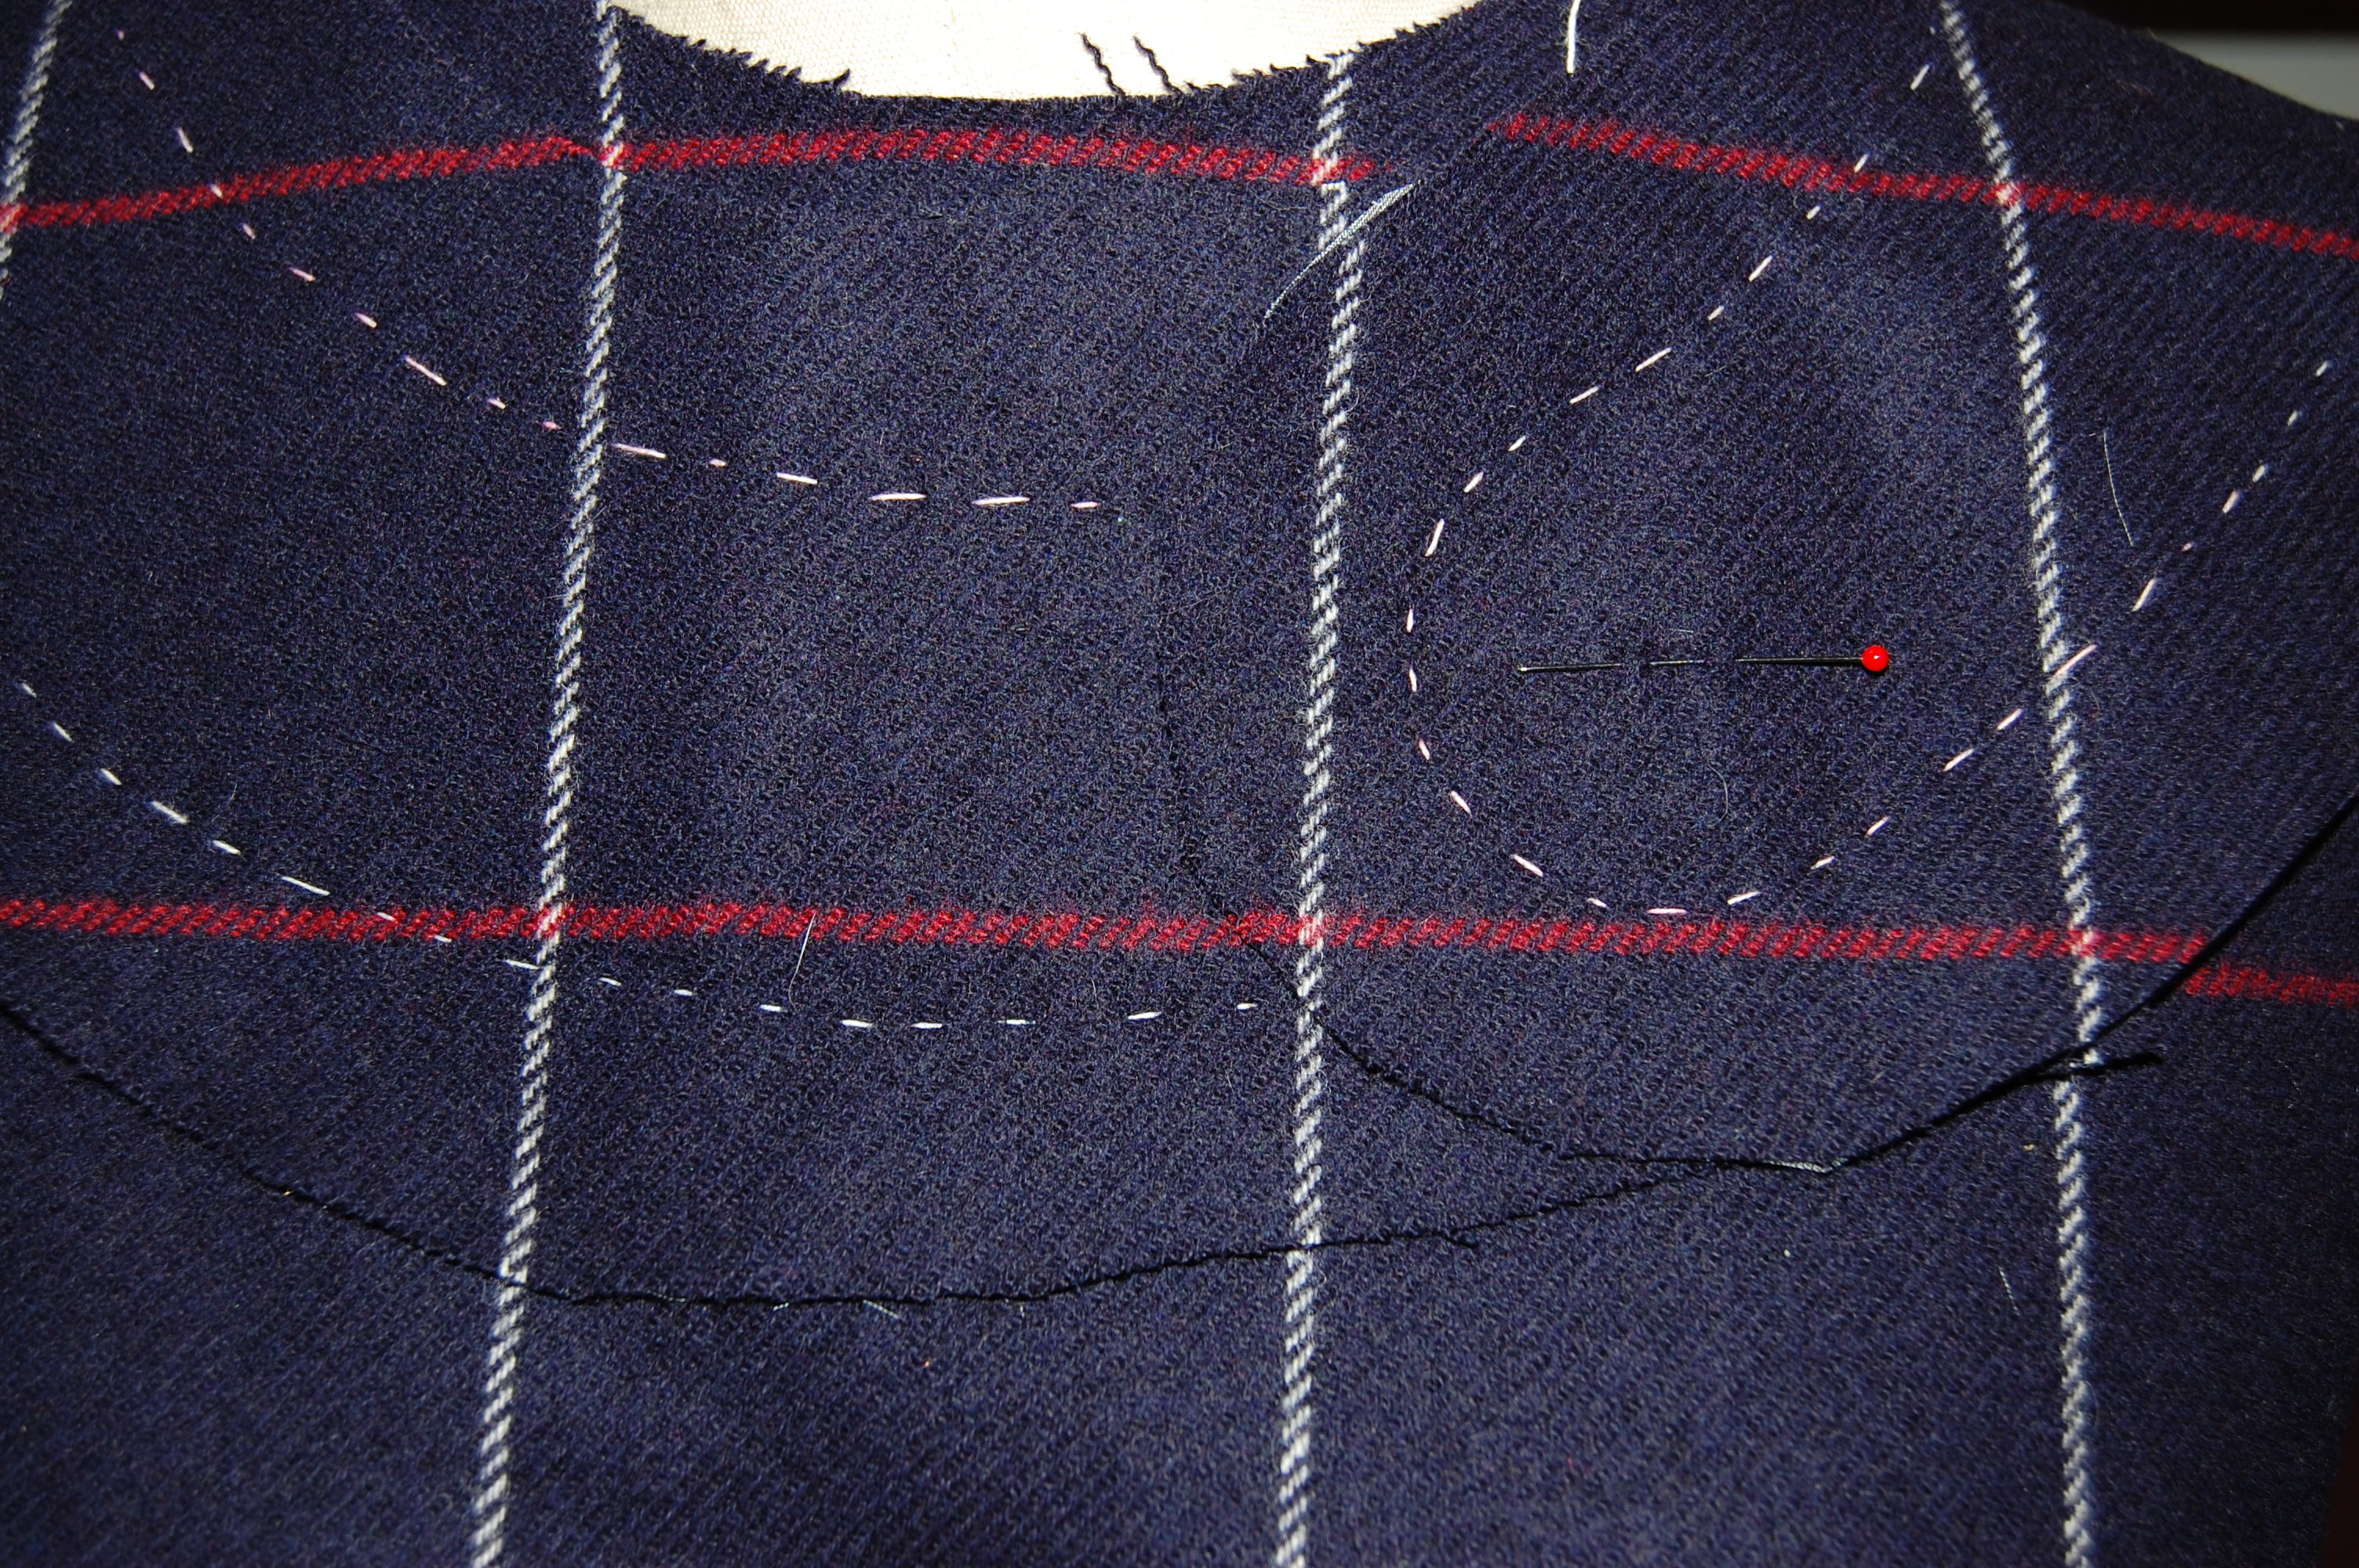
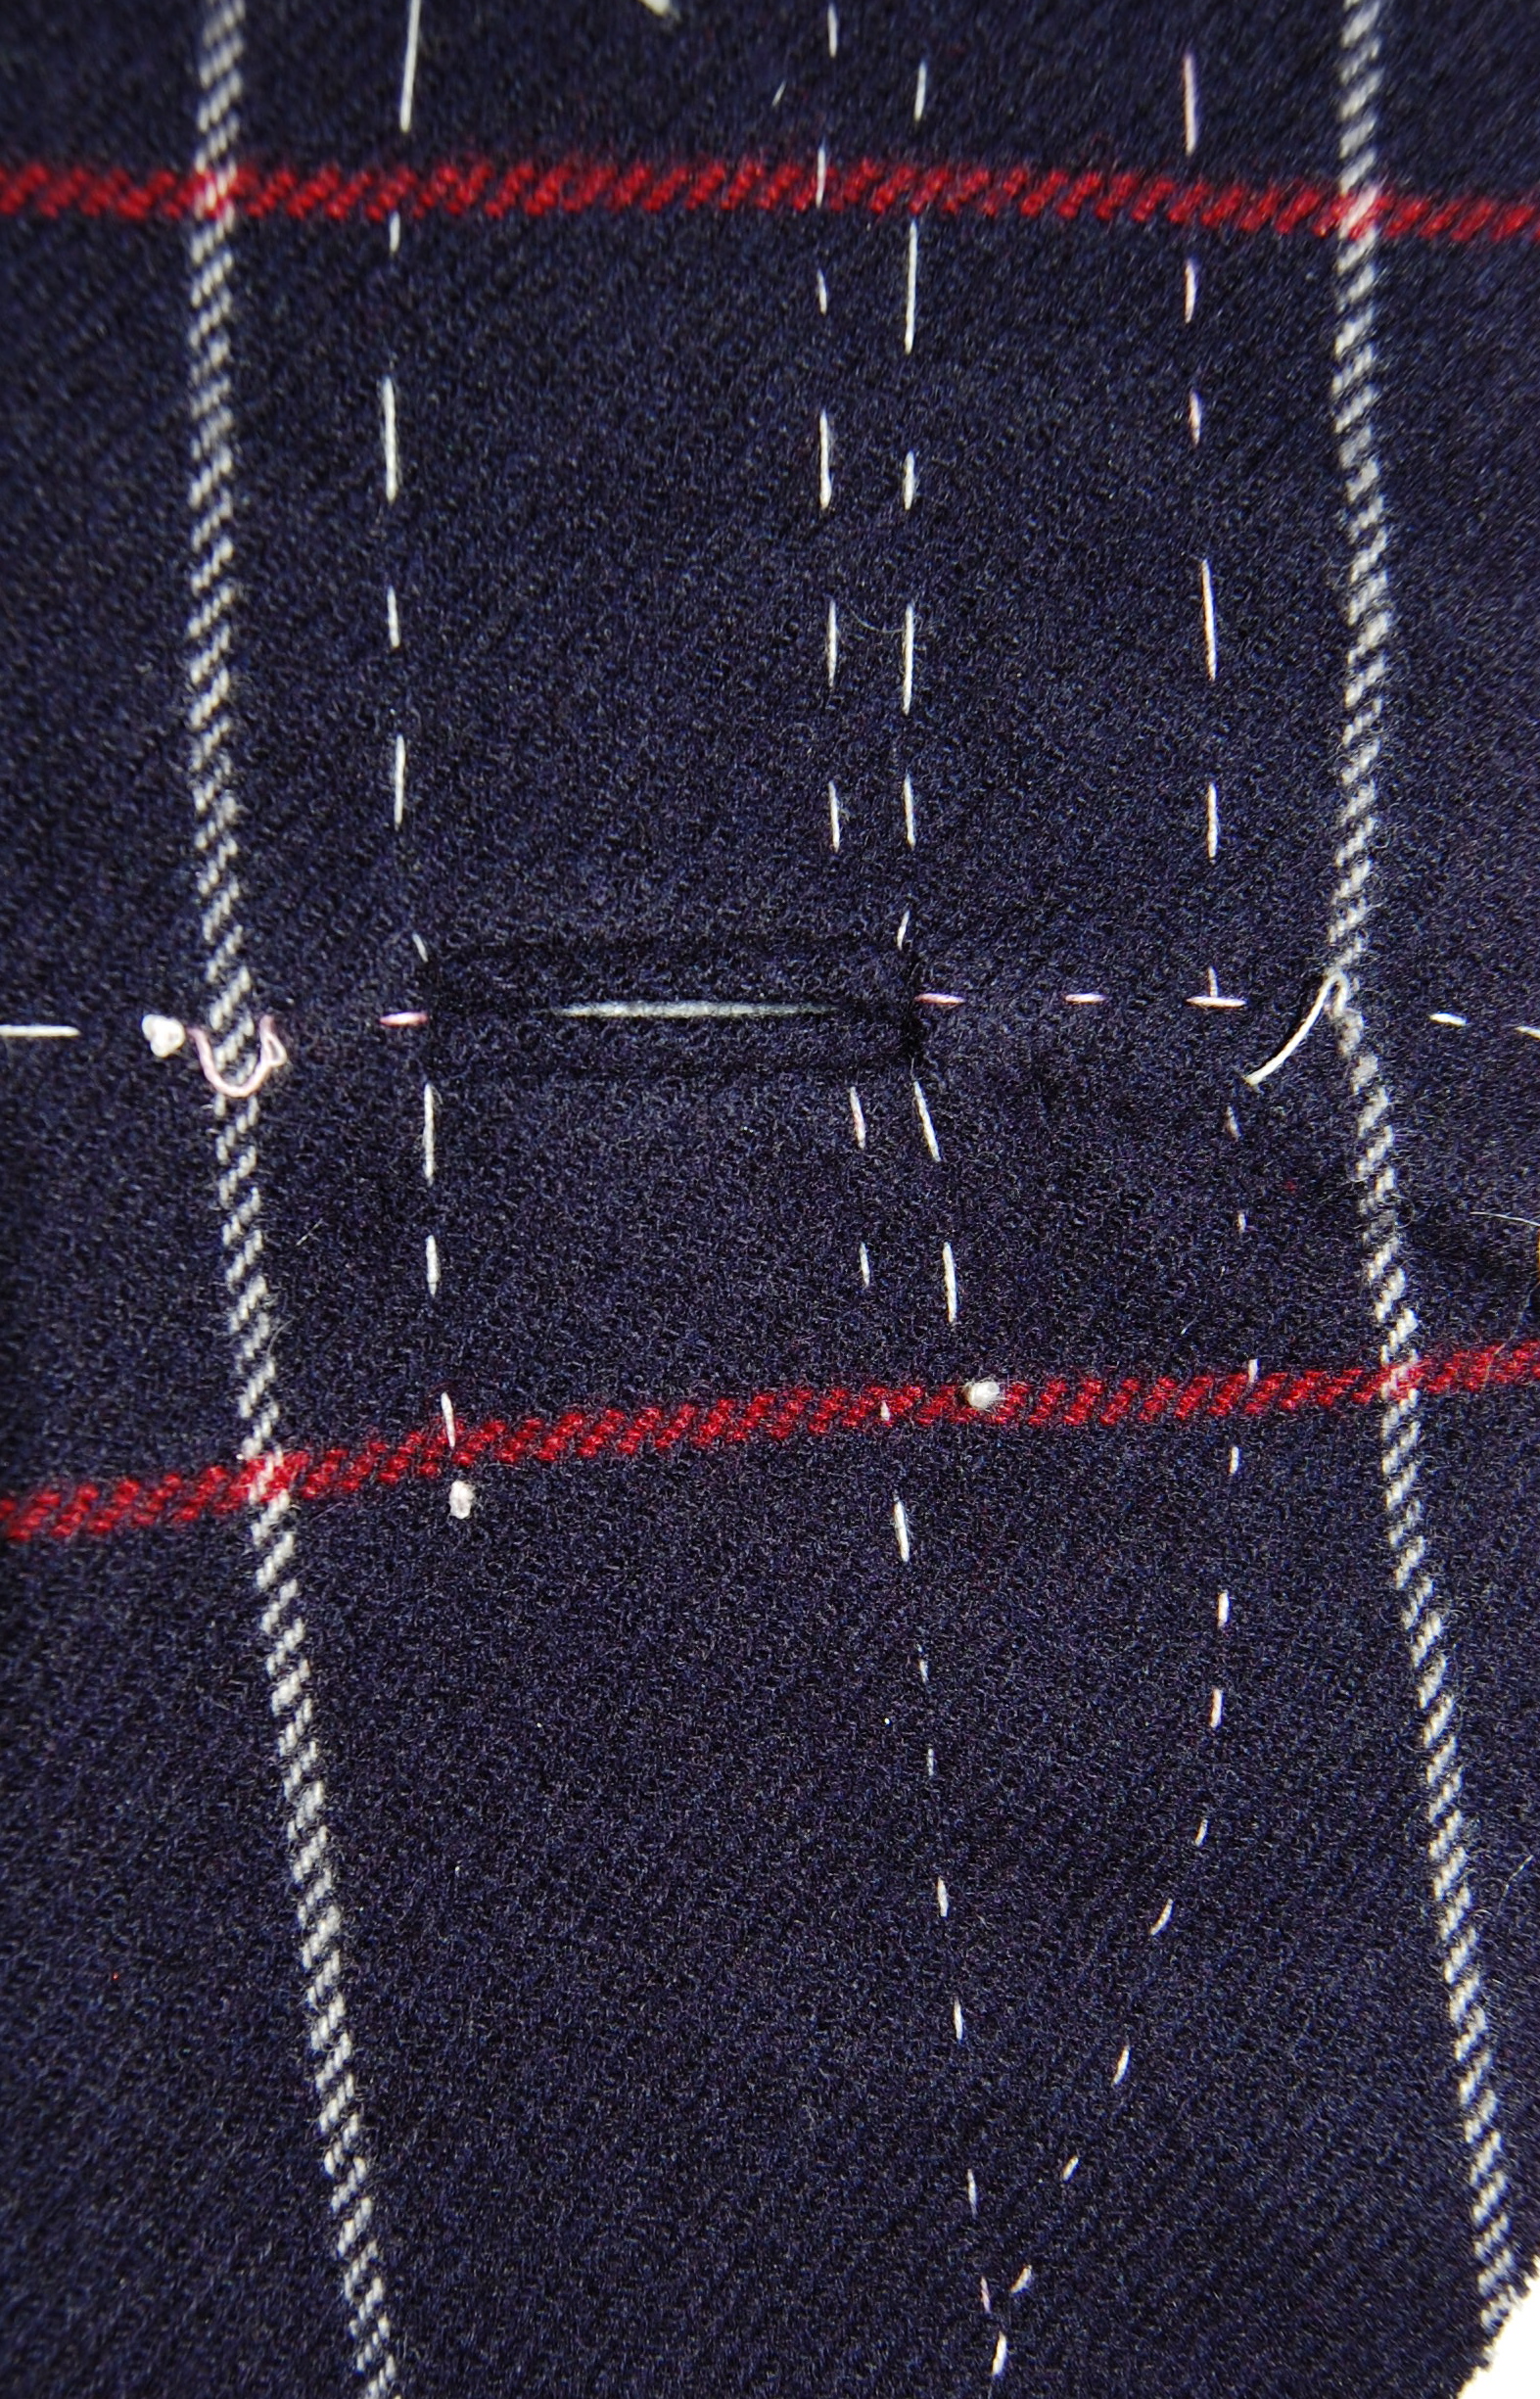
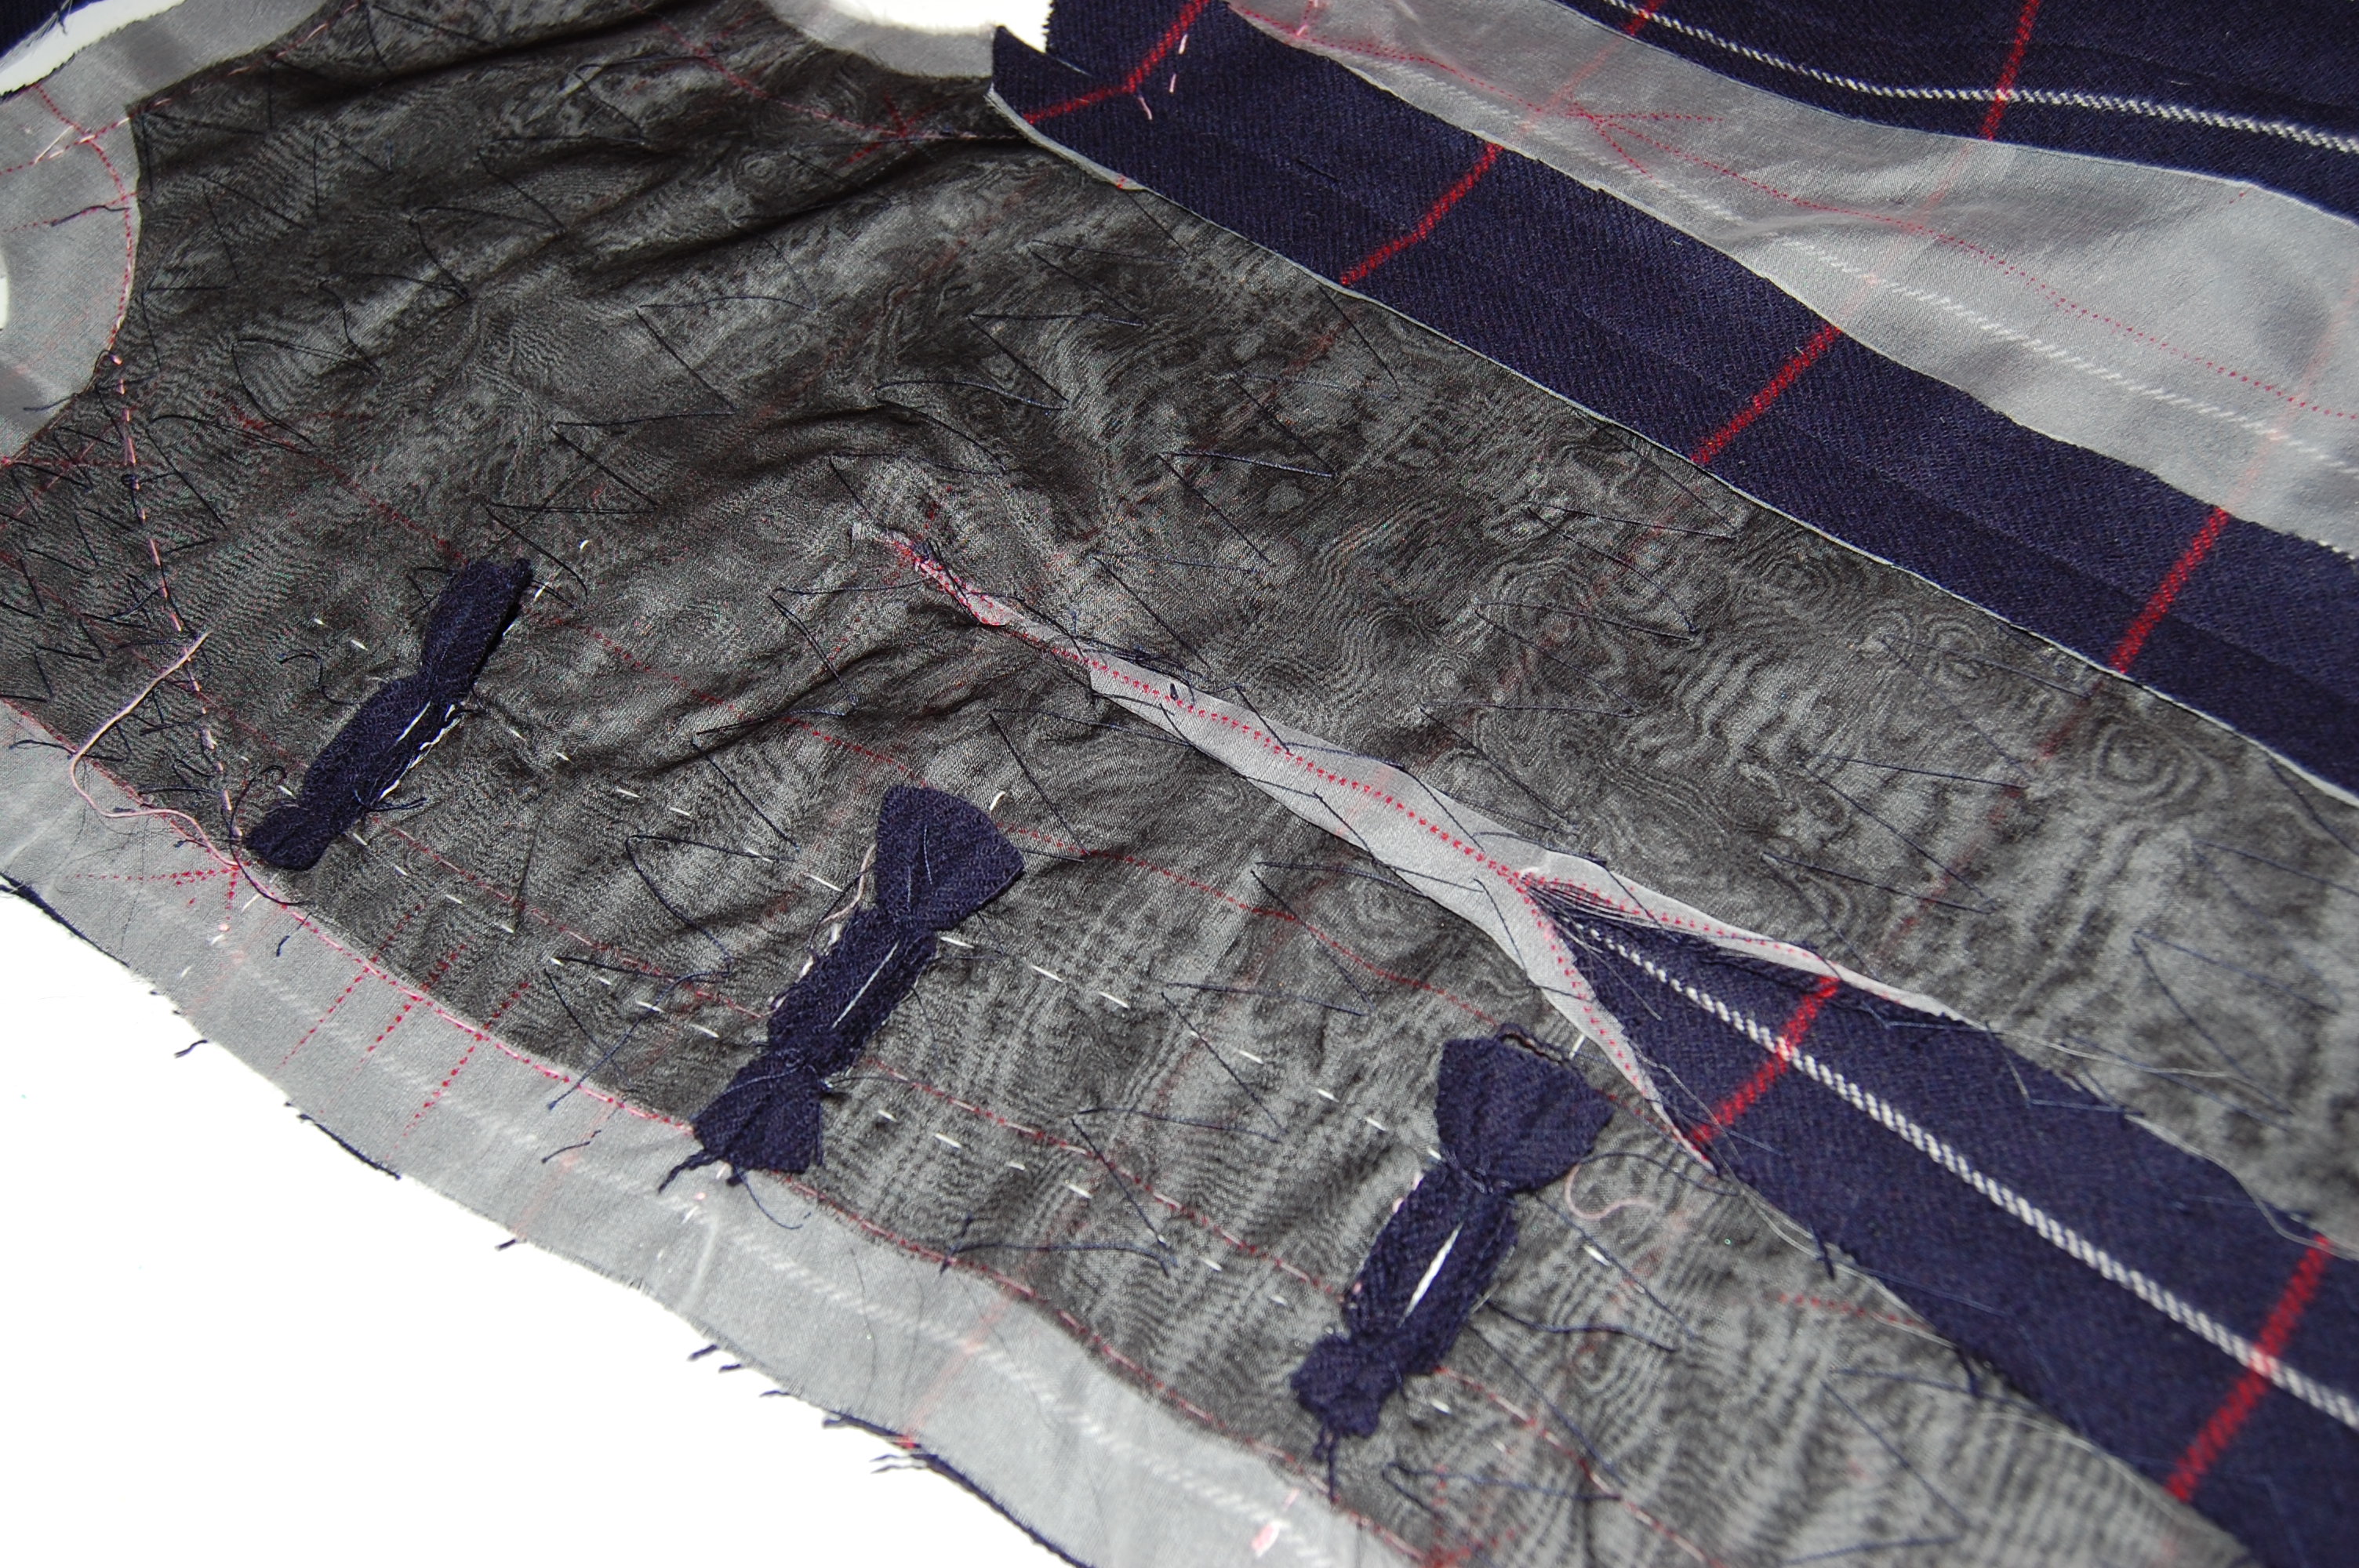
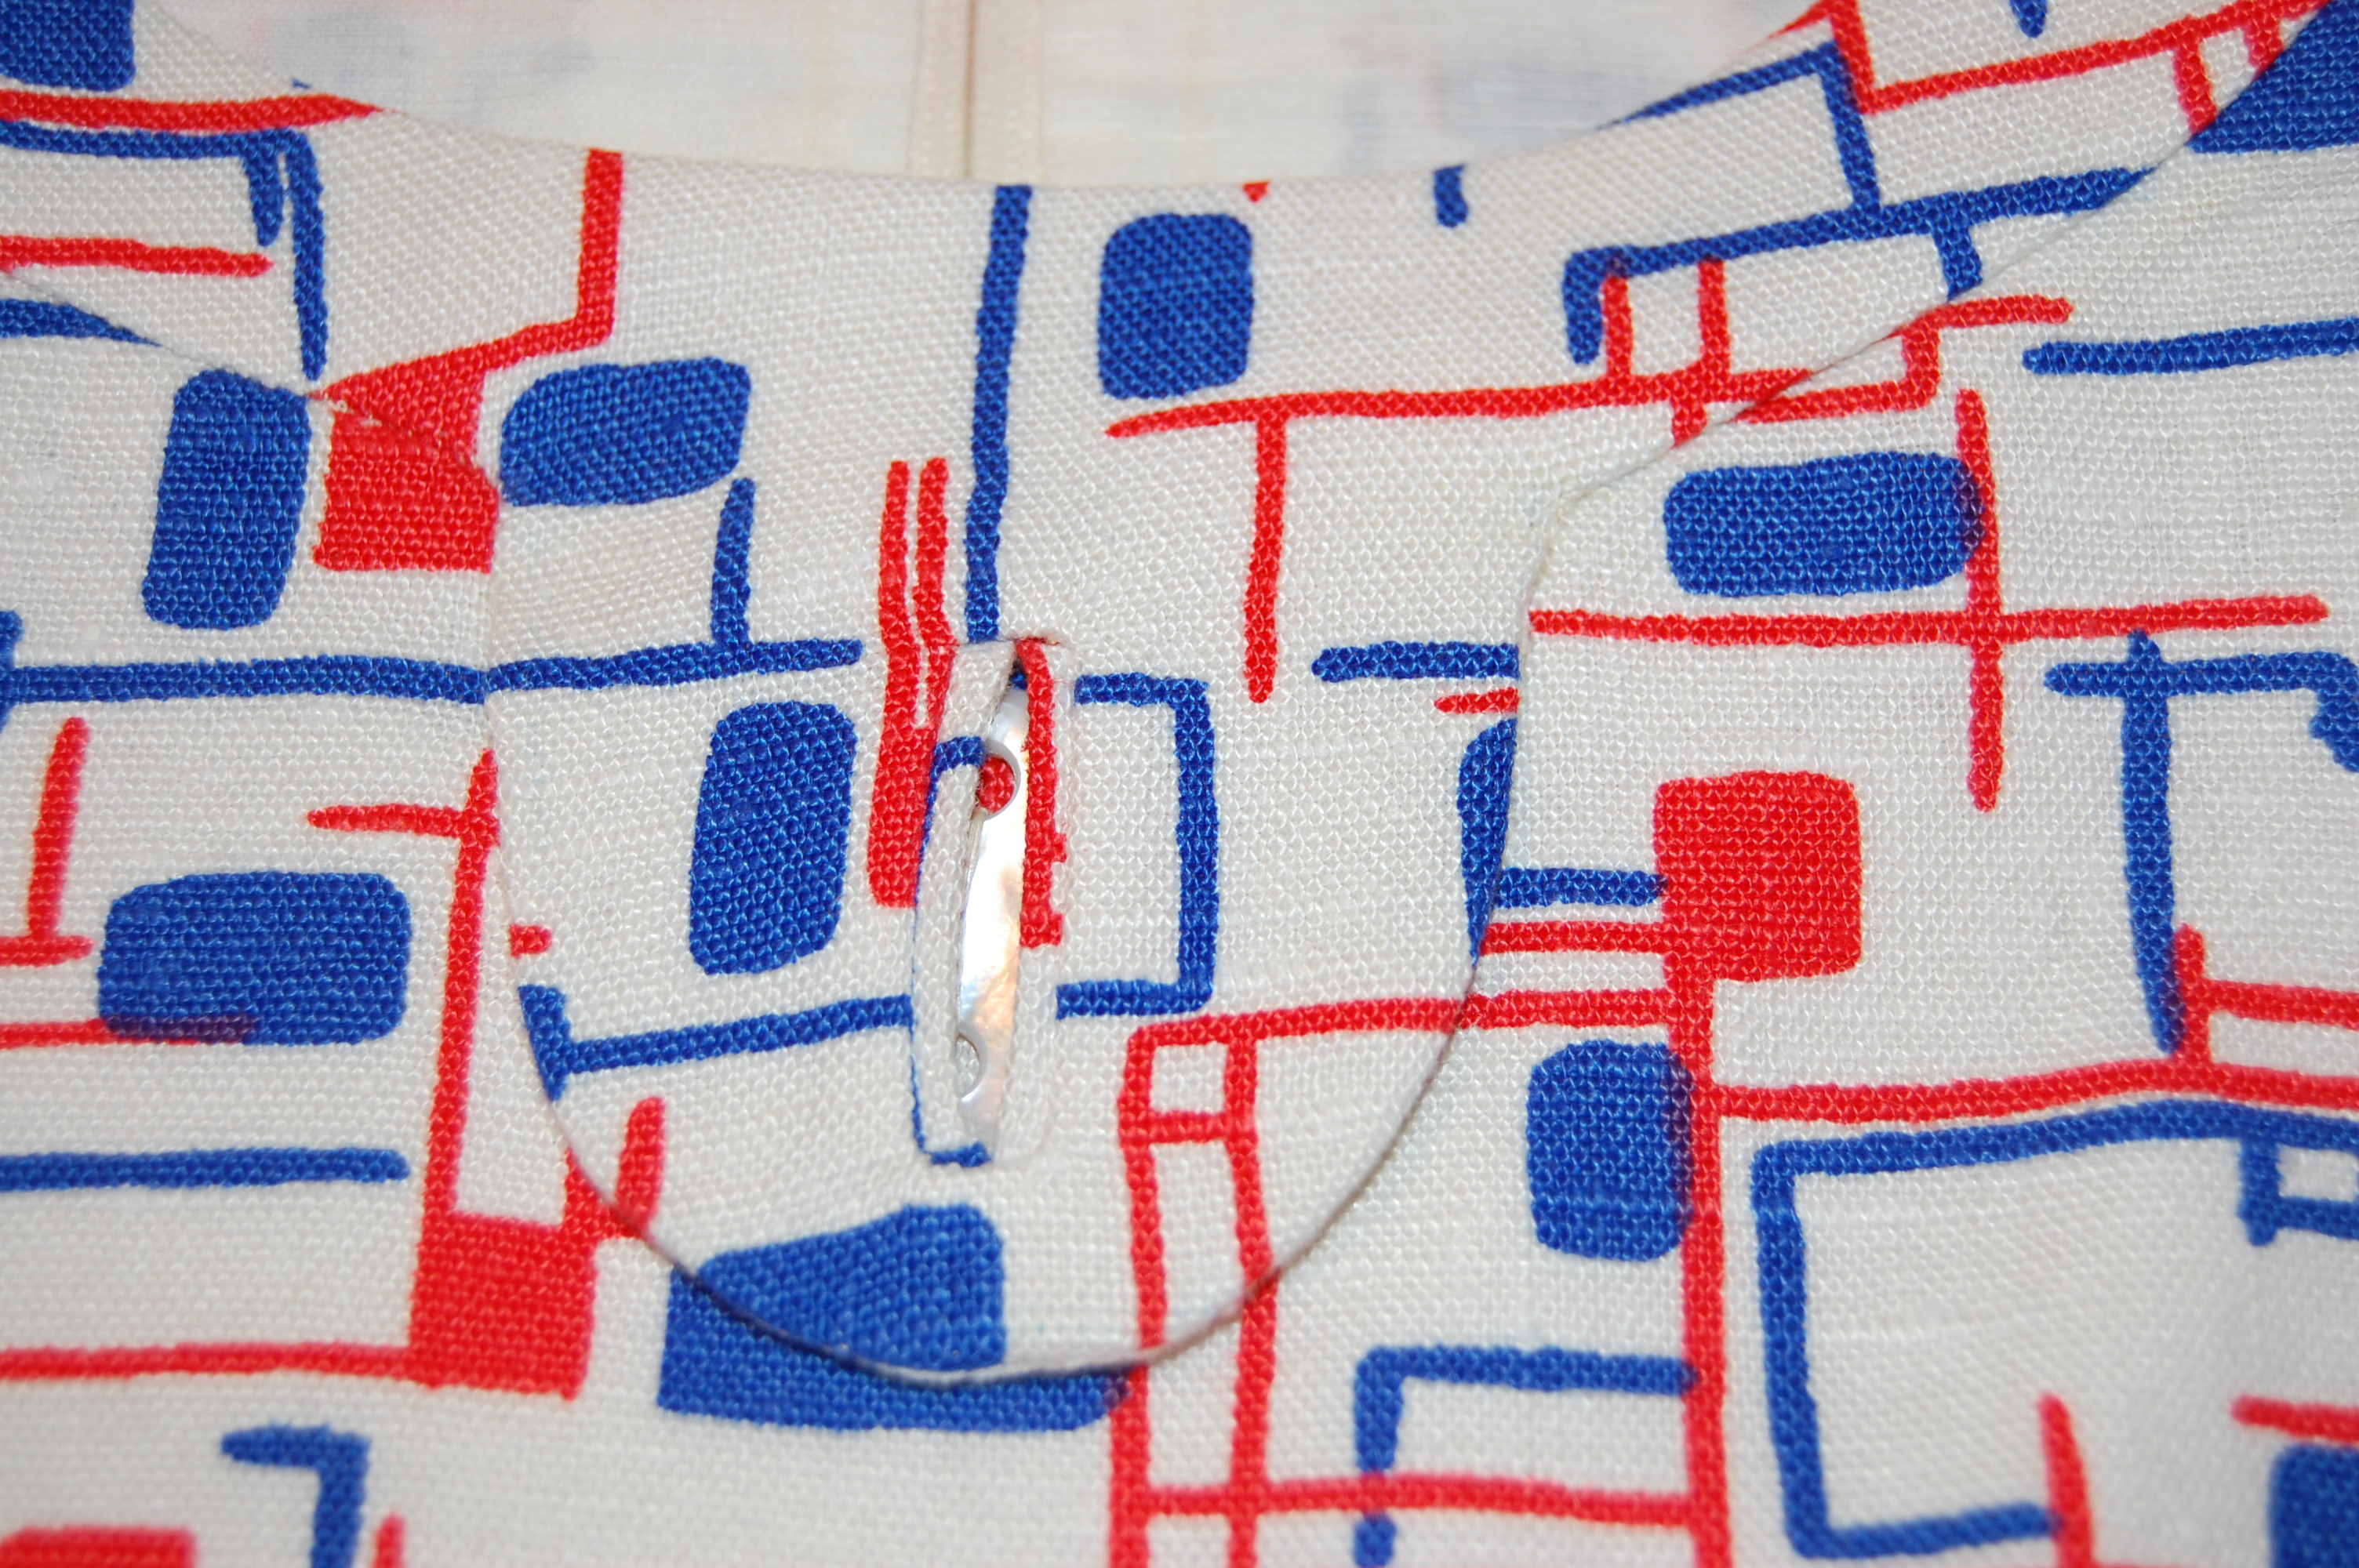
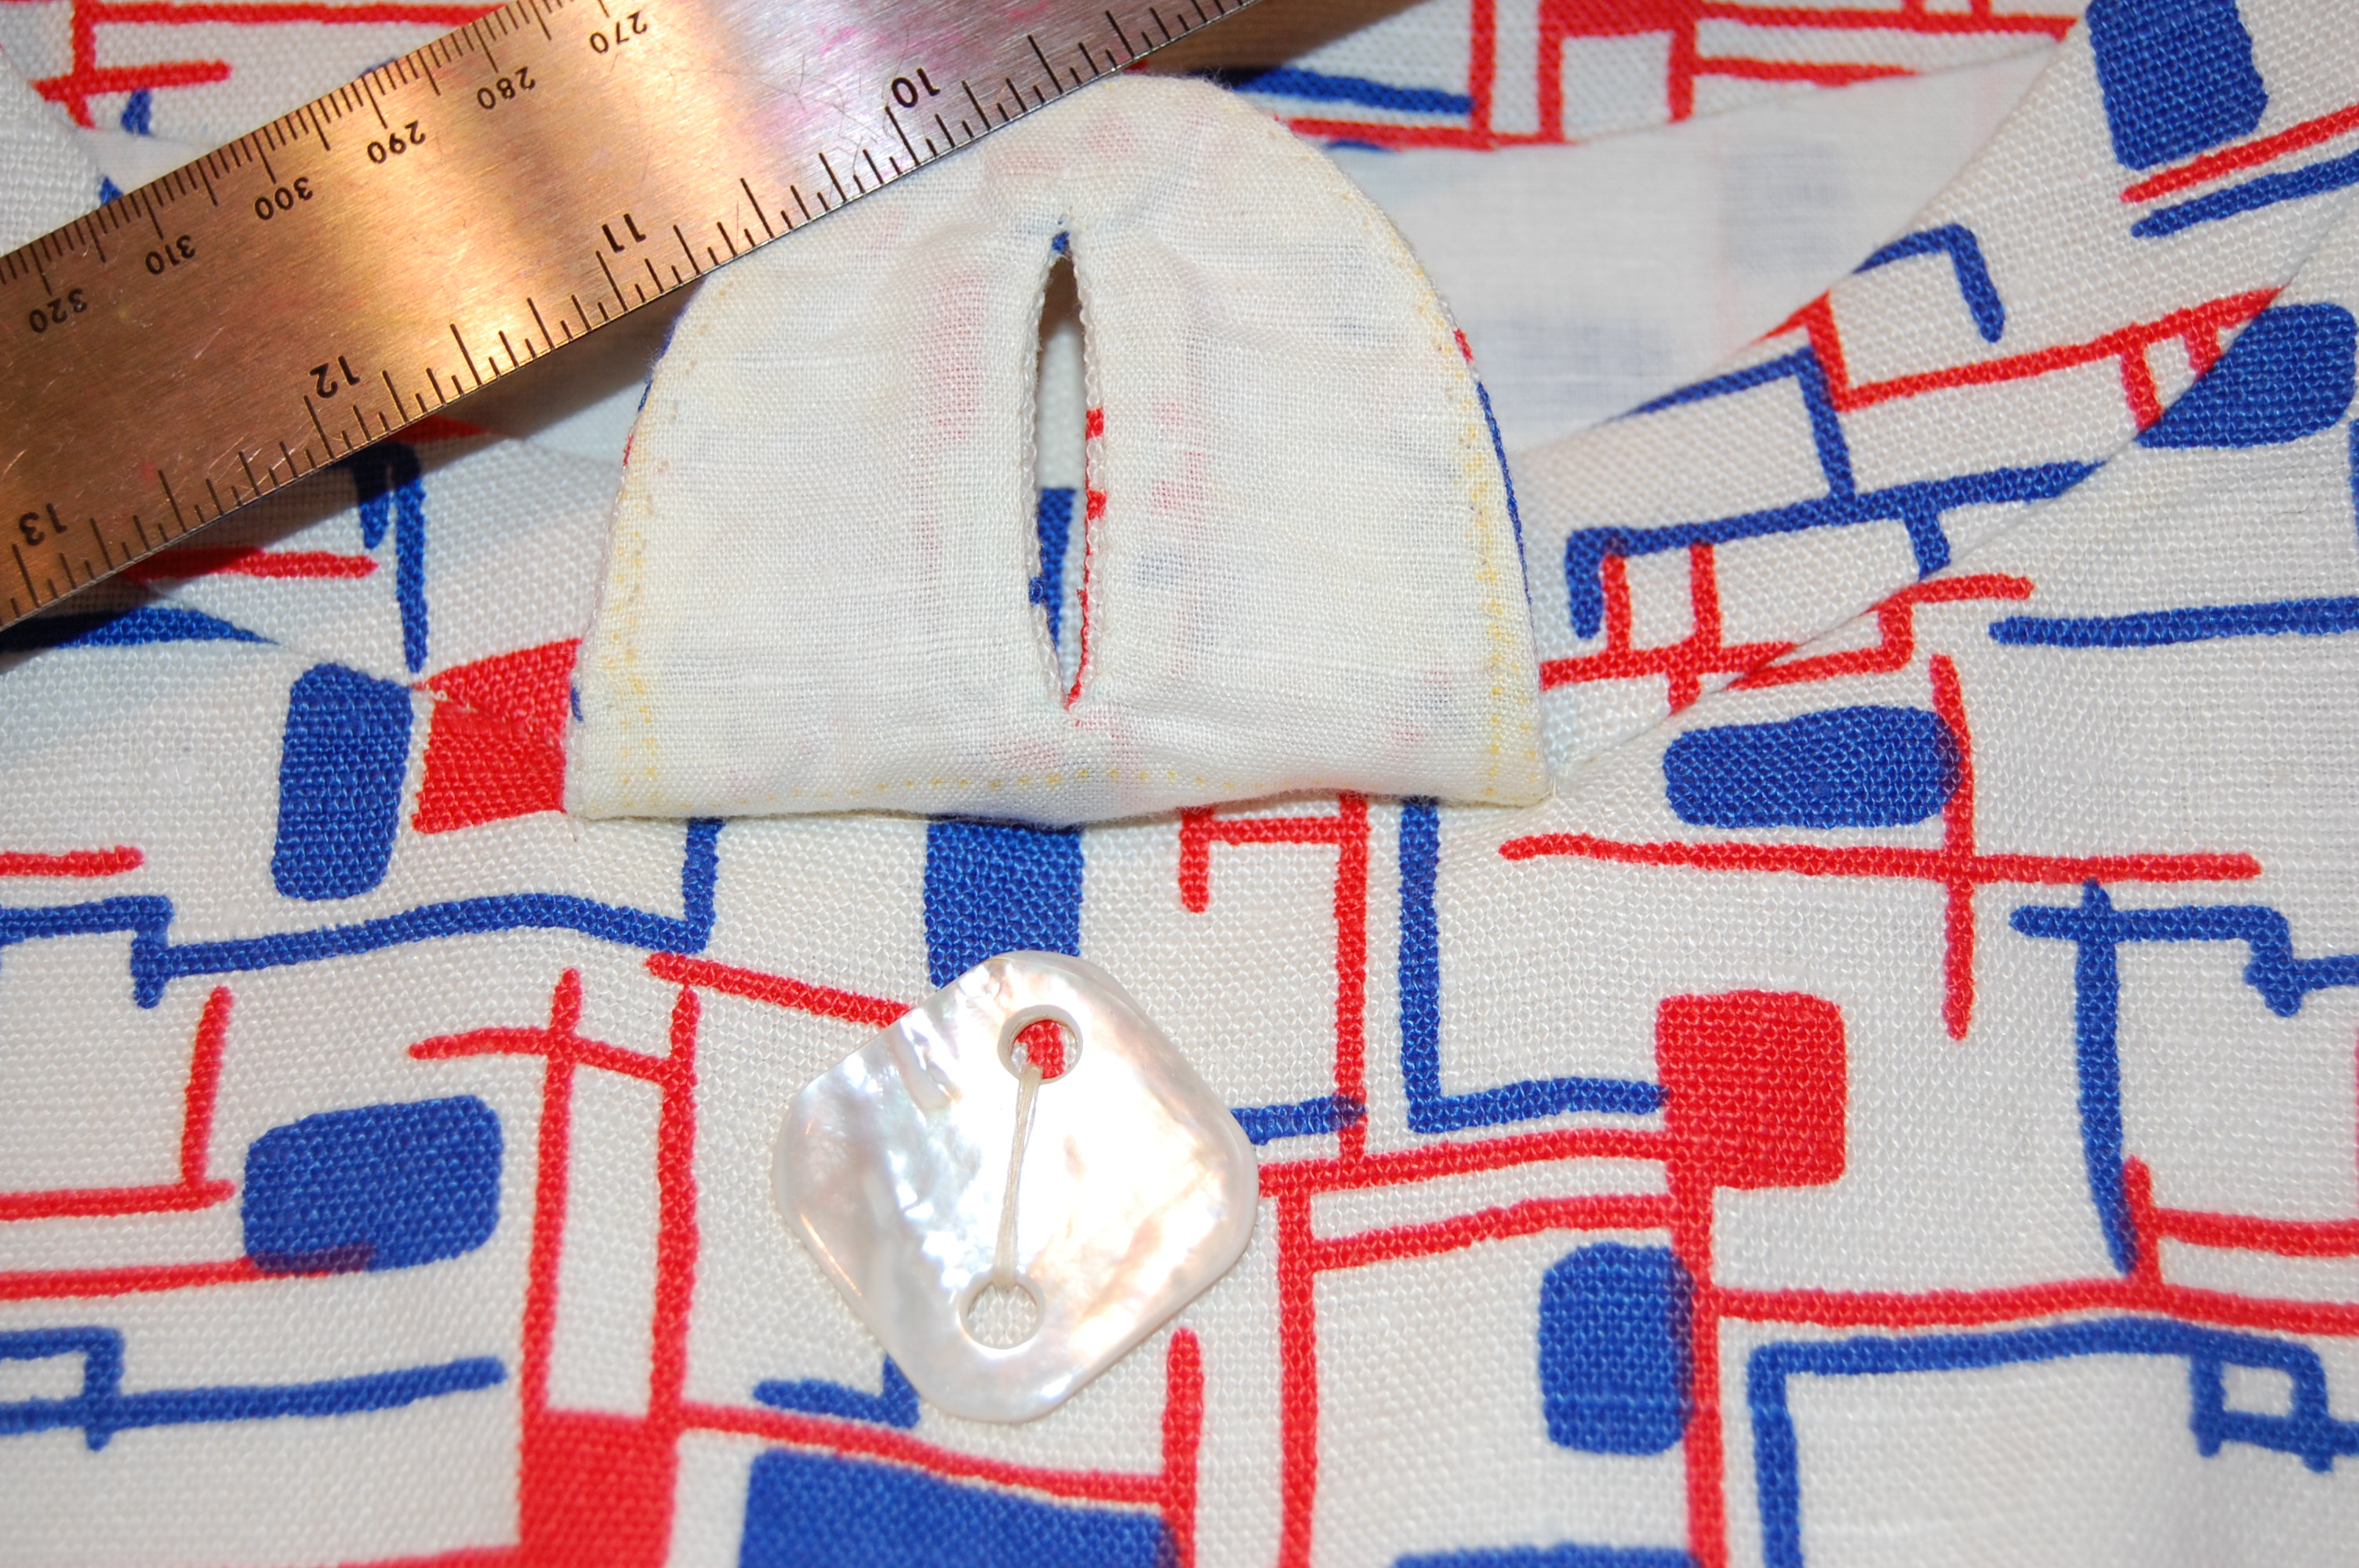
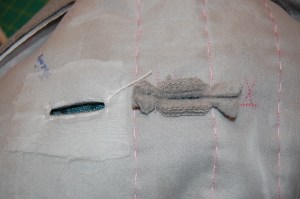
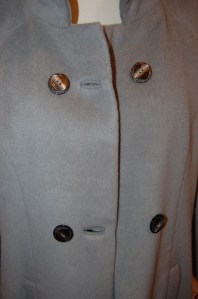
First the buttonholes and buttons: because the cashmere fabric is coat-weight, I needed to make the “lips” of the buttonholes a bit wider than normal. Once again, I used an organza patch on the underside of the buttonholes, which makes a very nice interior finish:
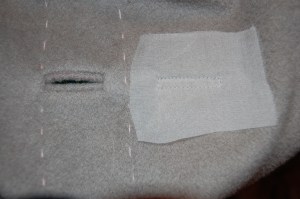
The line of basting stitches is the fold line – the organza patch is on the facing part of the front edge.
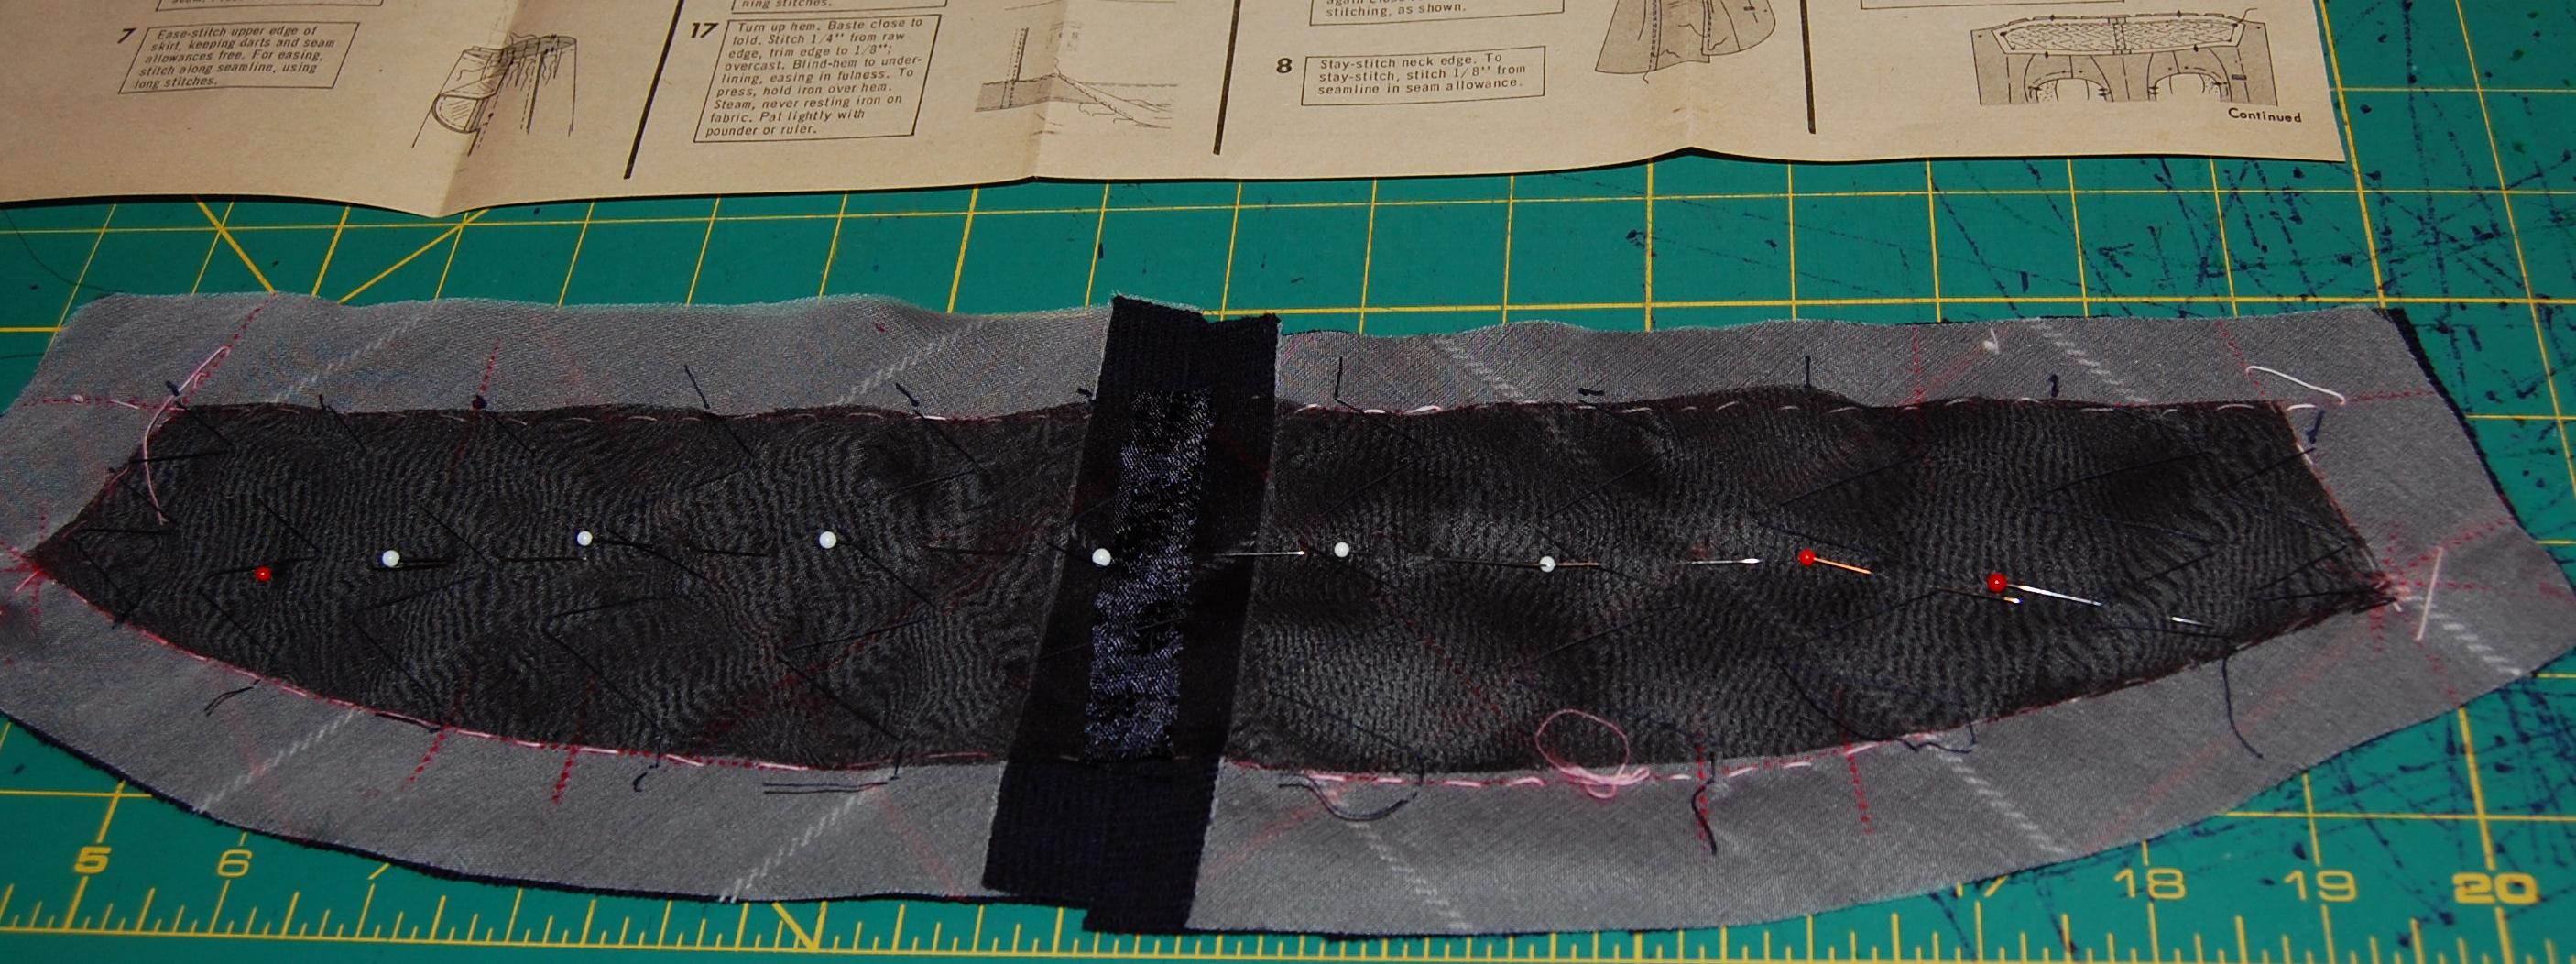
Here is the patch ready to be sewn onto the back of the buttonhole.
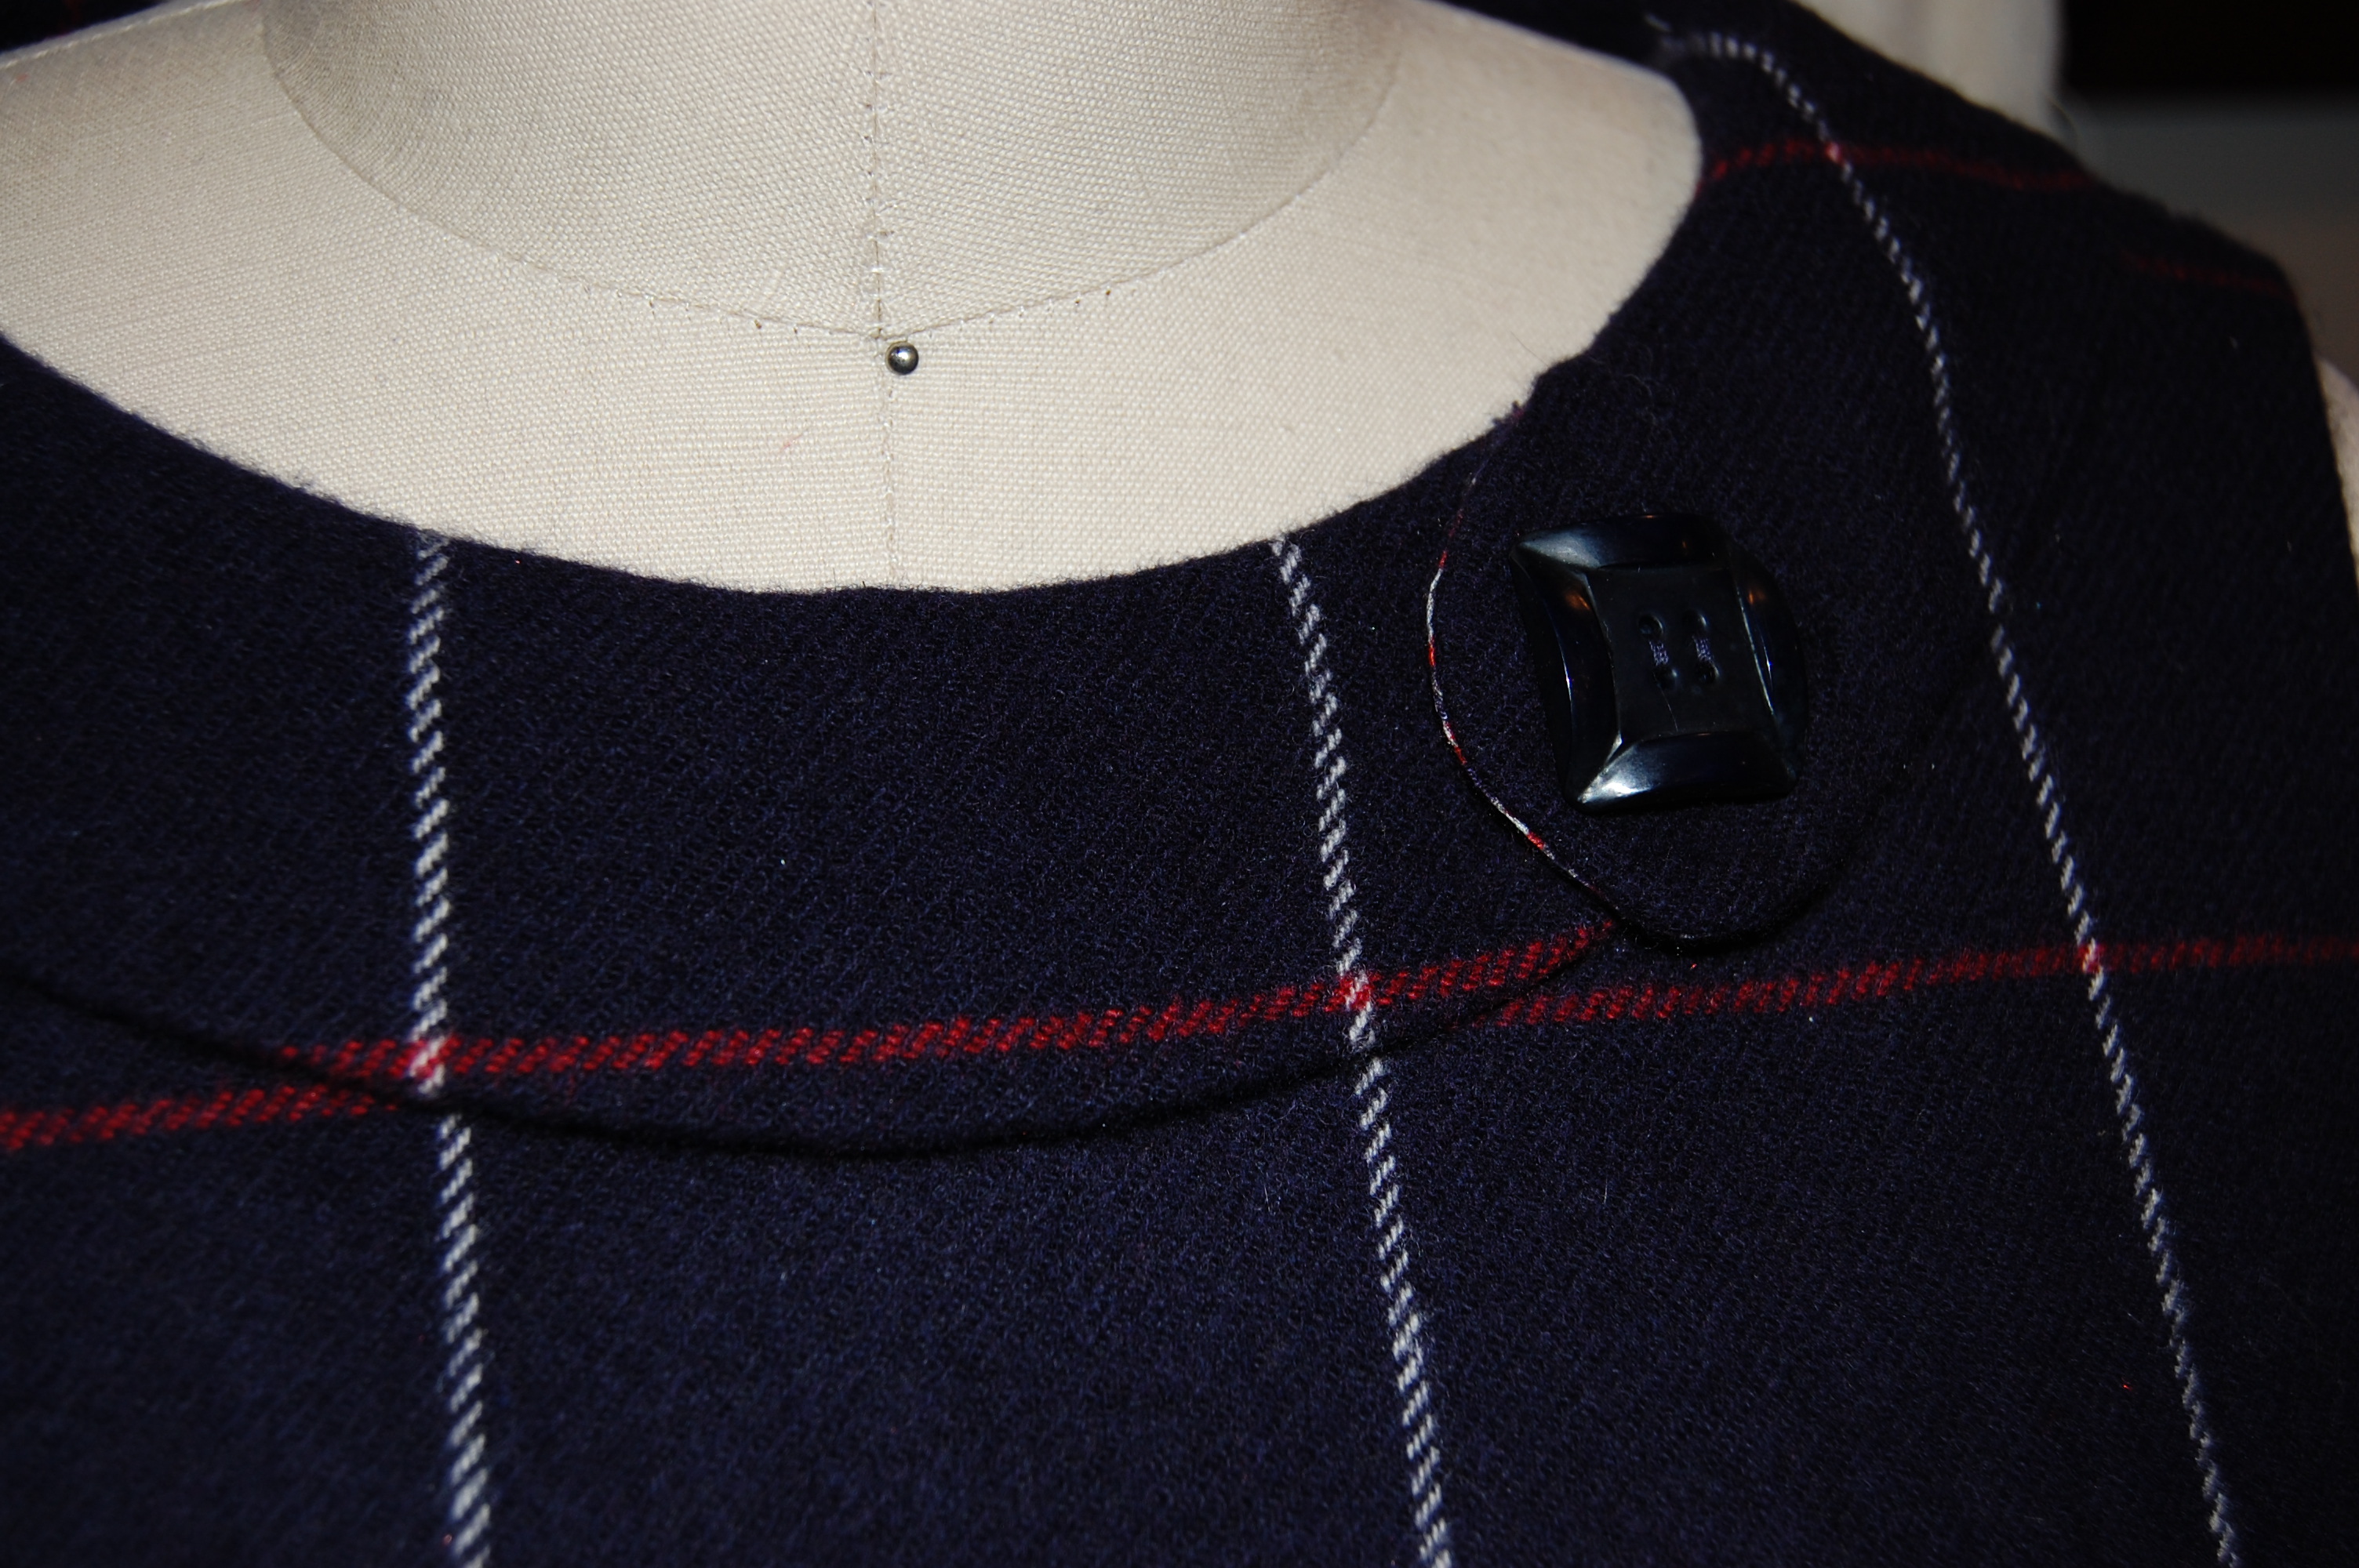
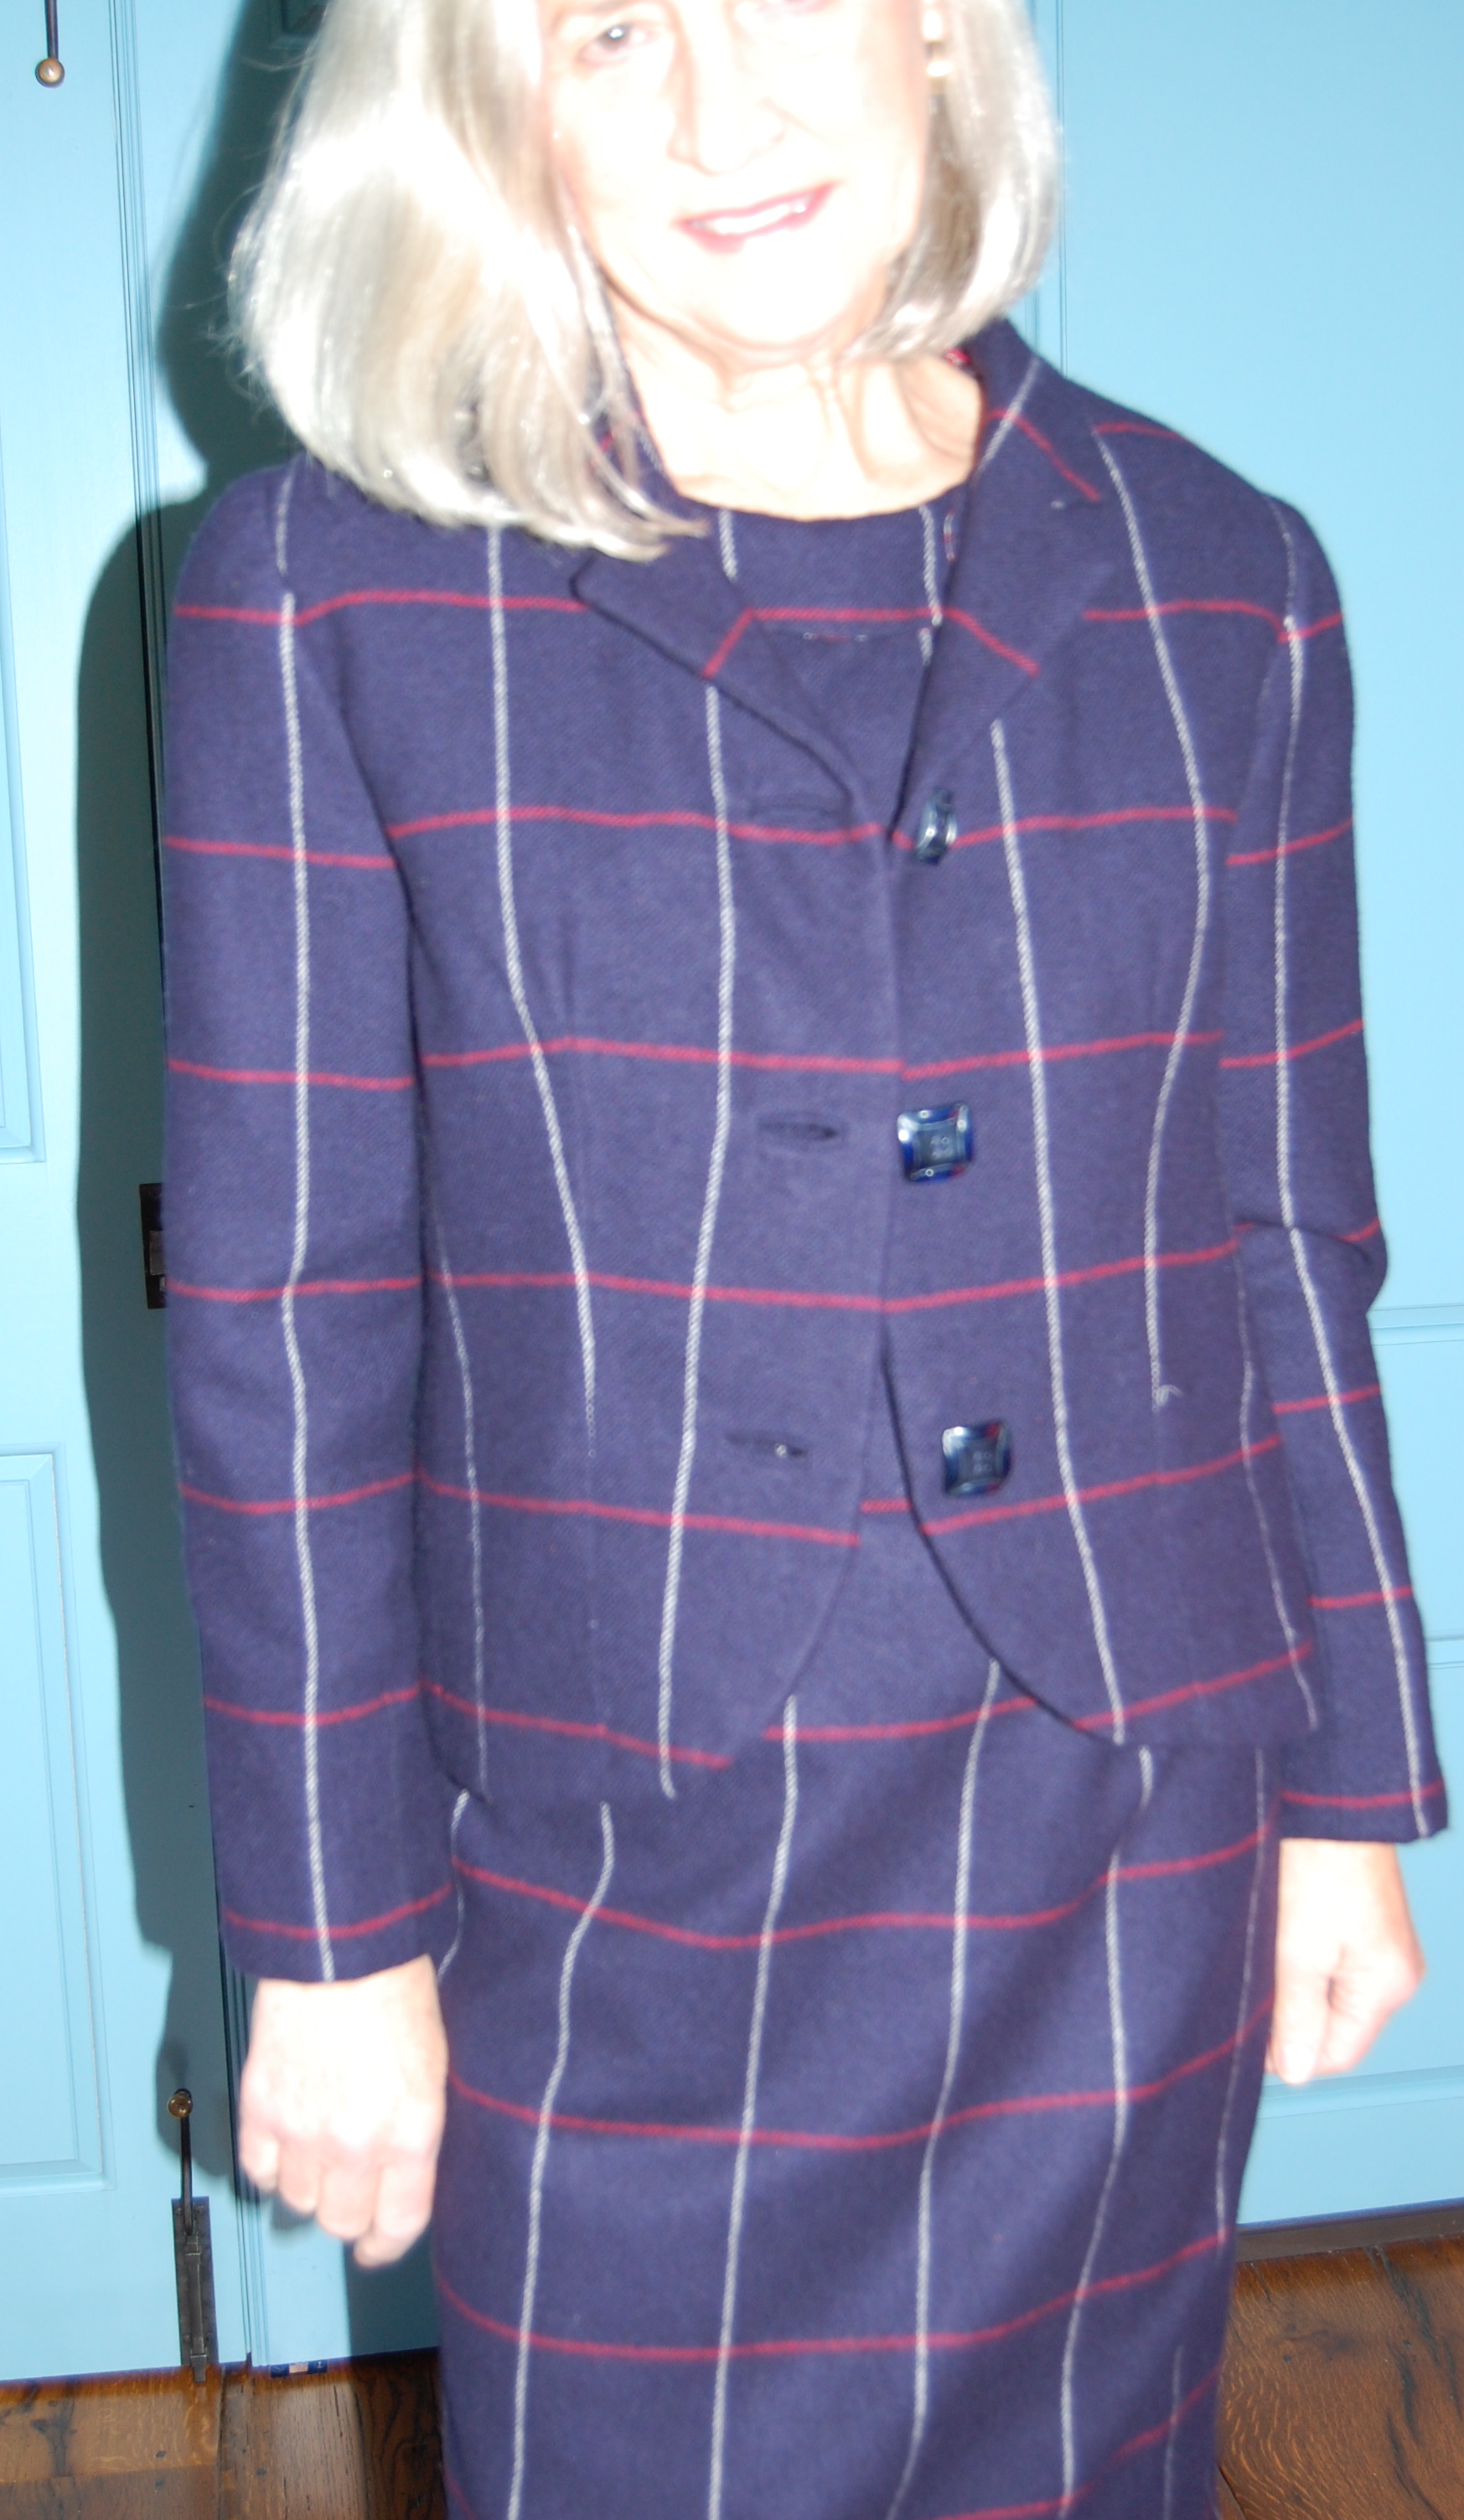
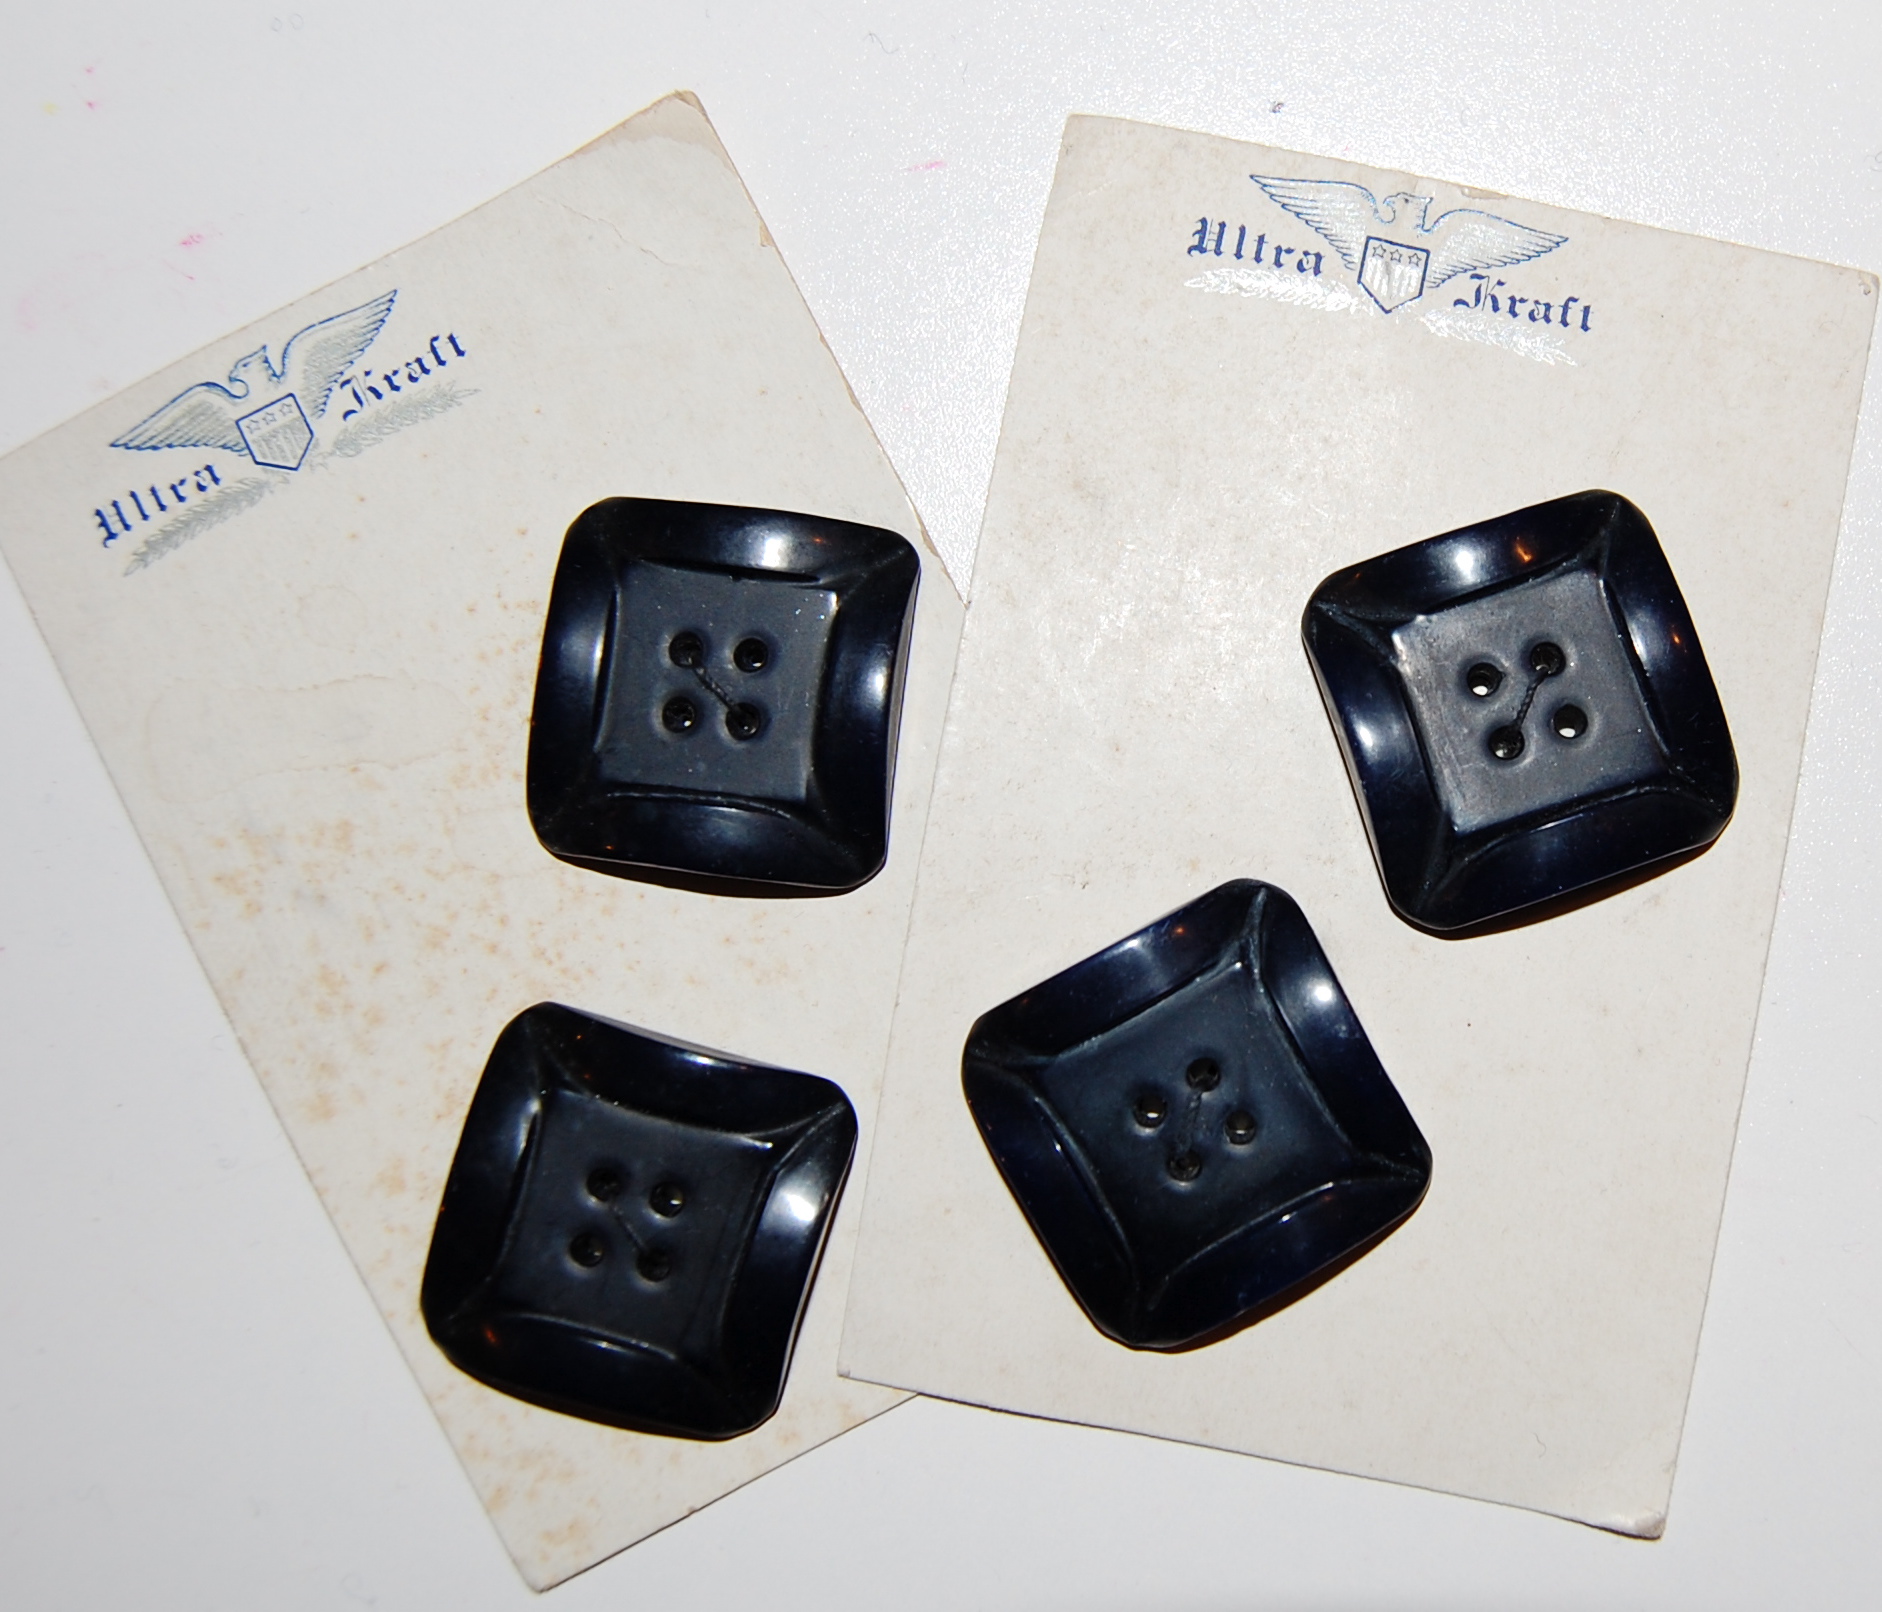
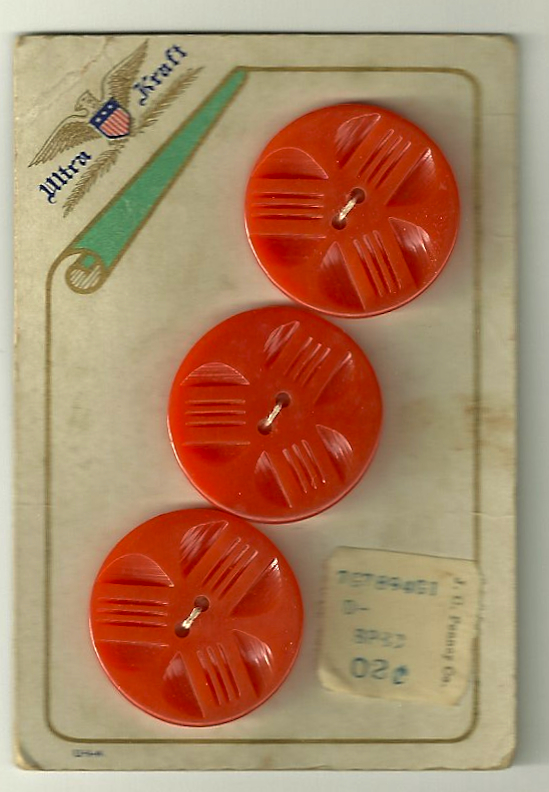
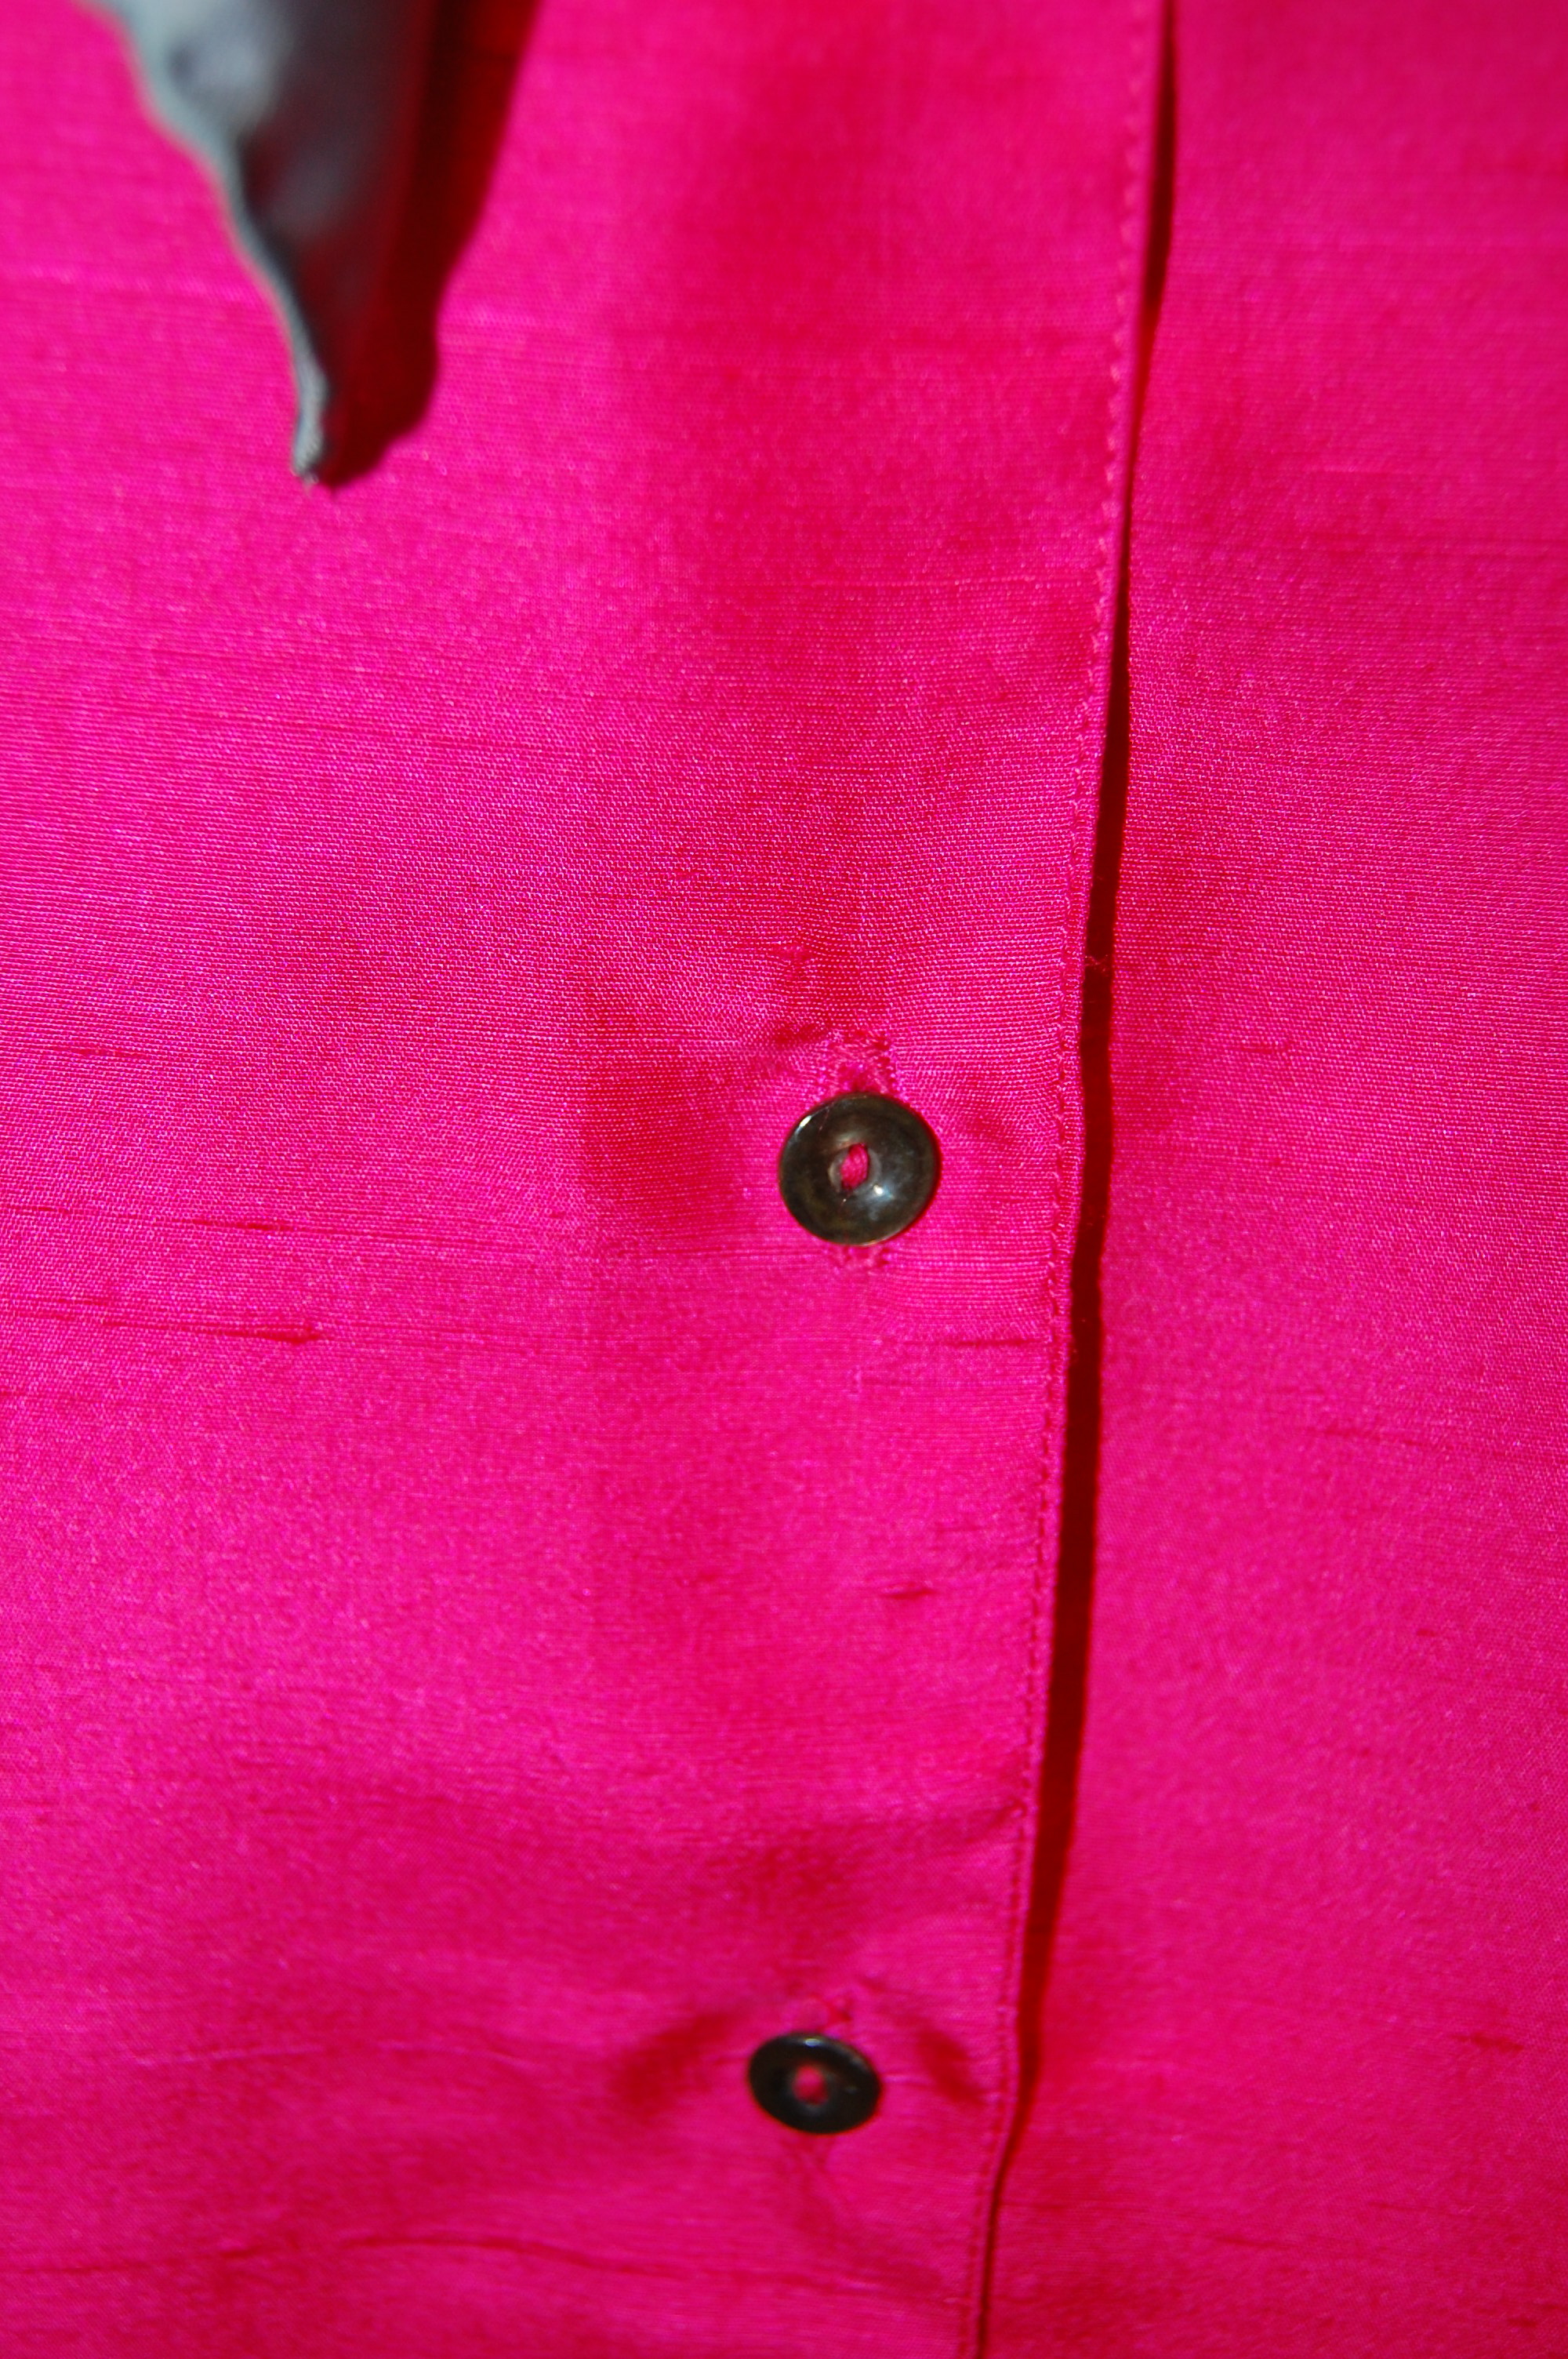
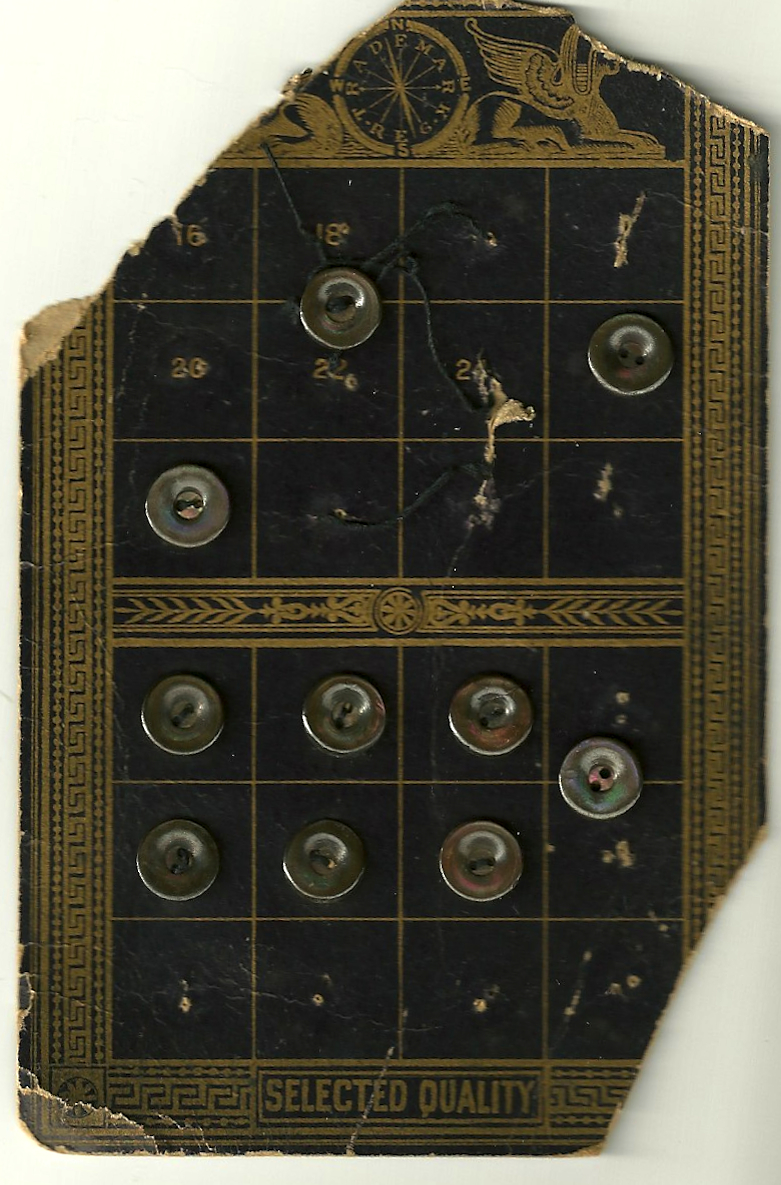
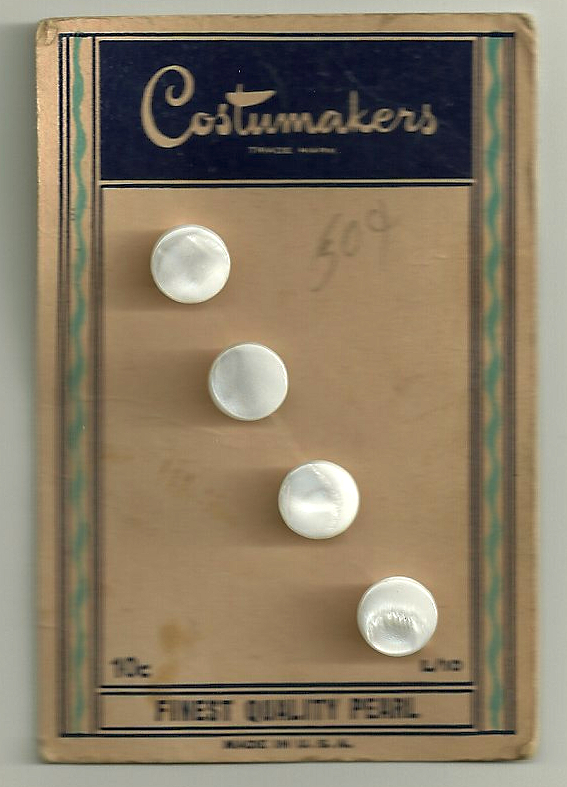
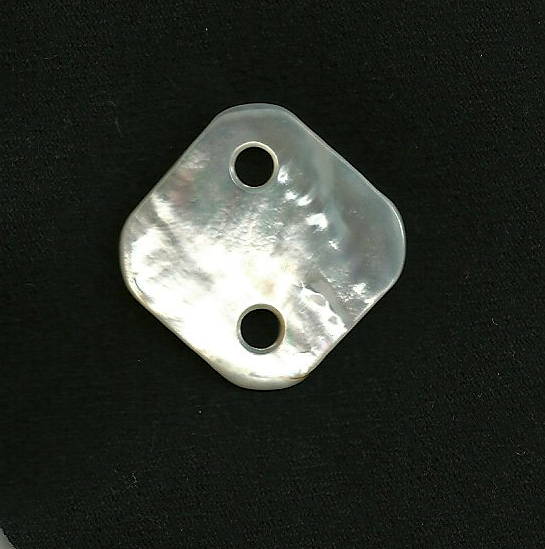
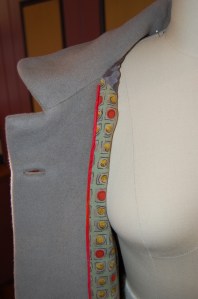
I found these vintage buttons in an Etsy shop. Although they appear to be gray mother-of-pearl, they are actually plastic. The iridescent strip through the middle of each one, along with the square detail on the tops, gave me the idea to arrange them on an angle. I think they add just the right amount of interest to the front of the coat.
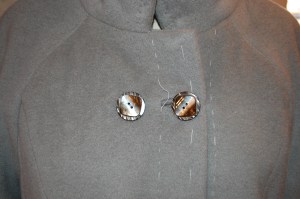
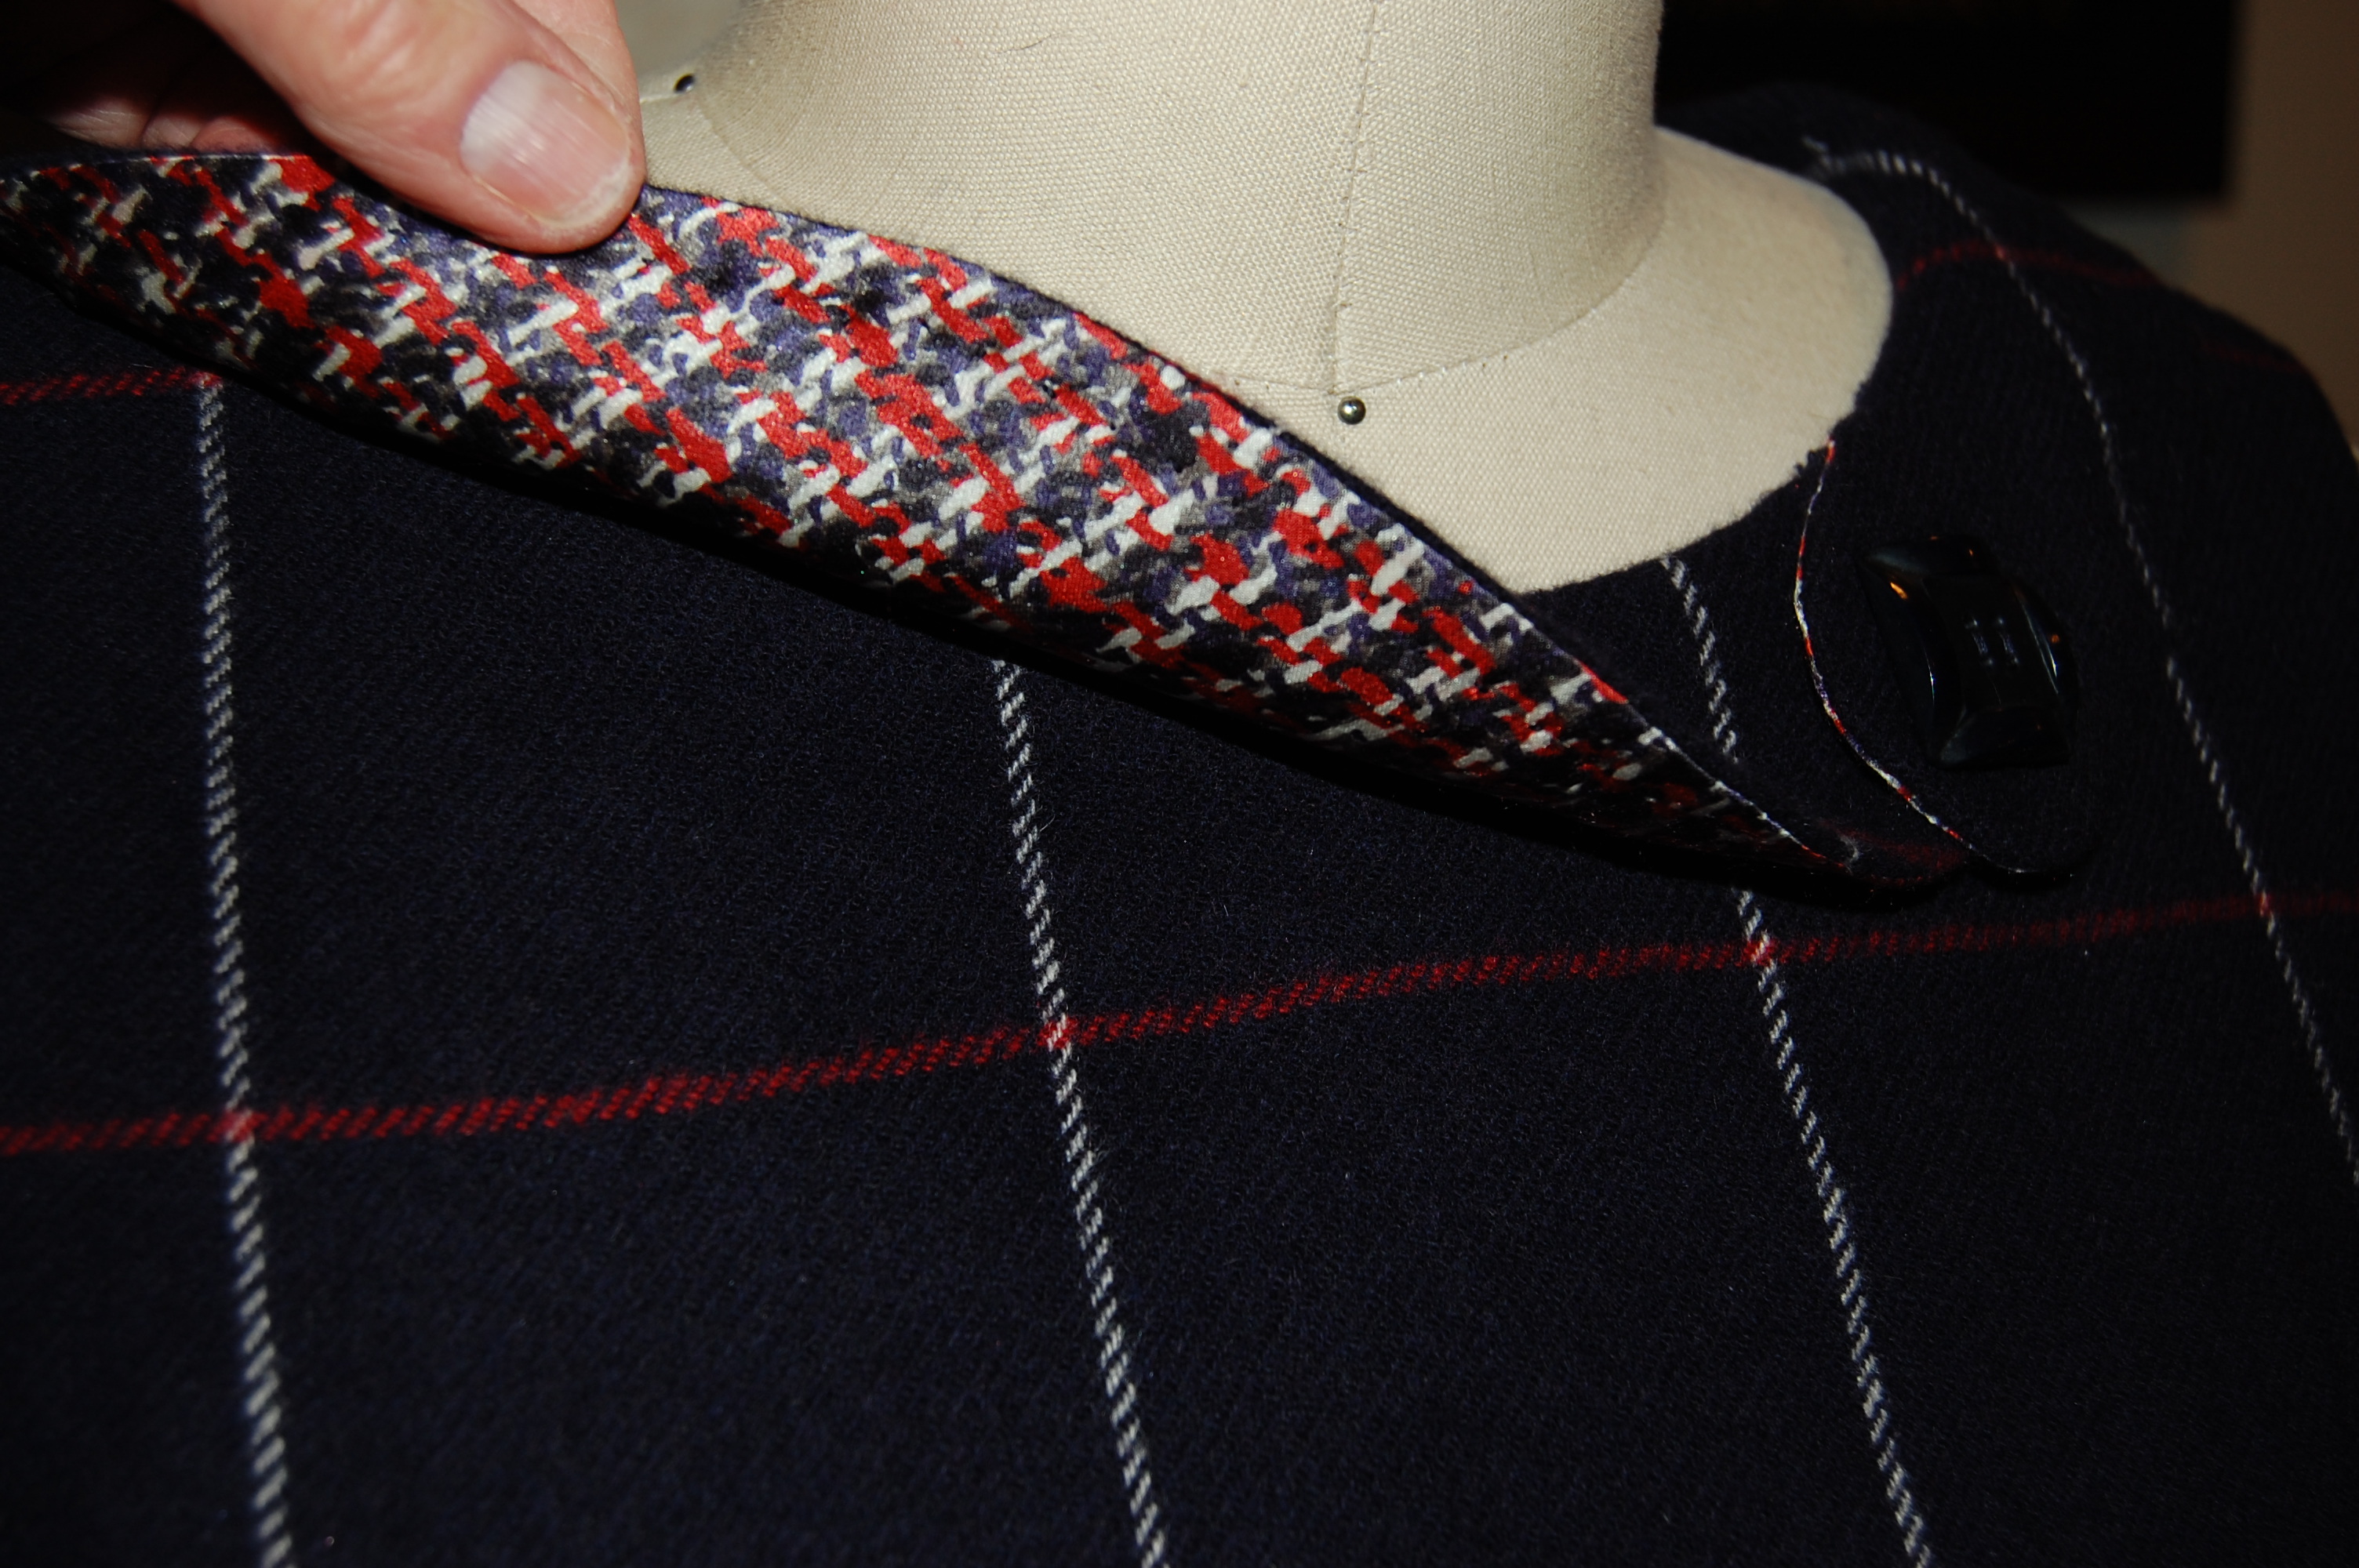
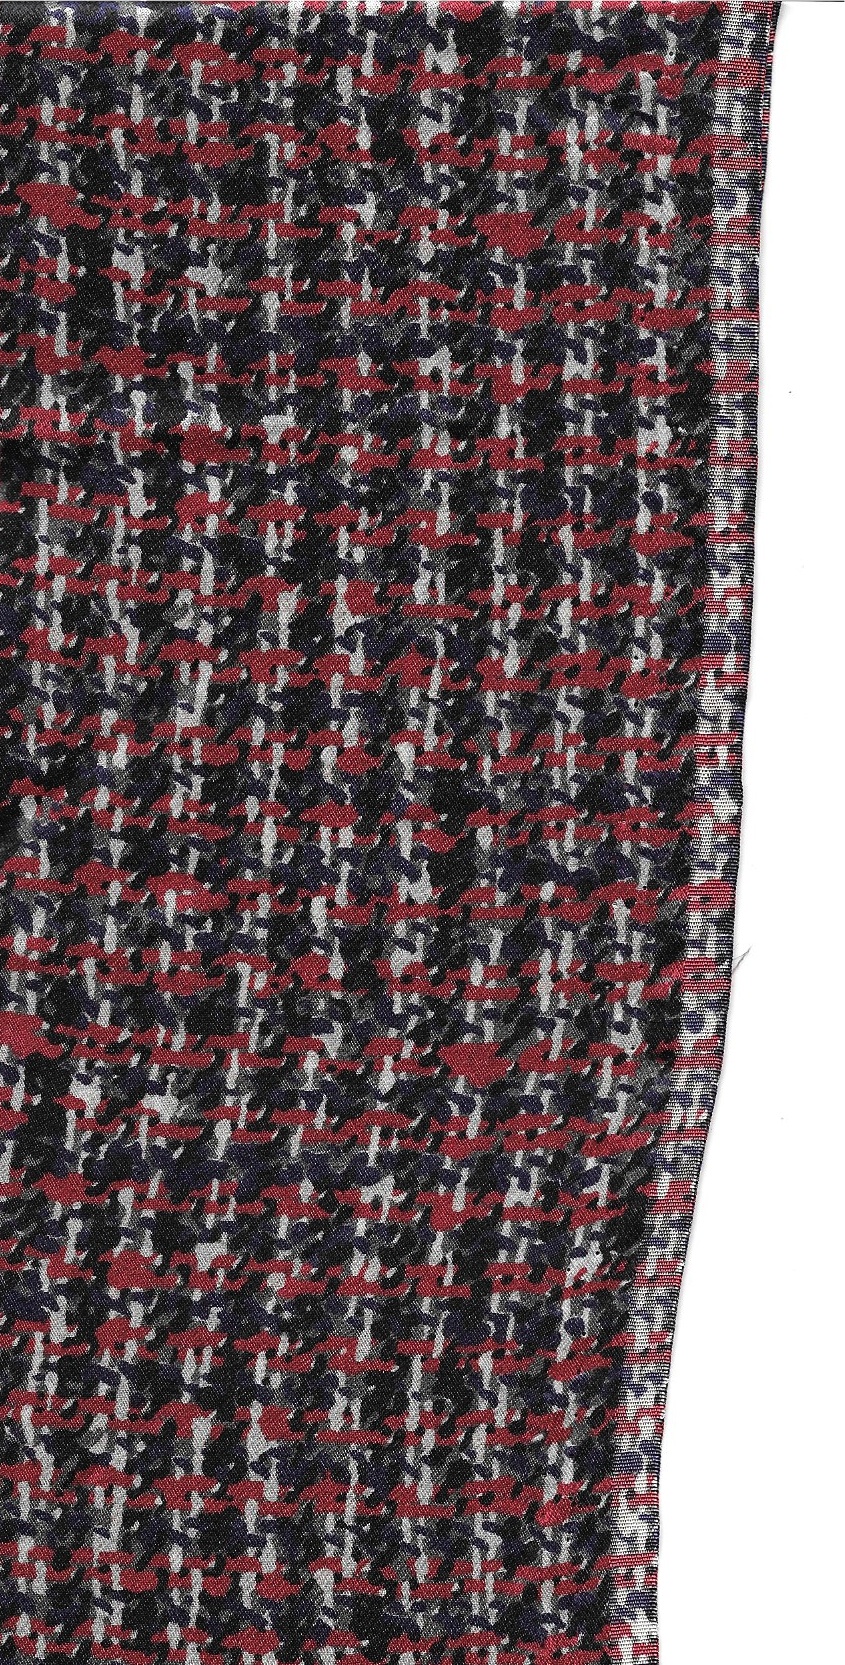
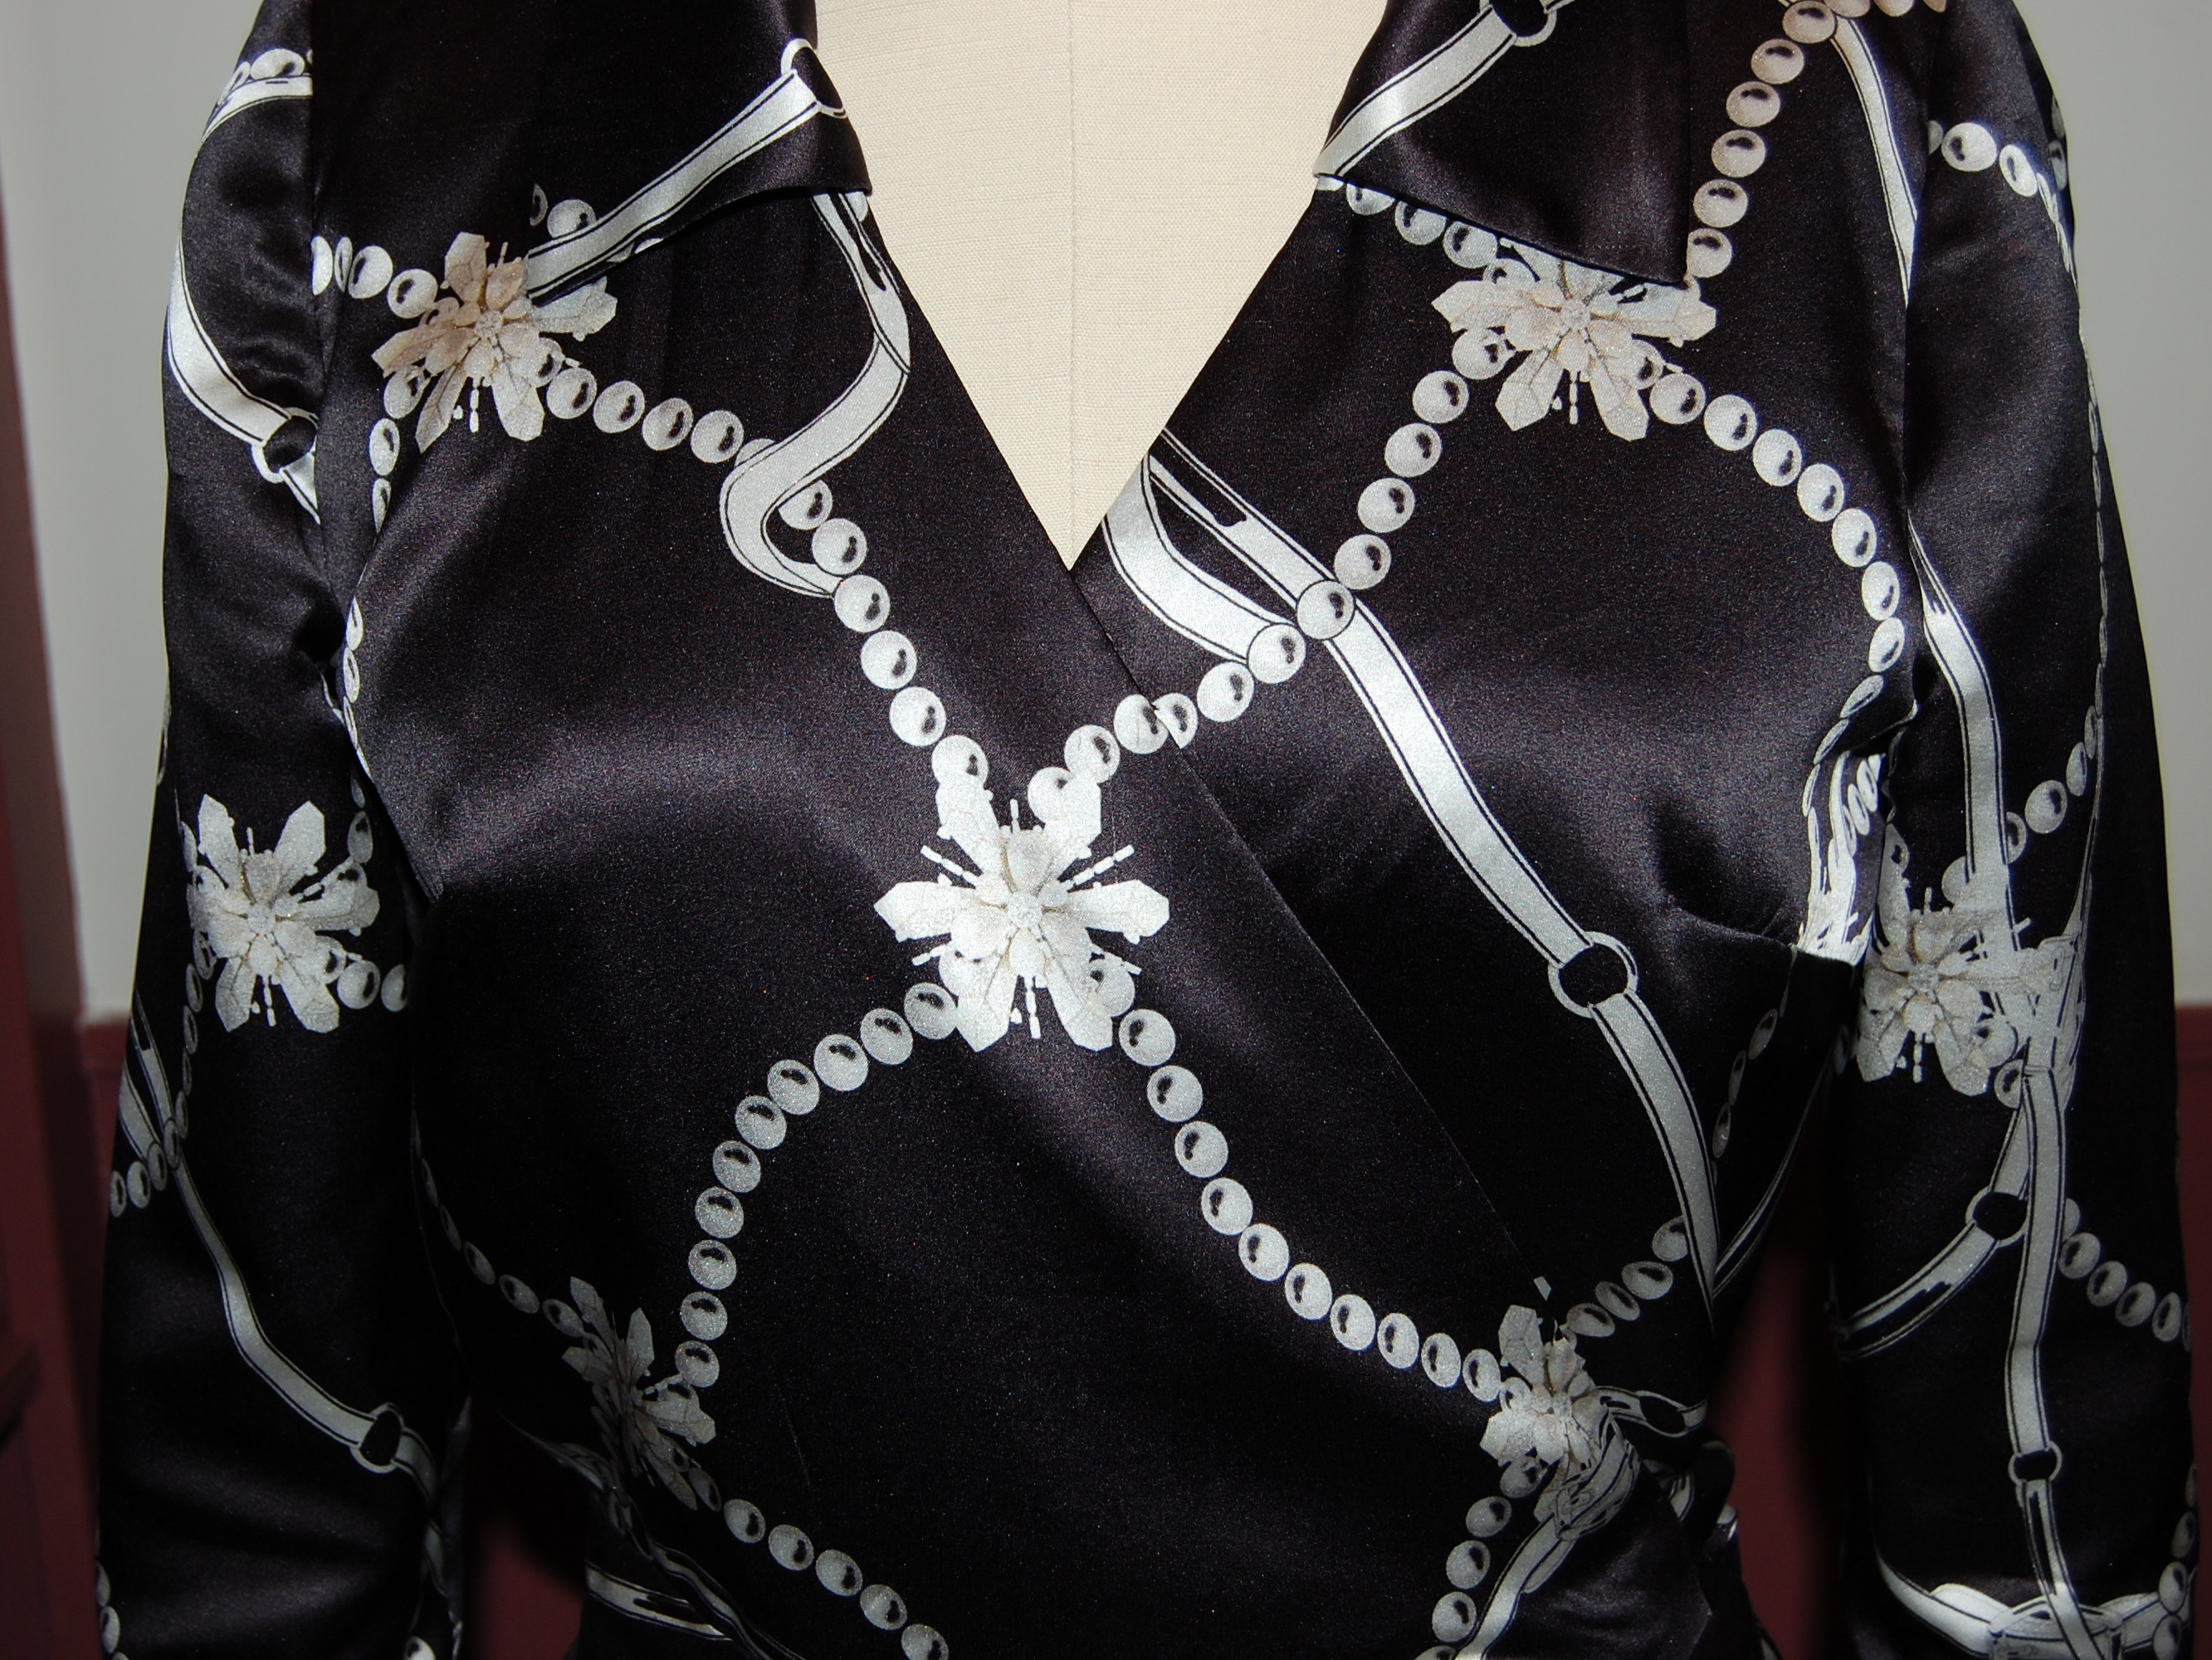
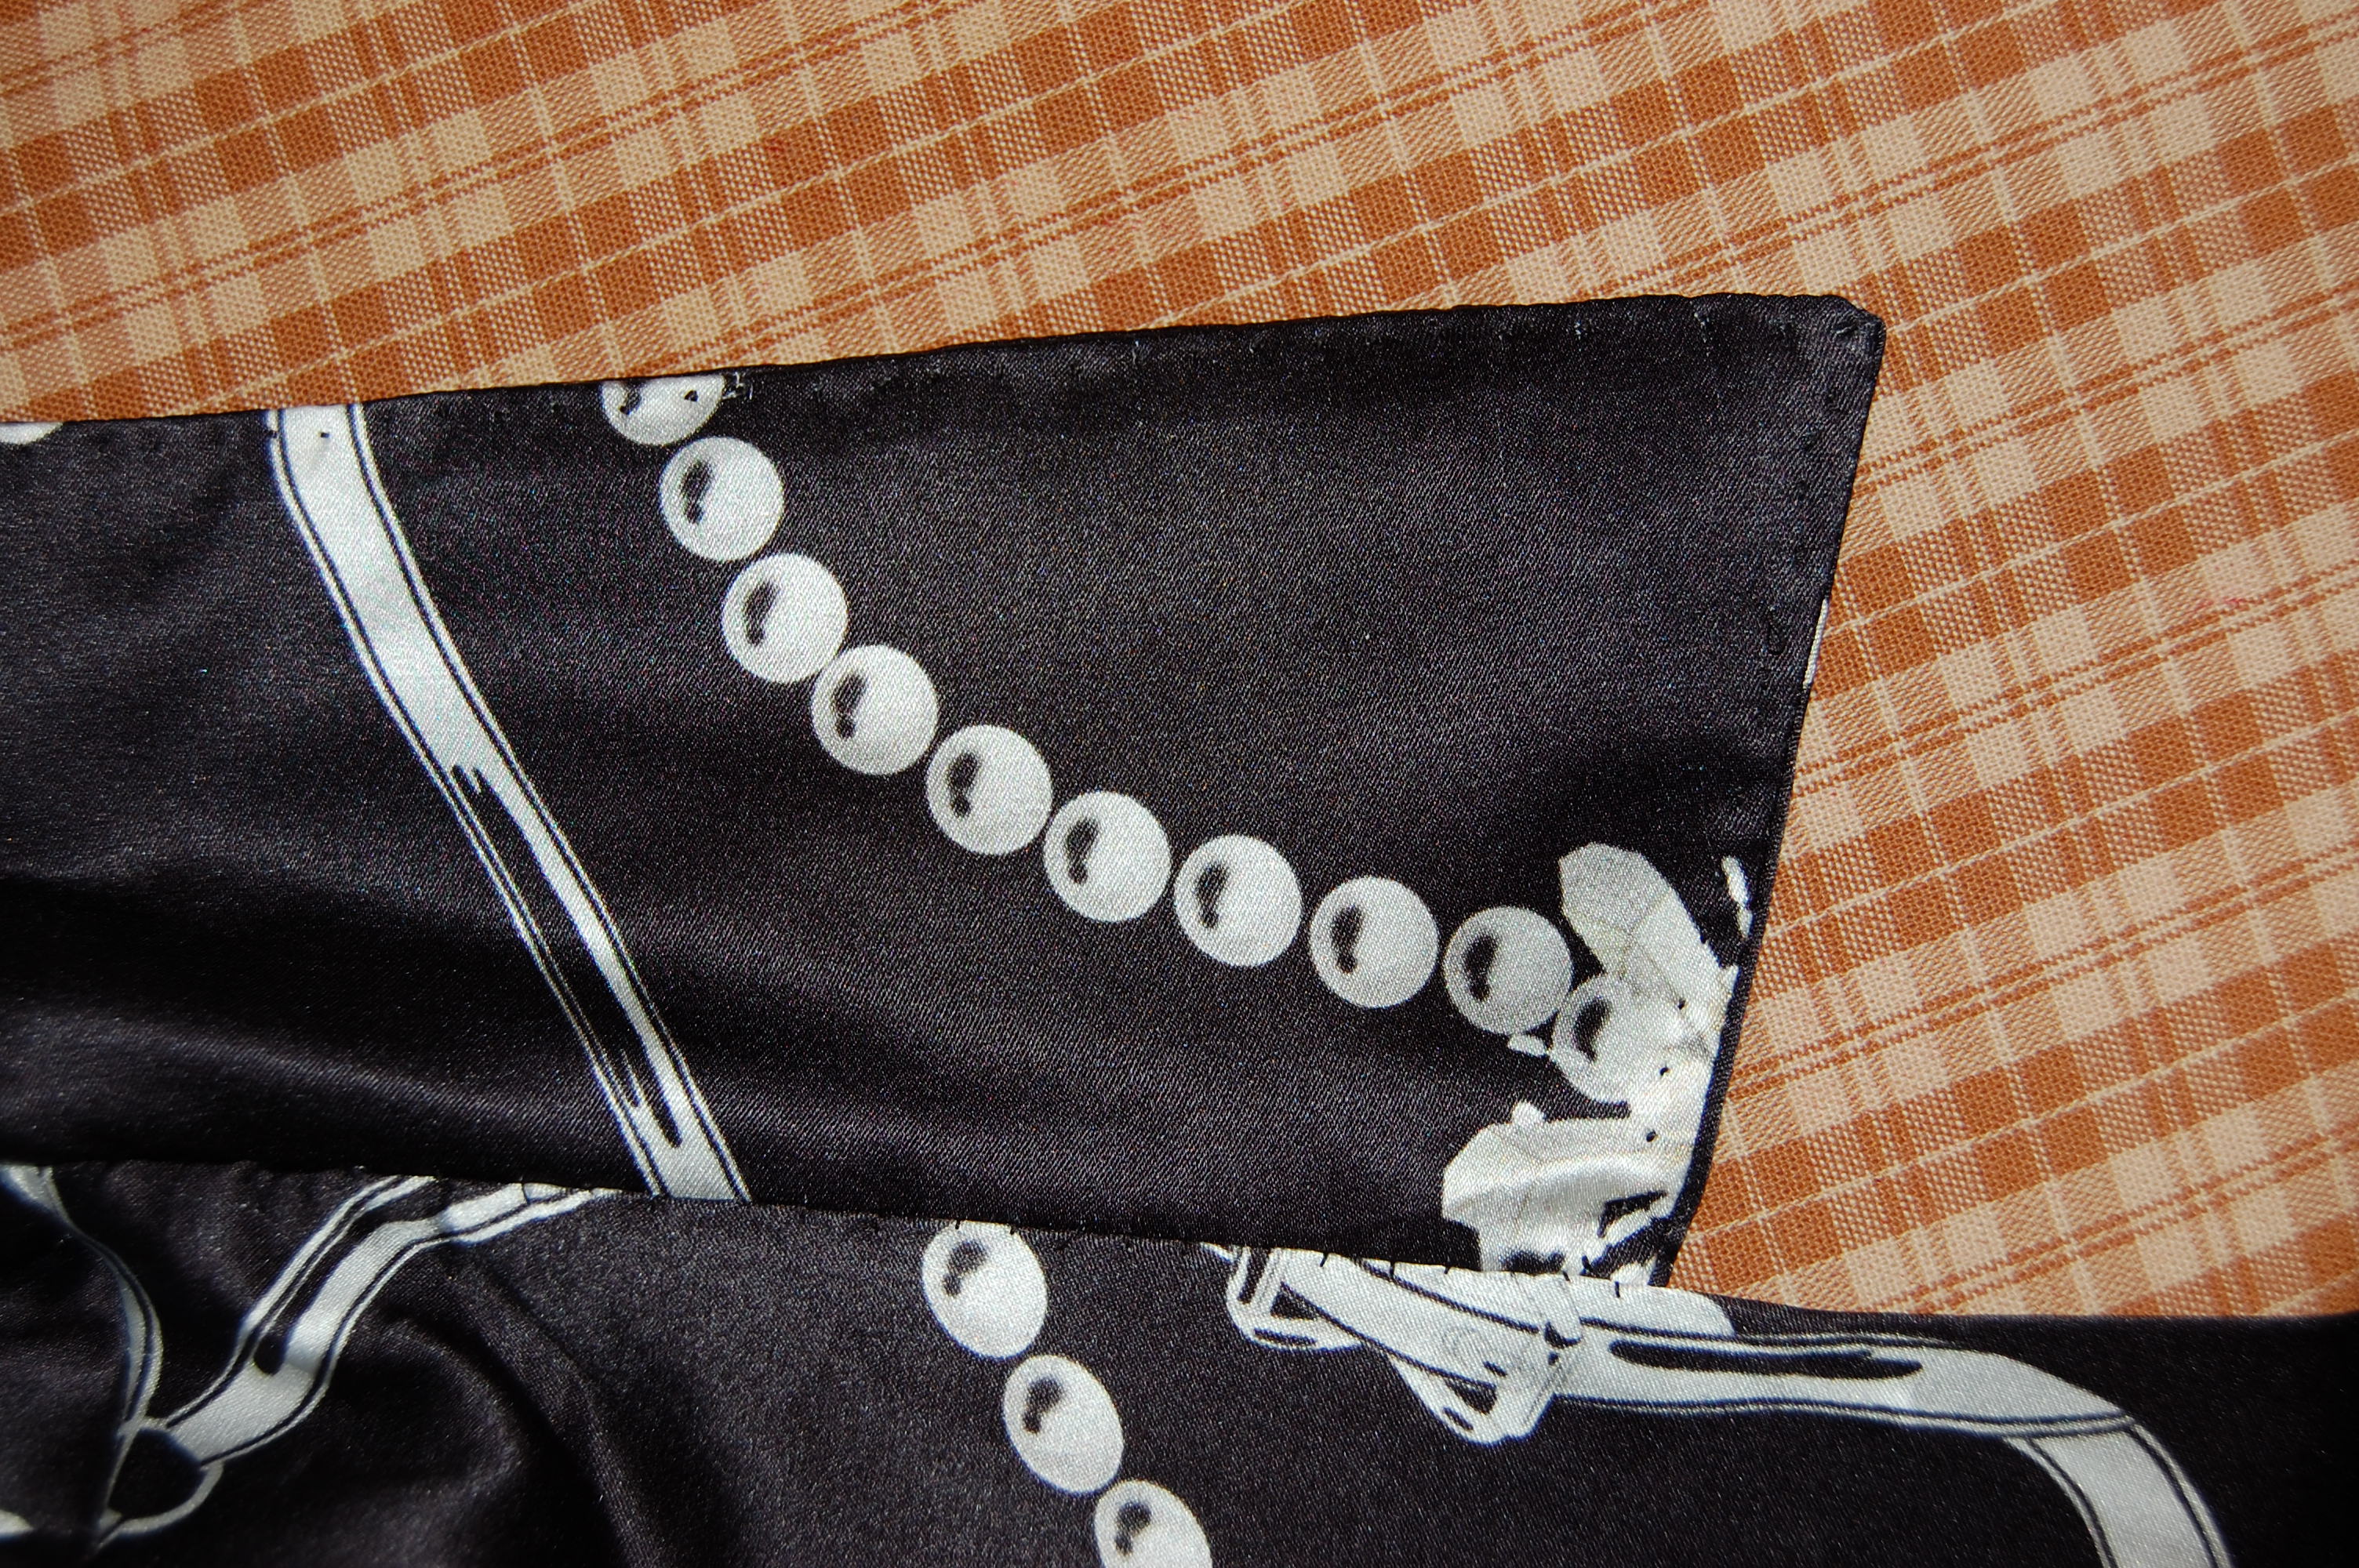
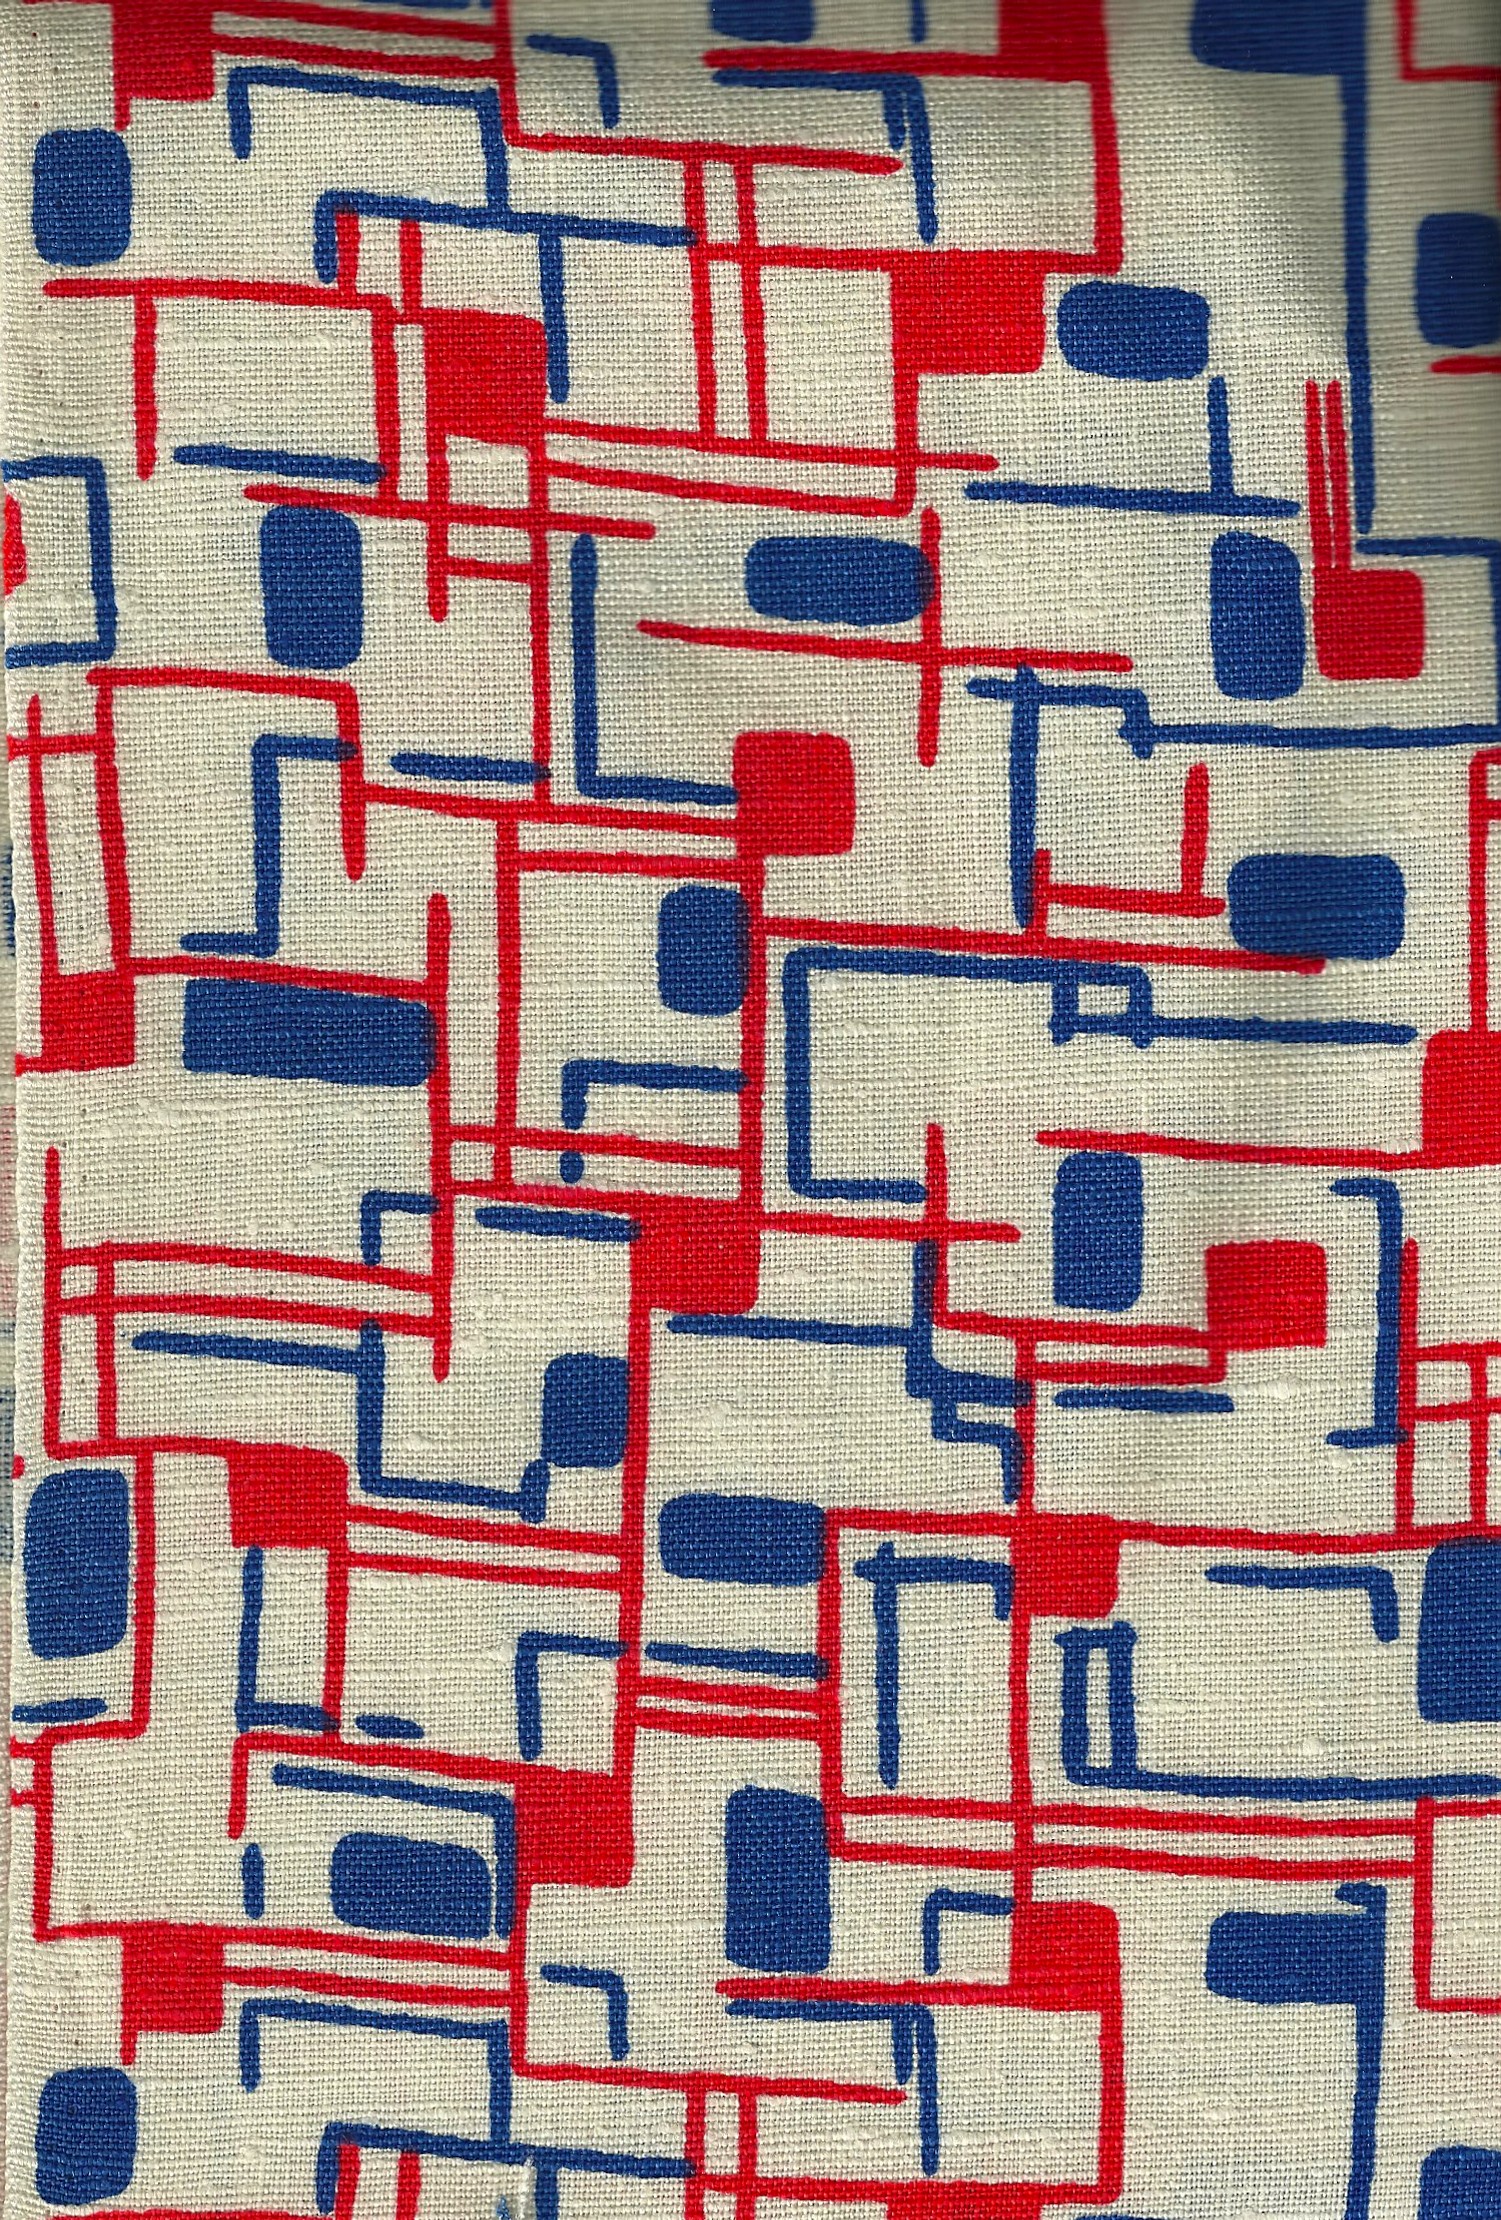
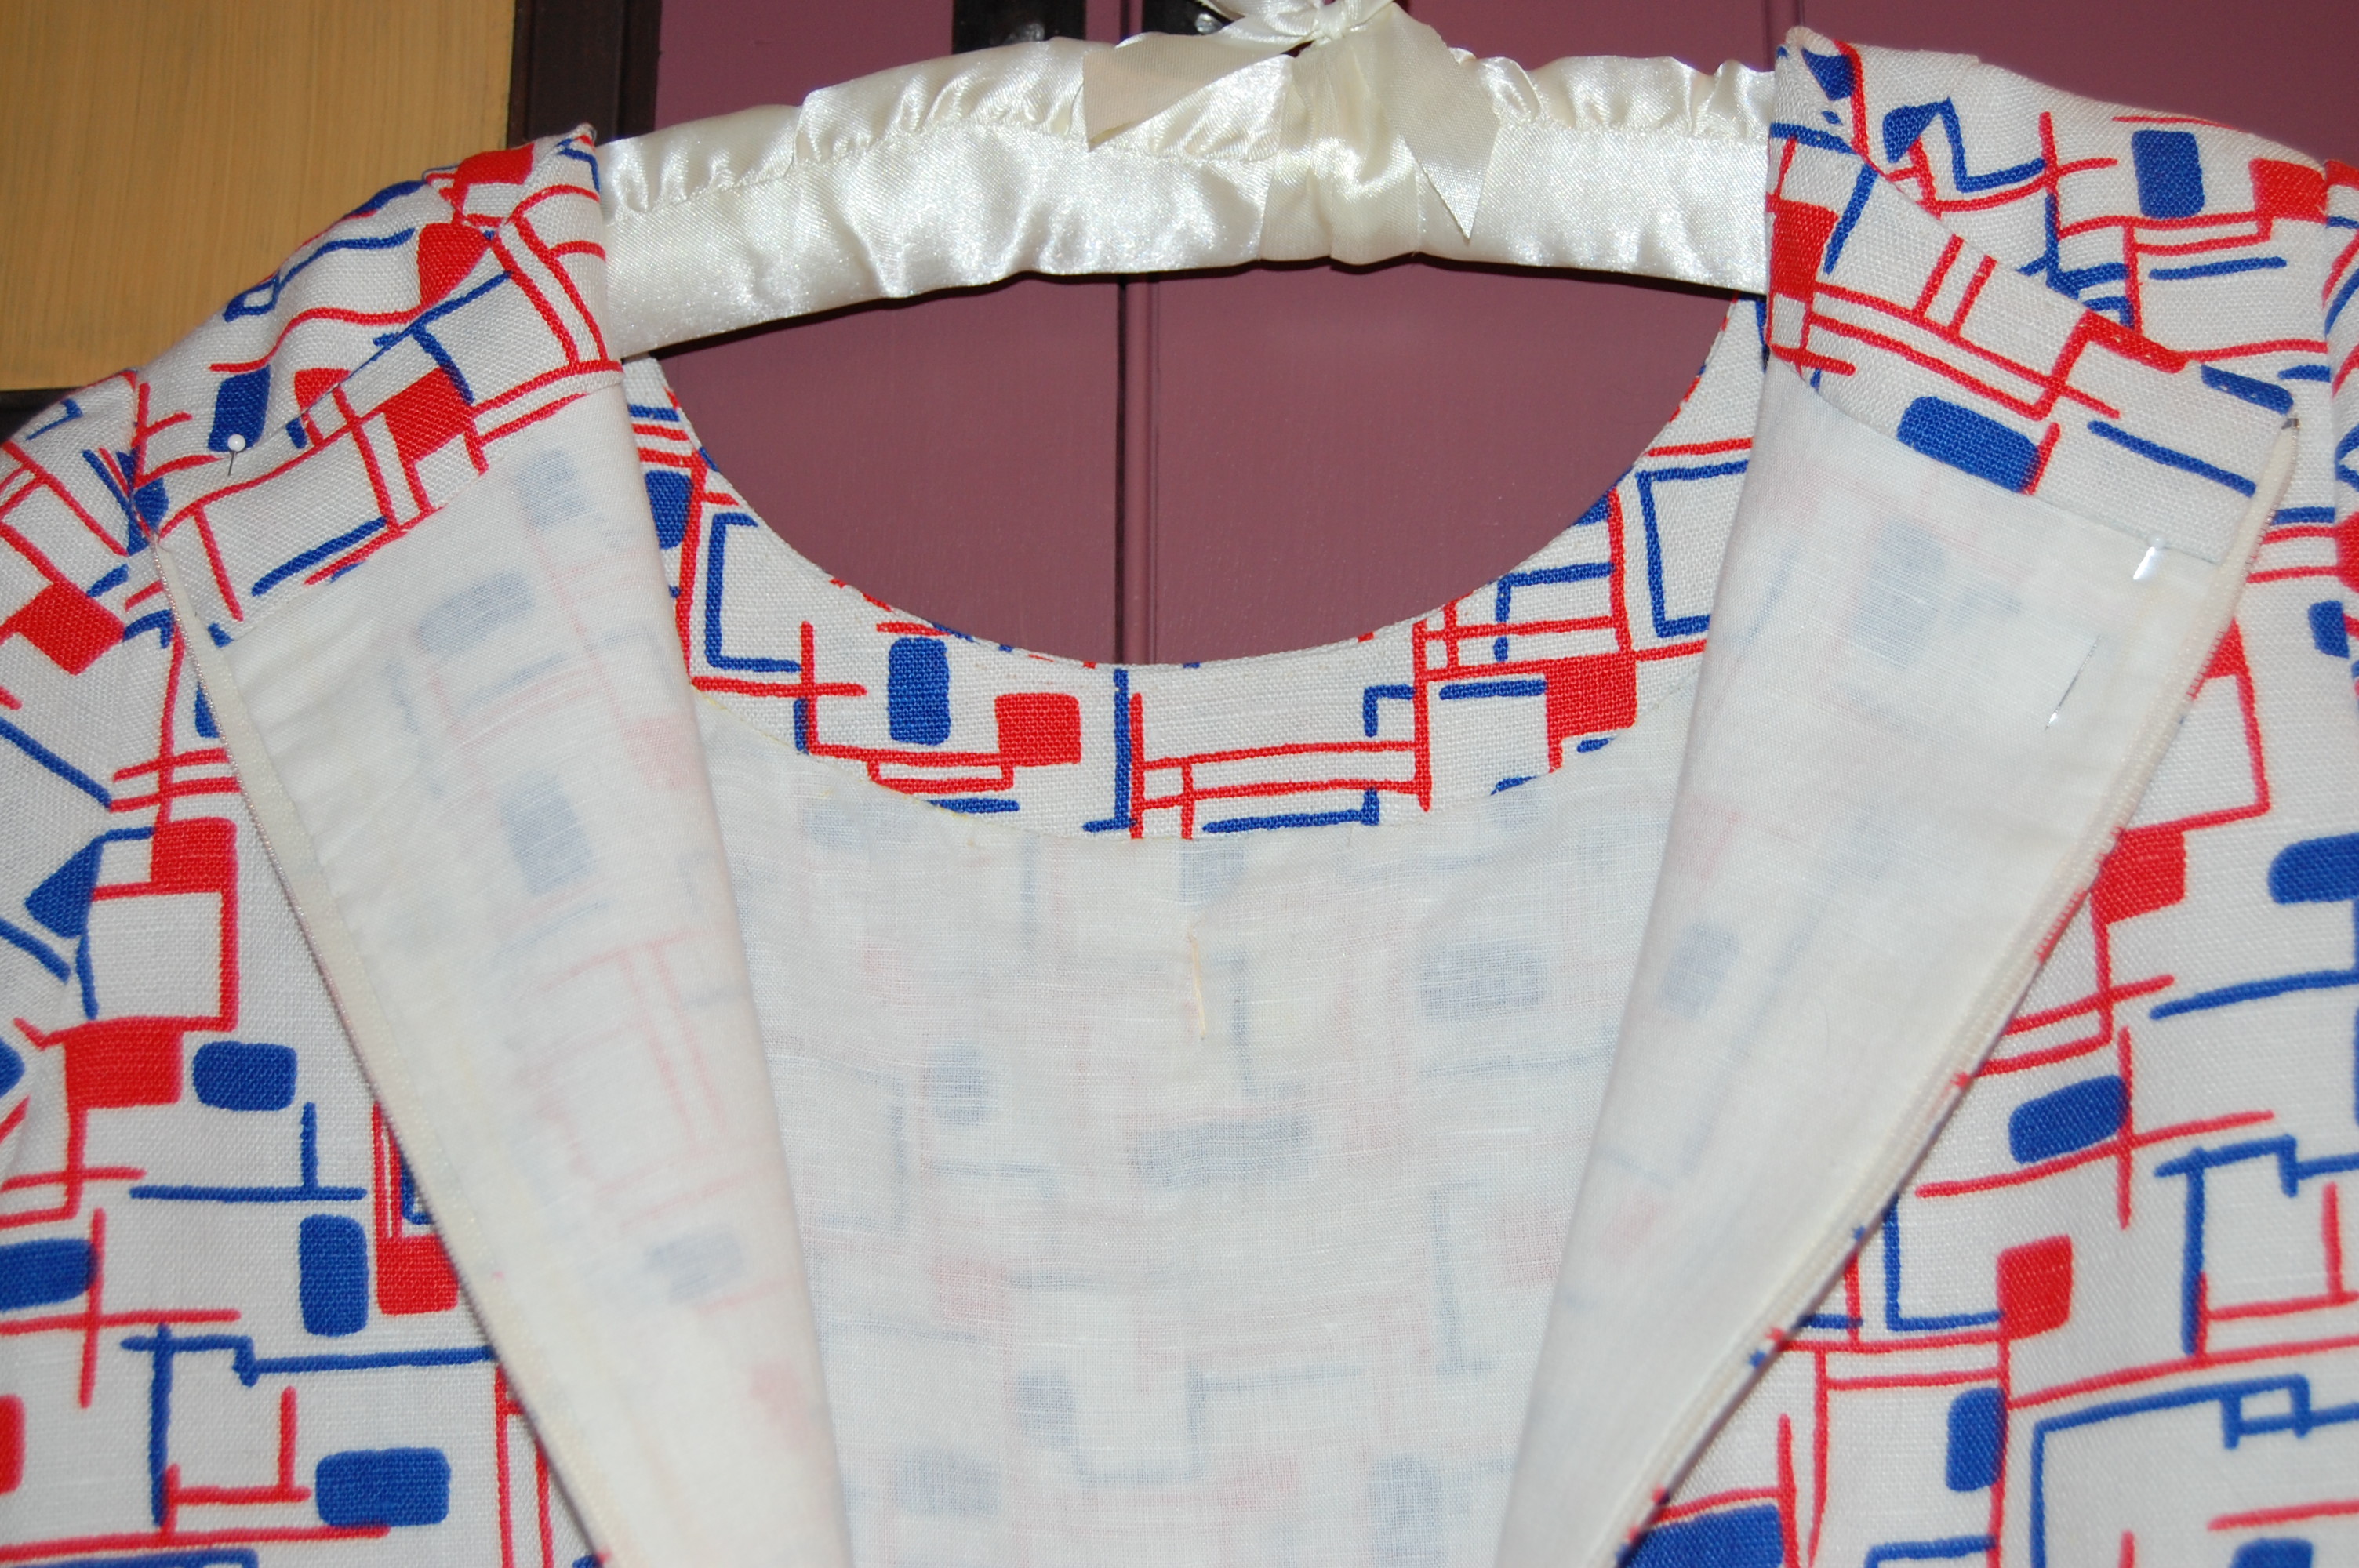
The “square” detail on the buttons picks up the design in the lining fabric.
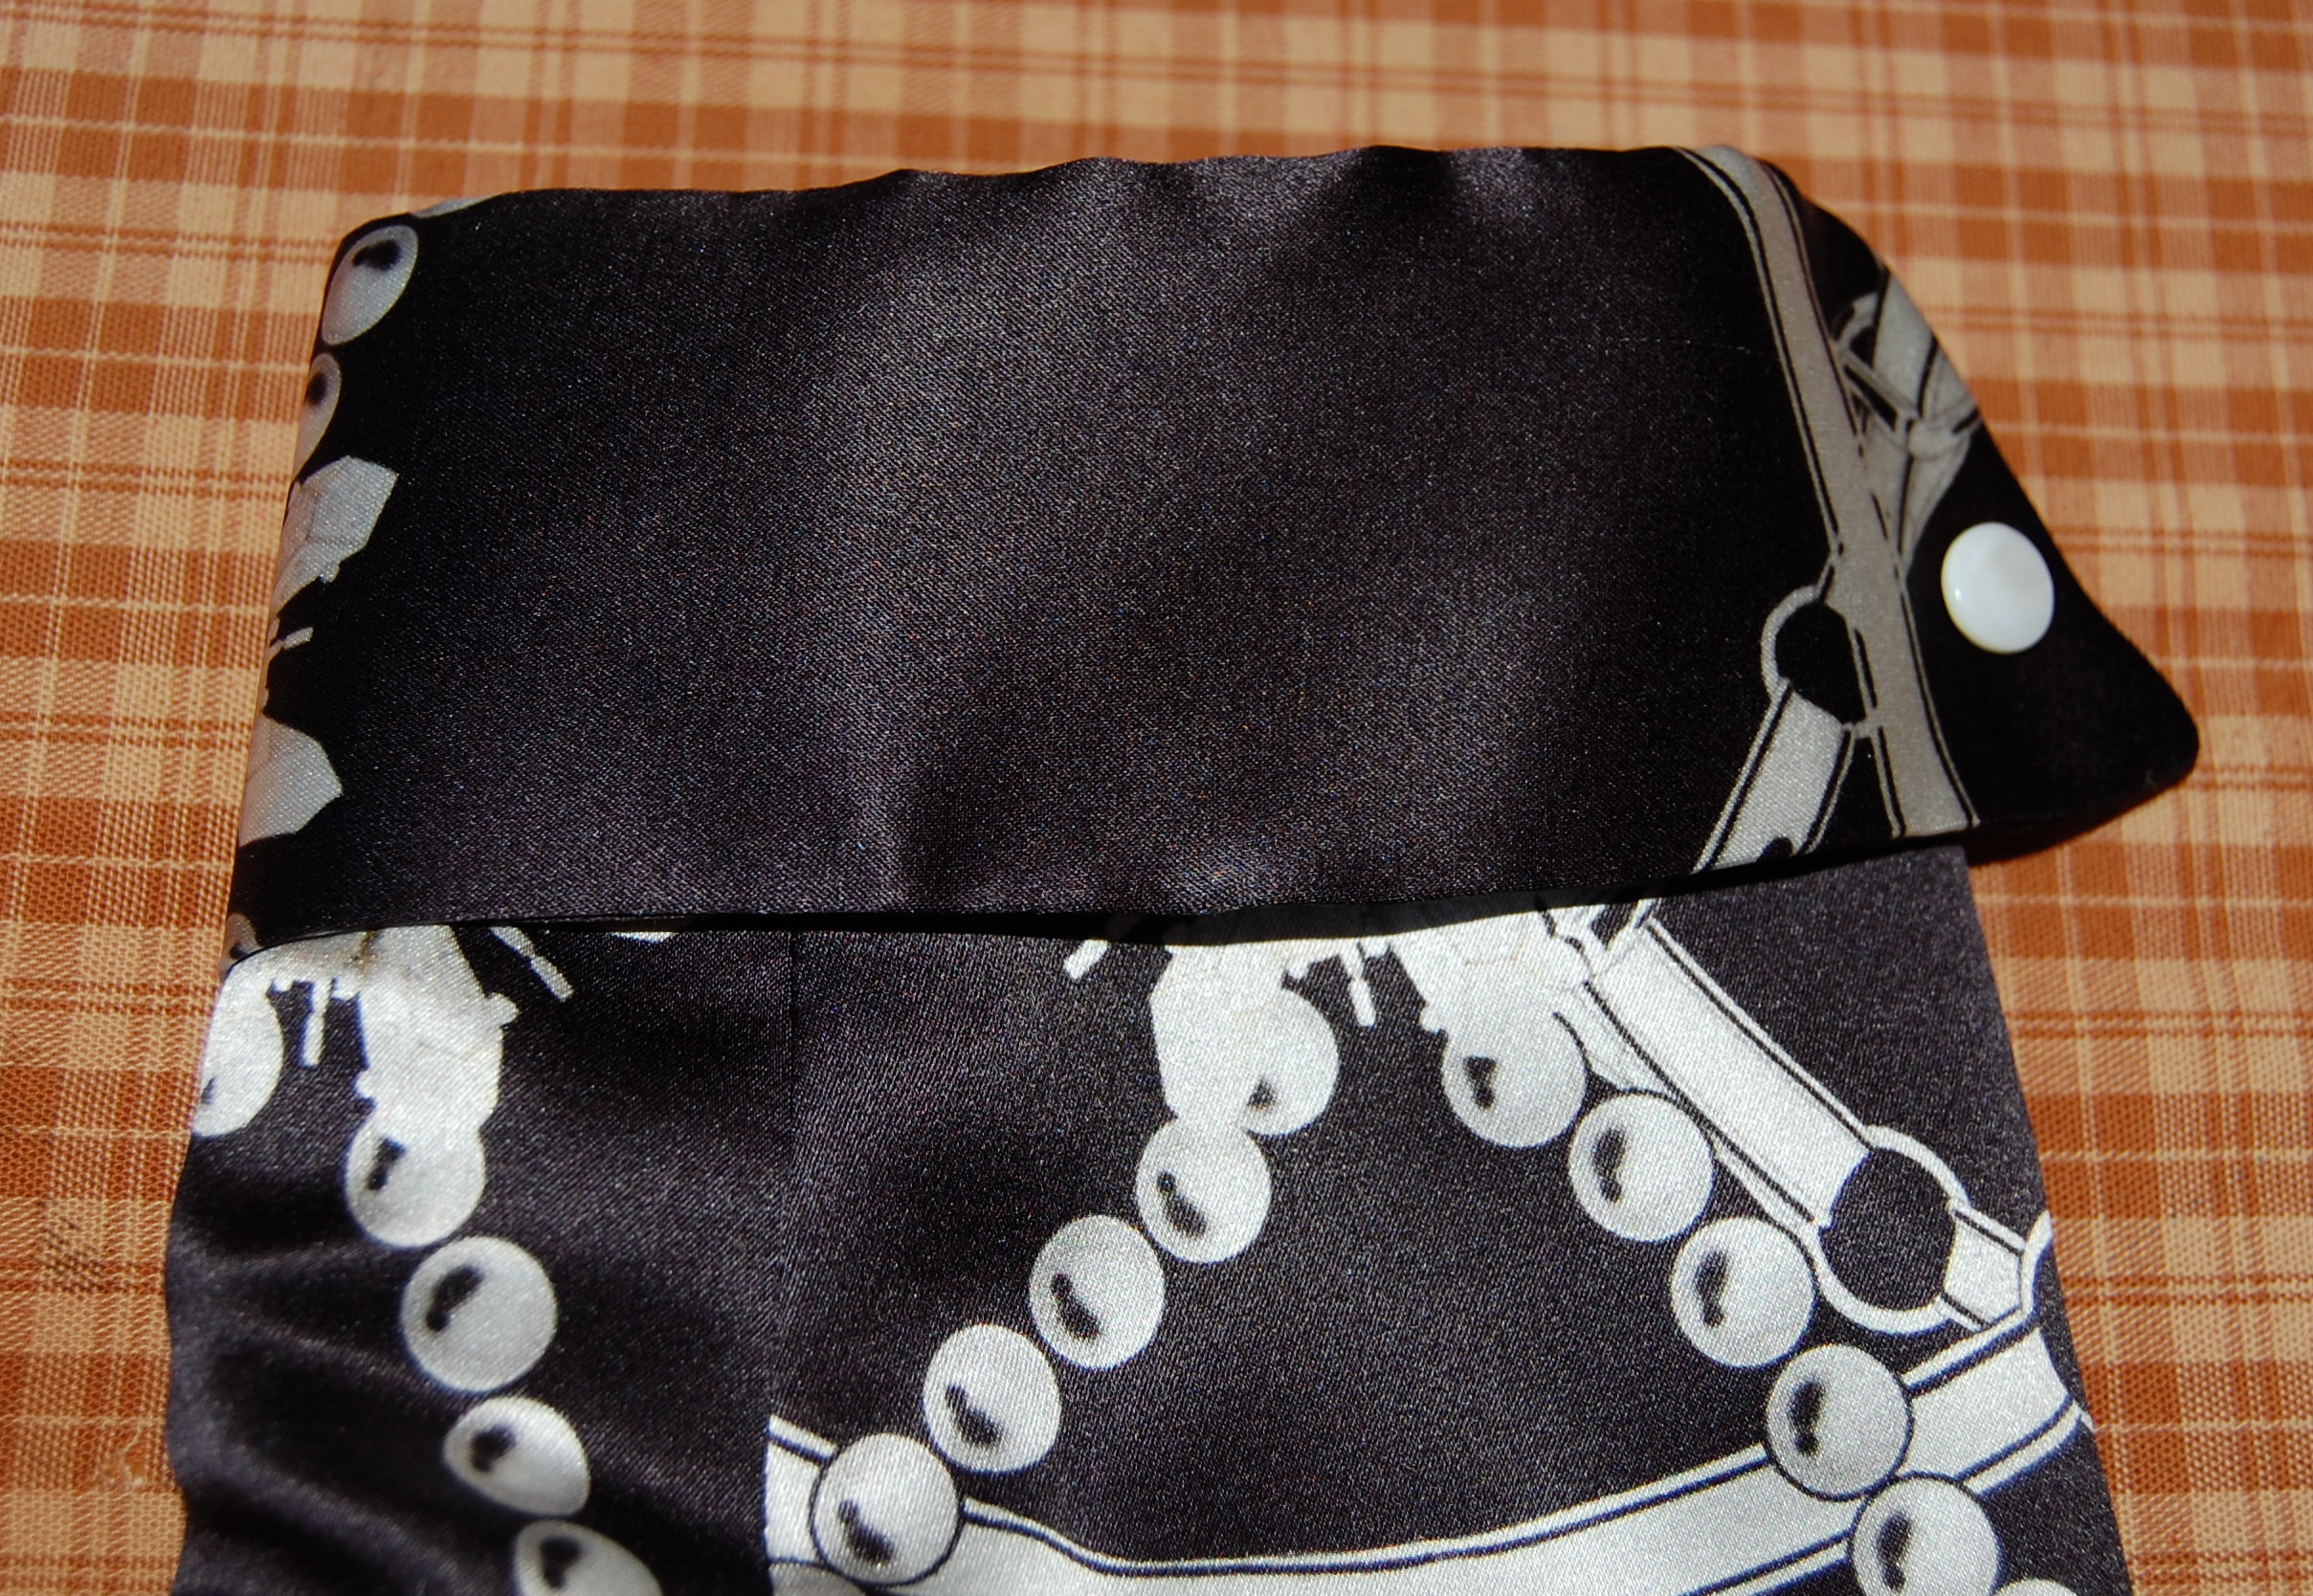
Using the printed wool challis for the lining certainly elevates this coat to a notch above ordinary. The sleeves are lined with gray rayon Bemberg for practicality’s sake.
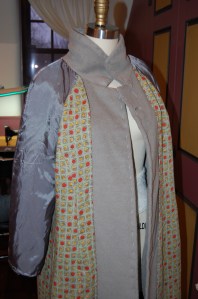
An inside out view, trying out the lining.
This photo shows a good look at the underside of the finished buttonholes, too.
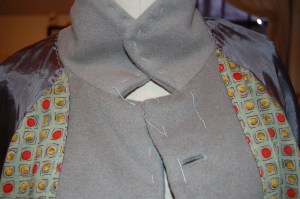
Of course the detail I love the most is the flat piping I added to the front interior edges of the lining. As I have said before, doing this is so easy and adds so much.
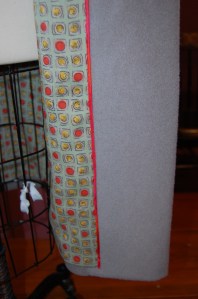
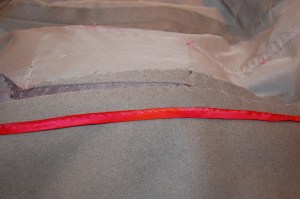
Here is the flat piping stitched in place – so easy!
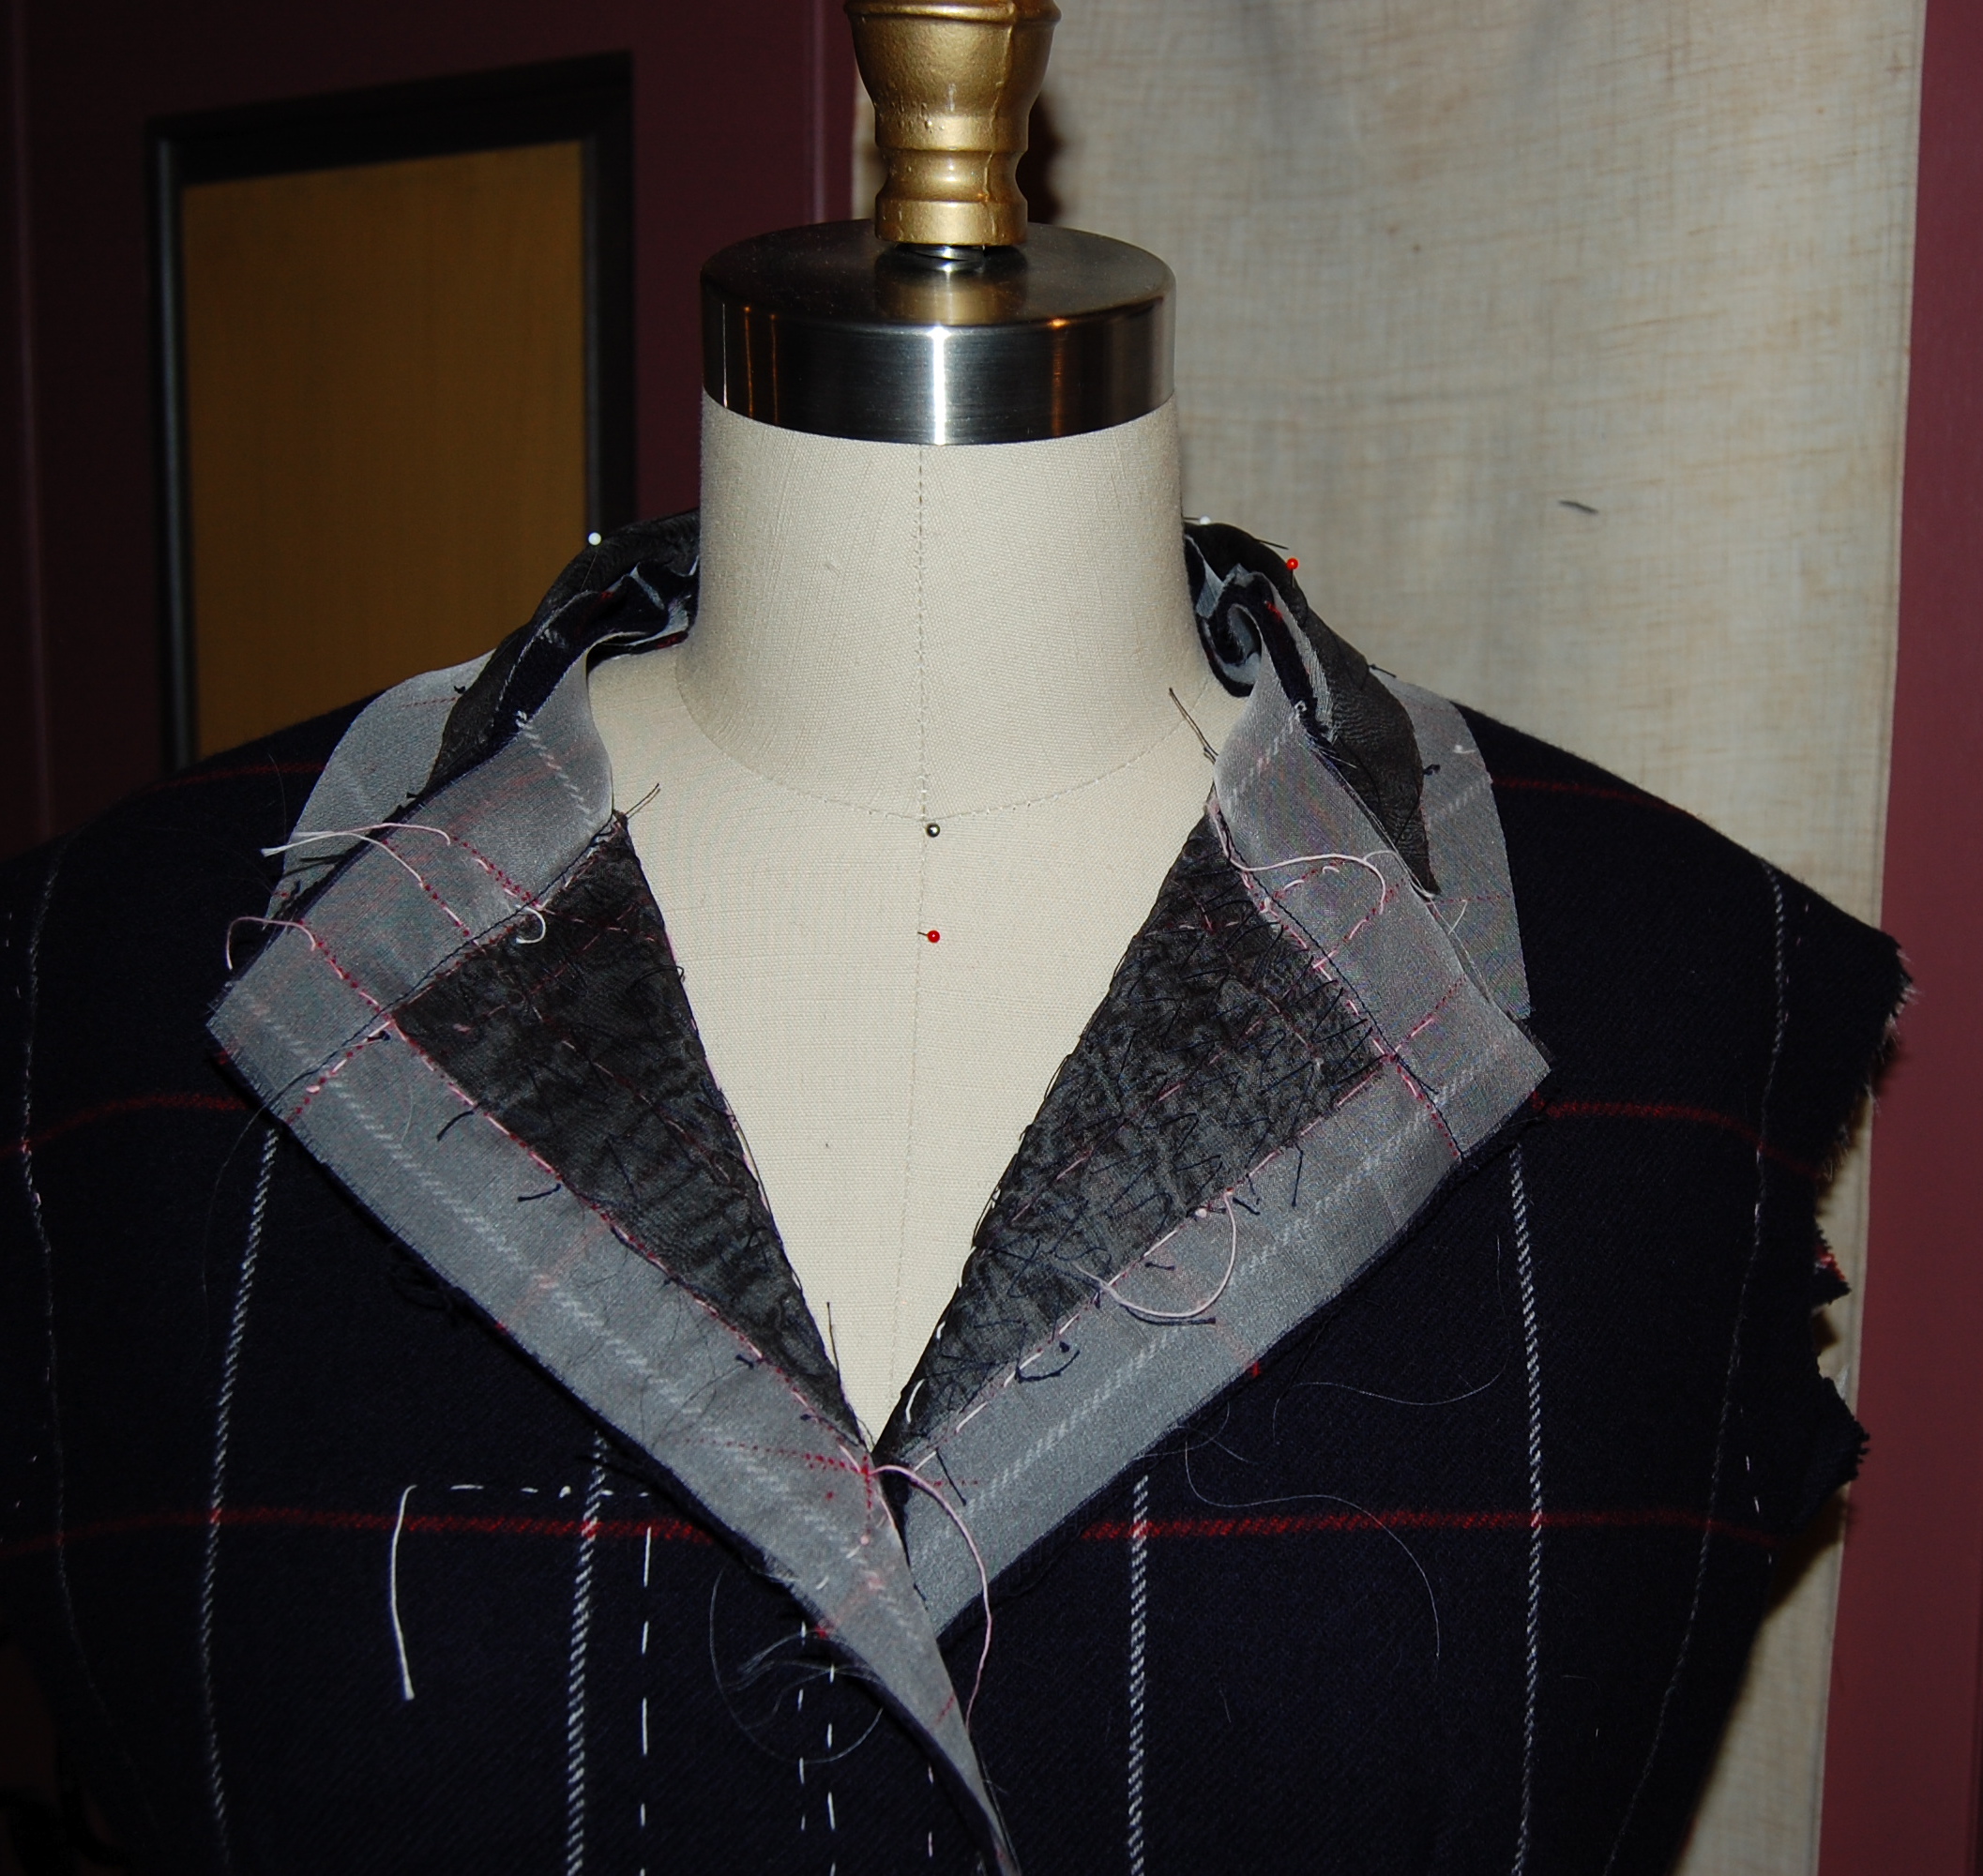
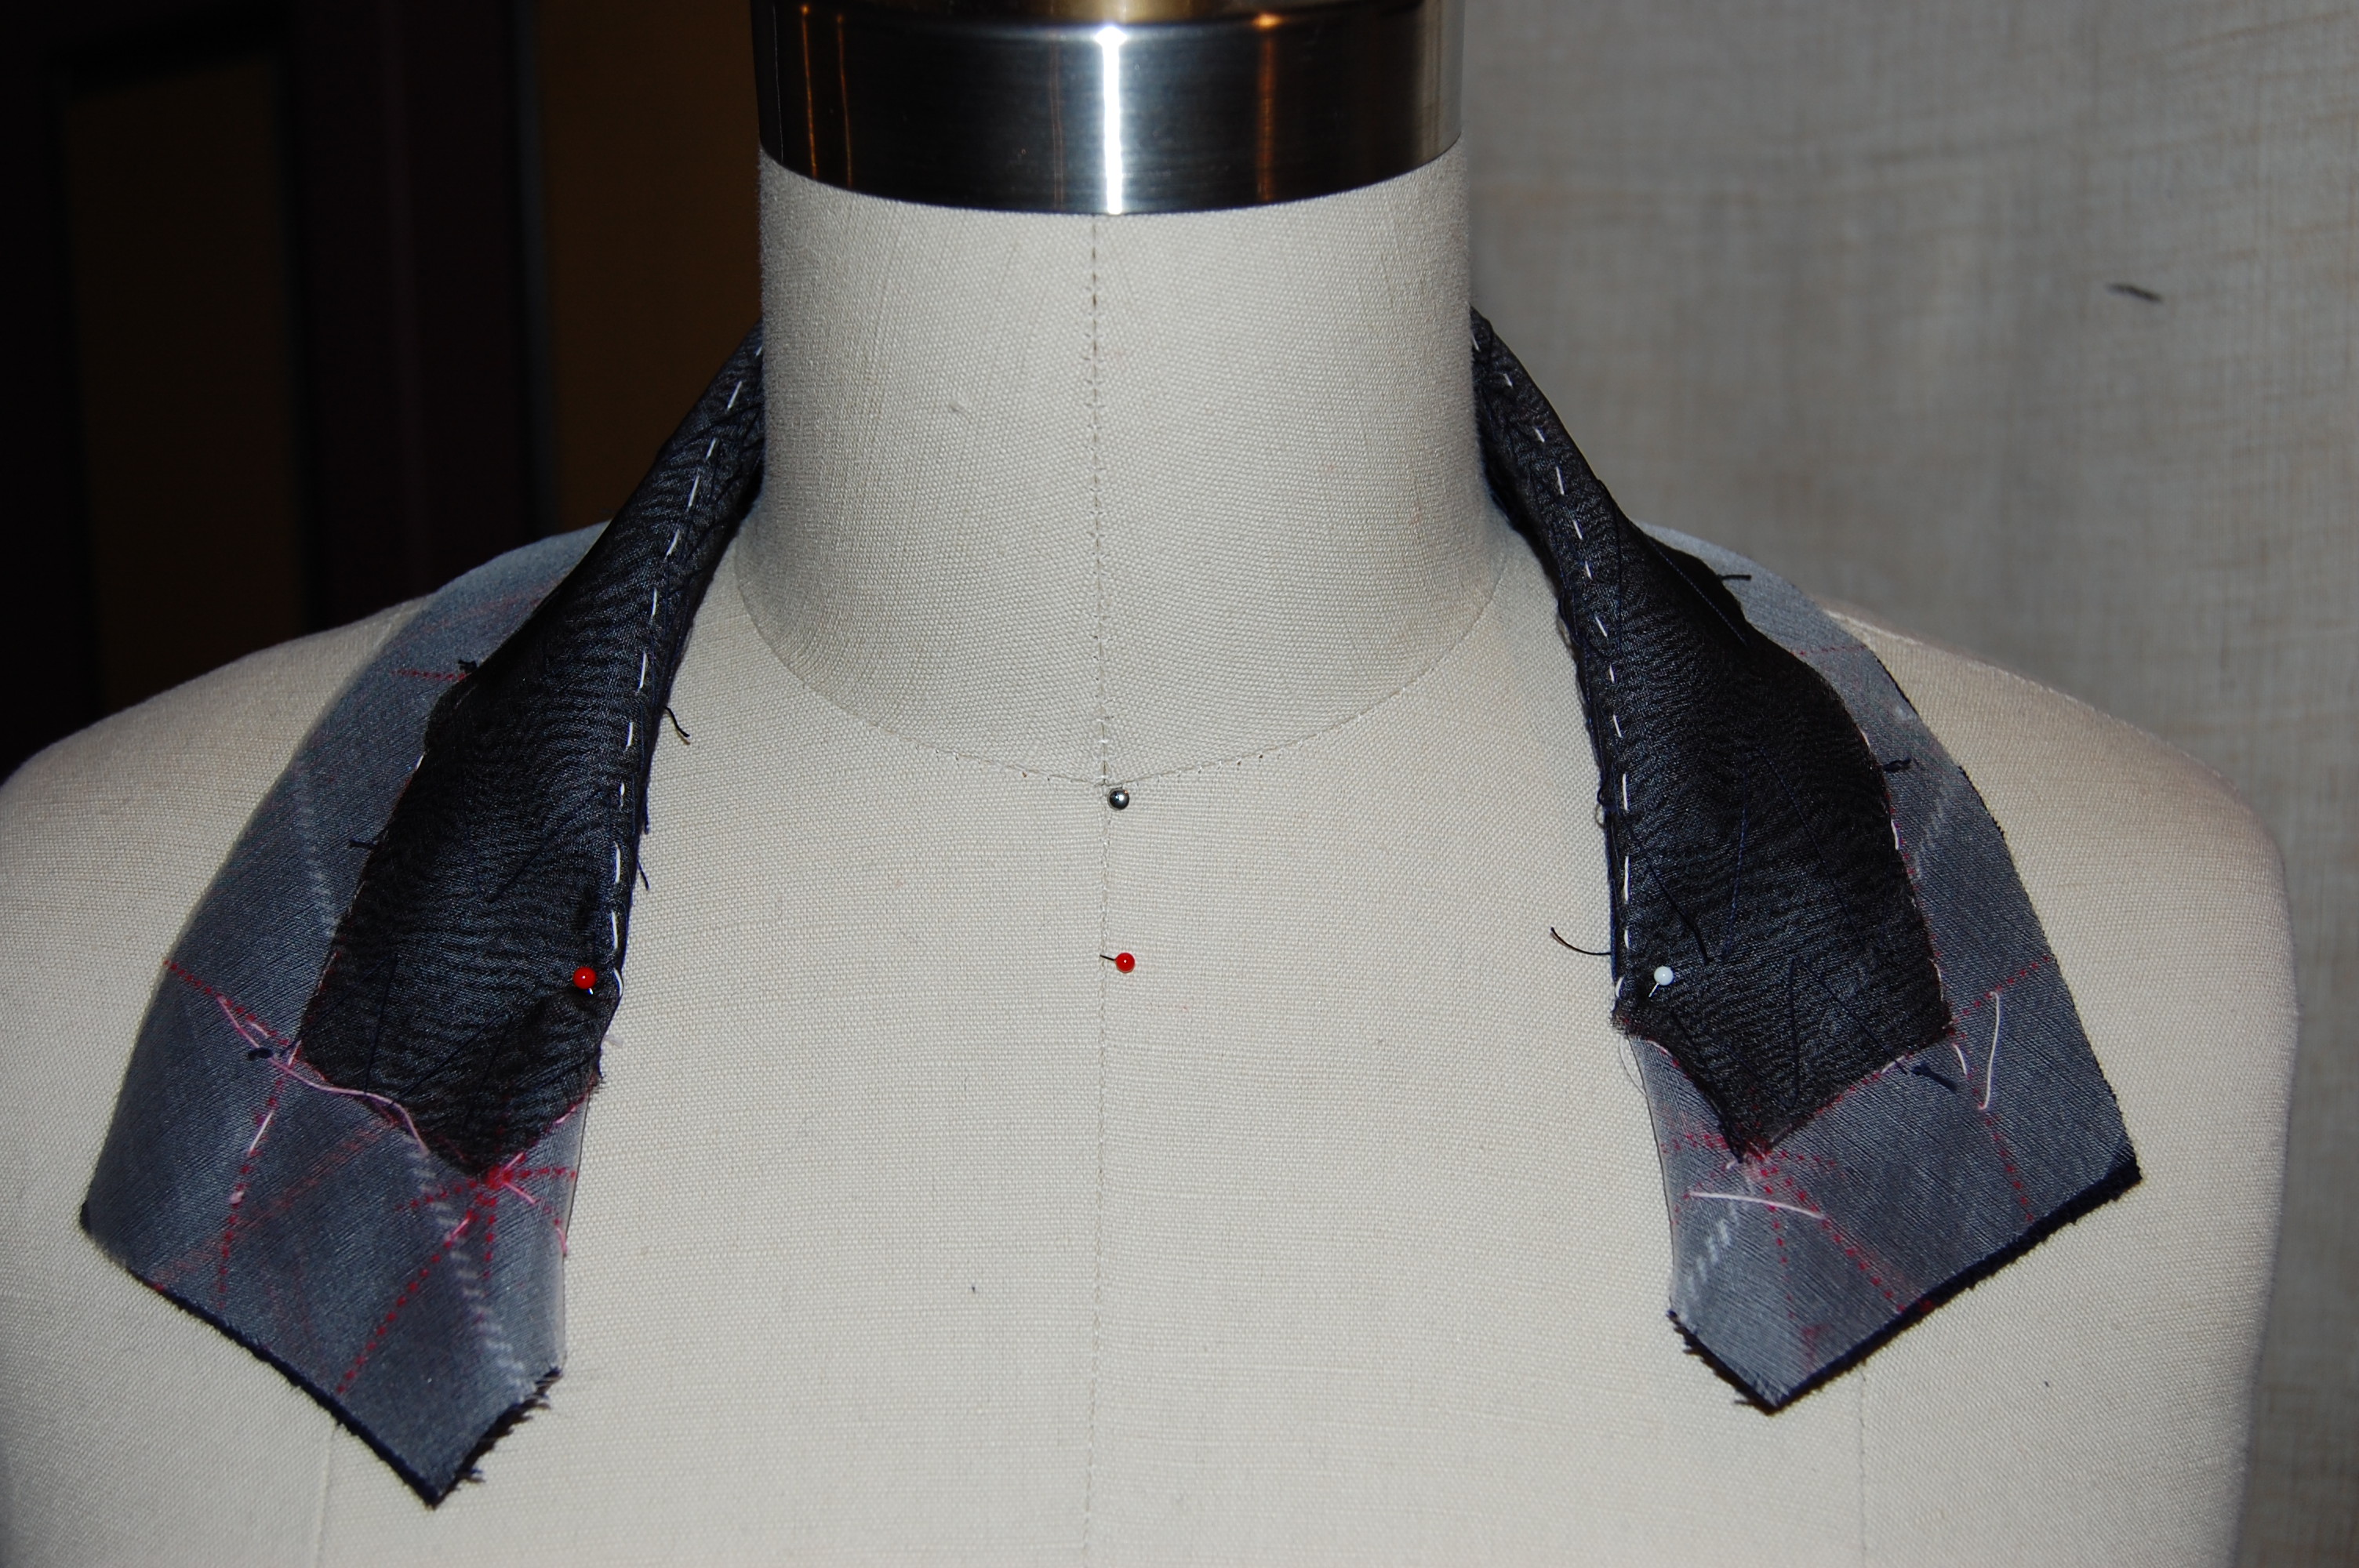
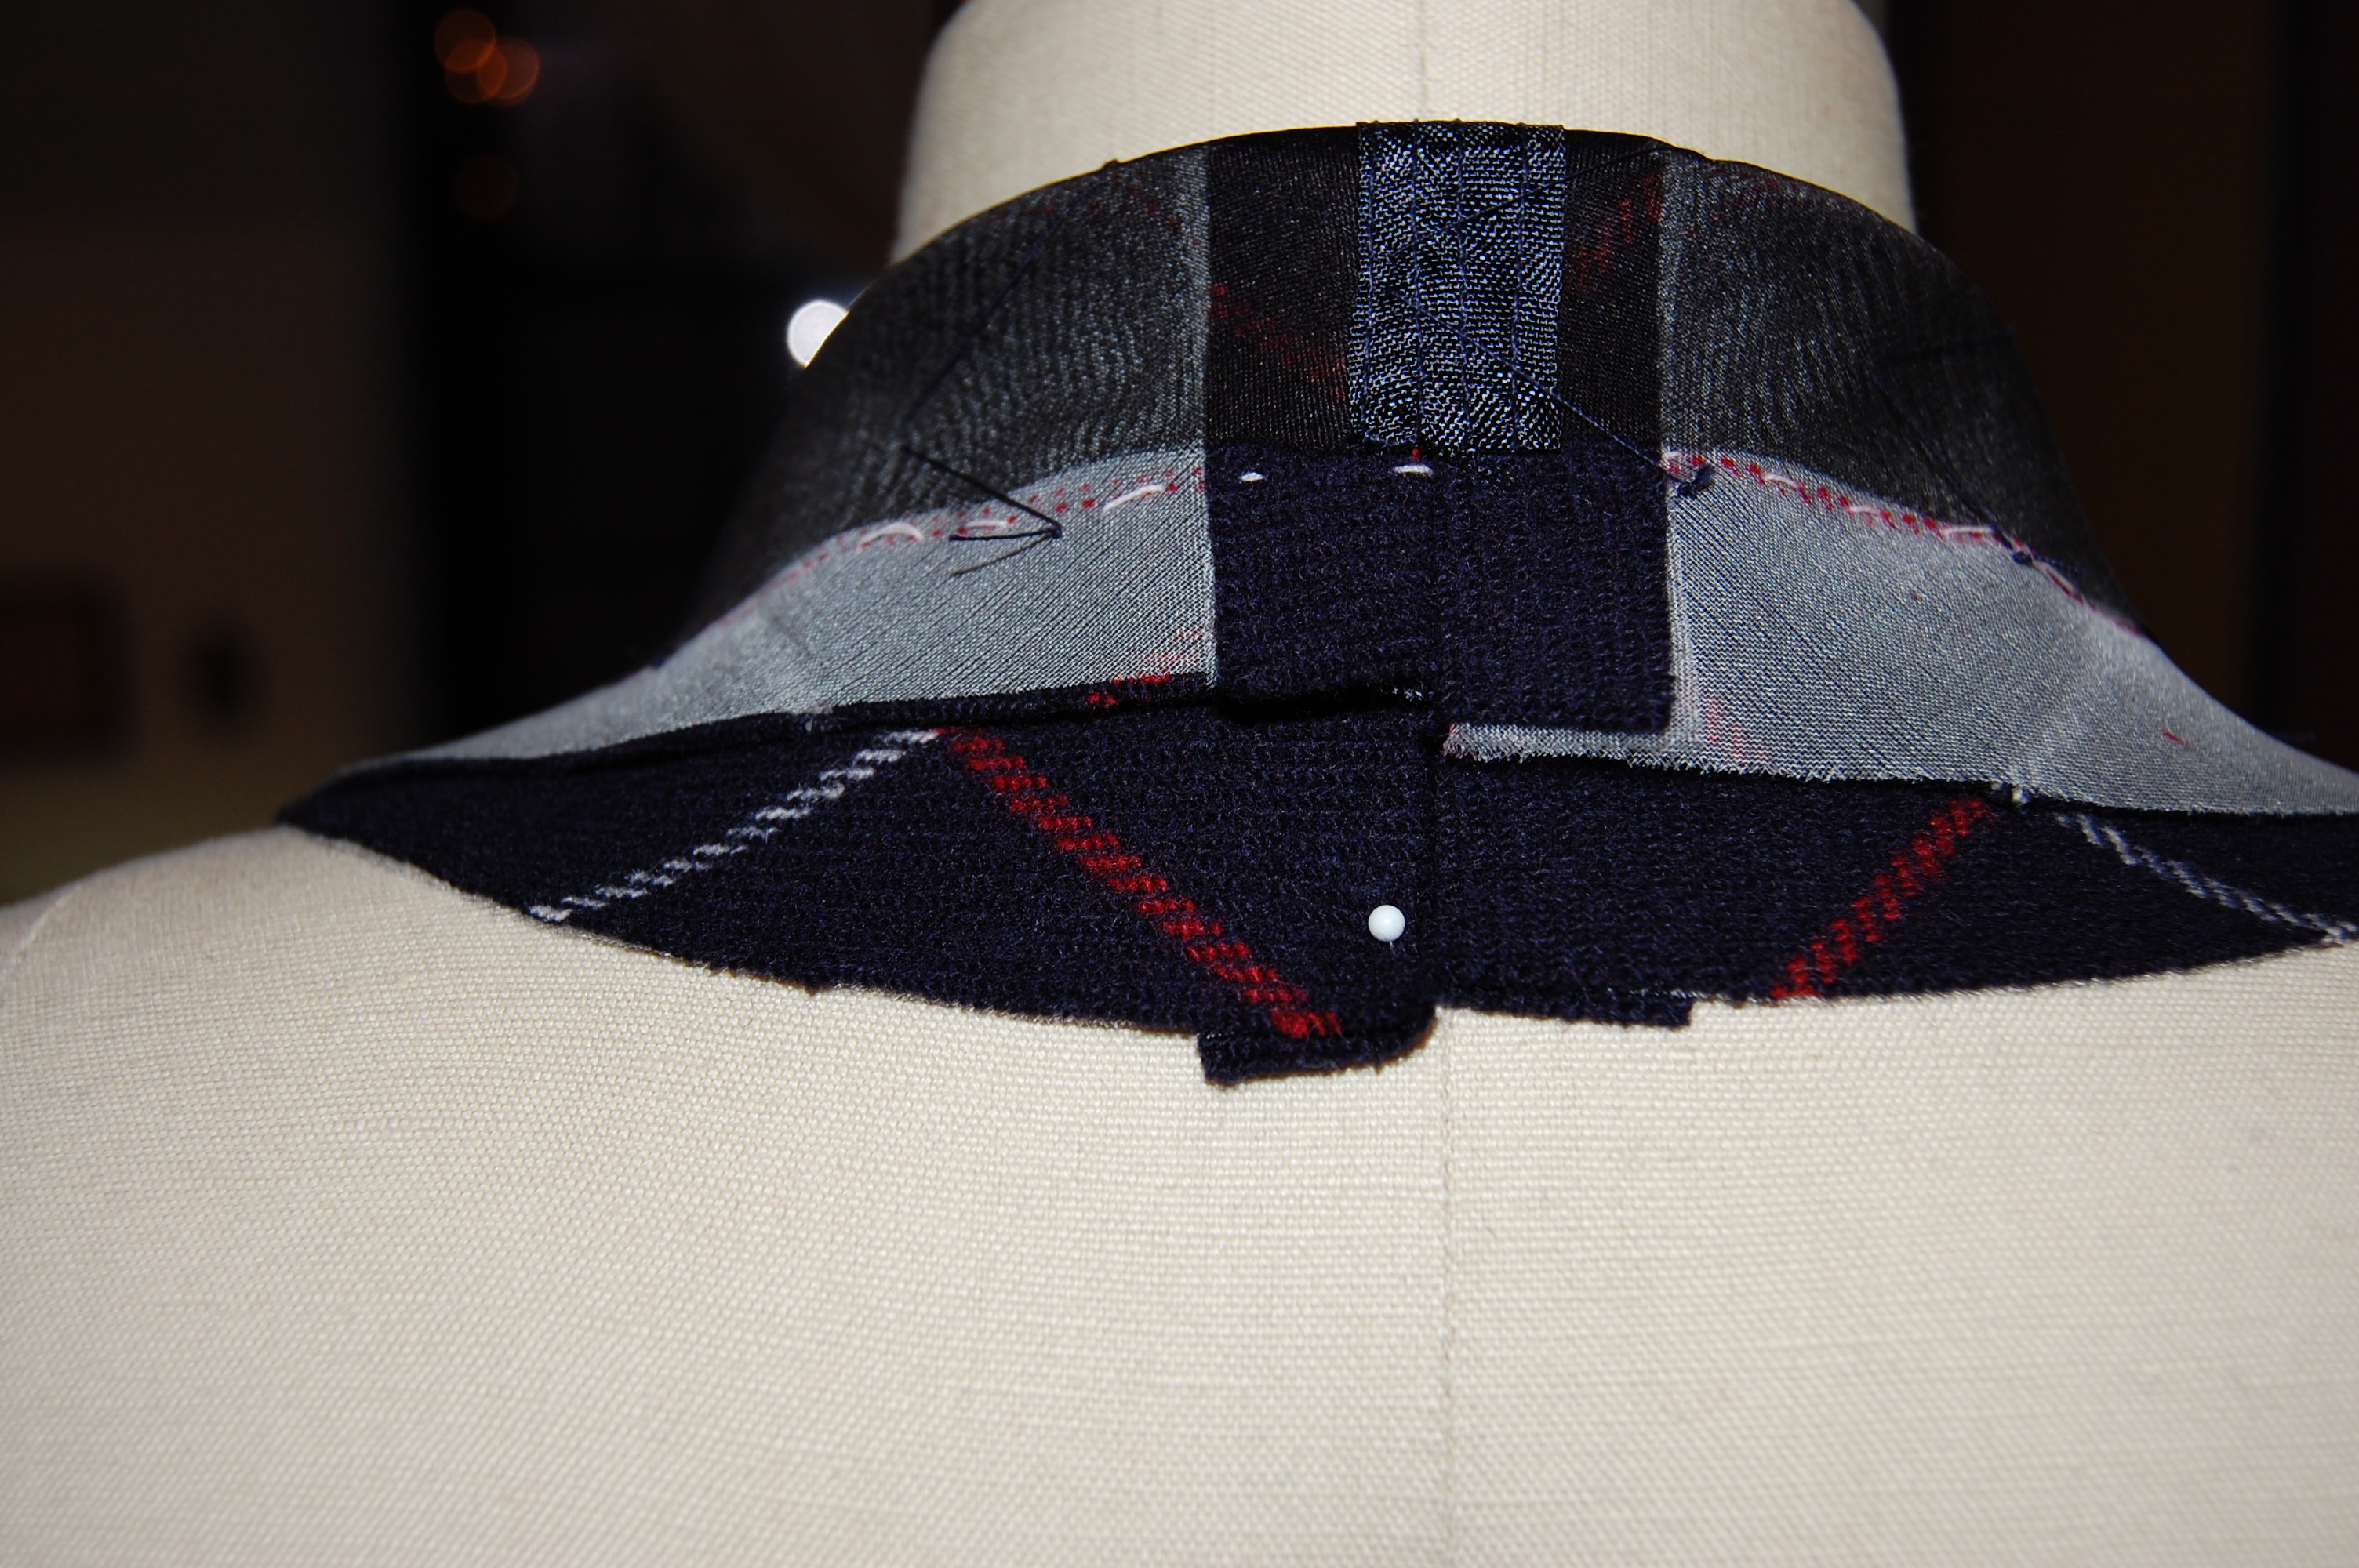
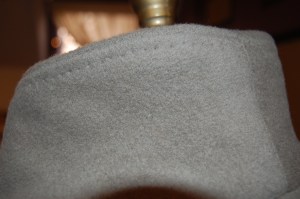
The final small detail, which helps the collar to keep its shape, is under-stitching (by hand) on its underside.
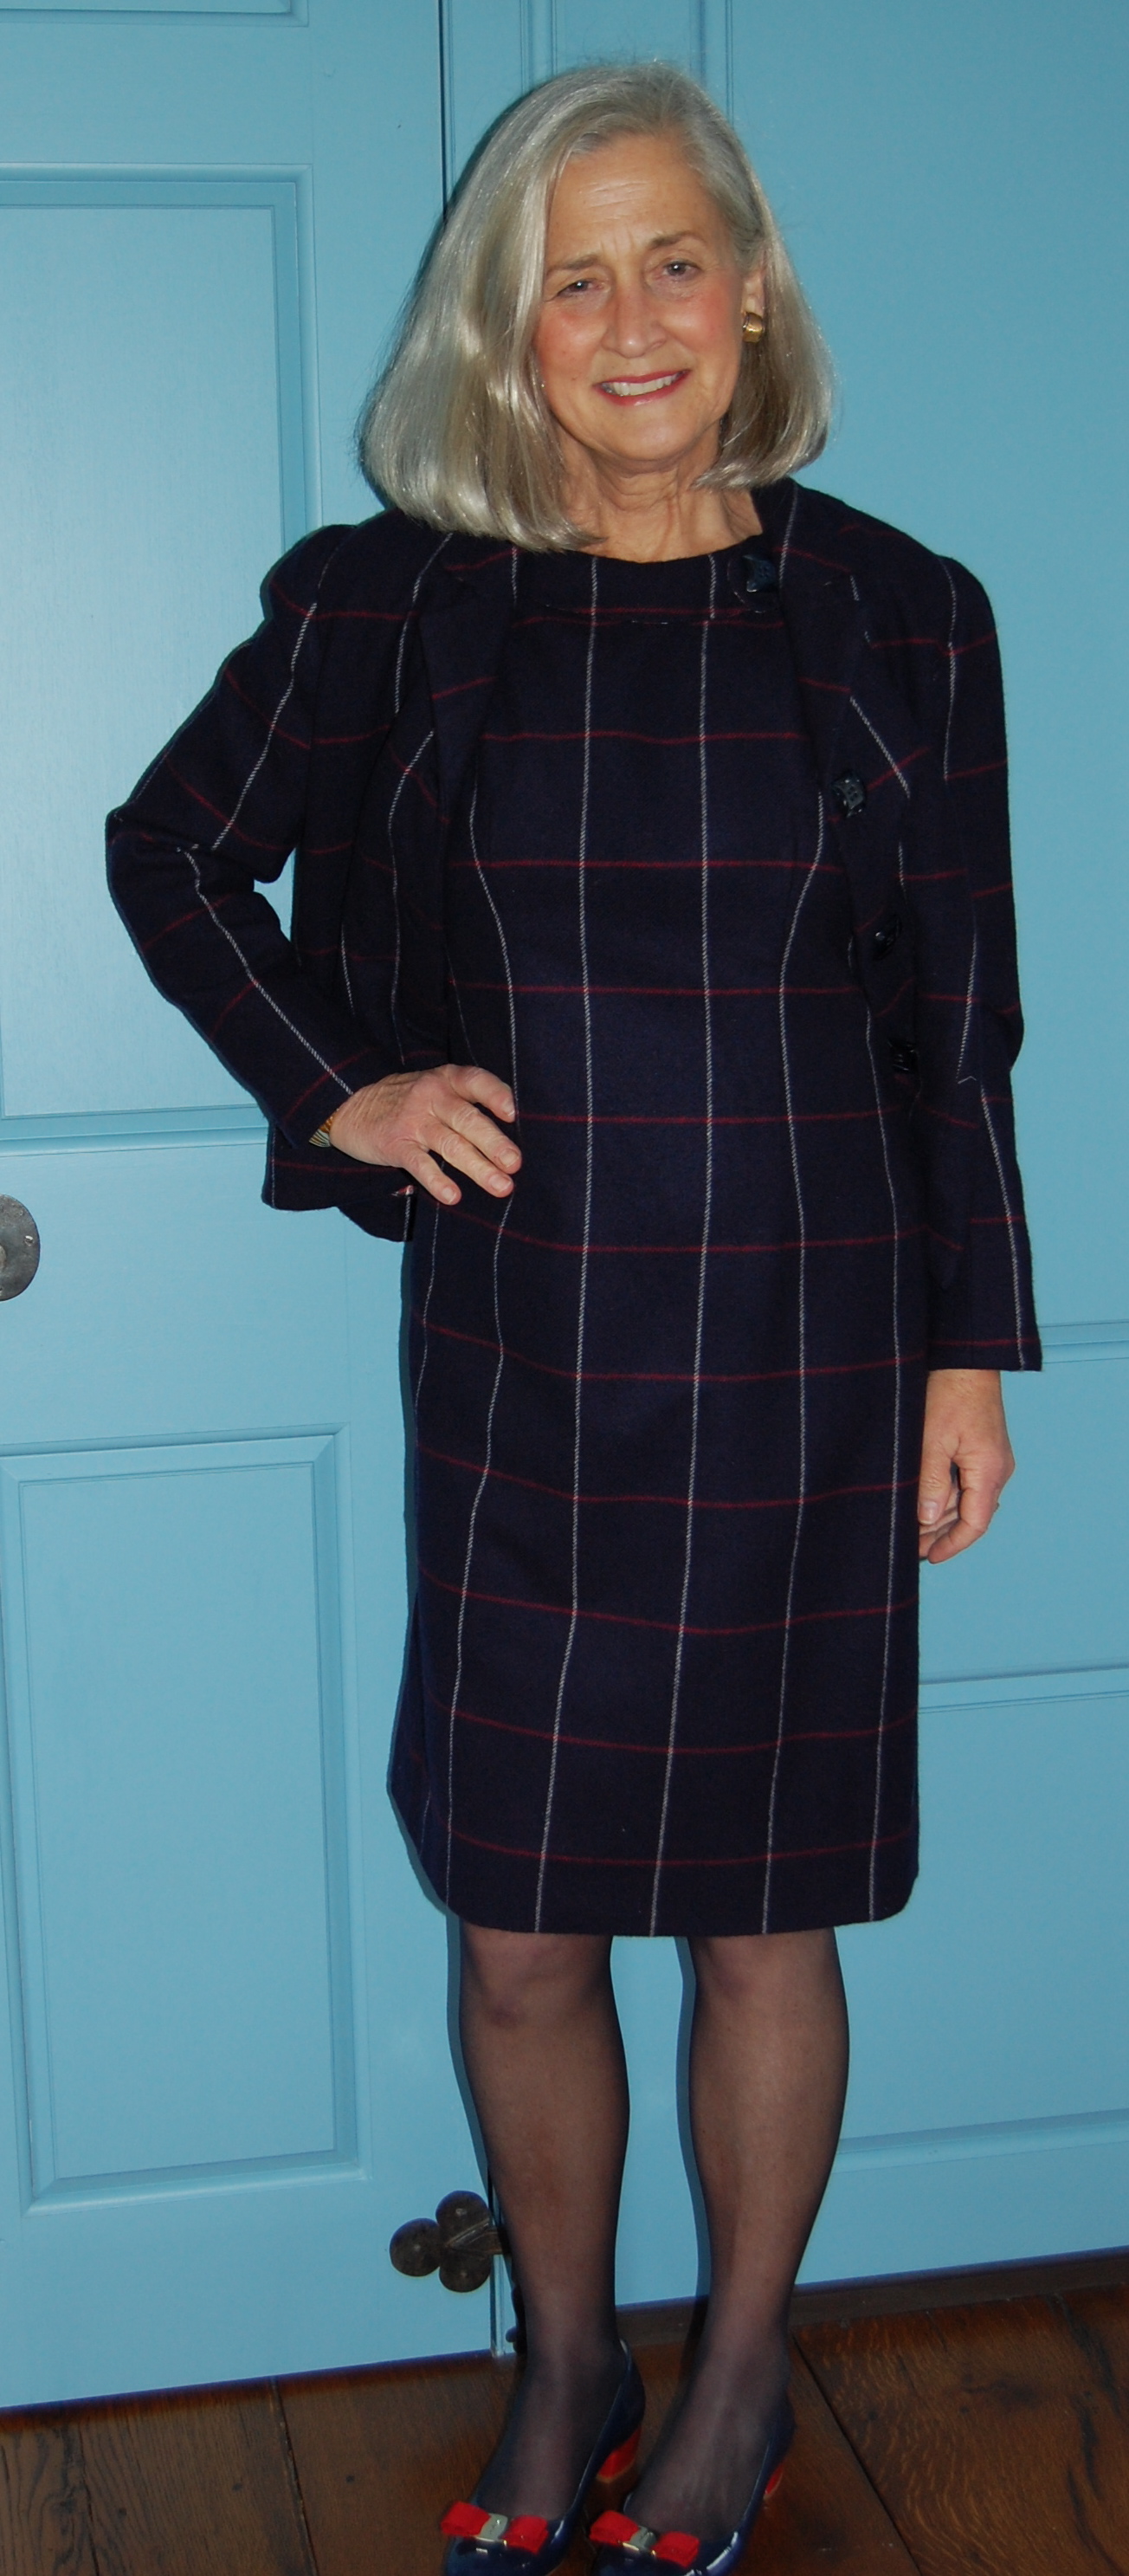
So what else did Claire McCardell say about coats? To quote from her book, What Shall I Wear, page 69, “… you can take another step and get a coat and dress that go together—never to be separated, never to be worn with any other dress or any other coat, and always with a special feeling of satisfaction. If you take a little trouble, you may be able to manage a heavy fabric skirt to go with the coat.” I plan to take that little bit of trouble – a skirt out of the gray cashmere, and a blouse from the printed challis – to complete the outfit, and I will hope for that “special feeling of satisfaction.”