Fashion sewing has it all. Even the making of a simple dress has some or all of these aspects inherent in its construction: color theory, proper fabric selection, proportion and fitting, pattern manipulation and engineering, technical know-how, style sense, intrigue. Intrigue? Yes – Intrigue. I have done it again. I have my heart set on a making a certain style in a certain fabric, and I don’t have very much of that fabric with which to work.
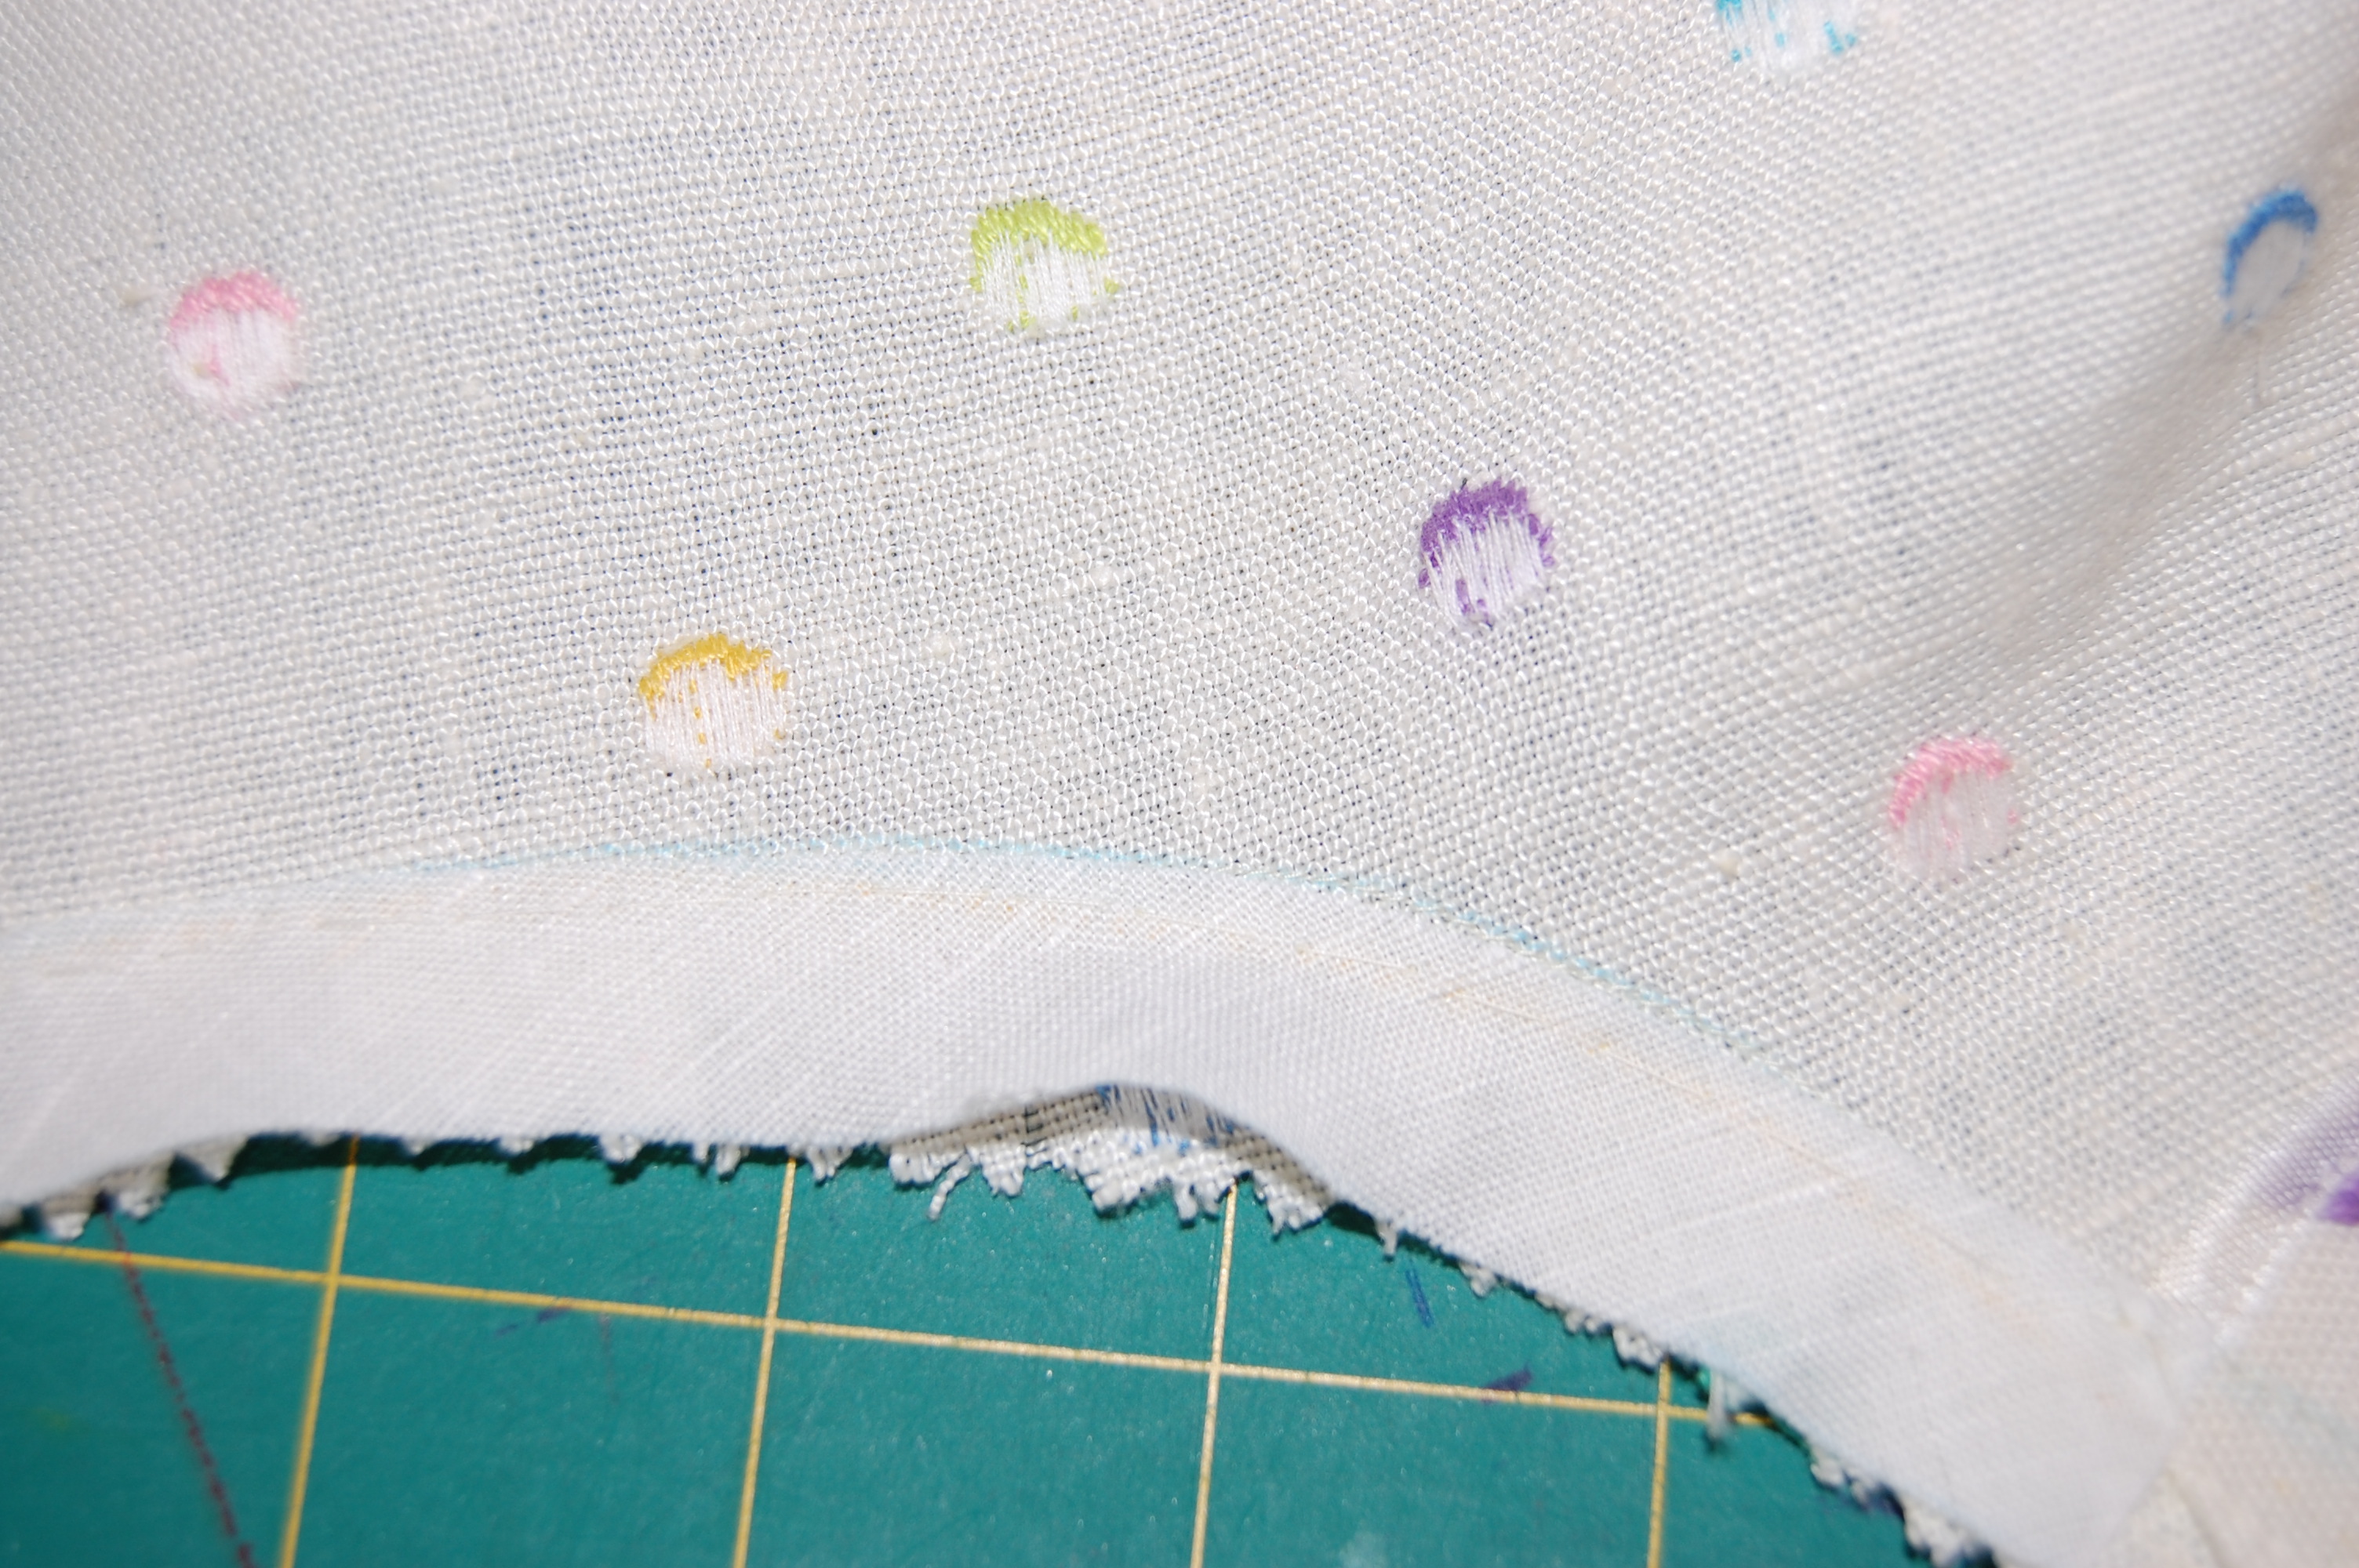
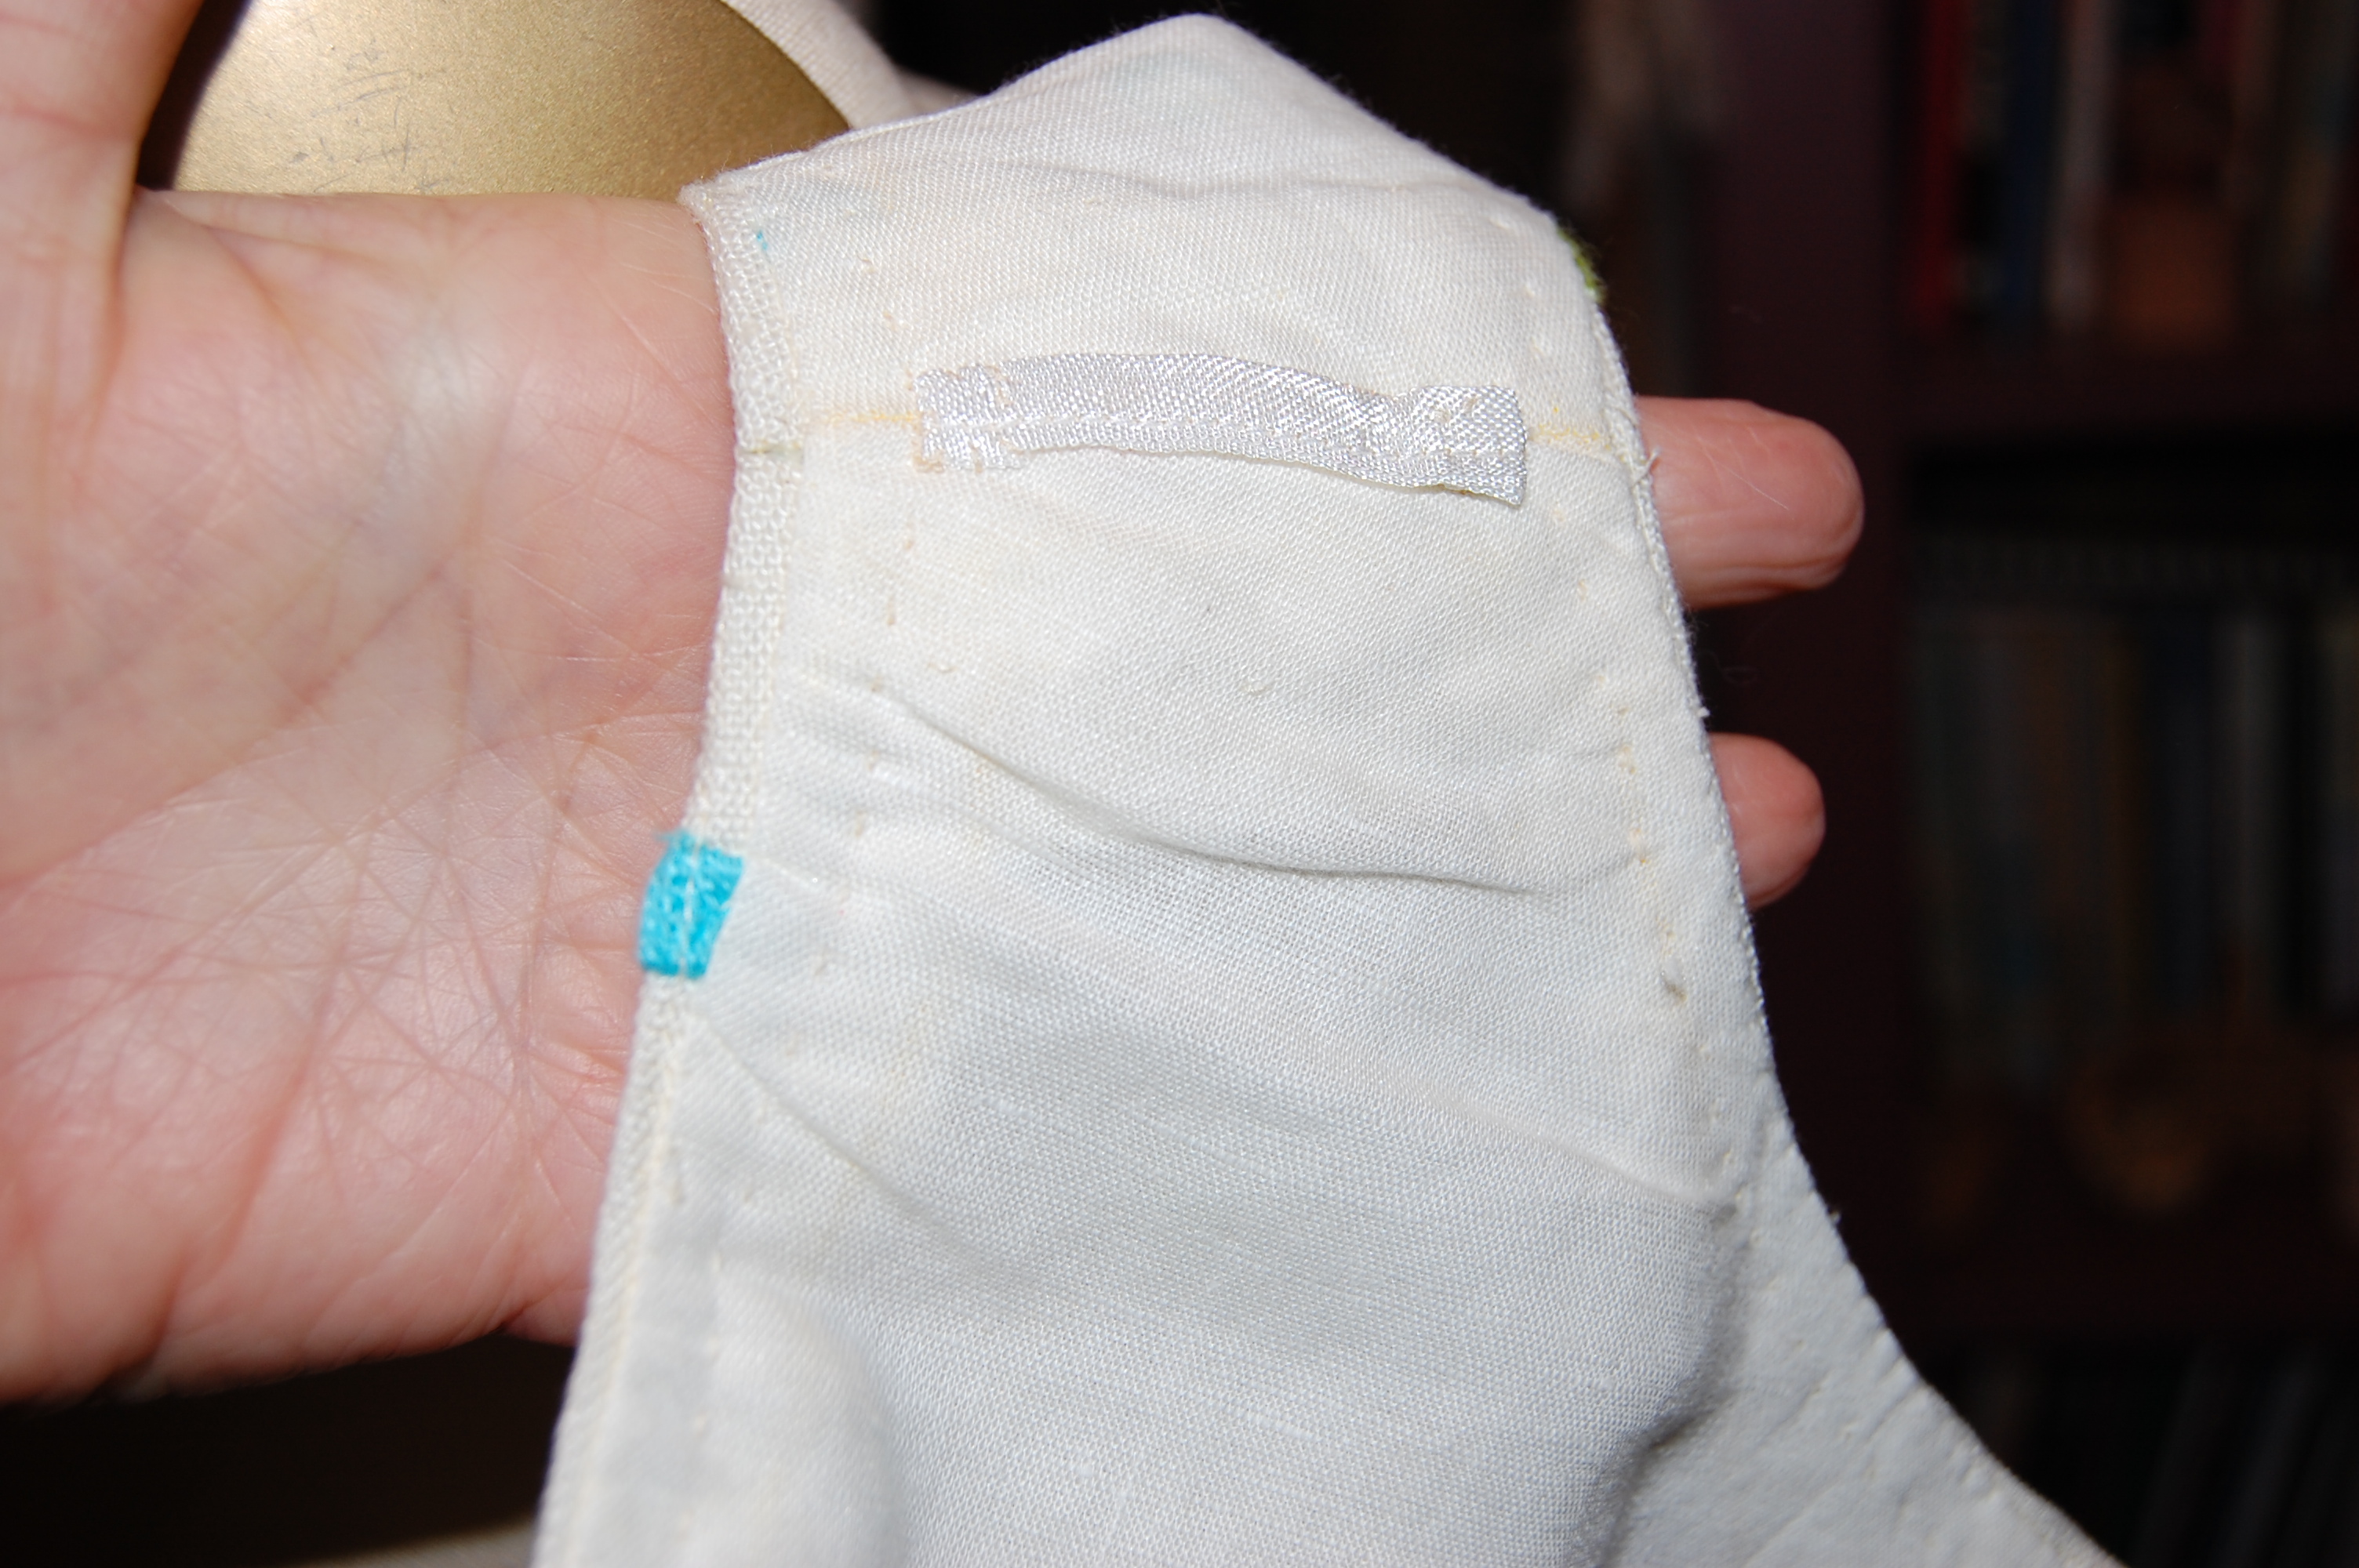
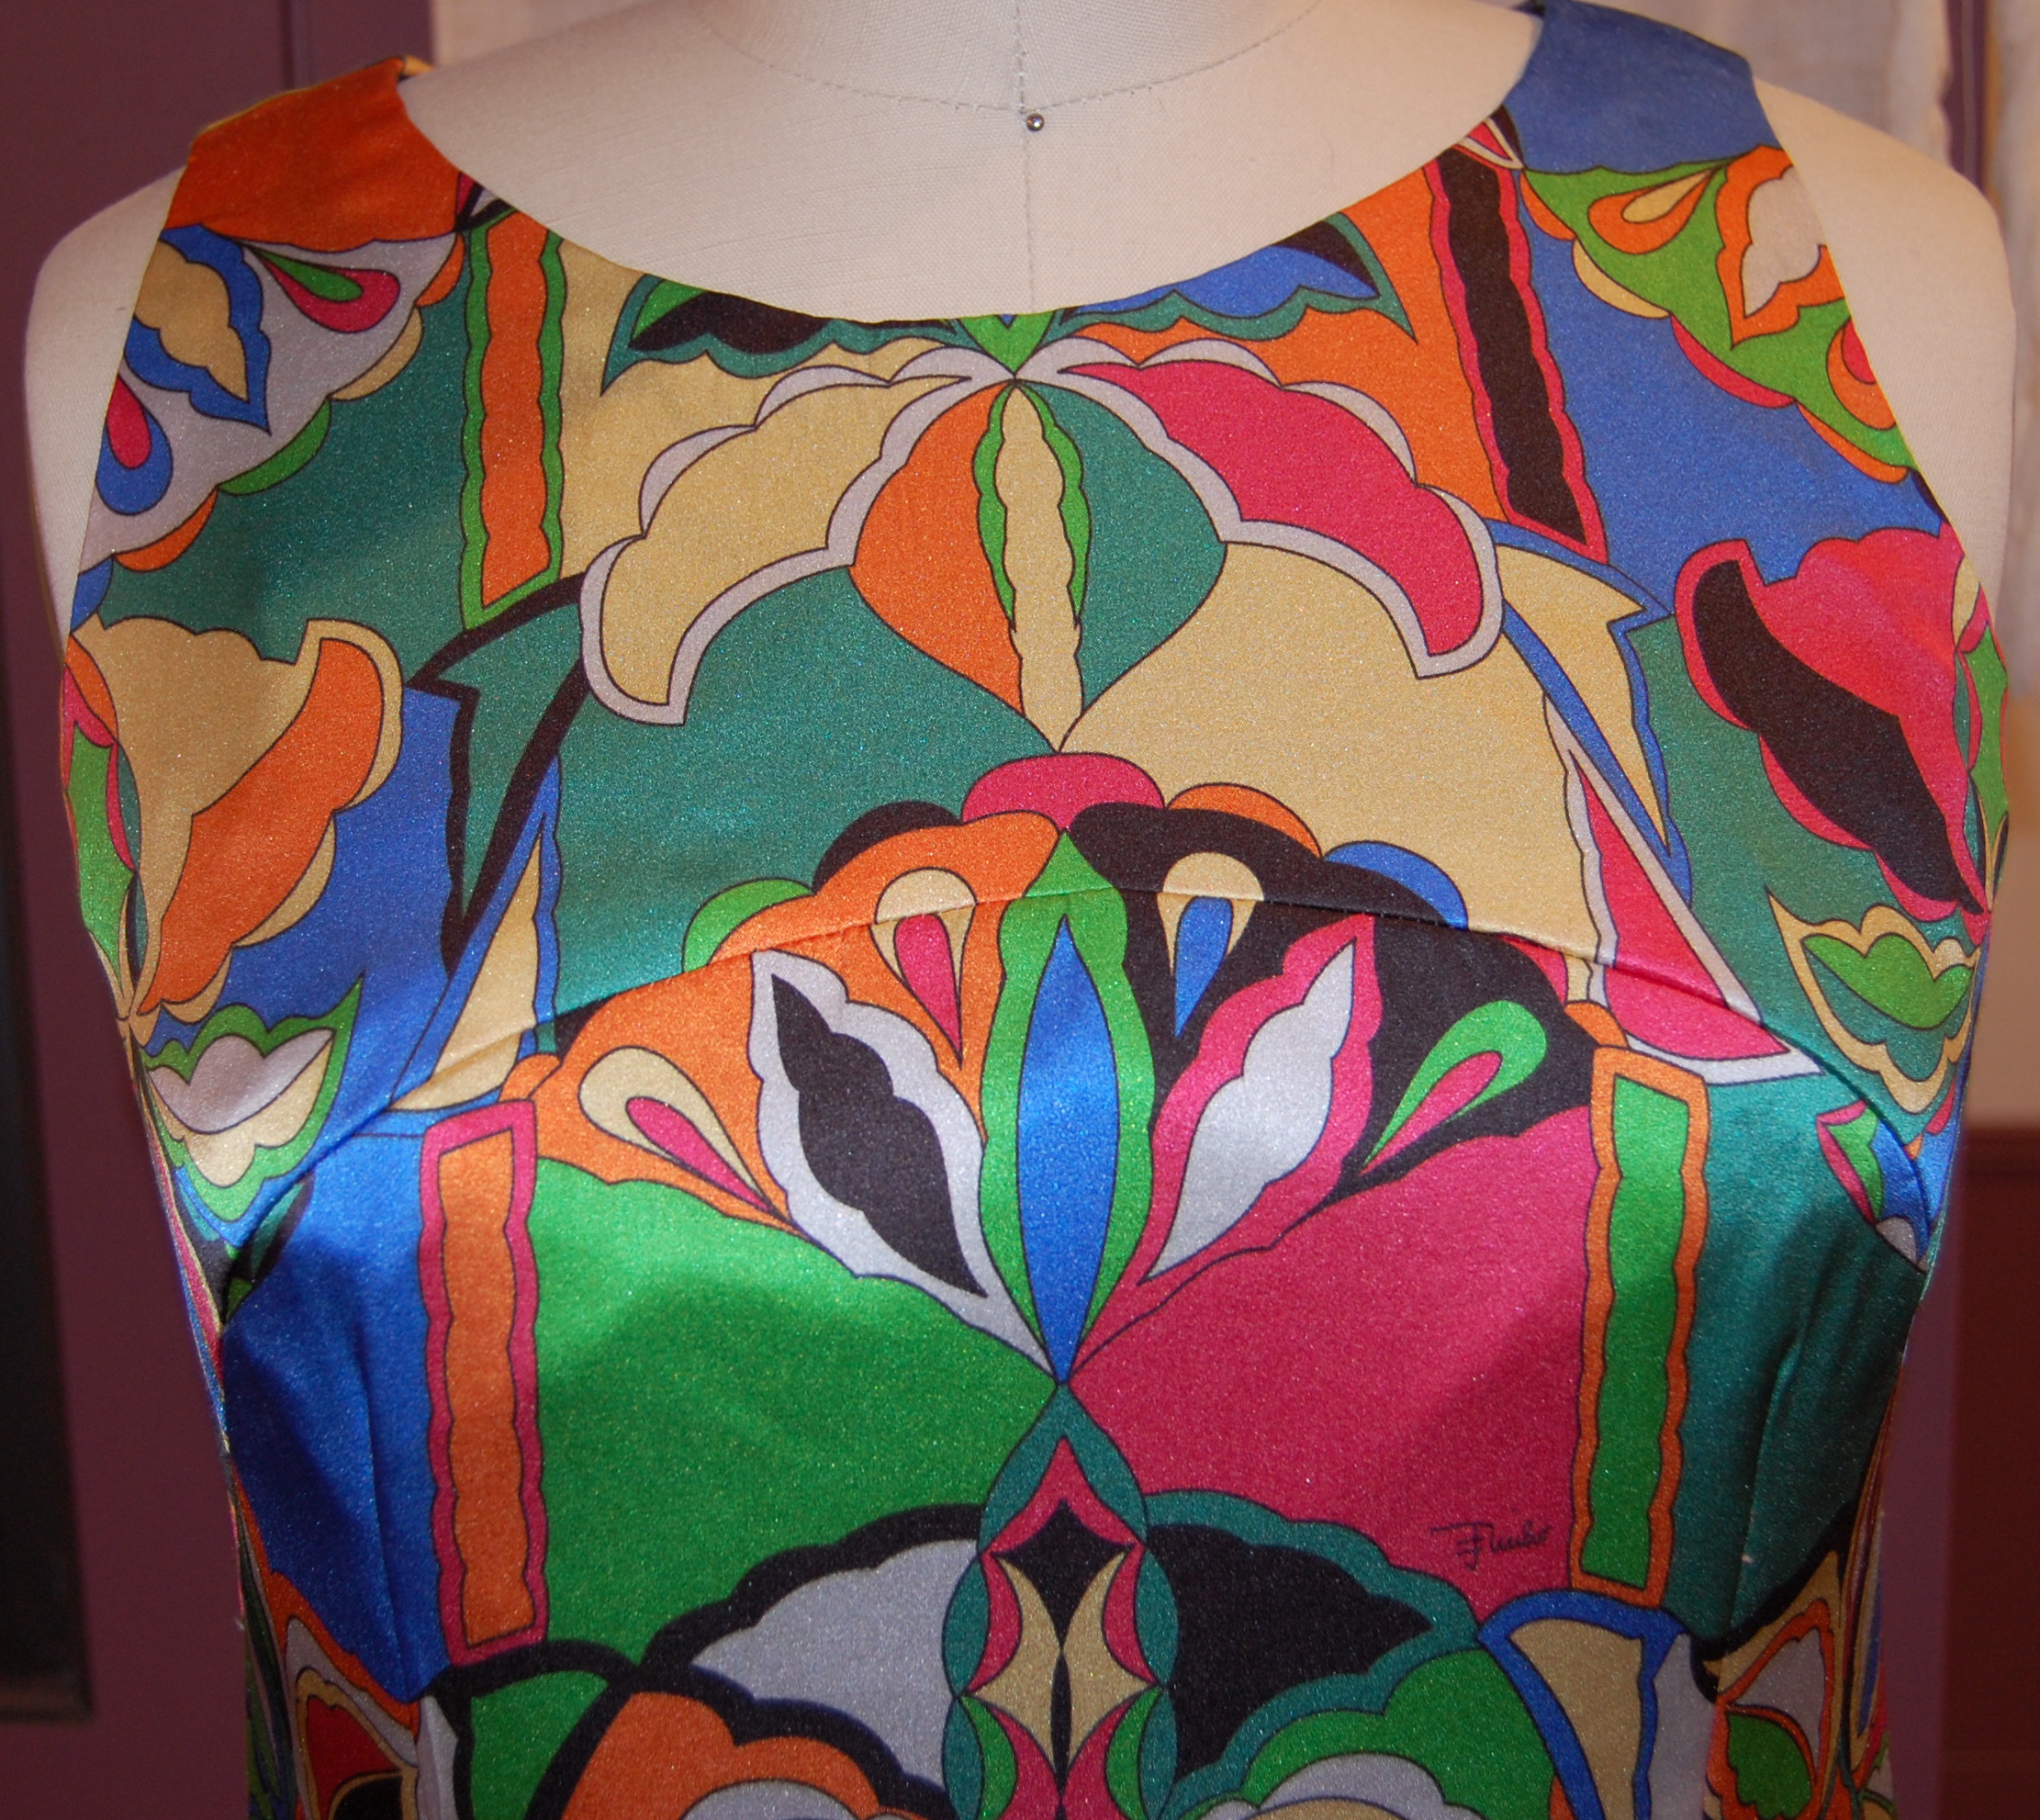
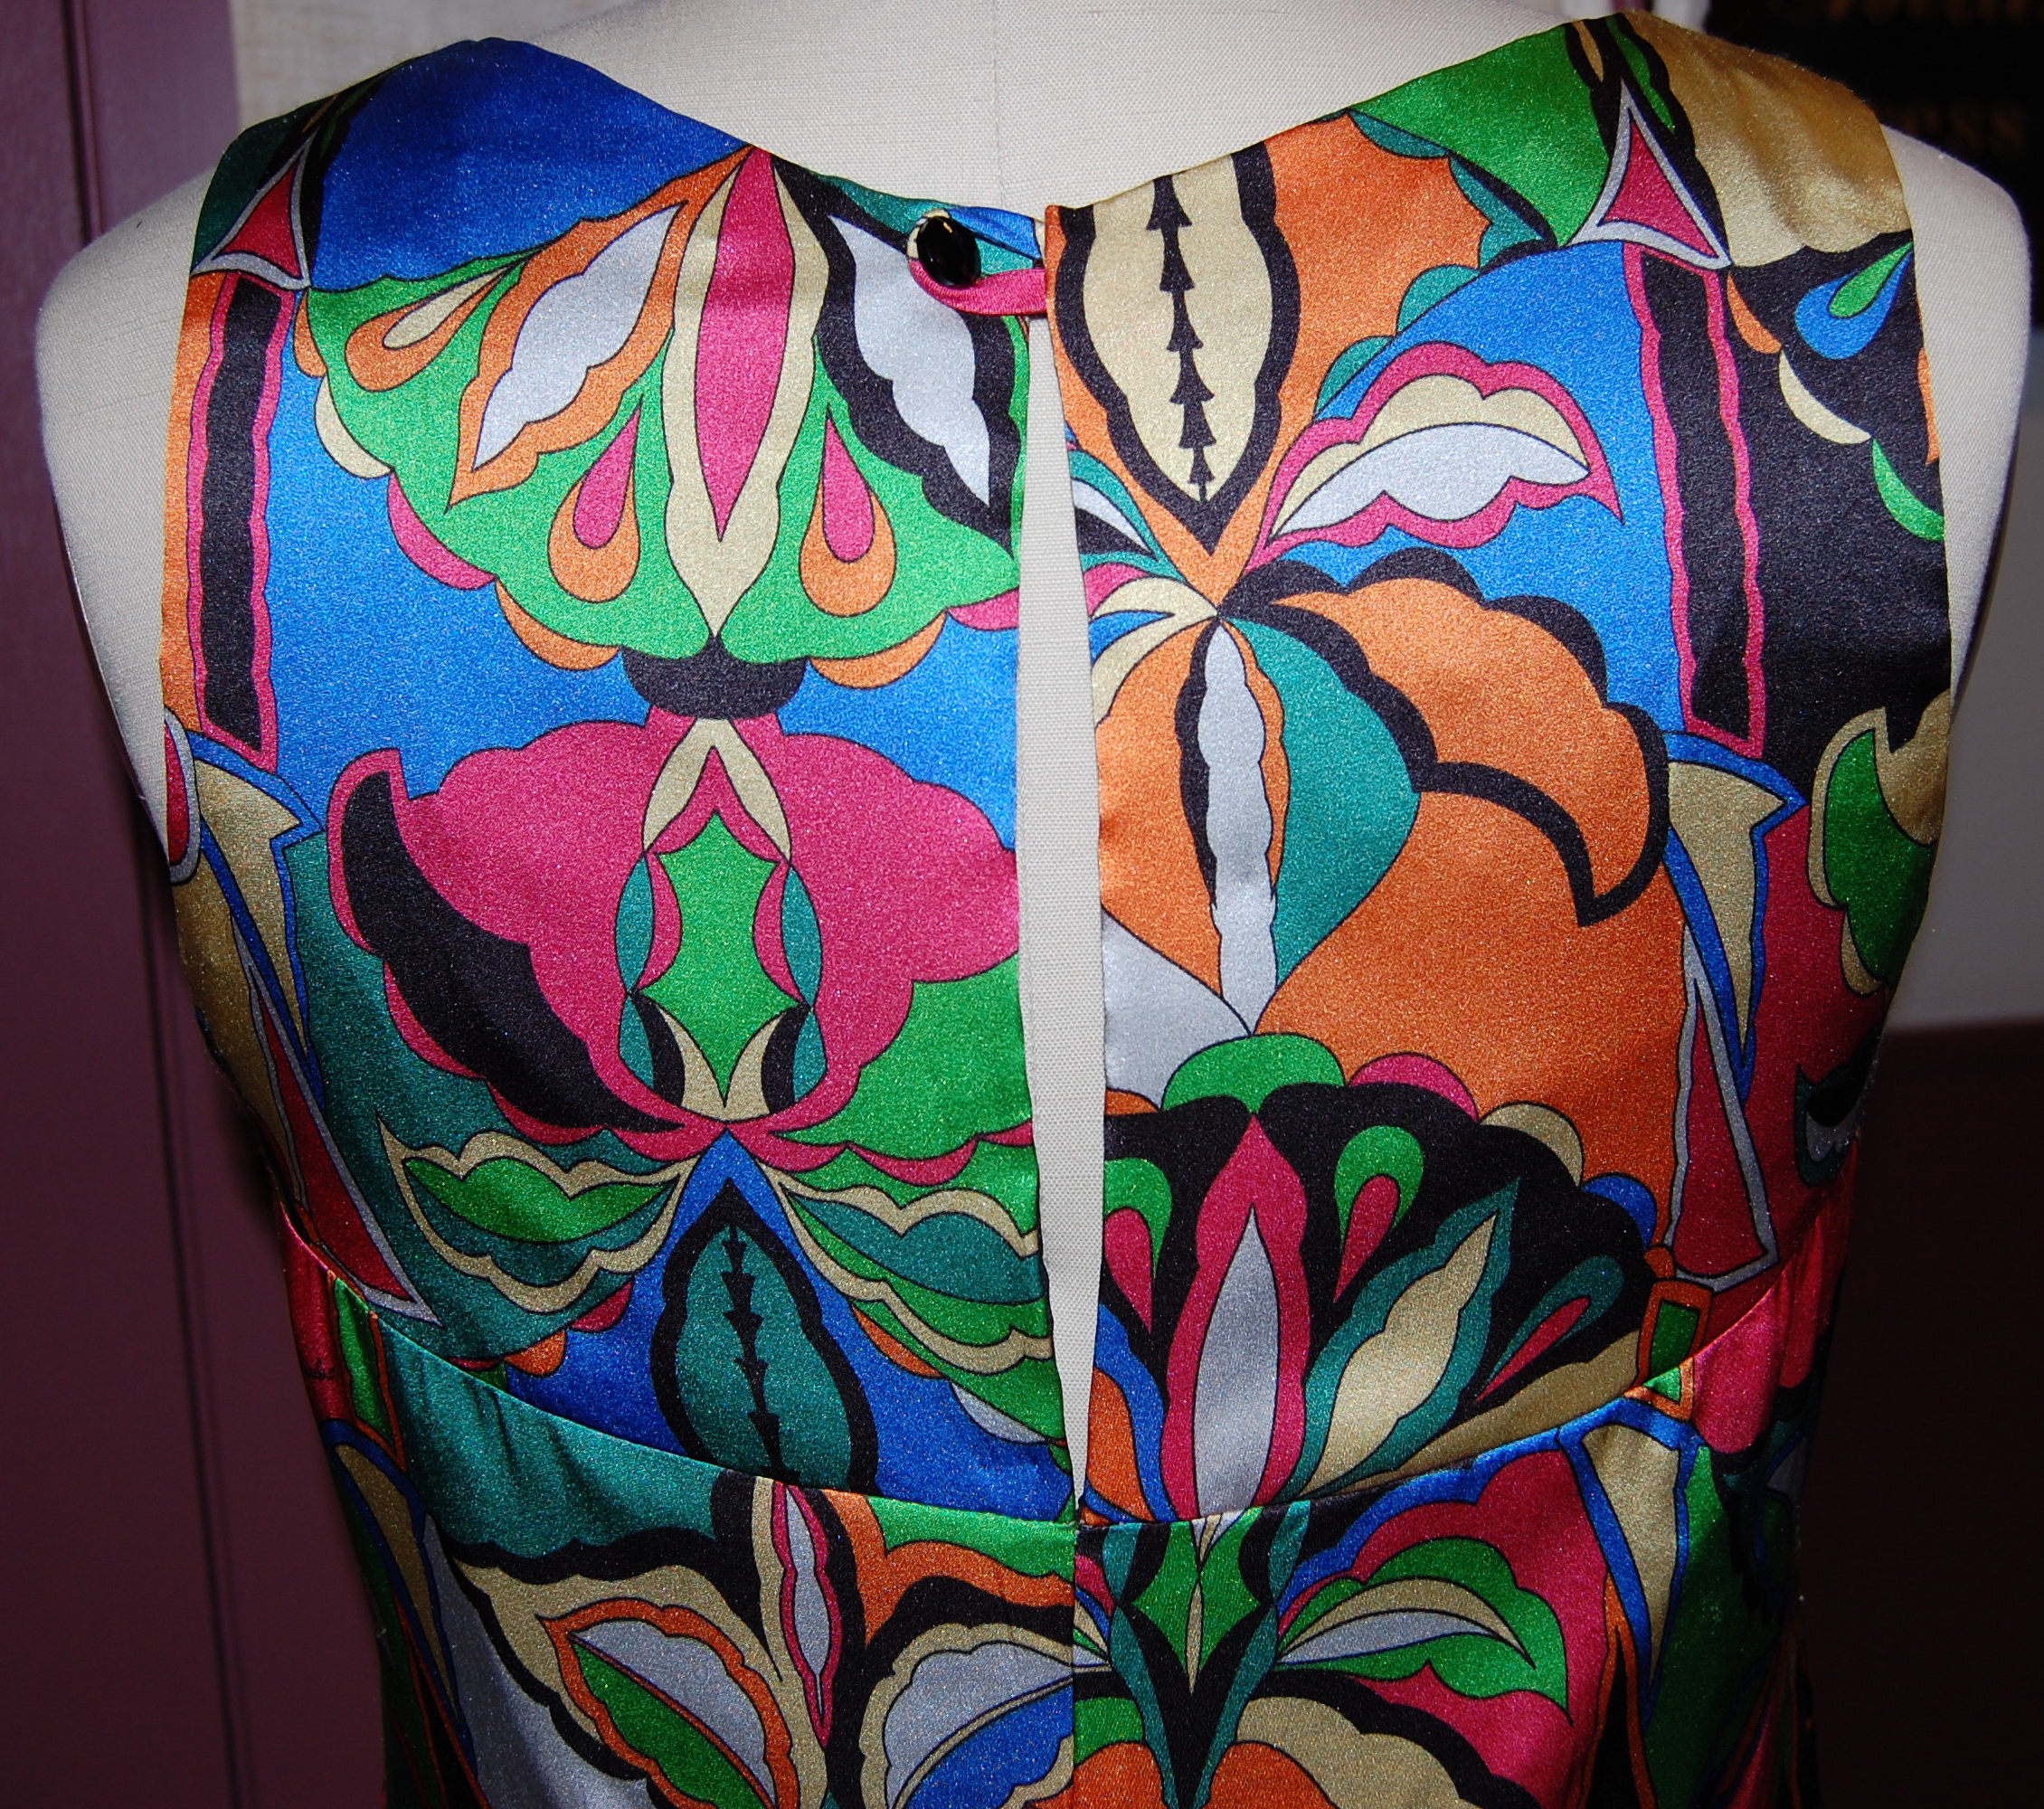
I found this piece of Moygashel linen earlier in the year. (It was sold to me as “probably Moygashel”, and how I determined for certain that is indeed that famous brand of Irish linen required some detective work, which I’ll cover in a future post.)
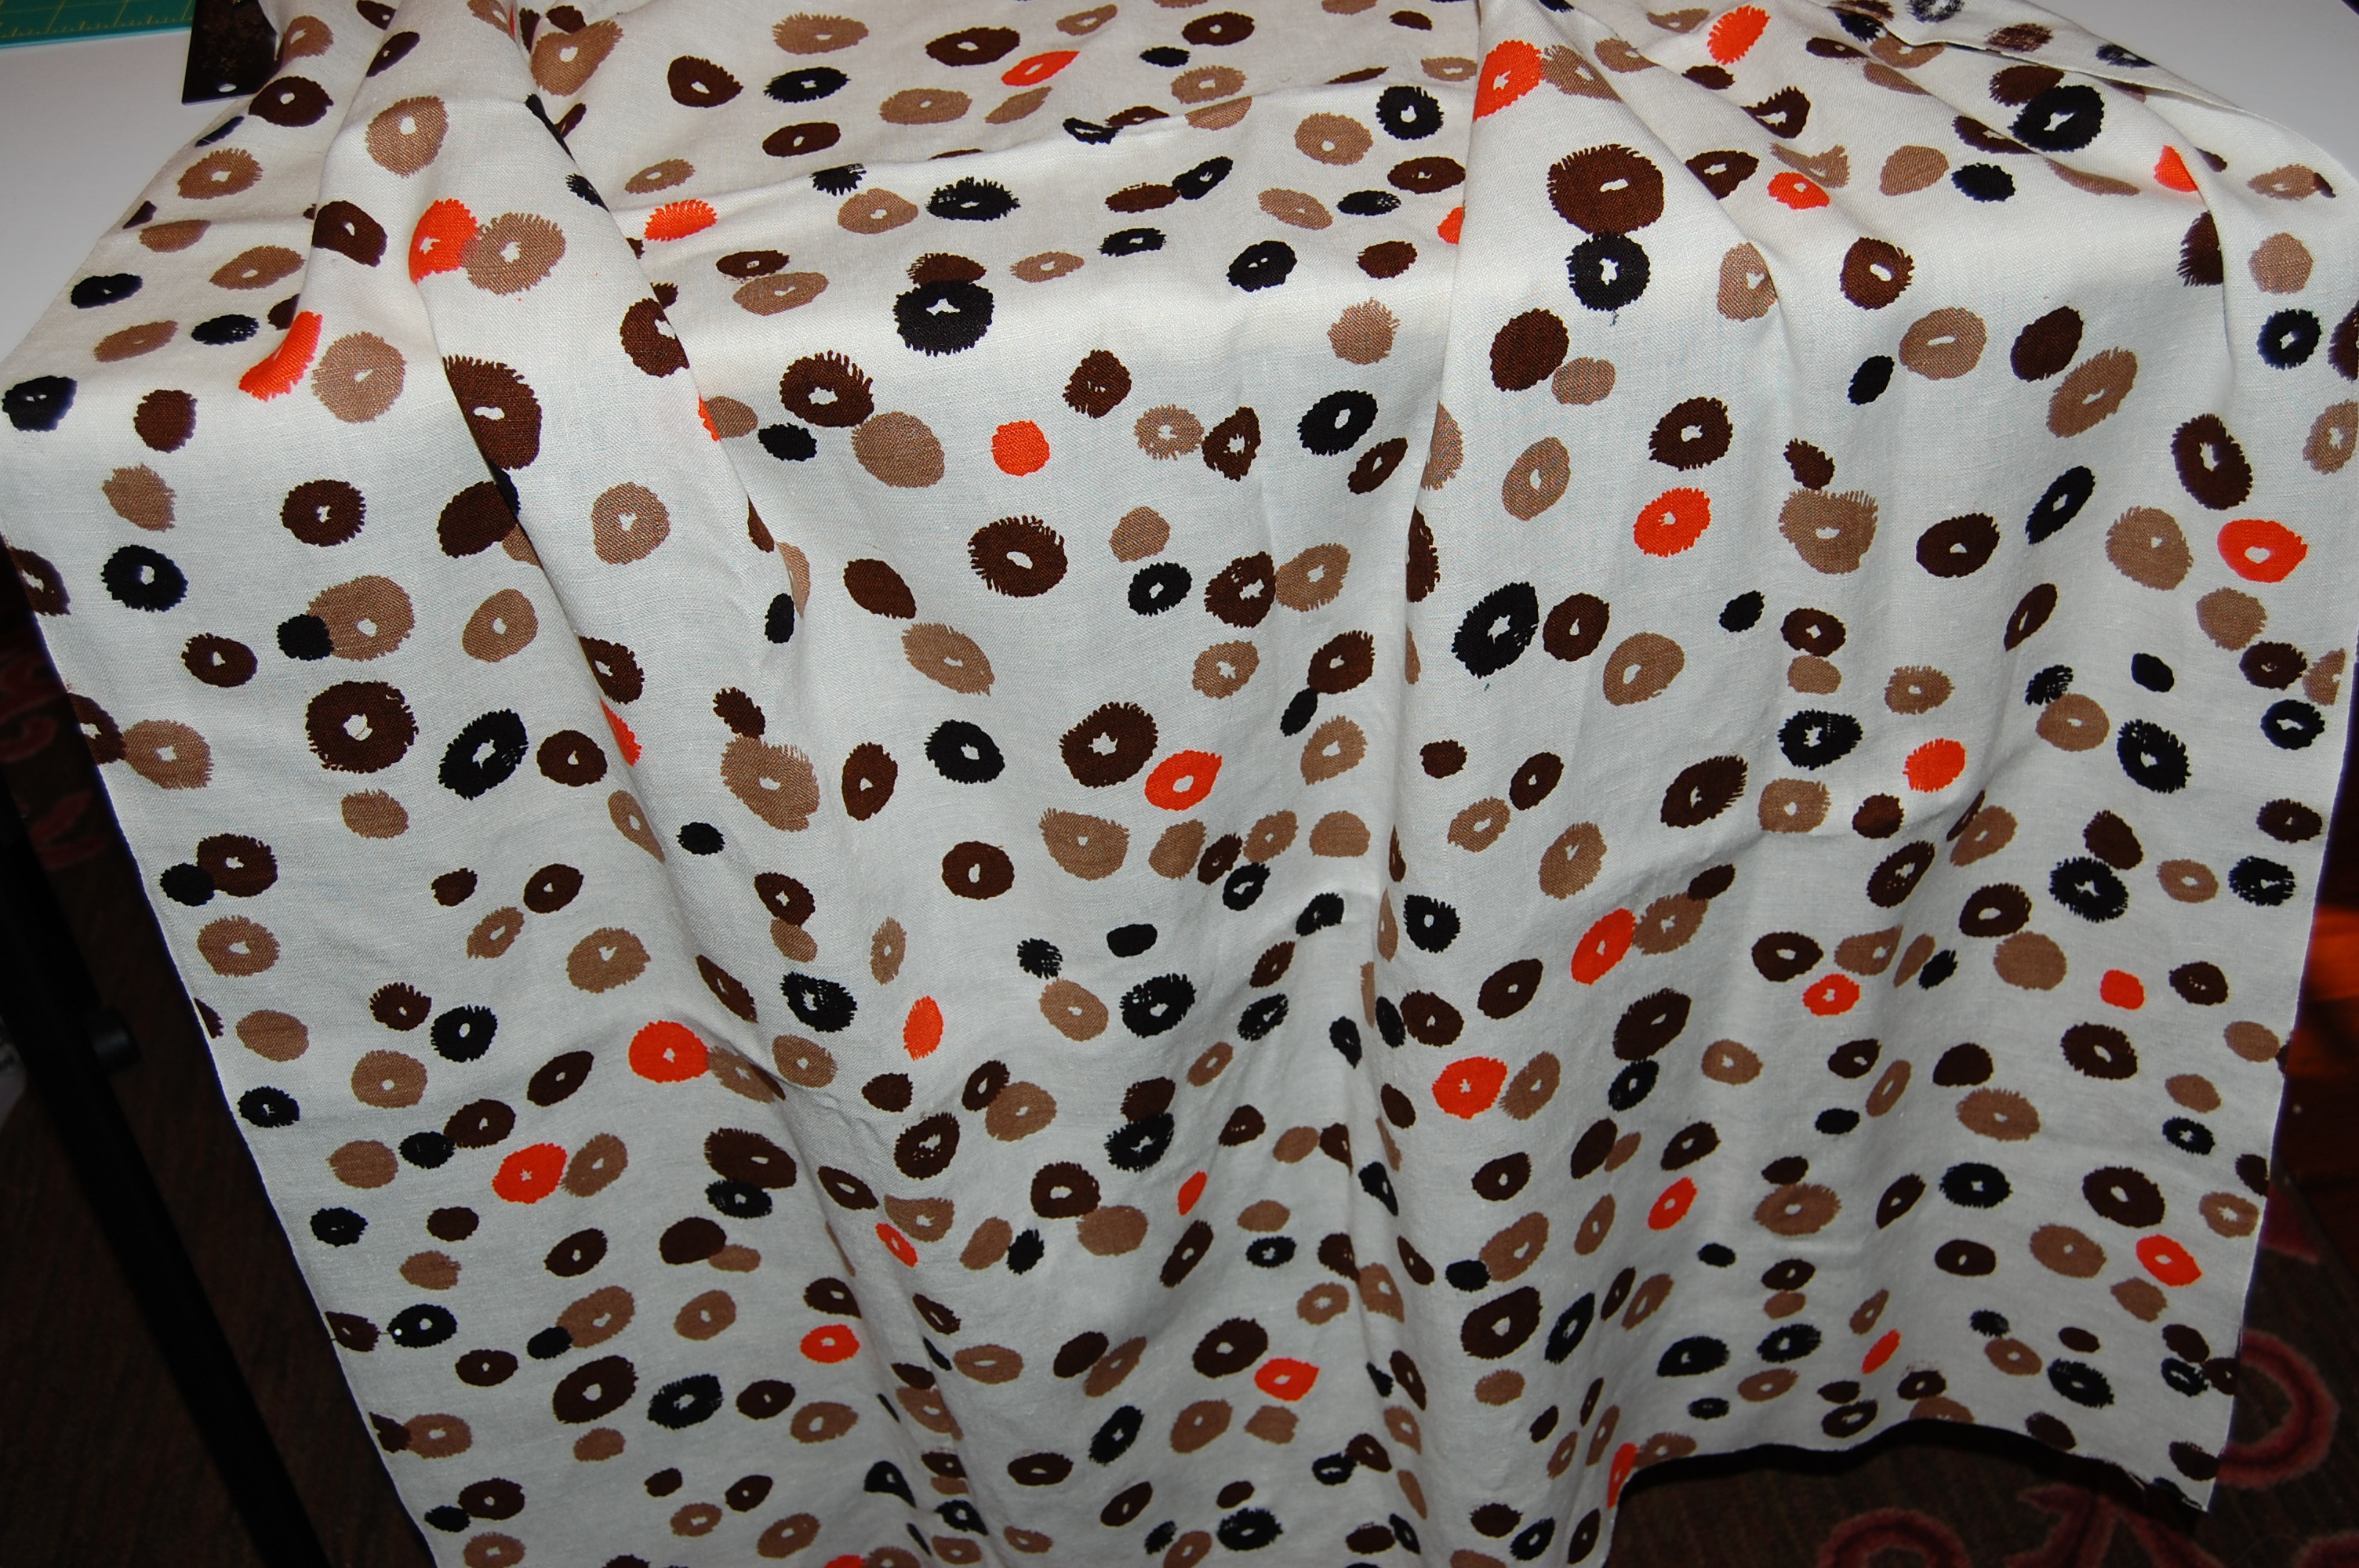
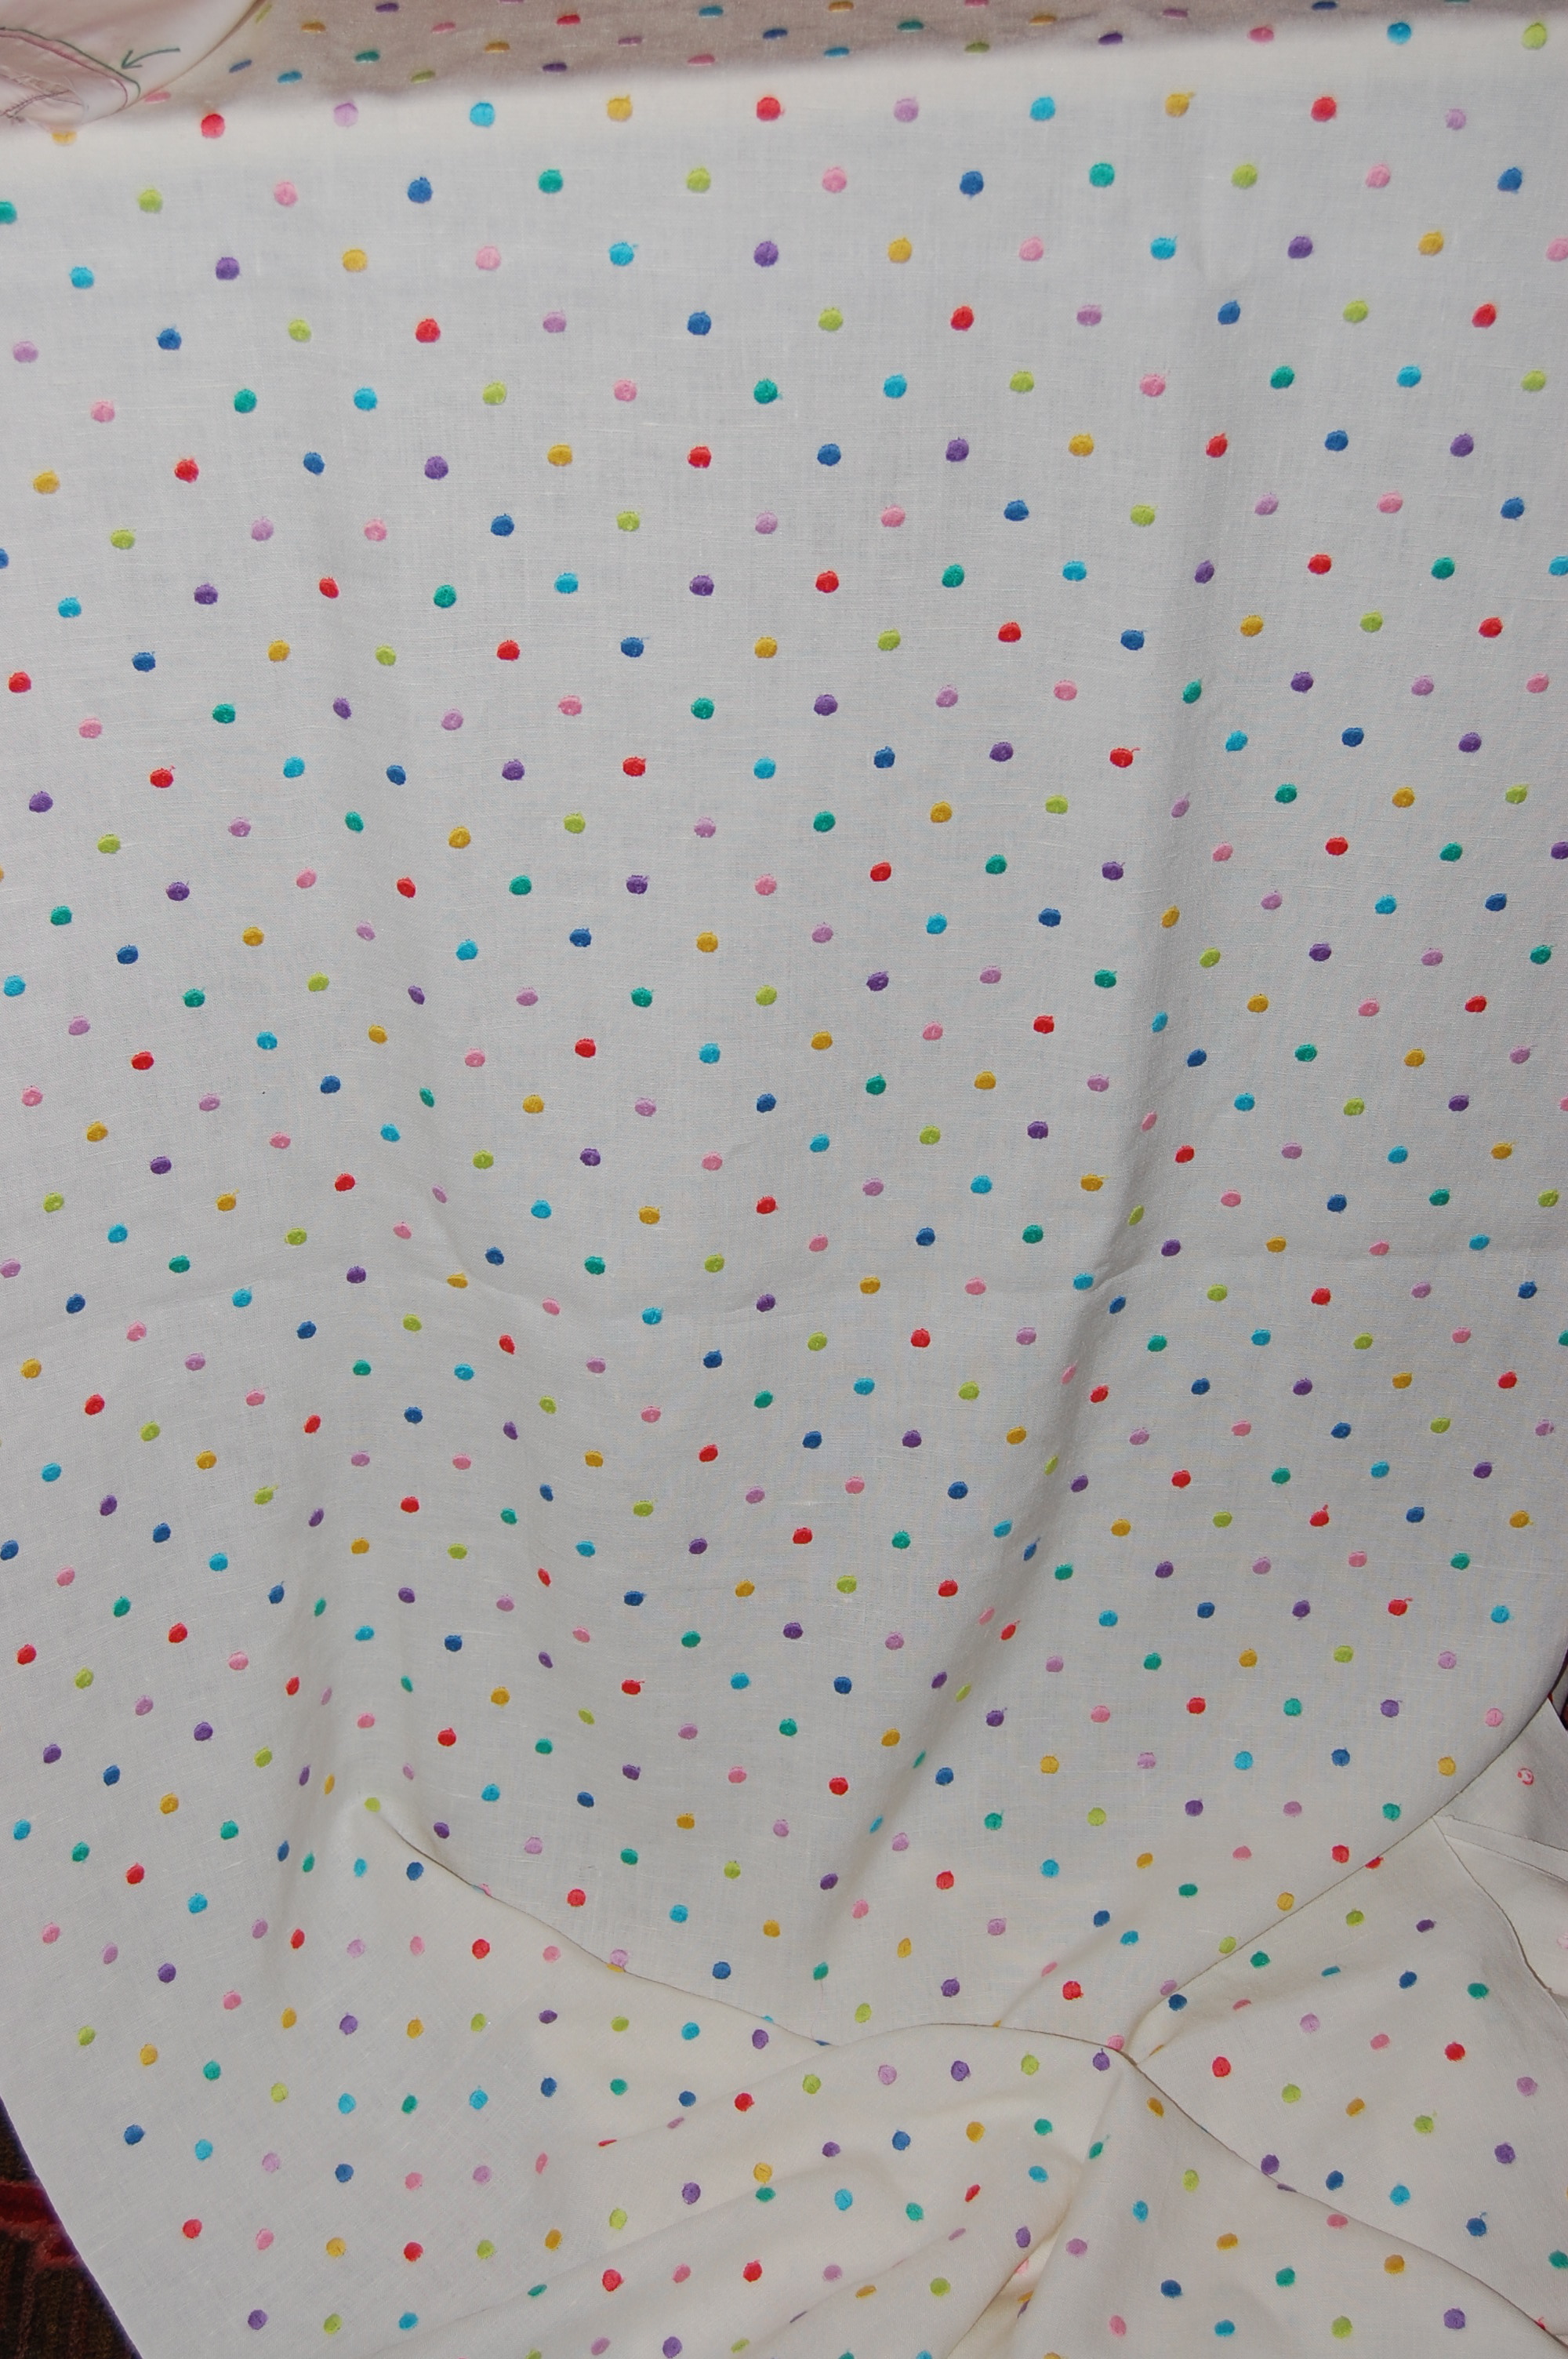
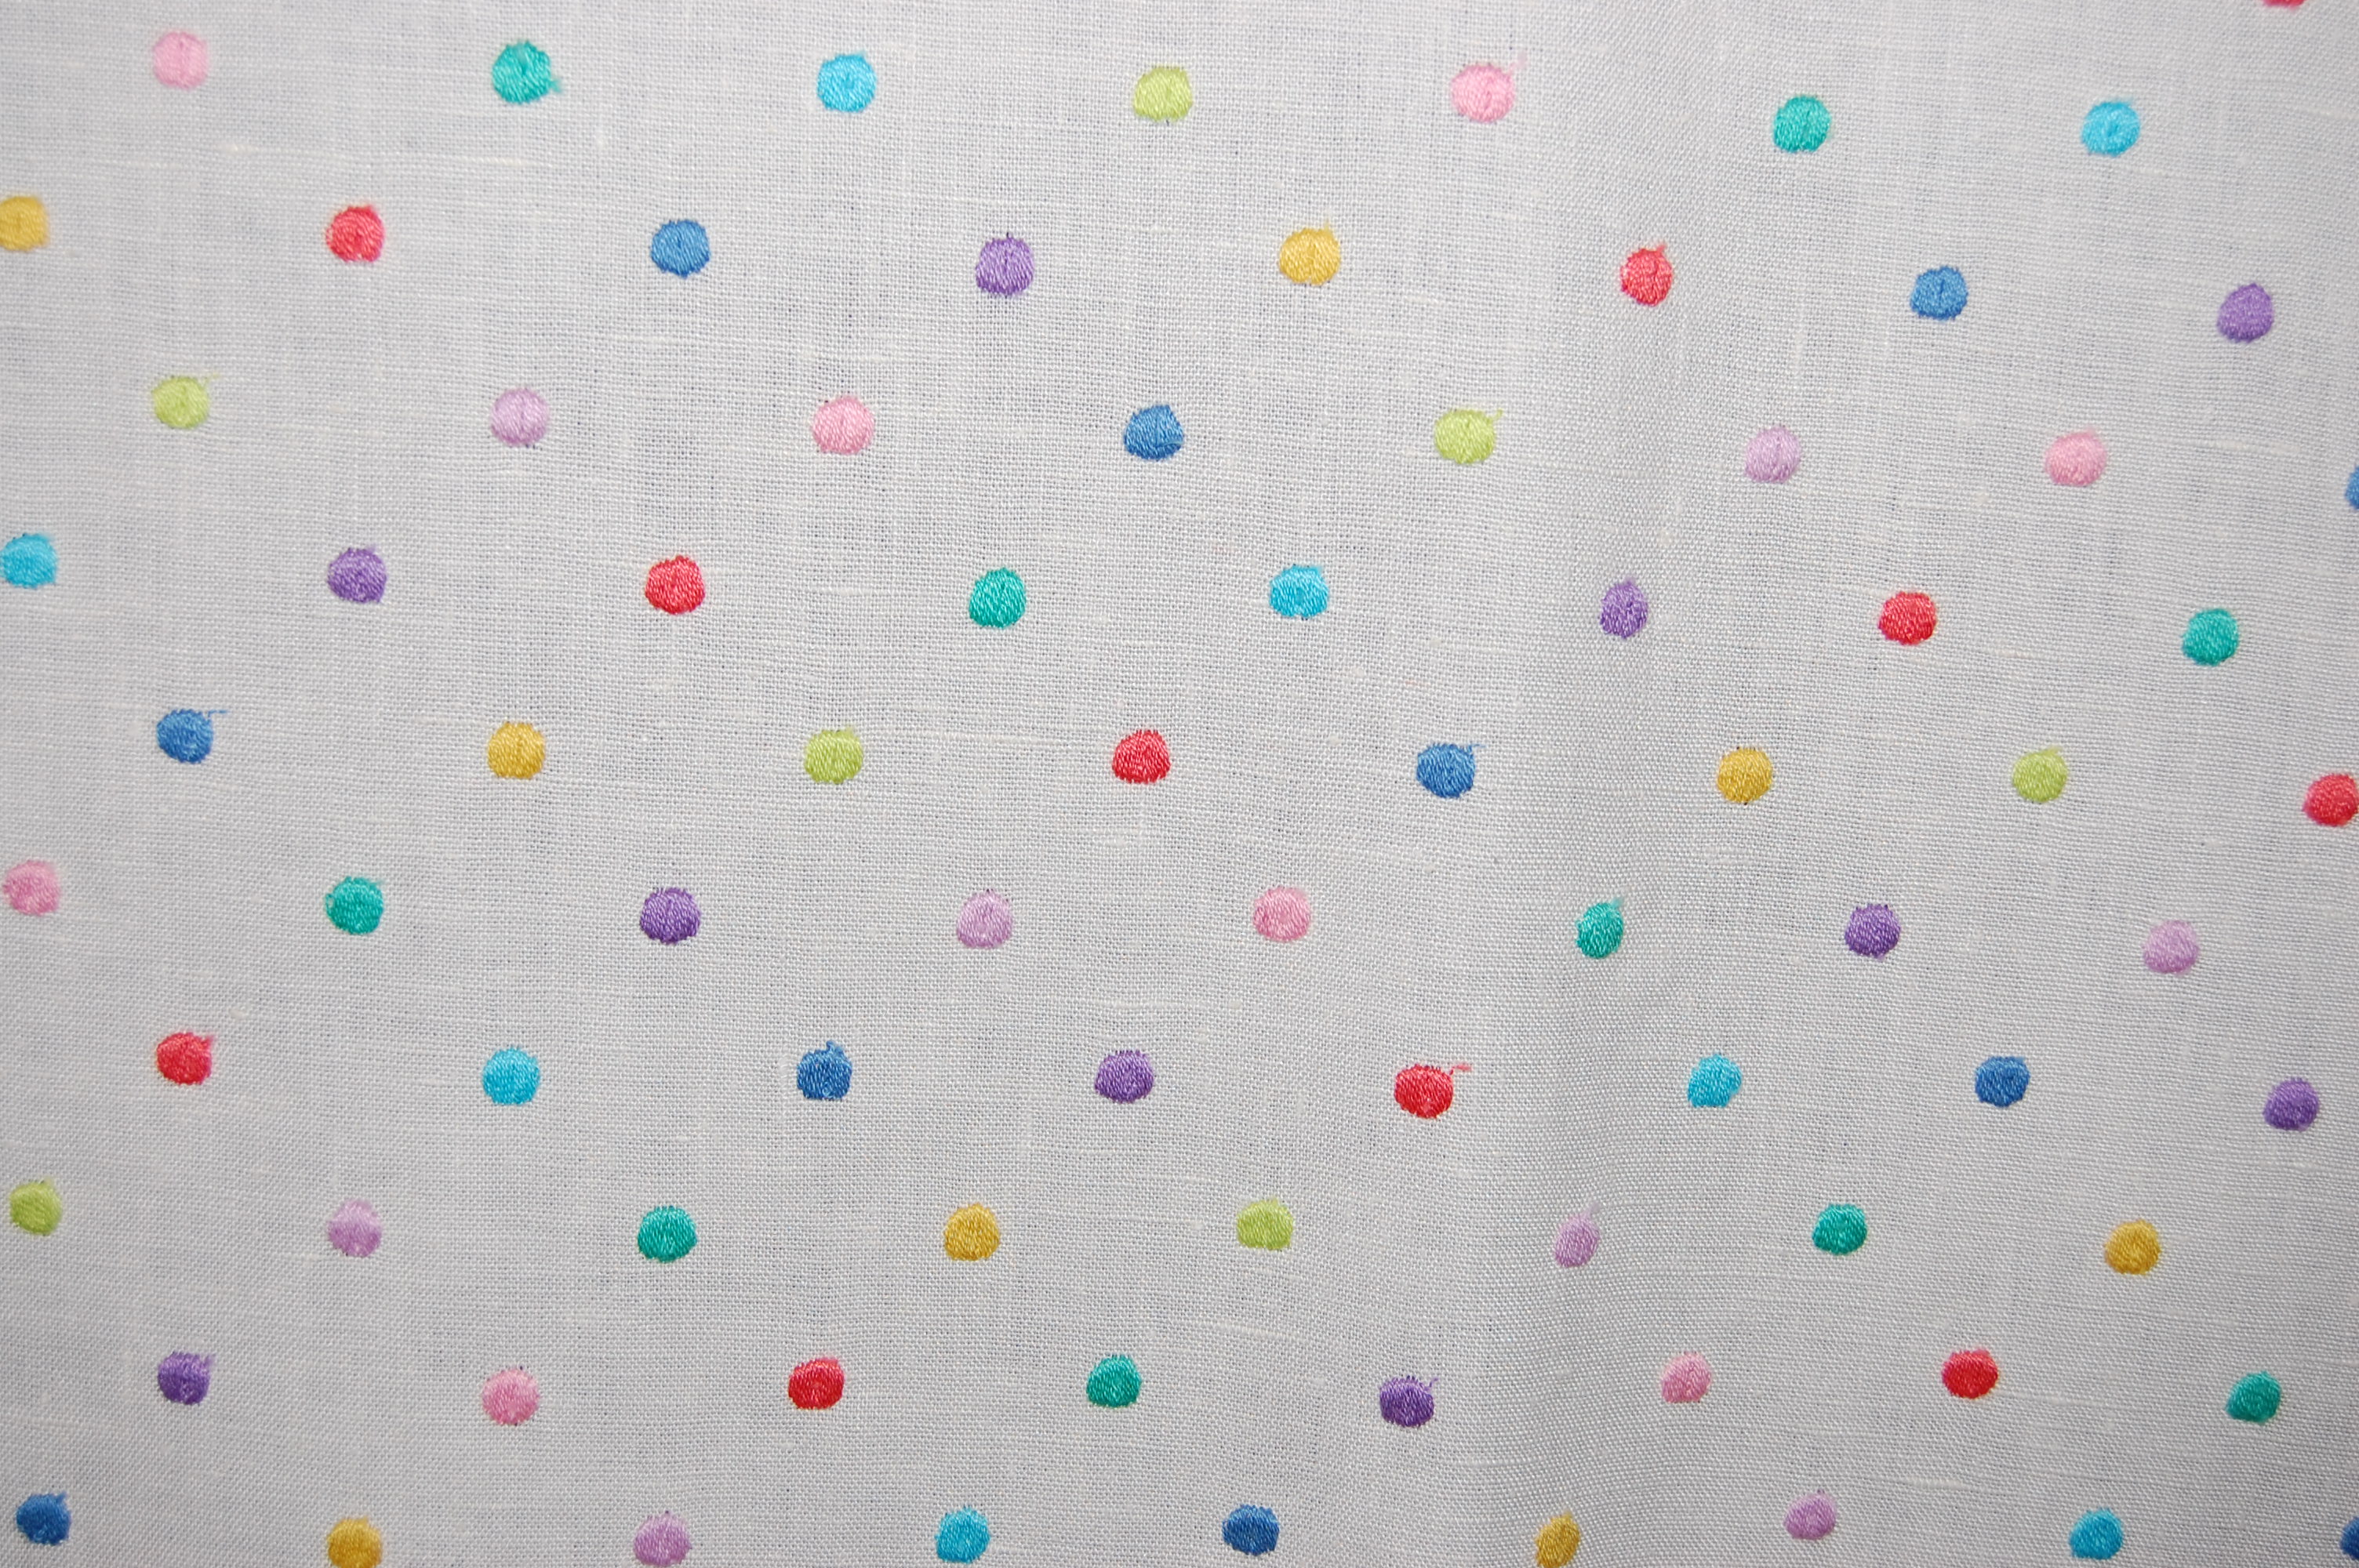
Freshly laundered, this linen looks and feels like new!
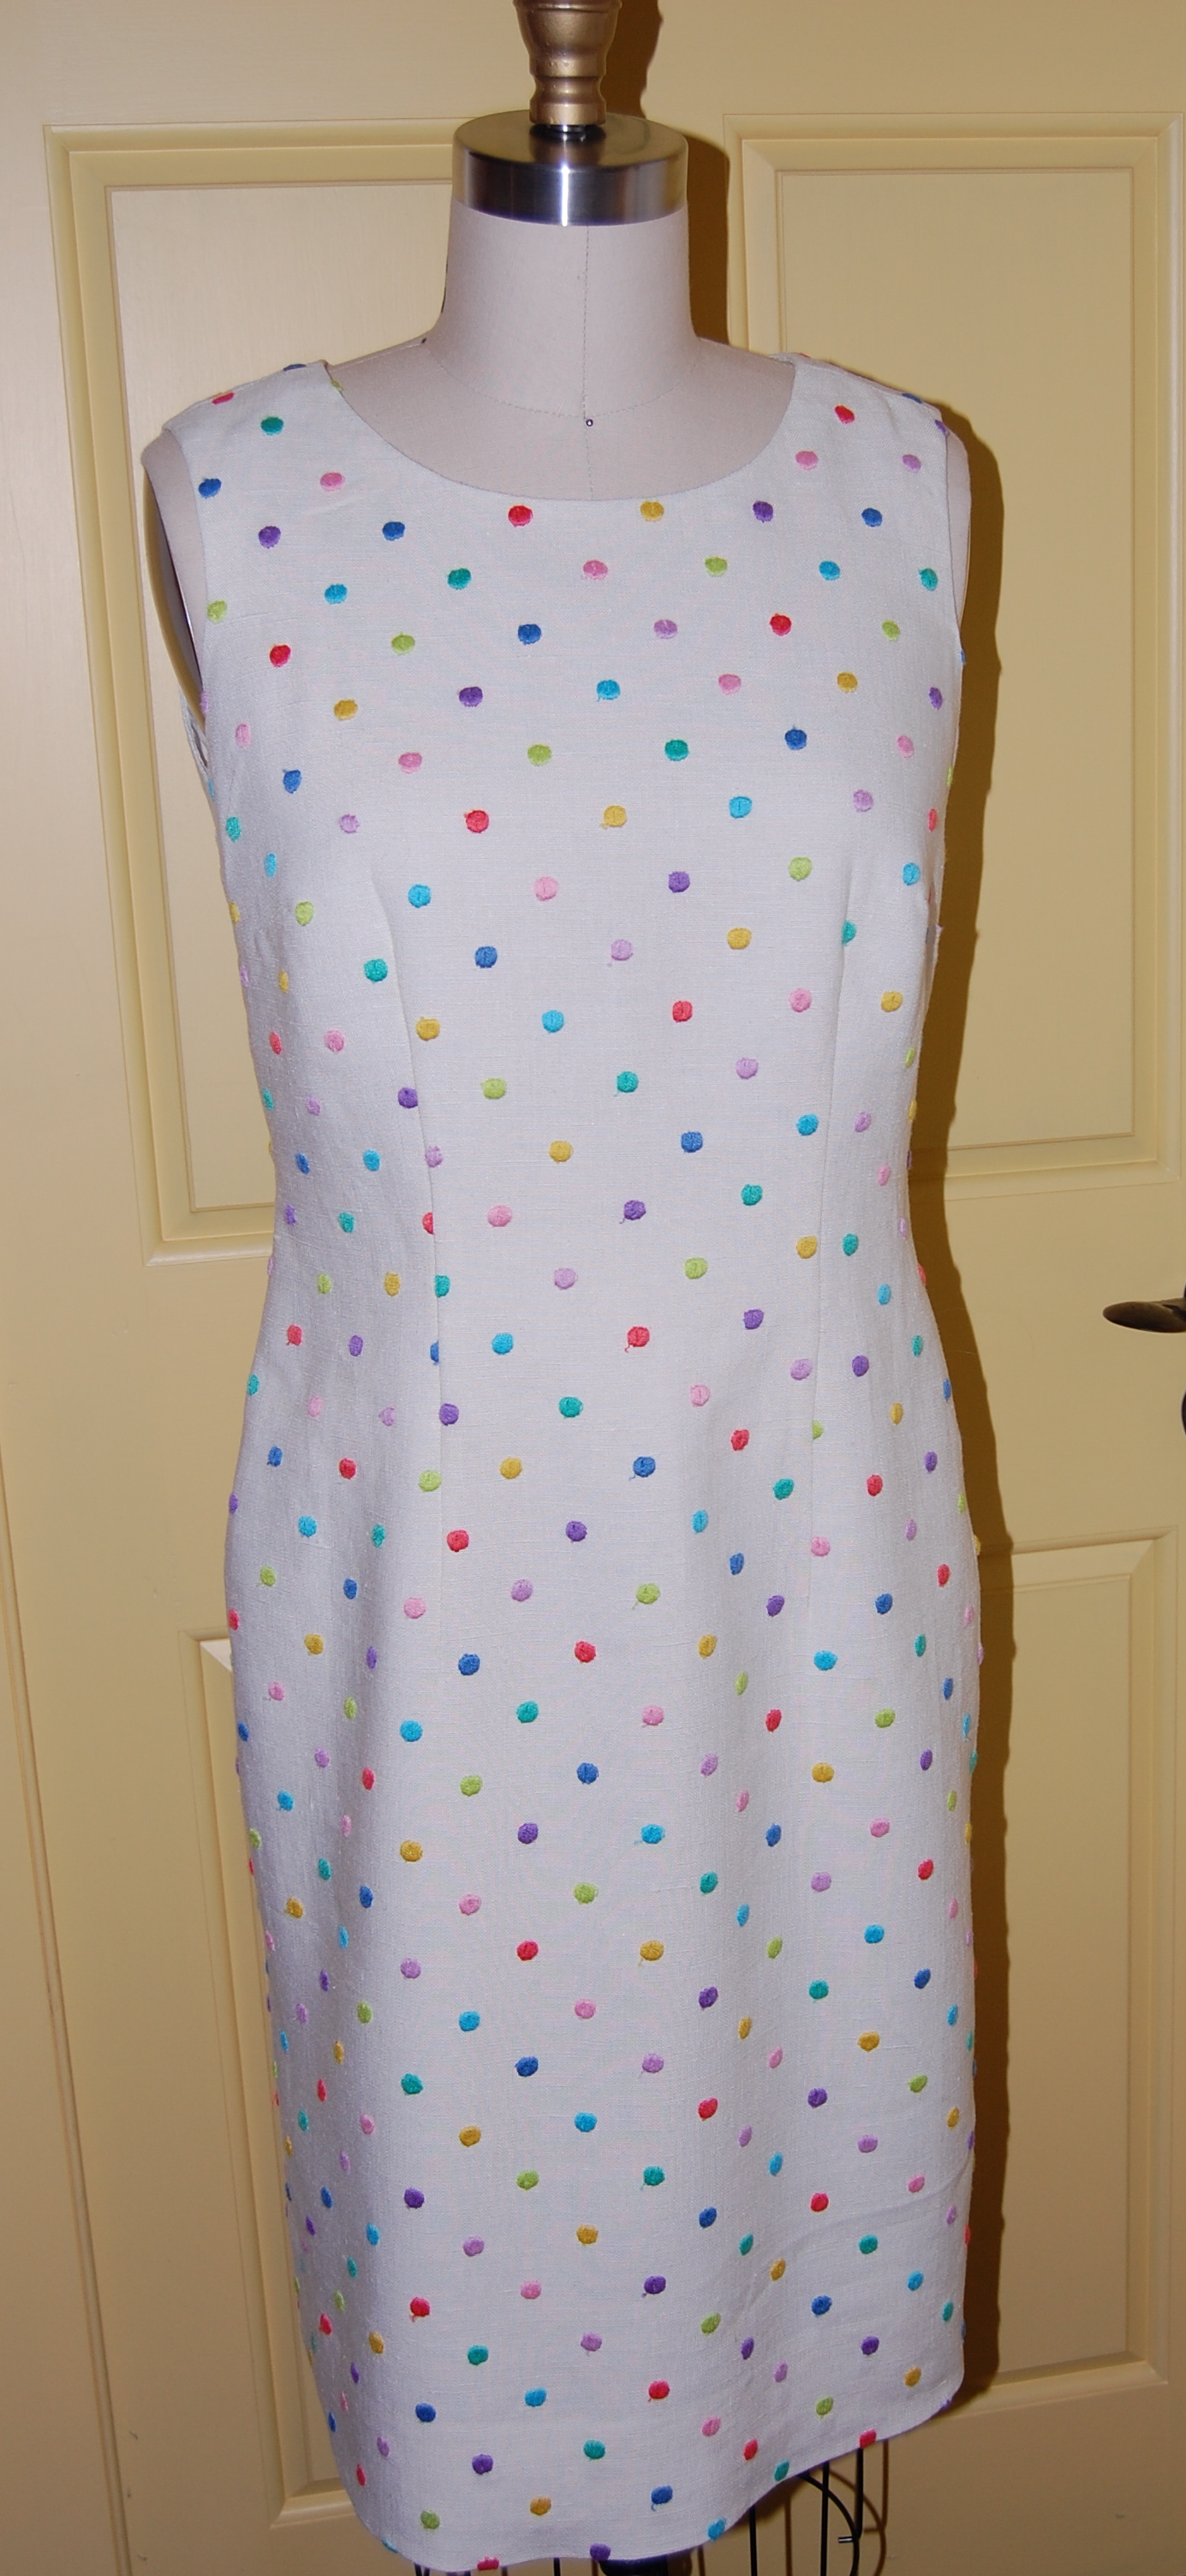
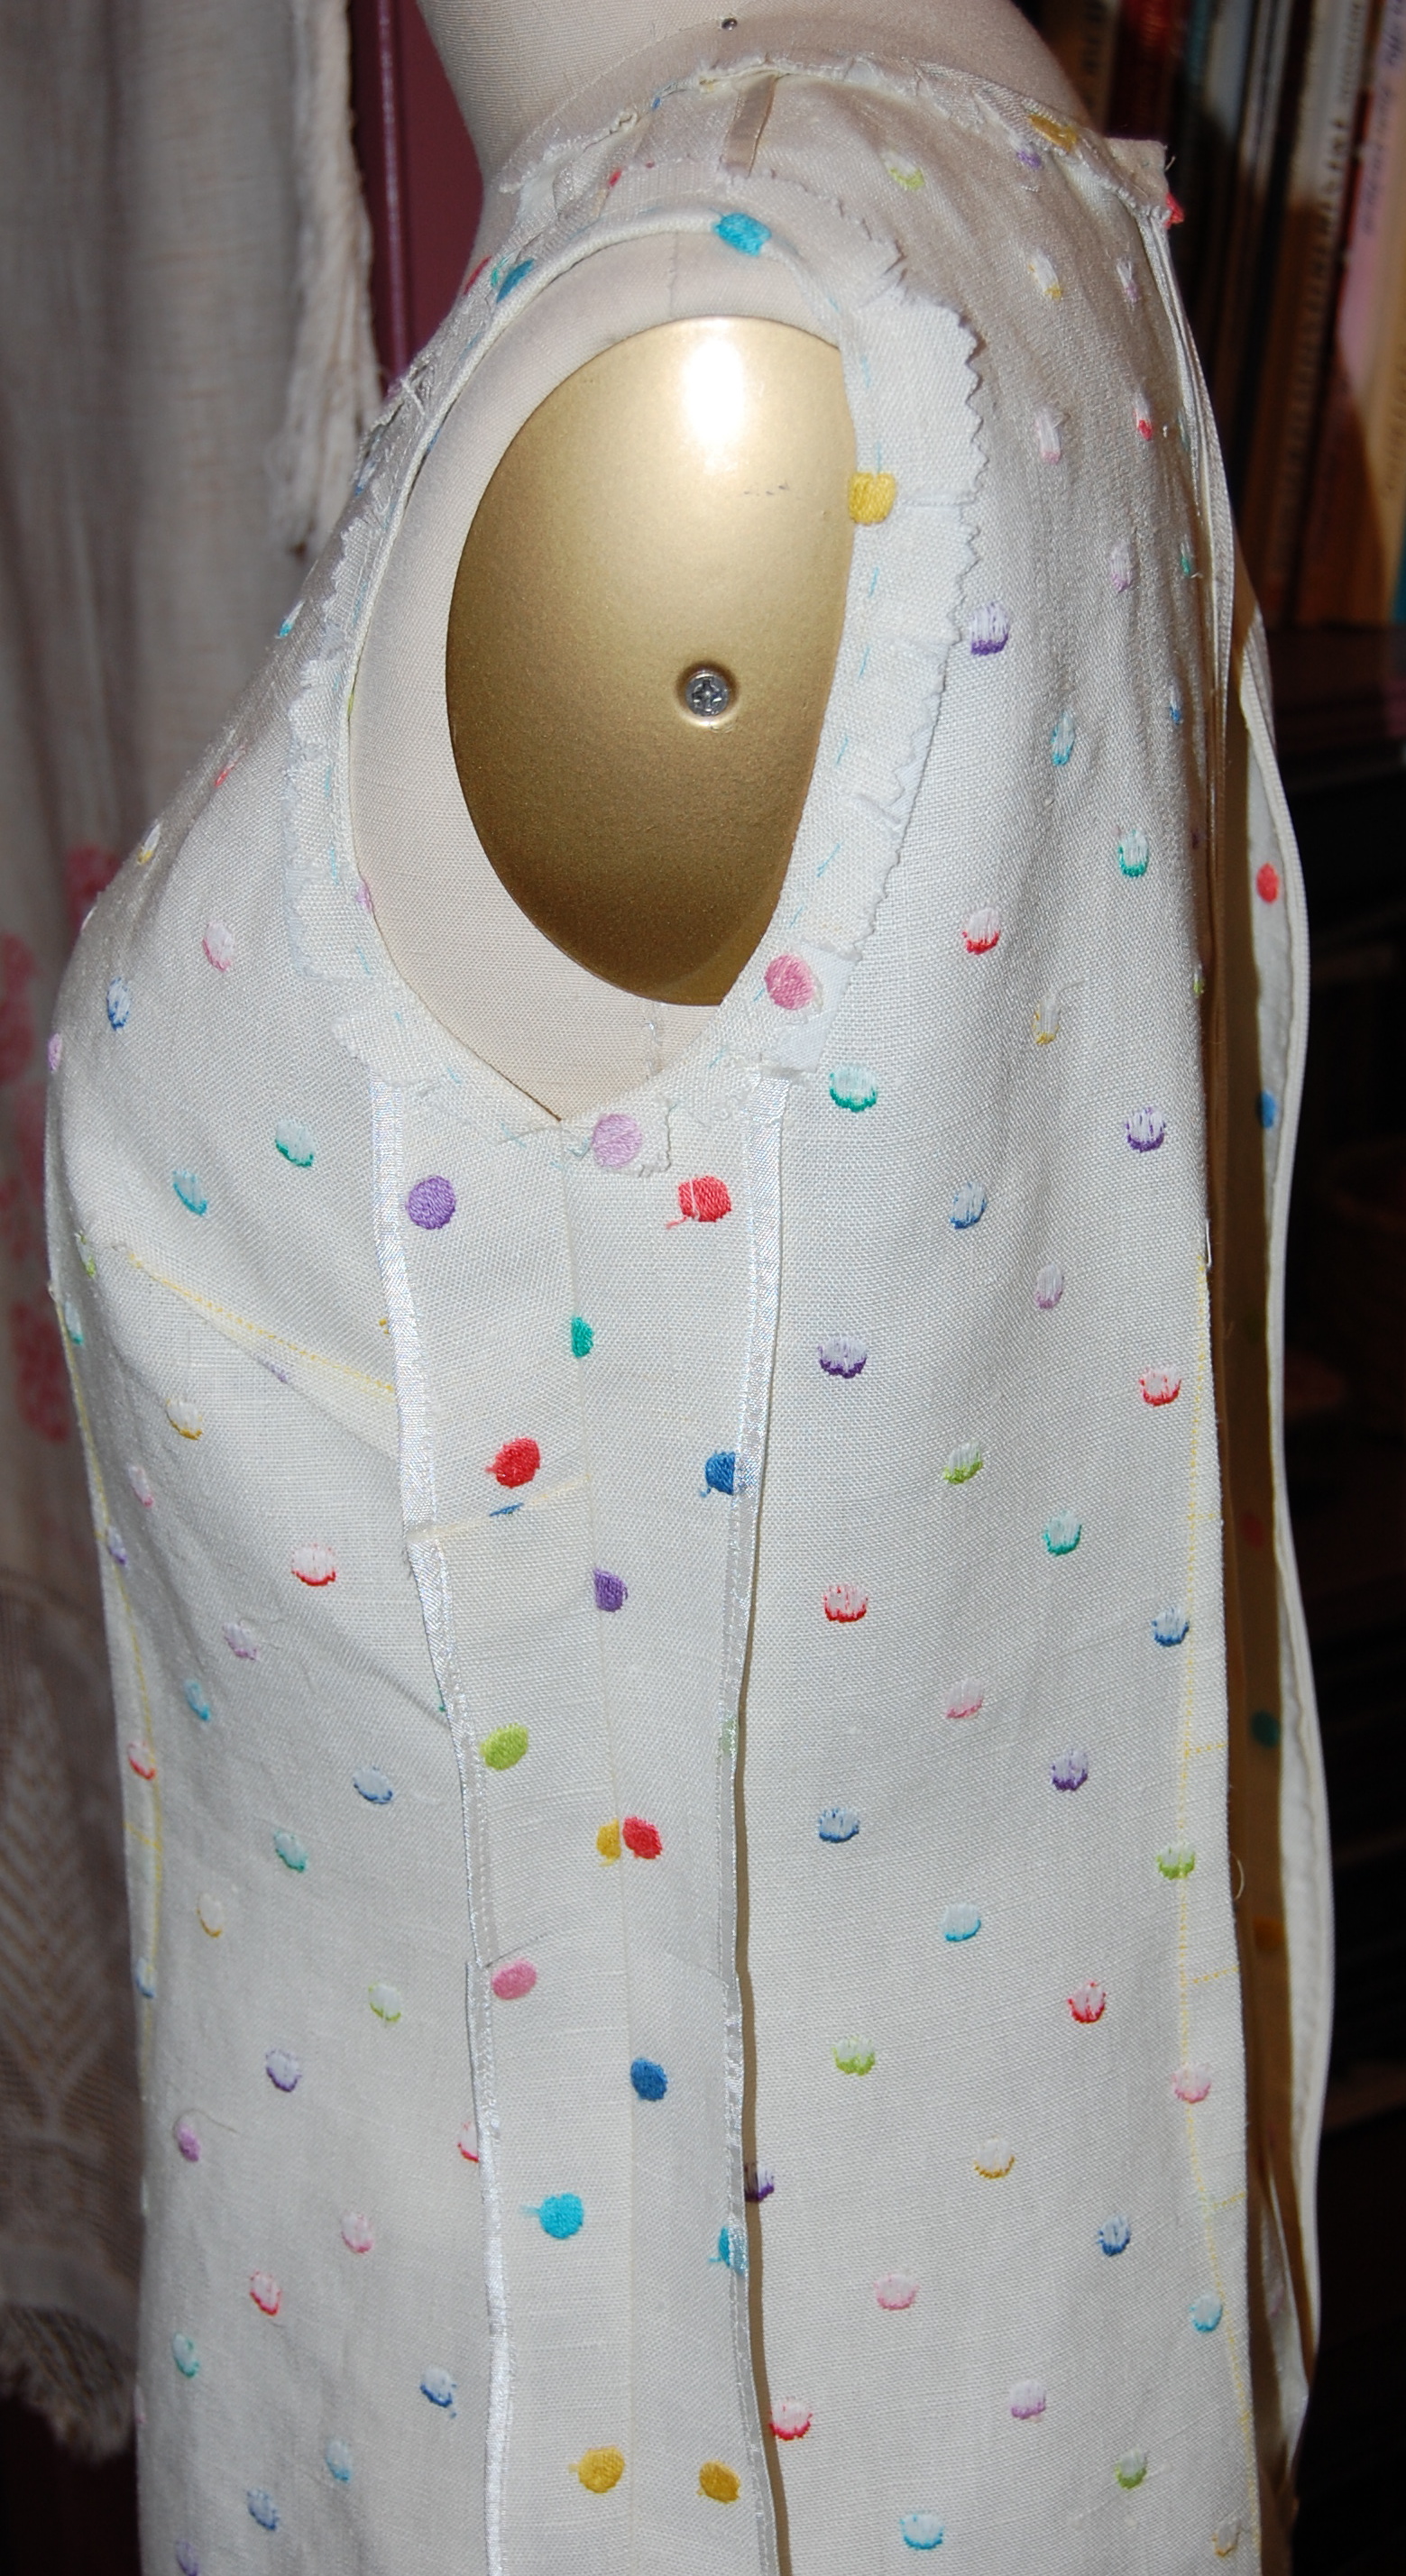
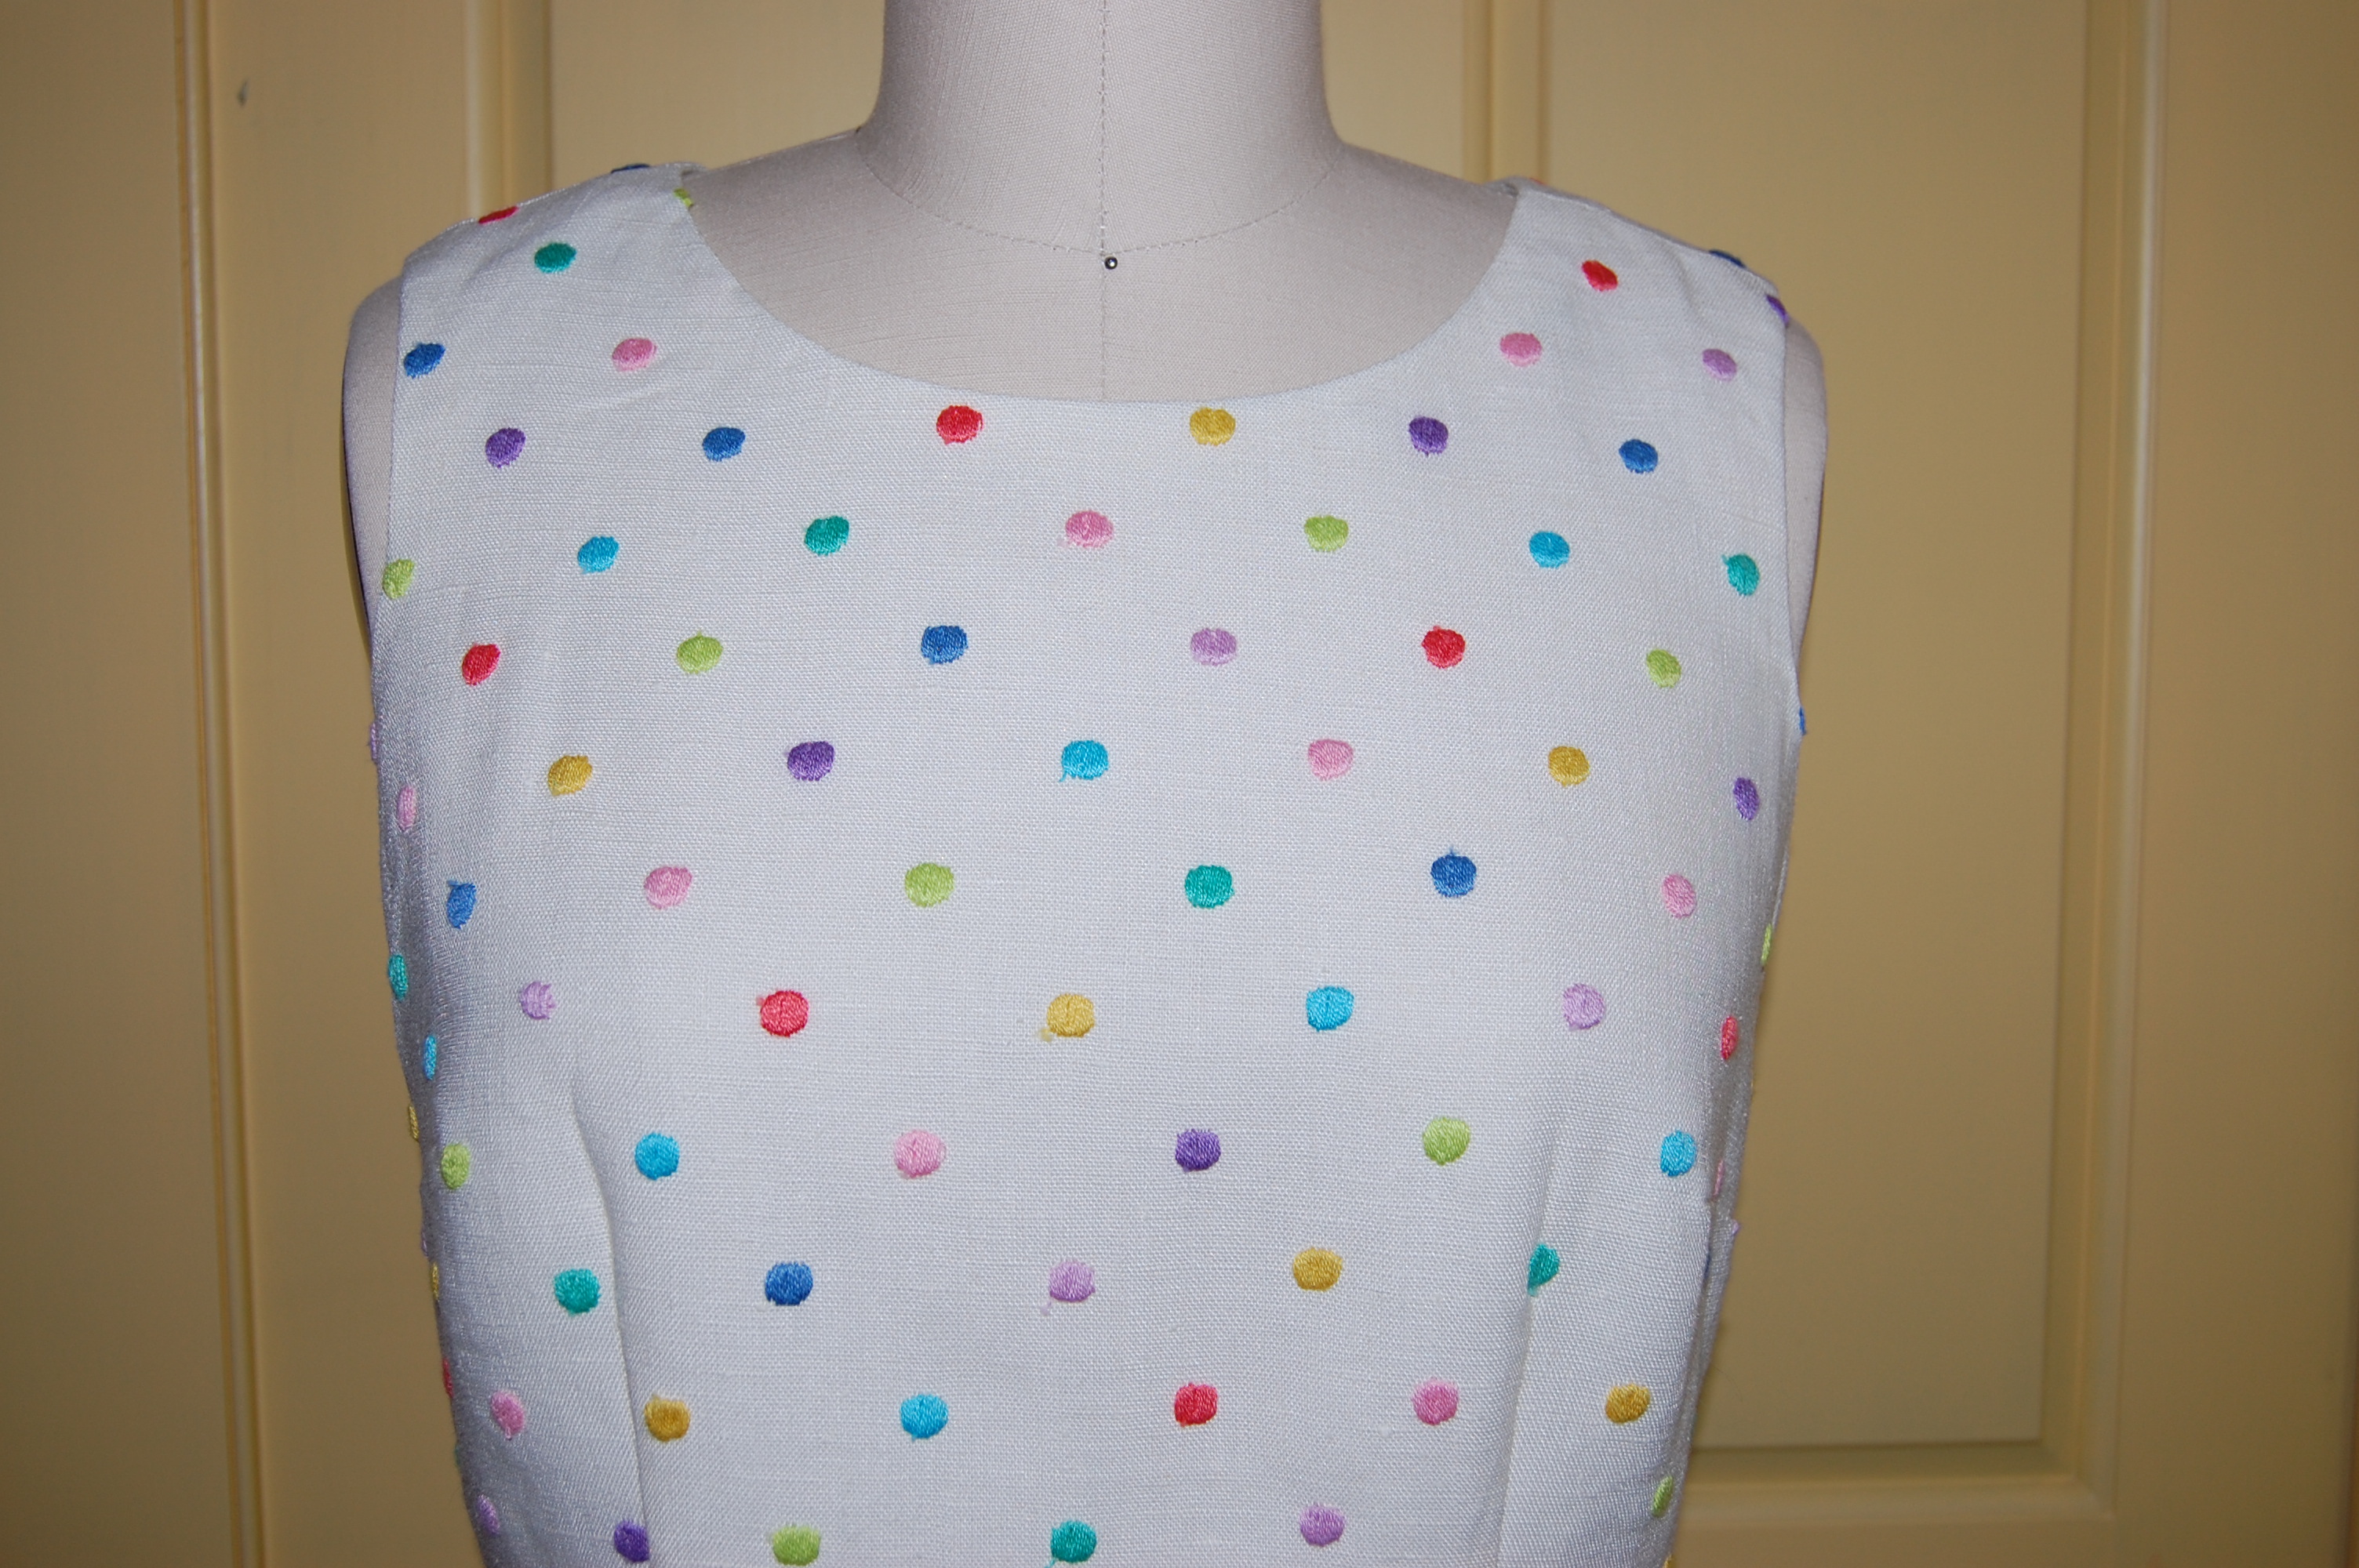
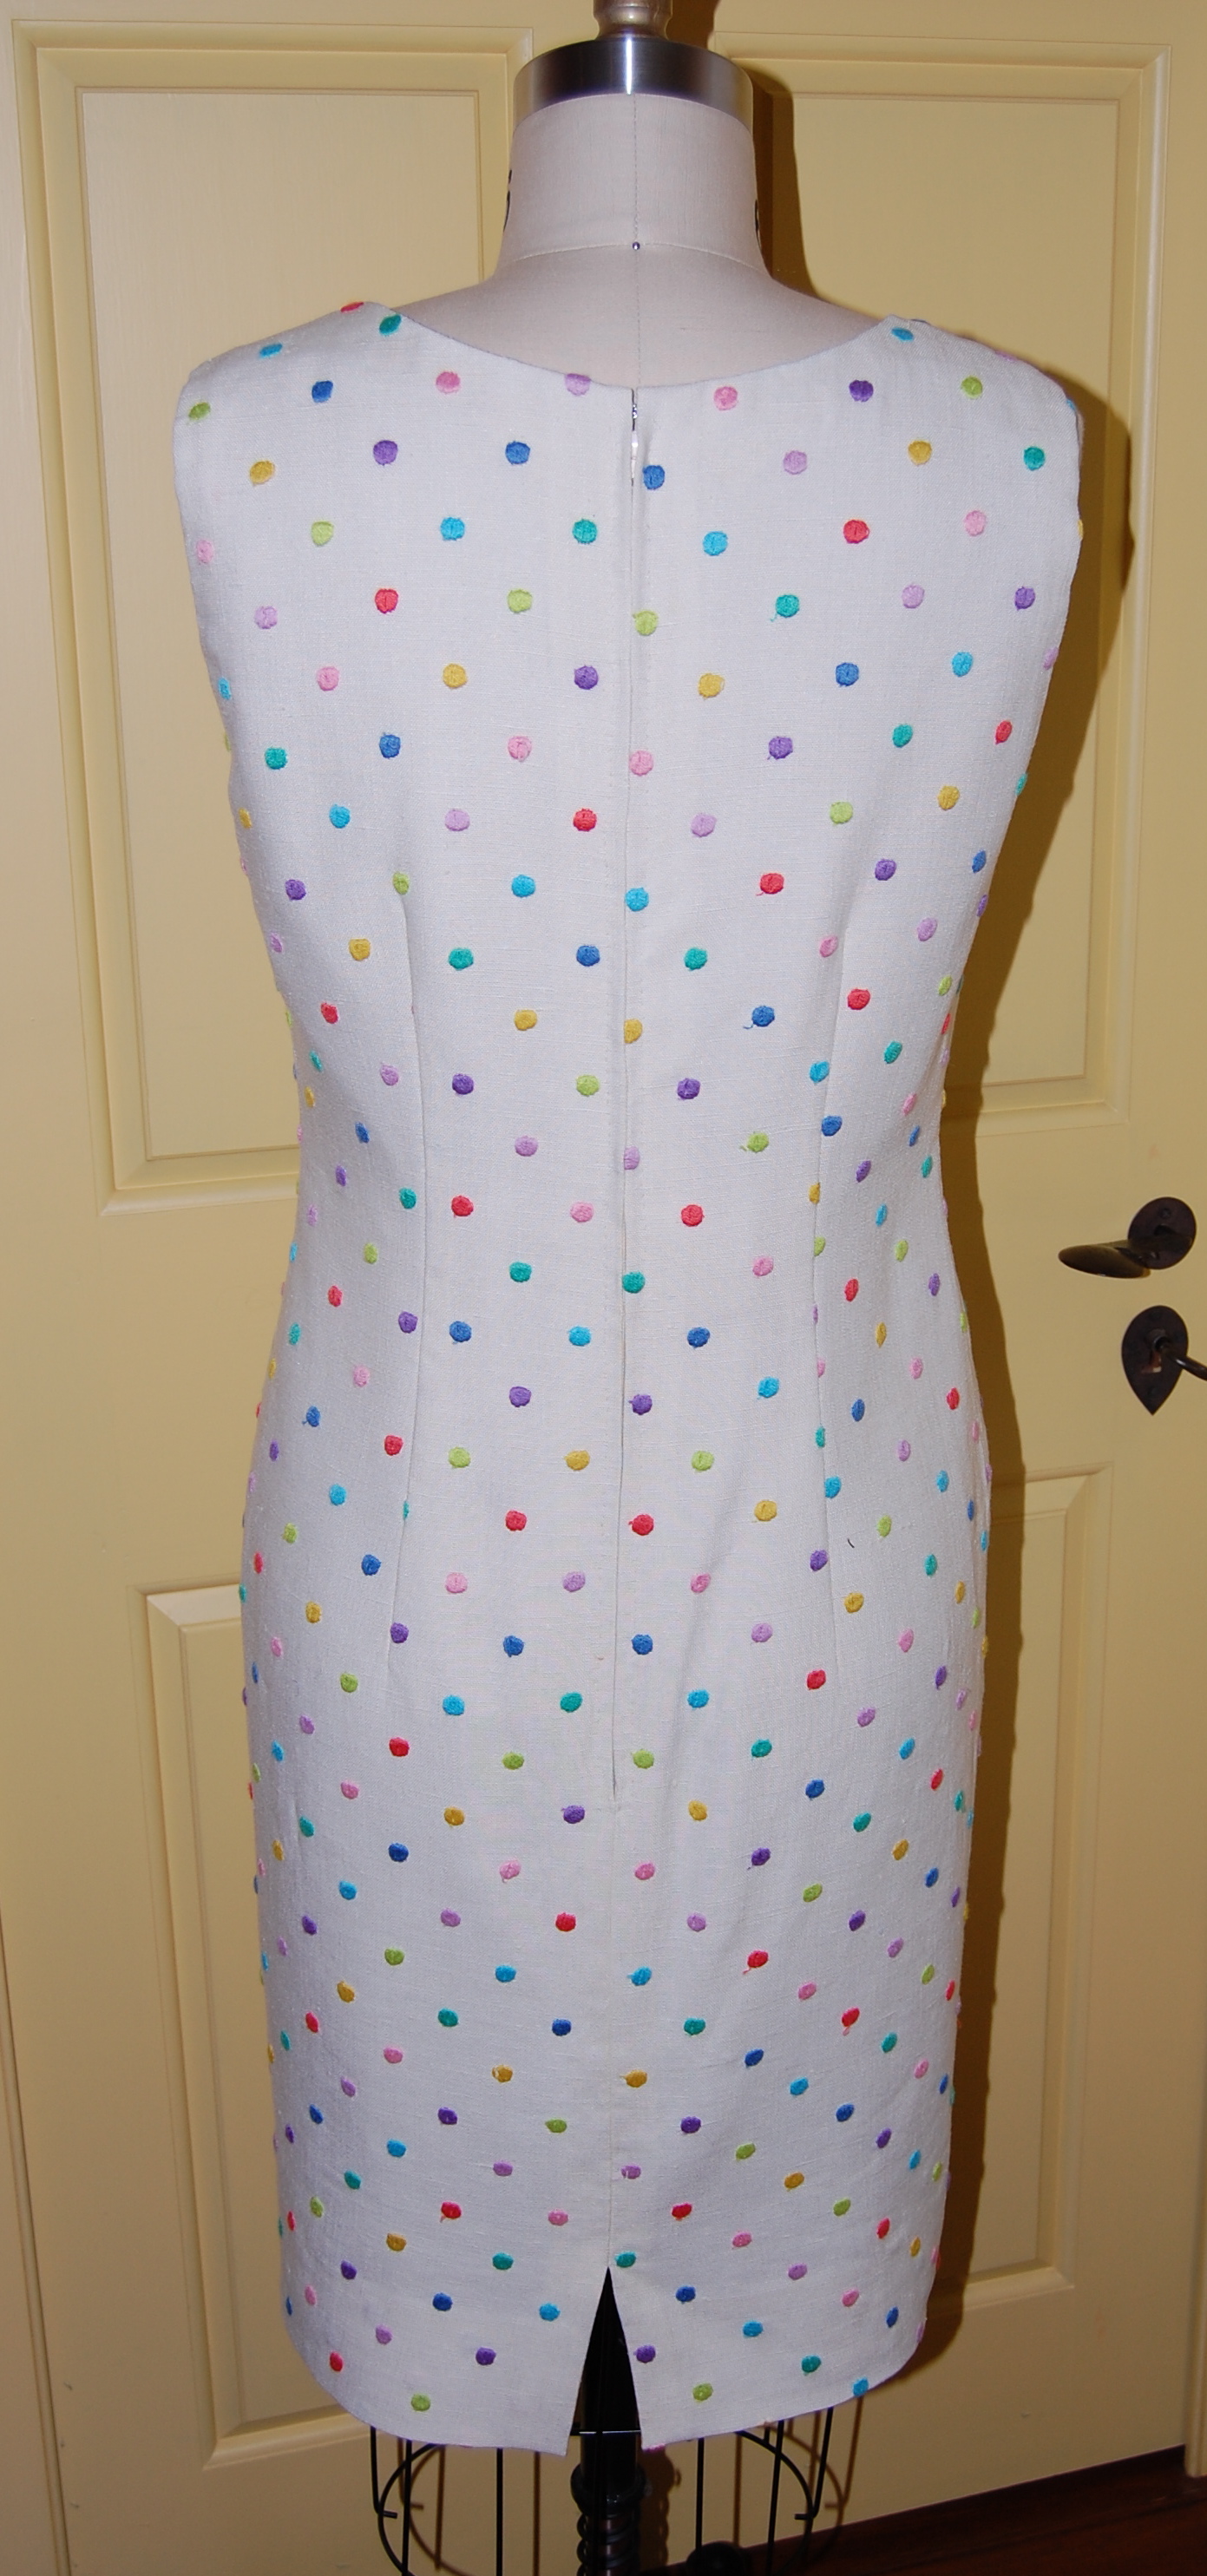
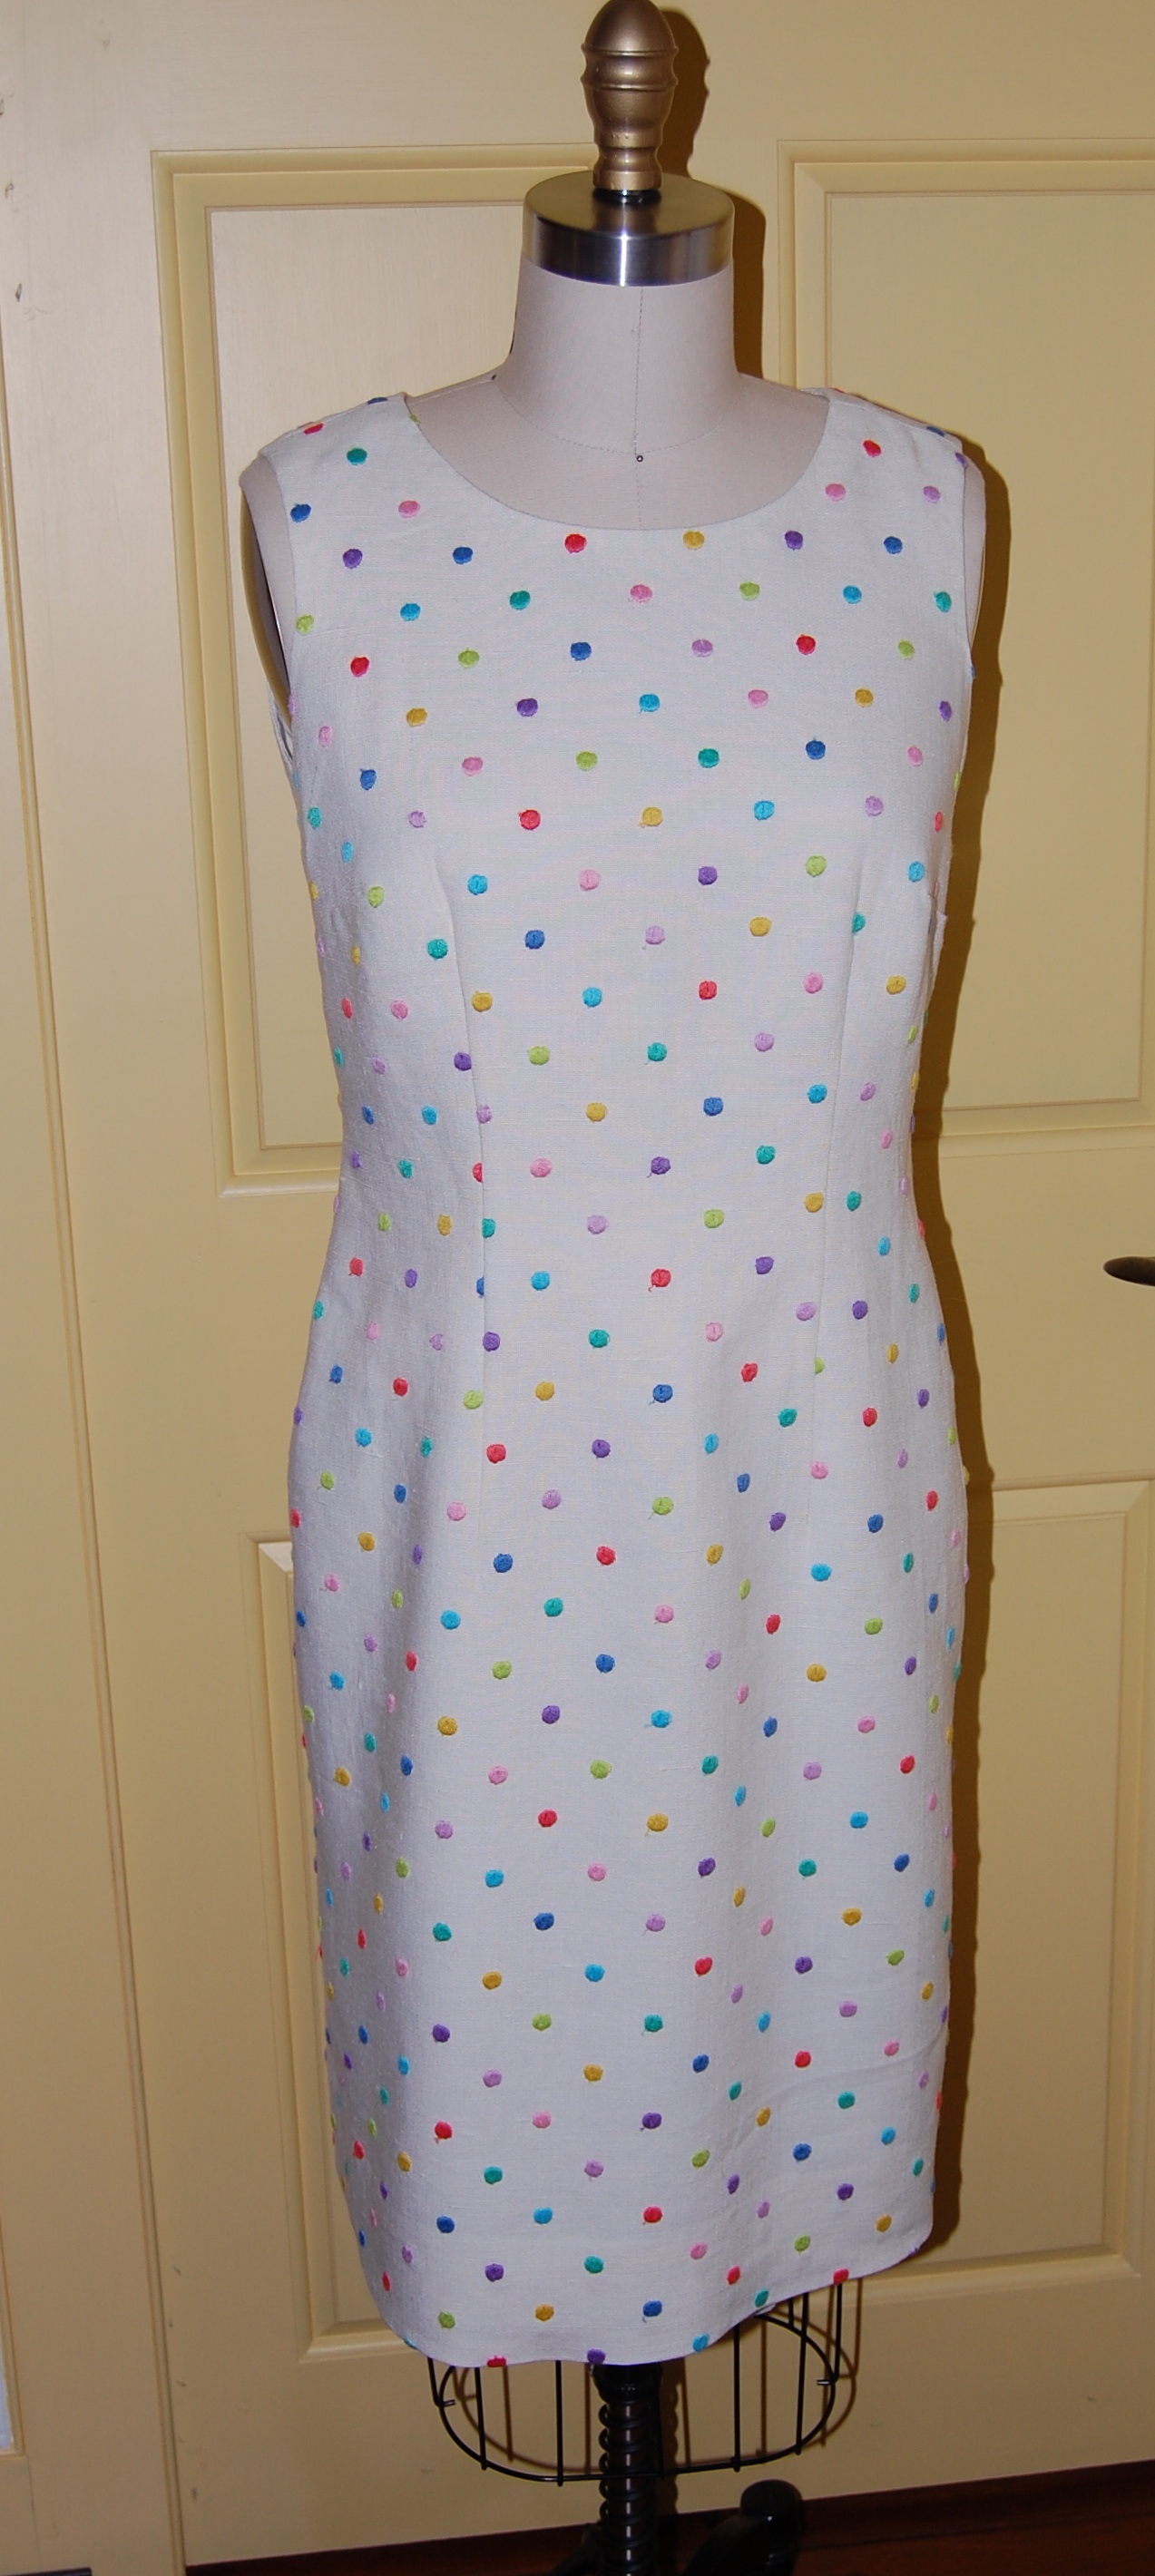
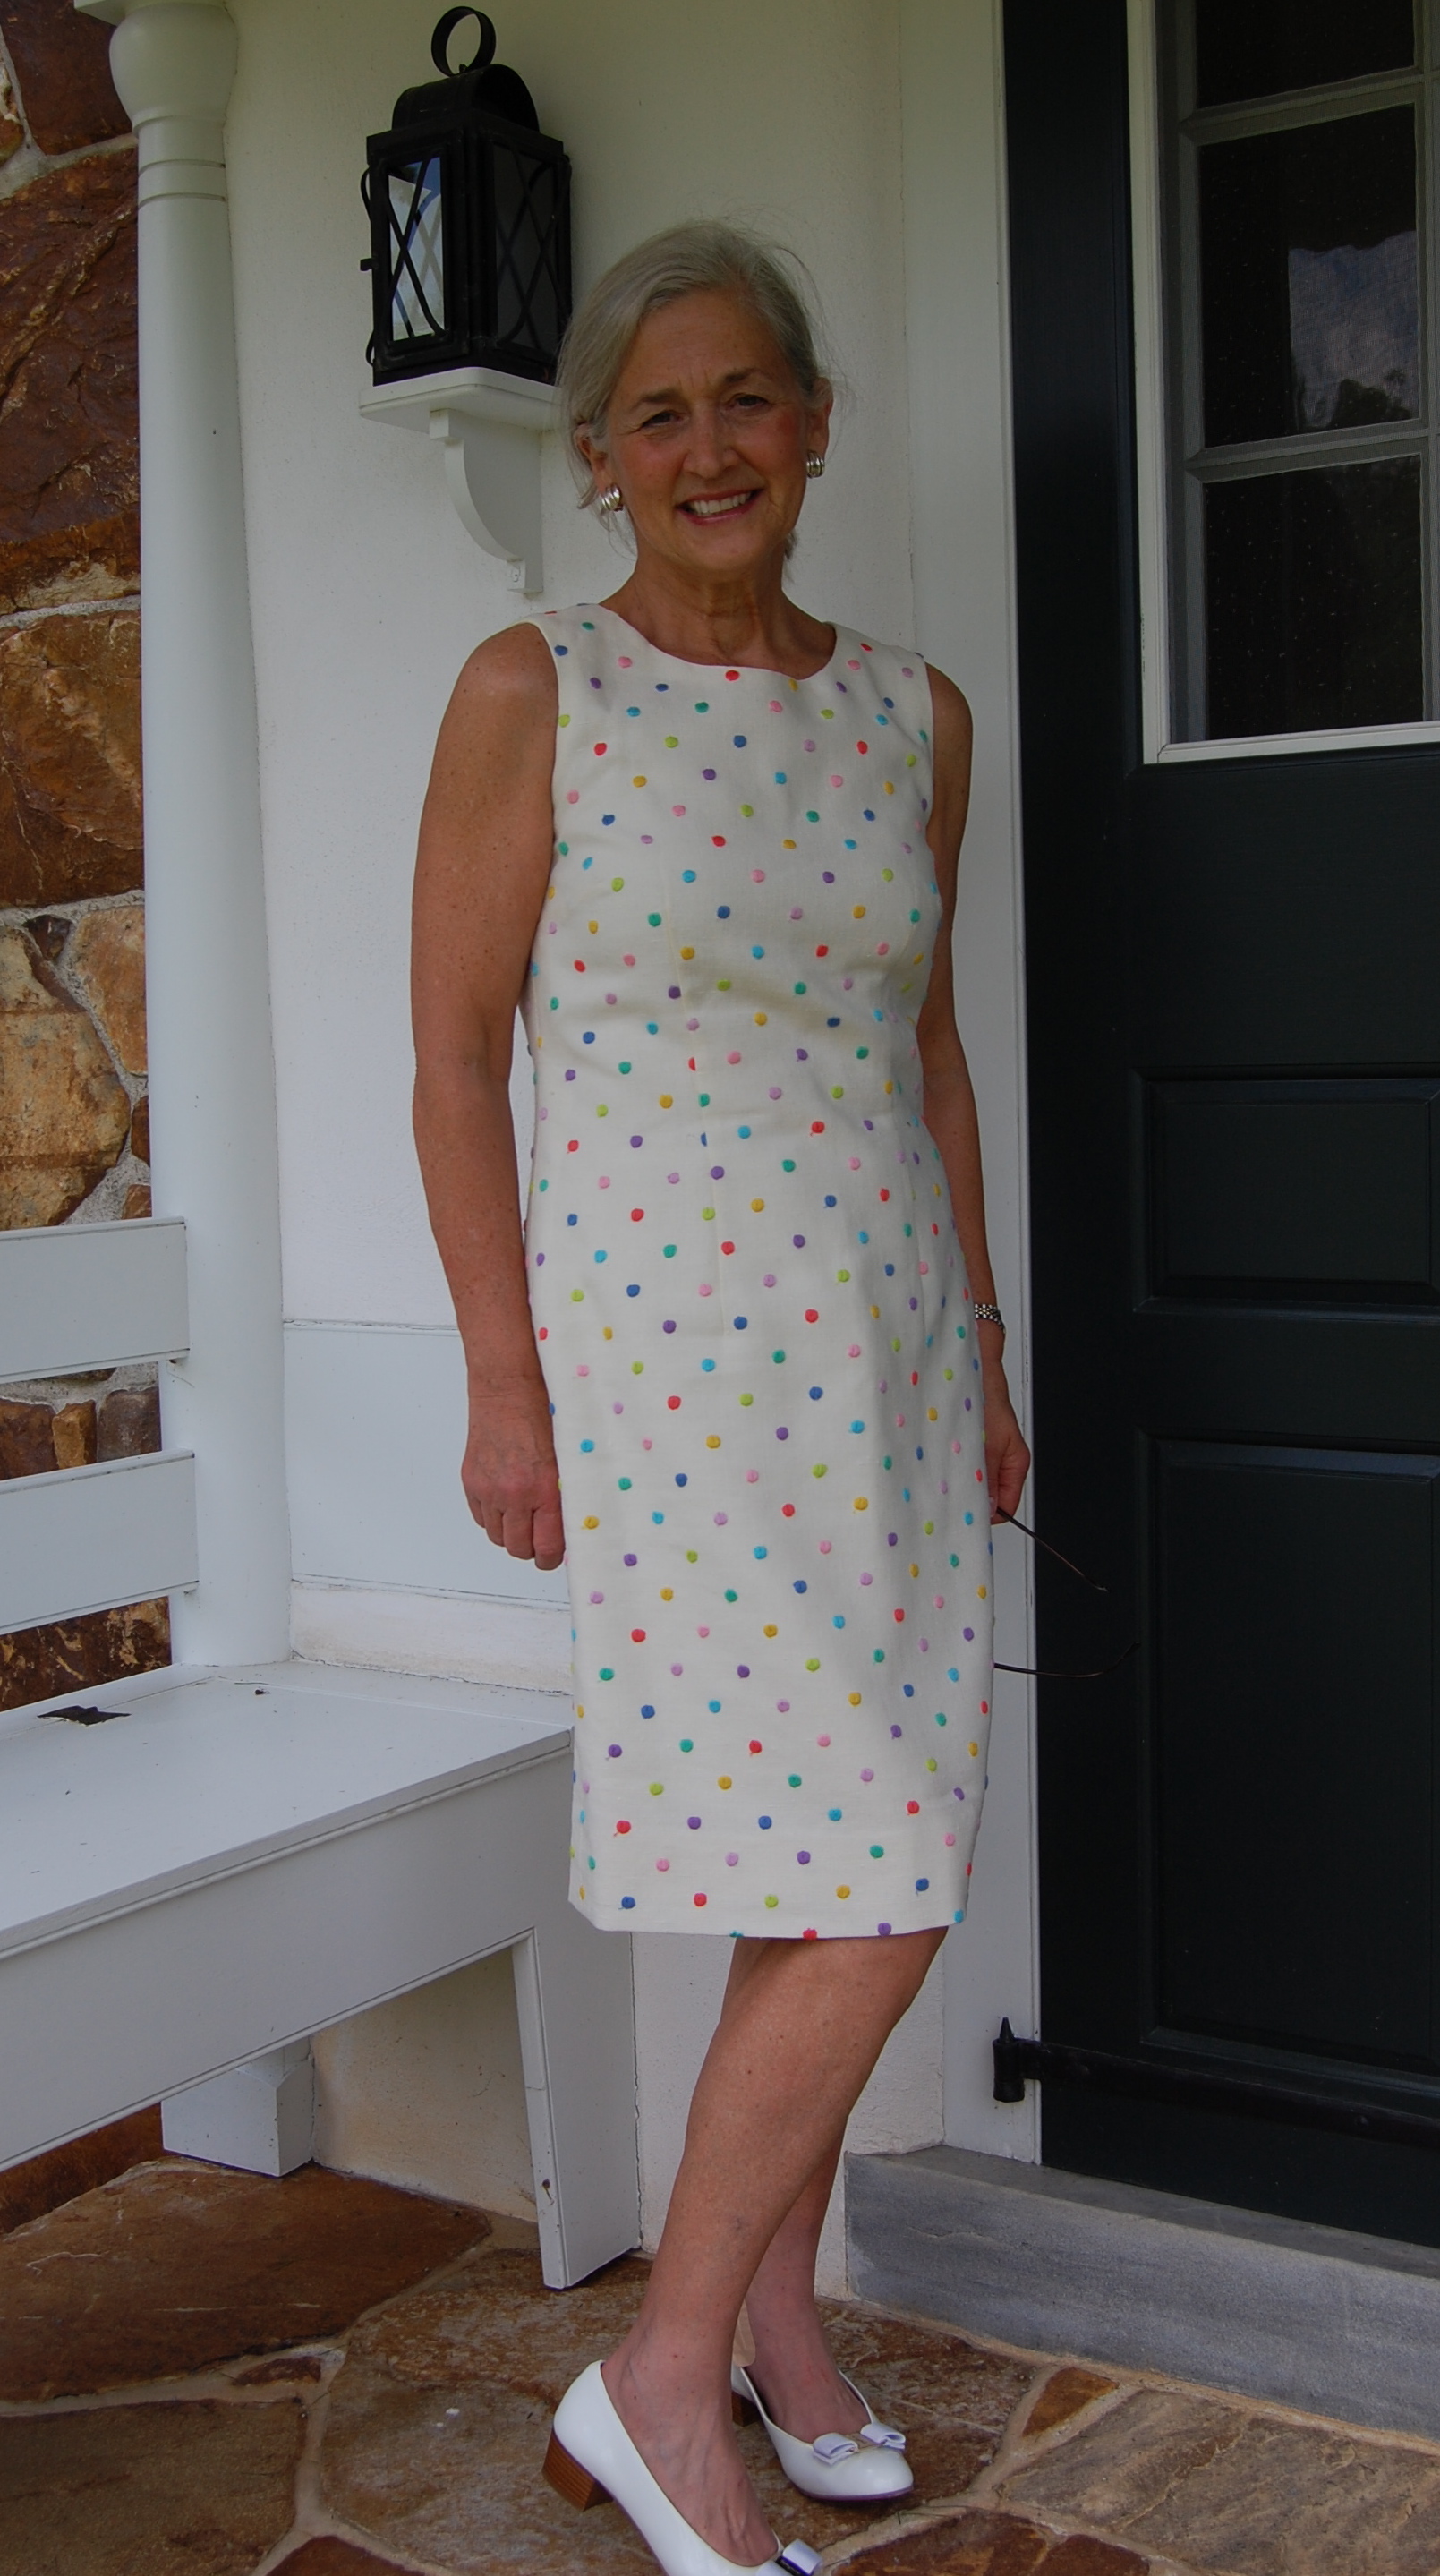
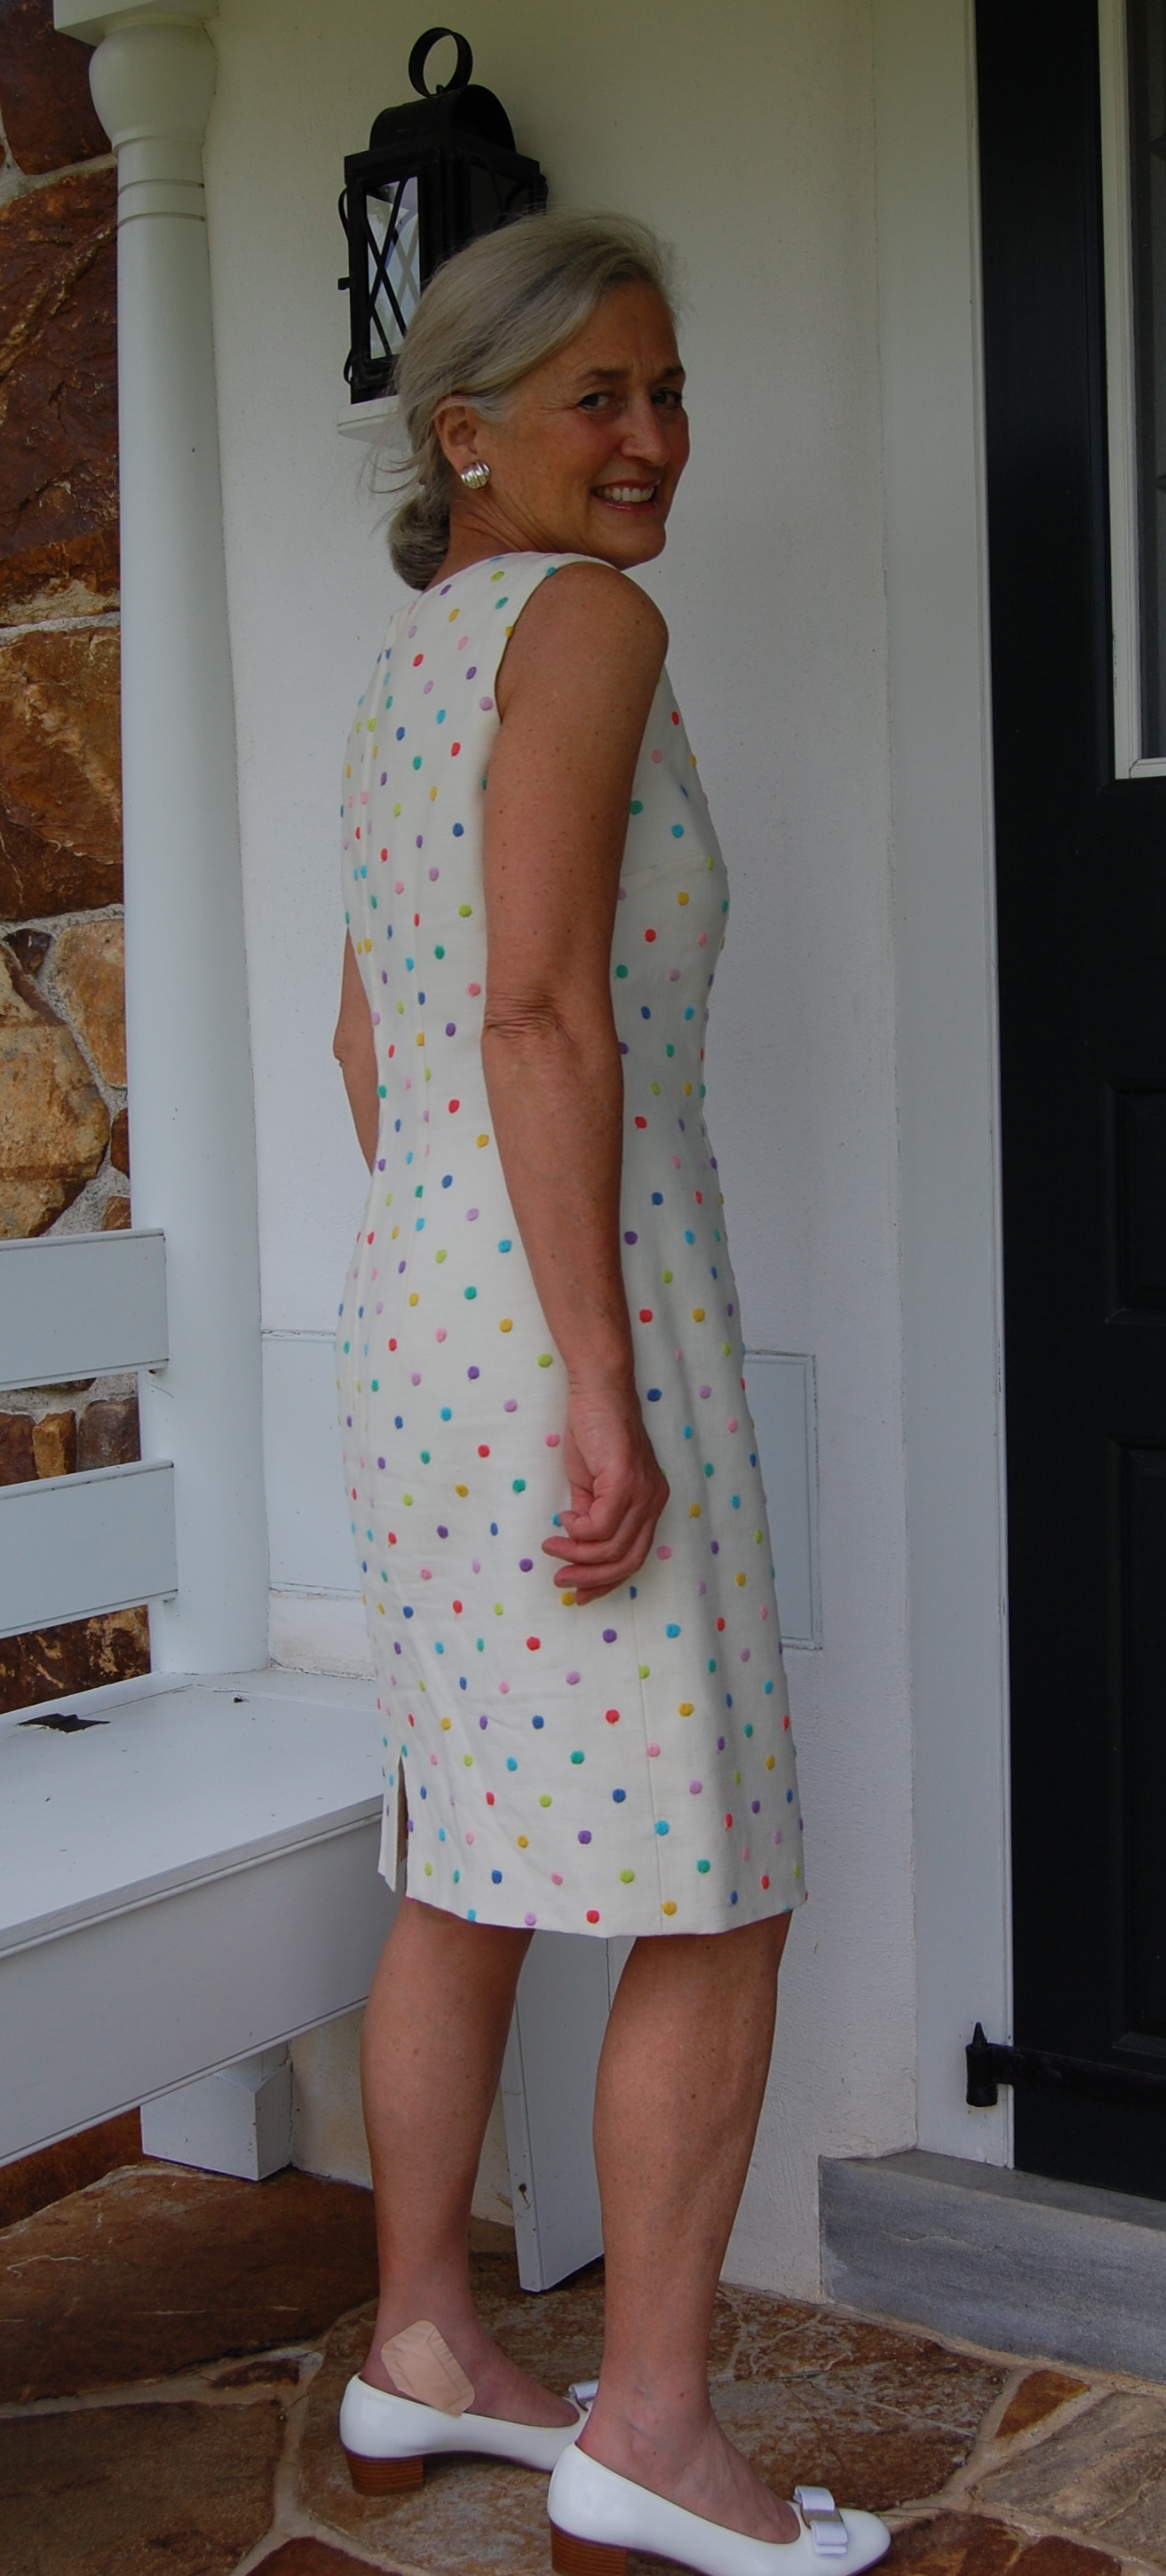
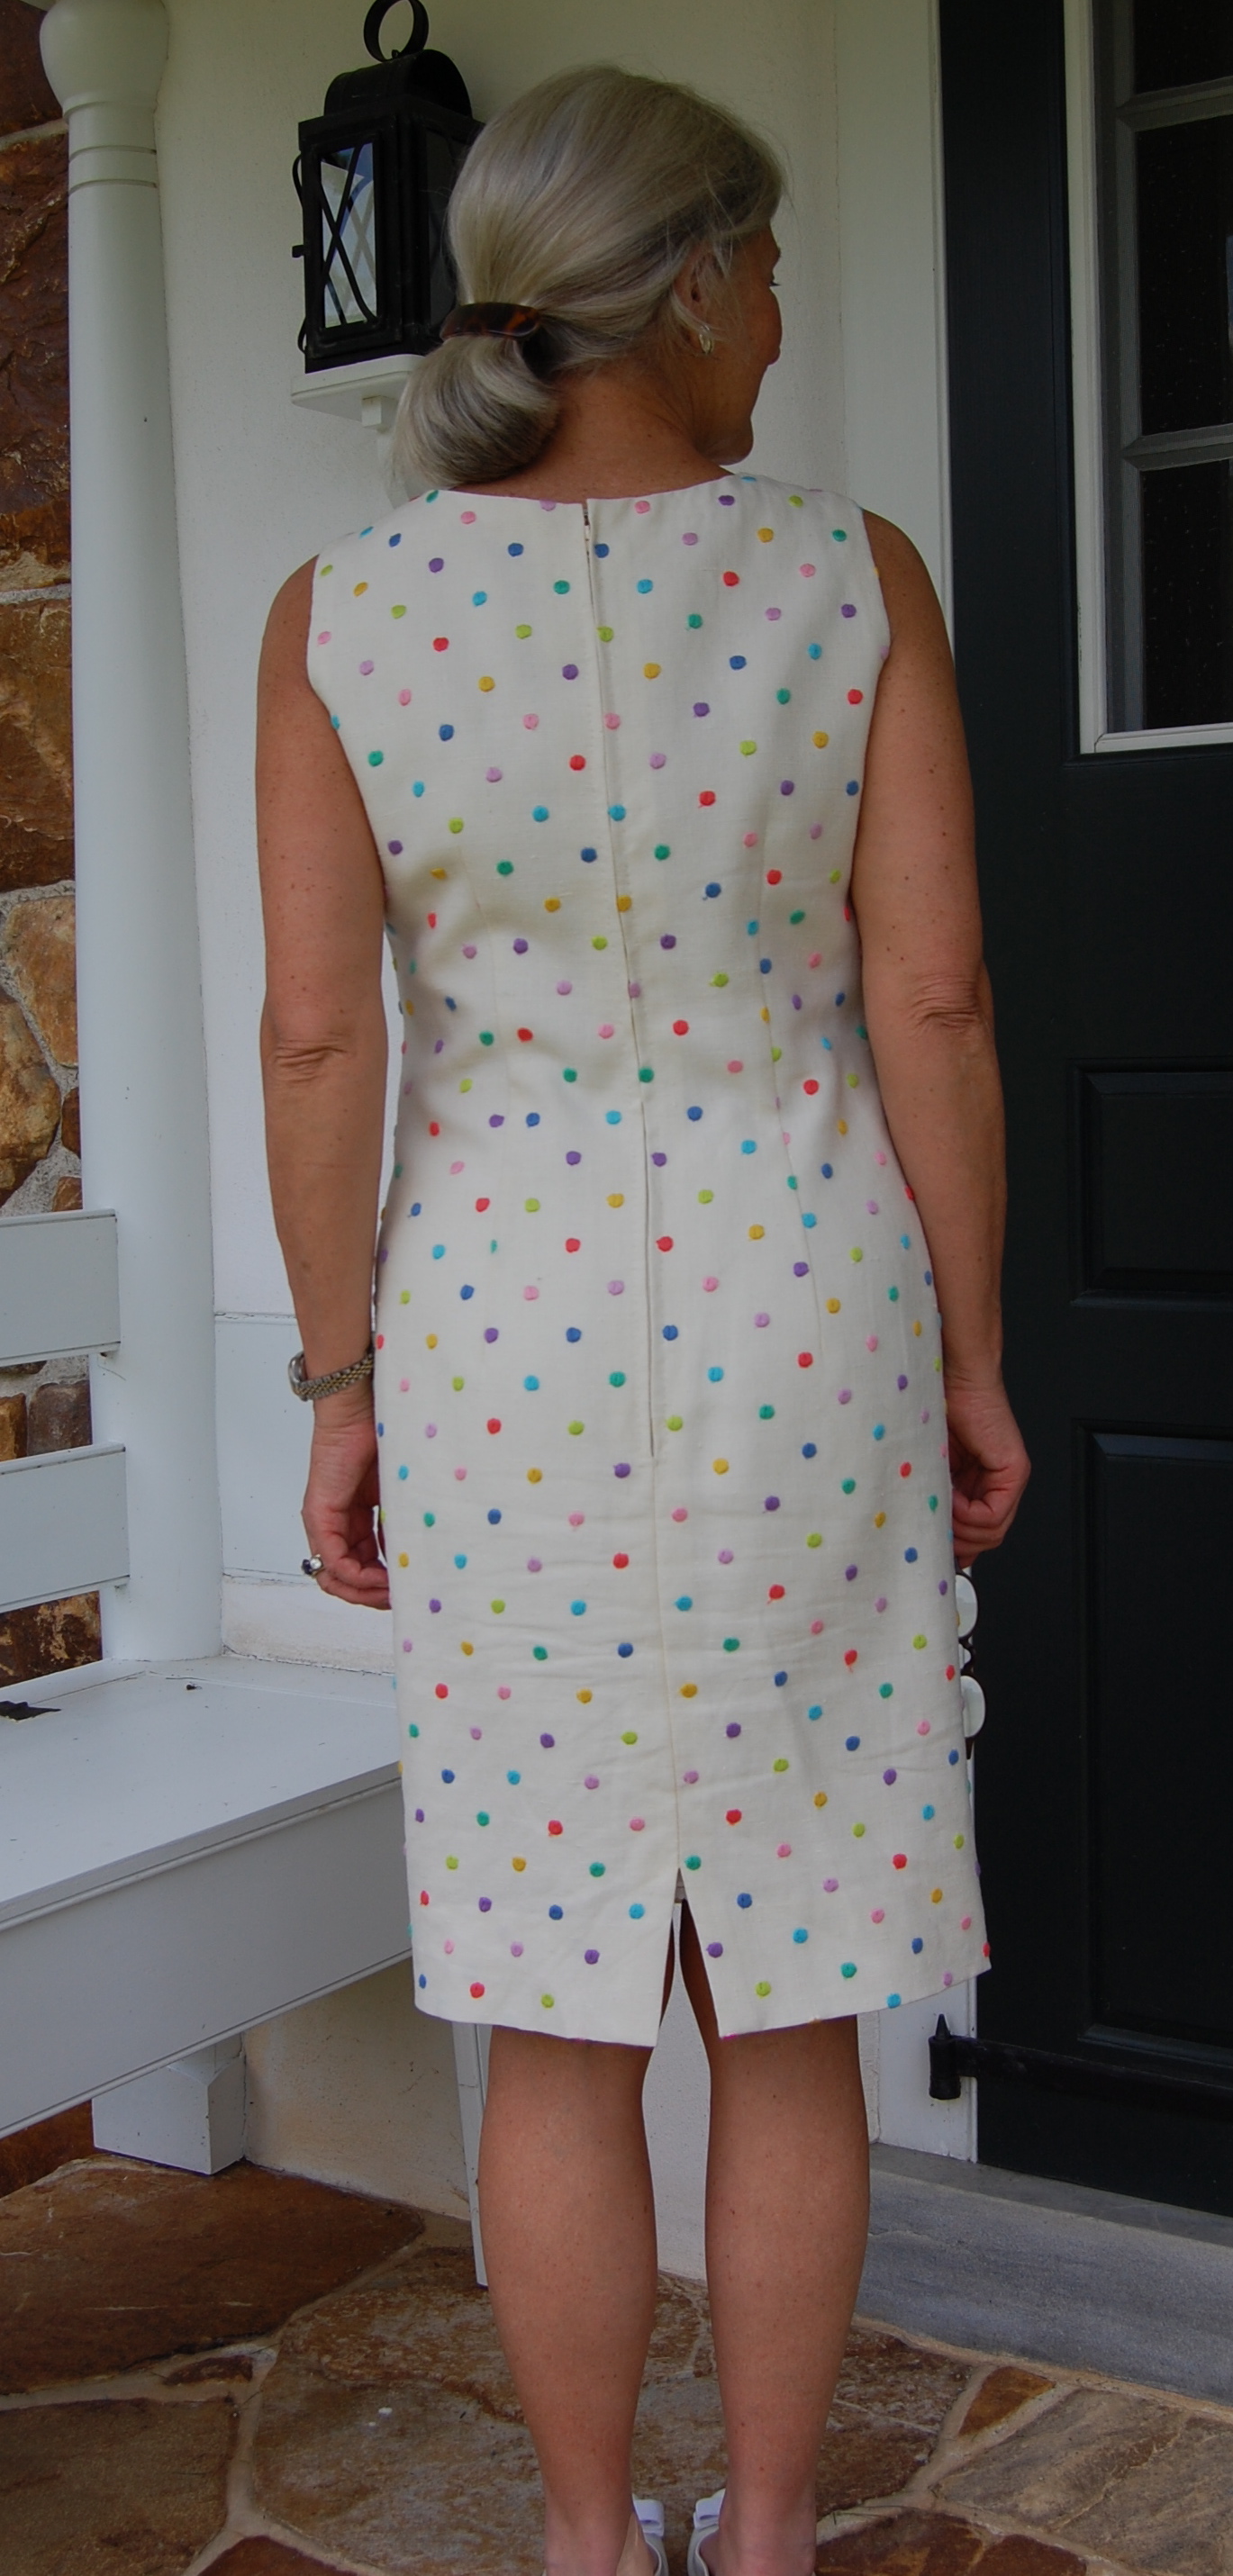
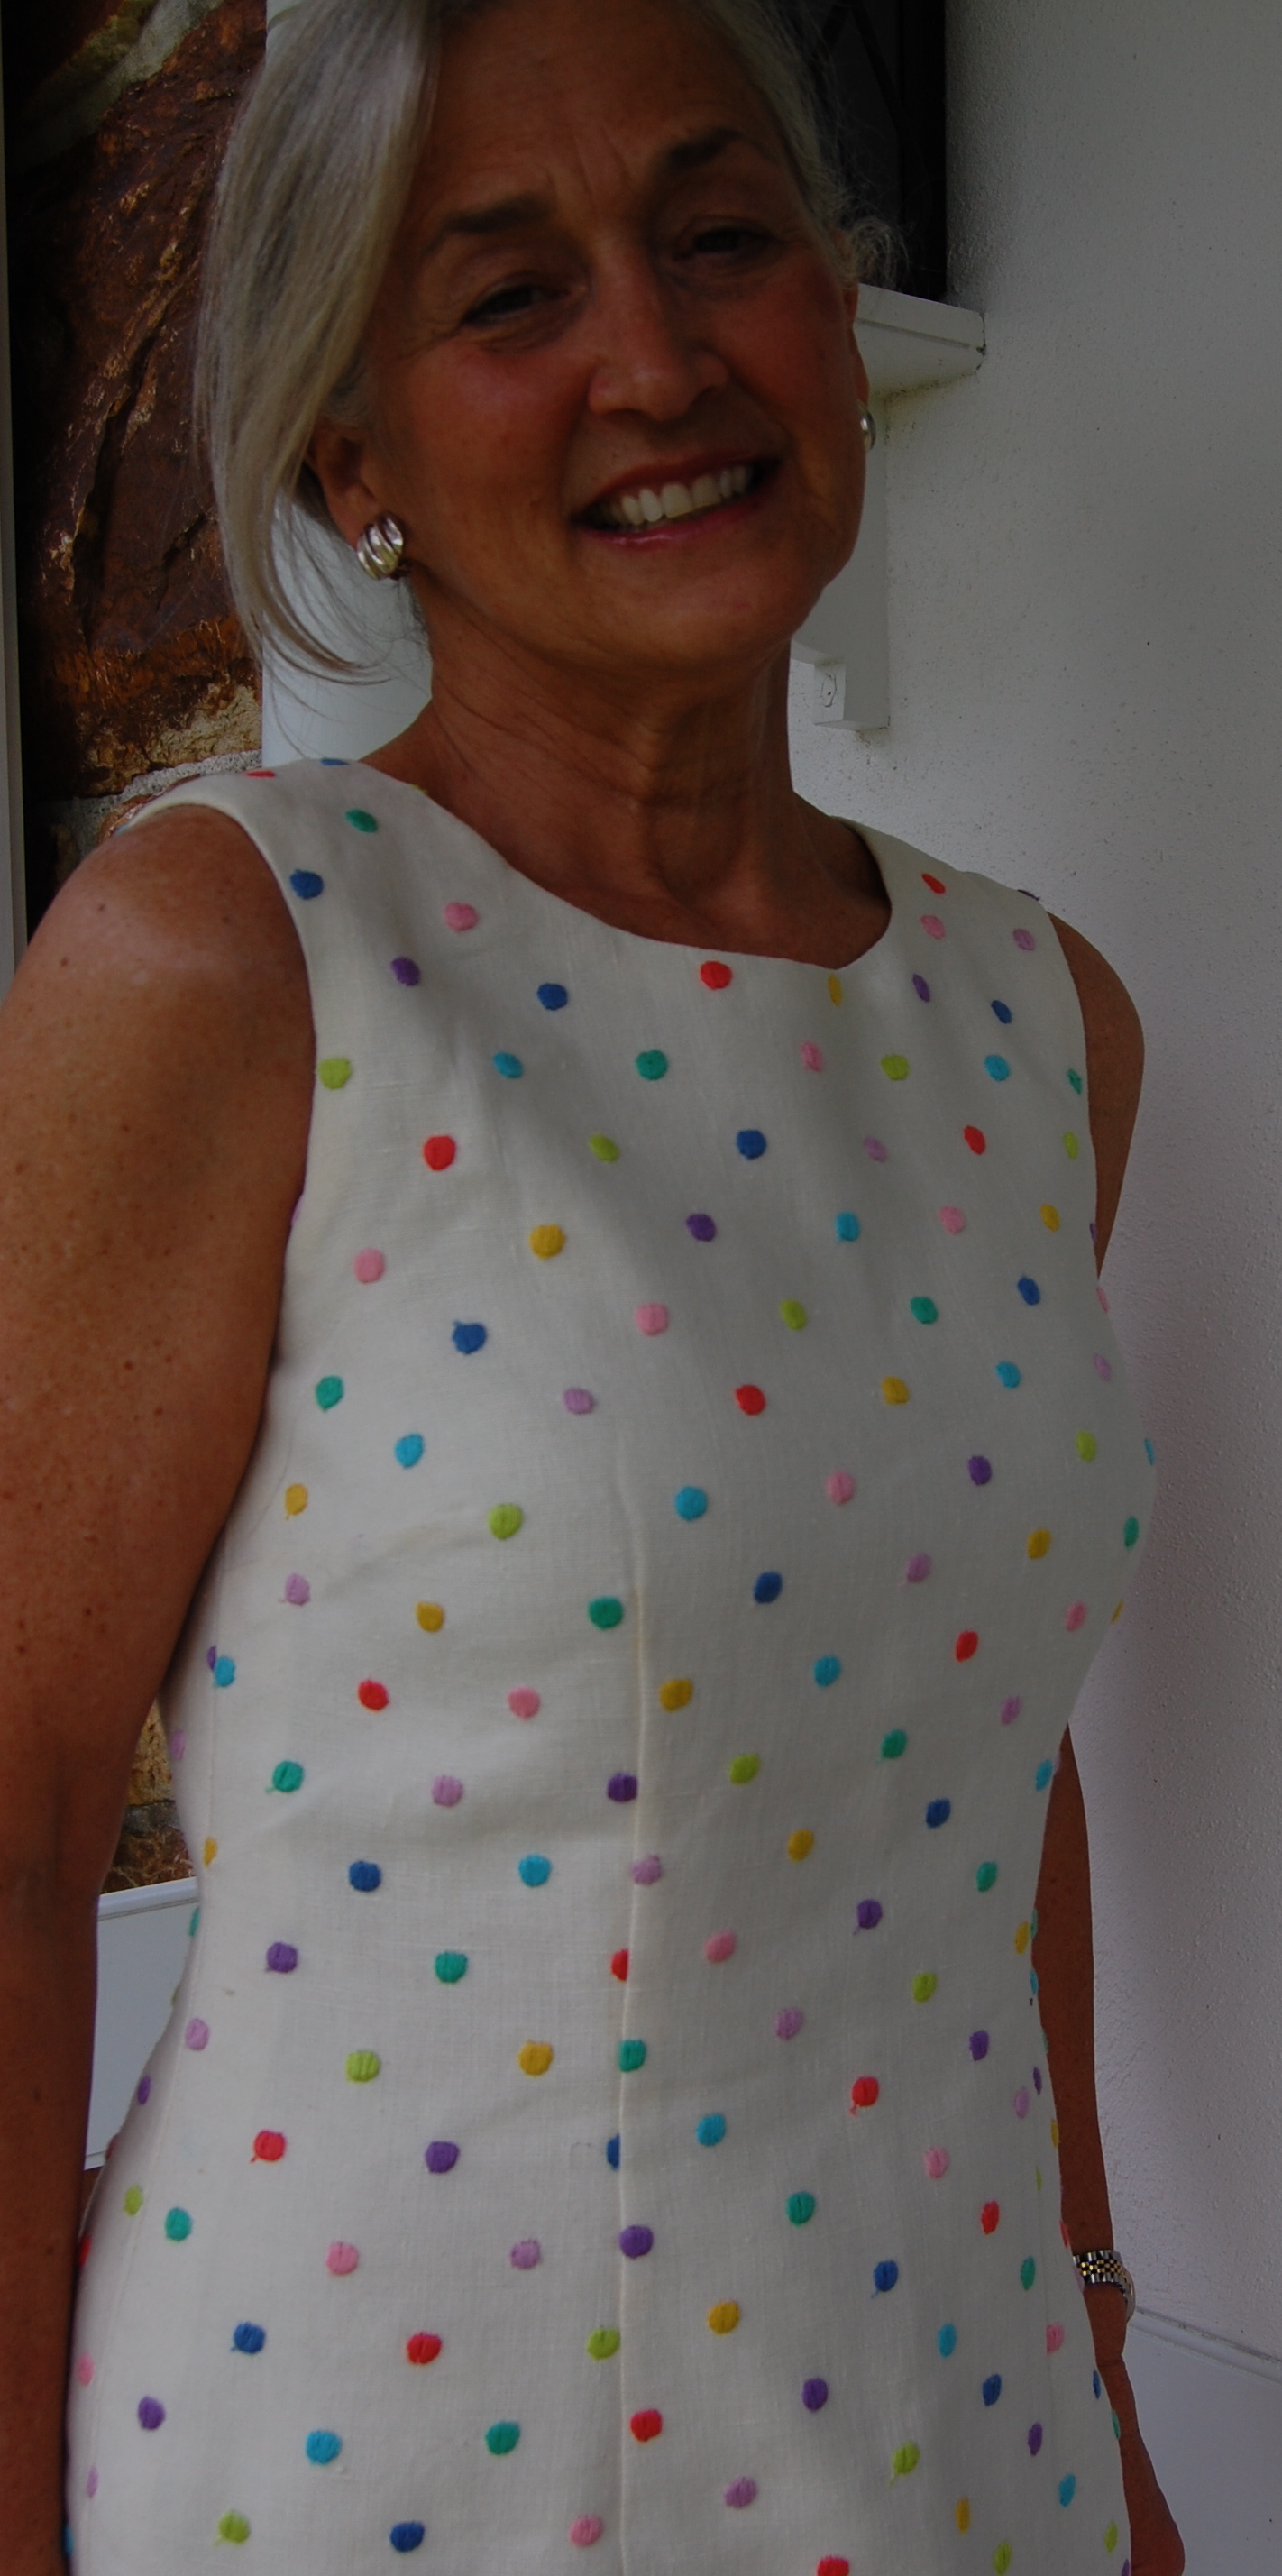
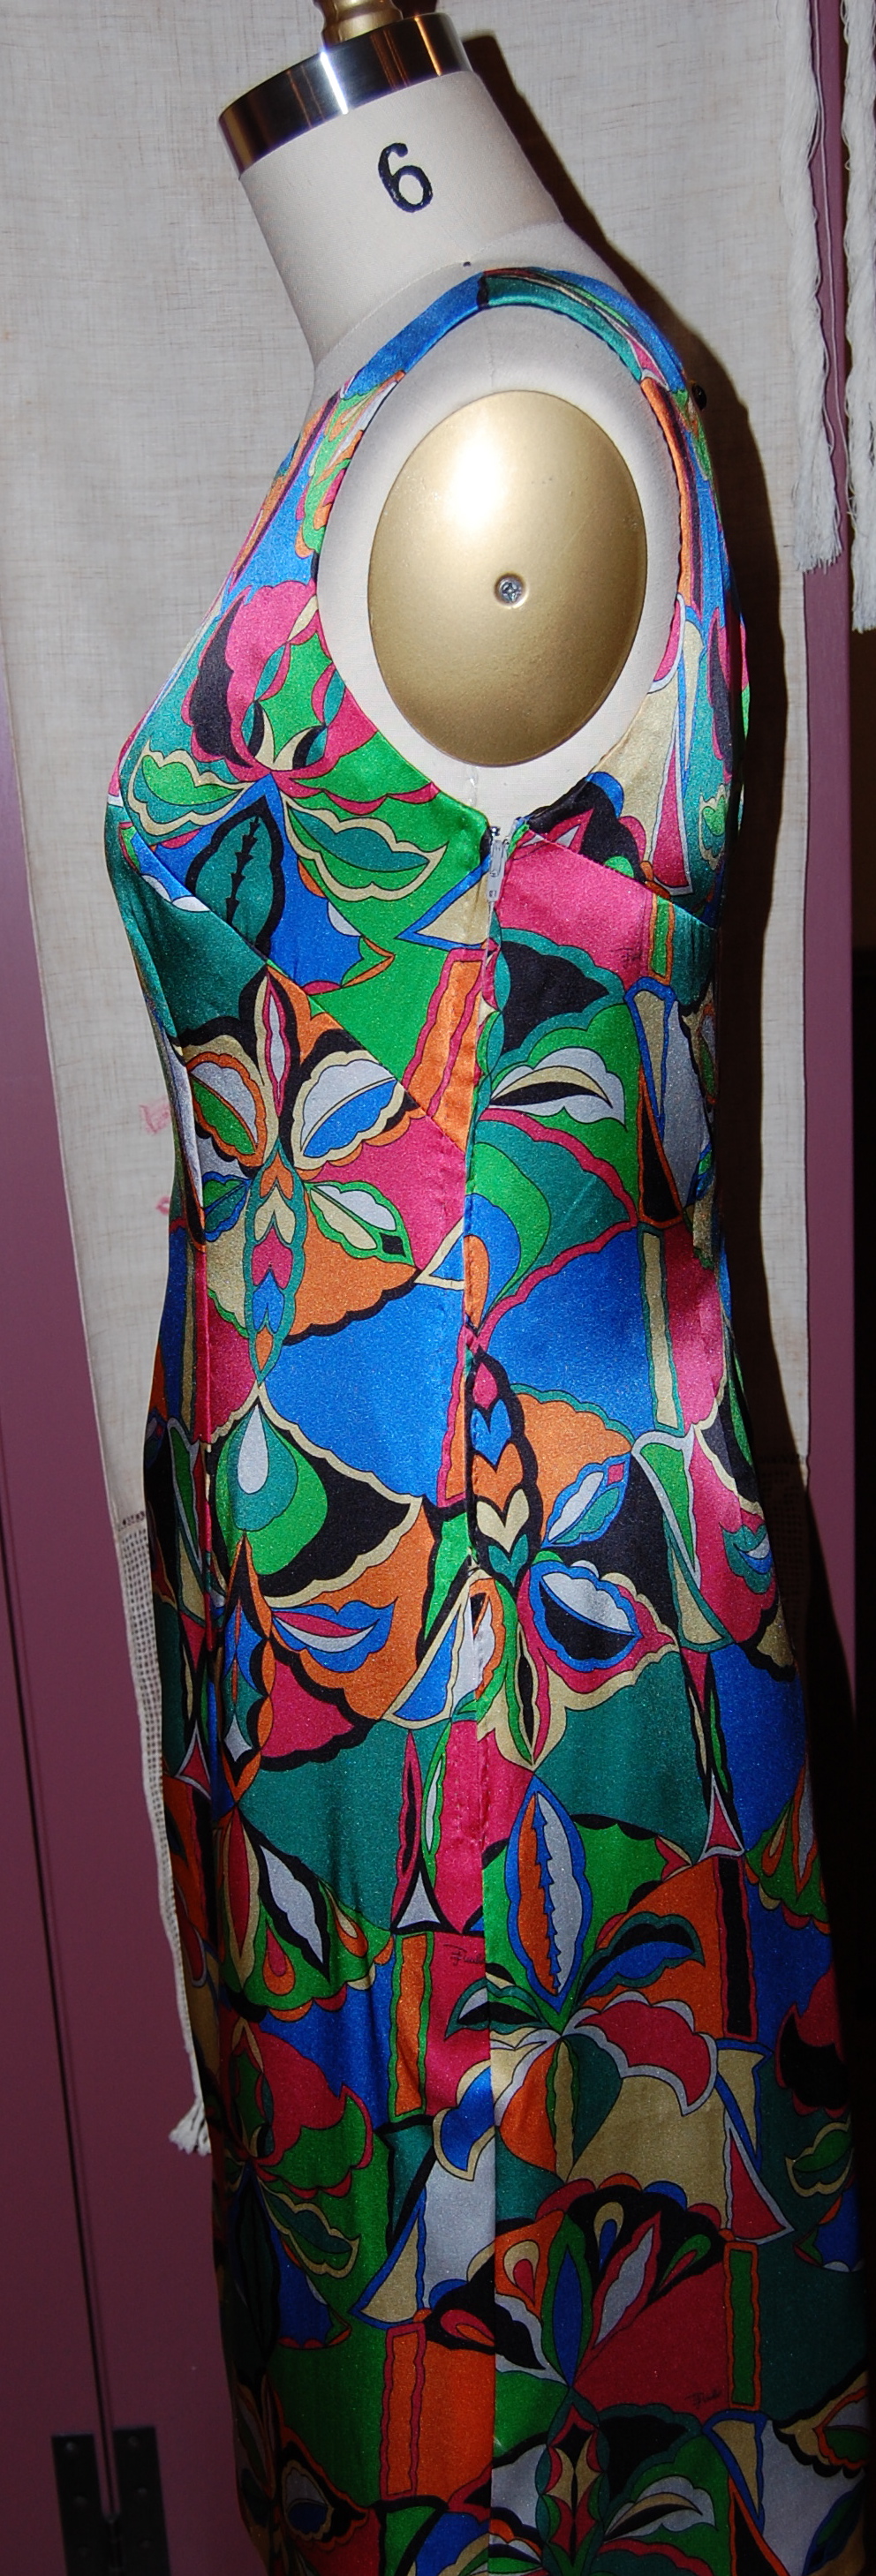
When I first saw it, I immediately thought it would make a cute pair of pants, even though I don’t wear a lot of brown. But I was really drawn to the little explosions of orange scattered throughout the yardage. Actually I should qualify that by saying “scant” yardage. This was only a piece of fabric 1 and 5/8 yards long, which sounds reasonable until the width of the fabric is figured into the equation. At 35” wide, this was not a lot of fabric. Nevertheless, I certainly figured I could get a slim pair of simple pants out of it. That was my intent until I finished my polka-dotted sheath dress just recently. Cool linen dresses and Summer just seem to go together, and suddenly I decided I did not want a pair of pants – I wanted another sleeveless dress.
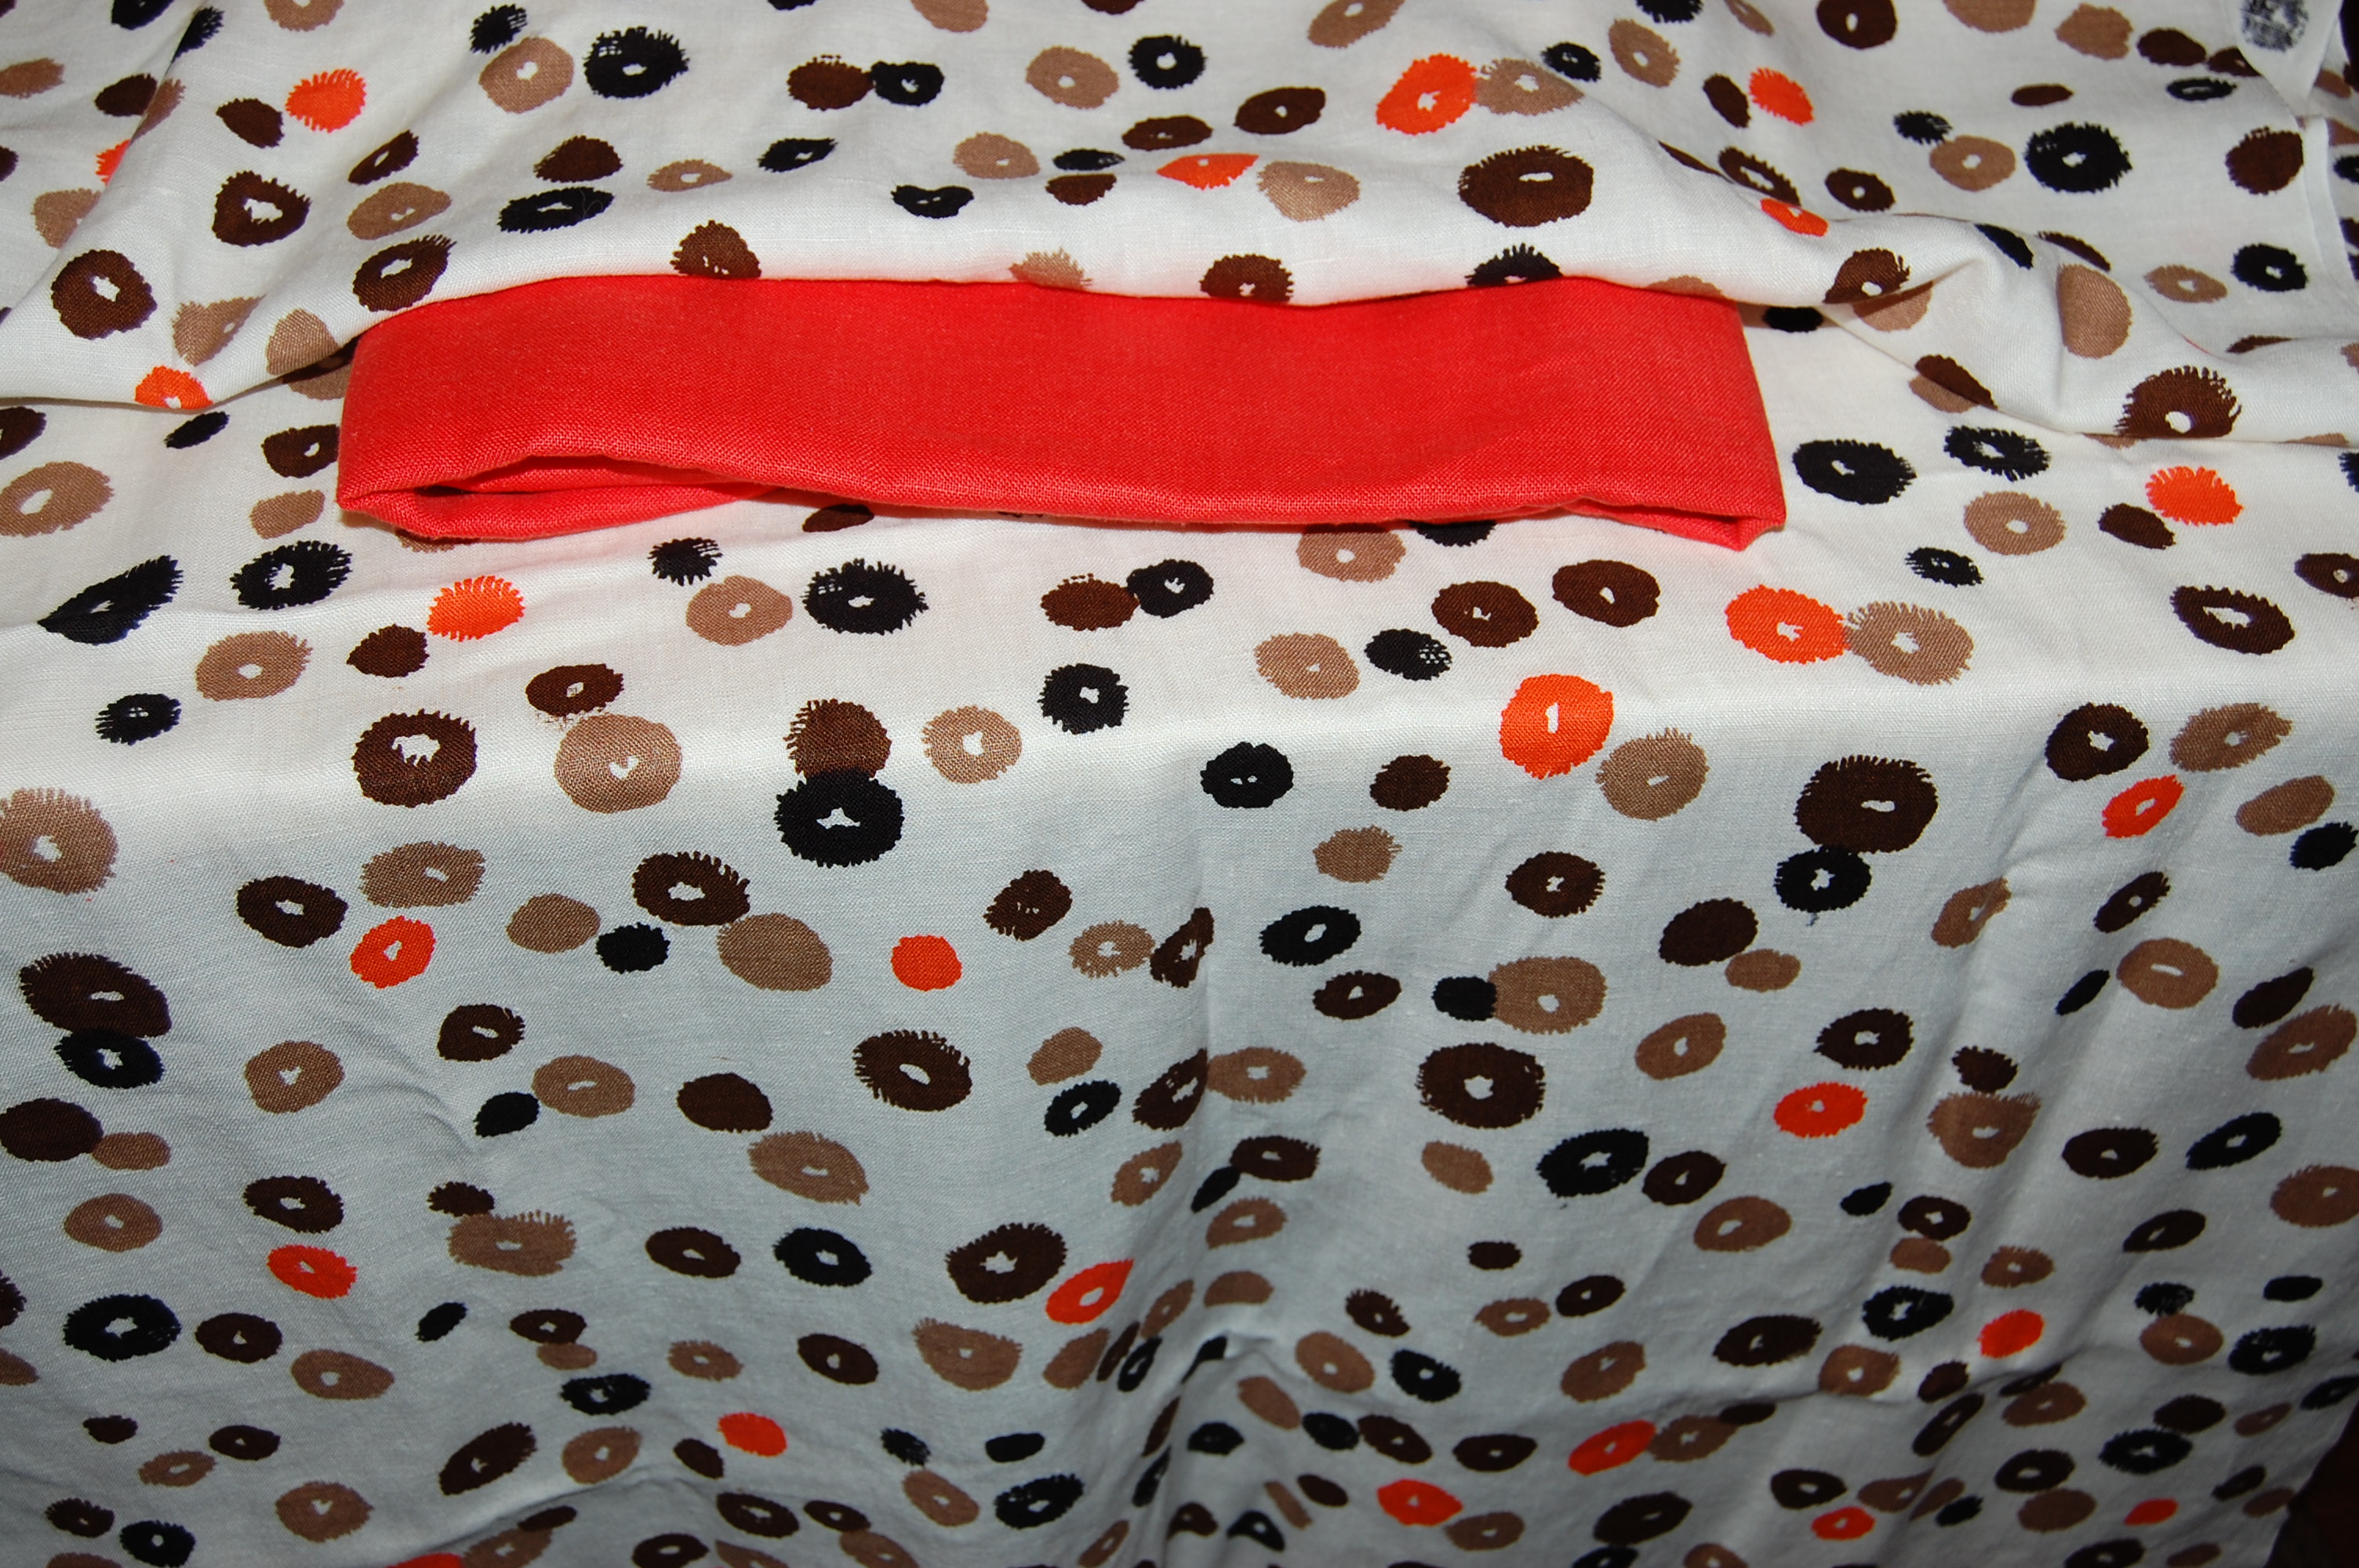
This was partly determined by the fact that I have a piece of new orange linen I picked up a couple of years ago from Britex Fabrics, and the thought of pairing this funky, stylized-dot fabric with an orange belt made out of that linen sealed the deal for me in my enthusiastic wardrobe dreams.
Then reality hit. How was I going to manage to squeak a sheath dress out of the amount of fabric in hand? After eyeballing the stretched out fabric, with my sheath dress pattern pieces arranged casually on top, it did not take long for me to know that, NO, this would not work. I would have to figure something else out, but I wasn’t giving up on the dress idea.
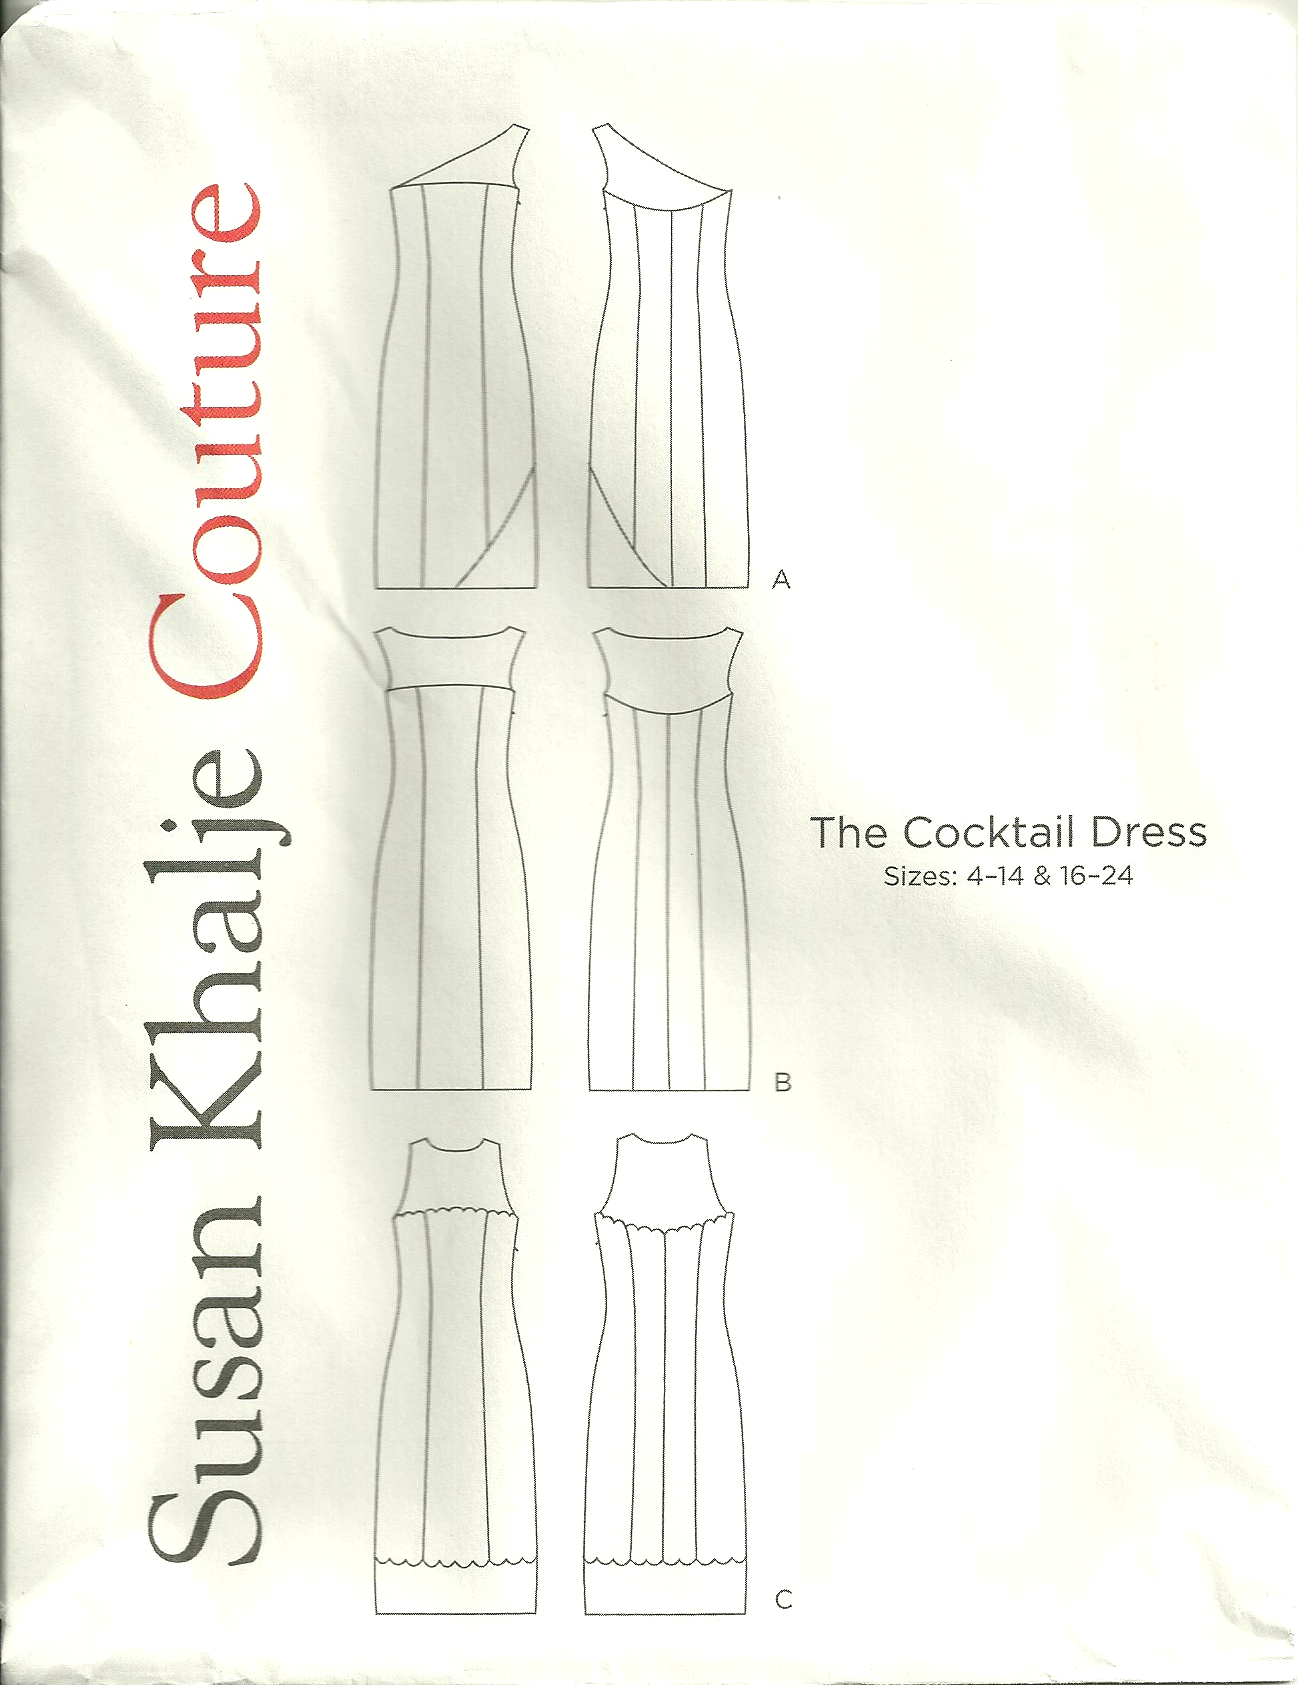
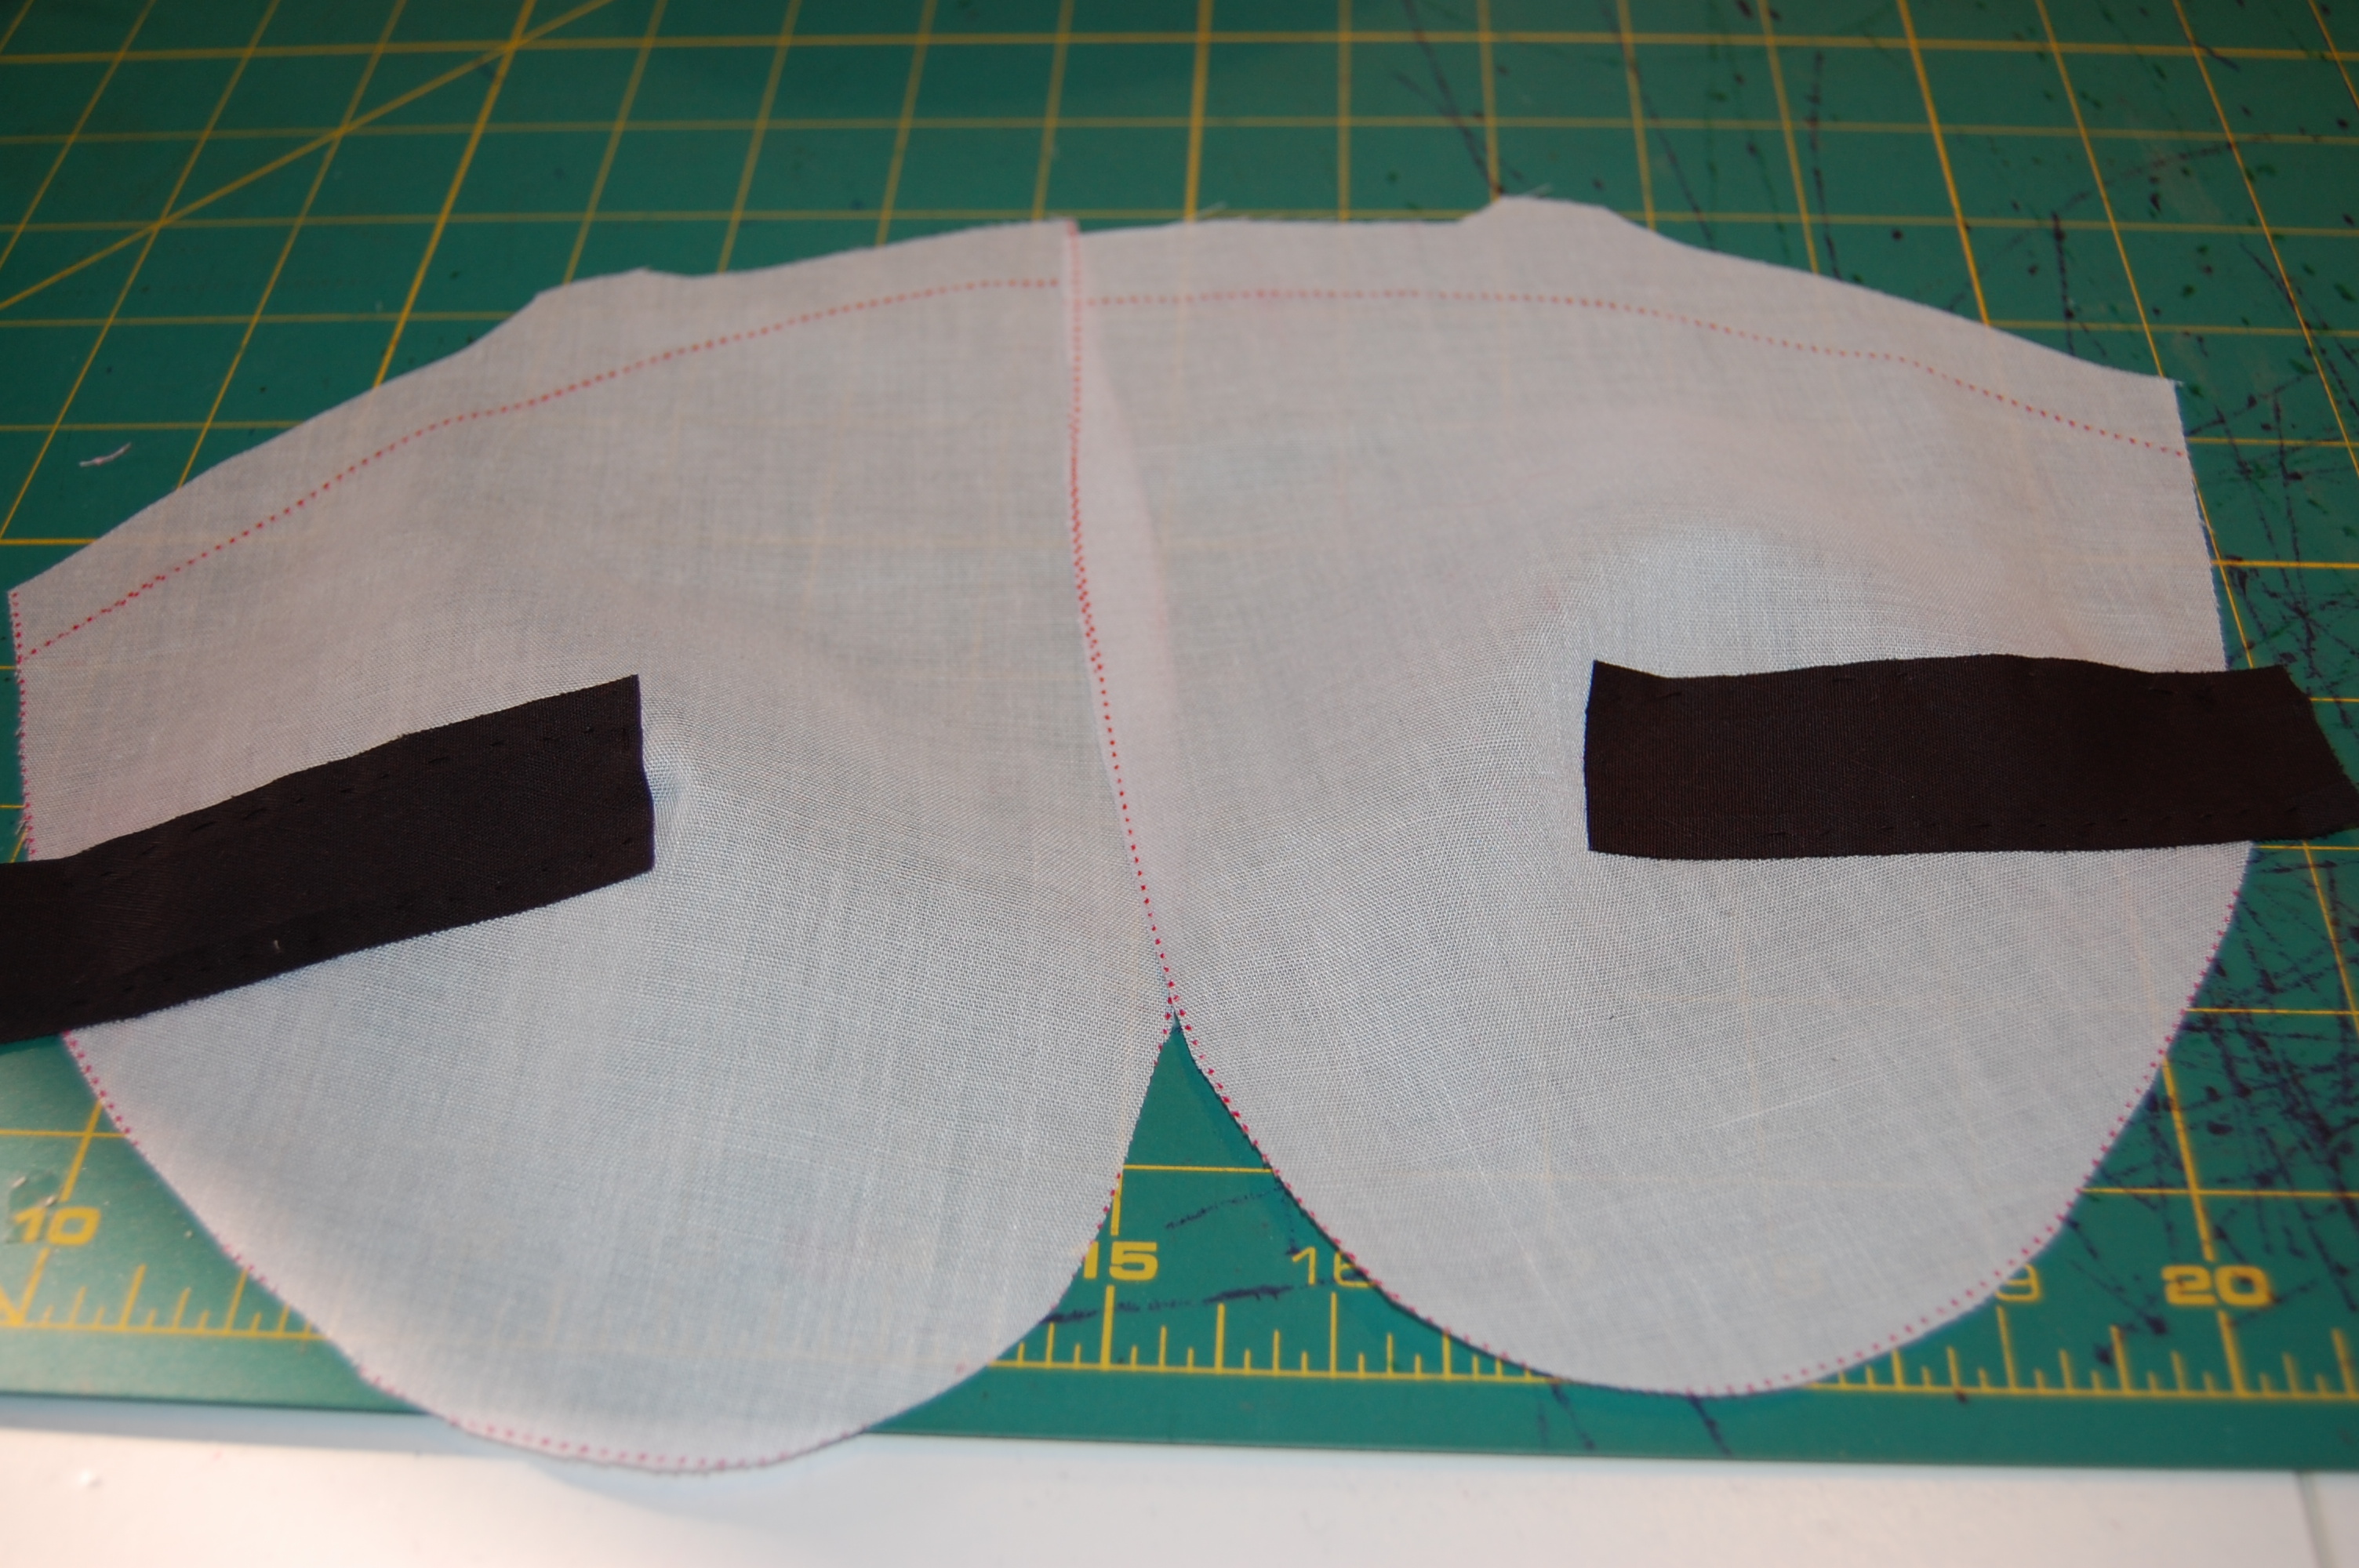
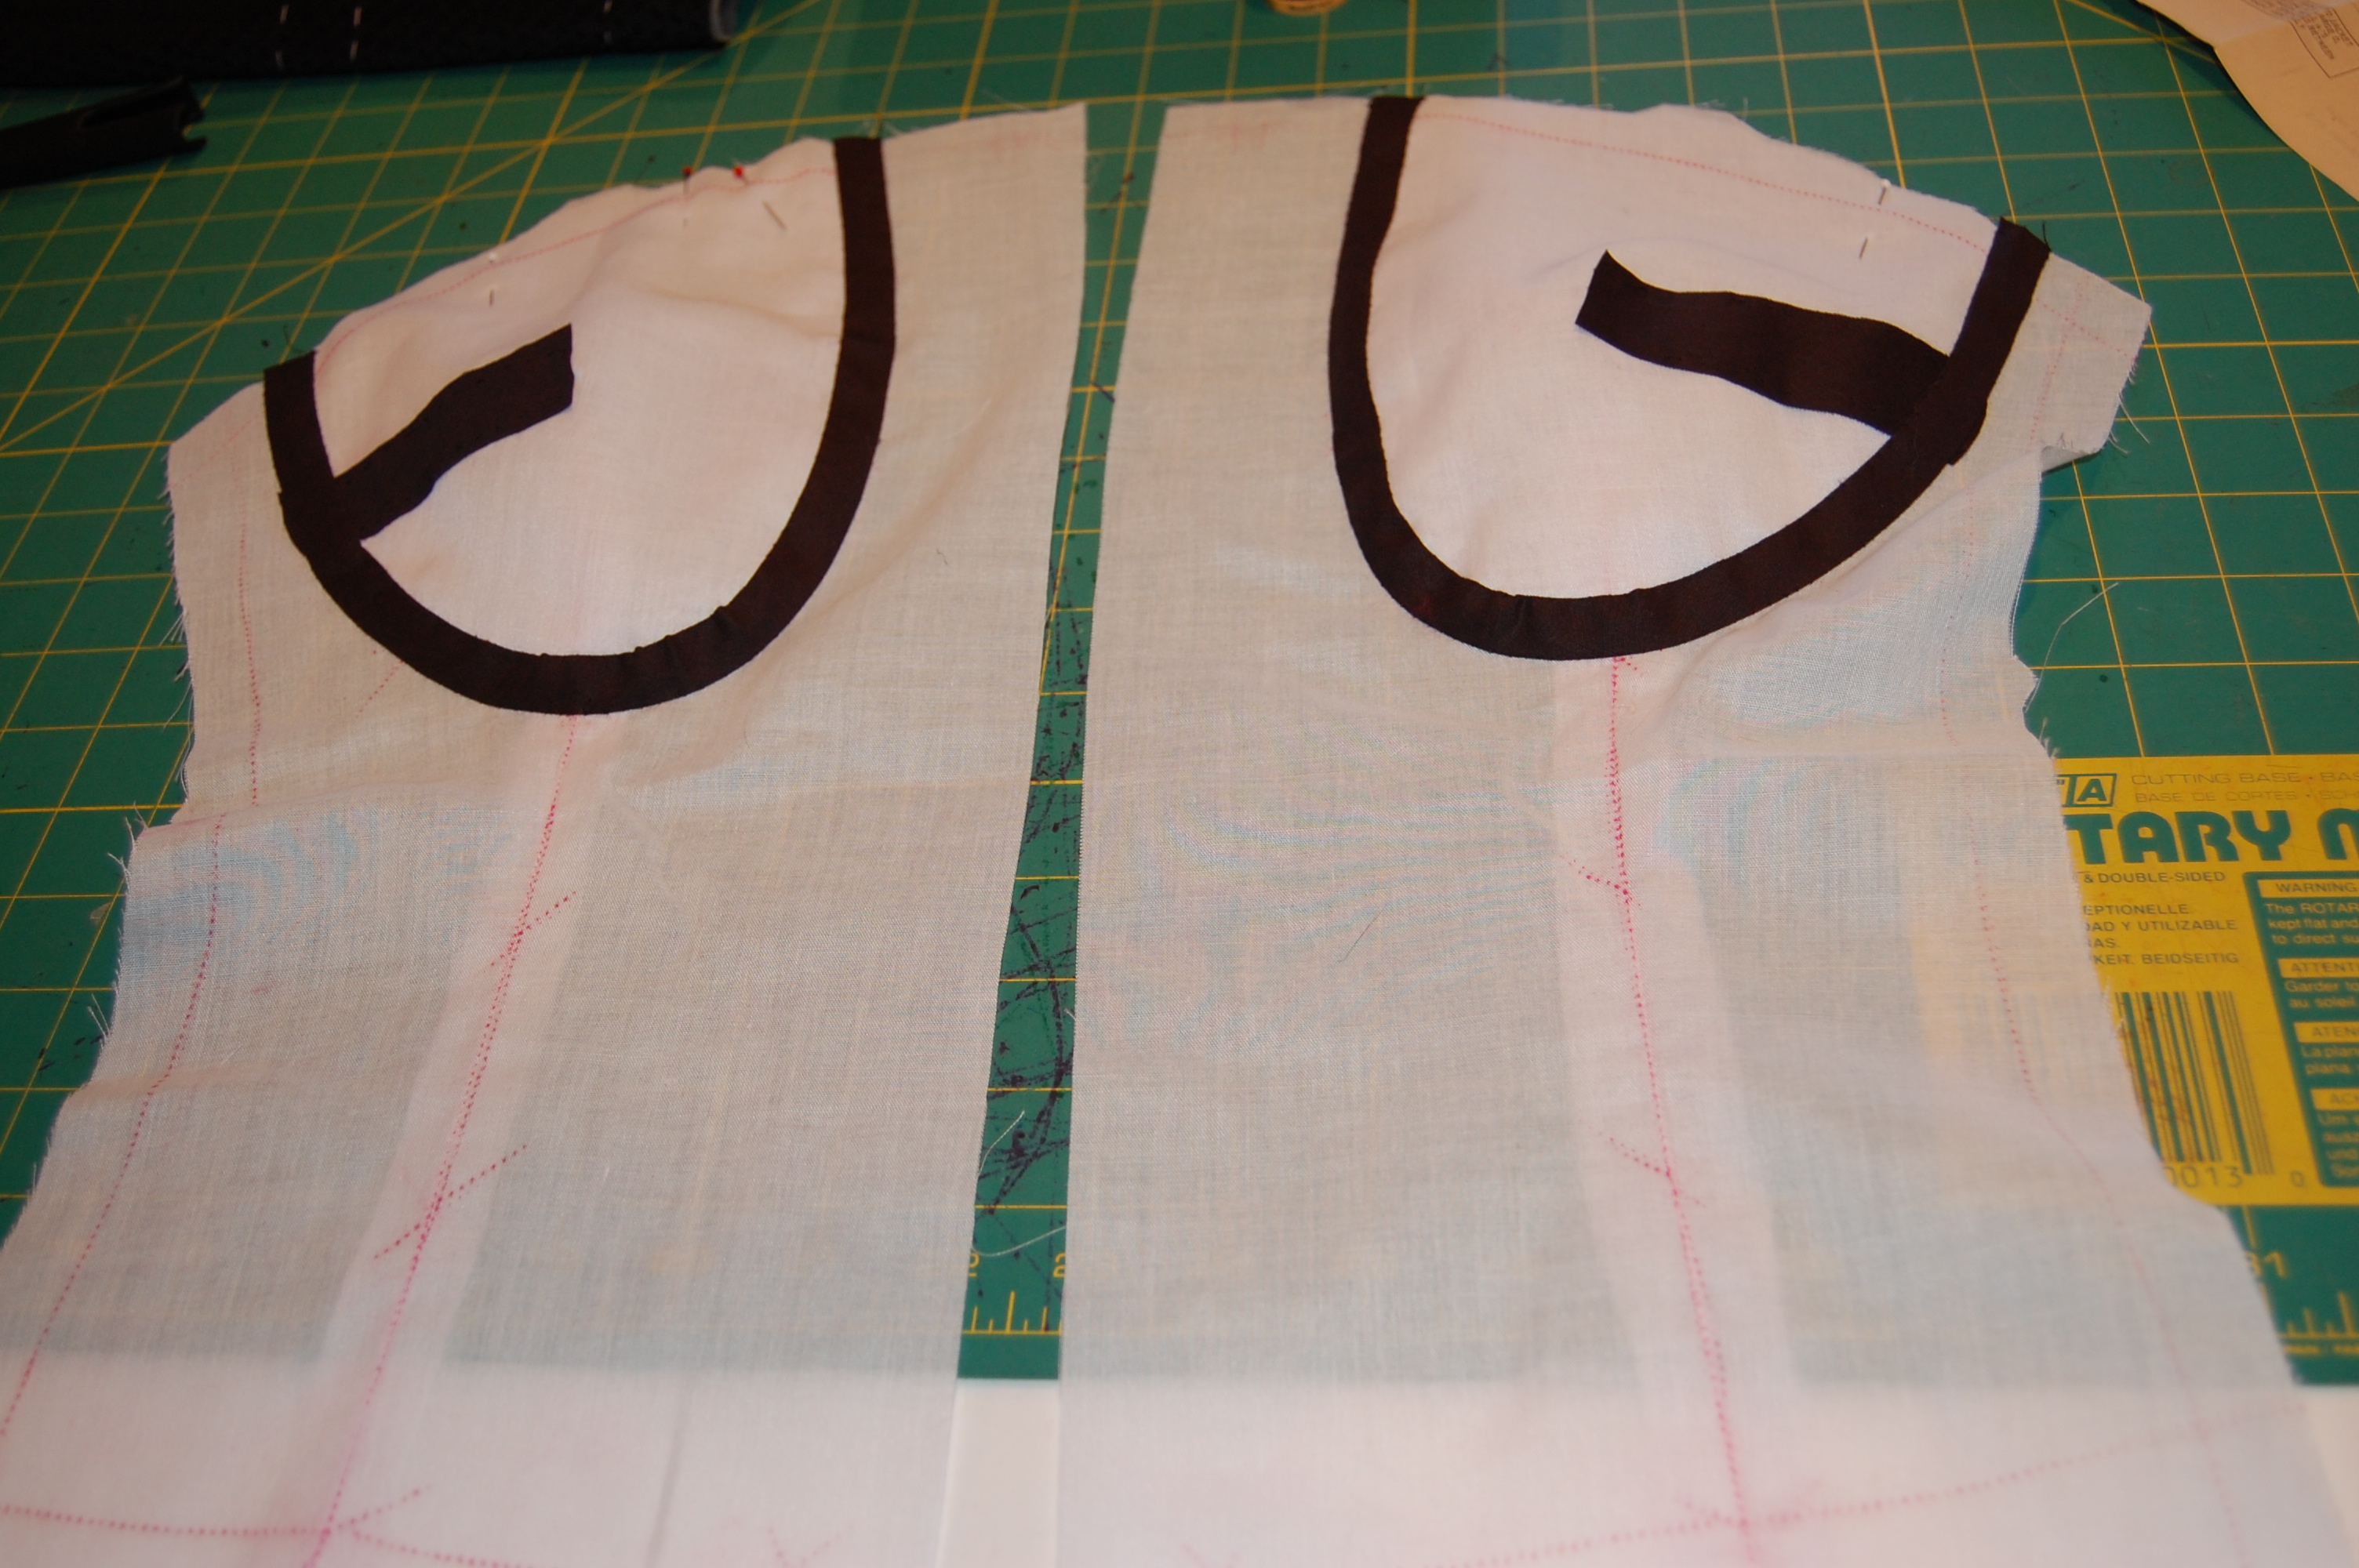
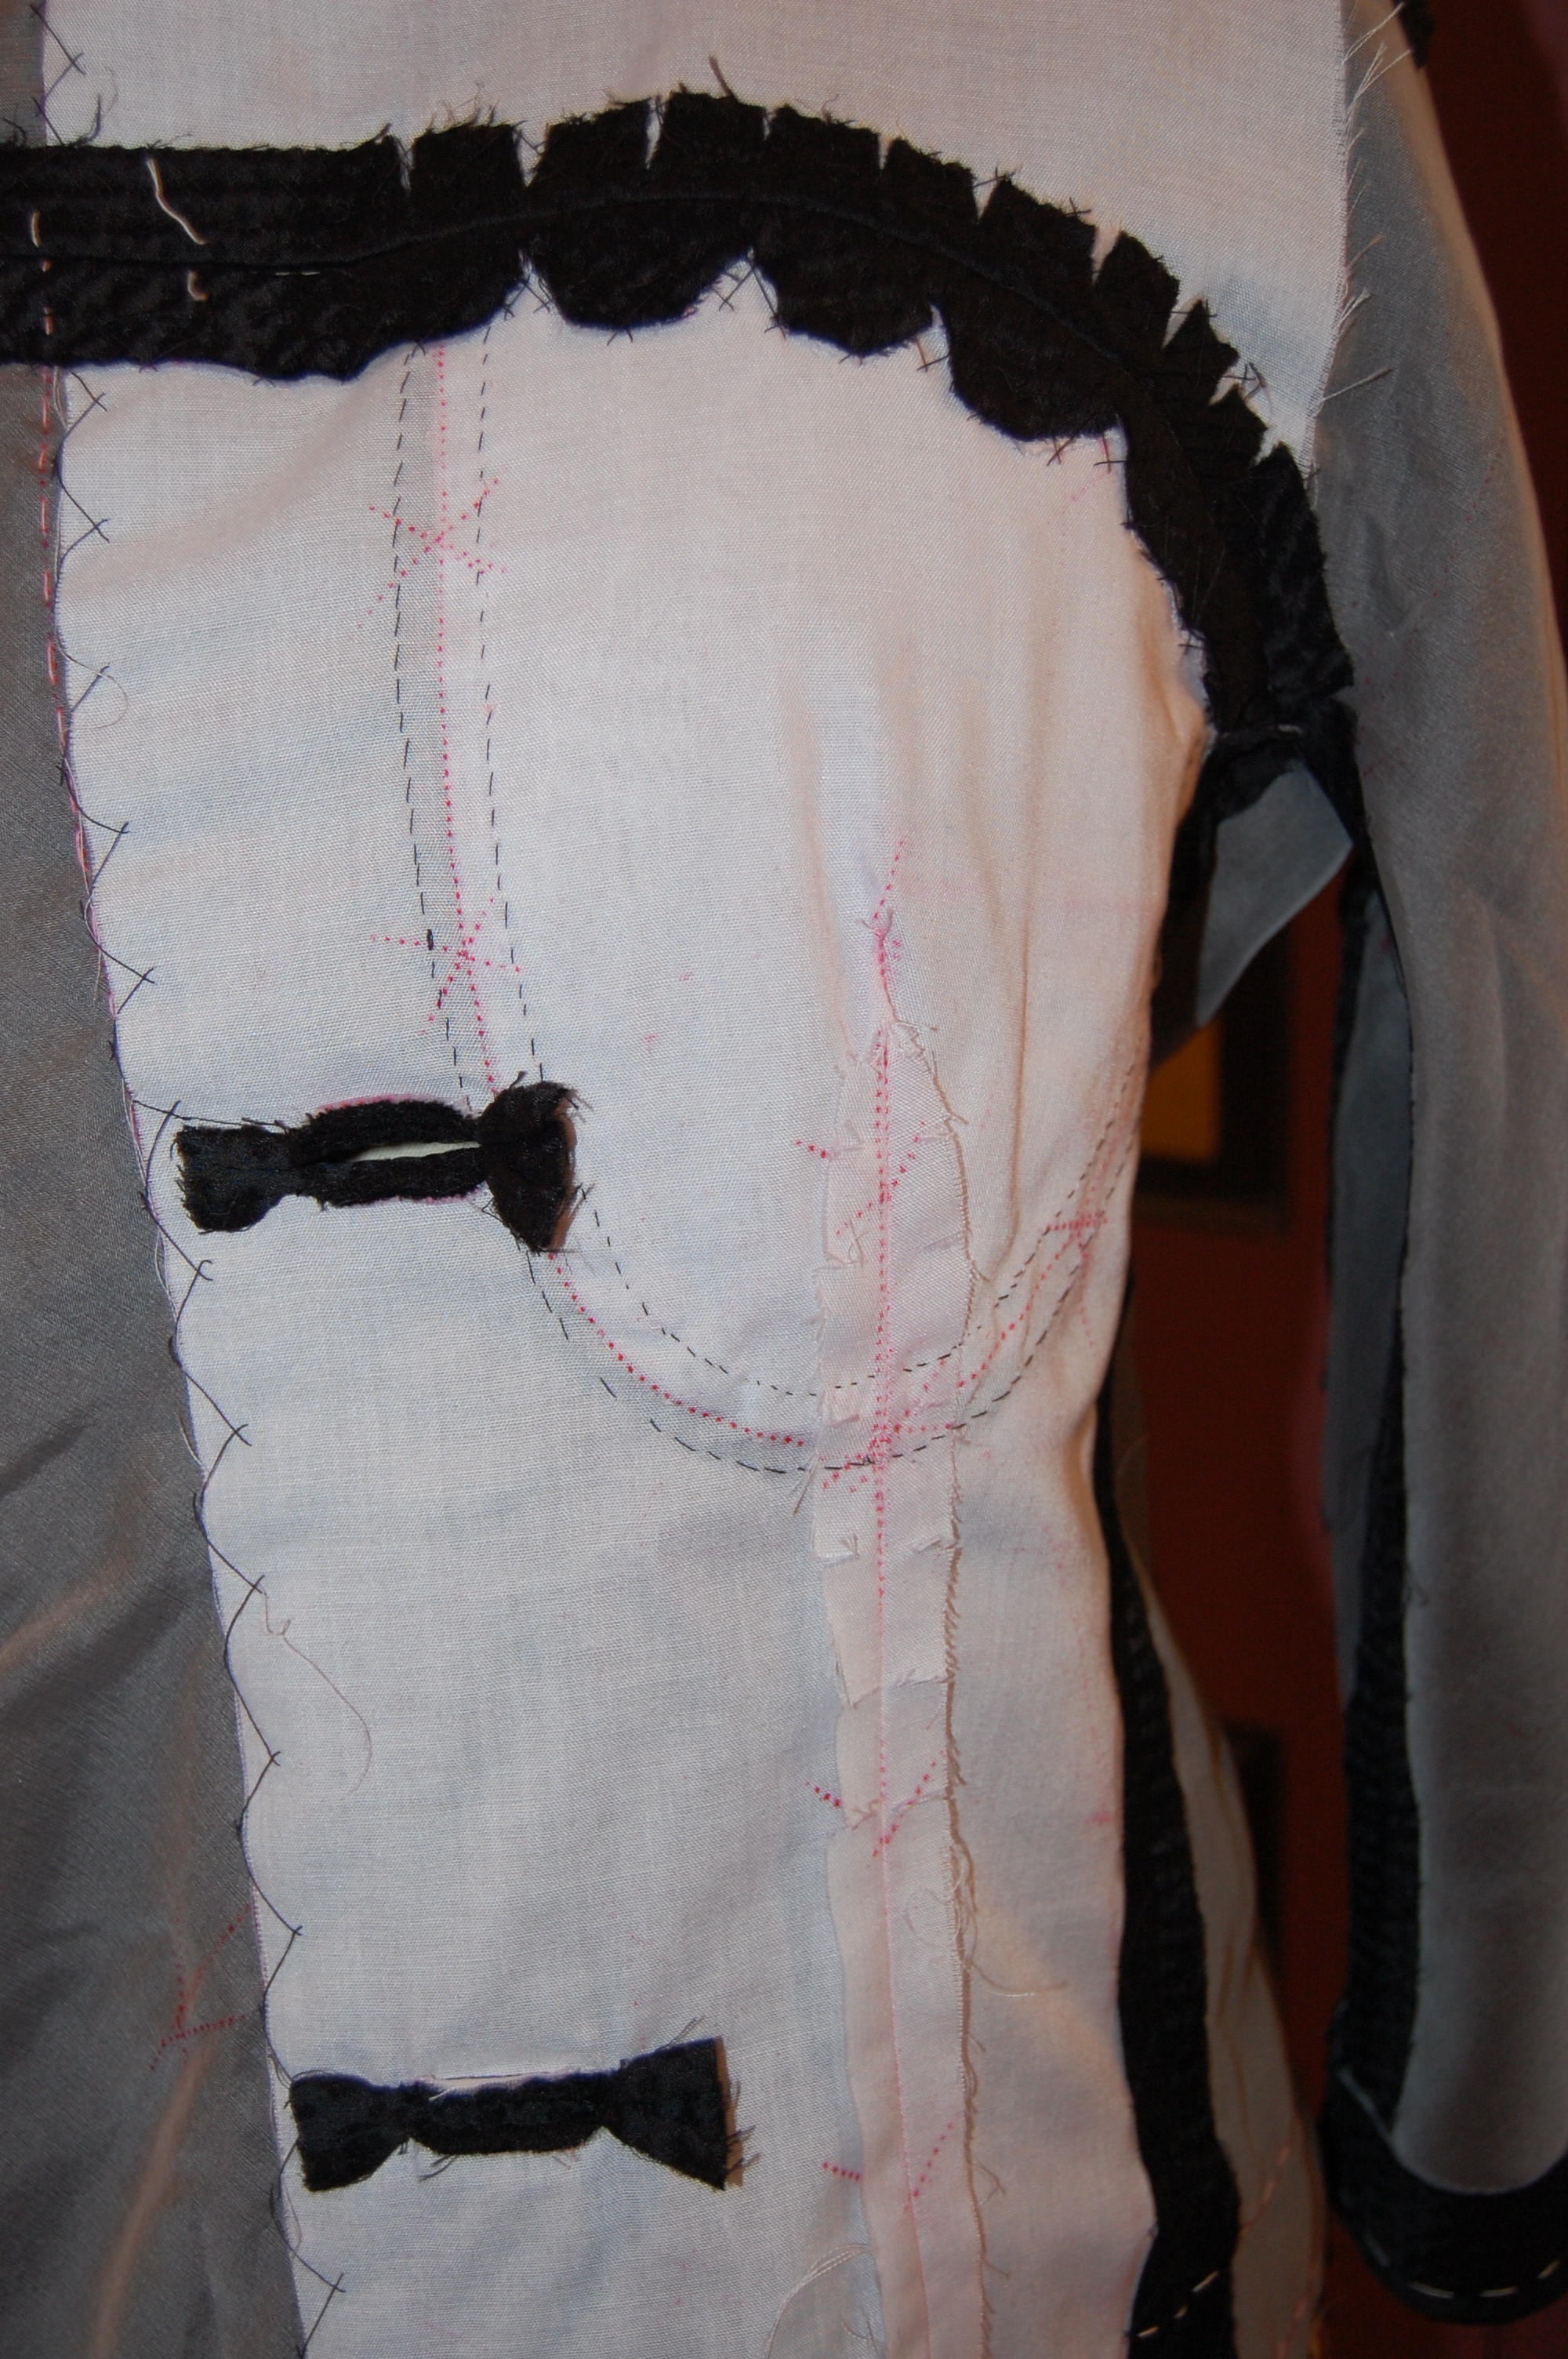
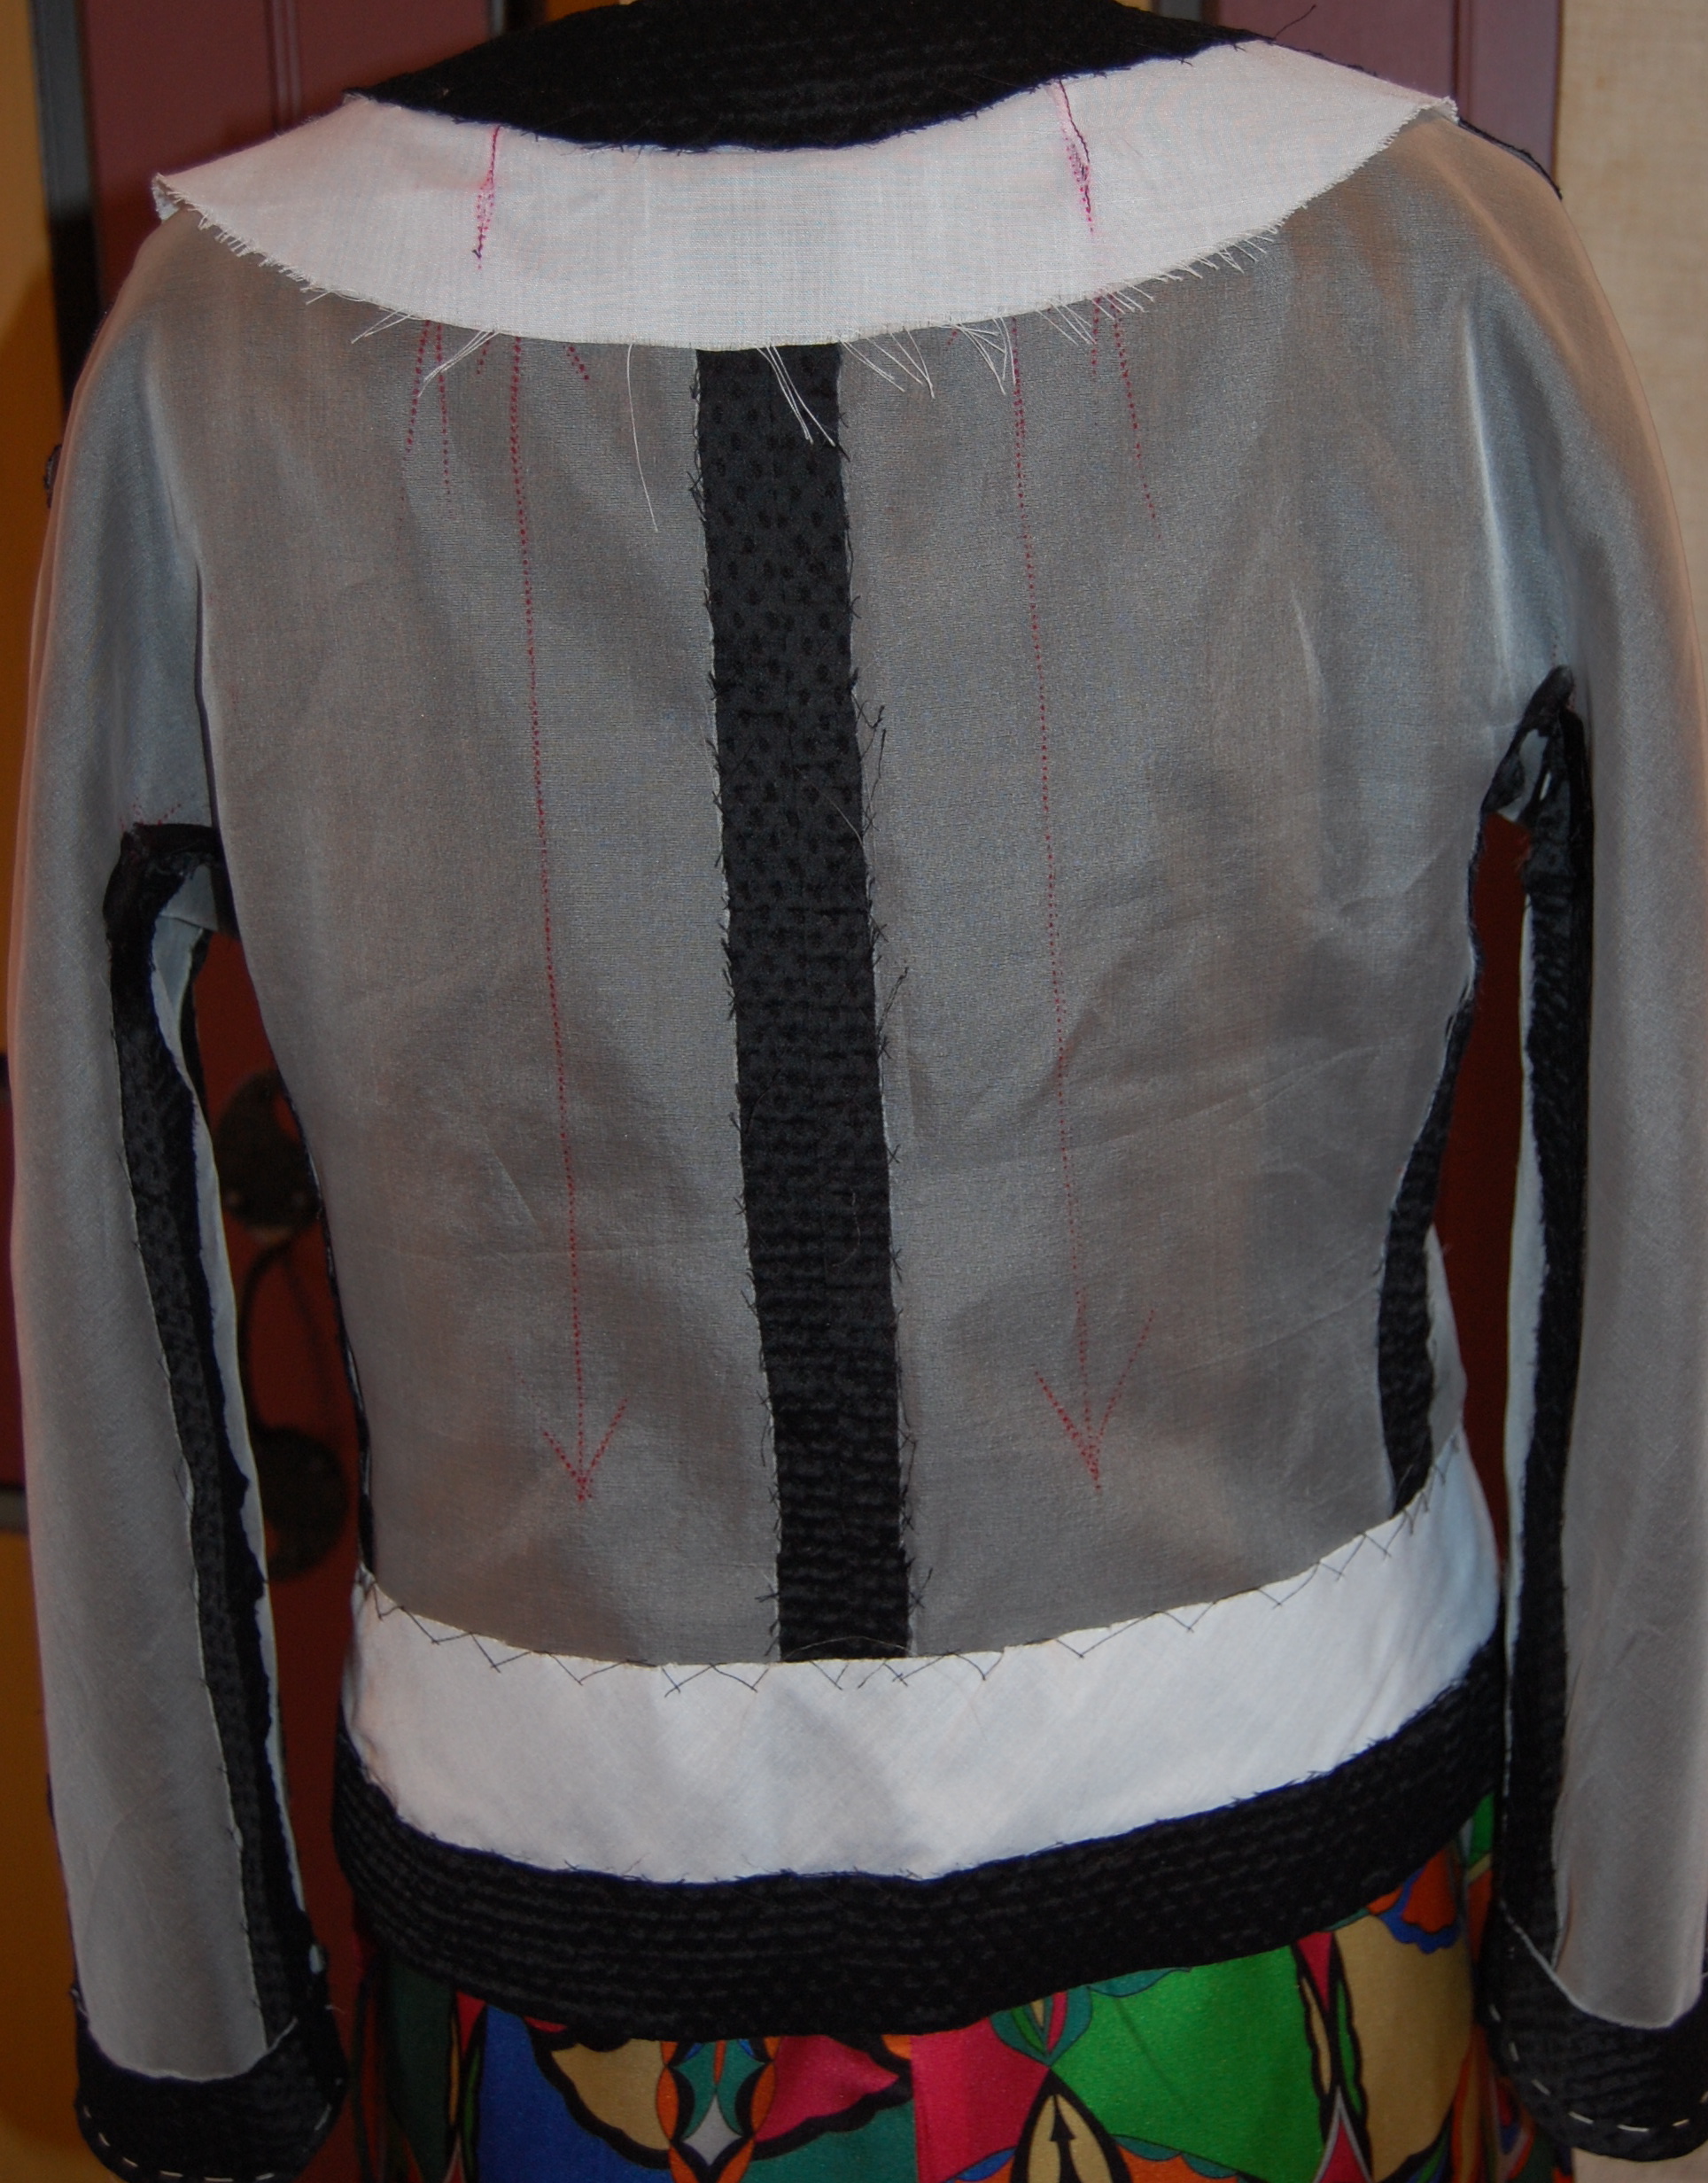
The only solution was to get more creative. I have always loved subtle “back” details on dresses, such as unusual closures, V-necklines above a back zippered opening, an embellishment of some sort, that type of thing. And I suddenly realized that if I could section the back pieces (only) of my sheath pattern so that I would have an upper back yoke, then I could probably fit everything on the fabric (knowing it would still be a squeeze, however).
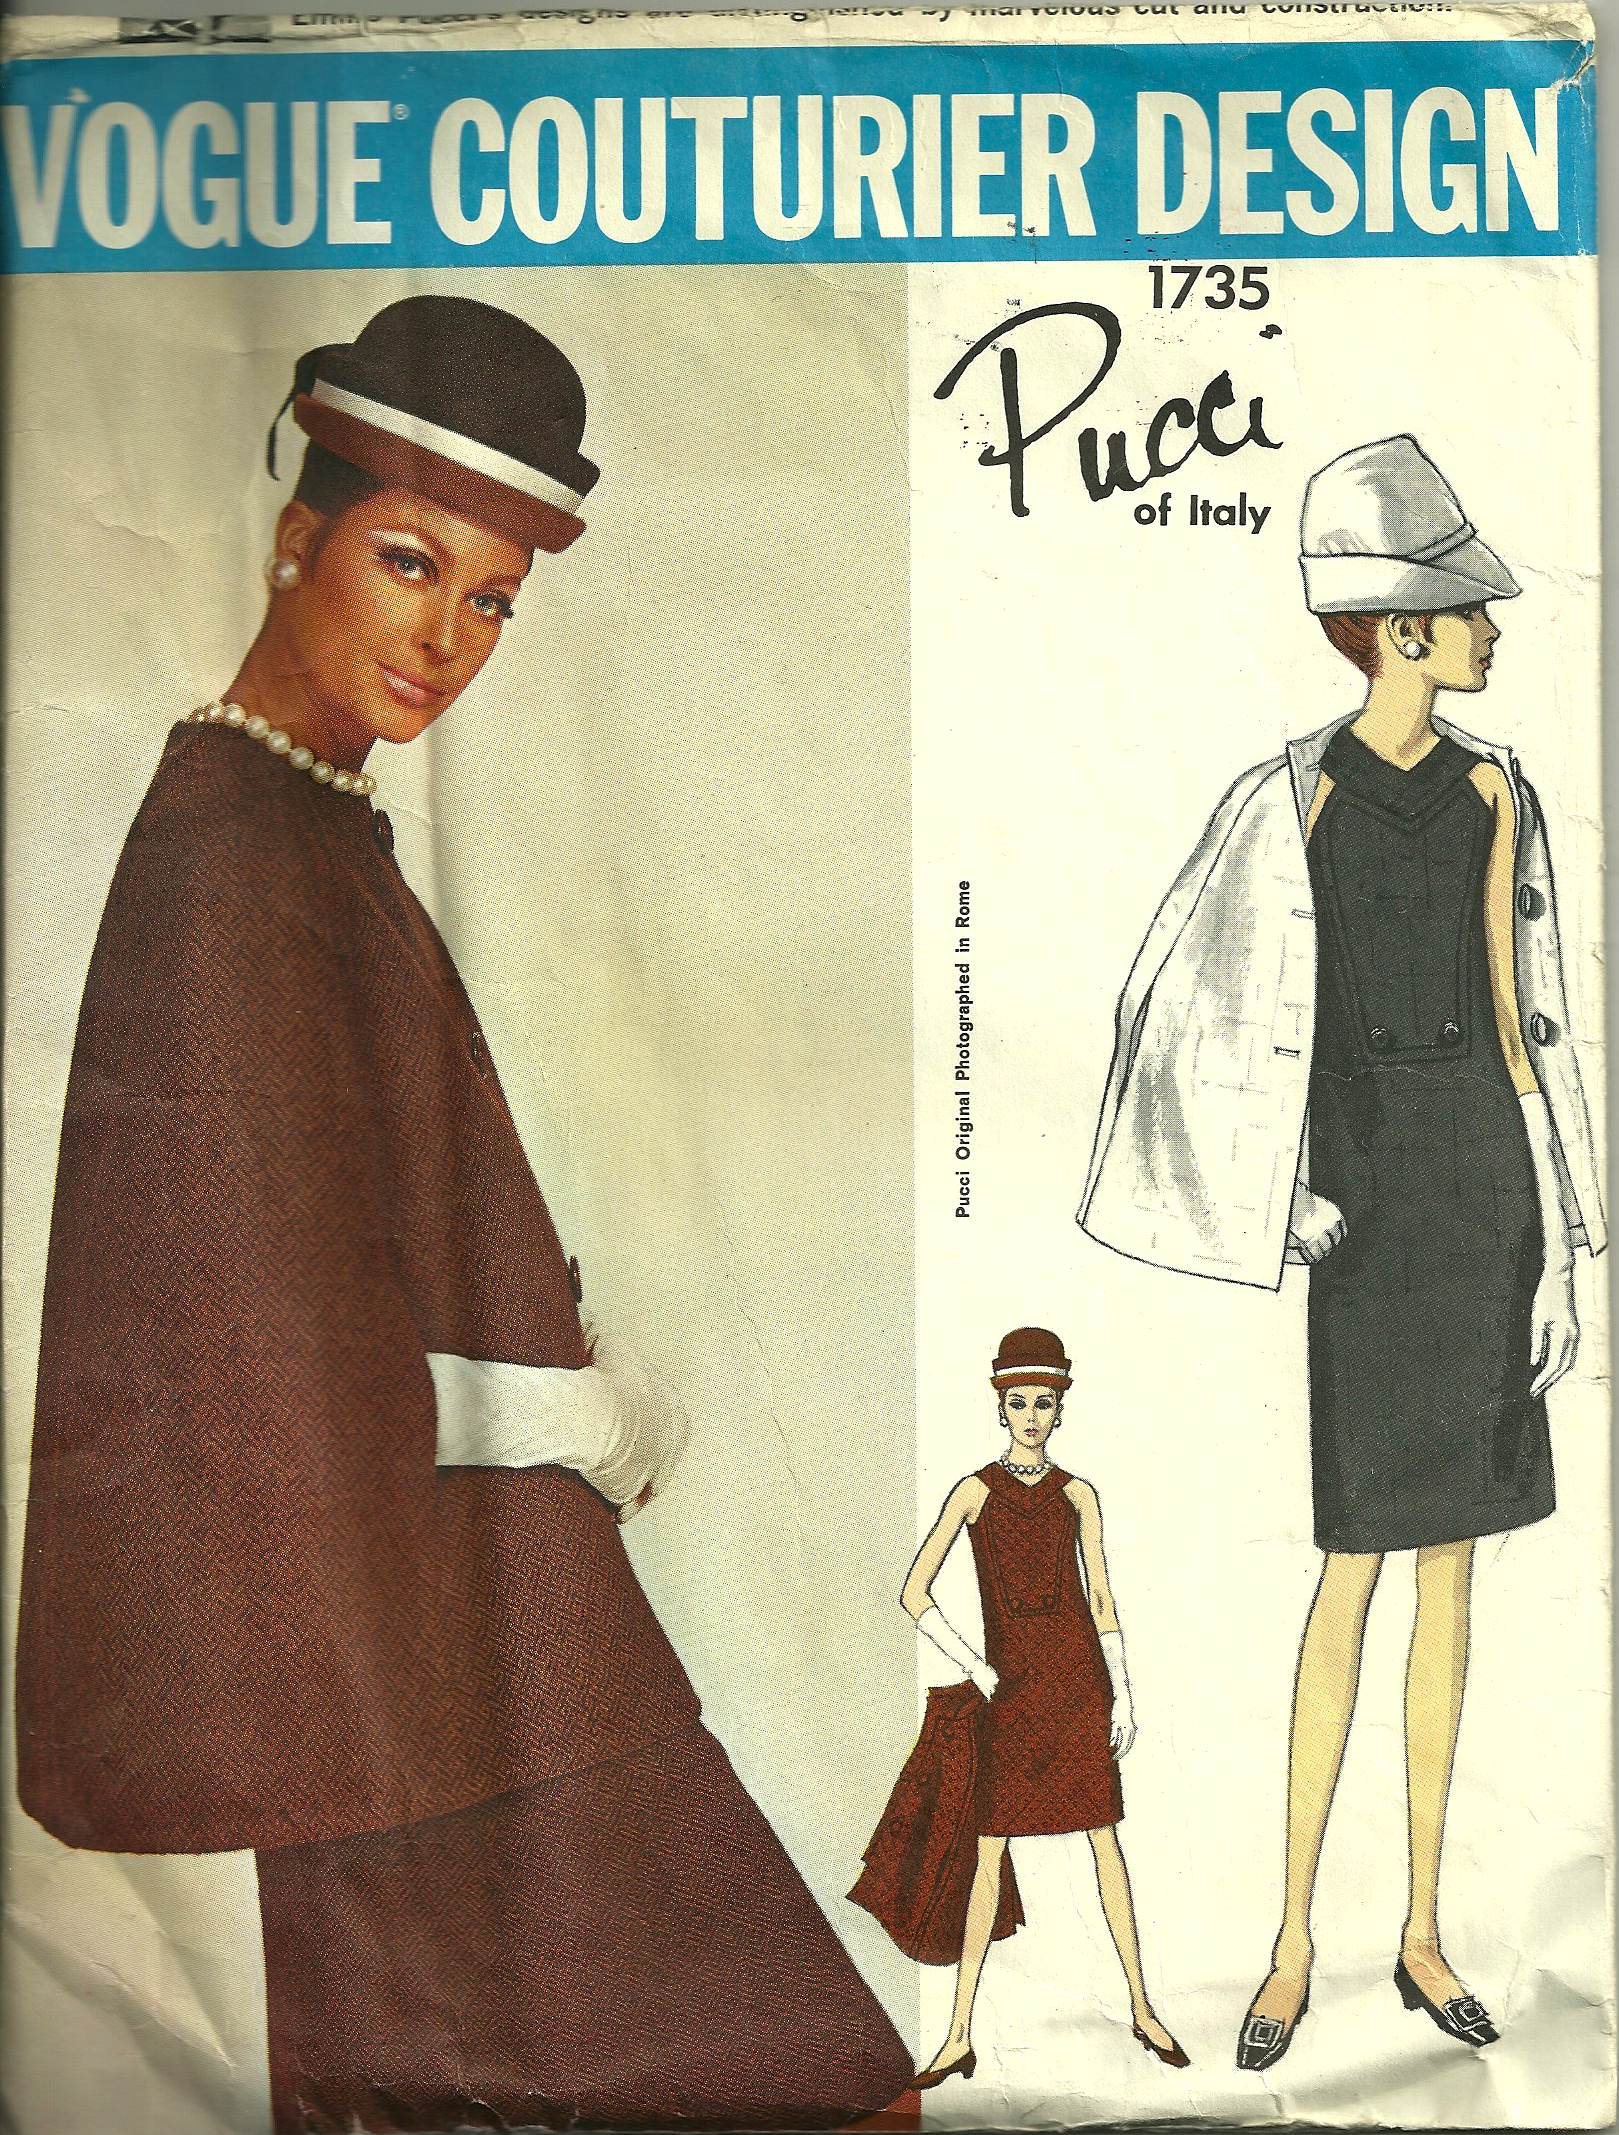
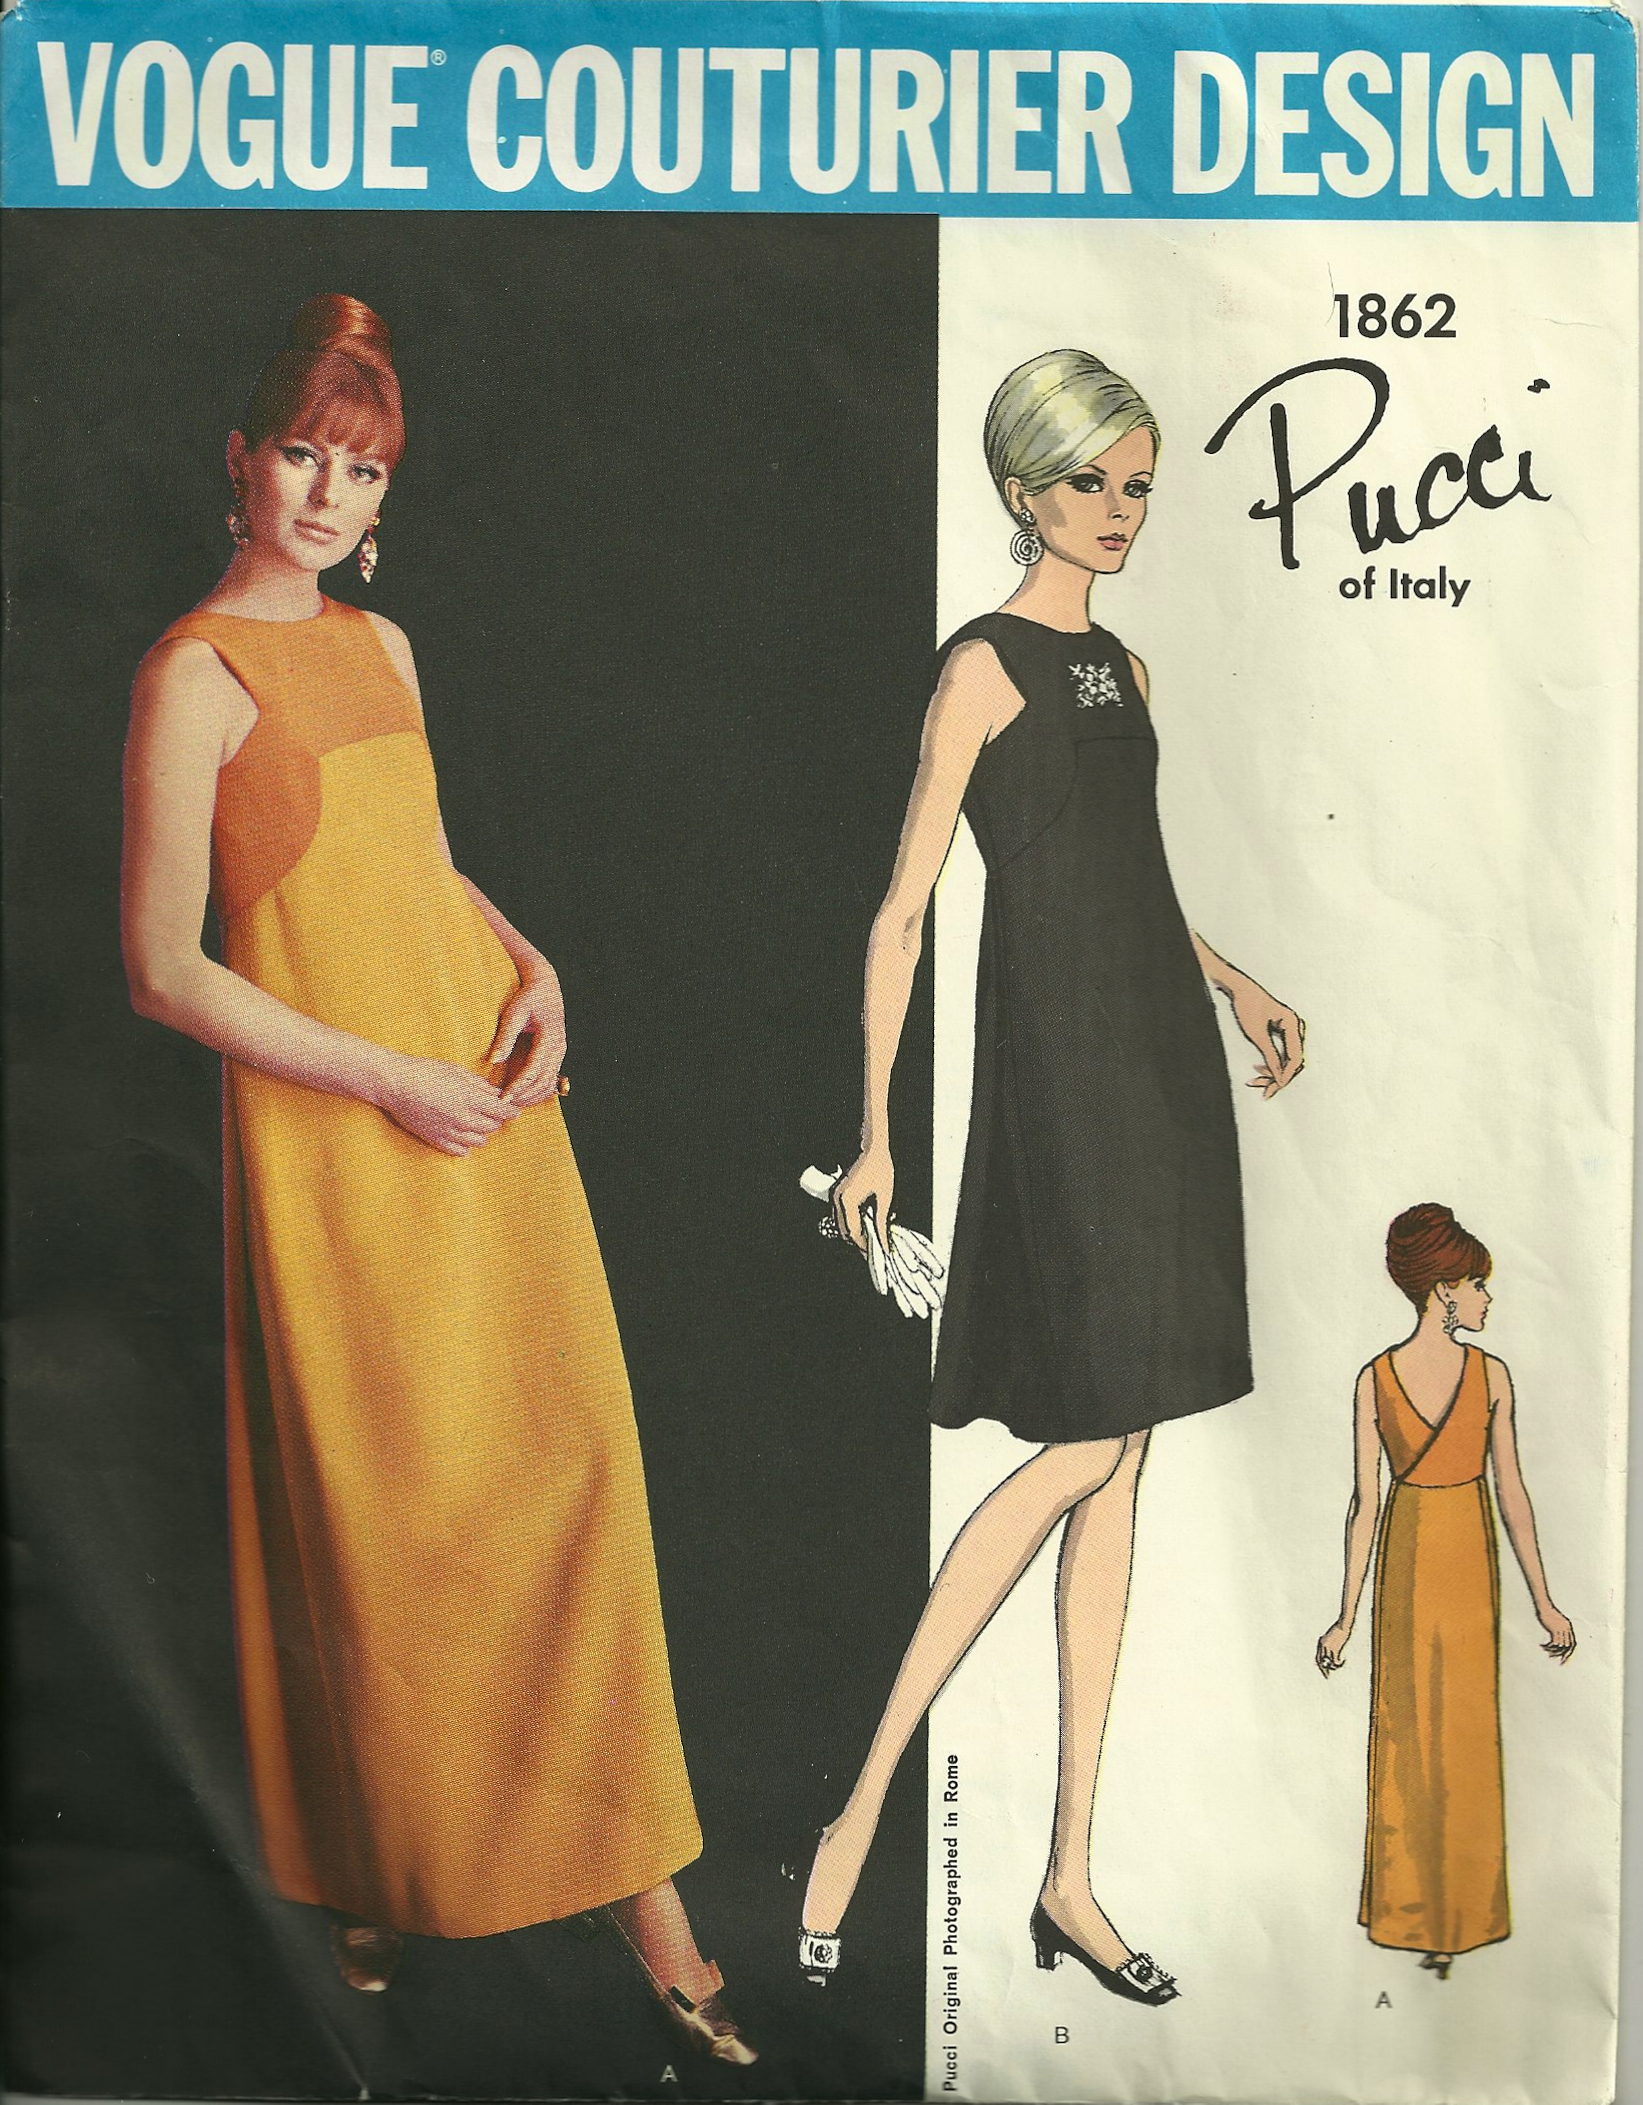
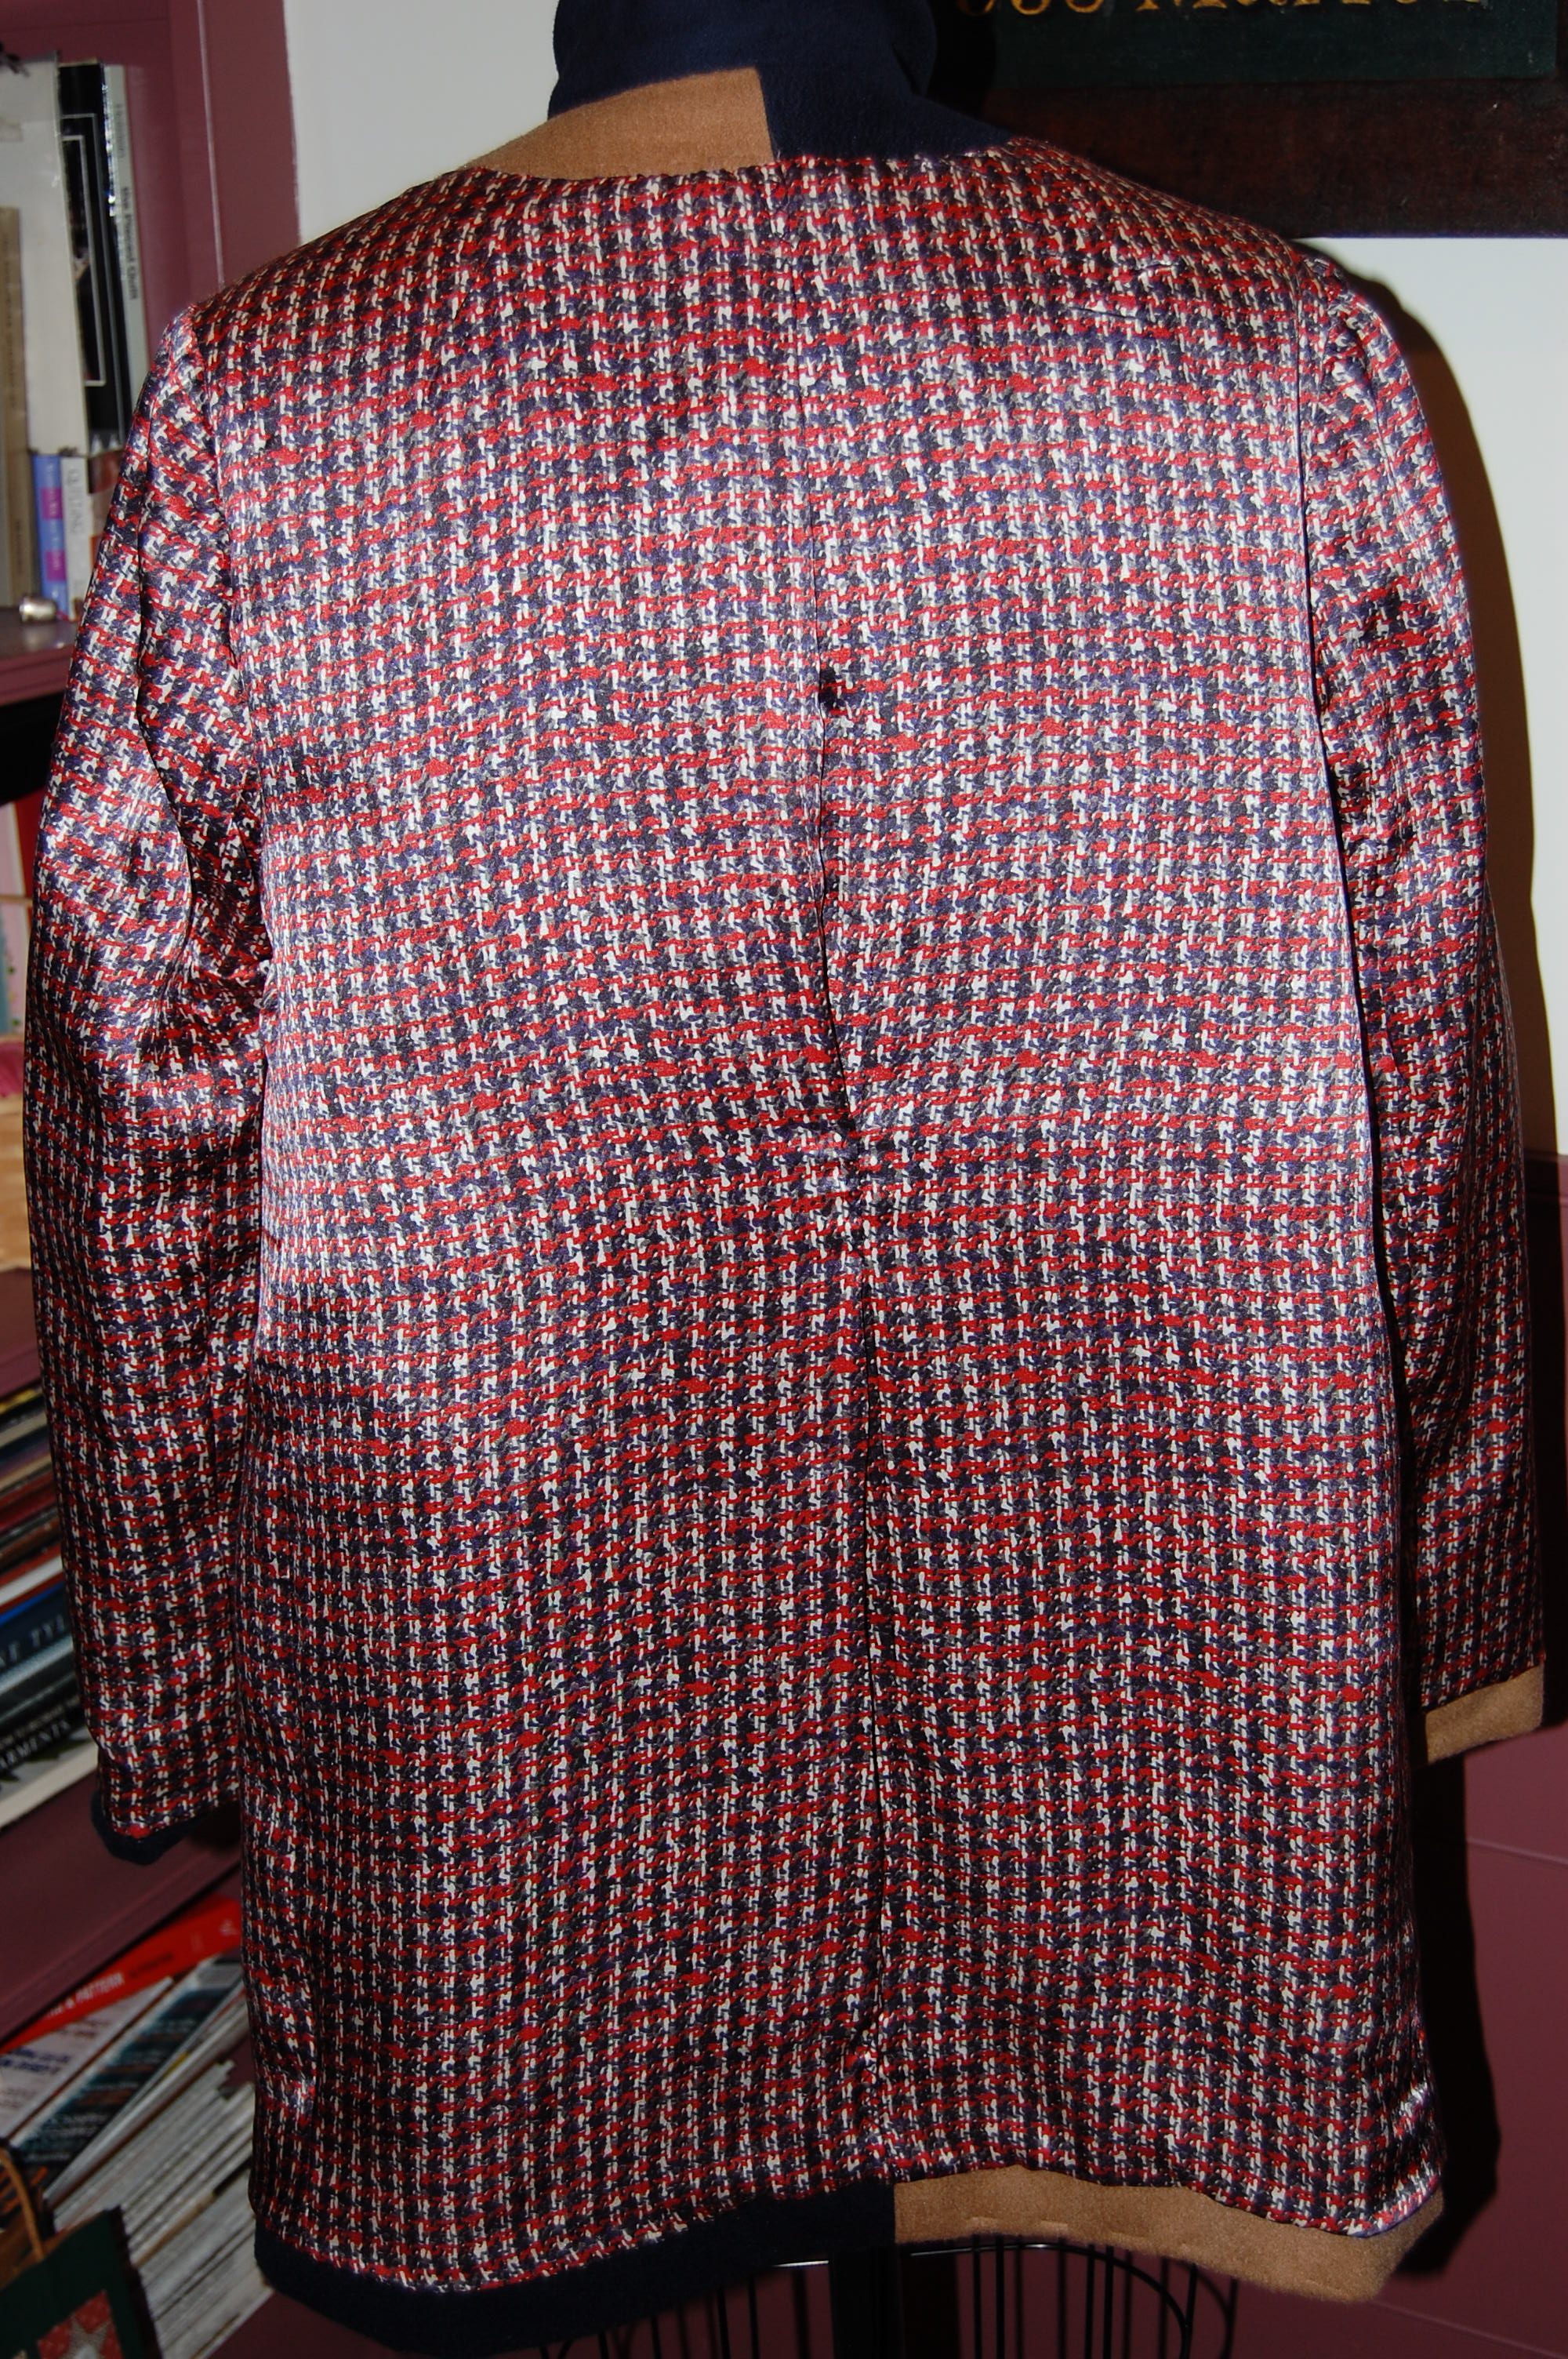
Now I got really excited. One of my favorite patterns (from 1957) features a back- buttoned yoke, which is seamed right above the shaping darts in the back body of the dress. I figured this is exactly the spot where I would need to section the back of the dress to make it fit on my fabric.
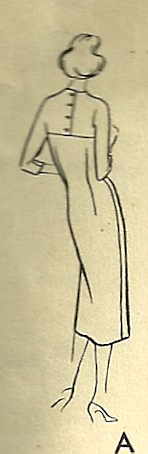
The yoke on this dress is obviously part of the kimono sleeve section, but I like the idea of a three-buttoned yoke.
And then – wheels turning in my head – I seemed to remember I had some orange buttons (vintage, no less!) in my button box. These seem to me to be a perfect pairing with the linen fabric:
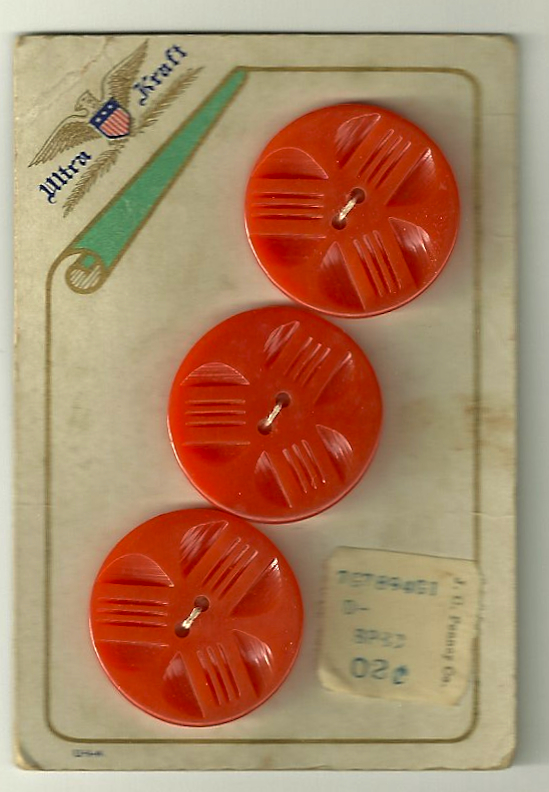
This card of buttons cost 2 cents originally! They seem to mimic the small orange explosions on the dress fabric.
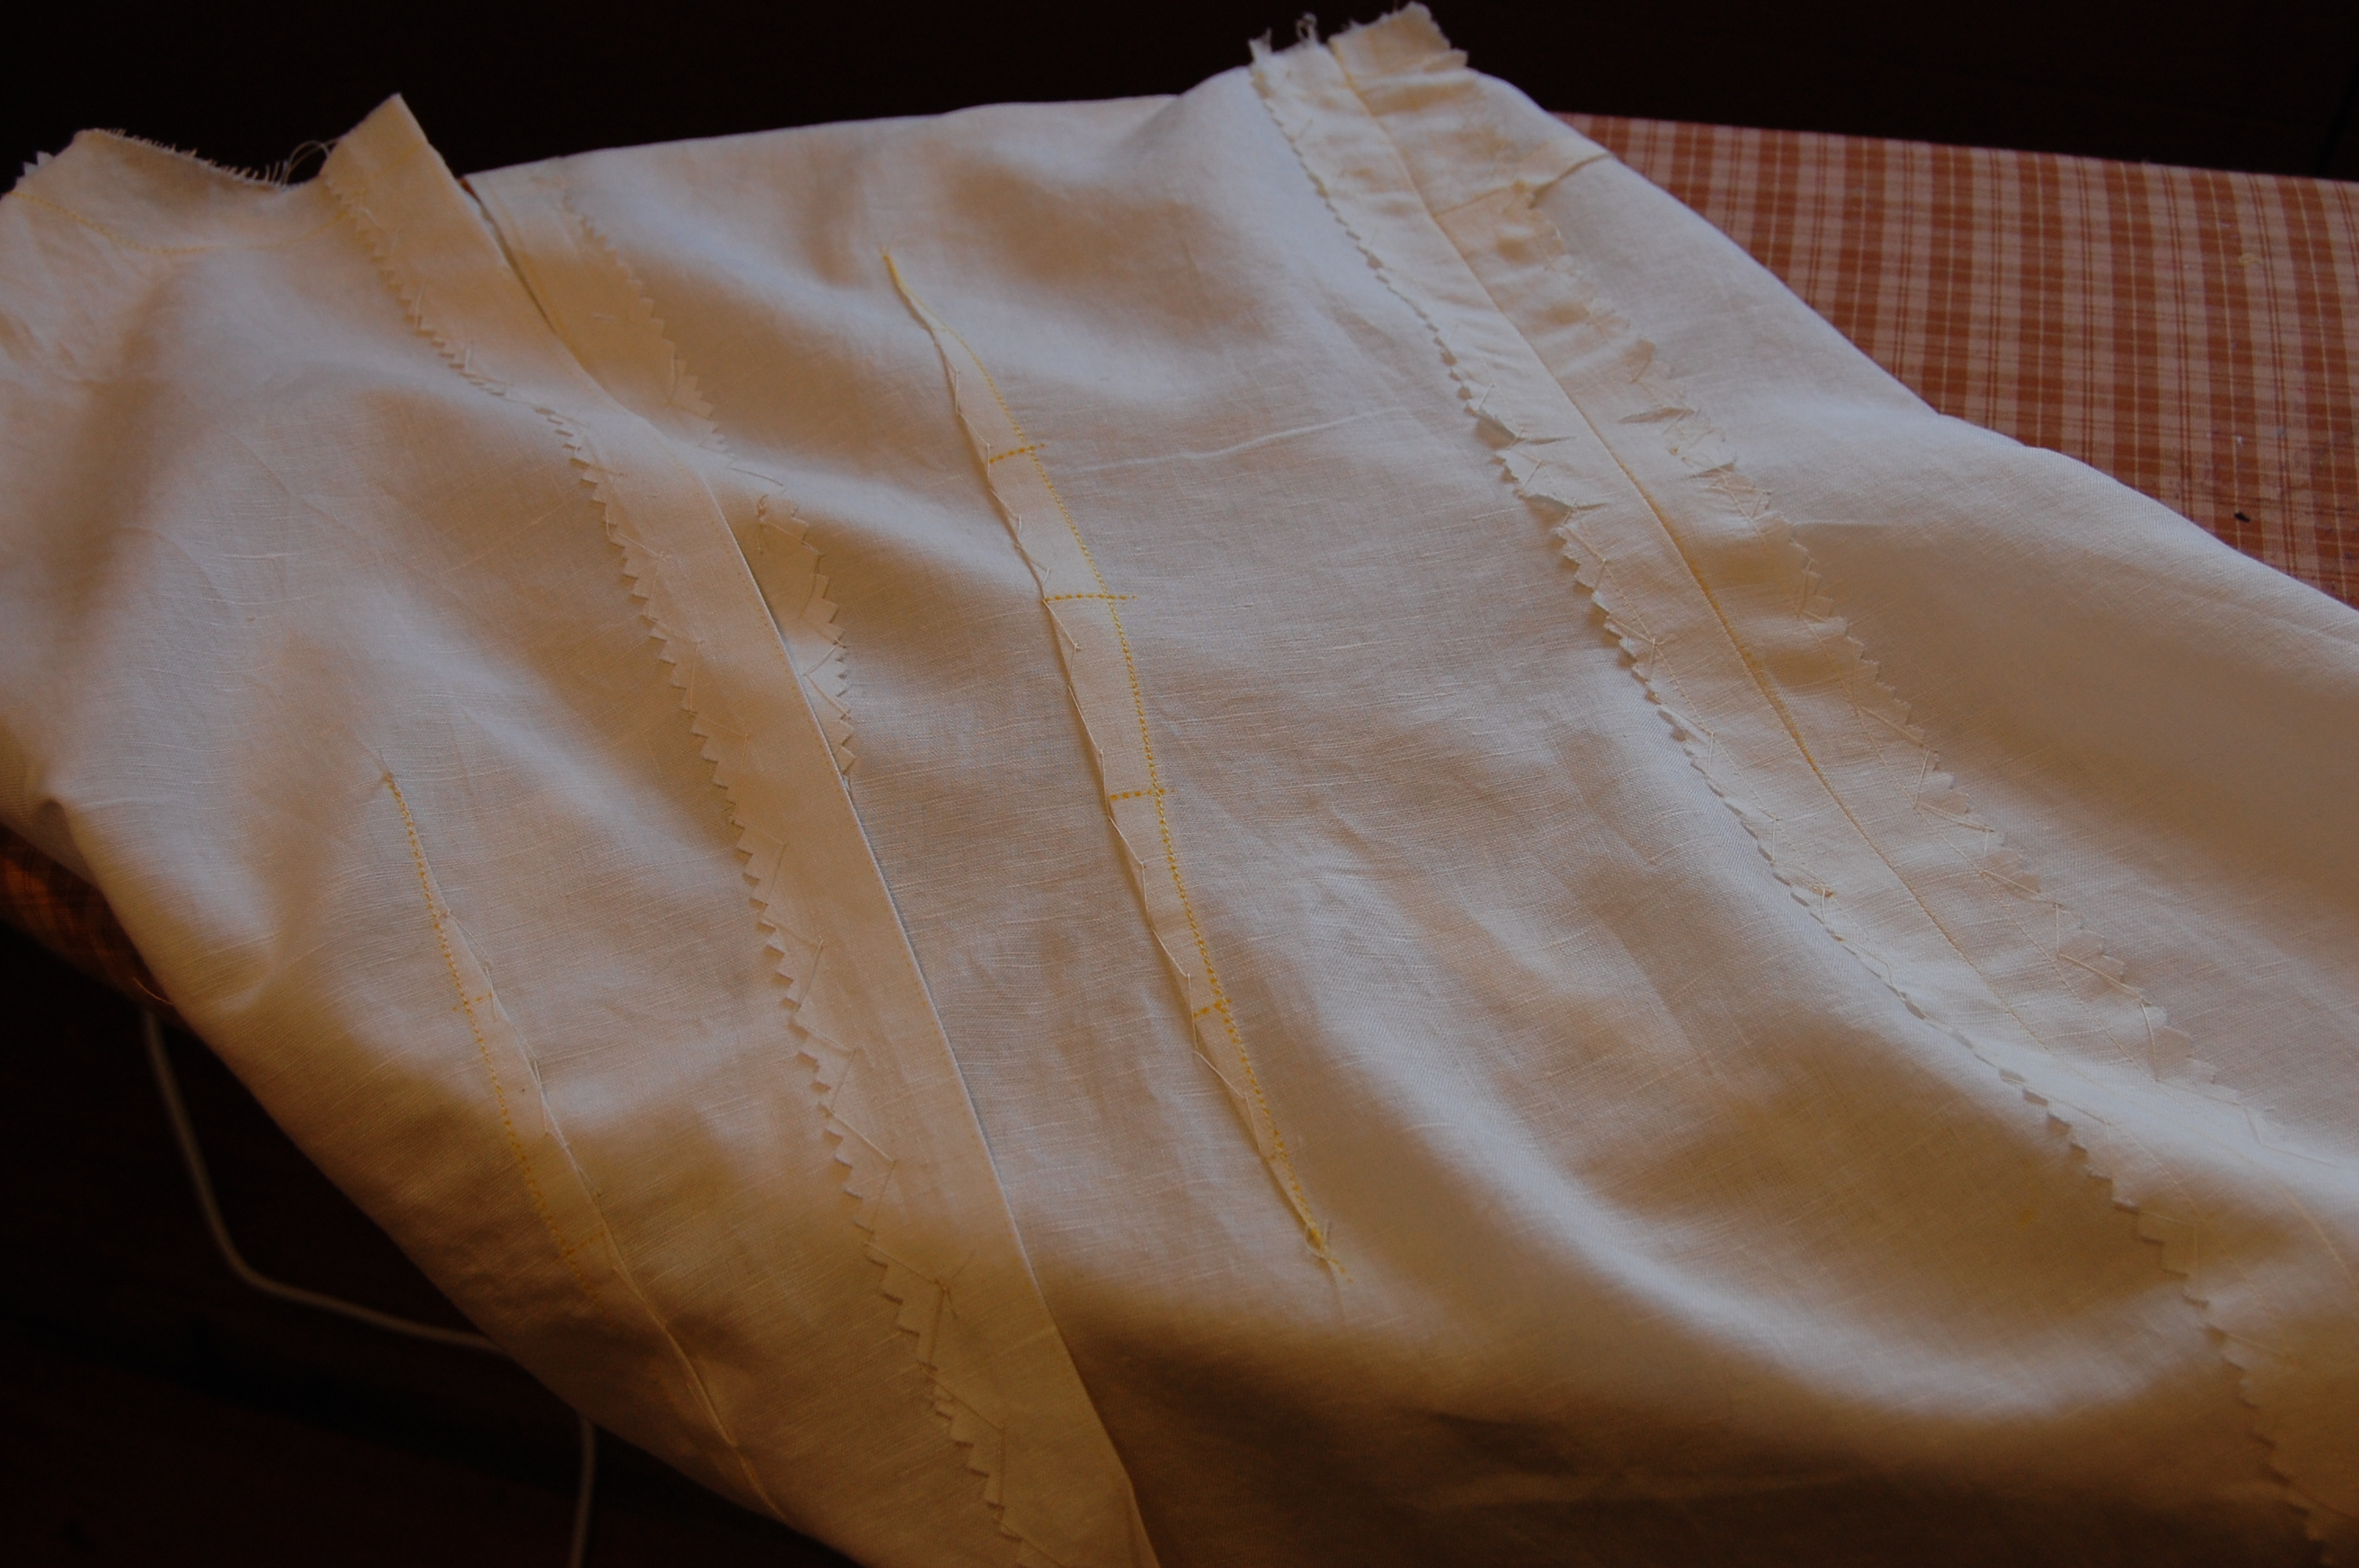
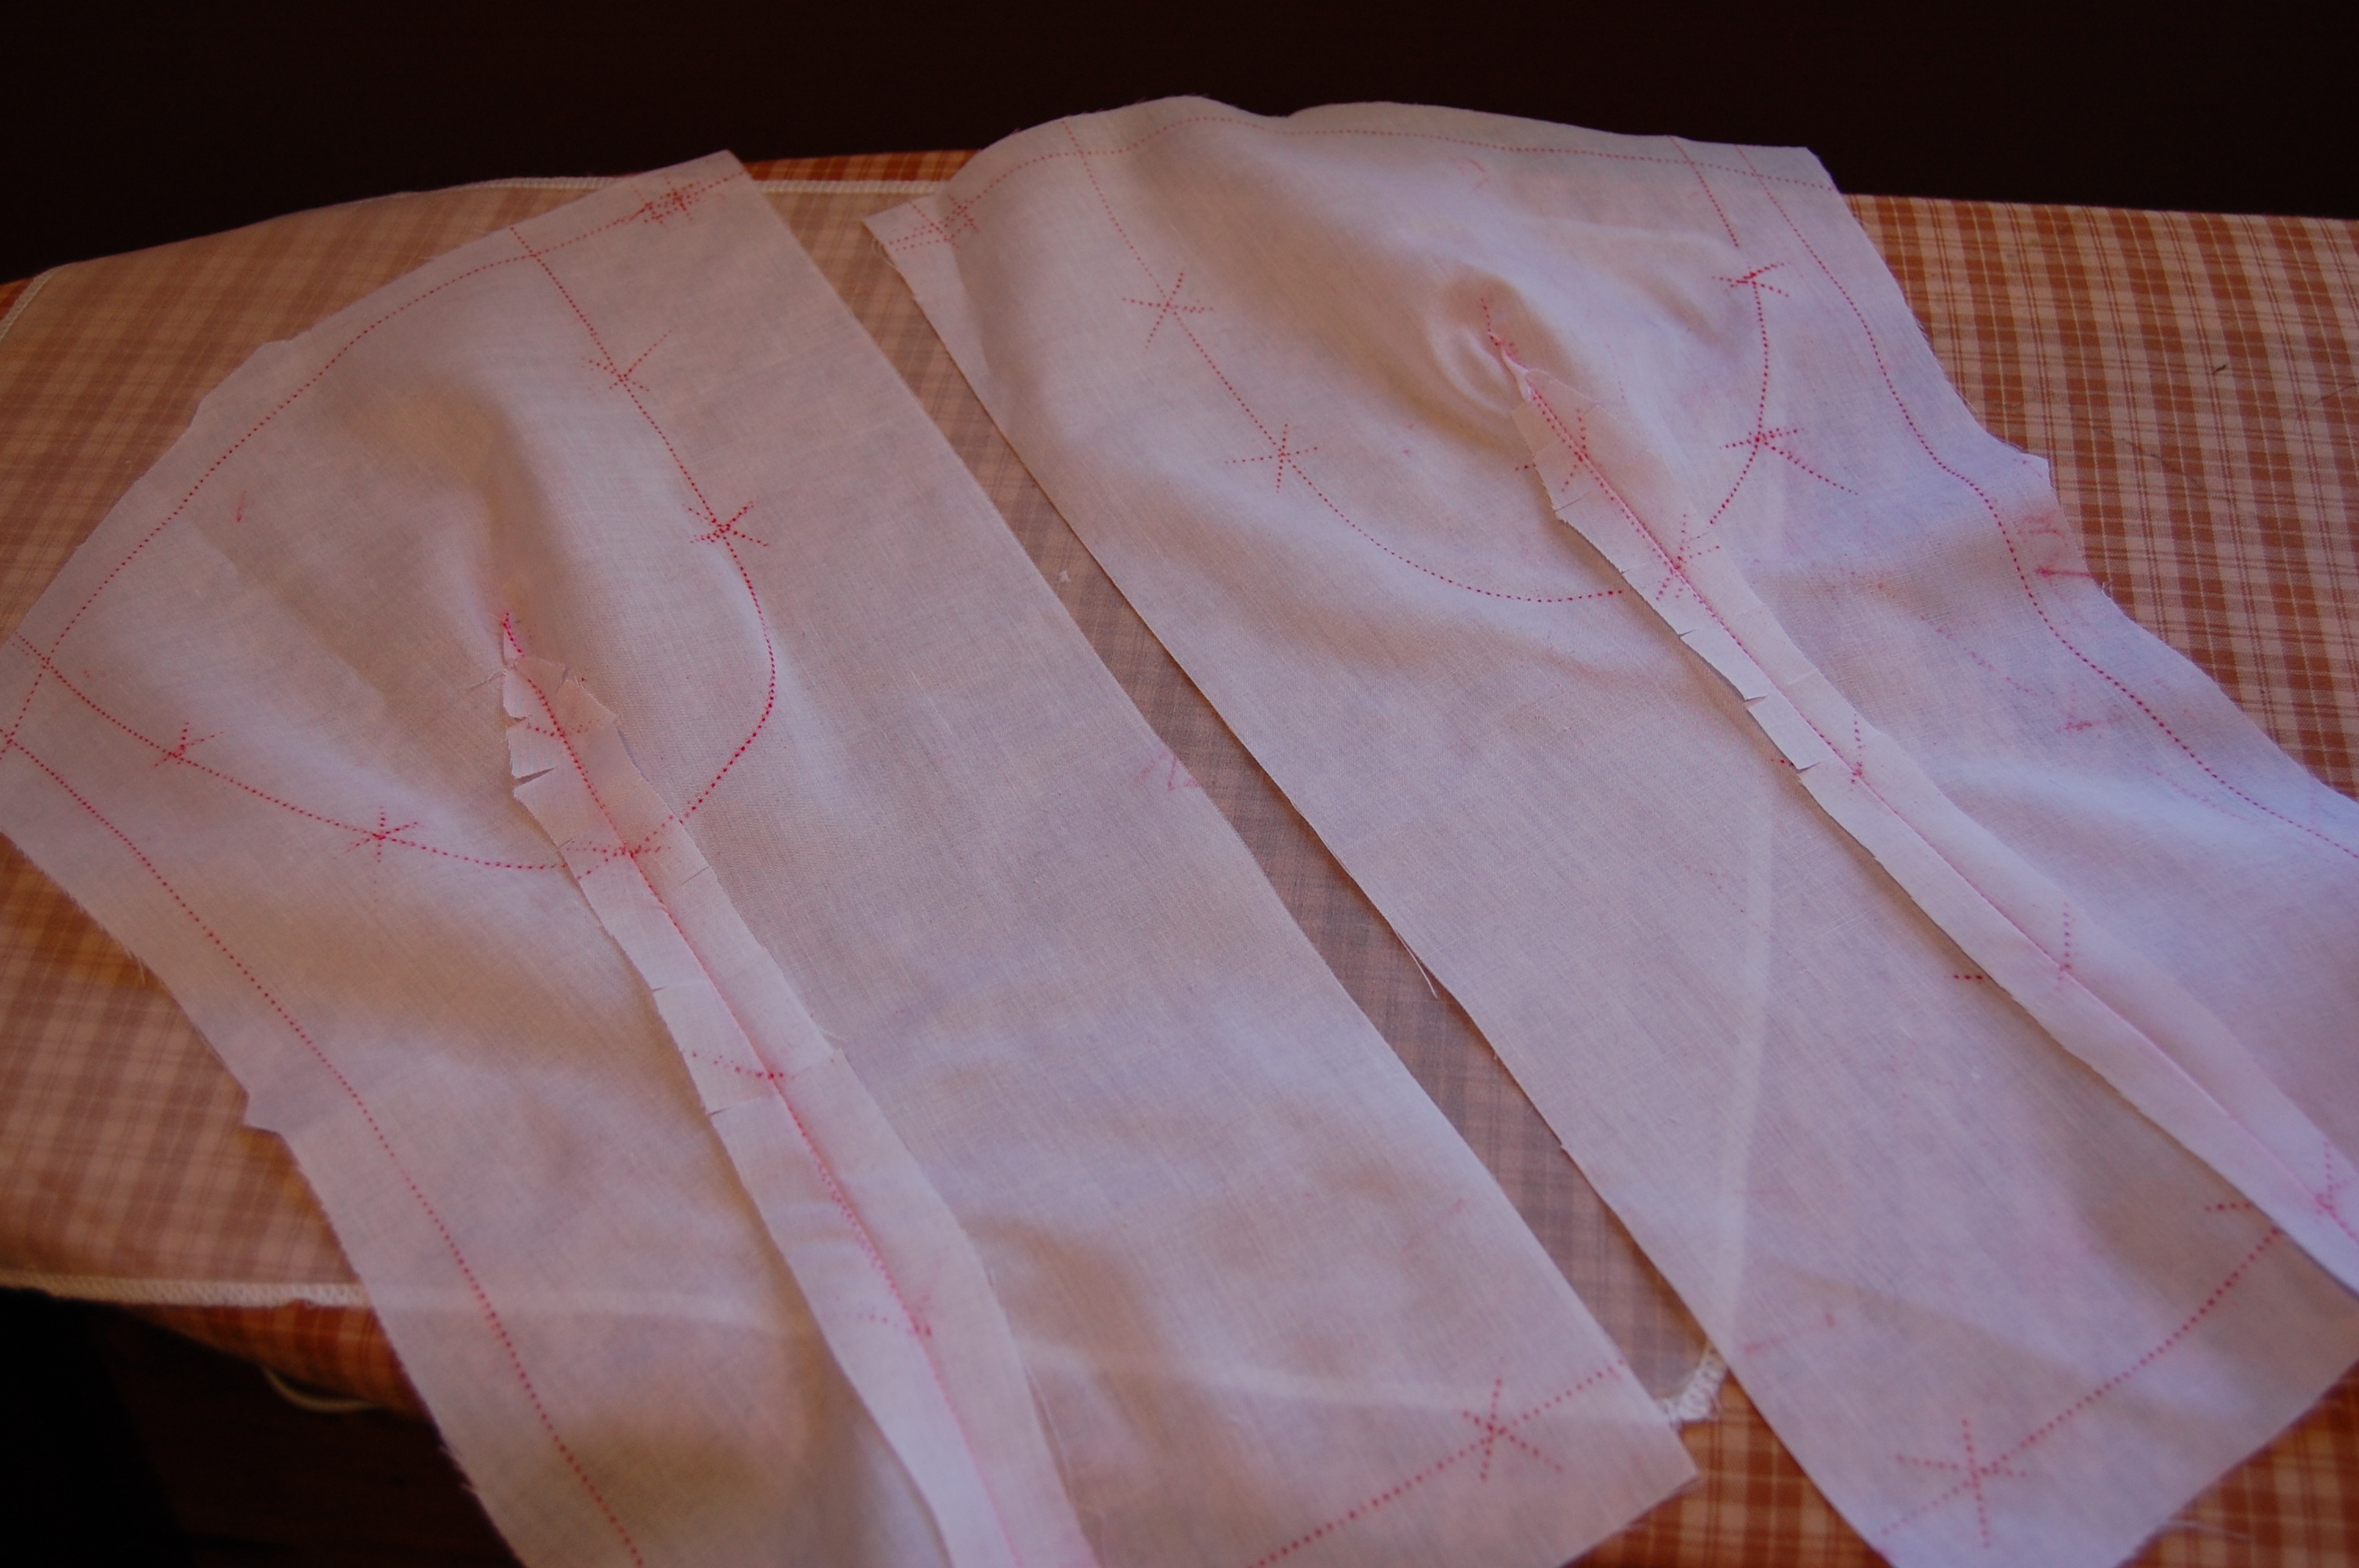
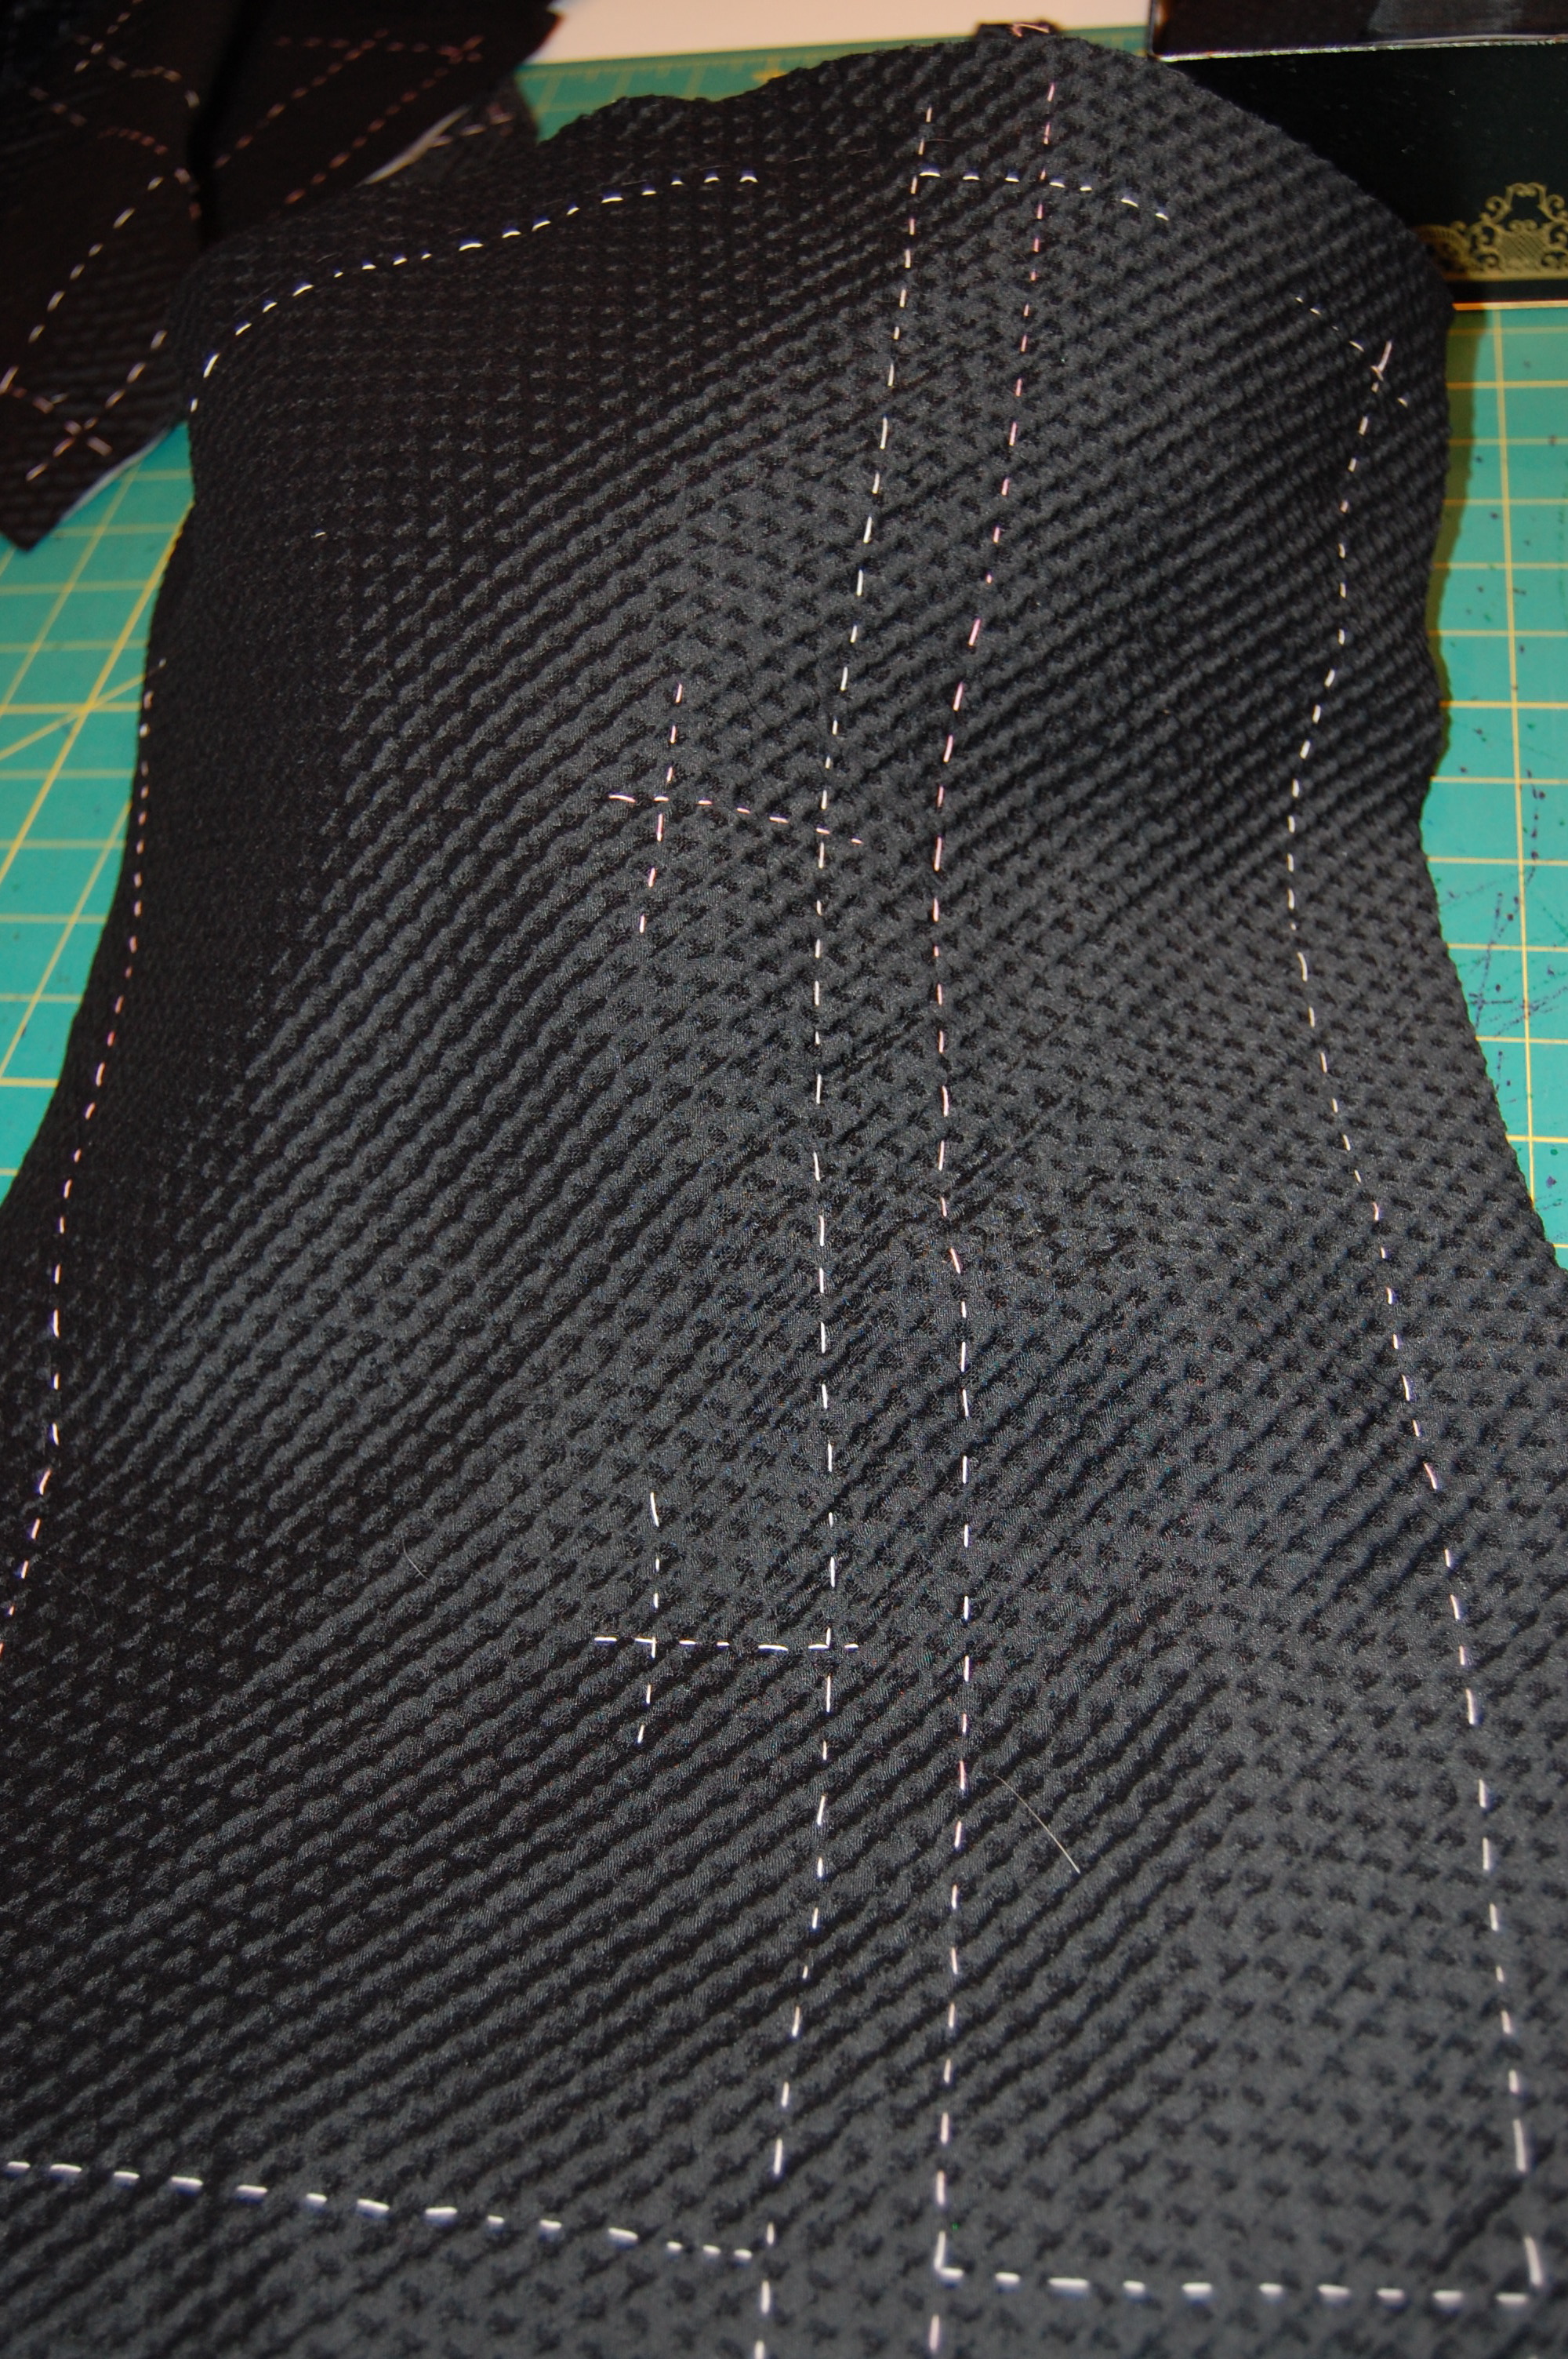
I have spread out my current working sheath dress muslin a couple of times to determine the viability of my plan. I really think it will work. I am prepared to use narrower seam allowances than I usually like, and I may have to face the hem.
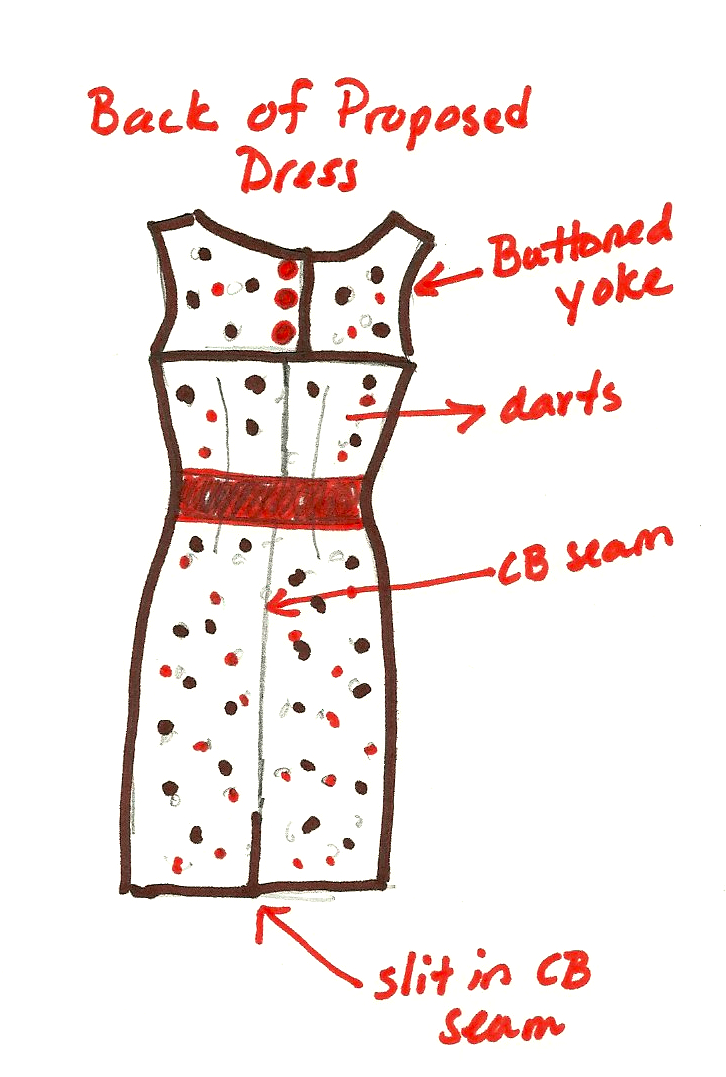
This is how I envision the back of my proposed dress.
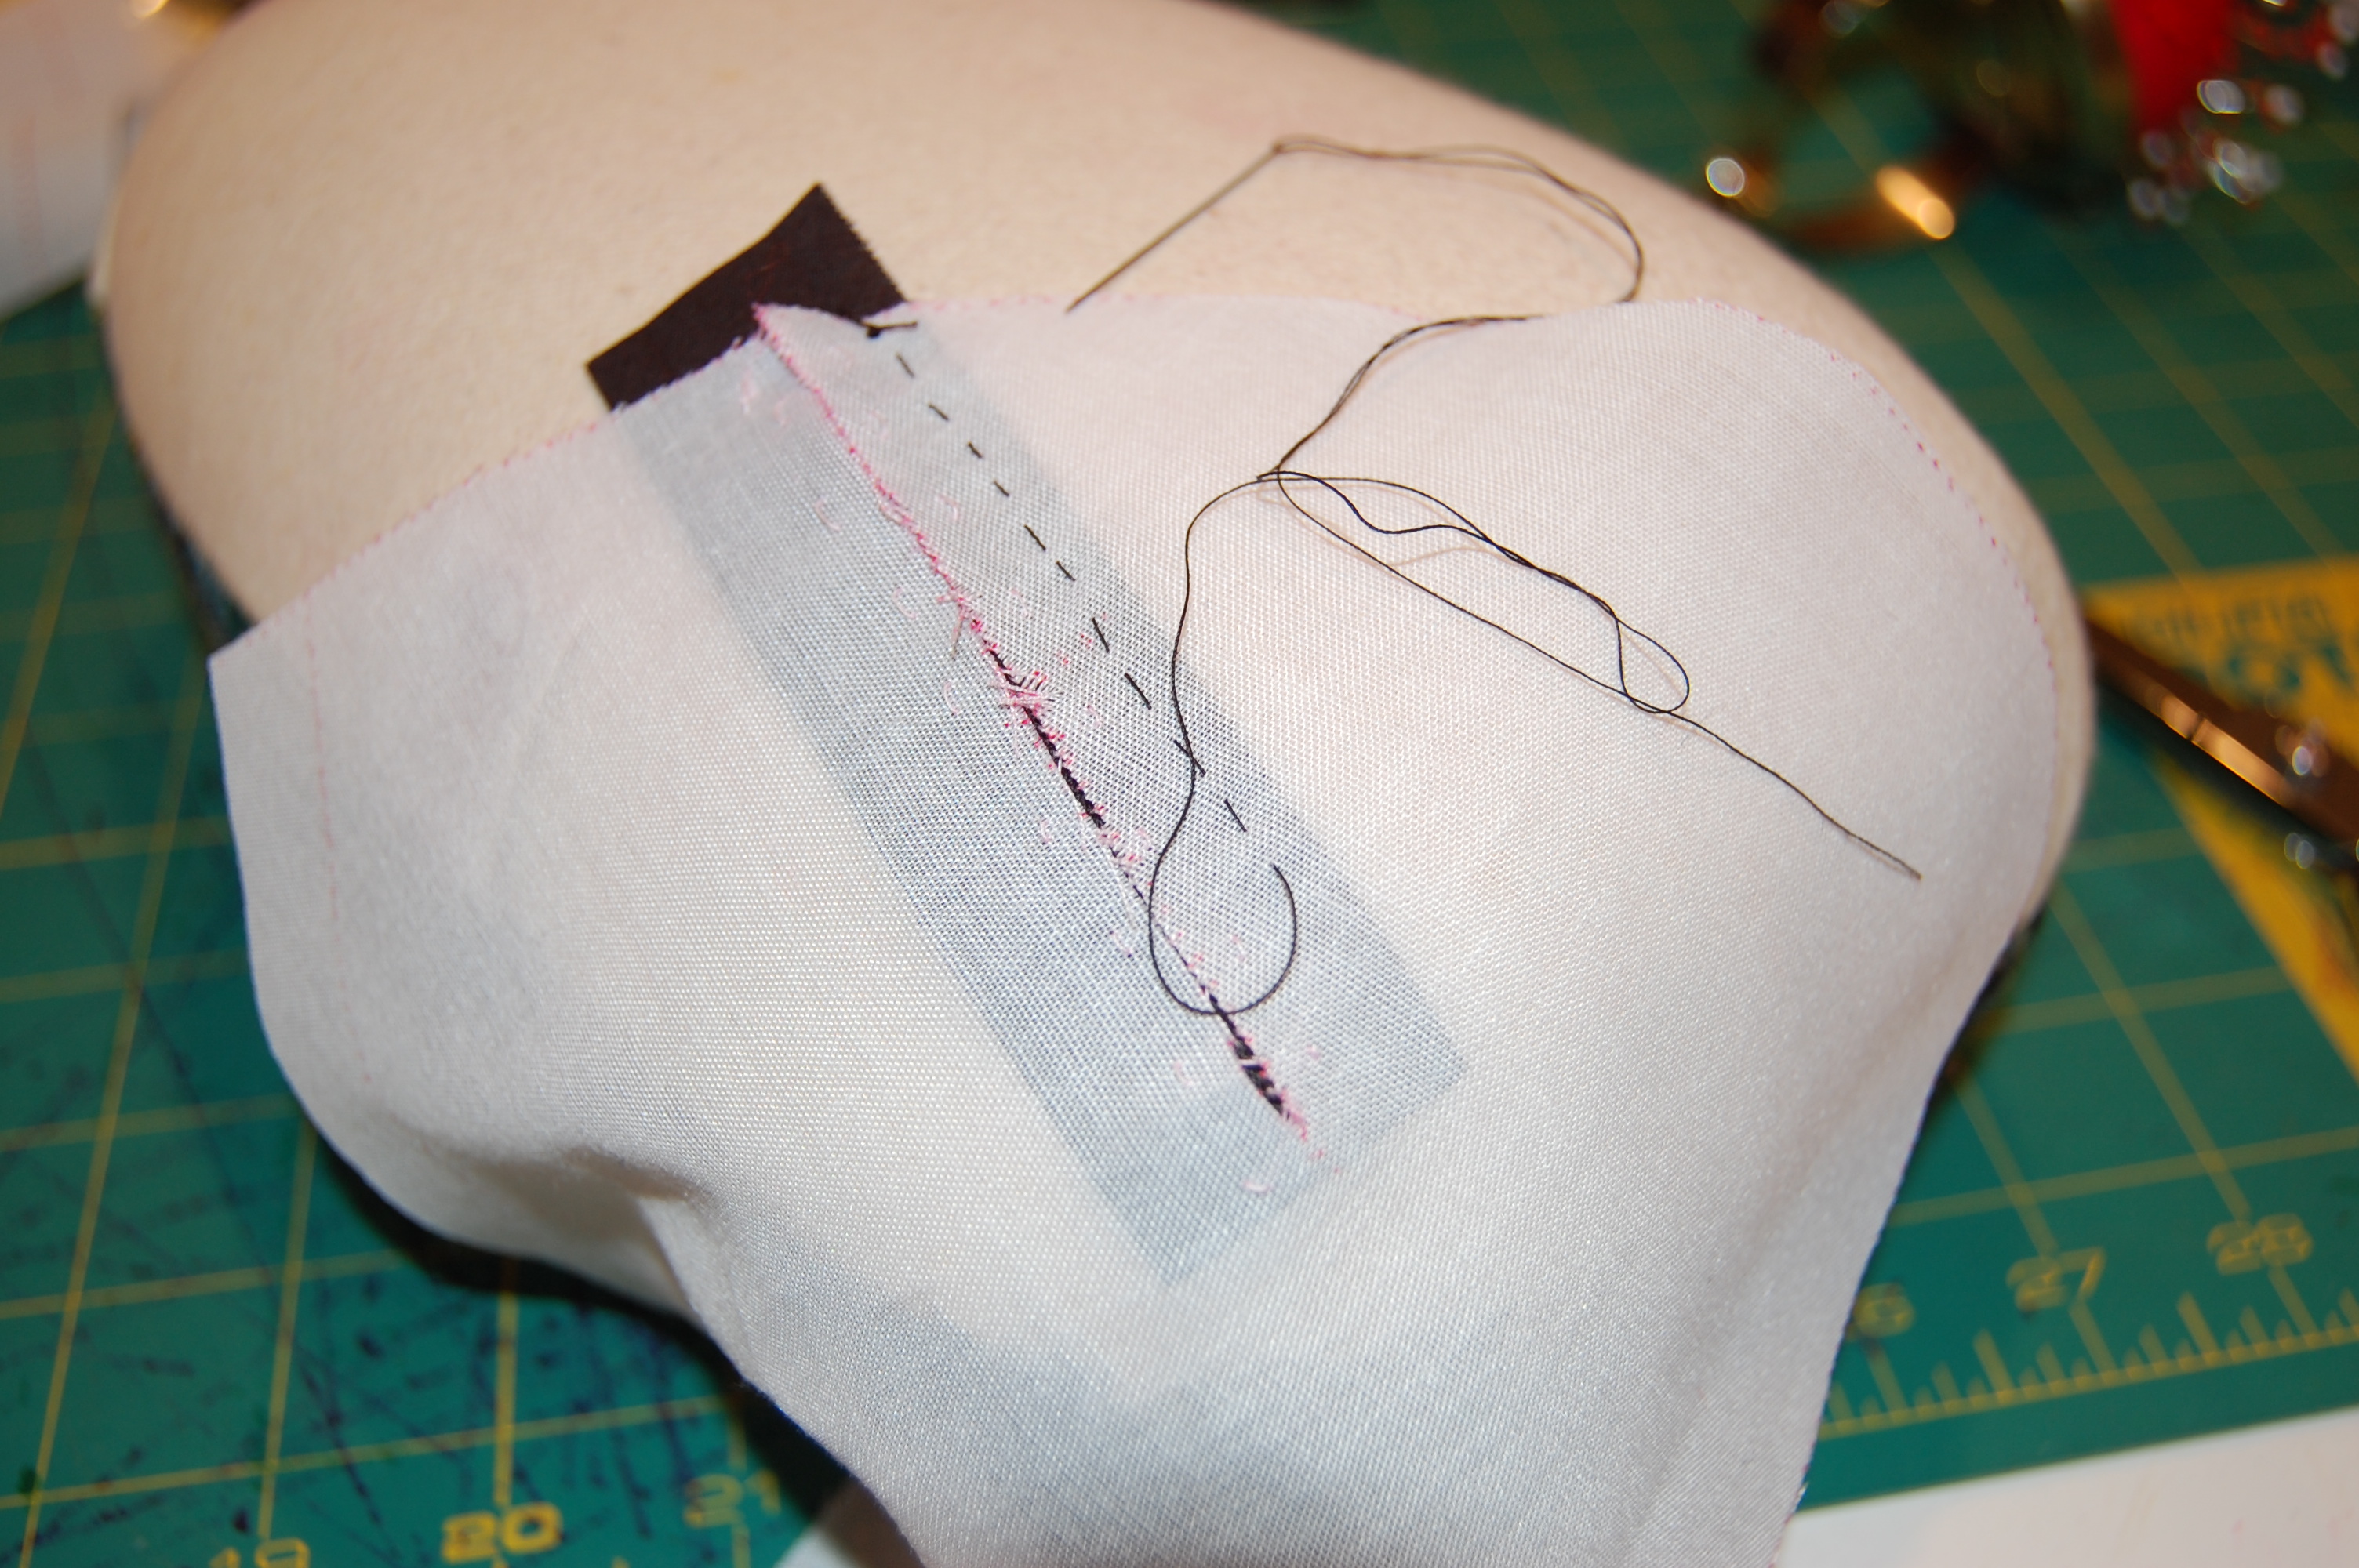
But – first things first. Initially I will be making a new muslin, with the altered and sectioned back pieces. I am sure my enthusiasm for this idea will keep me focused, and in this case, reality may have sewn the seeds for a much more creative outcome than I originally envisioned!