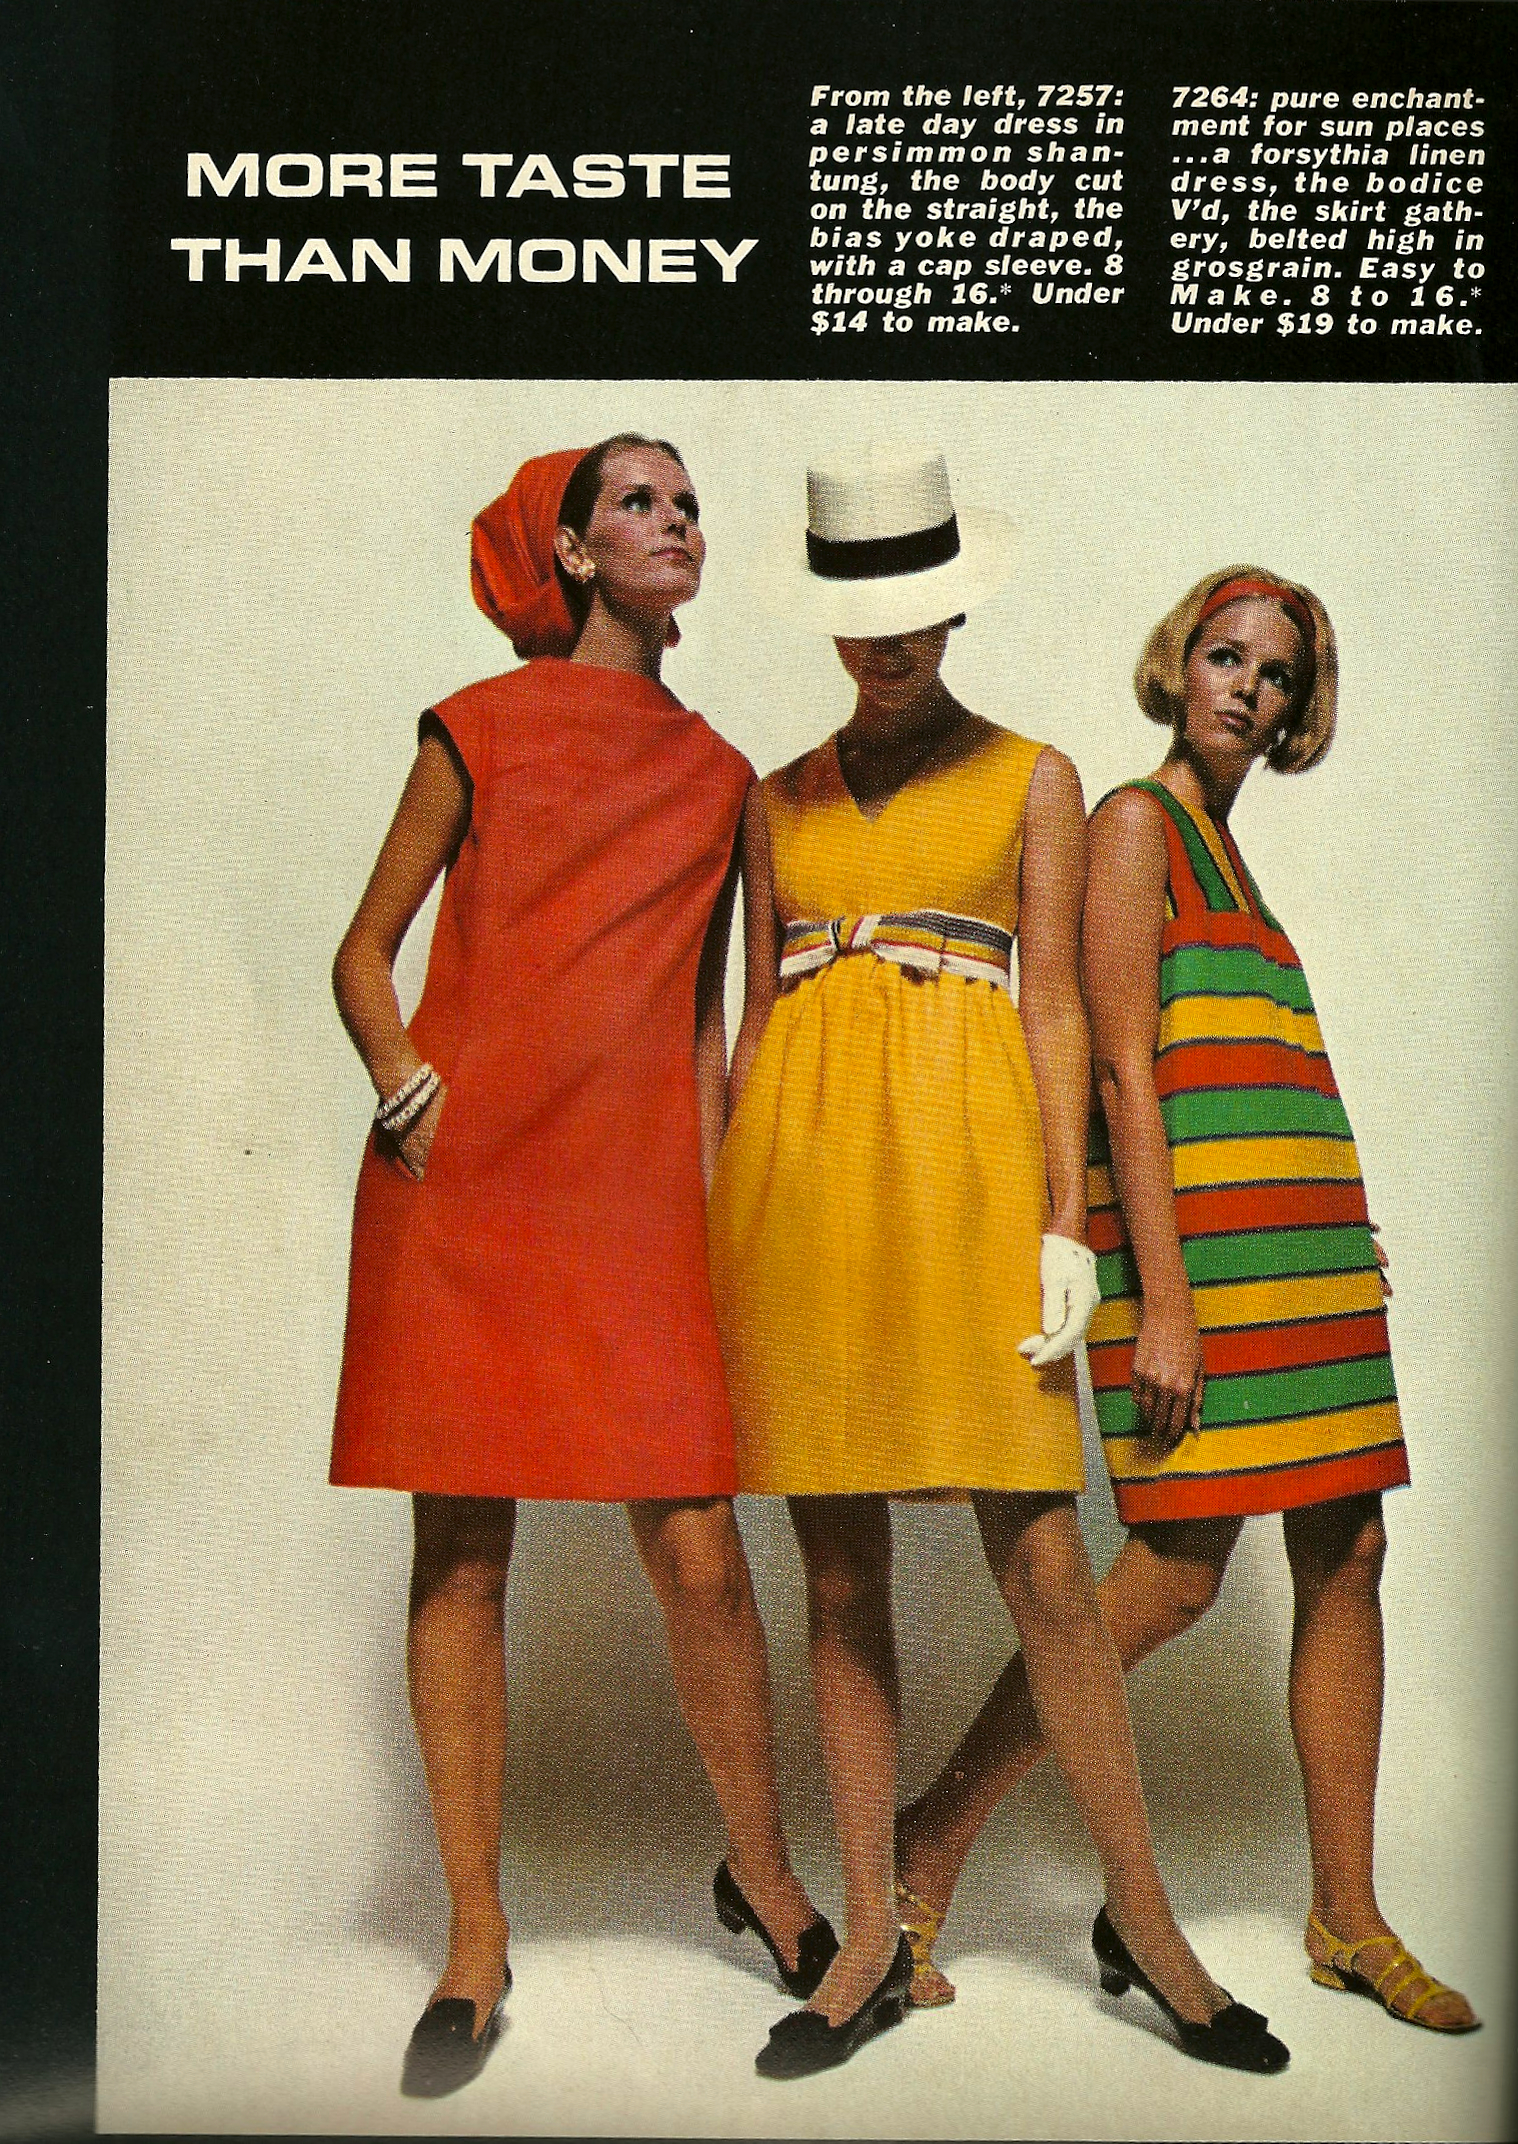
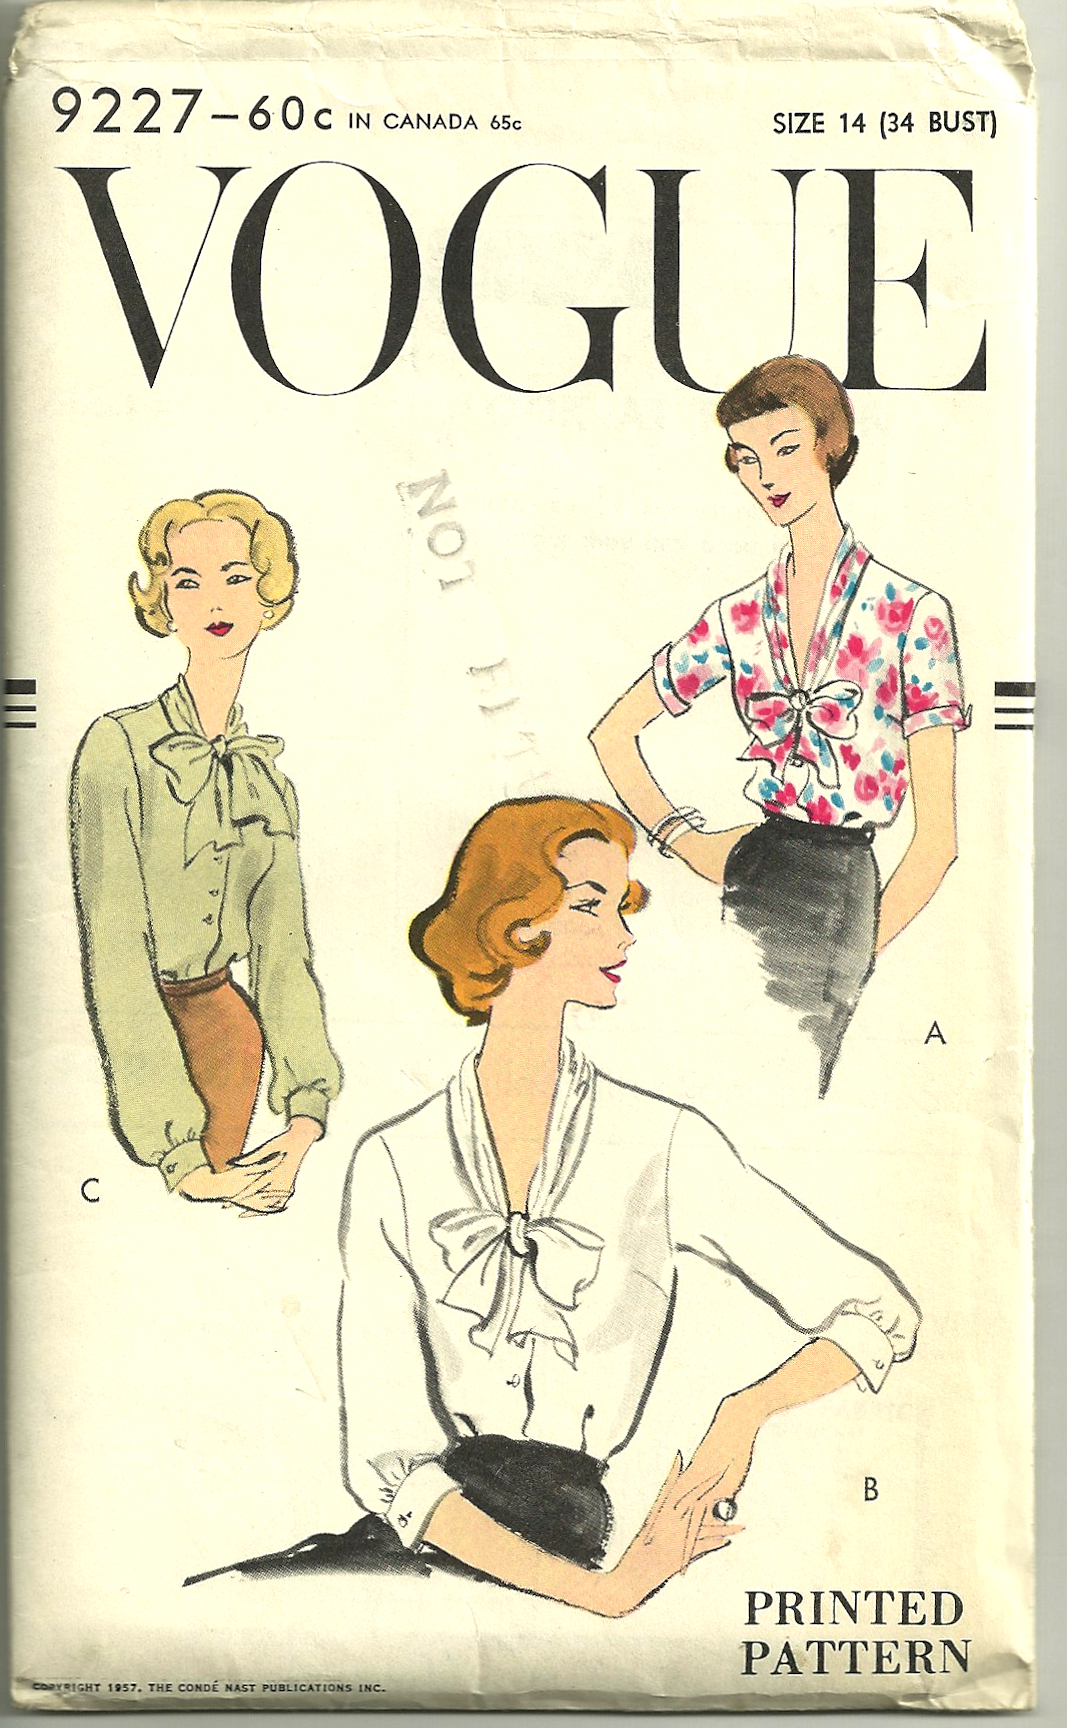
Can a pattern have good bones? I think so. When I purchased this blouse pattern a while ago, I did so knowing that I would not be making a blouse that looked exactly like any of the three illustrated on the pattern envelope.
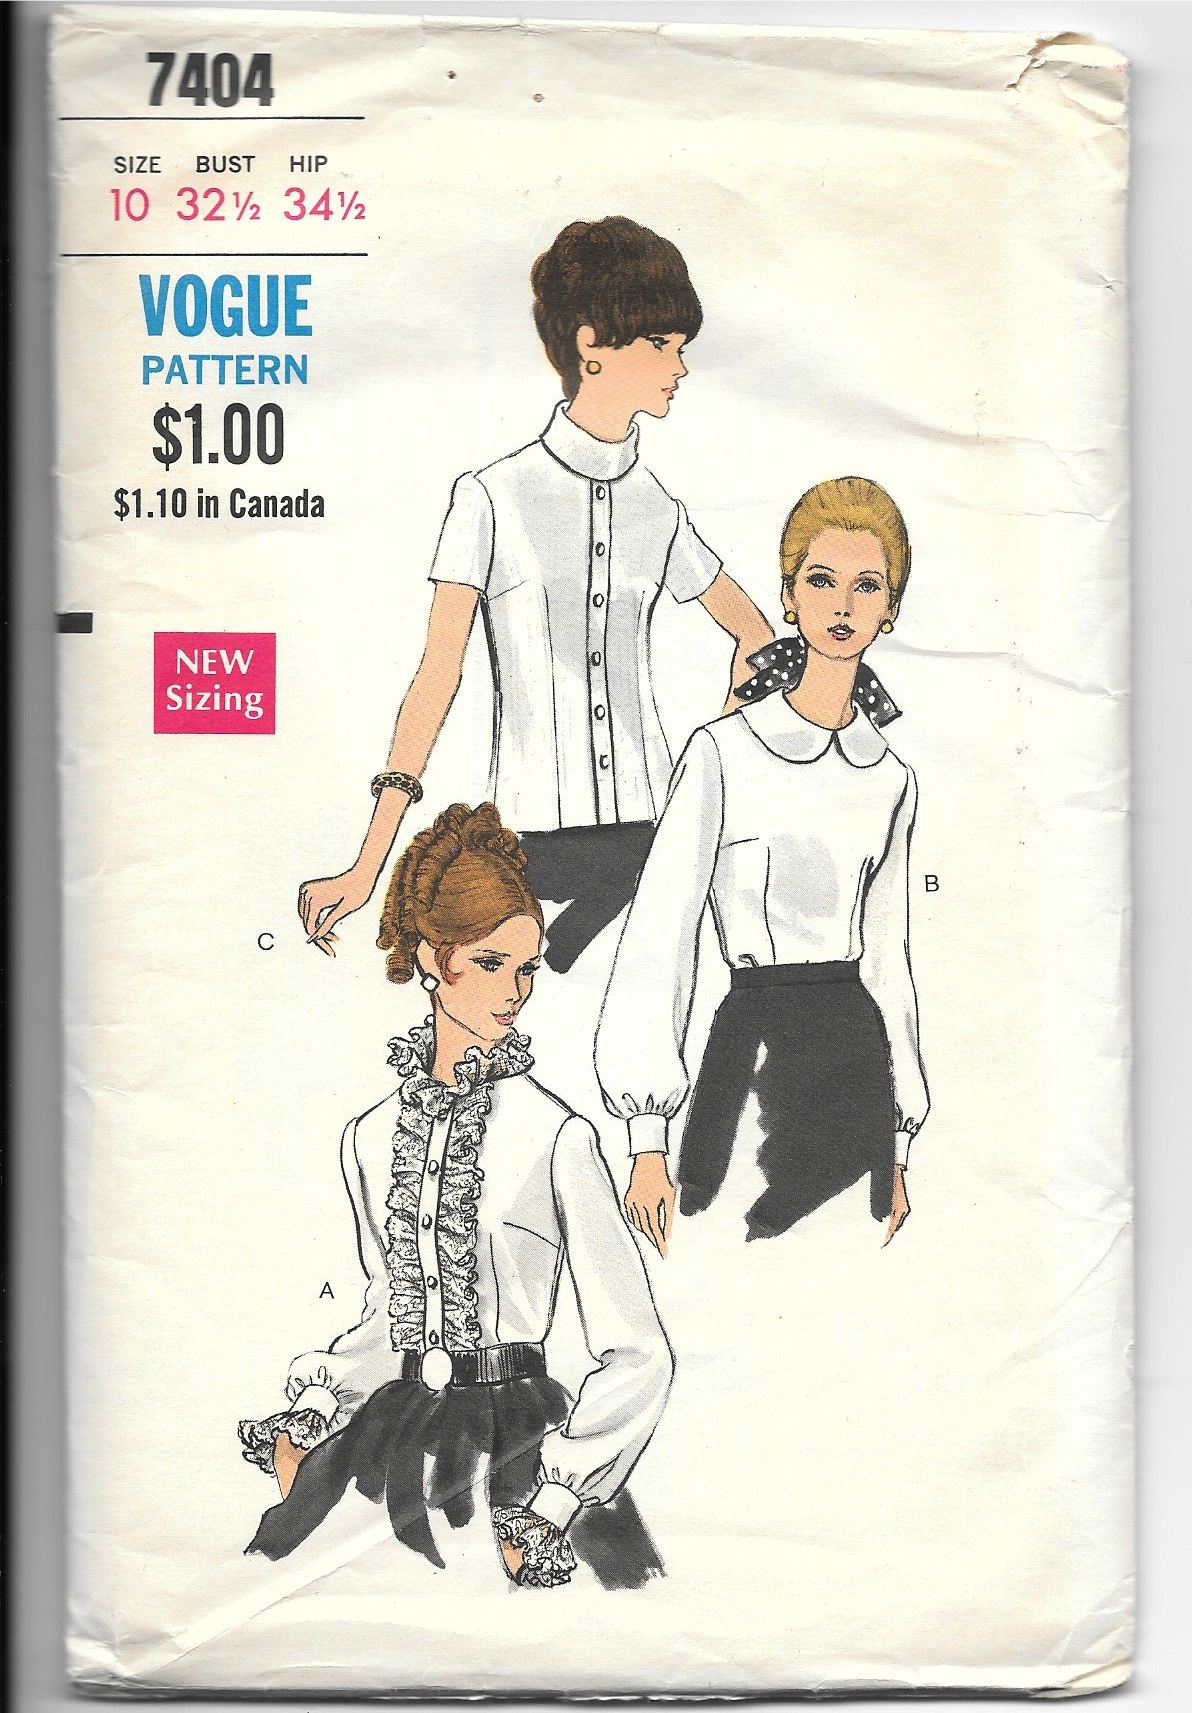
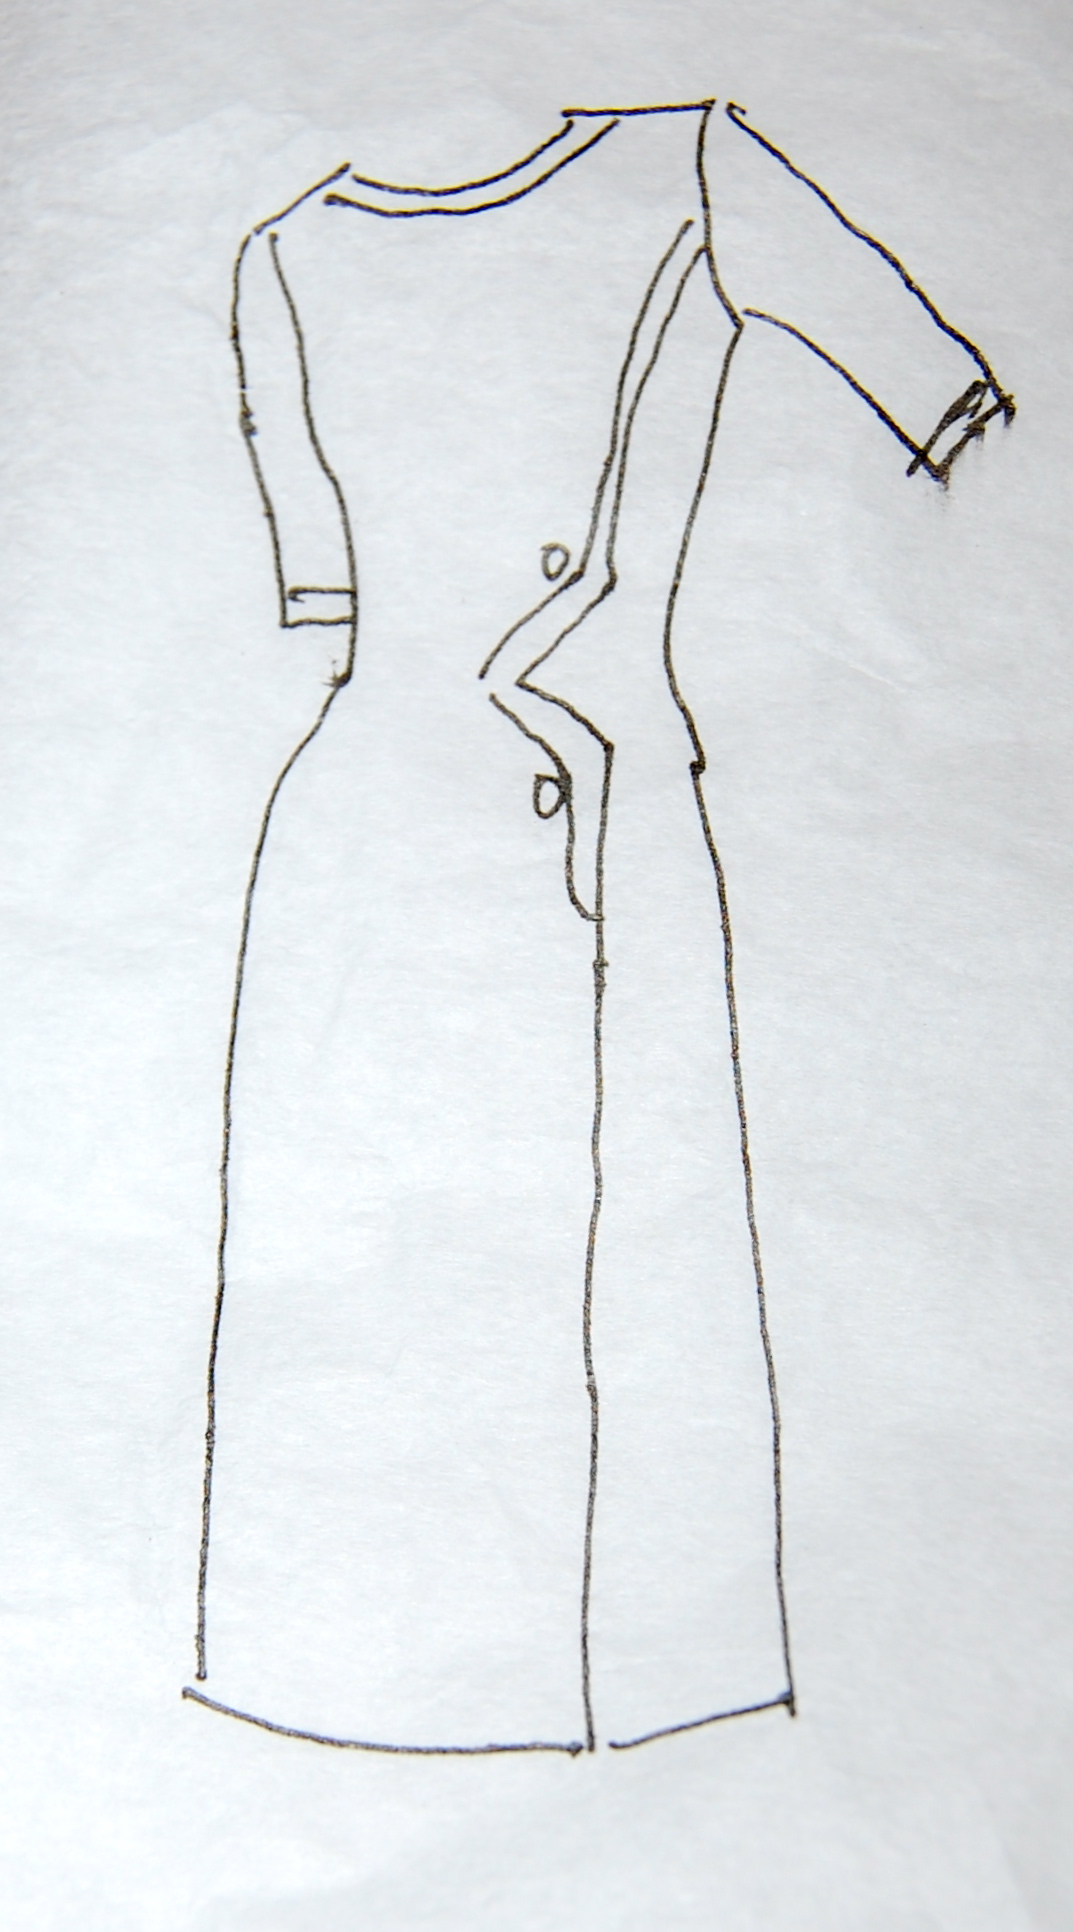
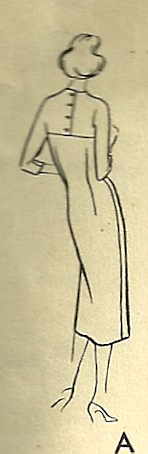
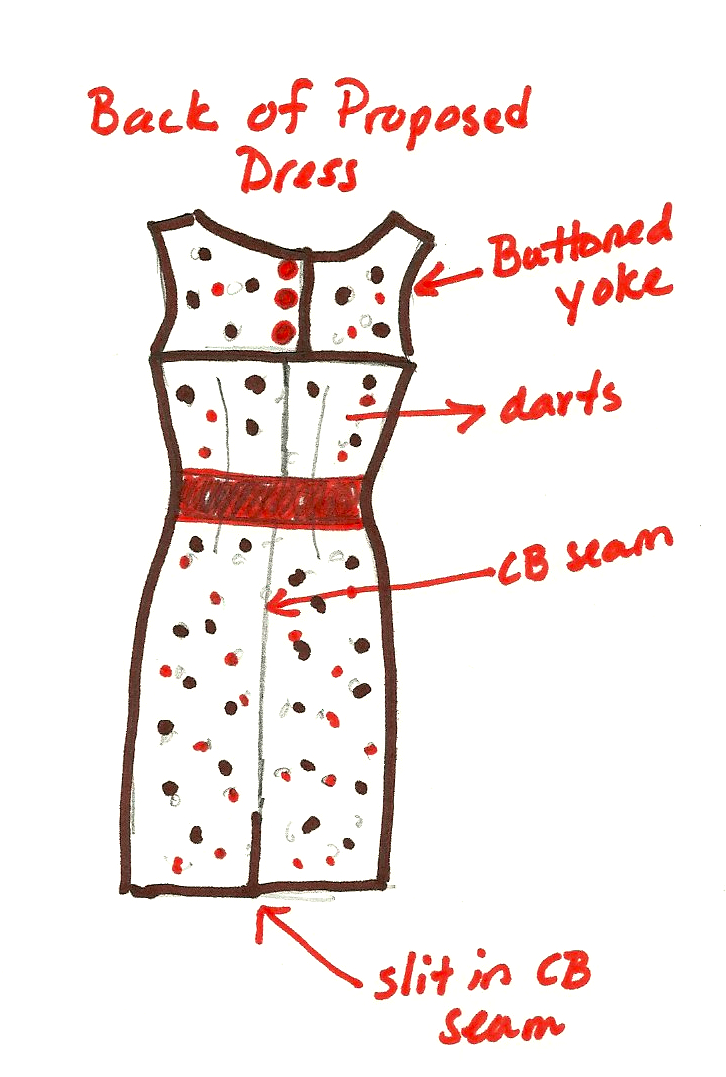
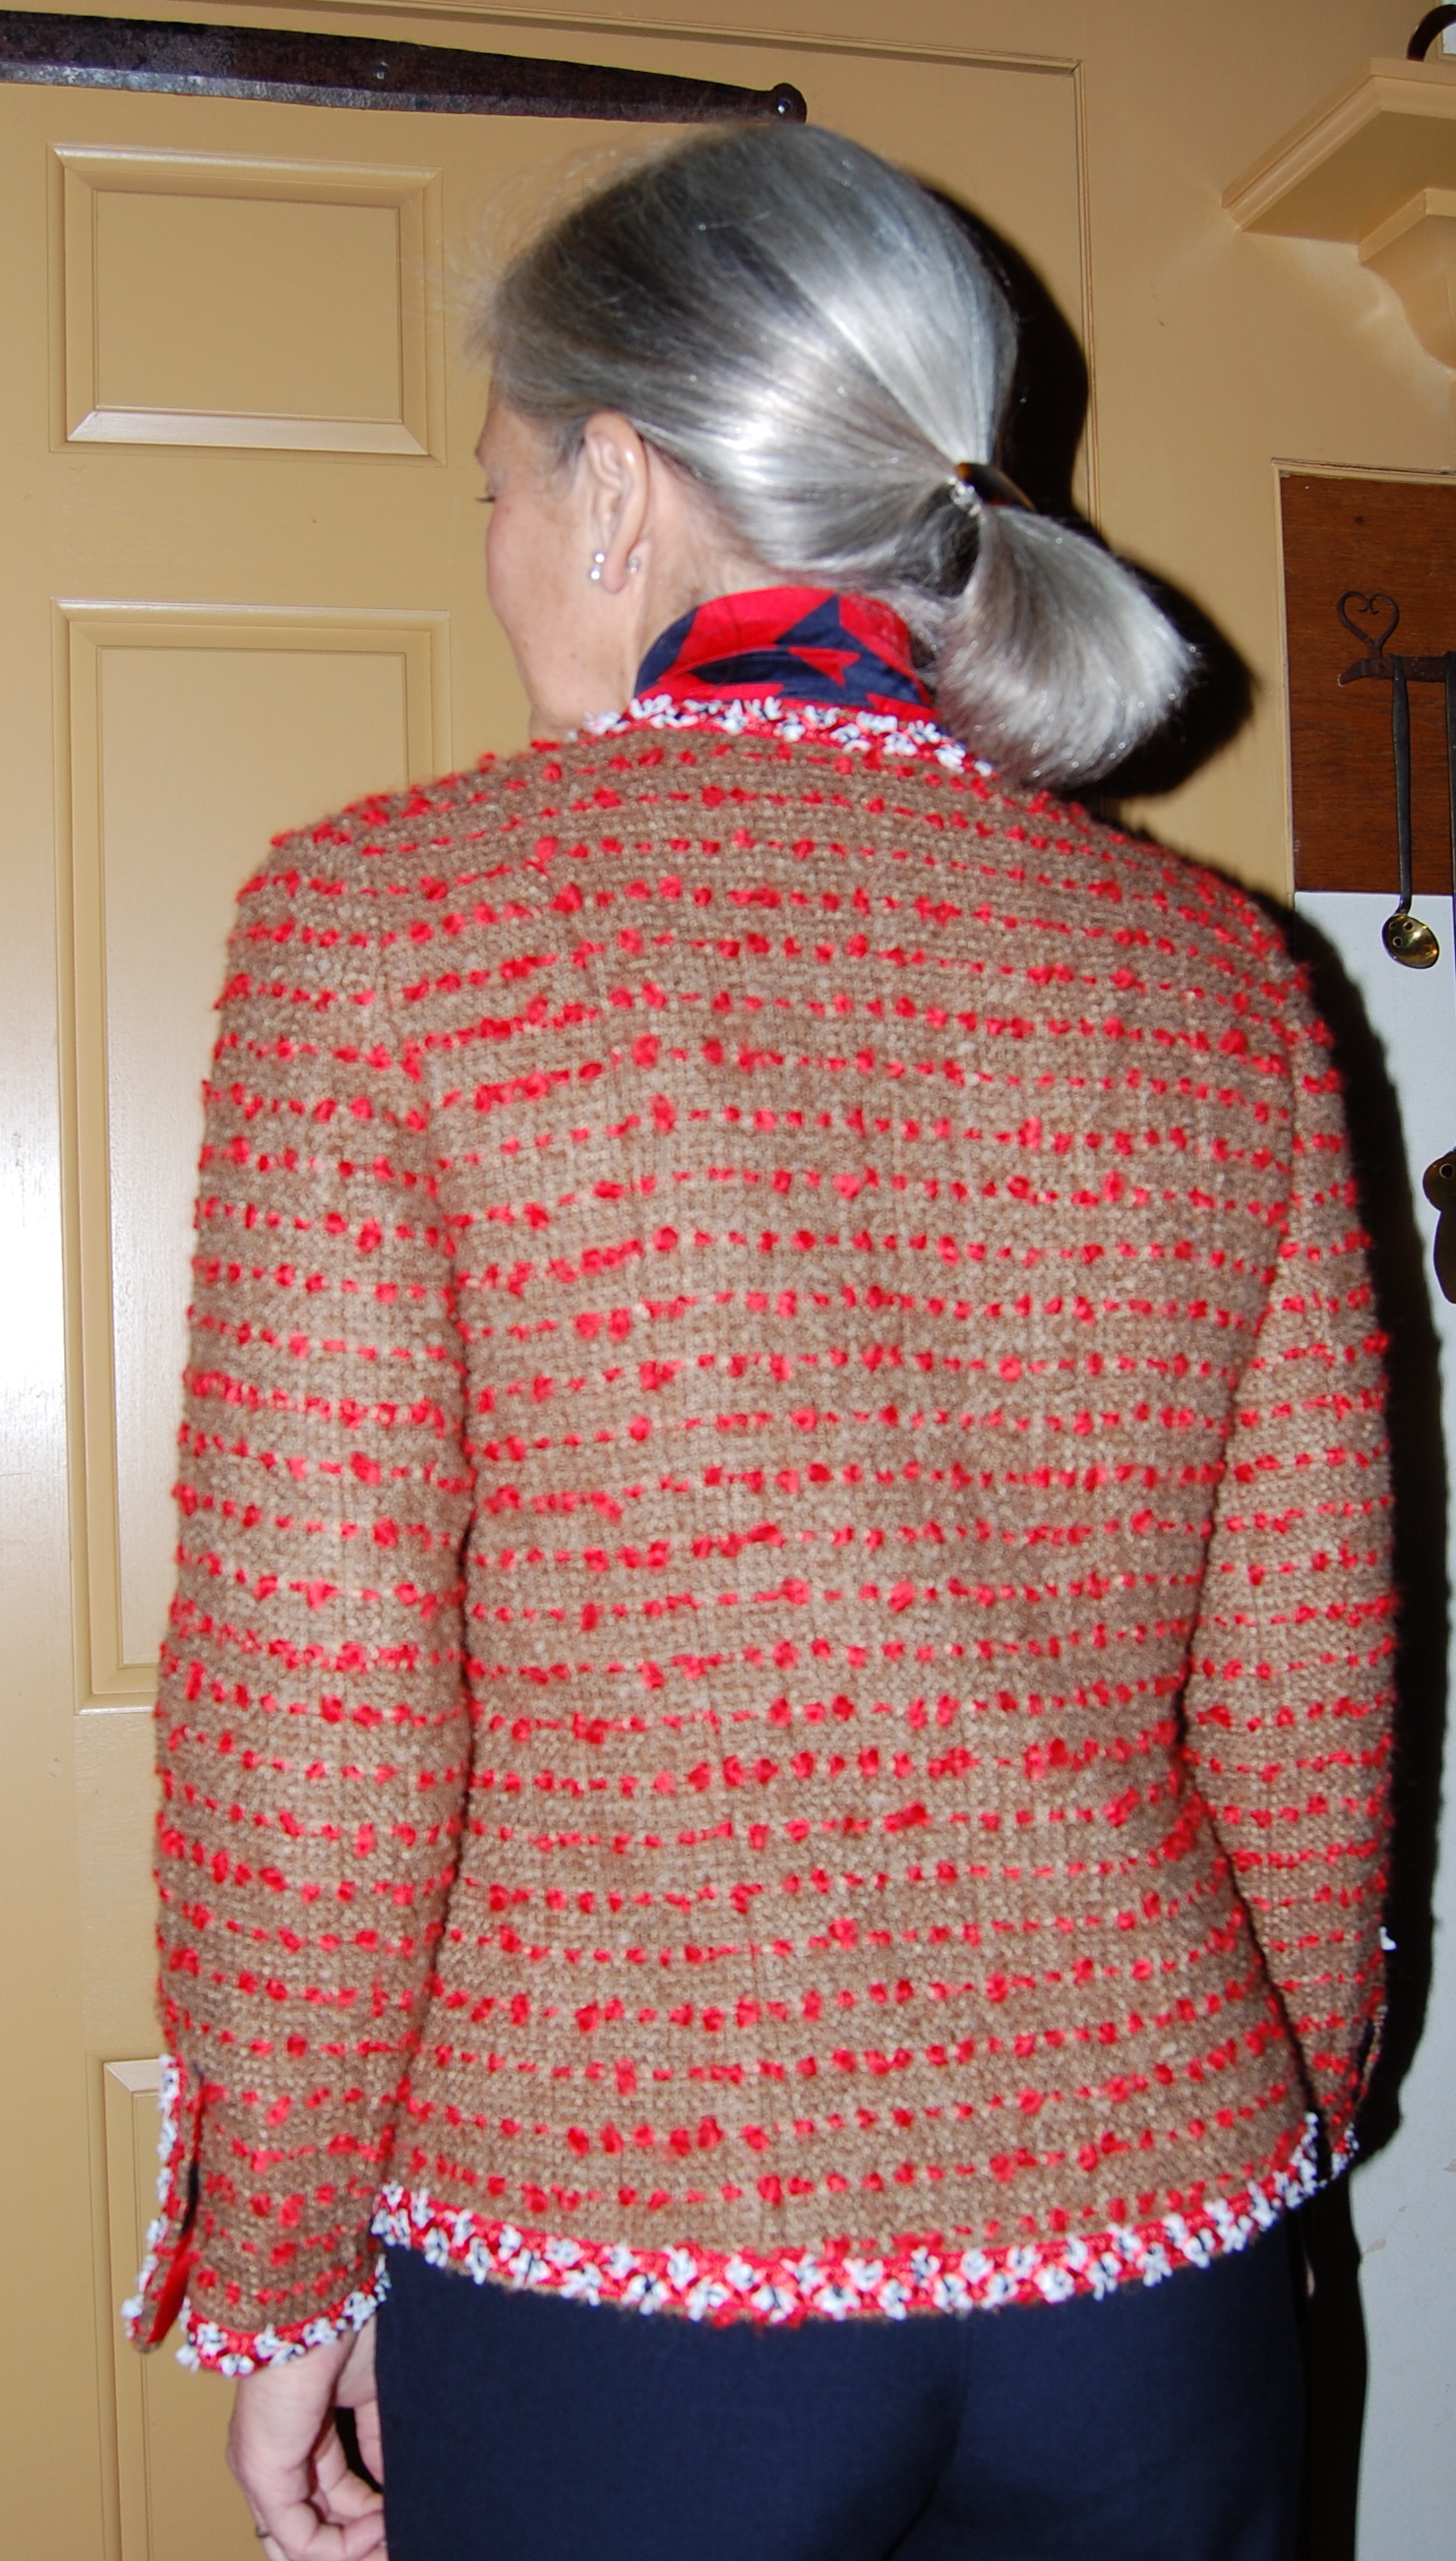
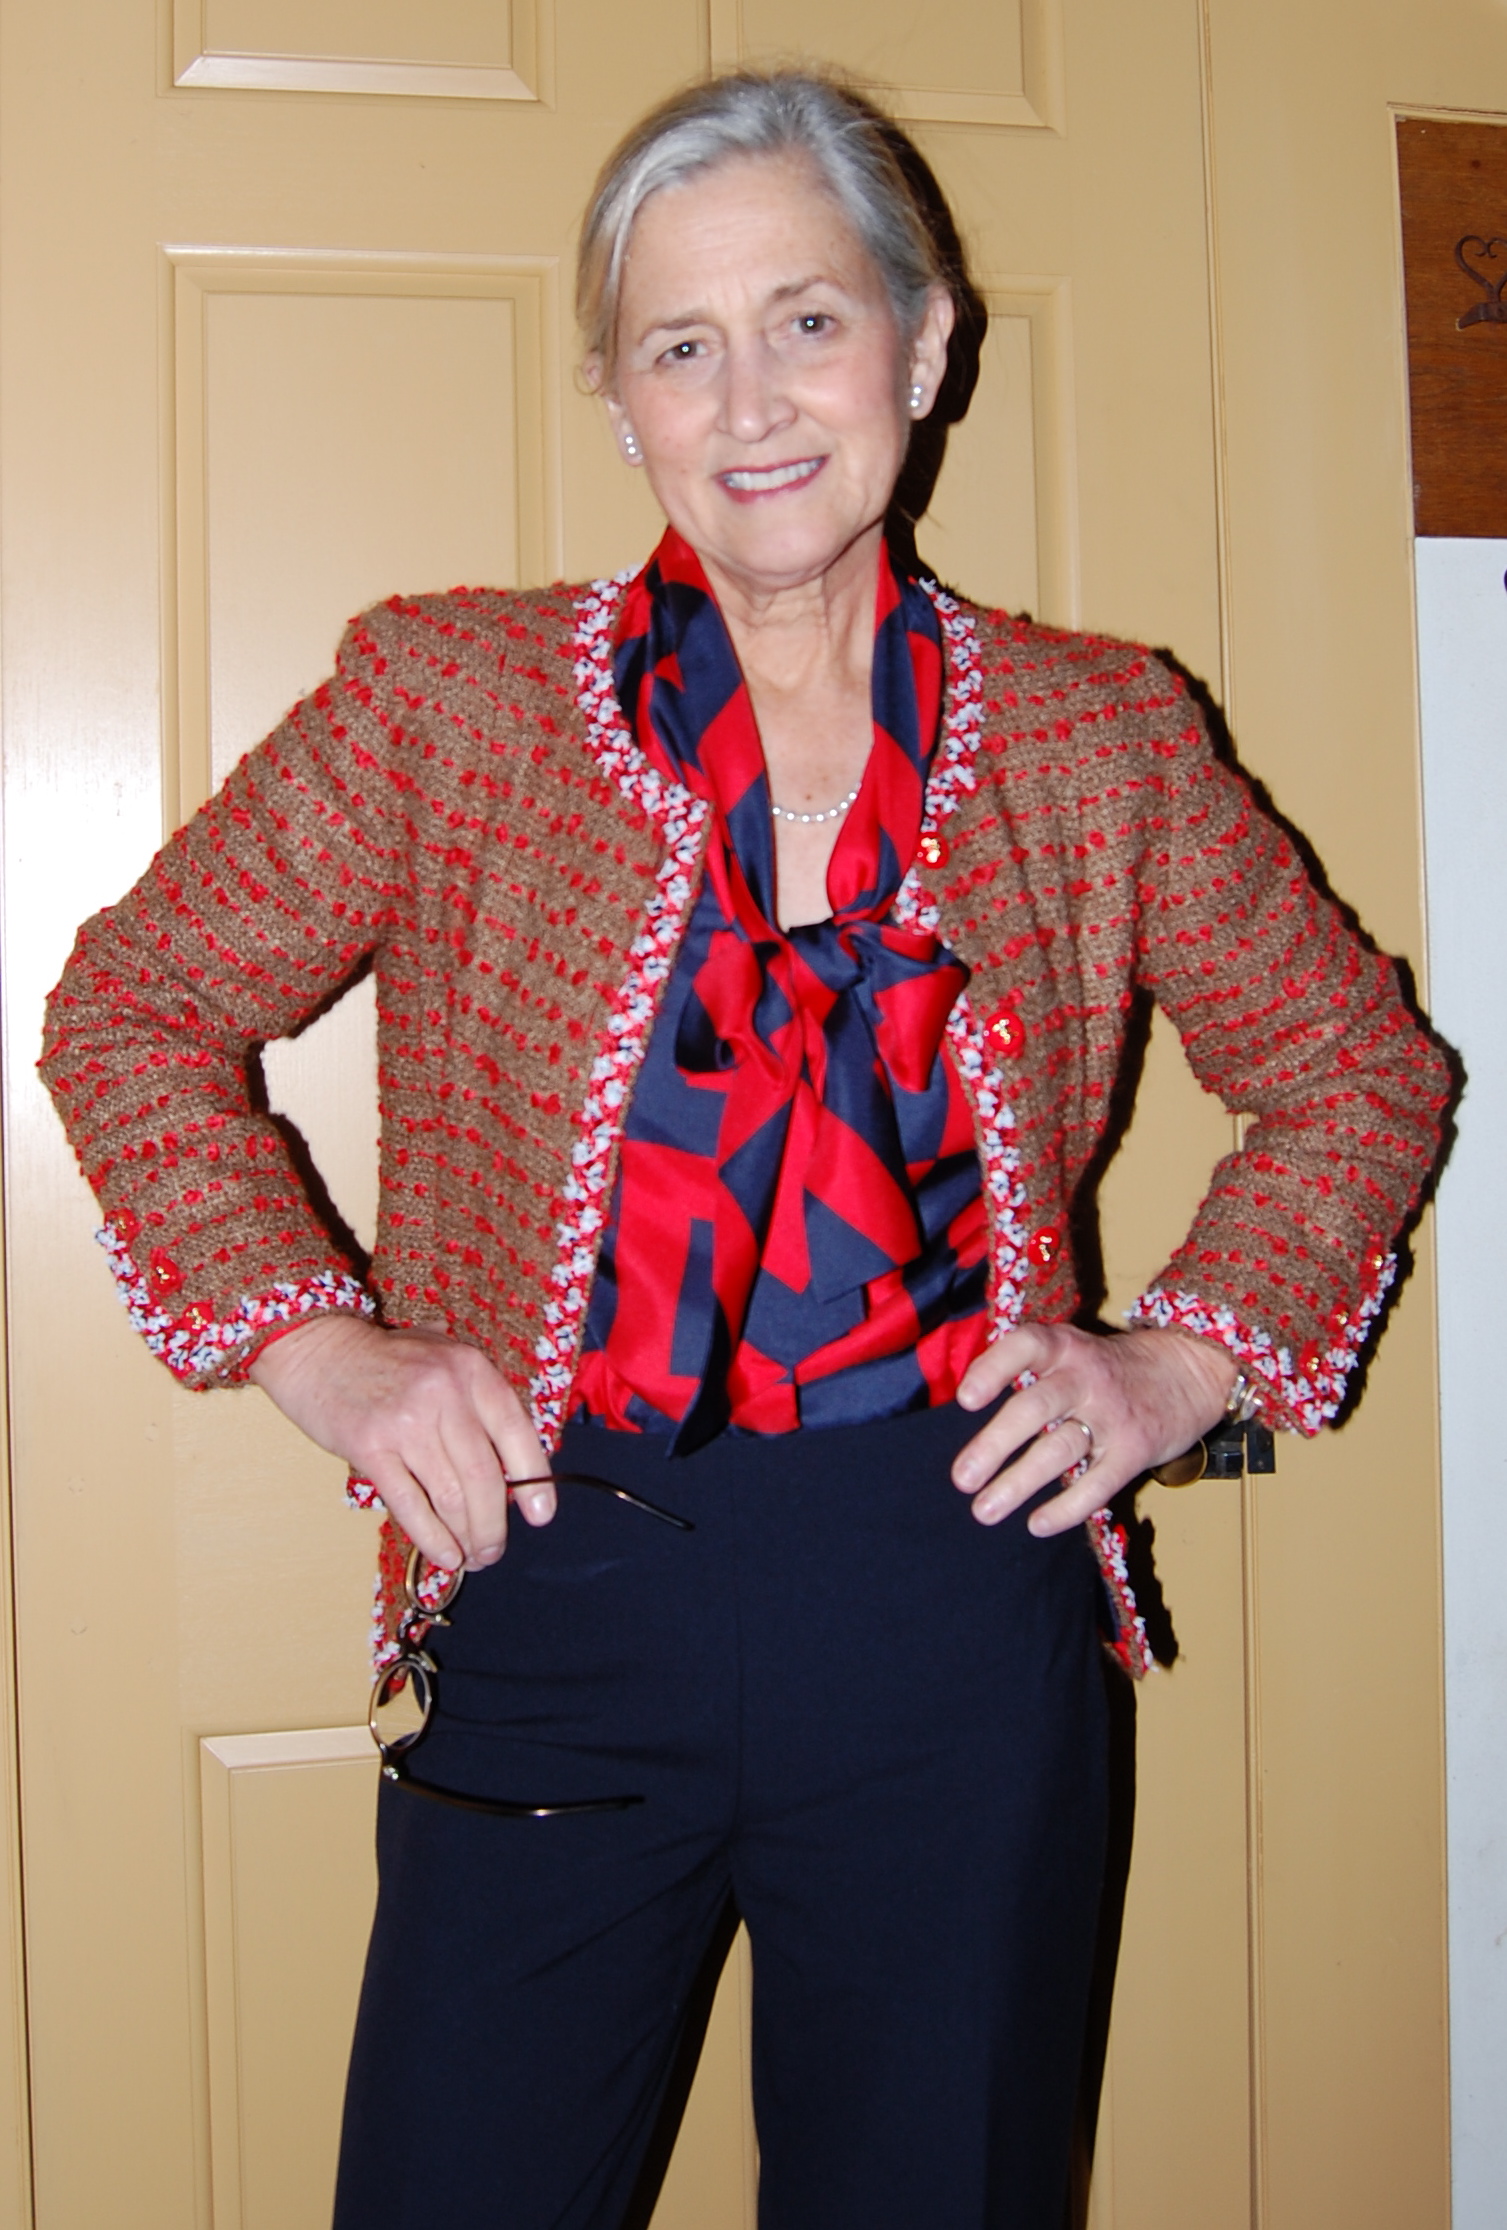
I have always liked a feminine-looking blouse that opens in the back, and I have always liked Peter Pan collars (which seem to come in and out of fashion). I also like a blouse that is fitted with darts through the body of the blouse. You can easily see the darts illustrated above. The thumbnail views of the blouses also show the darted fitting in the backs of the blouses.
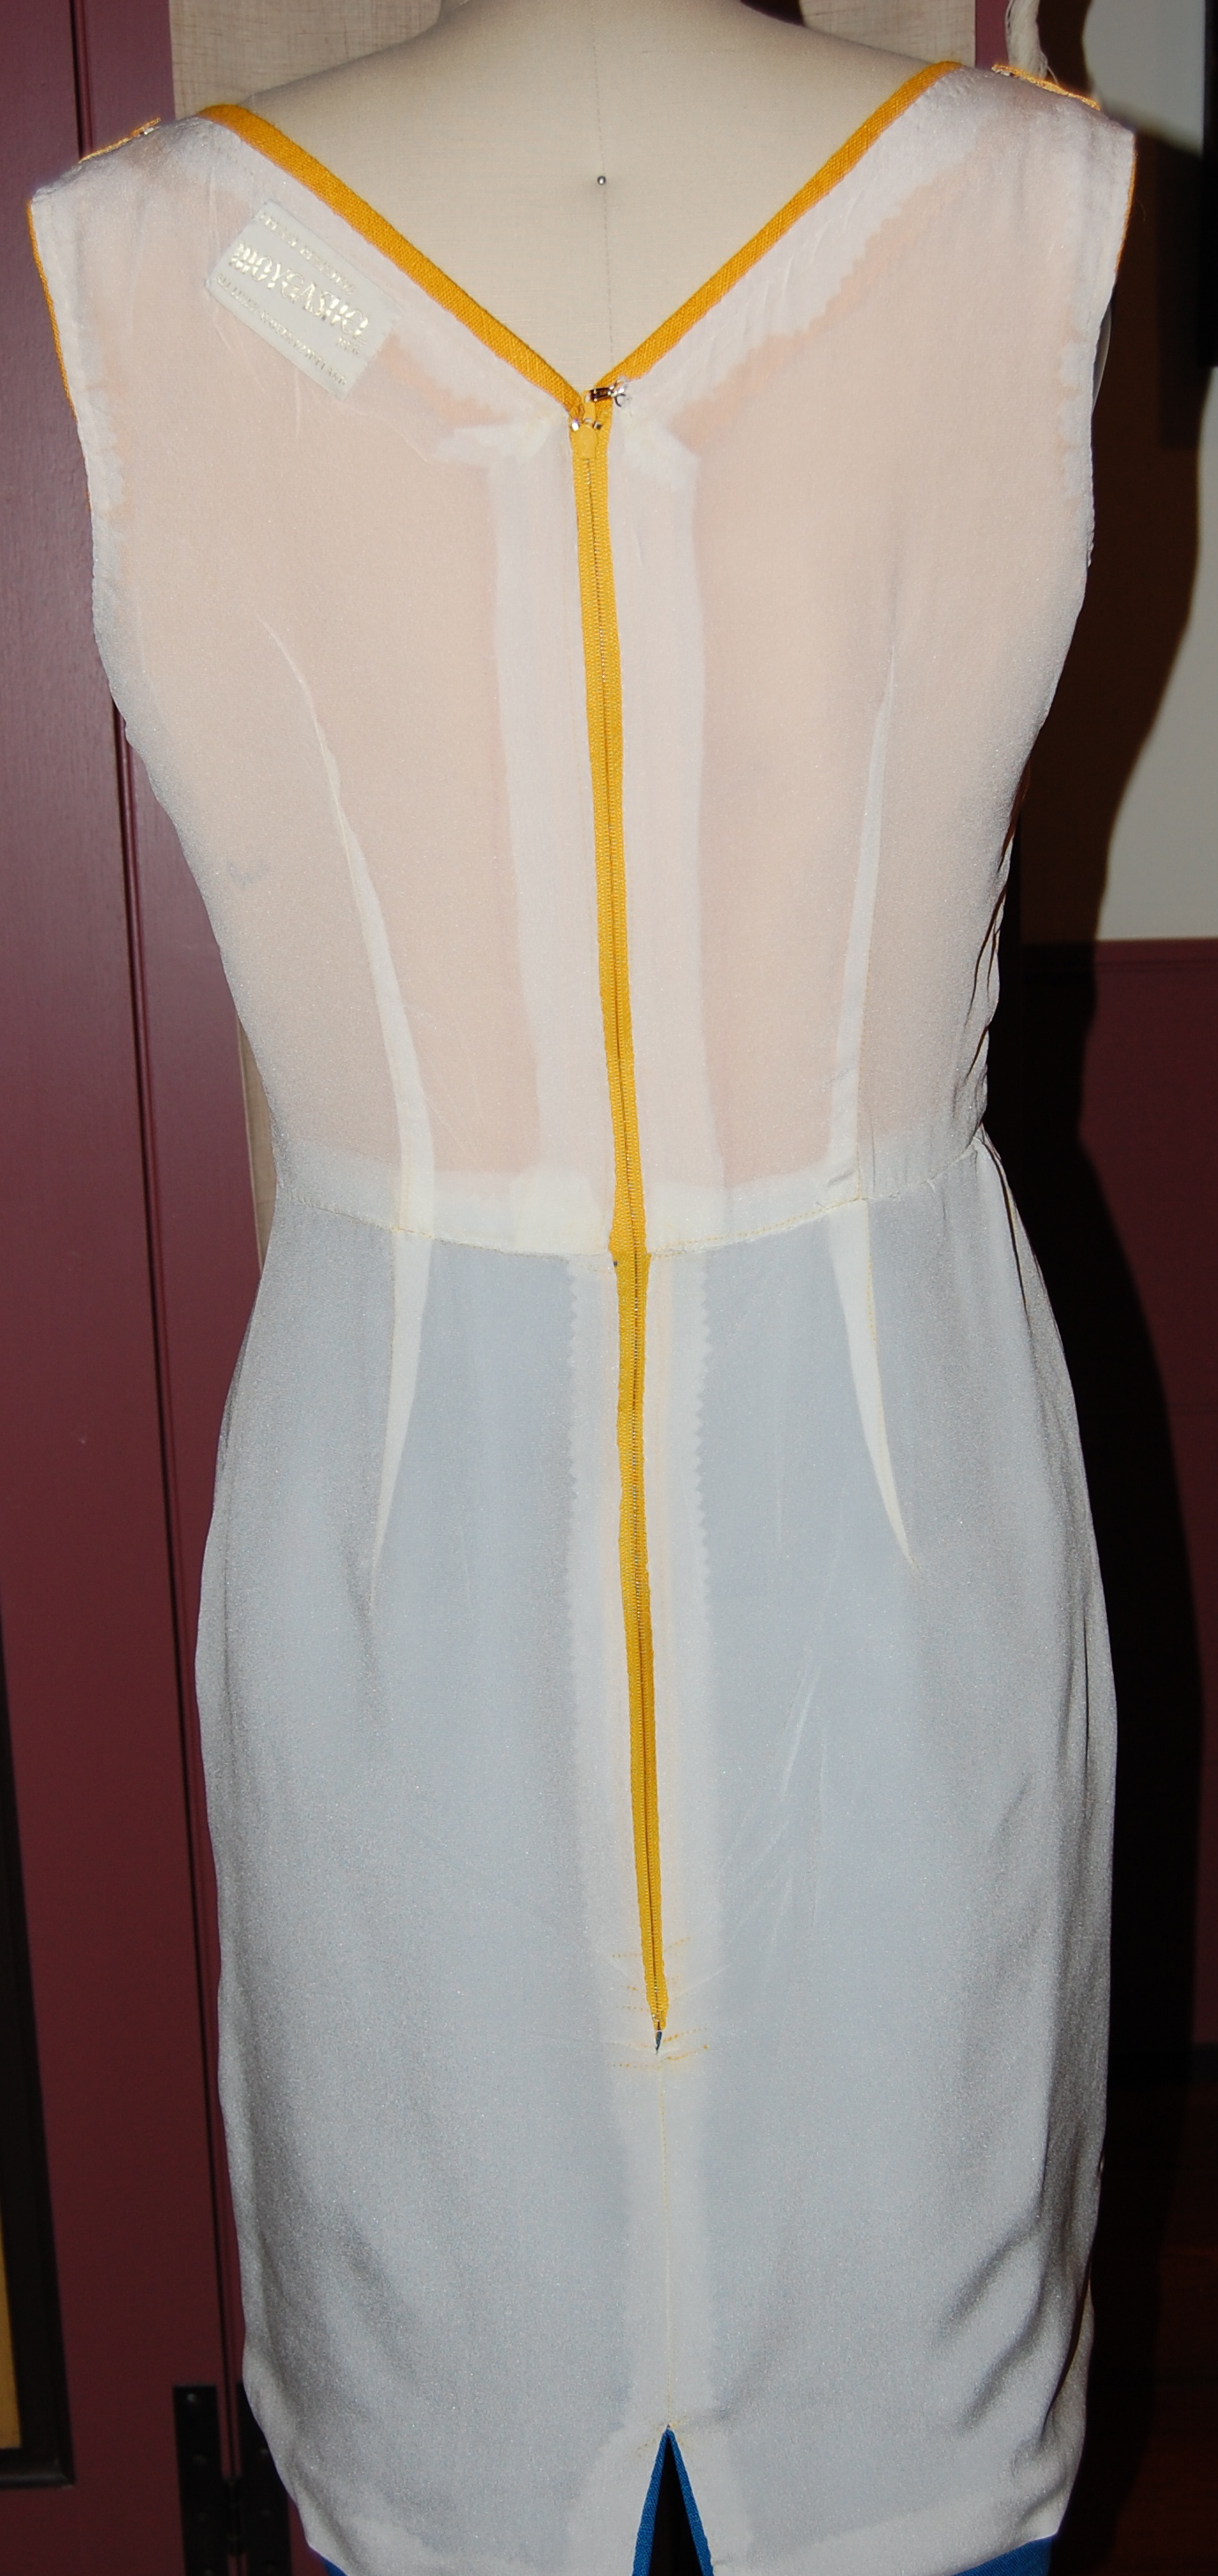
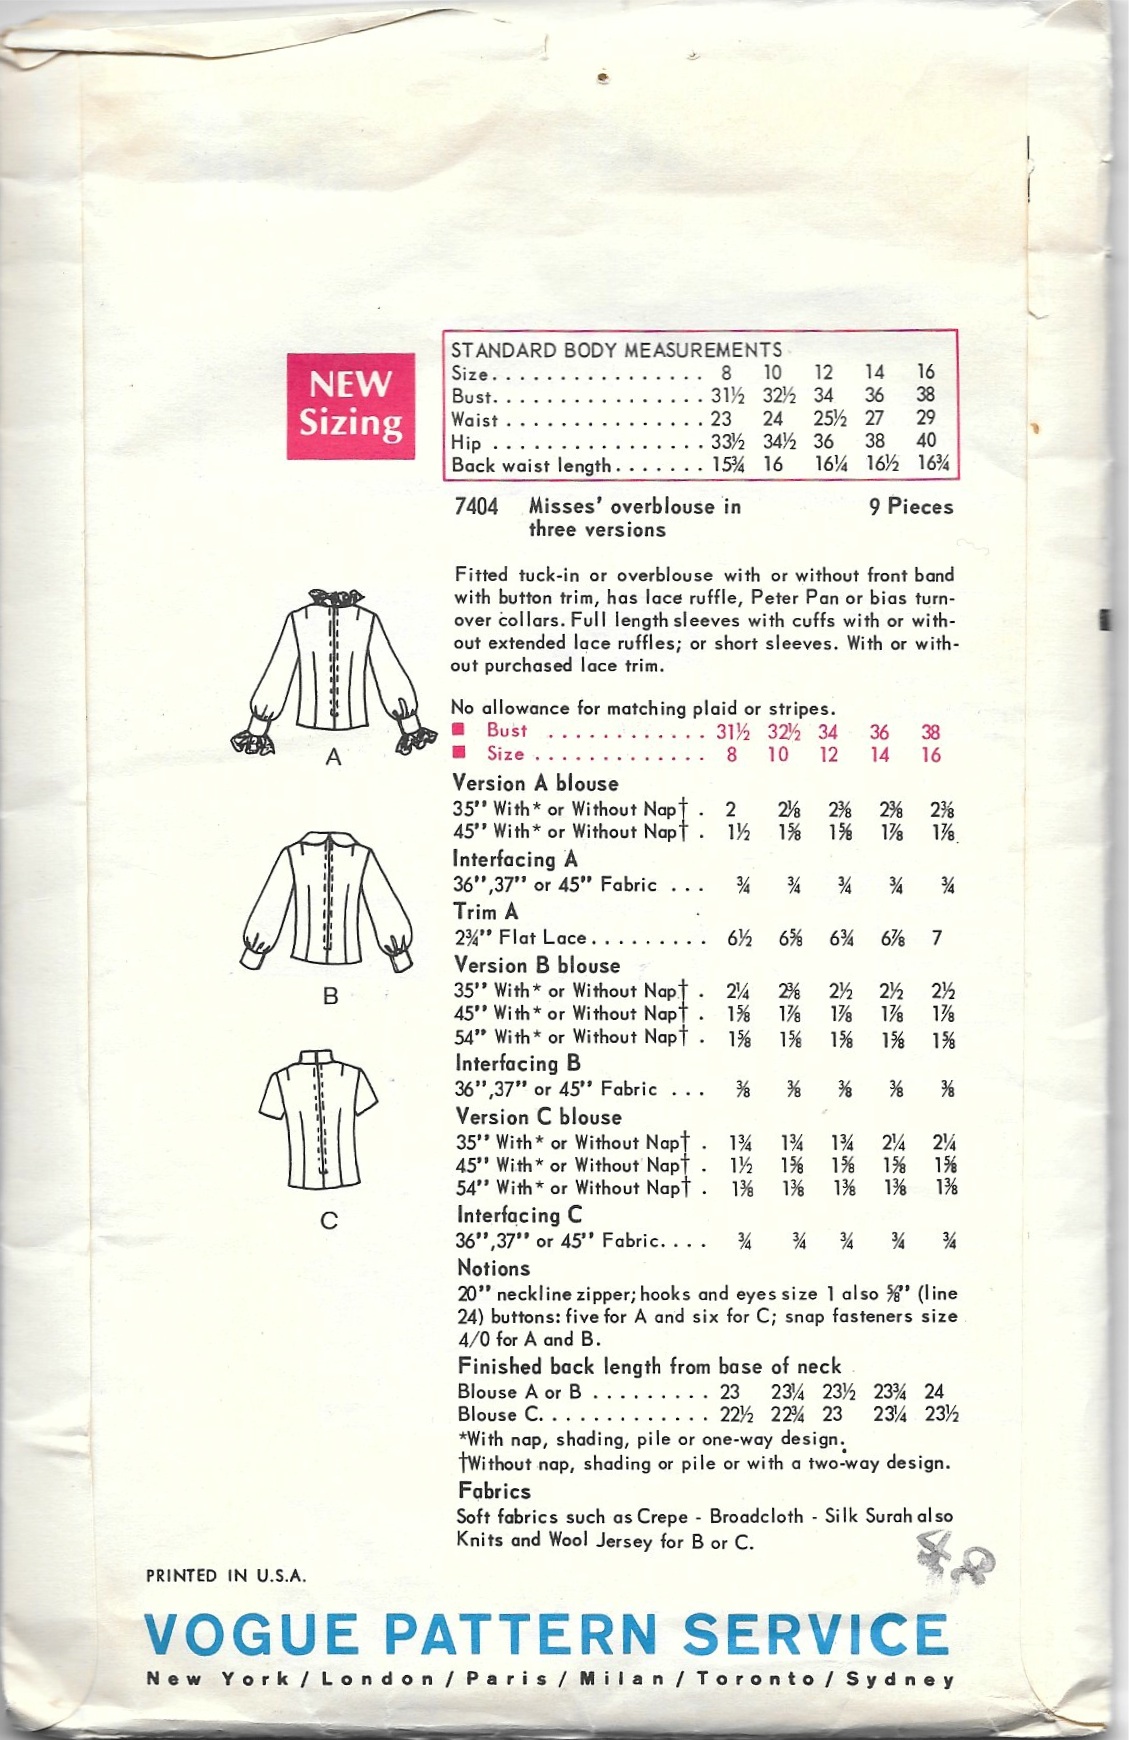 I found it interesting that these blouses are constructed with zippers in the backs. I am not fond of blouses that are zippered up the back, but I knew that I could easily make the back into a buttoned closure.
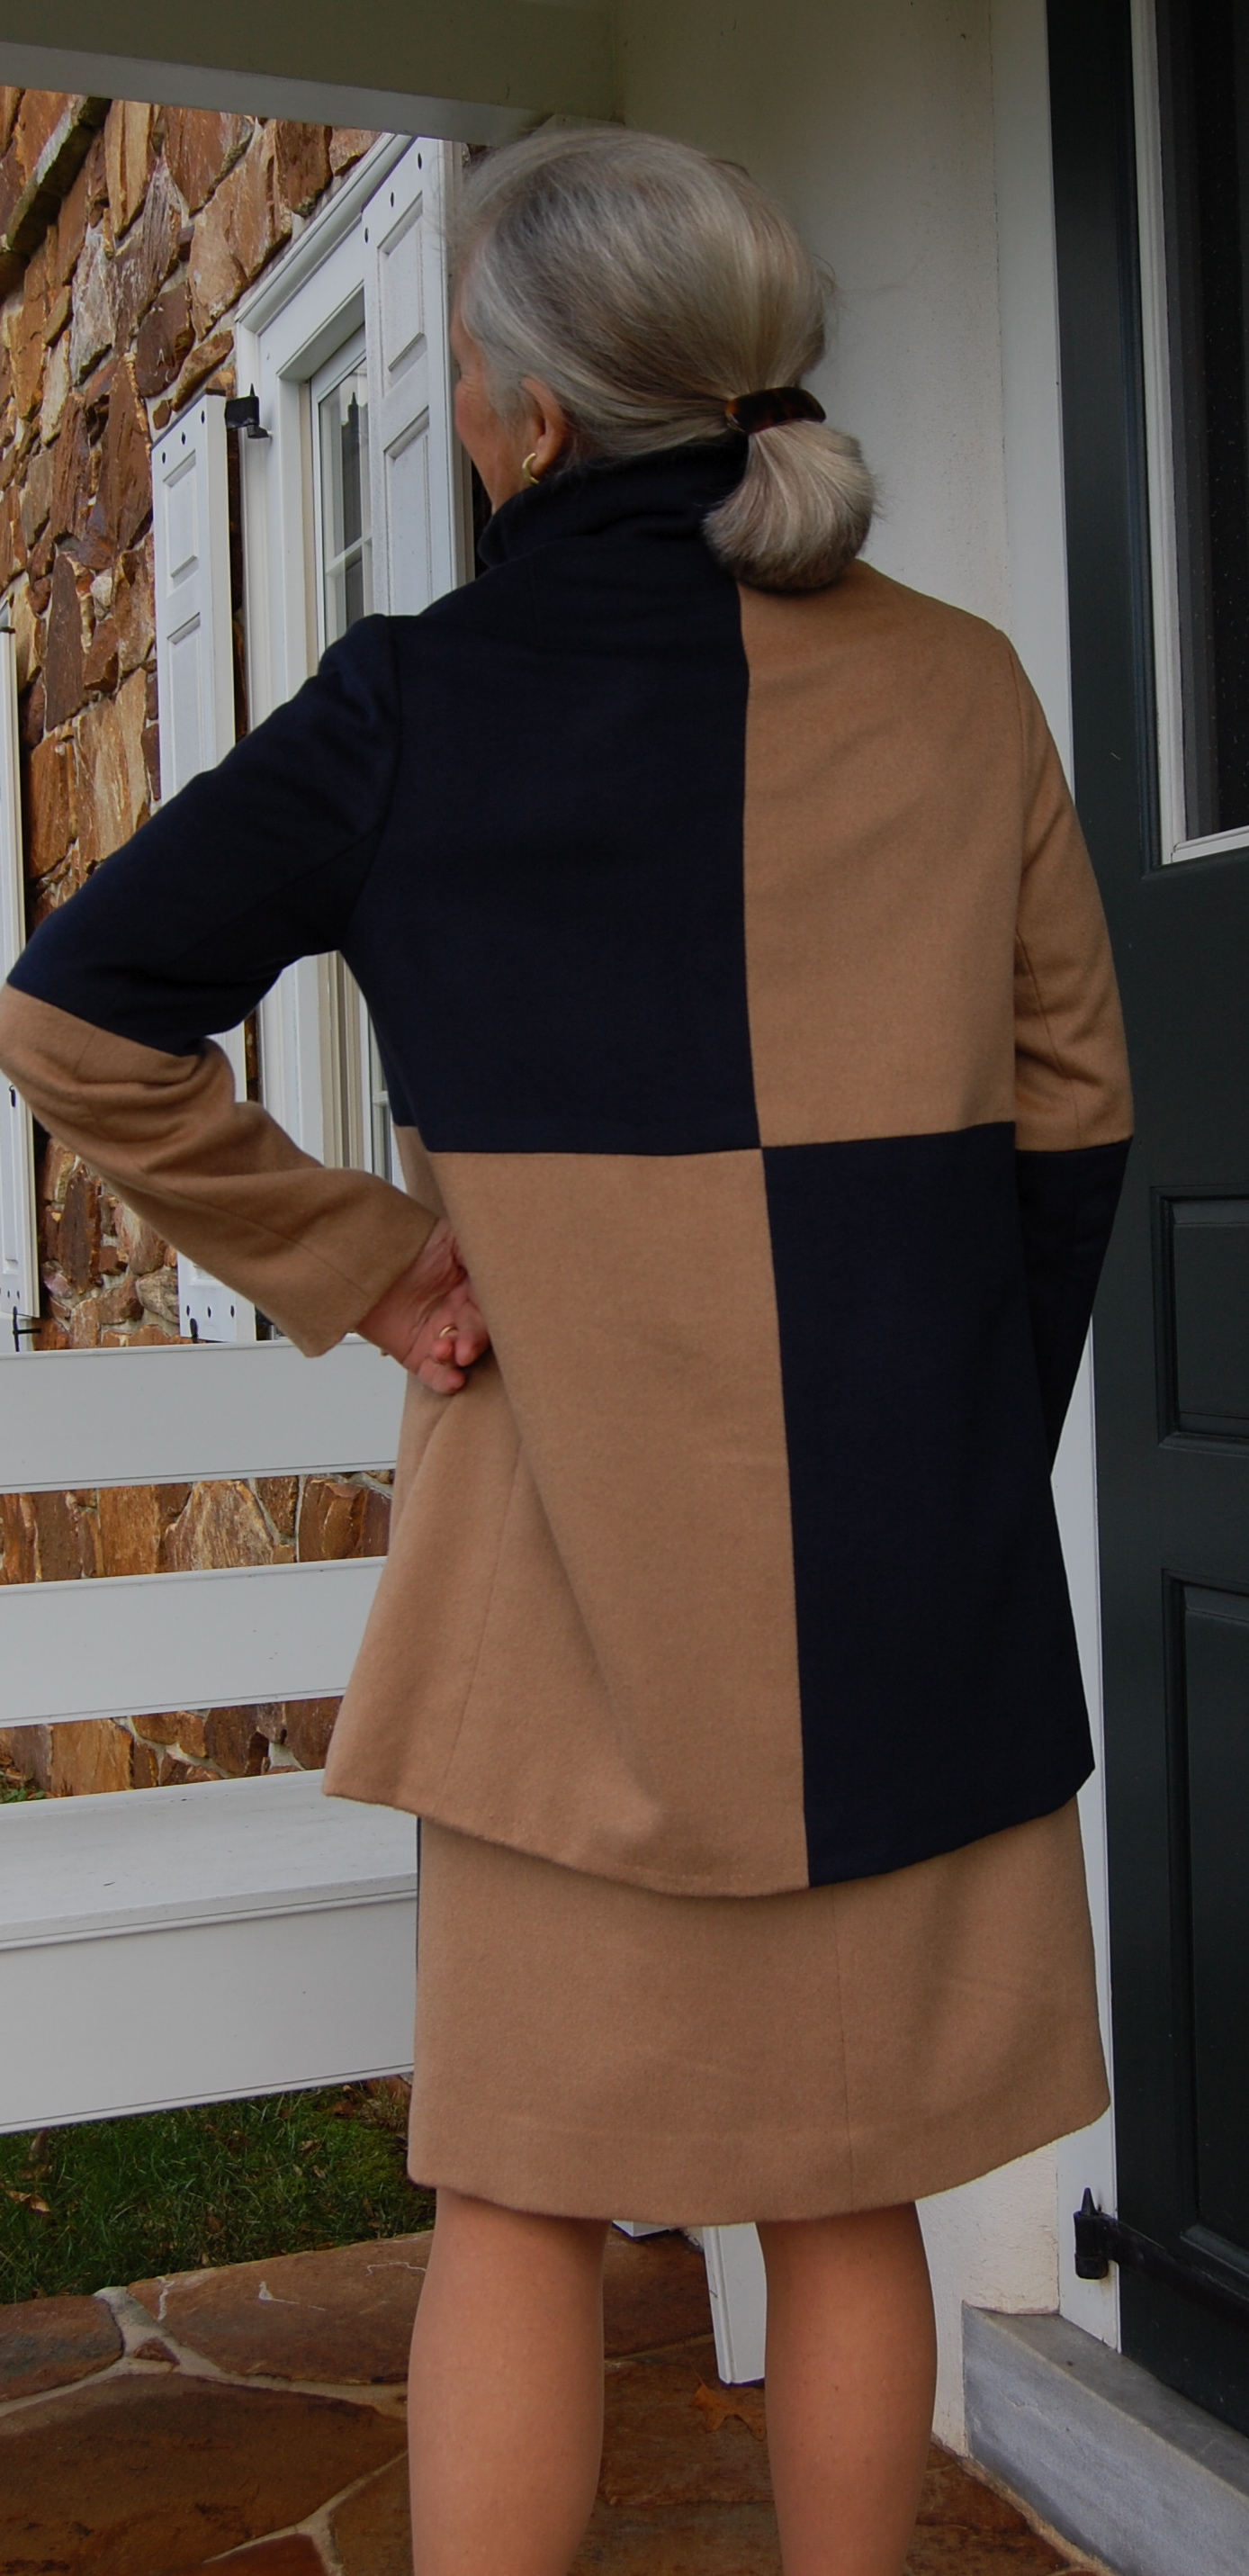
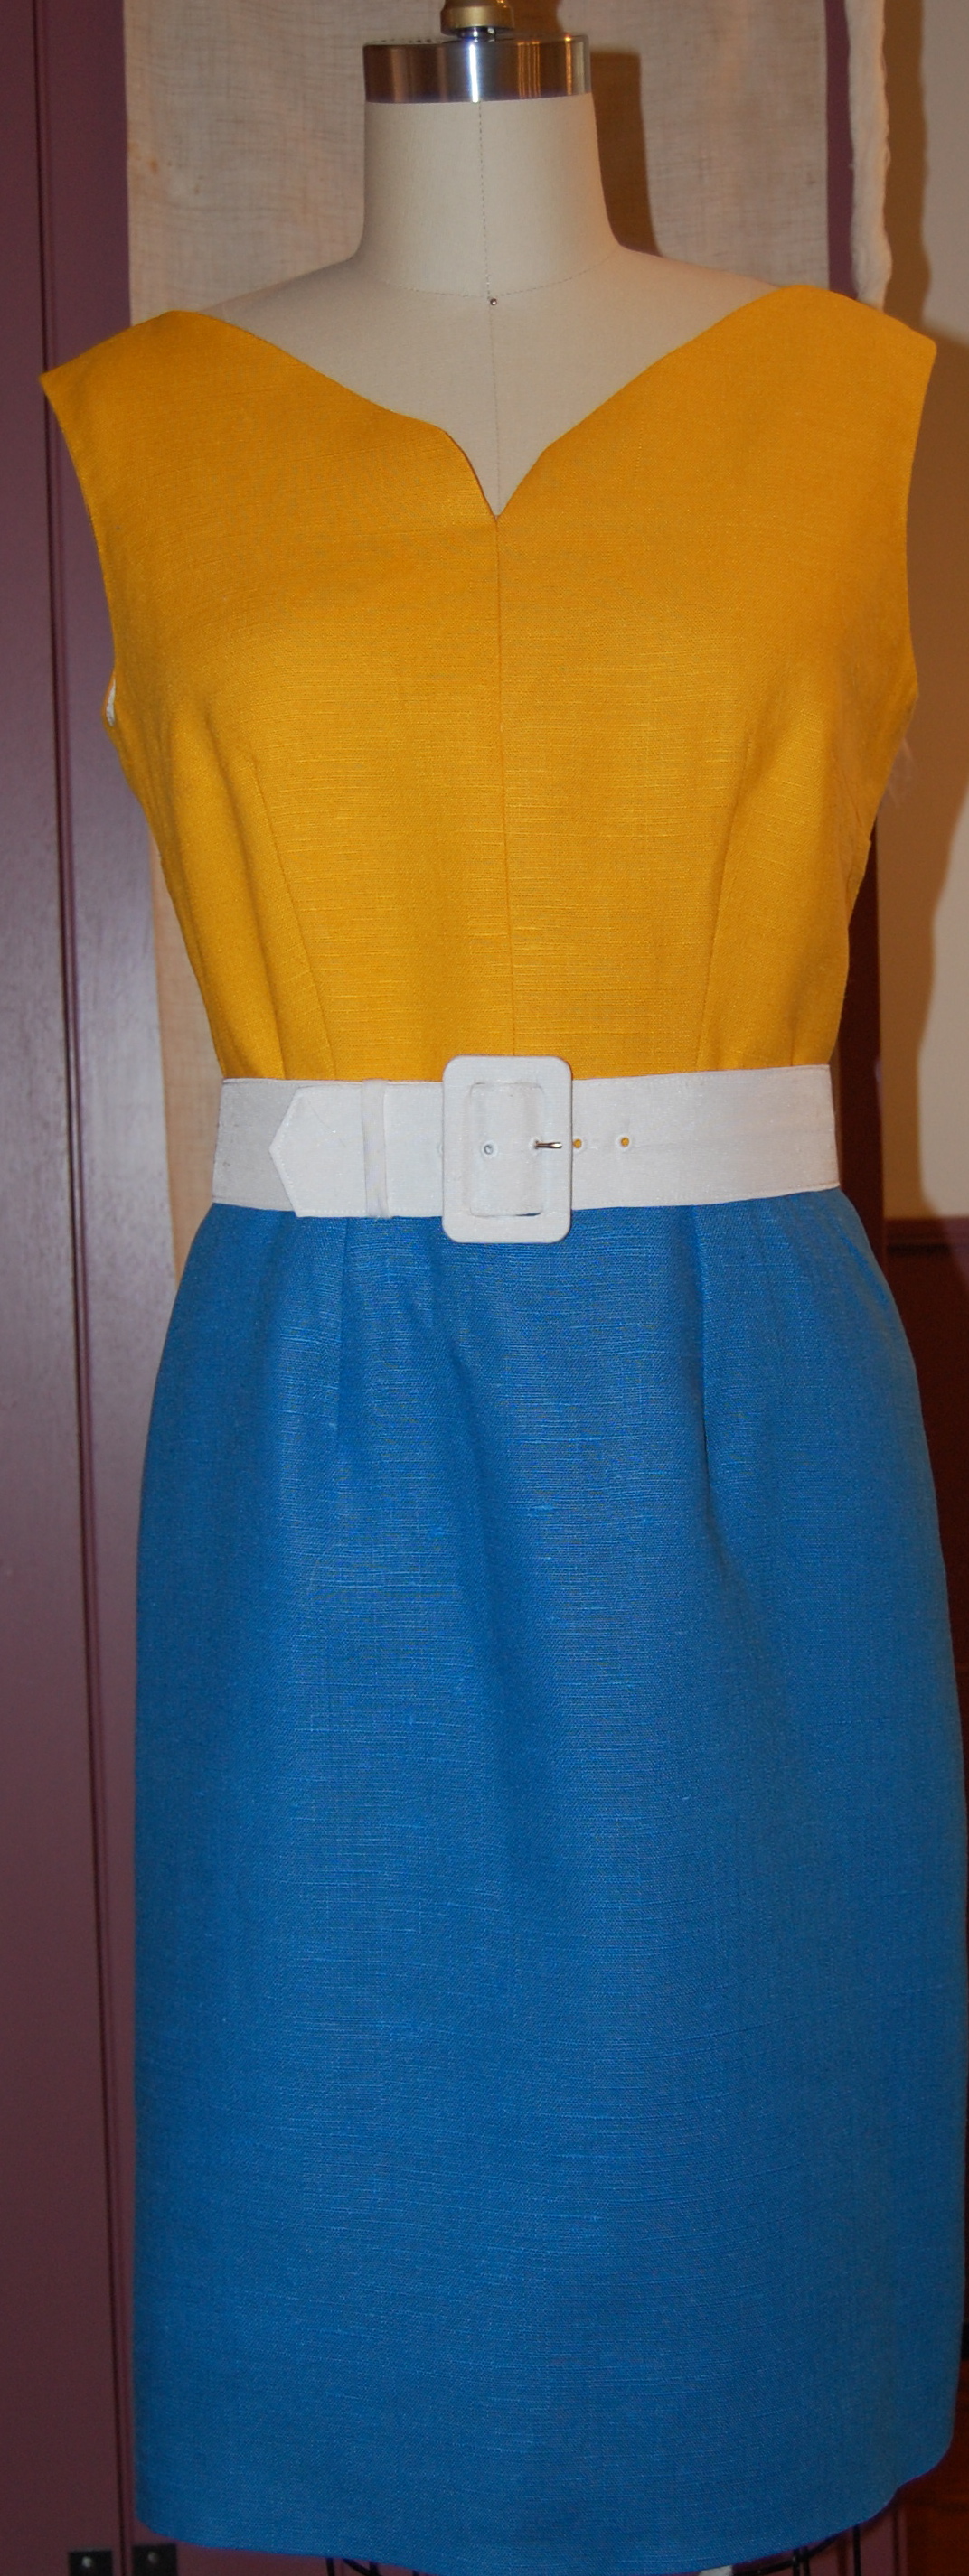
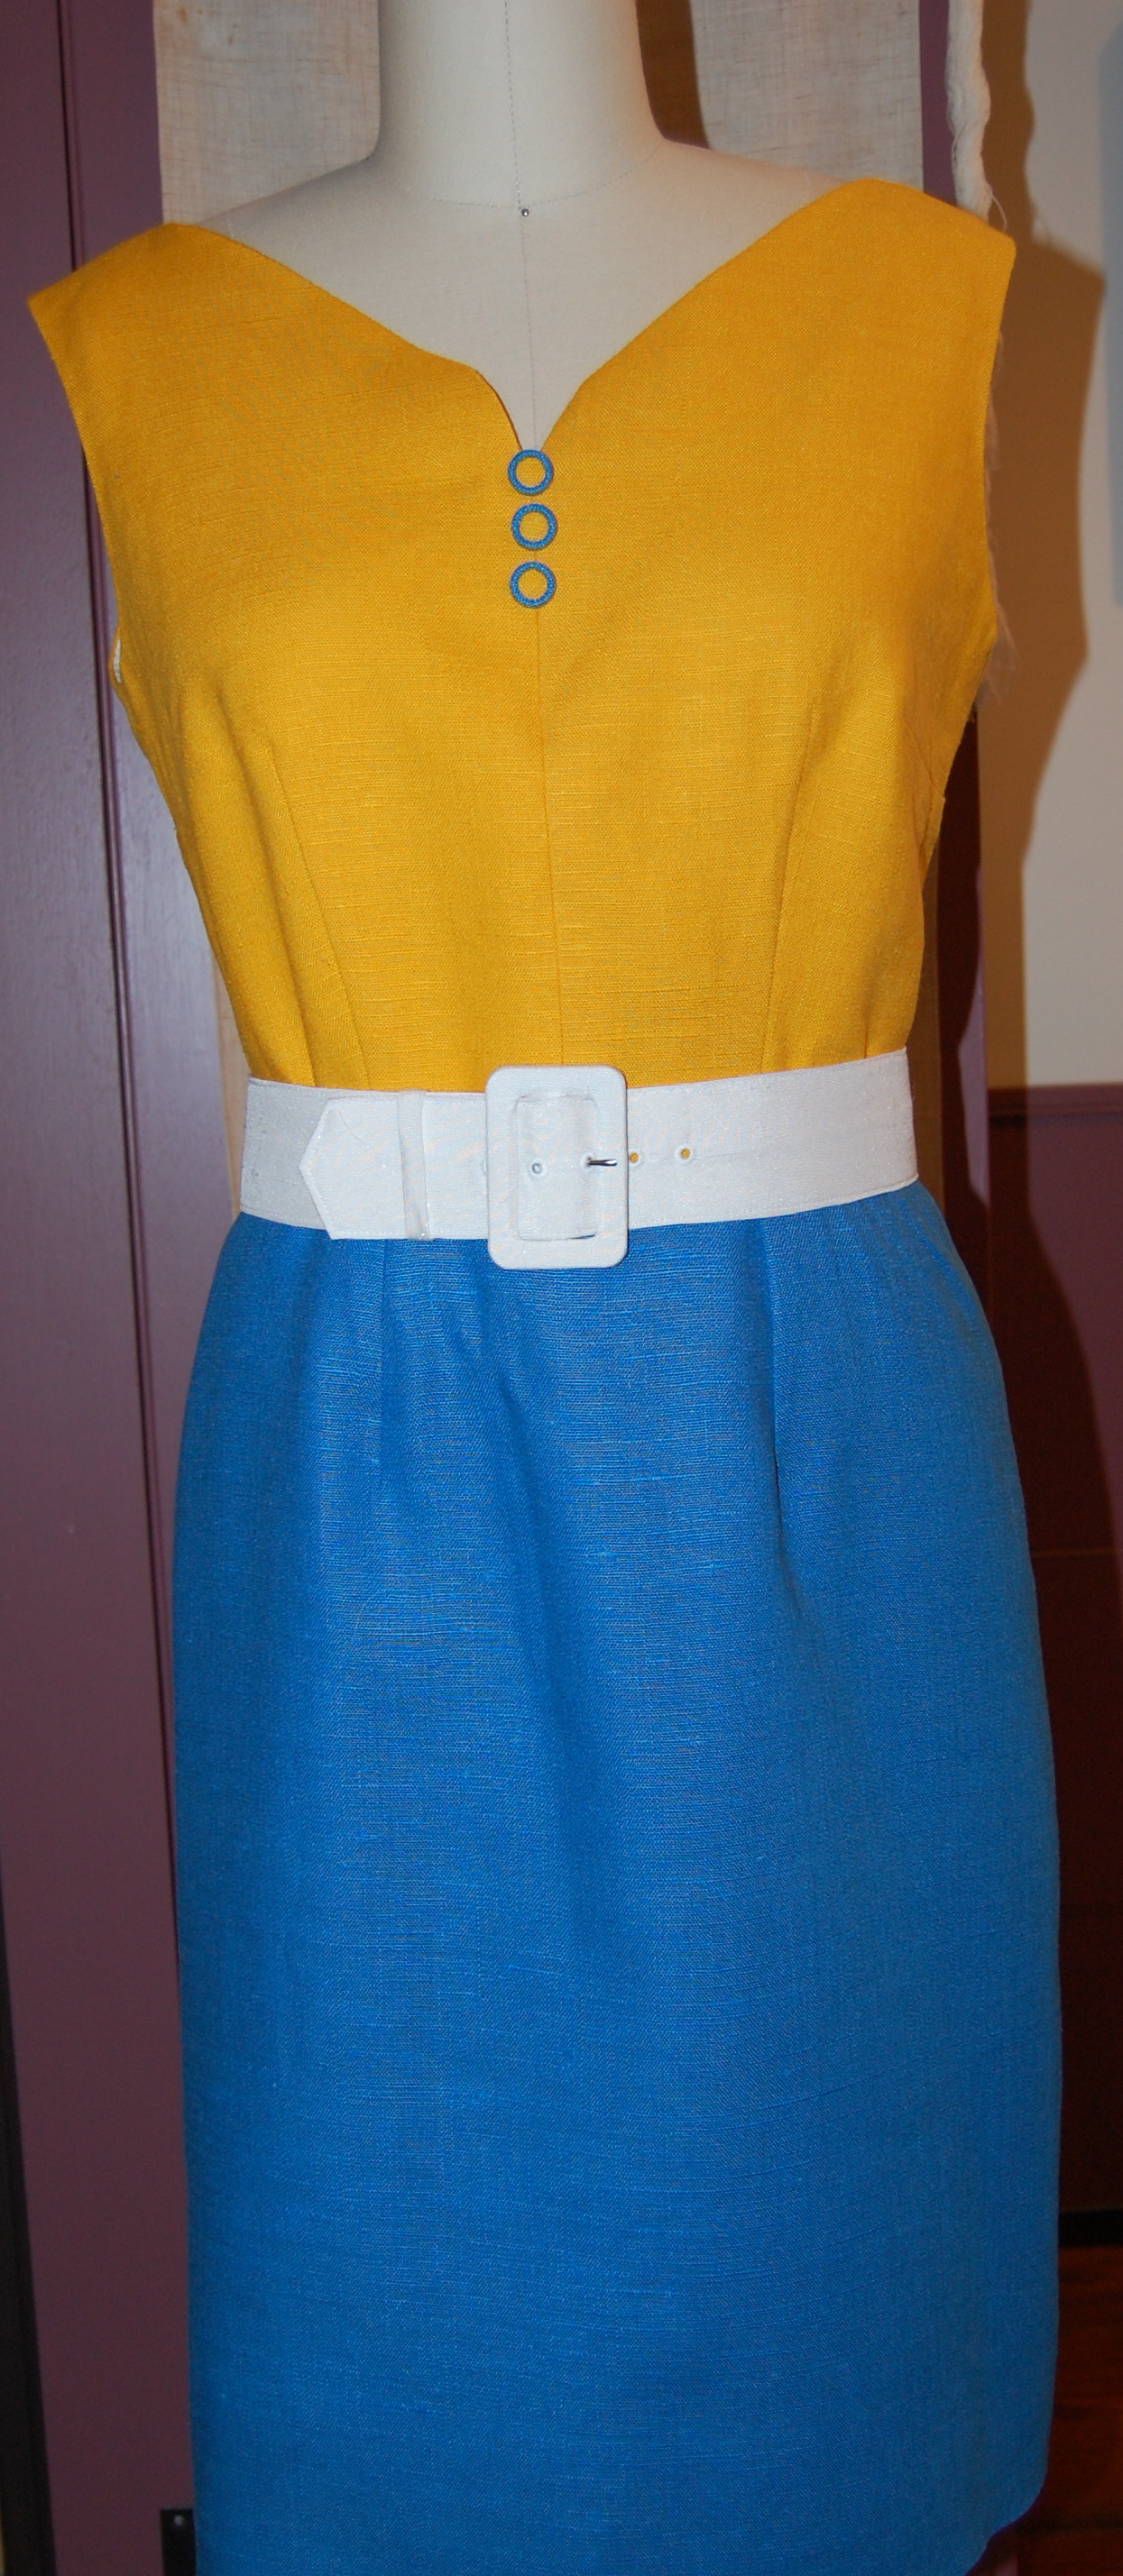
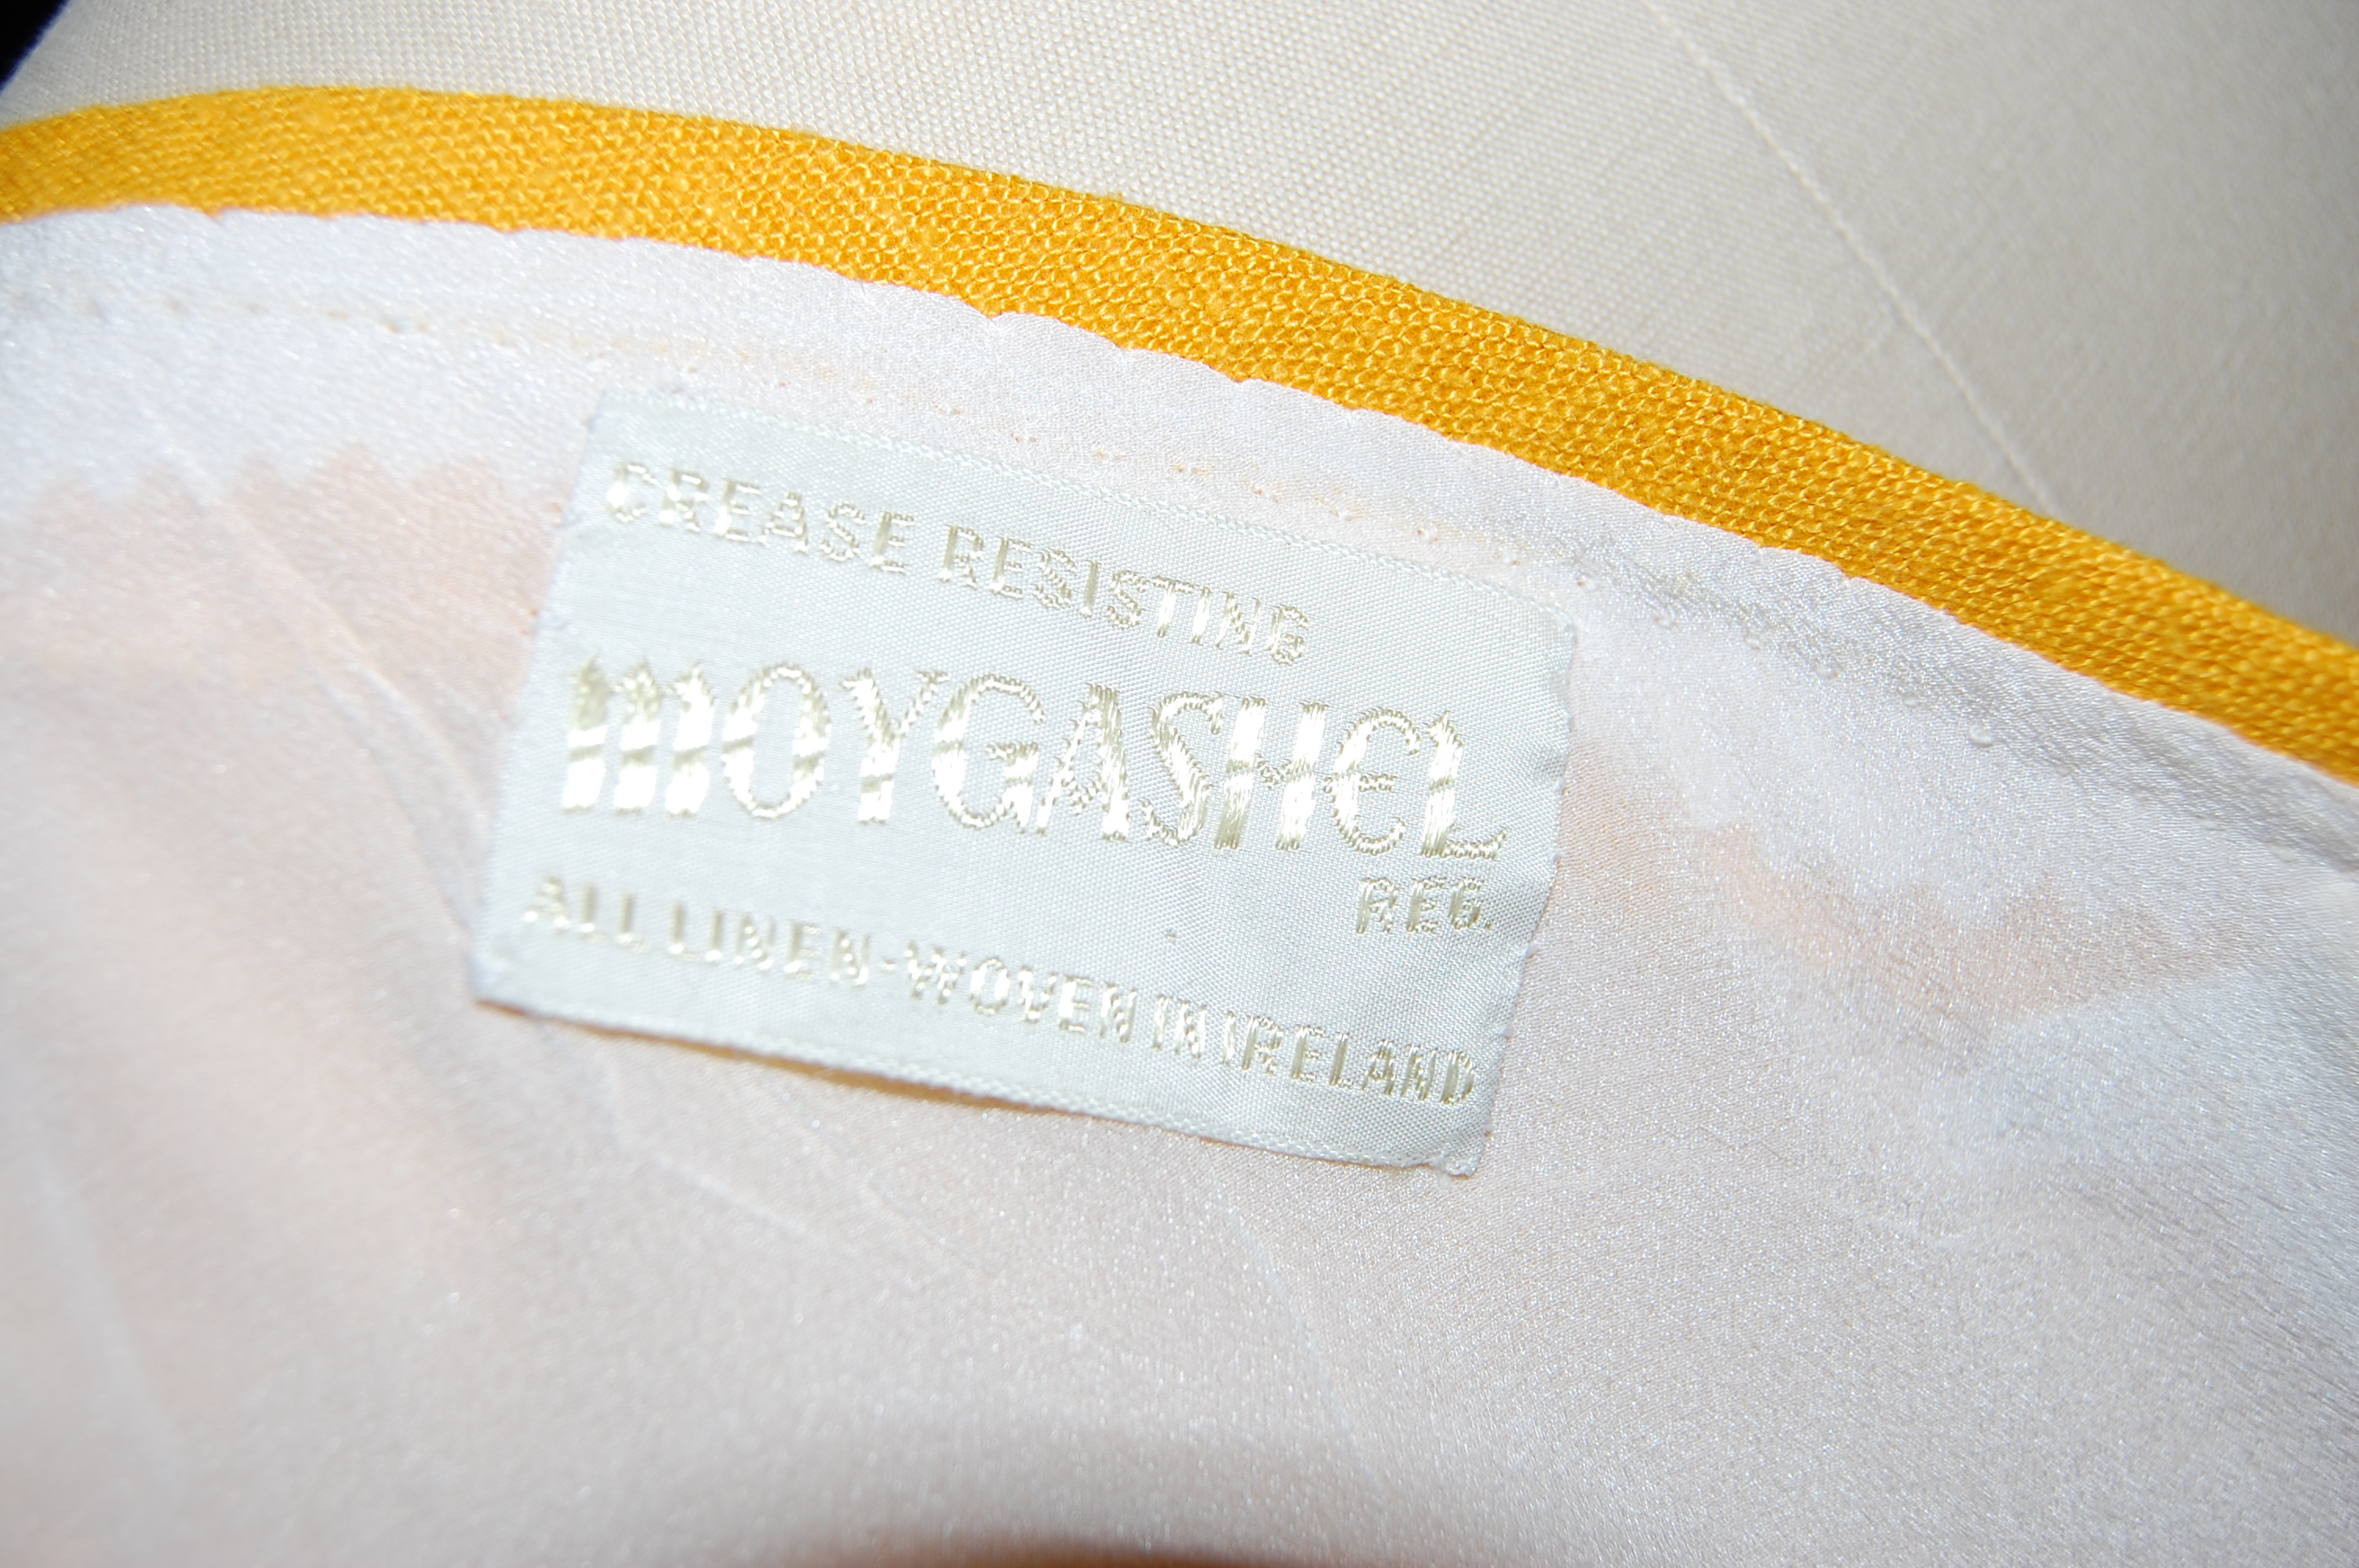
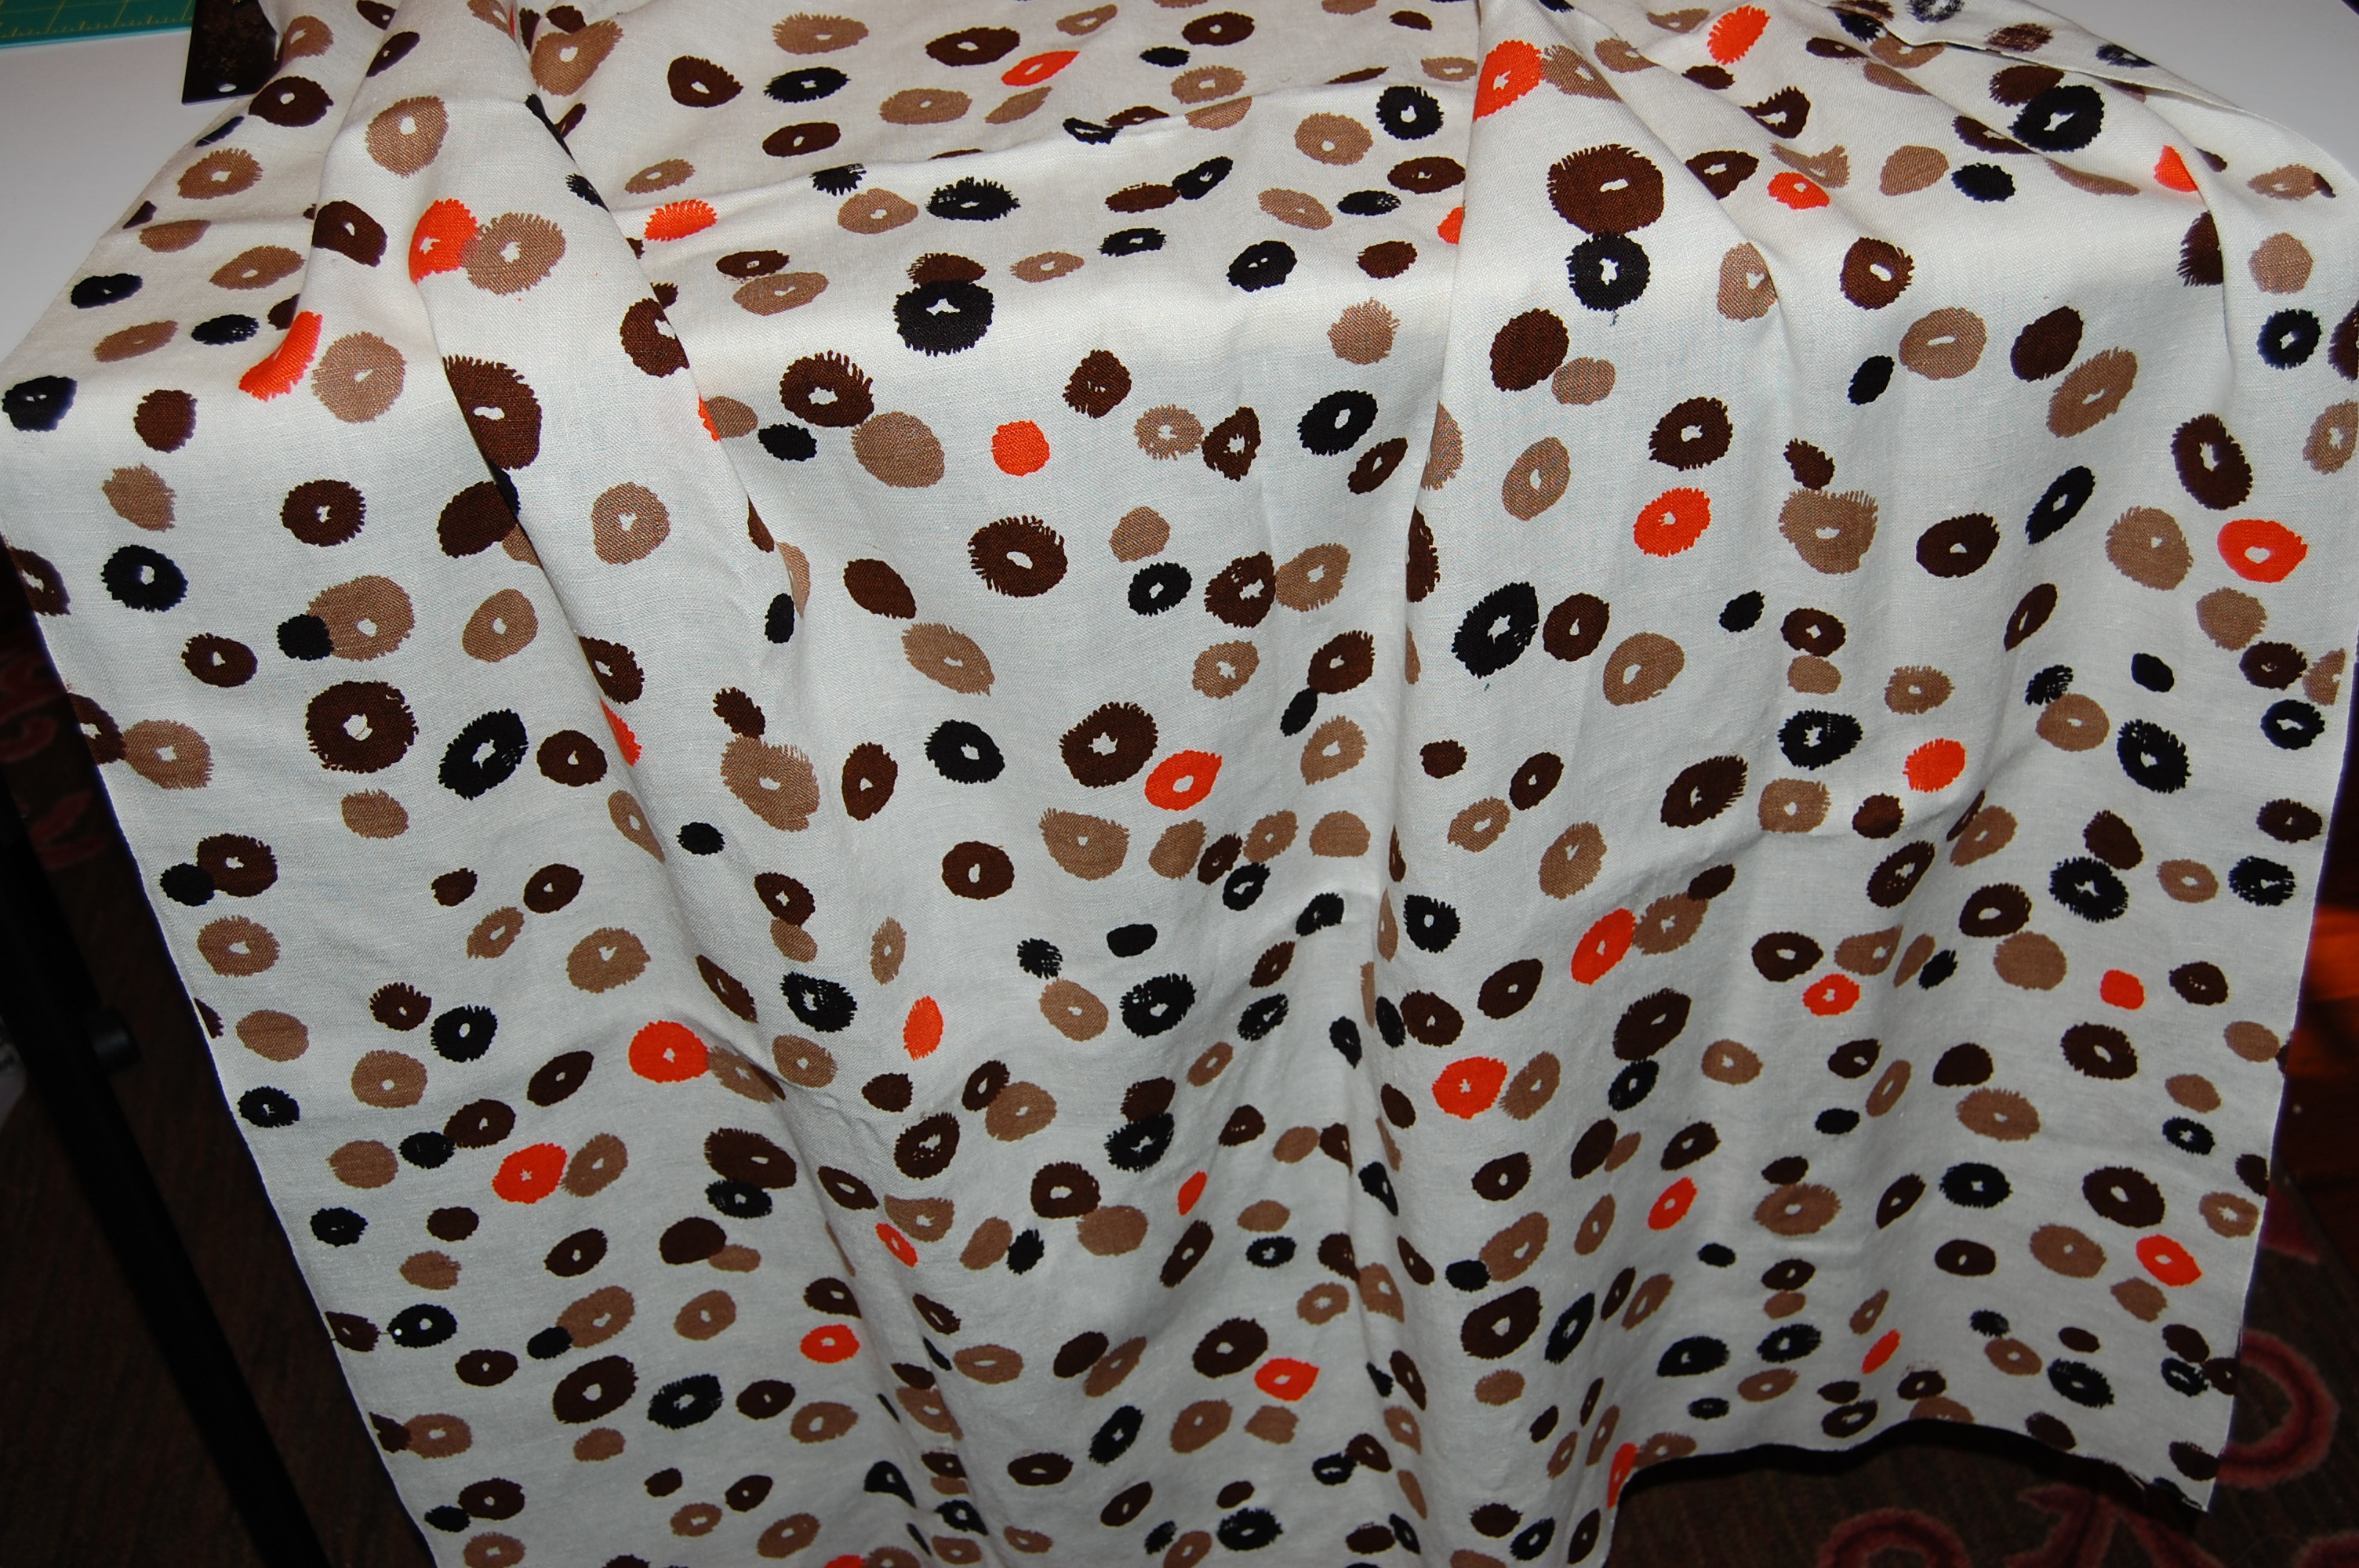
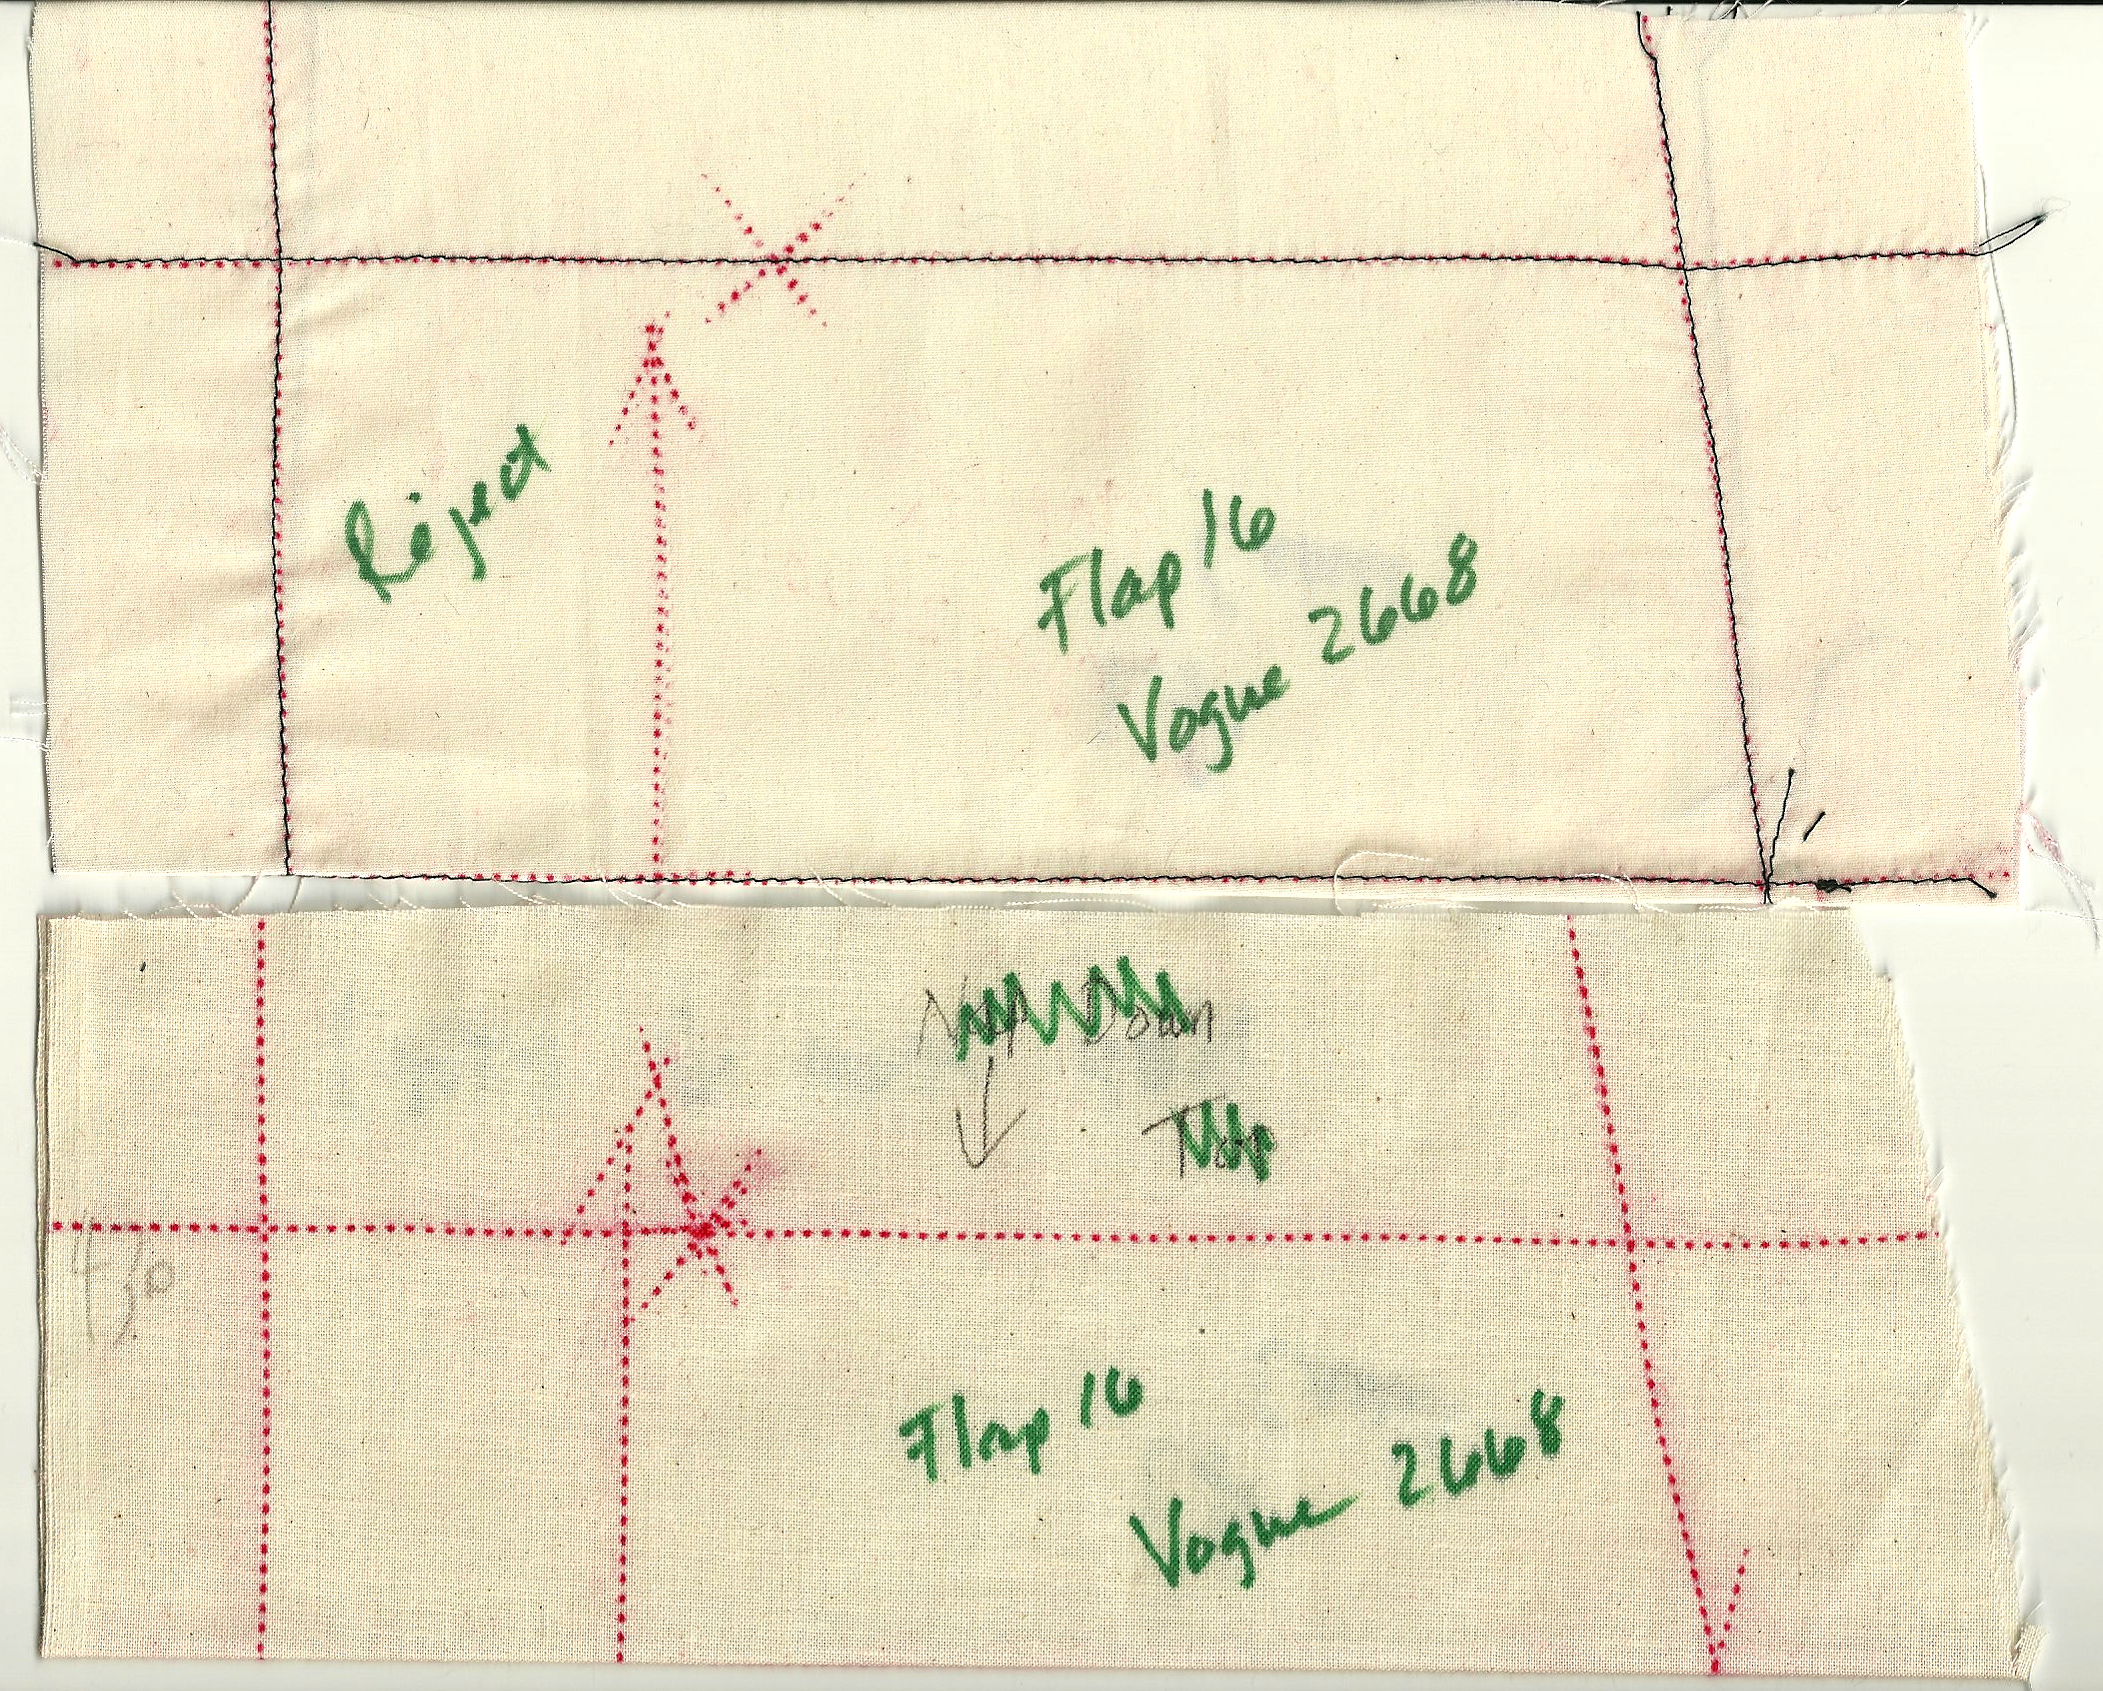
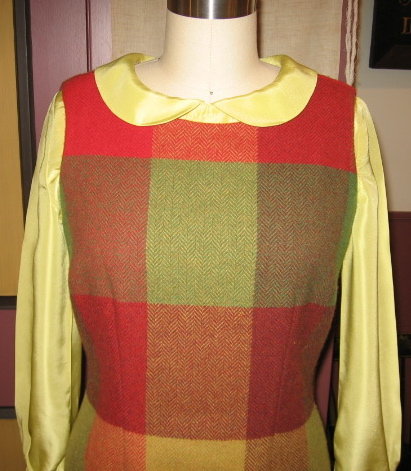
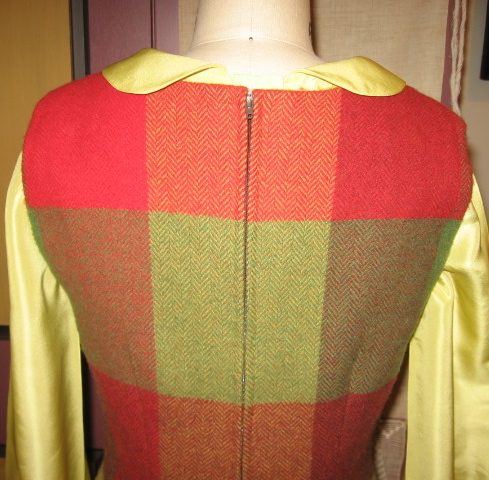
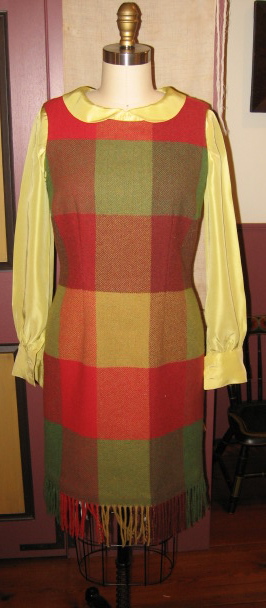
 Interestingly, this pattern is from a narrow period of time when Vogue initiated their “new” sizing, which added a half-inch to sizes 8 and 10 in the bust and in the hip. I believe this new sizing was only in effect from about 1968 through about 1972 or ’73. In any event, it helps to date this particular pattern. When I decided to make my blanket dress into a jumper, with a blouse matching the yellow lining, I went to this pattern for its good bones: darted fit, back opening, and pretty sleeves.
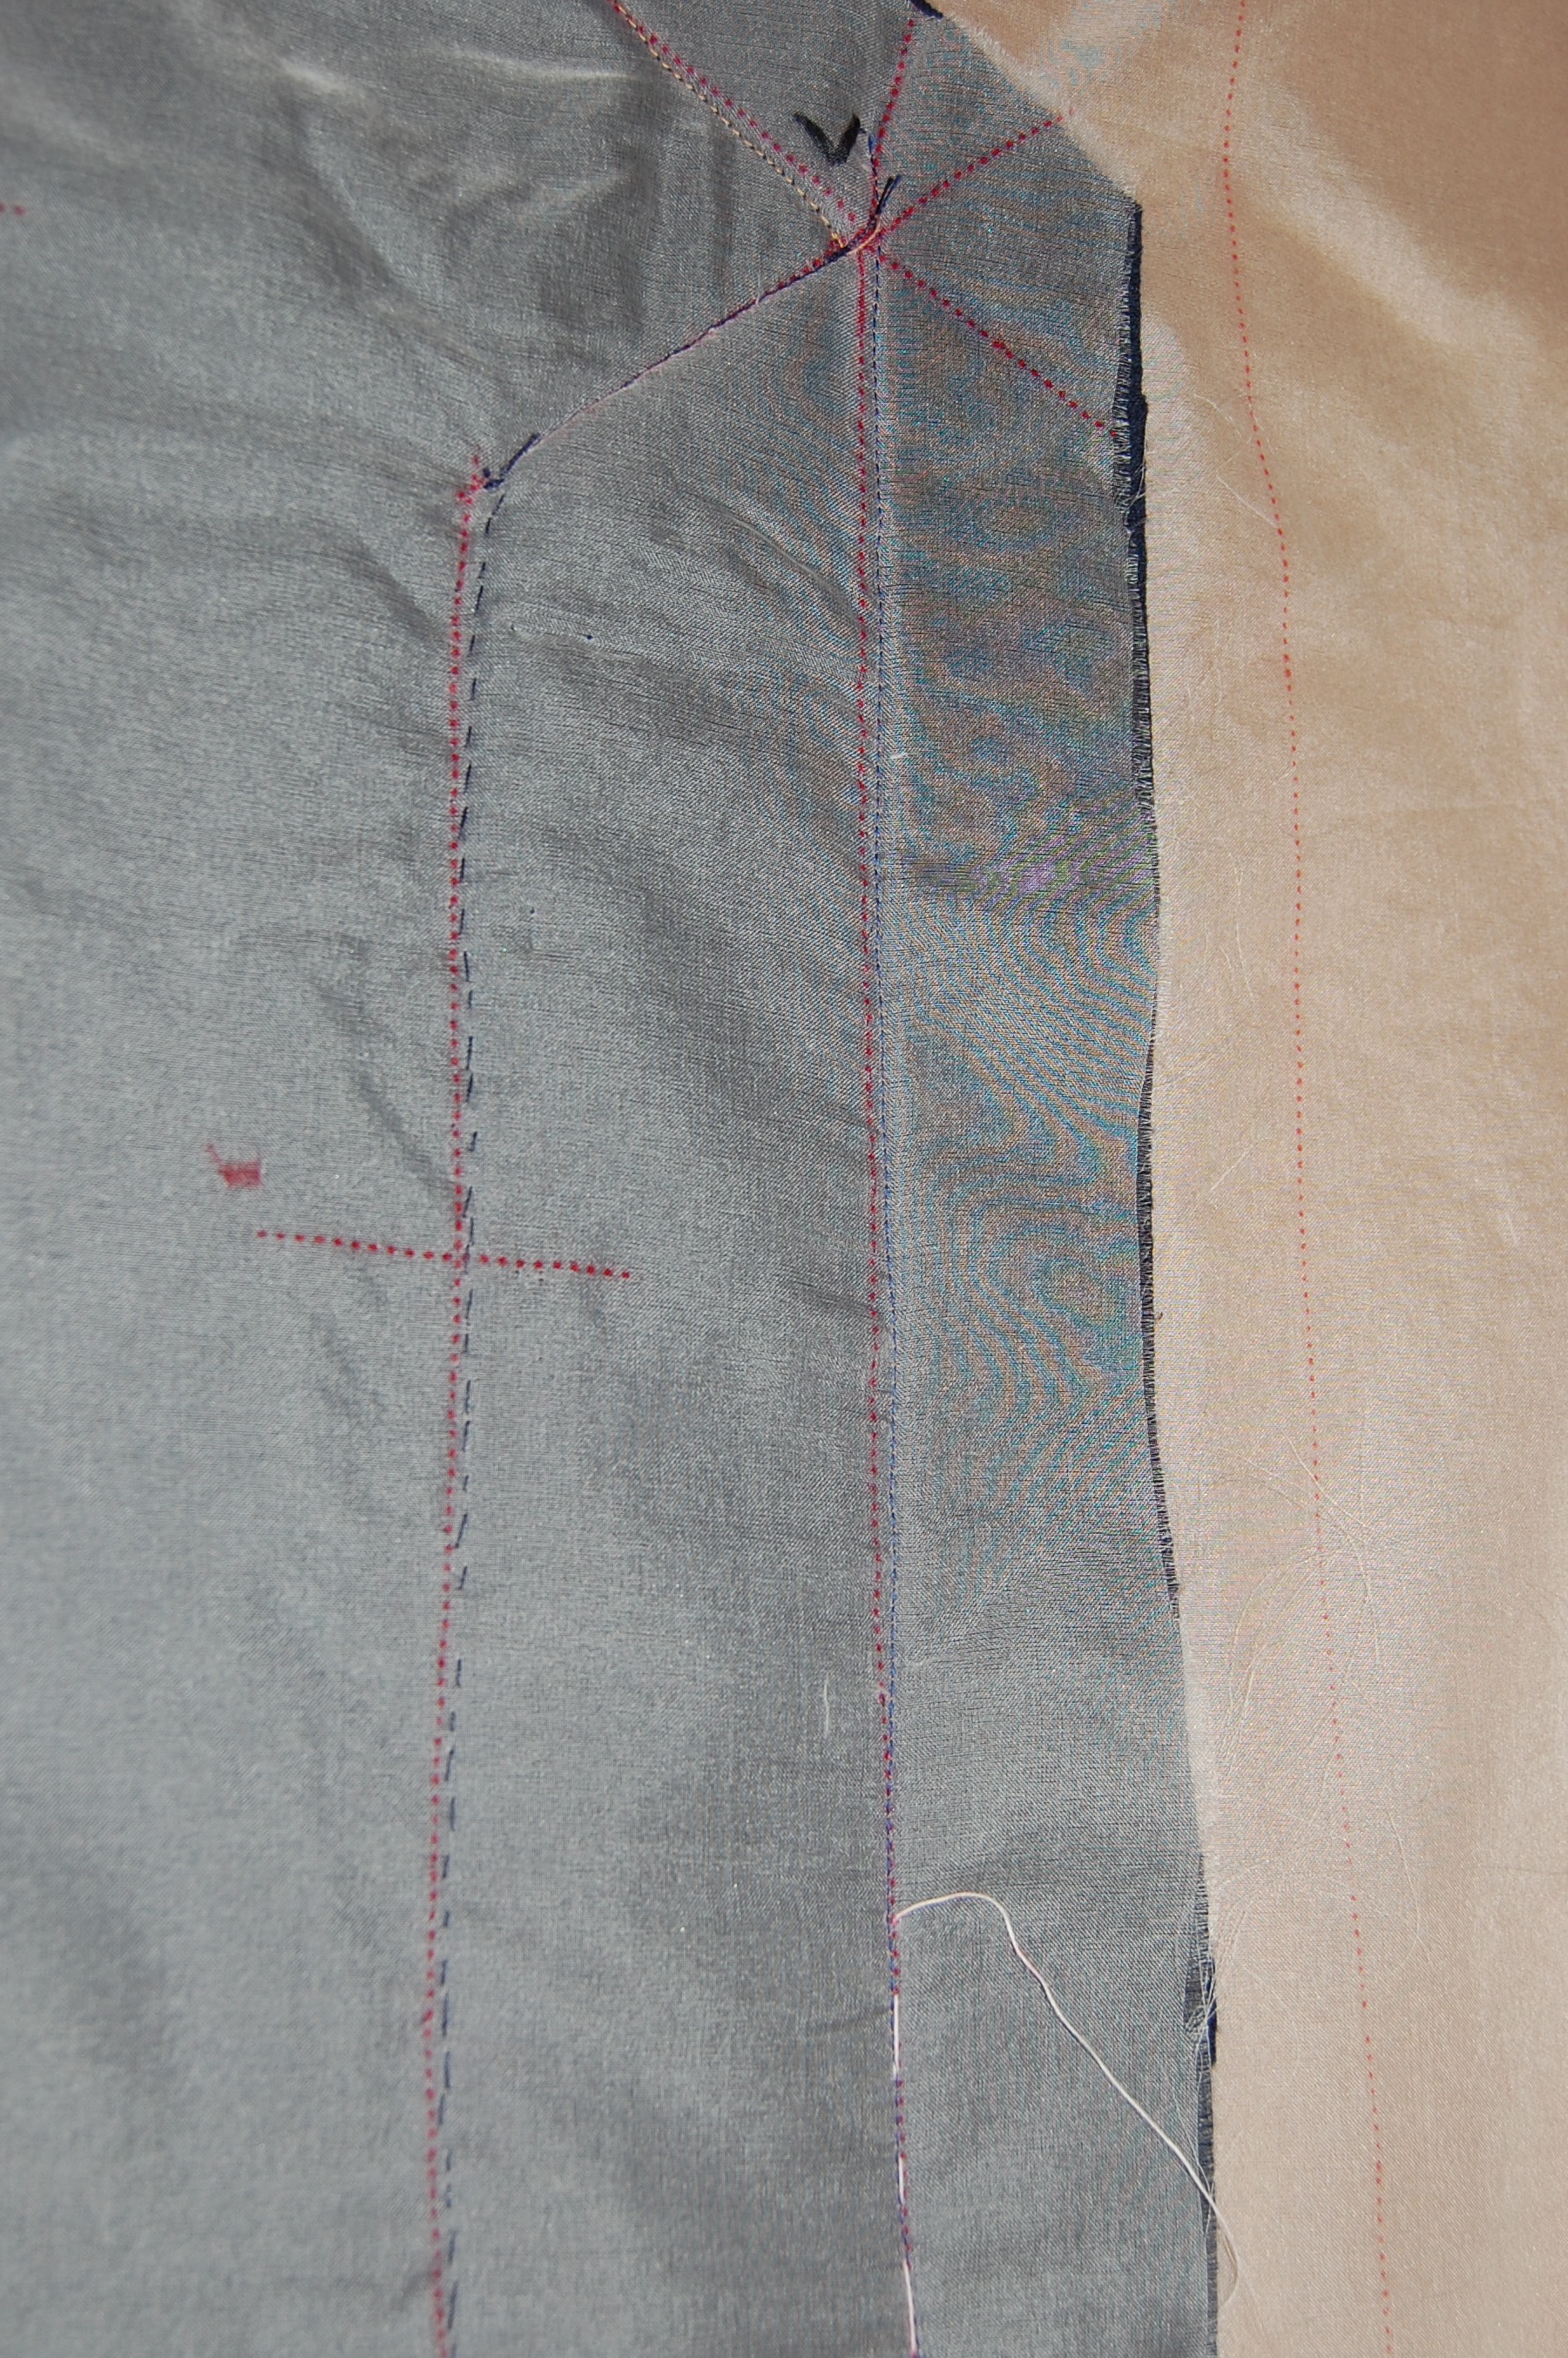
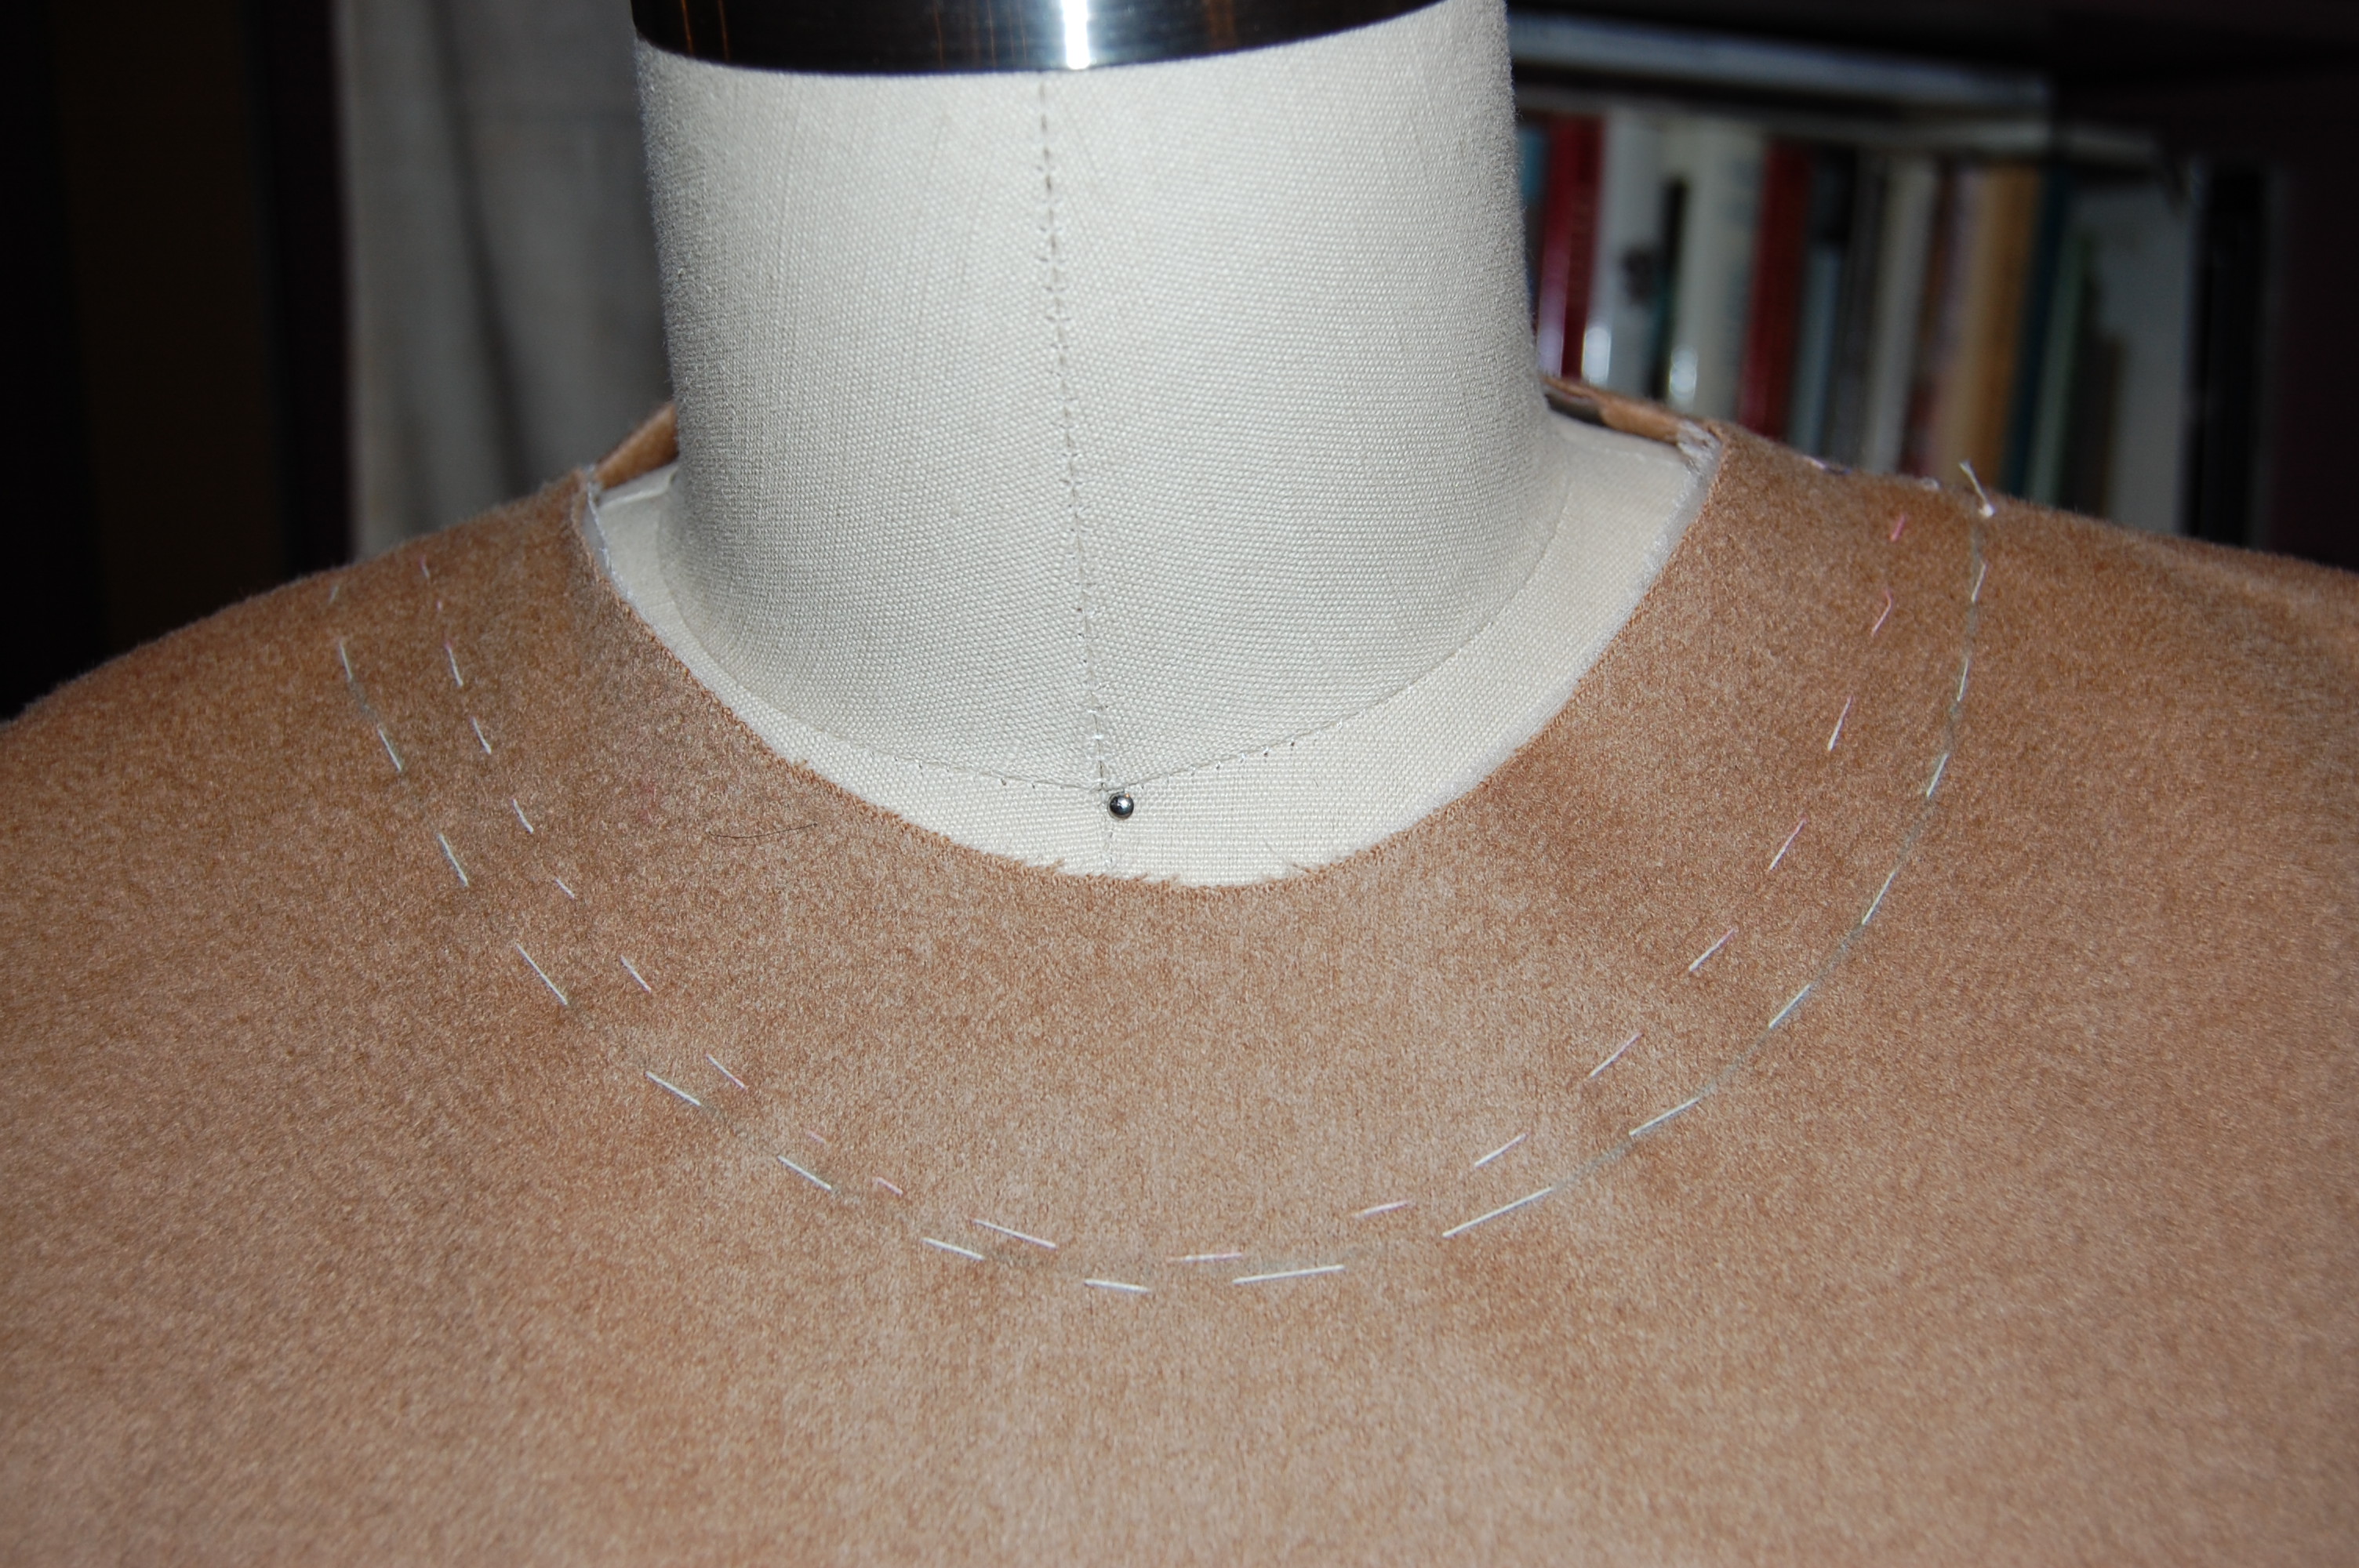
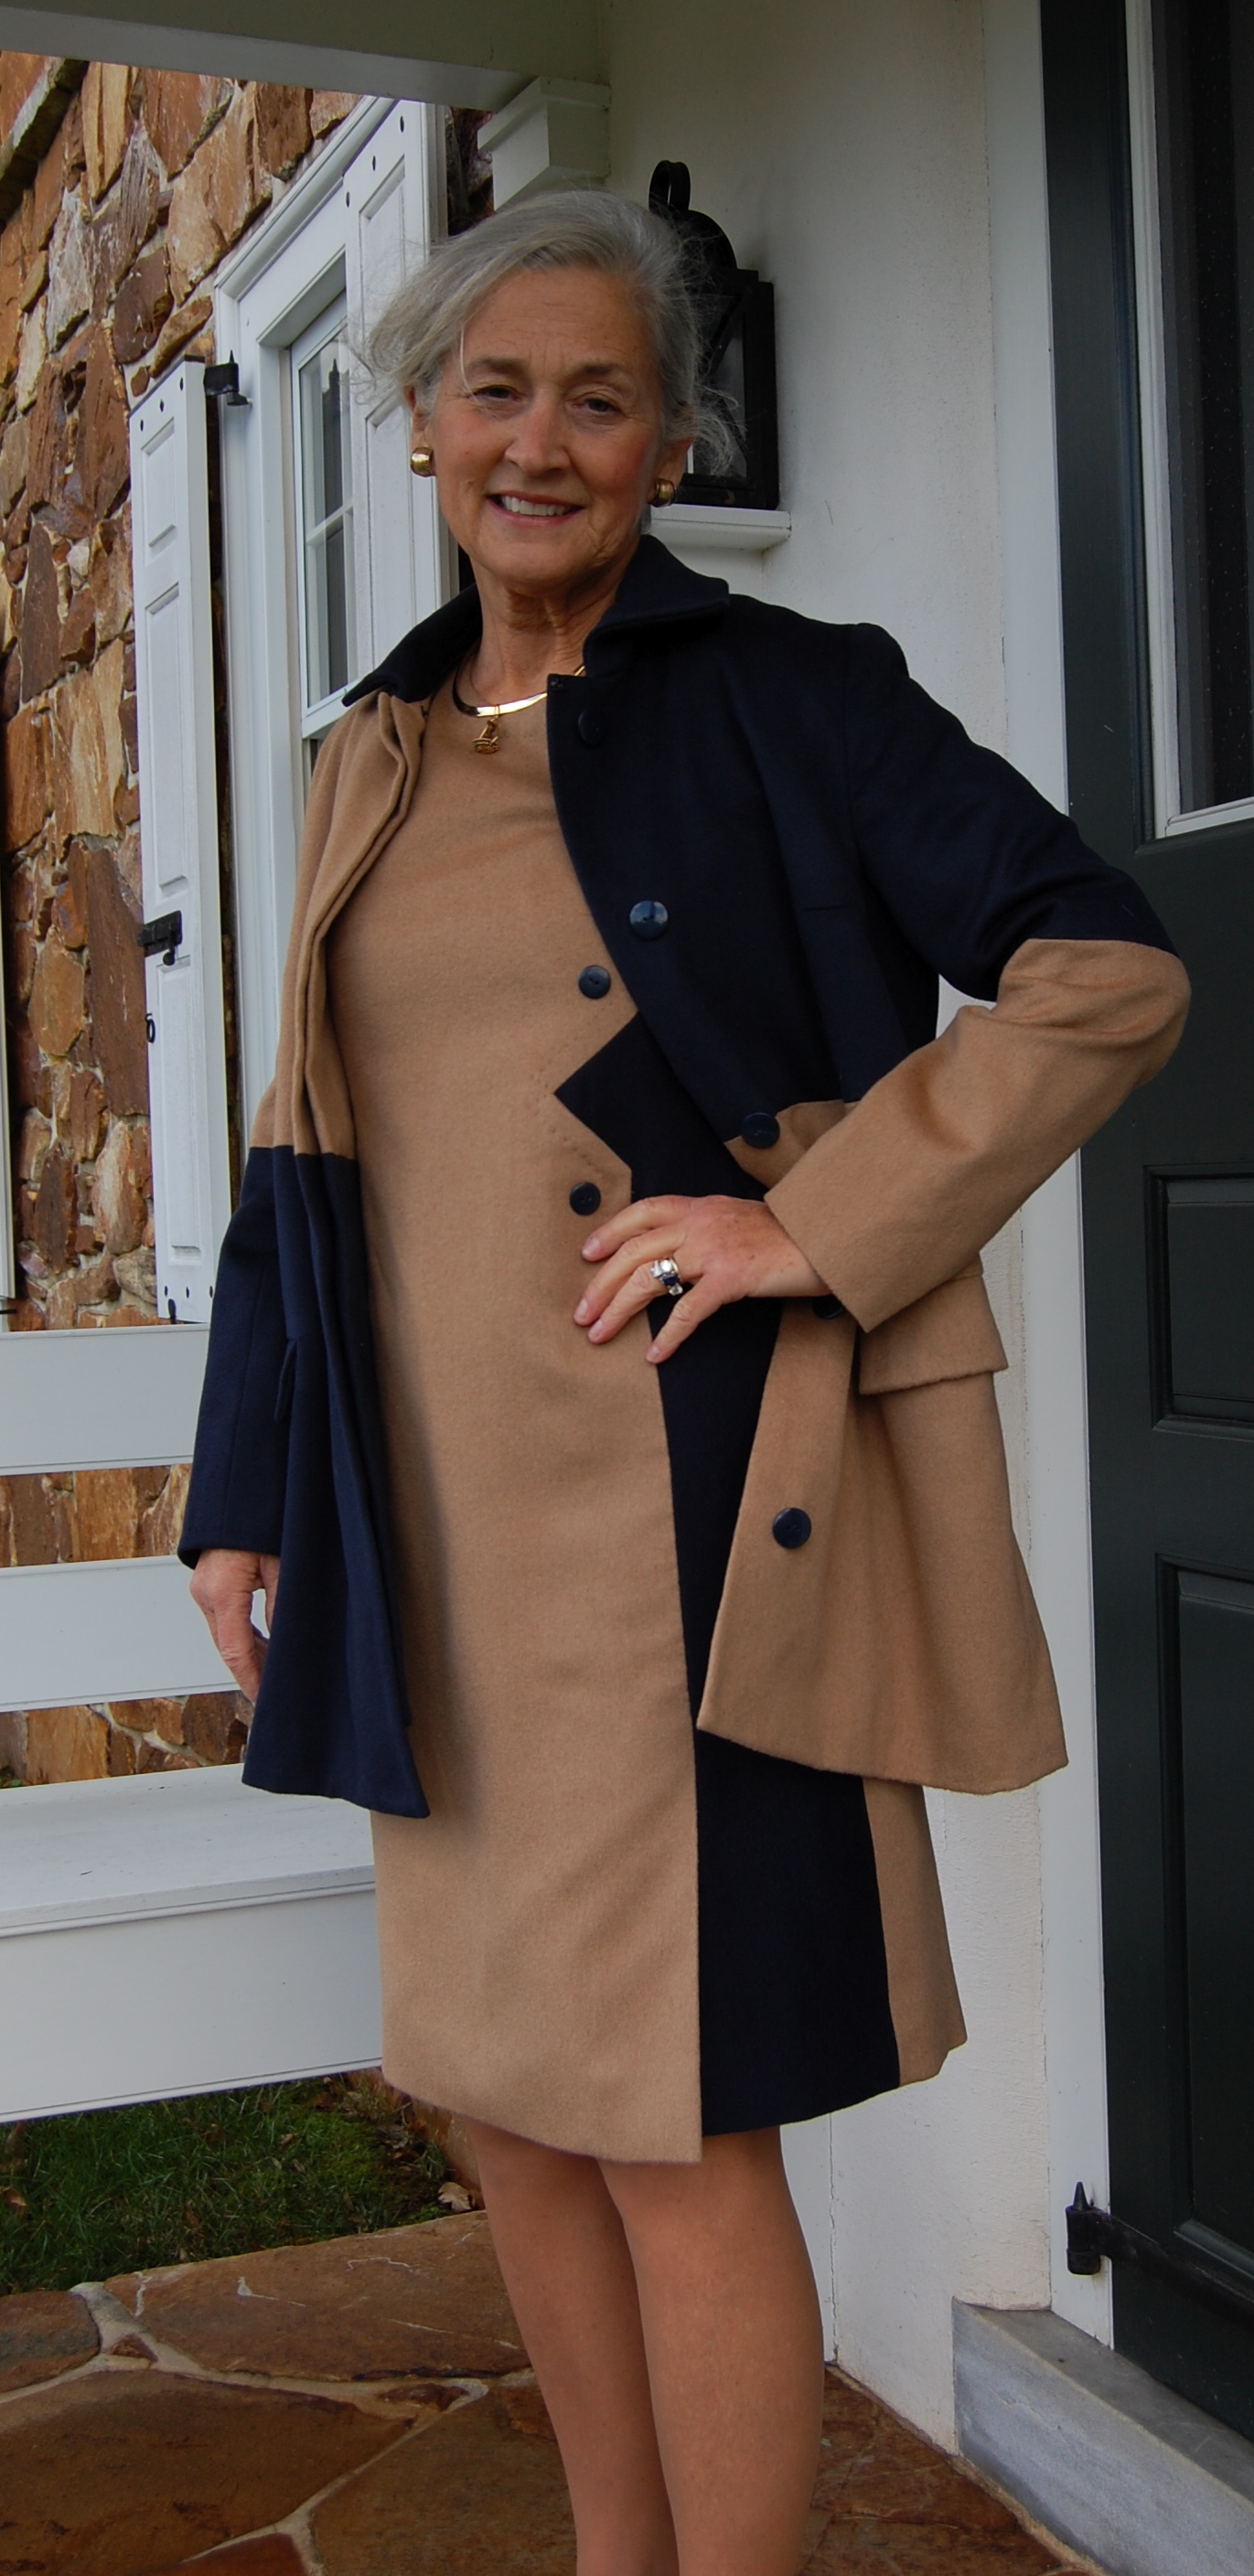
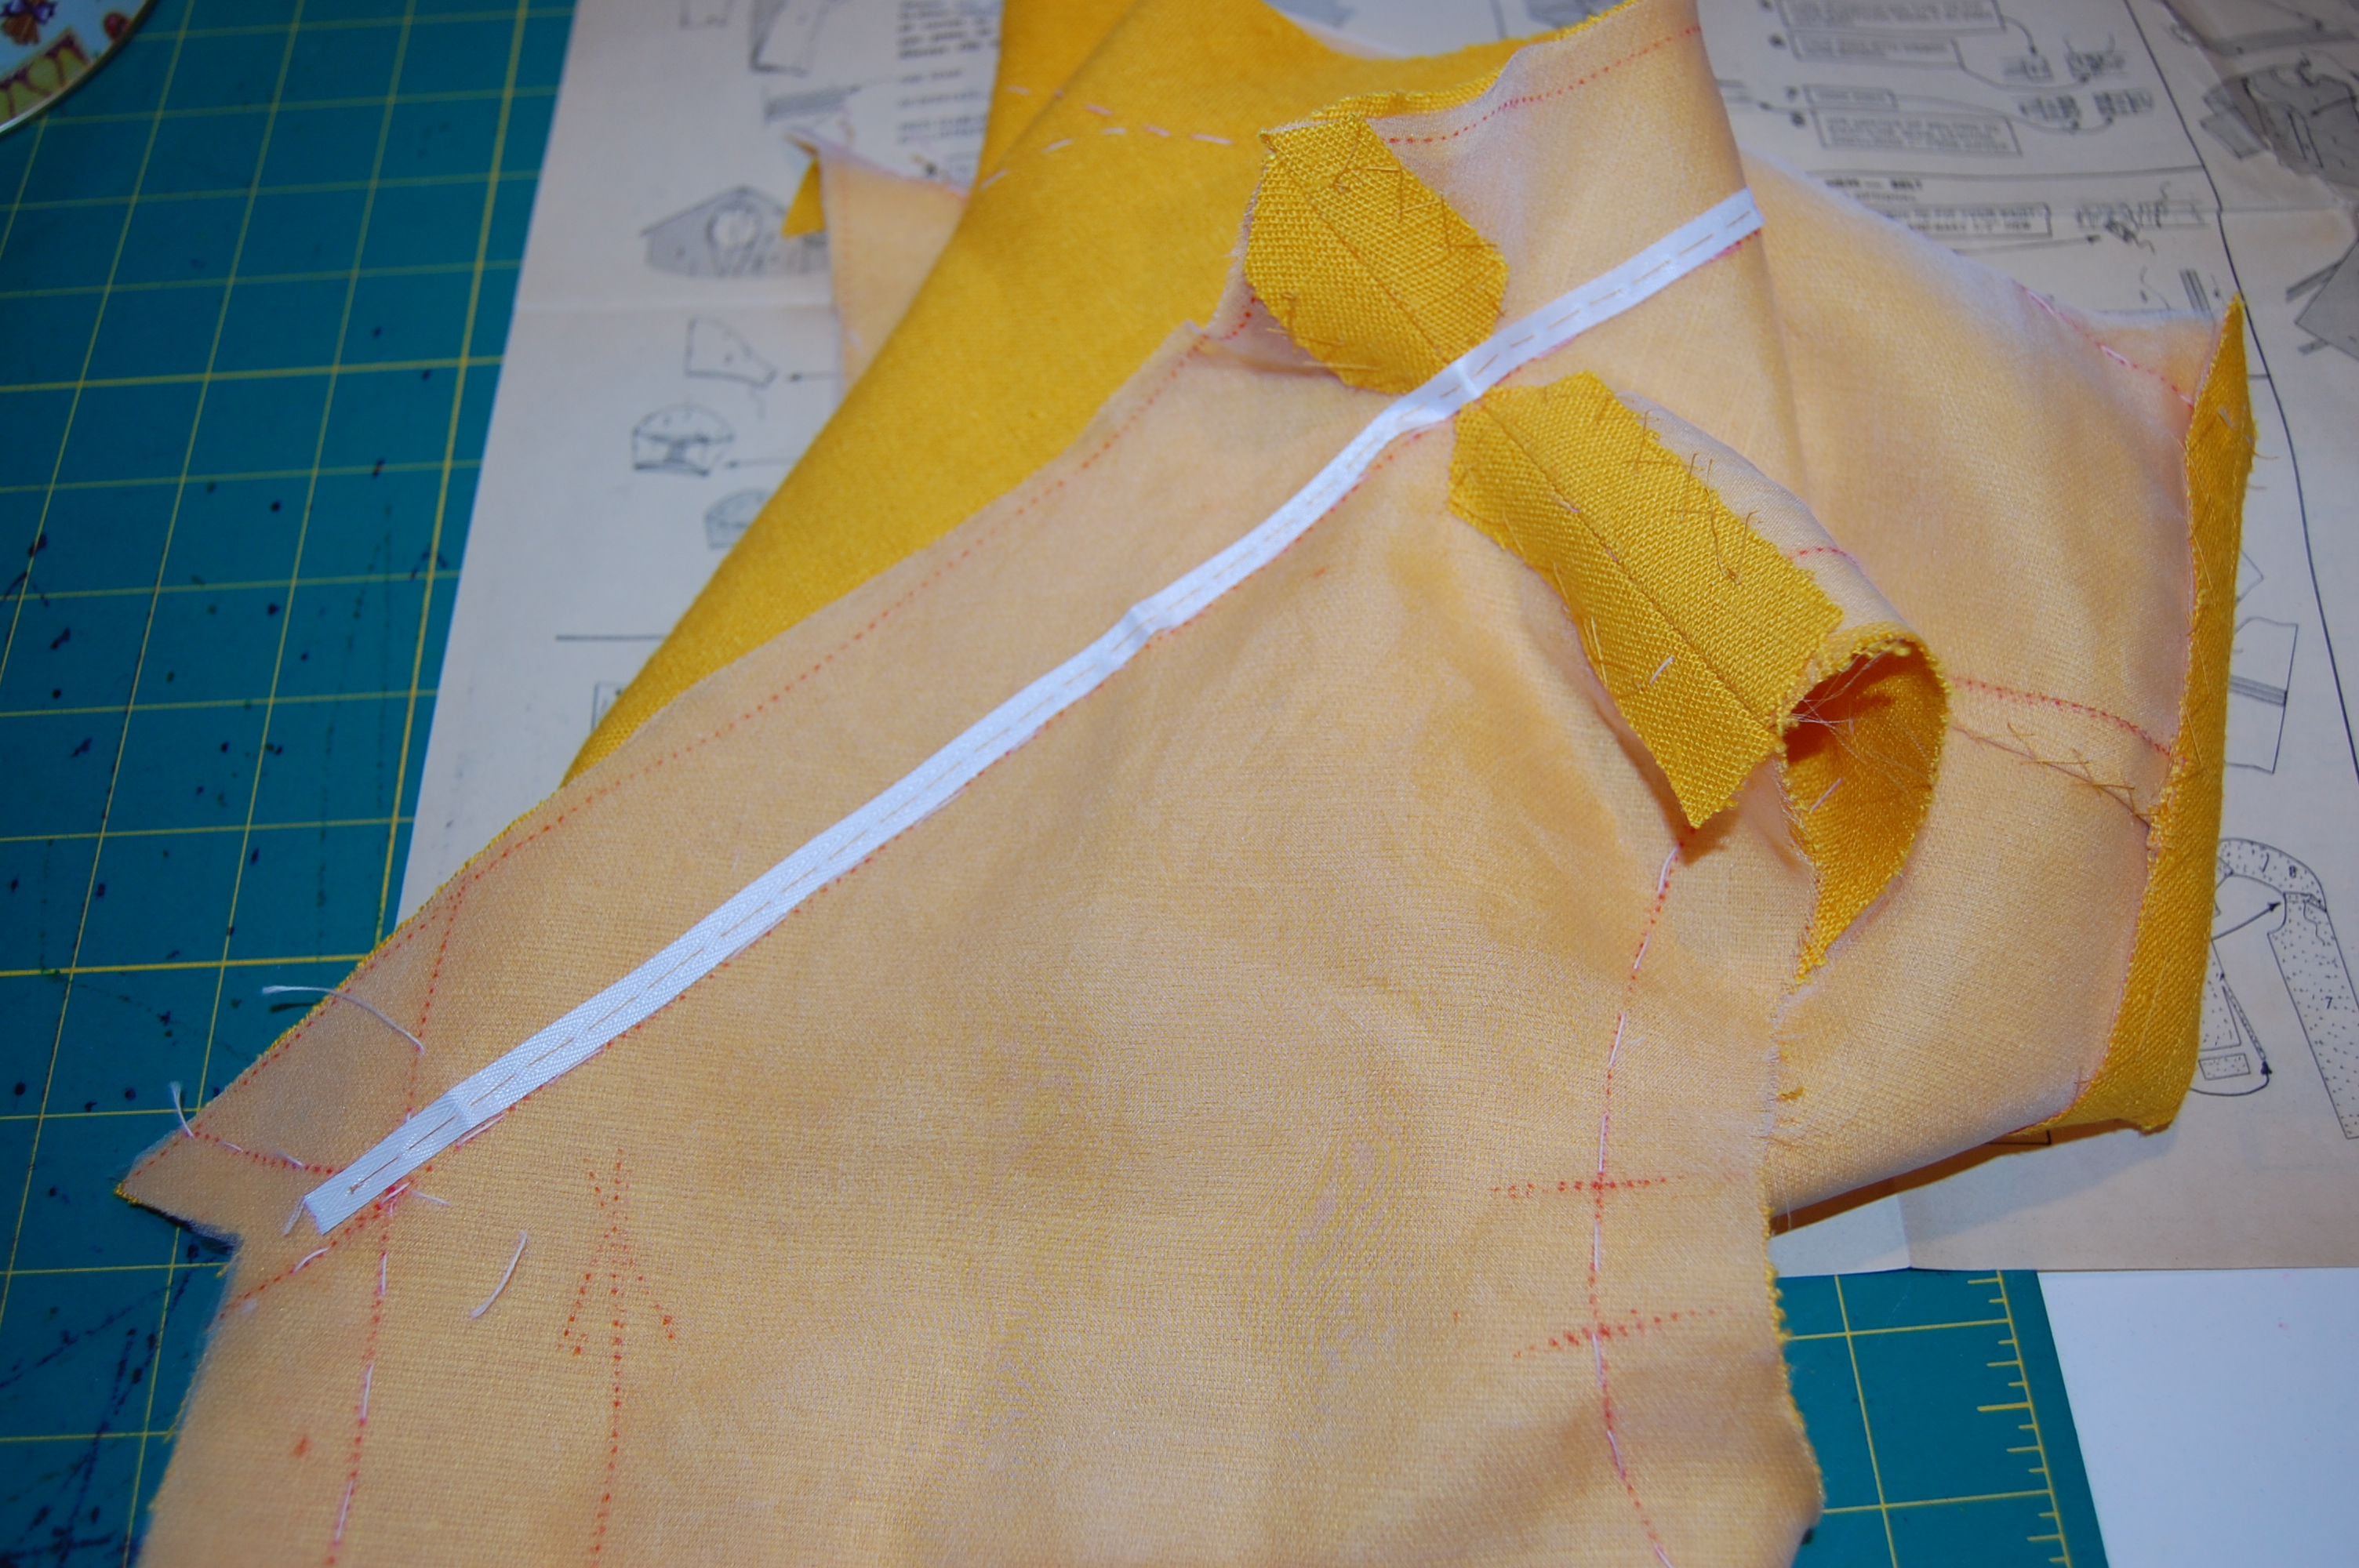
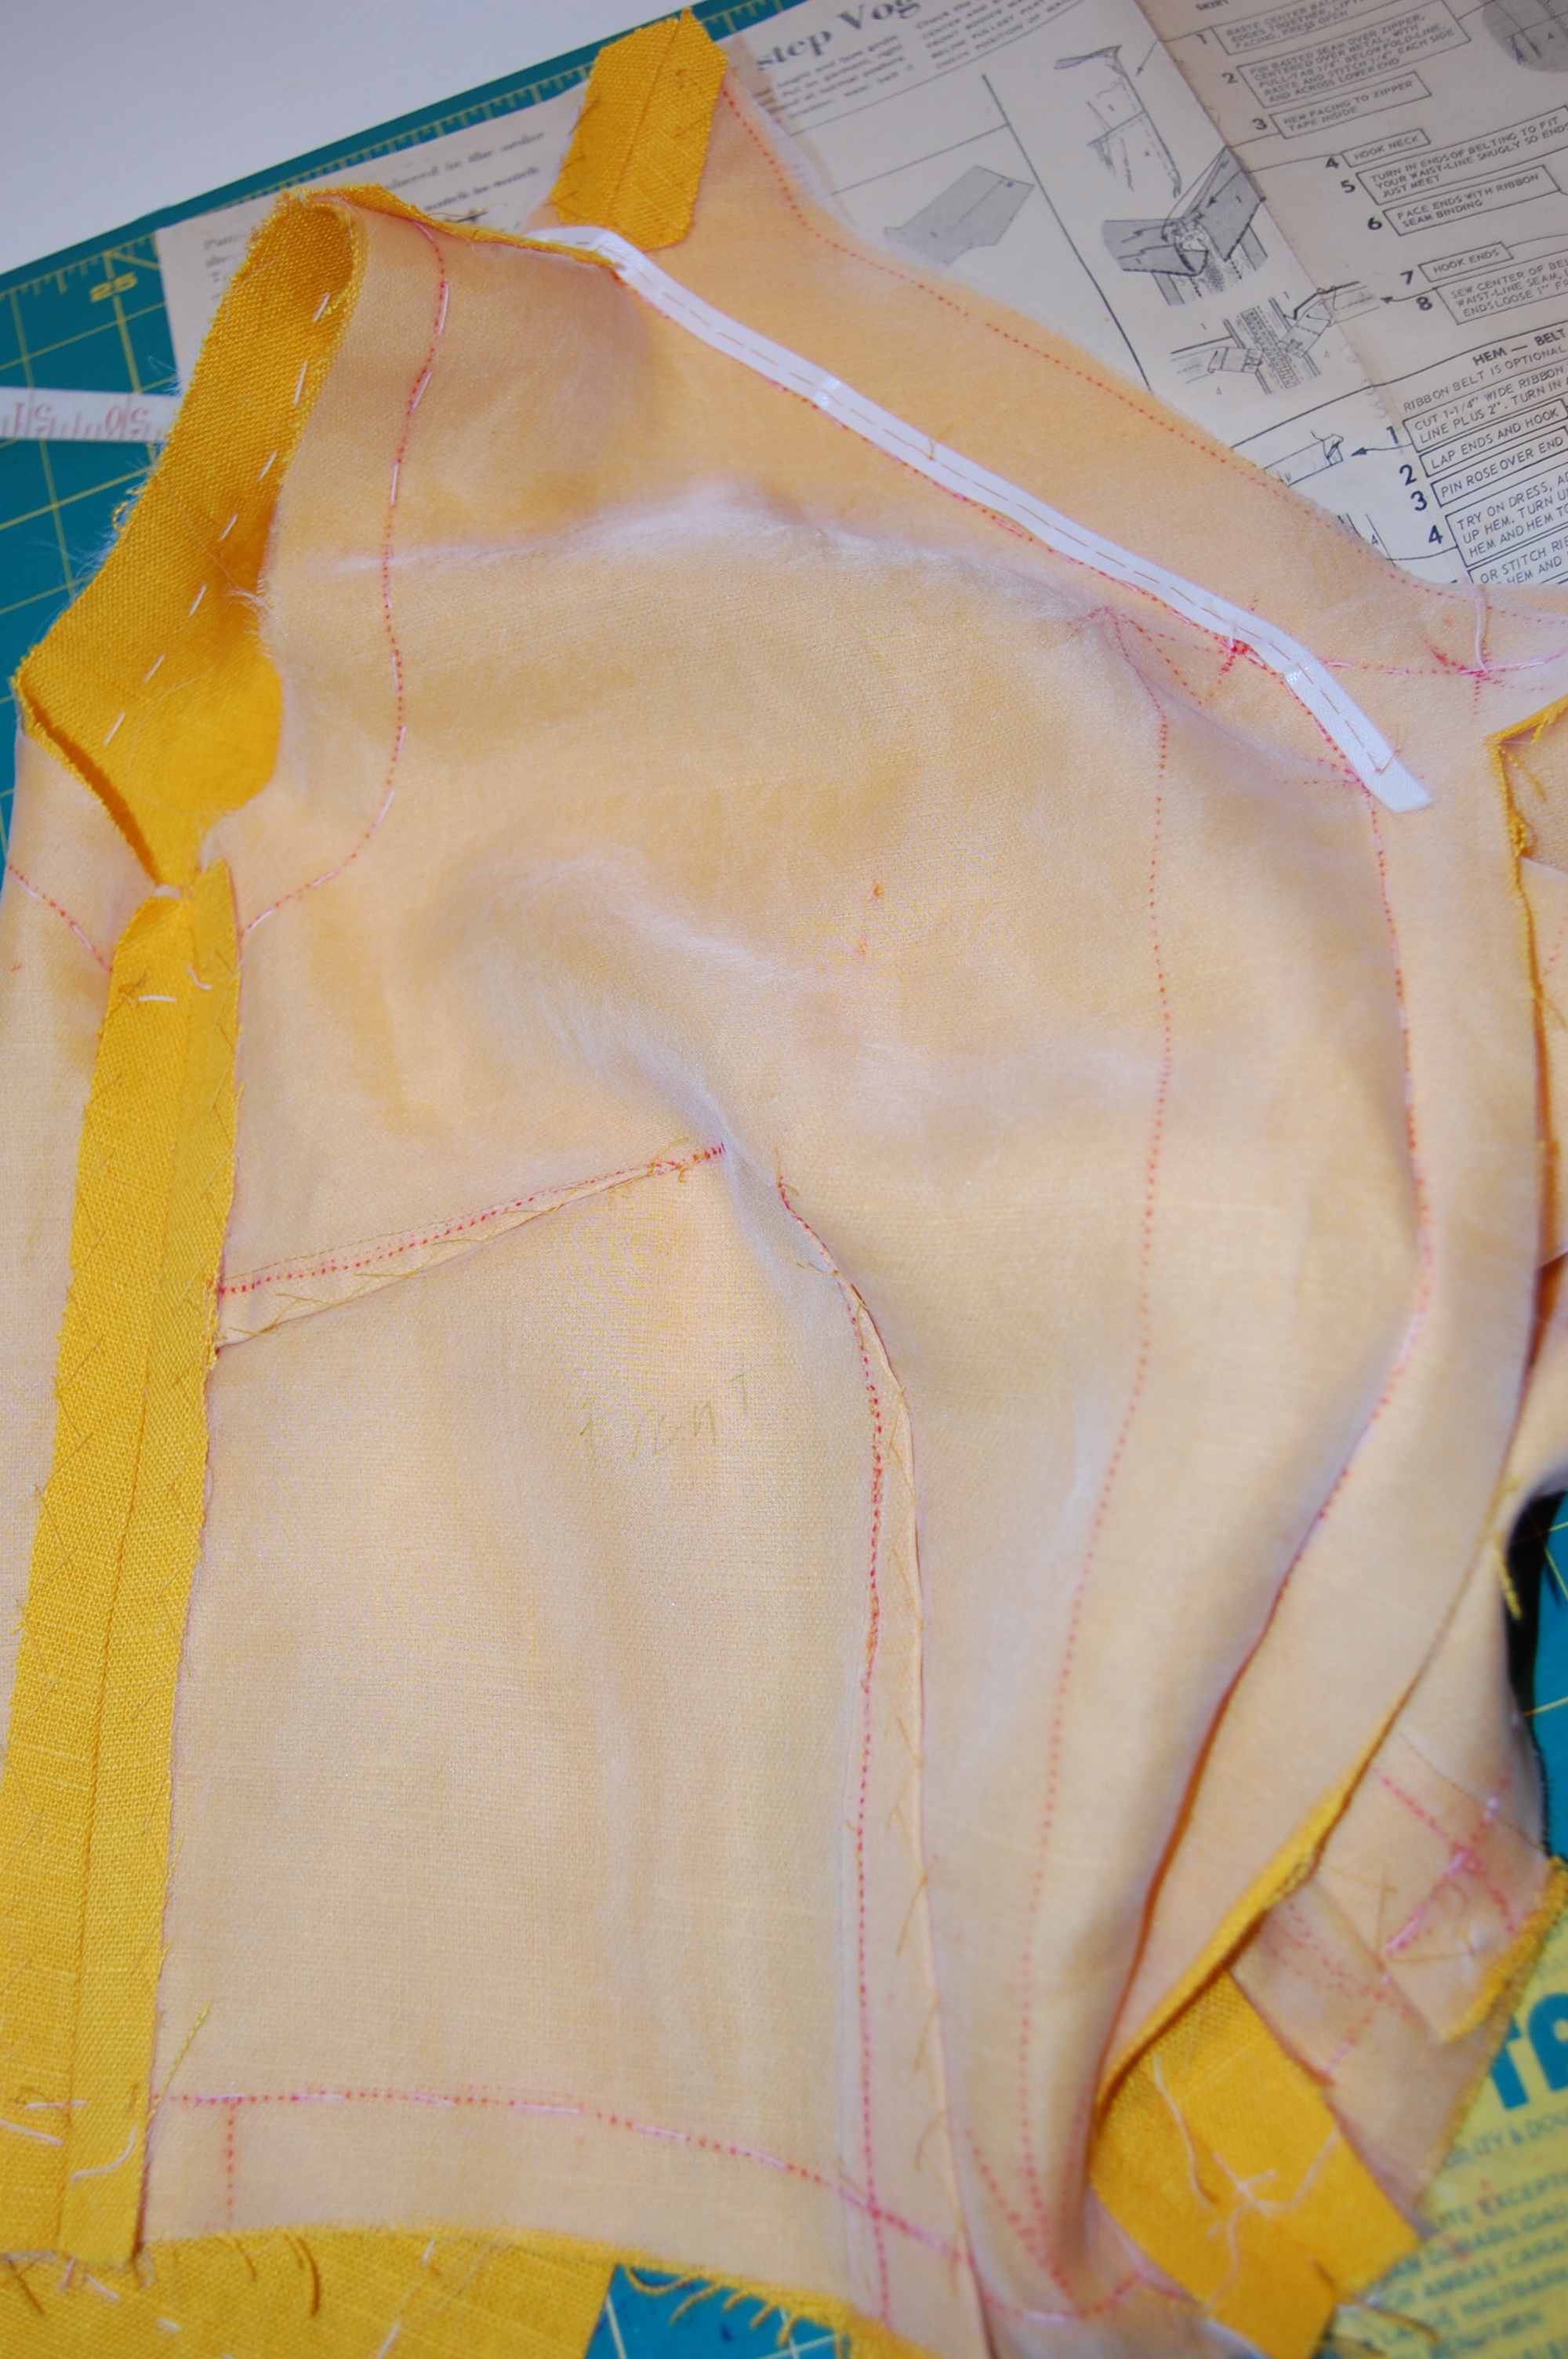
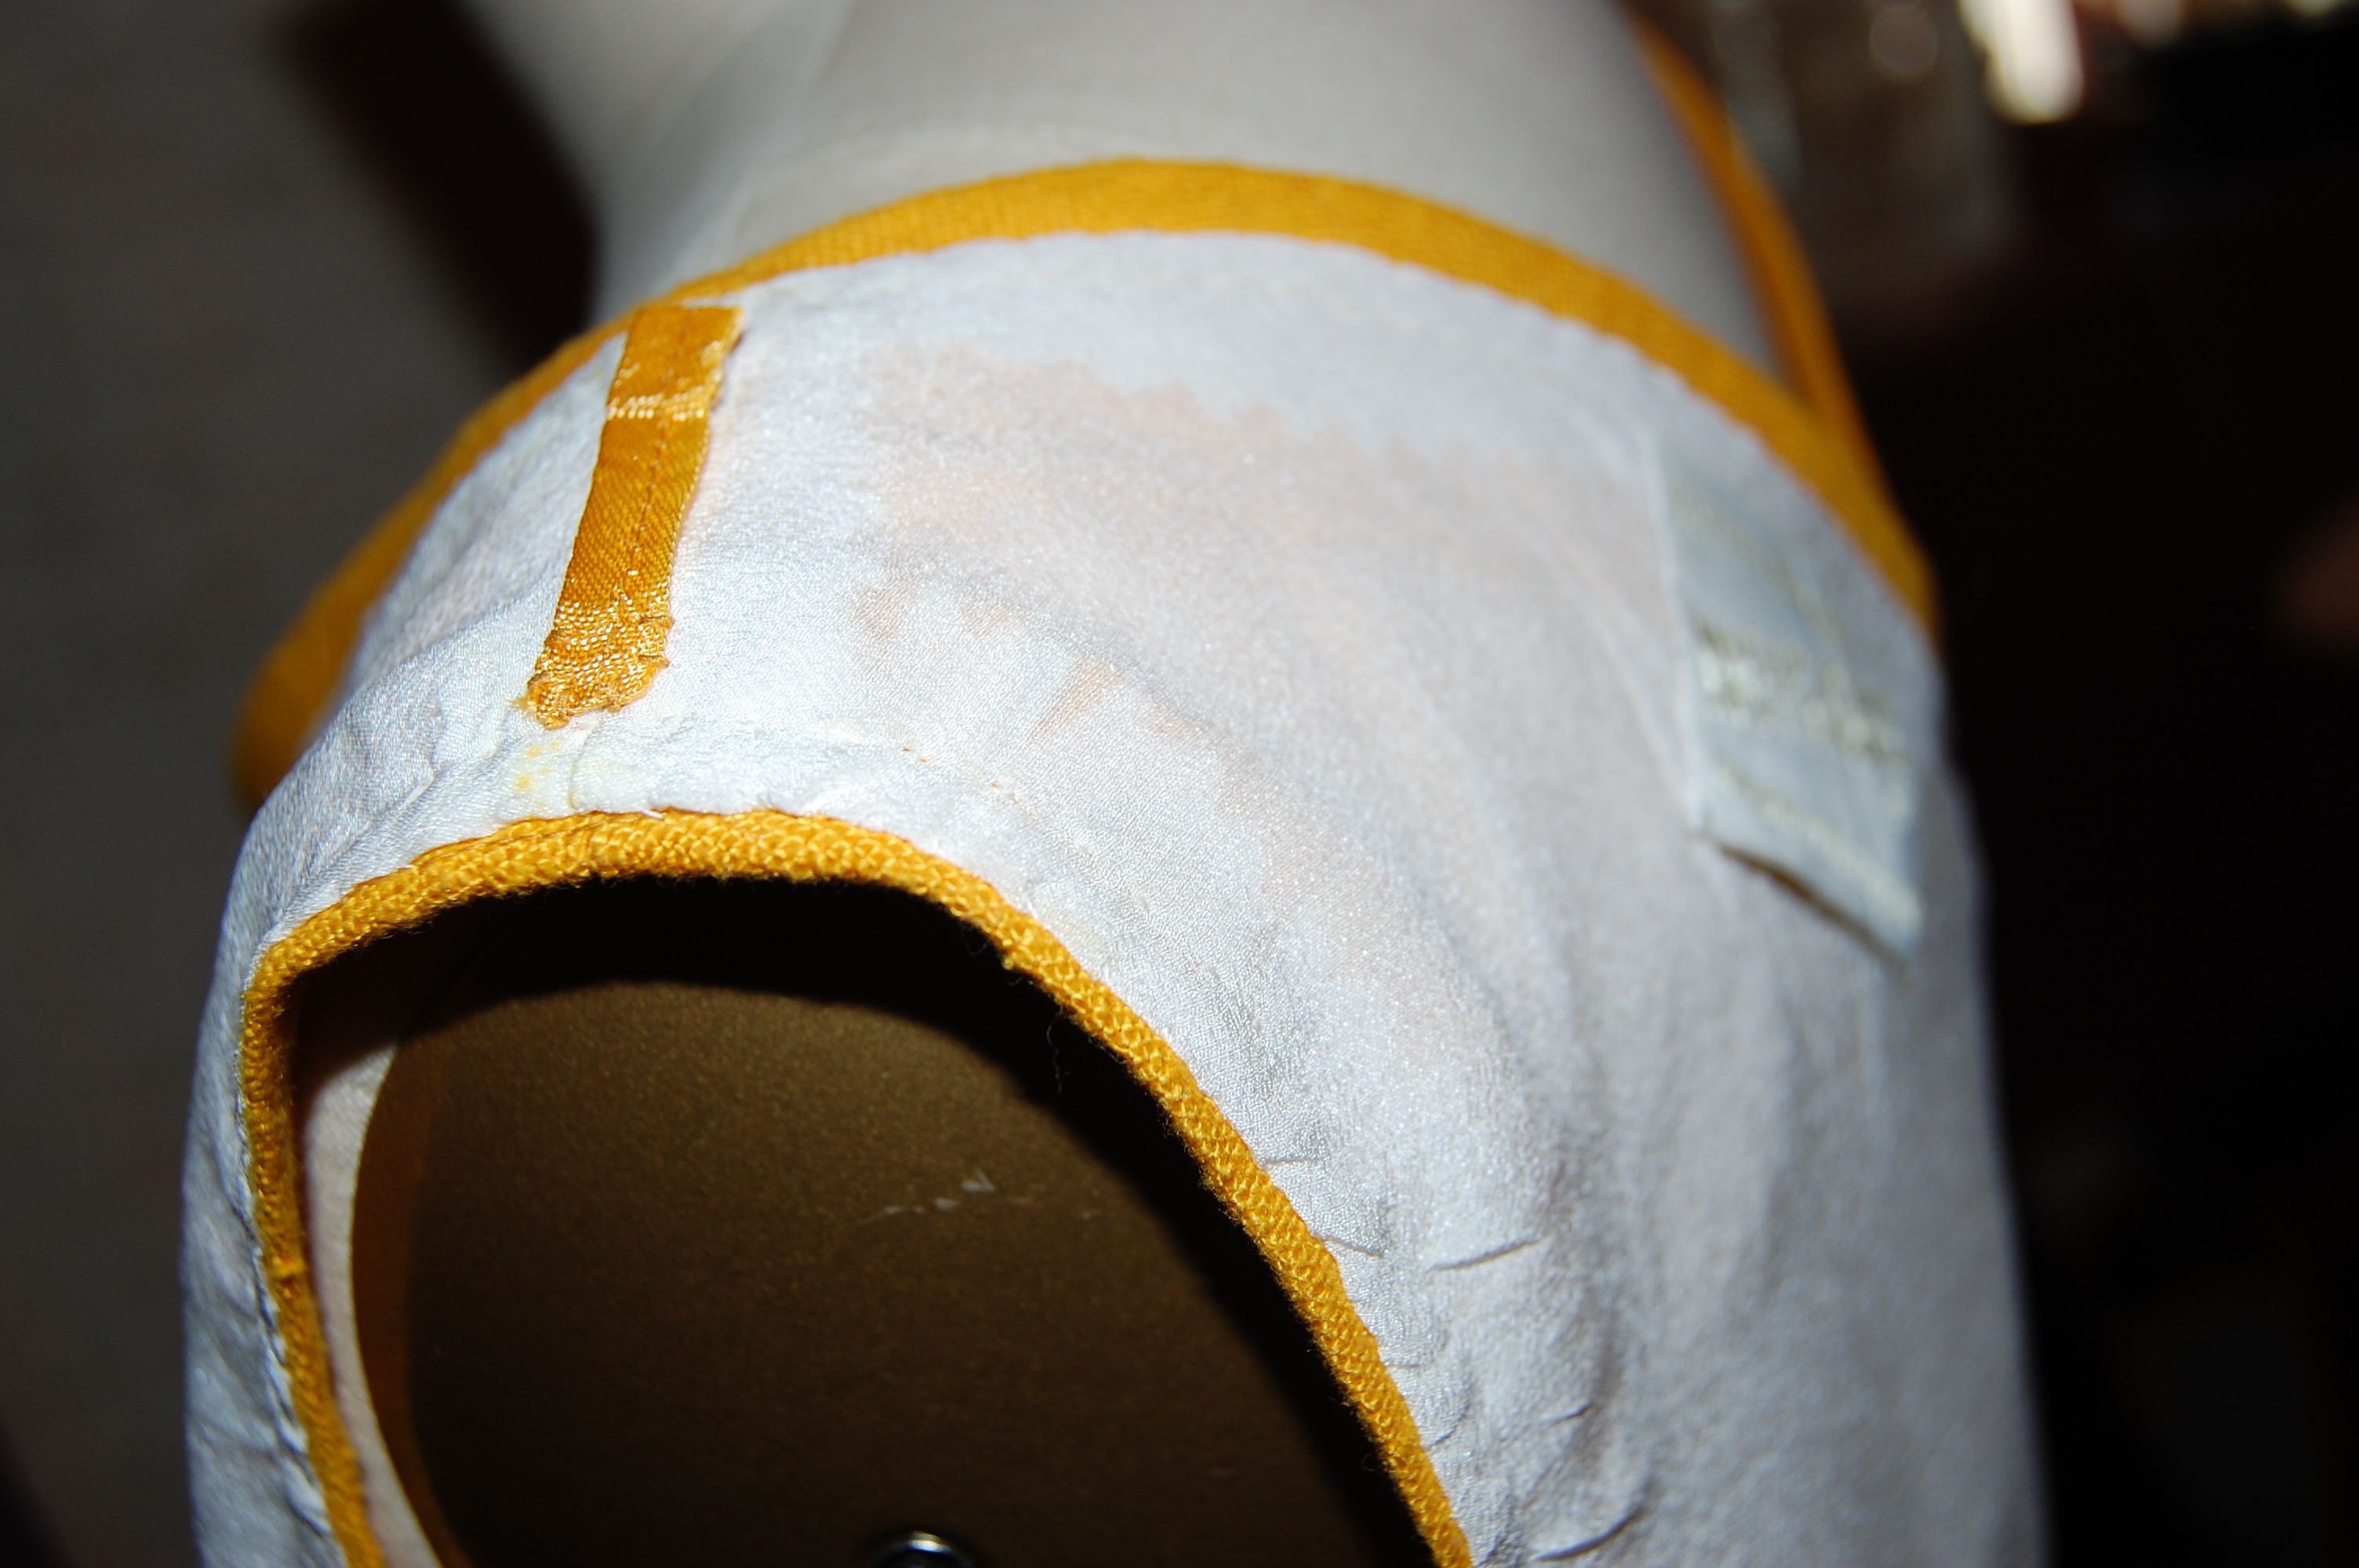
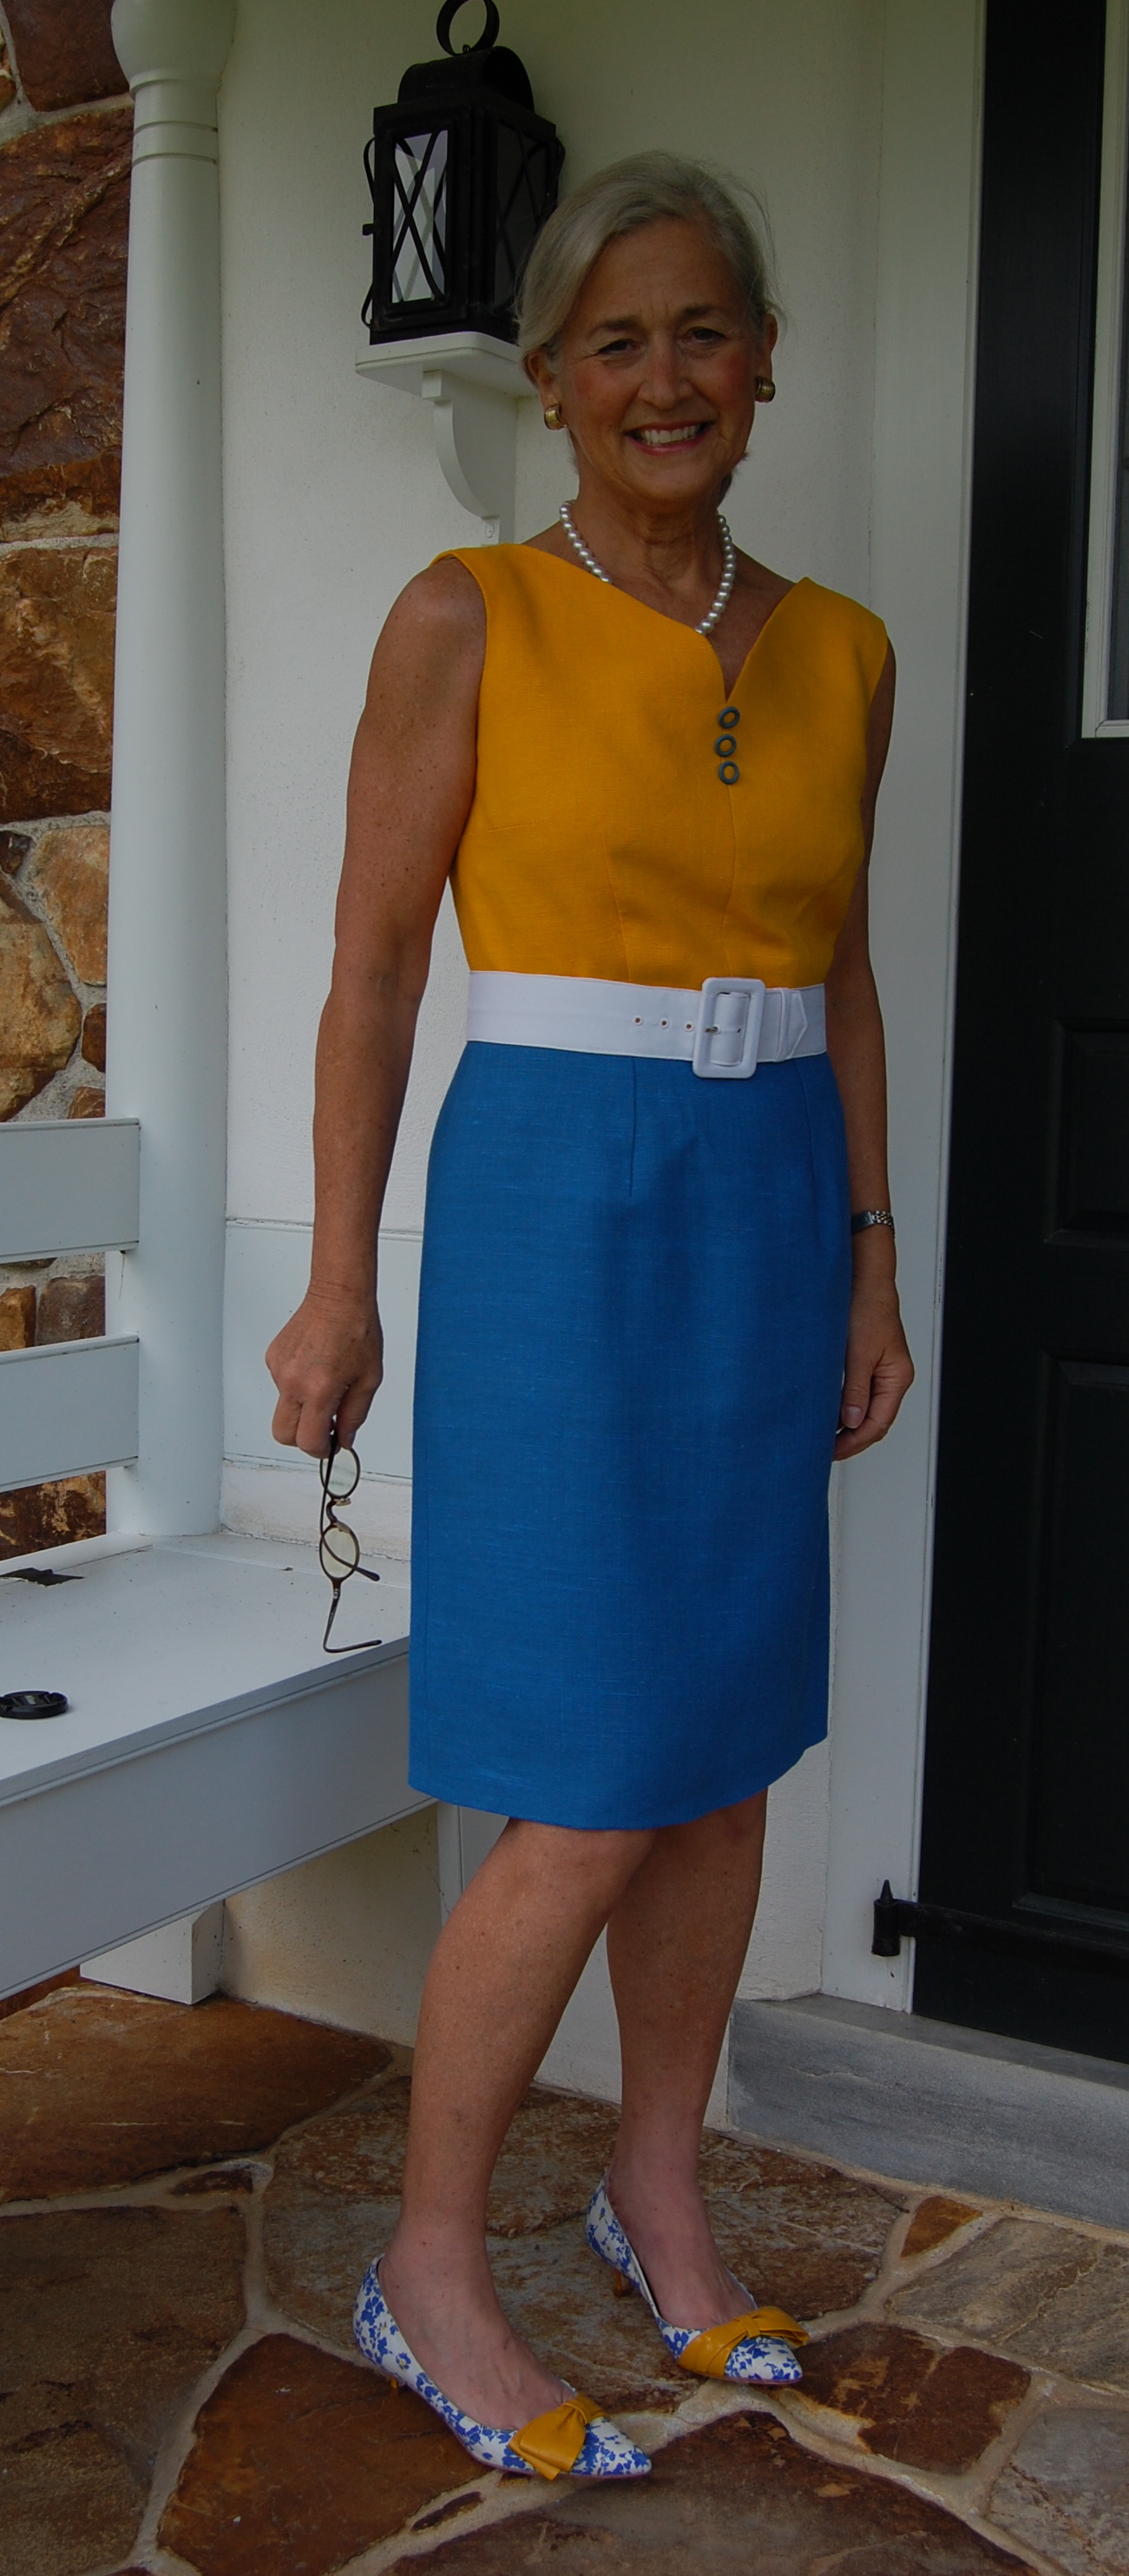
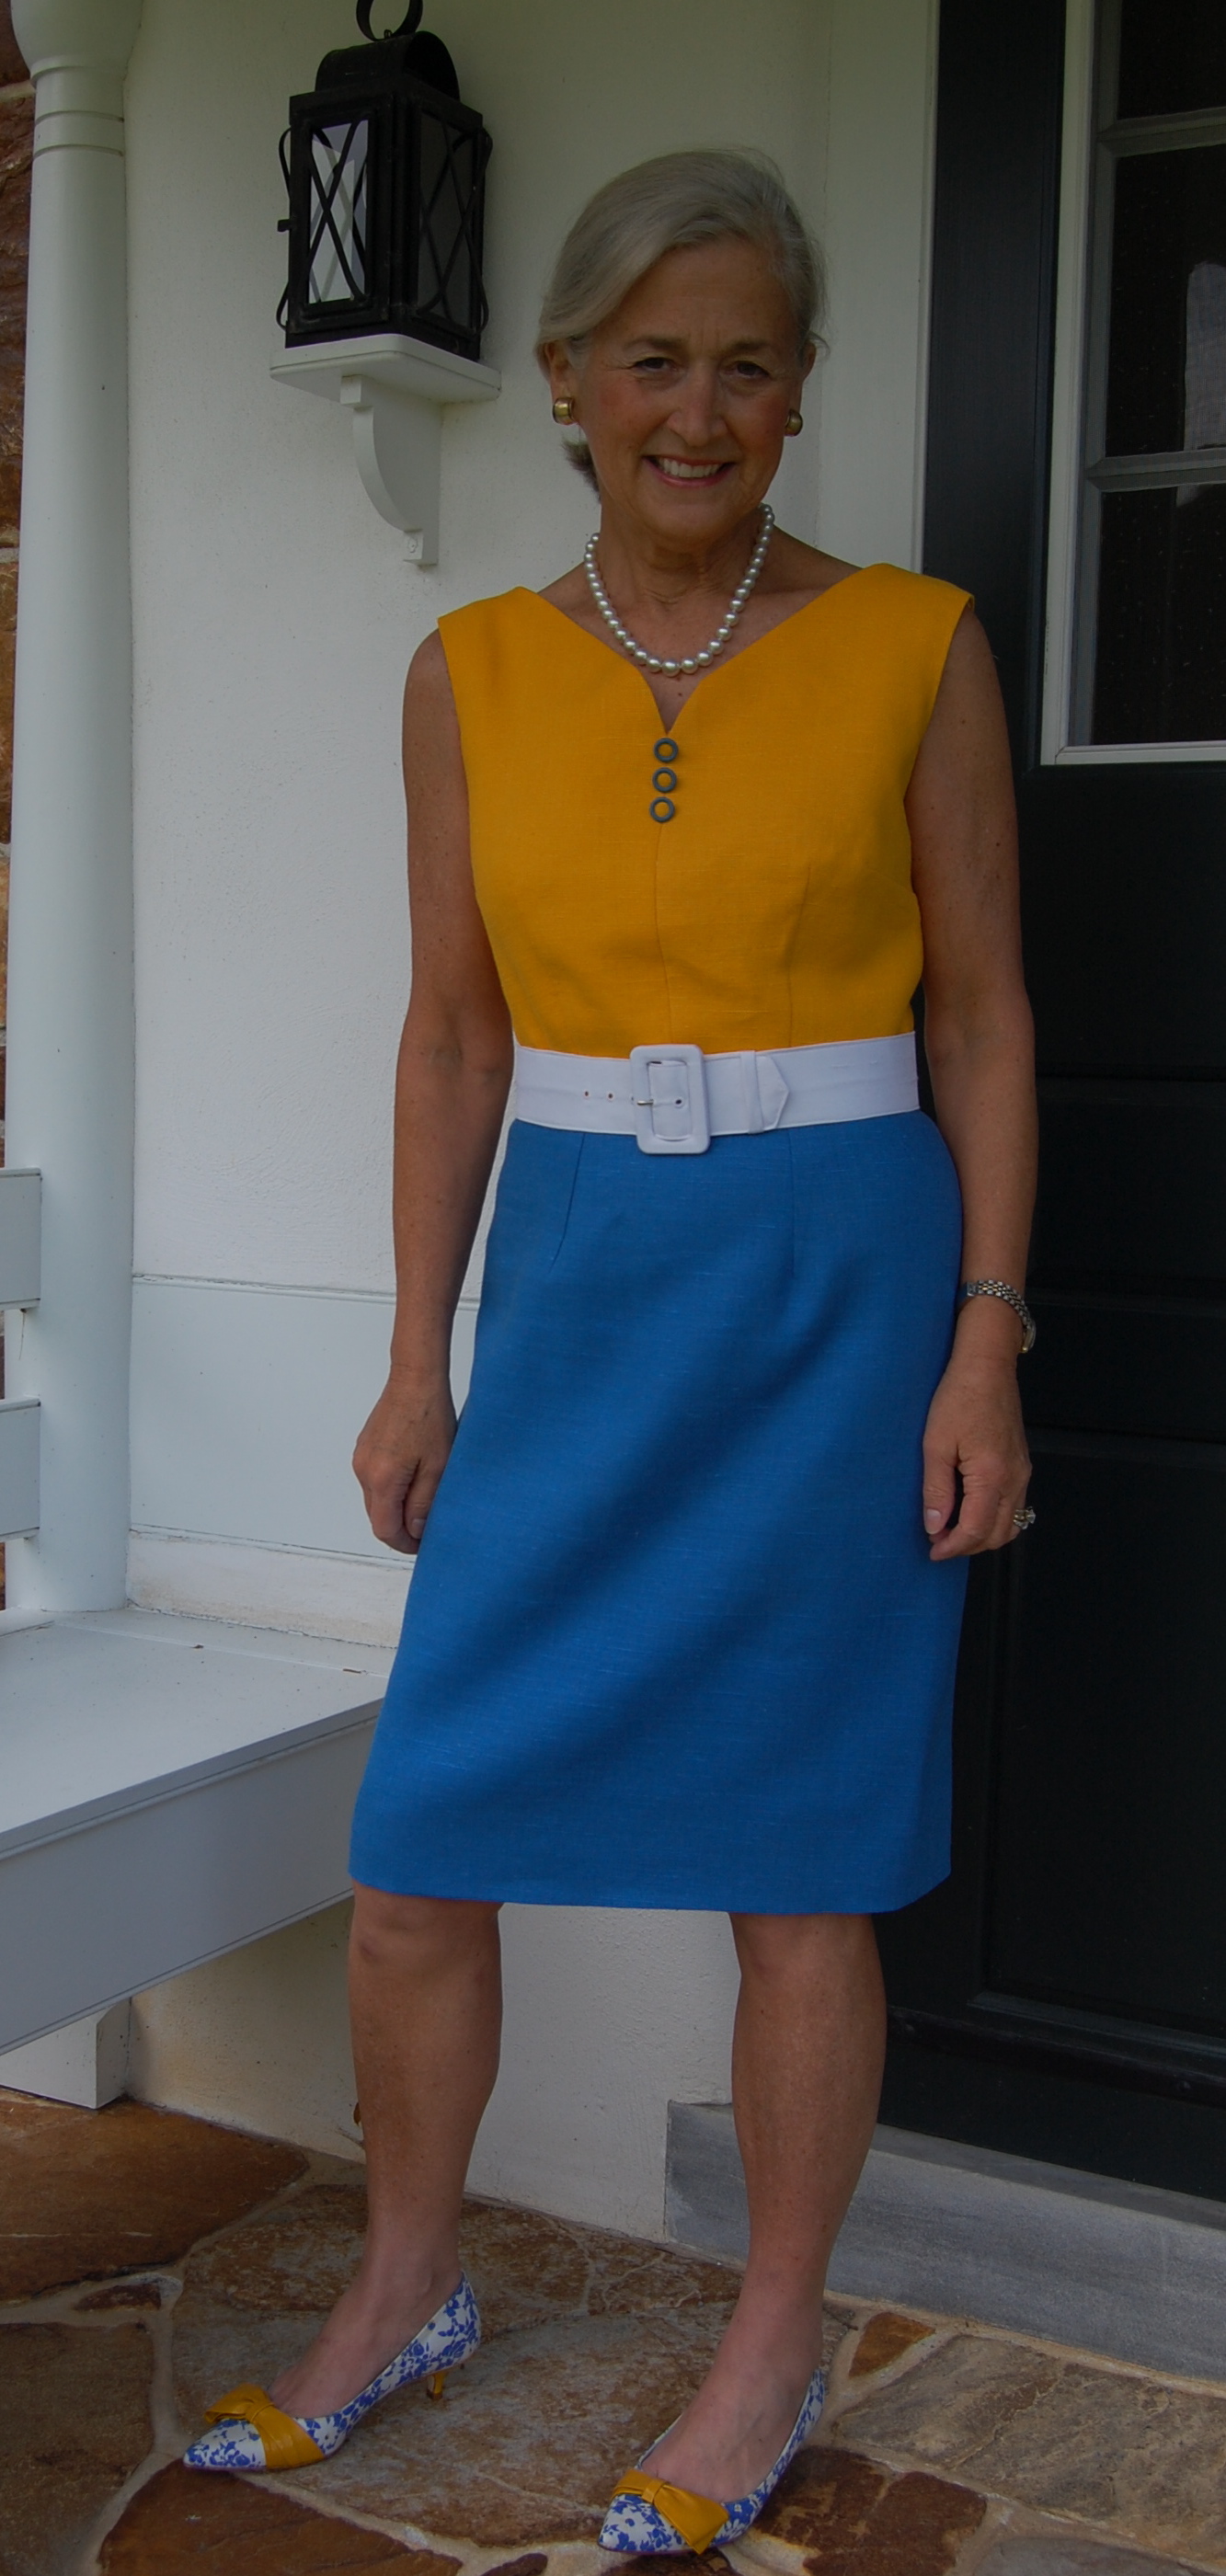
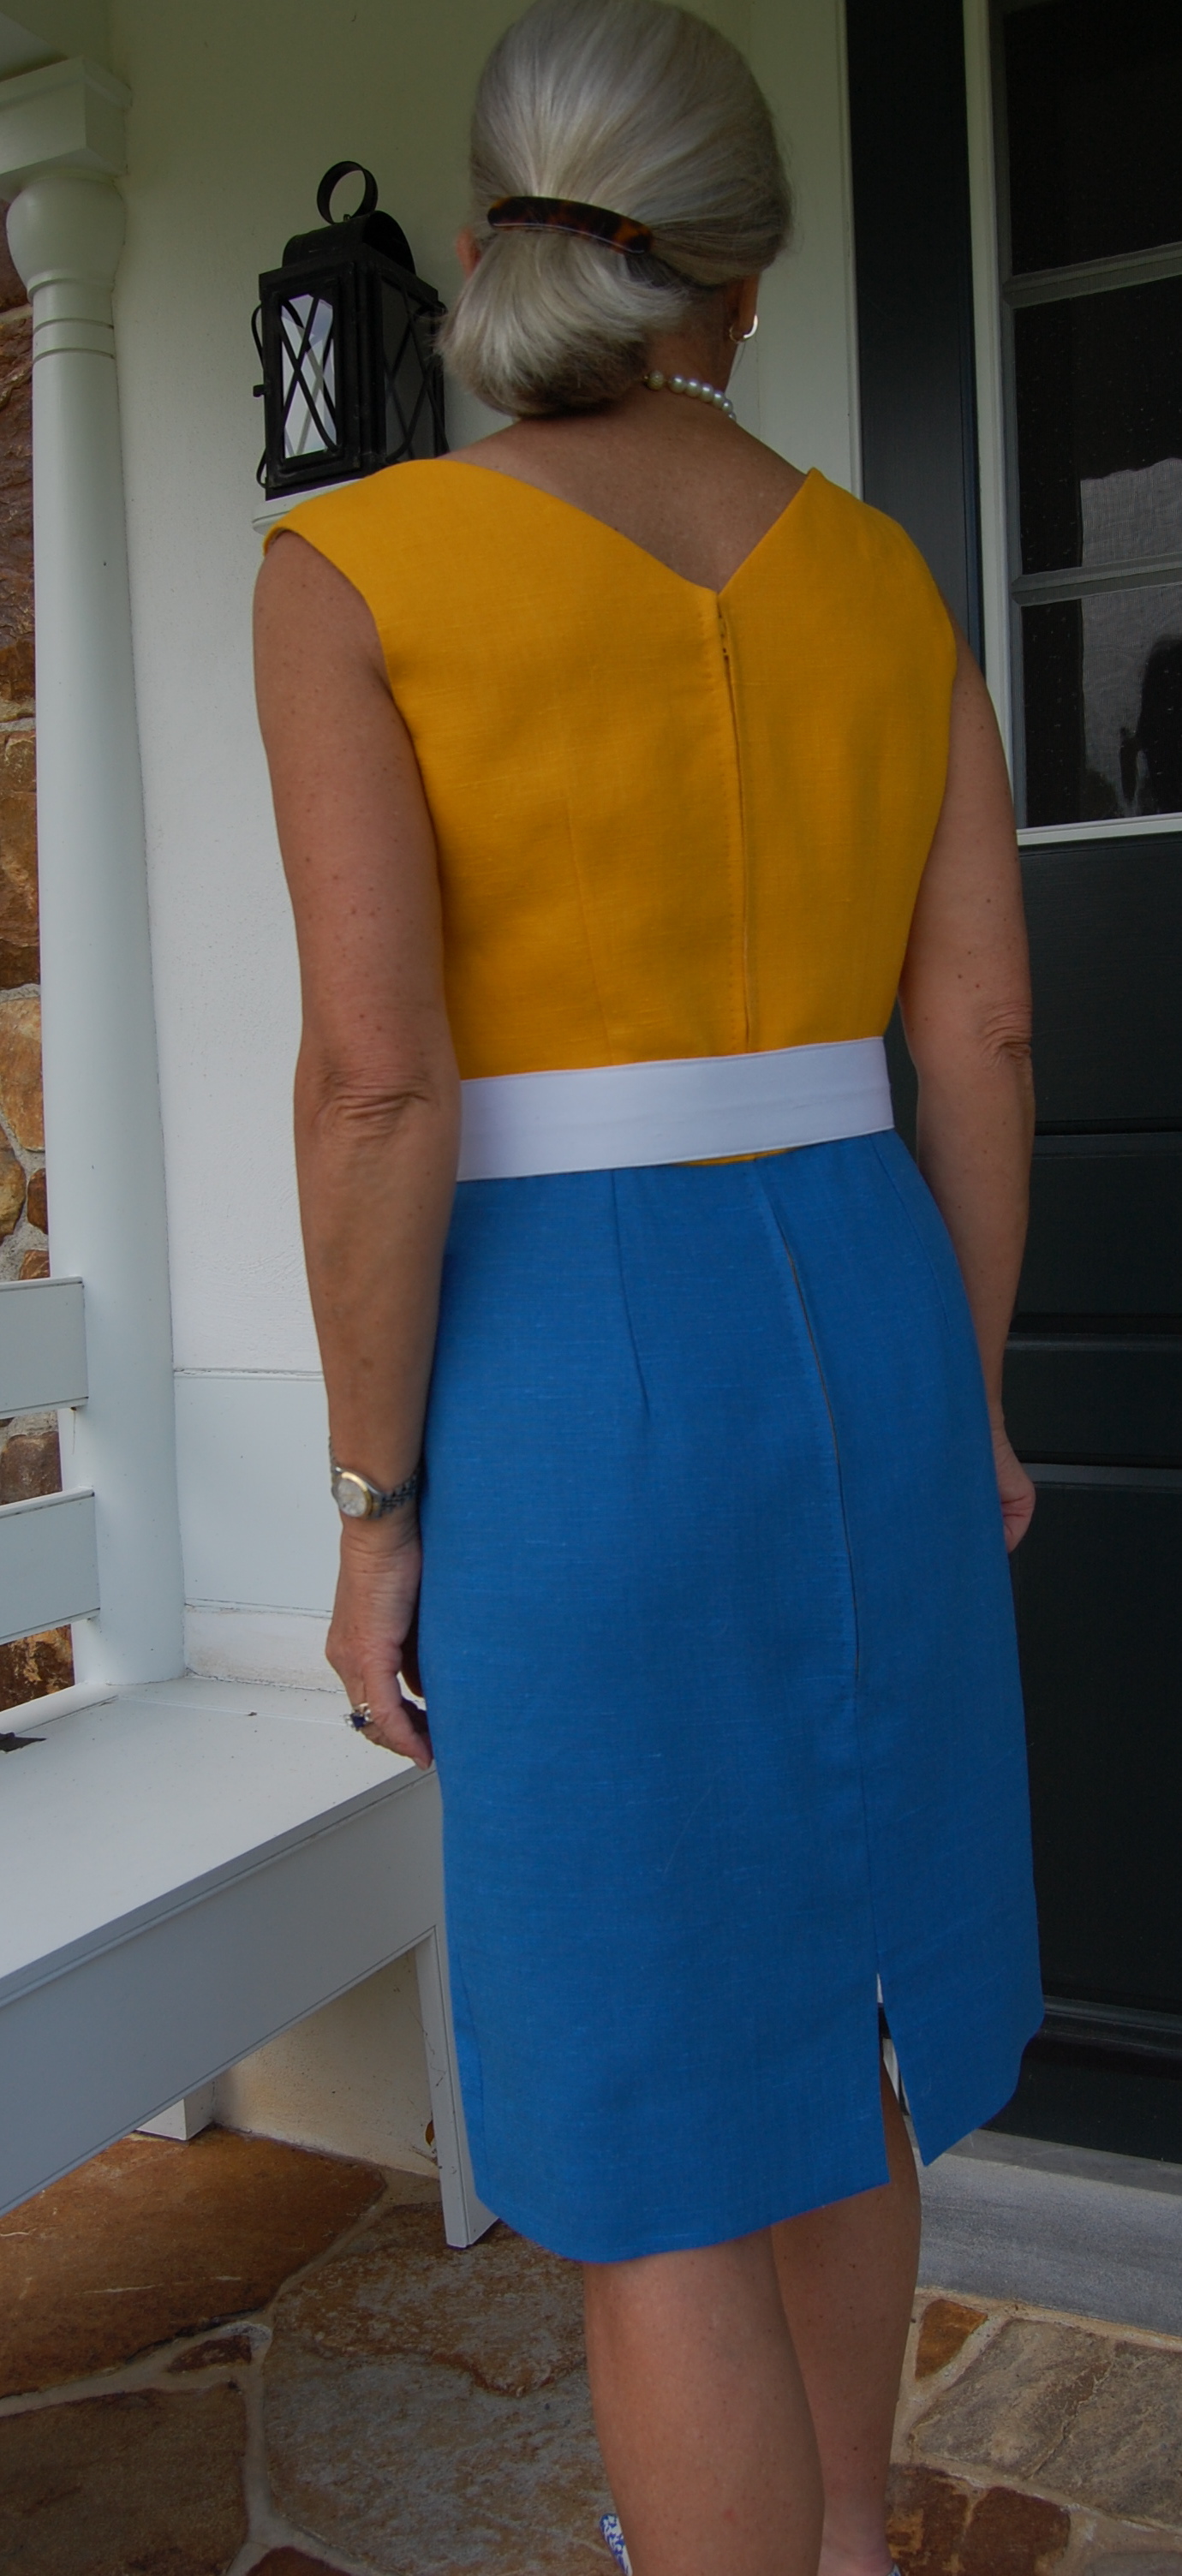
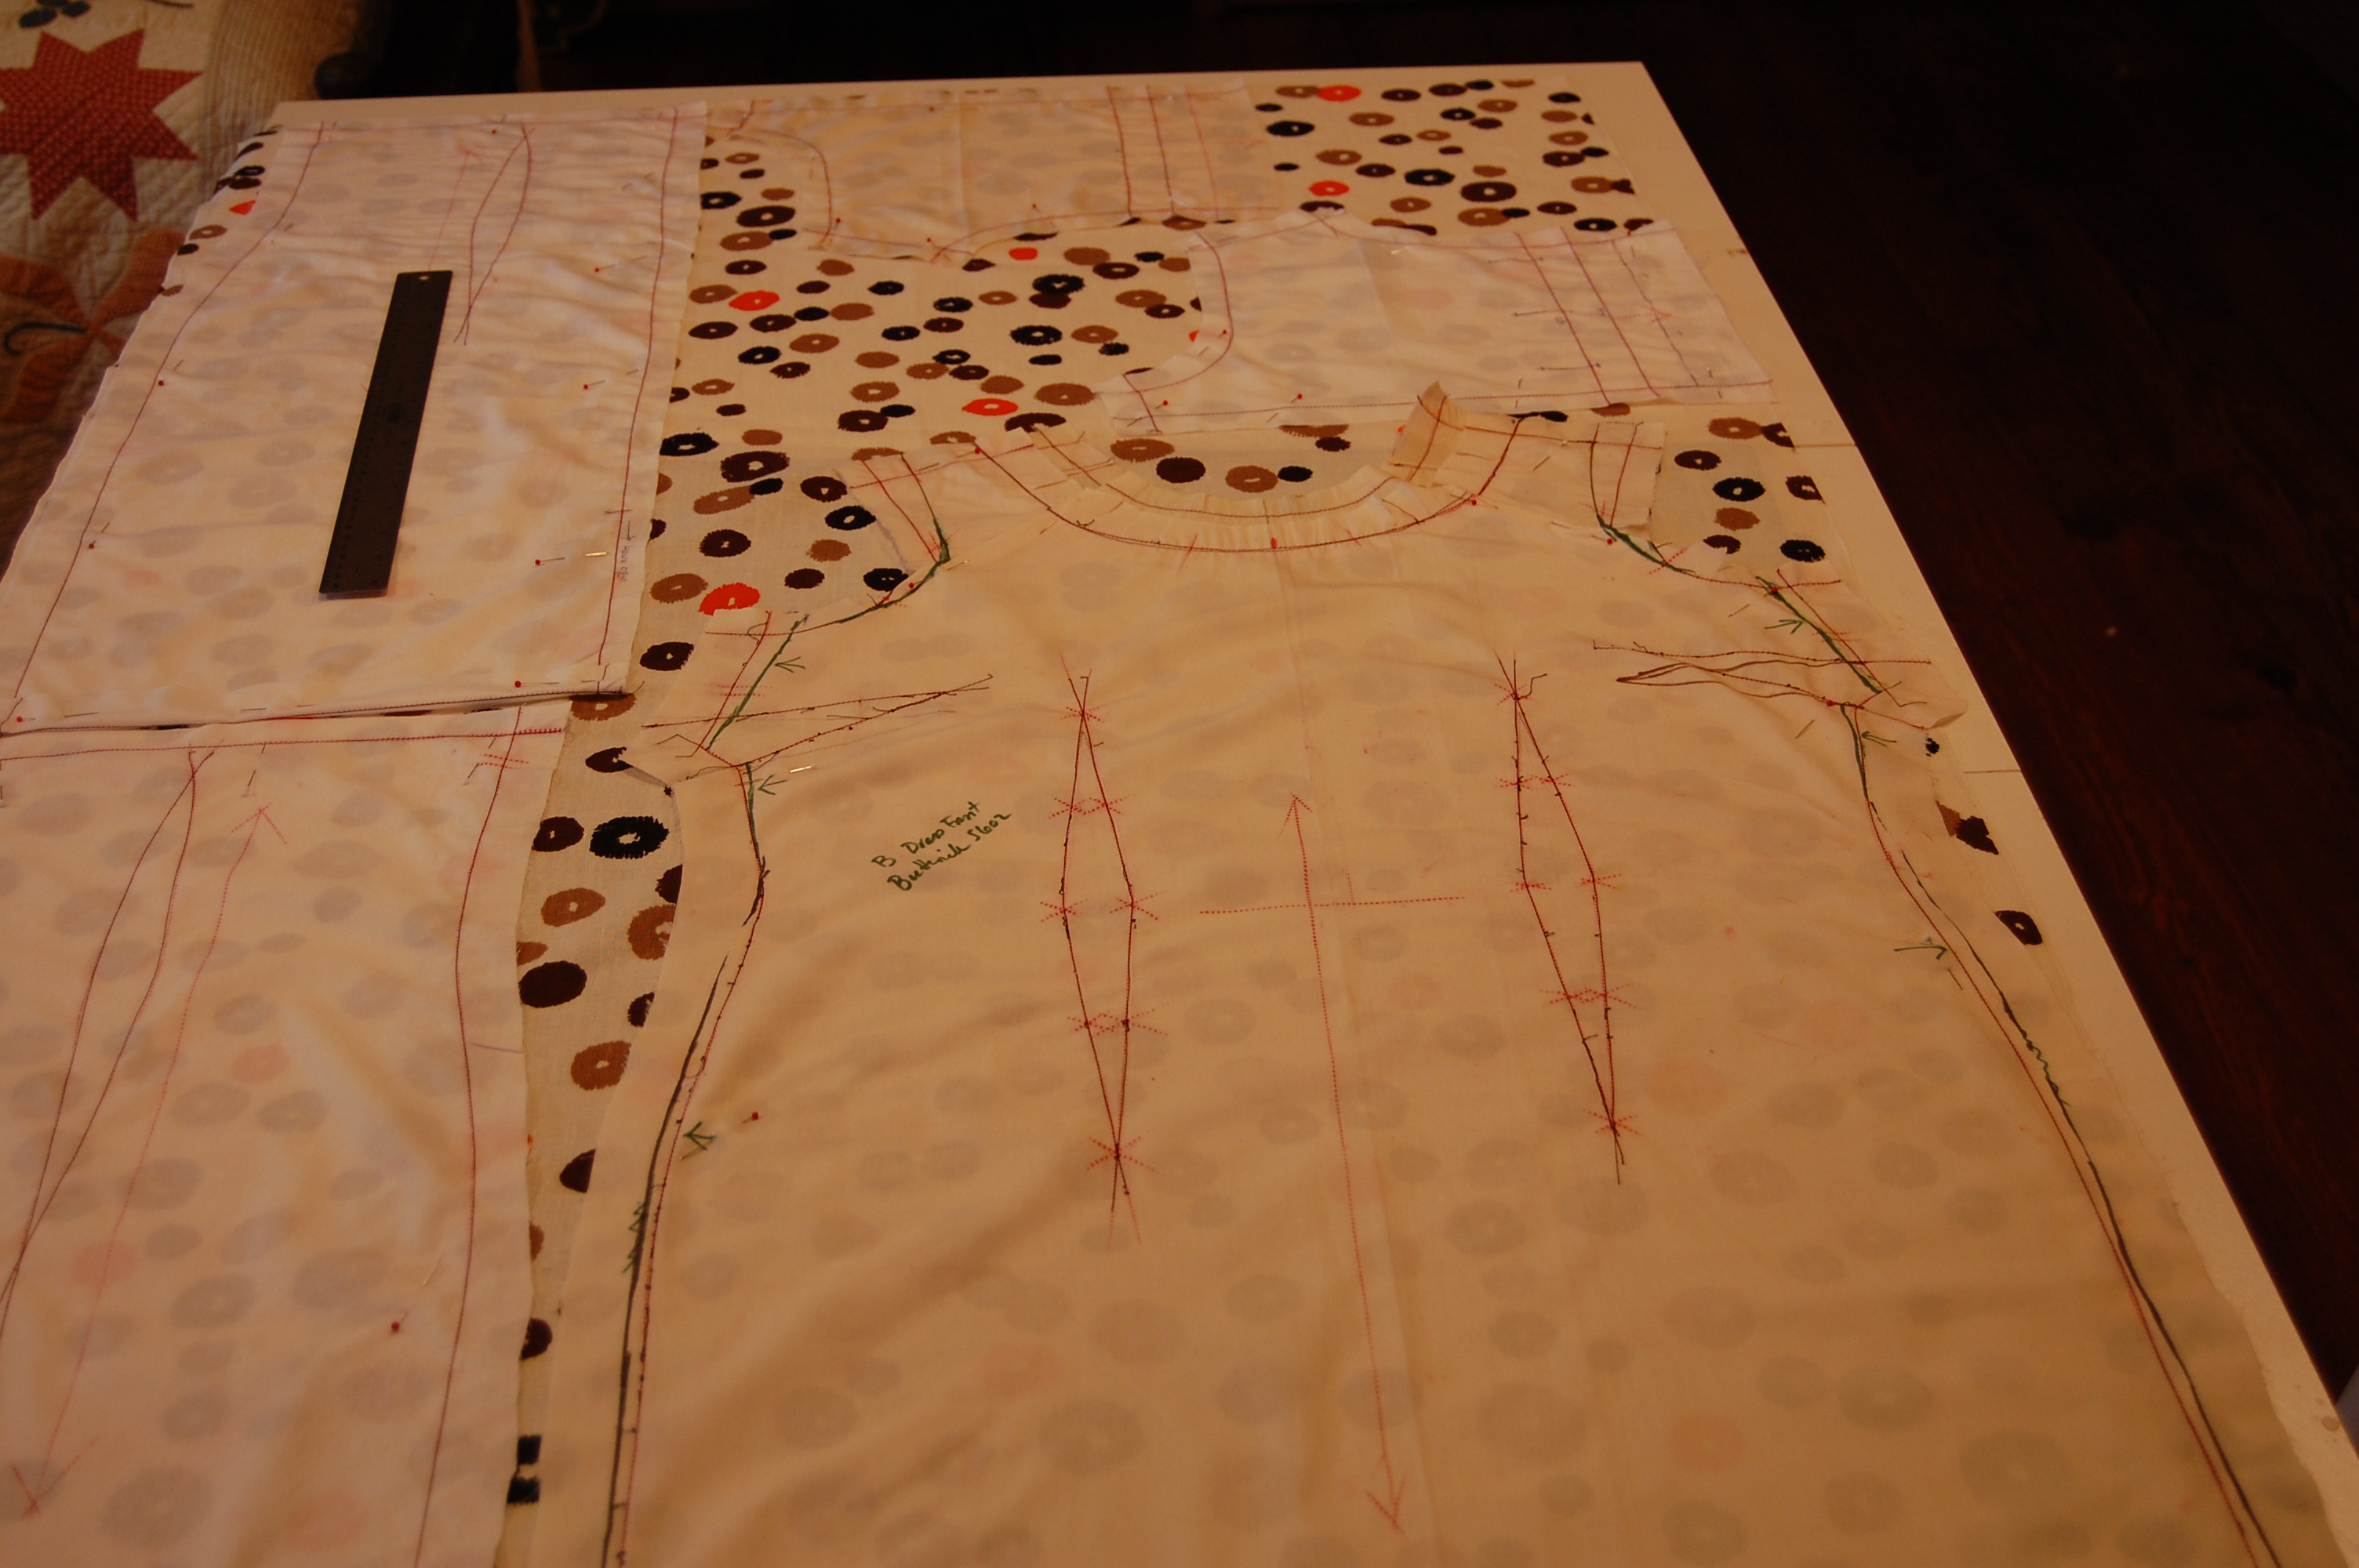
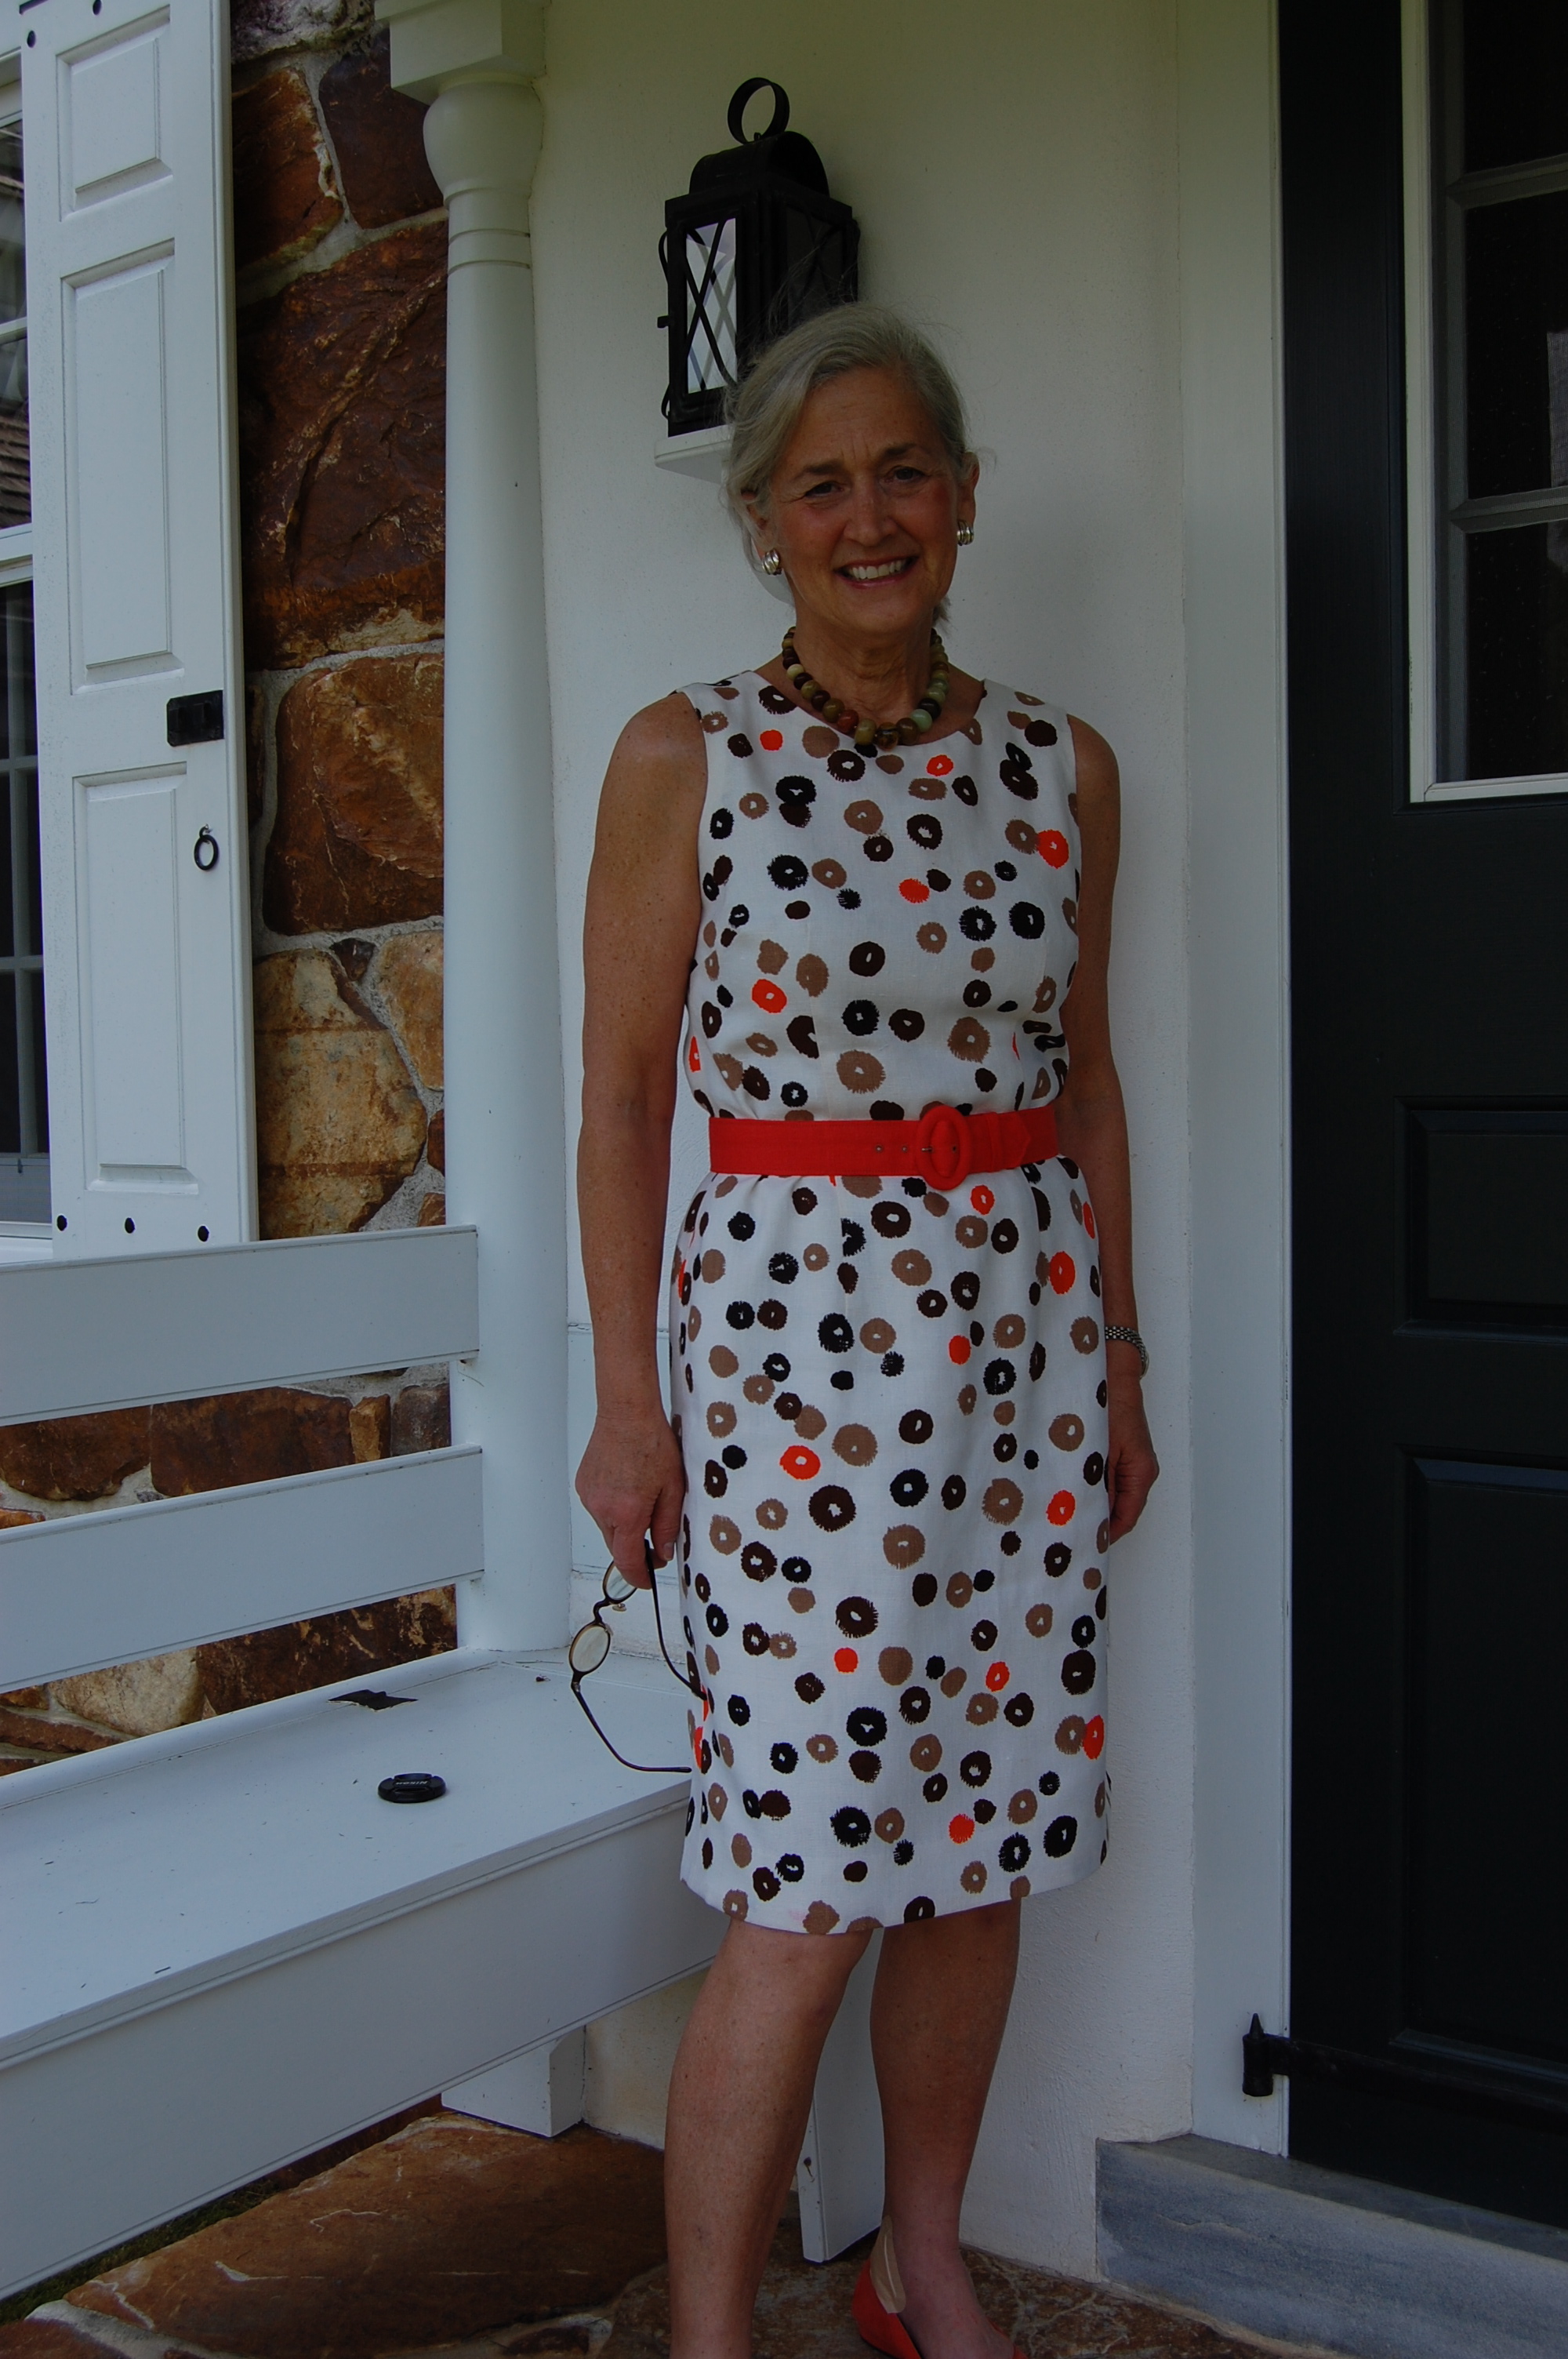
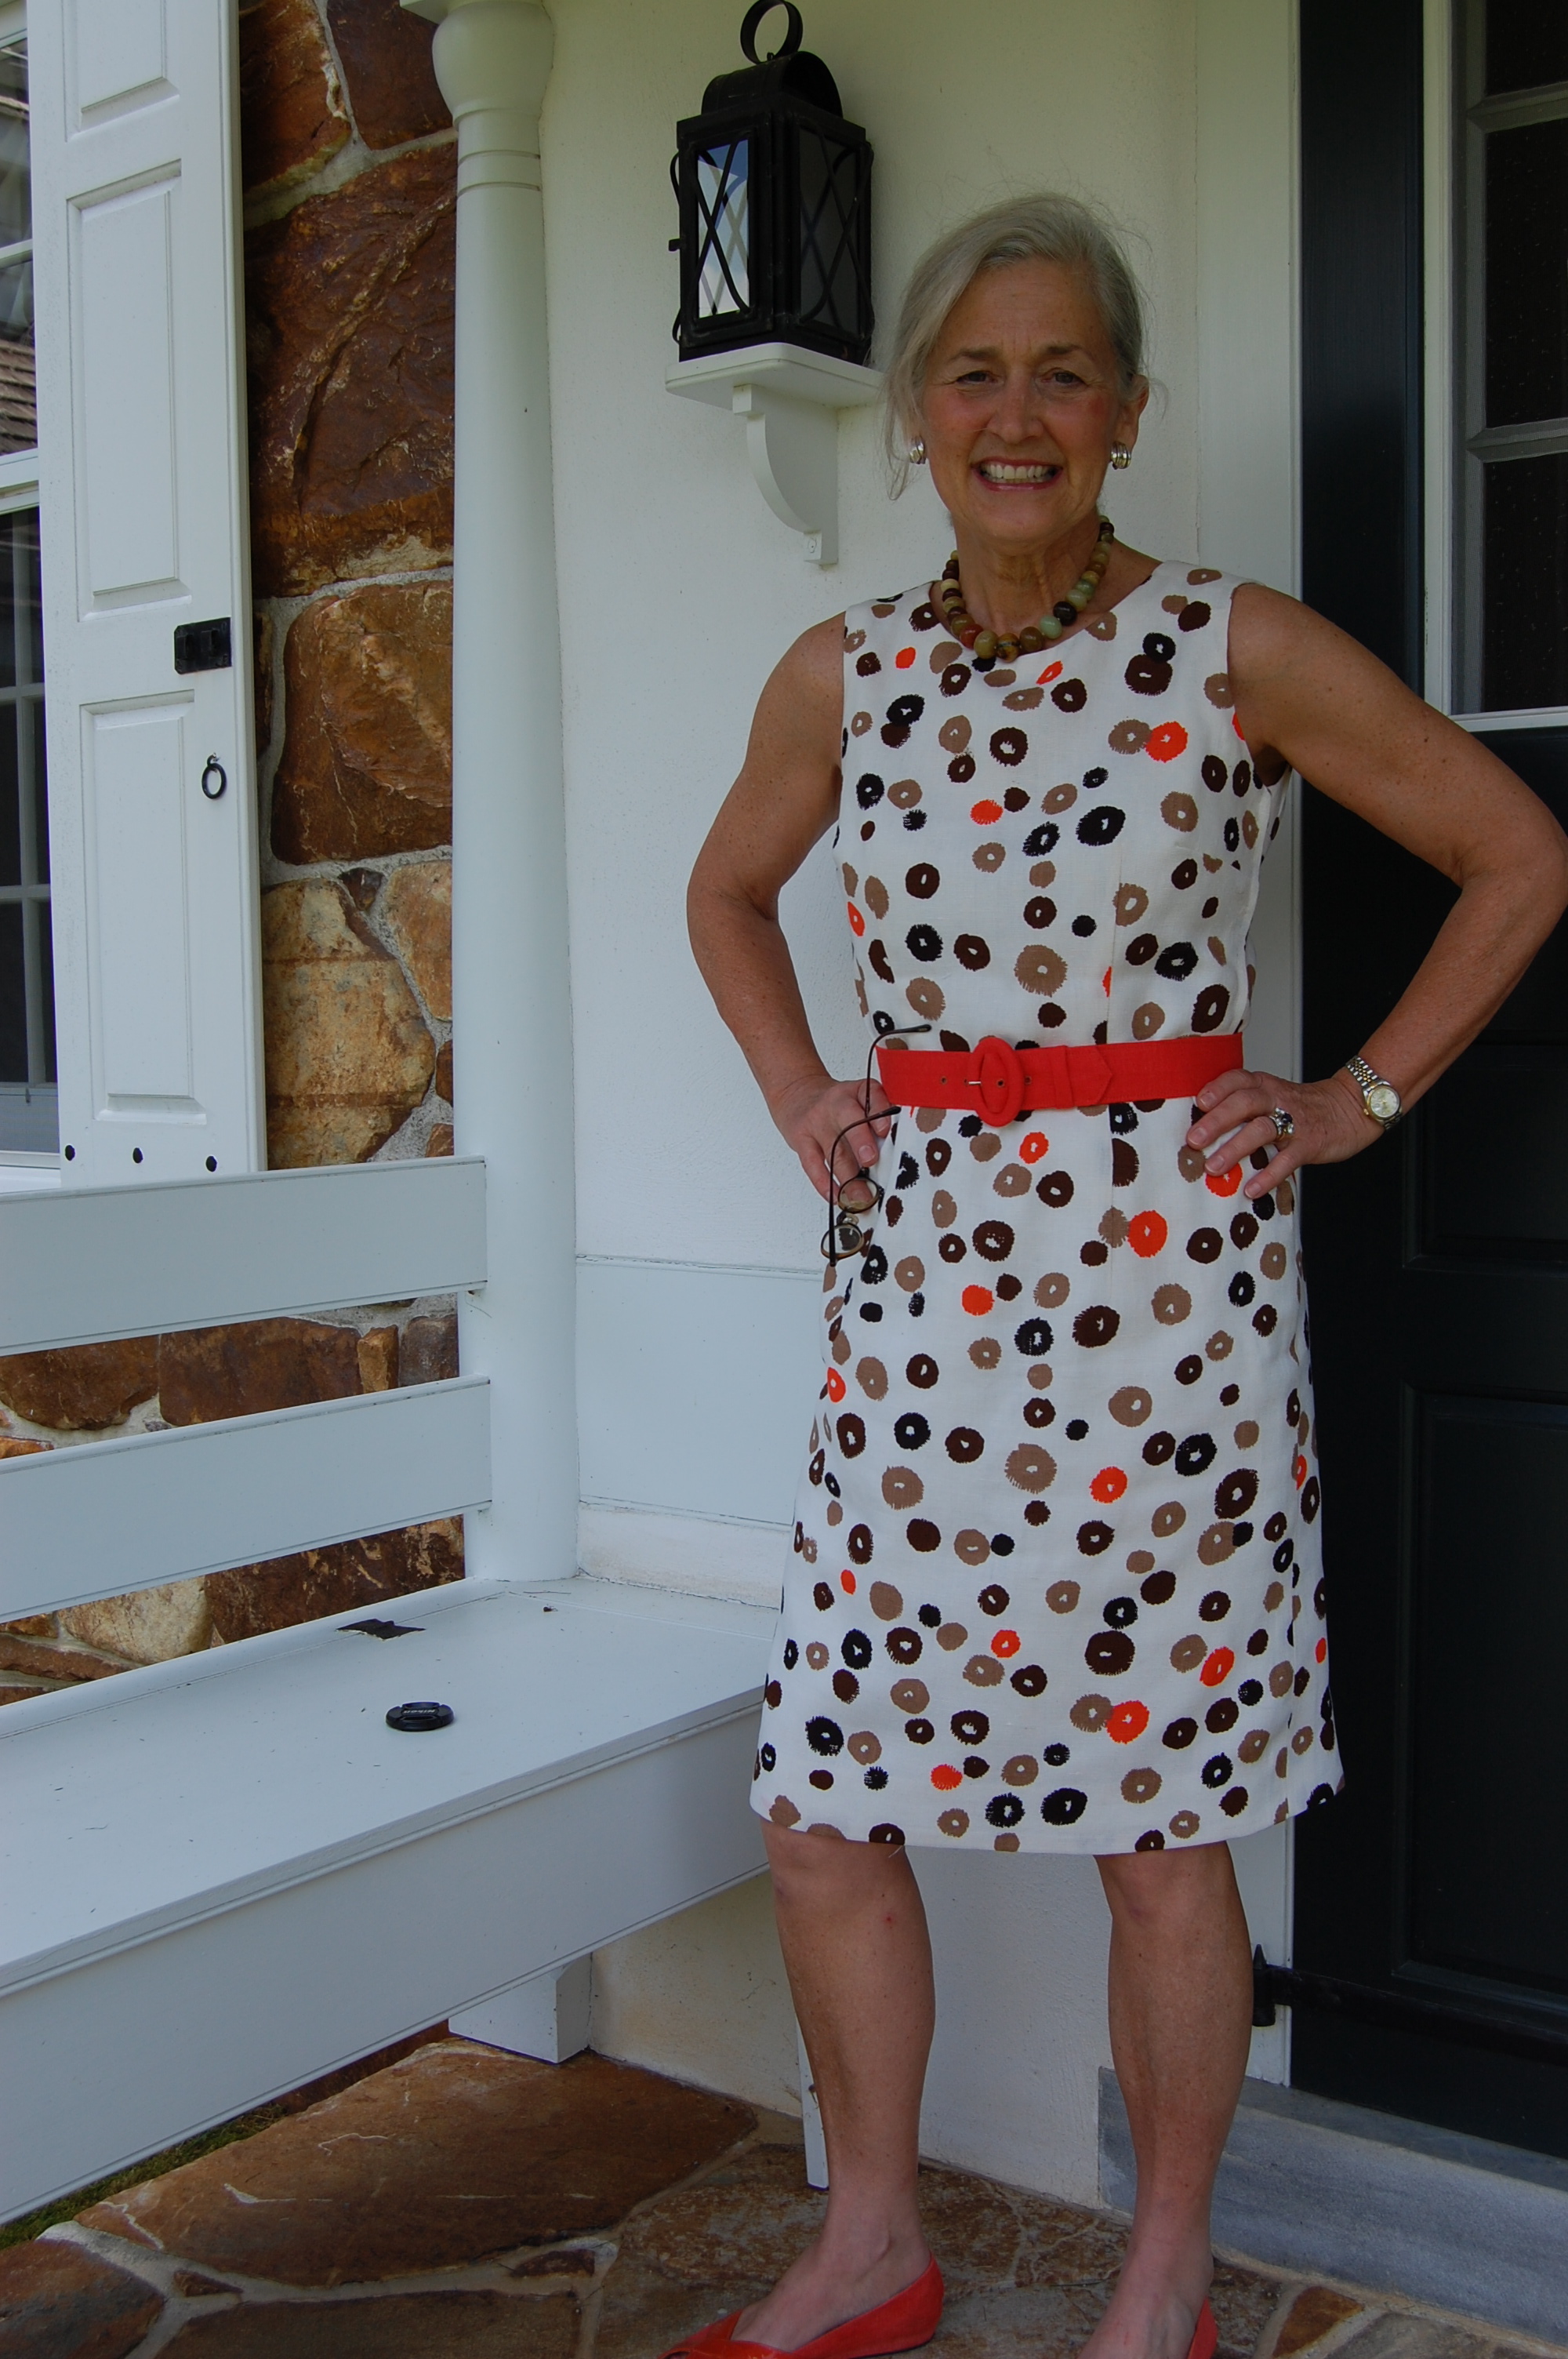
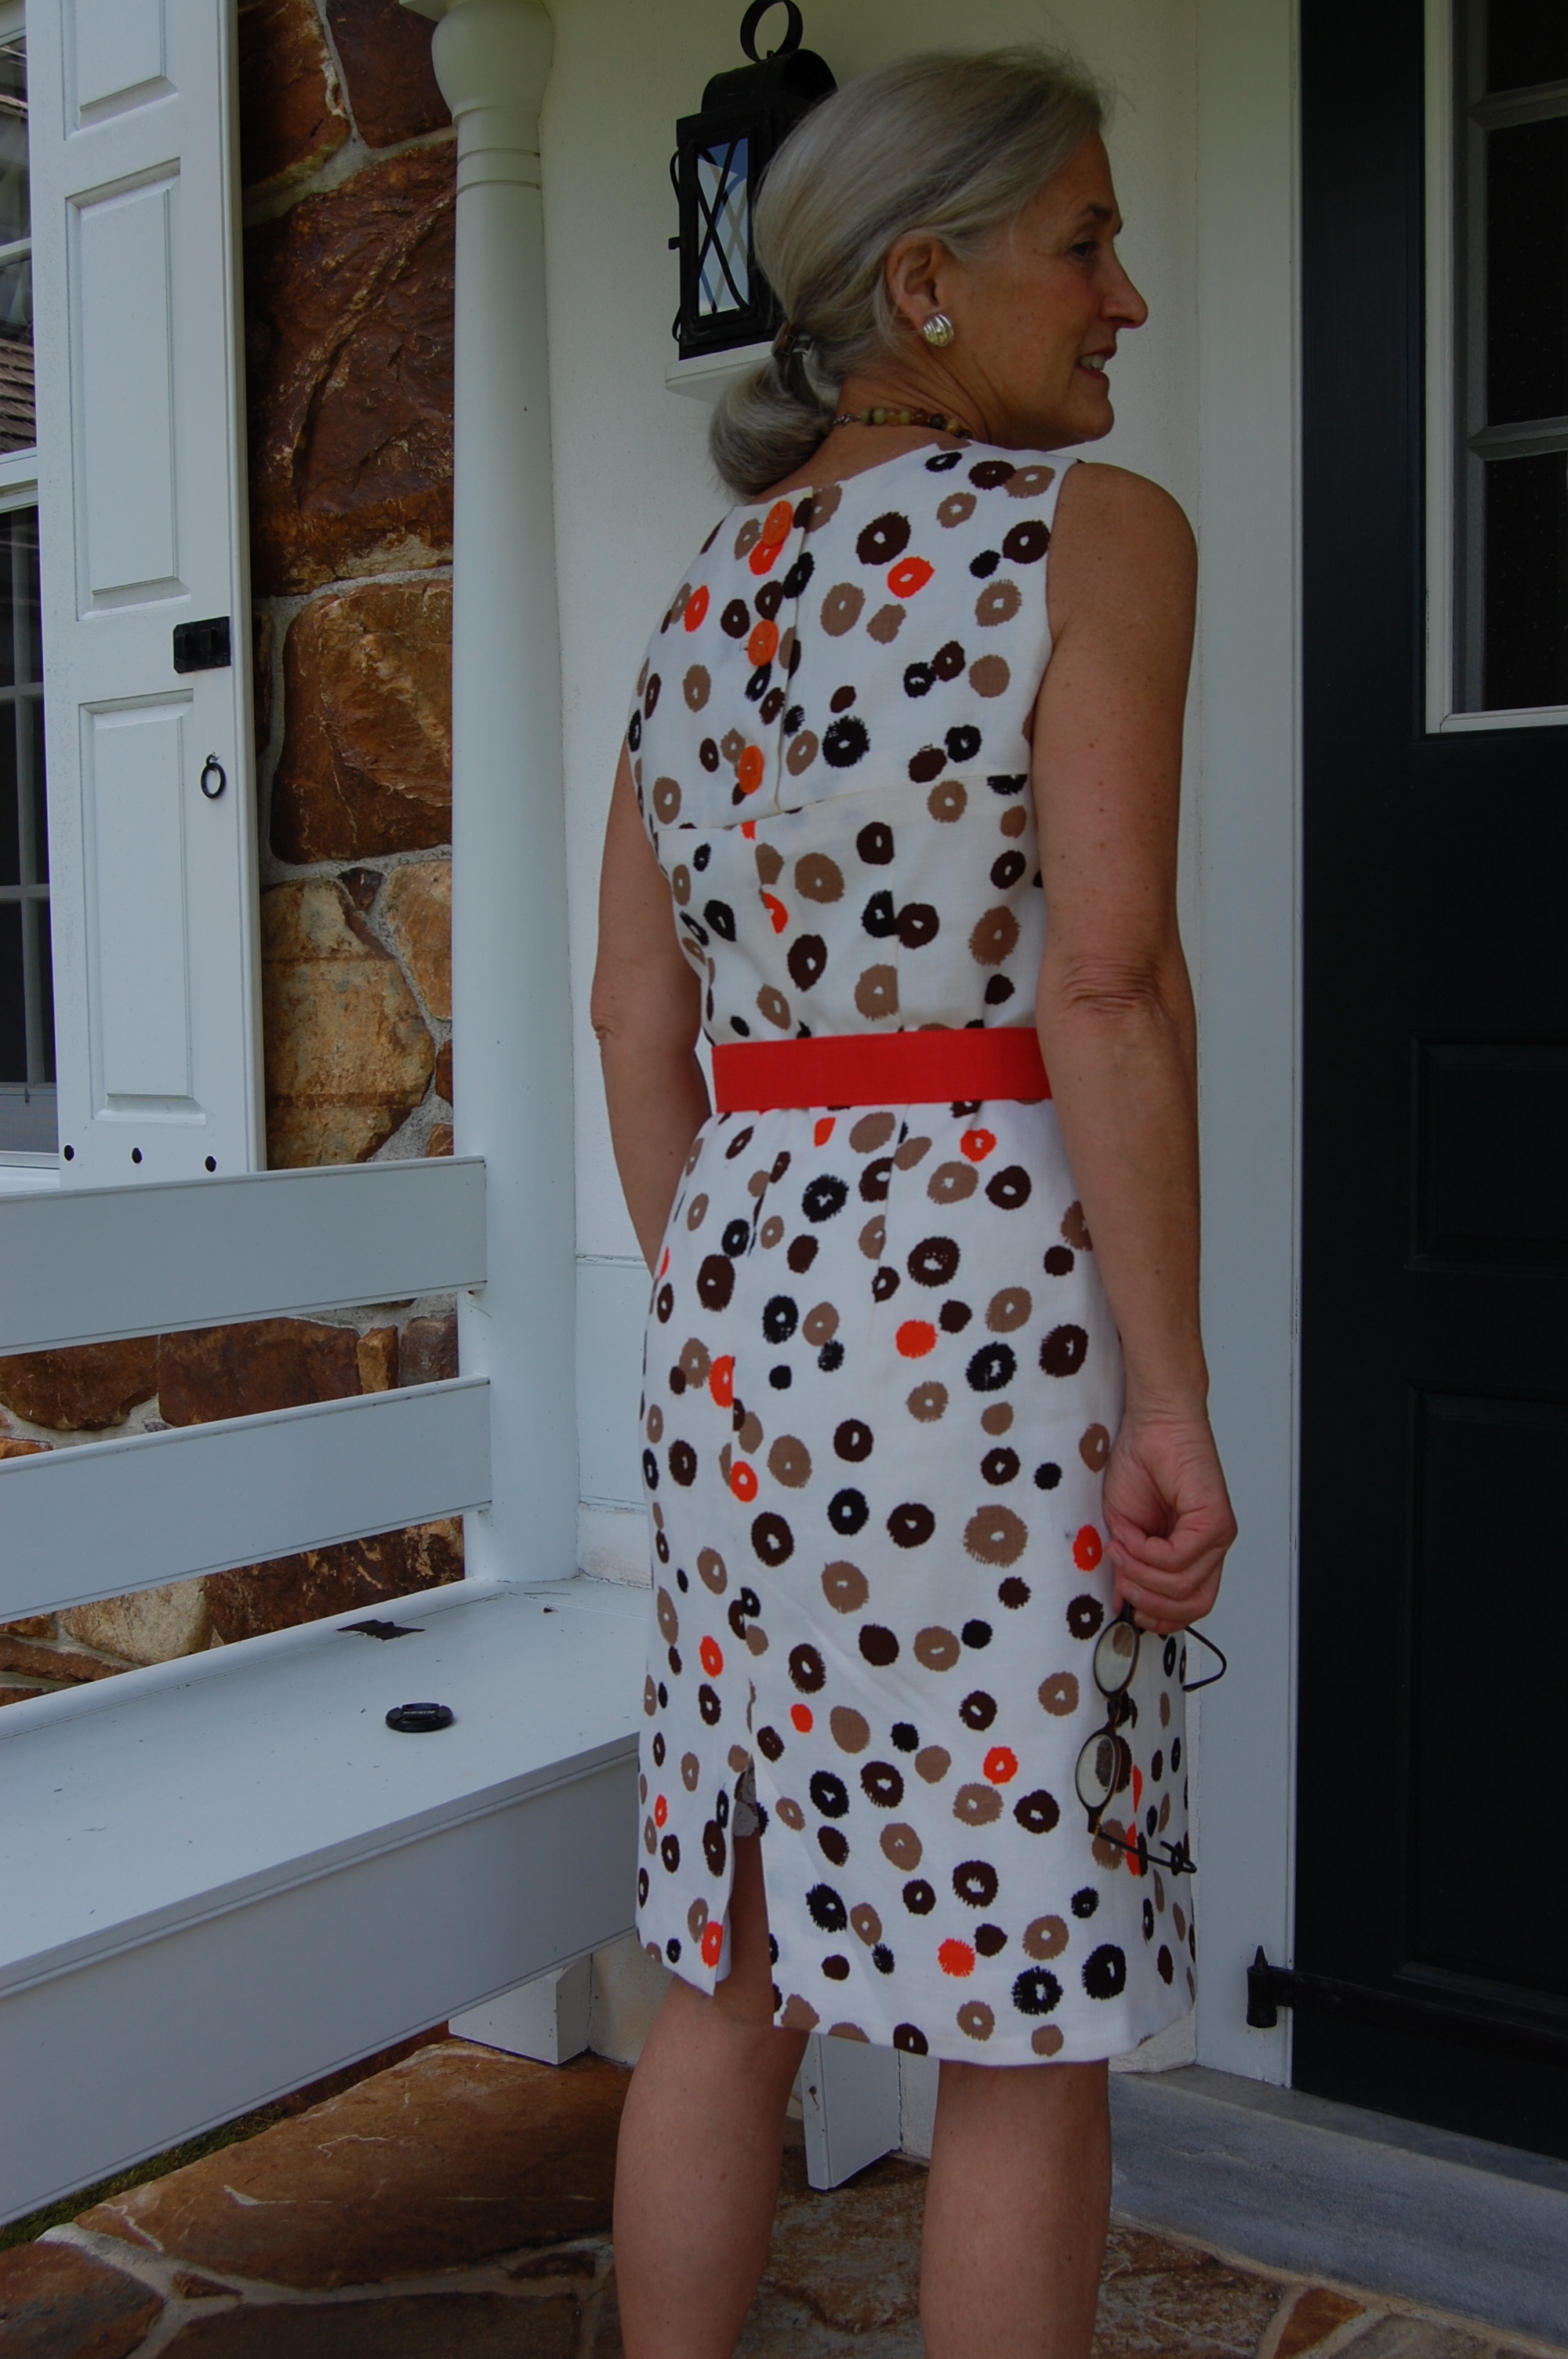
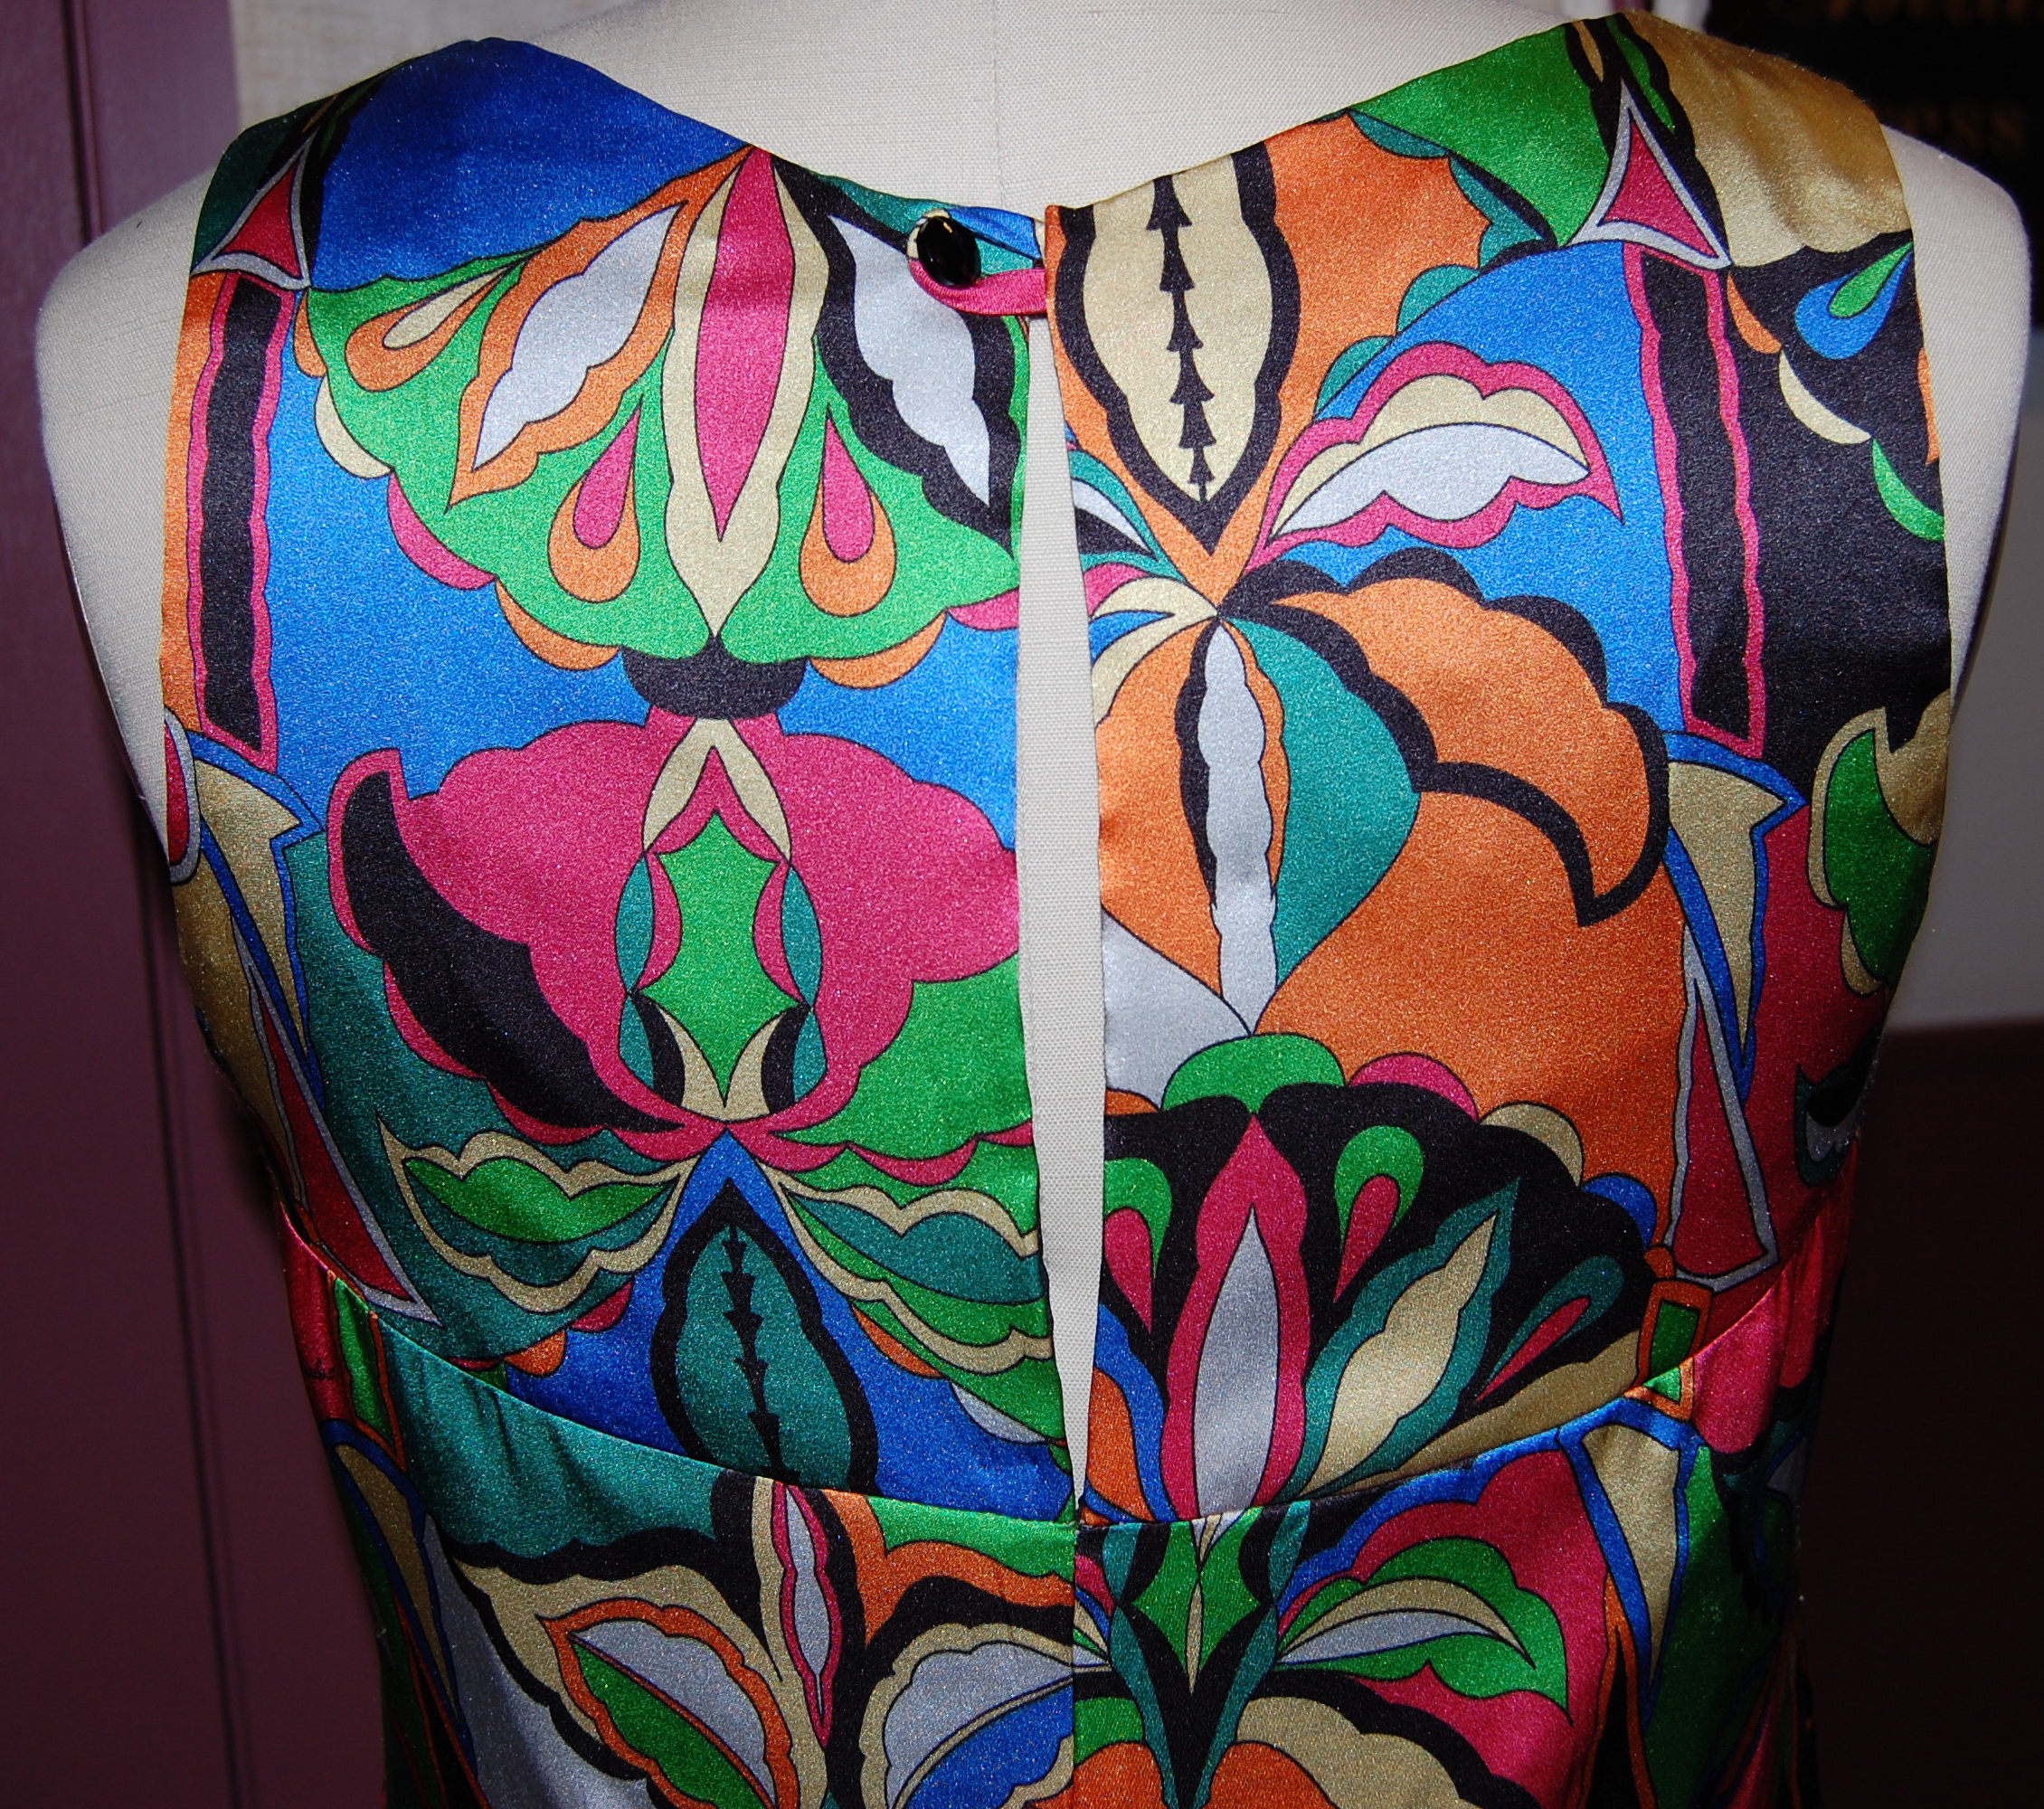
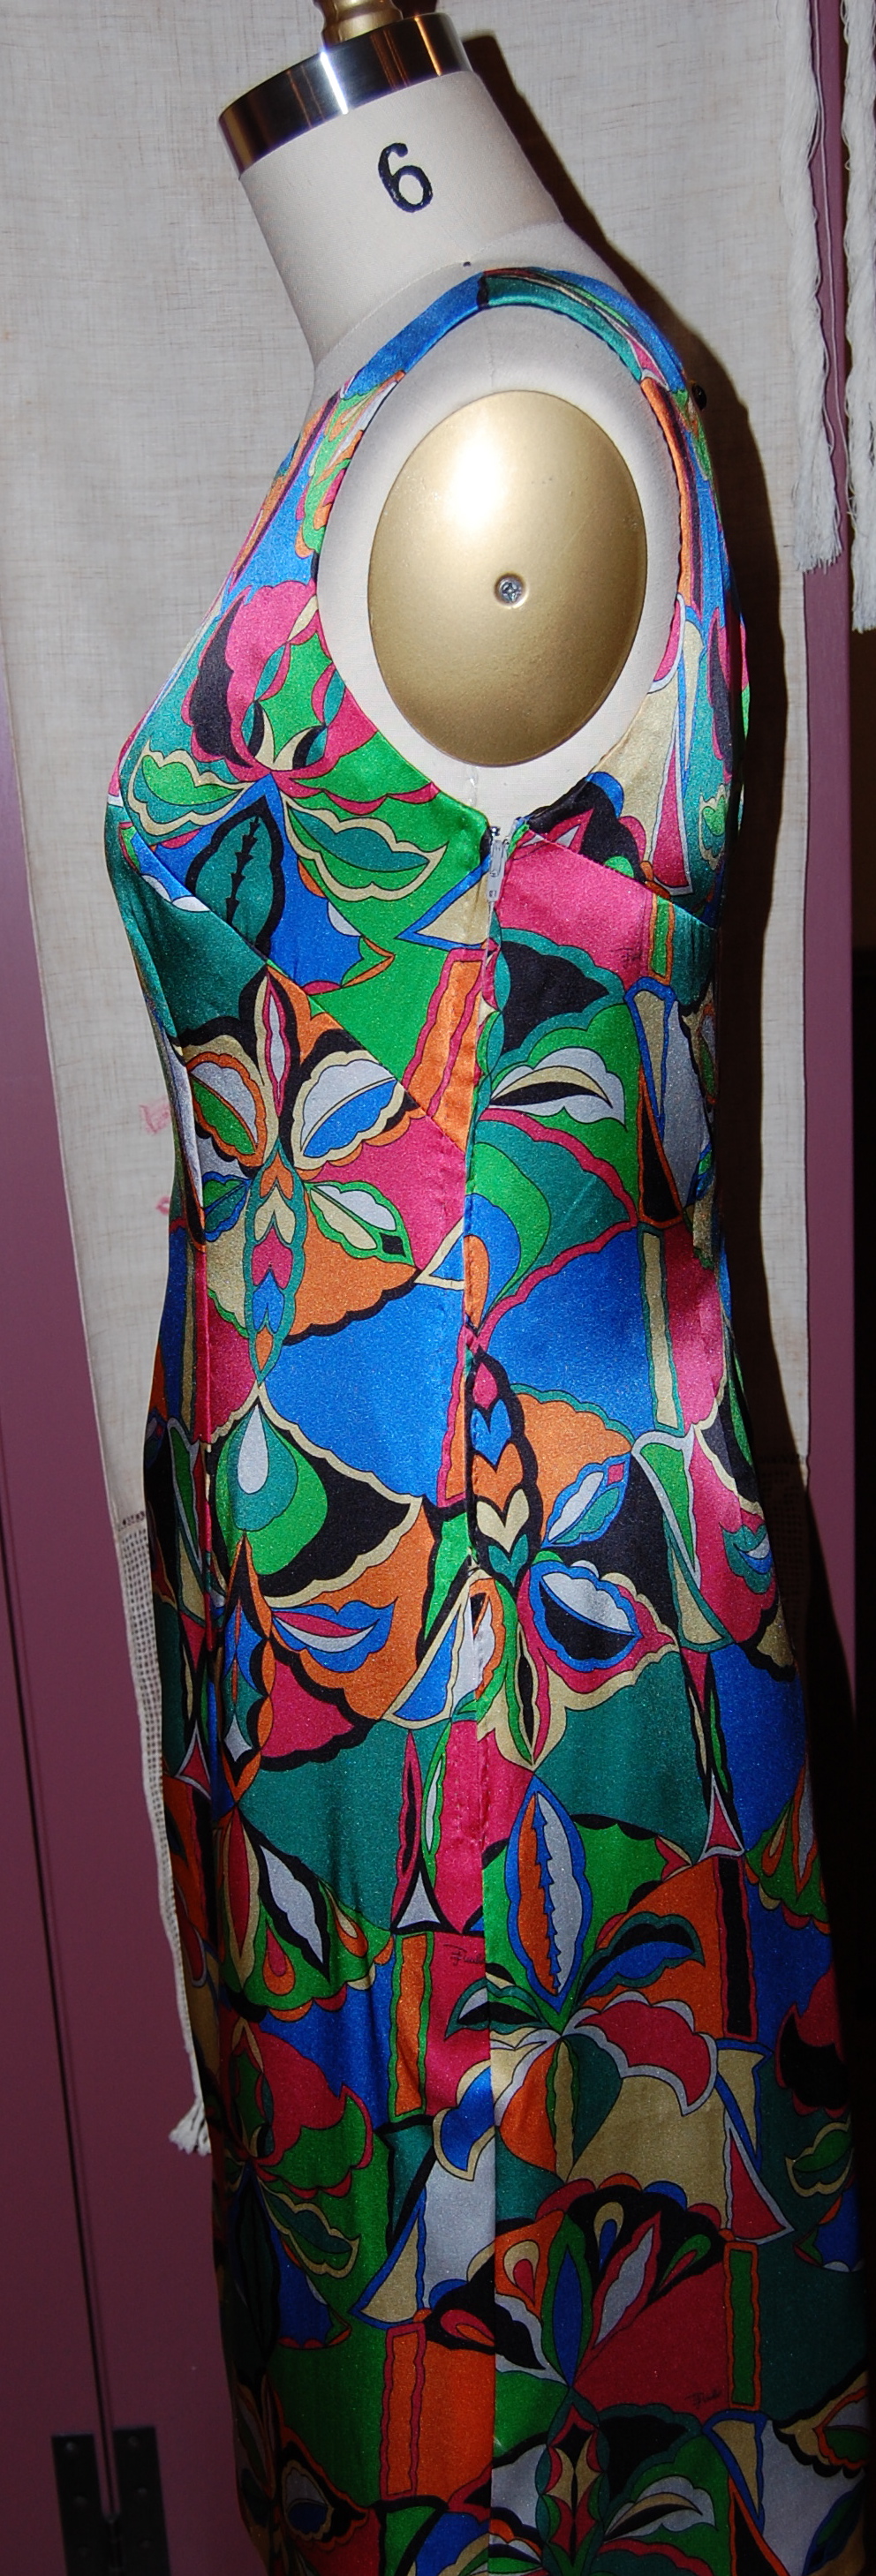
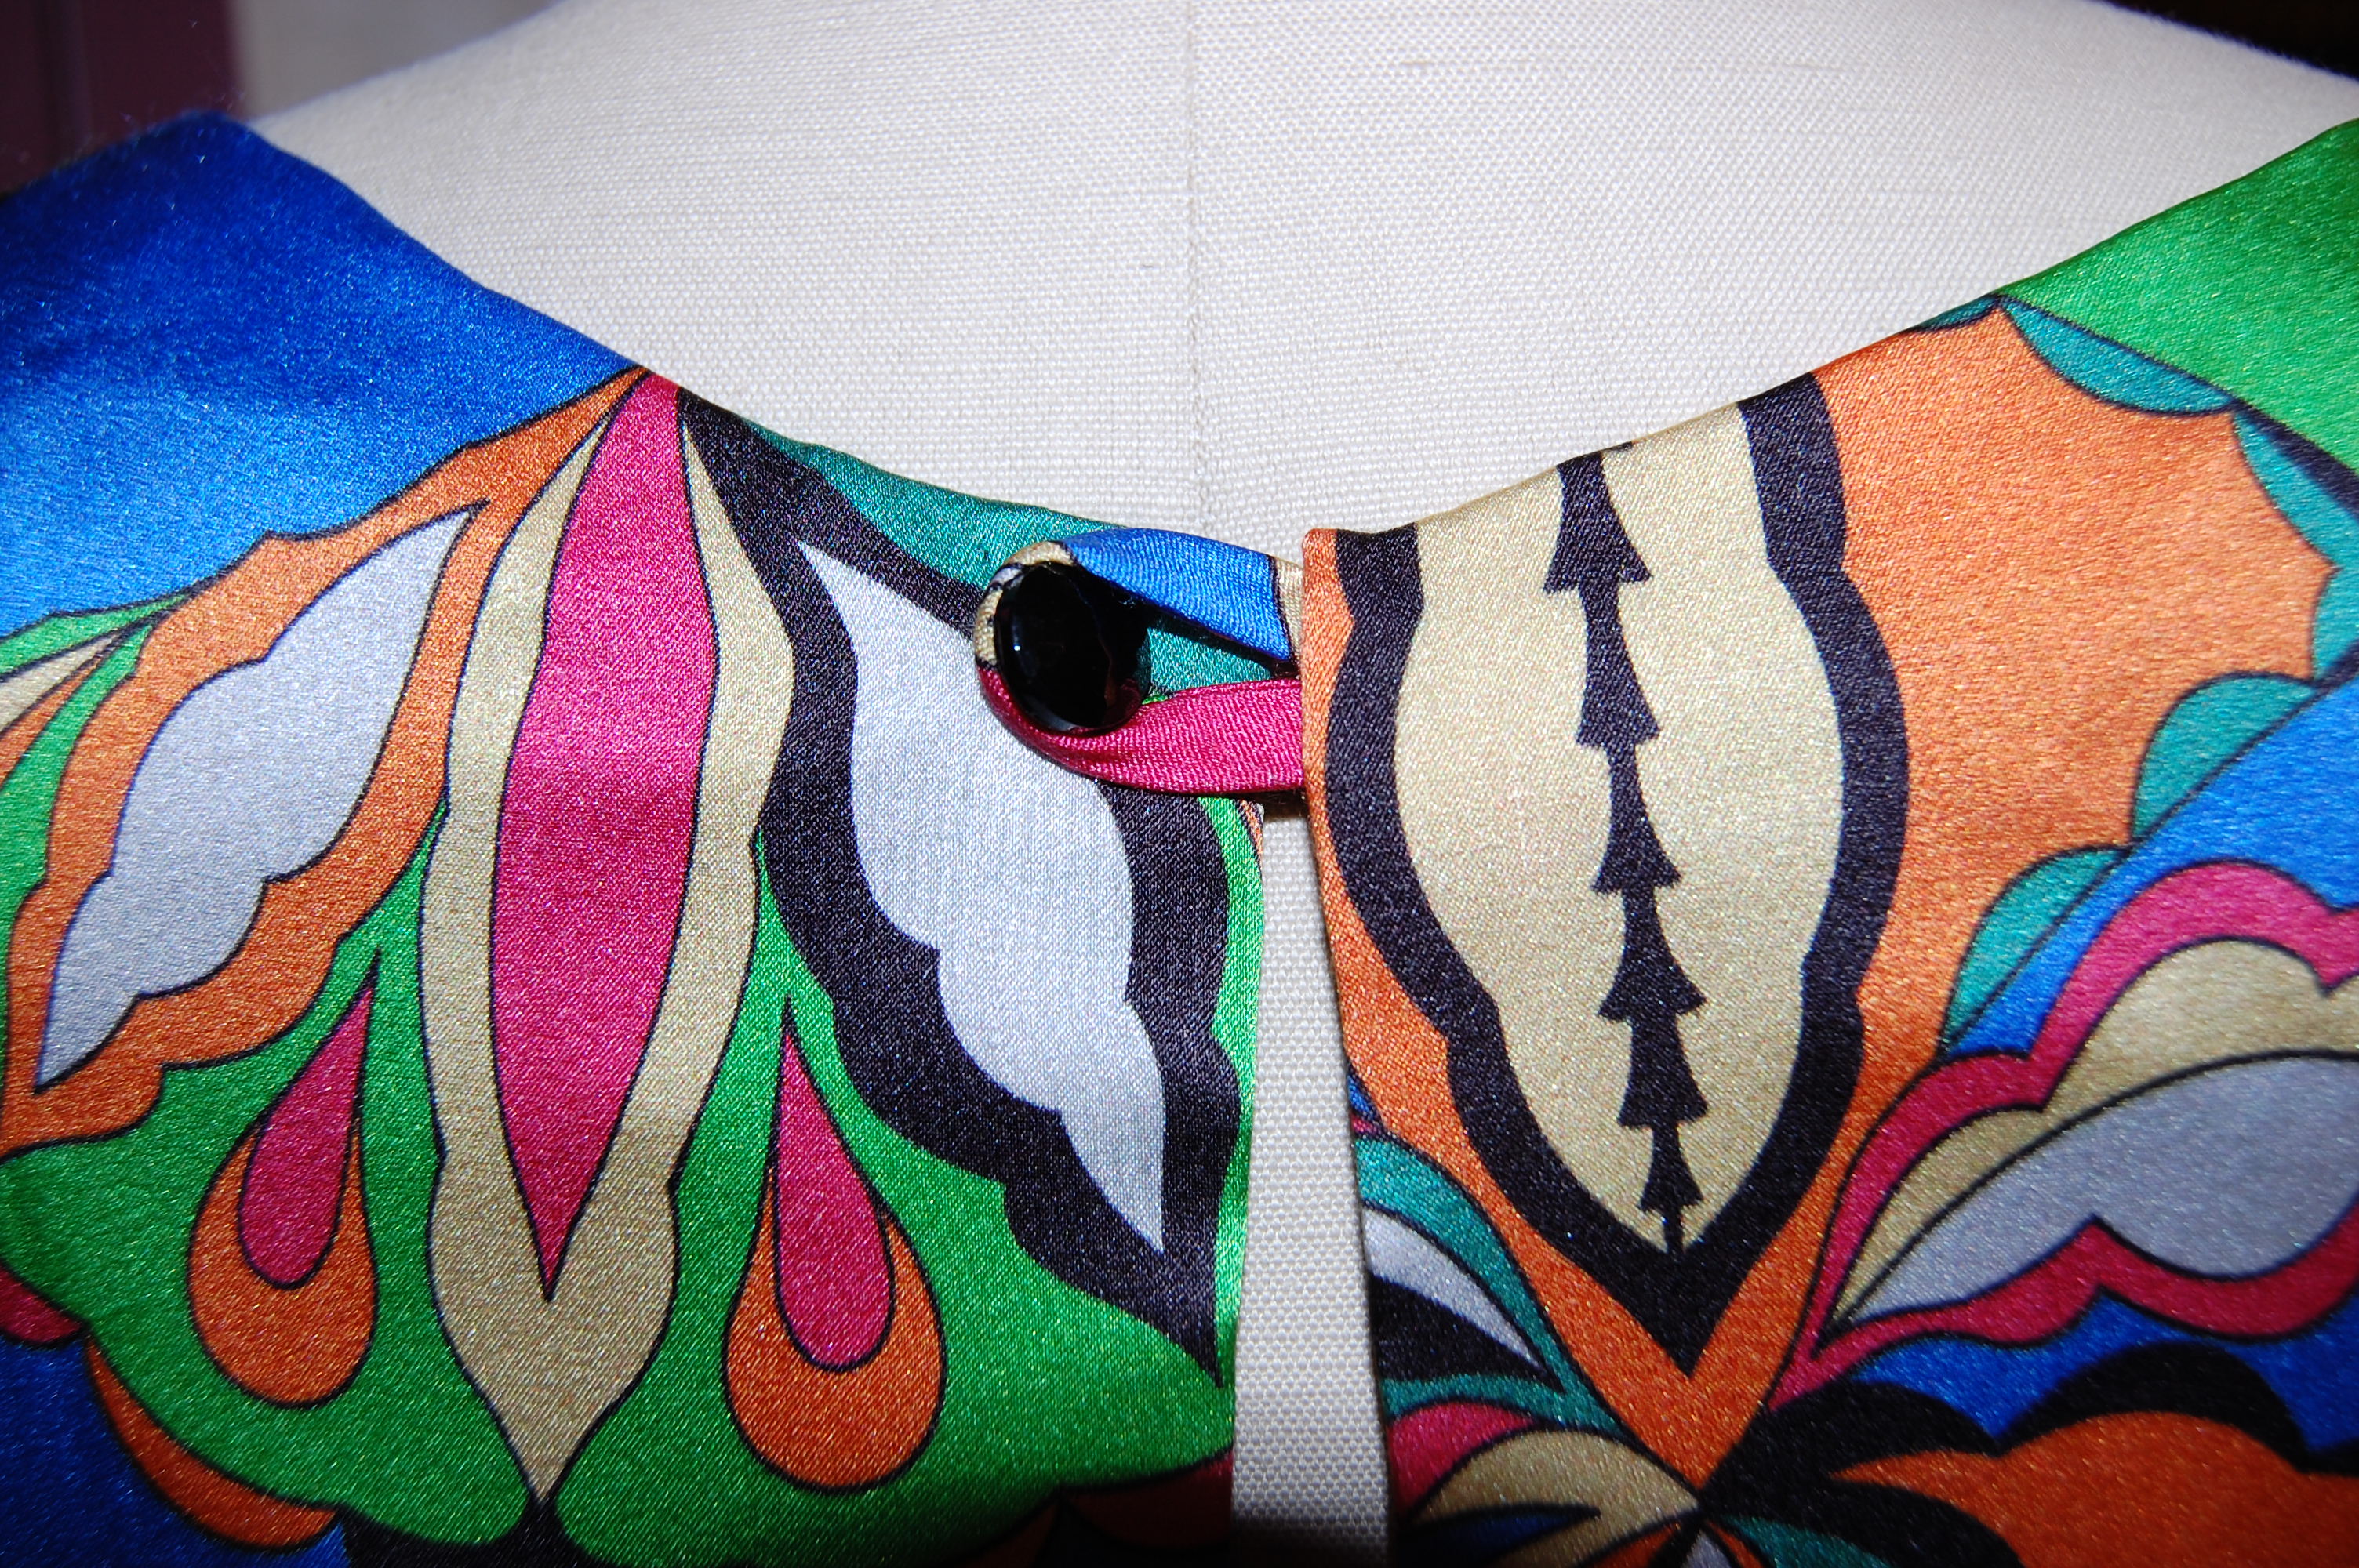
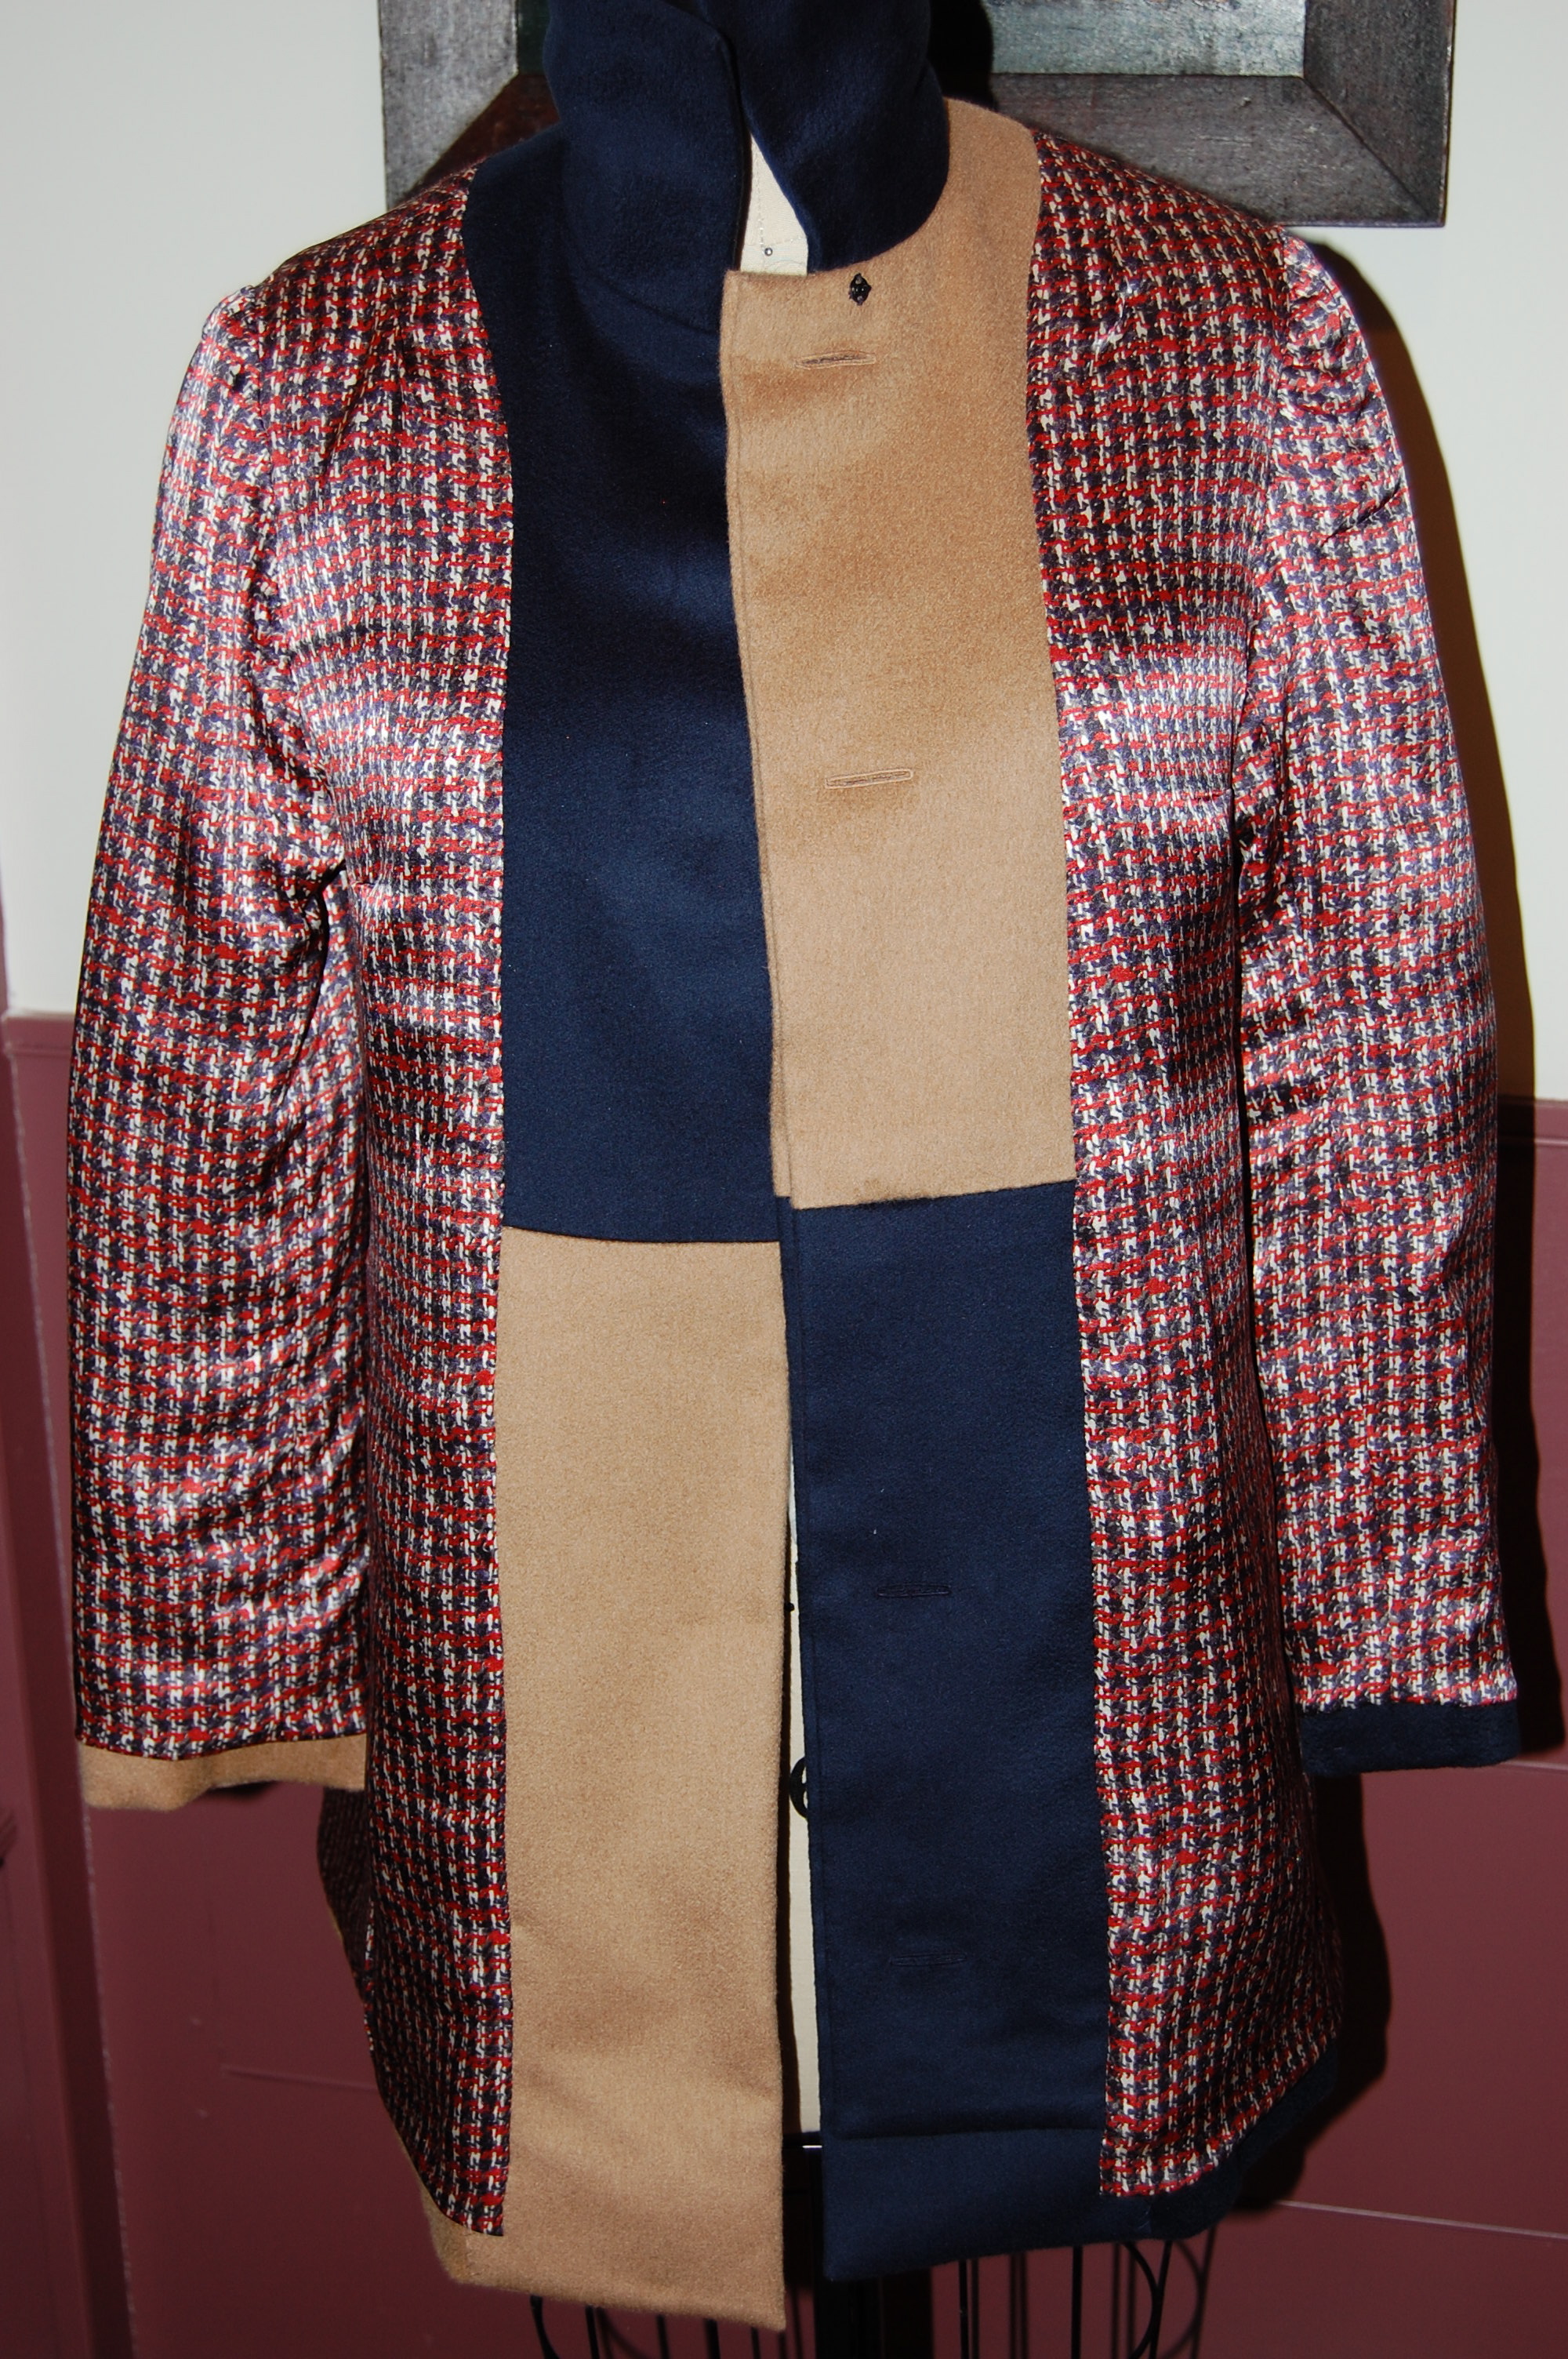
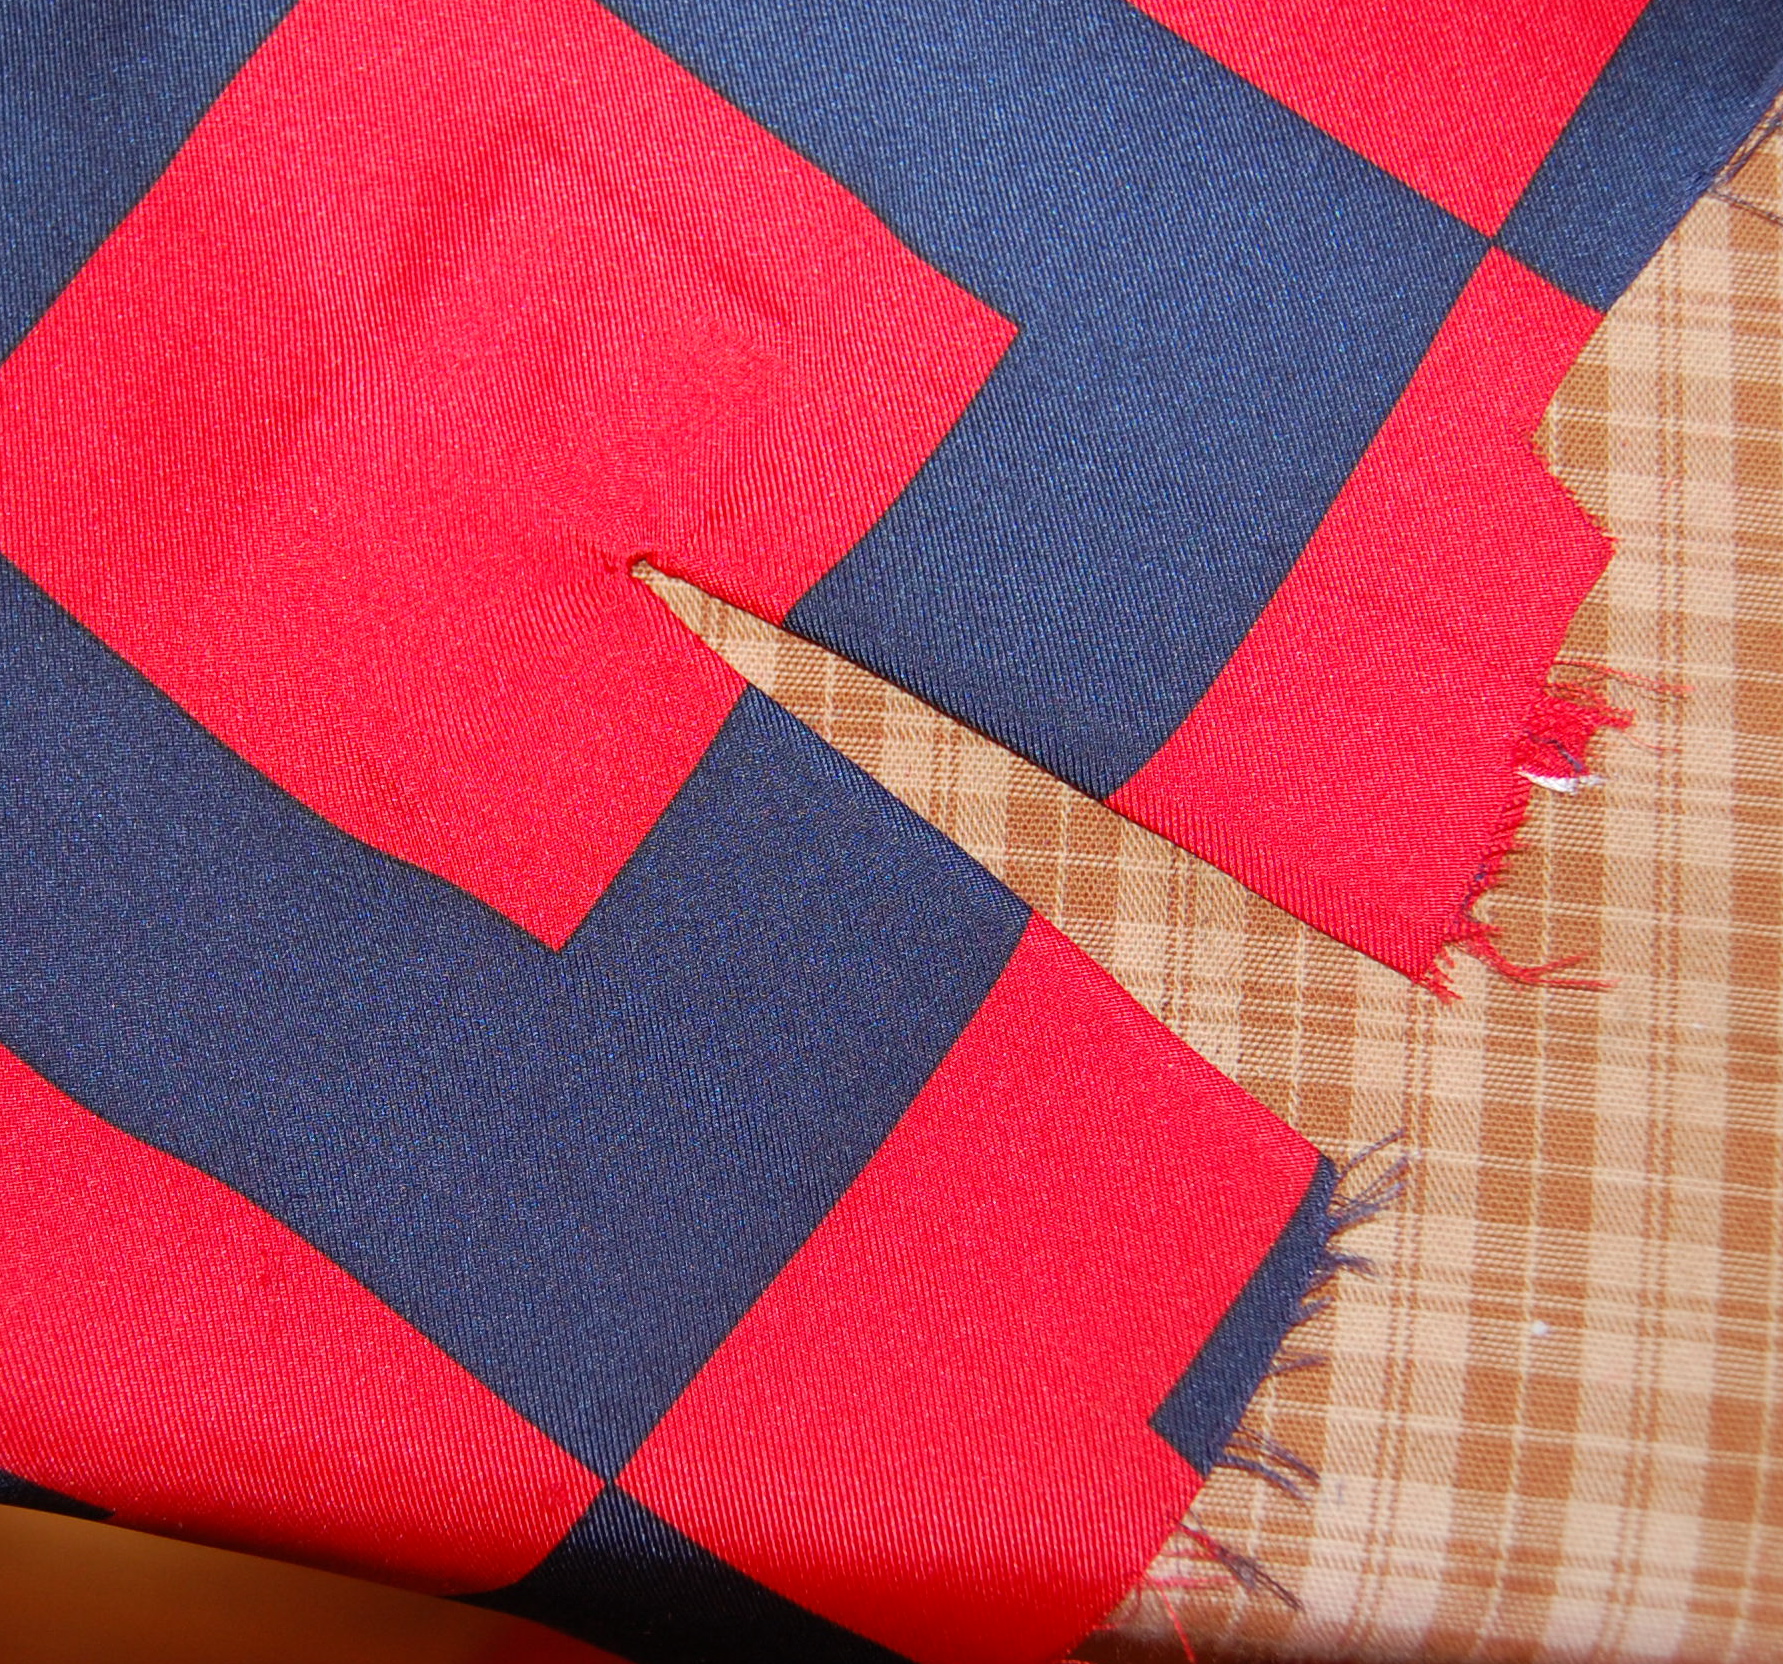
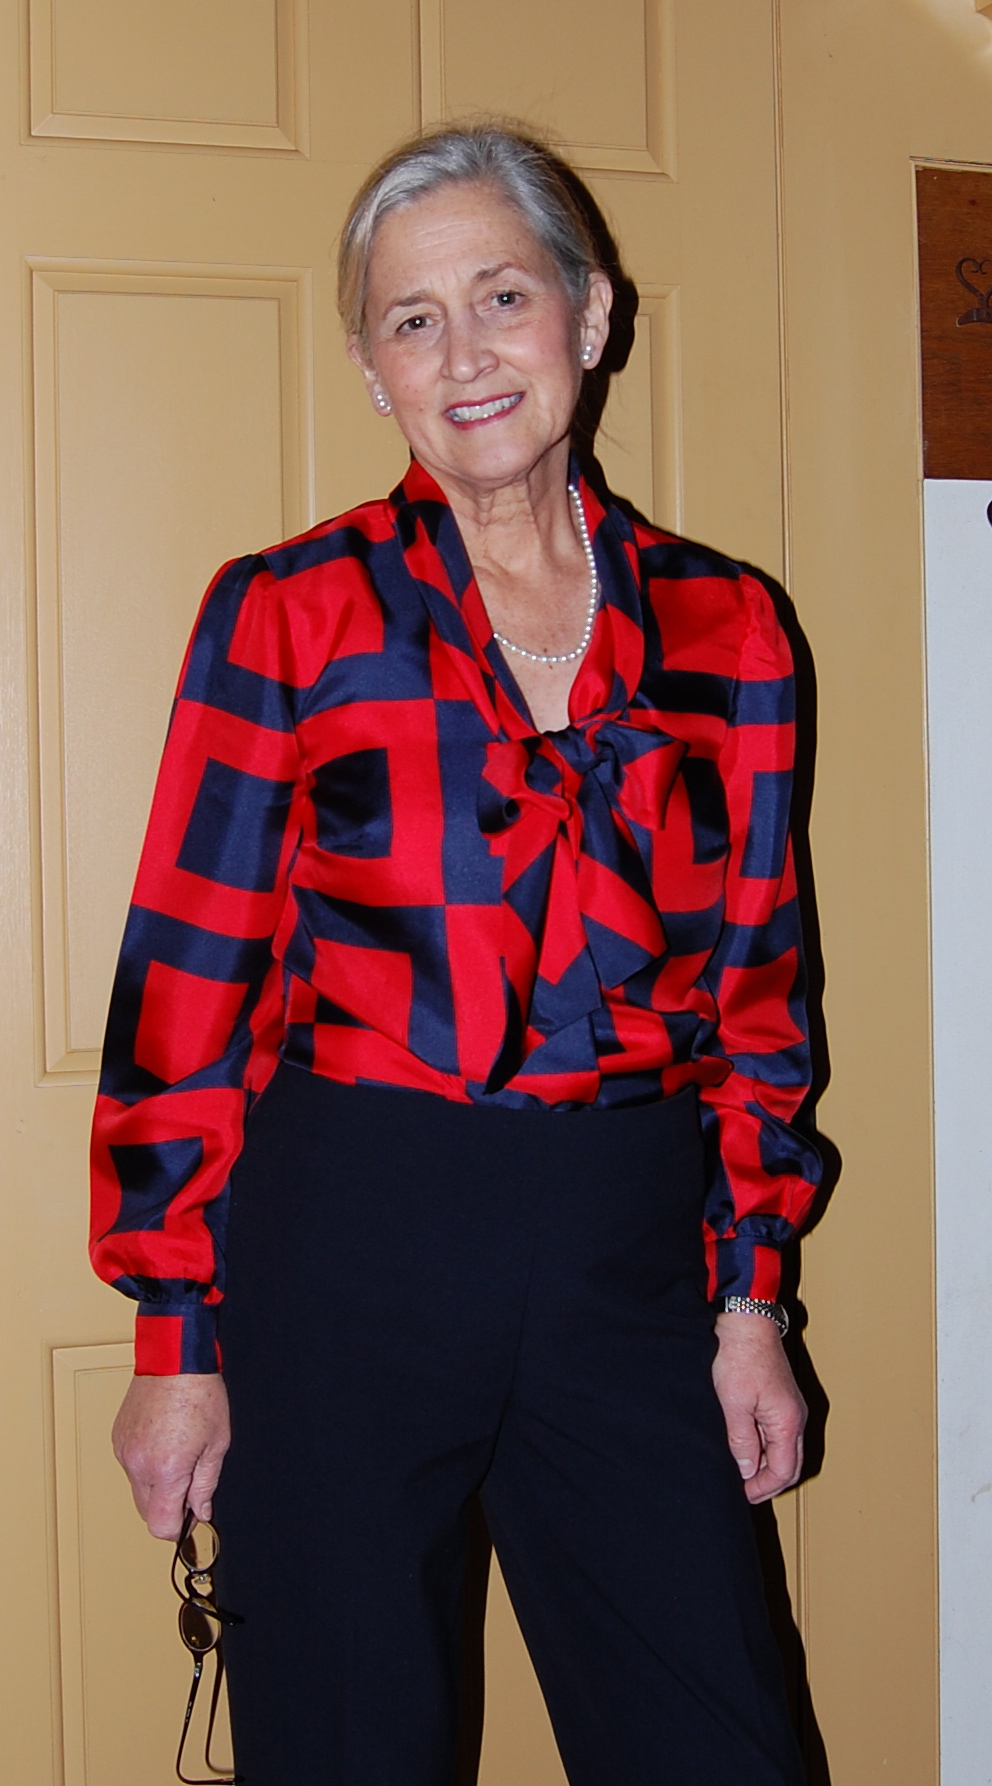
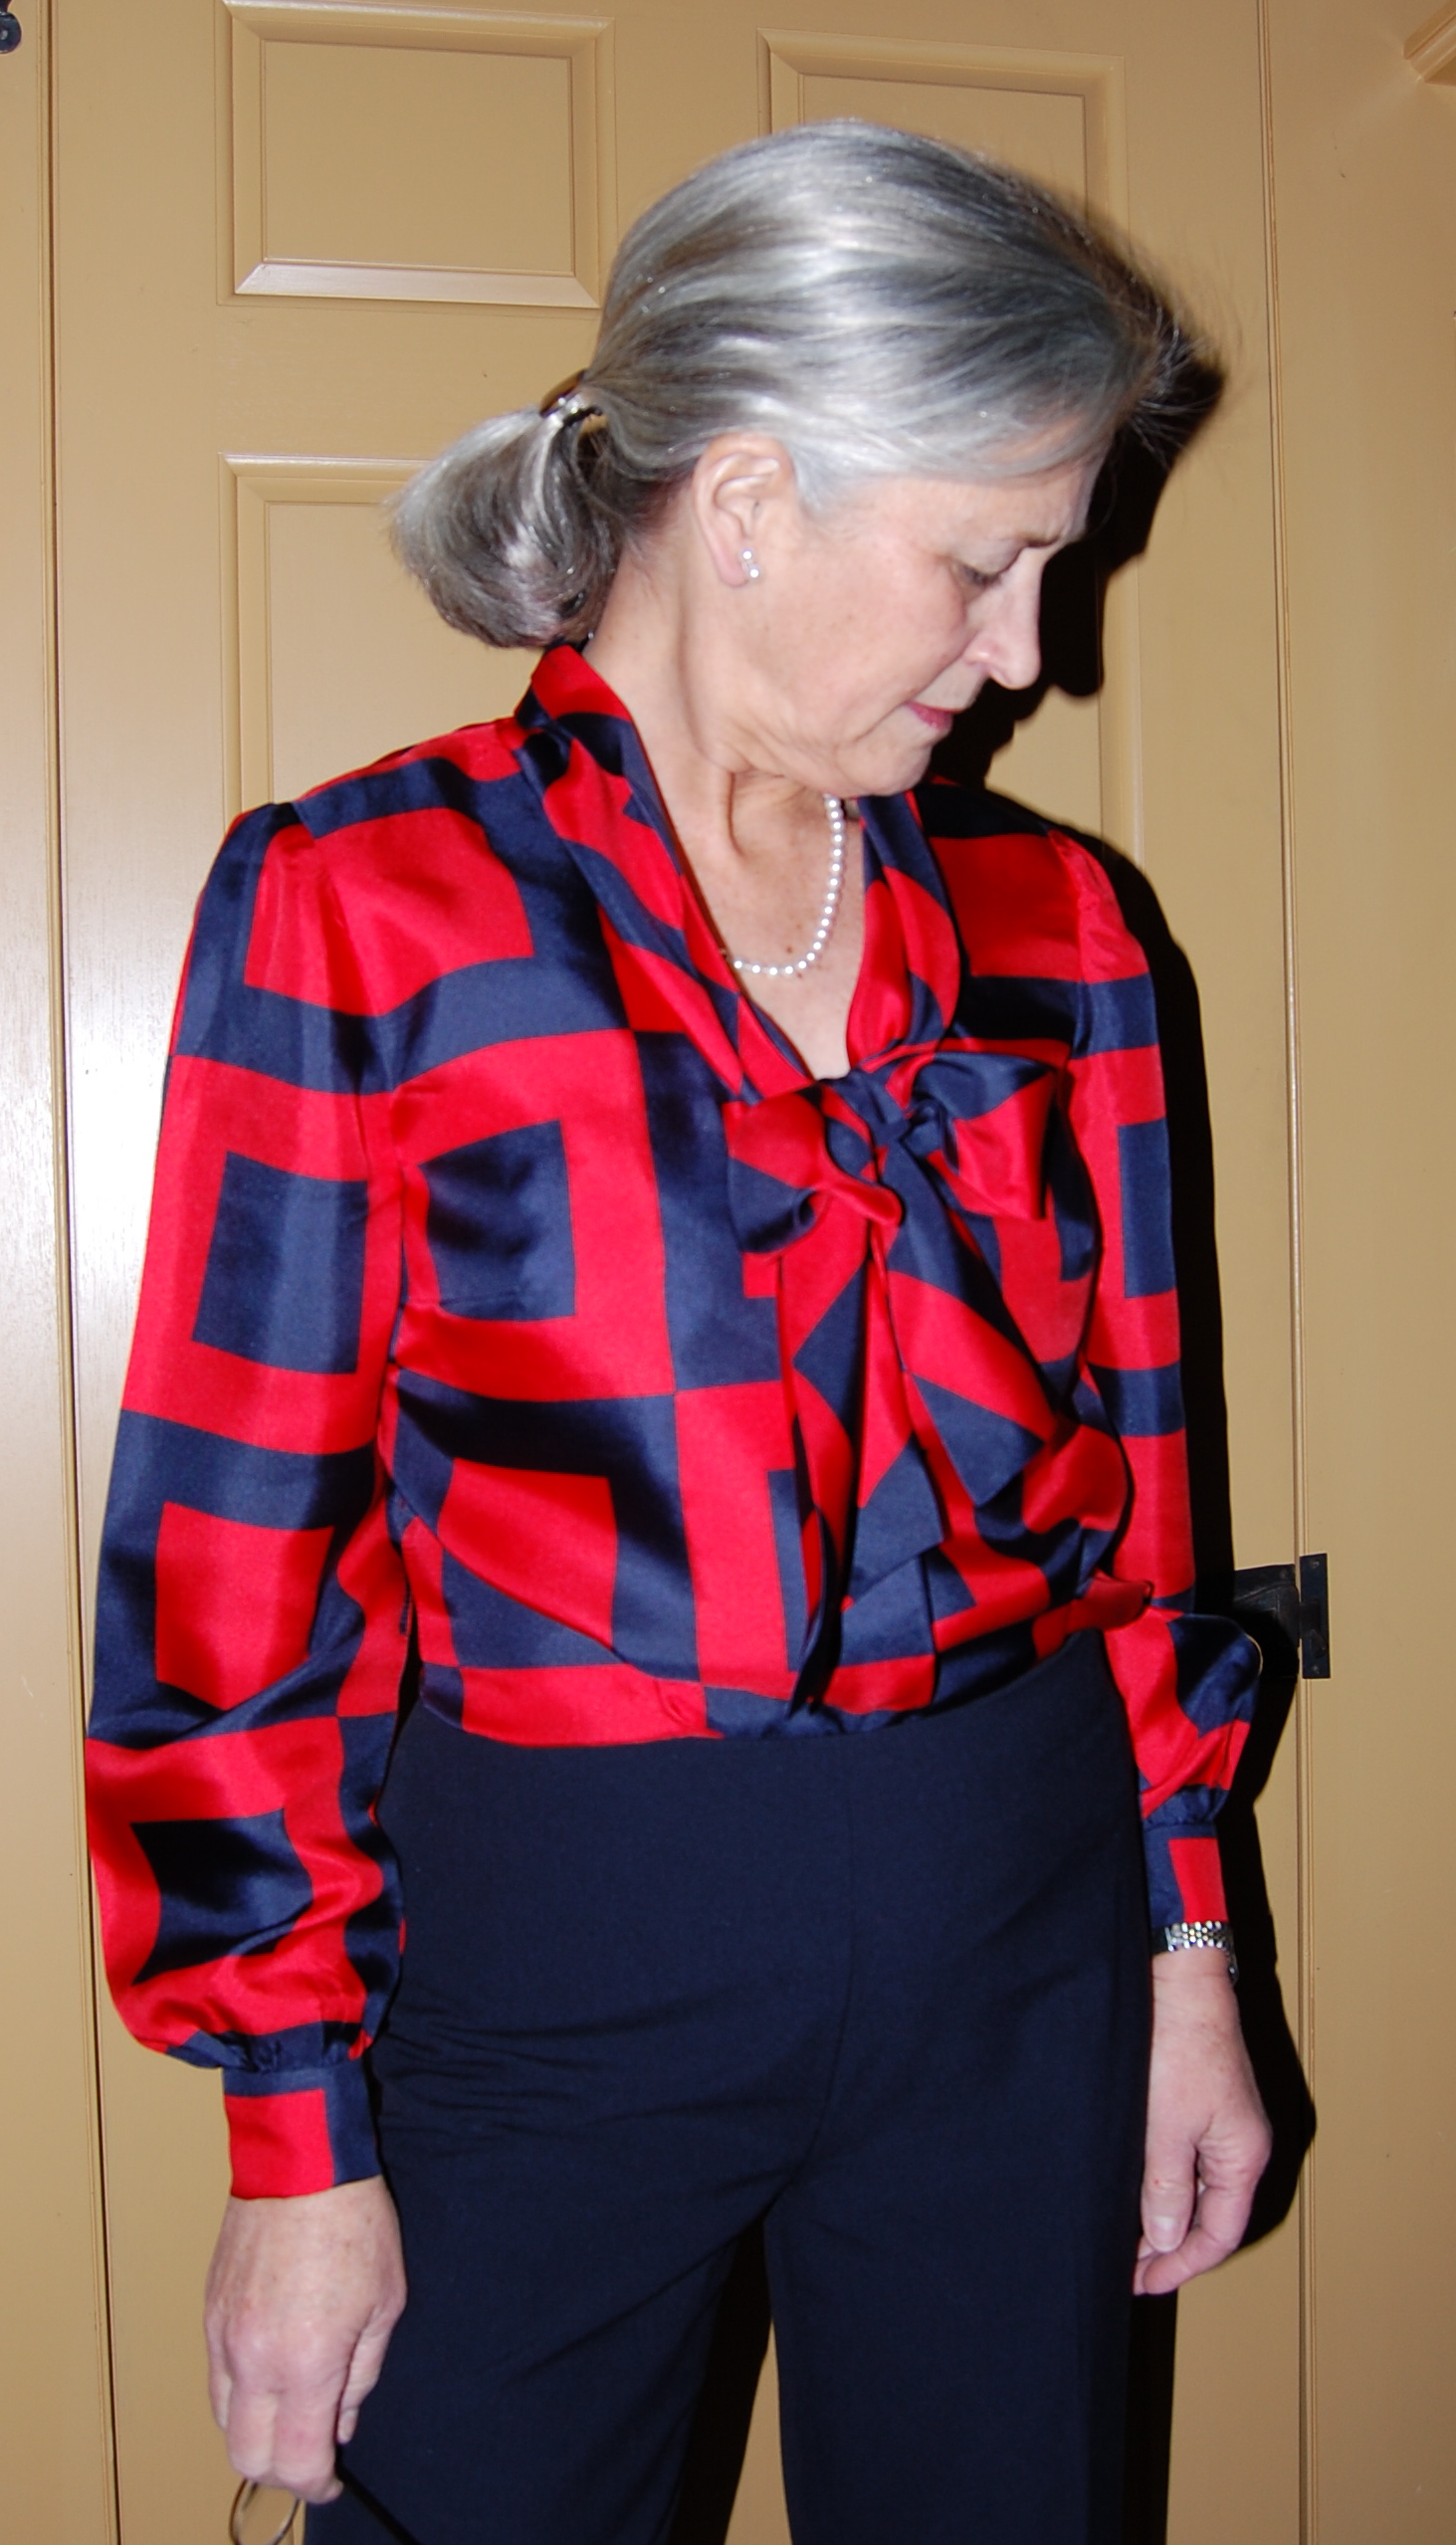
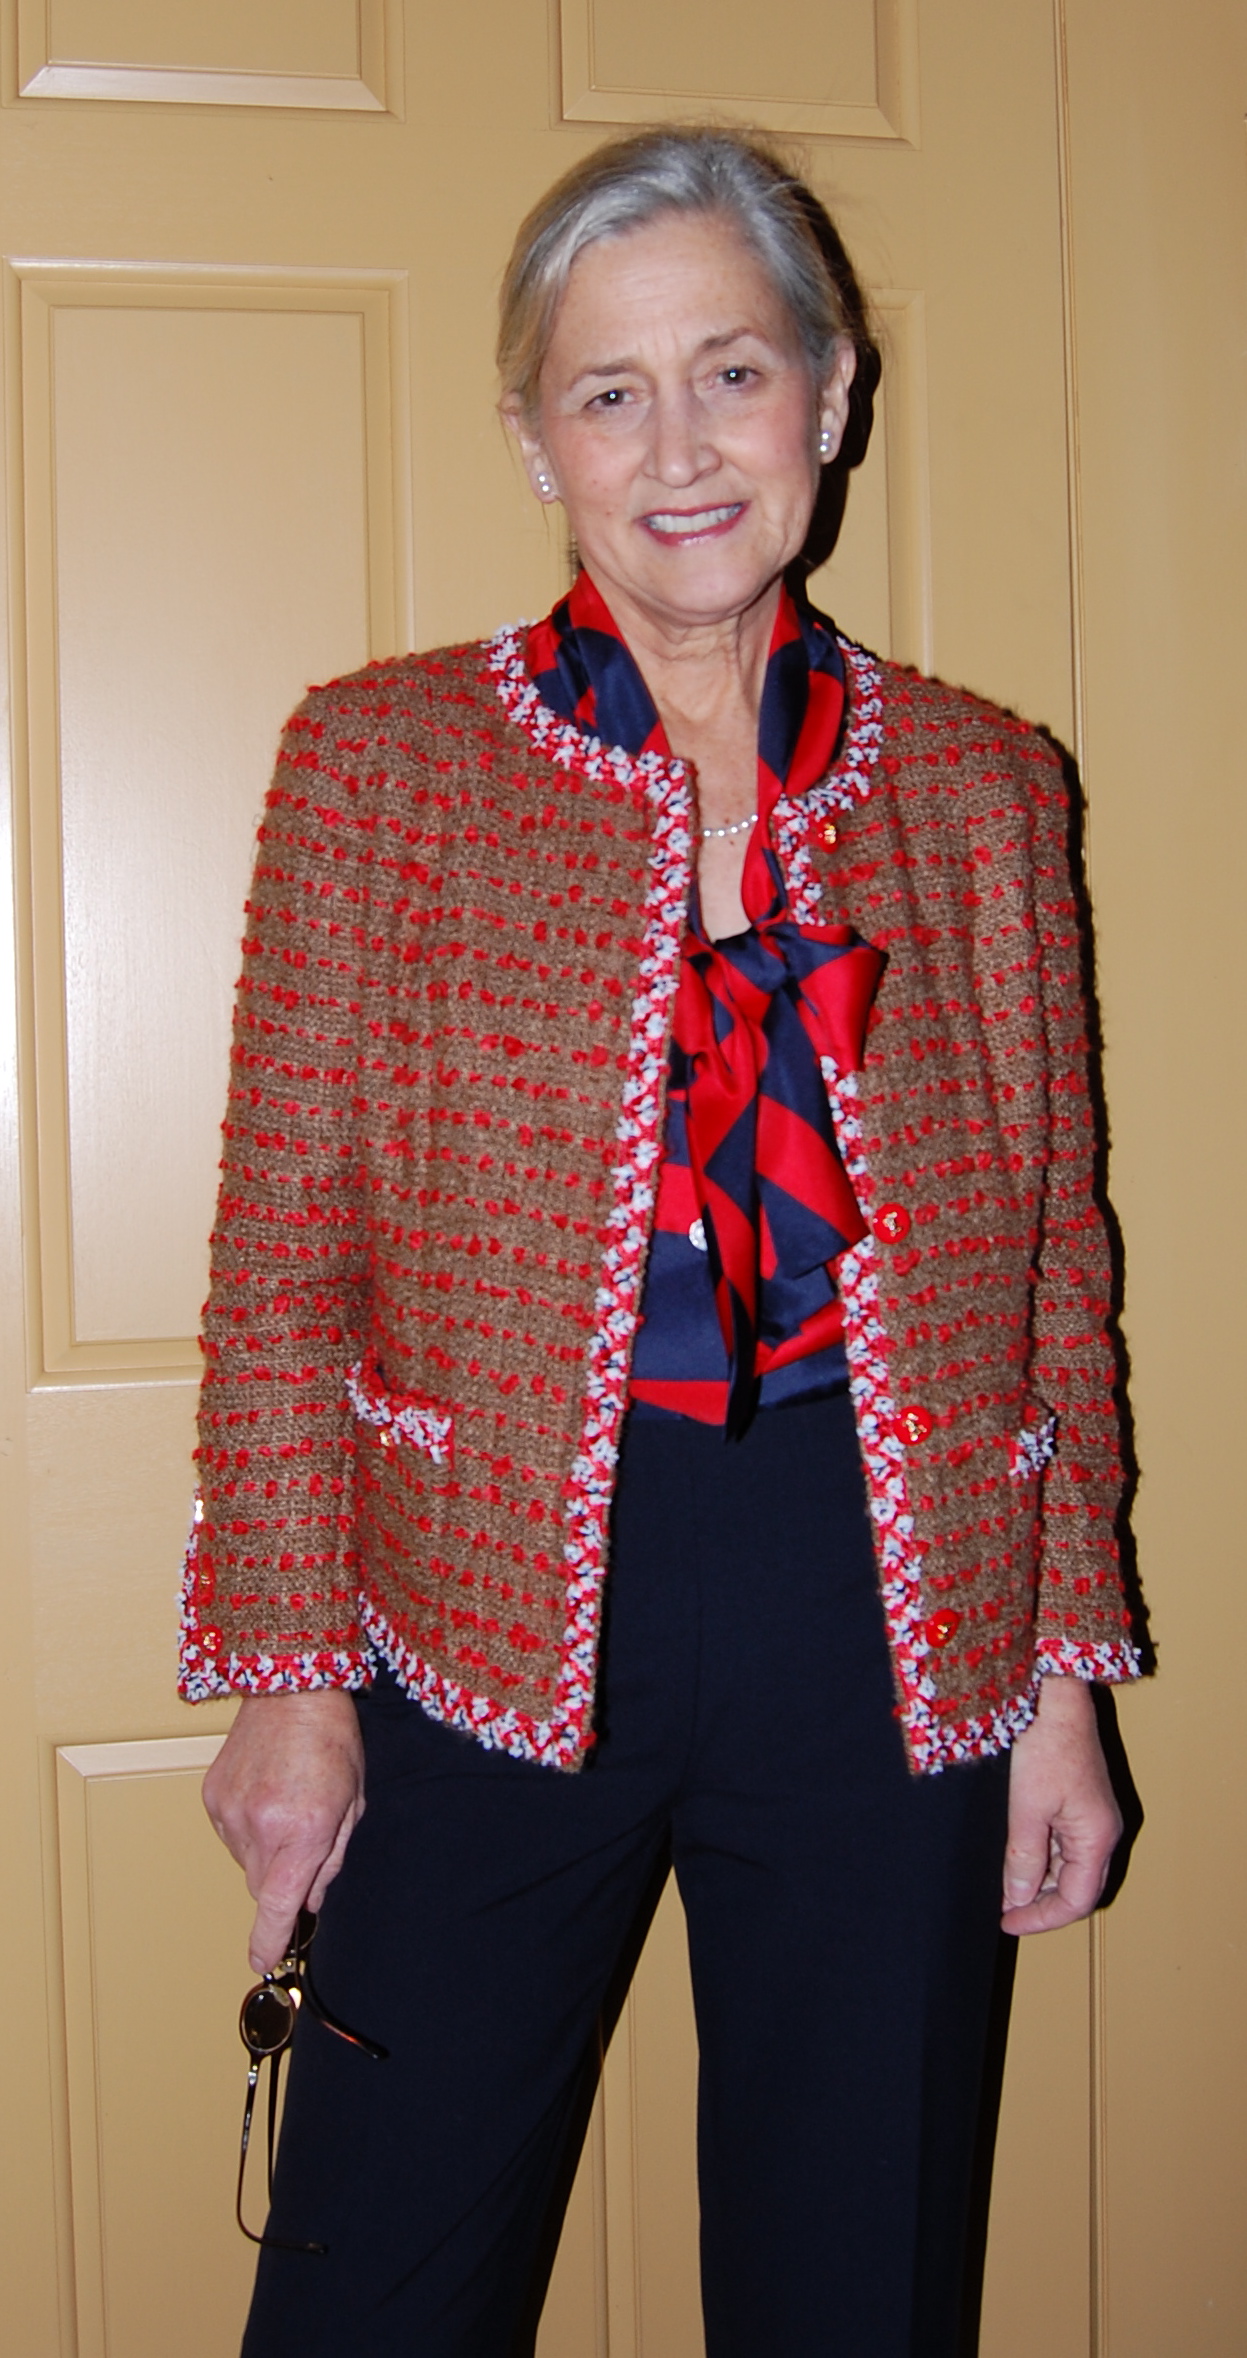
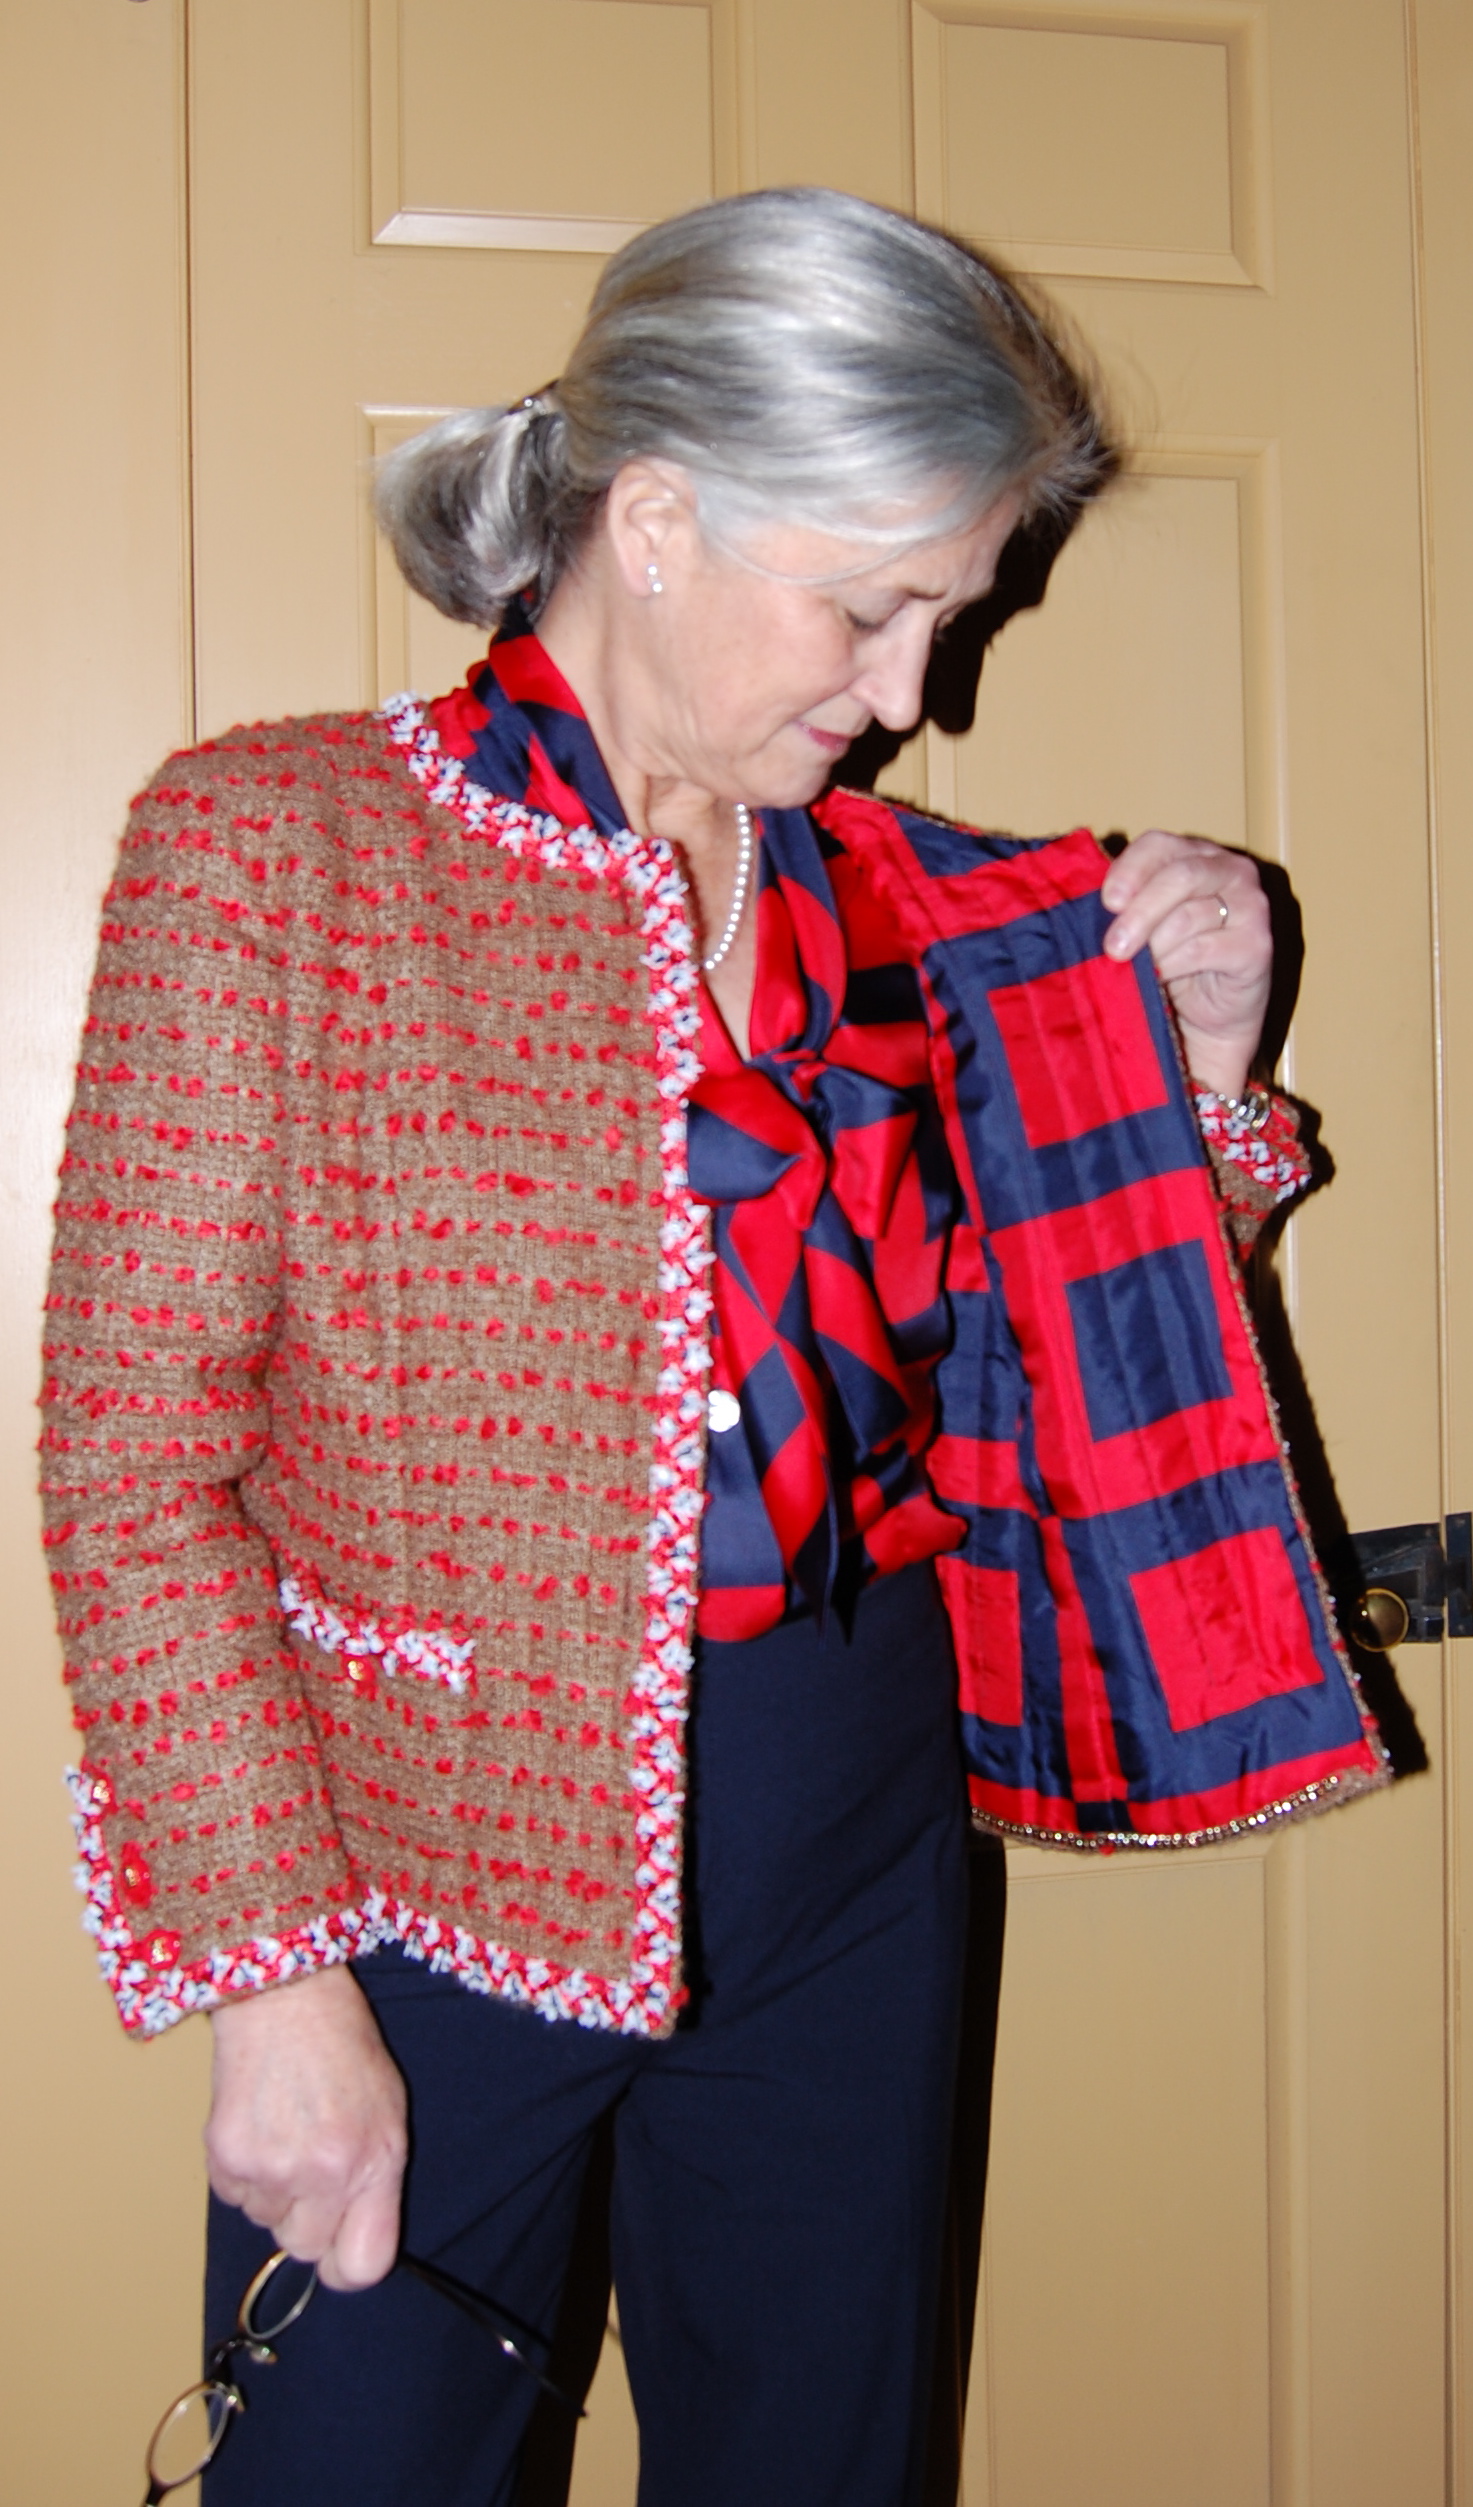
I re-cut the neckline so that it was wider, following the neckline on my completed jumper. The Peter Pan collar was too wide to my thinking, so I narrowed it by about an inch. Instead of using facings, I bound the raw neck edge with self bias binding. The hand-stitching on that is hidden beneath the collar.
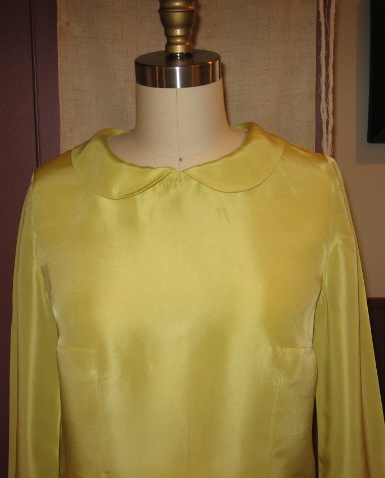
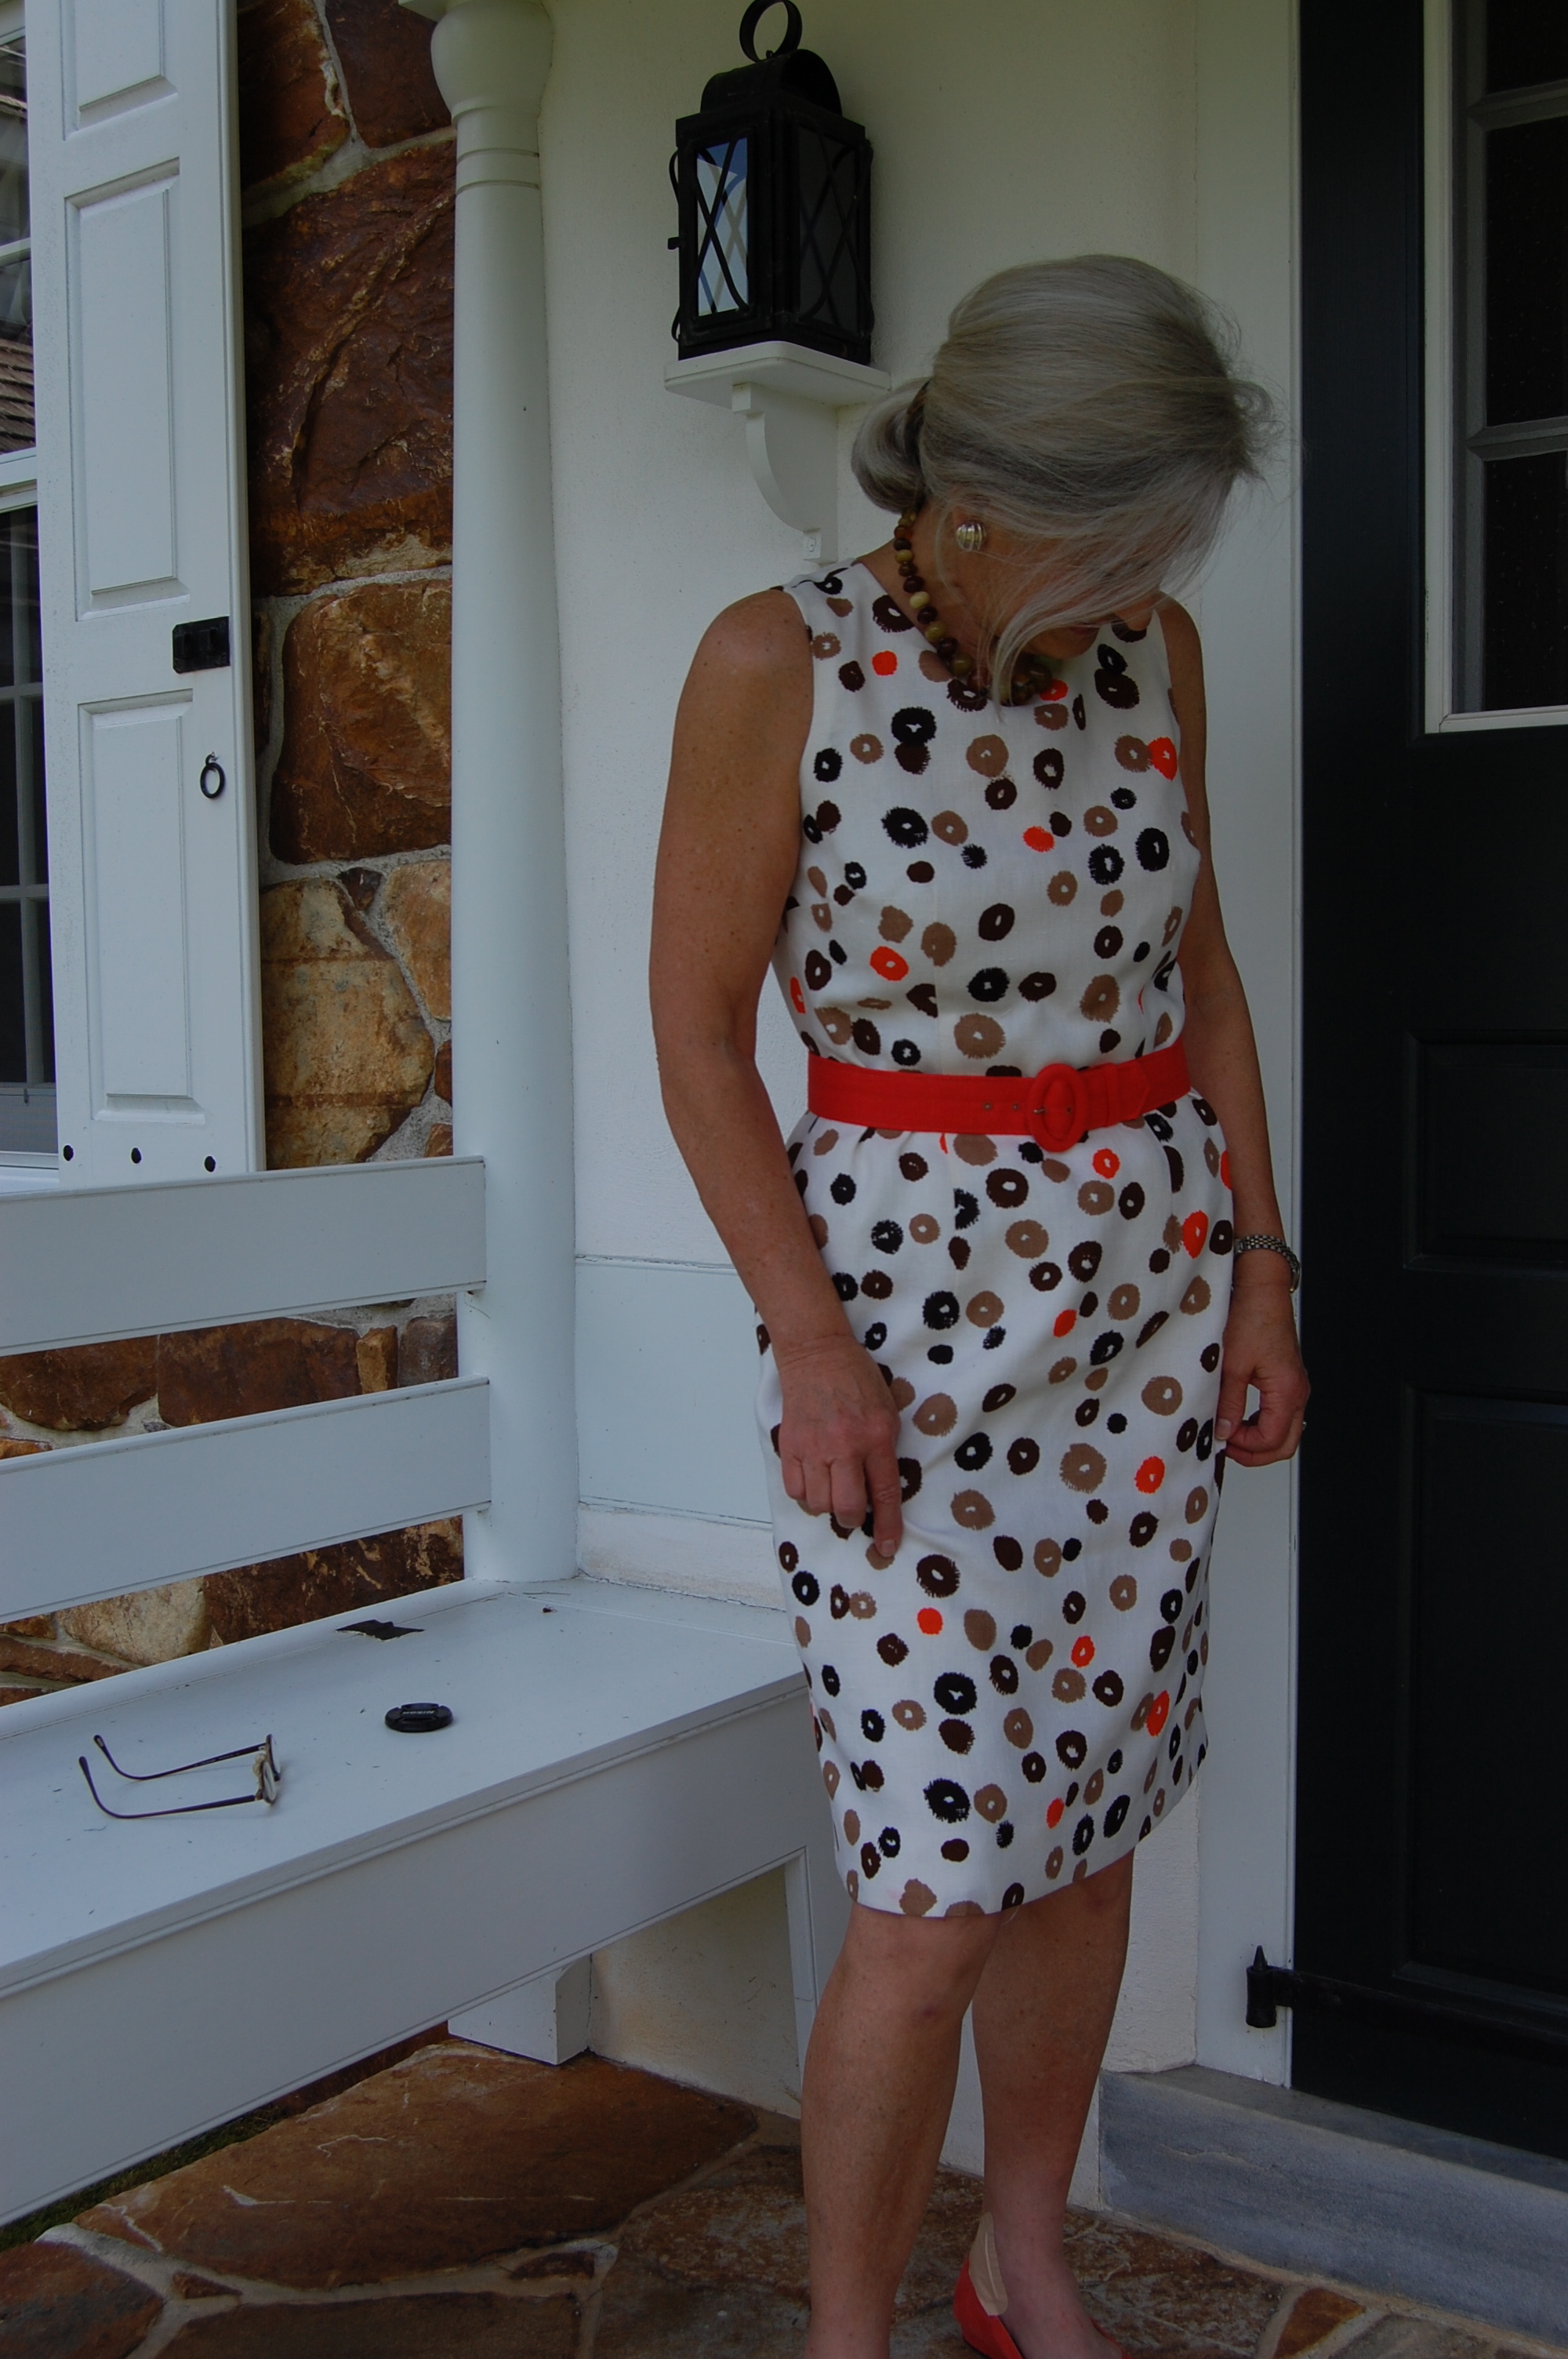
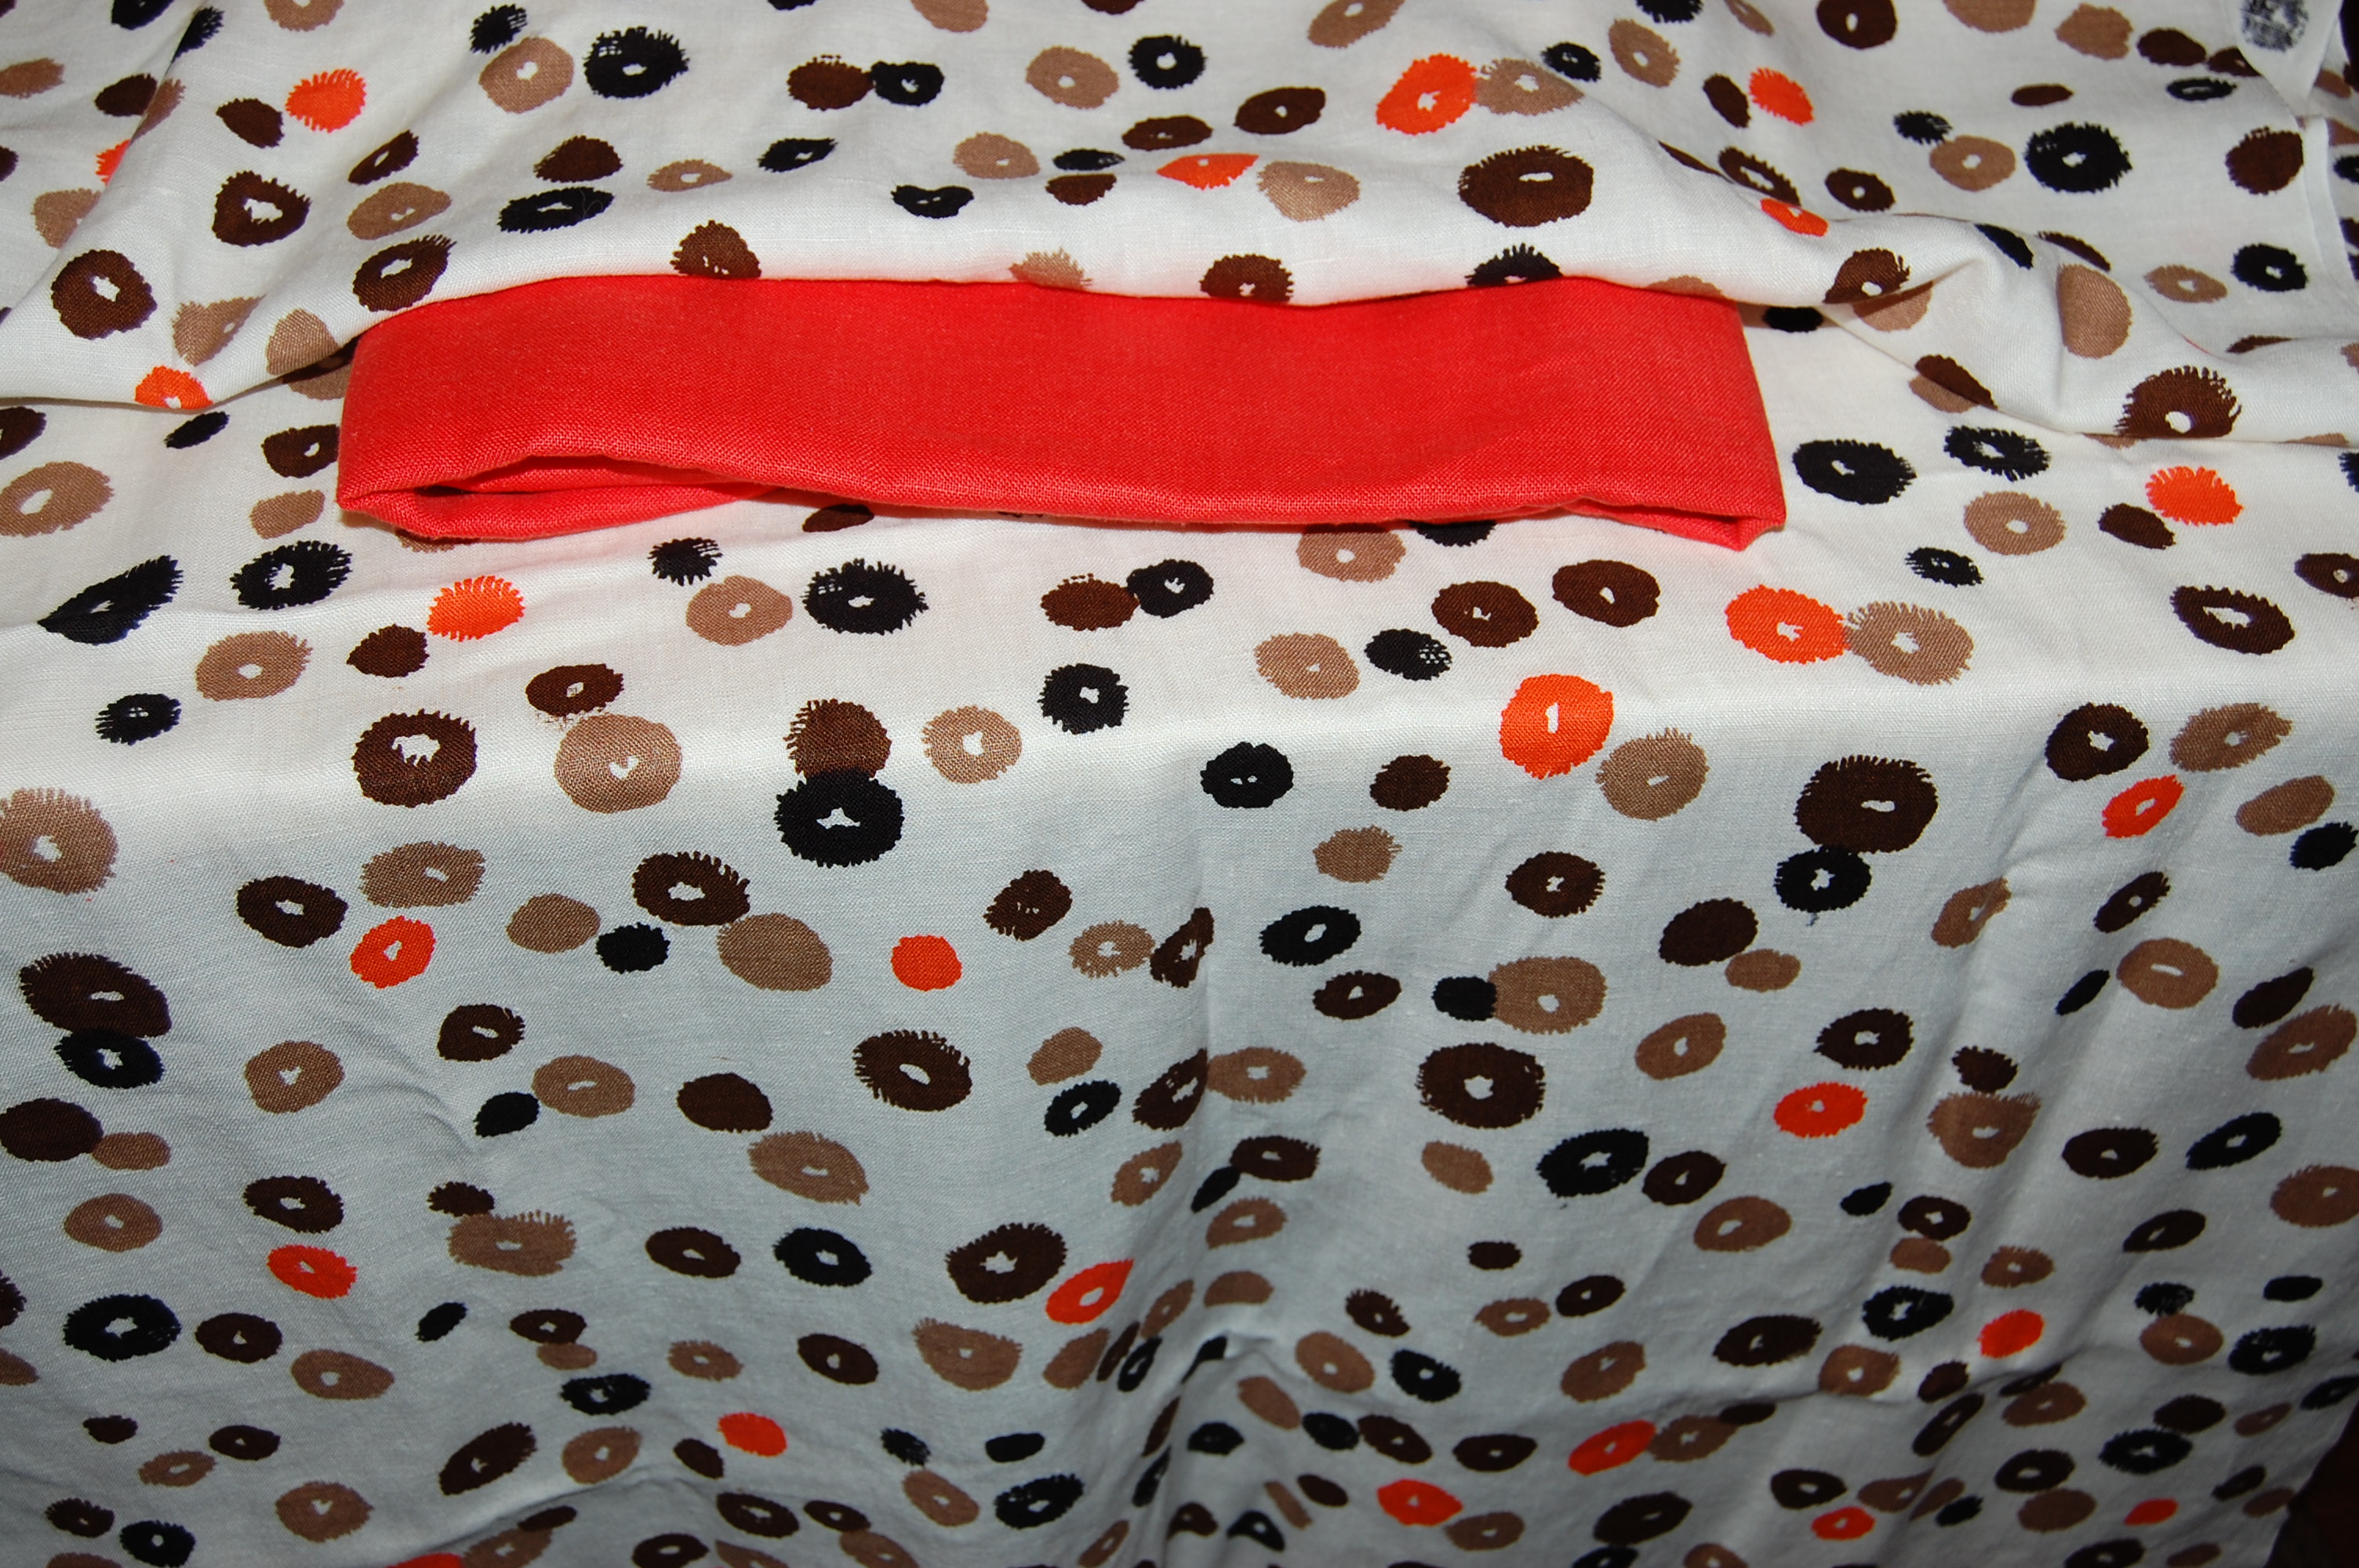
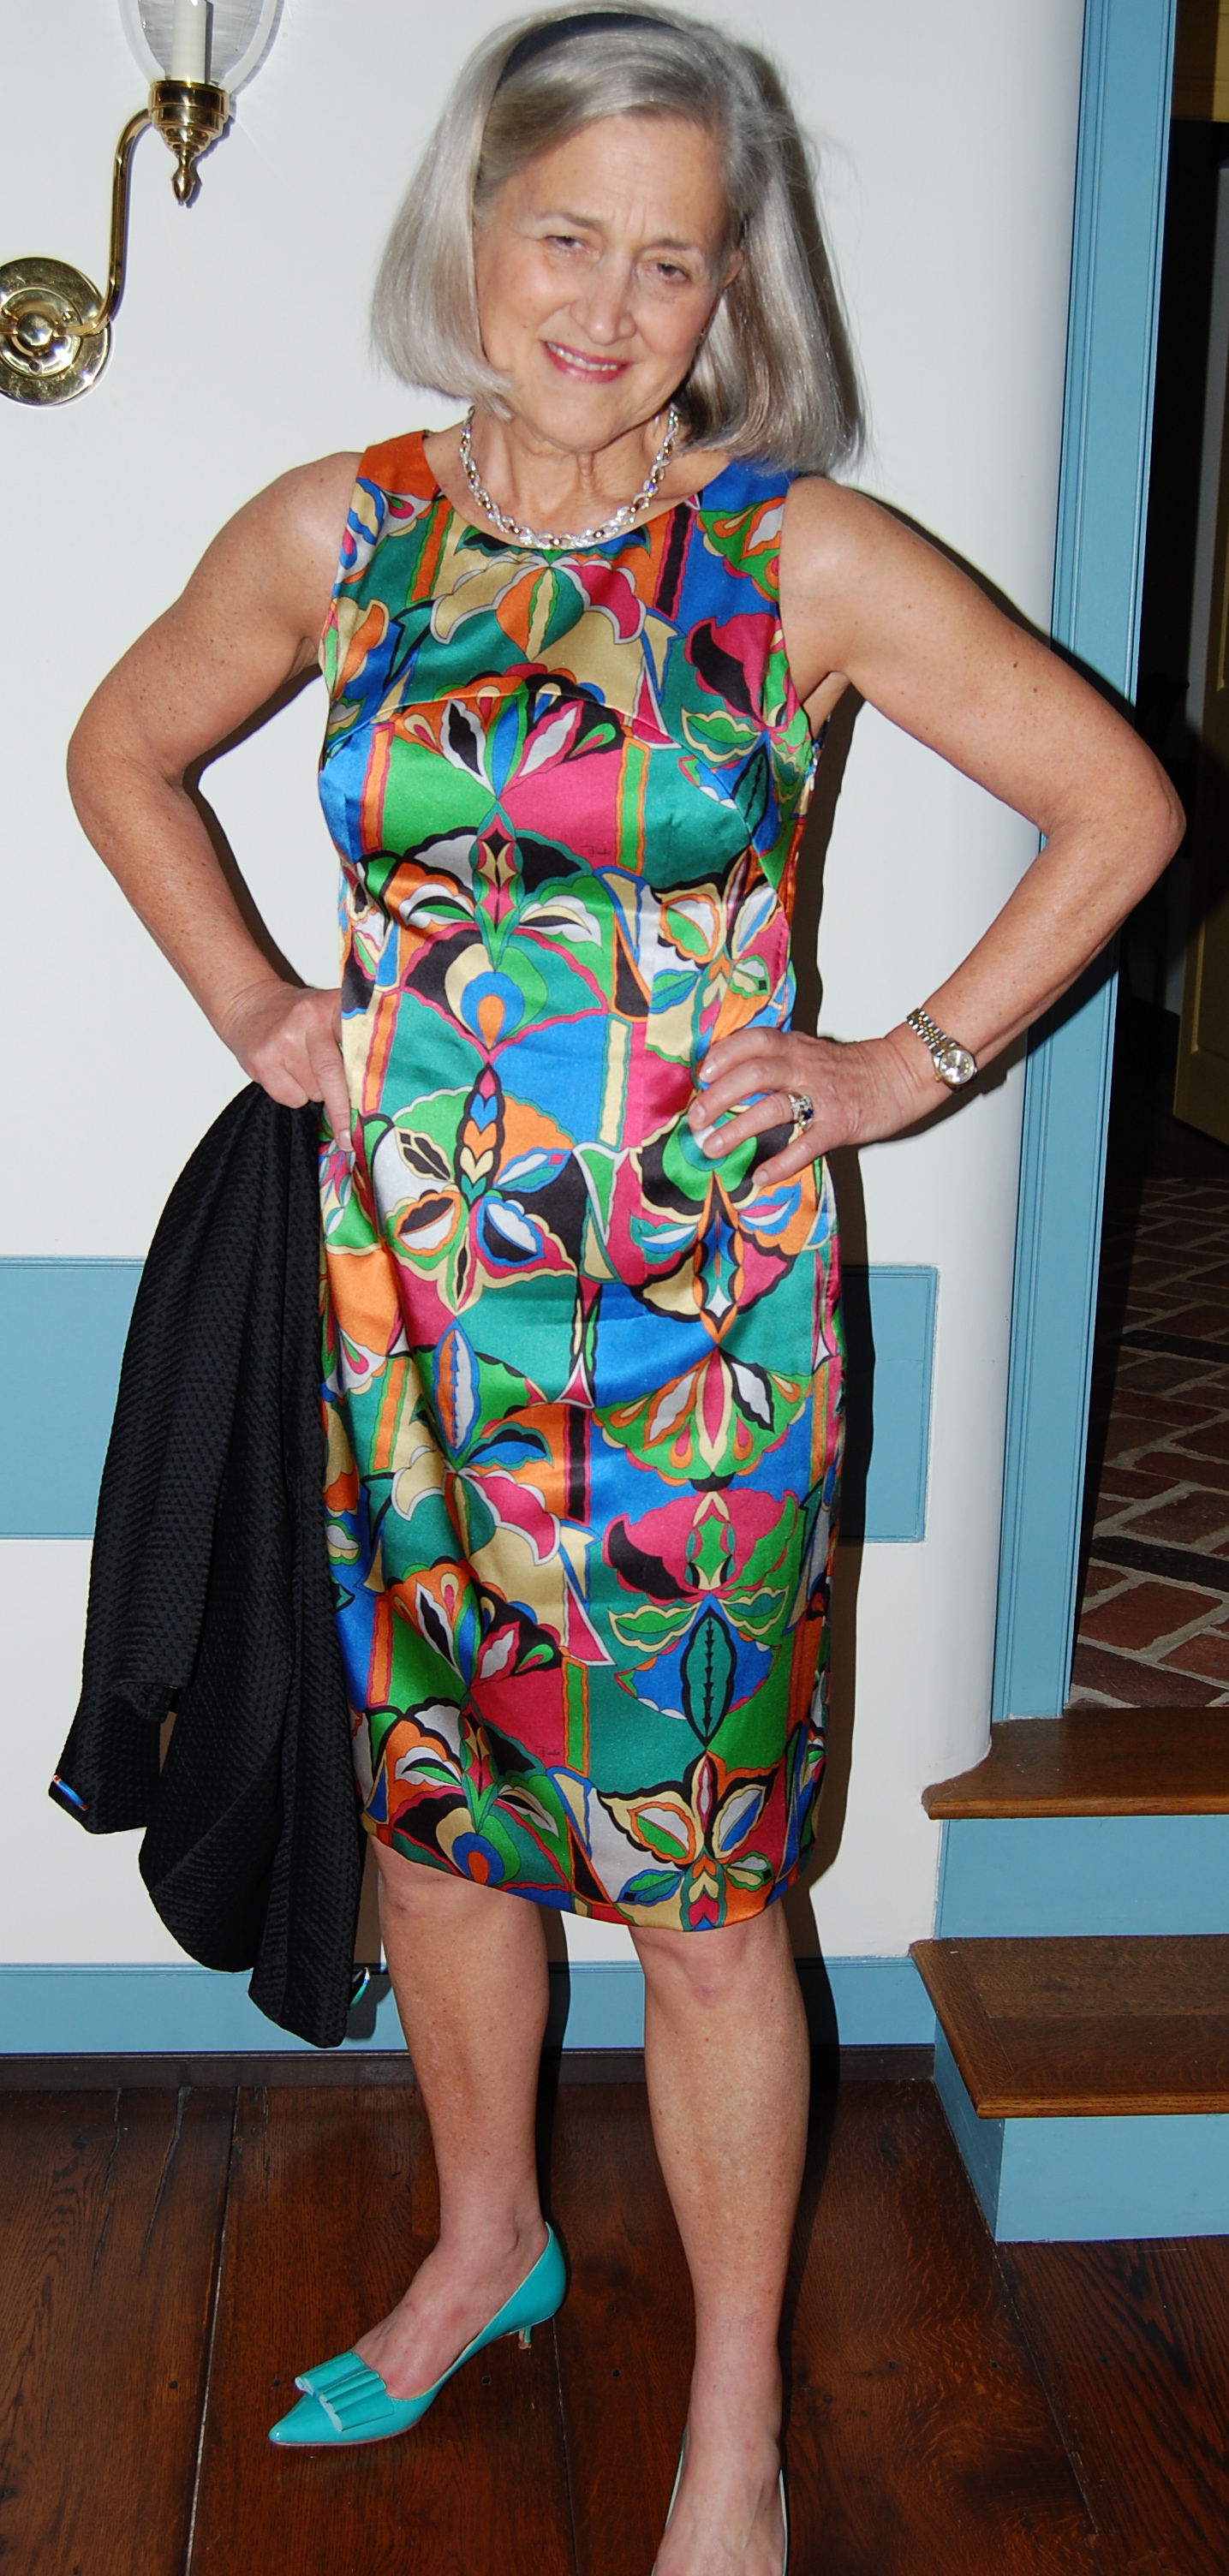
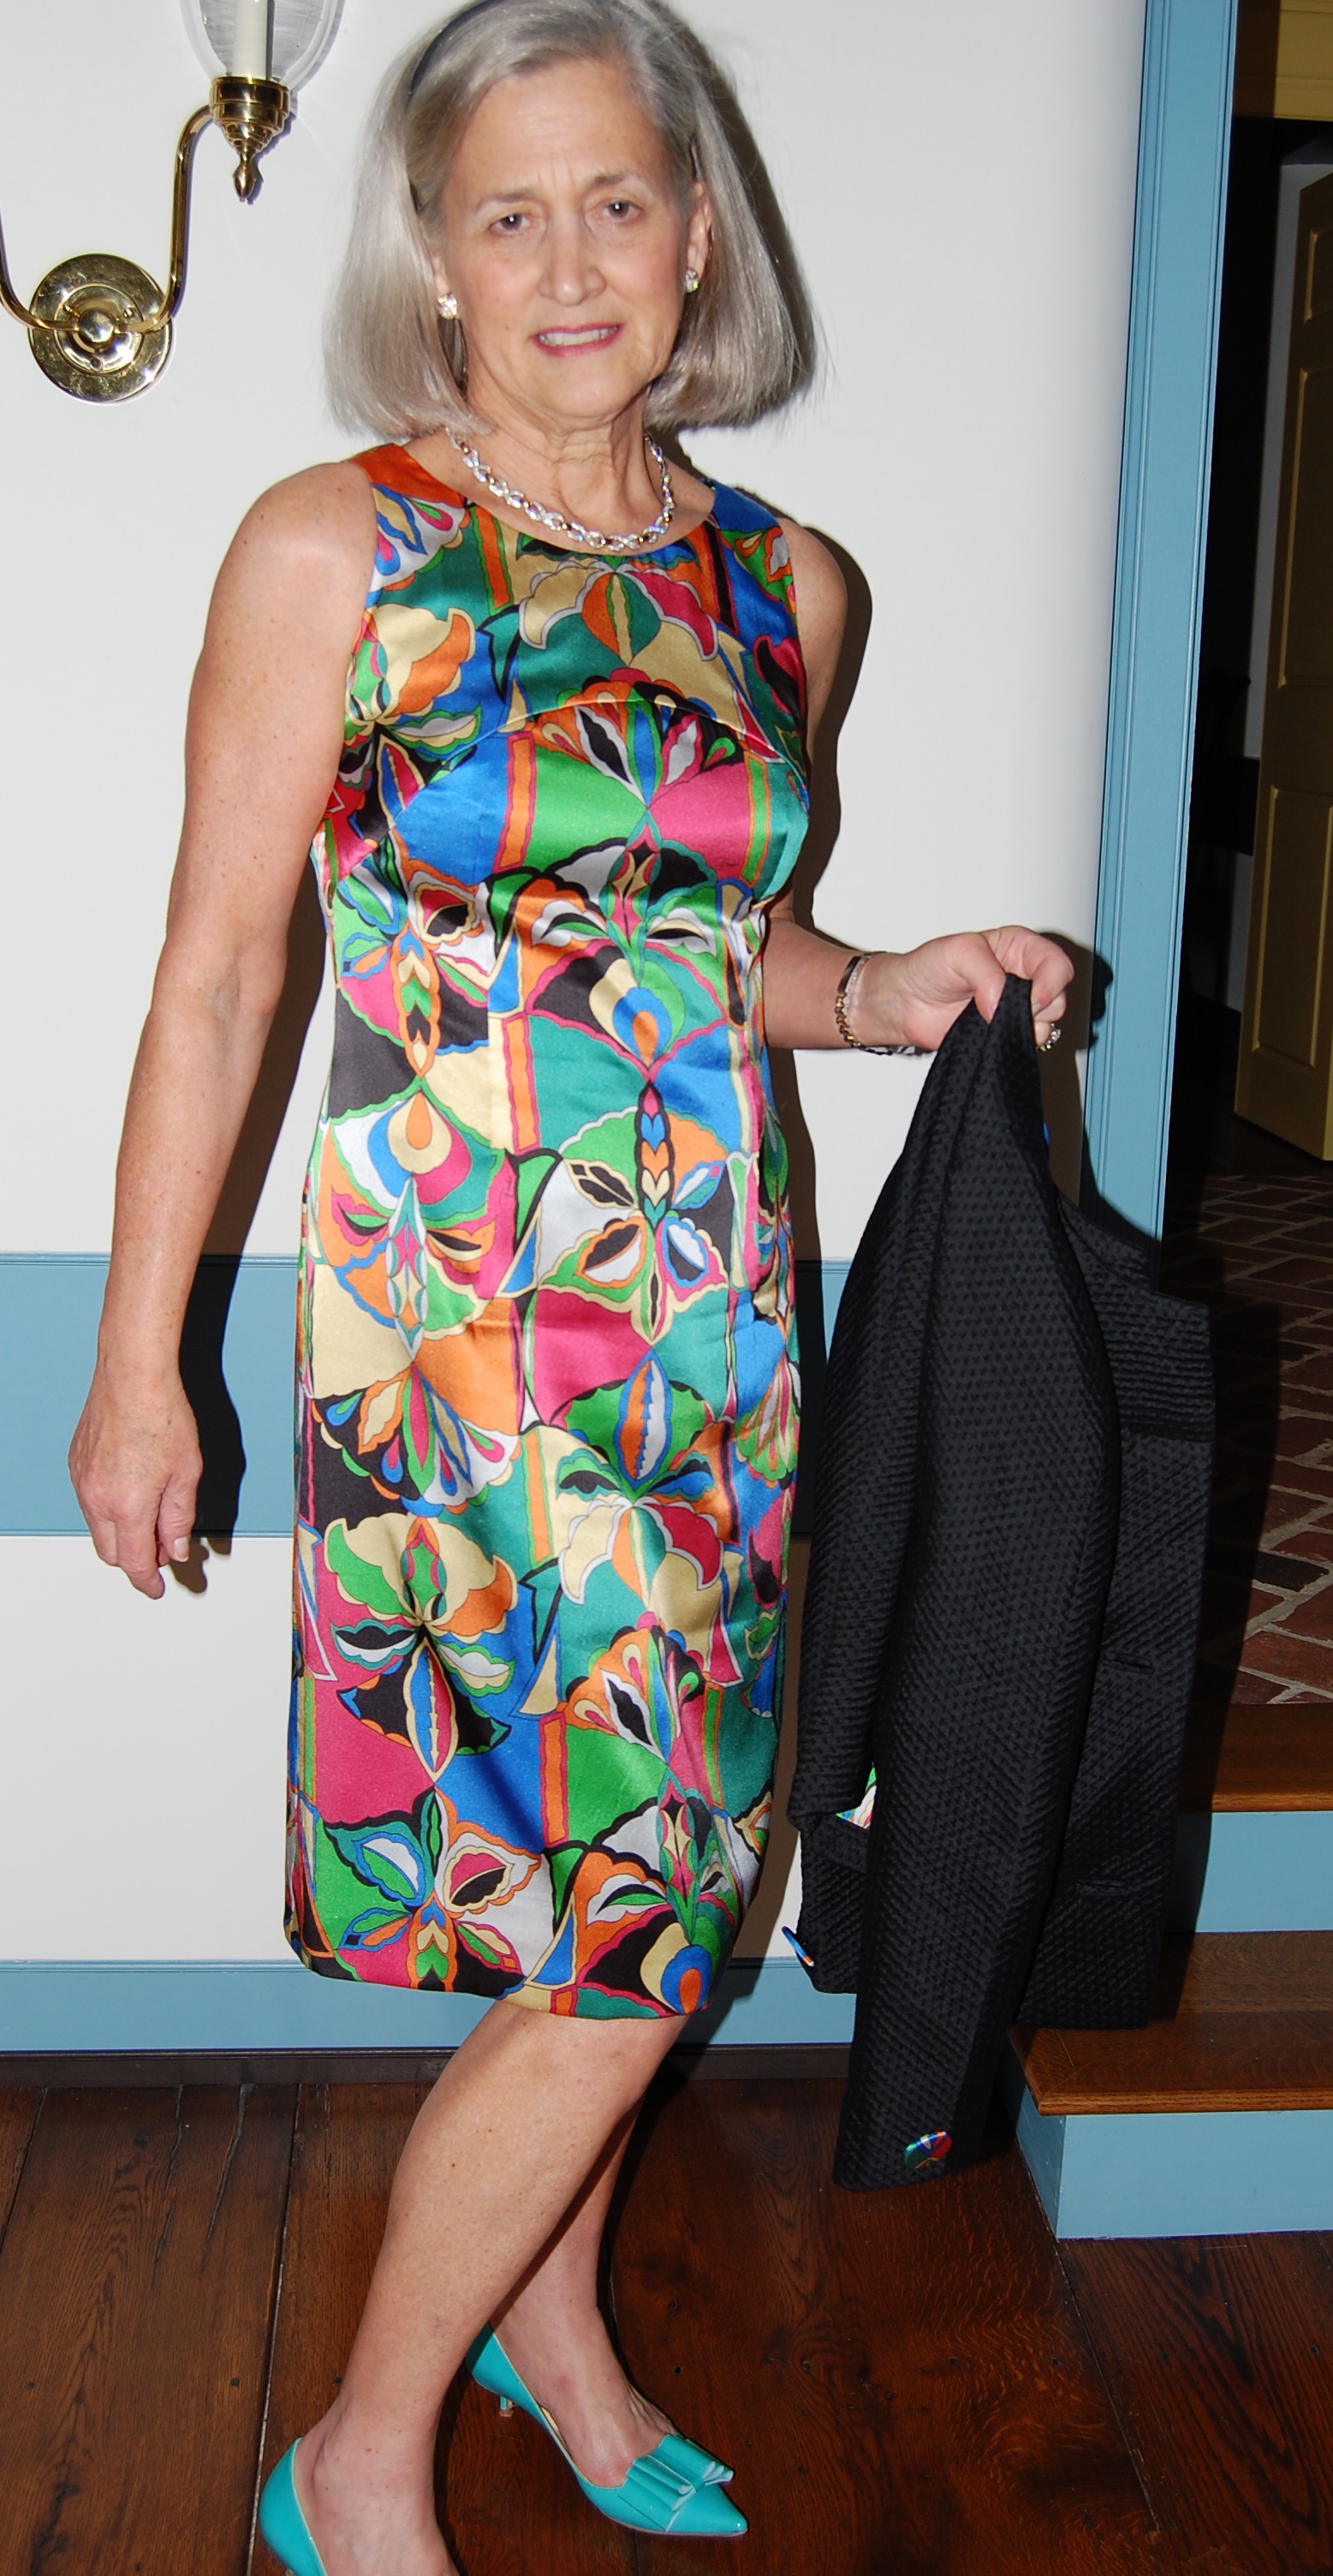
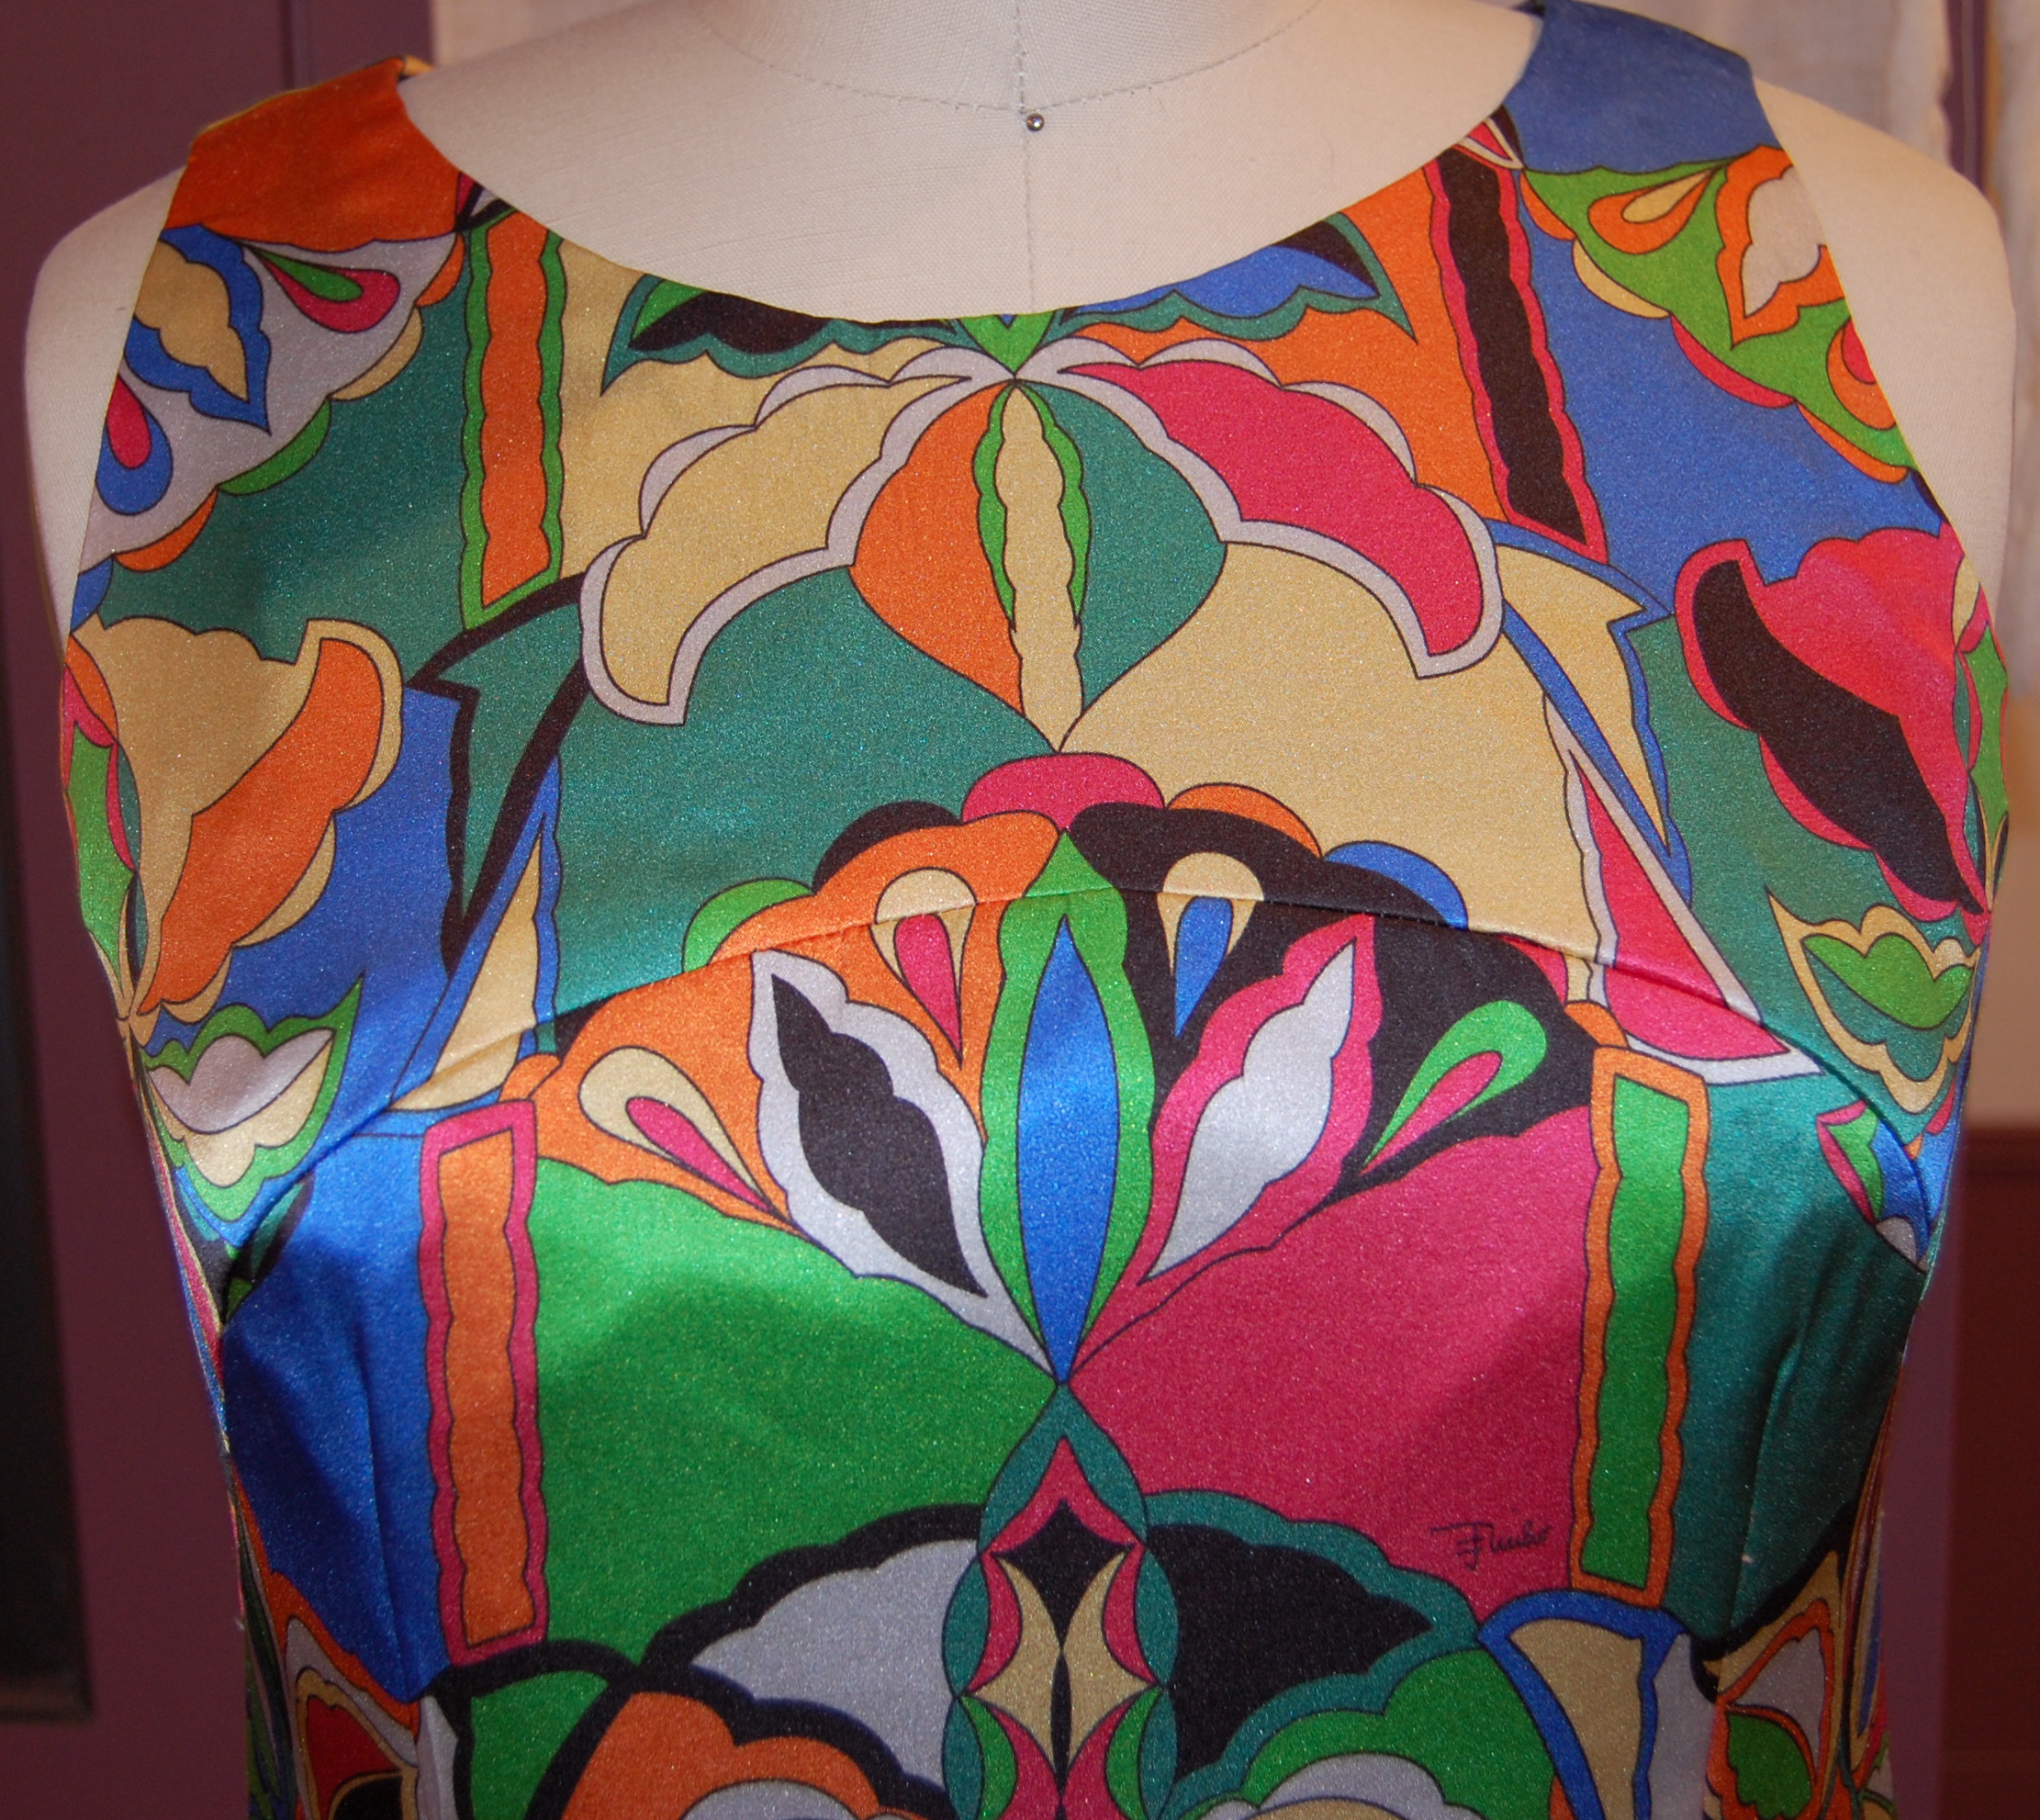
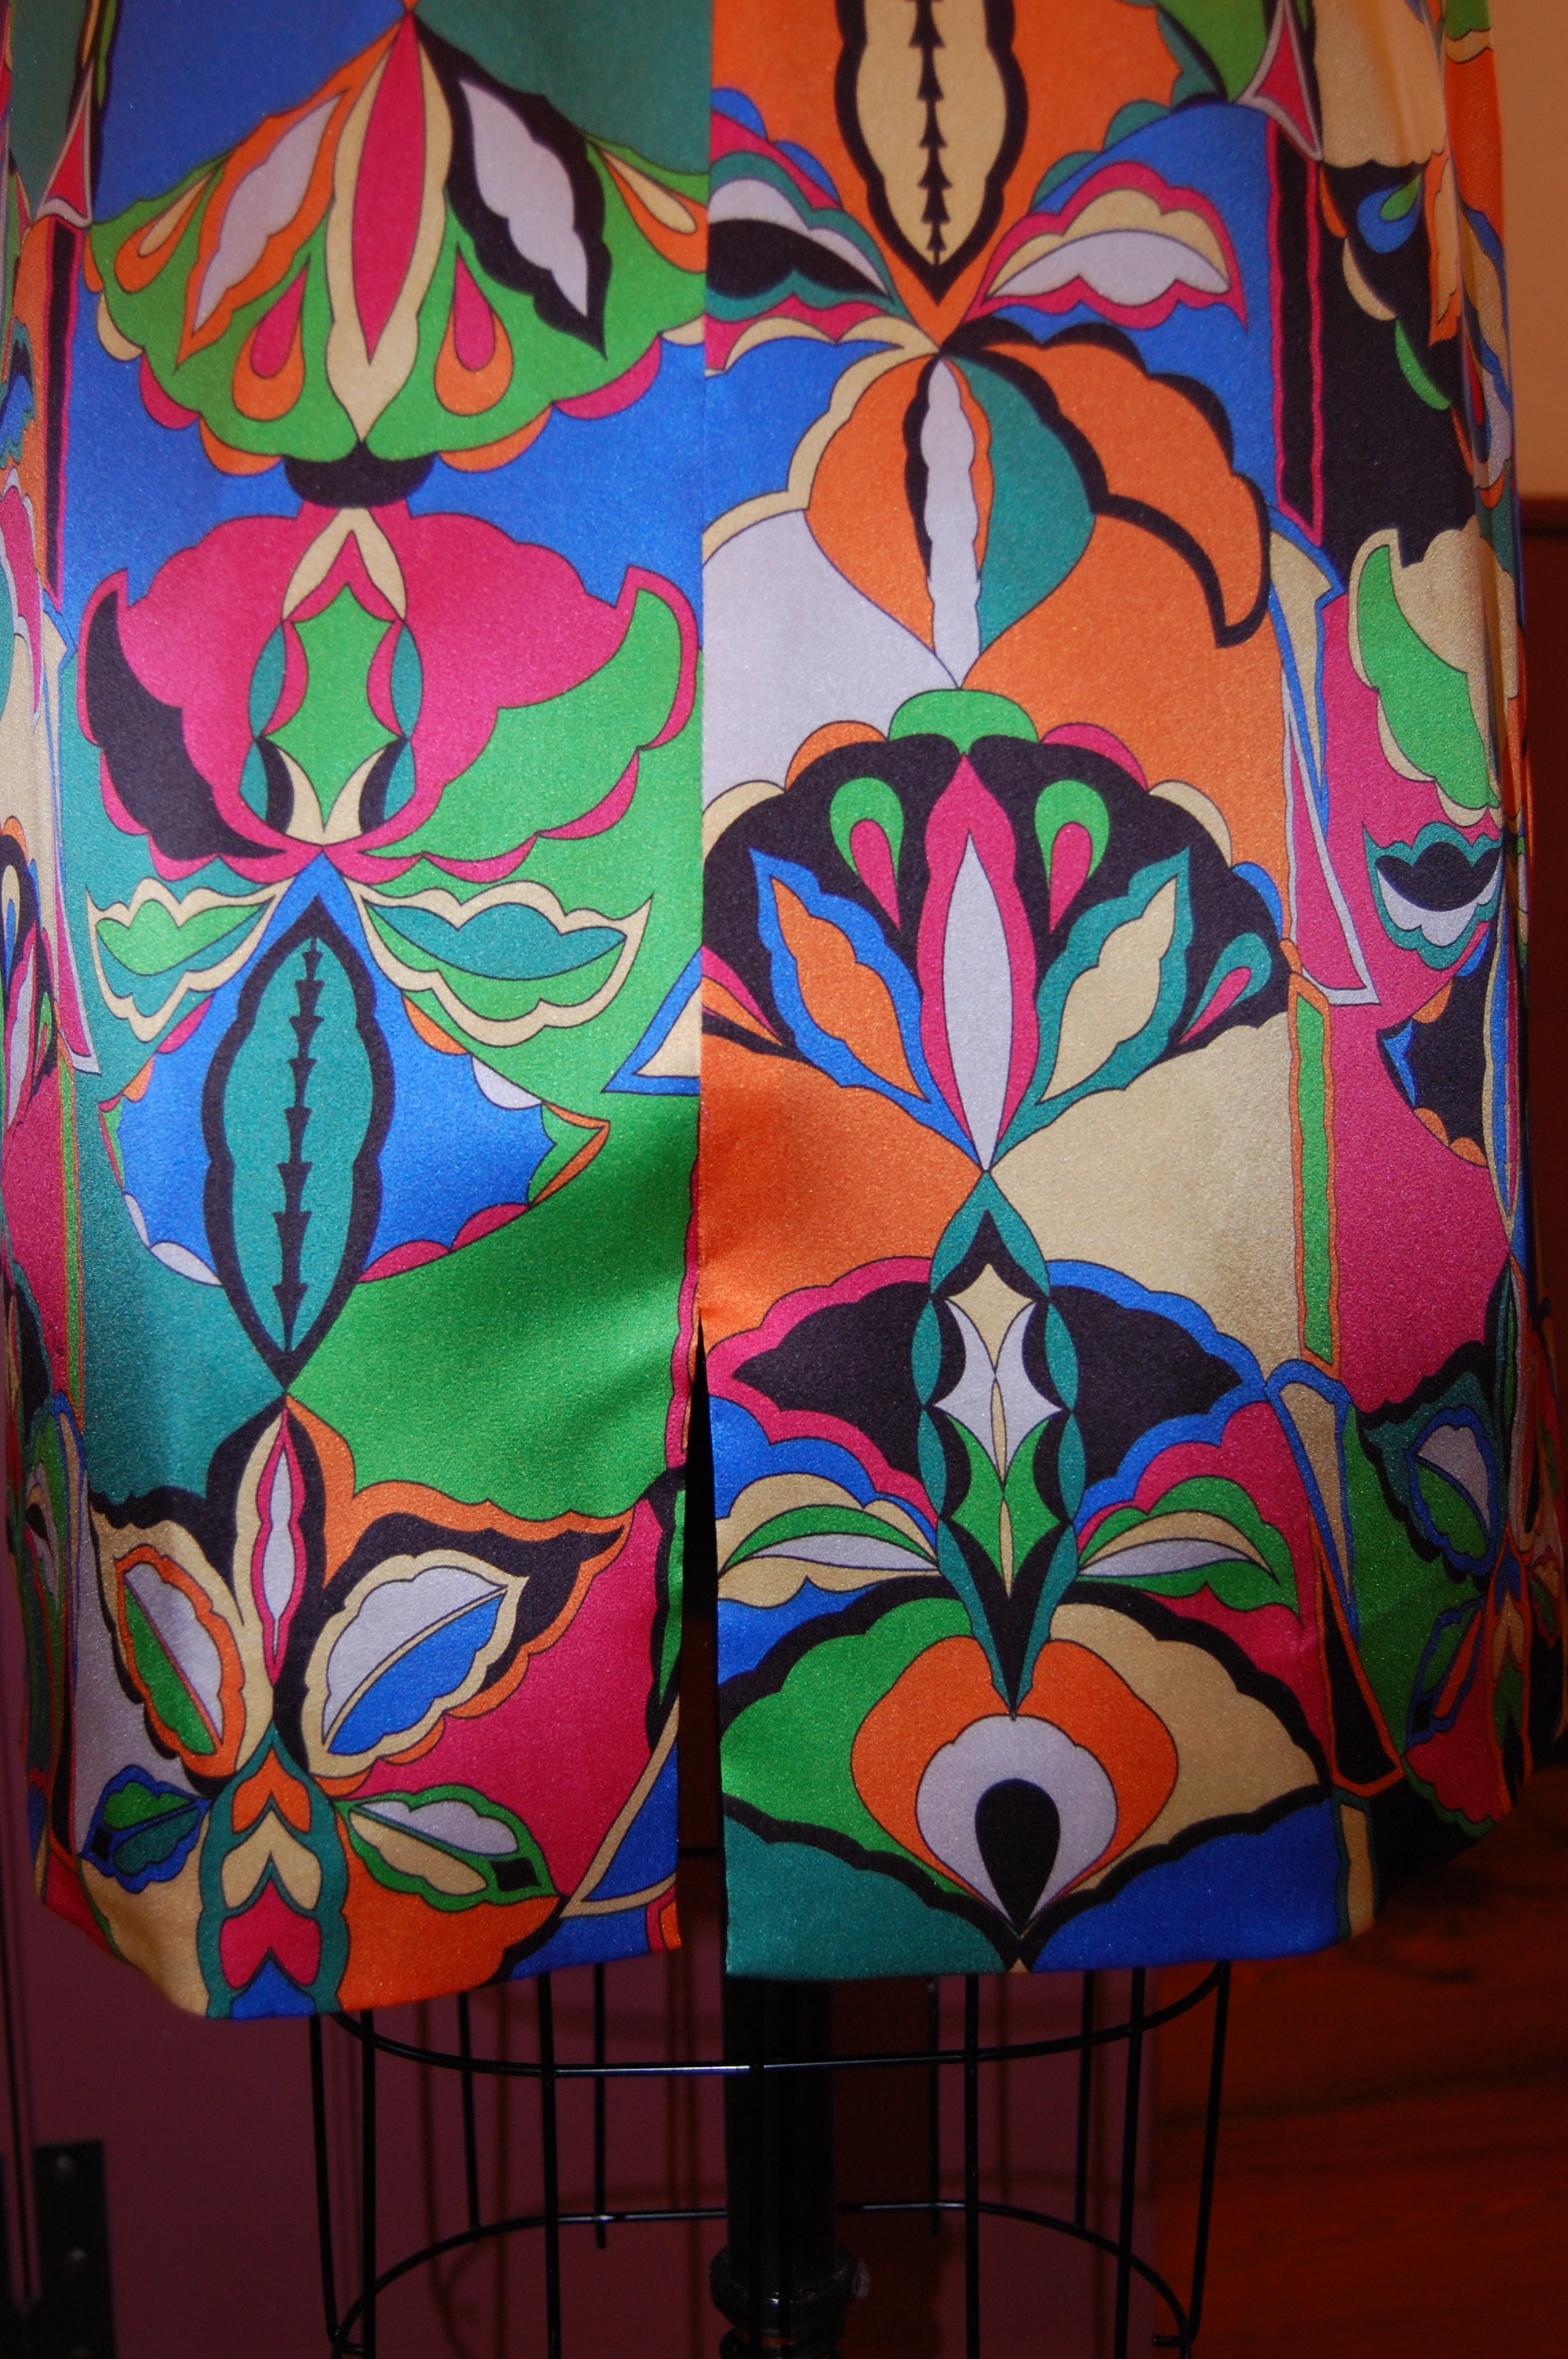
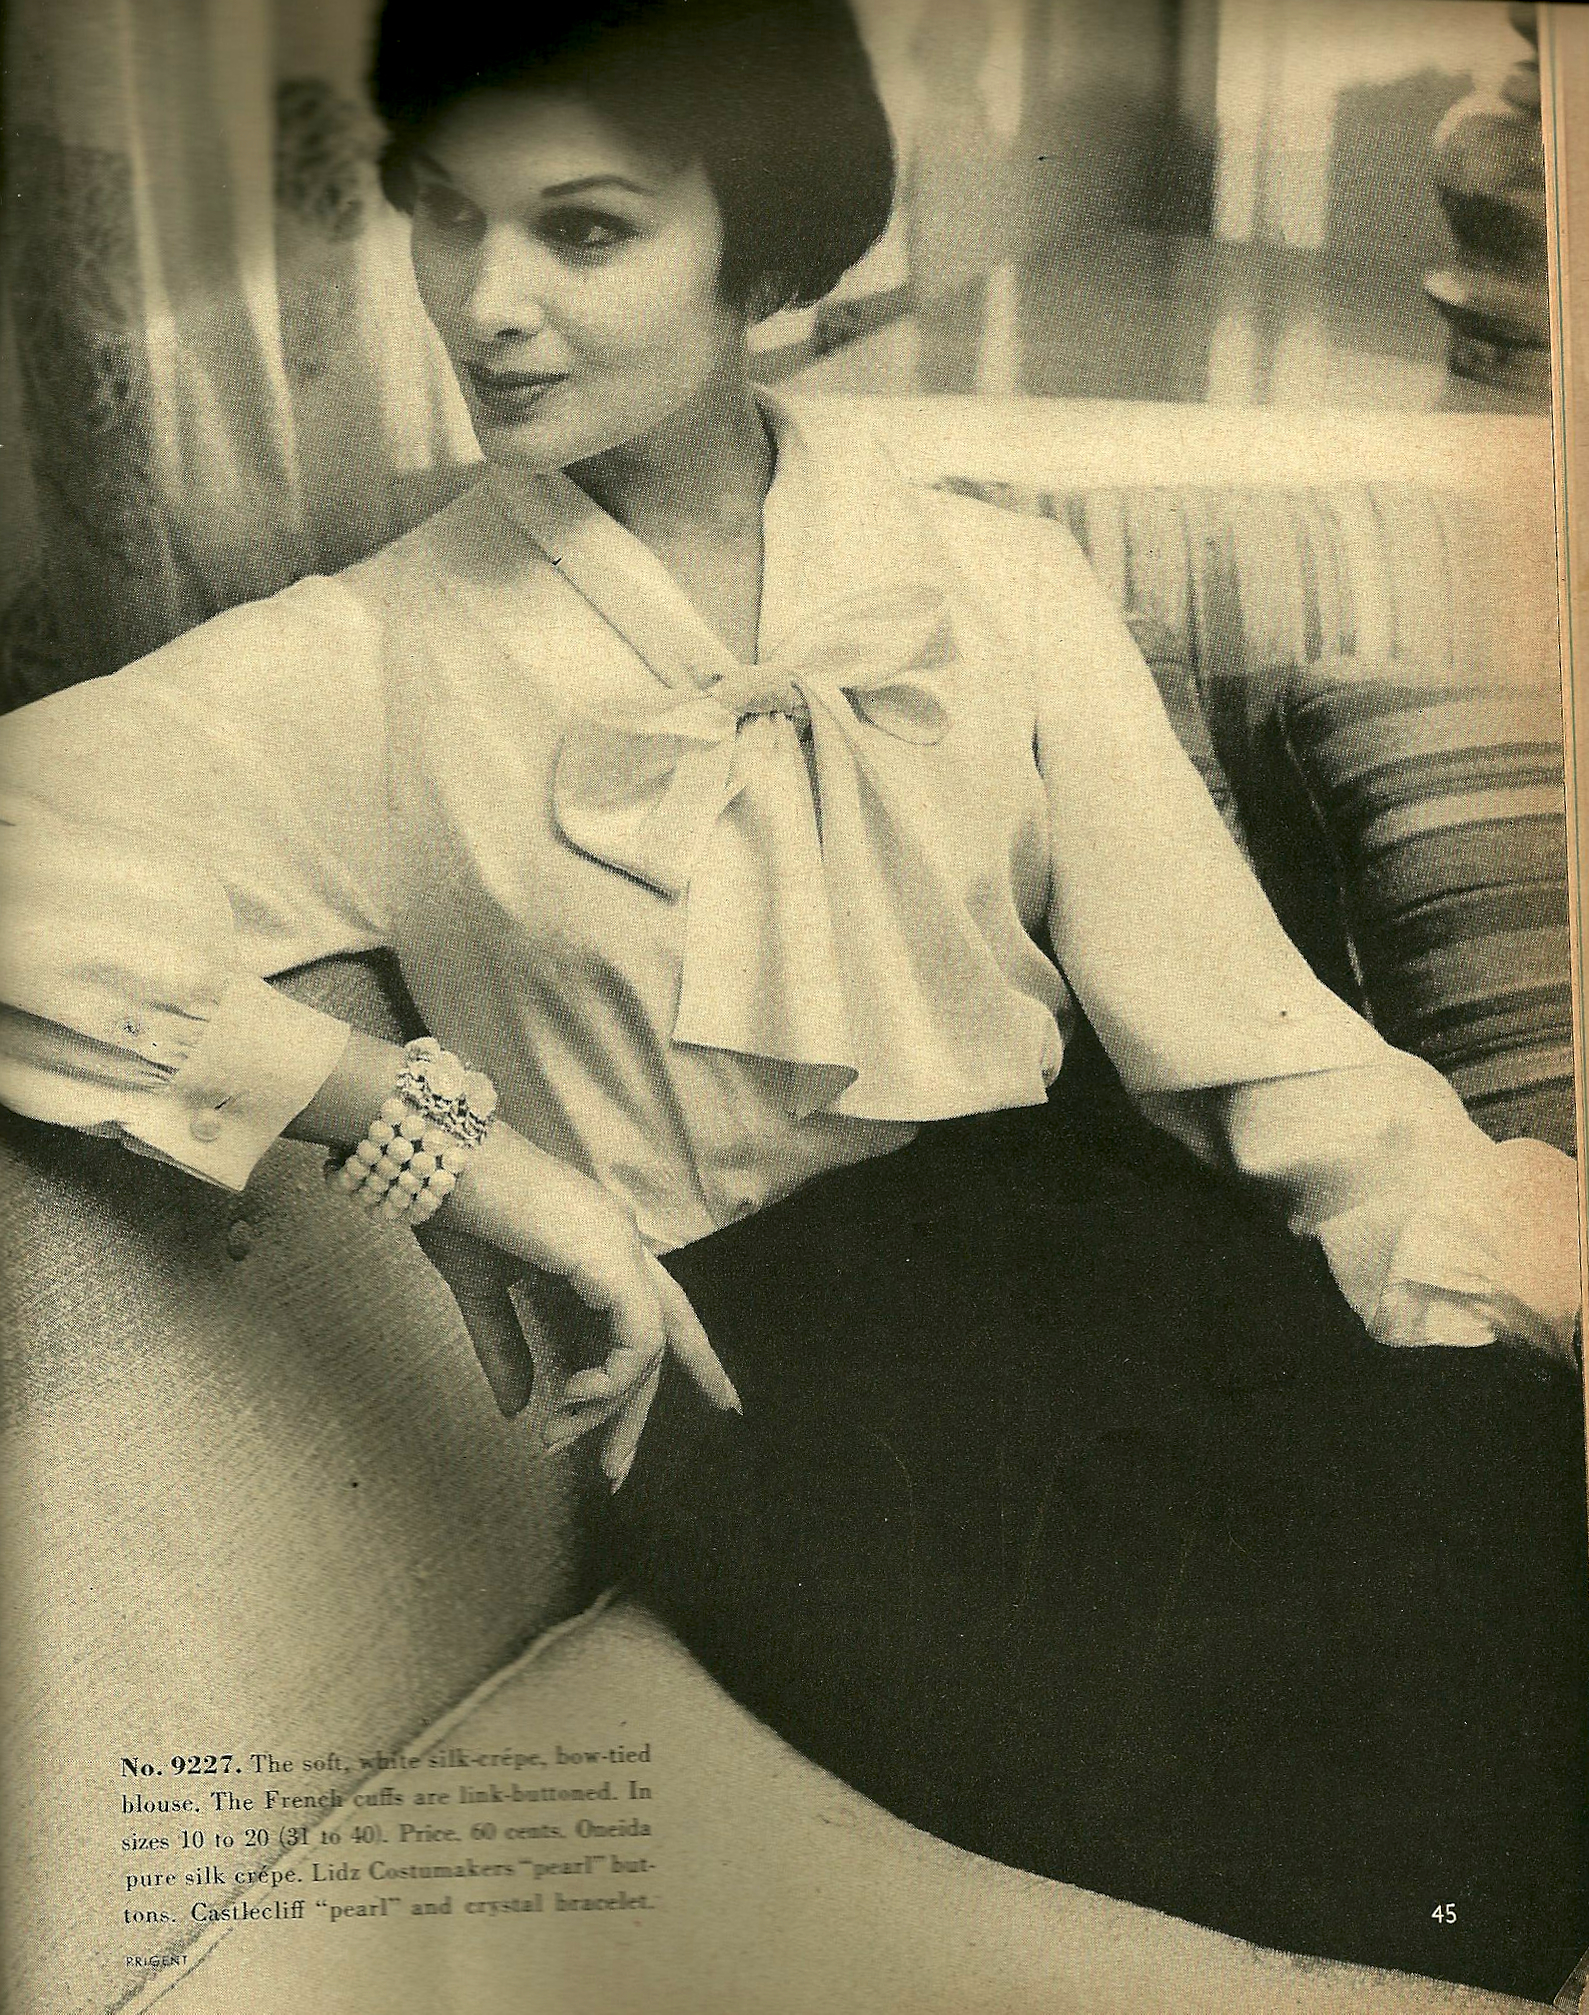
You can see the wider cut of the neckline of the blouse in this photo.
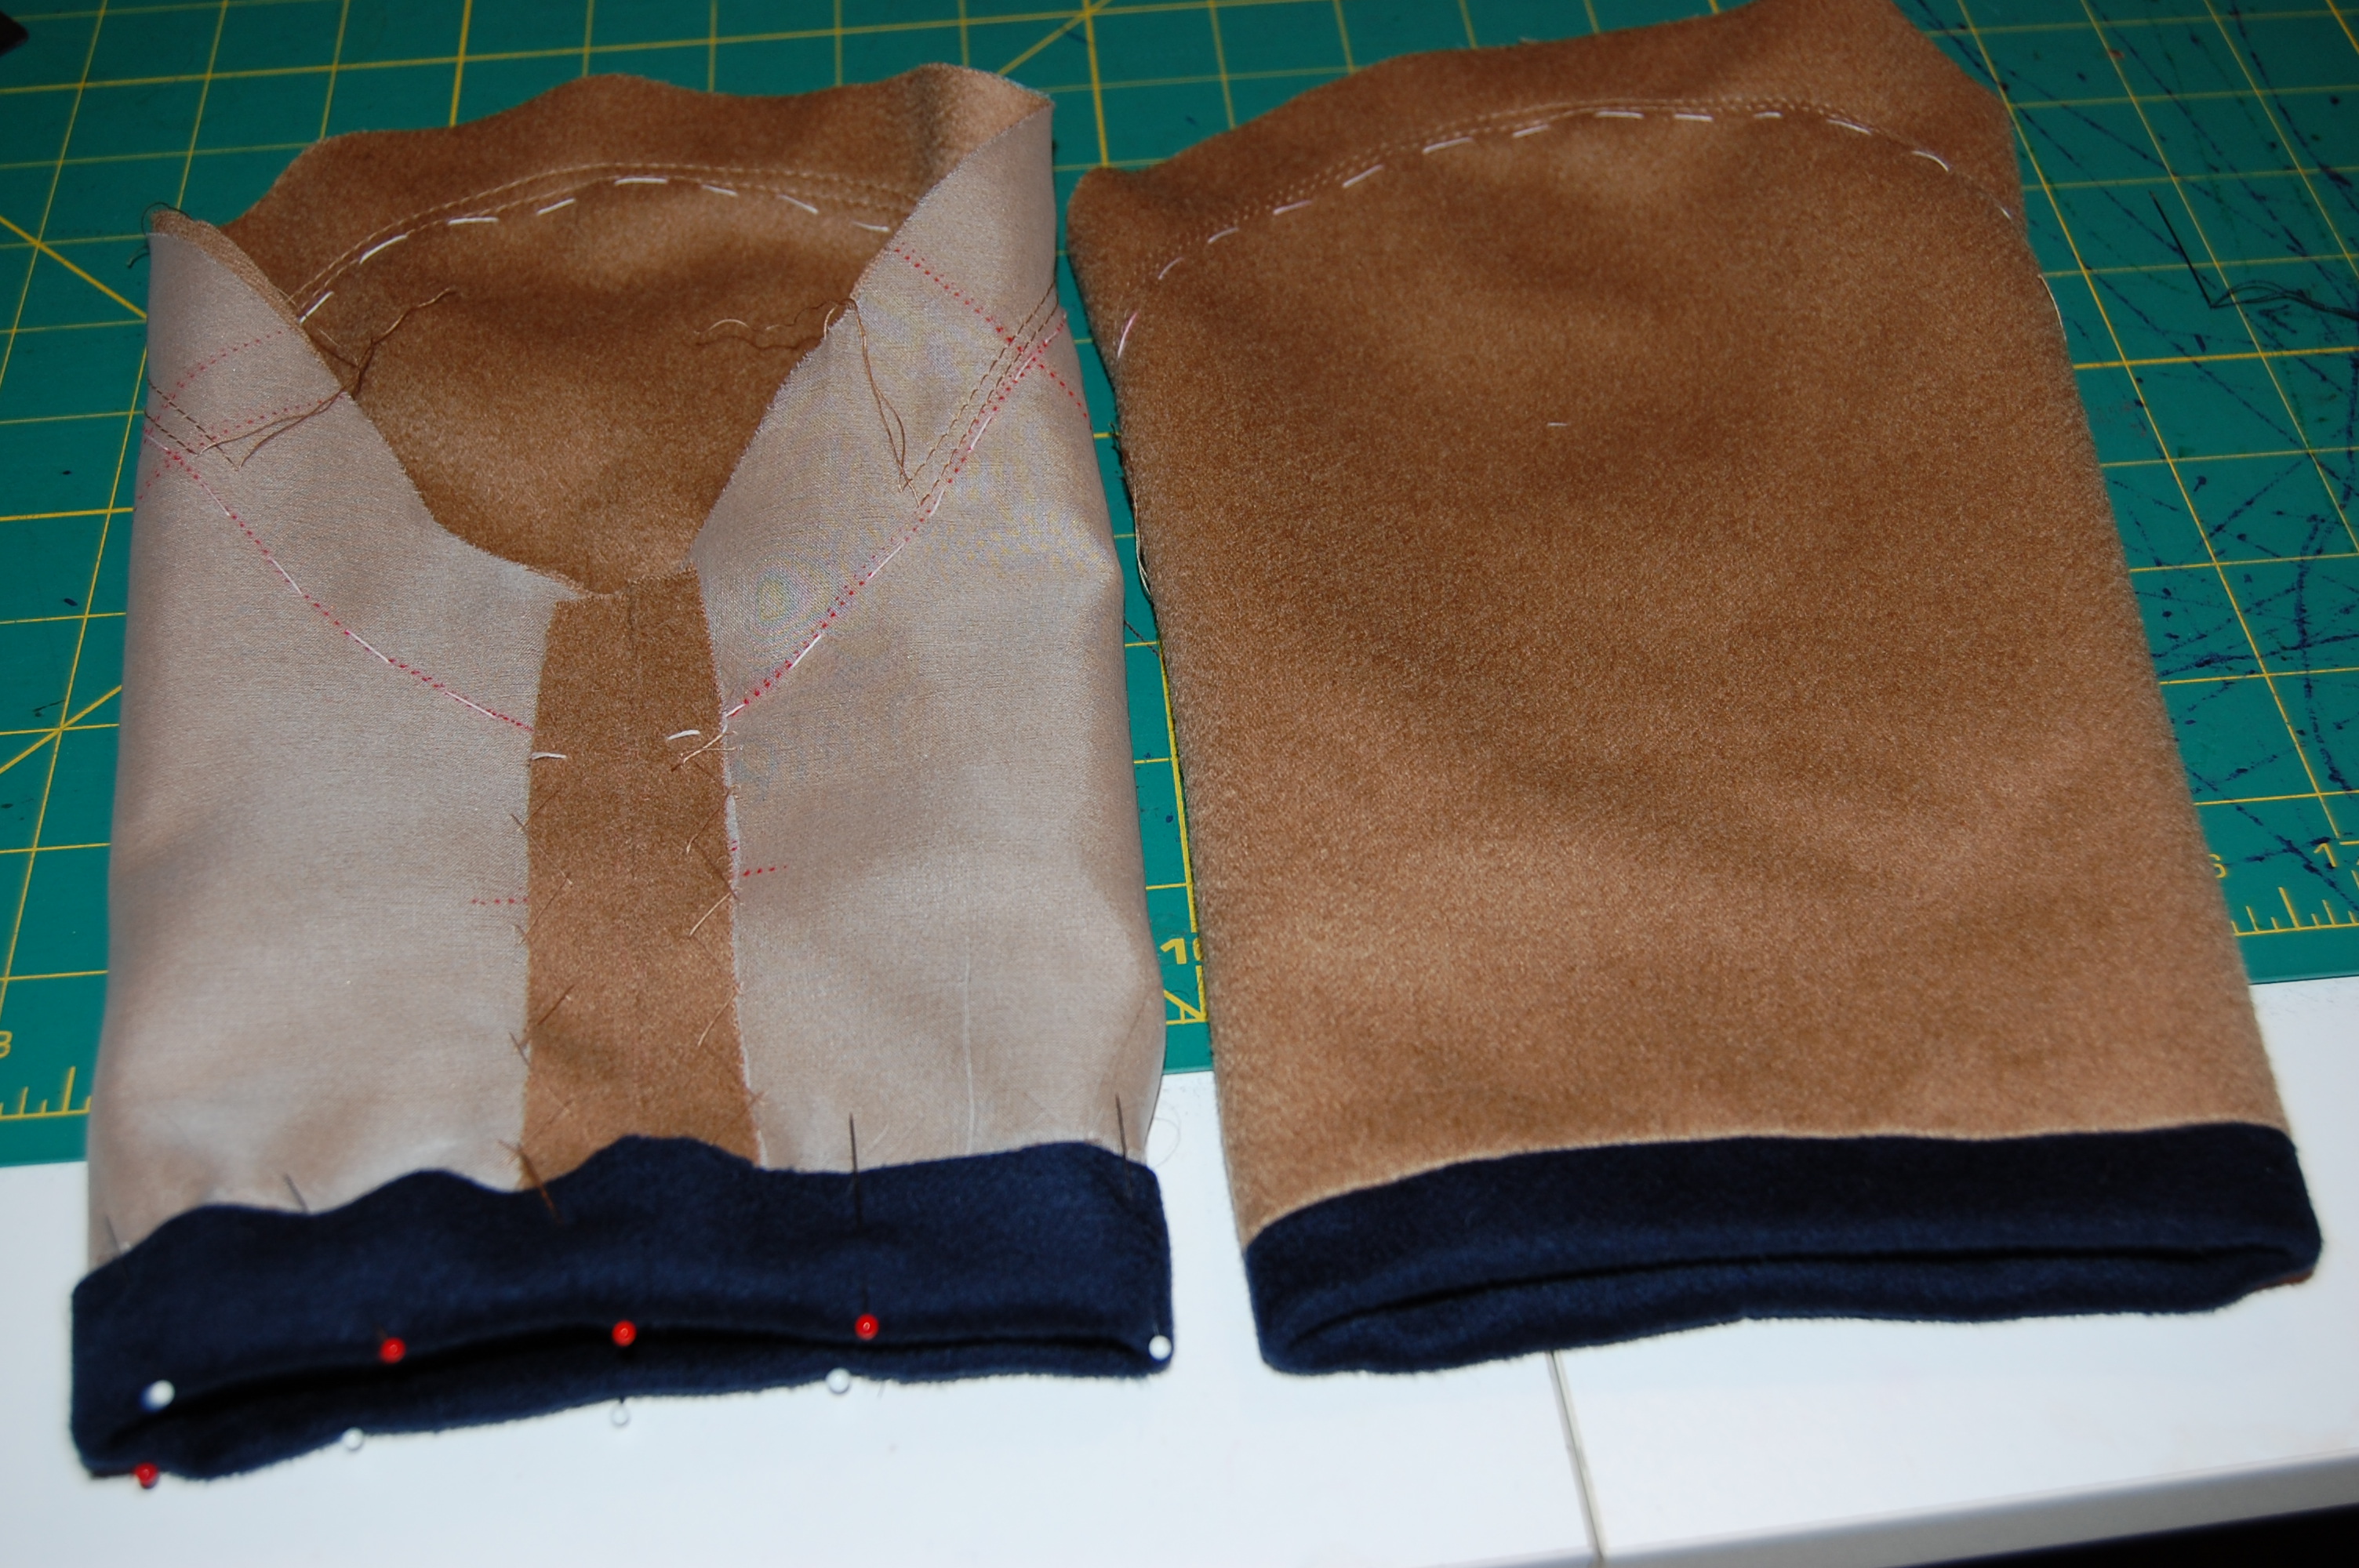
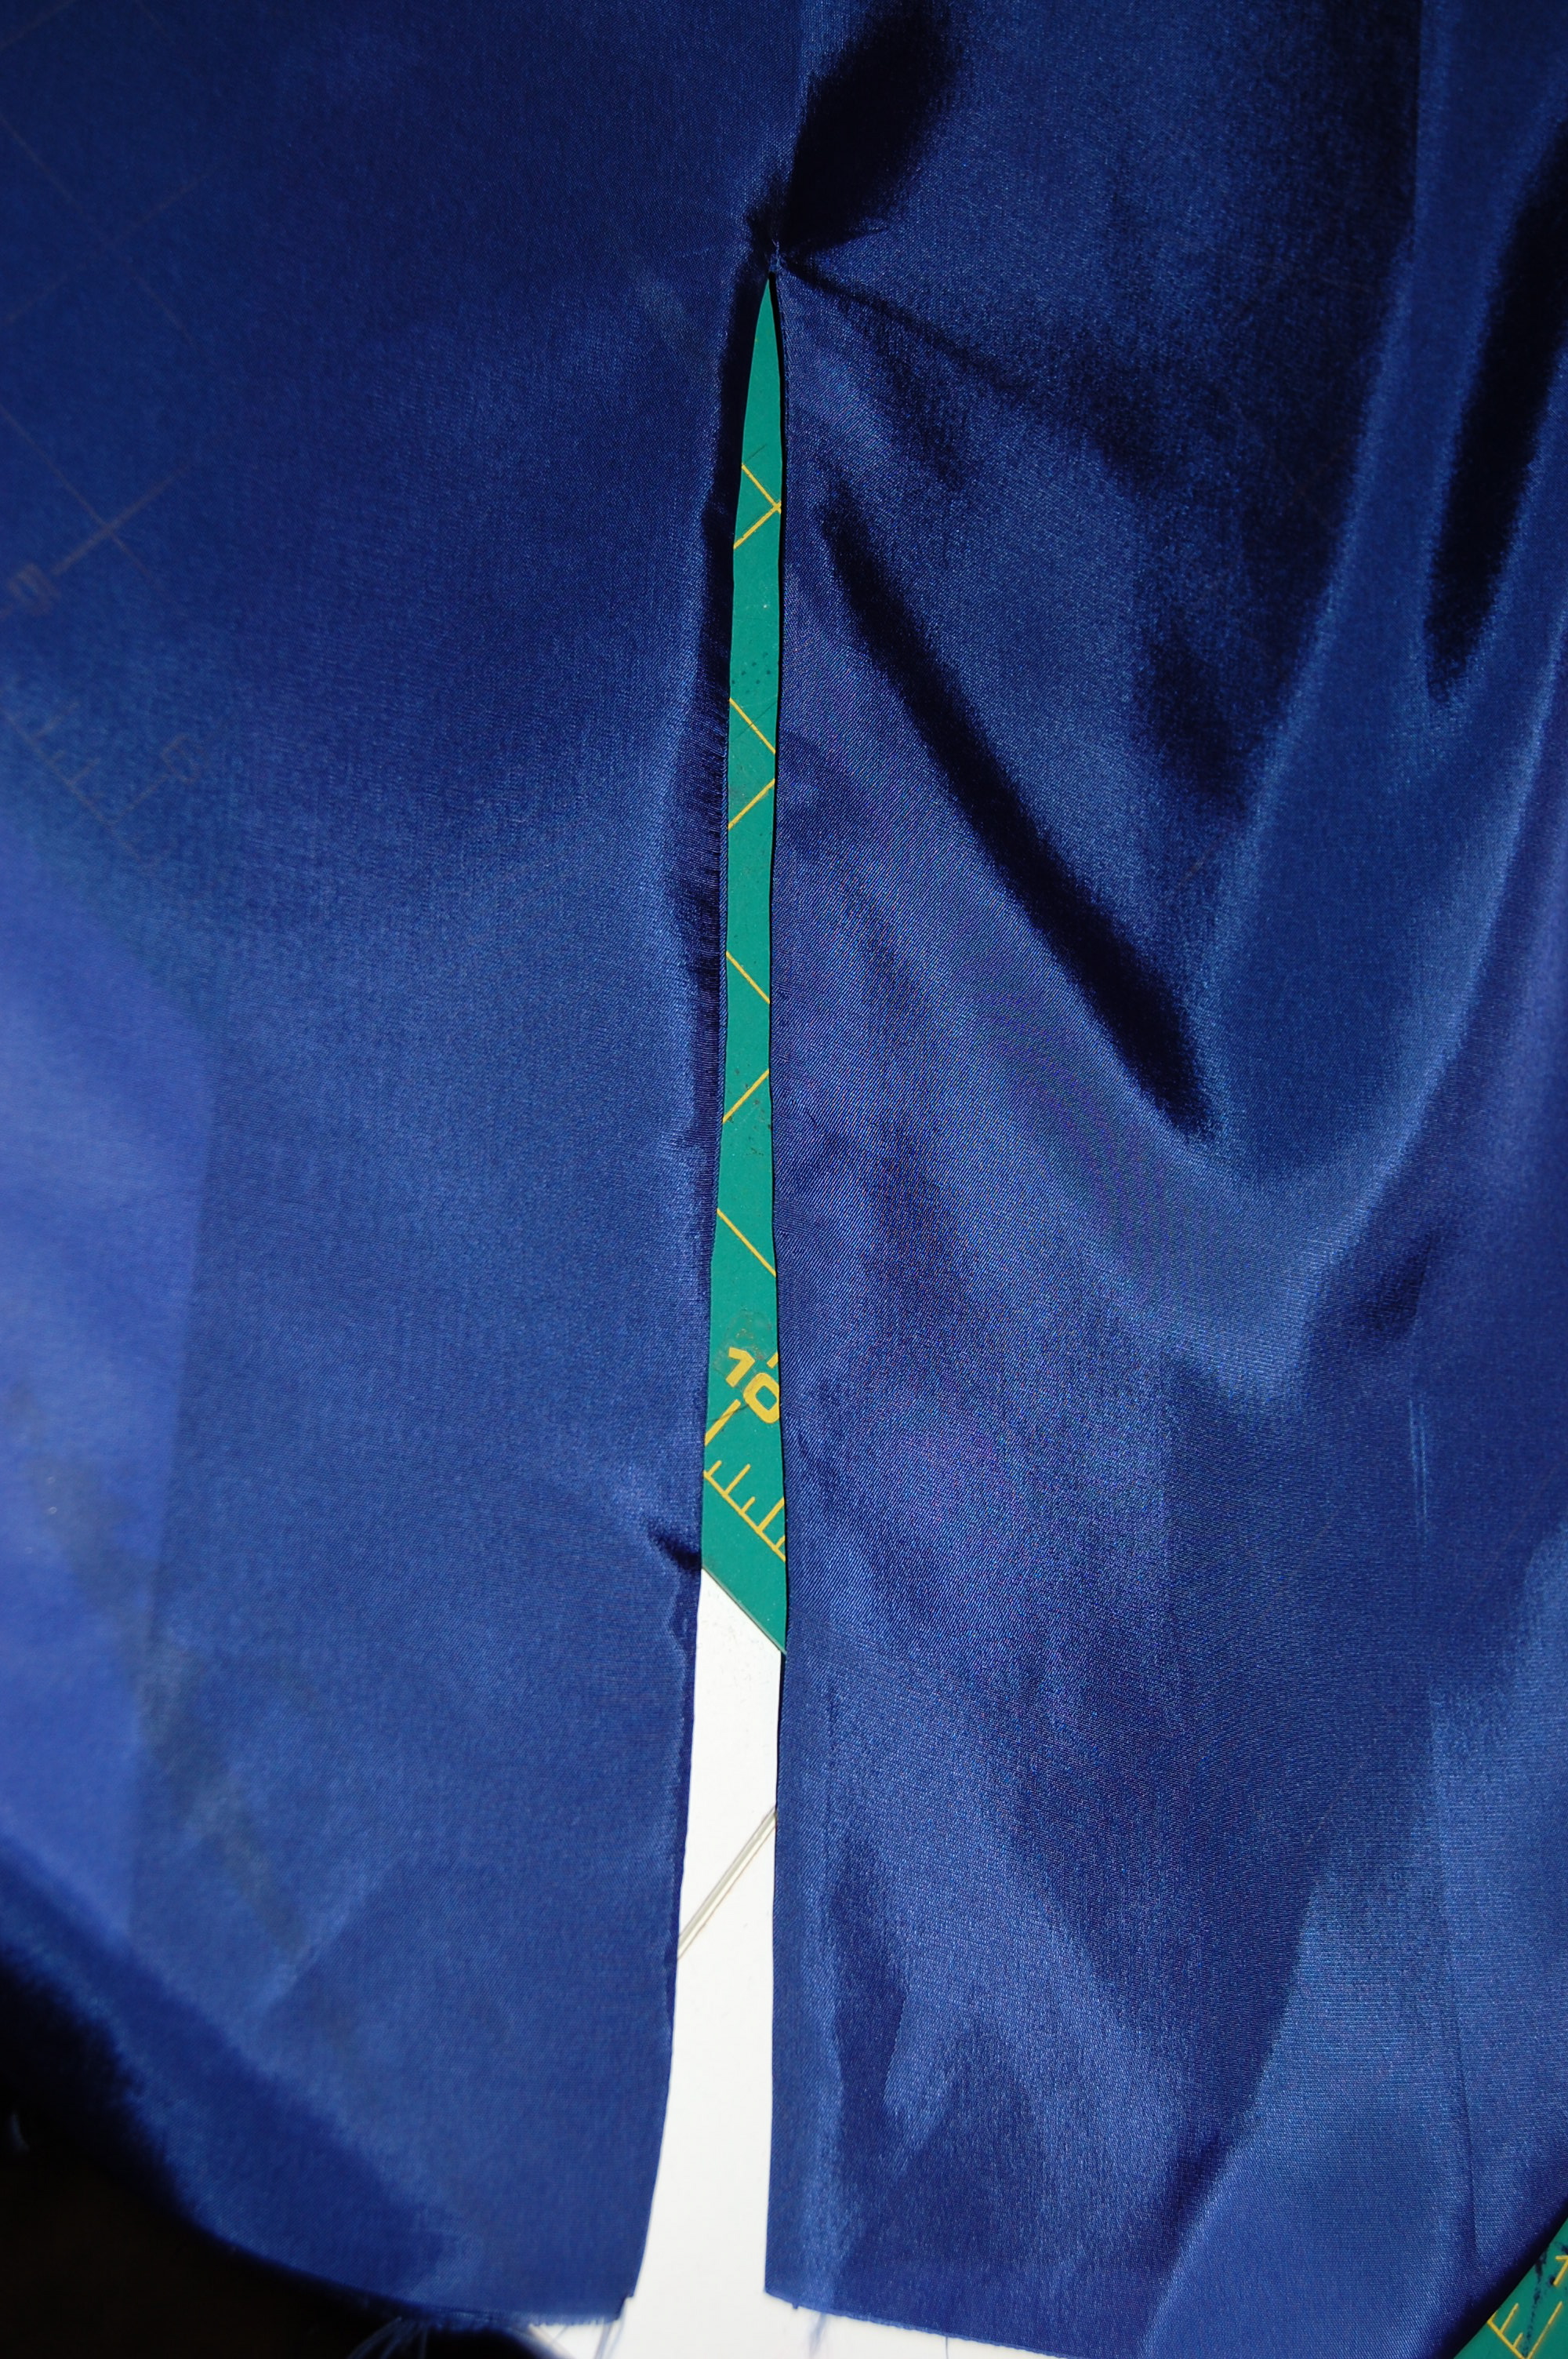
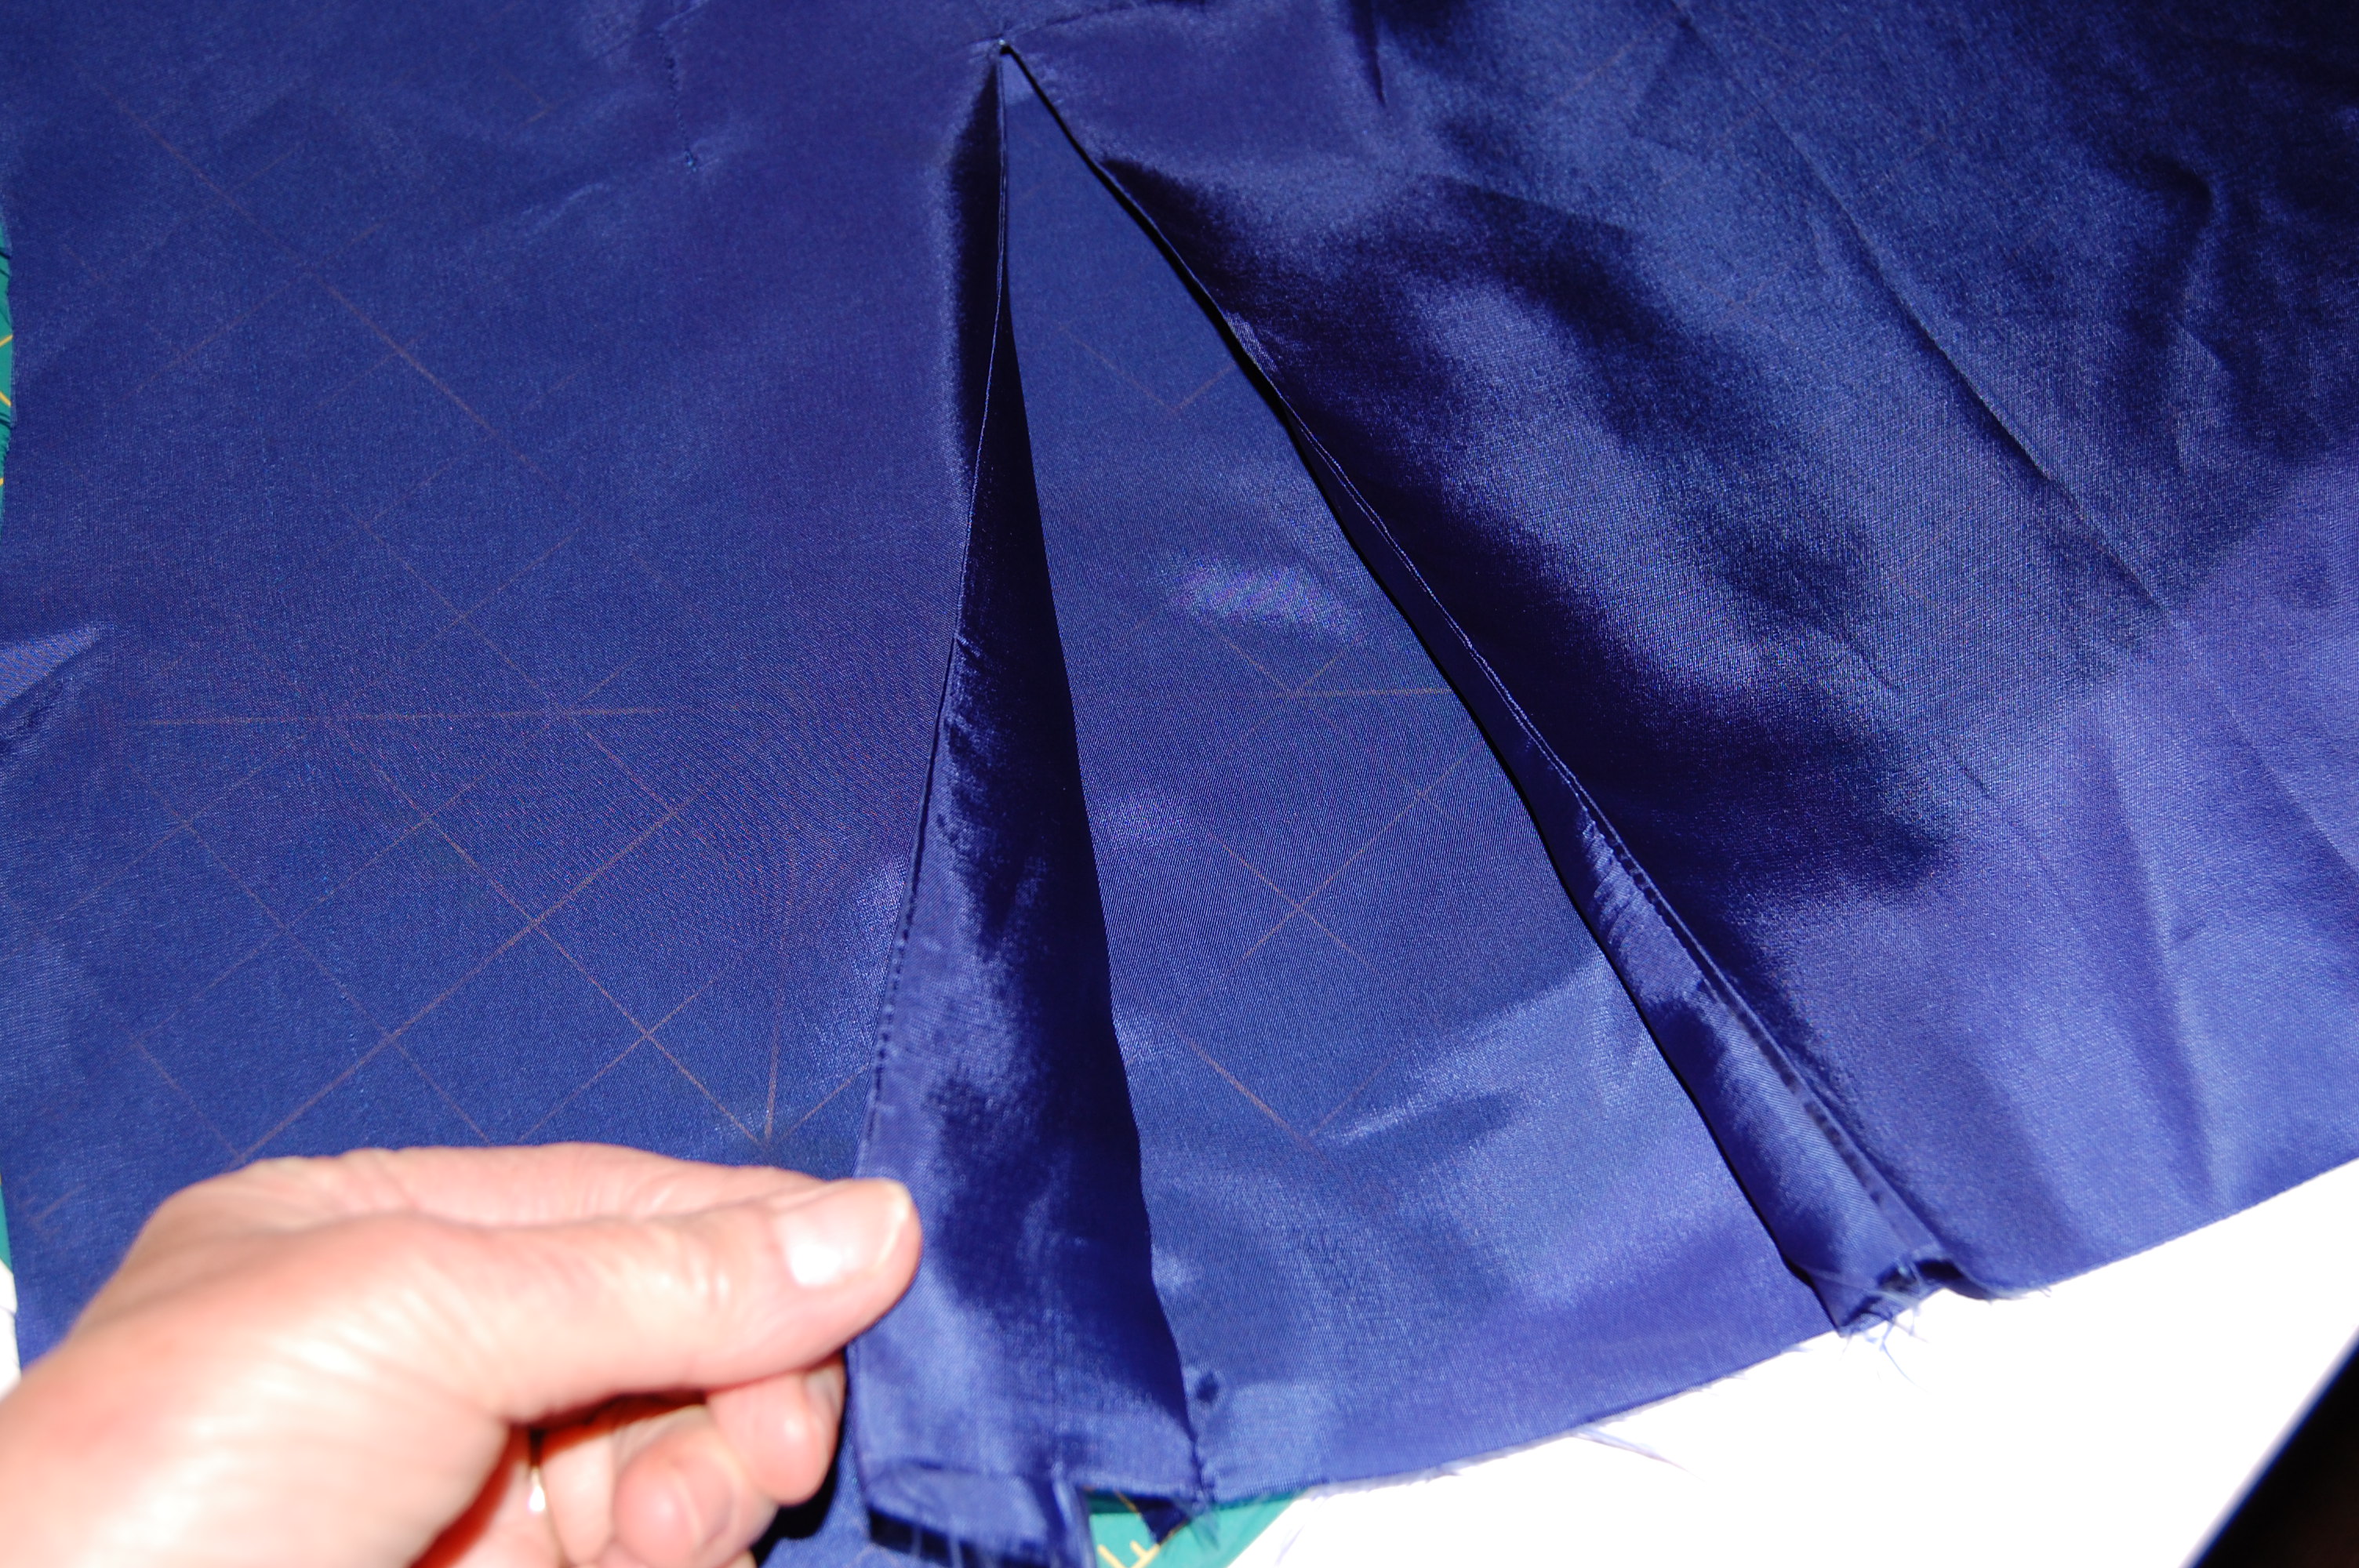
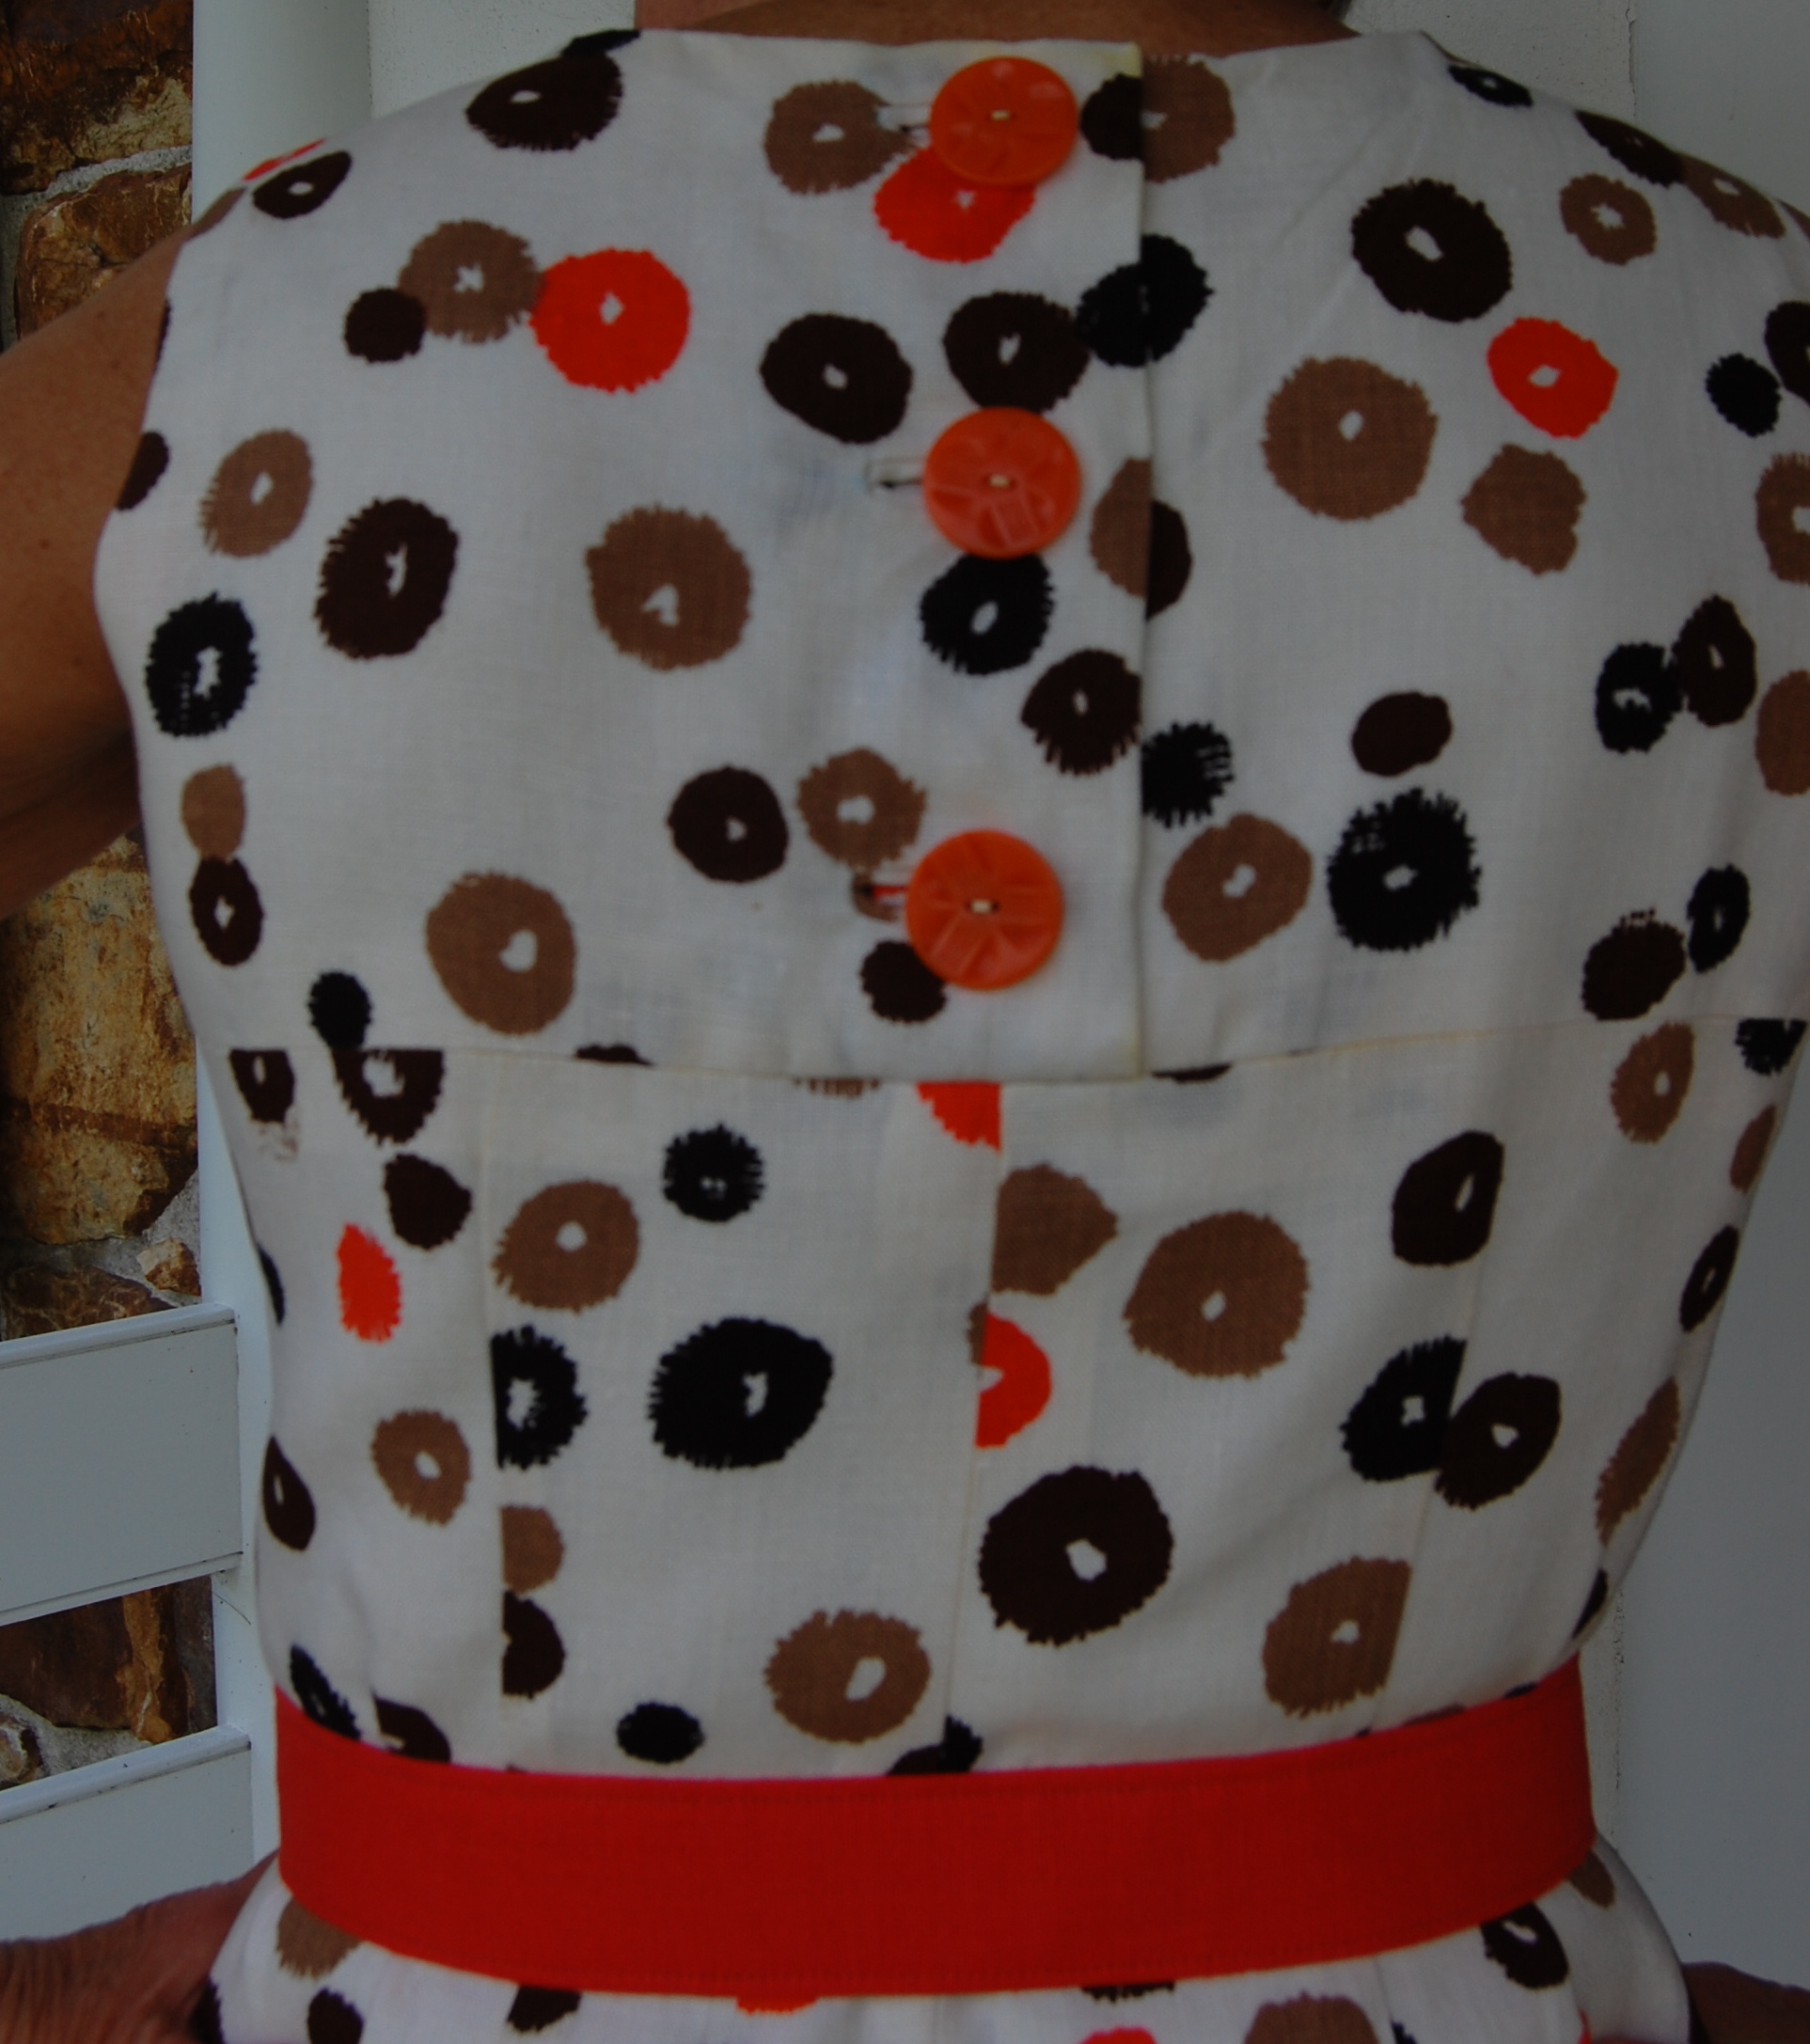
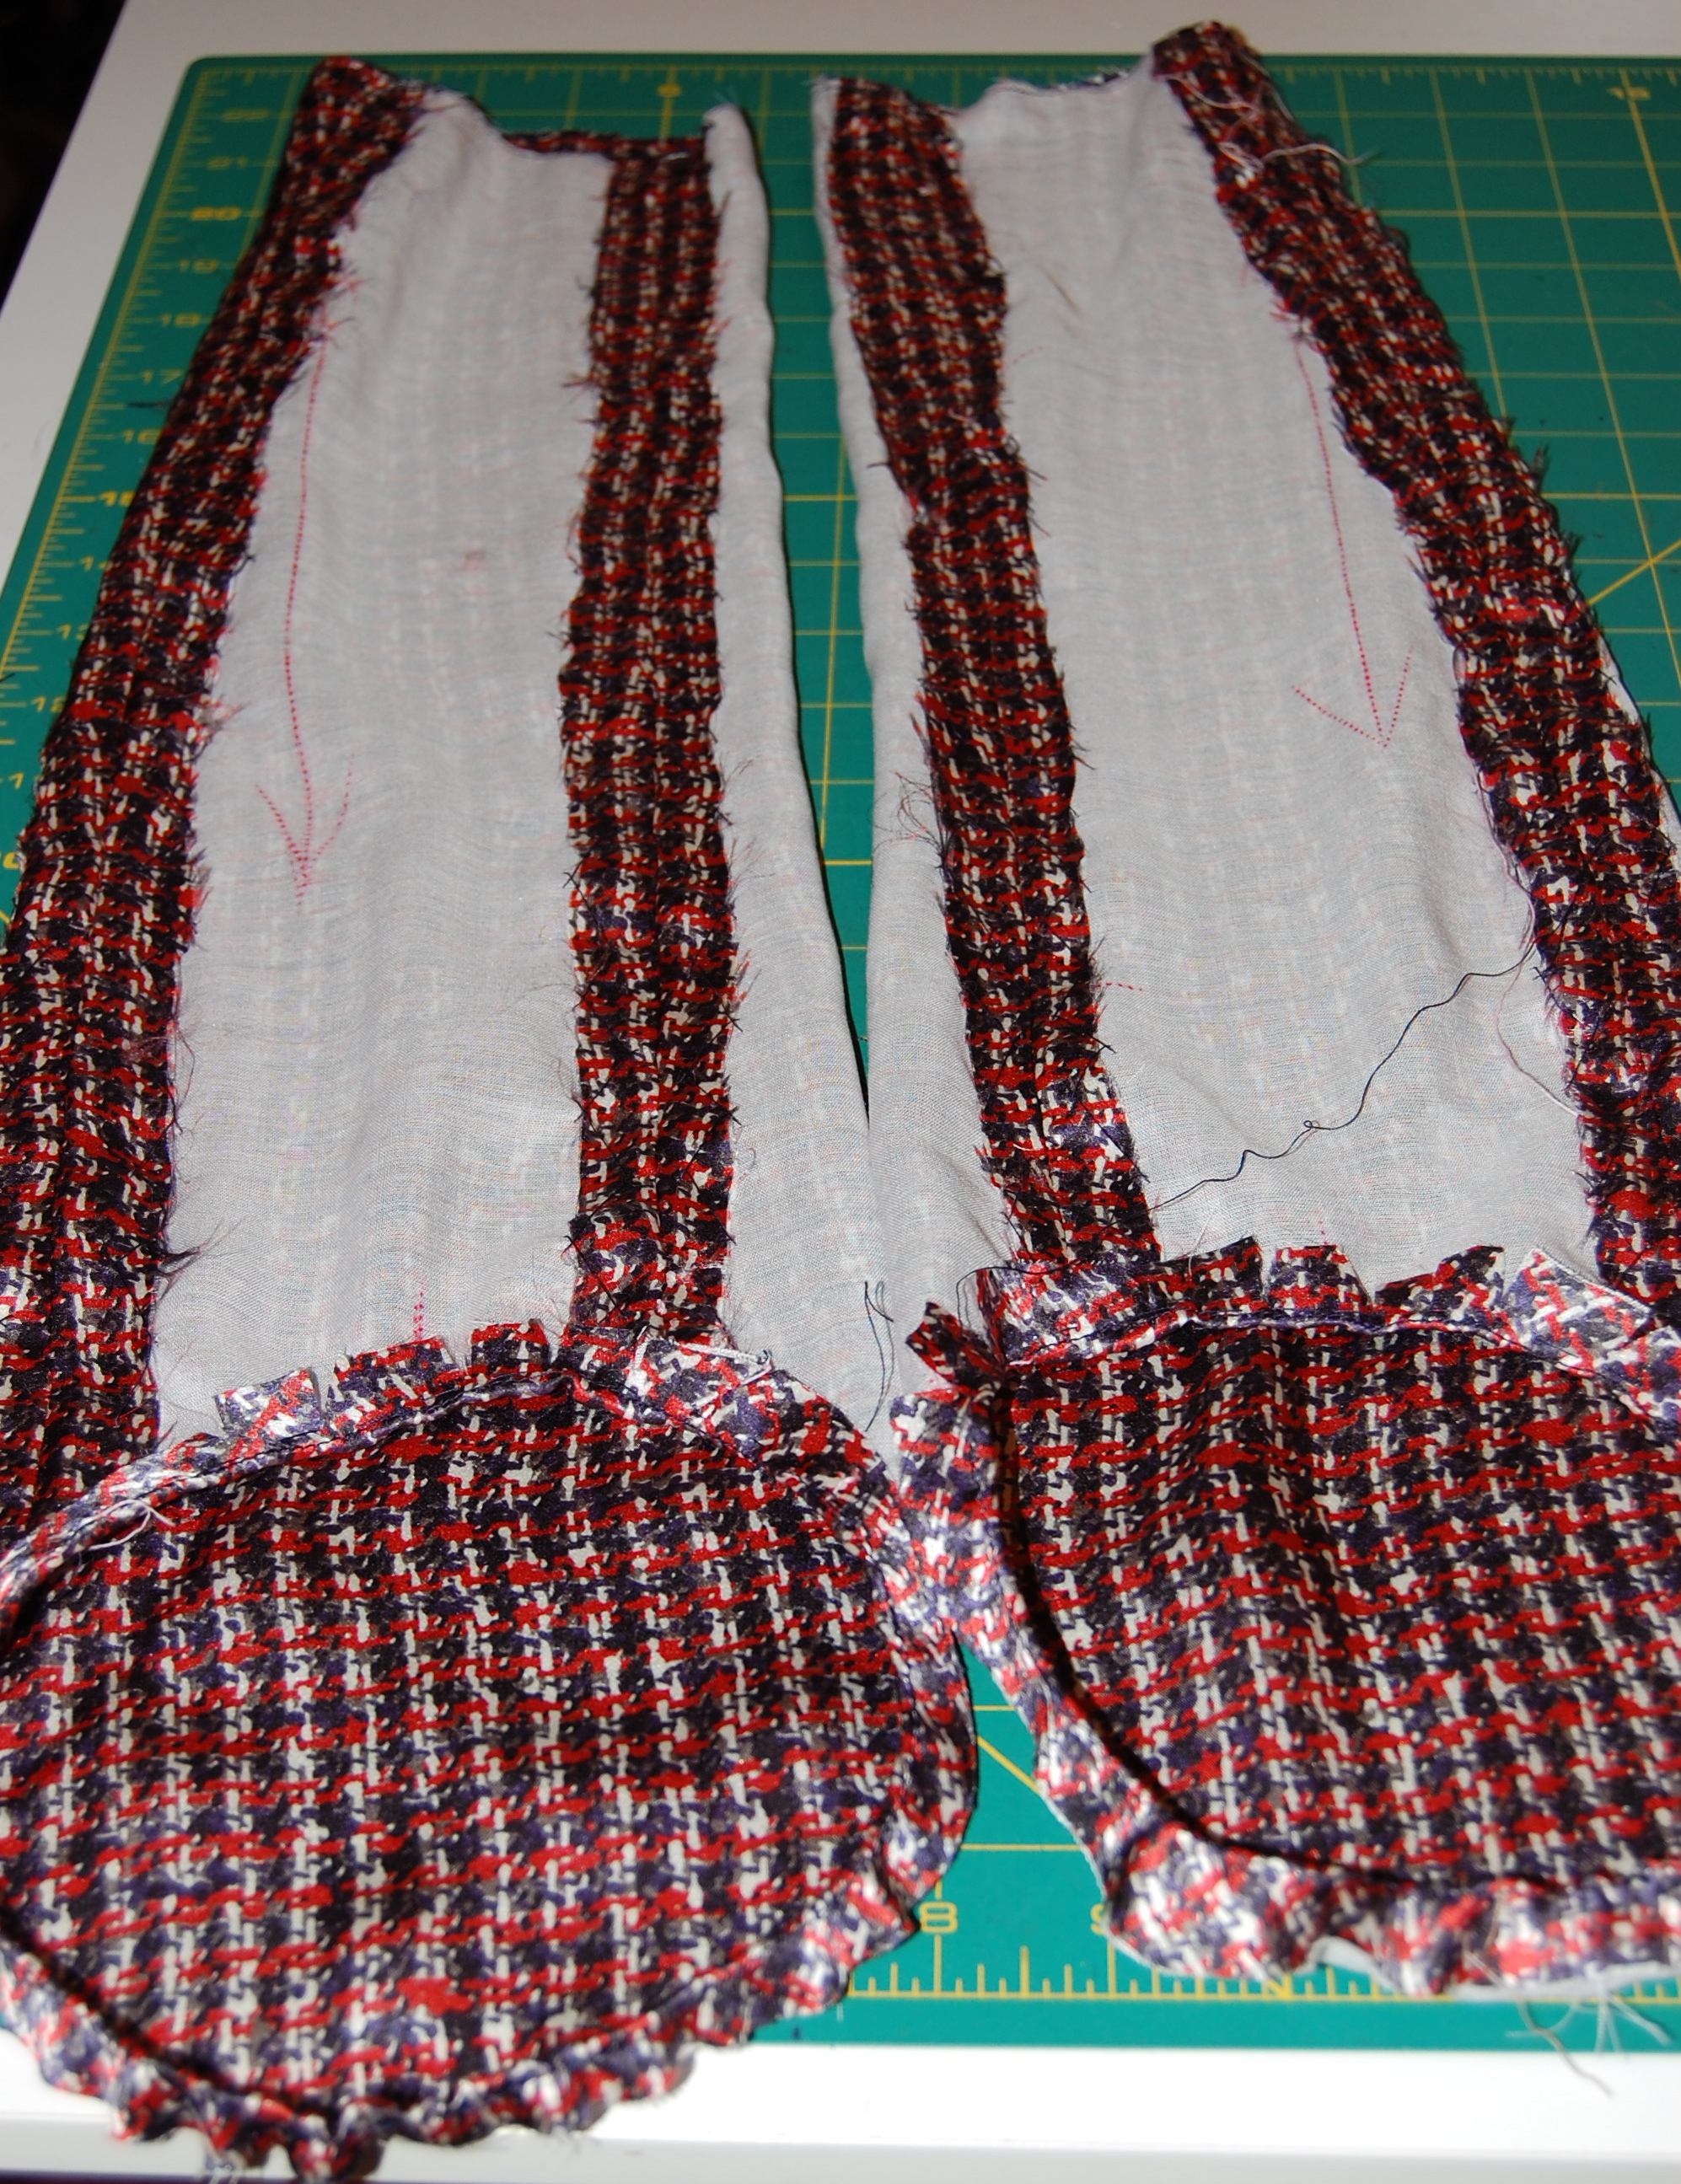
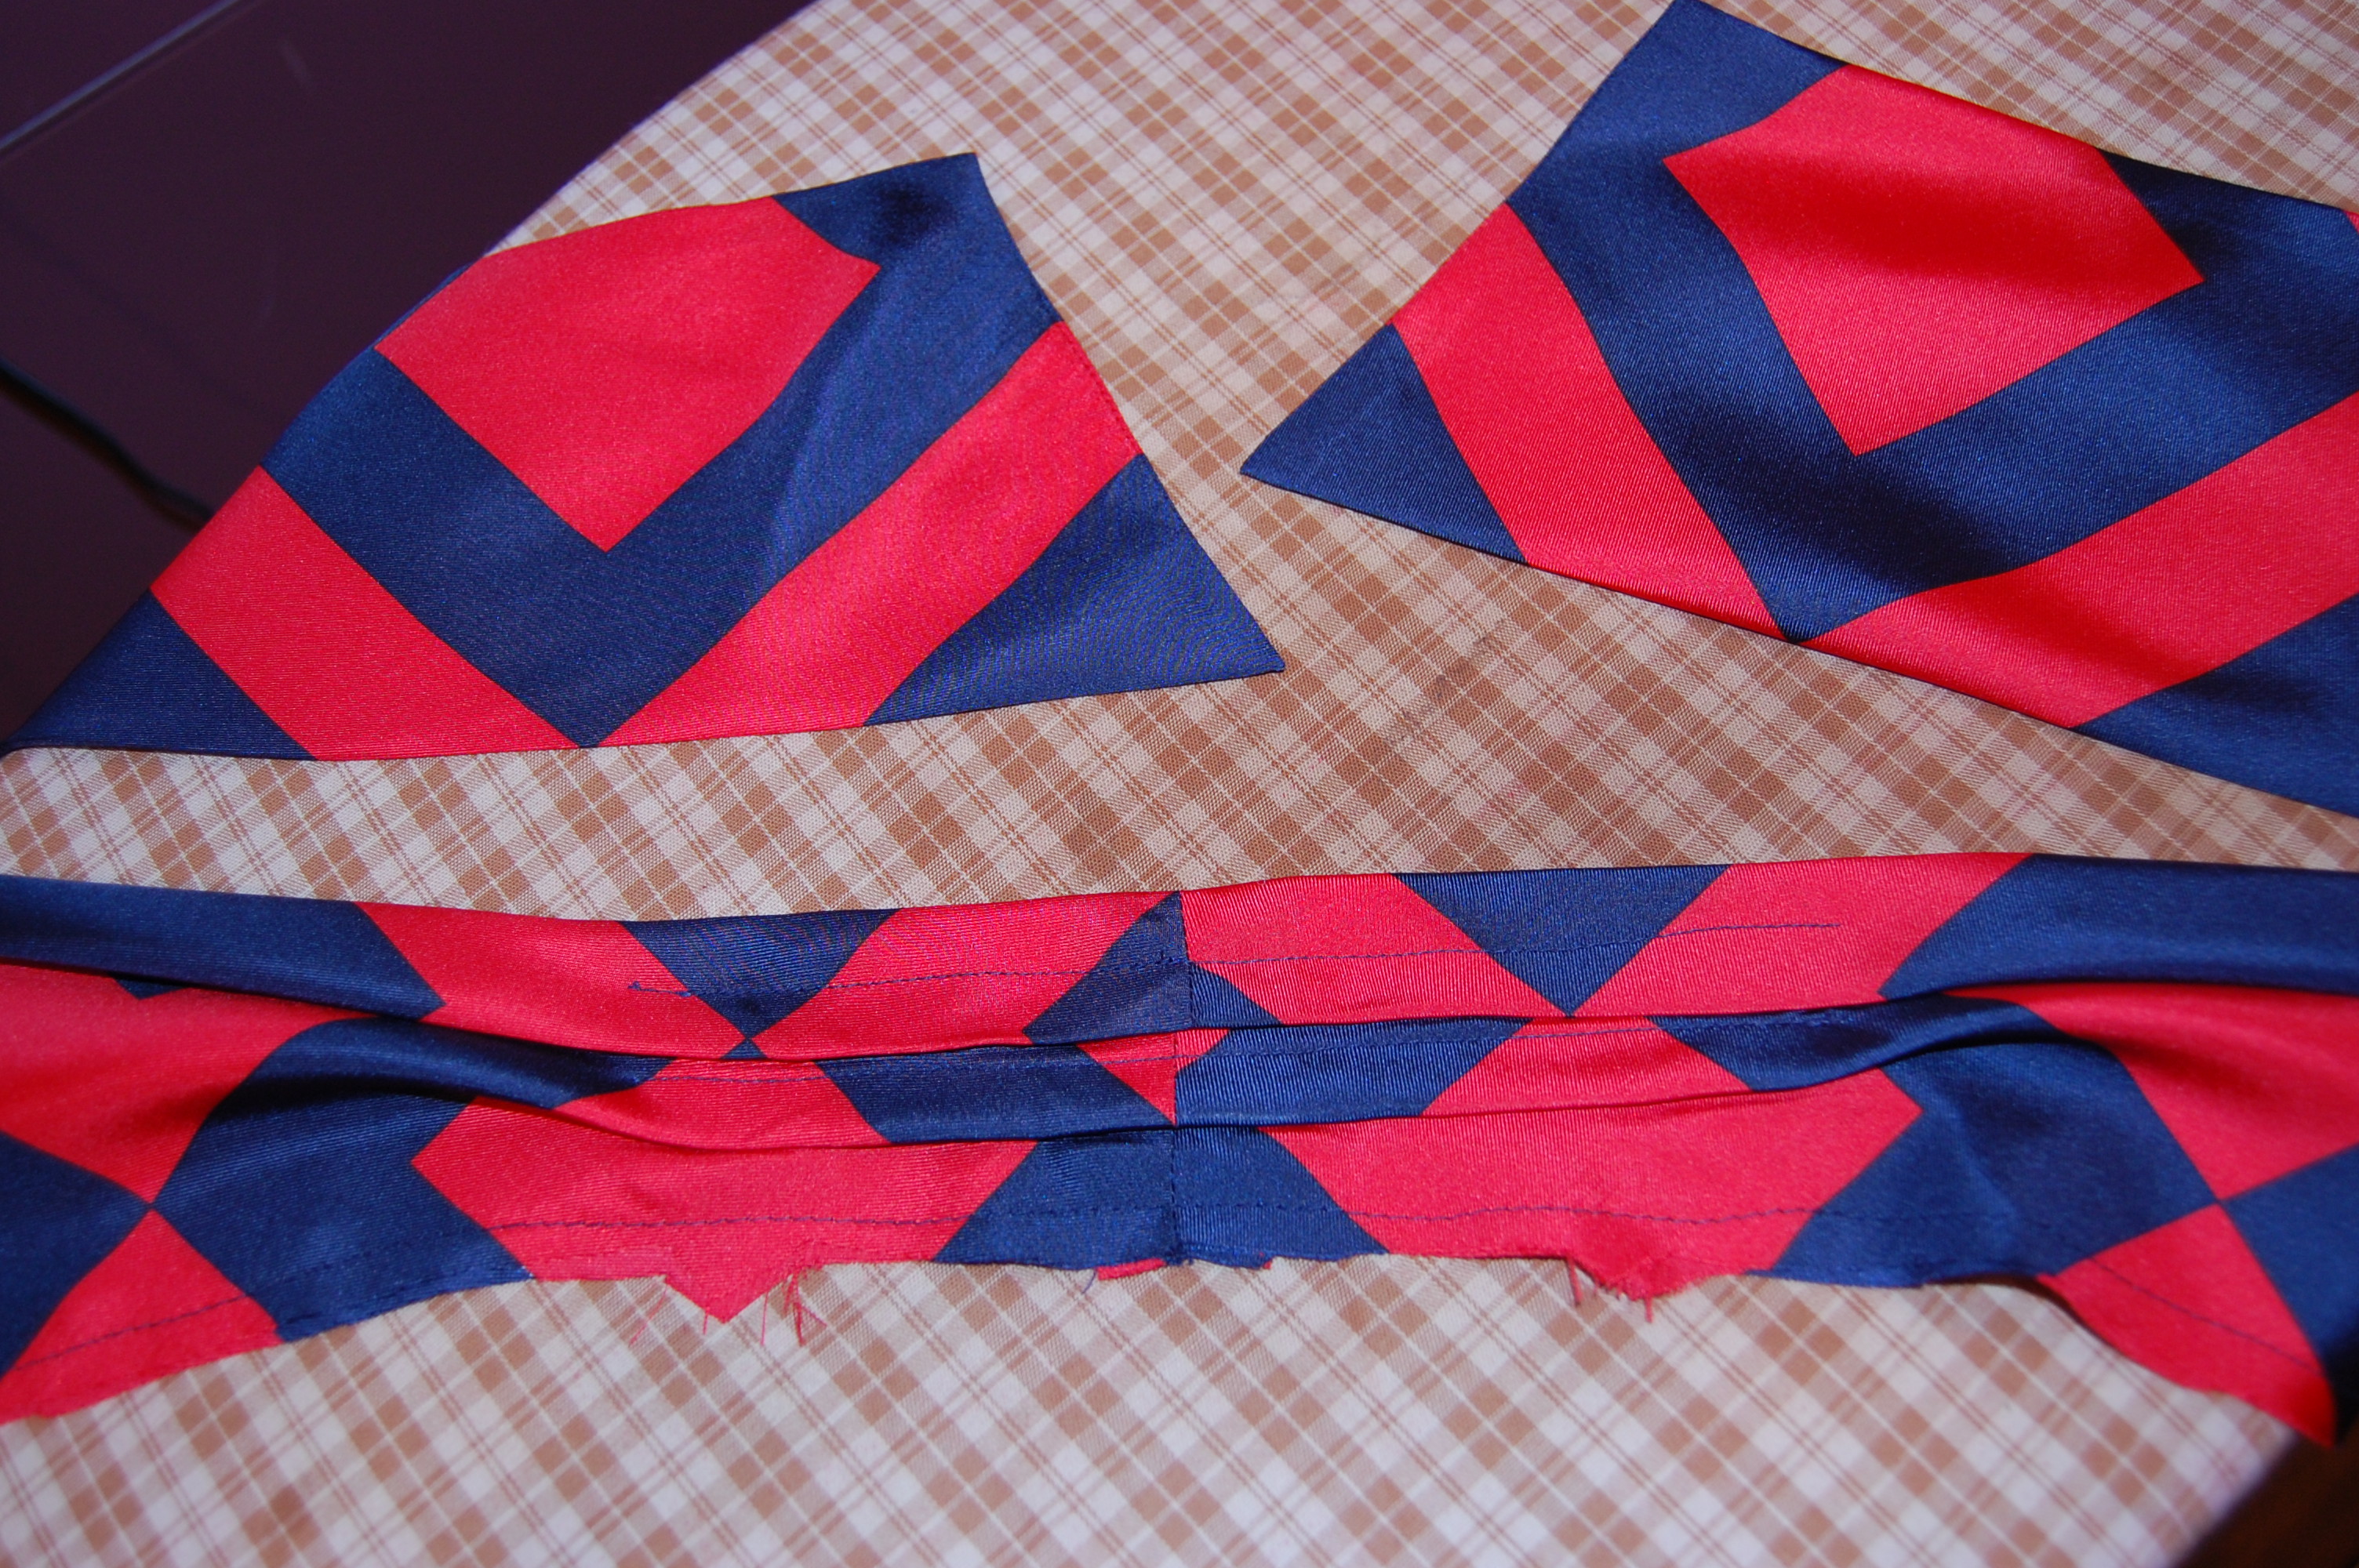
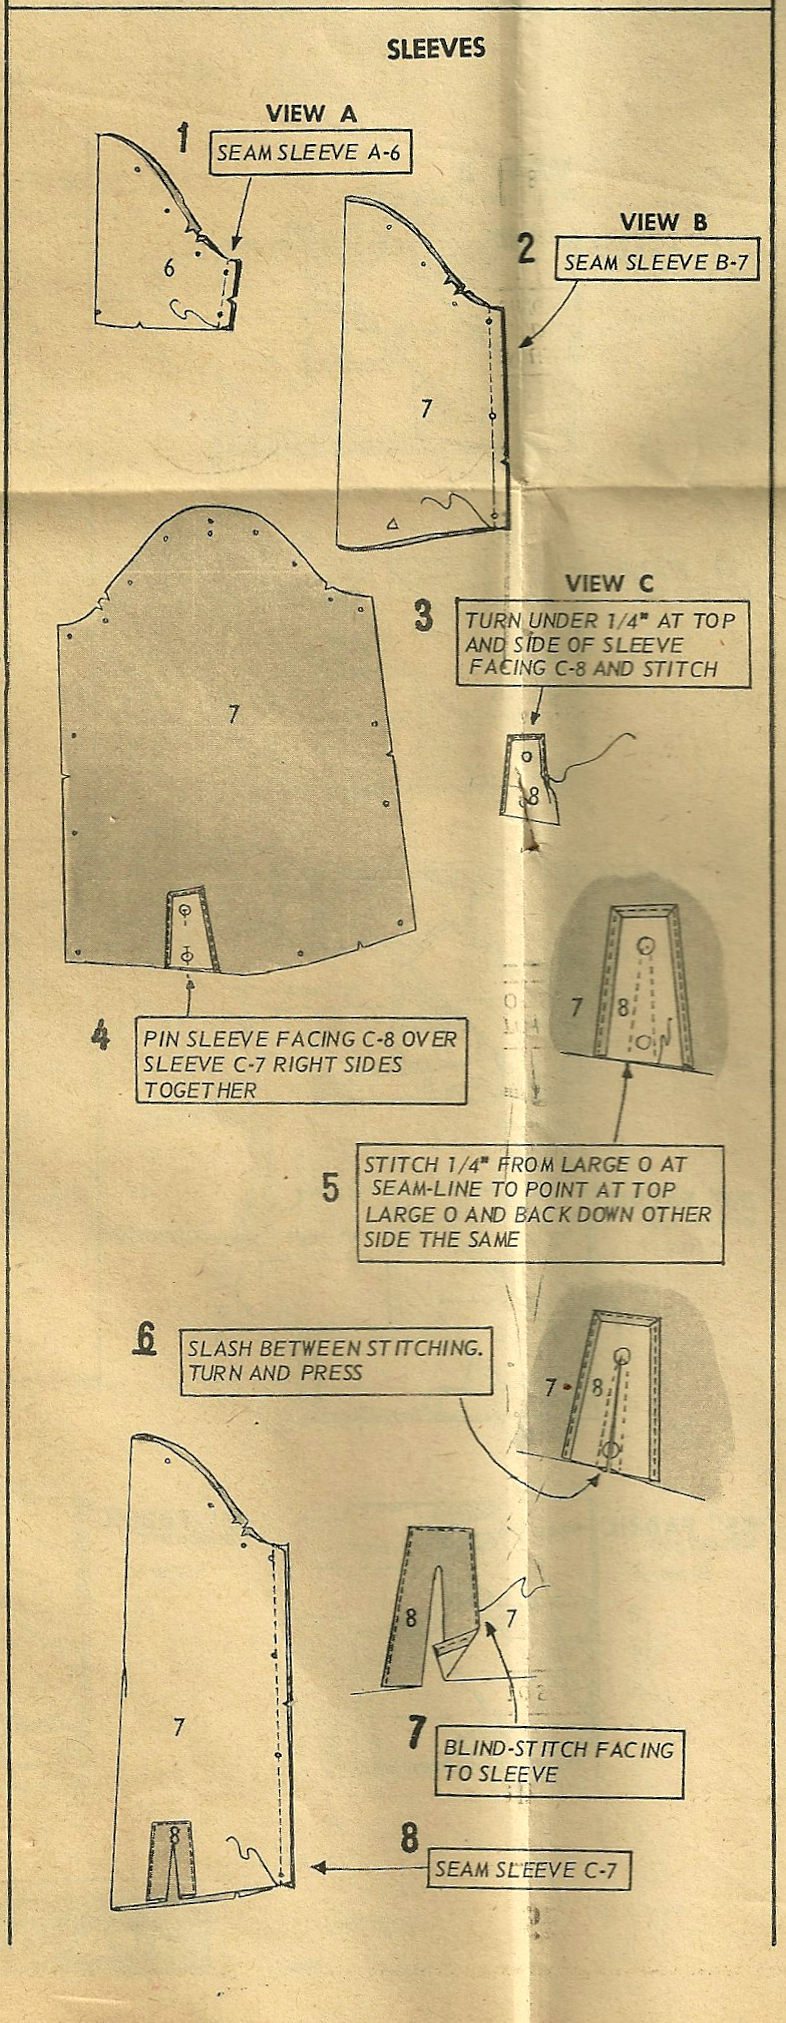
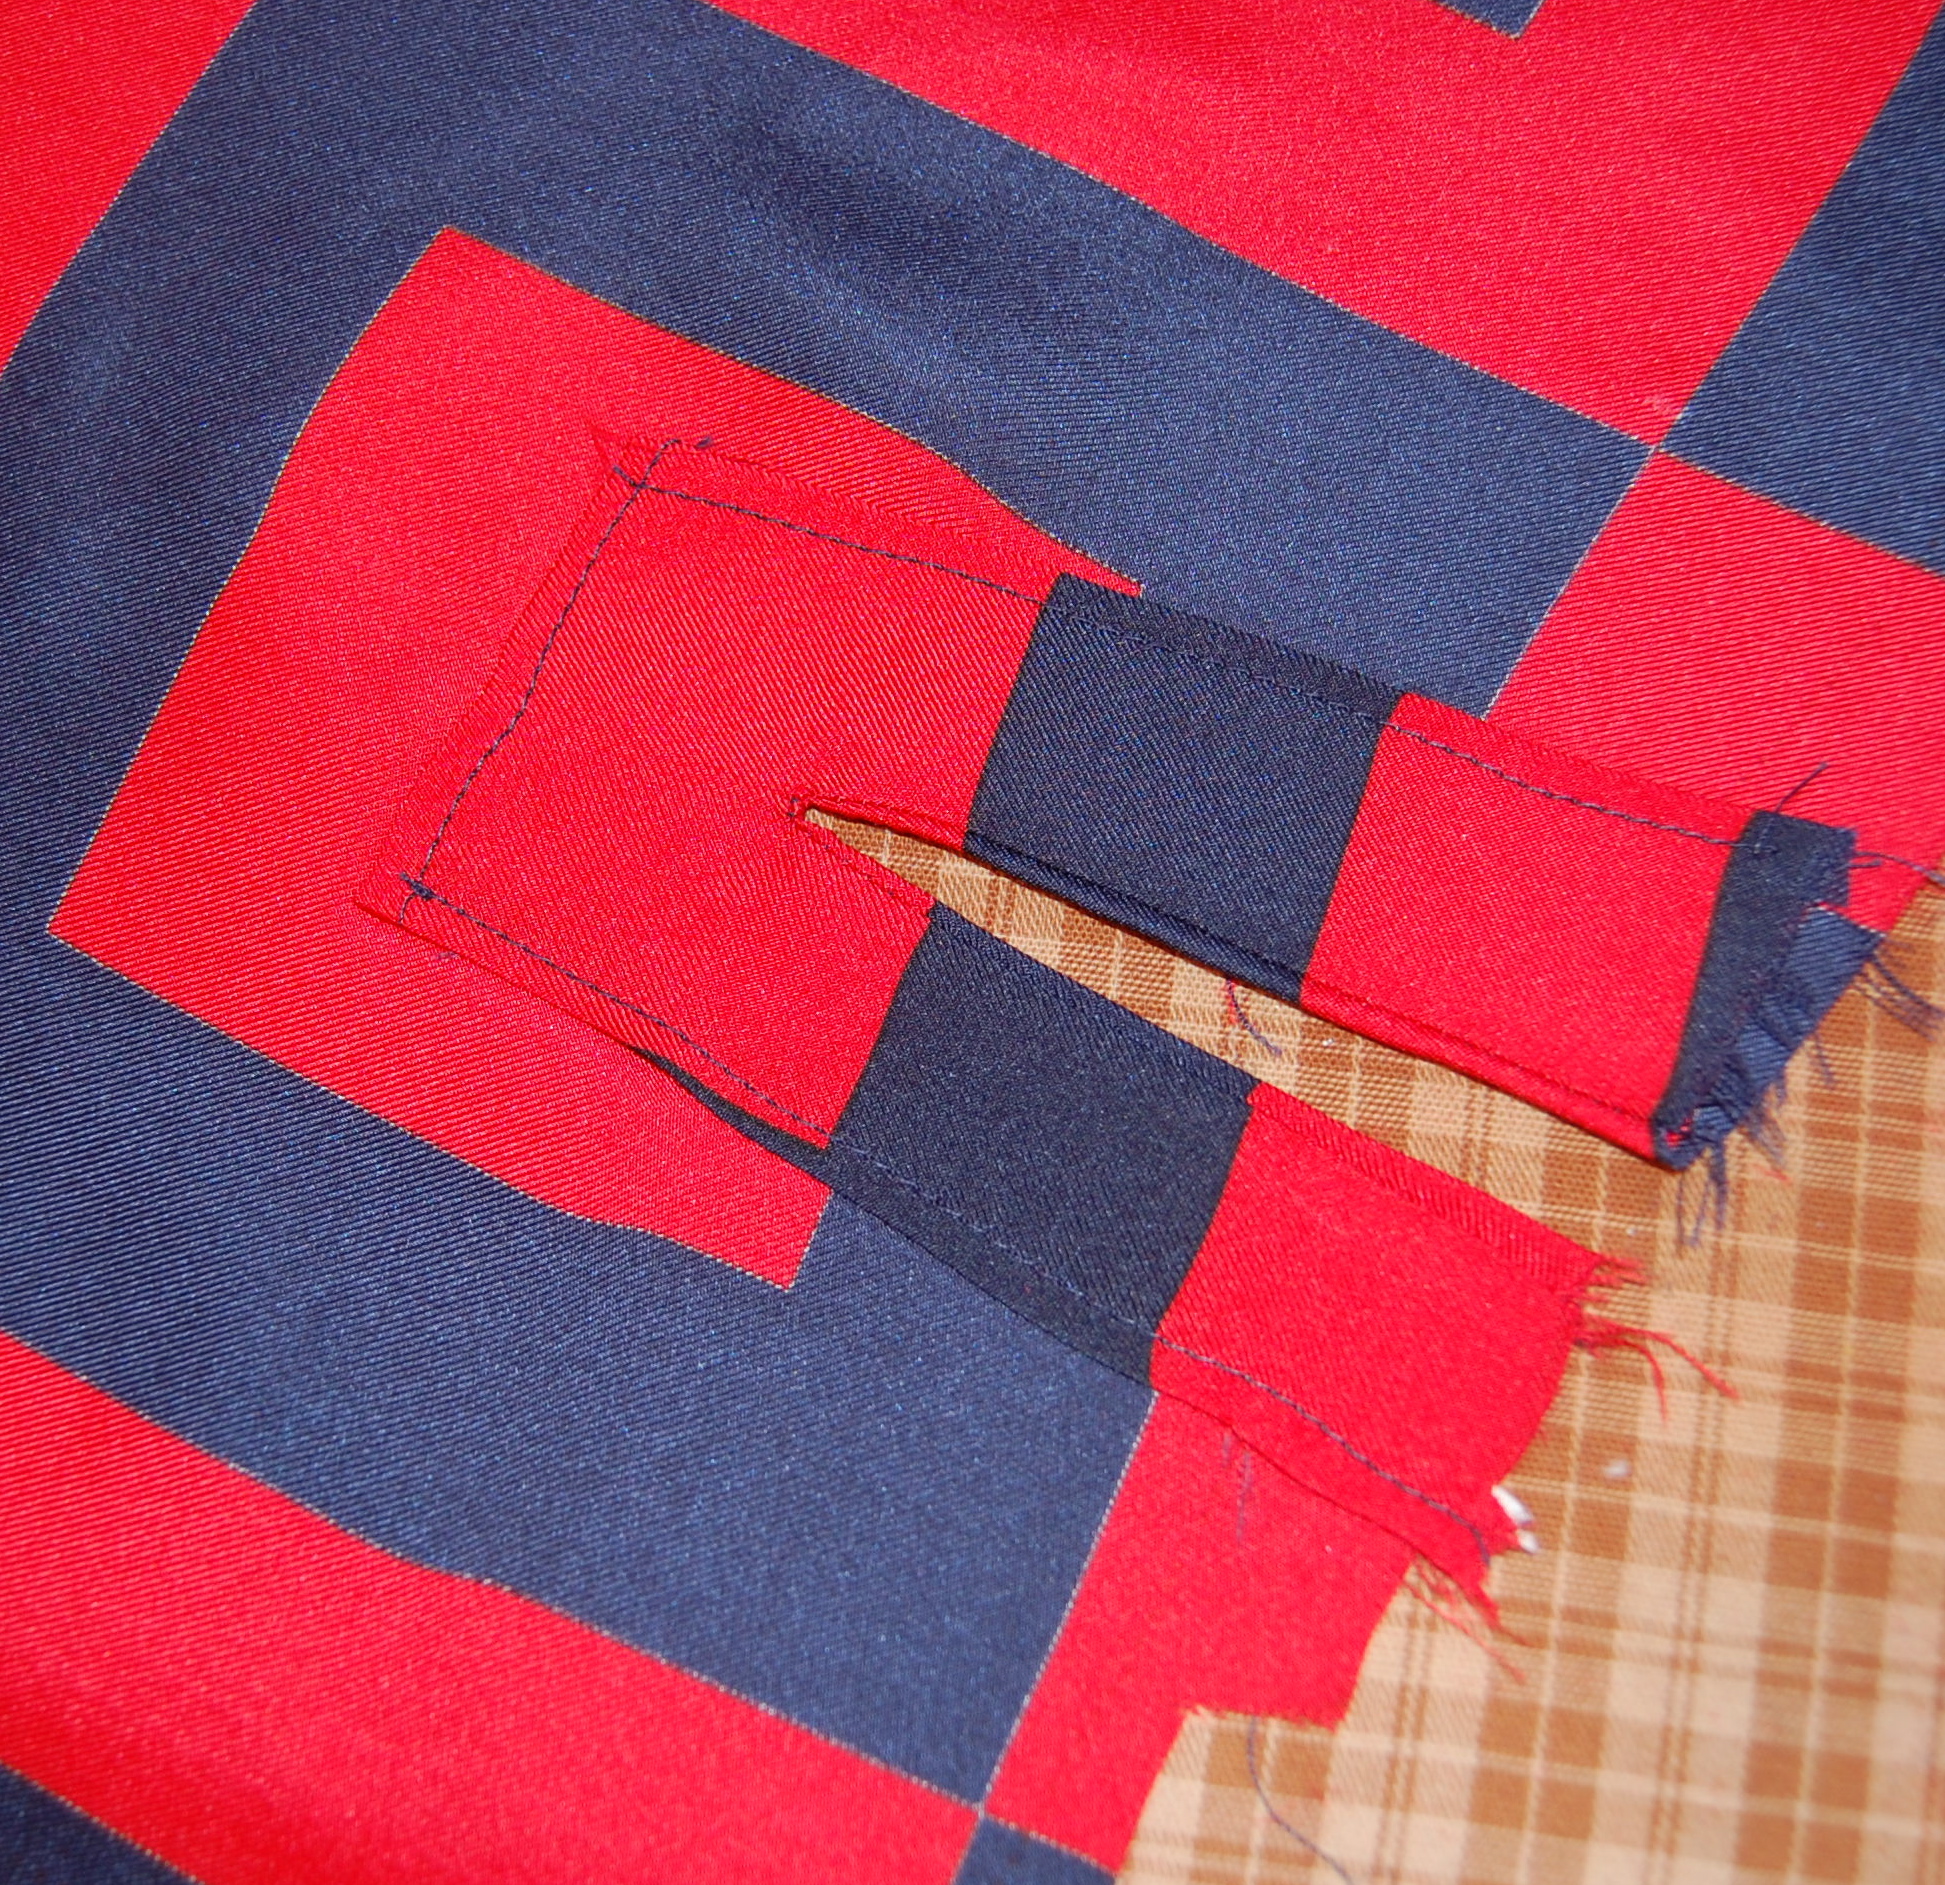
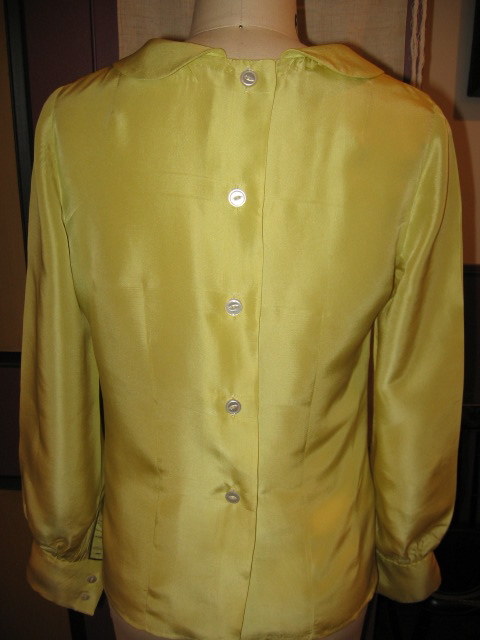
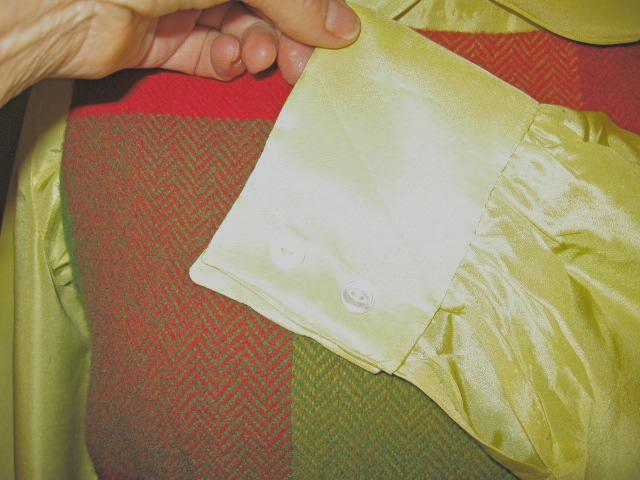
I added two inches to each of the the back seam lines so that I could button , rather than zip, the back, and I took a bit of the width out of the sleeves so they would be a bit less flow-y (is that a word?)
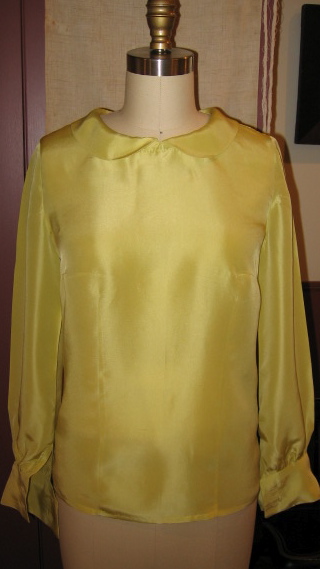
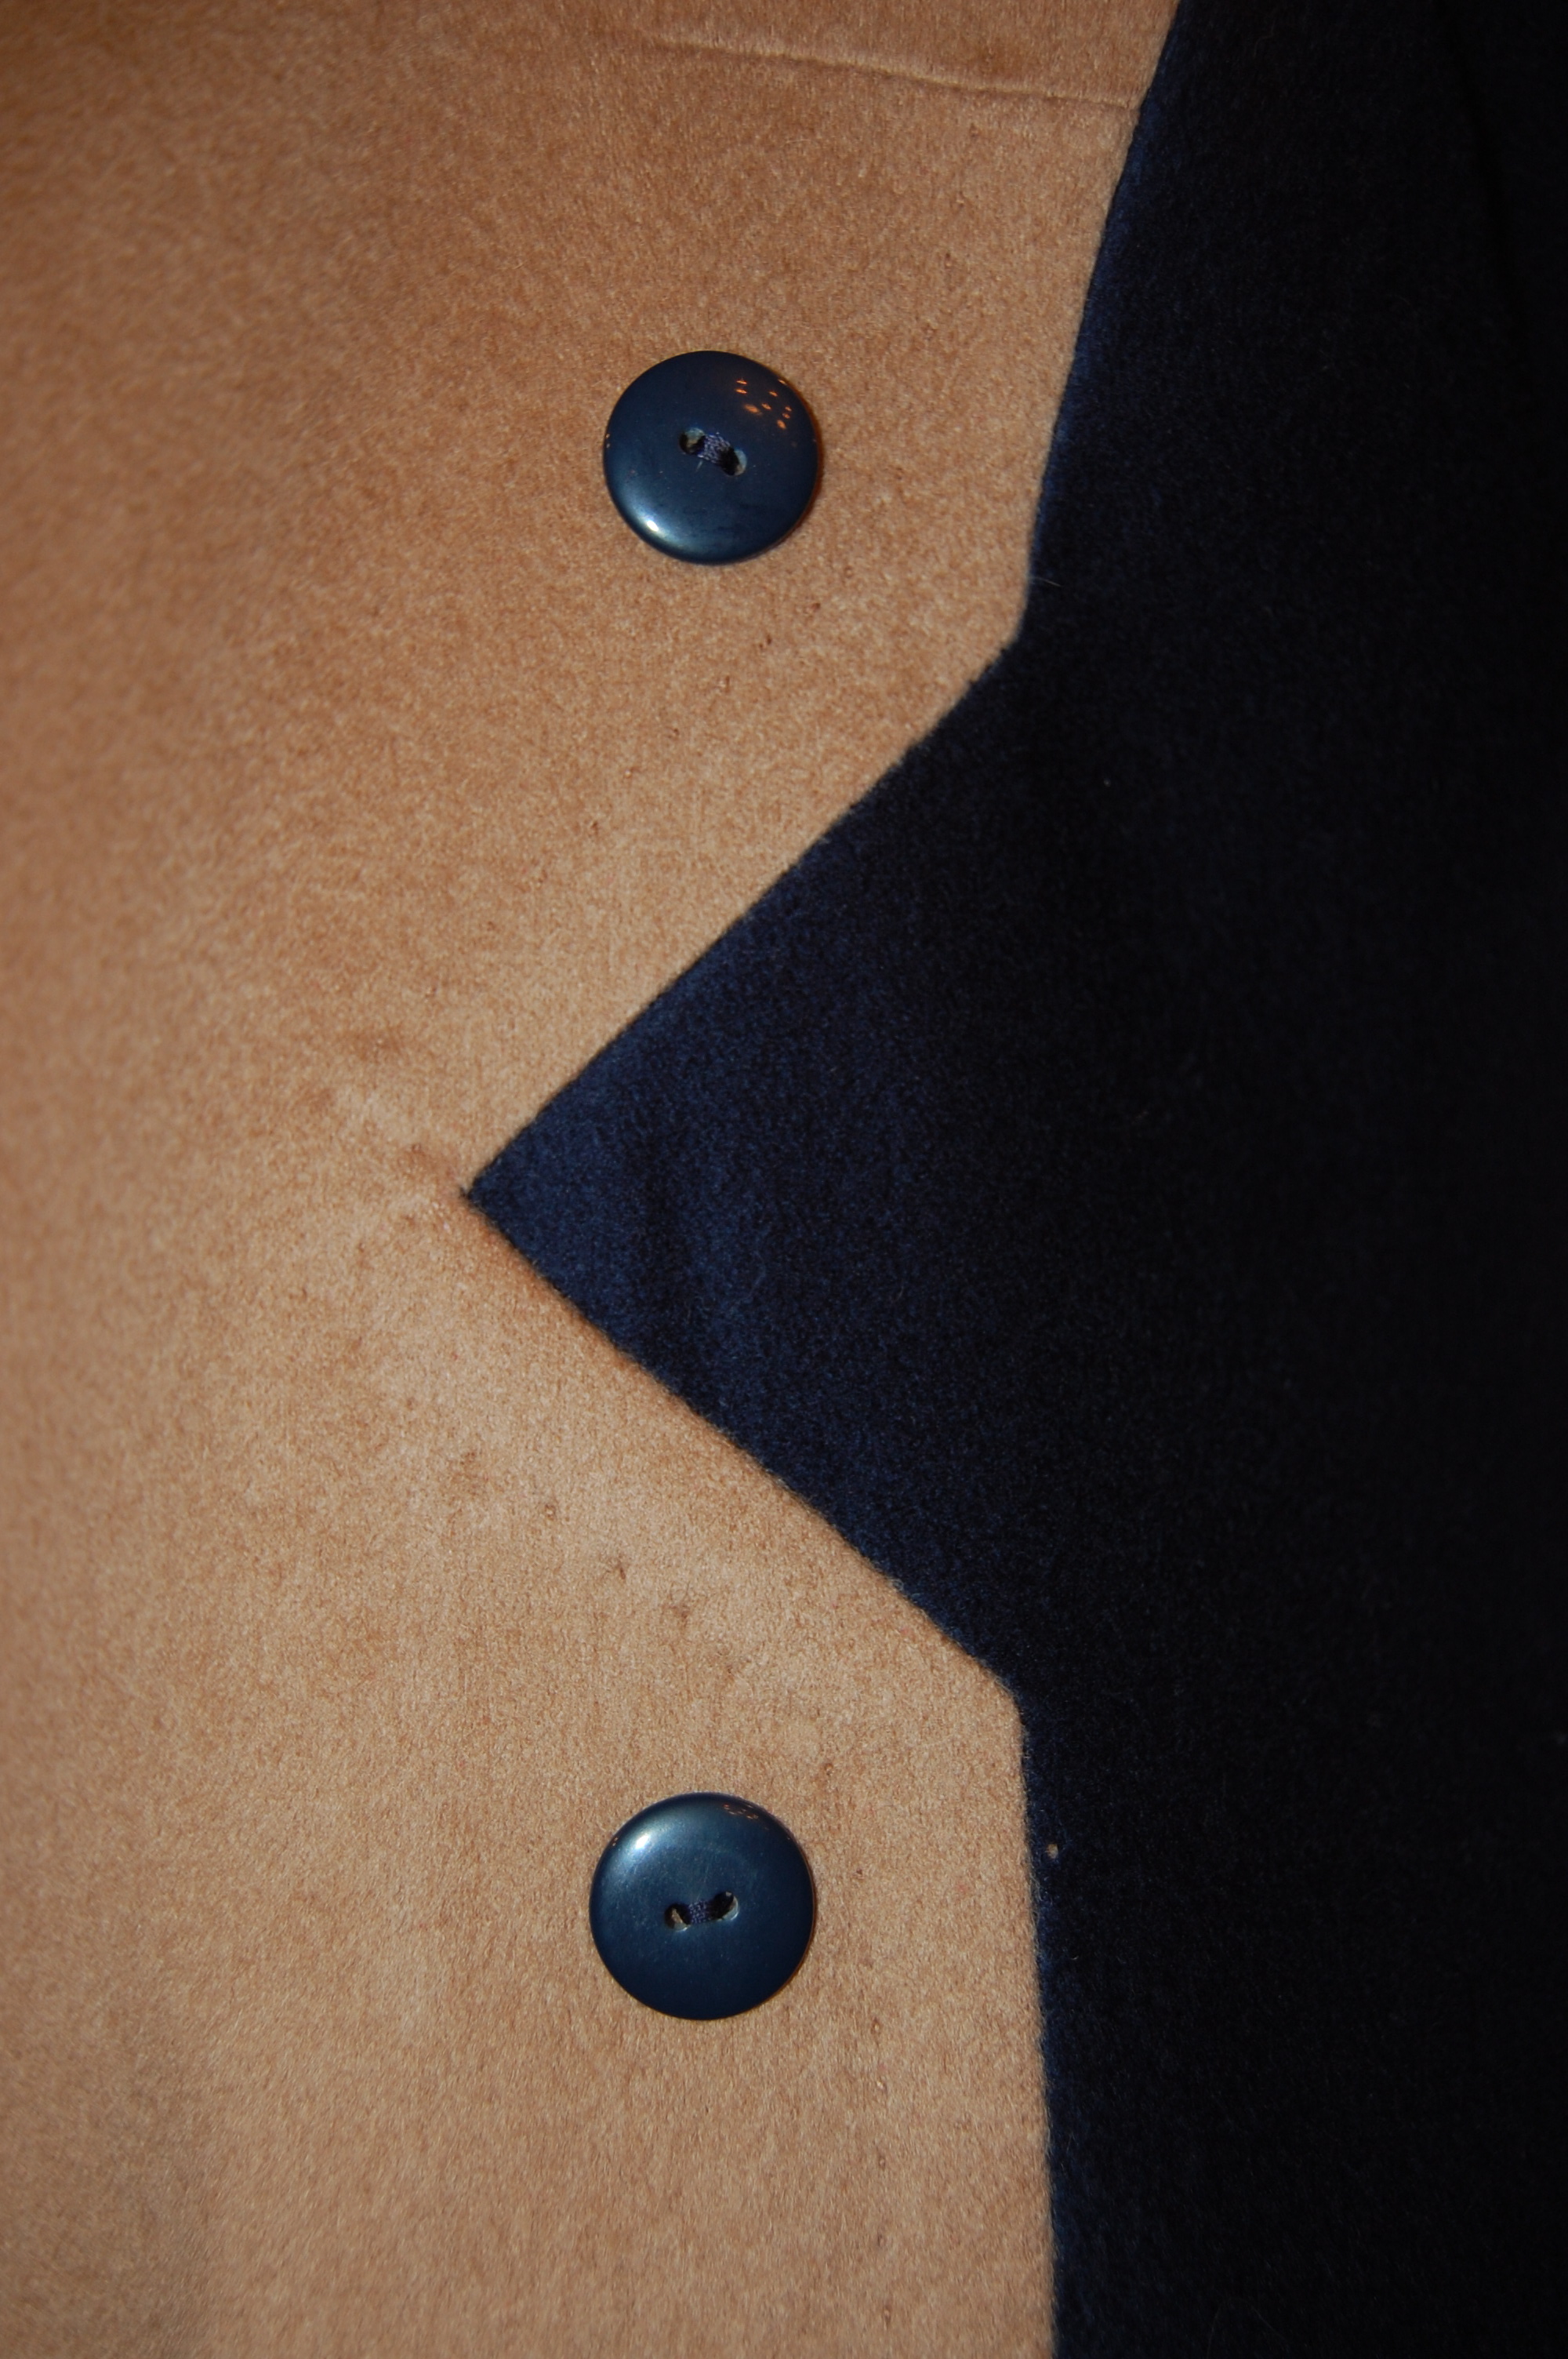
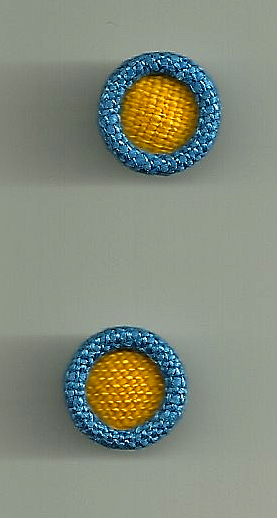
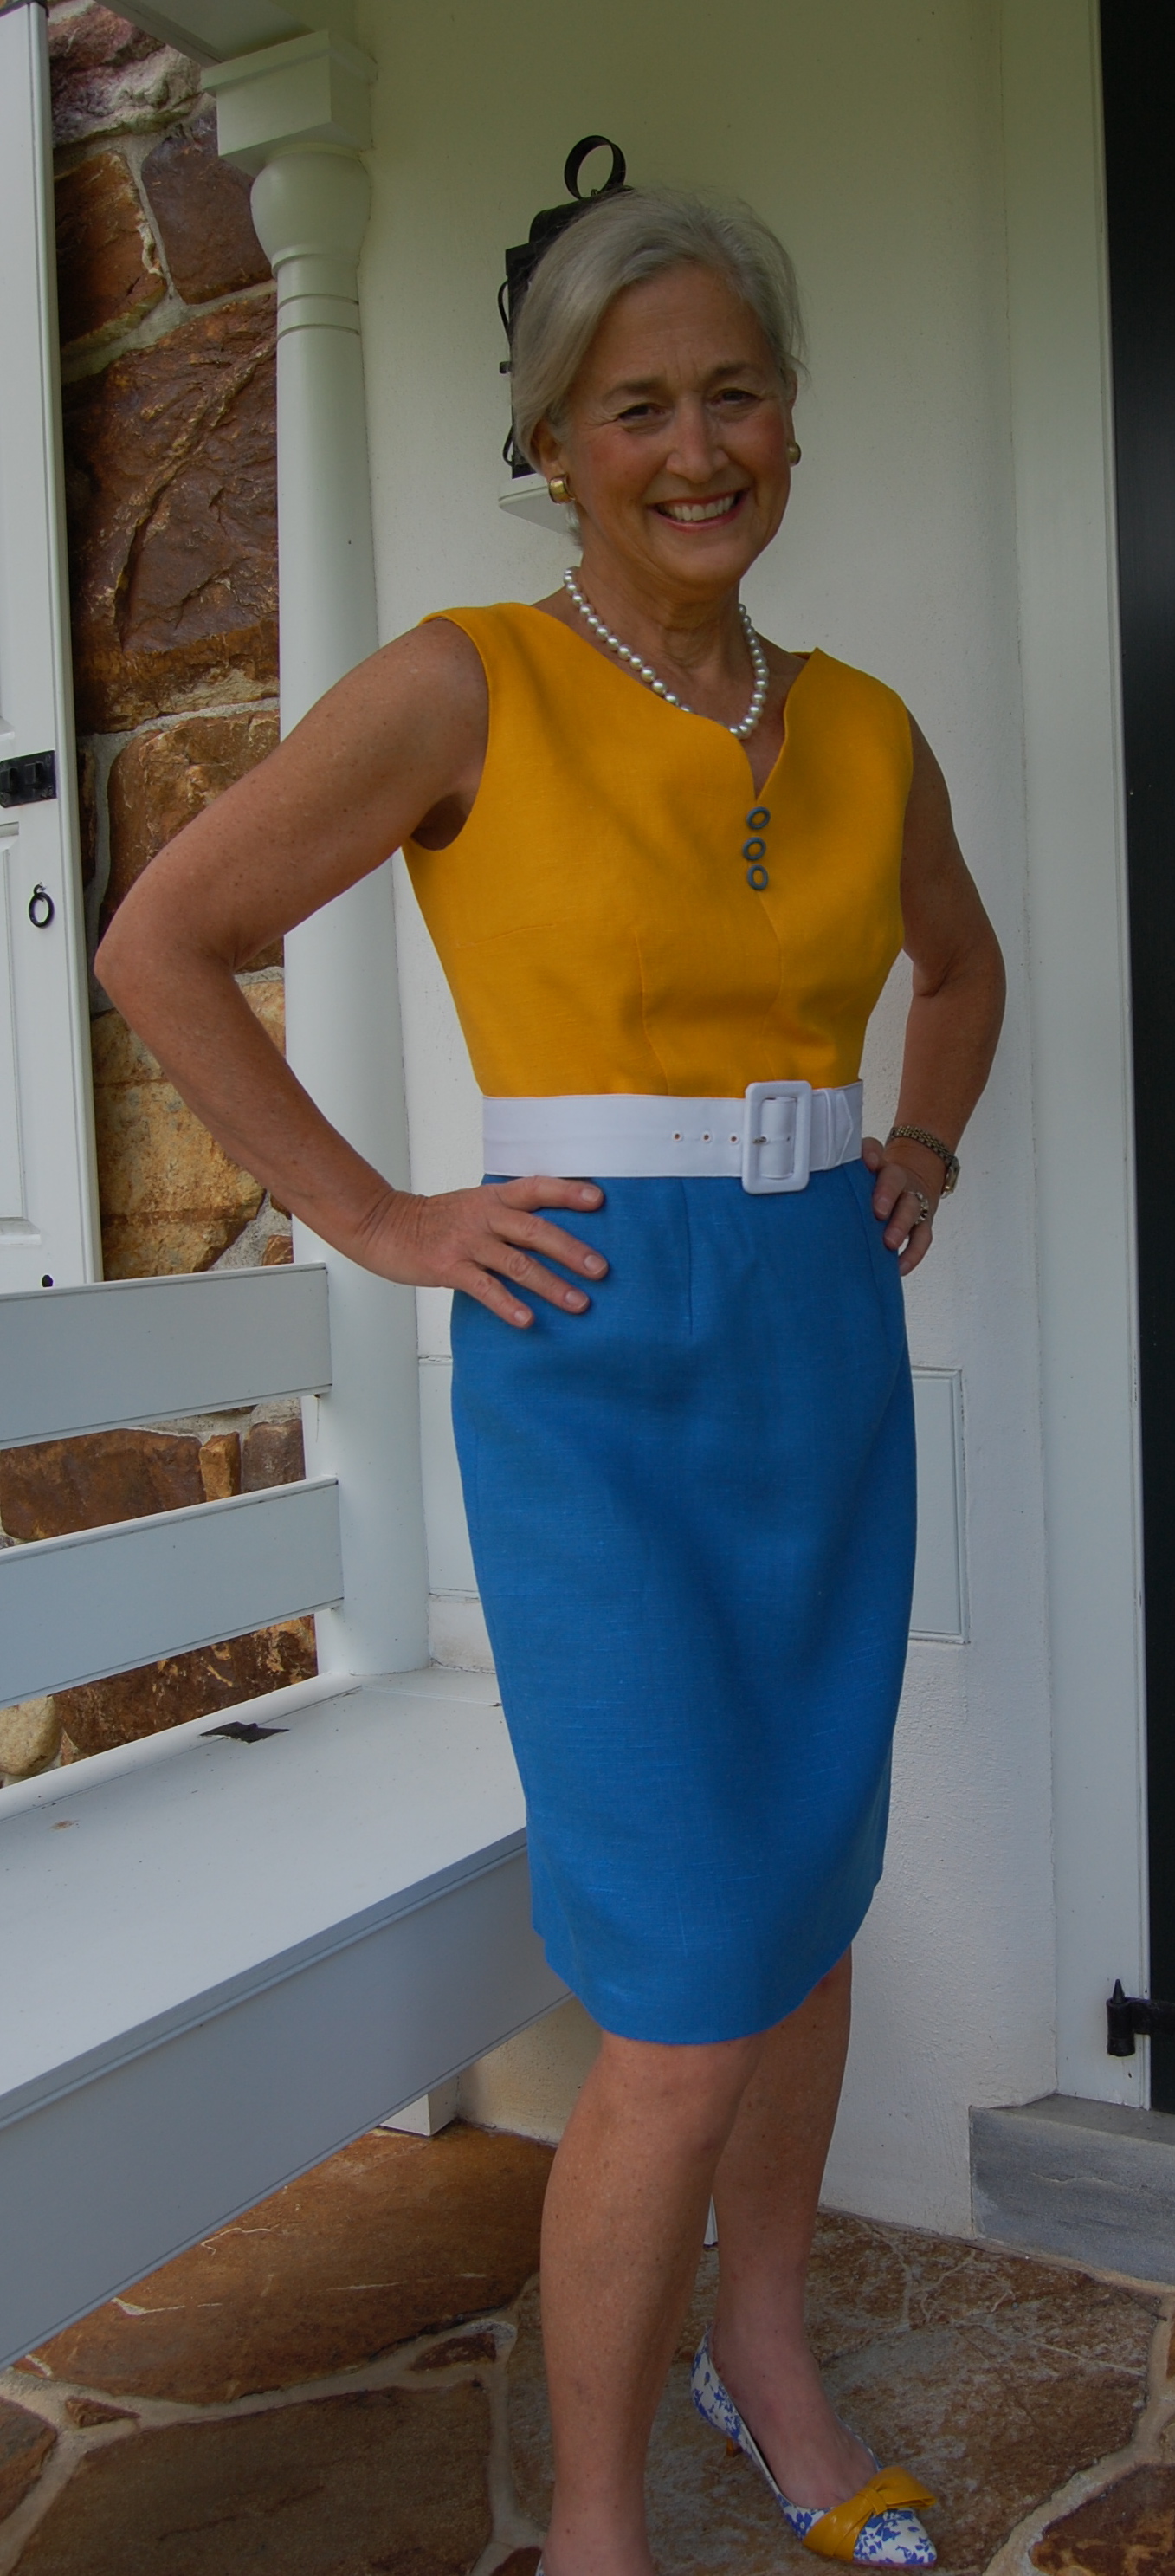
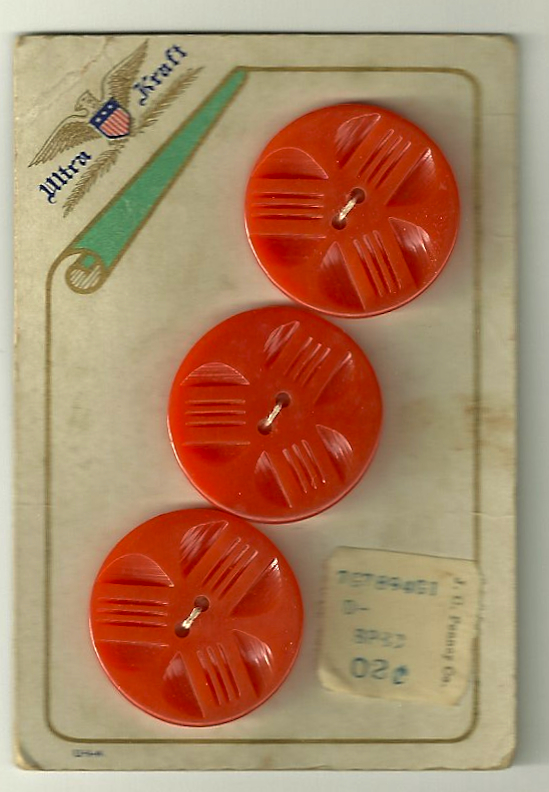
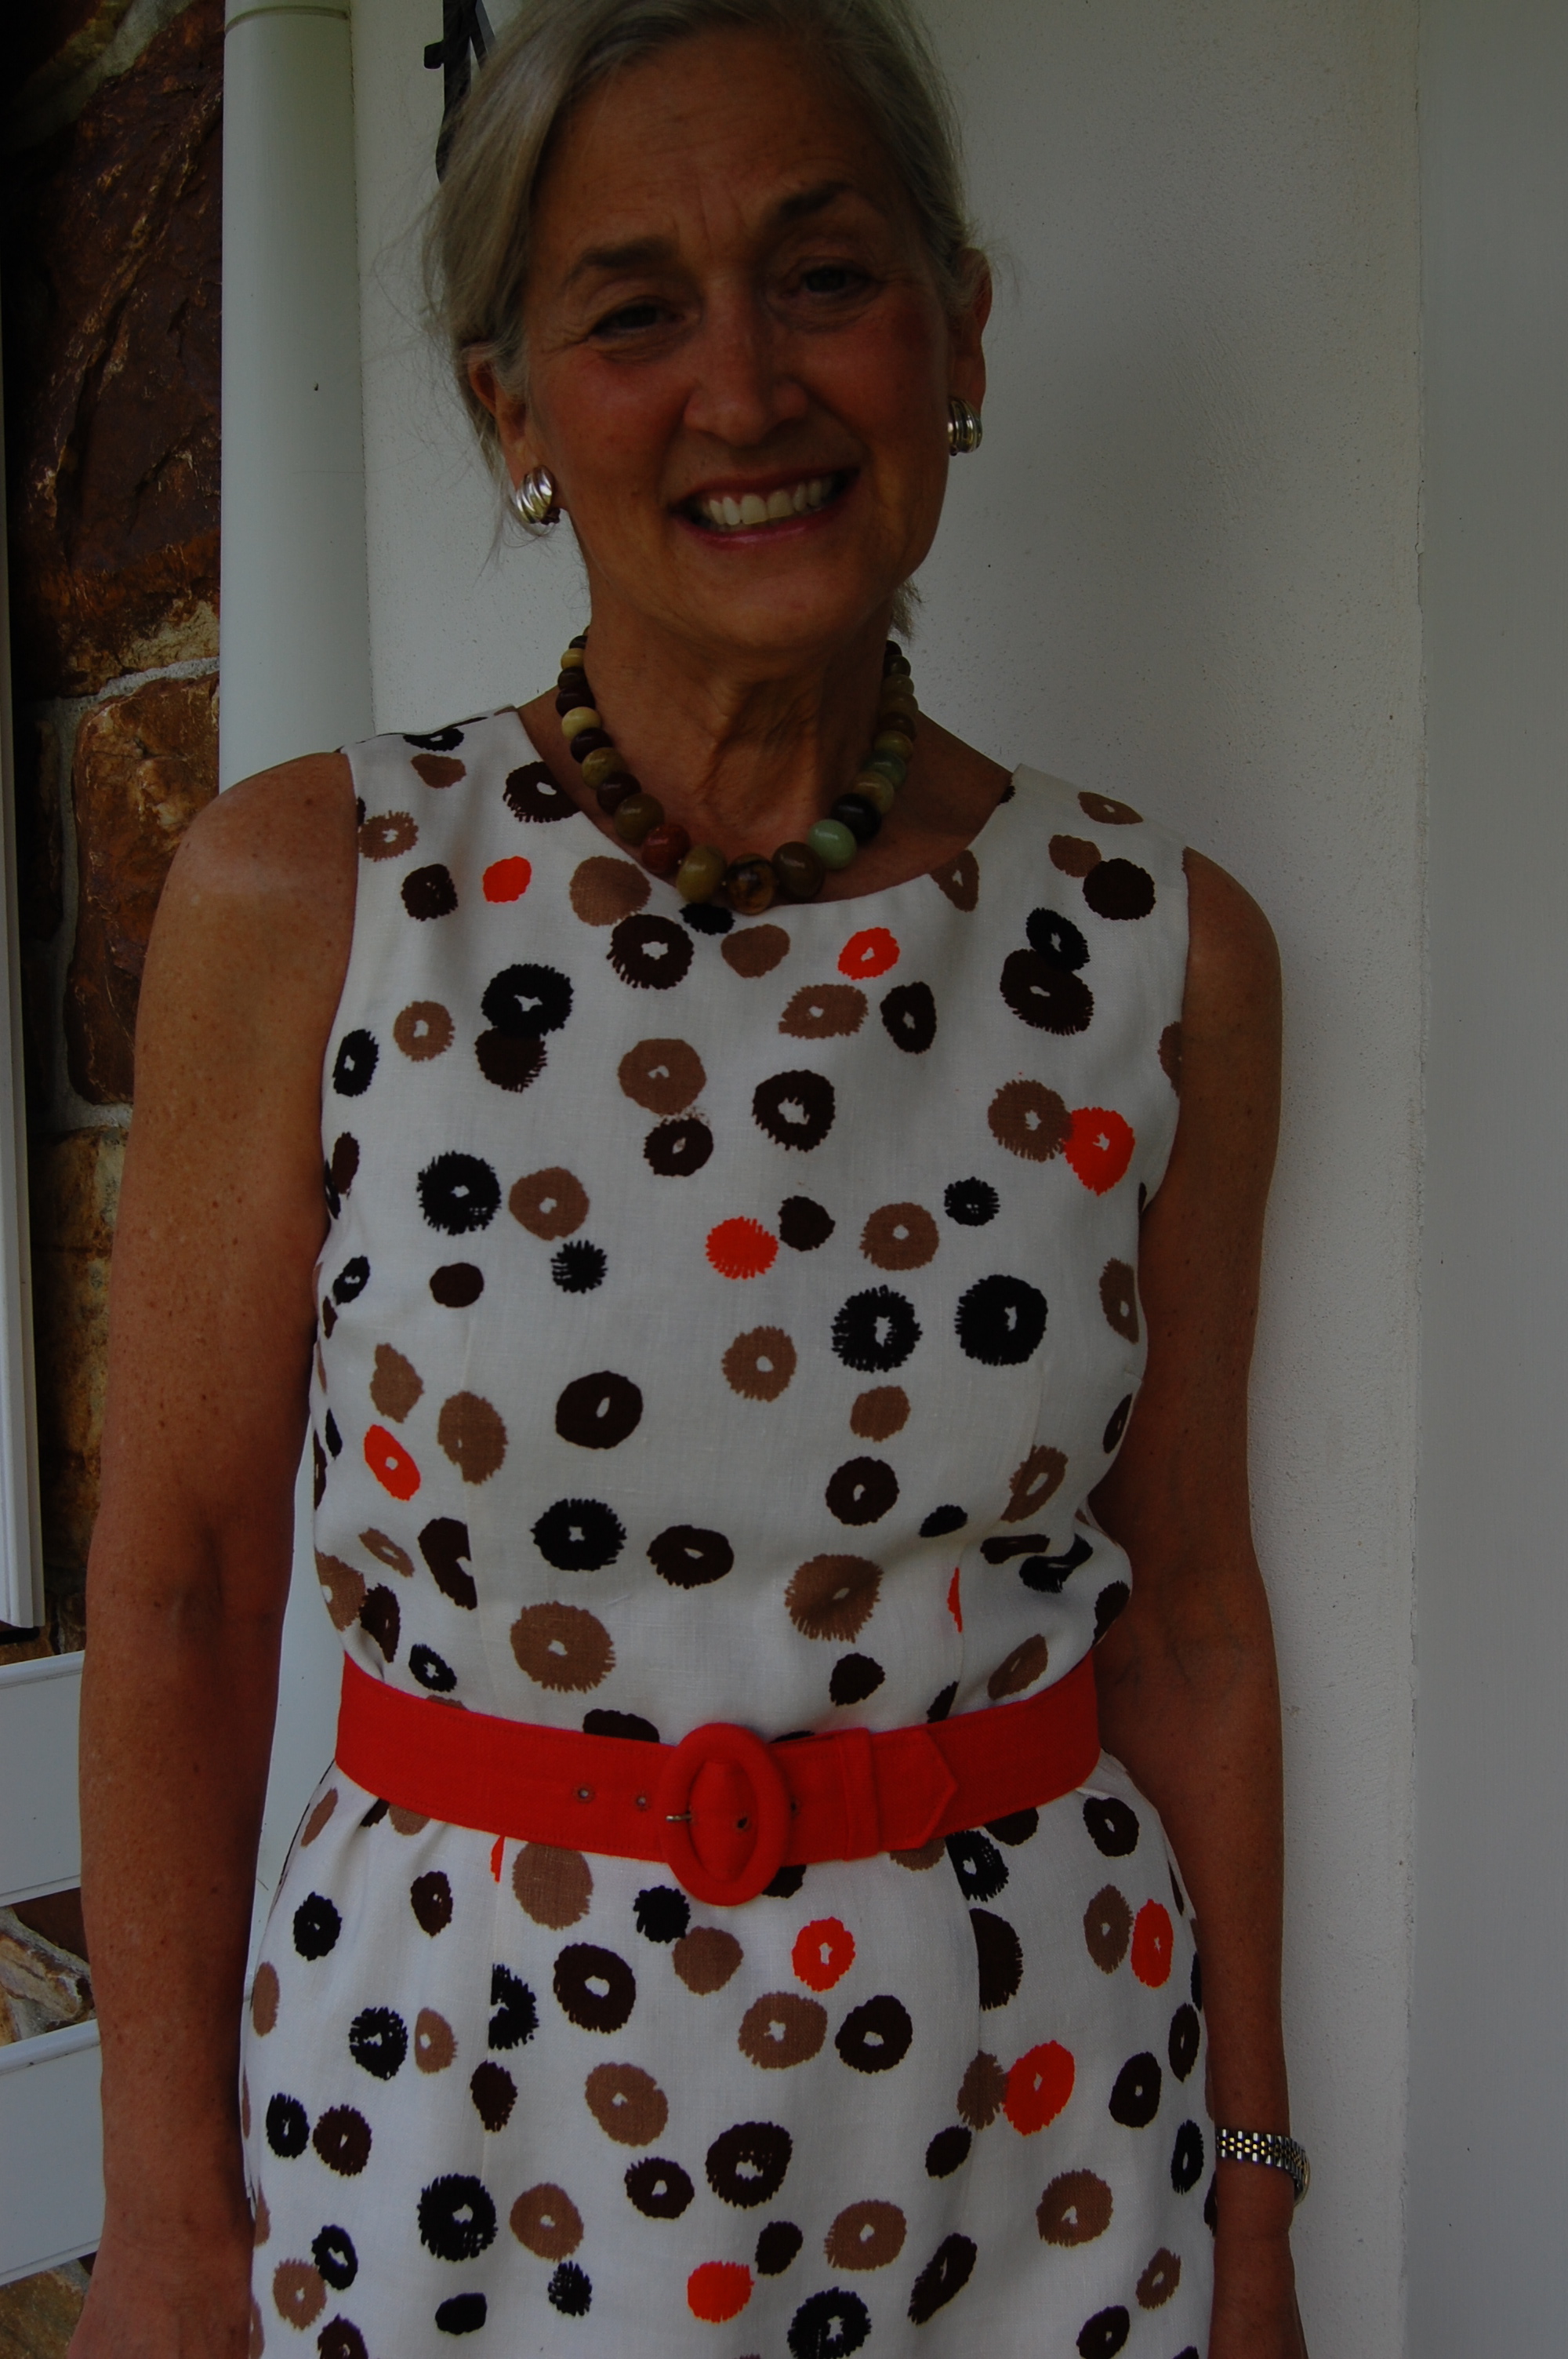
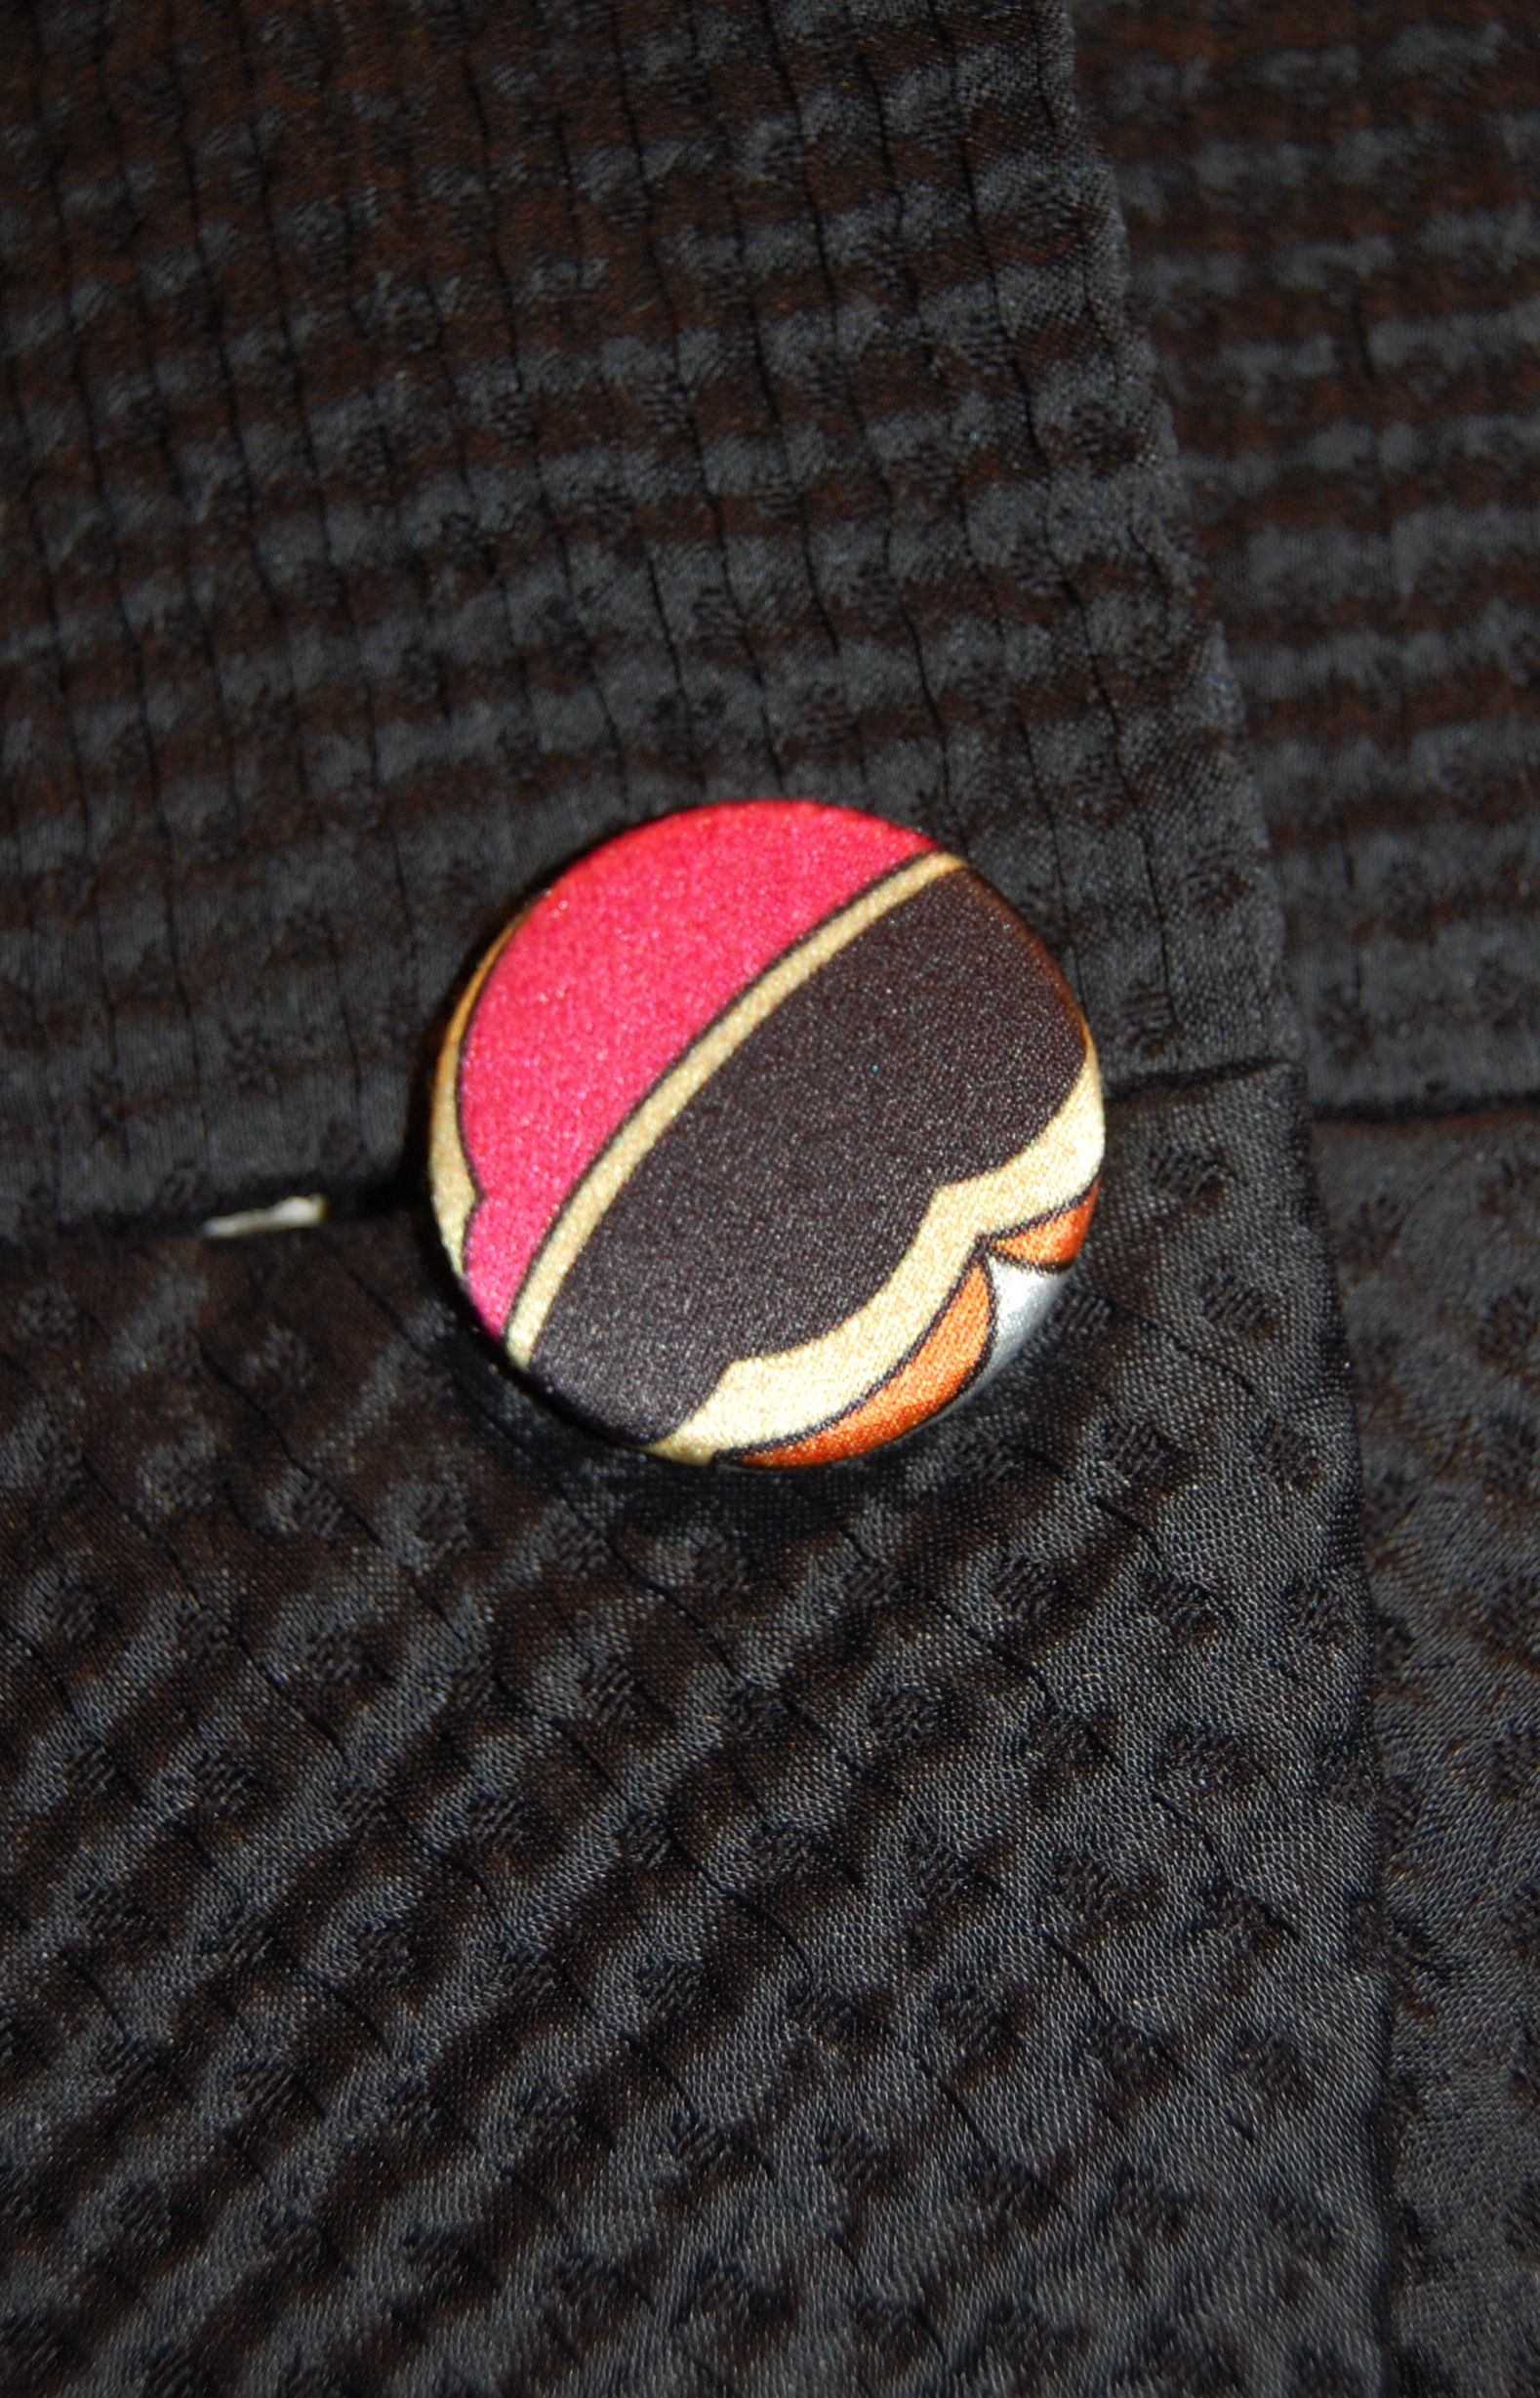
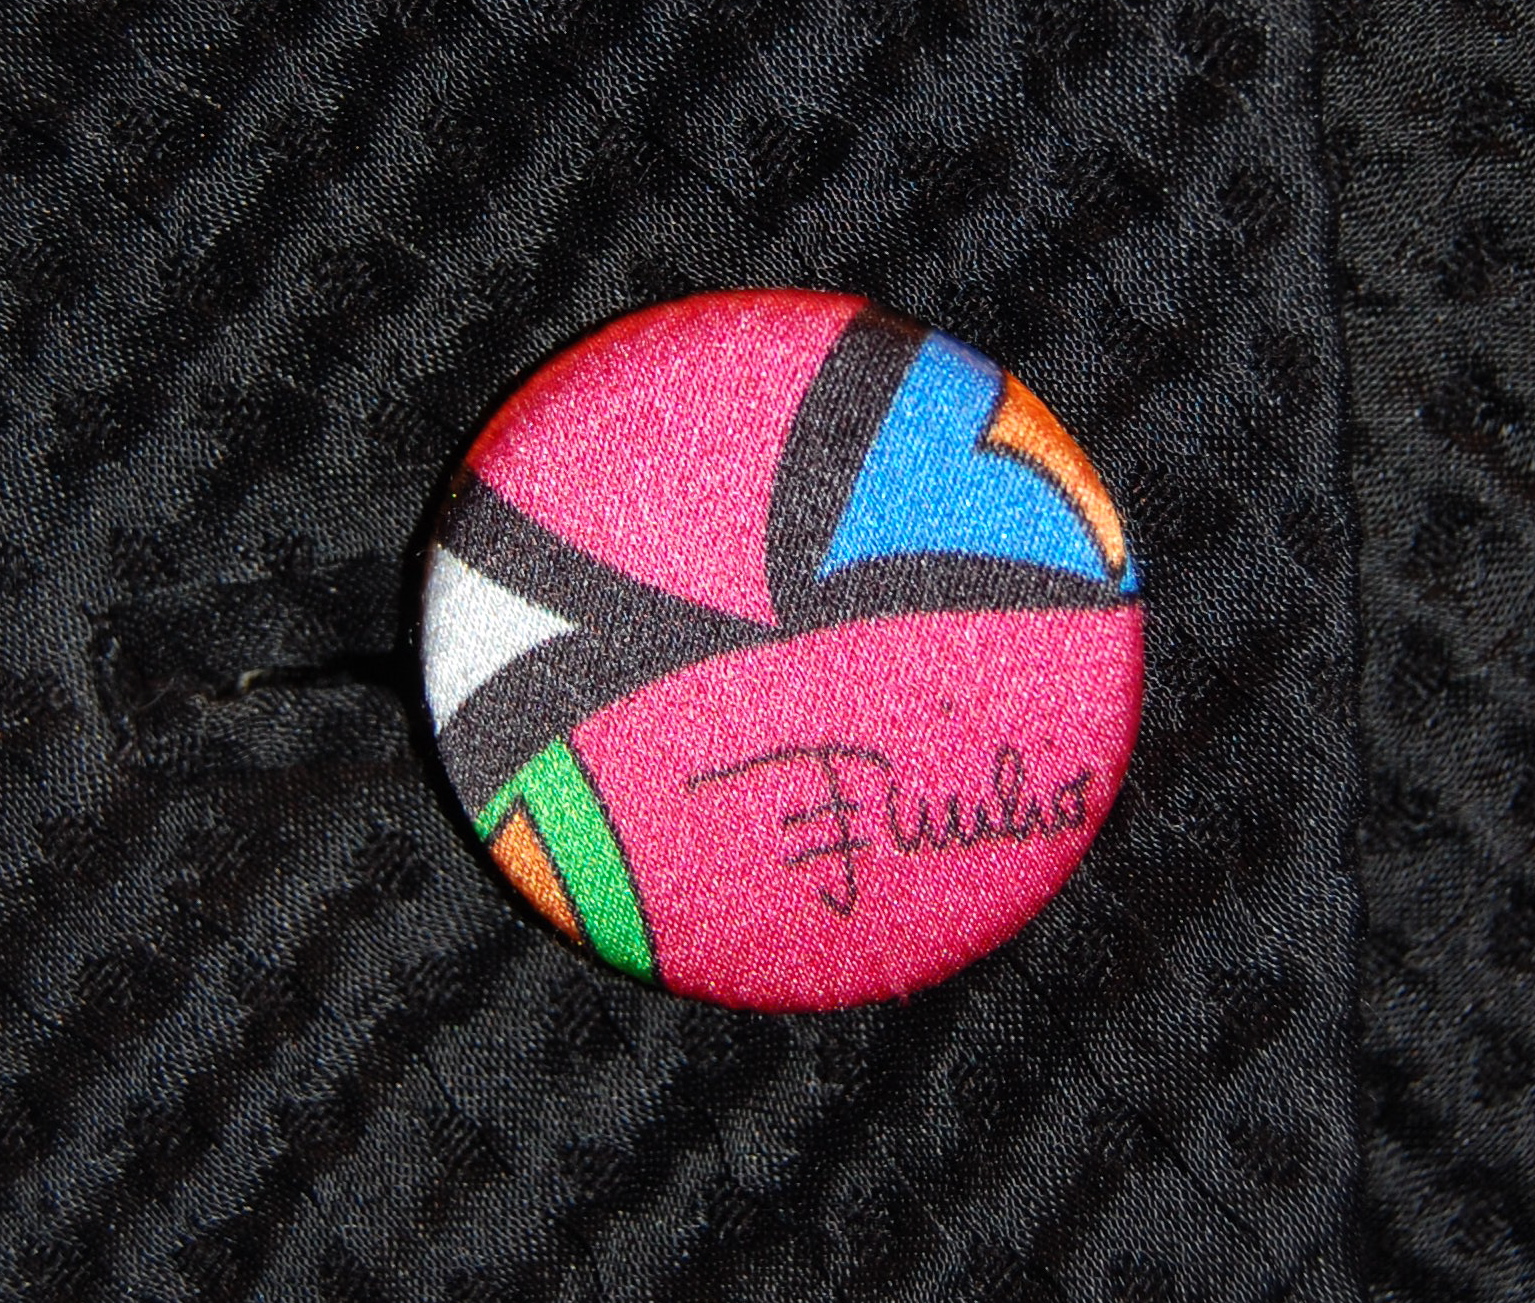
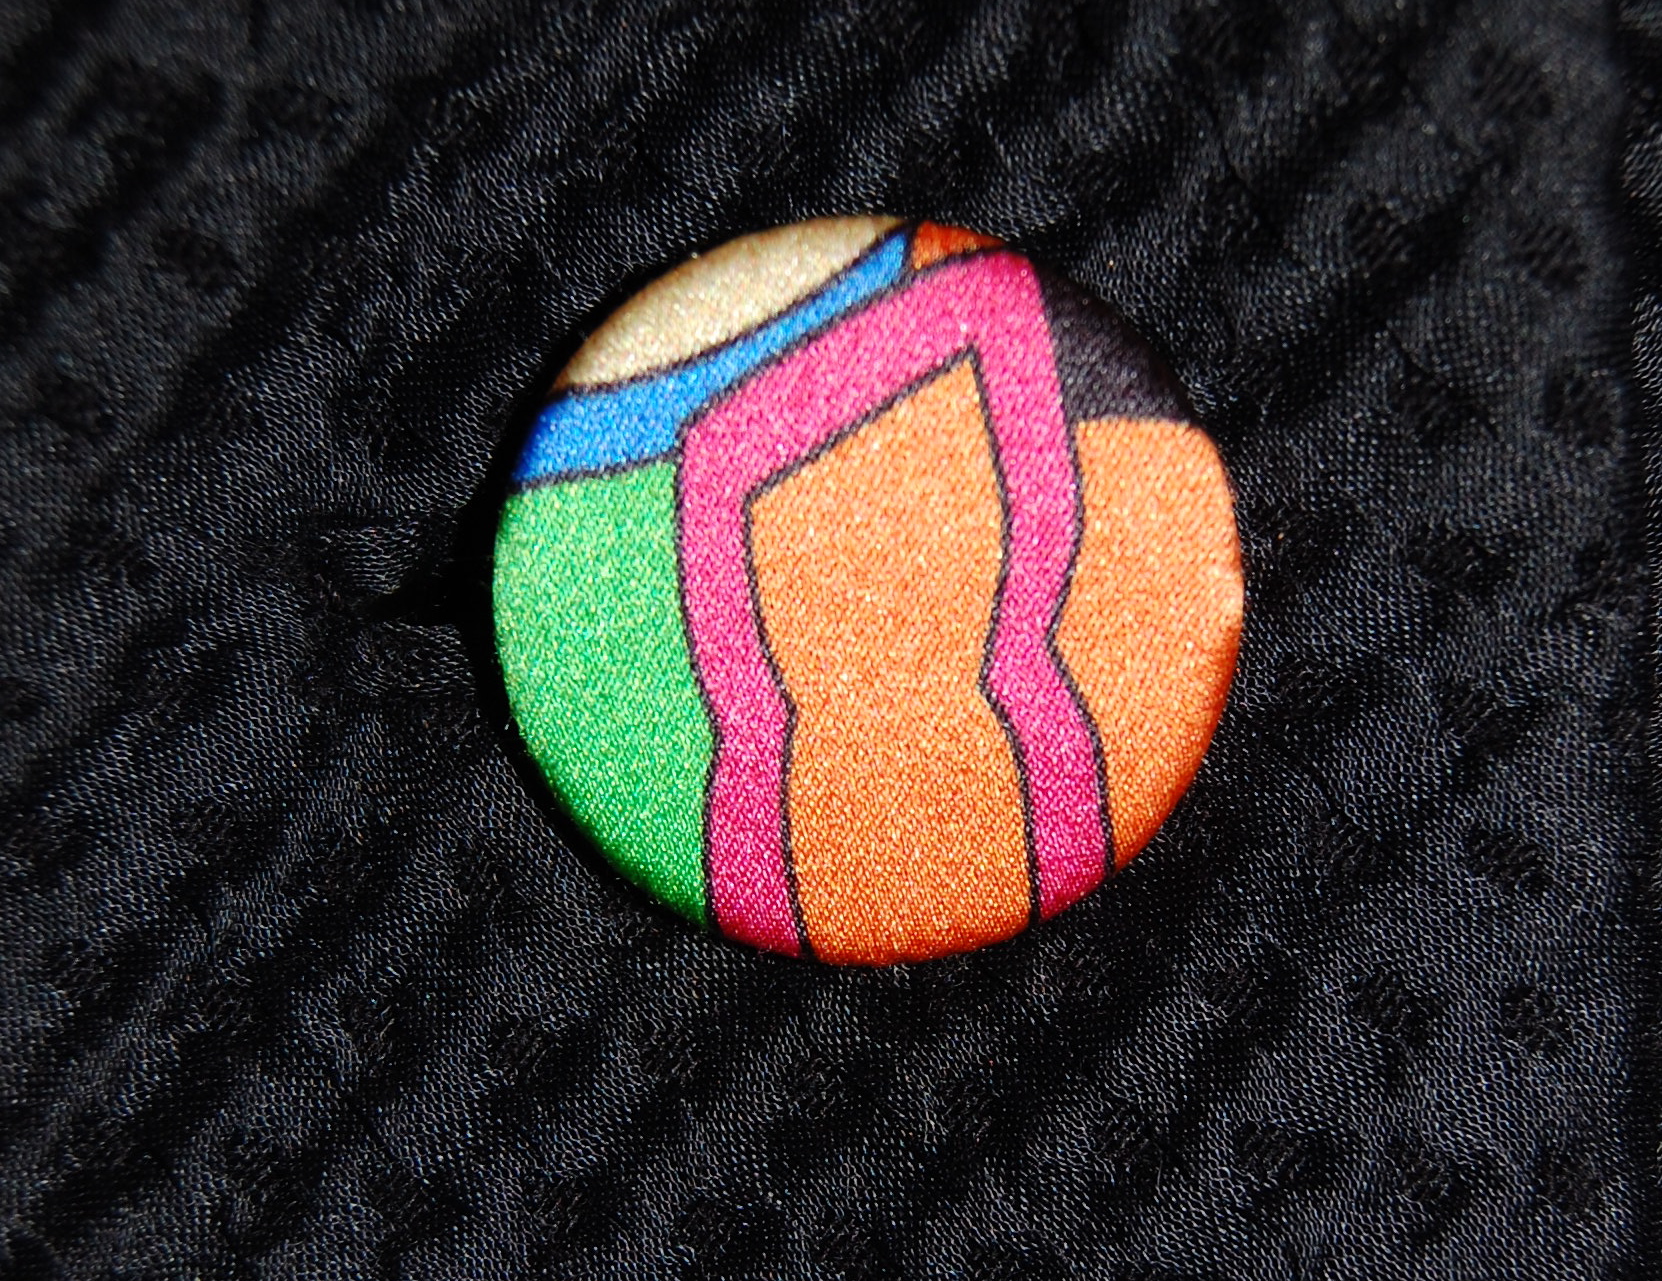
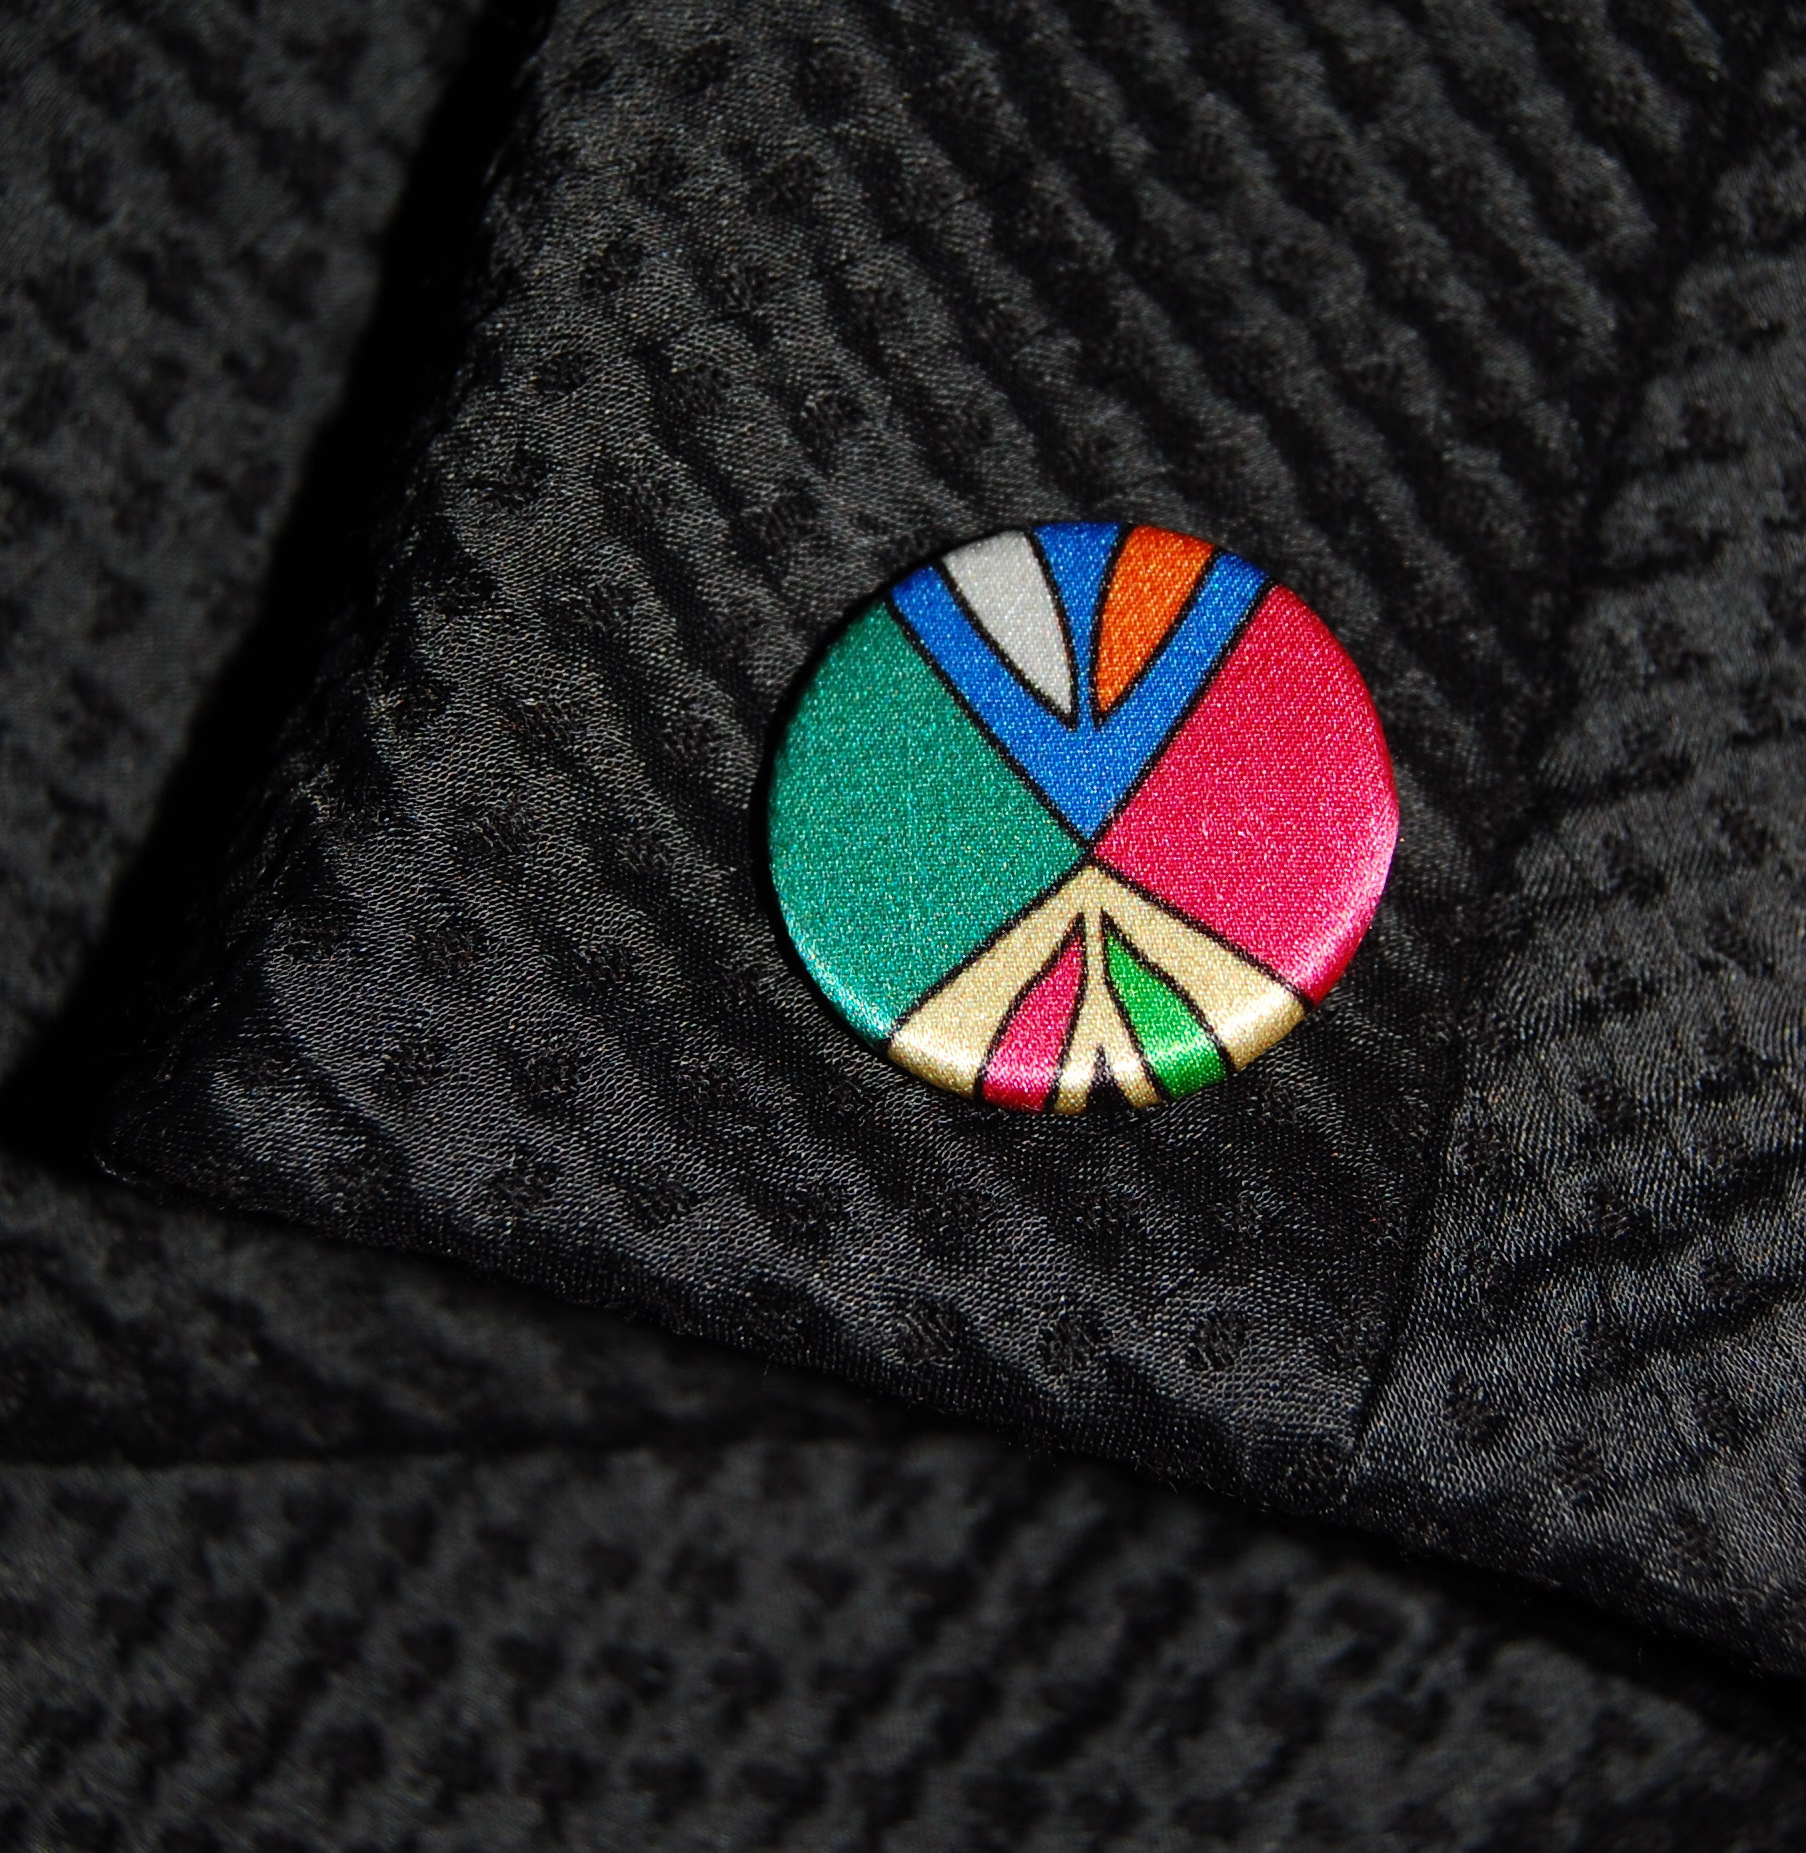
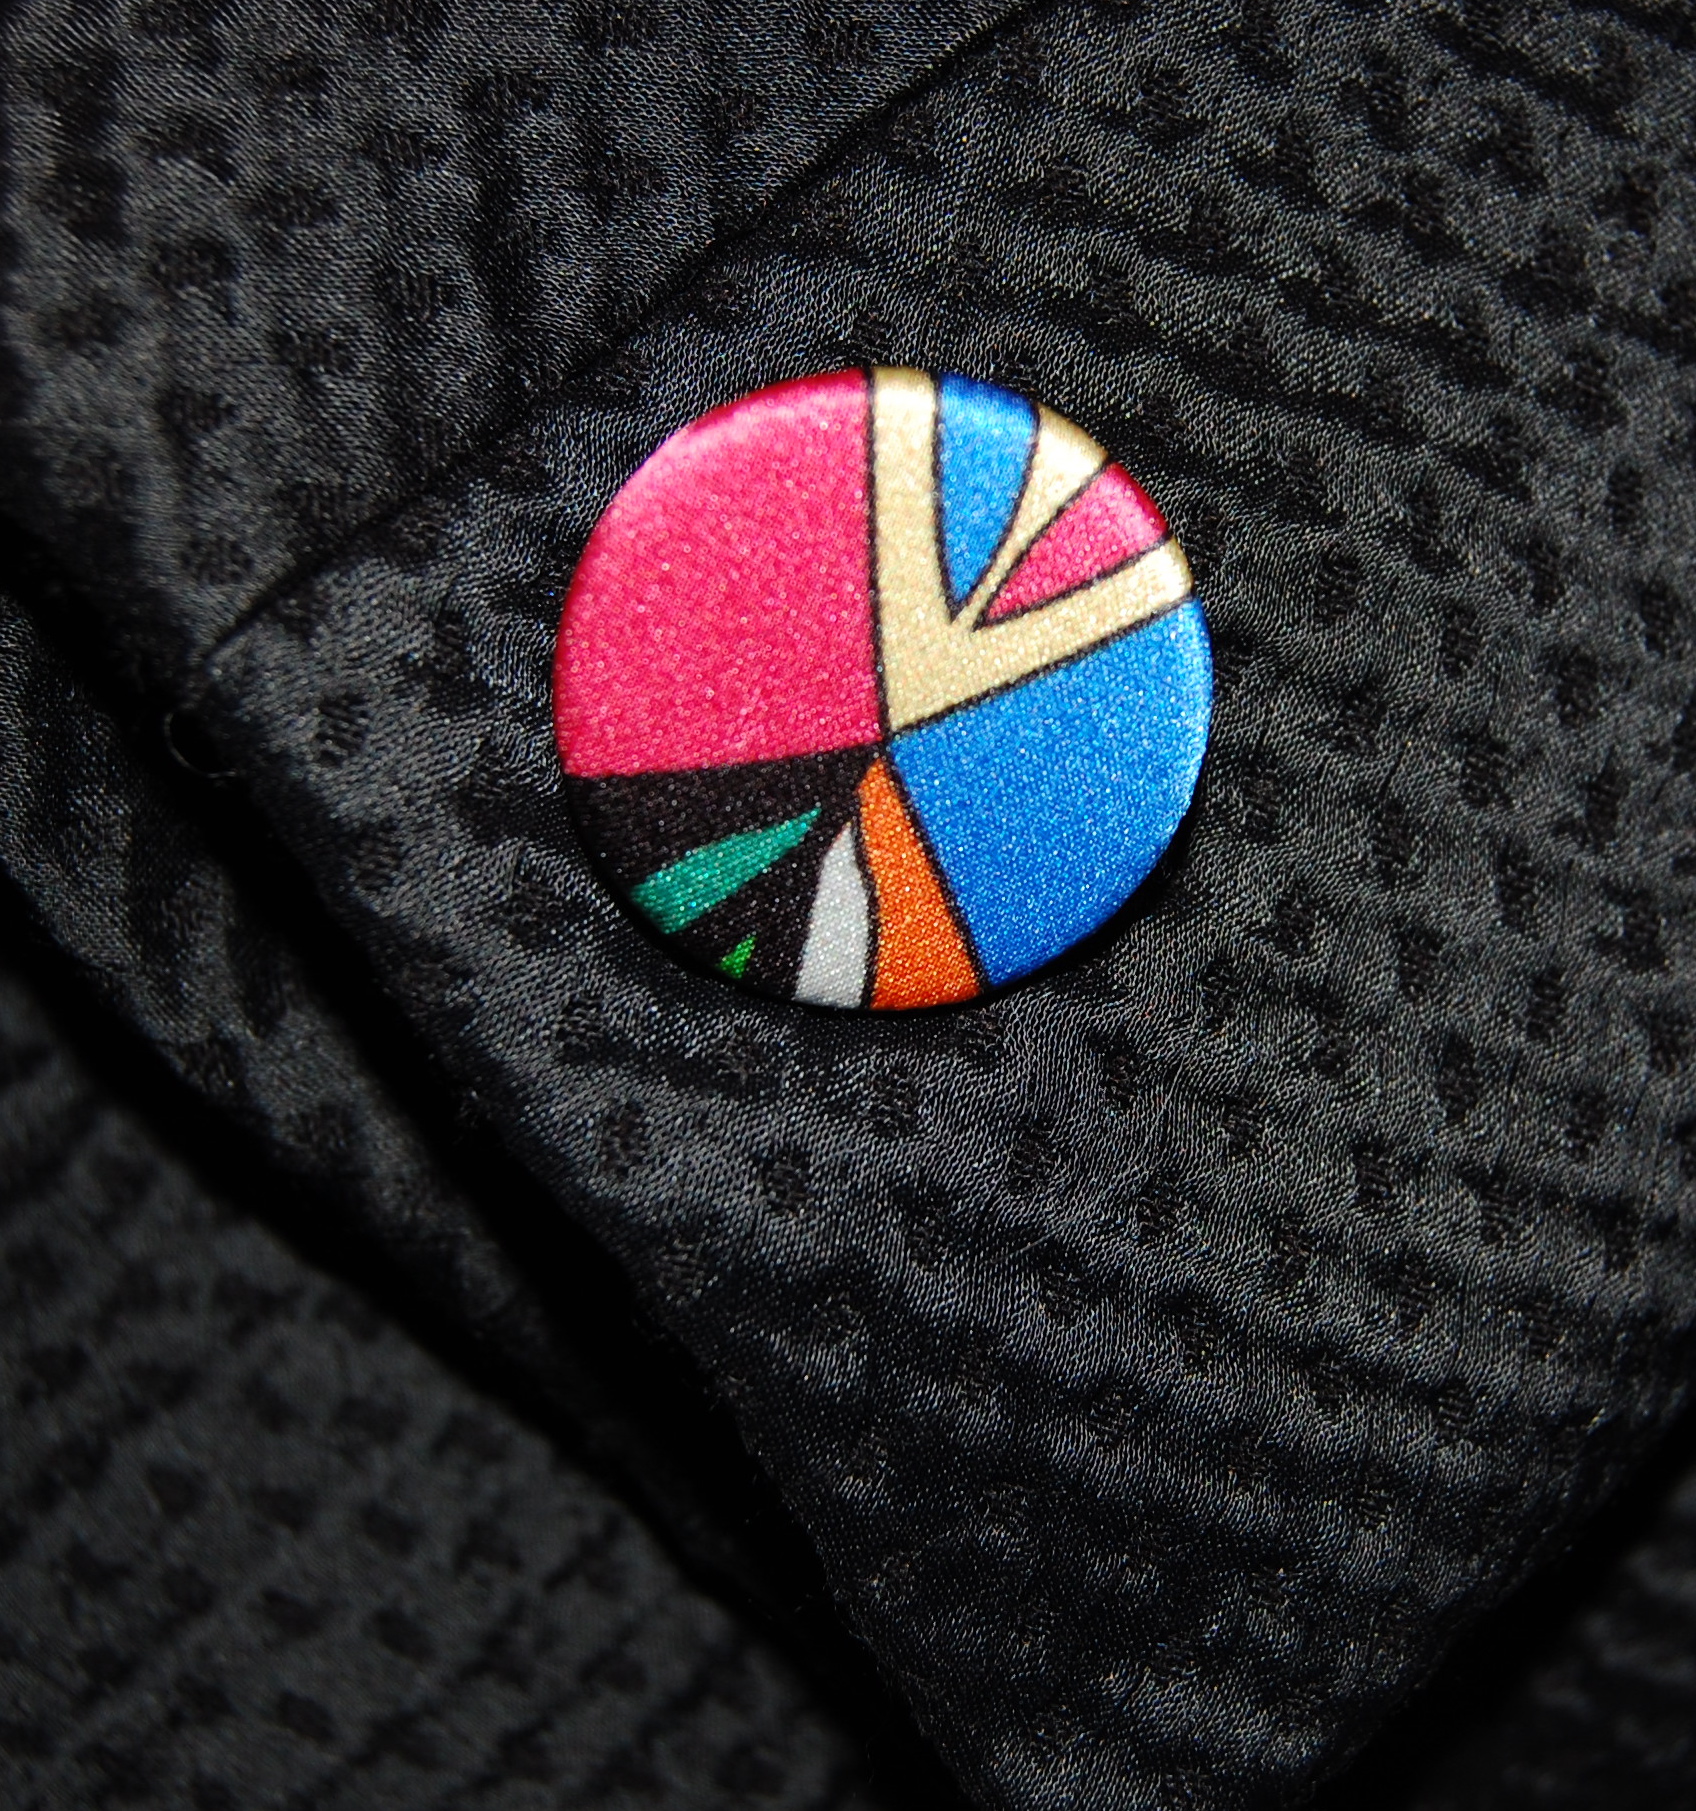
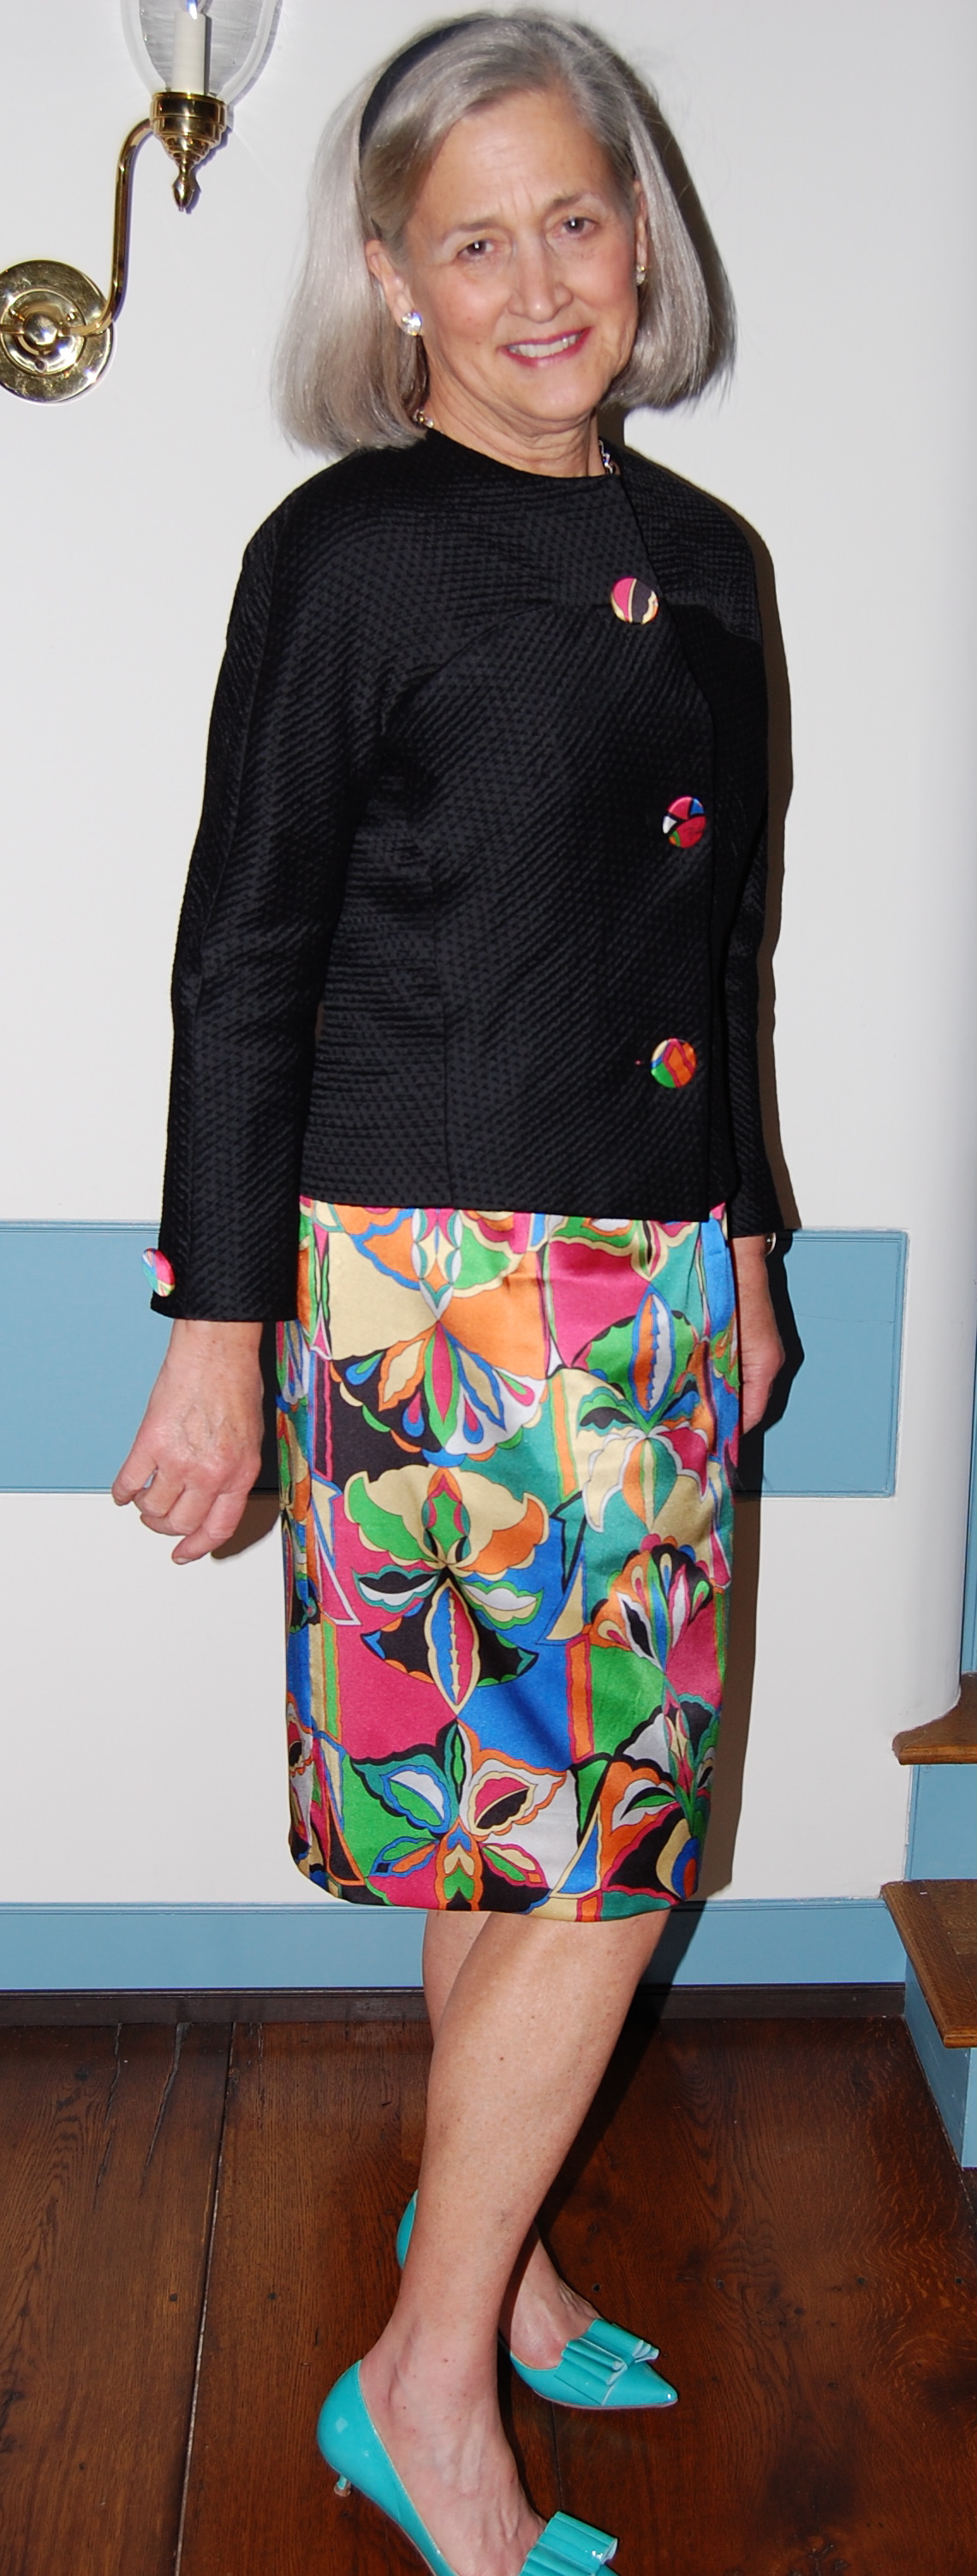
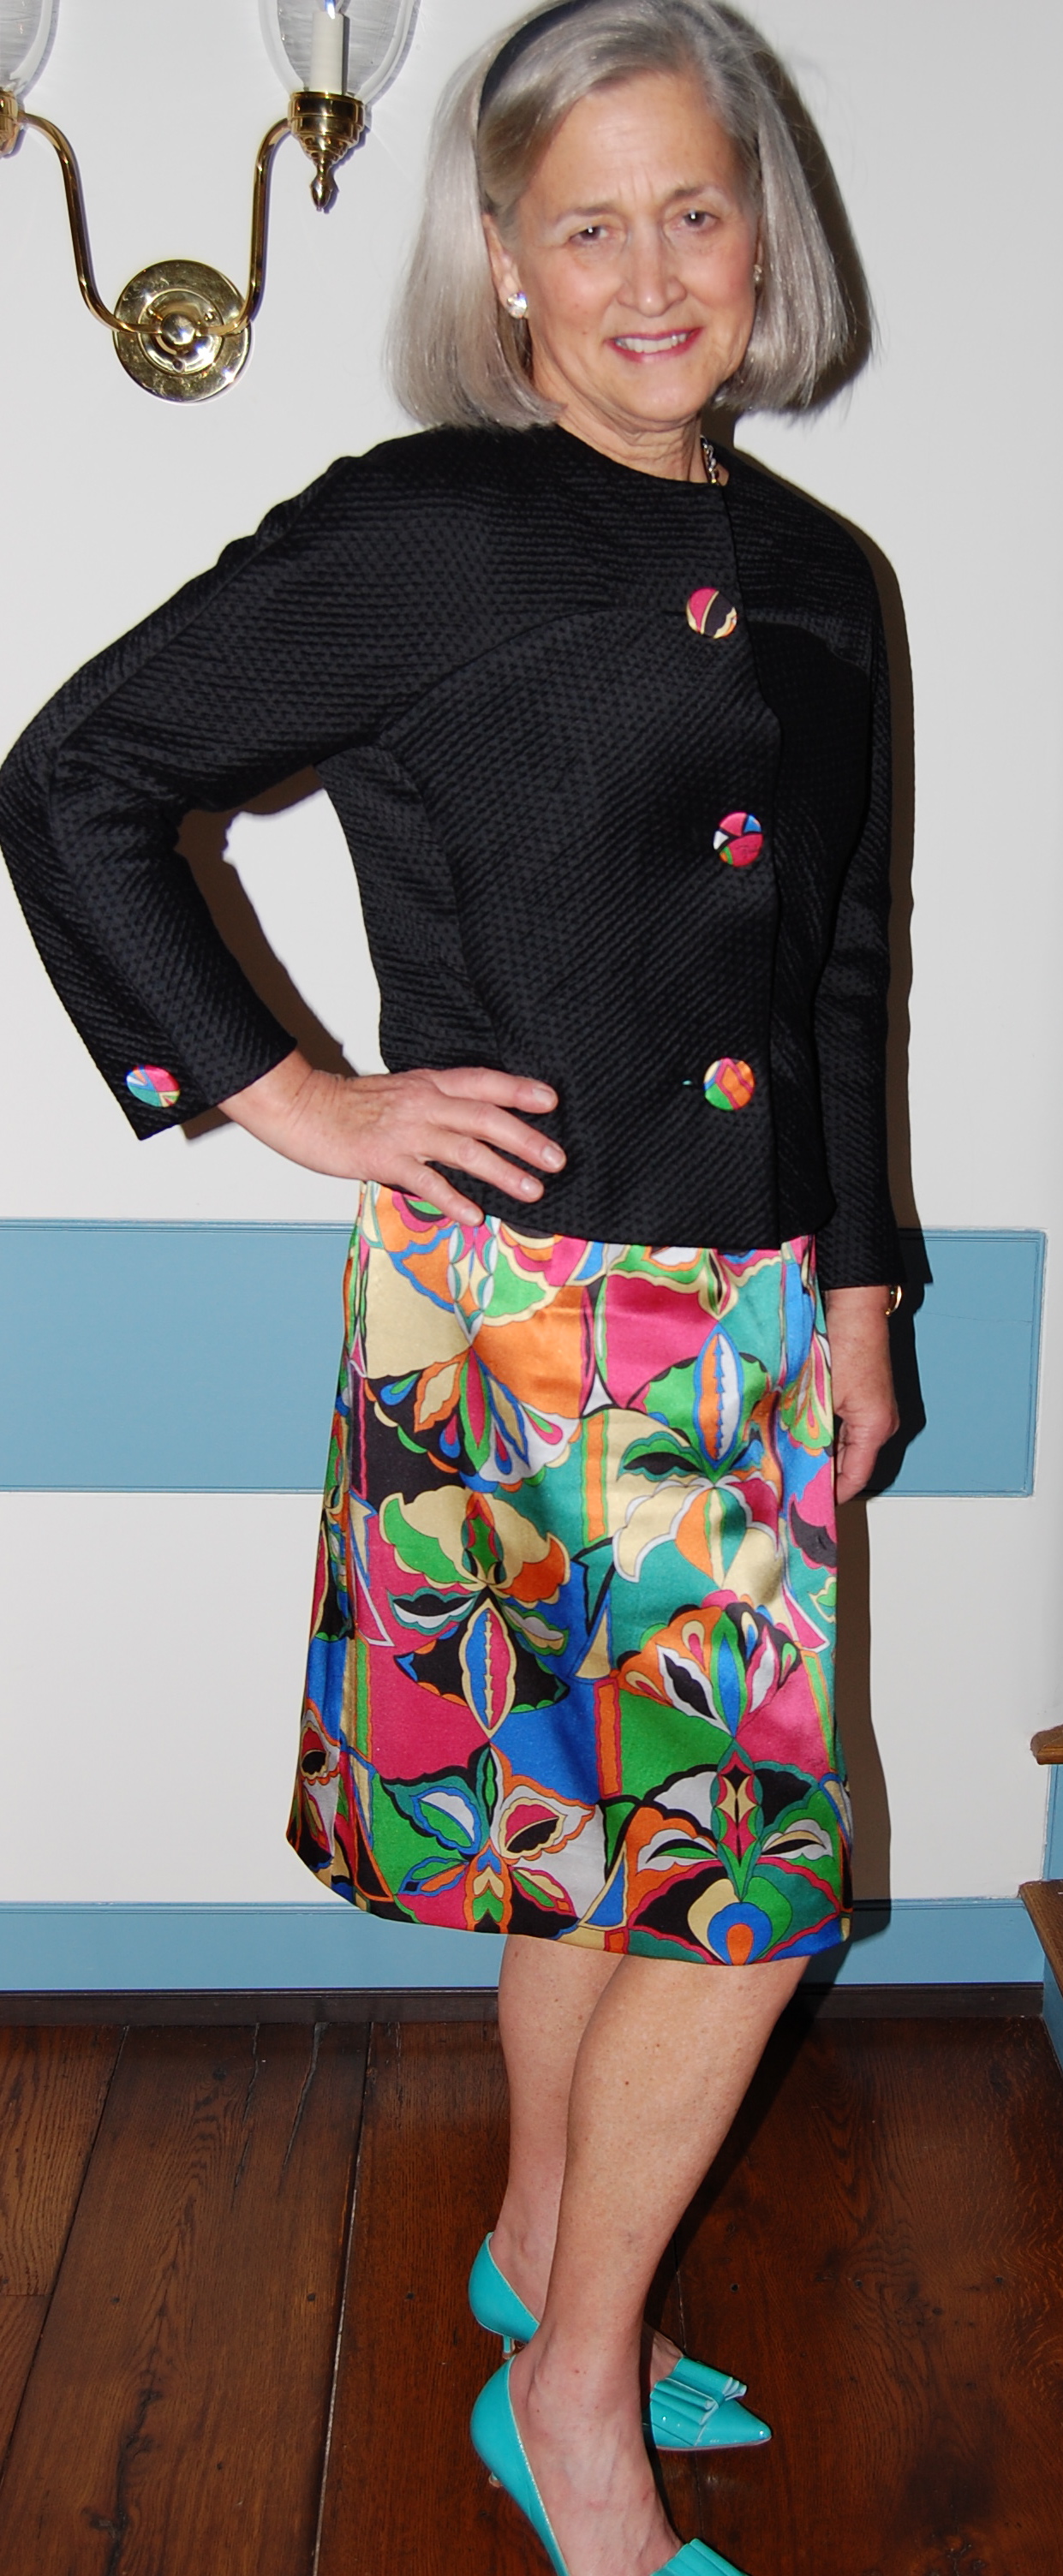
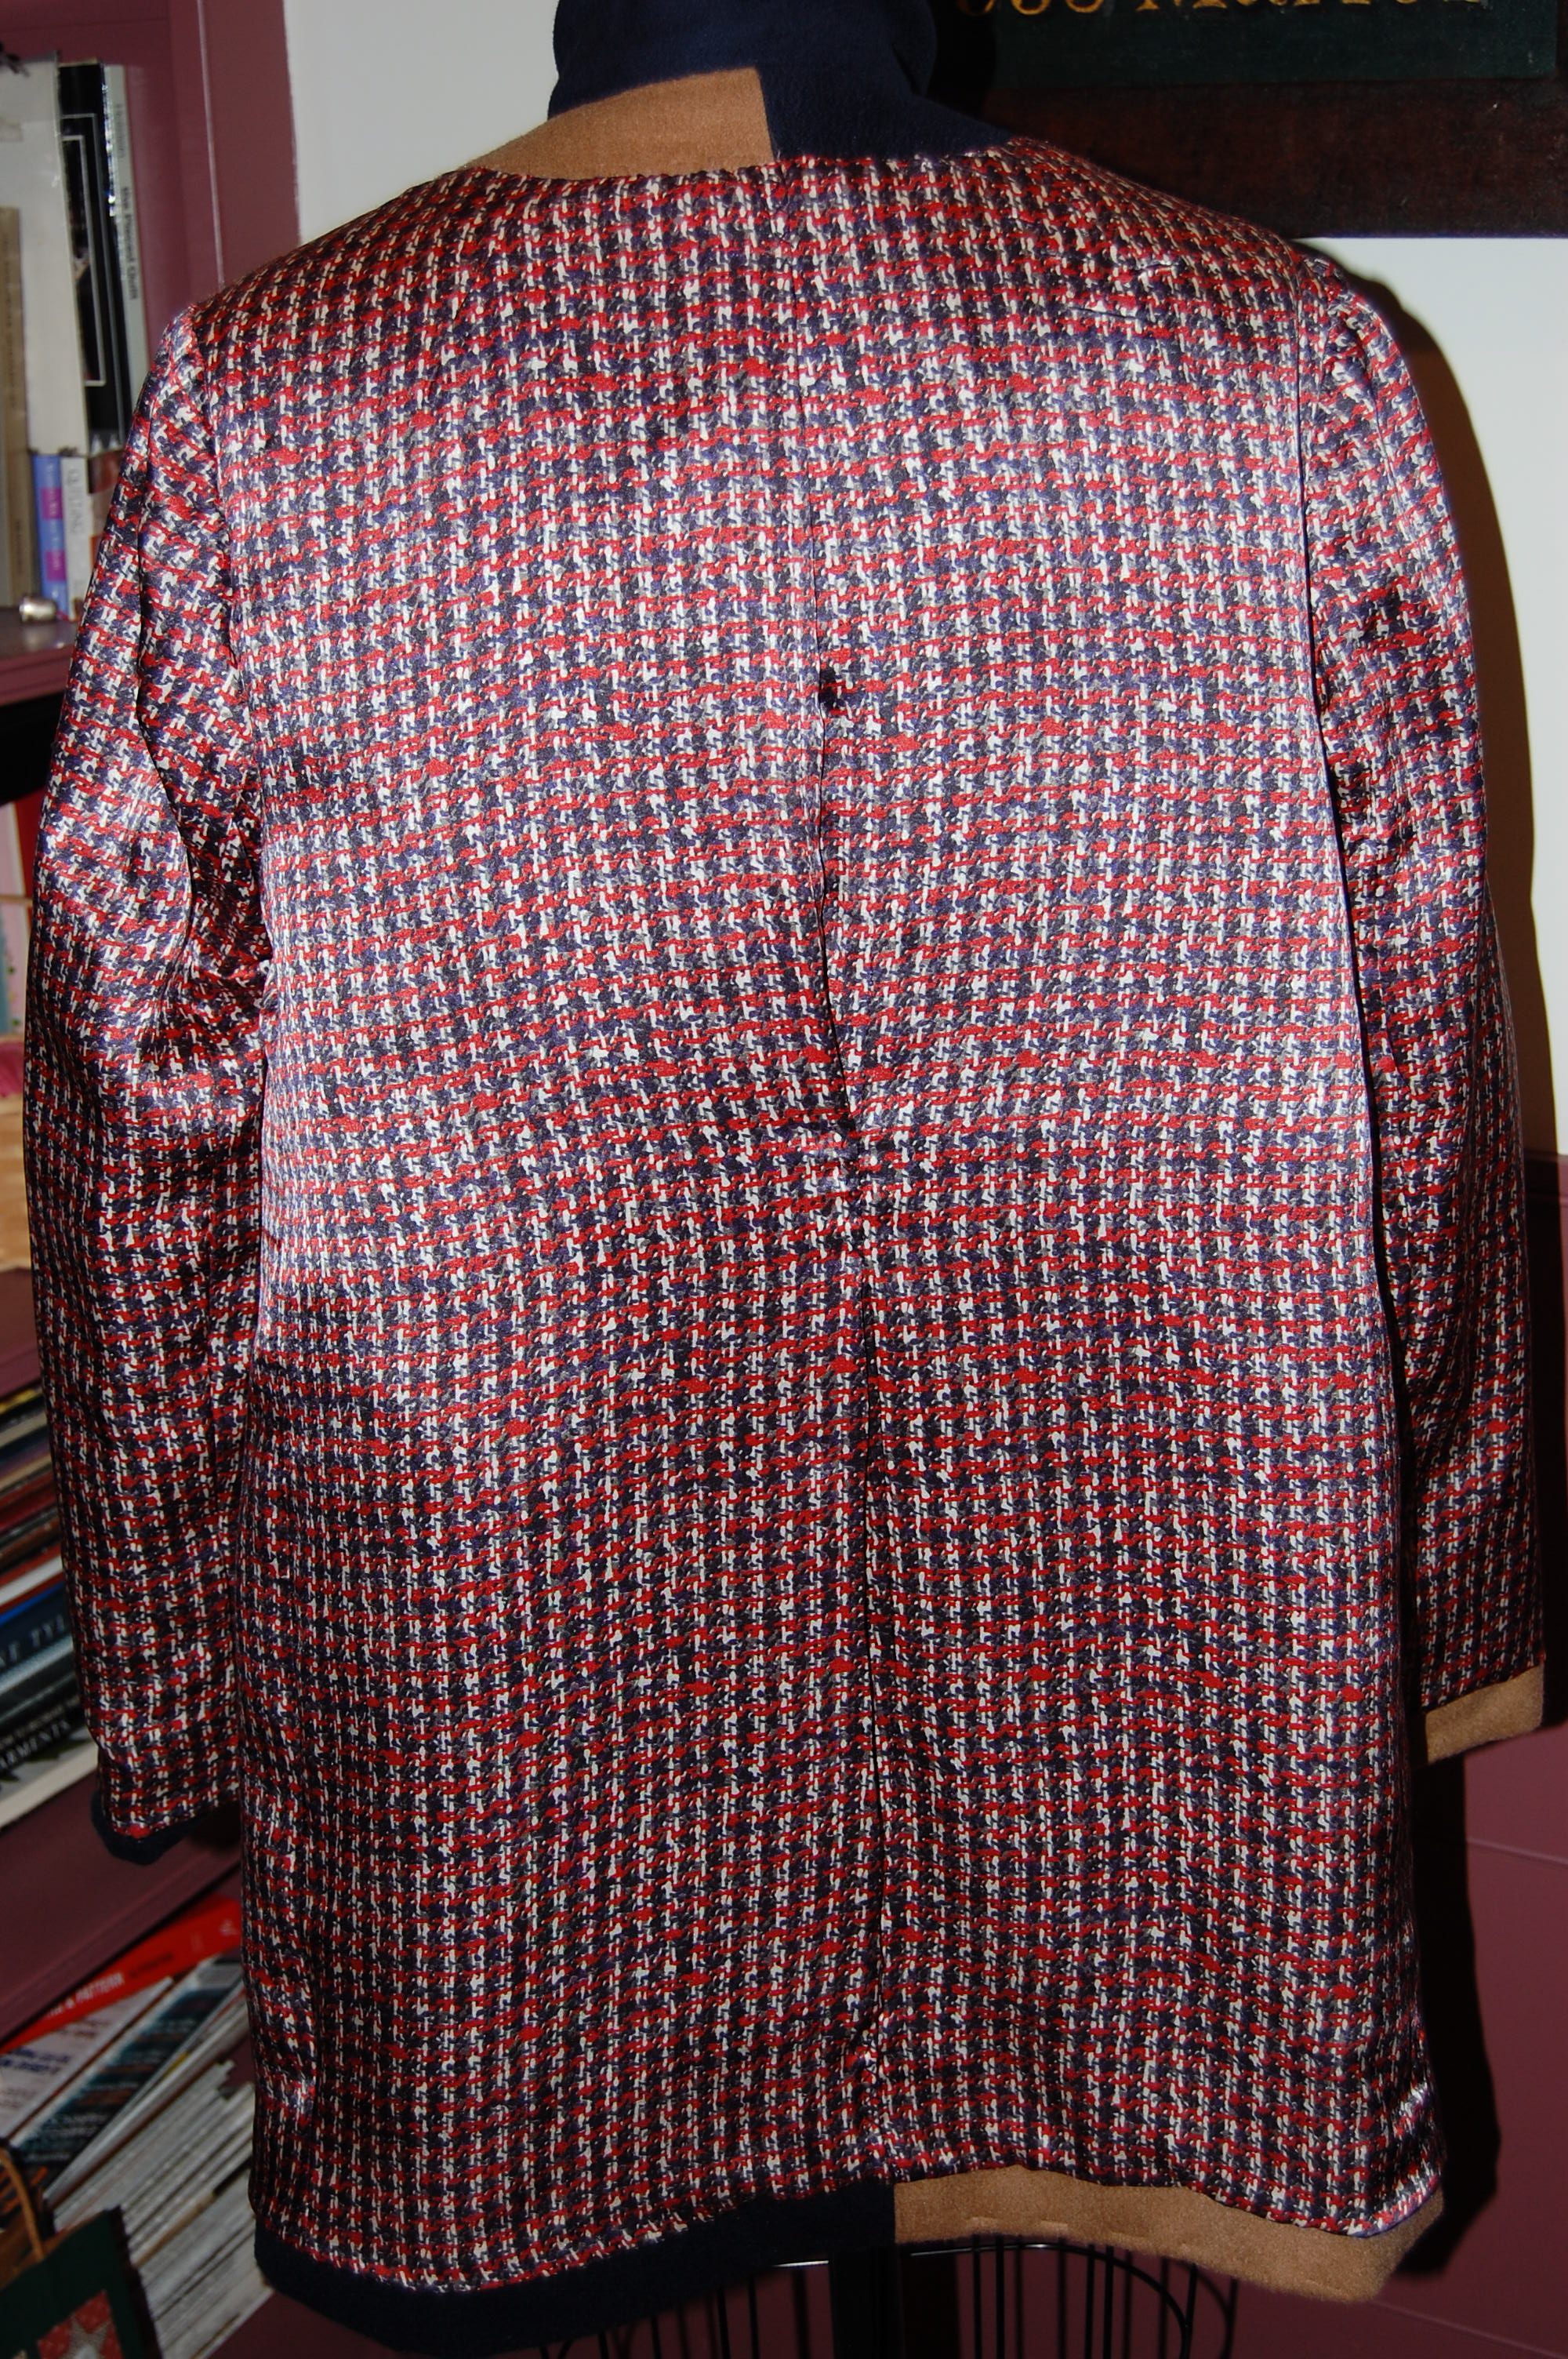
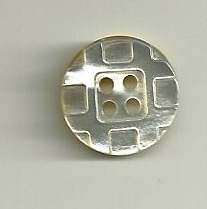
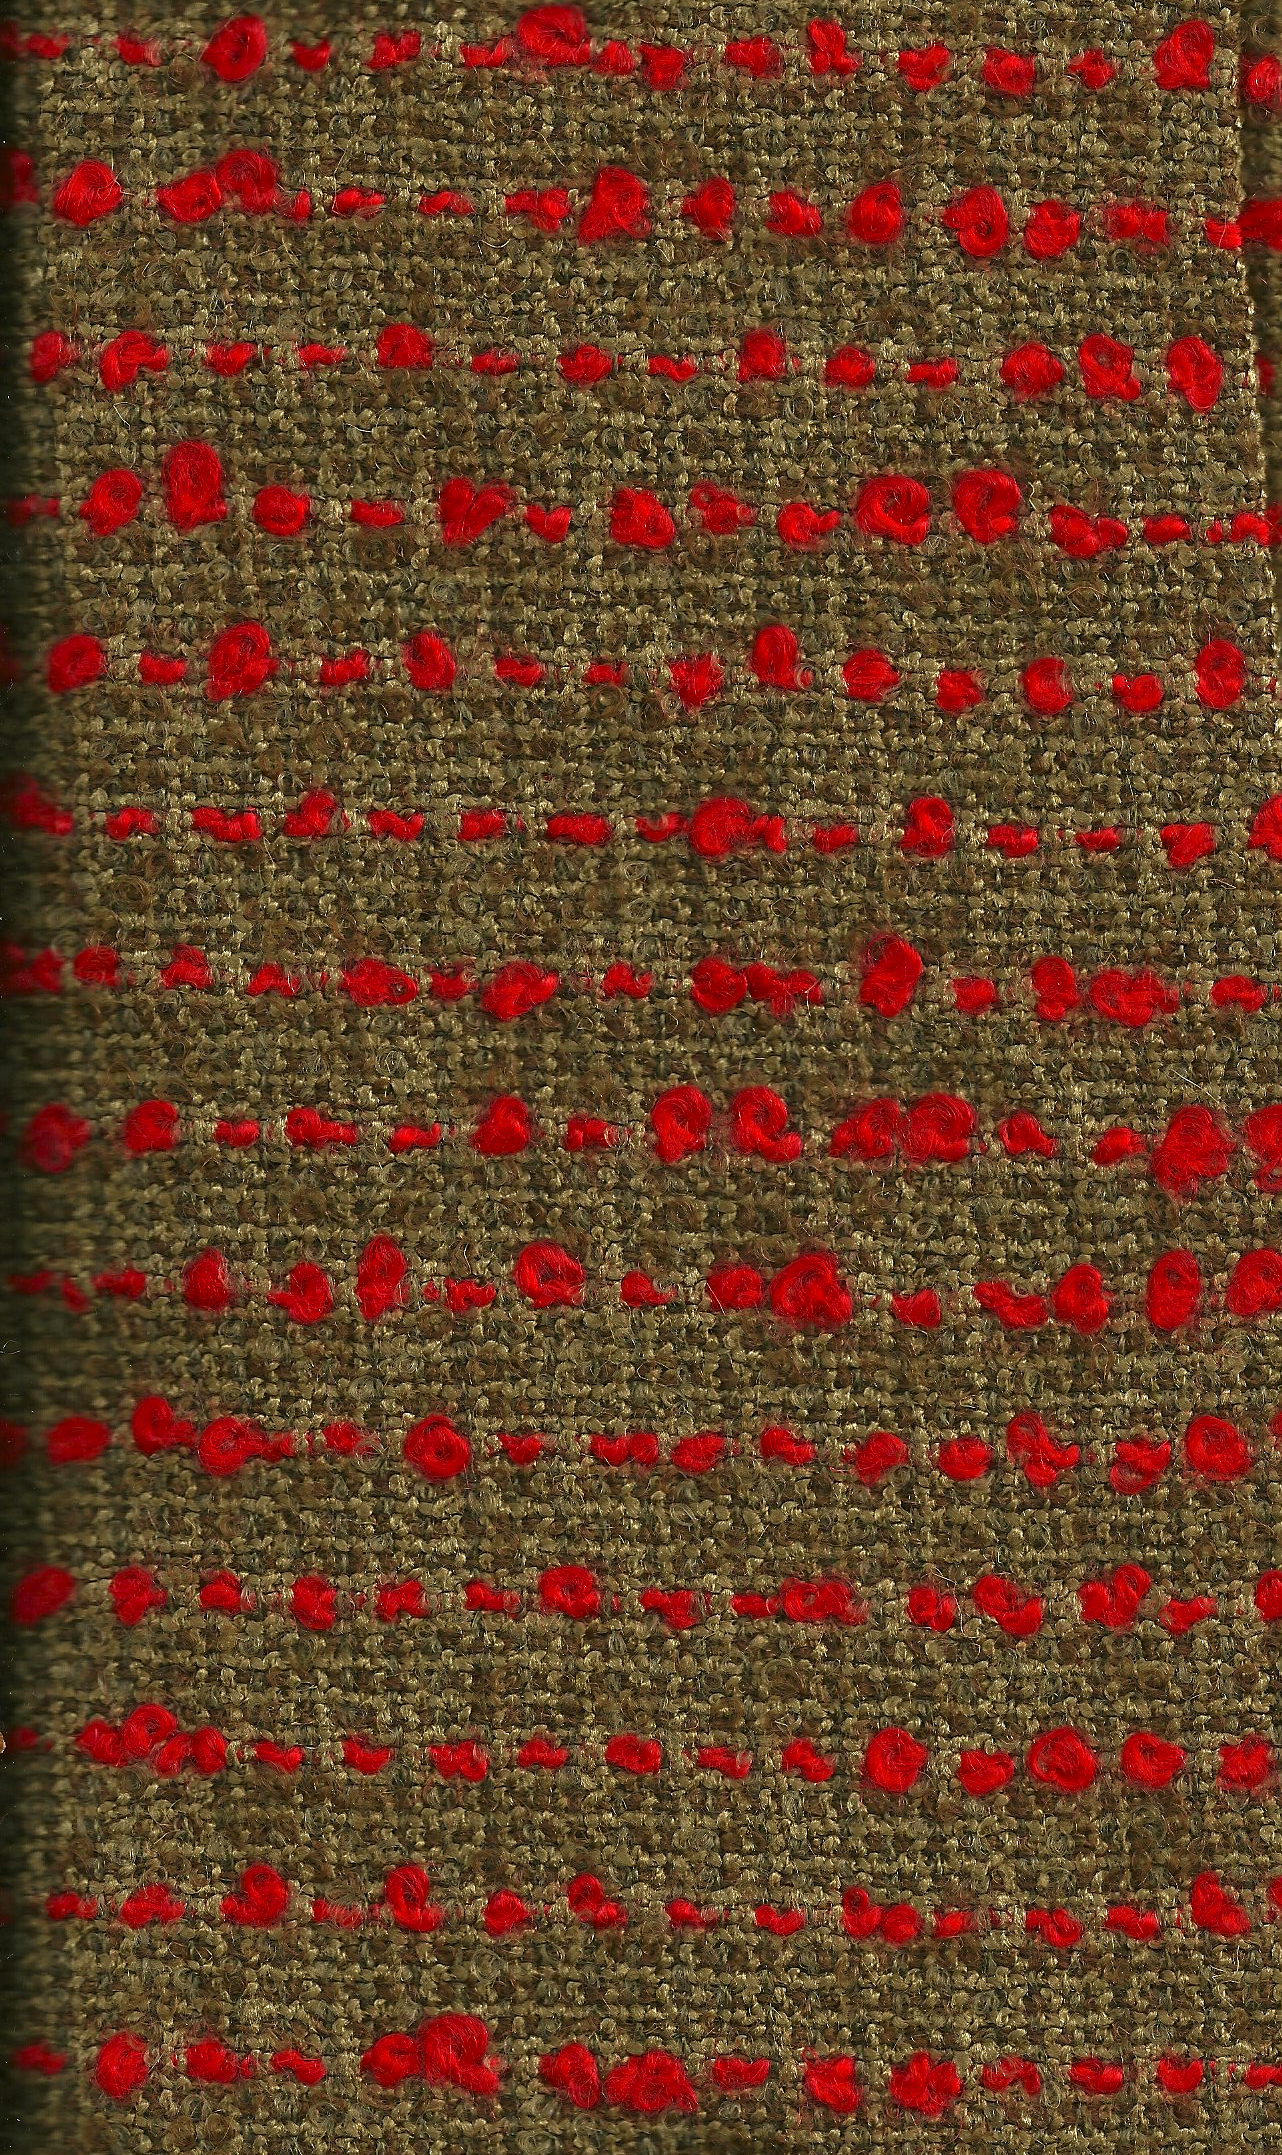
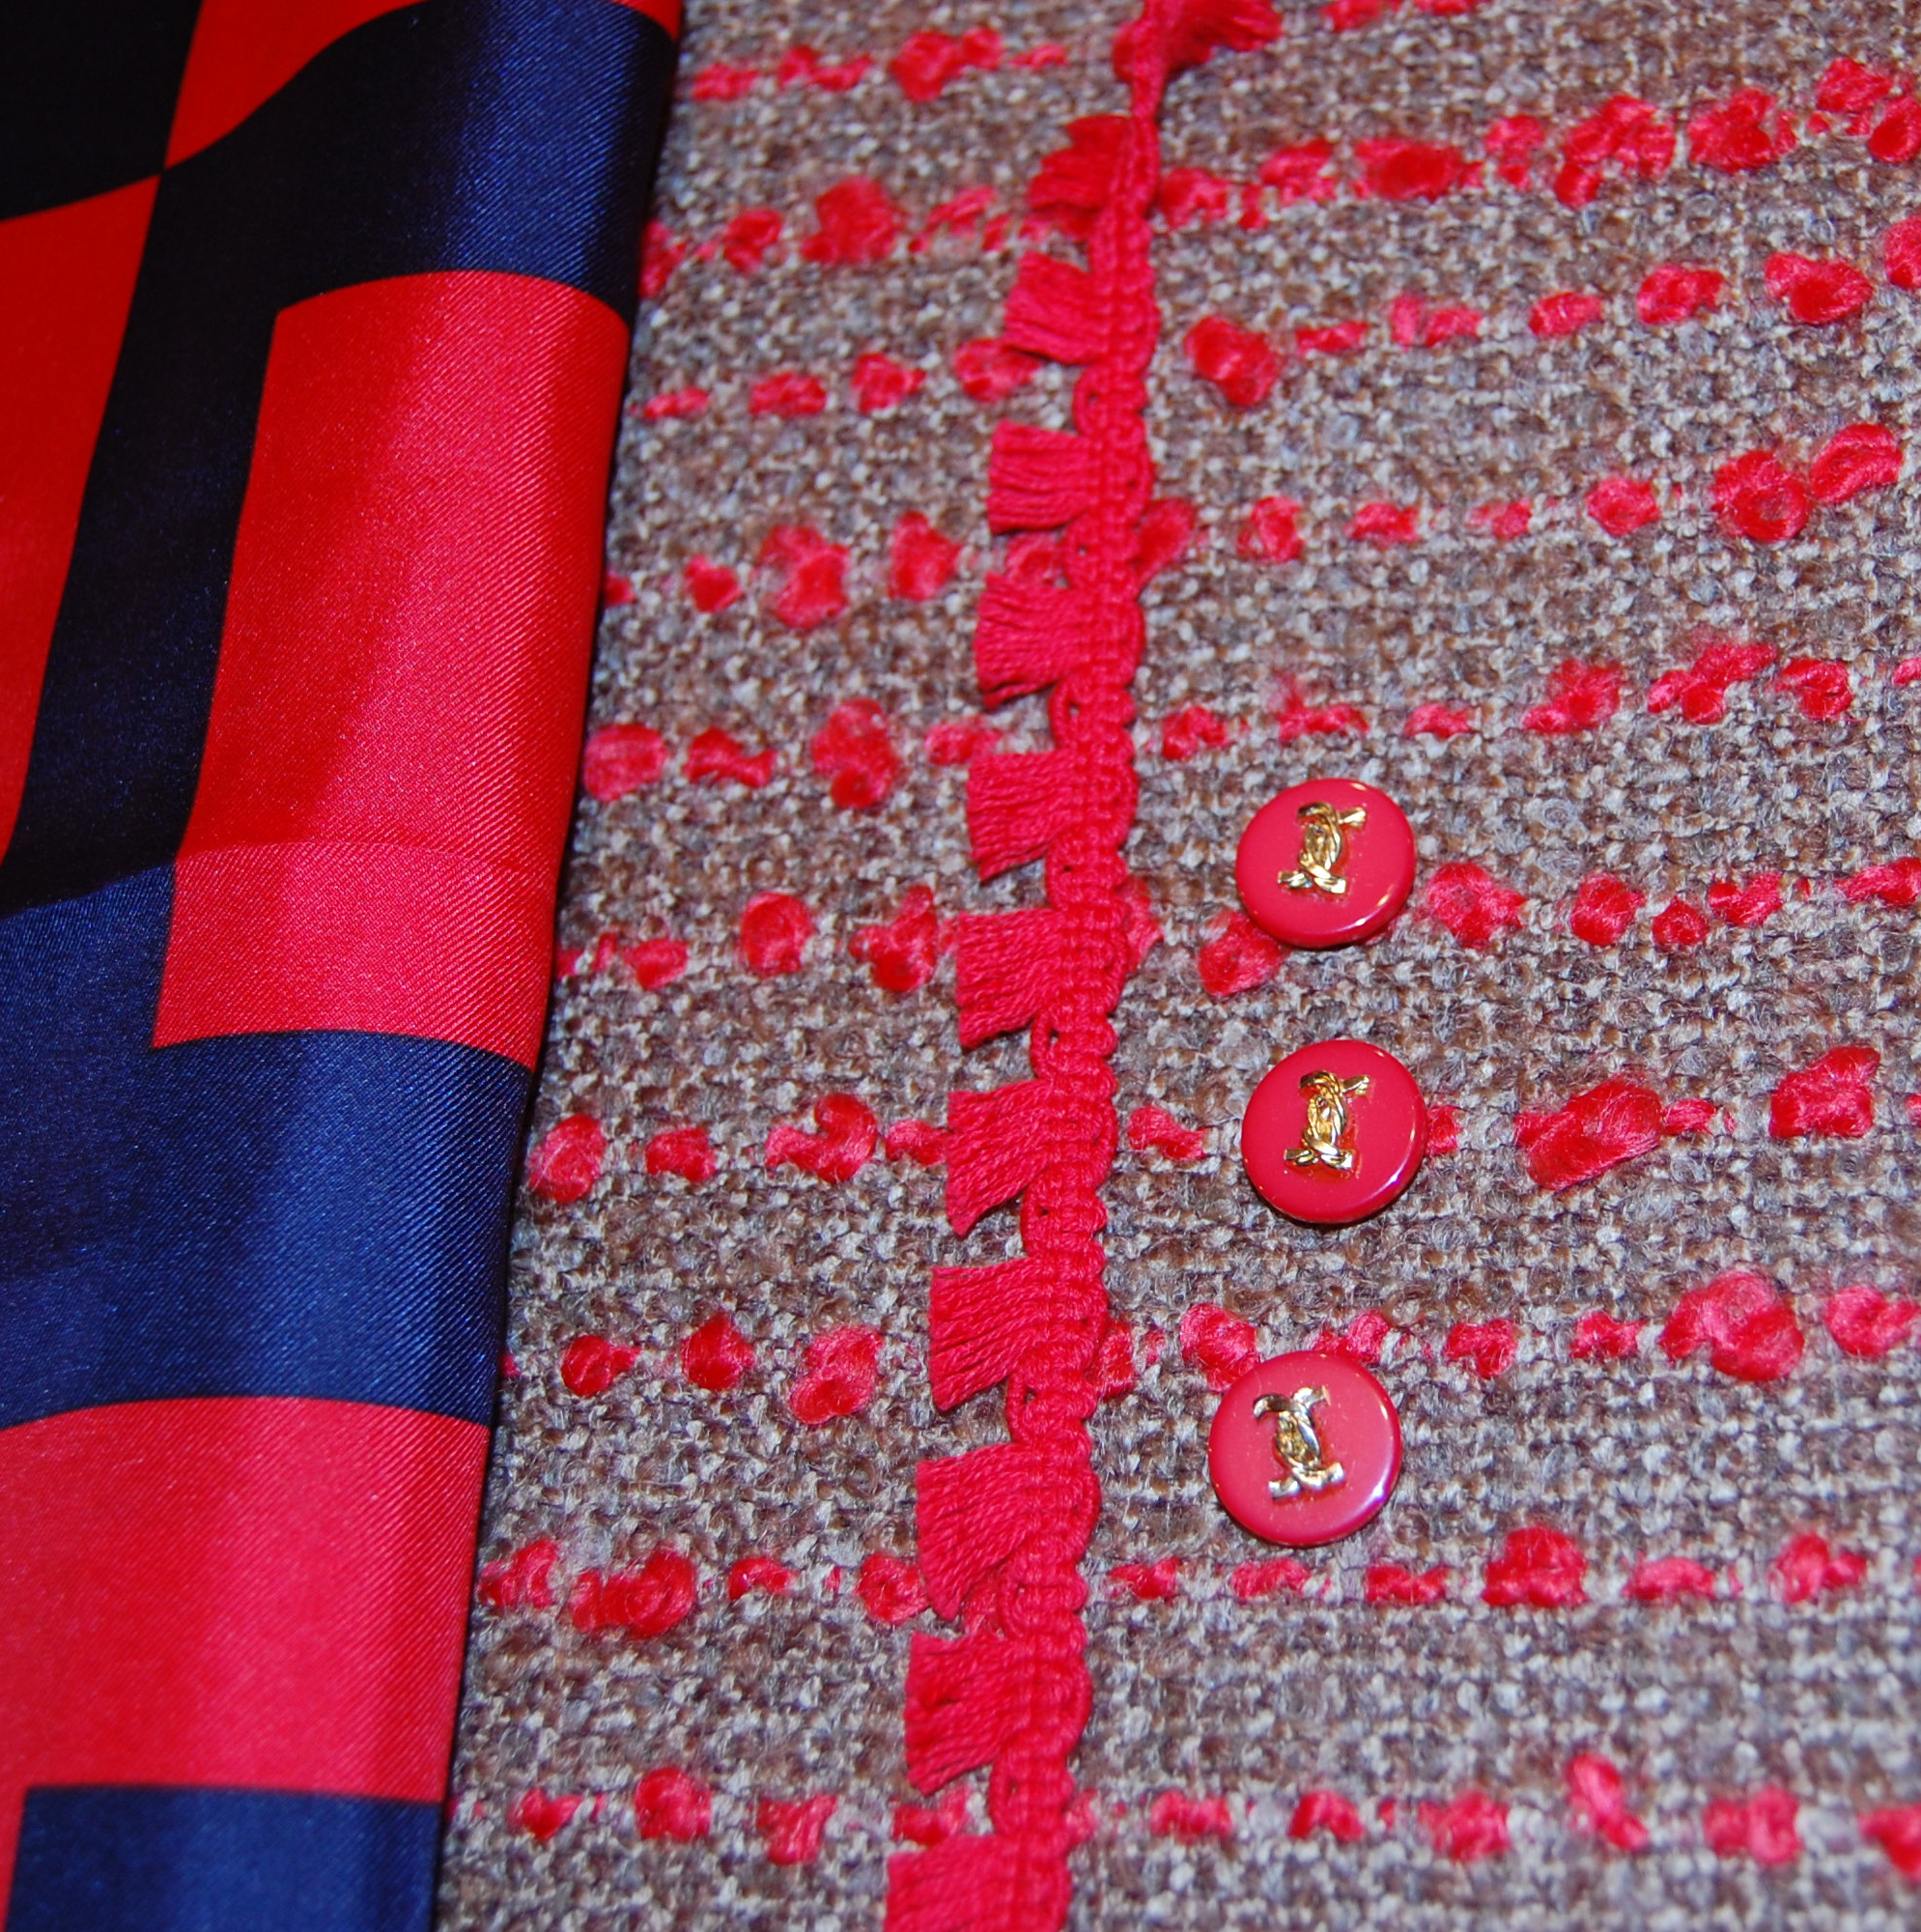
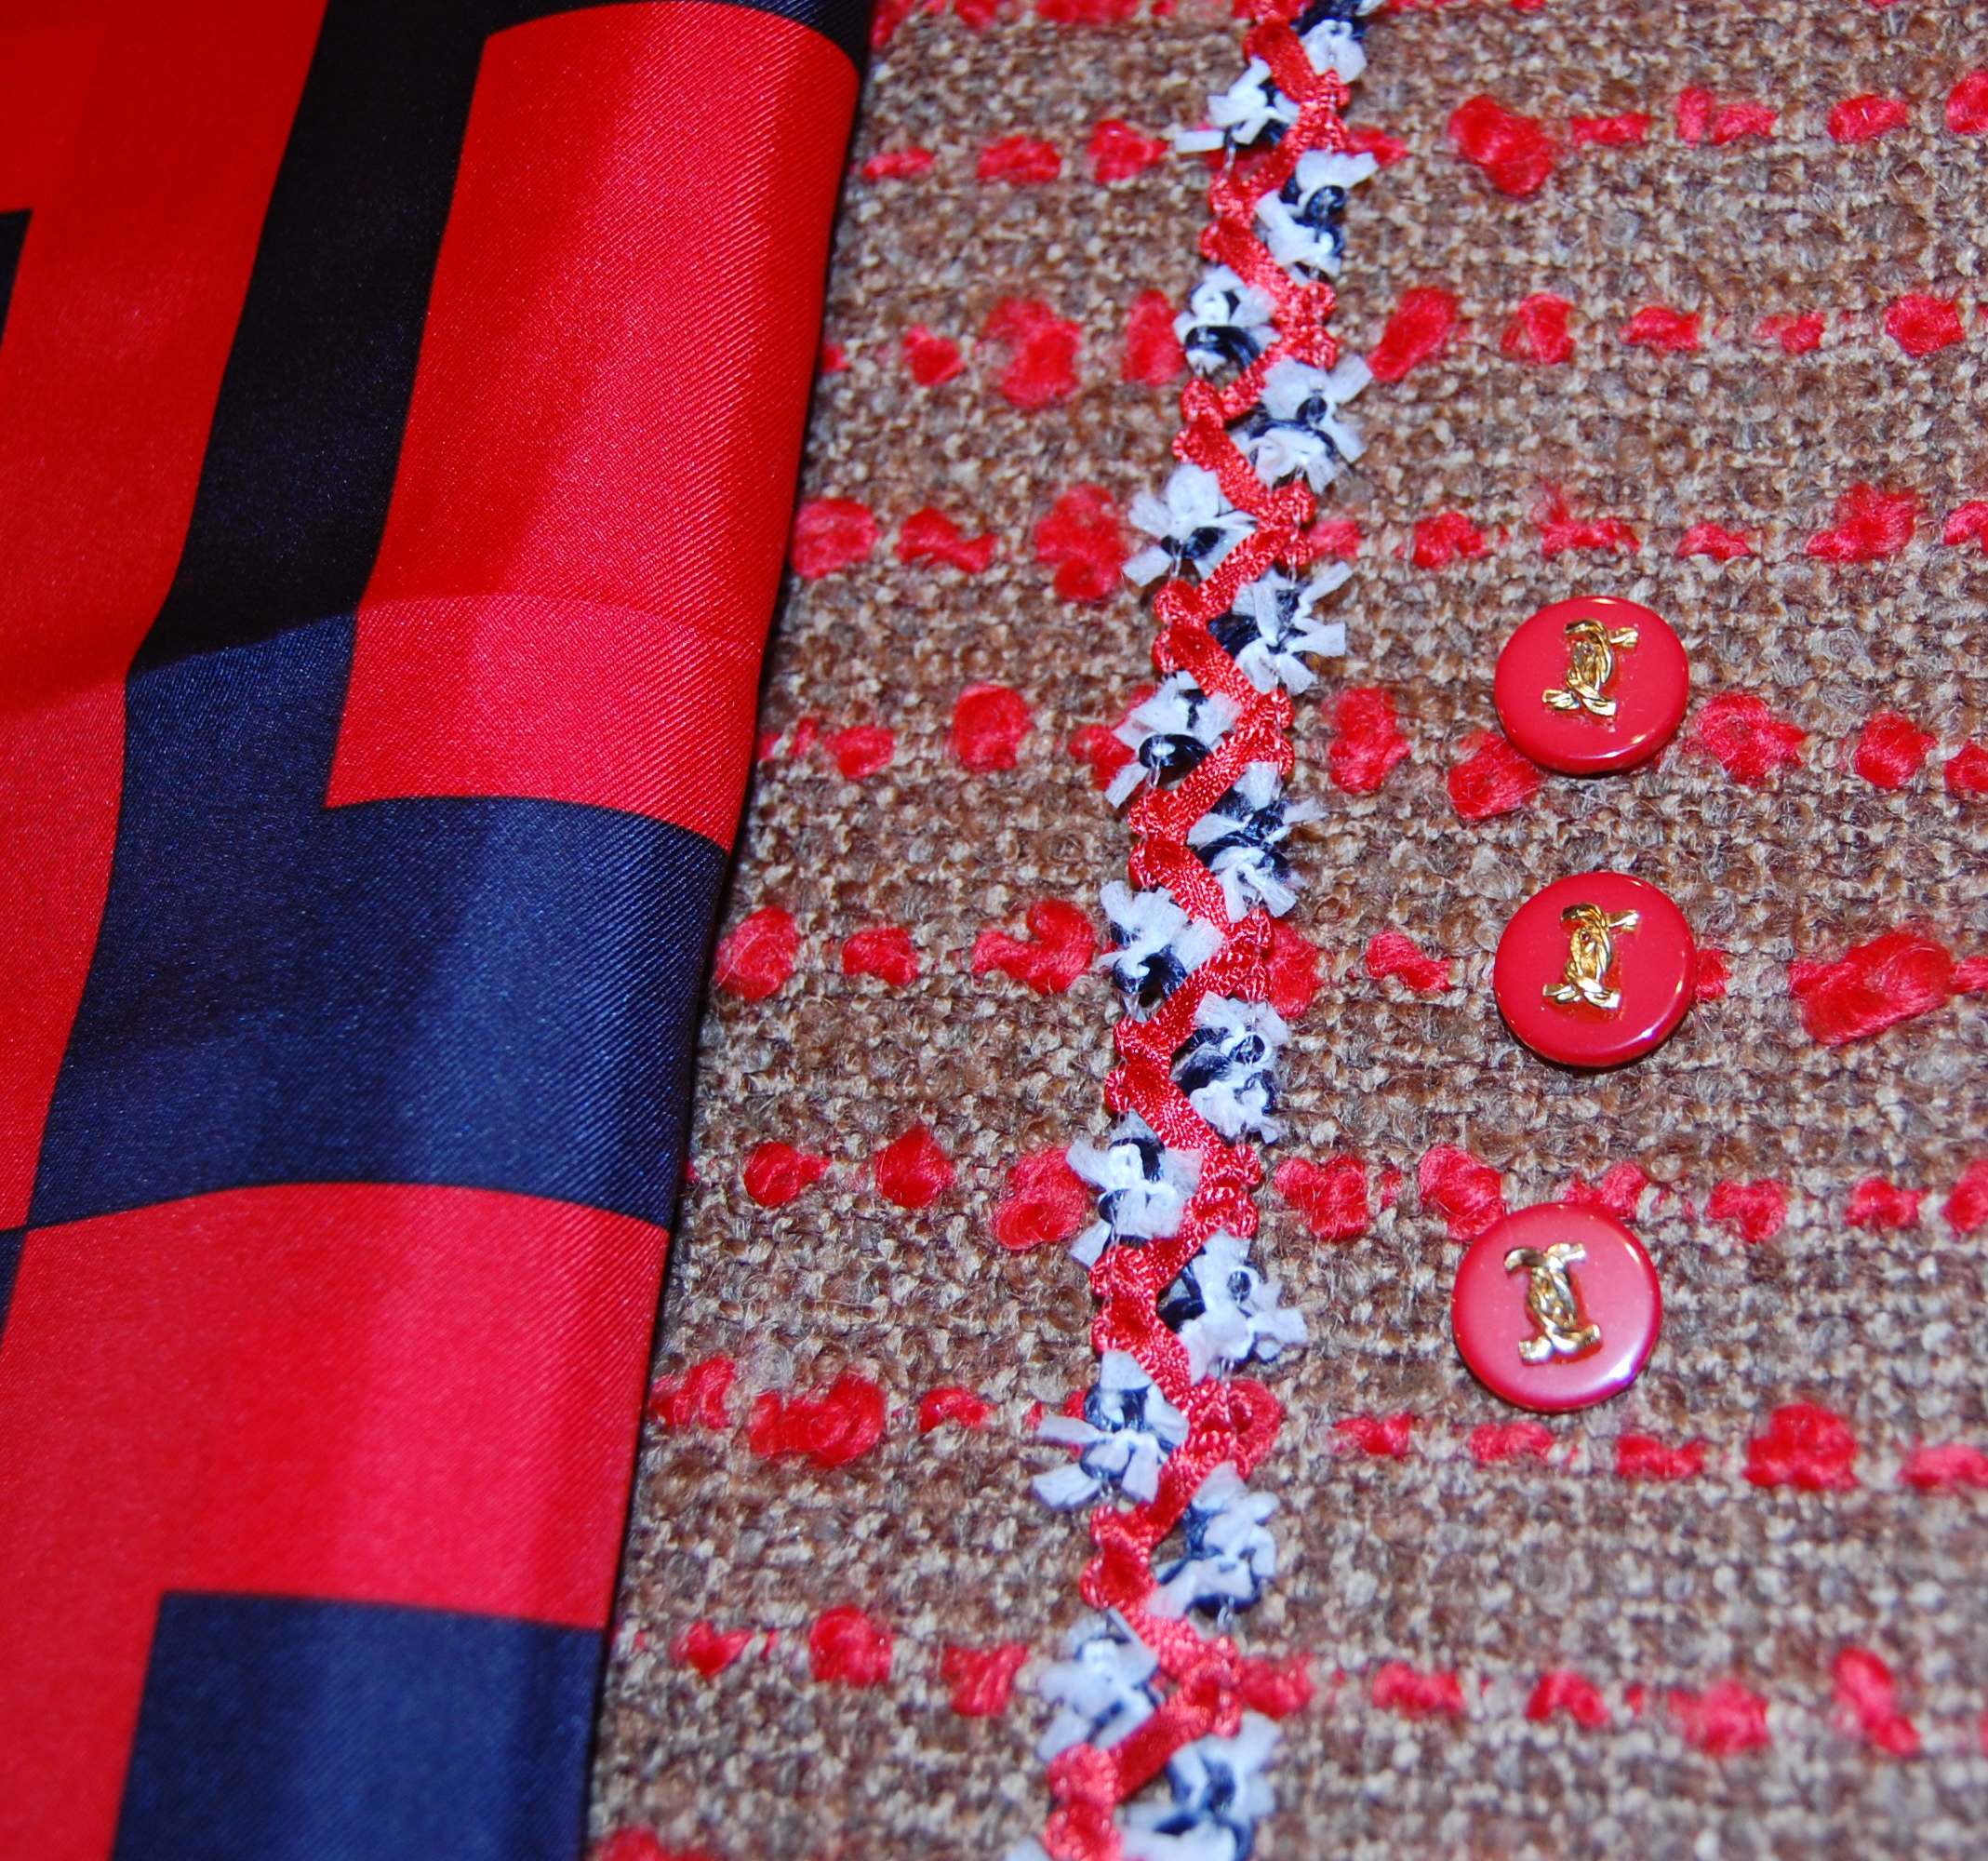
The slightly fitted bodice helps it to lay without bulkiness underneath the jumper. I found vintage mother-of-pearl buttons in my button box, two smaller ones for each sleeve and five slightly larger ones for the back. Why it always give me satisfaction to use buttons I have on hand, I don’t know, but I was feeling quite delighted with my finds!
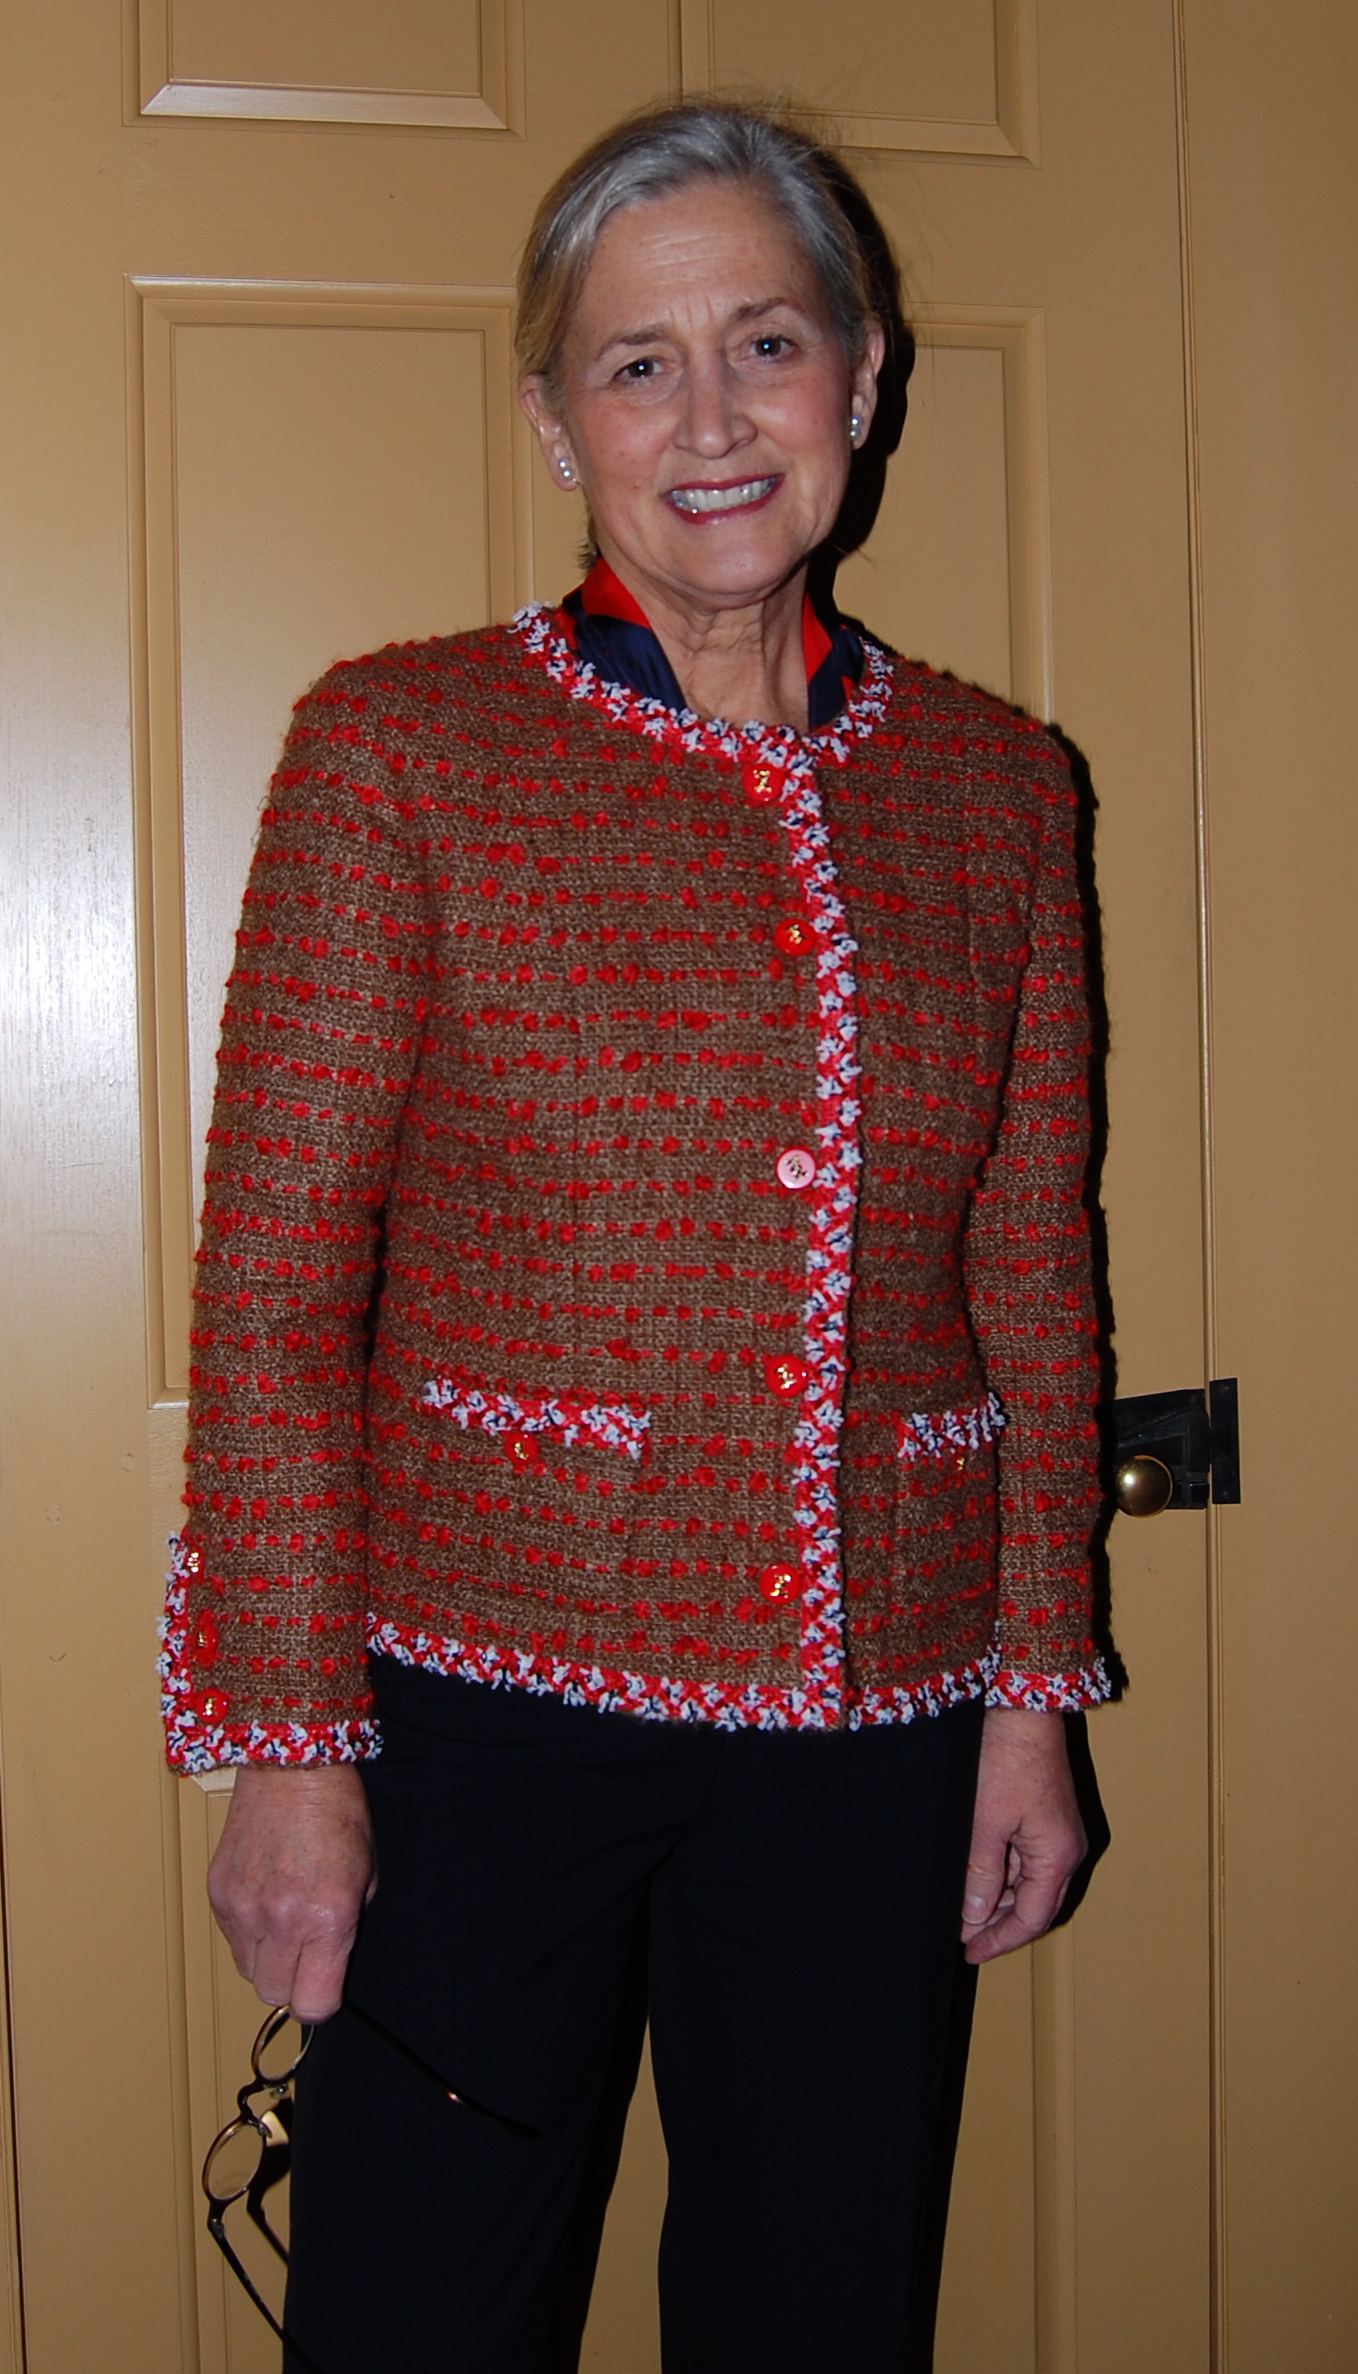
Unfortunately, I am having problems with the main lens I use for my camera, so I had to resort to my old “point and shoot” for these photos, which makes them adequate, but that’s about all. Also, I’ll have to add photos of me actually wearing my new jumper and blouse at a later date, due to this inconvenience. My apologies…
Less than a month ago, when I was “planning” out 2015’s sewing, I did not envision that January would also produce a blouse to wear with my blanket dress. But that is one of the charms of fashion sewing – the spontaneity of a project that says “Me, Me, choose Me!” And so I did, and I am not only happy with the result, but delighted to have a tried and true “good bones” blouse pattern to use again and again, whether in the plan or not.