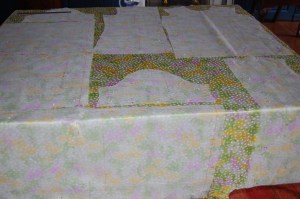
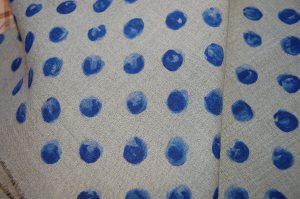
Every once in a while, a unique opportunity comes along in the form of fabric. We all know those times – when the end of the bolt is just the amount you need, or a single bolt of one-of-a-kind designer fabric comes to your favorite store, or a long-awaited re-order makes possible your dream of owning that exact piece. For me, it was an offer from a reader of my blog. She had two pieces of vintage wool which had belonged to her aunt, dating from probably the late 1950s or very early 1960s. Once I saw swatches of both fabrics, I immediately saw the possibilities inherent in each one, and the colors were not only yummy, but also ones that I can wear well (a fact which was correctly noted by my dear reader.) I purchased both pieces well over a year ago, and ever since, I have been dreaming about sewing with them, starting with this gray (what I believe to be) coat-weight cashmere.

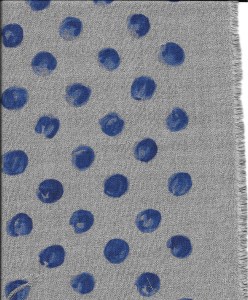
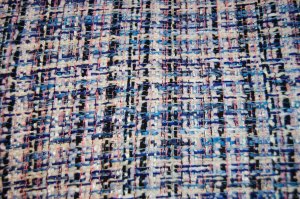
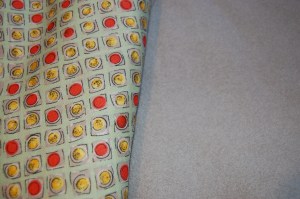
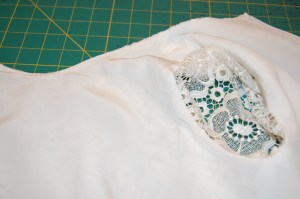
The top part of the photo shows the right side of the fabric. It has a soft, luscious nap to it. The contrast of the weave on the underside is hopefully discernible.
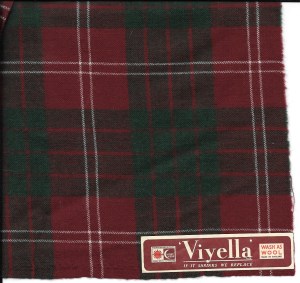
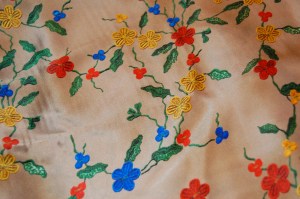
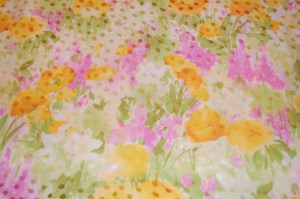
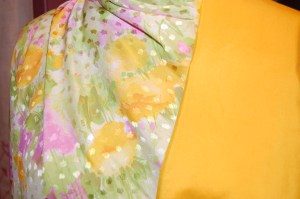
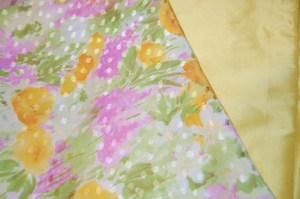
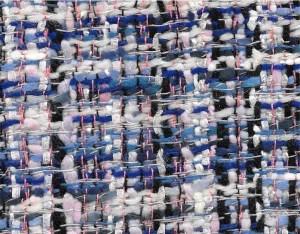
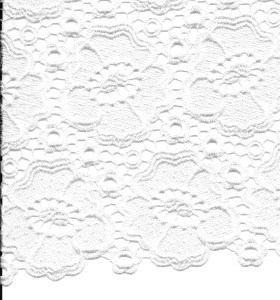
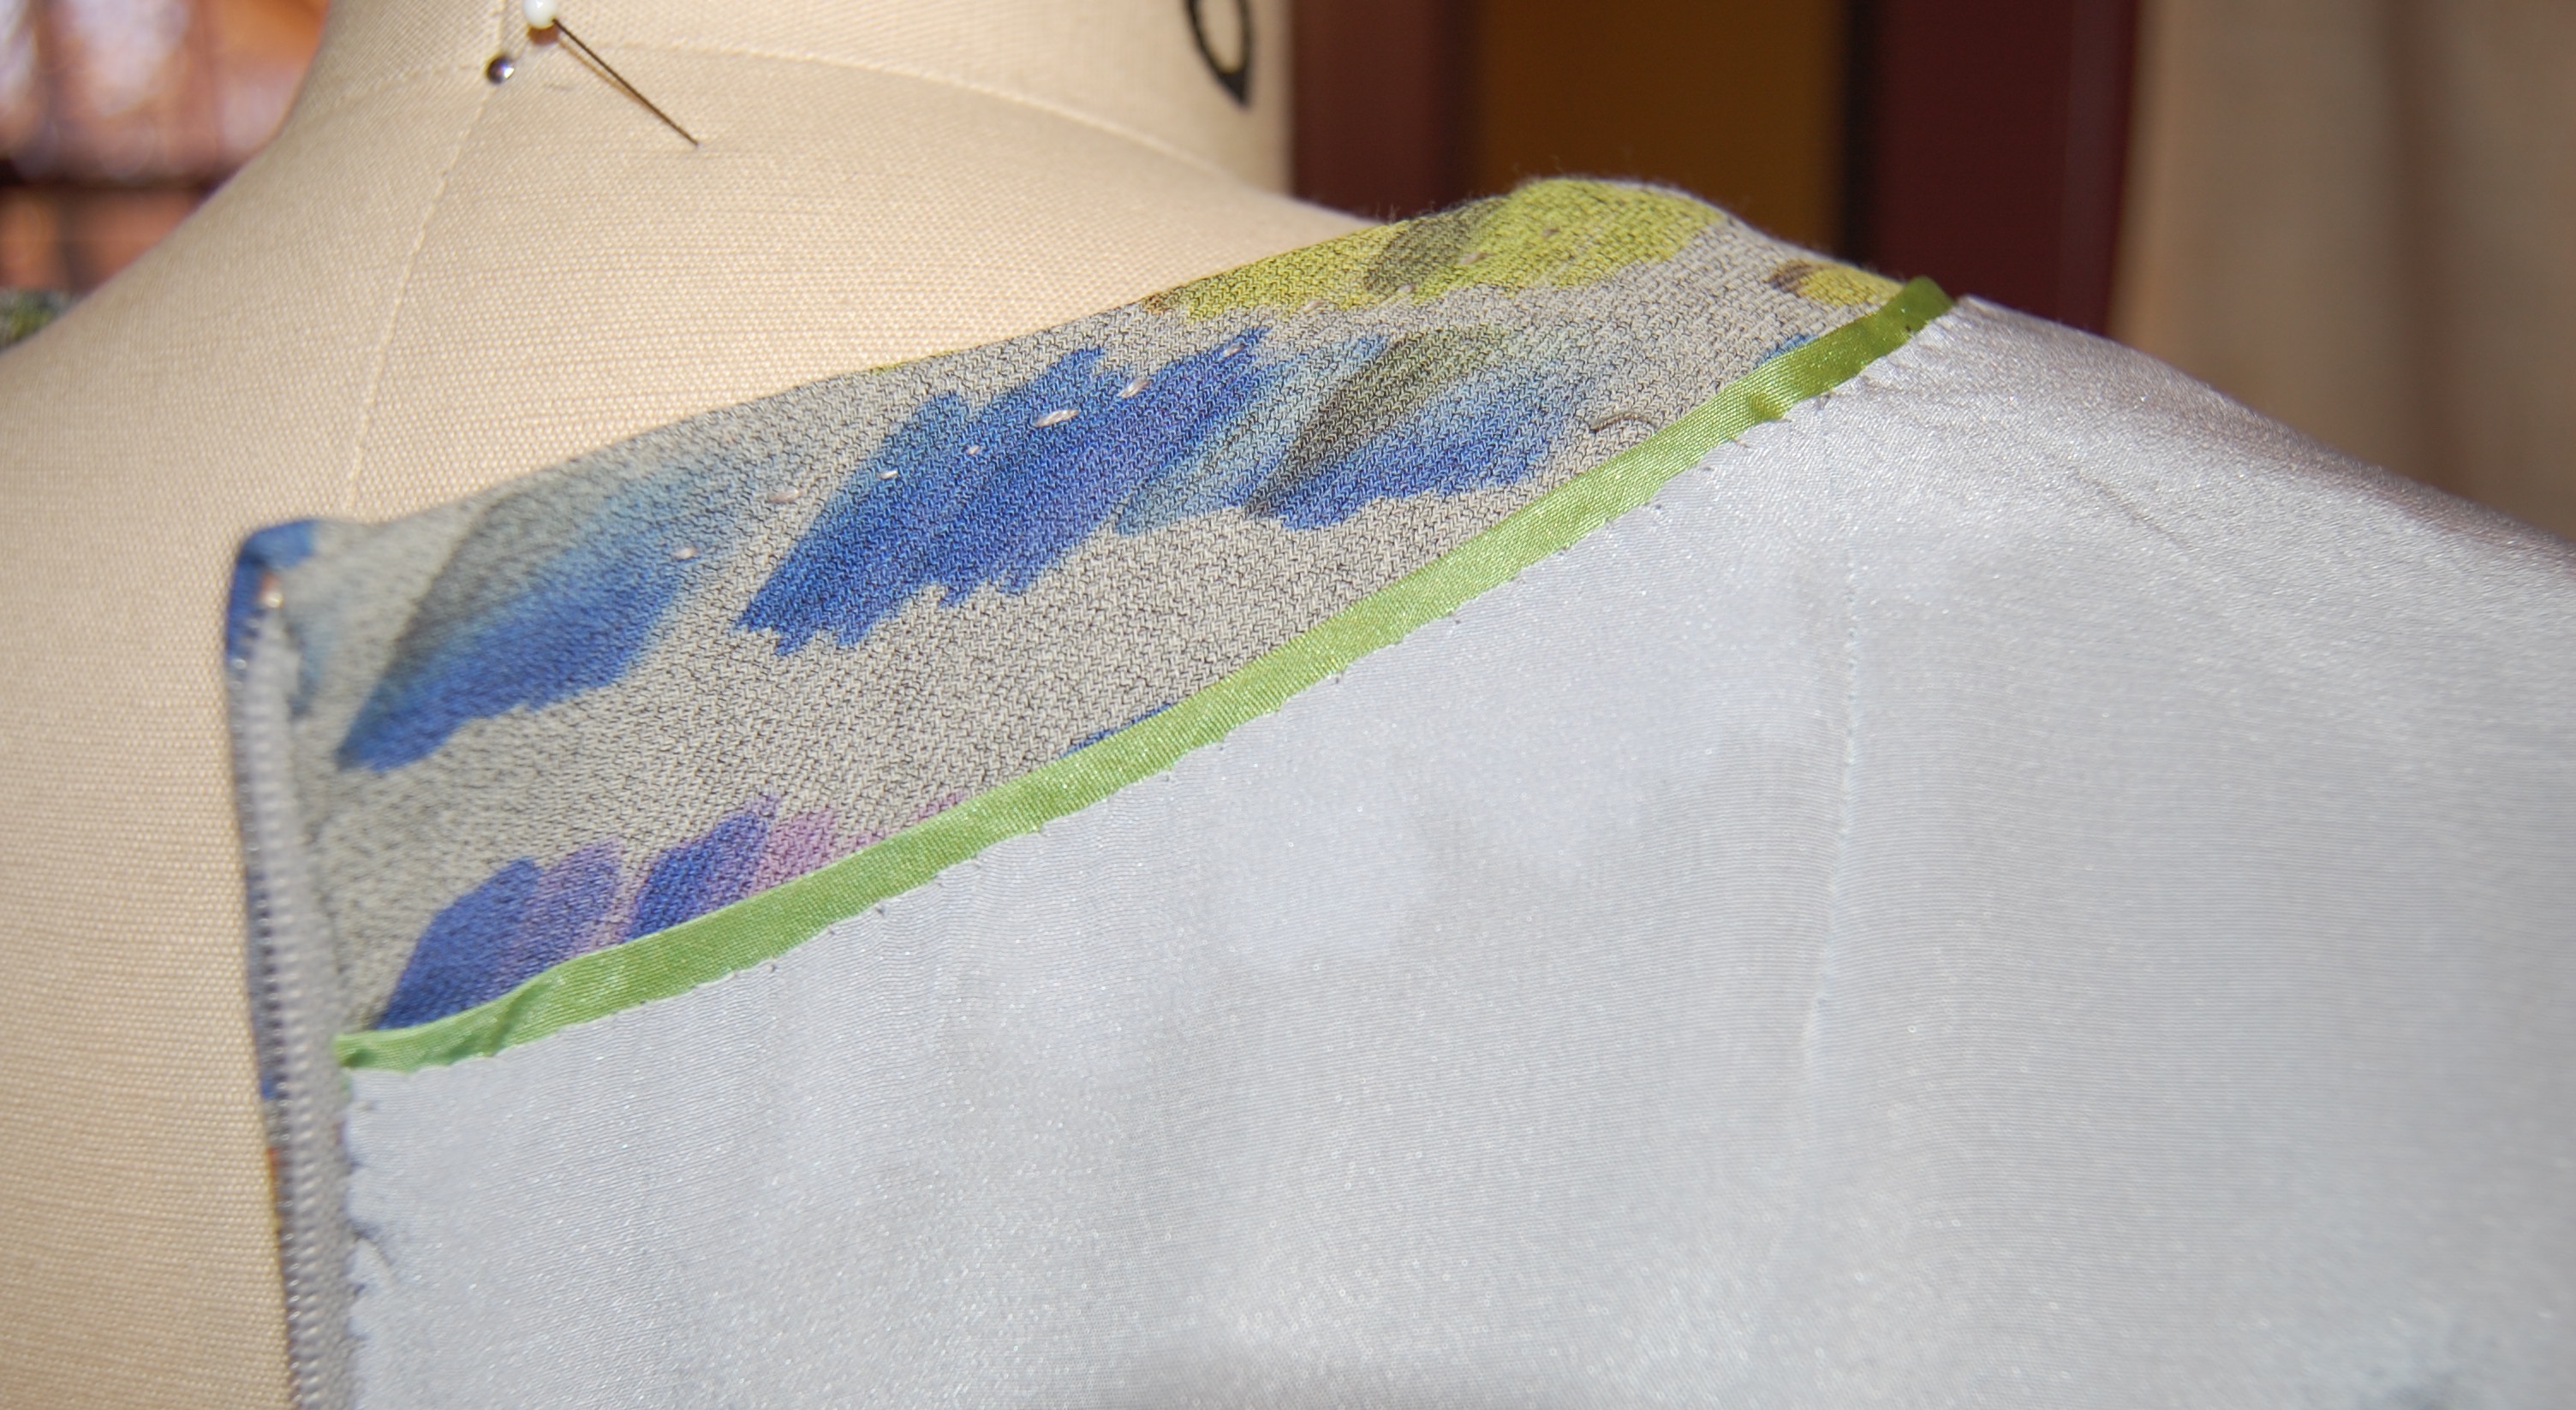
As luck would have it, I had already picked up some swatches of (new) wool challis and various dress-weight silks one of the last times I was at Mendel Goldberg Fabrics in New York City. It did not take me long to pair this Swiss challis with the gray wool.
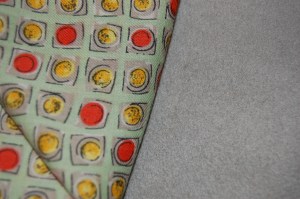
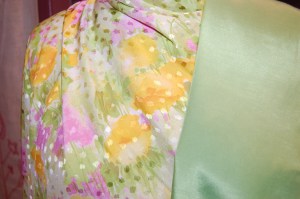
The gray in each little square is a perfect match to the cashmere.
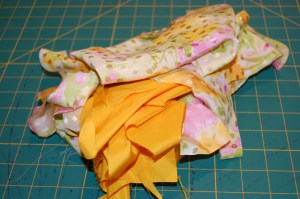
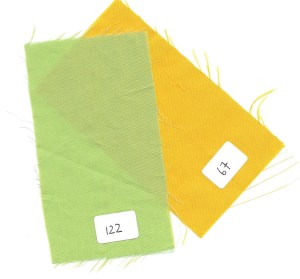
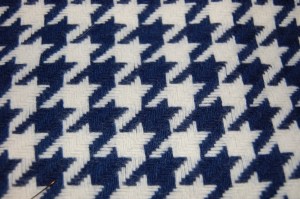
Both fabrics lend themselves to be beautifully complimented by a further pop of color as demonstrated by this silk bias ribbon:
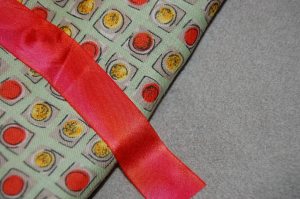
I will definitely be accenting my outfit with something in this color.
Before I go into patterns and process, I want to share the thoughts of Christian Dior on the color “gray” as written in his The Little Dictionary of Fashion, Abrams, New York, New York, 2007, page 50:
“The most convenient, useful, and elegant neutral color. Lovely in flannel, lovely in tweed, lovely in wool. And, if it suits your complexion, there is nothing more elegant than a wonderful, gray satin evening dress. For day frocks, suits and coats, it is ideal. I would always advise it. And many people who cannot wear black, can wear a dark gray. (Remember that if you are big you must choose a dark gray and if you are petite a light gray is better for you.)
“It is the most convenient color, too, for people who live half in town and half in the country because, with different accessories, a gray suit or coat may be equally suitable for both. It is a good color for accessories, too – almost anything goes with gray. White is perhaps the freshest and sweetest contrast but it is safe to say that whatever your favorite color is, you can safely wear it with gray.”
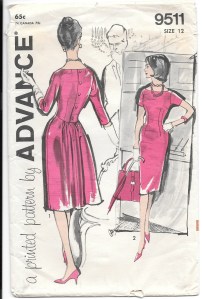
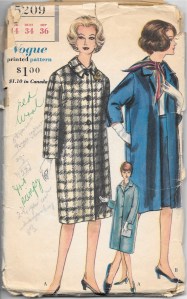
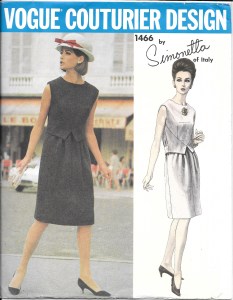
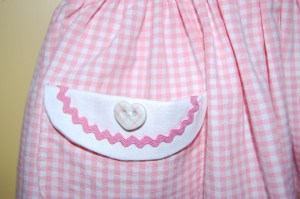
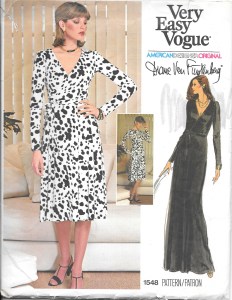
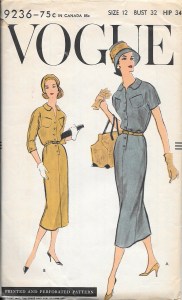
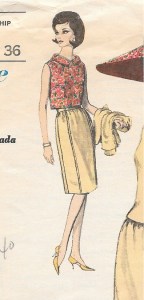
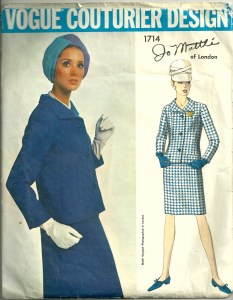
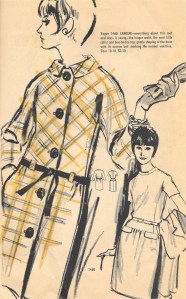
Armed with this send-off, I immediately began to look in earnest for a coat pattern. I did not want to purchase the wool challis before I had a pattern, but my thought was to line the coat (except for the sleeves, of course) with it, and then make a coordinating dress or blouse as well. When I found this Guy Laroche coat (and dress) pattern, it seemed to be just what I was looking for, even though when I purchased it, I knew that the pocket flap pattern piece was missing. I was confident, however, that piece would be easy to recreate.
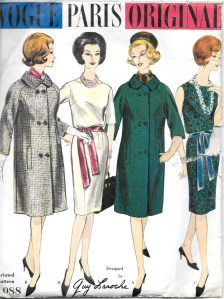
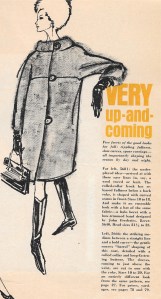
Early Guy Laroche (1921-1989) patterns are somewhat difficult to come by. A Parisian, he worked for Jean Desses (eventually becoming his assistant) from 1949 to 1957, at which time he opened his own atelier. In 1961, his fashion house was known as Guy Laroche Couture. It seems to be about this time that Vogue Patterns began to feature his designs in their Couturier Designer line (Jean Desses designs are also in this line of Vogue patterns). He was one of the featured designers in the 1963 New Vogue Sewing Book, which included “profiles of Europe’s great designers.” This gorgeous suit by him is shown on page 128 in that book:
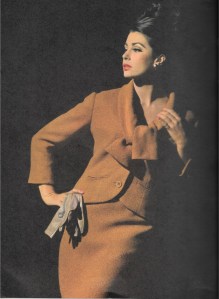
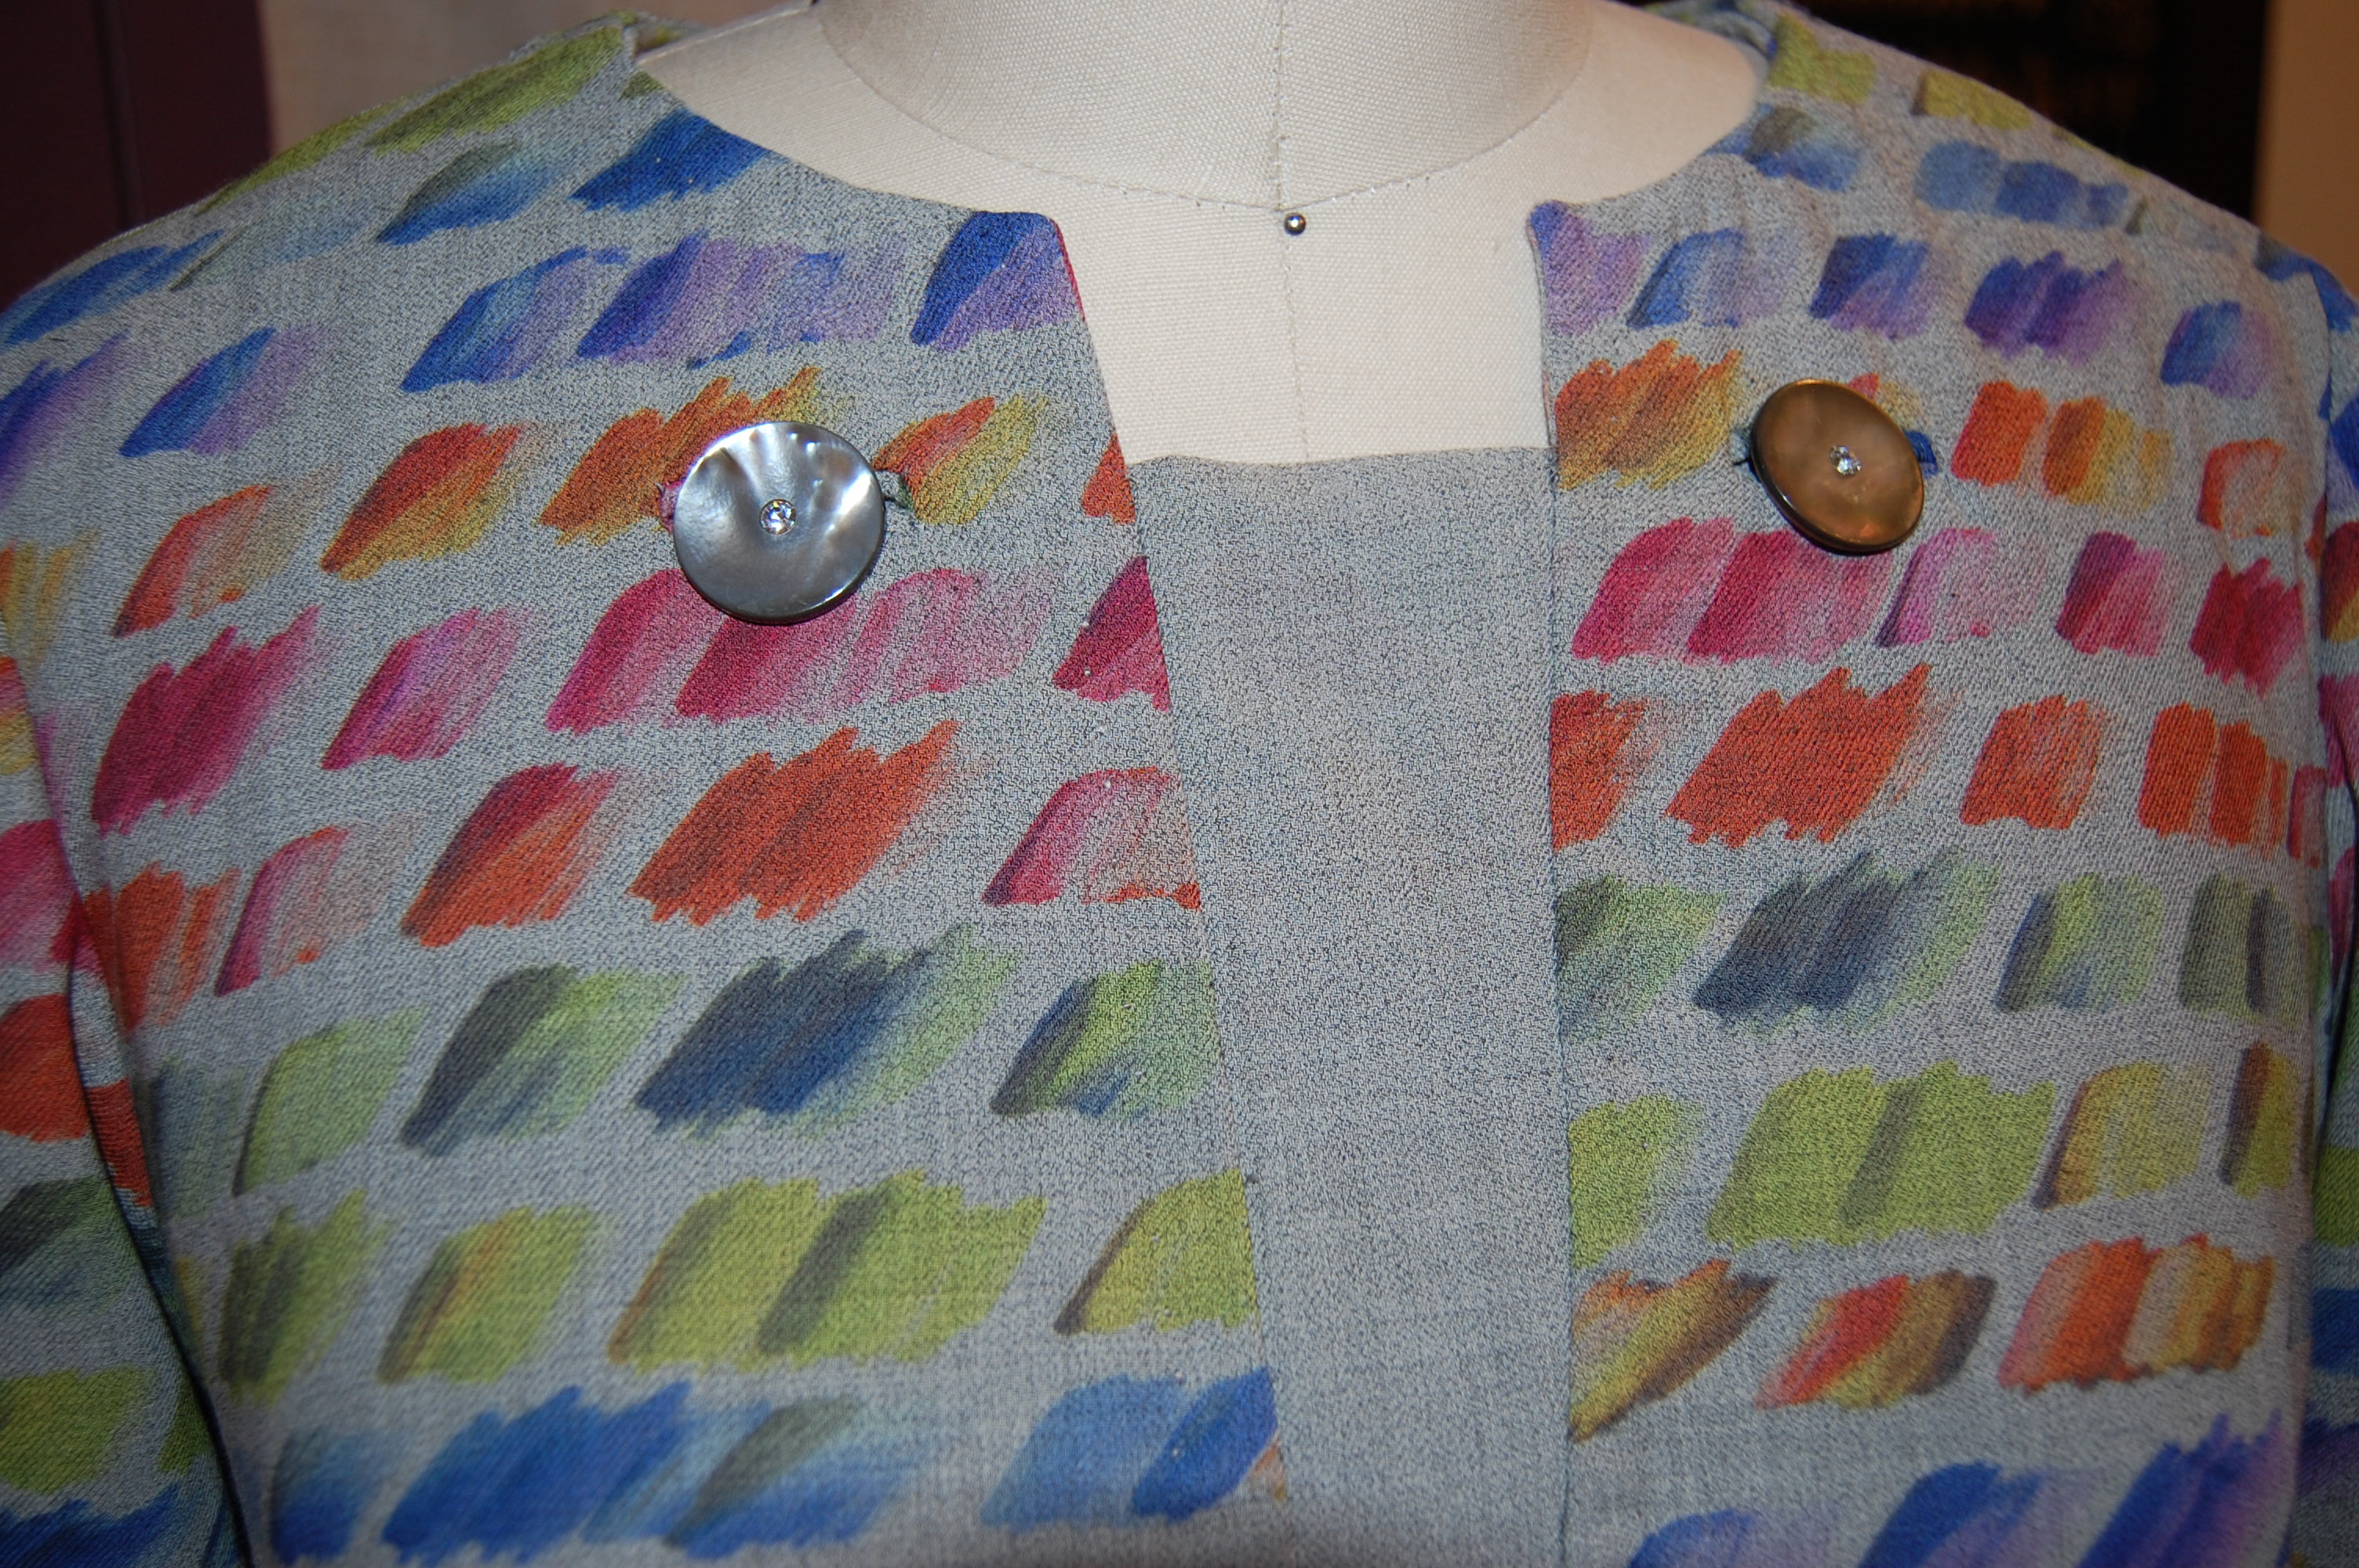
The collar of this jacket extends so that it can be looped.
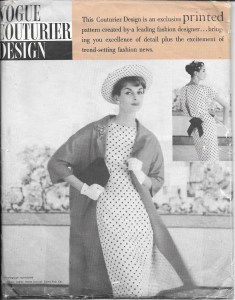
Another one of his suits was shown in Vogue Printed Pattern News from March 15, 1961:
The Laroche design is in the lower lefthand corner. I have never seen this pattern available for purchase… (Click on the image to read the caption.)
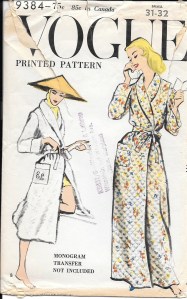
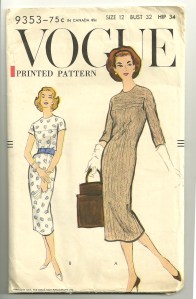
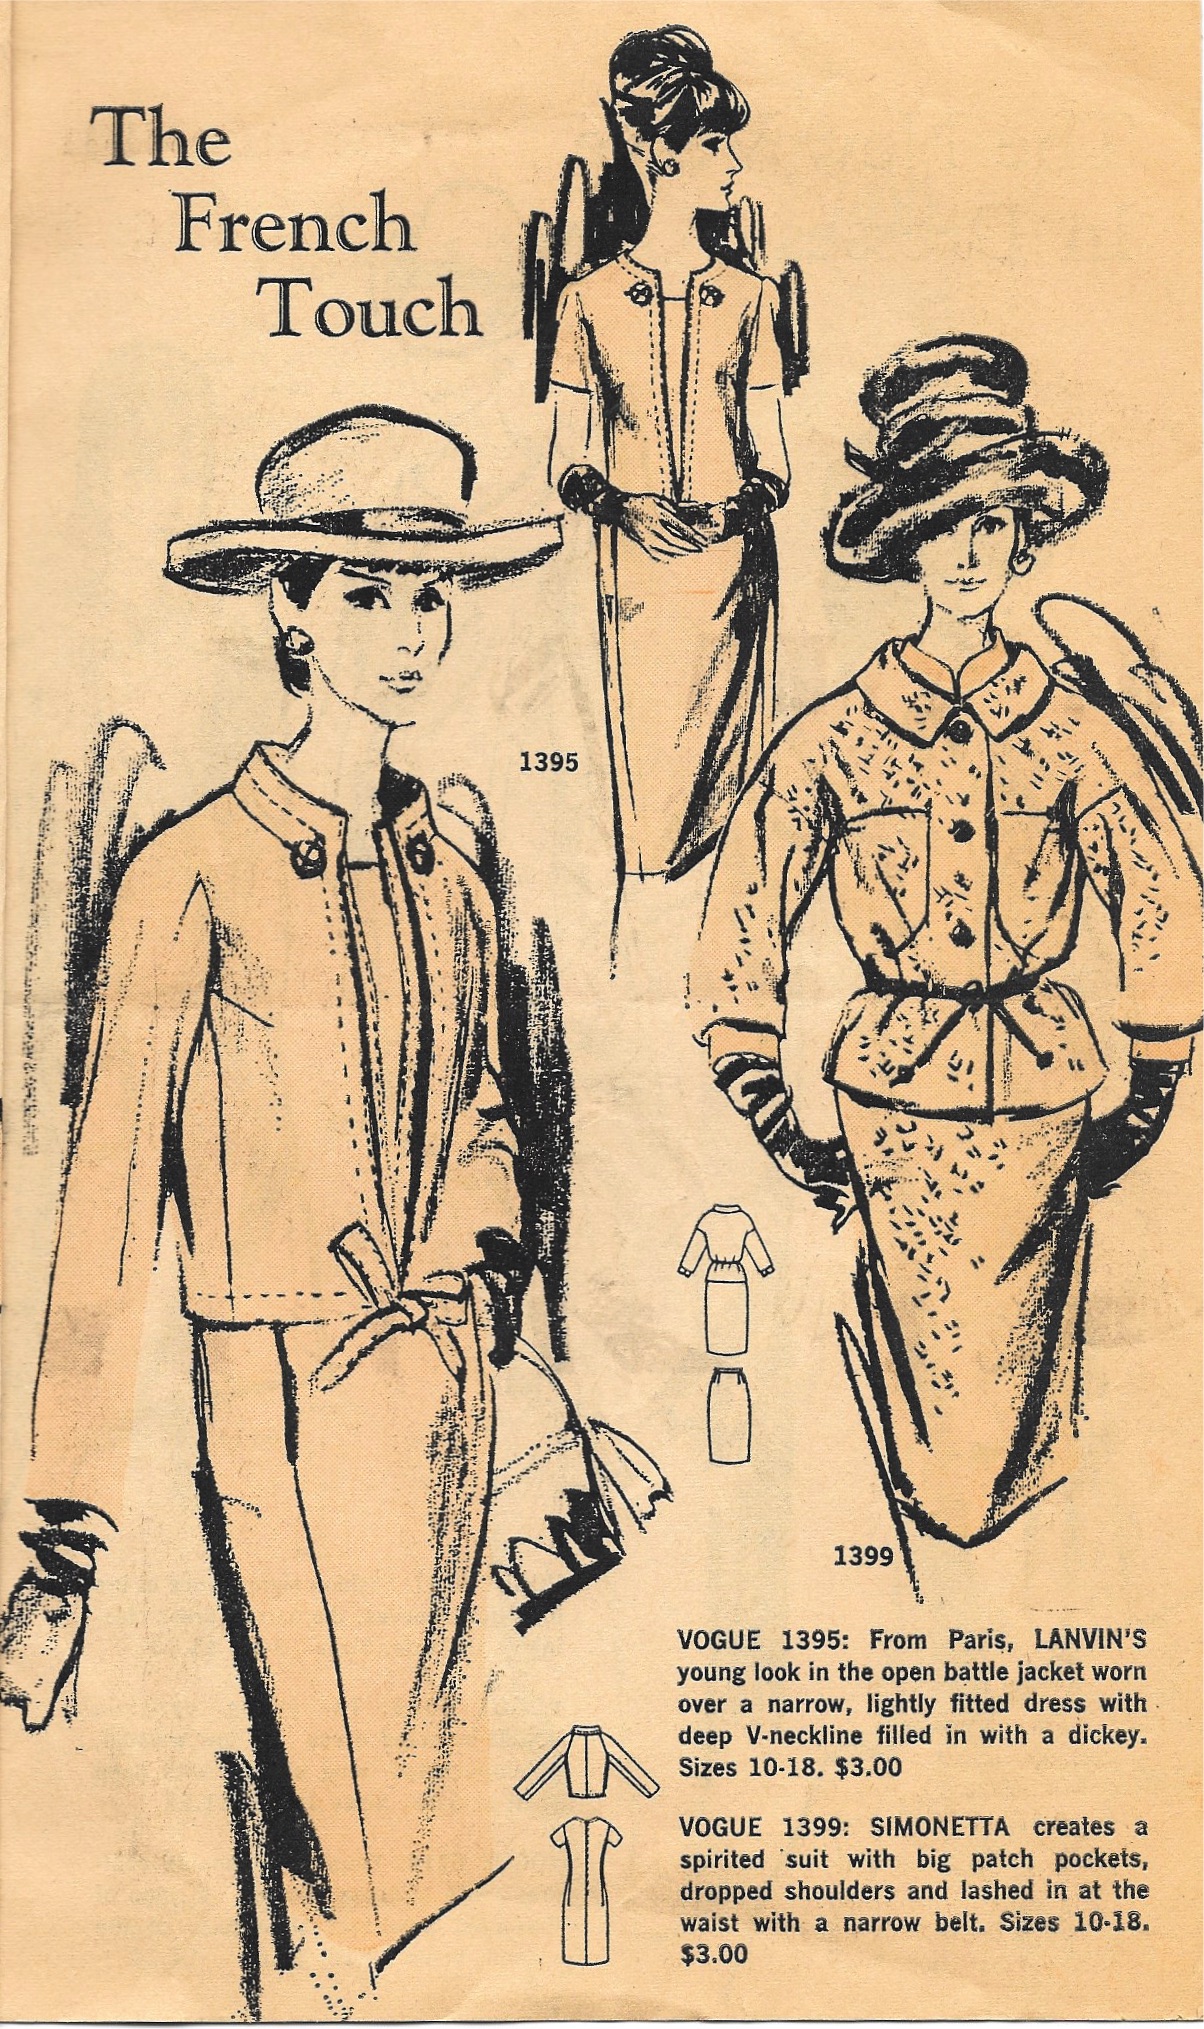
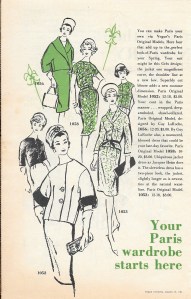
And a coat and dress ensemble was part of the “French Dressing” section of Vogue Pattern Fashion News from April 1965:
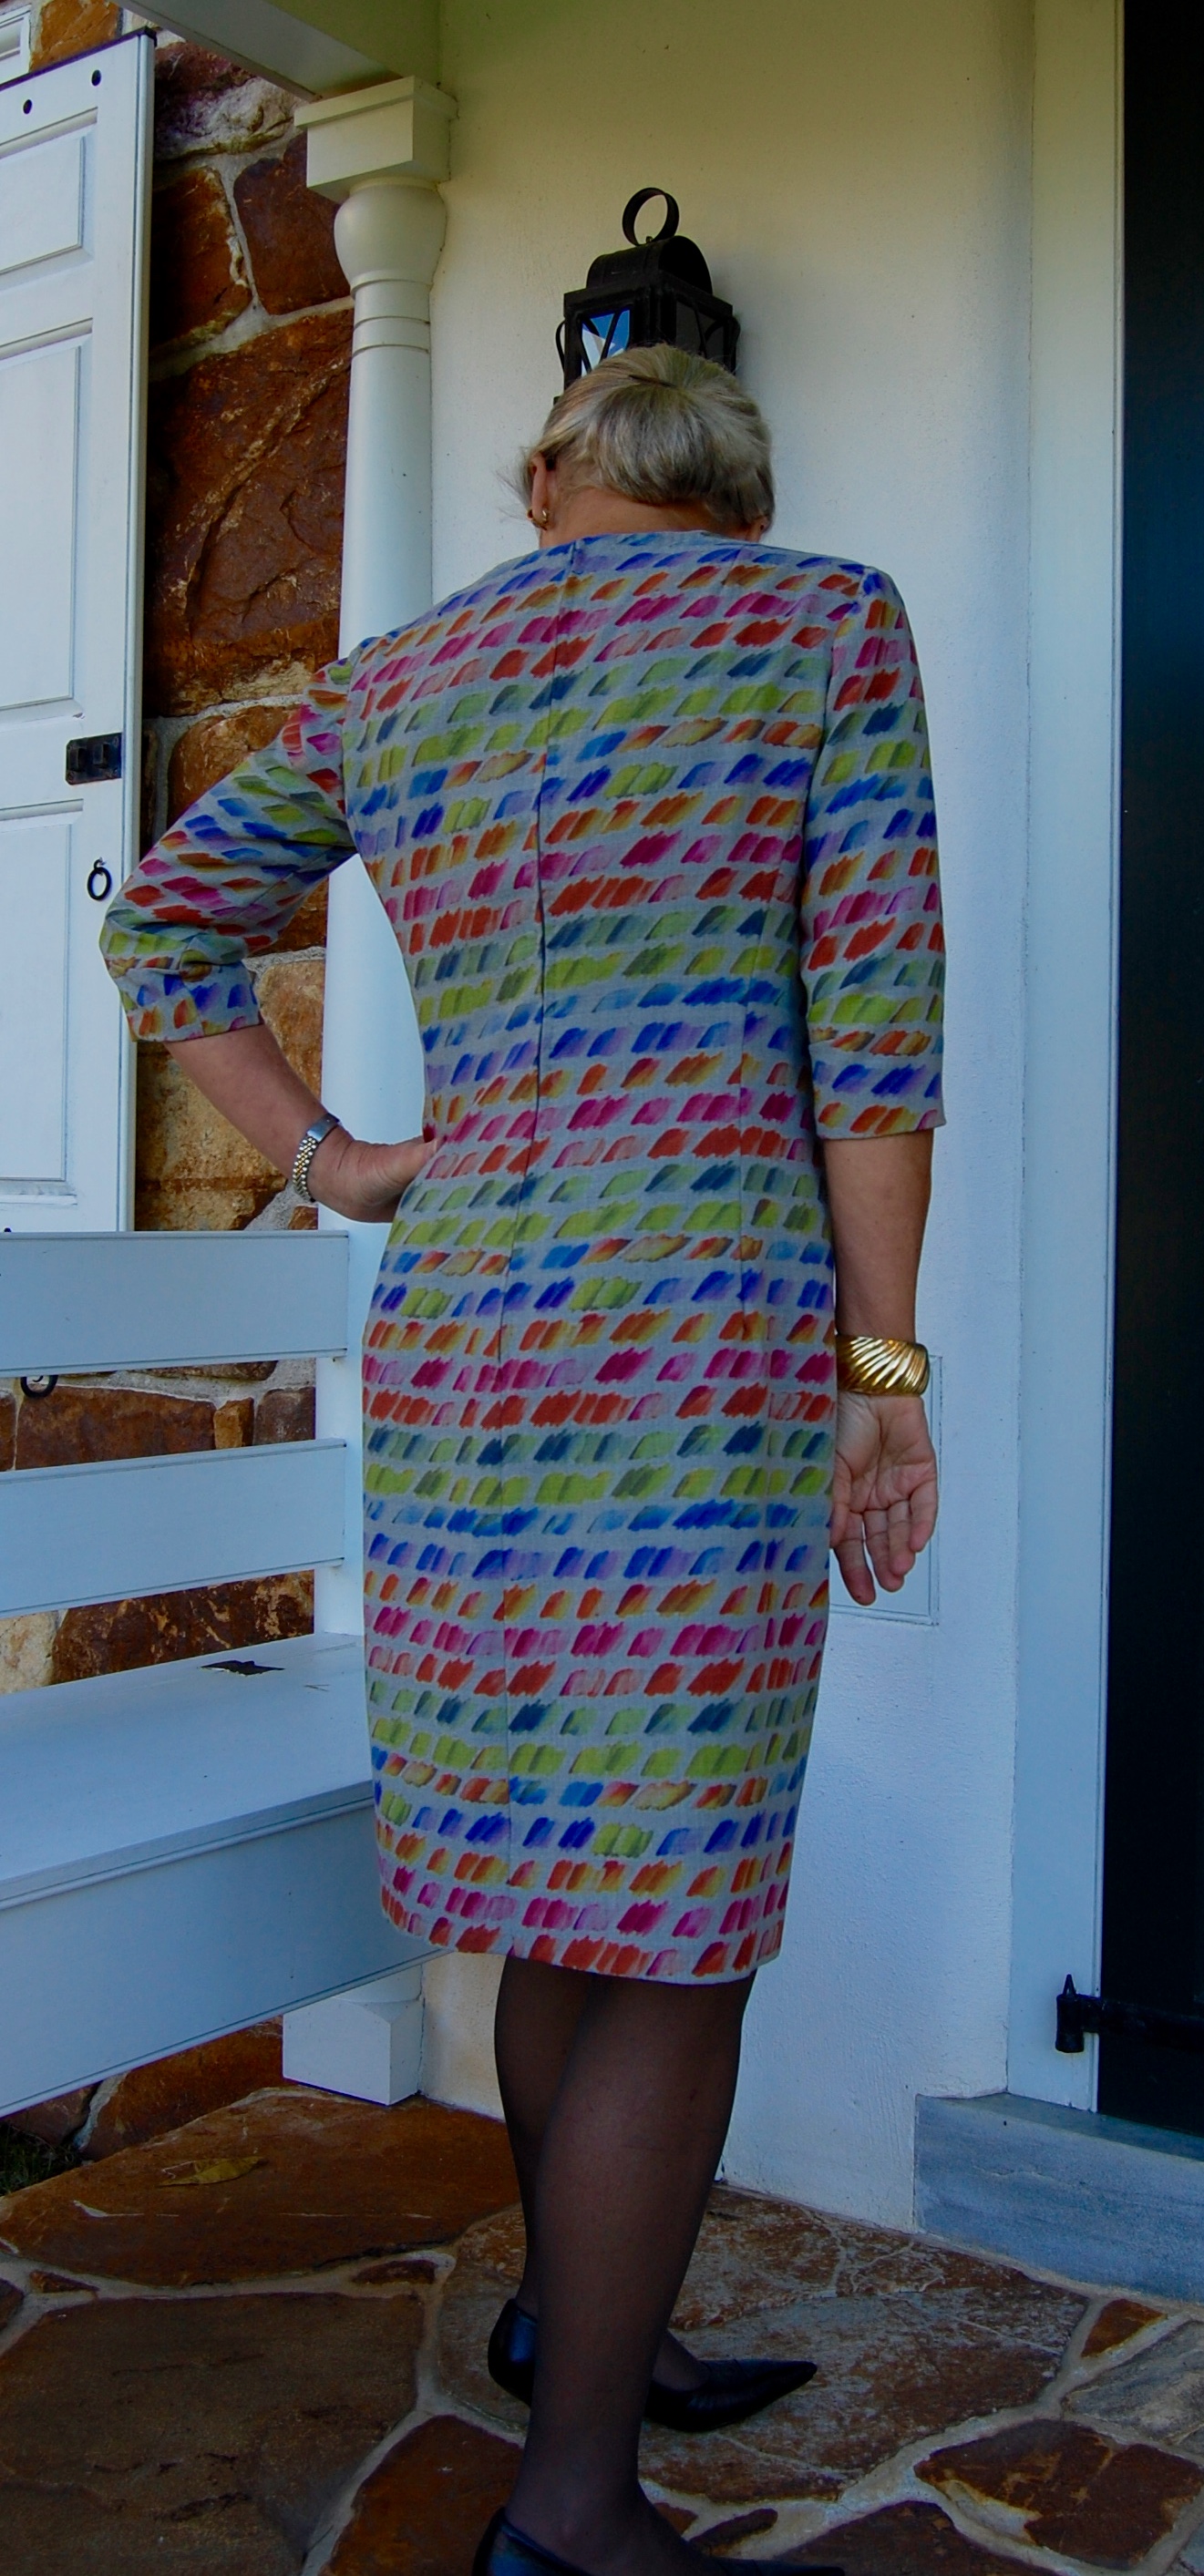
The diagonal direction of the weave in the top part of the coat is a lovely contrast for the rest of the ensemble.
I believe the pattern I am using for my gray cashmere coat is from 1962 or 1963. (The patterns from 1961 were priced at $3.00 while my pattern and the ones I have found from 1964-65 were priced at $3.50. That’s one way to help determine a date, although my intuition suggests to me that my pattern is not as late as ’64.)
Once I had my pattern, I ordered the wool challis from Mendel Goldberg (still in stock, thank goodness!) Now, at this point, I did not know exactly how much to order. The body of the coat will be lined in the challis, while the sleeves will be lined in gray Bemberg. I couldn’t go by the yardage on the envelope for the lining since I was “mixing it up.” I think I may have enough of the gray cashmere to make a skirt, but the fabric might be too heavy for a skirt. I’ll know more once I start to sew with it. The rambling on in my head told me that I needed to get enough of the challis to either make a long-sleeved blouse to go with a “maybe” skirt – or enough challis to make an entire dress, as well as the coat lining. So – I ordered PLENTY!! Now I have options.
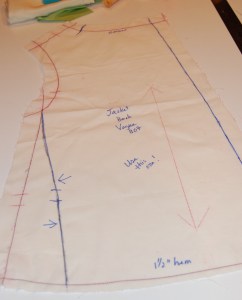
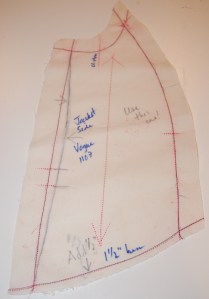
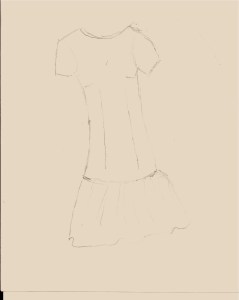
For some reason I always find coats to be a little intimidating – at least at the beginning. However, when you look at the few pattern pieces that go into this design, it seems to look more complicated than it really is (I hope I am not jinxing or deluding myself):
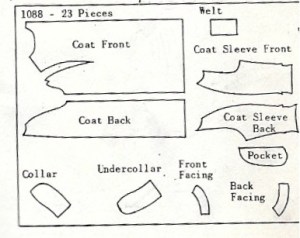
The main body of the coat really has just 8 pattern pieces (the facings you see are for the dress included in the pattern.) Of course, the lining adds more, but compared to the number of pieces in the coat I made two years ago, this is minimal!
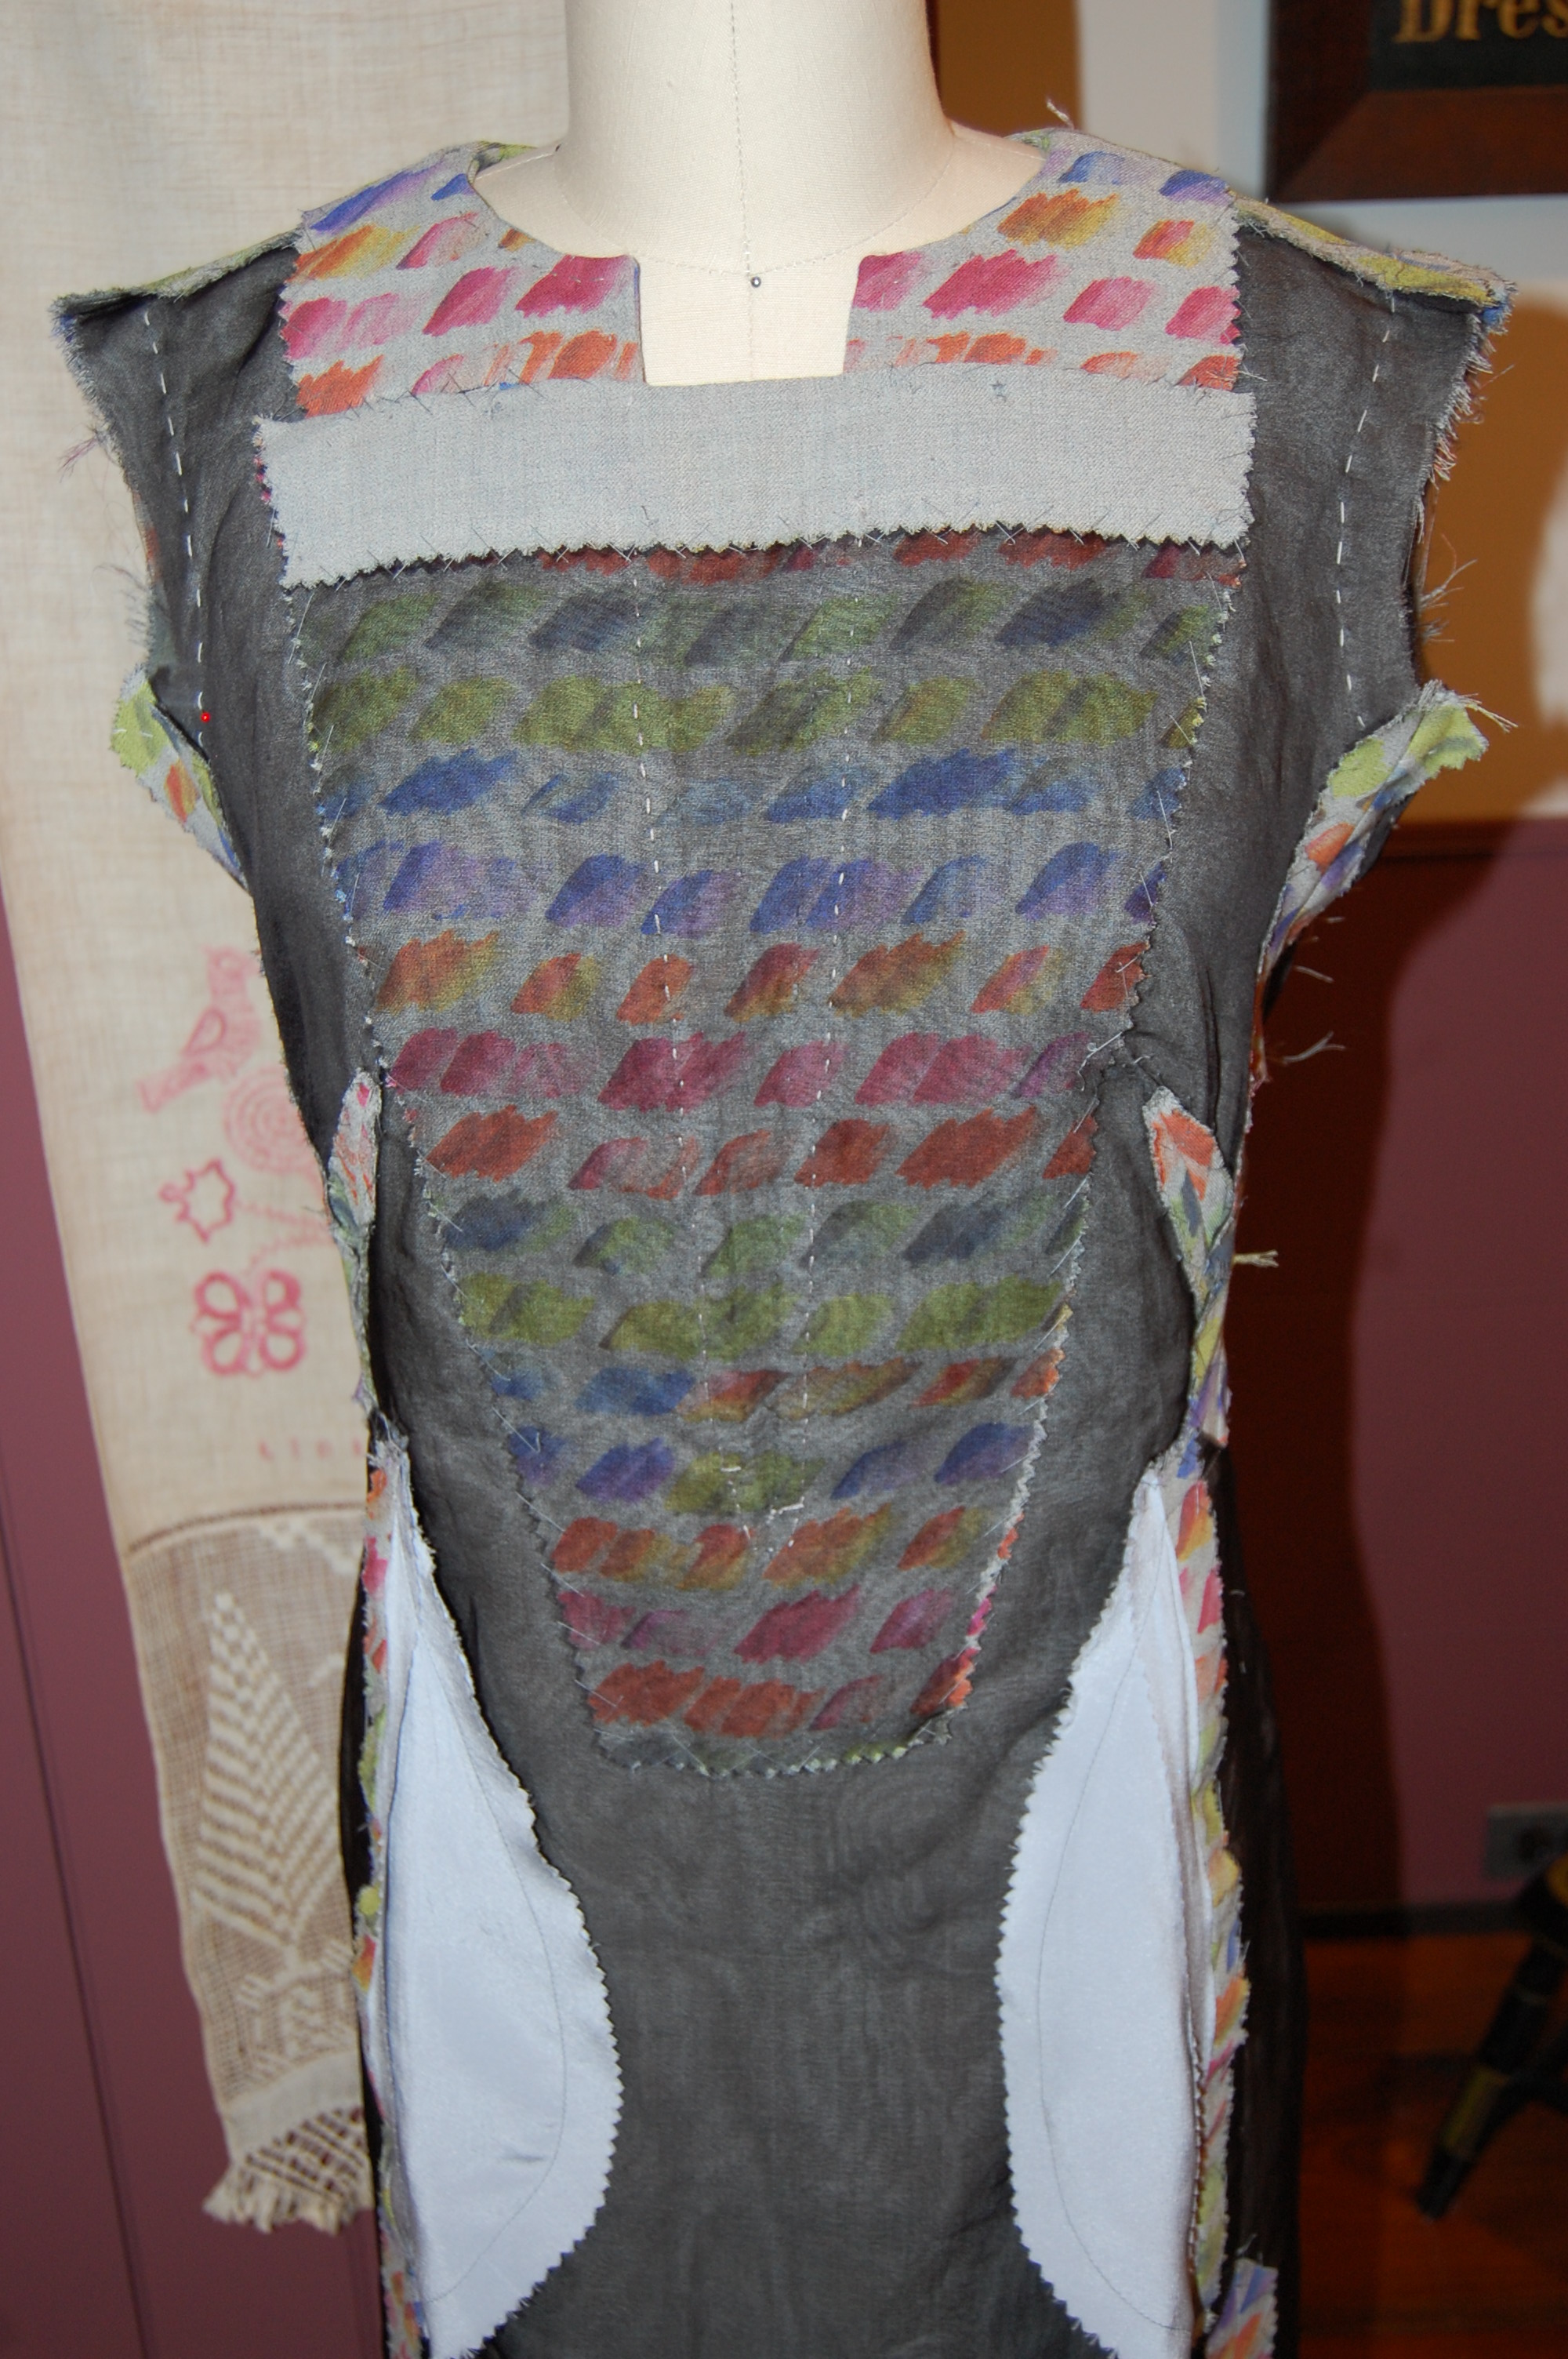
I am currently working on my muslin, and I am so excited to be starting this project. Thank you, EG, for allowing me to purchase this beautiful vintage fabric. I feel a great responsibility to honor this “something old” wool in a coat worthy of its quality and provenance.