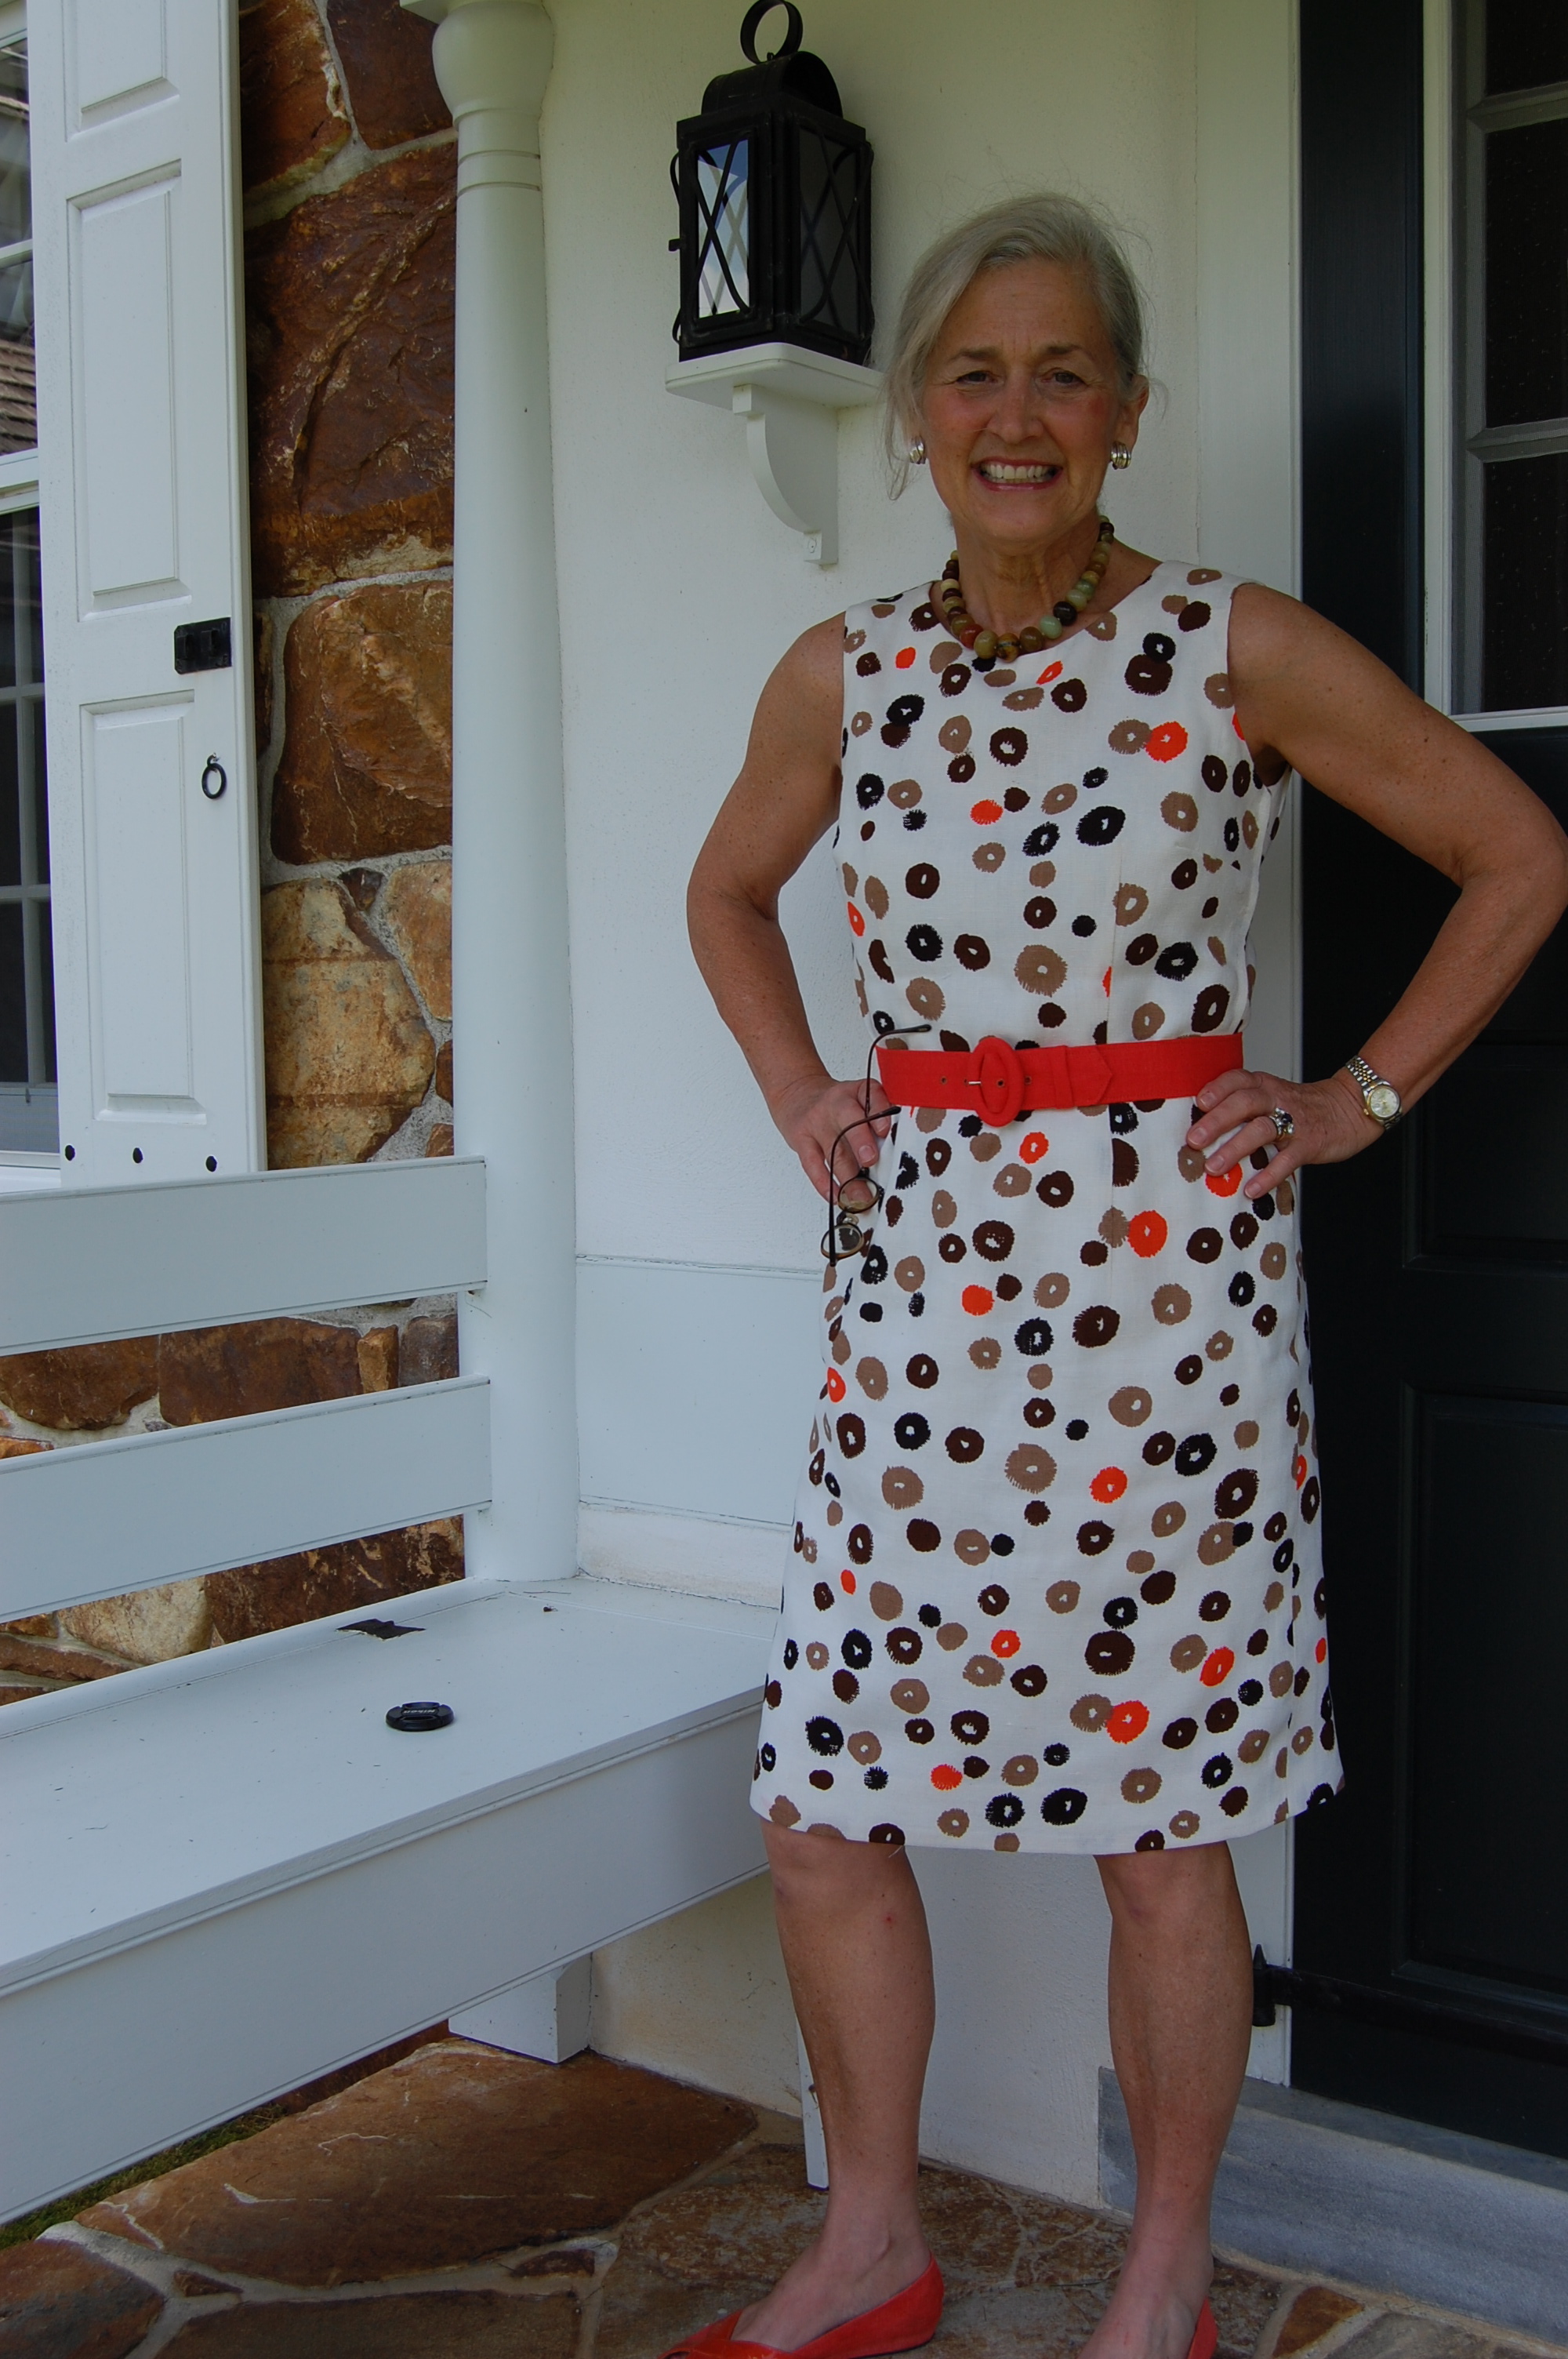
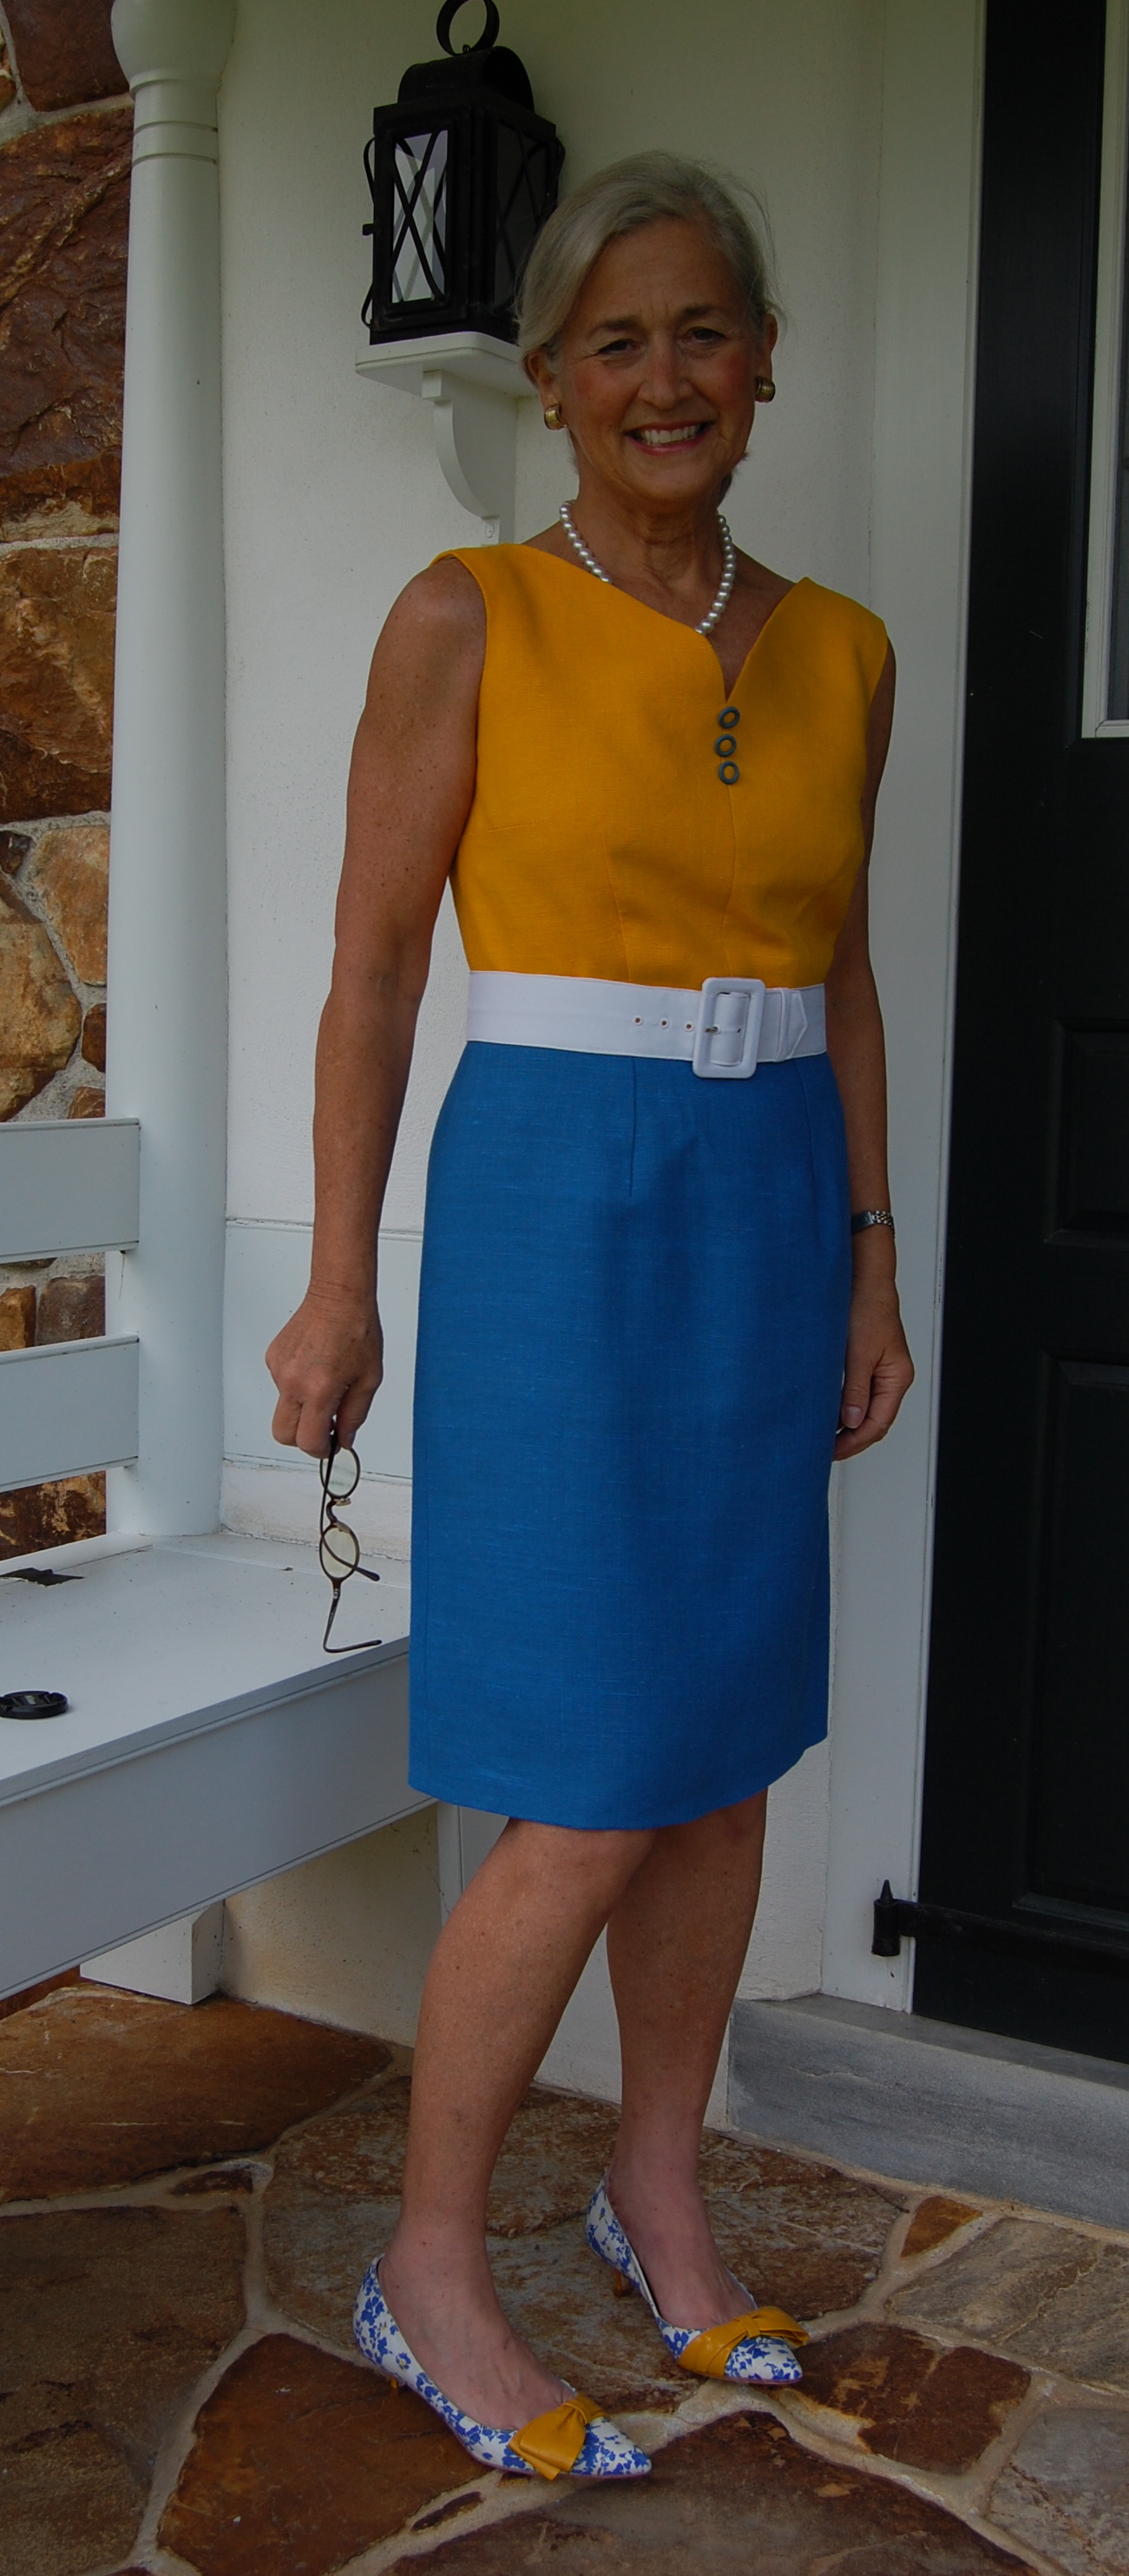
Well, maybe it’s not entirely about the shoes, although they do promise to share a starring role with my just-completed yellow and blue linen dress.
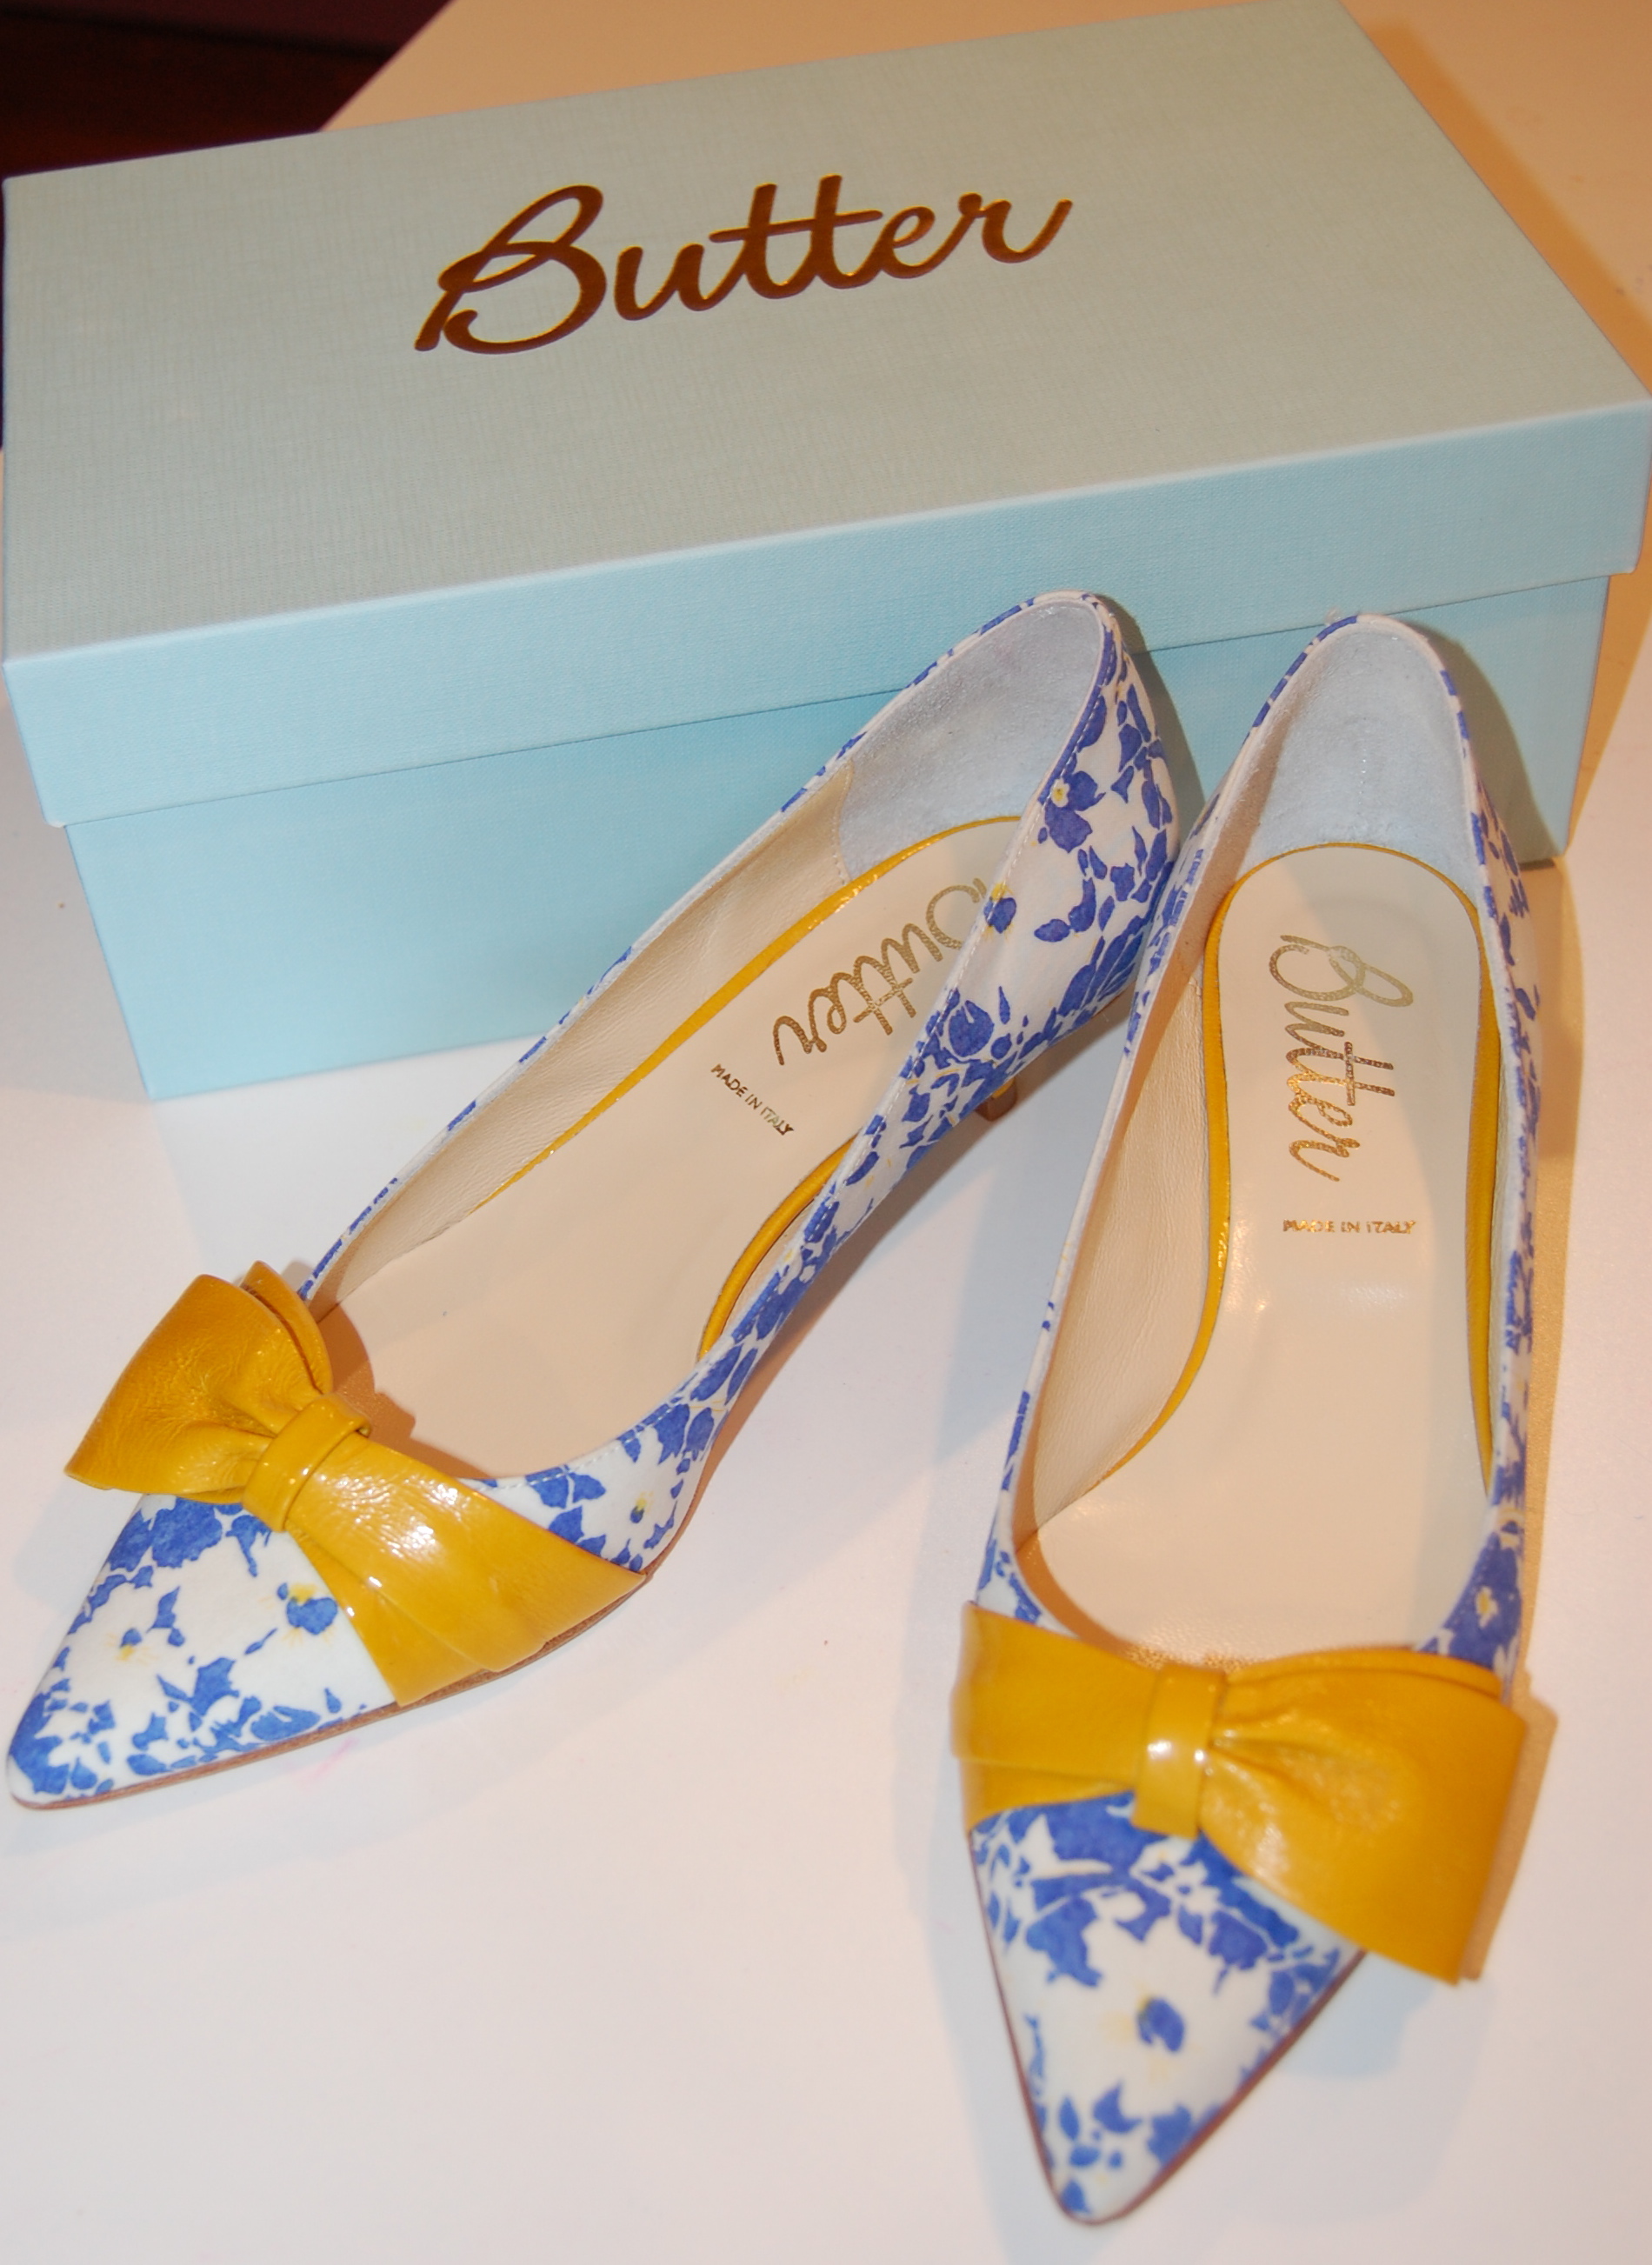
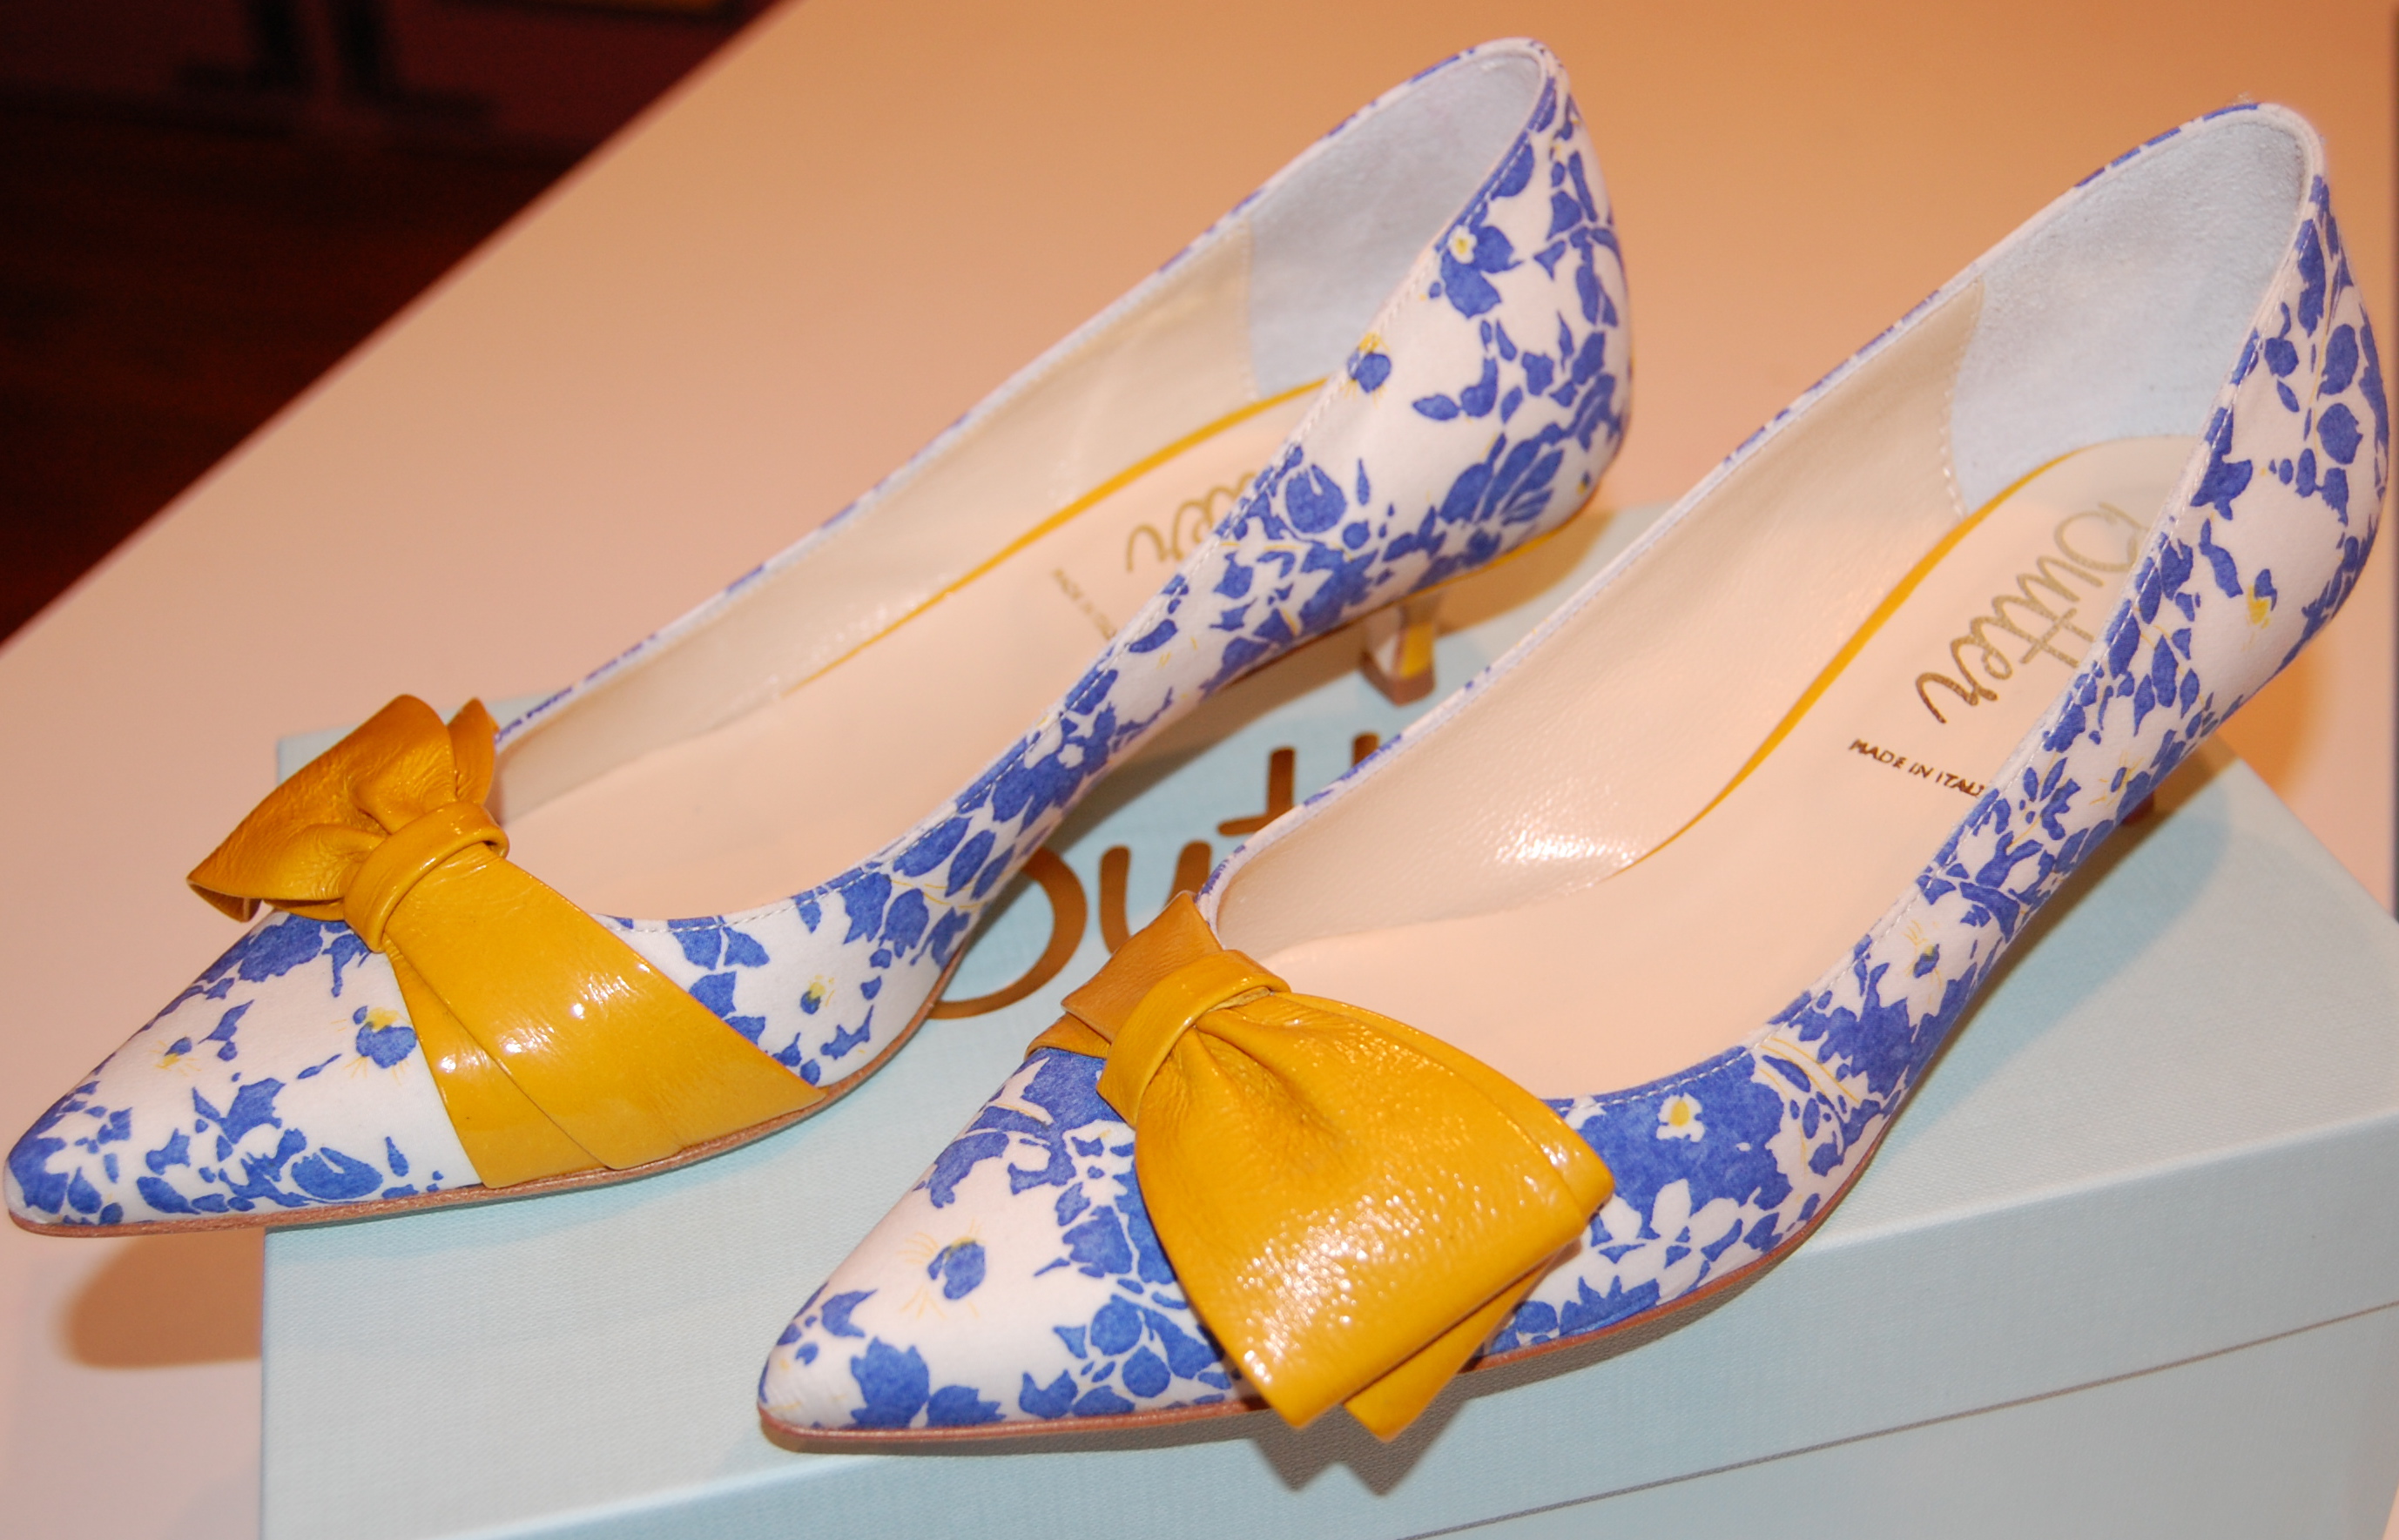
I first spied these lovelies on the Simply Soles website last winter, as part of the offerings for Spring/Summer shoes. Although I loved everything about them (the combination of colors, the fabric, the asymmetrical bow, the kitten heel, the brand – knowing from experience that Butter shoes are extremely comfortable), I decided not to purchase them. At that point in time, I had not yet bought the bittersweet yellow linen, so I had no reason to buy shoes with such a limited color palette. By the time I had a good reason to buy them, they were no longer available in my size.
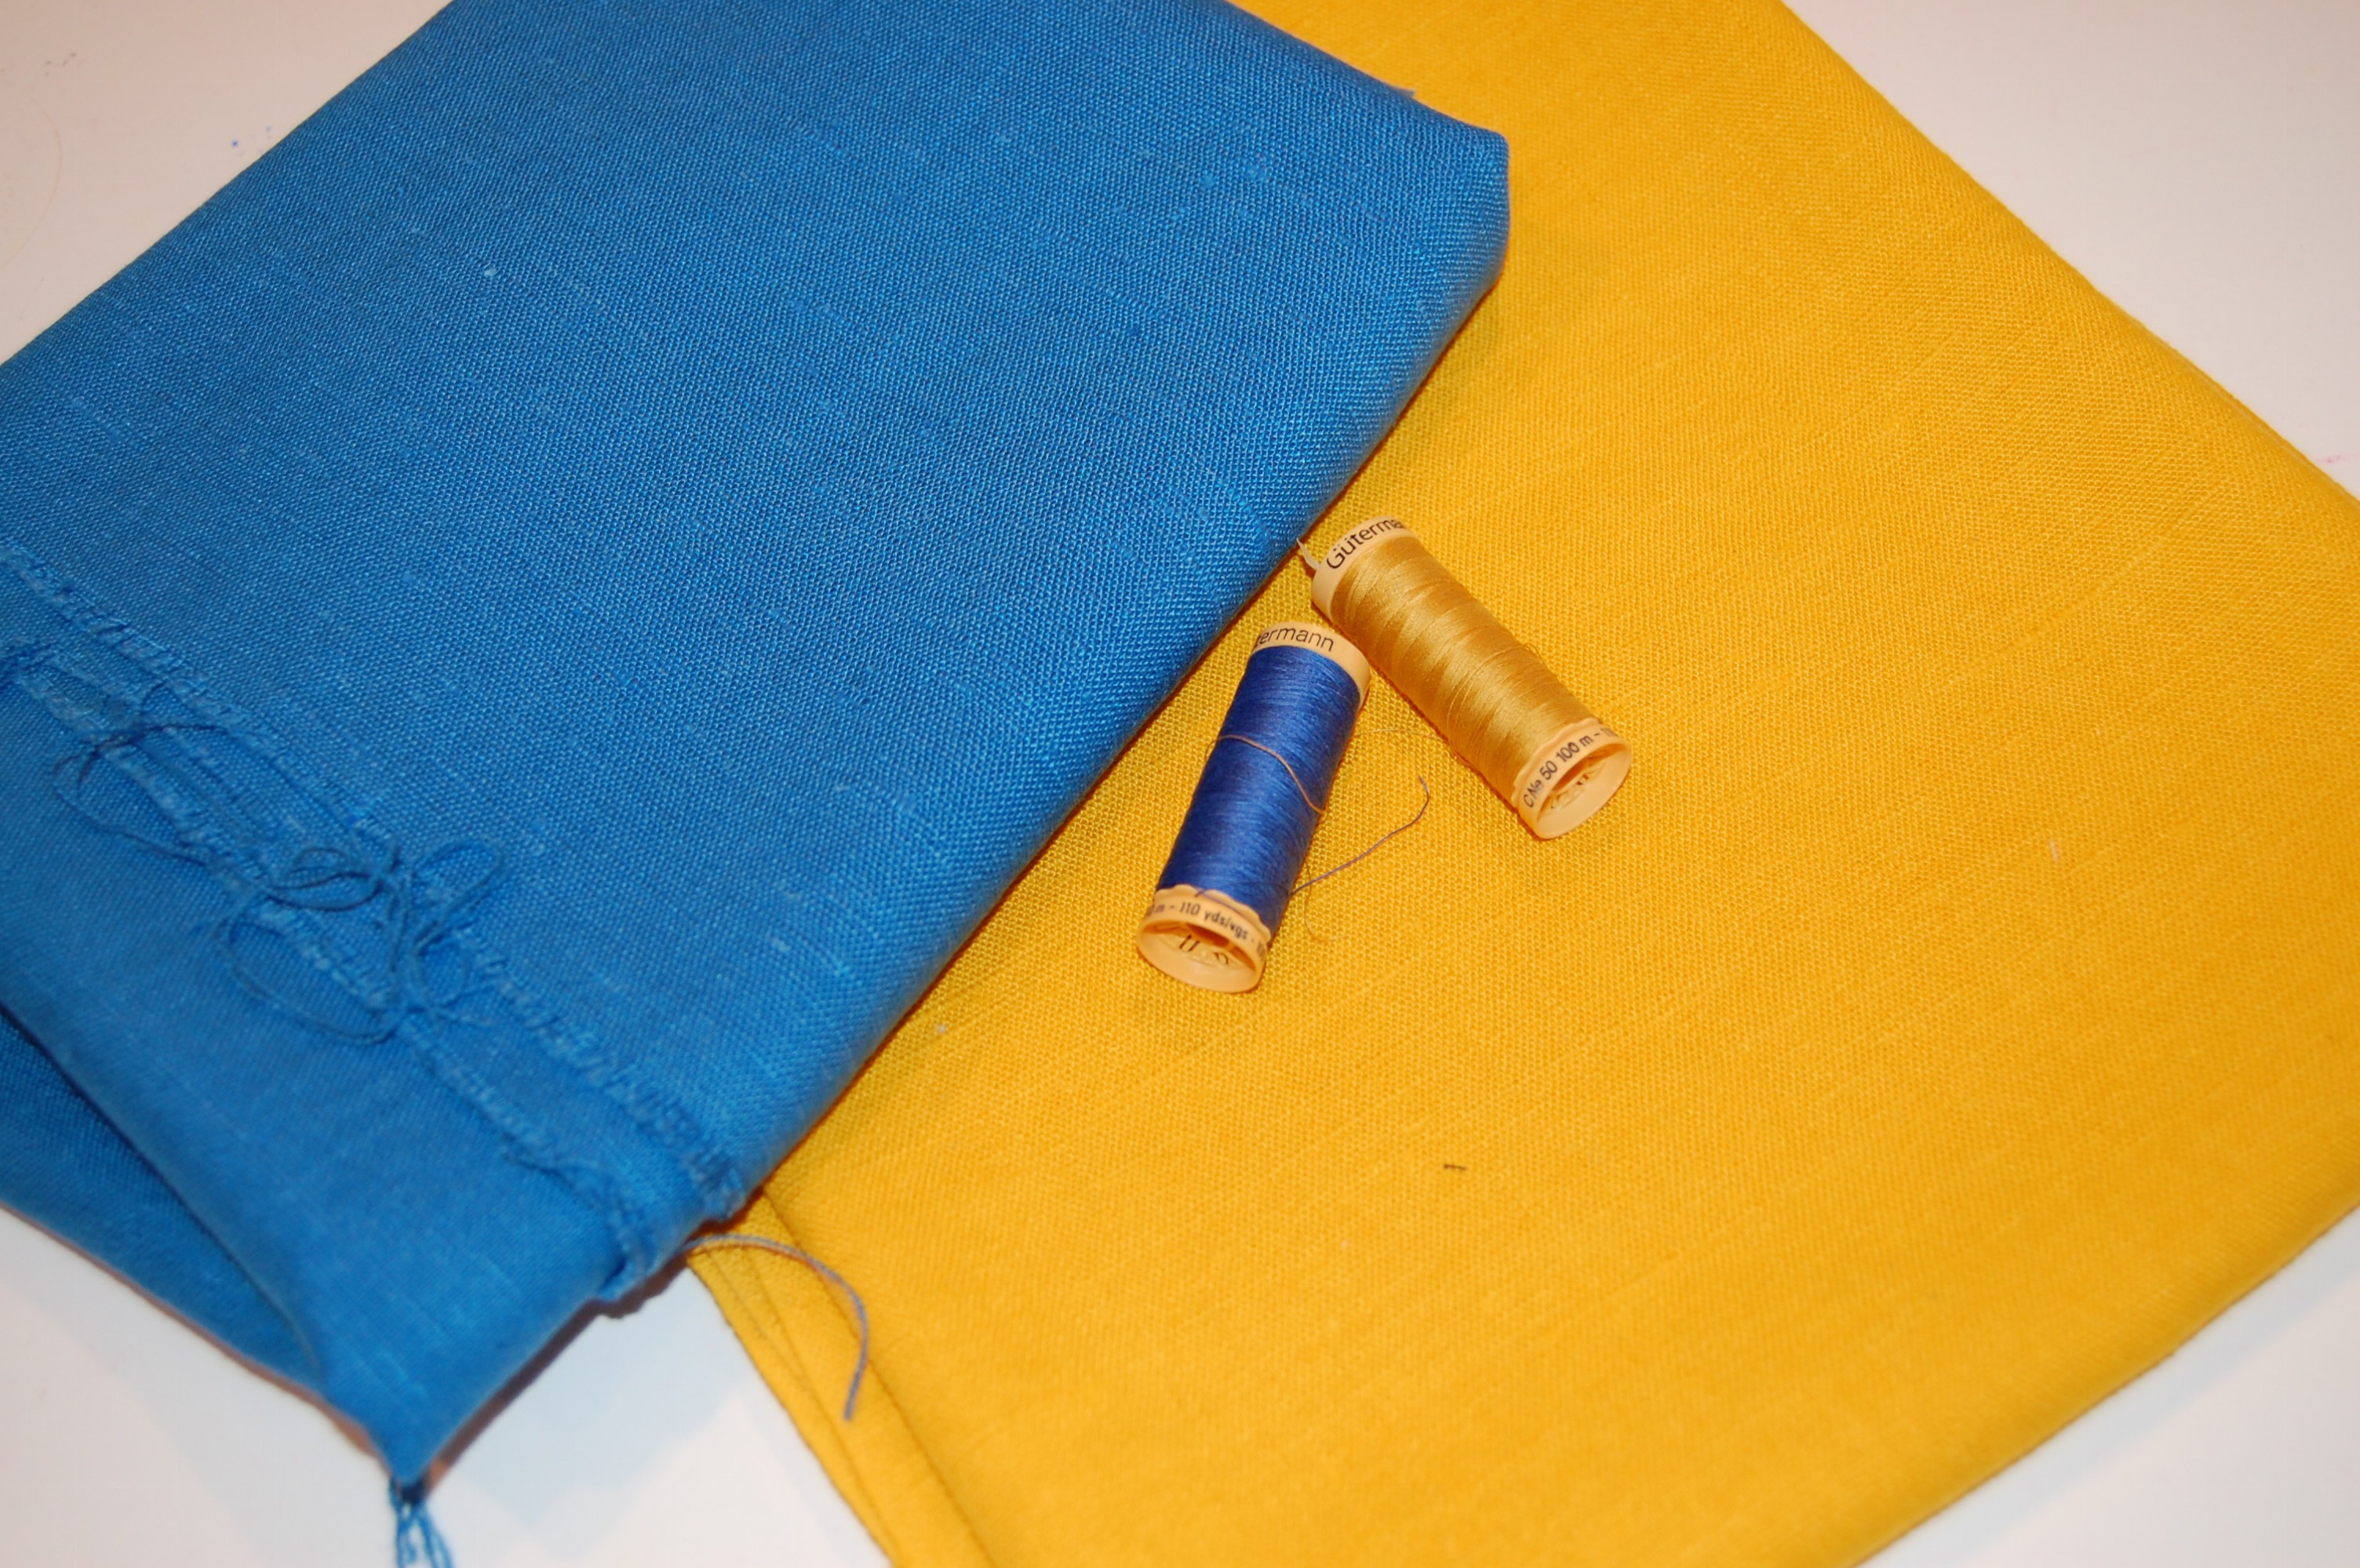
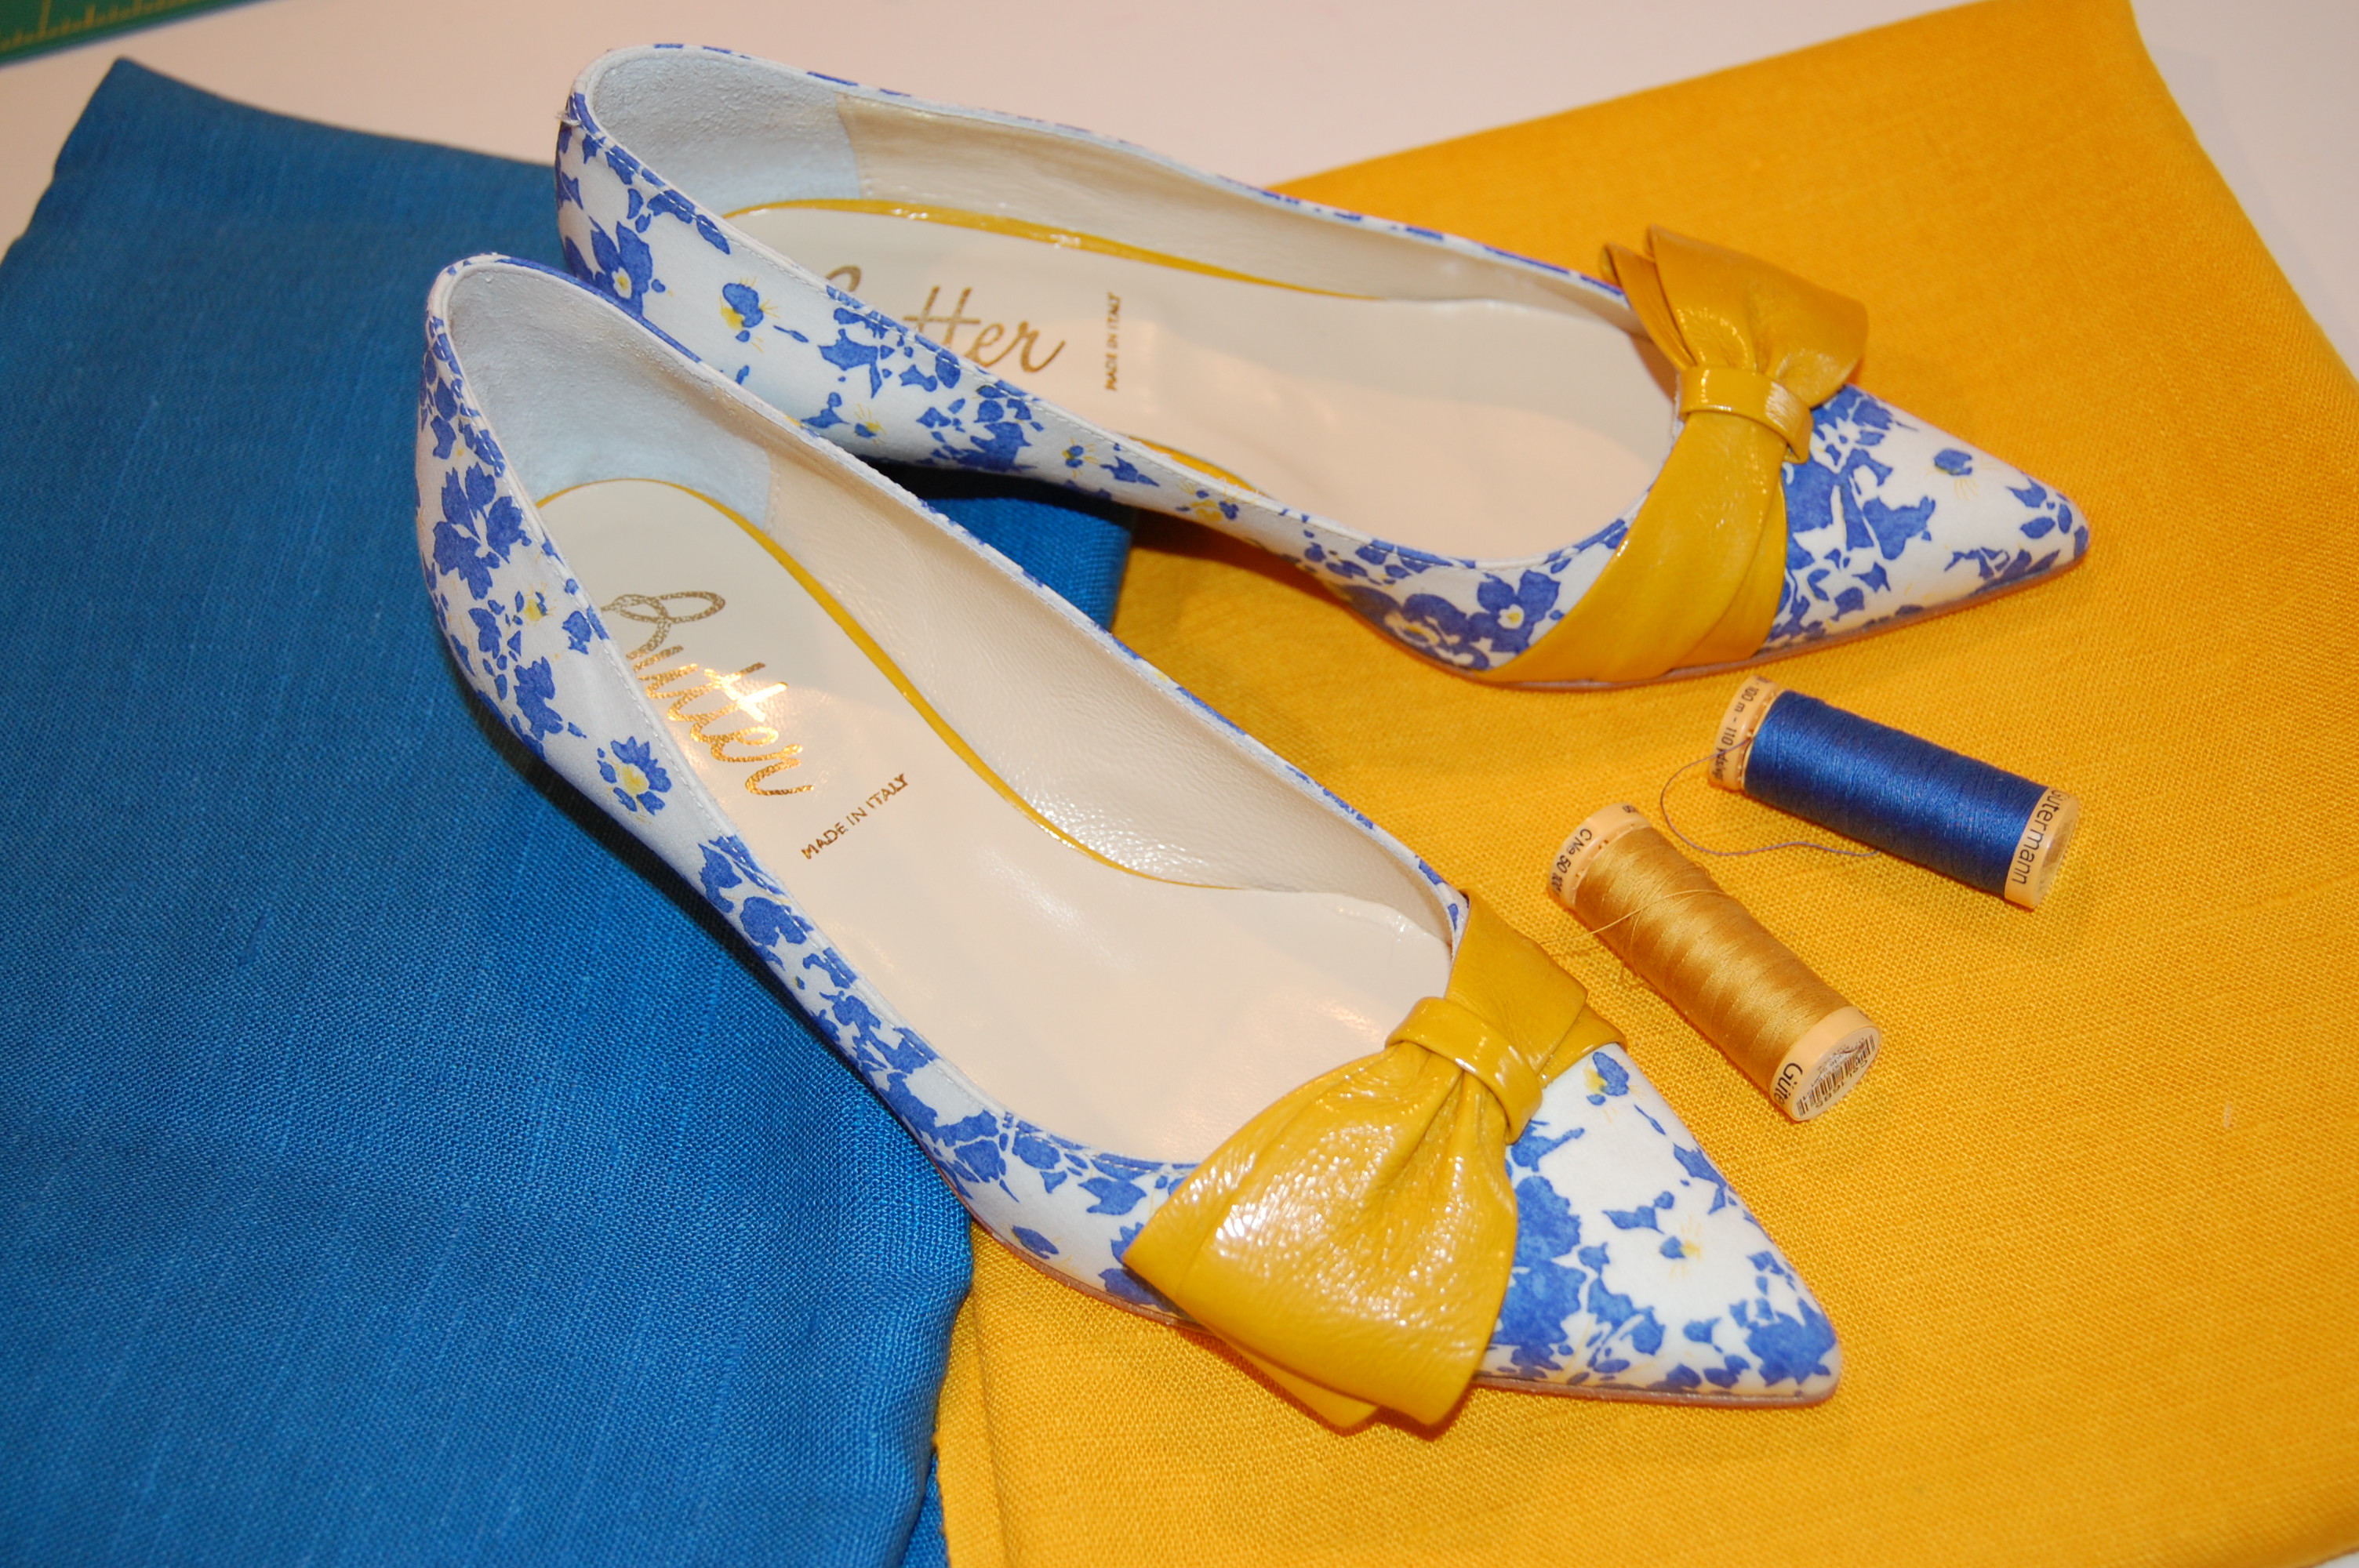
 However, the Simply Soles website allows one to request an email advice should the correctly sized shoe become available. Weeks went by, Summer arrived, and by then I had paired the recently purchased deep yellow linen with the pottery blue linen. Goodness, I could not stop thinking about those shoes and how perfect they would be with my envisioned dress. And then – they were suddenly available – in my size – and on sale!
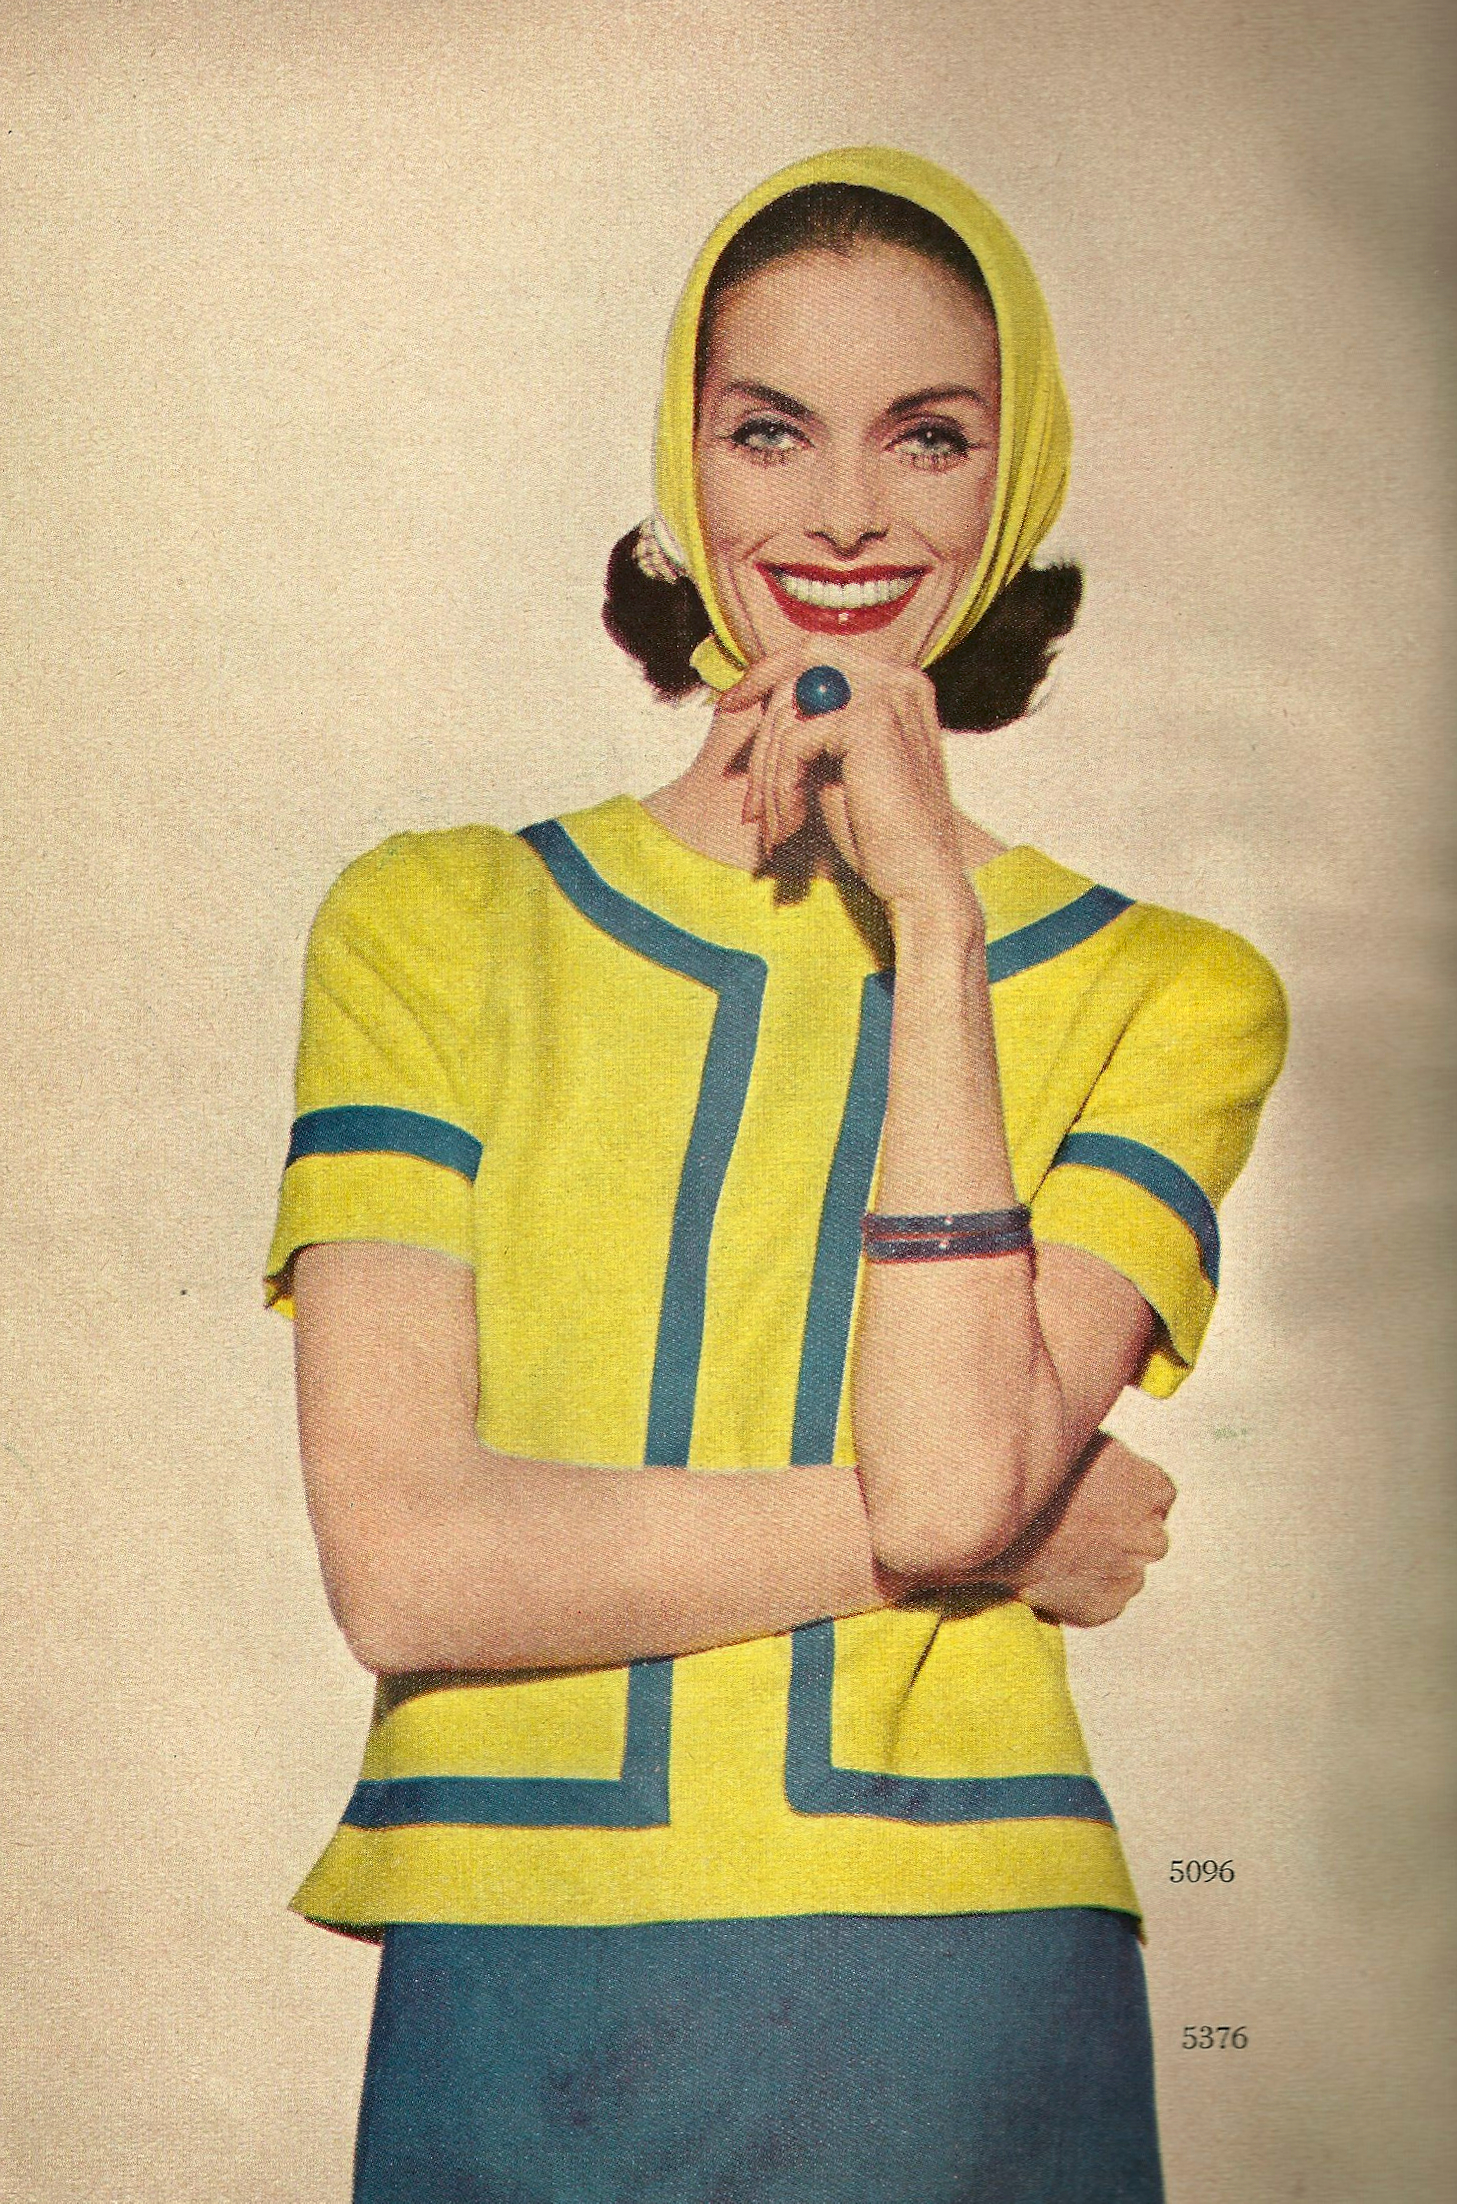
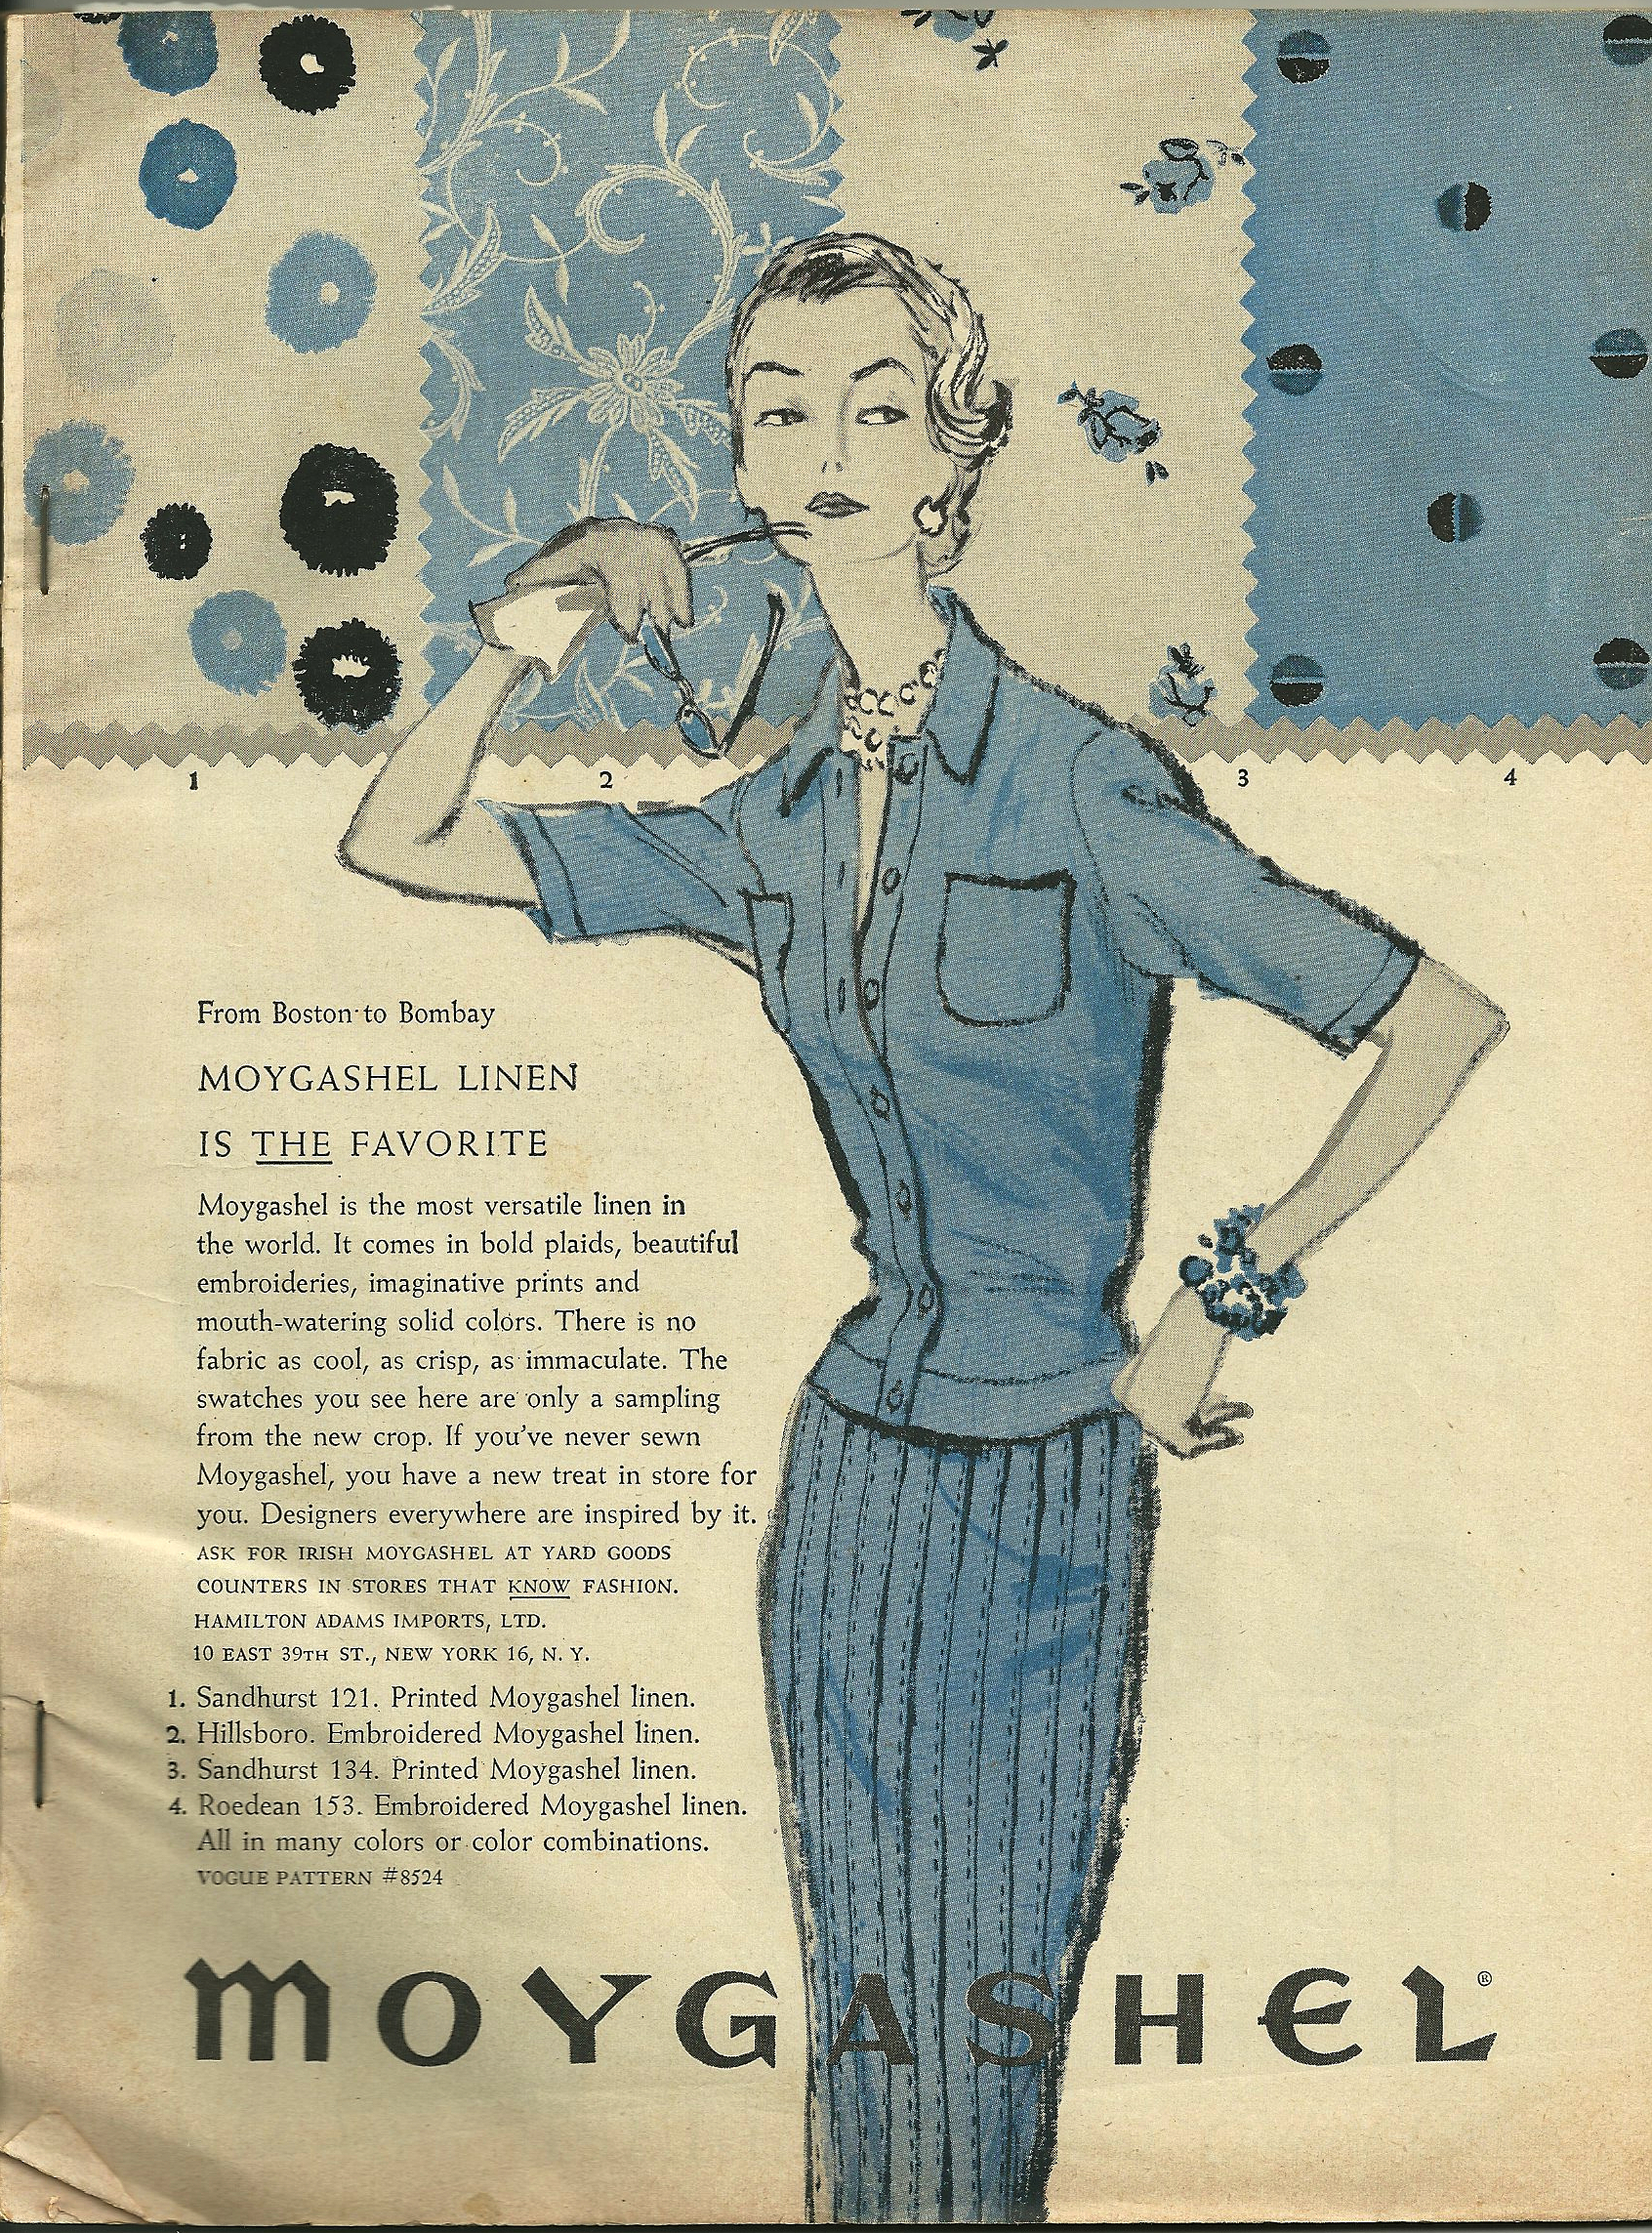
By this time I was already immersed in making my second linen dress of the Summer, so I planned for the blue and yellow linen to be number “3”. In the meantime, I happened upon more documentation of Moygashel linen, this one for the “yellow” piece. Those of you who follow this blog know how much I love to make these connections!
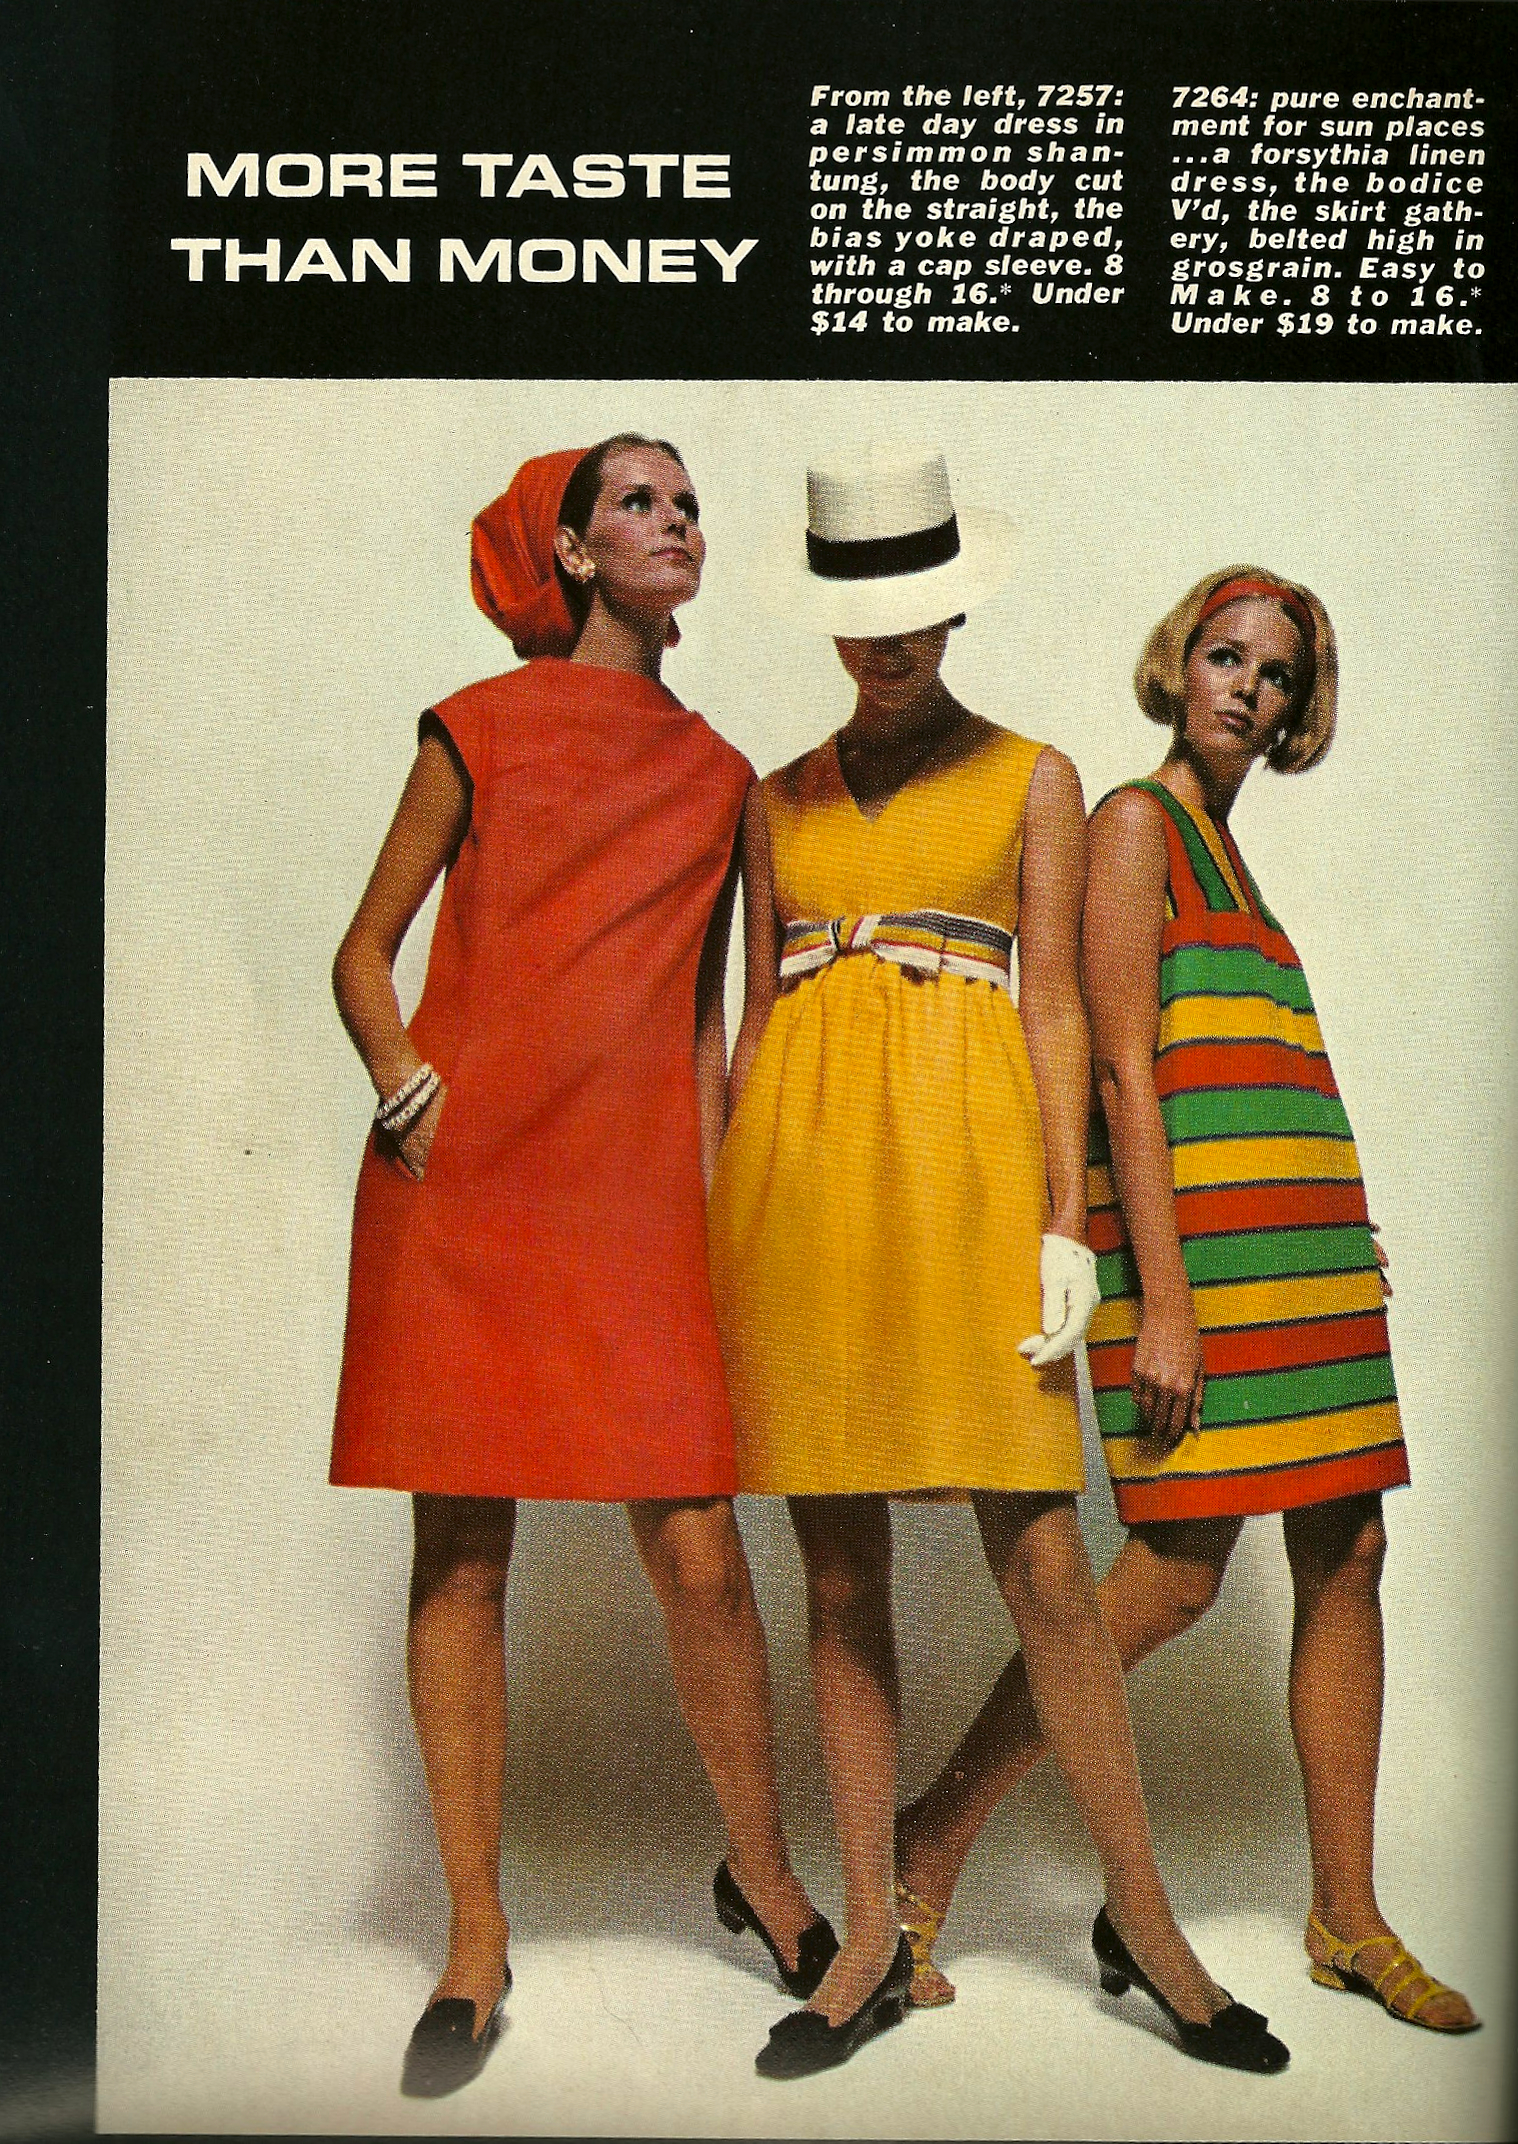
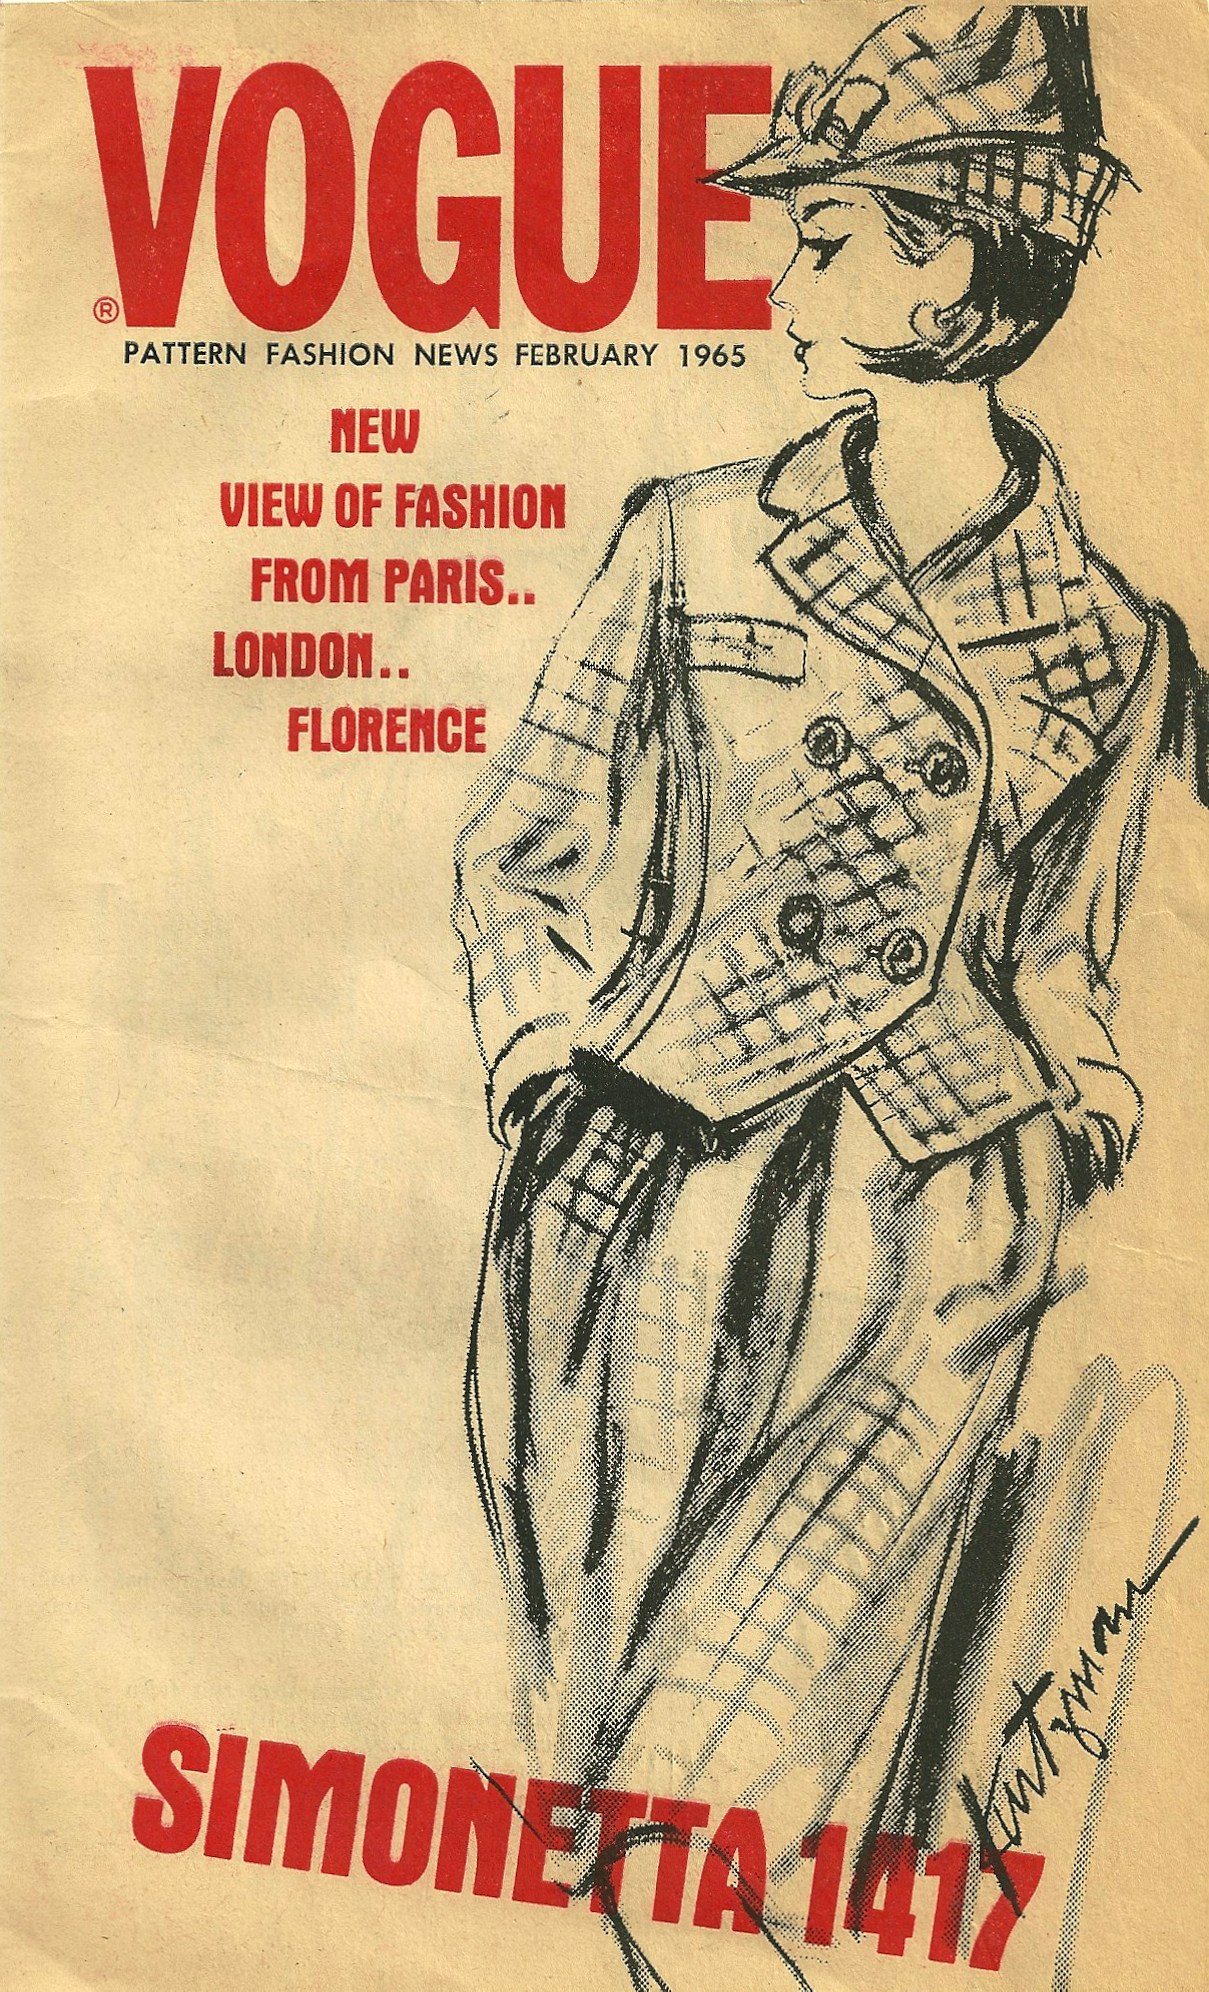
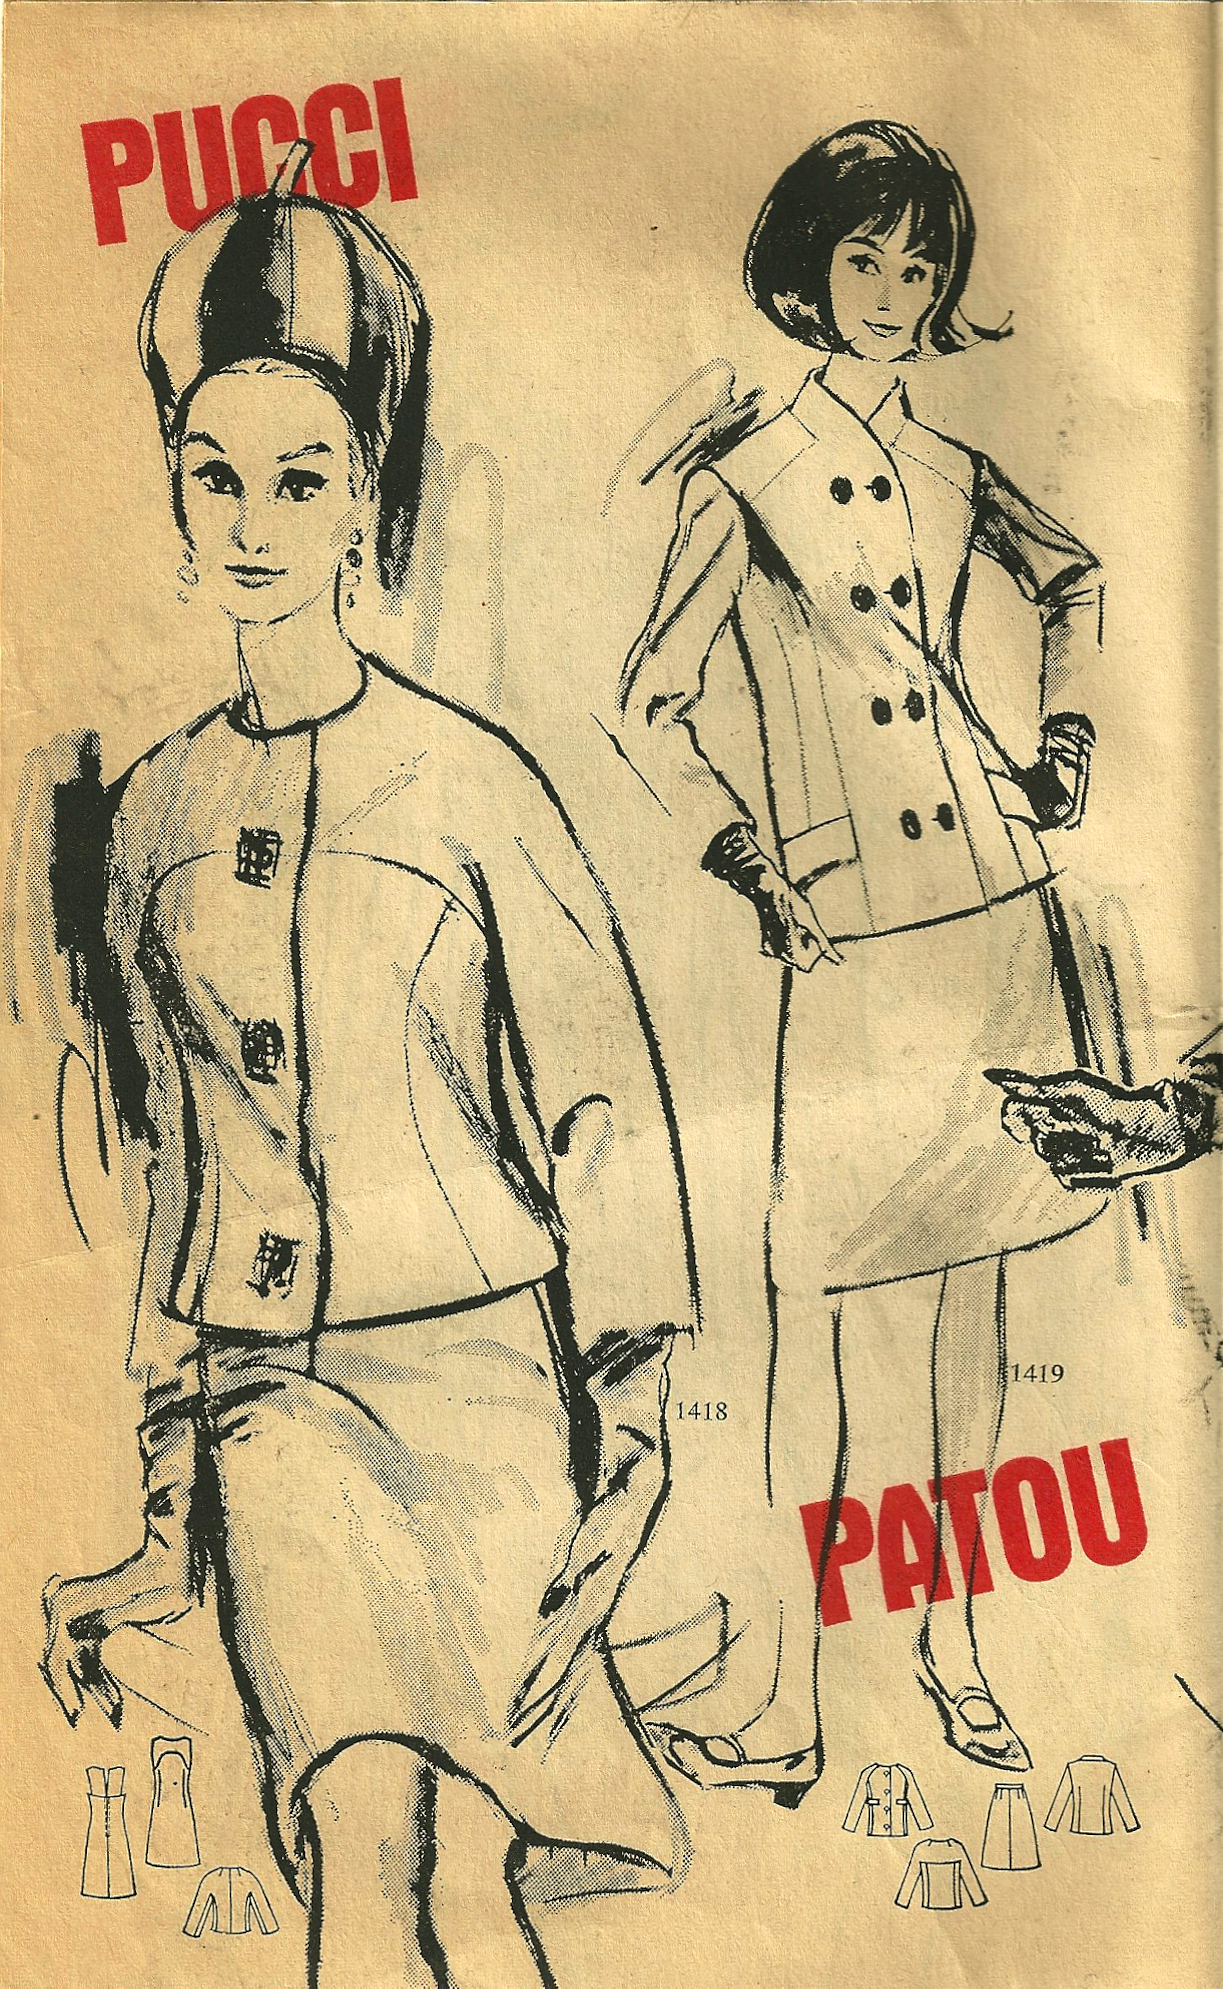
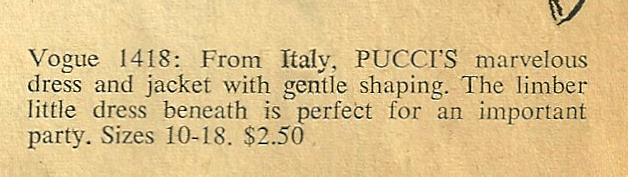
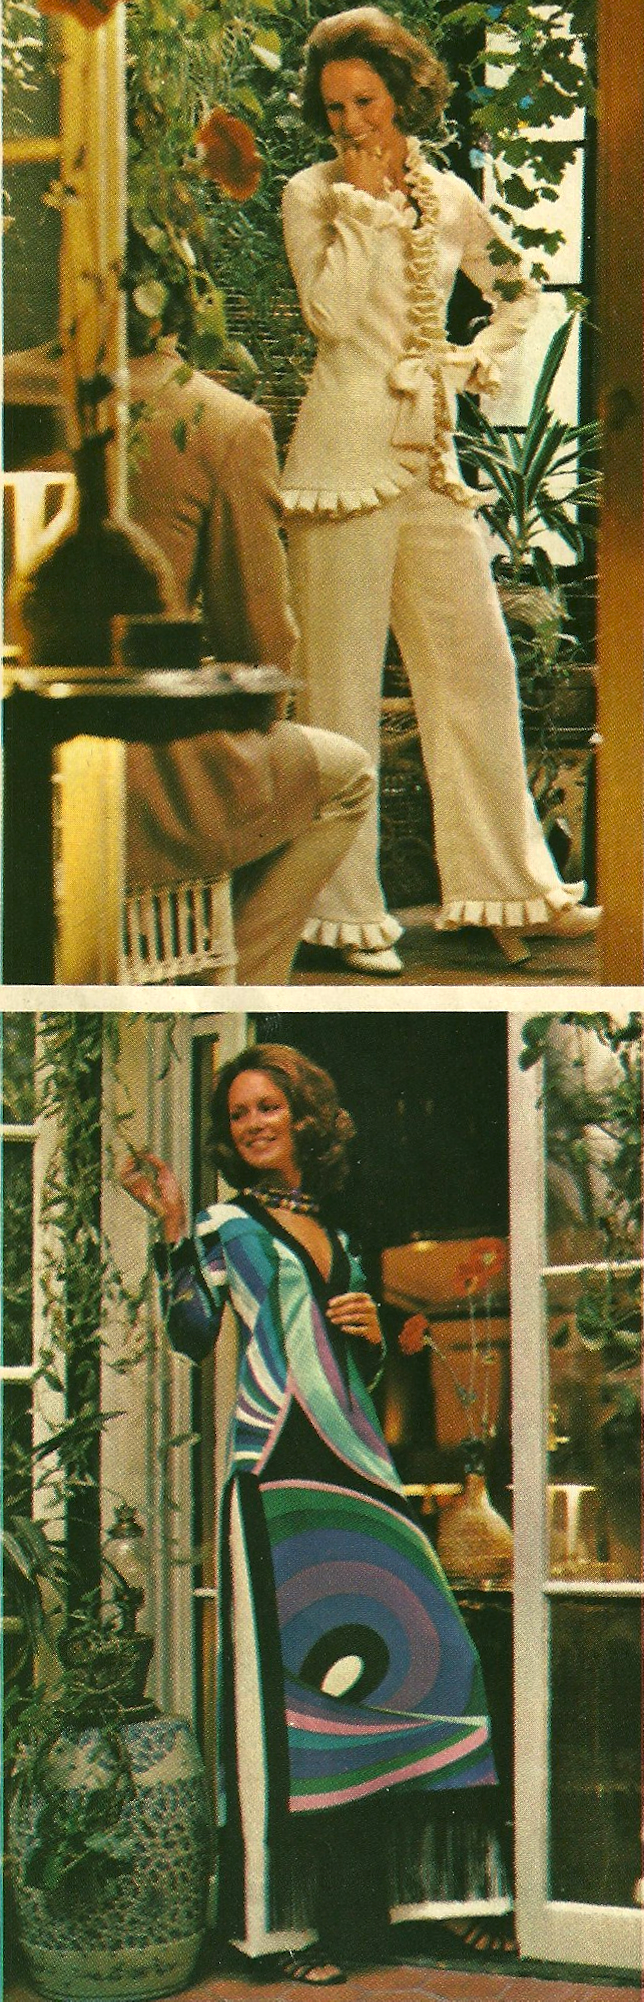
“… pure enchantment for sun places … a forsythia linen dress …” and the source information in the back of this Vogue Pattern Book Magazine from February/March, 1968 credits Moygashel as the brand of linen.
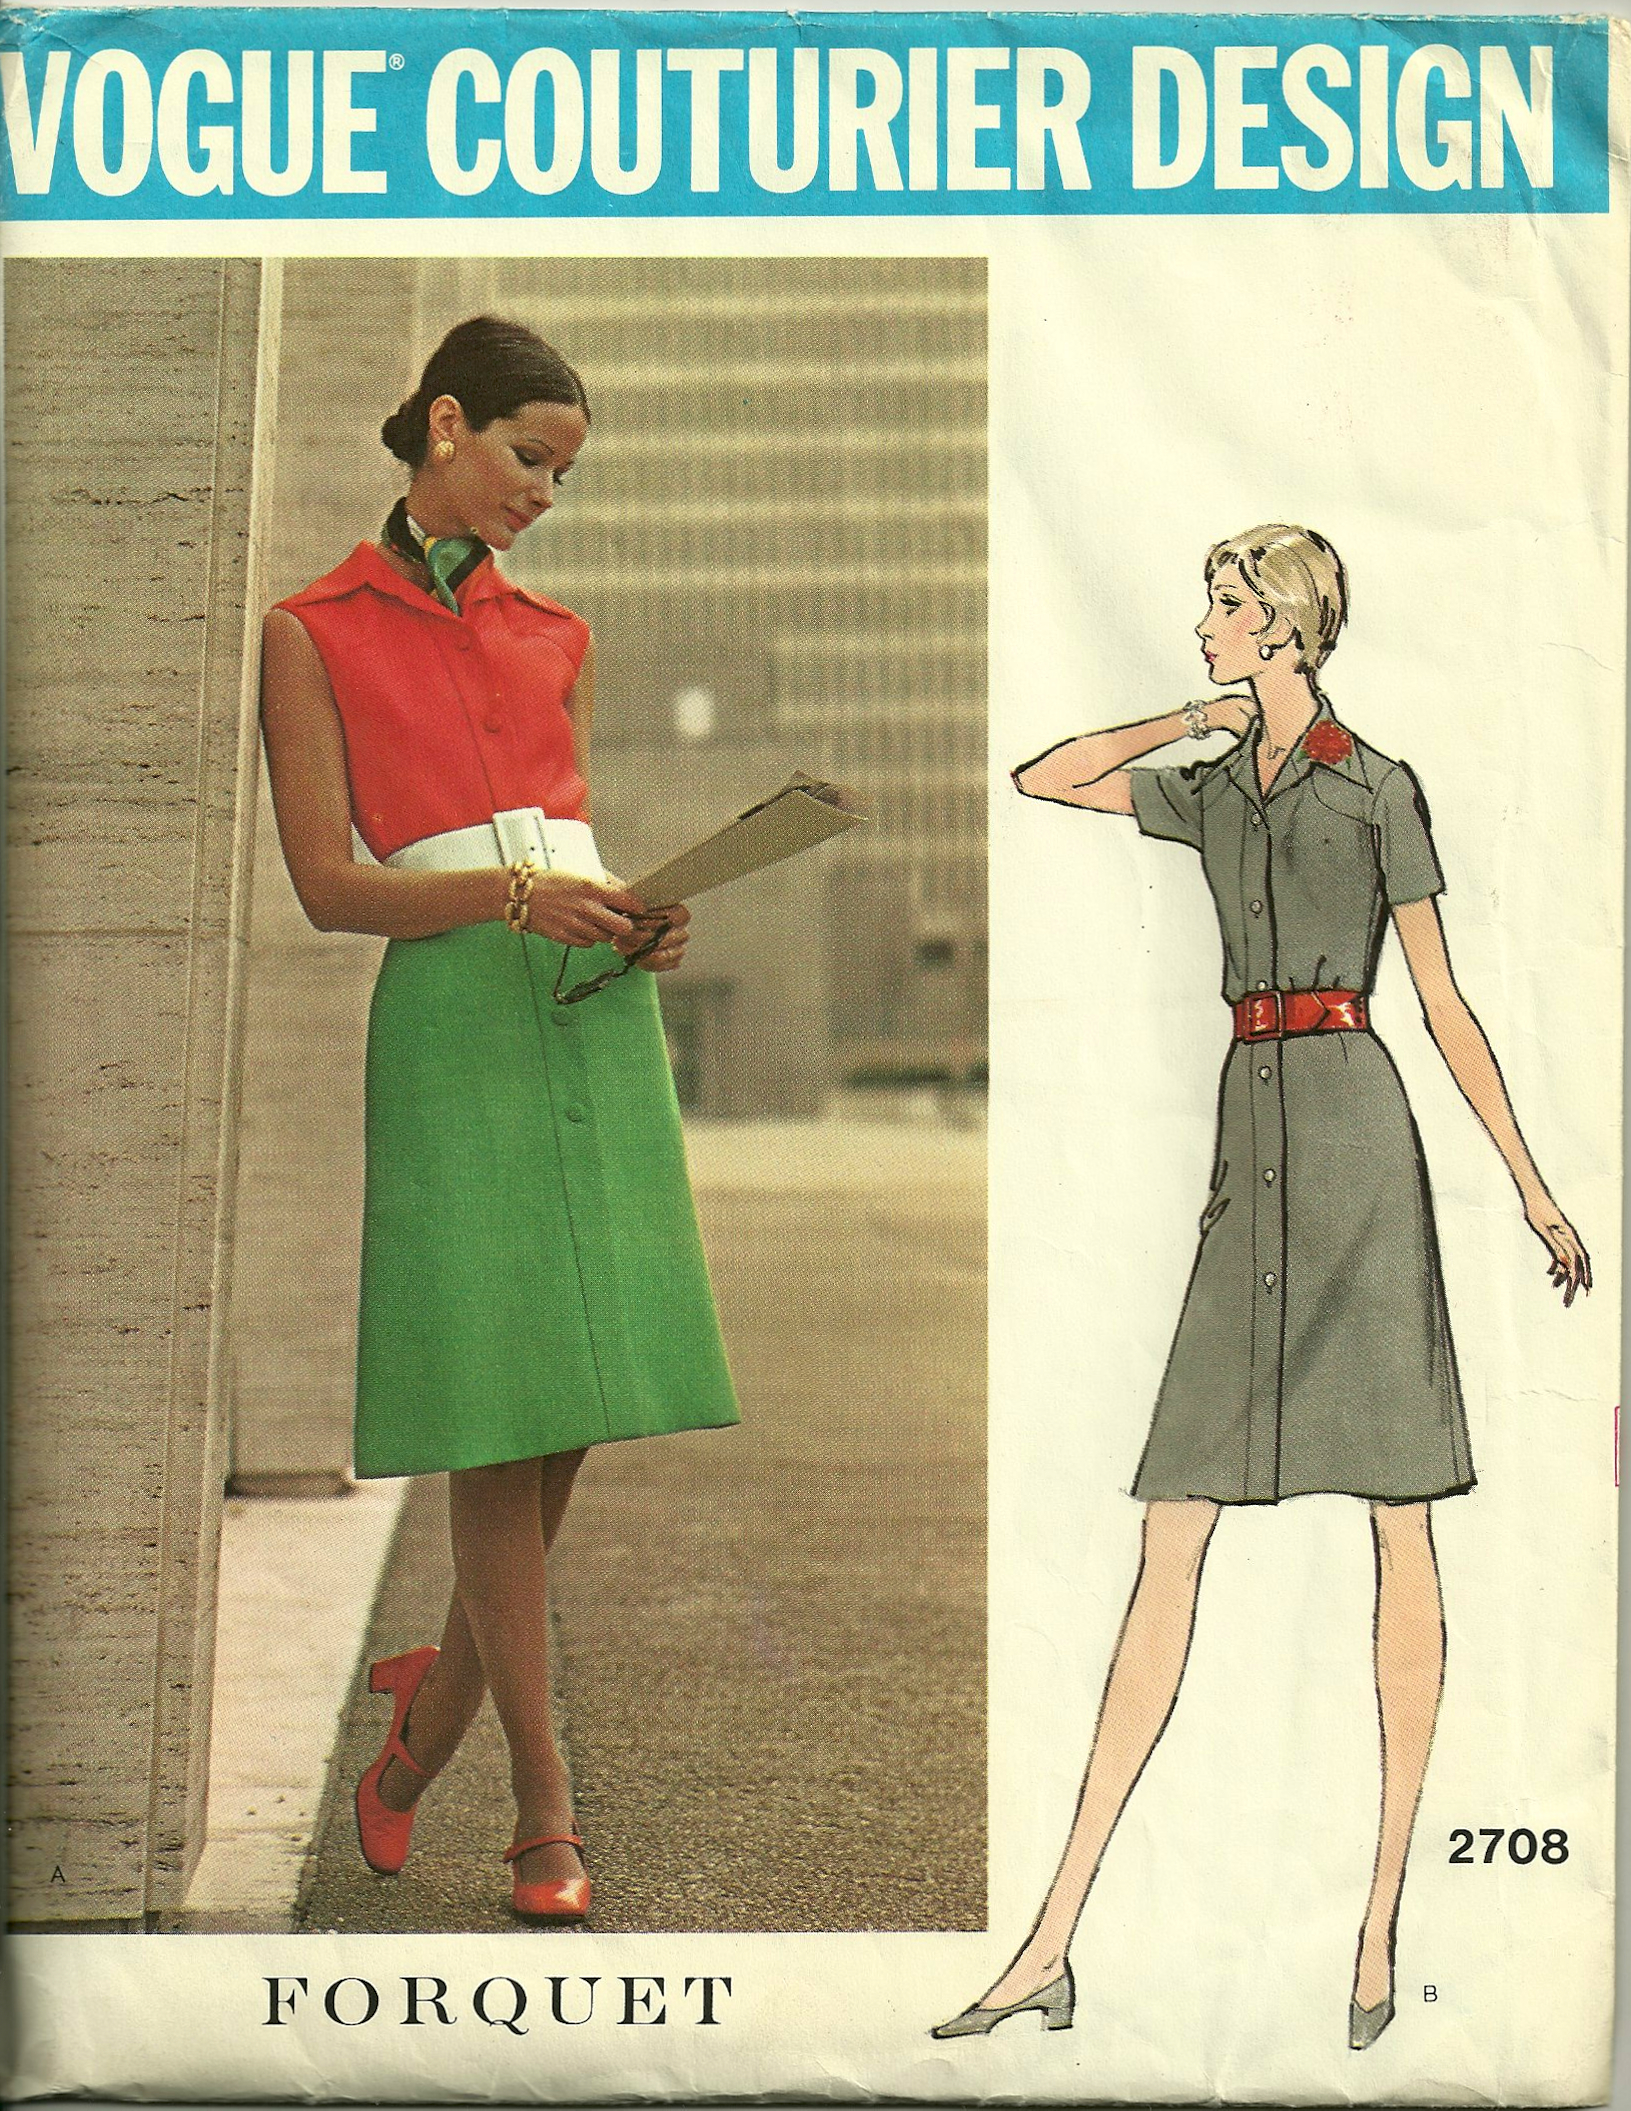
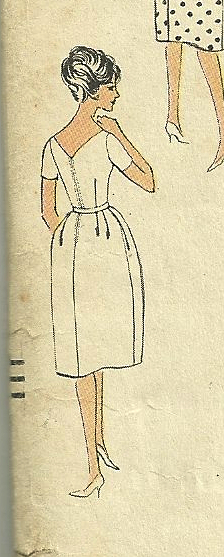
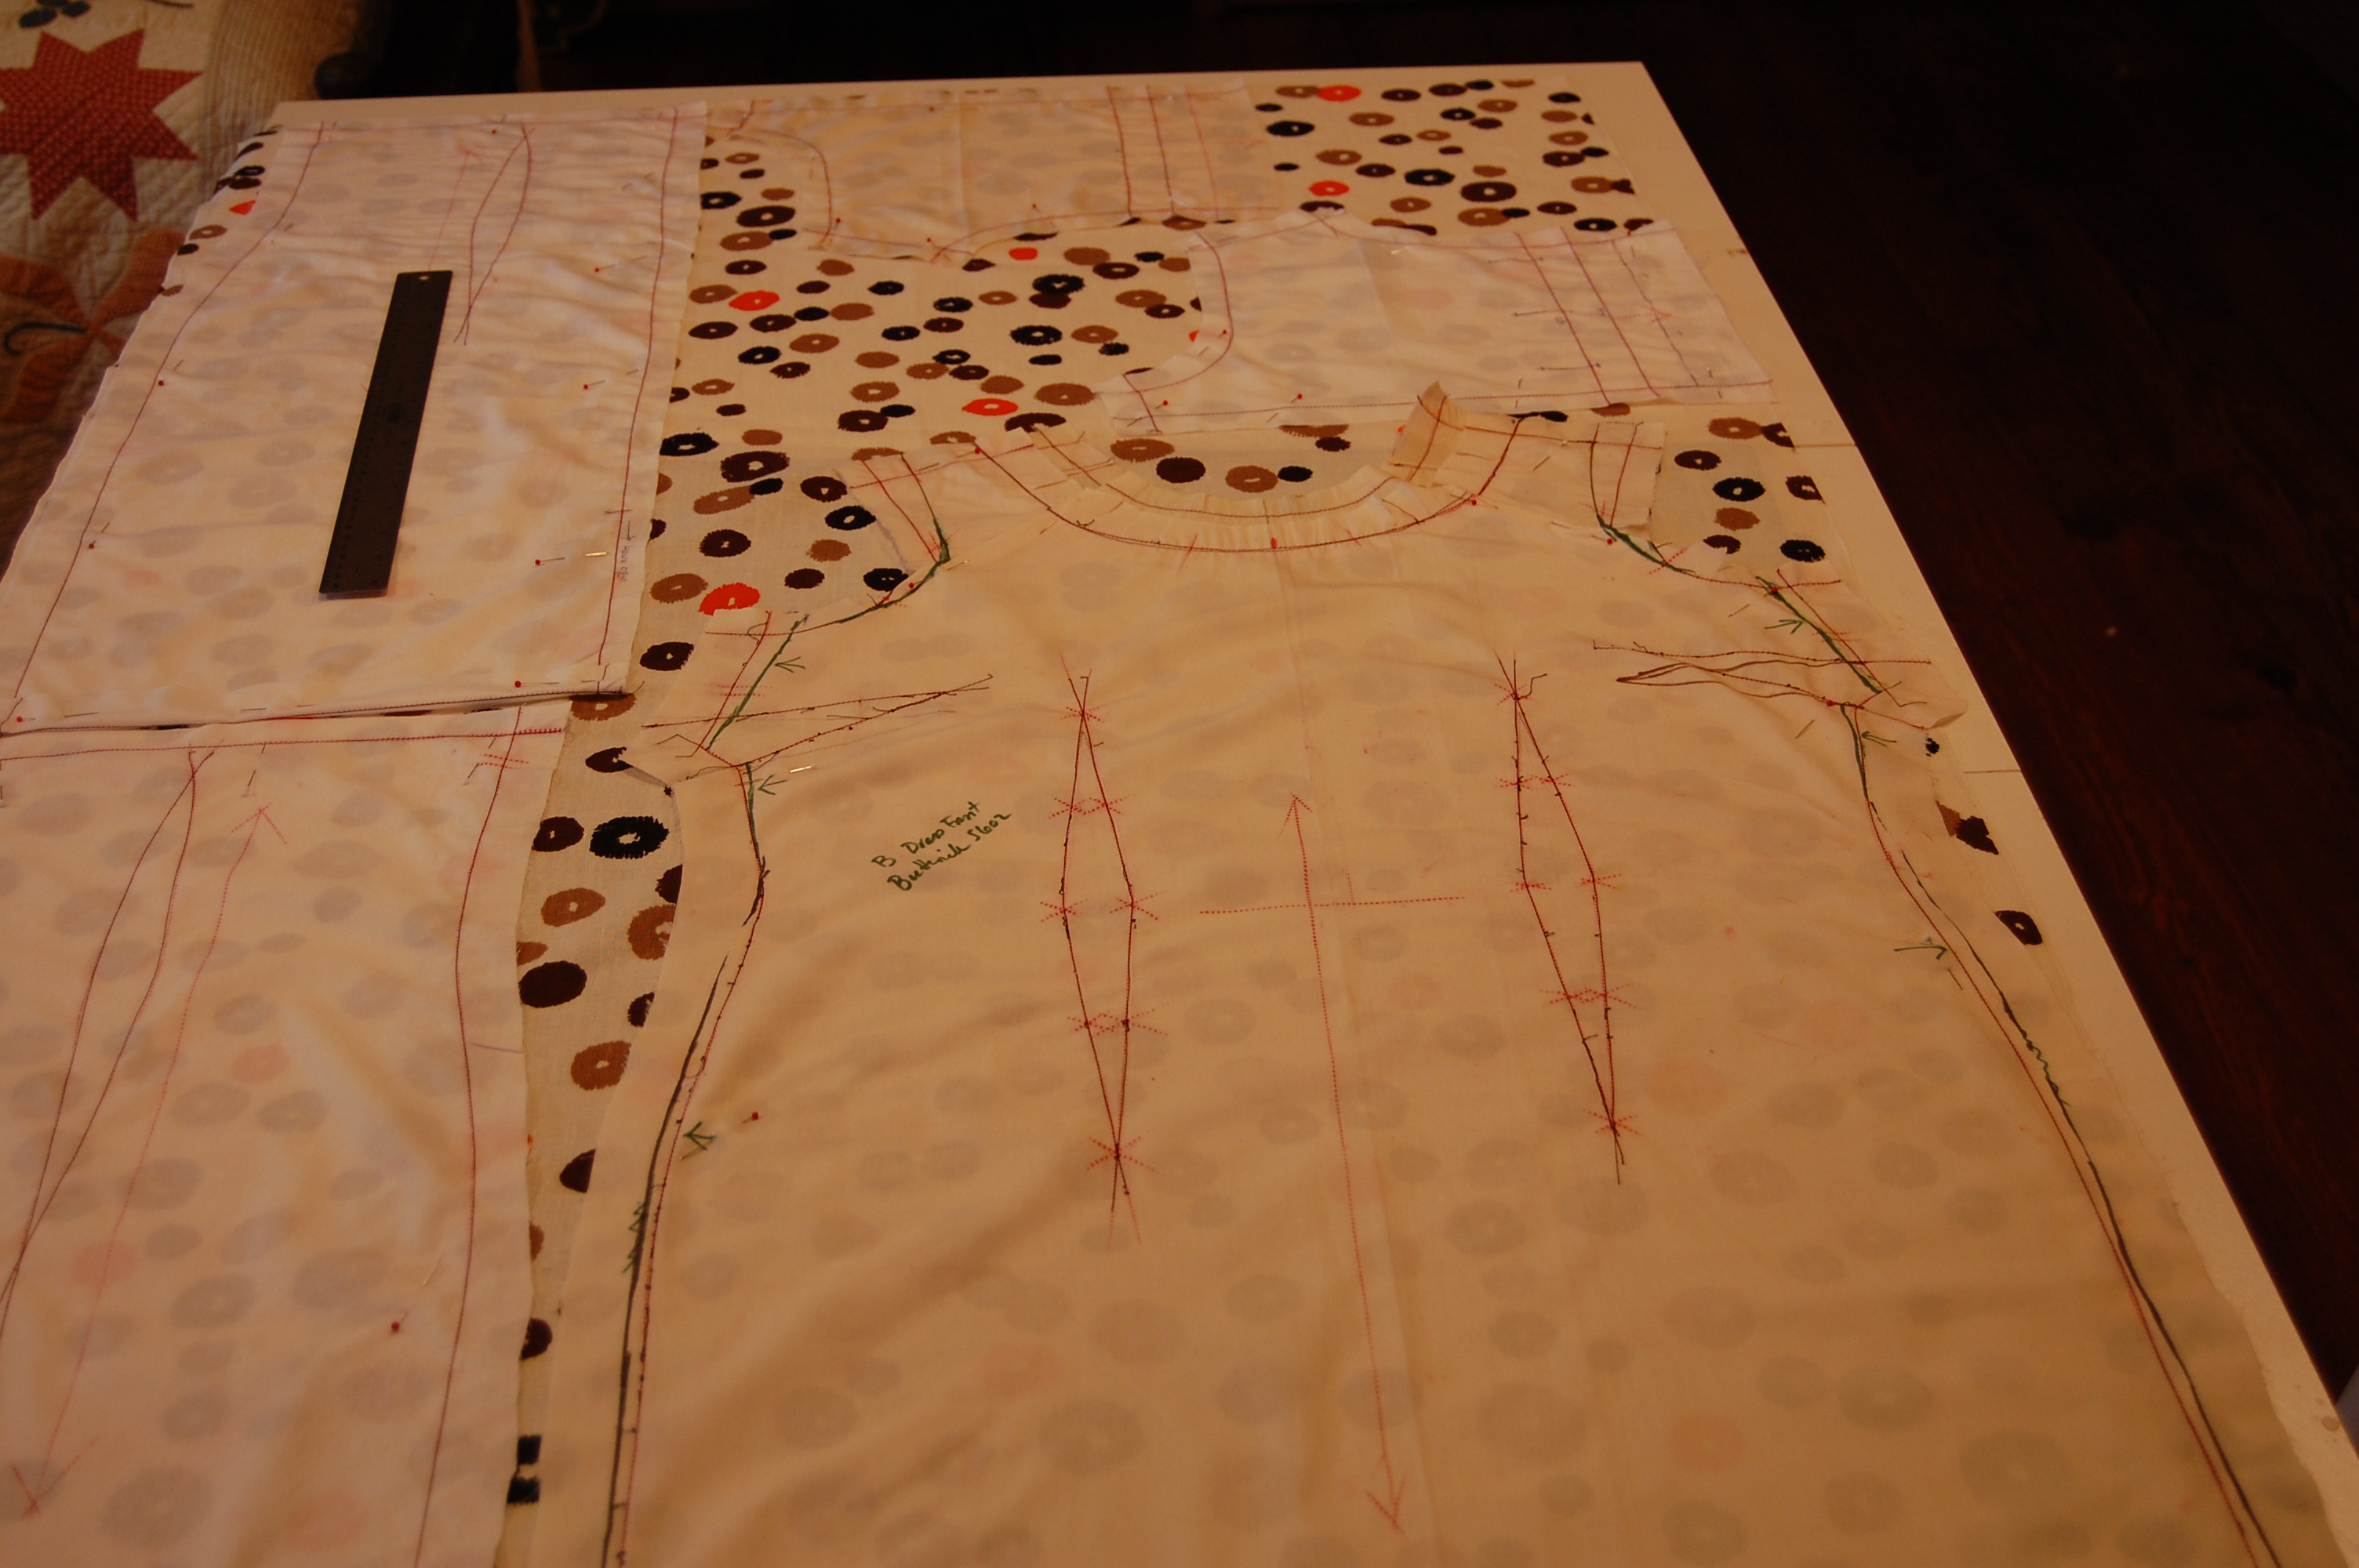
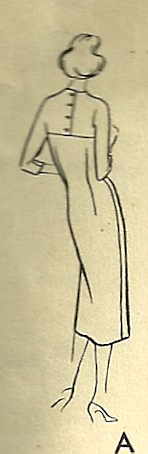
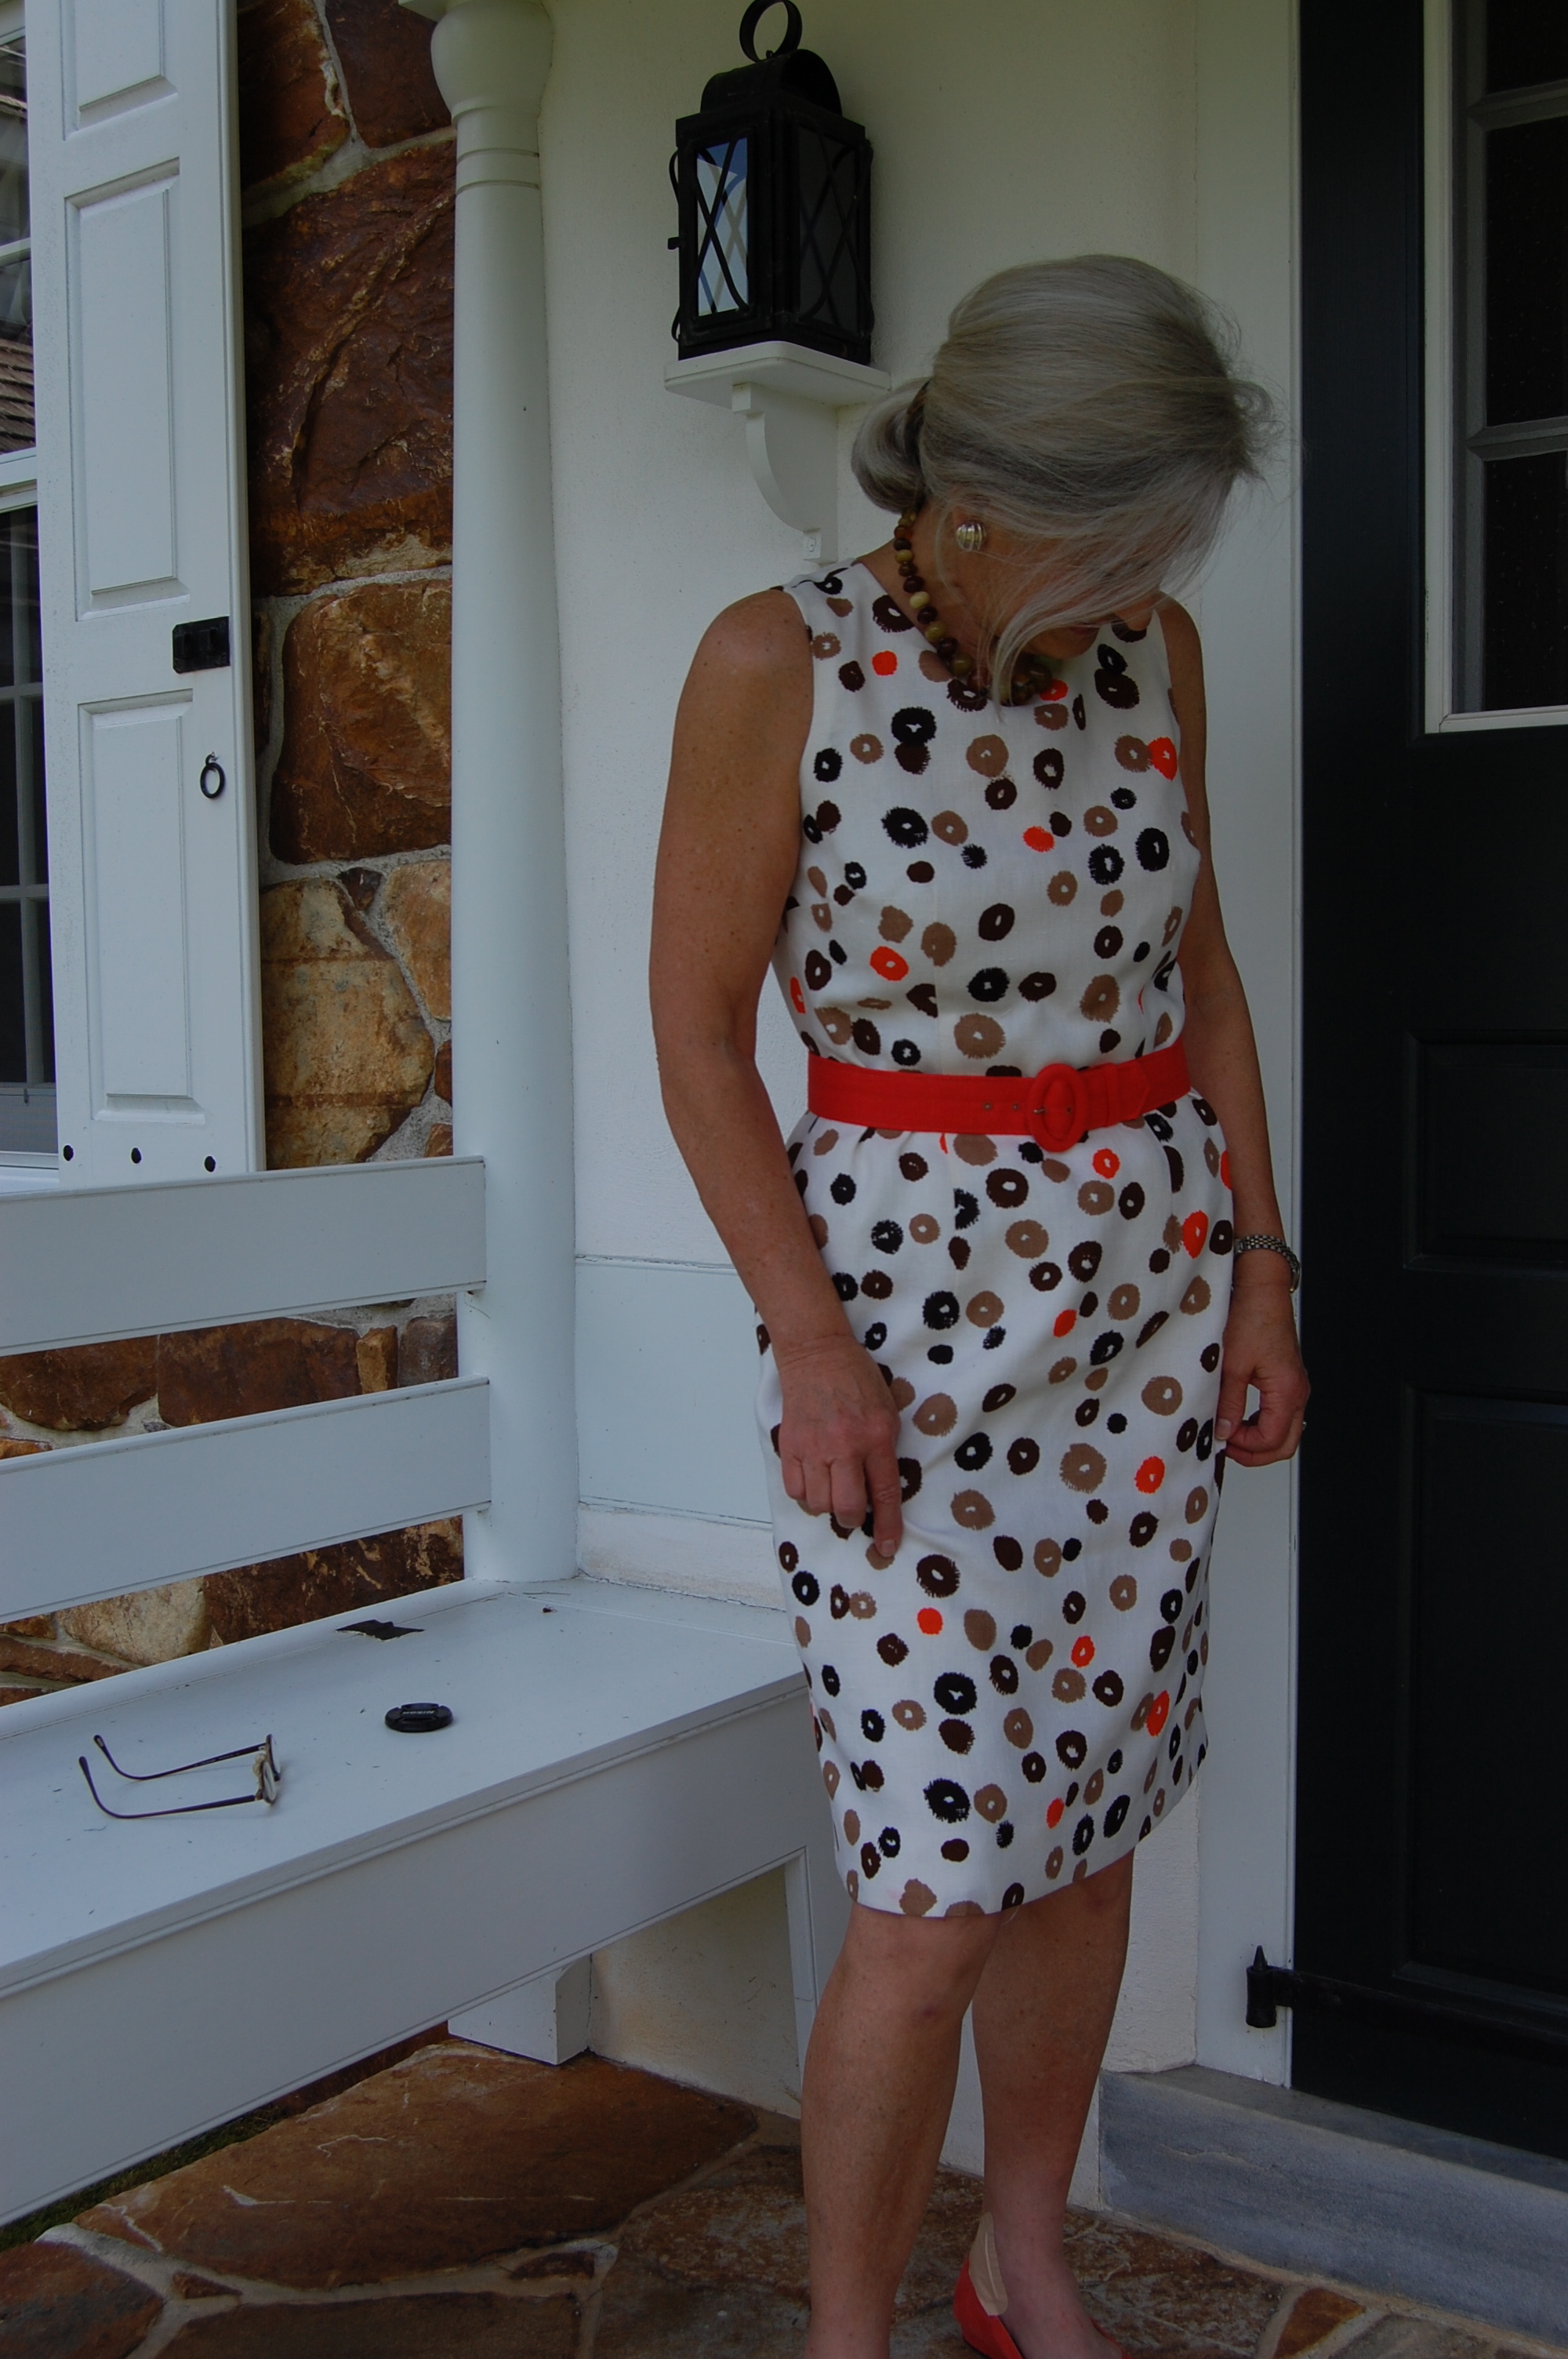
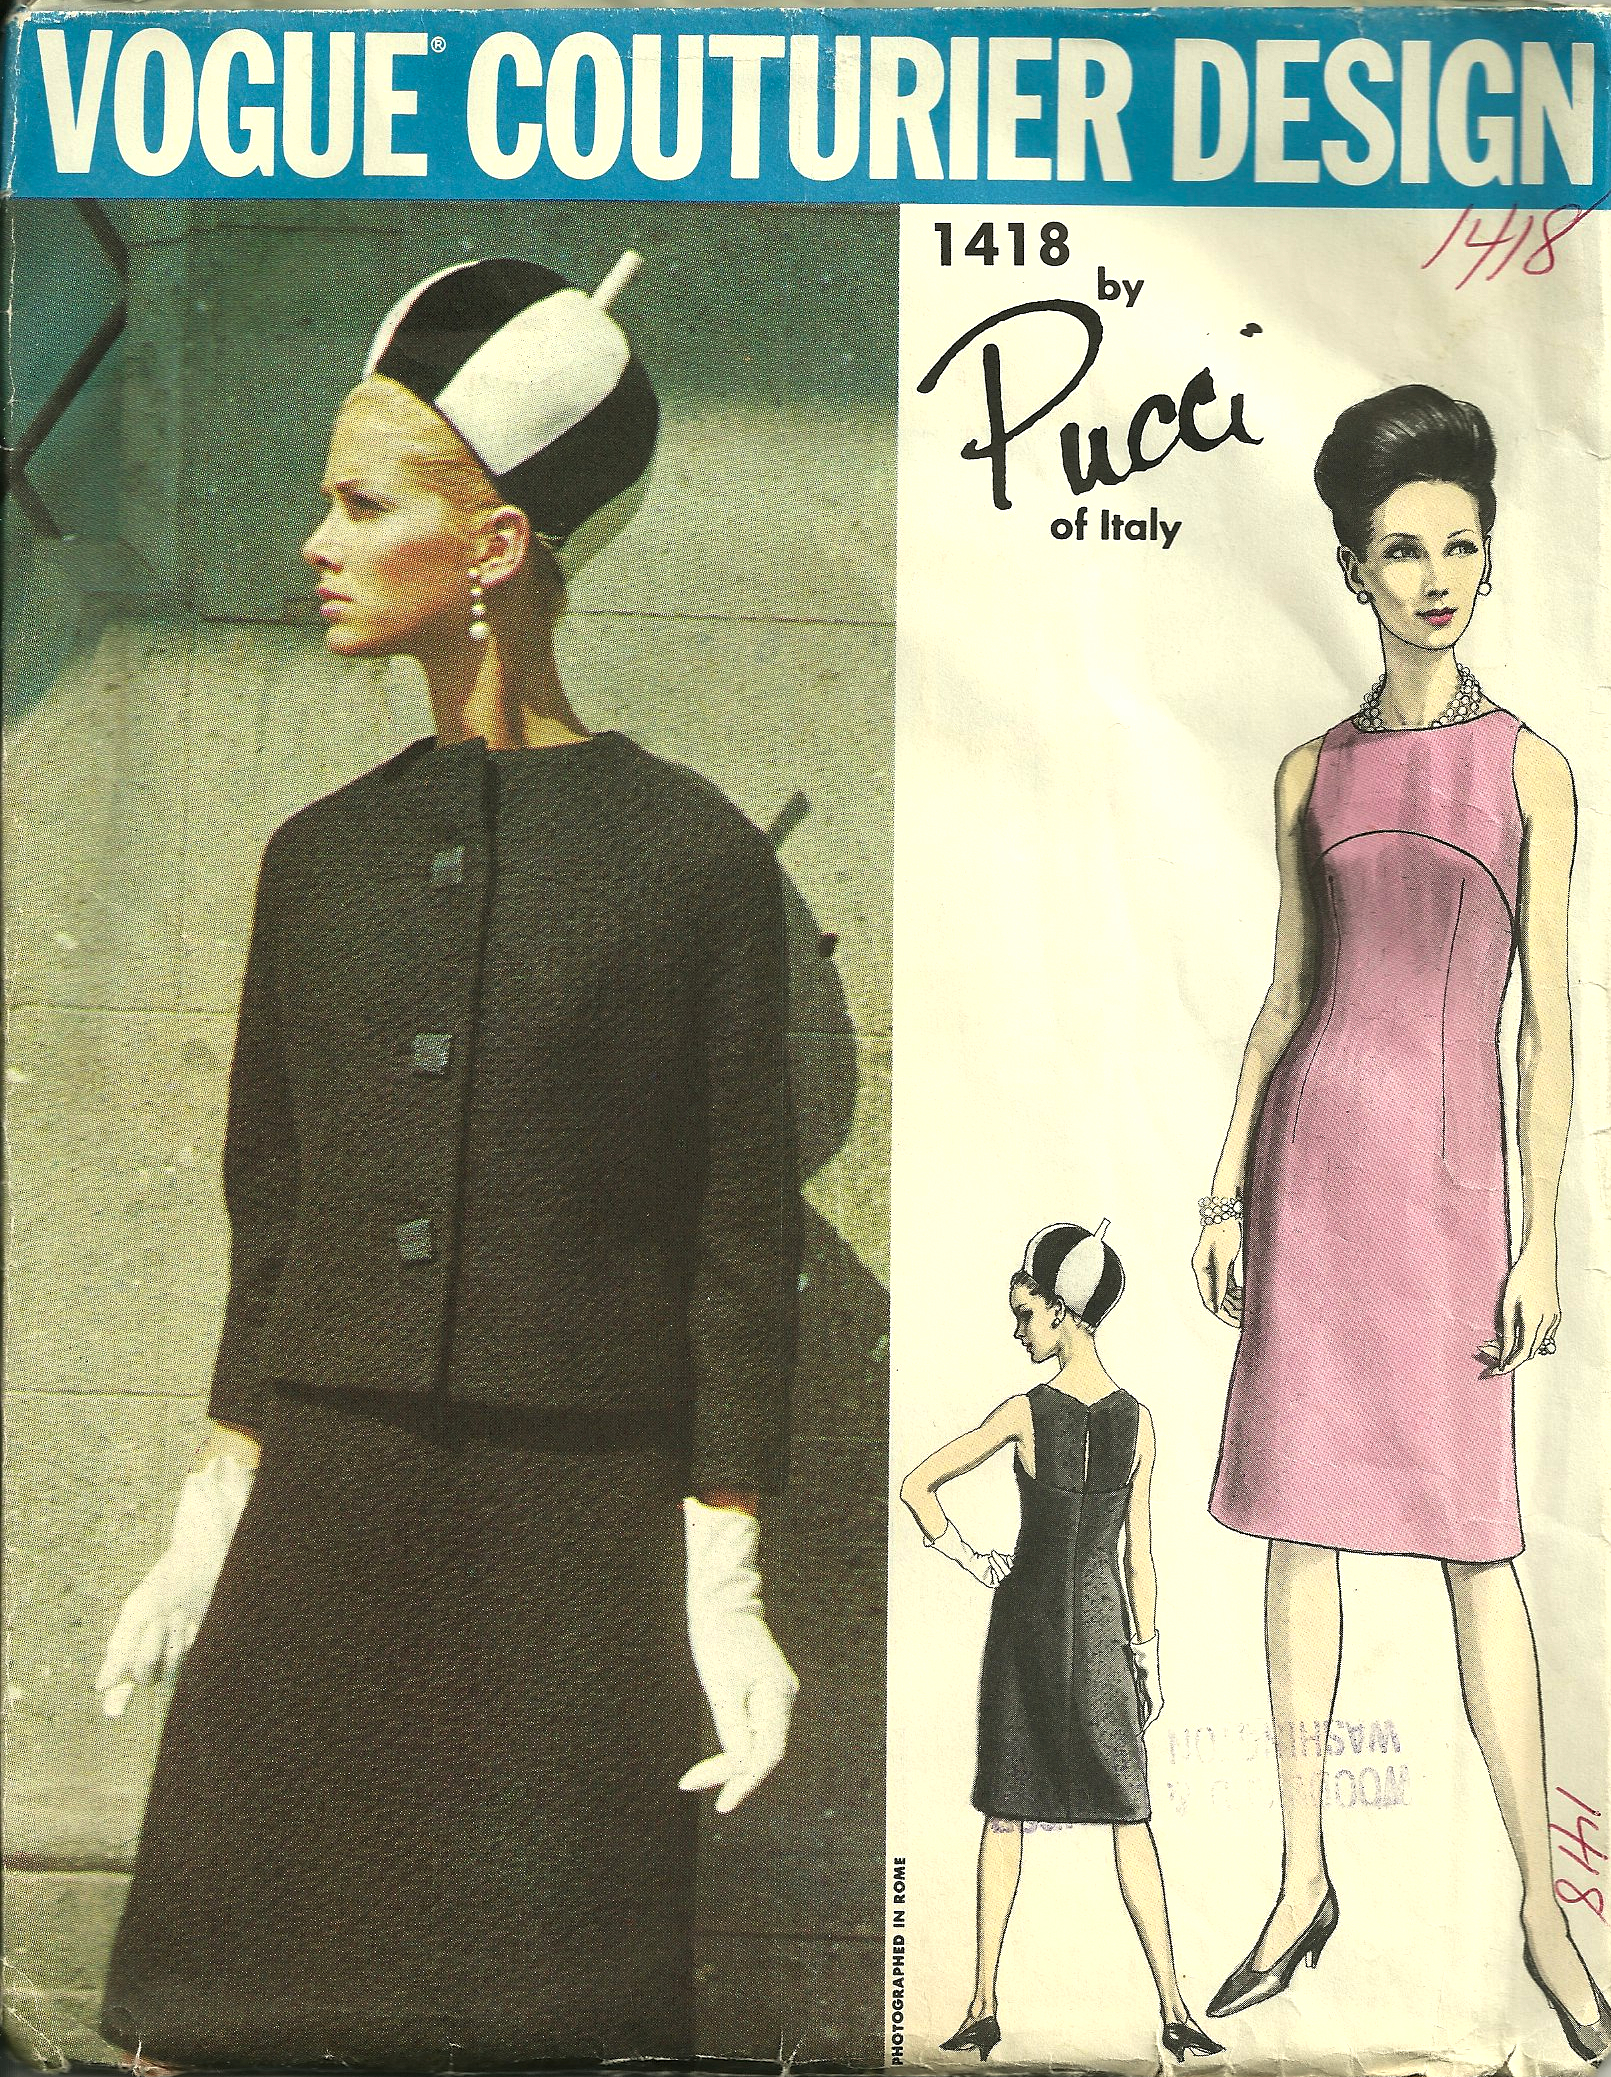
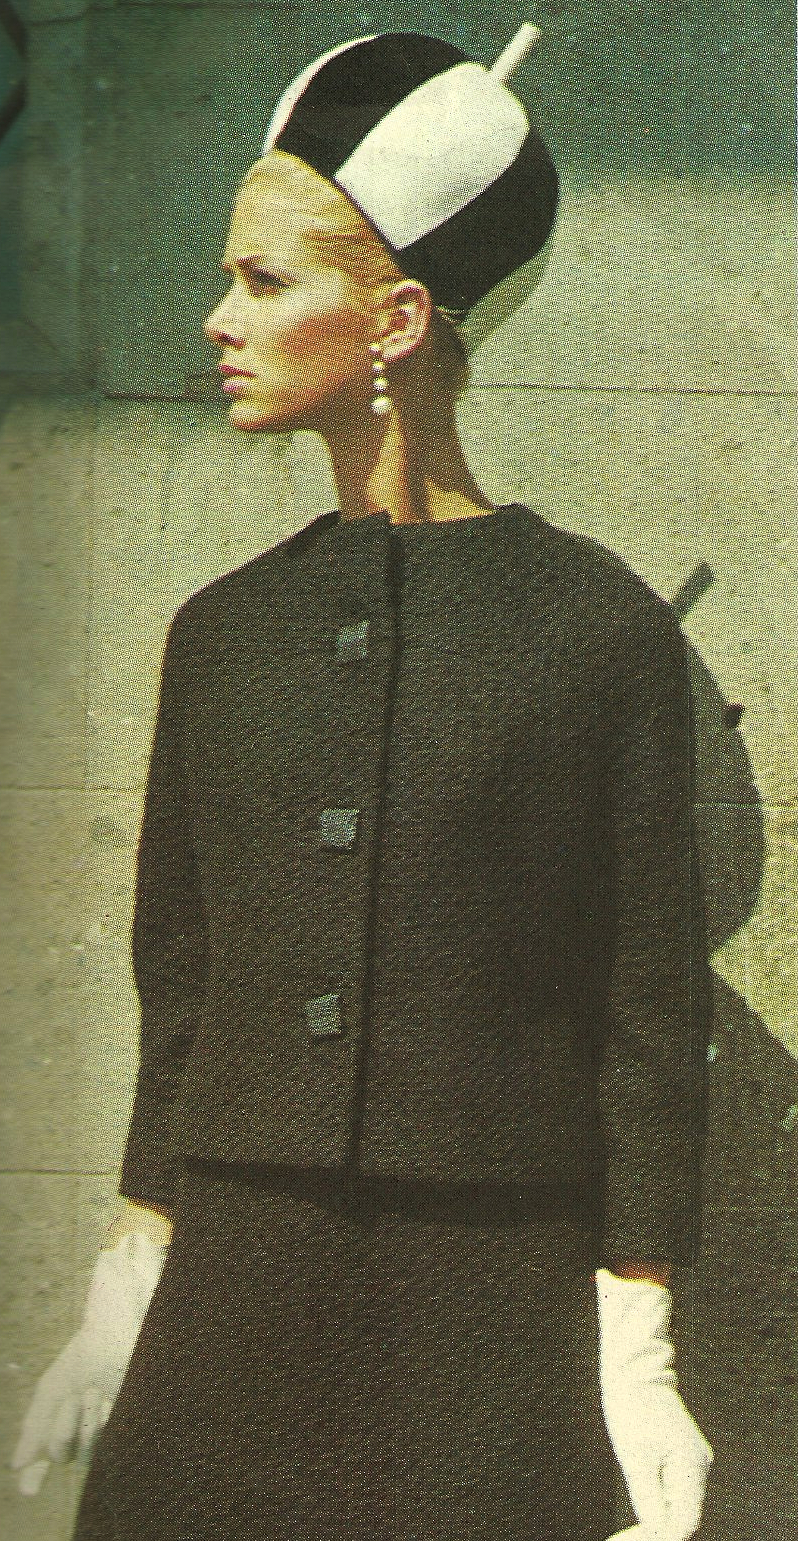
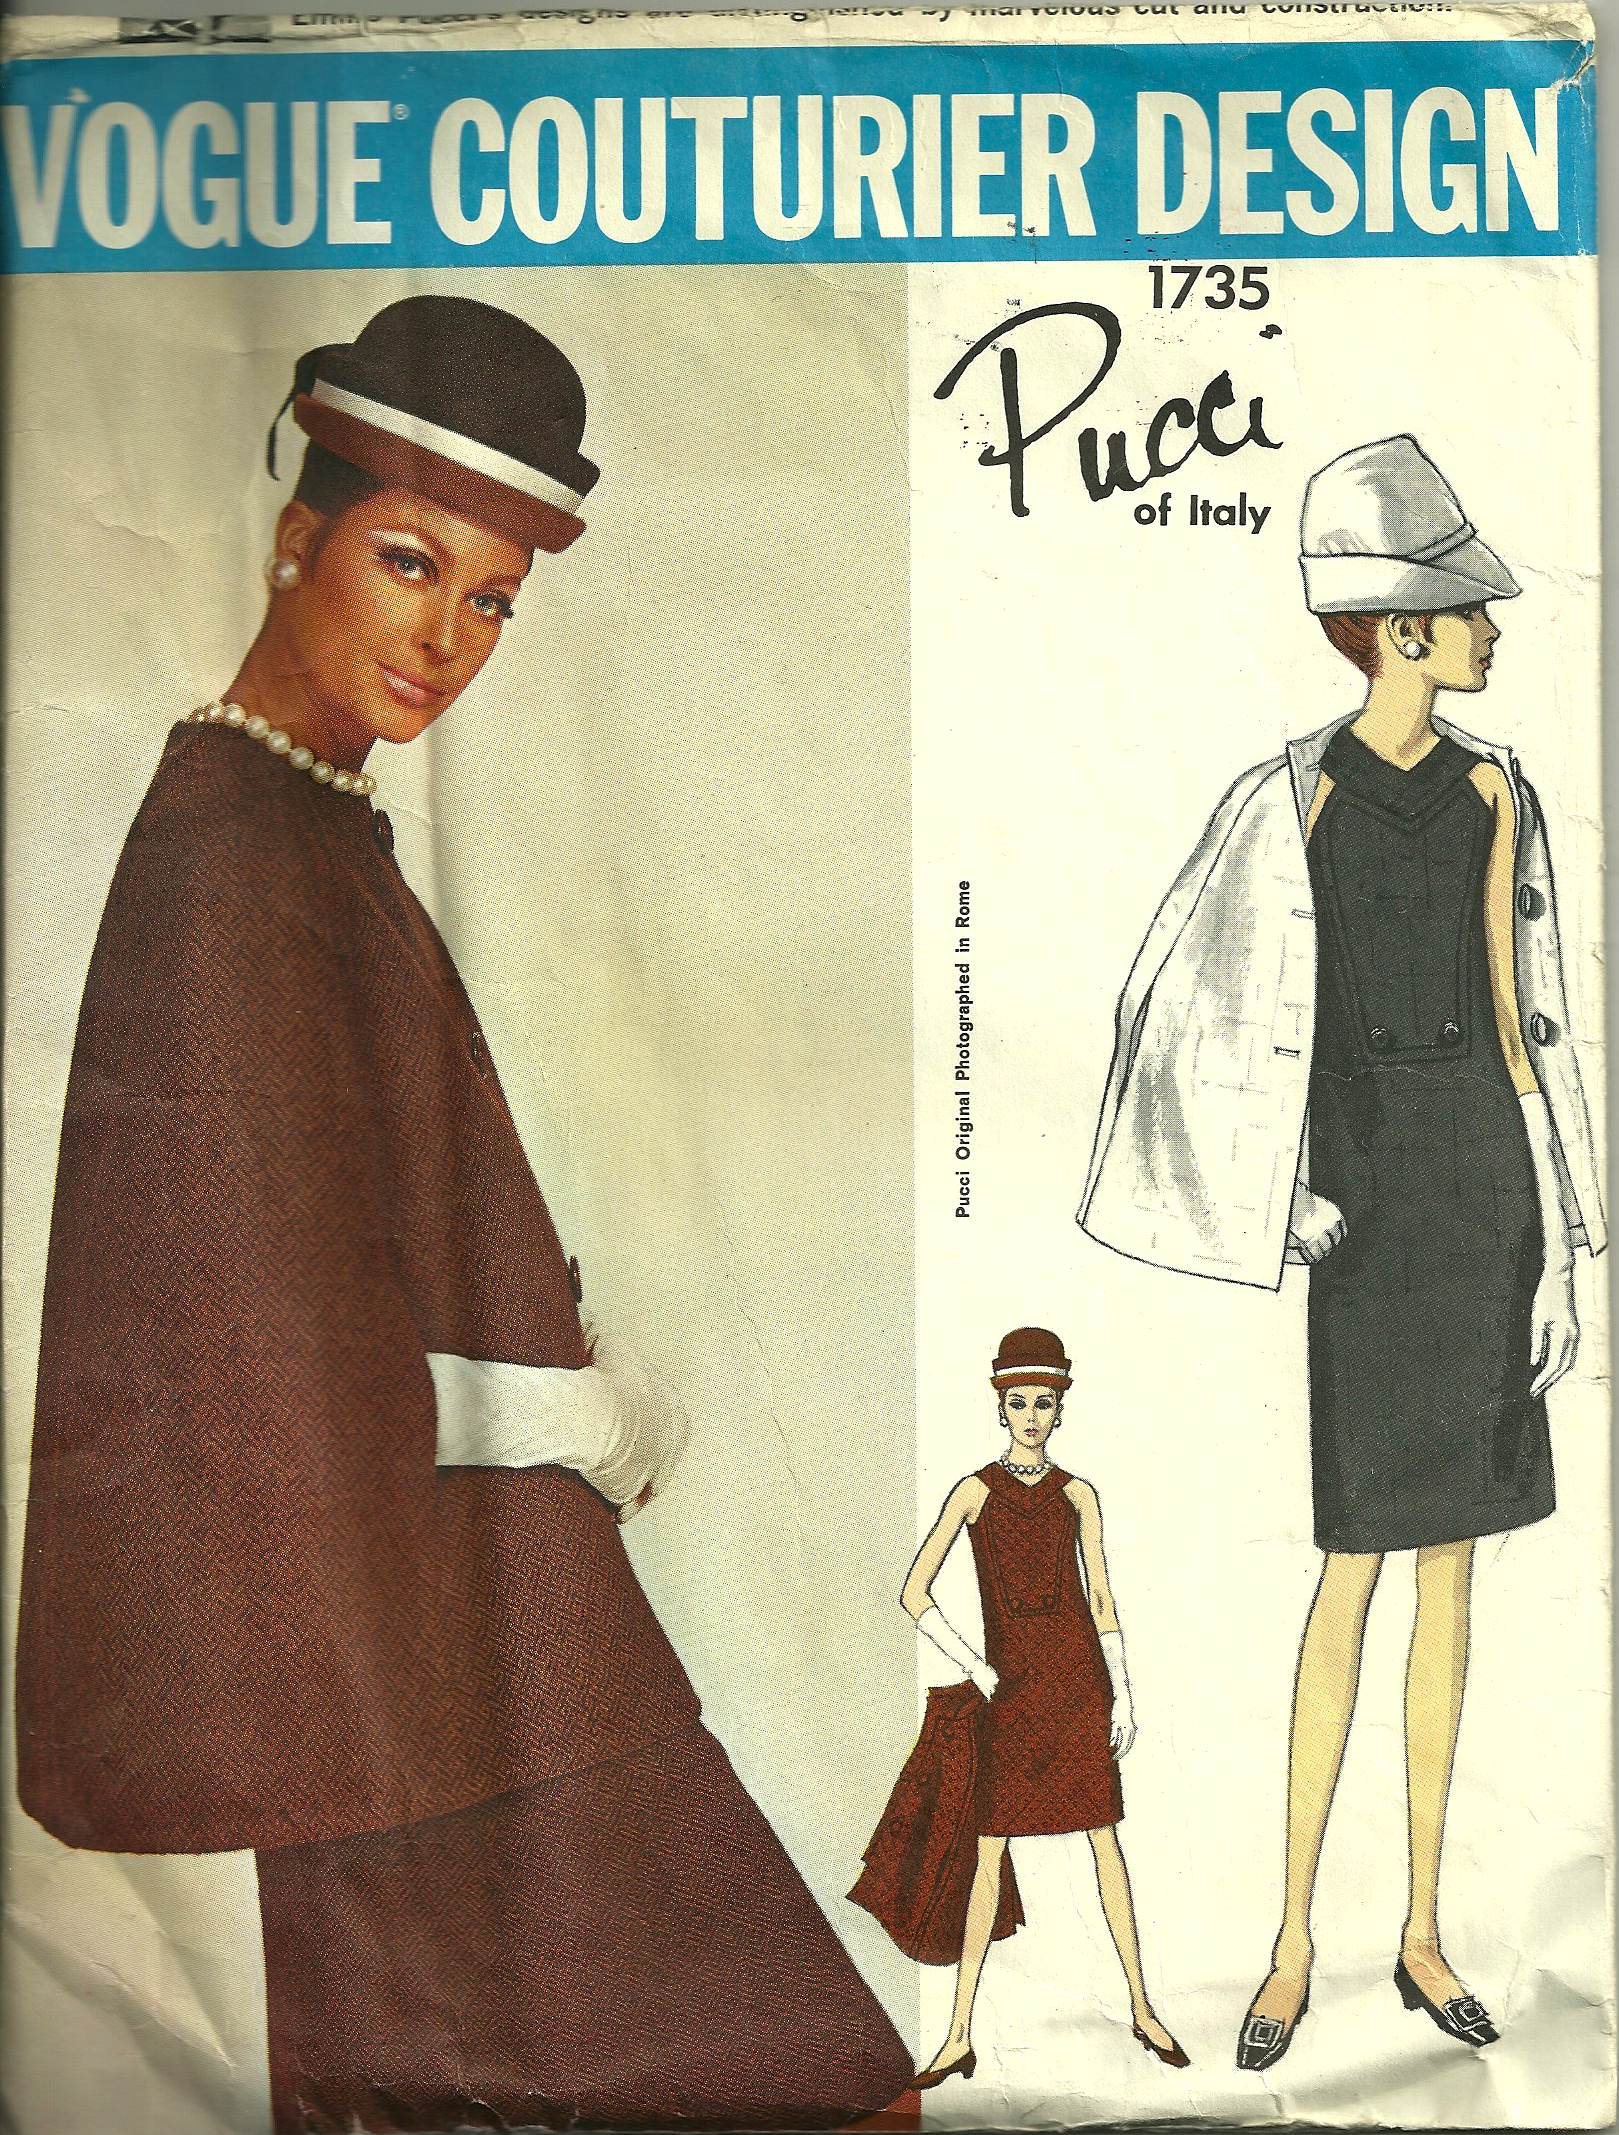
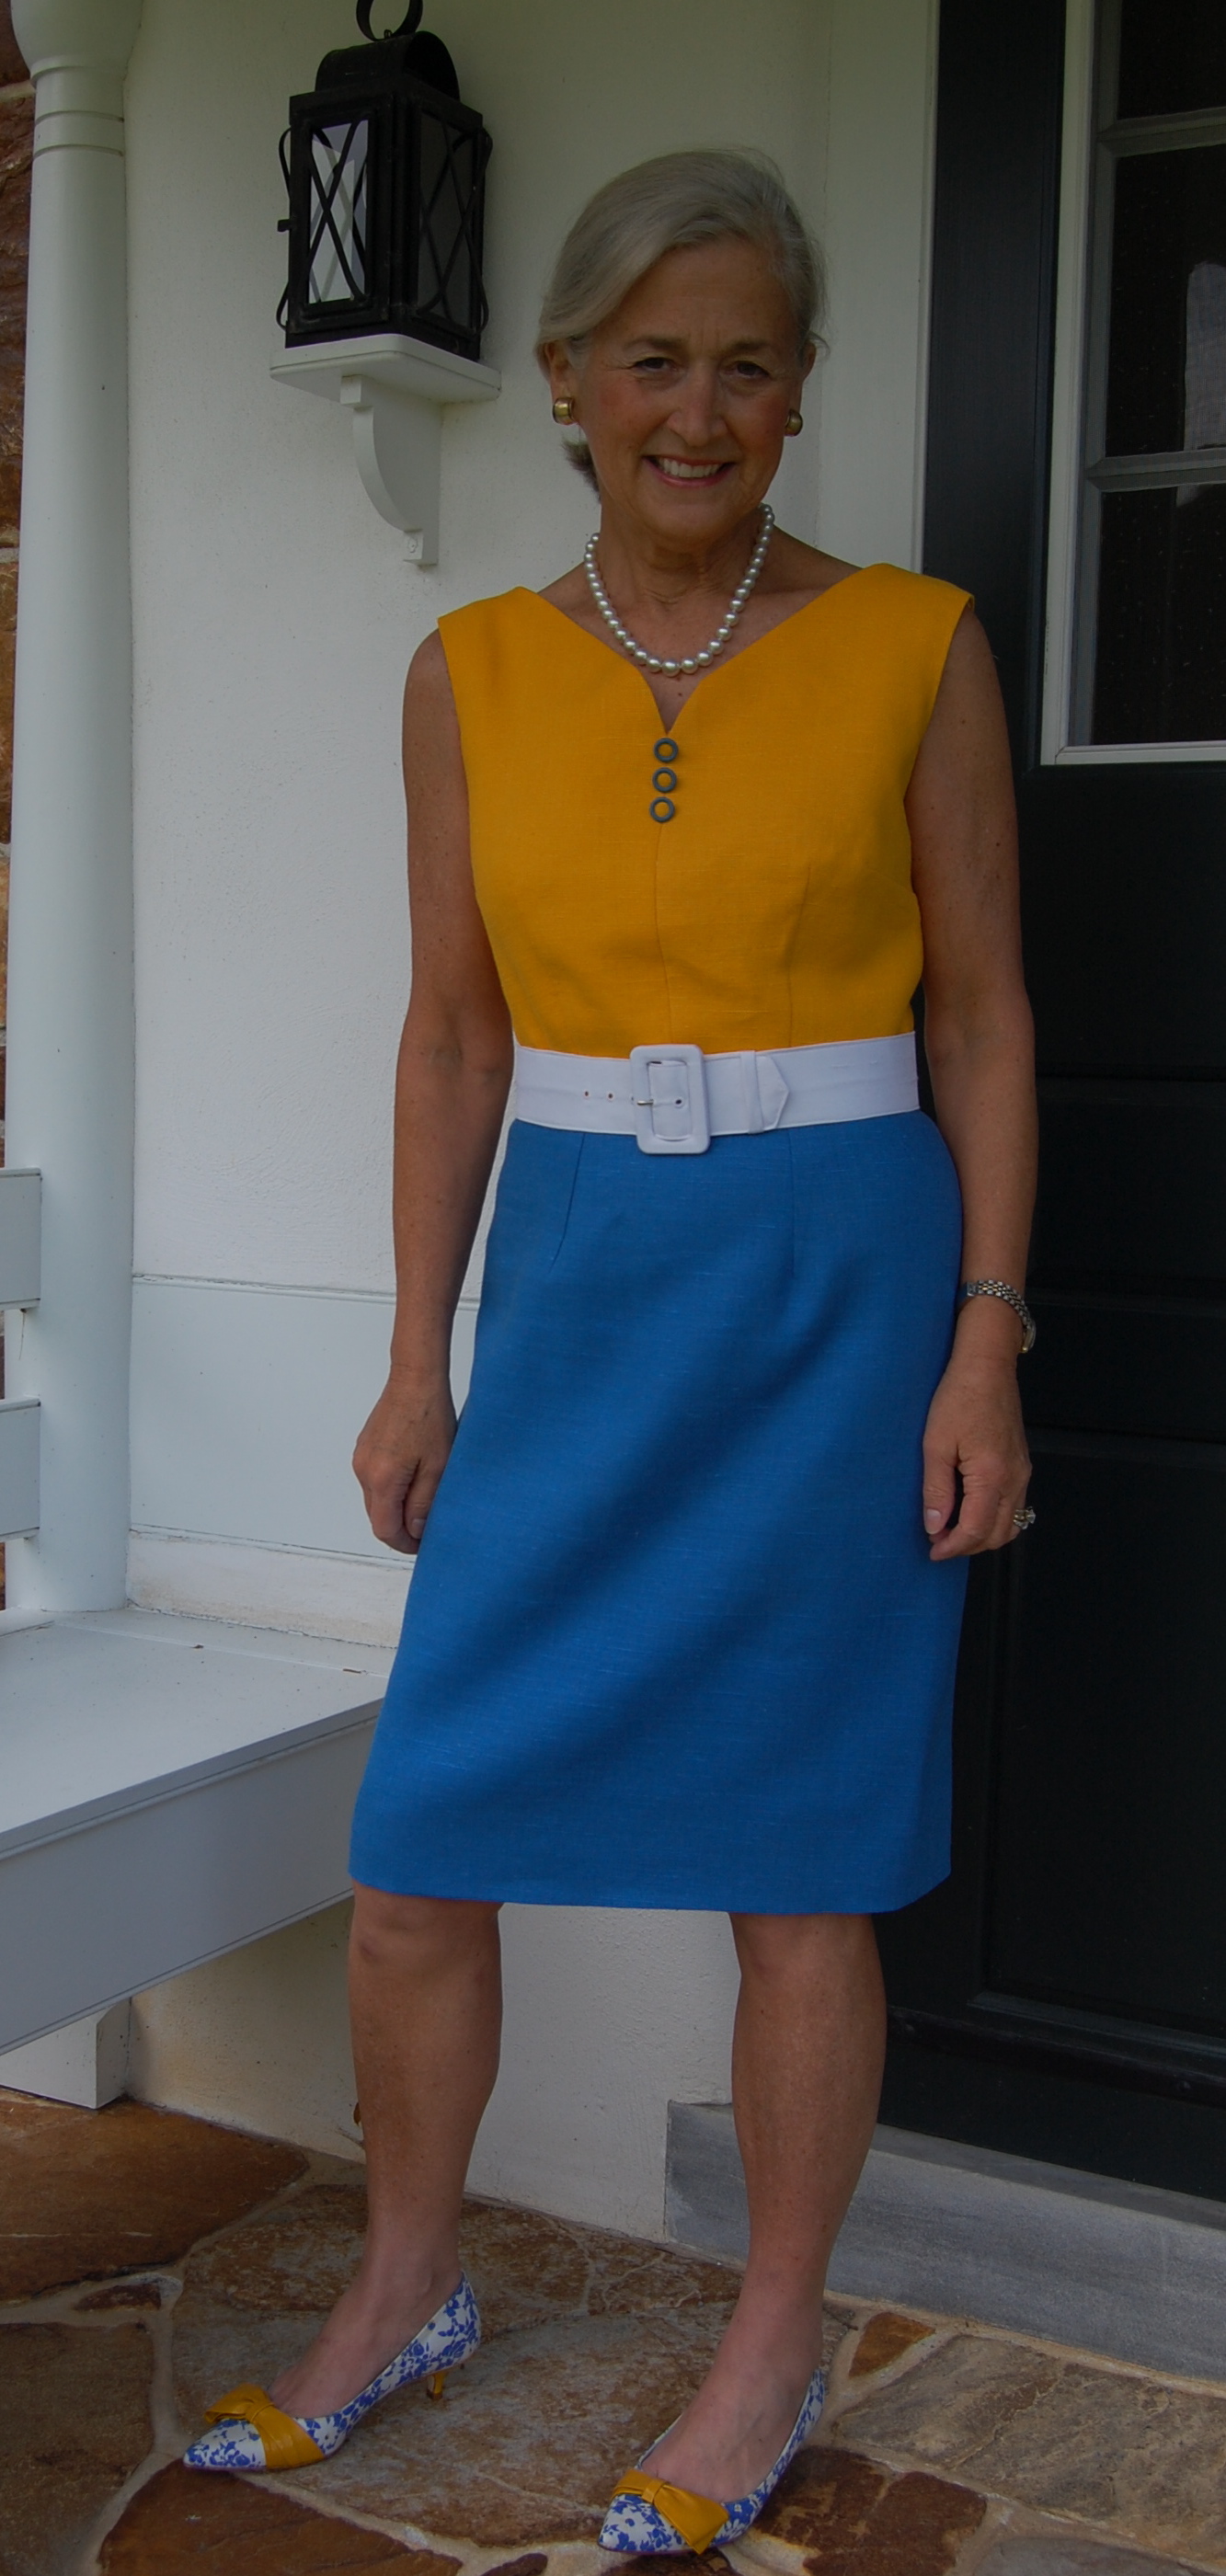
Seeing an entire dress made out of the forsythia linen helped me to feel confident about having such a bright color as the bodice part of my planned dress. As I stated in my last post, I decided to use the bodice from this early ‘60s’ Vogue pattern, pairing it with a slim skirt and a belt.

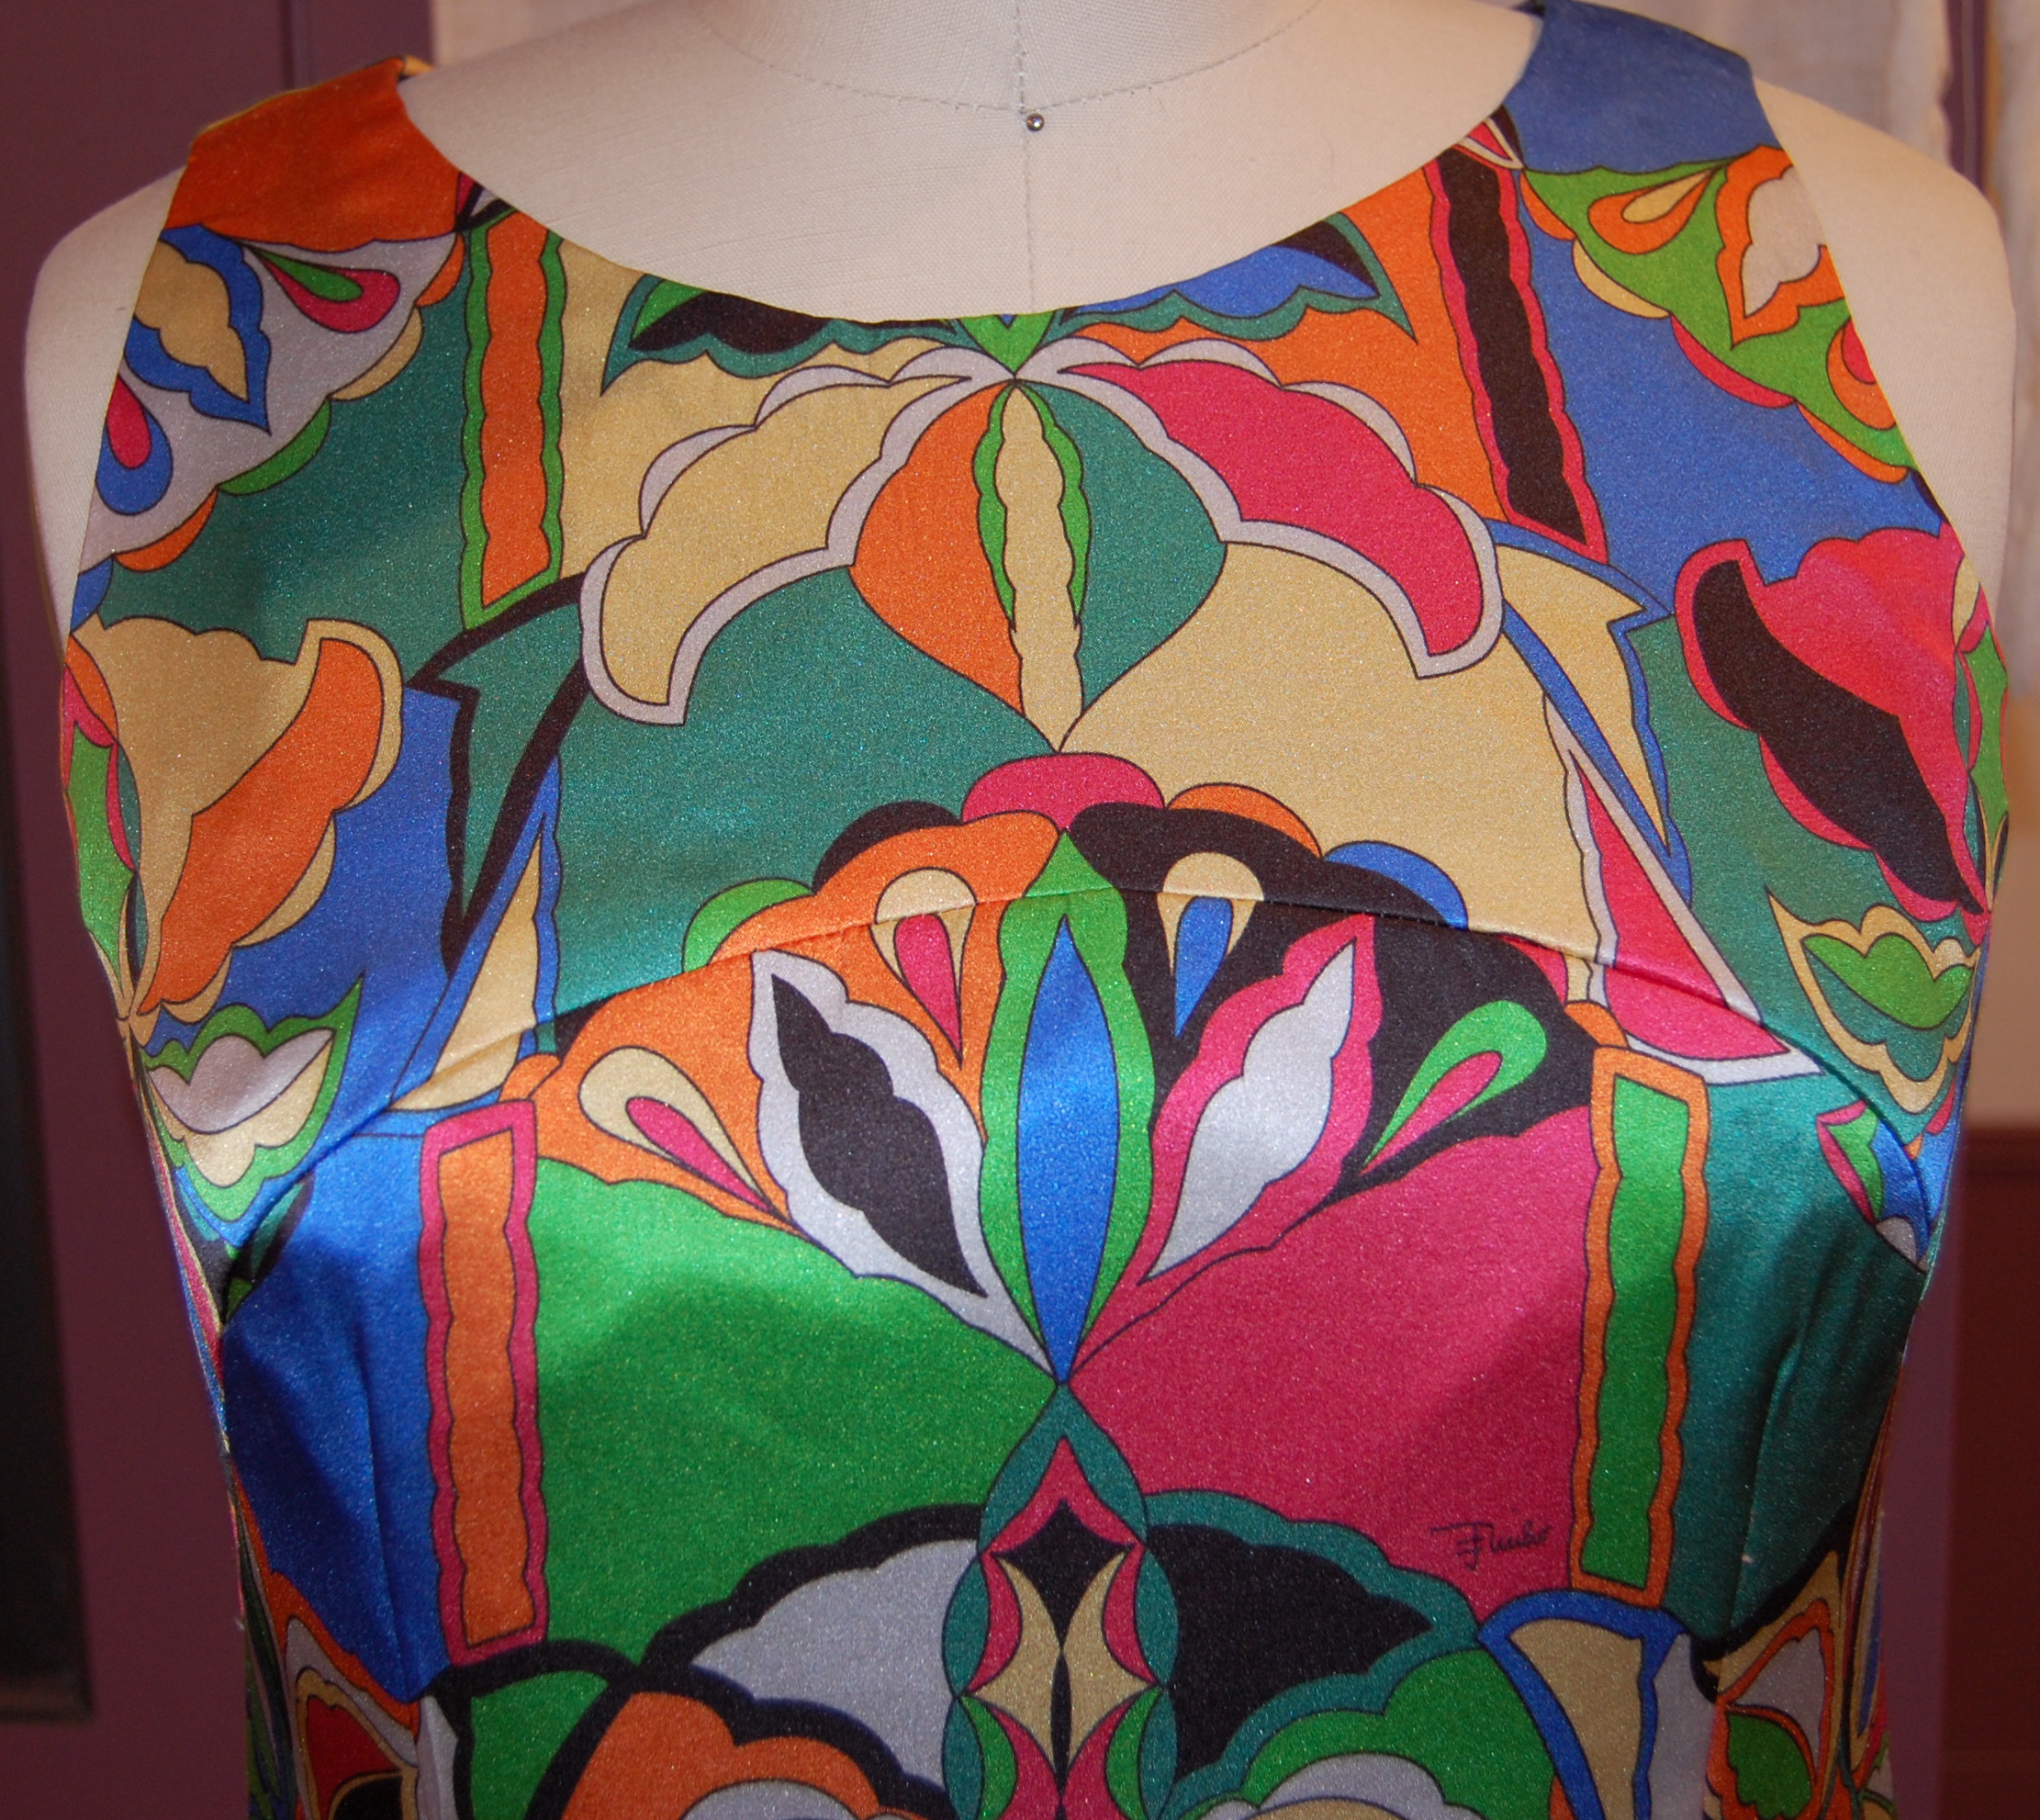
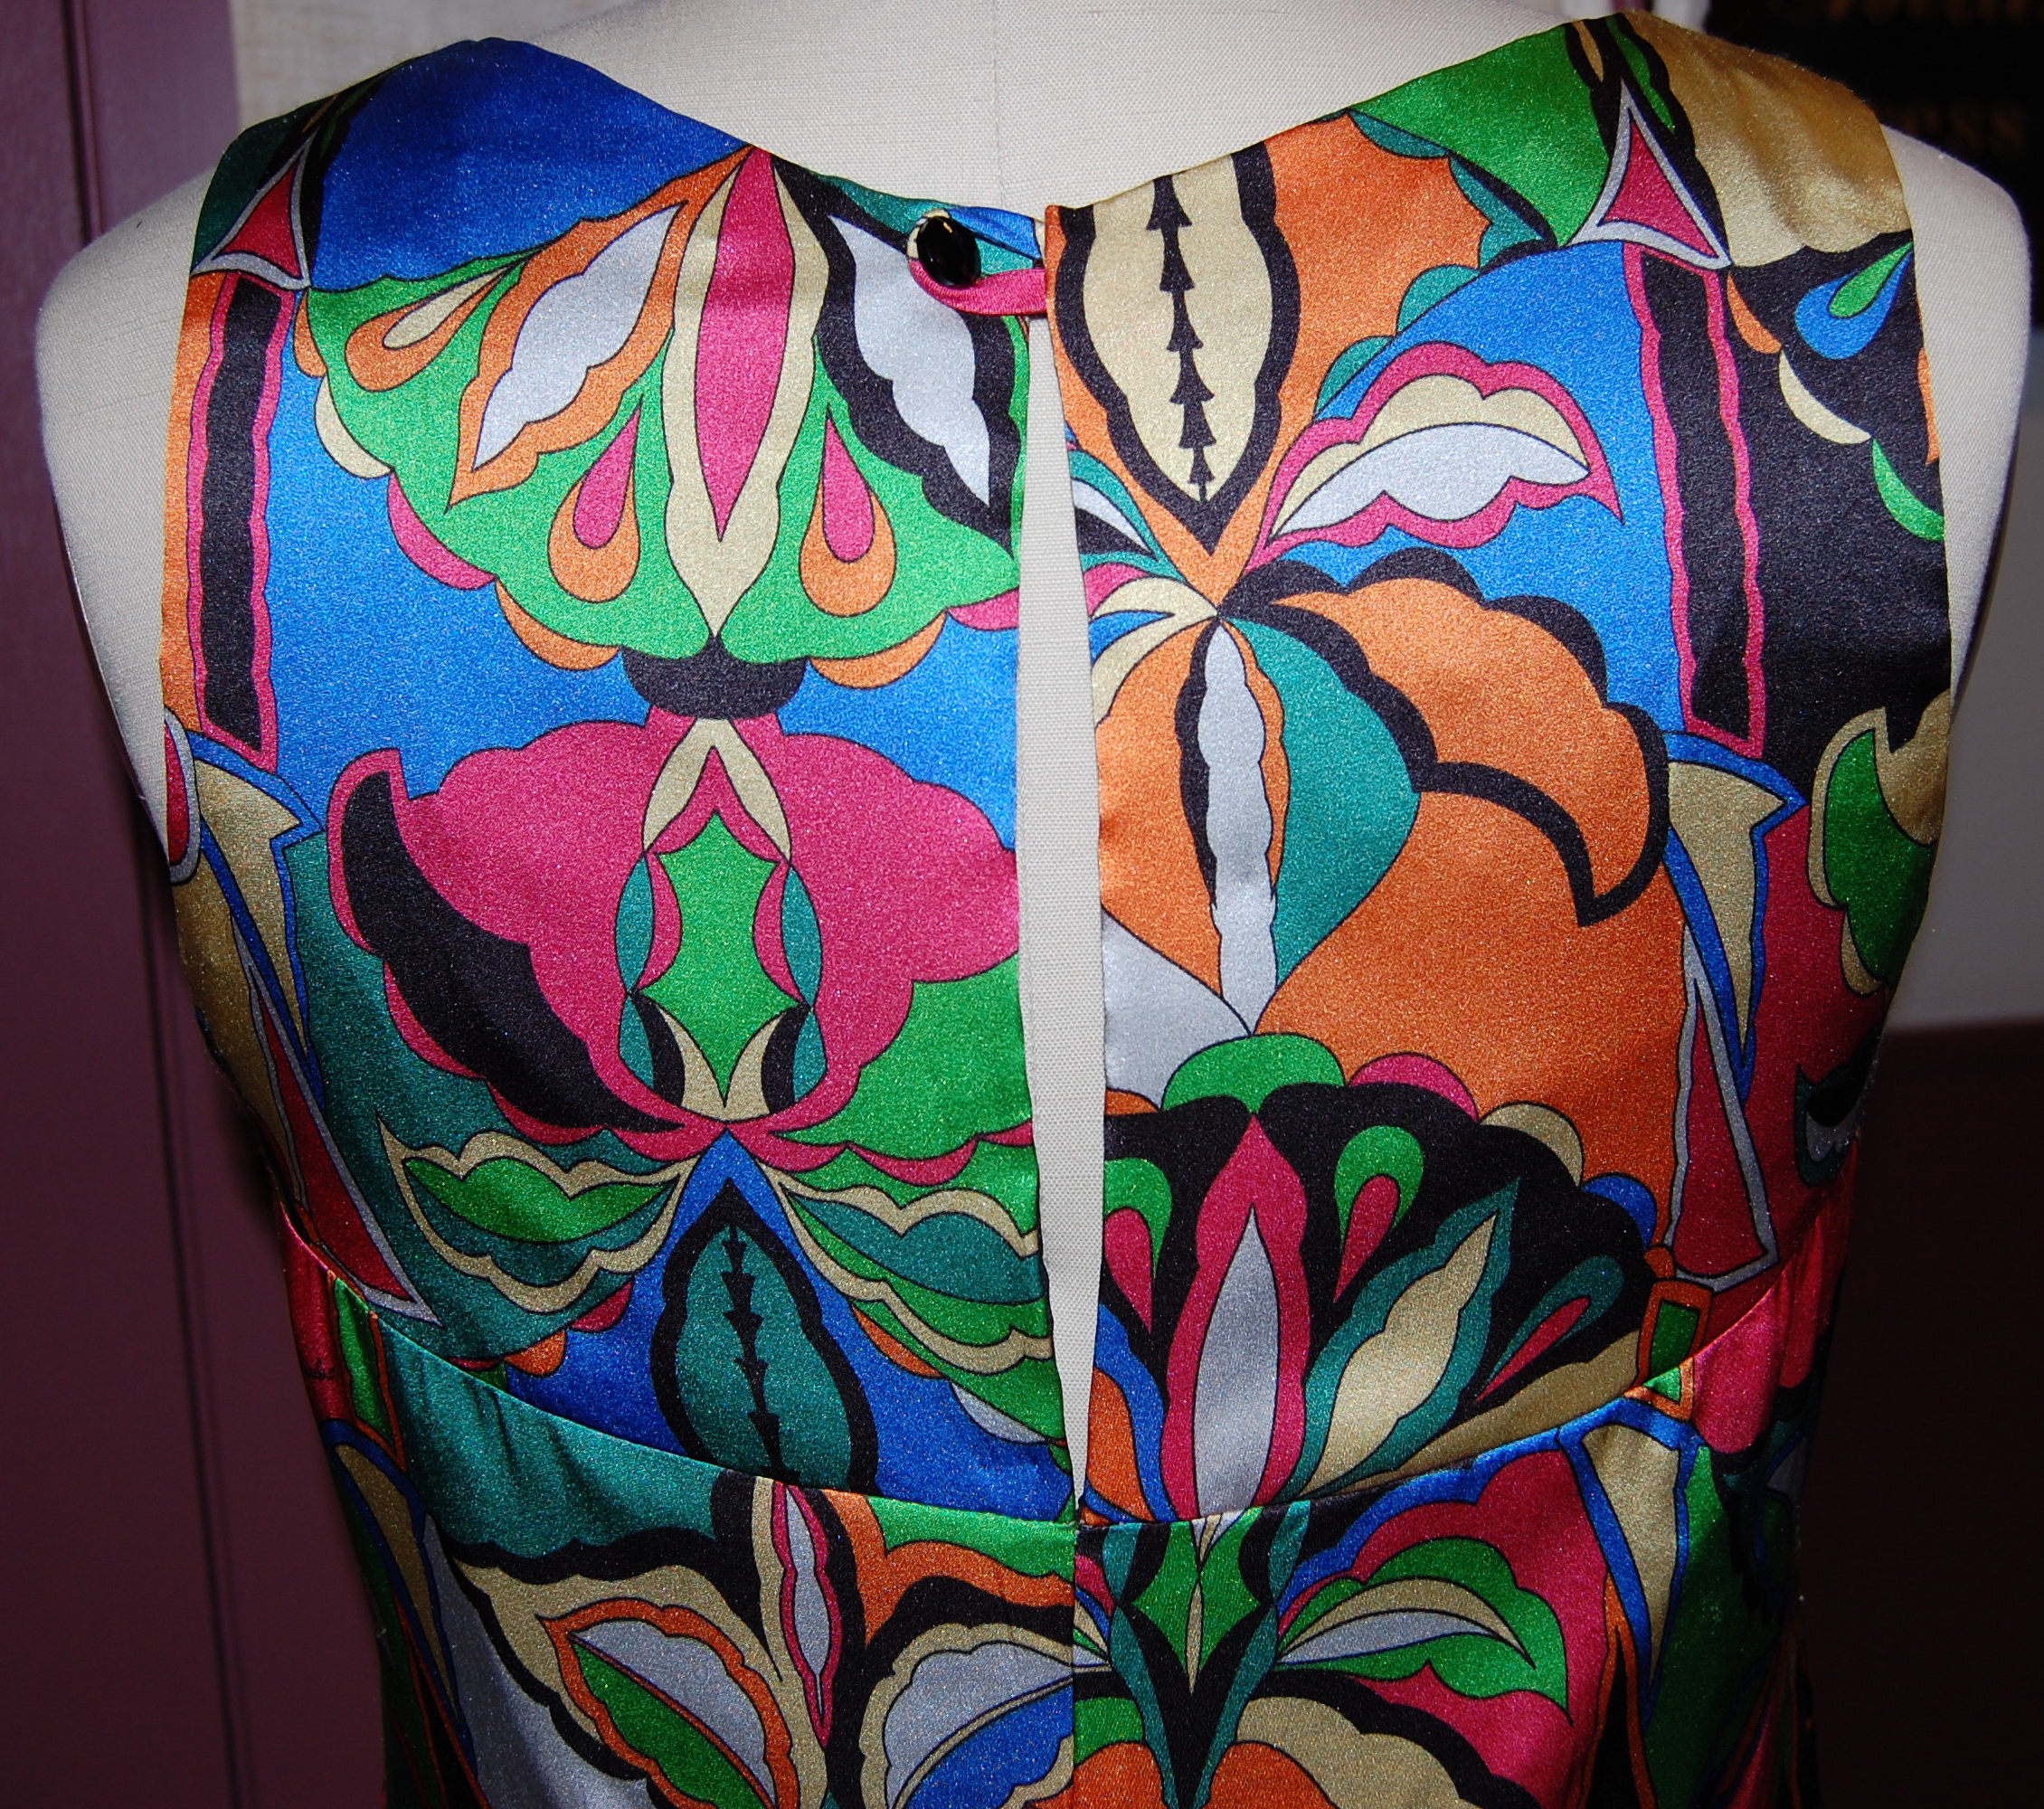
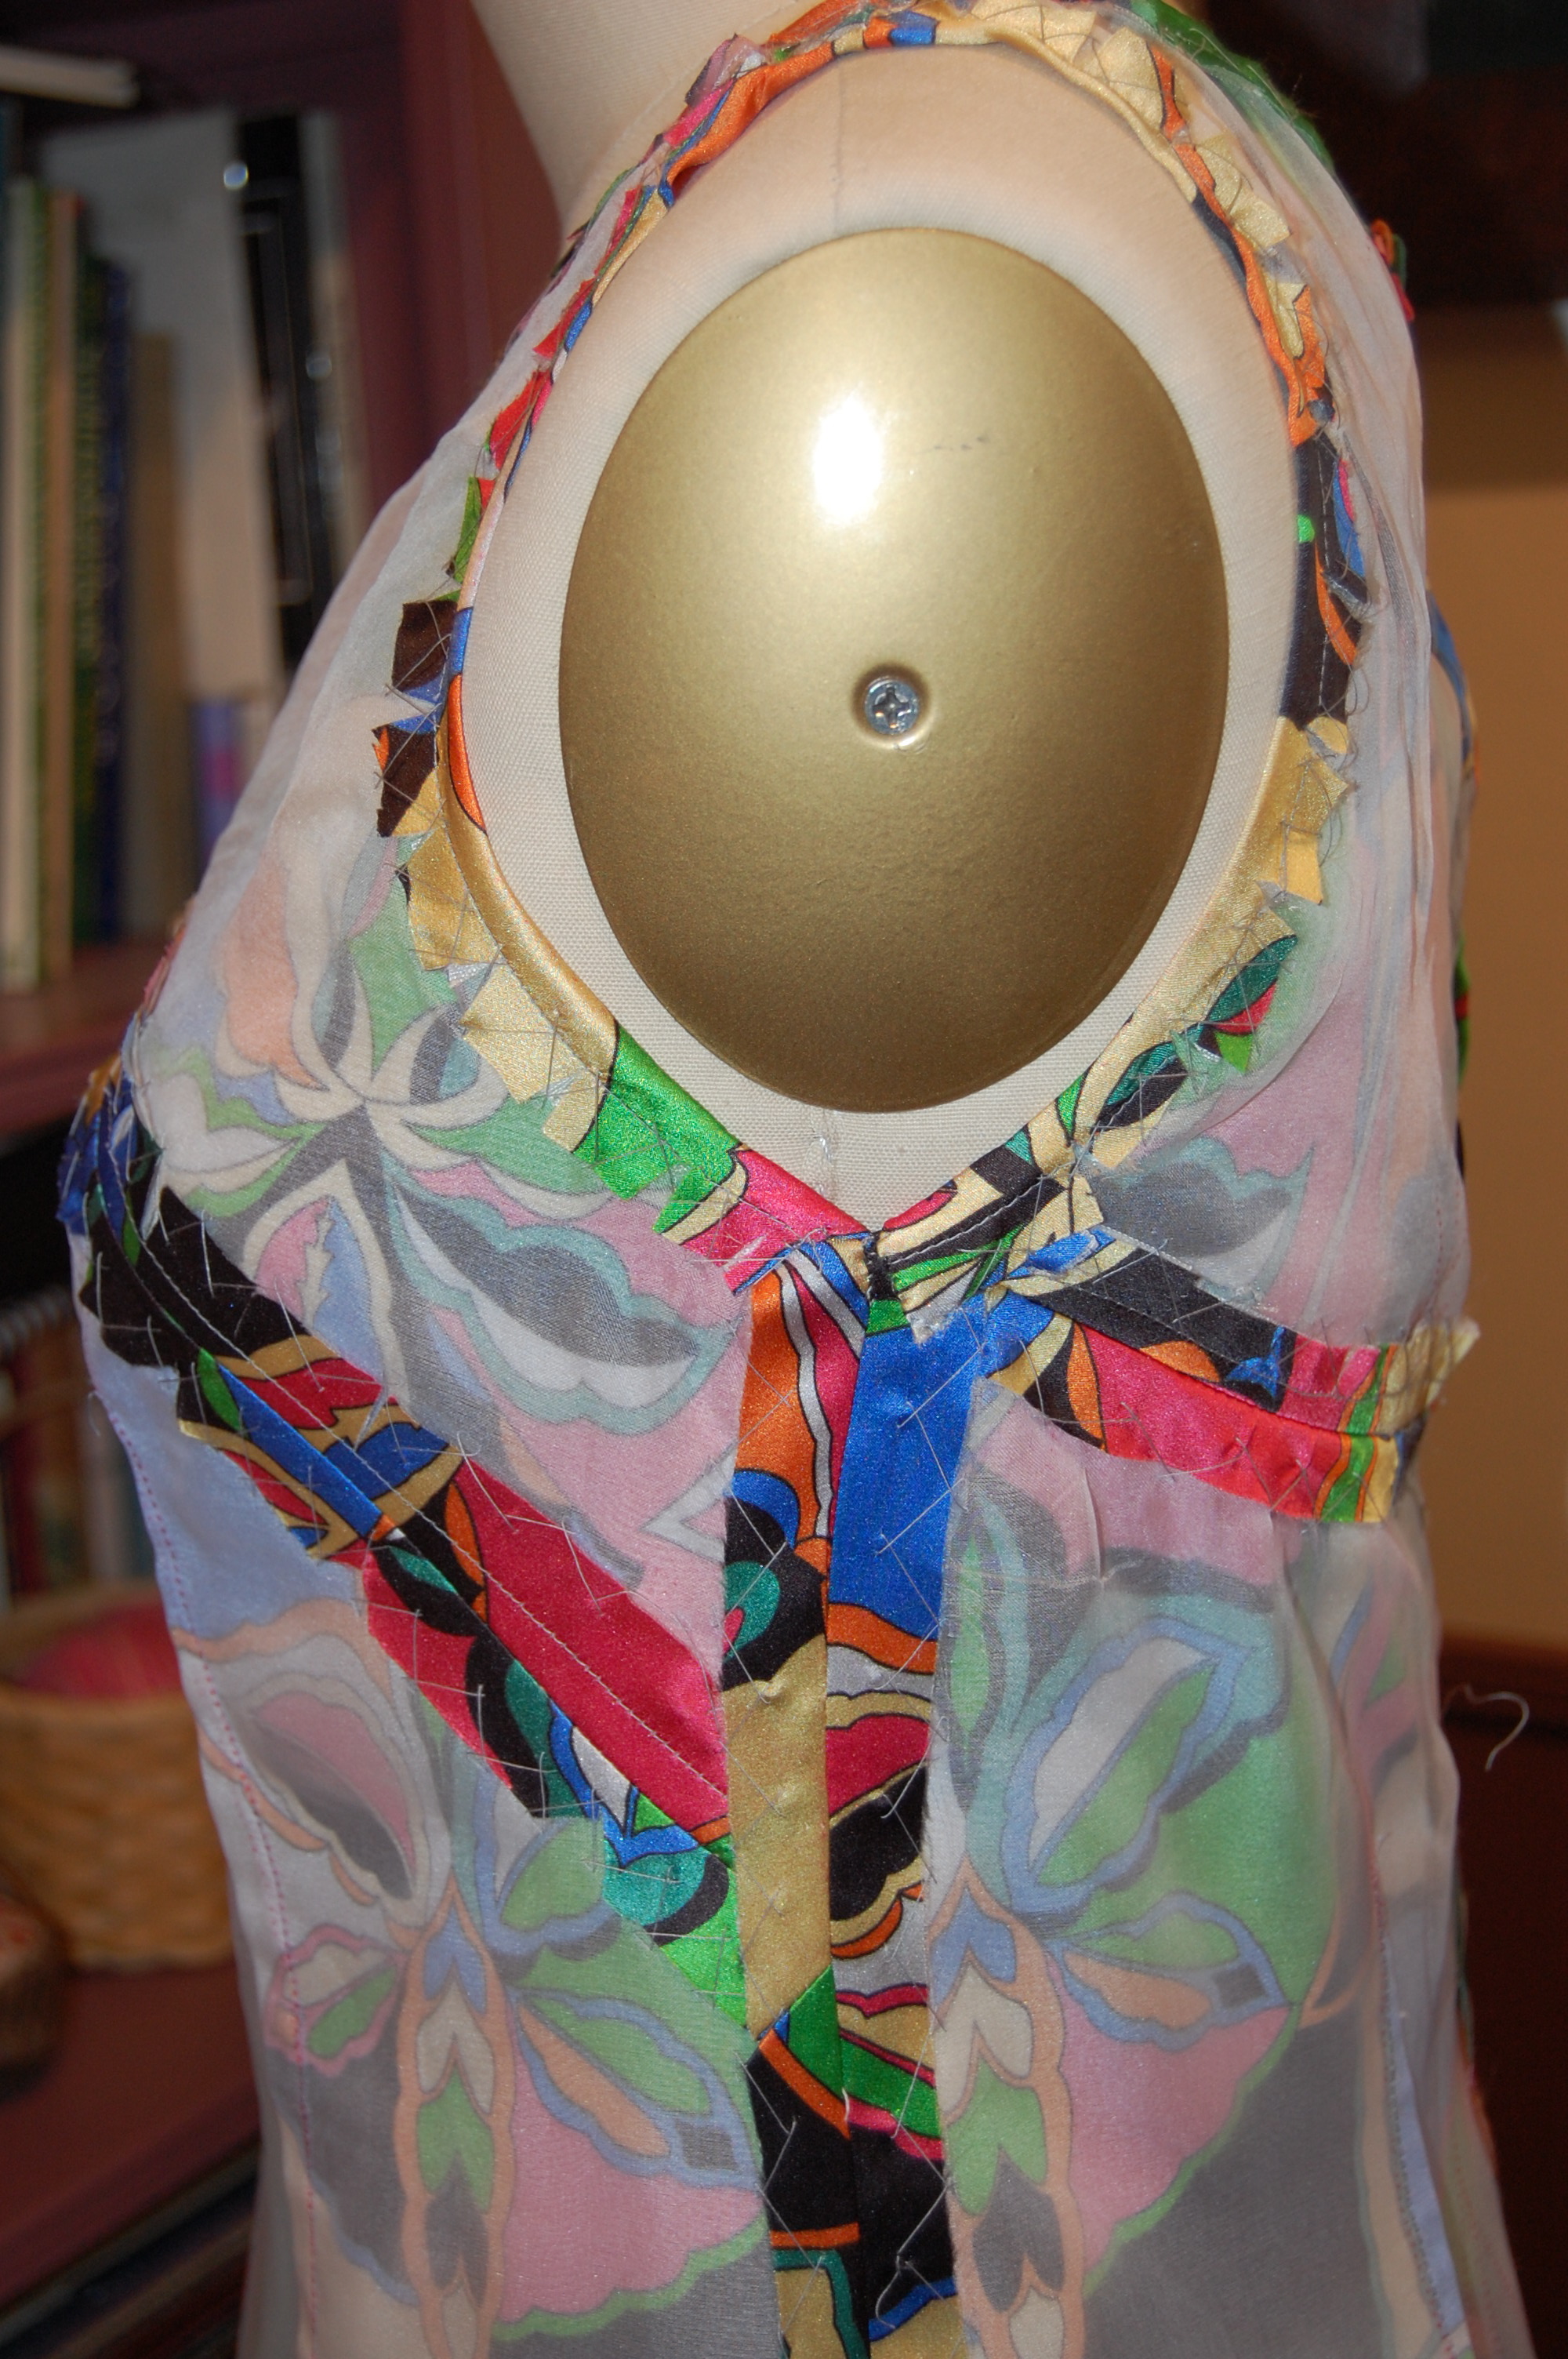
The neckline dips down to a slightly curved V, with a center seam.
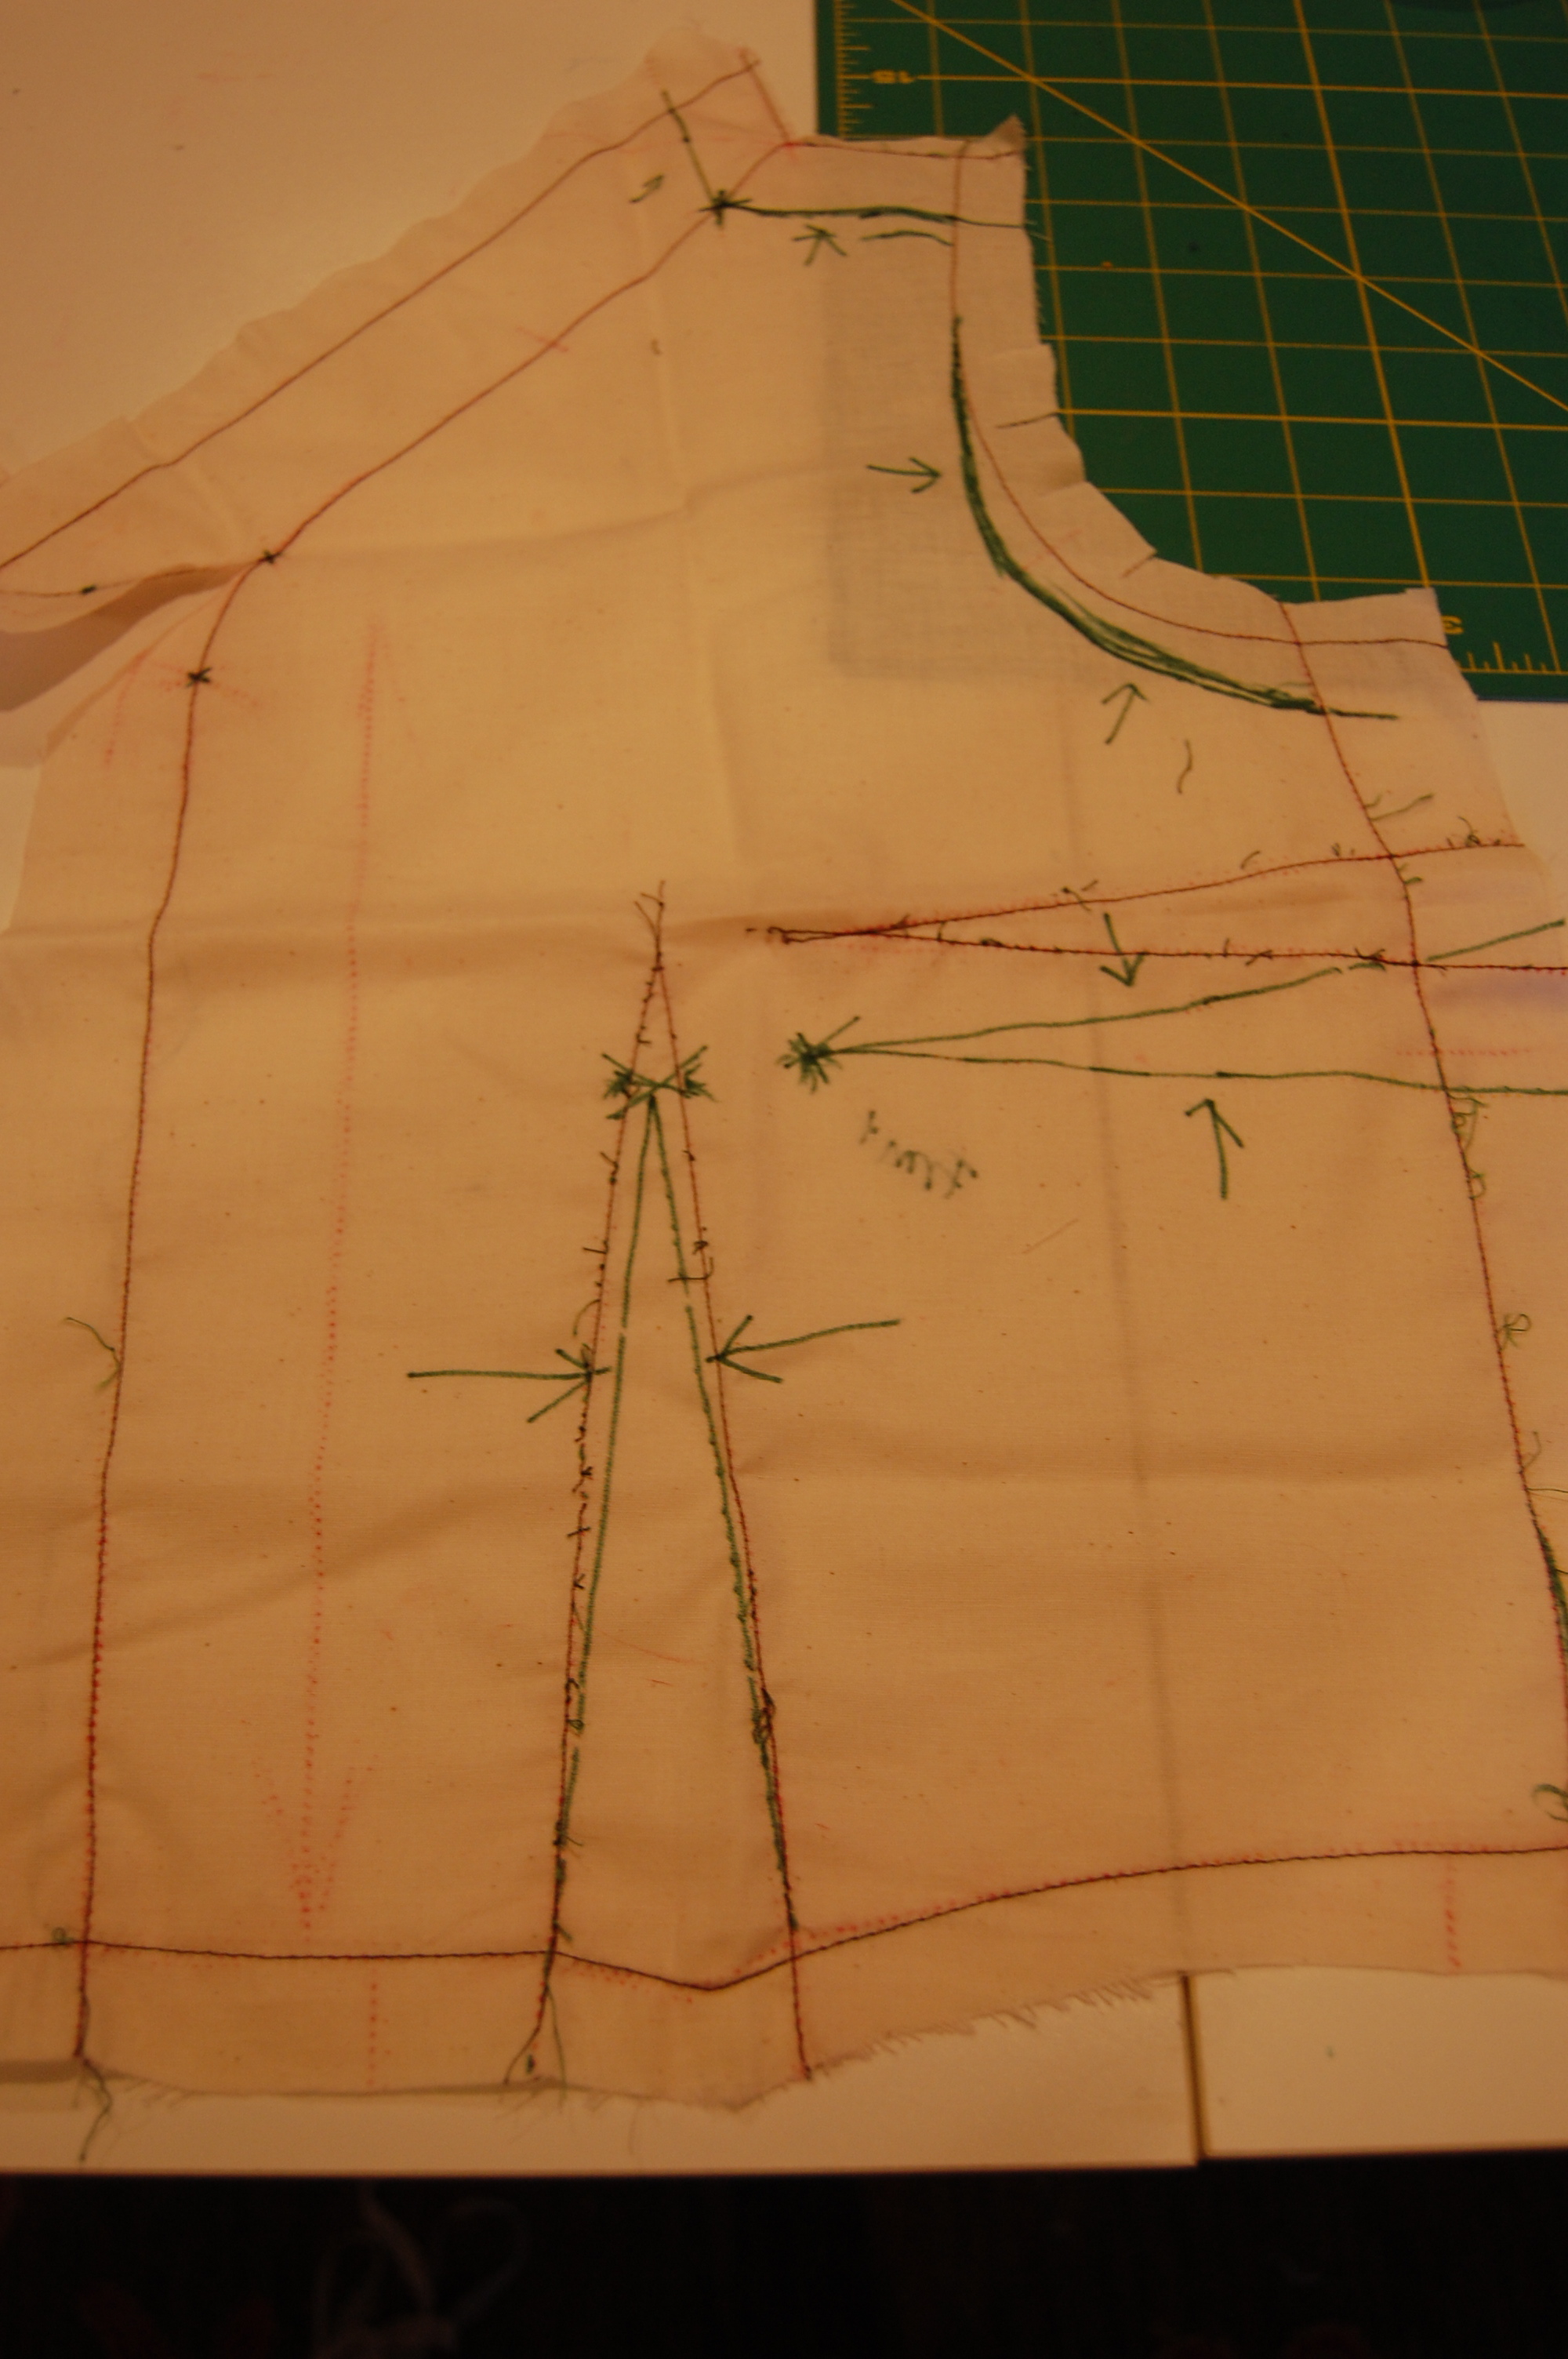
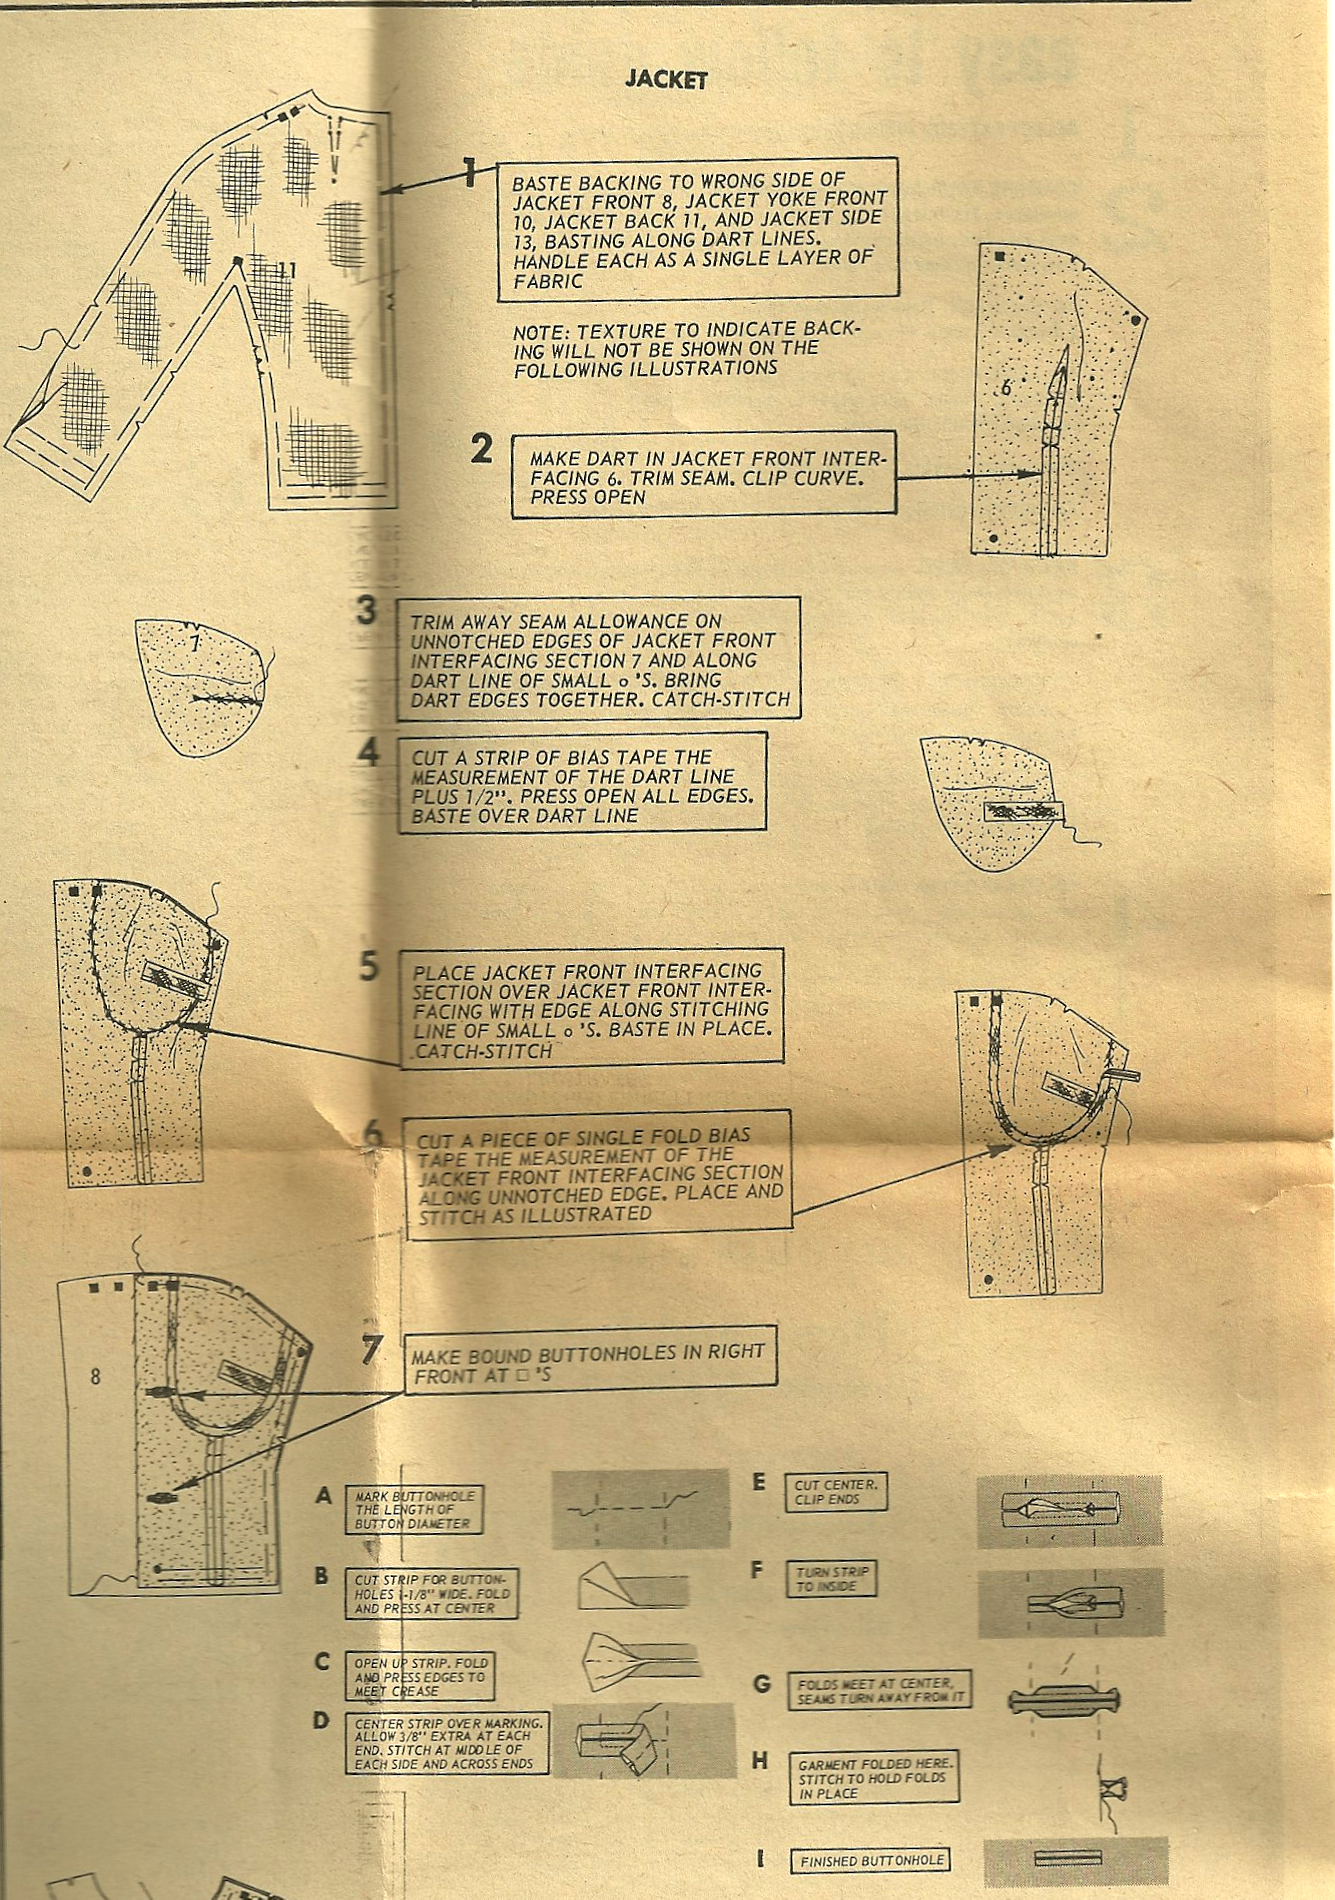
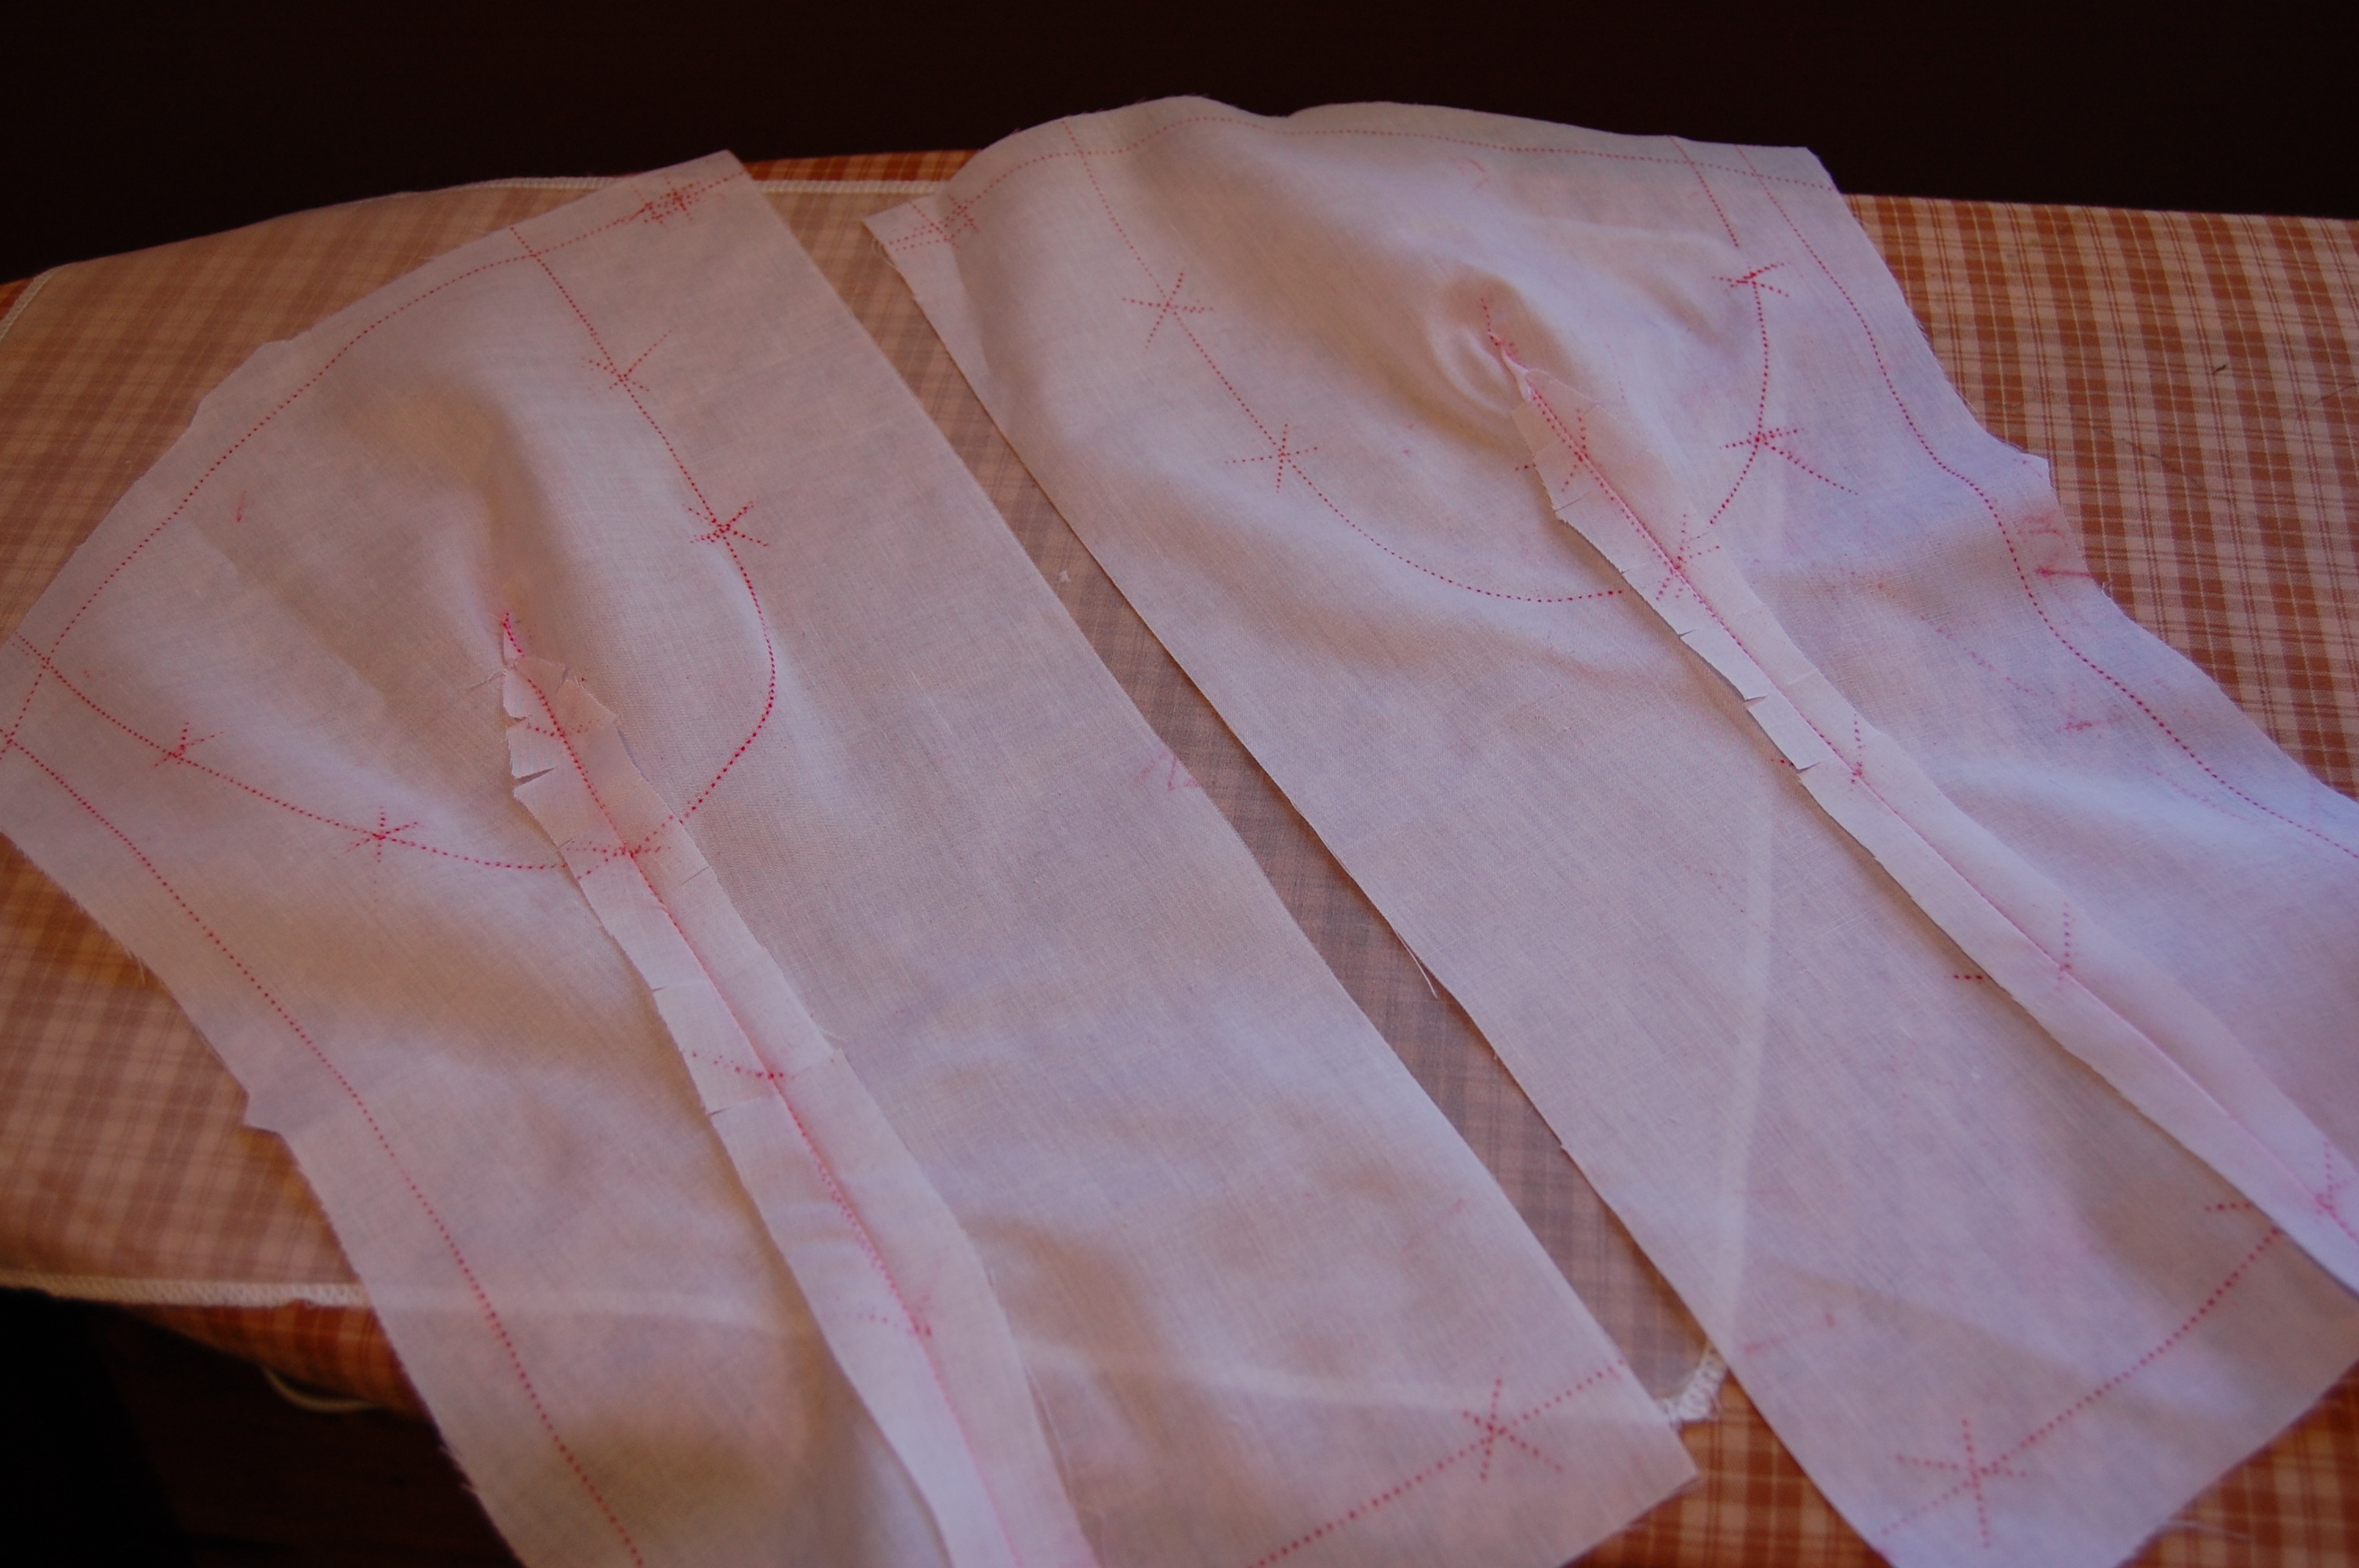
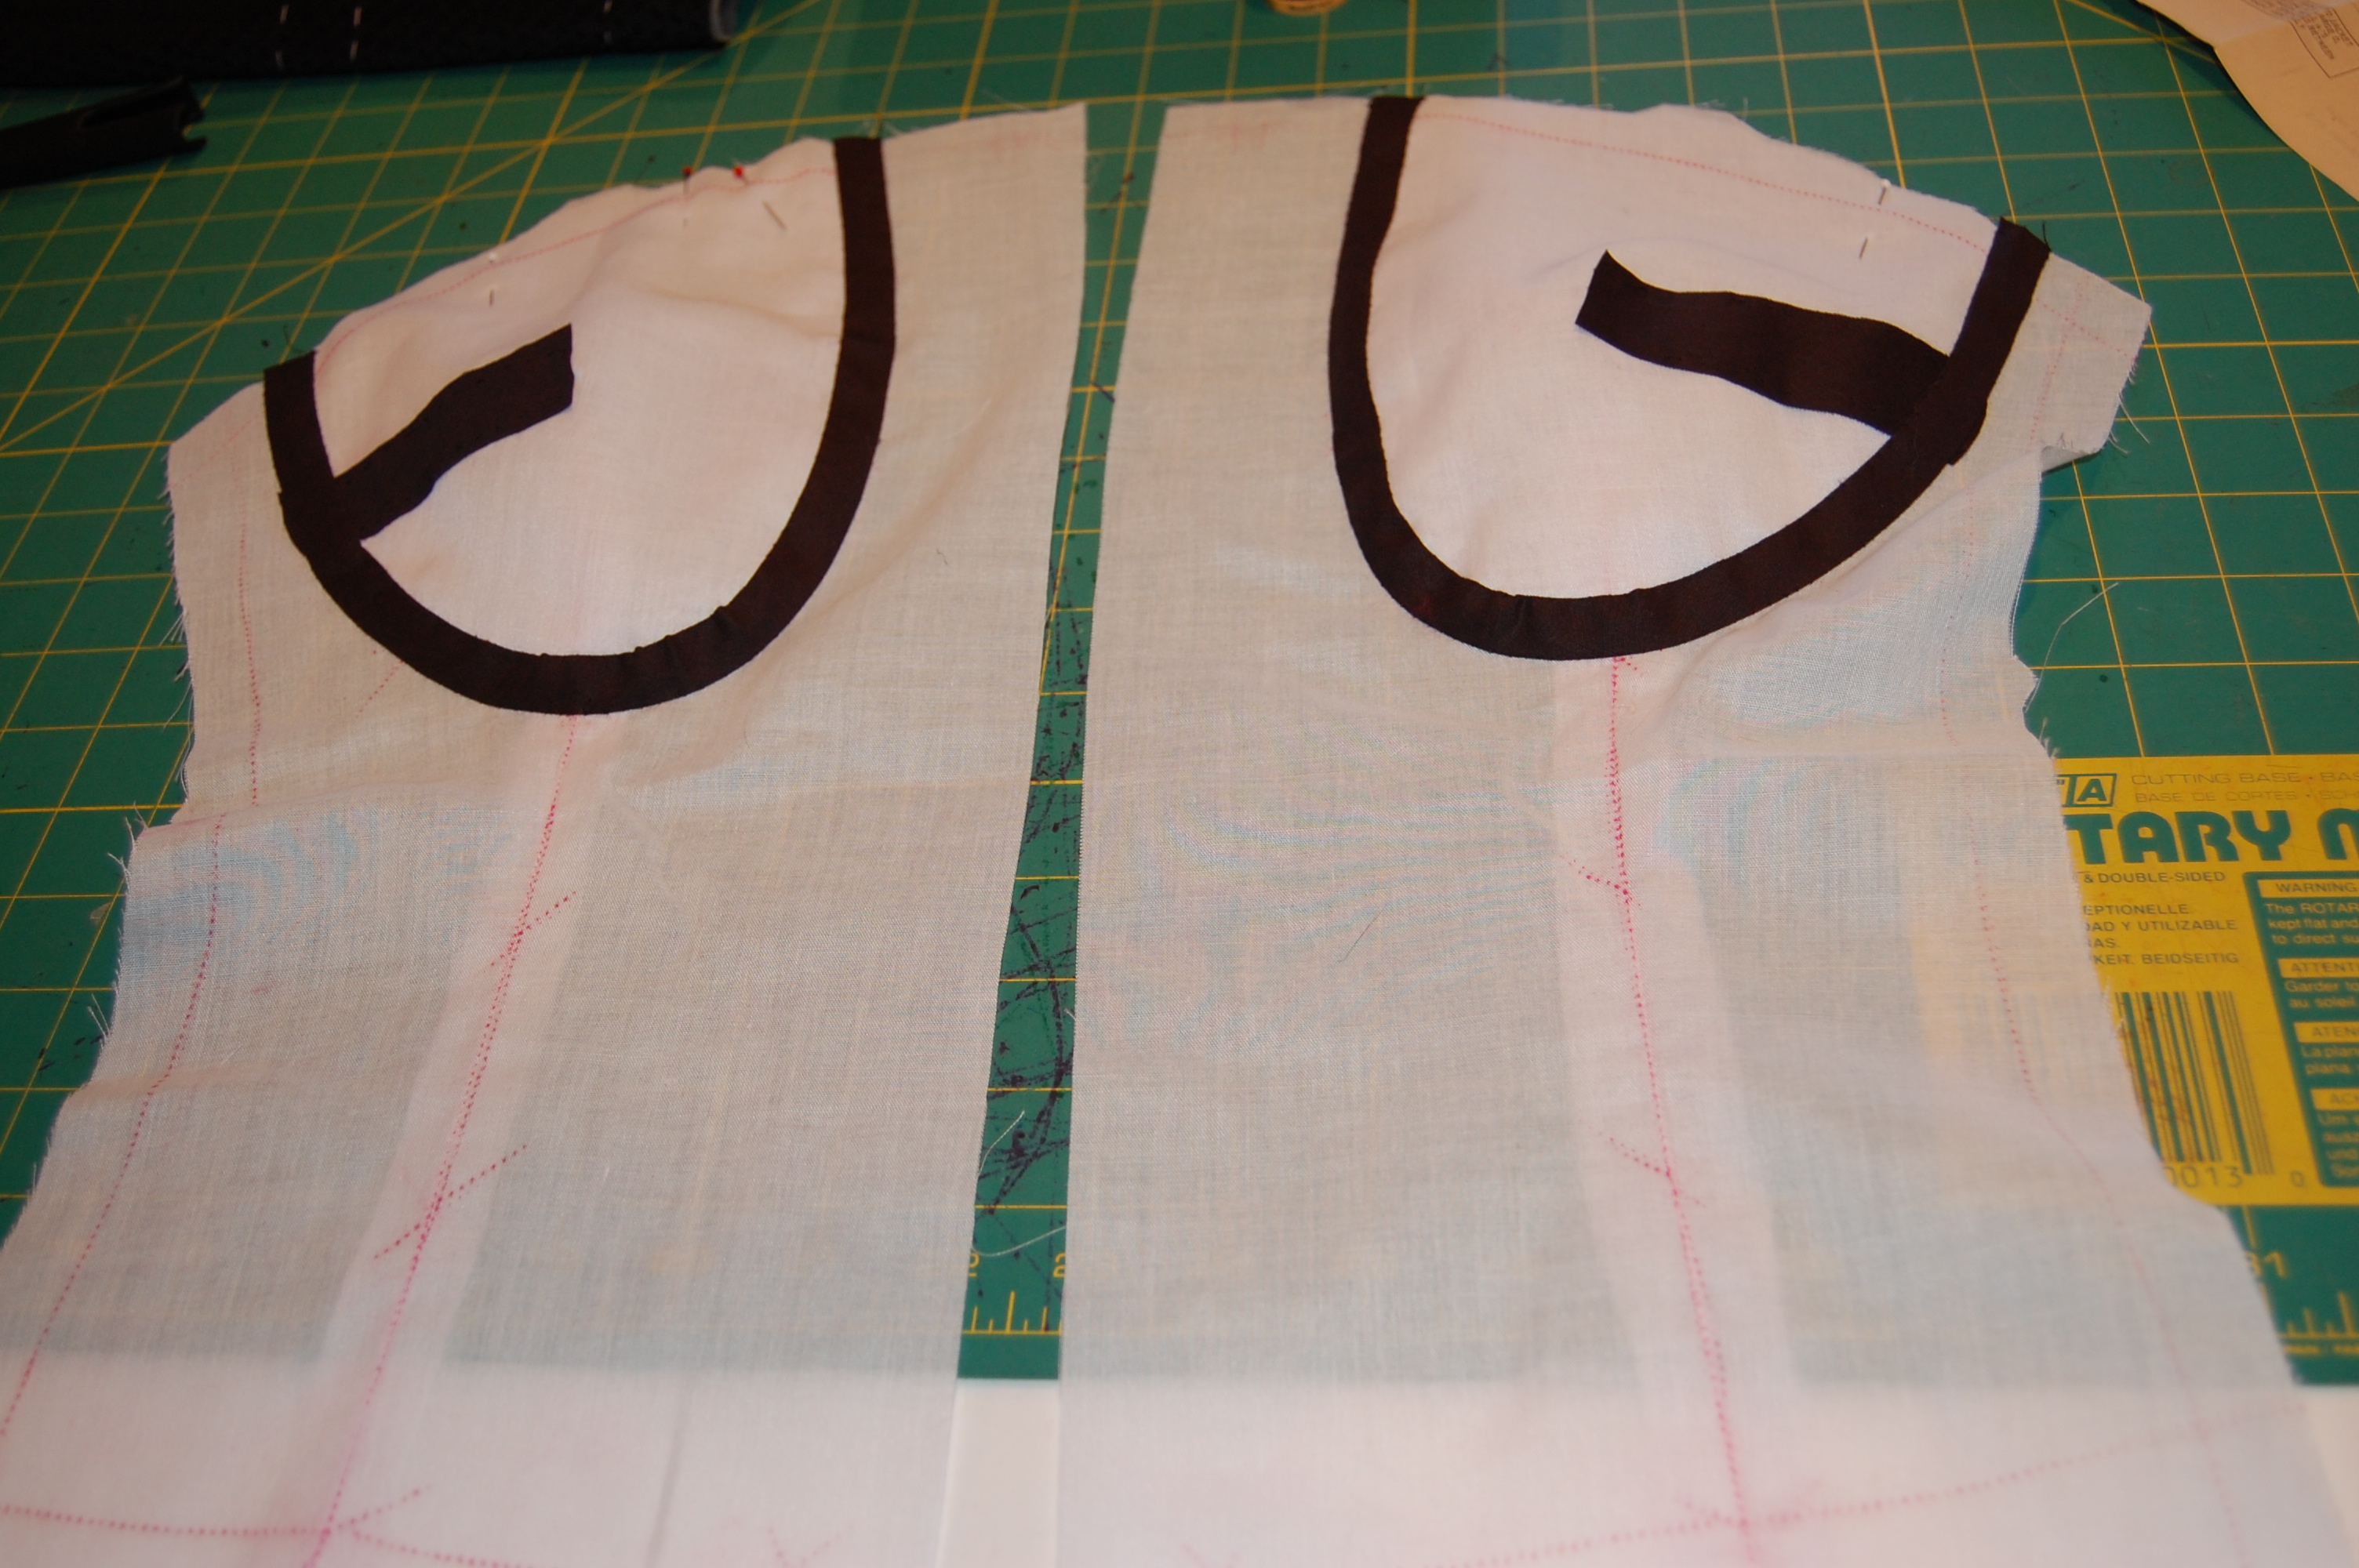
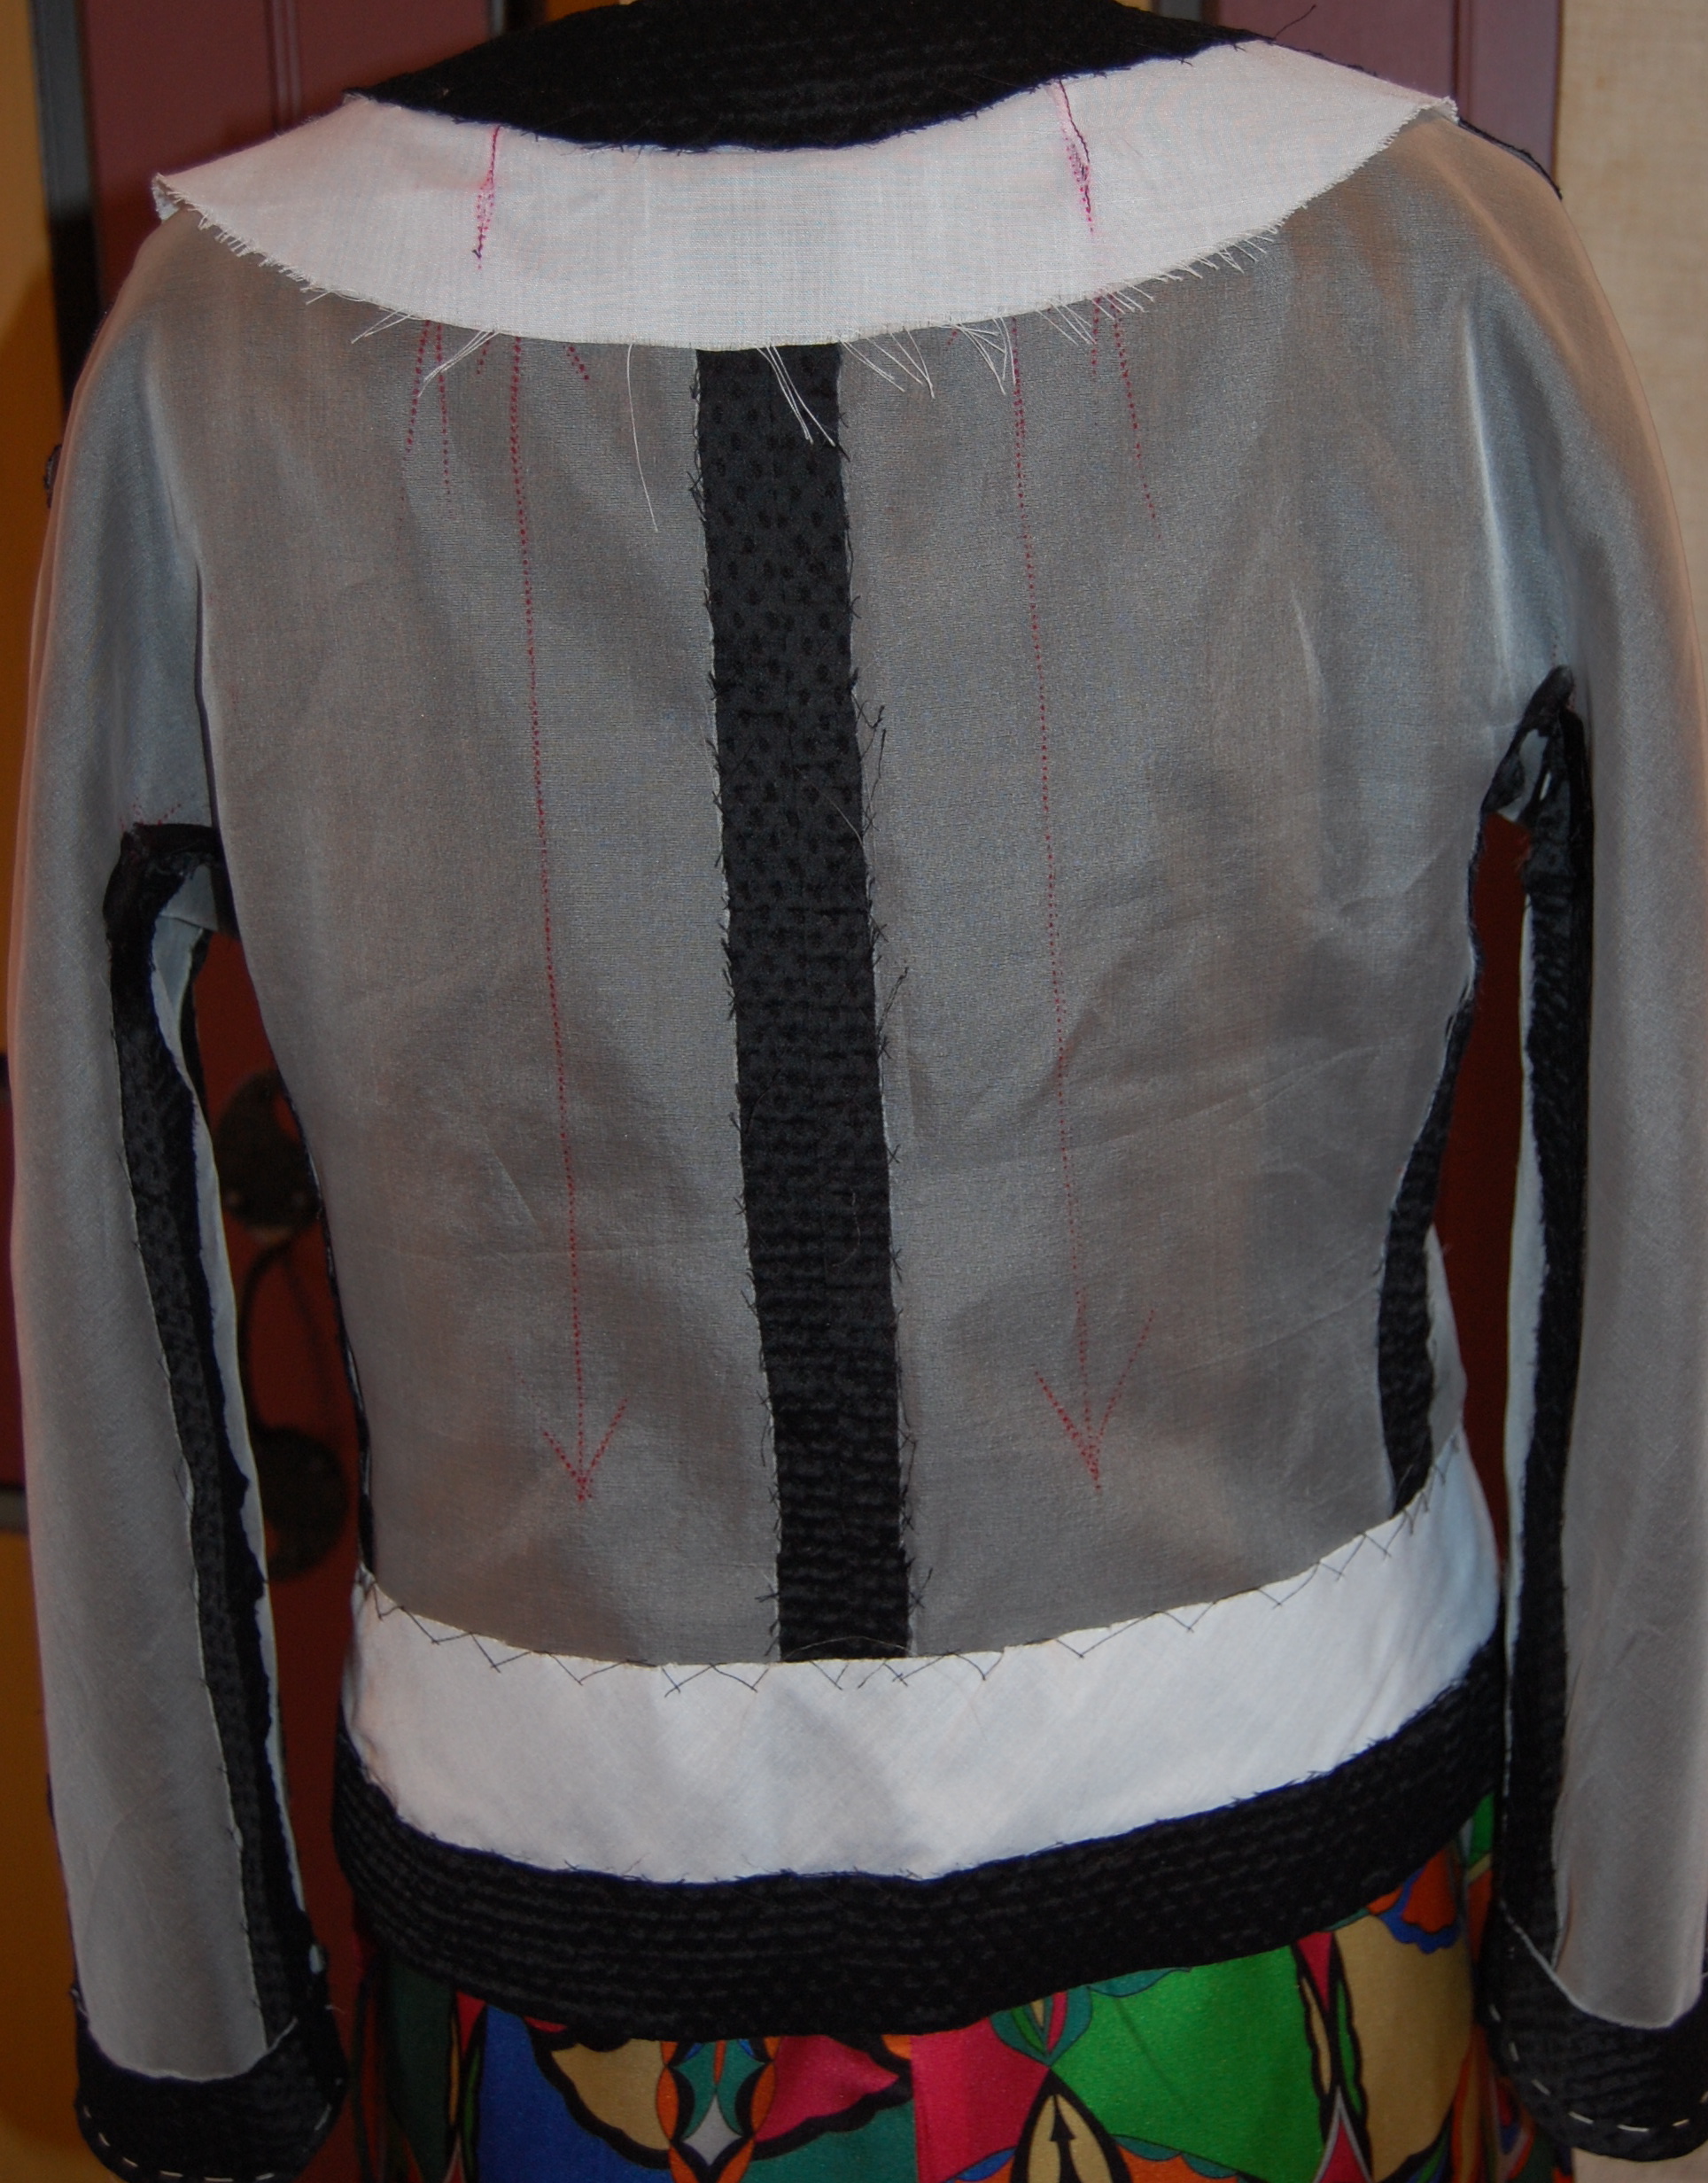
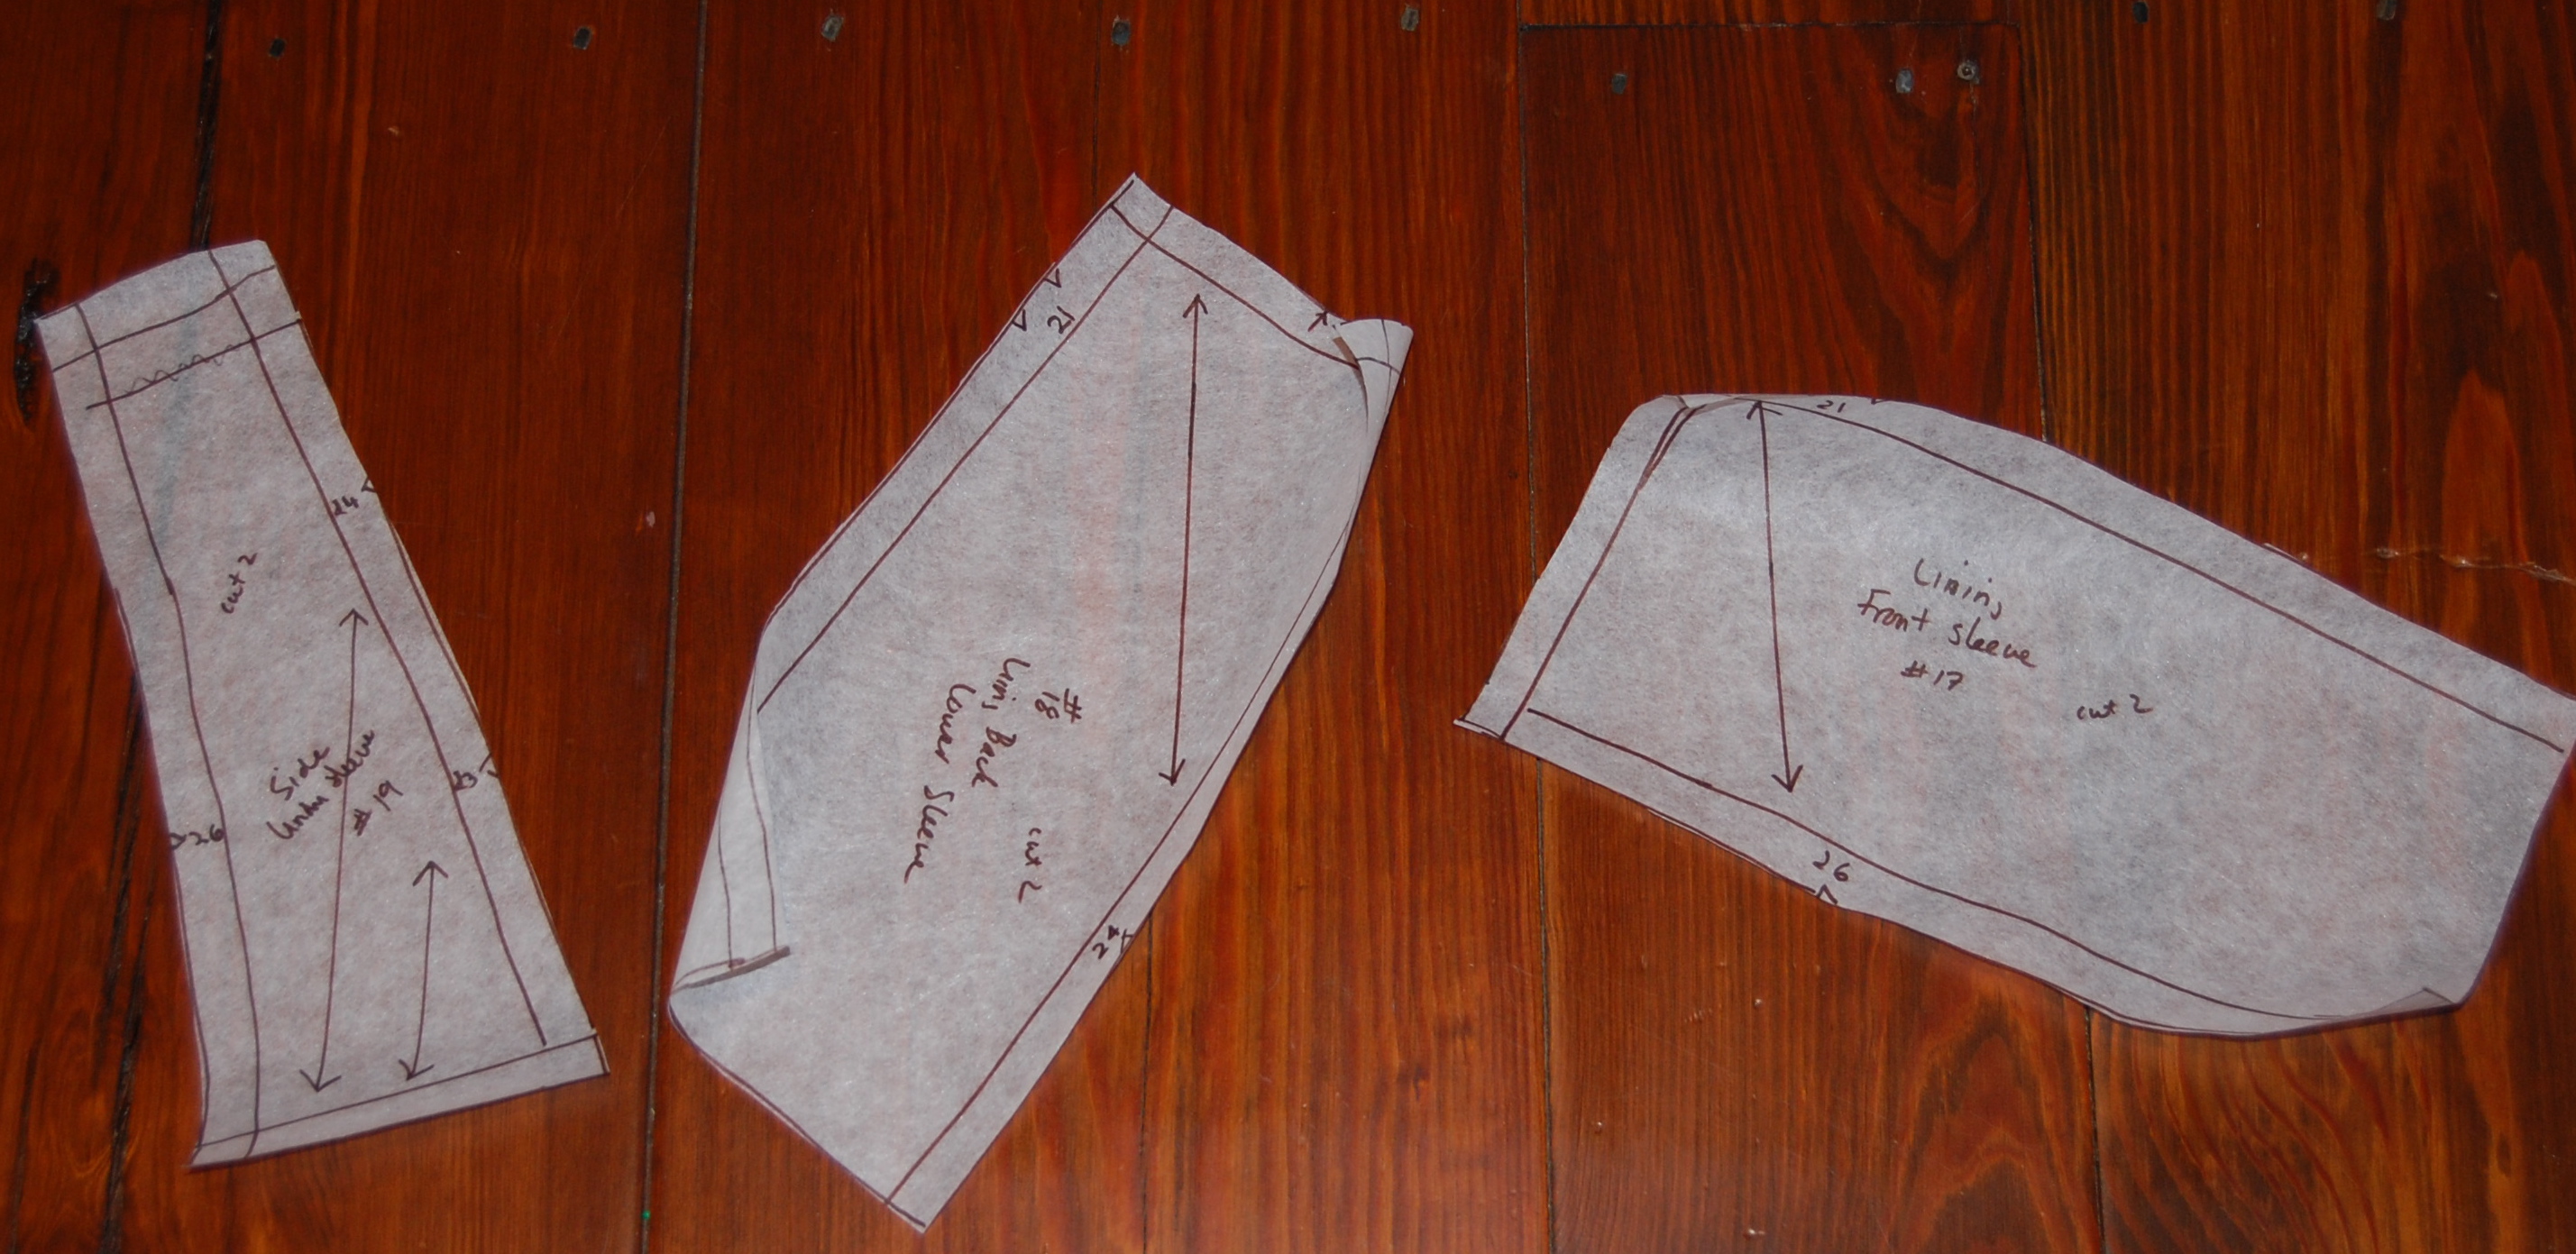
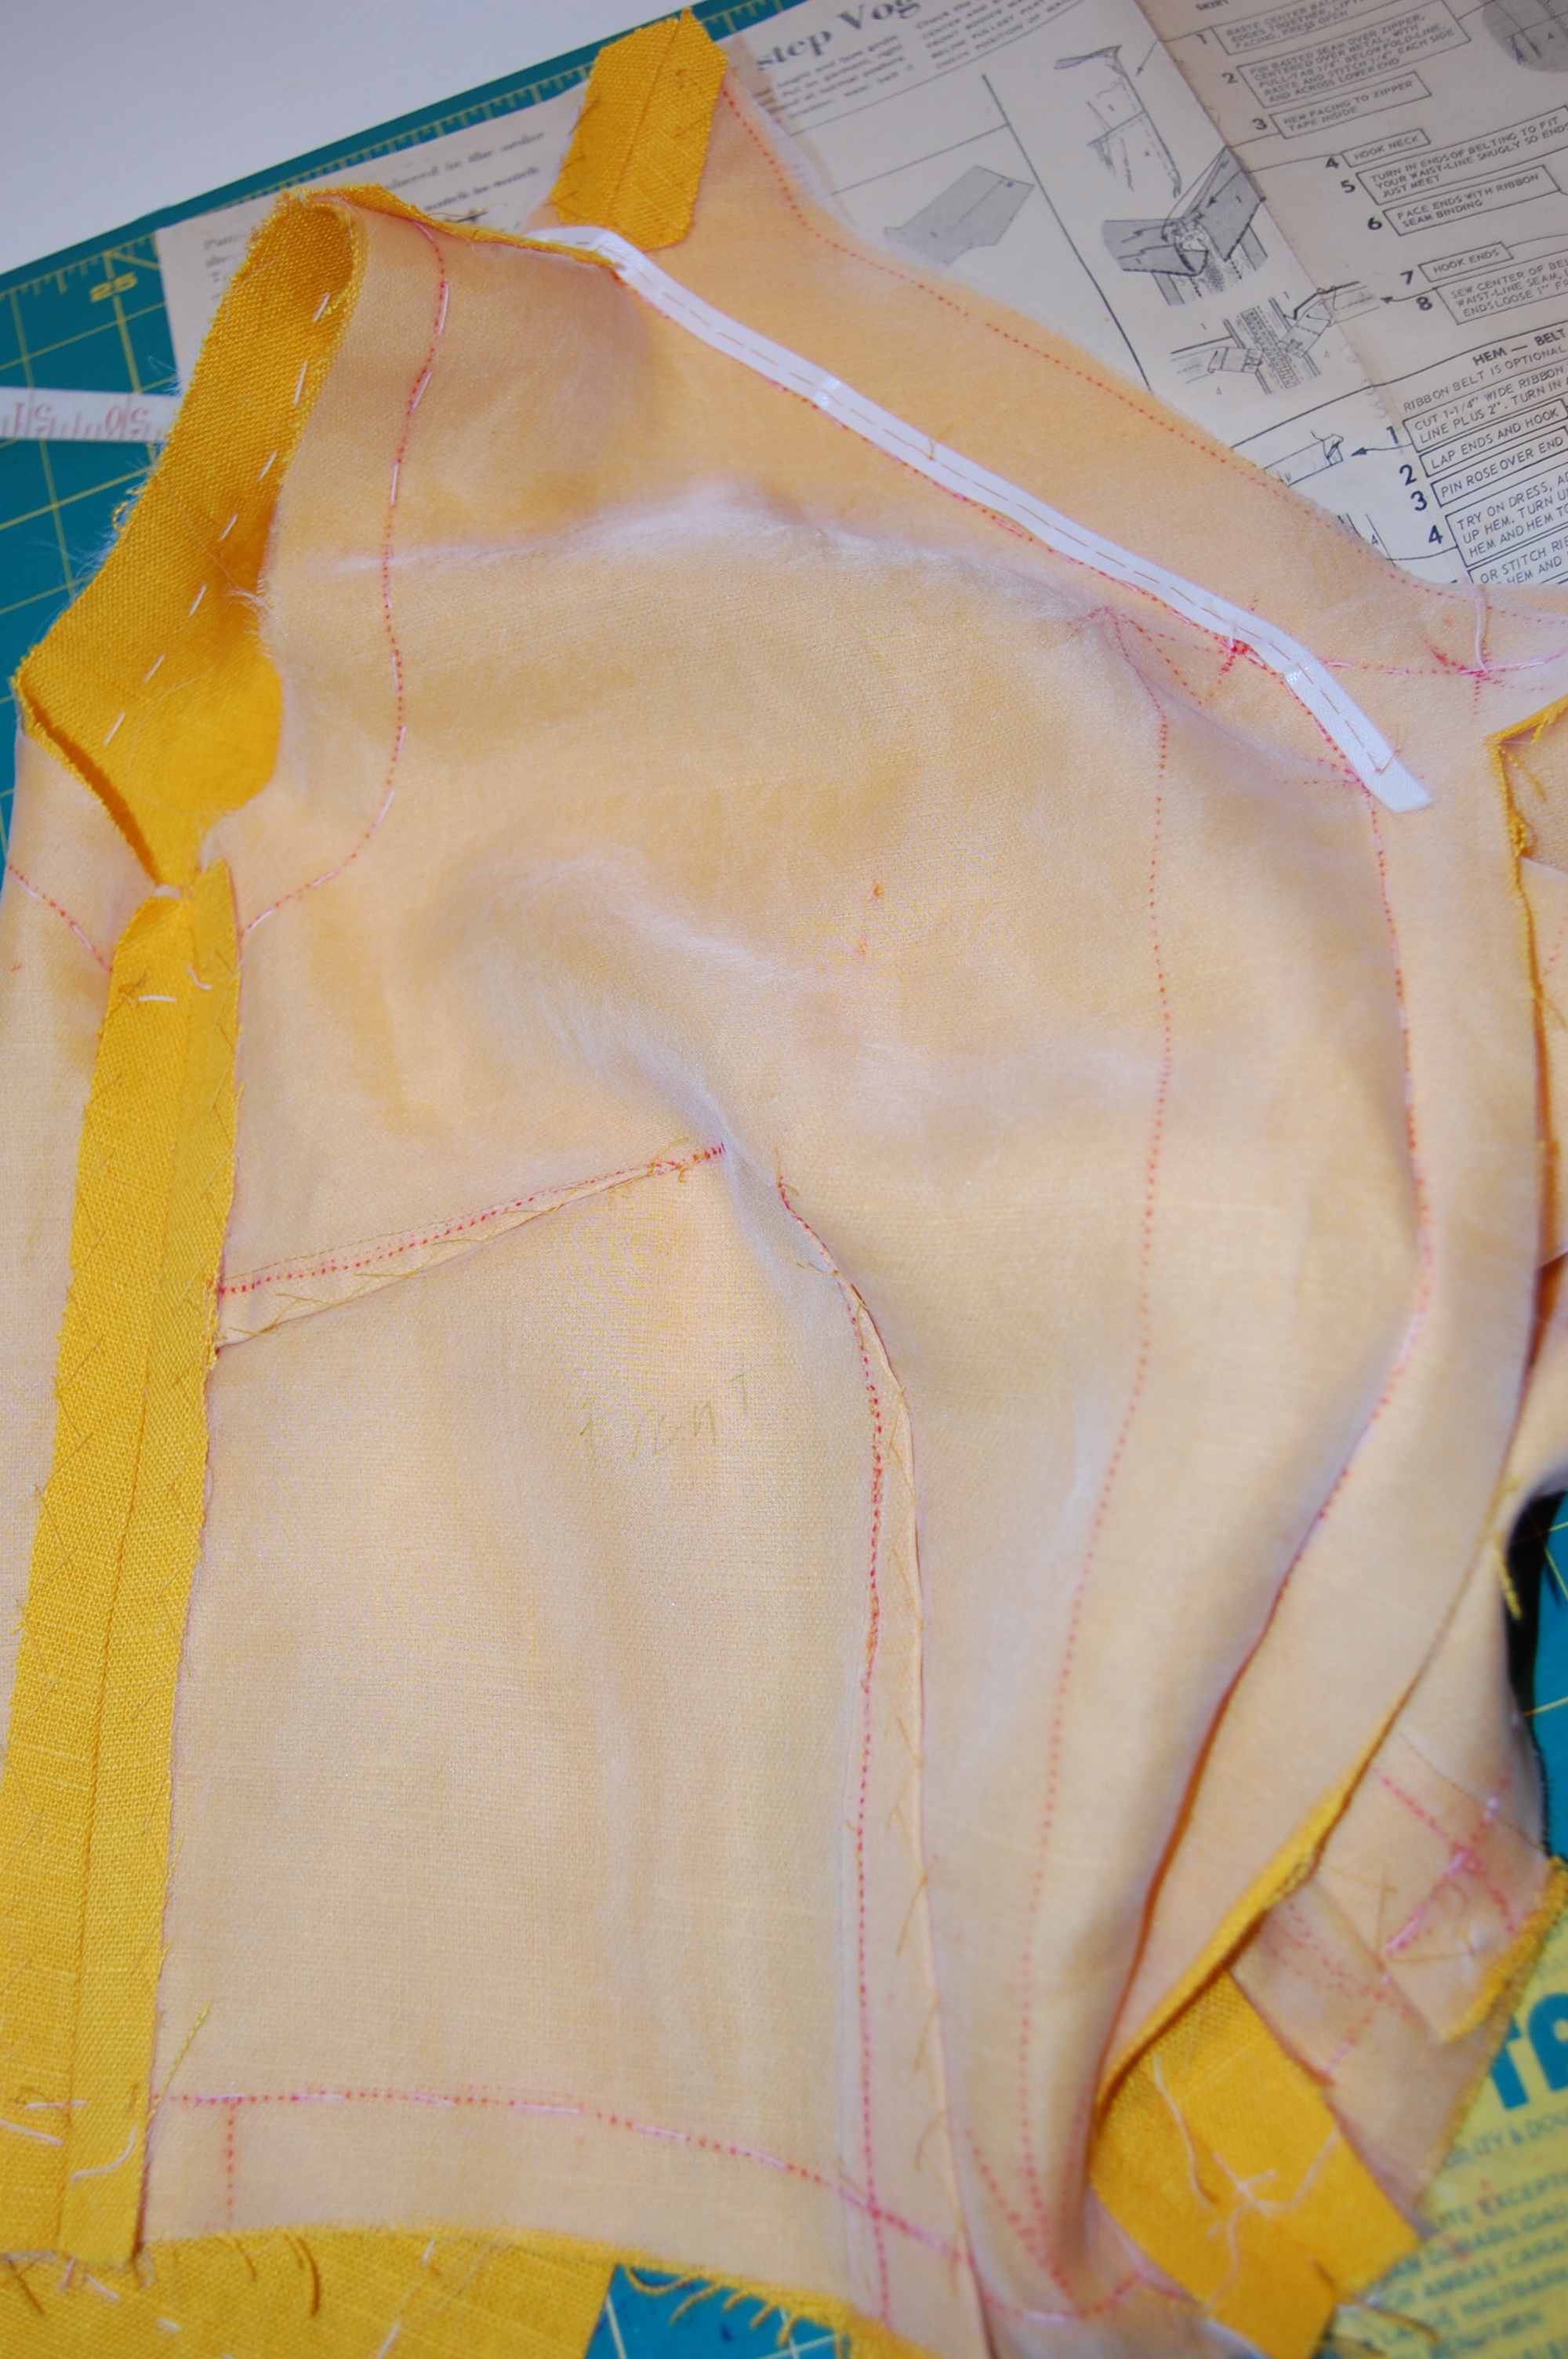
As this would be a dressier type of frock, and because I know how foolproof couture construction is (with silk organza underlining and crepe de chine lining), I proceeded using those techniques. The facings on the V-shape of the bodice front and back were cut as part of the pattern, instead of being separate pieces. I followed the instructions to reinforce the edges of the fold with ¼” twill tape.
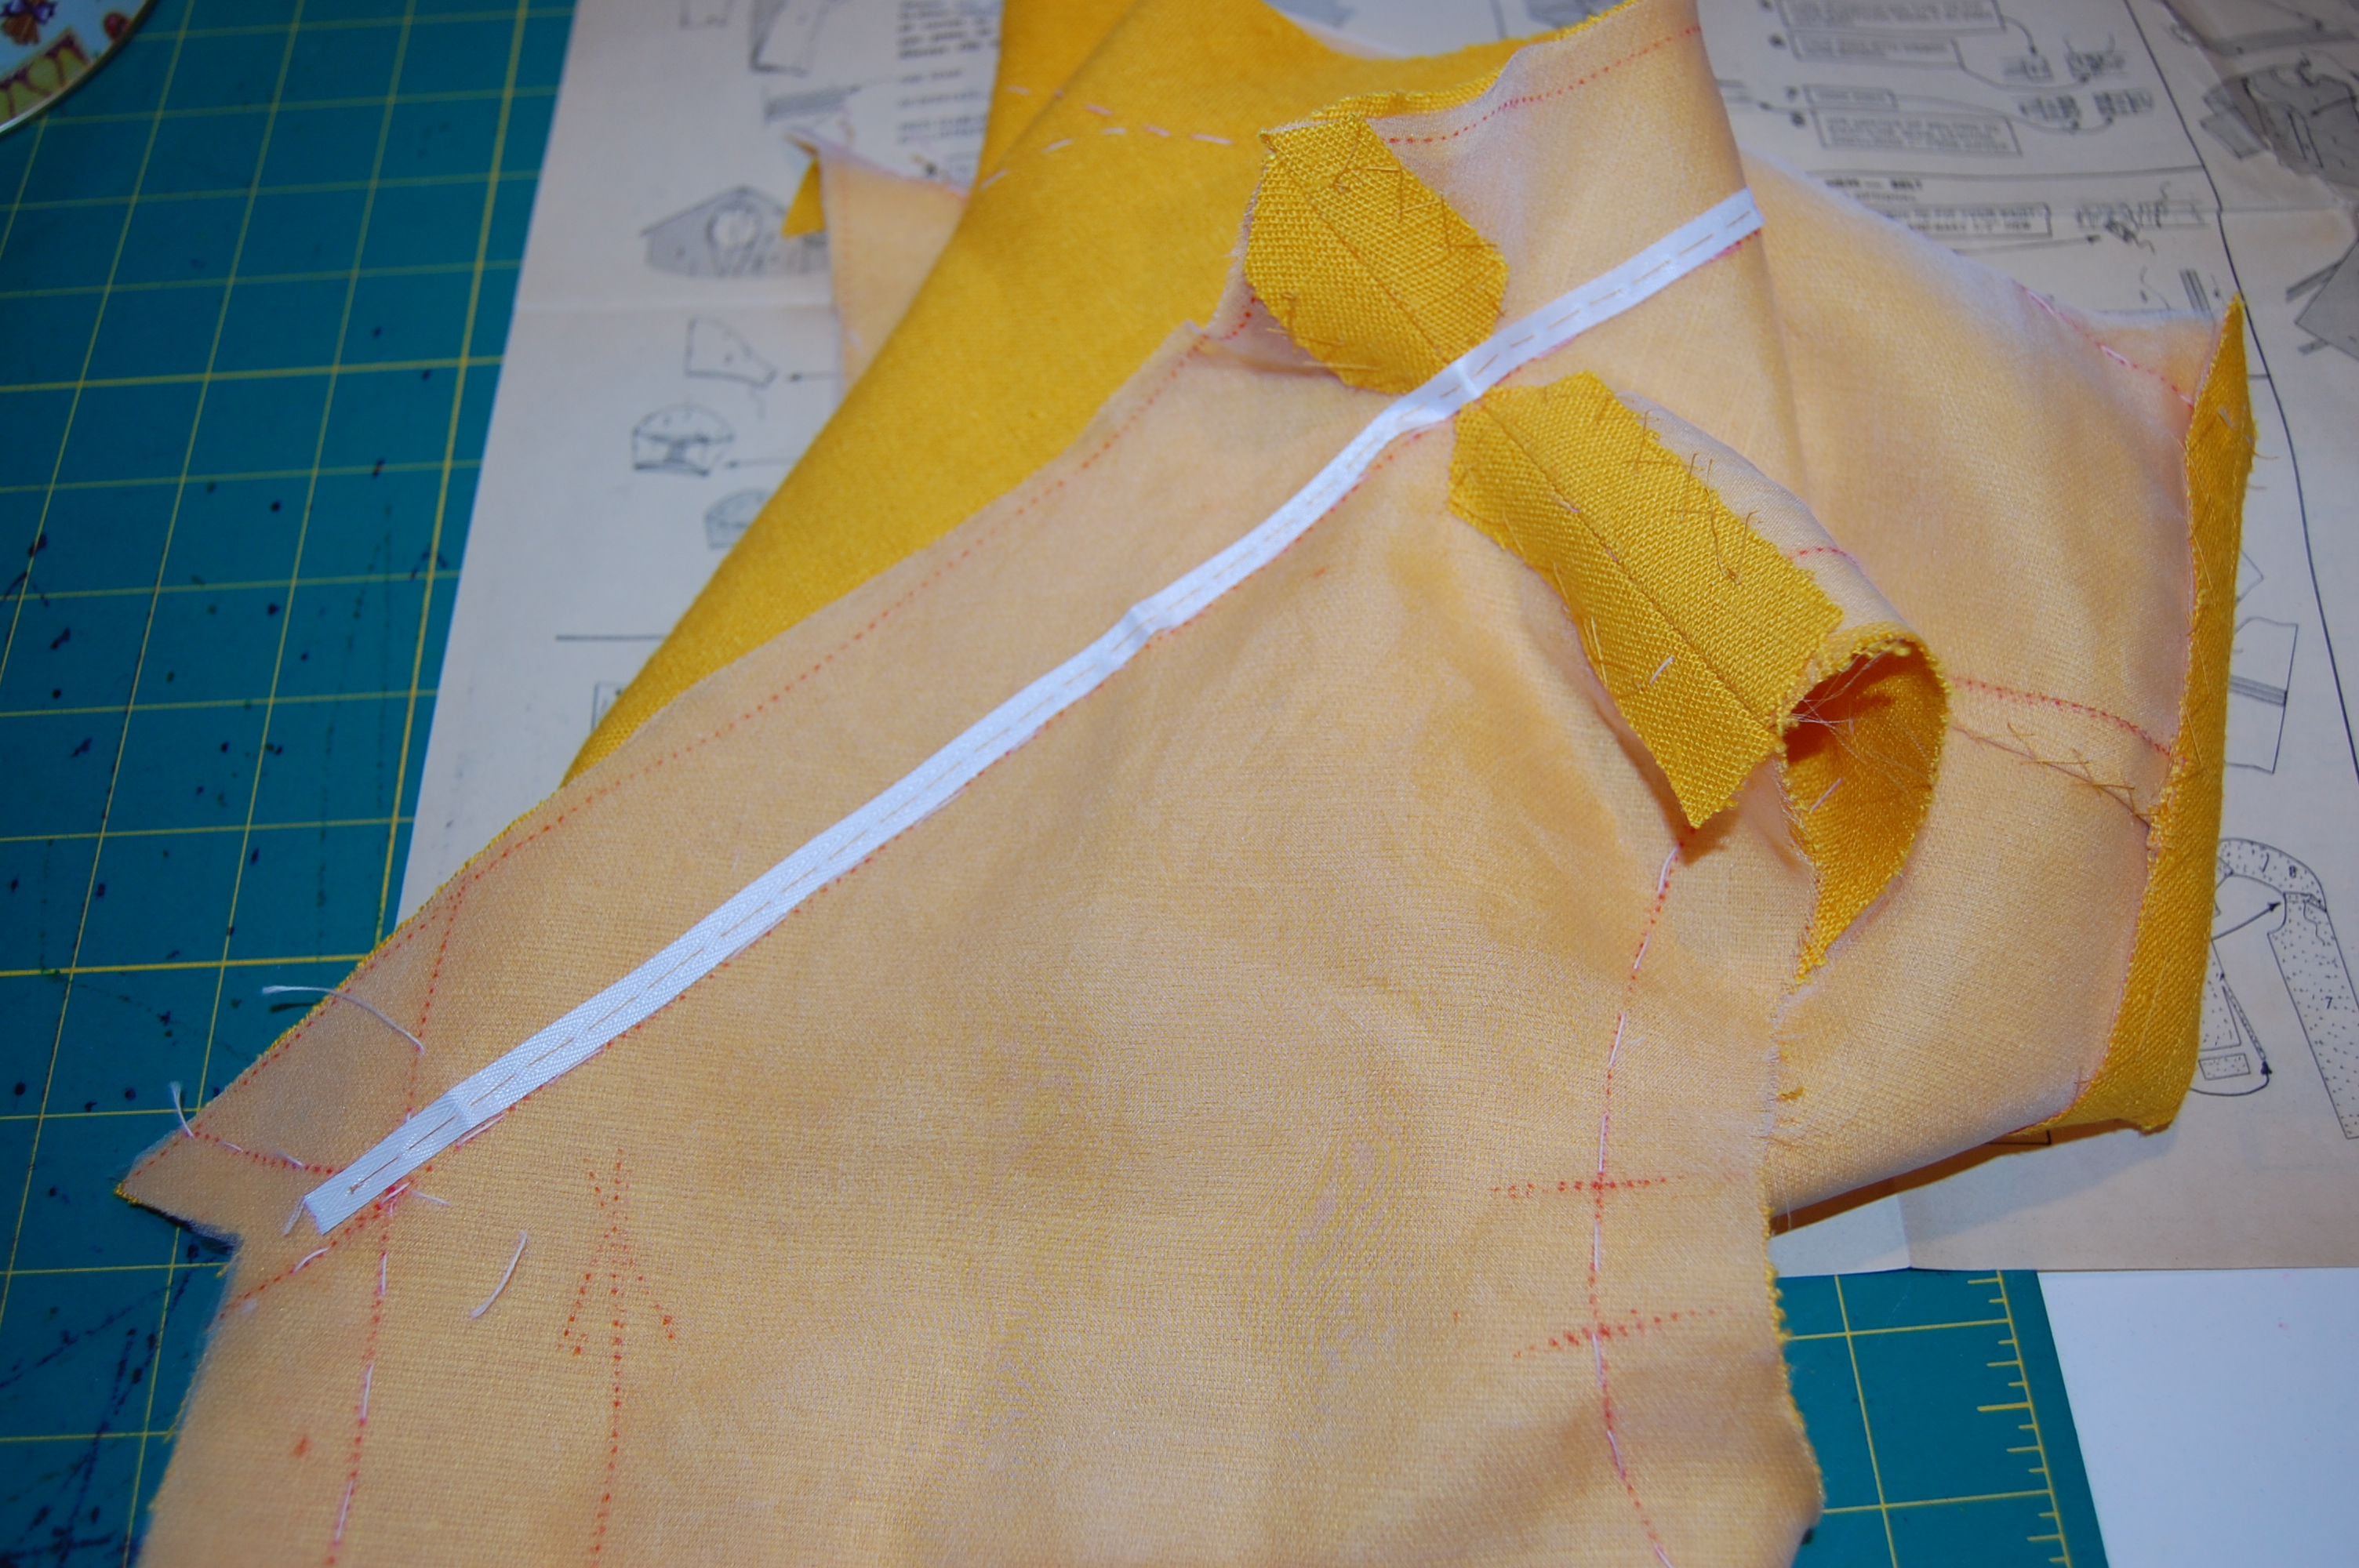
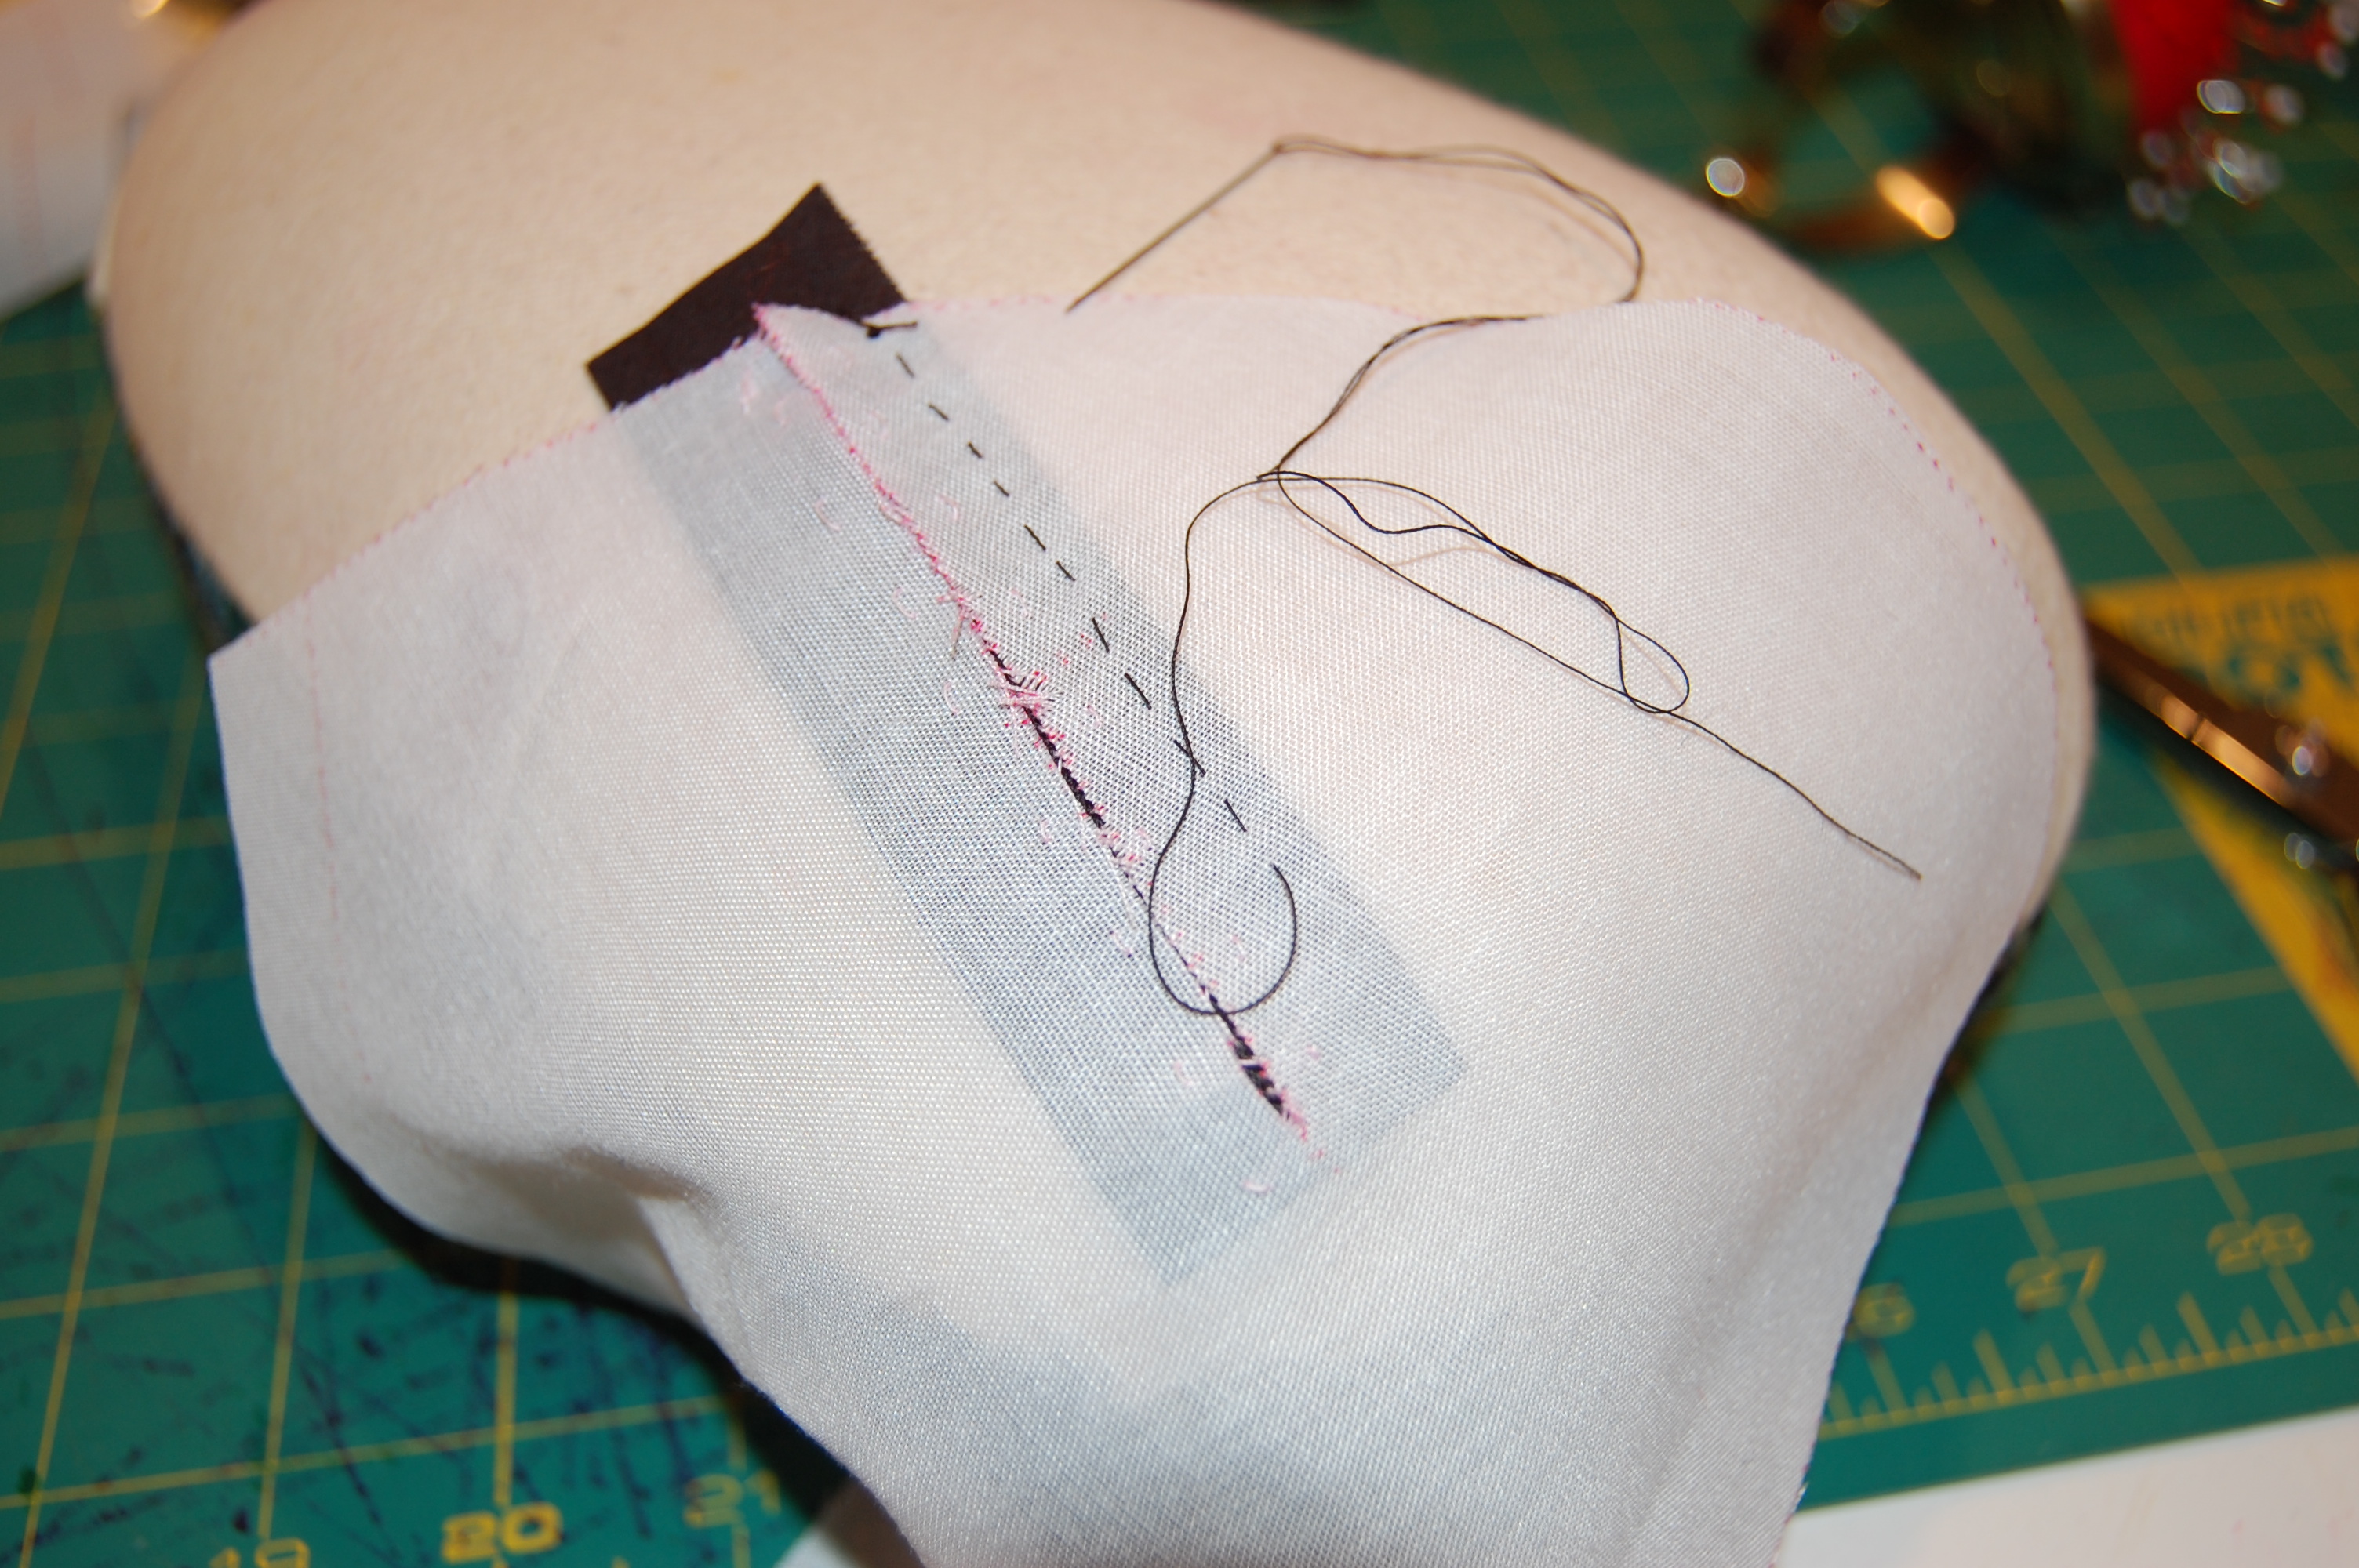
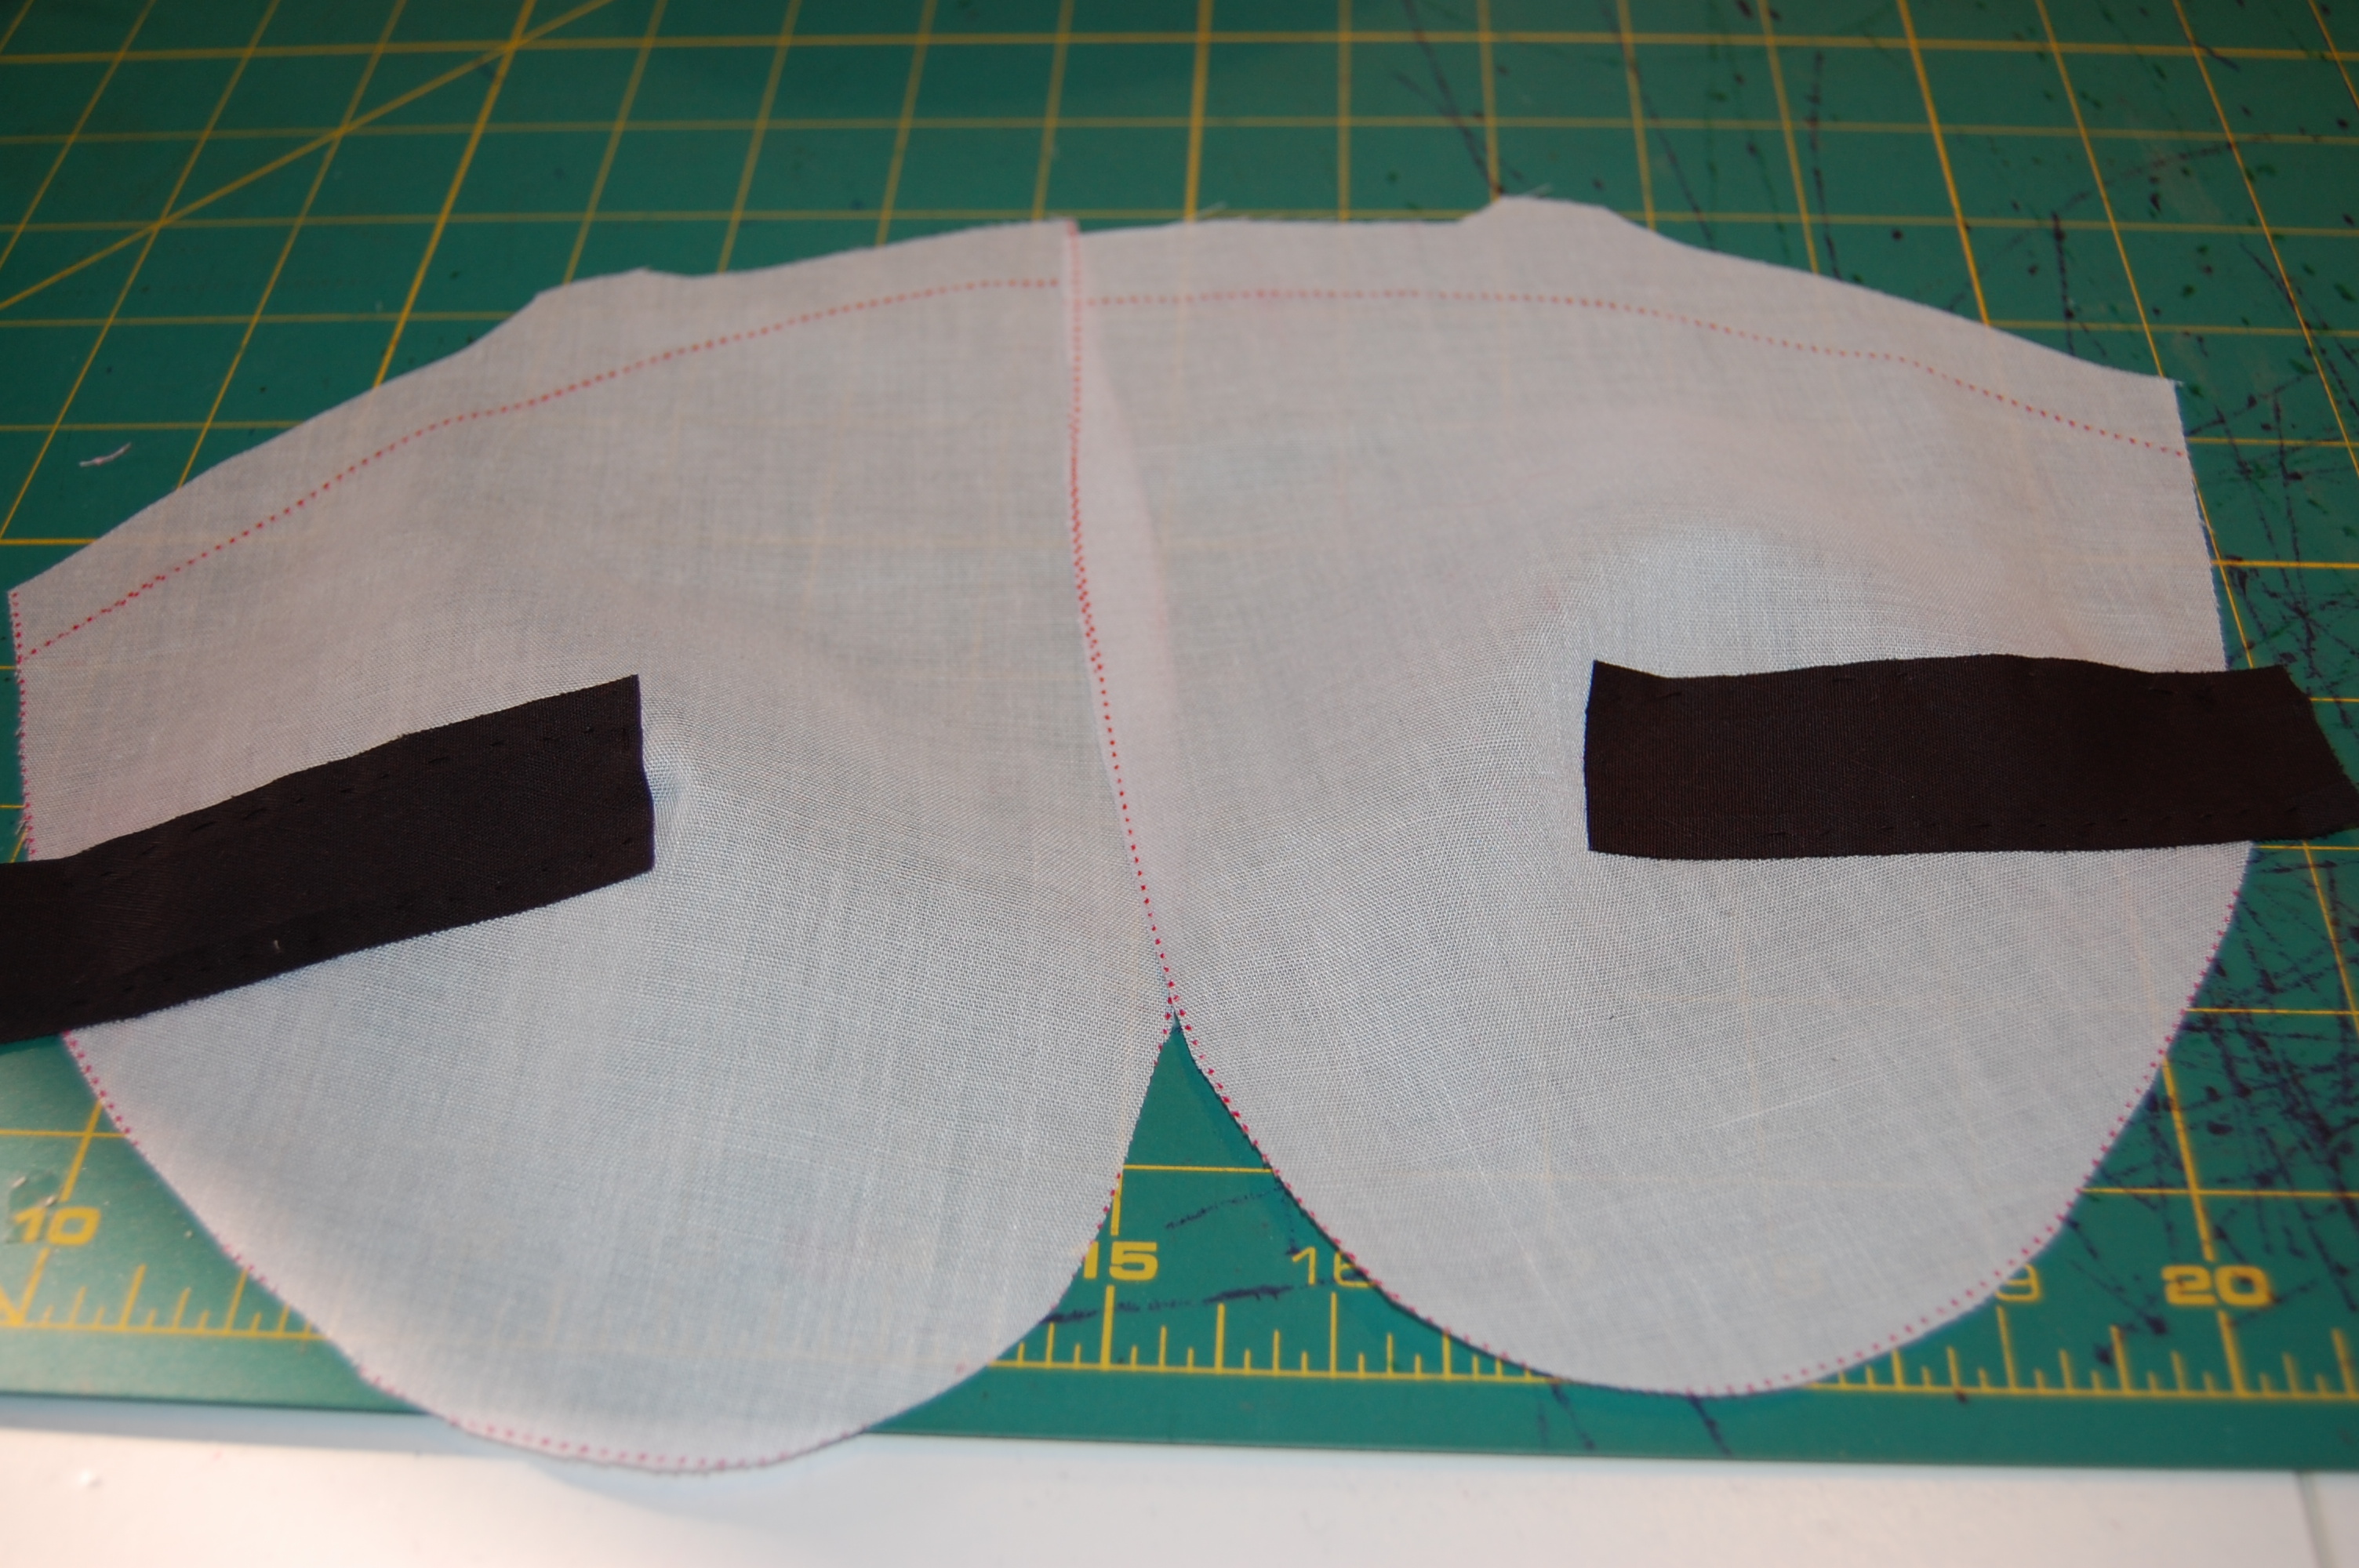
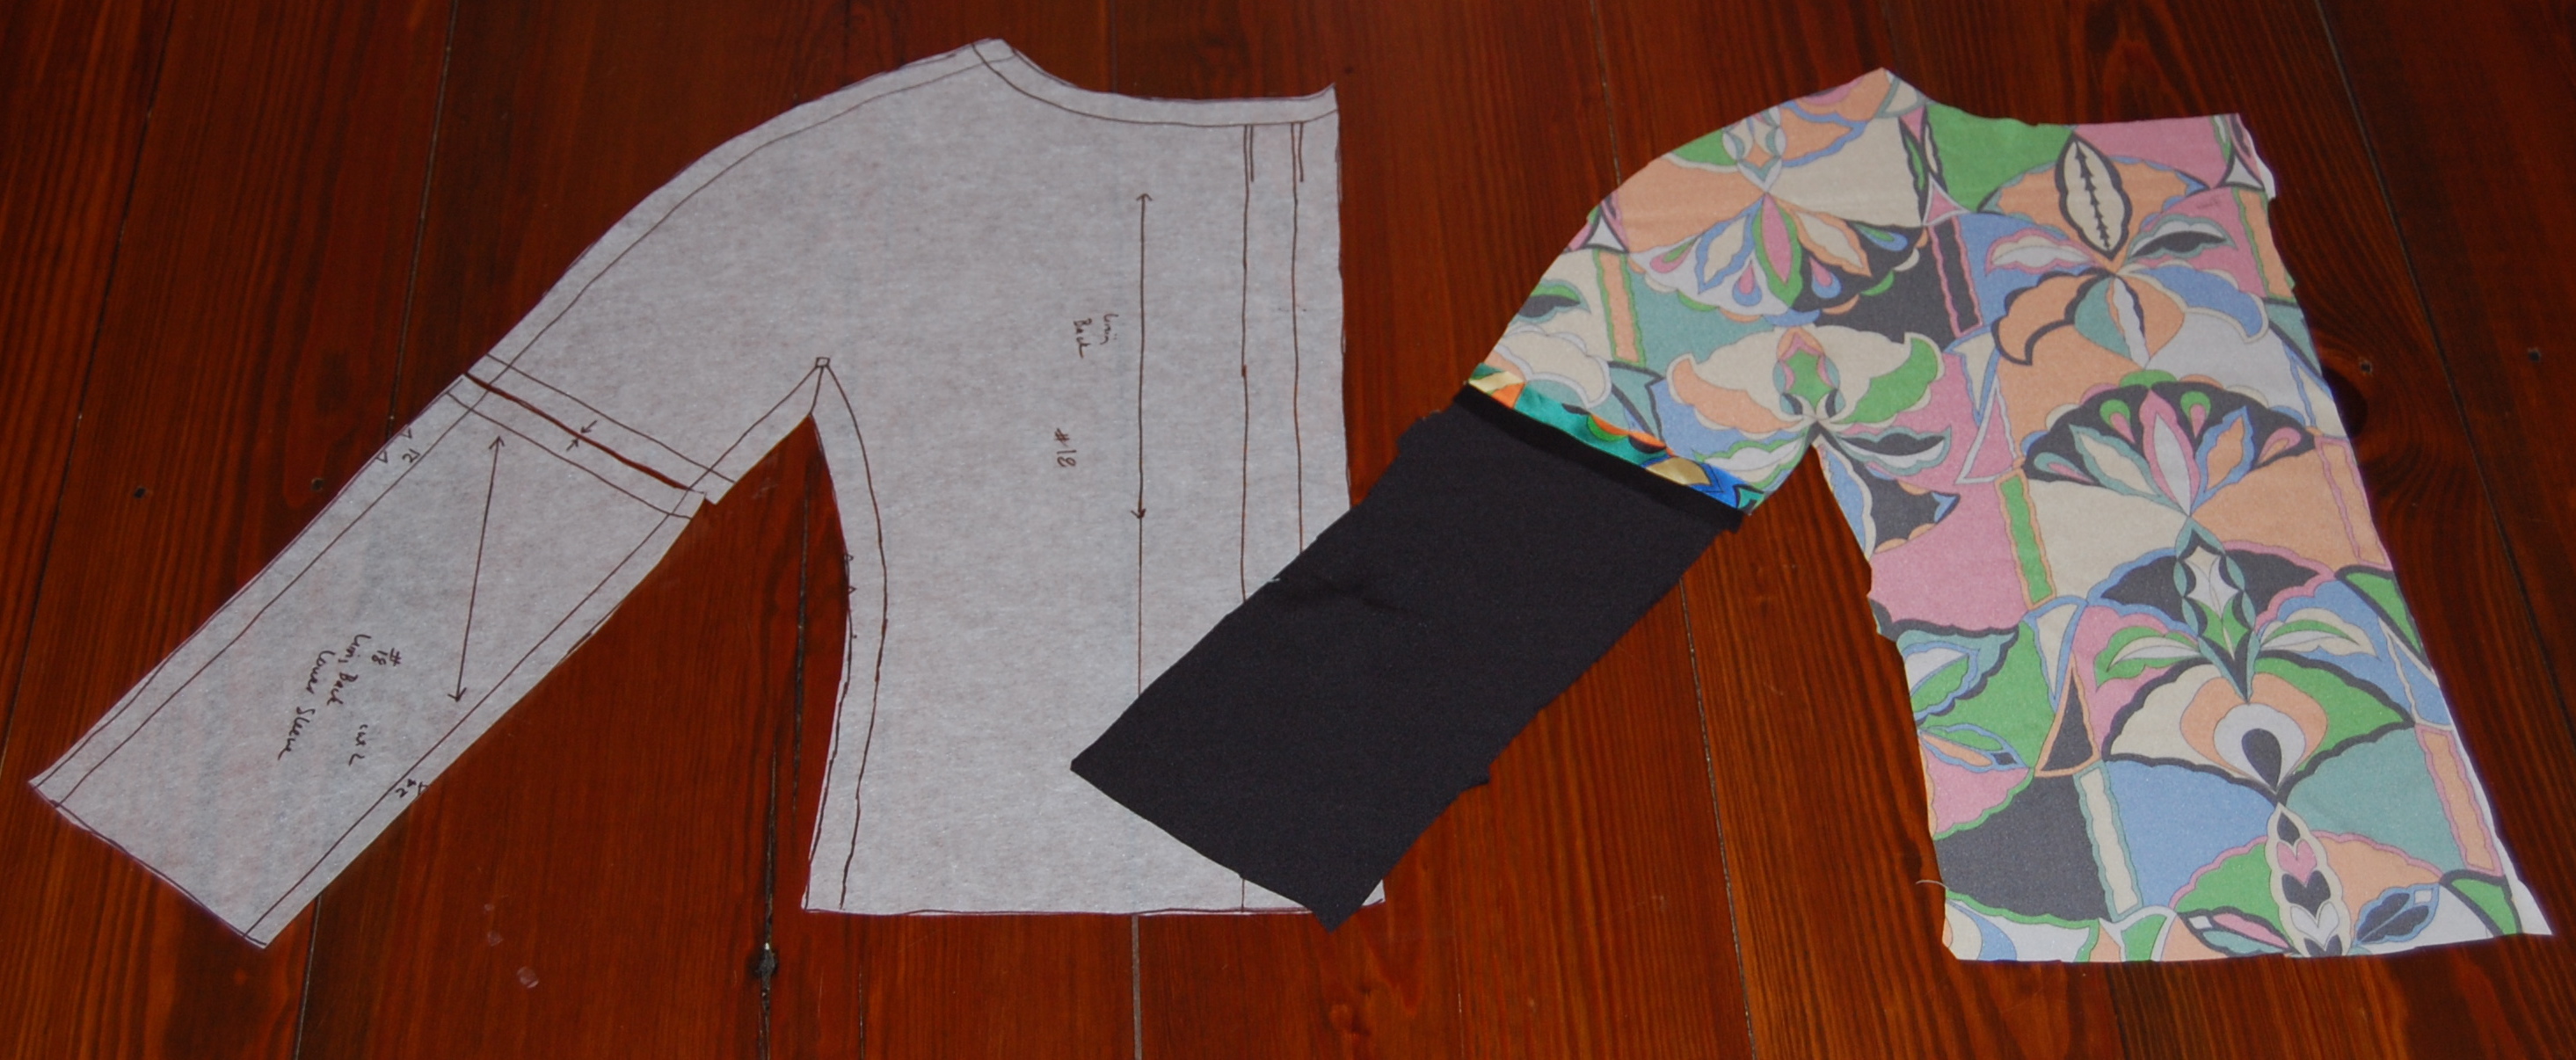
I basted the twill tape just to the outside of the fold line on the “all-in-one” facing. This is the back bodice.
And this is the front bodice, showing the deep V and the center seam.
Normally, couture construction does not use facings, but in this application, they were indispensible. Then the rest of the dress proceeded without a hitch.
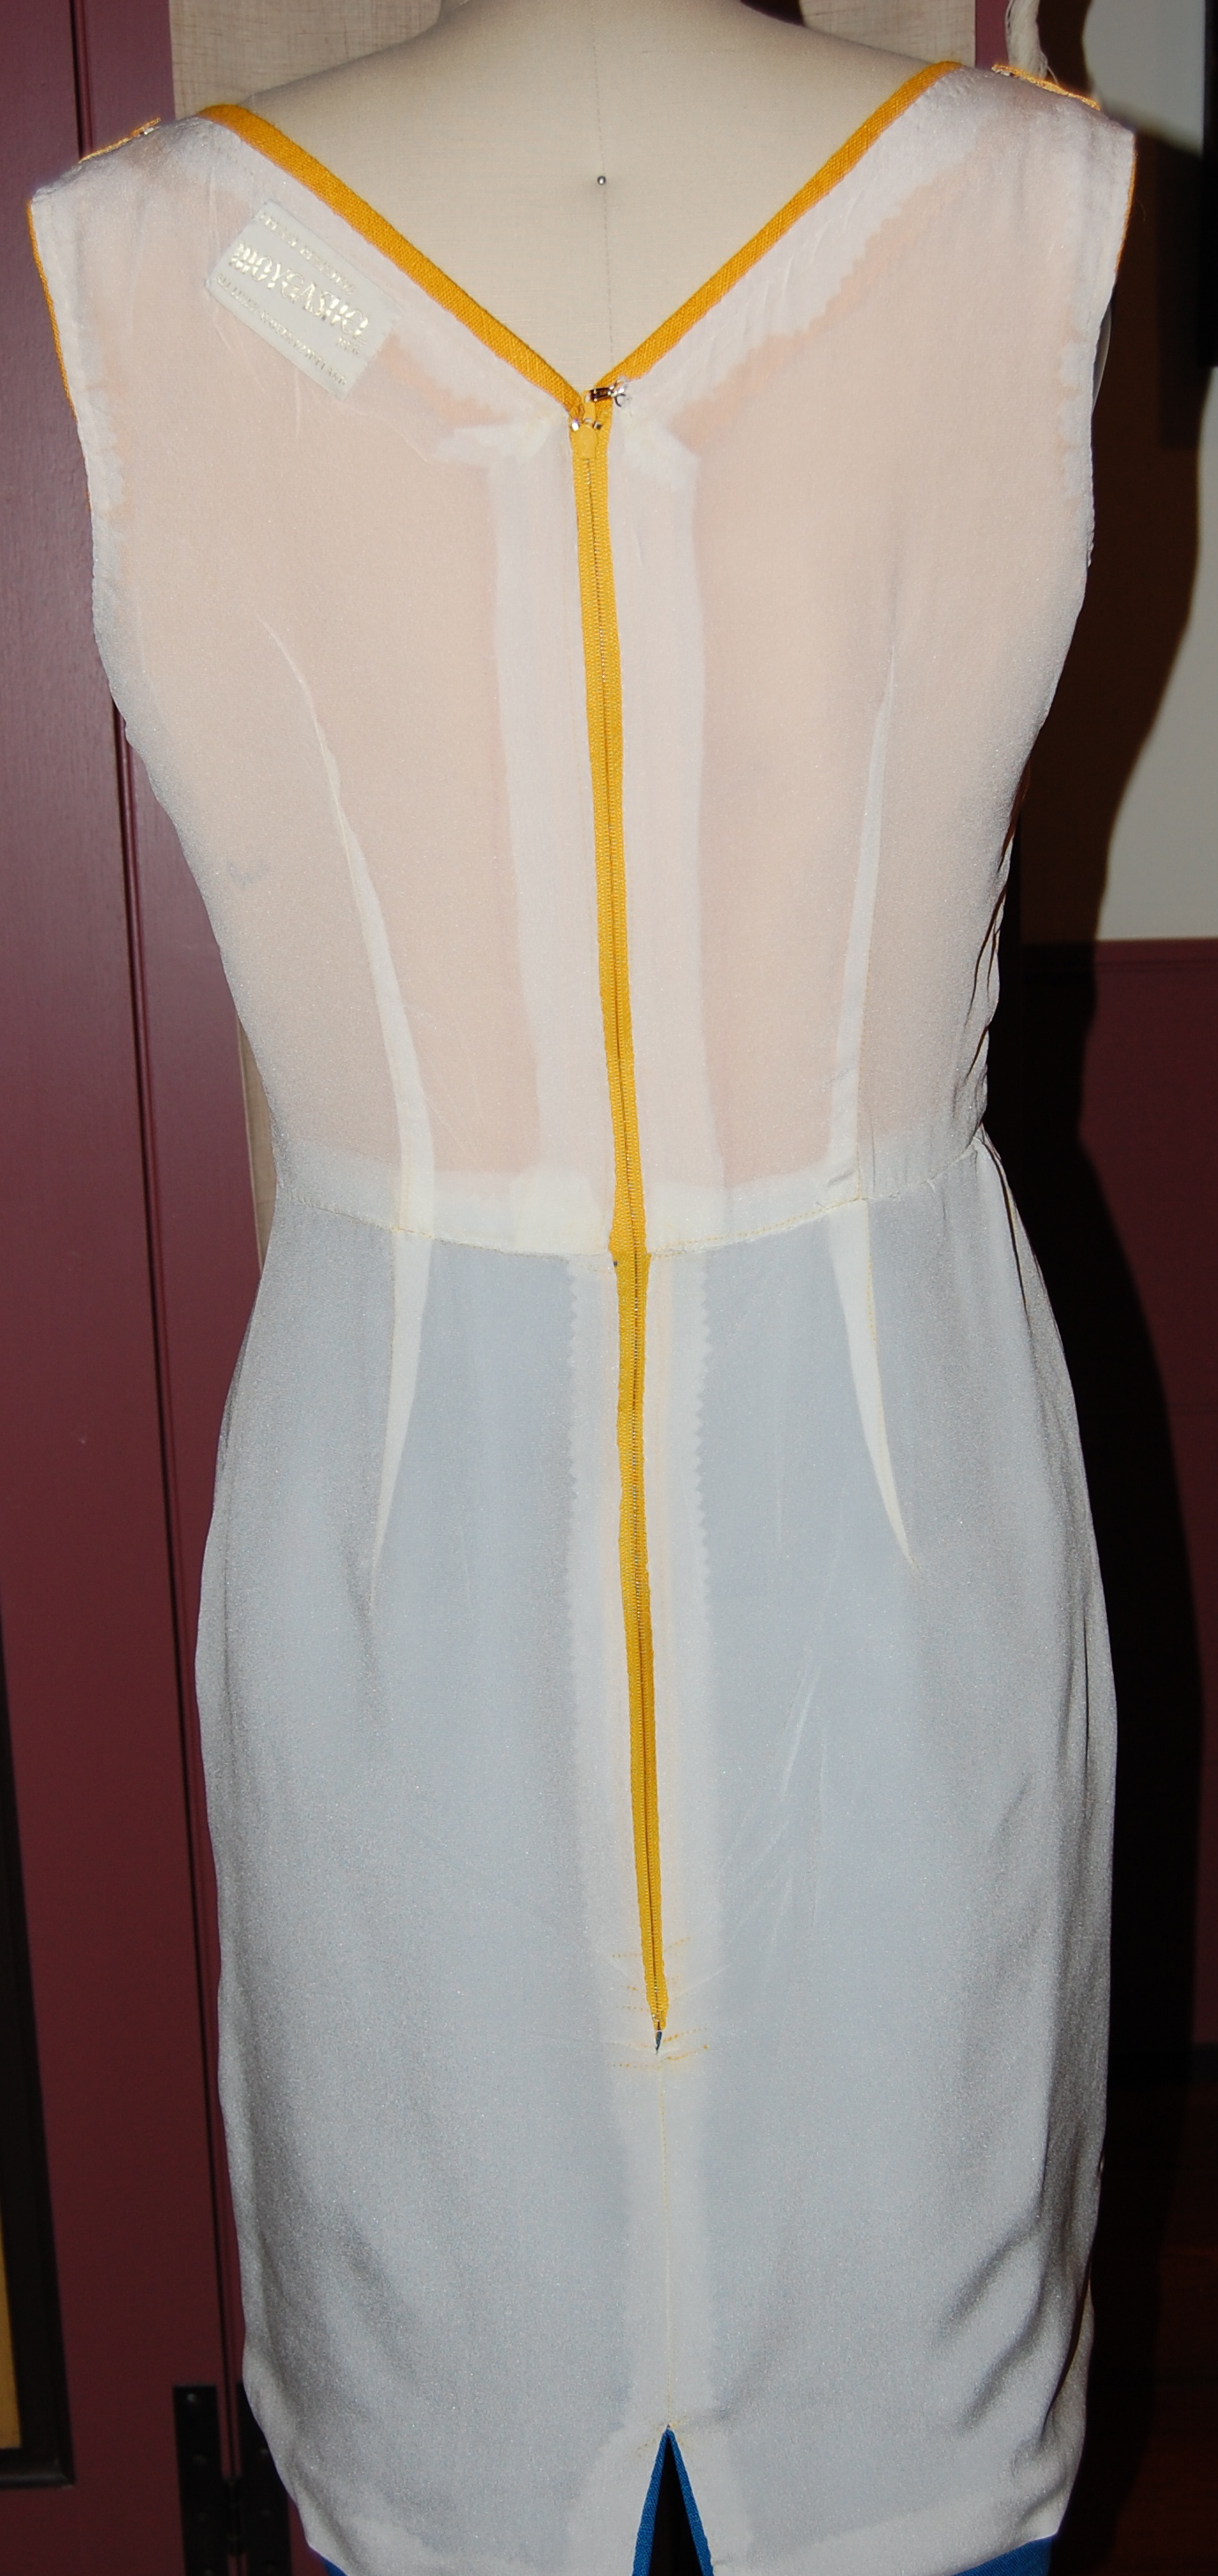
Here is the dress turned inside out. I used a forsythia-yellow zipper as I thought it more important to match the bodice than the skirt of the dress.
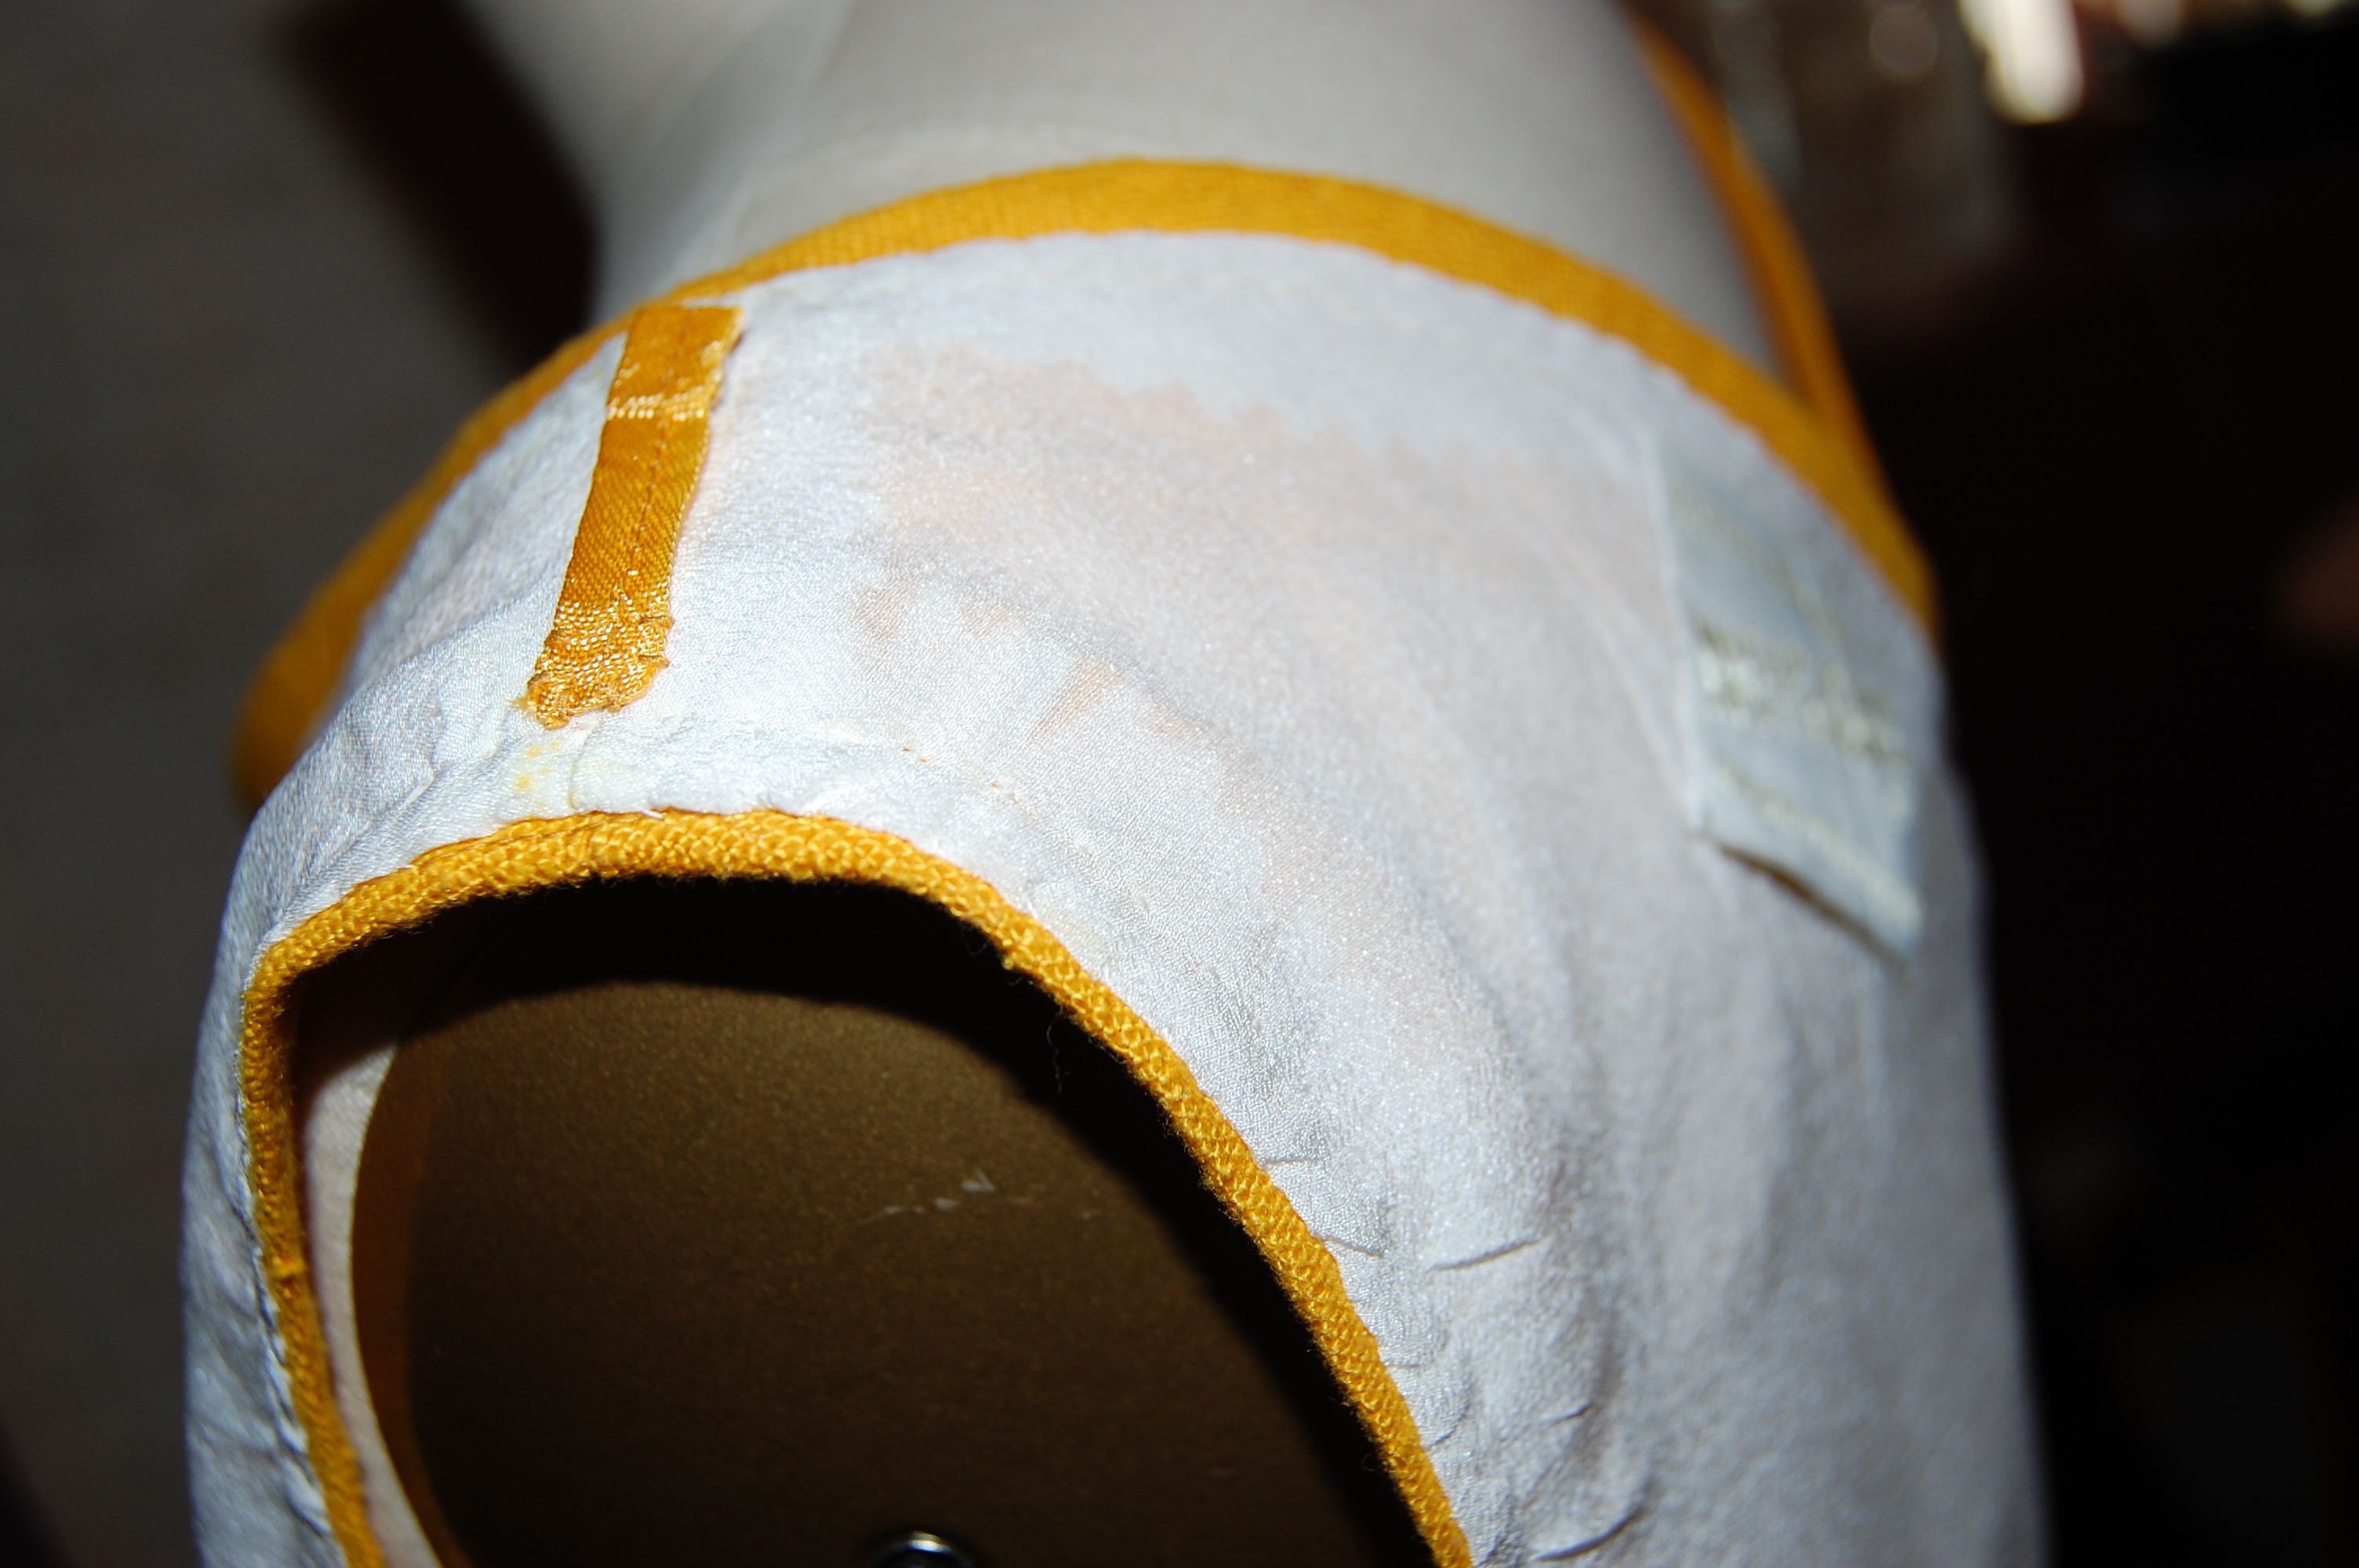
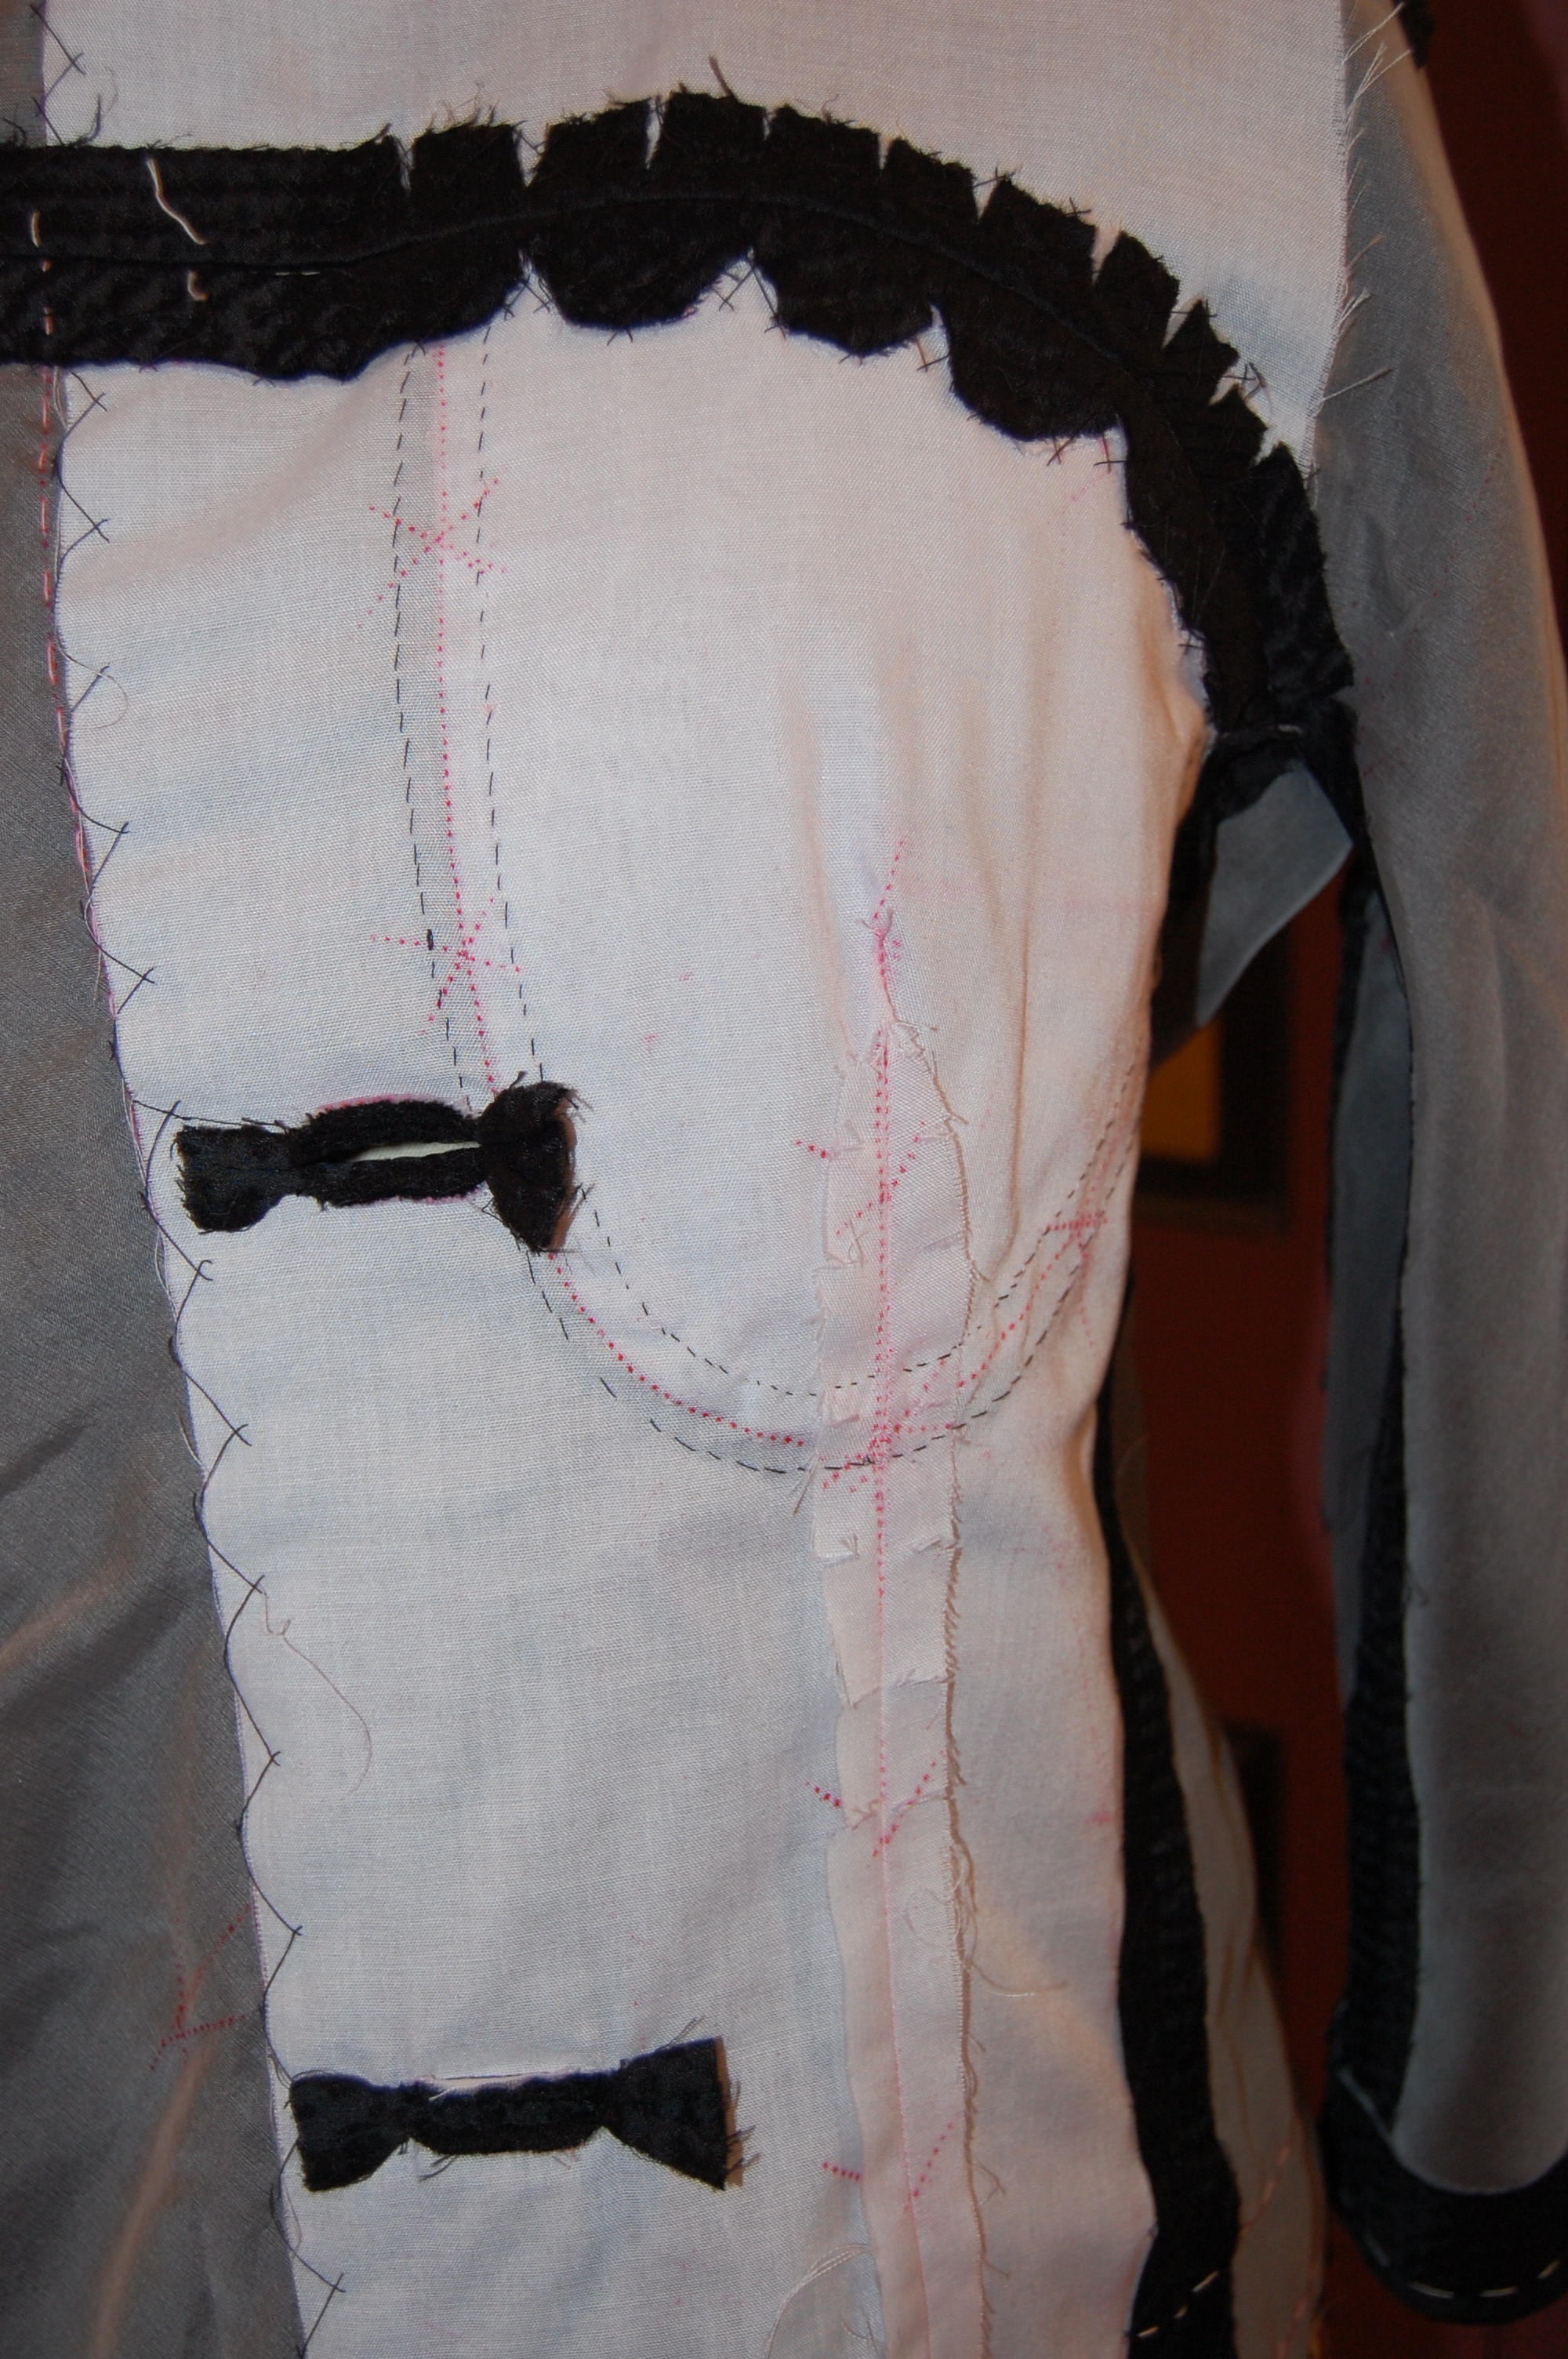
Here is an inside look at the crepe de chine fell-stitched and understitched in place around the shouilder. Note the lingerie stay made with a folded piece of Hug Snug rayon woven tape.
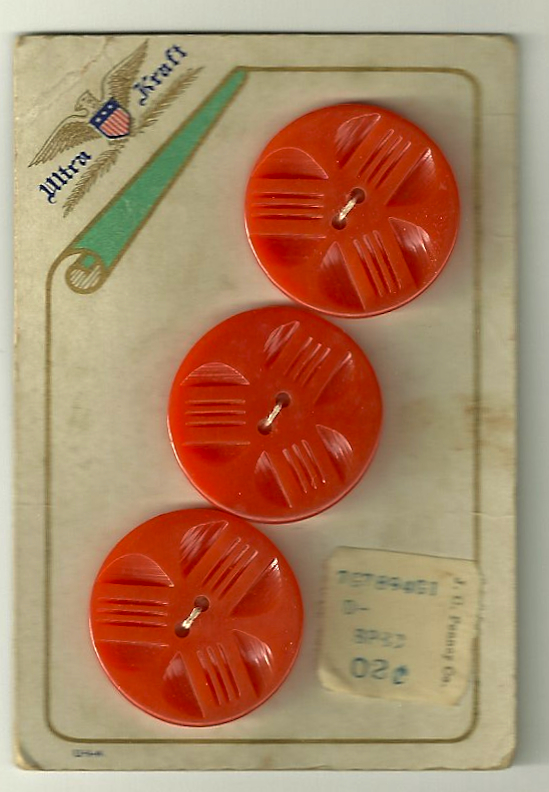
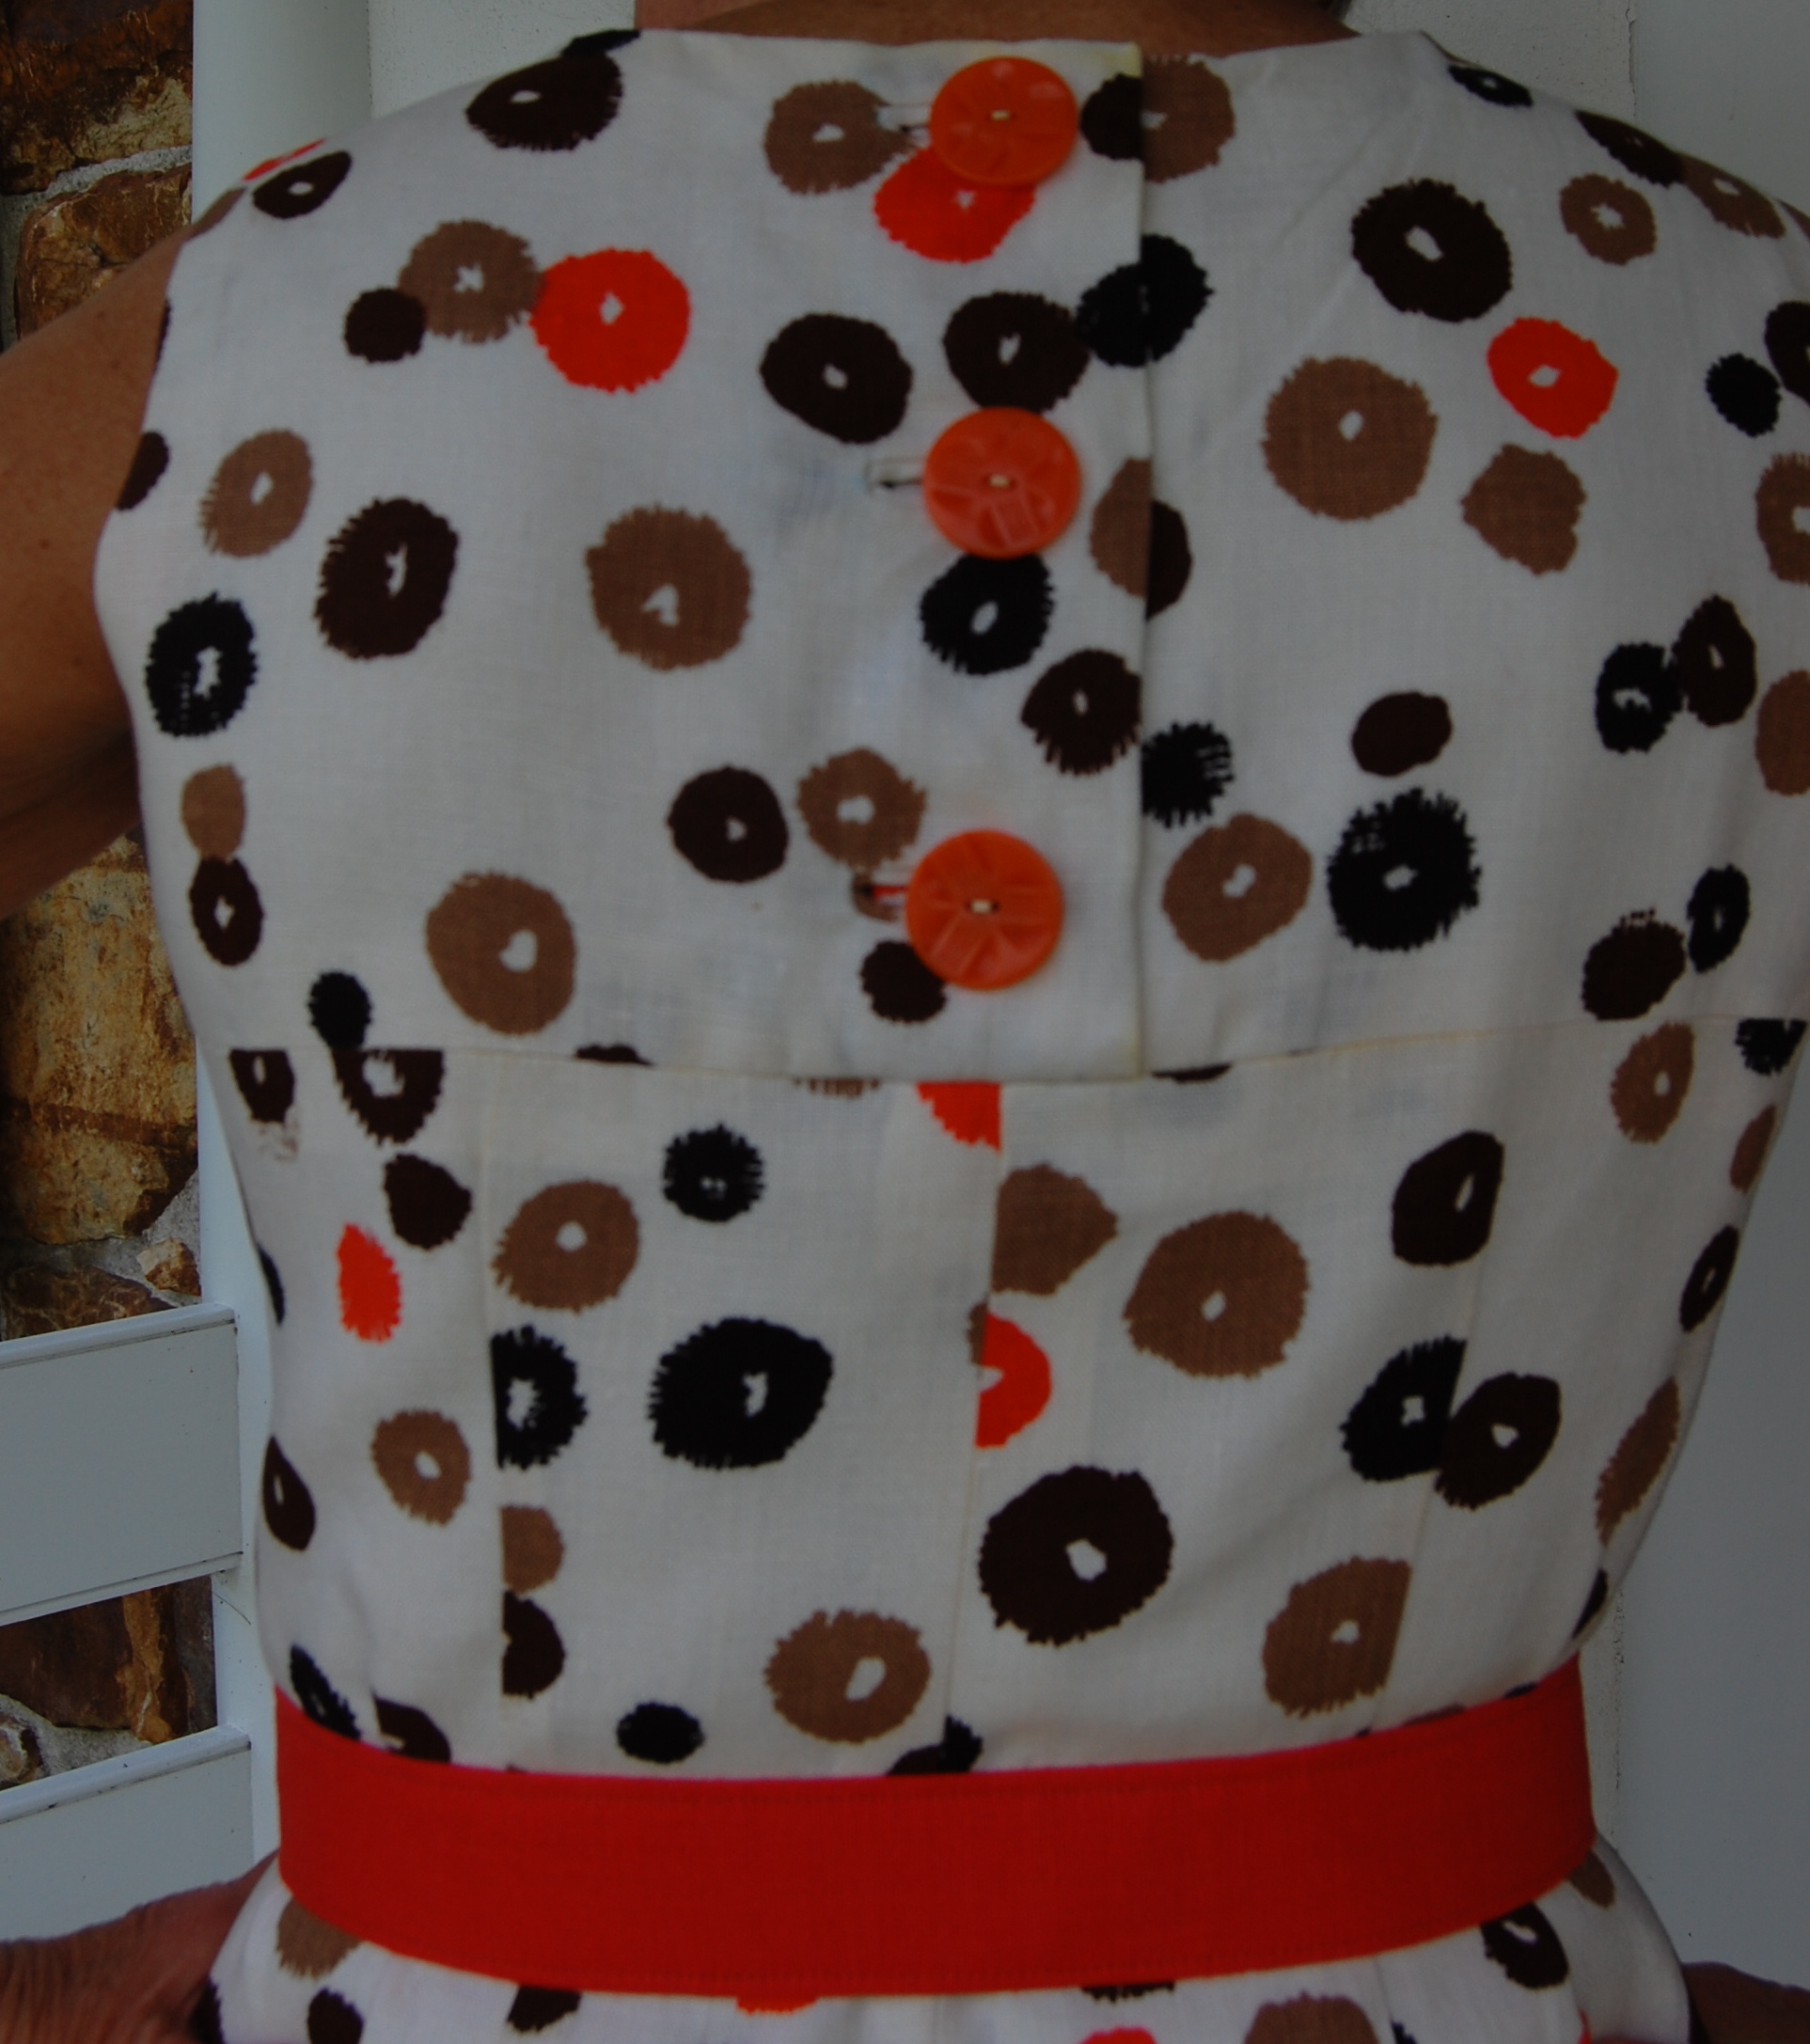
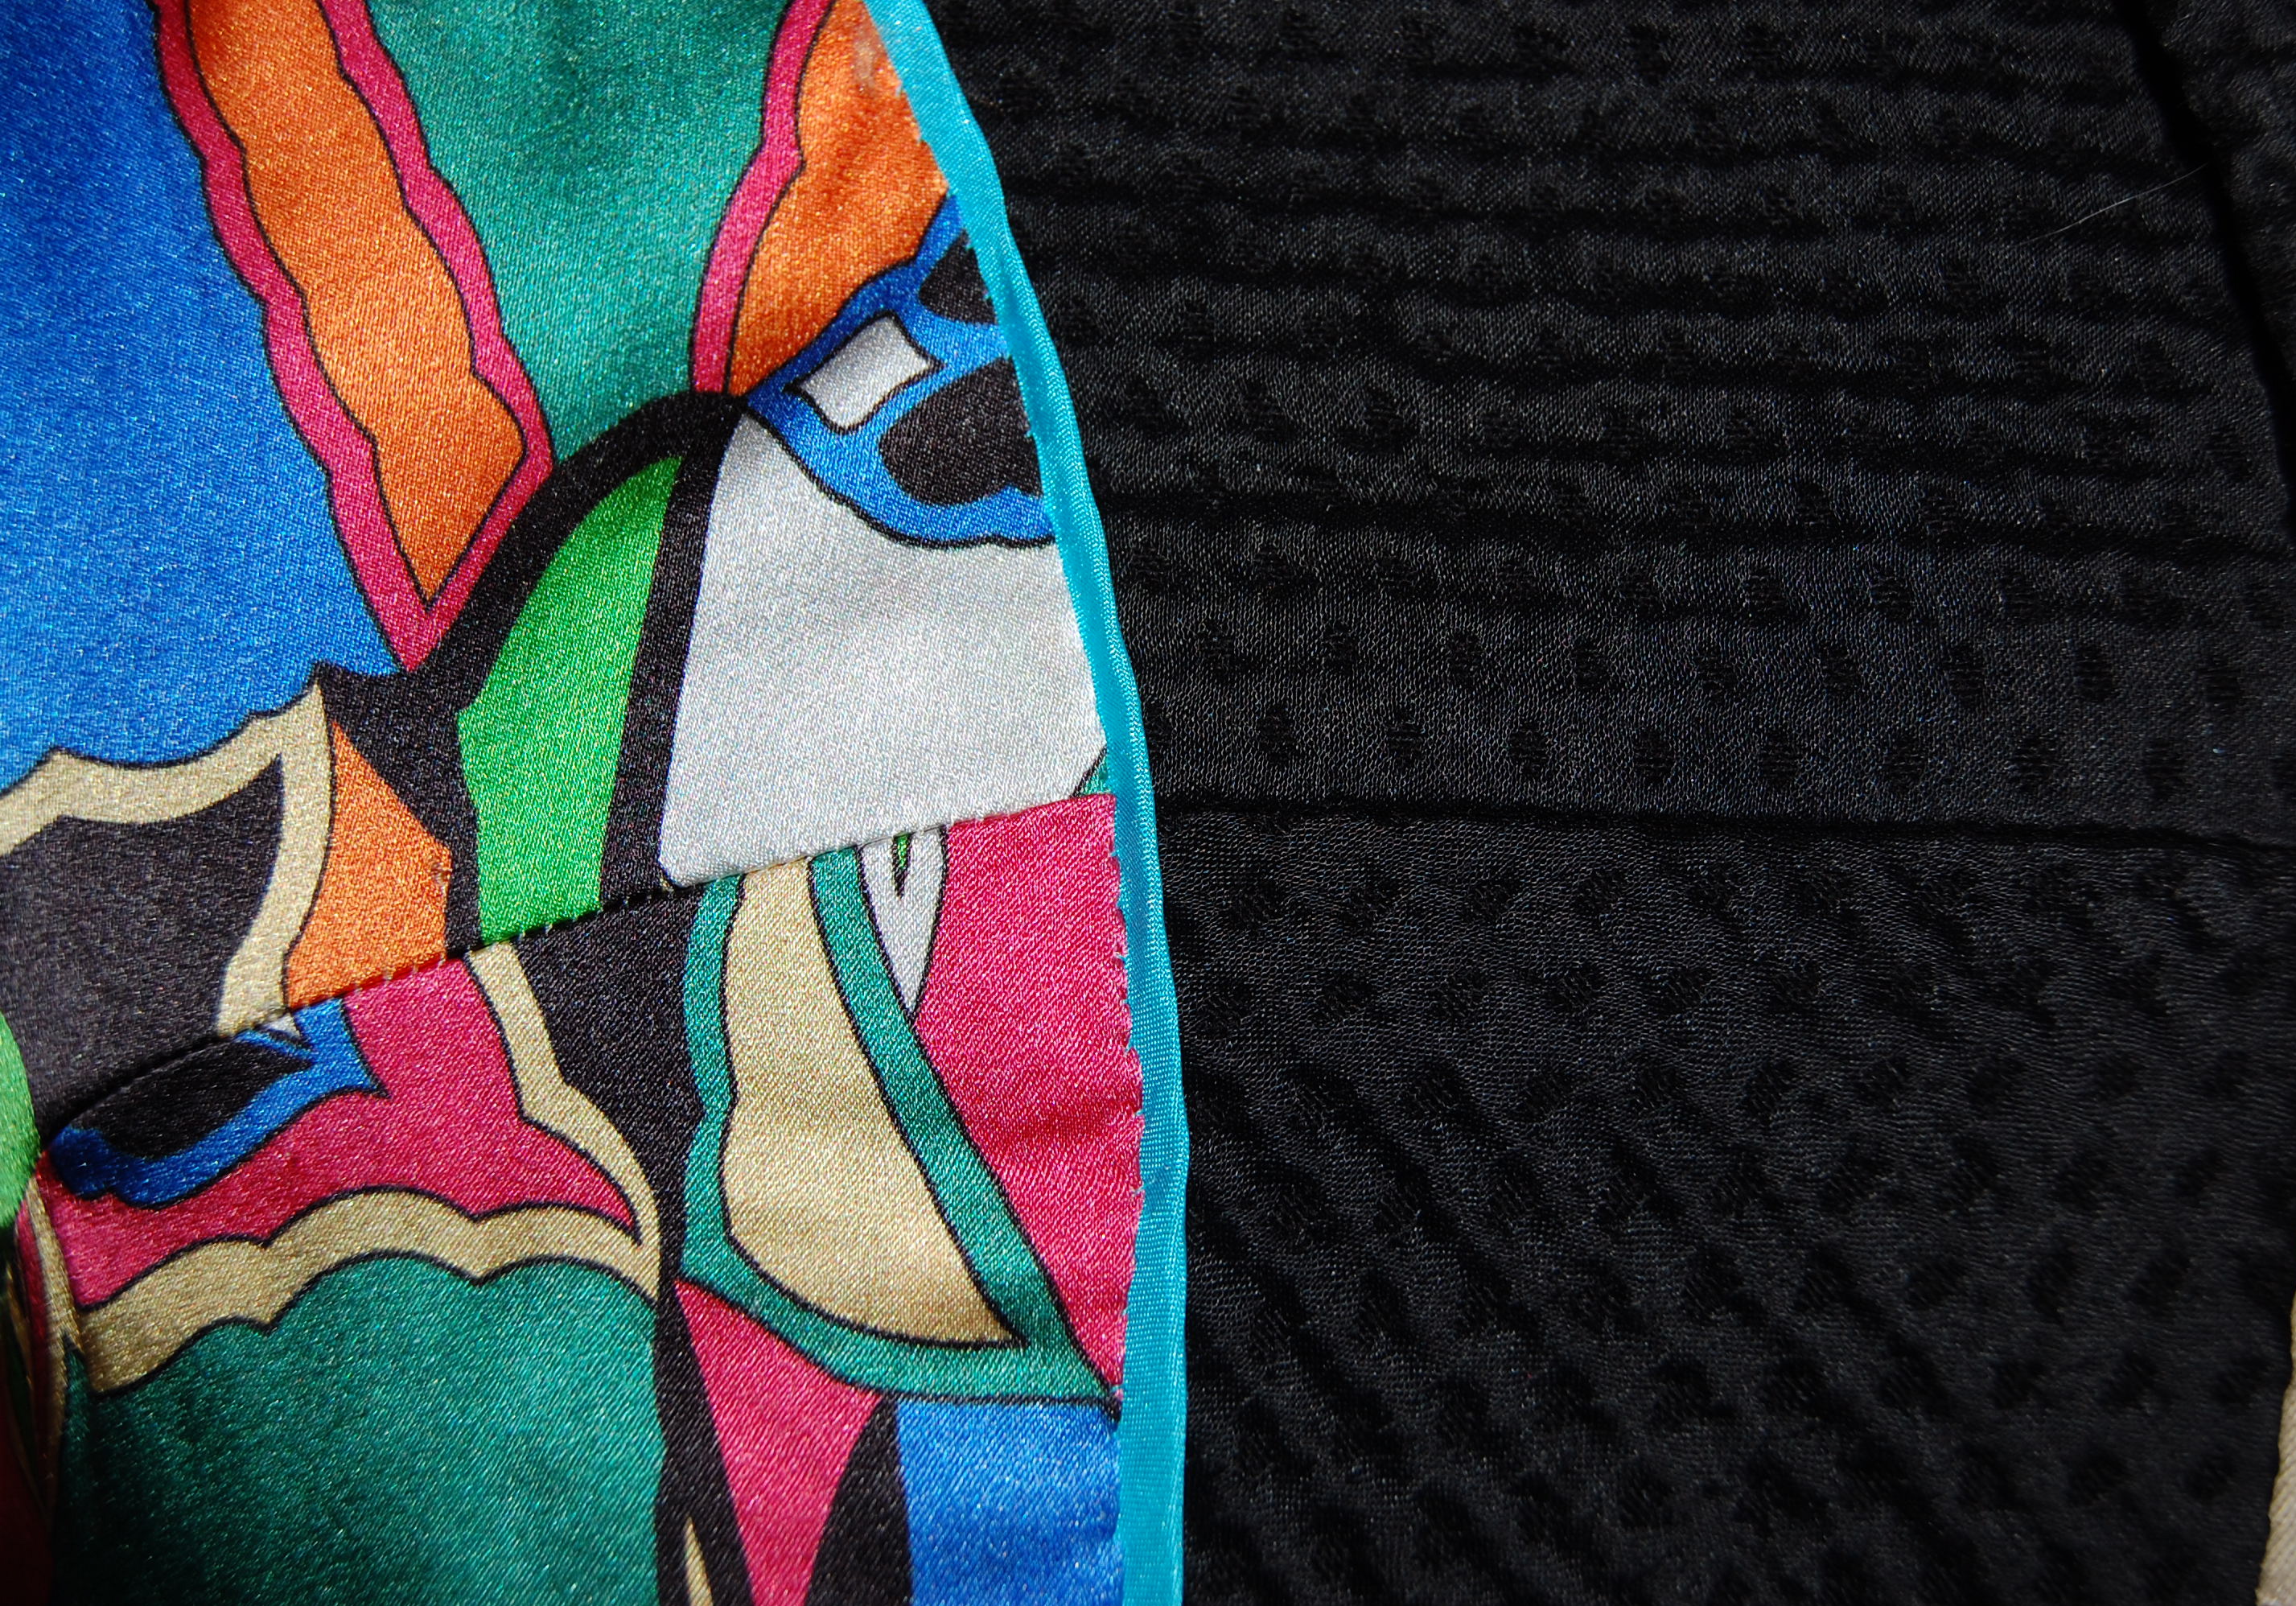
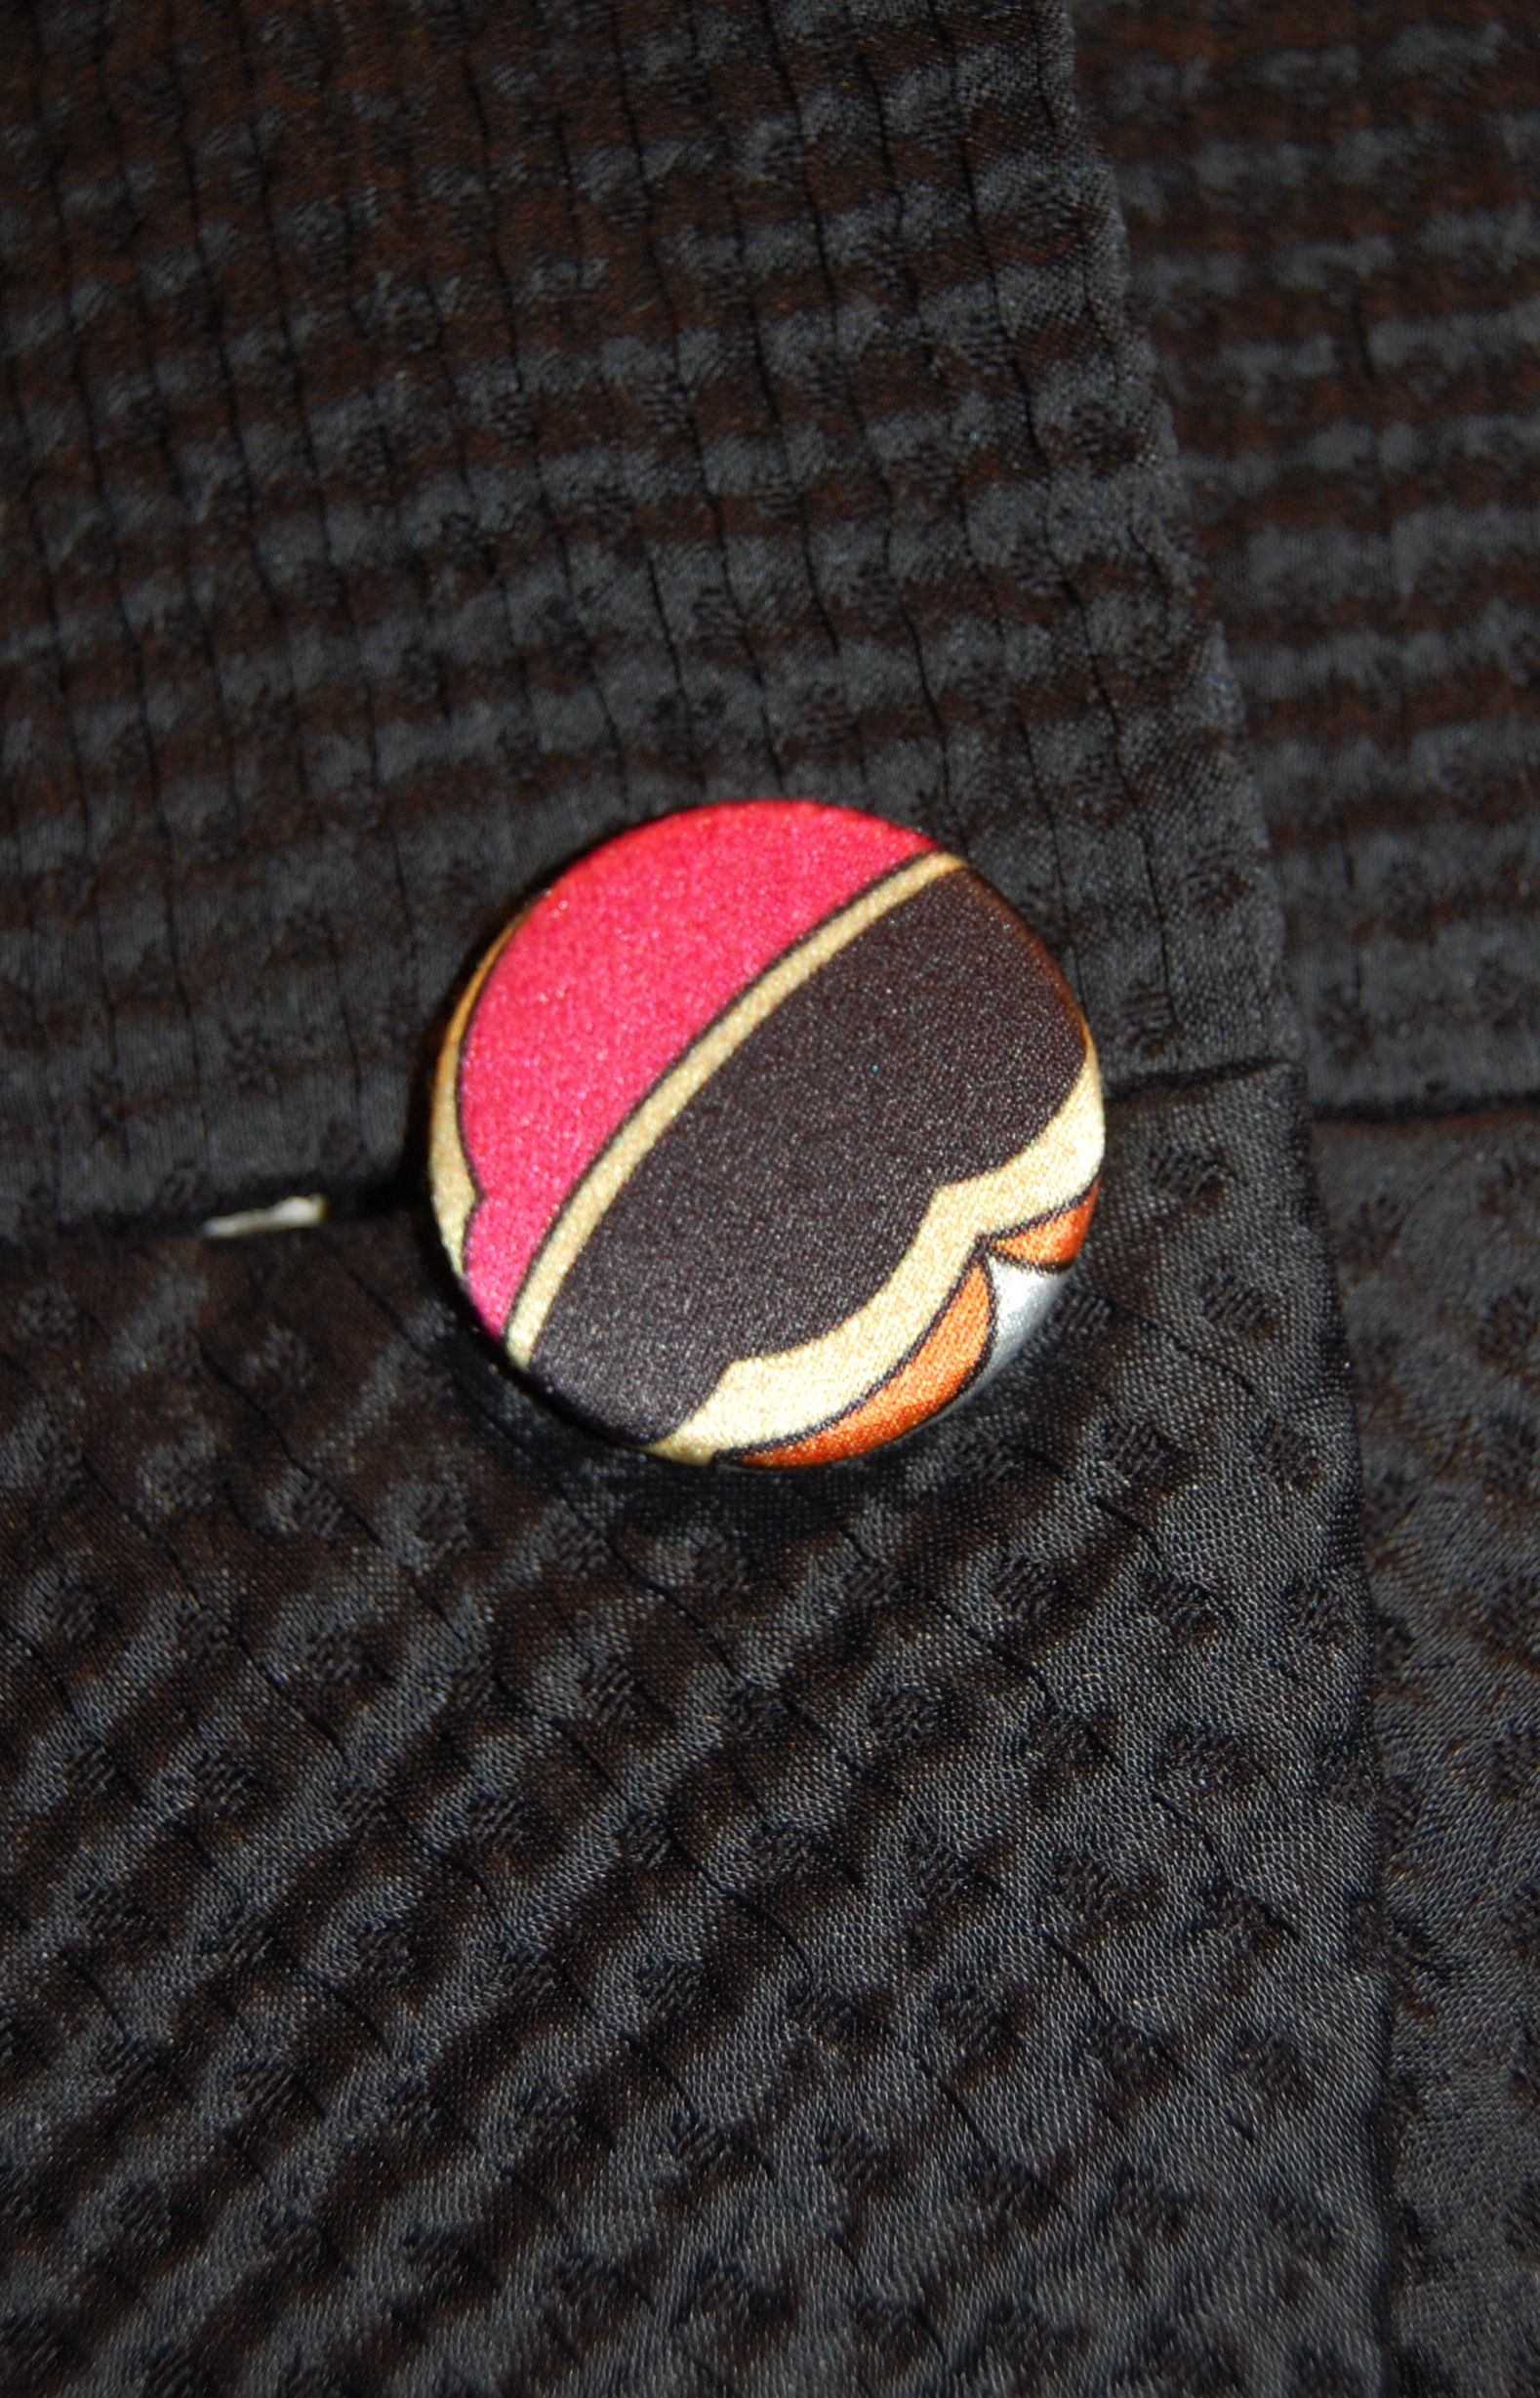
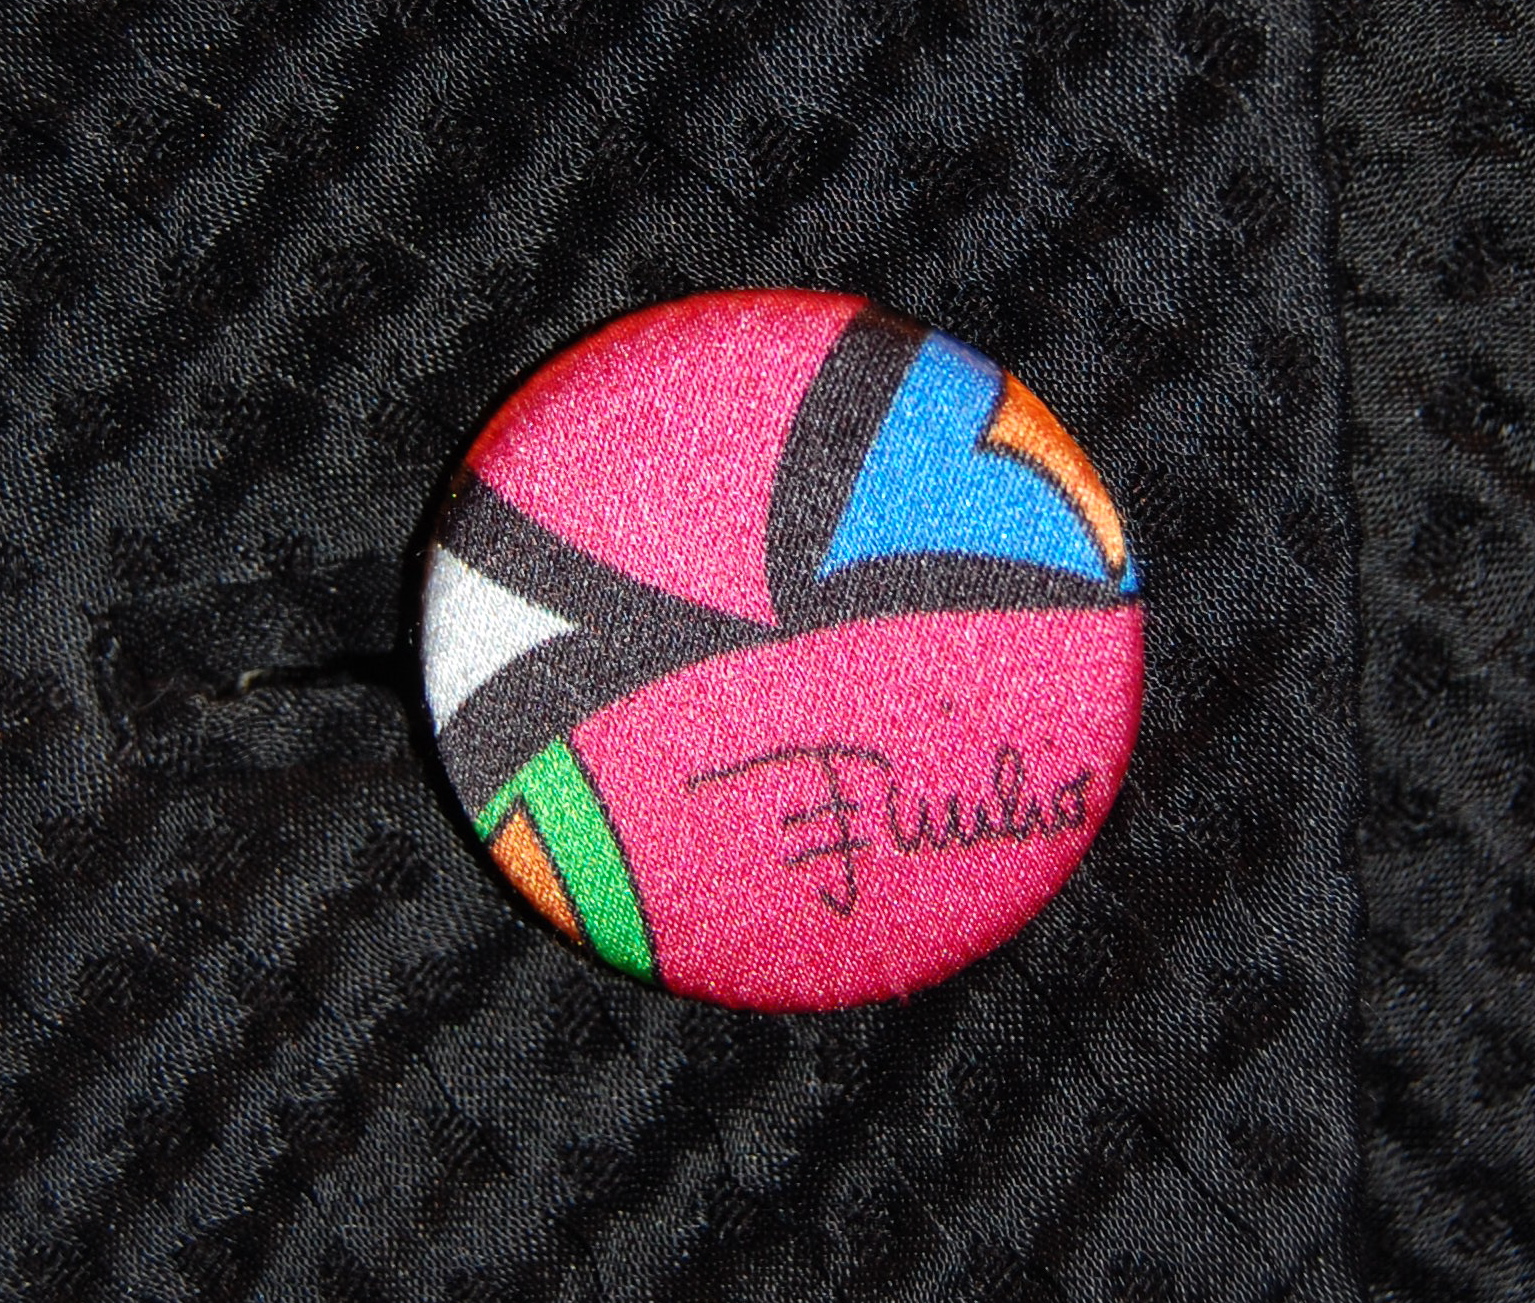
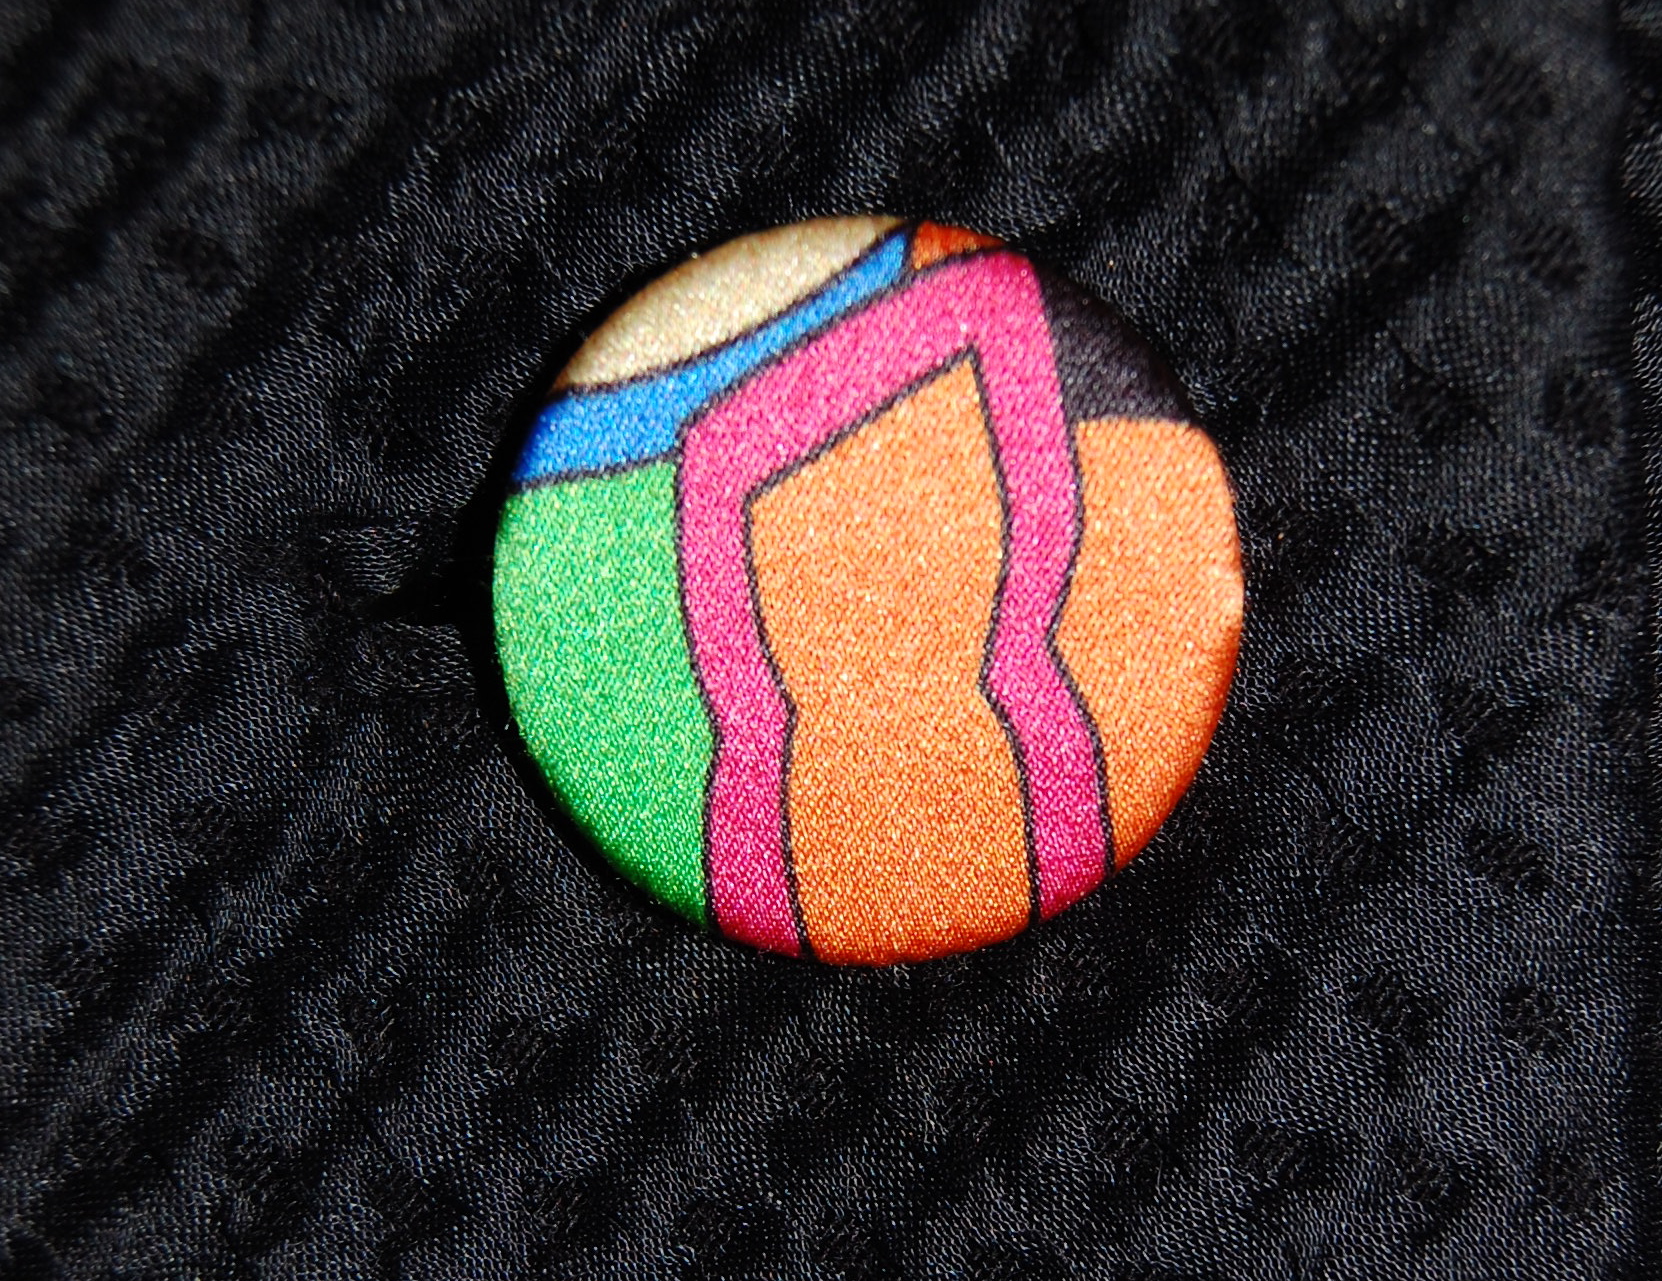
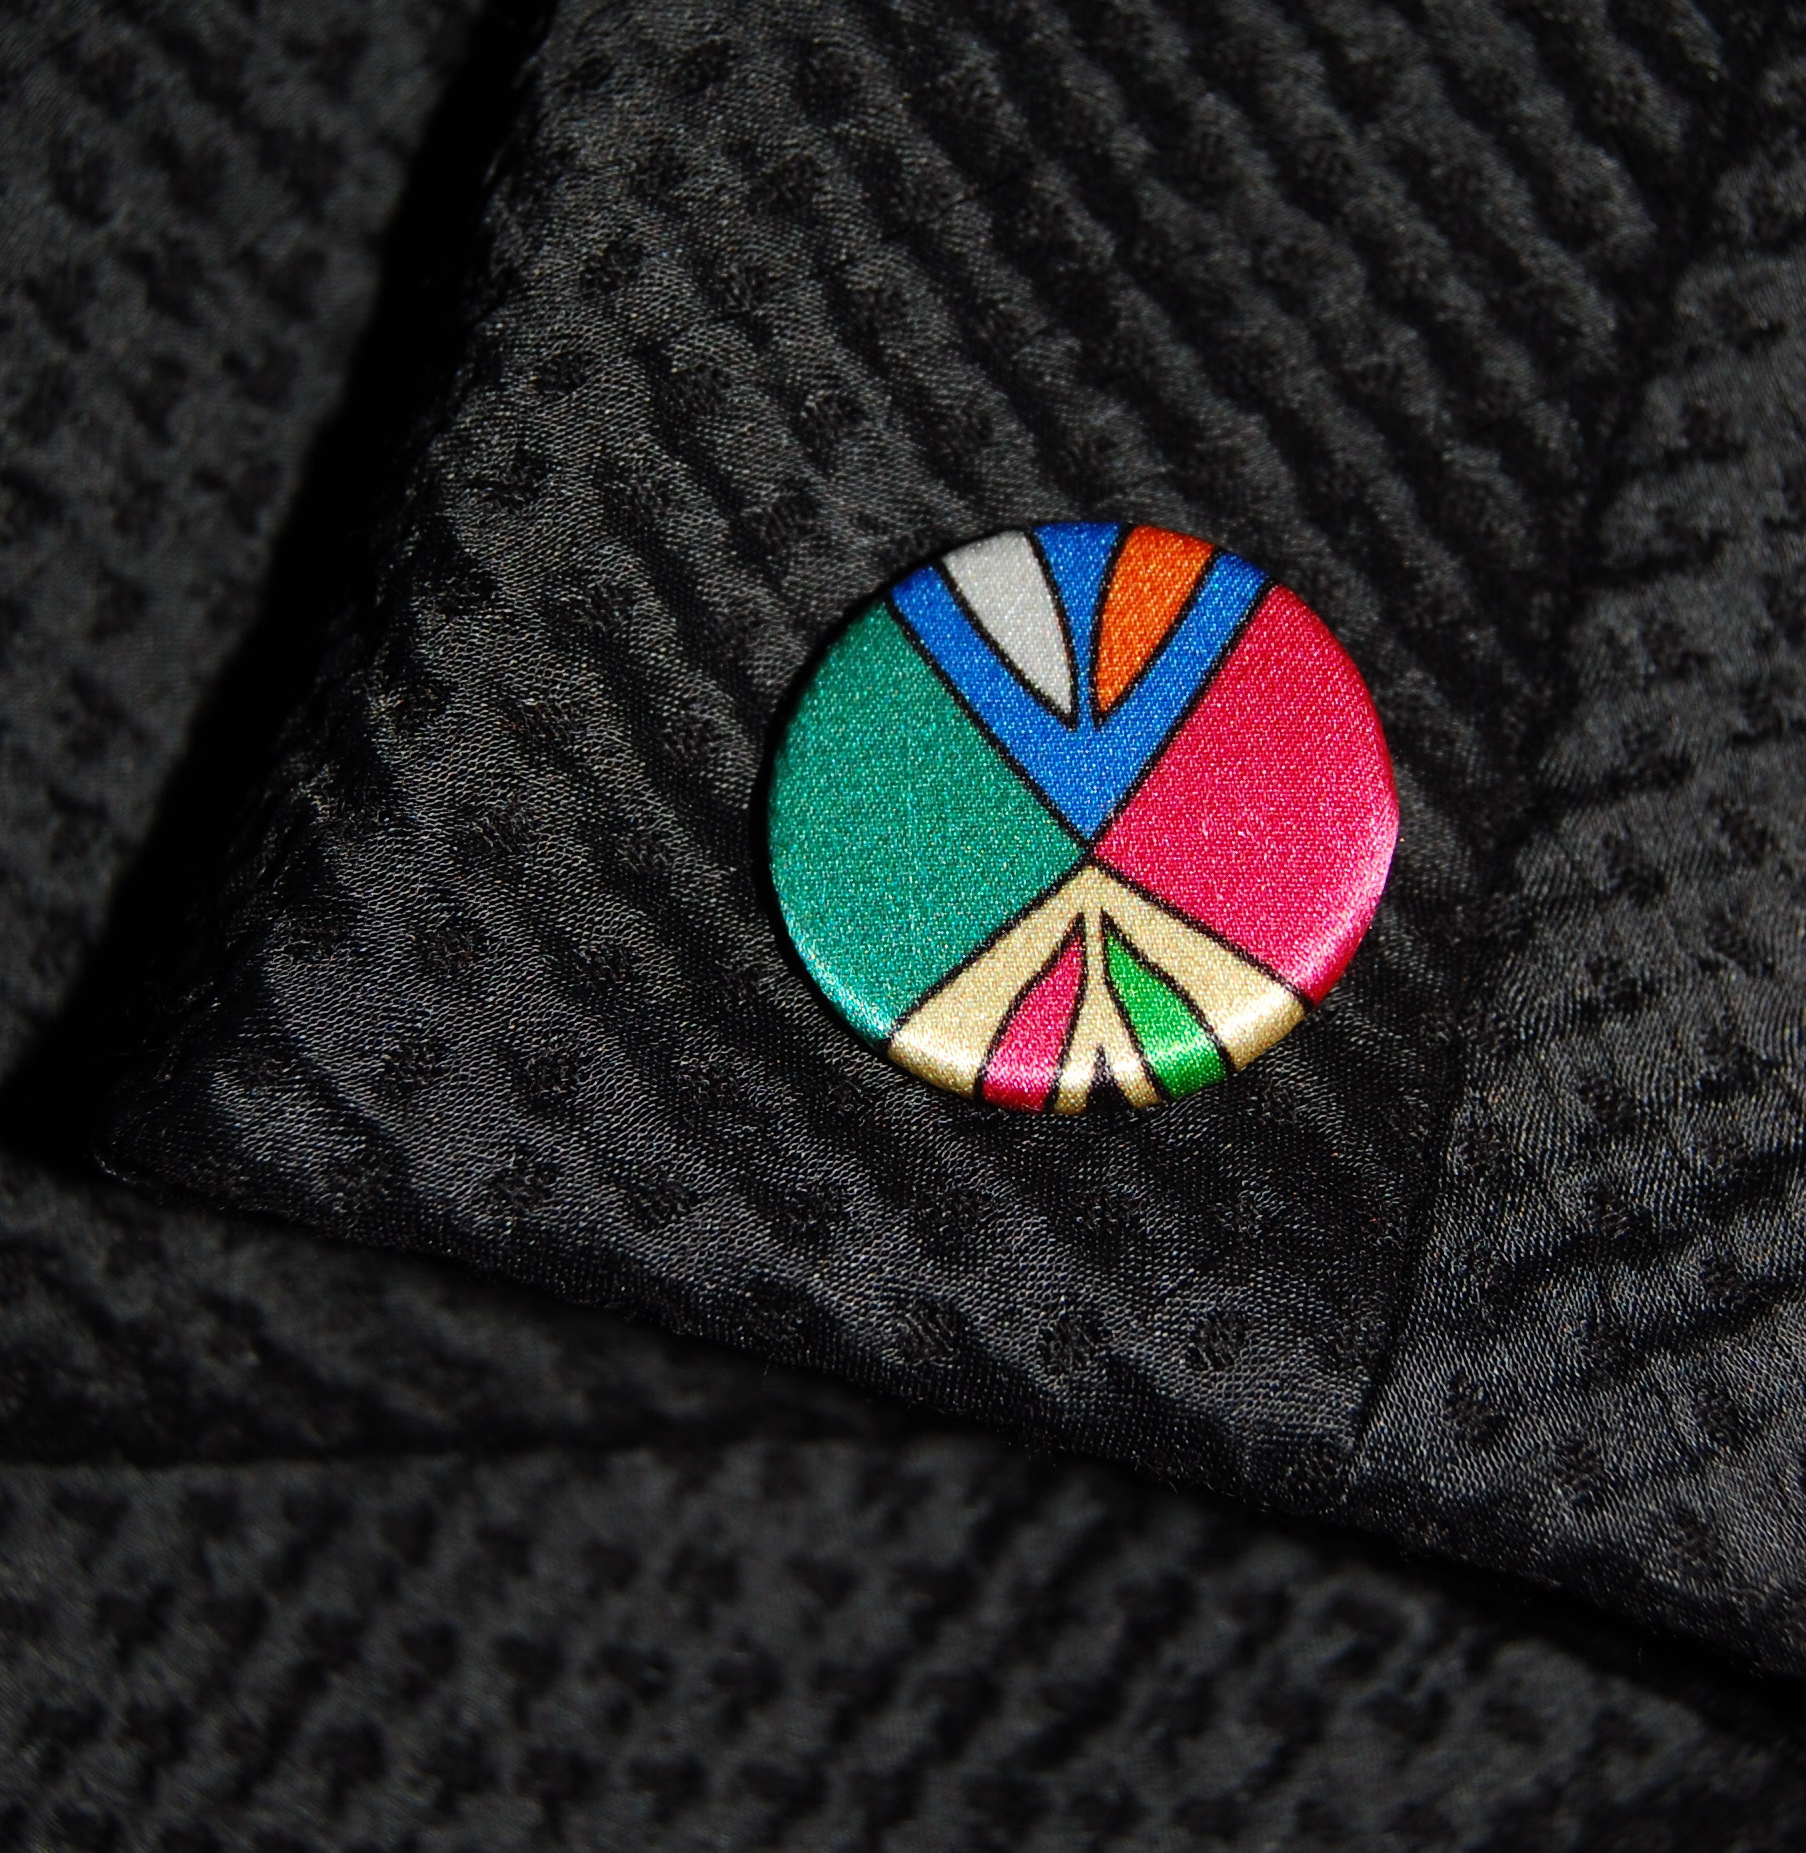
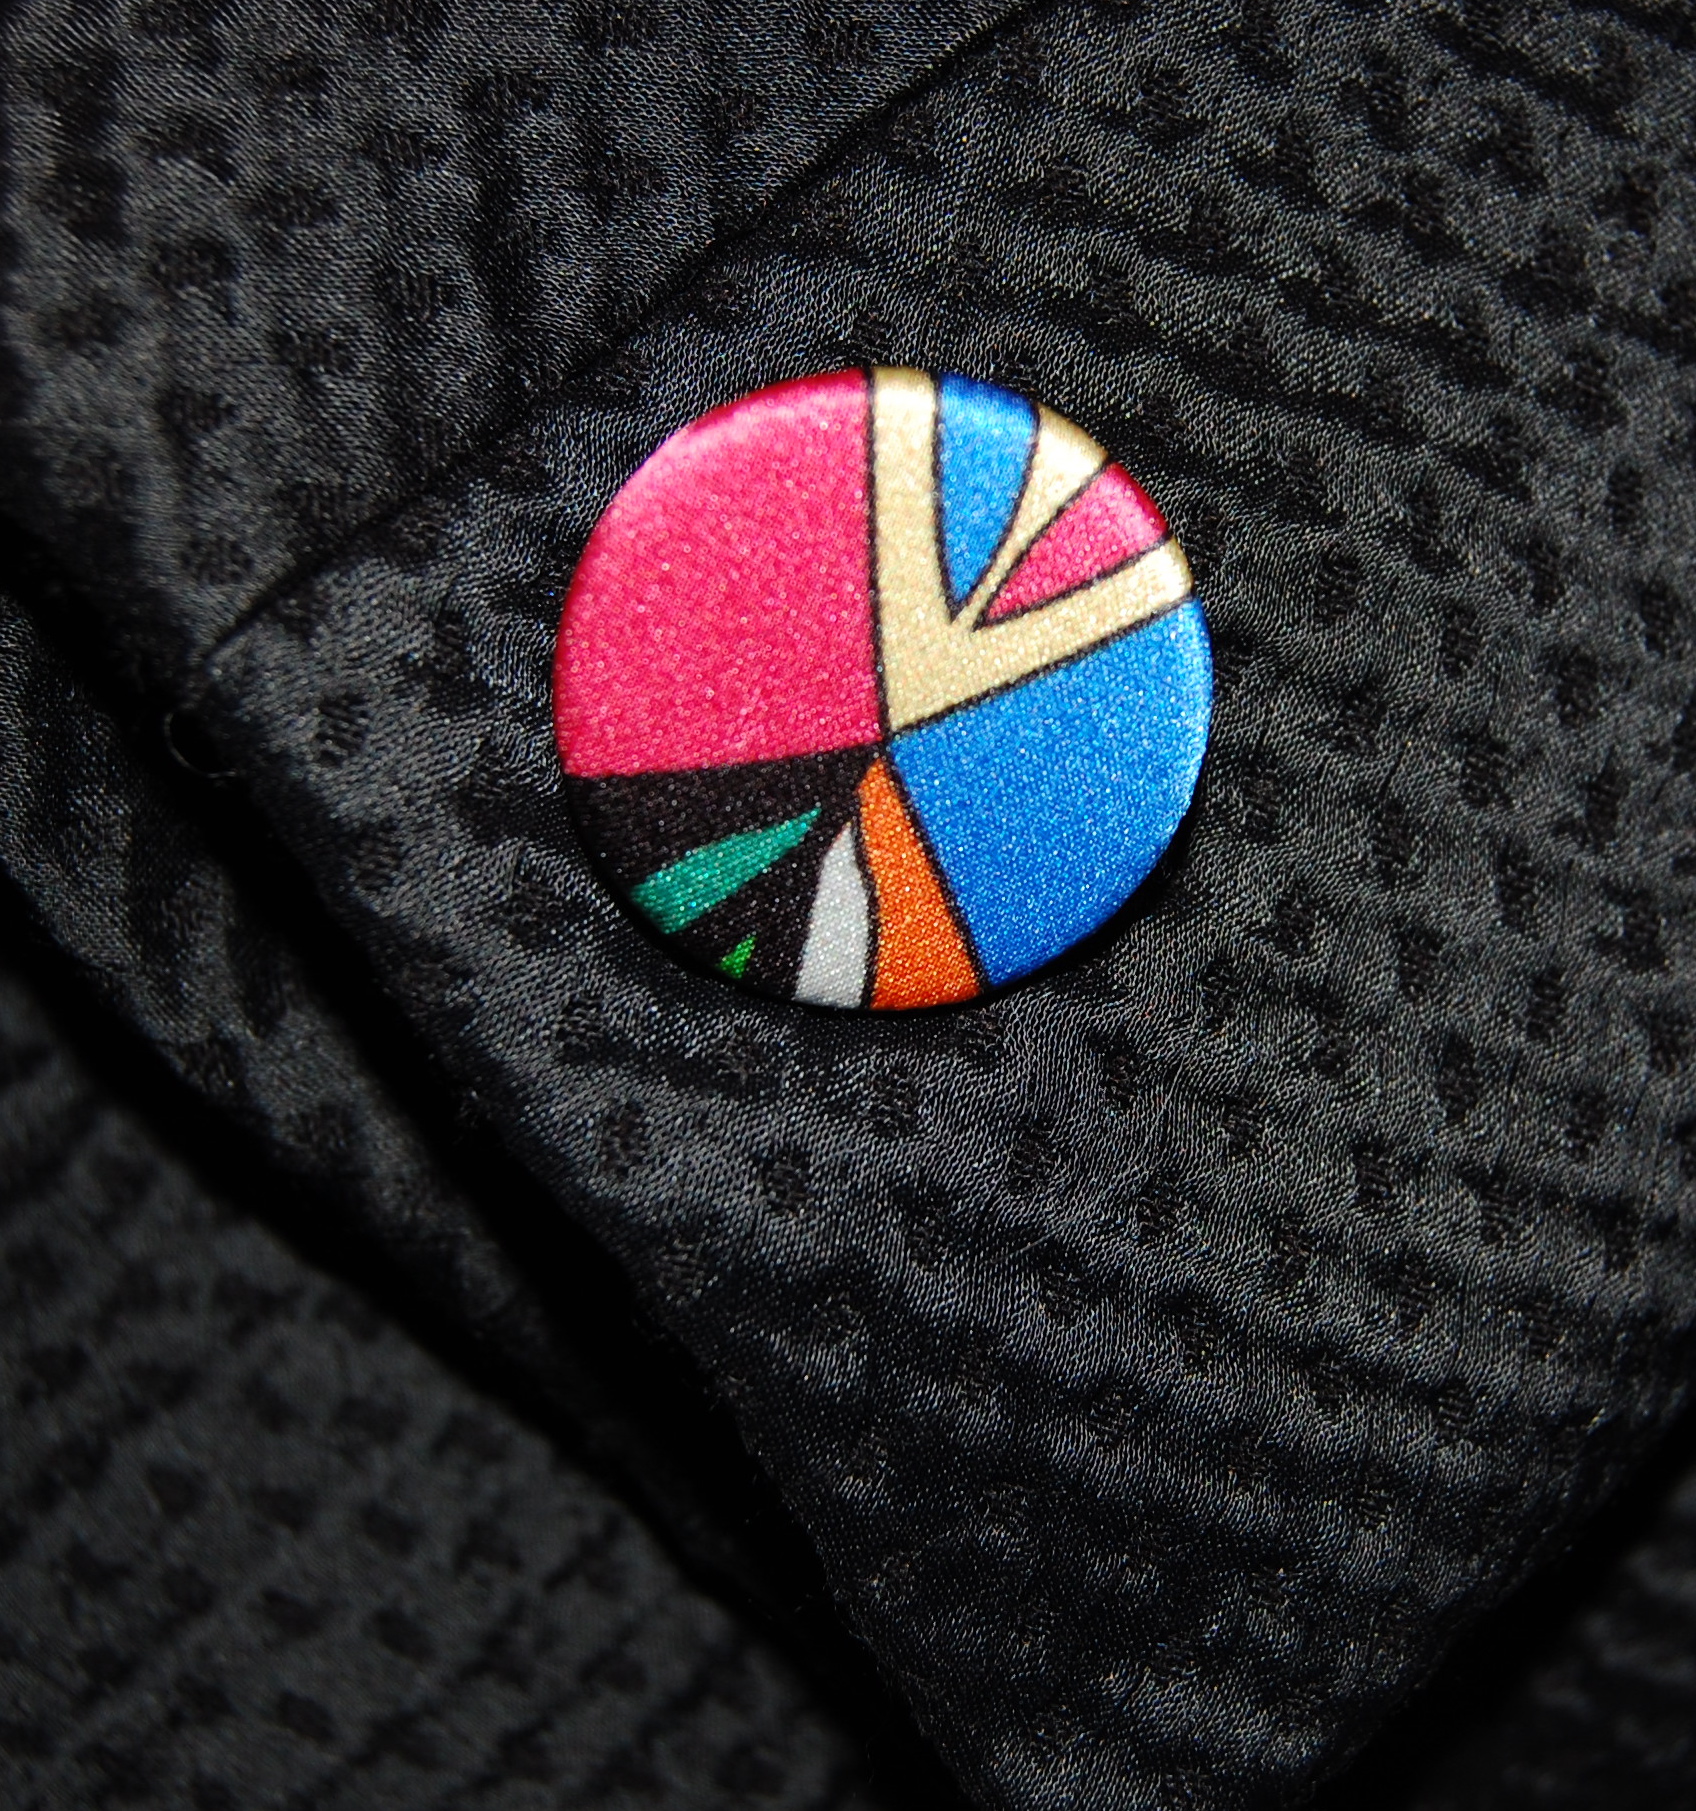
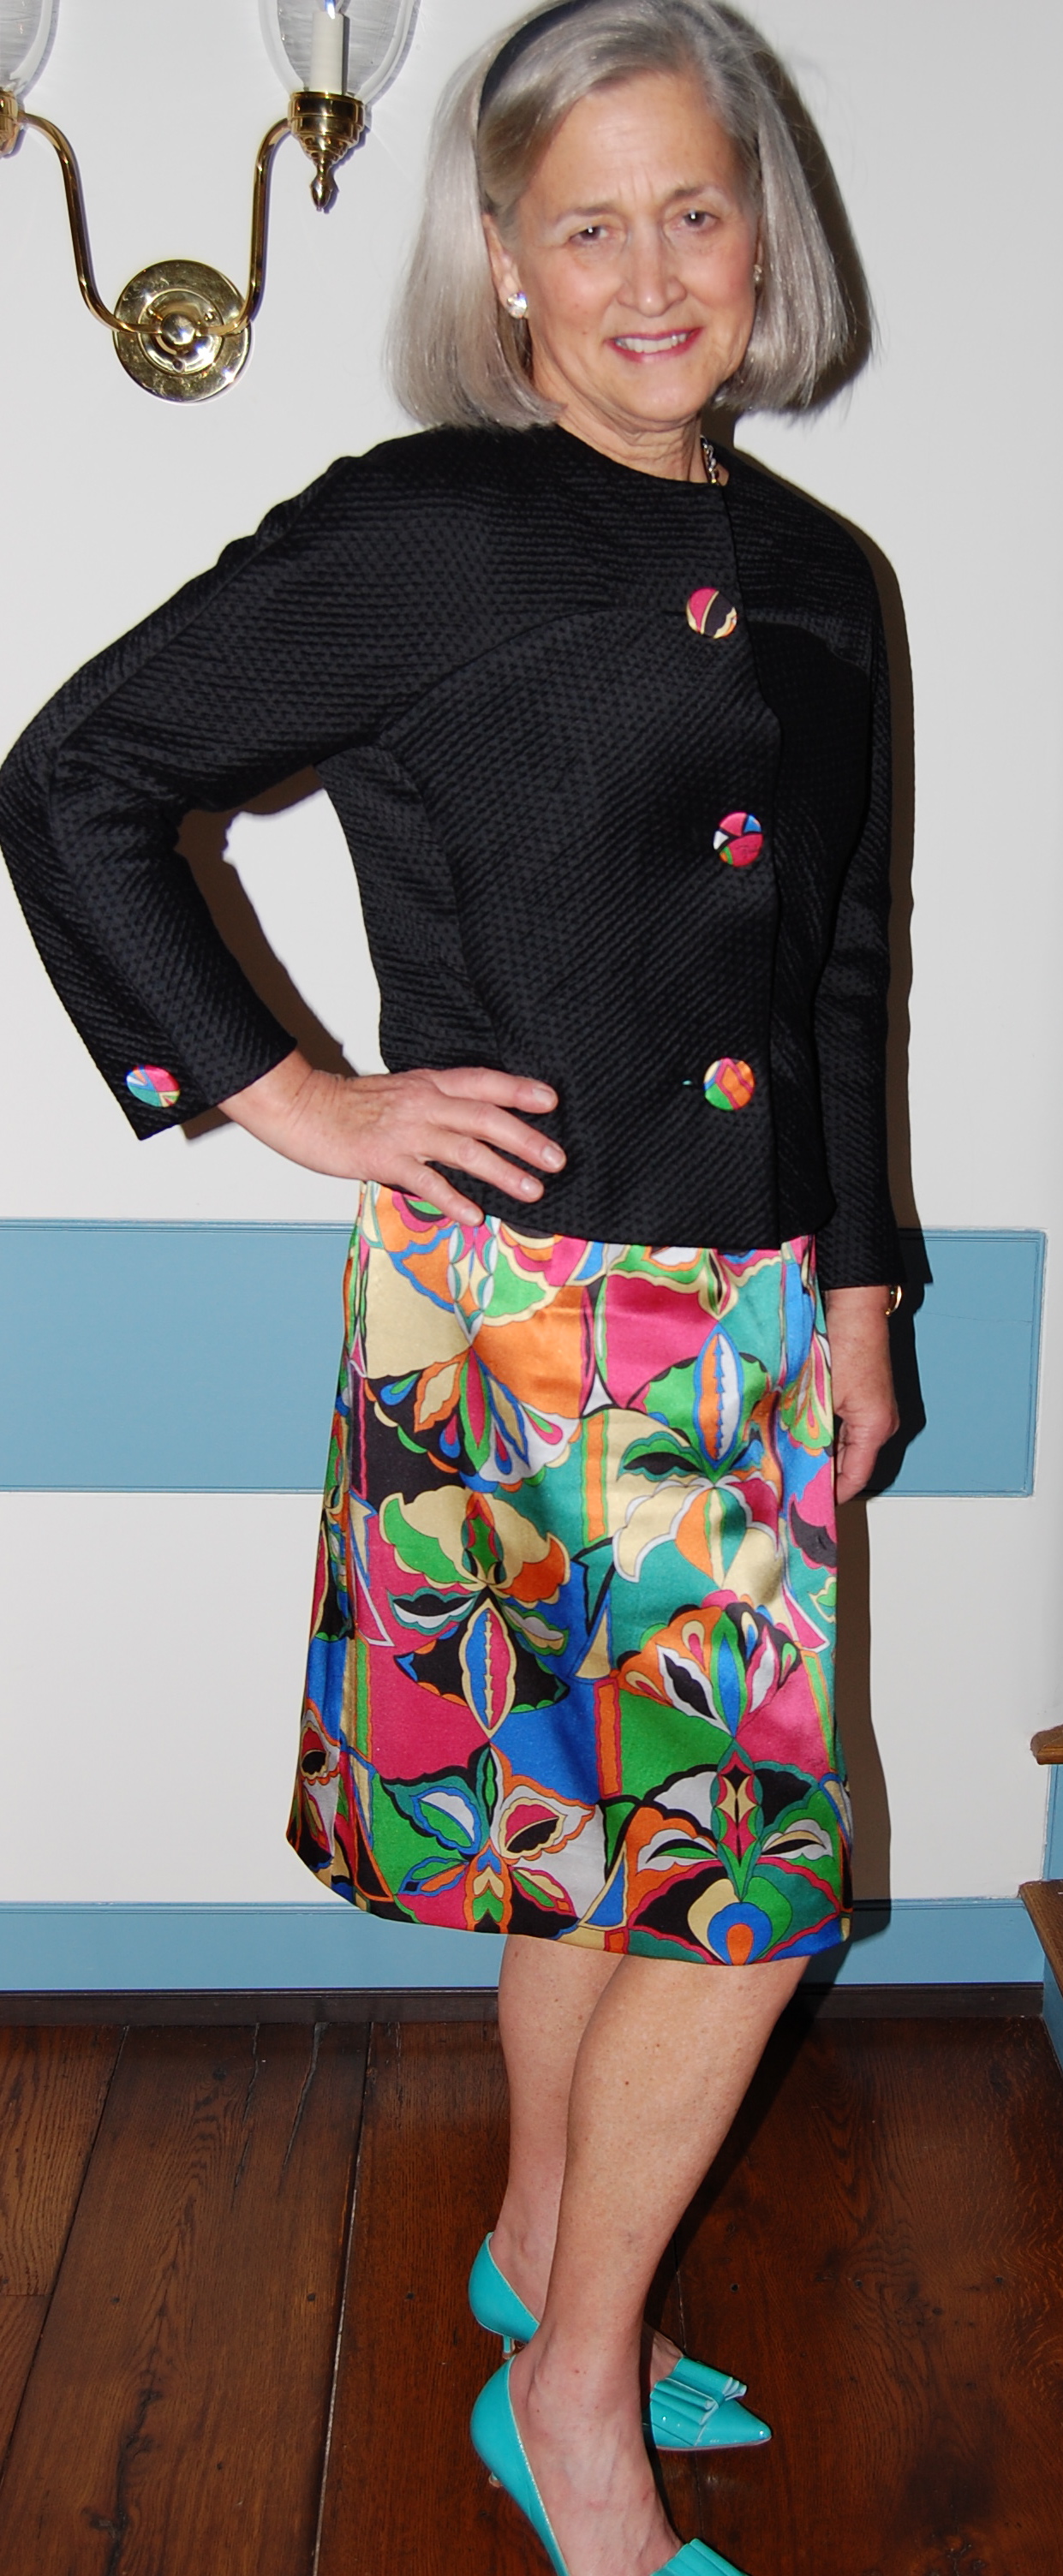
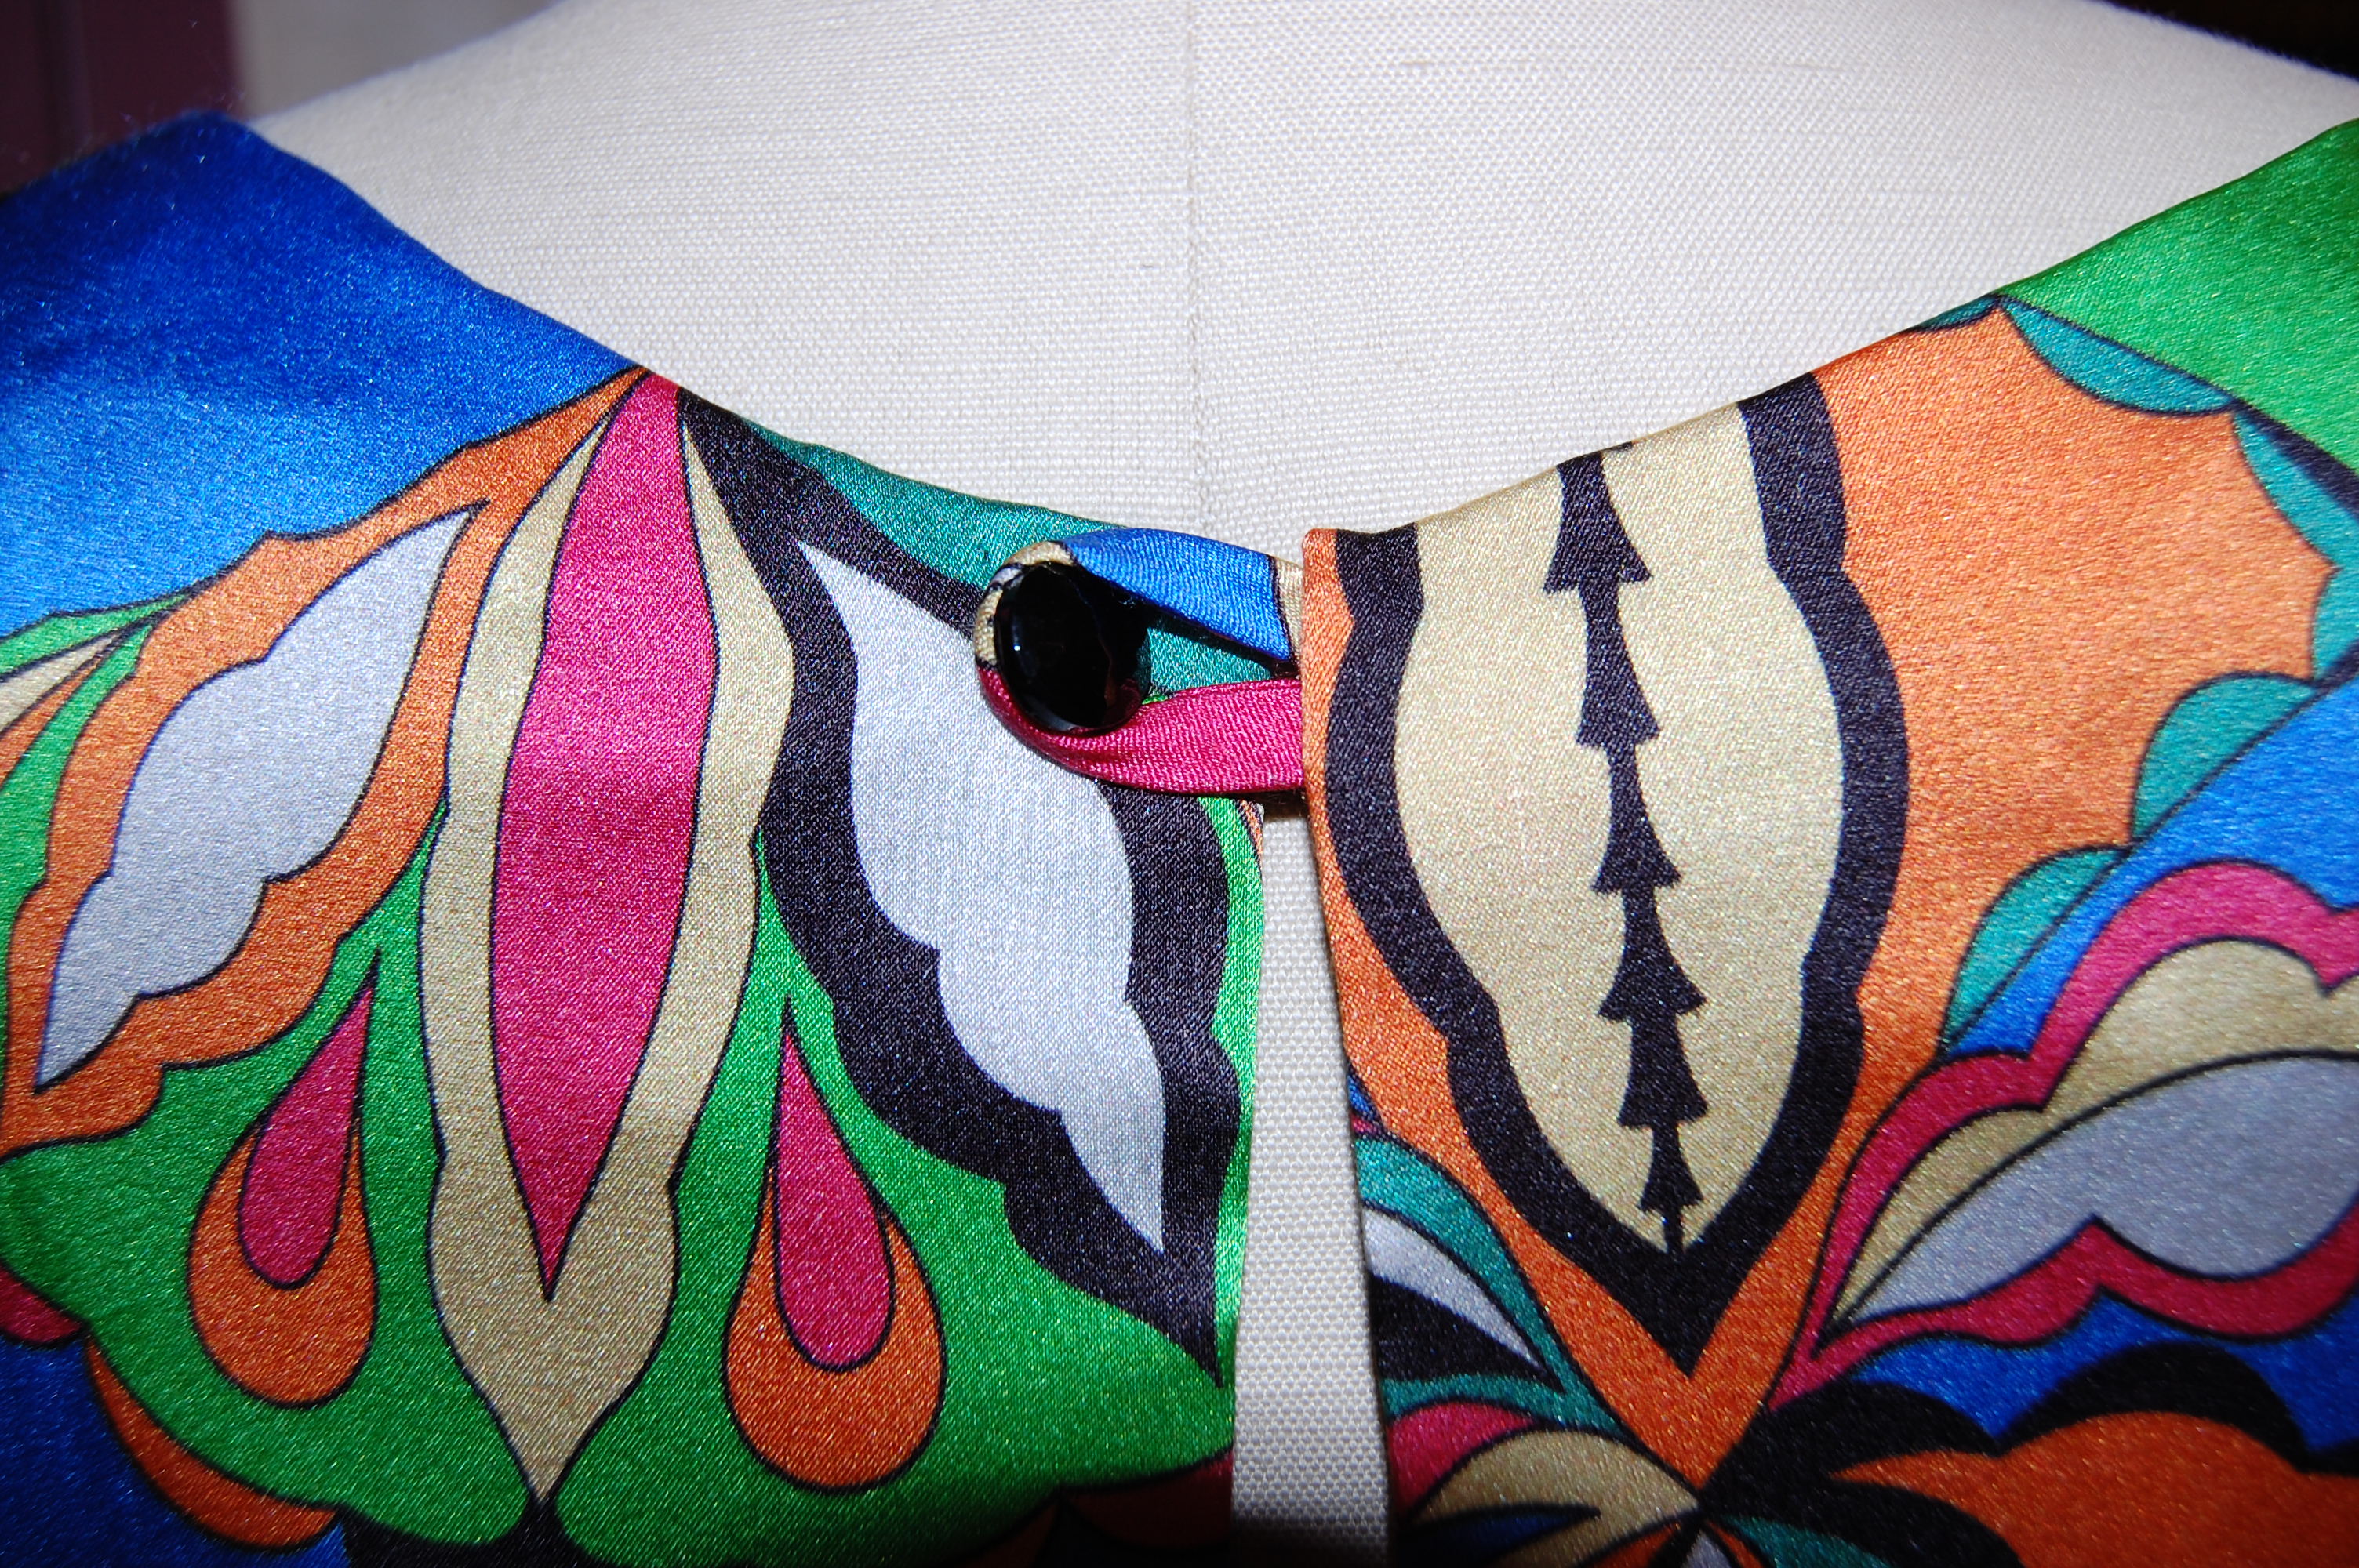
About halfway through the construction of the dress, I got the idea to have decorative buttons made – to compliment the front V of the neckline.
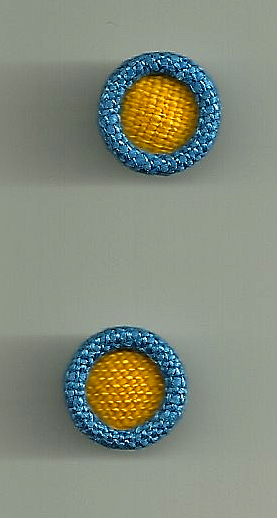
I sent scraps of my fabric off to Pat Mahoney in California to have these buttons made. Sadly, Pat is retiring from her business at the end of August…
I actually was not sure I was going to use them until I had finished the dress, but I think they add just the right amount of detail.
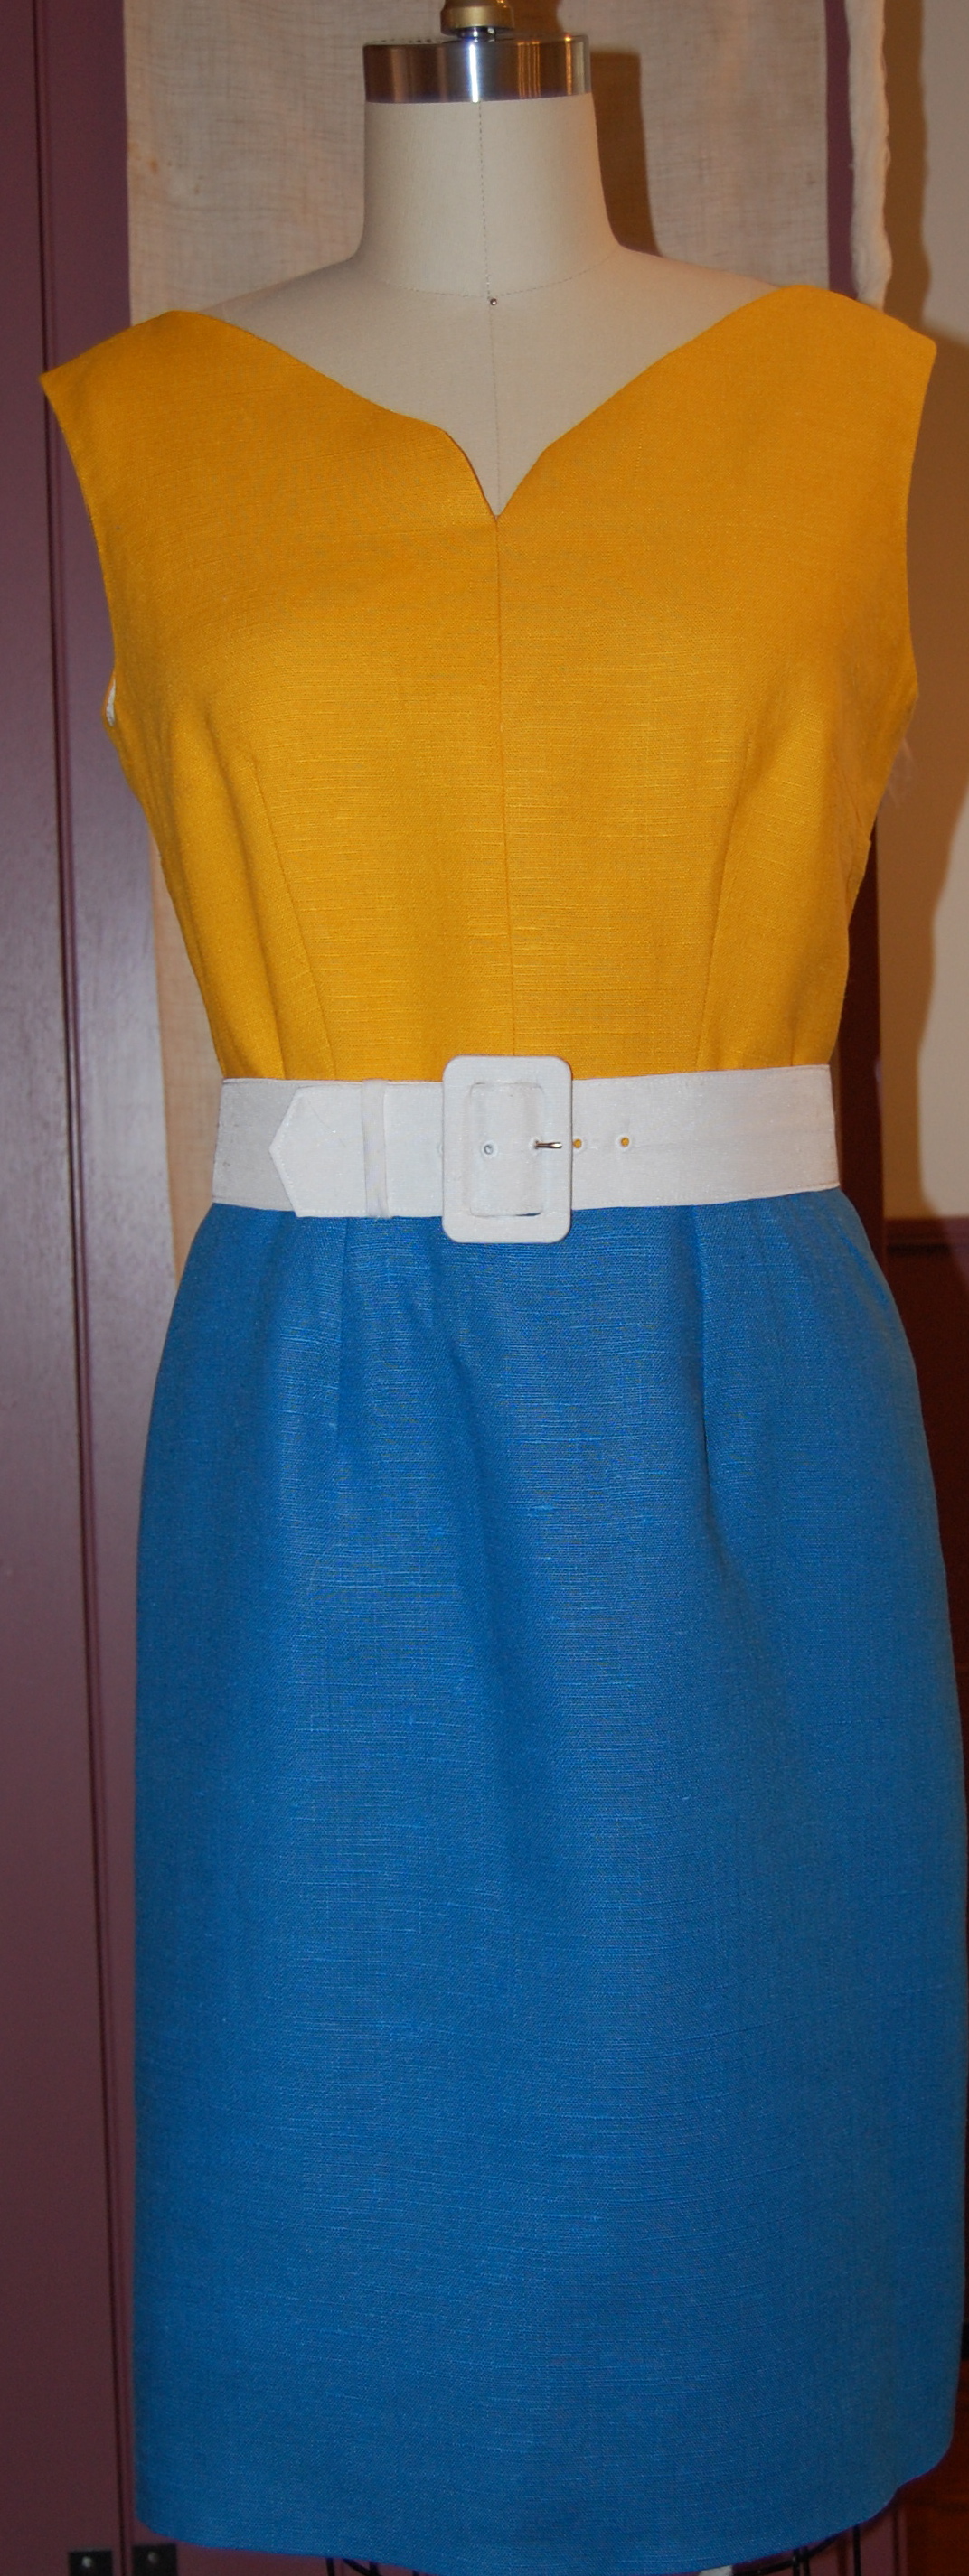
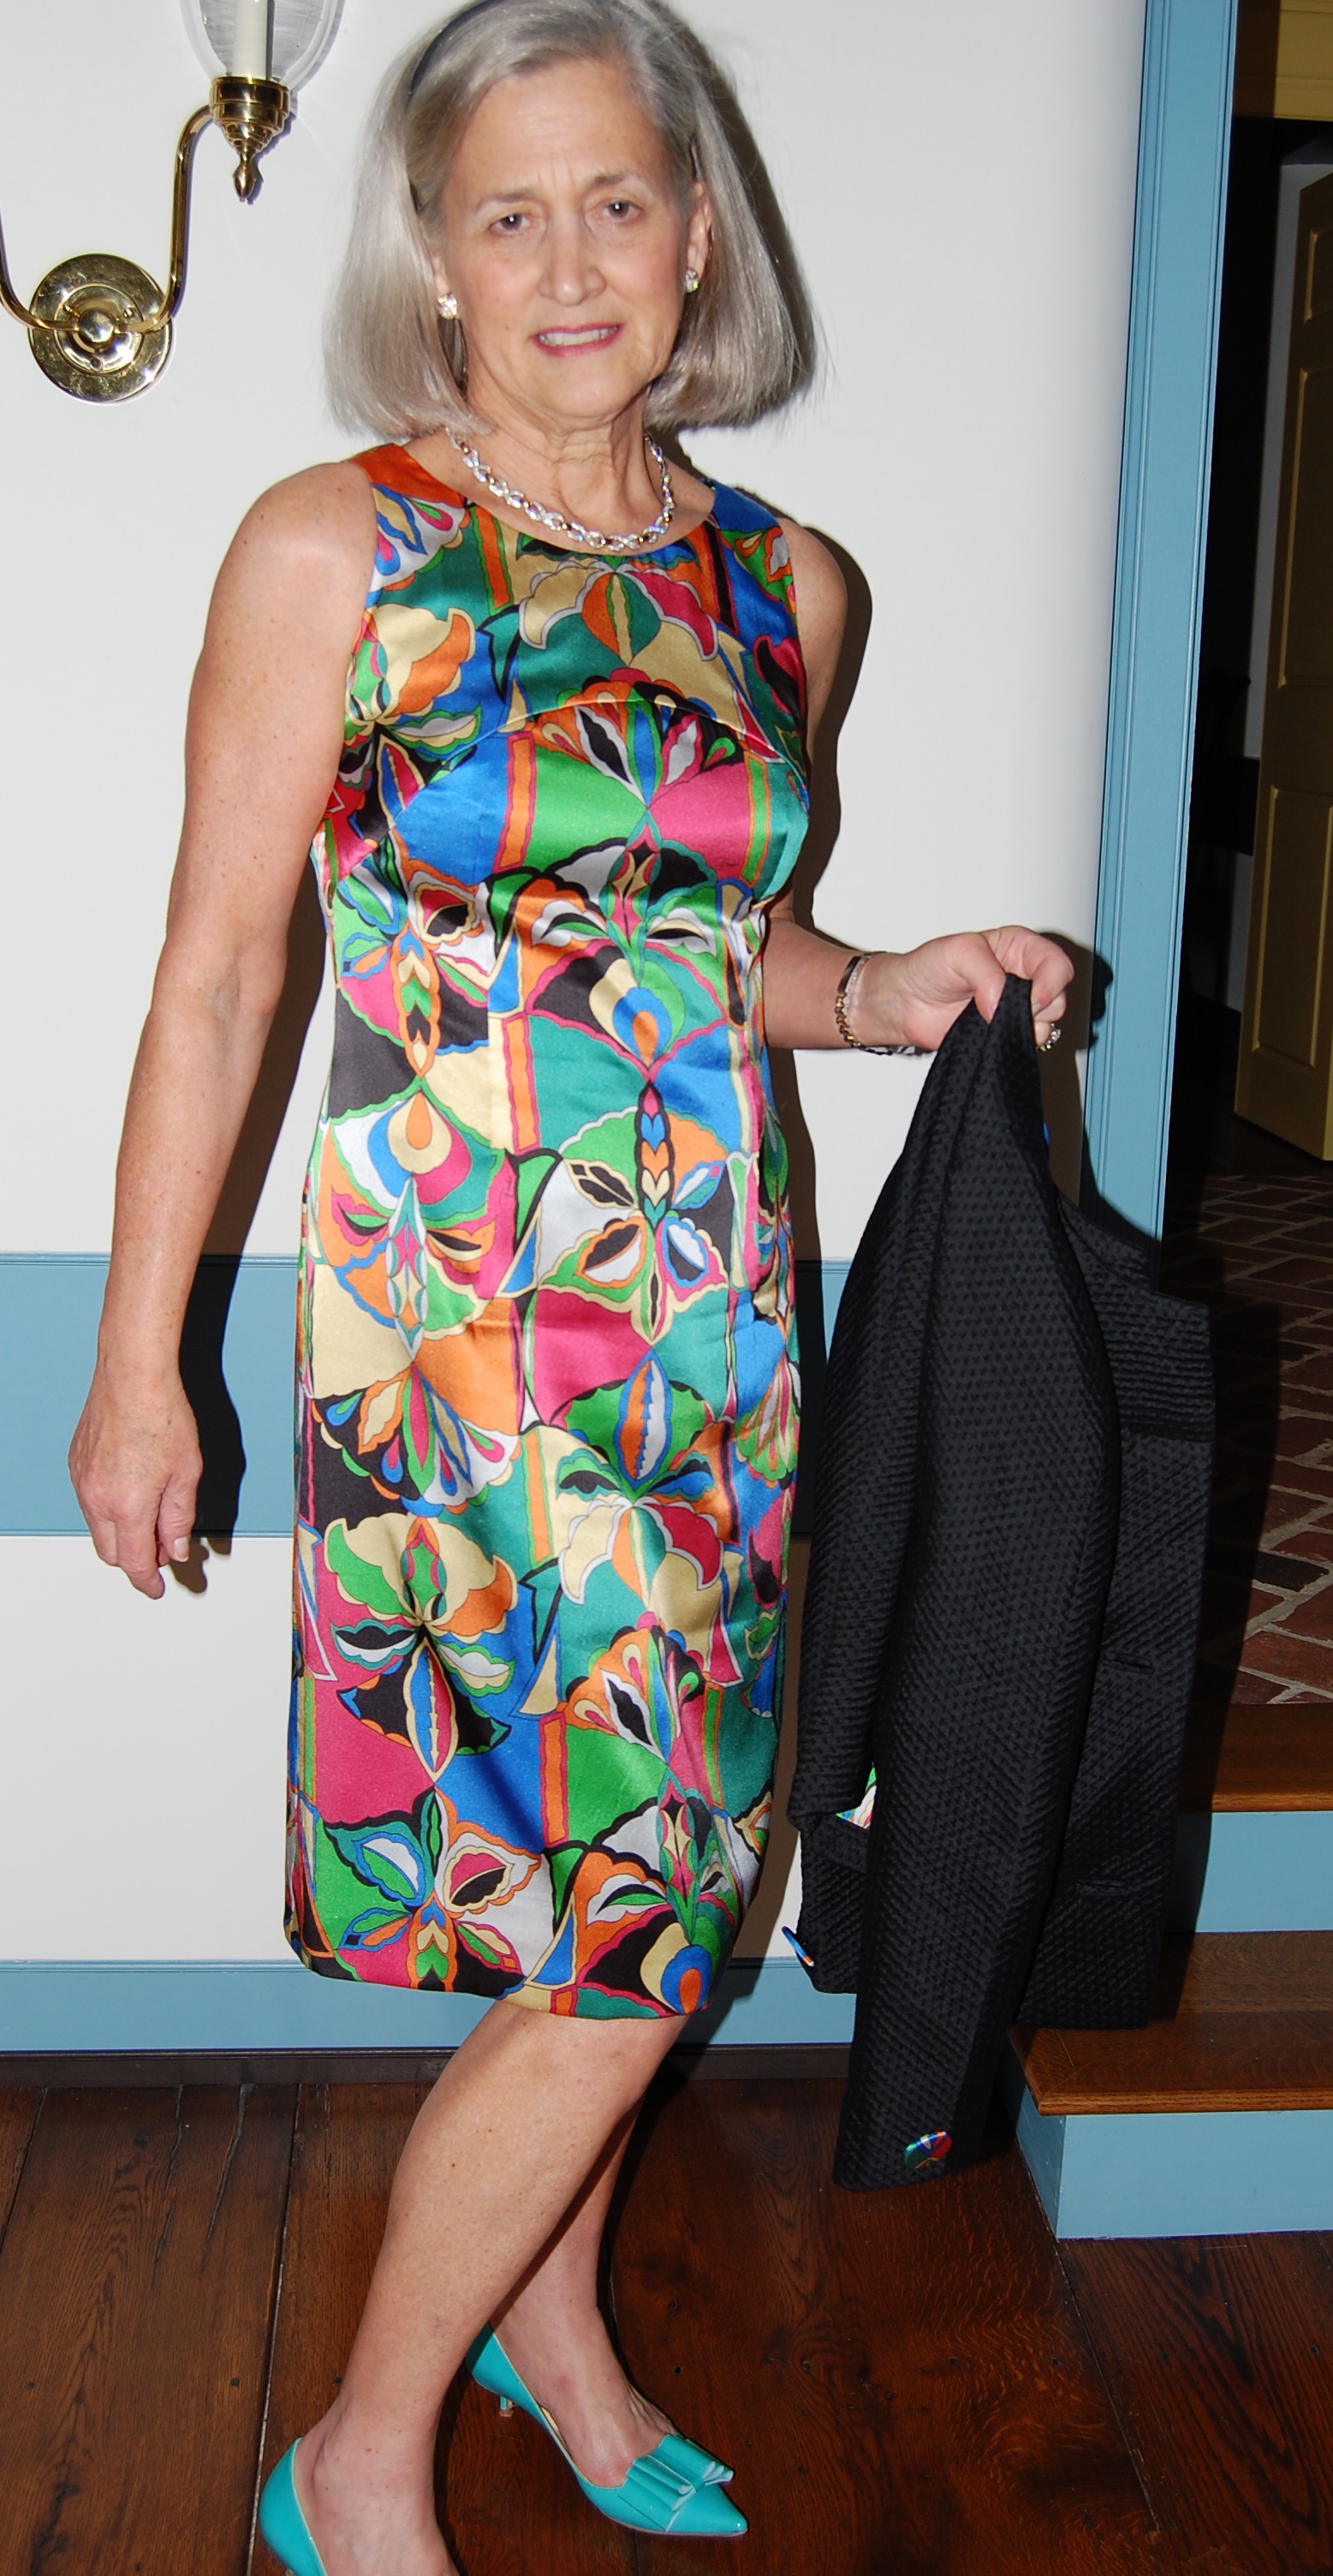
Here is the dress without the buttons . . .
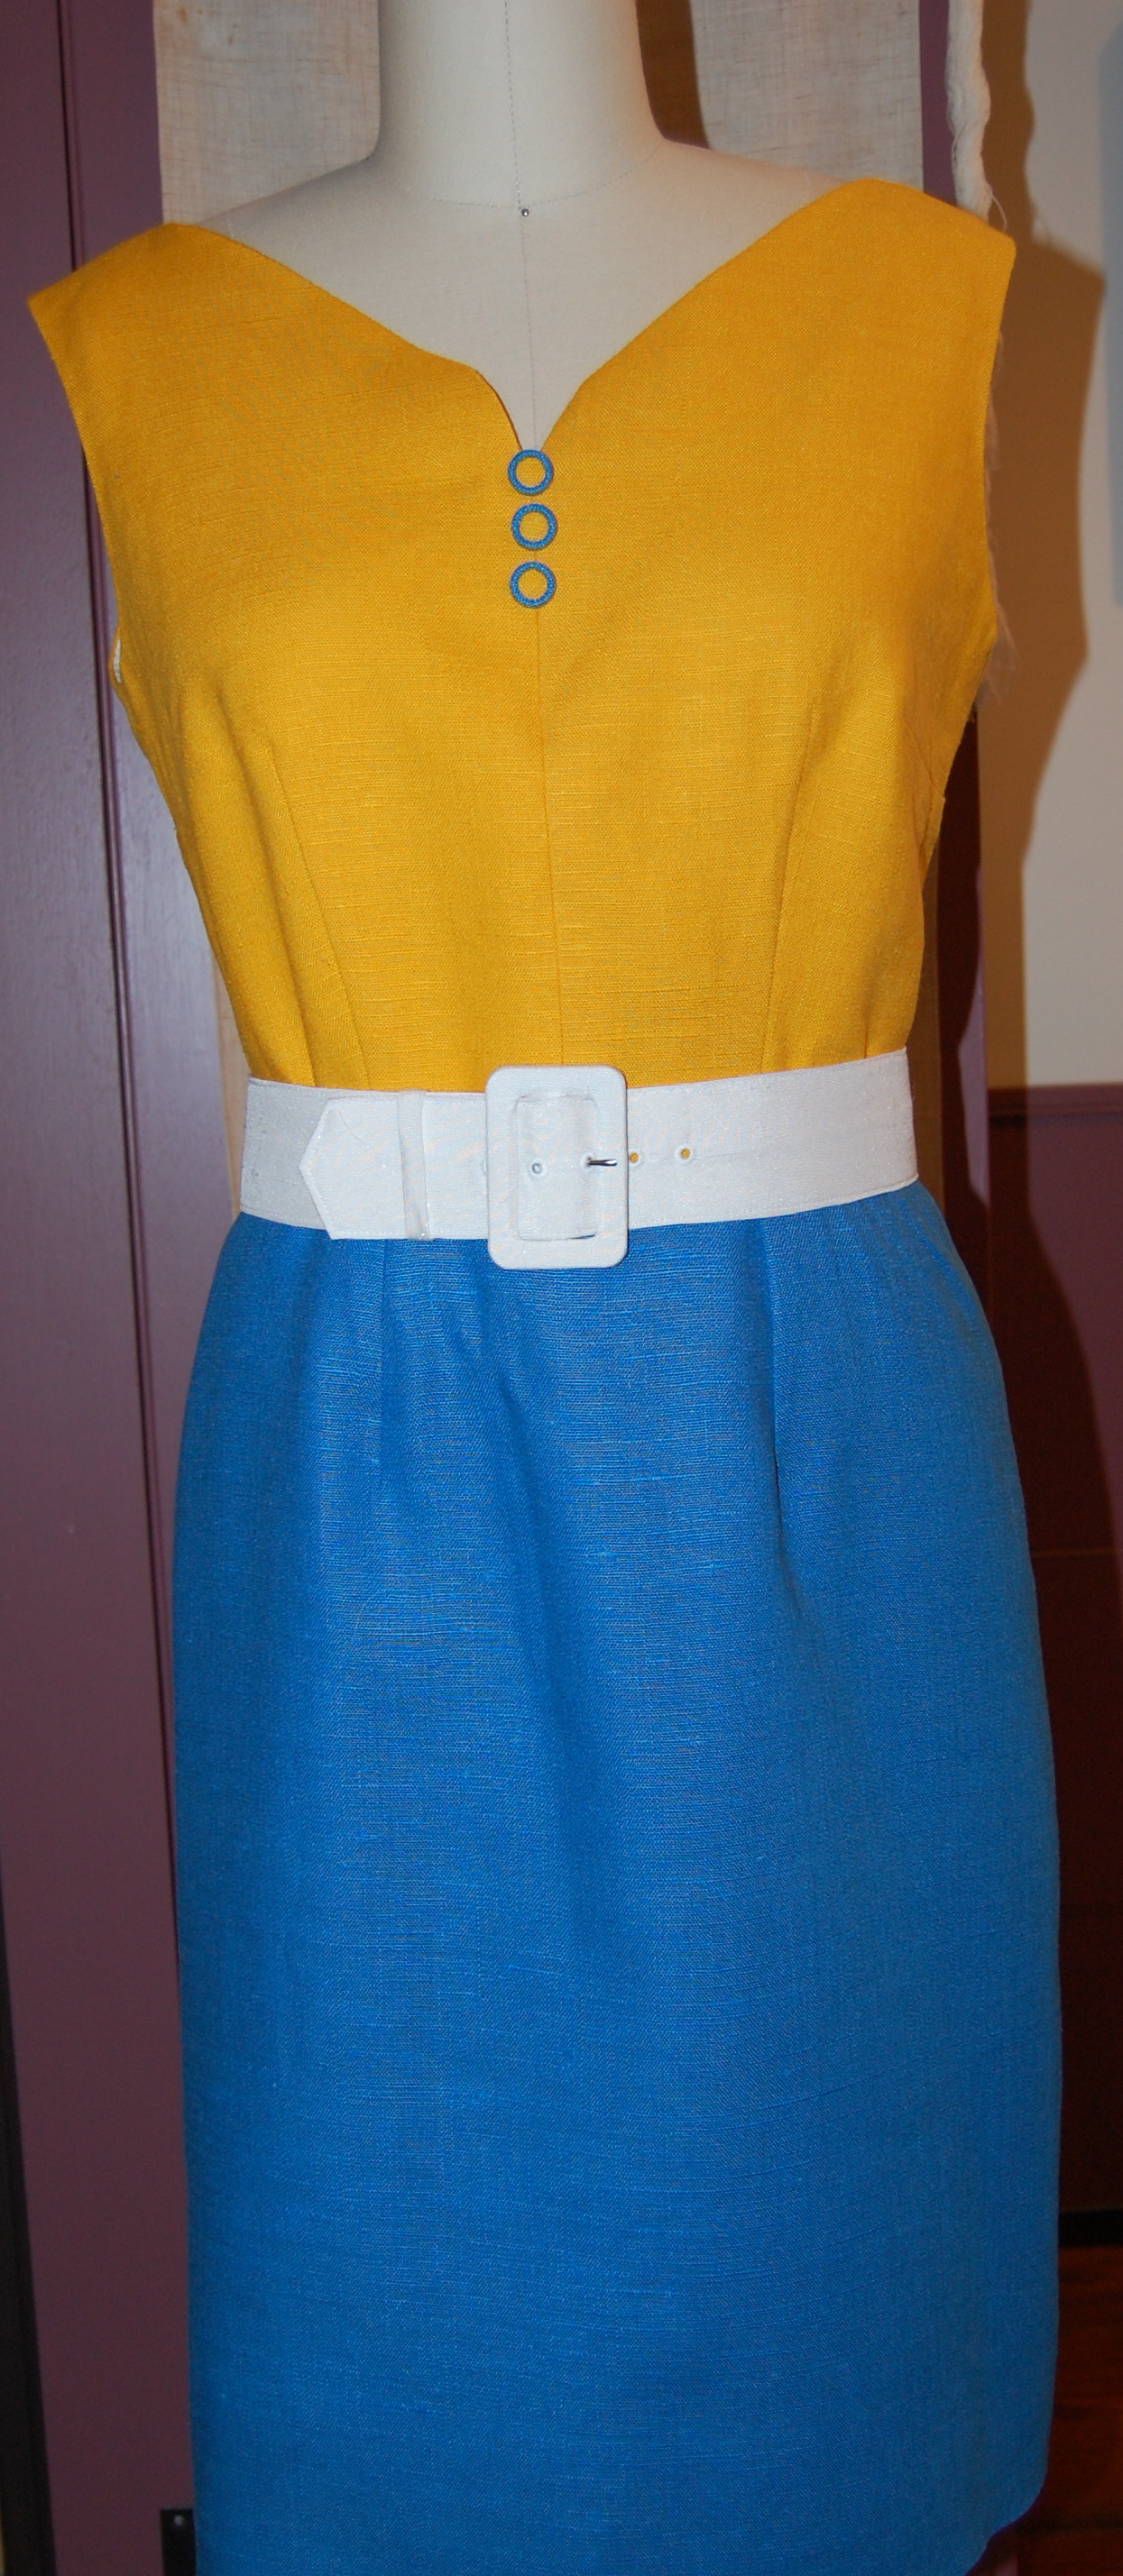
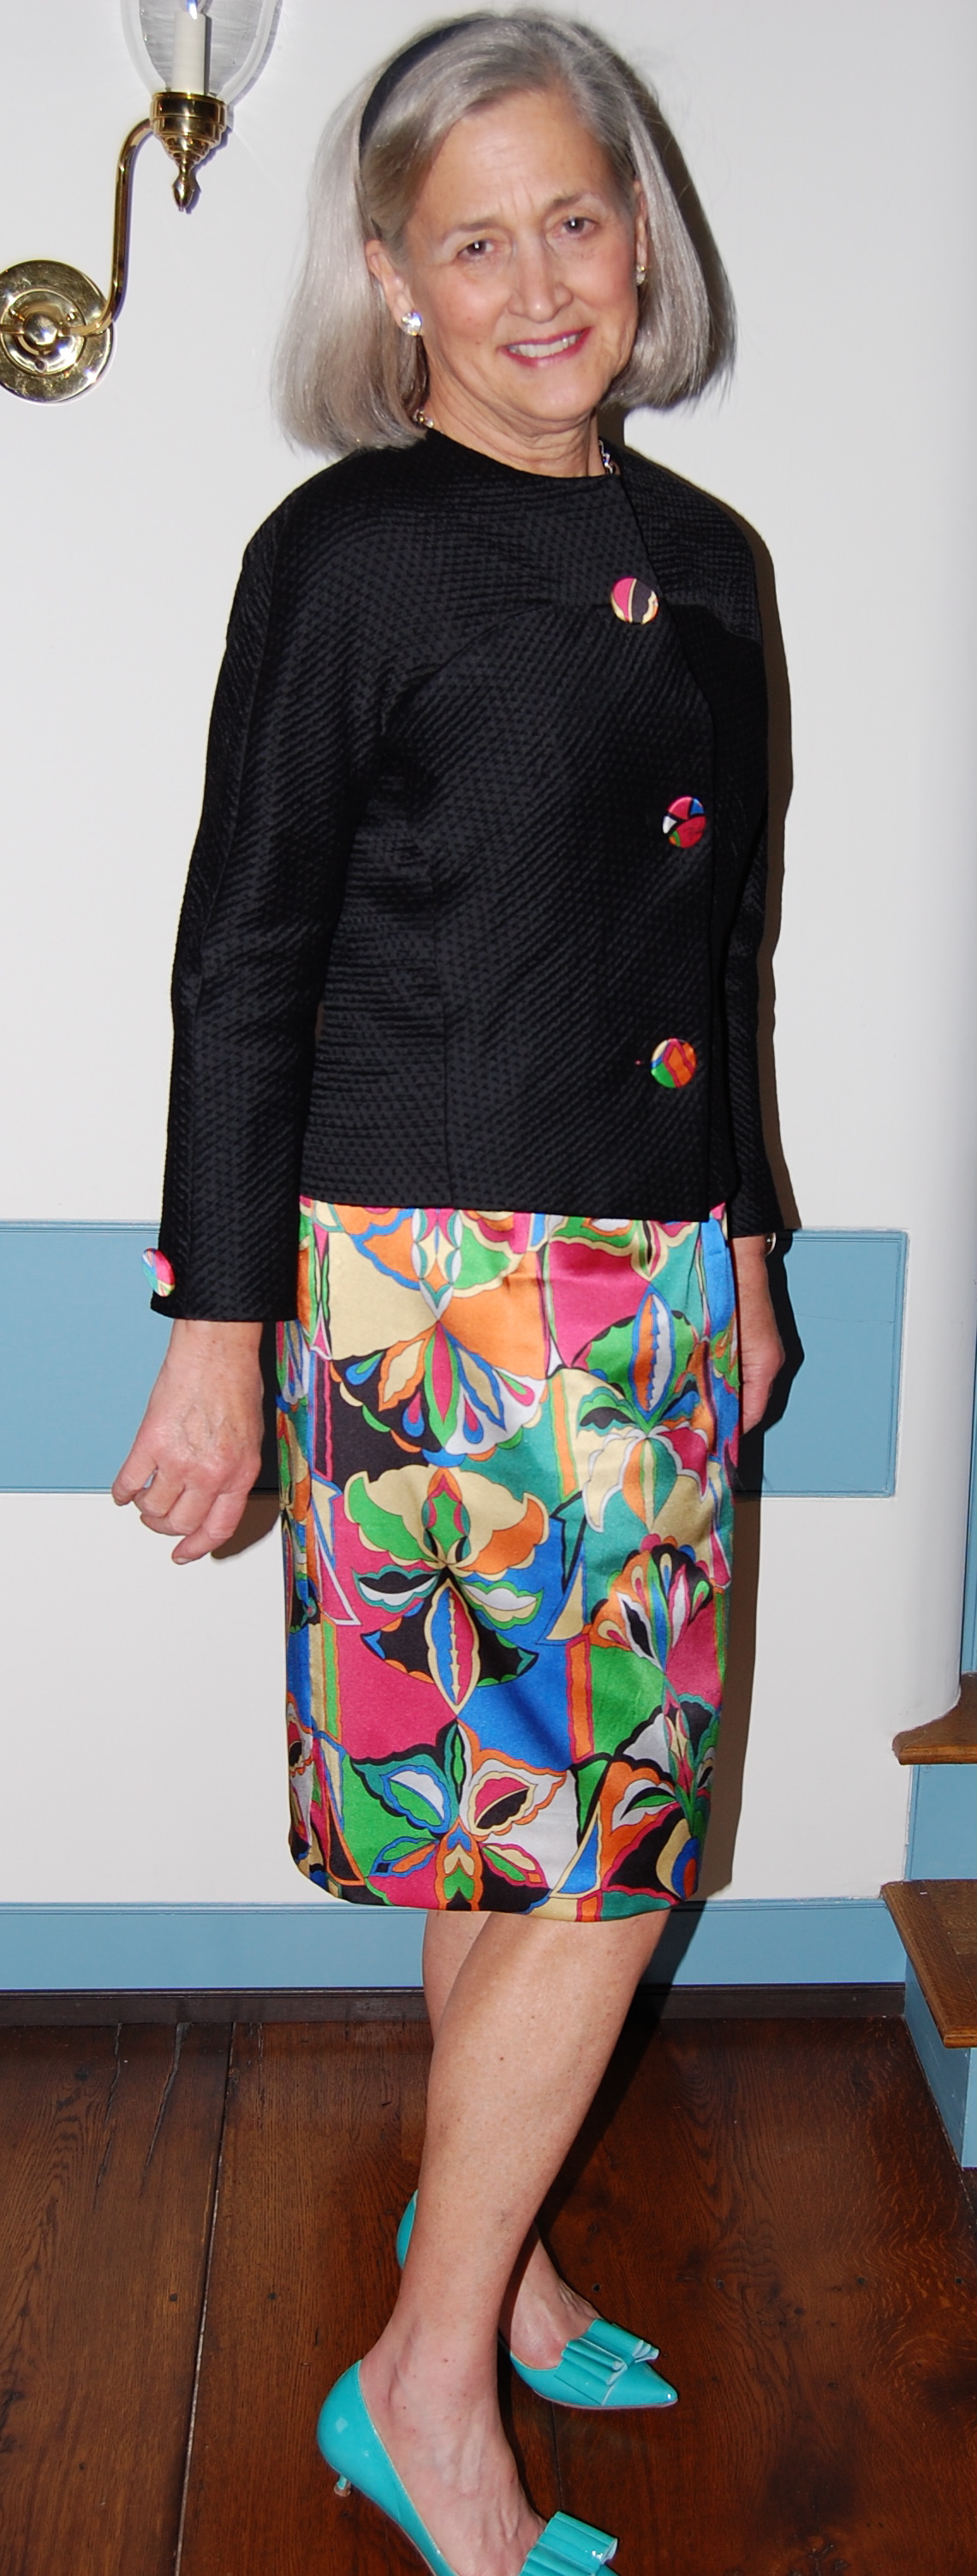
. . . and here is the dress with the buttons. What do you think? With or without?
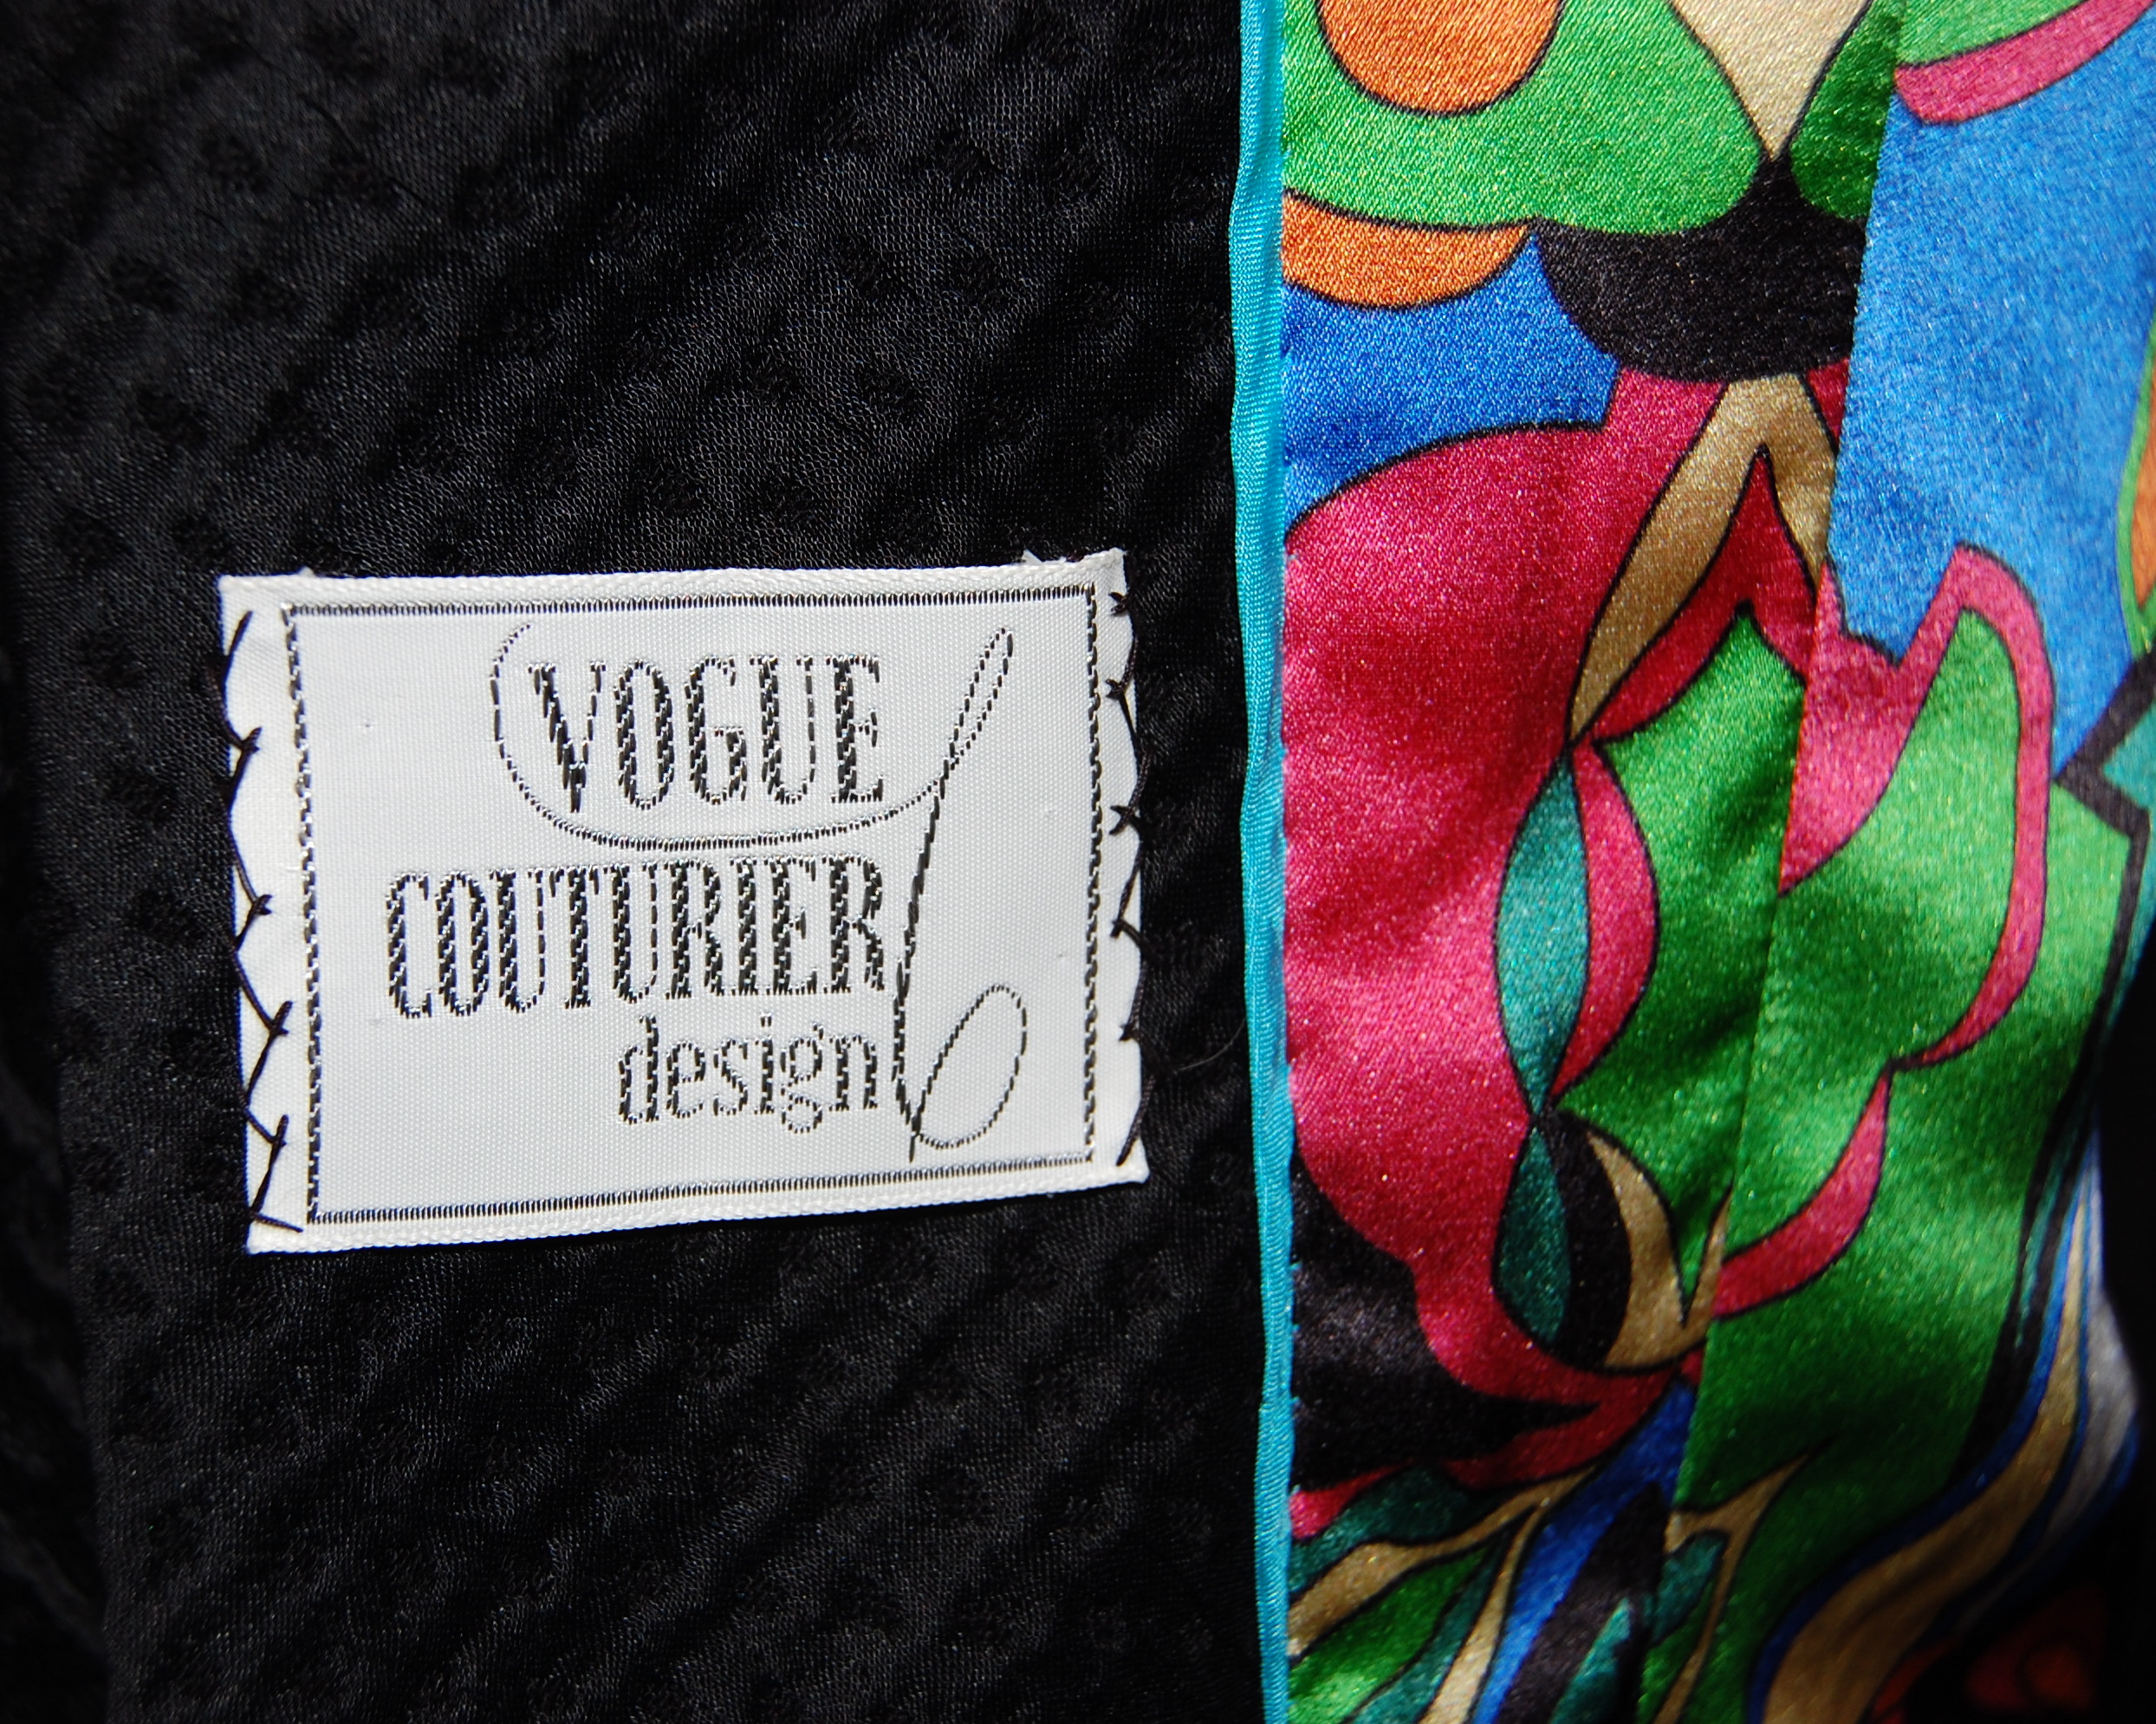
Another detail I was happy to add was the Moygashel linen label which had been attached to the forsythia yellow linen yardgoods.
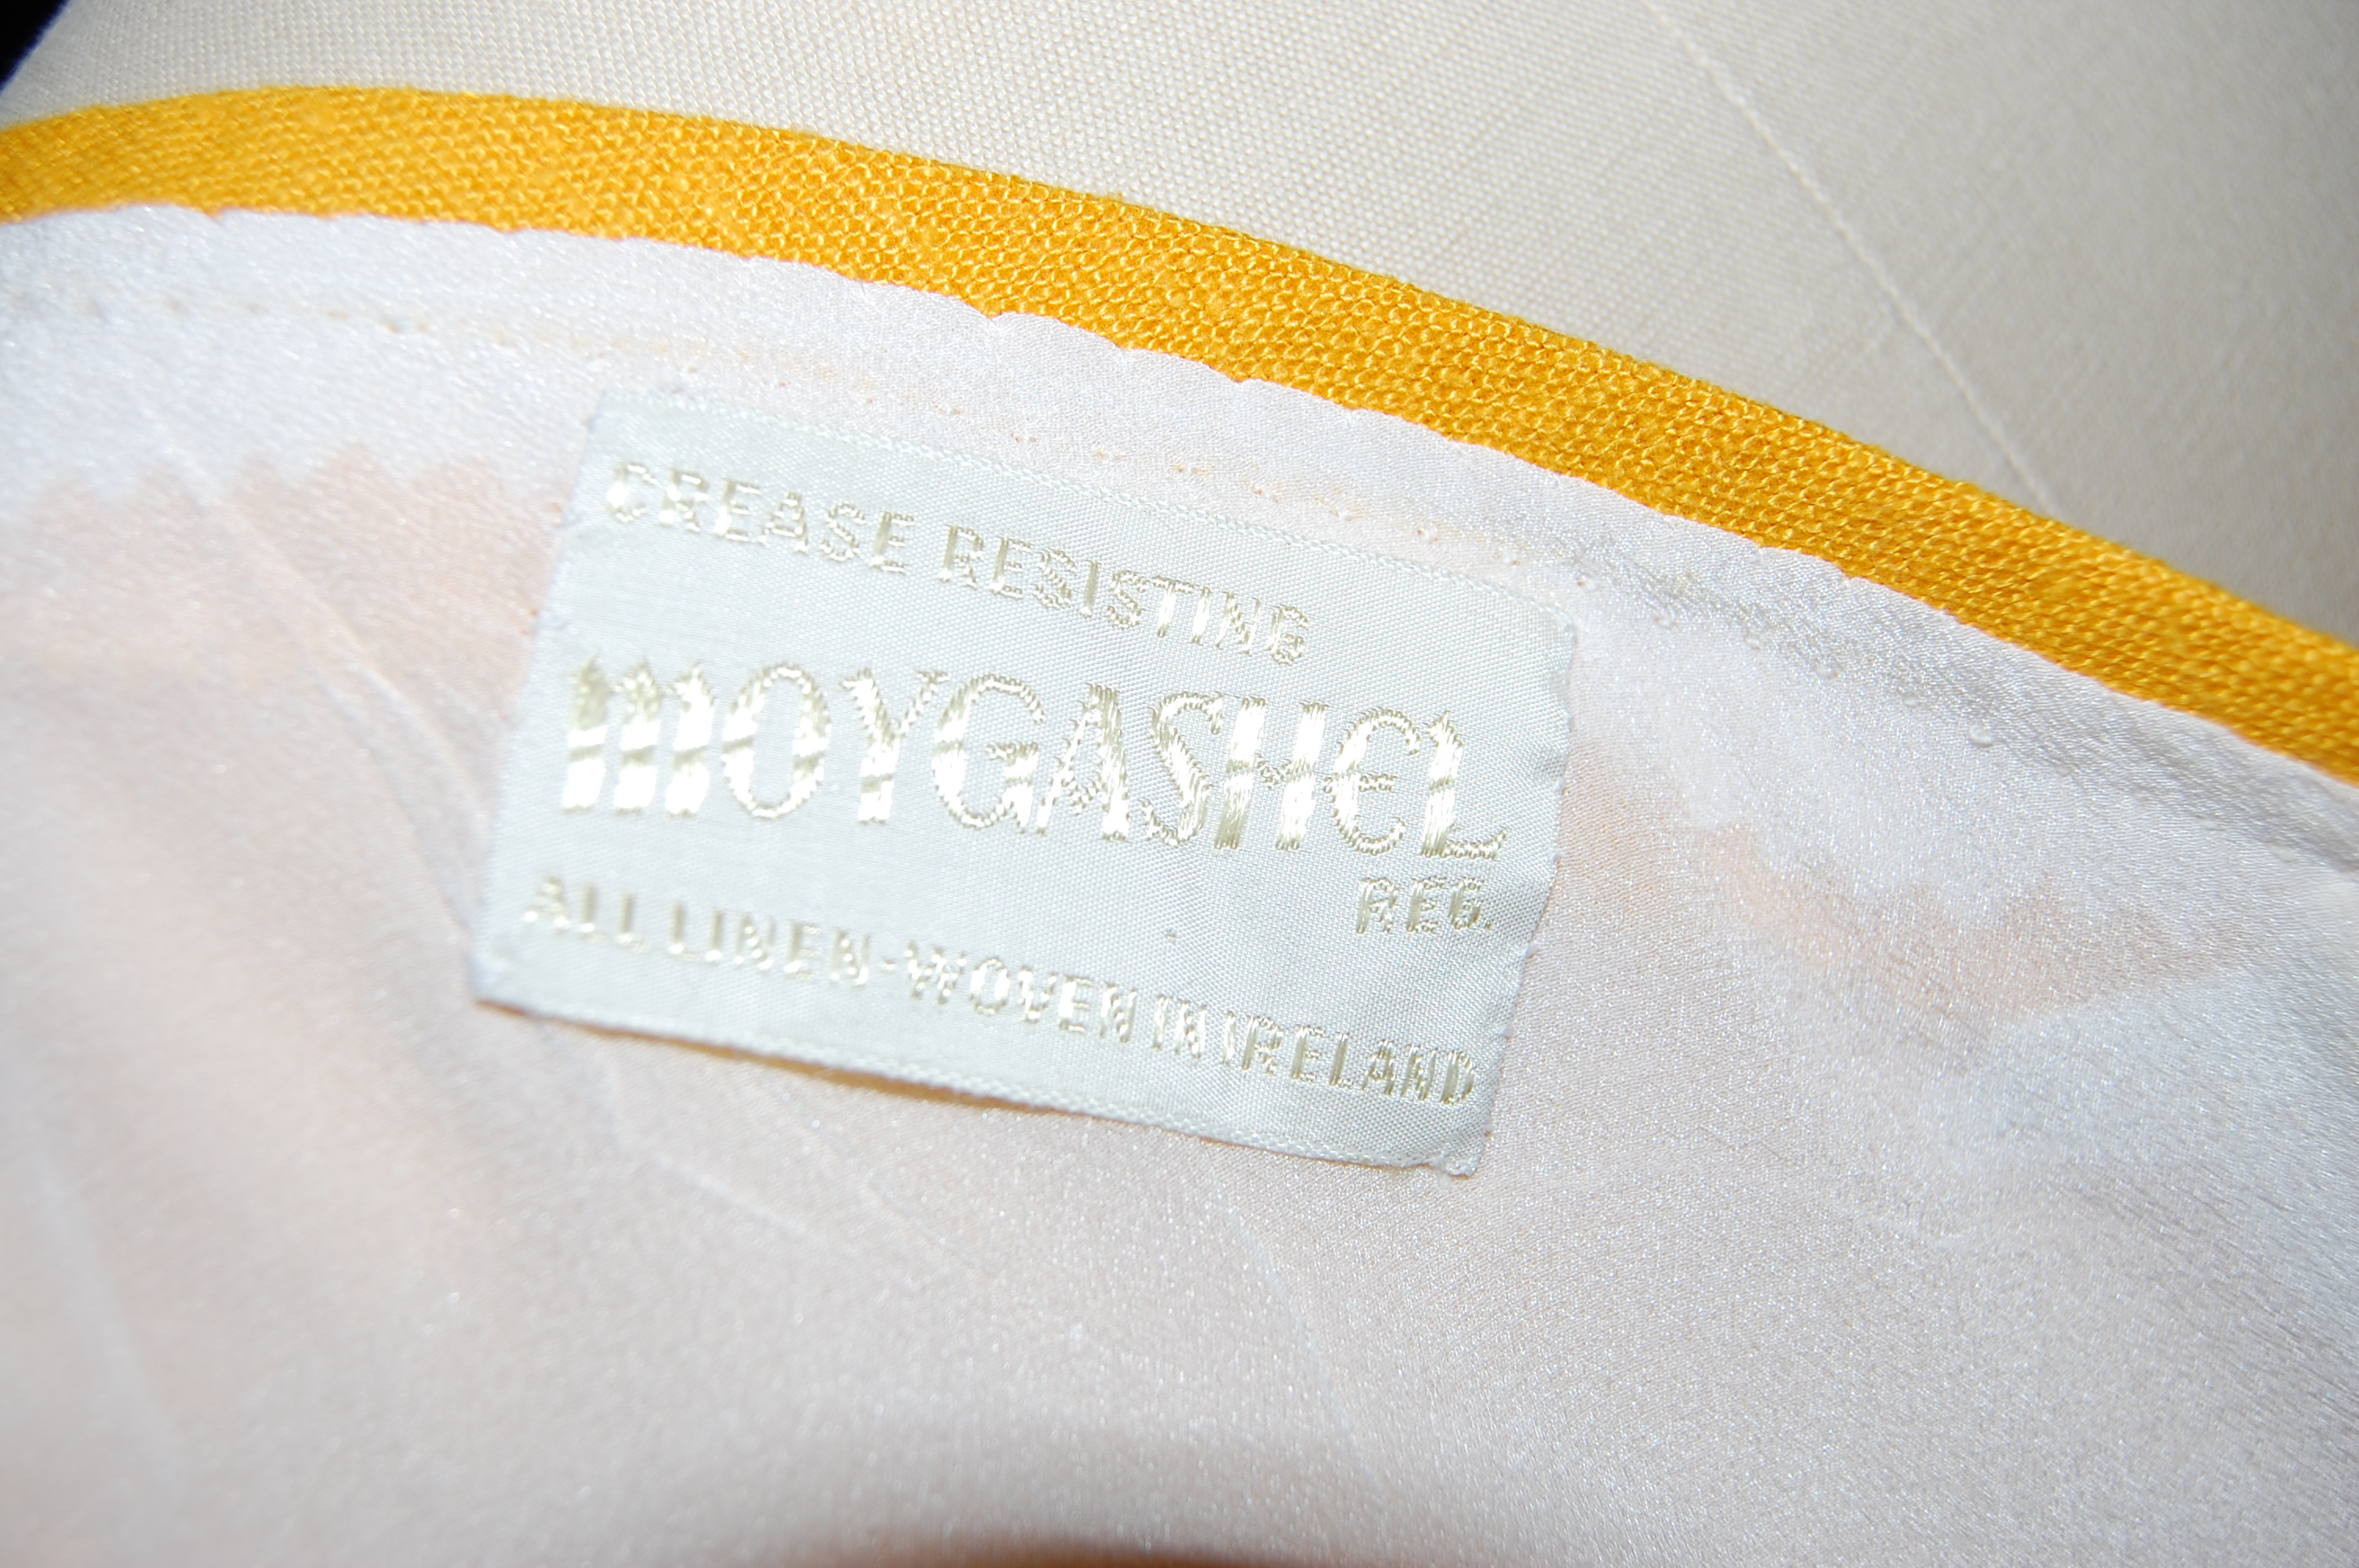
I attached the label inside the back neckline.
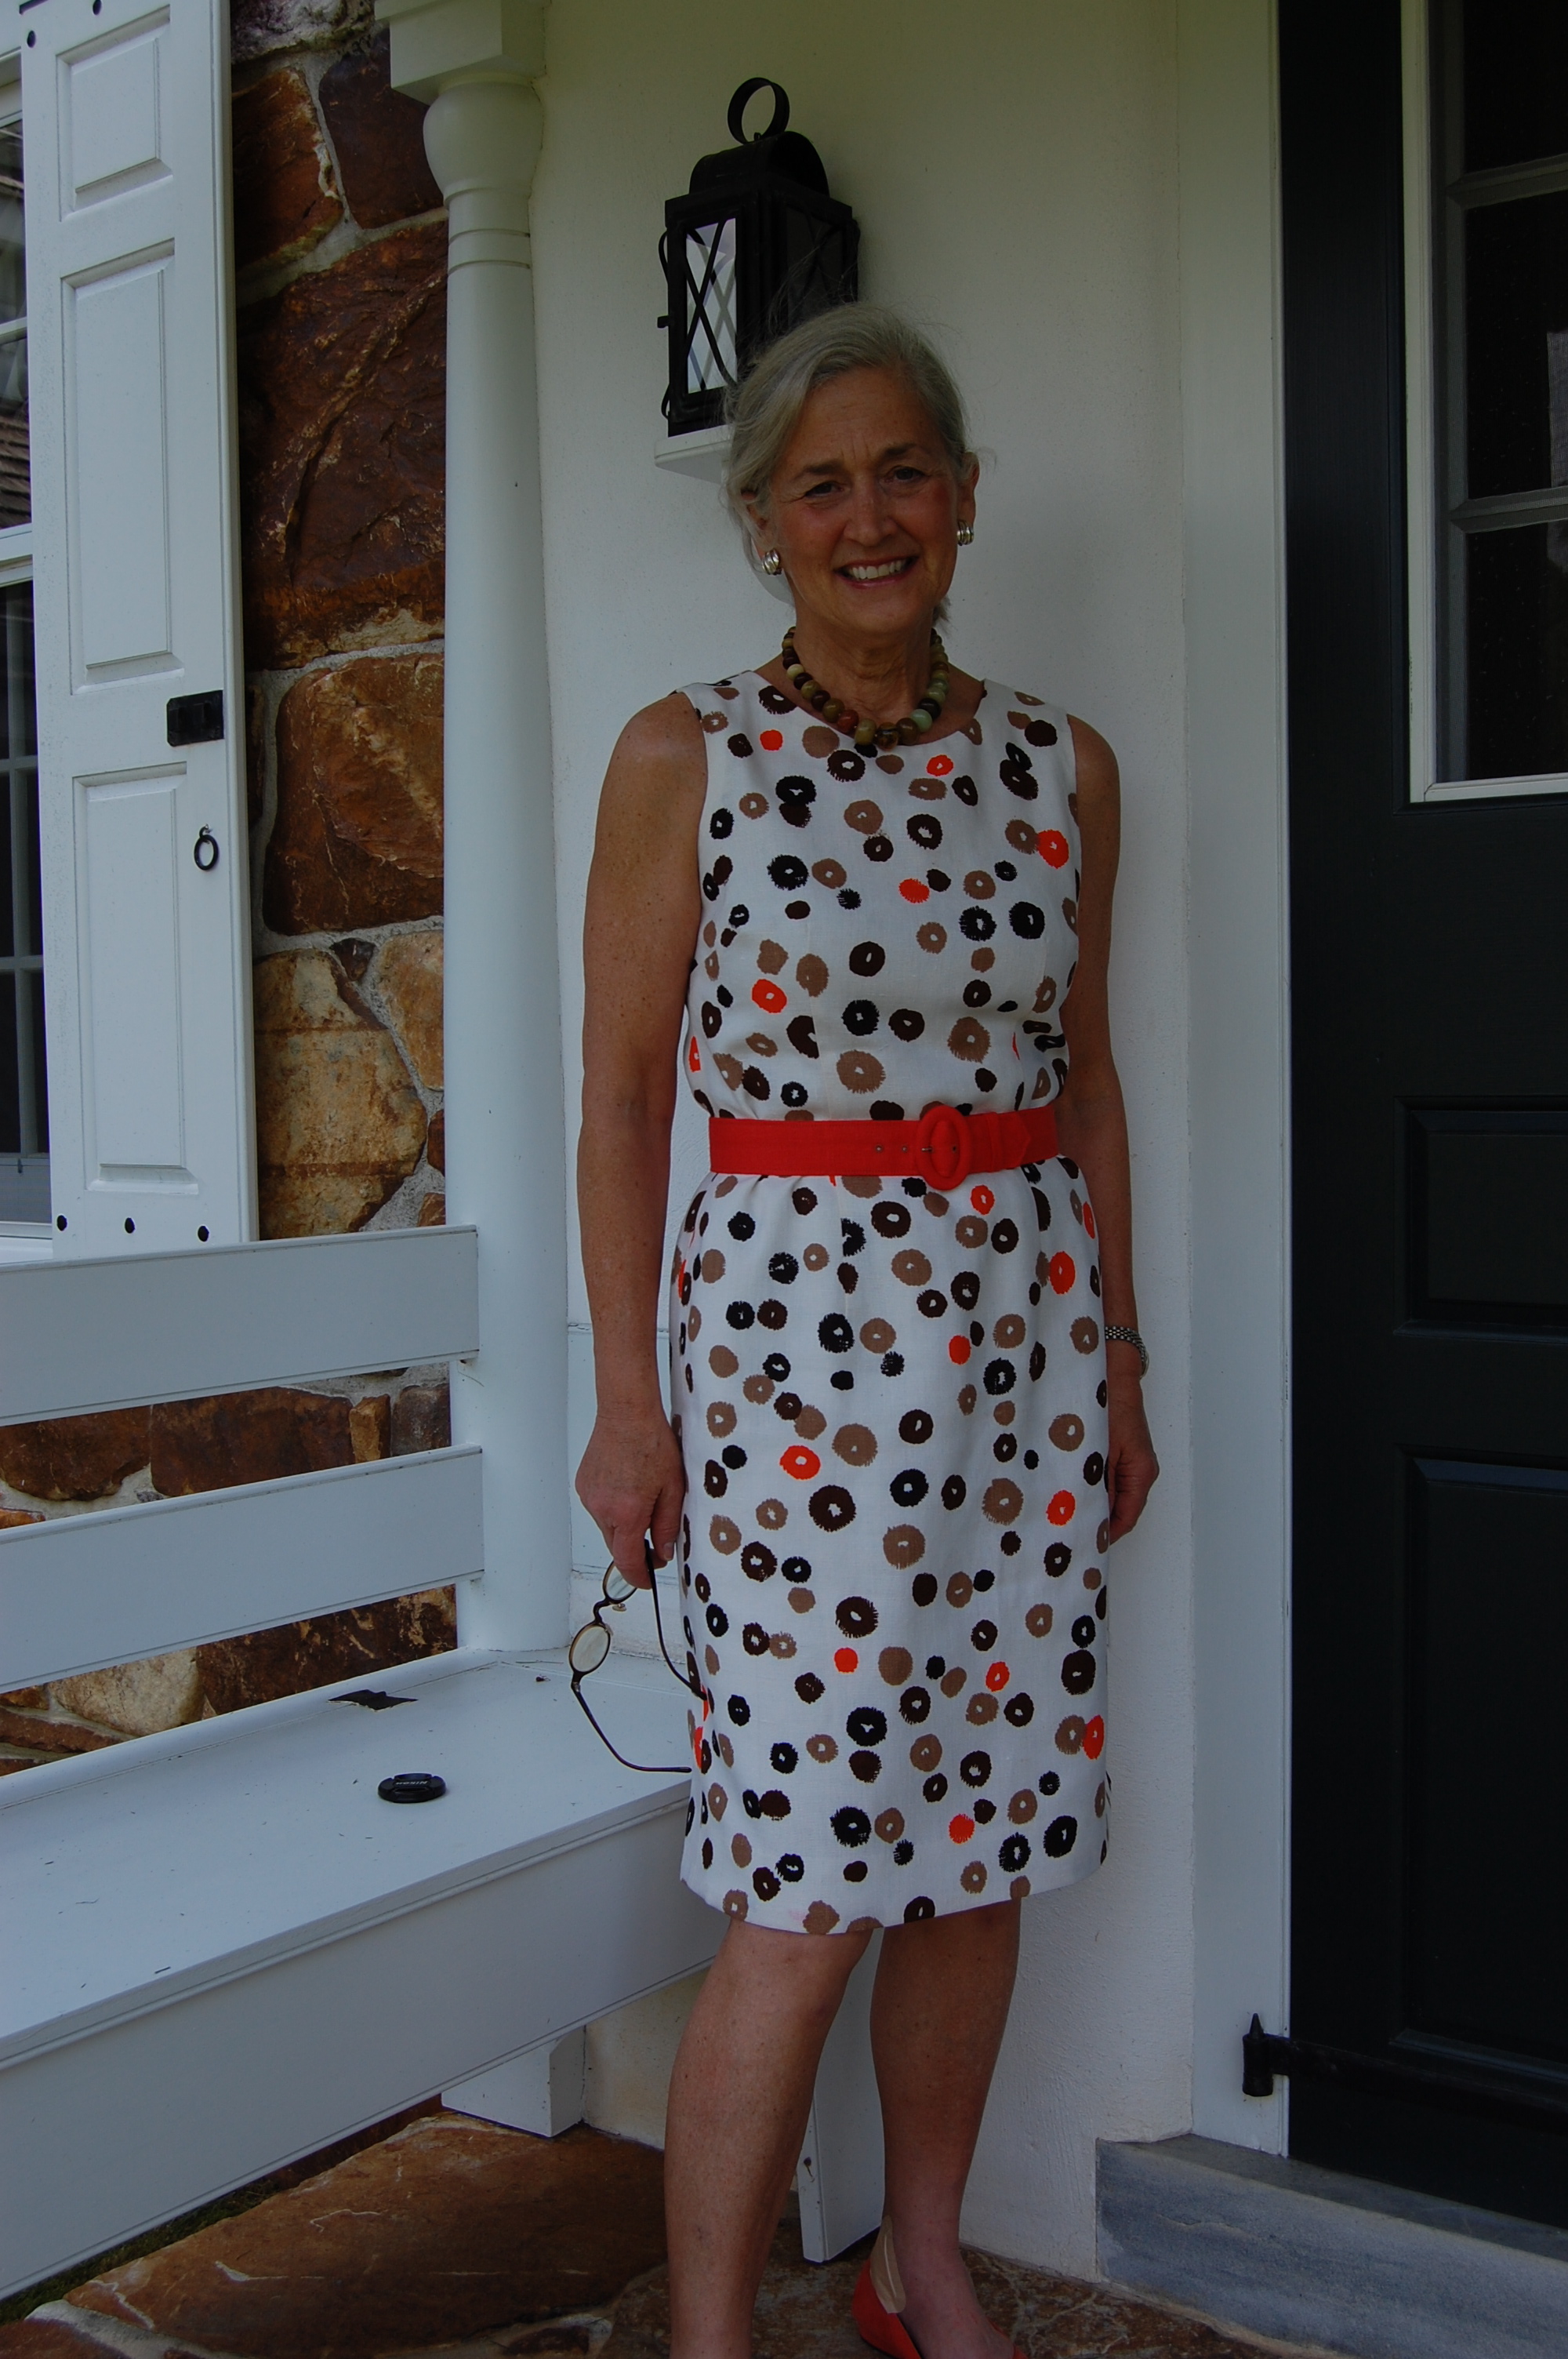
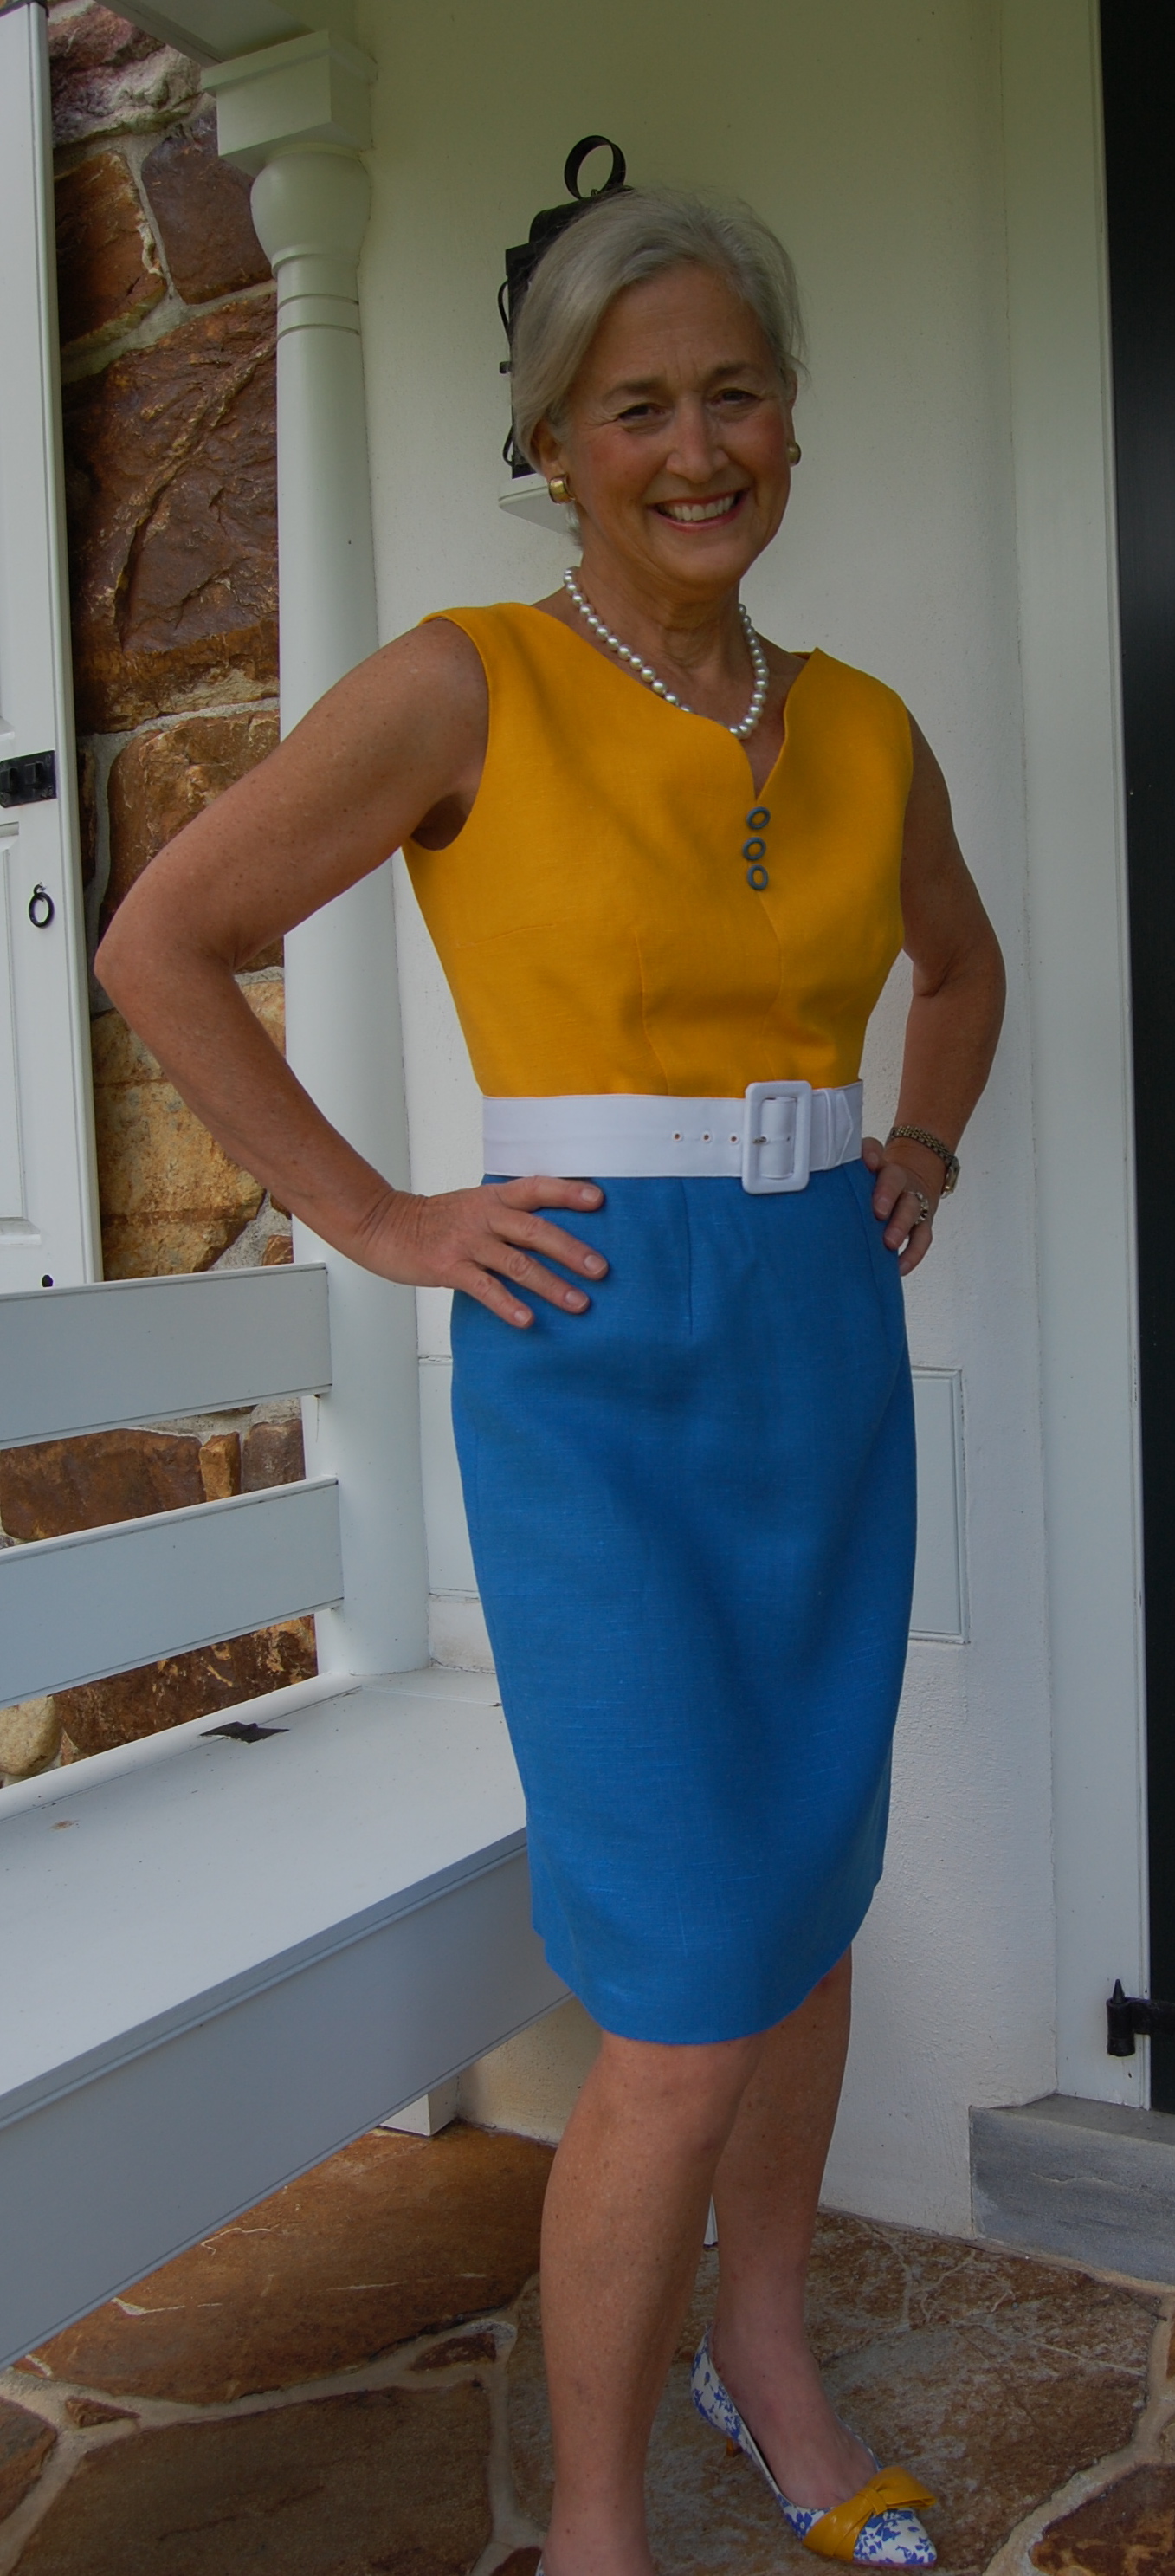
The belt is also a Pat Mahoney product, made from a silk dupioni.
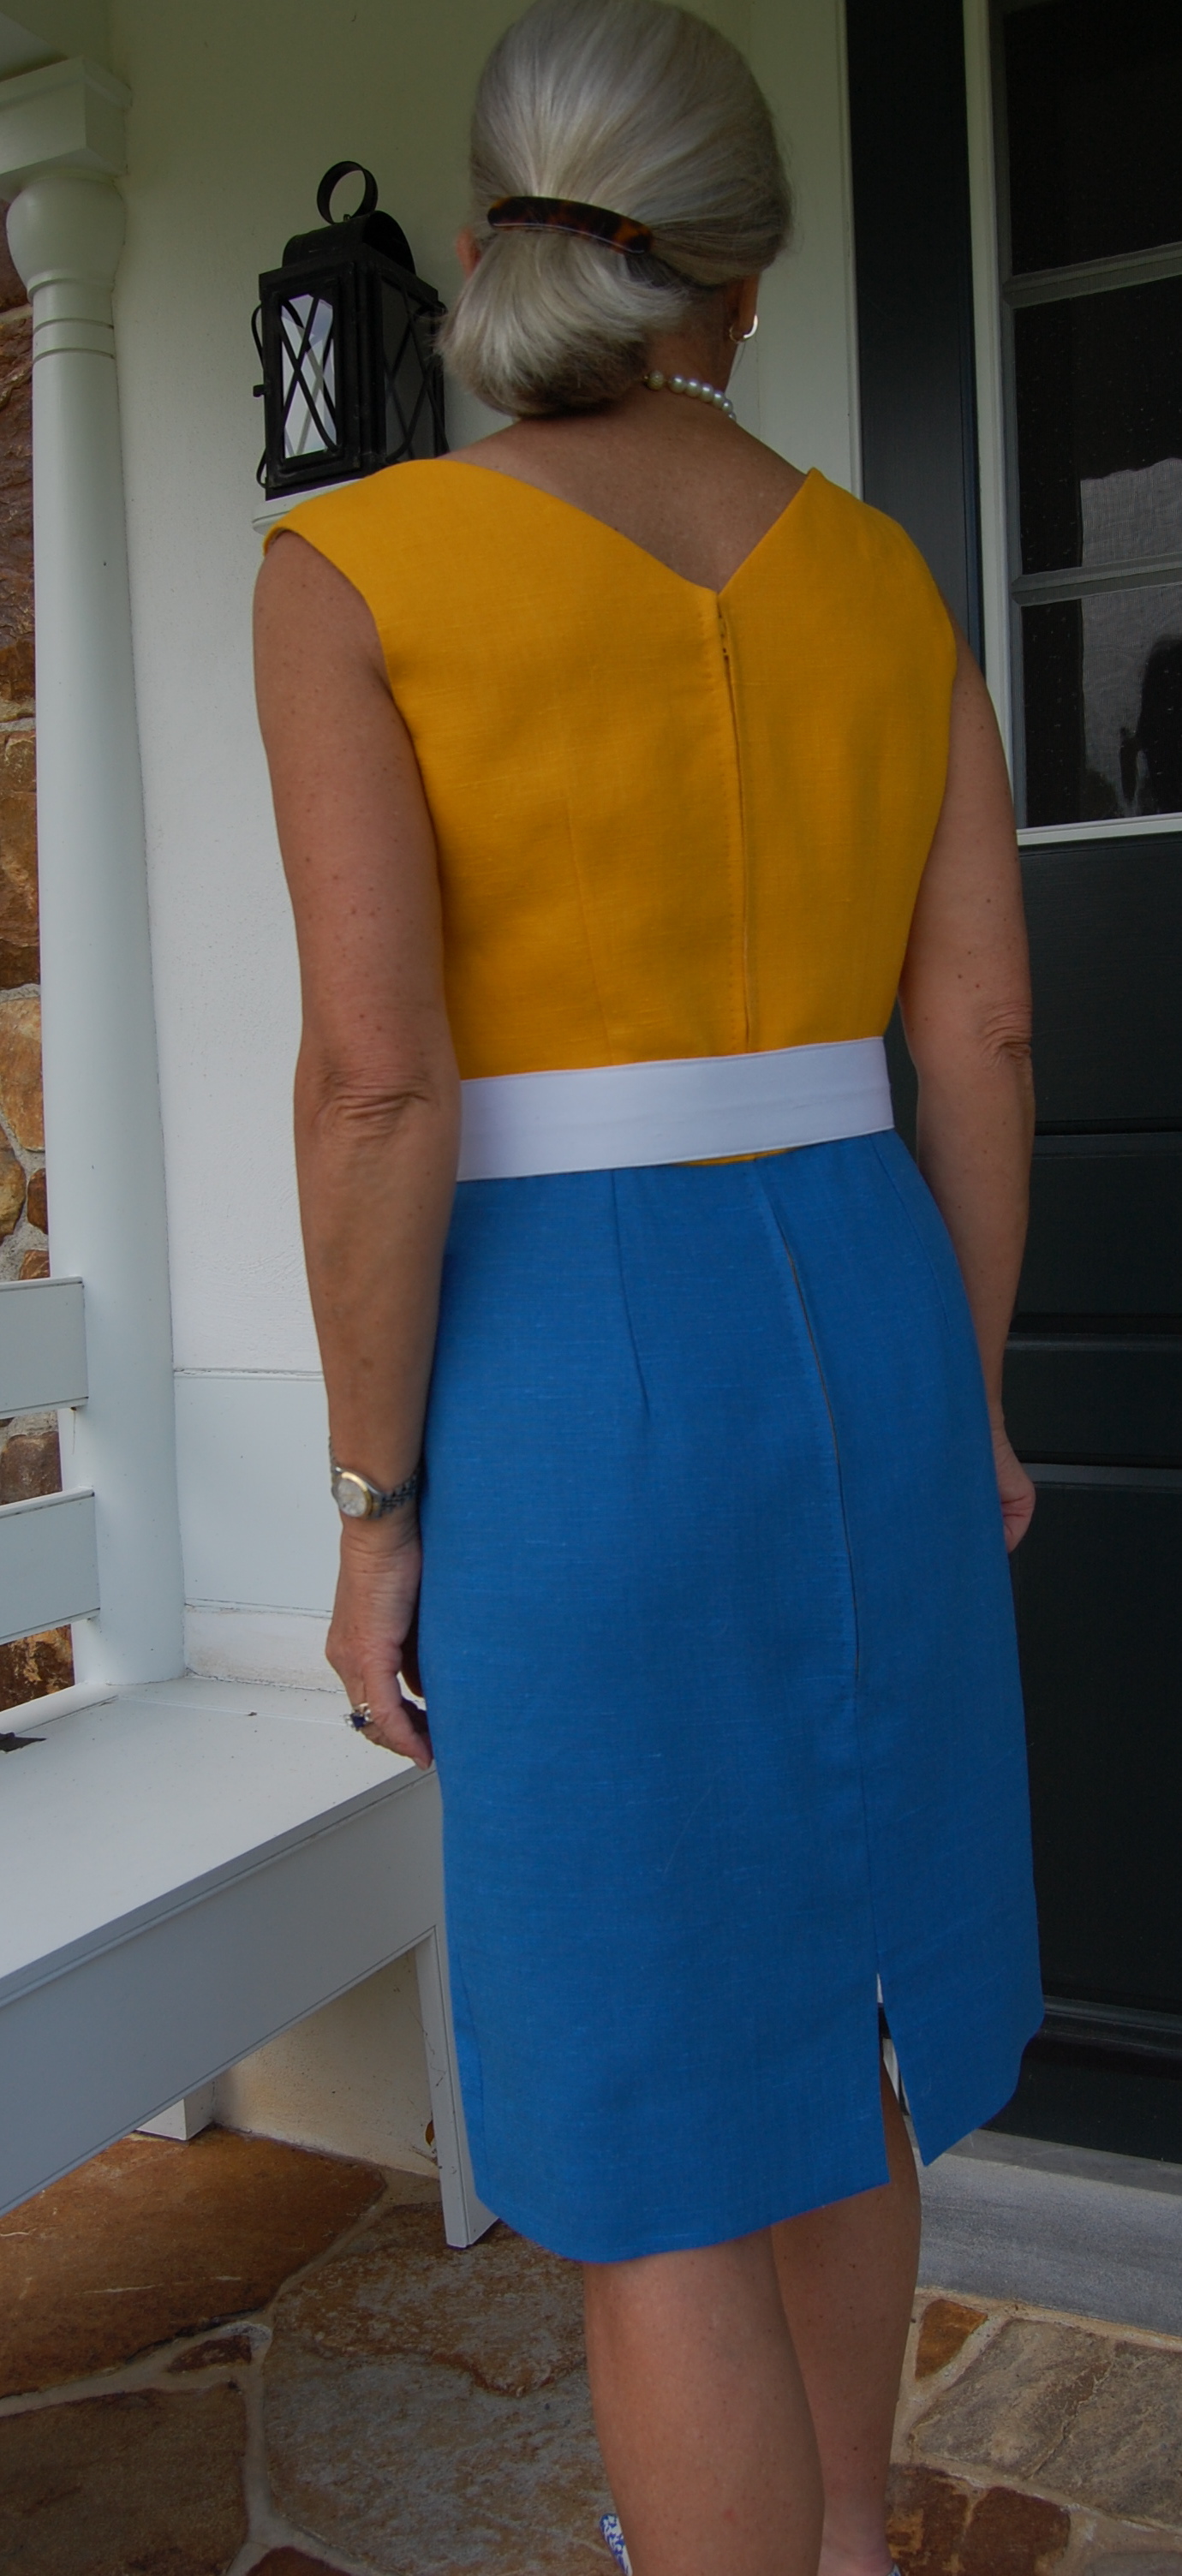
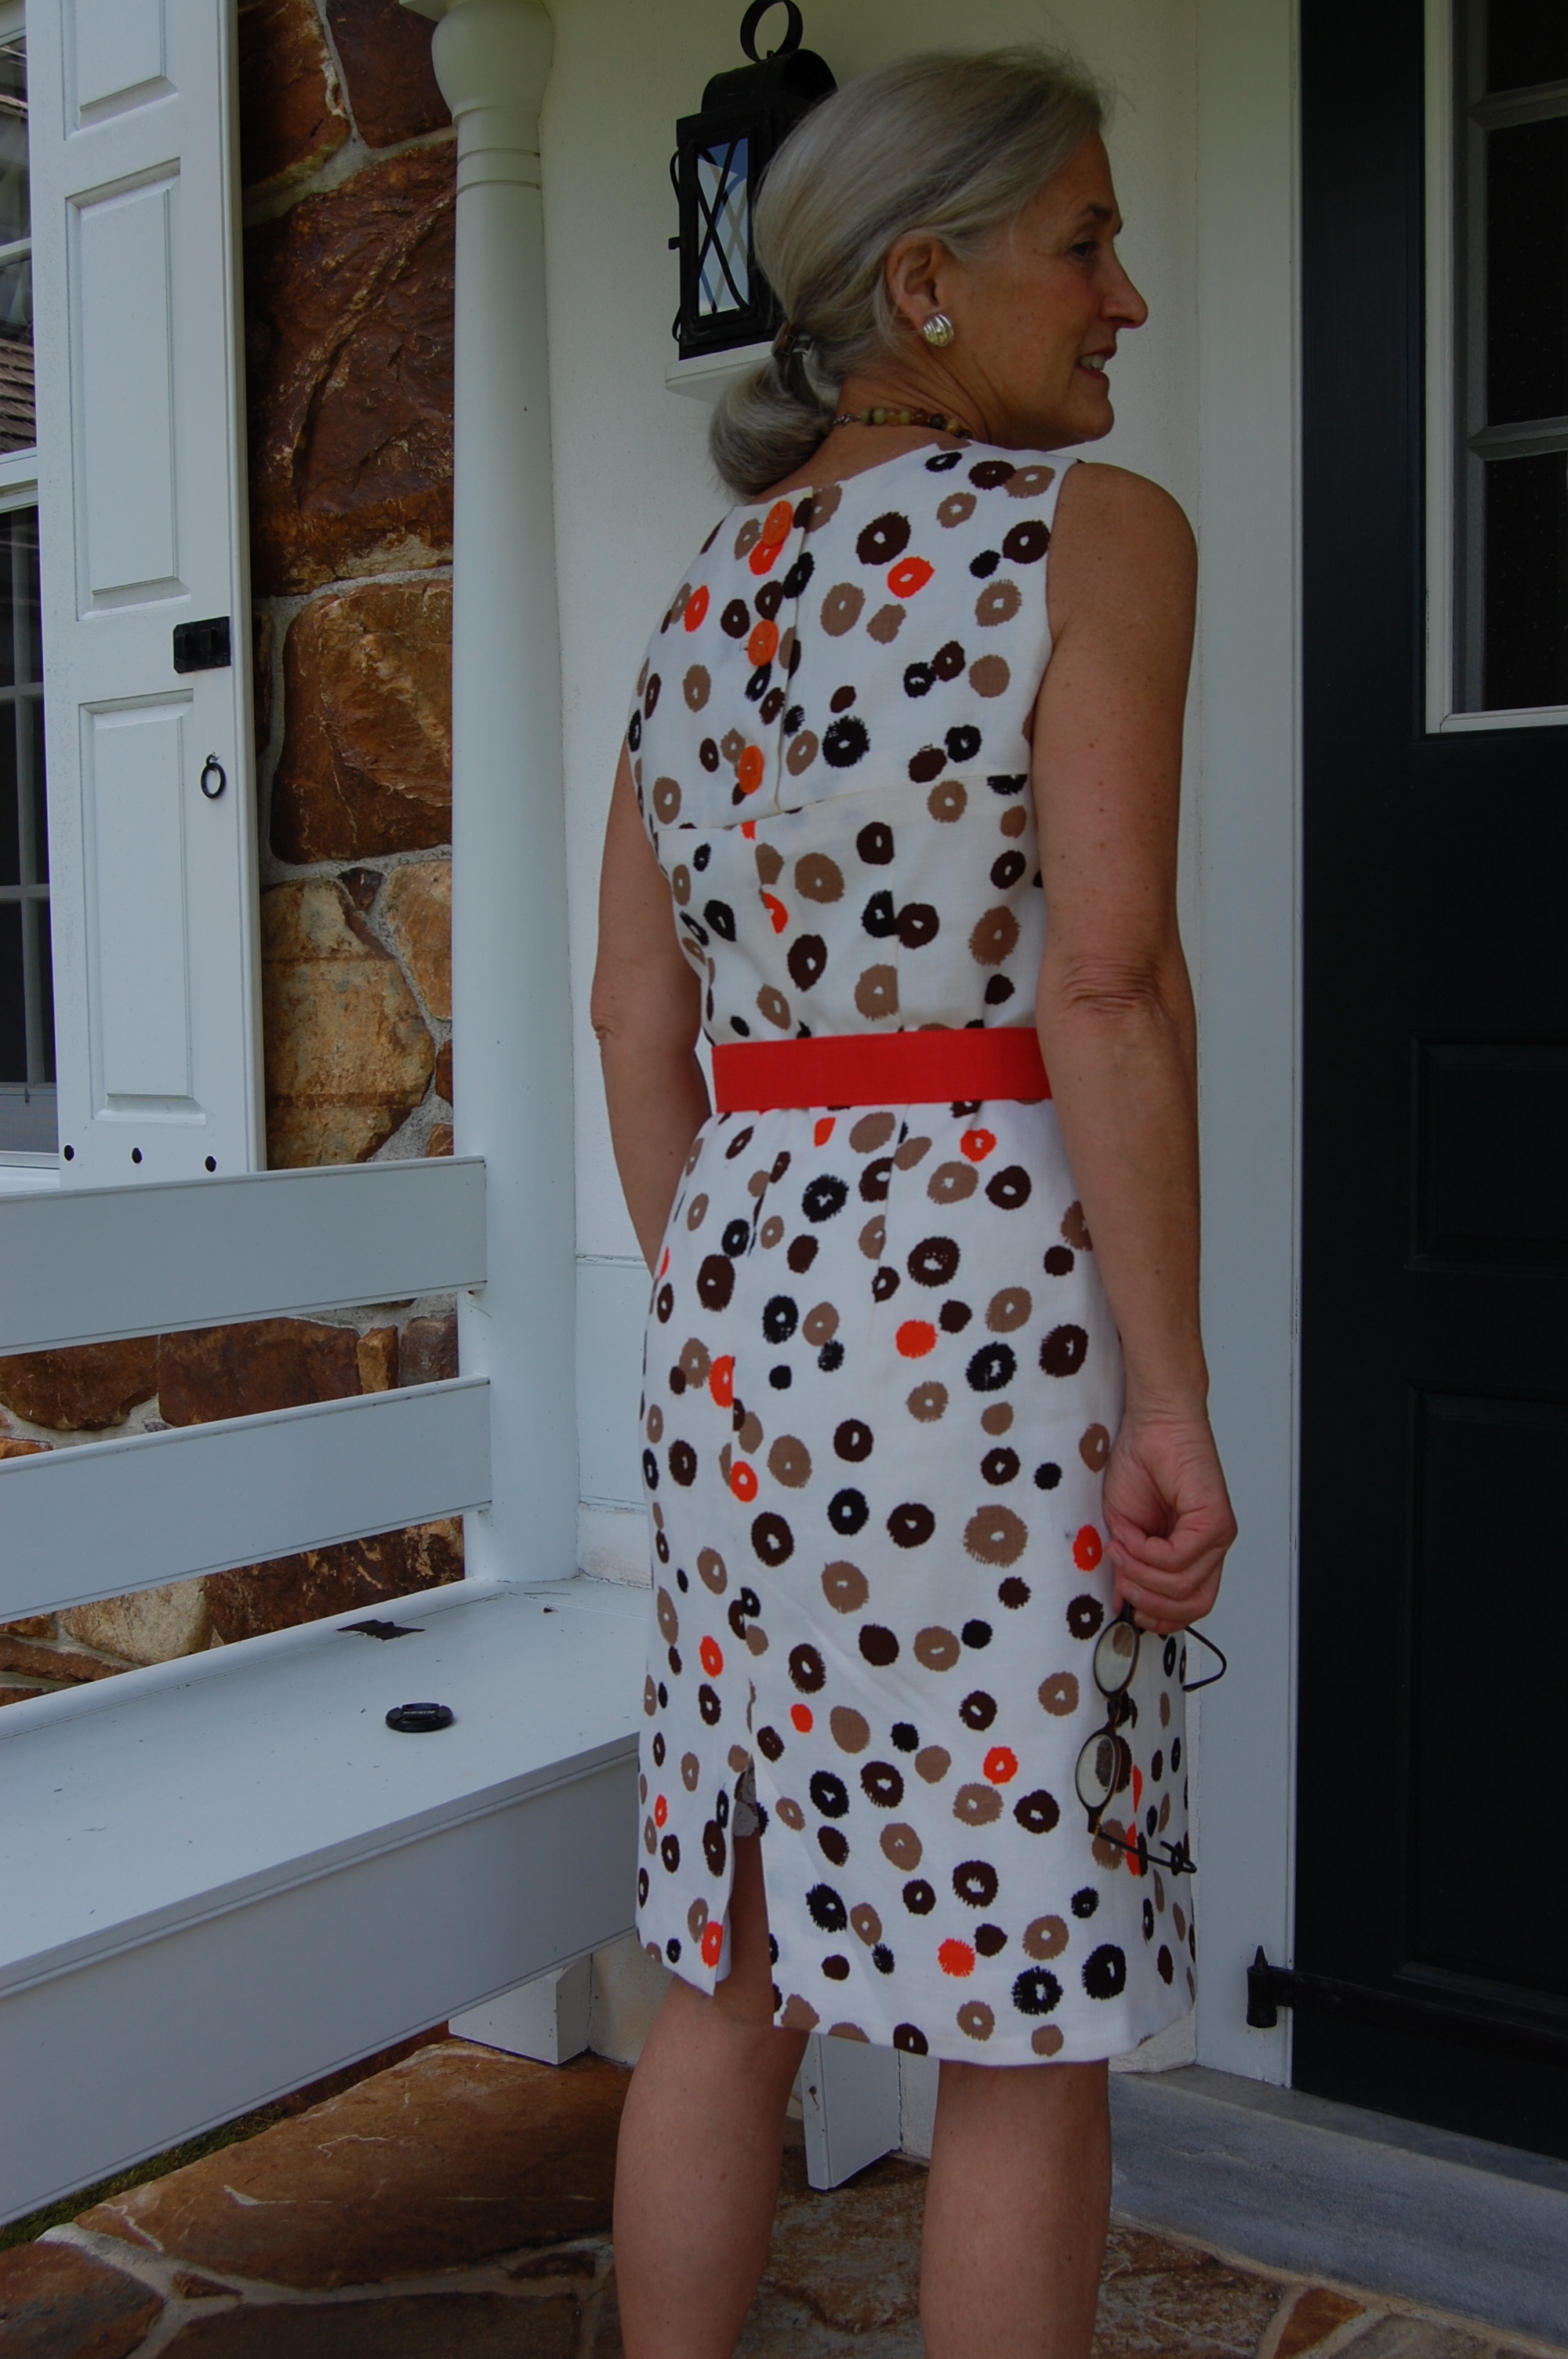
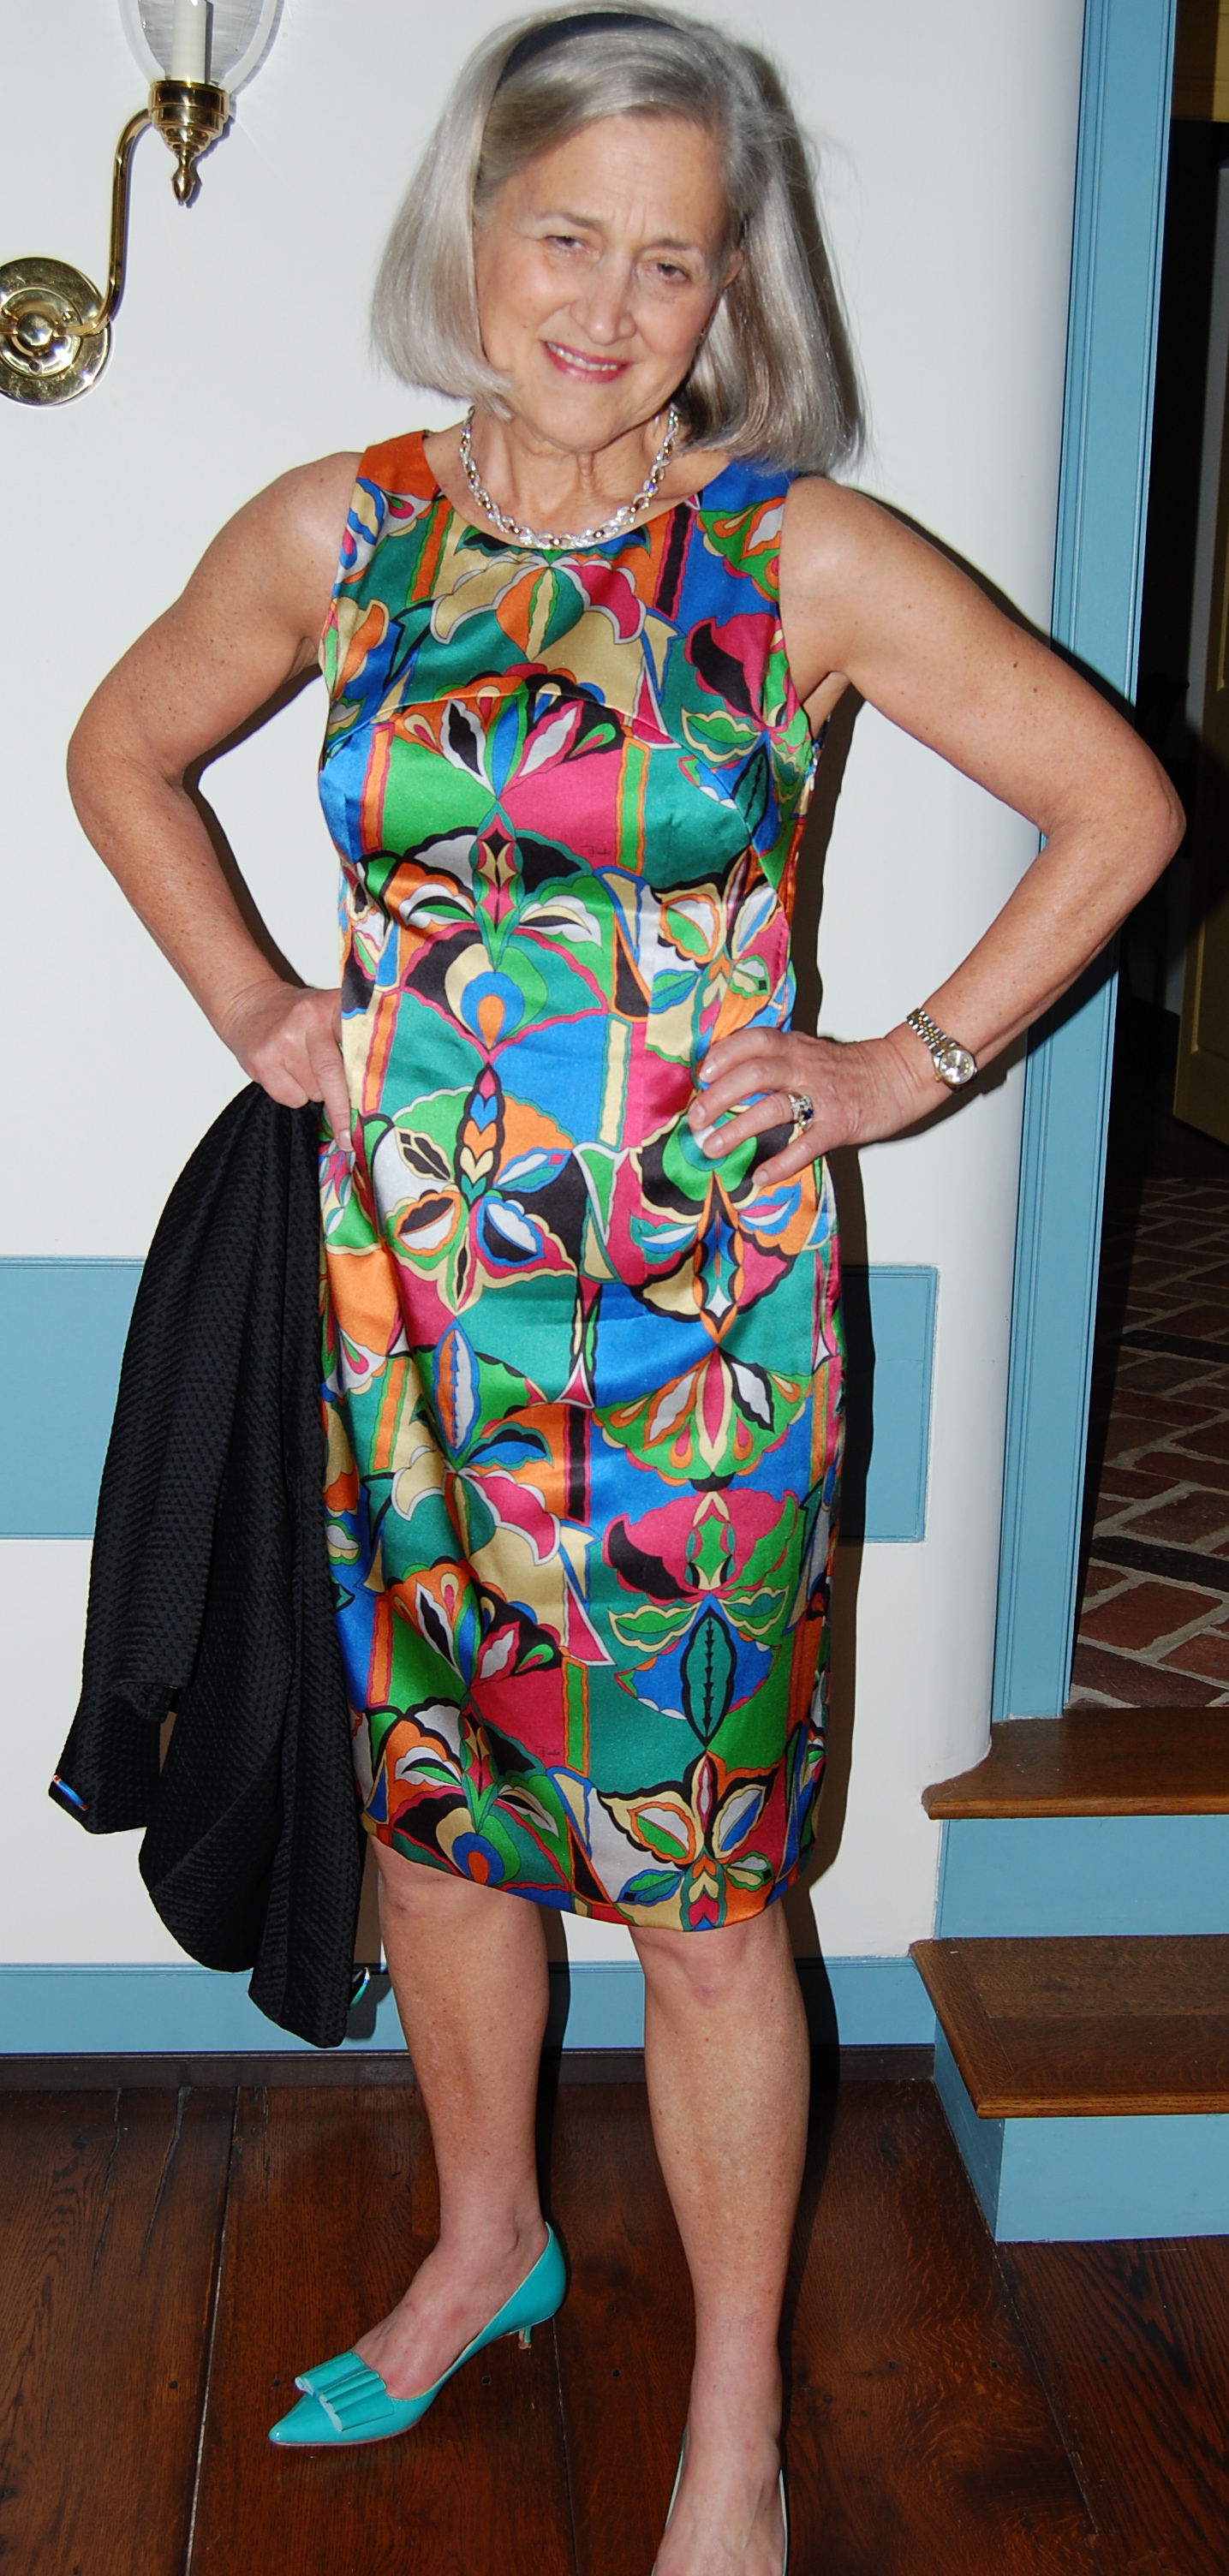
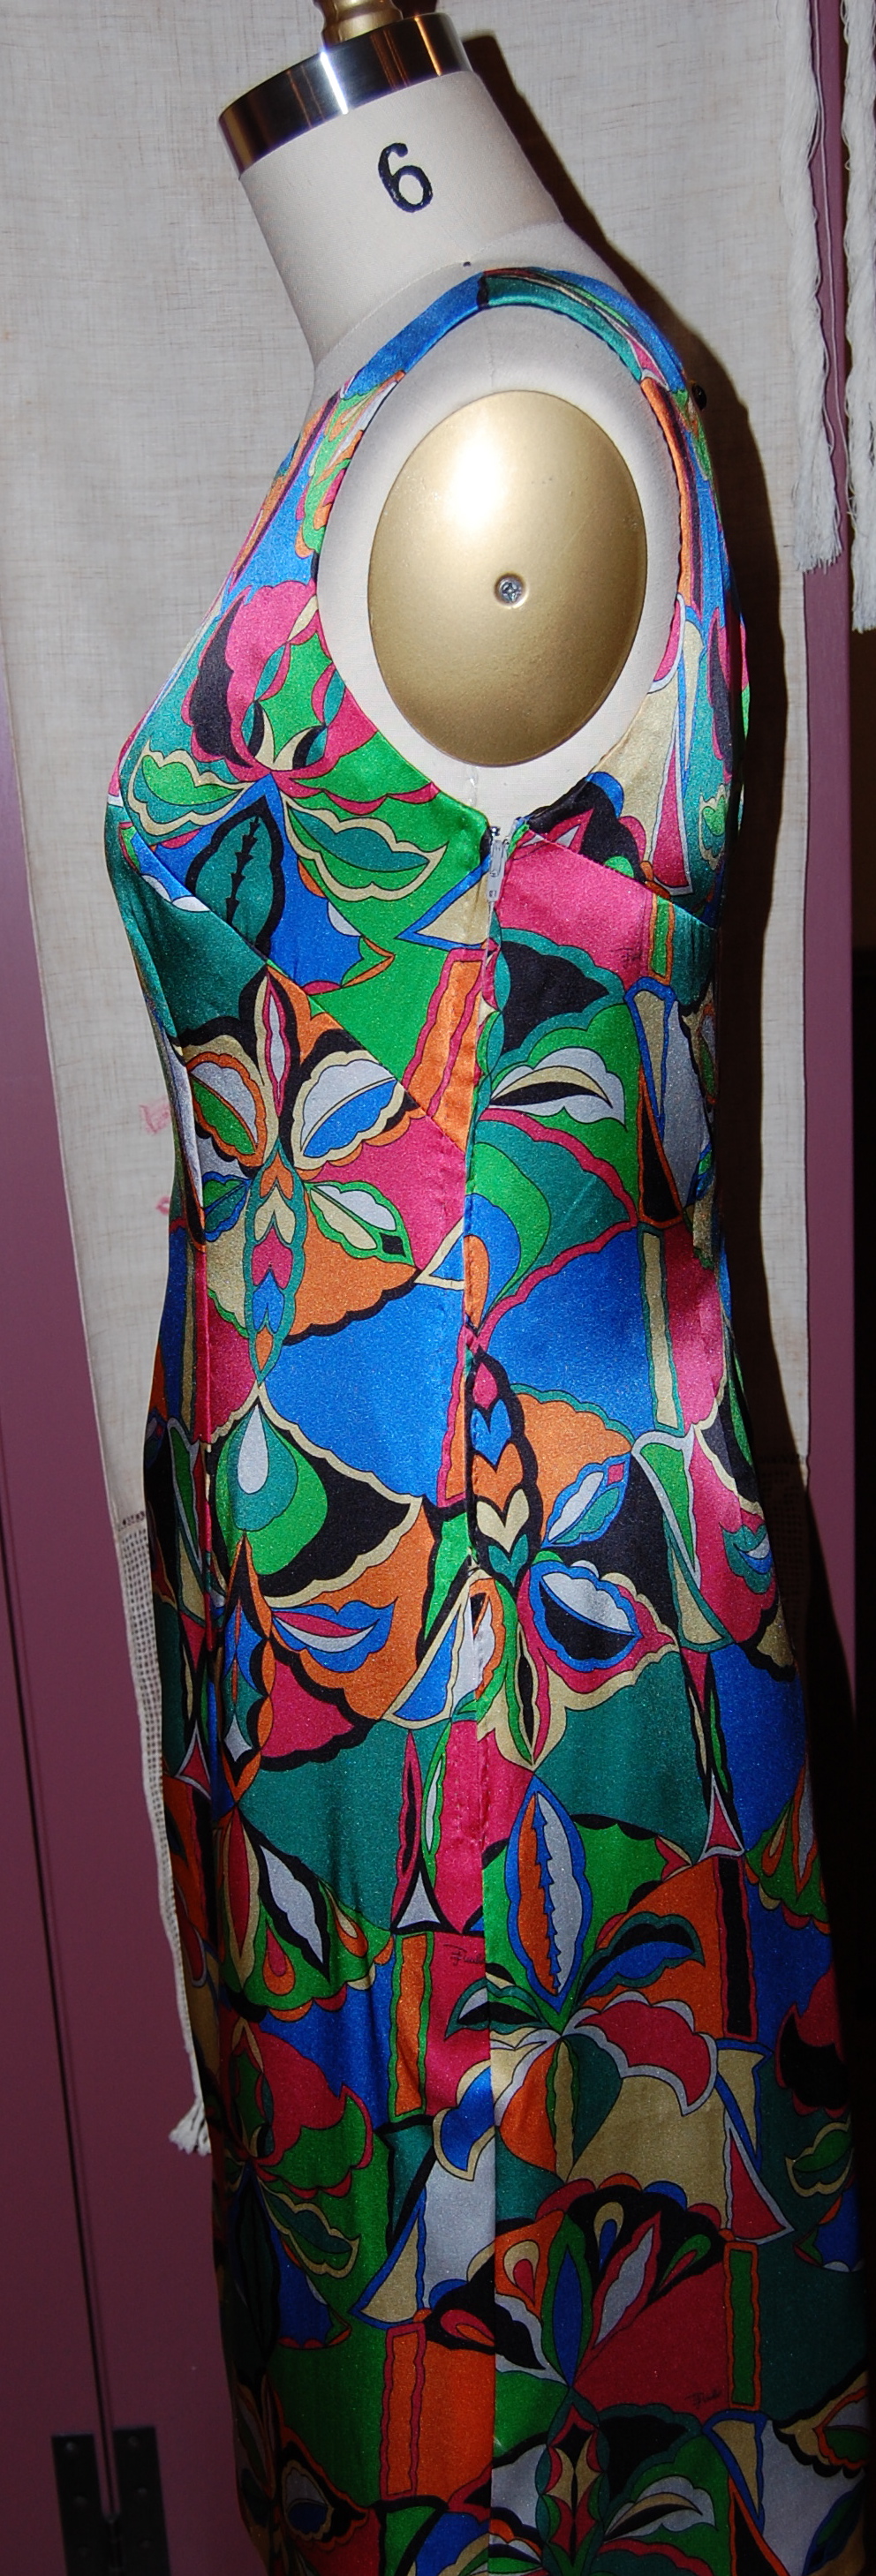
I like the V-ed back!

Love those shoes!
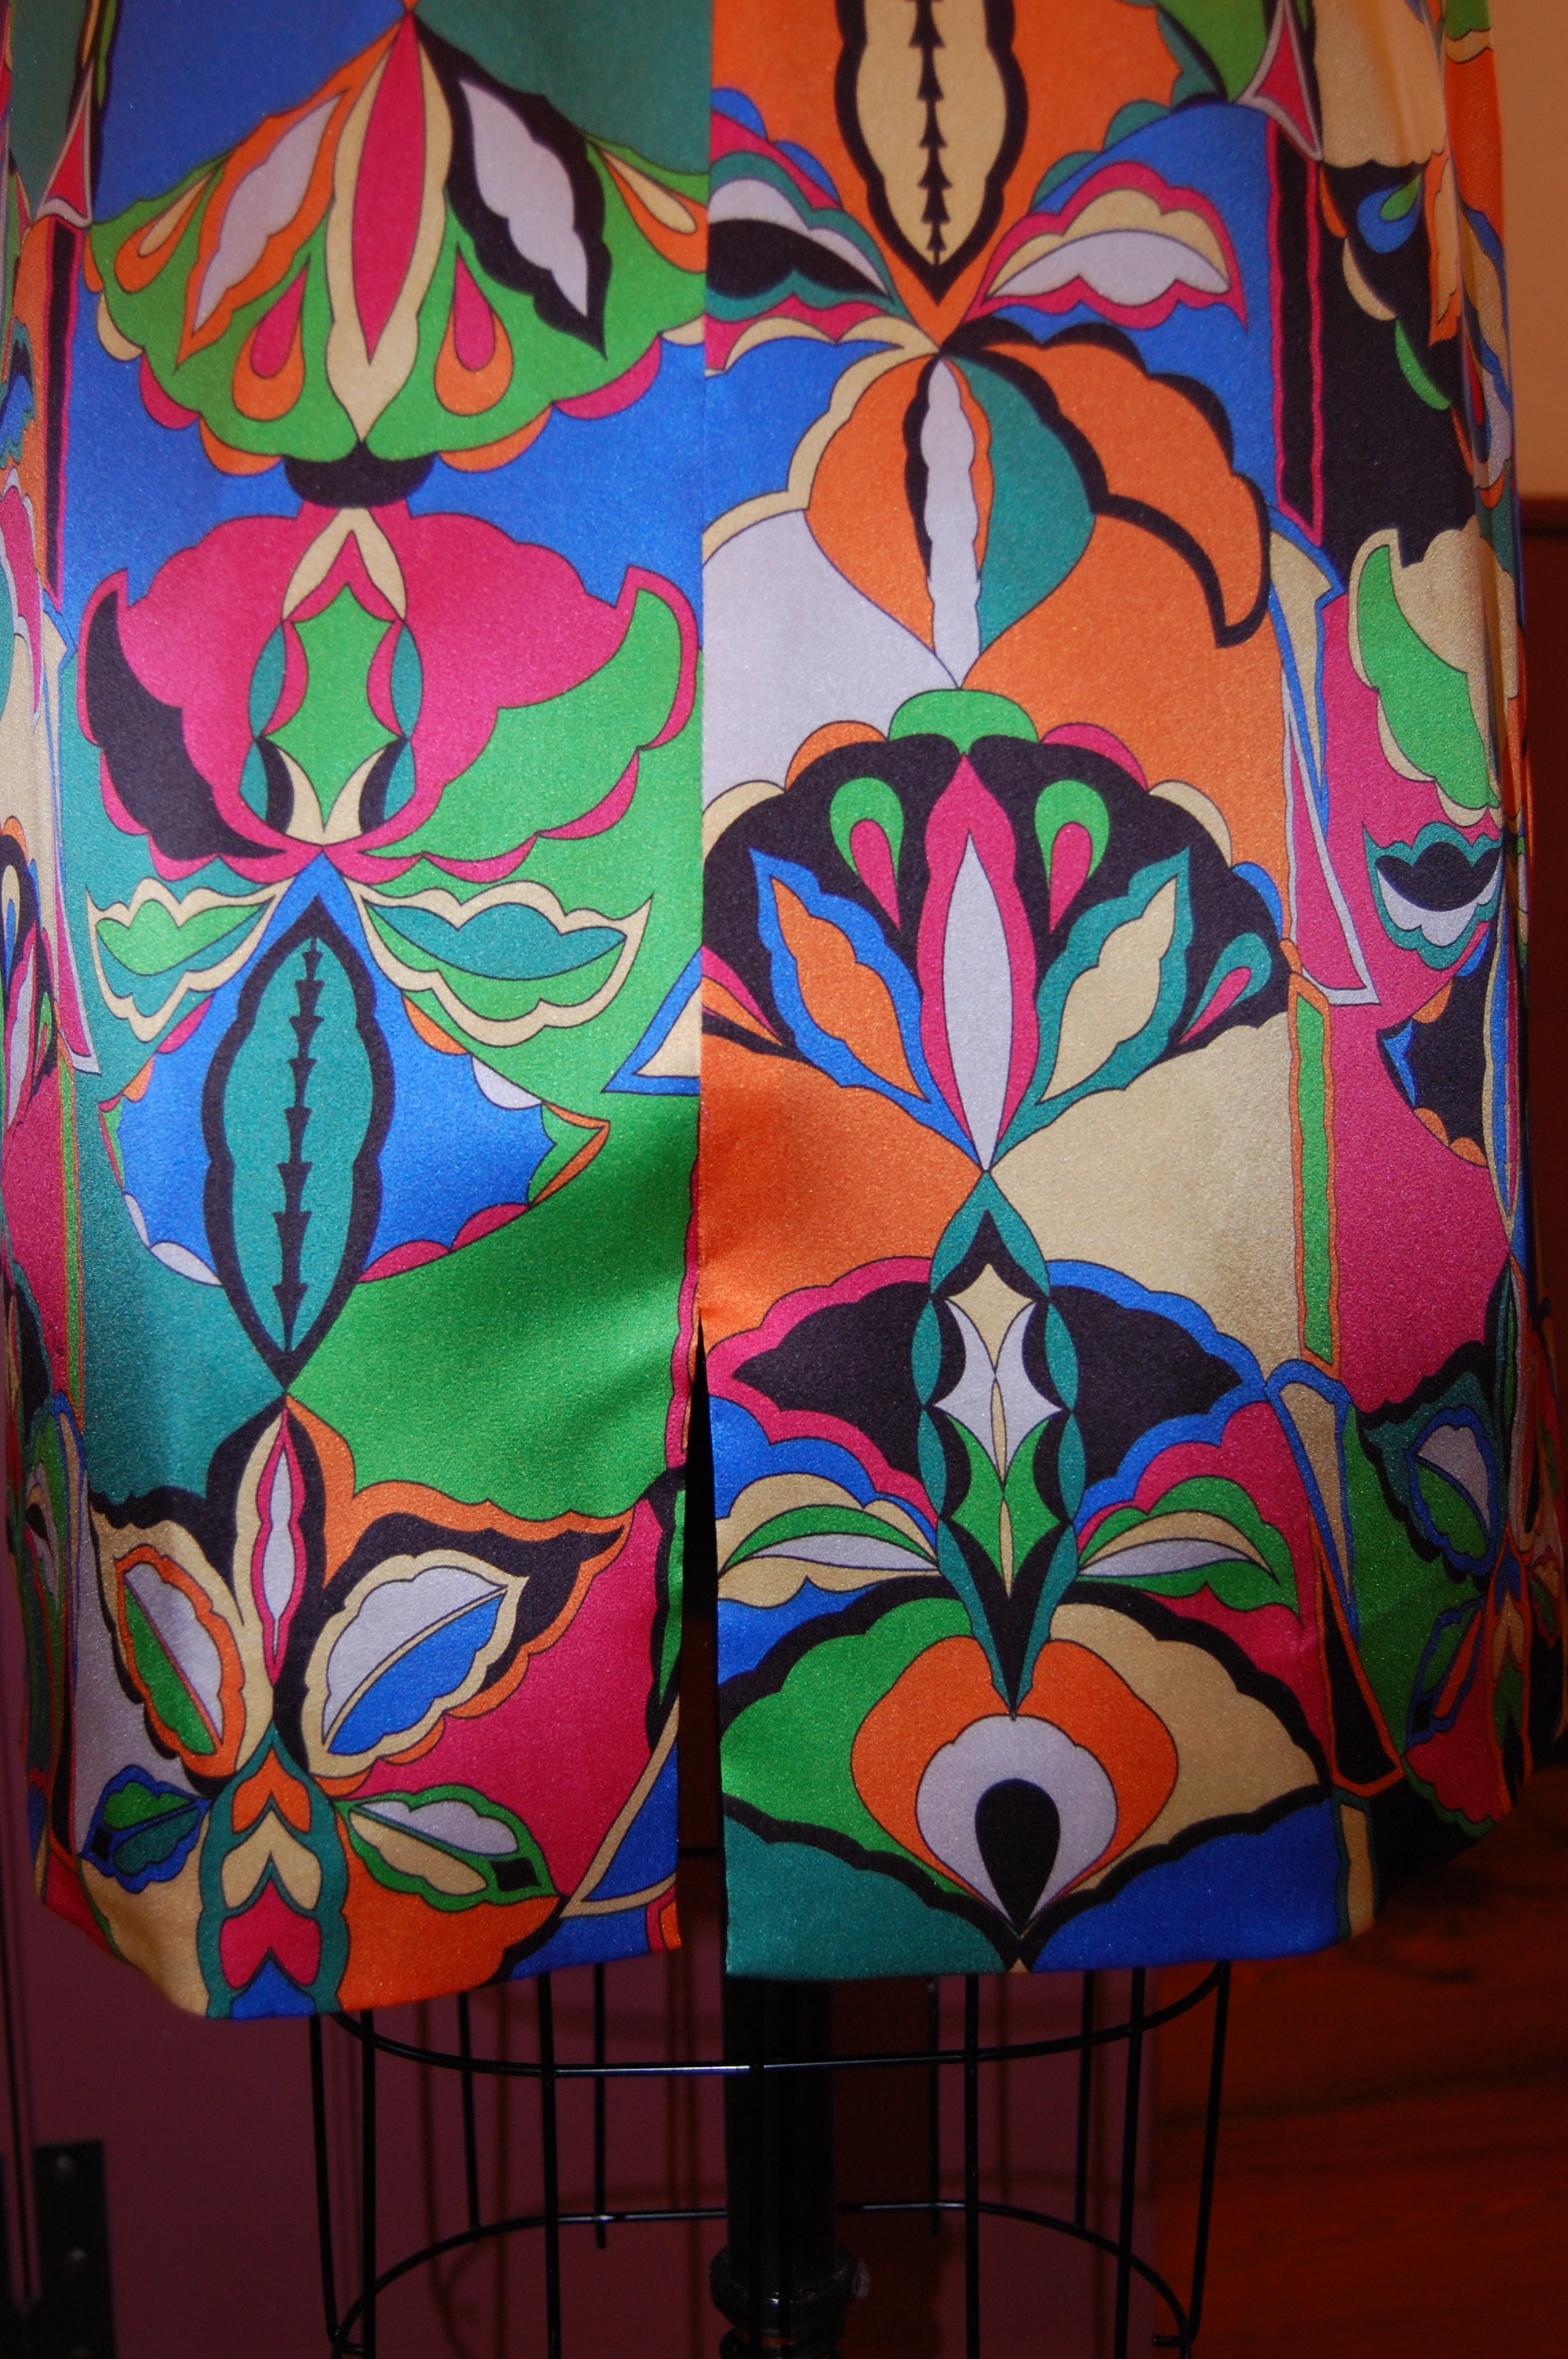
To me, this dress is reminiscent of a 1950s’ “wiggle dress” – although I added a back slit so that I can walk easily, which I guess would have been “cheating” in the 1950s! I was delighted to make another 1950s’ connection when I saw this pair of Roger Vivier shoes for Christian Dior on Pinterest:
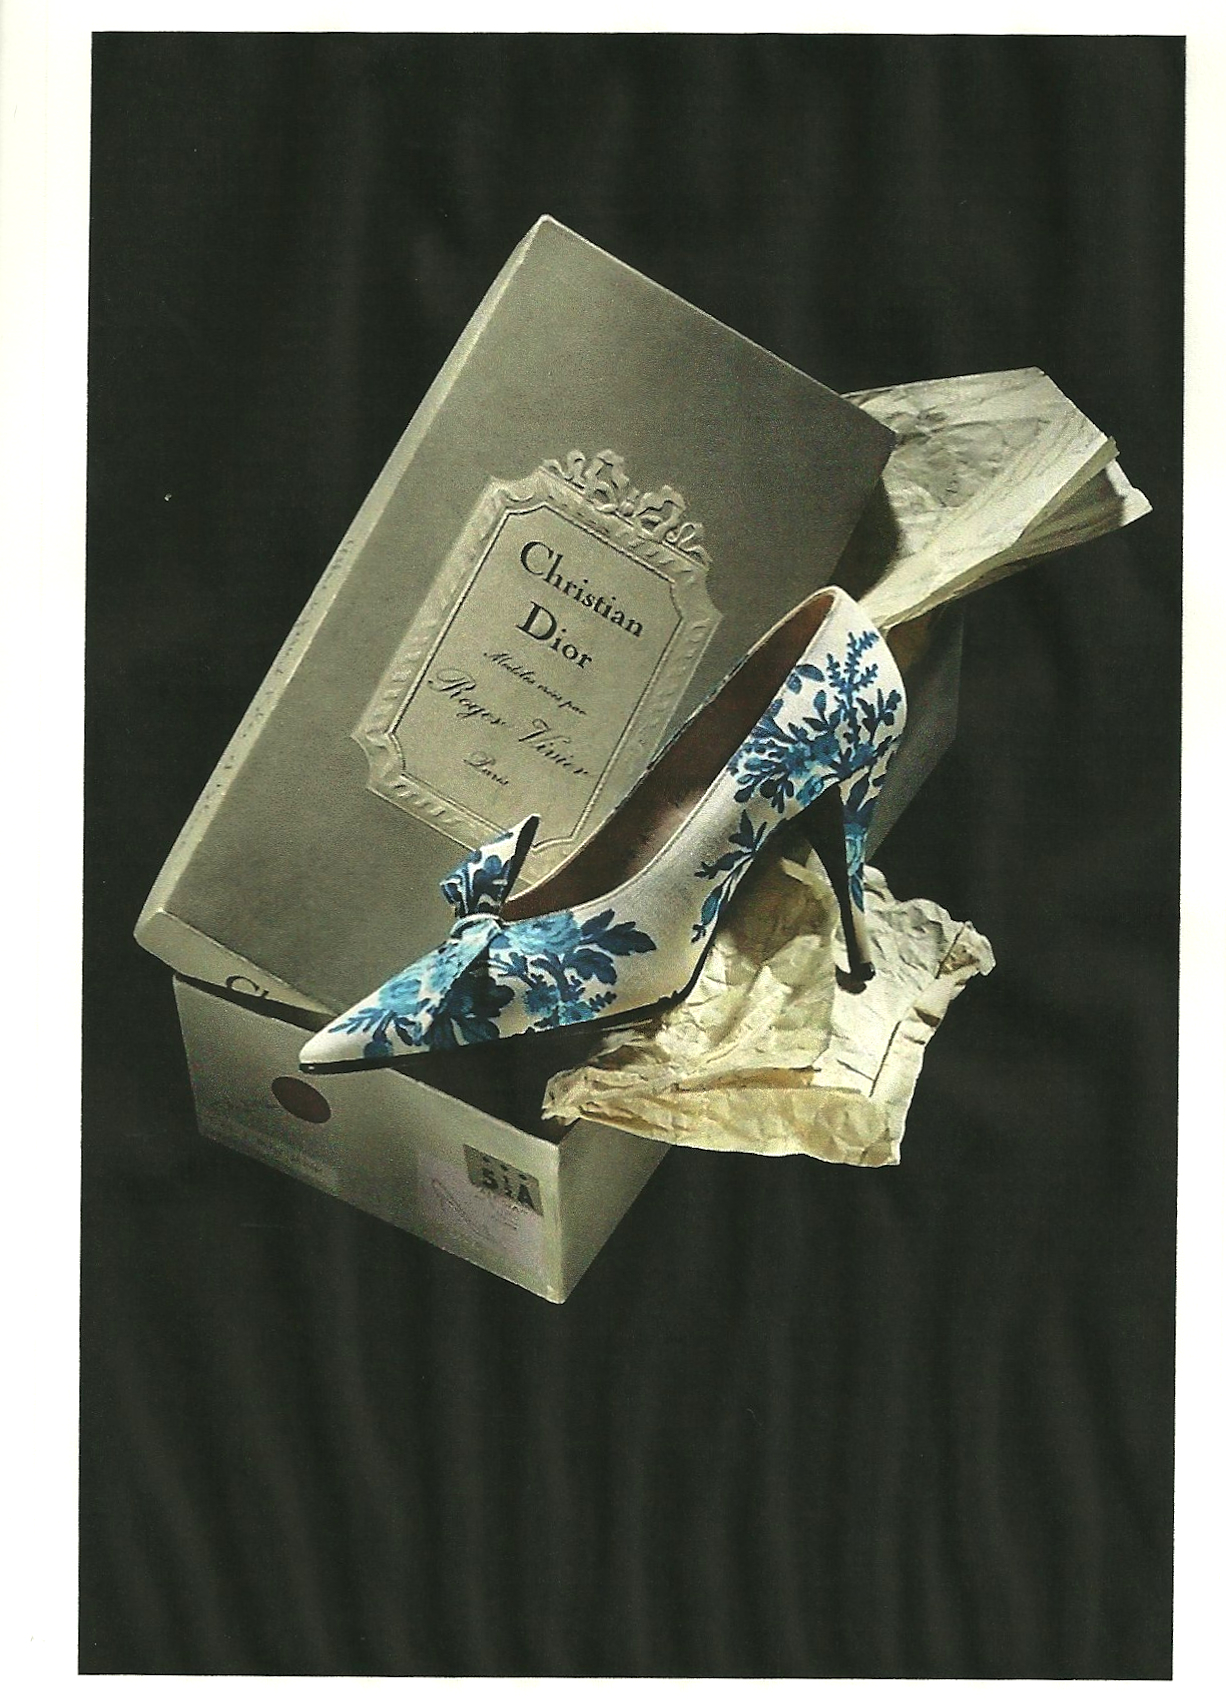
The similarities with my shoes are remarkable! Now that I have one dress perfectly suited for my Christian Dior-inspired shoes, I will be looking for other “perfect pairings”. Who knows what fabric treasures will present themselves next Spring or Summer for just such an undertaking?