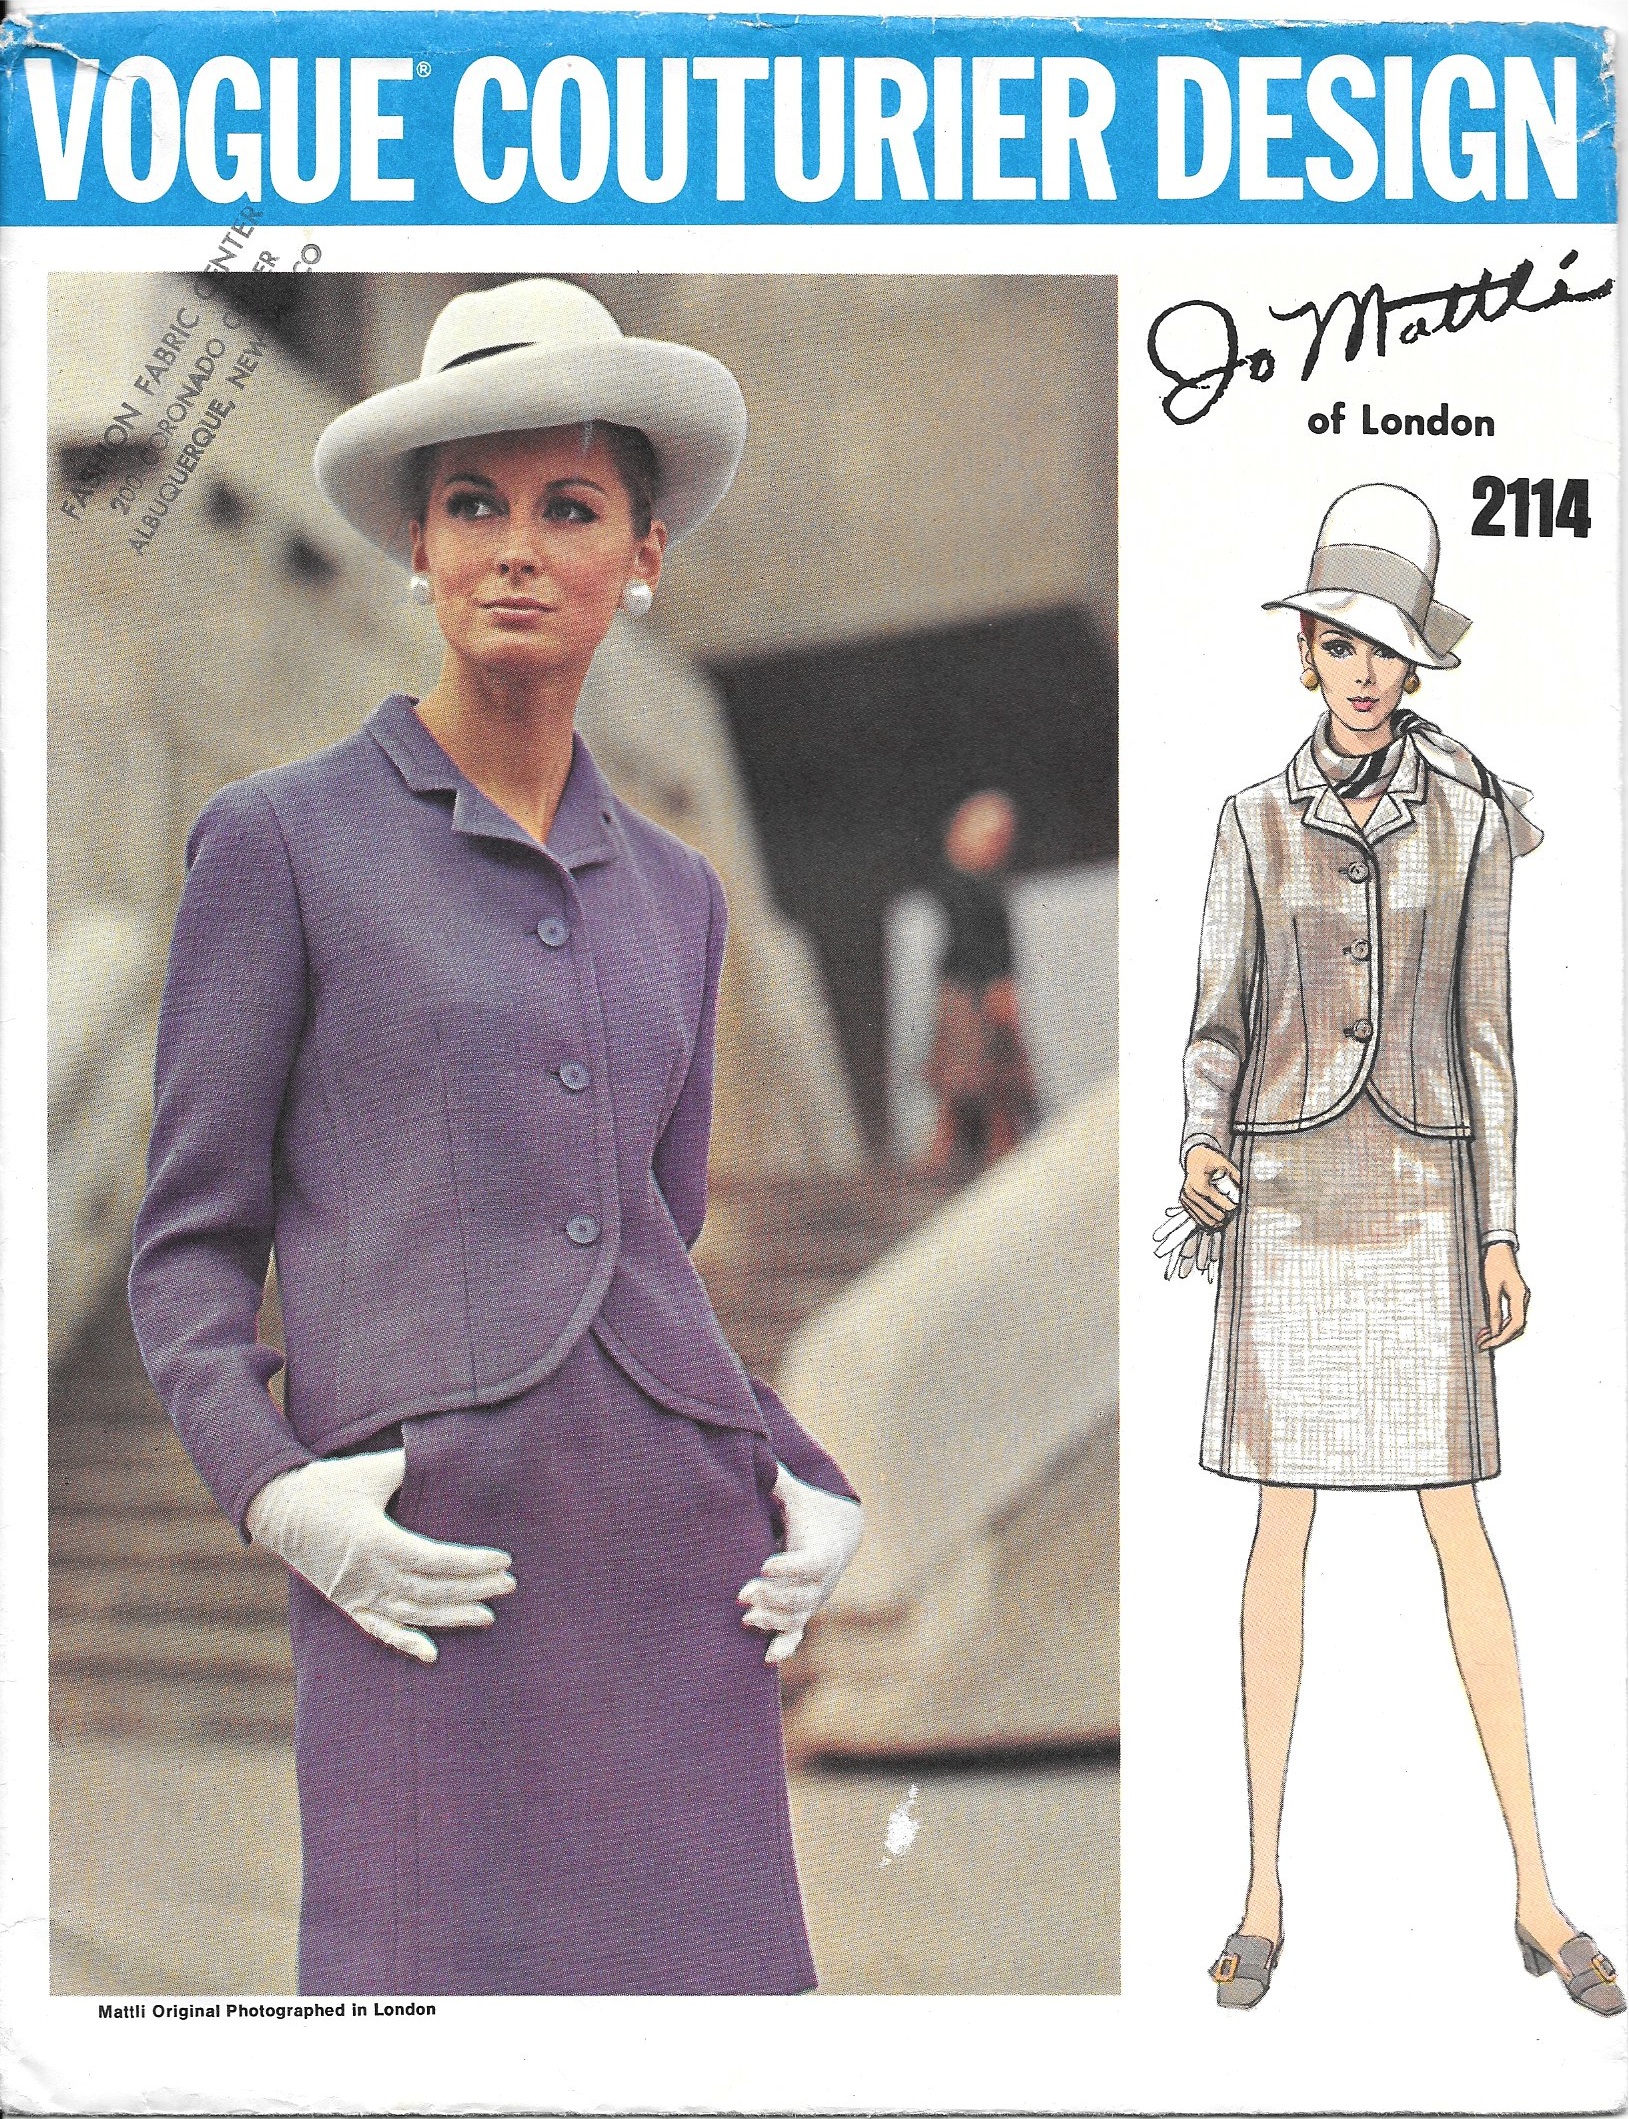
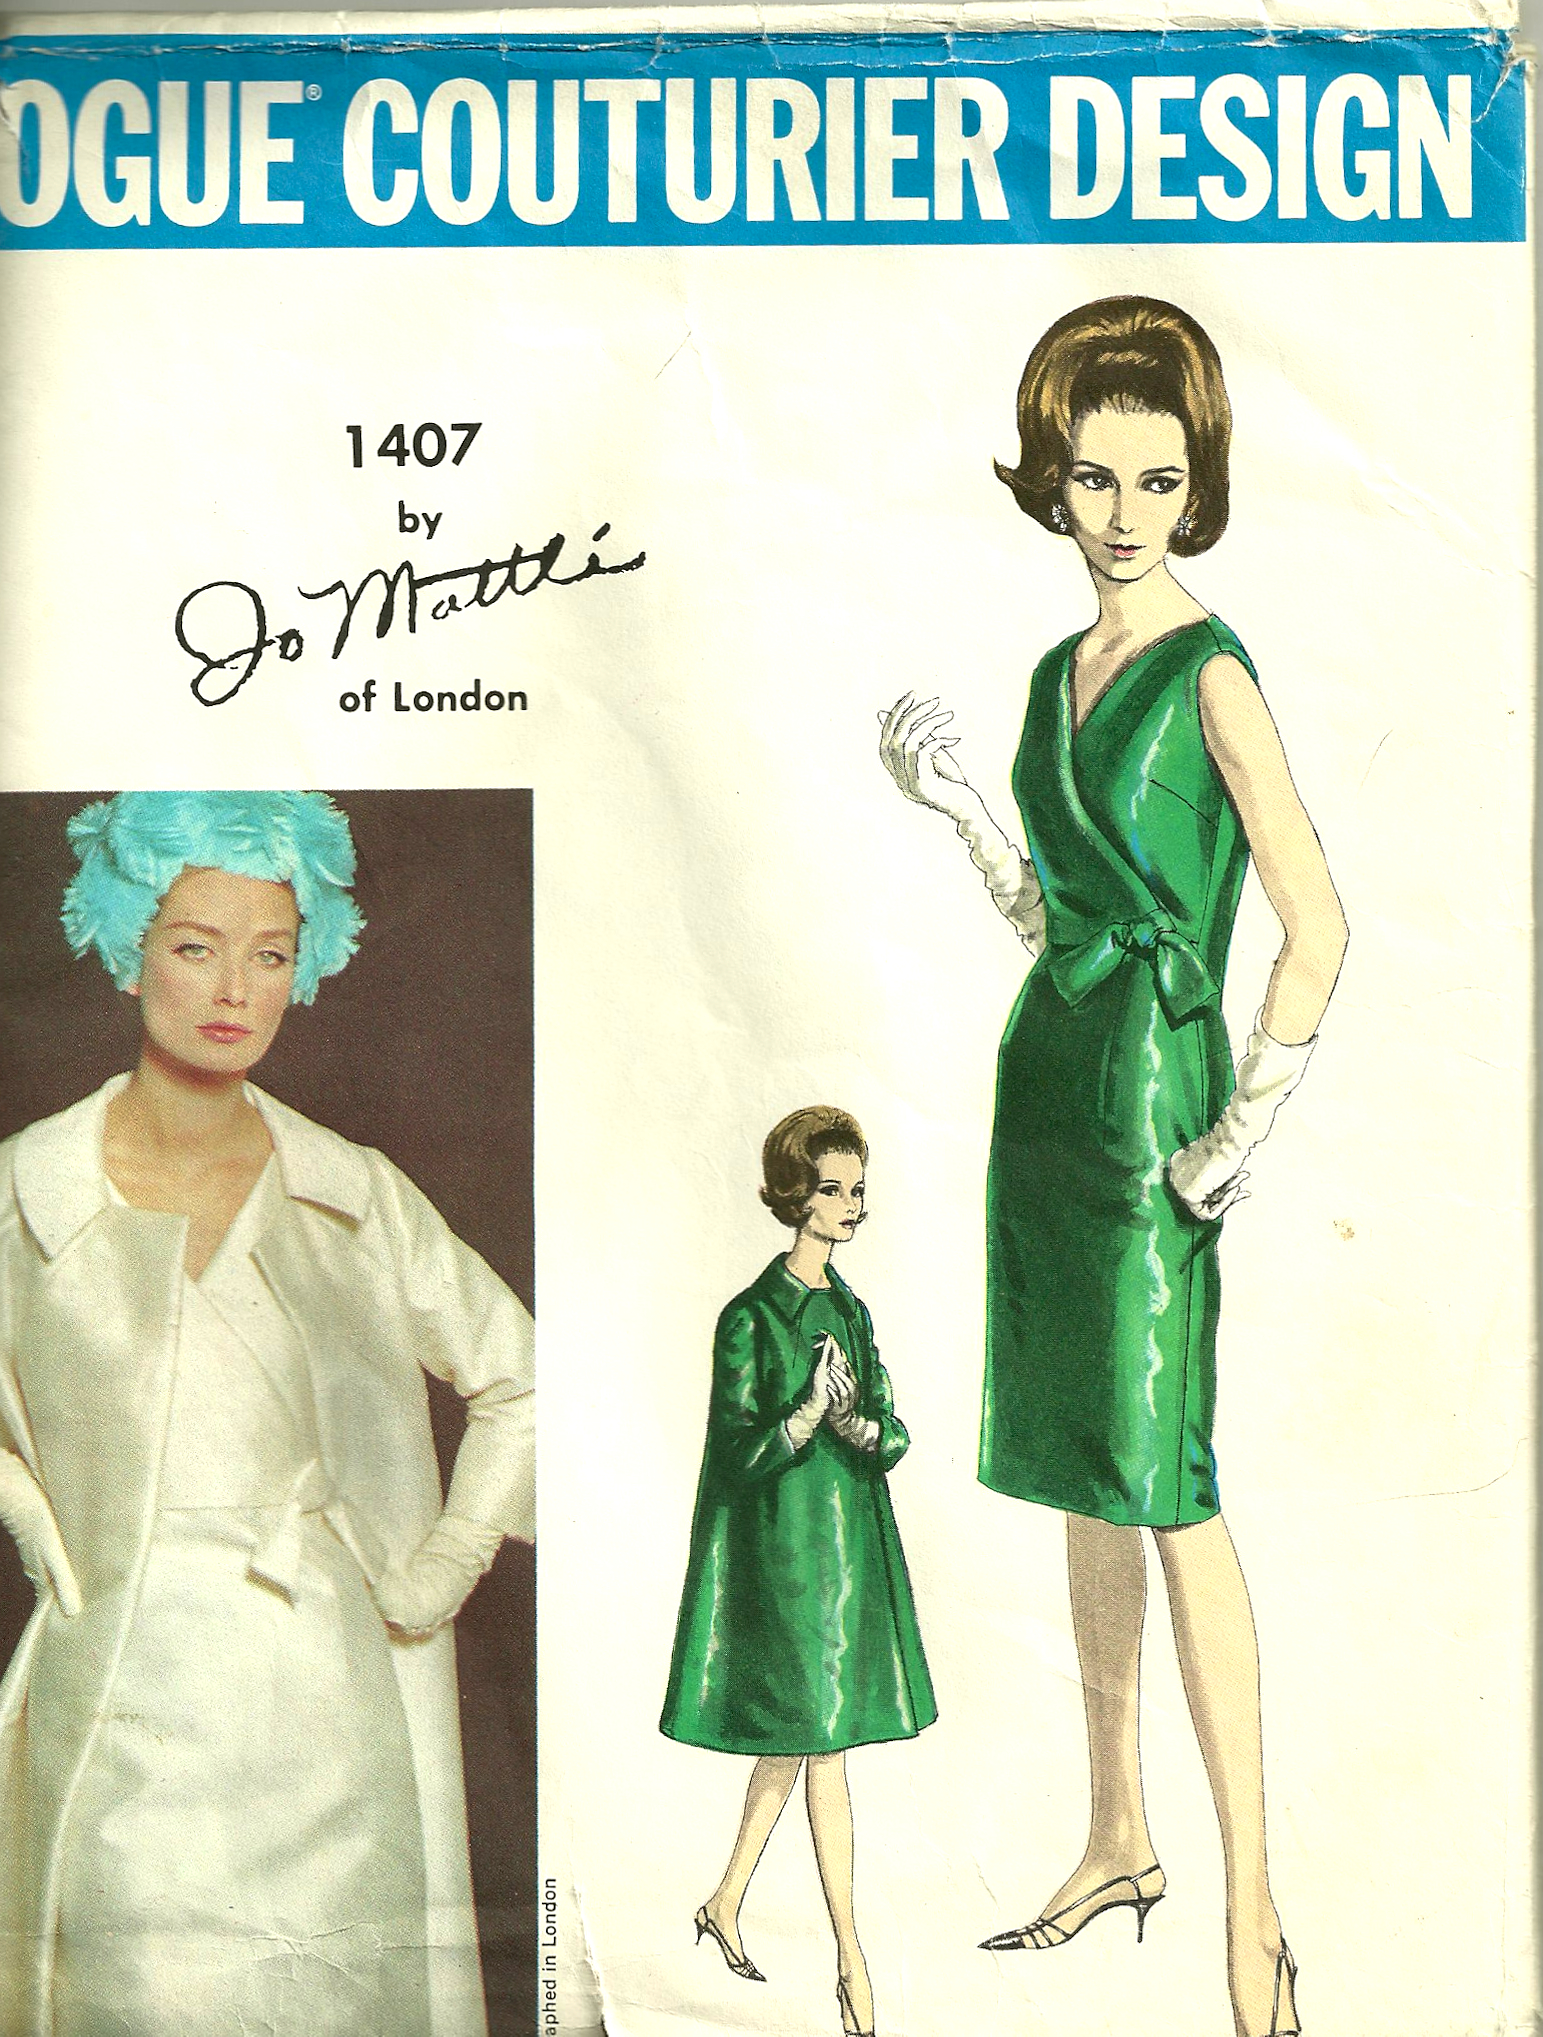
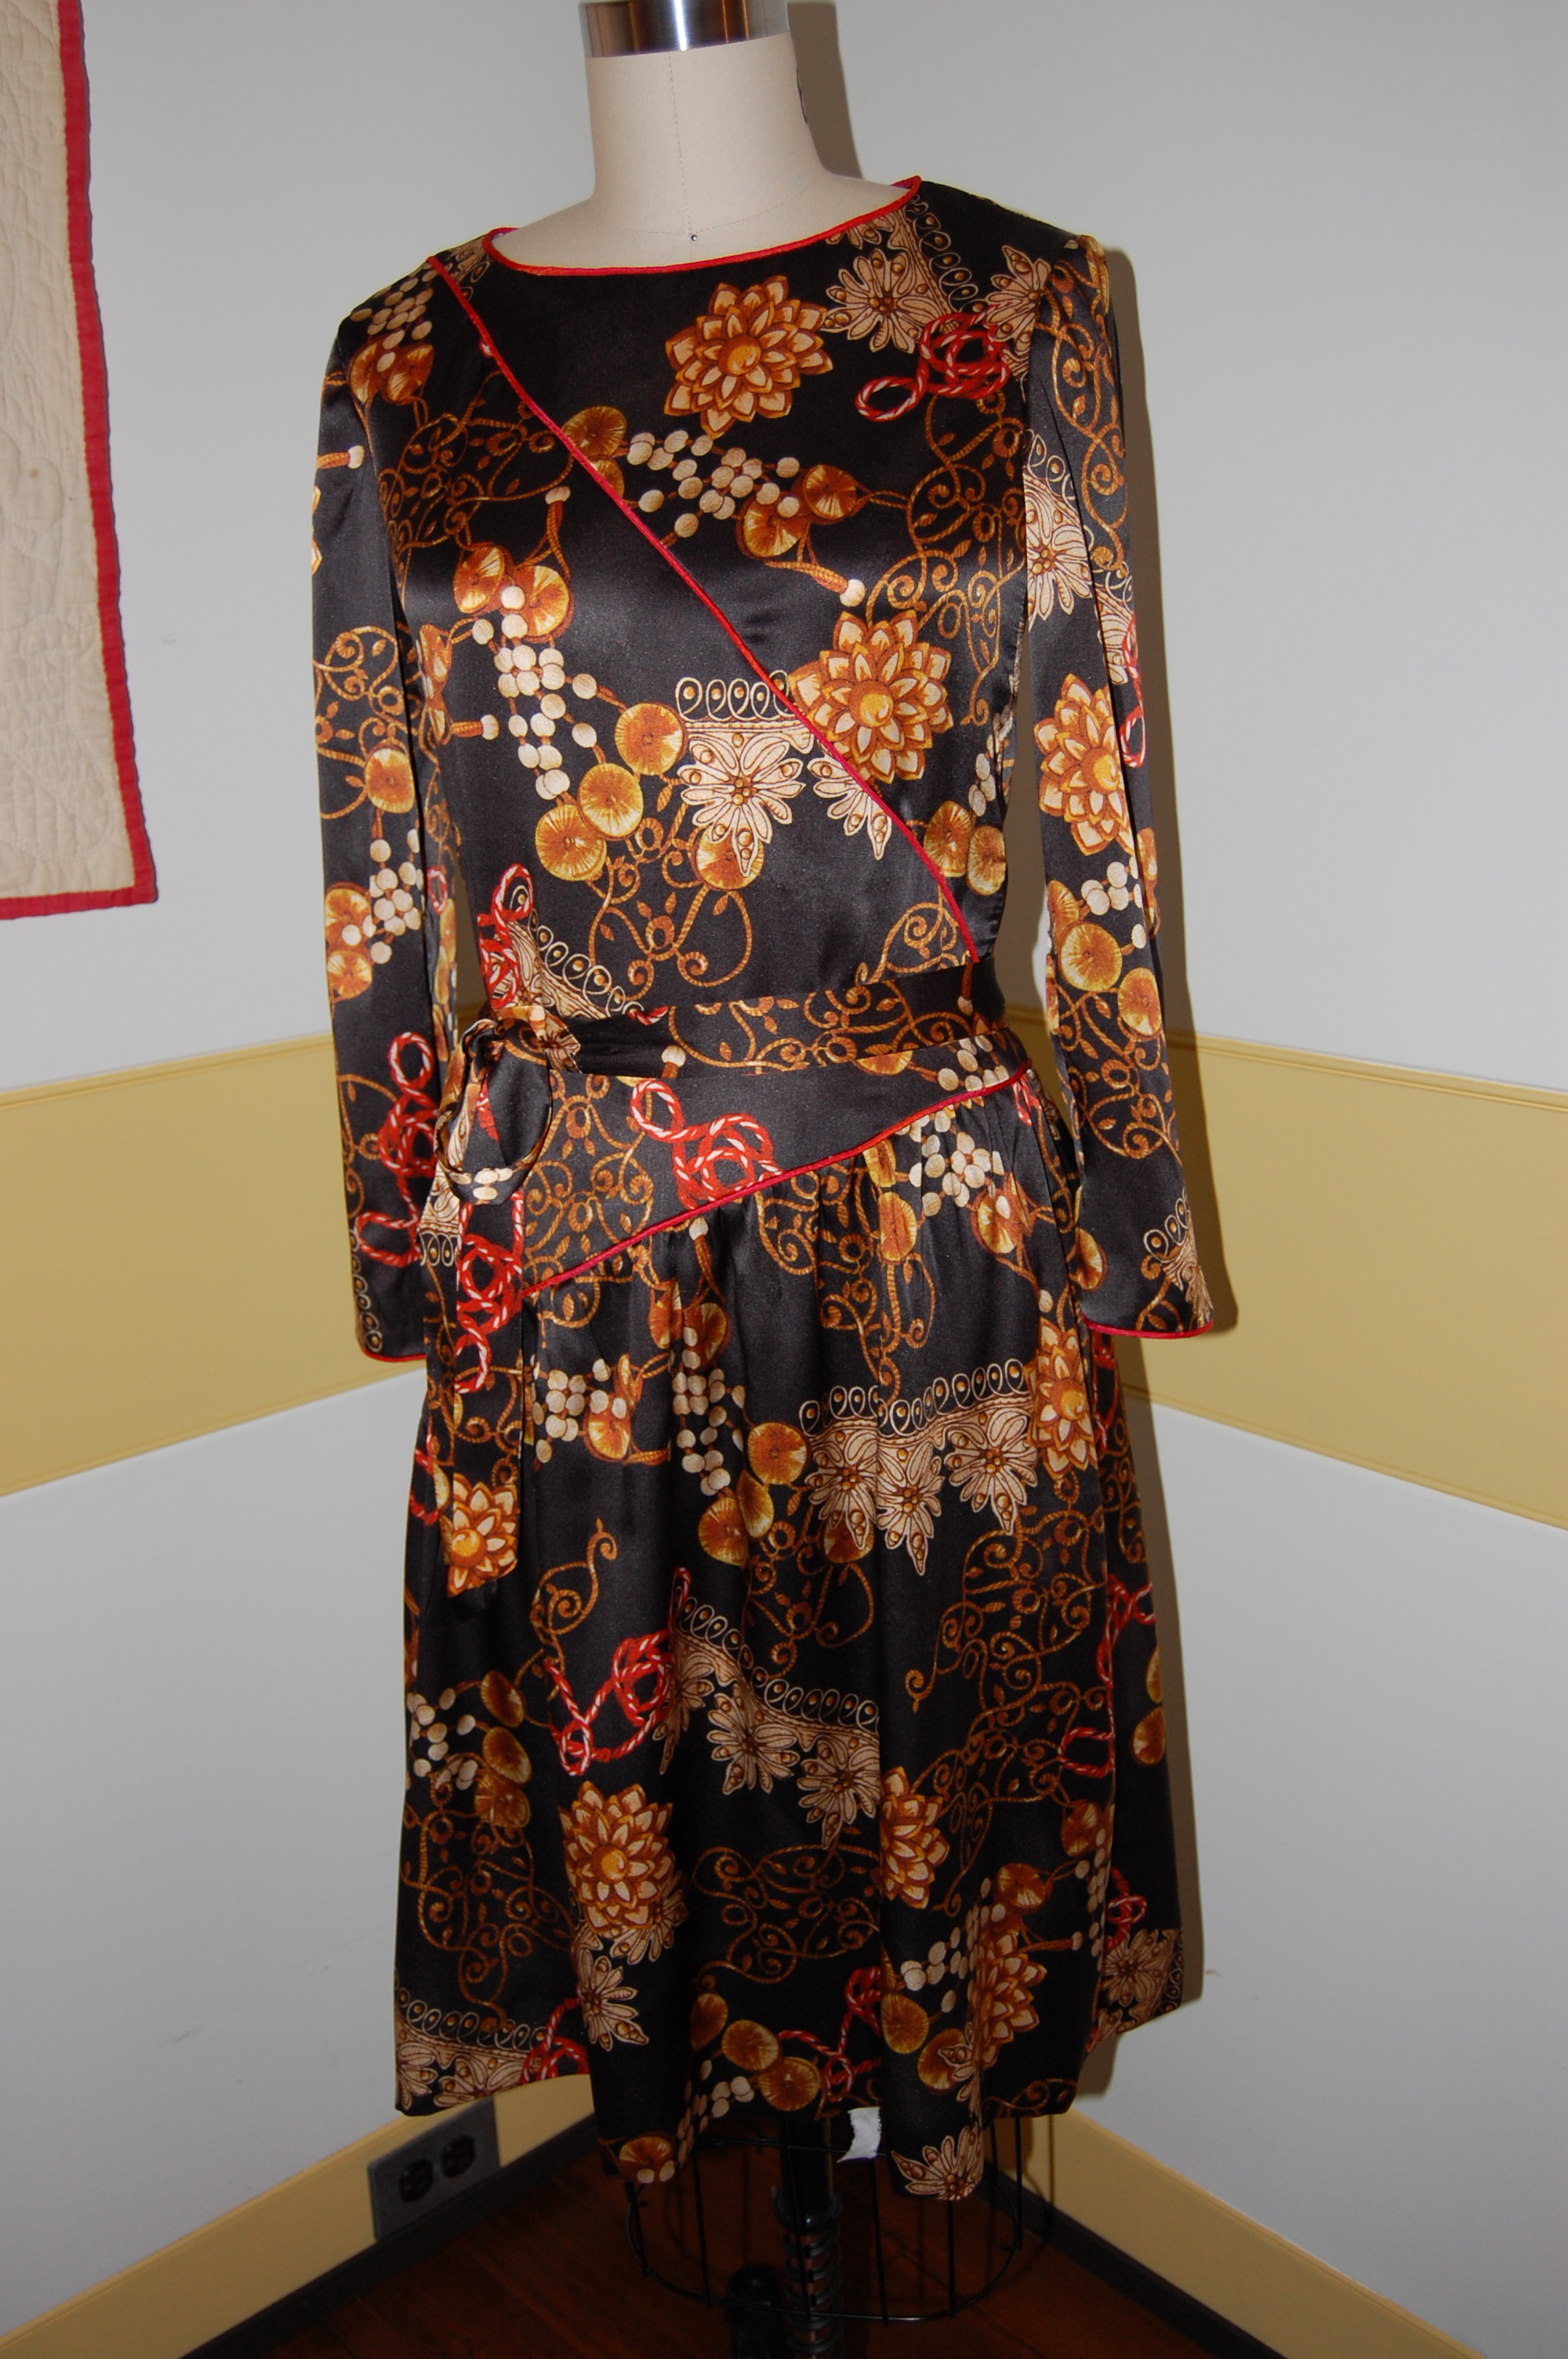
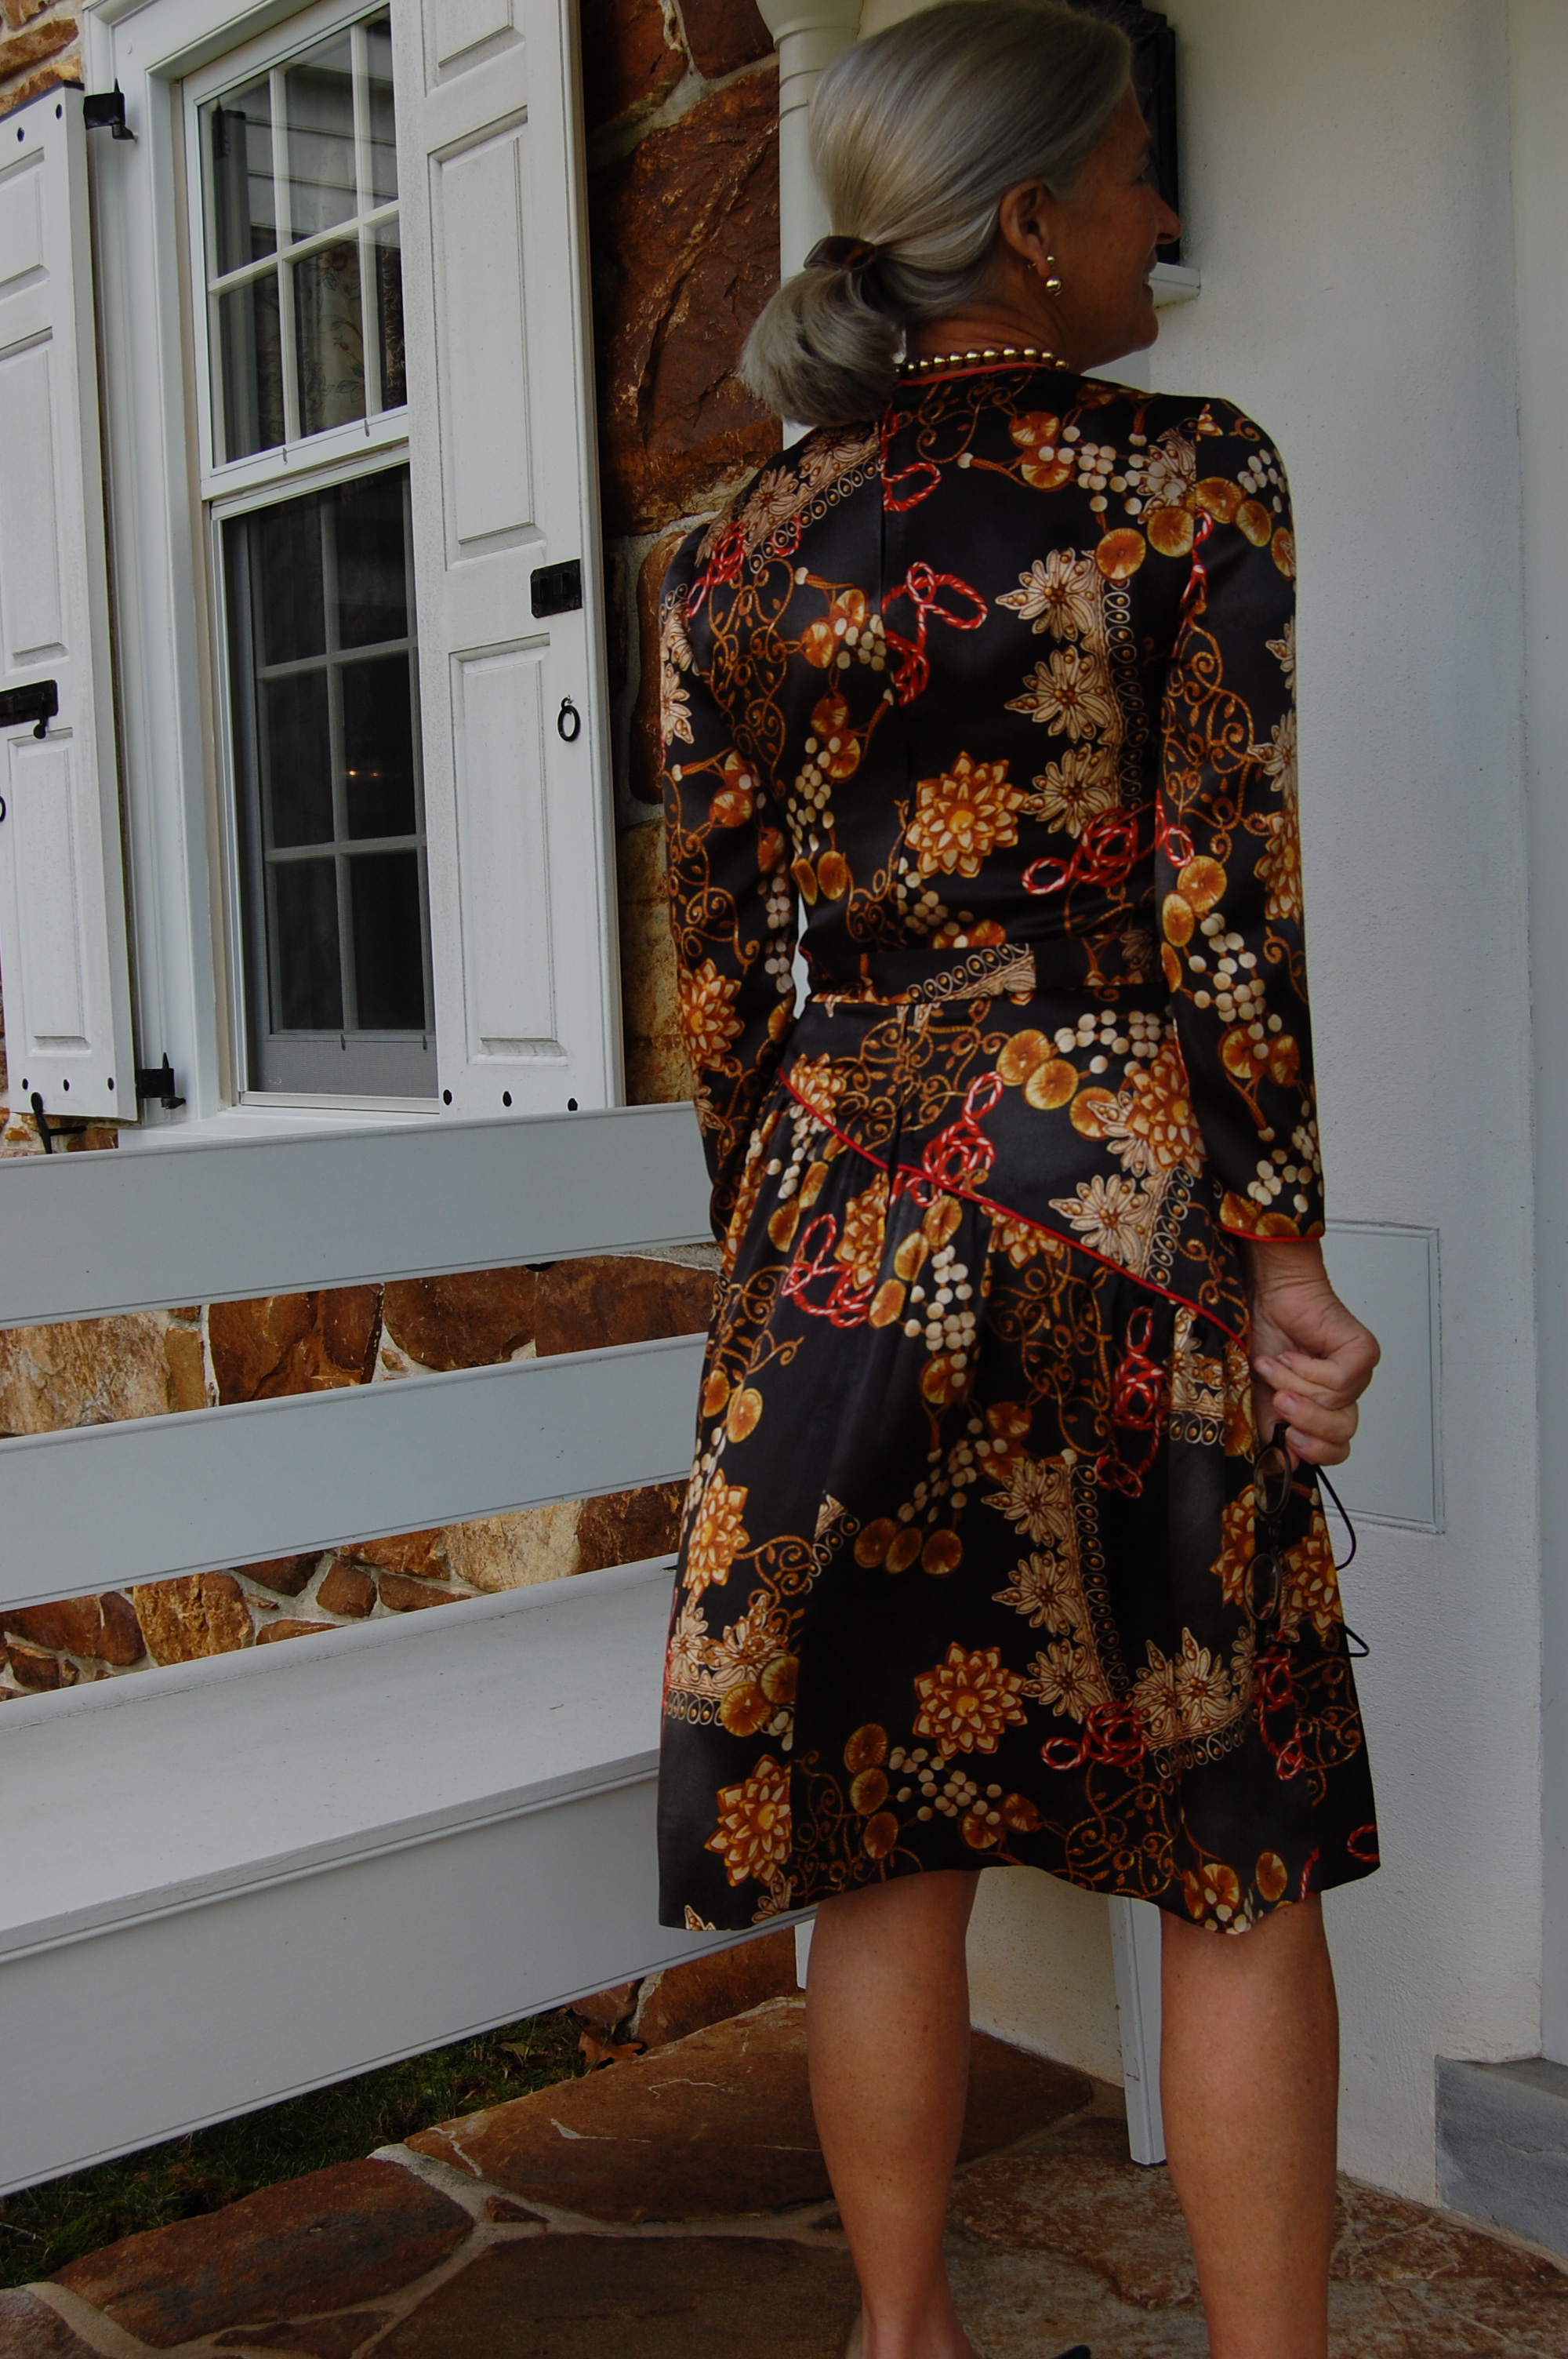
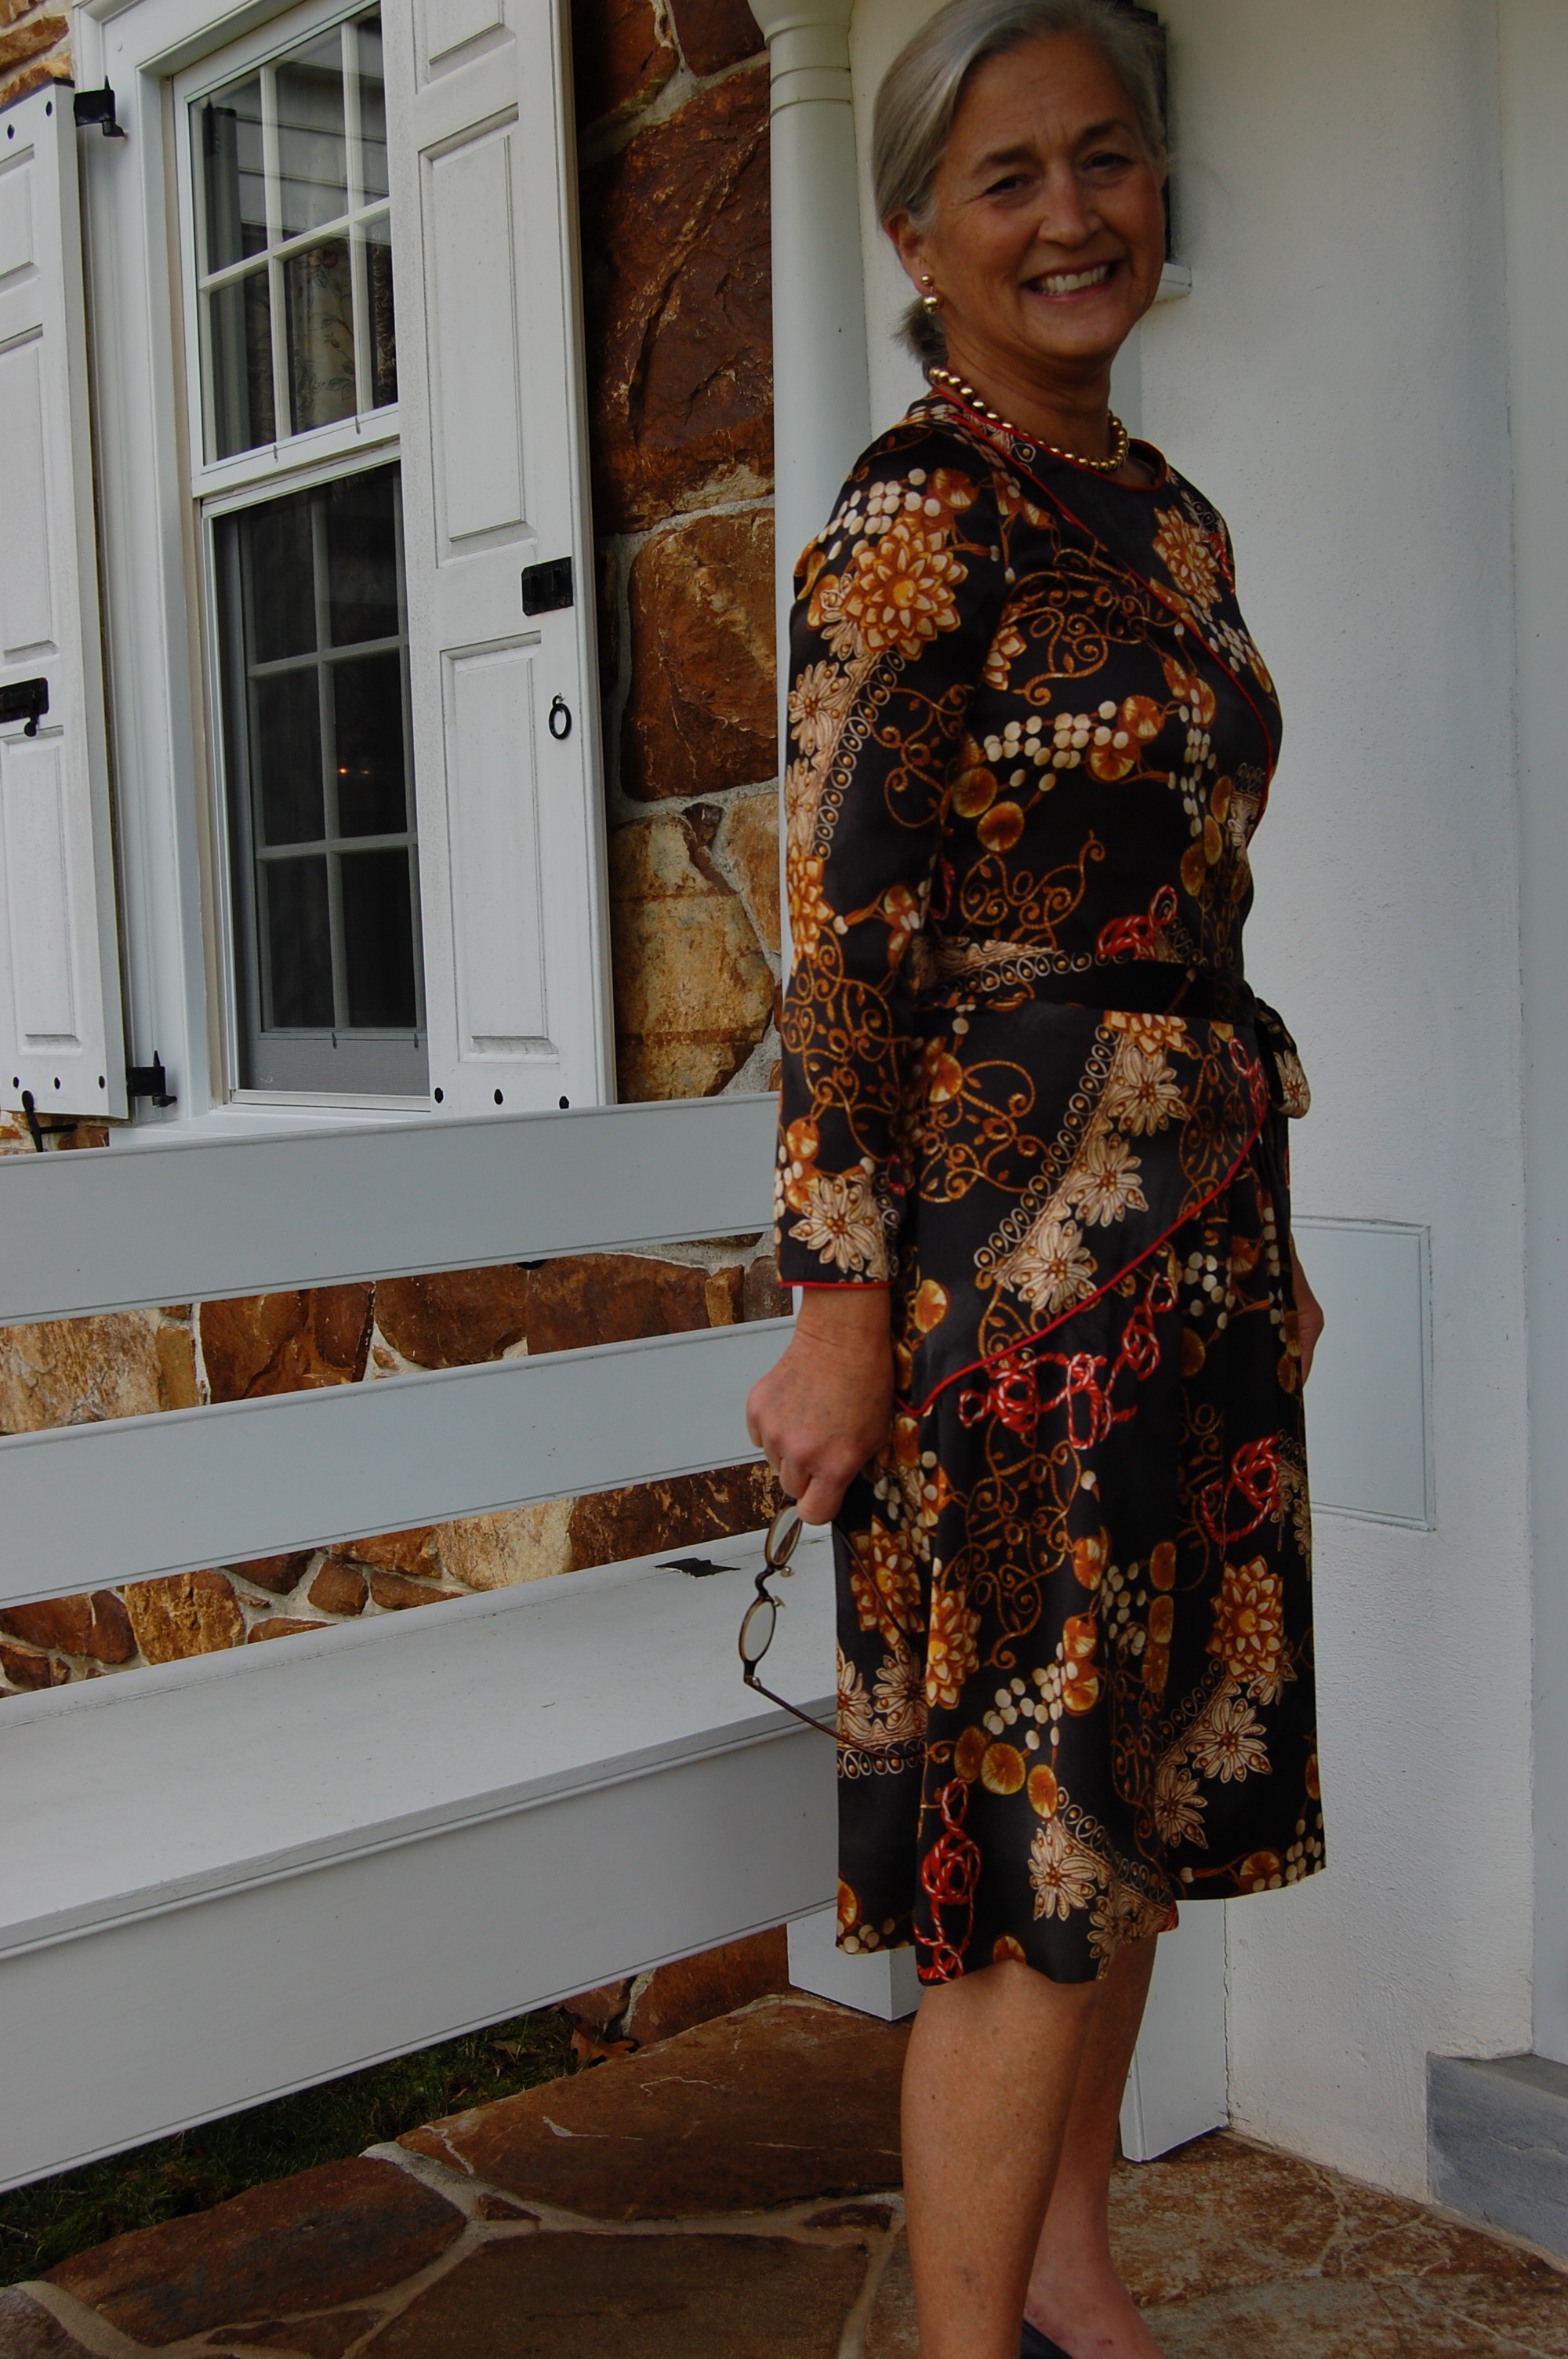
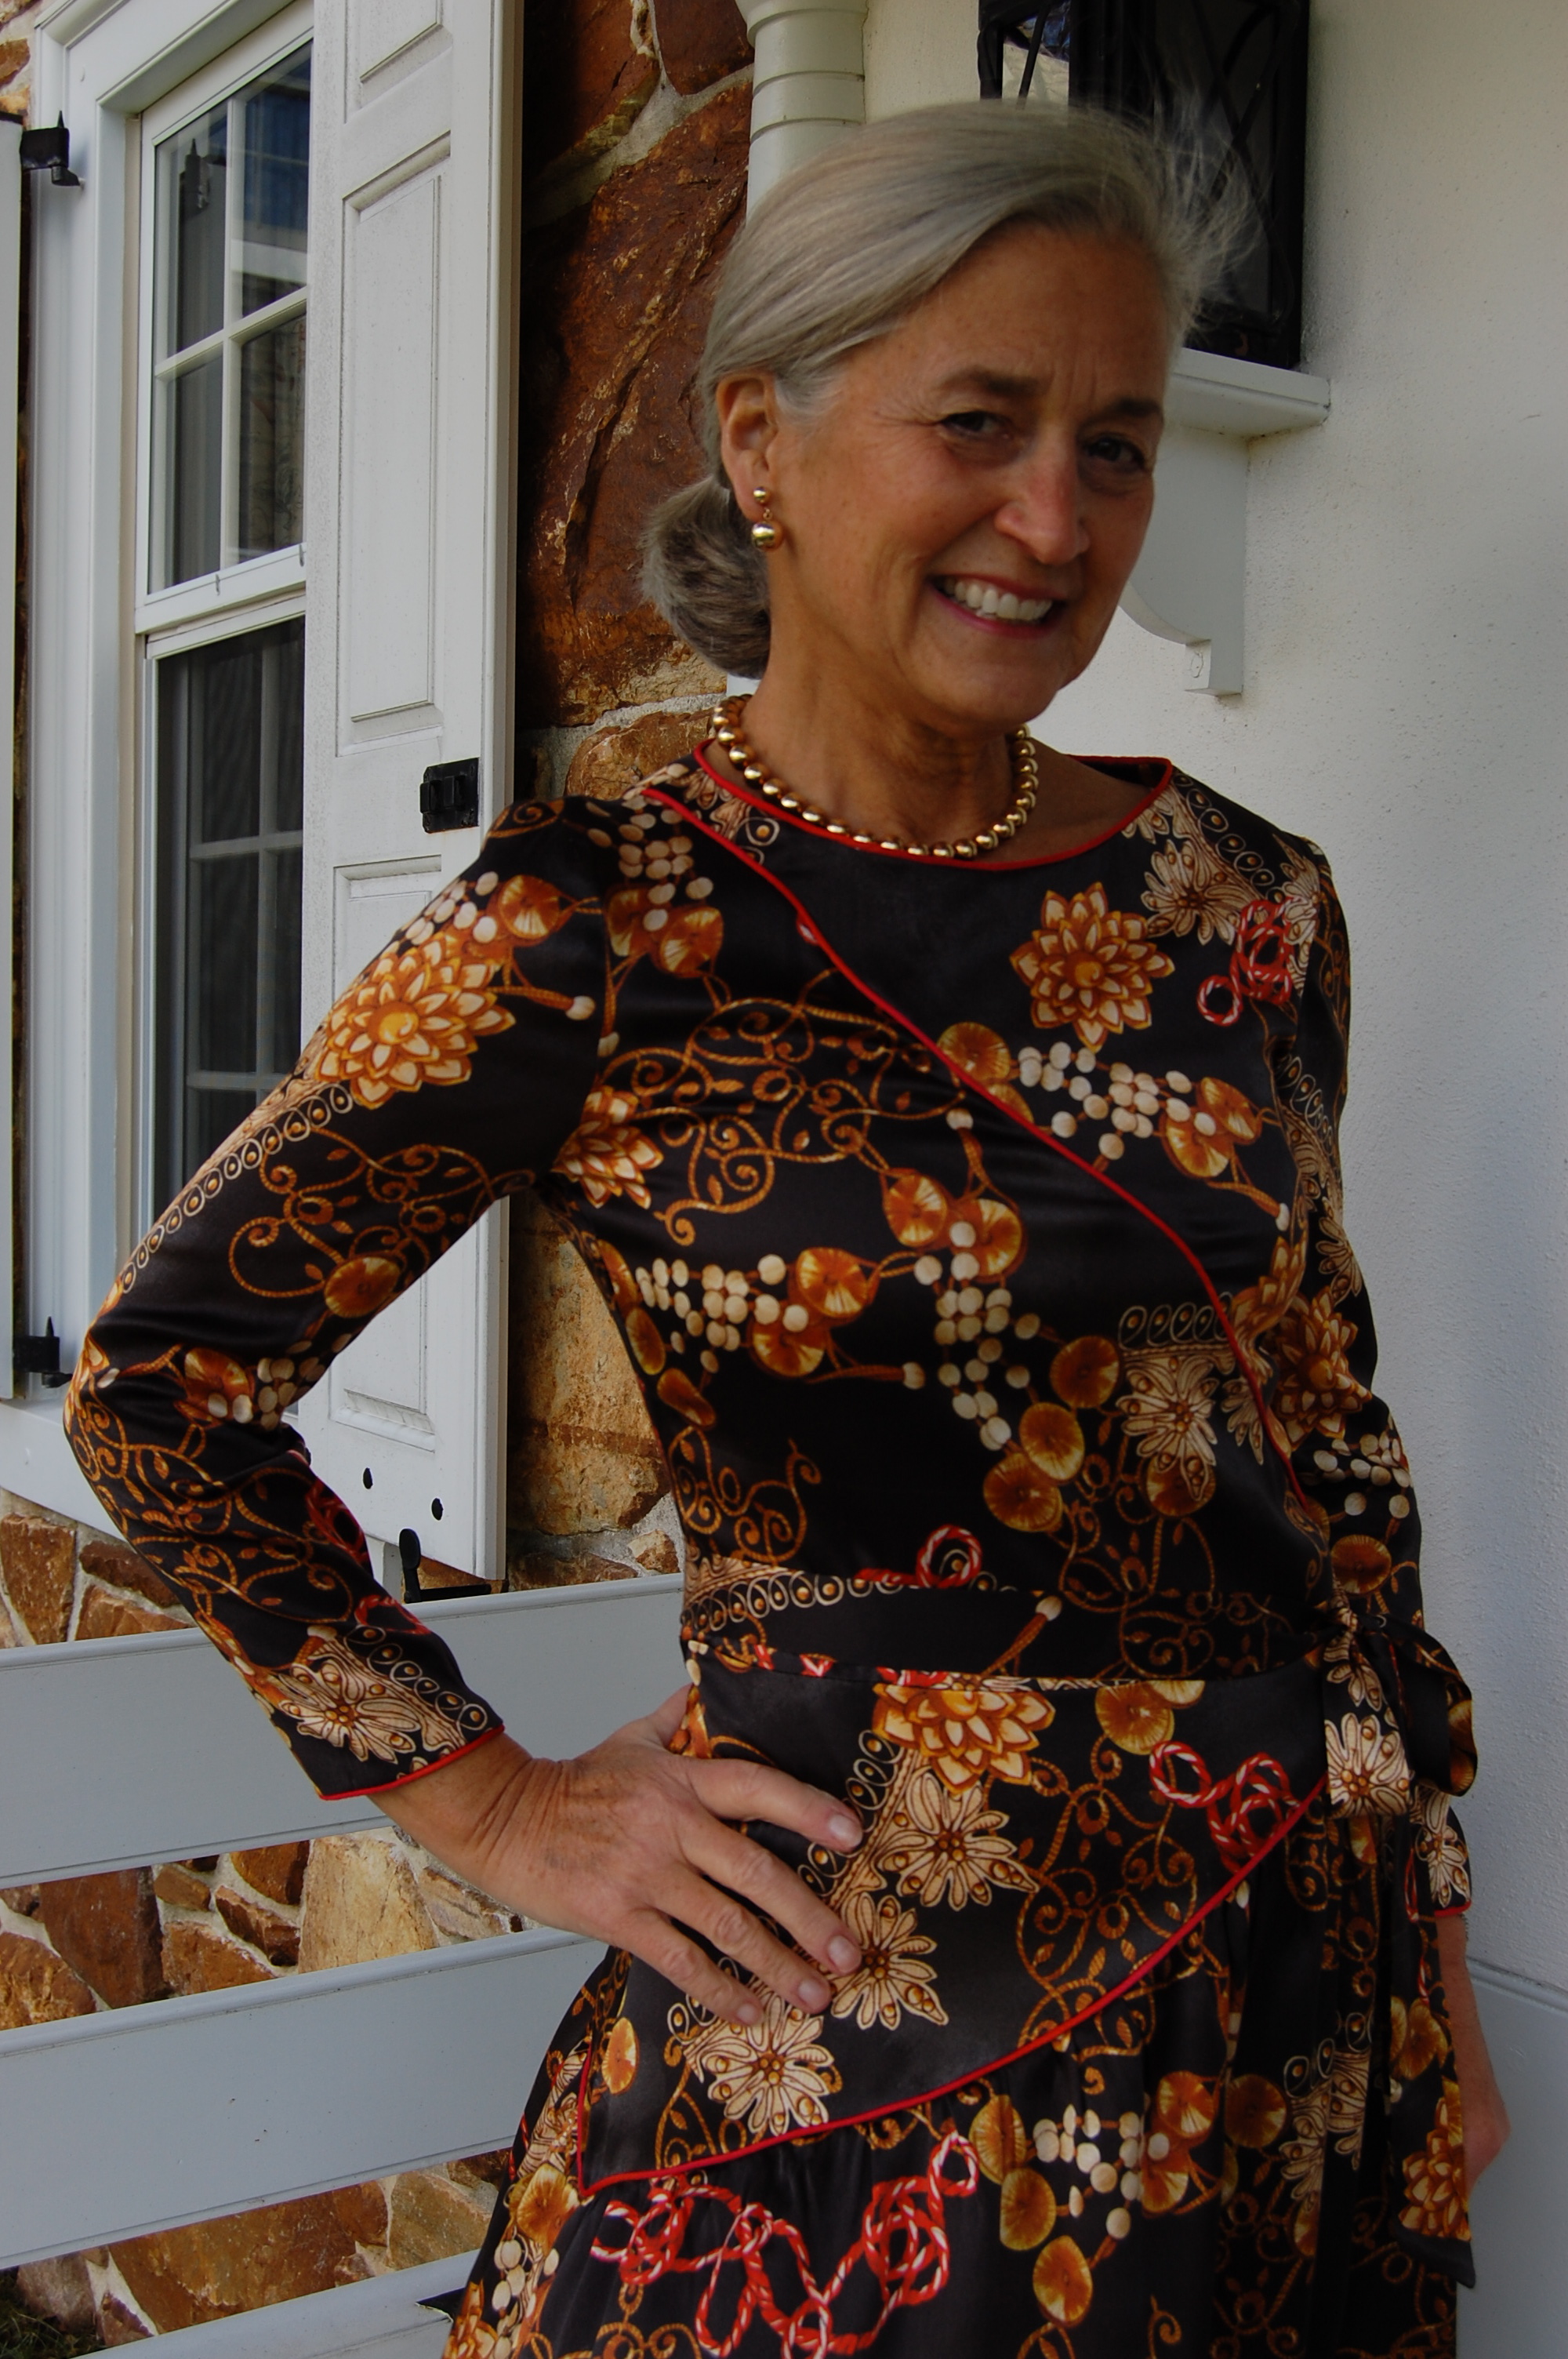
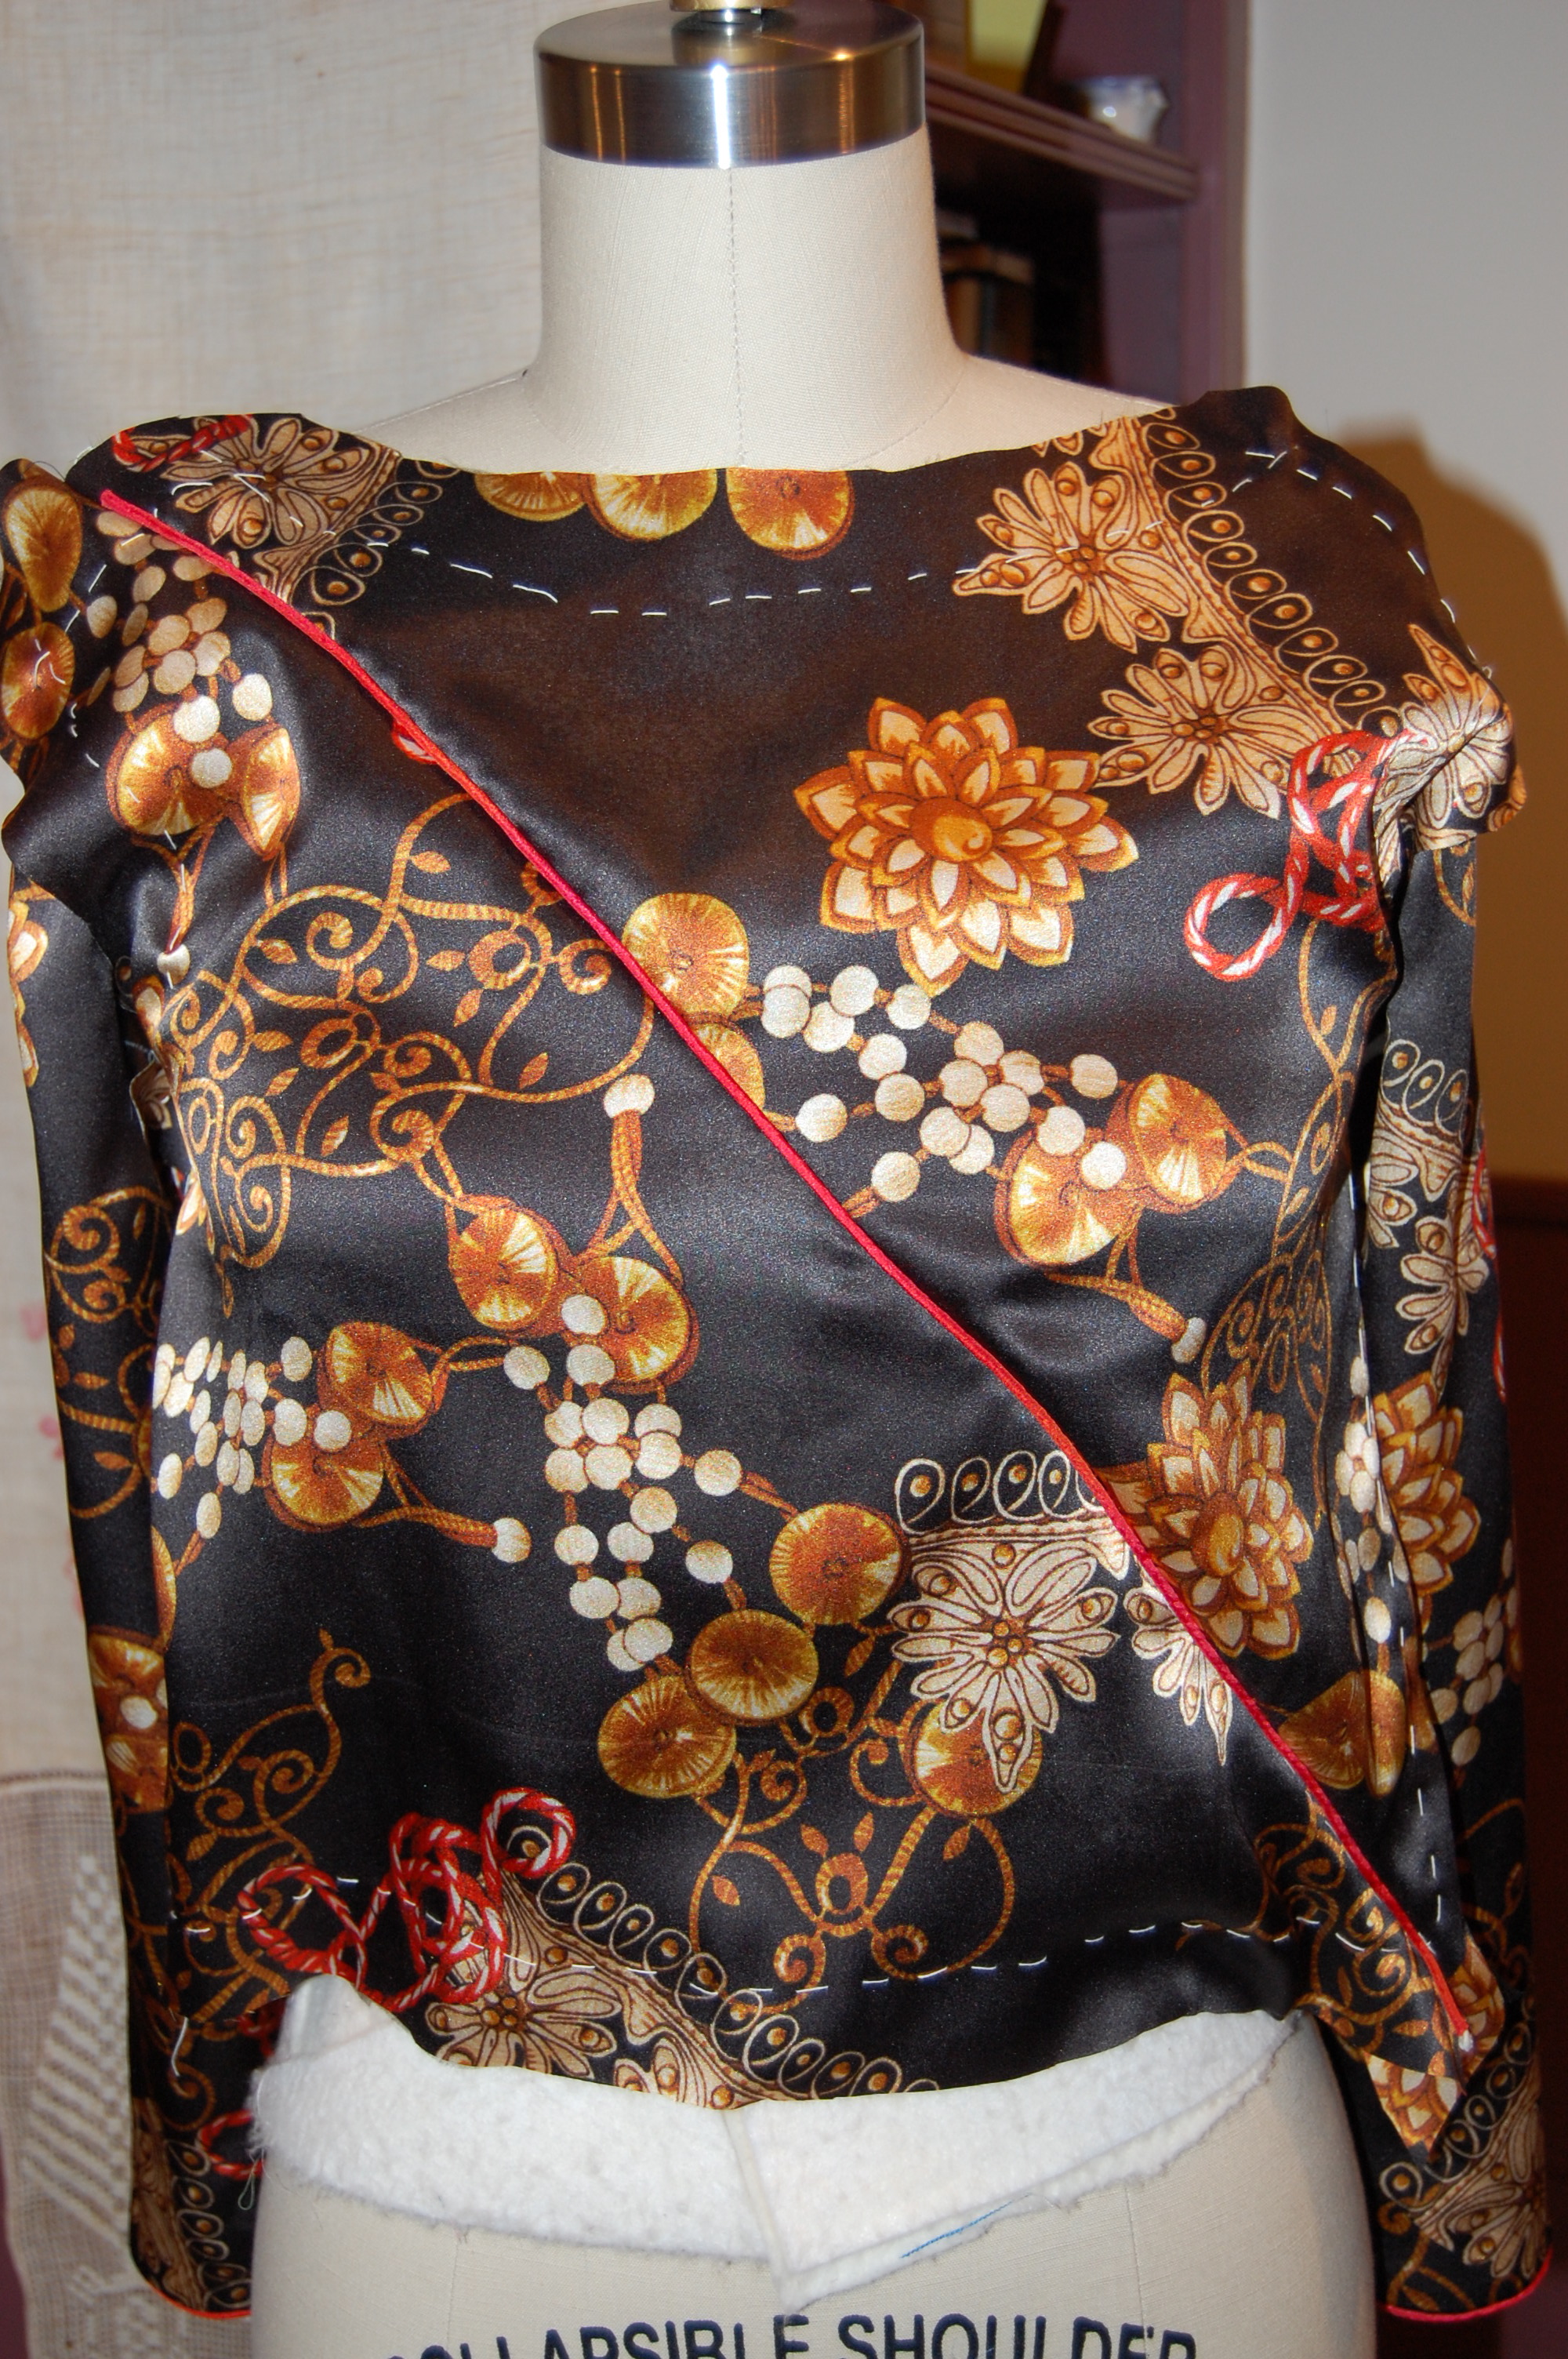
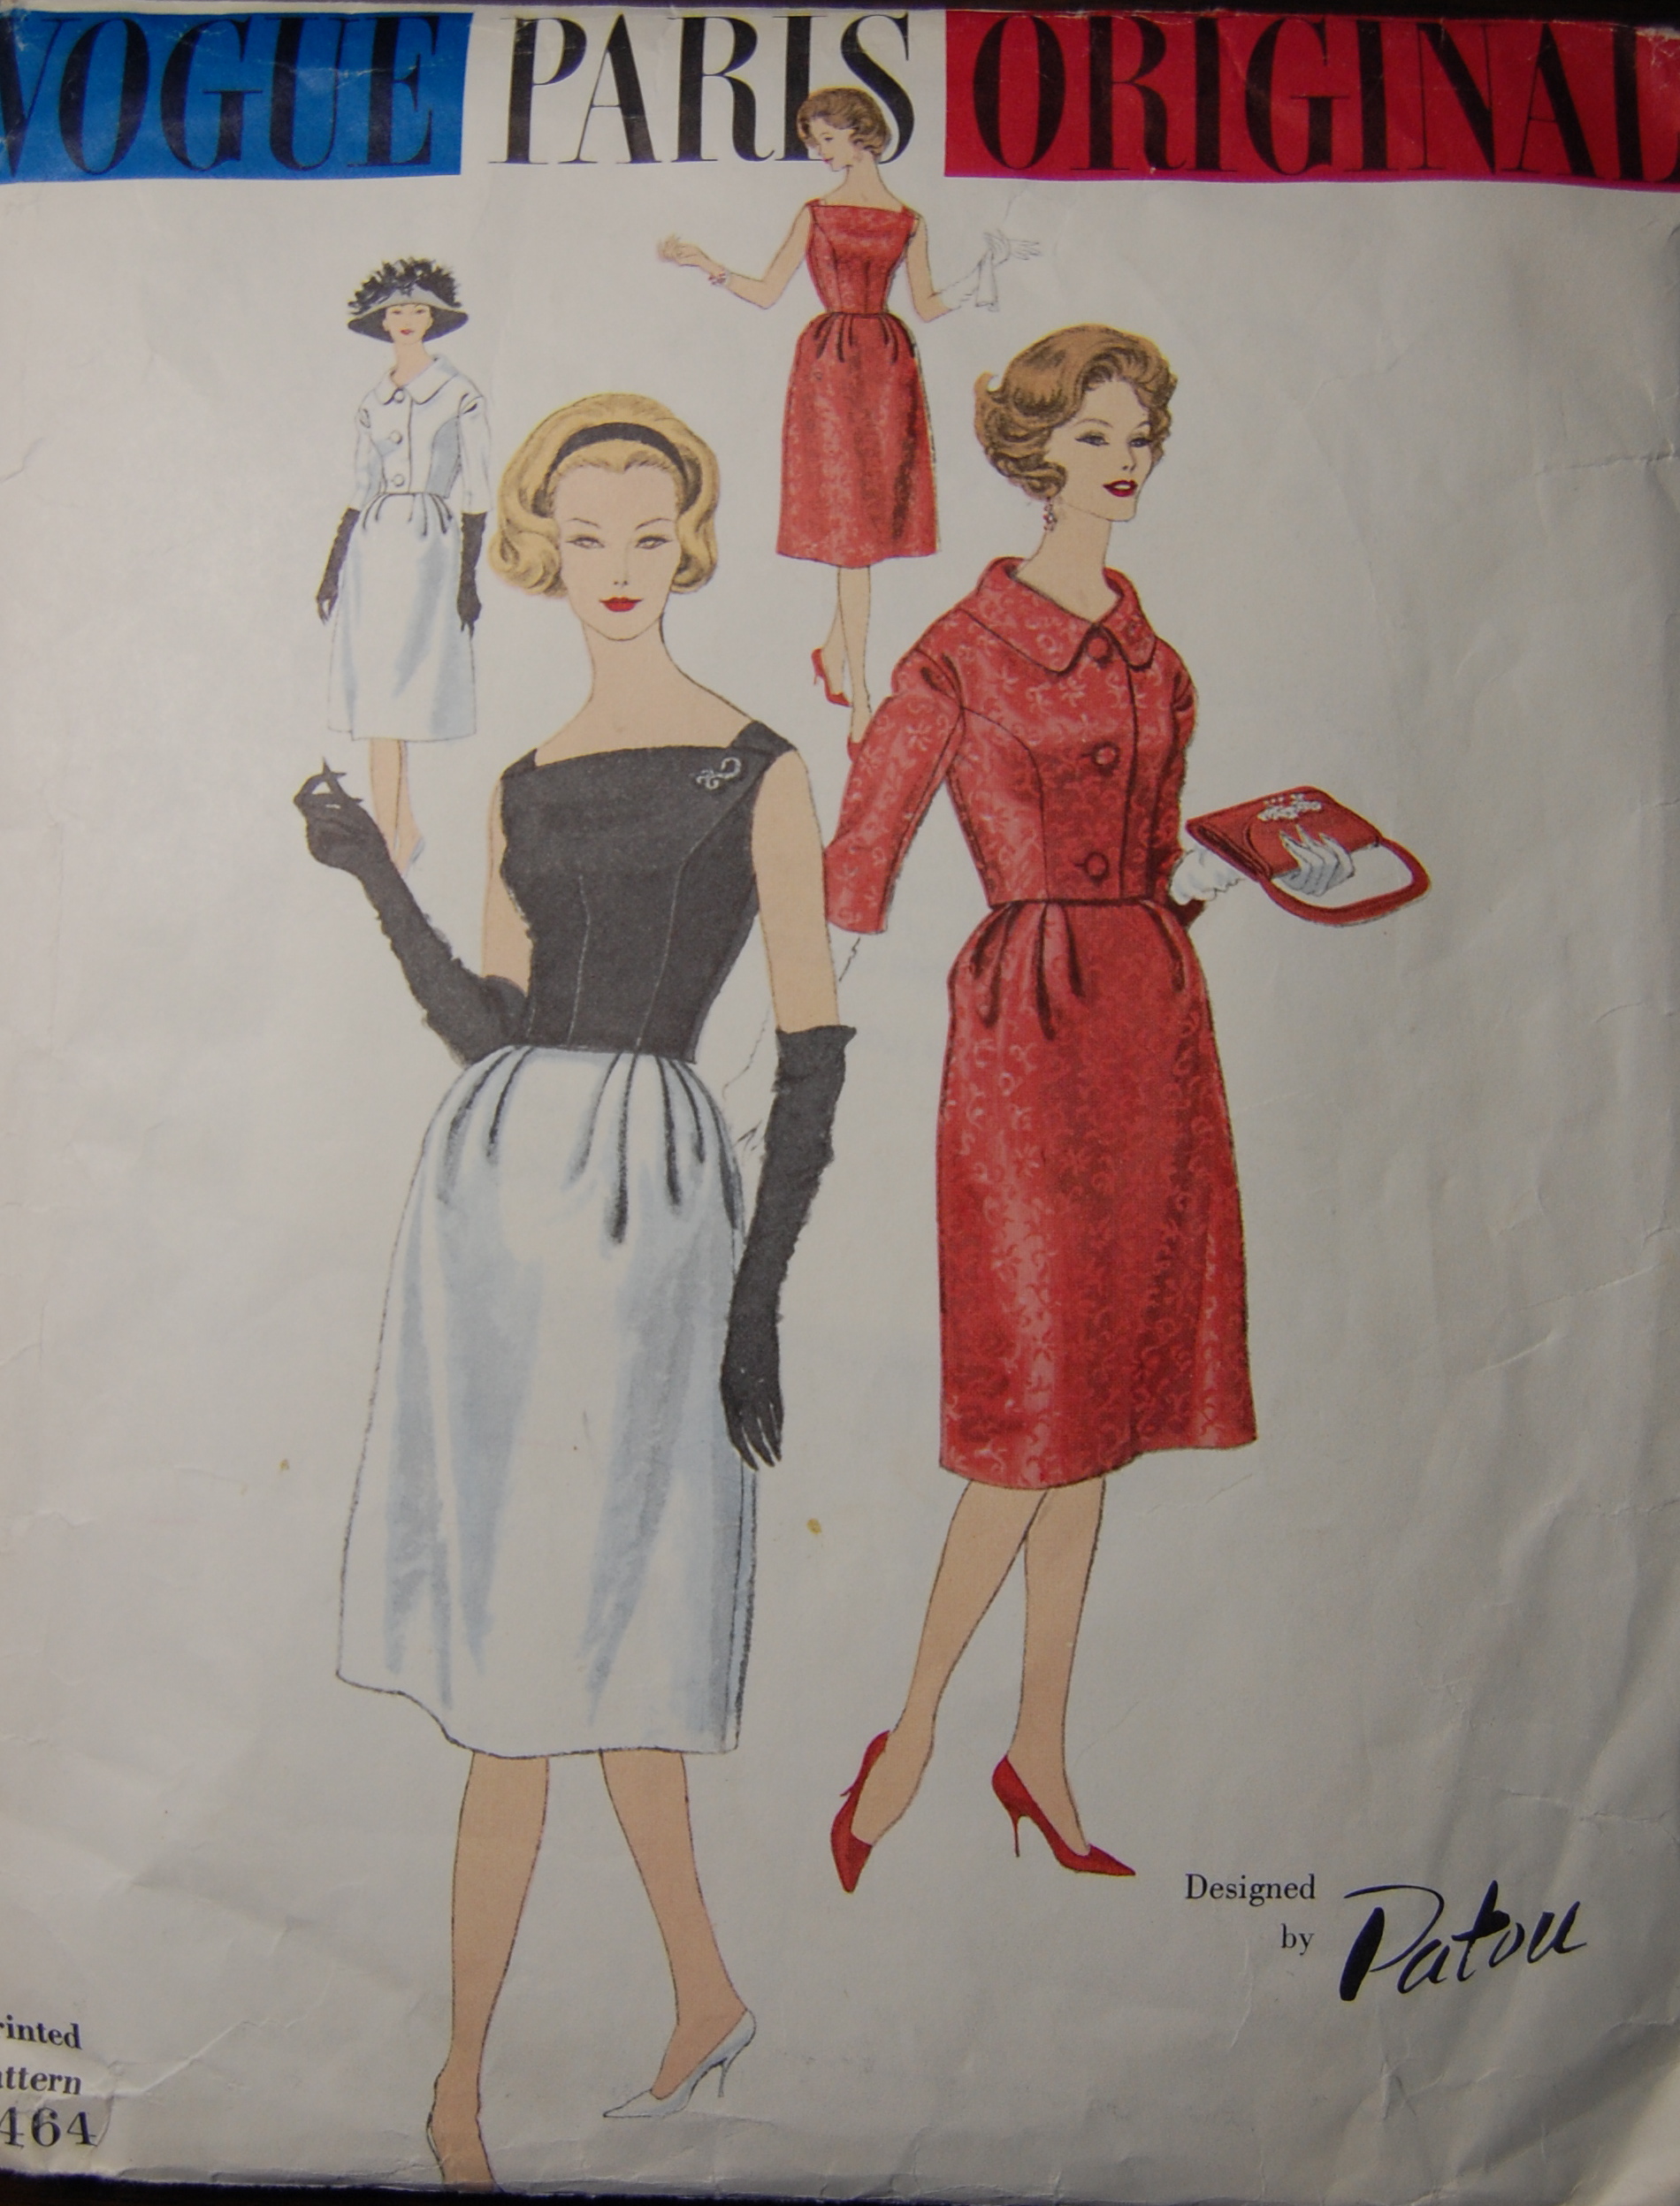
It is a fairly well-known fact that making a classic French “Chanel-like” jacket takes about (or at least!) 70 dedicated hours of sewing time. I did not keep track of the hours I spent on my Jo Mattli-designed jacket, but I am guessing that it rivals – in time spent sewing – both of the classic French jackets I have made. However, I am not complaining. I would commit to it all over again. And just think – I still have to make the coordinating dress for this jacket!
 But it is finished, and happily so. One of the true joys of sewing is the ability it gives us to make some stylistic changes, add embellishments if desired, and use our heads to determine what works and what doesn’t work for the fabric we are using and the intended usage of our garments. While I did not make any stylistic changes to this jacket, I did add my own “dressmaker details” while stitching my way through this project. But first a few more regular details, picking up where I left off in my last post.
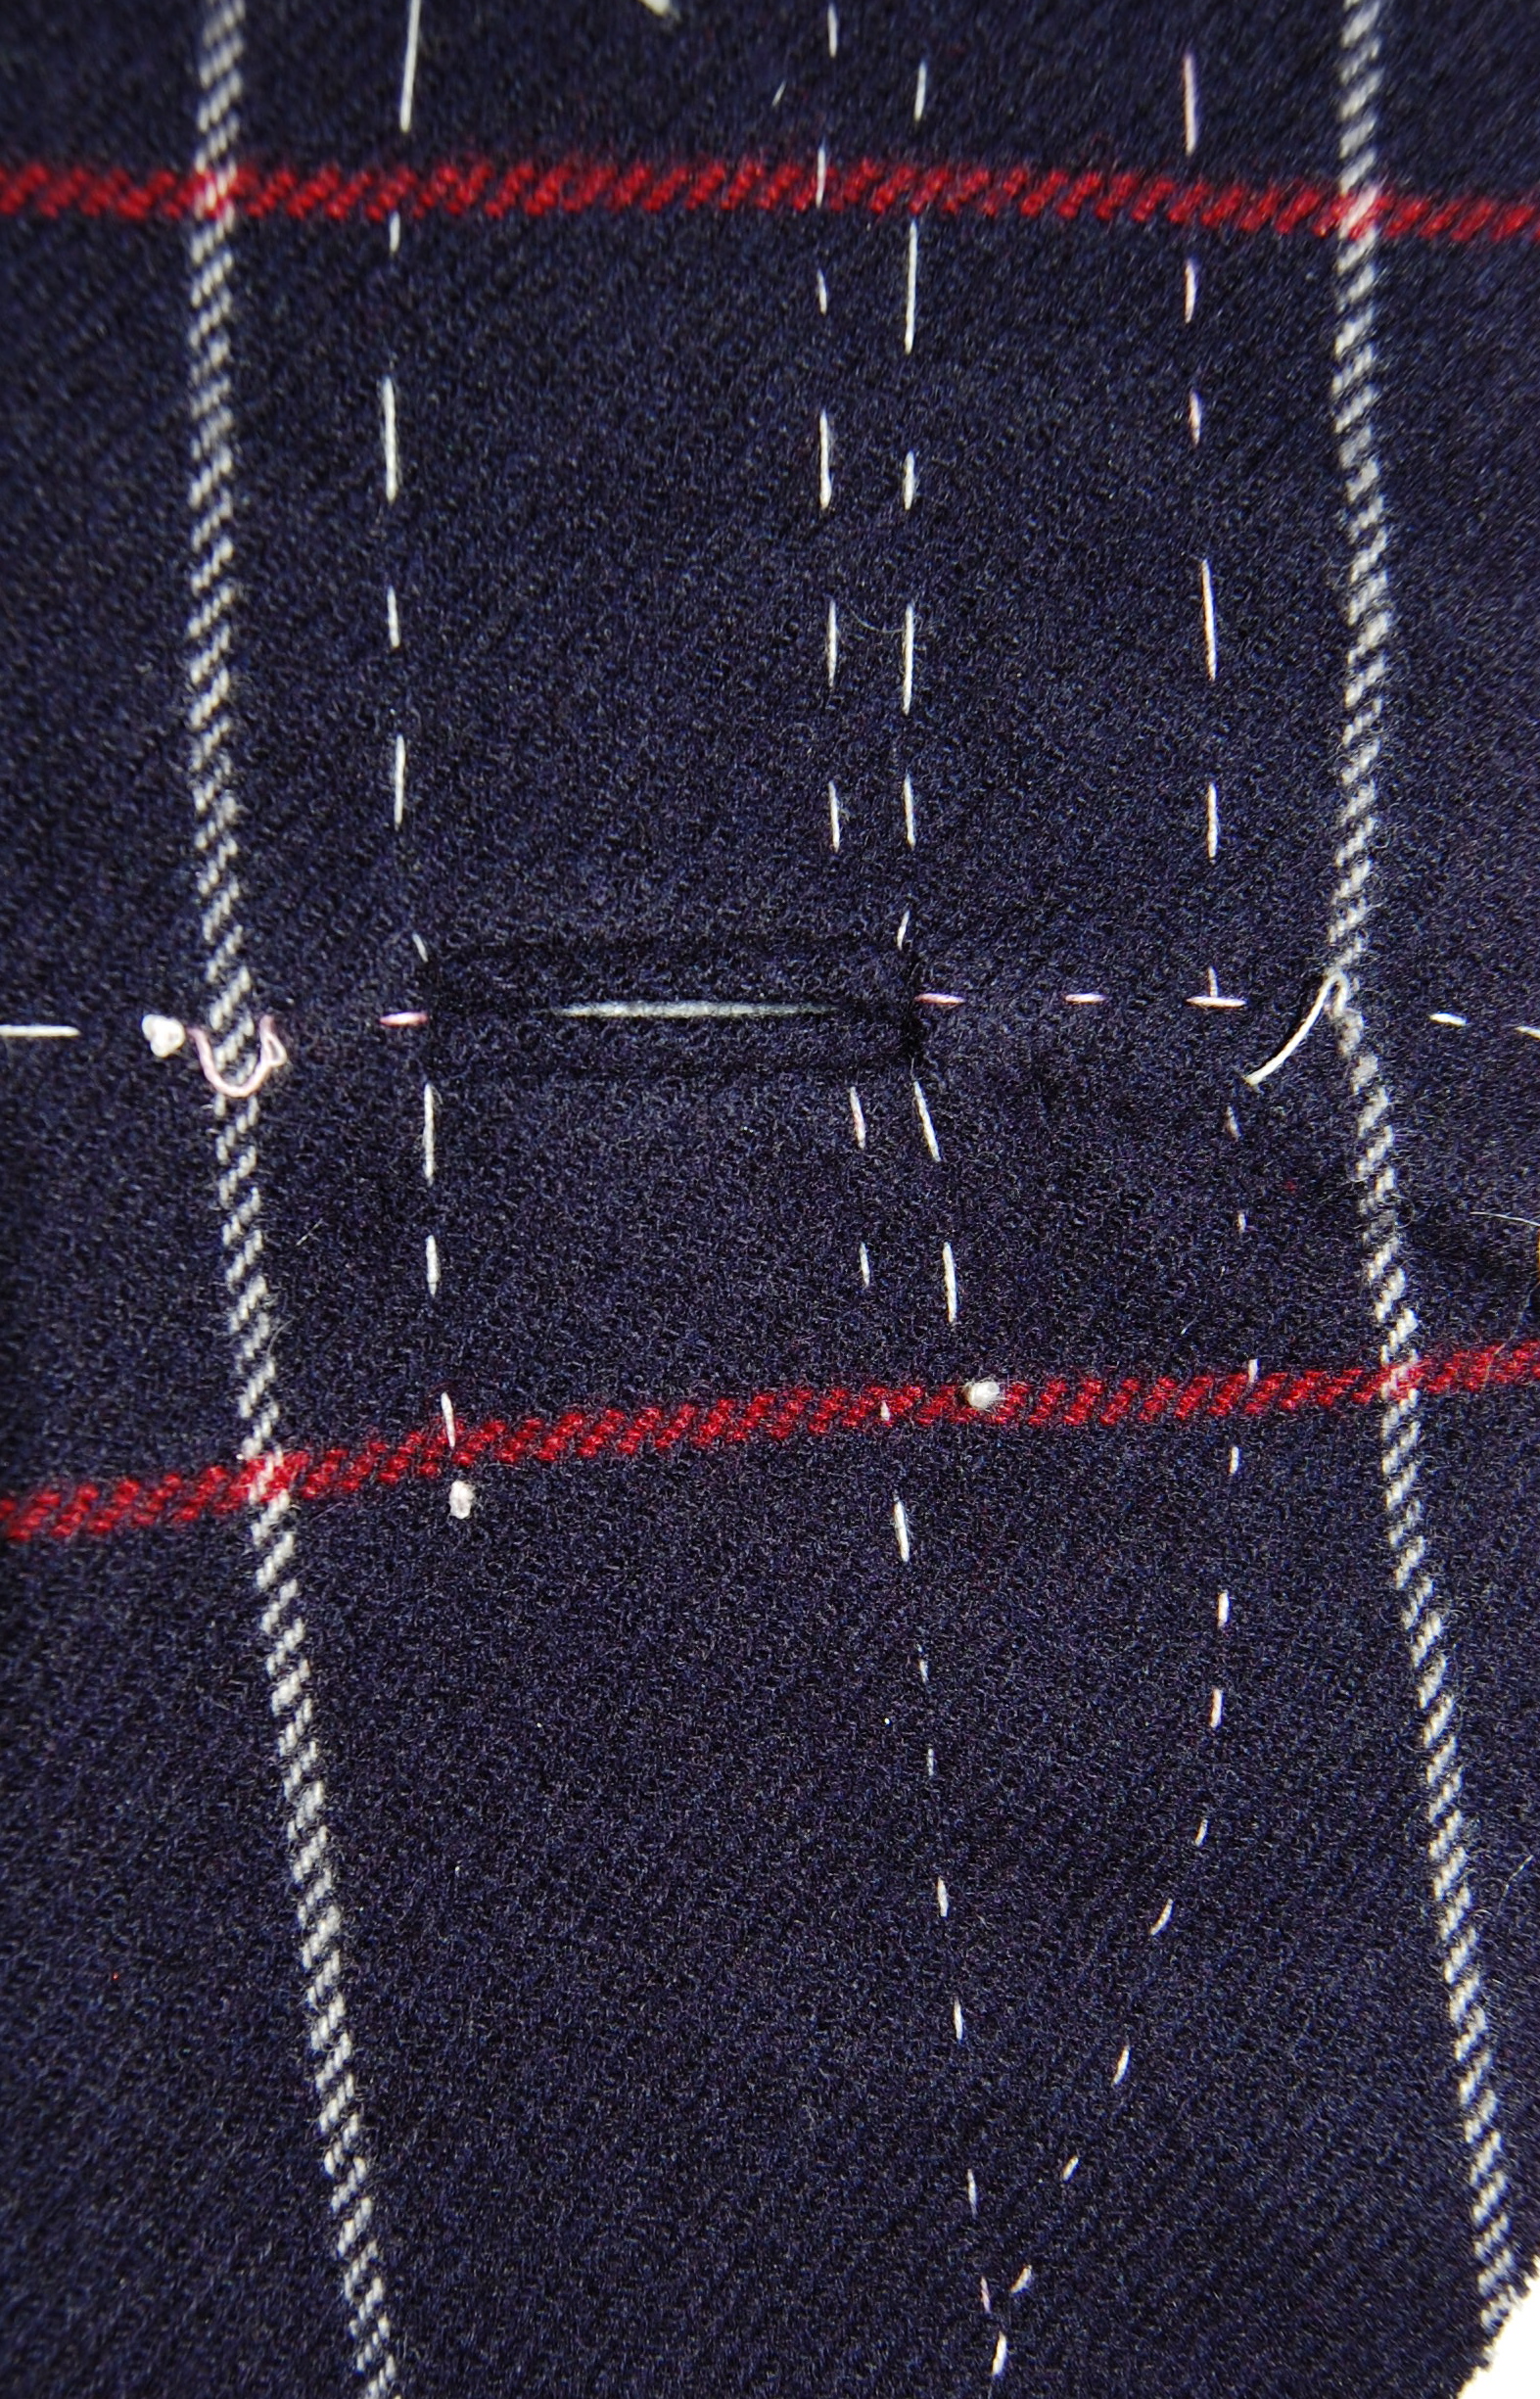
1) To finish the underside of the bound buttonholes, I used organza patches. I have started using this method all the time, as it makes such a neat, fool-proof finish.
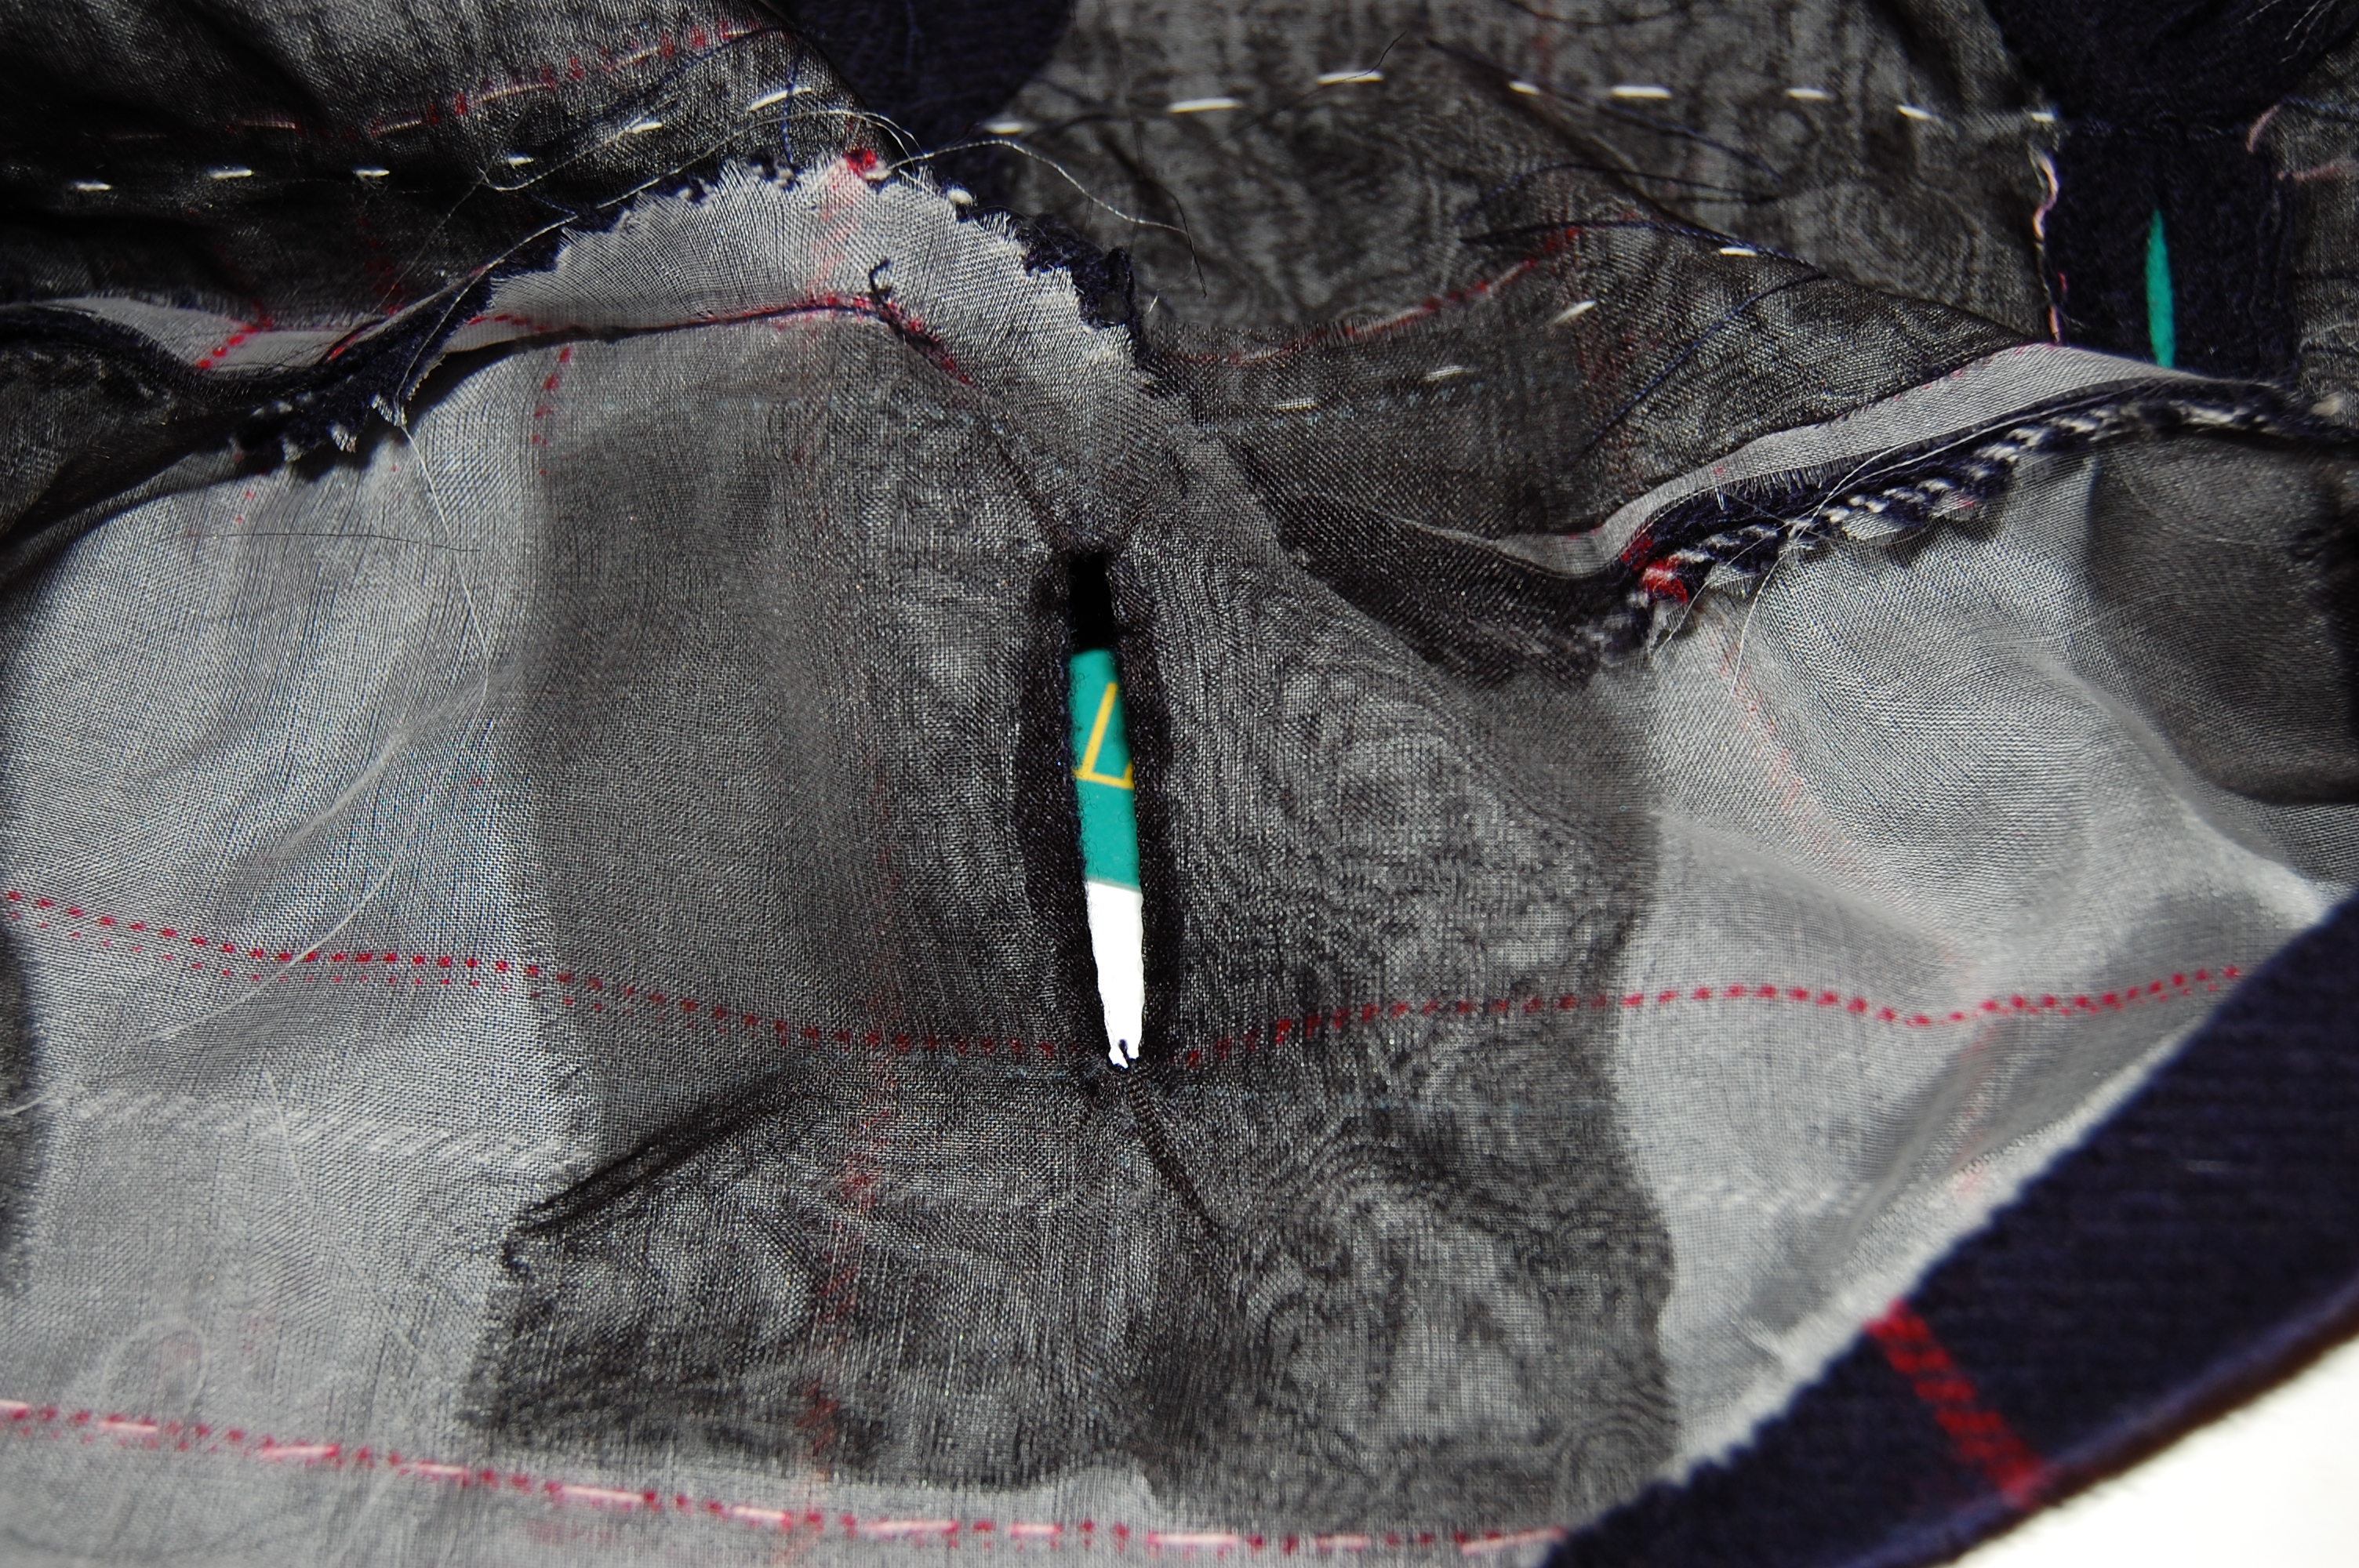
The silk organza patch is sewn onto the right side. After cutting and clipping the corners – carefully! – you turn the organza and you have a perfectly finished opening to back up to your bound buttonhole. Then it is easy to sew the two sides together very neatly.
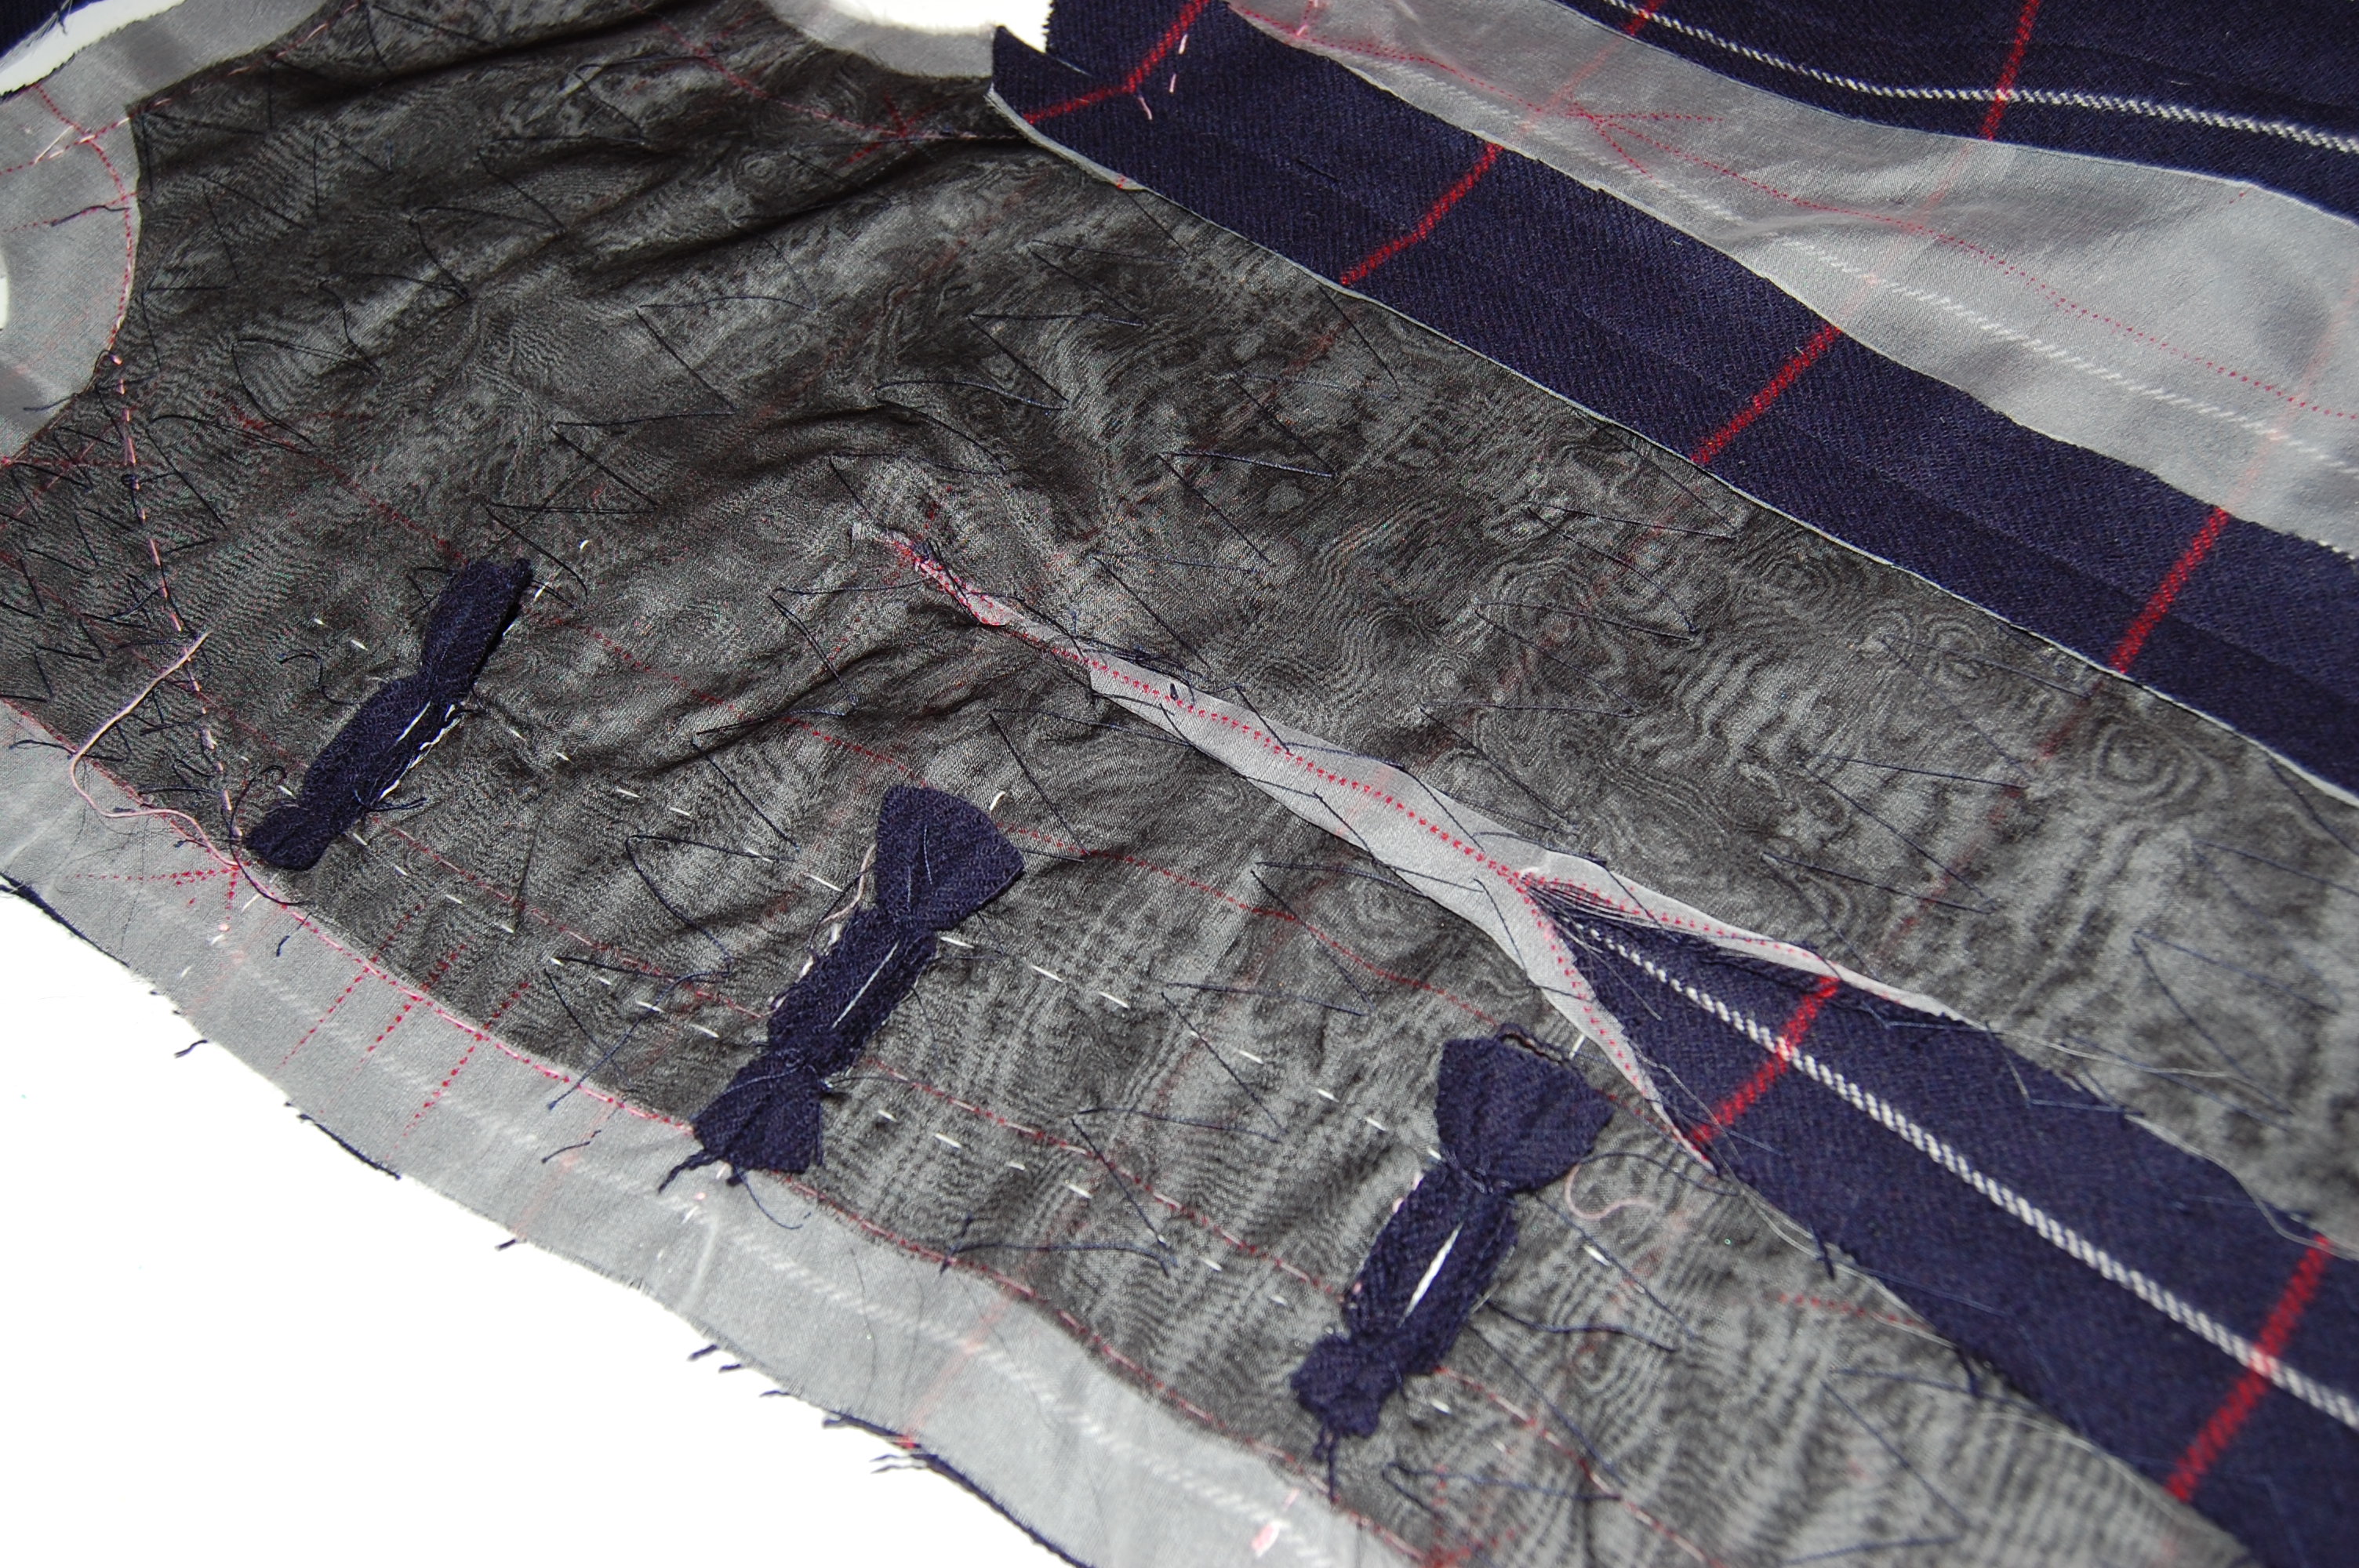
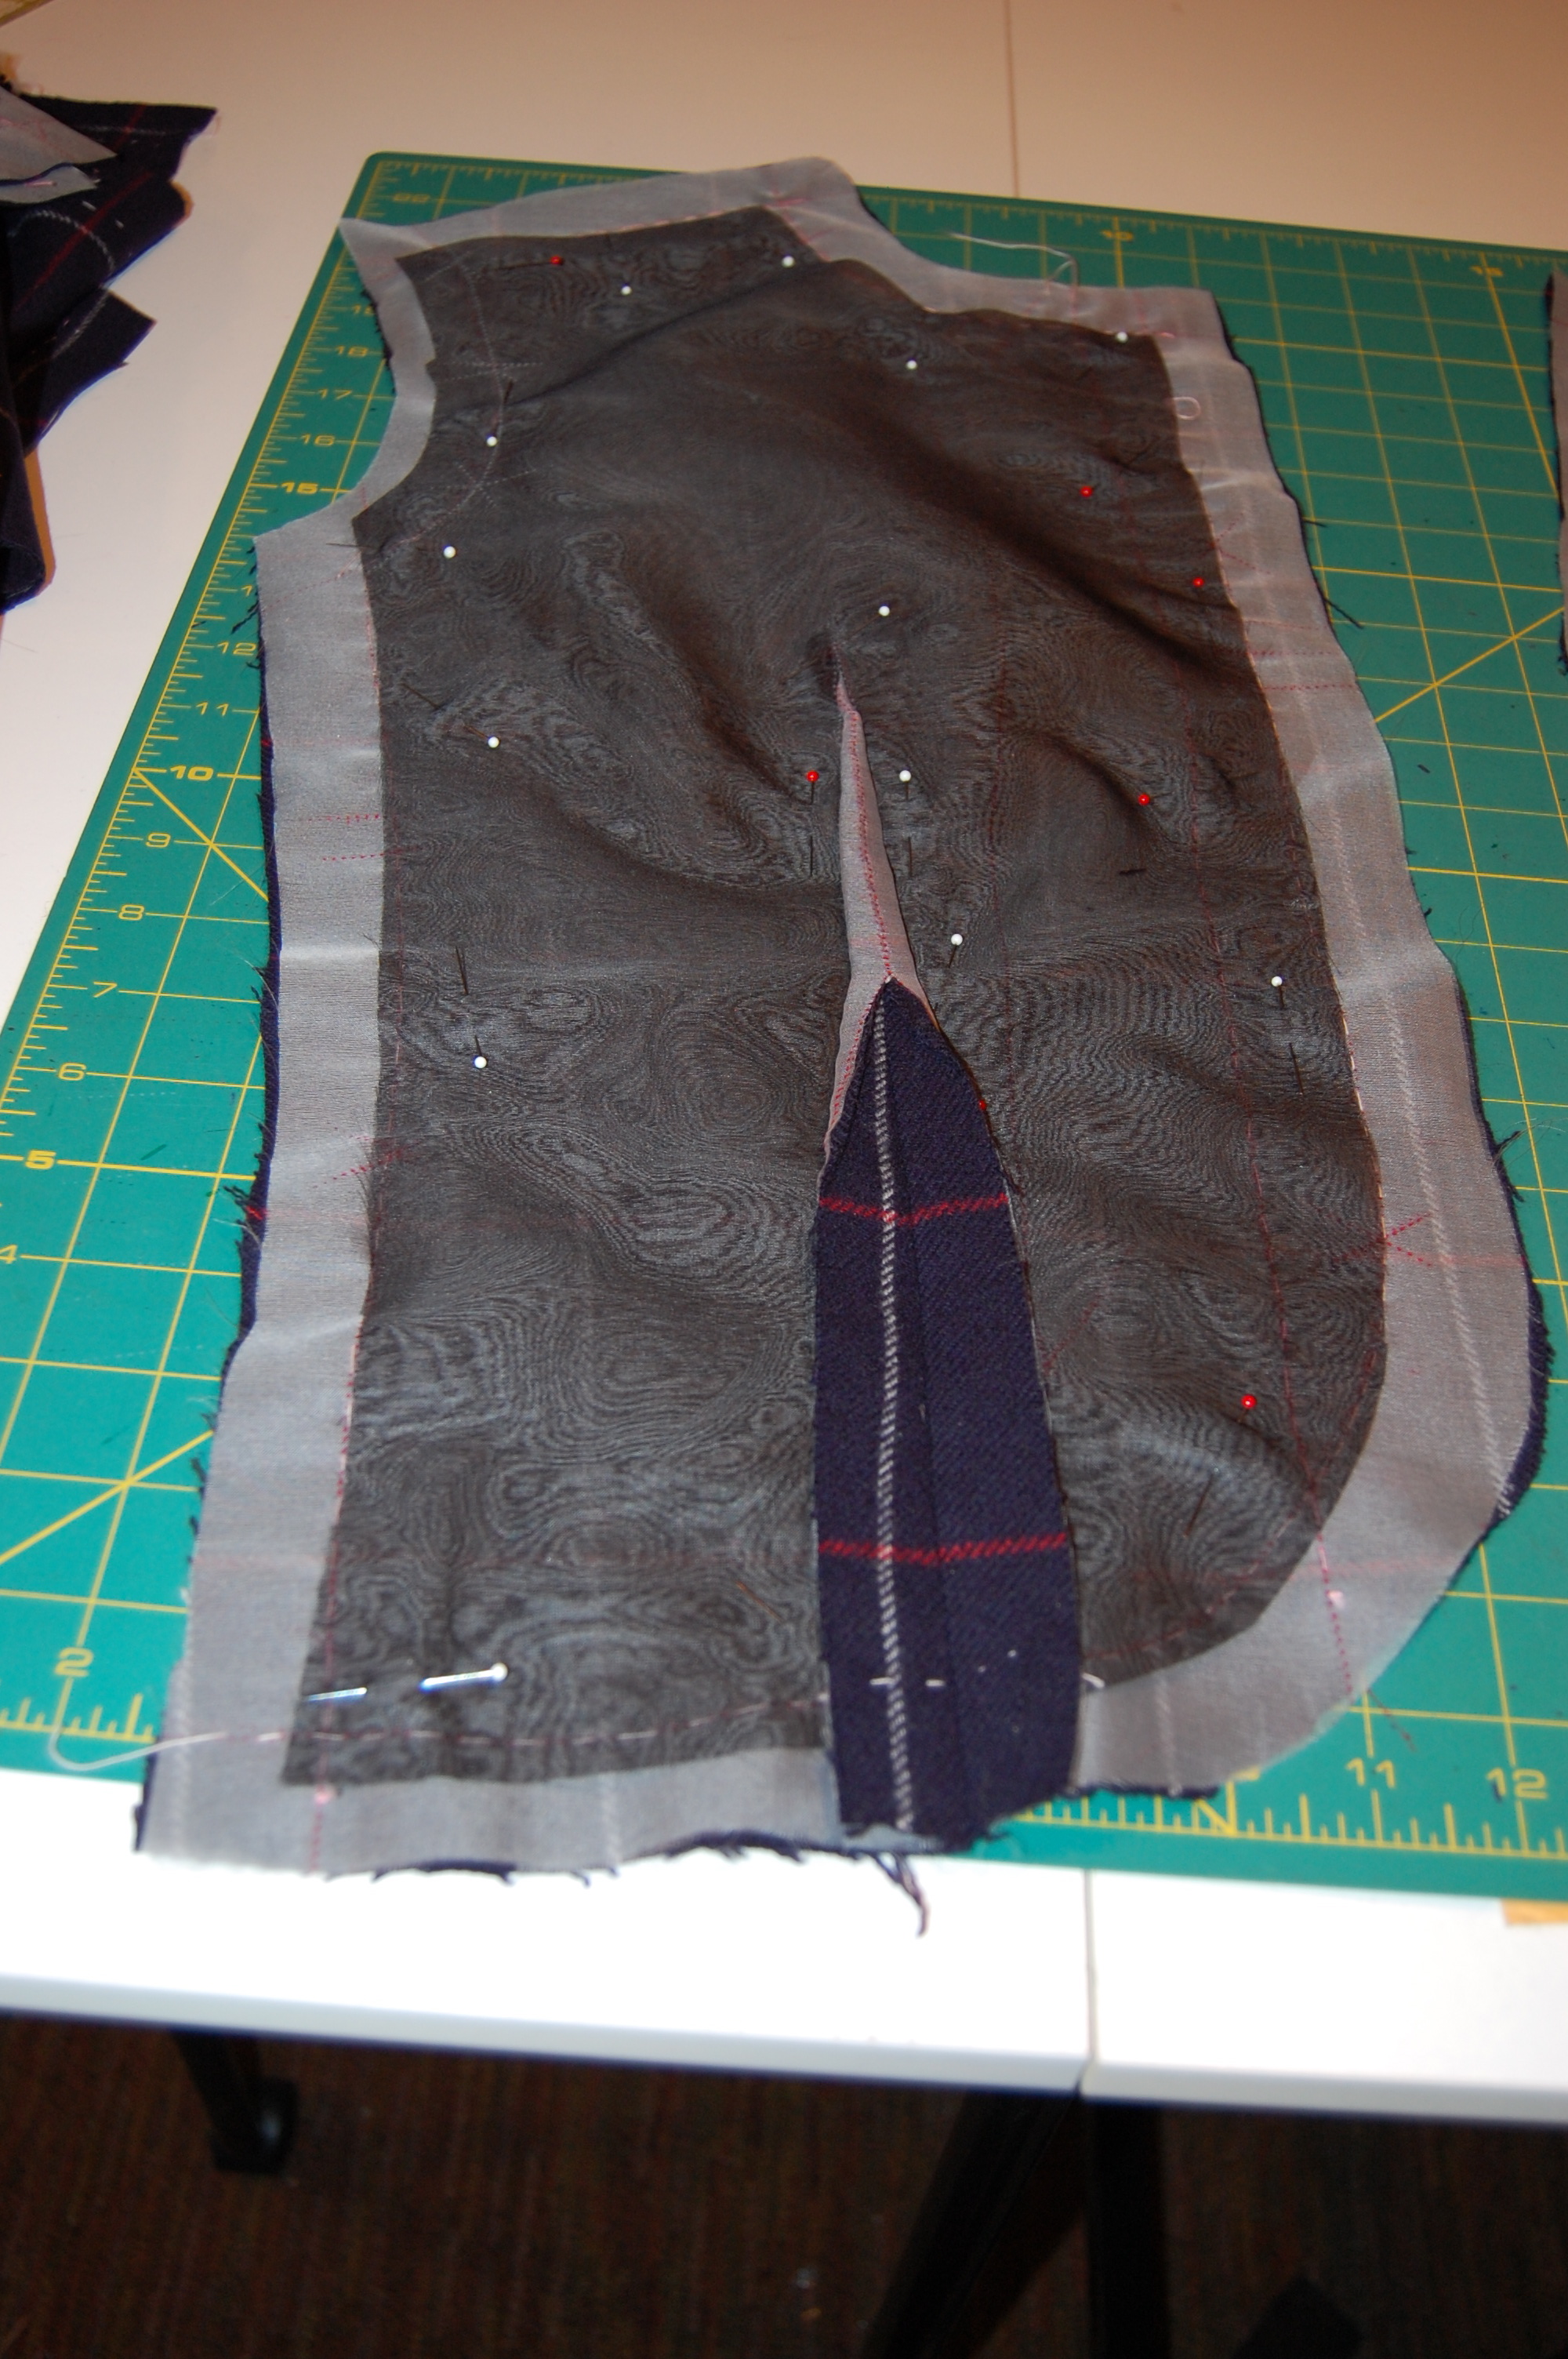
2) Even though the entire jacket is underlined with silk organza, I added another layer of silk organza “interfacing” to the hemline, as directed in the pattern instructions.
I always like to baste the hem along the bottom edge to stabilize it until the jacket is complete.
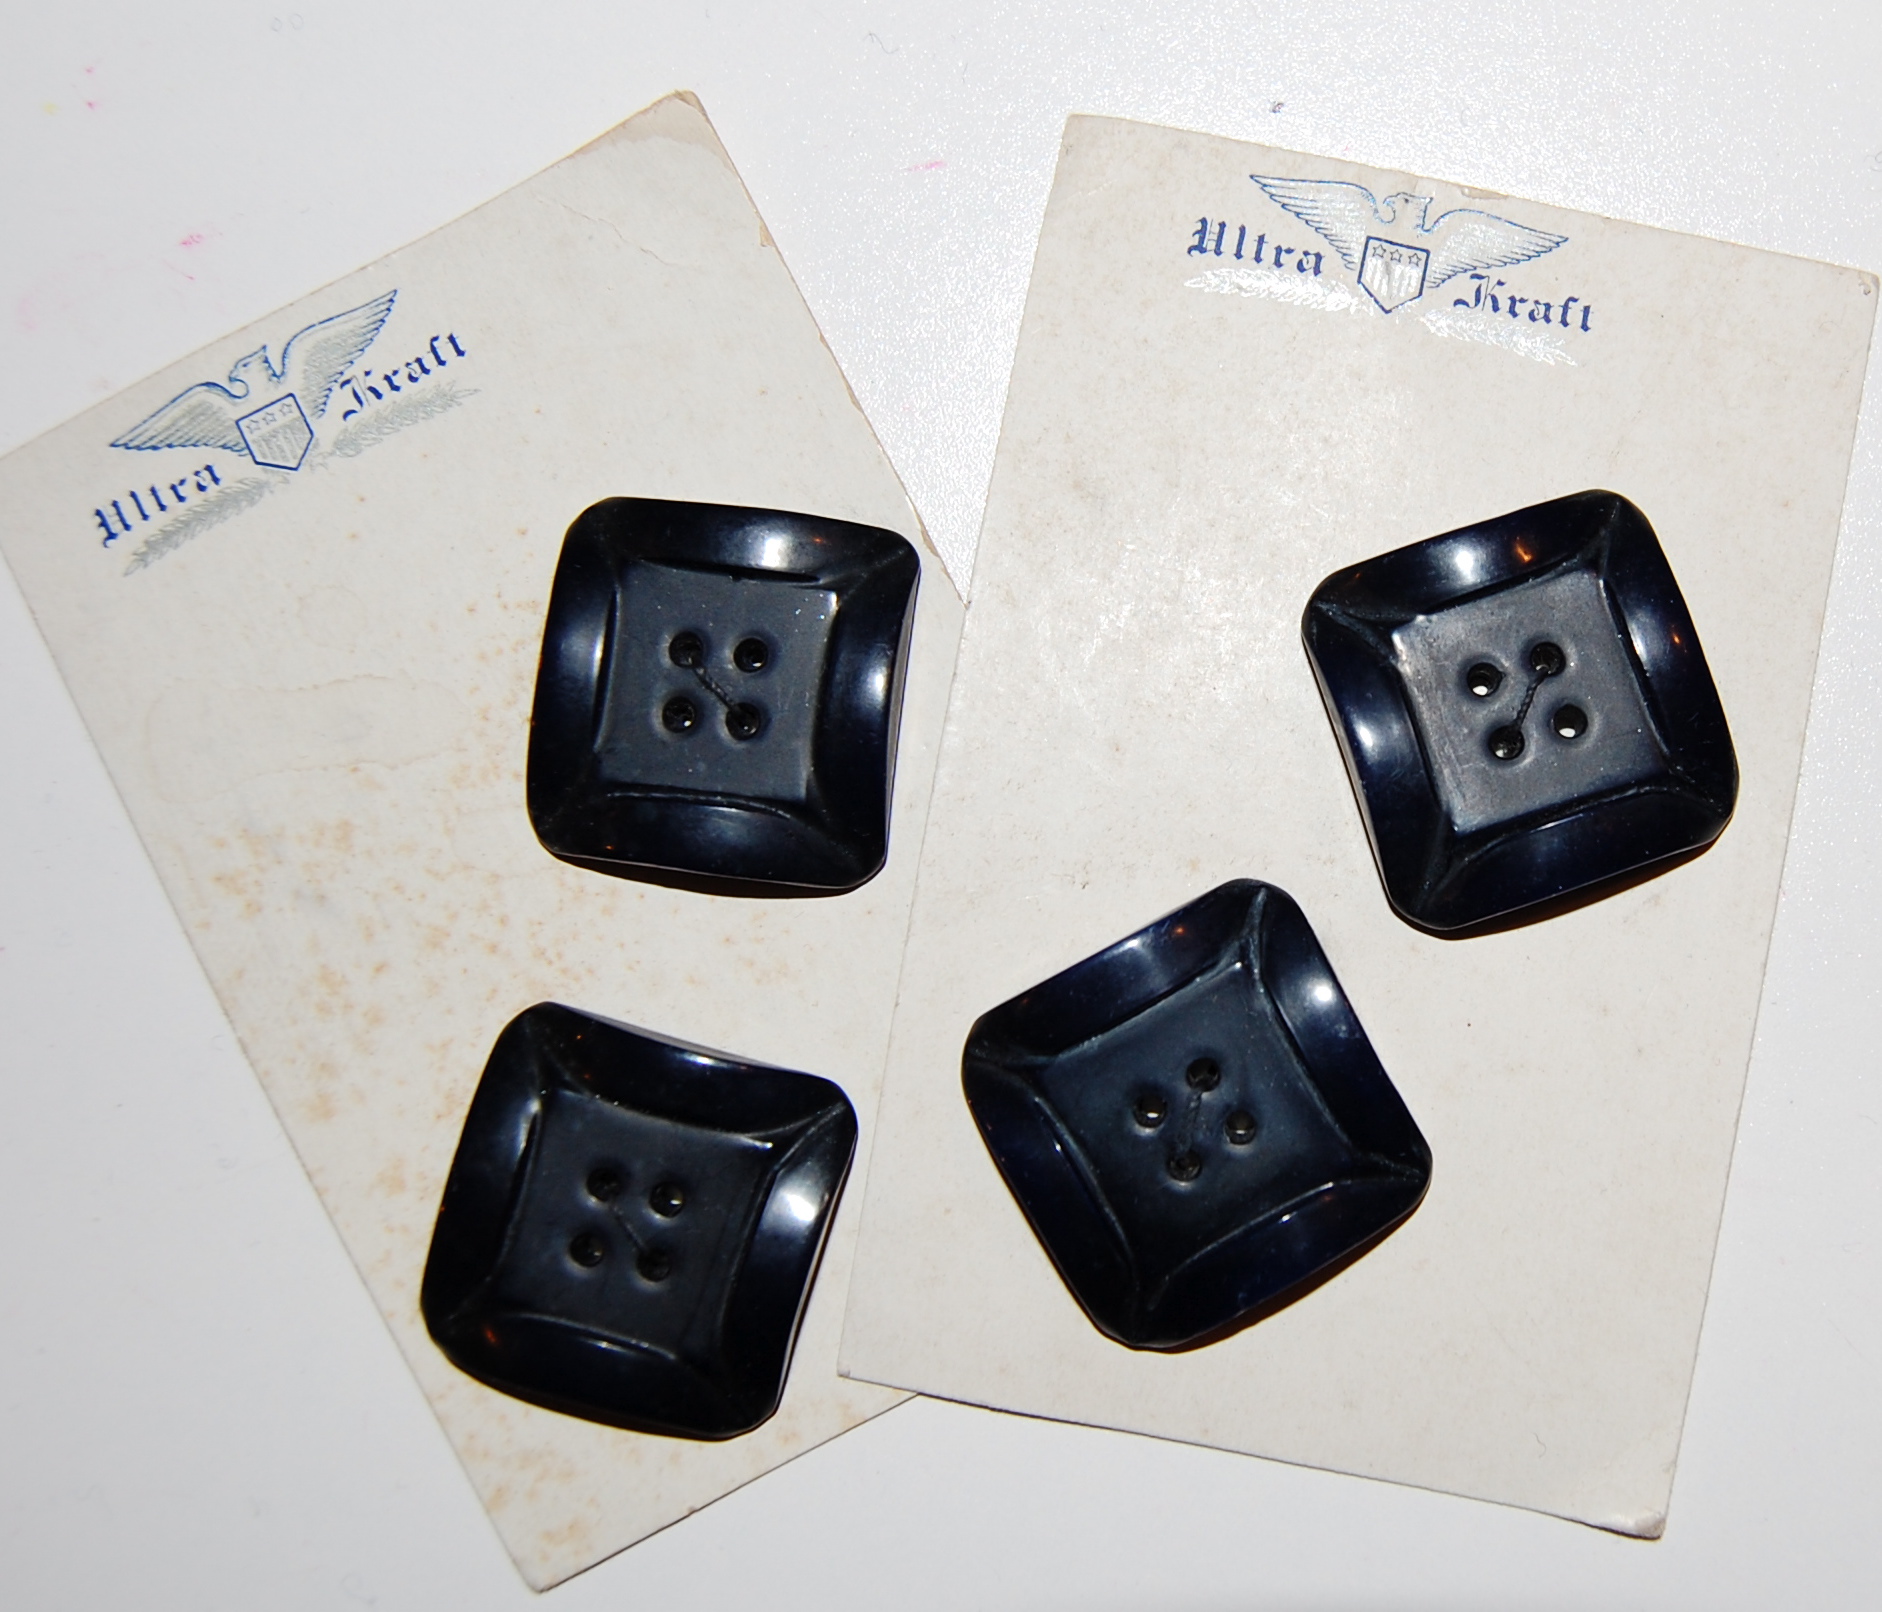
3) I used black “cigarette” which I purchase from Susan Khalje’s store for the sleeve headings. I doubled and graduated the two layers to achieve the correct amount of sleeve–cap cushioning. Unfortunately, no photos were able to pick up the details in this – too much black and navy blue and not enough contrast!
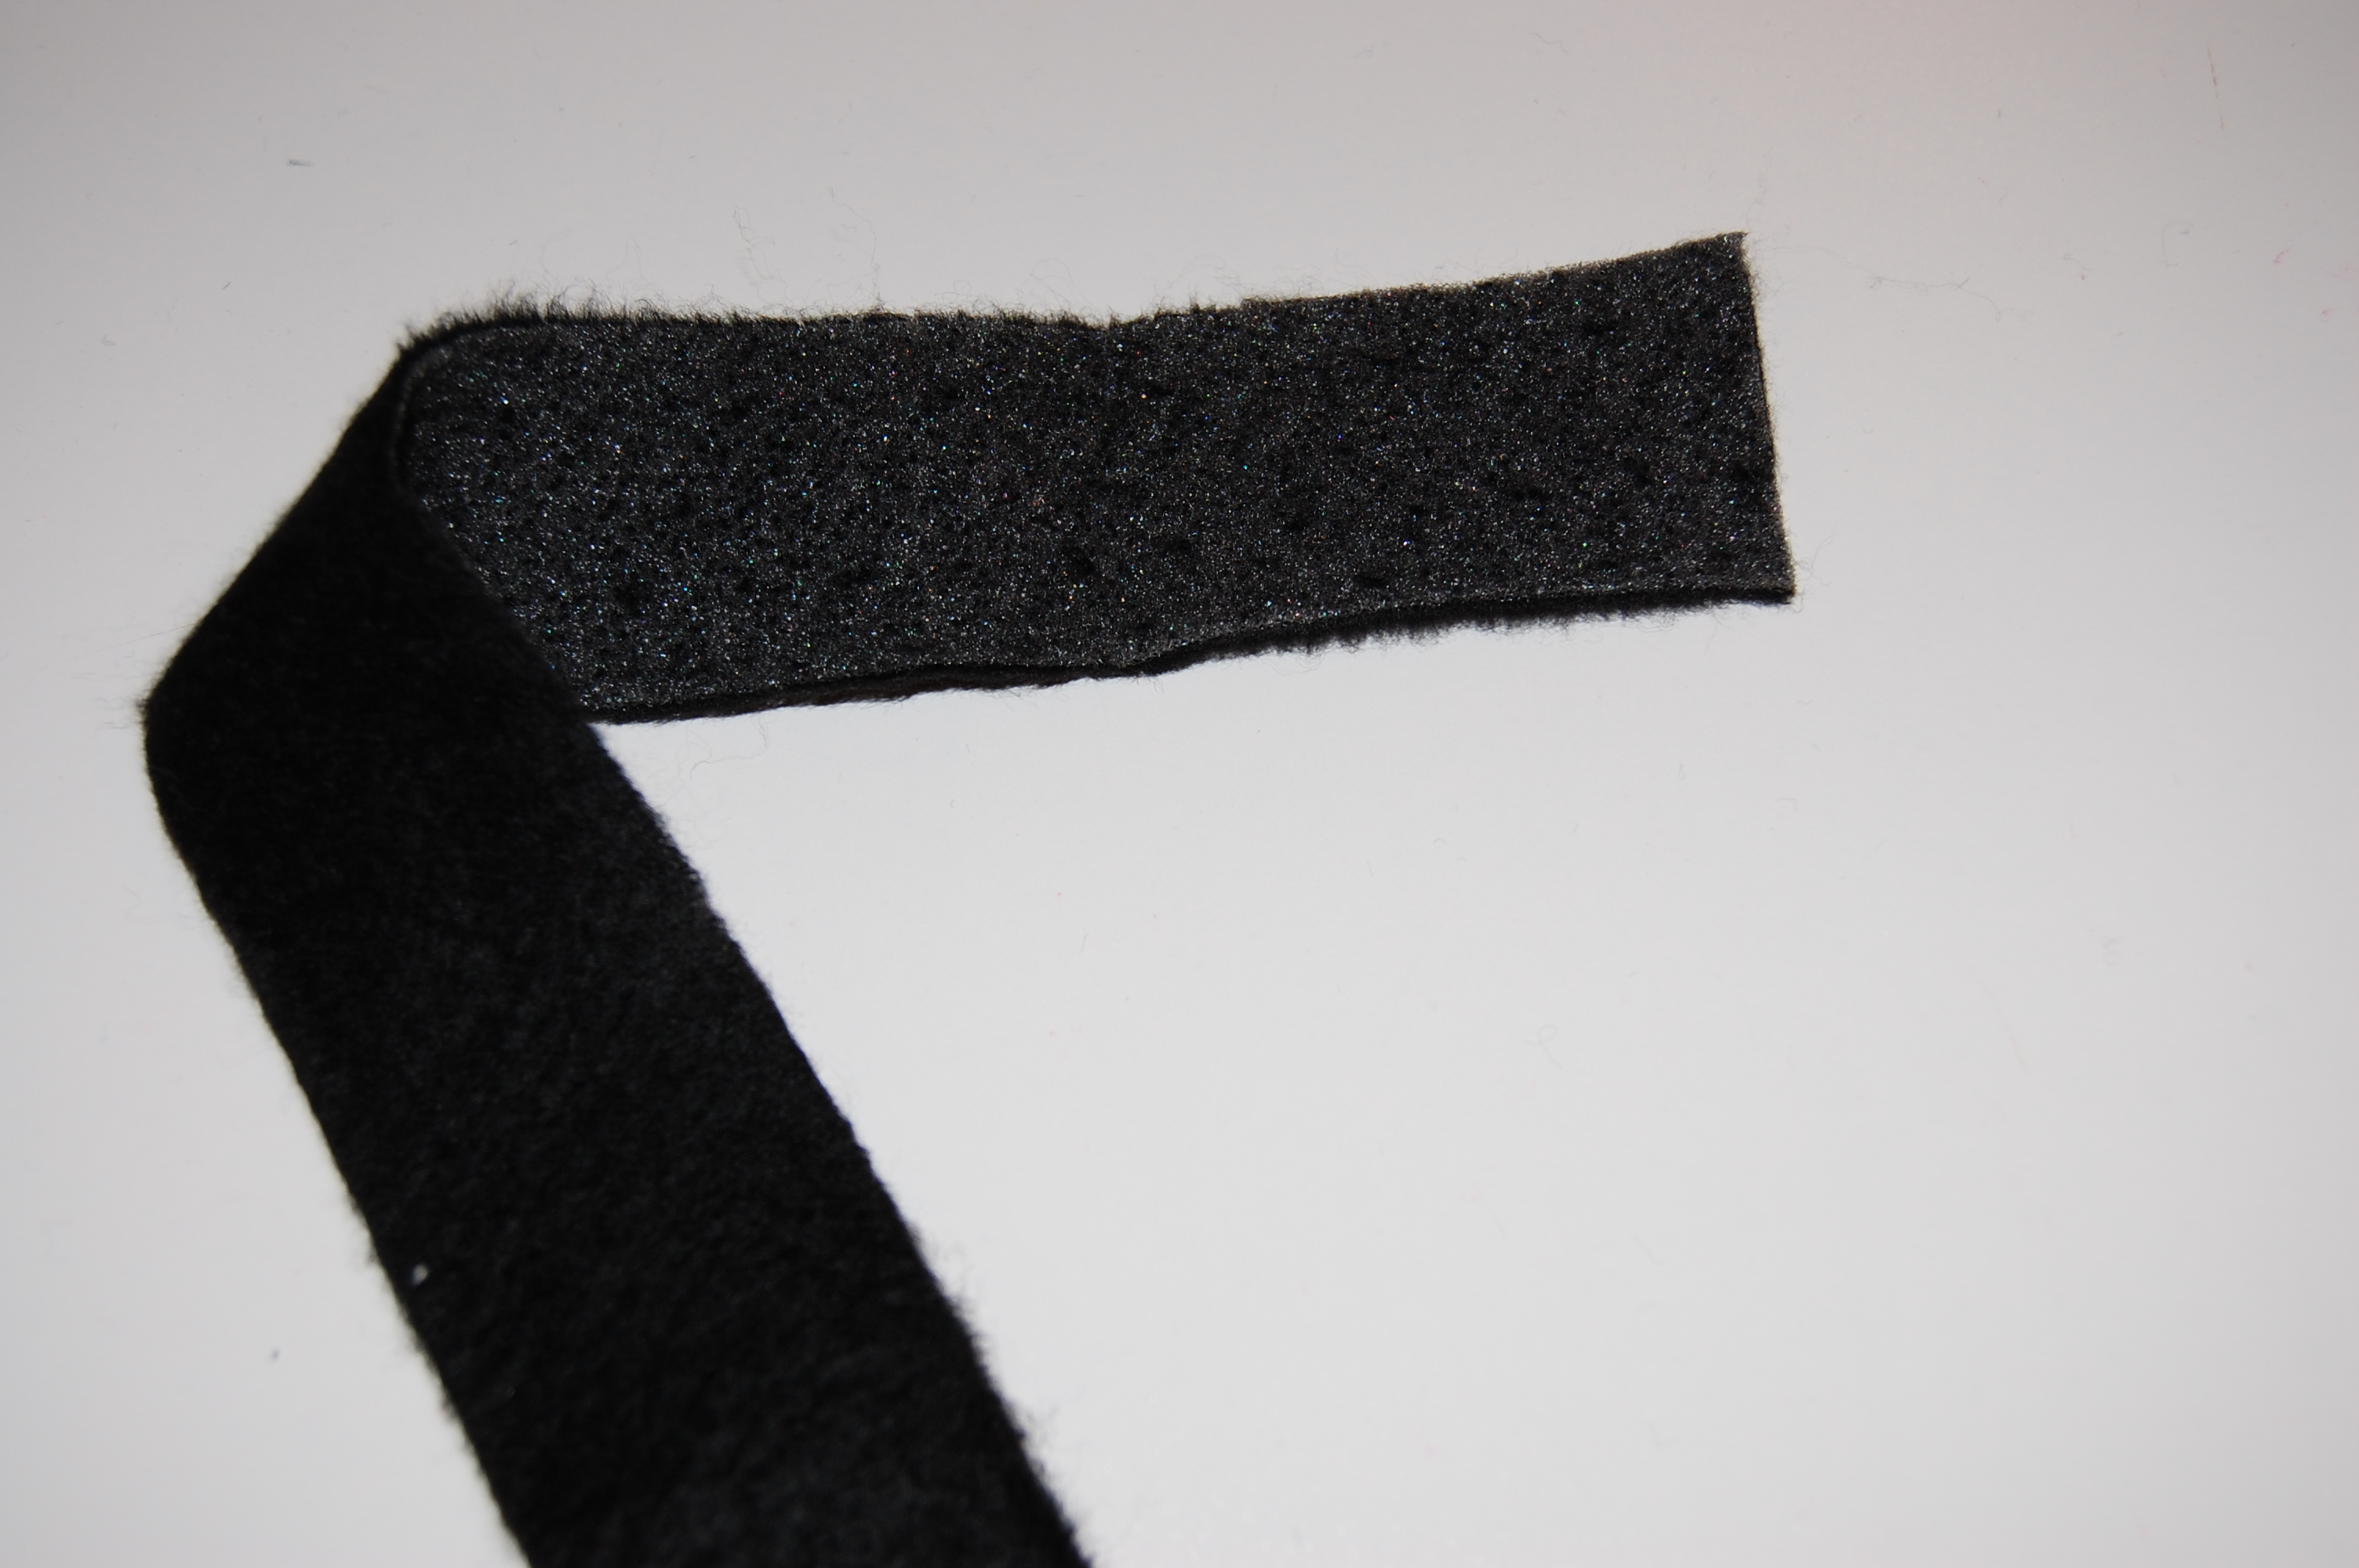
This is what the “cigarette” looks like.
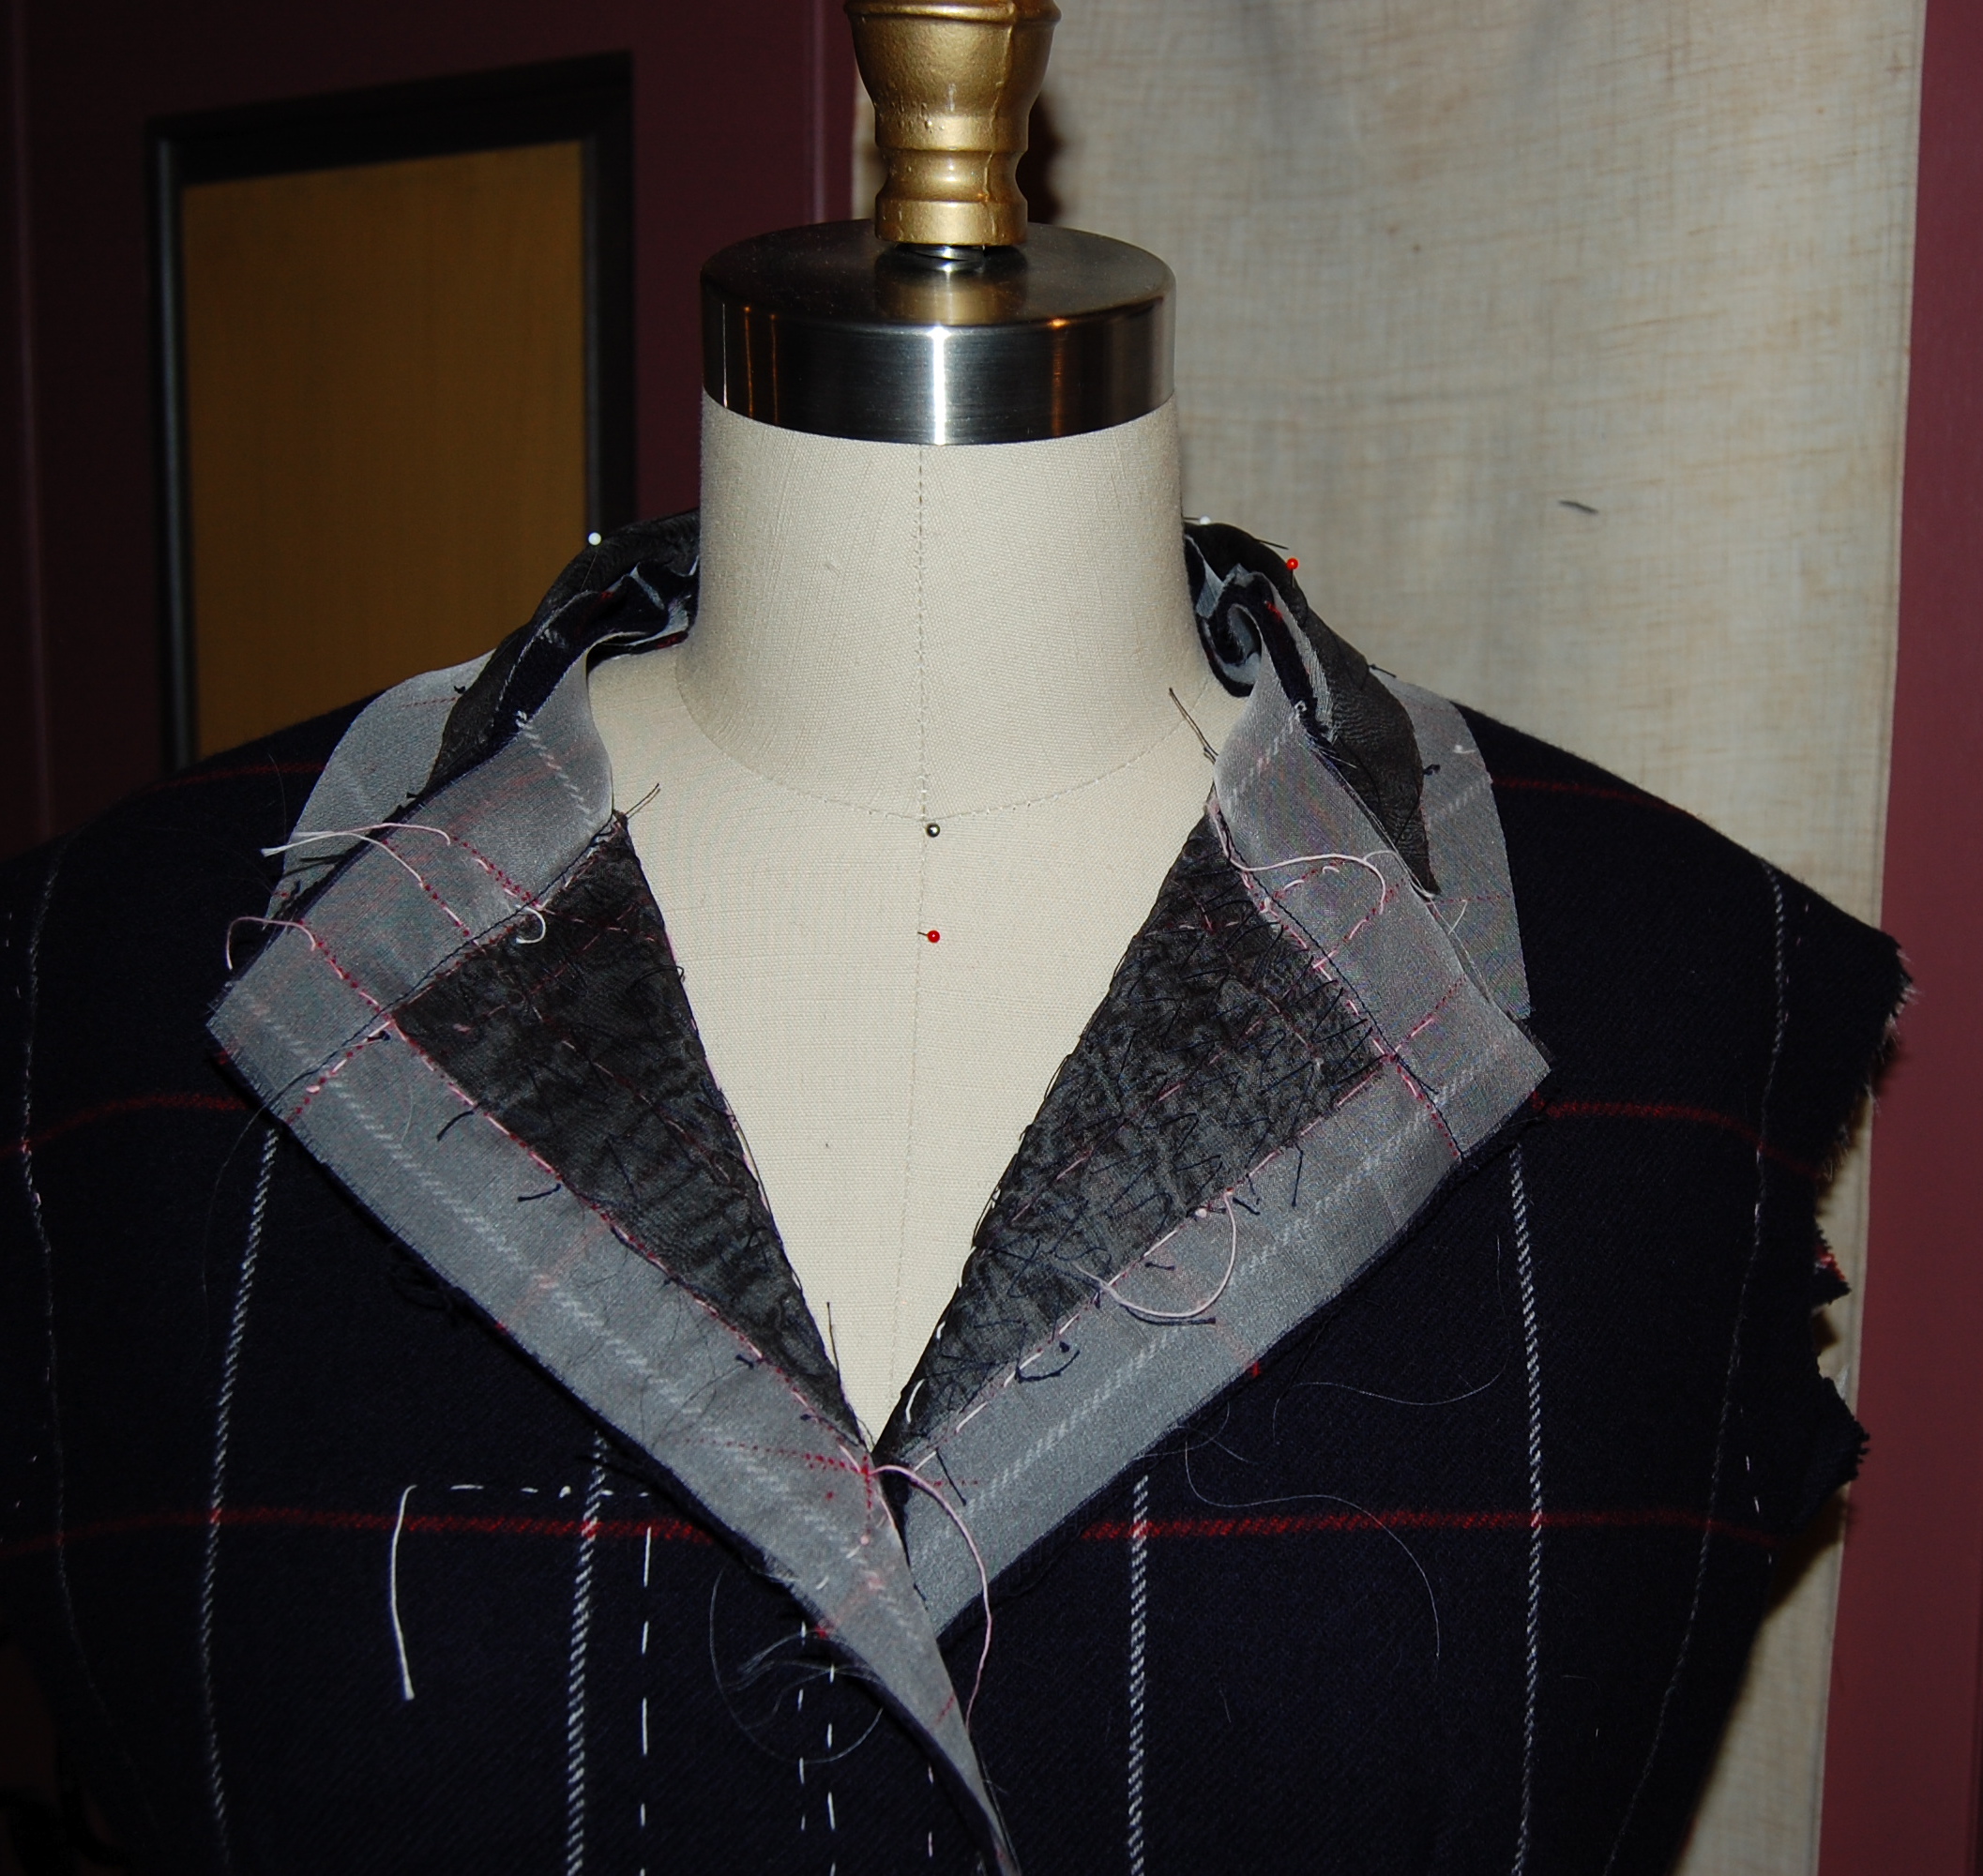
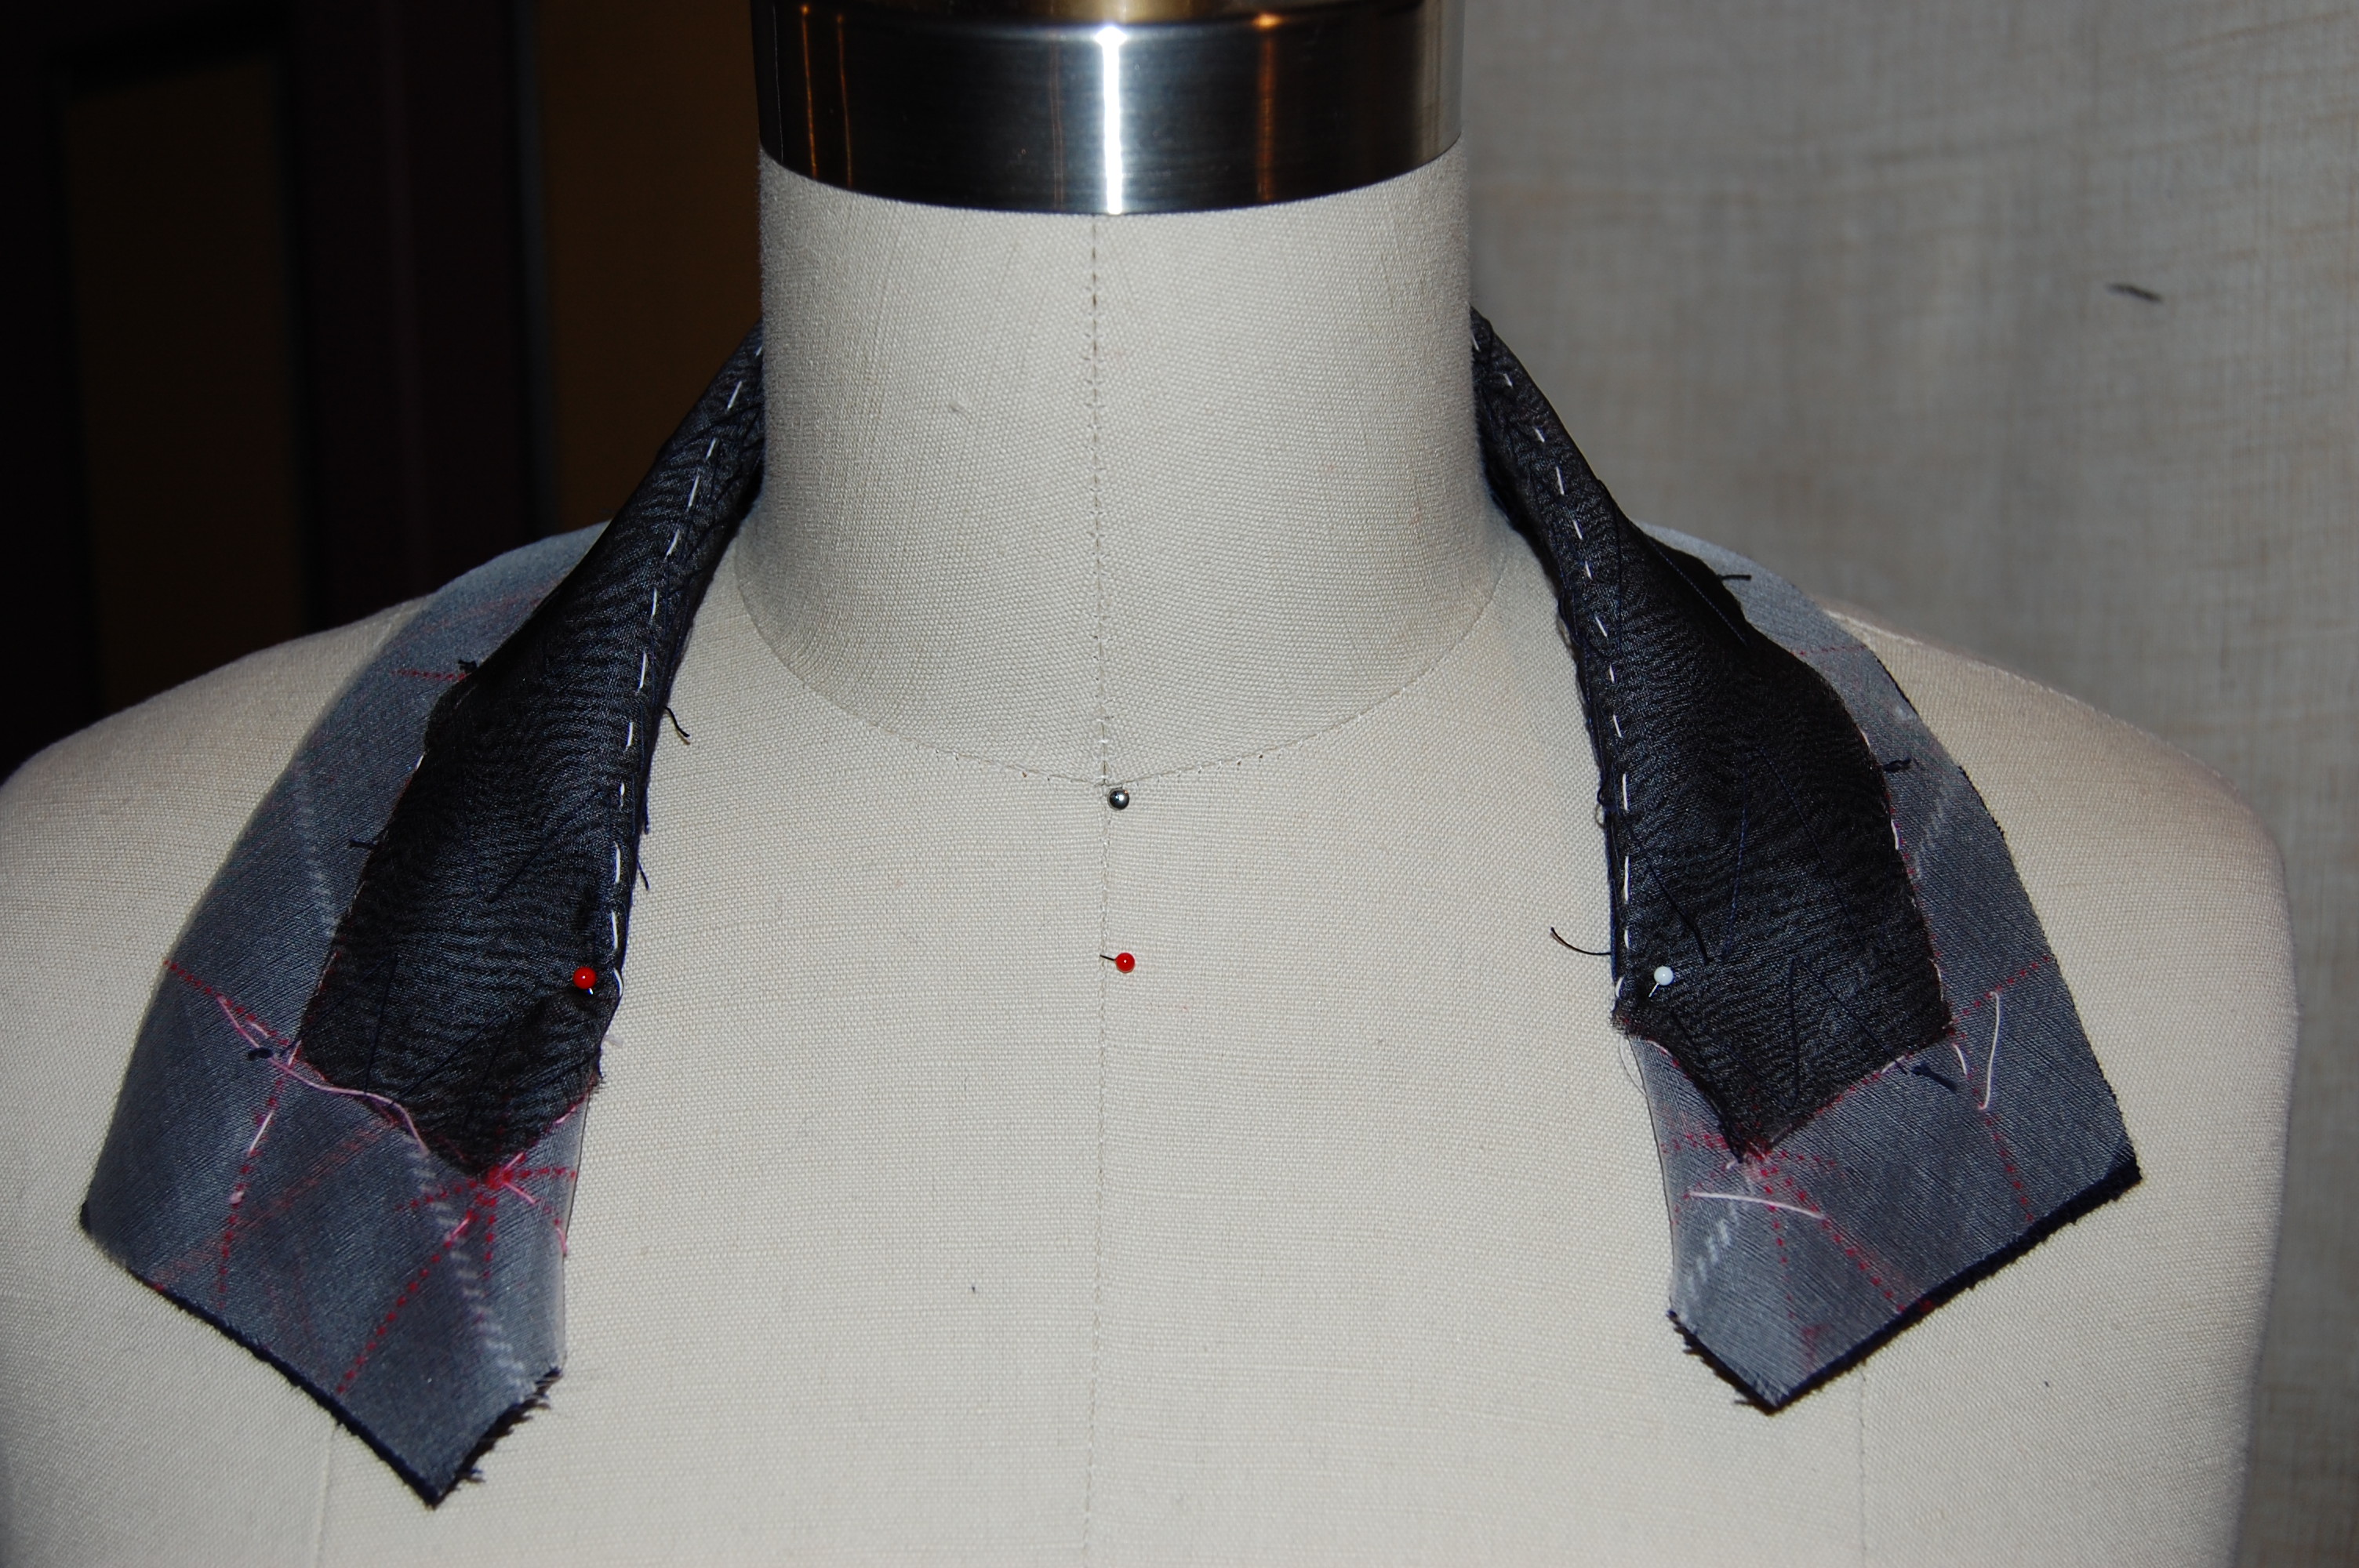
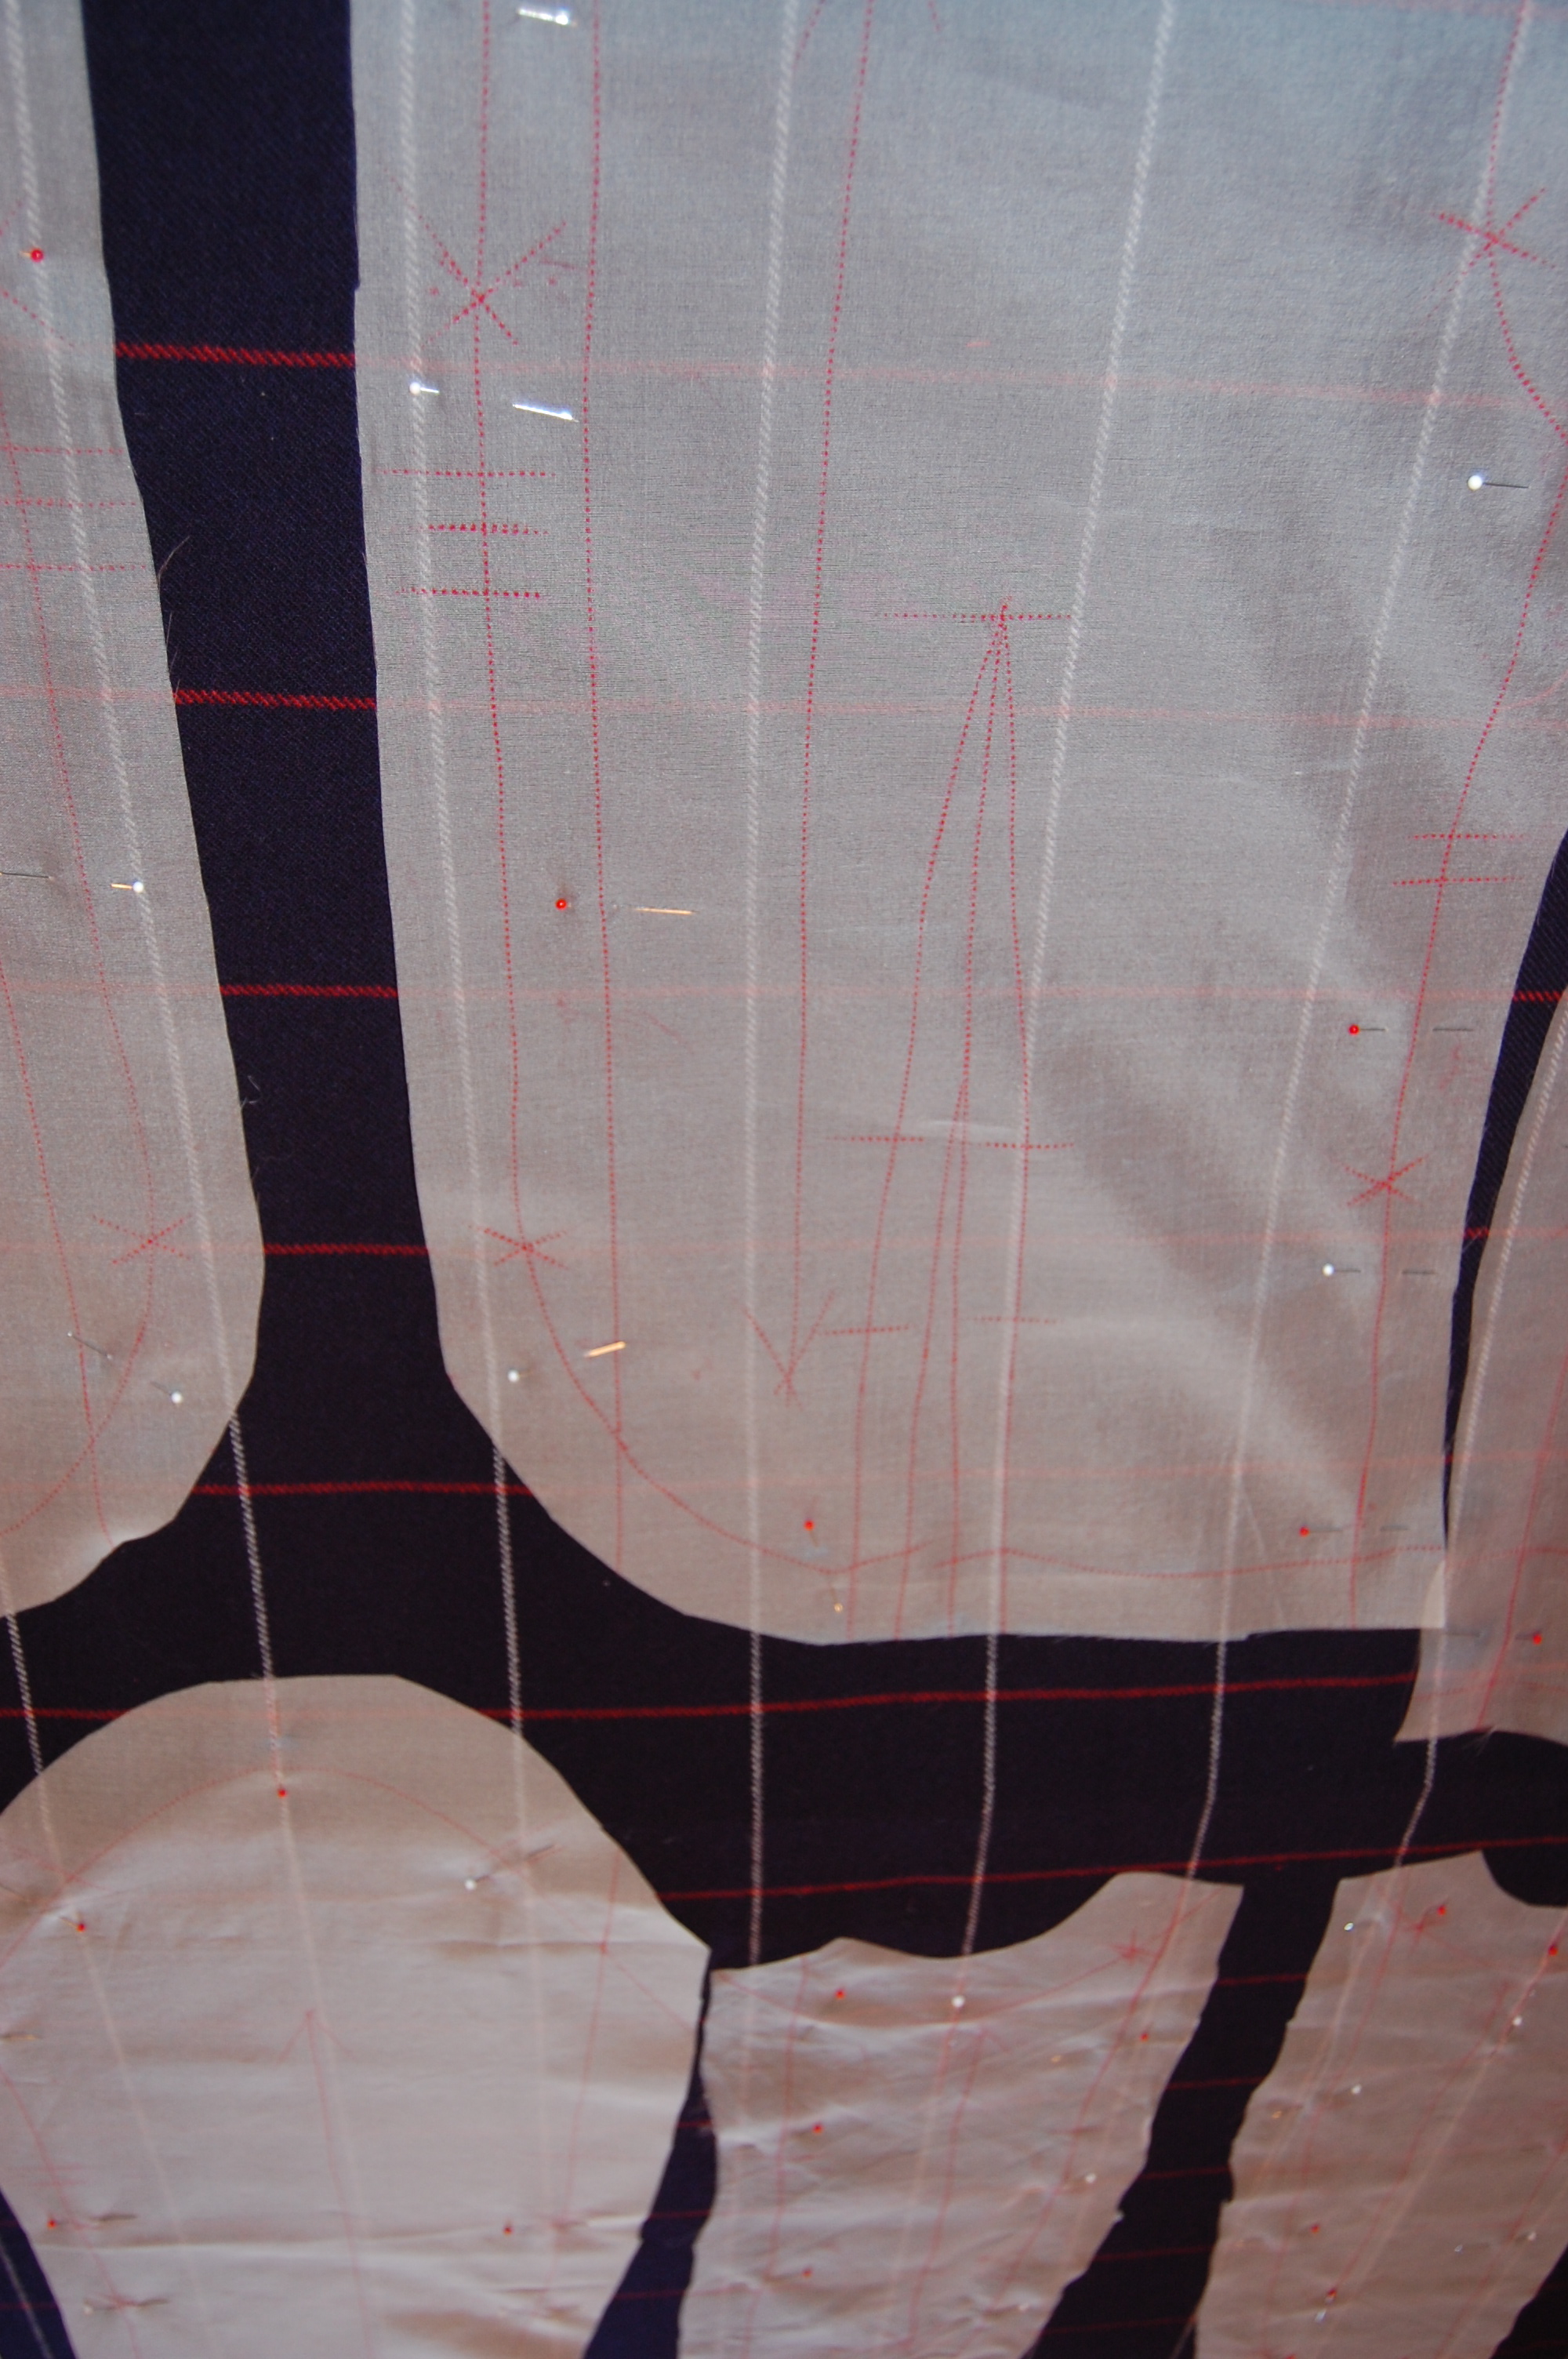
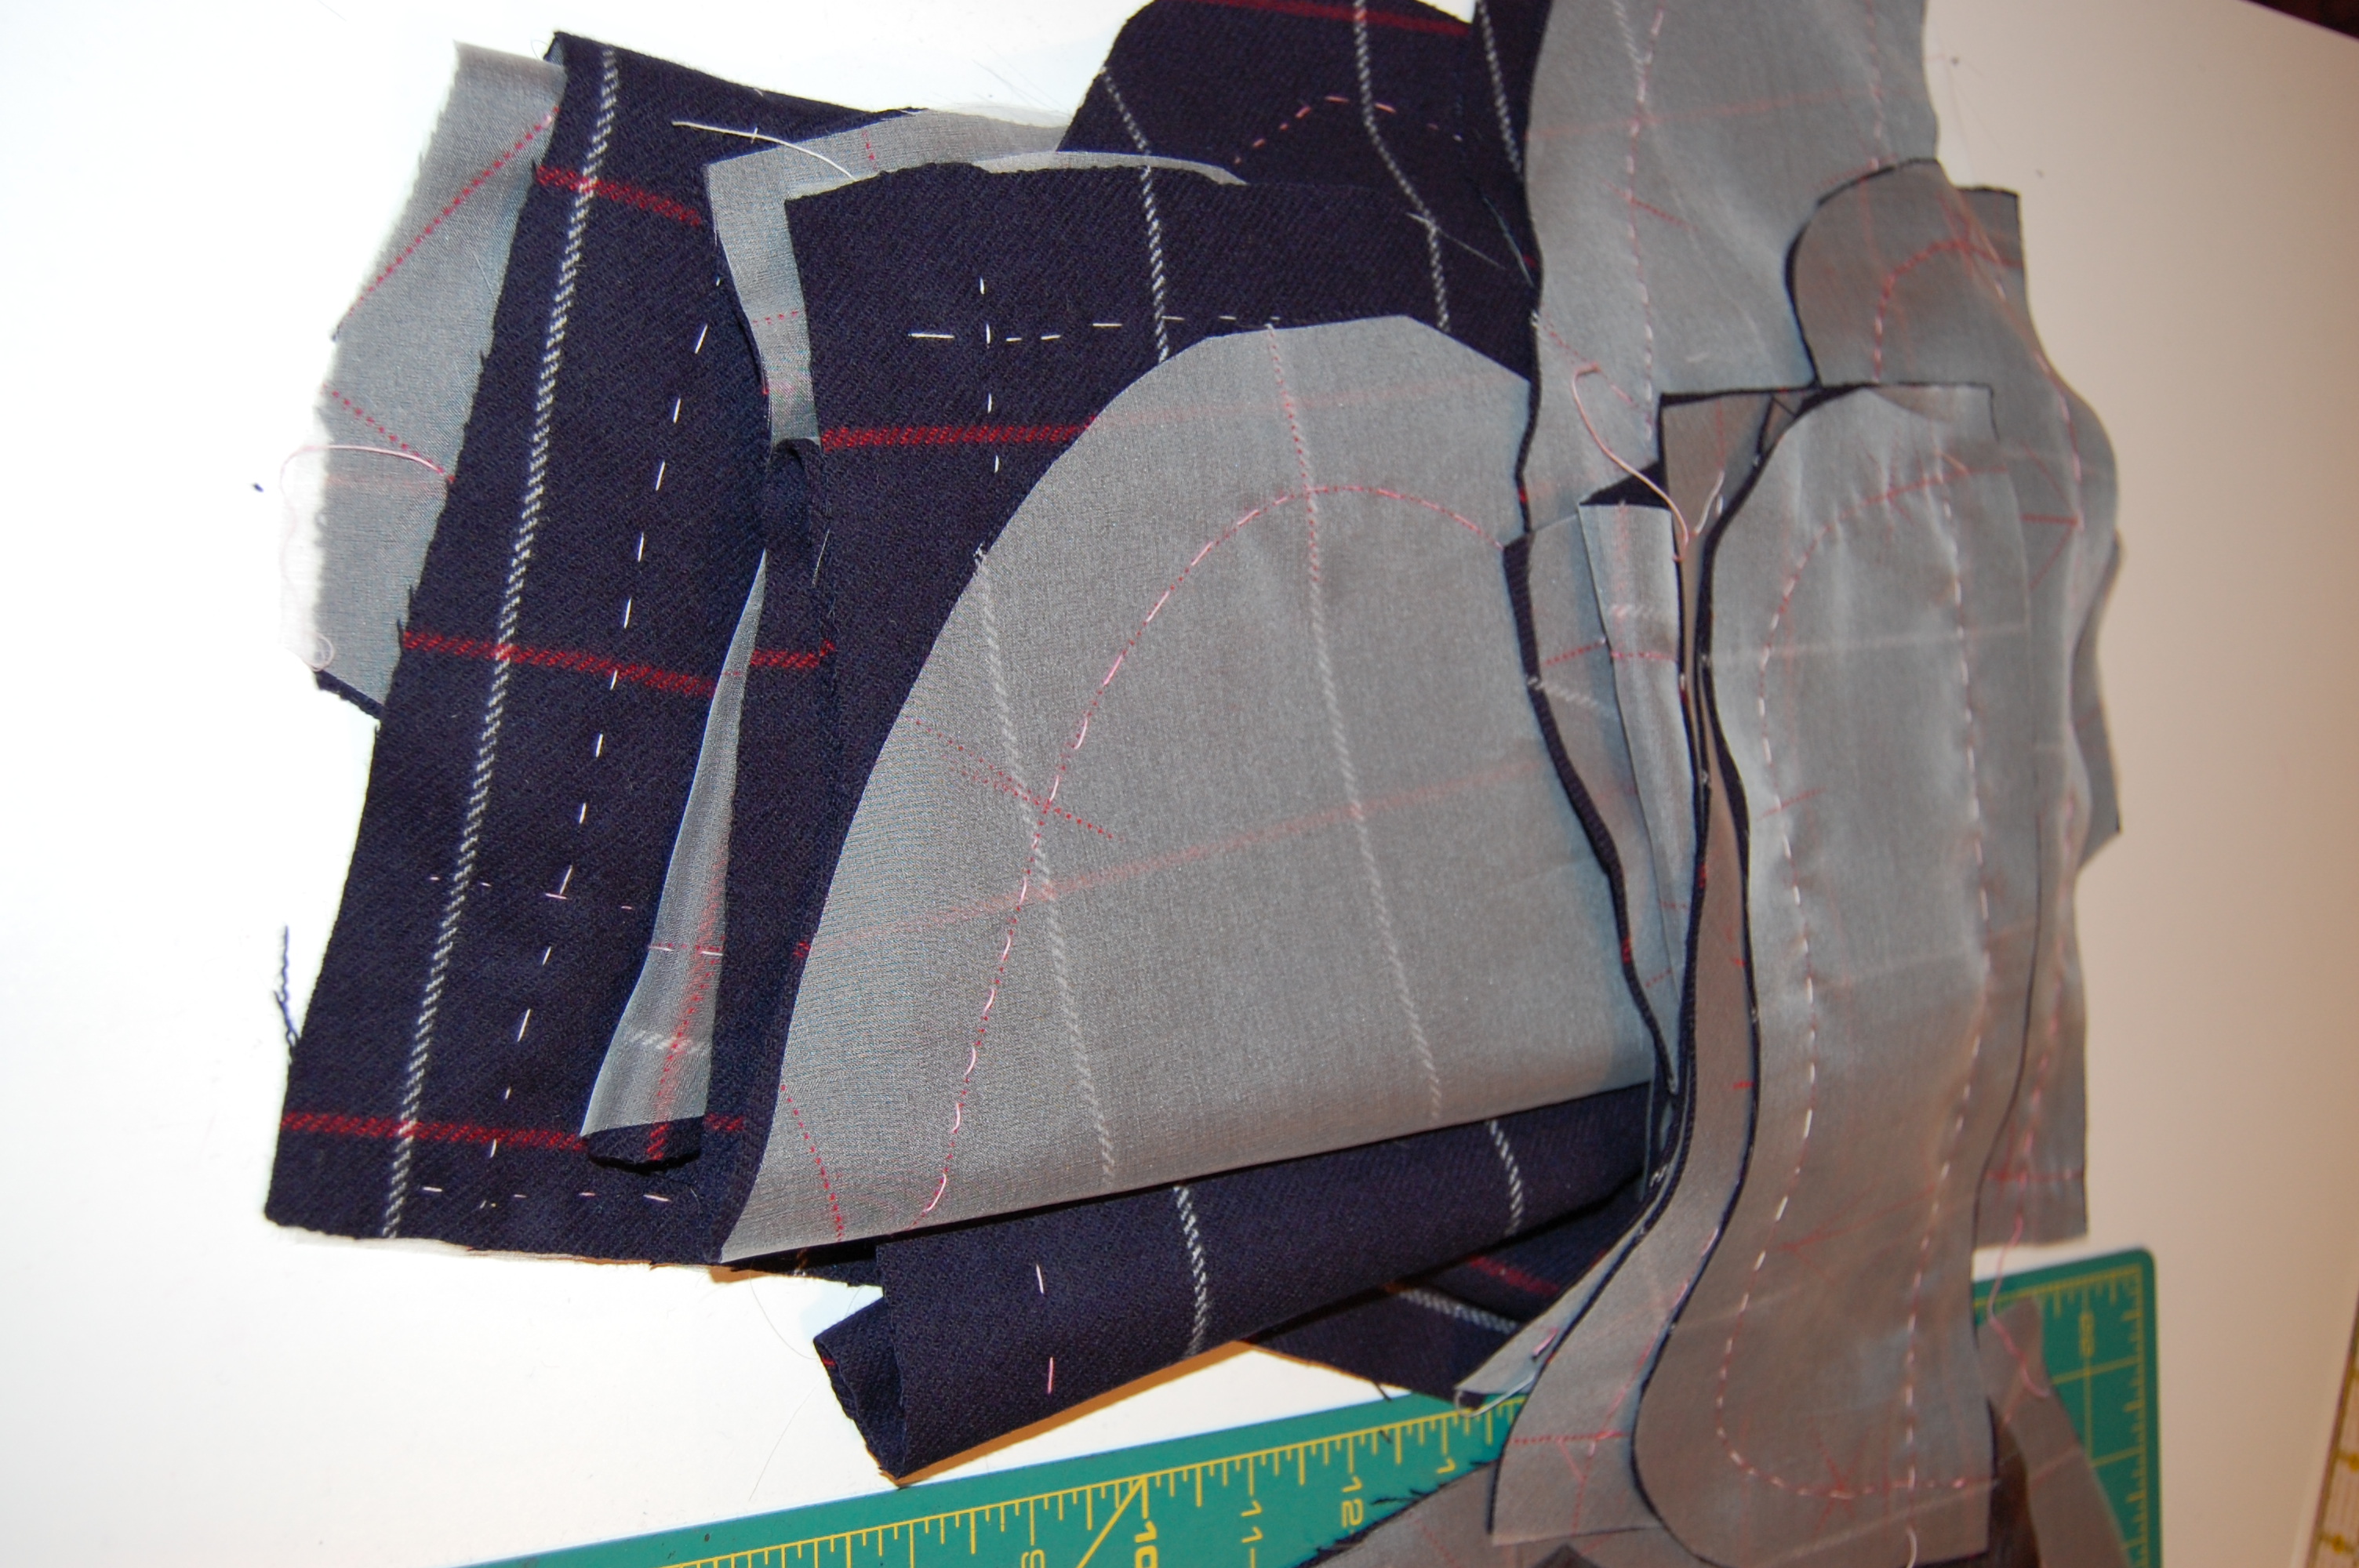
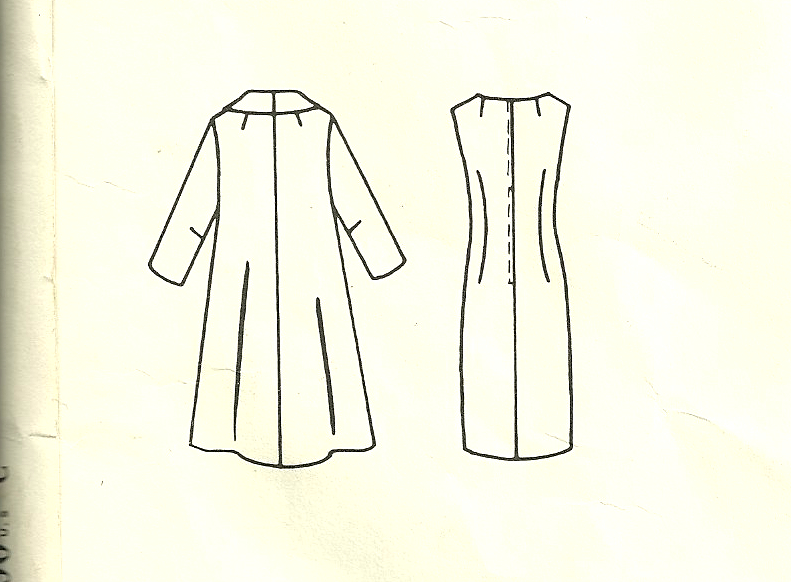
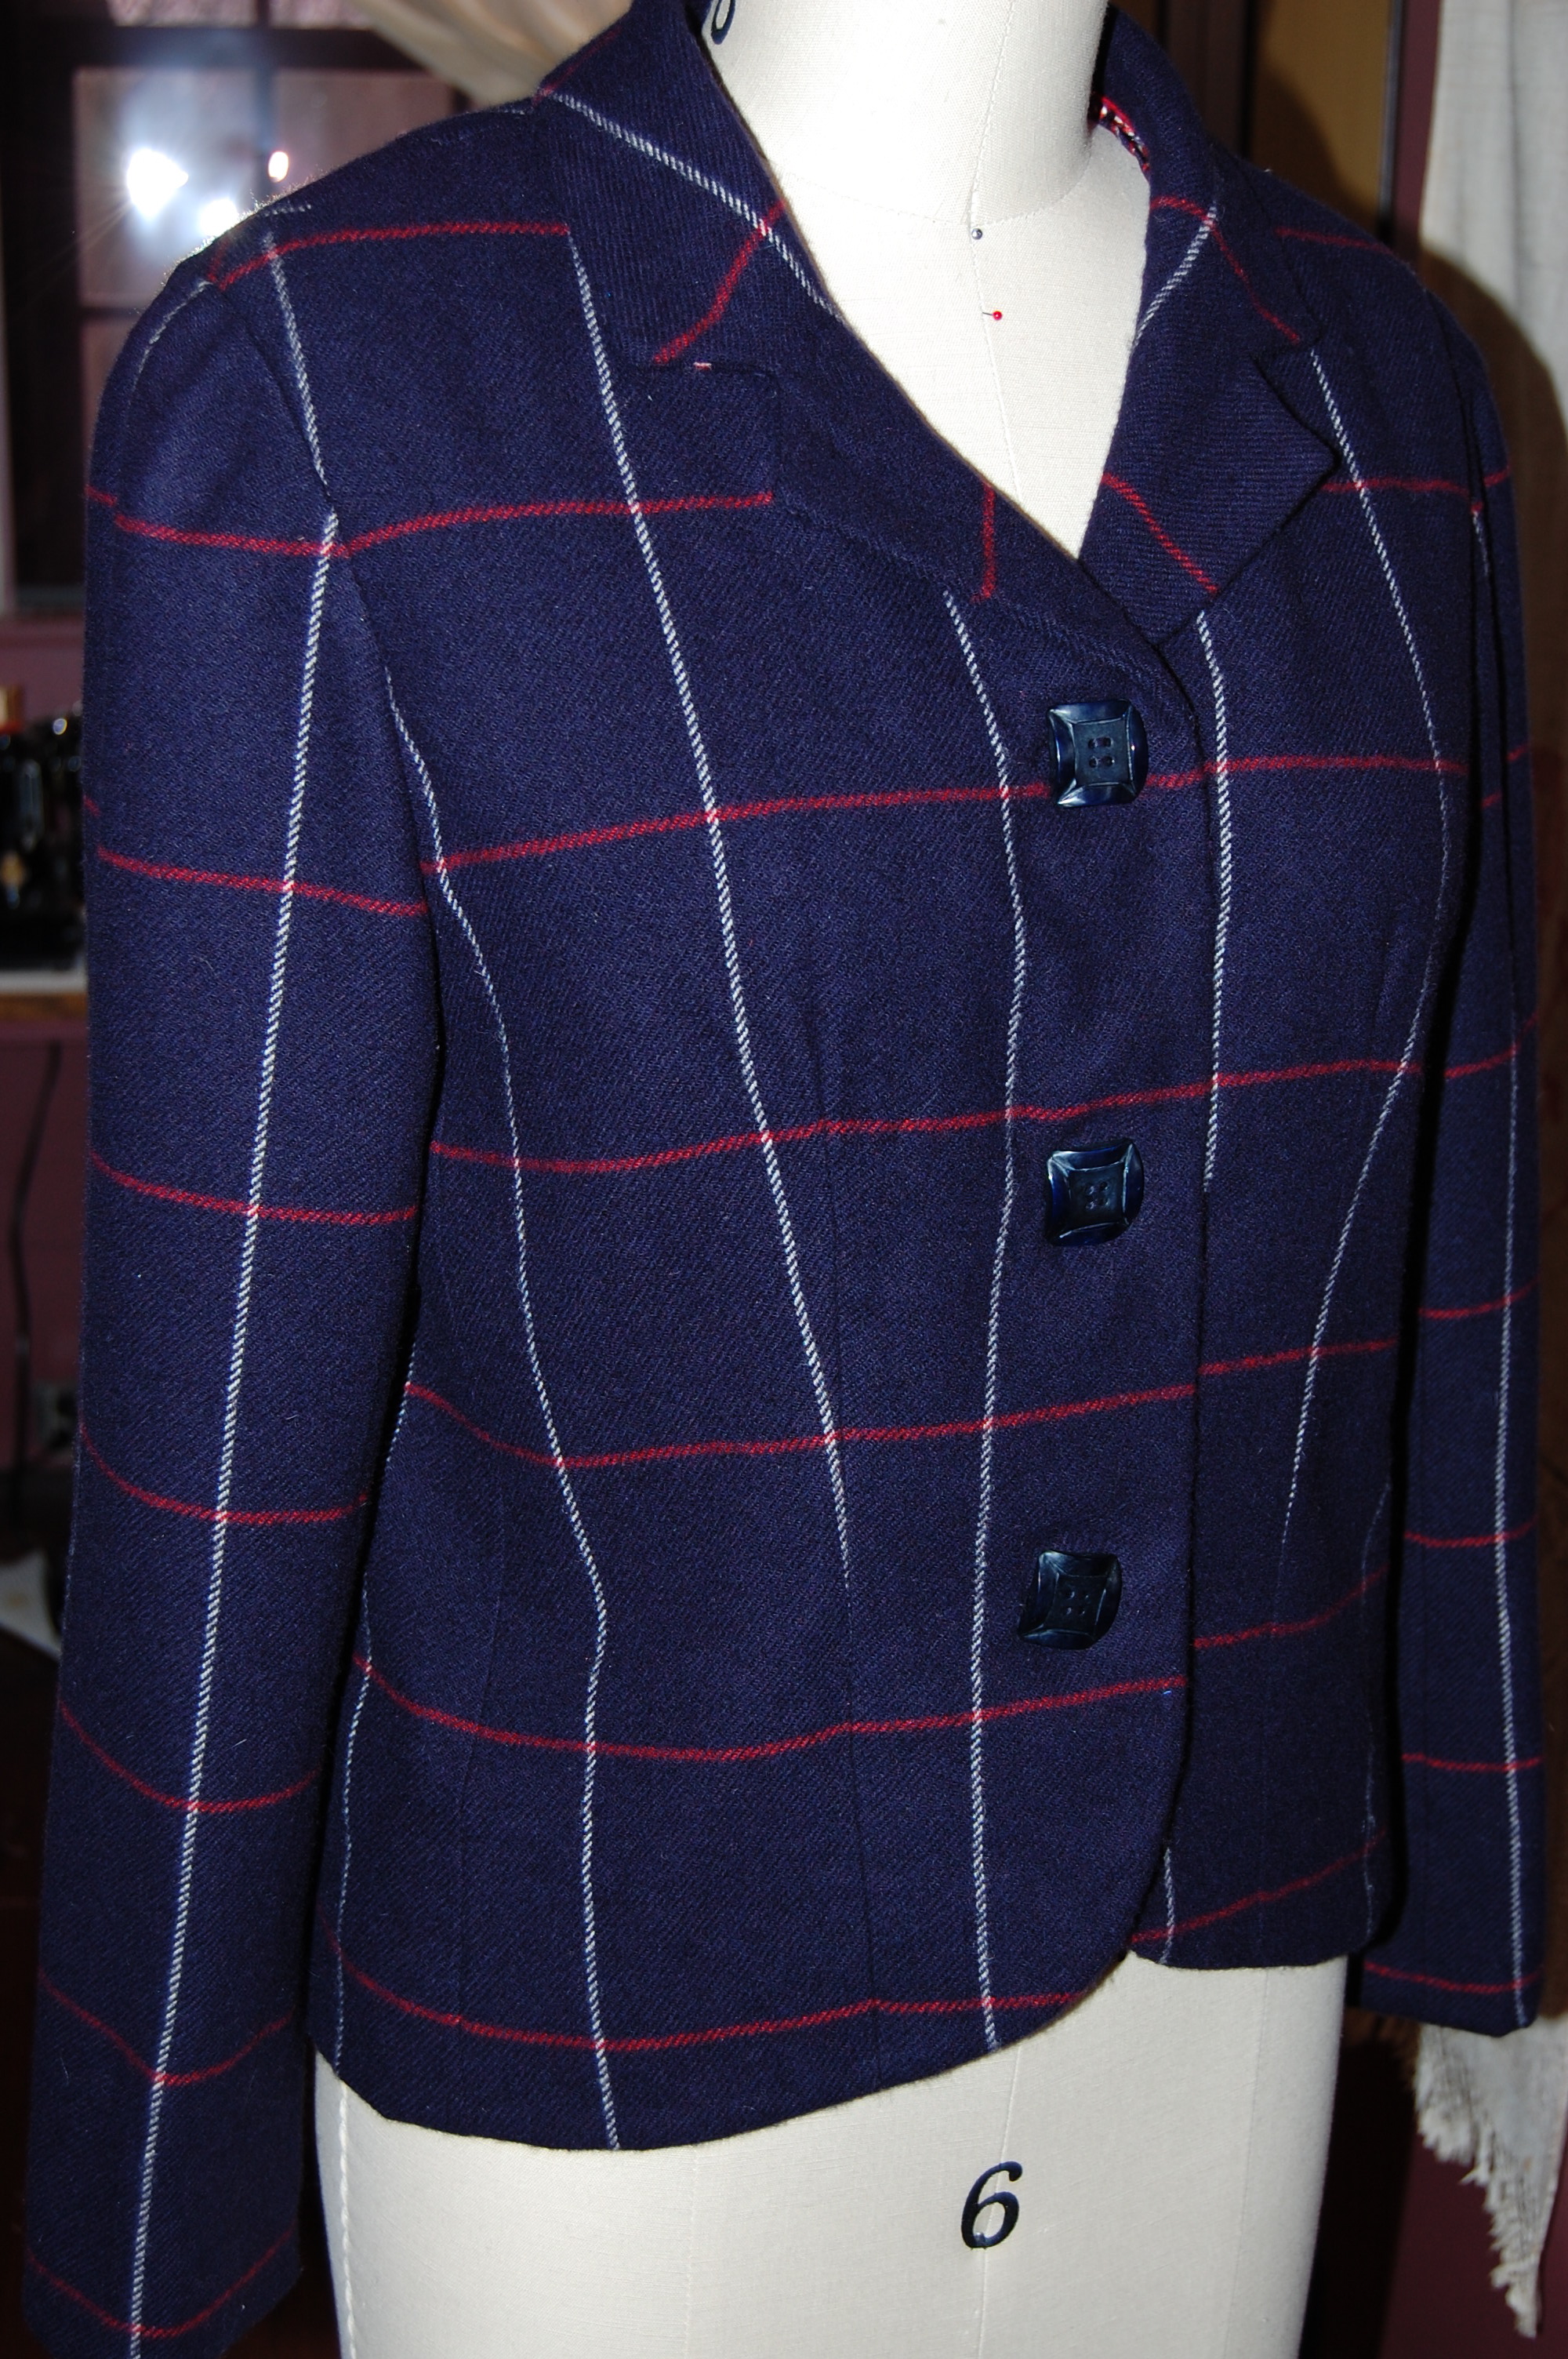
One of the interesting construction details in this design is the notched collar. Most notched collars are seamed at the “notch,”,joining the upper collar and the front facing and forming a “V”.
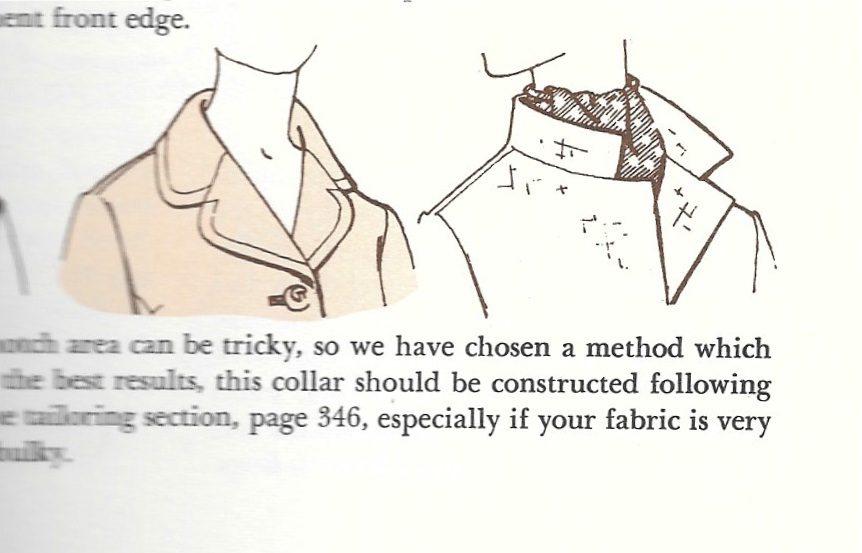
This diagram from The Vogue Sewing Book. c. 1970, Butterick Division, New York, New York, shows a classic notched collar.
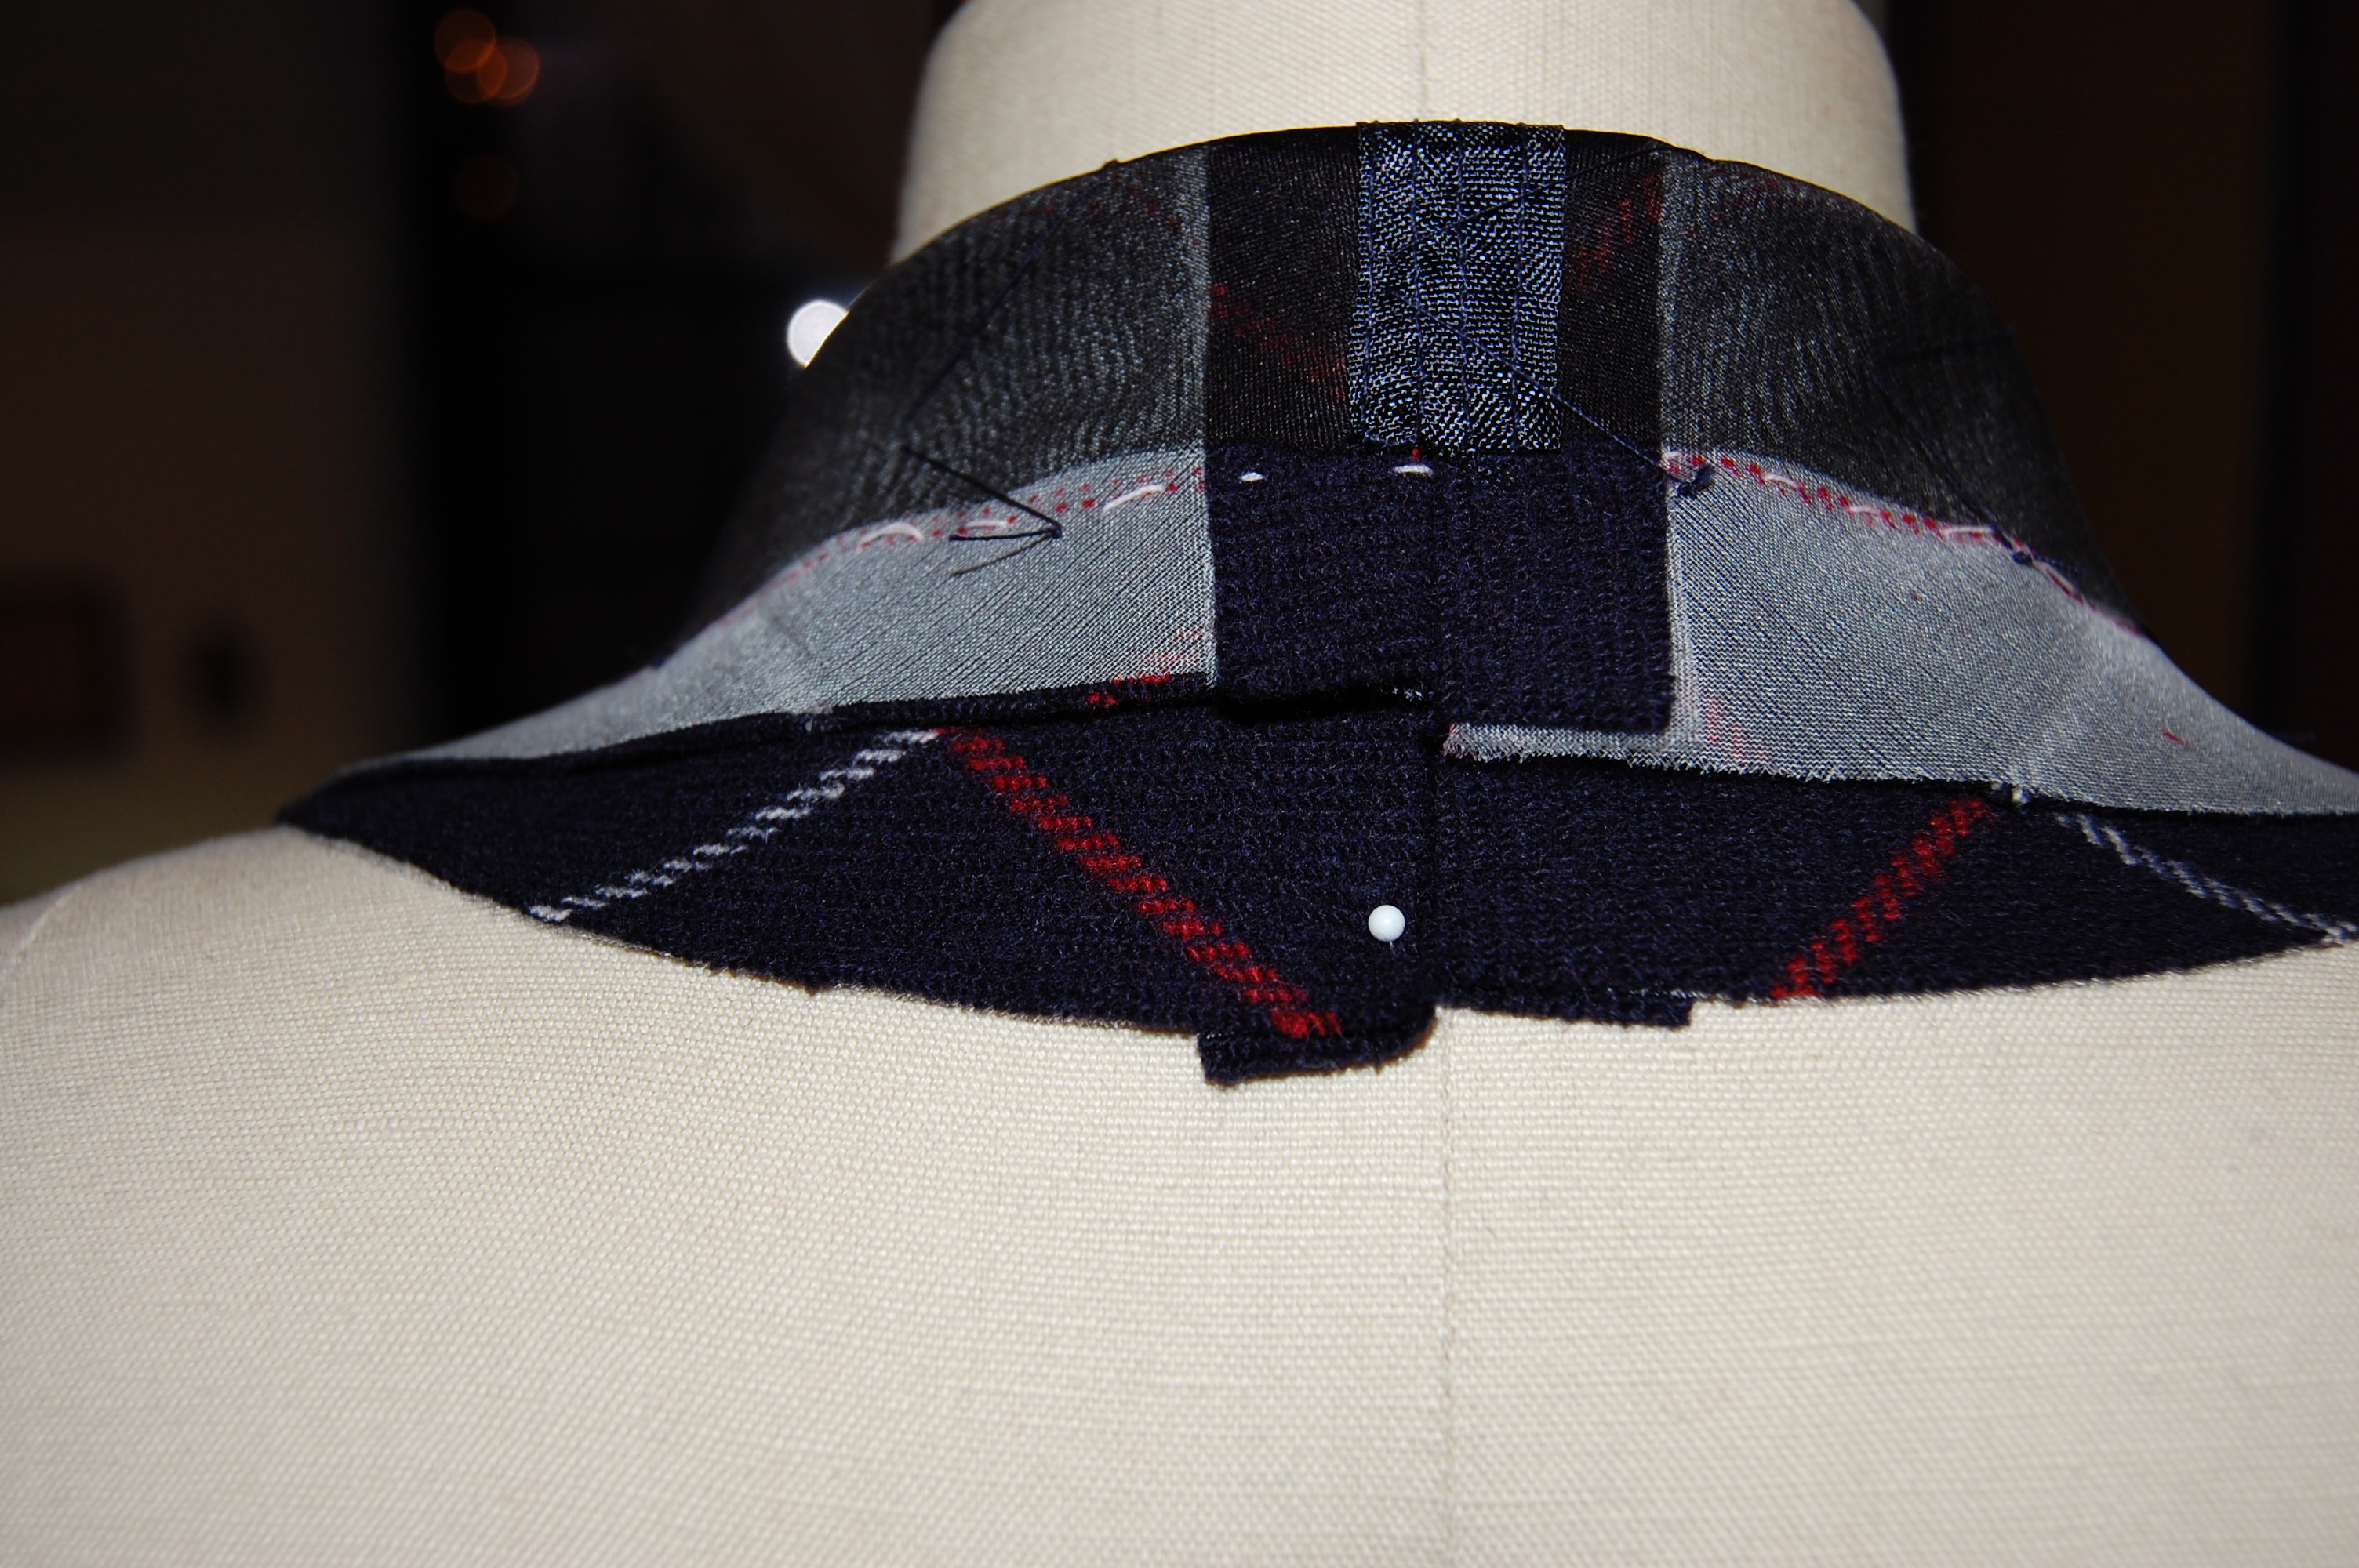
However, the collar in this Mattli design is formed by extensions of the front facing, with a center back seam on the upper-collar portion of the facings. Hopefully these photos will explain better than words can:
You can see there is no seam at the “notch.”
Here is the seam at the back upper collar.
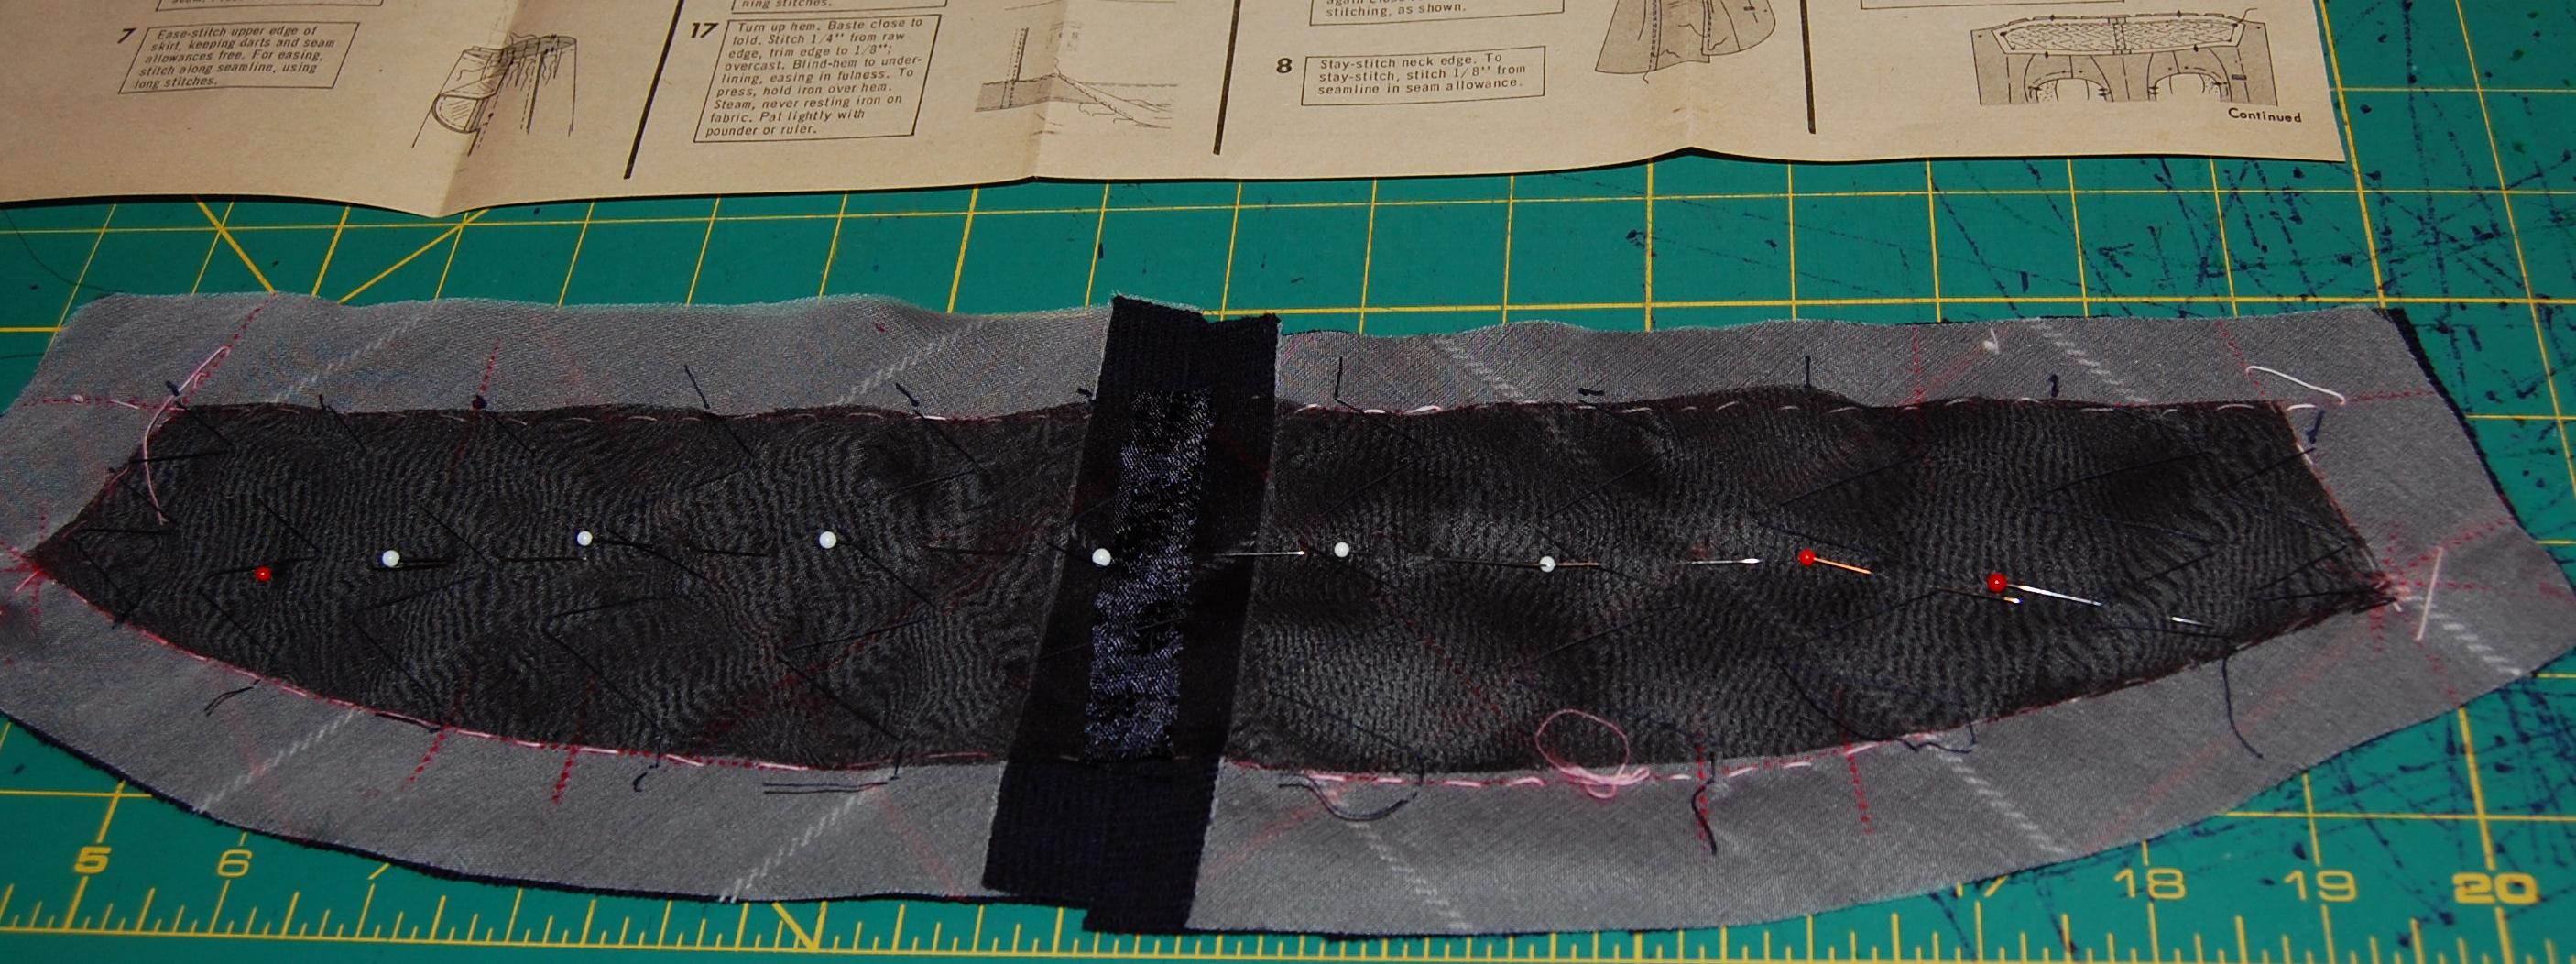
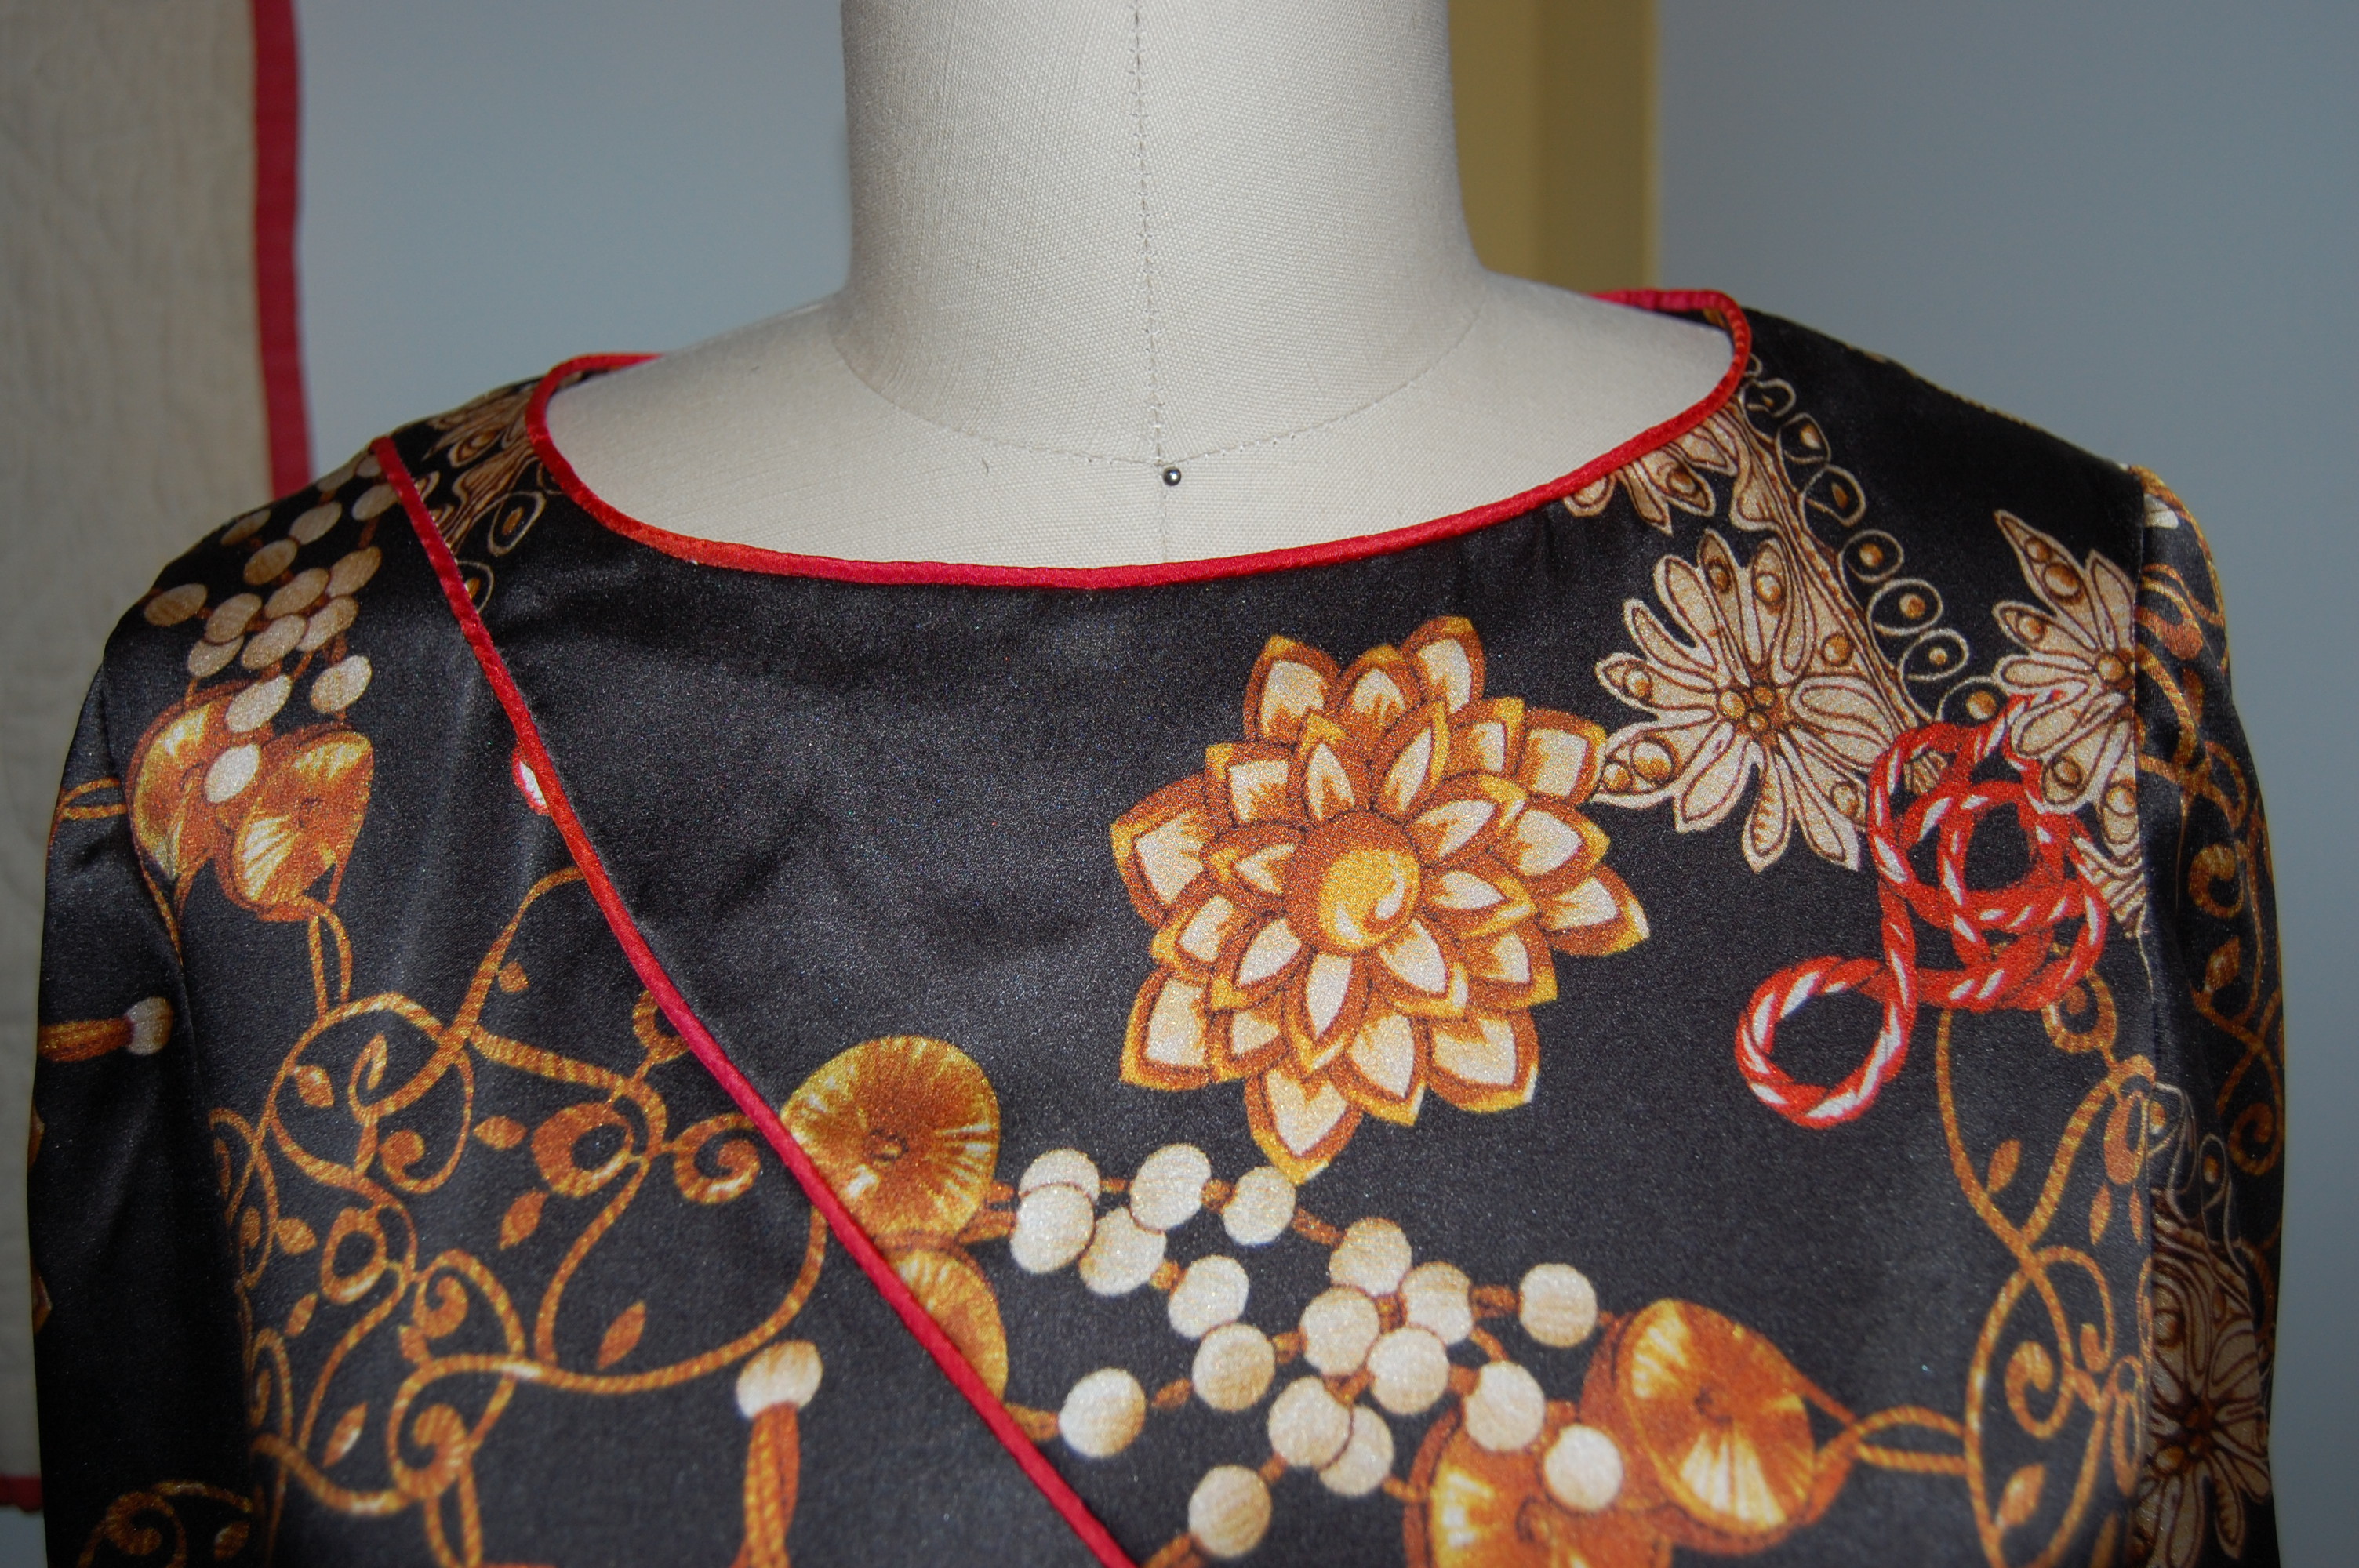
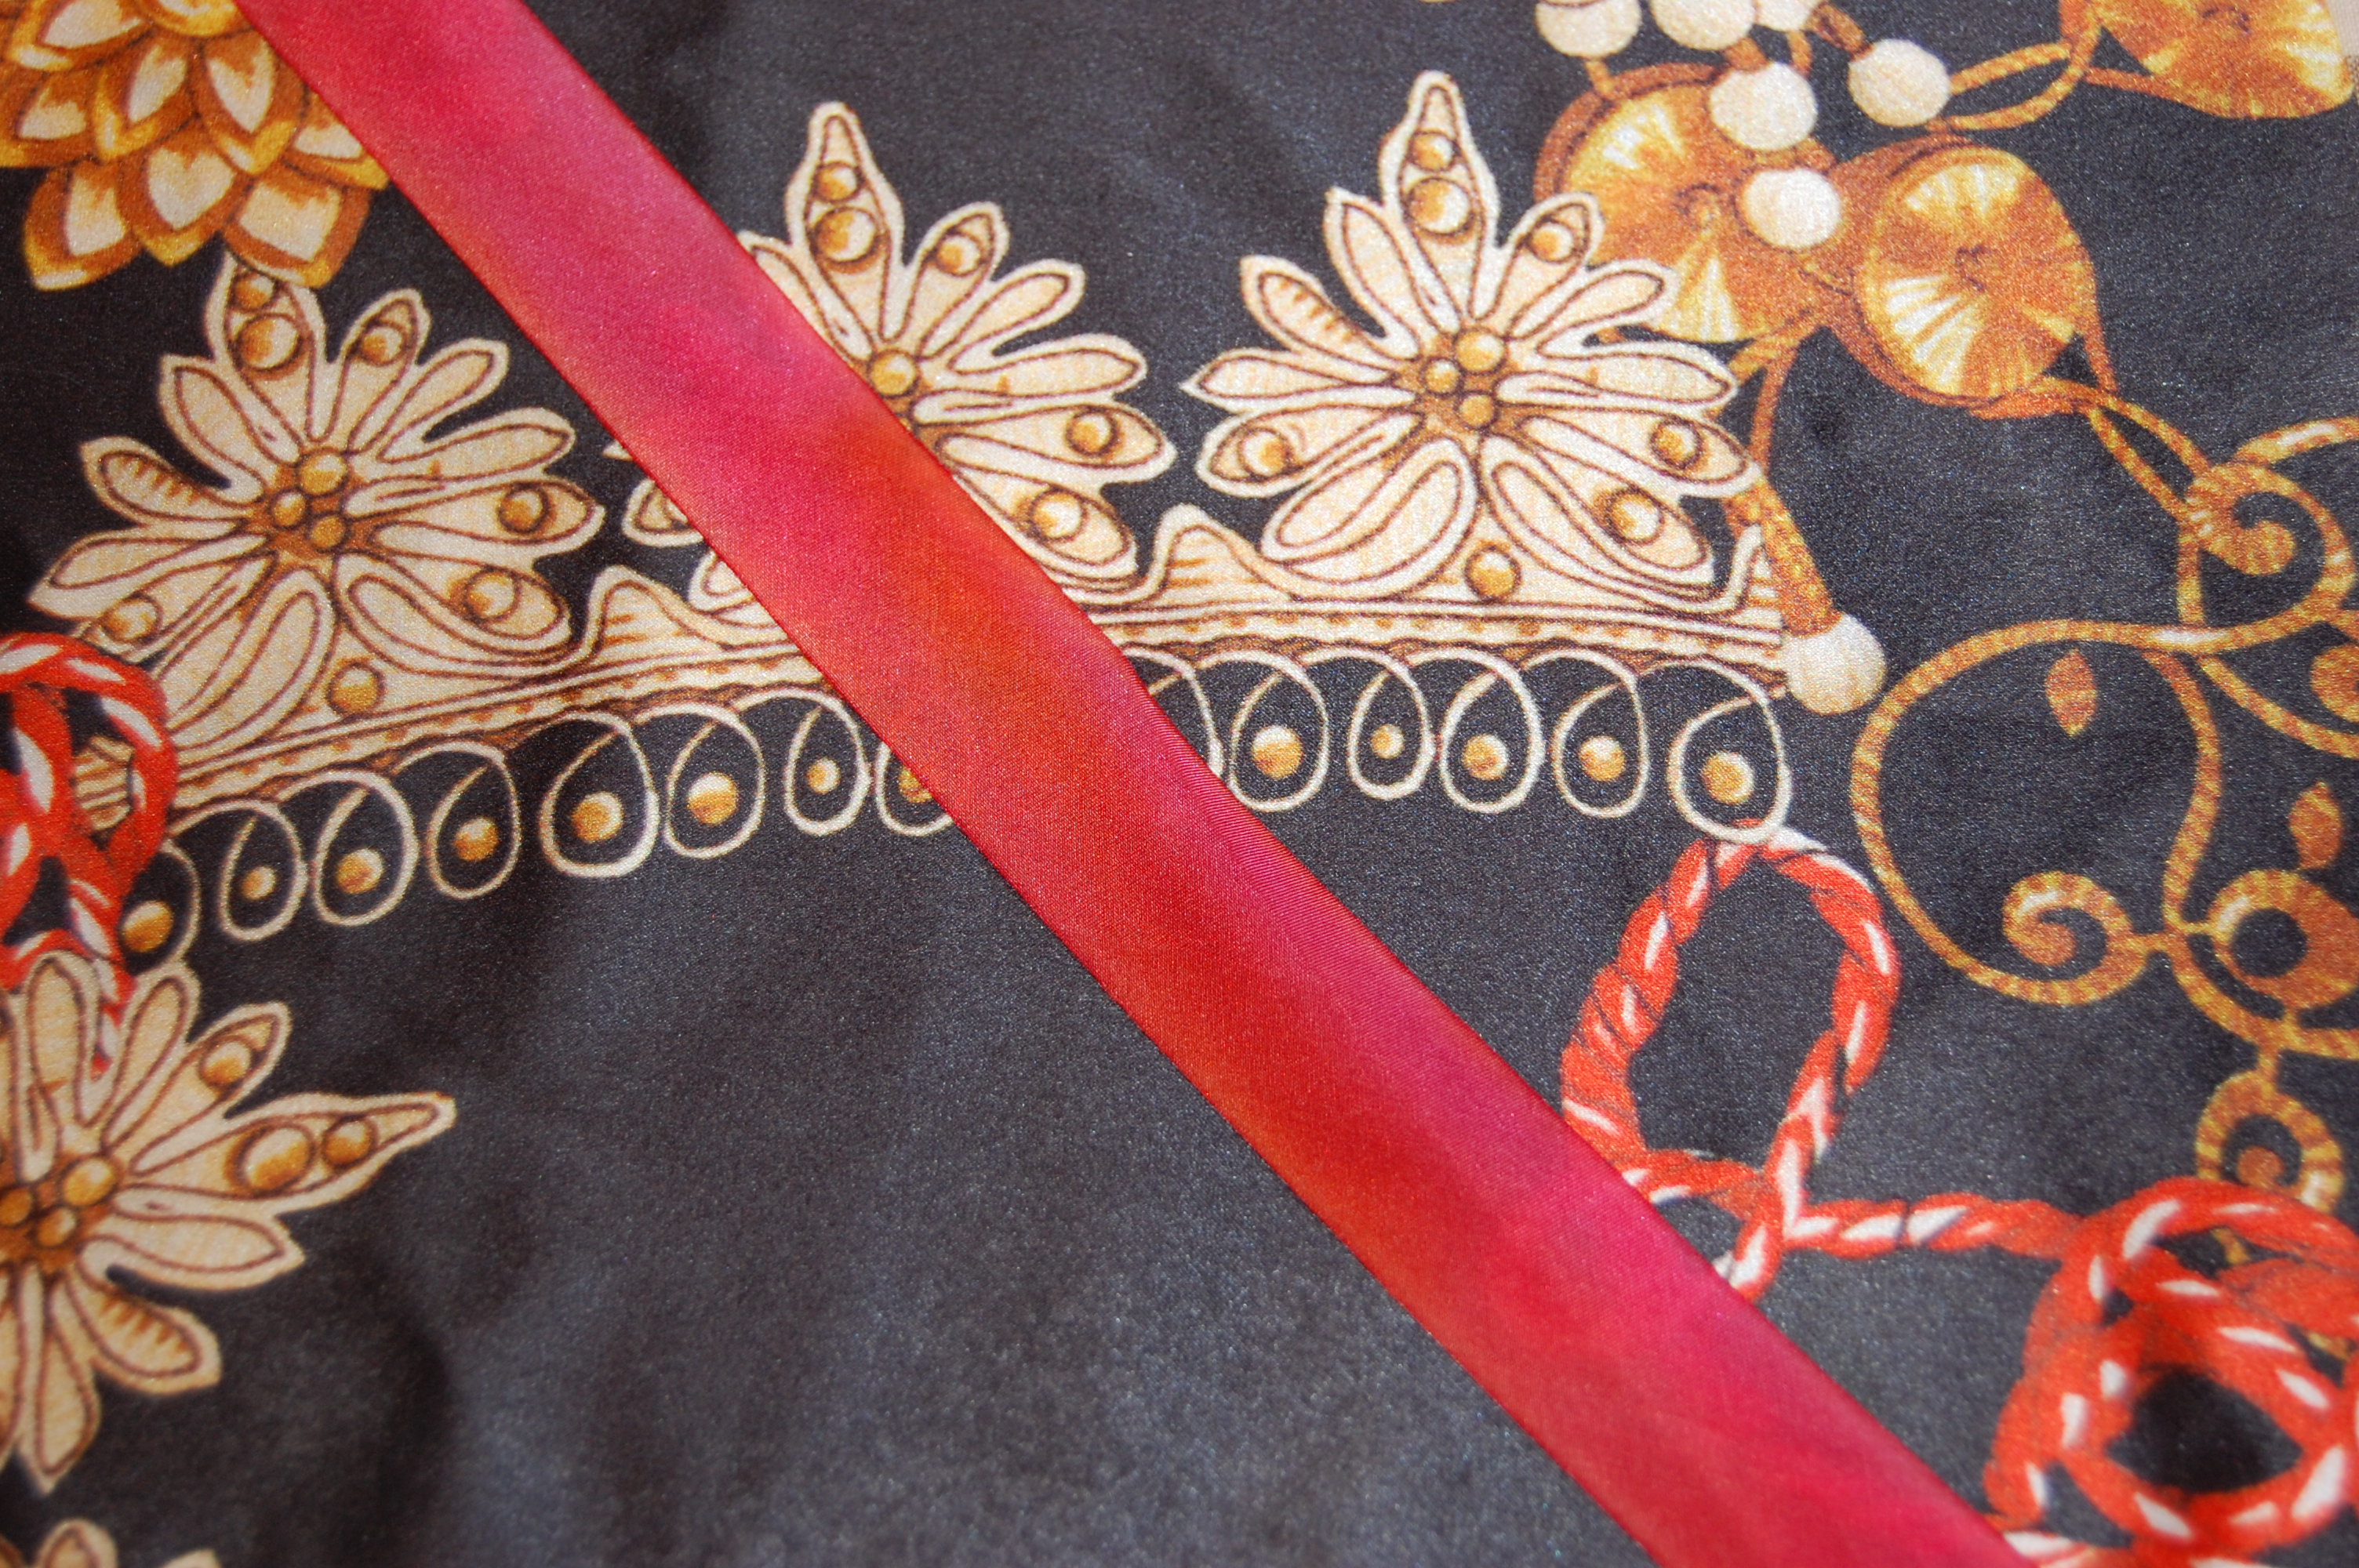
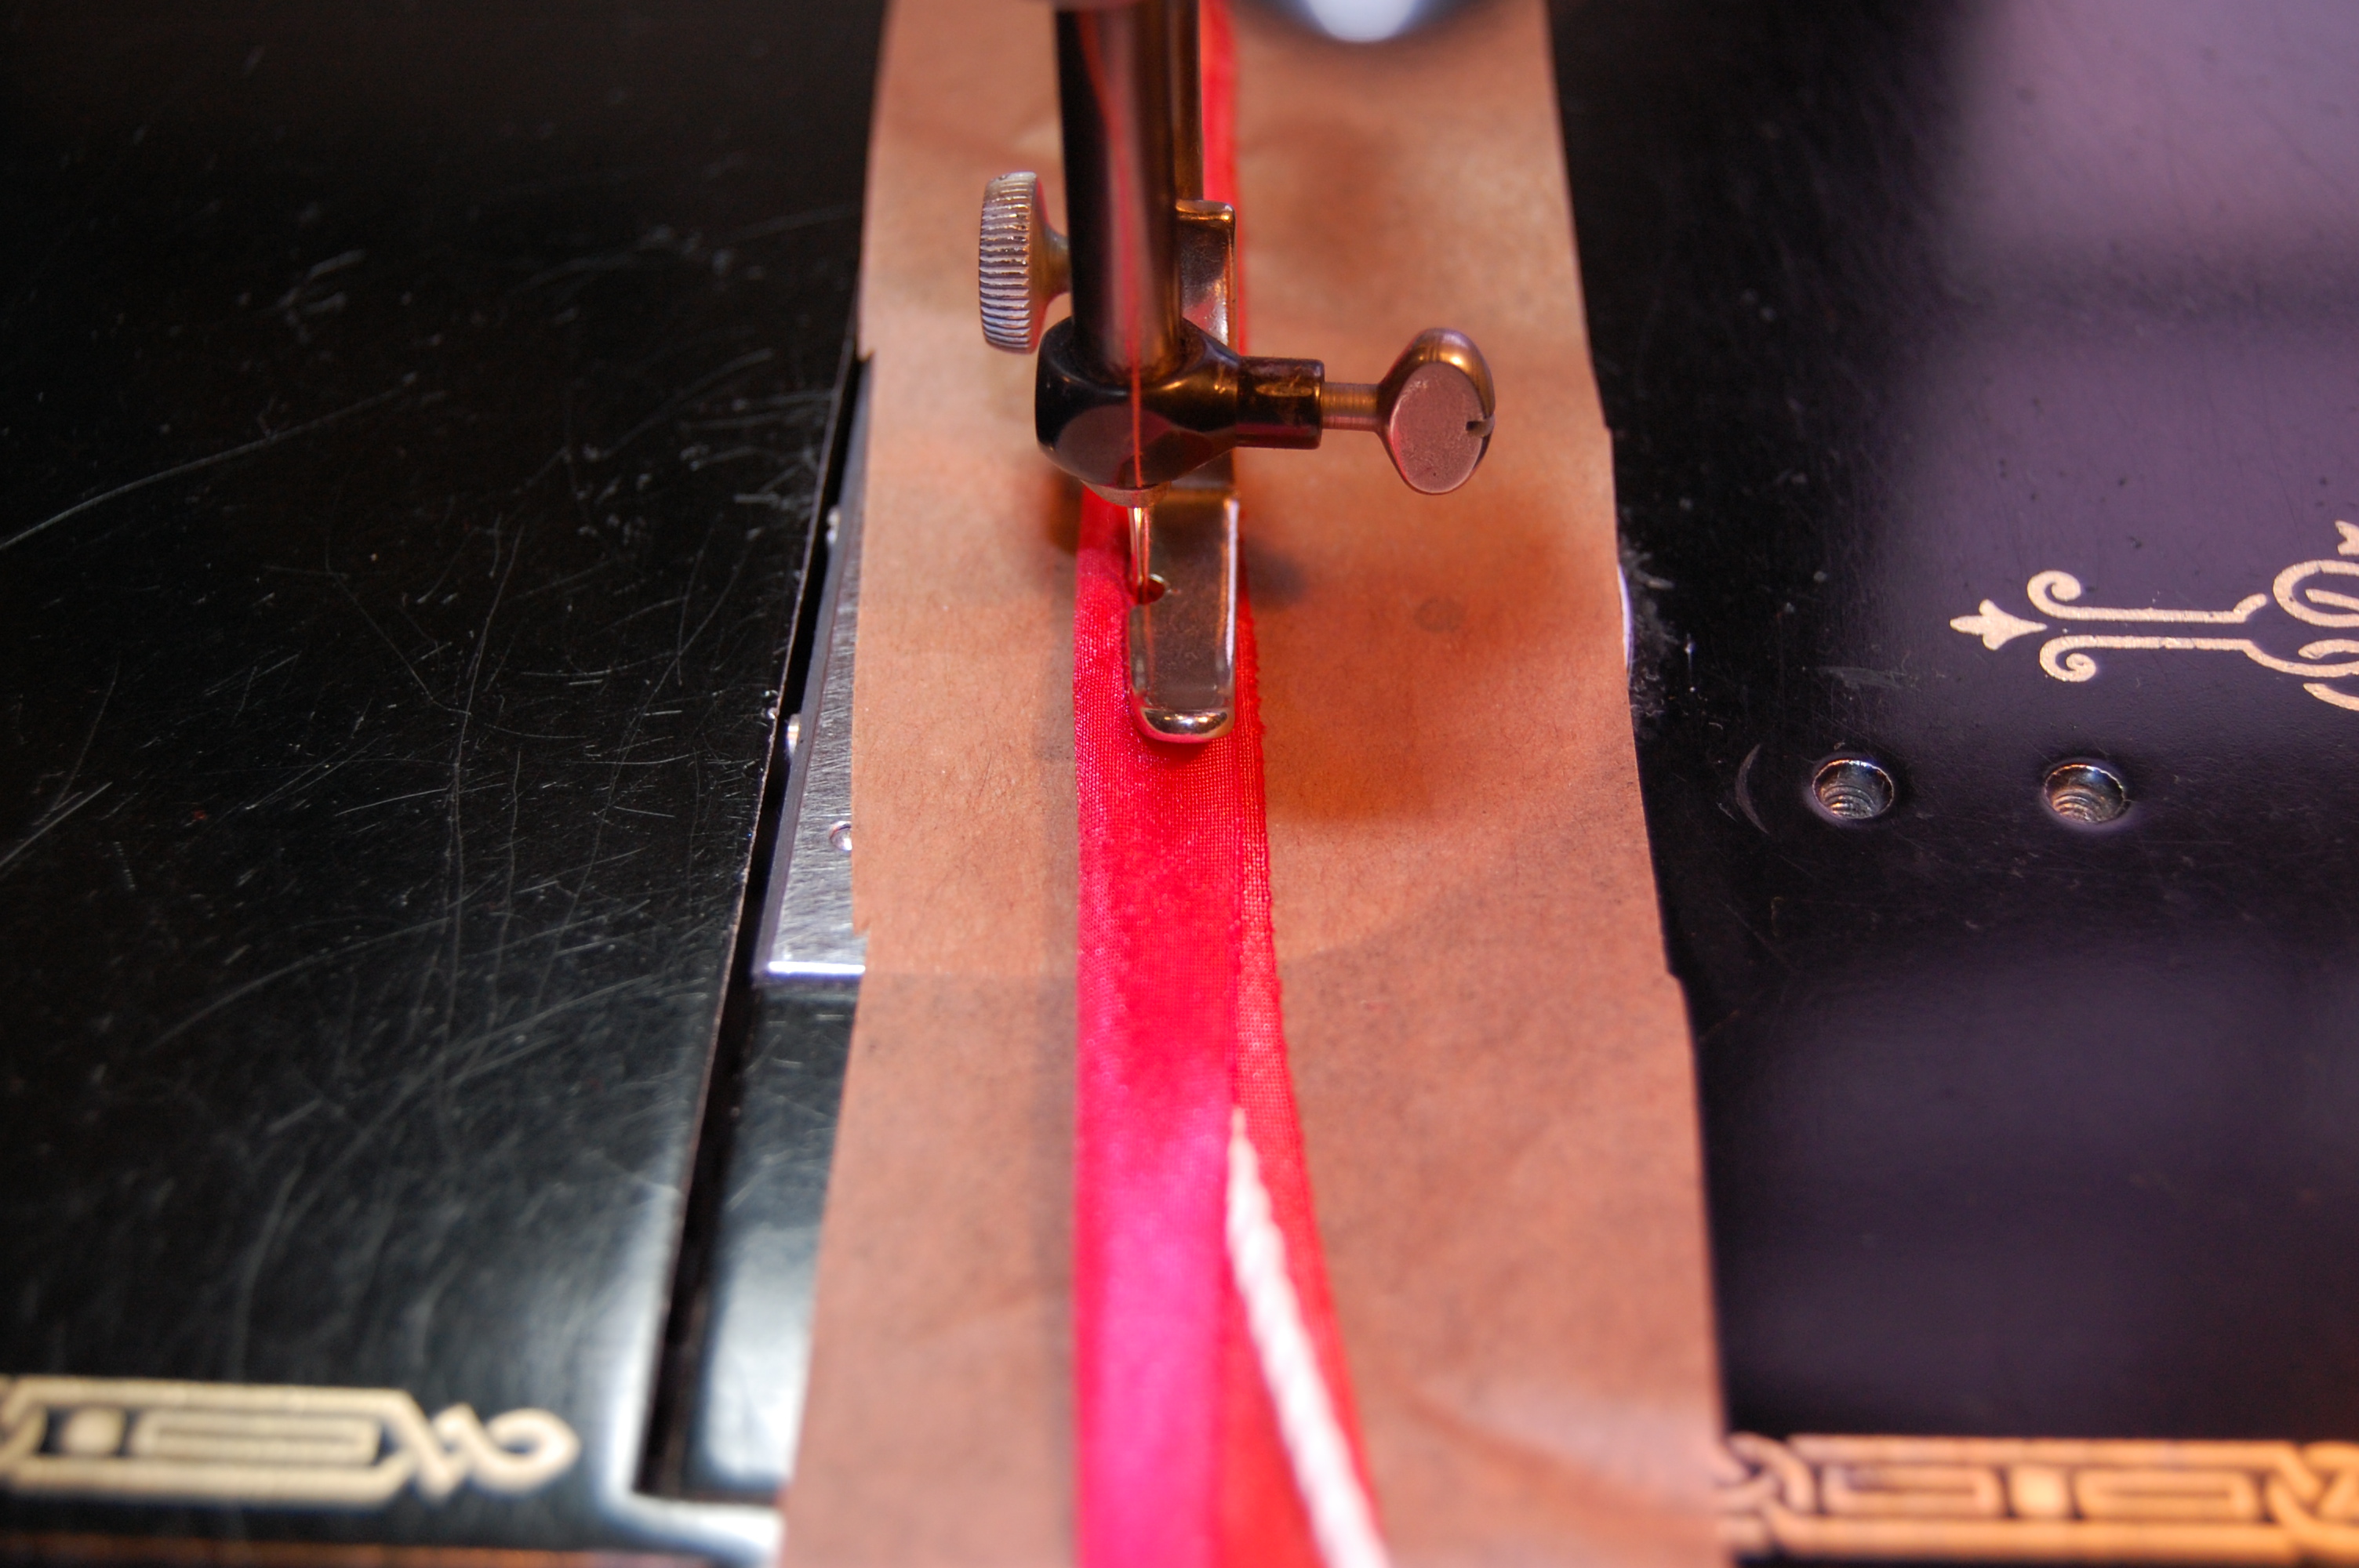
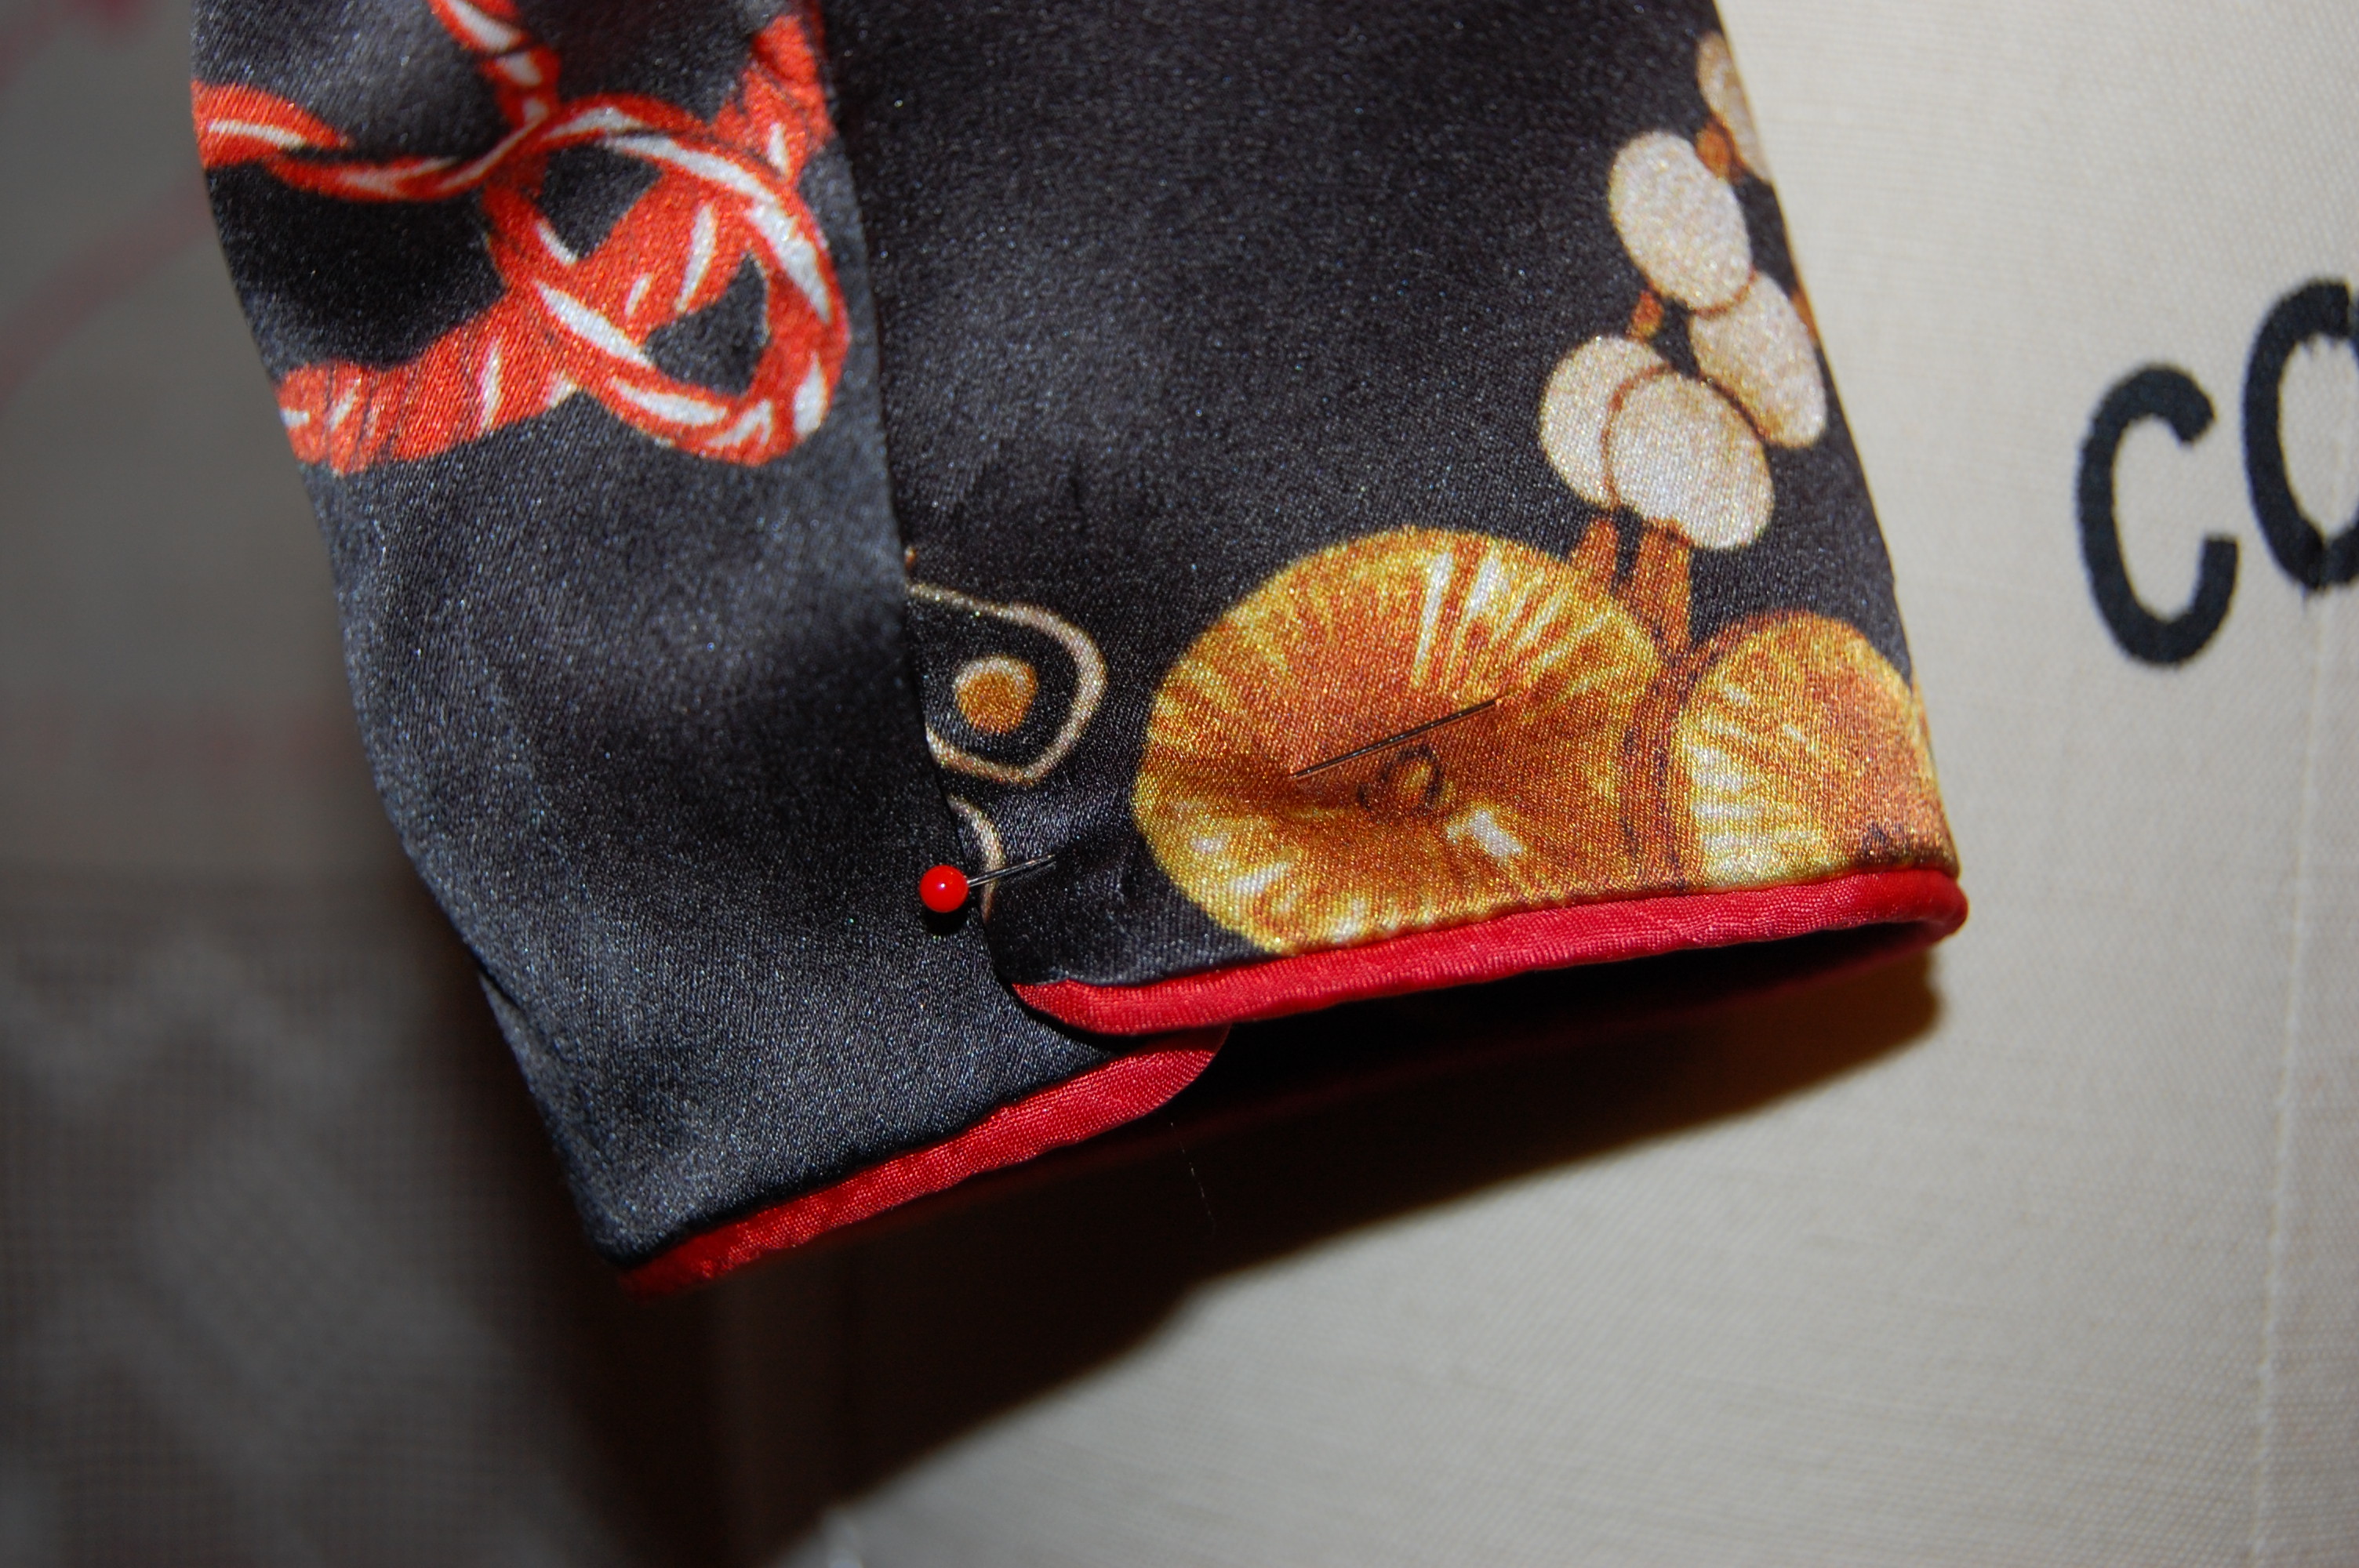
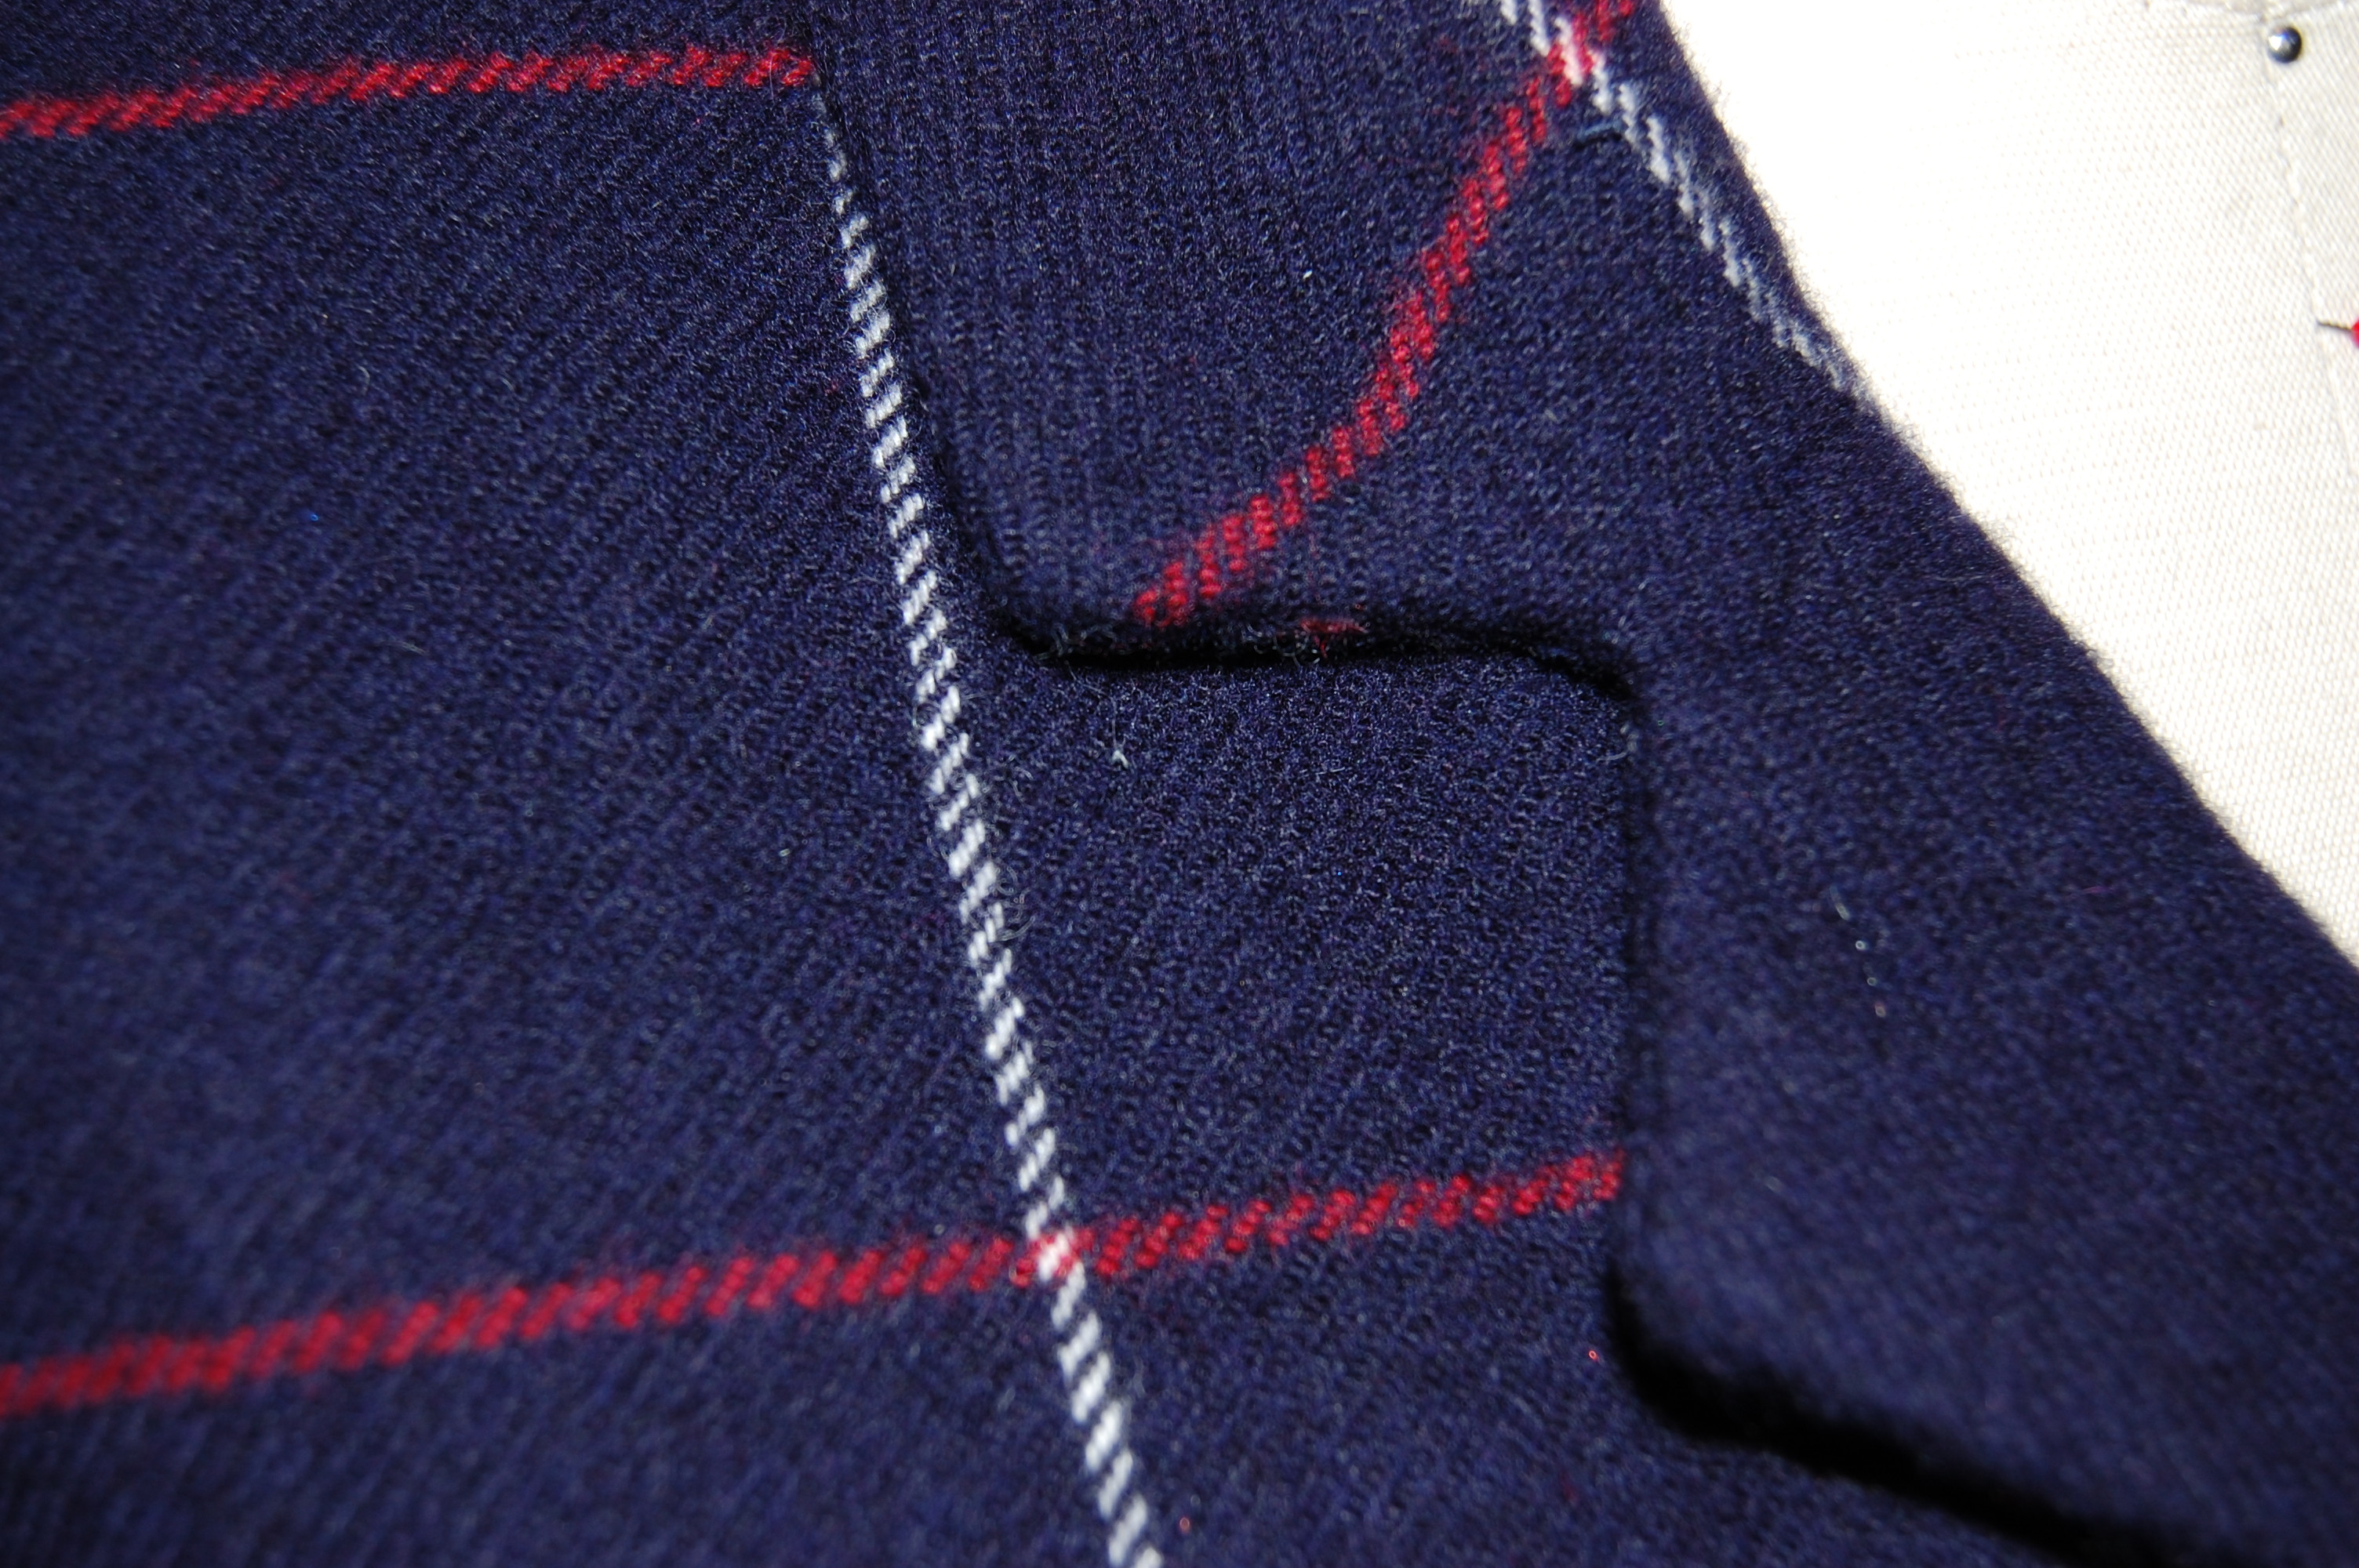
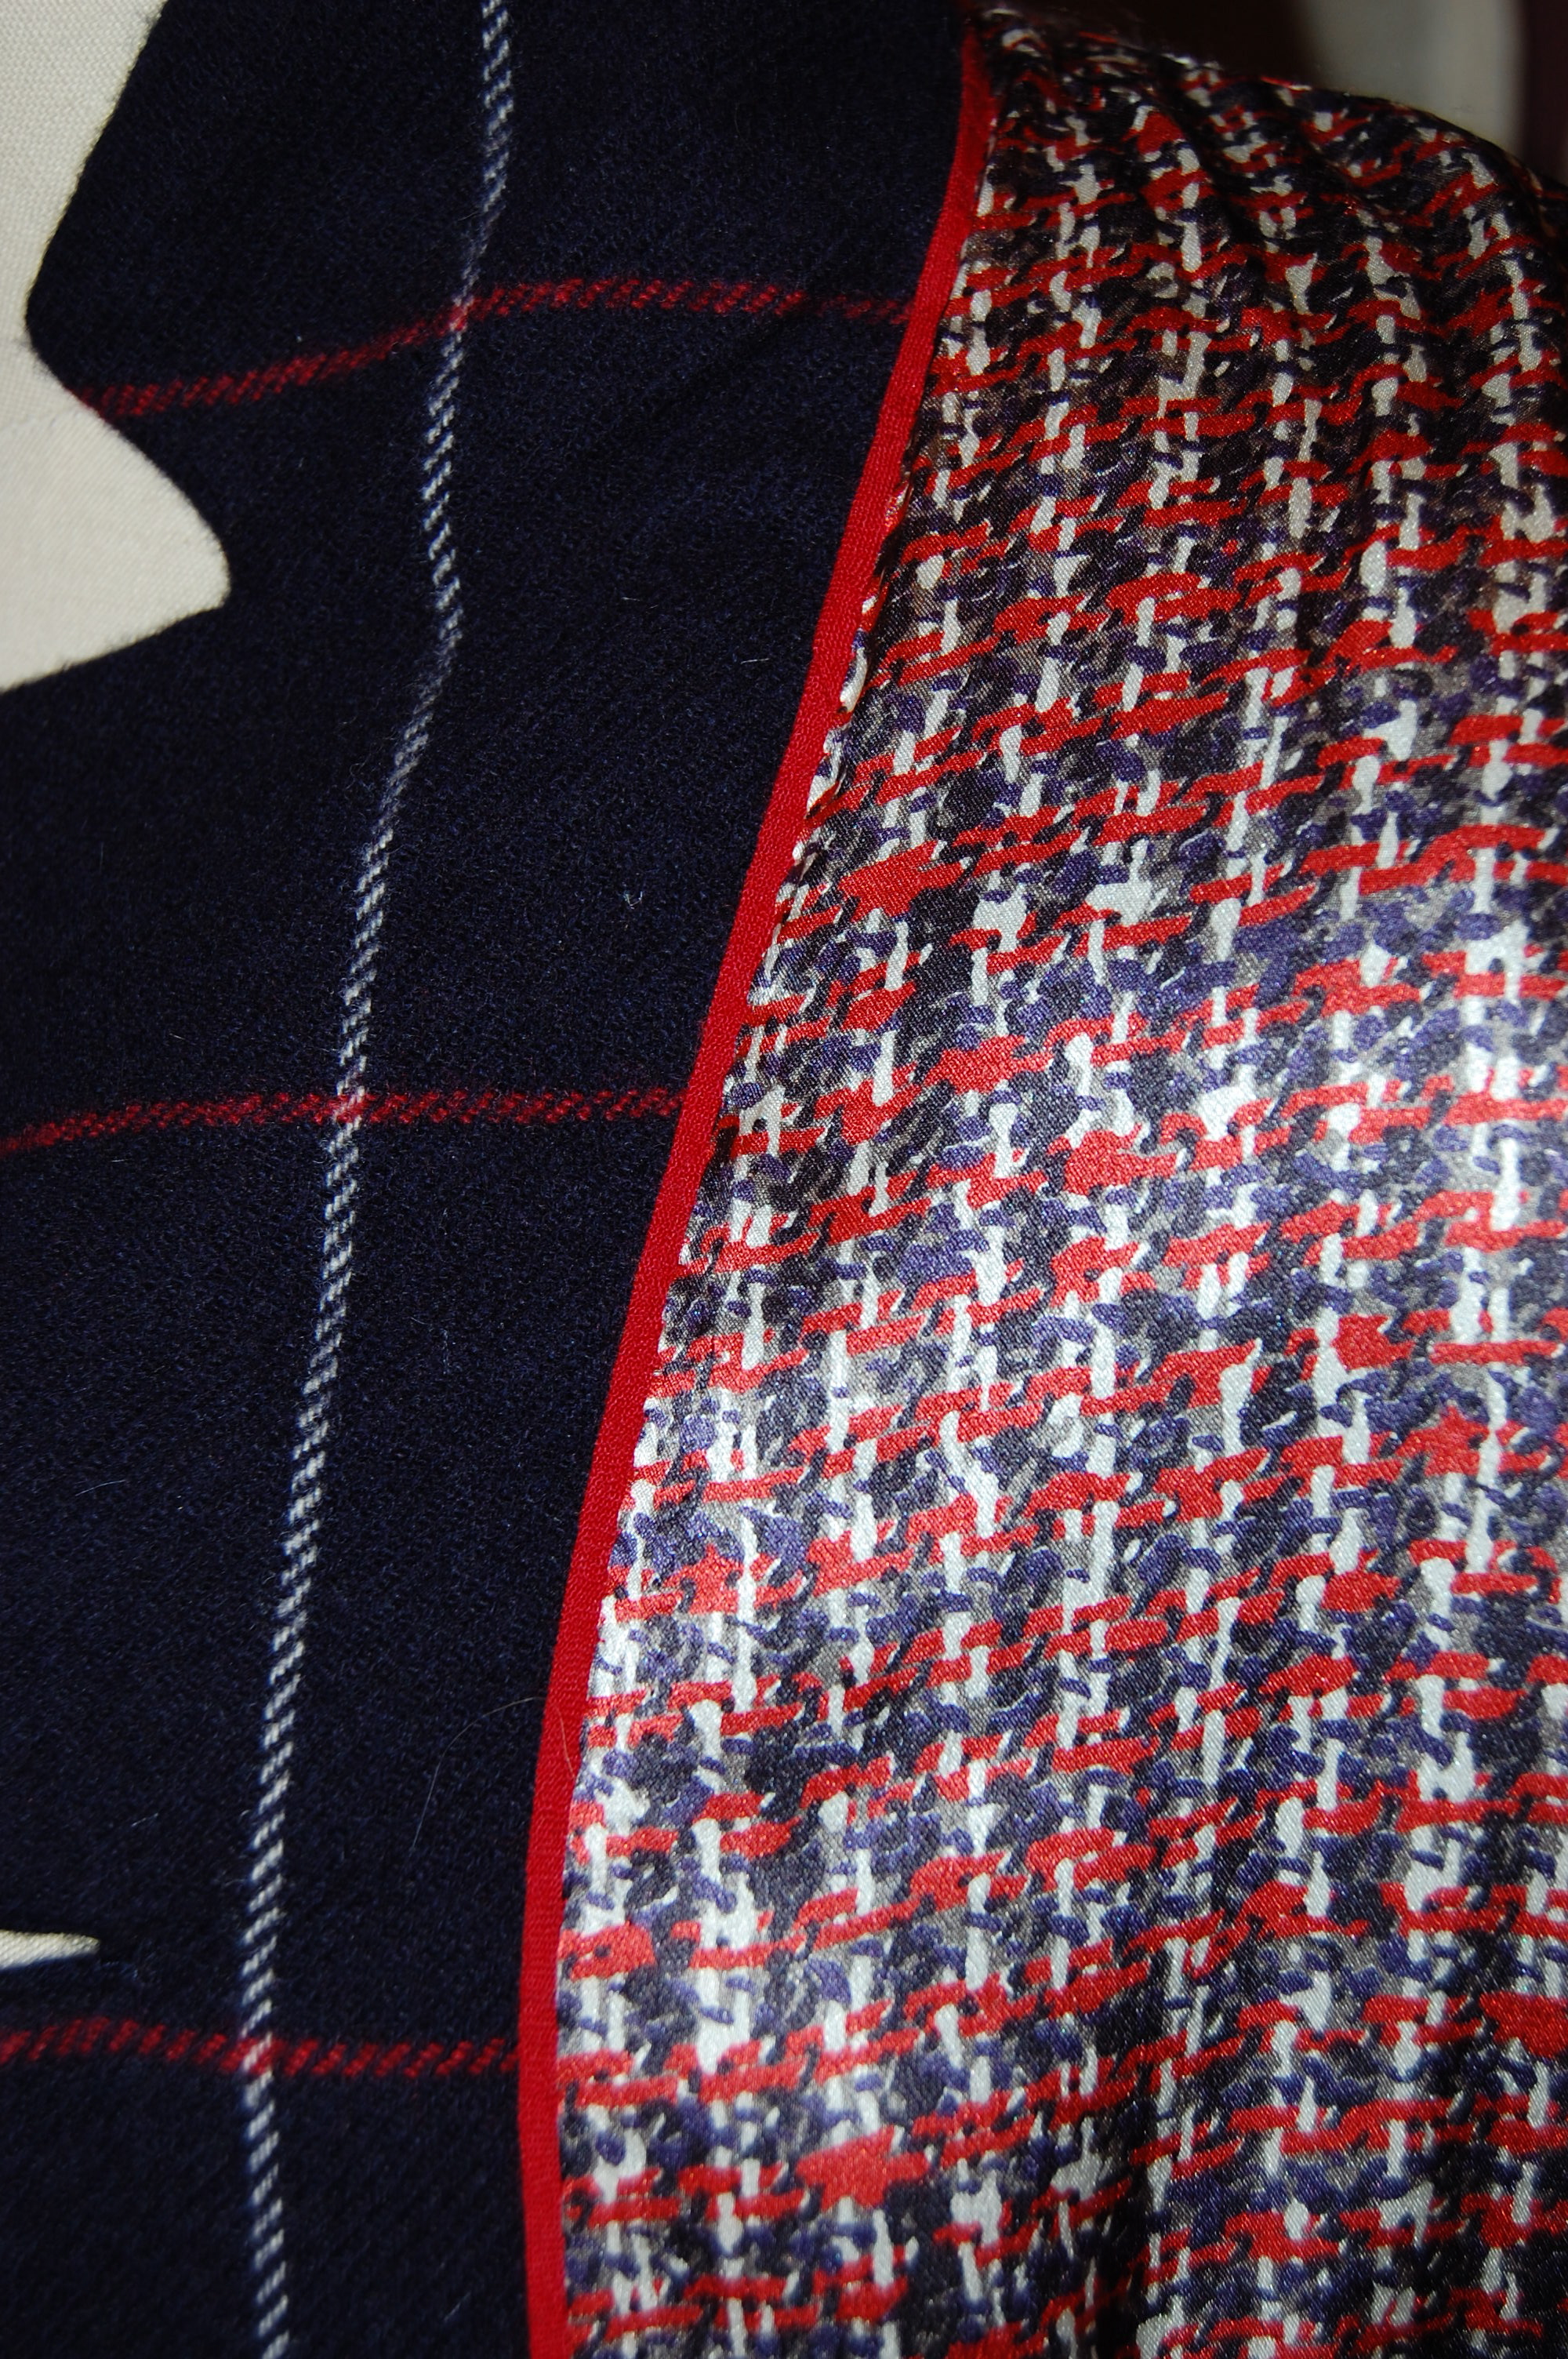
While I was contemplating the lining for the jacket, I thought it would add just a really special touch if I did a interior bias piping to set off the lining where it joins the jacket along the front edges and around the neck. Normally this is made out of silk, but I did not have any light-weight silk which was the correct color of red. However, I did find some scraps left over from a red wool challis maternity dress I made for myself over 34 years ago. (Yes, you read that correctly!) Very light in weight – and the exact color I needed – made it the perfect fabric for this detail.
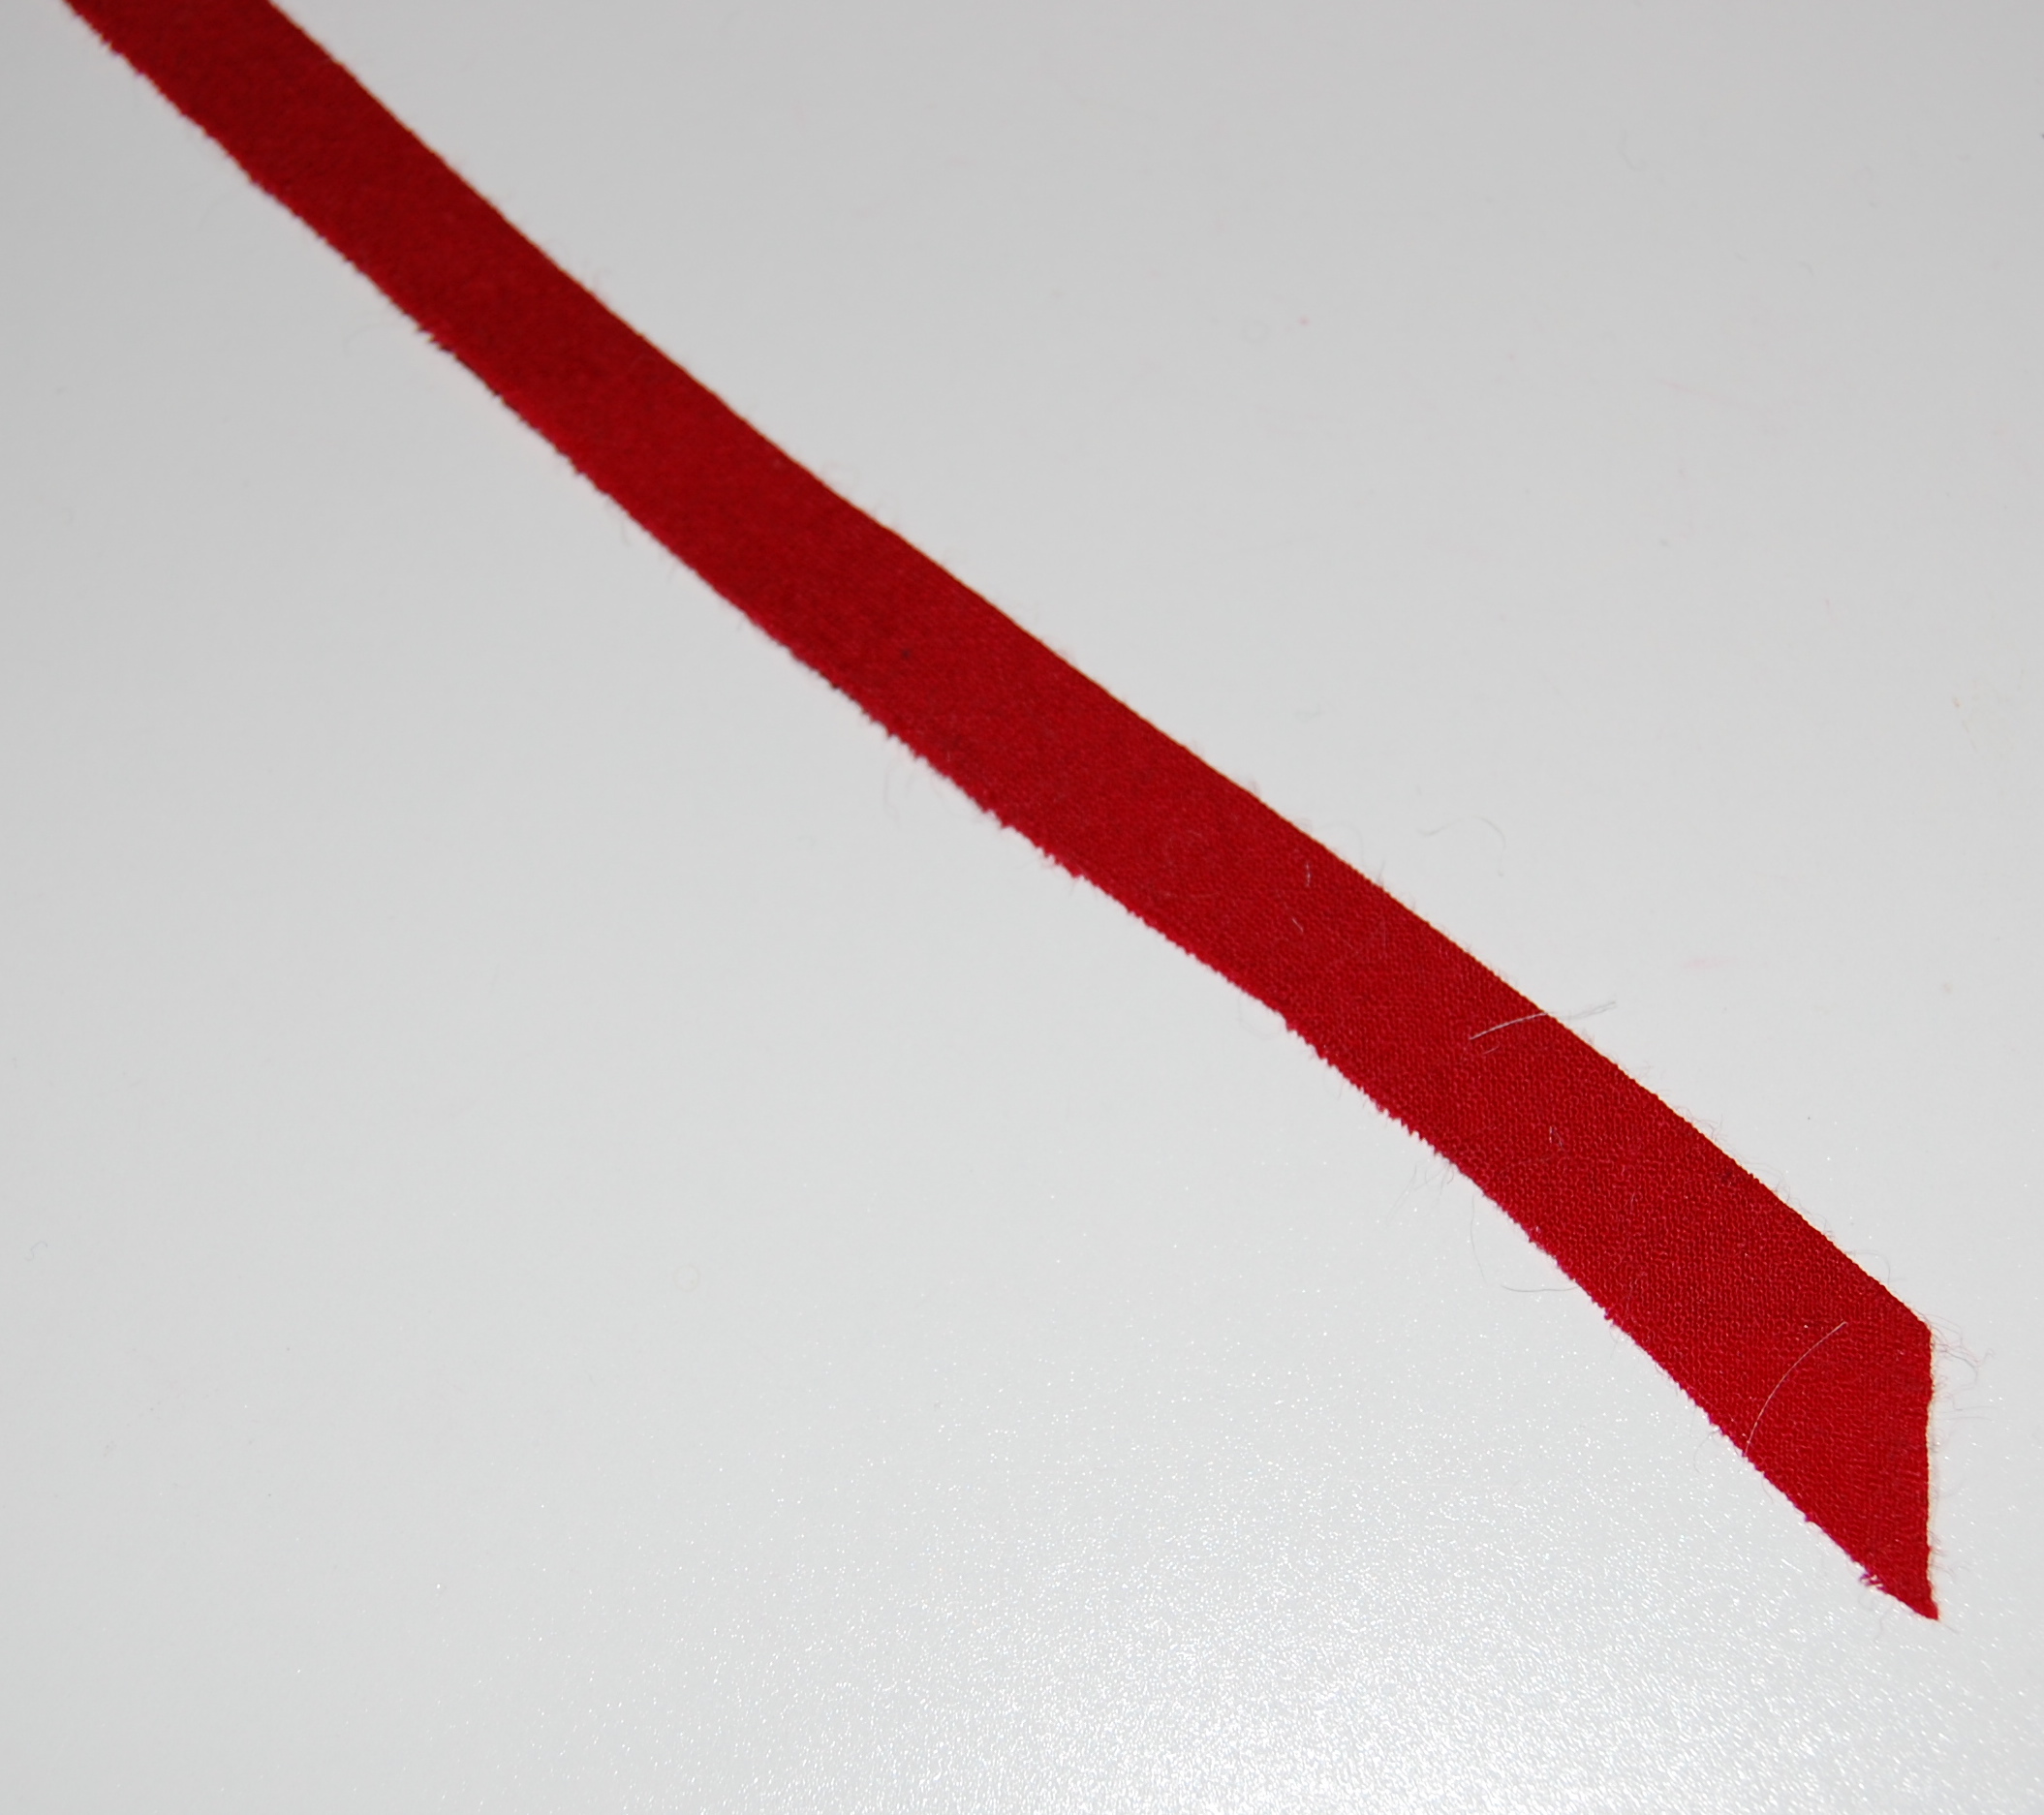
I cut a bias strip one inch in width and folded it in half. I guess this proves it pays to save scraps!?
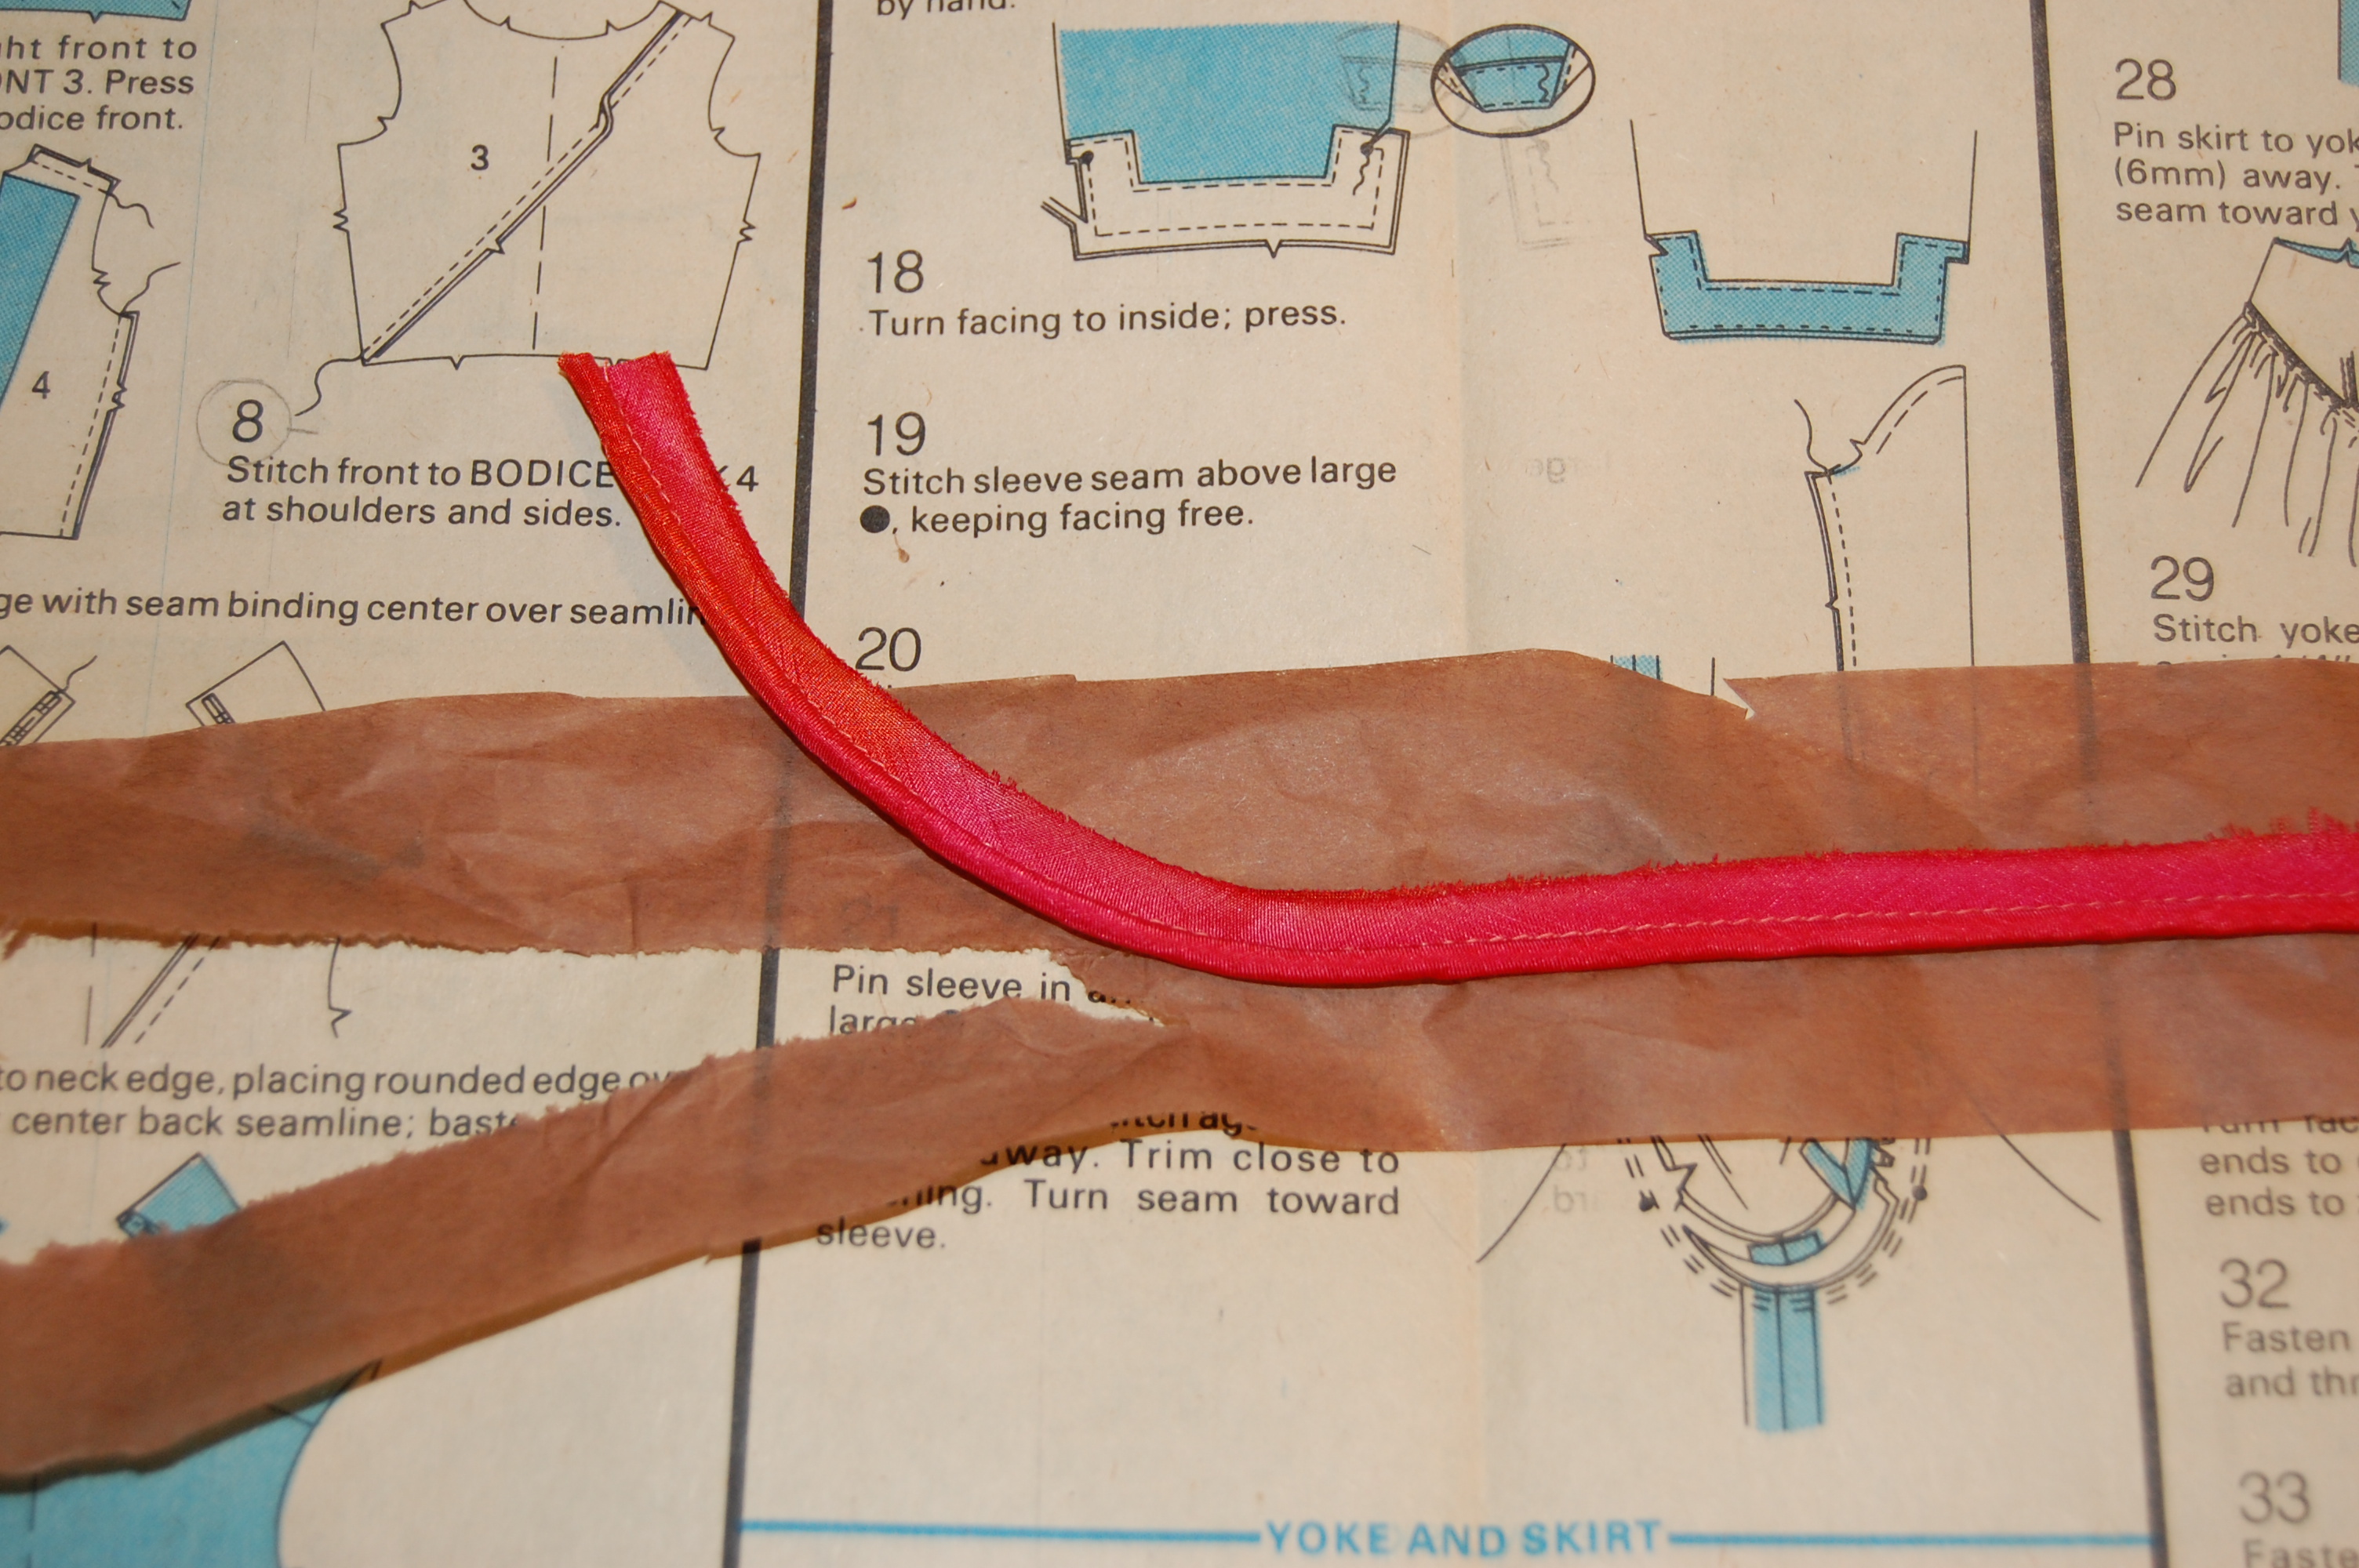
This is such an easy flourish to do, and it adds such a professional touch. Adding this flat “piping” is quickly becoming a standard for me when I make jackets or coats. Once you have your bias strip cut, folded in half and pressed, all you need to do is baste it in place along the line where the lining will be hand-stitched to the jacket interior.
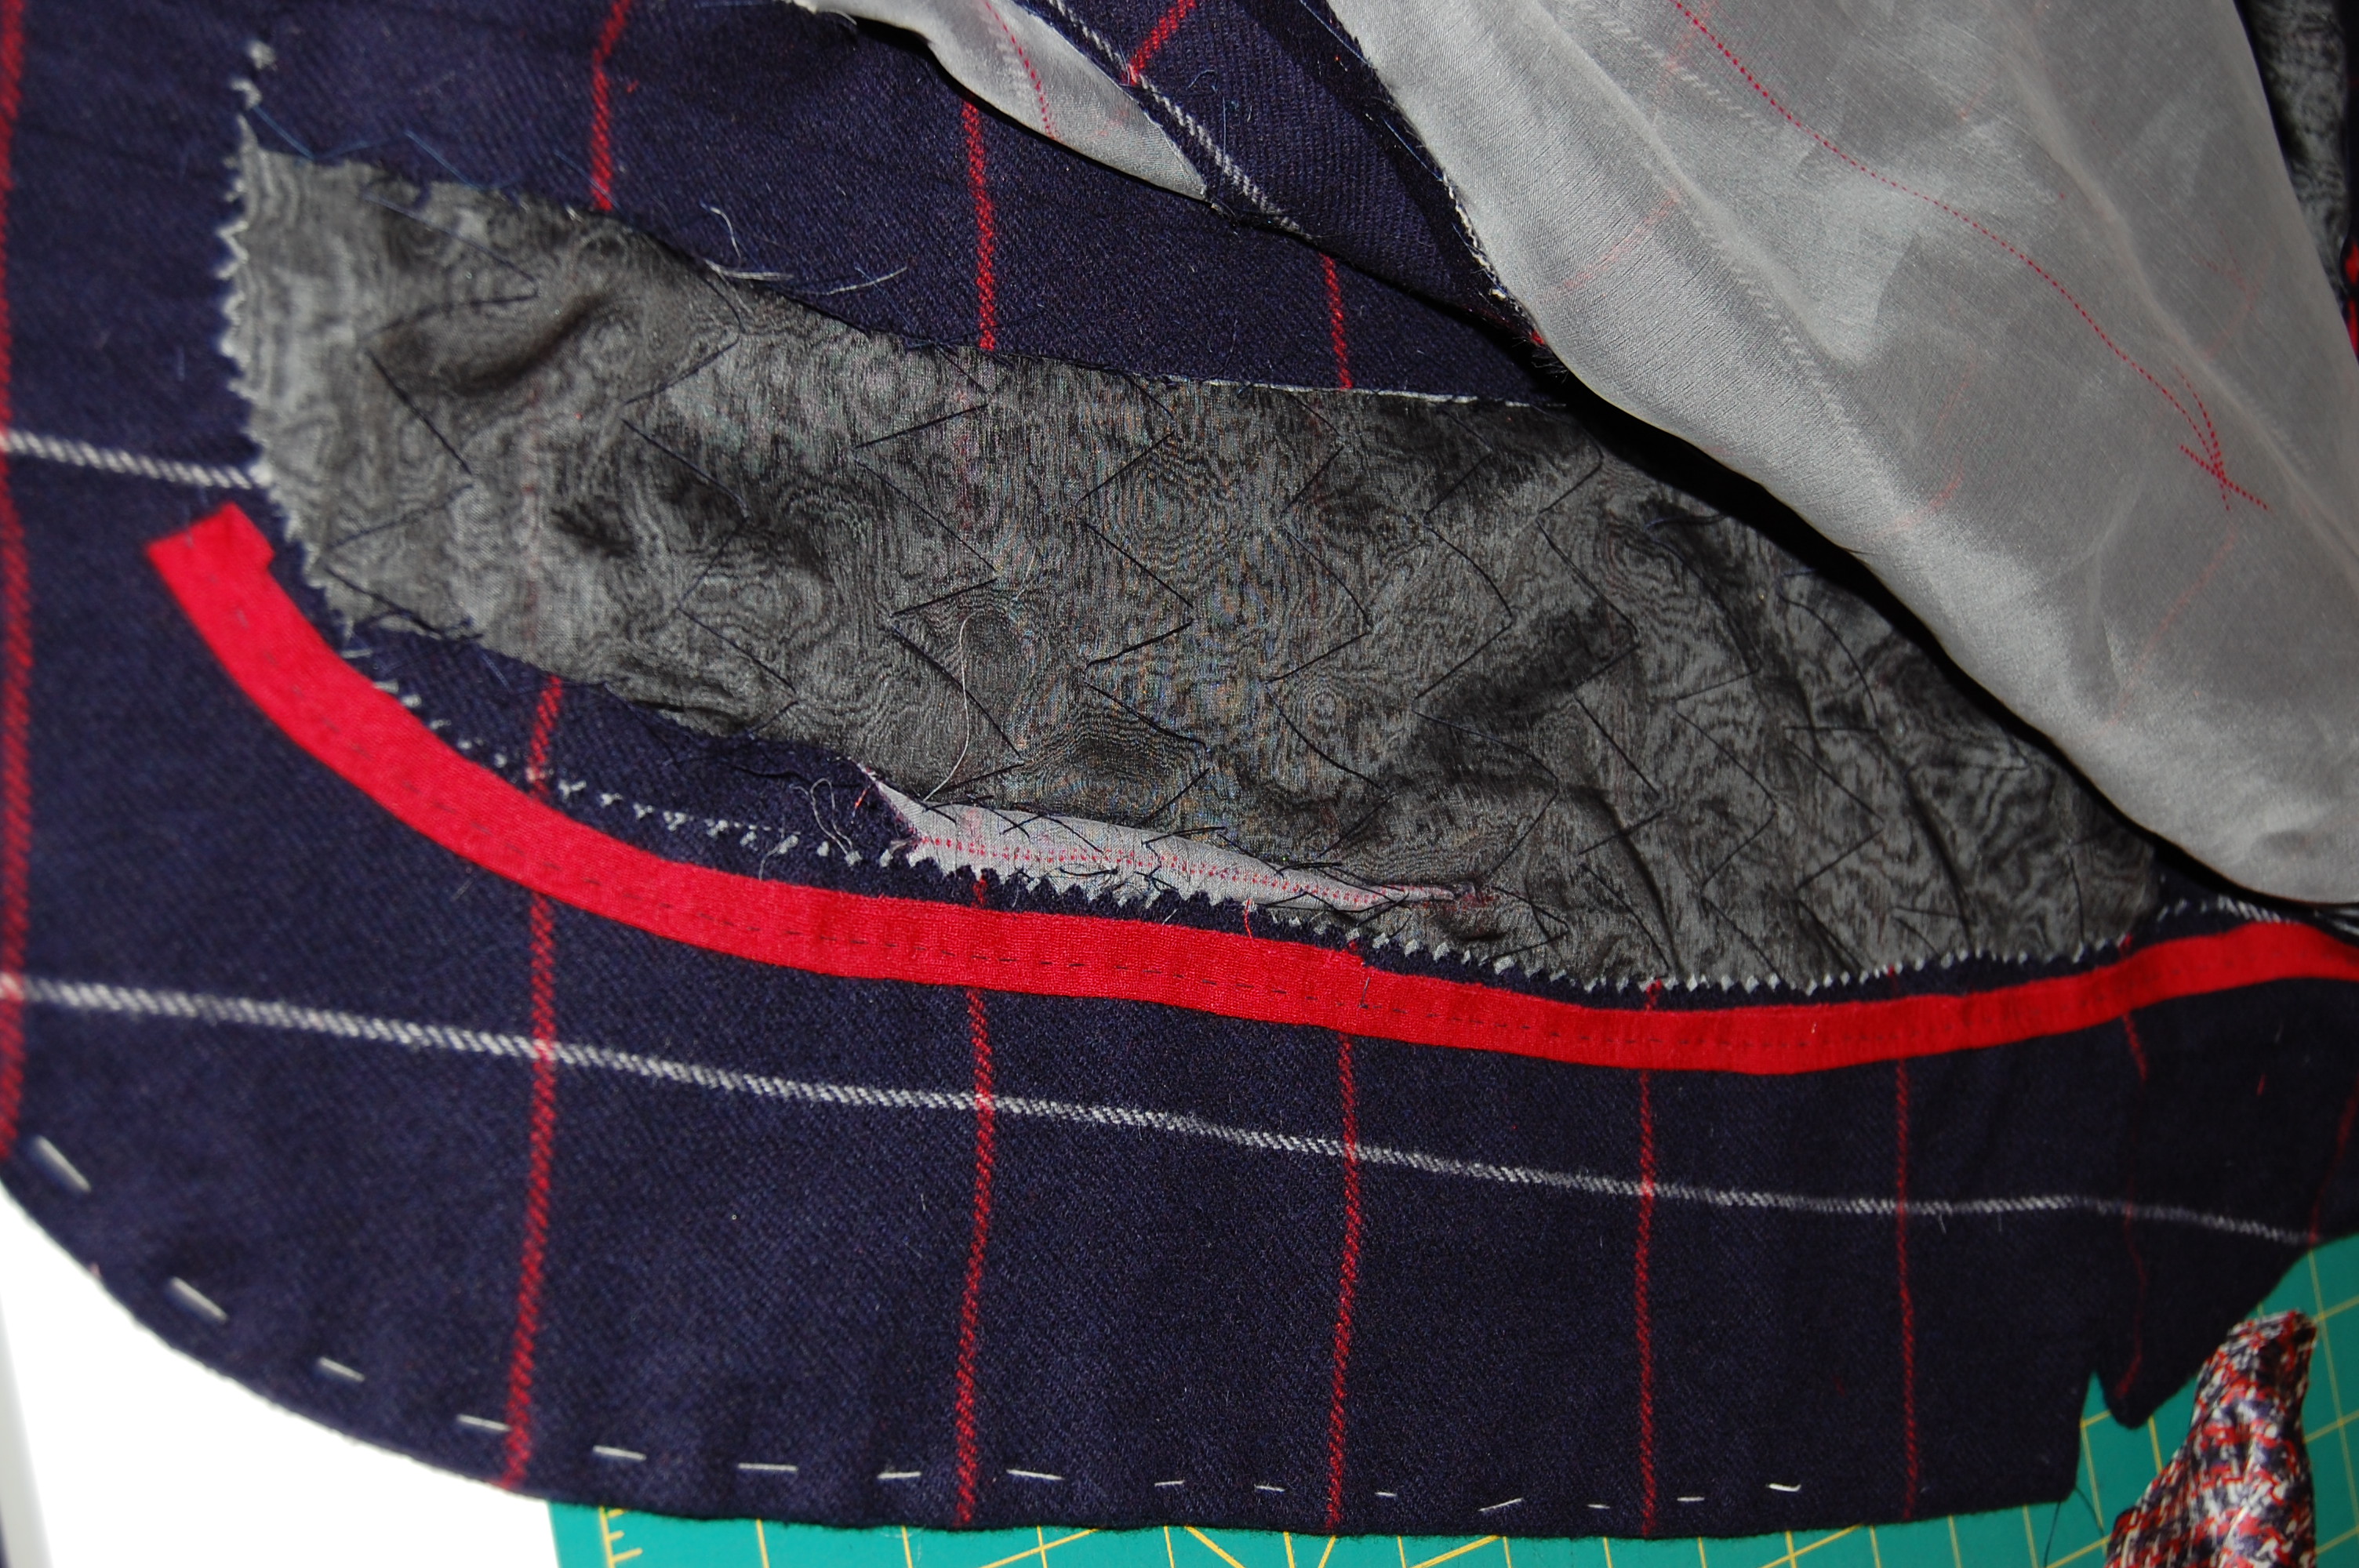
The bias “piping” basted in place. Click on the photo to see it close-up.
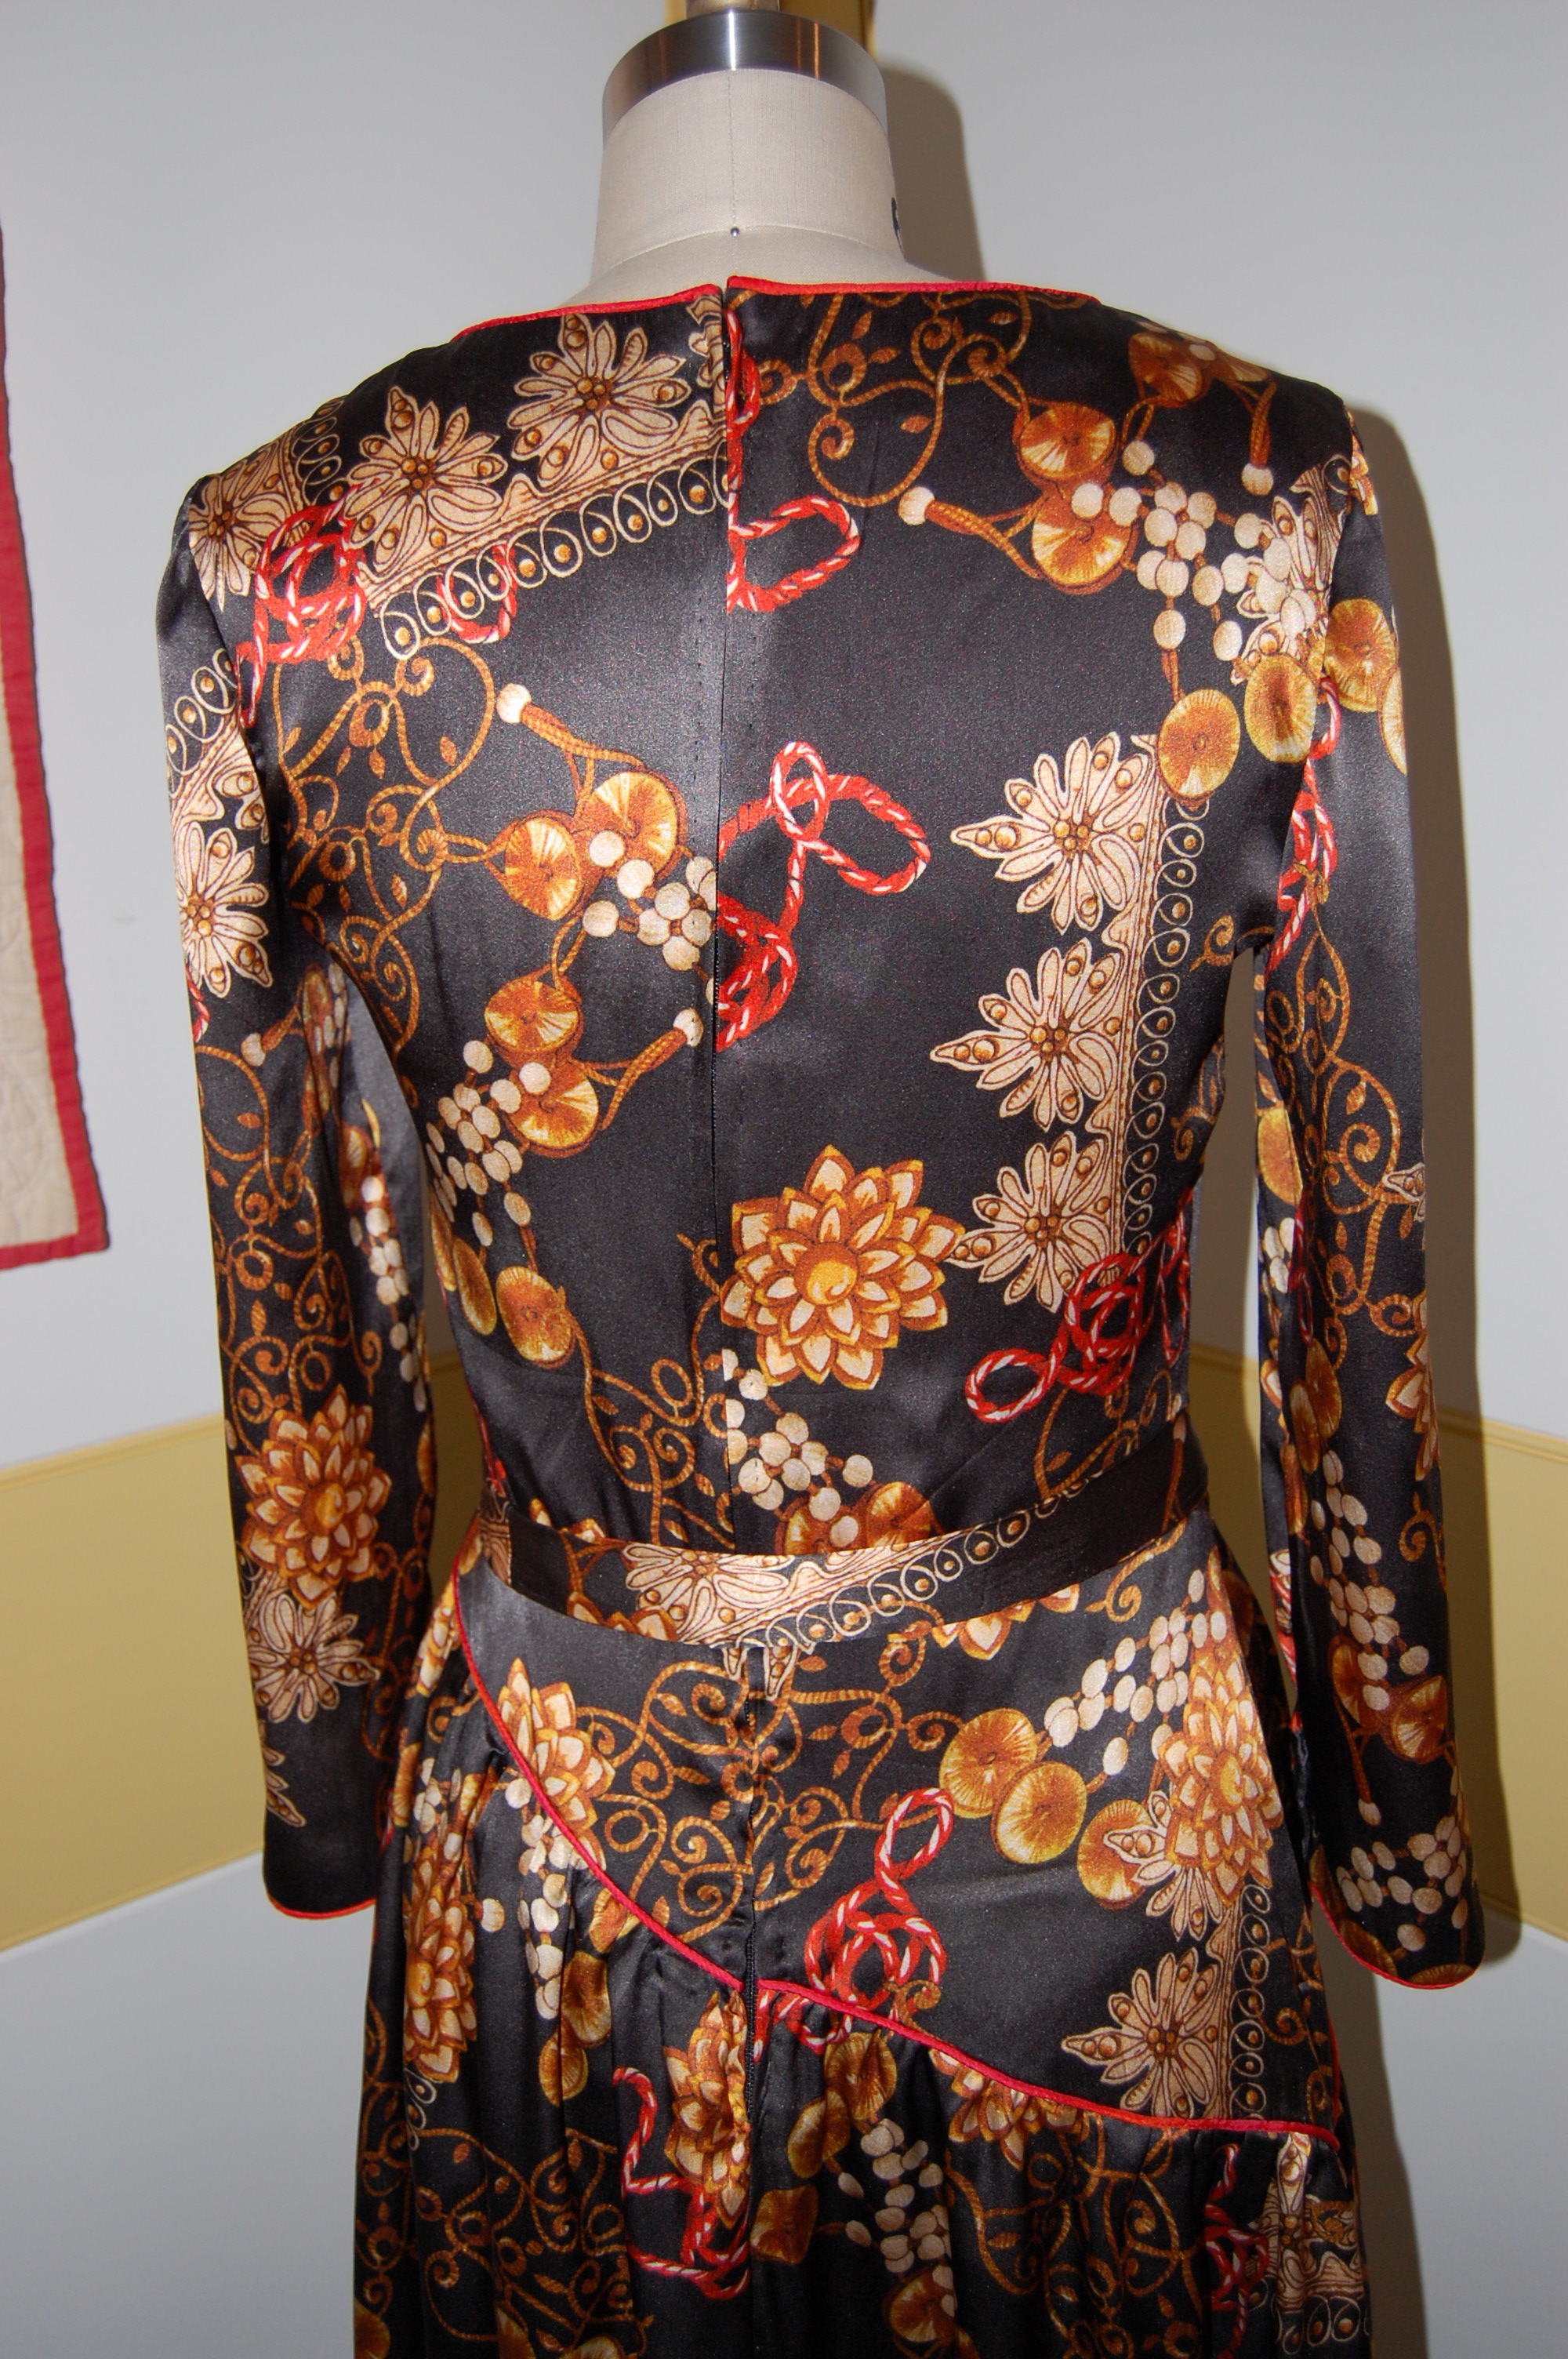
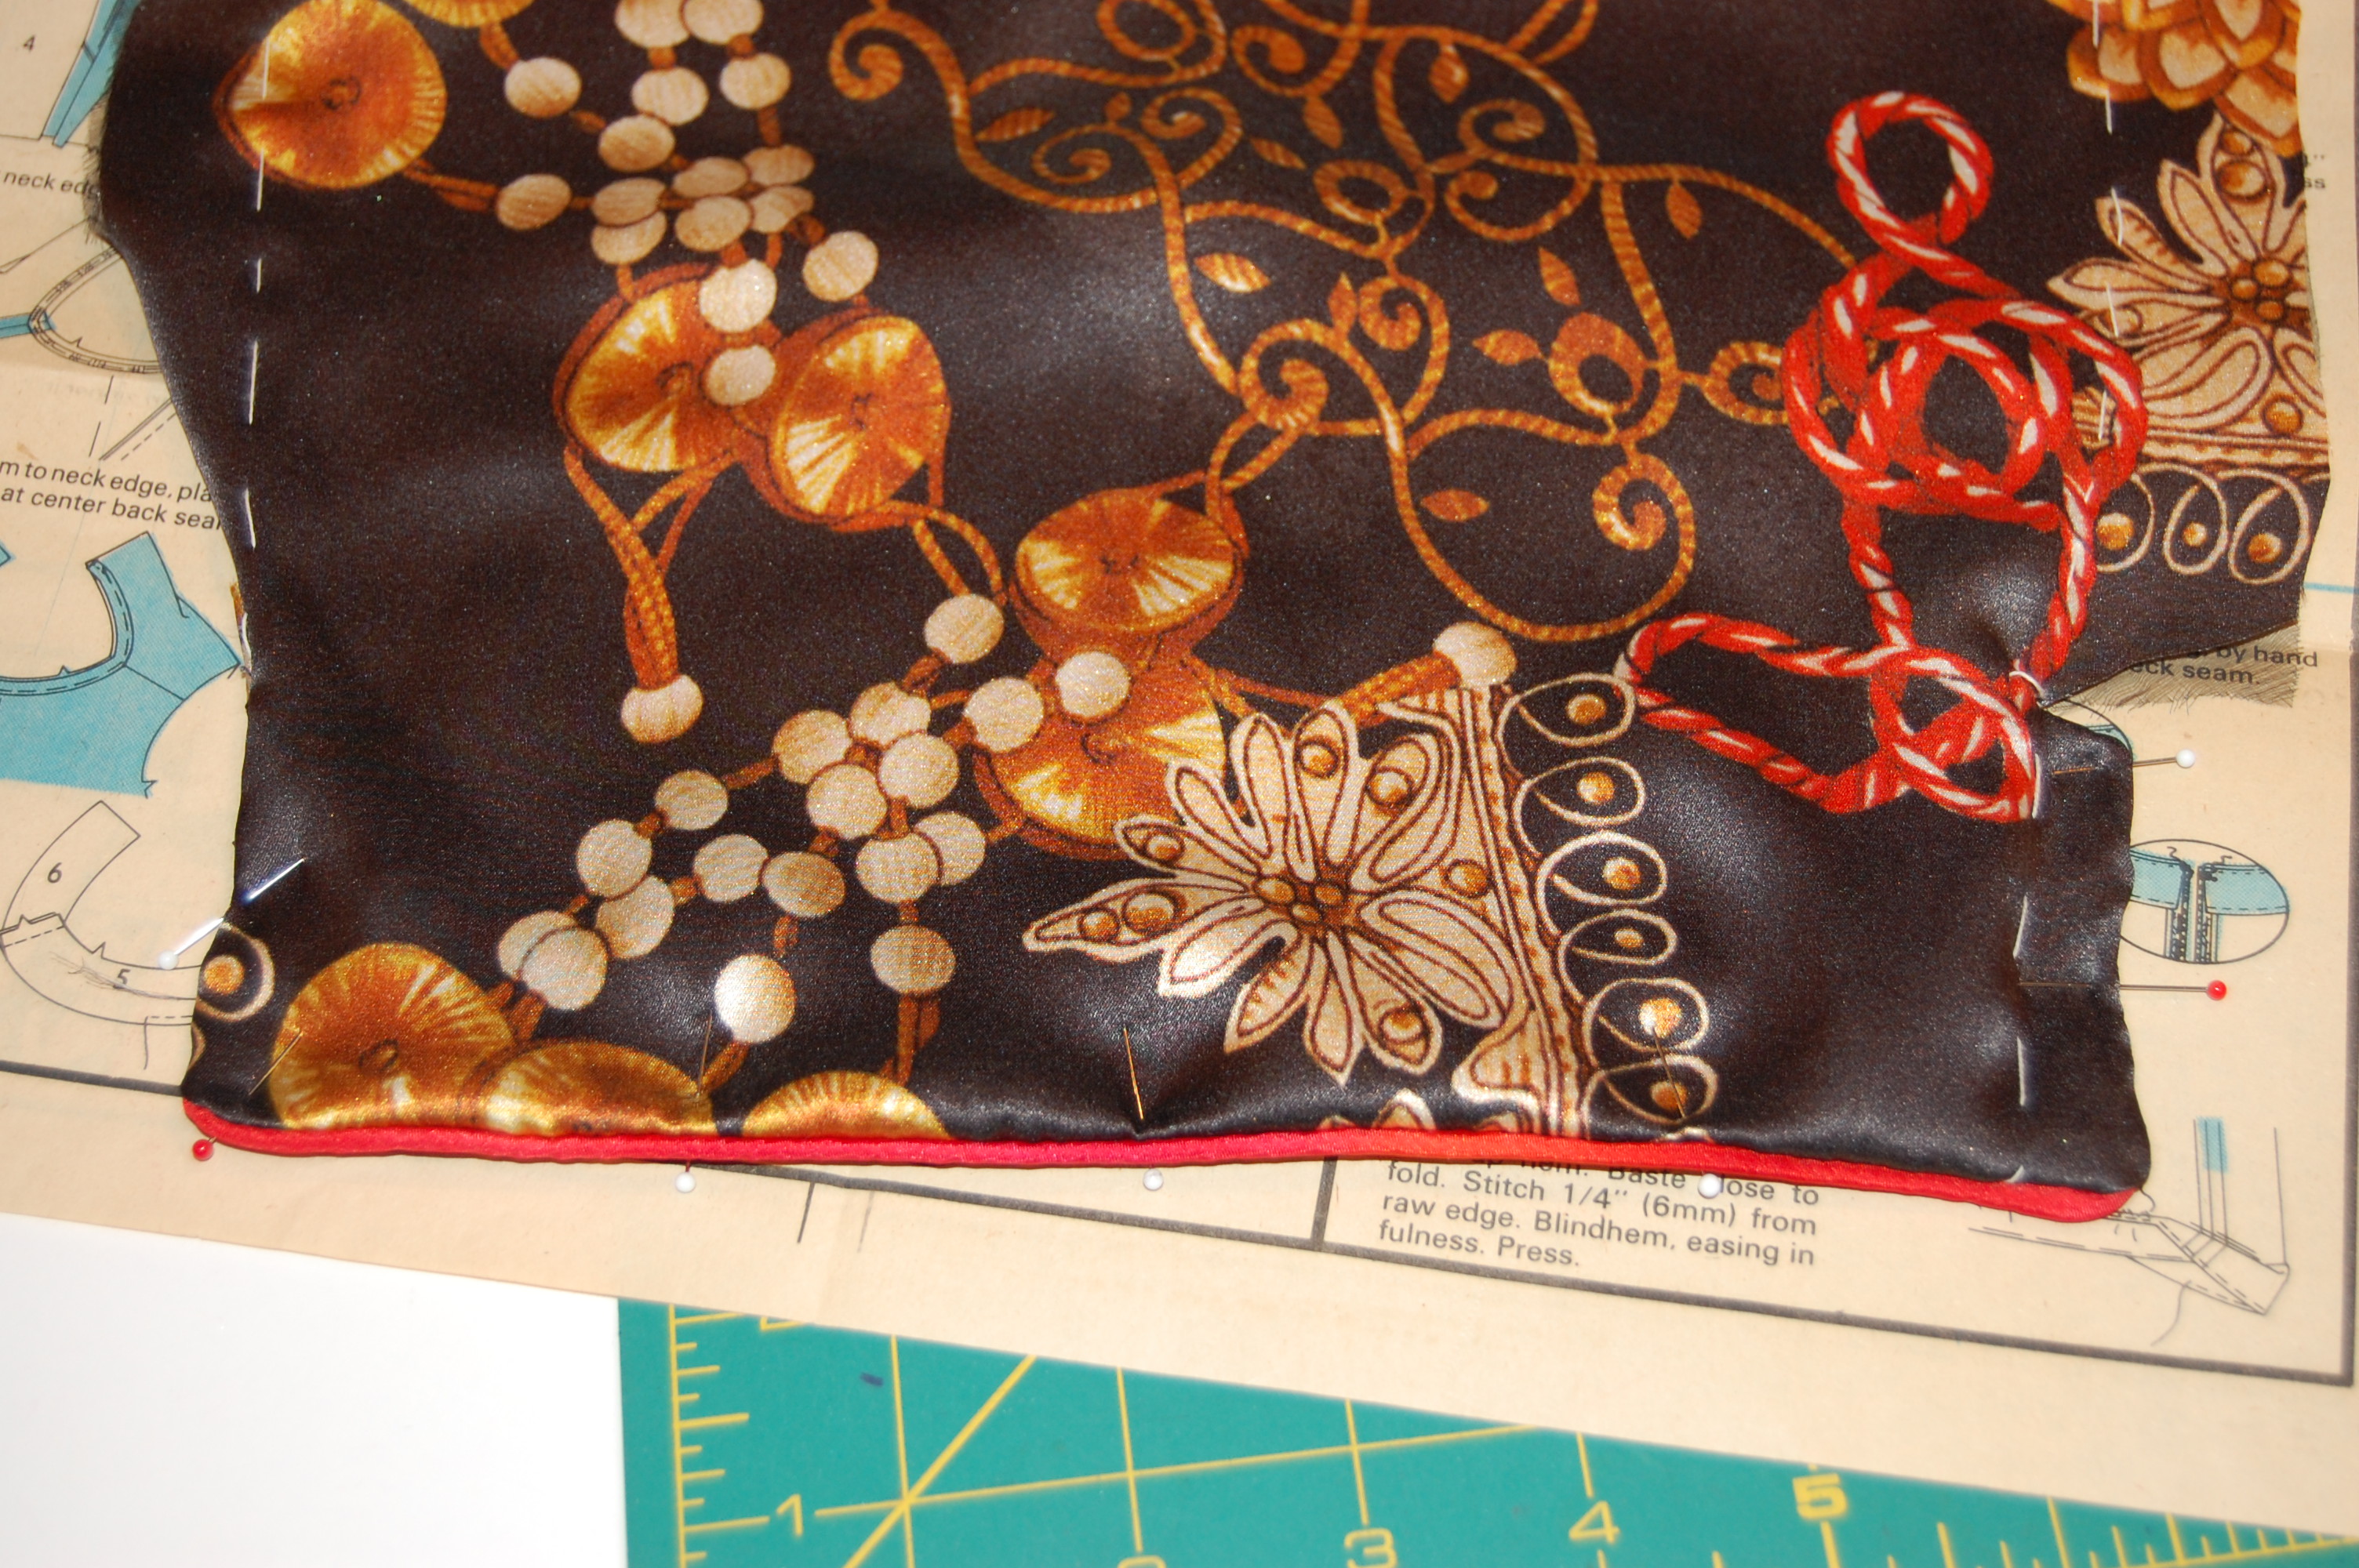
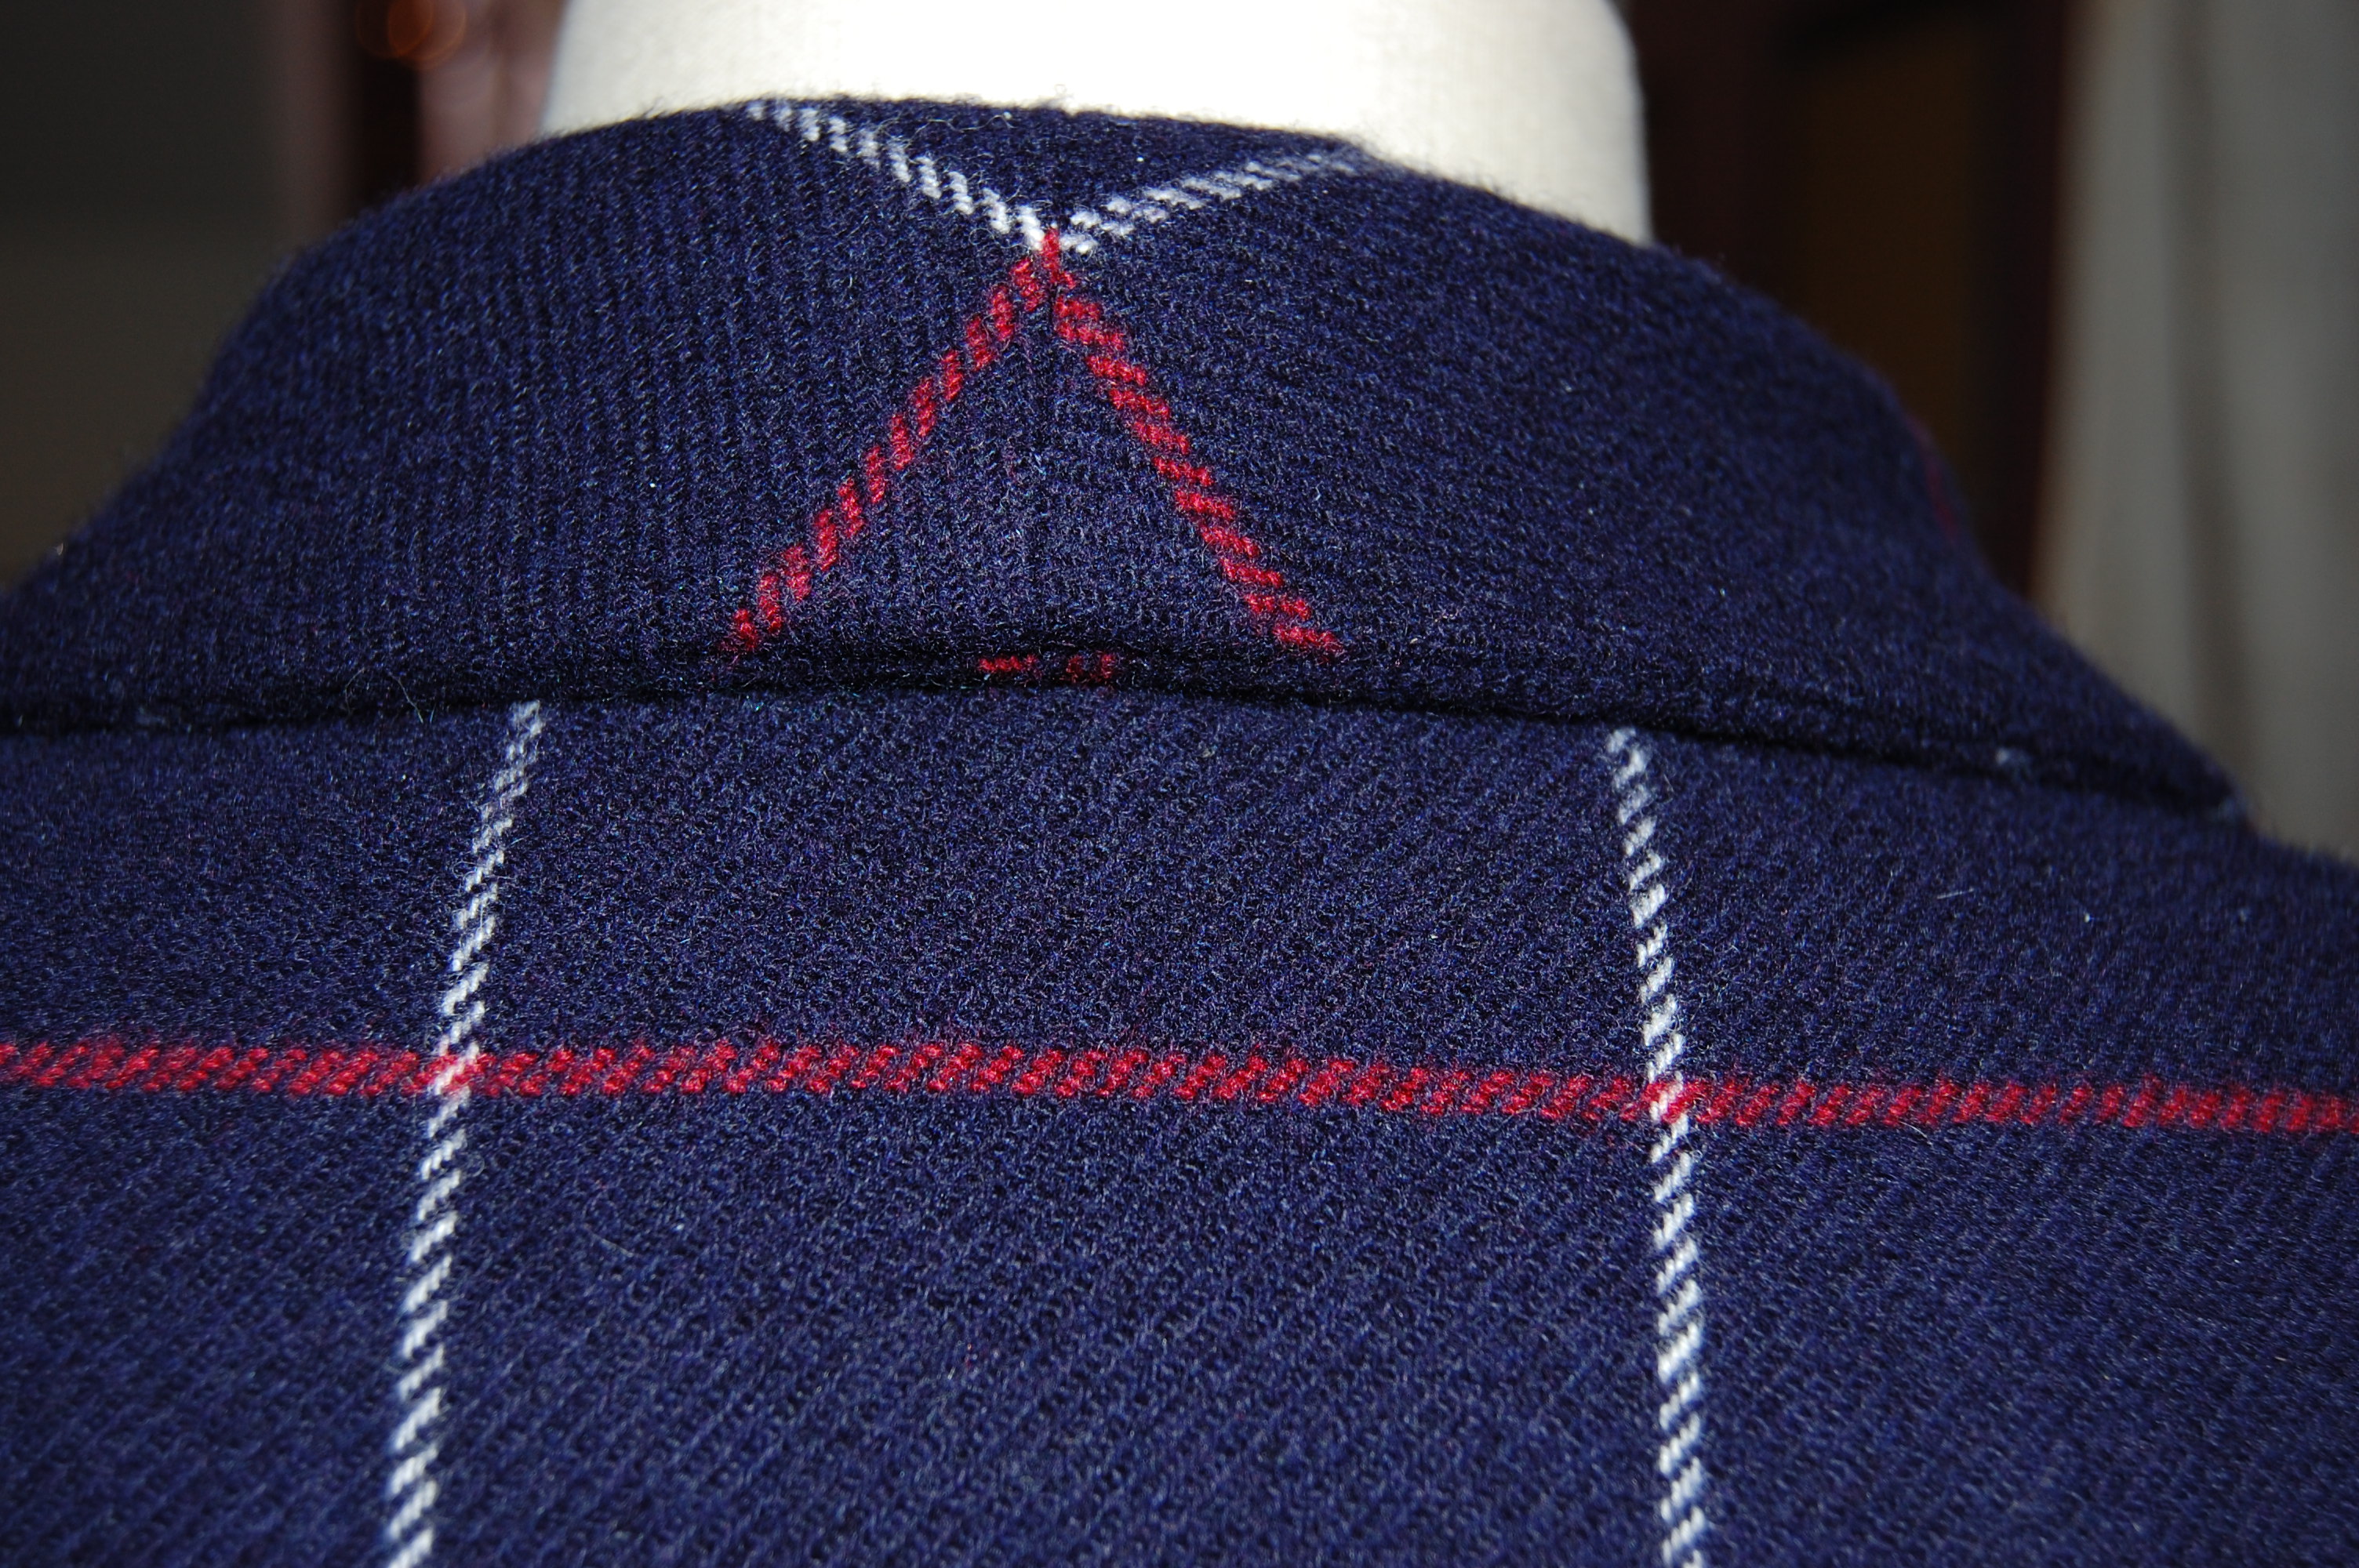
And here’s what the finished lining looks like:
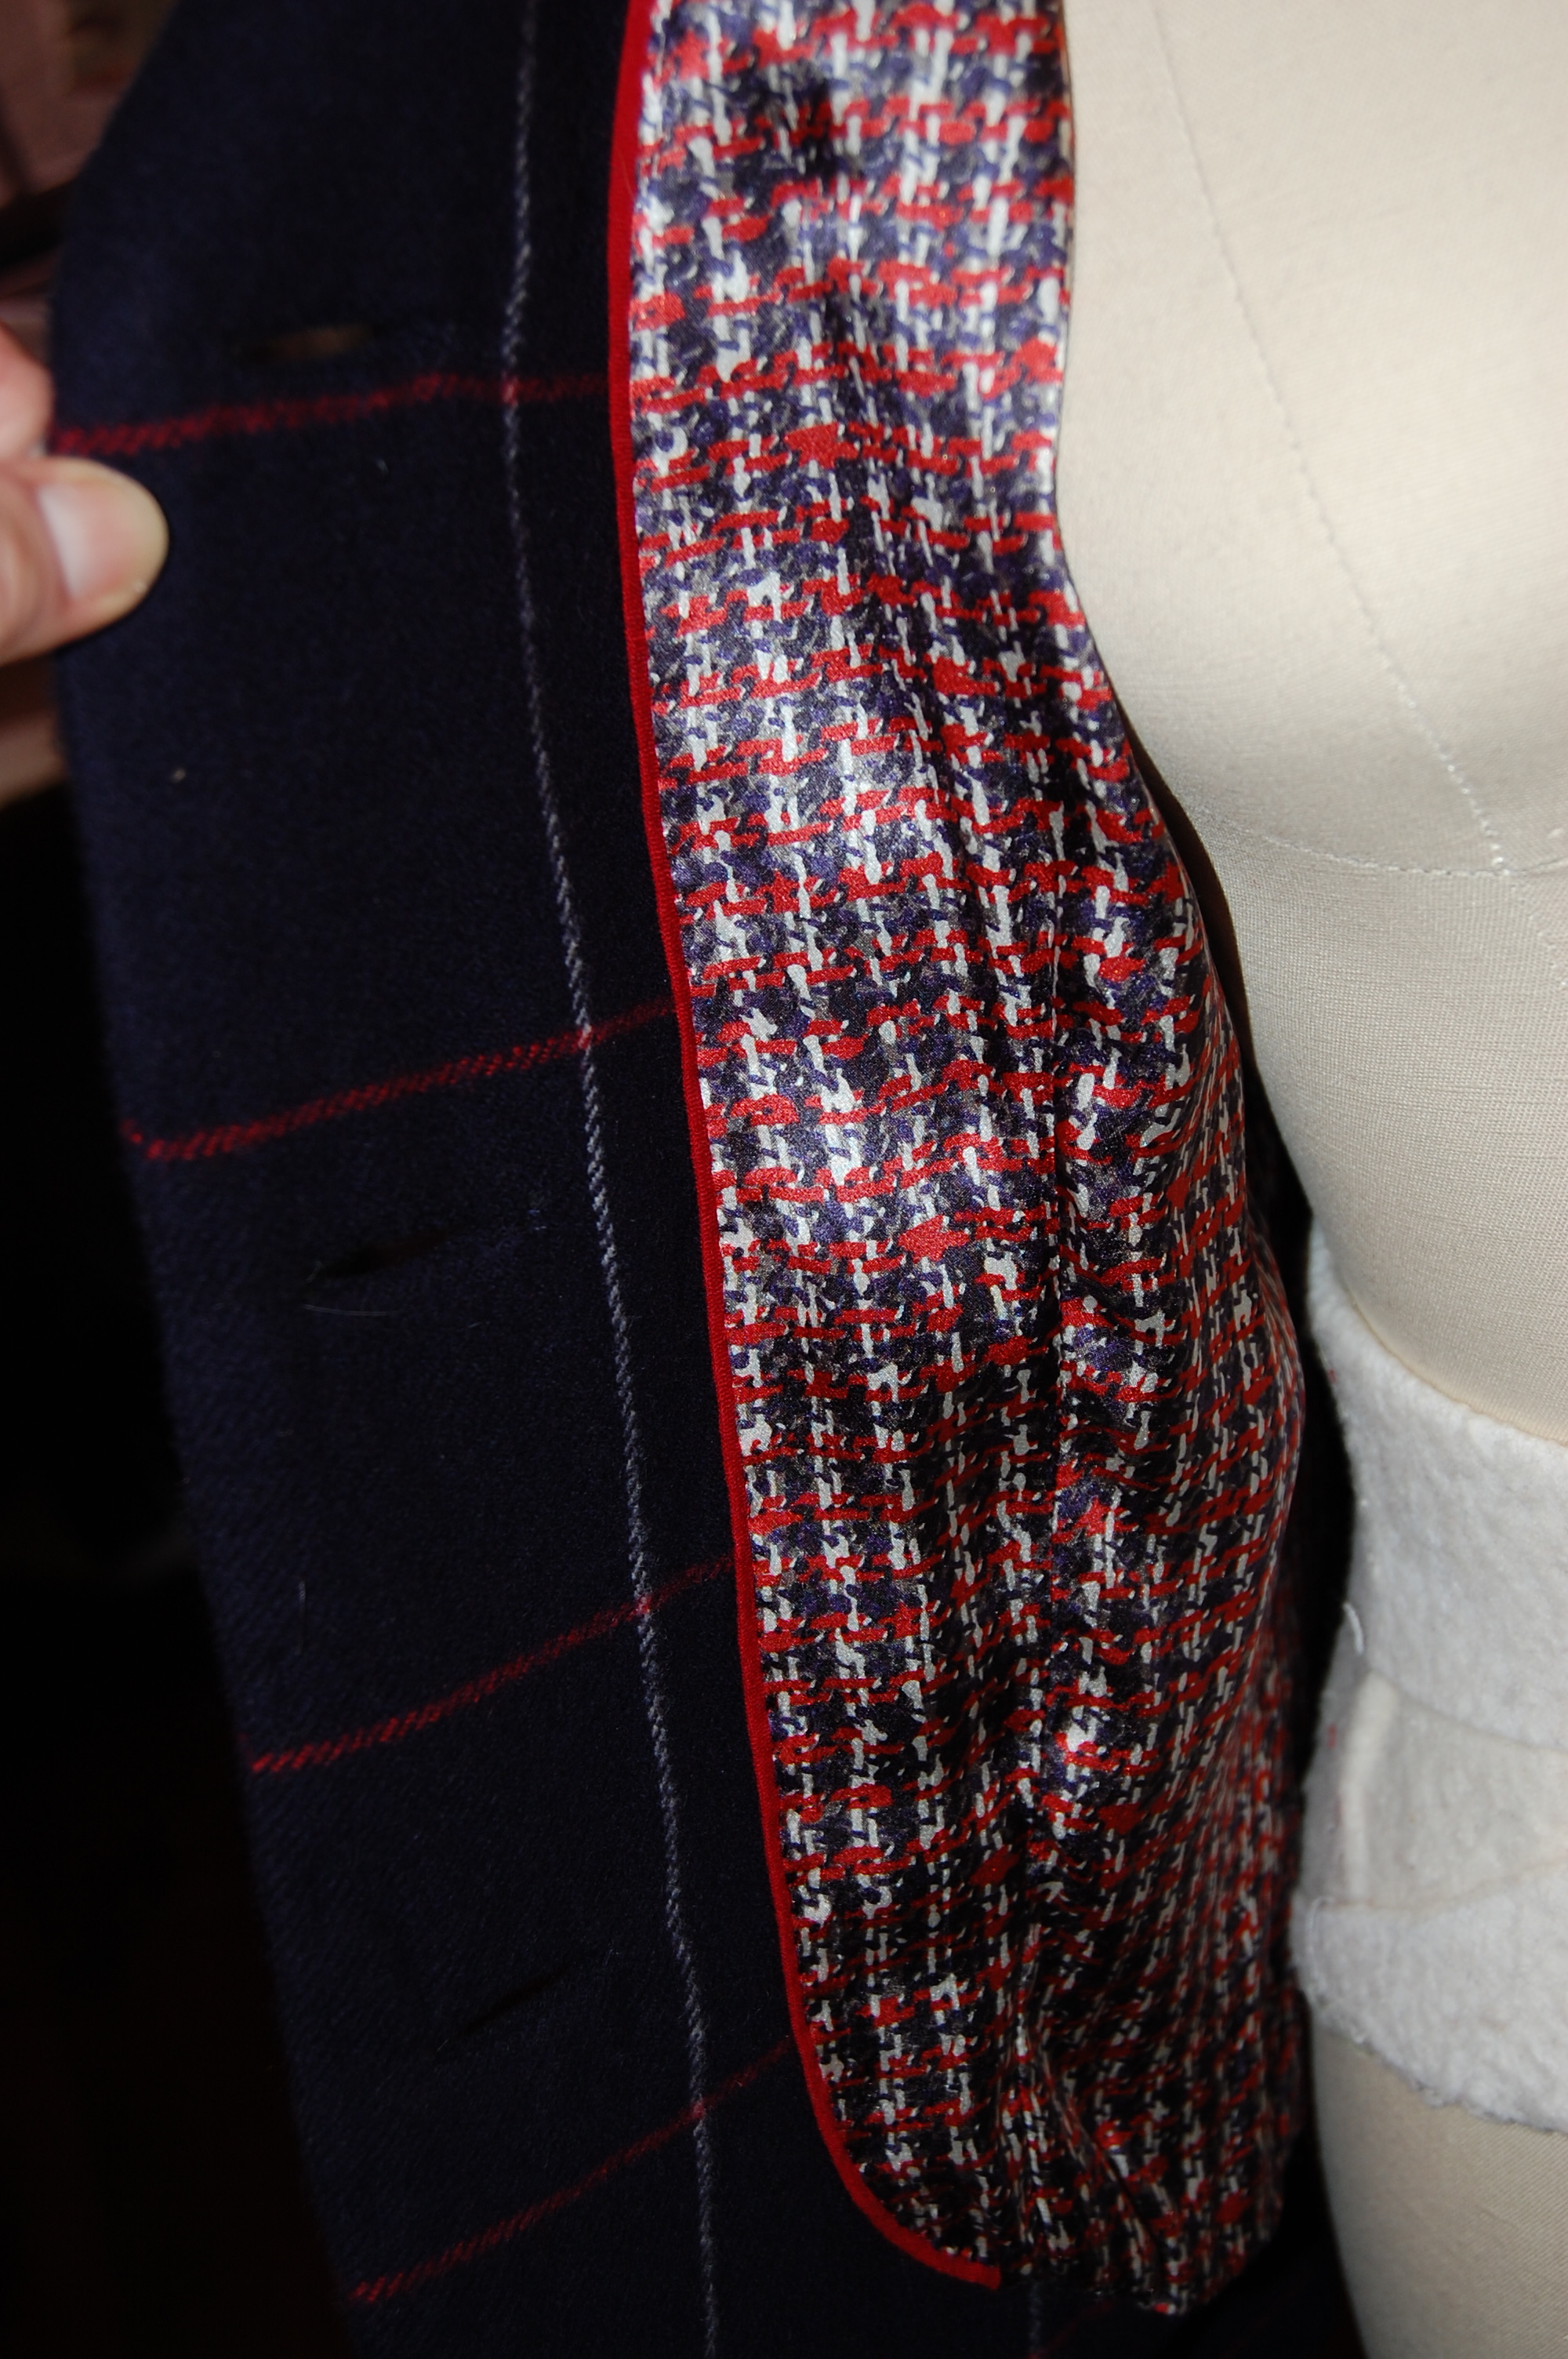
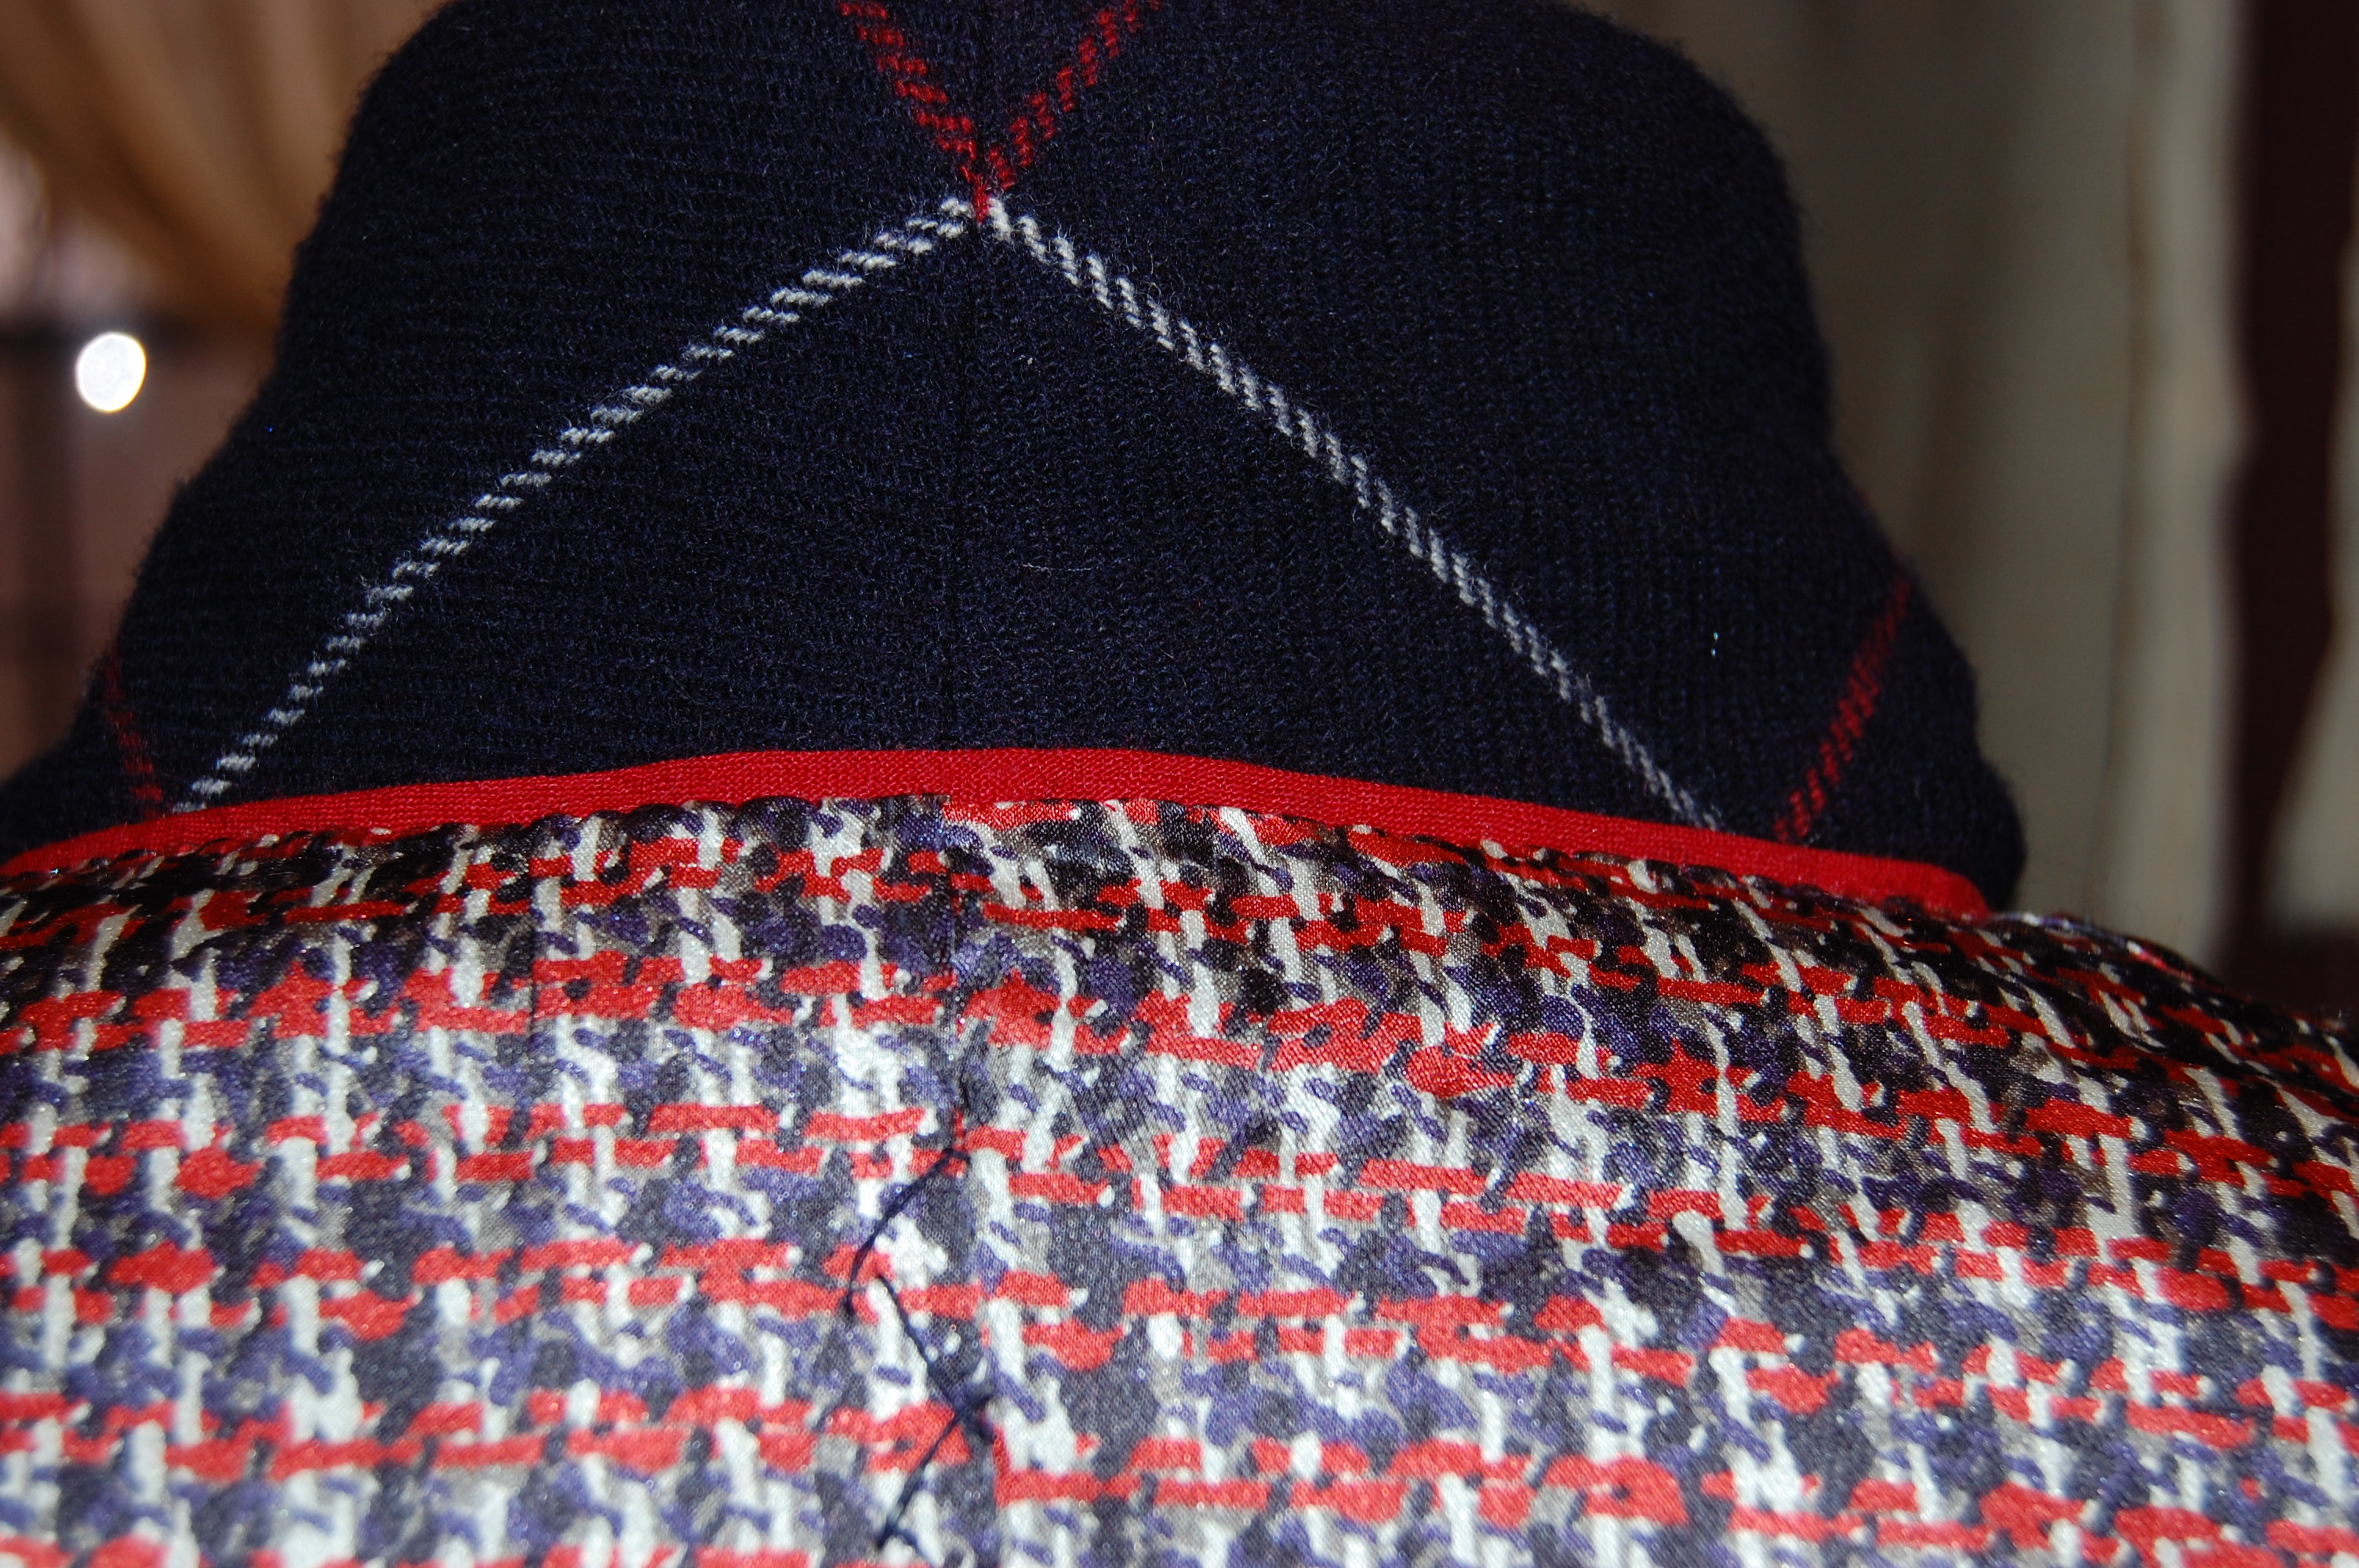
Here is the back neck edge.
I really like this extra flourish.
Now – true confessions! After top-stitching the sleeve edges, the collar and most of one front, I decided I did not like it. I thought it detracted from the windowpane of the fabric, so I took it all out. NO top-stitching – for me – on this jacket!
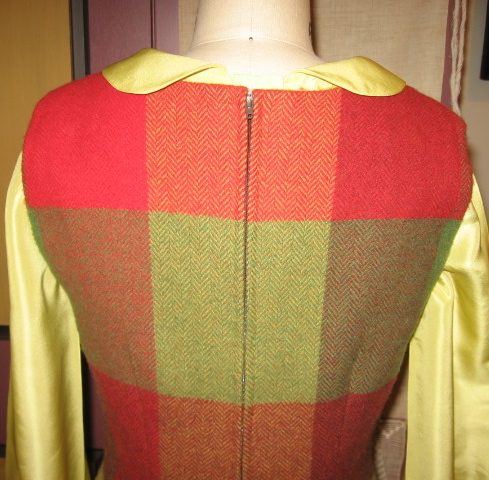
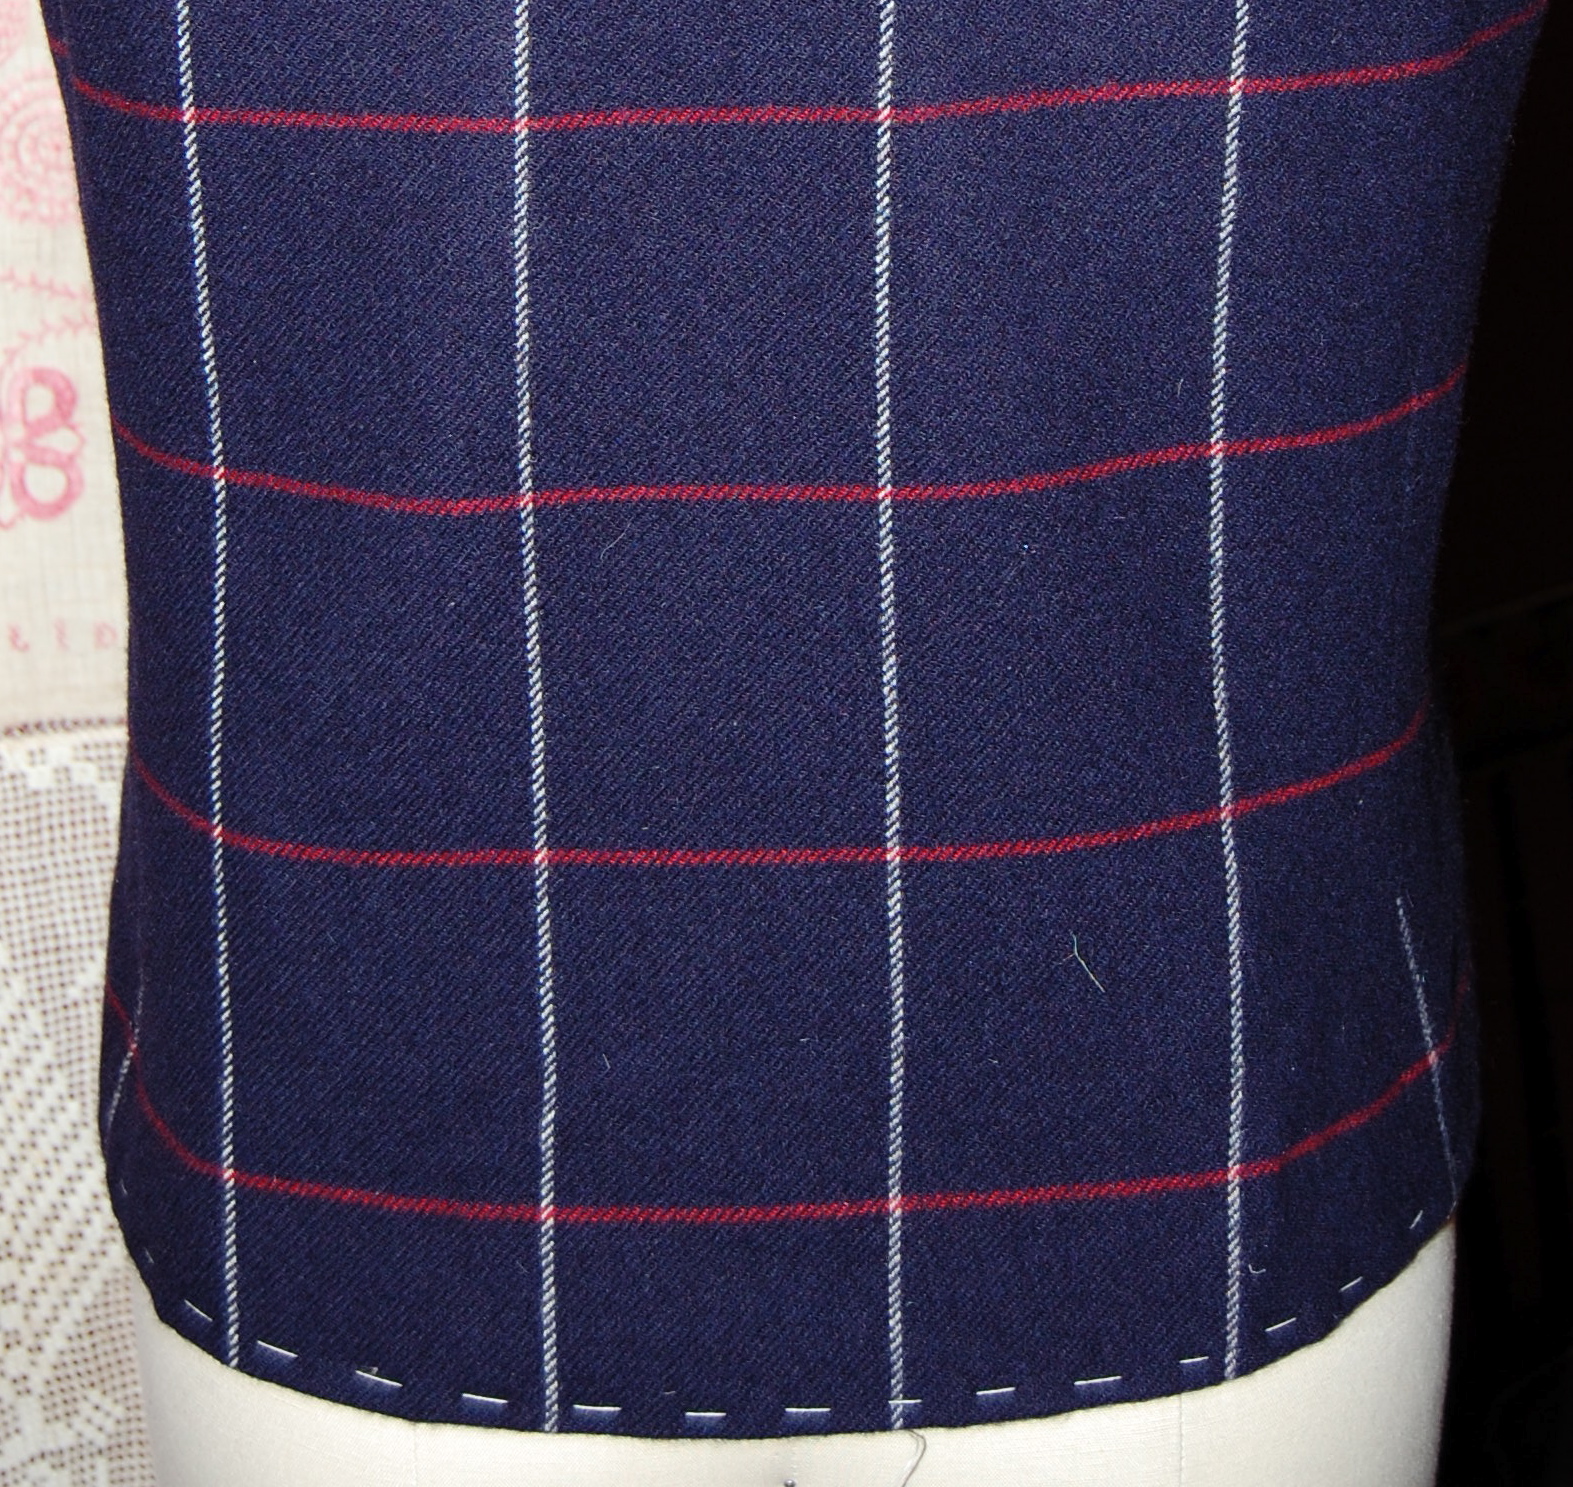
Finally, I made a small change to the back hem of the jacket. Can you figure out what it is? (A previous photo of the jacket back will also give you a clue.)
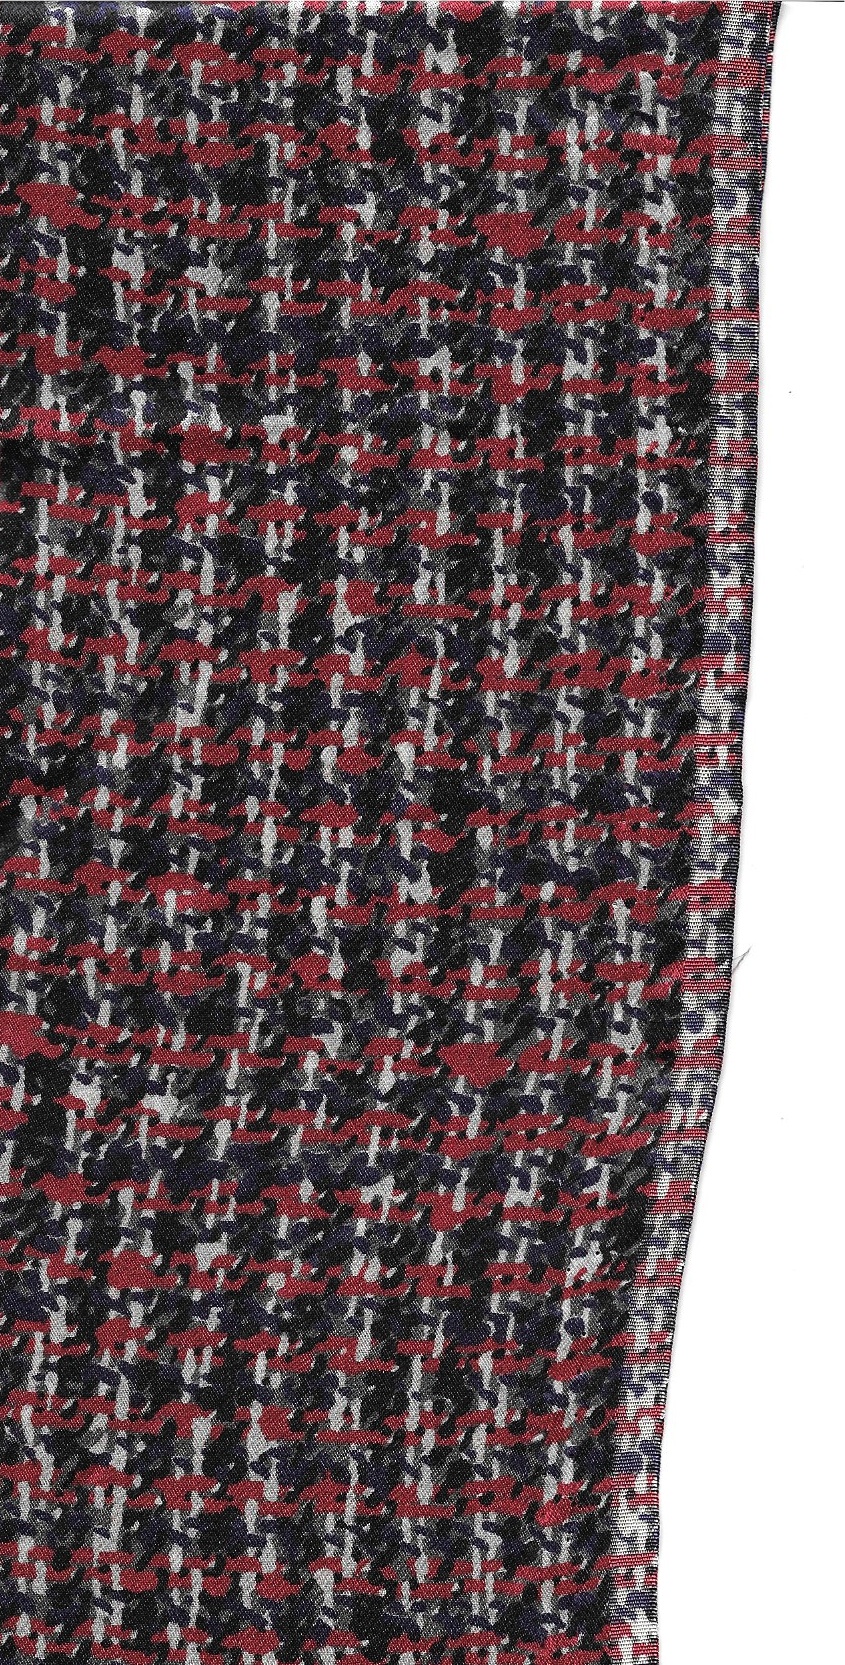
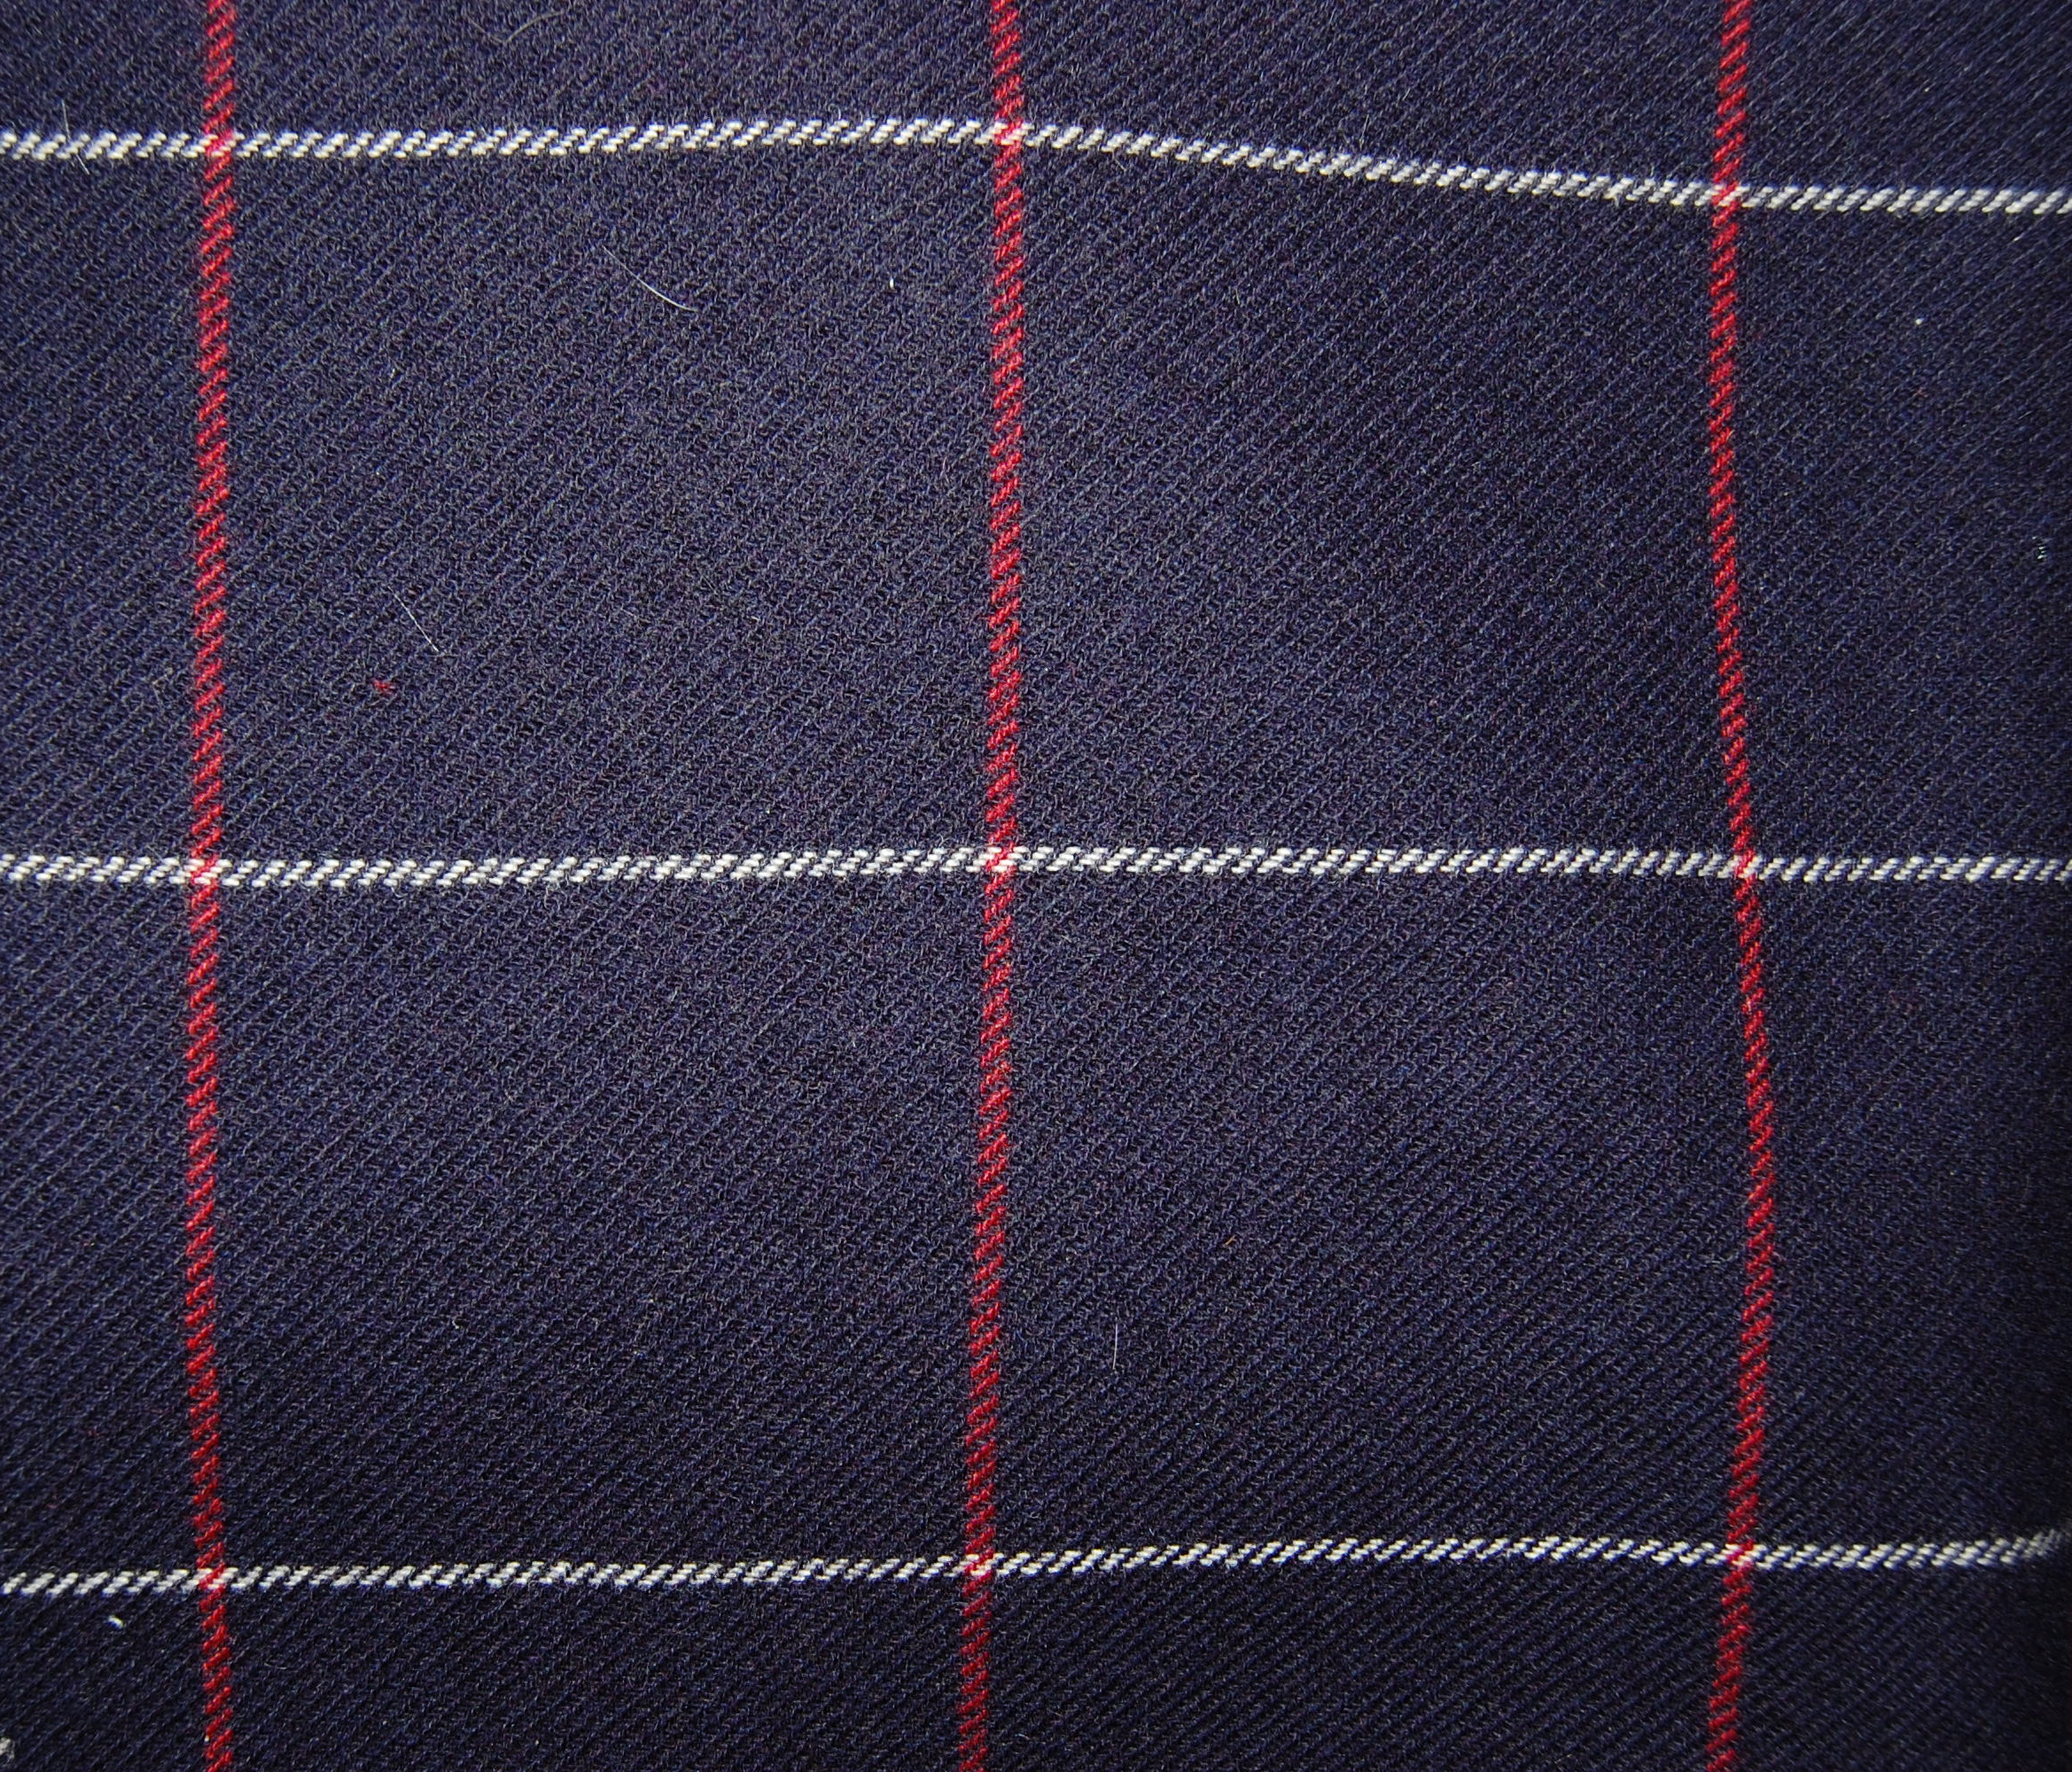
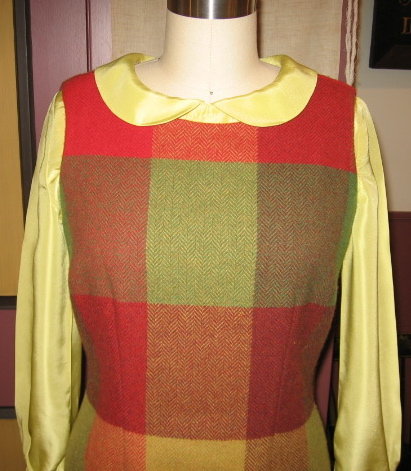
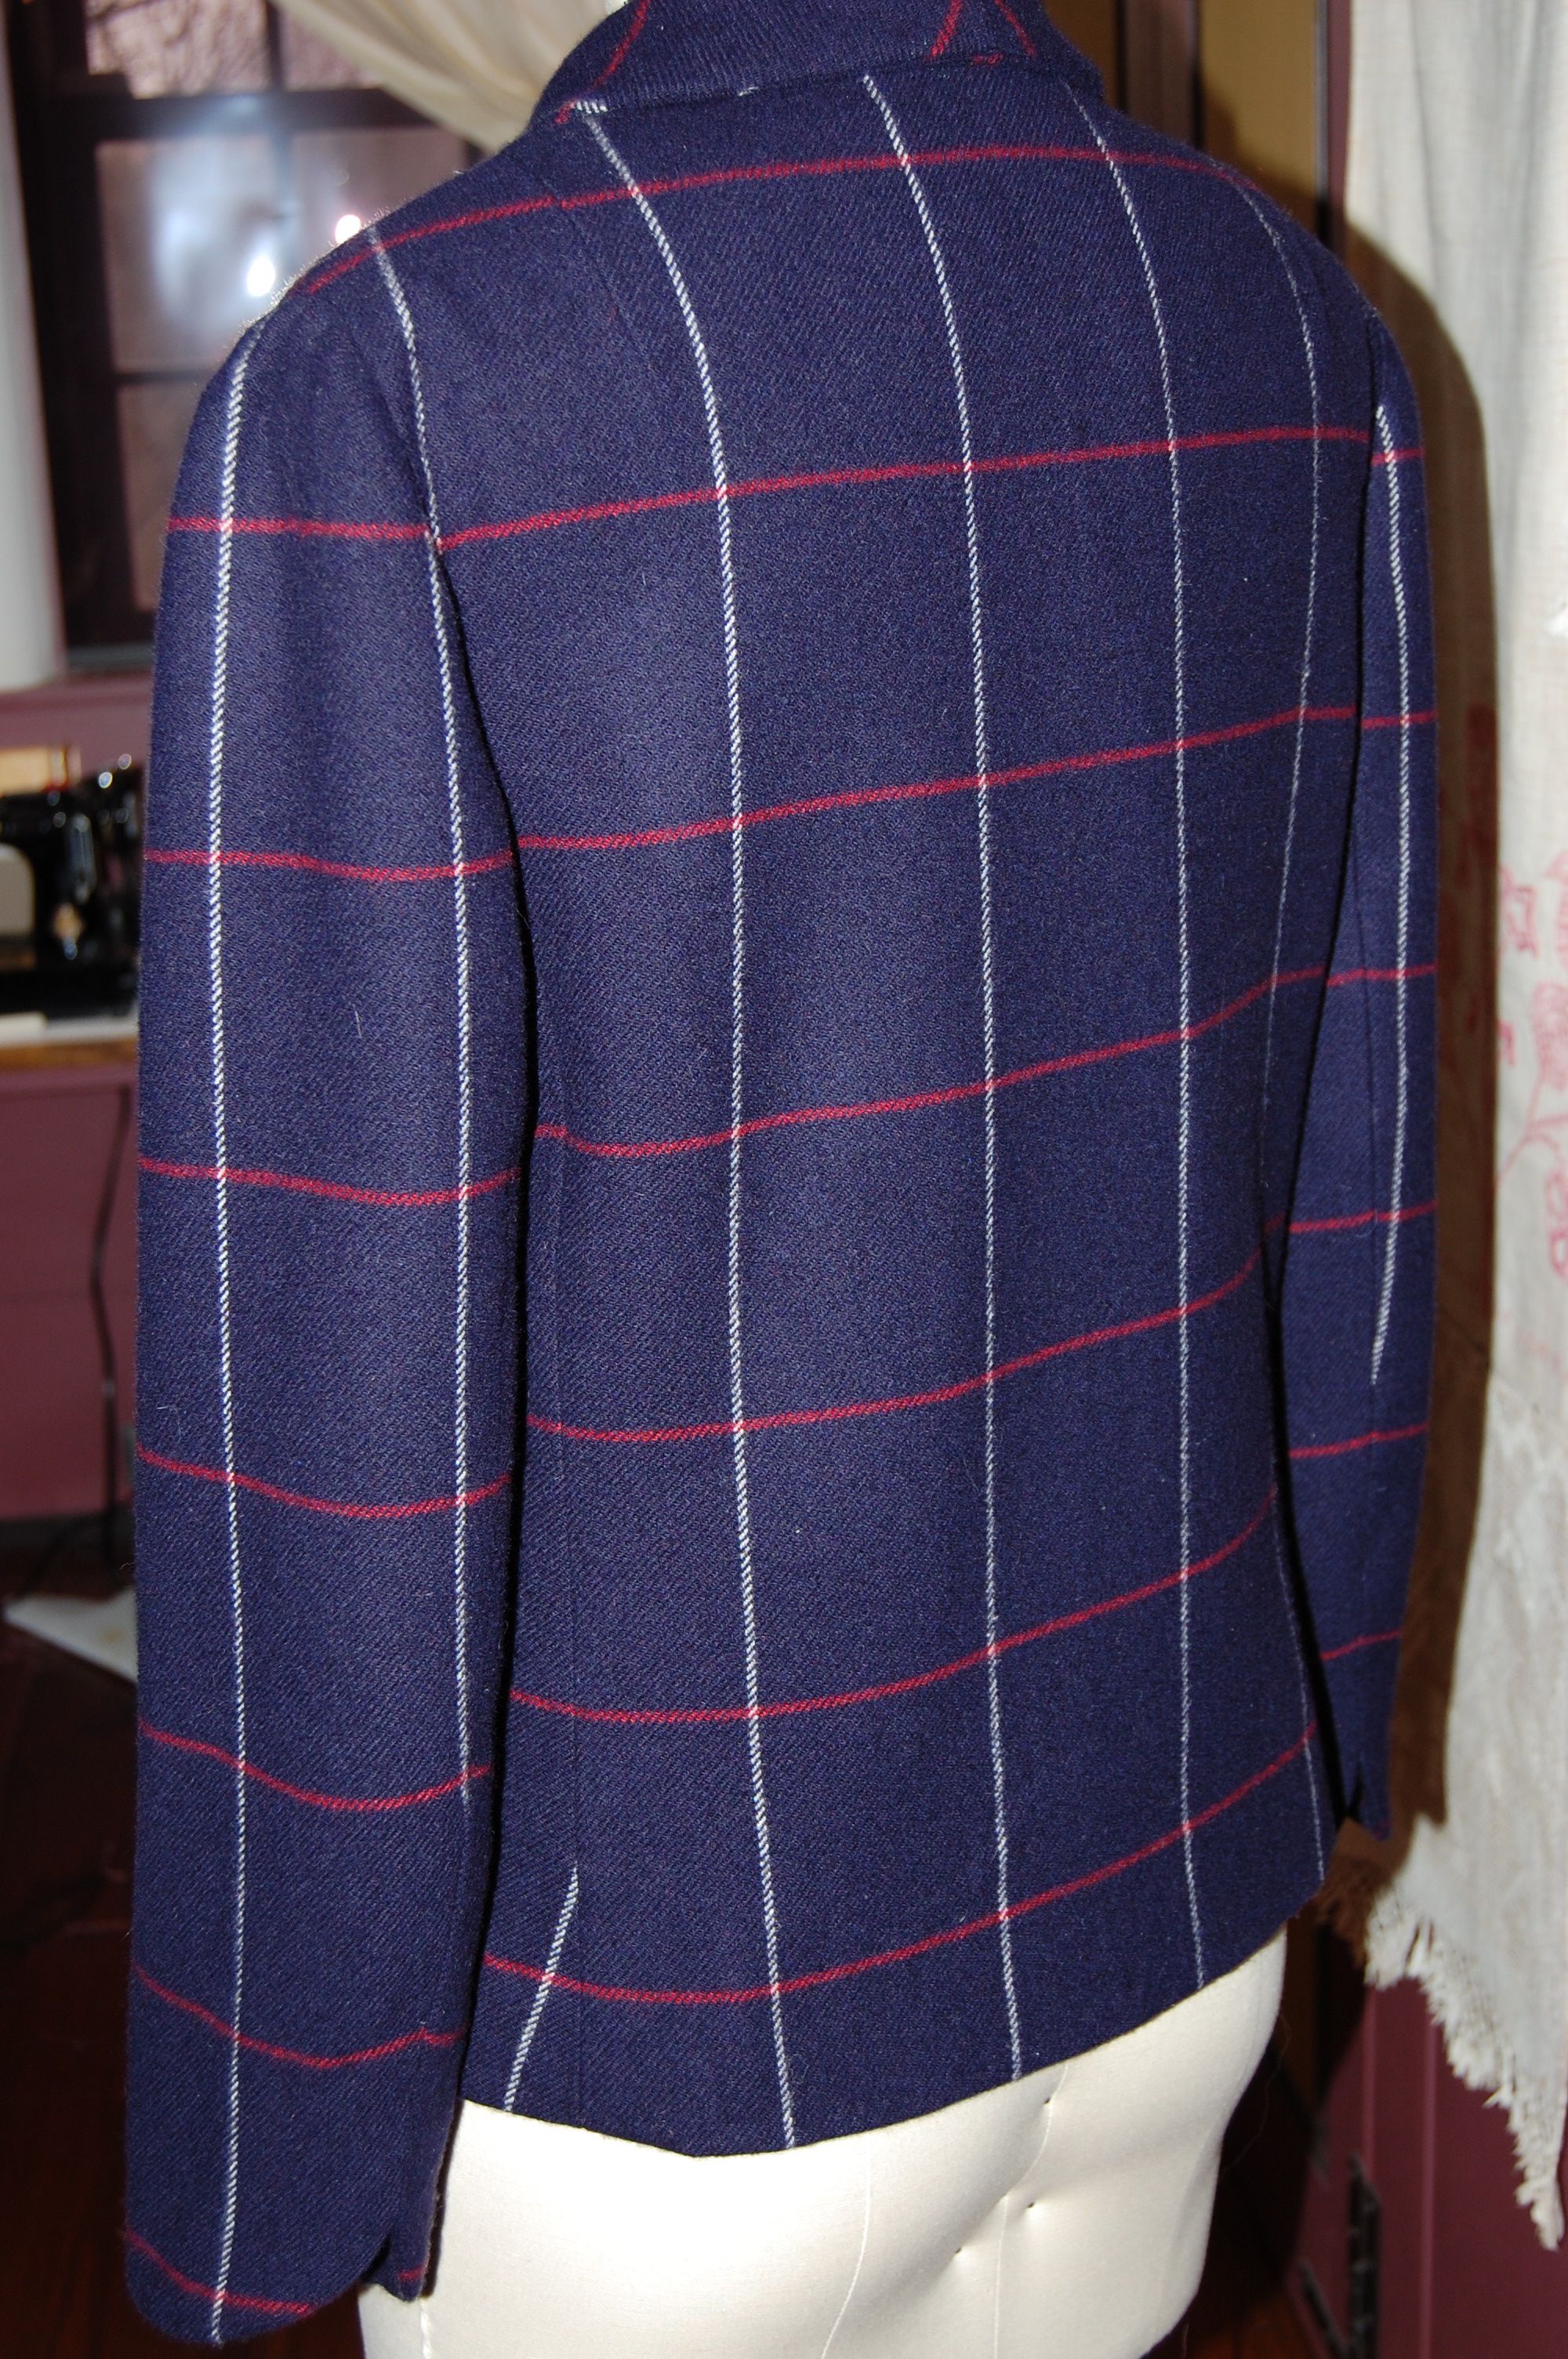 I used a trick I learned from my French Jacket class with Susan Khalje: I added a slight curve to the hem and lengthened it by about a half-inch, graduating it back to the prescribed hemline at the side back seams. I love this graceful detail. I believe it will be especially effective when it is paired with the dress. (This photo also shows that all the hours I spent on the layout, making sure I had matched the plaid, was time well spent!)
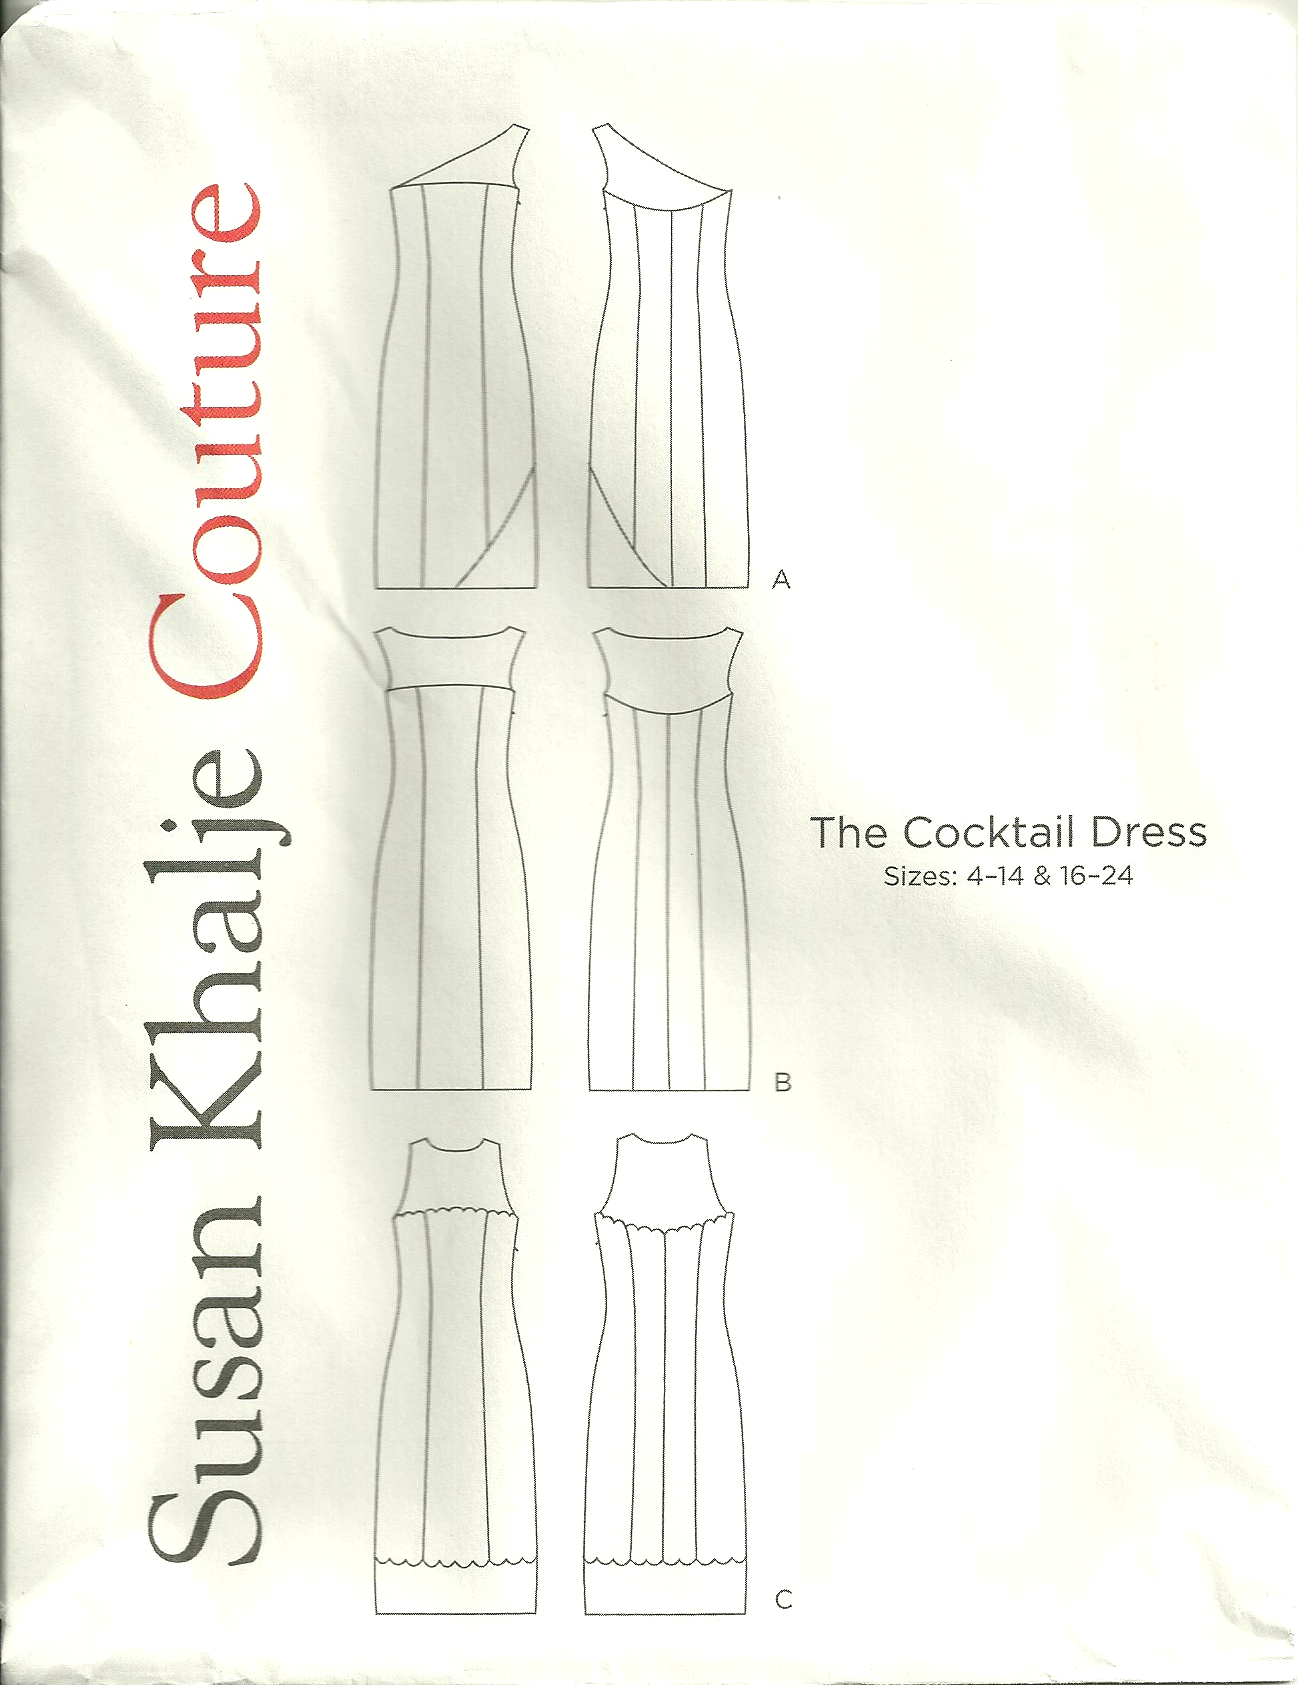
Speaking of the dress (and matching more plaid) . . . I never imagined I wouldn’t have this entire ensemble completed by about now. So – it looks like I’ll still be sewing on wool when Spring arrives. Hopefully by the time Spring departs I will have moved on to something more seasonal!