
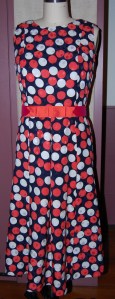
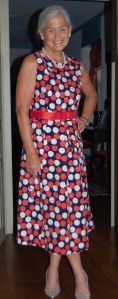
Little did I know when I found this “end-cut” earlier in the year at Mendel Goldberg Fabrics that “classic blue” would be chosen as Pantone’s Color of the Year for 2020. But so it was, which makes my last dress of 2019 the perfect transition into the new year and the new decade.
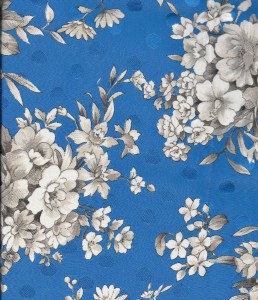
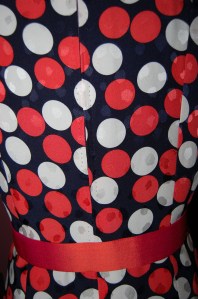
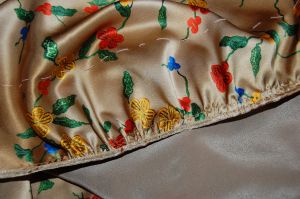
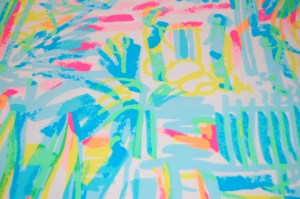
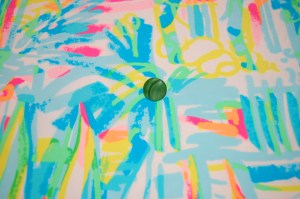
This an Italian silk charmeuse, in a dotted and printed jacquard.
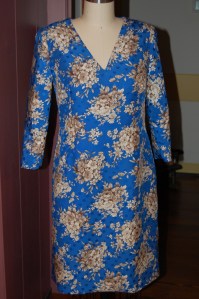
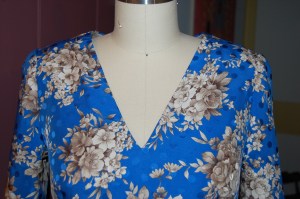
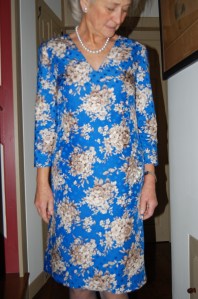
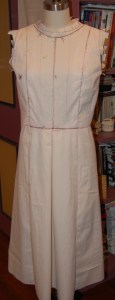
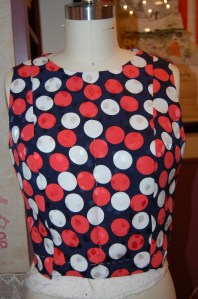
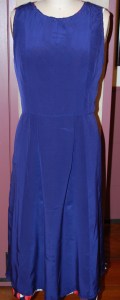
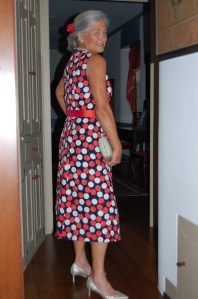
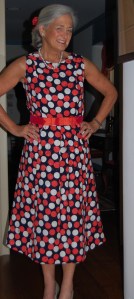
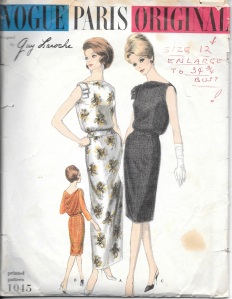
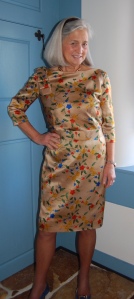
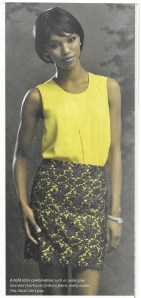
I am one of those people who rarely goes looking for a particular fabric. I think fabrics find me and when this fabric found me, I really had no plan for what I would make out of it. But as soon as it arrived, I knew immediately I wanted a sheath dress with three-quarter length sleeves and a V-neck. I tucked it away, happy with the thought of making this dress, and knowing I had the perfect pattern to make it a reality.
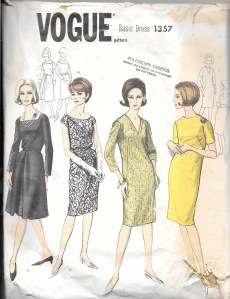
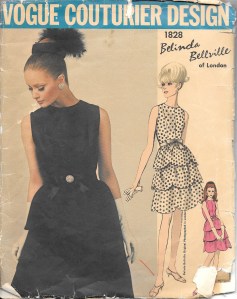
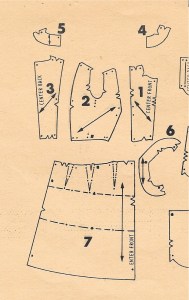
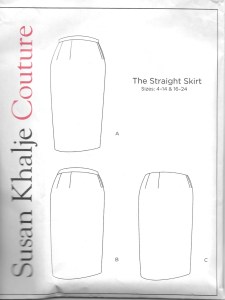
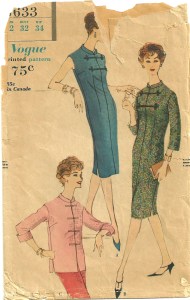
View C, of course! And look at those lovely shaping darts.
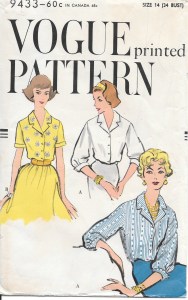
This Vogue pattern is from the early 1960s, a little tattered and worn, but very versatile and beautifully engineered.
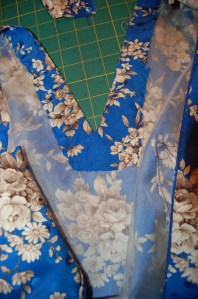
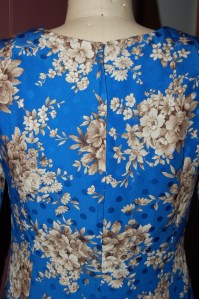
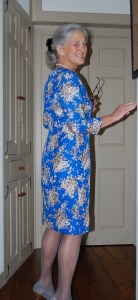
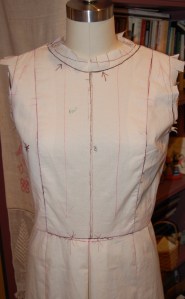
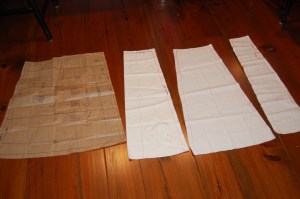
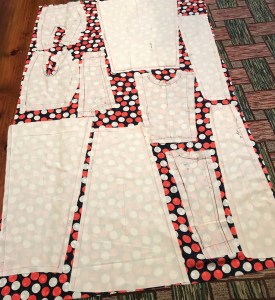
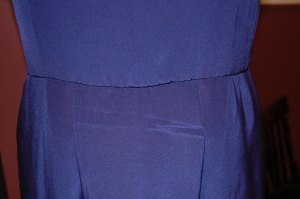
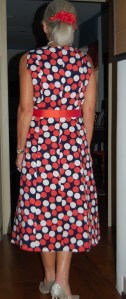
After finishing my granddaughters’ December dresses, and then my pink Parisian Jacket, and then some cute little flannel blouses for gifts for my little girls, I envisioned finishing this dress to wear to holiday parties. What was I thinking? First of all, after tweaking the pattern one last time (I had had the pattern fitted a couple of years ago while in a class with Susan Khalje), it took two full days – yes, TWO – to figure out how in the world to lay out my pattern pieces. Truth be told, I really did not have enough fabric. I should have reconsidered, but I am stubborn and tenacious when it comes to my sewing “visions.” I finally decided that I could exactly match the print on the back center seam and make it sleeveless – OR I could have sleeves and not match the back. I really, really wanted sleeves. It had to have sleeves. So I did the best I could with making the back seam look okay, and I got my sleeves.
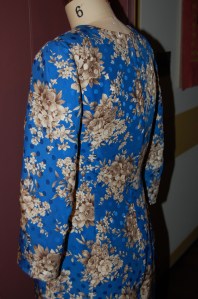
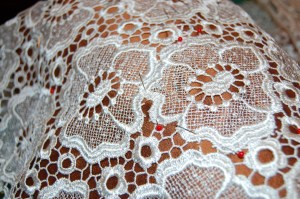
Fortunately the all-over placement of the floral motifs lent itself to imprecise matching better than many fabrics would.
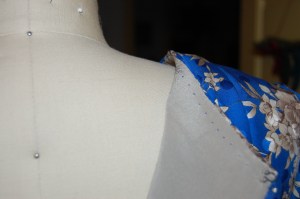
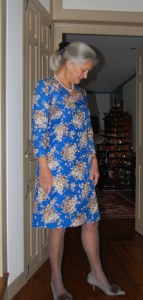
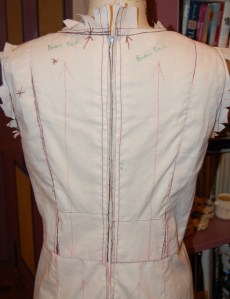
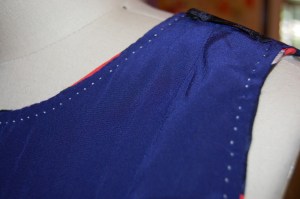
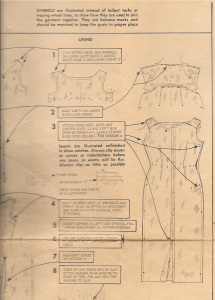
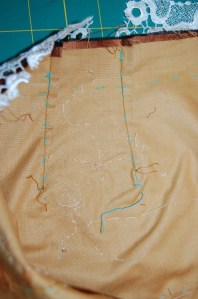
And what lovely sleeves they are! When Susan fitted the pattern, she elongated the top curve of the sleeve to accommodate my prominent shoulders. She also added a dart at the shoulder of the sleeve (actually slightly forward from the marked shoulder of the pattern to accommodate the roll of my shoulders). I added a slight amount to the width of the sleeve, about 3/8”. I have found these vintage patterns are often narrow in the sleeves.
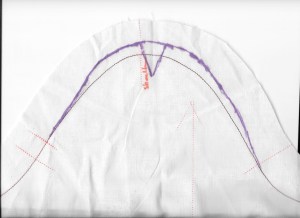
The purple lines are the changes to the muslin.
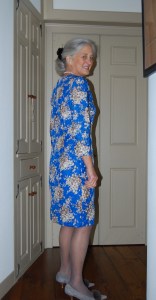
The double elbow darts in the sleeves make a lovely fit and are placed precisely where they should be.
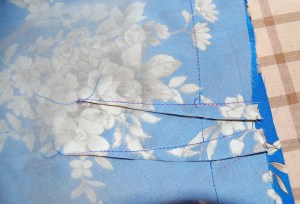
It’s a little difficult to see the double darts, but they are there!
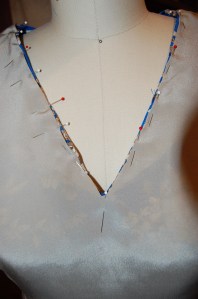
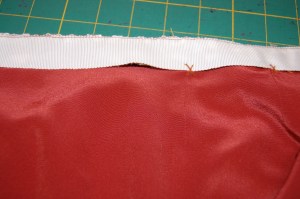
When it came to the V-neck, I knew I would need to use a facing of some sort, but I did not have enough fabric to cut a full facing. So – I cut a partial facing instead, just enough to be able to turn the V and have it stable. (The first thing I did when I started sewing the dress, was to reinforce that neckline with a strip of silk organza selvedge.) Well, this worked like a charm, much to my delight.
The partial facing extends up from the bottom of the V about 2.5 inches, and then the turned- back seam allowance takes over.
Then I brought the lining fabric right to the edge of the neckline and understitched it to secure it in place, just as you would expect a couture dress to be finished.
I chose a “mushroom” colored crepe de chine for my lining. Blues are very difficult to match as you know, so I decided a contrast color would be best. The lining fabric is from Emma One Sock Fabrics.
I used blue thread for the under stitching.
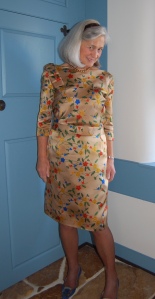
I used a lapped application for the hand-picked zipper. The more I use the lapped insertion for zippers, the more I like it. And I especially like it in a center back seam.
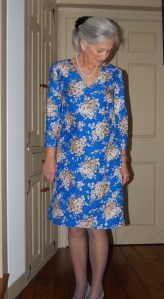

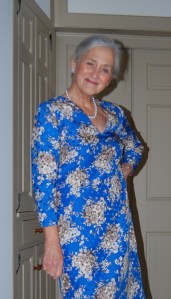
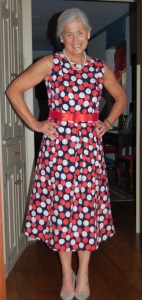
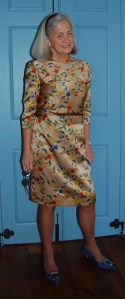
I’m feeling quite pleased with this dress!
There is not much more to say about this blue floral dress, except that it was not finished in time to wear to any holiday event. Which was fine! Once I realized this would be the case, I was able to really enjoy the process of making it. It was a delightful way to end the year – and the decade, which has had such a profound effect on my sewing.

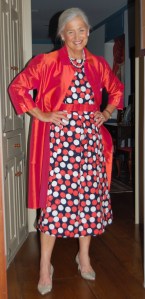


A Three Piece Outfit for the Holidays, Part 3: The Sash
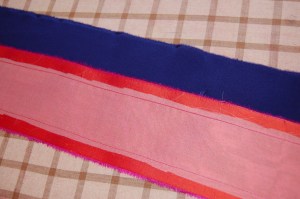
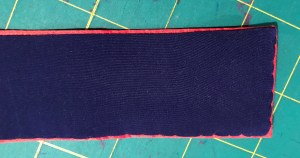
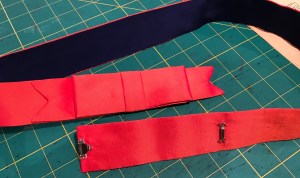
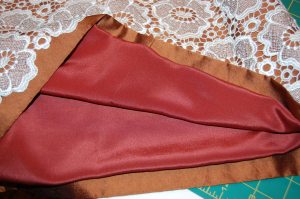
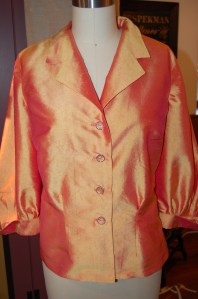
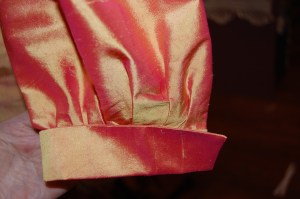
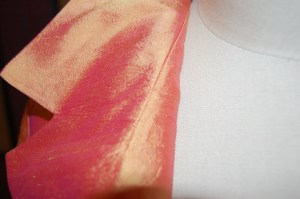
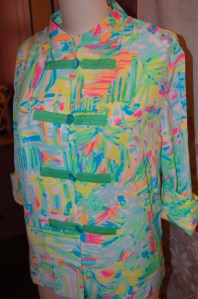
The sash started it all. After finishing this silk taffeta coat last year, I was left with about 1 and ½ yards of that luscious coral fabric.
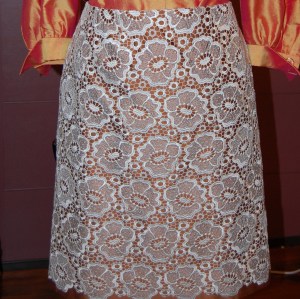
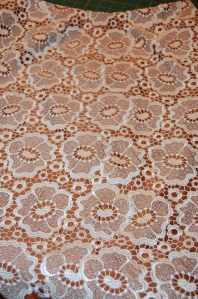
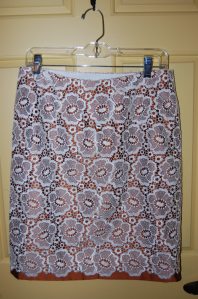
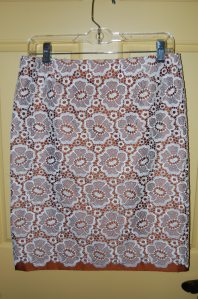
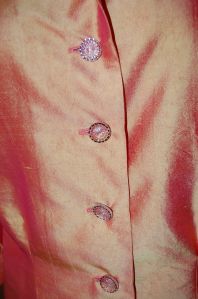
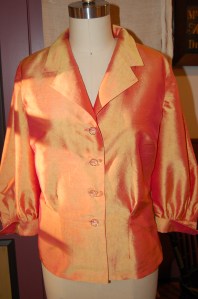
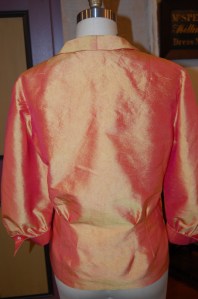
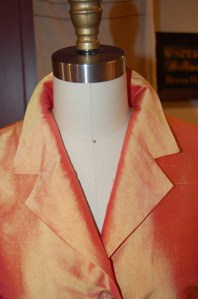
I just could not stand the thought of having that yardage sitting in my fabric closet, unused, as I found it so delightful to sew and to wear. That is when I got the idea to combine this fabric with the Guipure lace, also sharing space in that closet of wonders. However, my first thought was to make a blouse from the fabric and also use it as the fashion fabric for a lace skirt, knowing I would need at least one more yard to accomplish this plan. I contacted Britex Fabrics, from whence the fabric came, and to my dismay, they were sold out, with no more available to special order. Undeterred, I then came up with the idea of coordinating fabrics for the blouse and skirt, and using the coral silk to tie it all together. After receiving swatches of several silks from Britex, I settled on the bronzy brown and the apricot colored fabrics for the skirt and blouse, respectively.
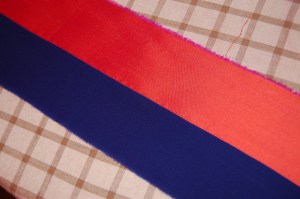
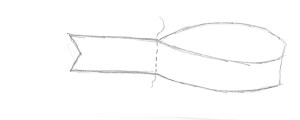
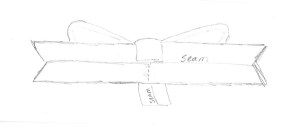
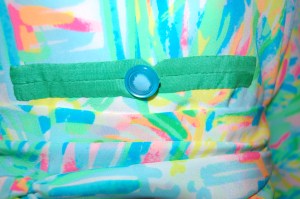
A sash should really be straightforward, right? Well, yes; however, I thought it would be good if the sash had a slight curve to it to follow the curvature over the upper hip. That’s when I went to my closet and pulled out a silk sash that I purchased from J. Crew years ago. I had remembered correctly that it had a slight curve to it:
I often think of the tip in the book 101 Things I Learned in Fashion School, page 86: “When in doubt, look in your closet.” Looking at something that is “Ready to Wear” will often help you with construction methods or design ideas.
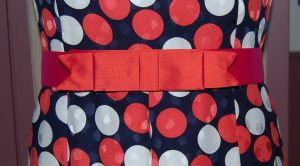
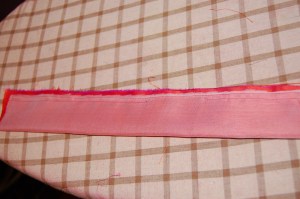
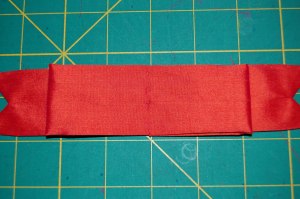
The J. Crew sash is 72 inches long. A trial tying of the bow proved to me that I needed to add more length to the sash if I wanted to tie a full bow at the waist, which was my intent. I determined that adding 12 inches would do the trick. Then I used that sash as a template to make a pattern, not quite knowing how sewing that long, slow curve was going to work (the sash has one long seam on the concave side of the curve, meaning that some give would need to be worked into that seam.) As it turned out, ironing was the trick to get it to behave correctly, as is so often the case!
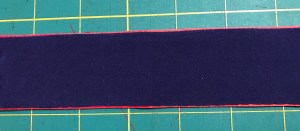
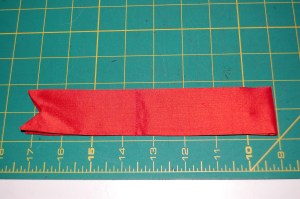
84″ proved to be the perfect length to tie a complete bow.
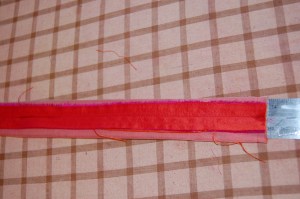
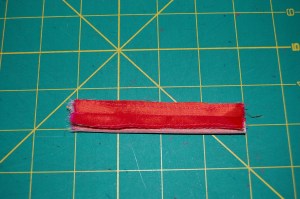
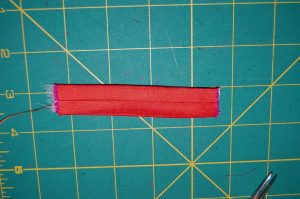
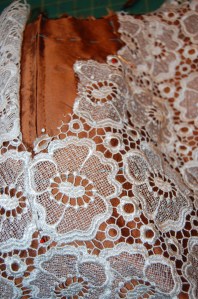
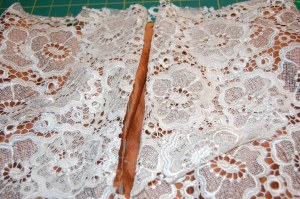
I had to piece the sash in the center back, but I knew that ahead of time and it really does not bother me.
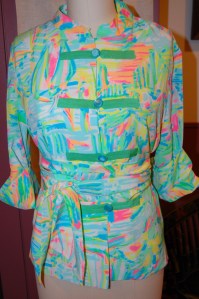
After trying on this completed outfit for the photos, I know that I need to somehow tighten up the interior waist of the skirt (you many recall from my last post, that I added what turned out to be unnecessary width to the circumference of the waist.) My blouse is not going to stay tucked in if I don’t, and the skirt feels like it is drooping on me. I am going to try adding interior waist elastic to straddle the side seams and see if that might do the trick. I am not about to take the skirt apart and remake it! And the sash should help conceal any bobbles in the waistline.
The “concealed zipper.”
It was cold and blustery when I took these photos! I could not wait to get back inside for a cup of hot tea!
Sewing for the holidays is such an anticipatory activity, and one that I love to do. There is already a festive feeling in the air here in late November, and so much more to sew…
28 Comments
Filed under Blouses, Bows as design feature, Fashion commentary, Lace, Silk taffeta, Uncategorized
Tagged as Blouses, Britex Fabrics, fashion sewing, Sashes and bows, silk