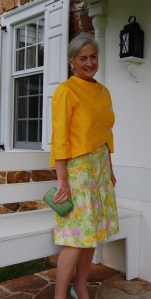
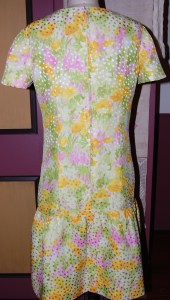
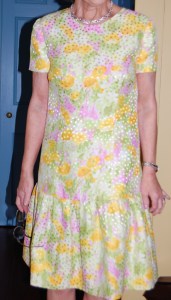
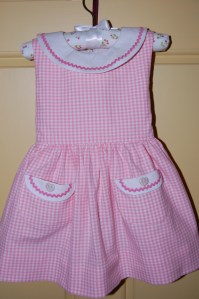
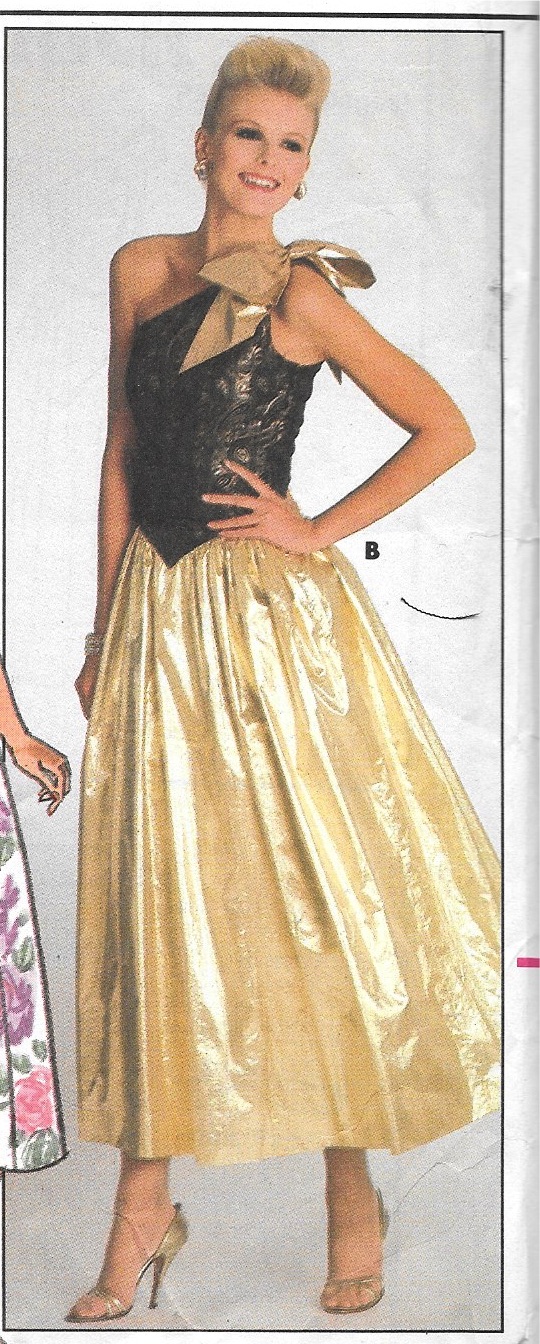
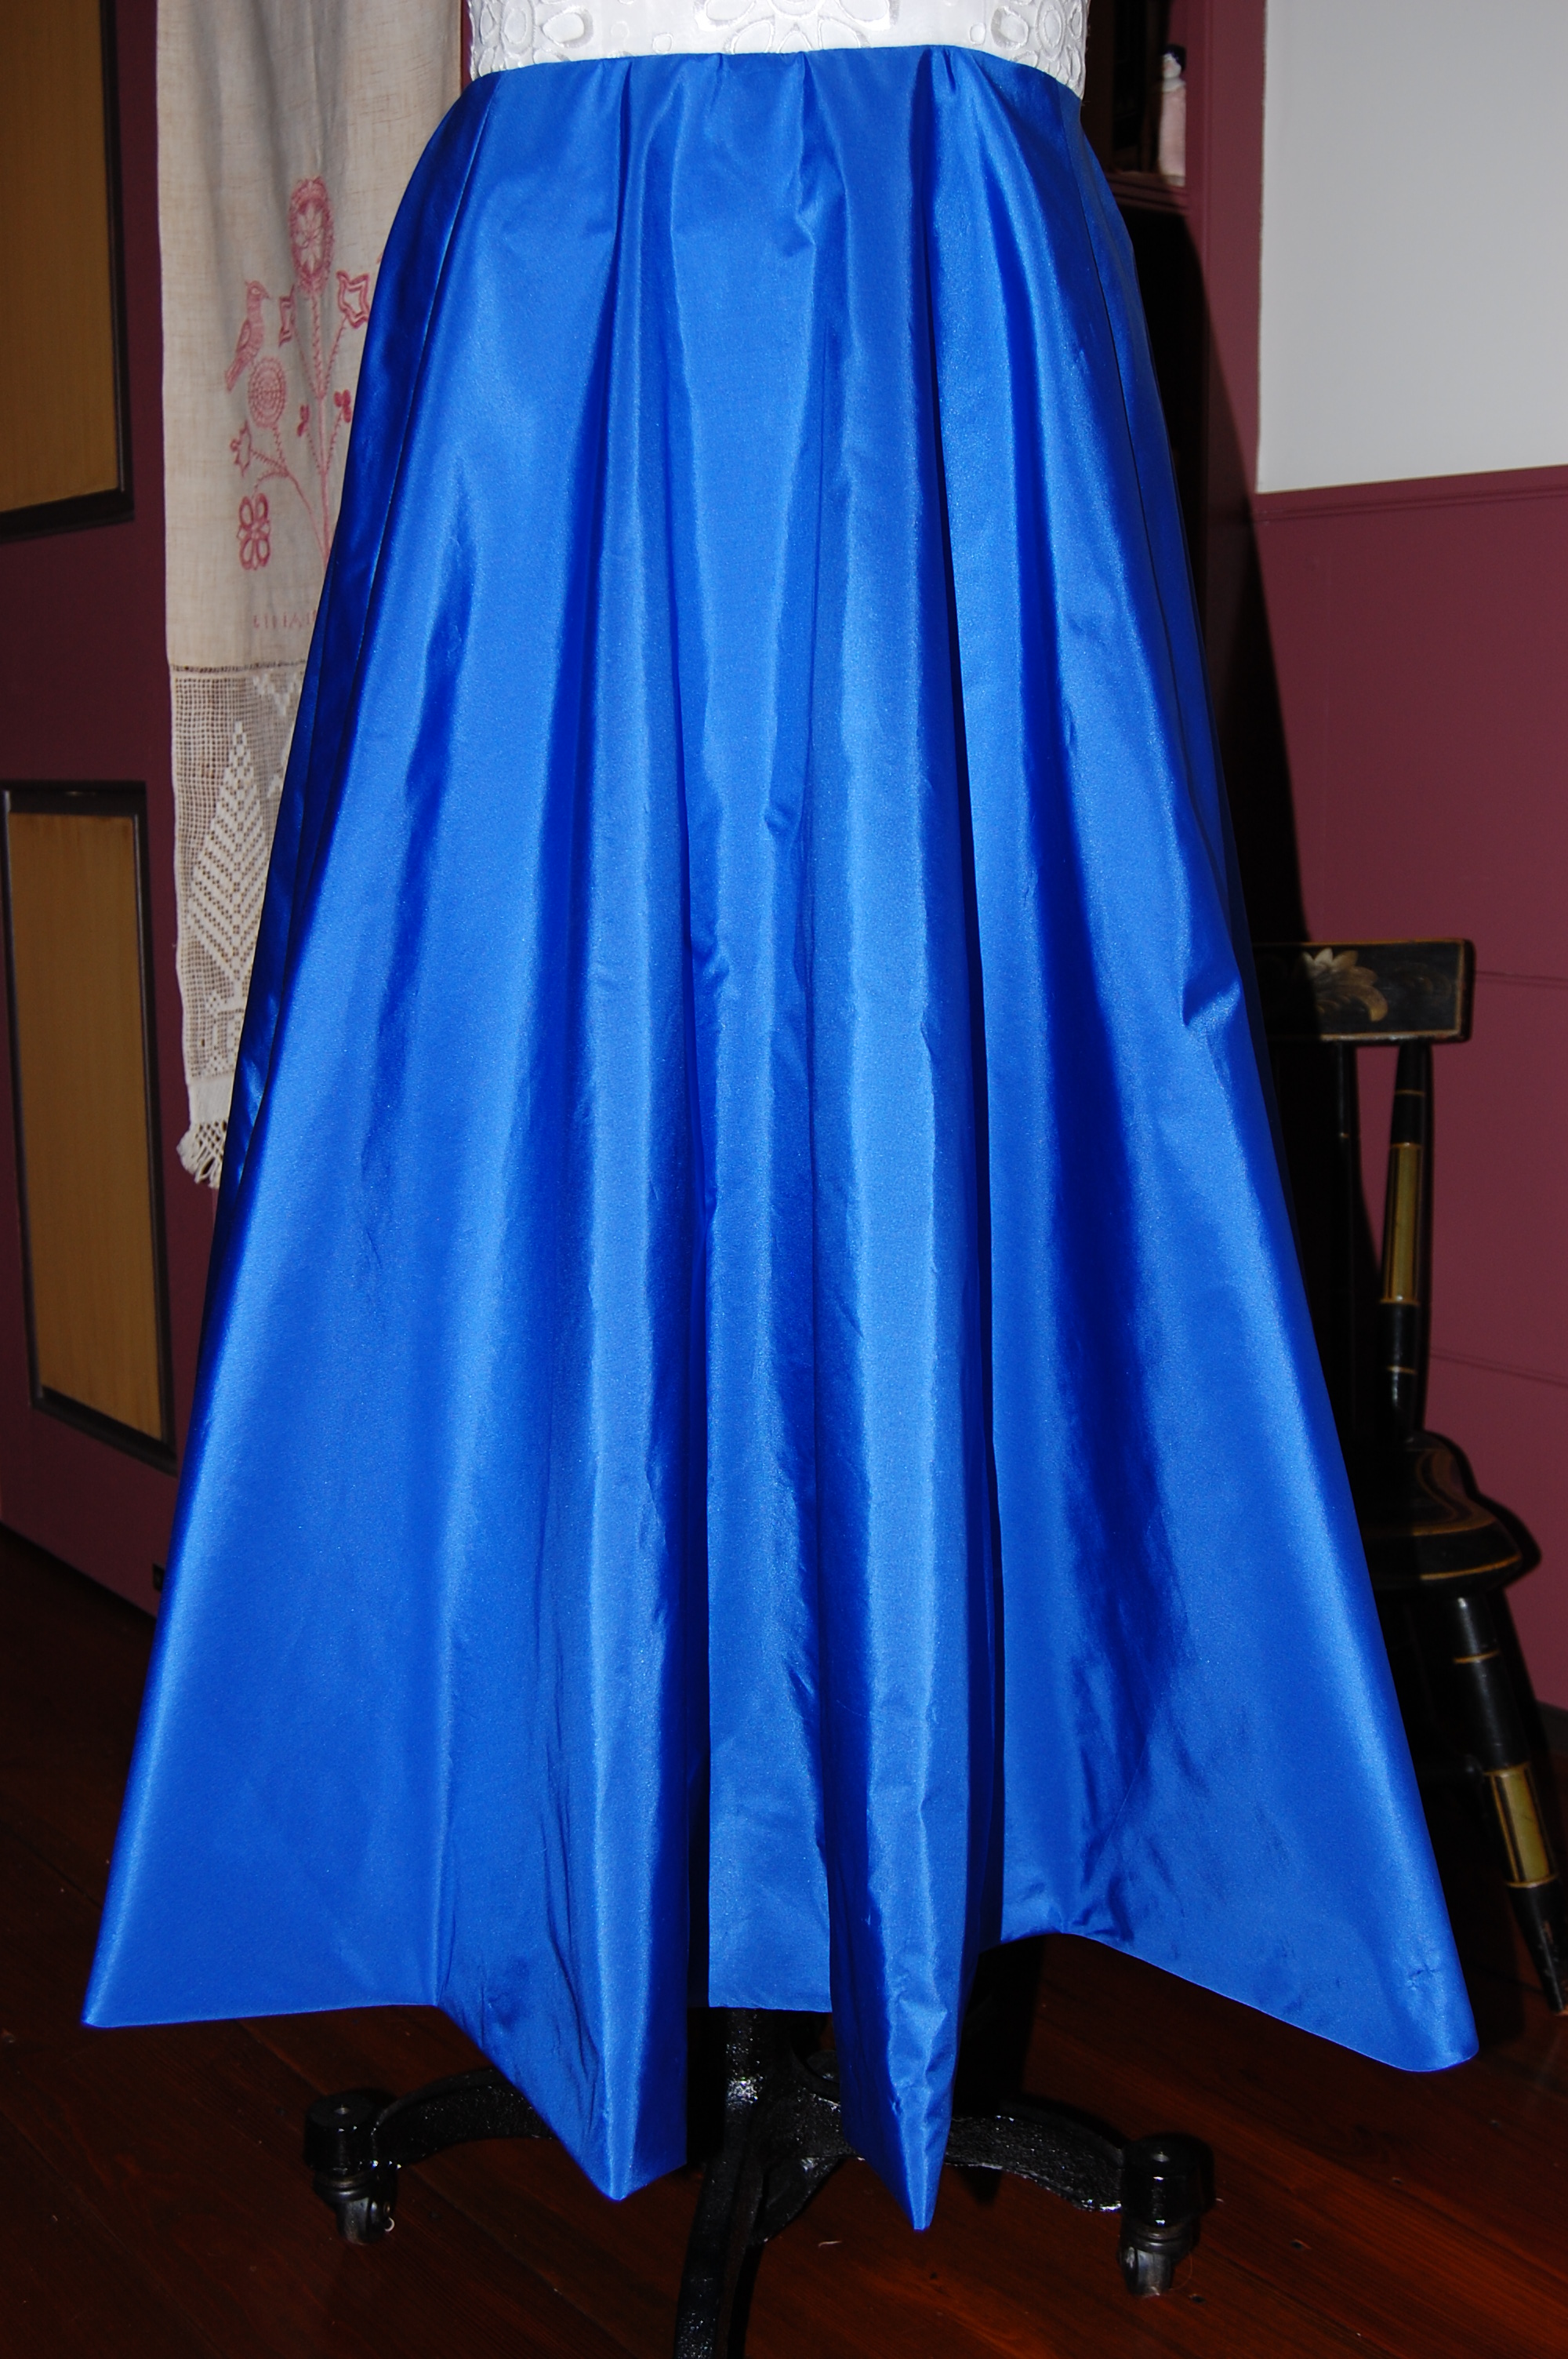
Autumn is a delightful season here in the northeastern part of the United States. One can tell it is on its way when the warm days quickly take on an evening chill once the sun slips below the horizon. It is the time of year when a light coat or sweater is a necessity, especially with a sleeveless dress.
With this scenario, and a September wedding to attend, what better excuse did I need, to make a coat to go with this dress?

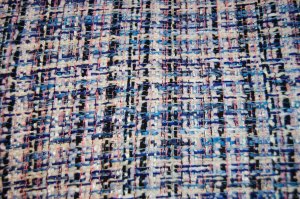
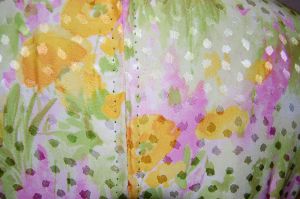
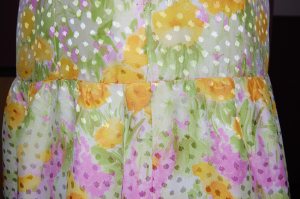
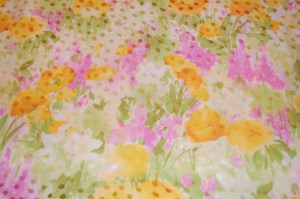
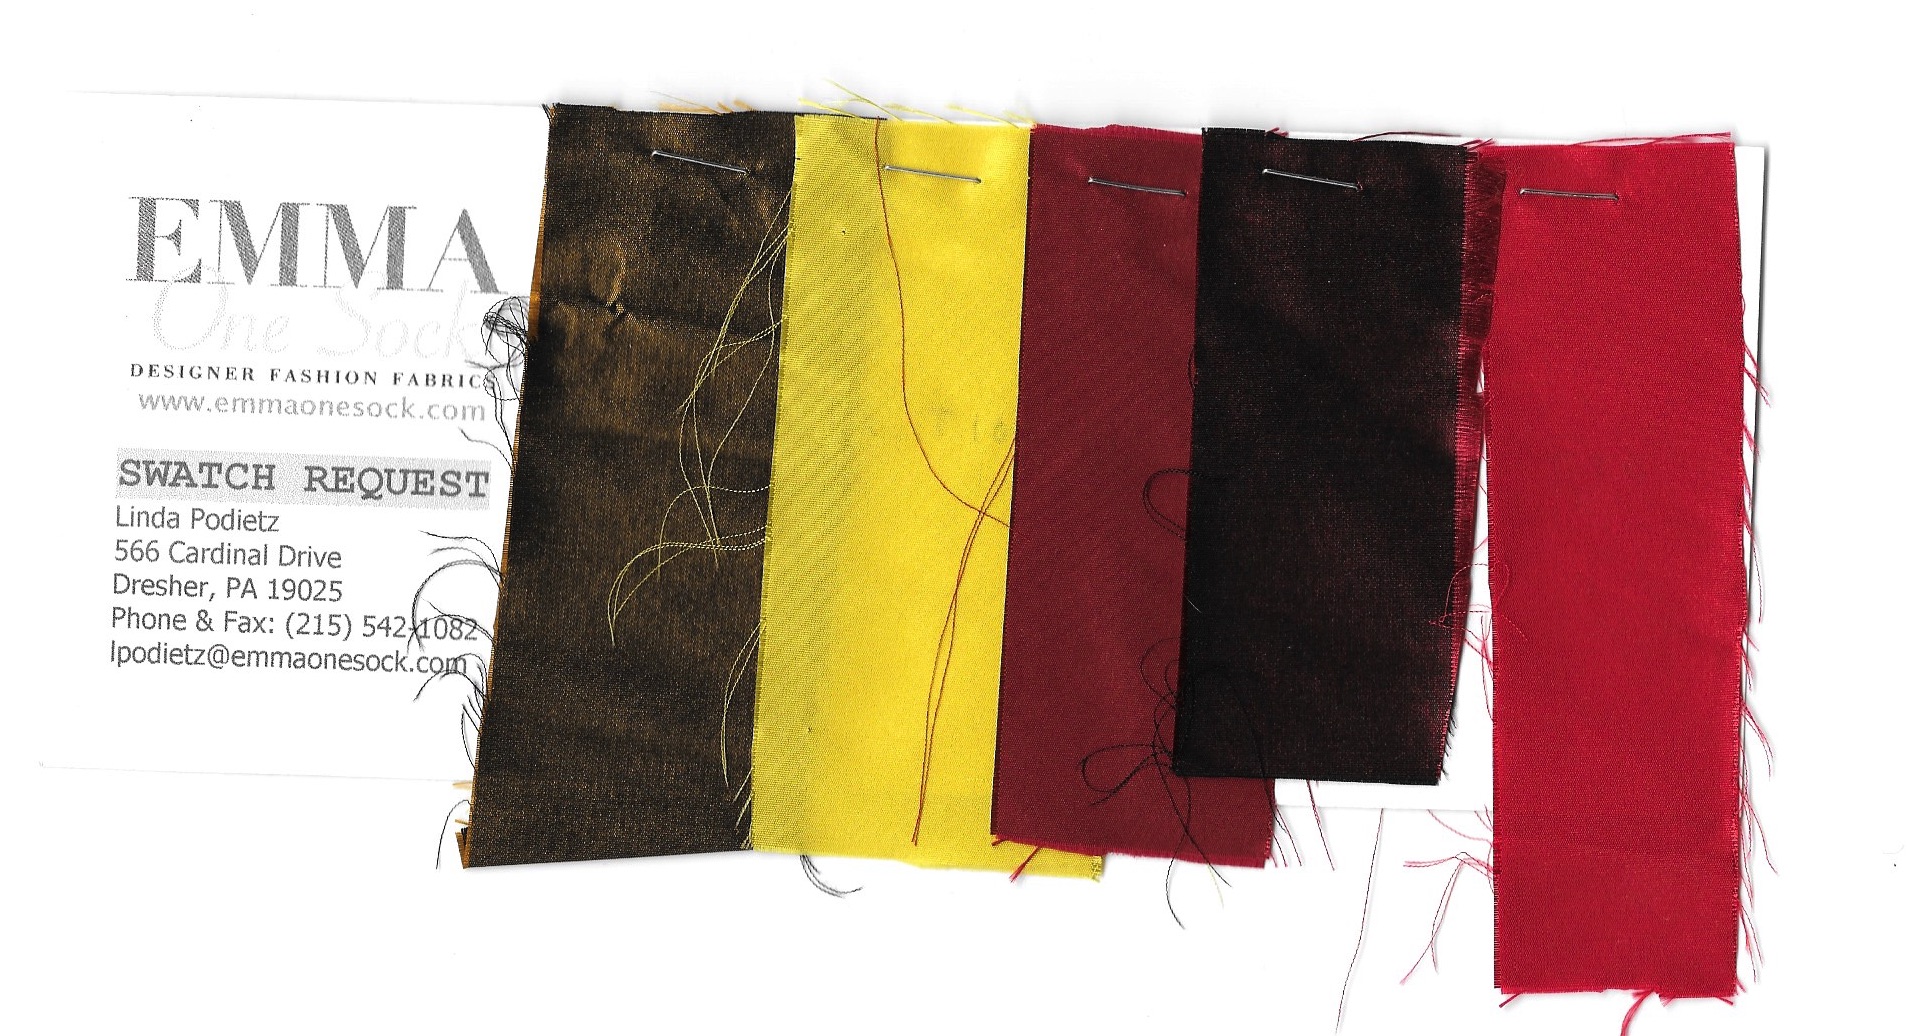
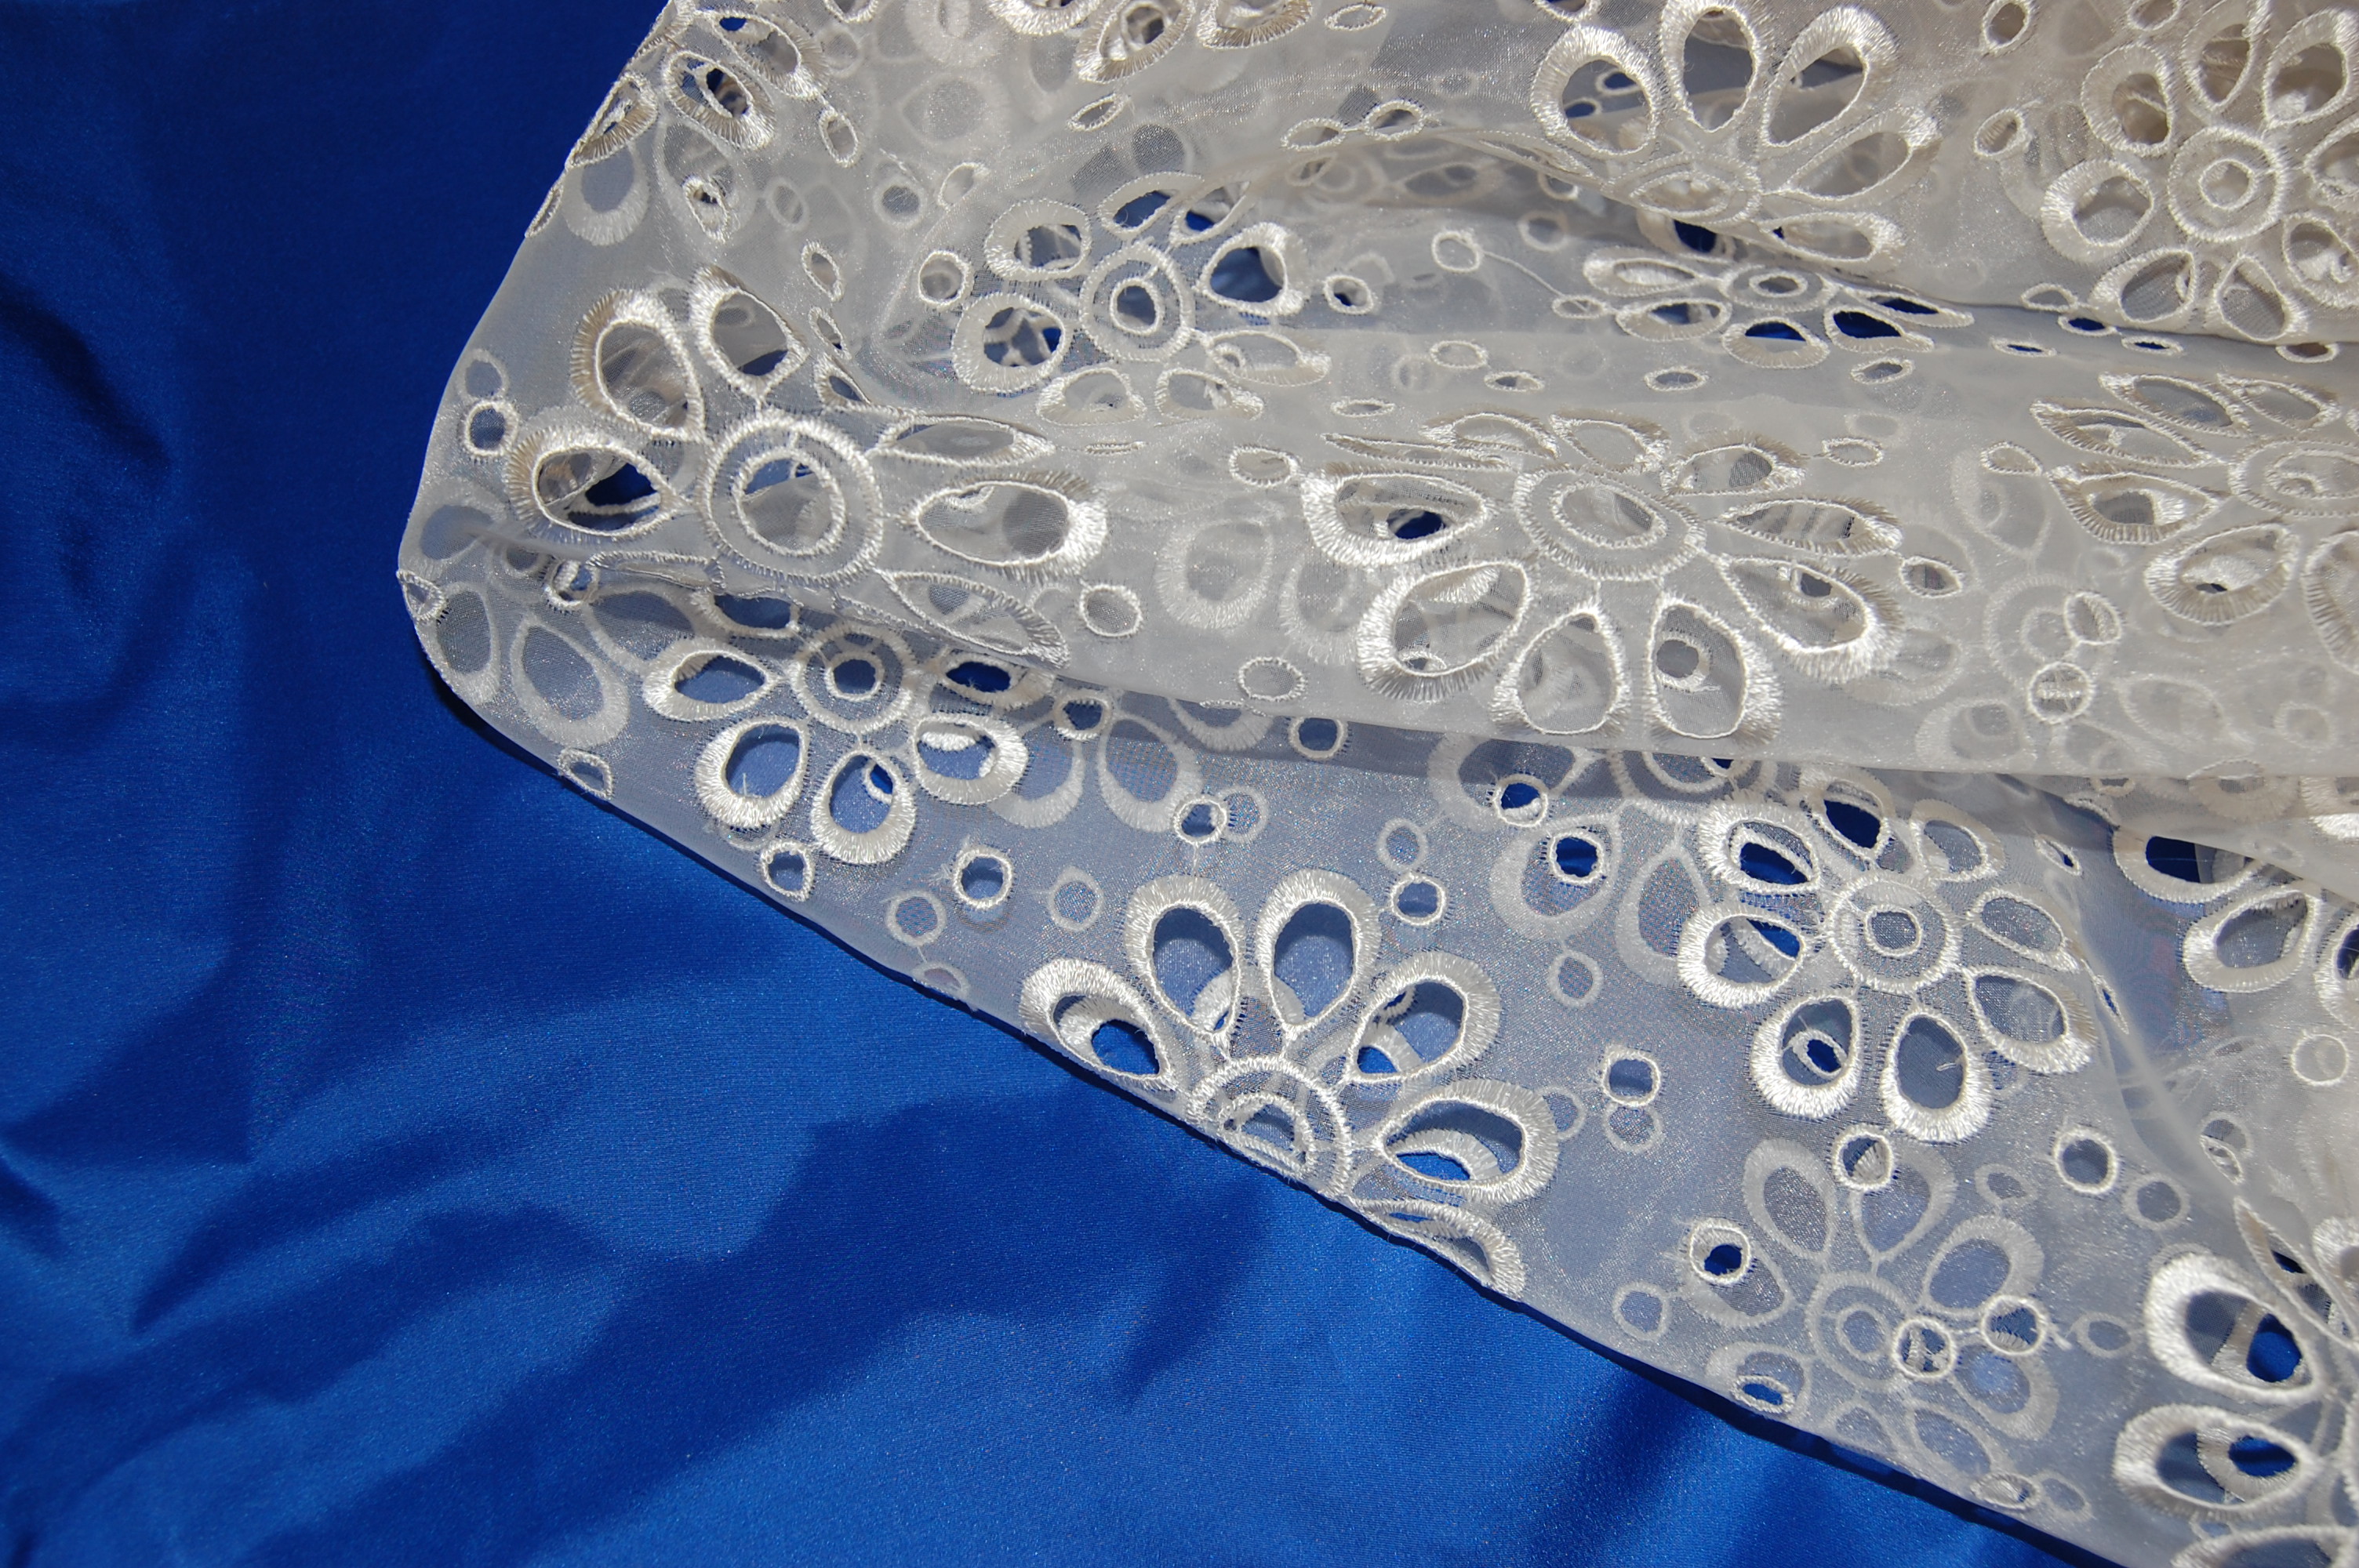
If you follow my blog then you probably already know this was my intention all along, when I made the dress two years ago. But it took a while to find the right coordinating fabric for a coat. I was looking for something between a coral and a pink. While the silk taffeta I found at Britex Fabrics looks more like a deep persimmon color when photographed, the fuchsia pink warp is very apparent when being worn.
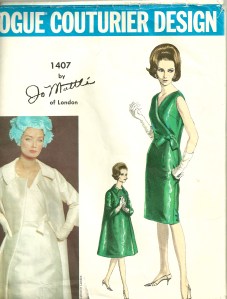
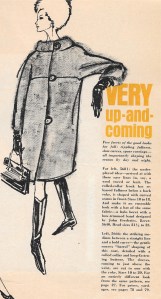
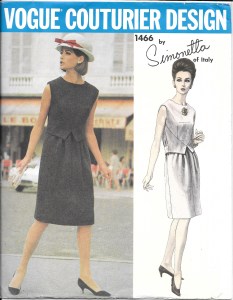
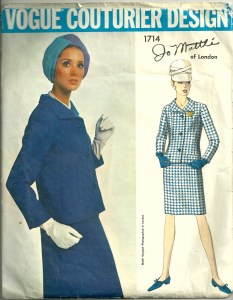
Once I decided the Jo Mattli-designed coat, part of the original dress pattern, was too voluminous, I went to another pattern. I wanted to keep the “intention” of the original coat, but have it more streamlined.
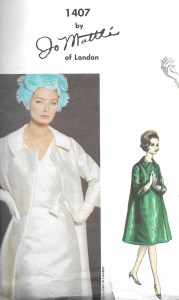
The “original” coat designed by Jo Mattli.
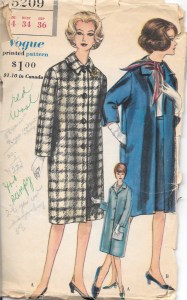
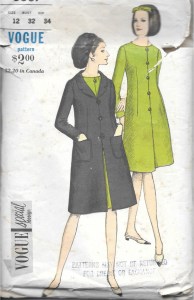
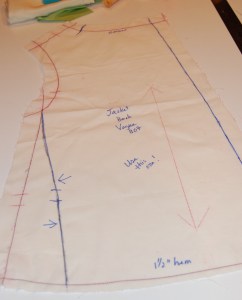
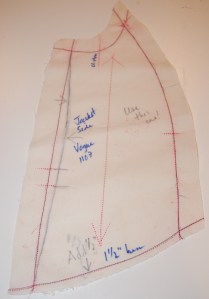
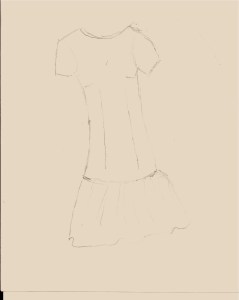
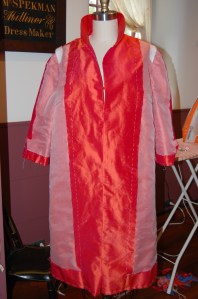
The coat pattern I settled on.
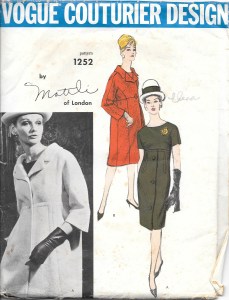
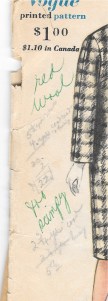
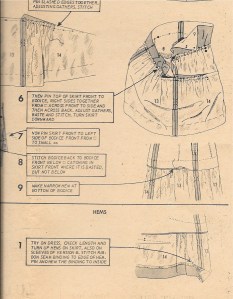
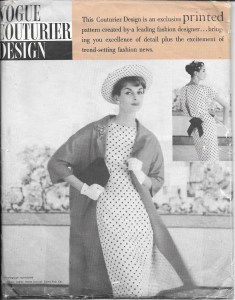
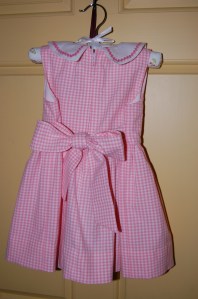
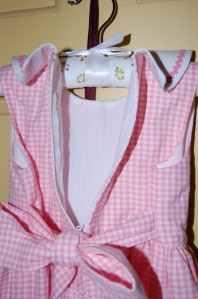
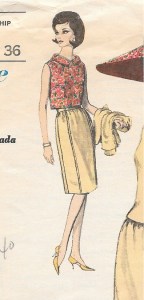
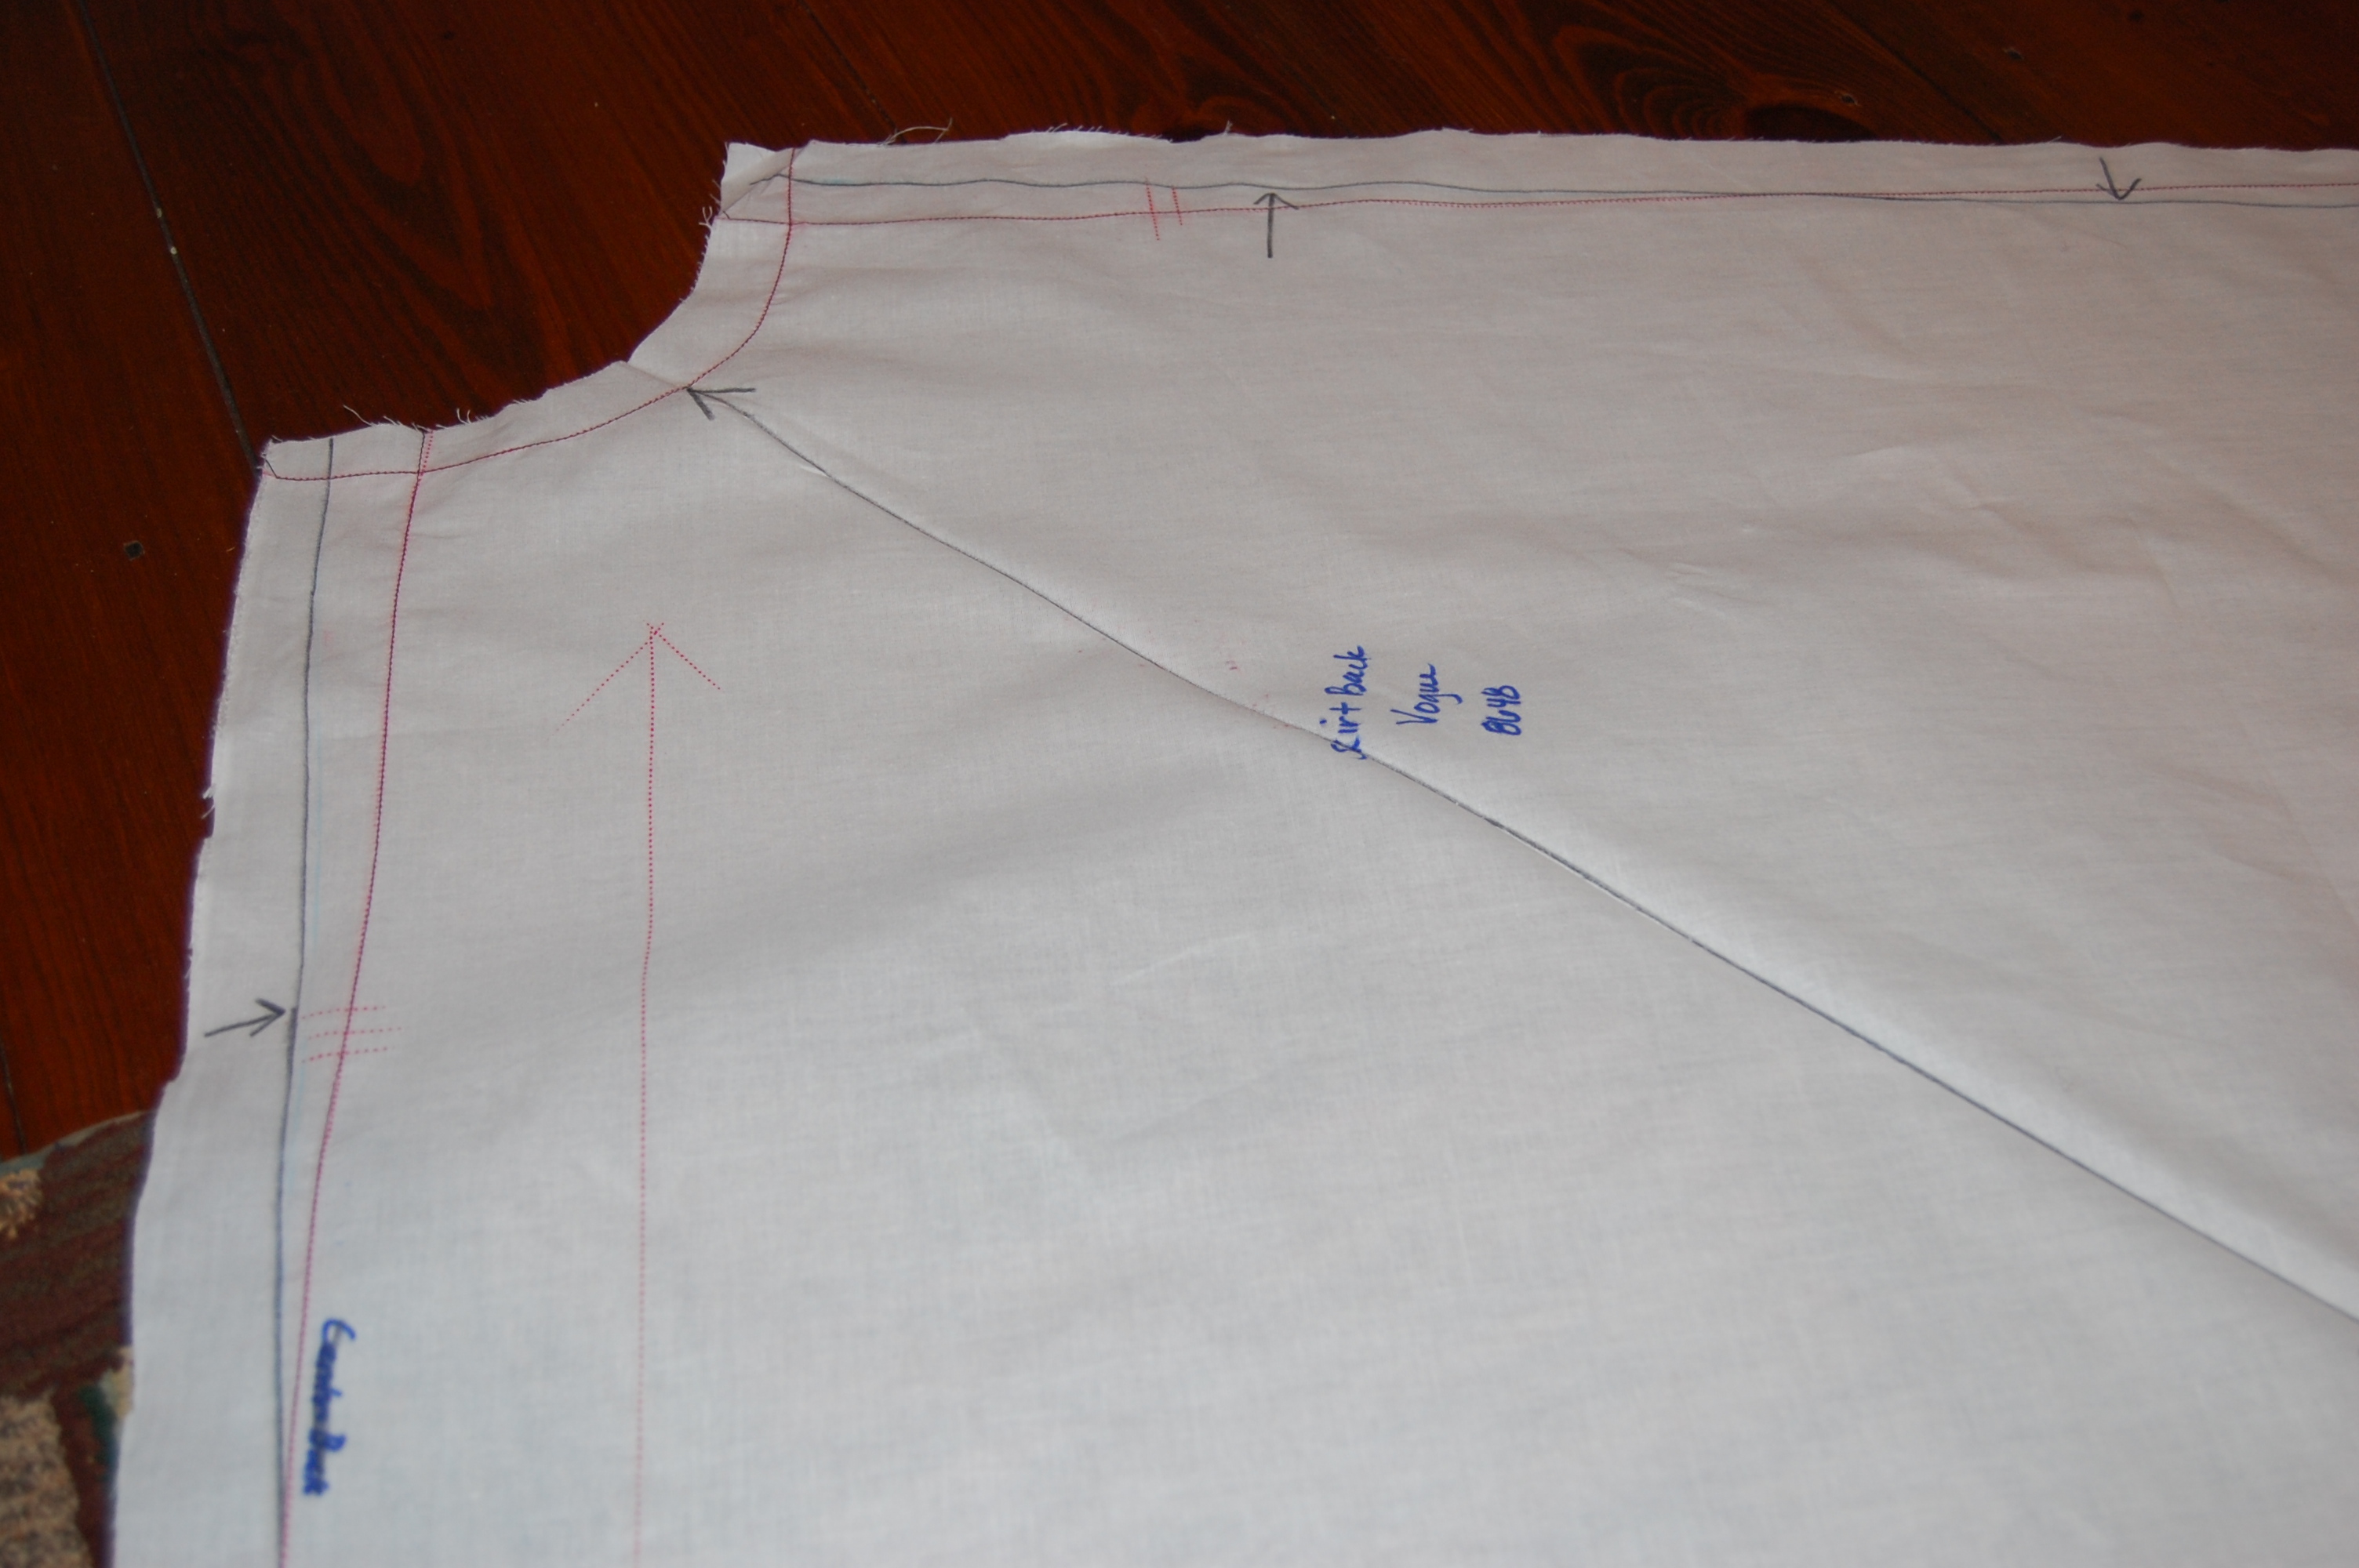
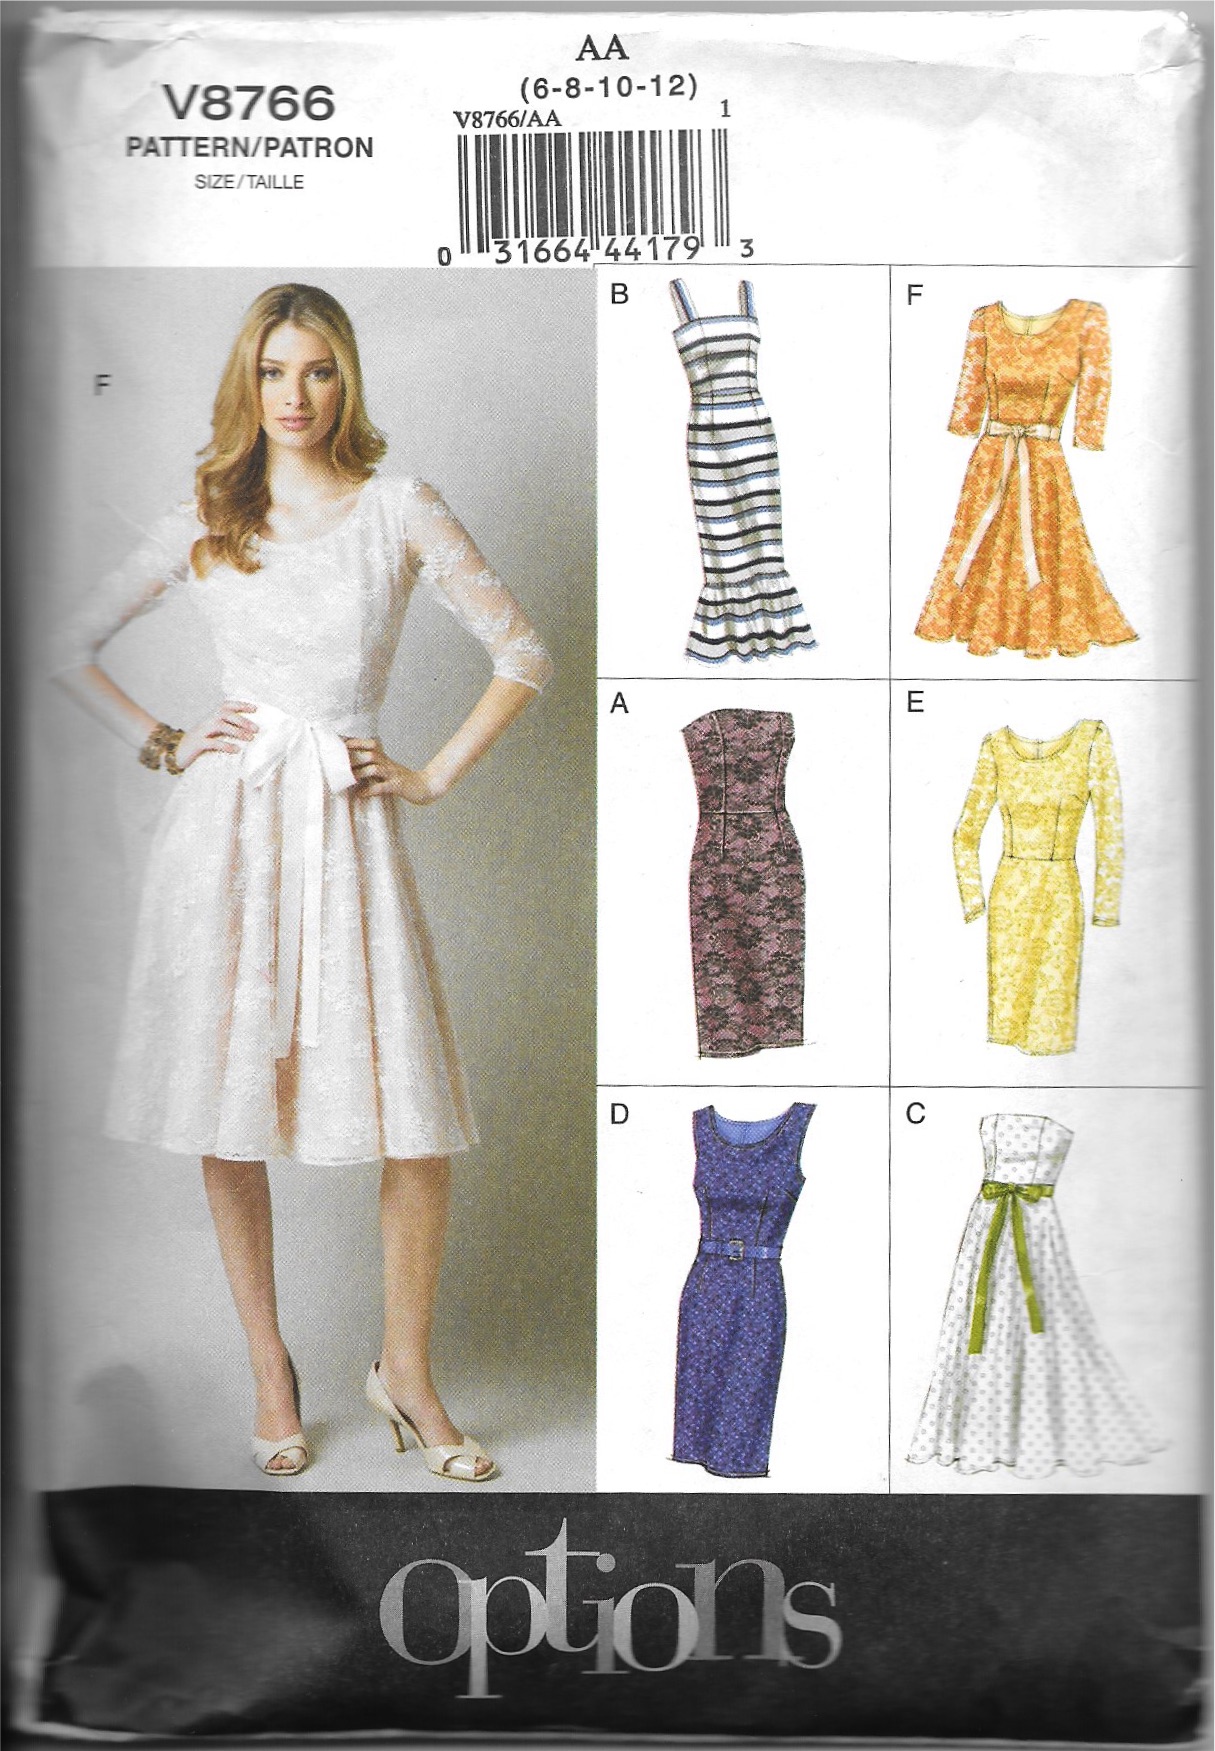
Somehow along the way, in making my muslin, I got the idea to add a curved belt to the back of the coat. I knew I had used a coat pattern several years ago with a curved belt back detail, so I went through my pattern collection to retrieve this:
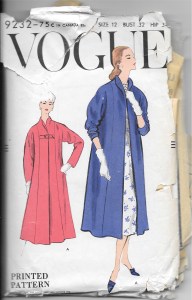
This is a 1957 pattern, but look at the belt shown on the back of the envelope, below.

The belt is only shown in view A.
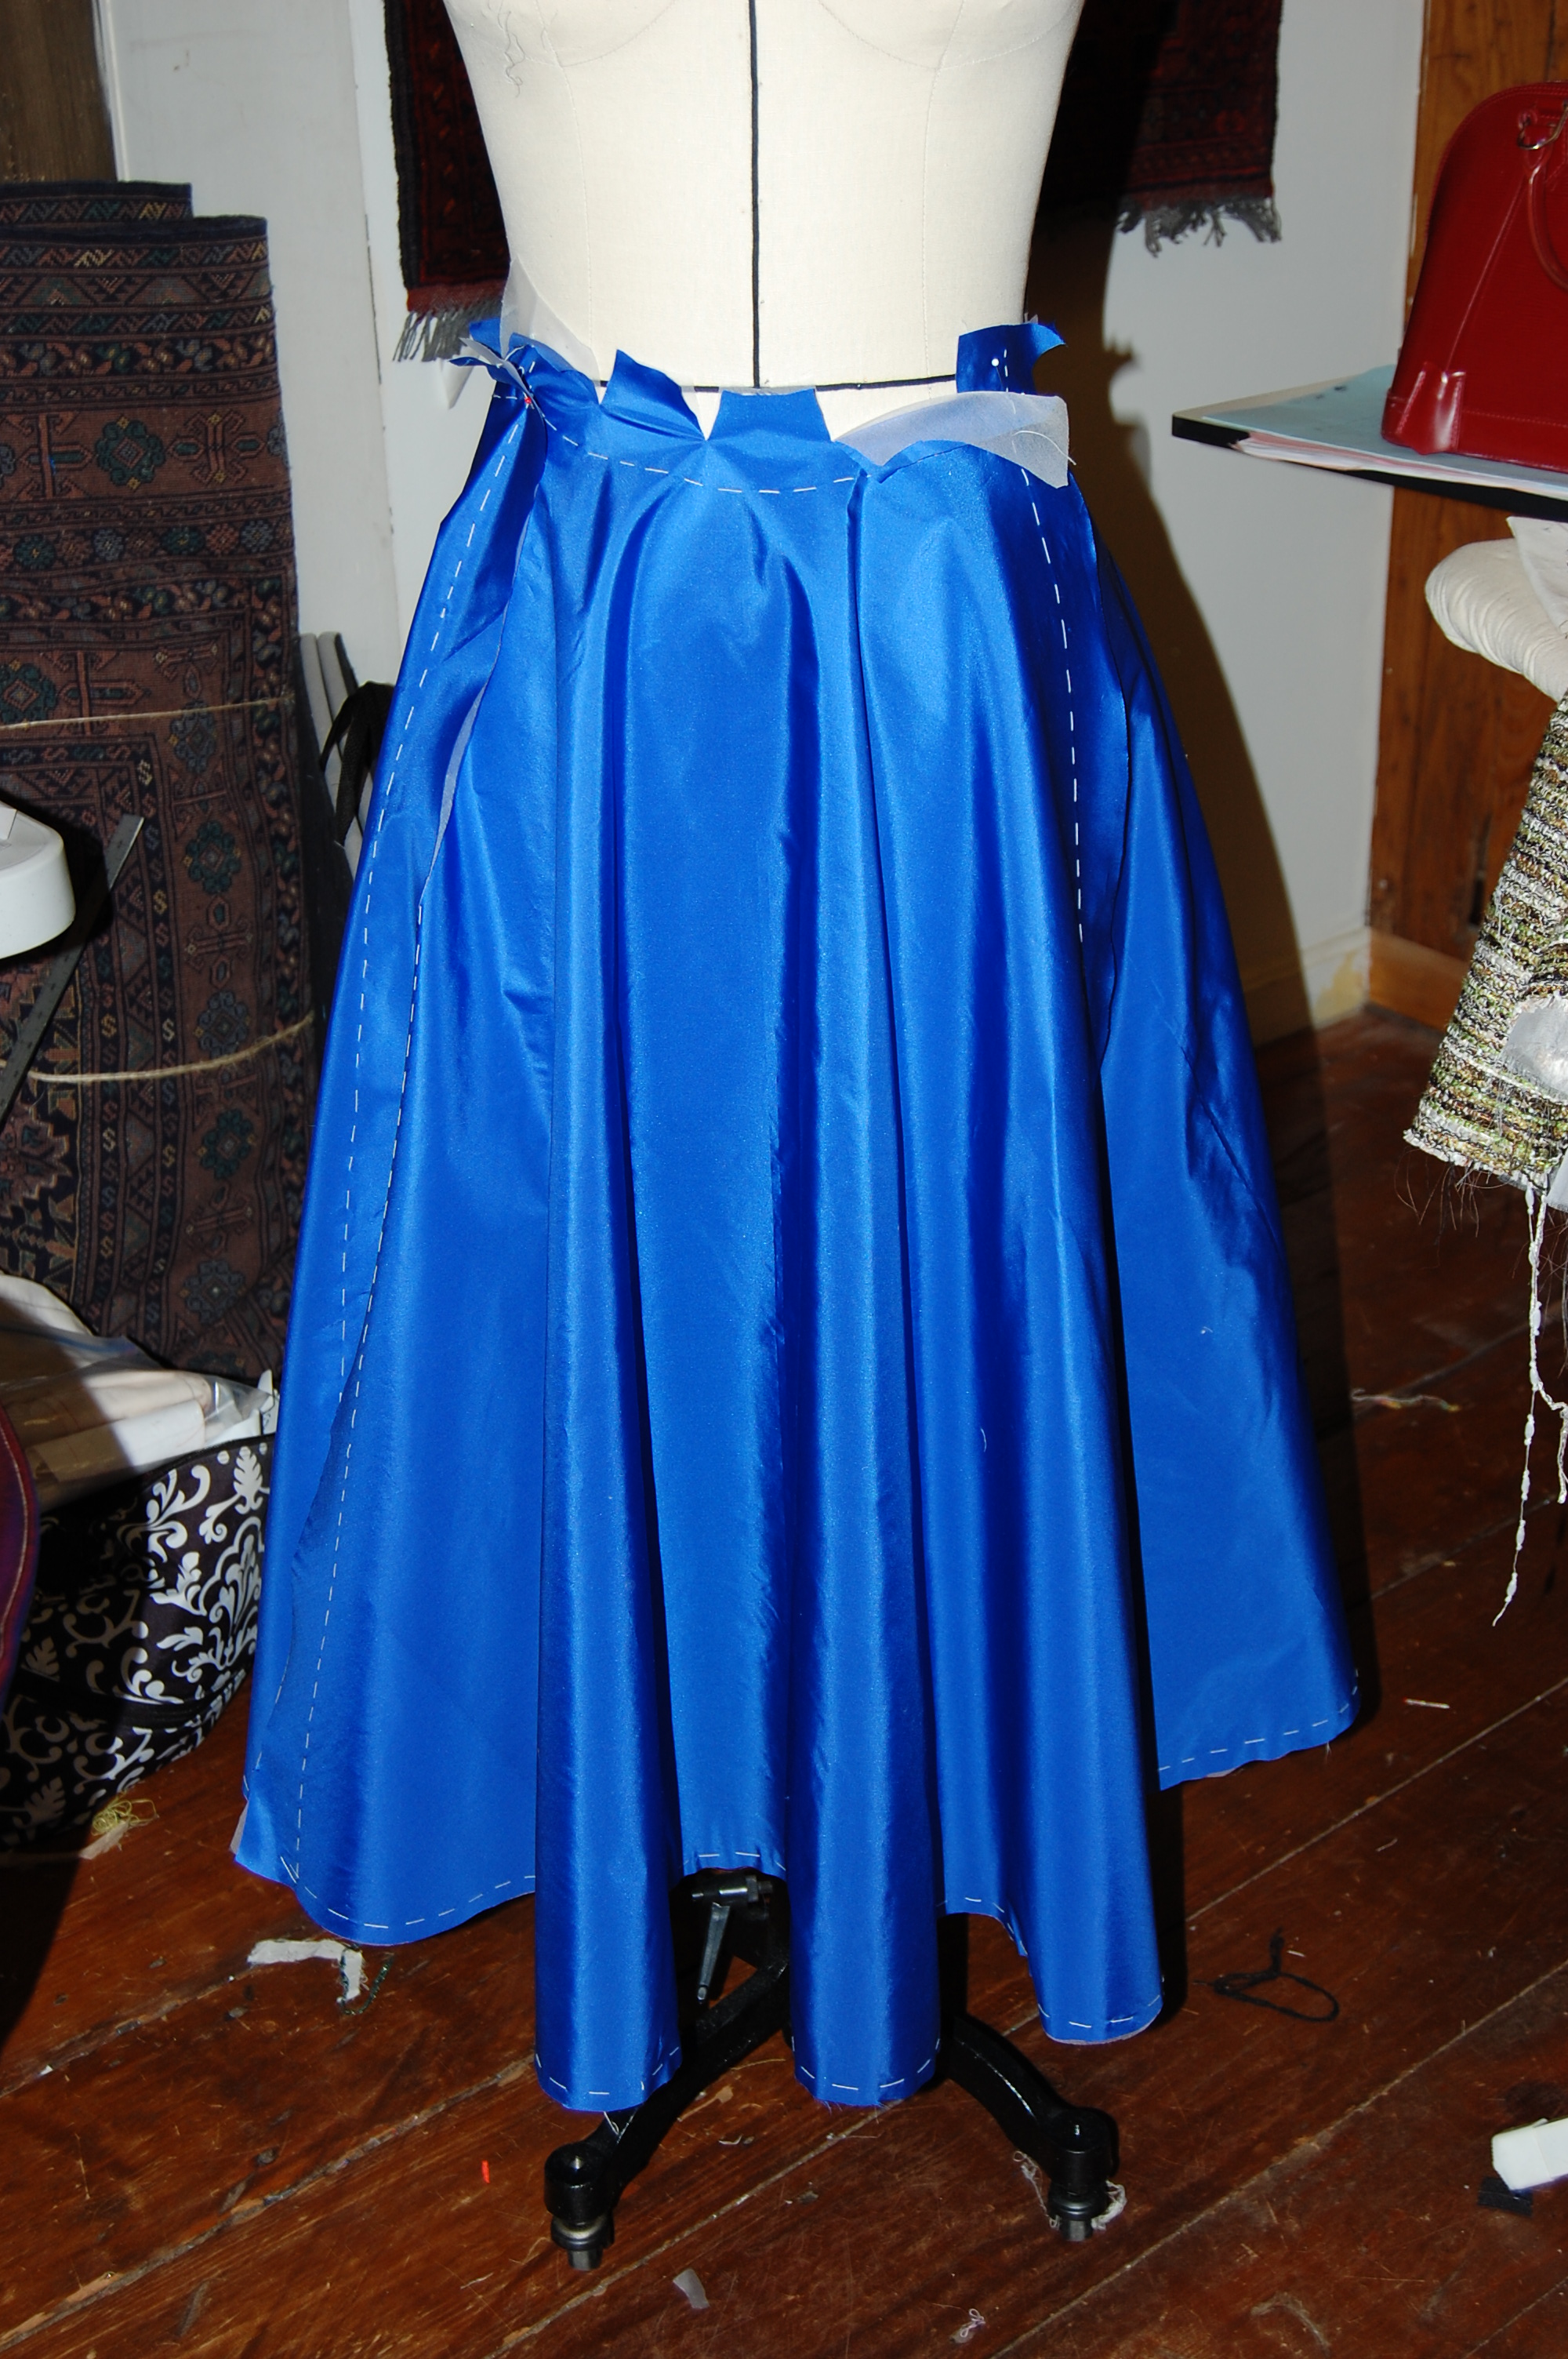
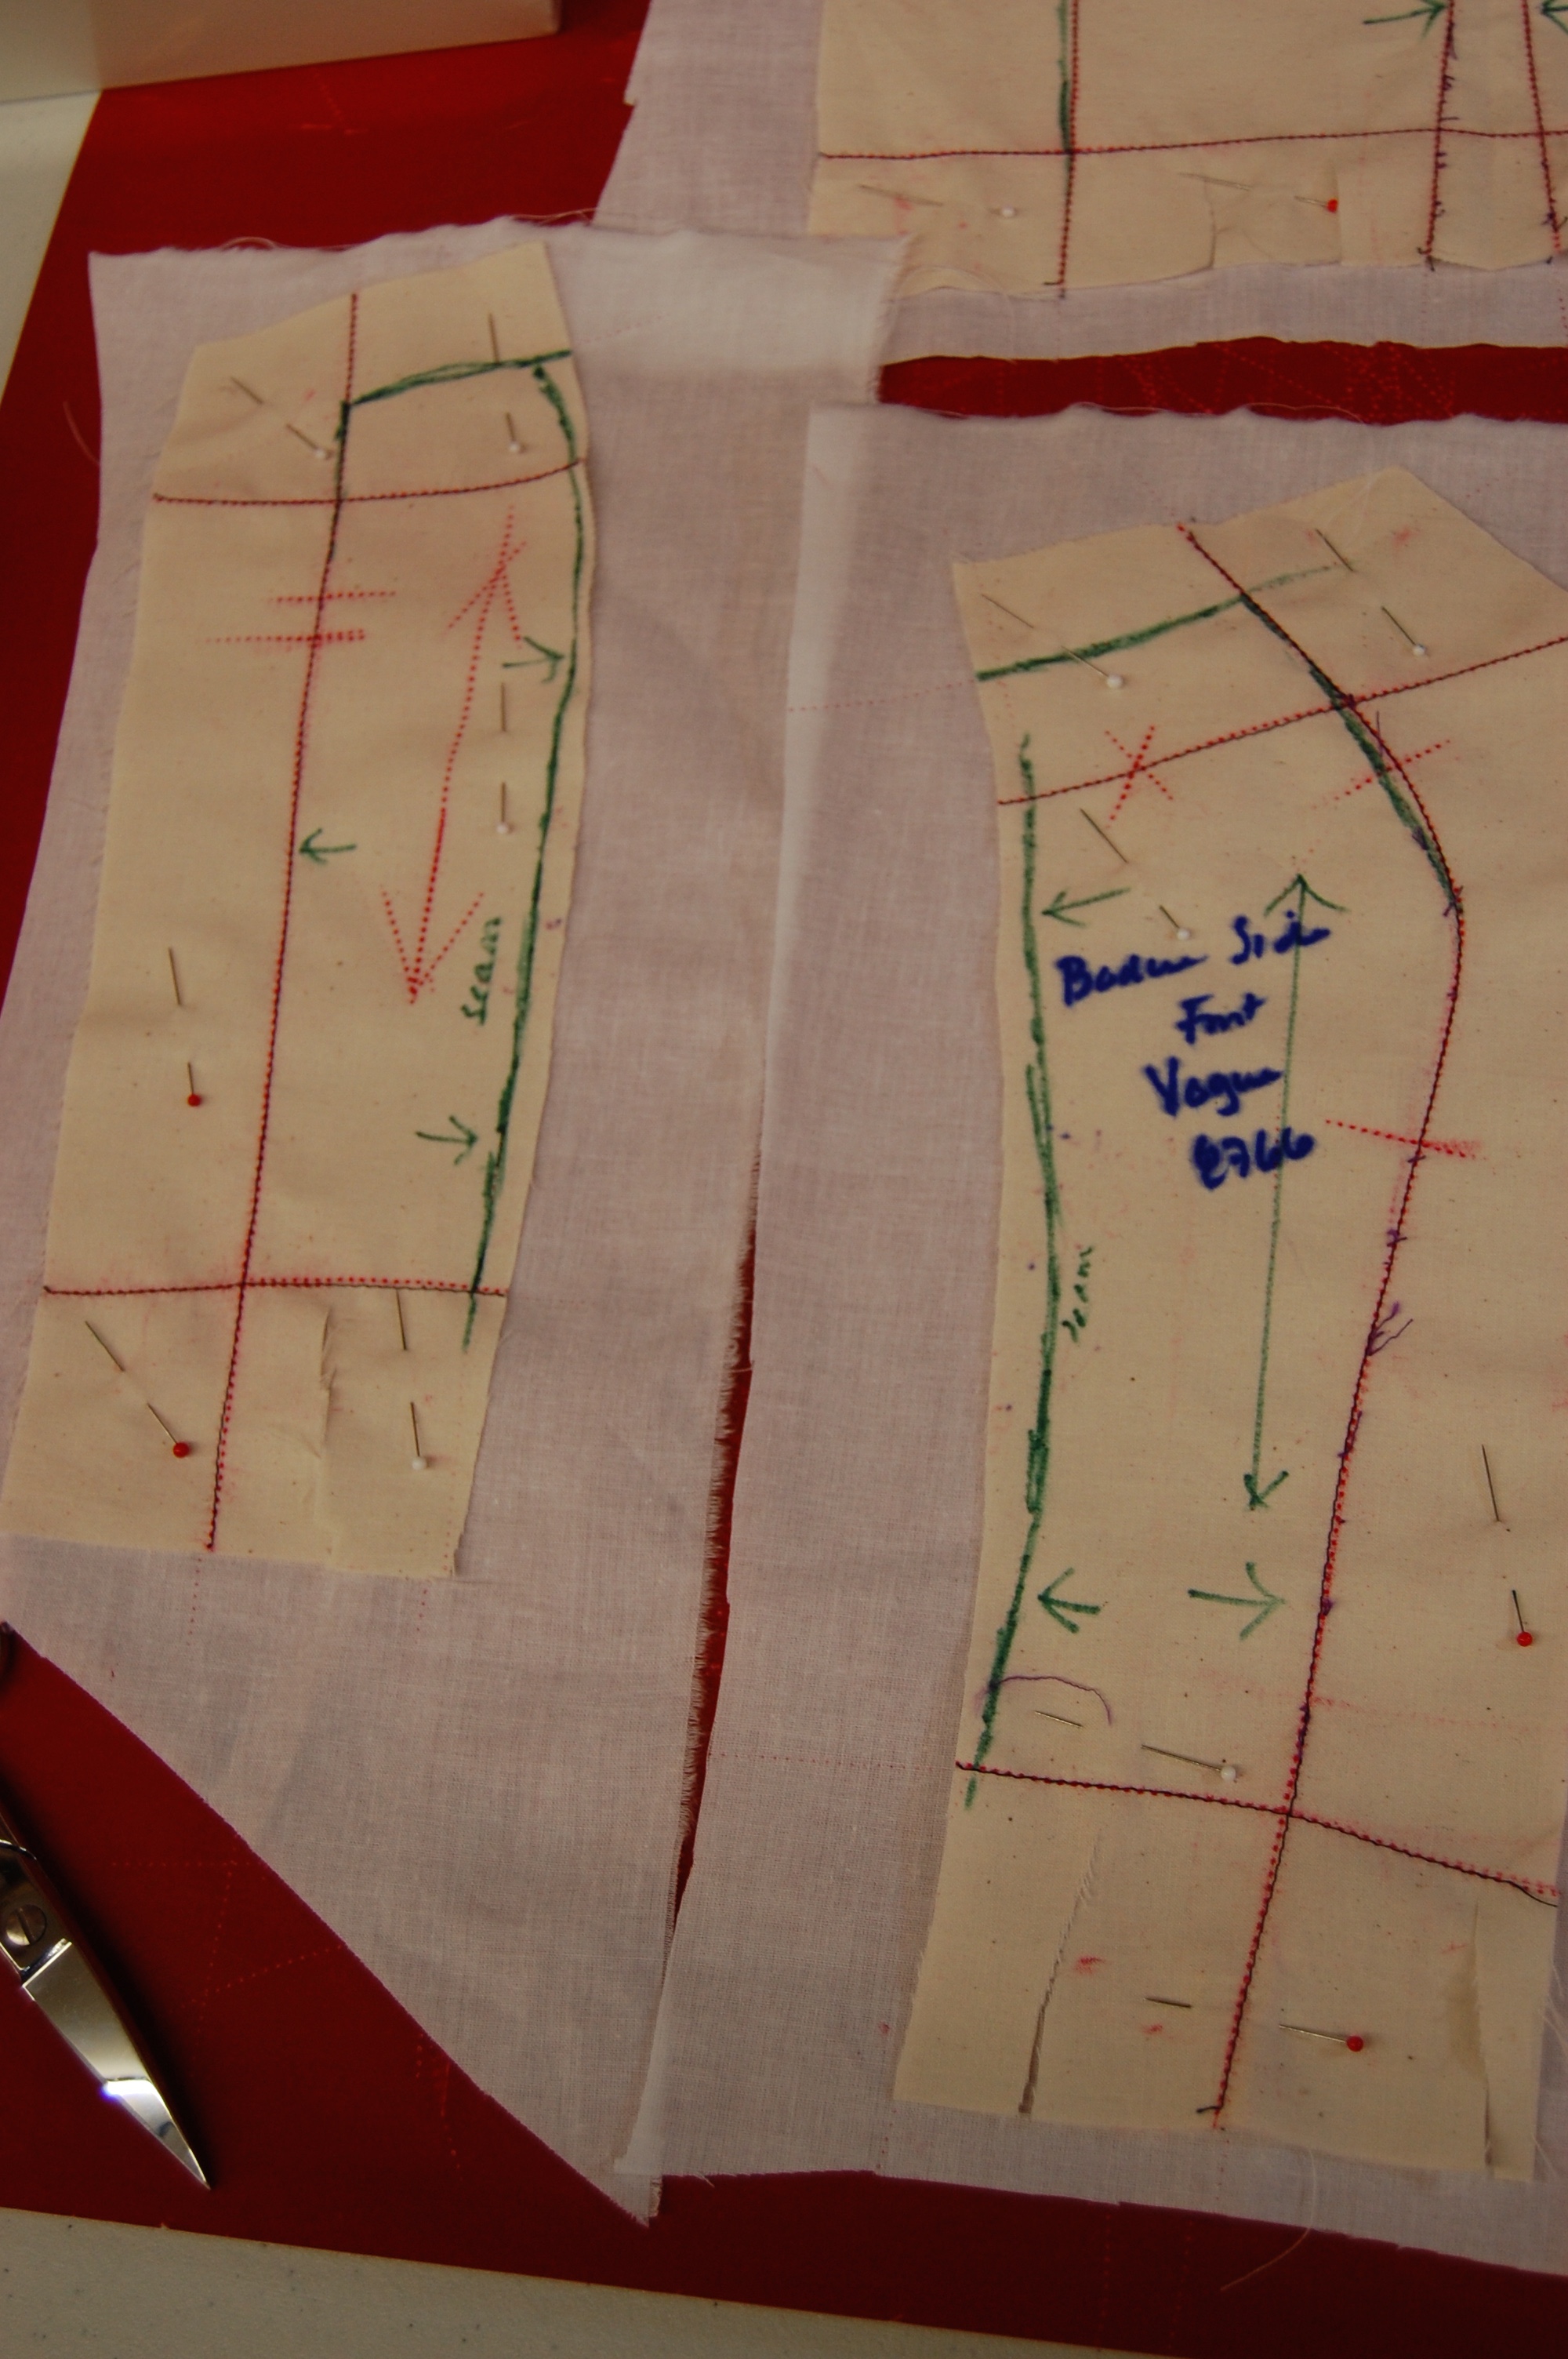
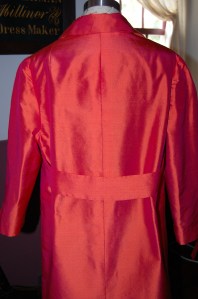
It took a couple of tries with the muslin to get the placement and angling of the belt correct, but once I did, I knew it was a winner. Dressmaker details like this always give me a thrill!
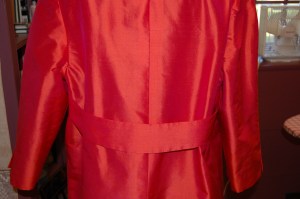
I anchored the belt in the side seams right under the bust darts.
The curve of the belt needed to fall at my waistline.
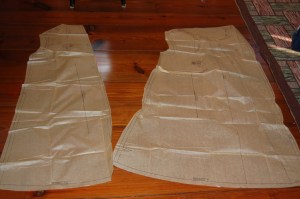
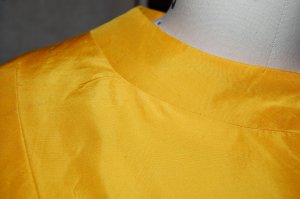
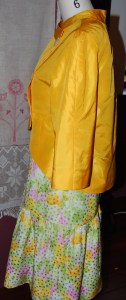
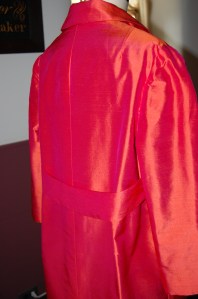
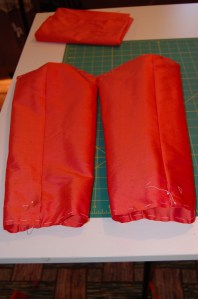
One of the things I like about this pattern is the two-part sleeve with a center seam. I think this design is always flattering to the shoulder. Here are the constructed sleeves:
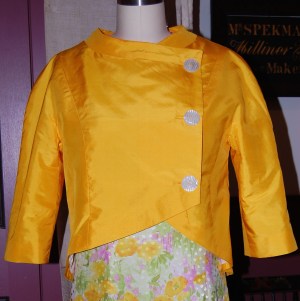
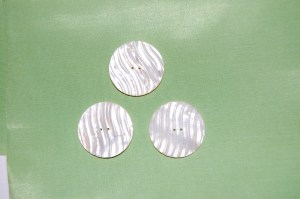
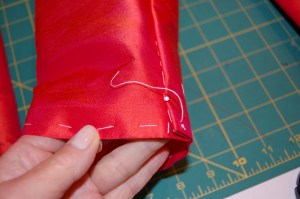
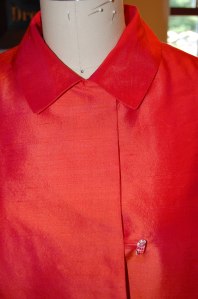
That center seam also provides the opportunity for a faux vent, and since I just happened to have three buttons, which I thought would be perfect for the coat, I happily included vents, as the pattern dictated:
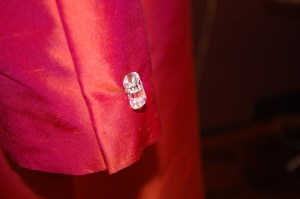
A small, cylindrical, crystal button!
Although I originally thought I would leave the coat “closure-less,” that third button kept calling to me. While I did not want to have a single bound buttonhole in the center of the chest, I thought a button loop might do the trick. If I didn’t like it, I could remove it fairly easily from the front facing seam.
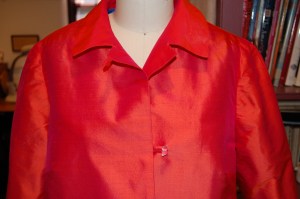
I also decided to add a loop at the neck, with a plain flat button under the collar. This way, I could close the collar if I chose to do so.
I pad-stitched the collar, but forgot to take a picture. Pad-stitching is like magic in how it makes the collar roll properly!
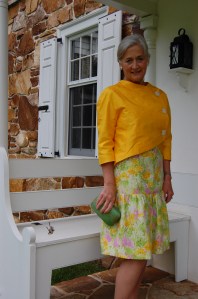
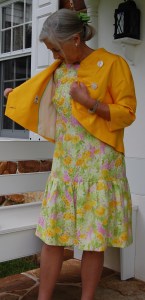
I have to say, I think the coat looks equally good any way it is worn: with the single button at the bust line closed, with both buttons secured and with neither of the buttons secured.
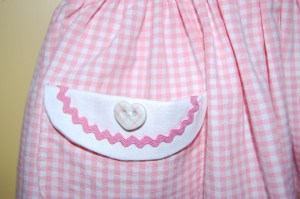
I chose not to add the optional pockets to this coat, but if I make it again in a less formal fabric, I would absolutely include them.
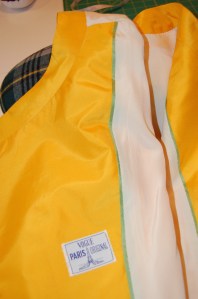
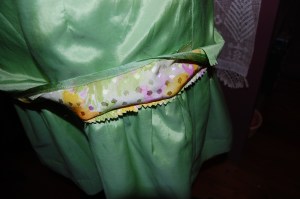
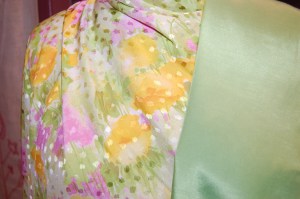
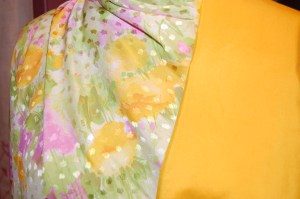
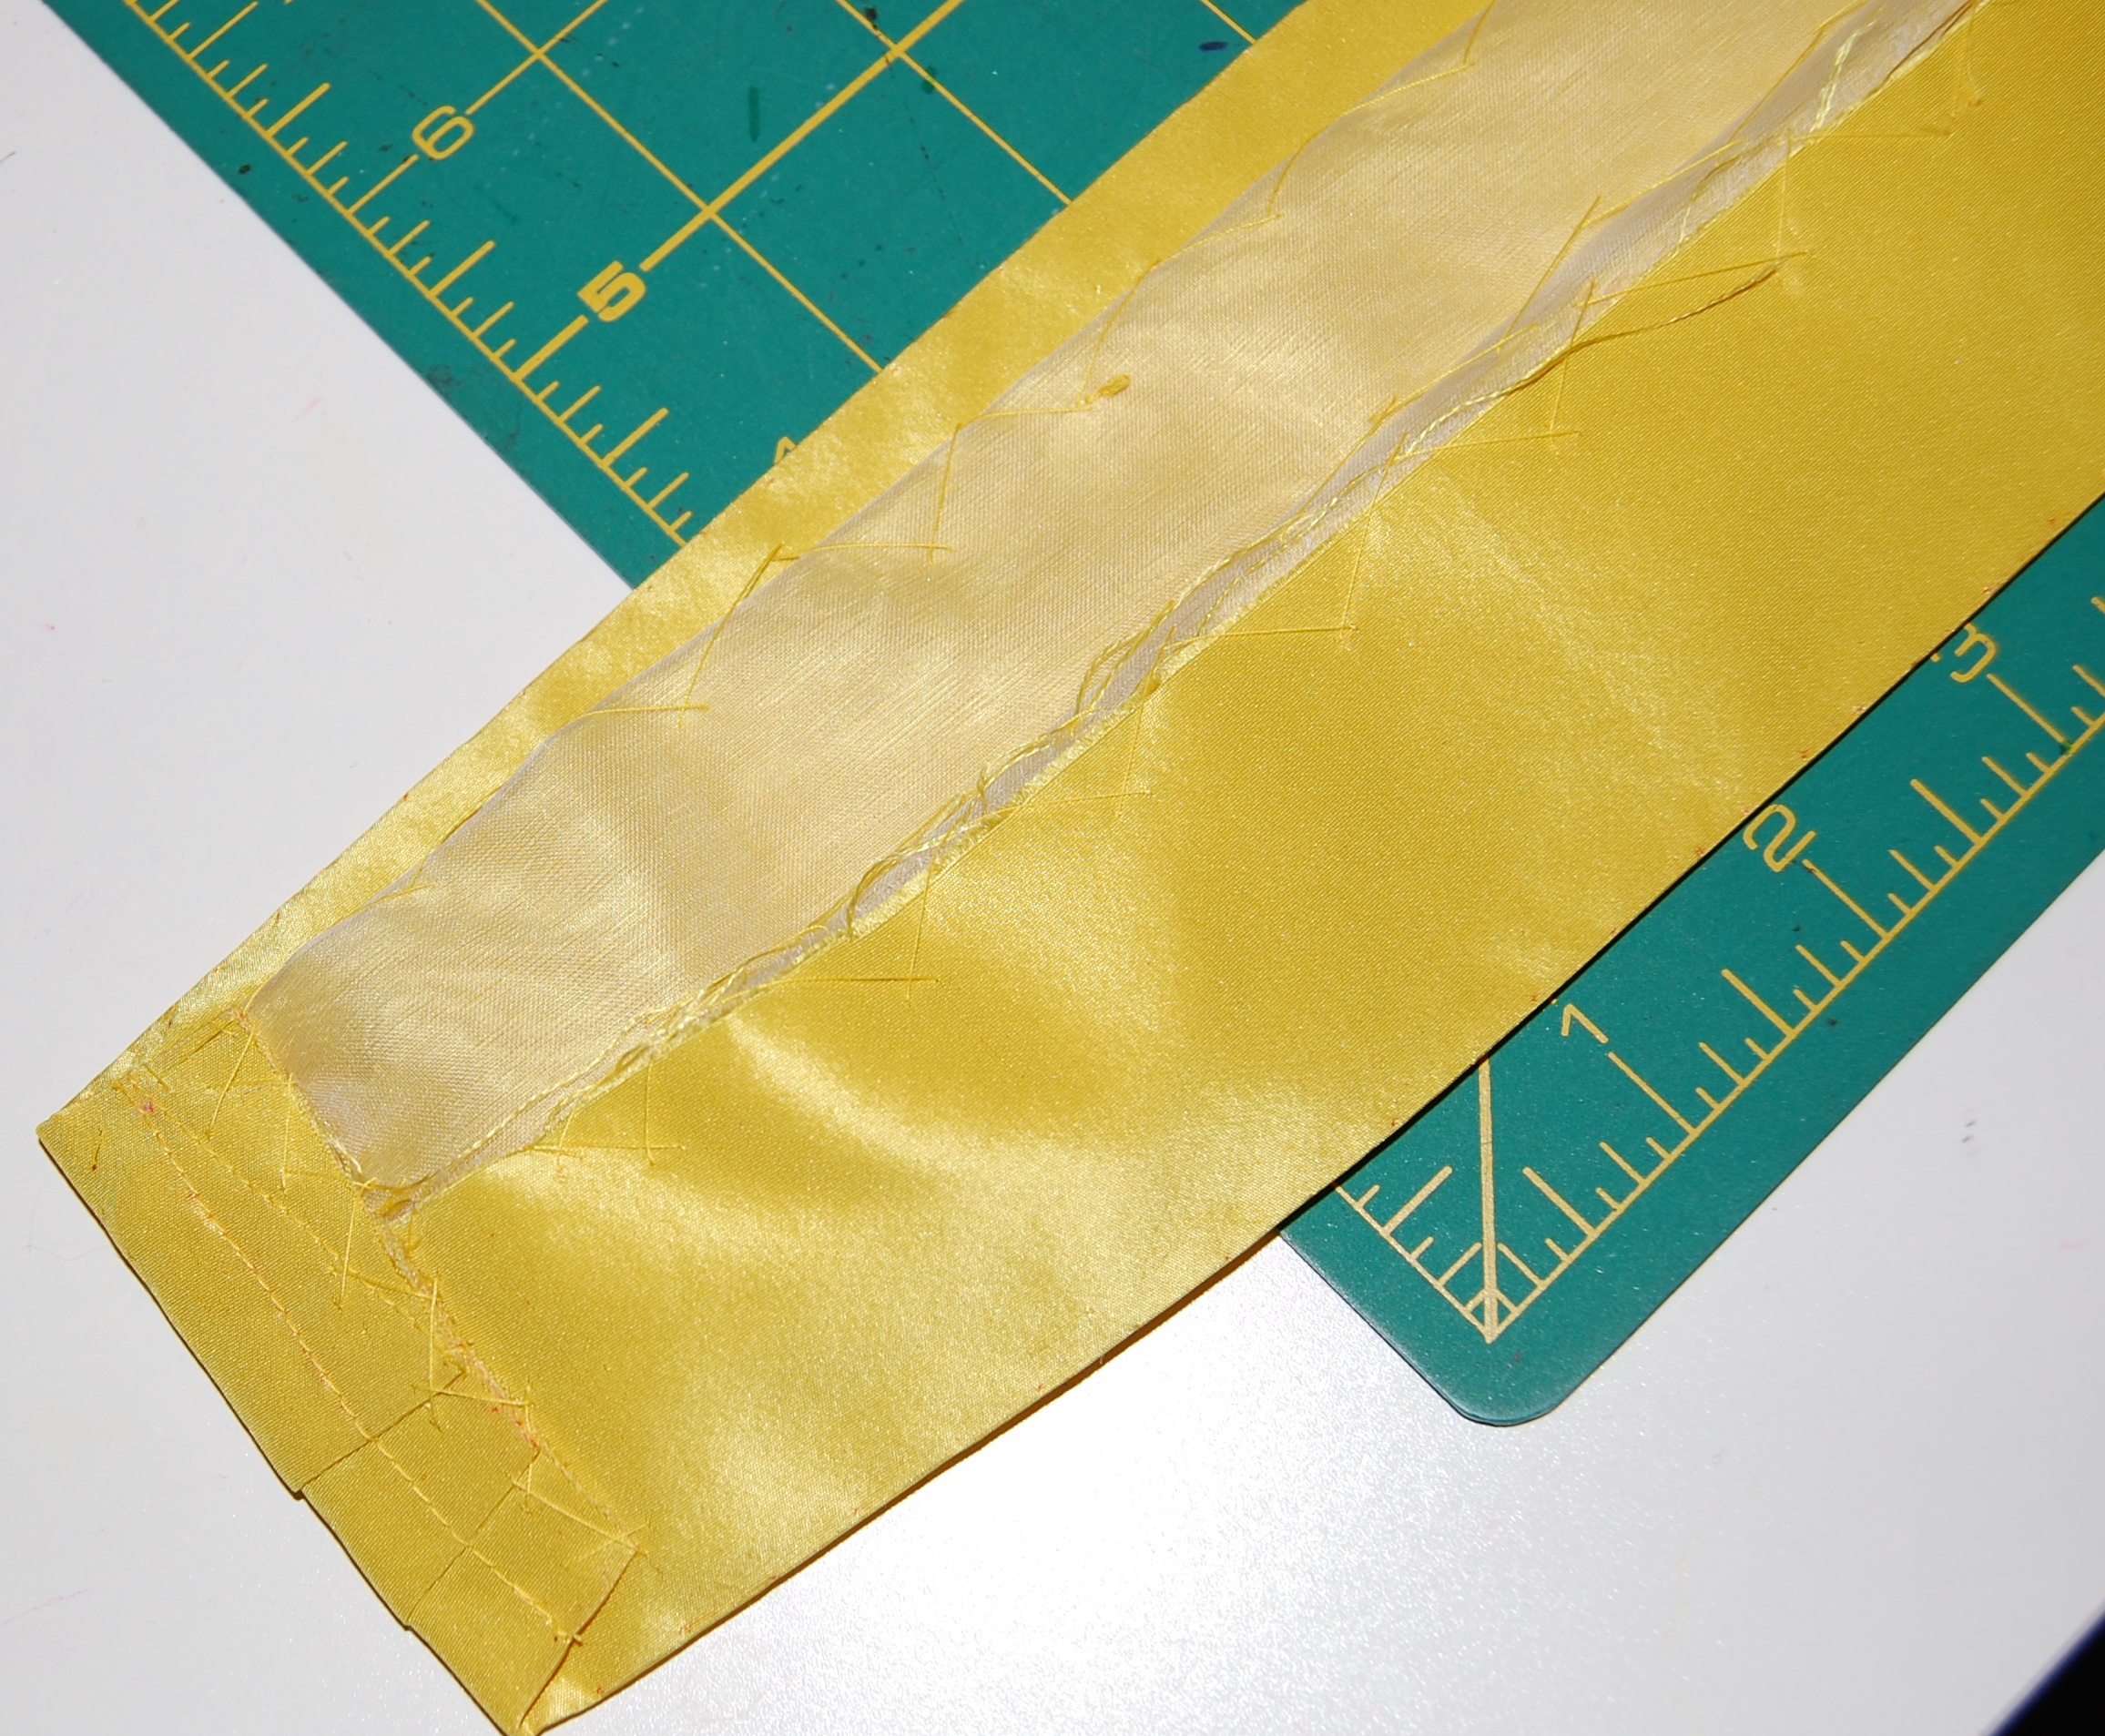
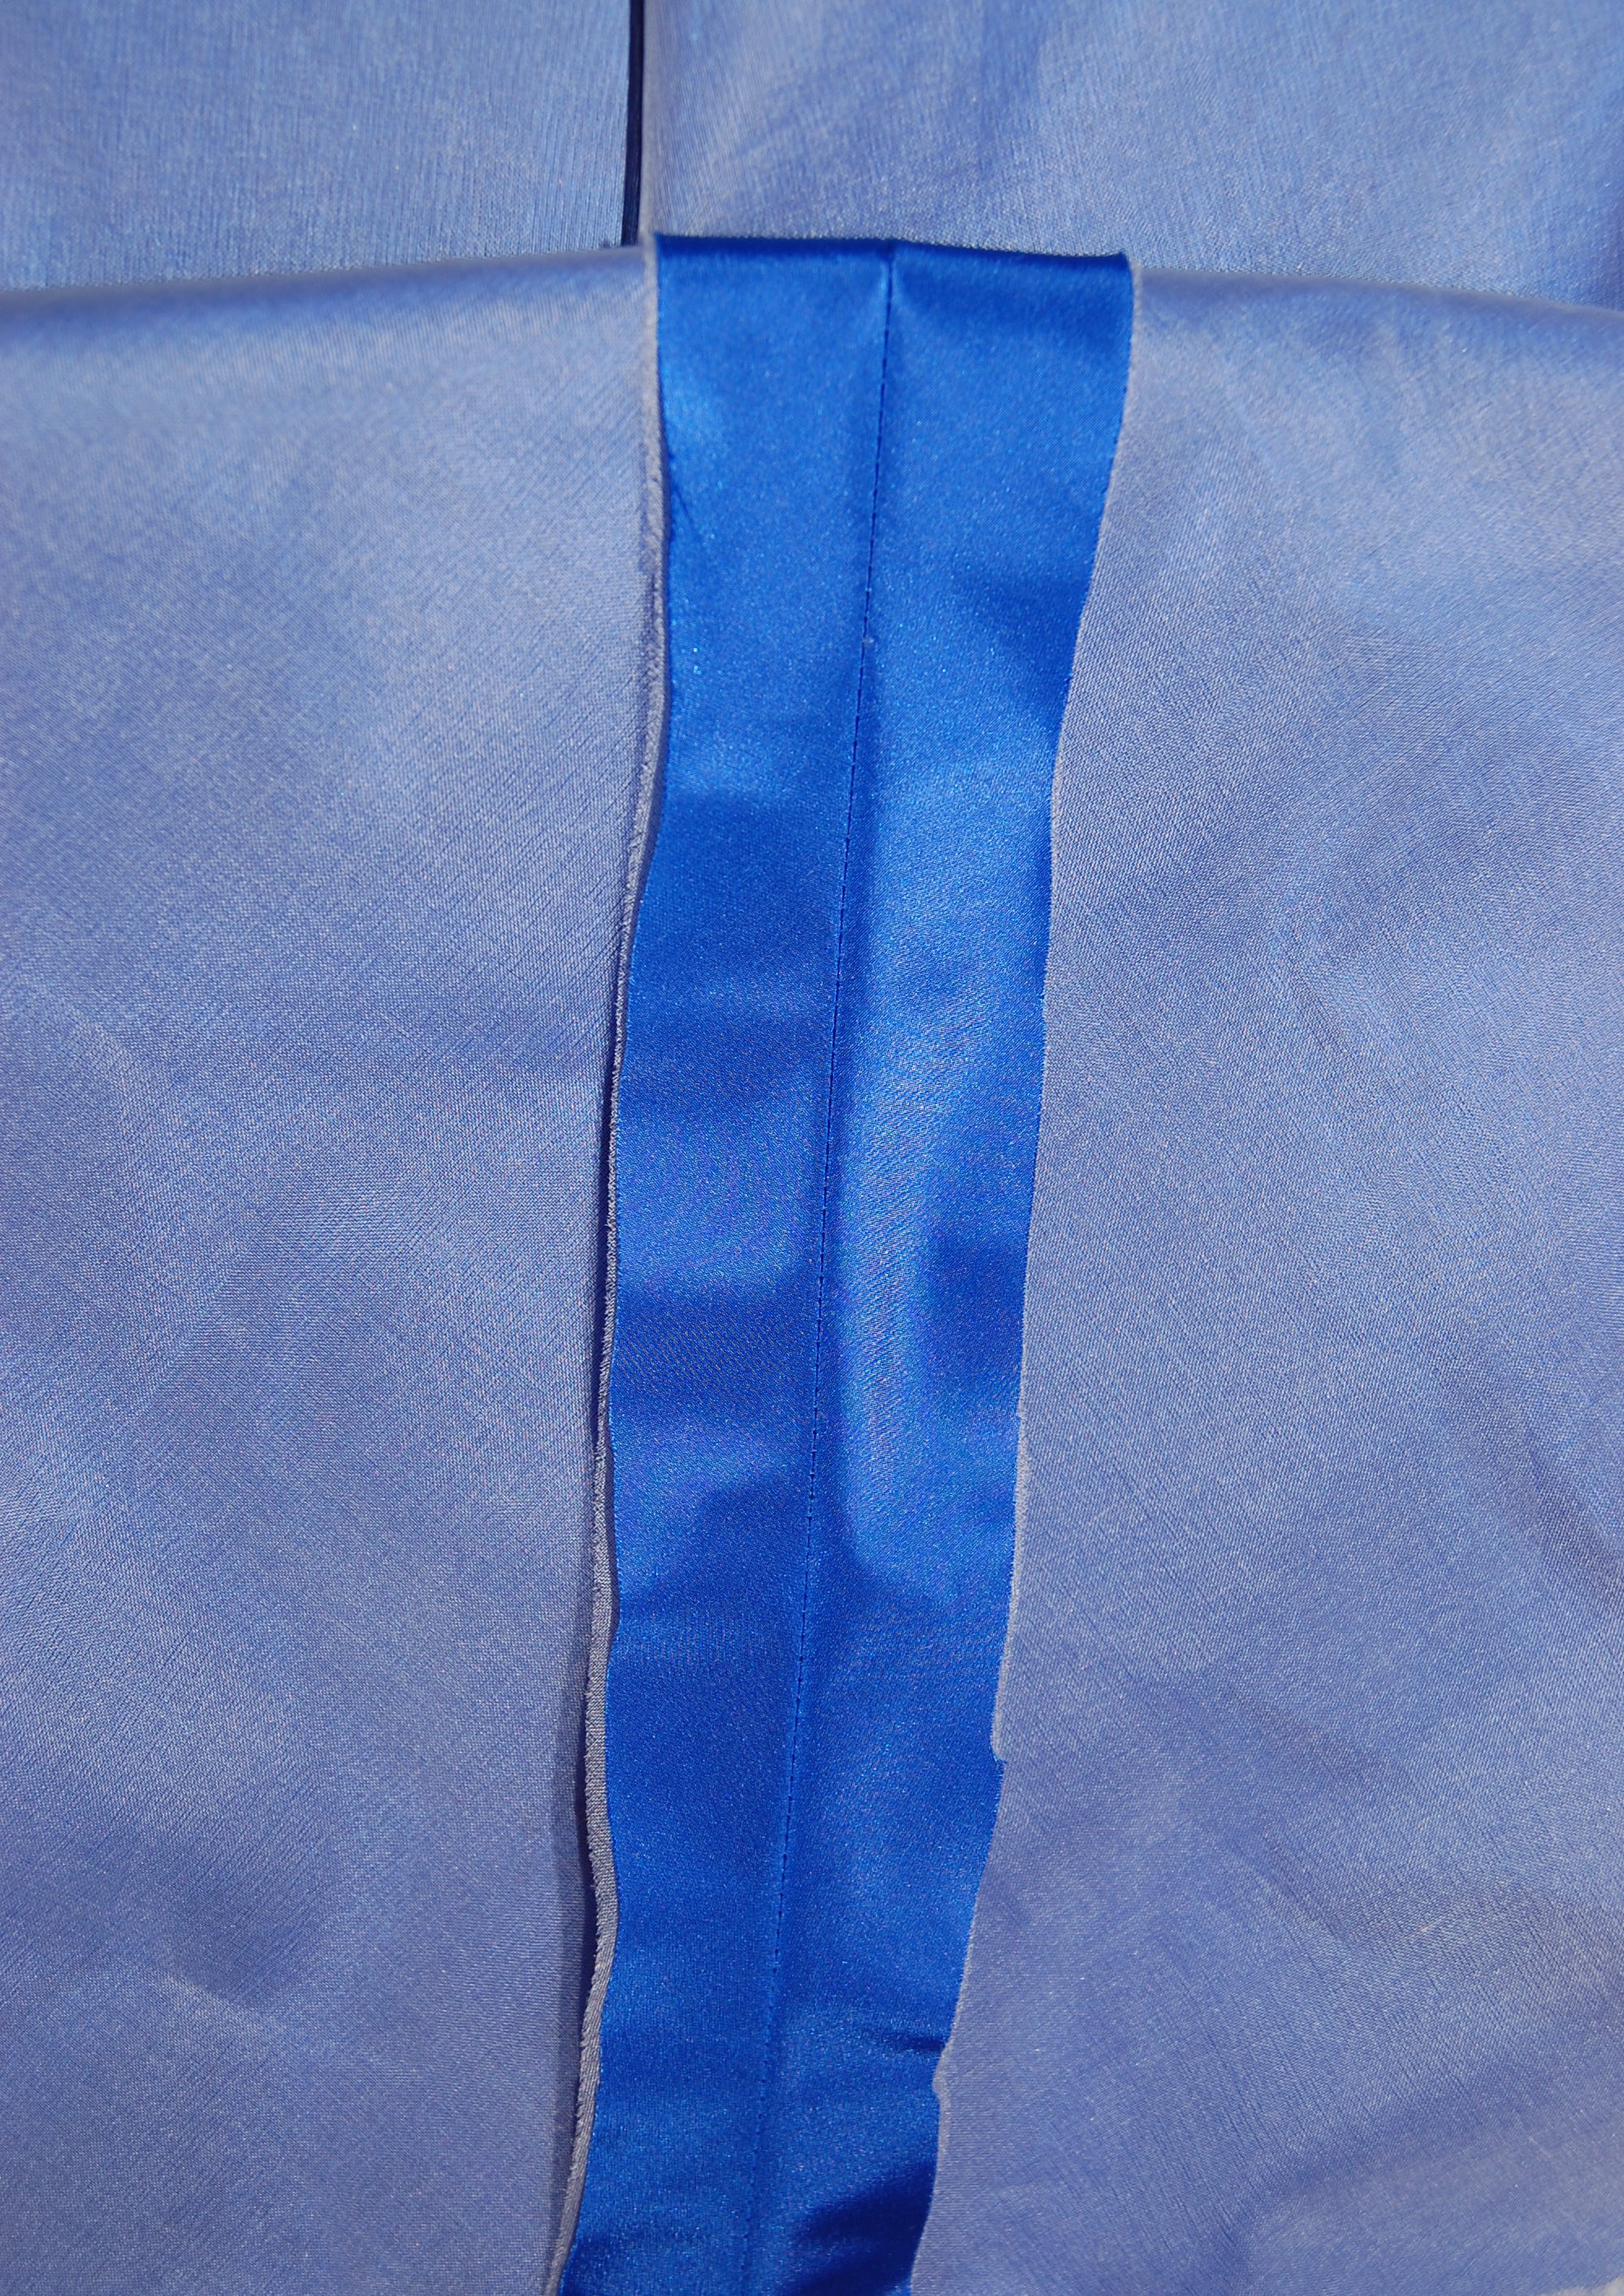
Once I got to the lining, I had to decide if I wanted to add the flat piping detail which I like so much. Of all the bias silk ribbon I have on hand, the only one which looked good was deep pink. Because of that, it doesn’t show contrast all that well, but I still like the subtle finishing look it gives to the lining.
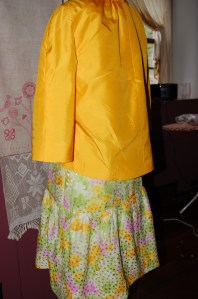
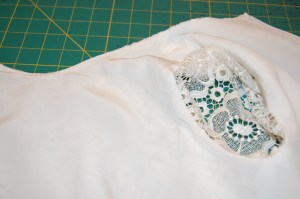
Here, by the way, is the coat before I inserted the lining:
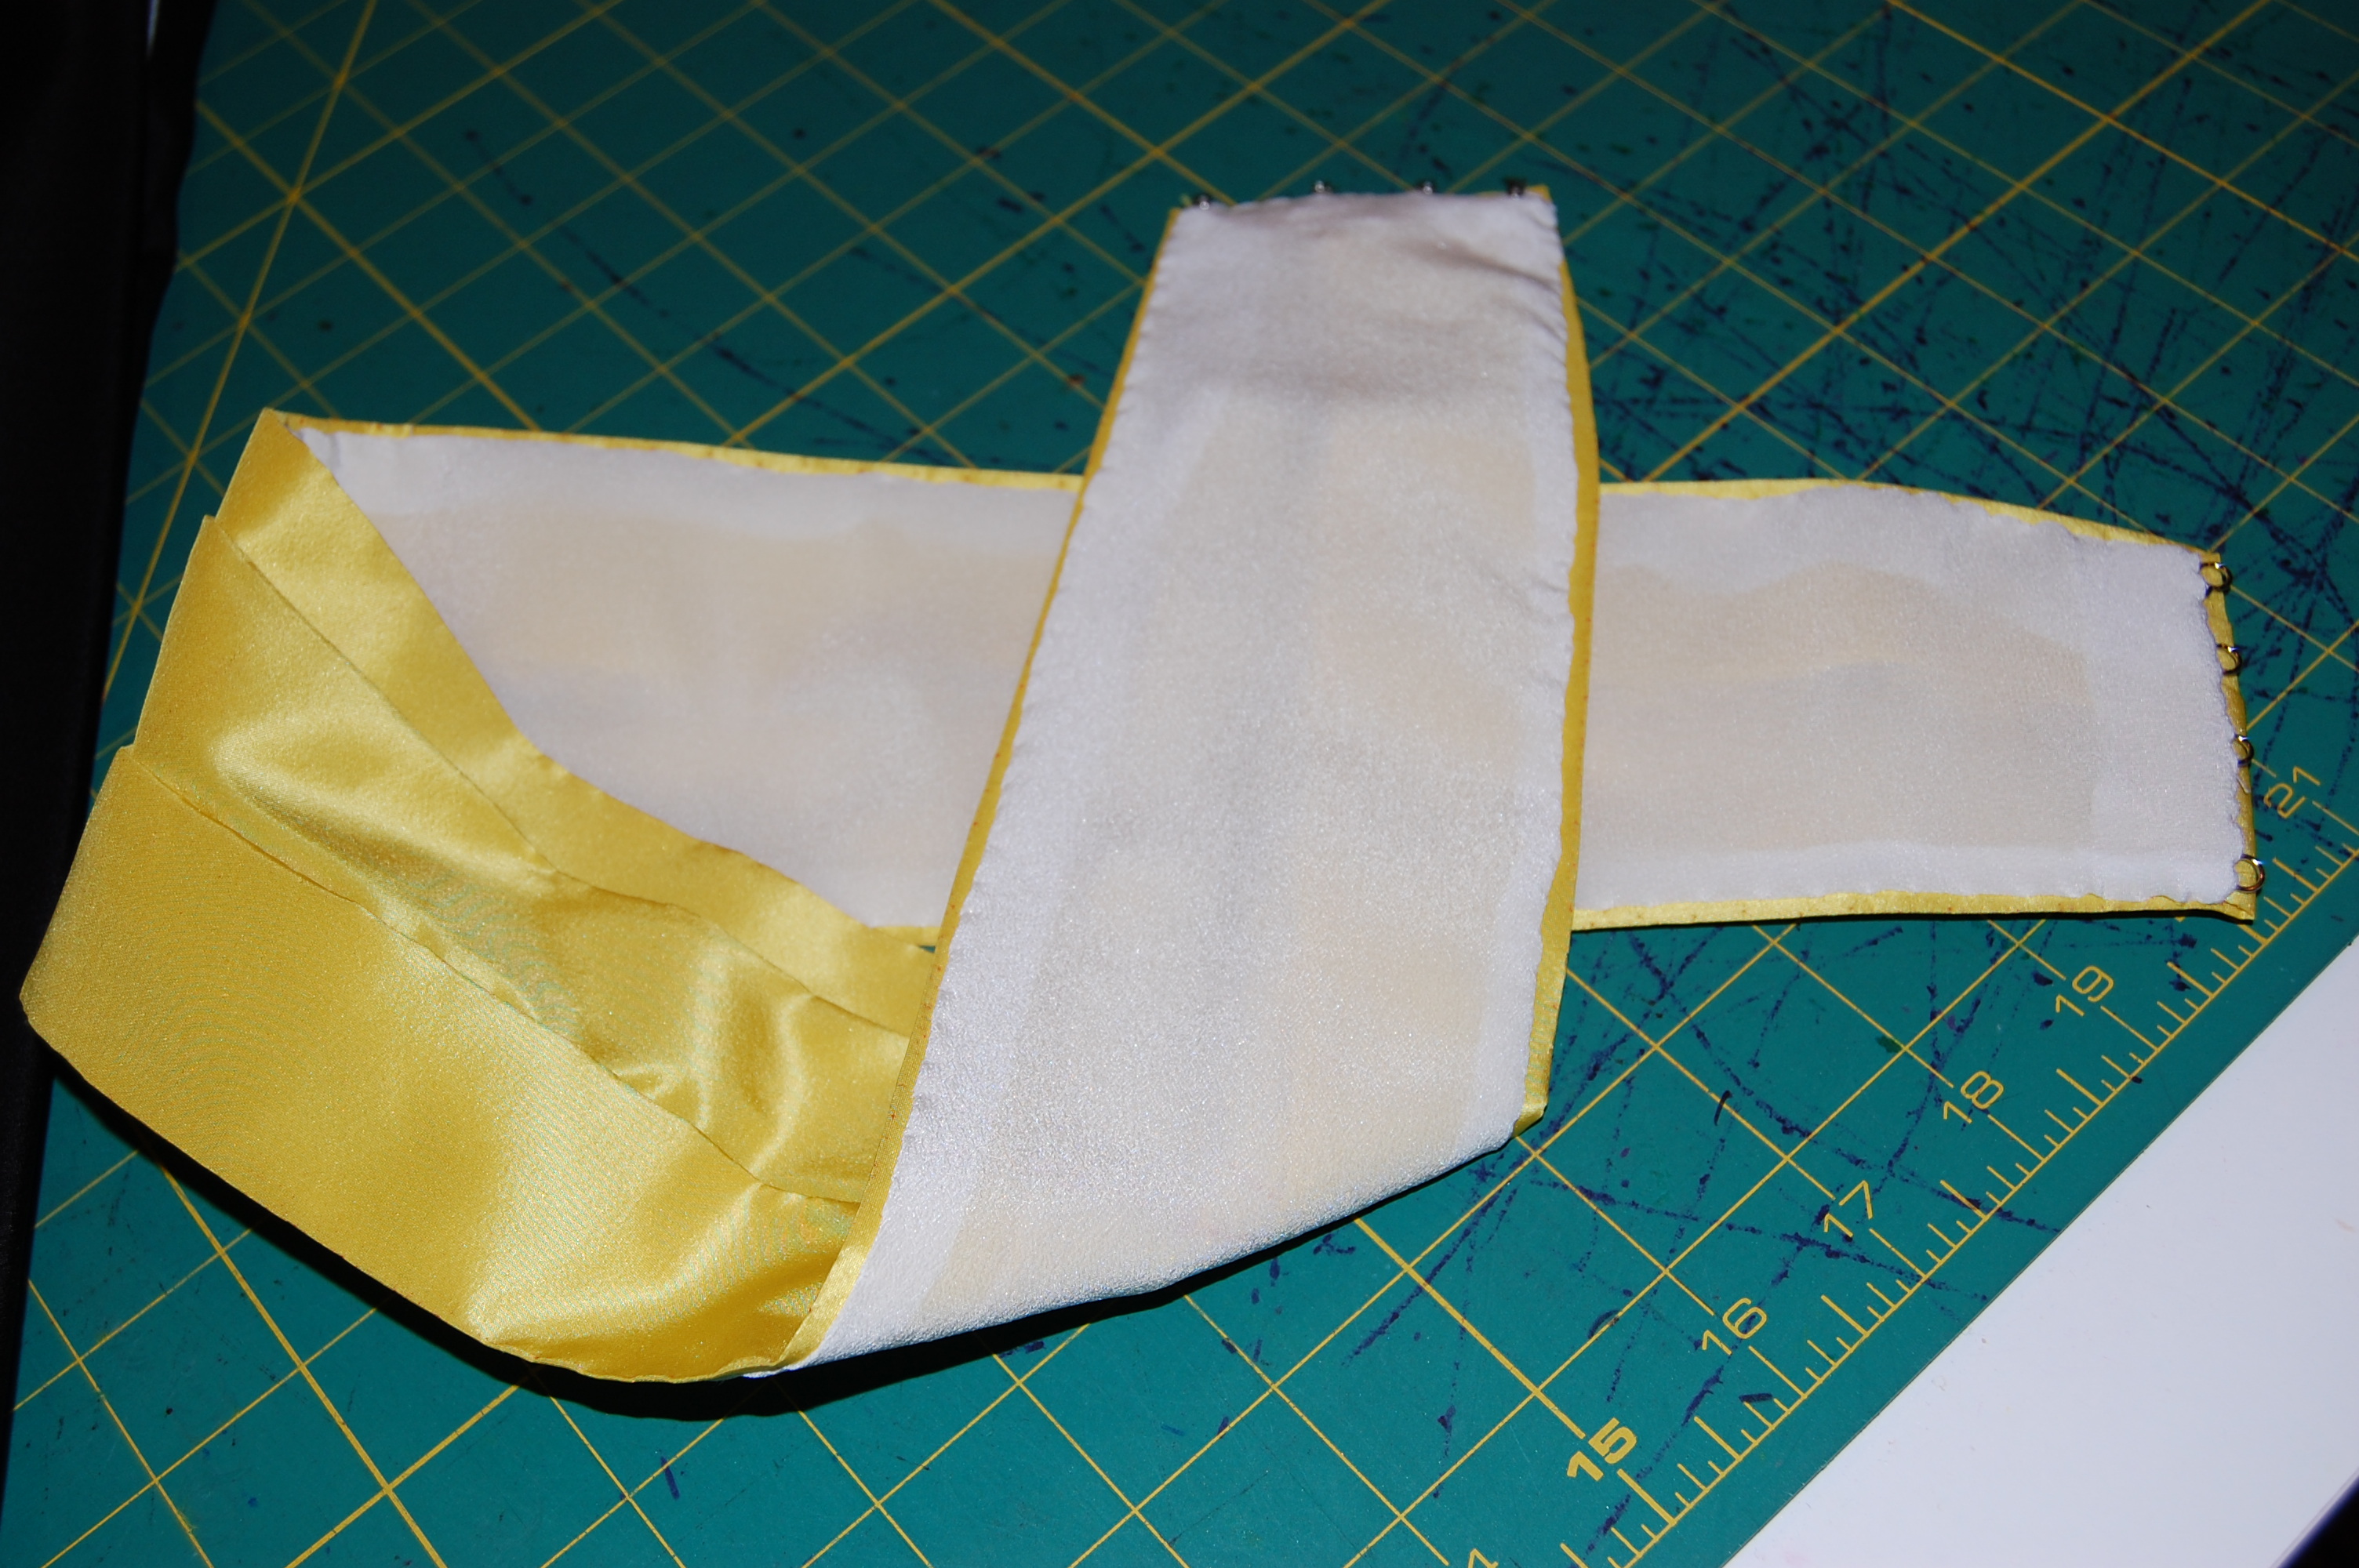
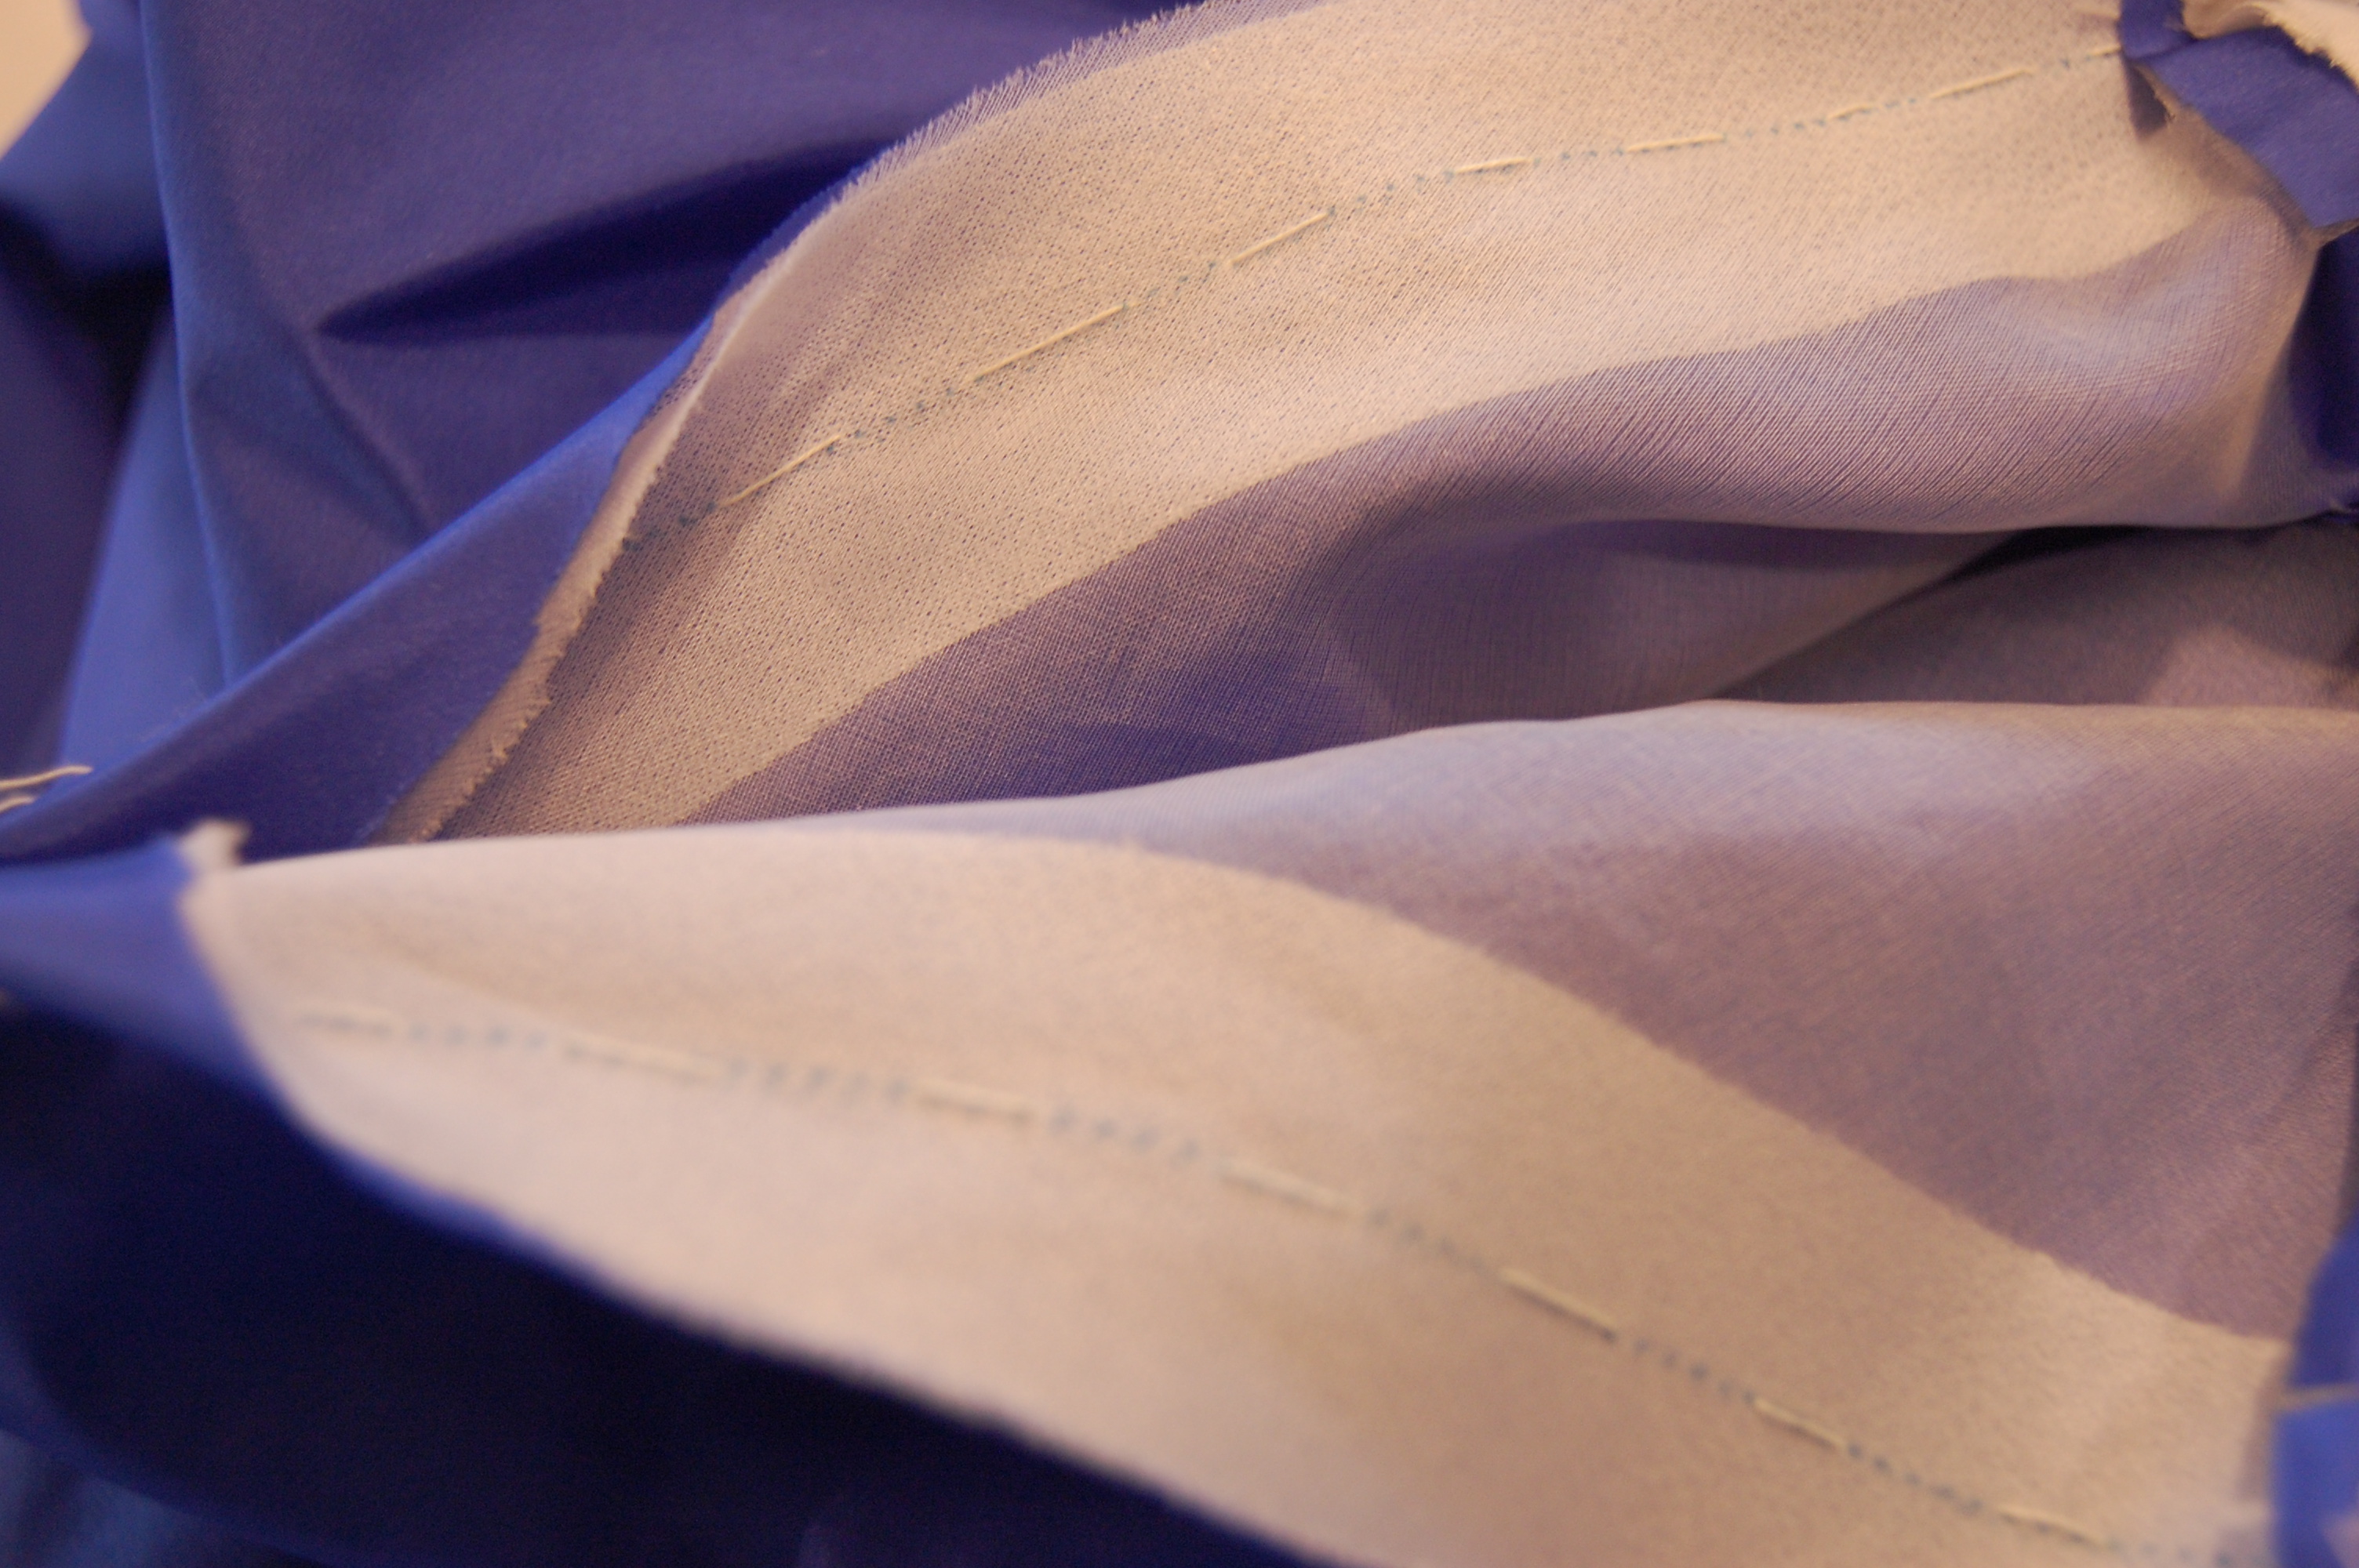
I underlined the entire coat with silk organza and added “cigarette” sleeve headings.
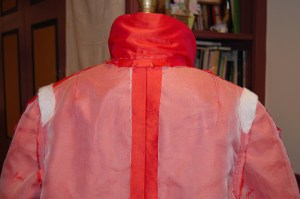
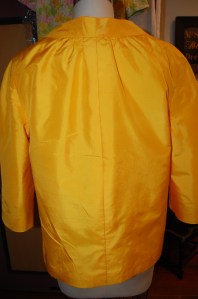
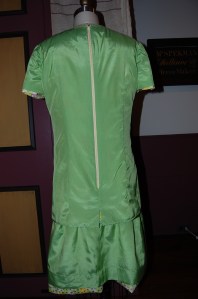
I love a center back seam!
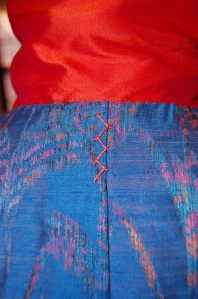
I used some vintage silk buttonhole twist to tack the center back fold in the lining at the neck and at the waistline.
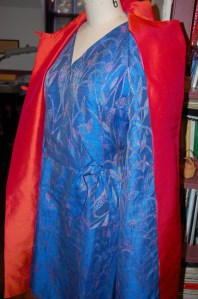
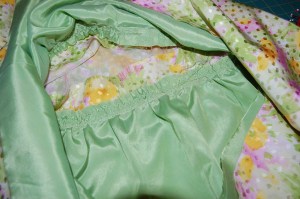
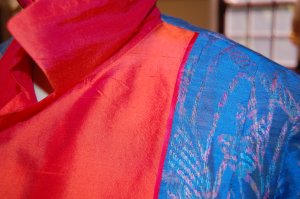
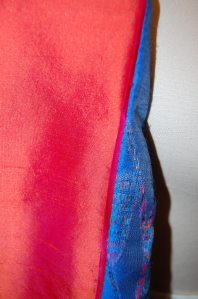
There is no question that the dress and the coat go together once the lining shows!

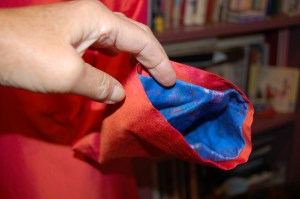
I love that the lining peeks out from the sleeves when I am wearing the coat.


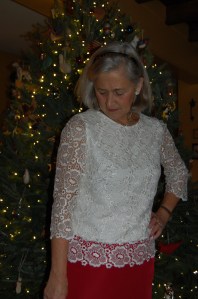
I was delighted when the photographer at the wedding wanted to take my picture because he “liked my outfit so much.” (This is not that photo…)

Here with my husband – with a coordinating tie, no less (not planned, but makes for a great photo!)
It may seem a bit frivolous to make a coat like this, knowing that it will not be worn all that often – although I do have two other dress-weight silks in my collection which would look fairly stunning paired with this coat! However, it really is the perfect weight and look for an elegant, but chilly, evening out – and it was so much fun to make.