The trickery, which defined my October sewing, finally floated away with the leaves and the goblins, leaving sweet November with her welcome reward, a new dress for Autumn and Winter.
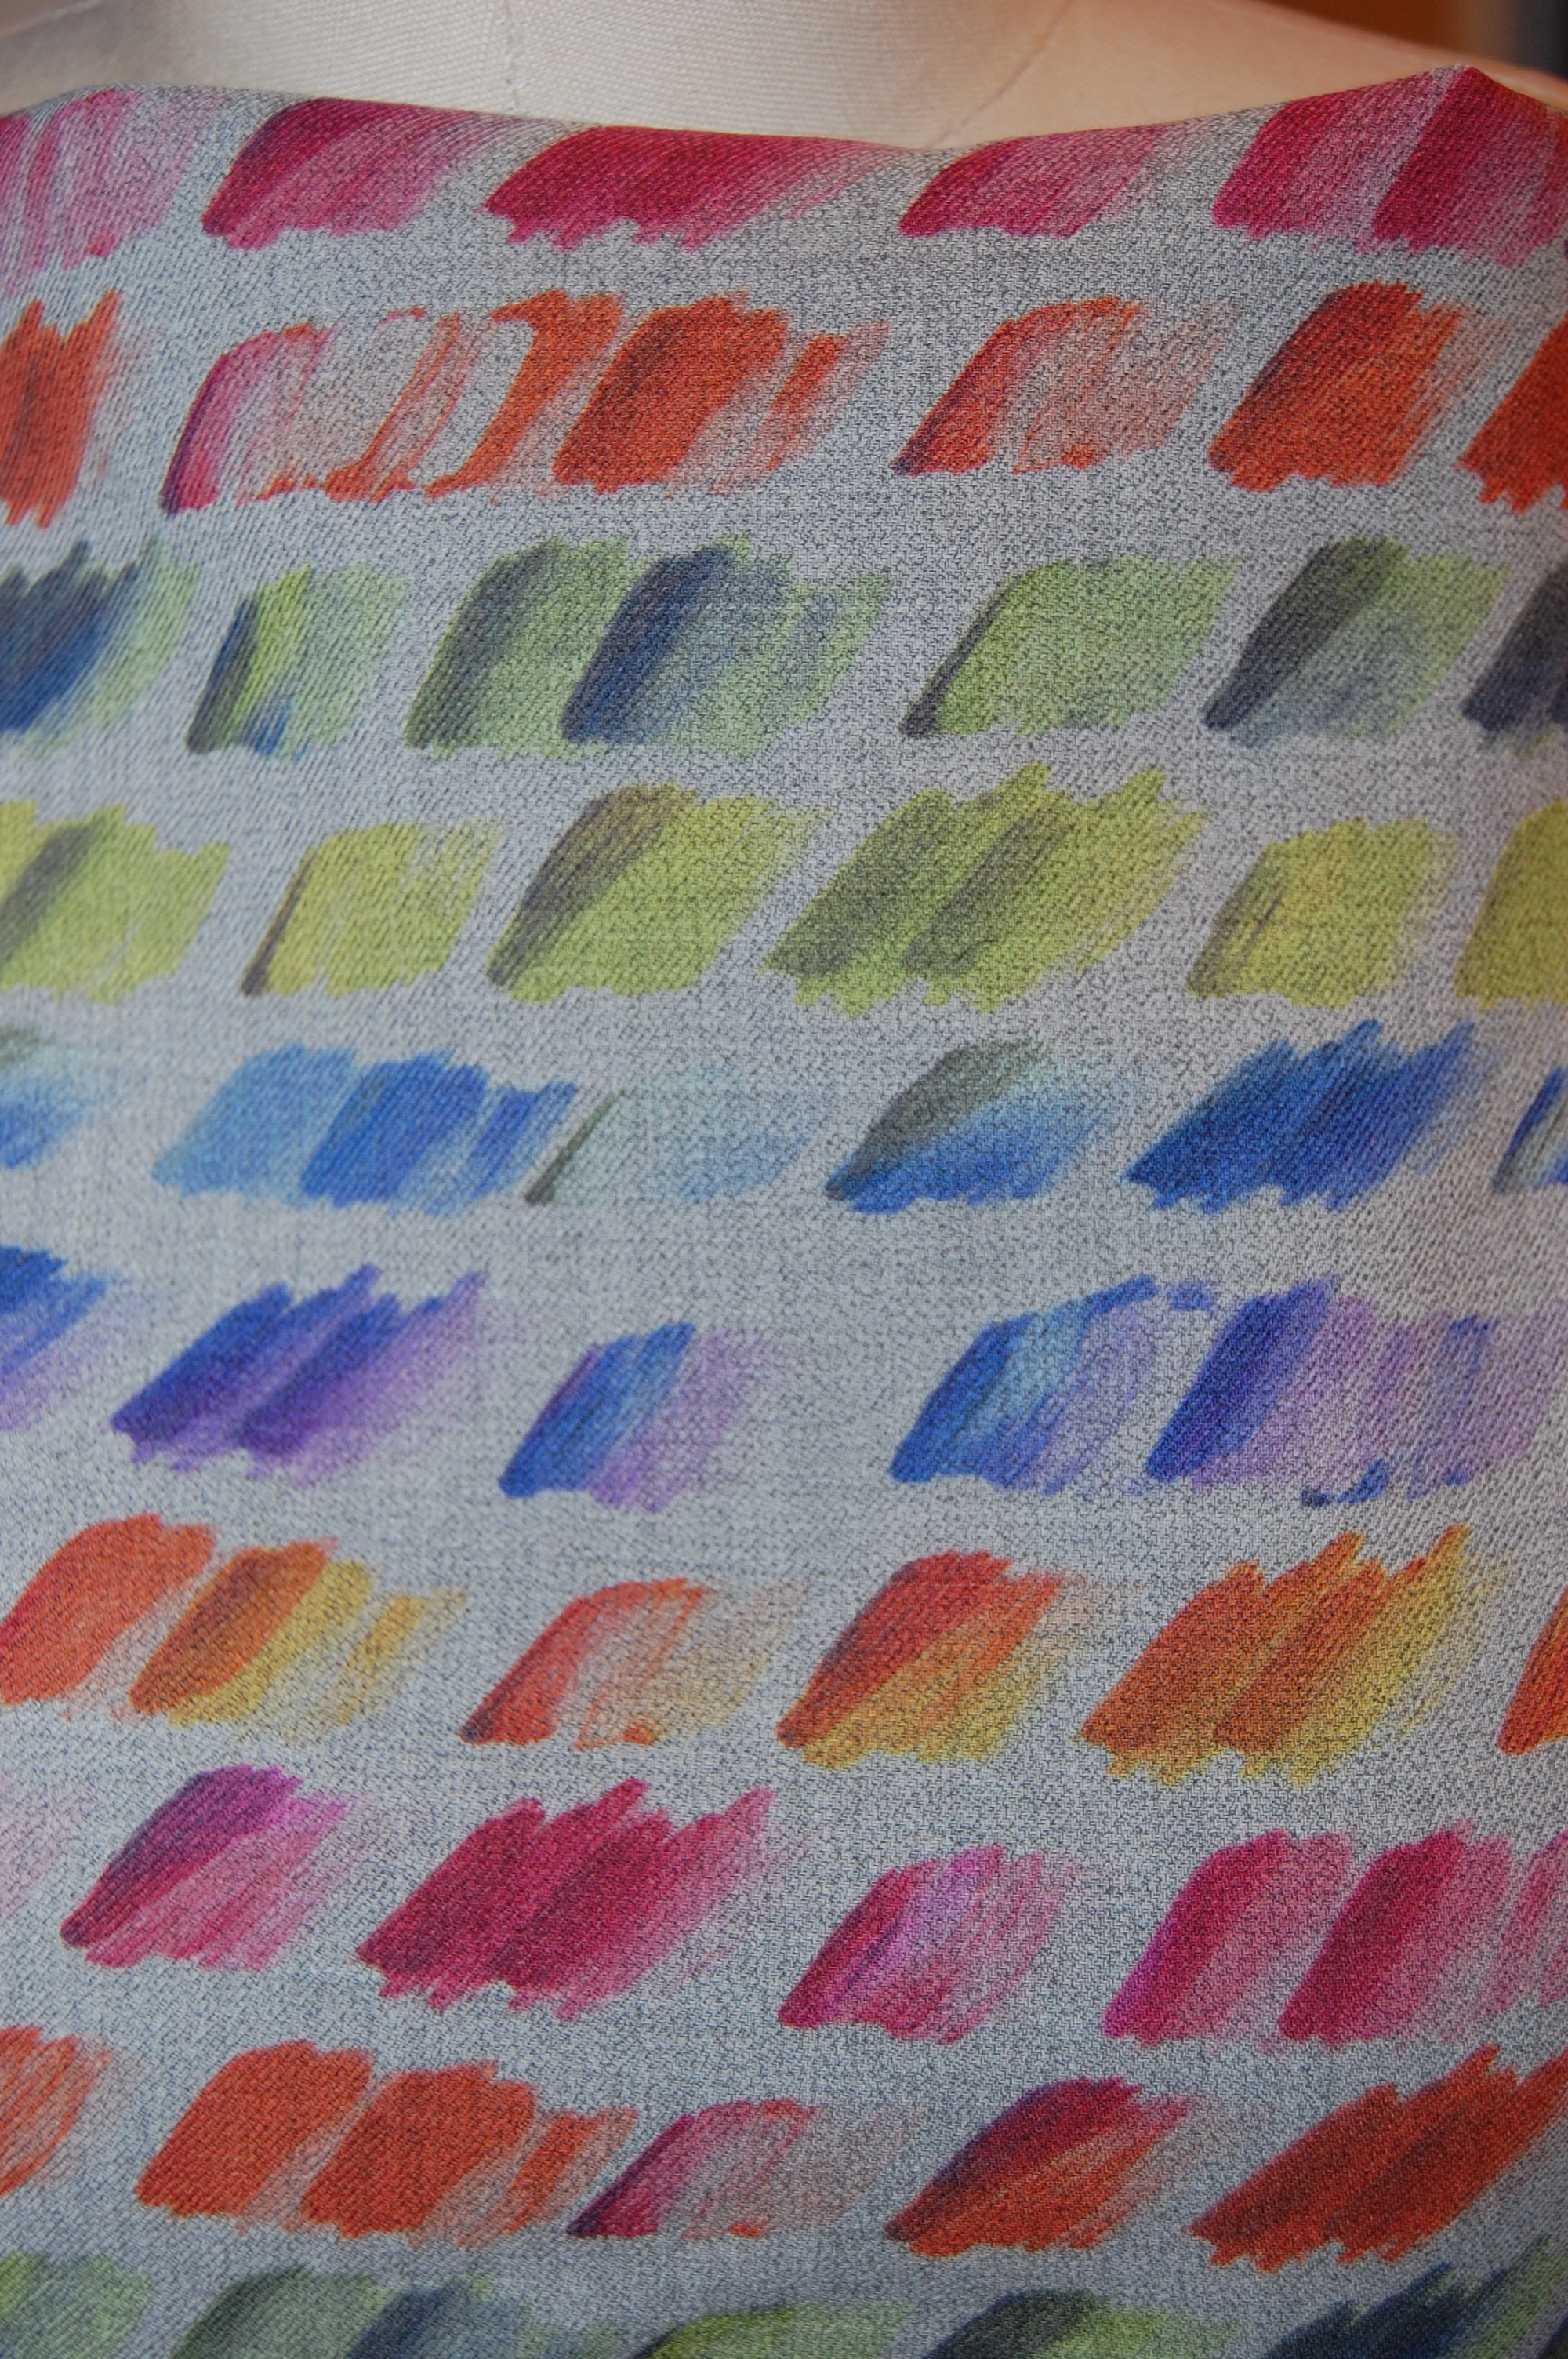
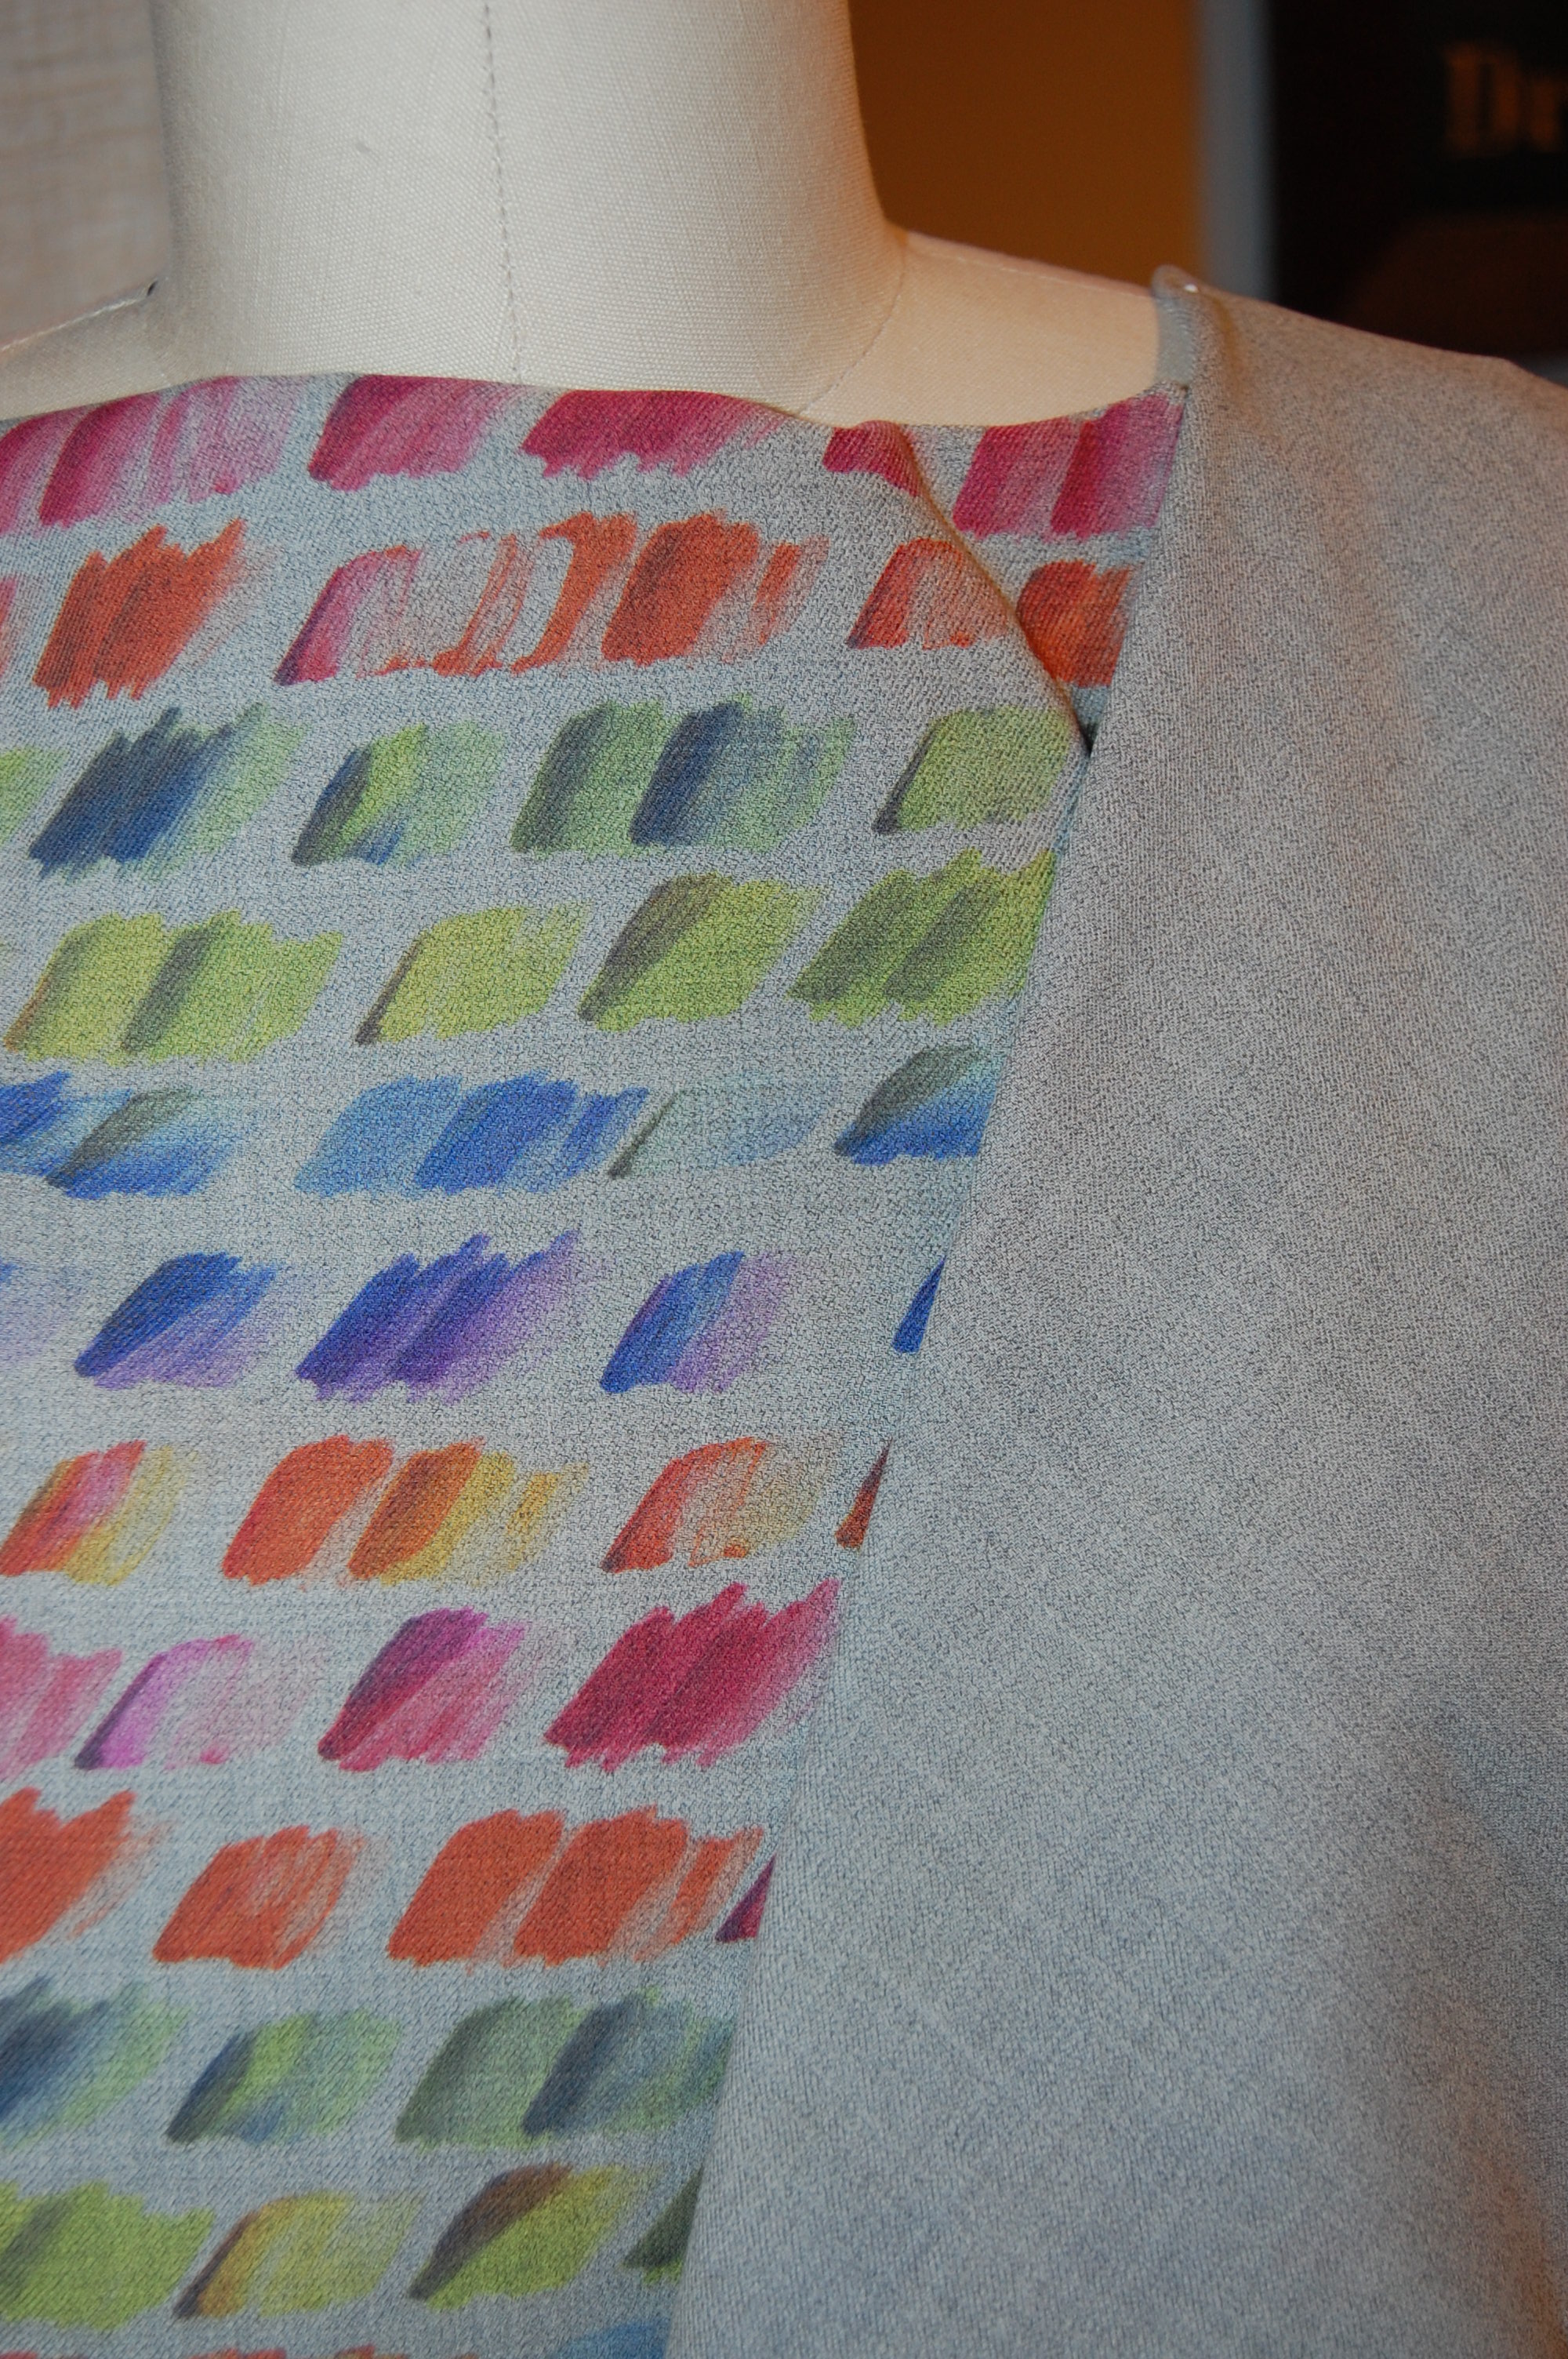
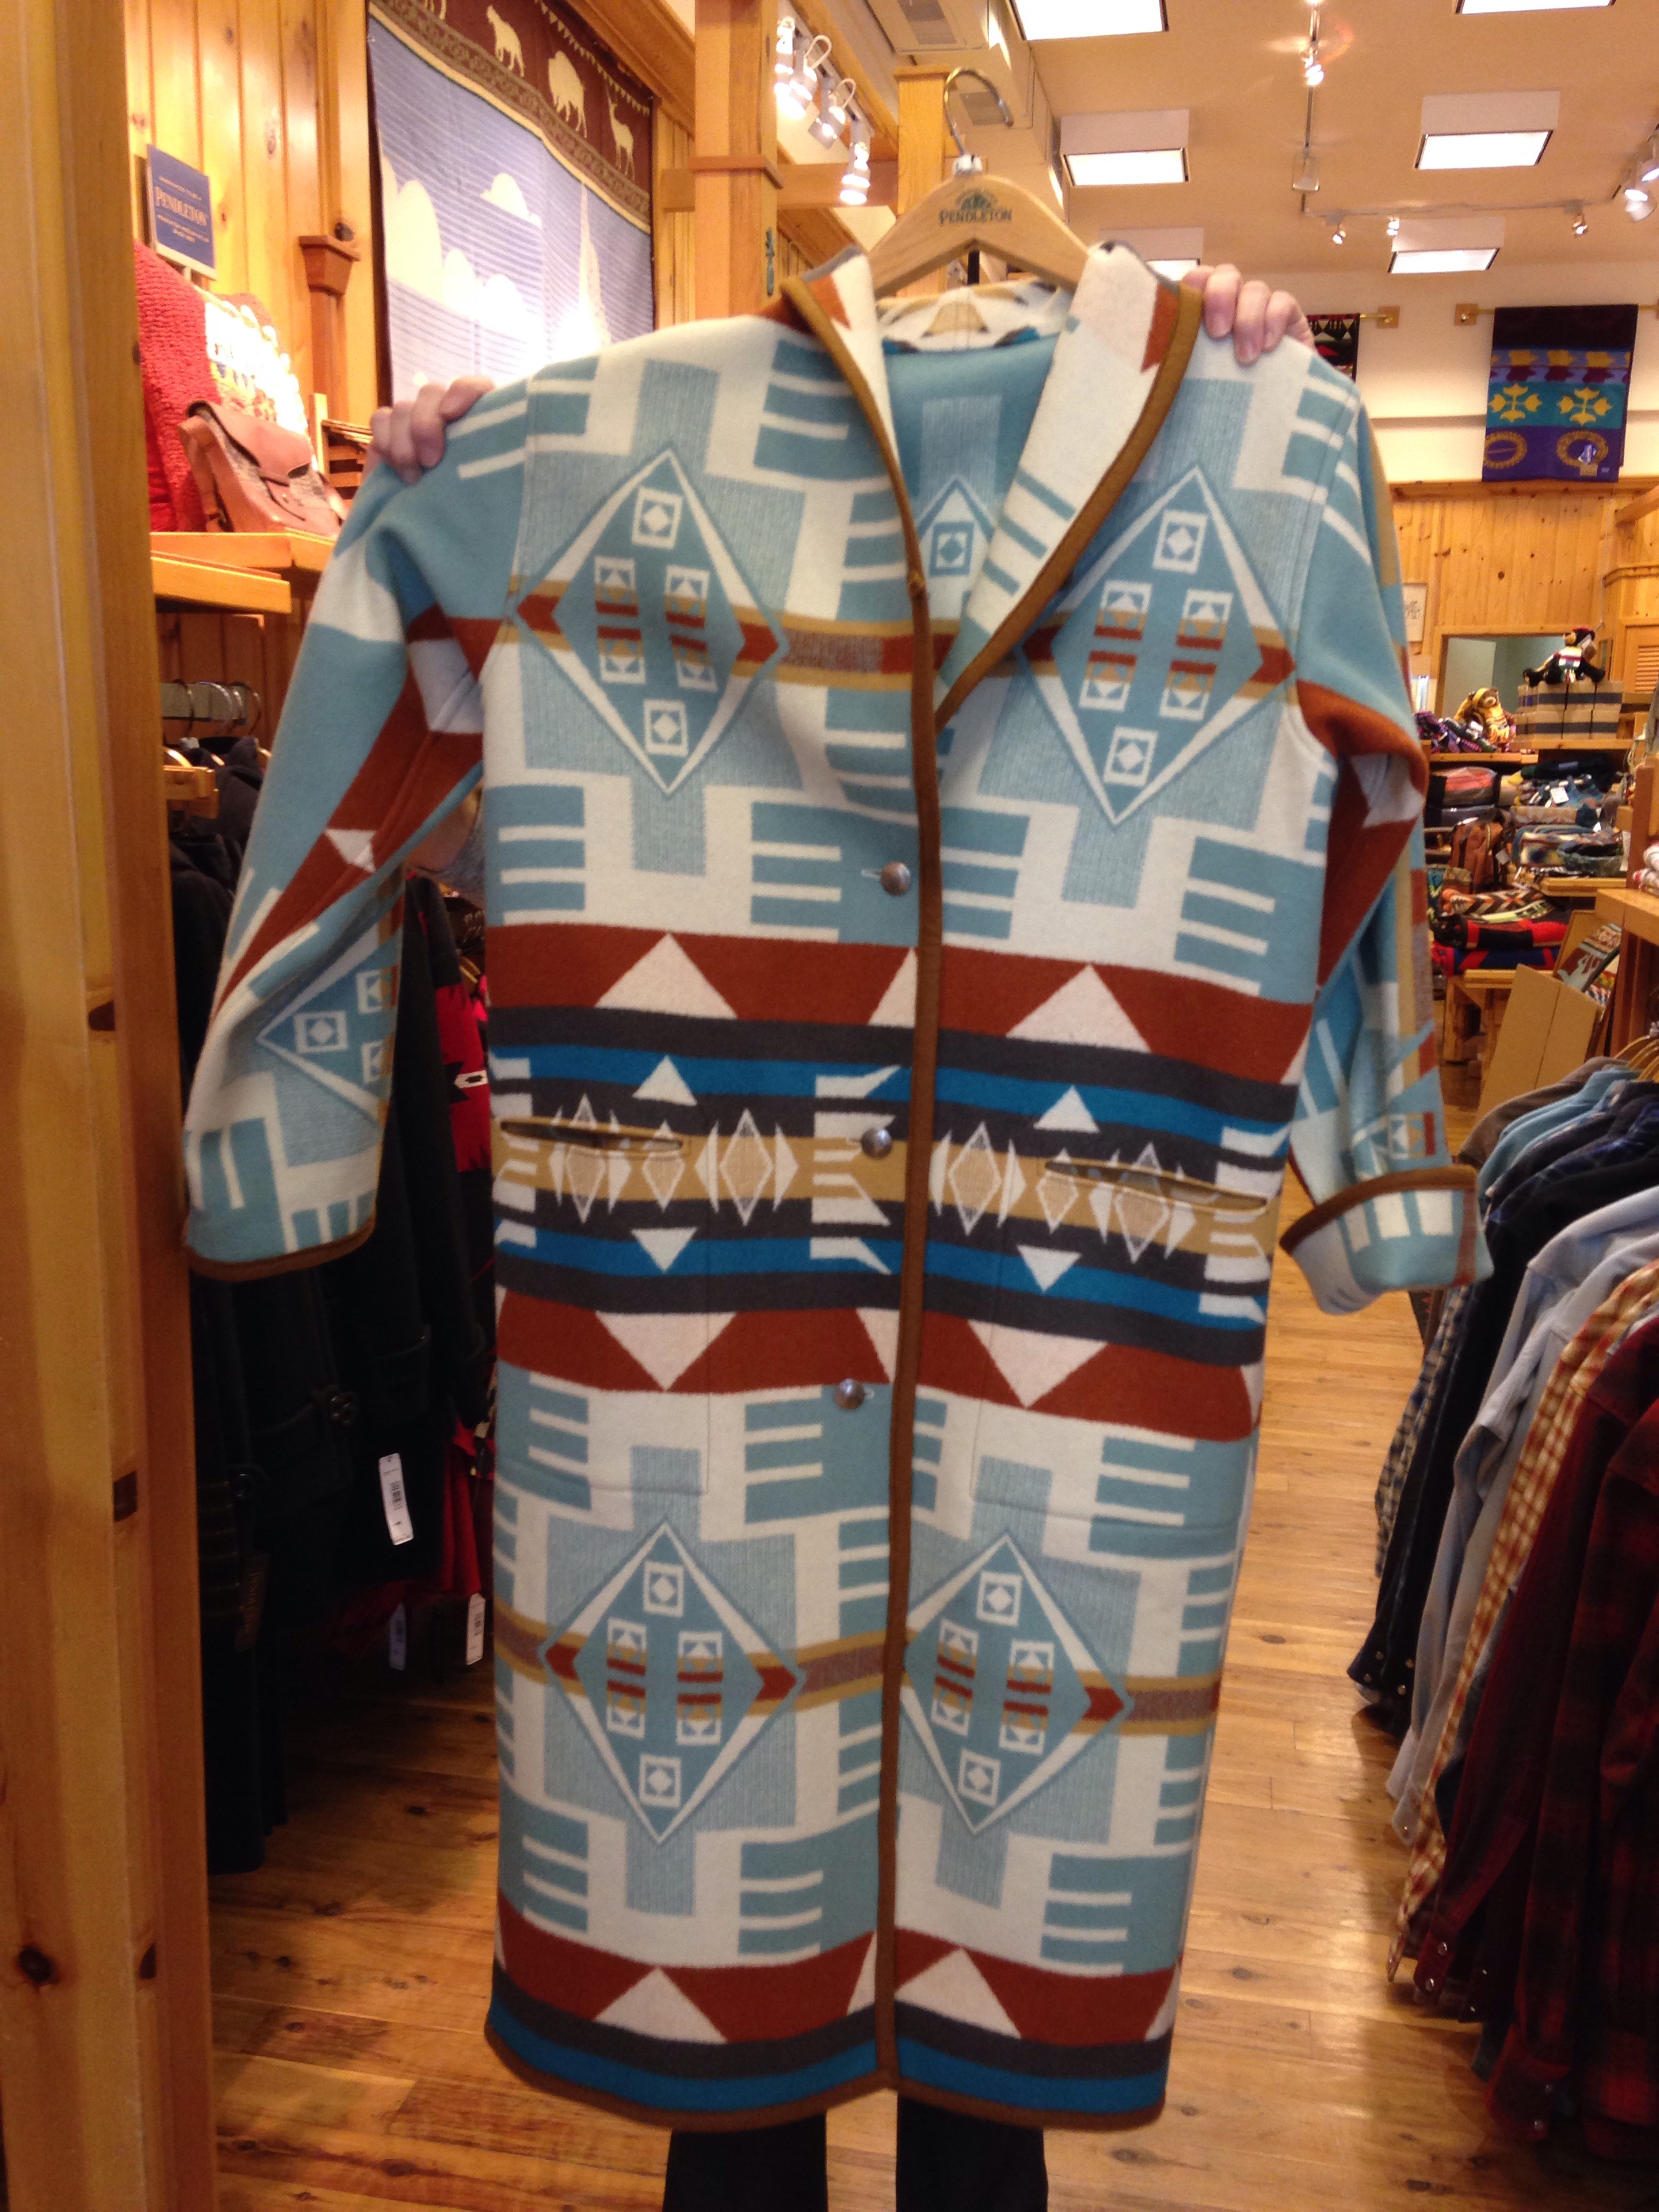
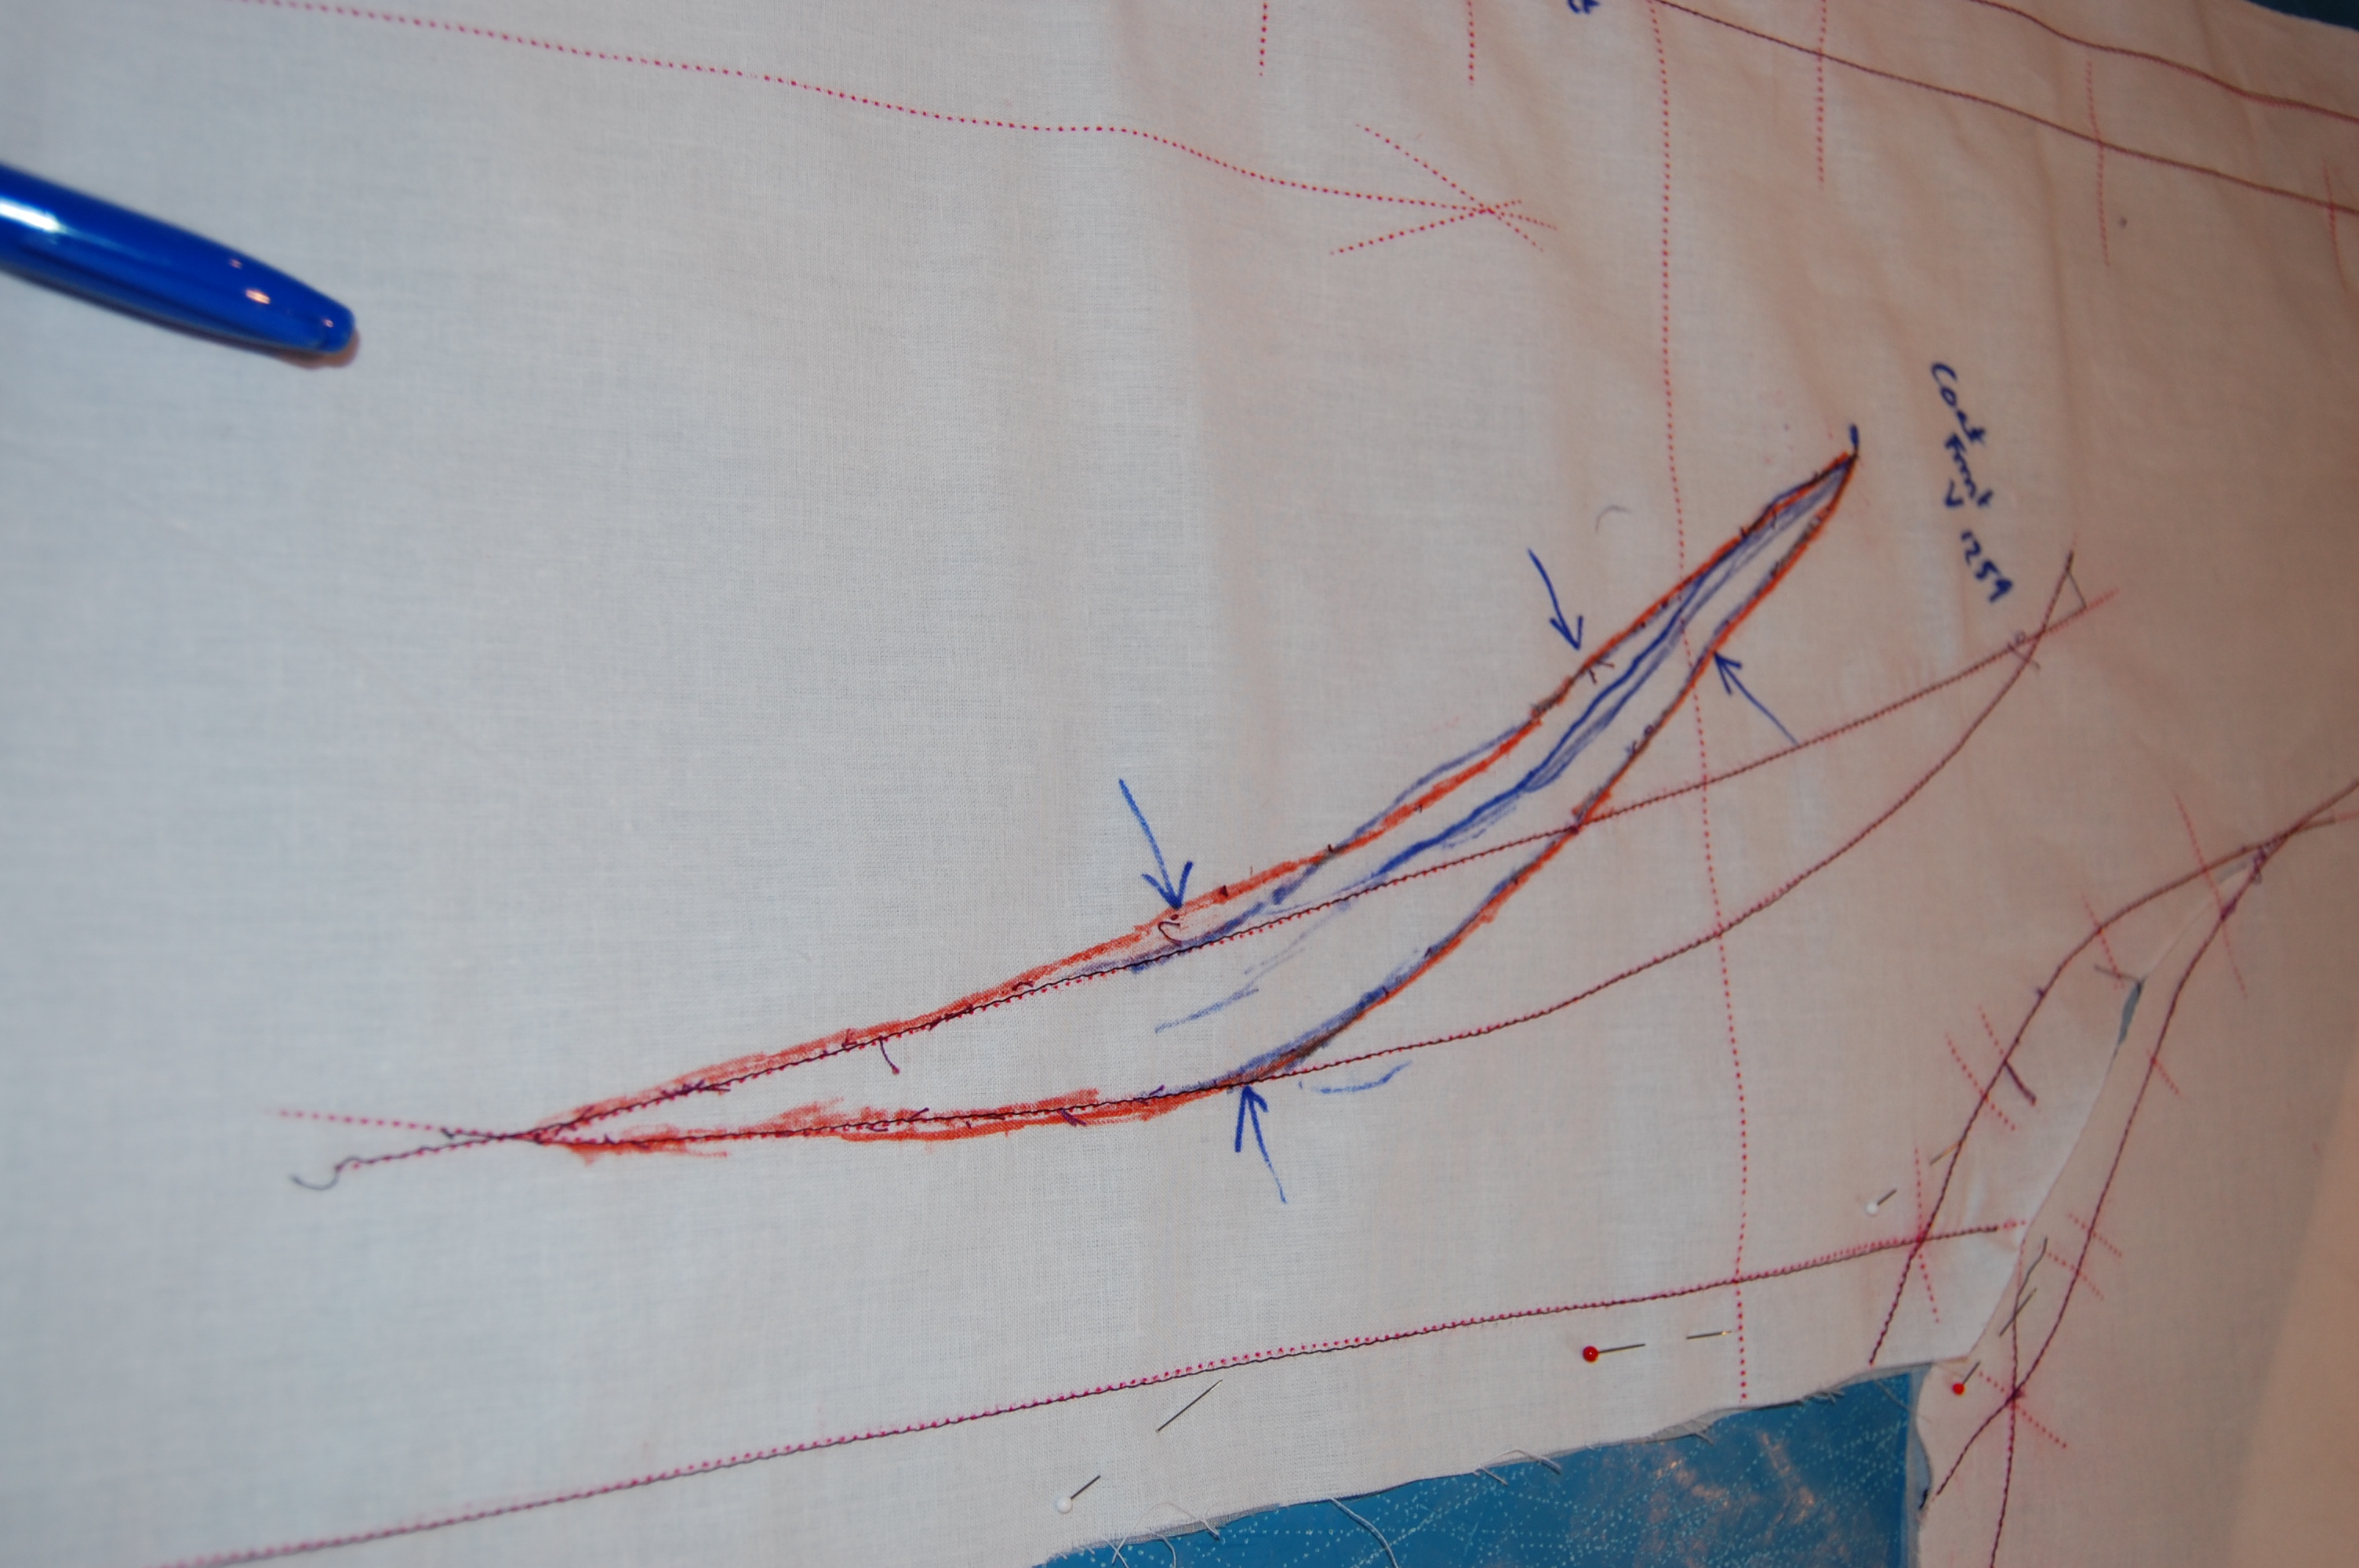
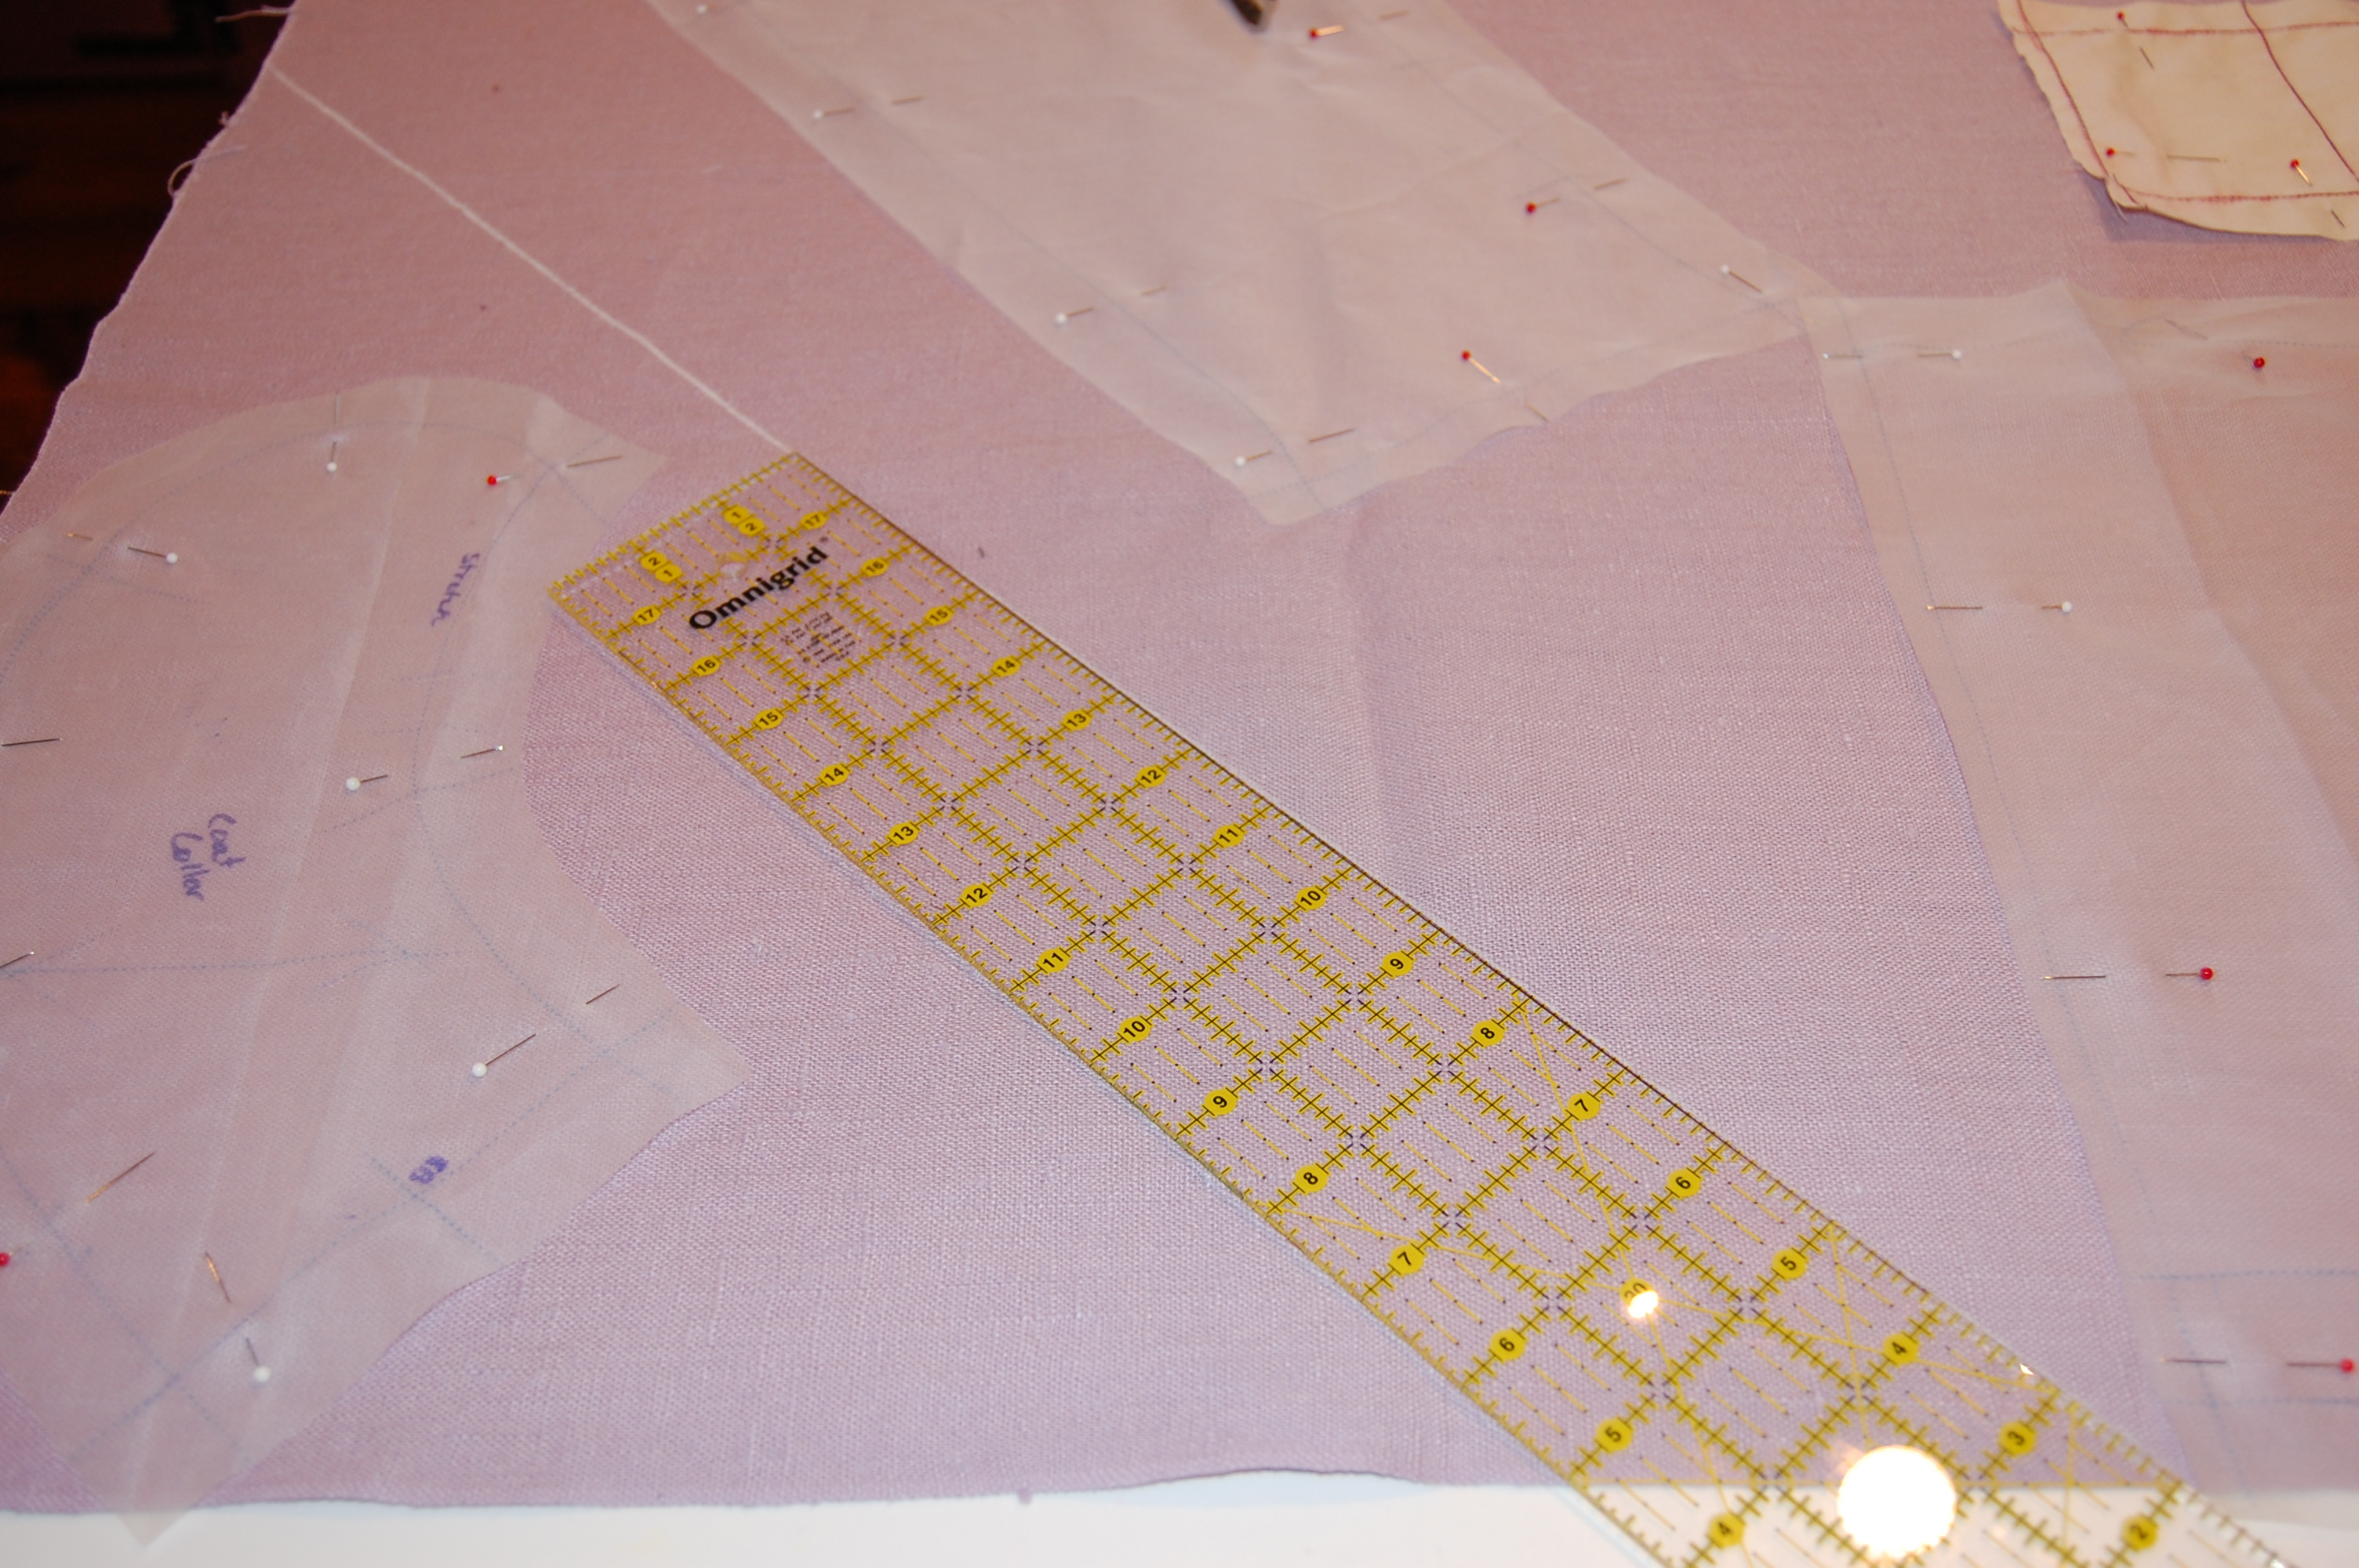
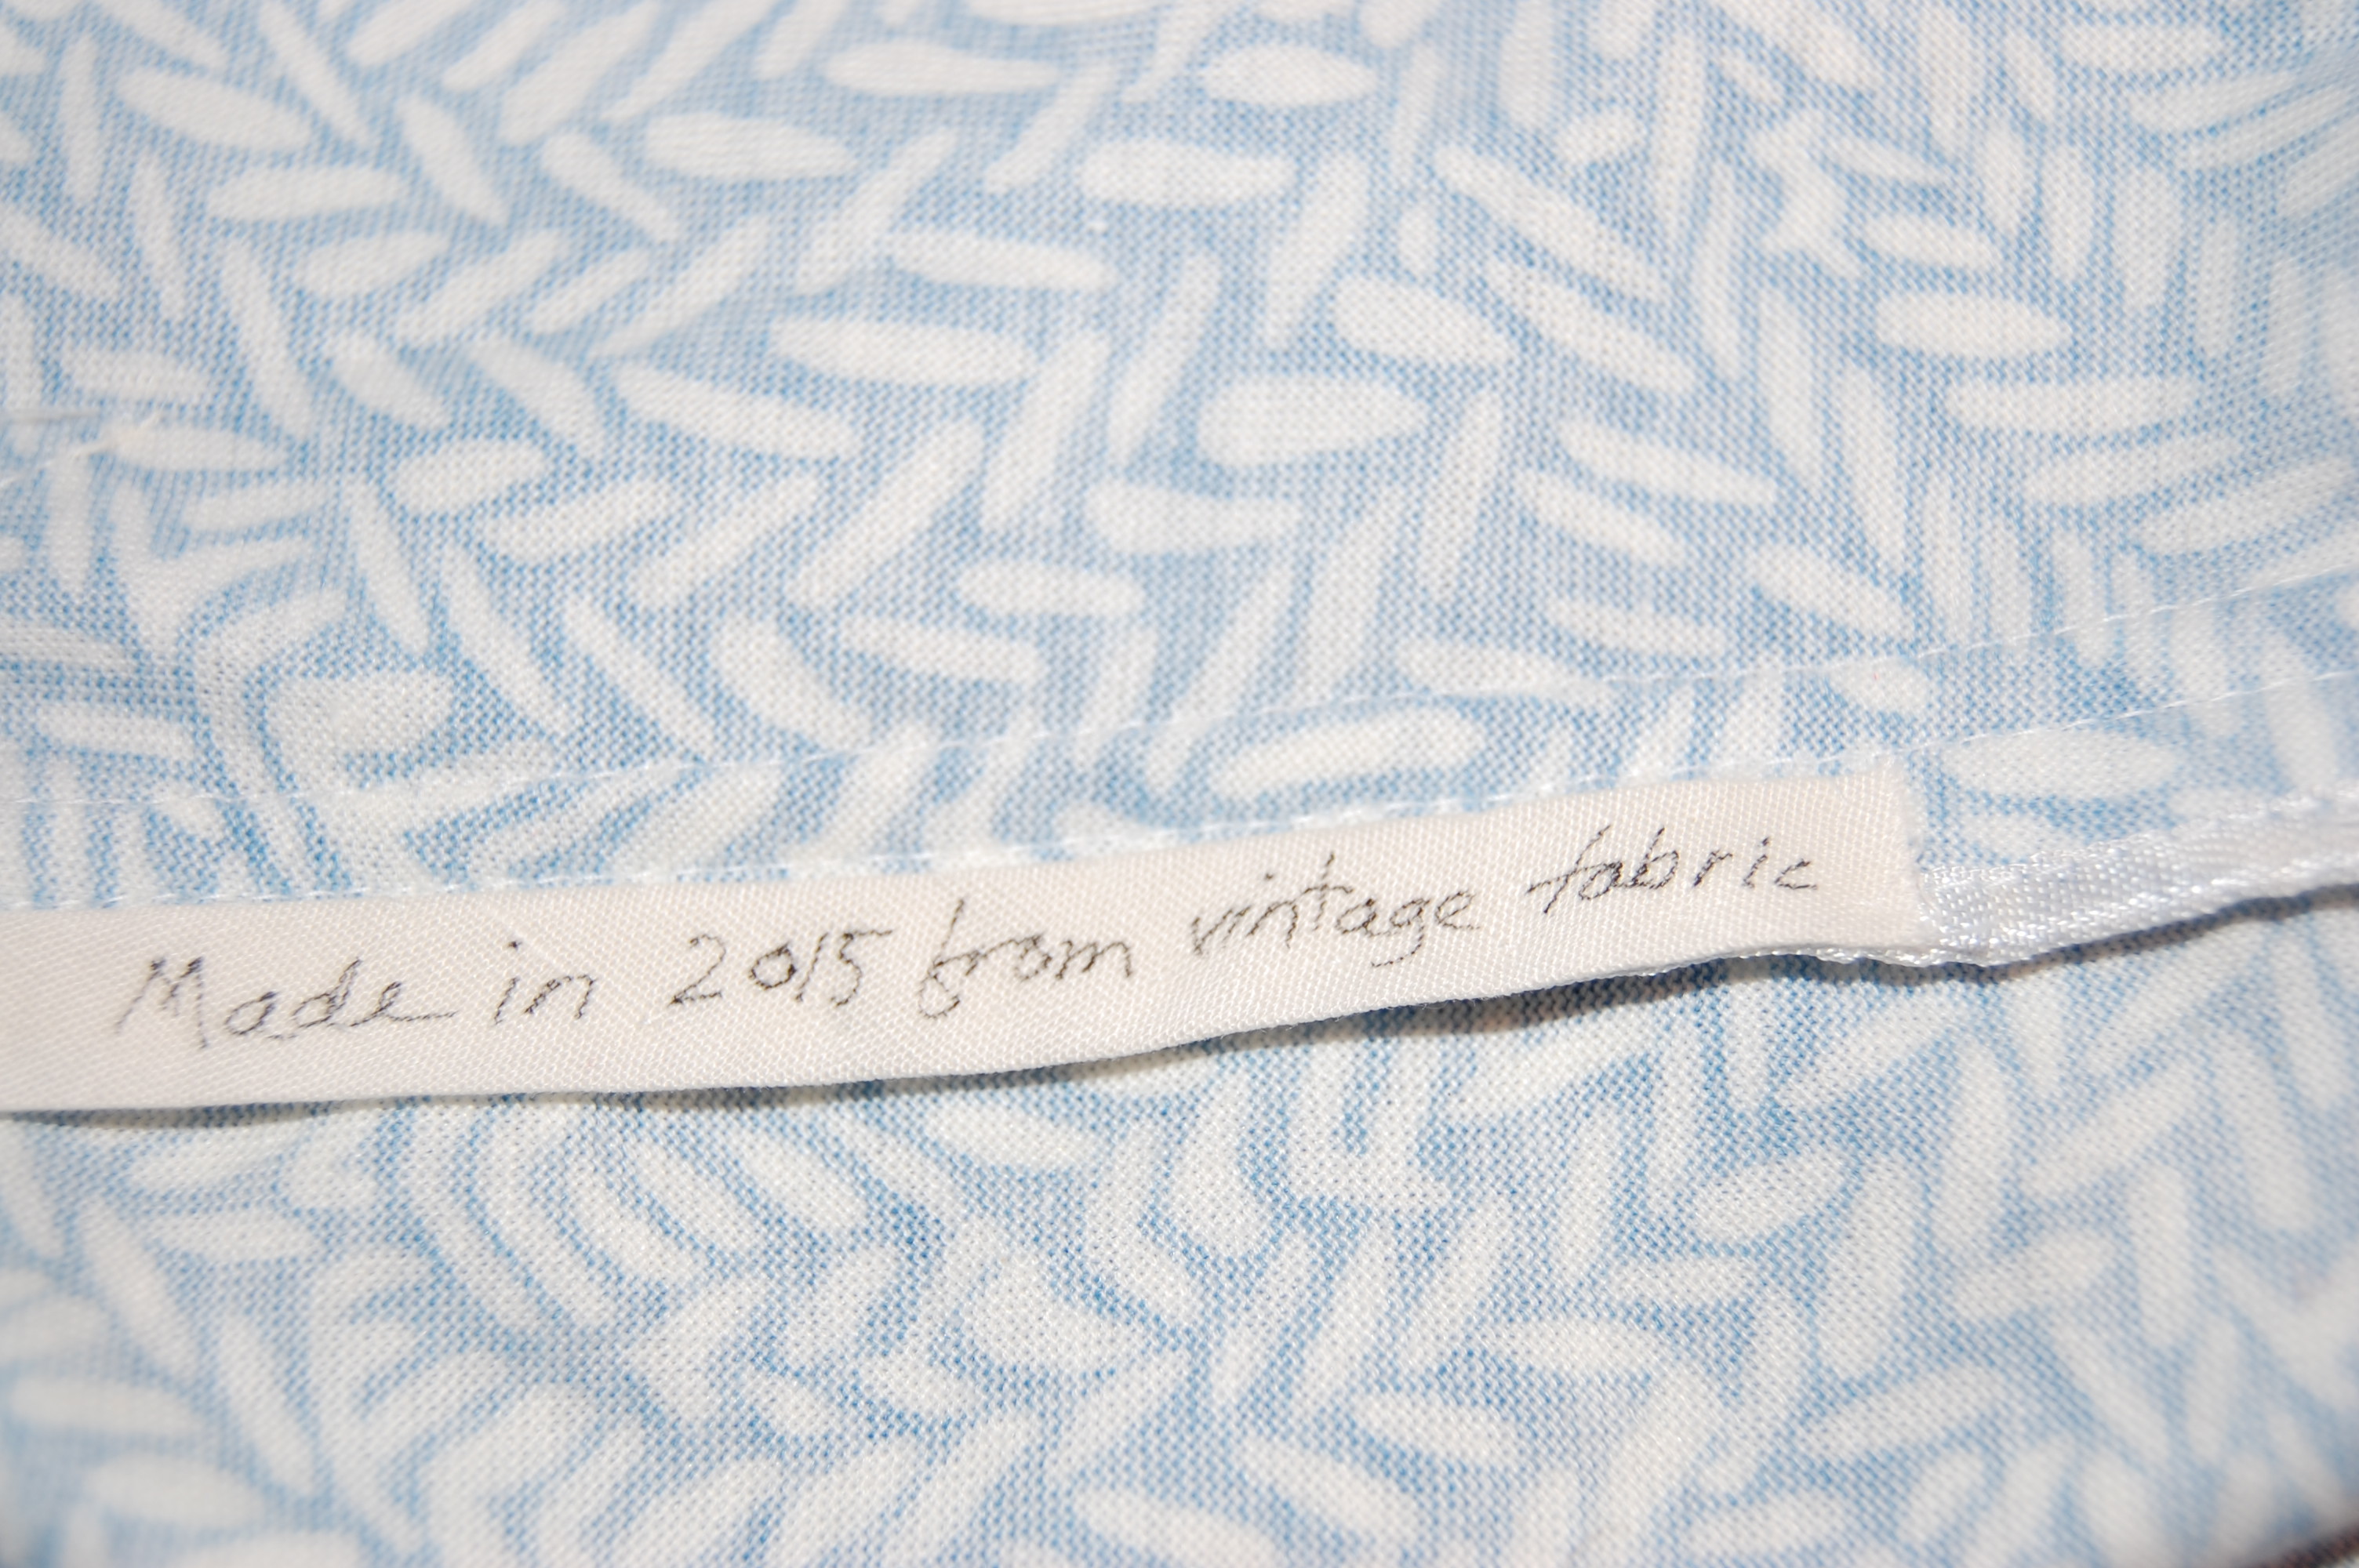
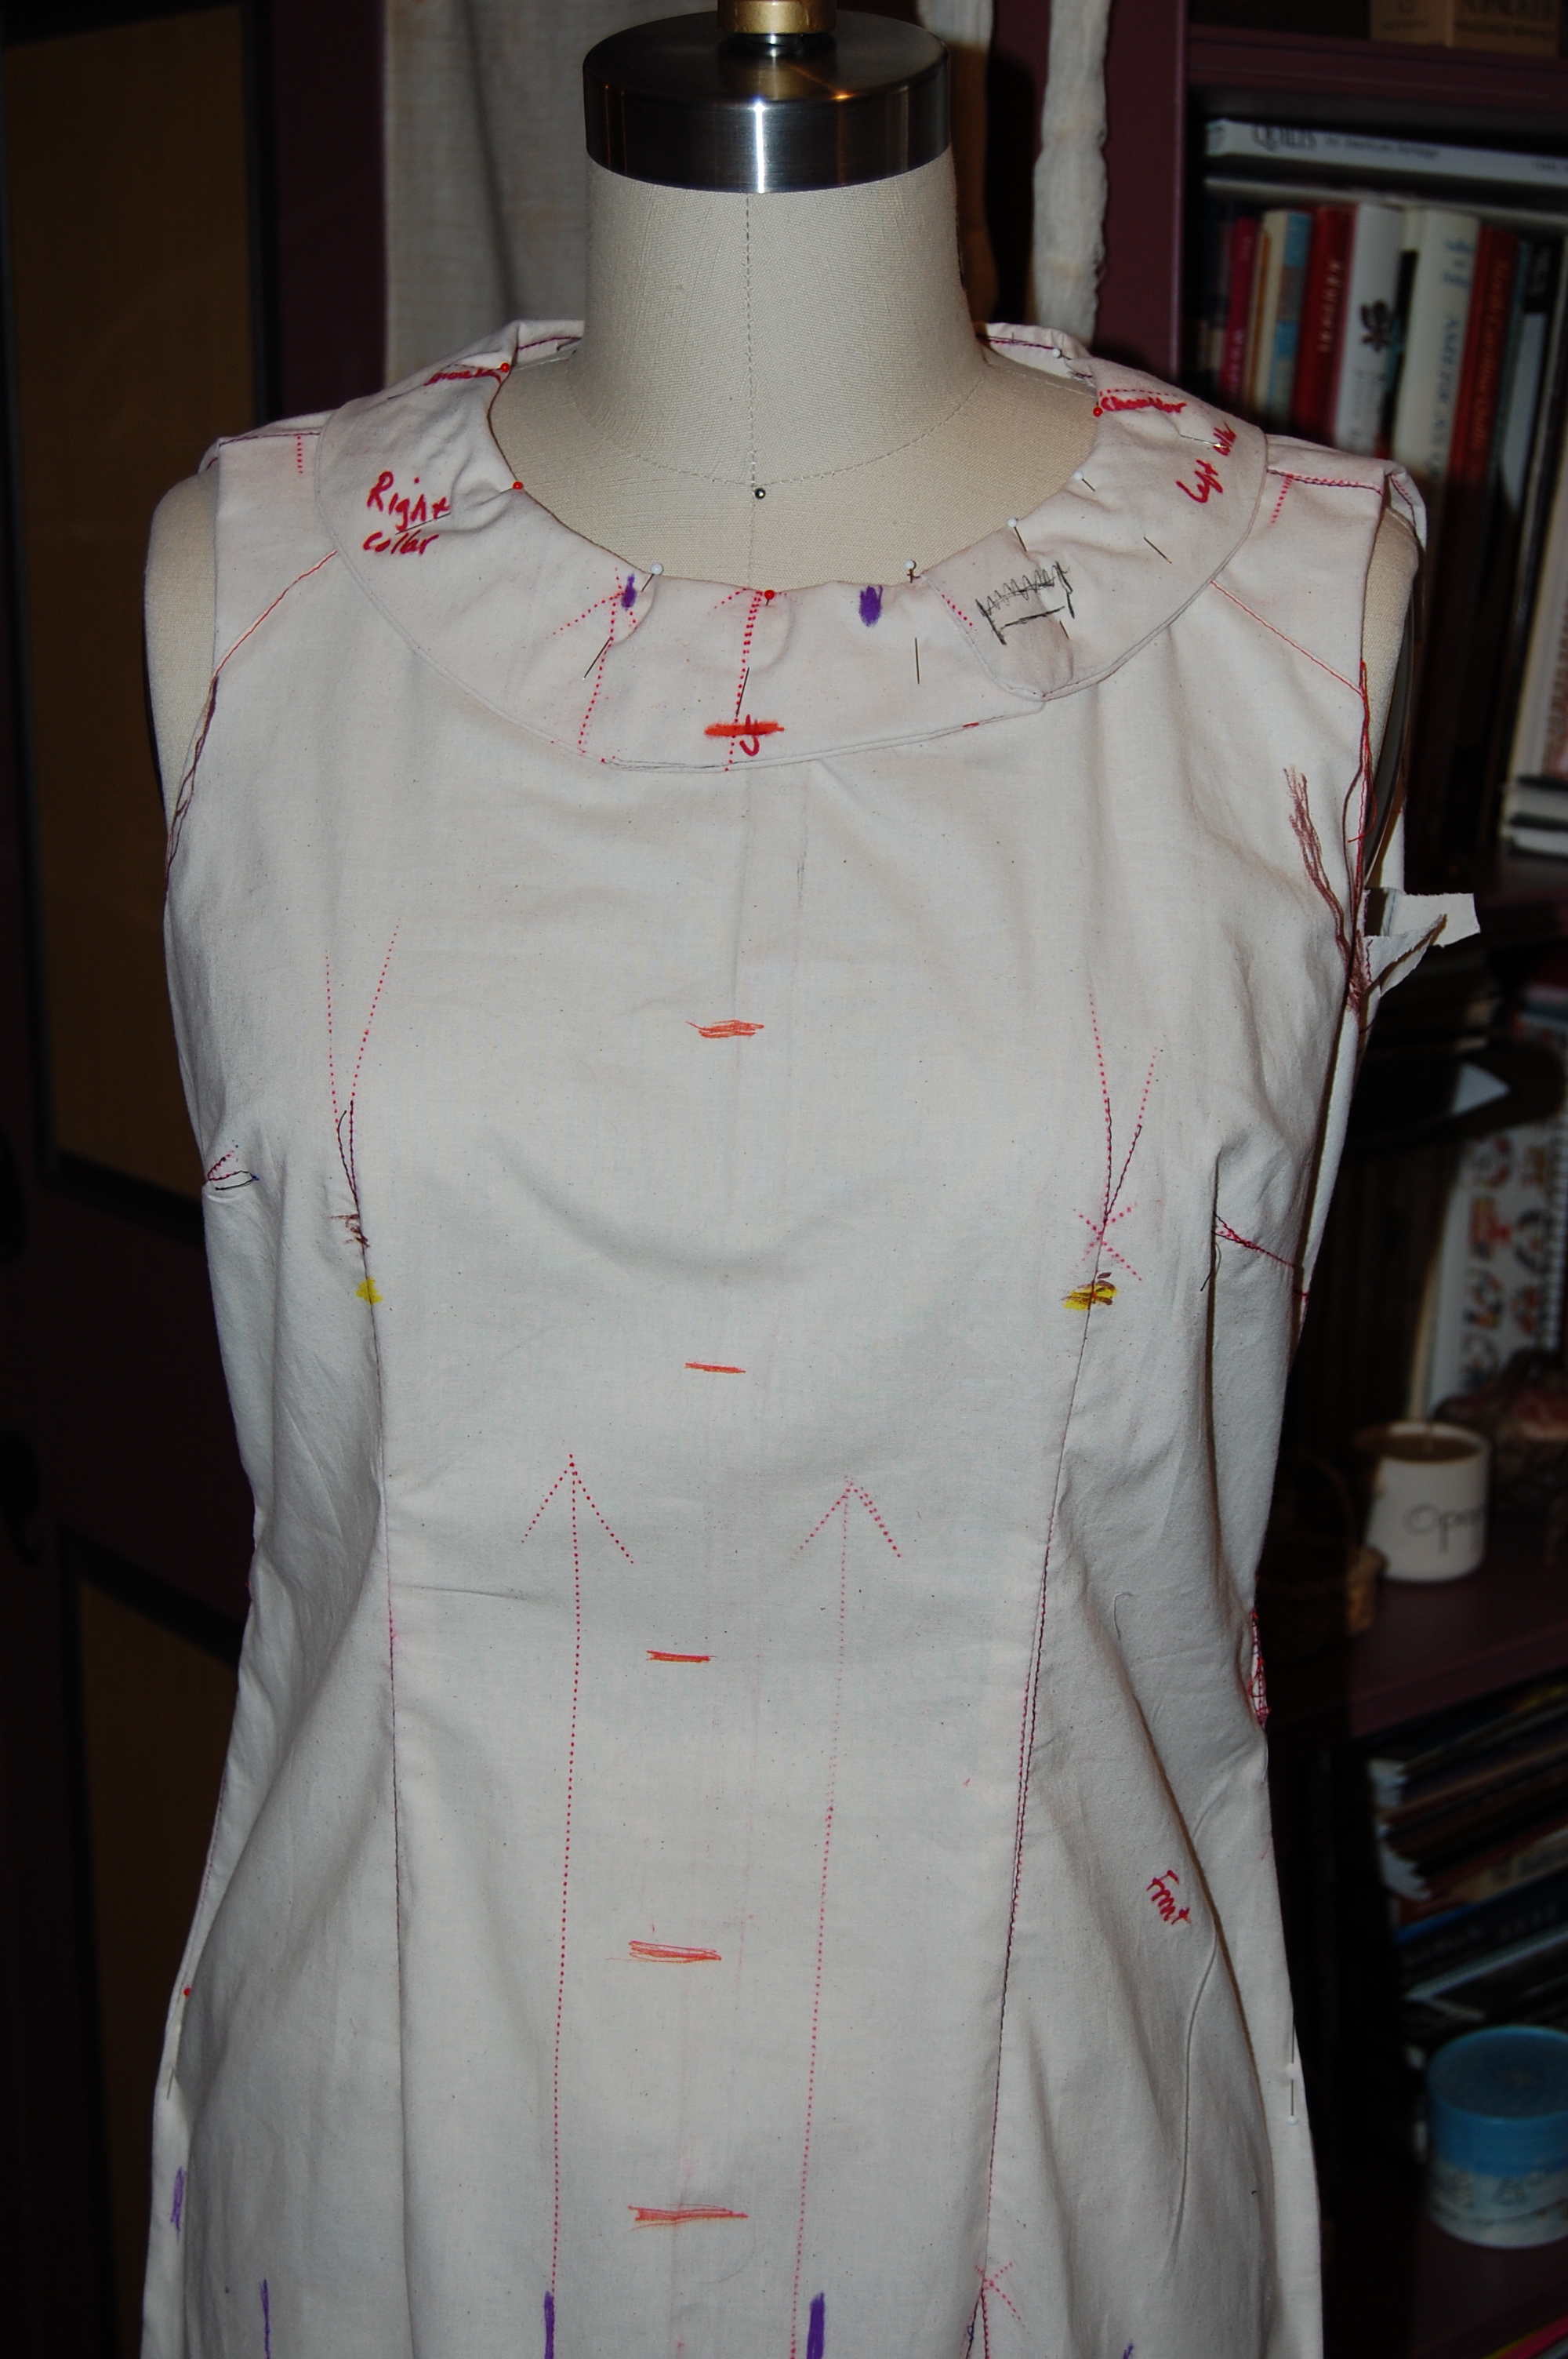
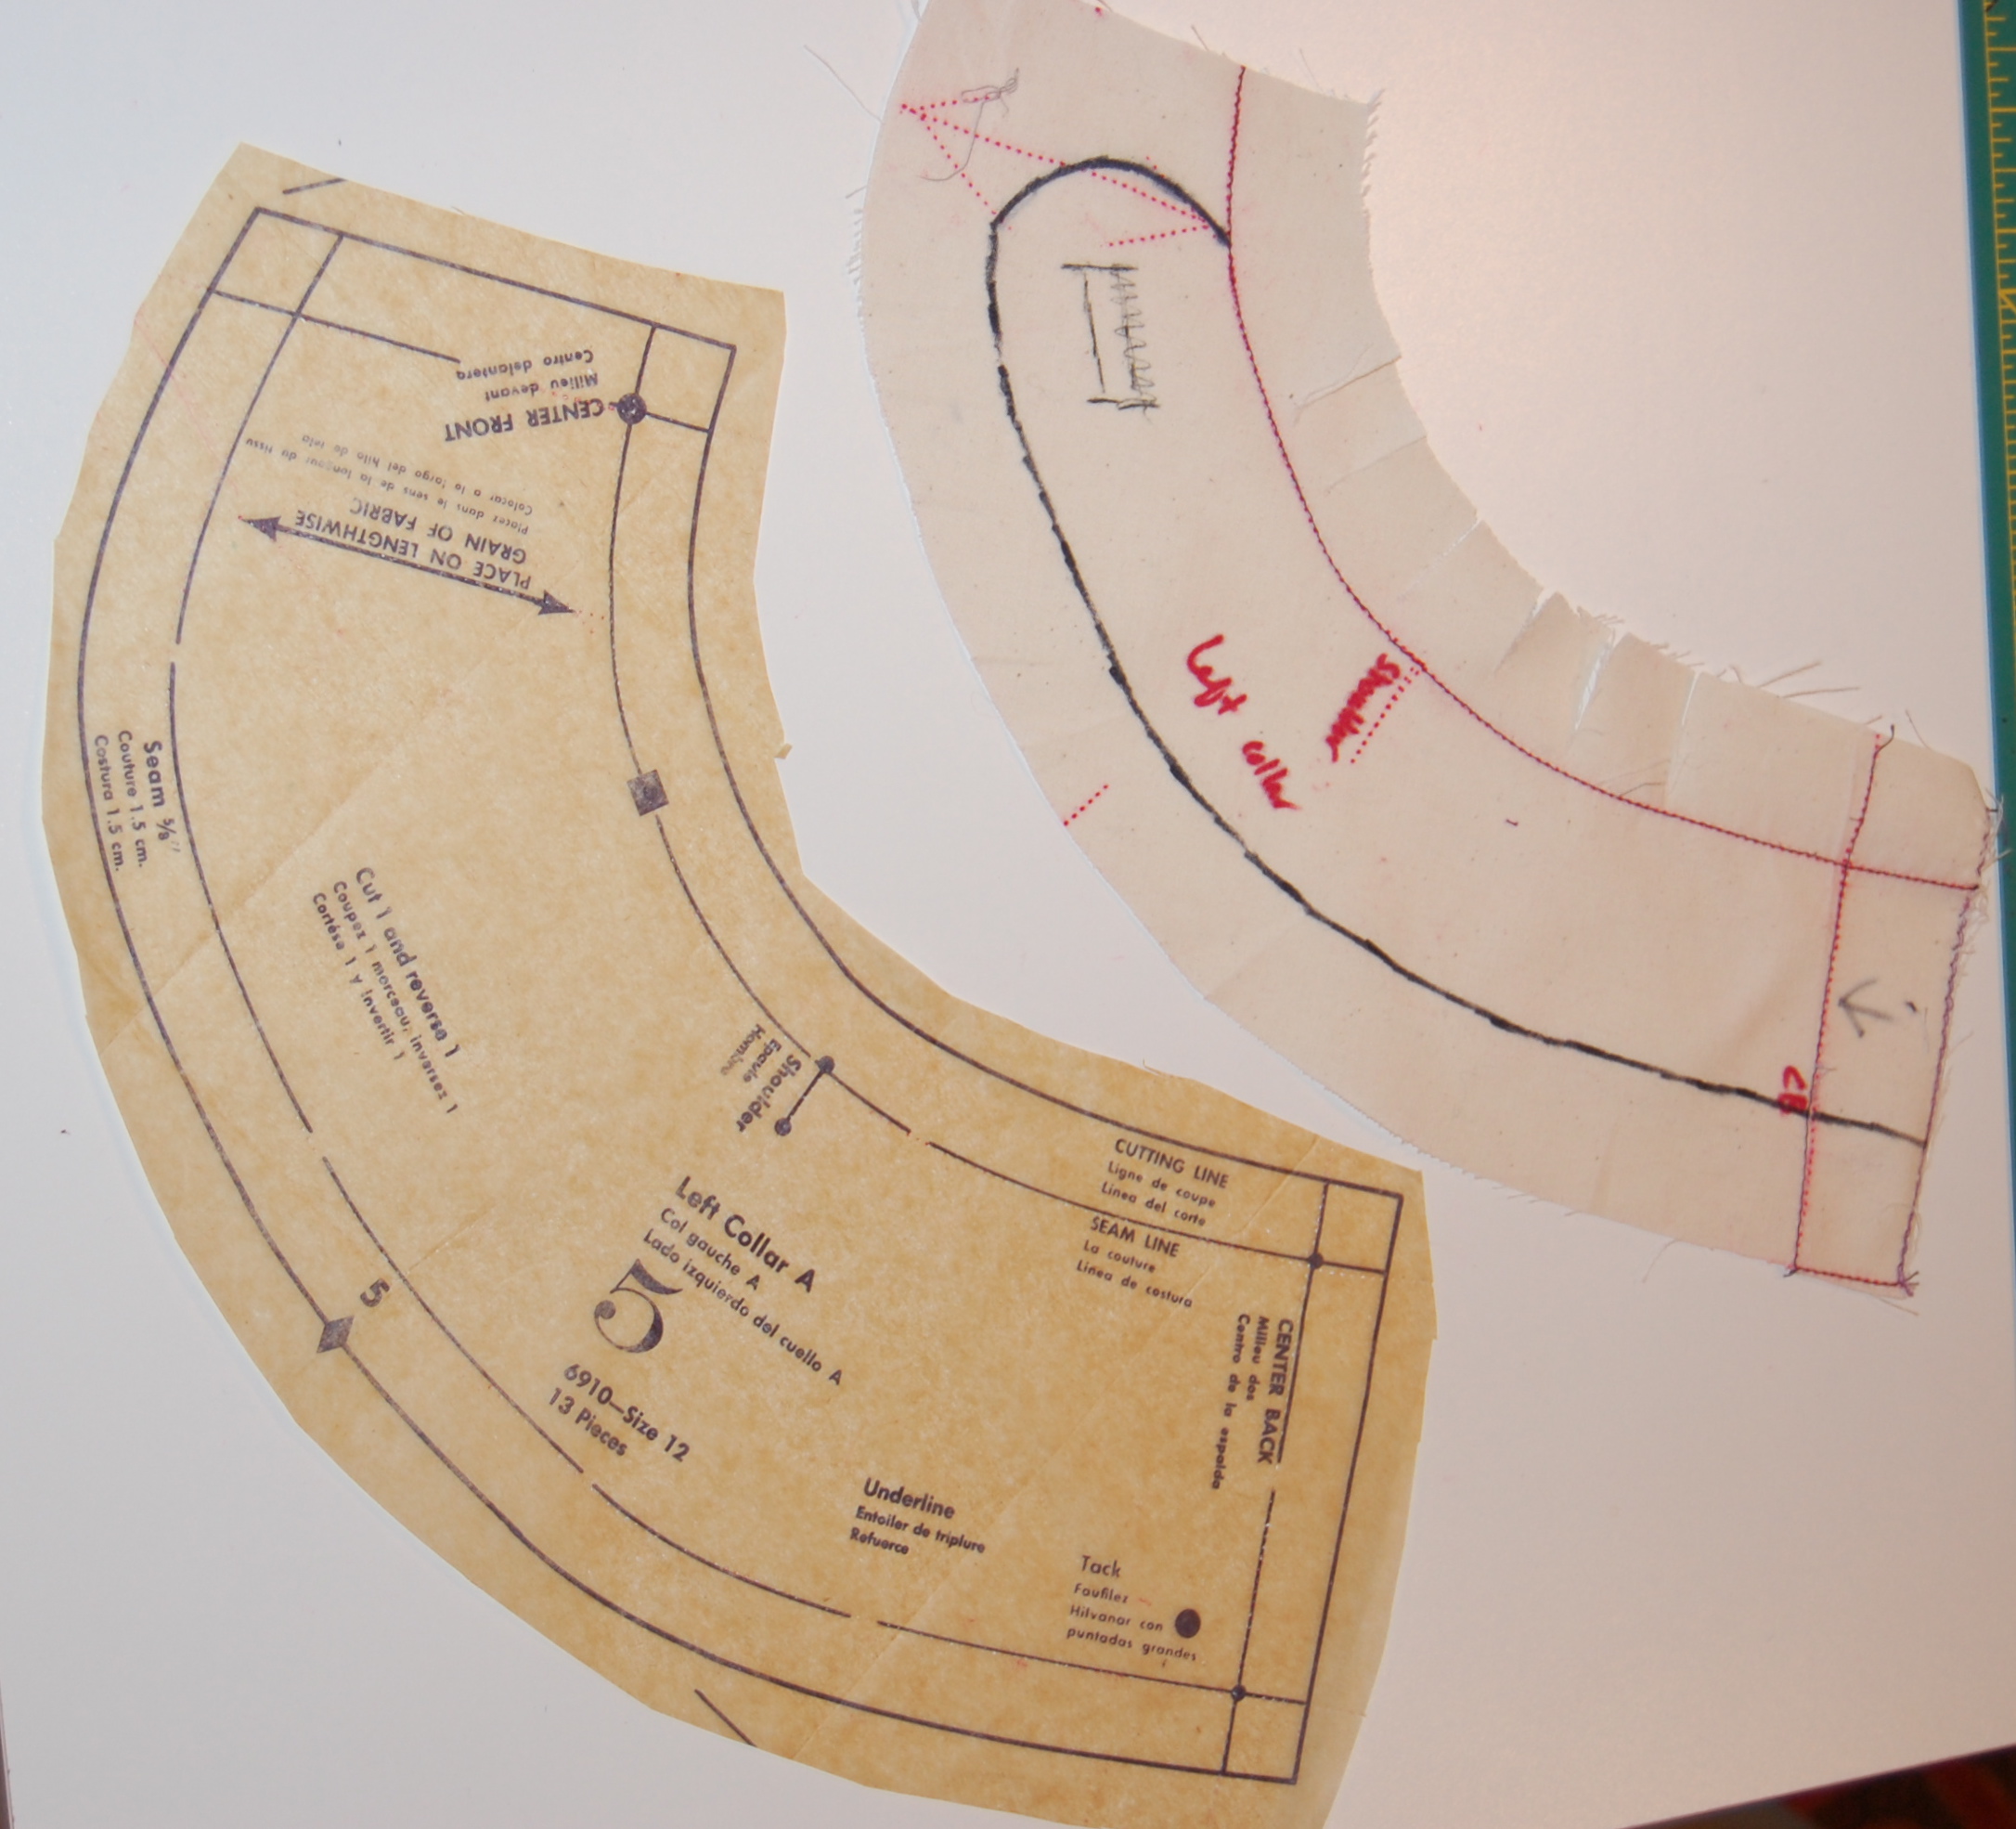
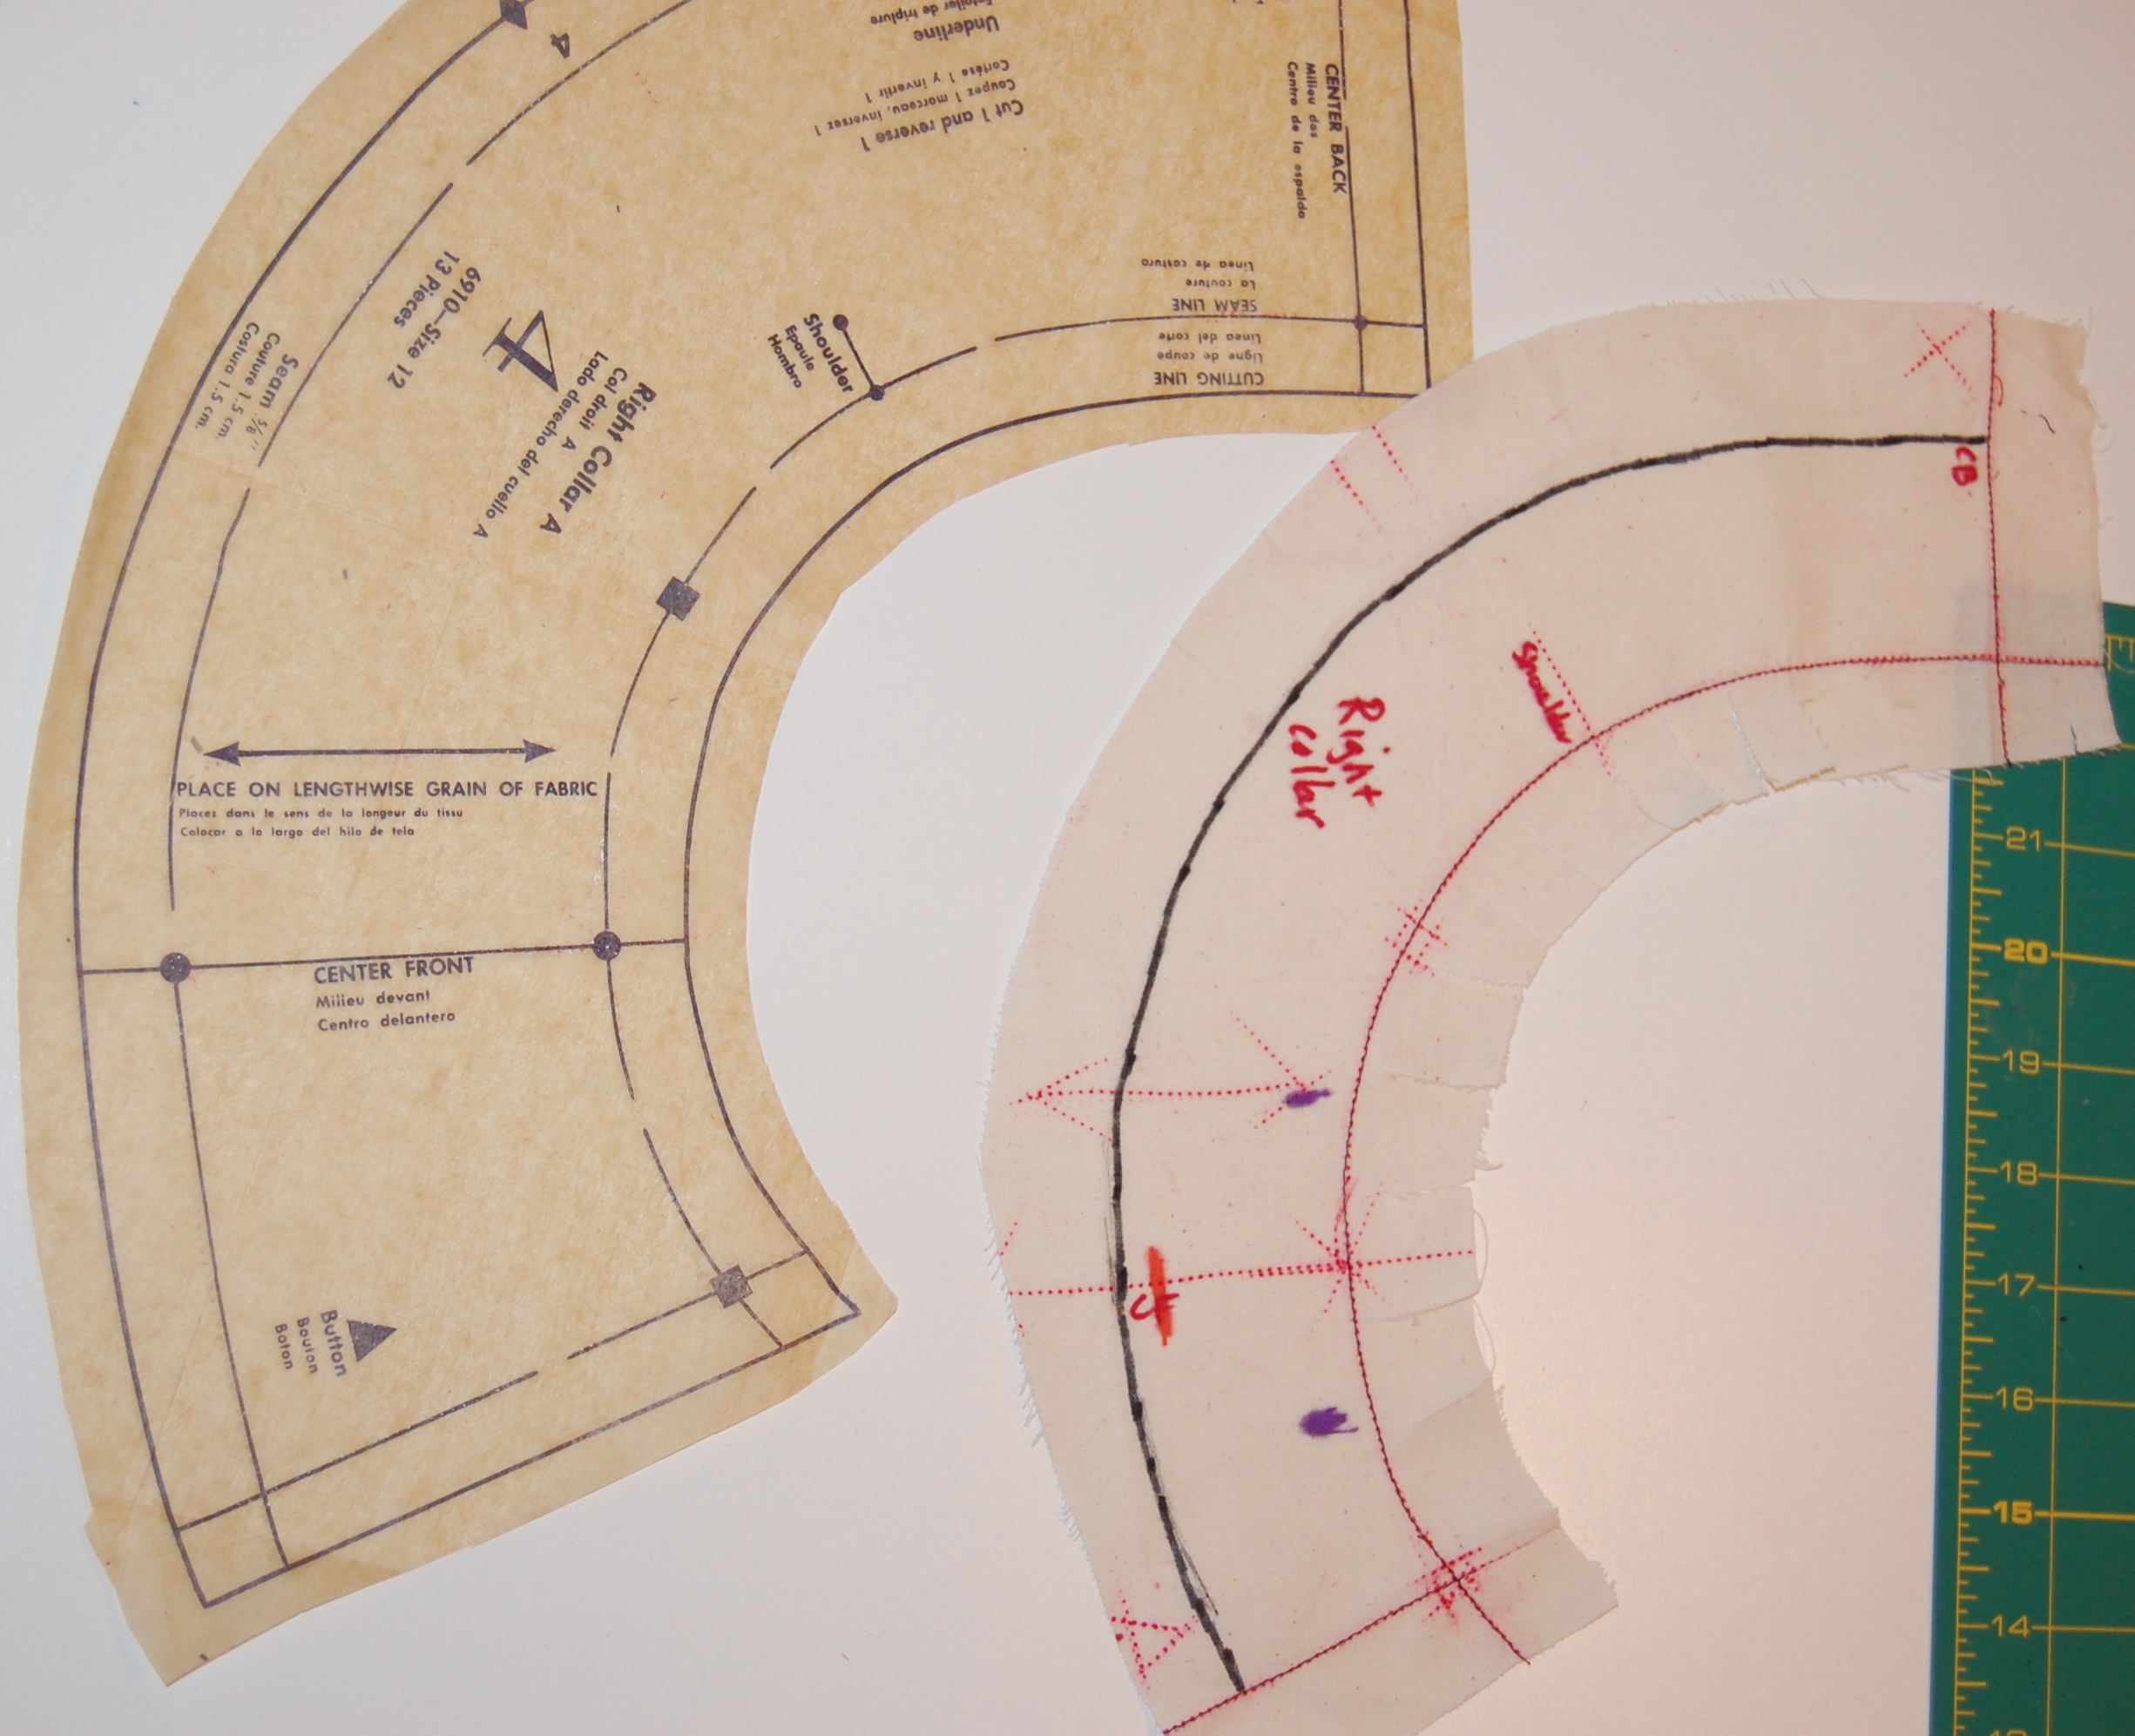
So what made vintage Vogue 1395 such a tricky dress to make? I documented my efforts to get a workable muslin (toile) in a post from early October. Once I had my adjusted muslin pattern, I transferred it onto black silk organza to use as my cutting guide. It was then I realized that, because the design on the fabric, a silk and wool blend, was printed on it, not woven into it, I needed to work from the right side of the fabric in order to match the horizontal “lines.” This meant that I had to flip every piece that I cut out and then exchange the organza with its opposing side. (I hope this makes sense.) It added a bit of uncertainty to the process and I was fanatical with flipping and checking to make sure I kept the design in line. Something told me I should delay cutting out the sleeves until I had the body of the dress together – my sewing godmother at work, I guess – and I am glad I did, as I’ll detail in a bit.
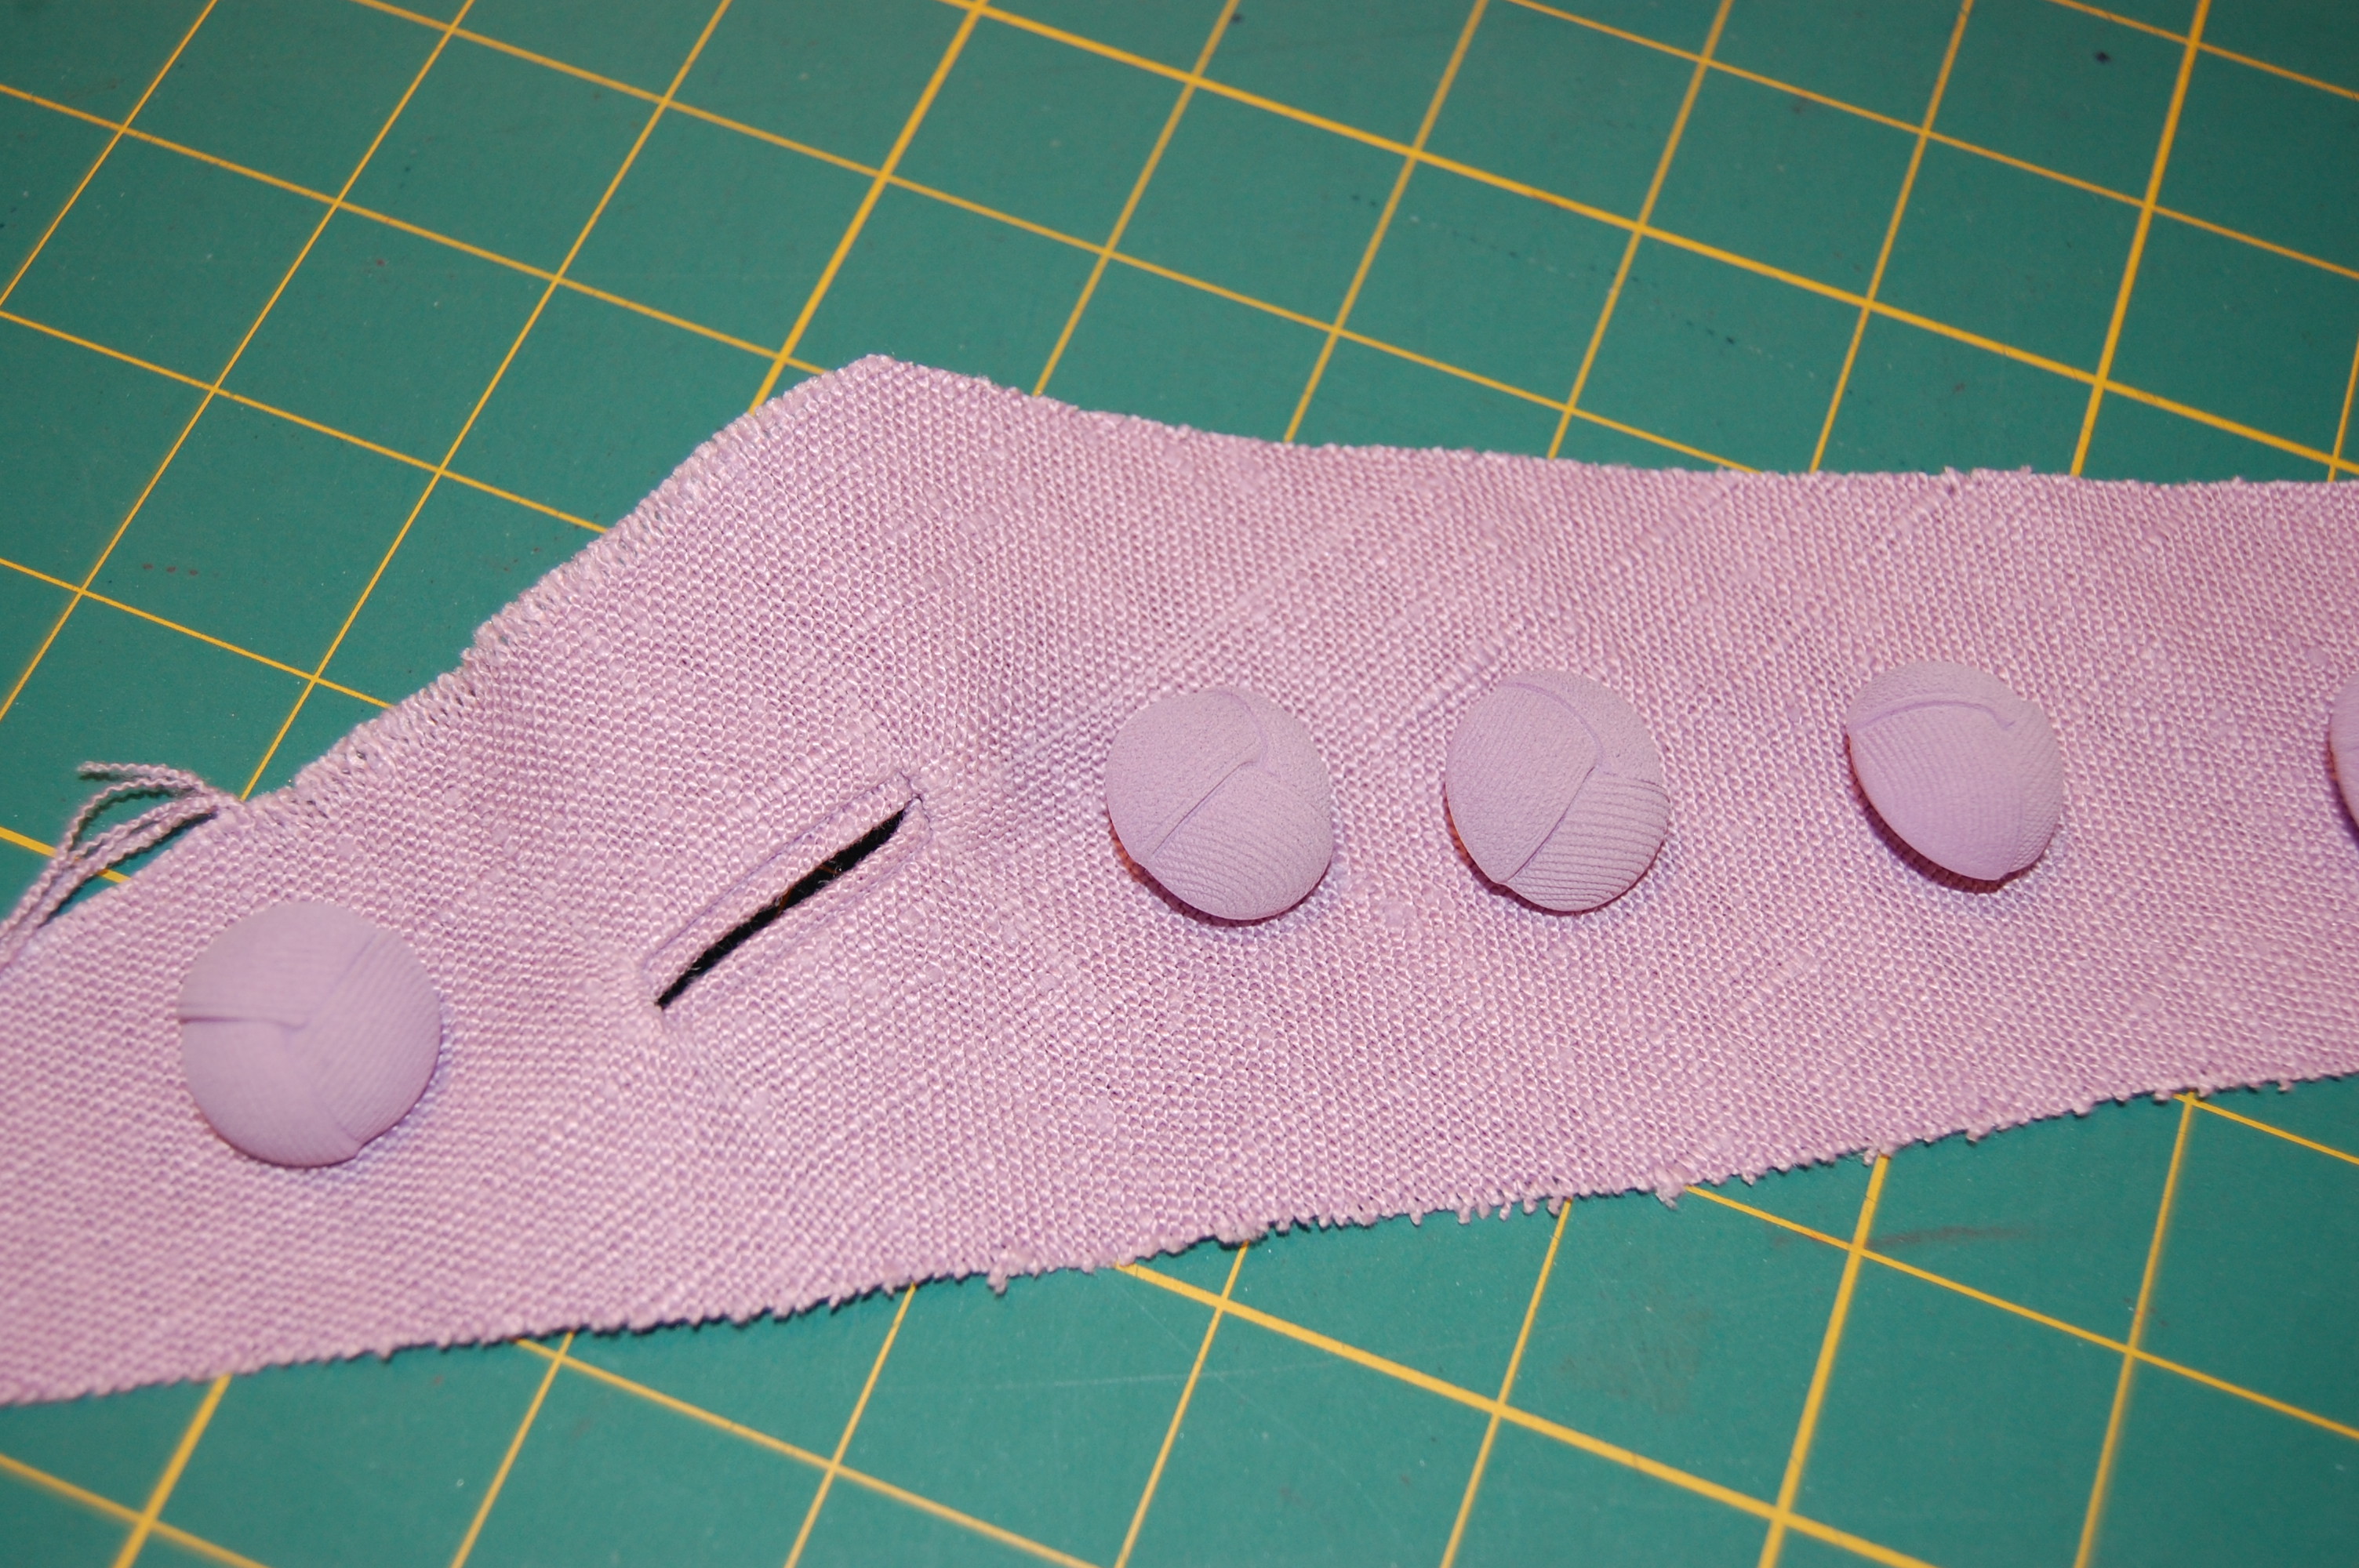
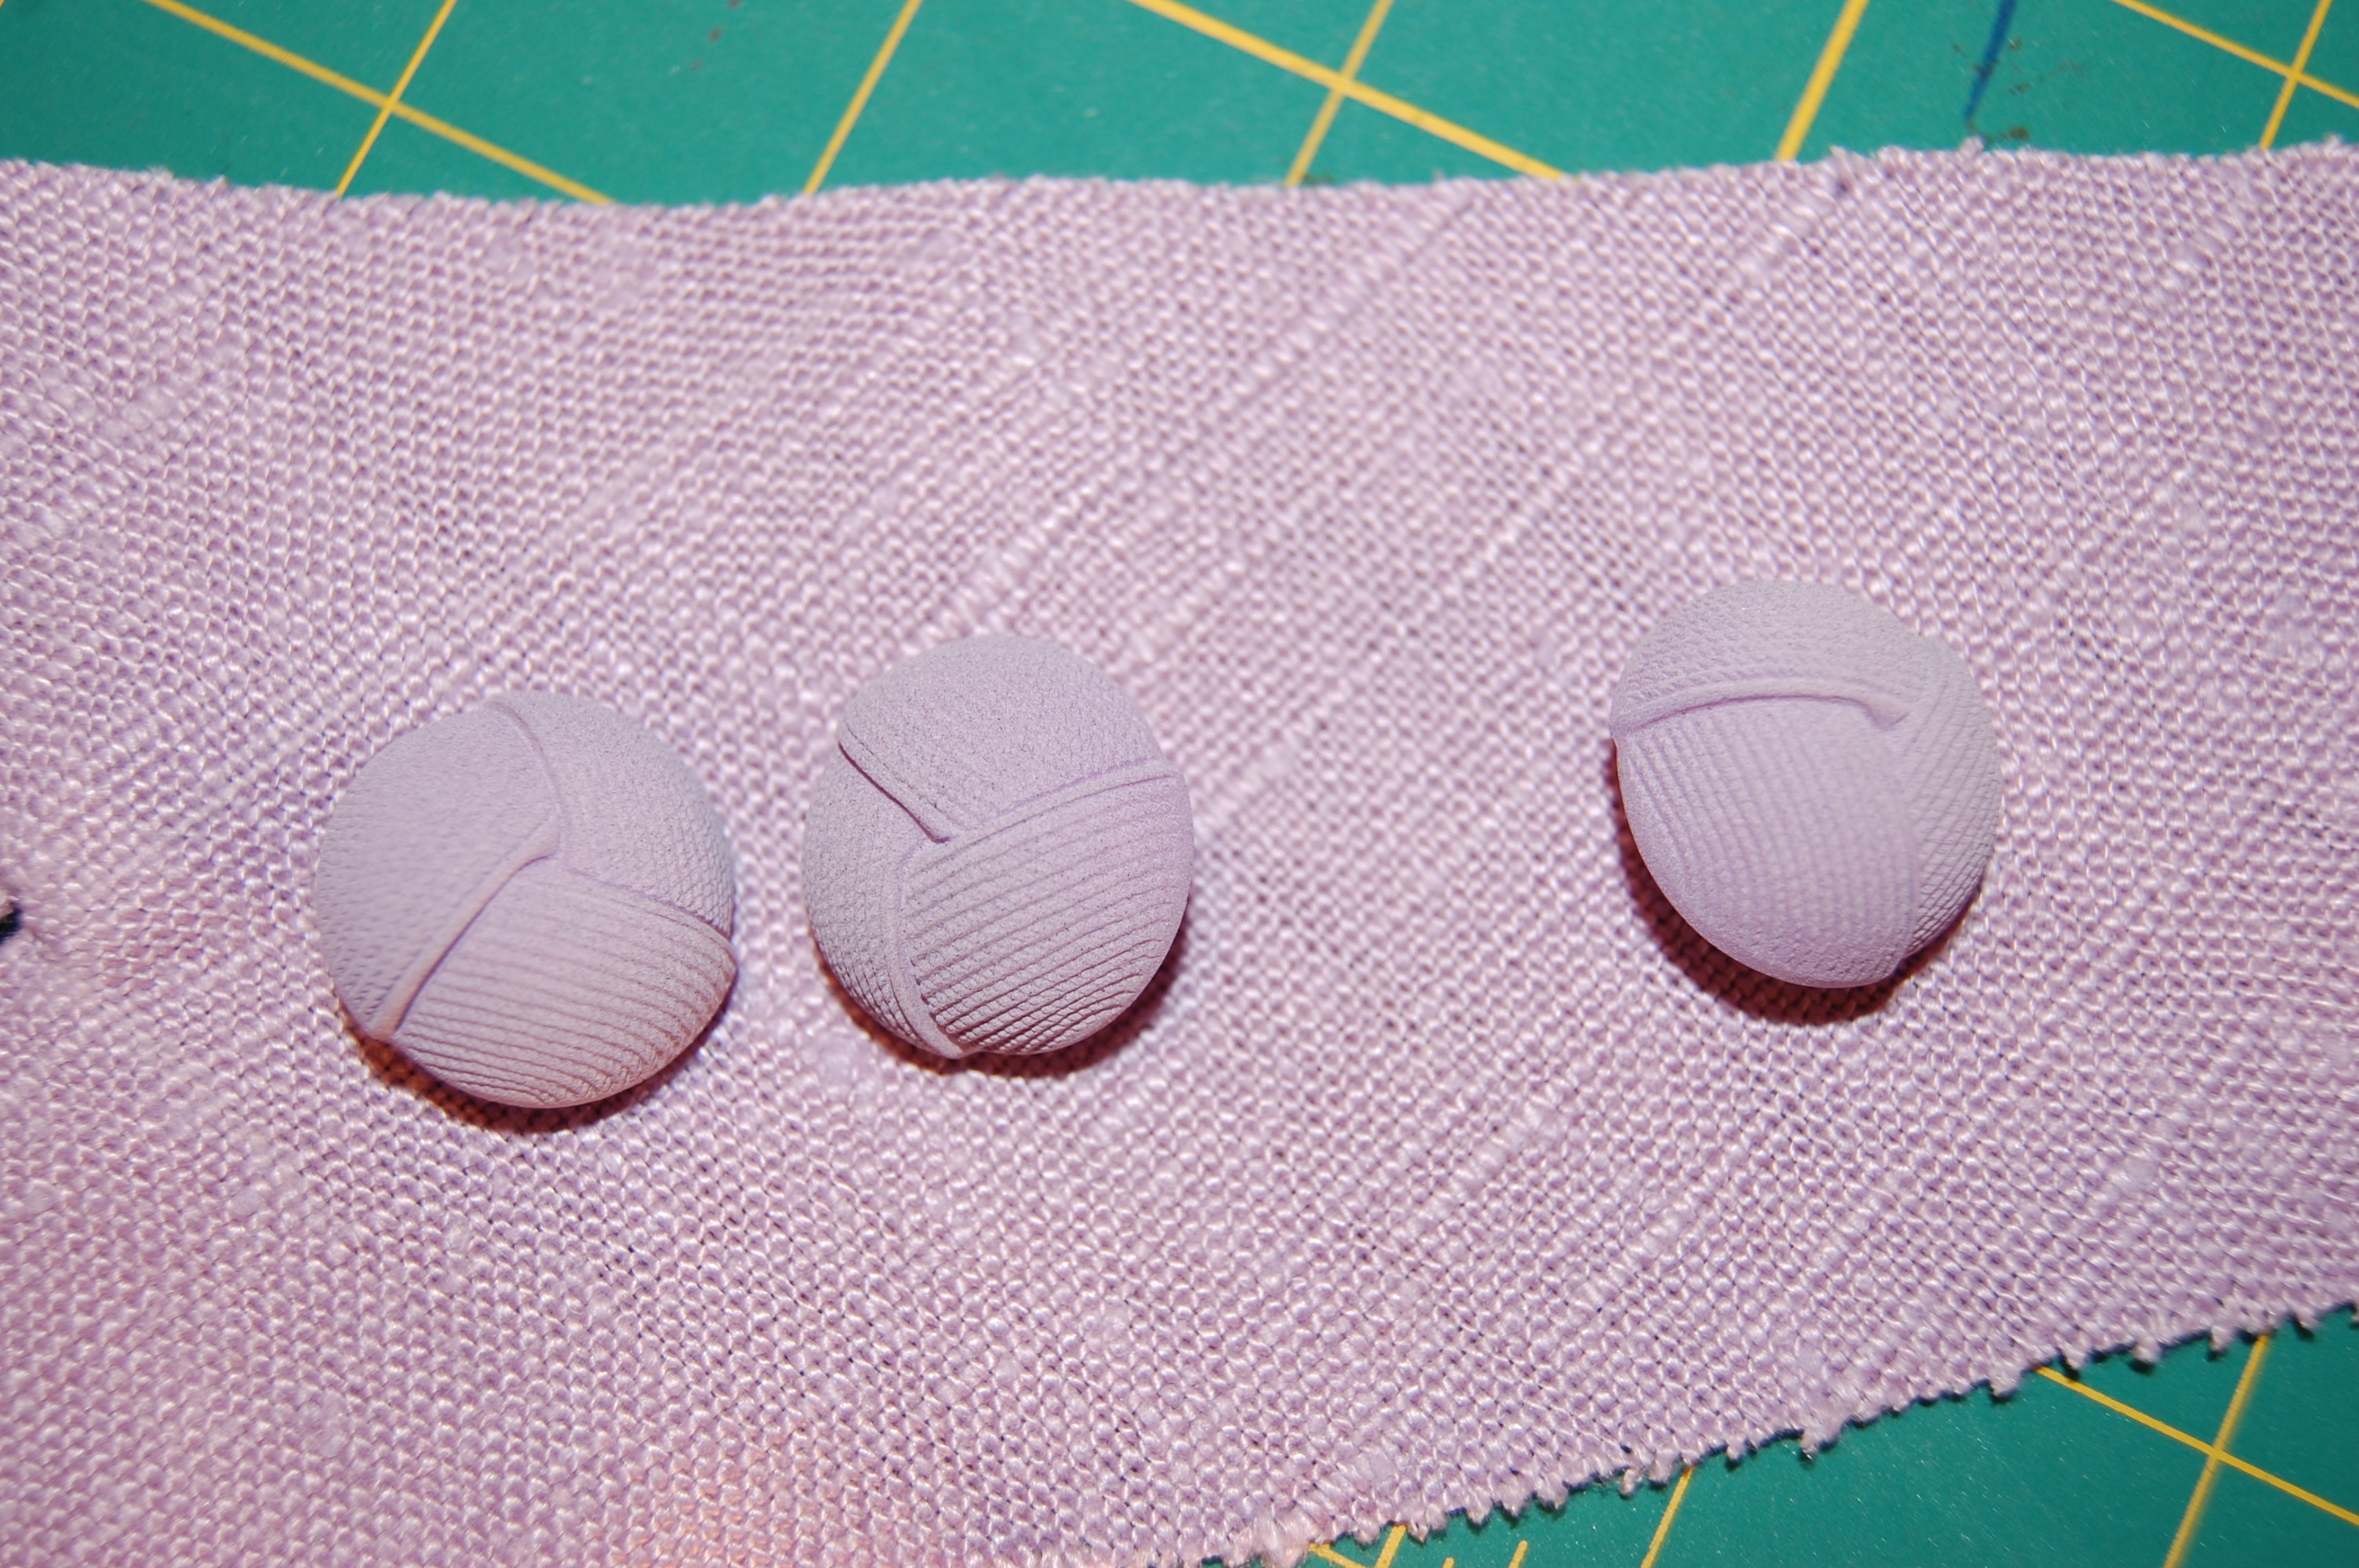
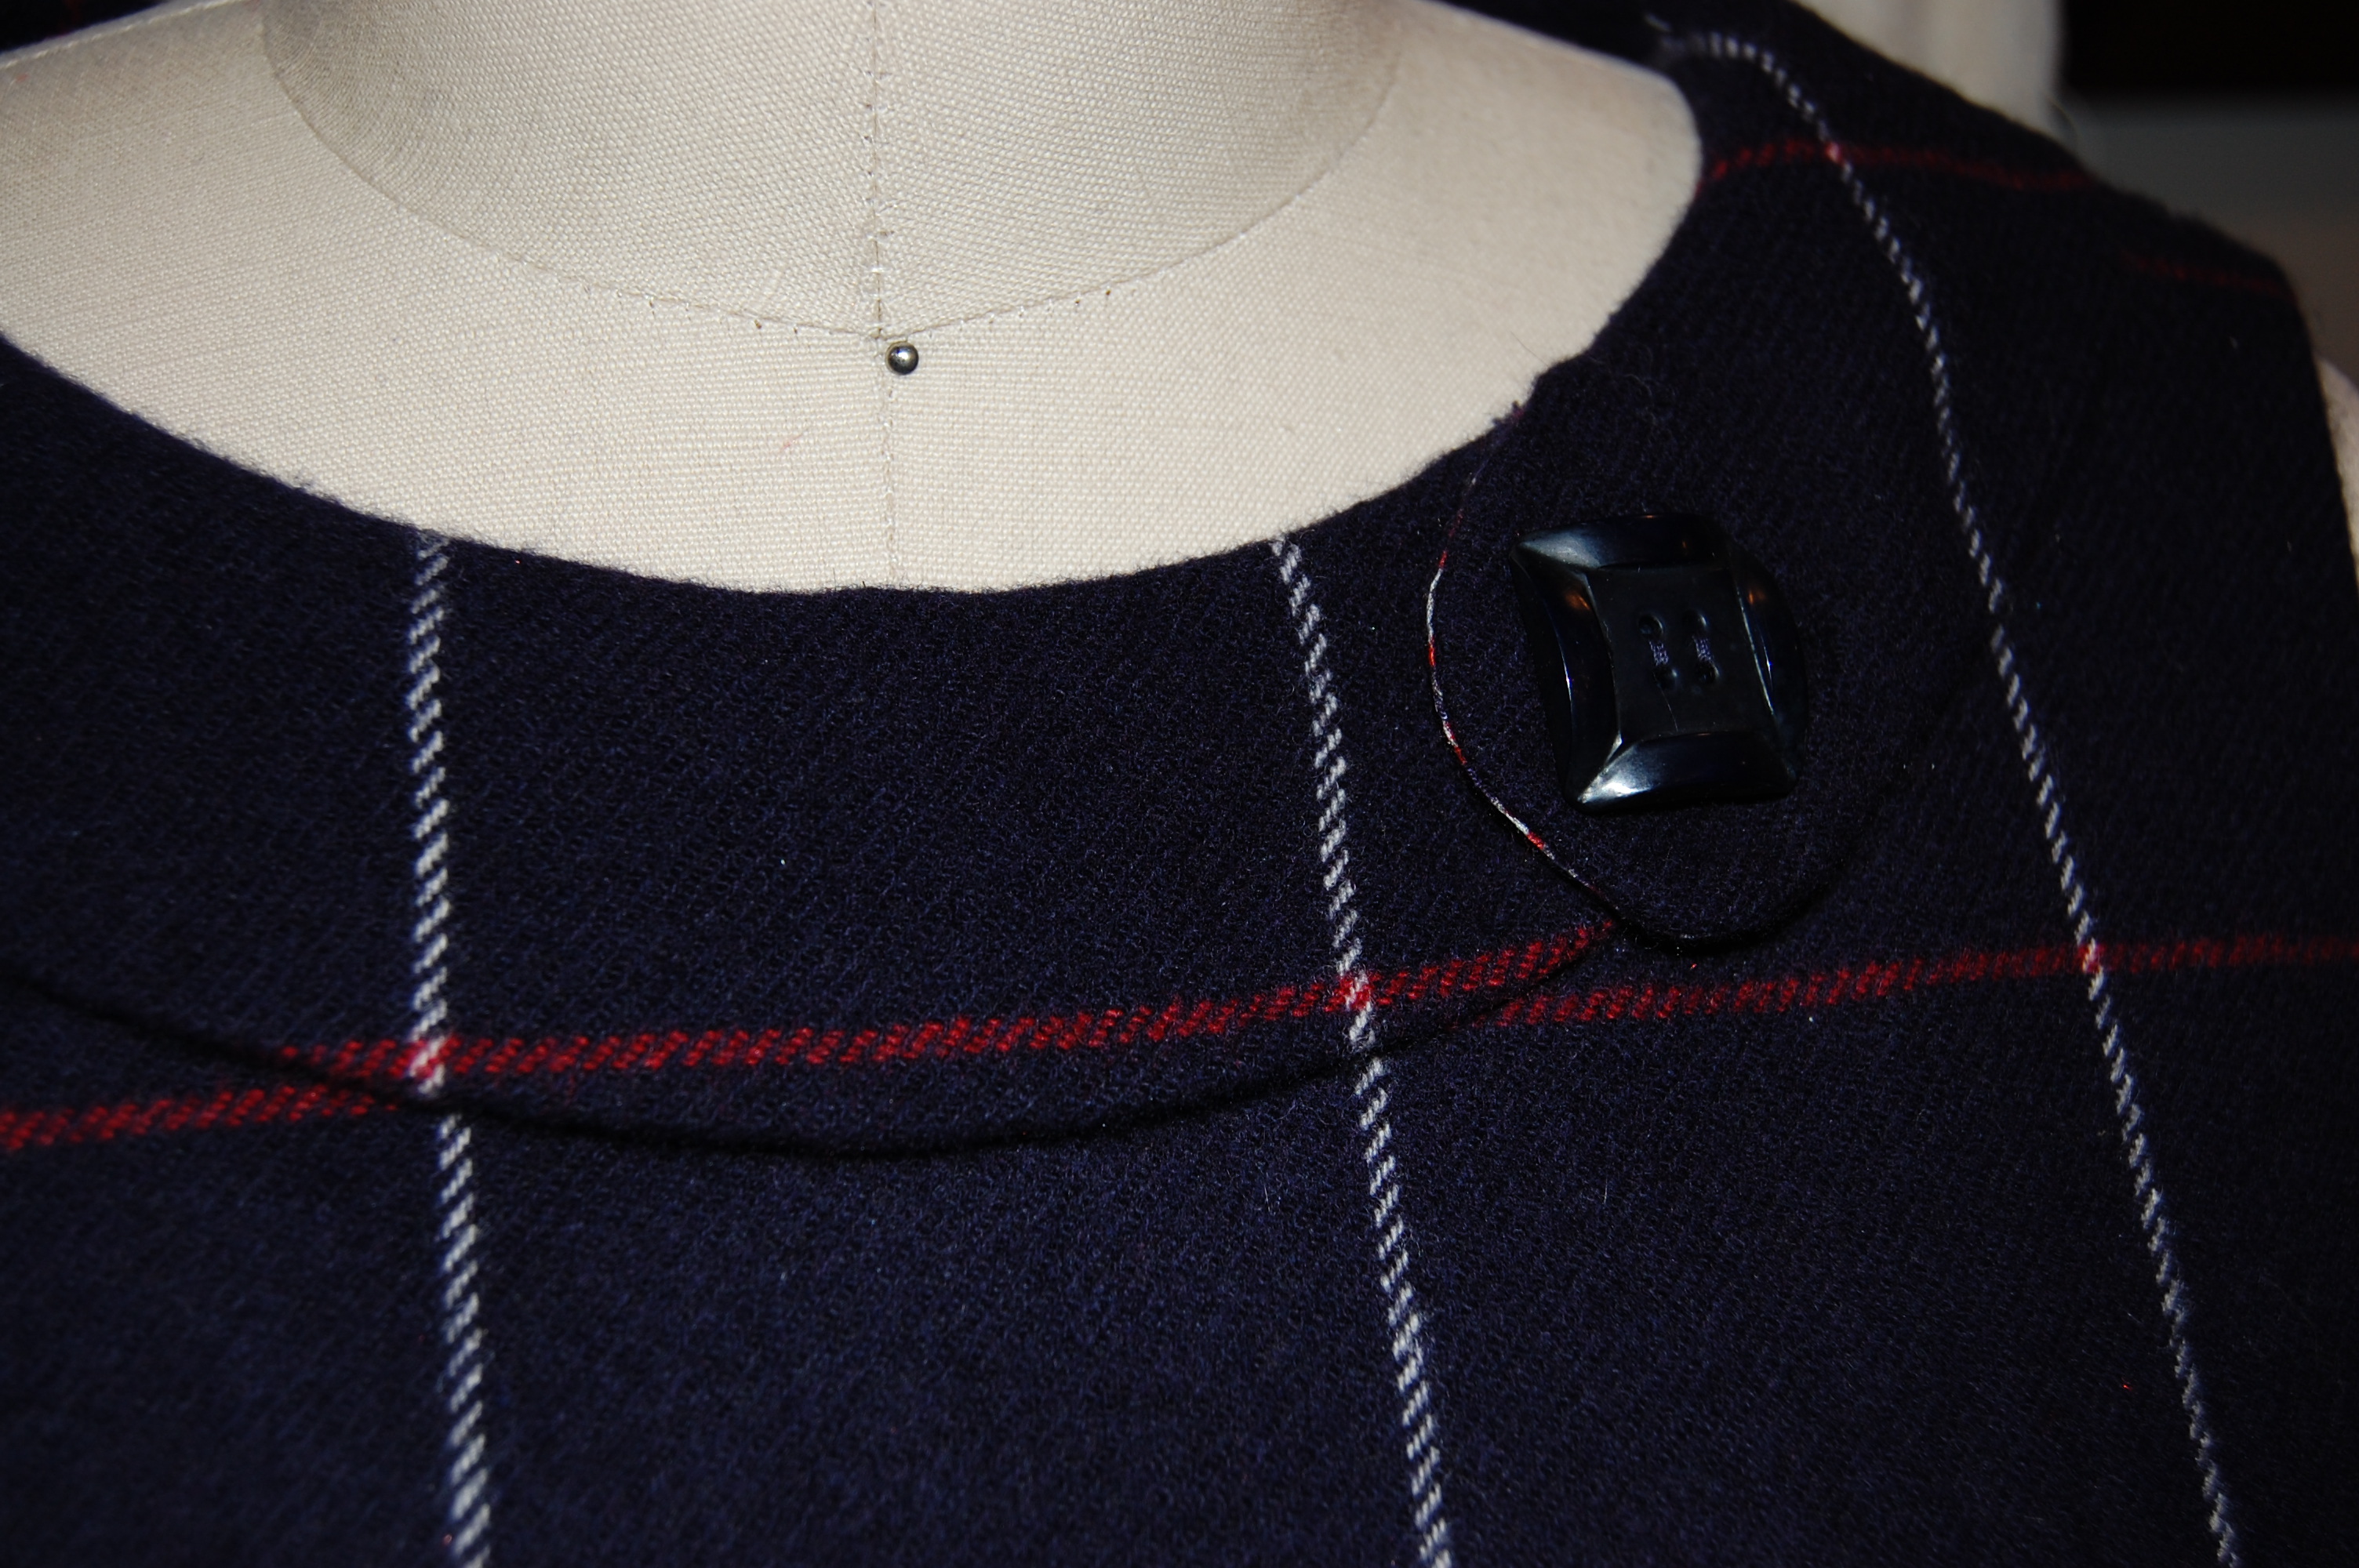
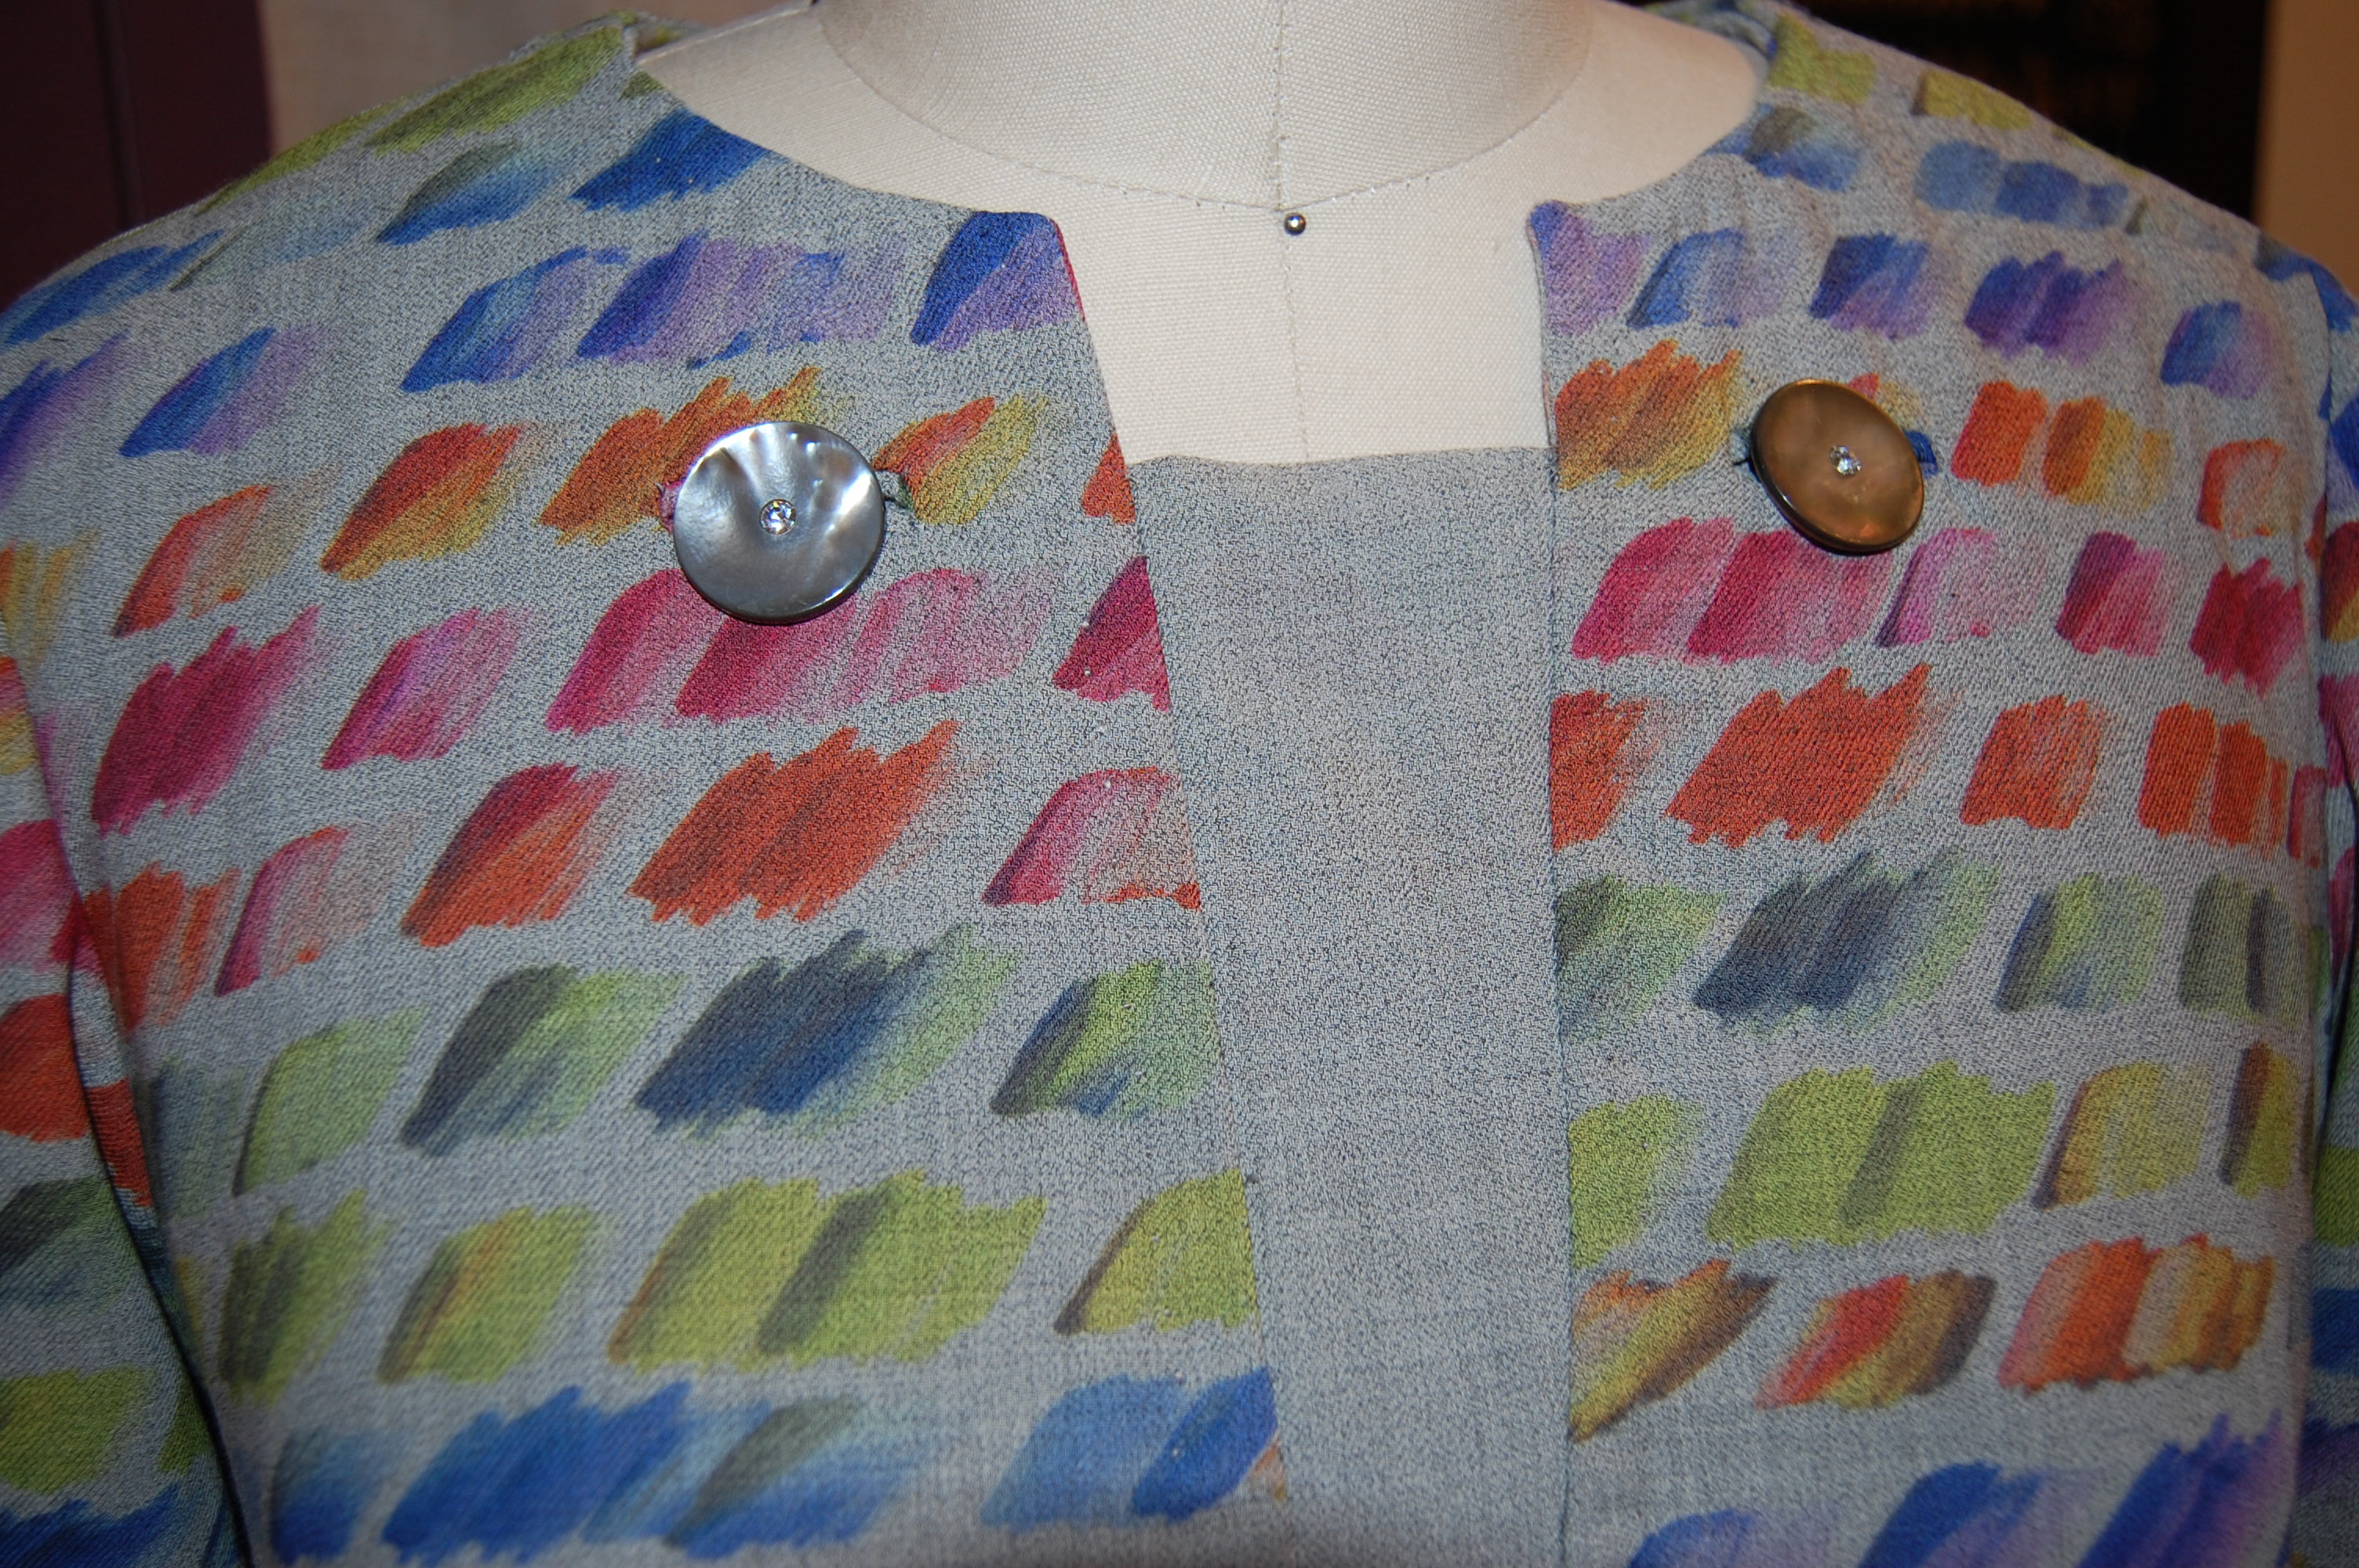
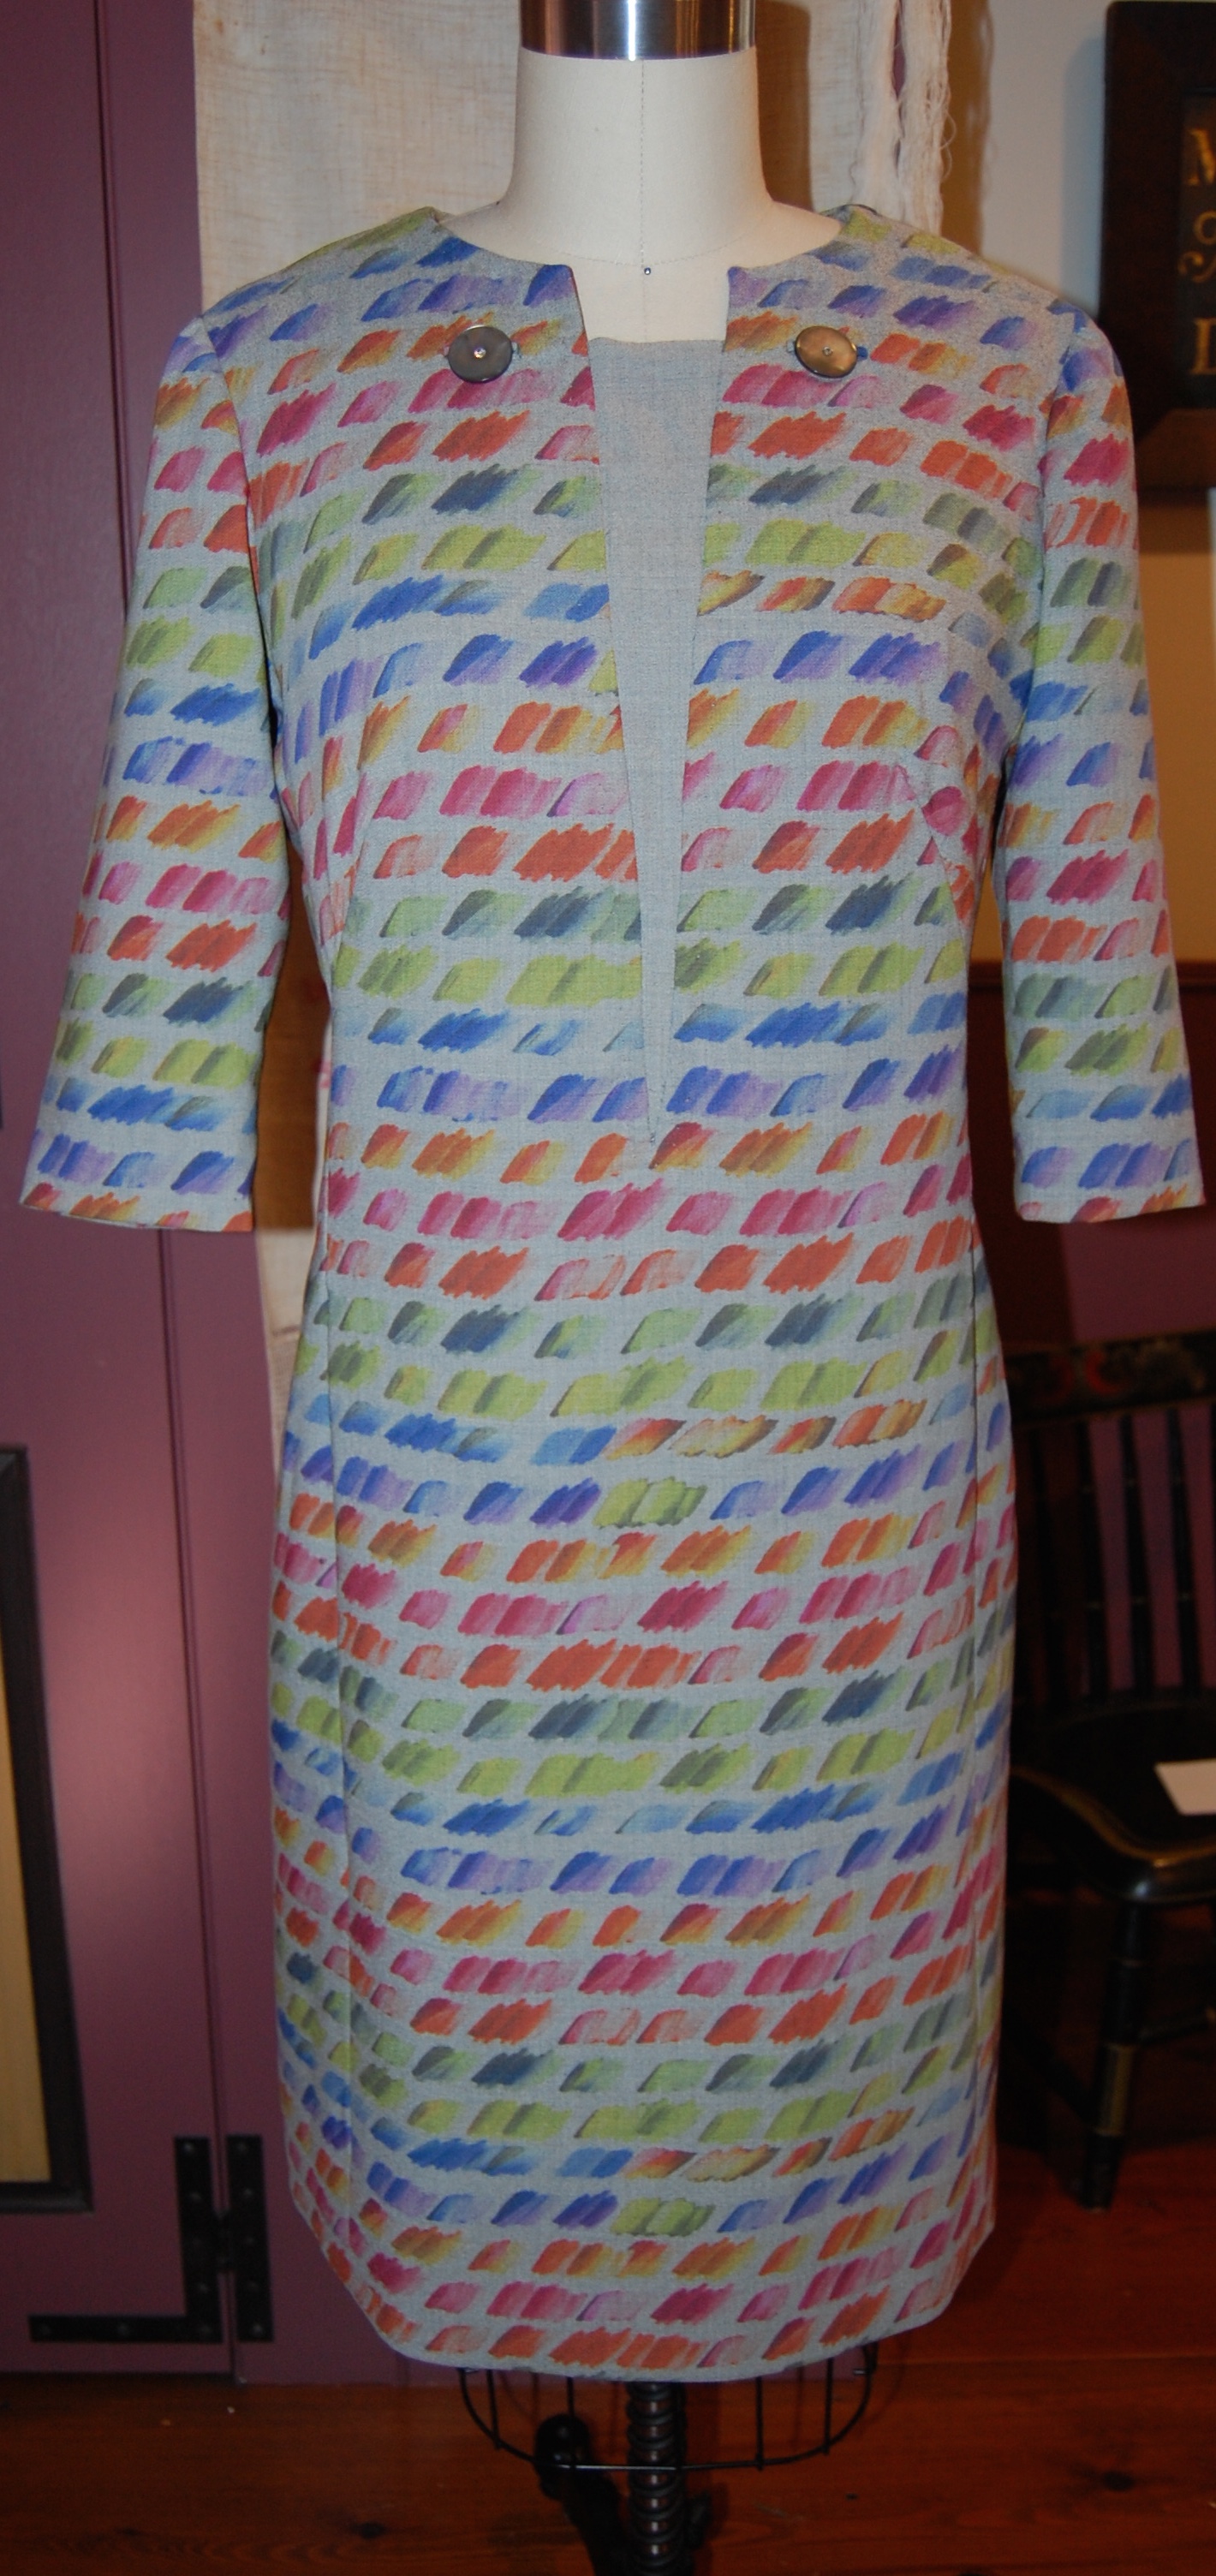
I had made the decision at the beginning of the project to cover the dress’s two buttons in the plain gray “wrong” side of the fabric. But once I “semi-made” a covered button, and tried it out, it was DULL. It added nothing to the dress. I went to my button box and all I could find was a small gray pearl that was close in color. But I loved the iridescence of it and determined that gray pearl buttons were what I needed. I seem to have such good luck with buttons from Britex – even though I am ordering online – and found 1” gray pearl buttons with a rhinestone in their centers. Although I am not a rhinestone-y type of person, something about them spoke to me. I remembered what Susan Khalje said in one of the classes I have taken with her – that couture often has a bit of “whimsy” to it. Well, I ordered those buttons as as fast as I could! I think they are just what was needed!
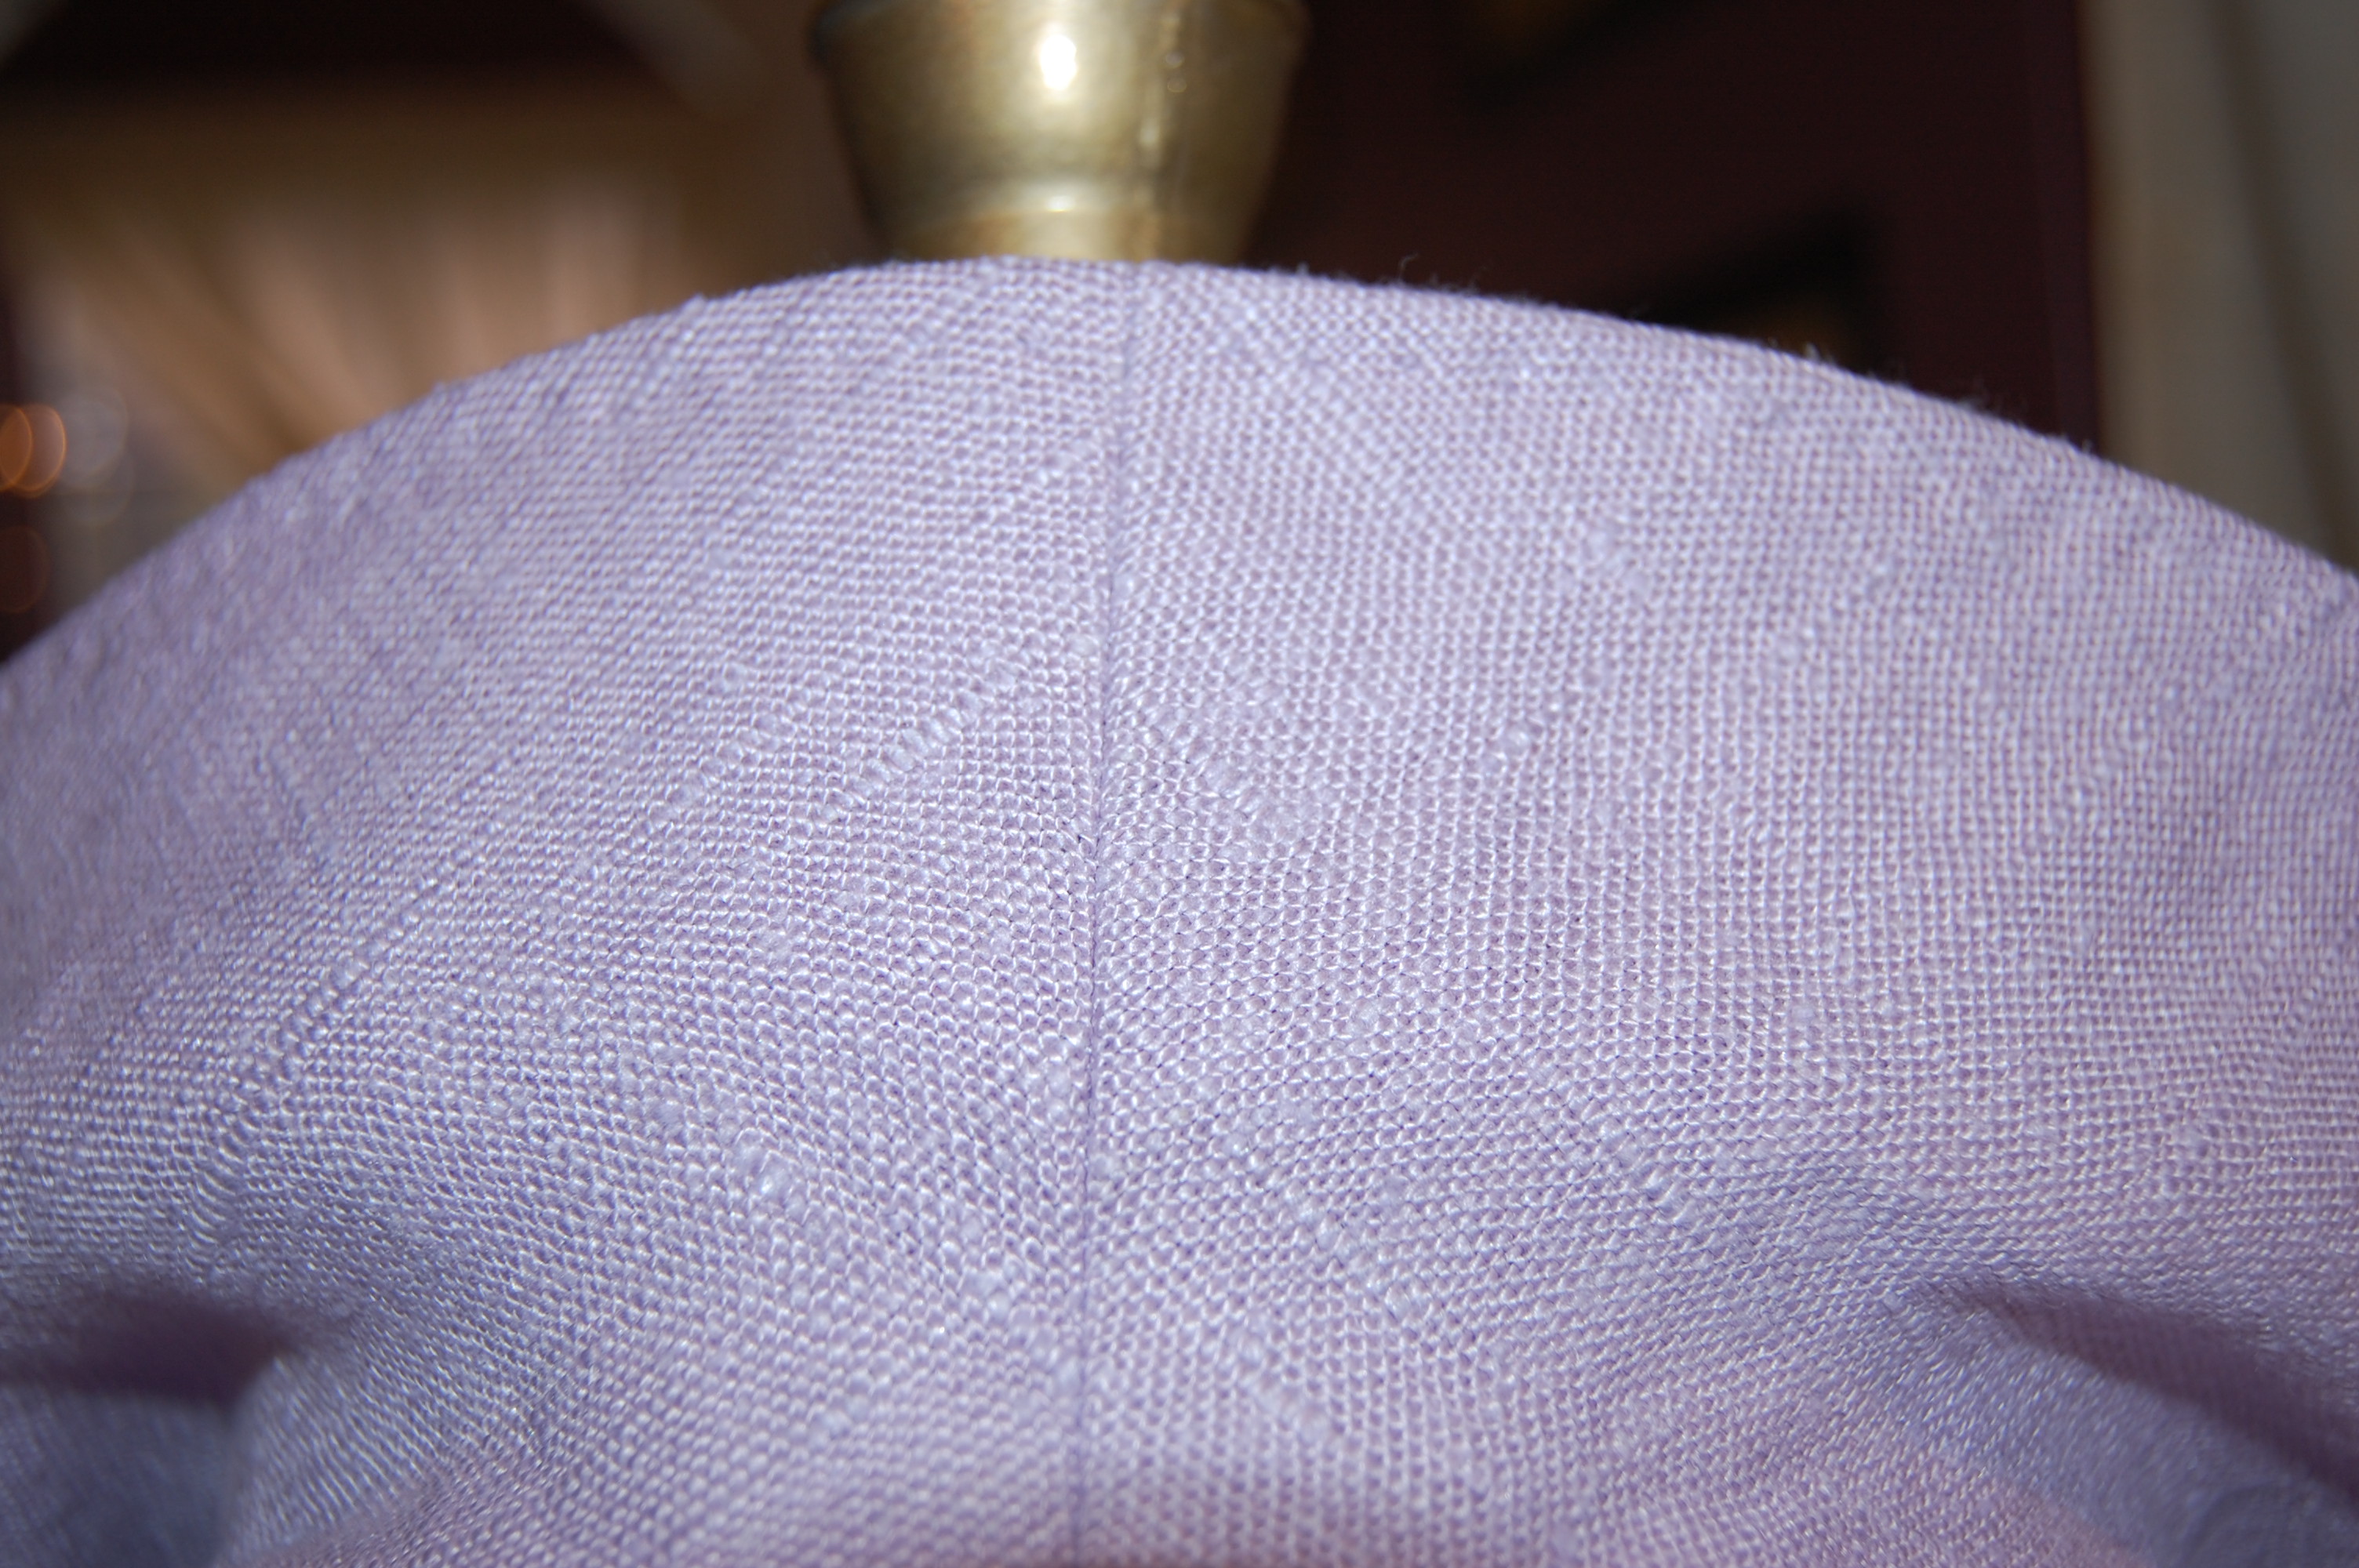
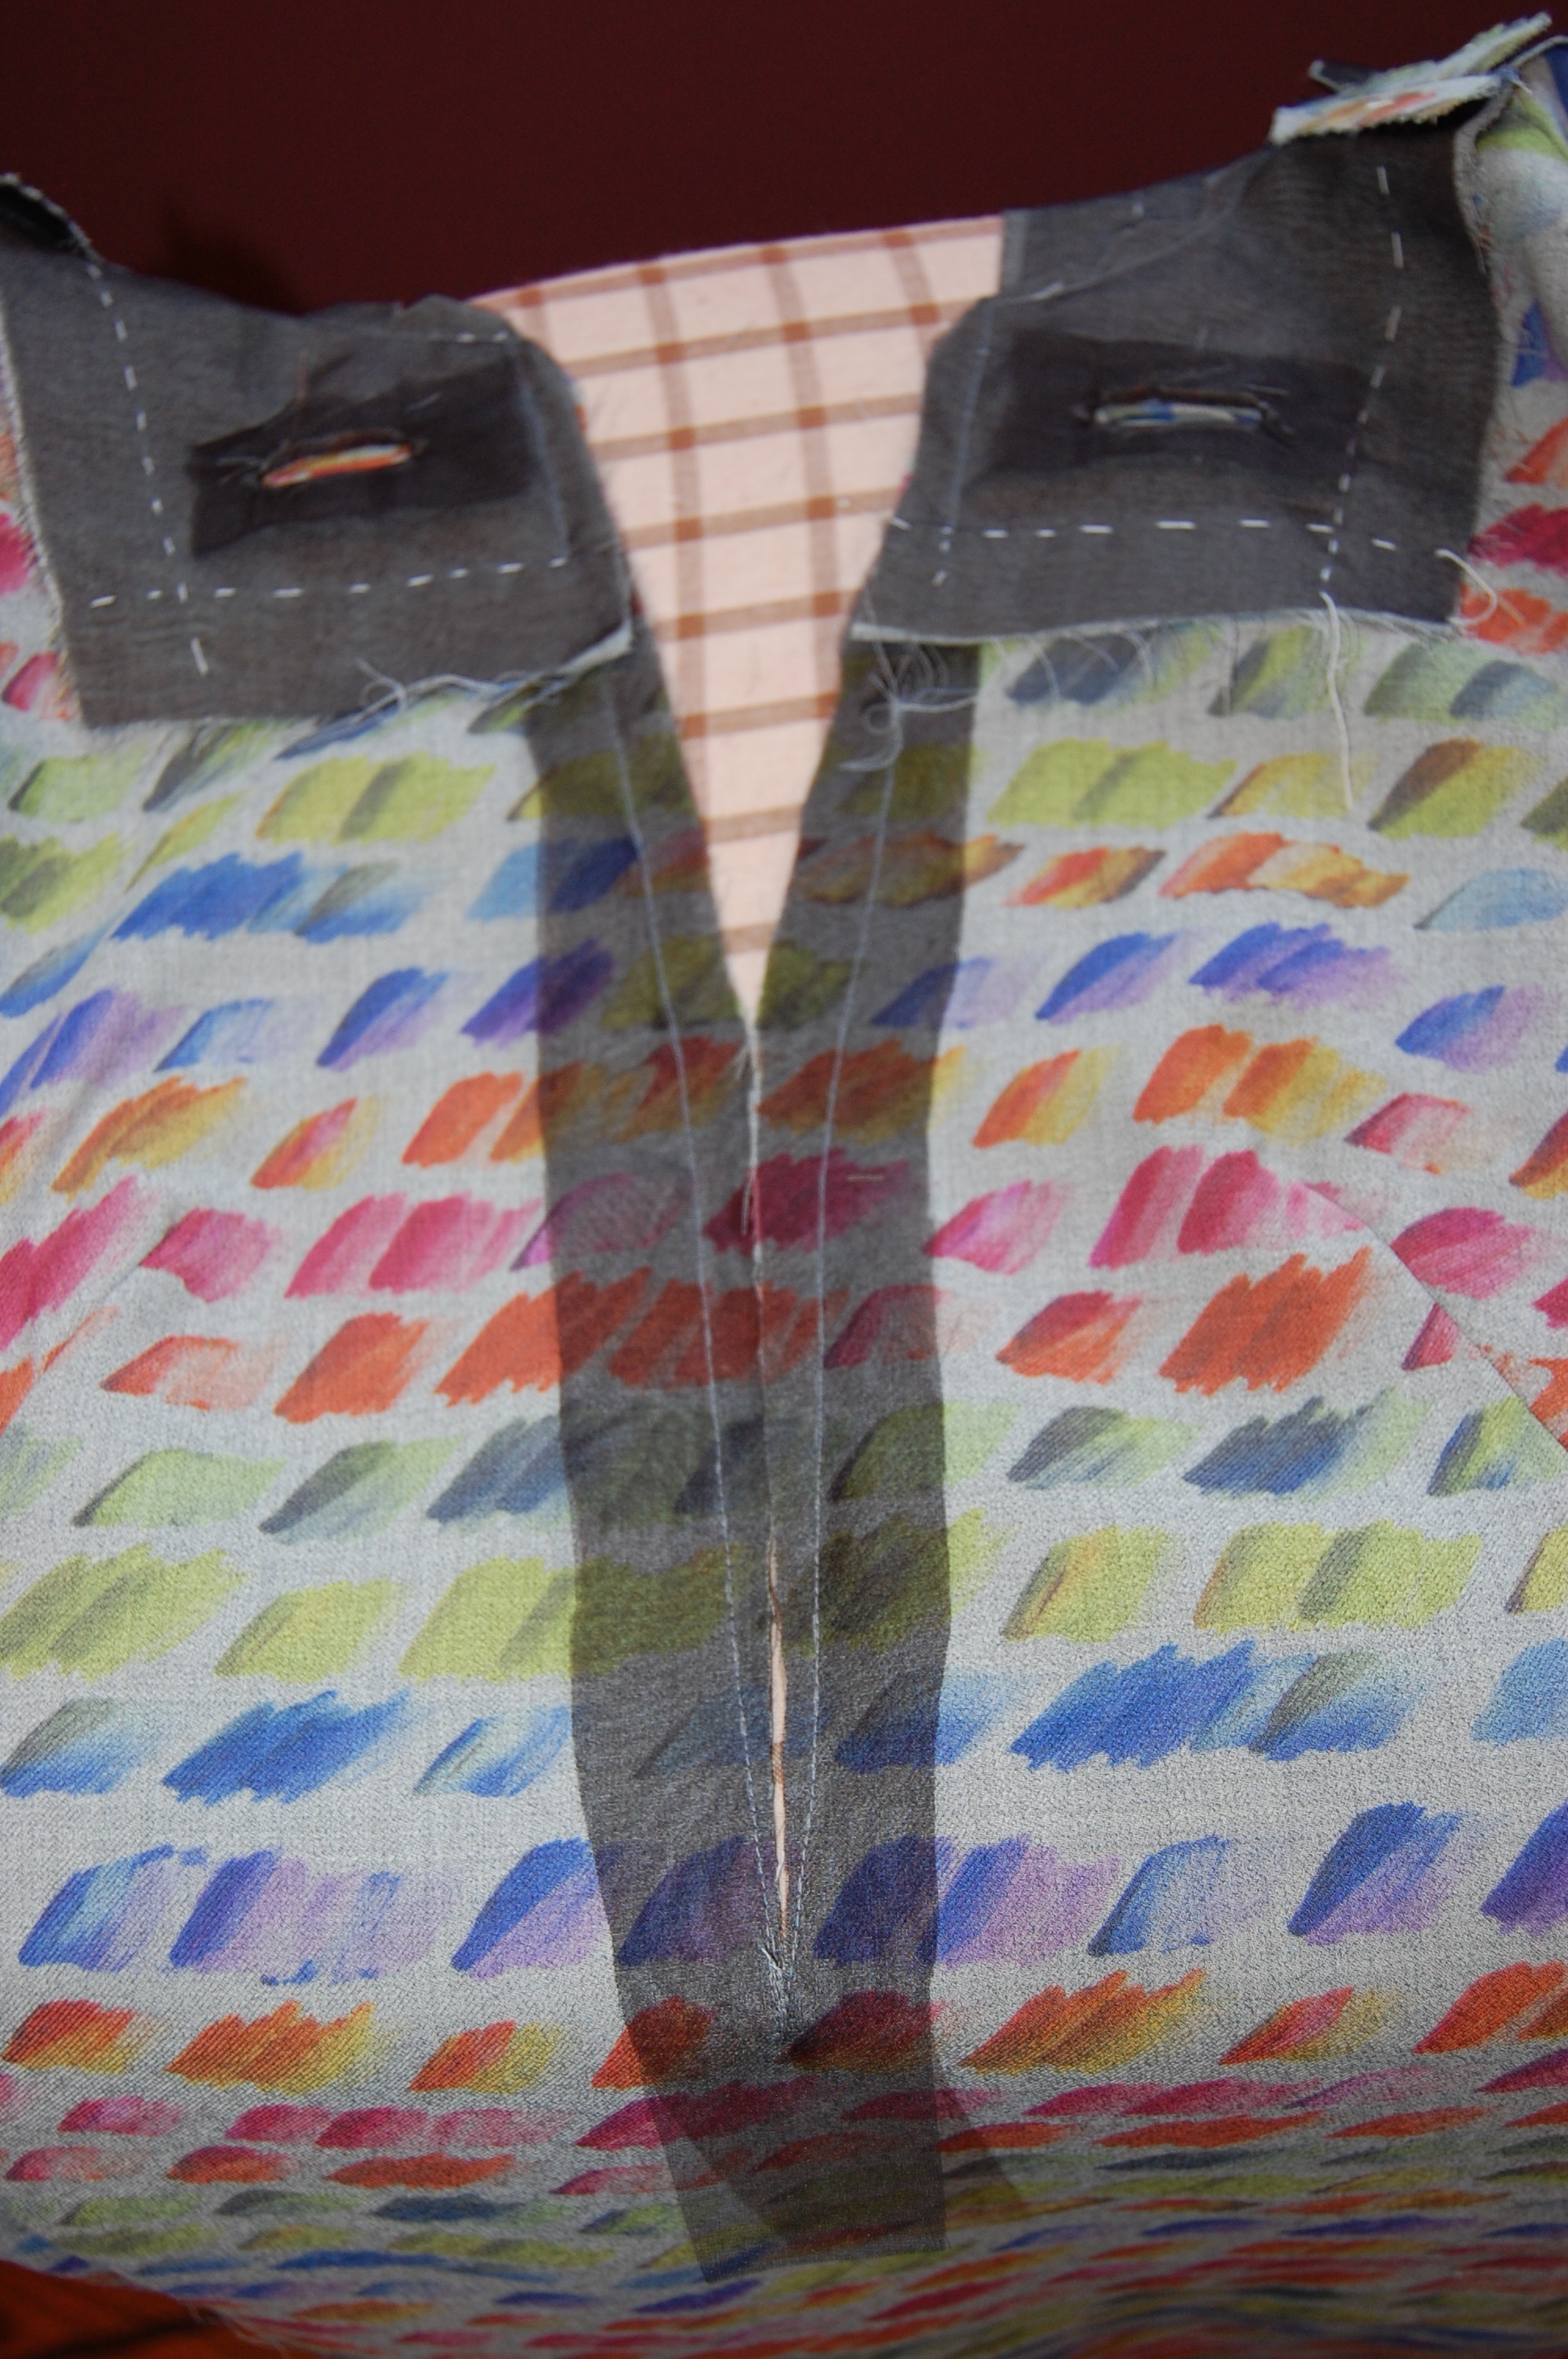
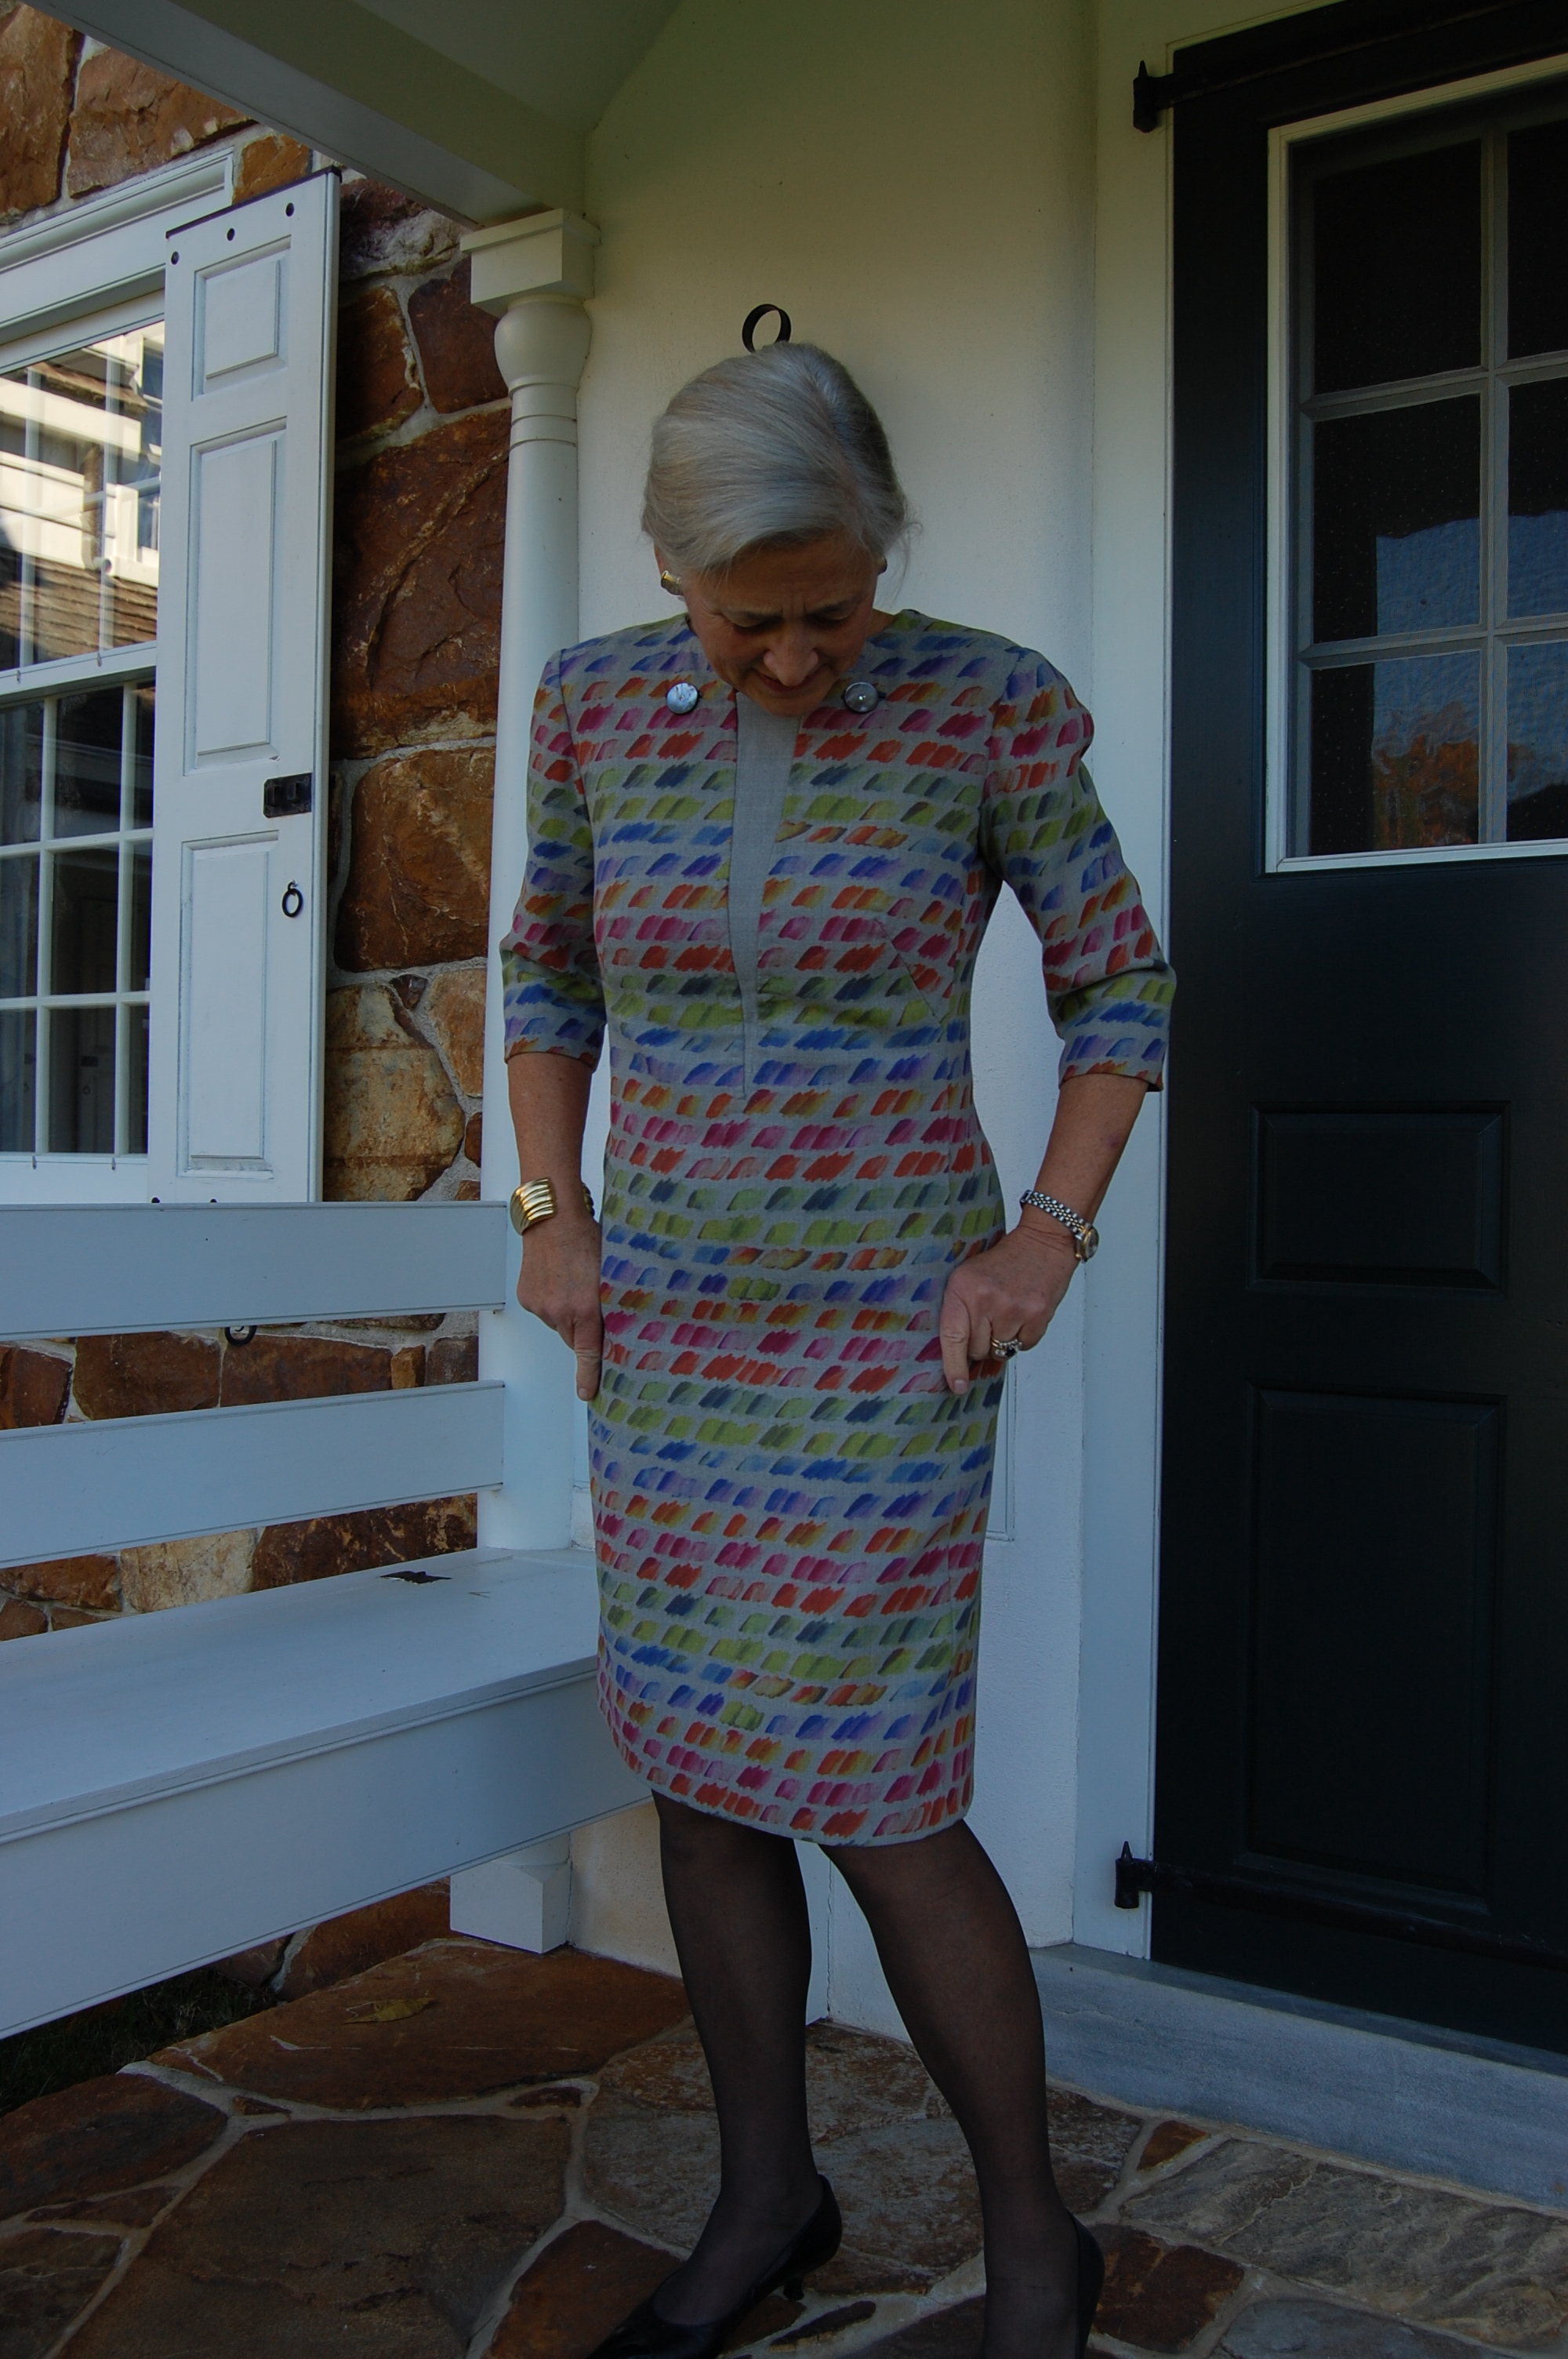
I had also made the decision to make the “dickey” part of the dress out of the side of the fabric with the printed design – so that the horizontal line would be uninterrupted across the bodice. Here is what it looked like once I had it done:
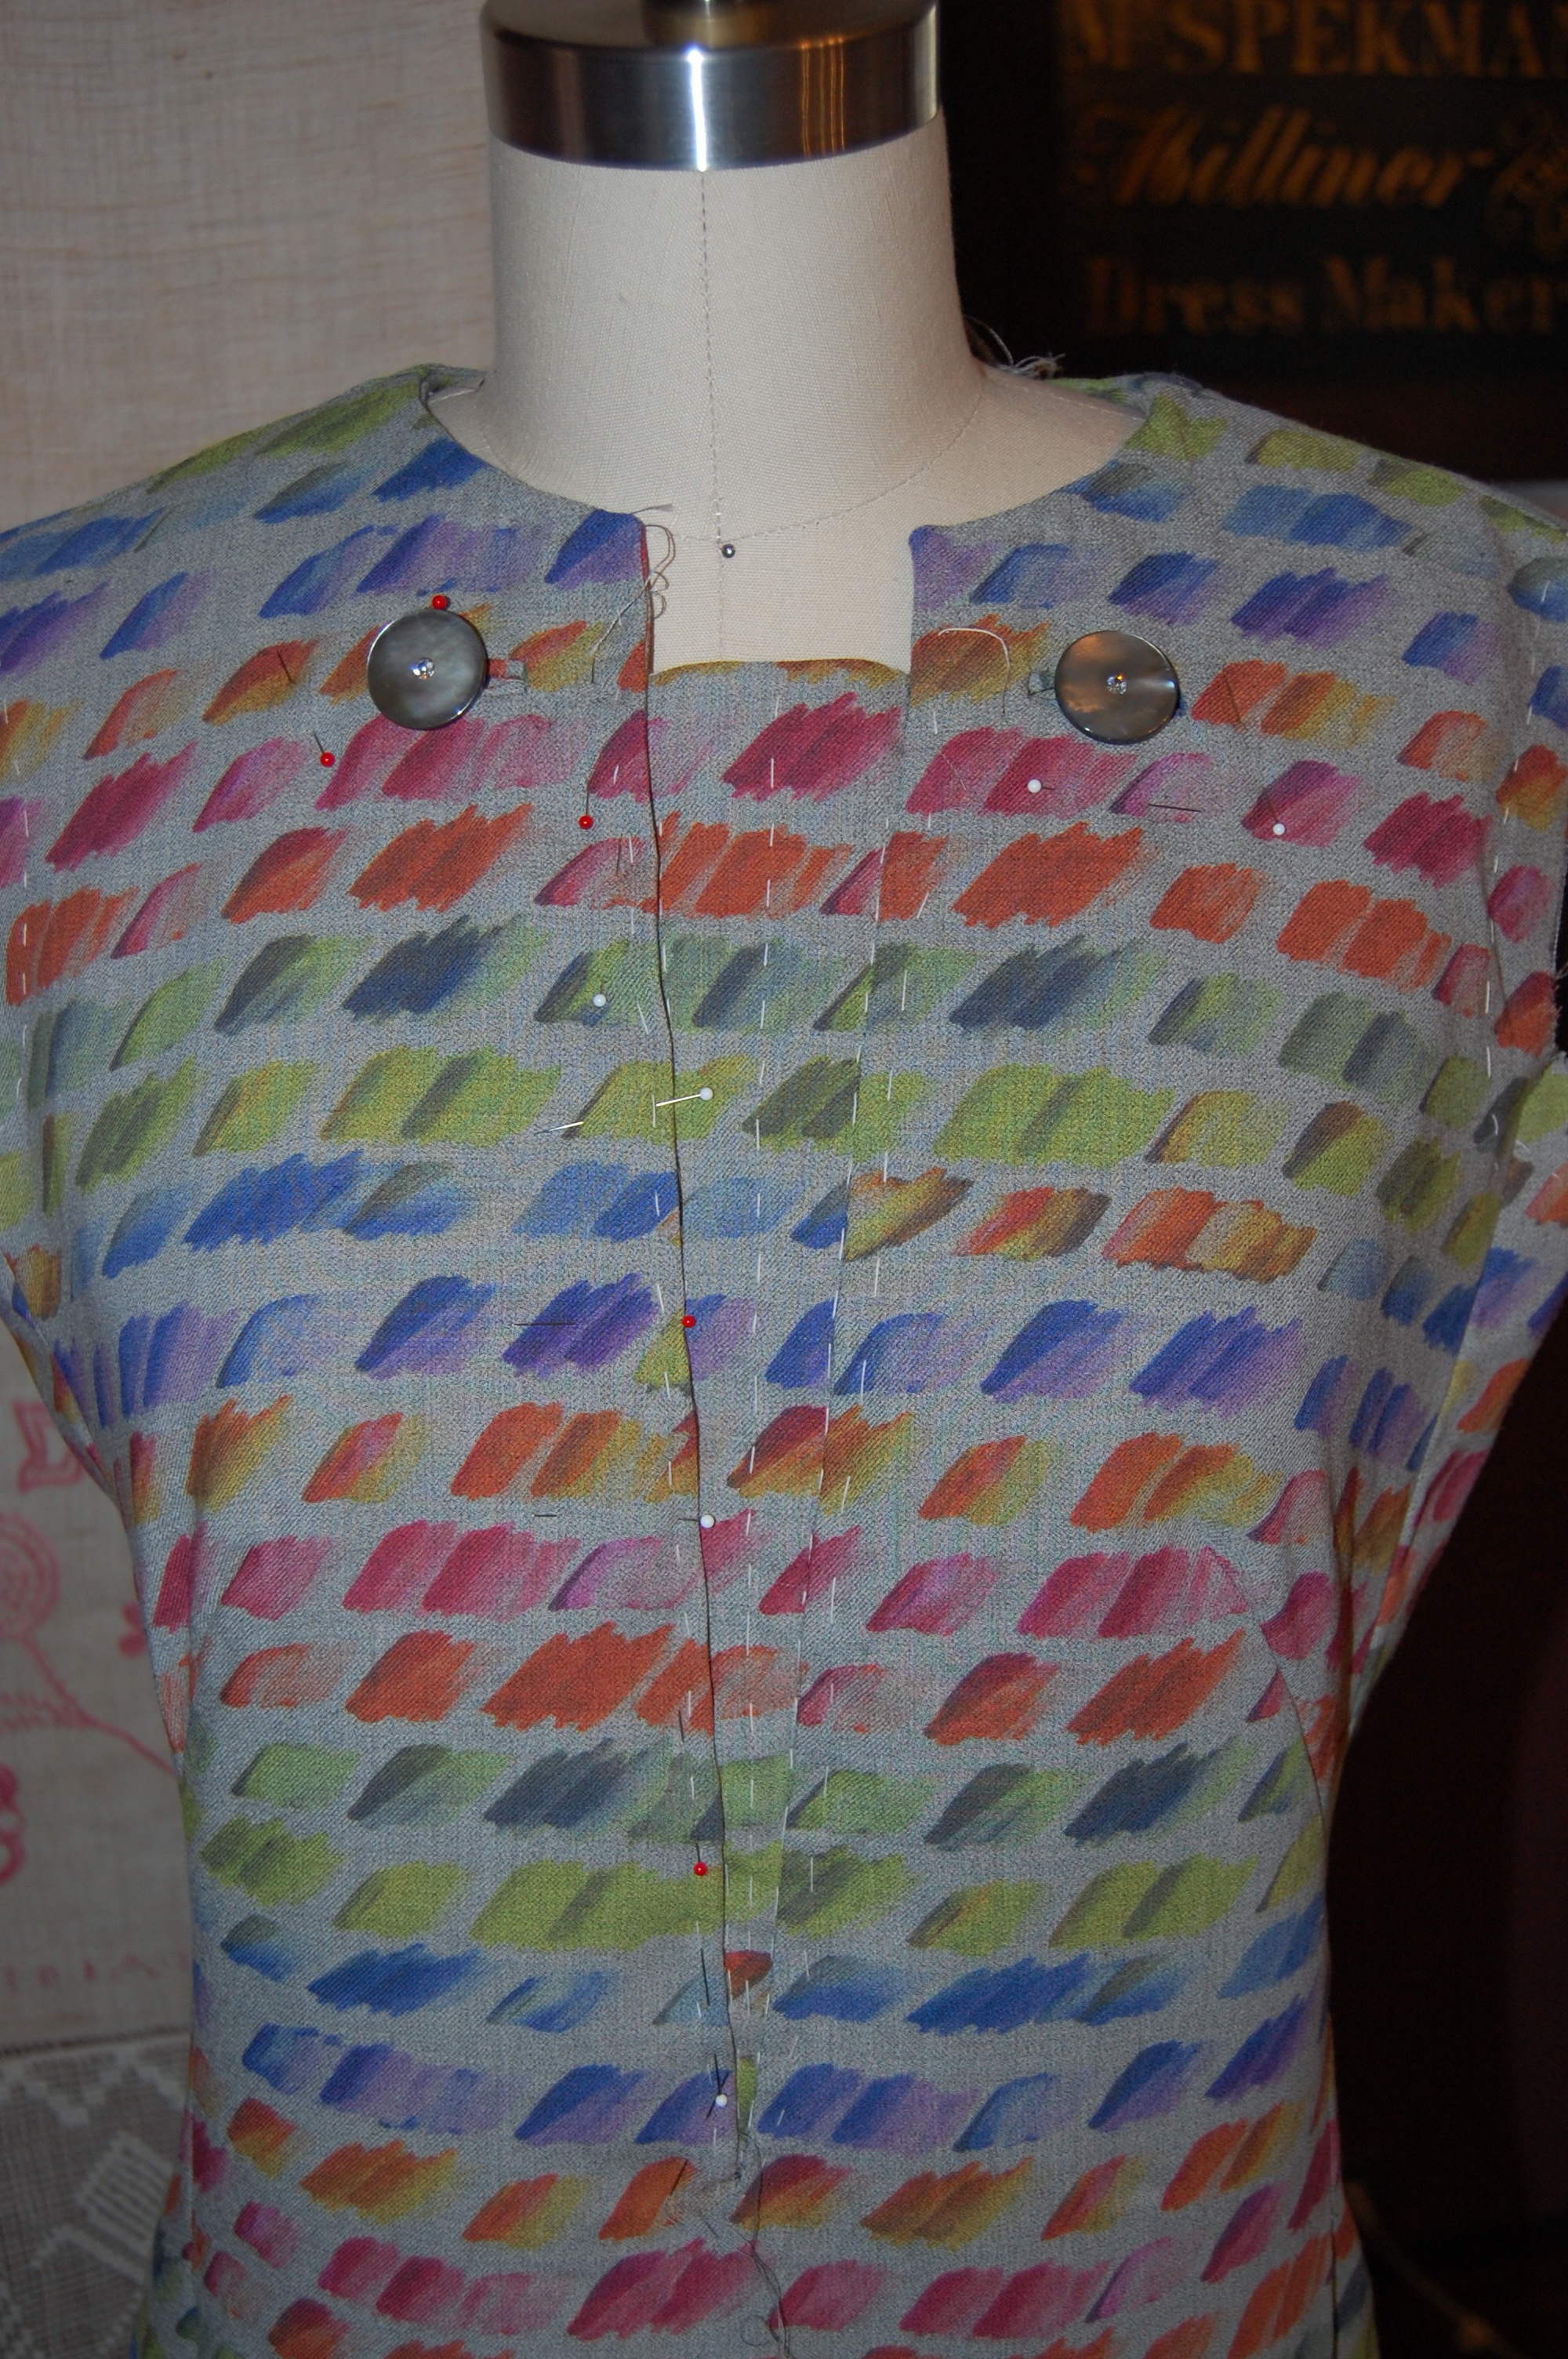
There was not enough definition between the dress and dickey to make it interesting.
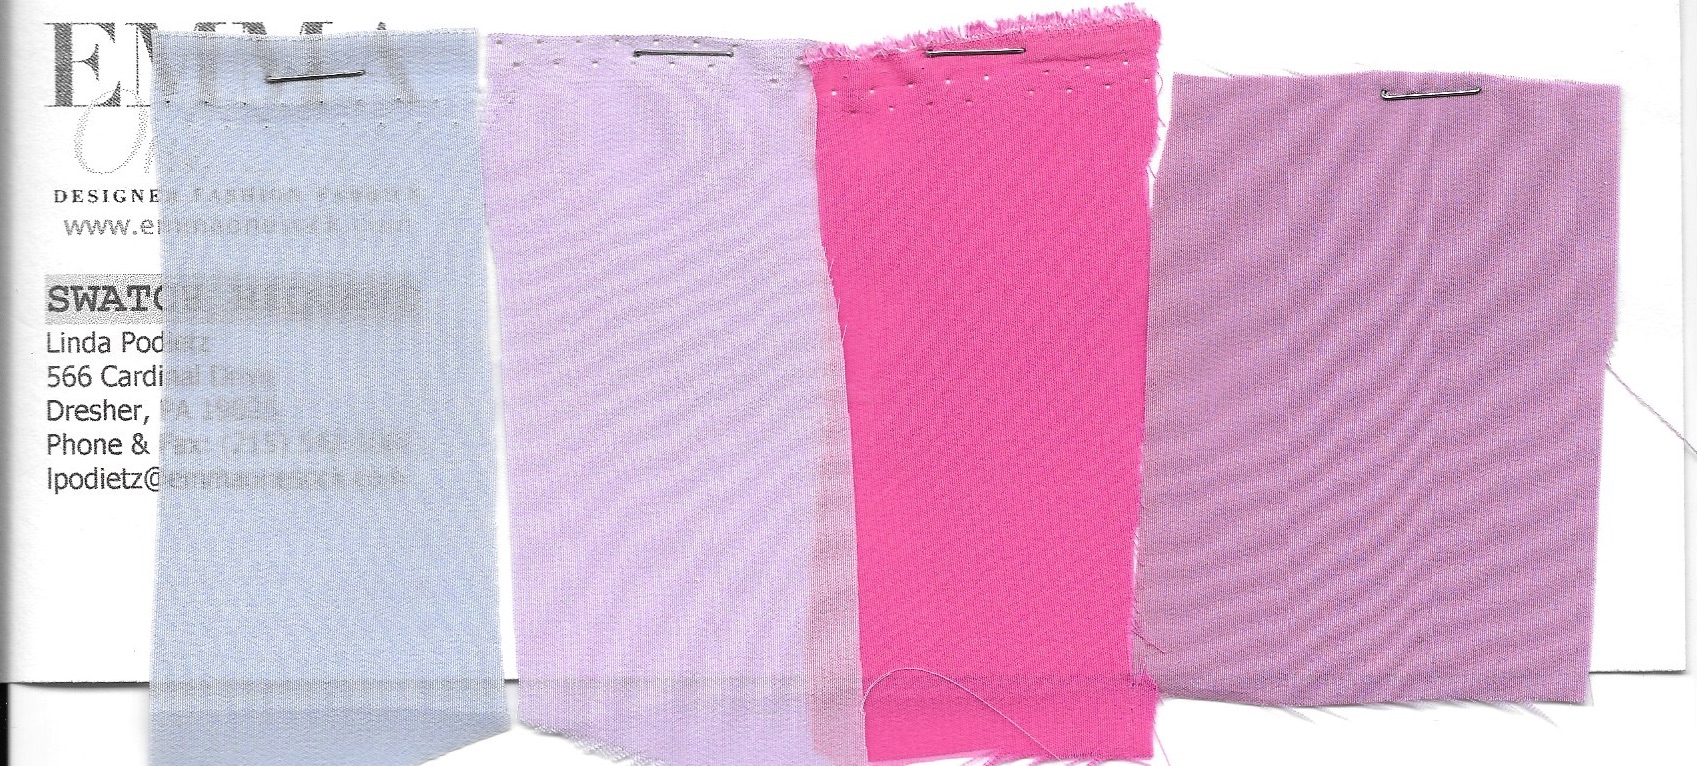
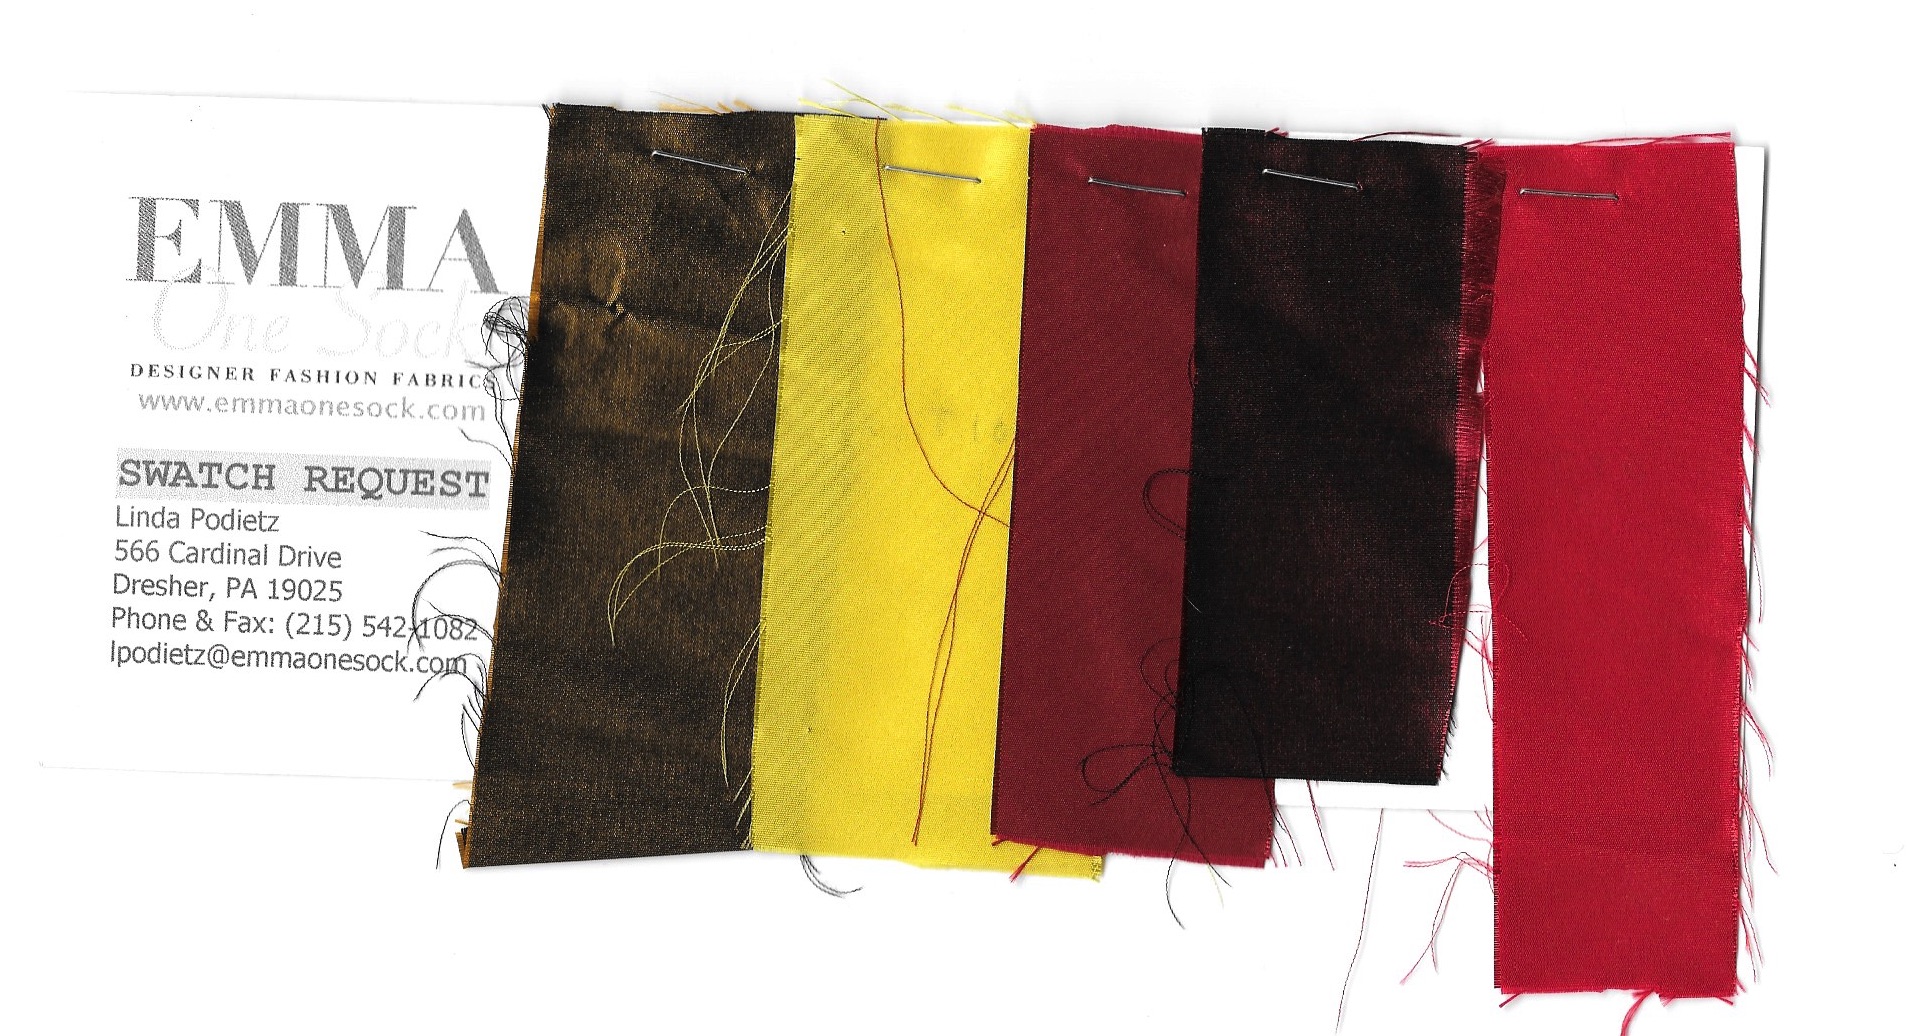
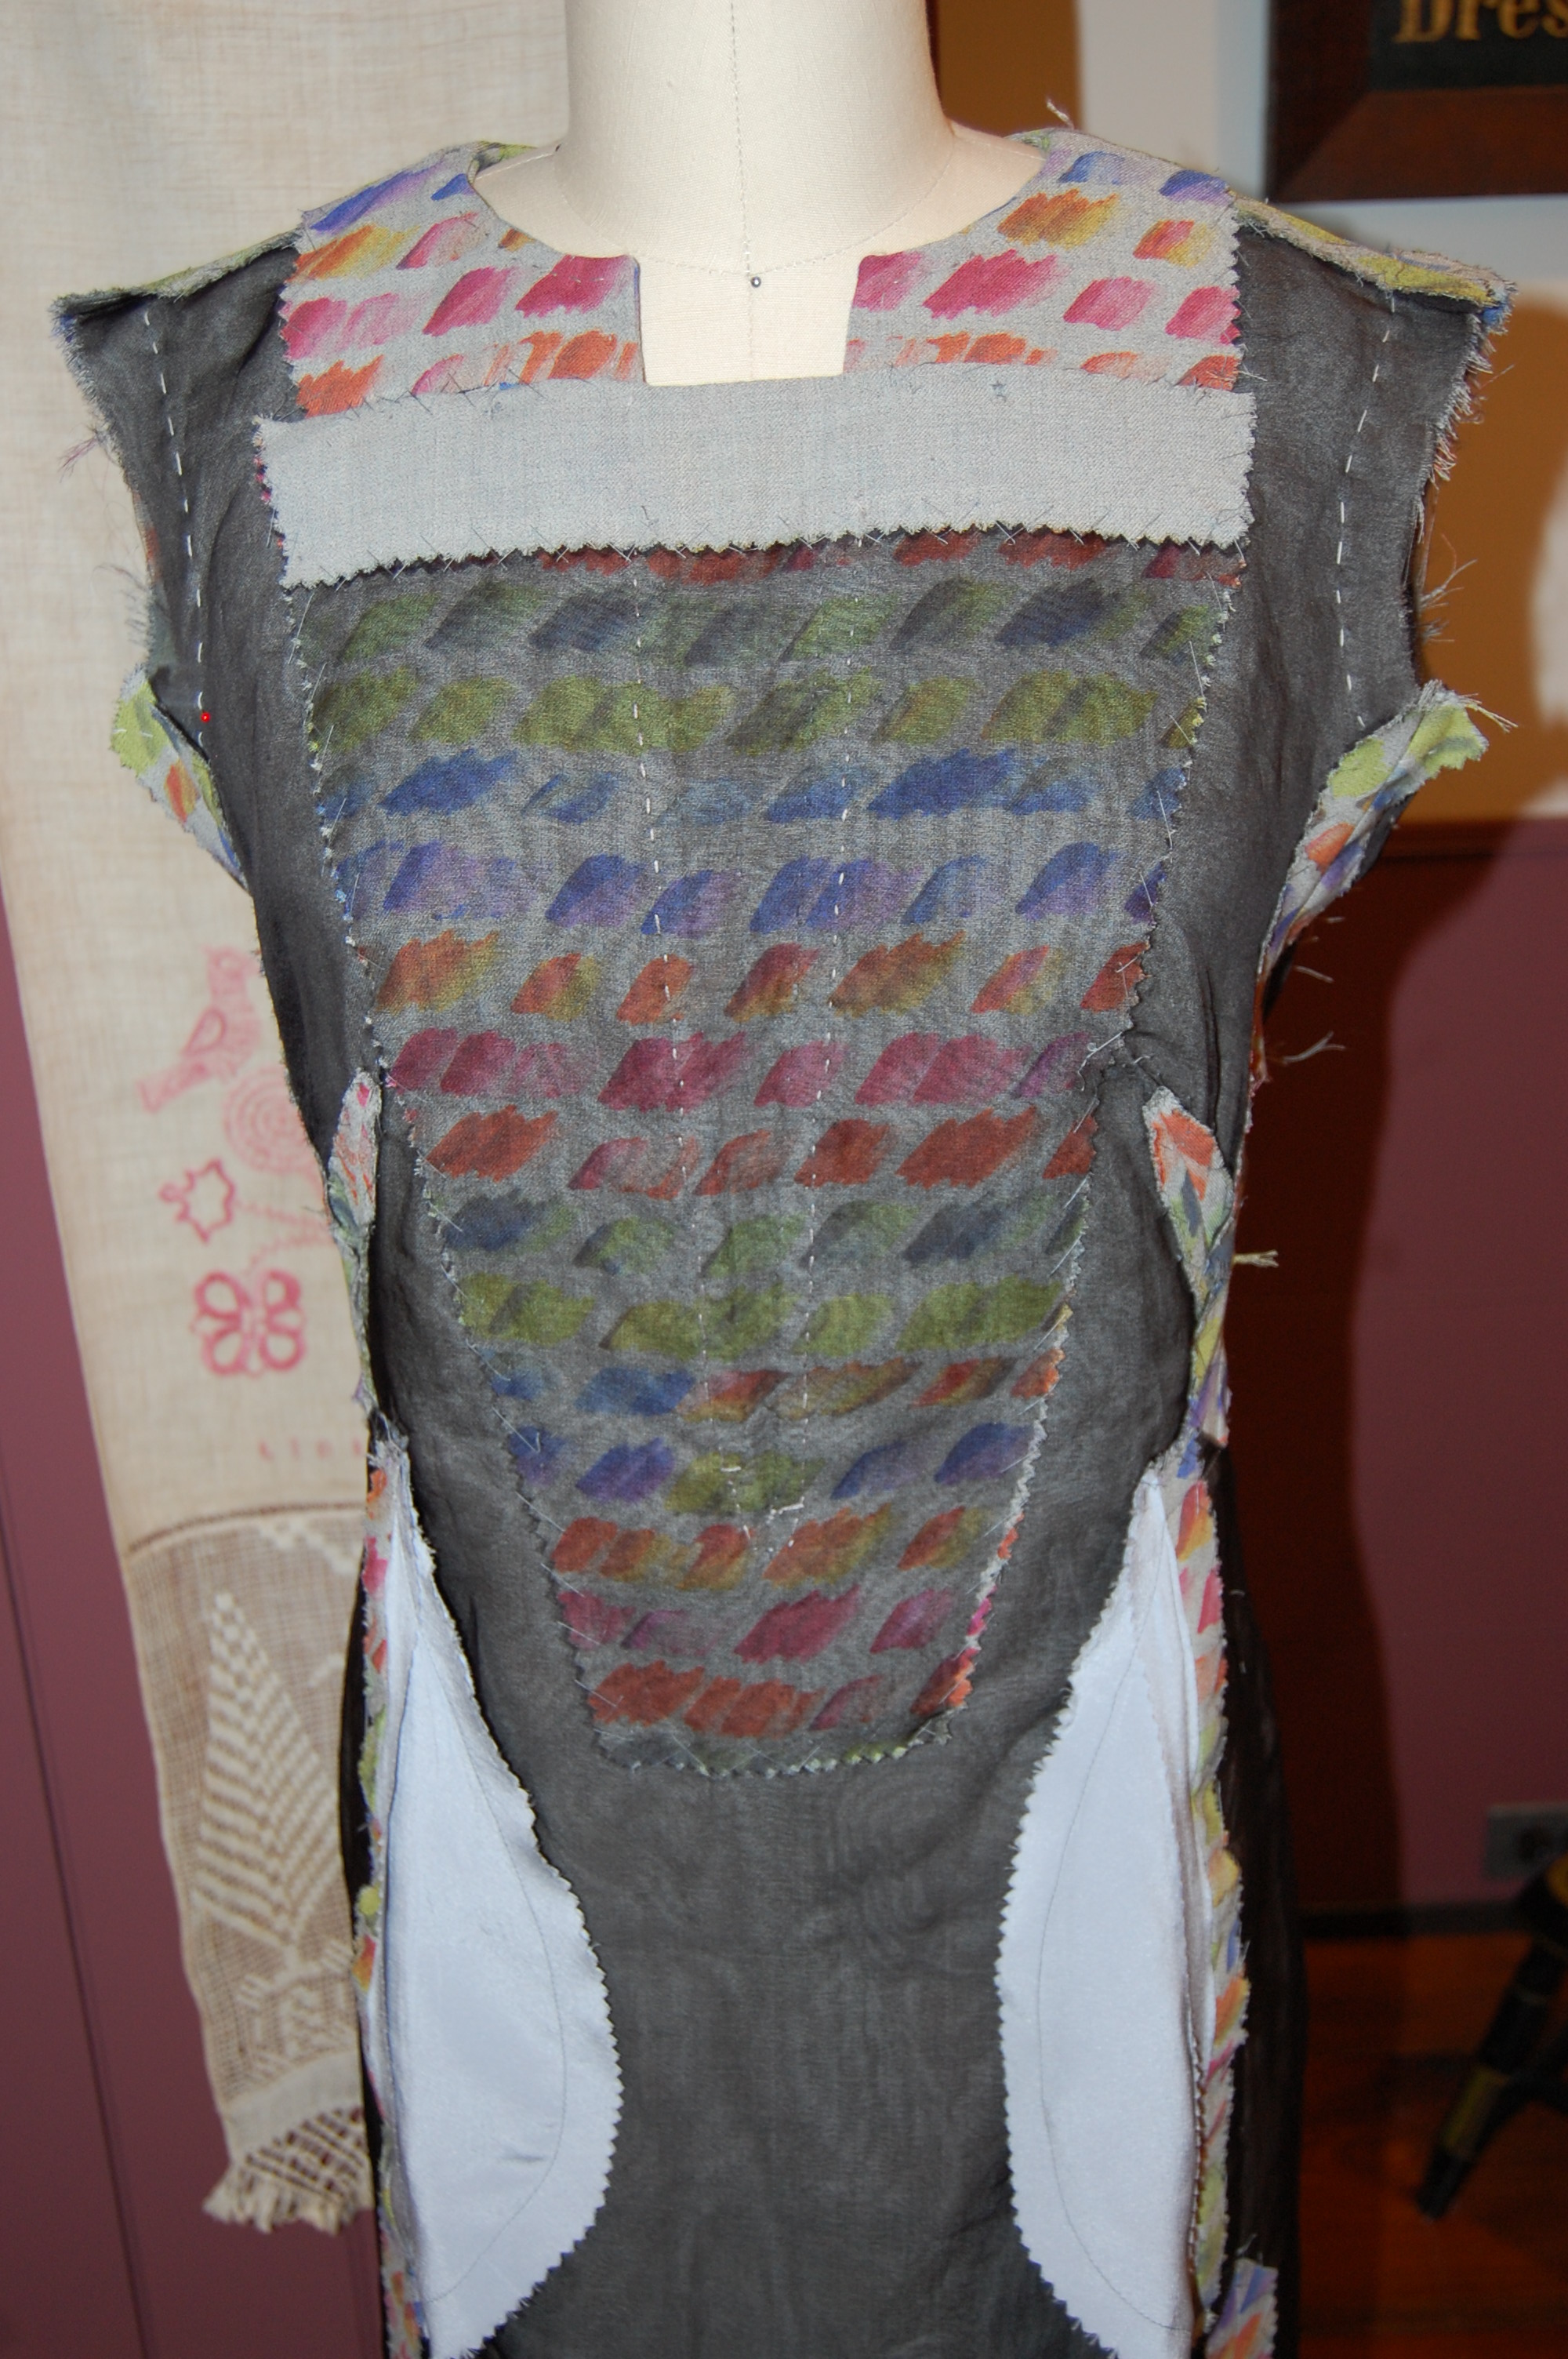
I cut some scraps to see what it would look like with a play gray insert – and it was so much better!
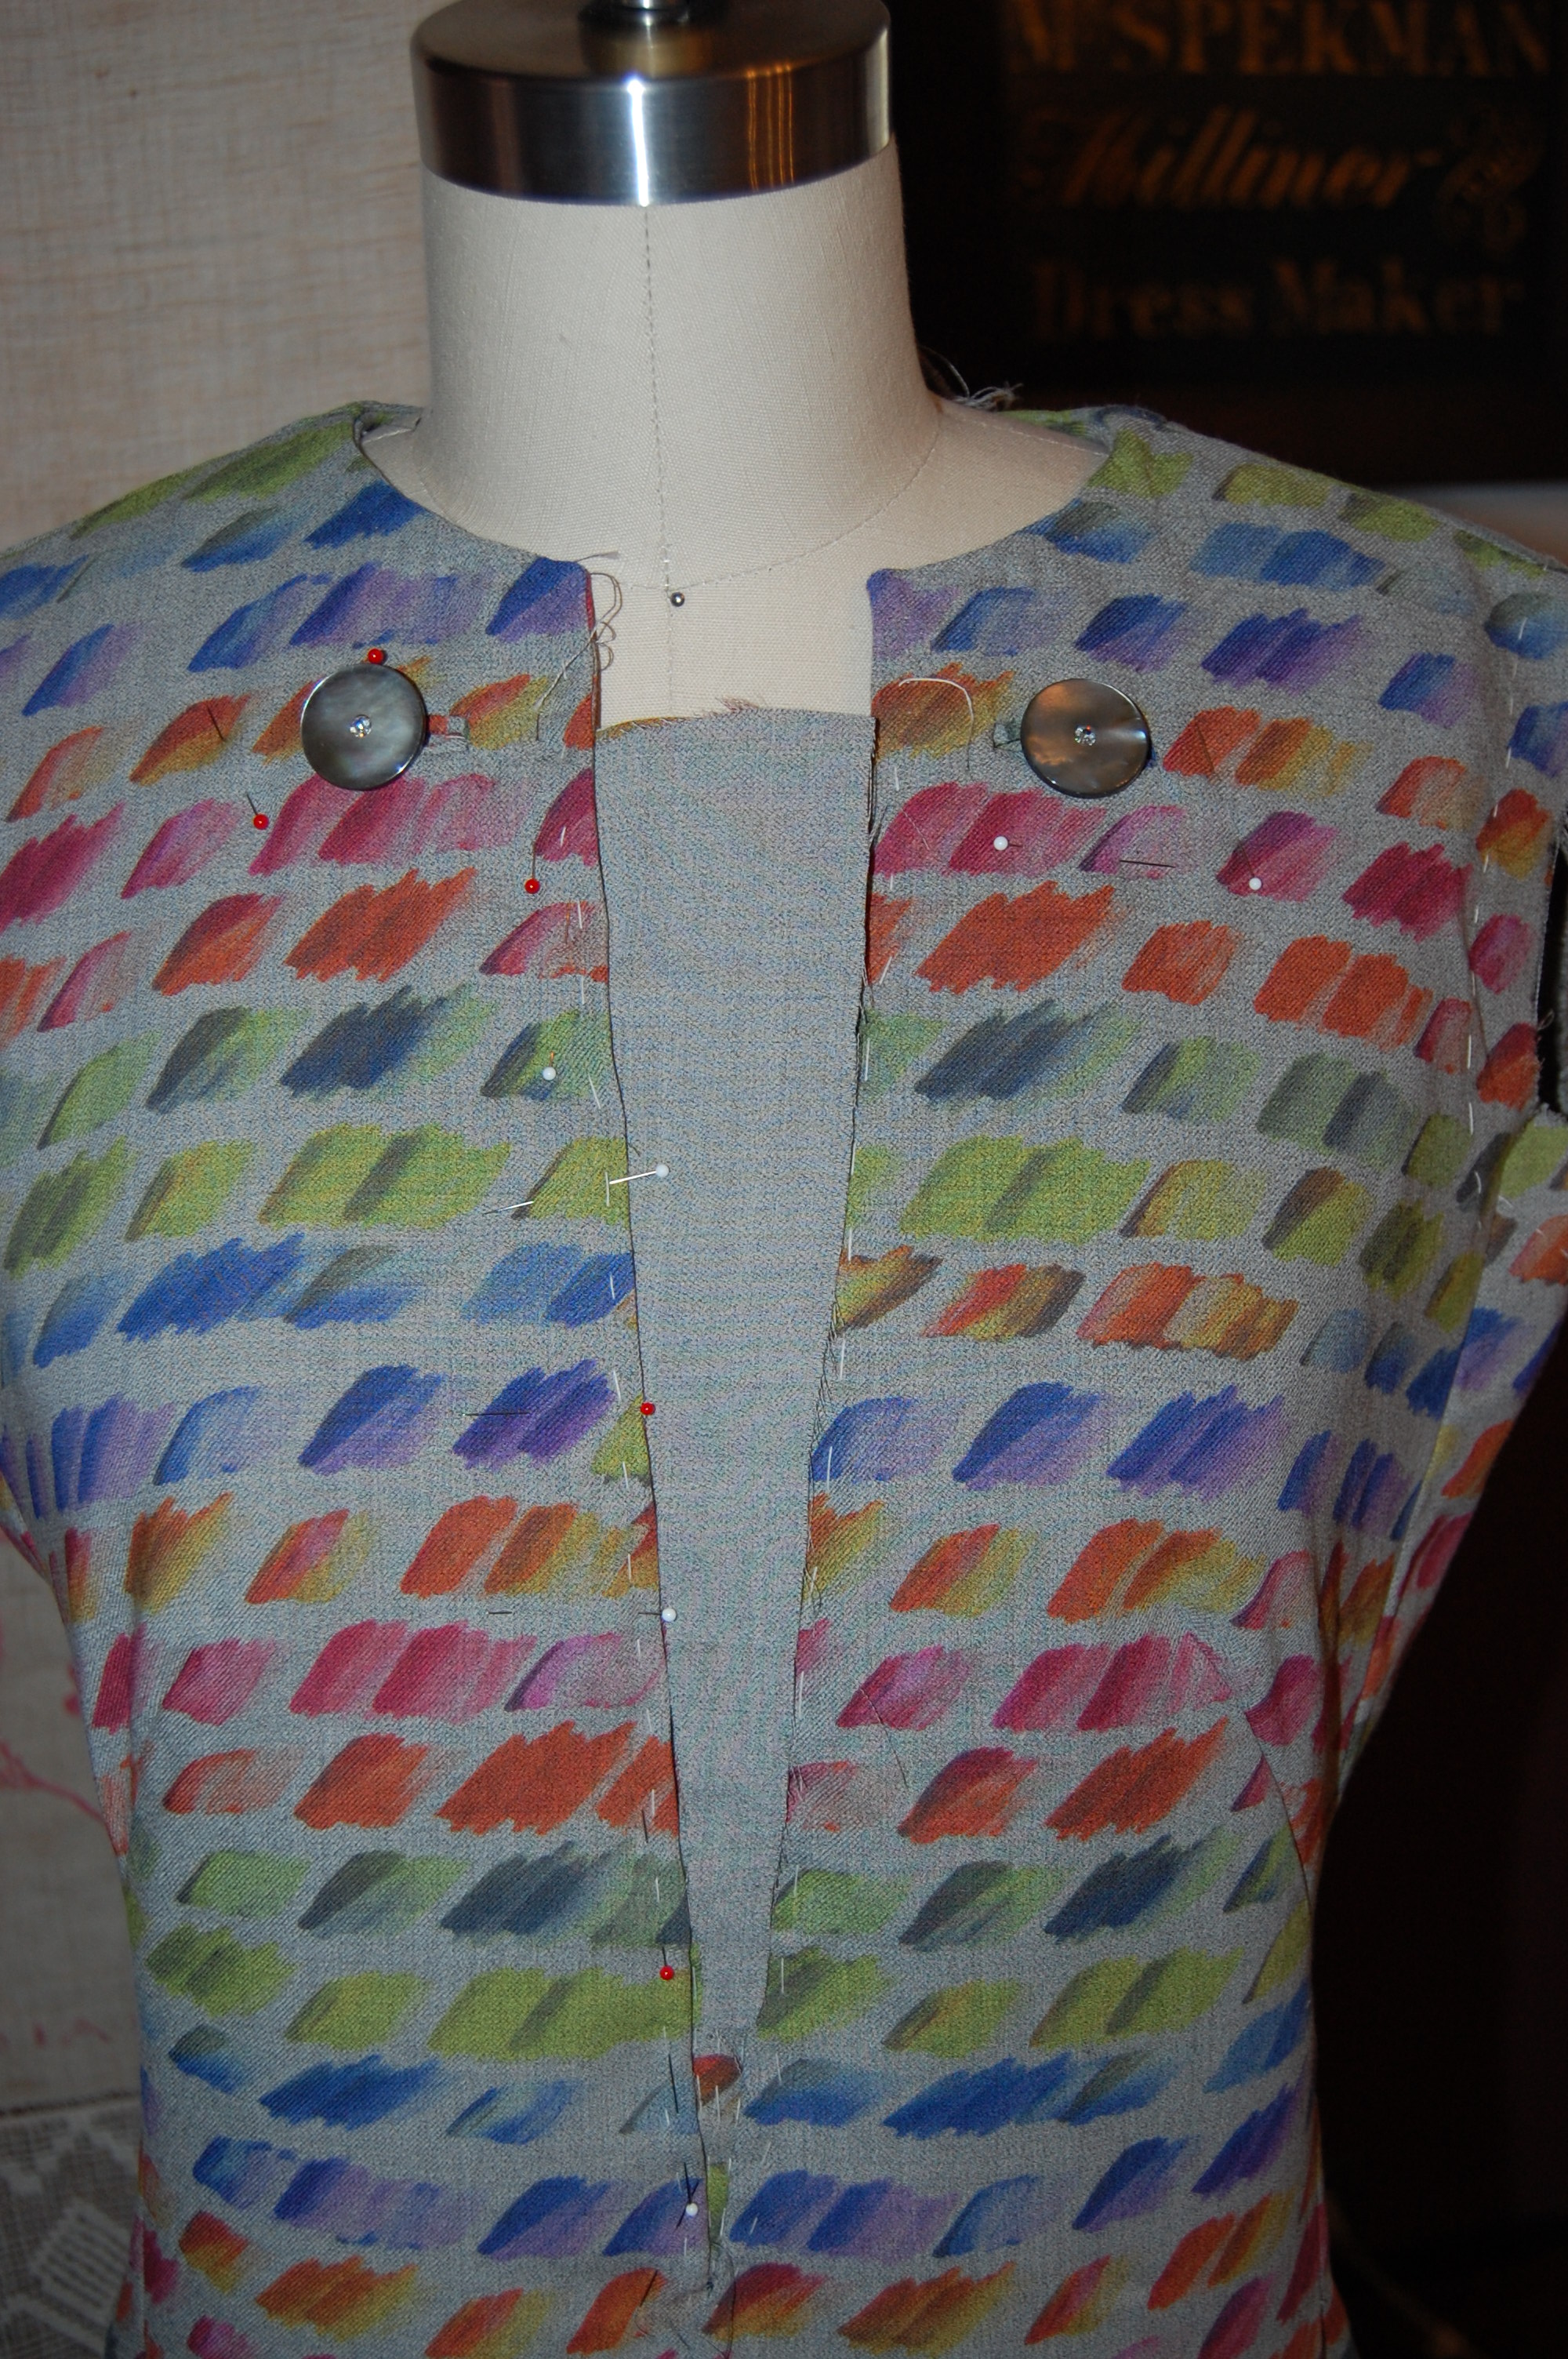
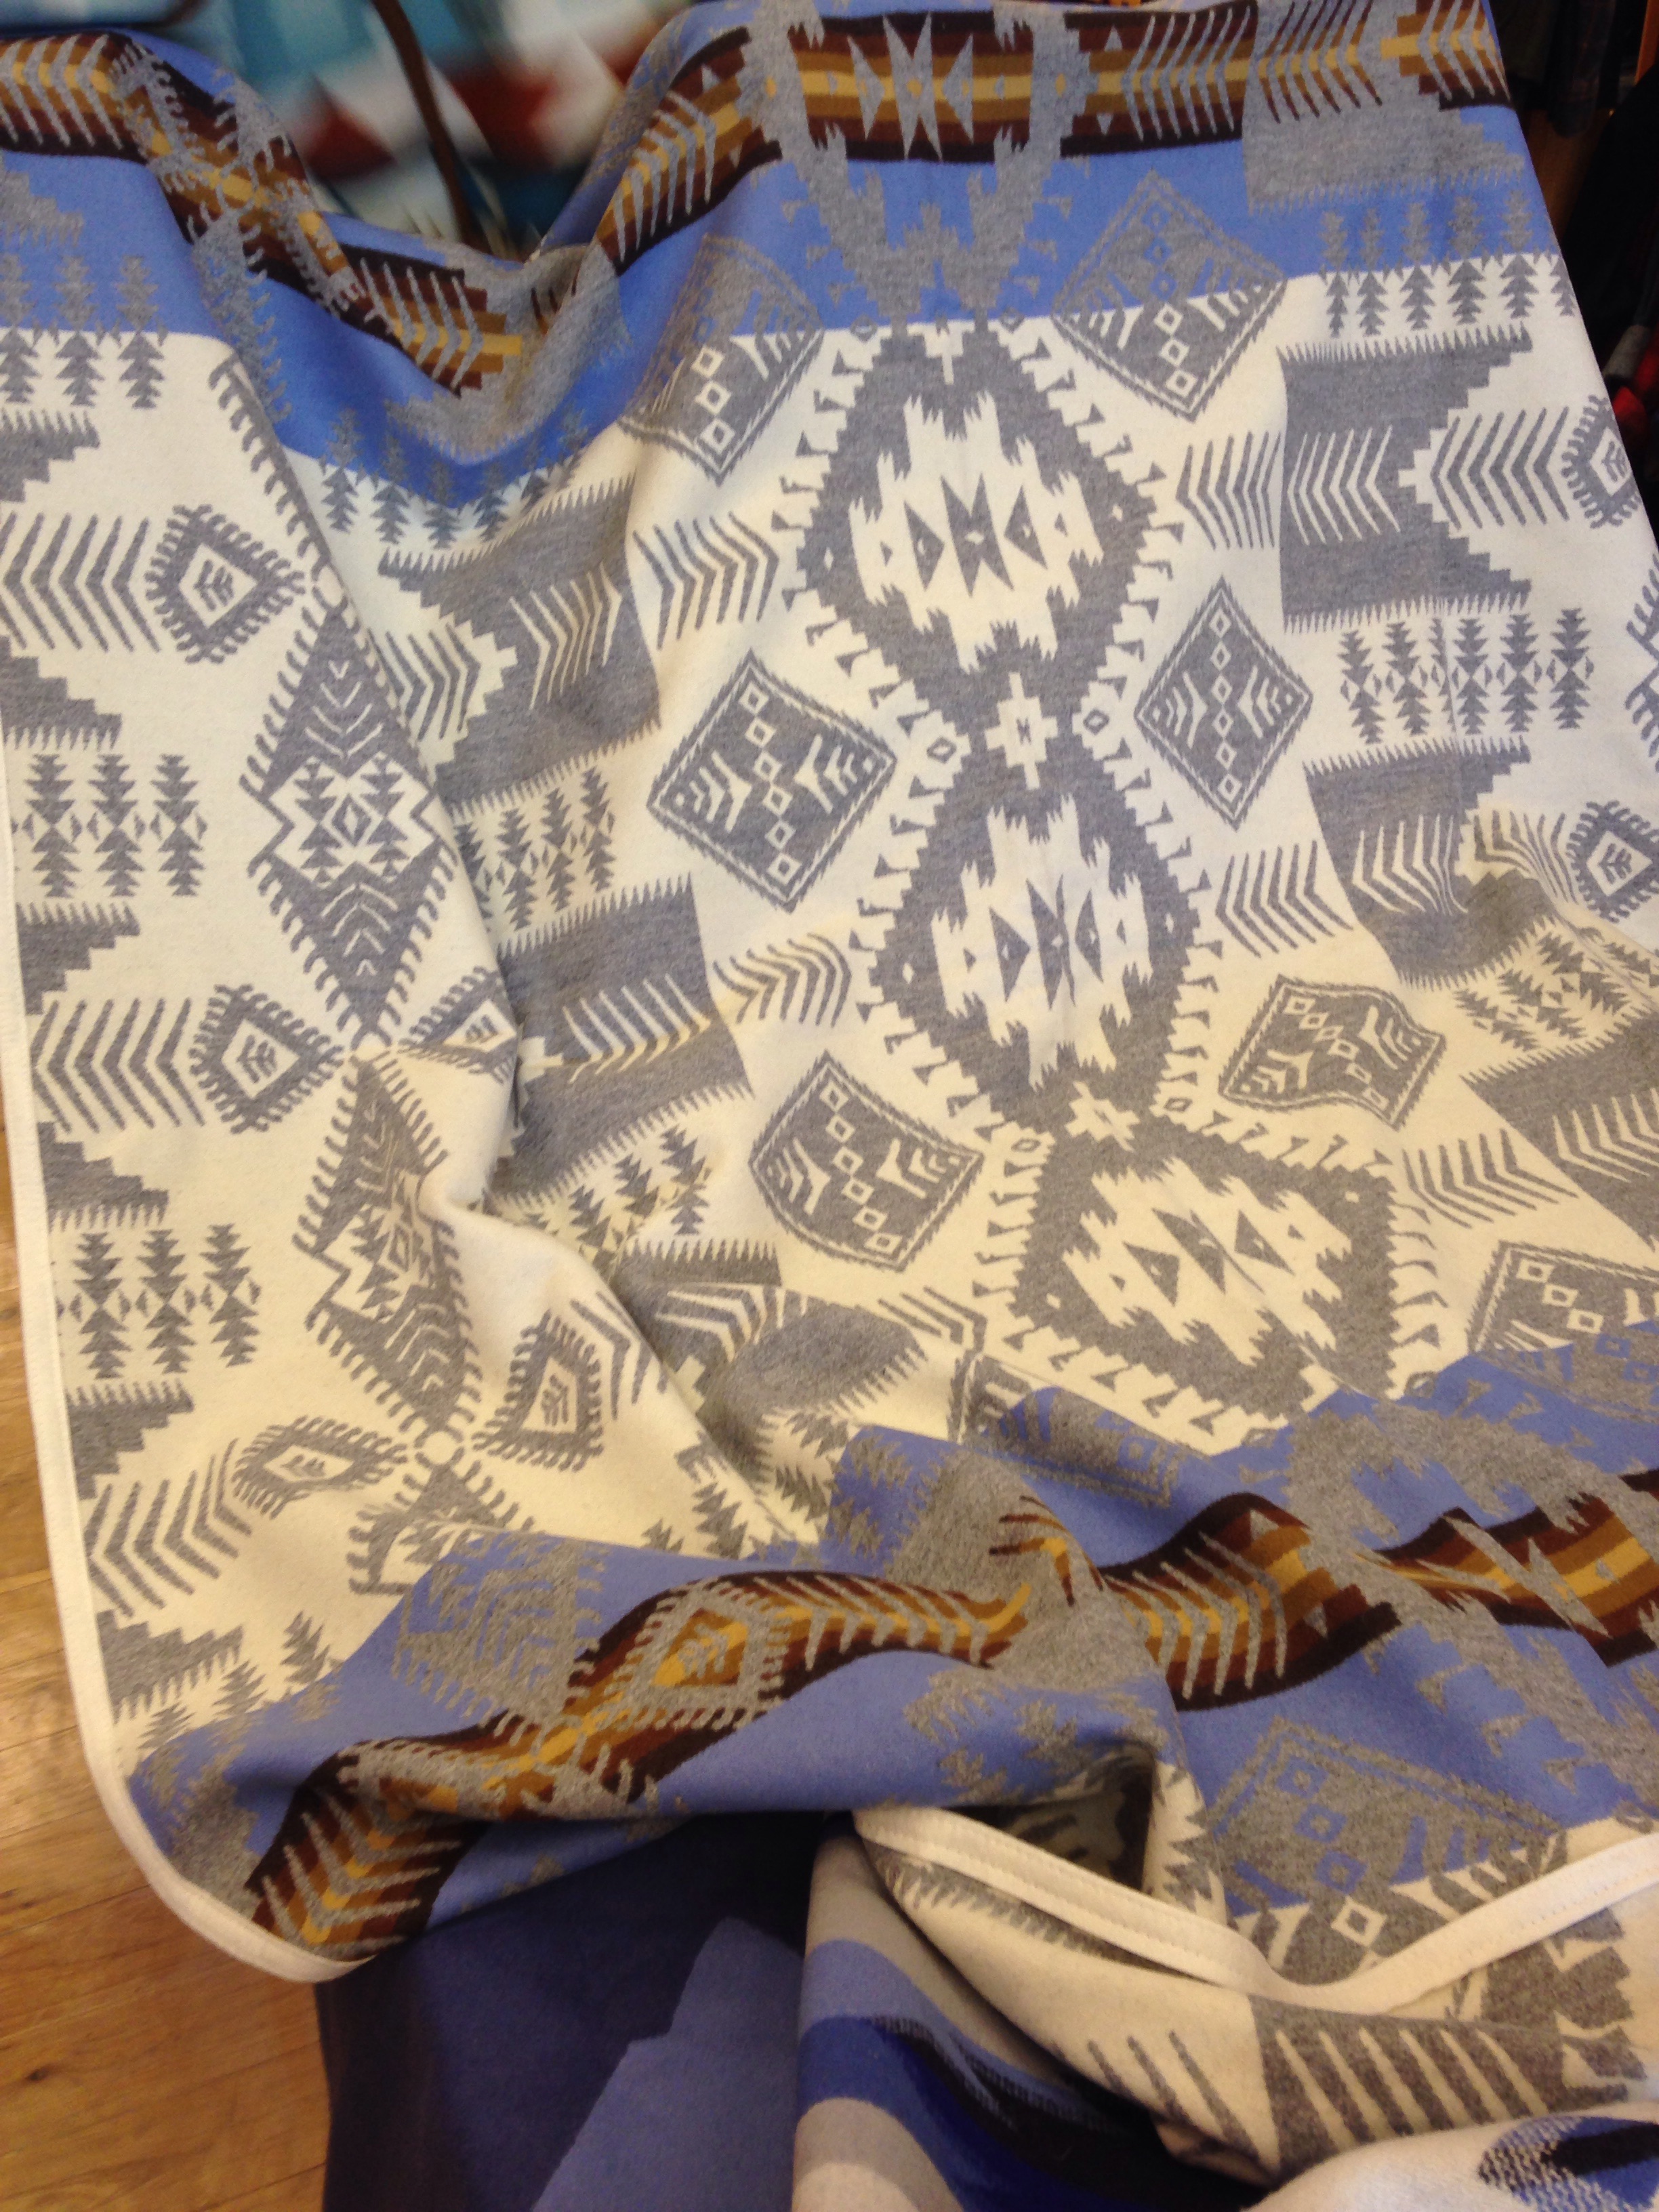
So – I took the dickey all apart and flipped it over so it would be out of the plain gray “wrong side.” By now I was enjoying the versatility of this fabric (which I bought online from Mendel Goldberg Fabrics) and appreciating the serendipity of having this fabric for this pattern, giving me options.
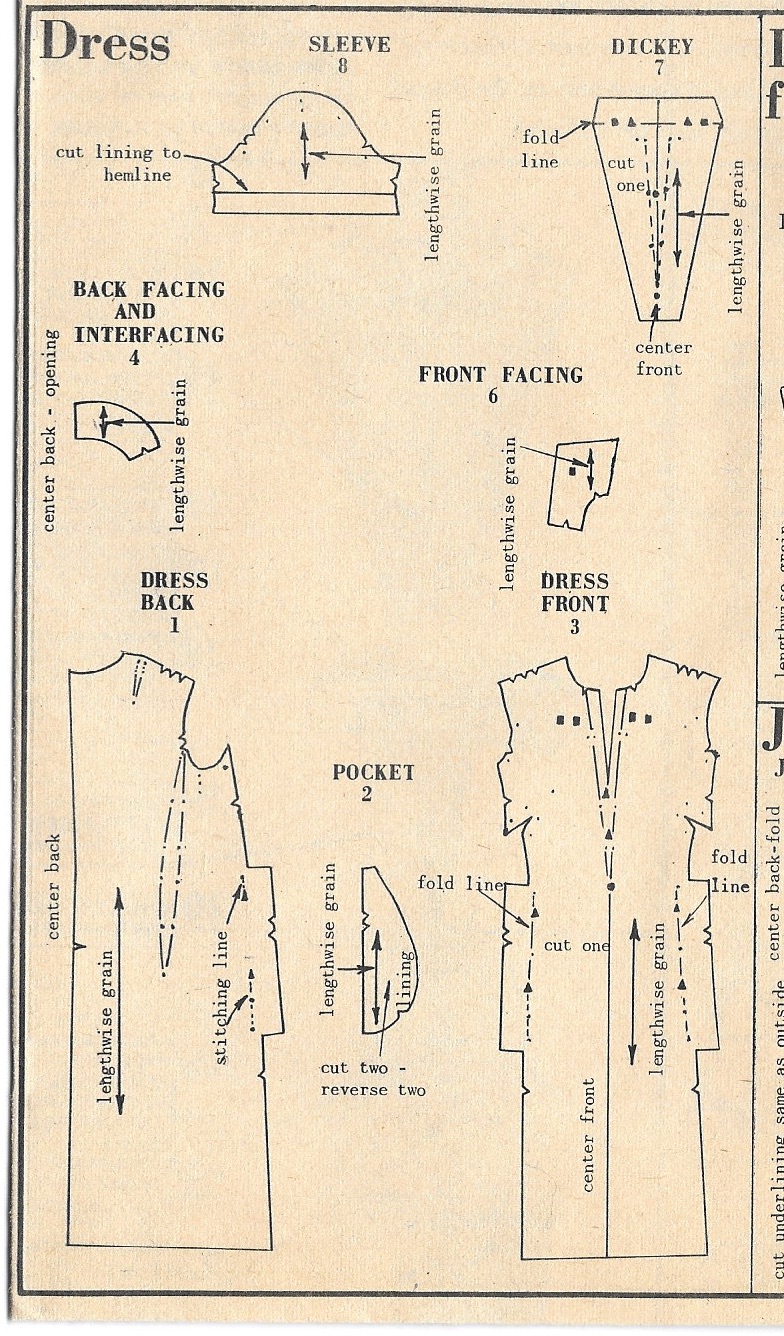
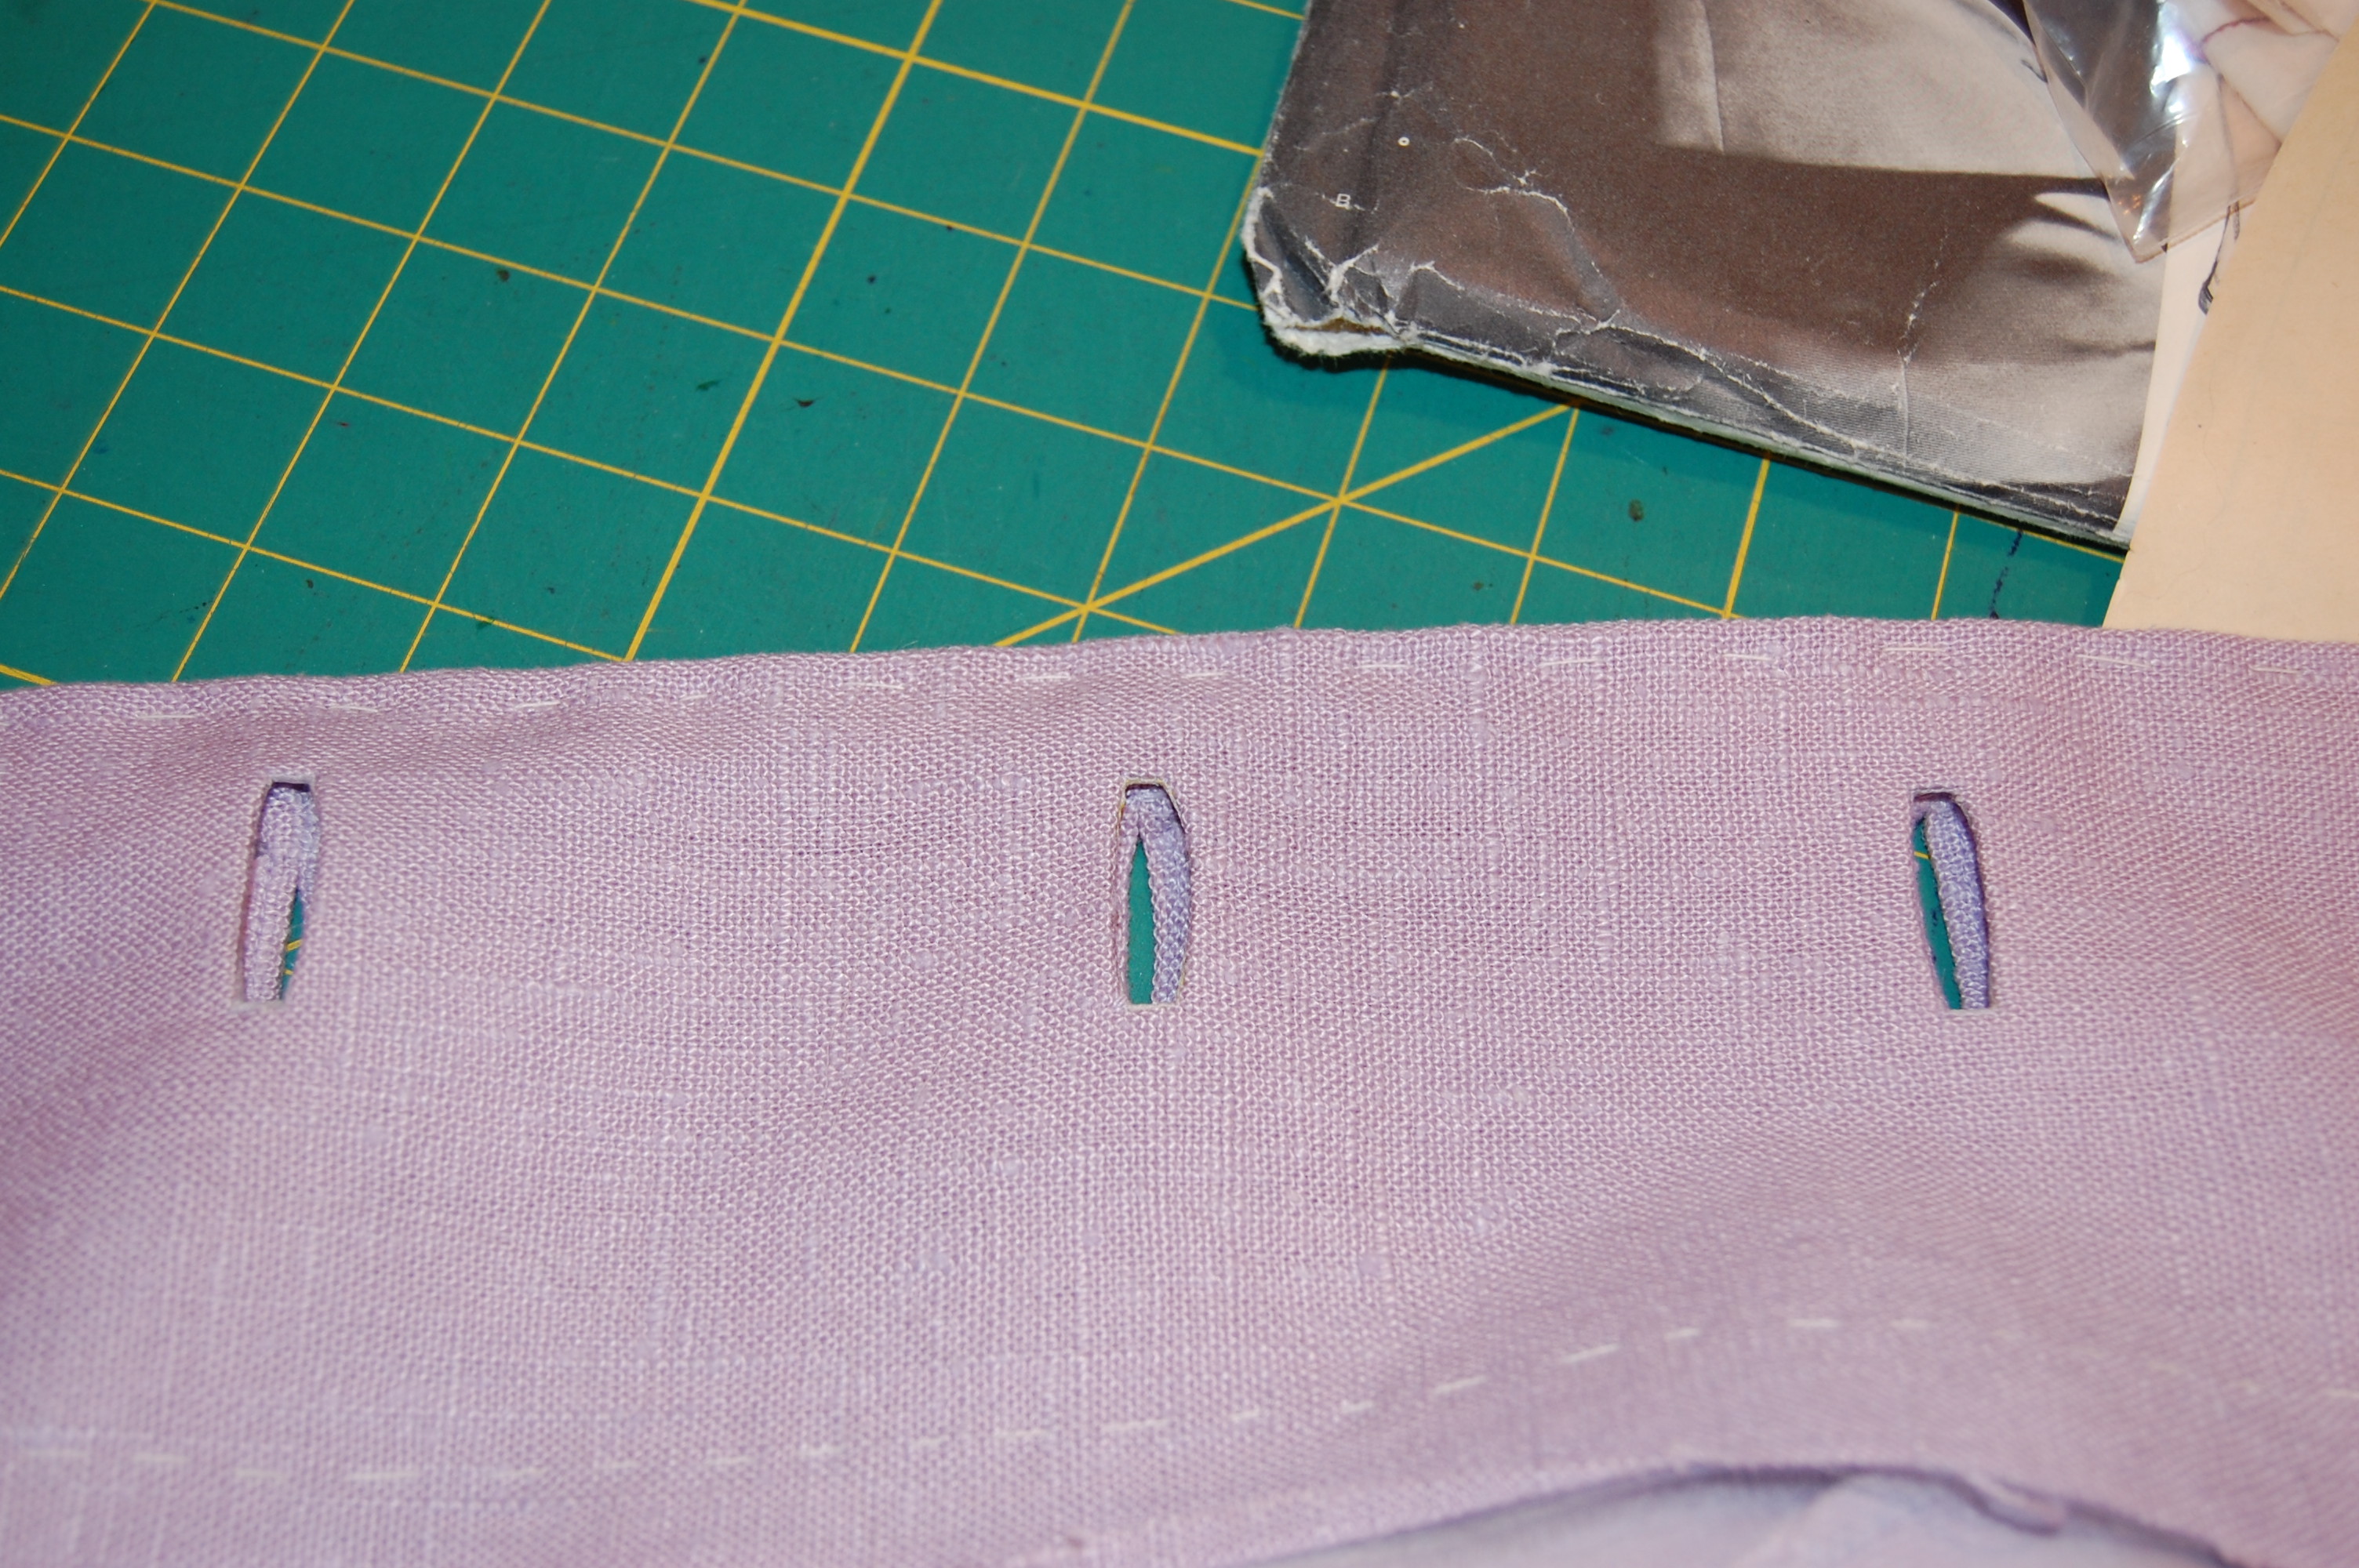
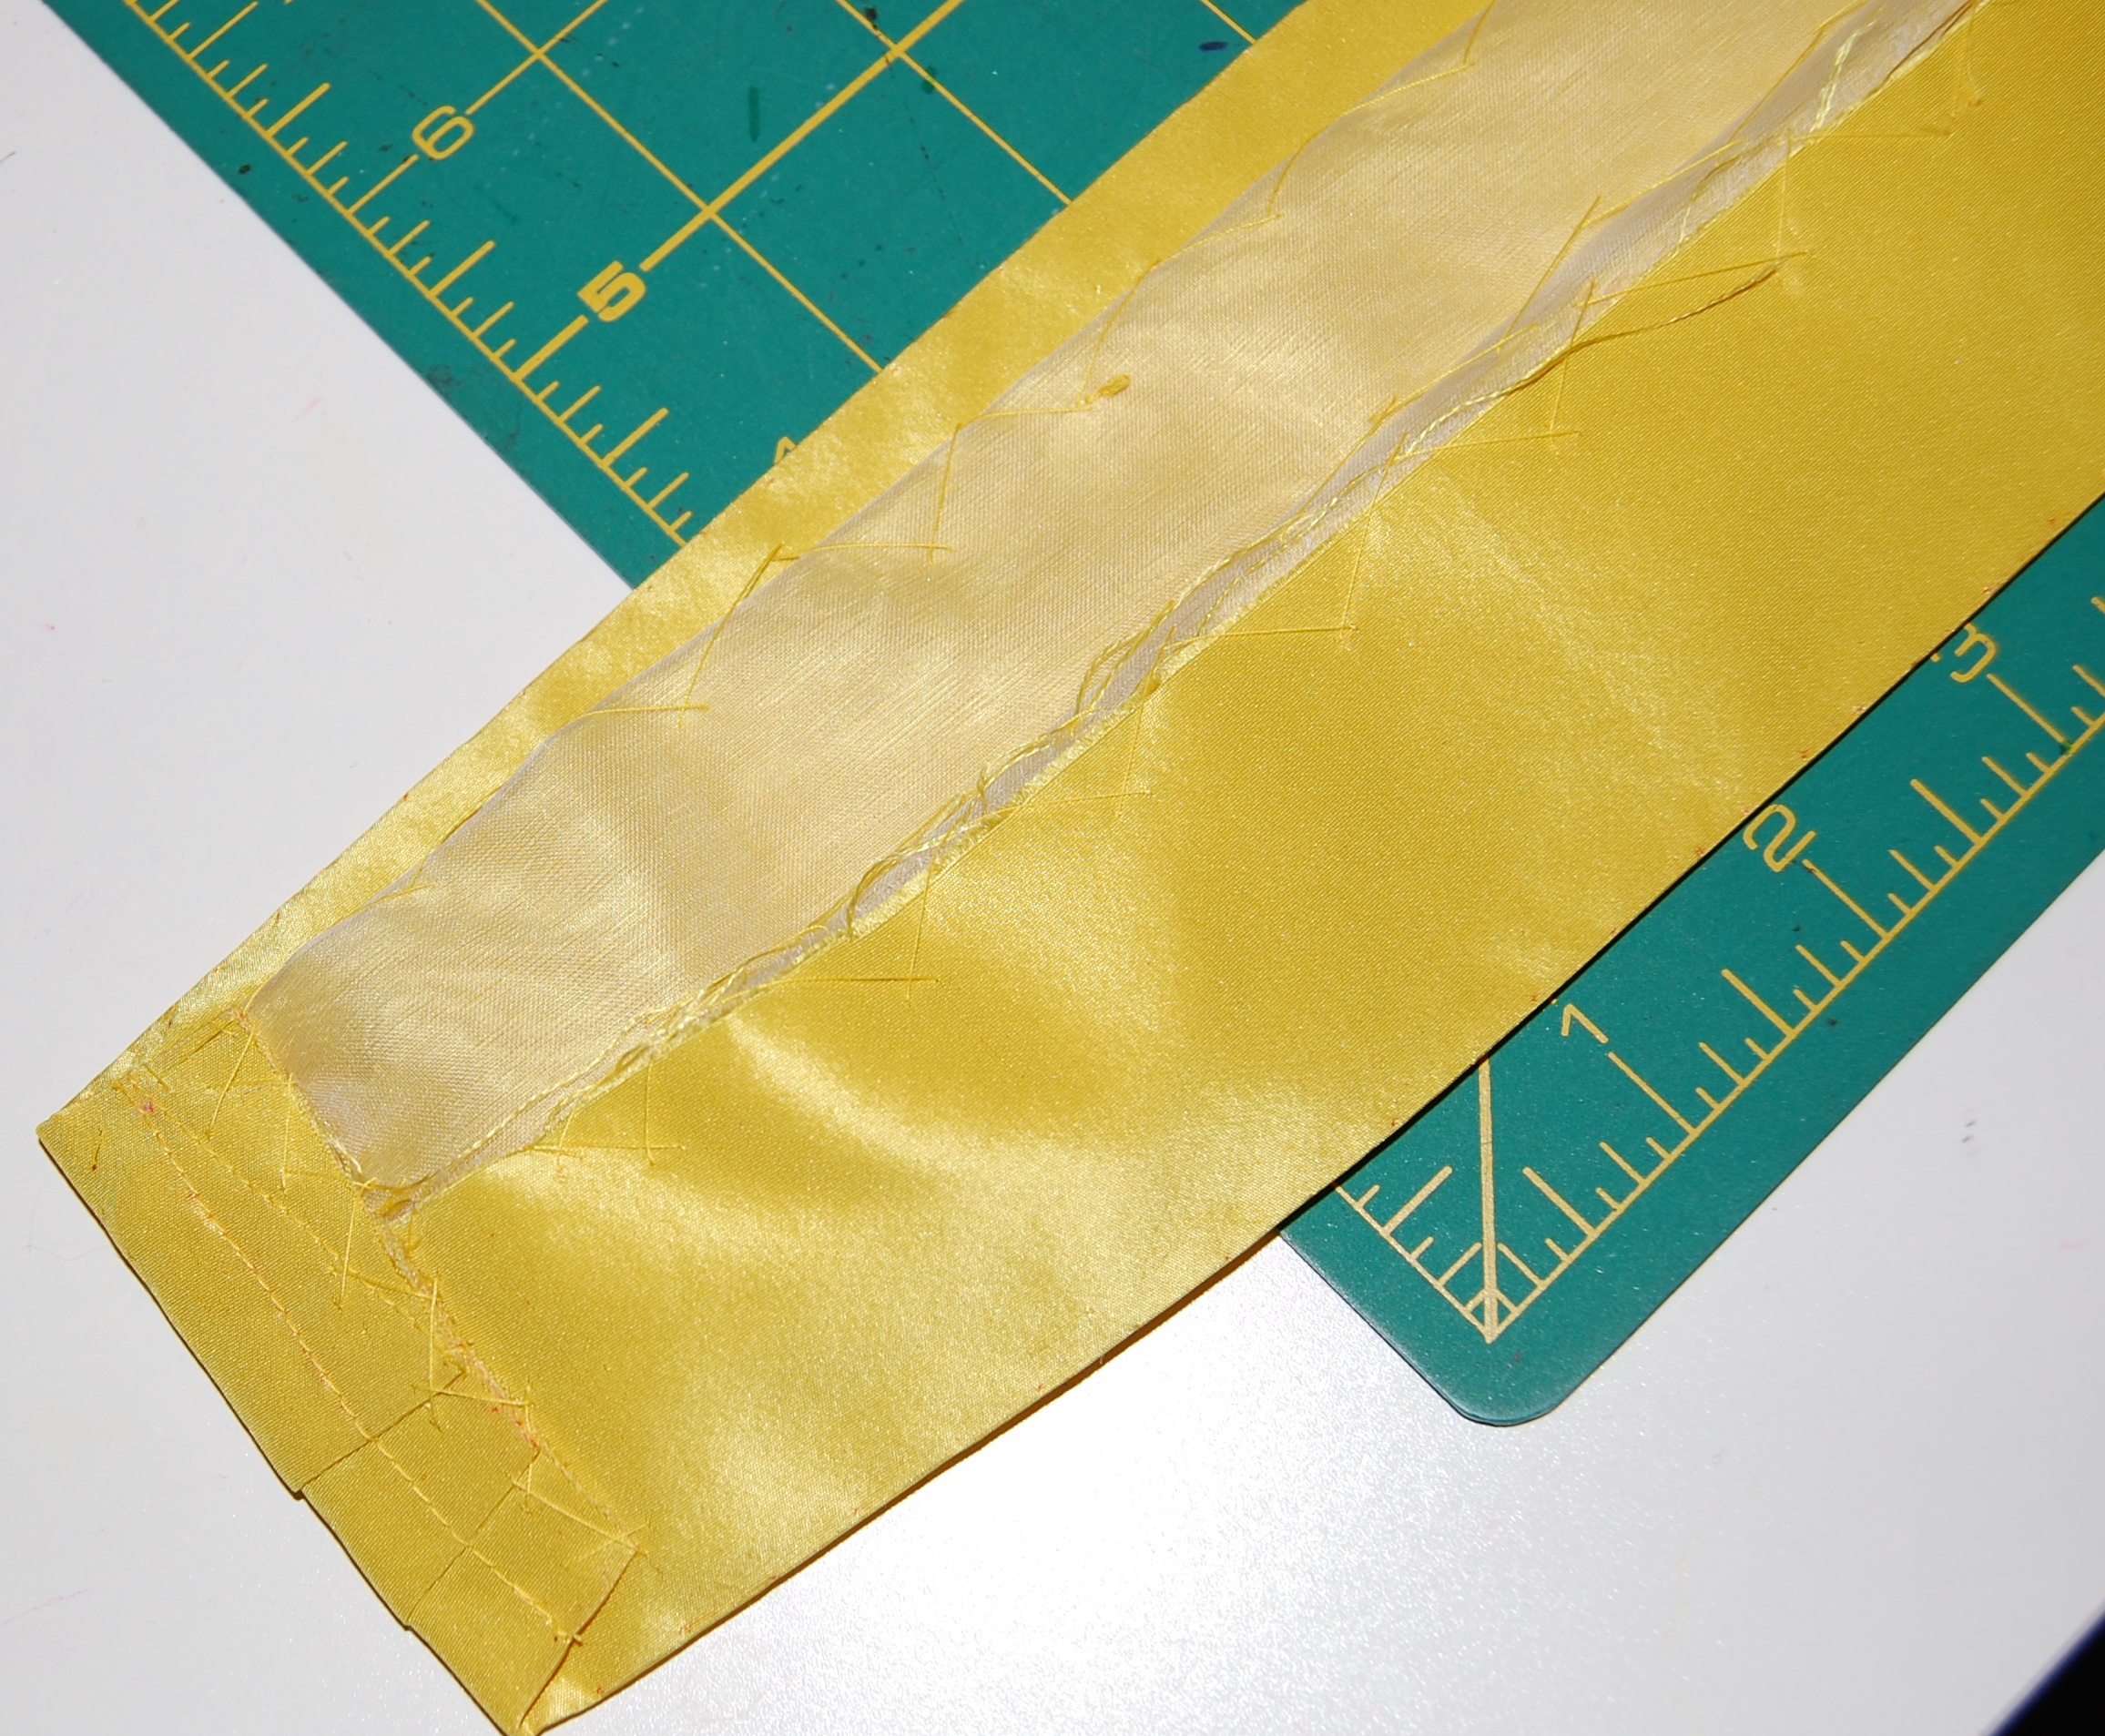
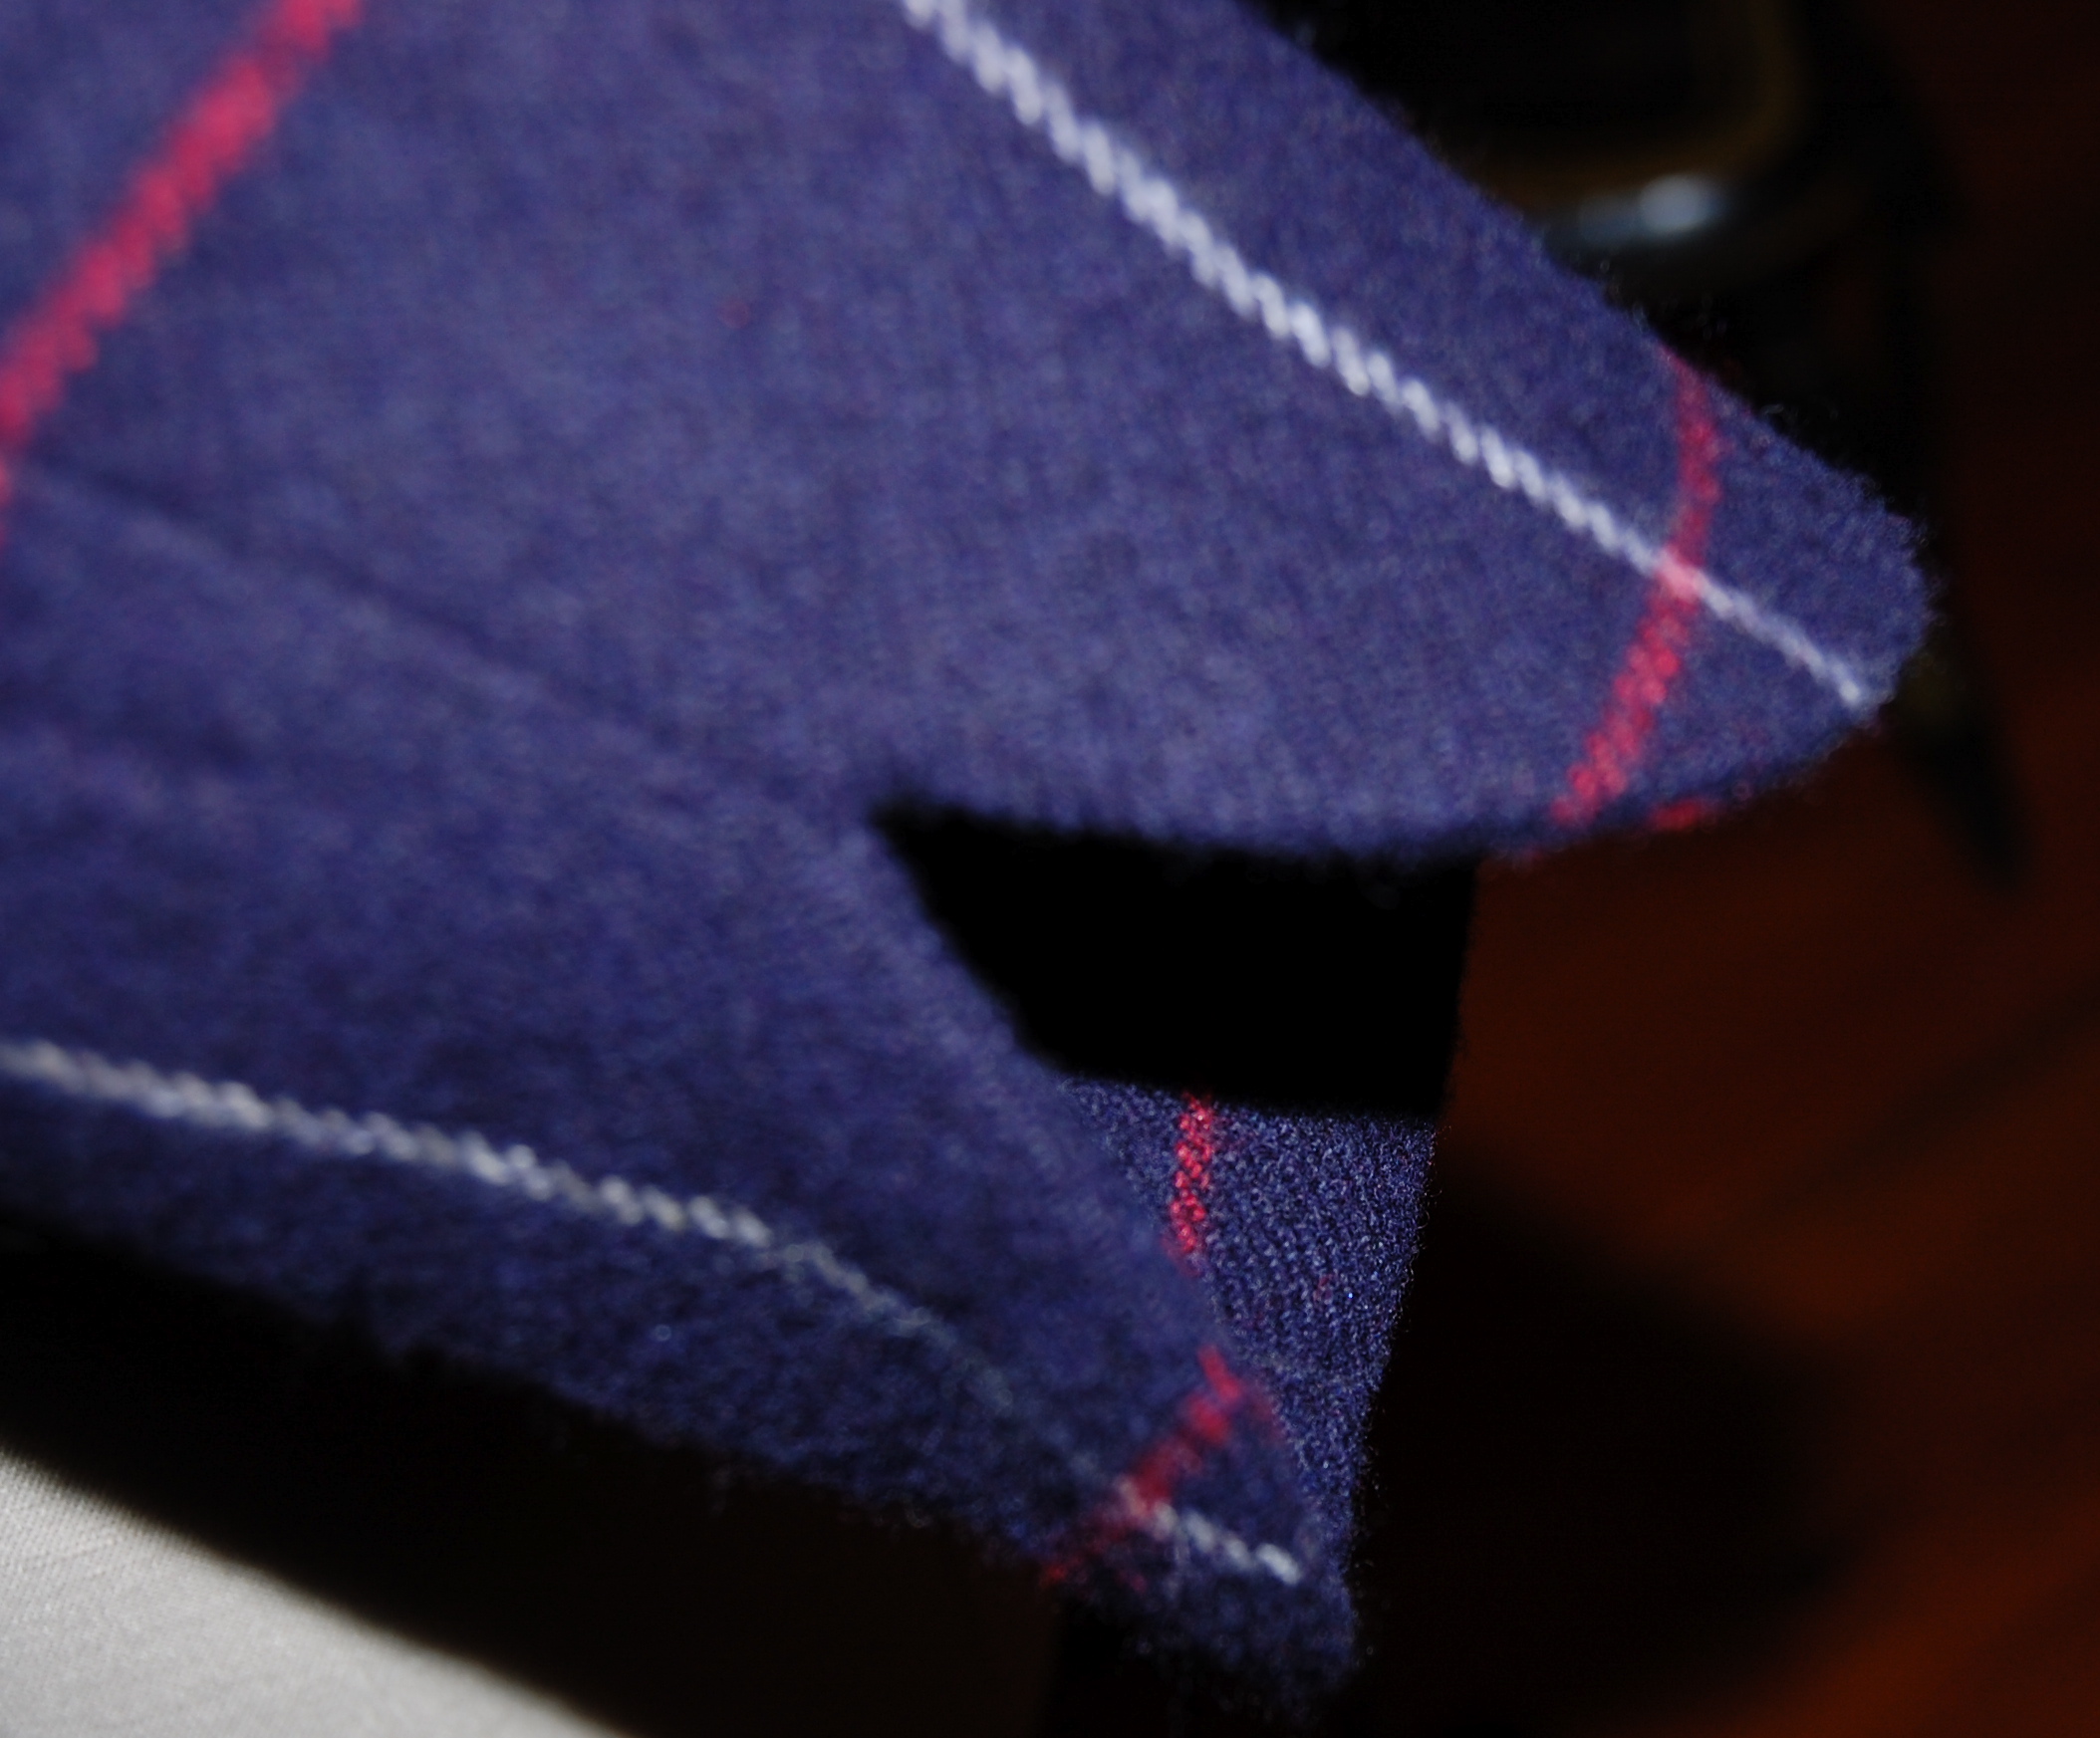
However, the fabric posed another challenge when I got to the point of finishing the front opening in the bodice. This fabric frays enough that I was not comfortable following the directions given in the pattern instructions:
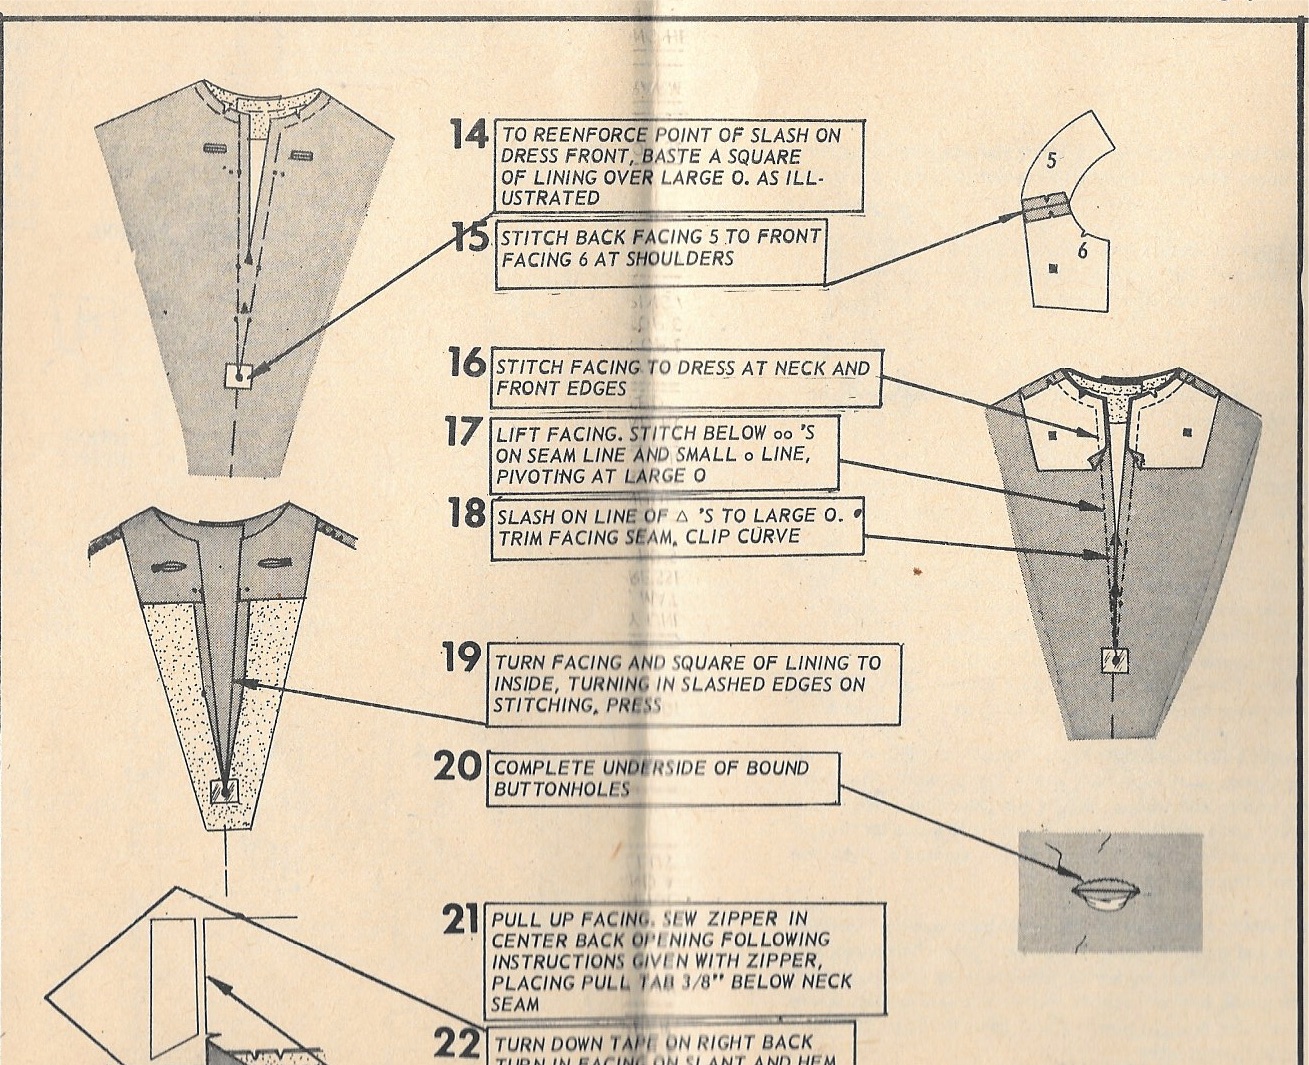
The instructions directed me to just turn back the seam allowance, but because of the ravel-ly nature of the fabric, I was certain it would pull out with wear.
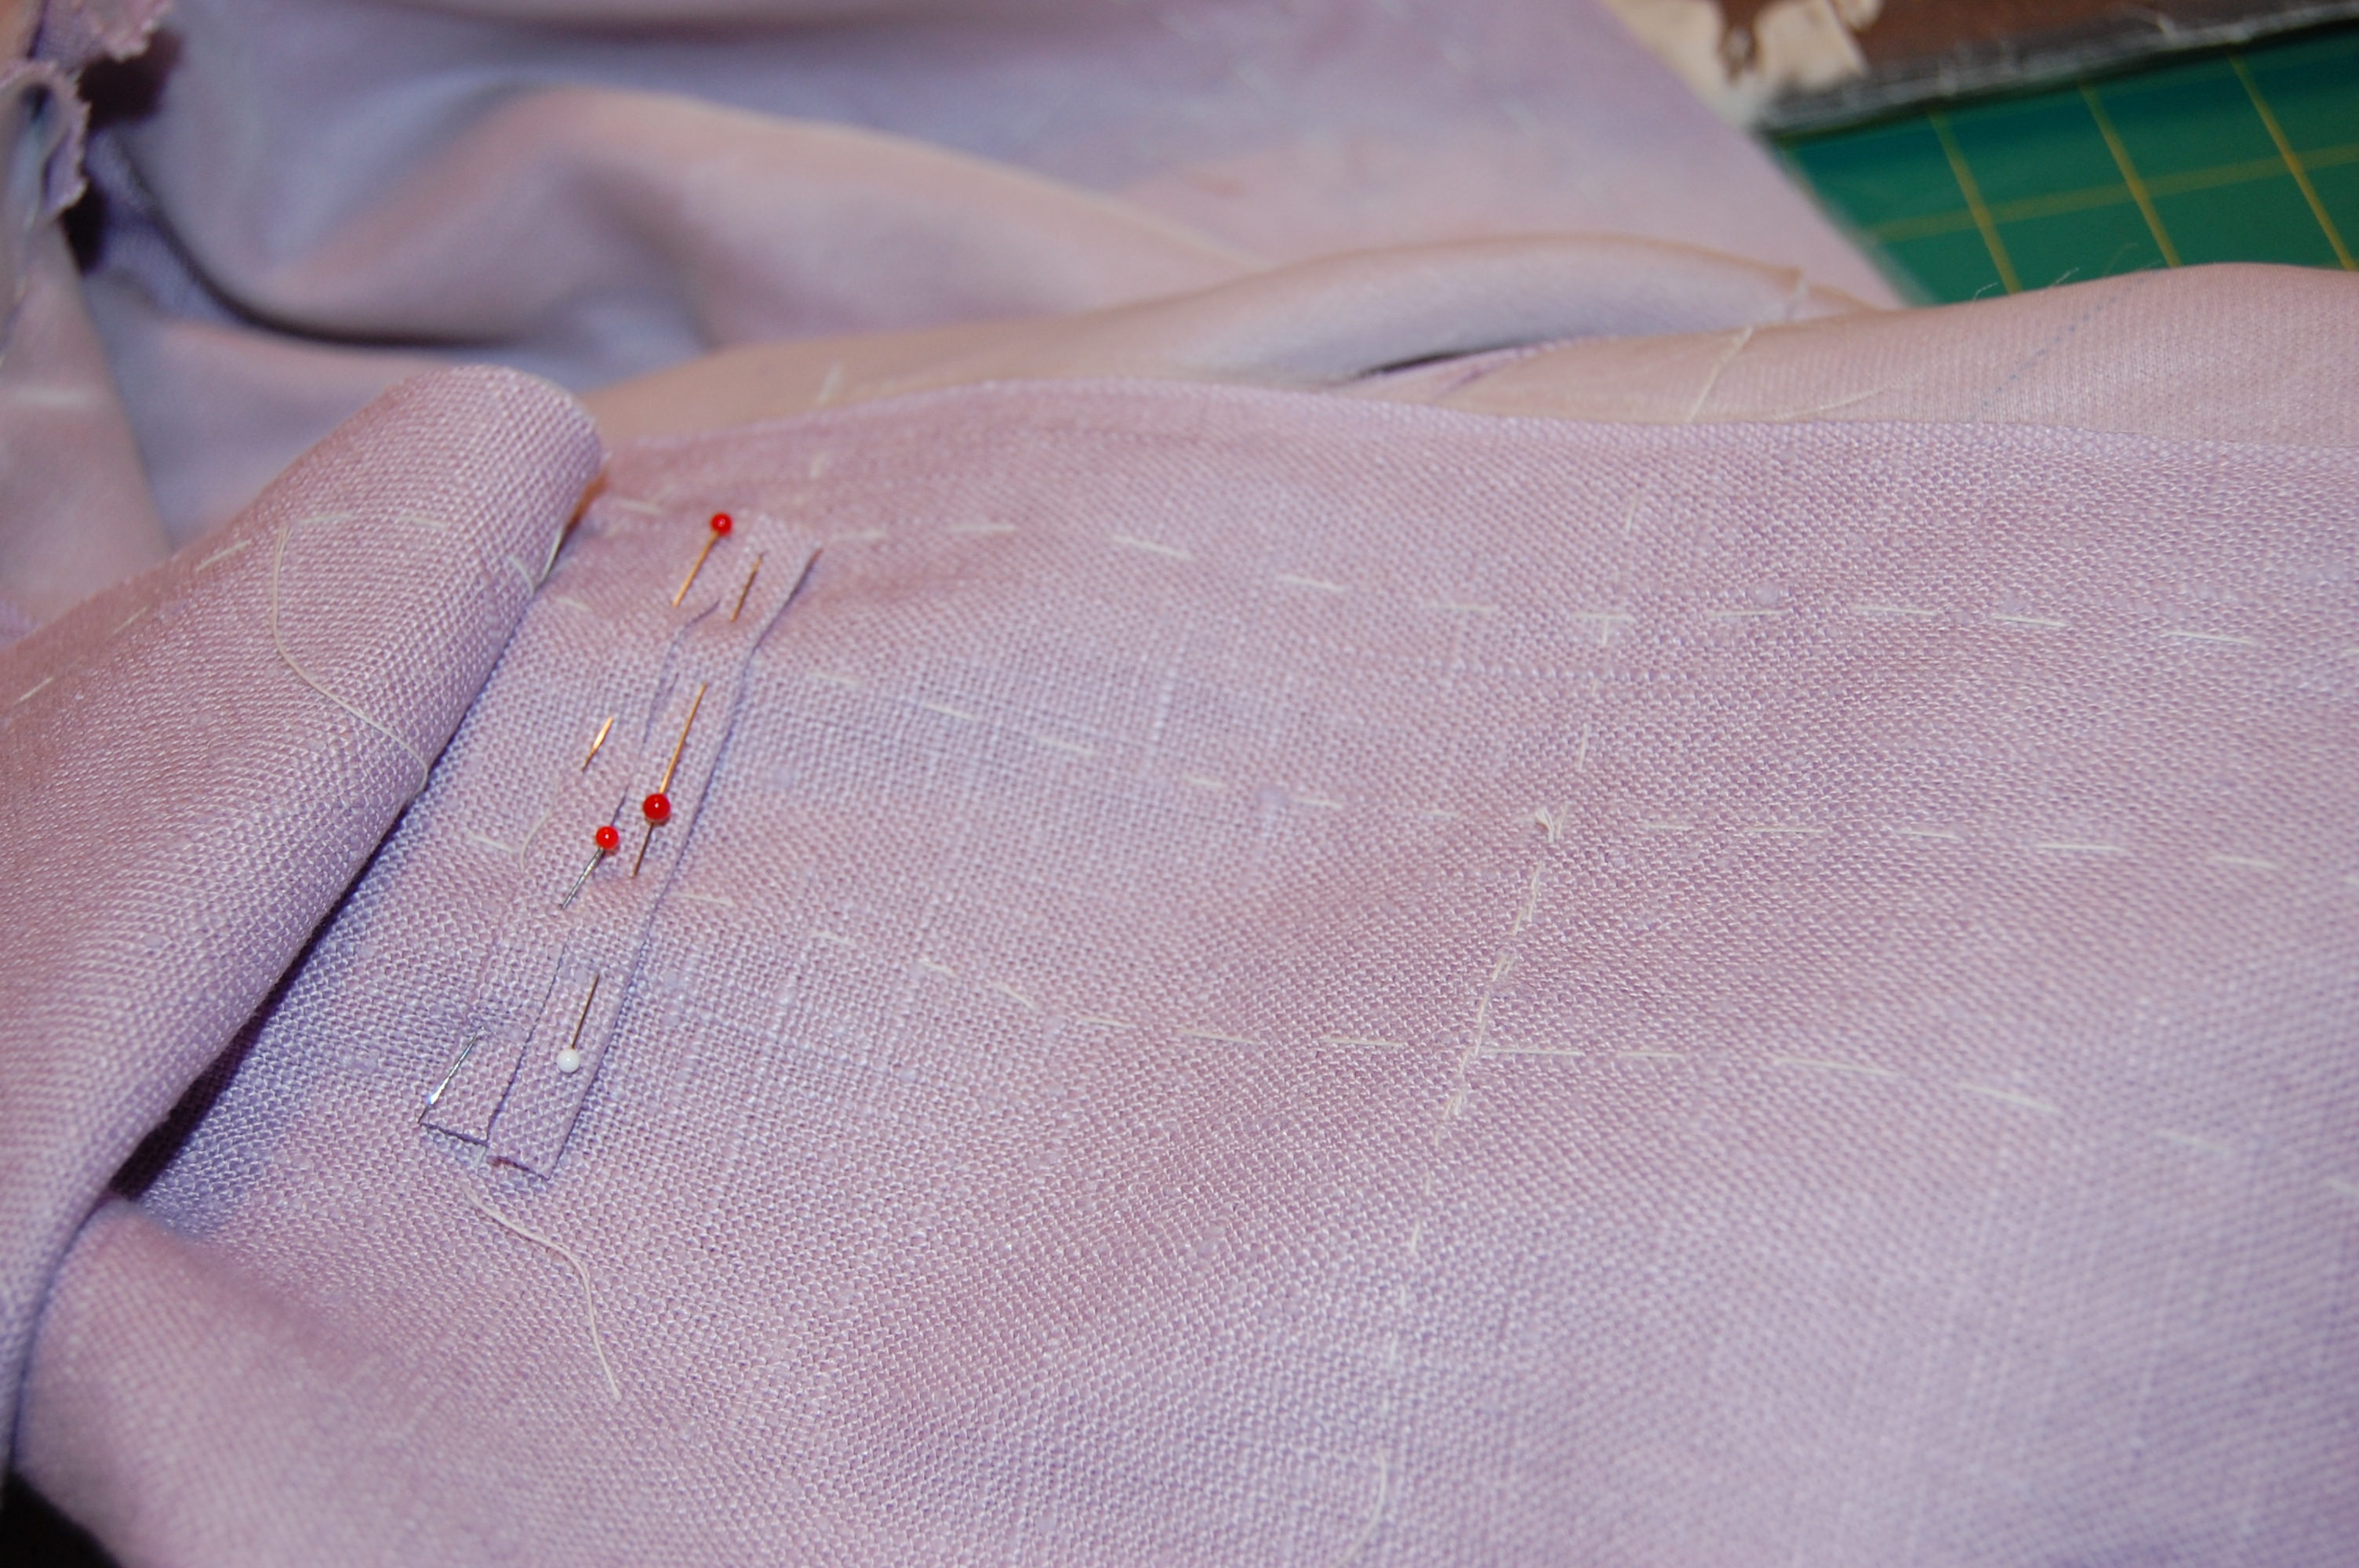
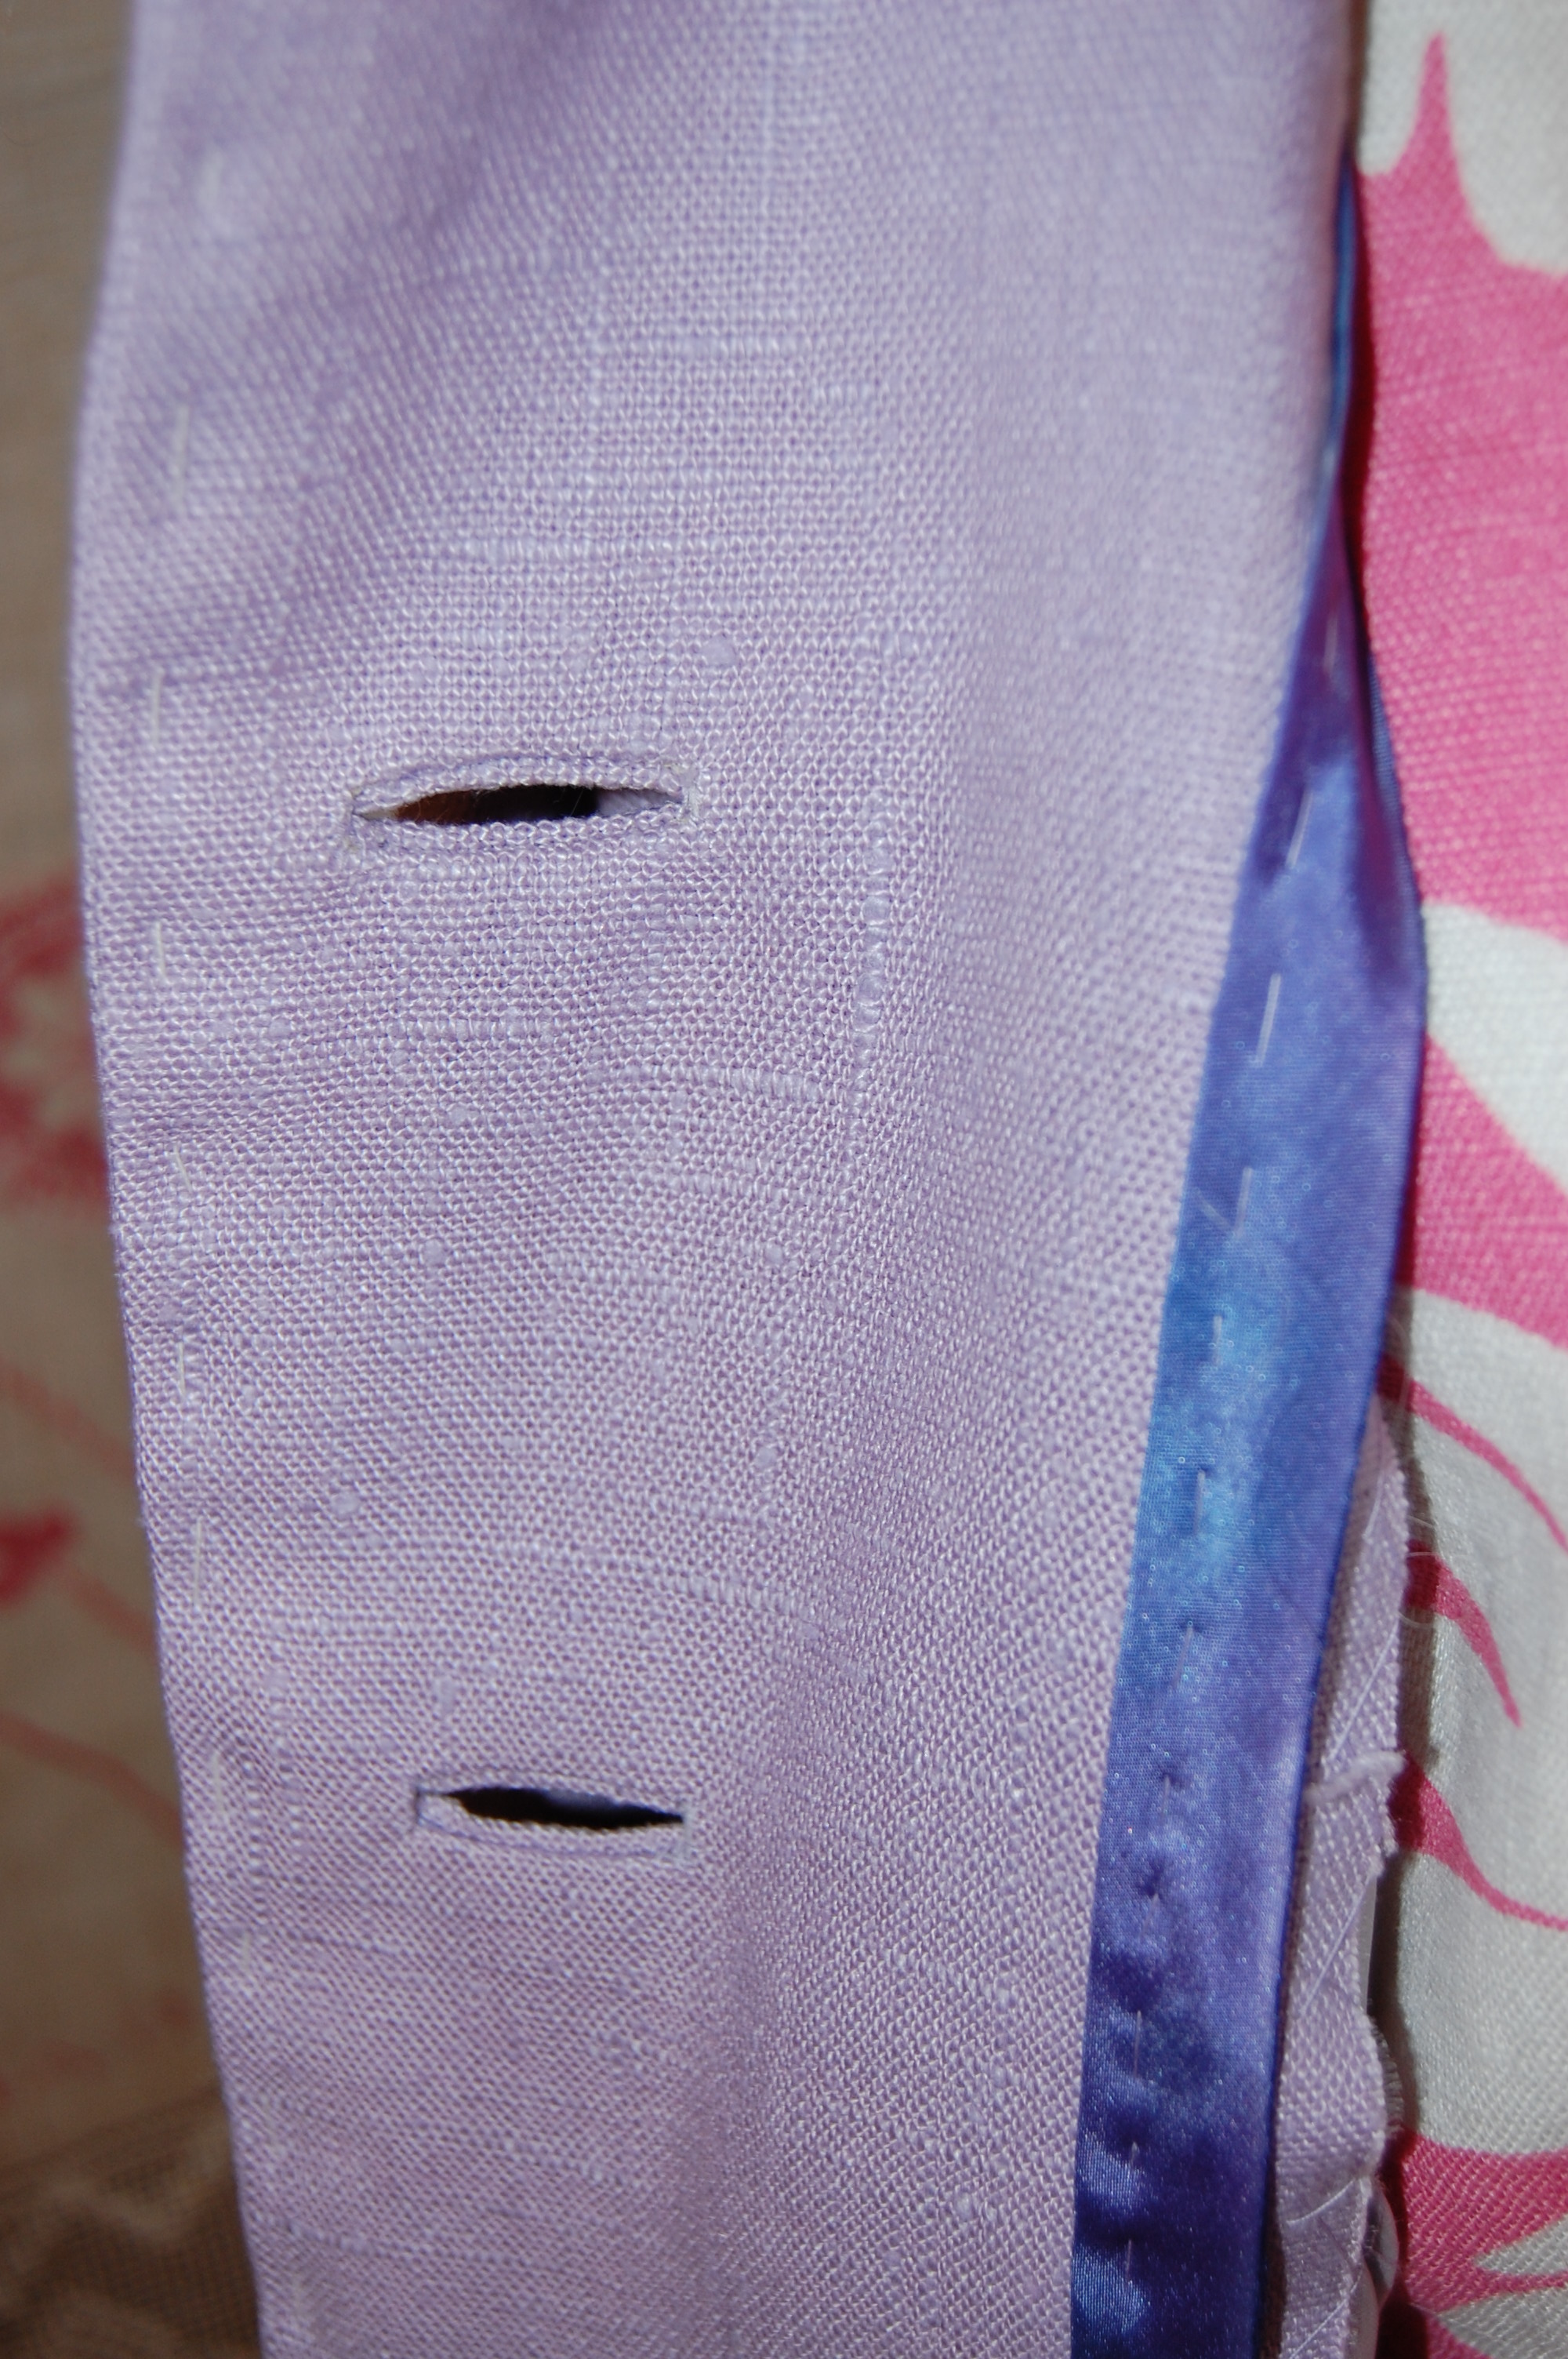
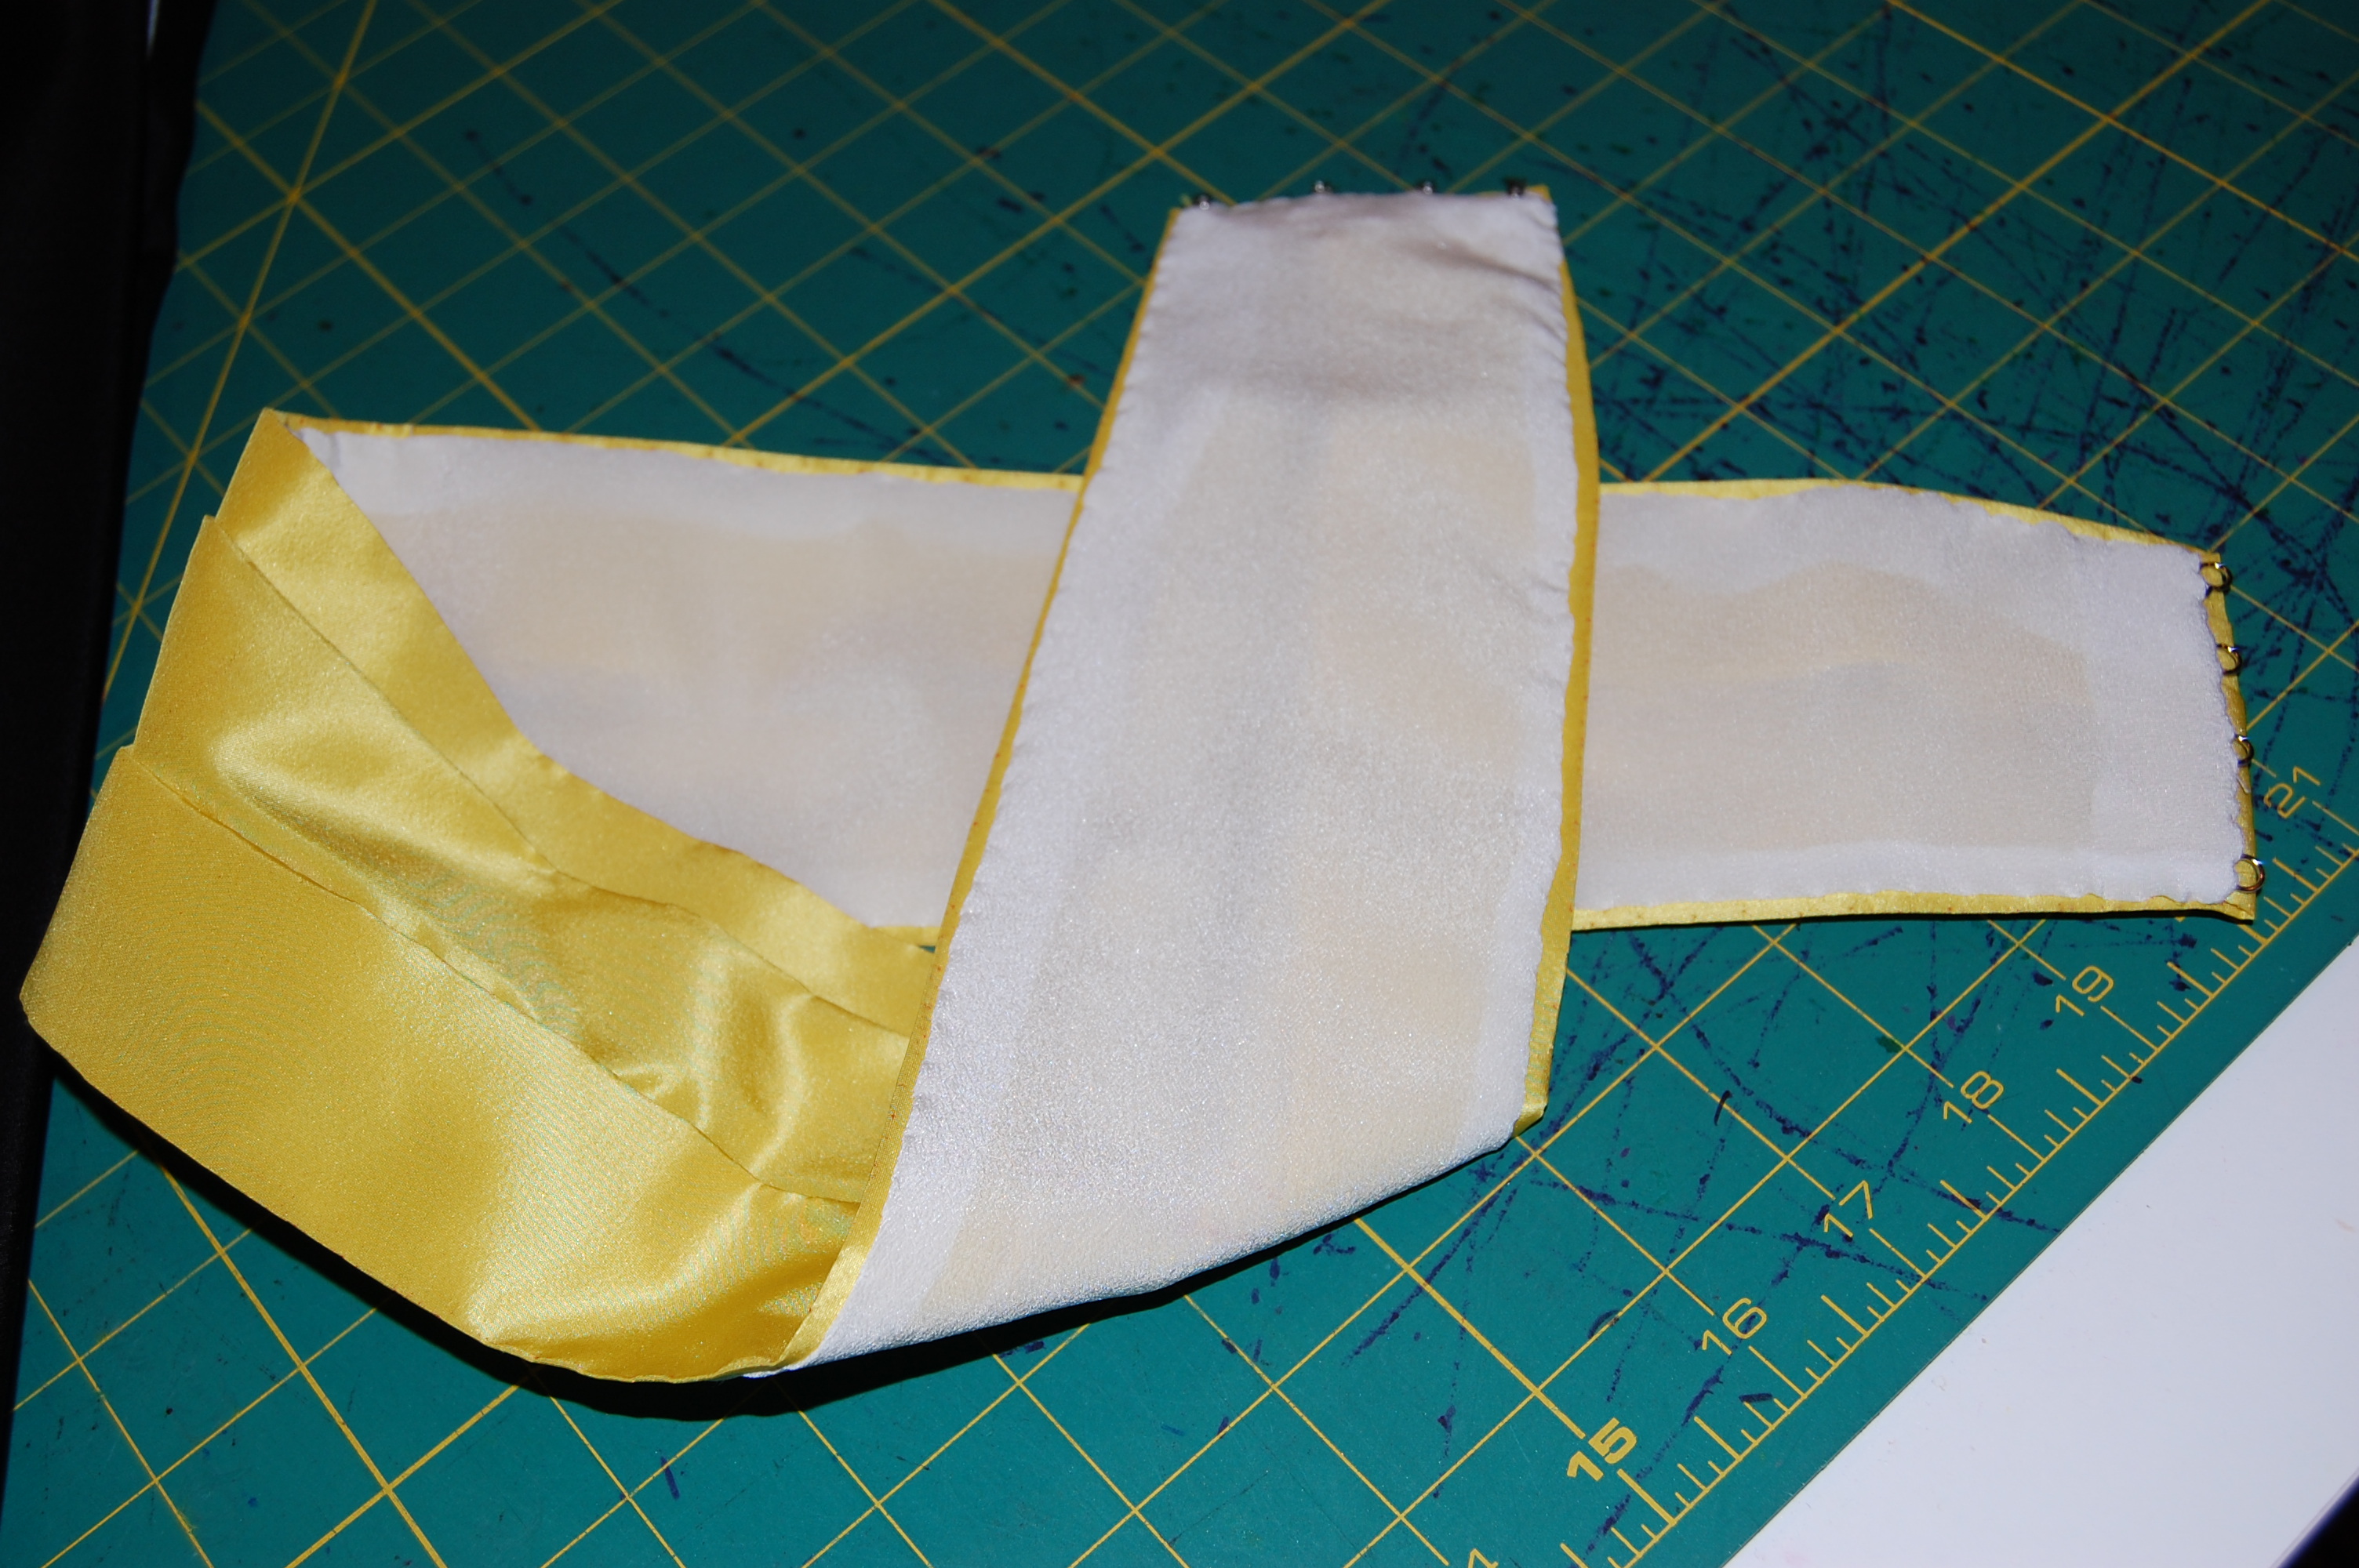
Instead, I opted to make a “facing” for the opening out of black organza. It is situations like this that make me feel so fortunate to have enough “sewing sense” to be able to recognize potential difficulties and then have the ability to work out creative solutions to them.
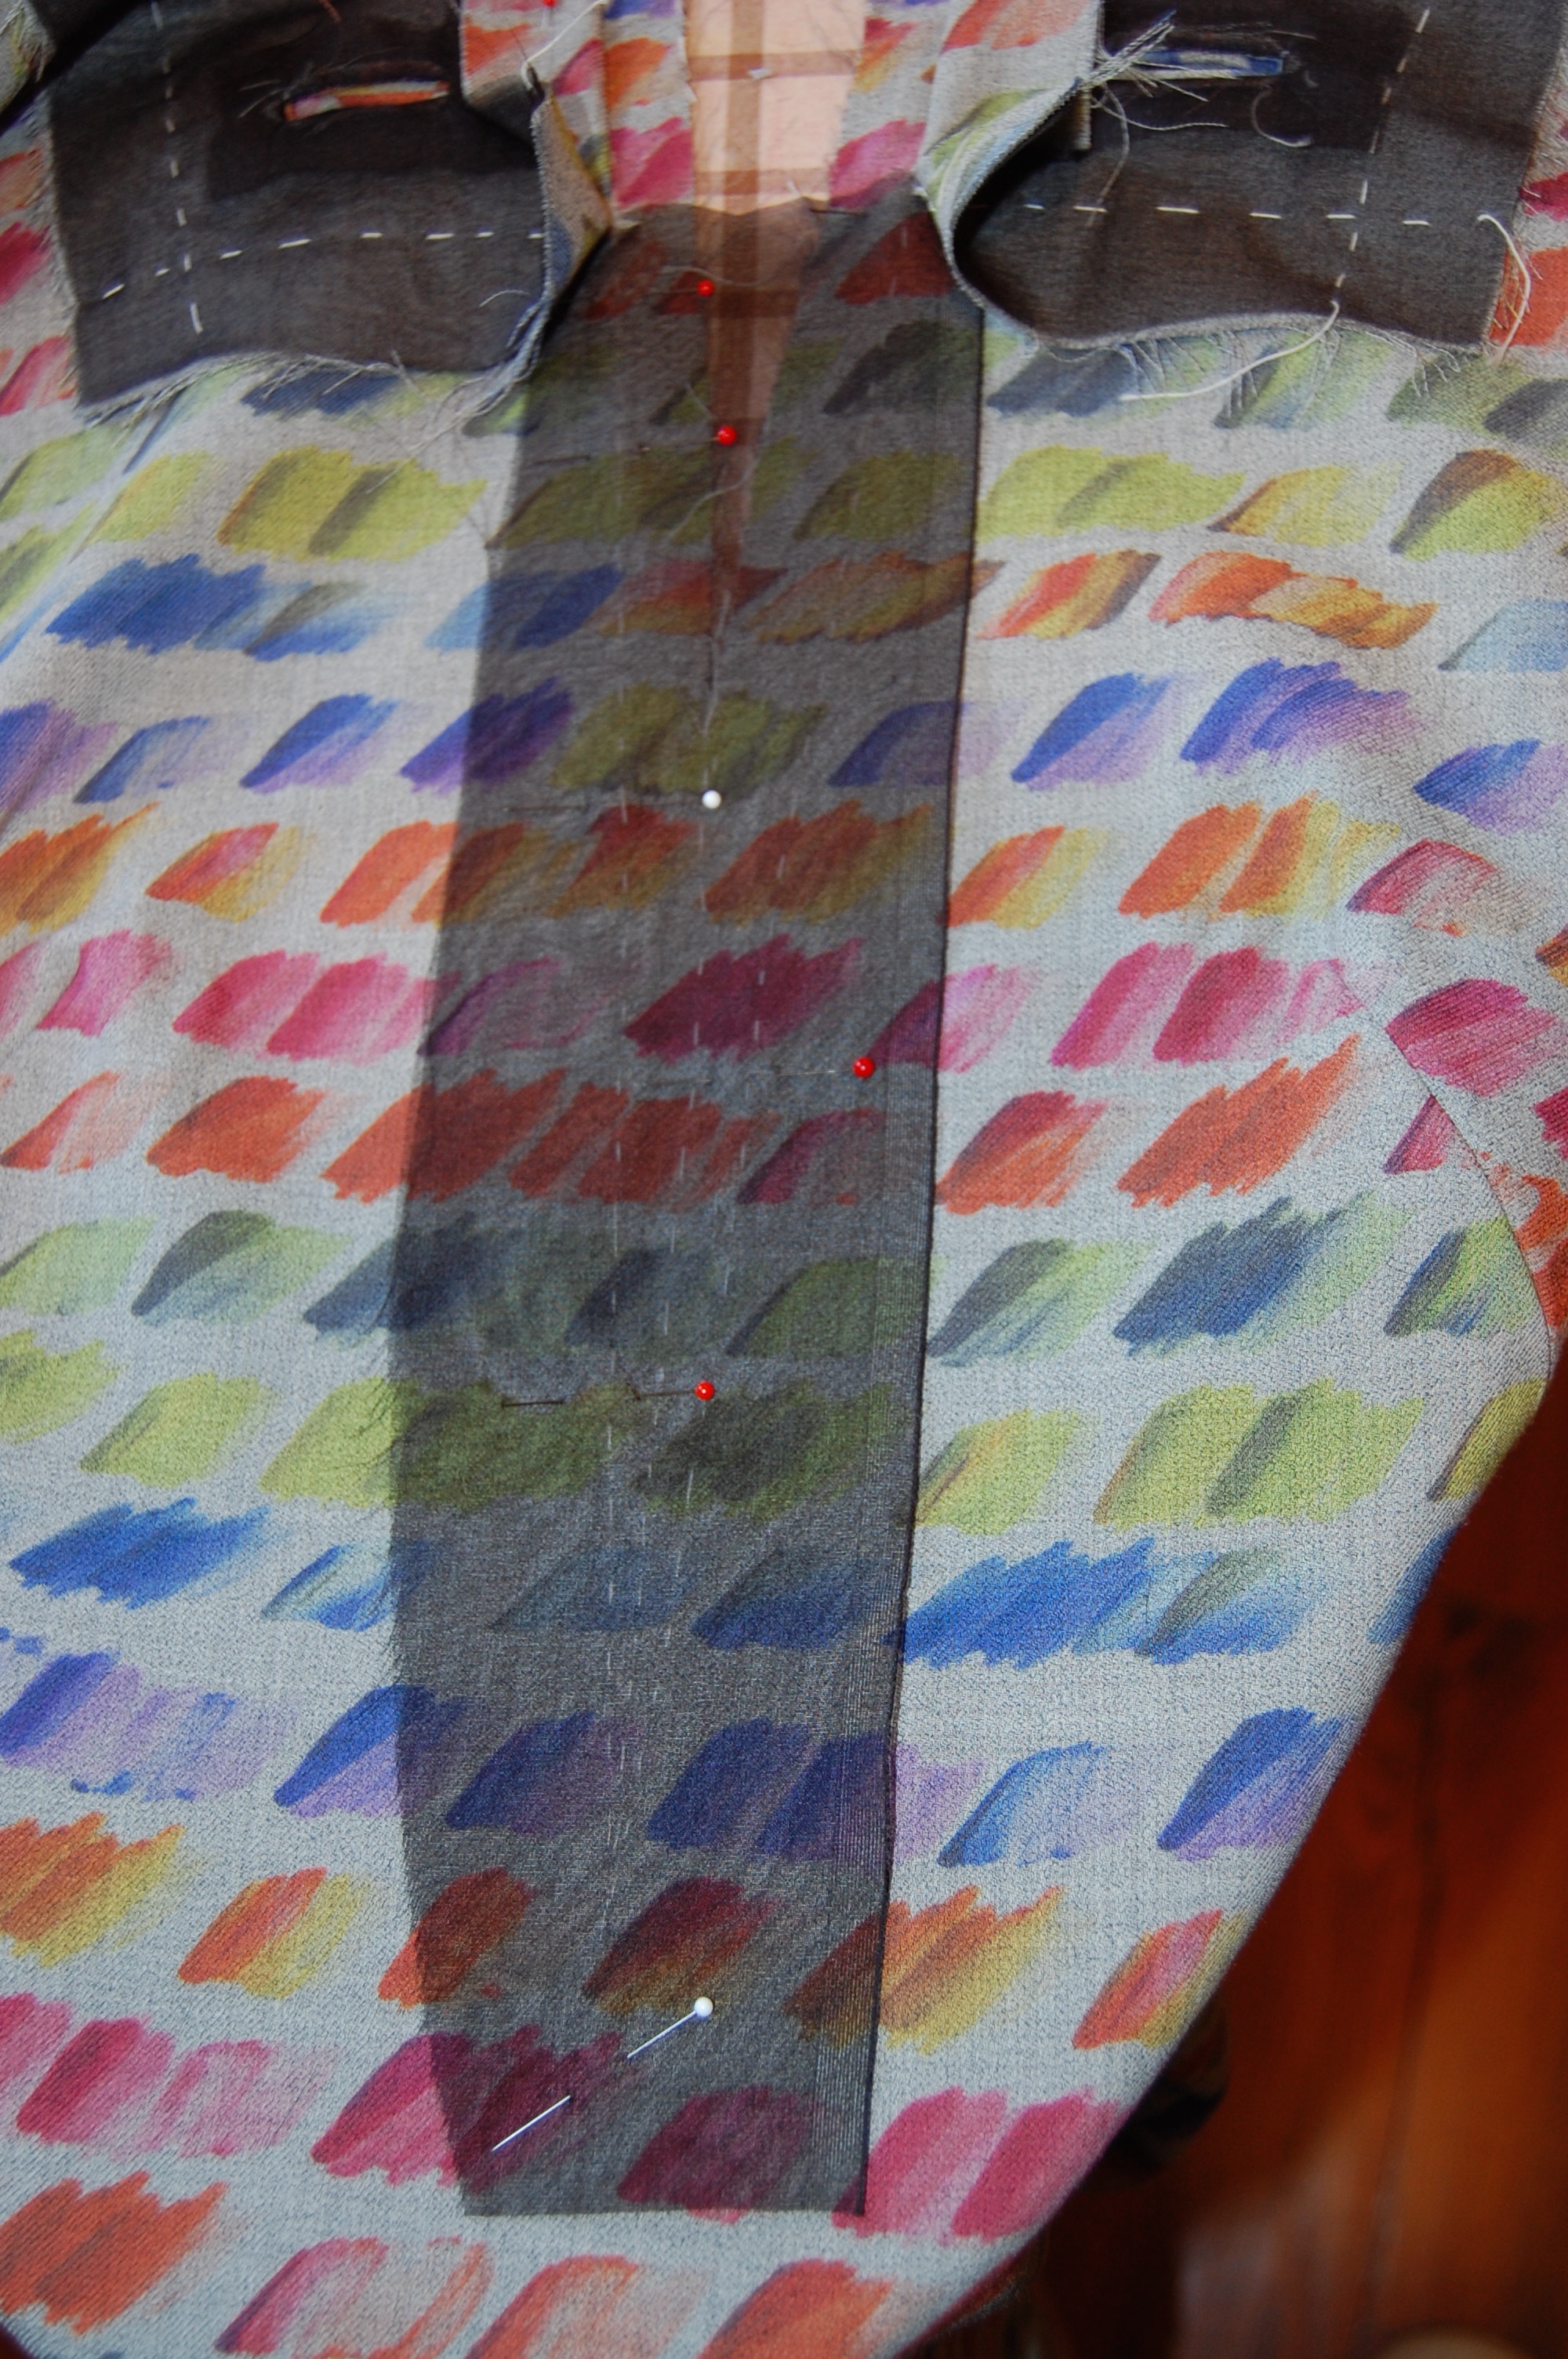
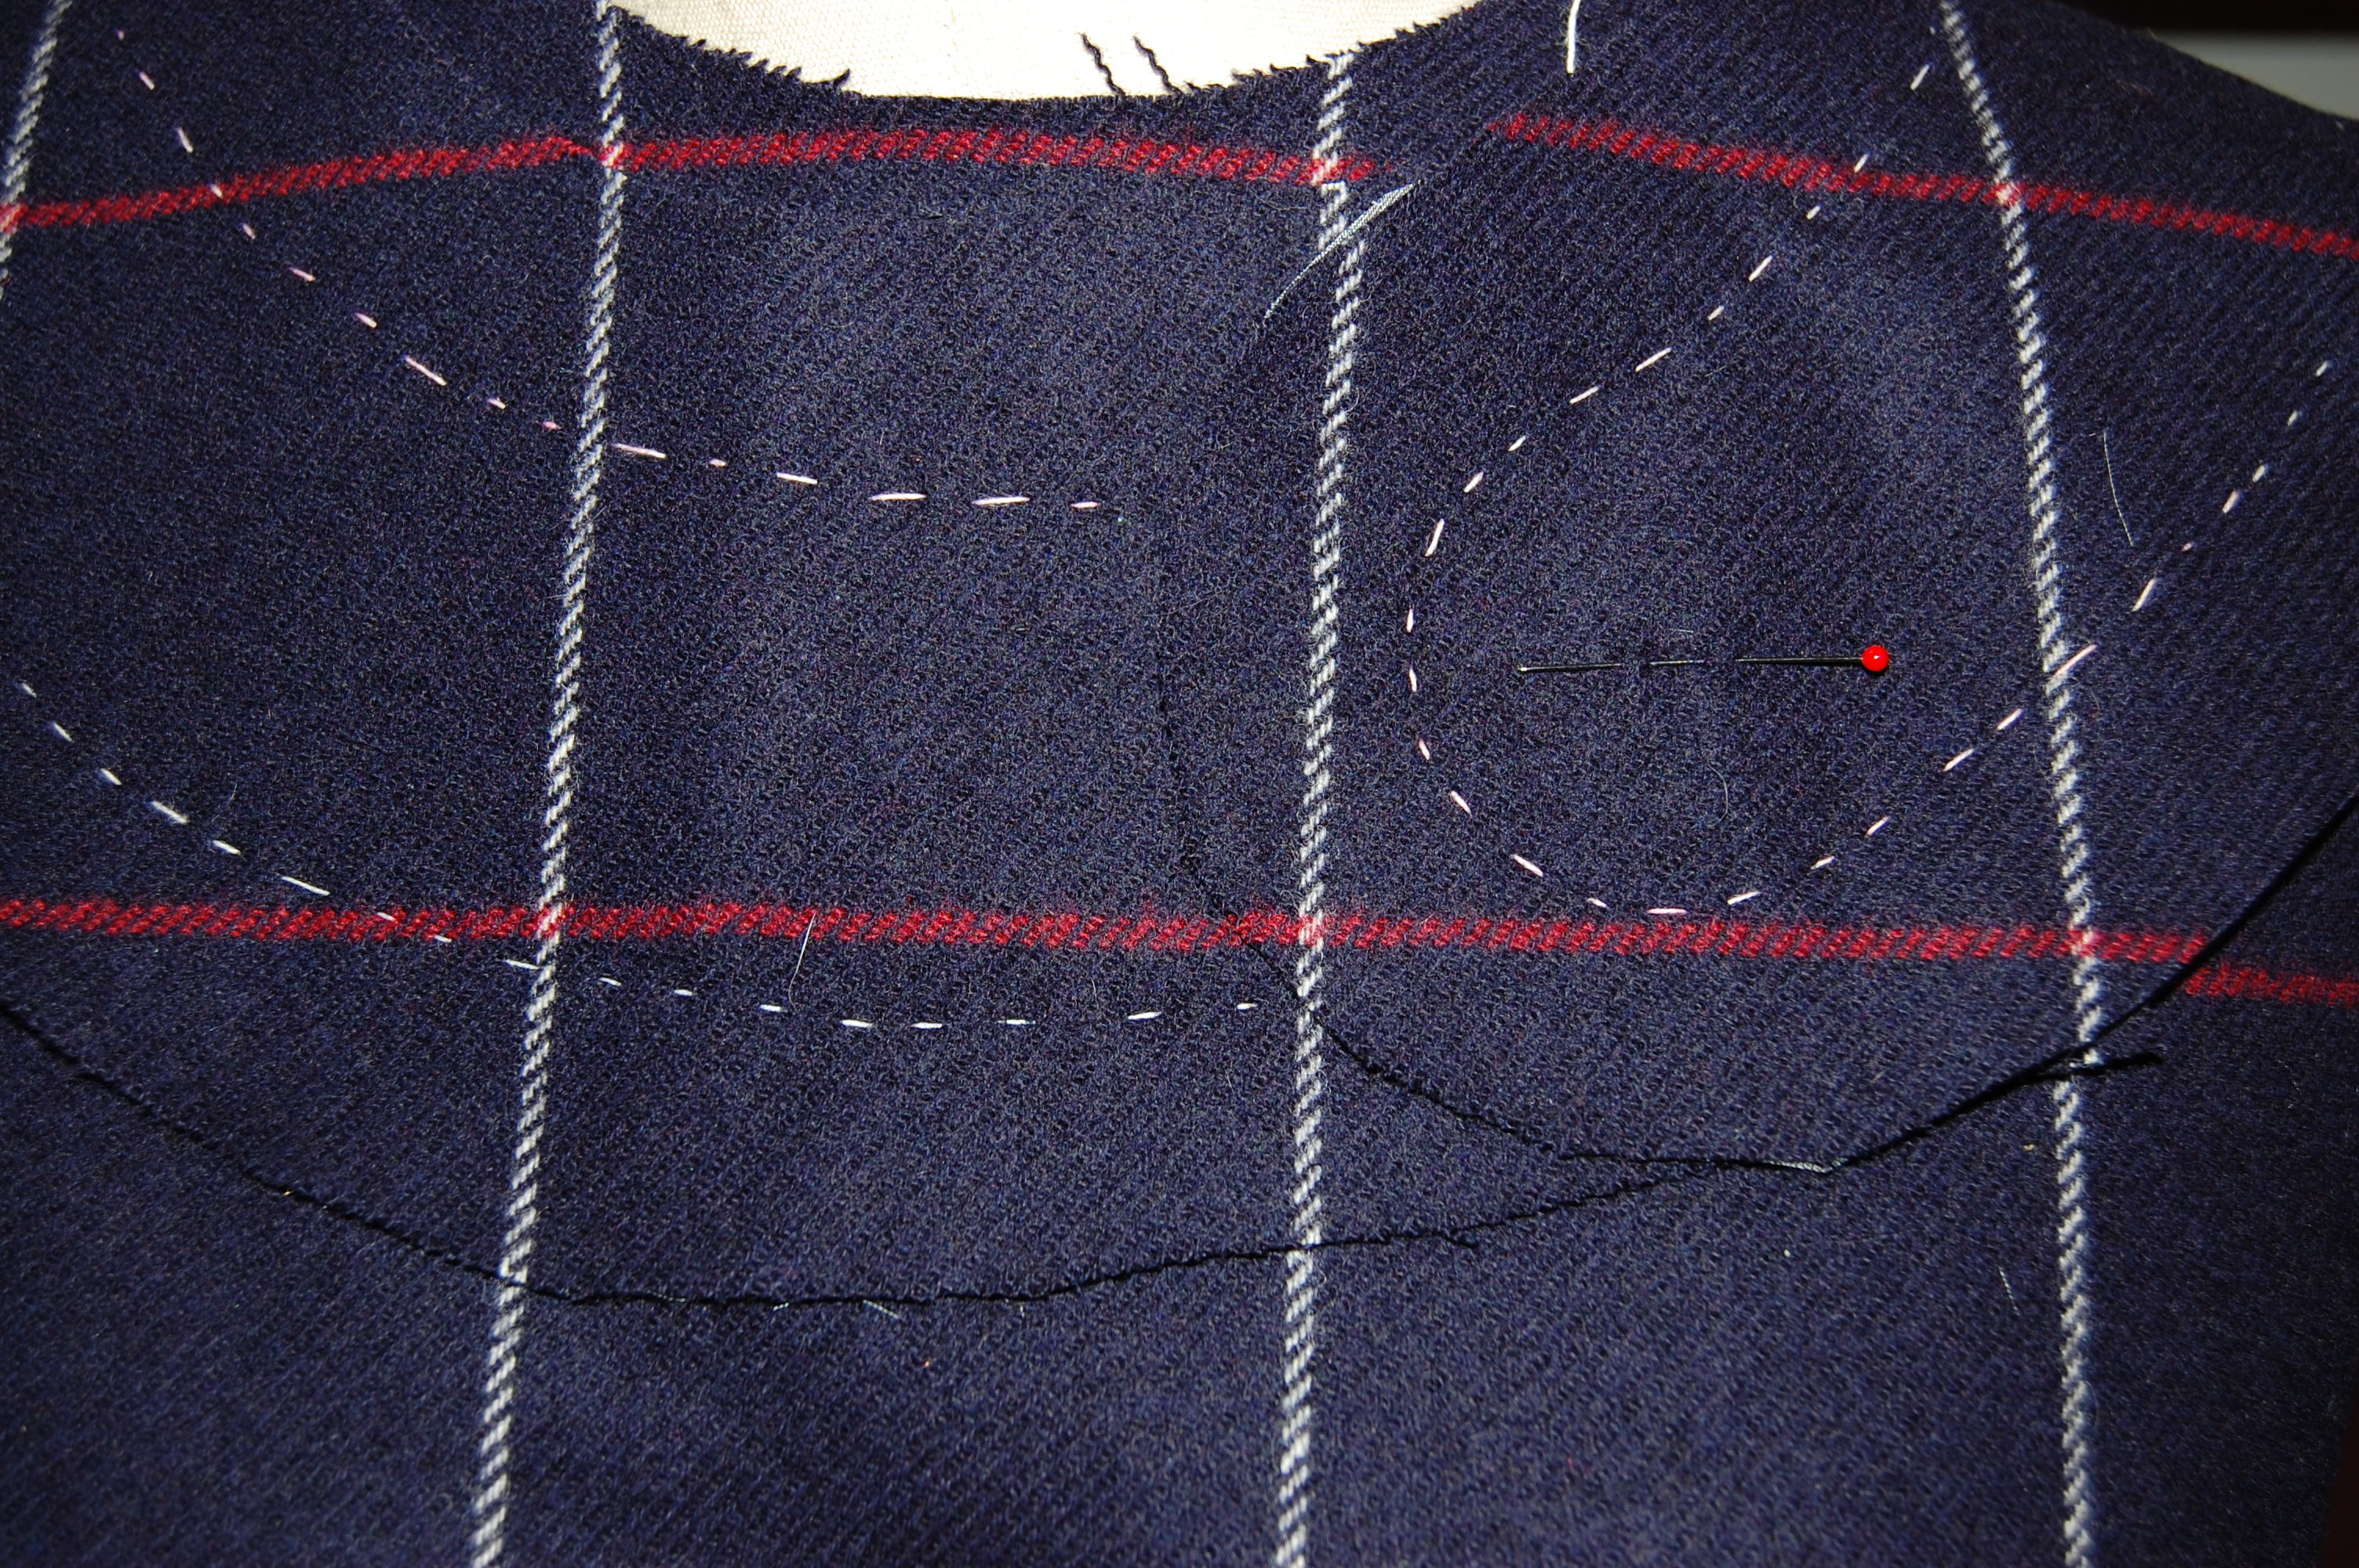
Silk organza pinned in place.
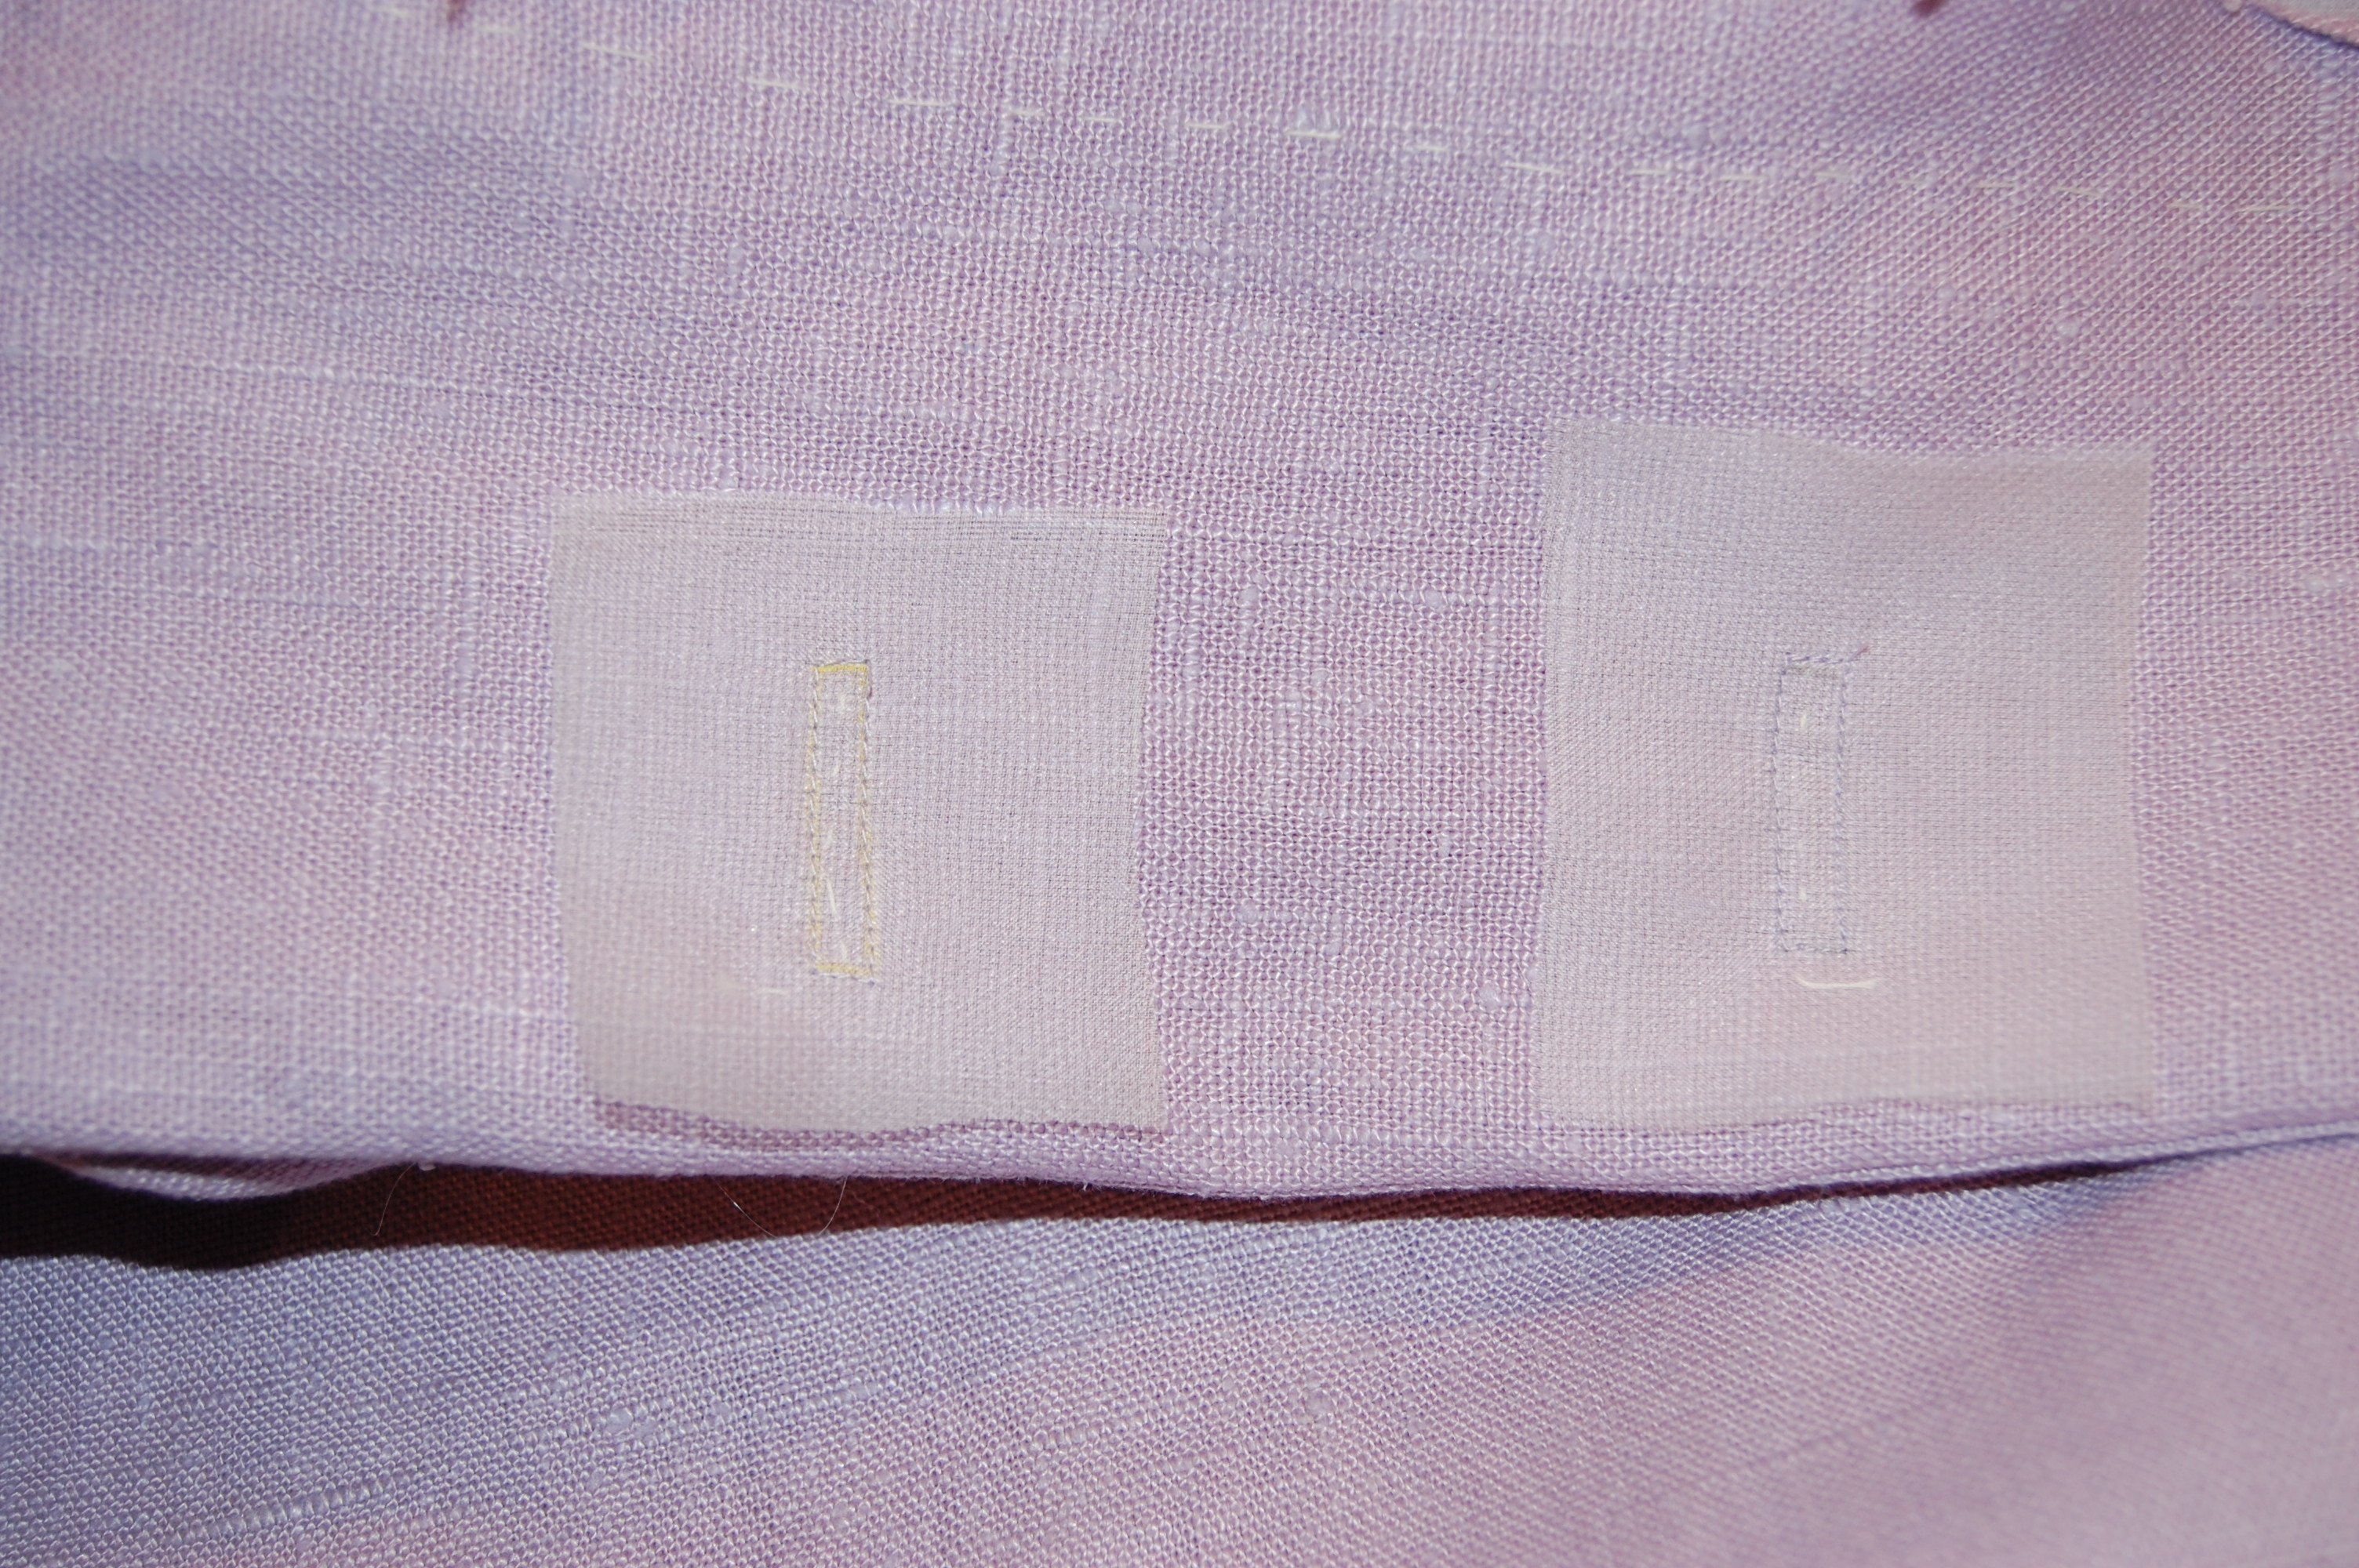
And here it is sewn in place.
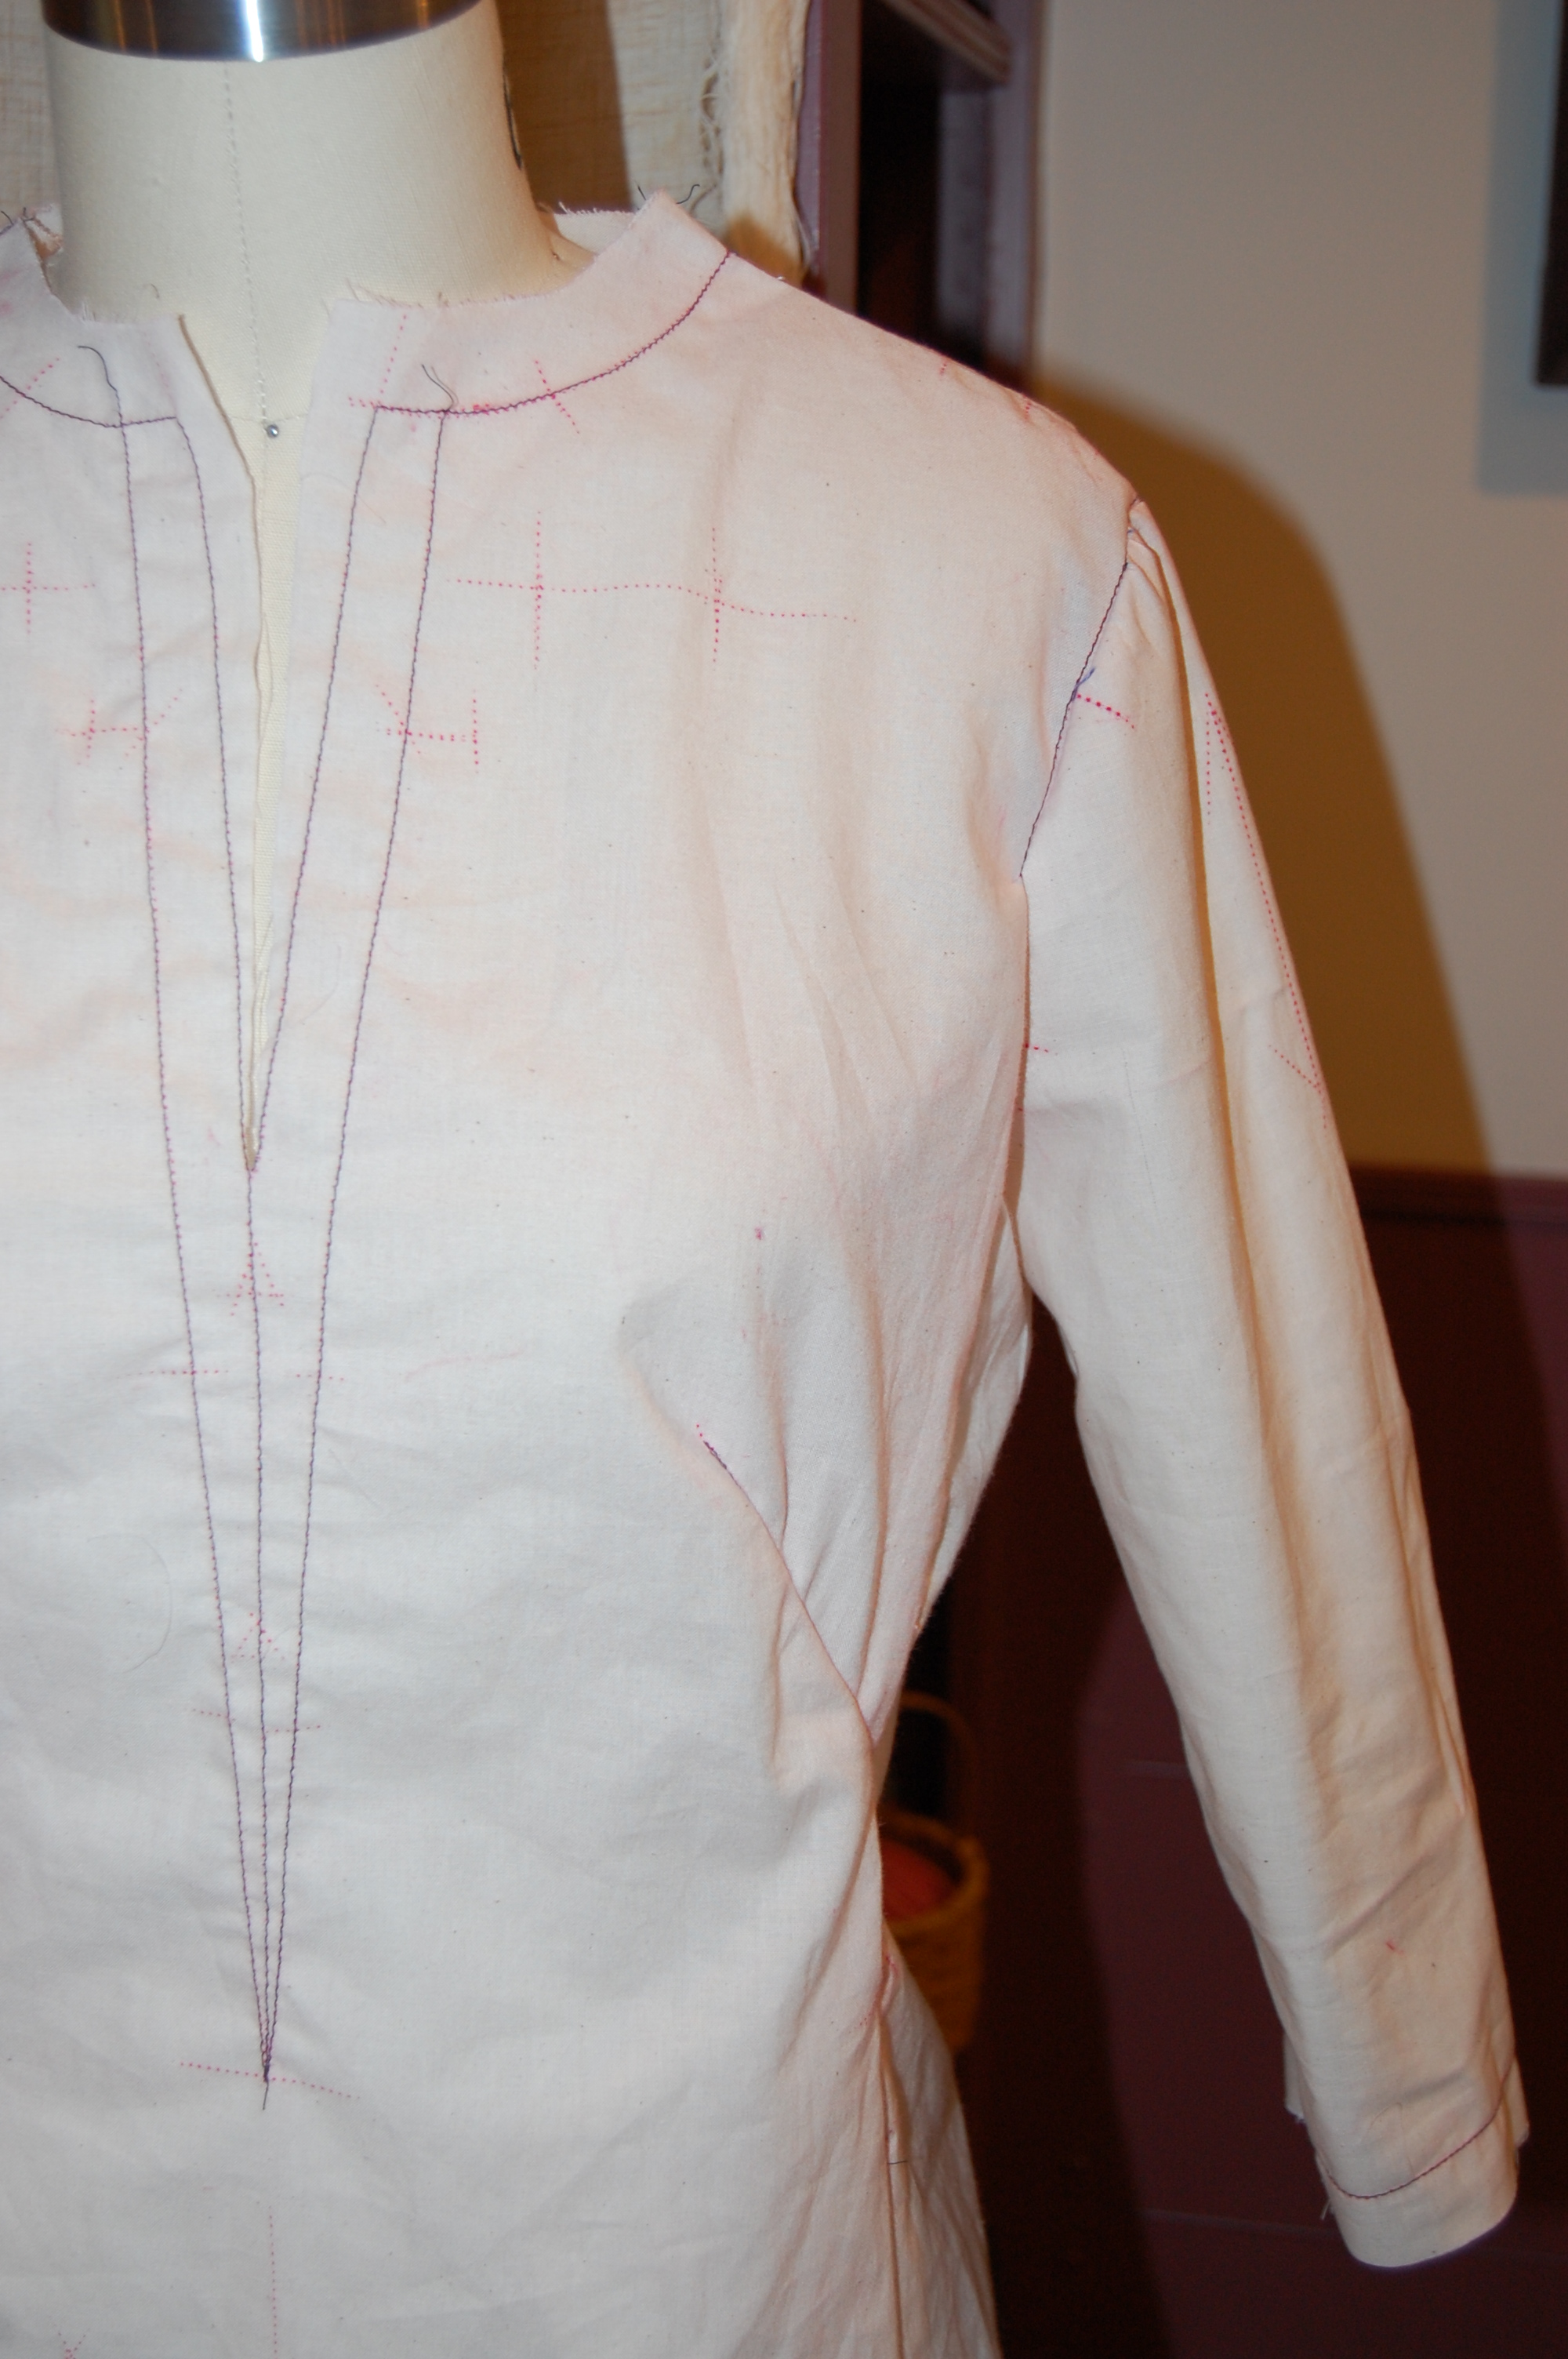
I took some pictures at this point to show the inside of the body of the dress:
Yes, those are pockets hanging on the front.
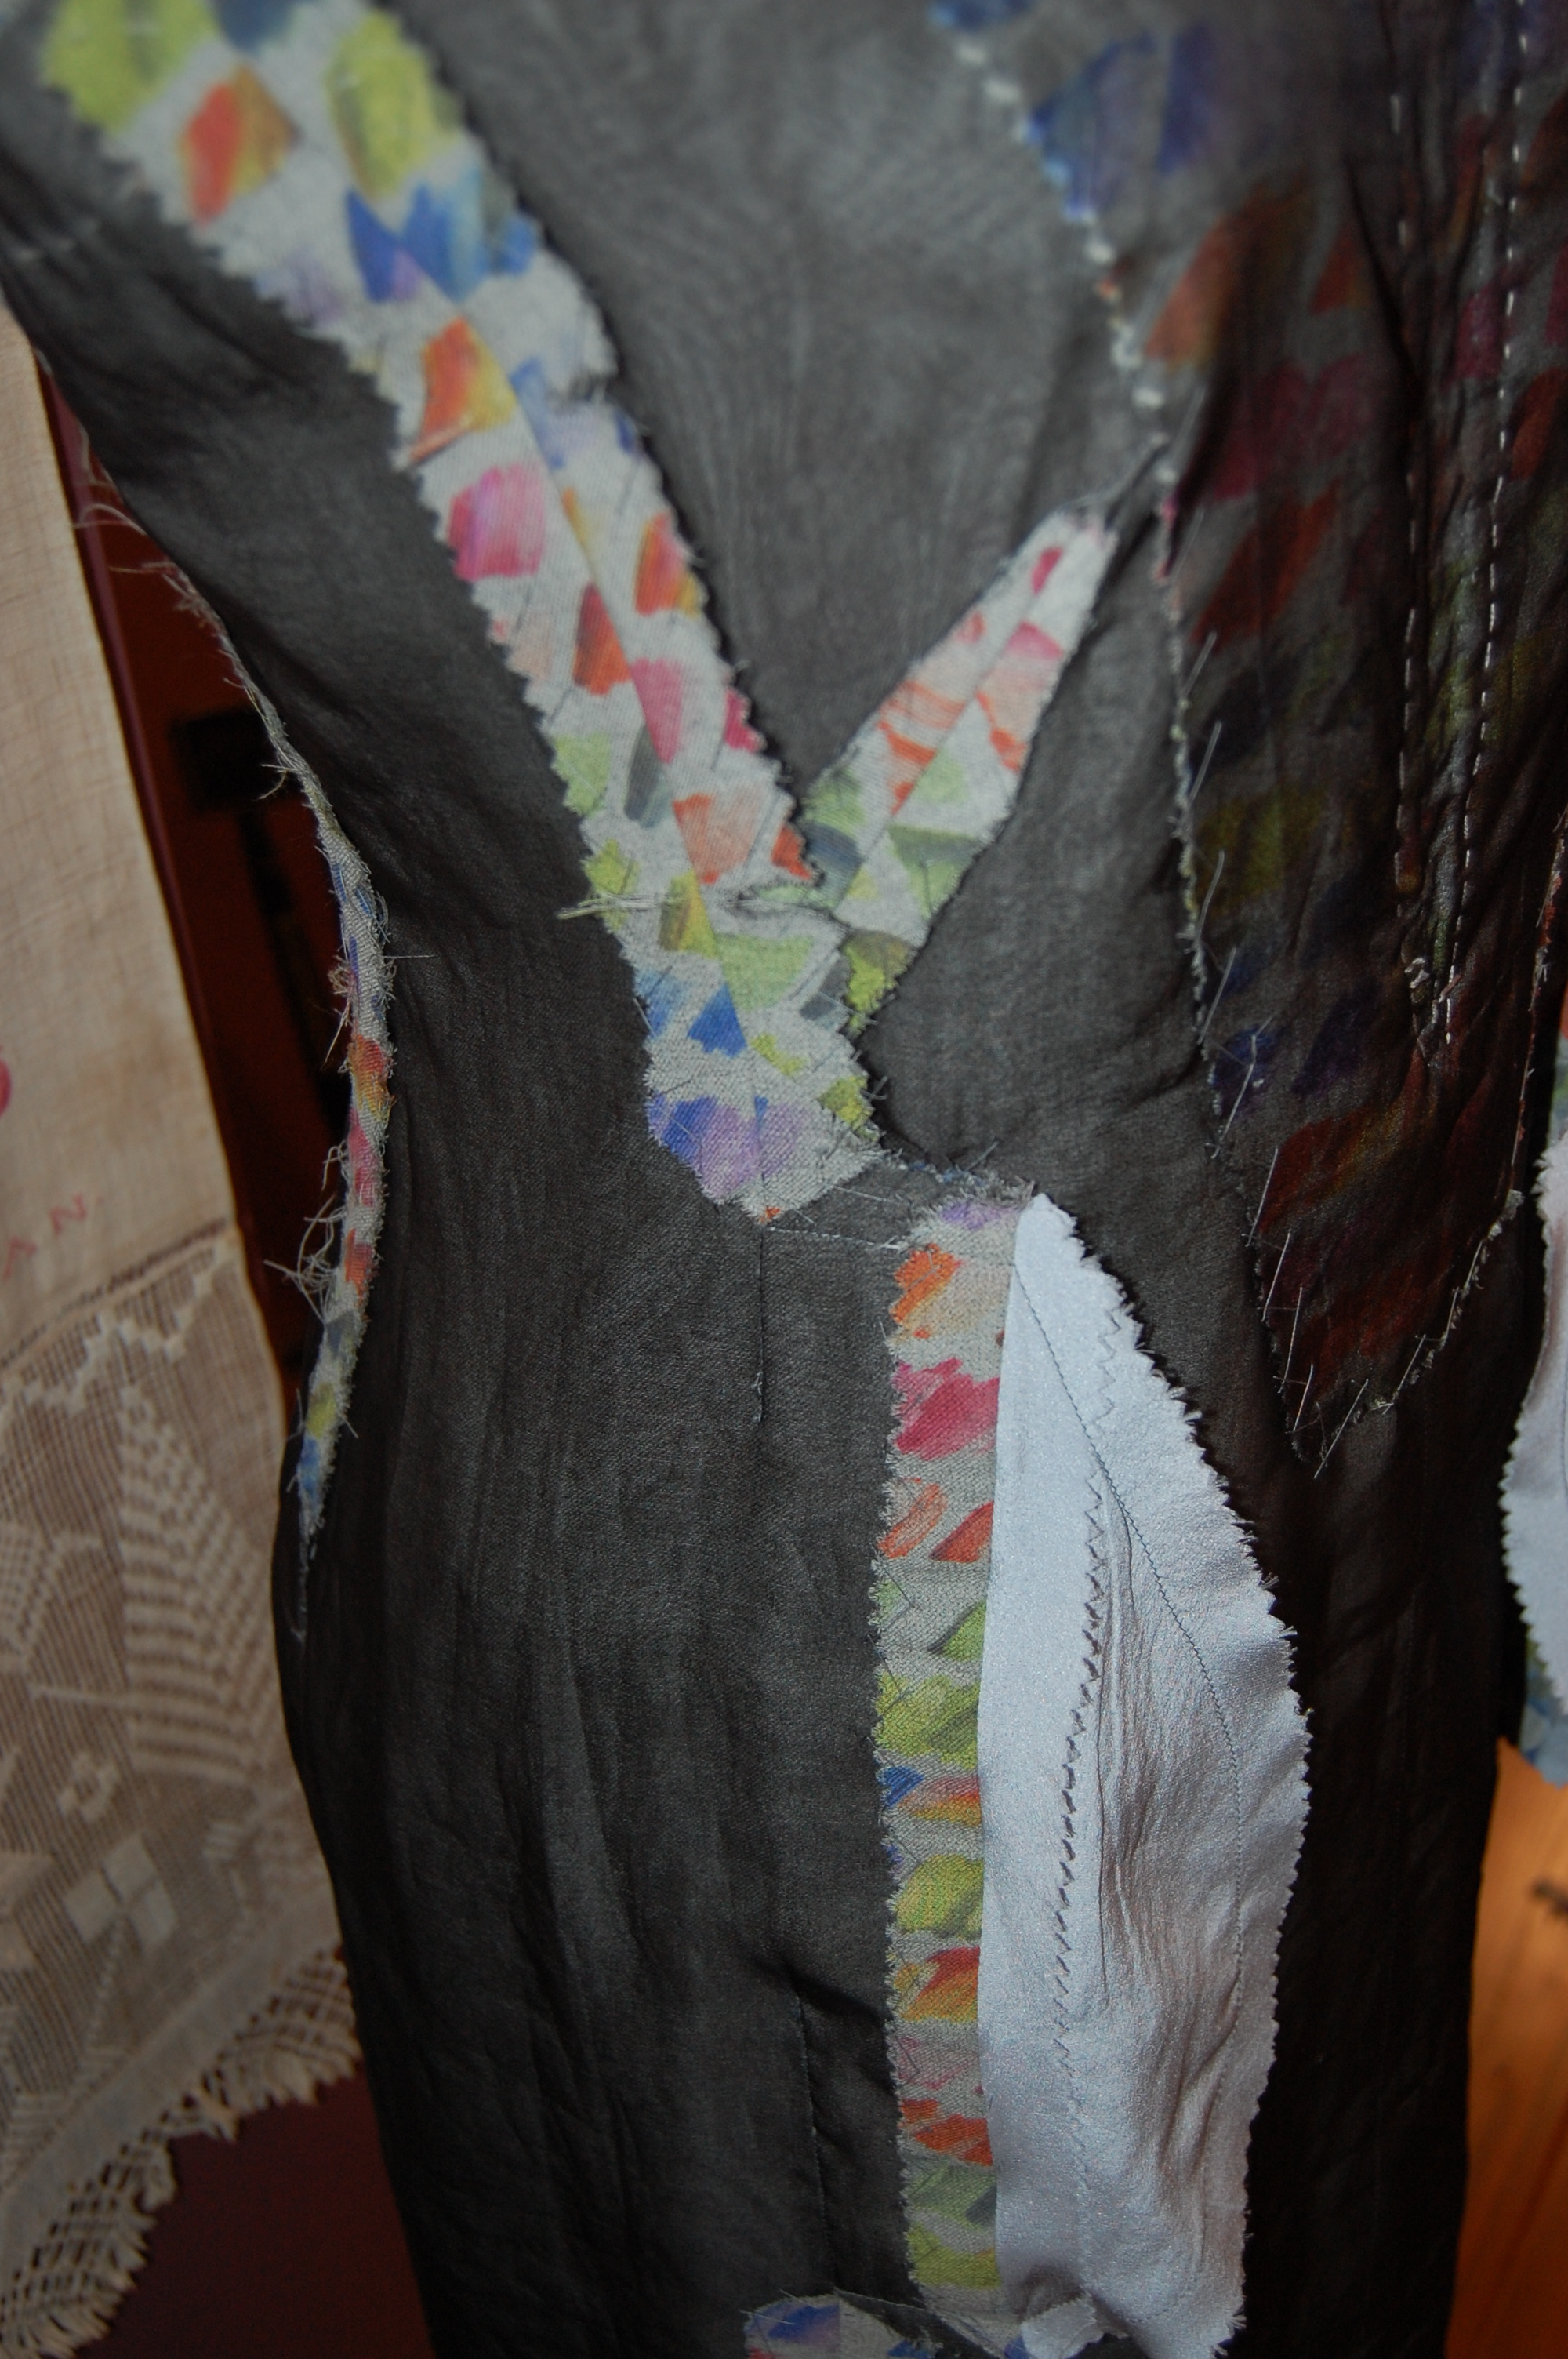
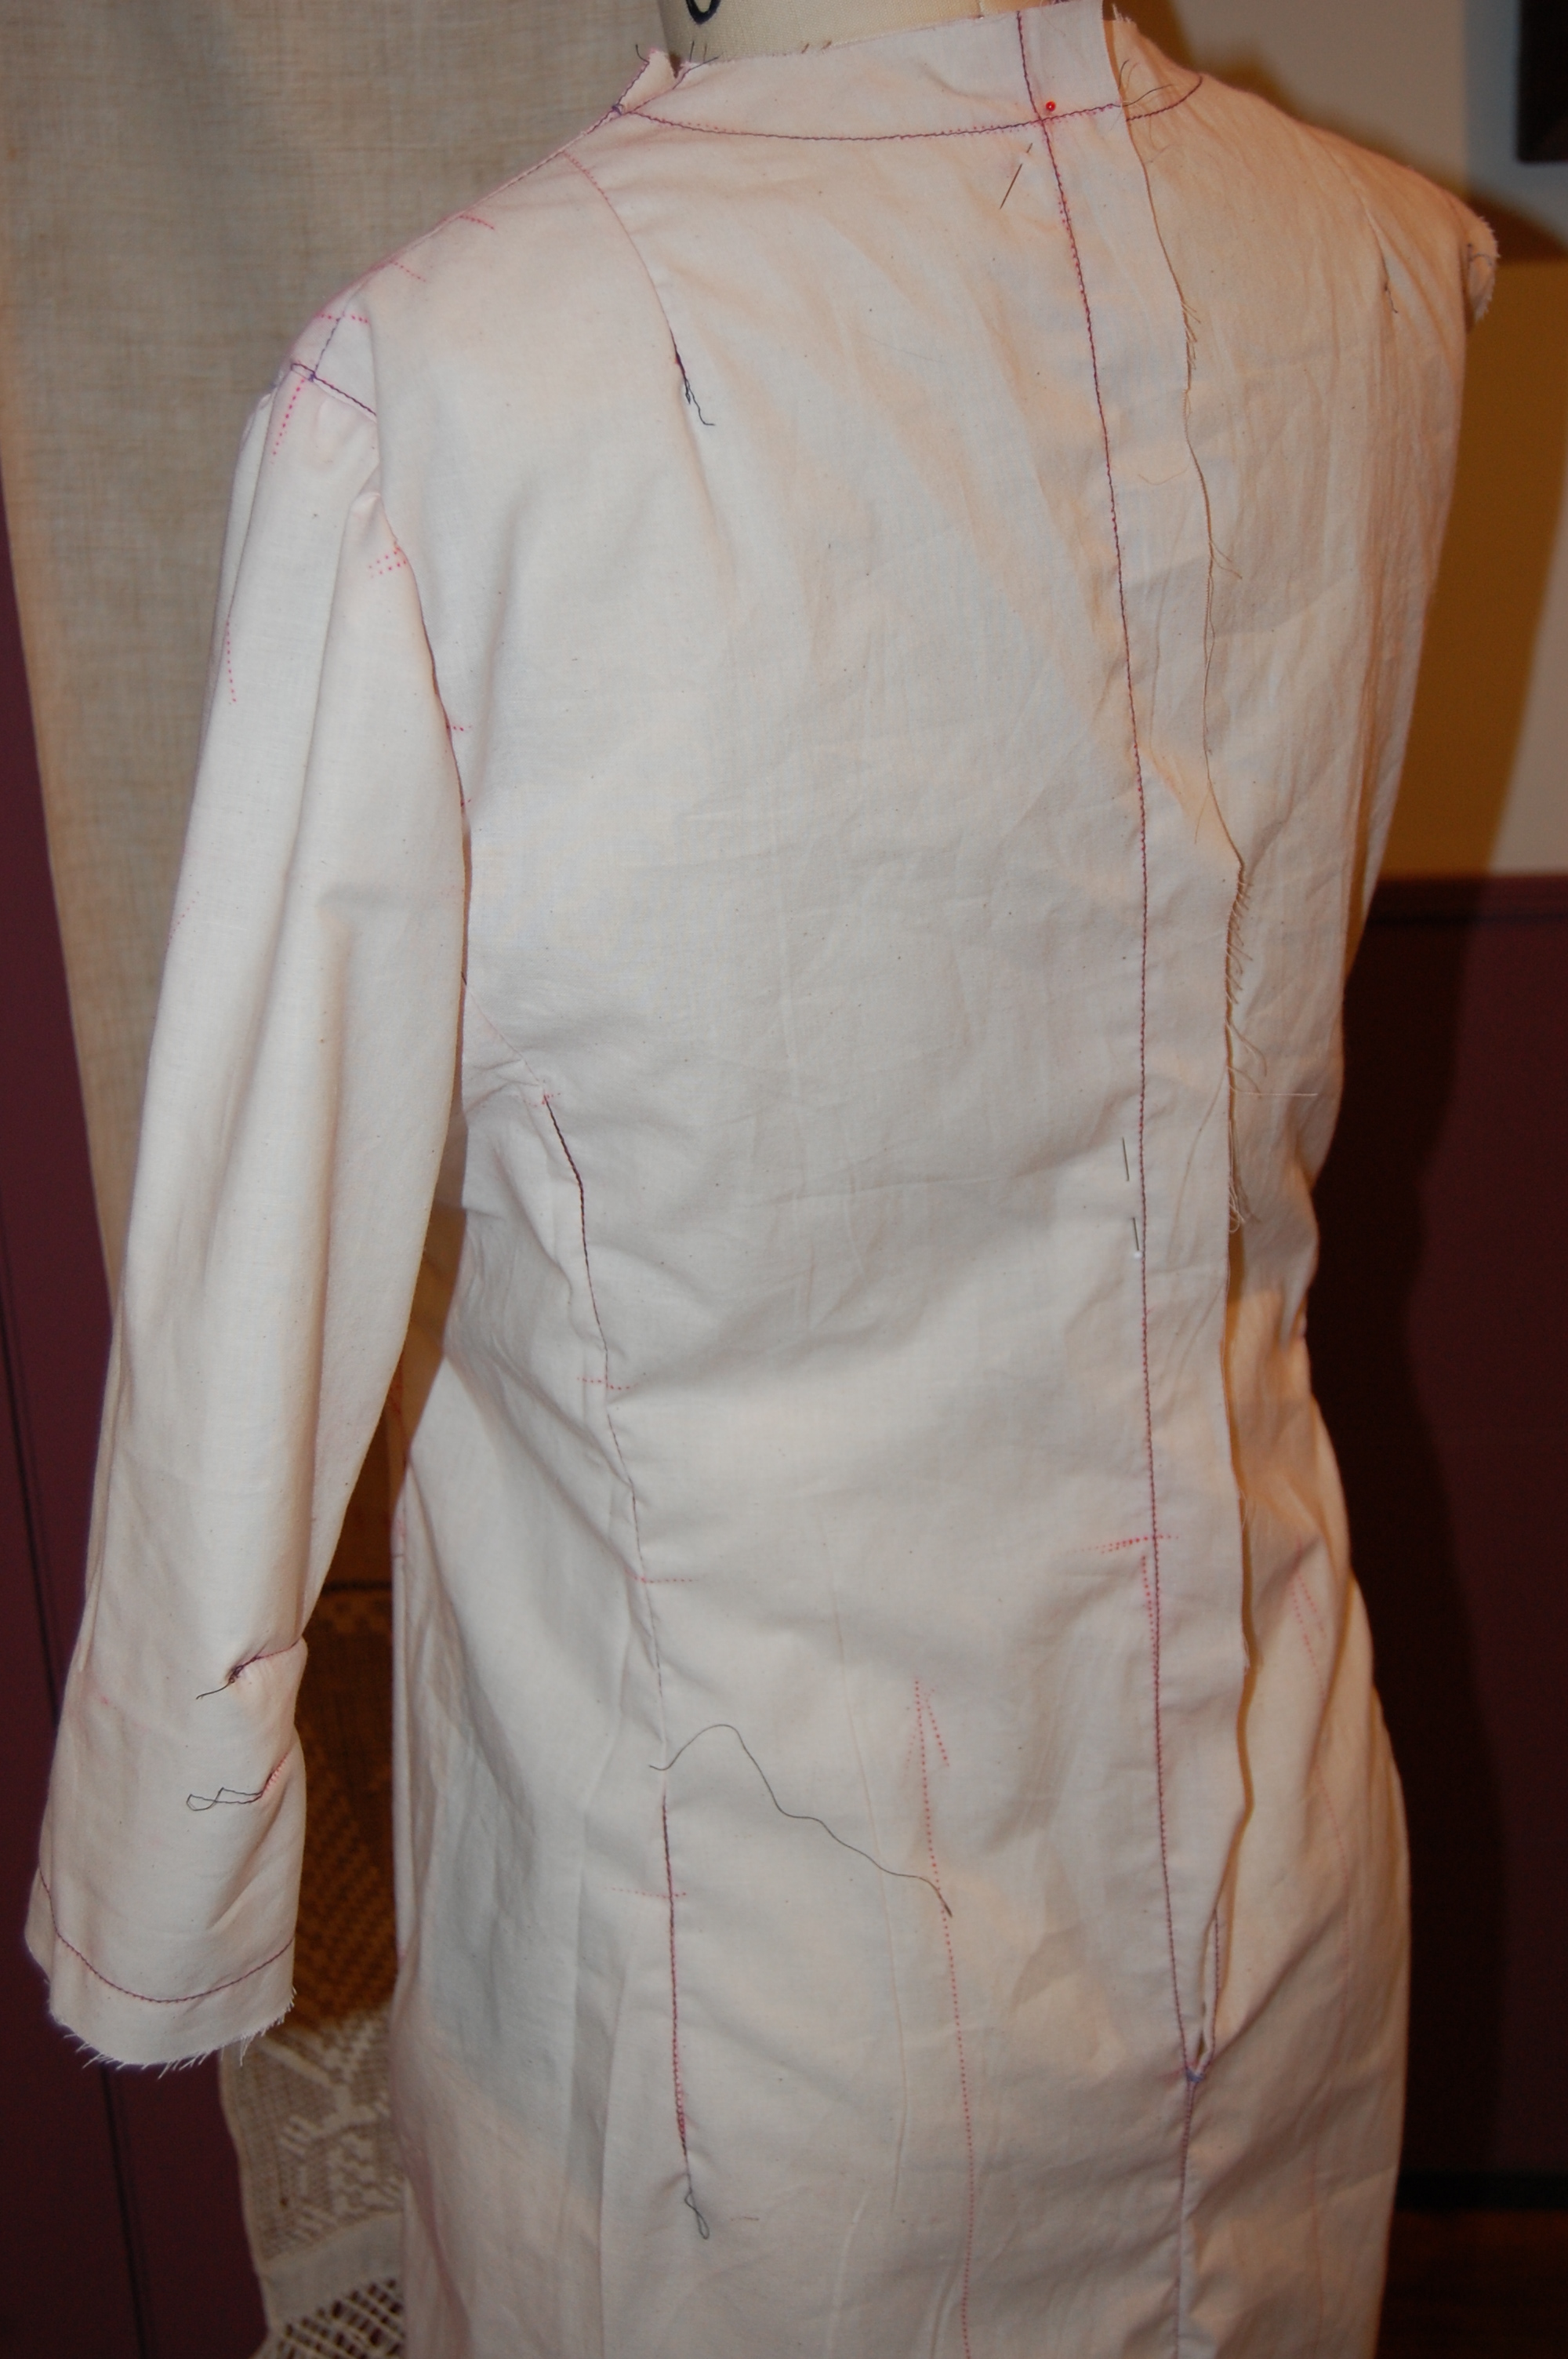
This shows those bust darts with their slanted orientation.
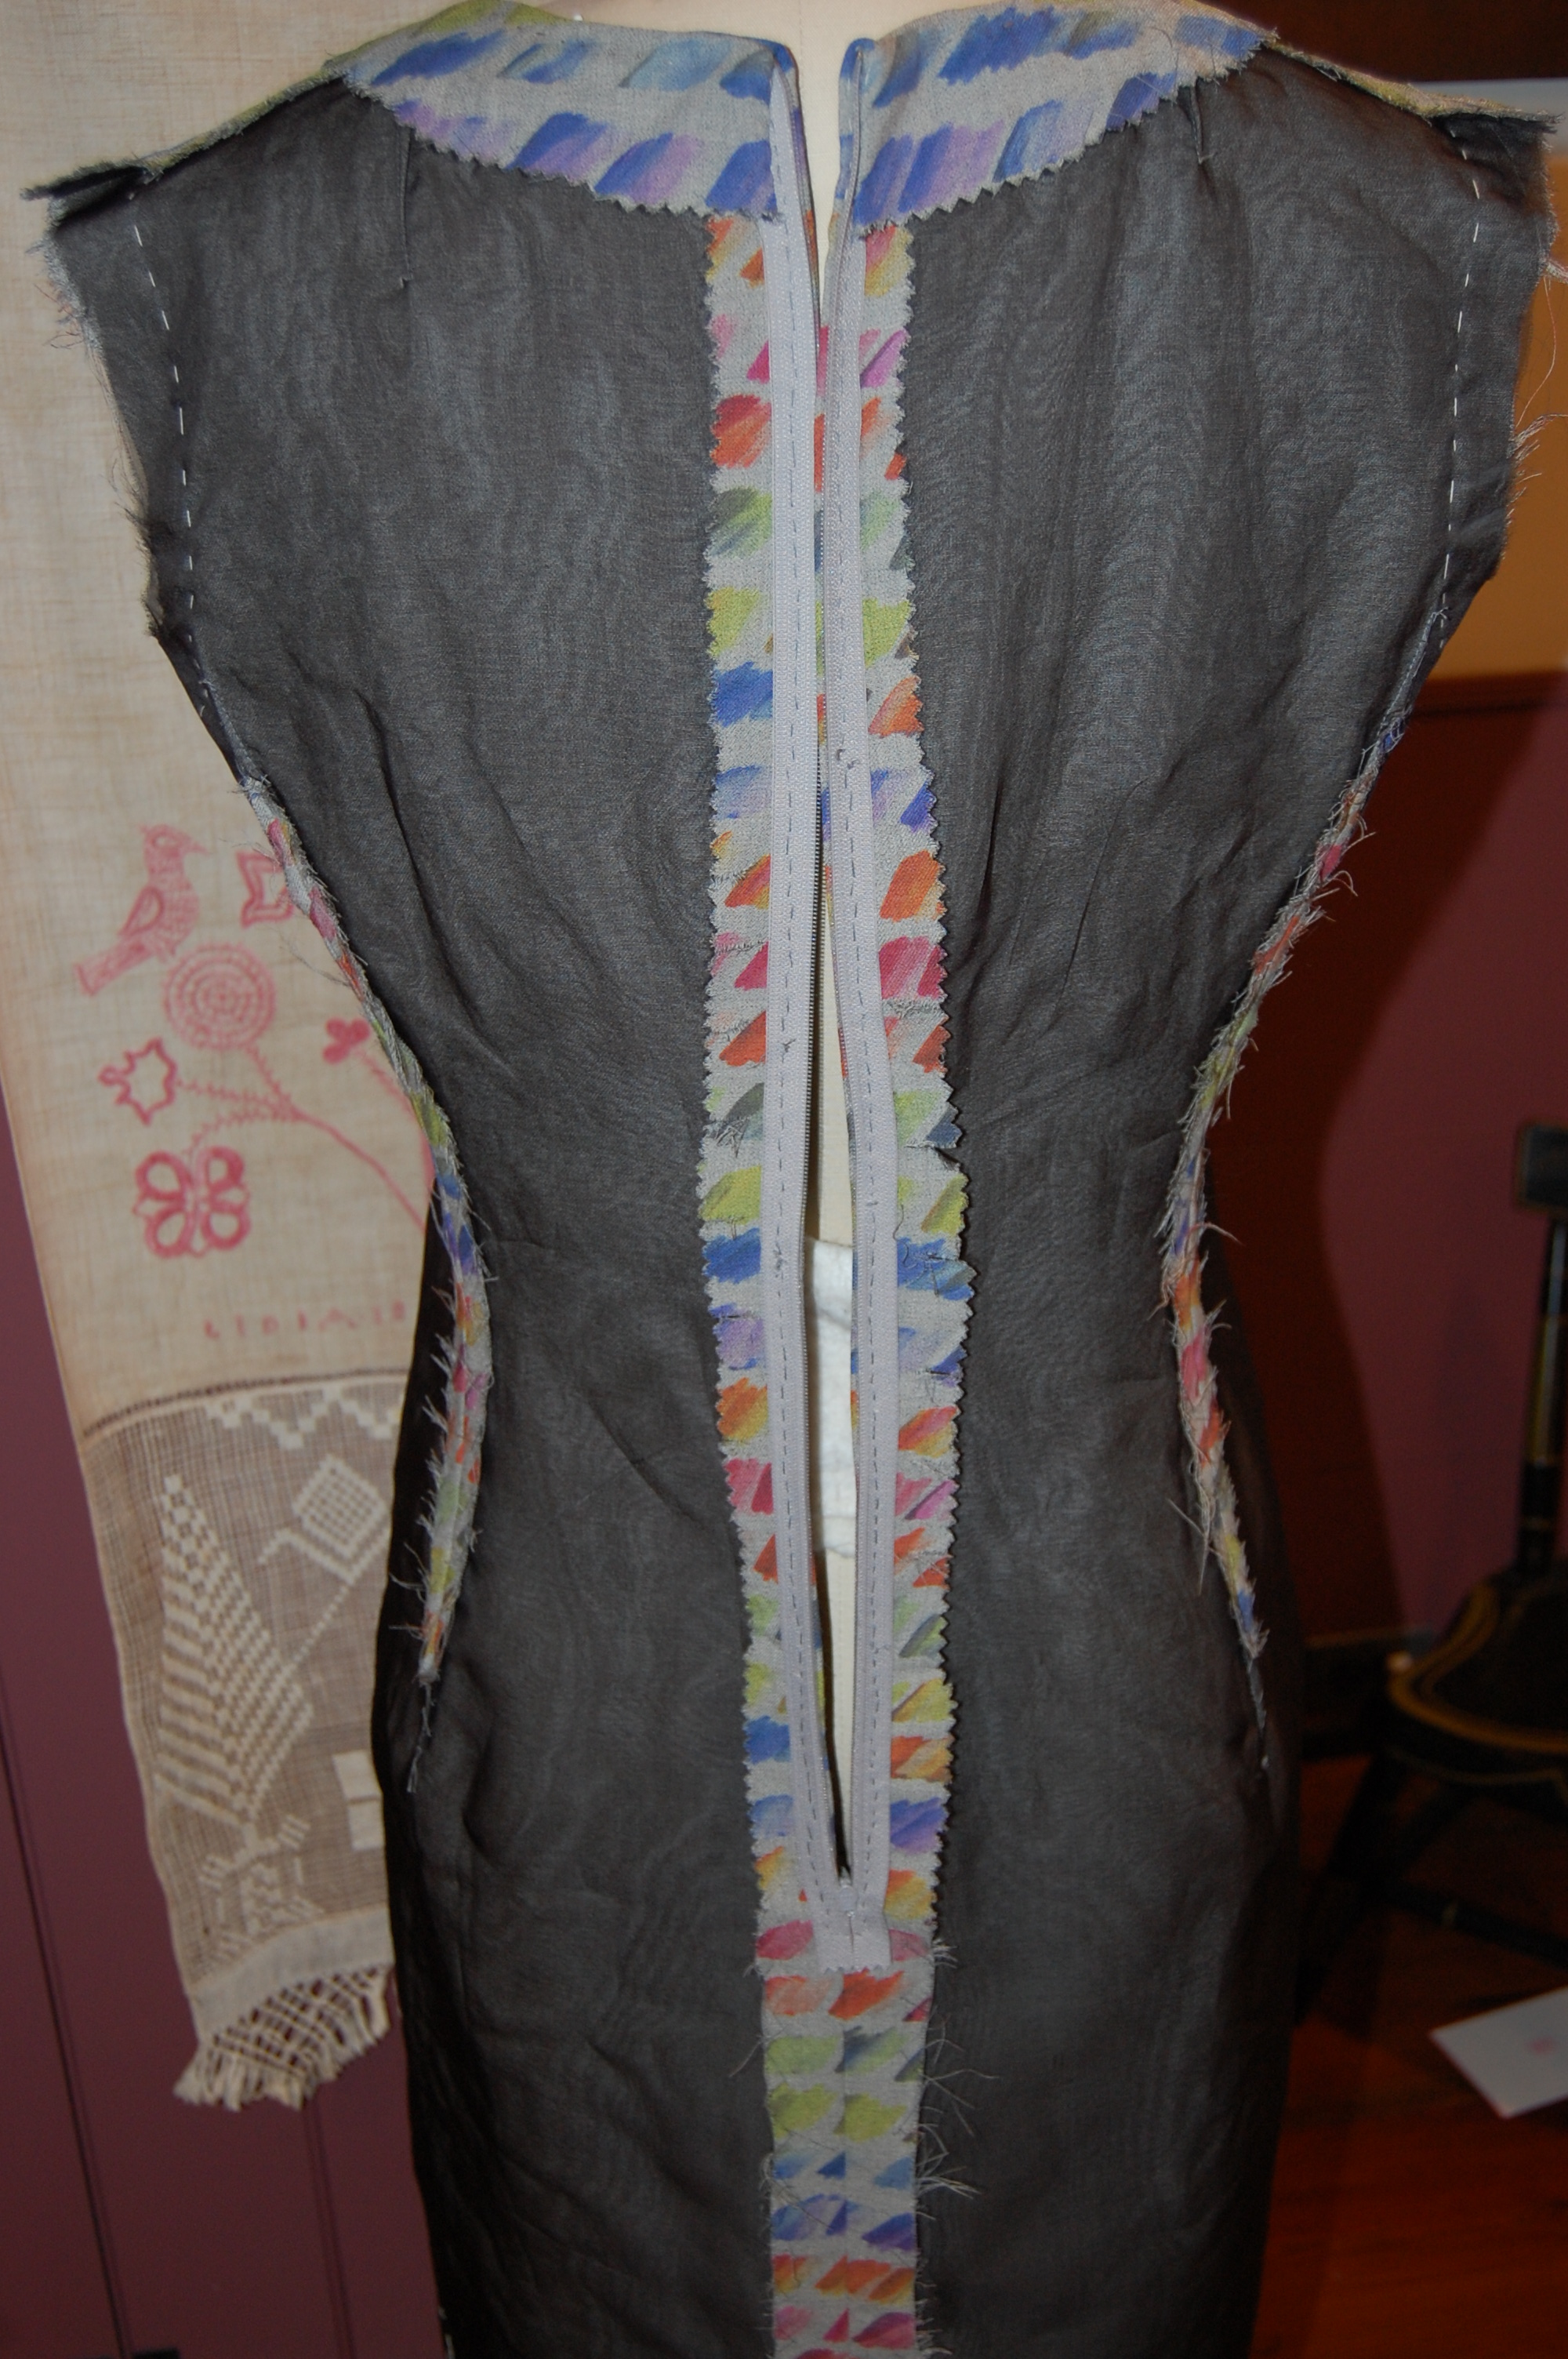
The zipper is inserted by hand, as usual! Once I had it basted in place, I tried the dress on for fit and determined I had to take it in a bit at the waistline.
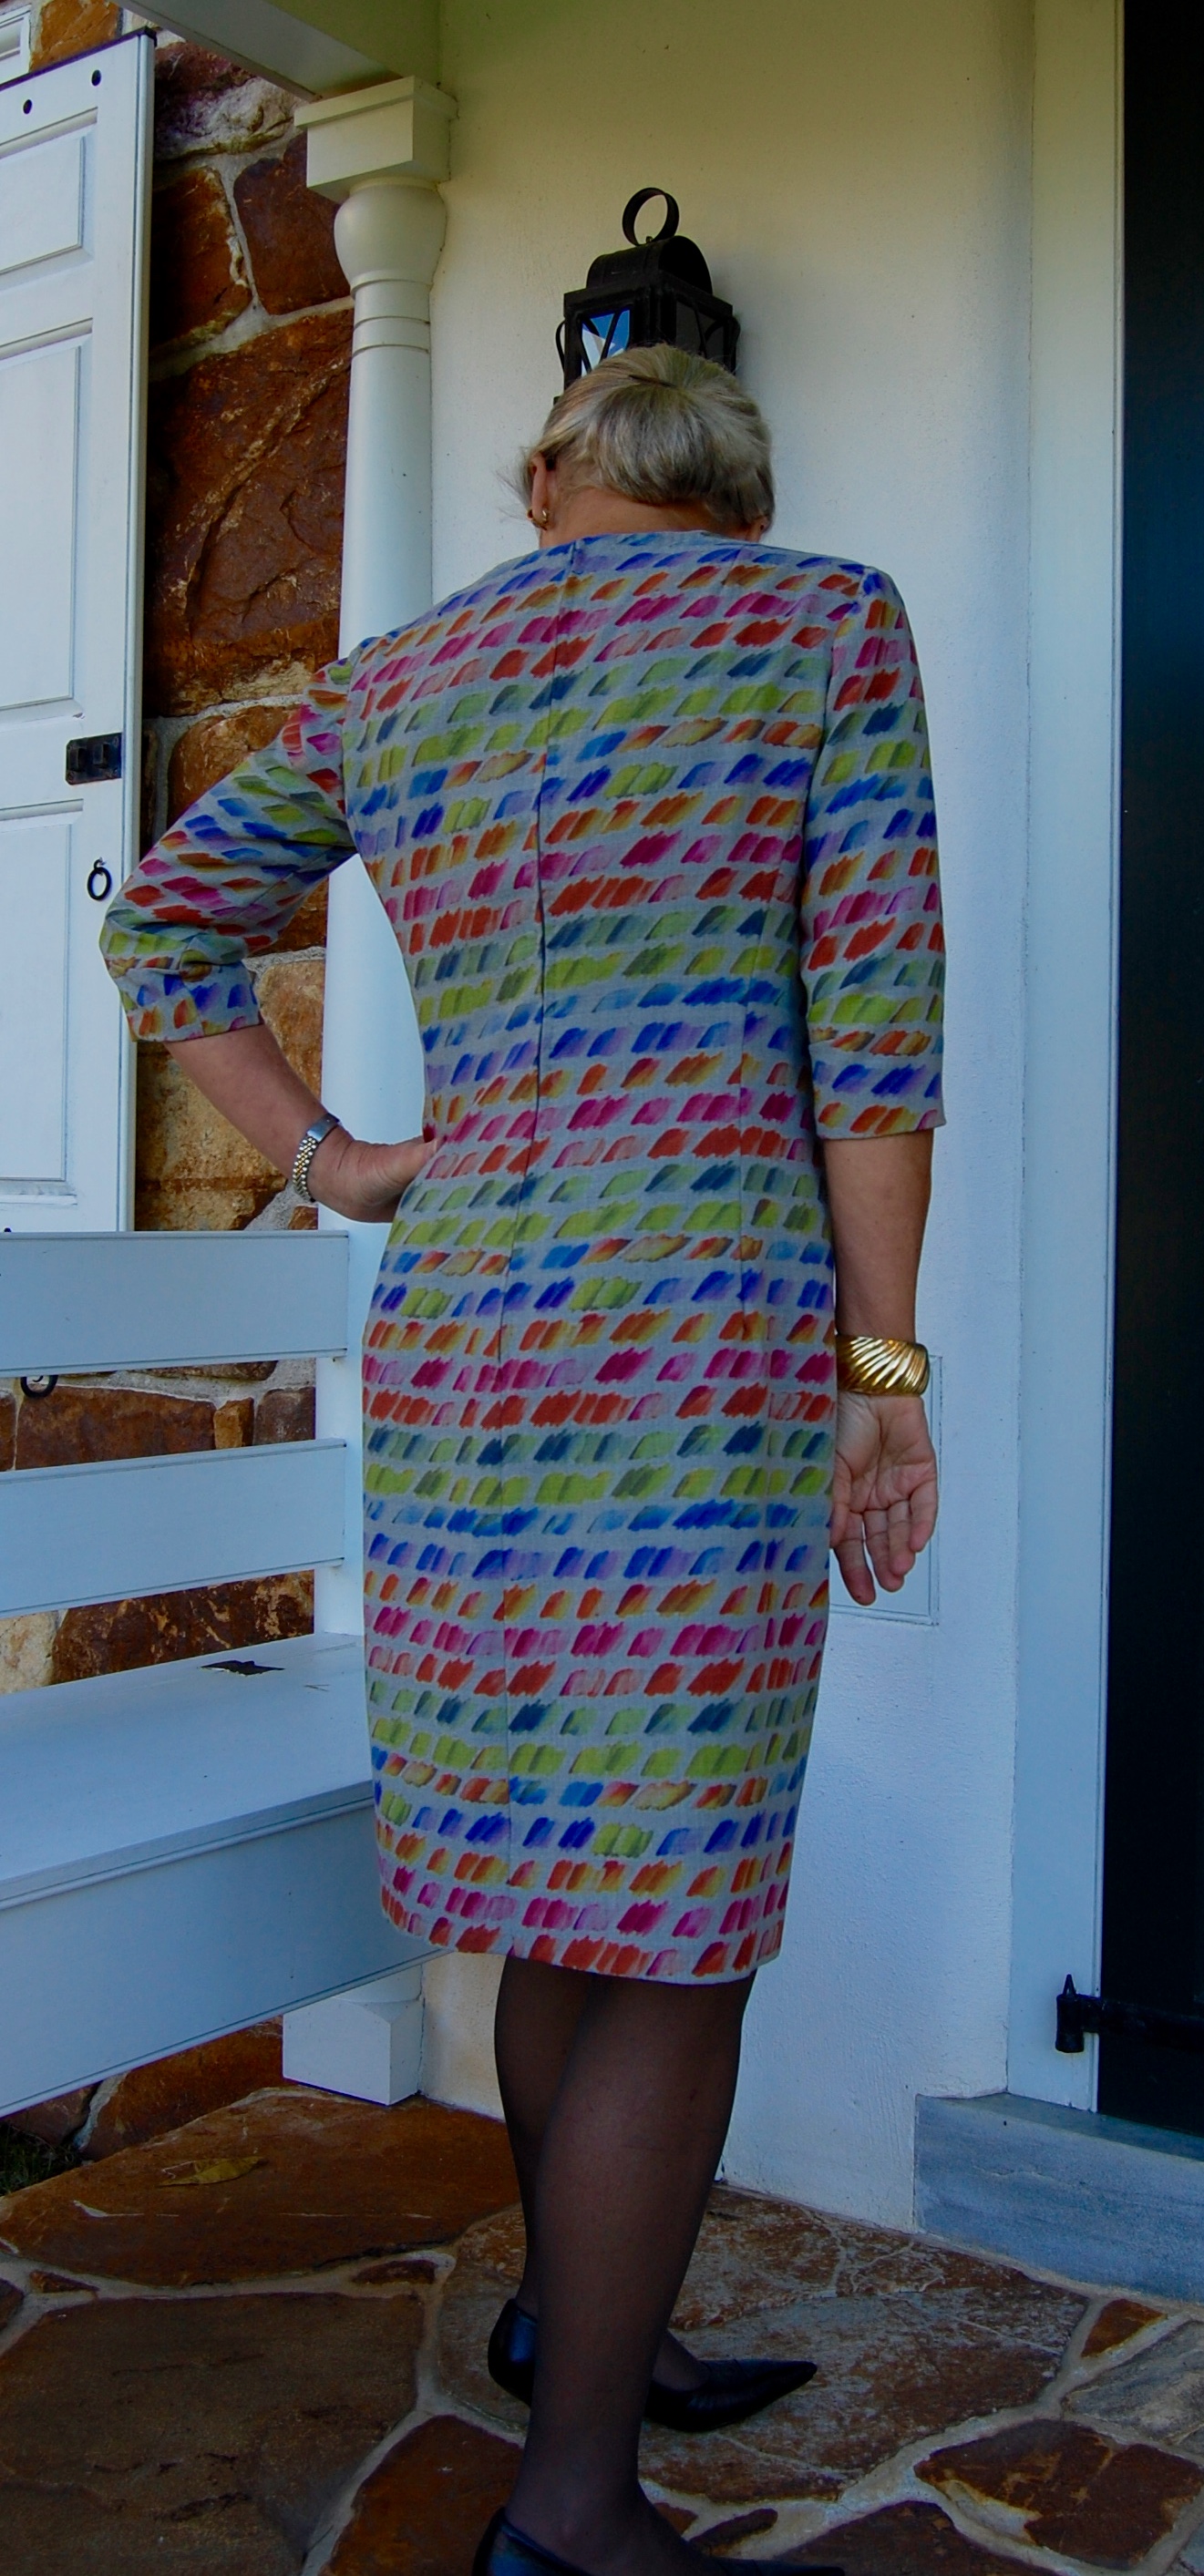
Then I tackled the sleeves. I had quite a time determining how to place the sleeve patterns on the remaining fabric. Some of those horizontal lines of “paintbrush strokes” change color across the fabric! And my adapted sleeve pattern has two elbow darts, which changed the horizontal line. I had to make a decision about where I wanted the best match to be, as I determined I could not match it across and up and down as I would normally want to do. I opted for a match across the shoulders – and I now believe that was the best decision.
I also added a soft “cigarette” sleeve heading to each shoulder seam.
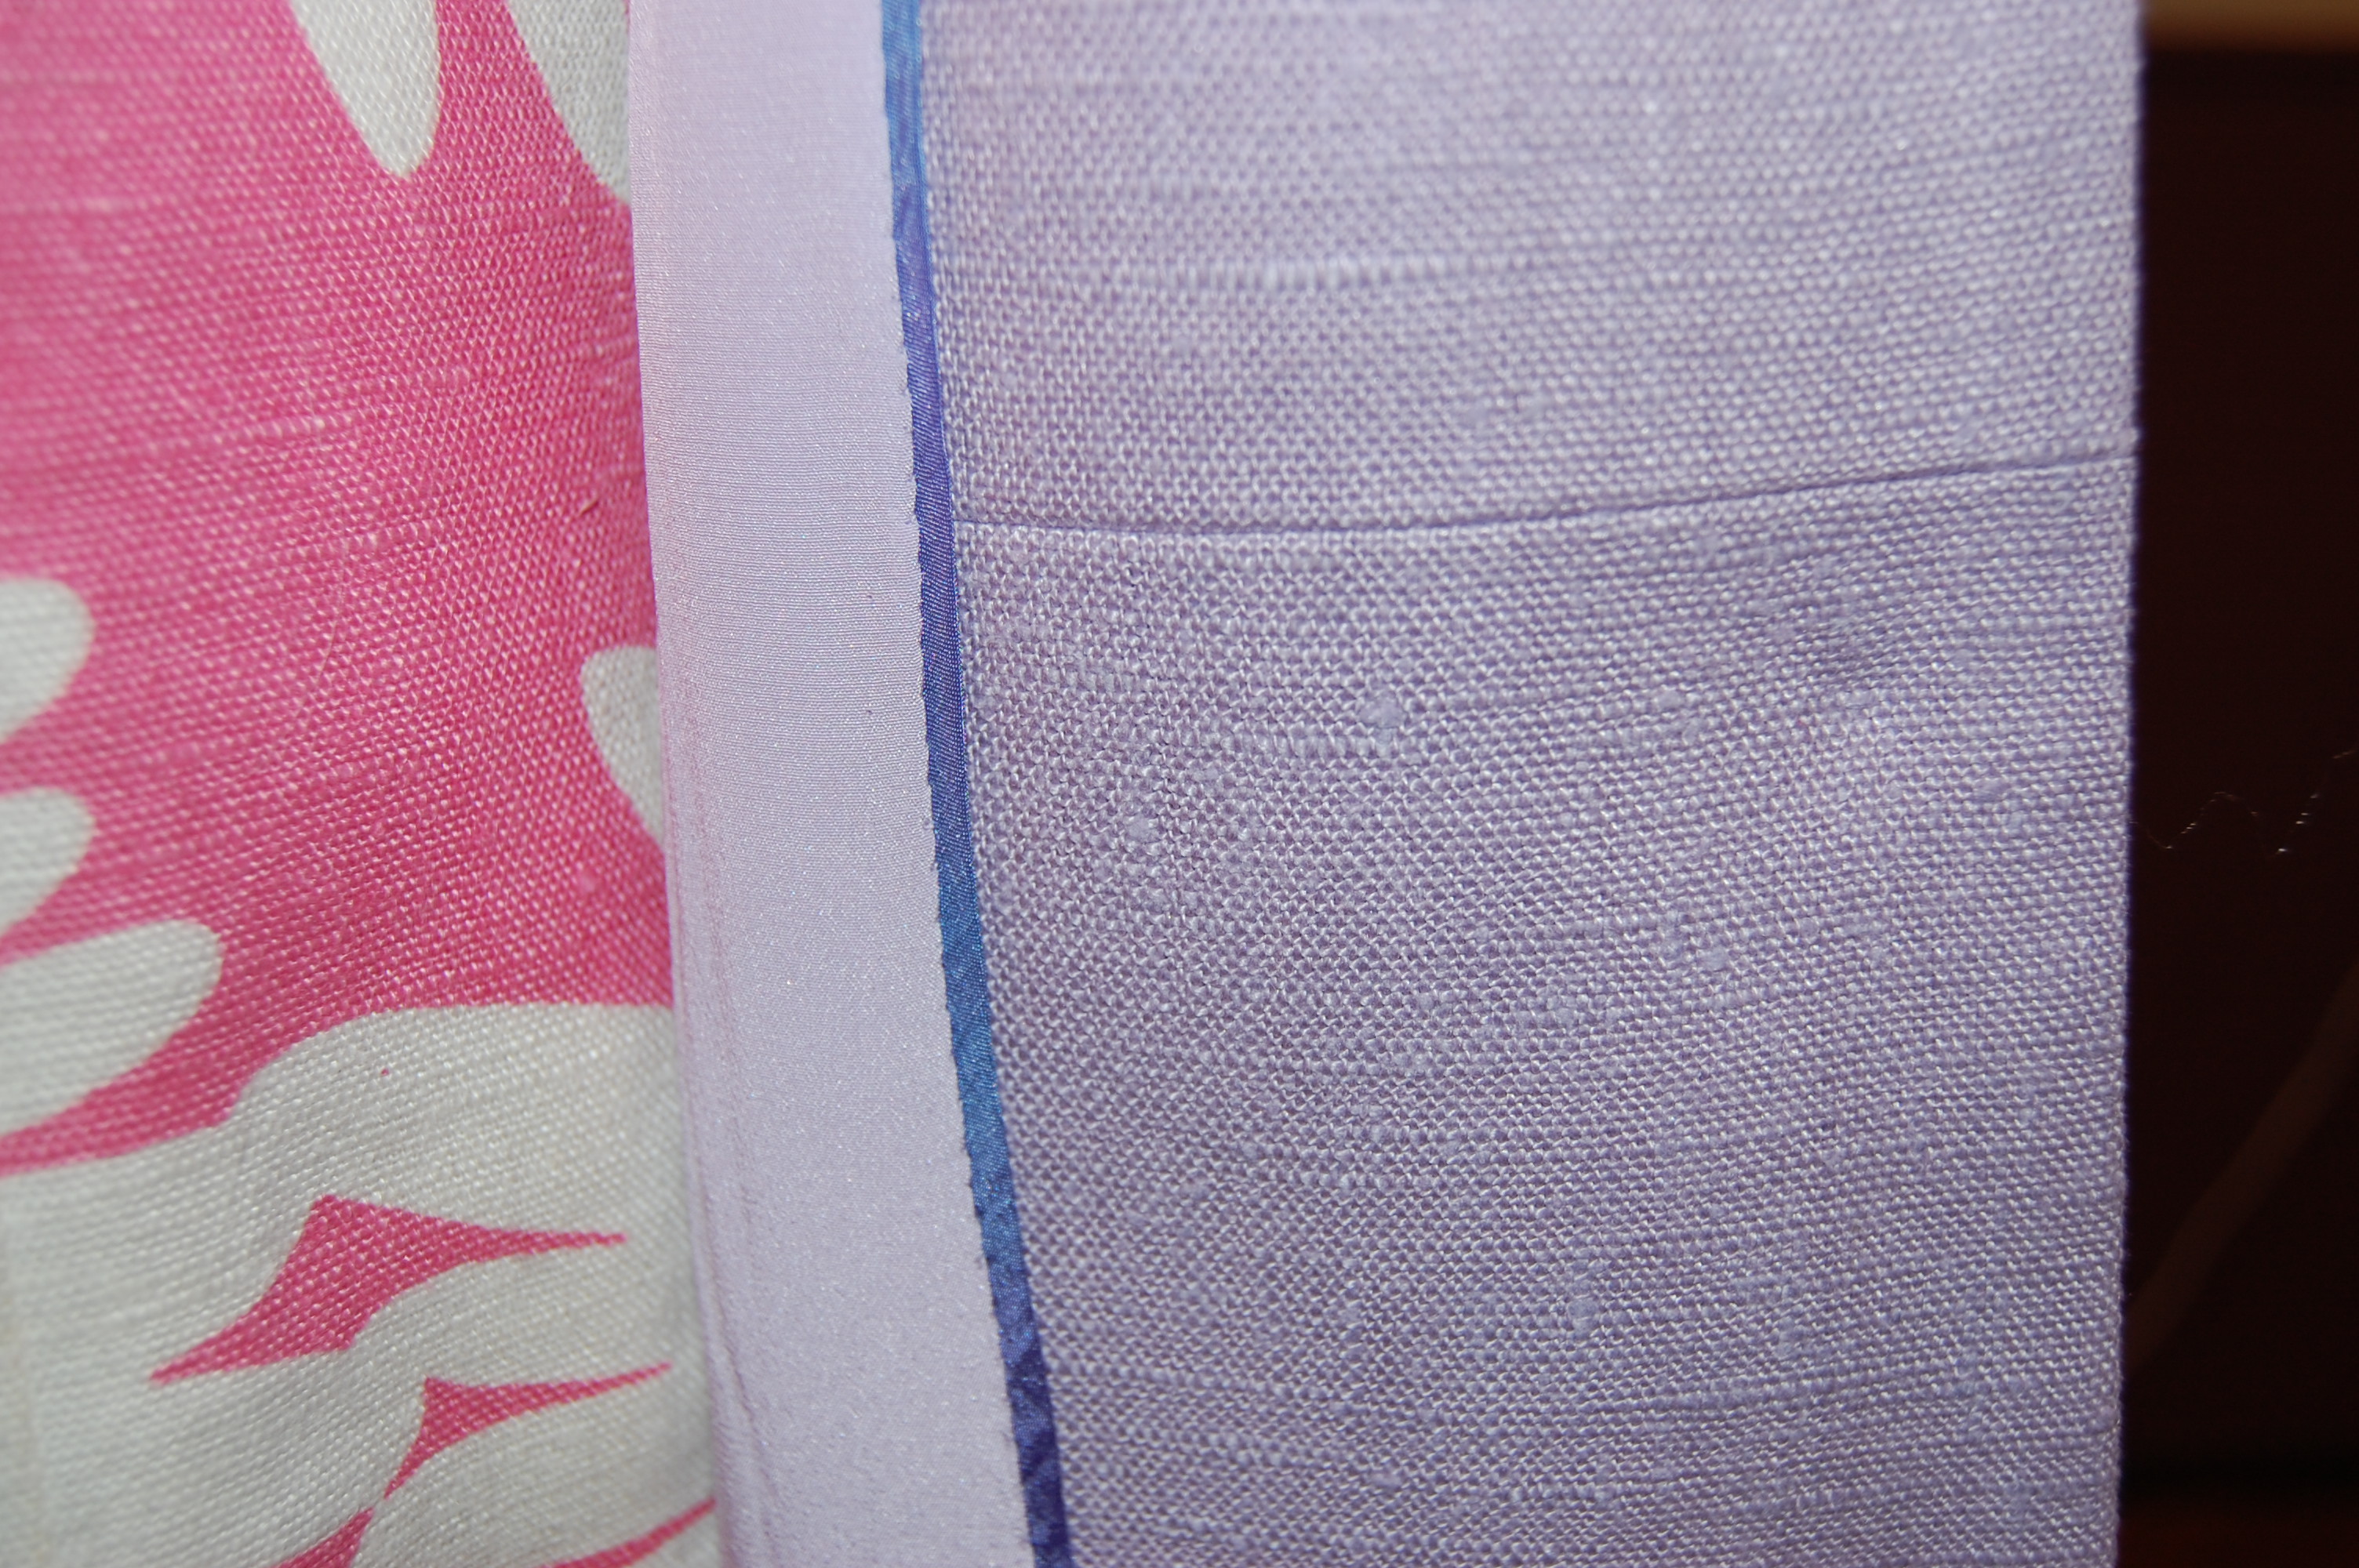
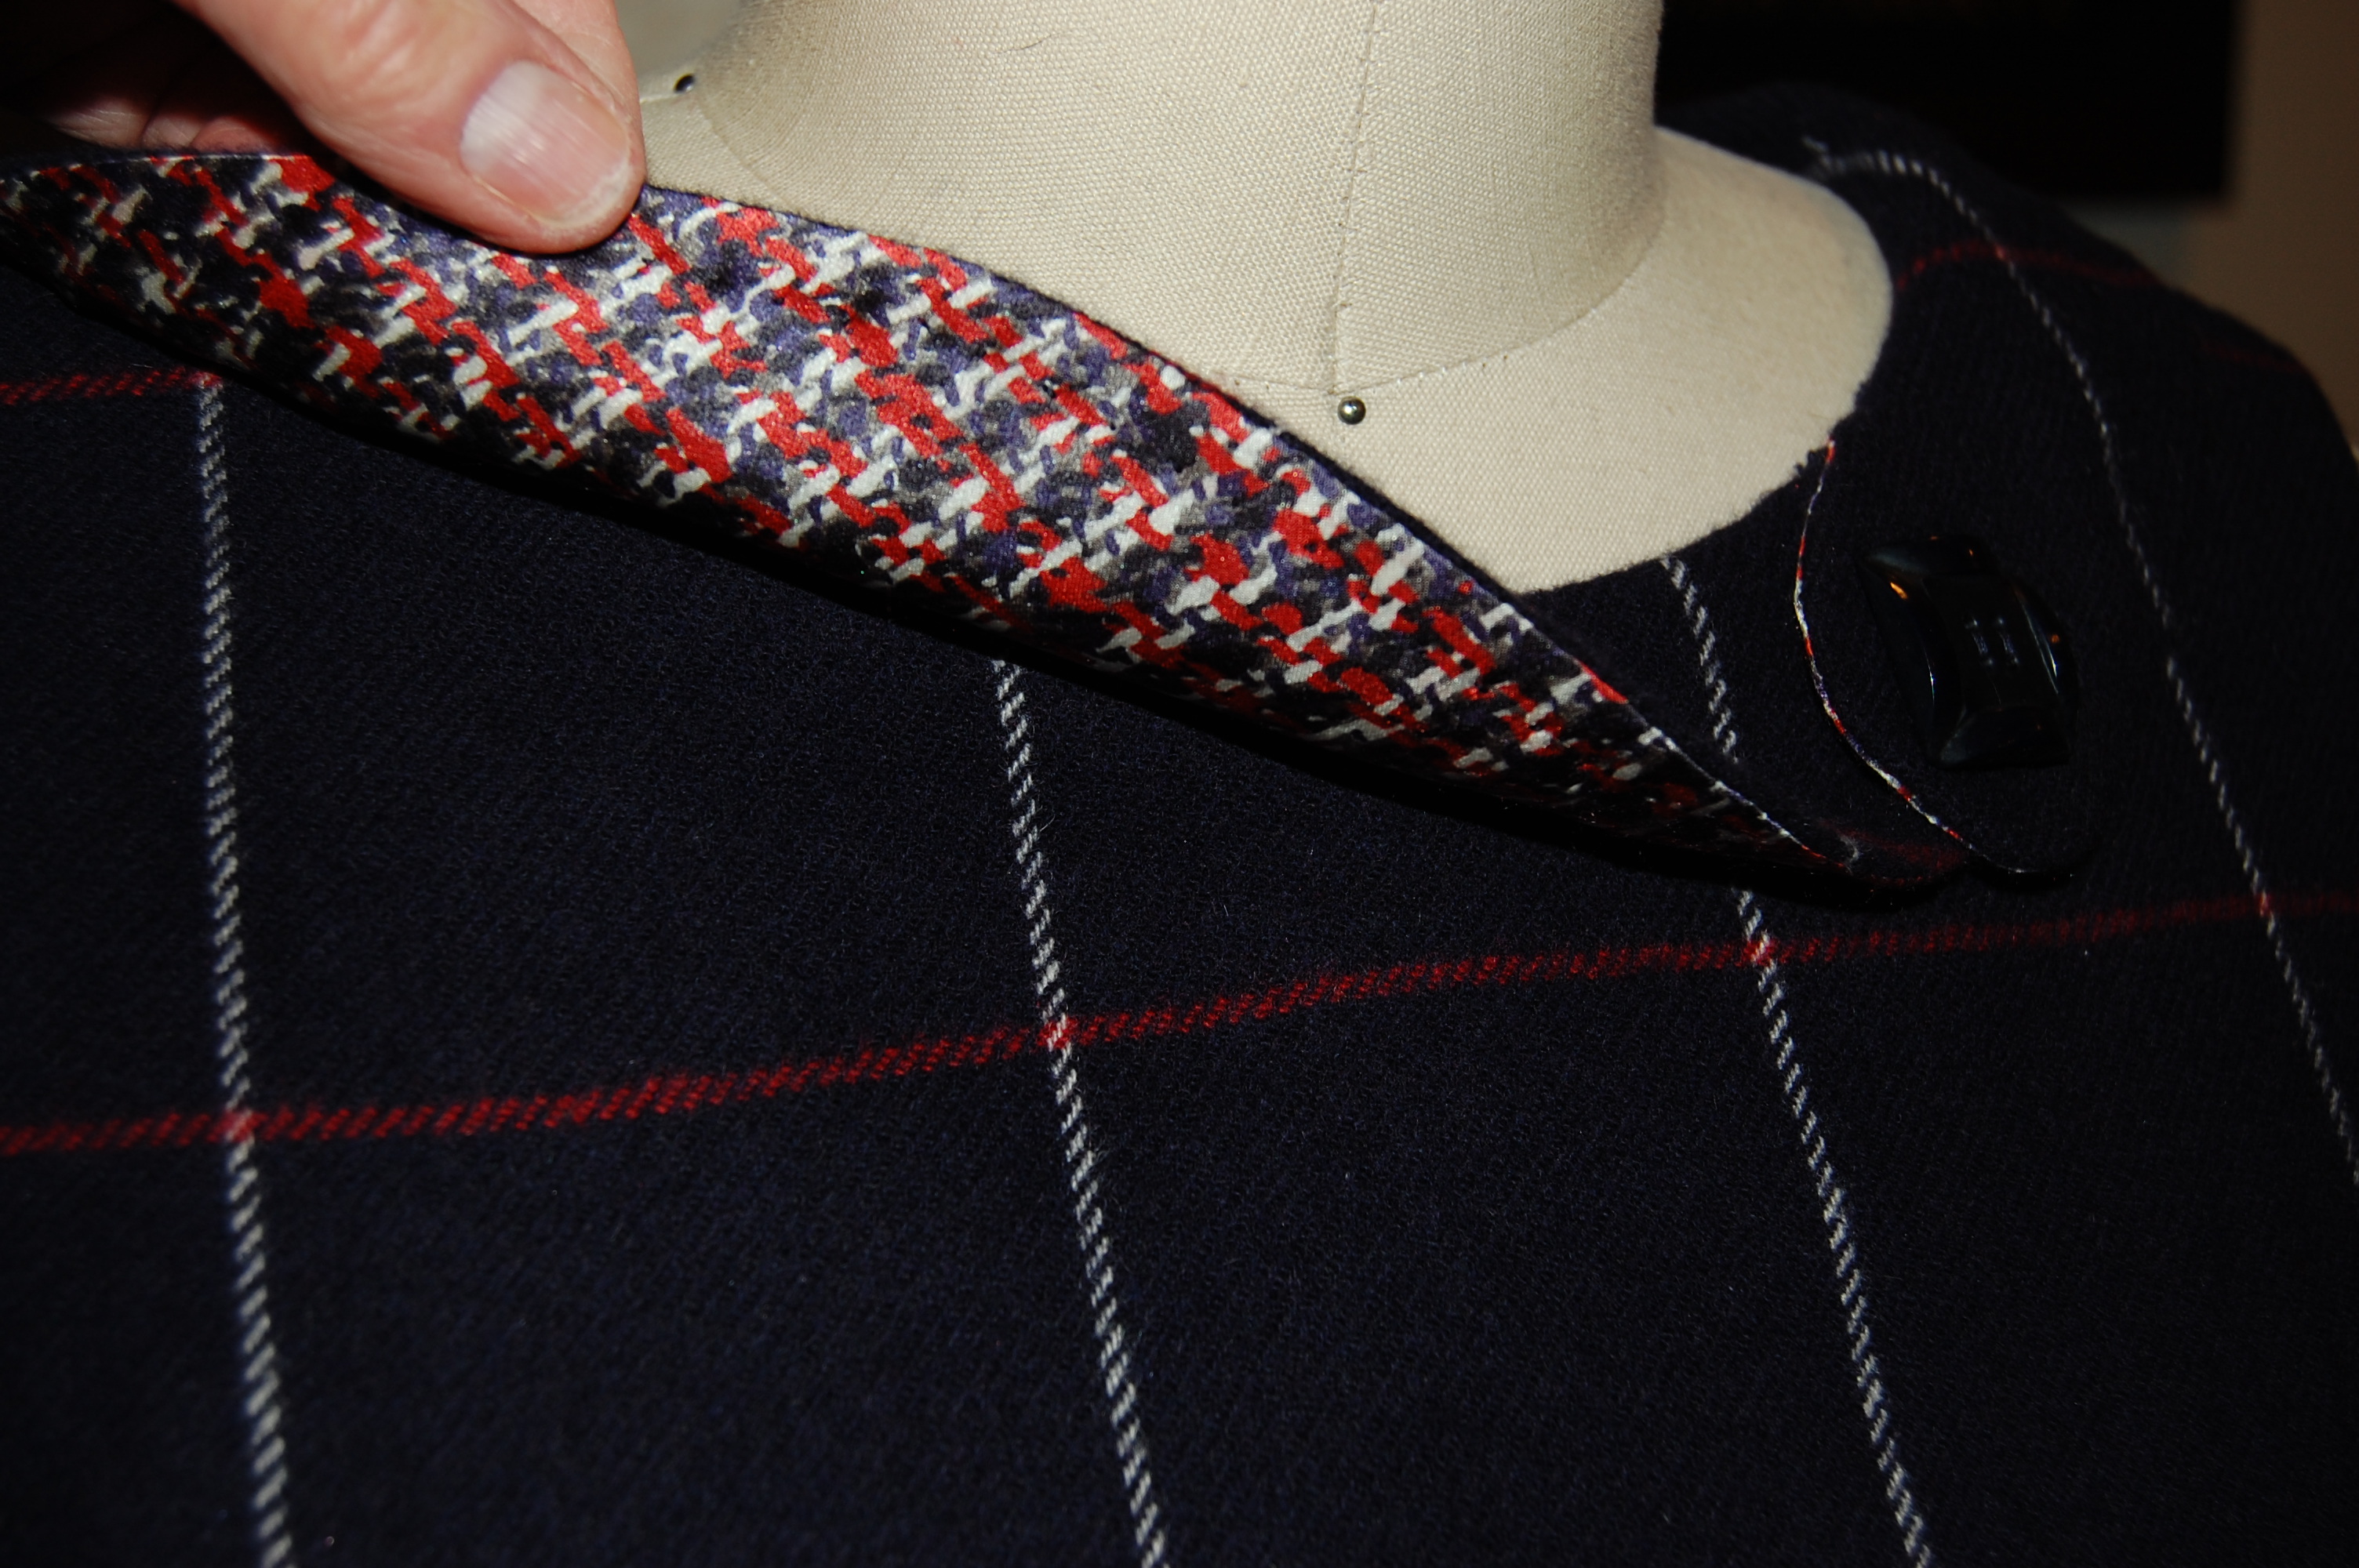
Next to the lining – and bless those vintage Vogue patterns – the lining for this dress included separate and distinct pattern pieces. I made the sizing and dart changes to the lining (in keeping with the dress) and it went together effortlessly. When I got to the point of inserting the lining by hand, I just could not resist adding silk piping to the inside neck edge. I know I am the only one who will ever see it, but it makes me happy!
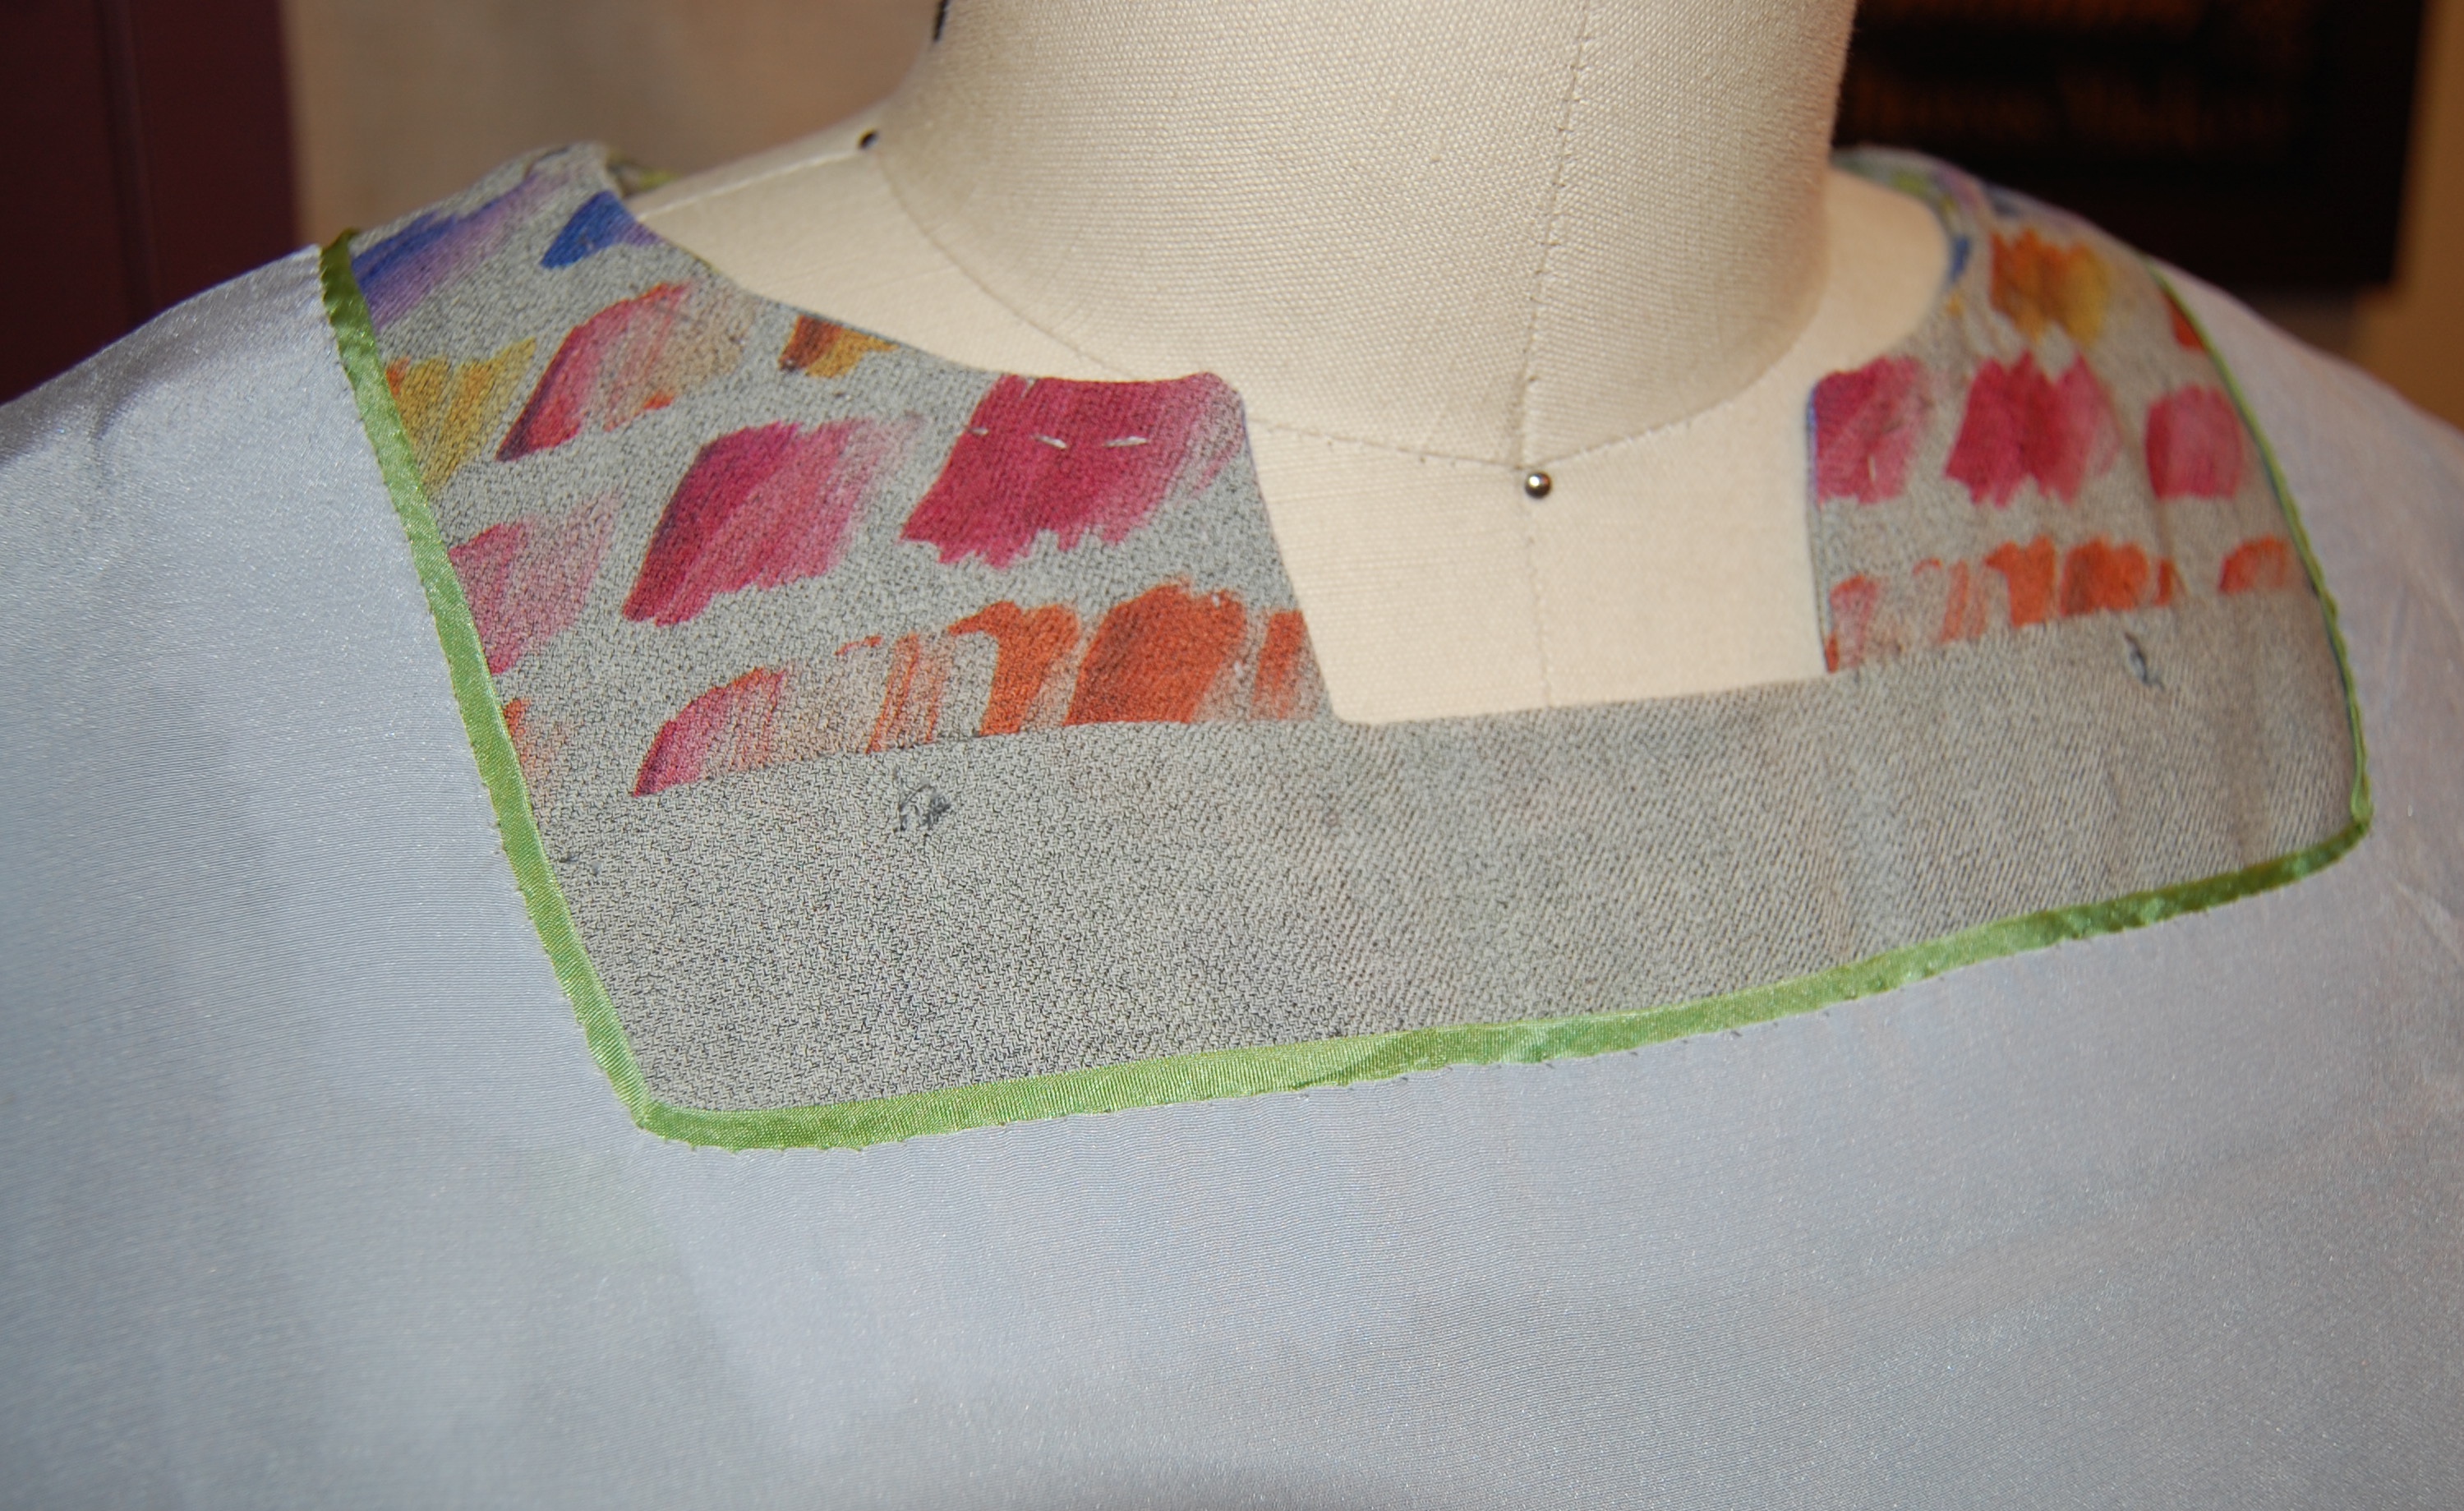
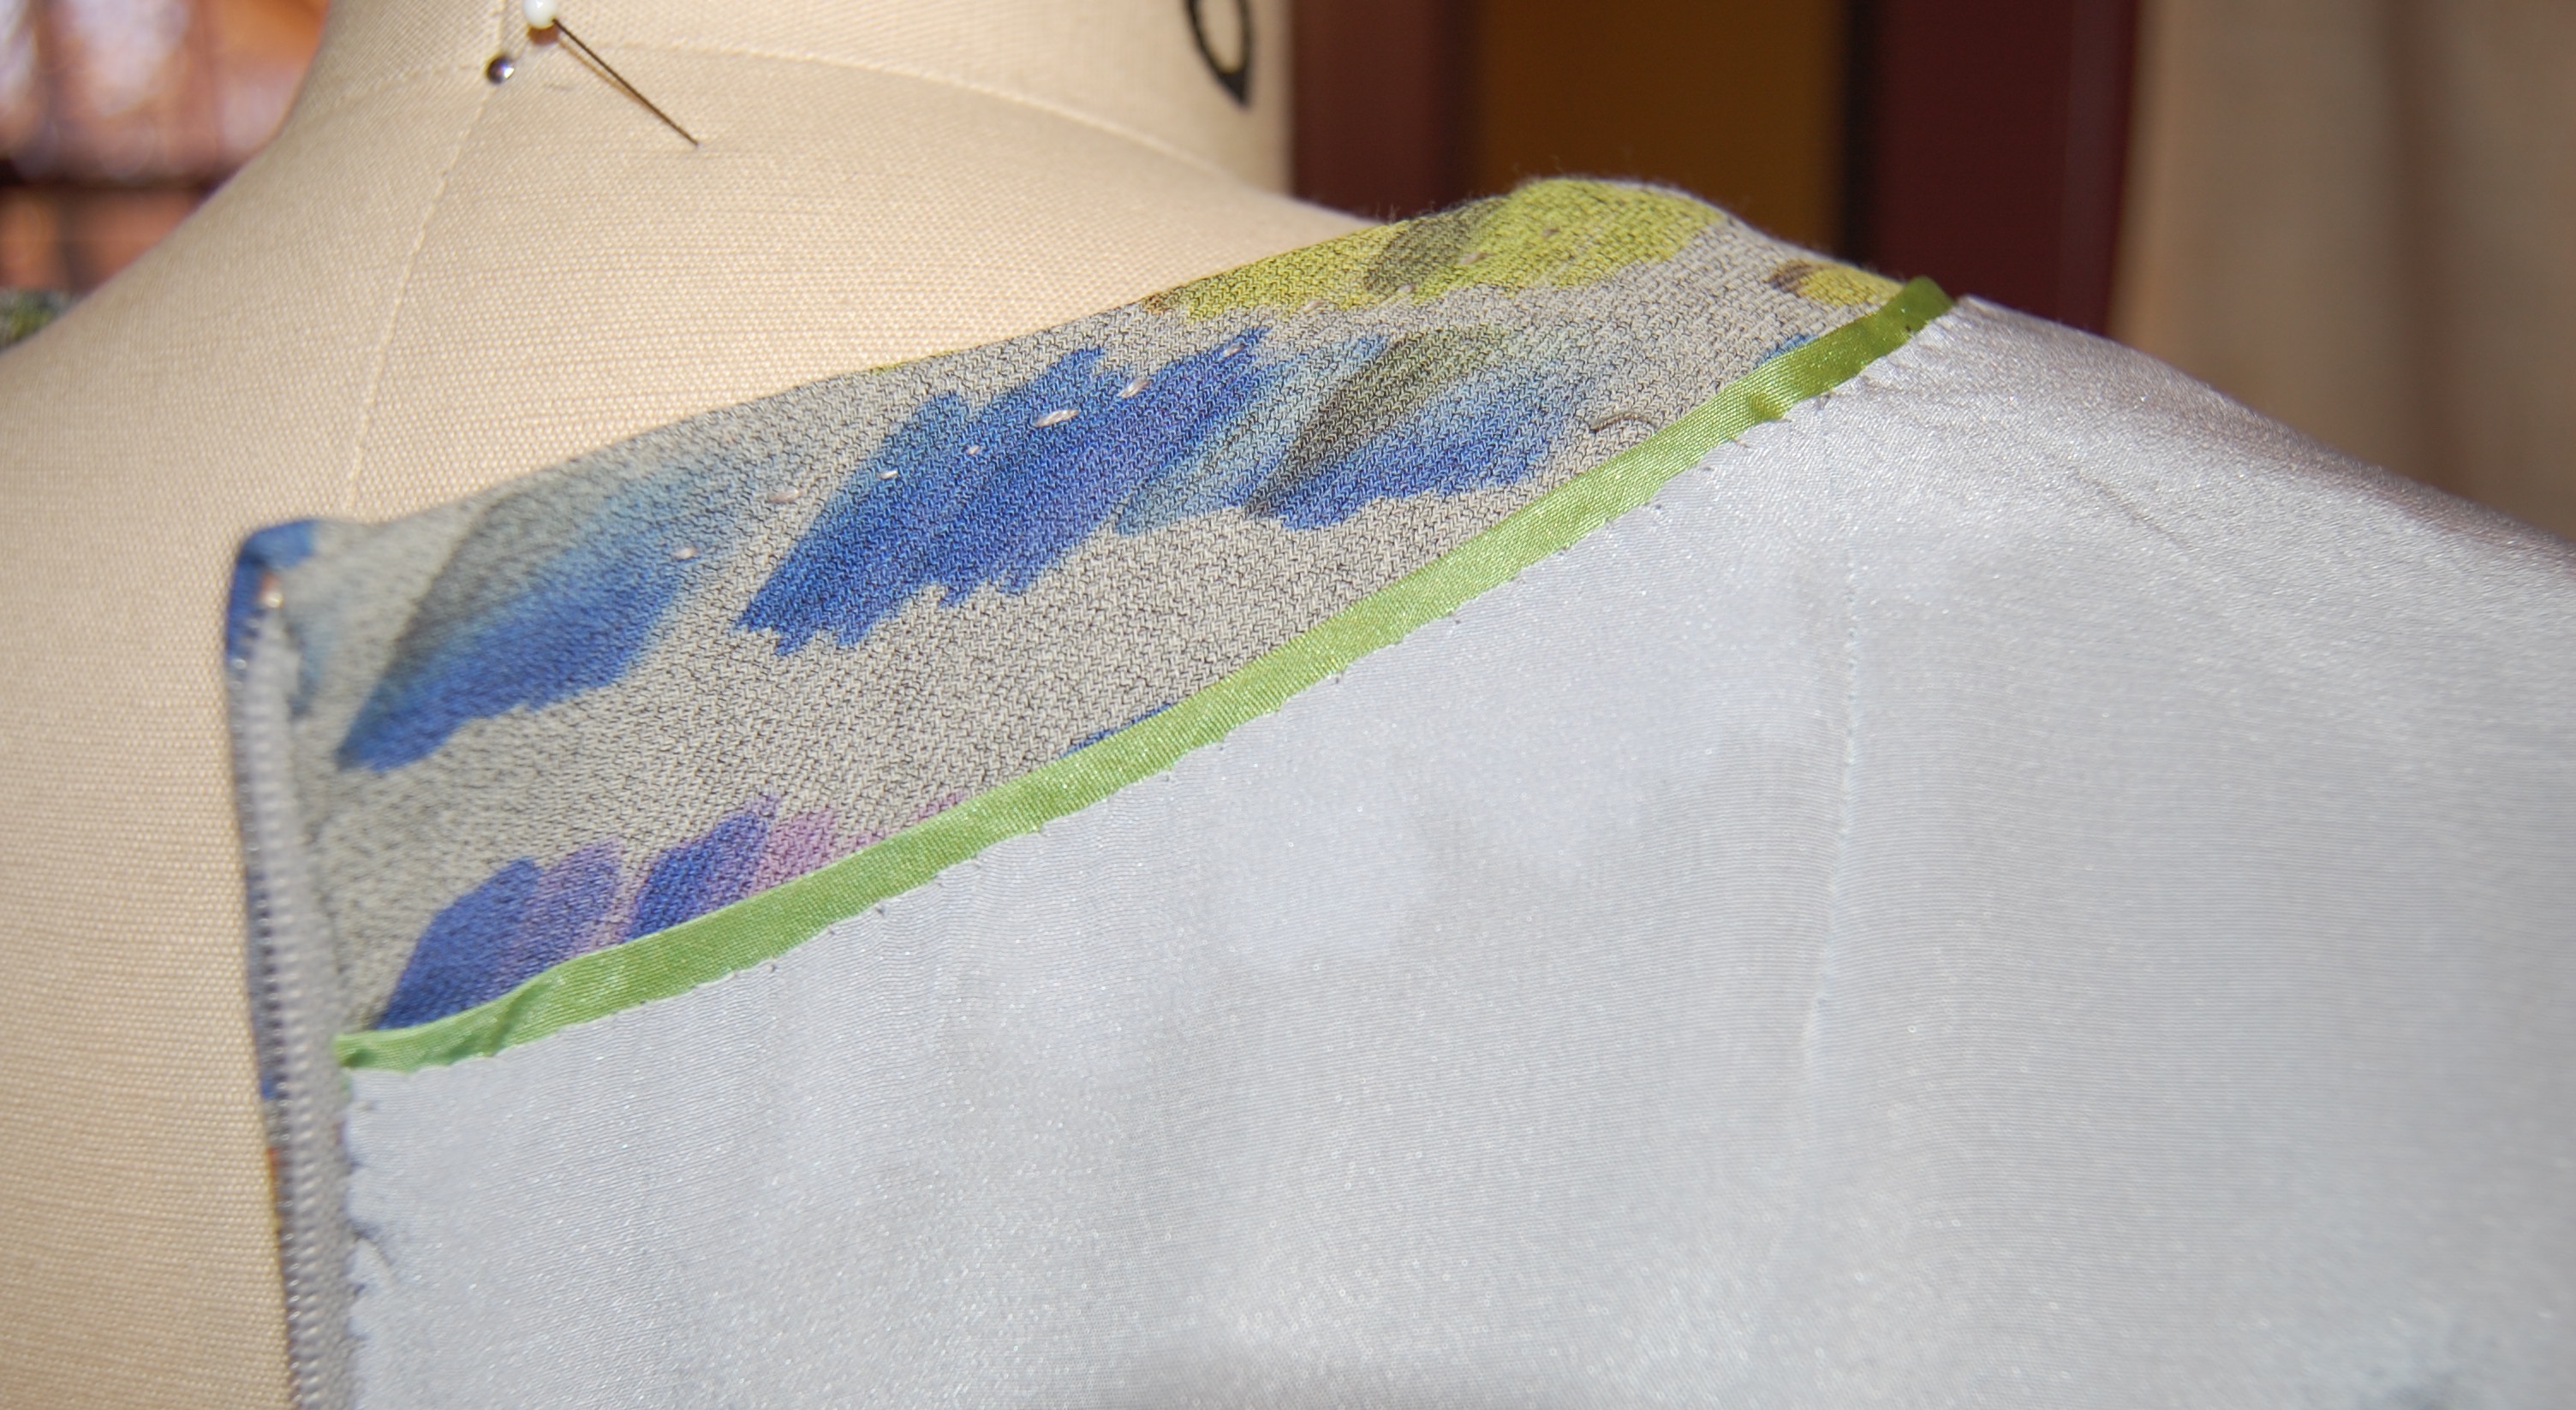
I used a bias strip of lightweight silk for the piping.
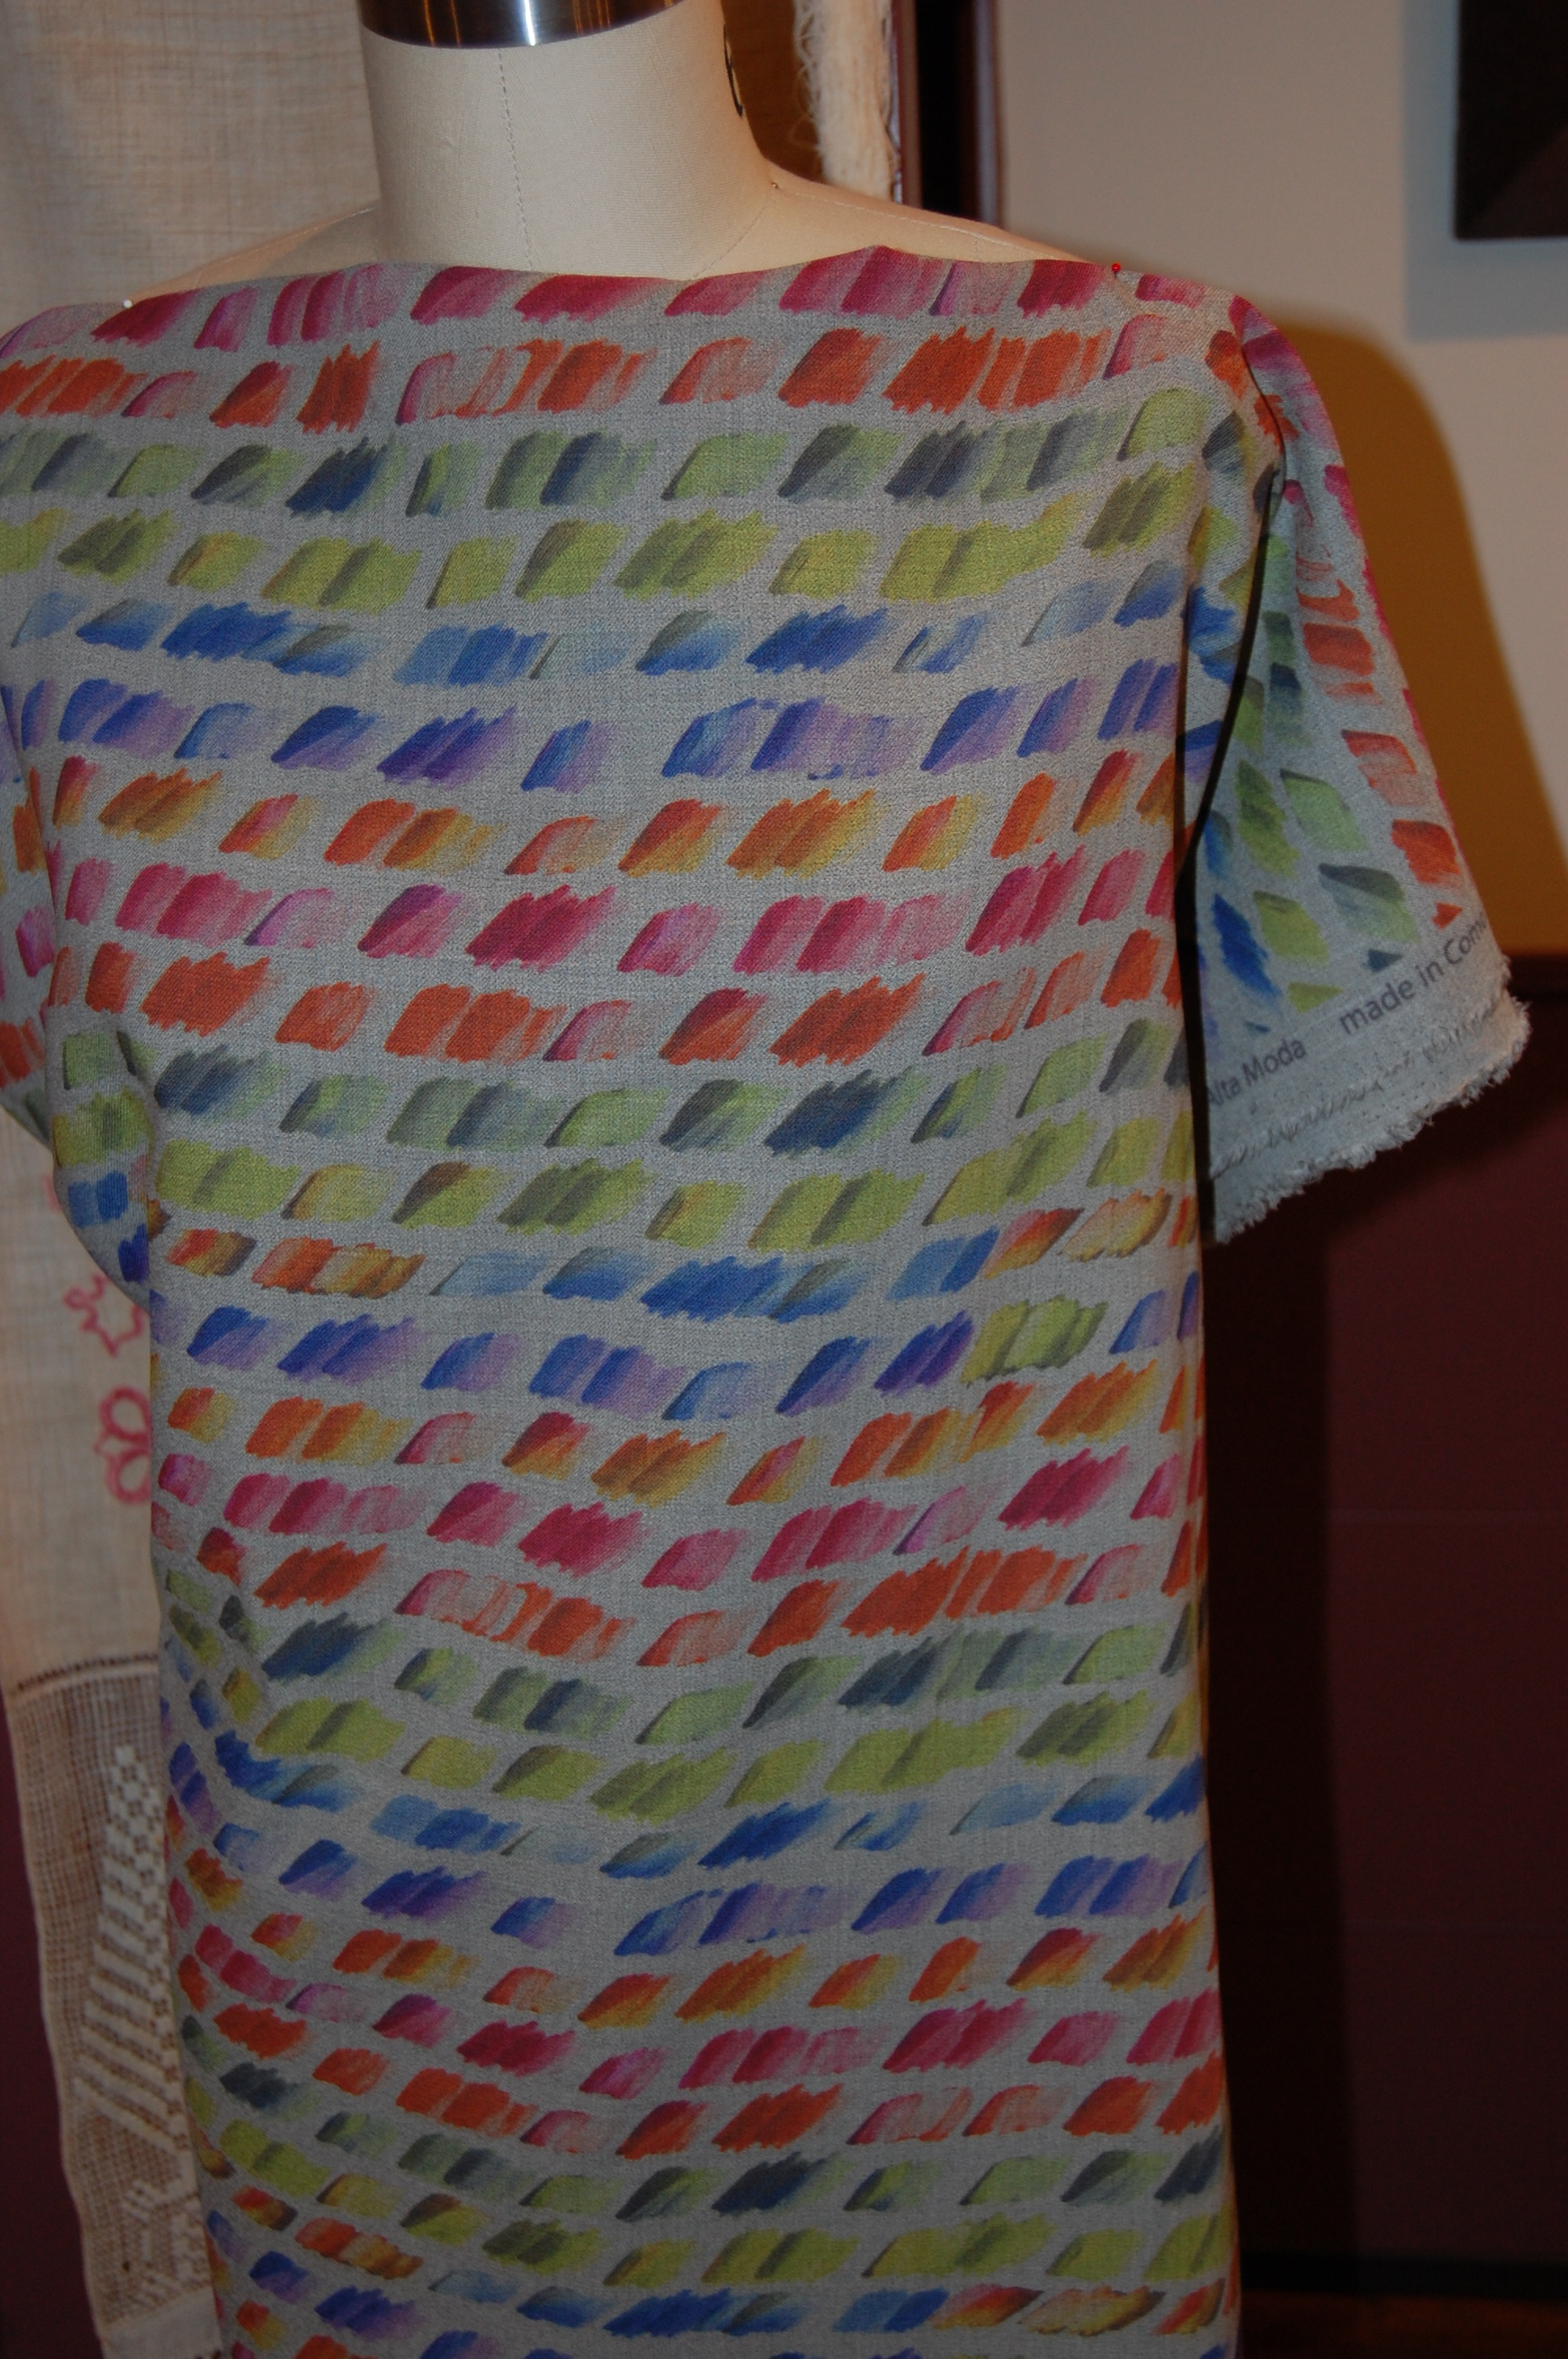
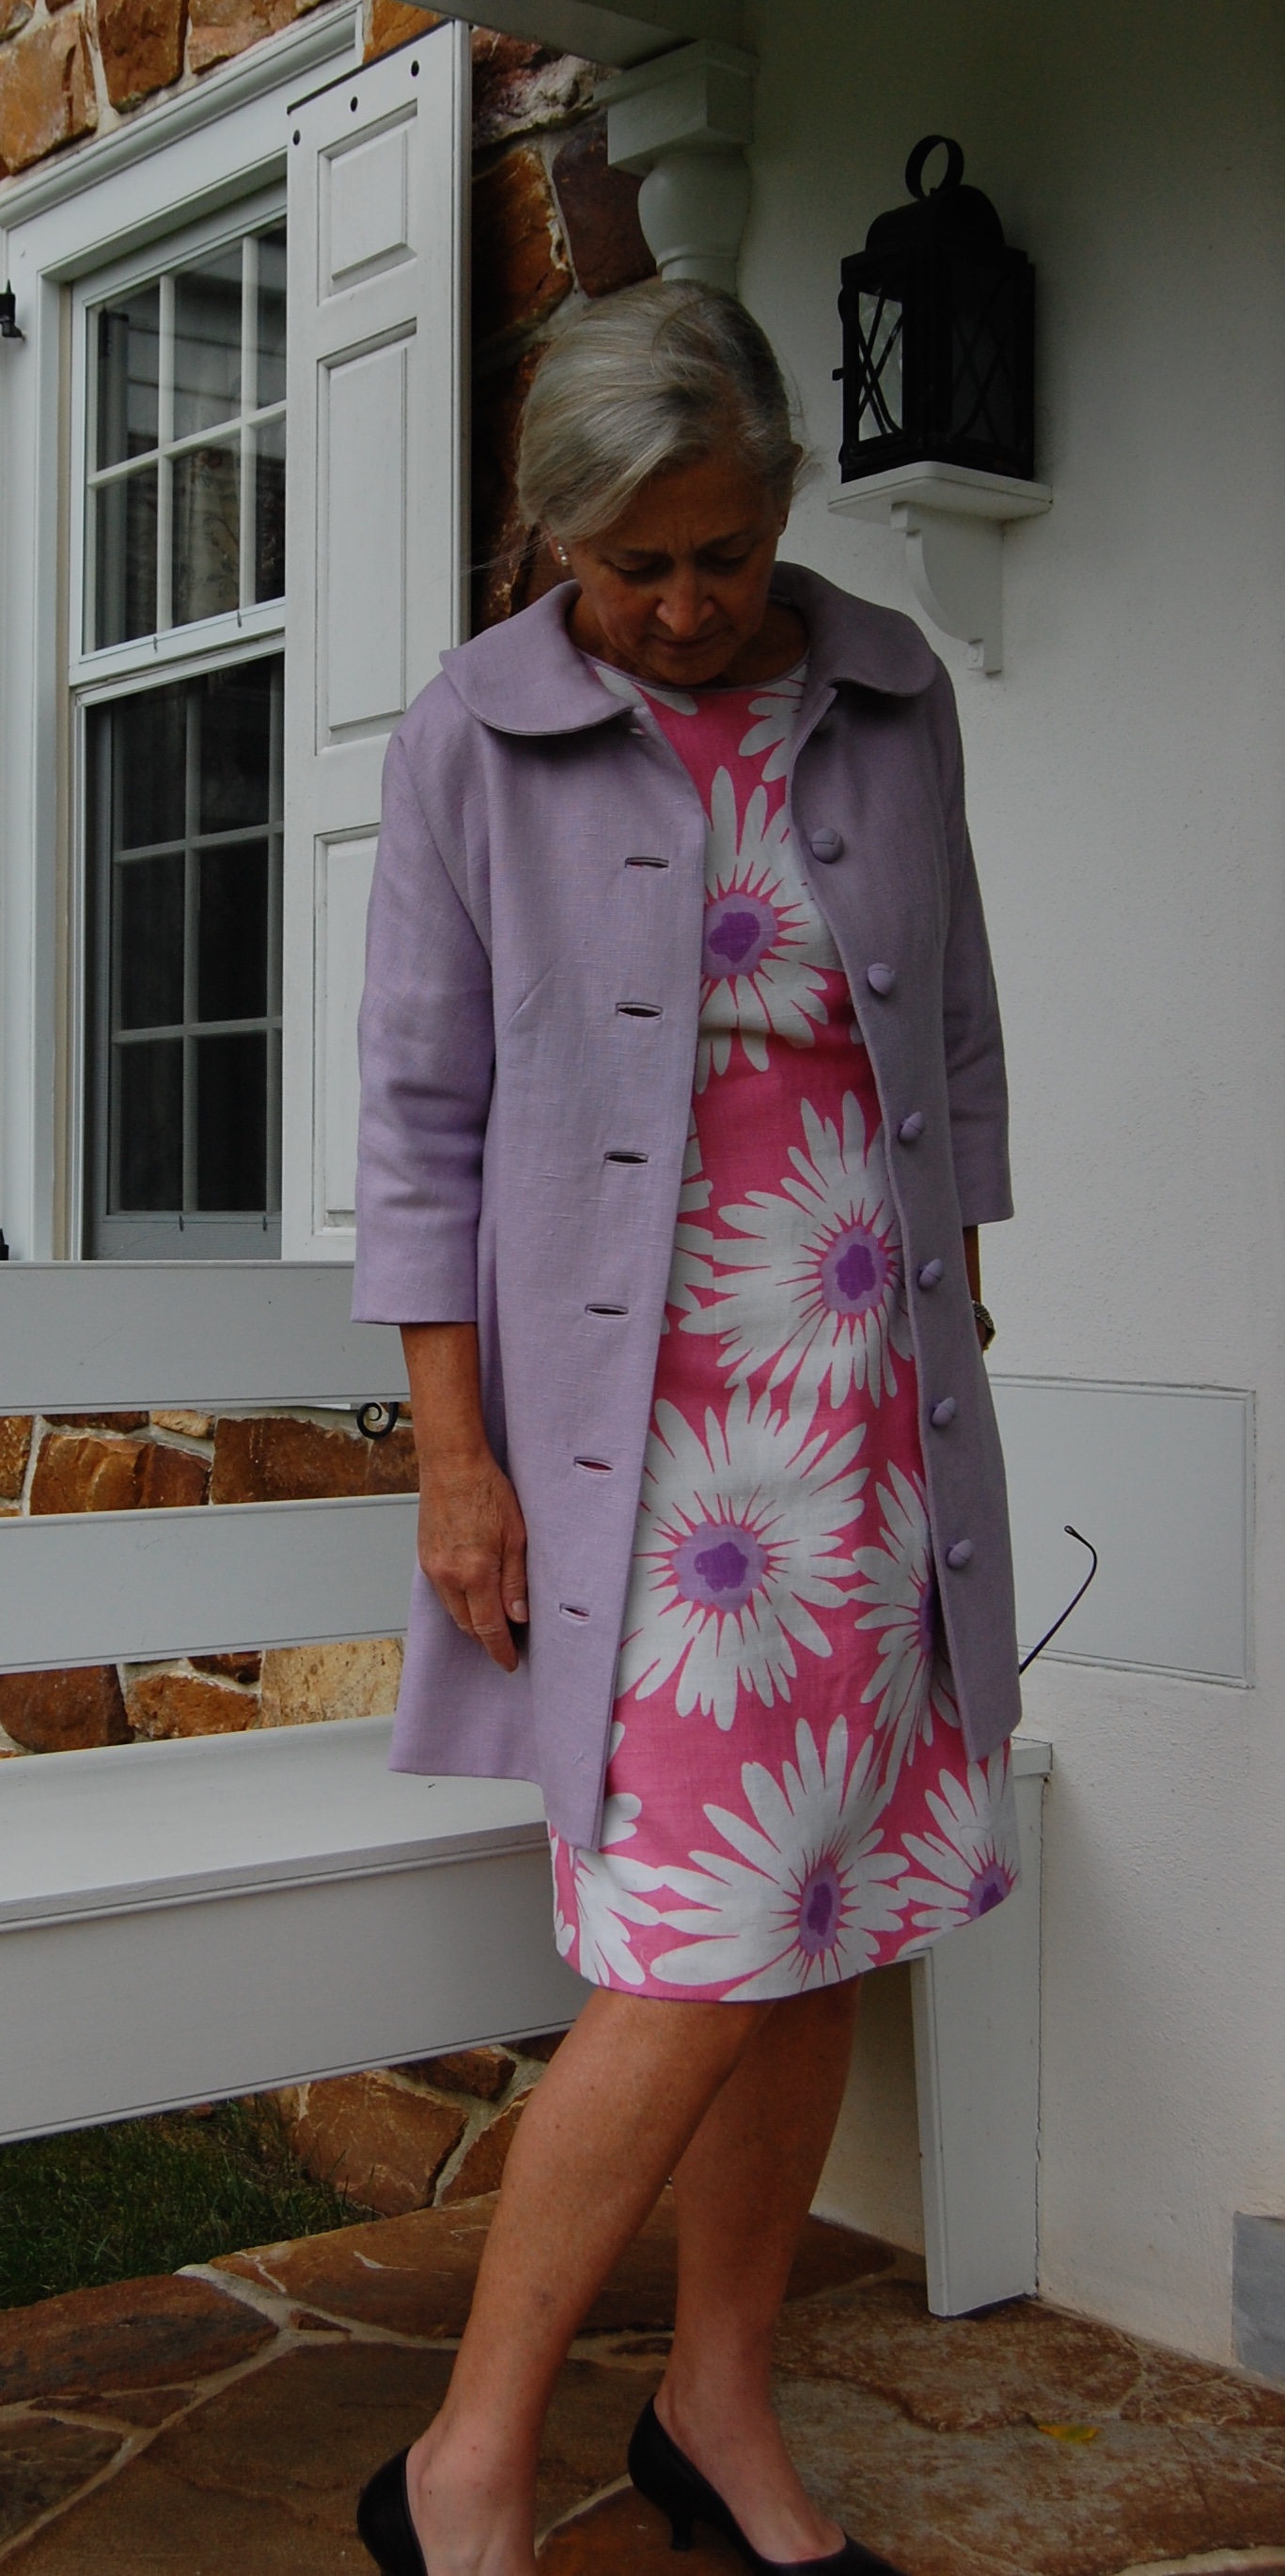
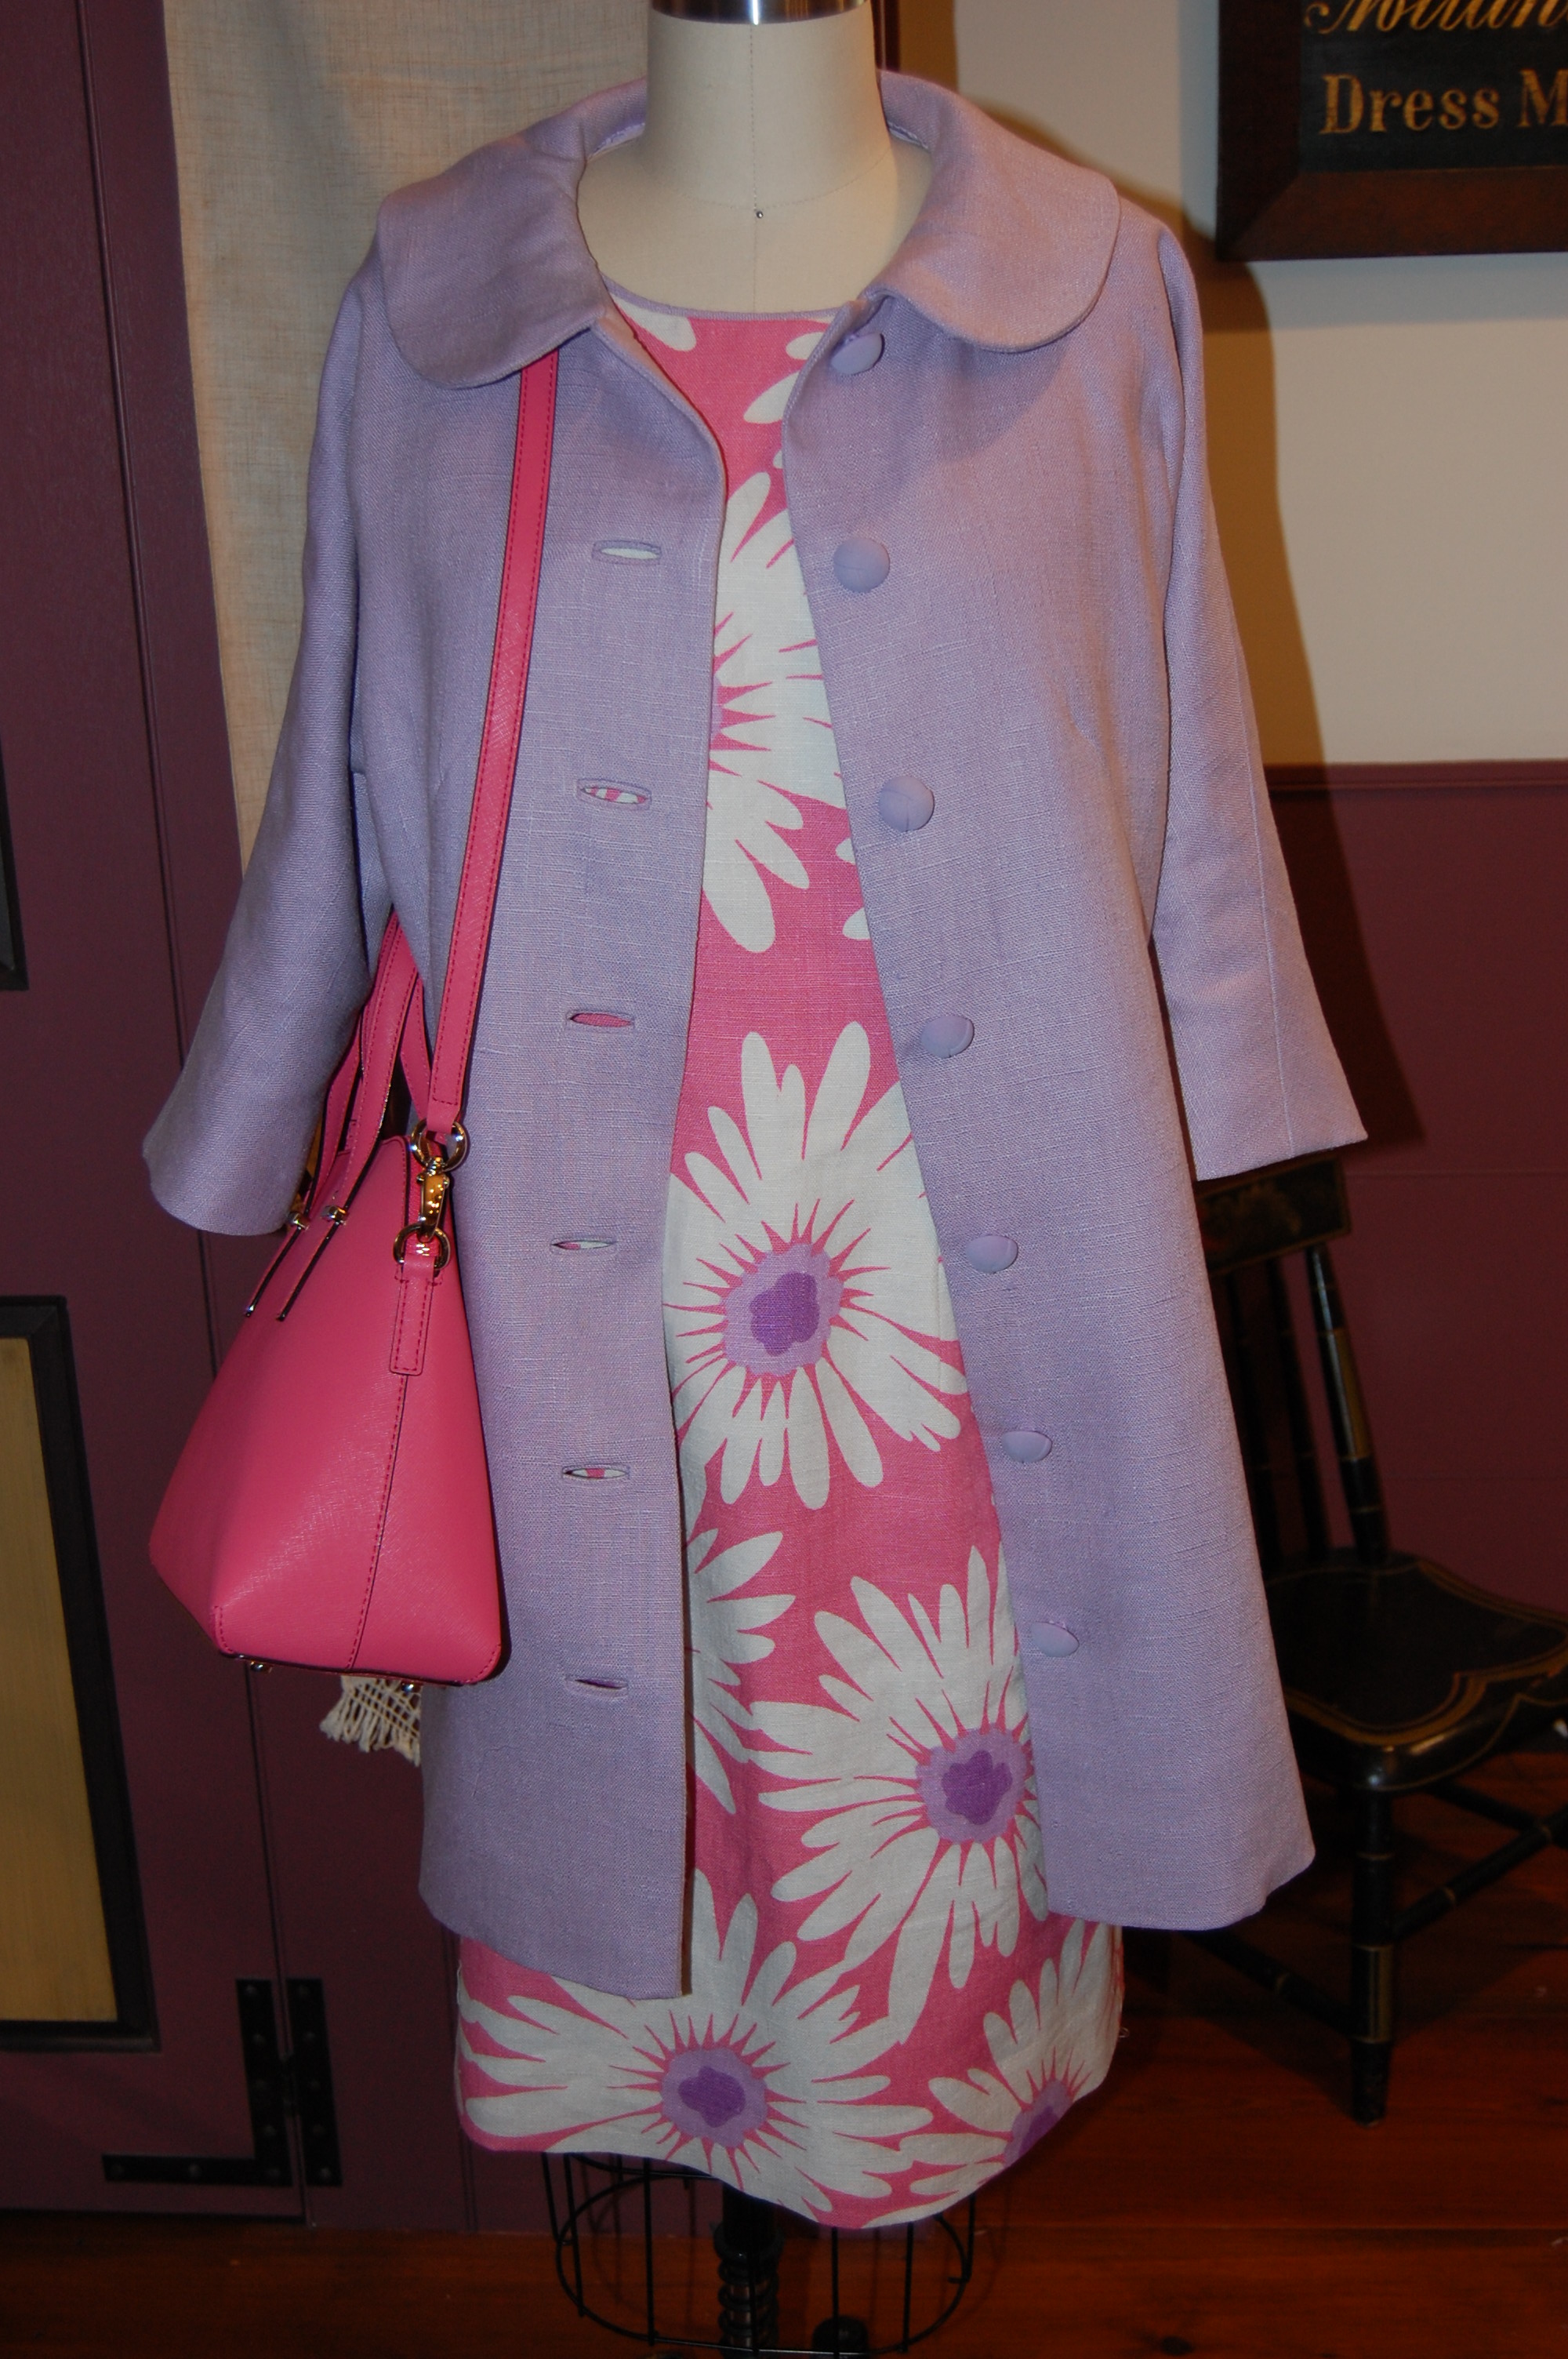
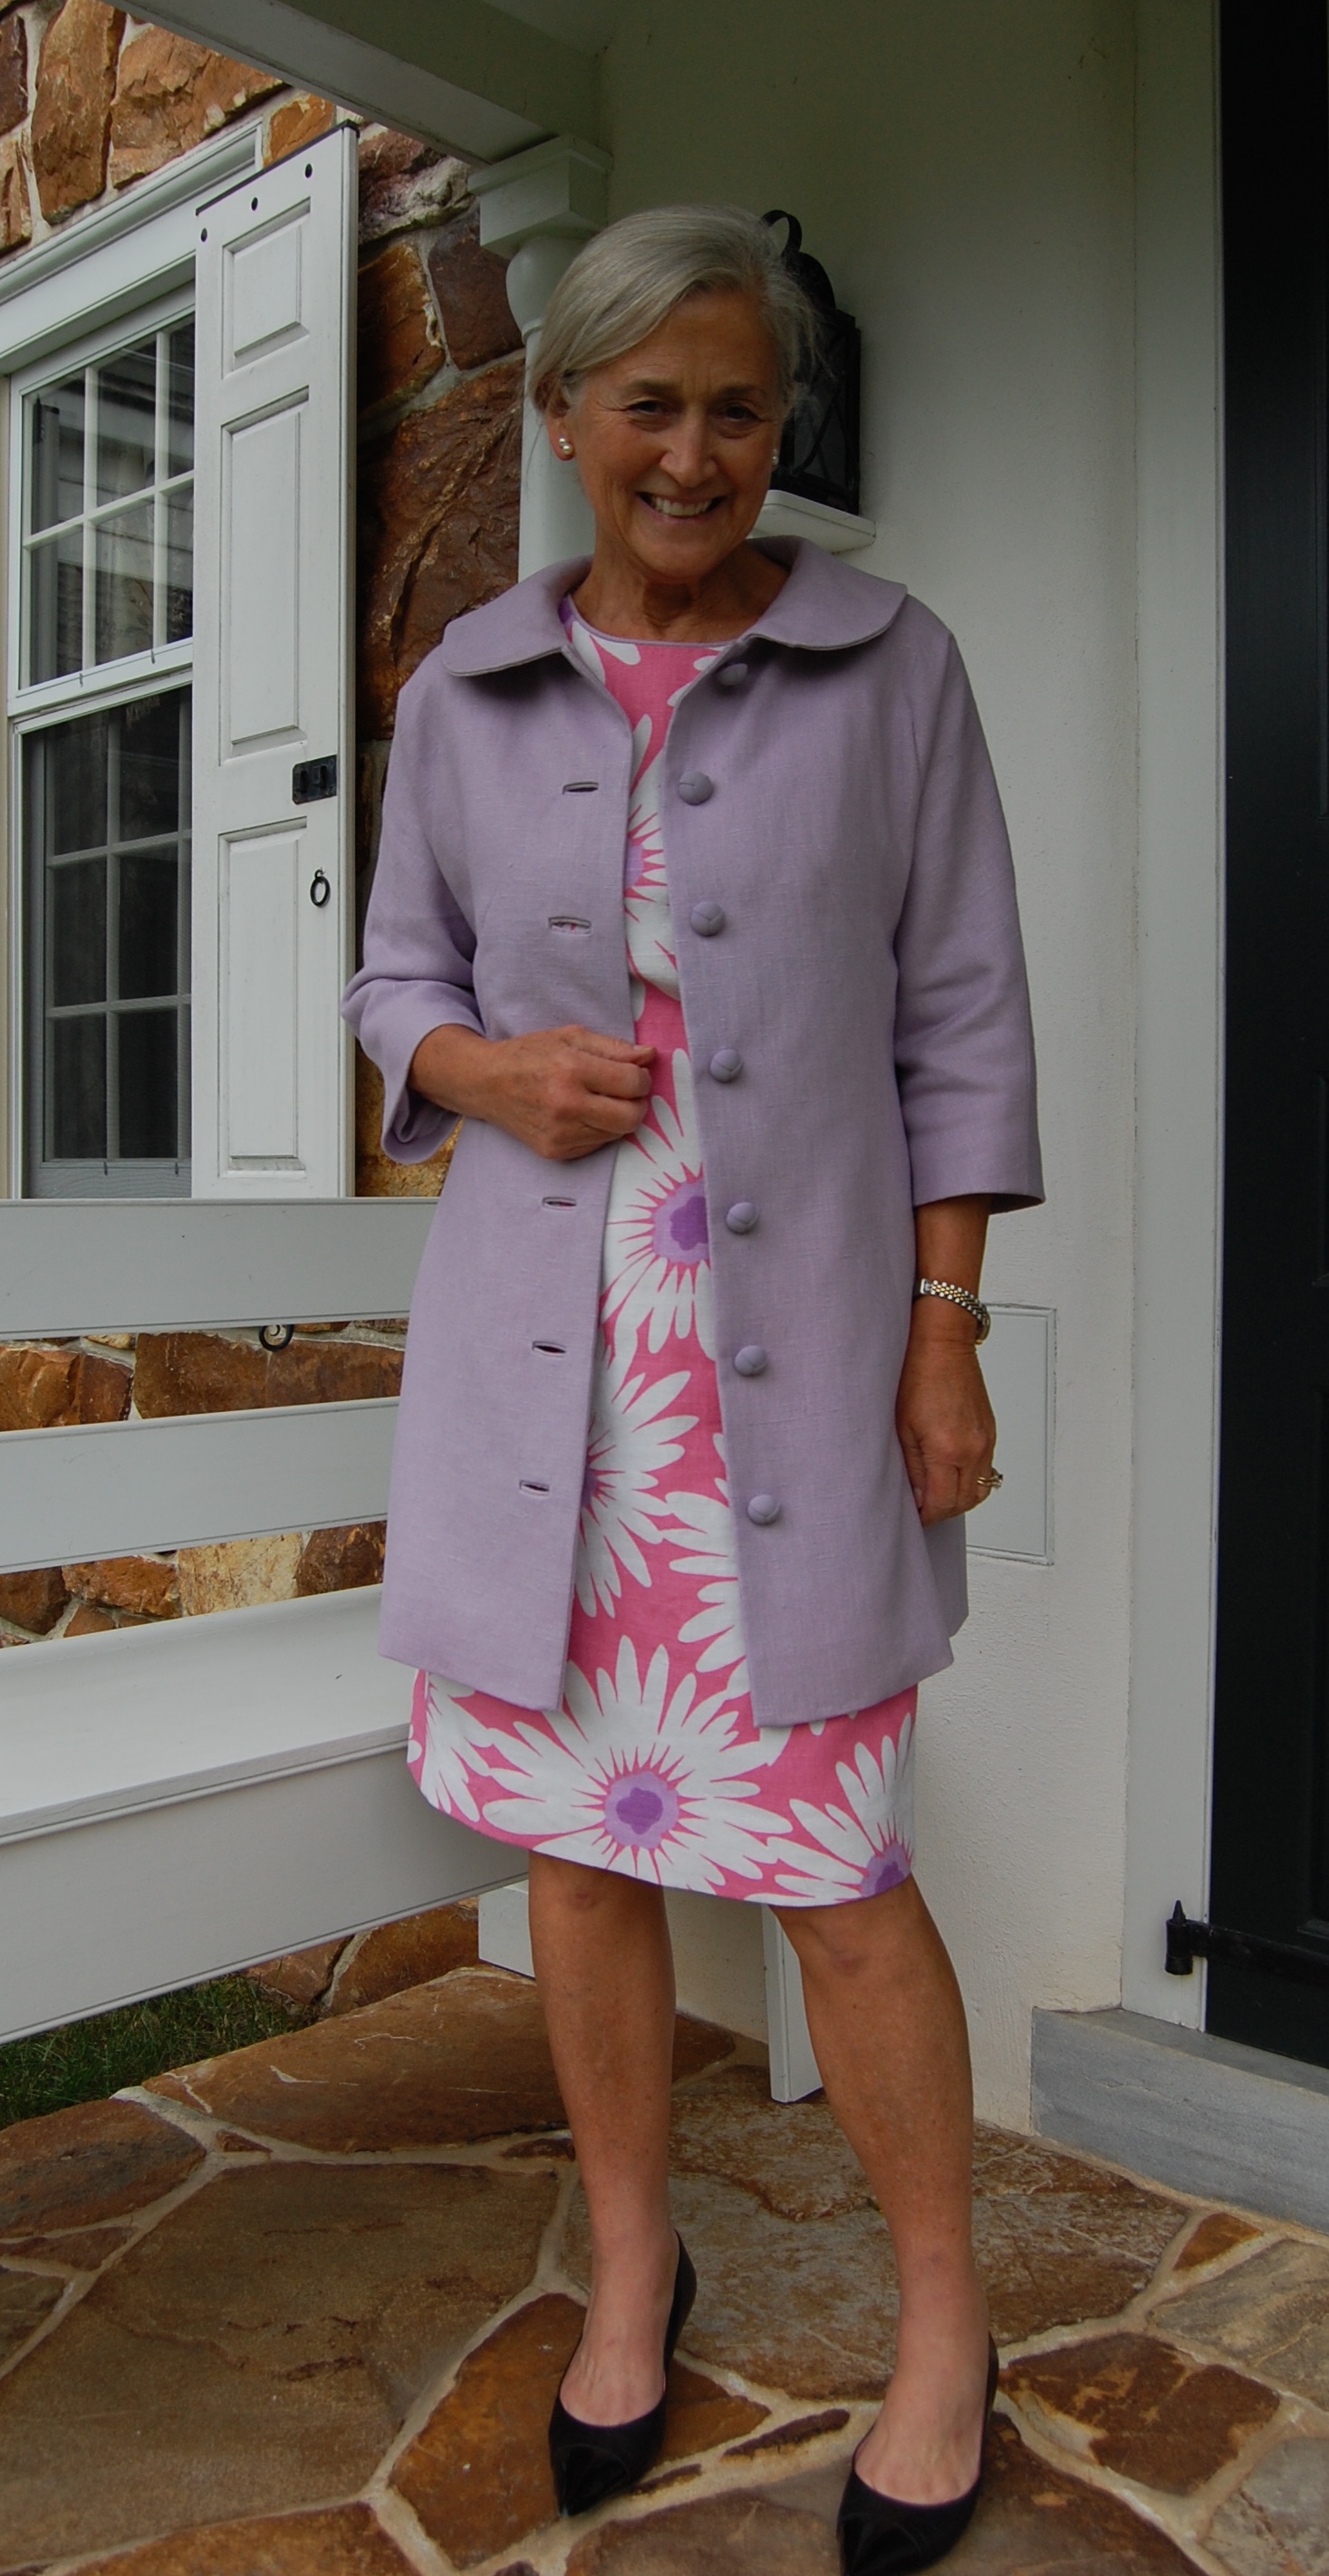
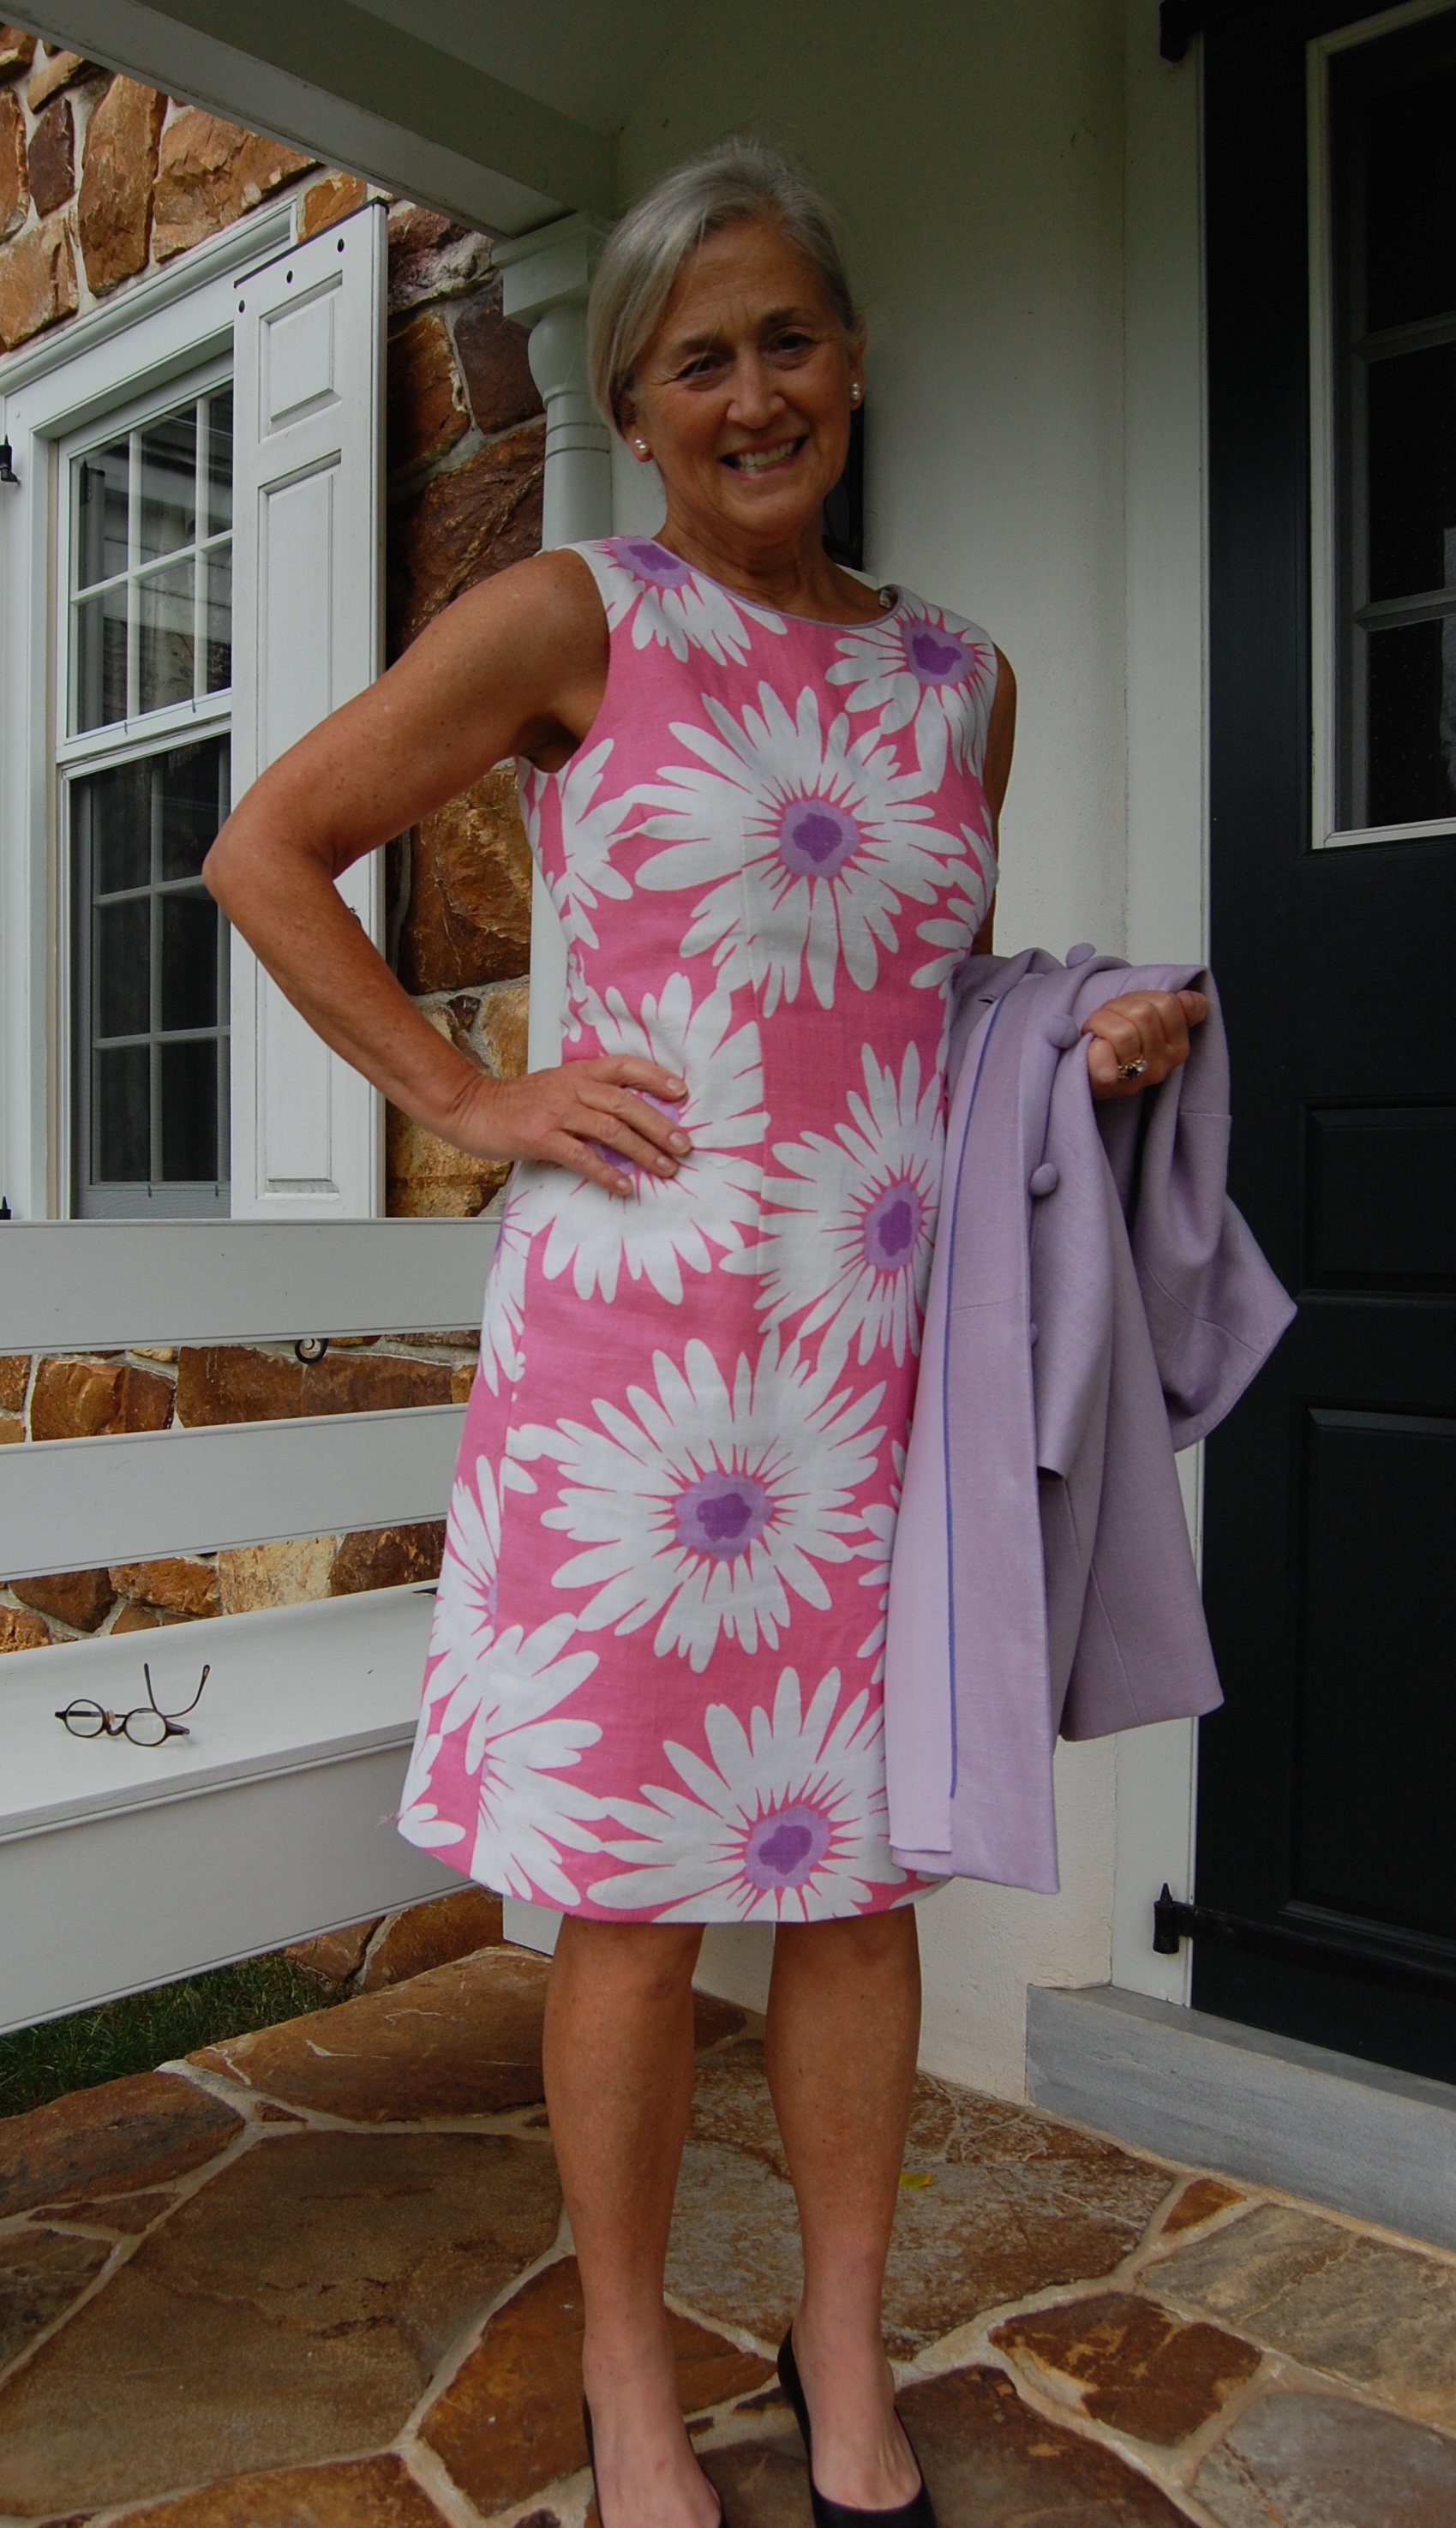
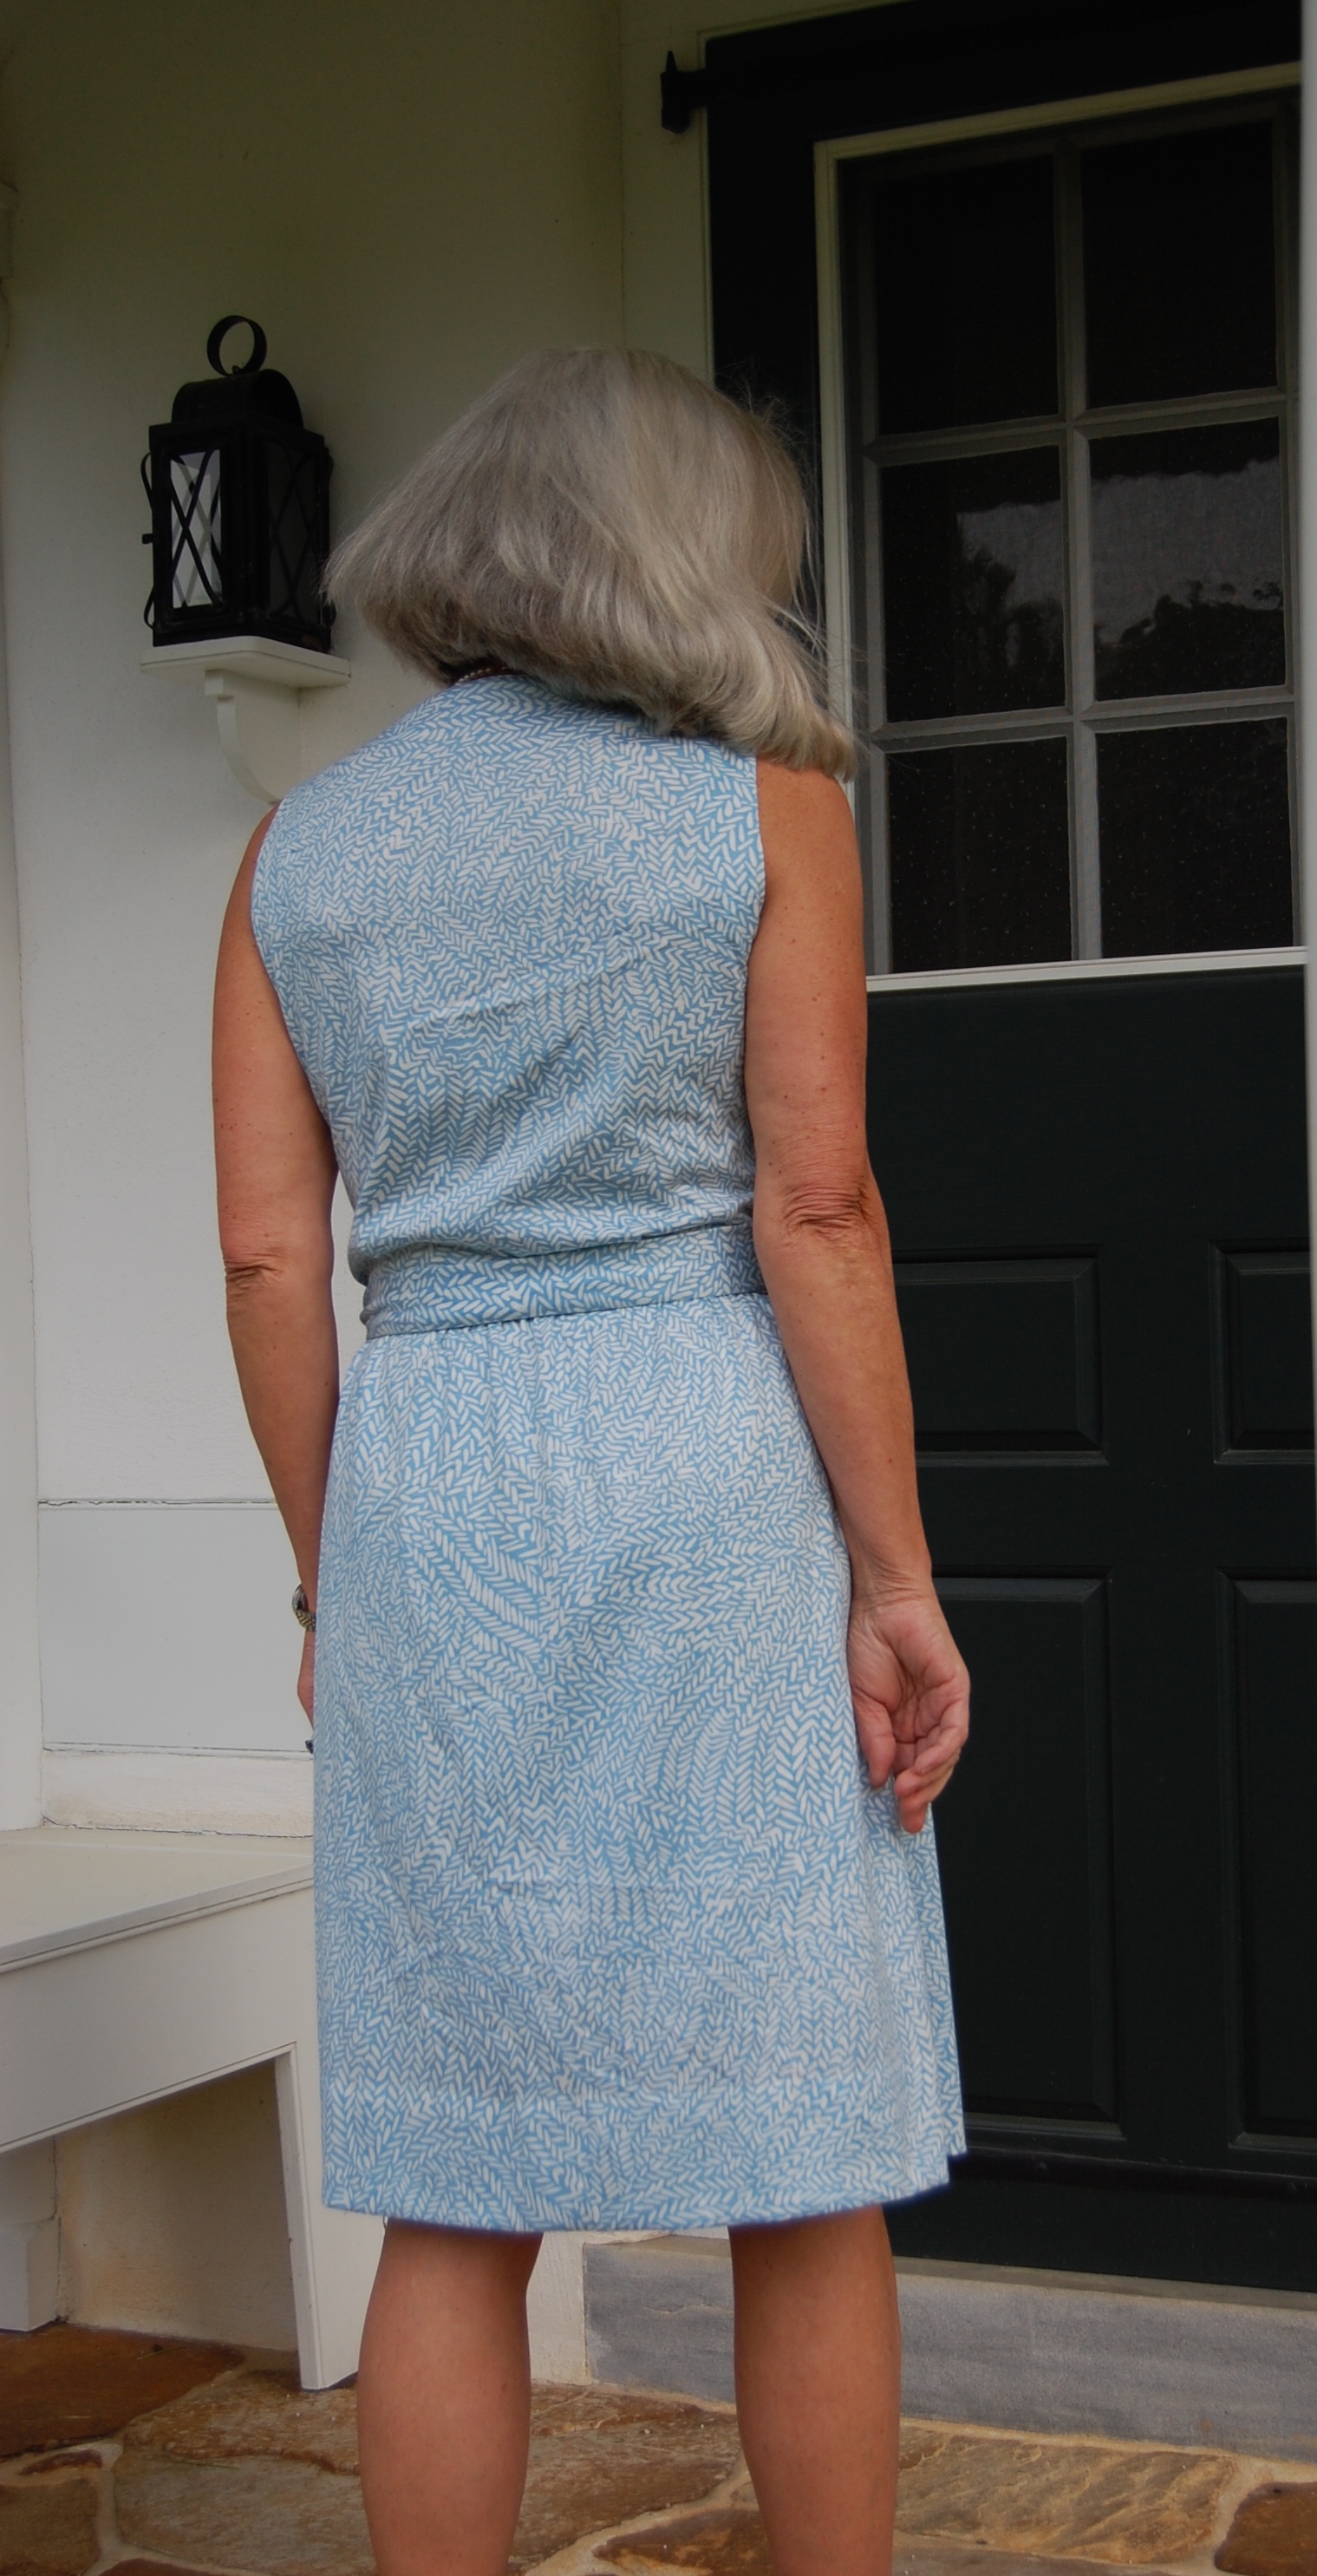
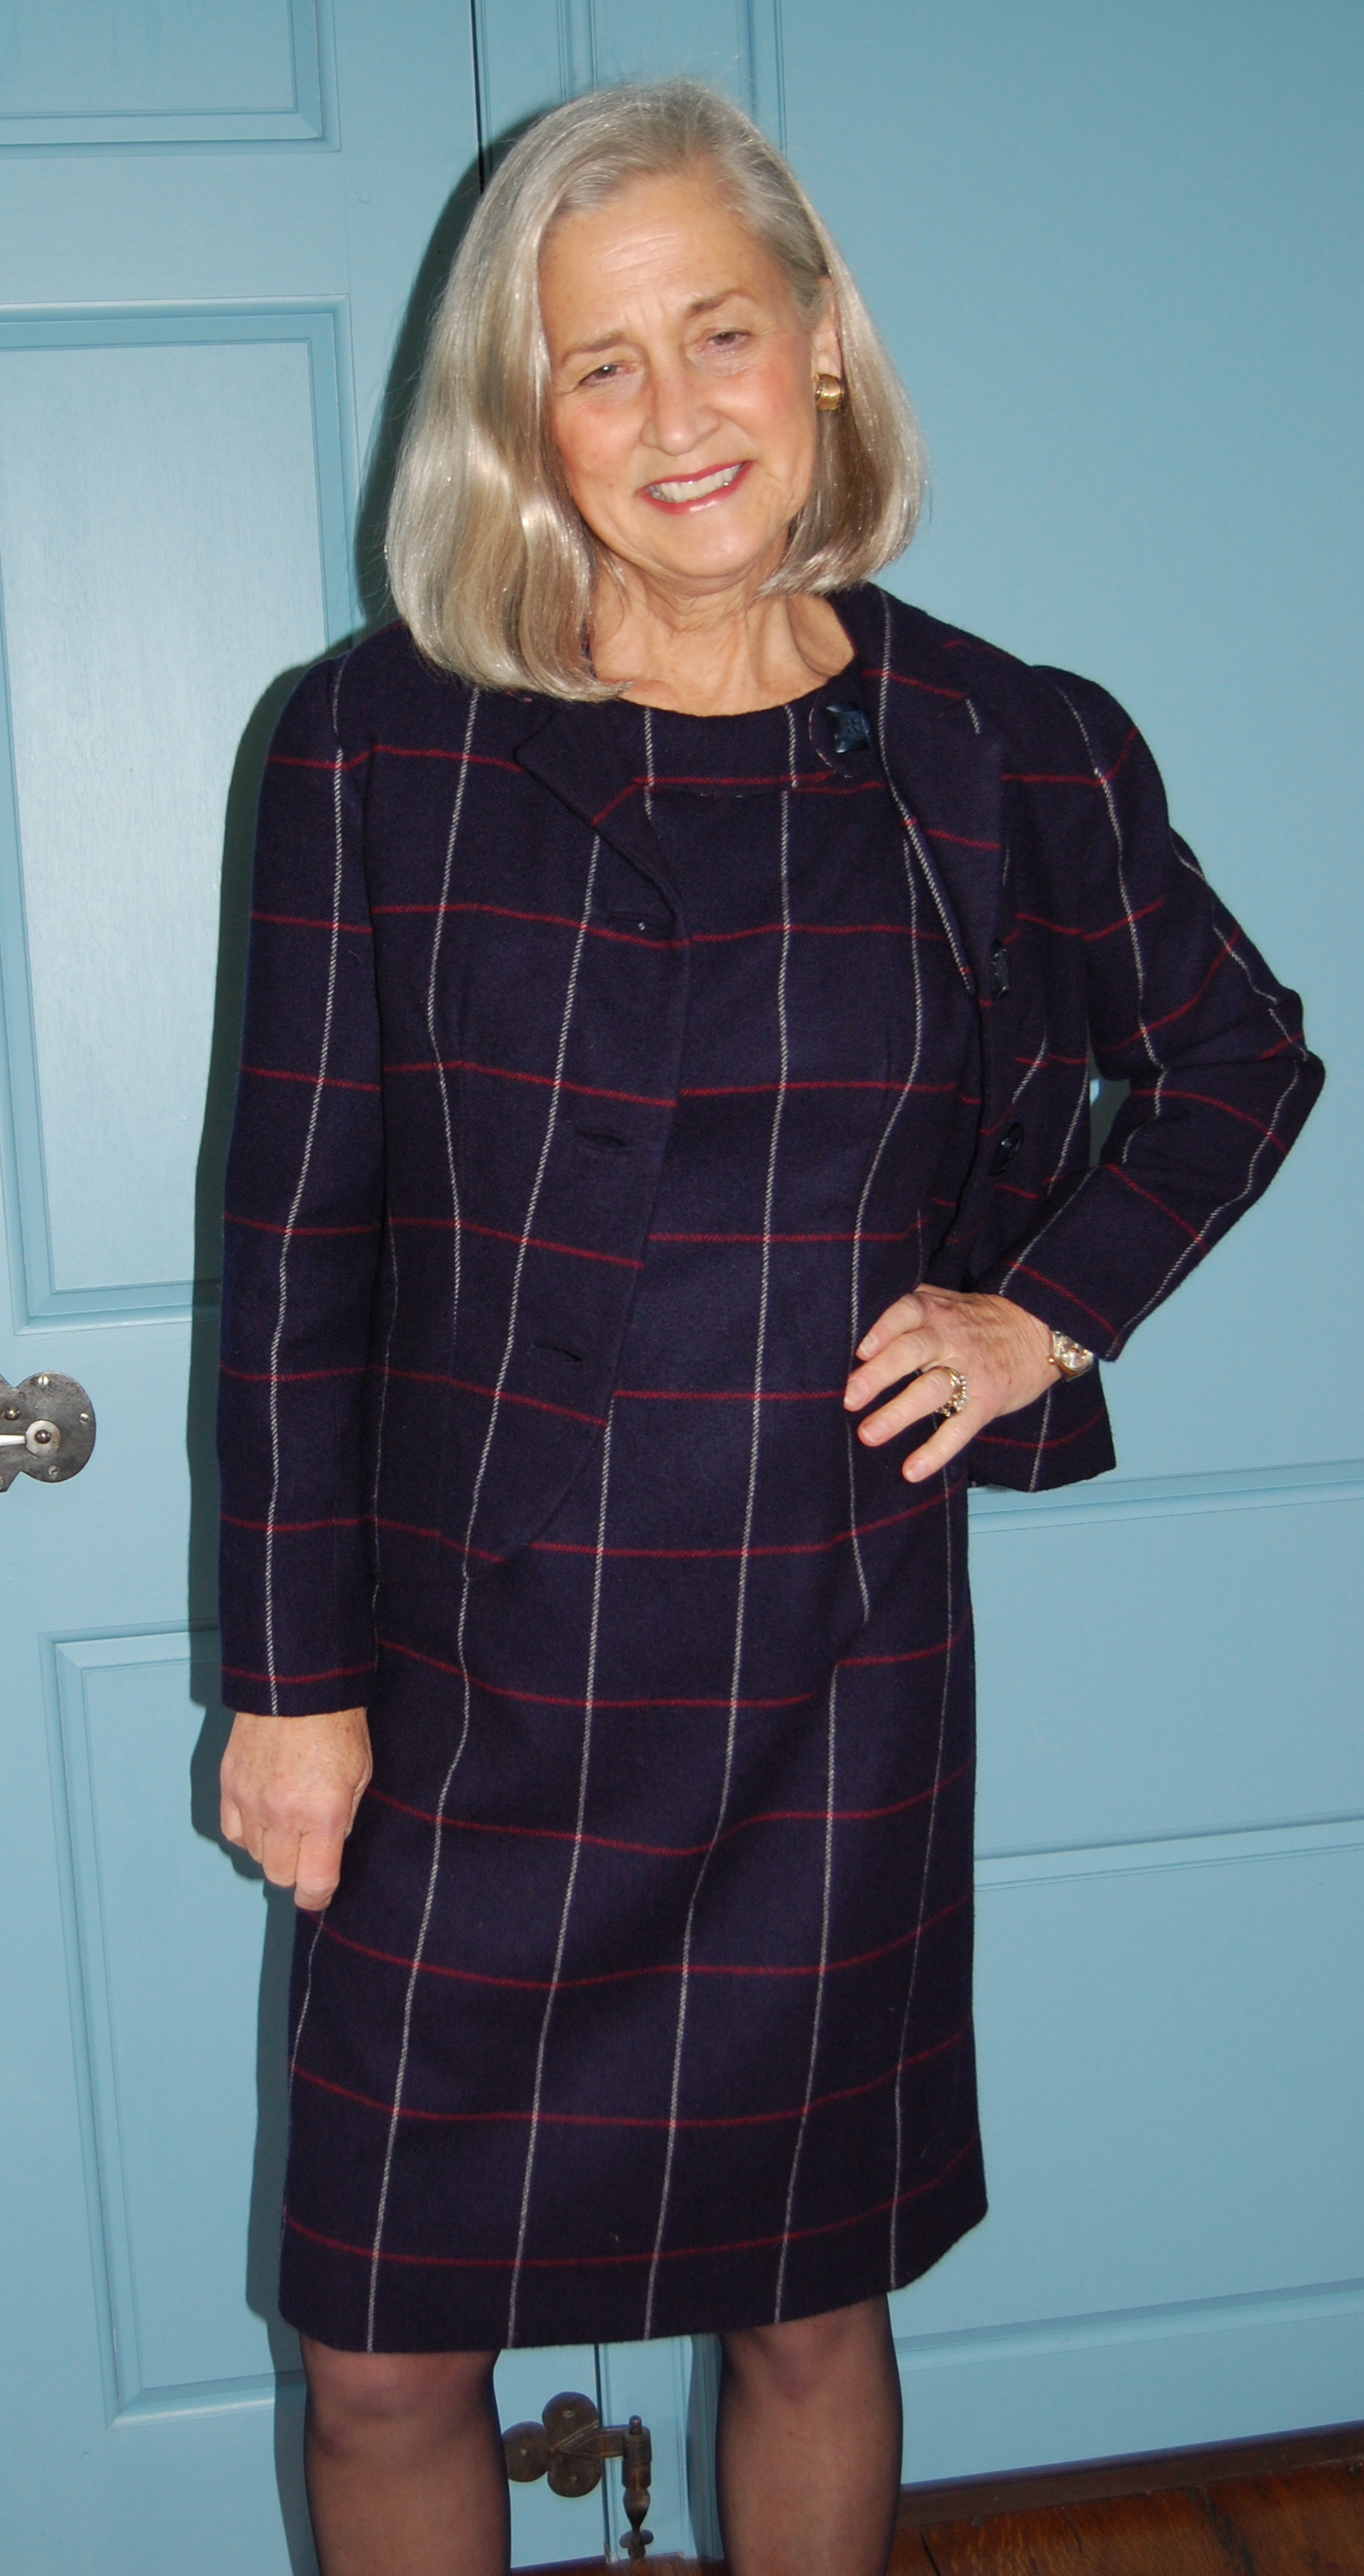
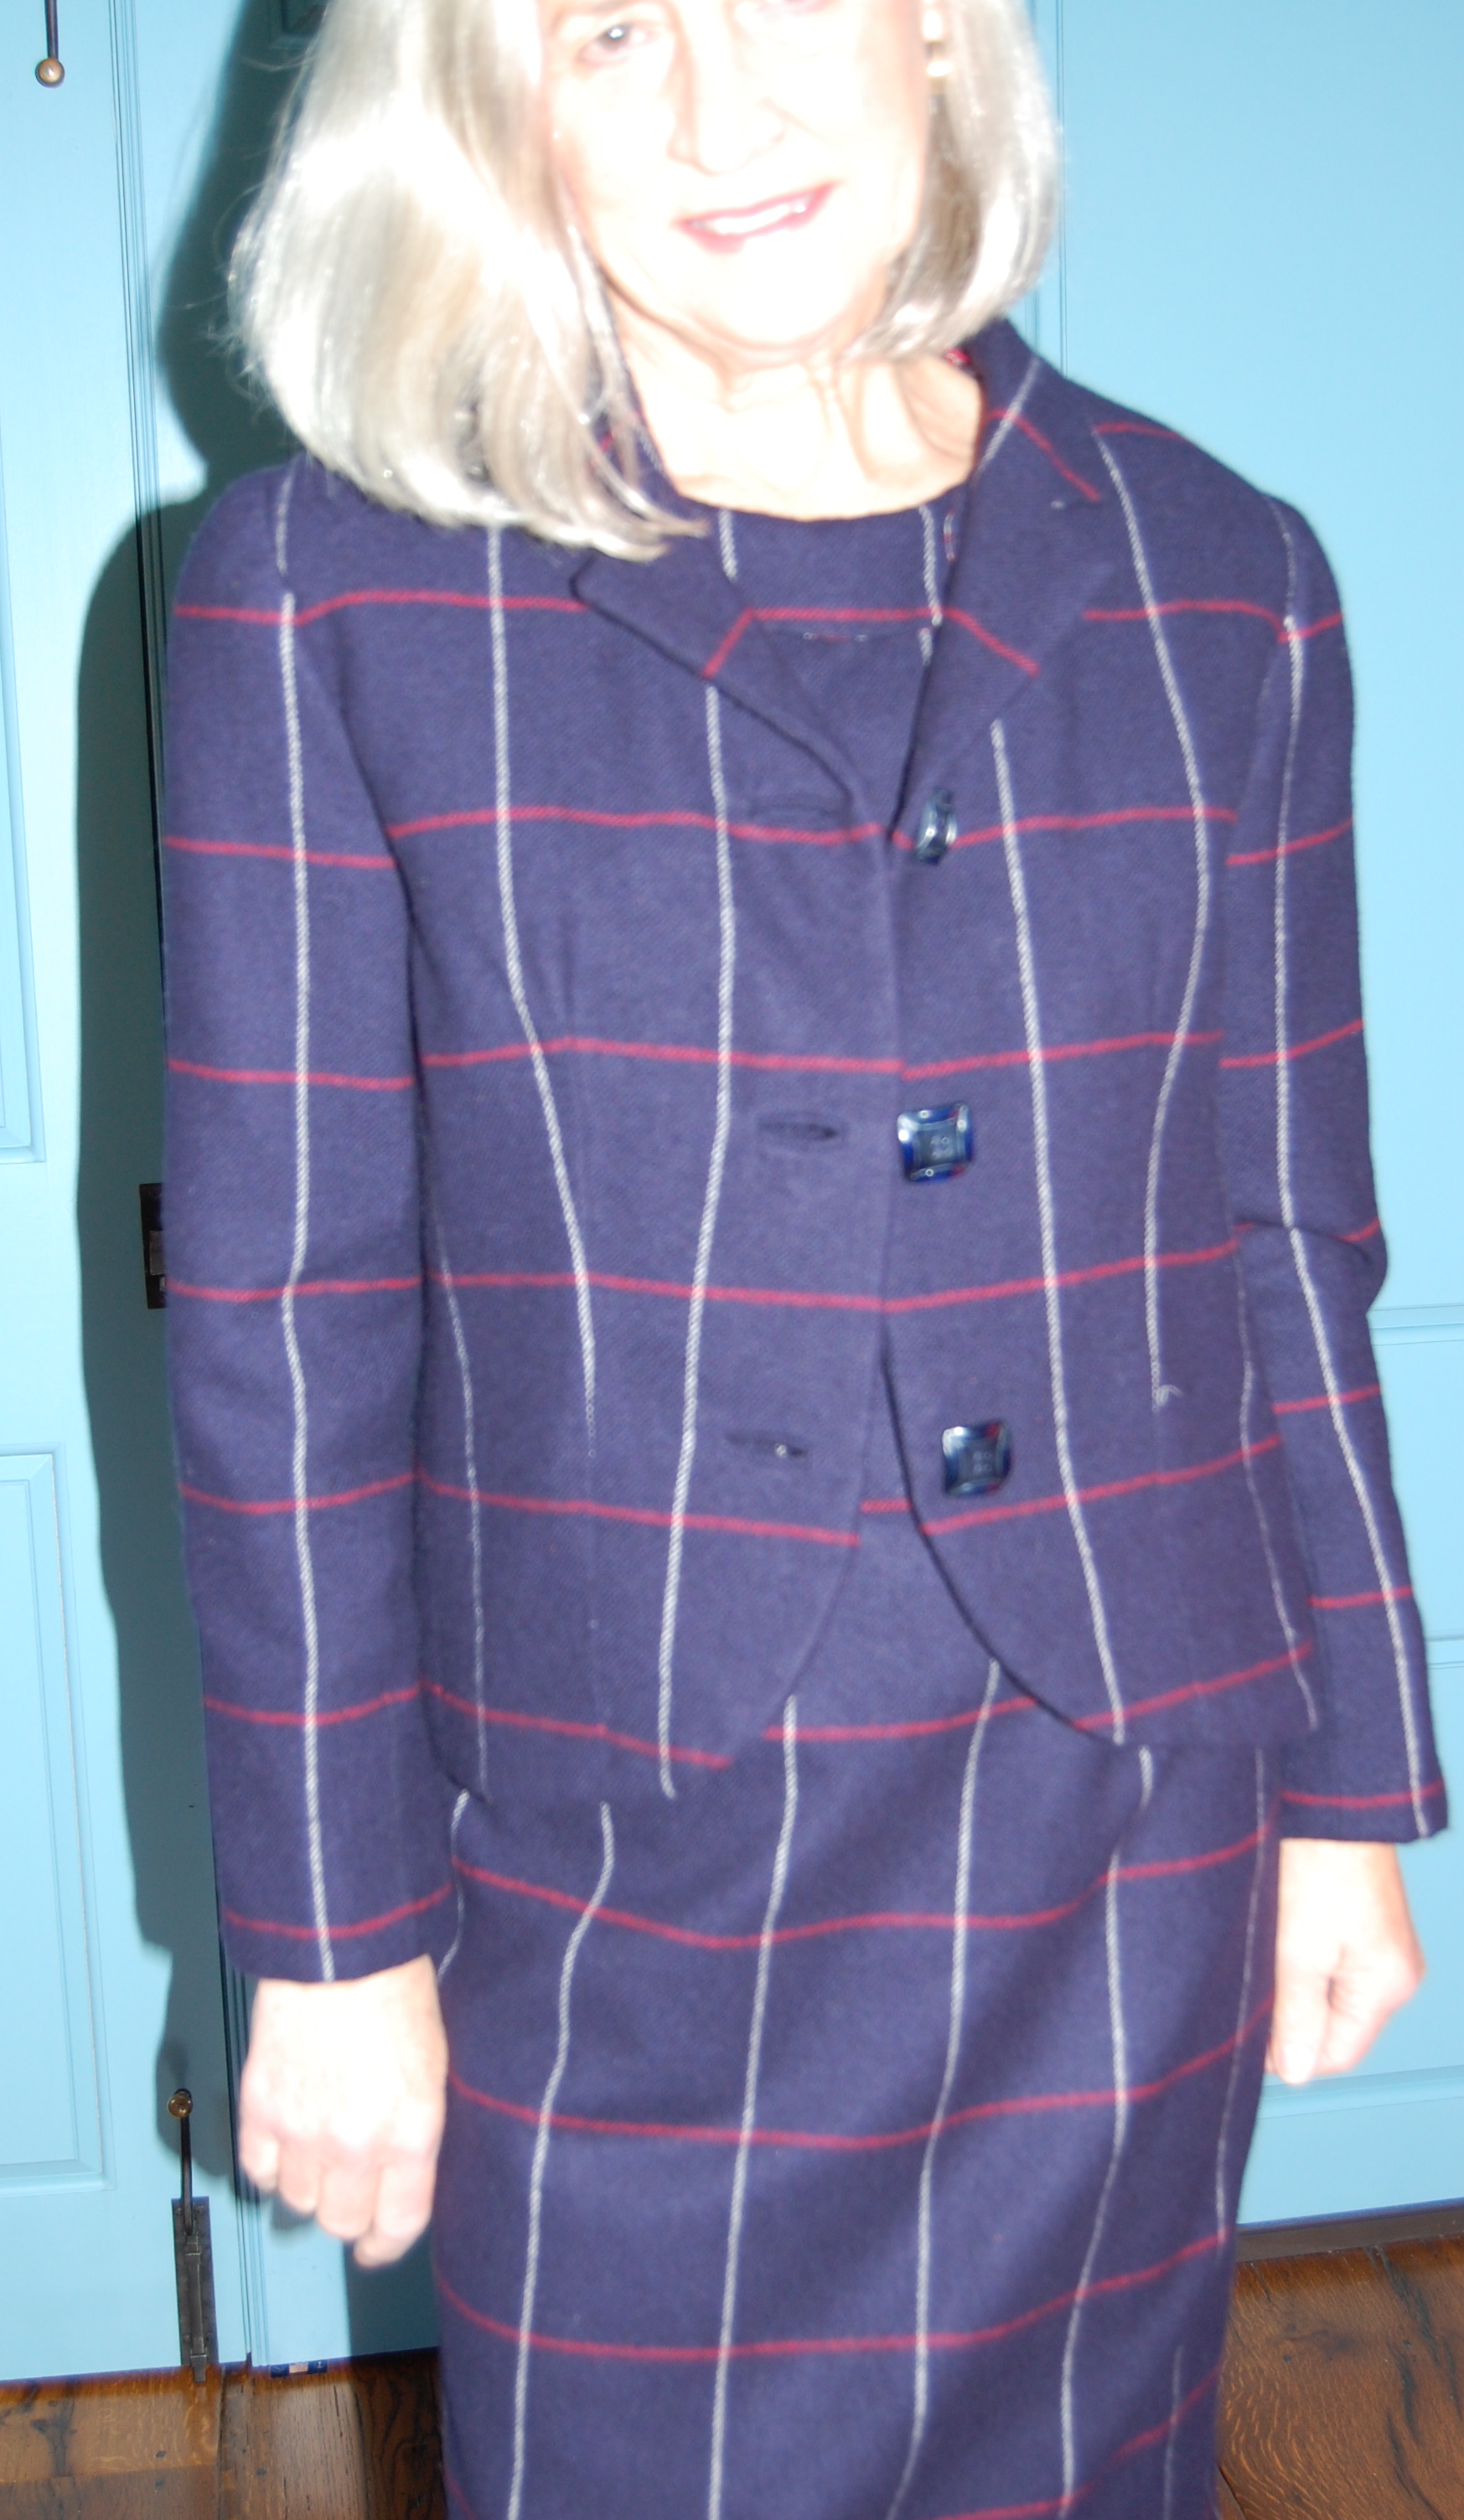
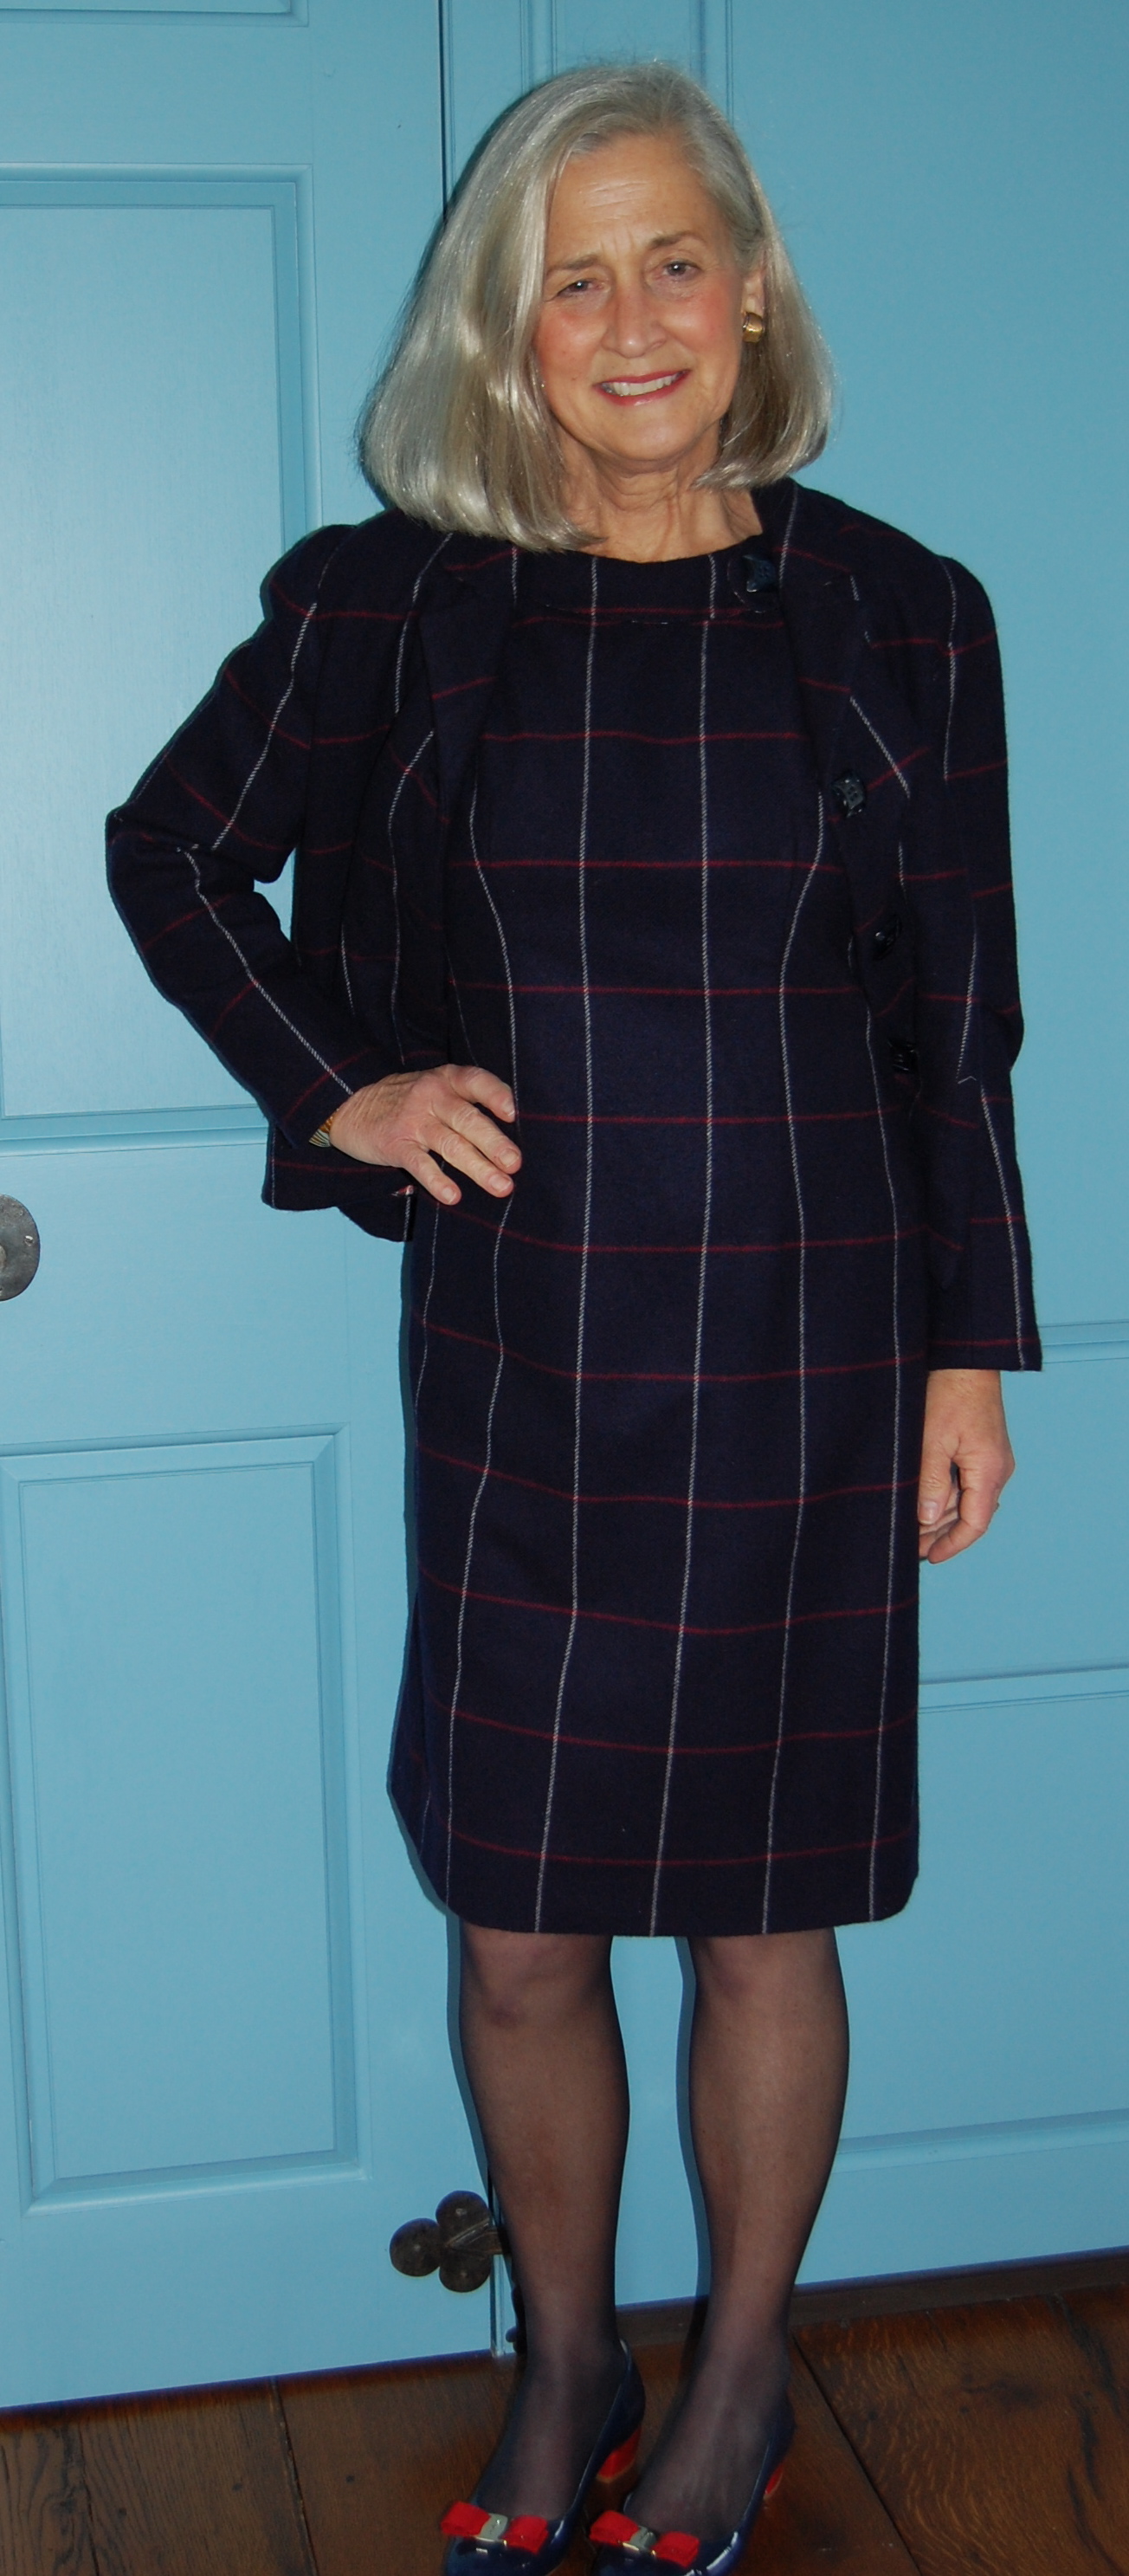
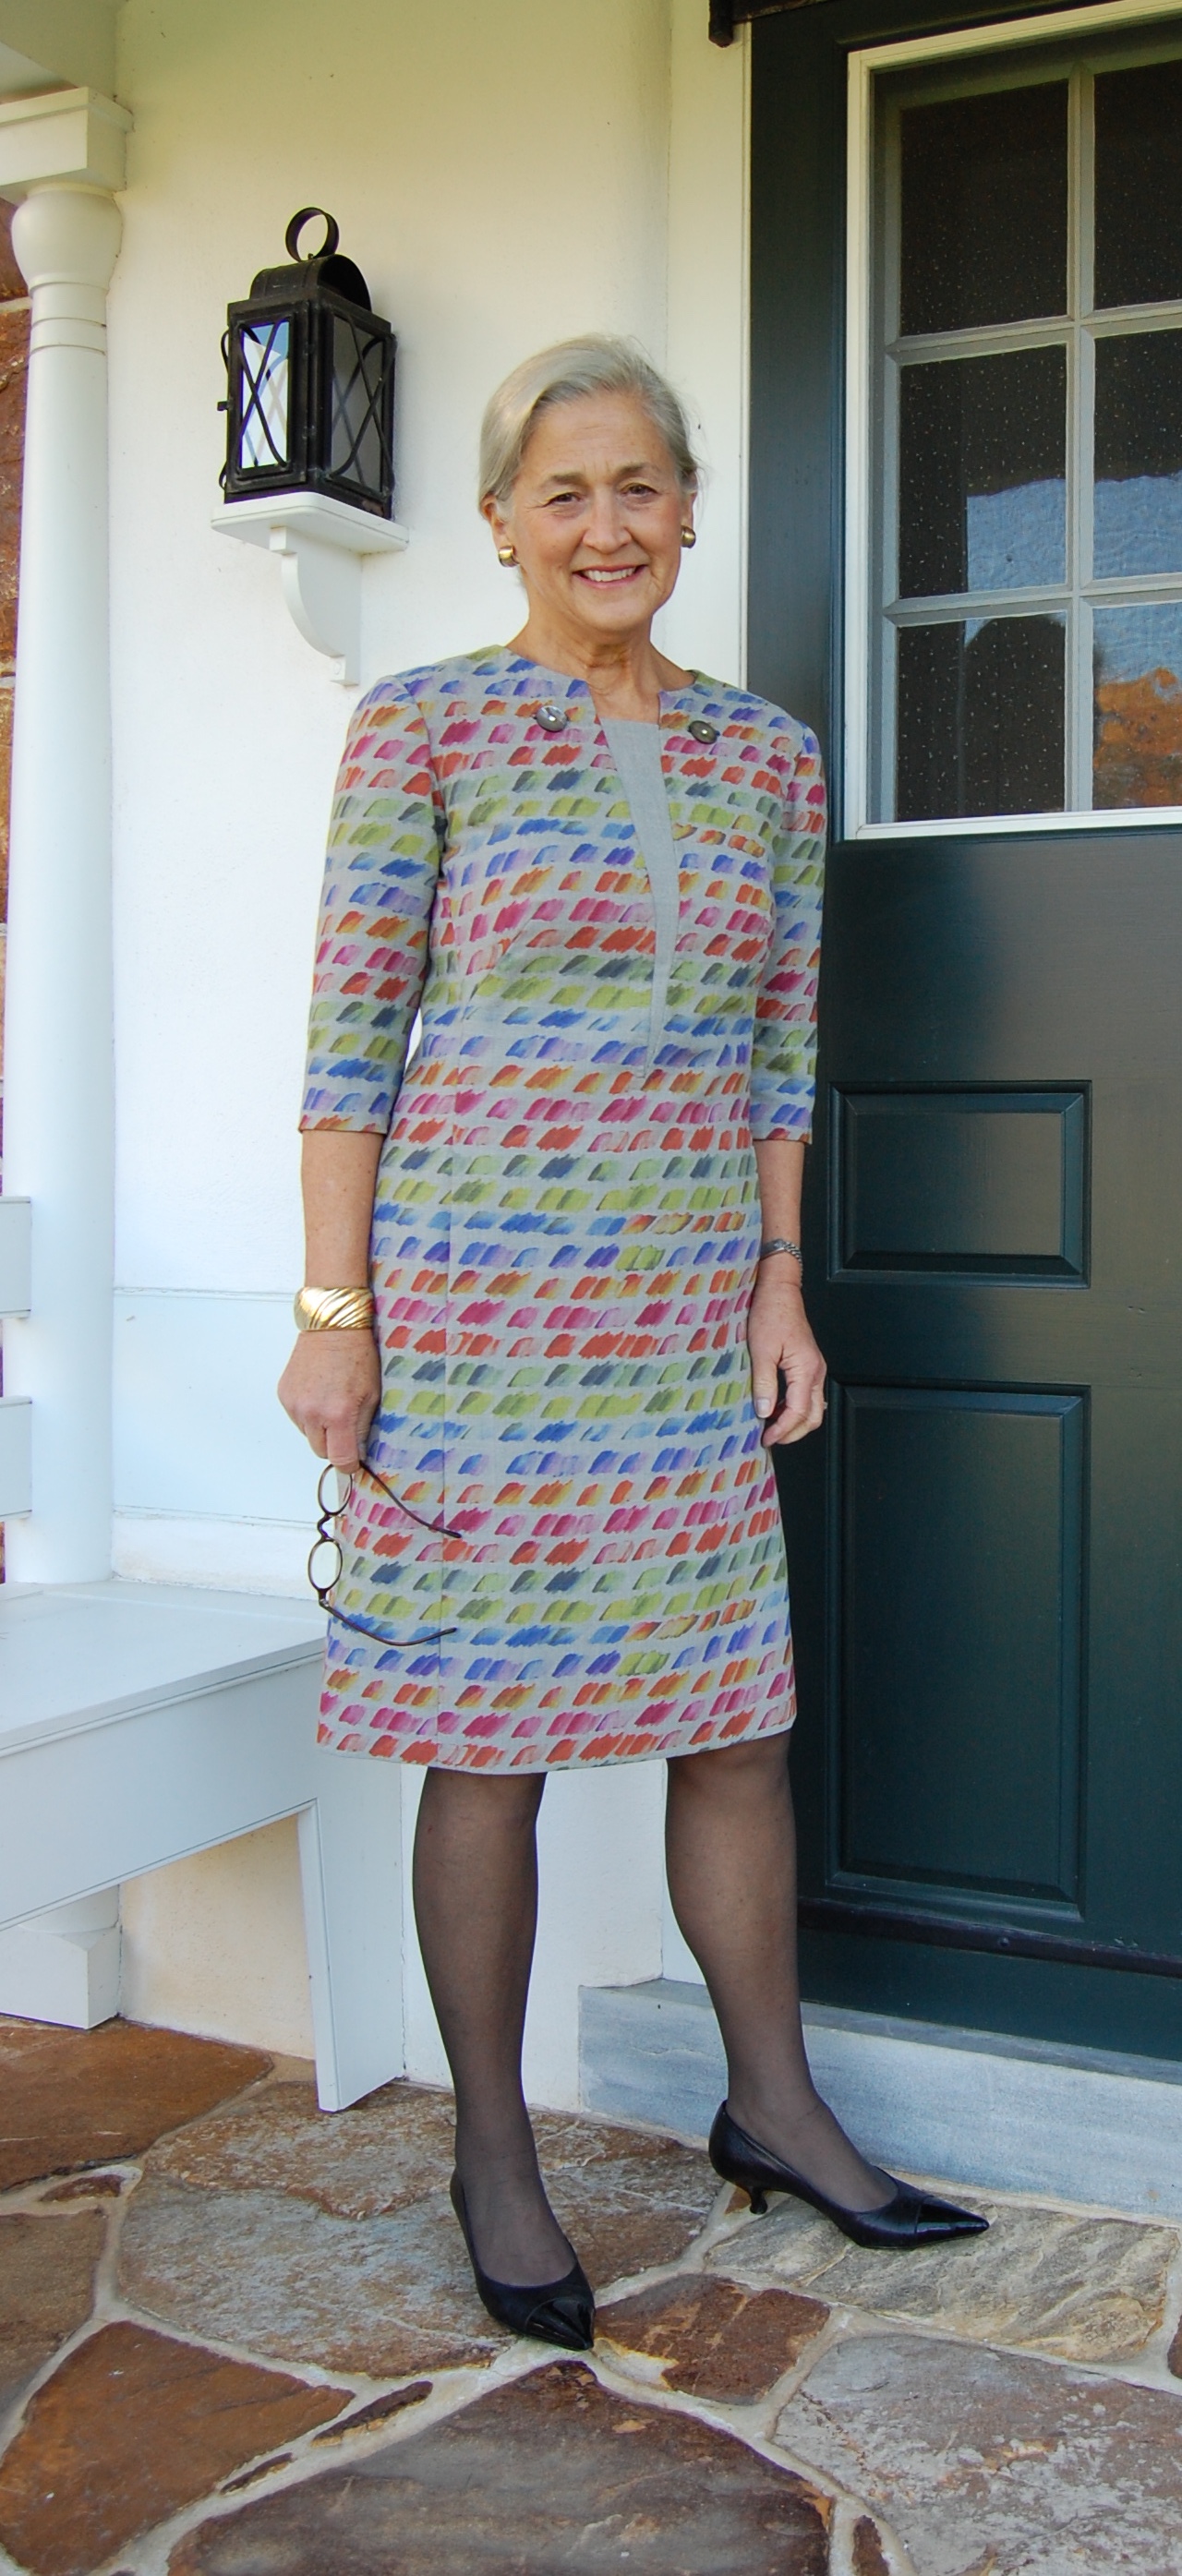
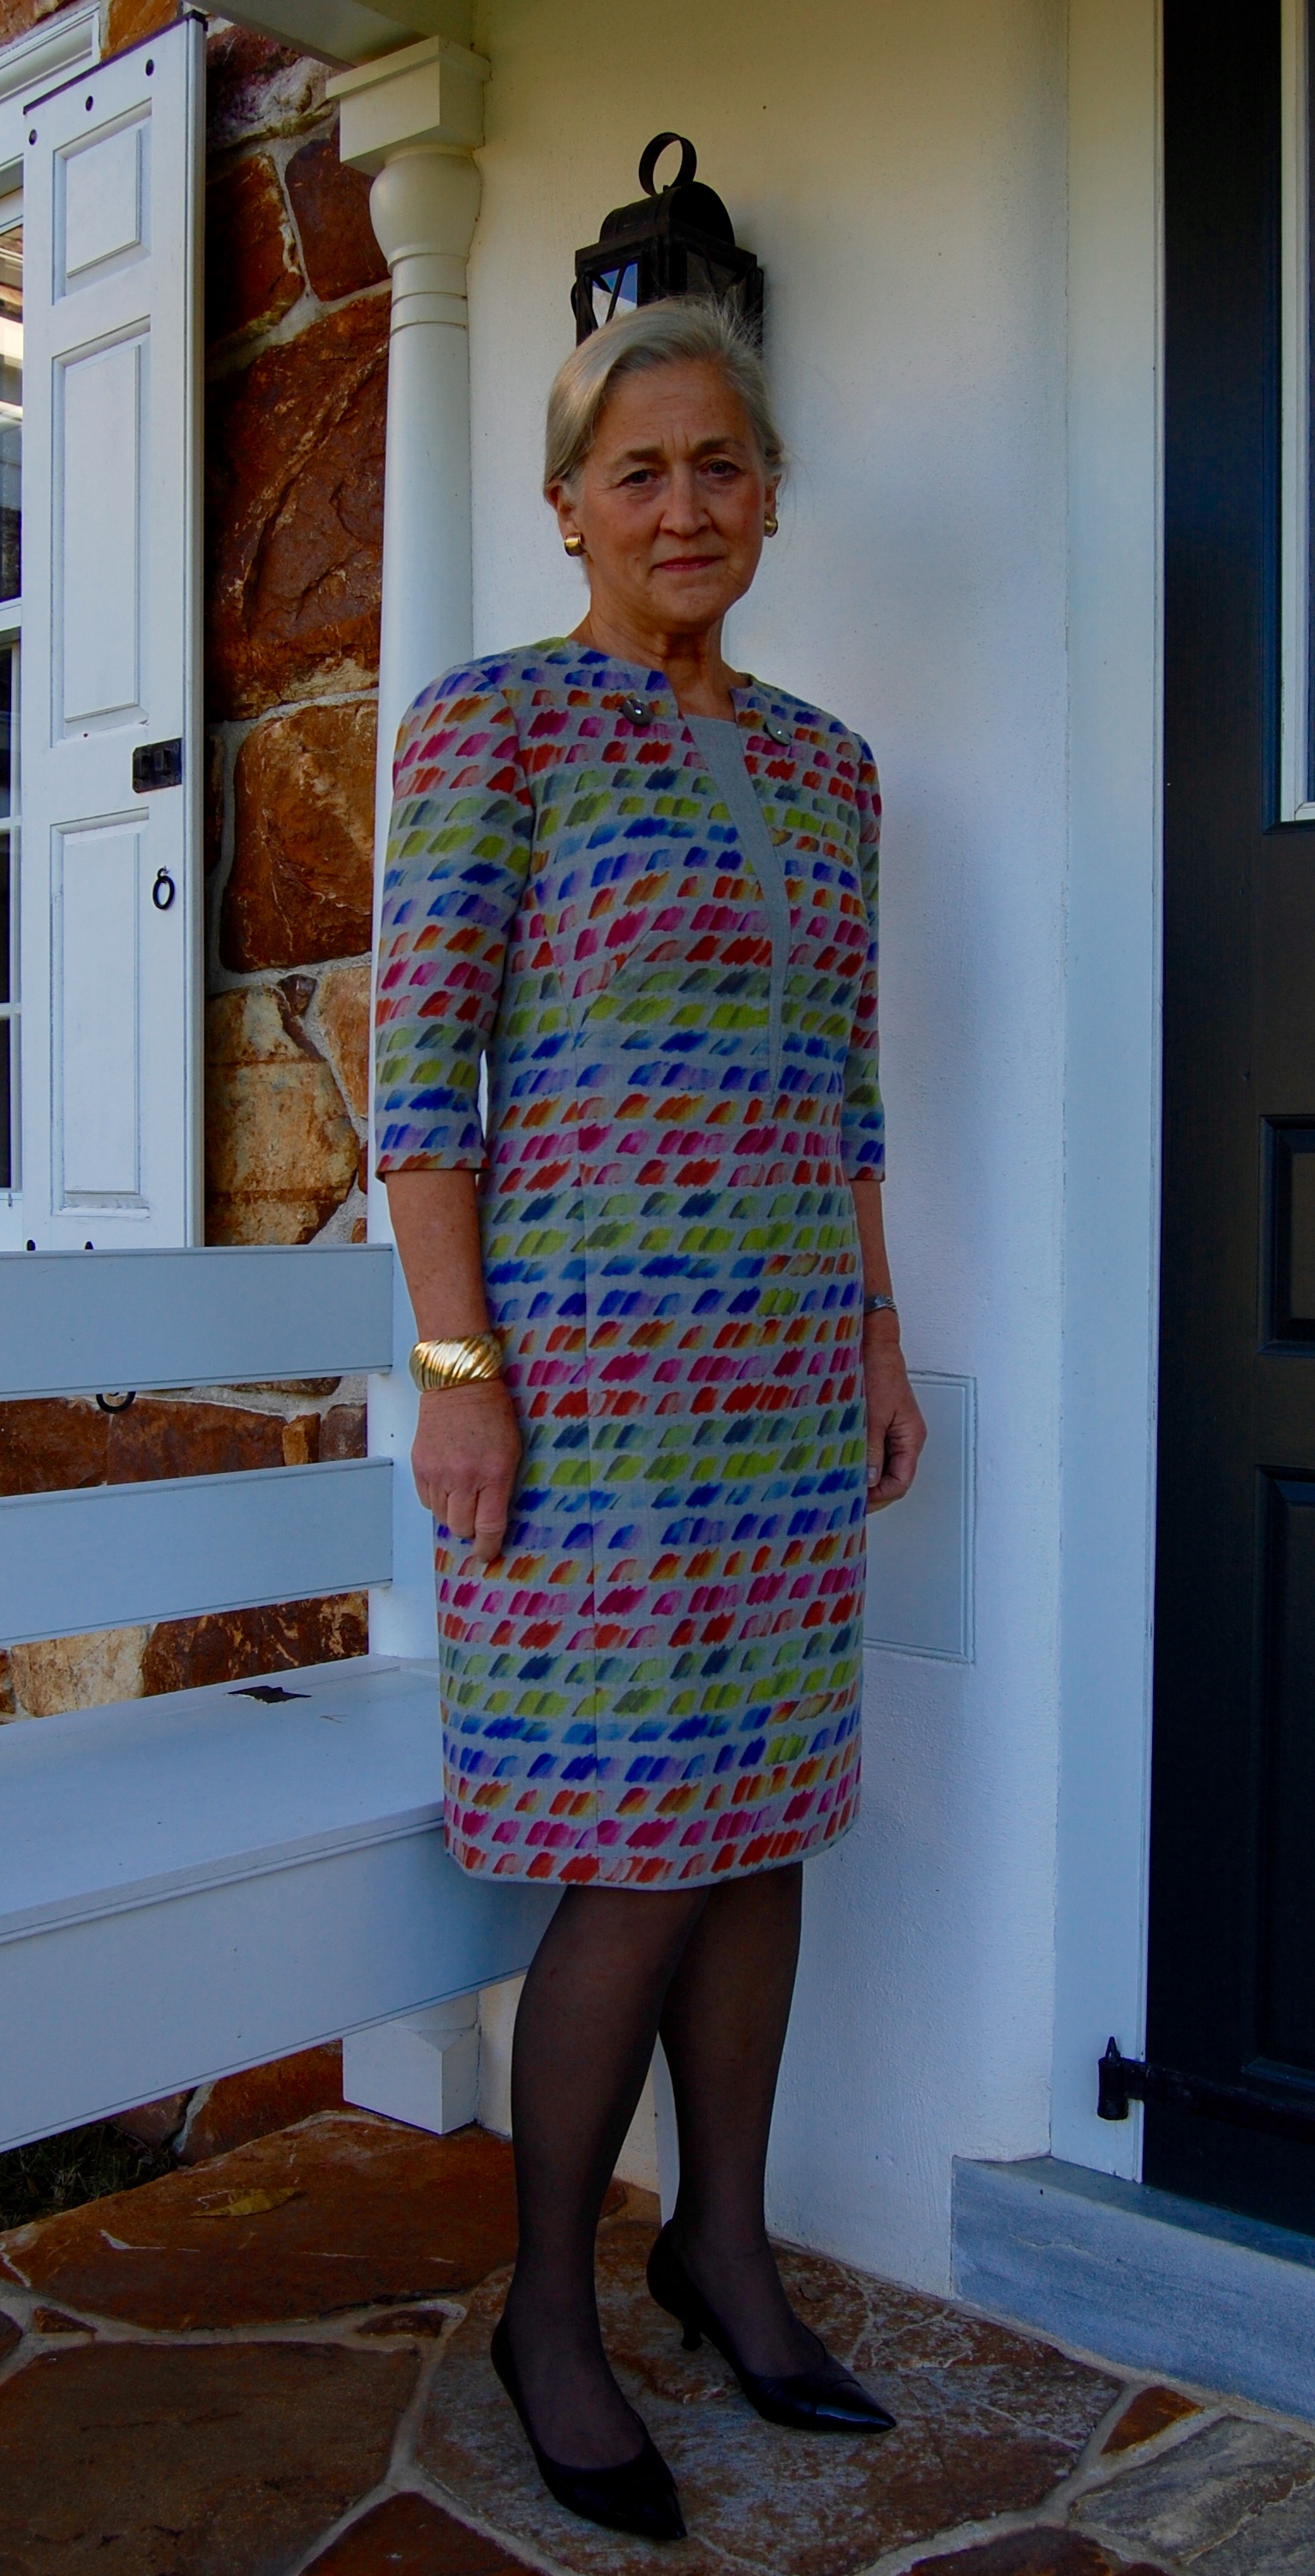
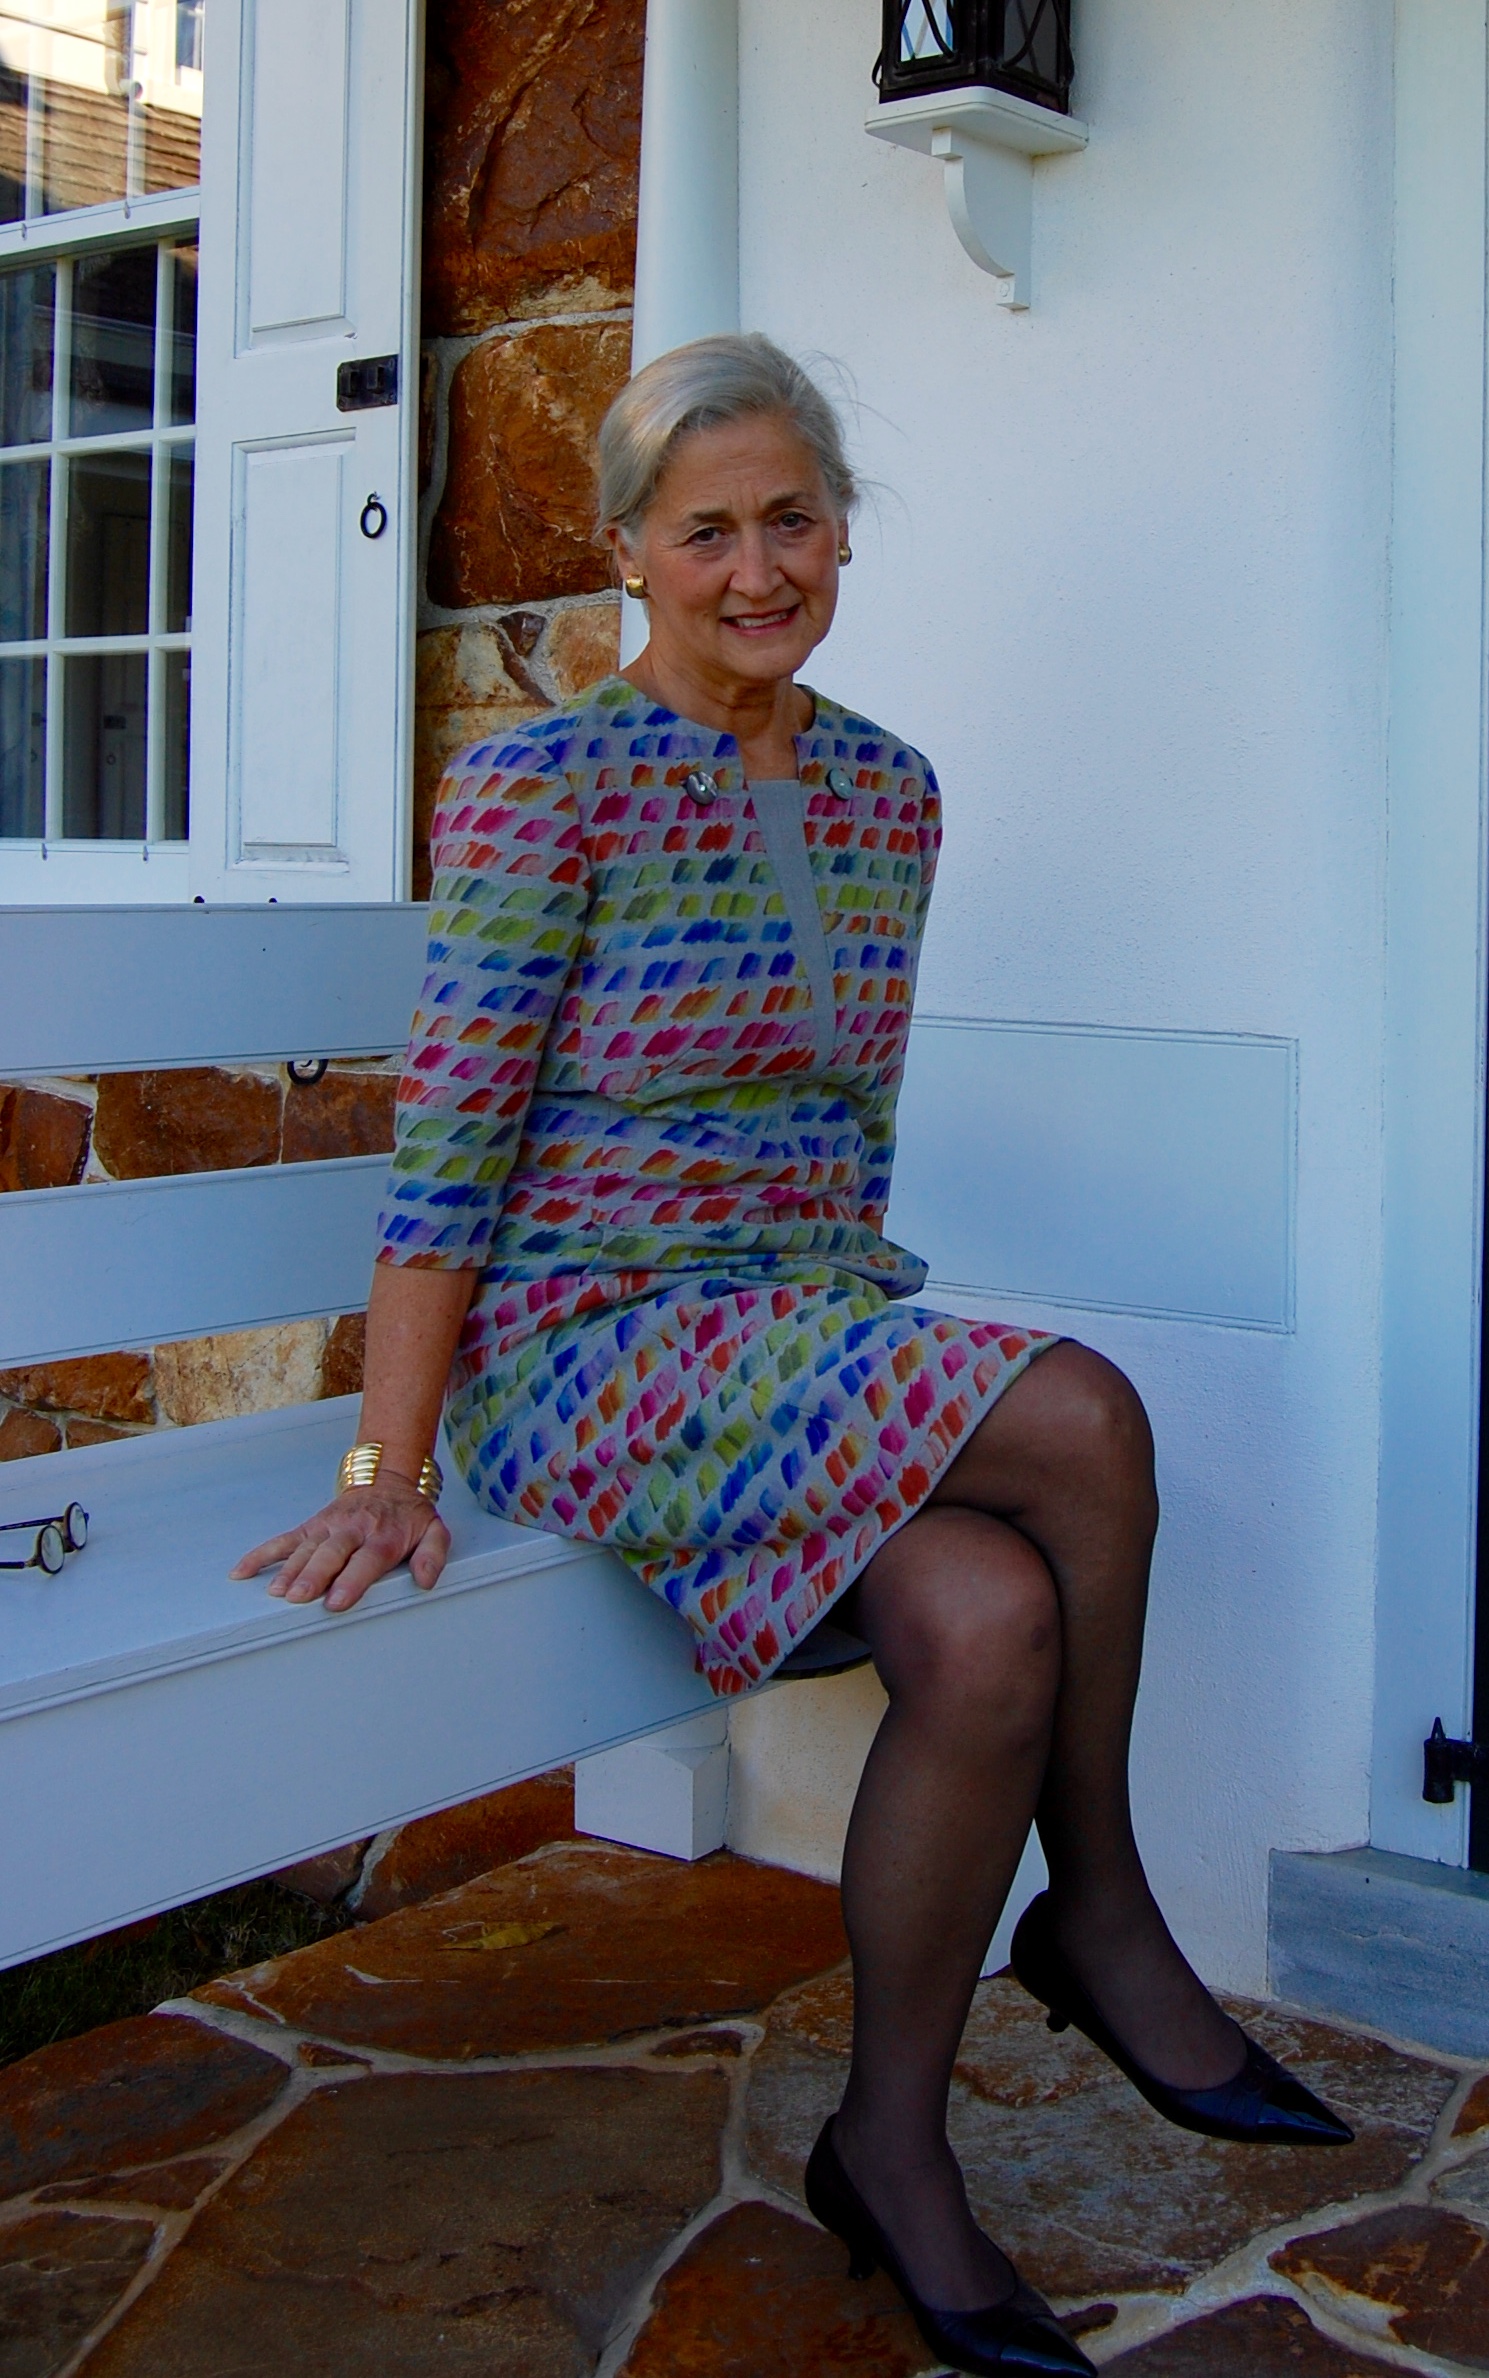
How wonderful to have this dress completed!
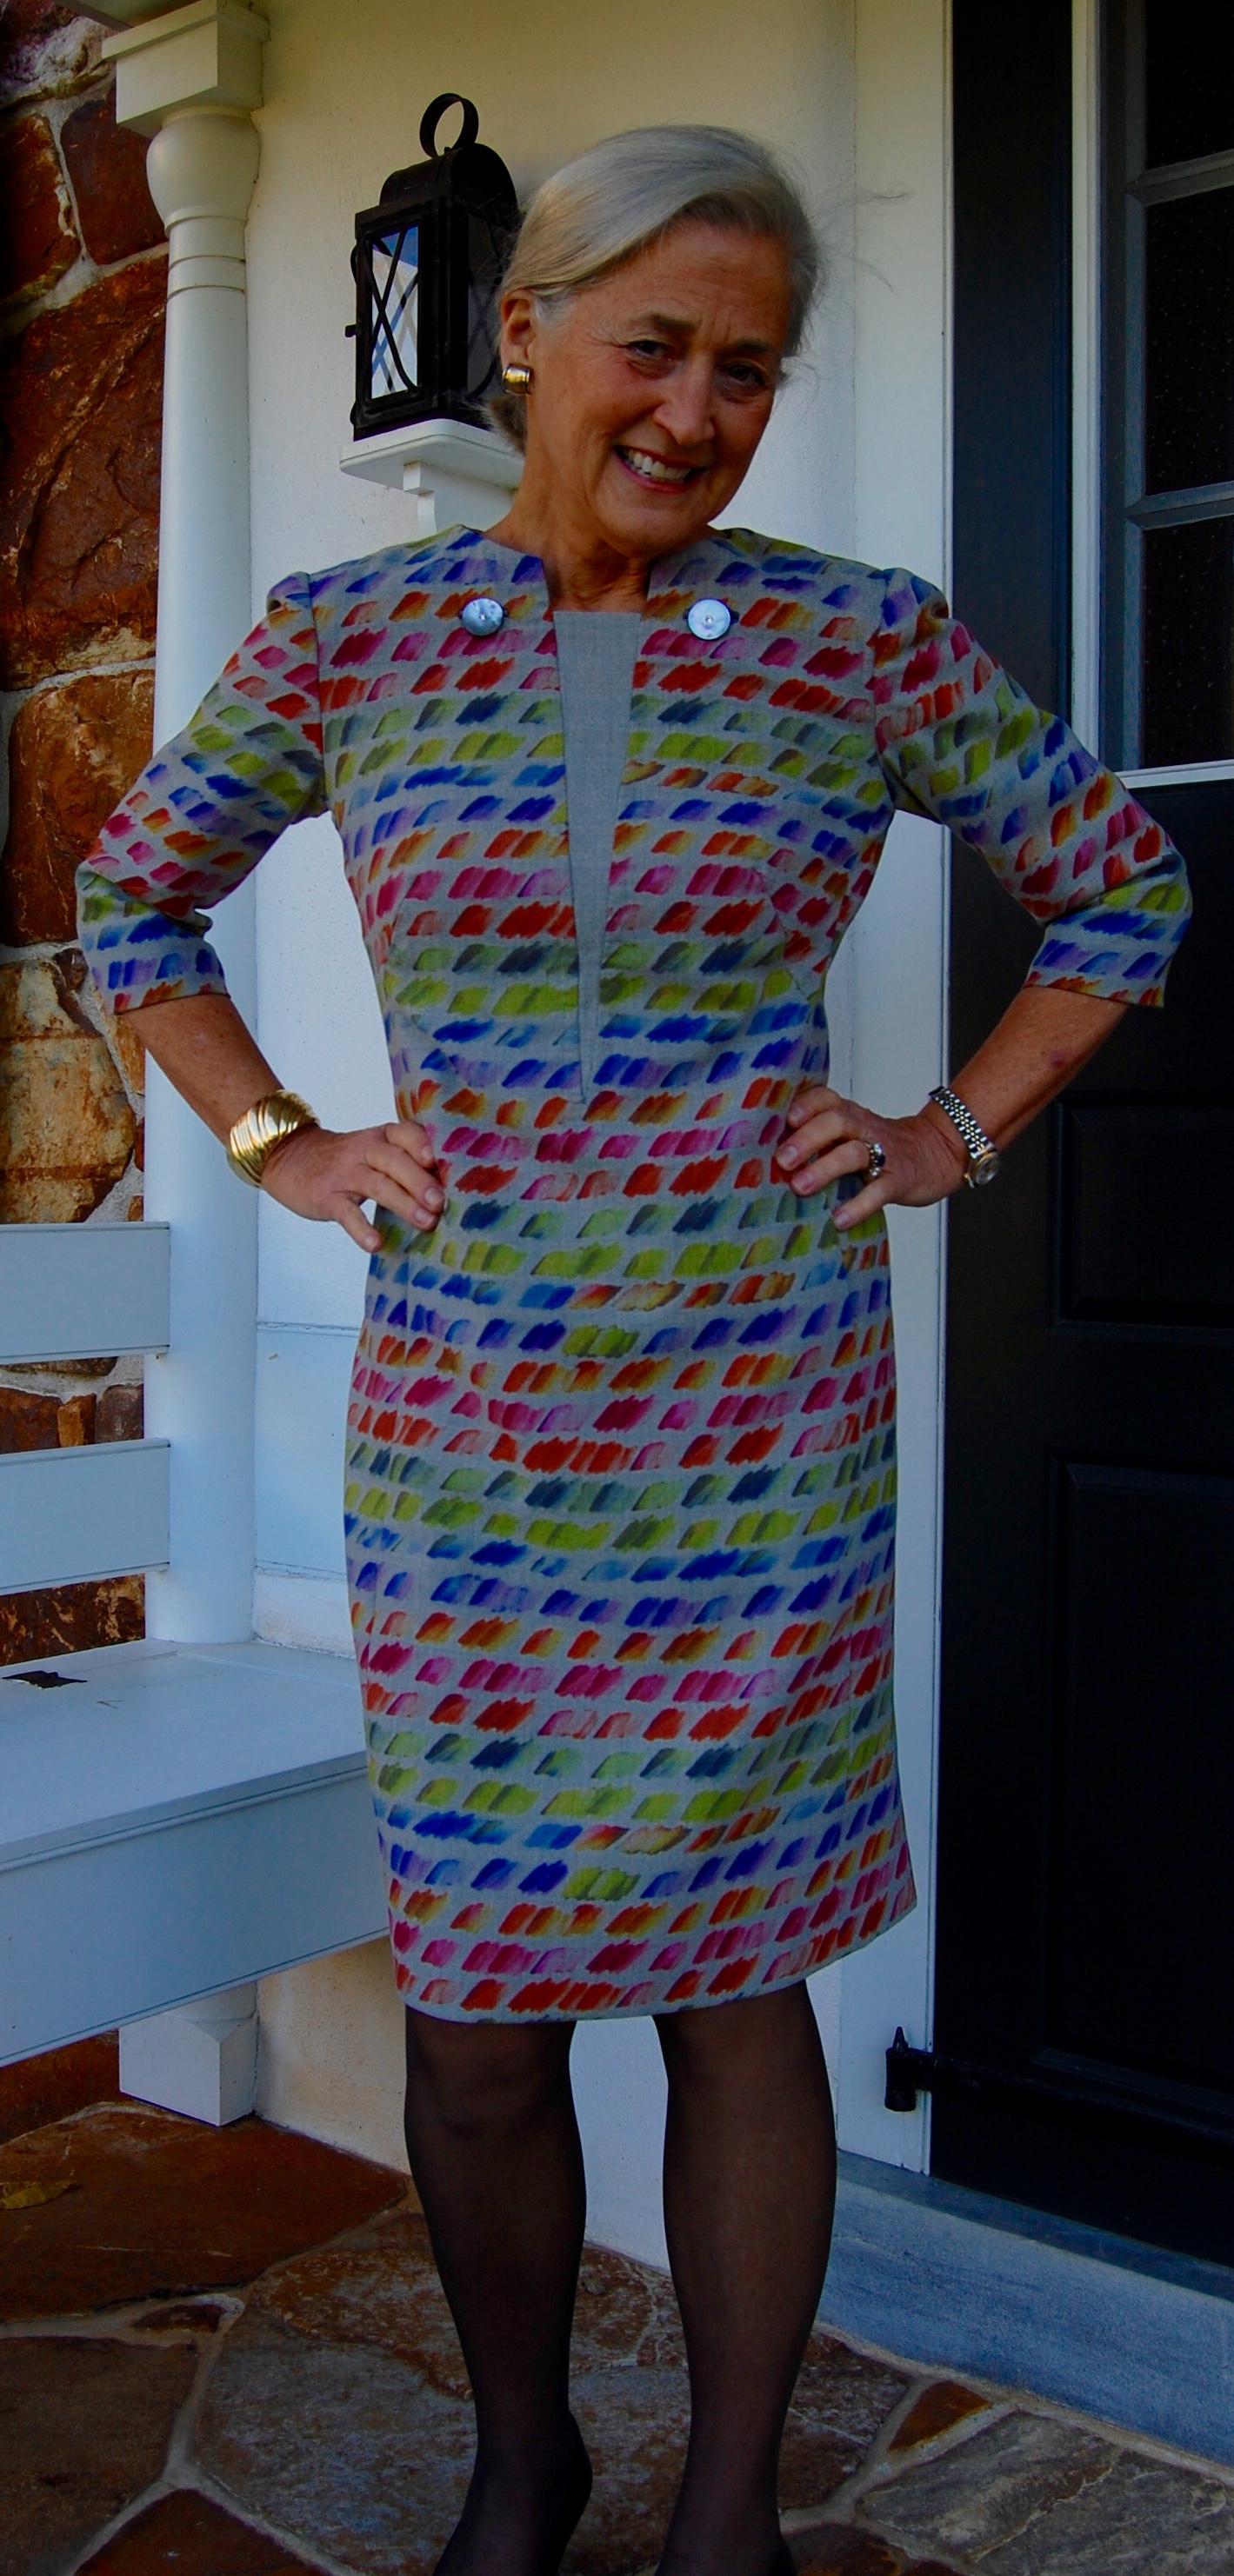
The buttons really show in this picture.
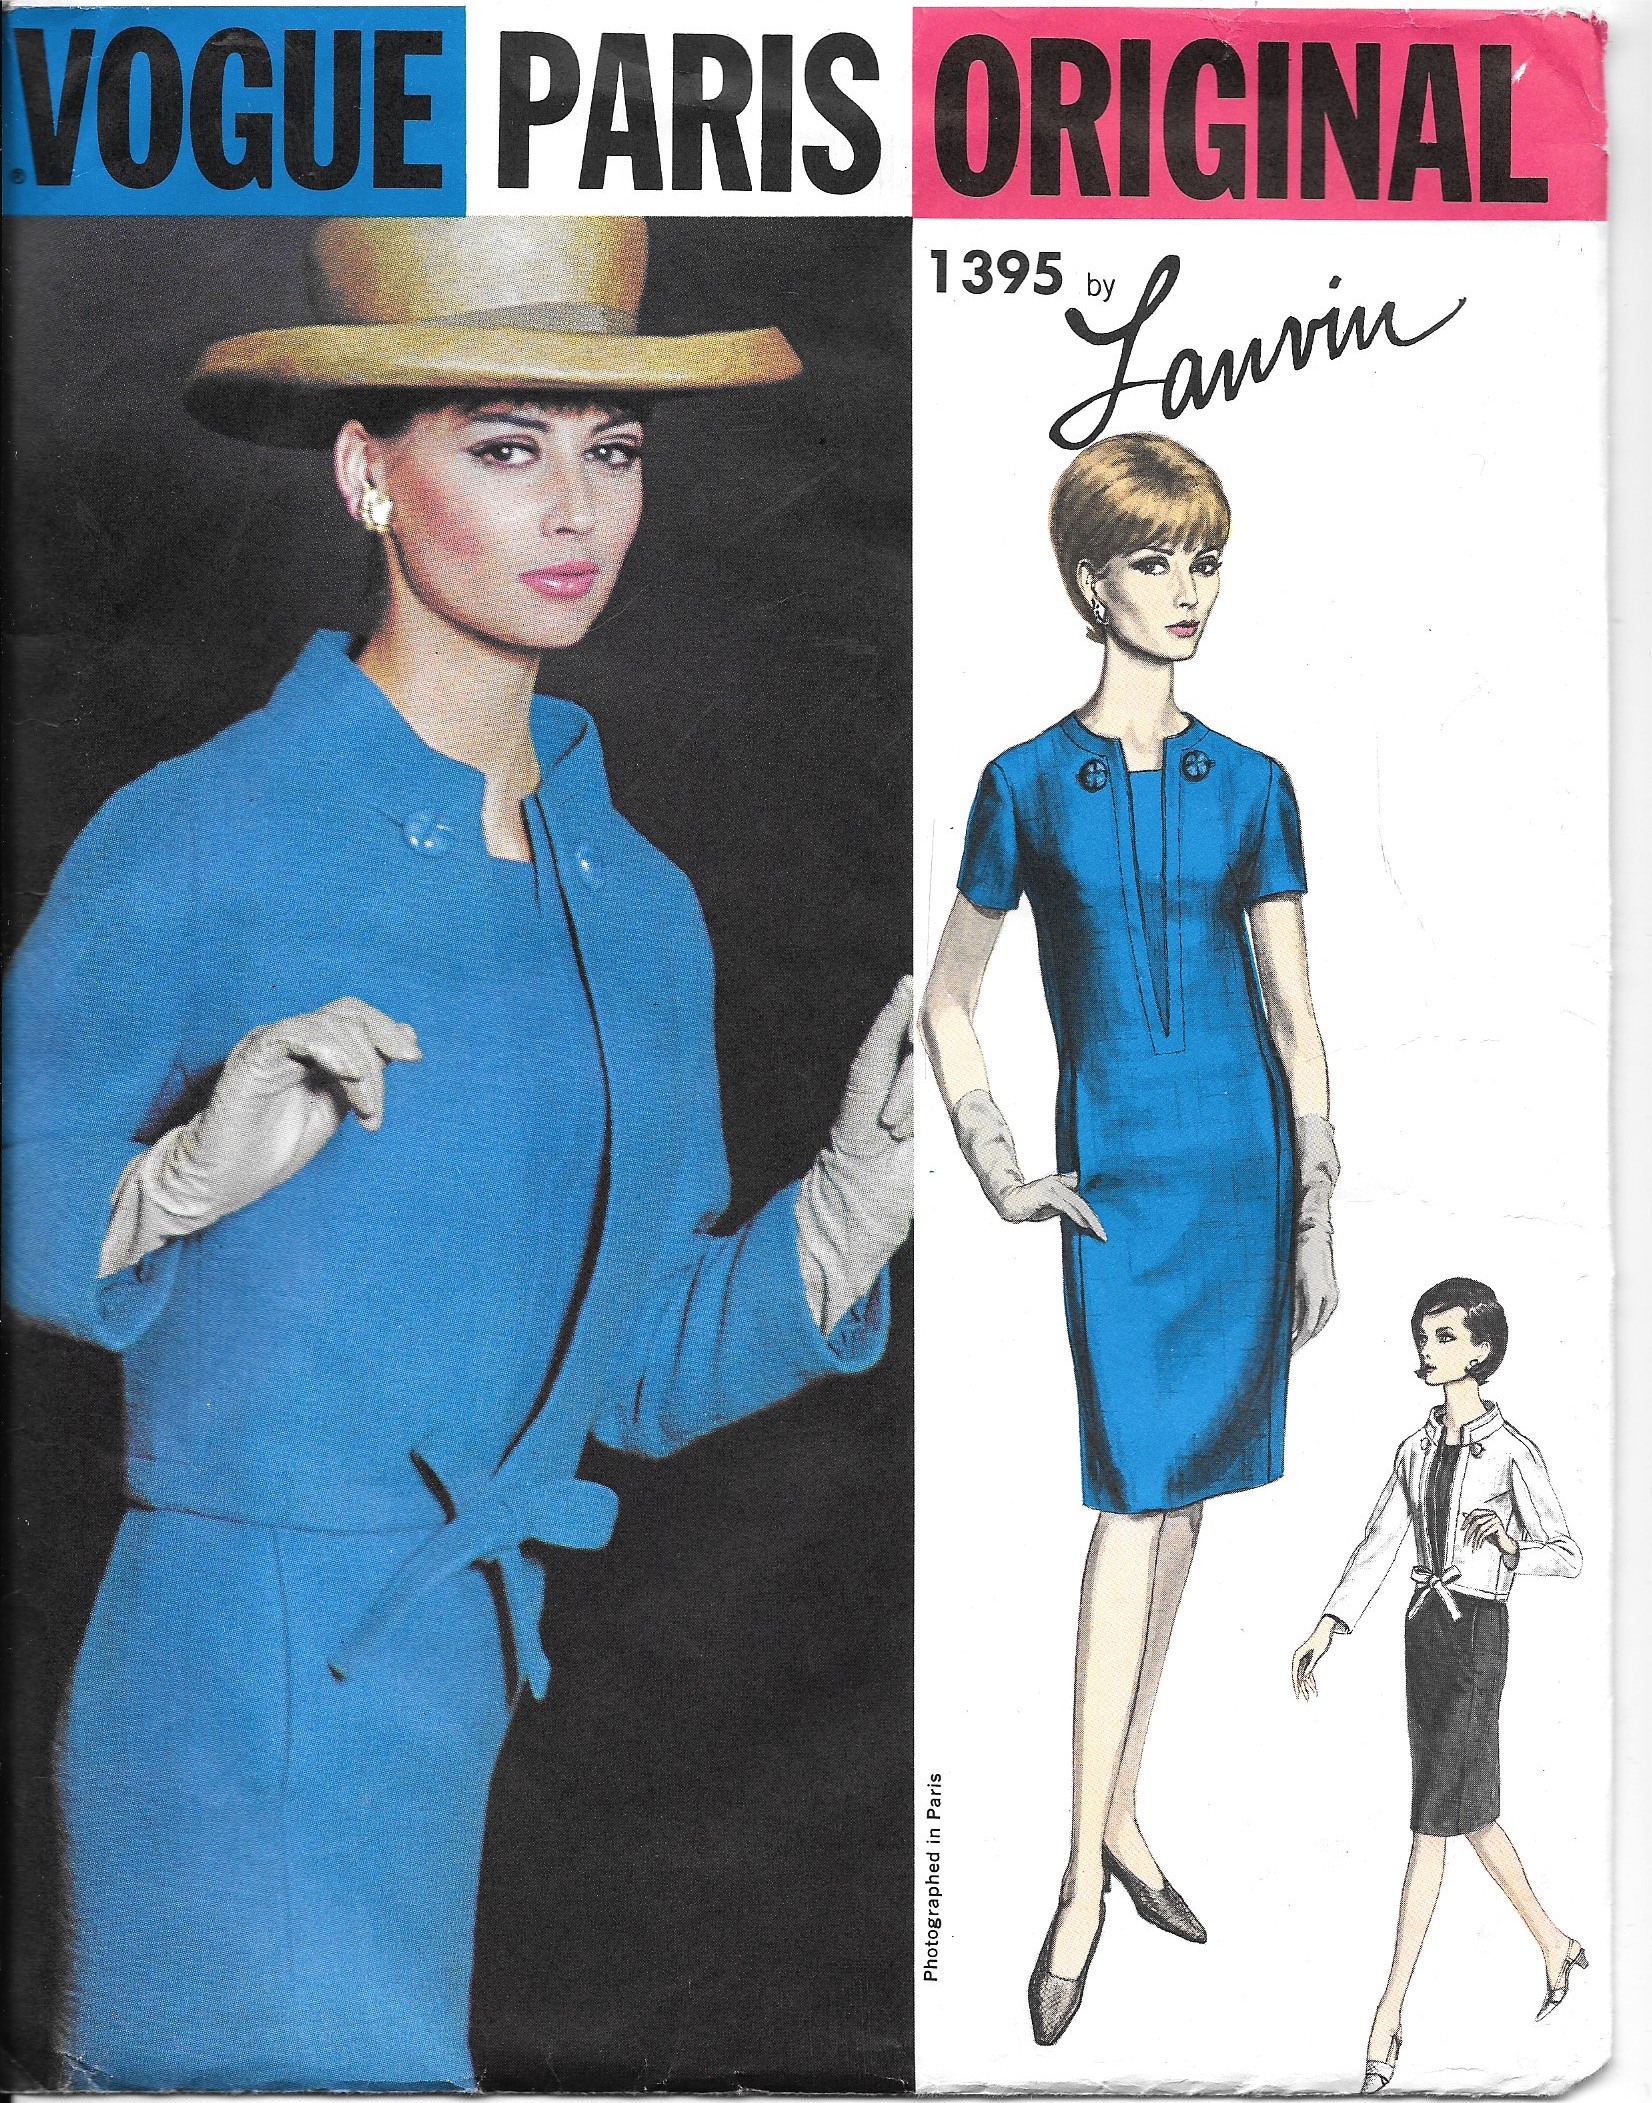
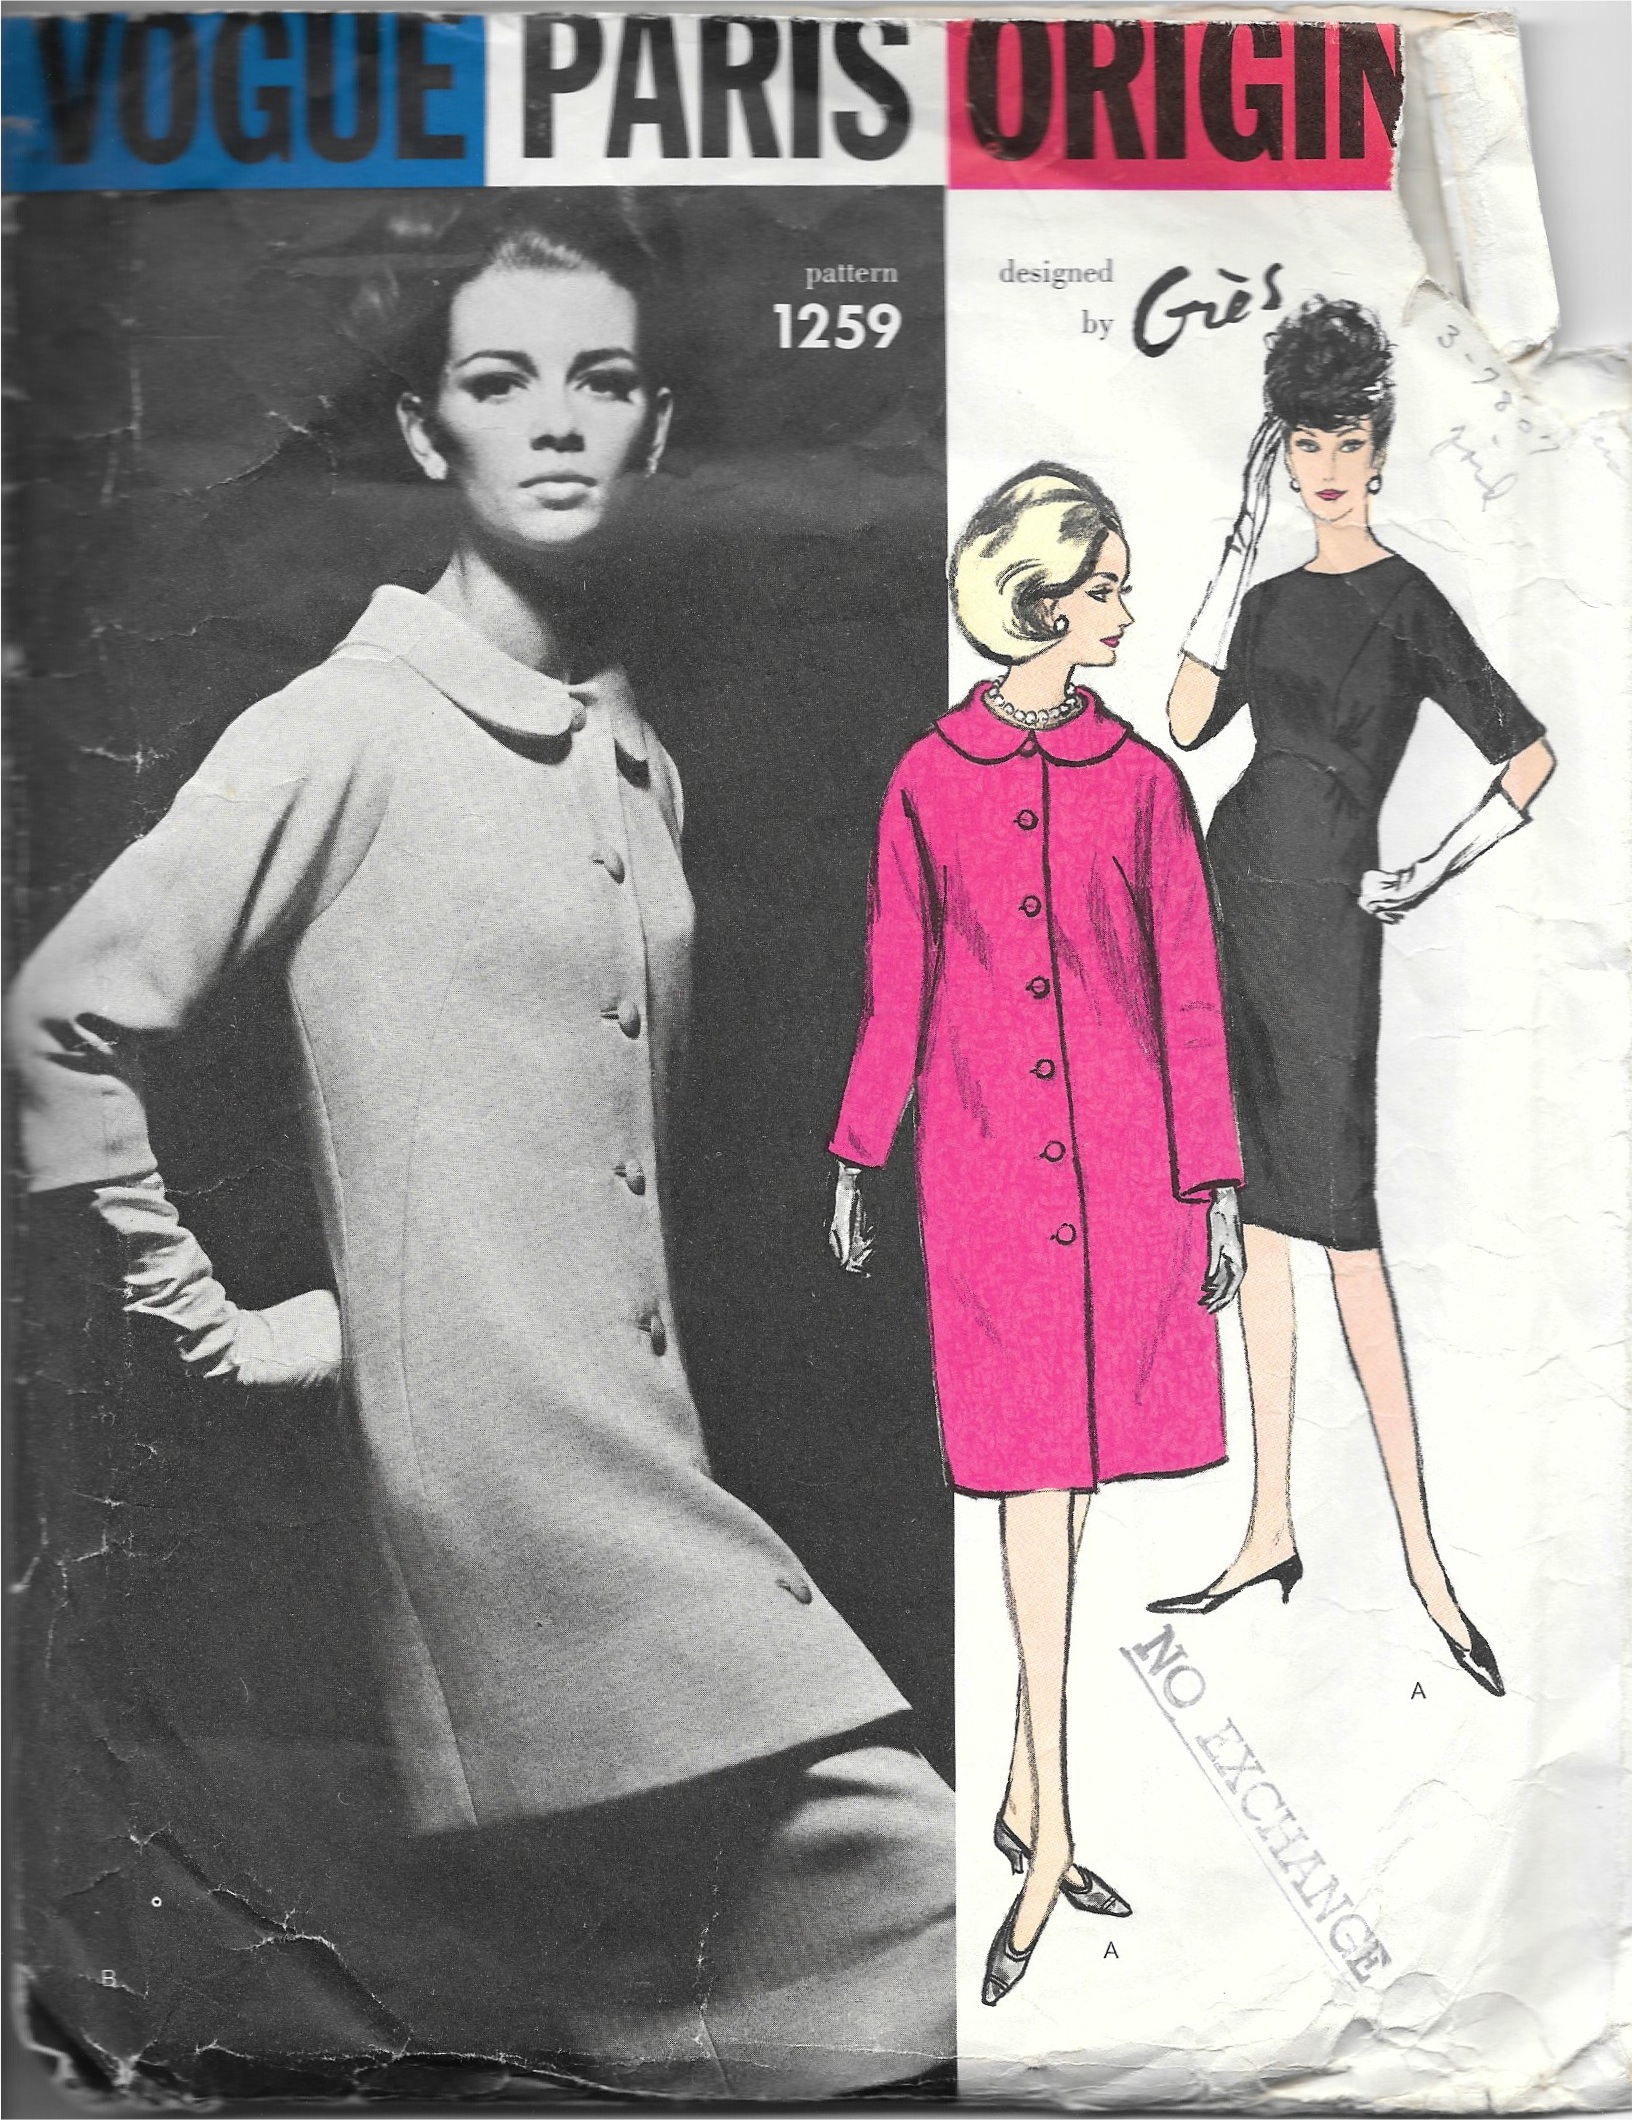
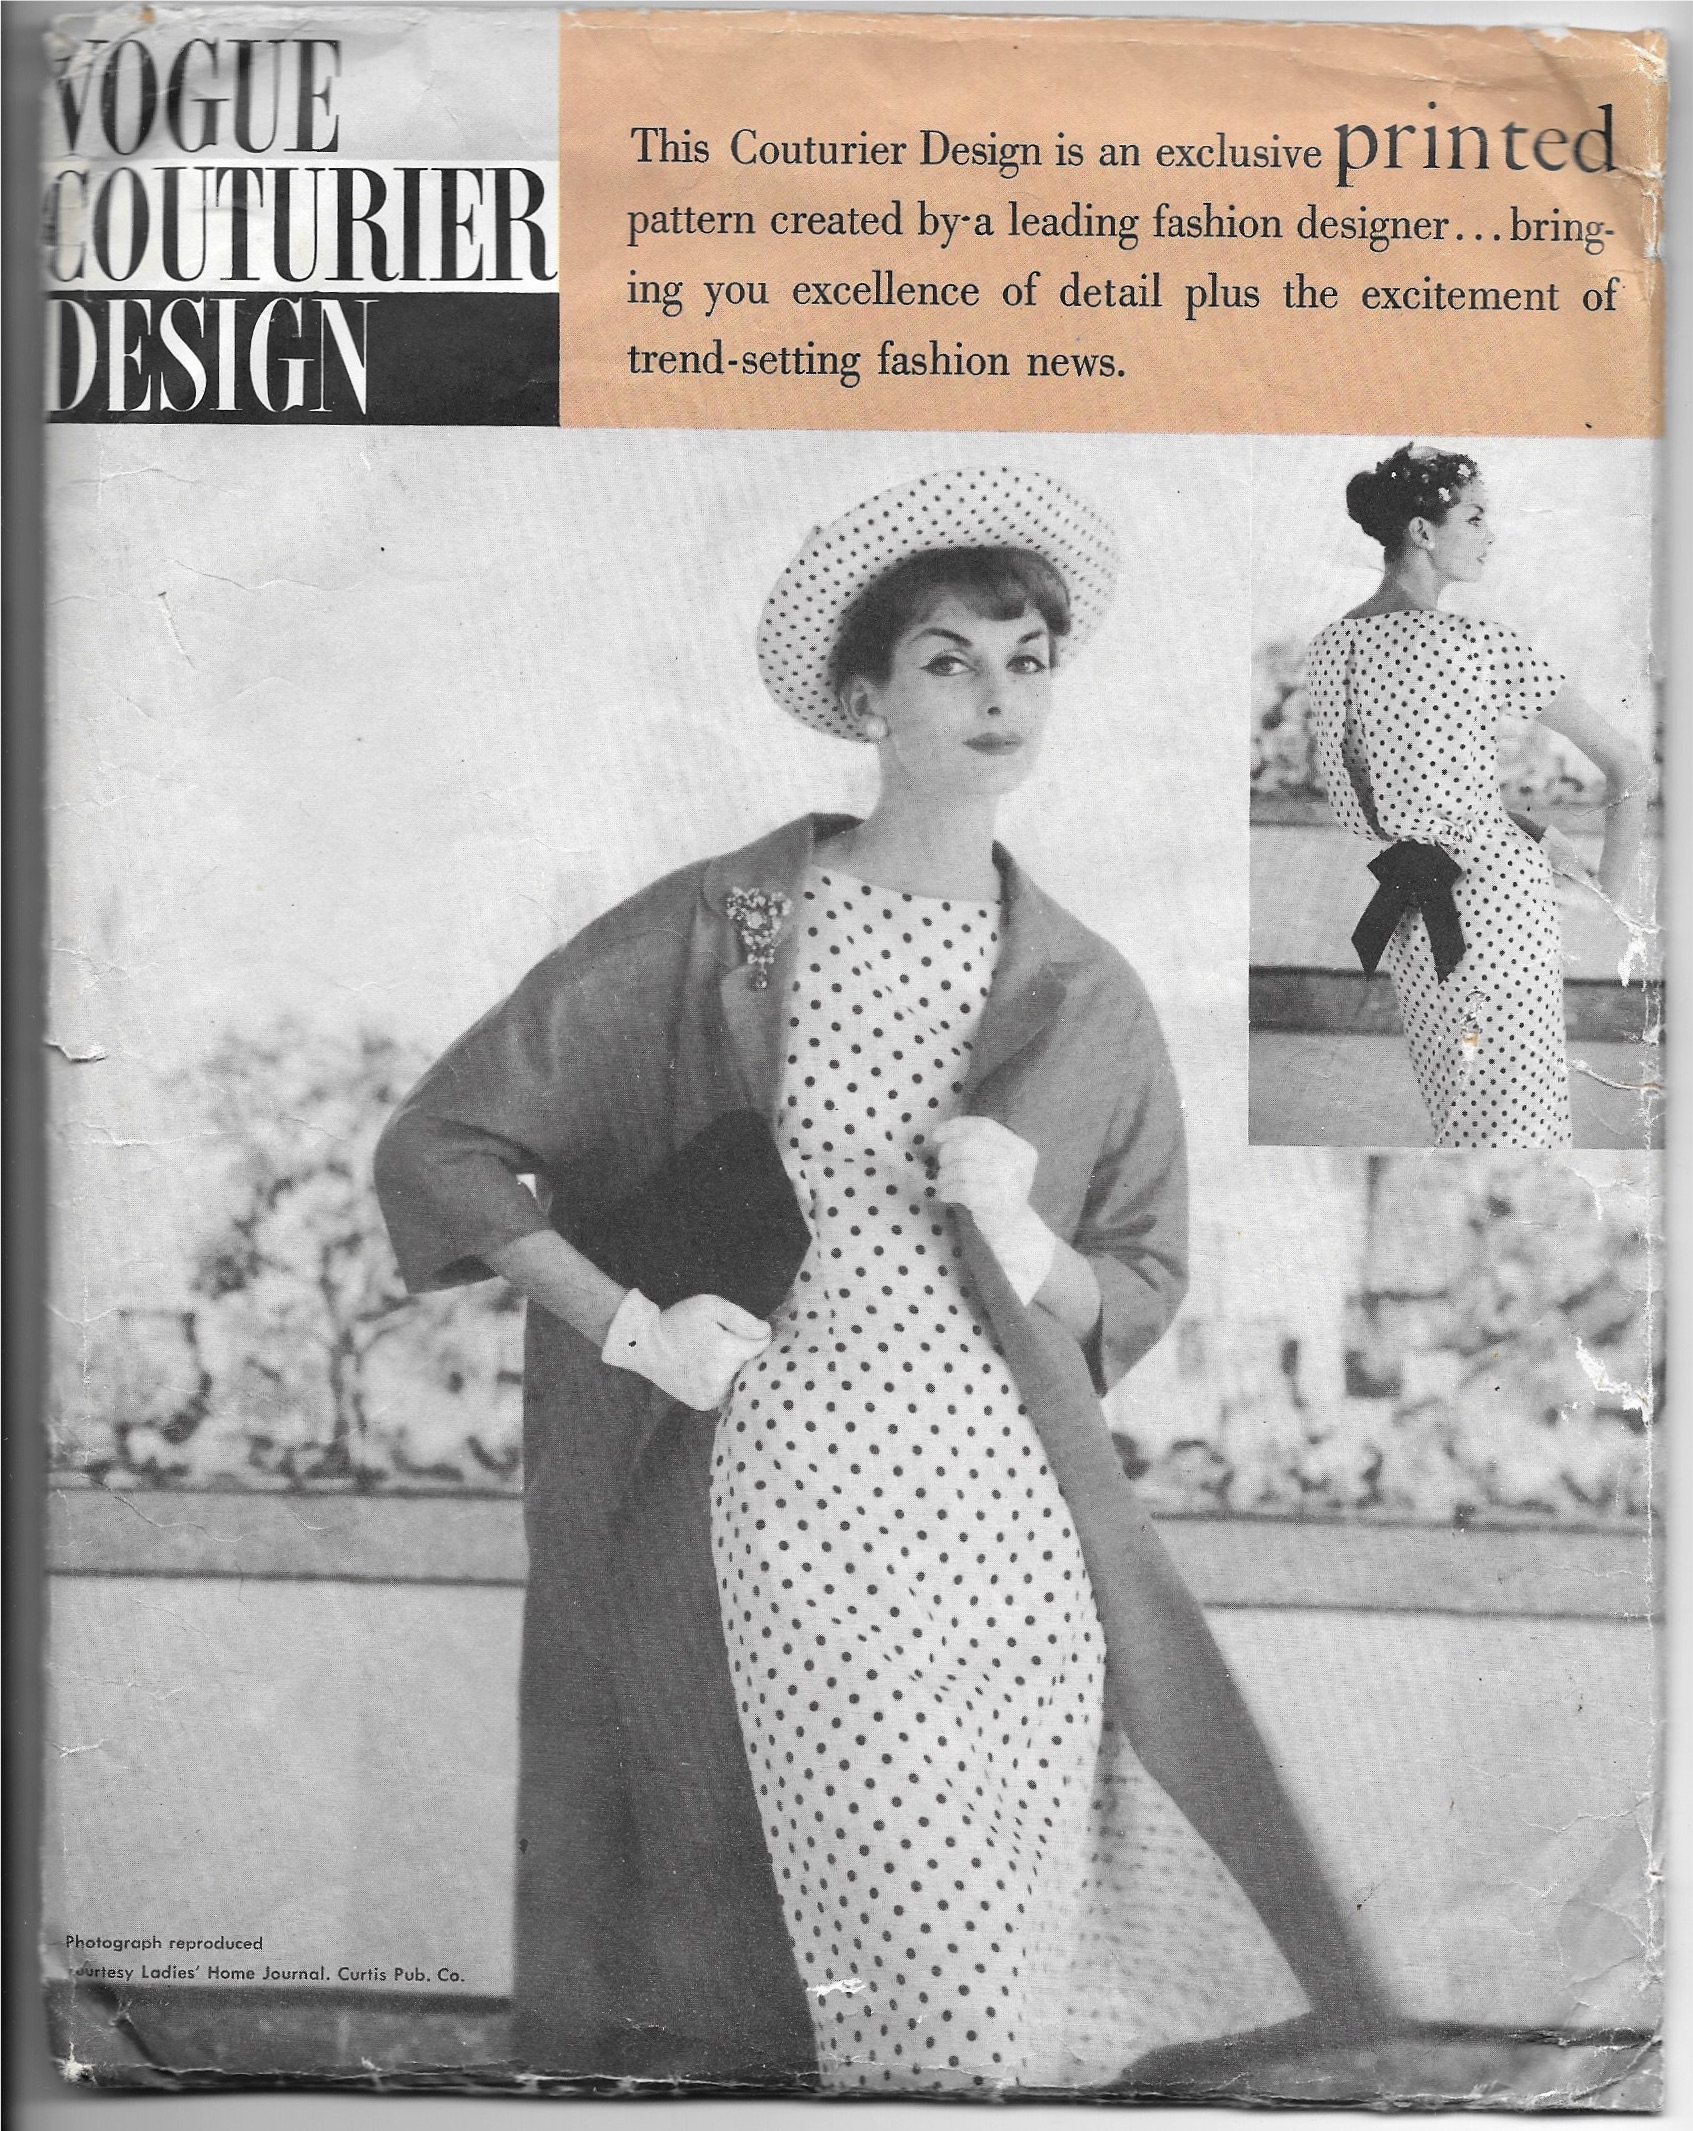
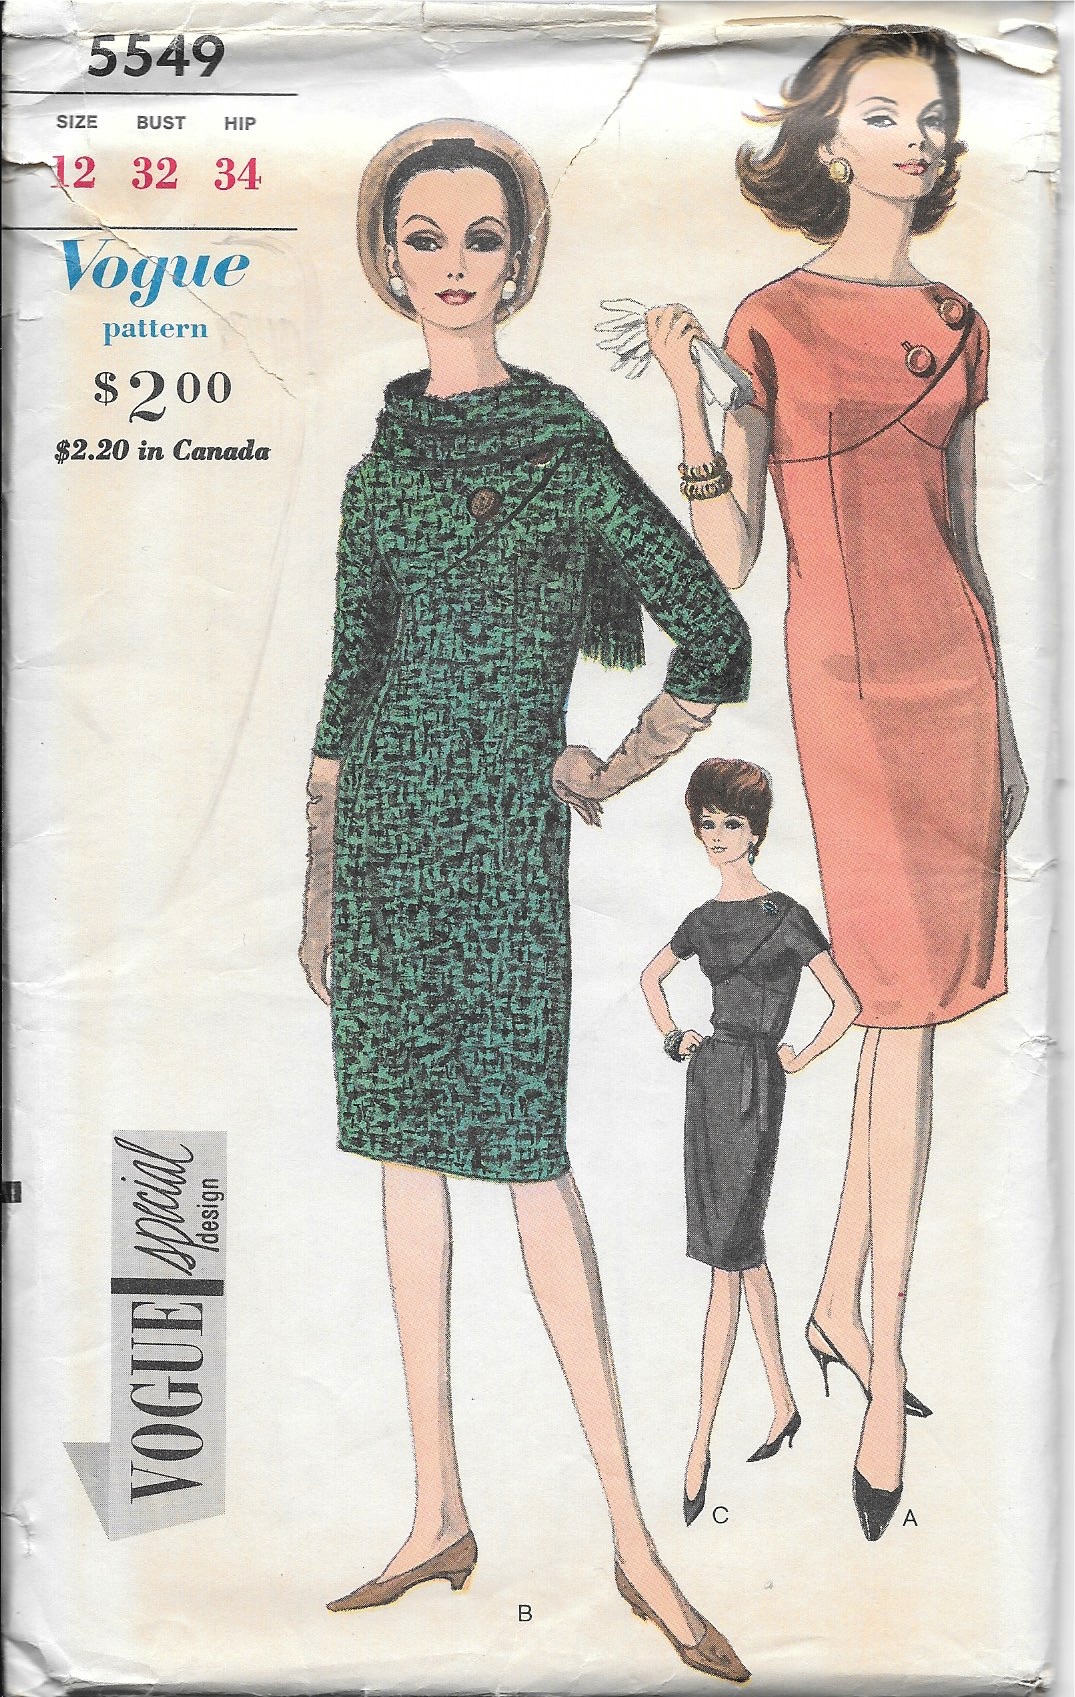
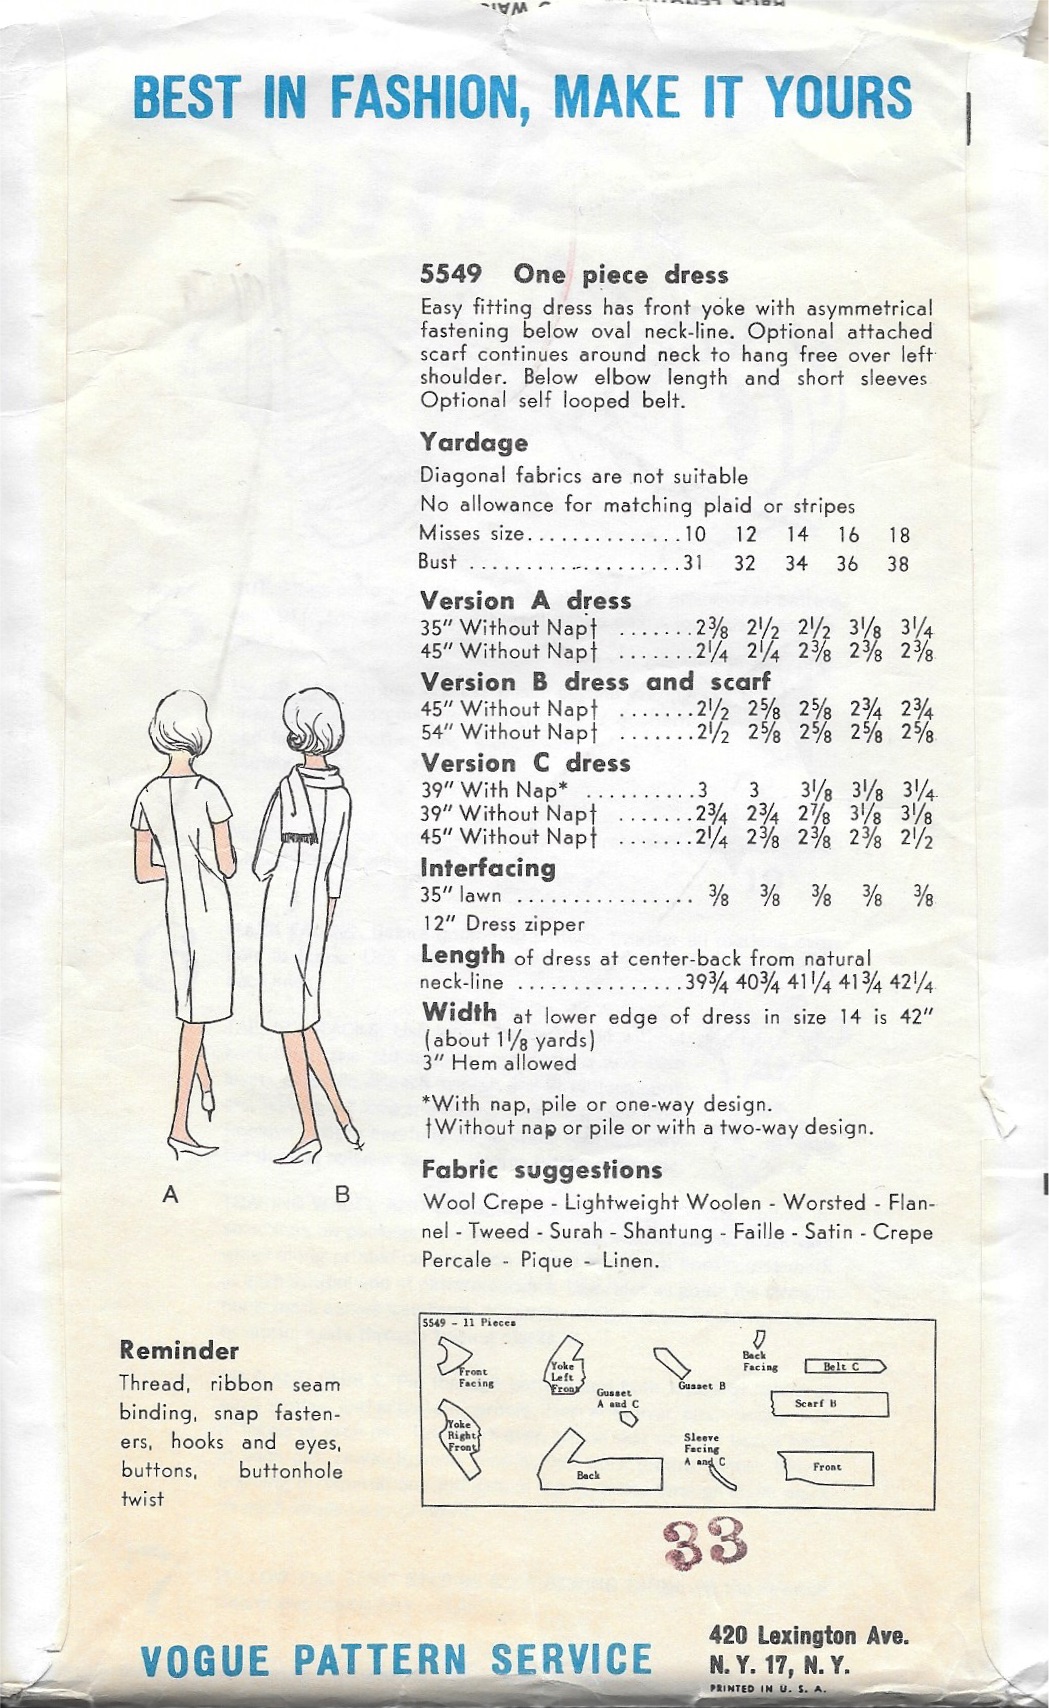
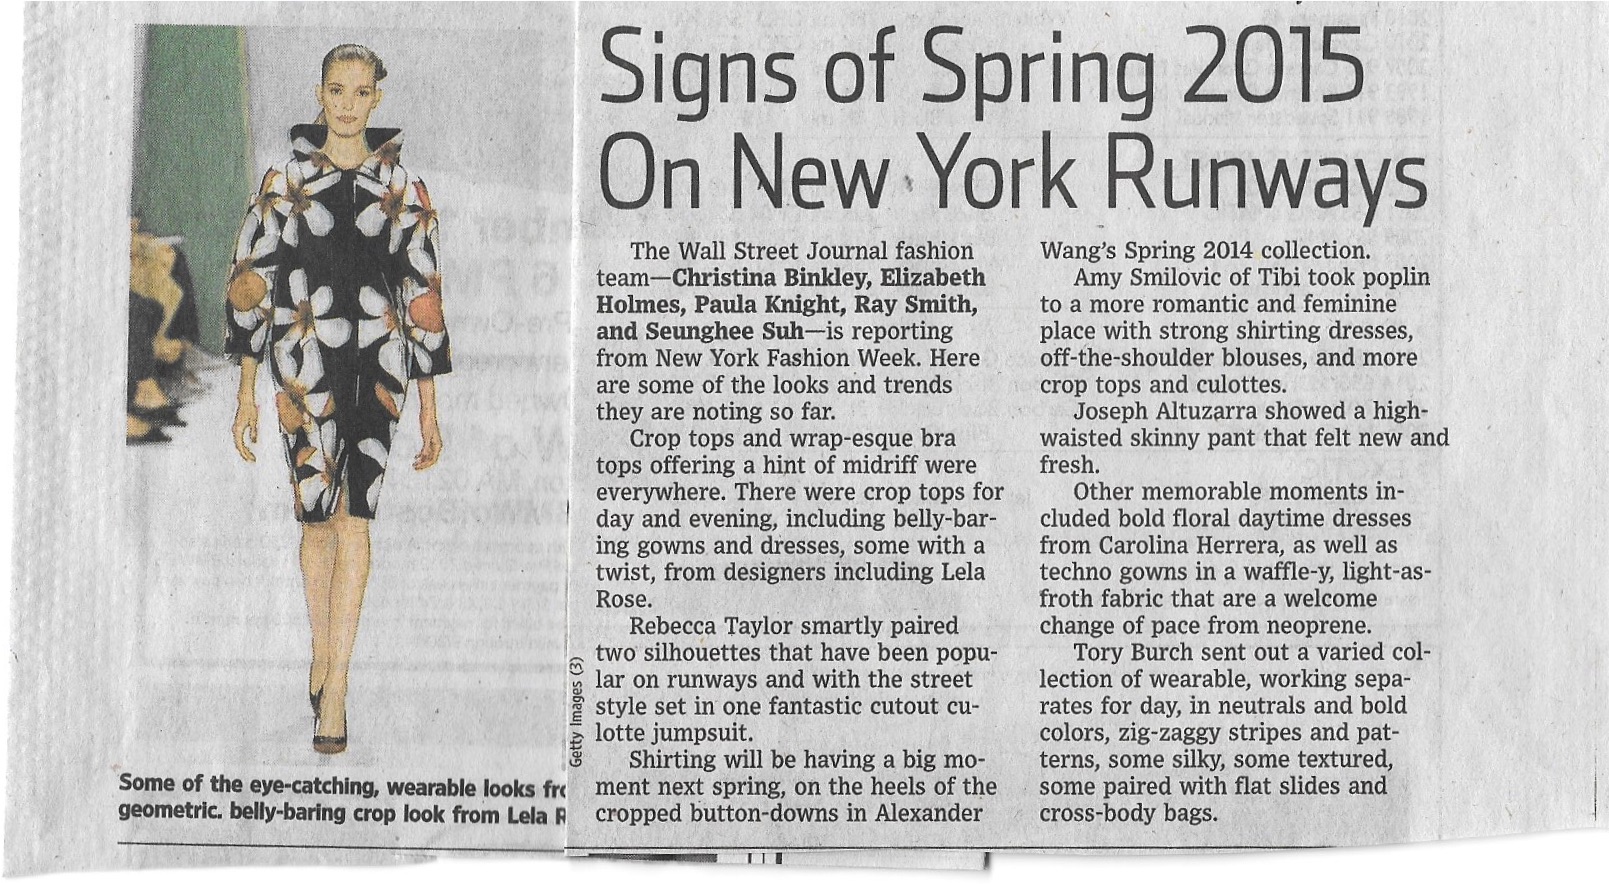
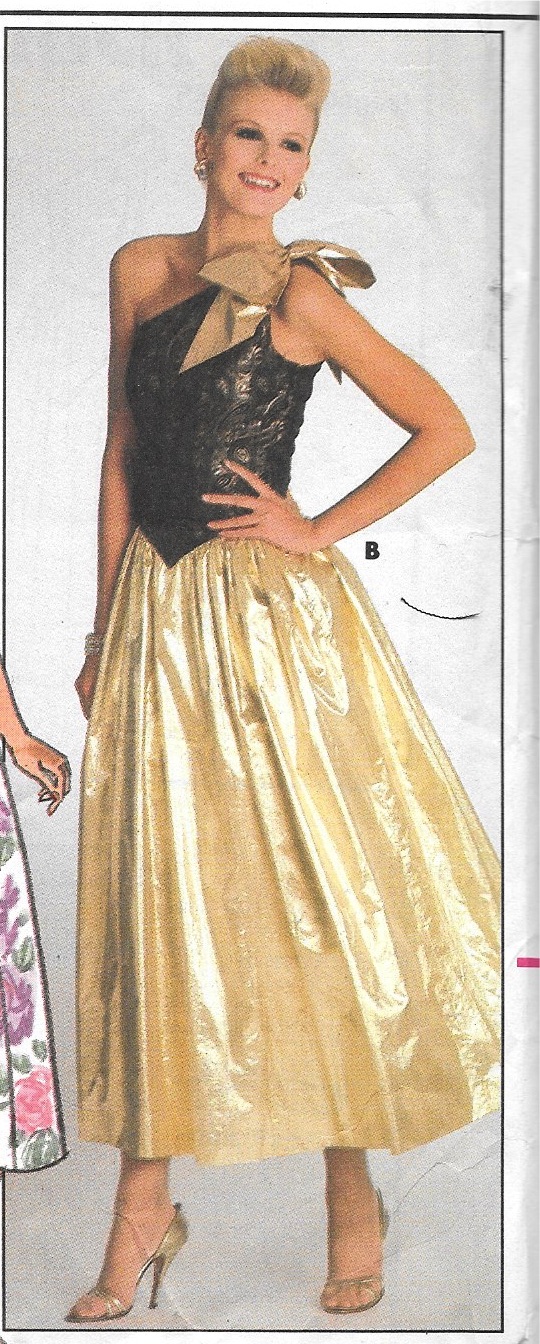
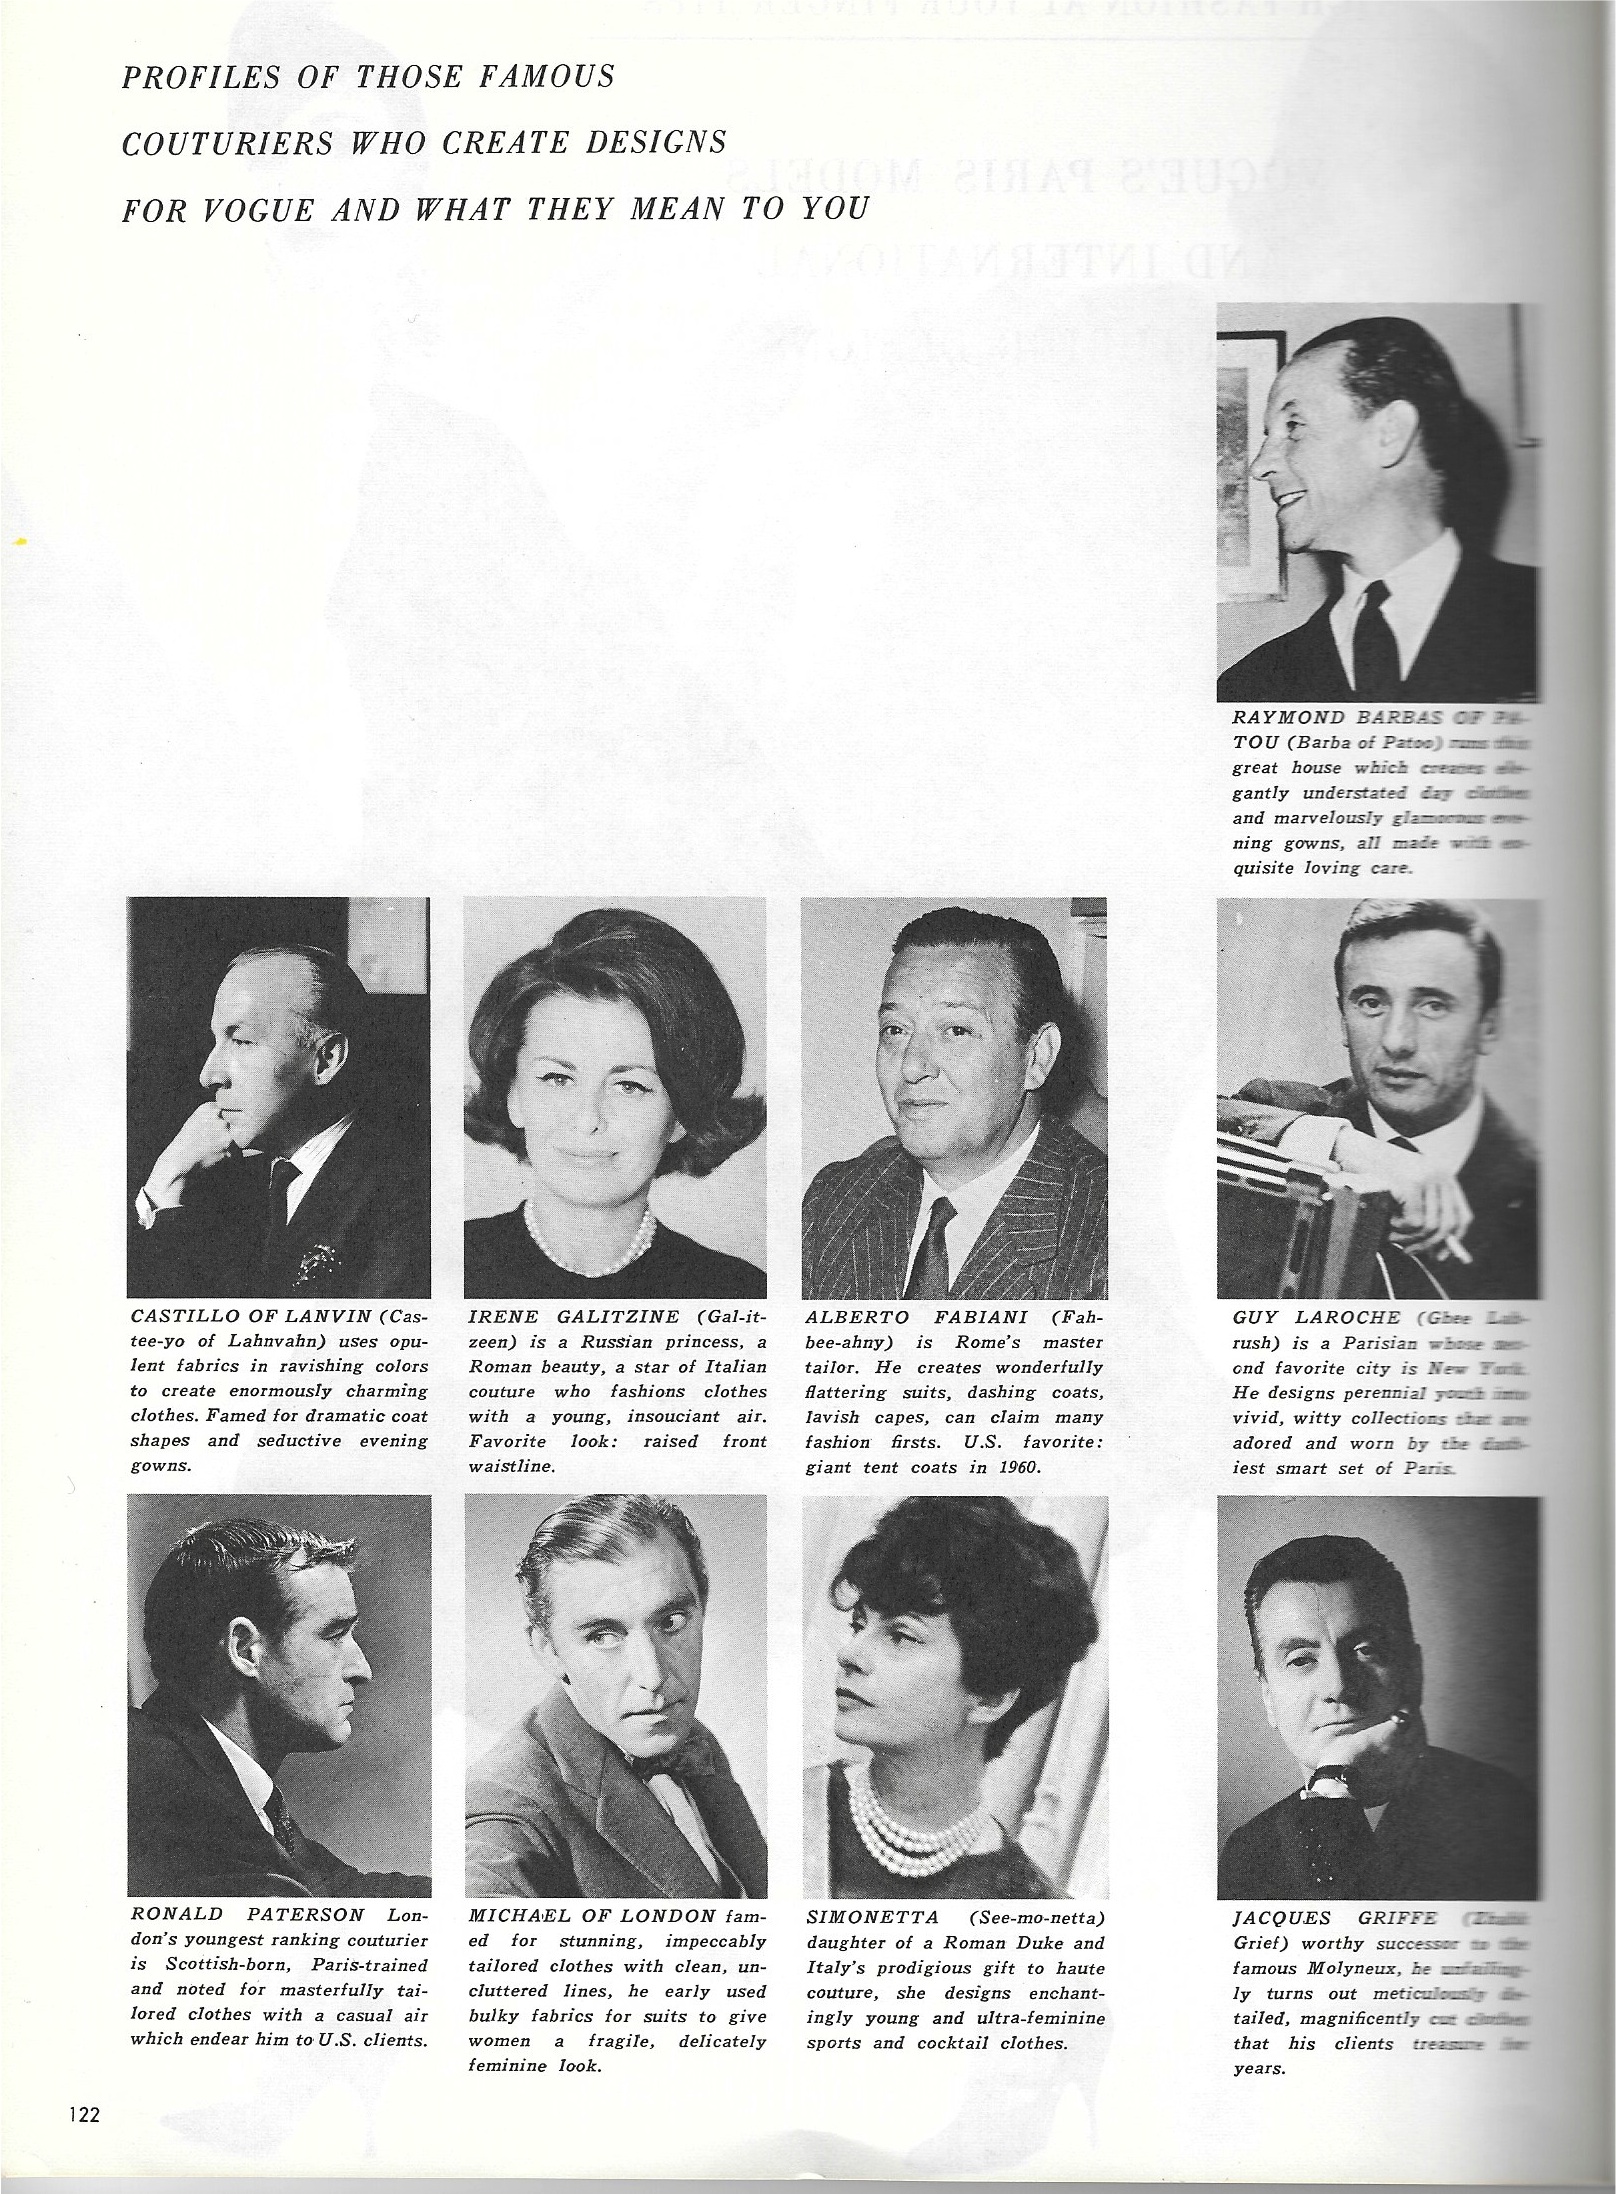
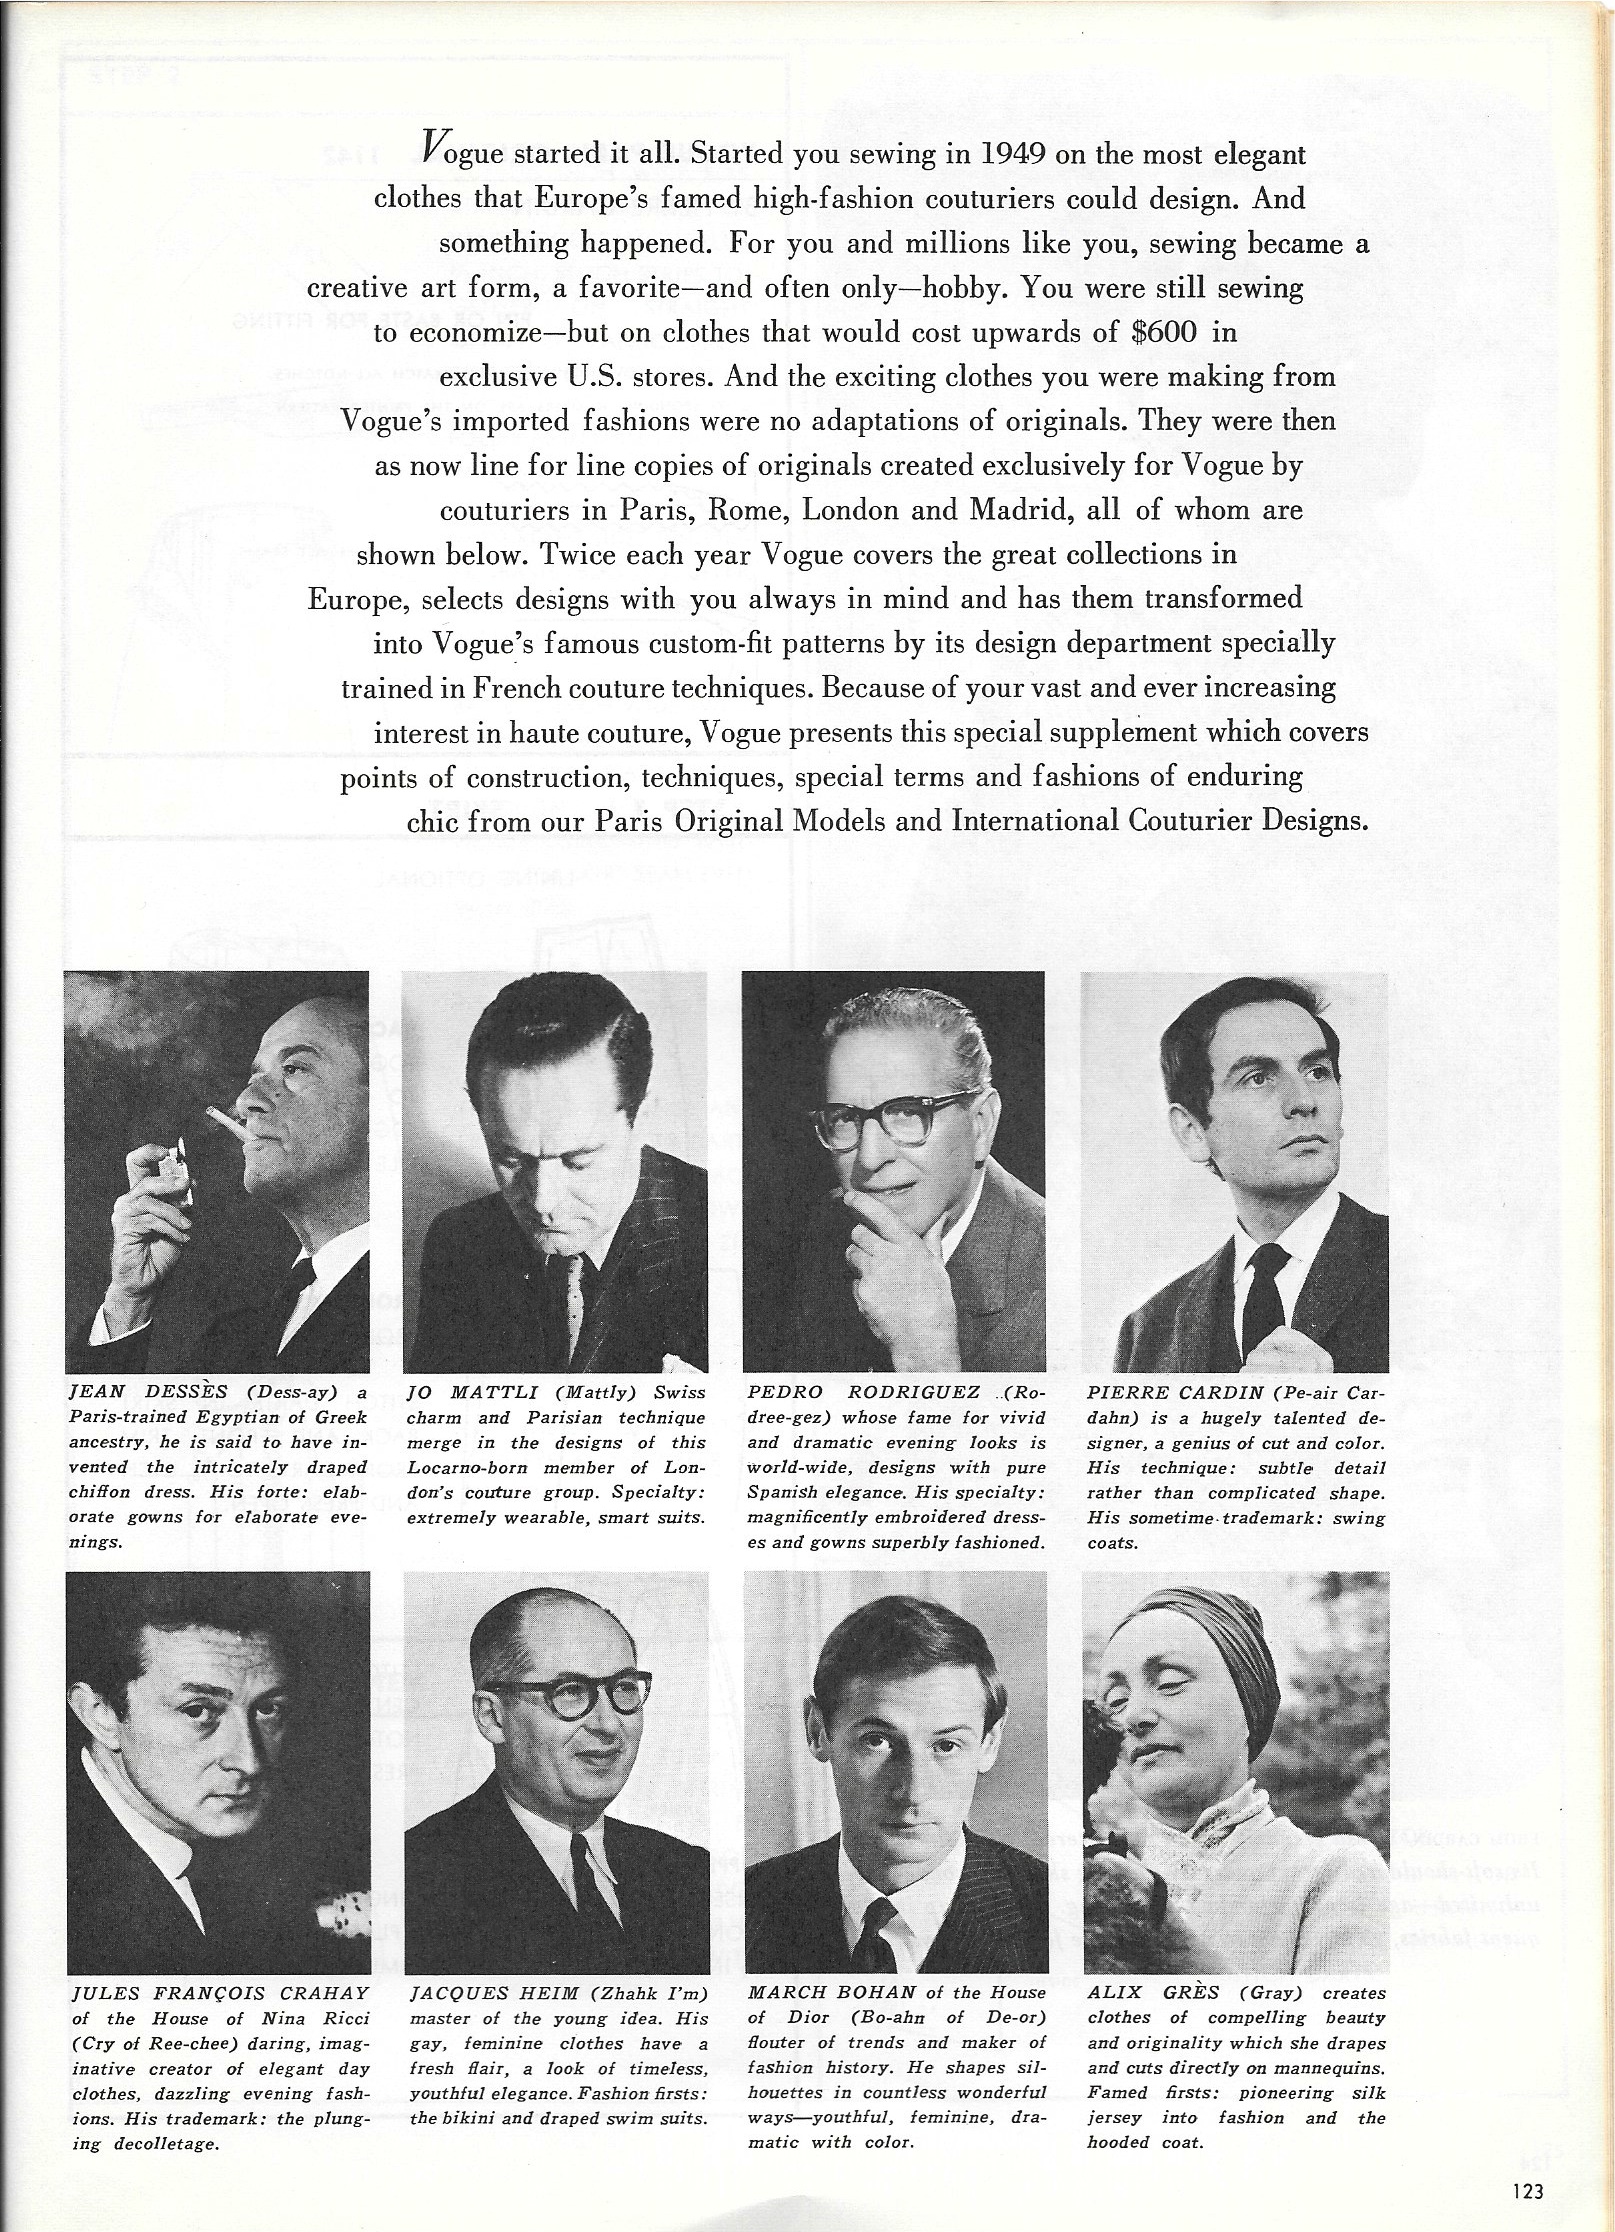
There was one more aspect of serendipity to this project. Those of you who follow my blog know that part of my fascination with vintage Vogue patterns is making connections between the past and the present. I love to “place” a pattern in its correct year – and then wonder in amazement at how classic fashions are so enduring. It was my great good fortune to have this Vogue Pattern Fashion News from November 1964 in my collection of vintage fashion magazines:

Inside on page 3 is, yes, my dress!
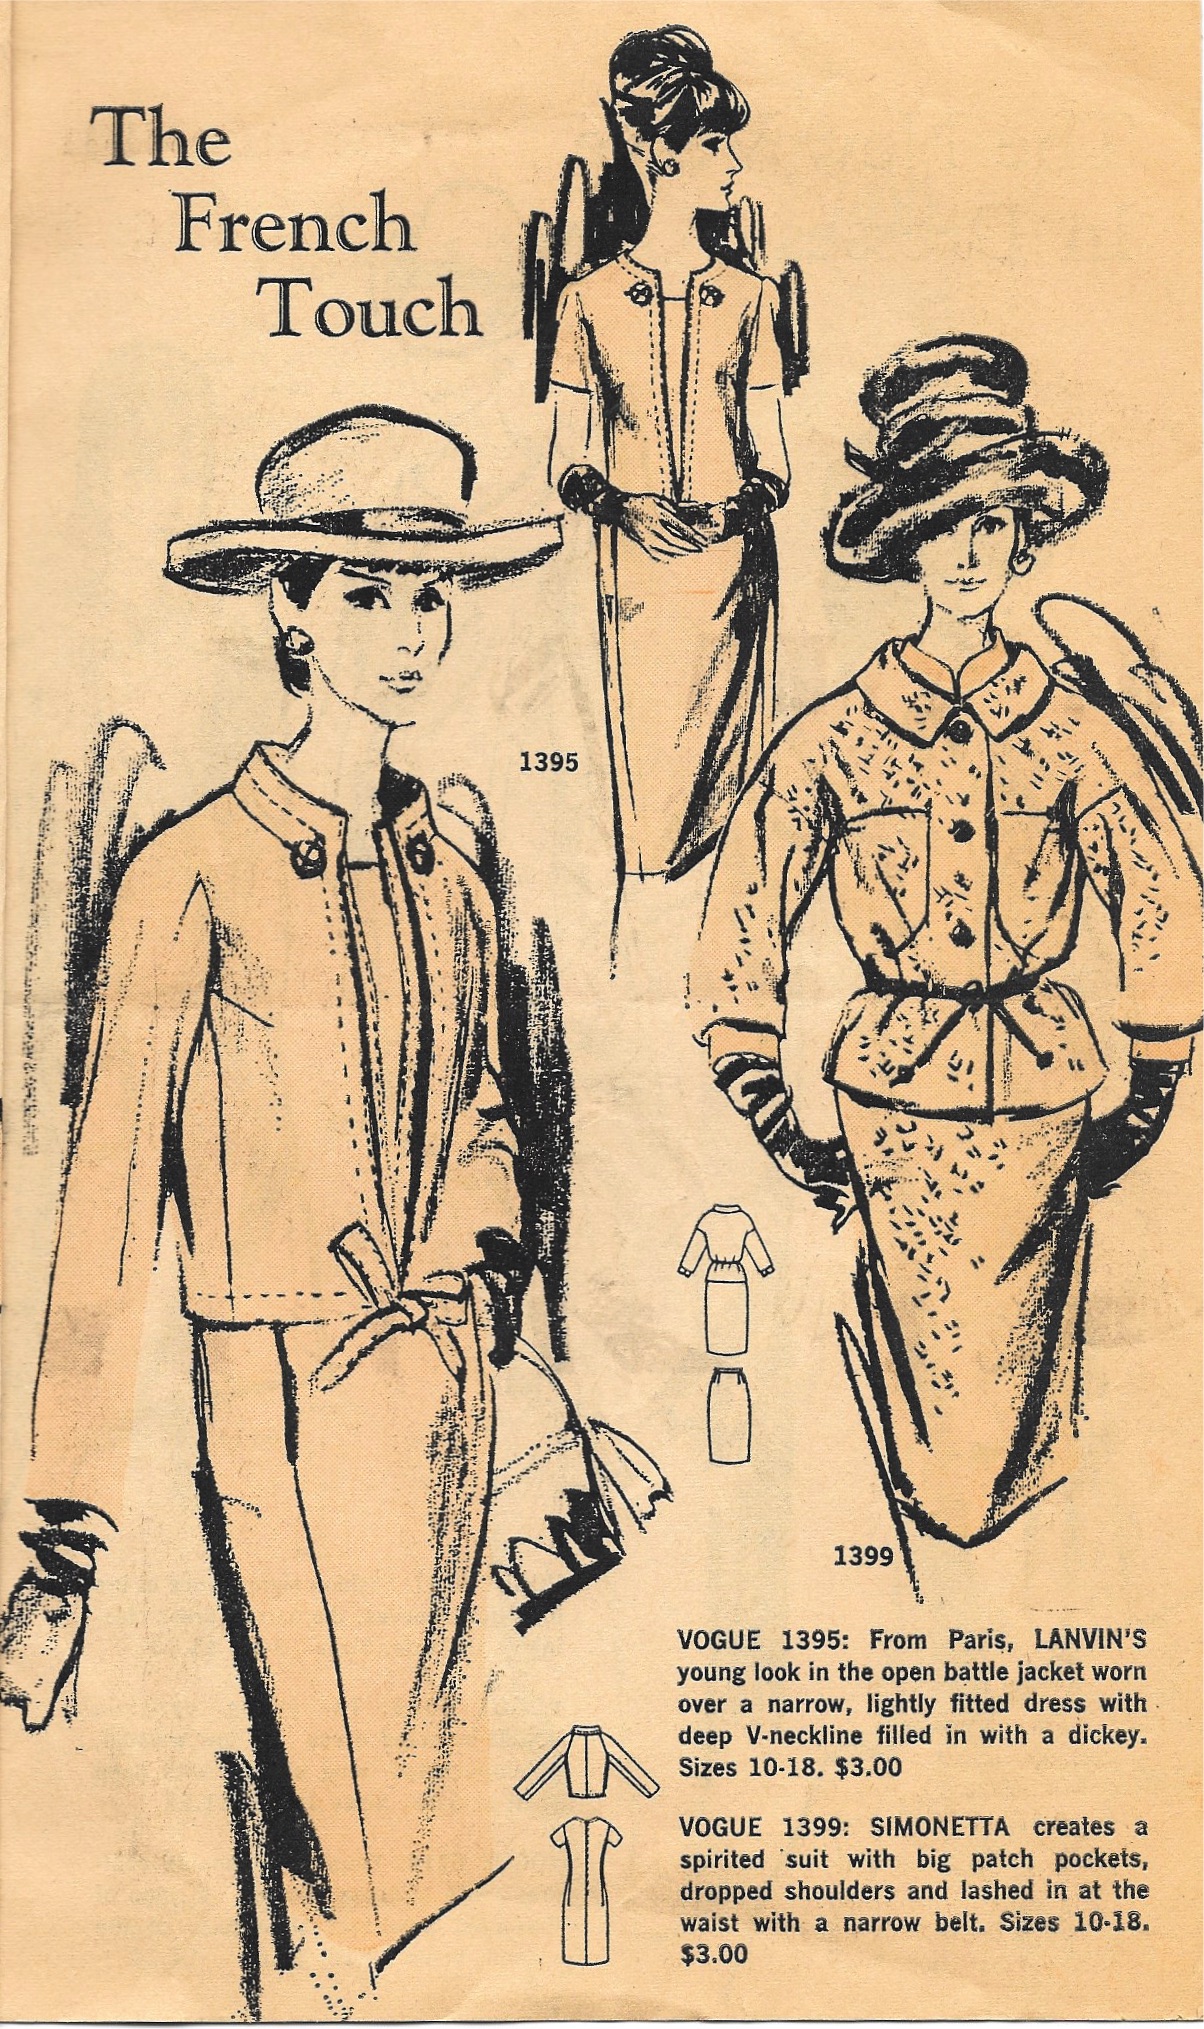
Just imagine – 51 years ago this month, this dress made its debut. Happy Sweet November Everyone!