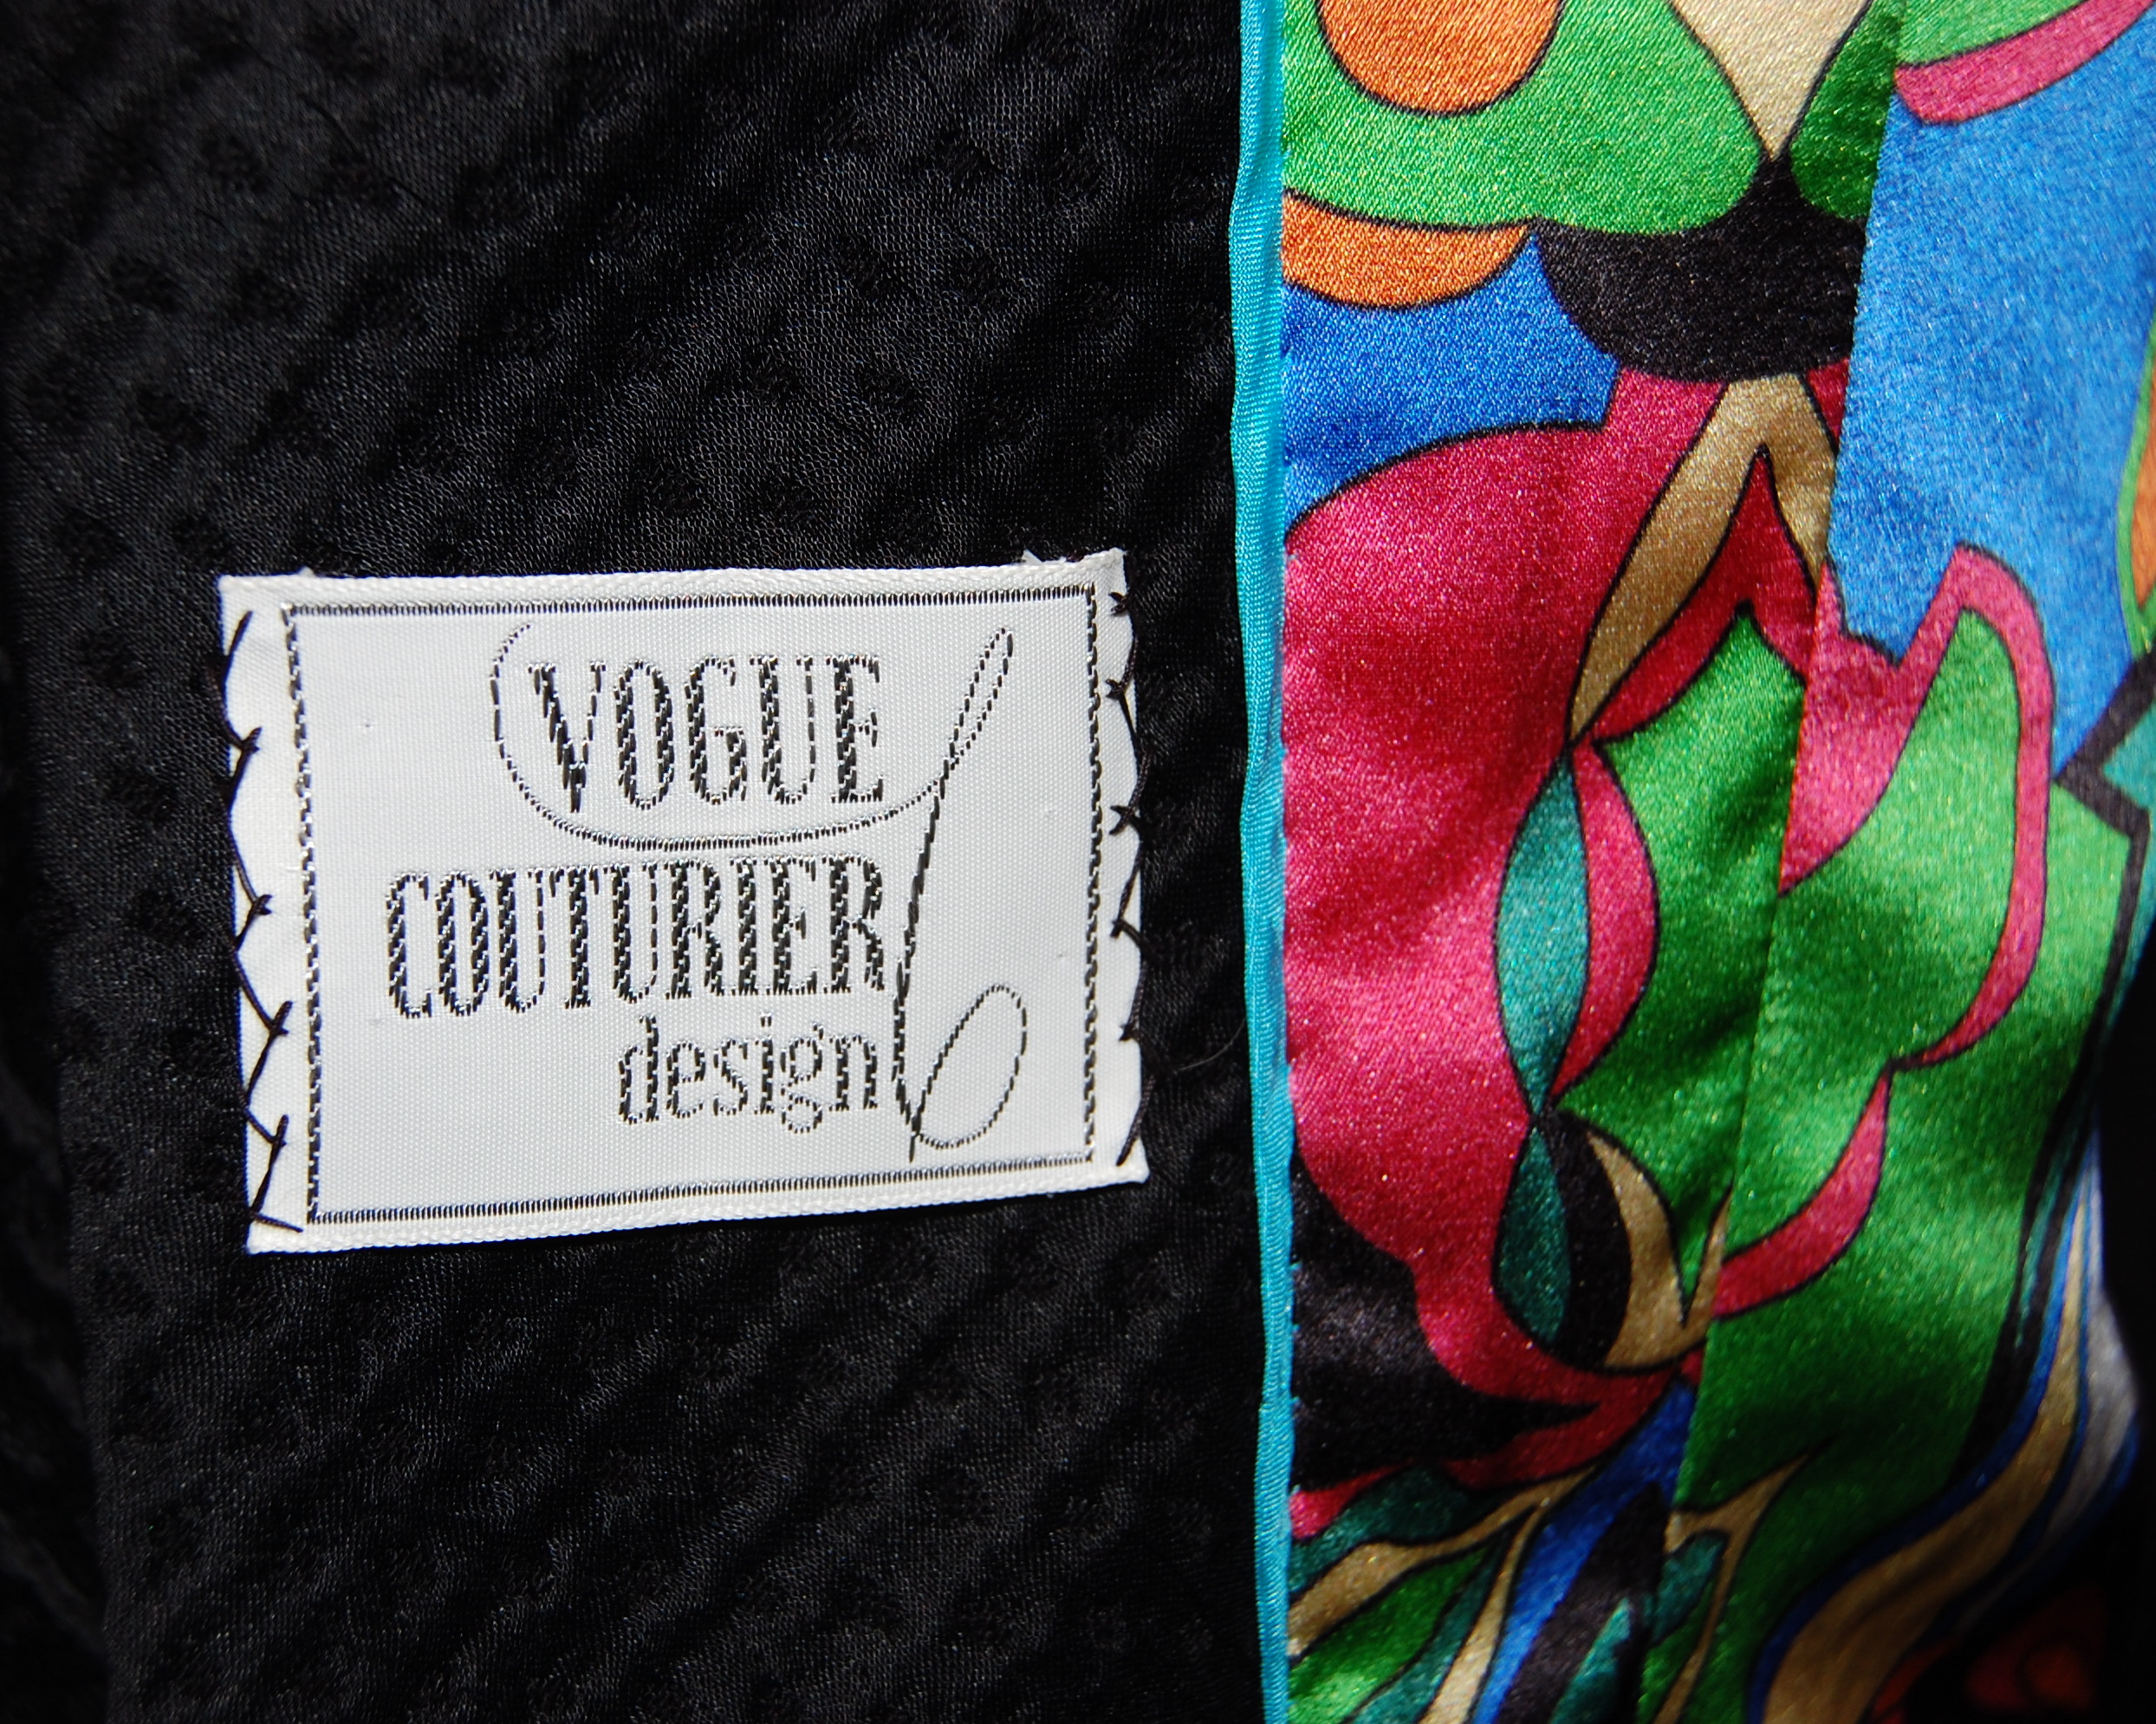
When the piece of linen I had purchased arrived in the mail, I was not sure what to expect. I had bought it with the hope that it was, indeed, a piece of Moygashel linen, but I had nothing to go on except an educated hunch. I knew it was an early piece of fabric, as its width was 35”, a common width for pre-1960’s dress-goods. I liked the design in the photo from which I made my decision, although it was not a colorway to which I normally gravitate. Upon opening the package, I found the only identifying mark on the fabric to be this tag:
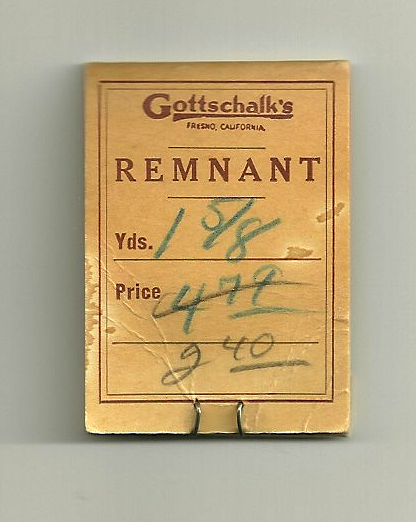
Gottschalk’s in Fresno, California obviously sold fine fabrics.
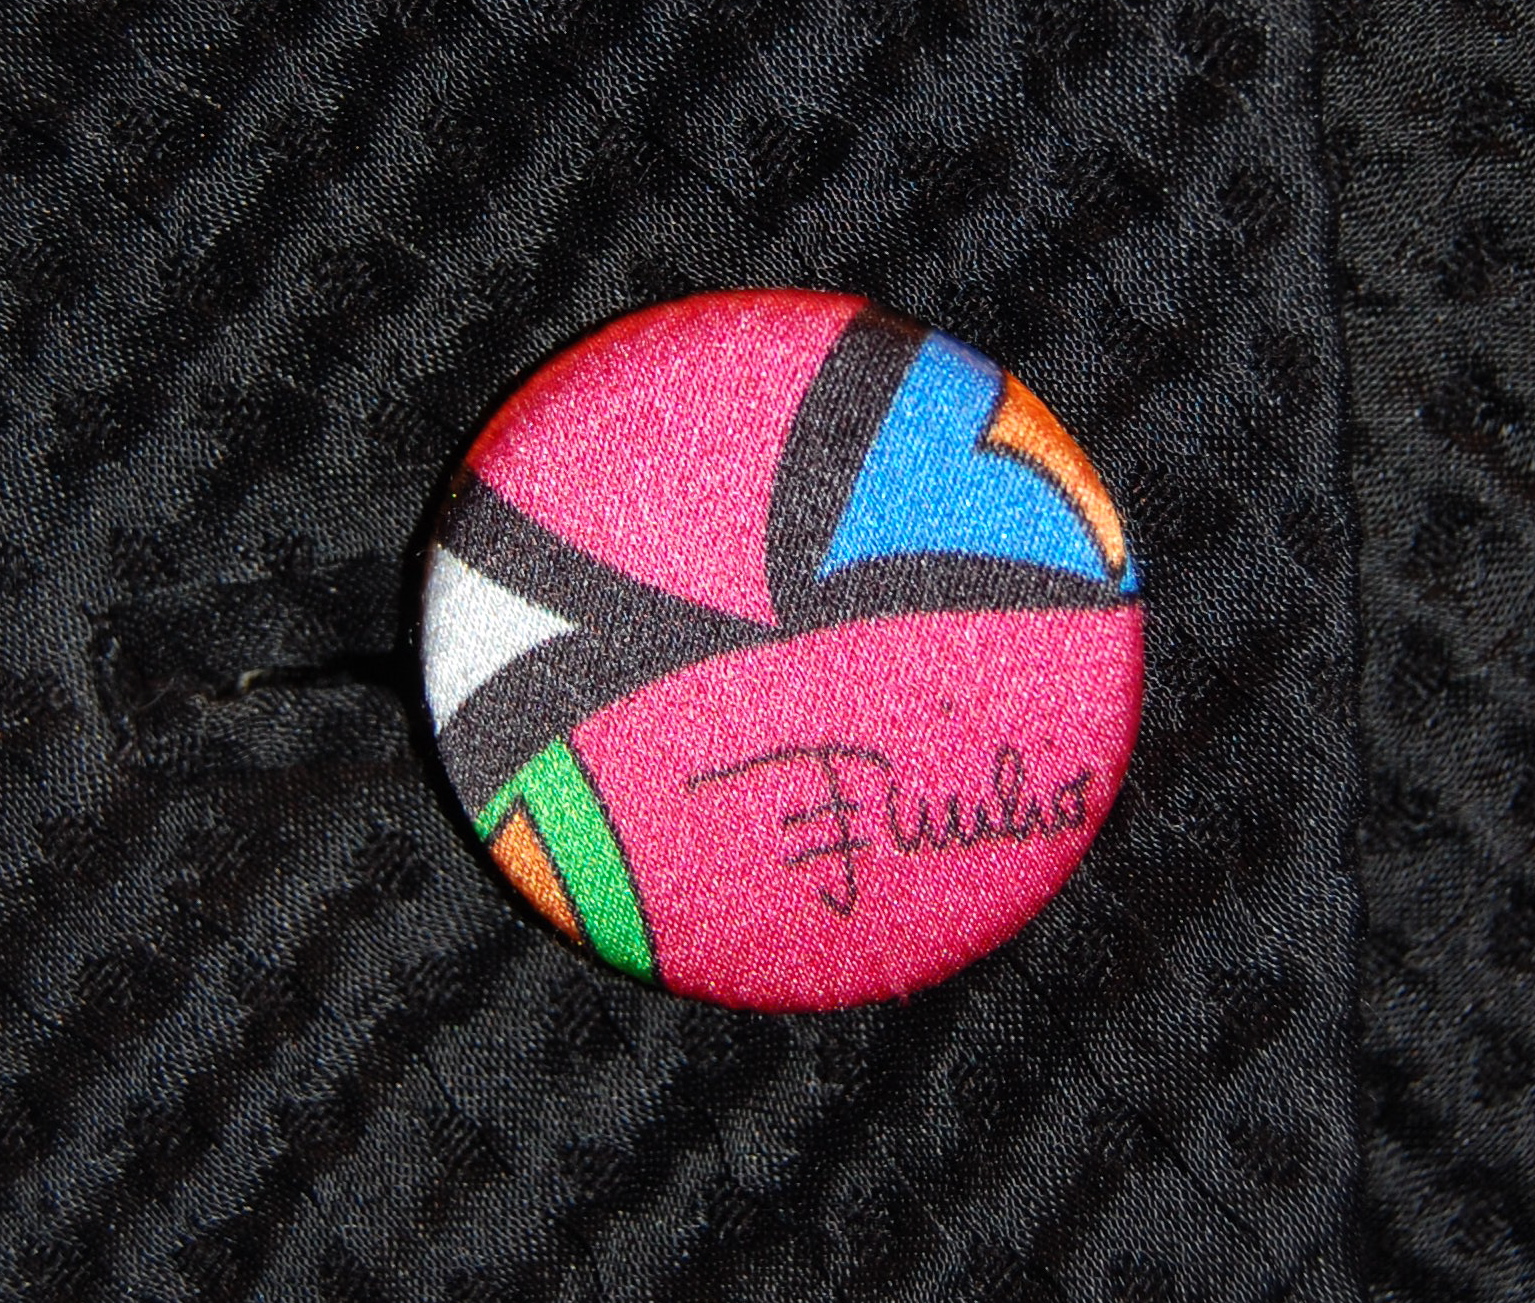
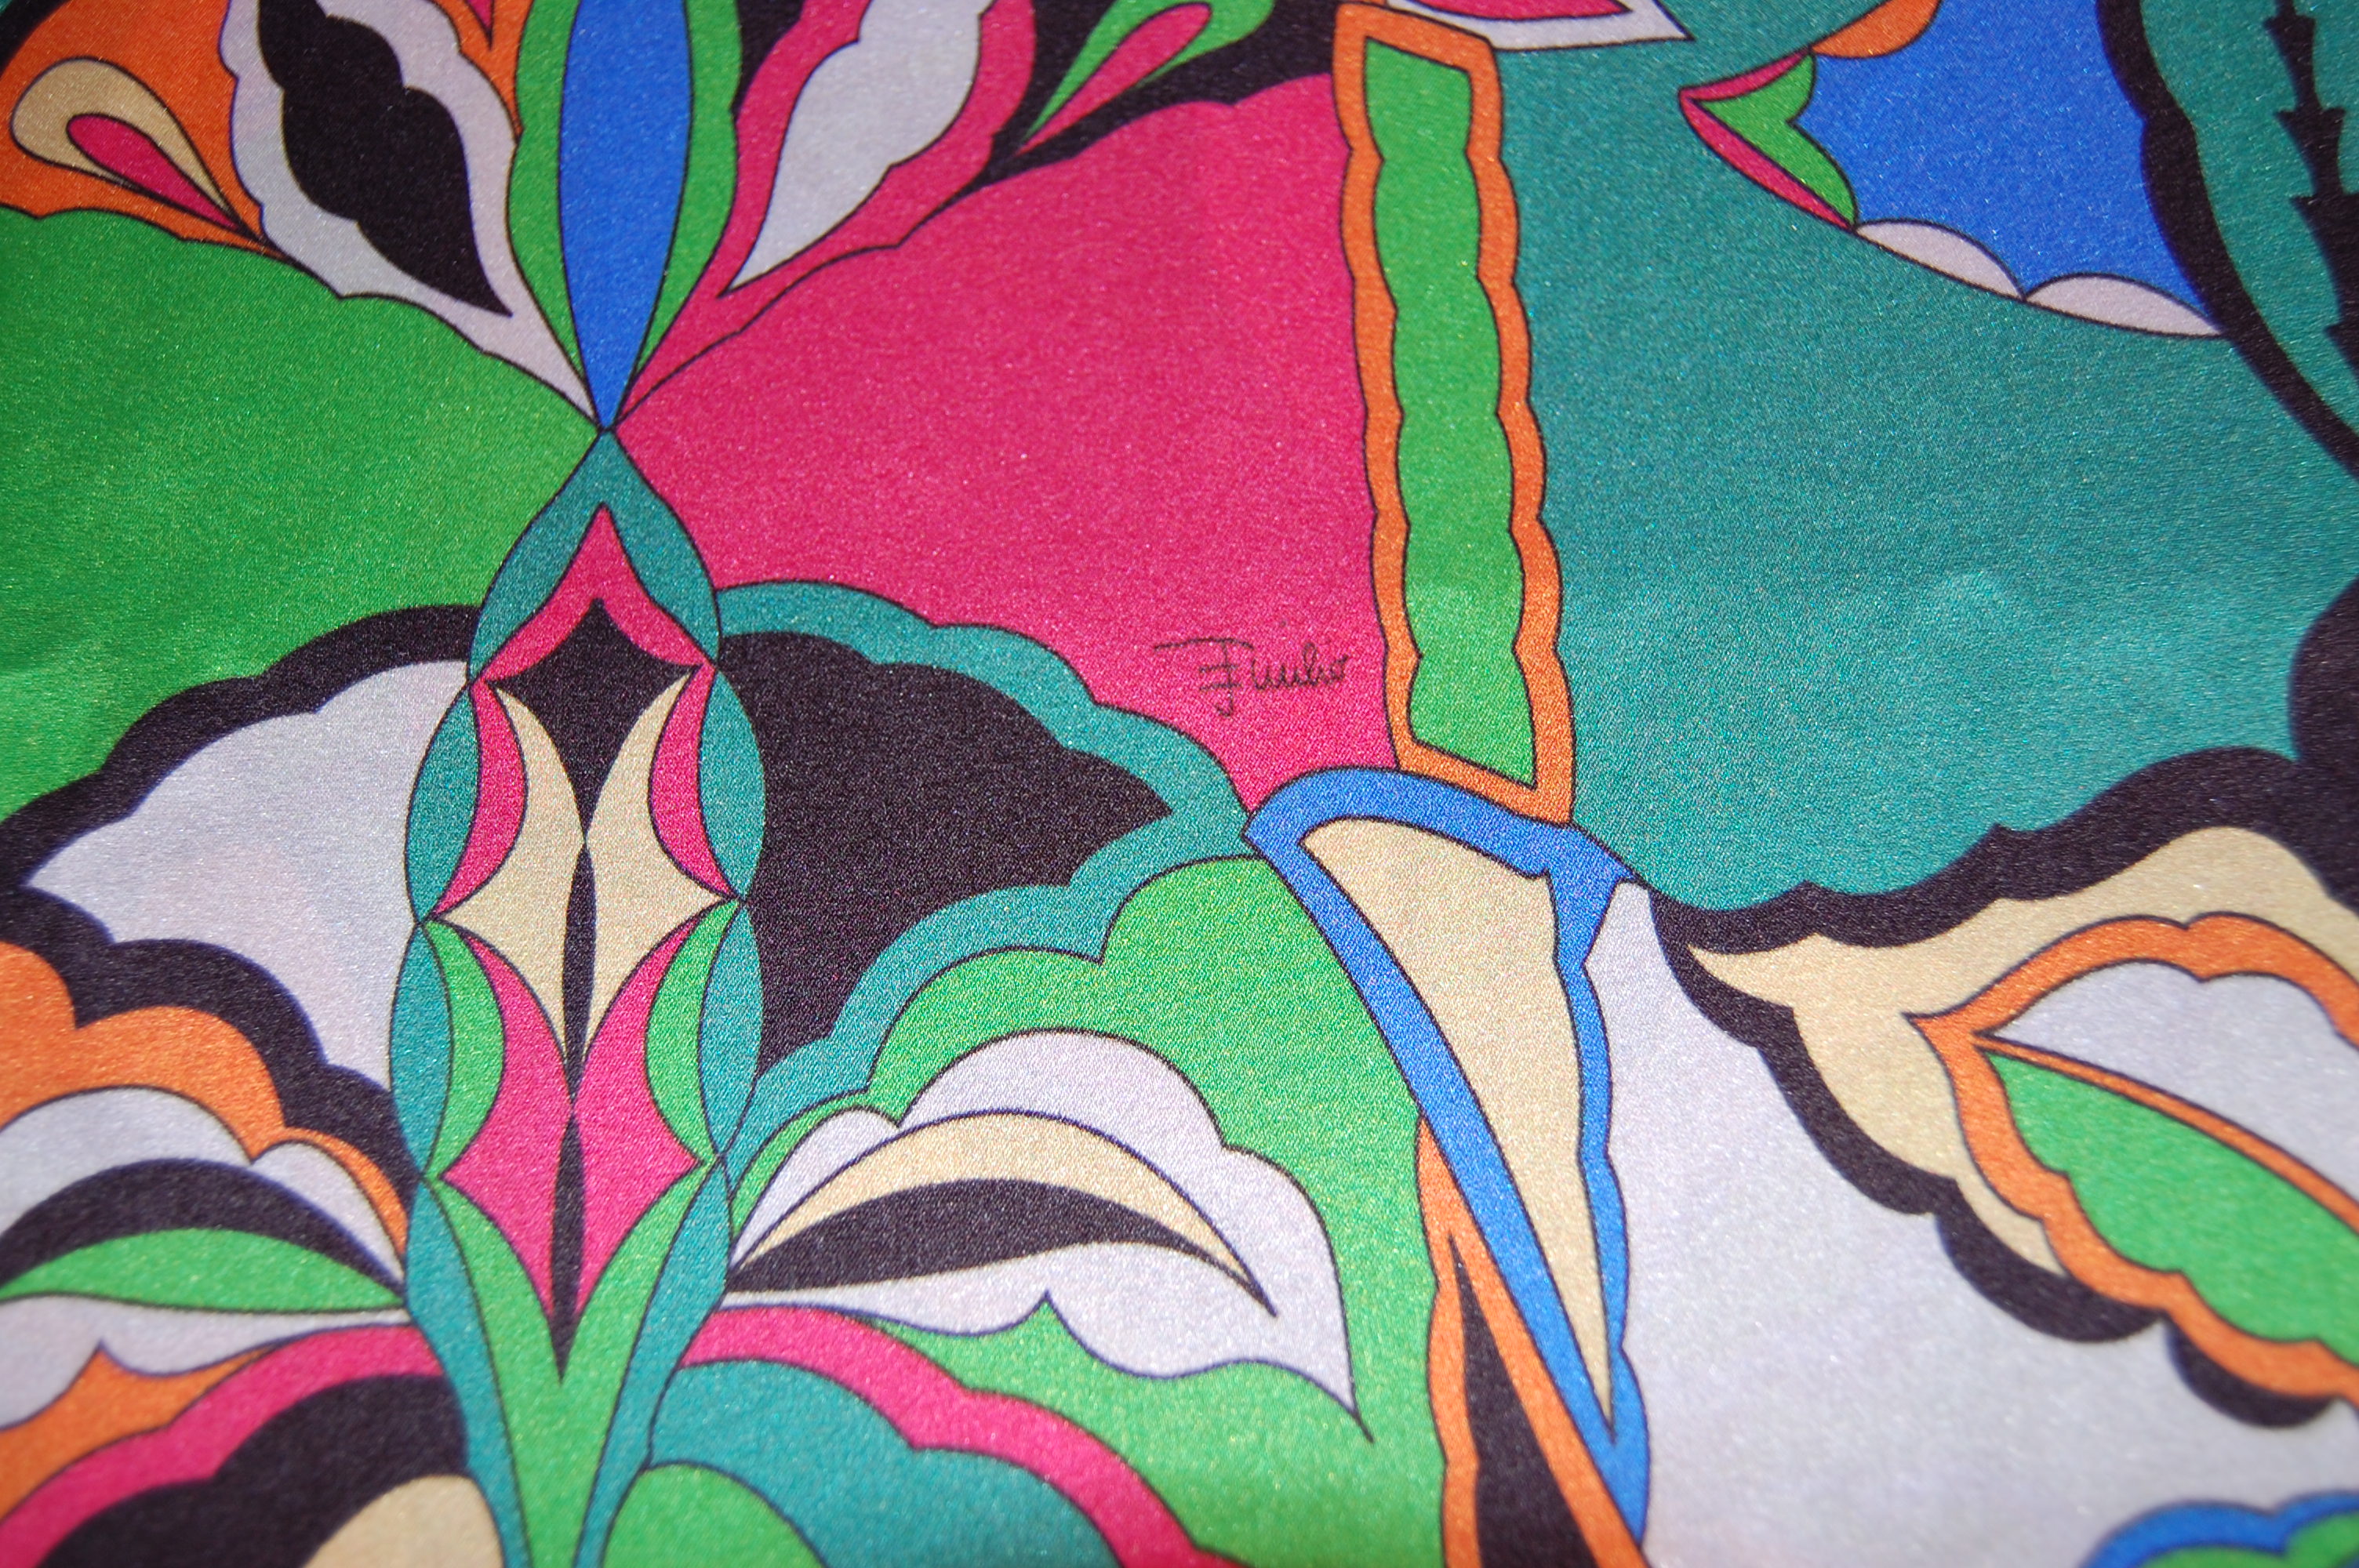
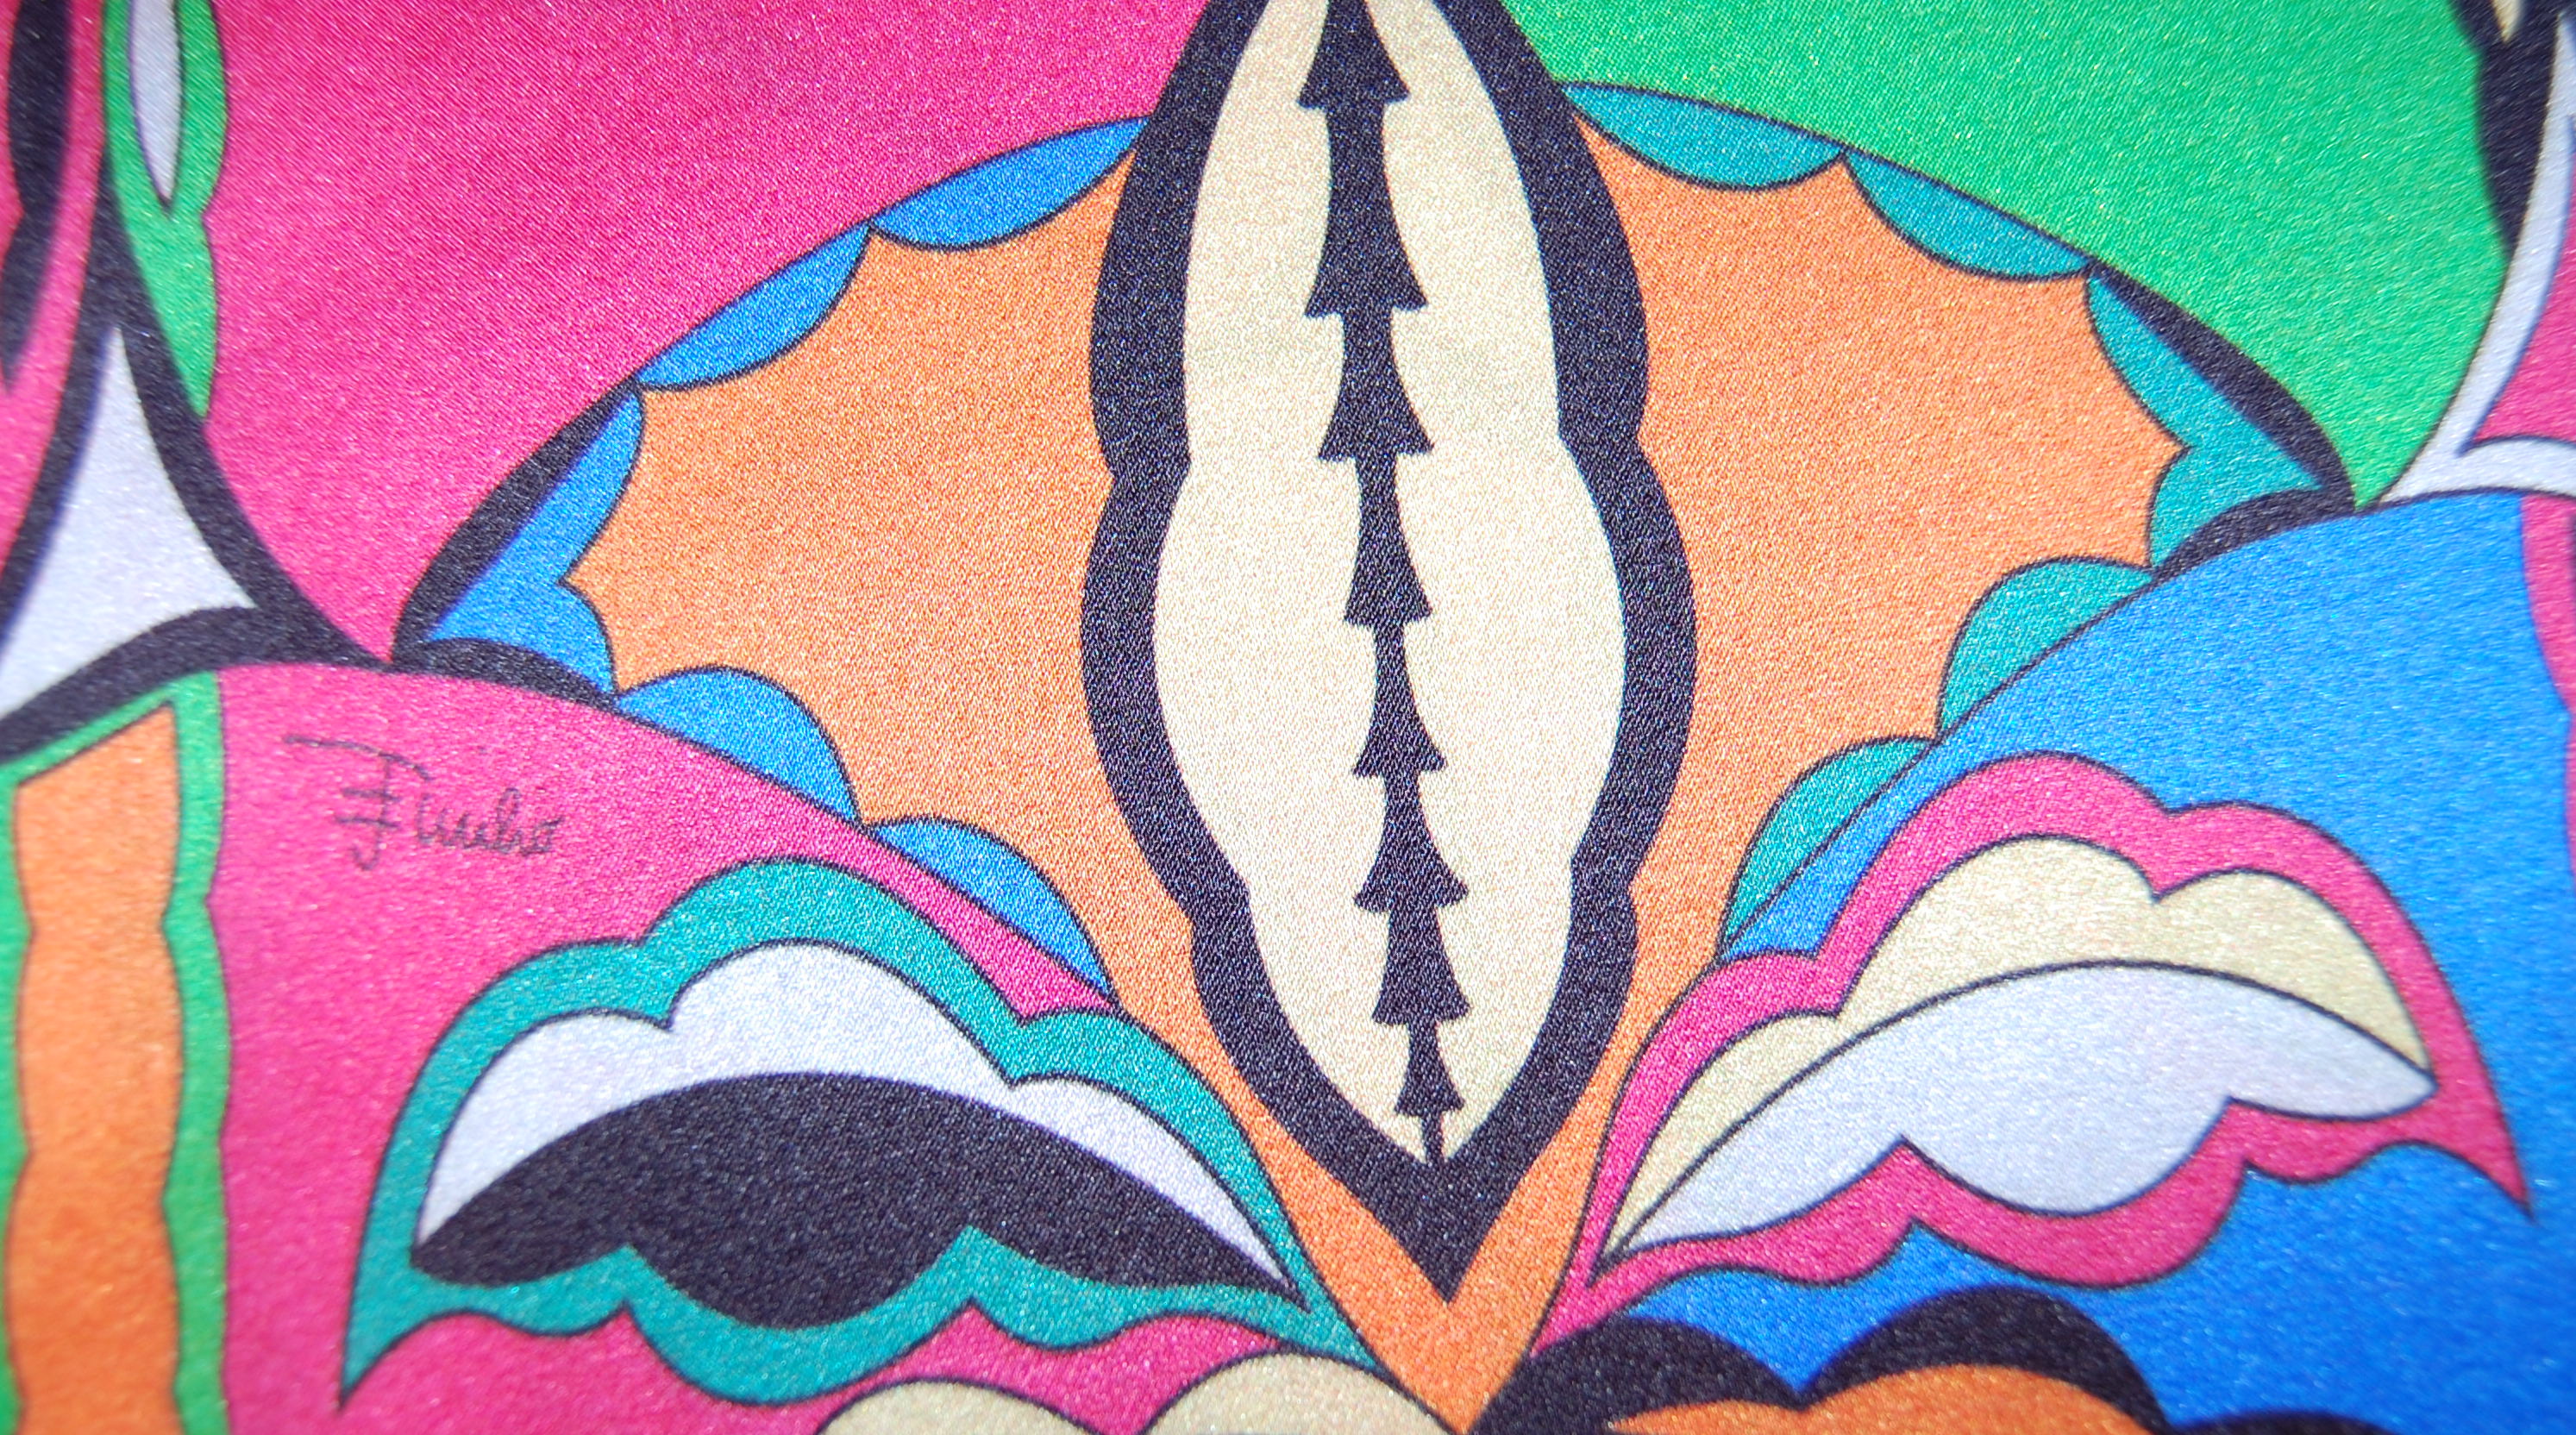
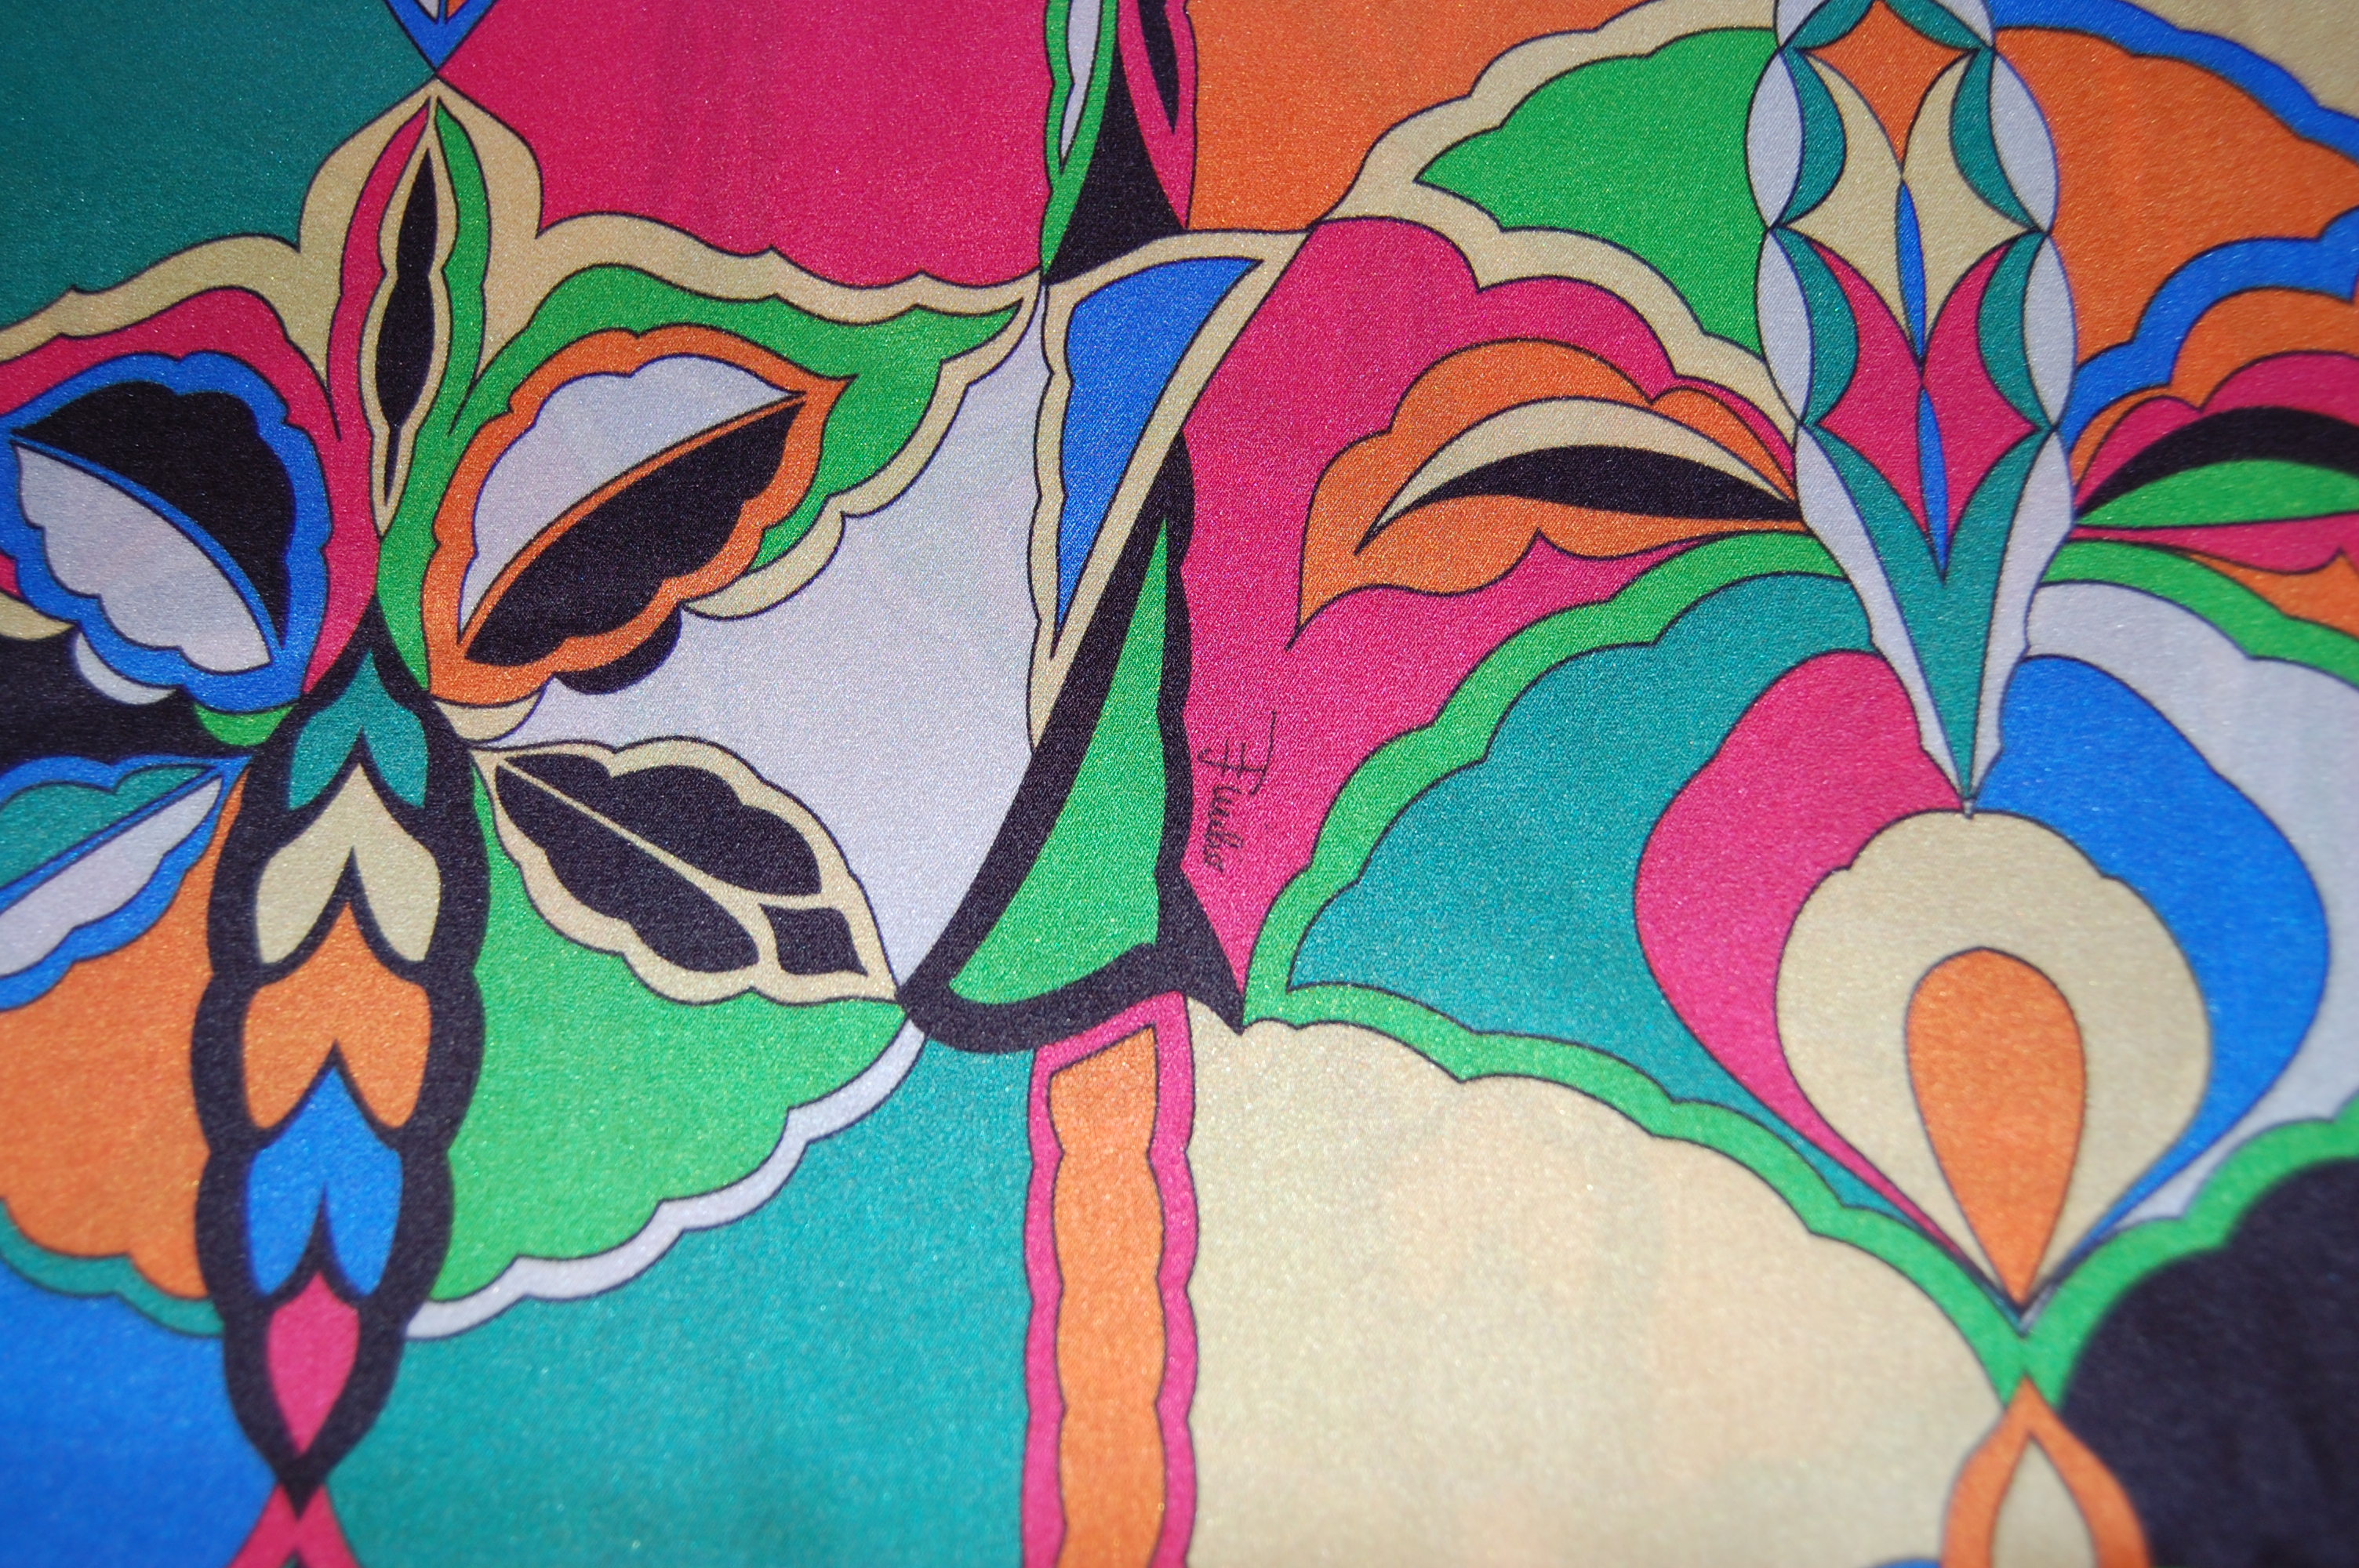
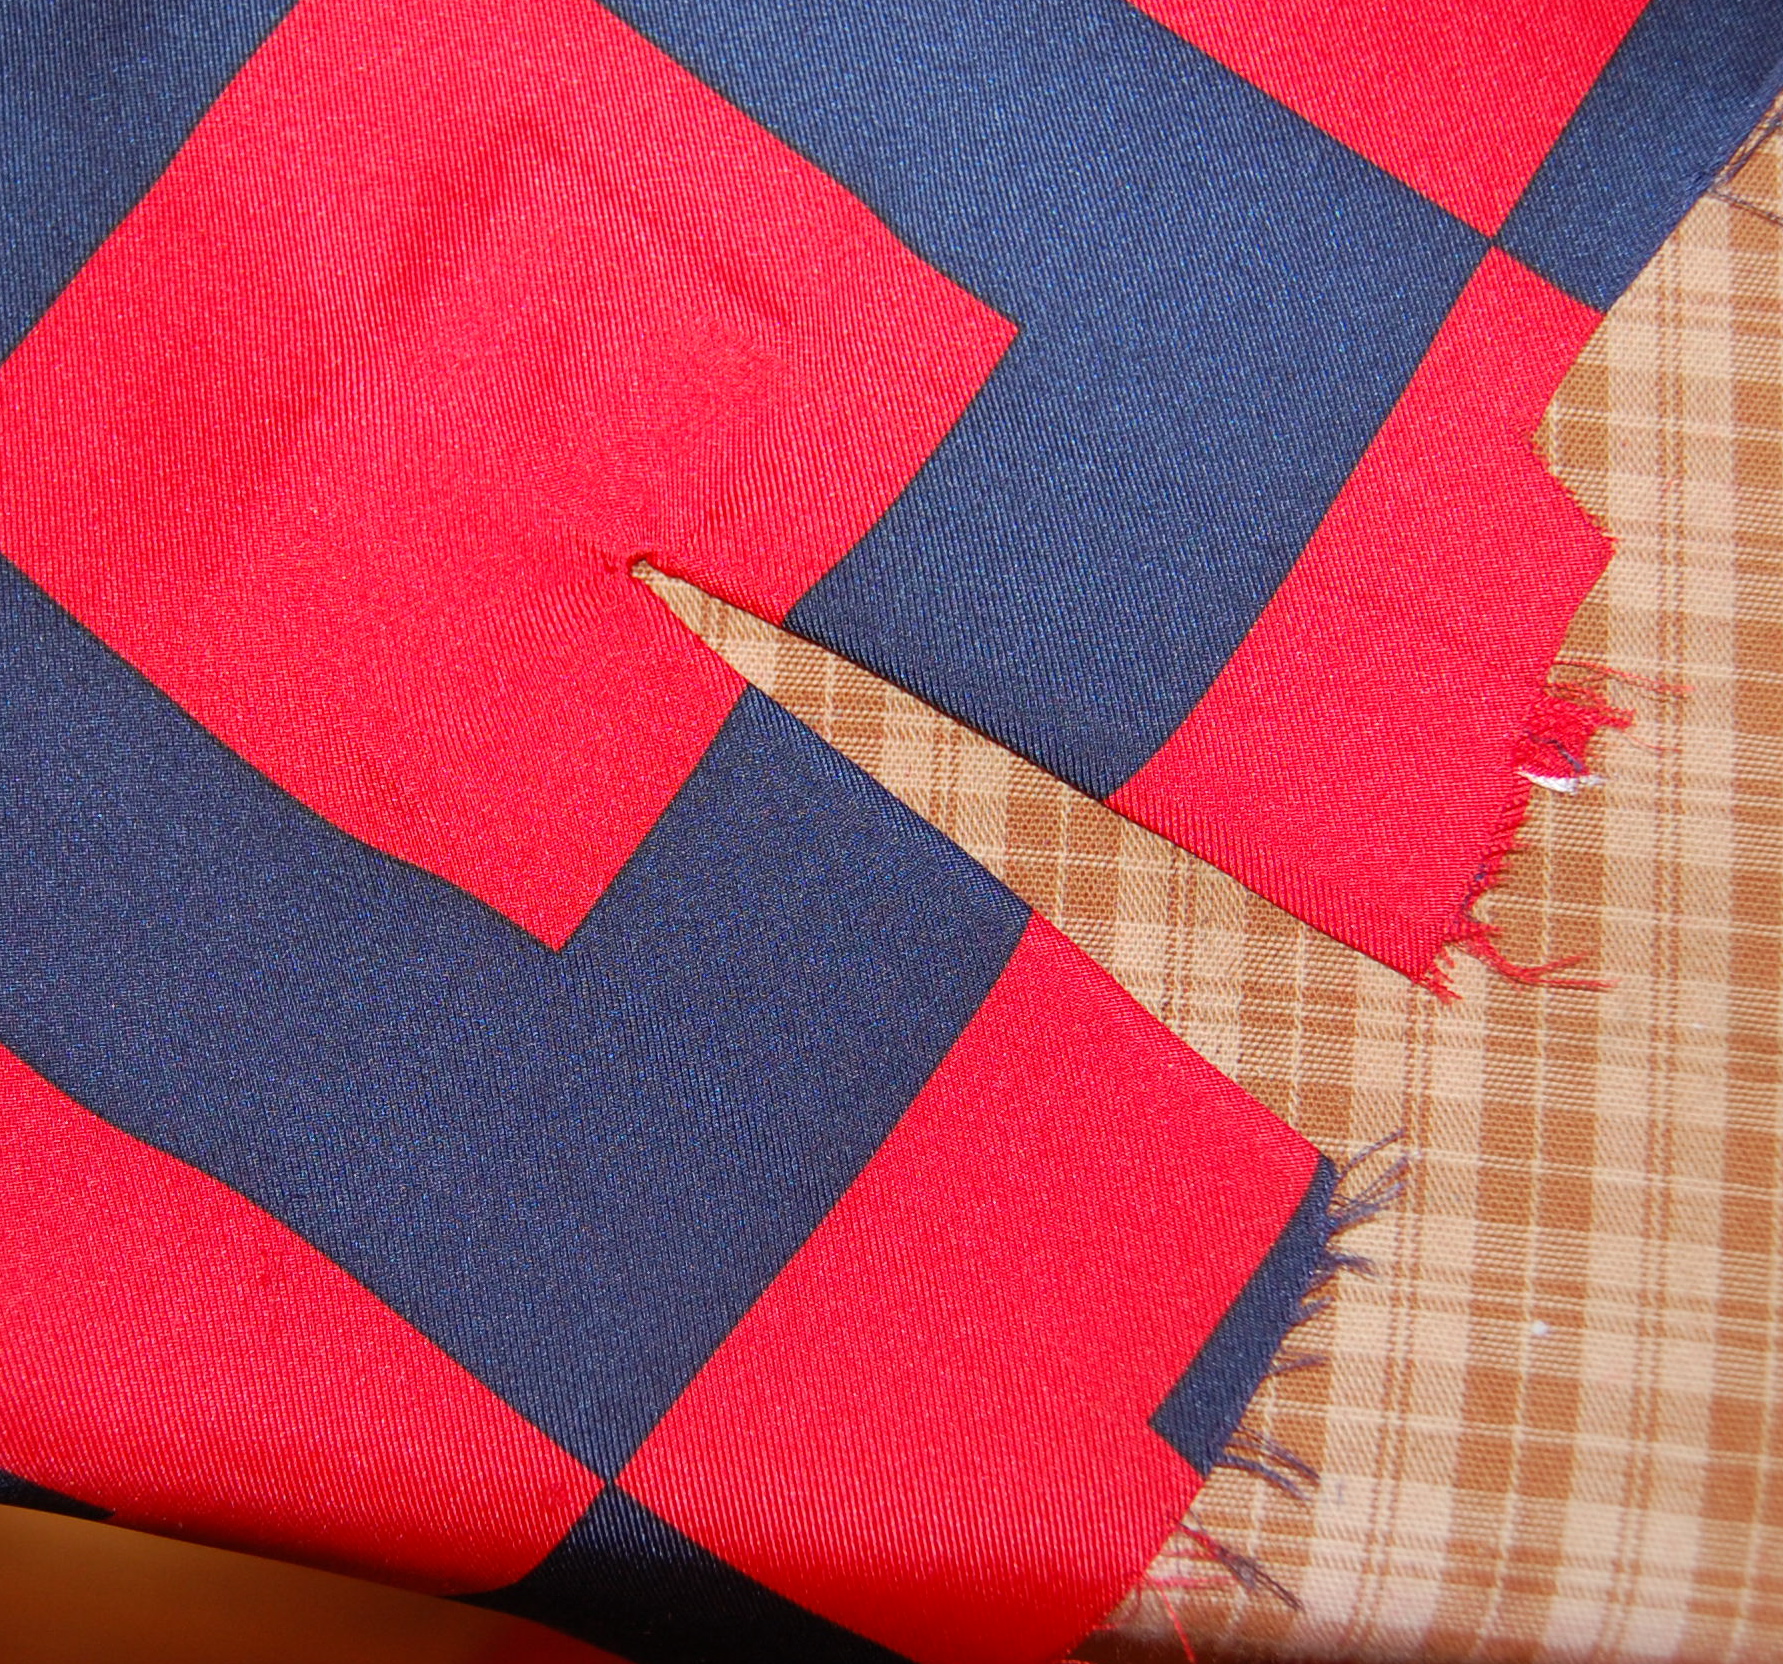
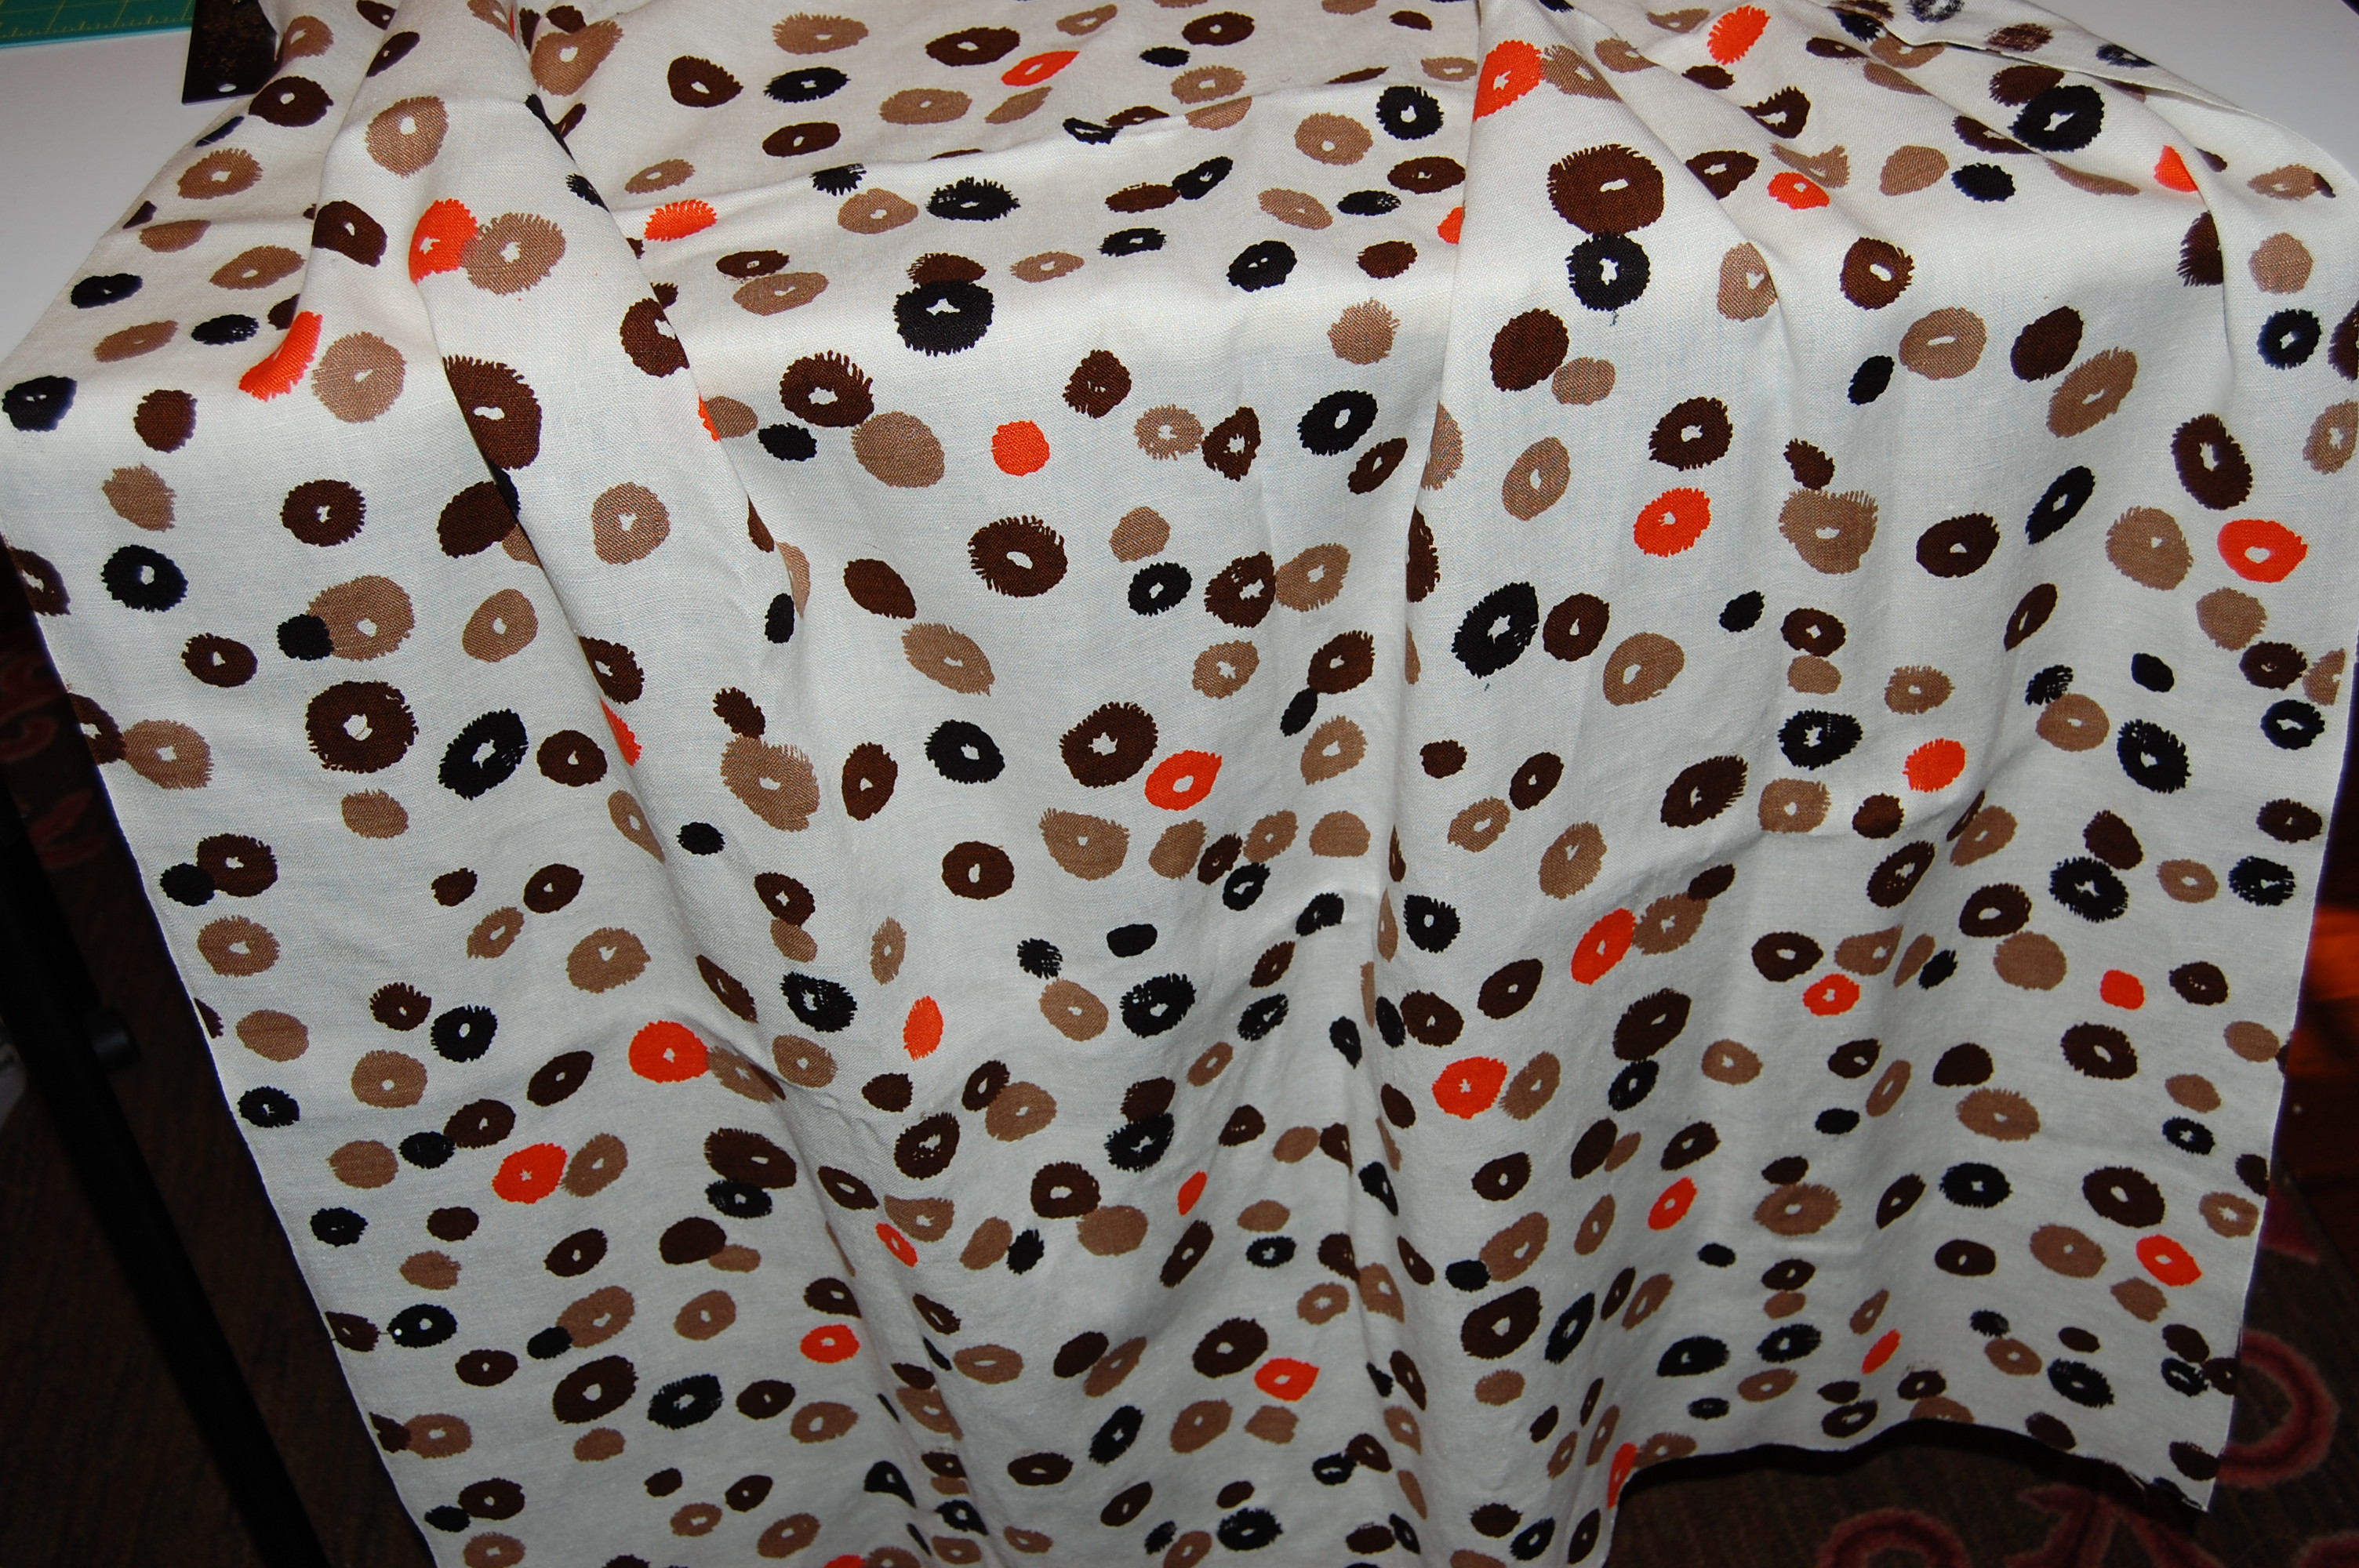
This short length of fabric had been on the remnant table, and, being too good of a bargain to pass by, some home dressmaker in California (USA) scooped it up with all good intentions of making something out of it someday. It must have lived in a dark drawer somewhere, carefully buffered from stains and yellowing. It didn’t even have much of a crease in it. And so, after many years in dormancy, it arrived at my home in Pennsylvania. I knew immediately that it was a Moygashel linen. I could tell by the hand of the fabric, the unique, slightly funky design, and by its amazing survival virtually wrinkle-free.
As I mentioned in a former post, my only dilemma was the scant yardage, combined with the narrow width. So, I stuck it in my fabric closet, to think about another day. One thing nagged at me, however. I really, really wanted to know what year it was from.
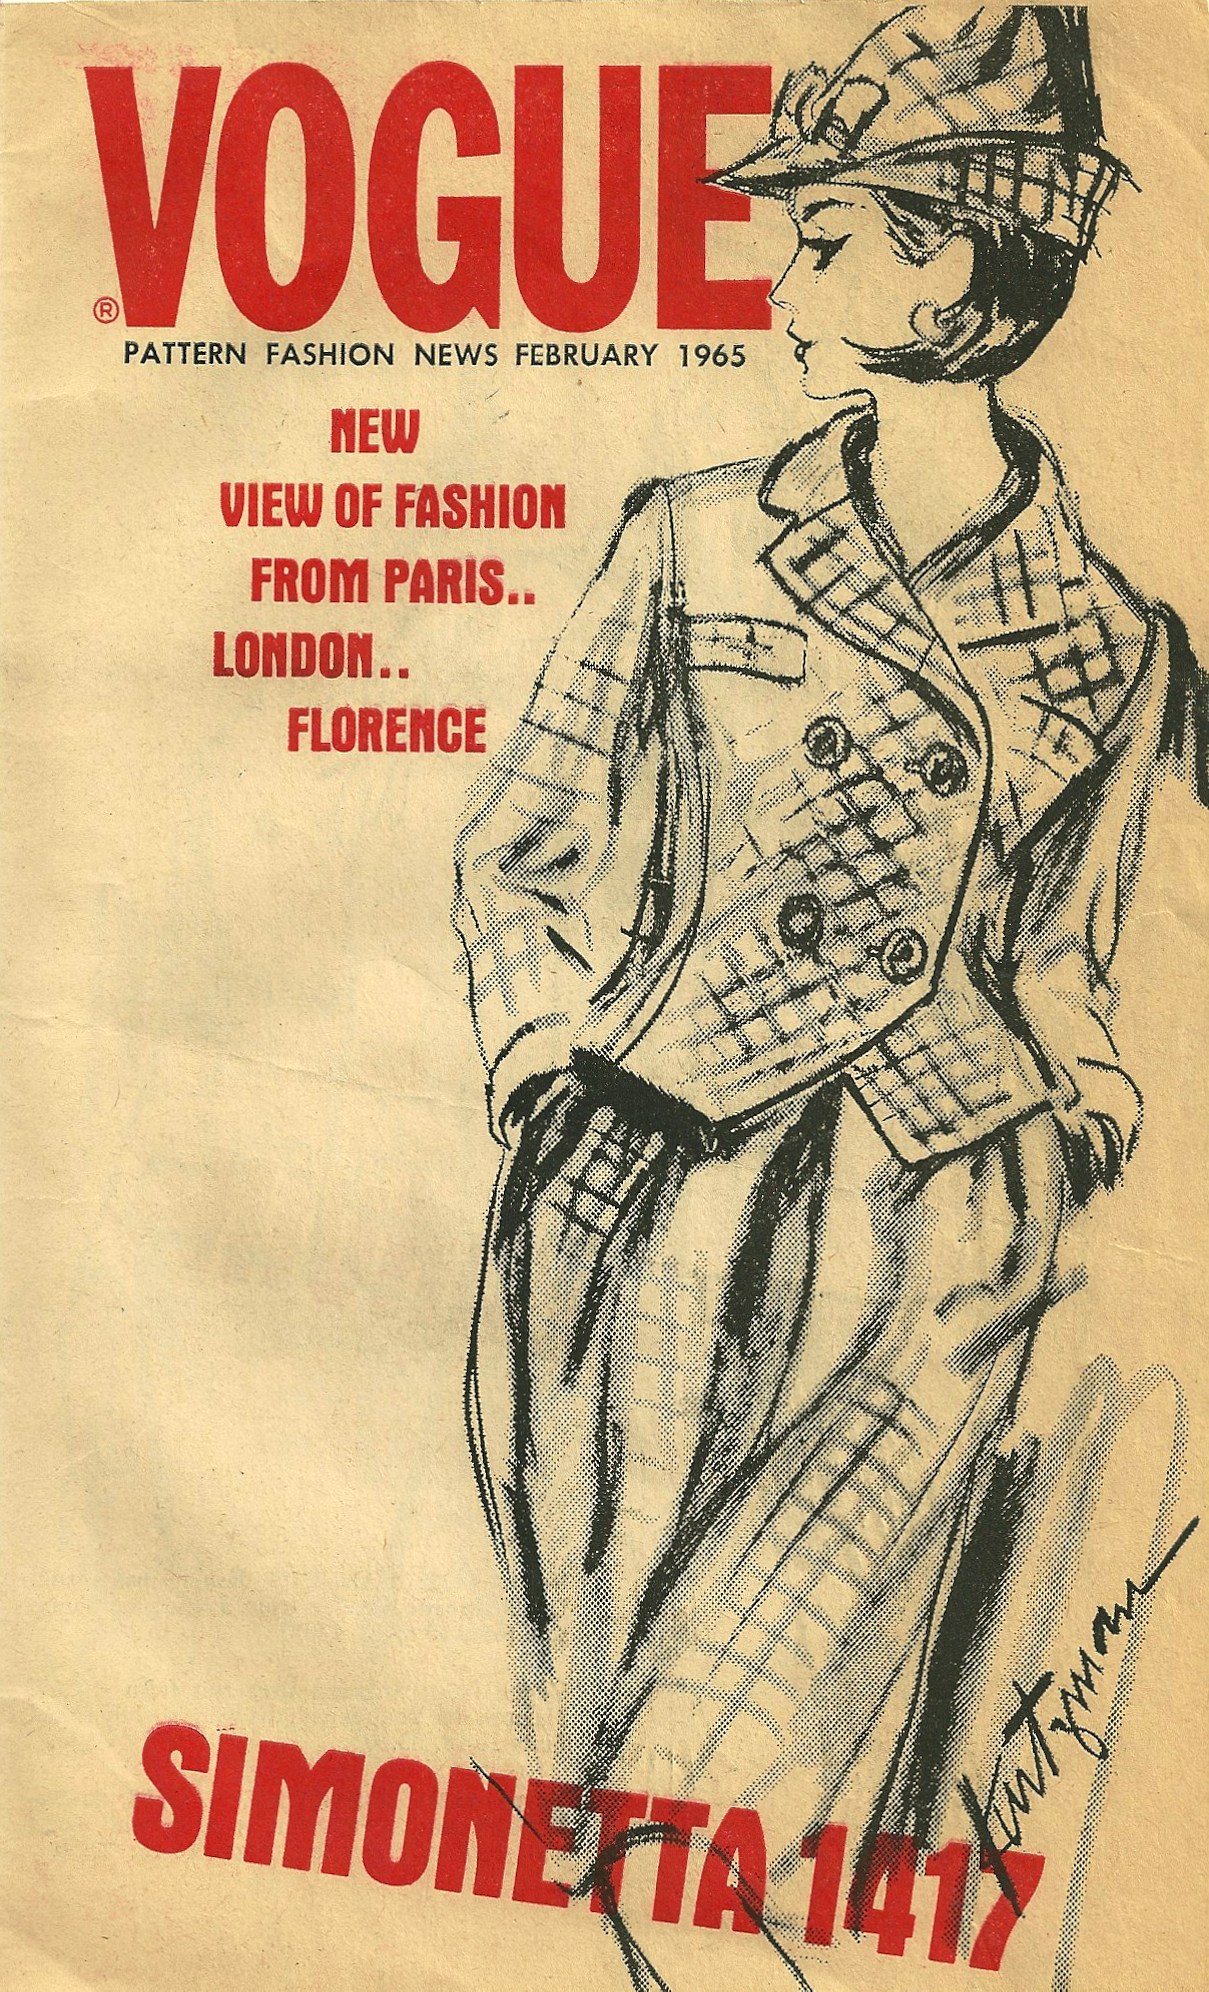
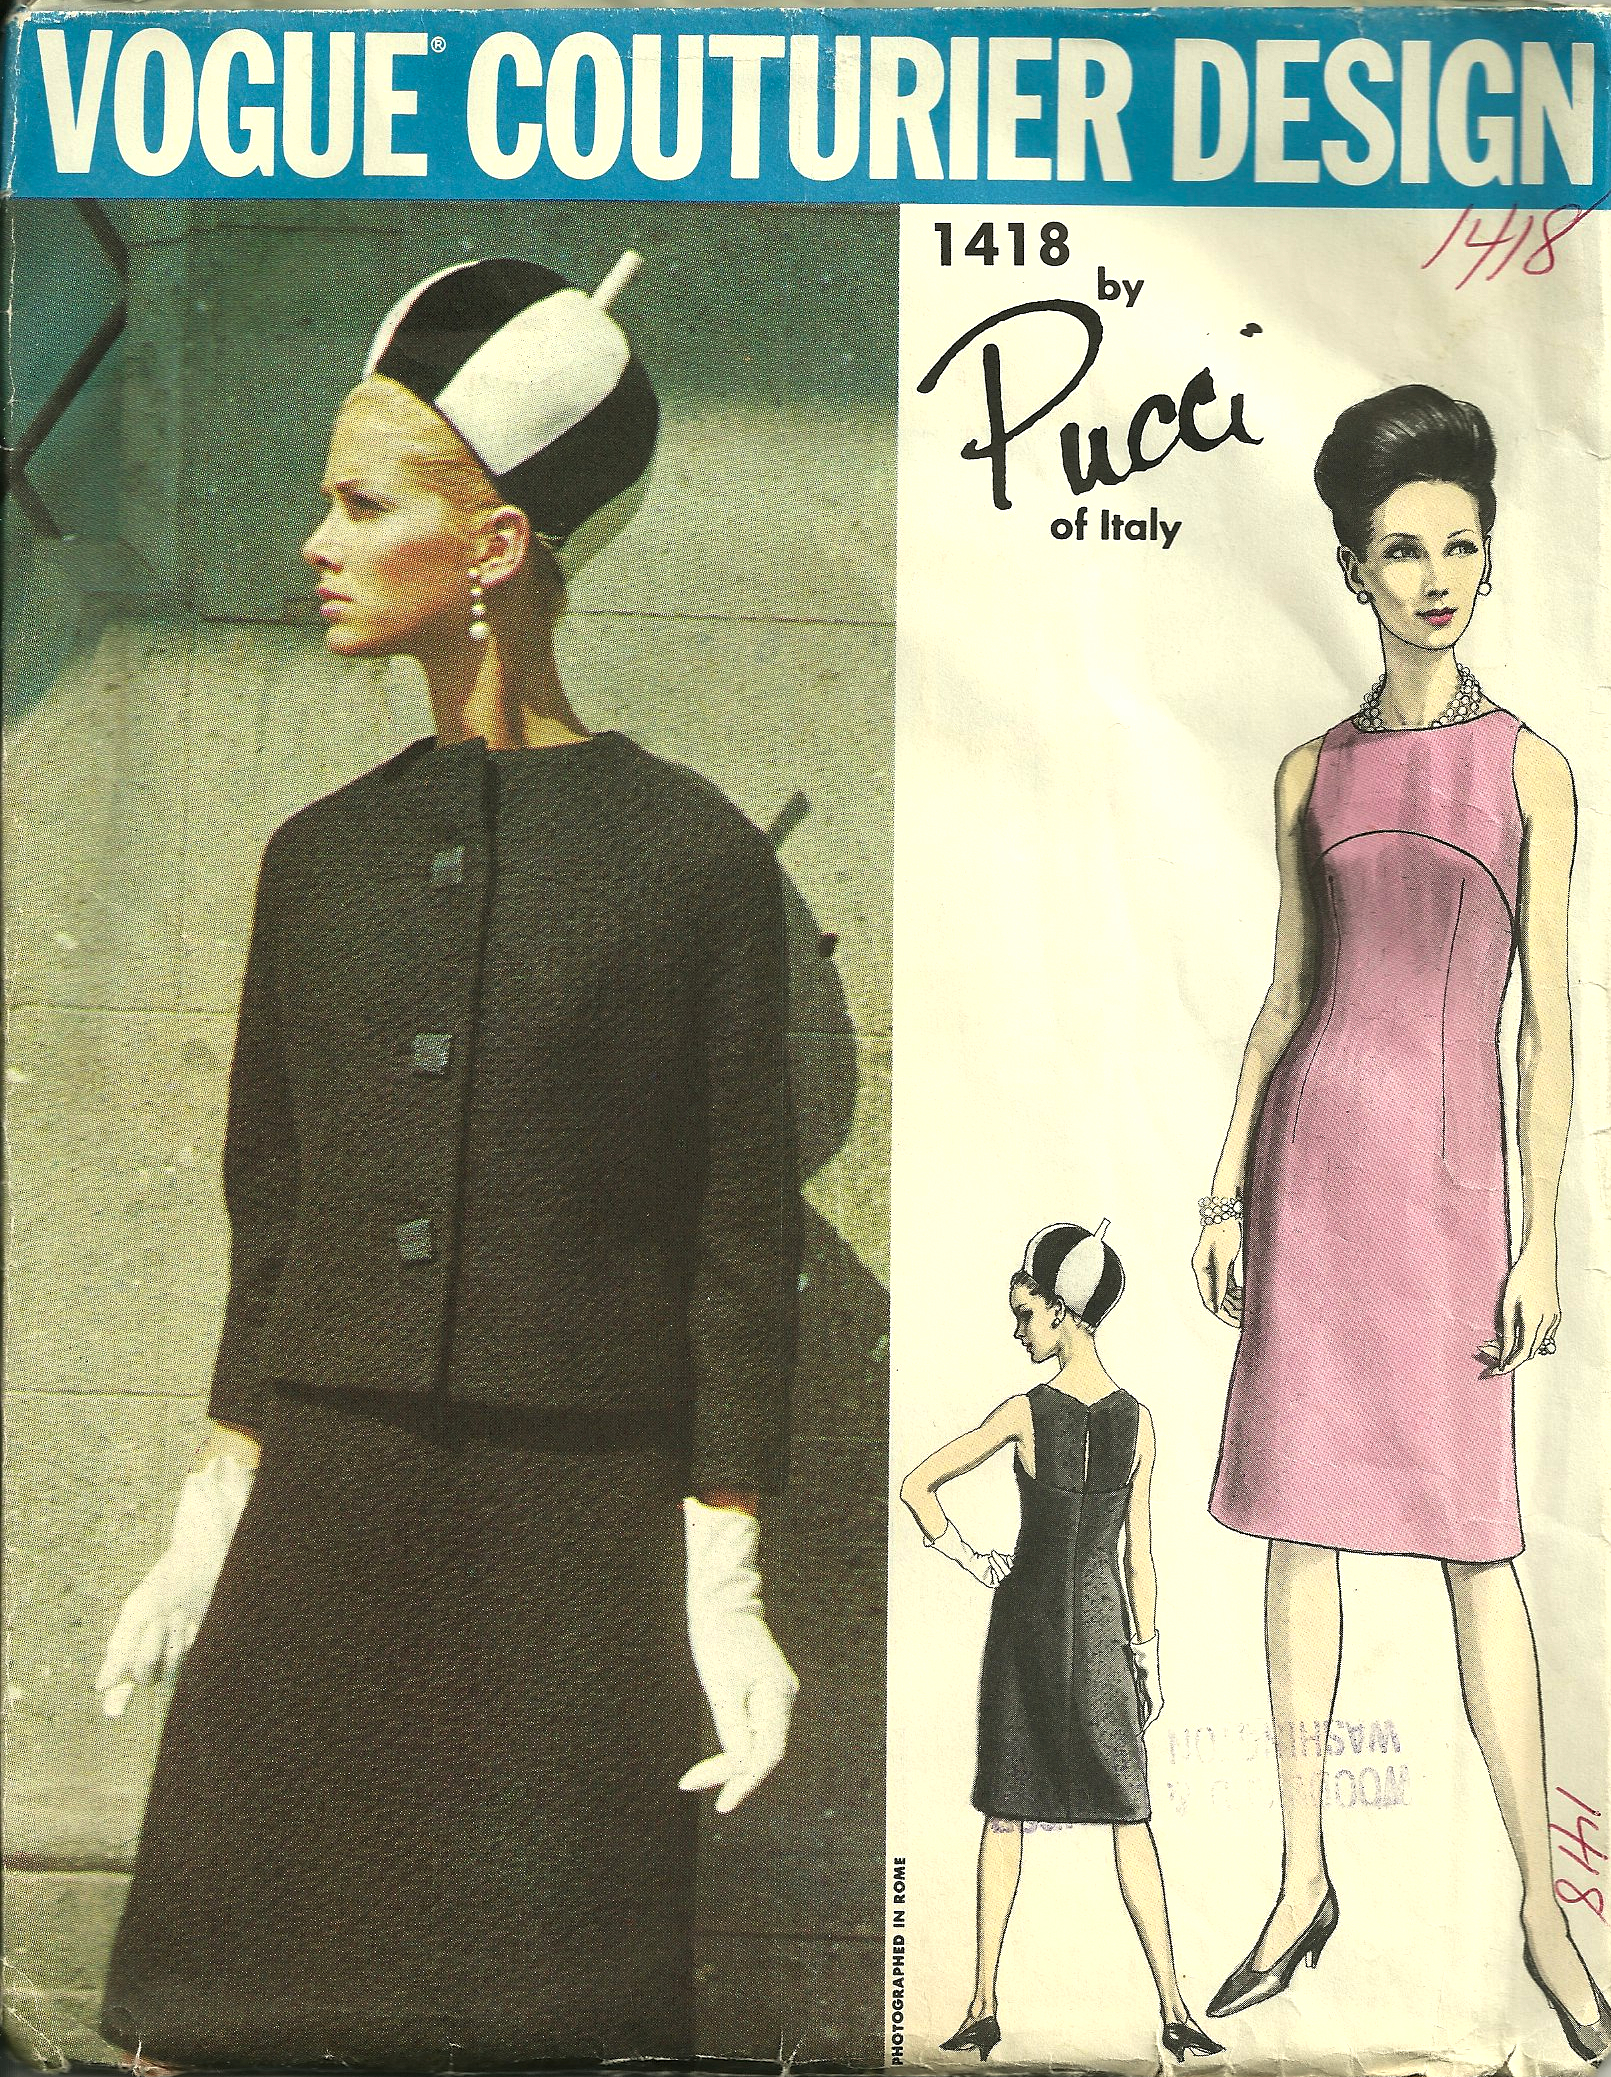
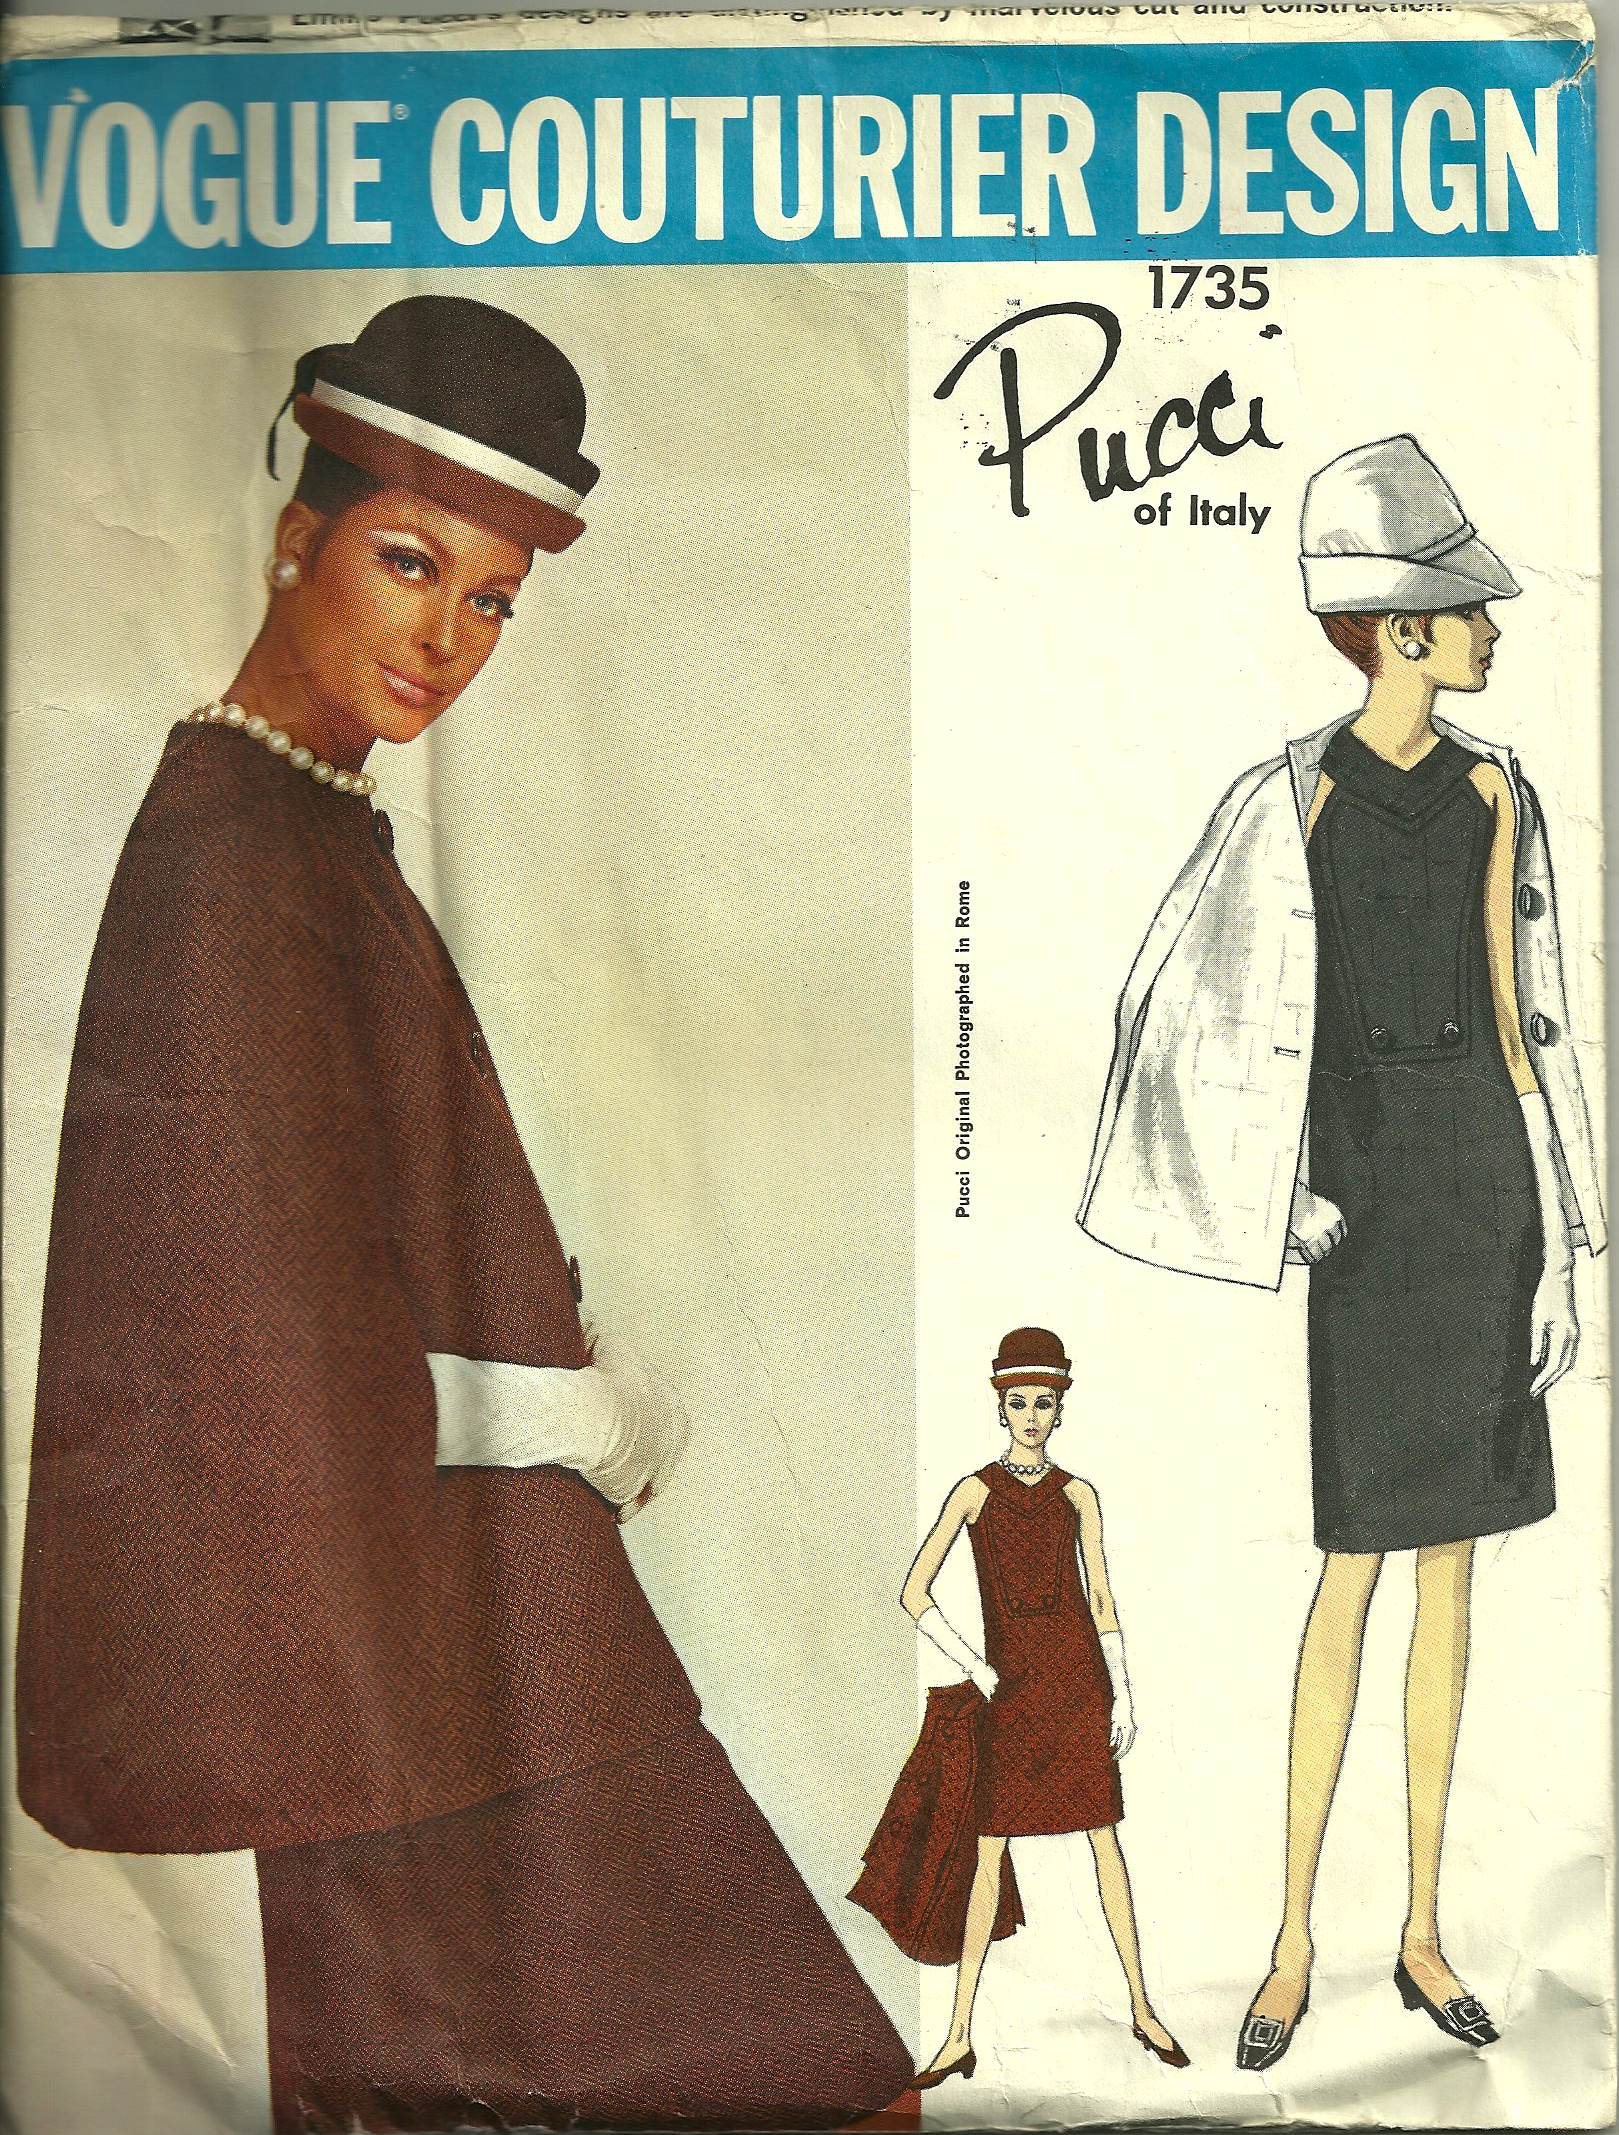
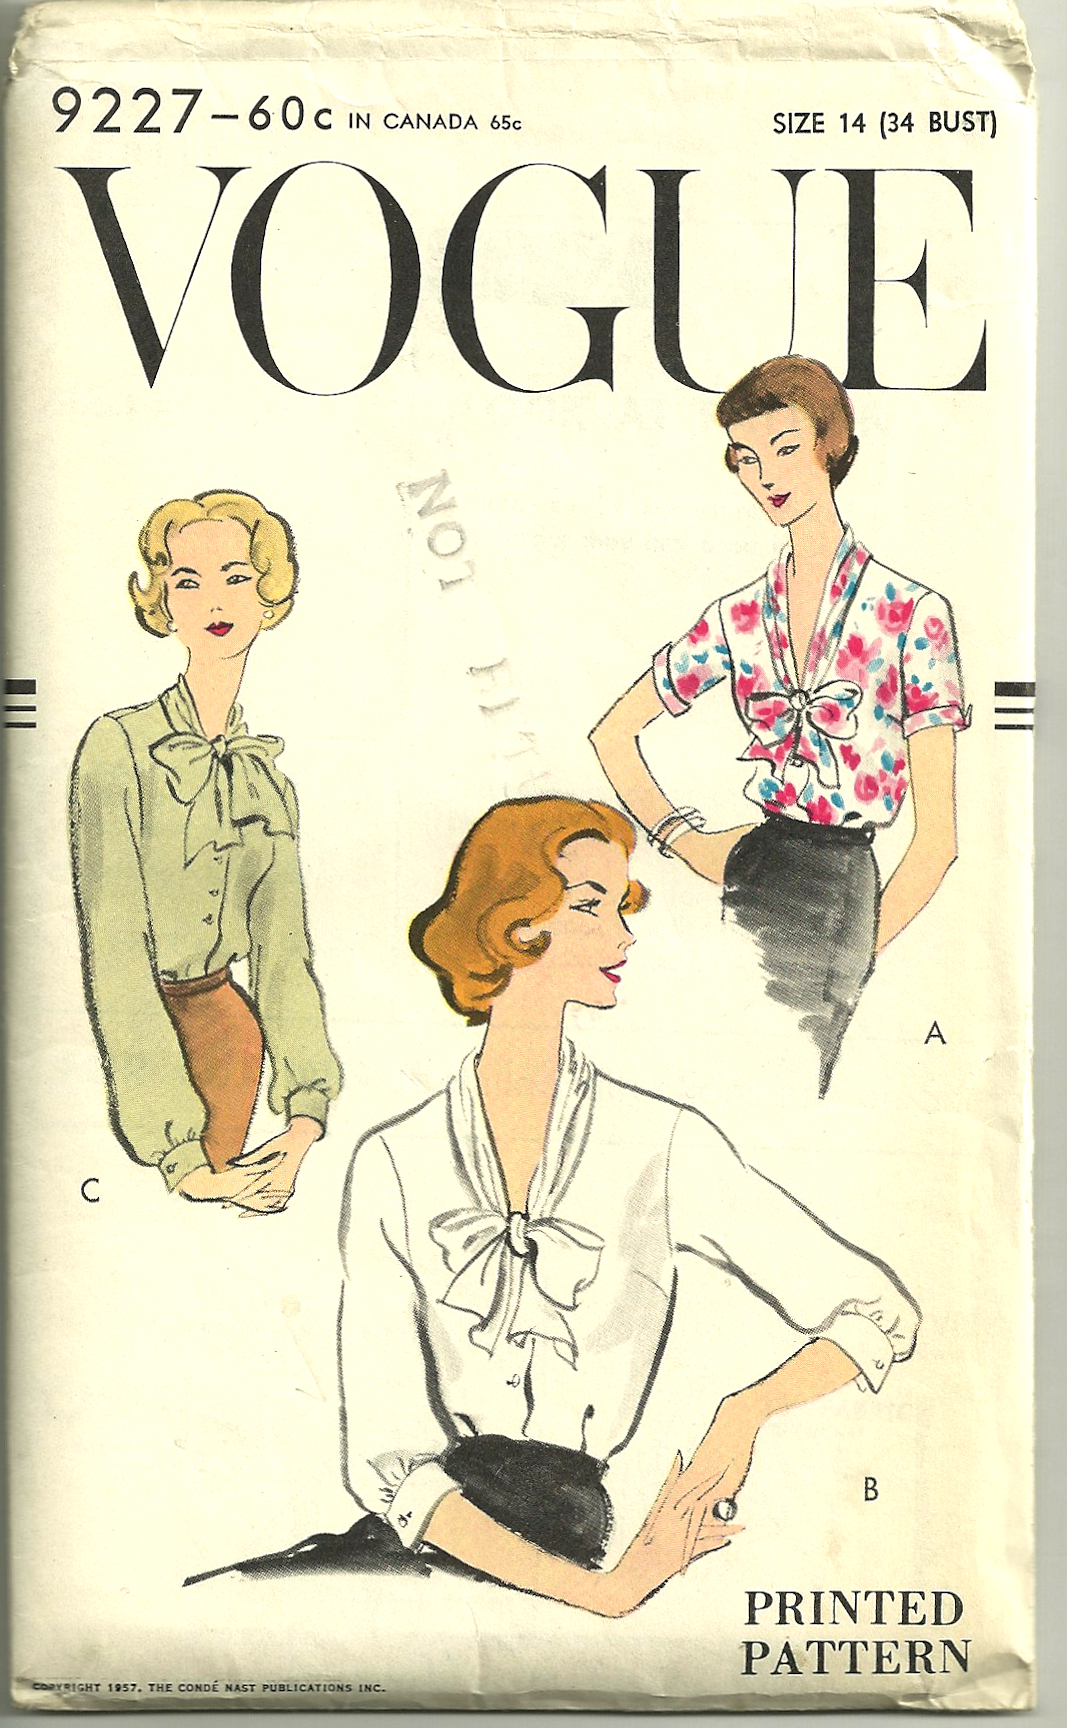
Over the past three years or so, I have had some luck in finding copies of old and older (1950-1980) Vogue Pattern Book Magazines. They are fascinating, and treasure troves of mid-century fashion as it relates to home sewing. I have tried to get a good cross-section of magazines from those three decades. One issue, which I tried a couple of times to get – and did not (on eBay) – finally became available to me. I loved the suit on the cover, and those mid-fifties styles are just so chic, even though most Vogue patterns from that time period were unprinted, and therefore, very difficult to use. (By 1957, Vogue was starting to produce many of their patterns in printed and perforated format.)
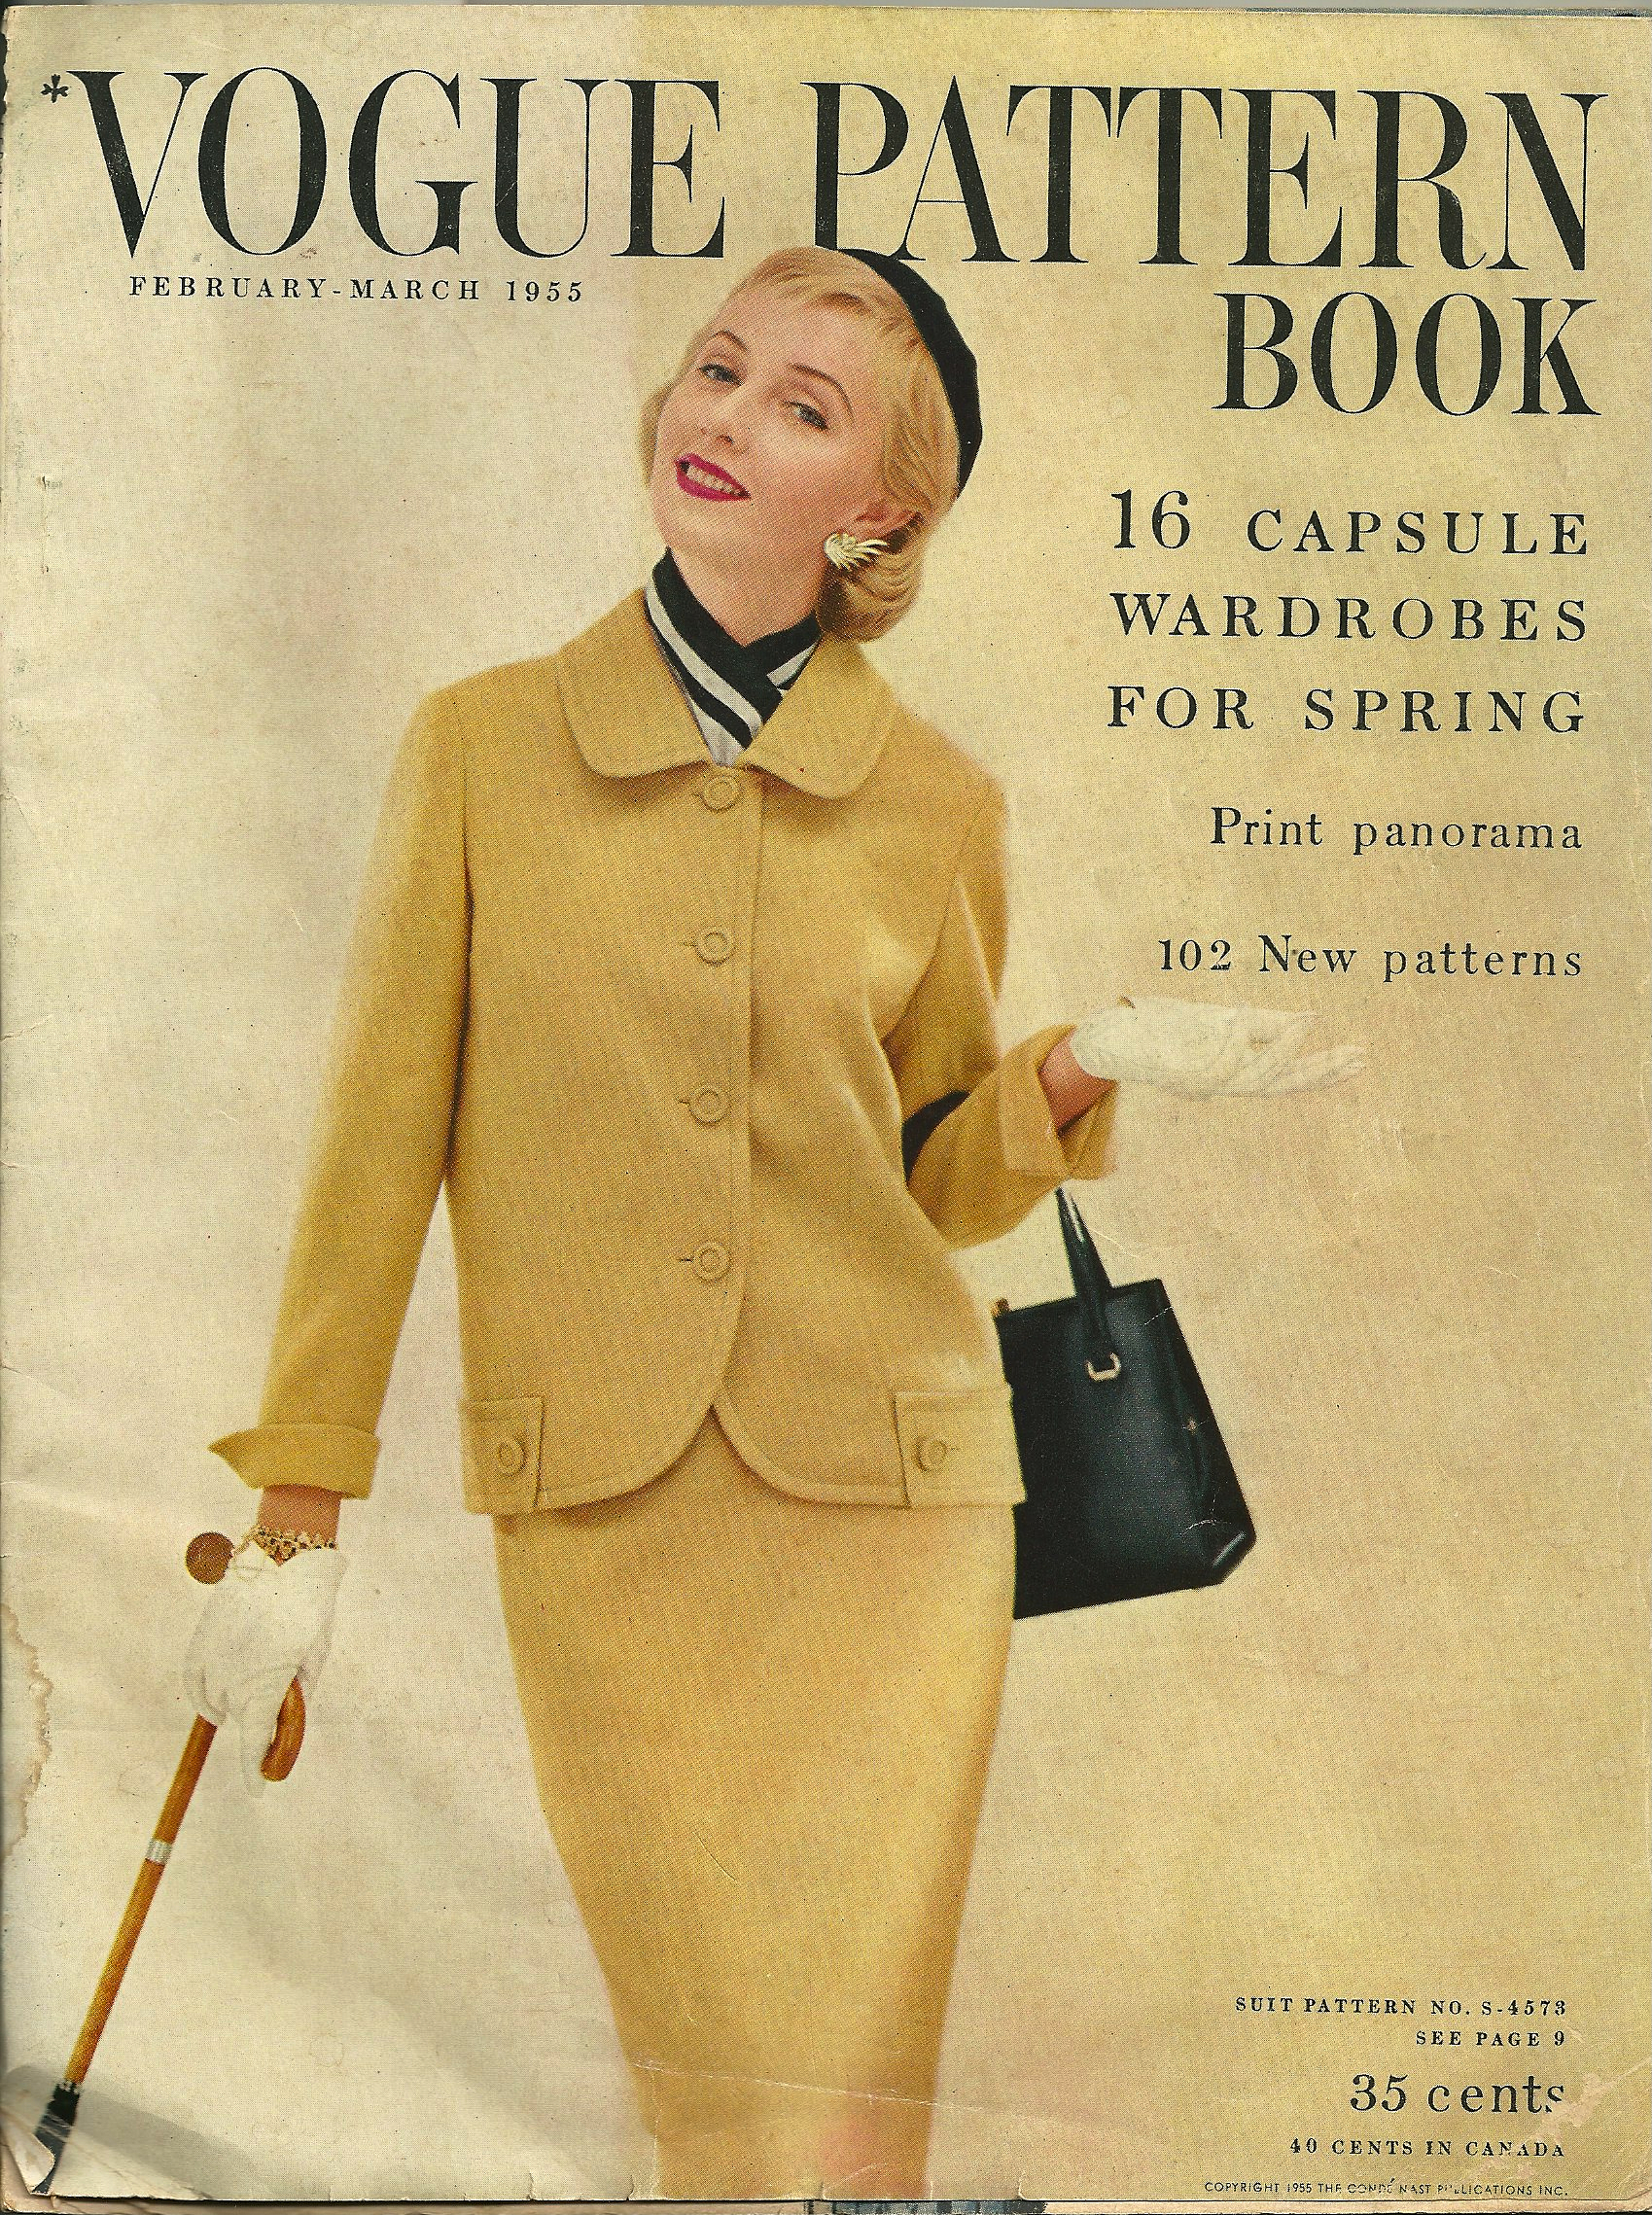
This is the February/March 1955 issue.
Perhaps you can see where I am going with this? I was looking through this particular issue once again in May of this year, and low and behold, a full-page ad for Moygashel linen clearly pictured “my” linen as one of their “new crop”. The colorway was different, but Moygashel was known for producing their fabrics “all in many colors or color combinations.” Maybe a lot of people wouldn’t get so excited about such a discovery, but I was ecstatic! Now I knew, for certain, that the linen I had purchased made its debut in early 1955. (I would be turning 5 years old a little later that year!) I even had a name for it now – Sandhurst 121. I suddenly very much wanted to sew this linen, this Summer!
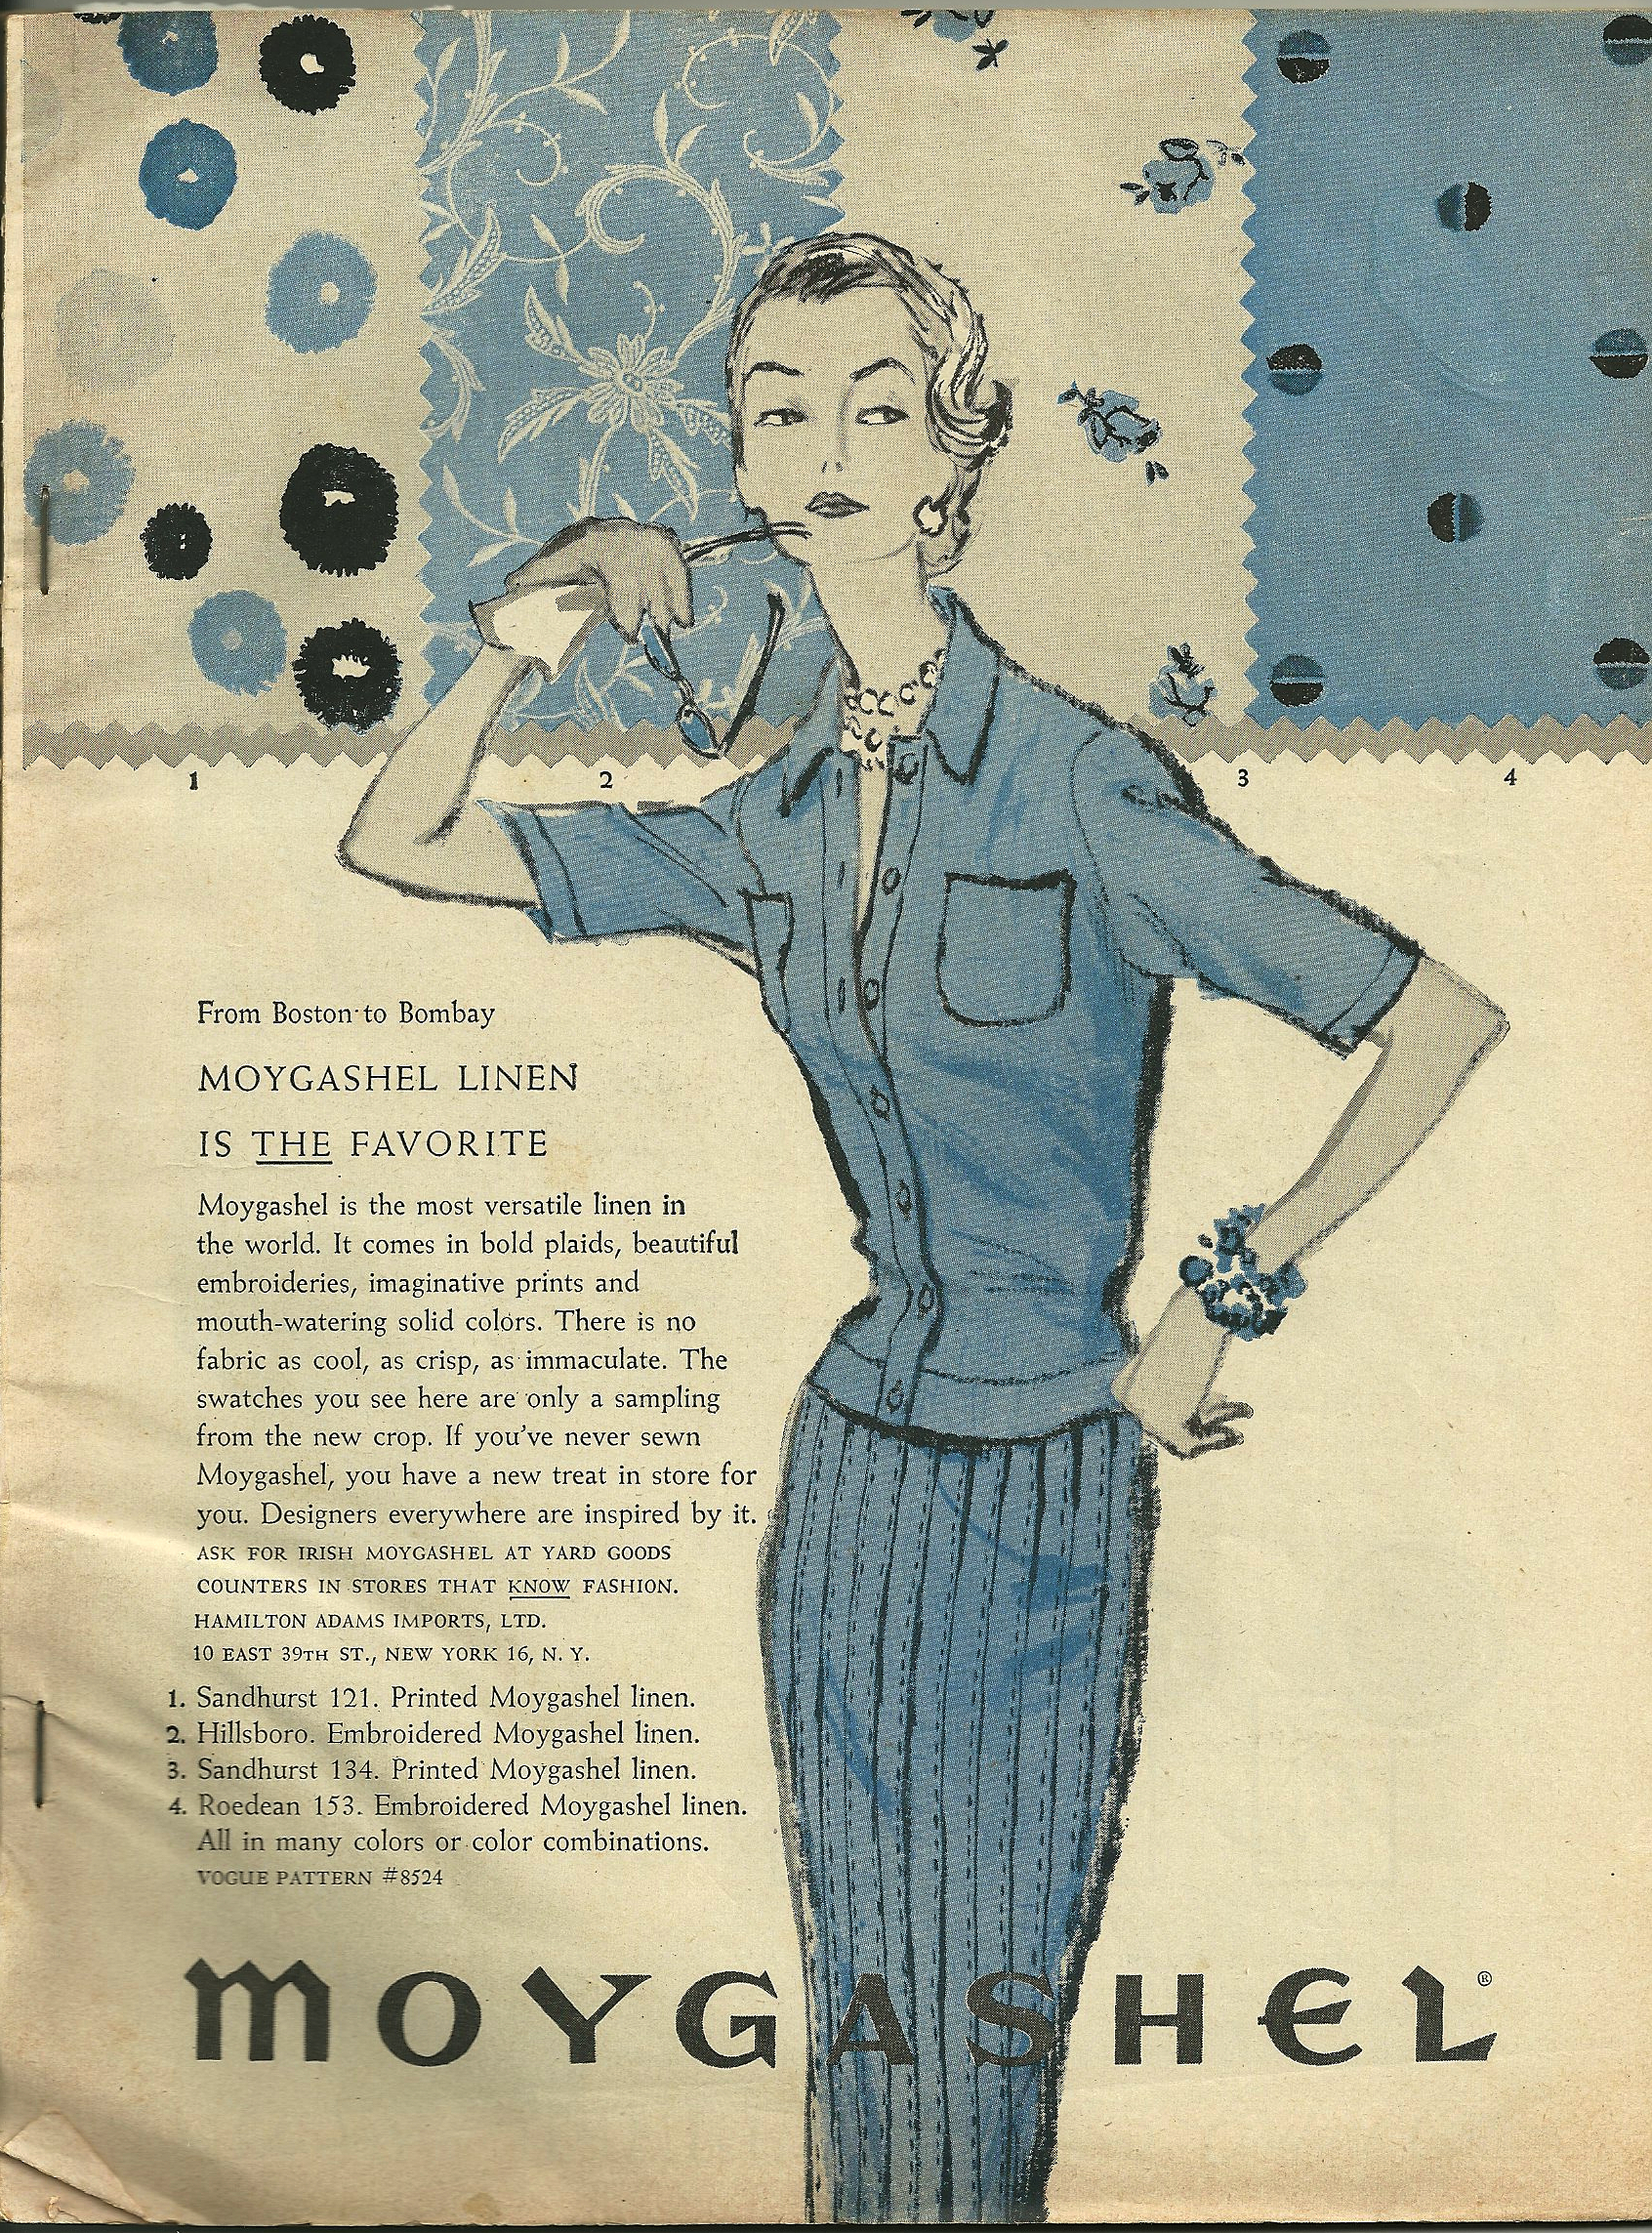
There is my linen in the upper left hand corner of the full-page advertisement.
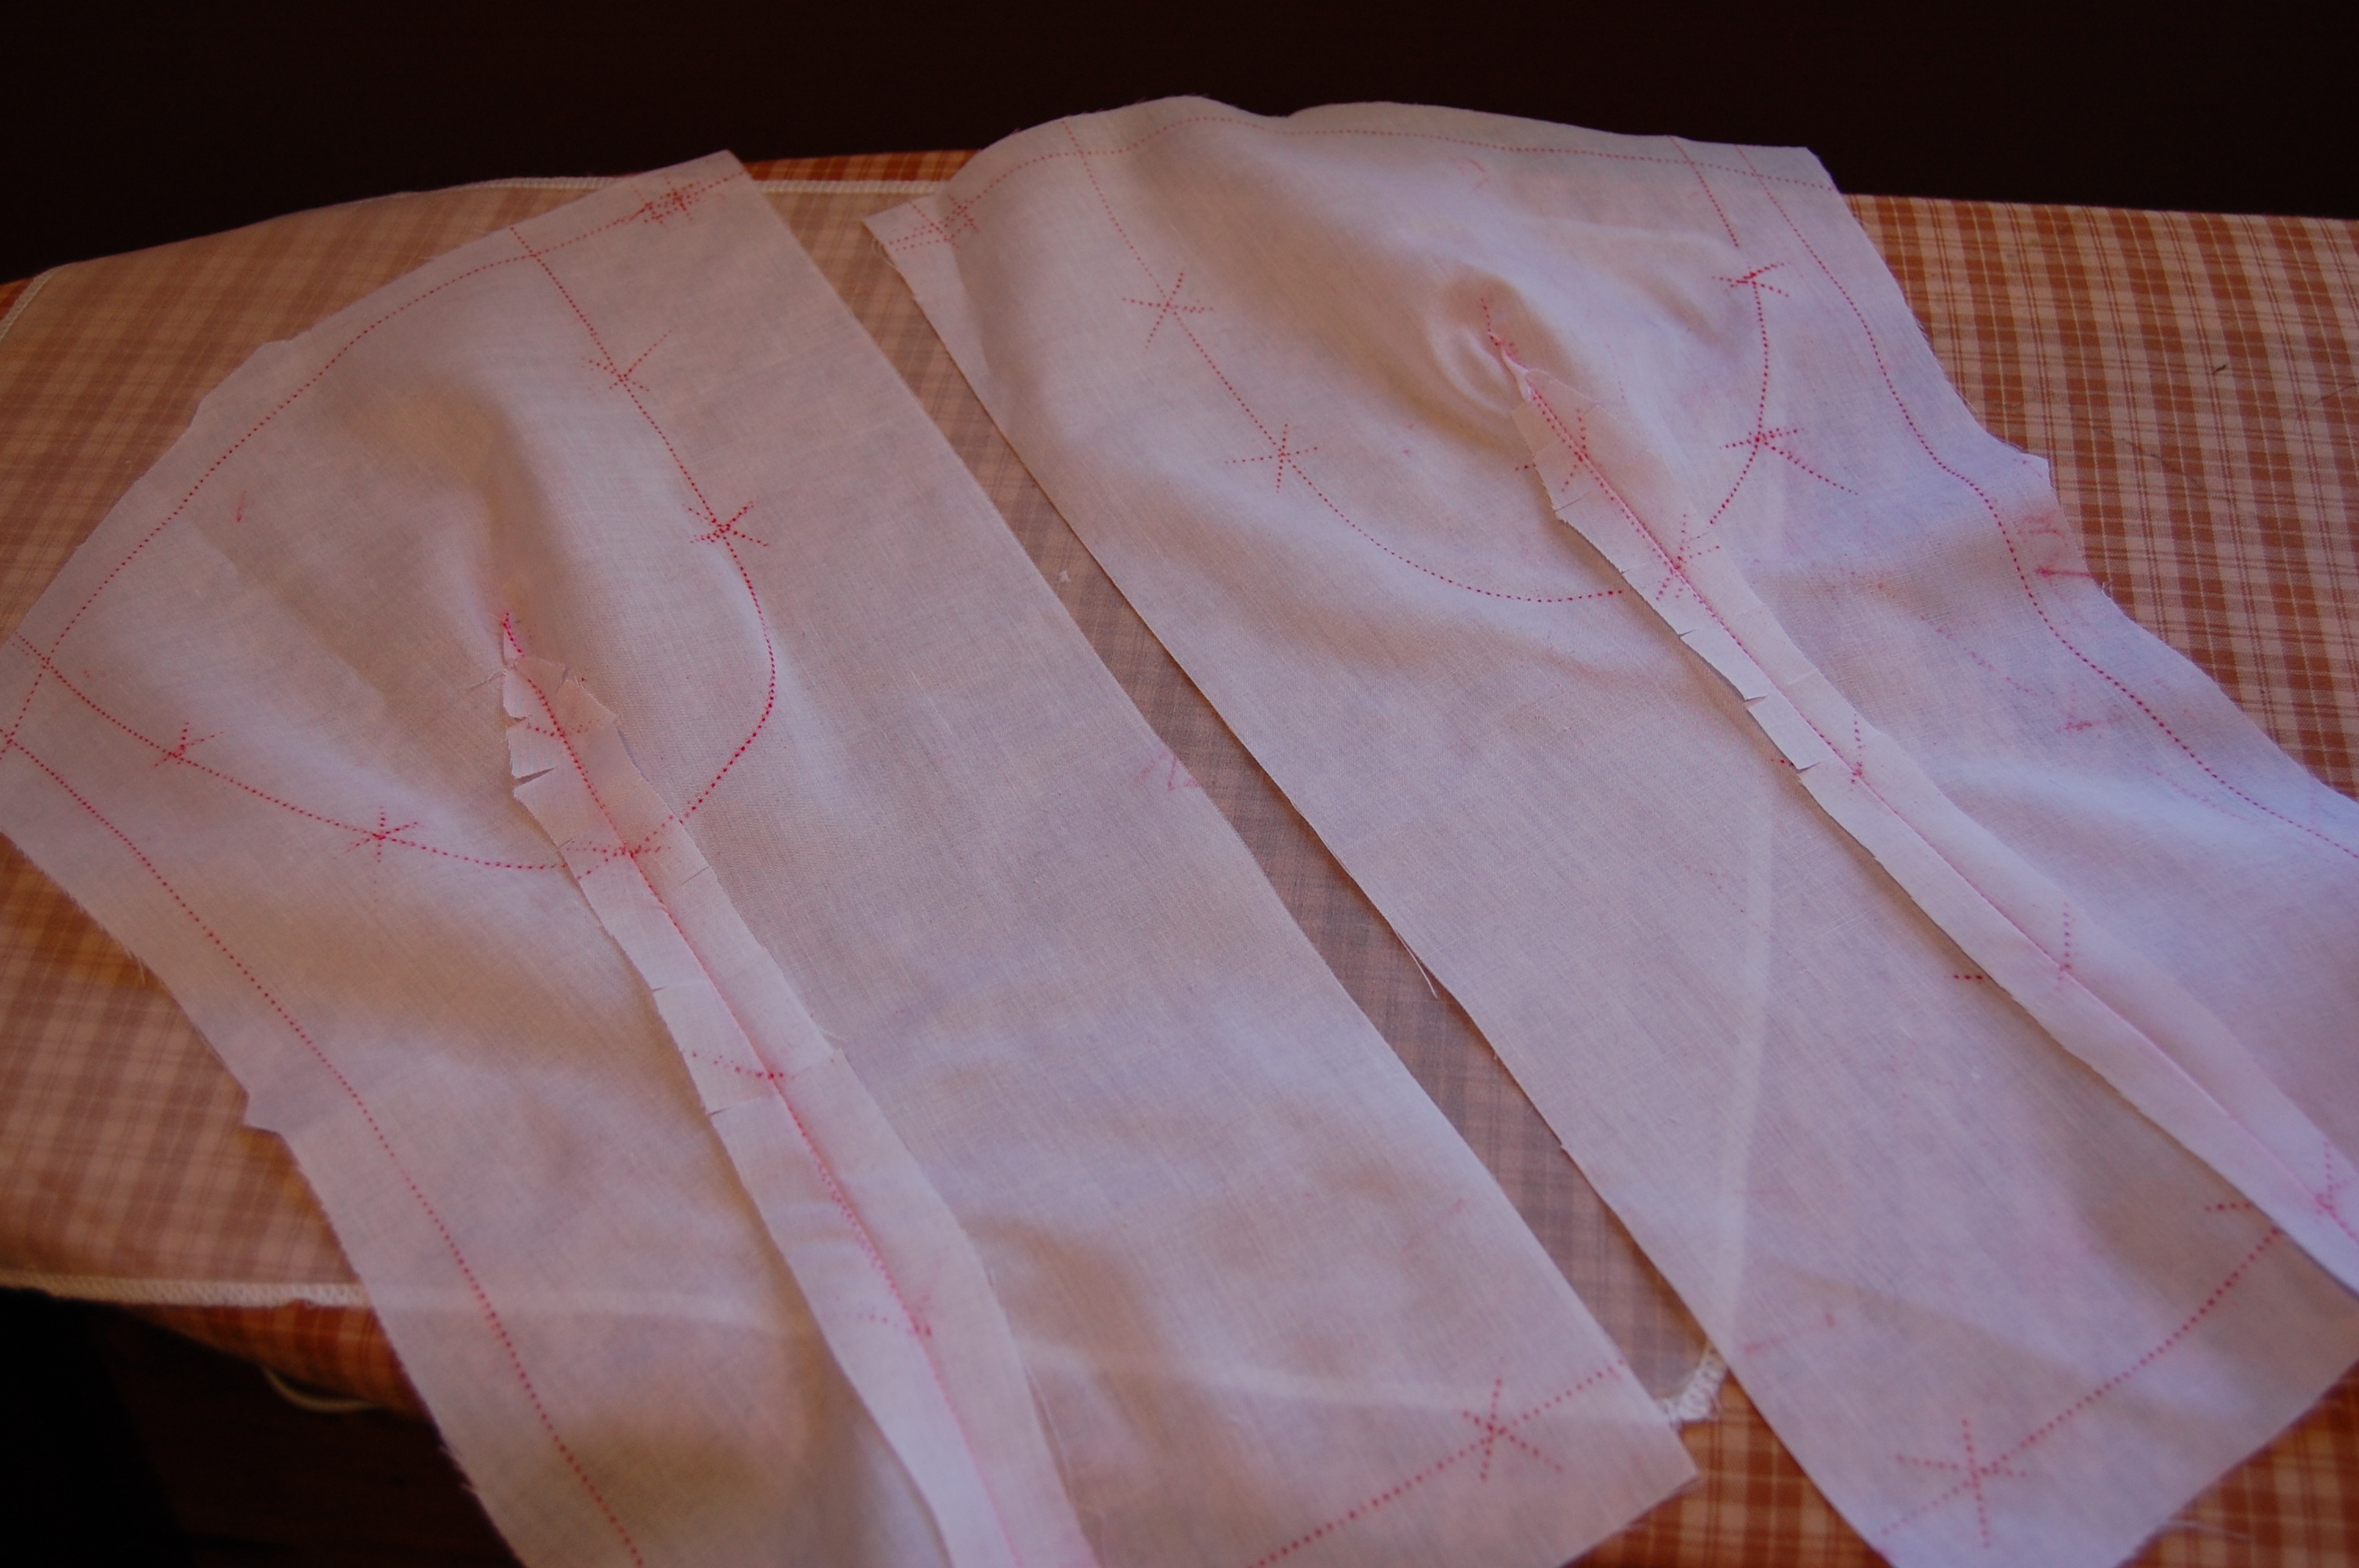
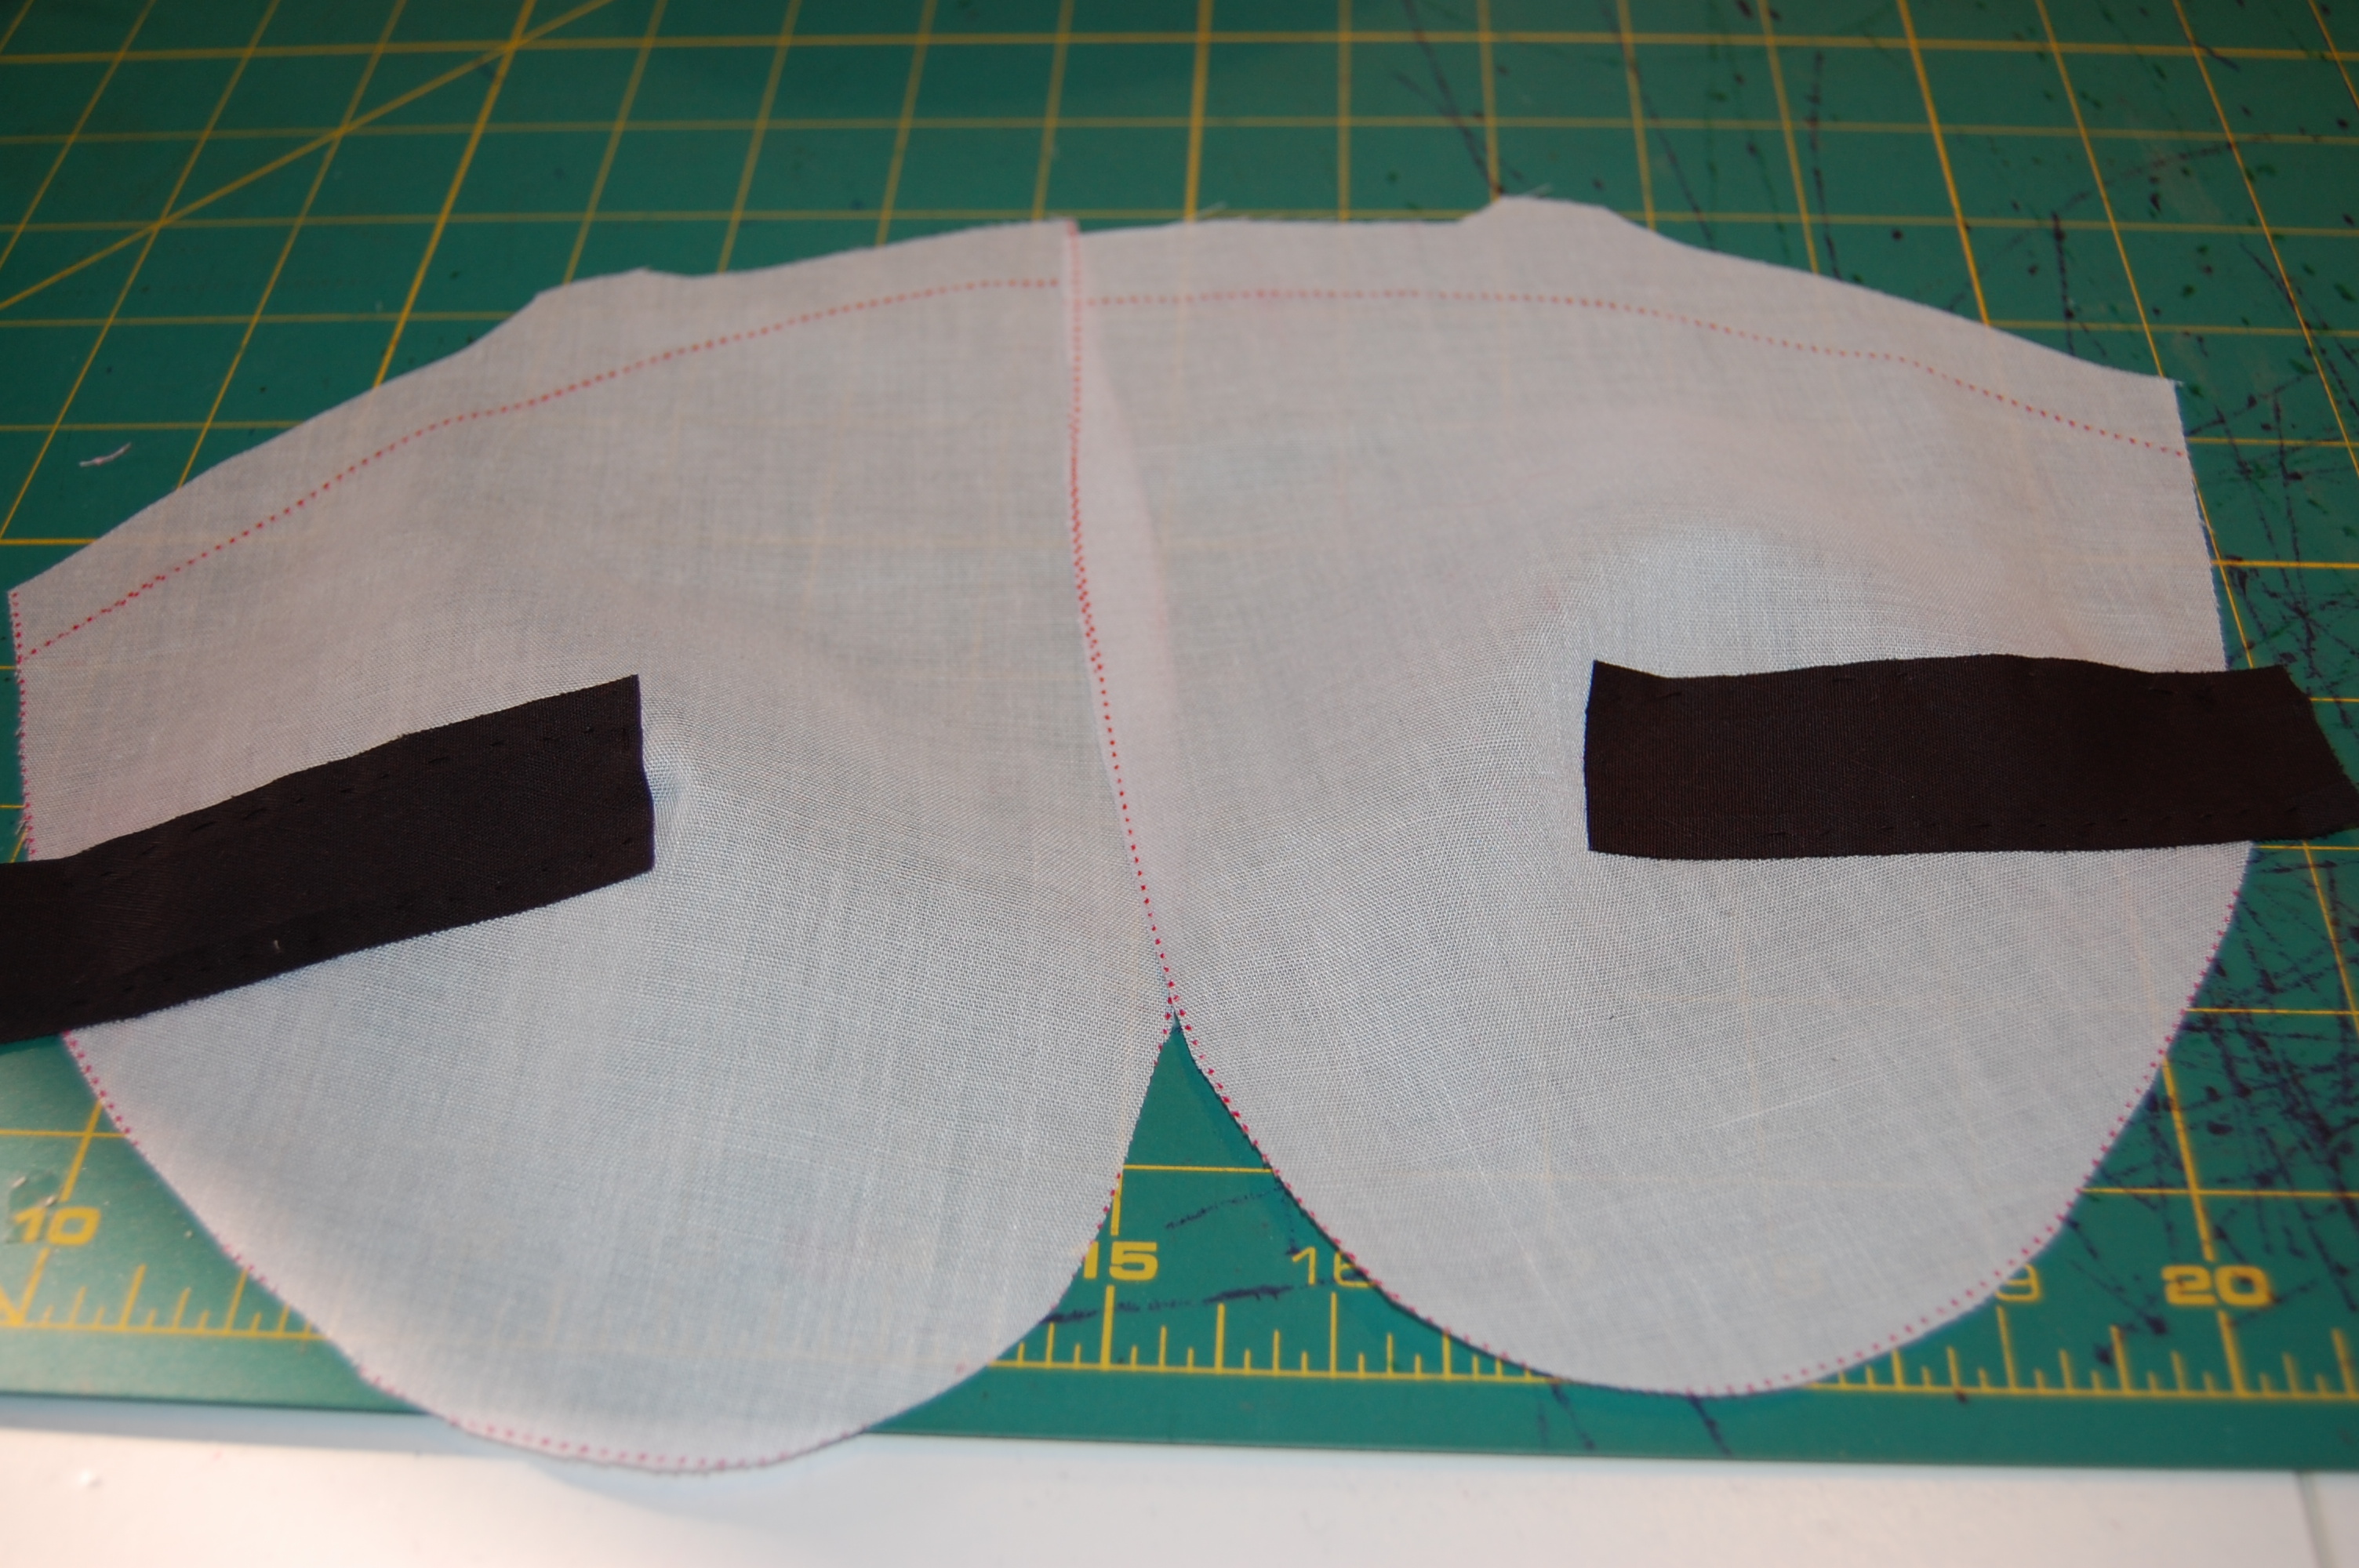
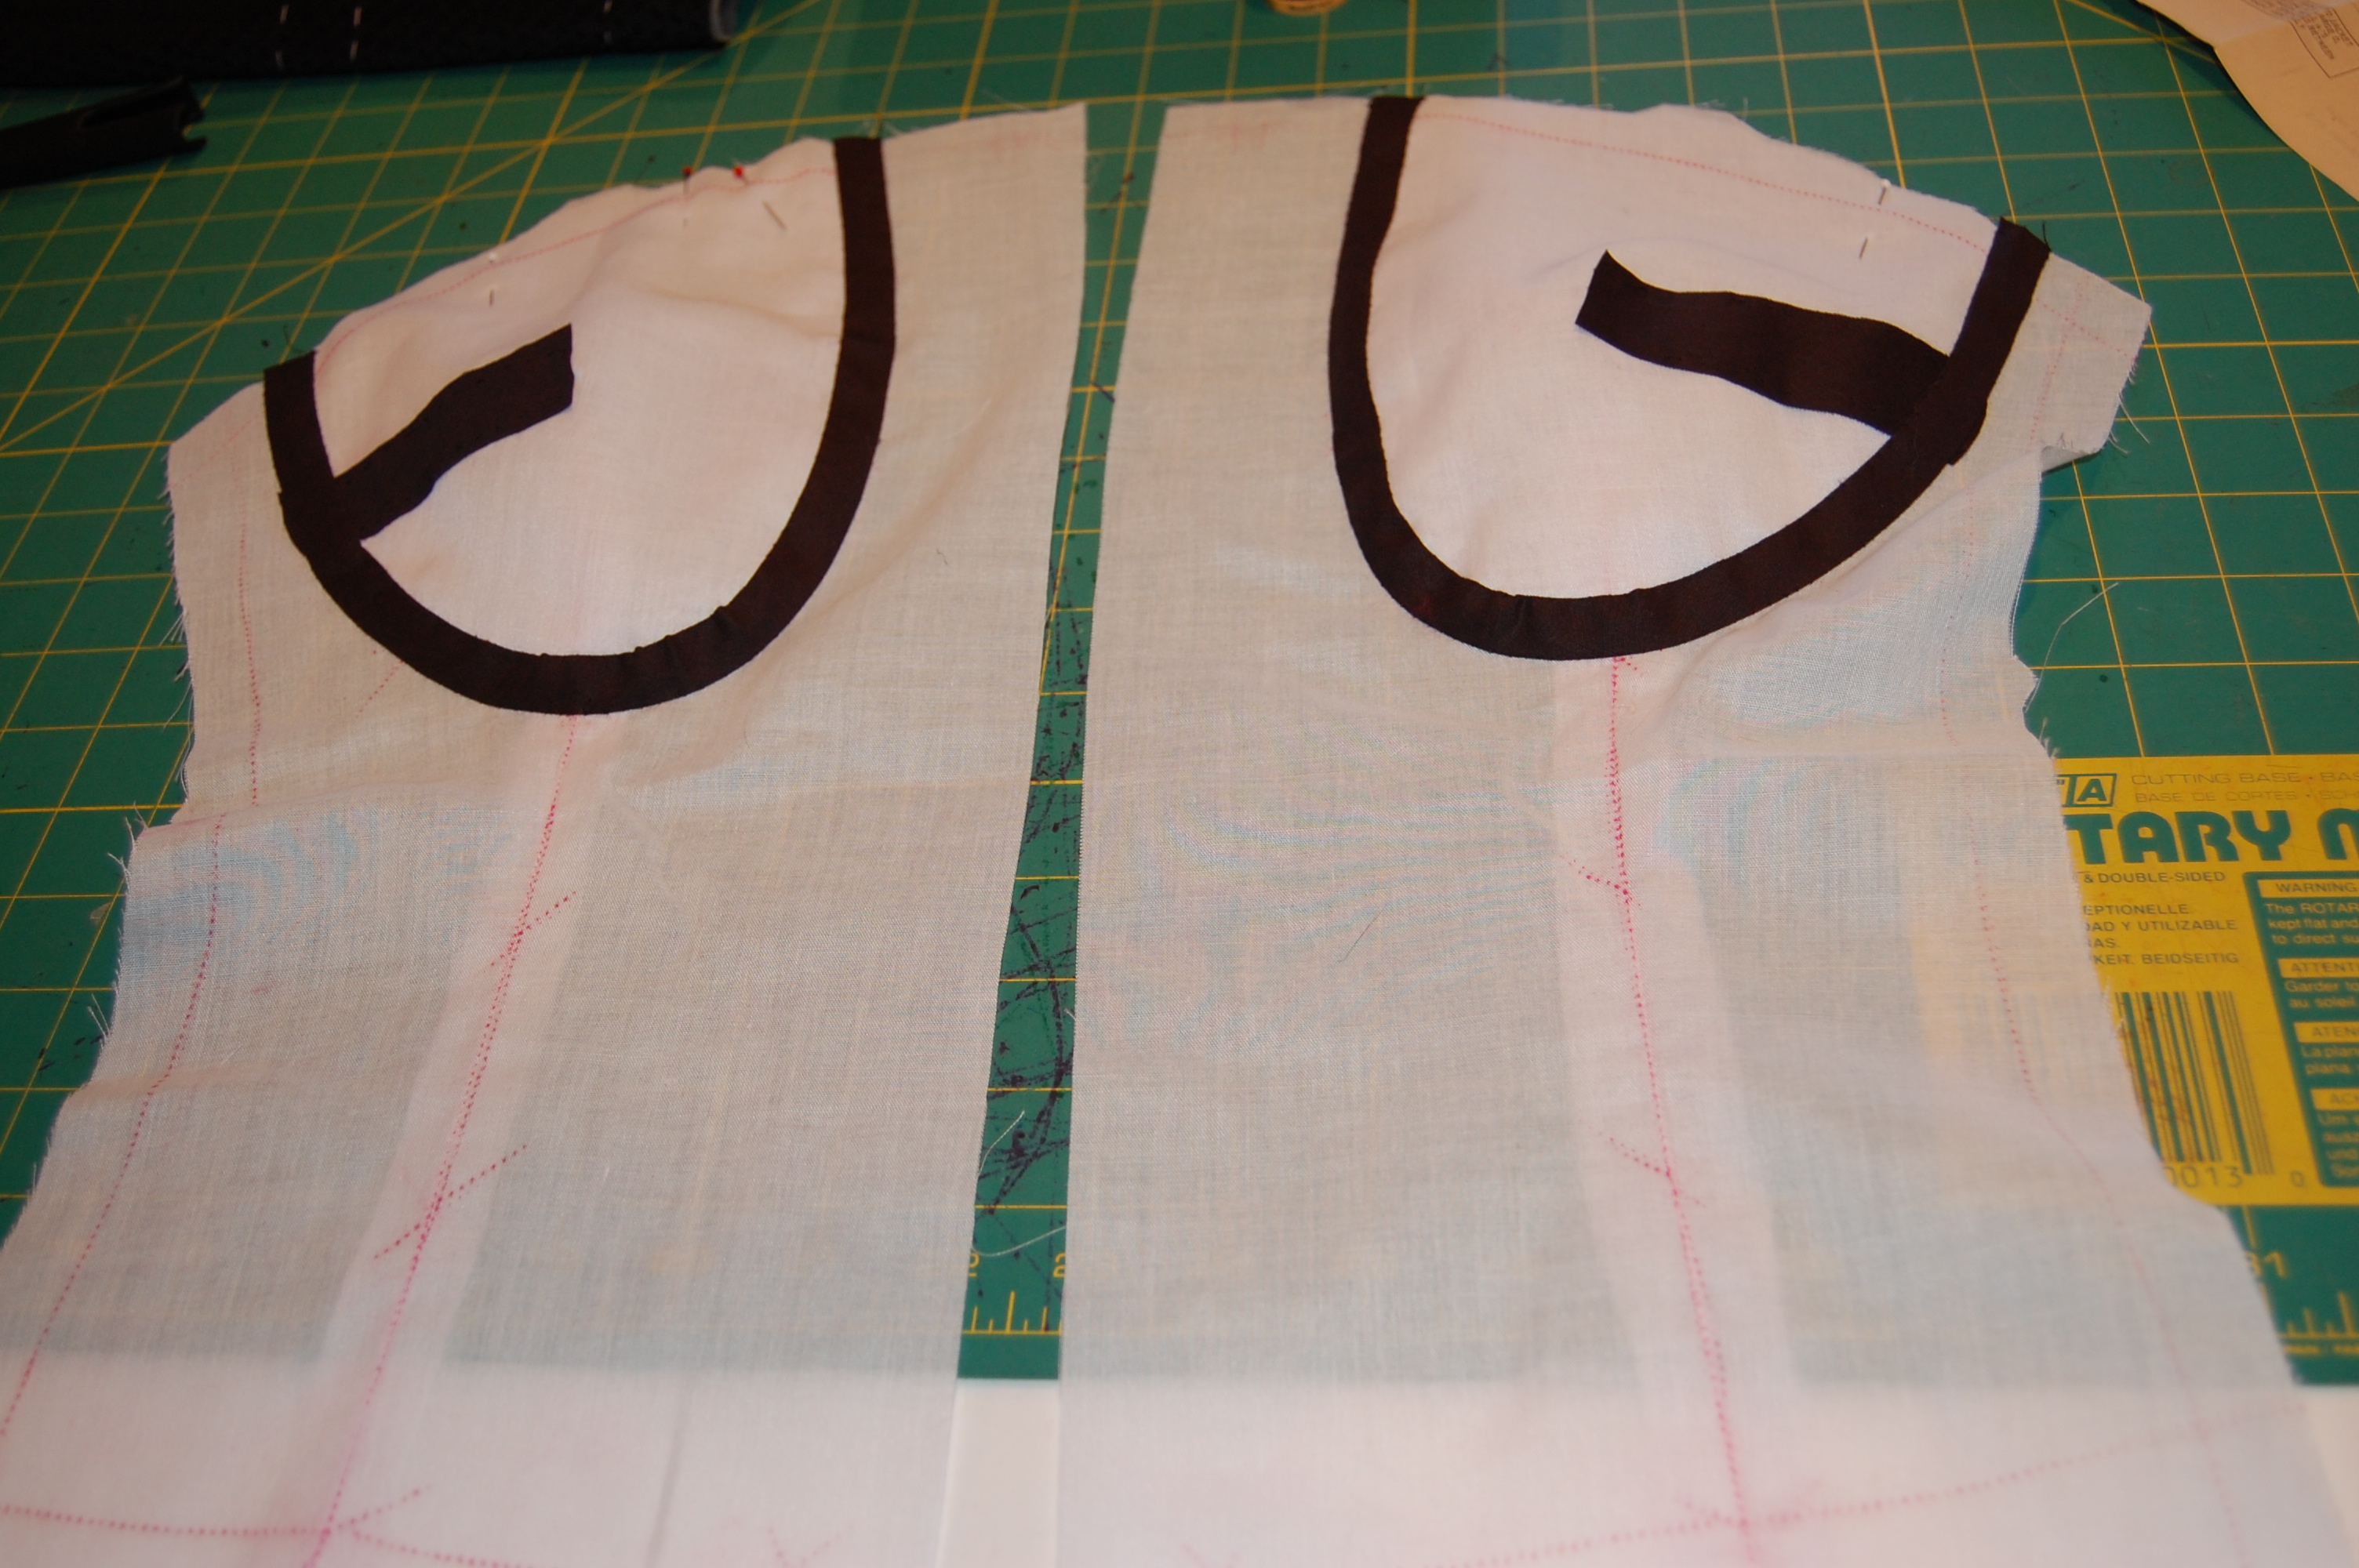
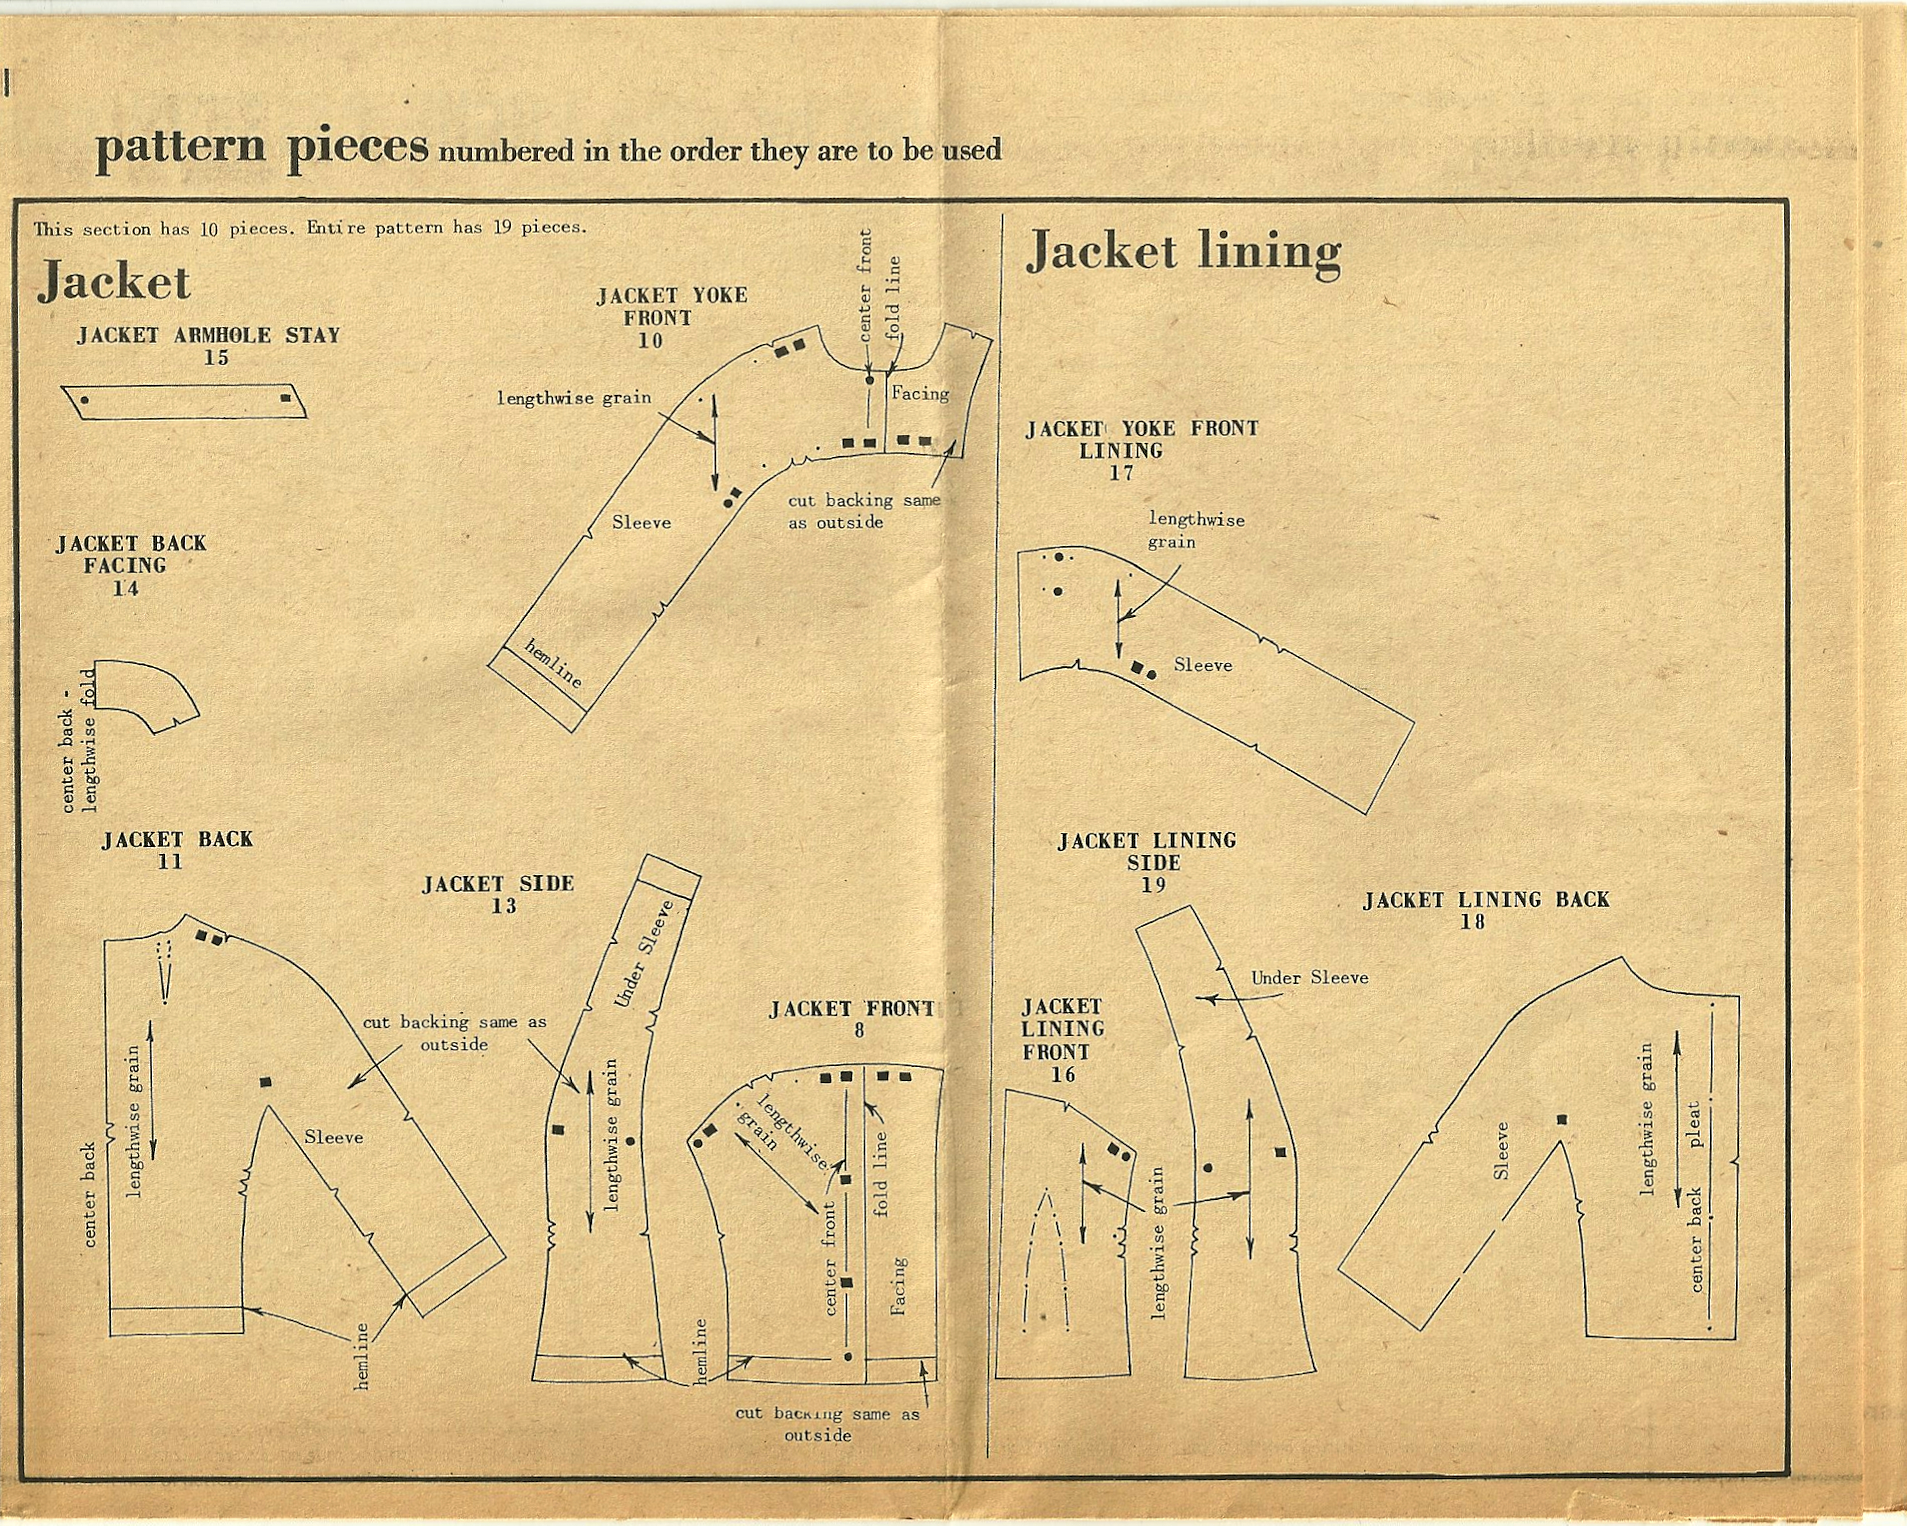
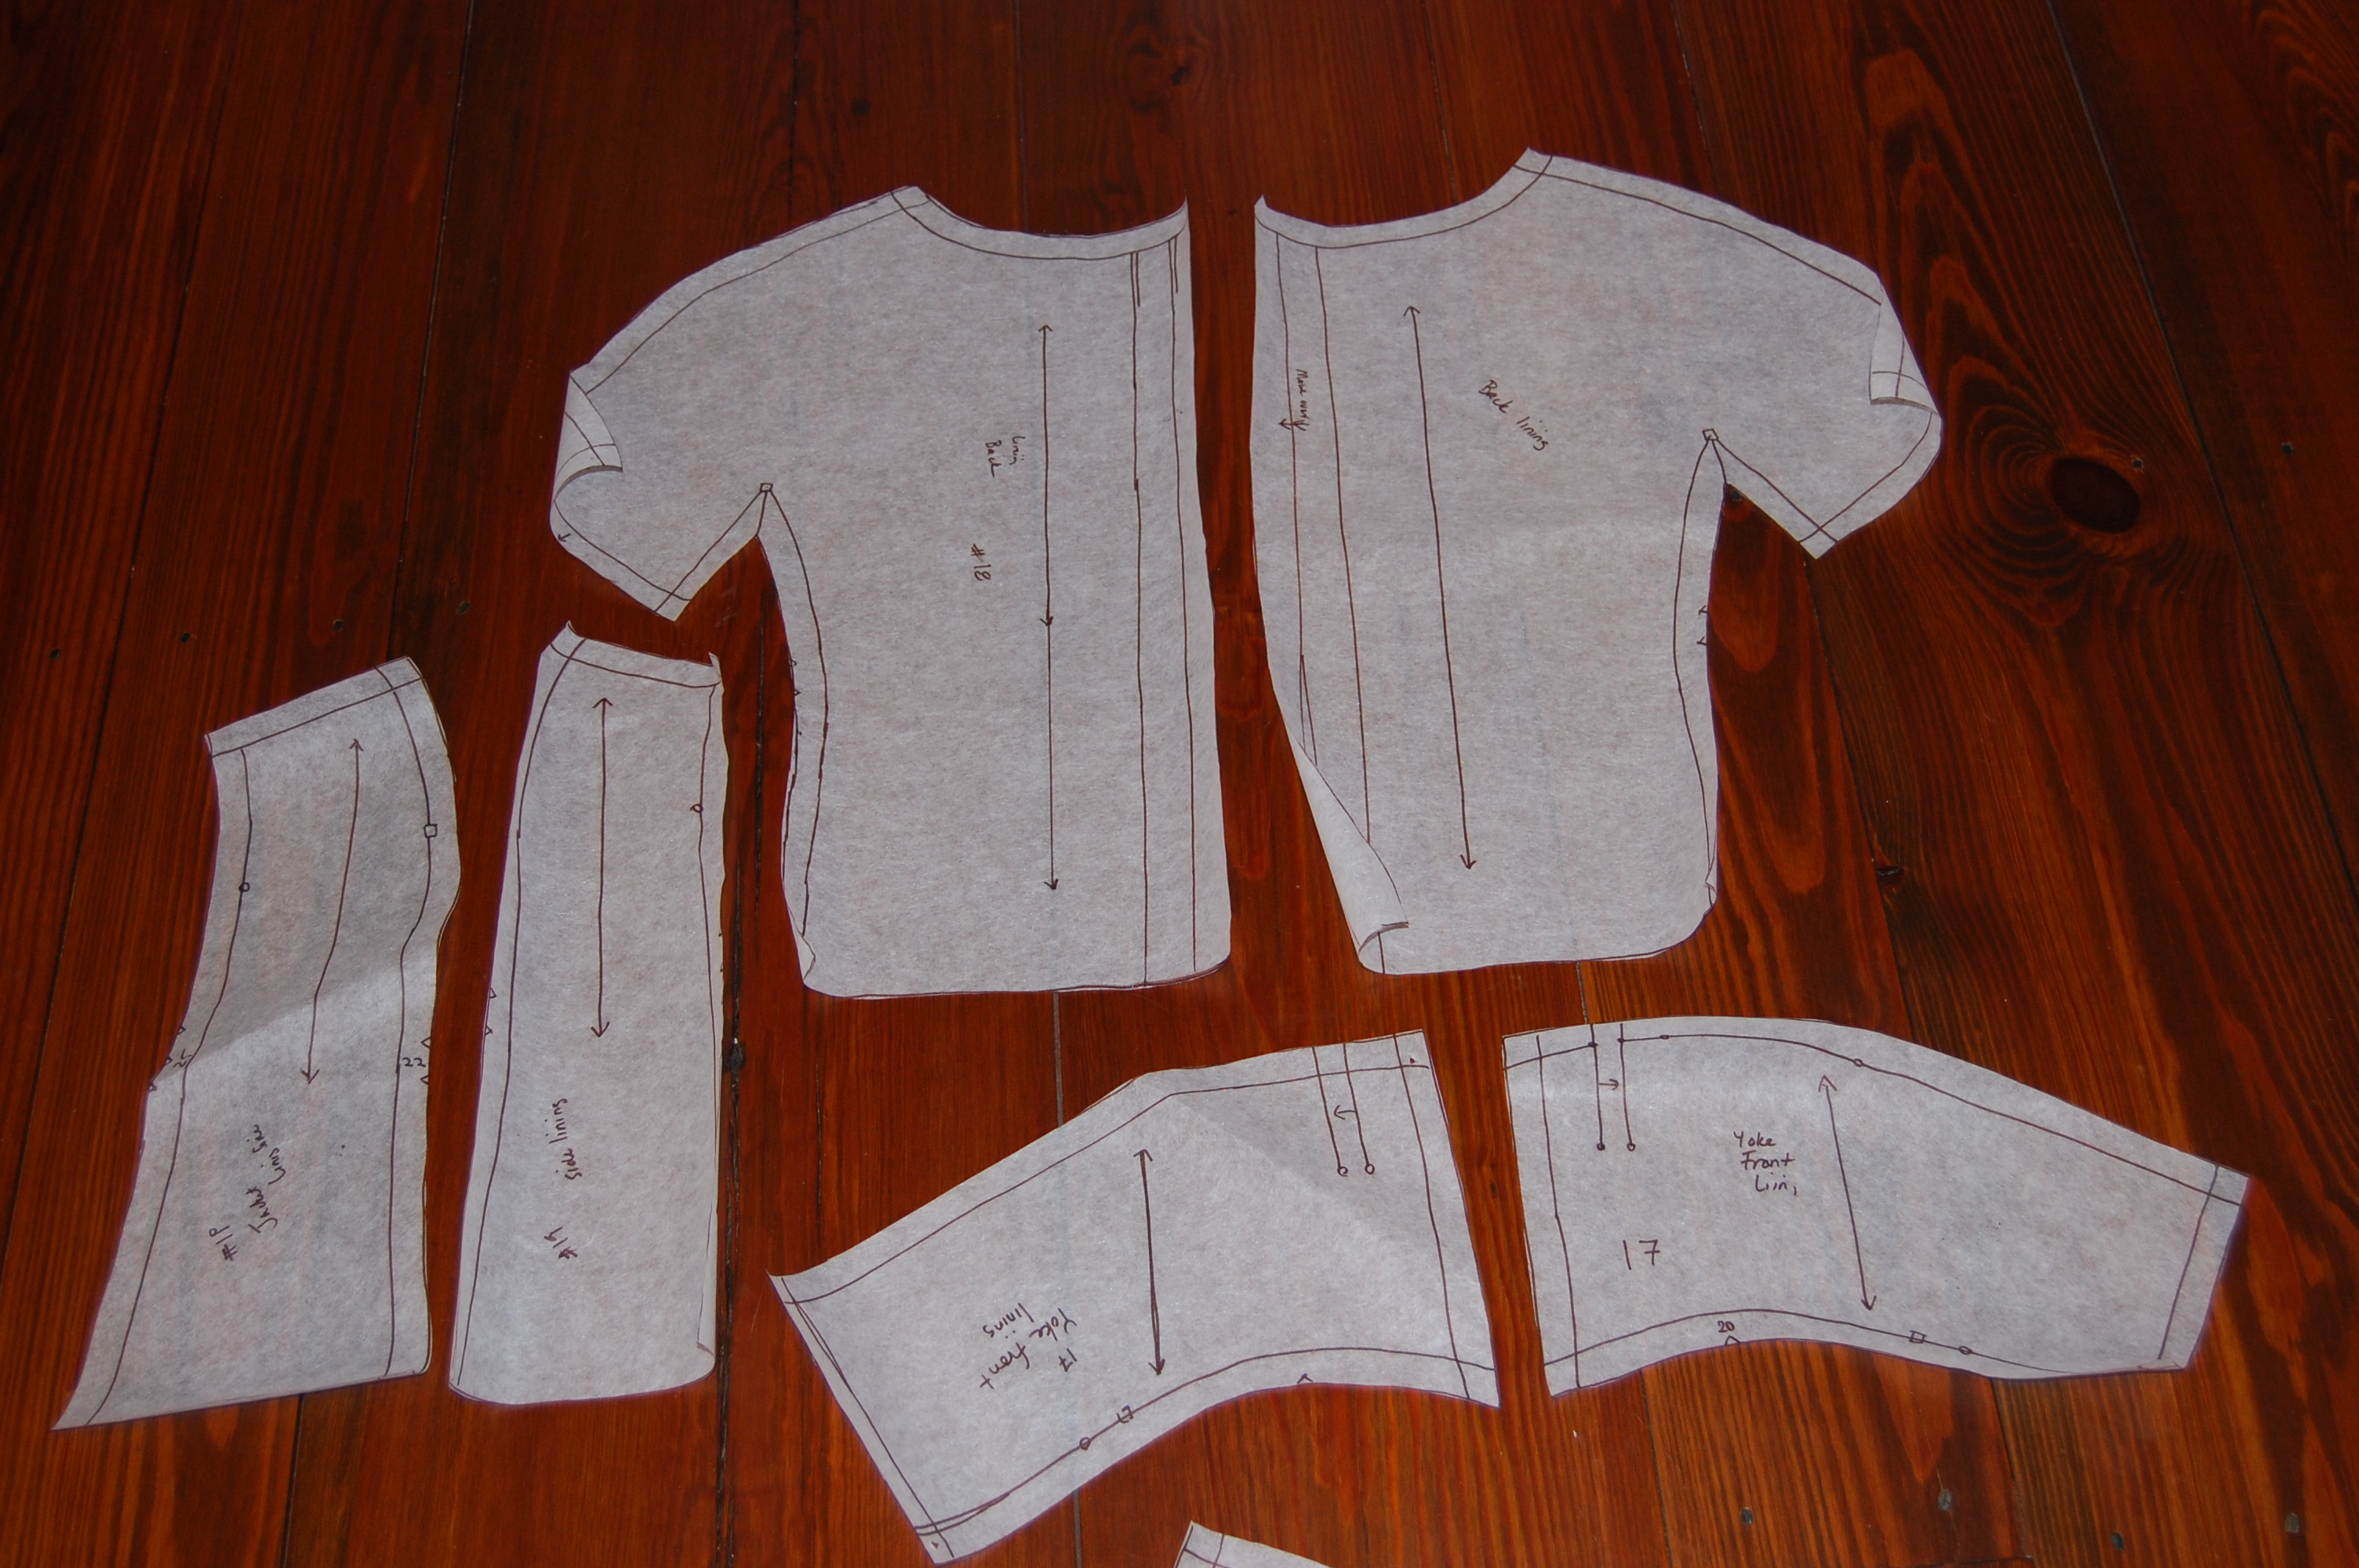
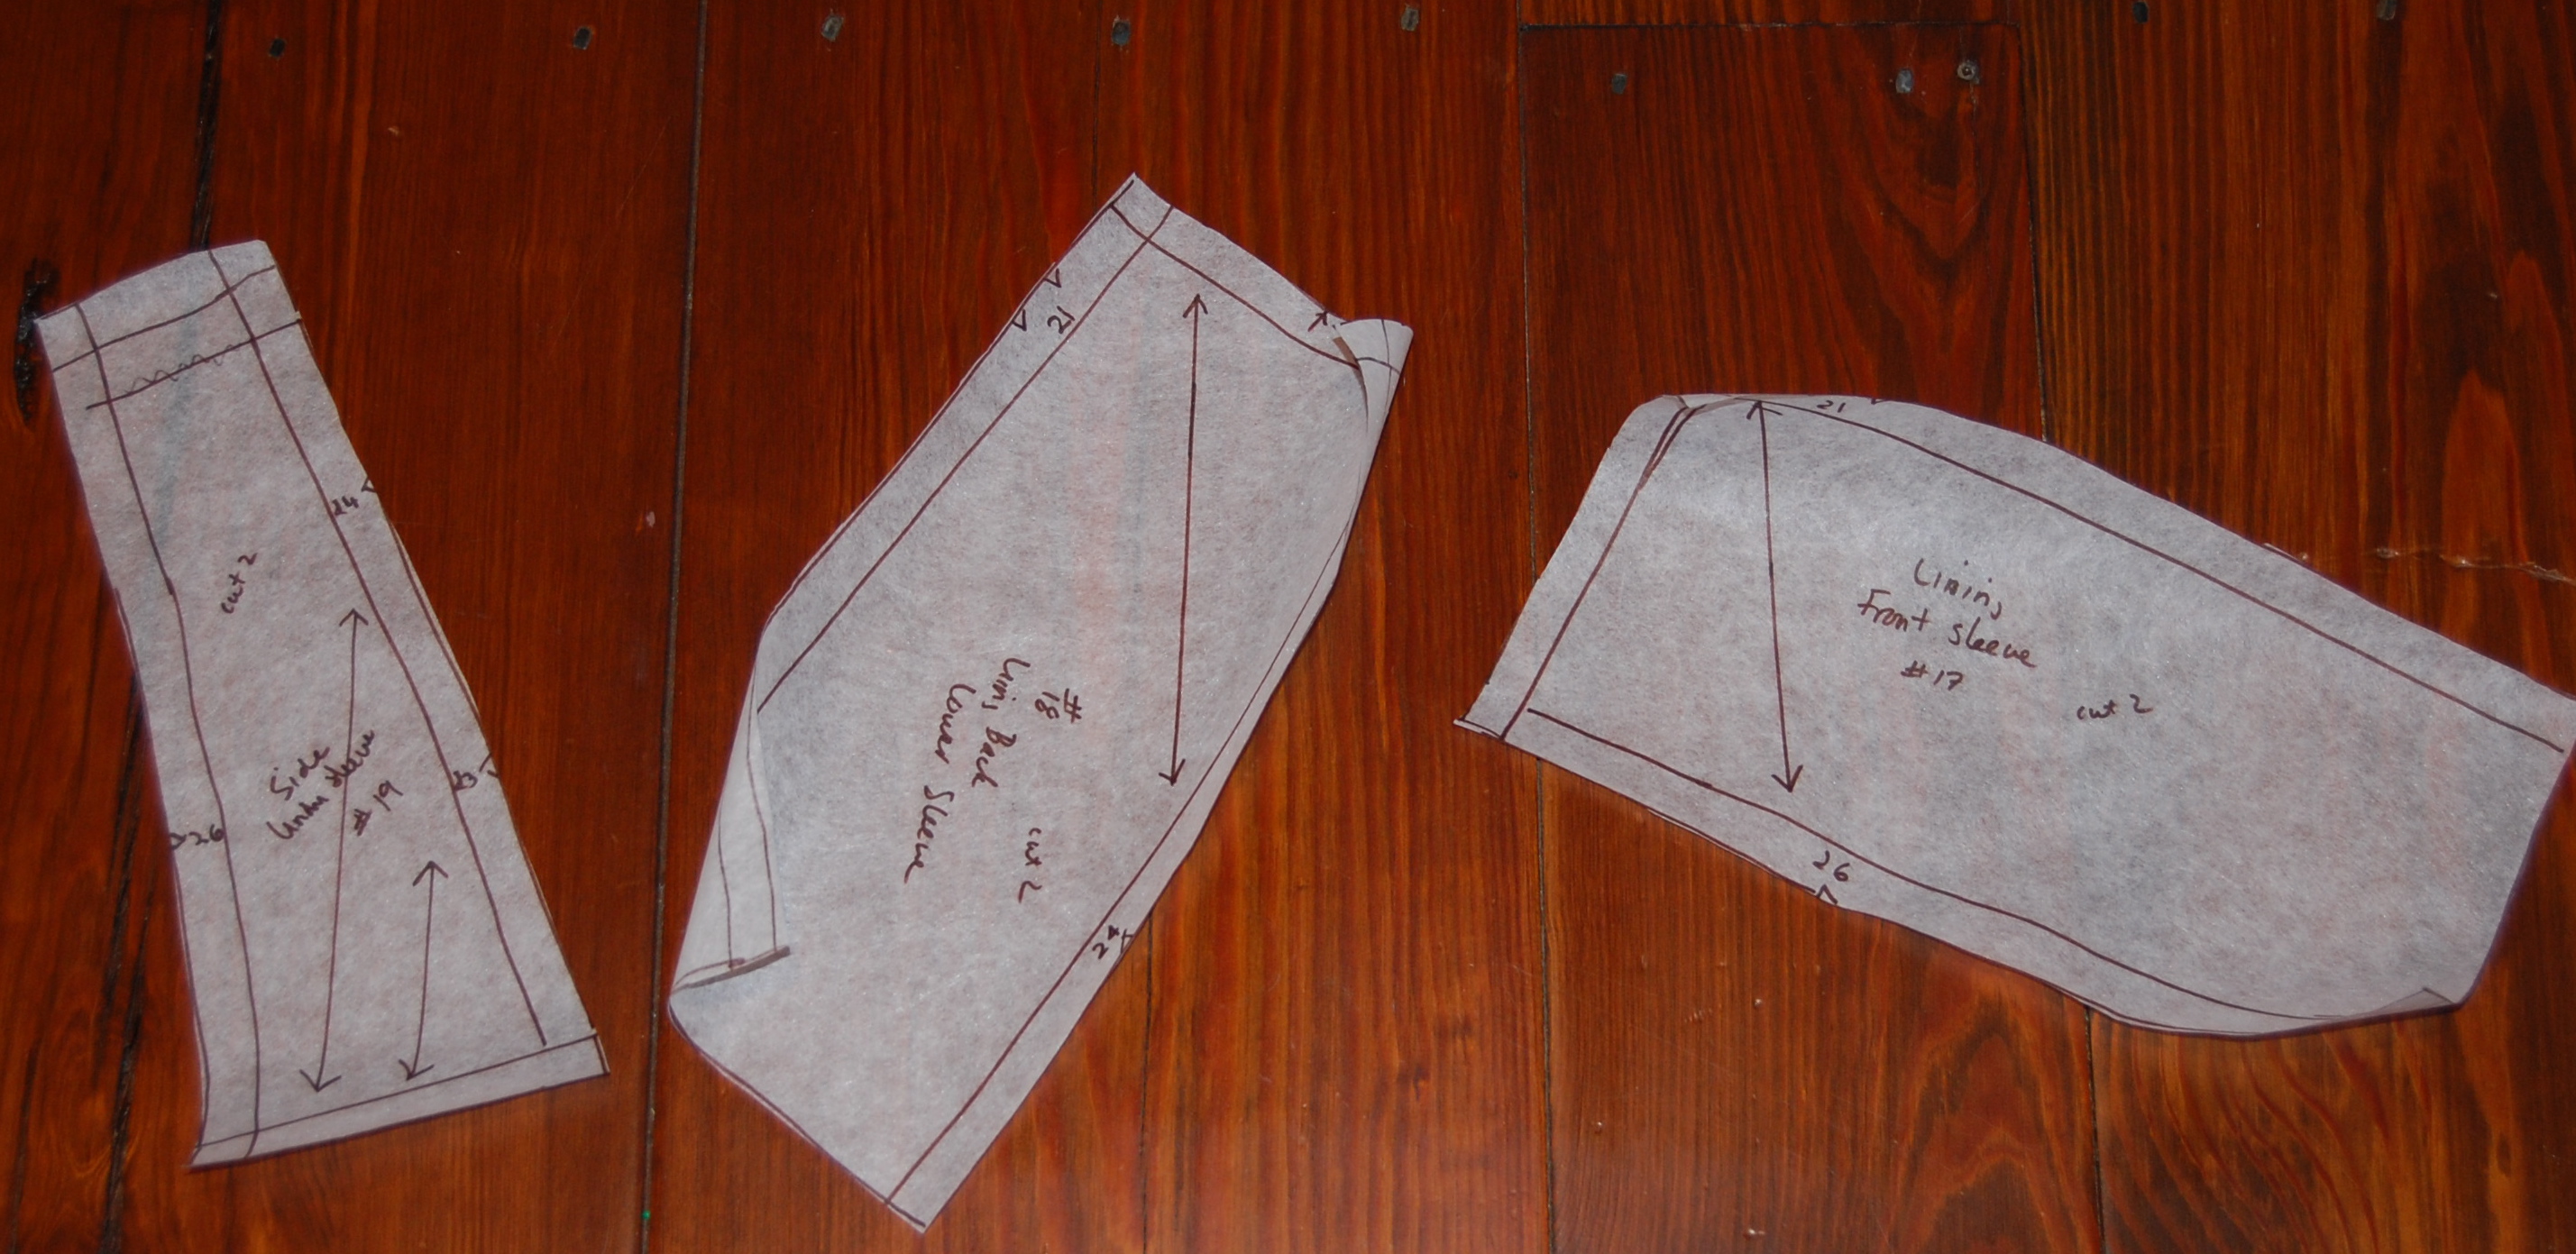
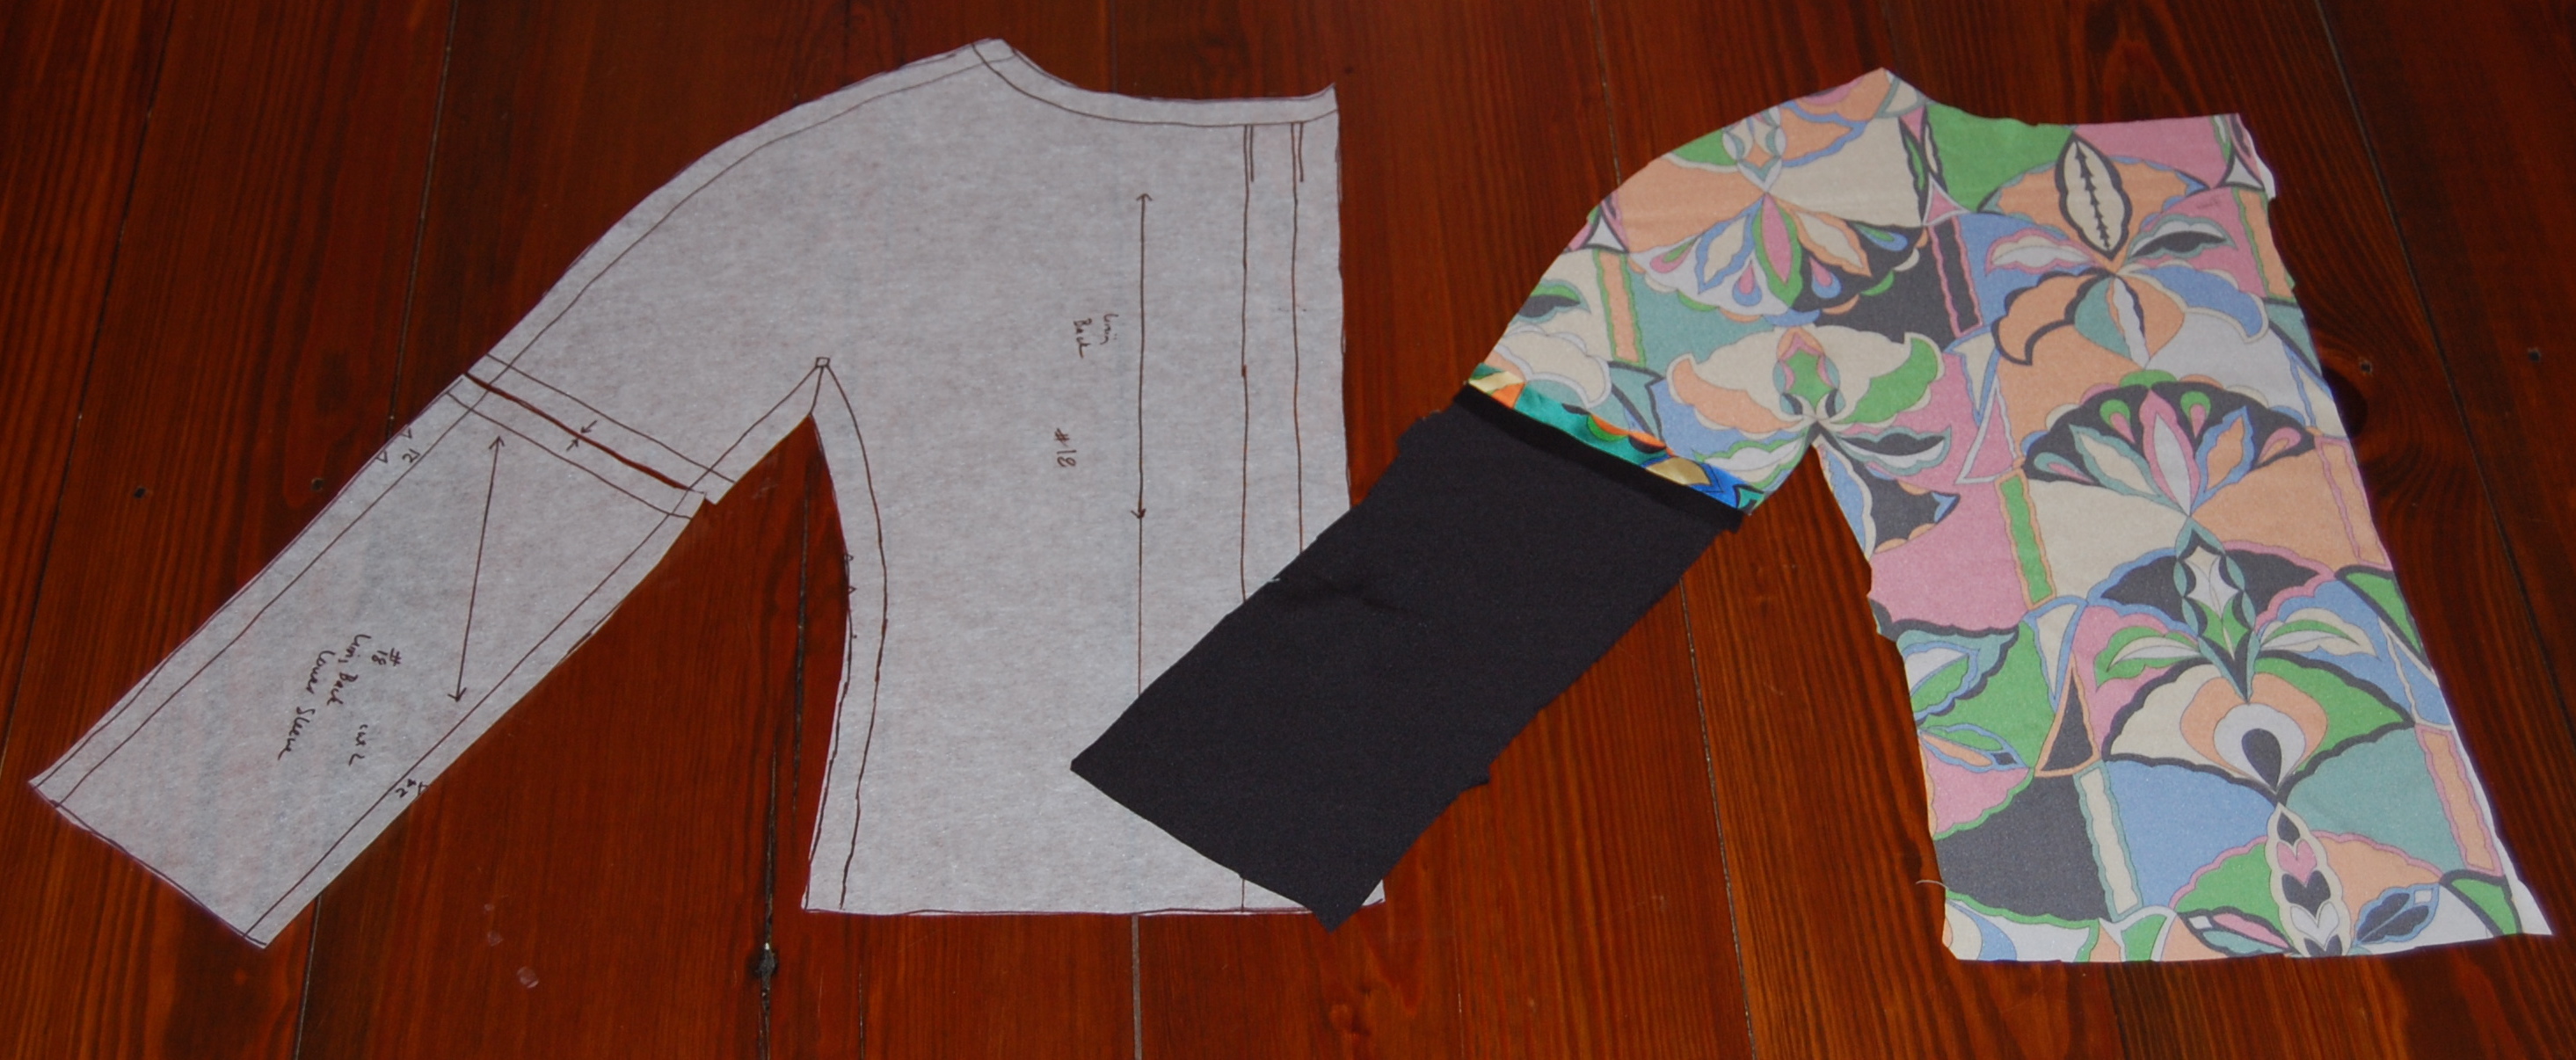
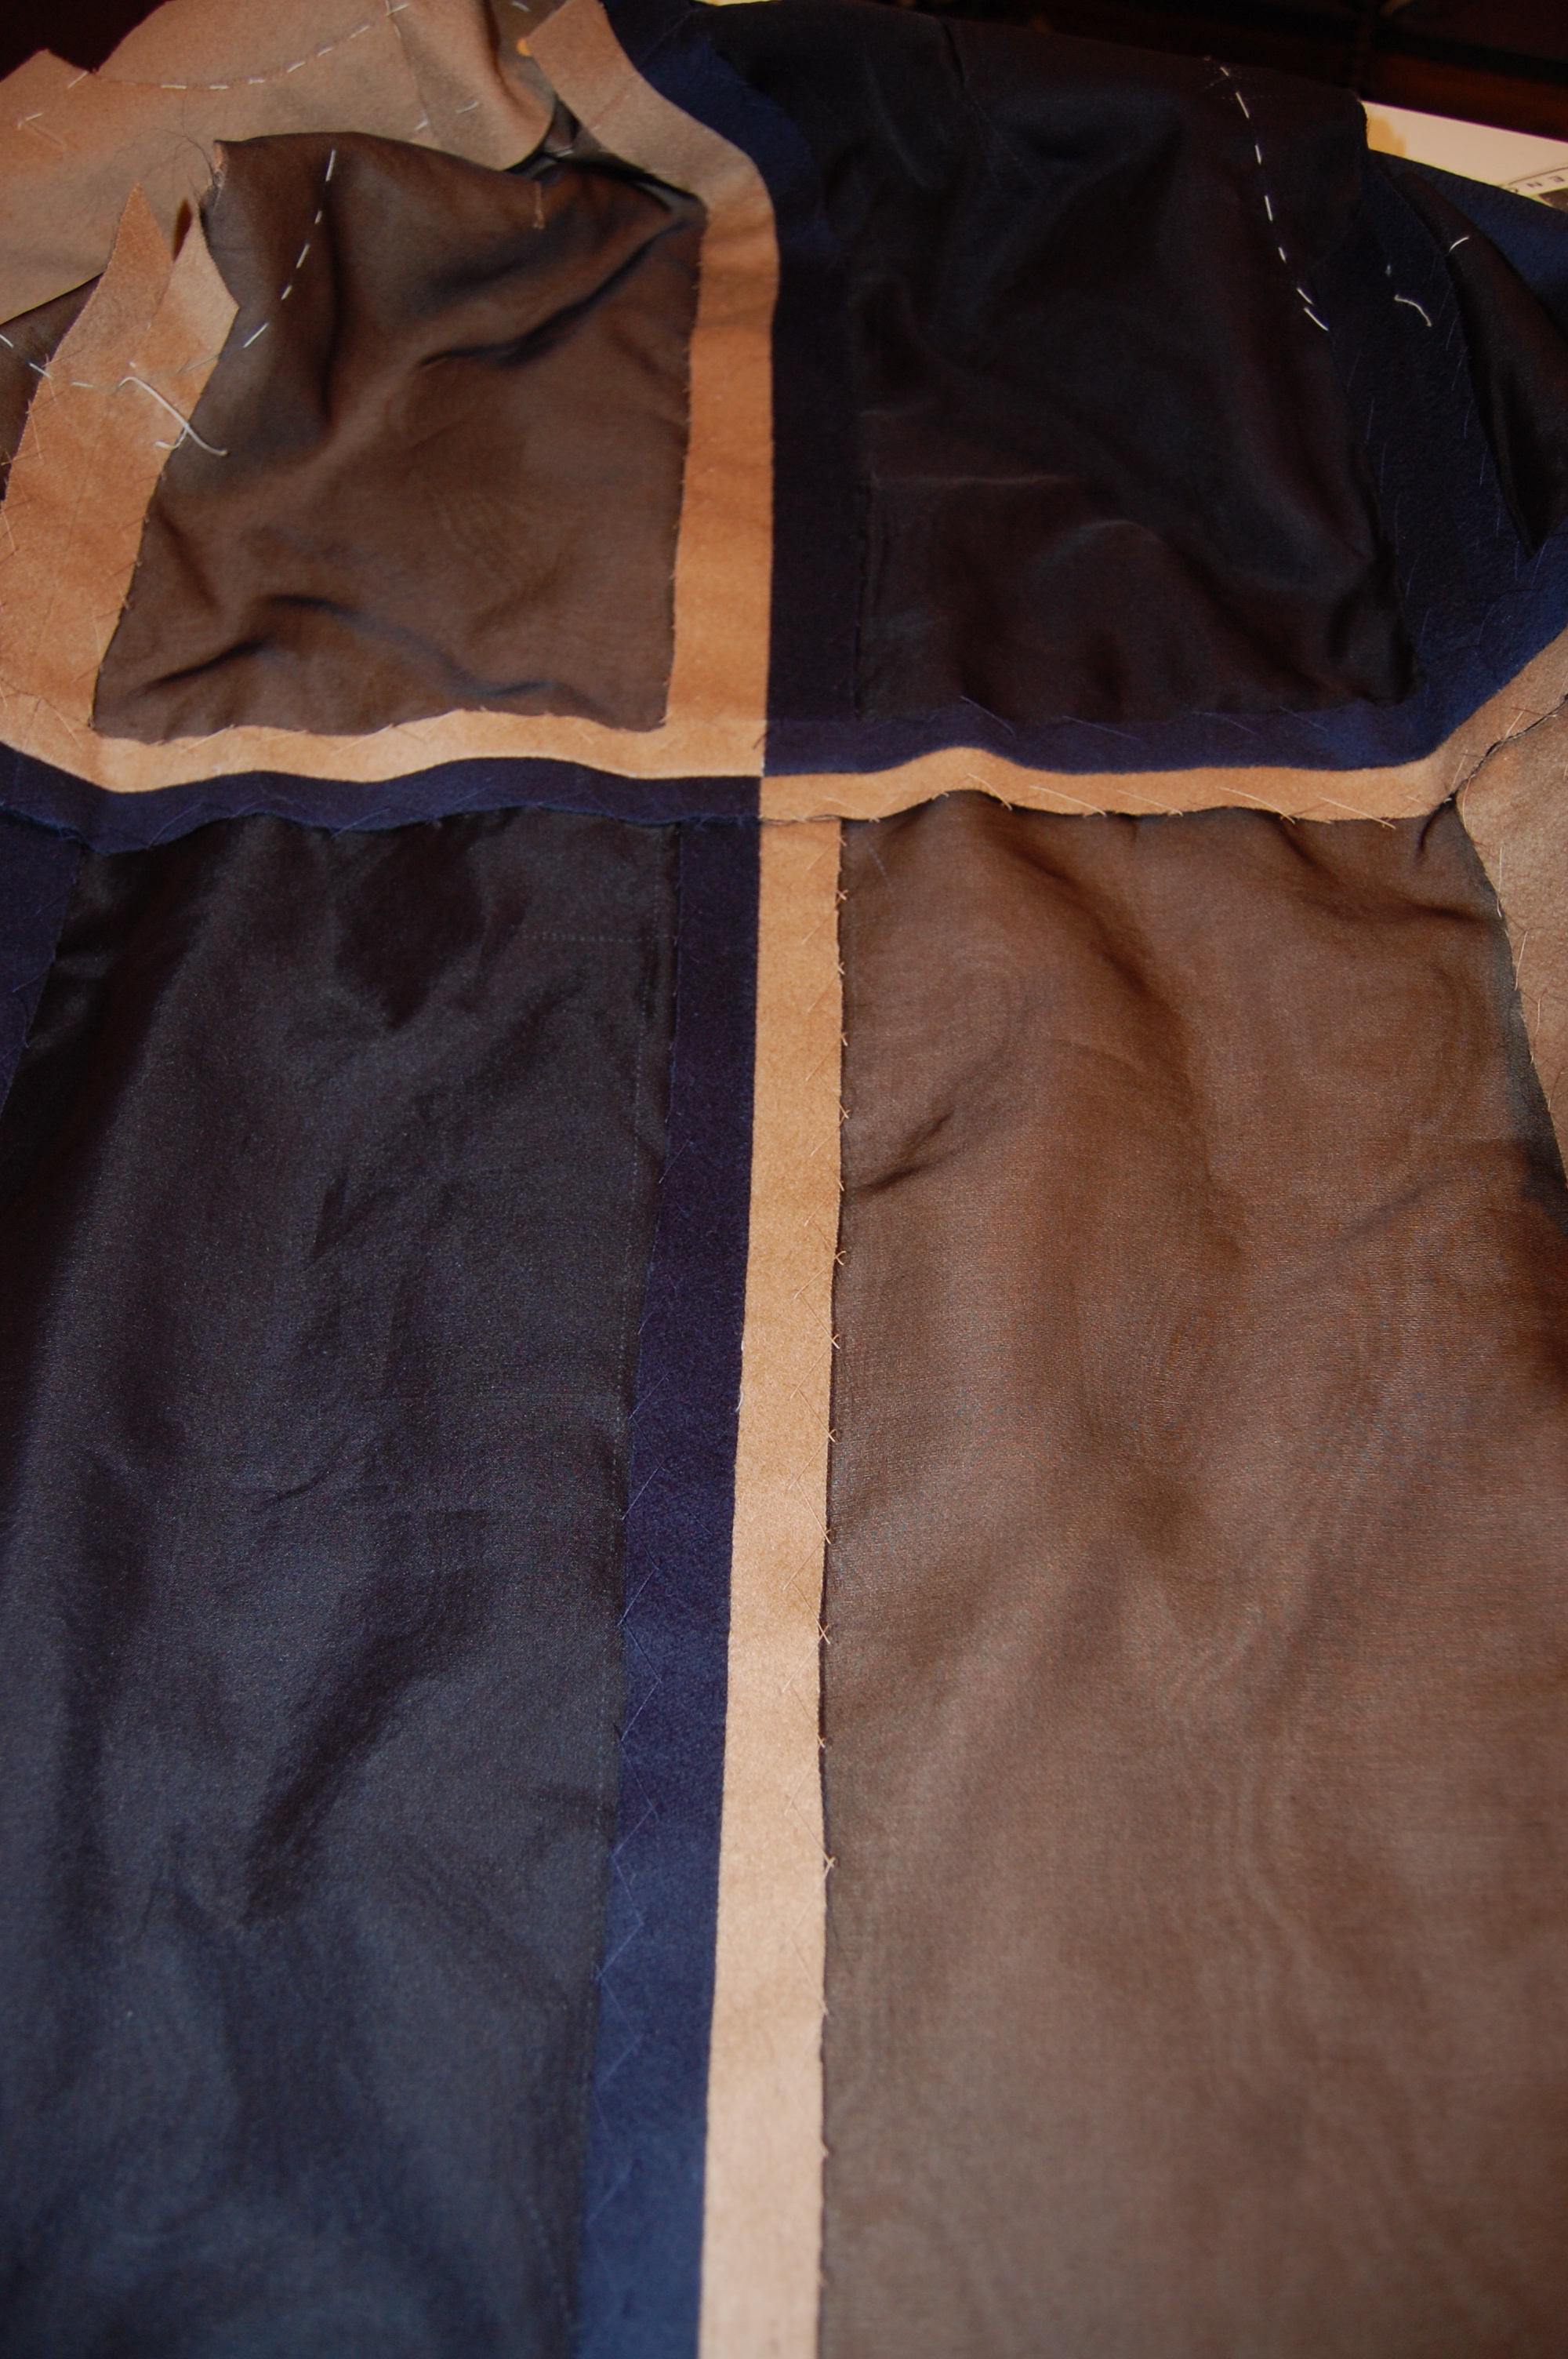
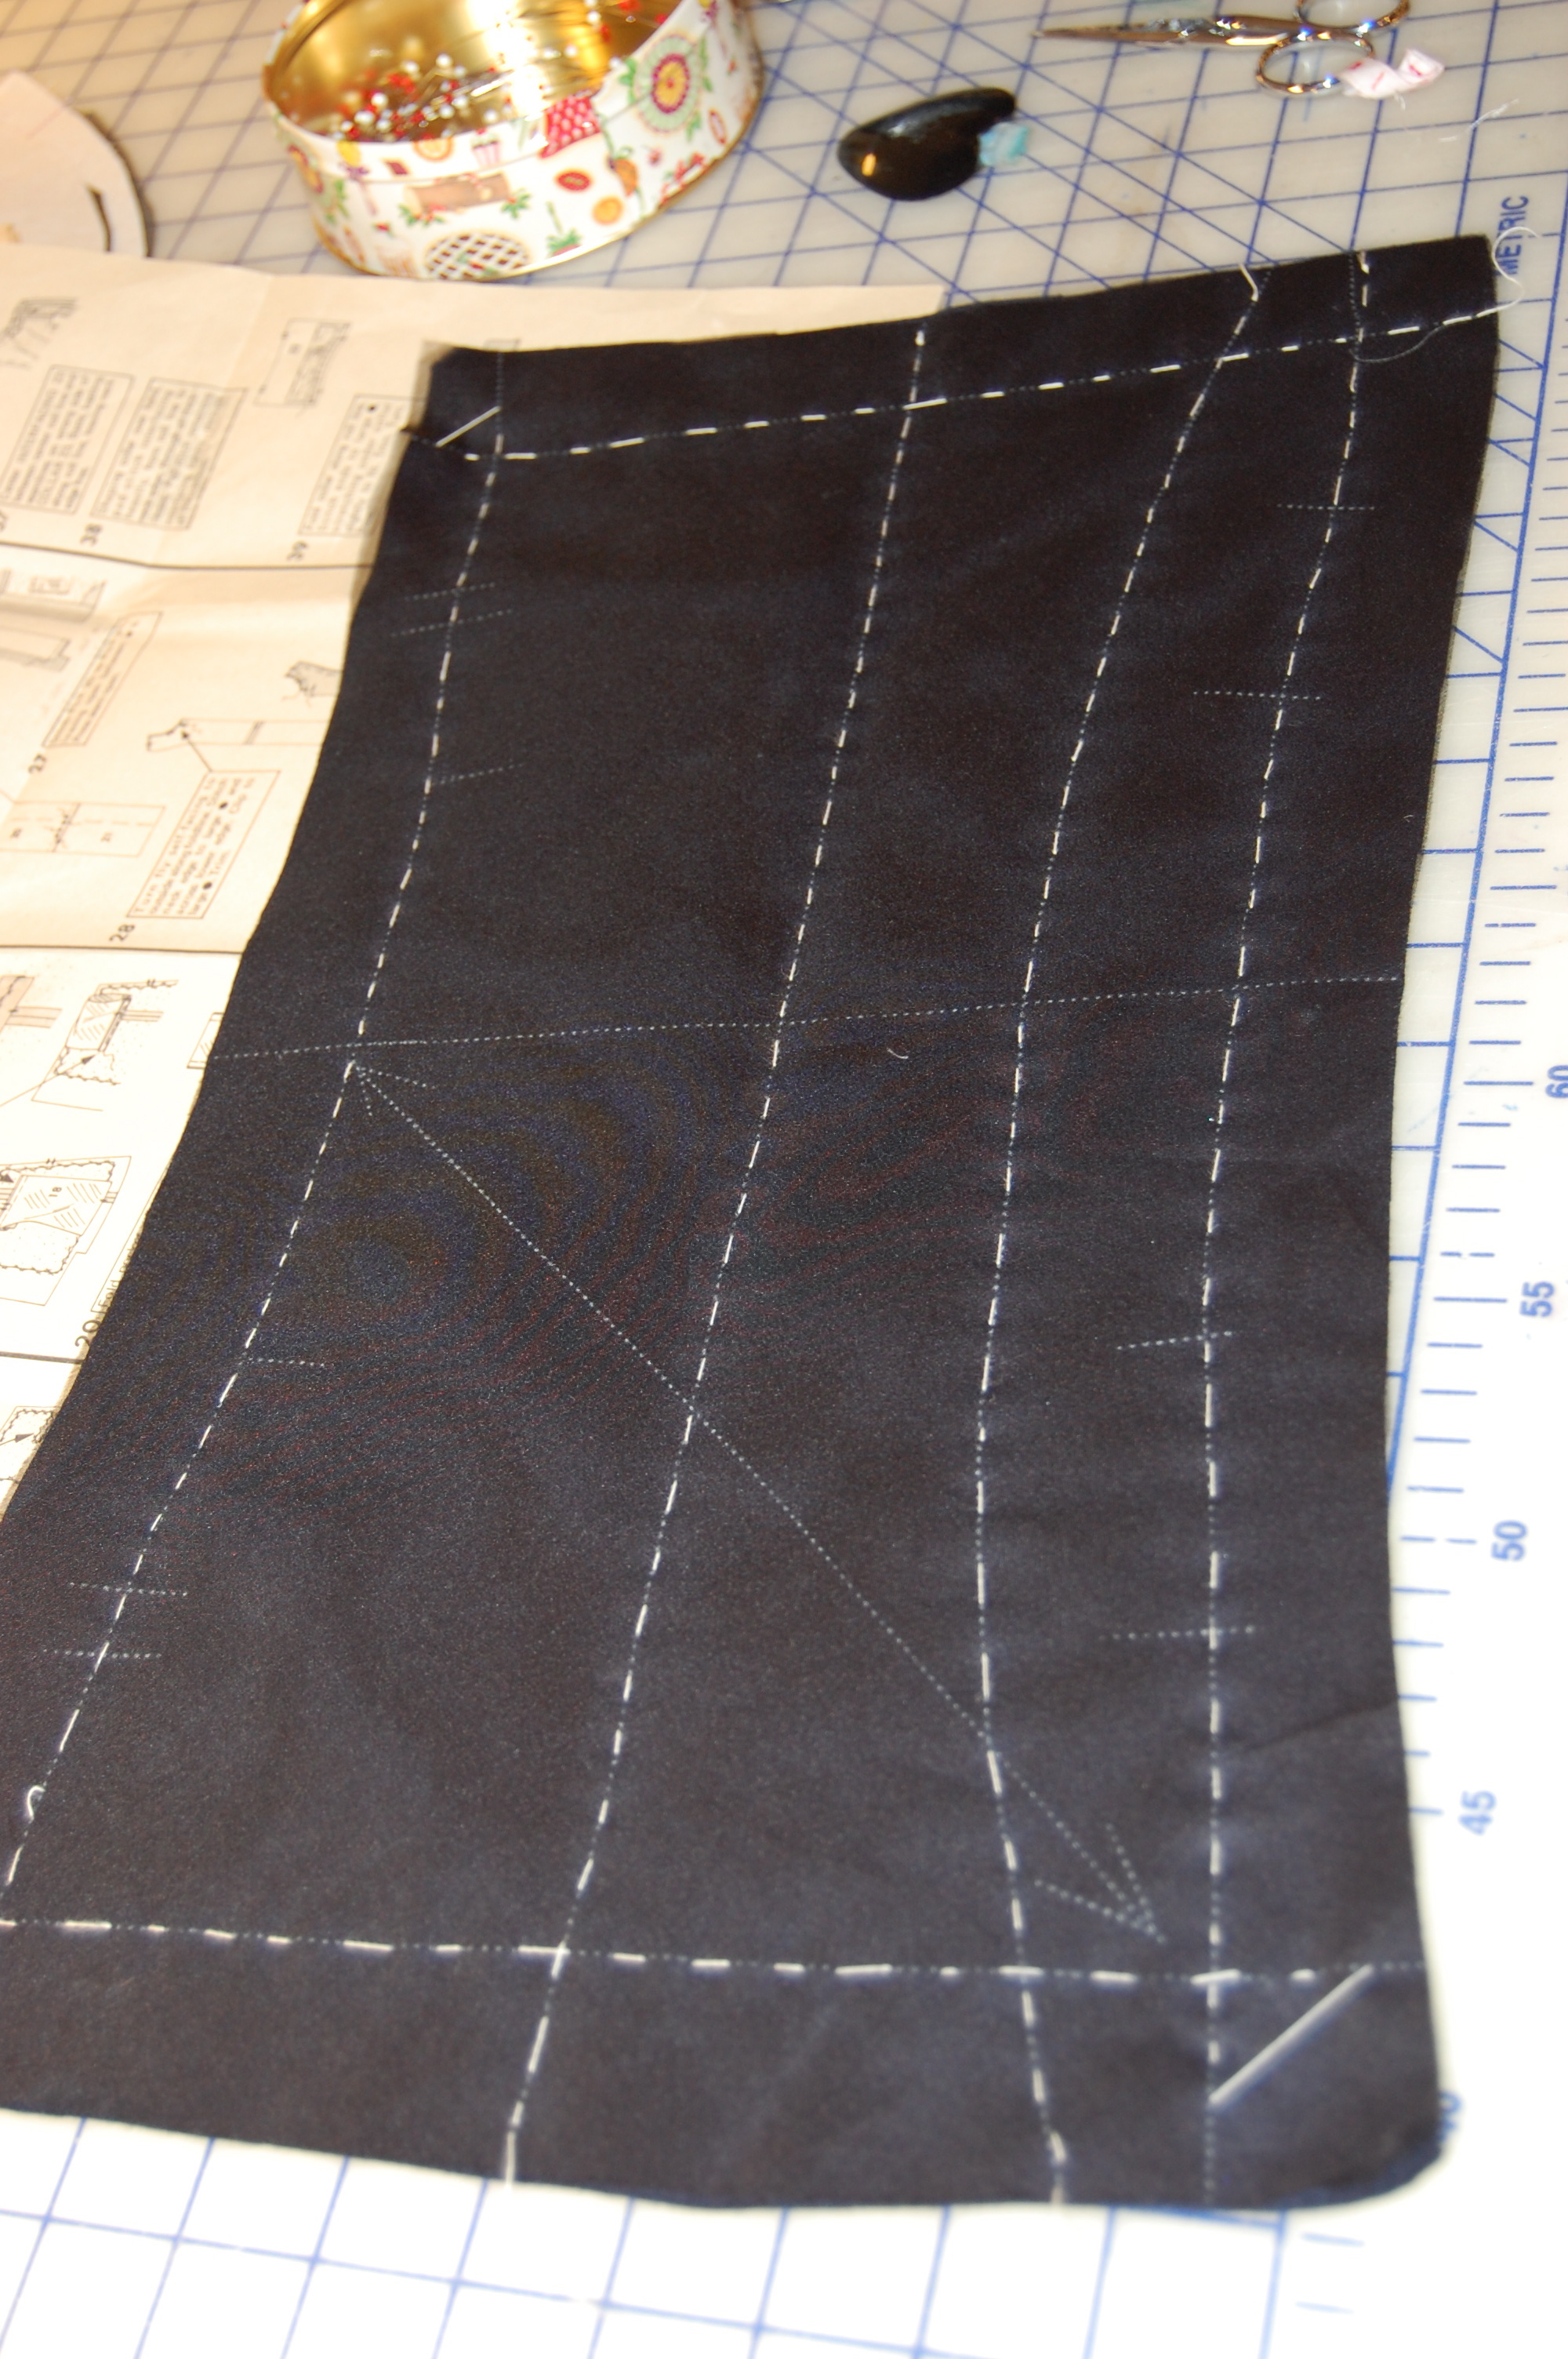
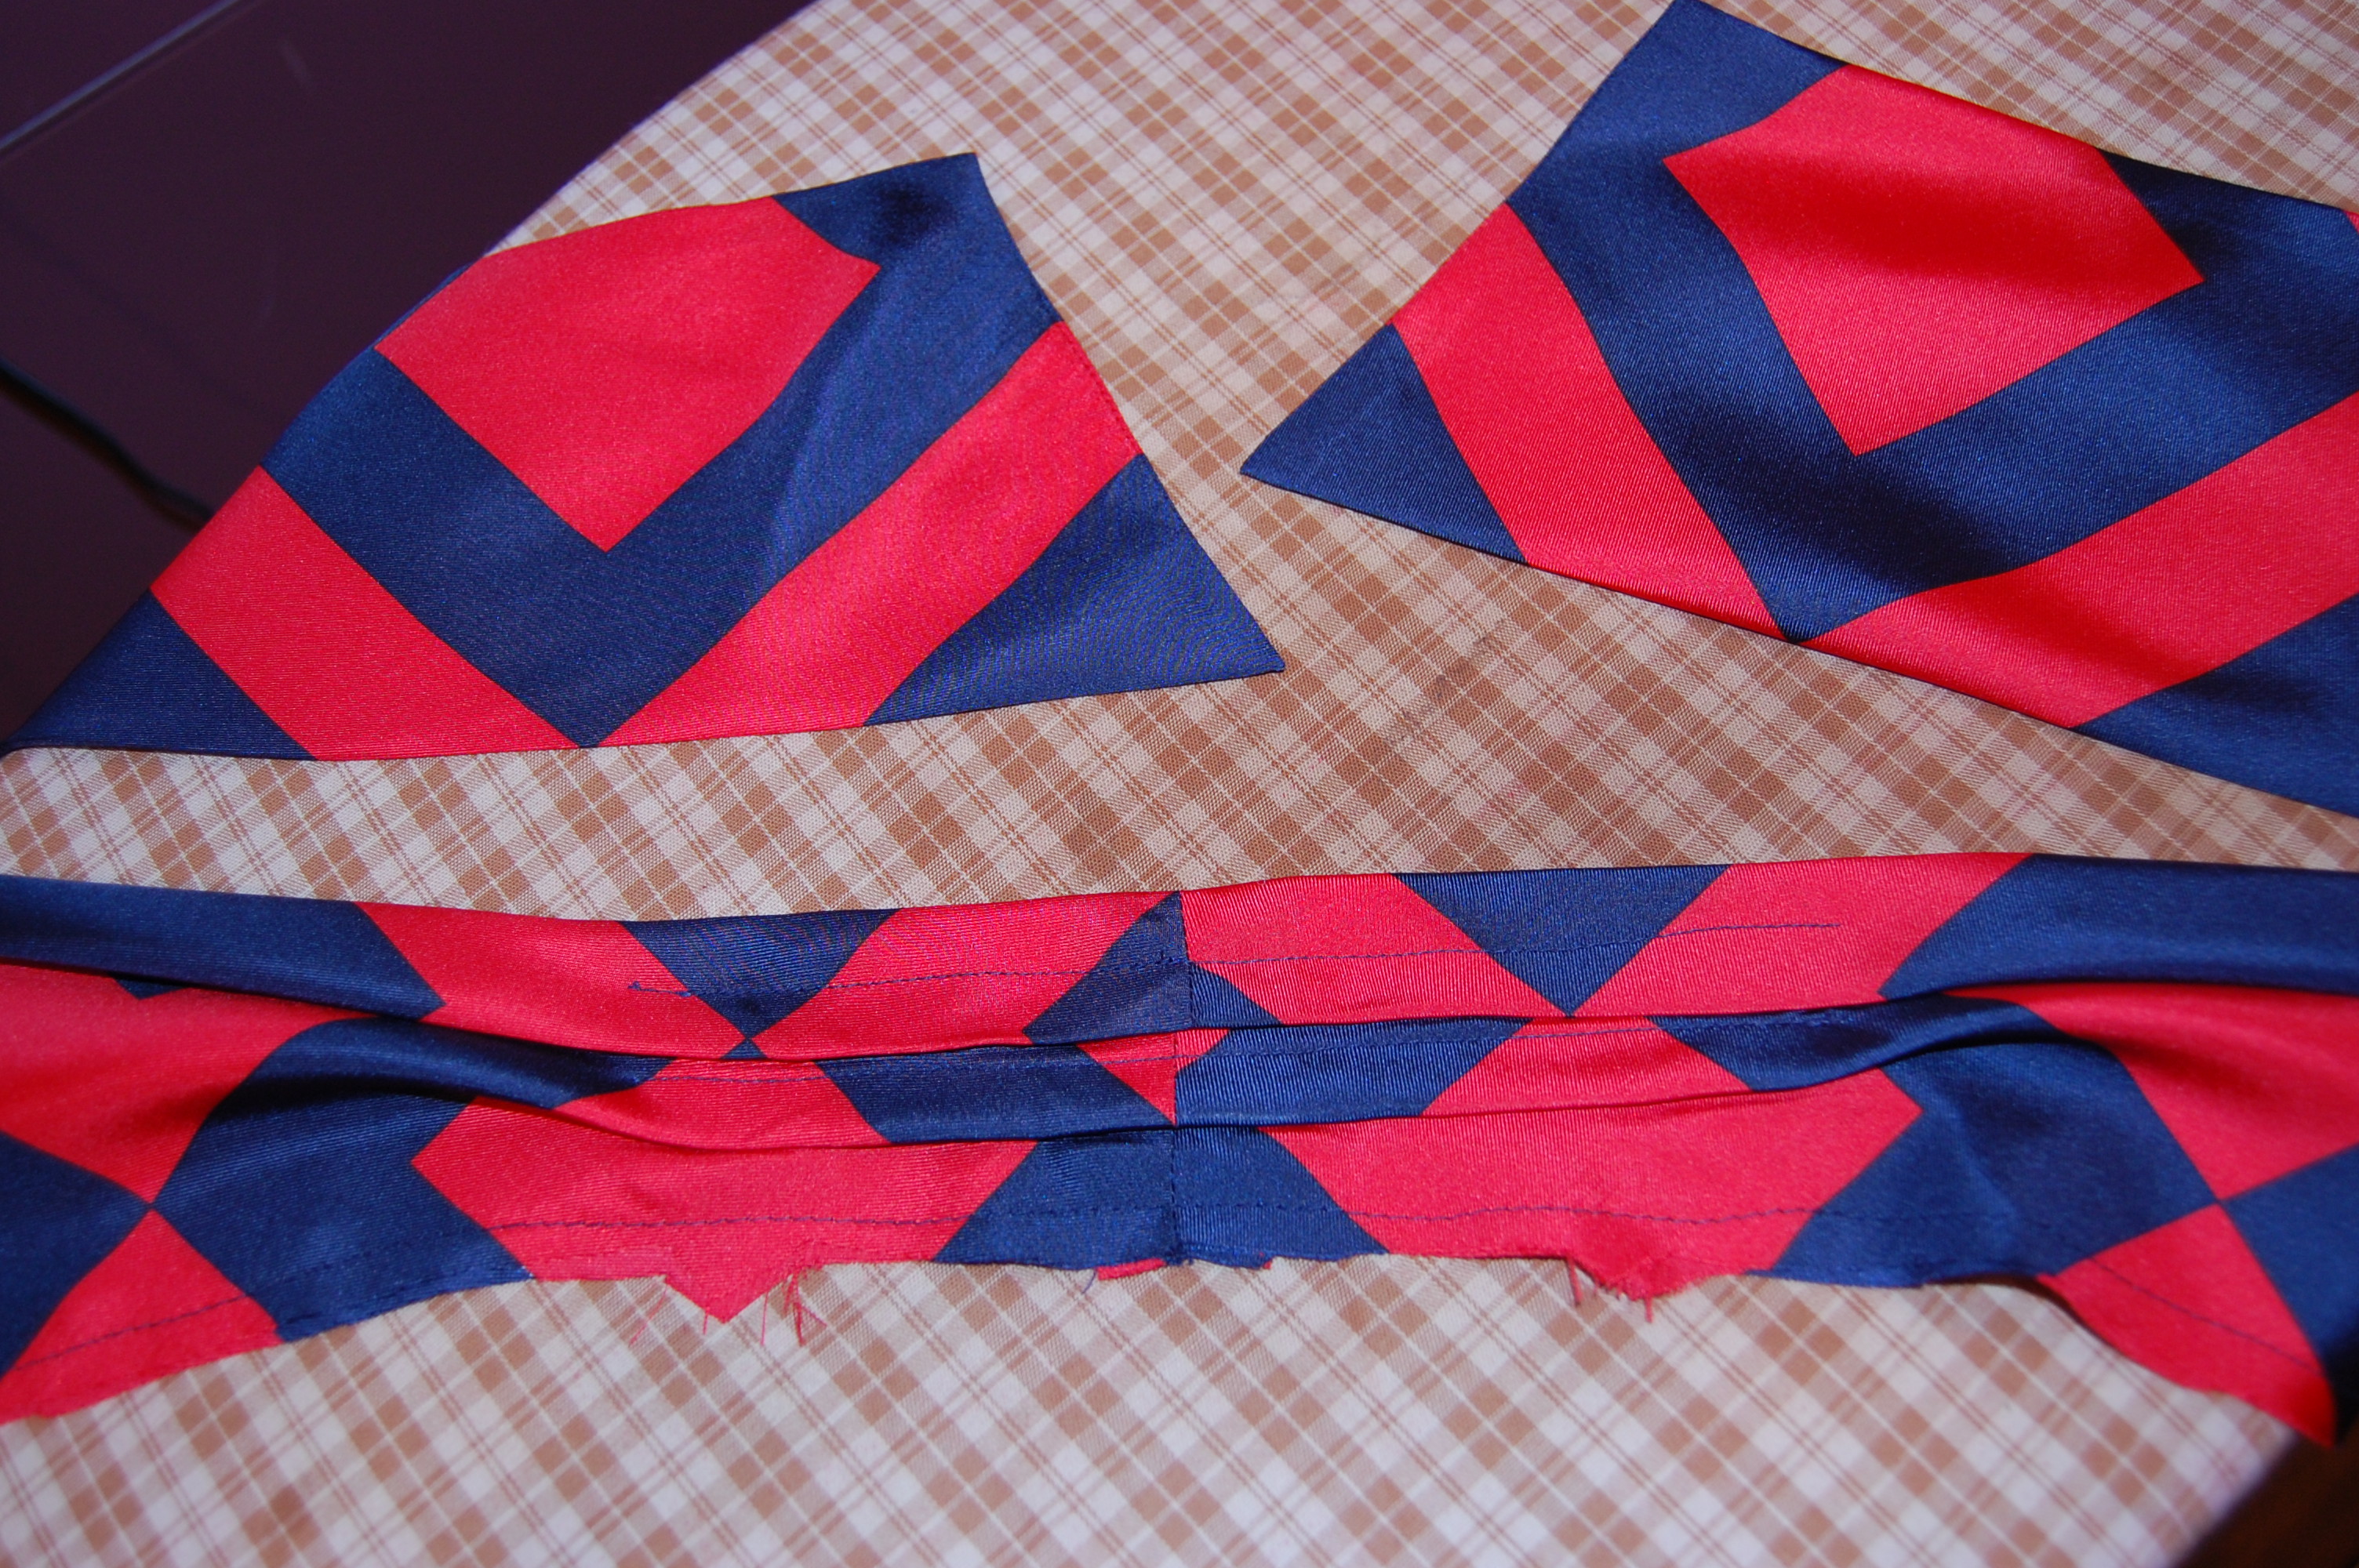
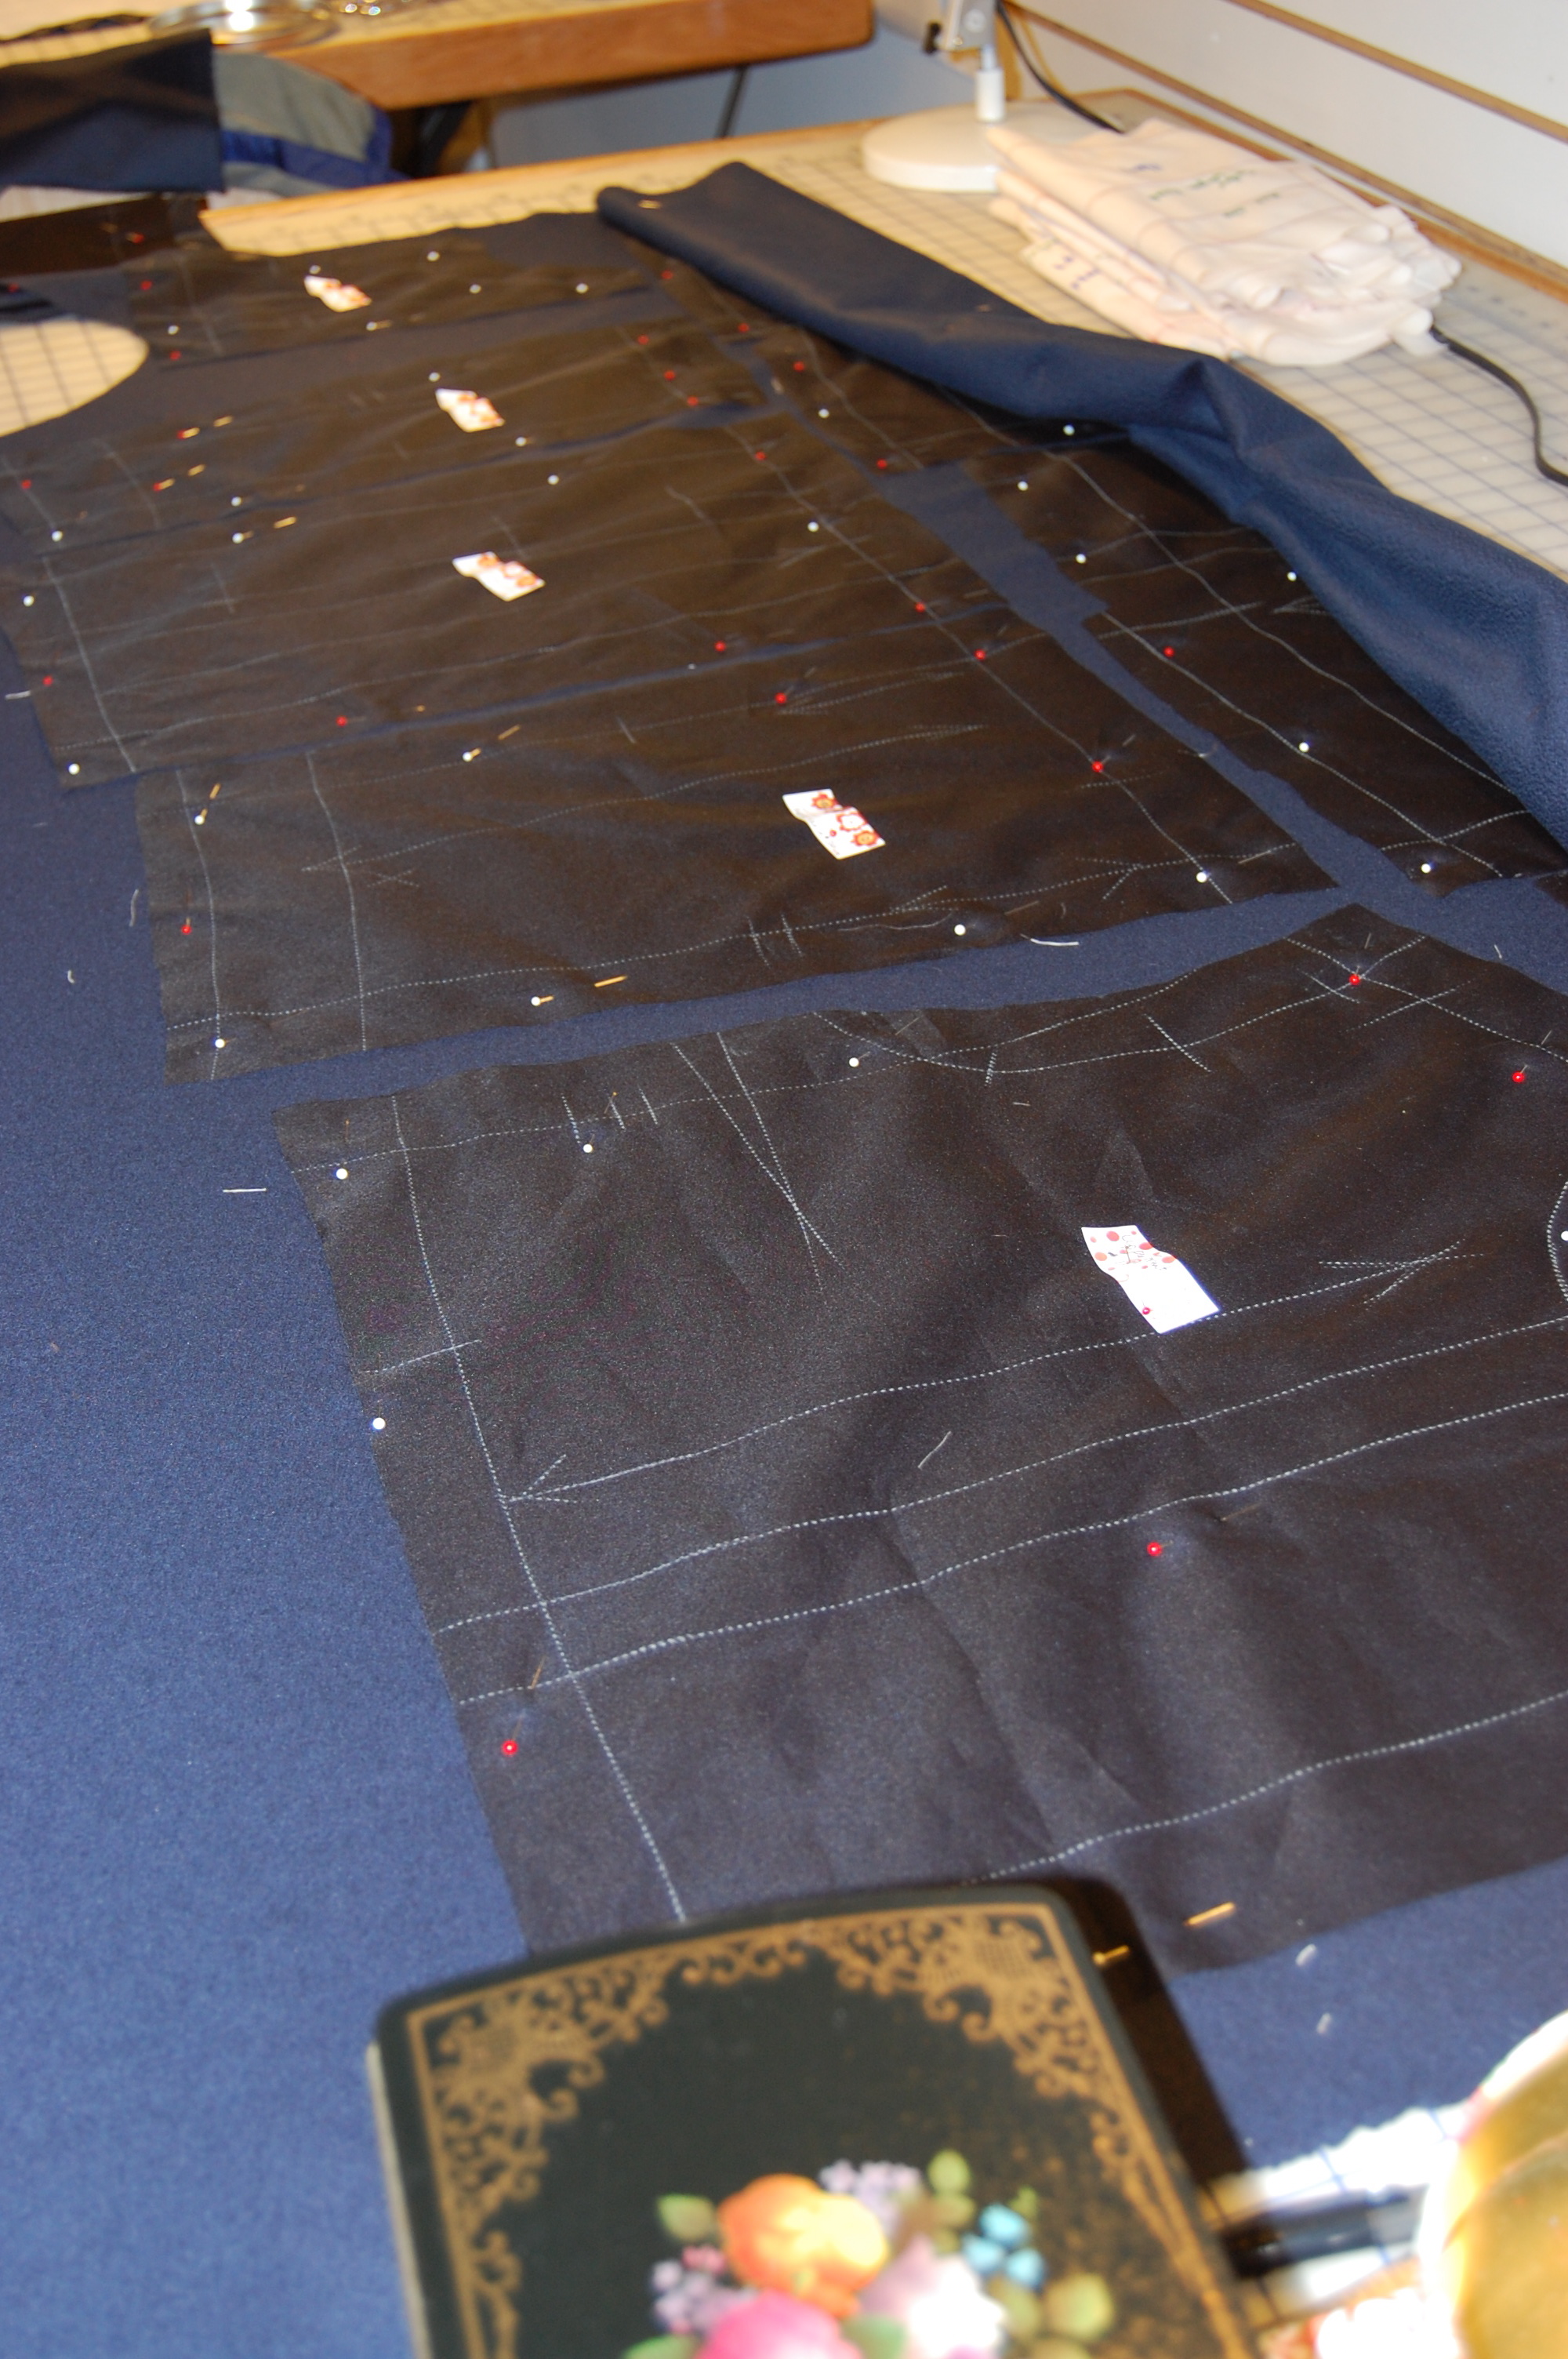
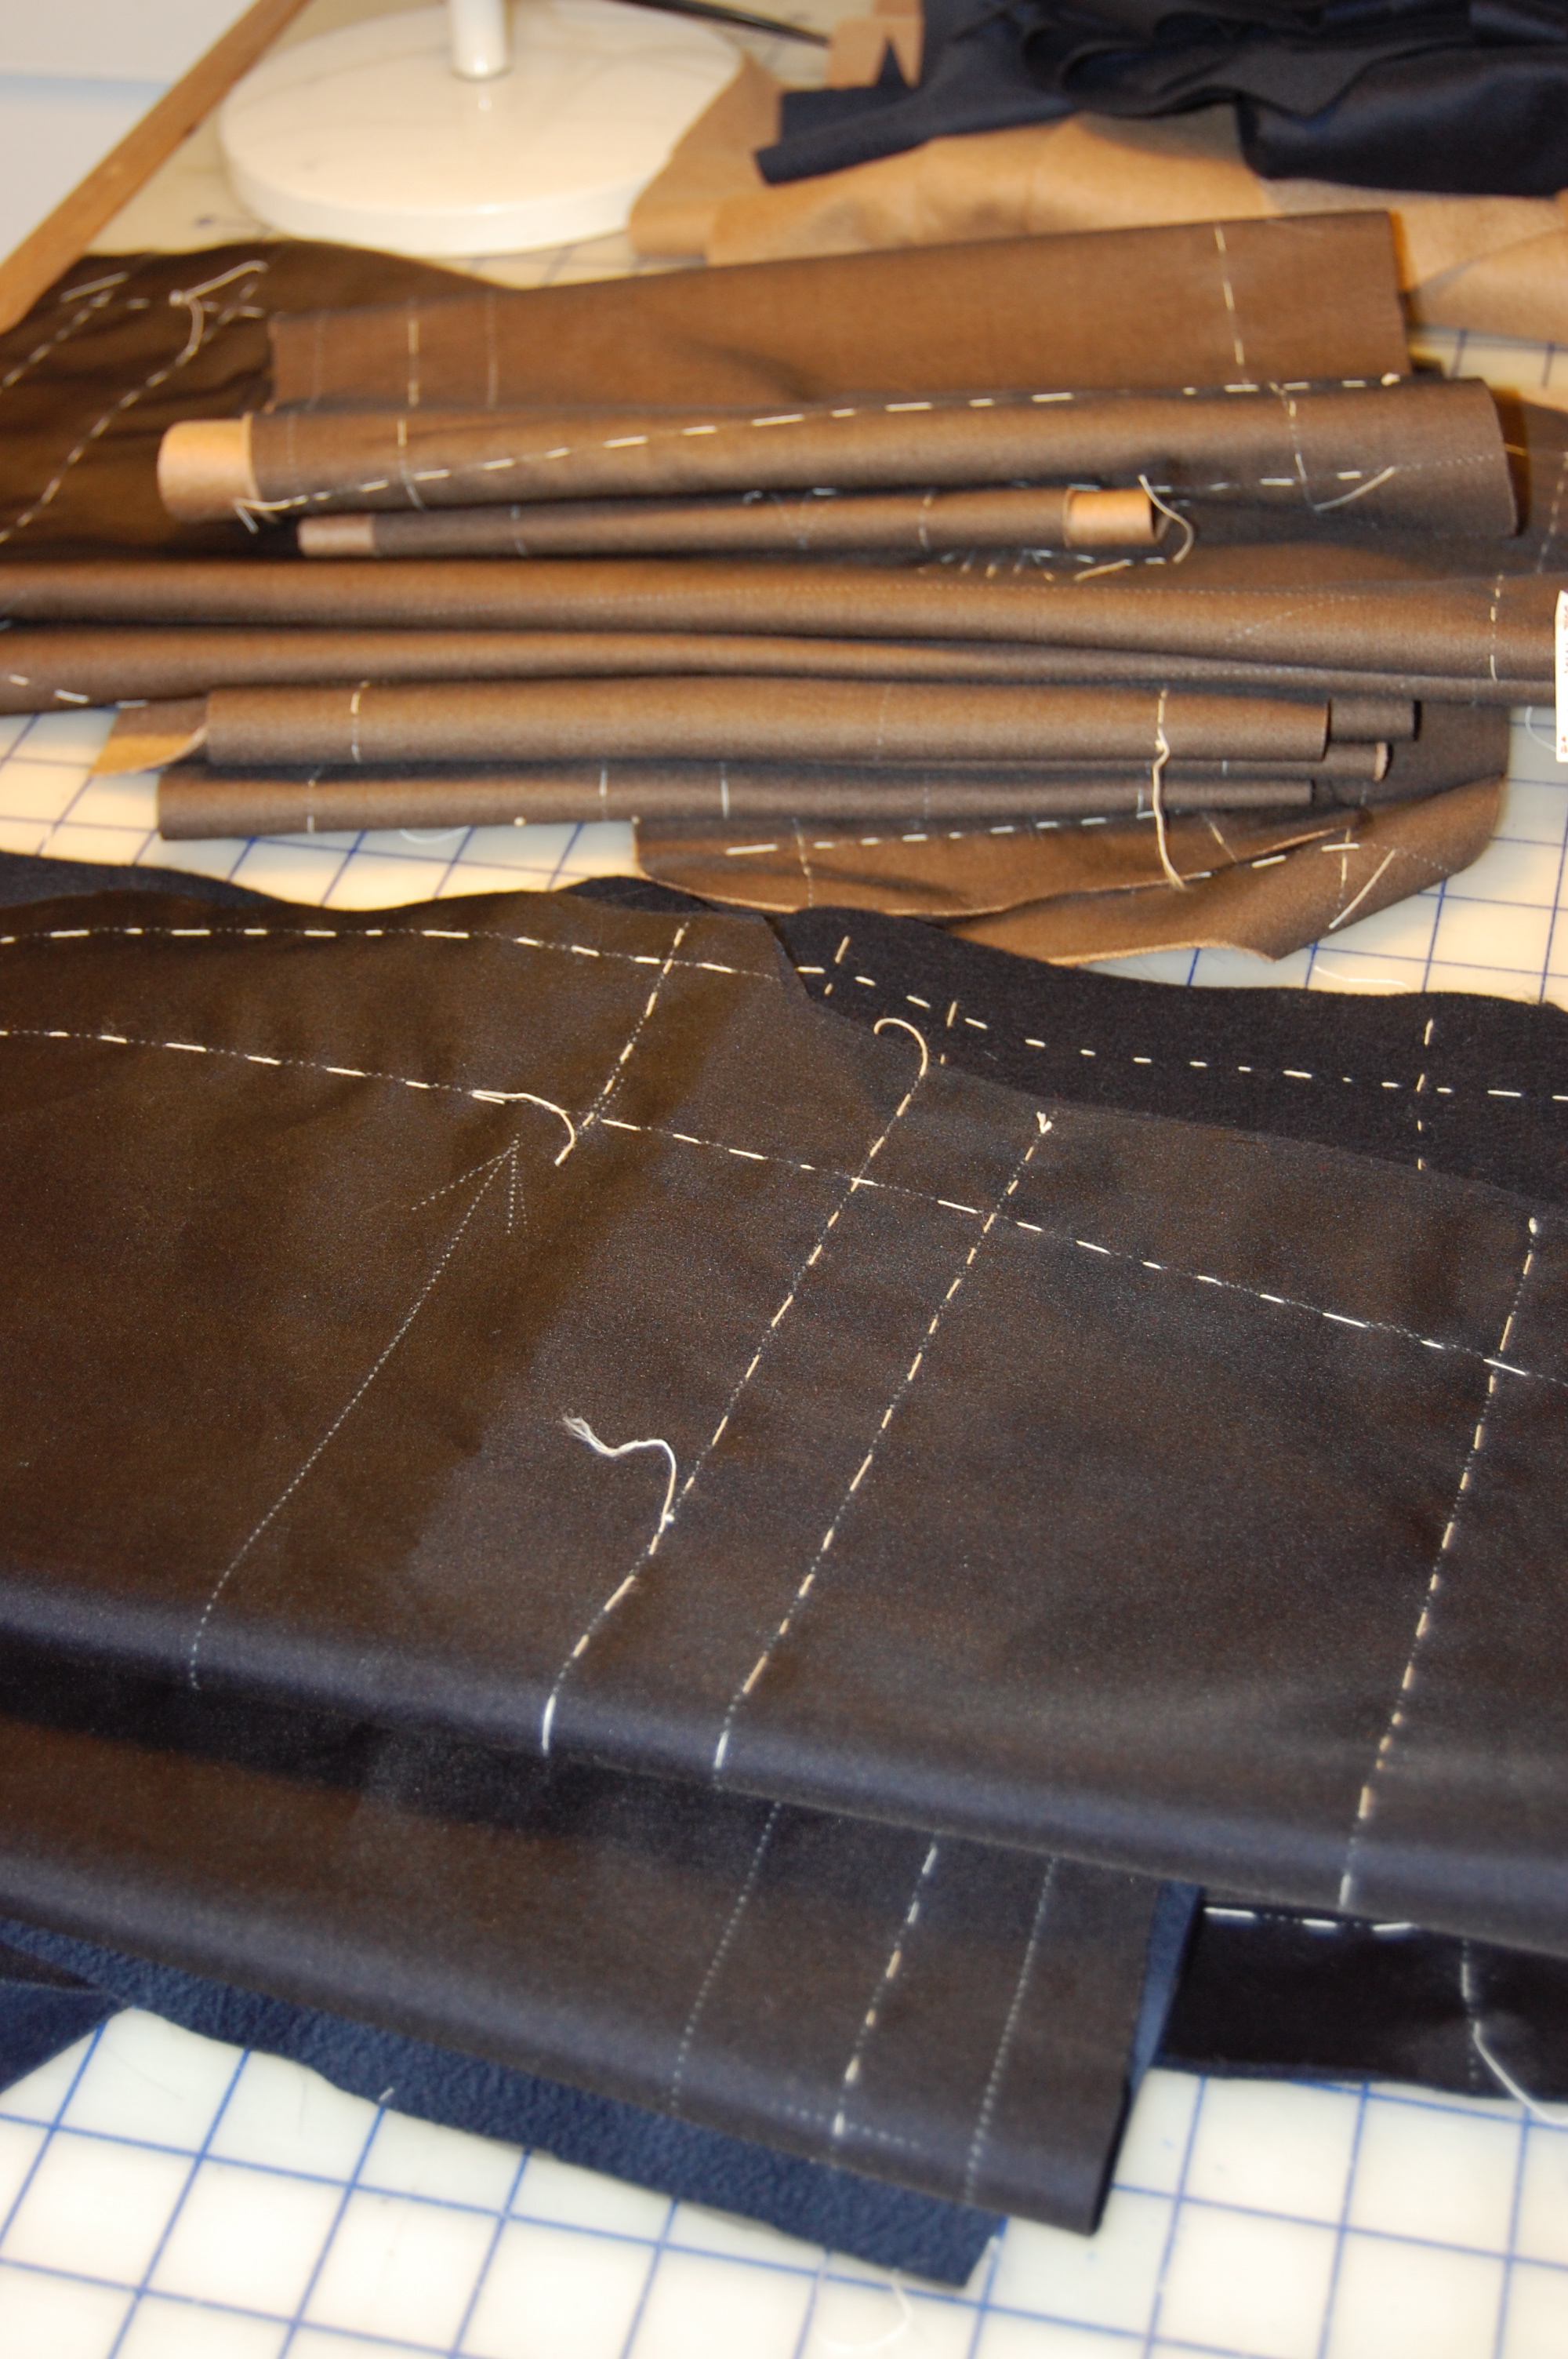
By now, many of you know that I determined to make a sheath dress out of this scant yardage of fabric, and in order to do so, I had to reconfigure my sheath dress pattern to include a back yoke. Here’s the fabric layout, which hopefully will show how sectioning the back enabled me to fit the pattern on the available fabric:
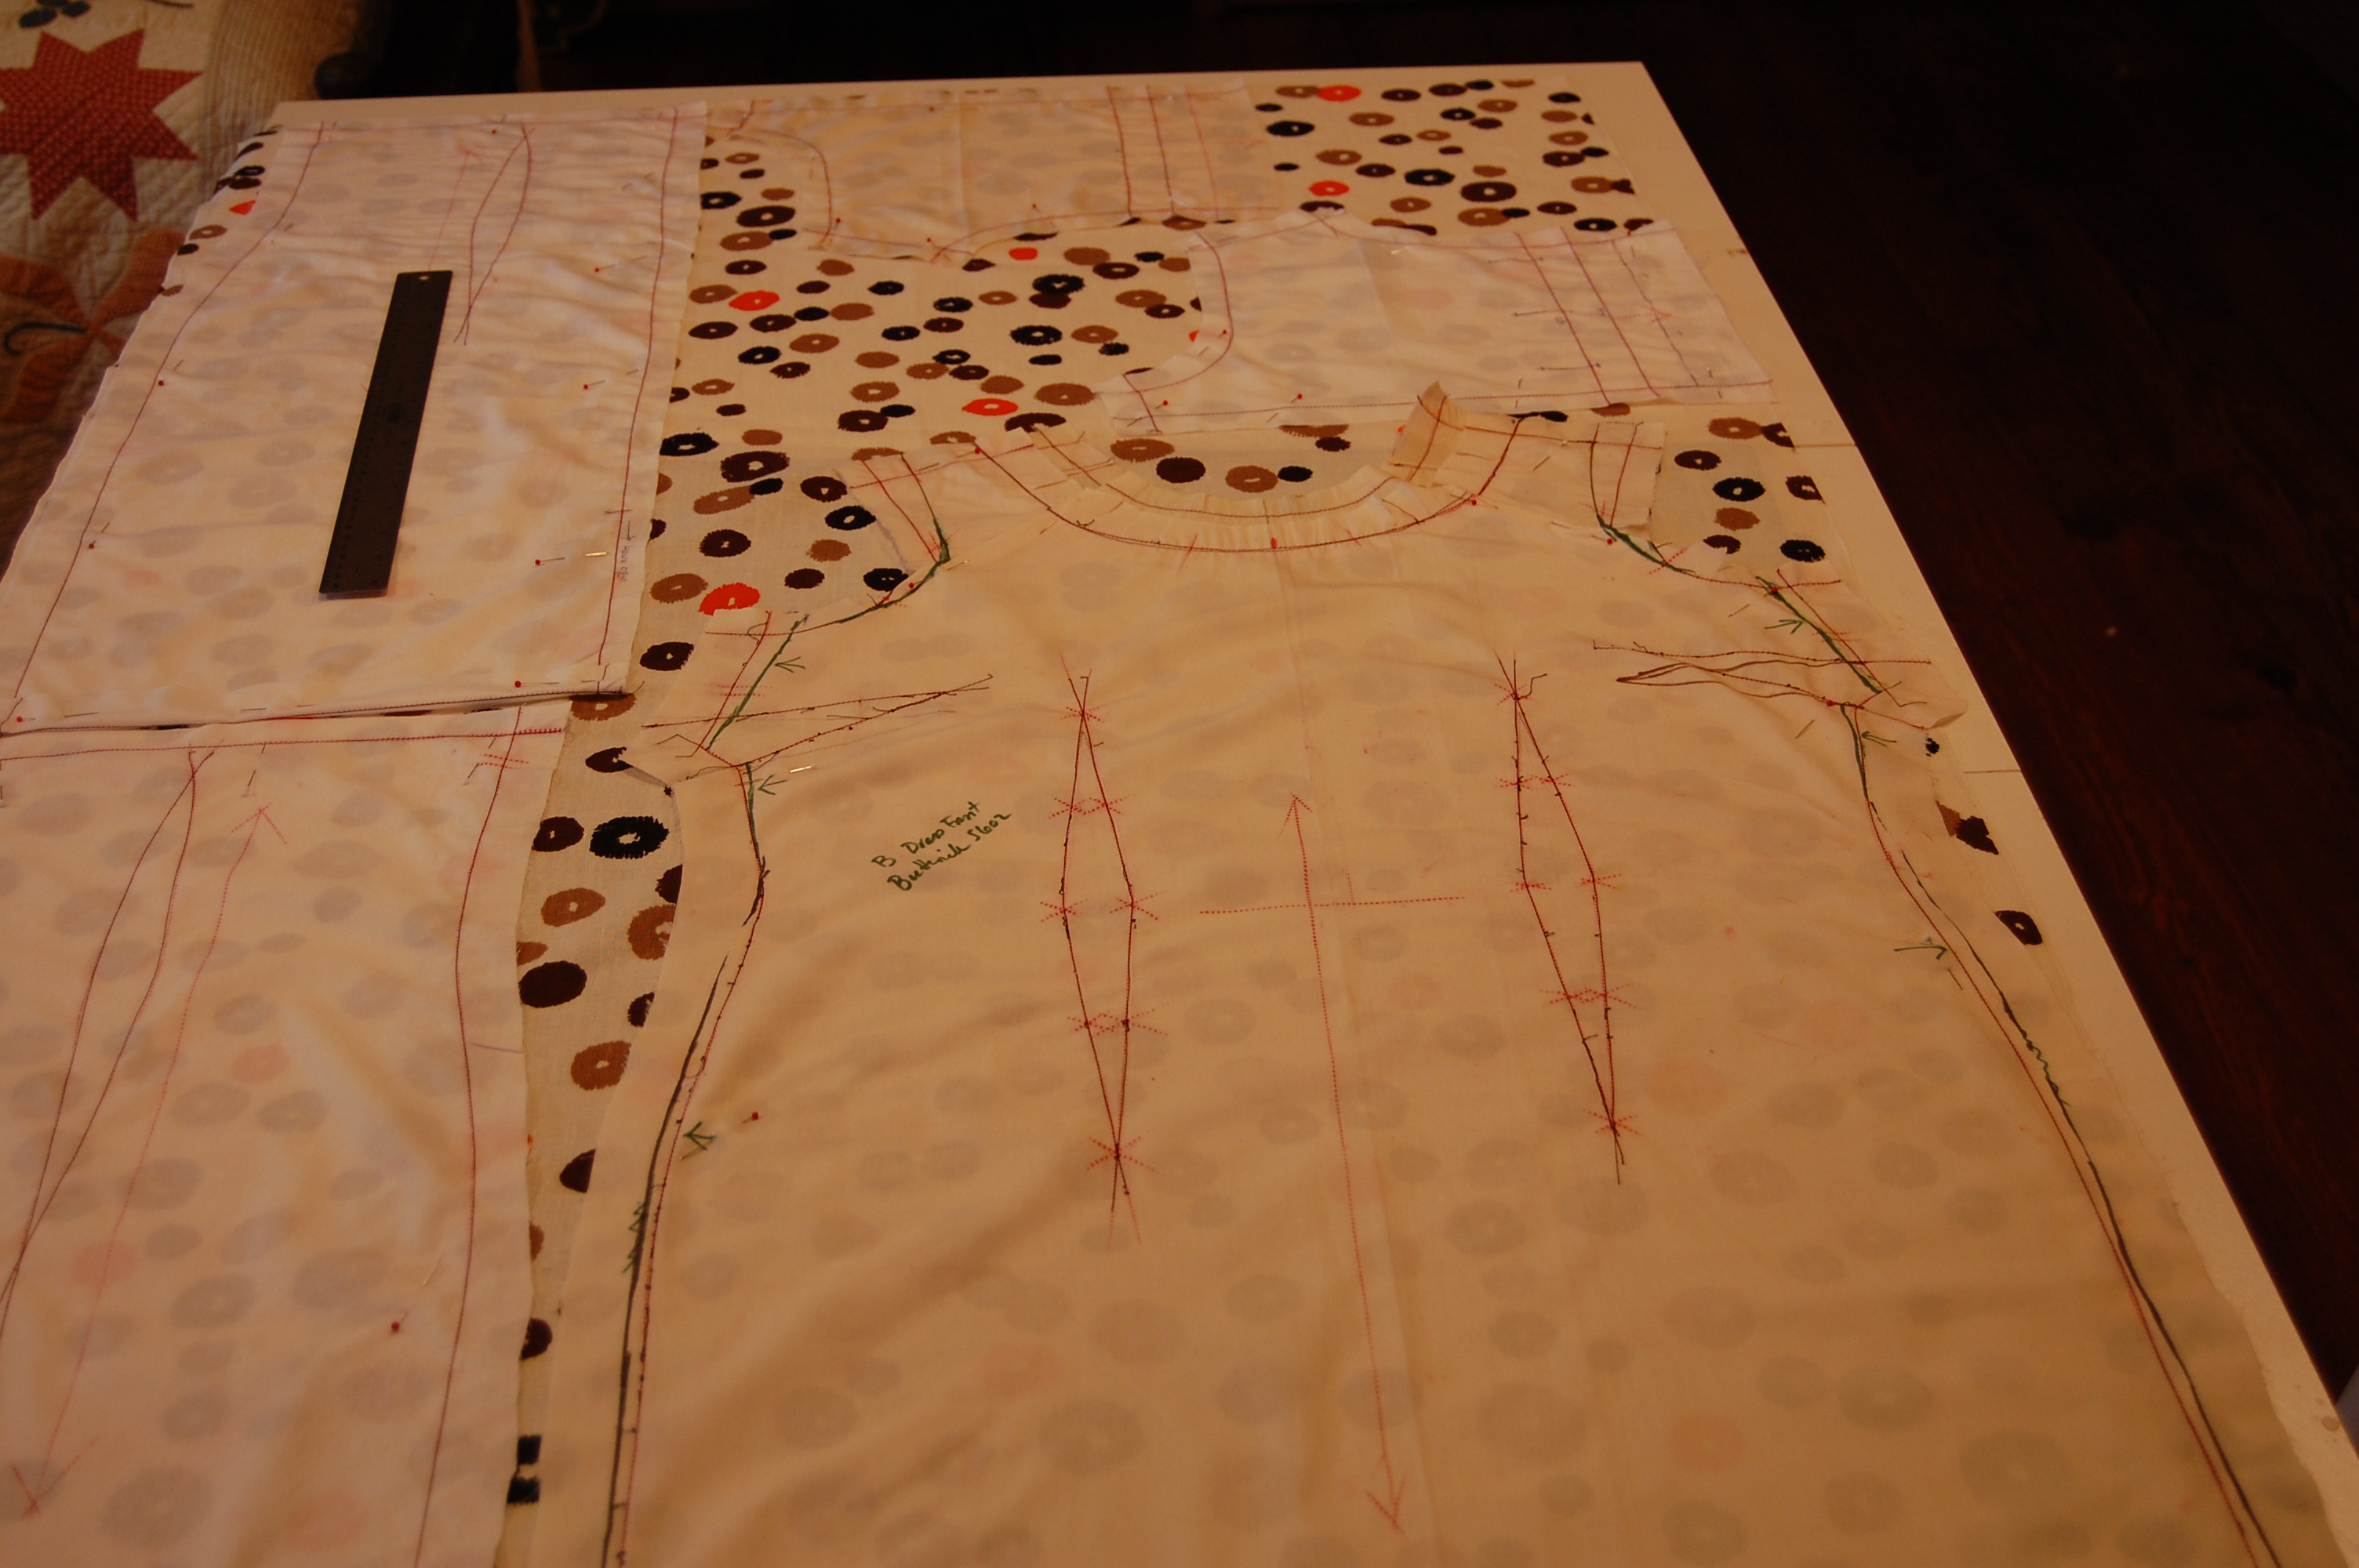
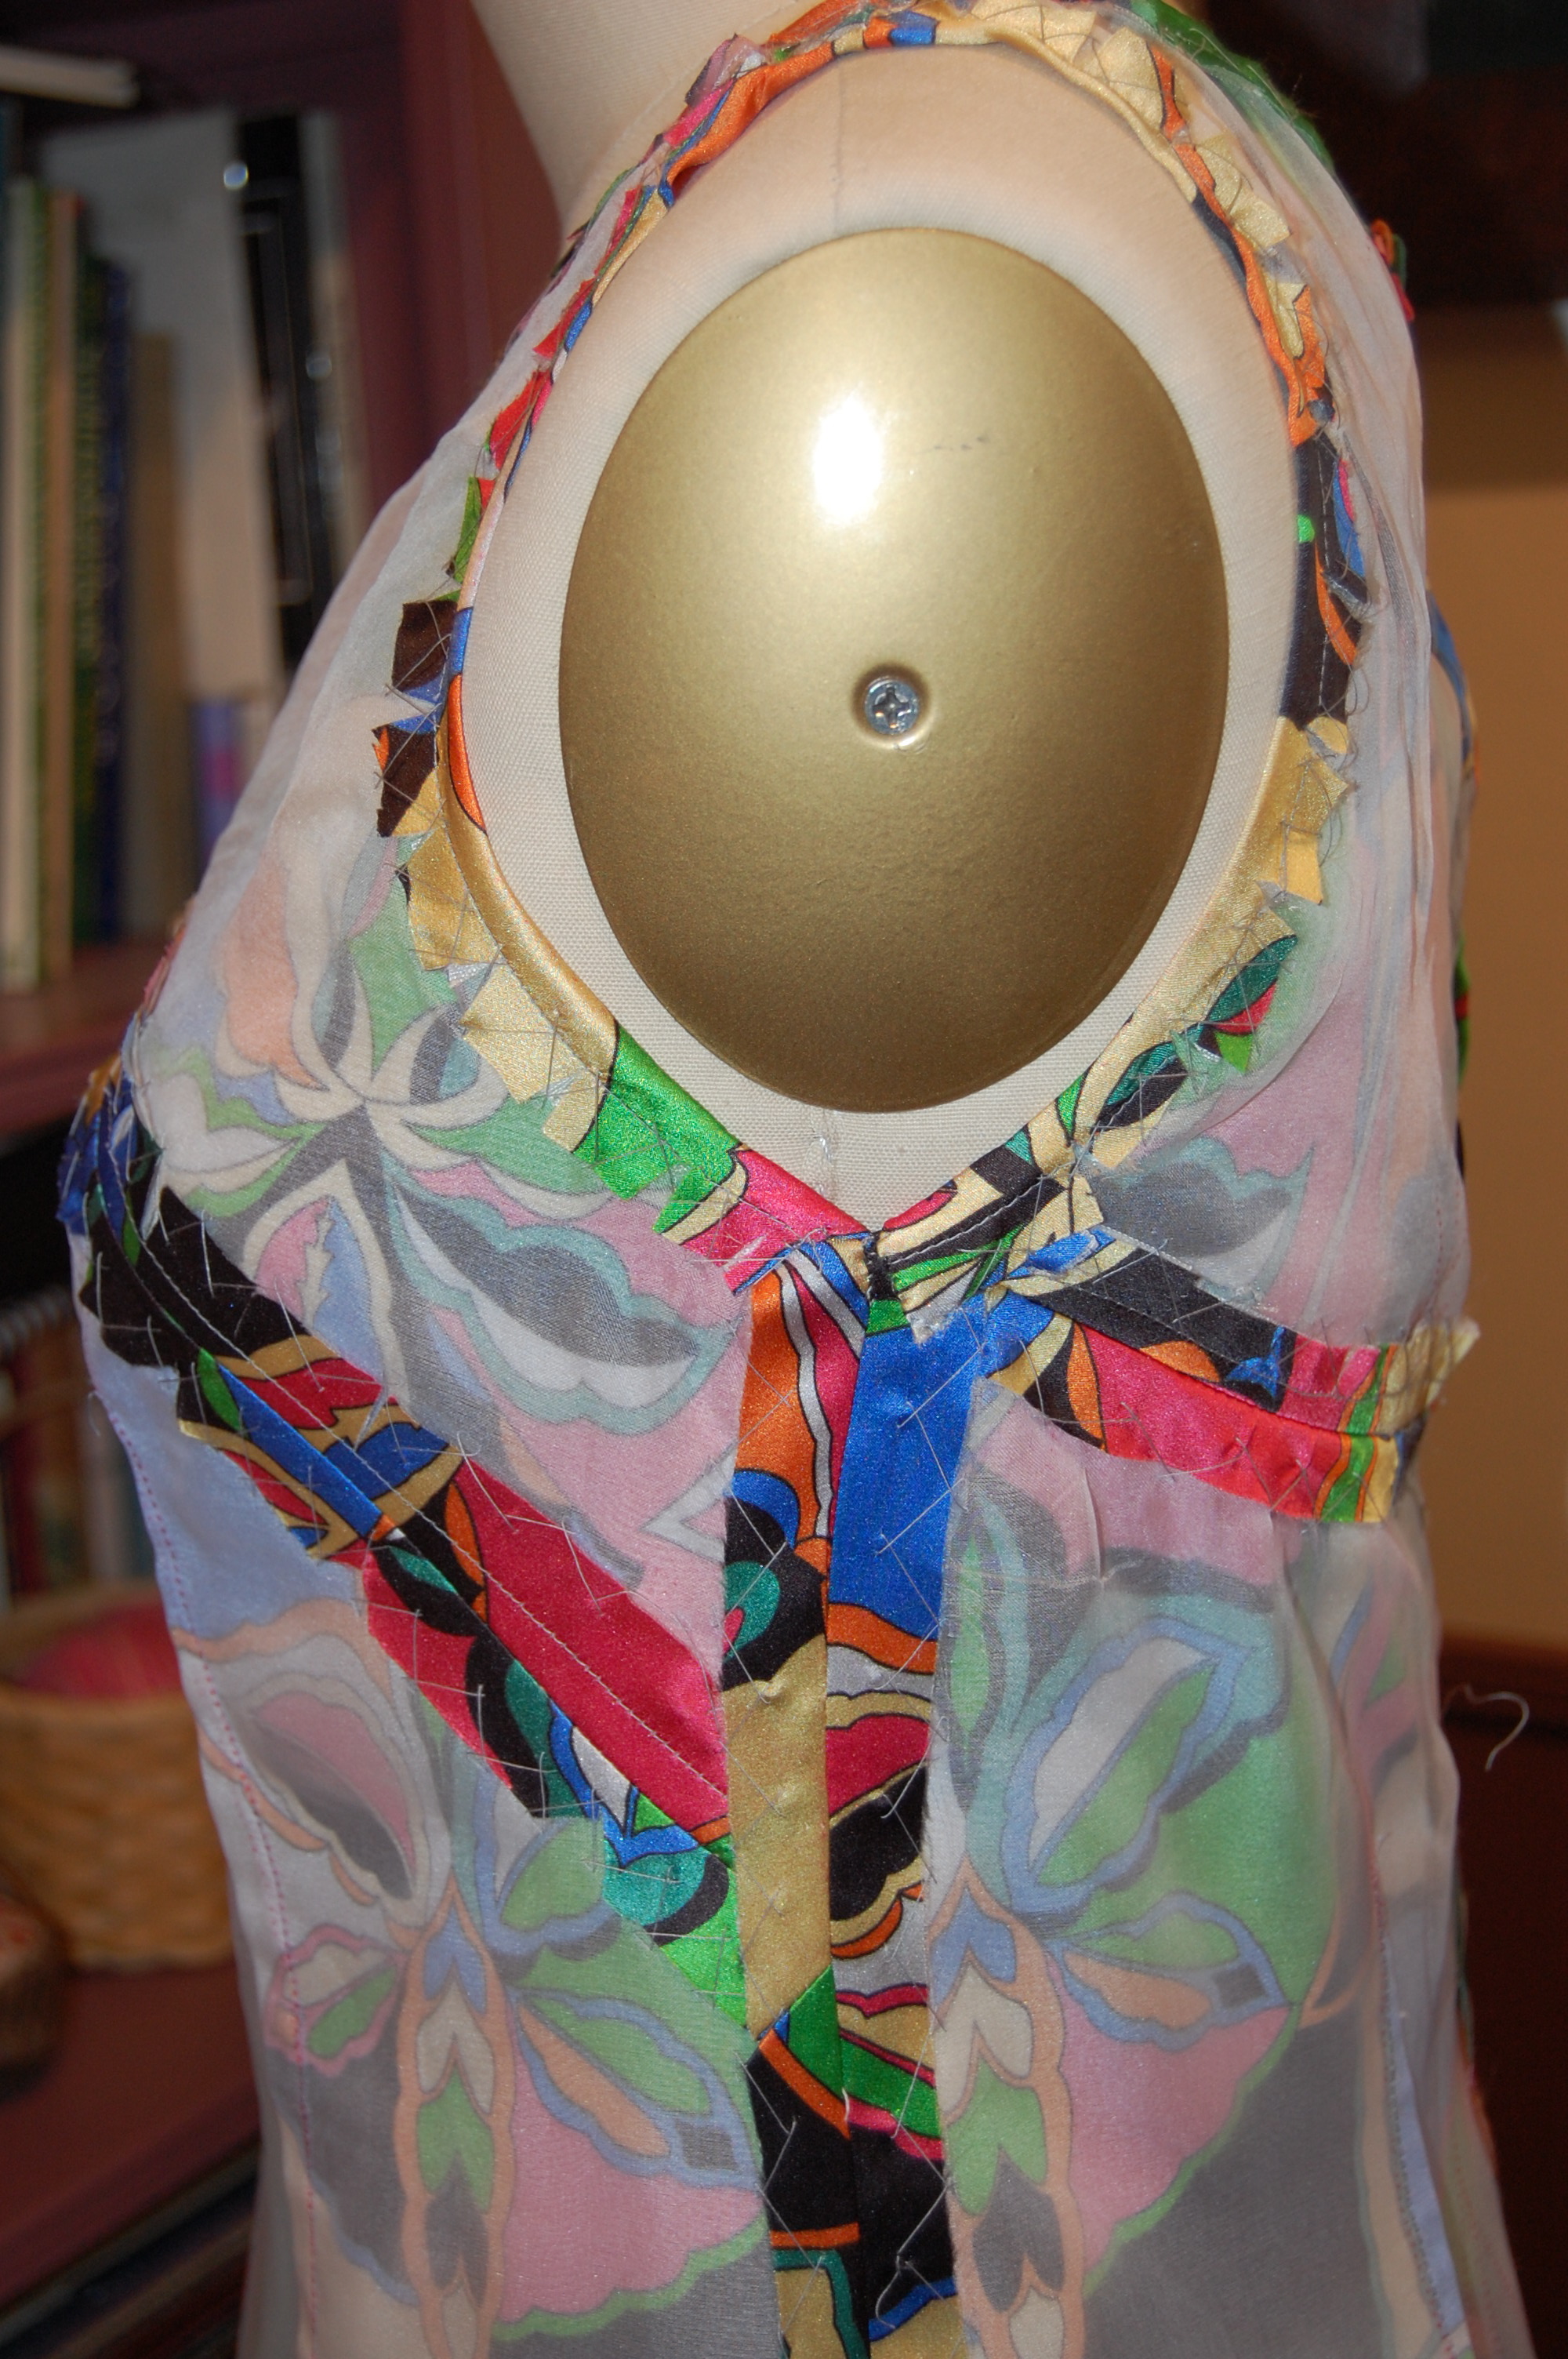
The fabric is shown 35″ flat on my cutting table. The muslin pattern piece for the front of the dress is on the right, and the two shortened back pieces are lined up smack against each other on the left. The yoke pieces then fit on the fabric above the dress front. I did not need facings, as I lined the entire dress in a light weight linen/cotton blend, and finished the neck and armholes all by hand. I had to face the hem as I did not have enough fabric to do a self hem!
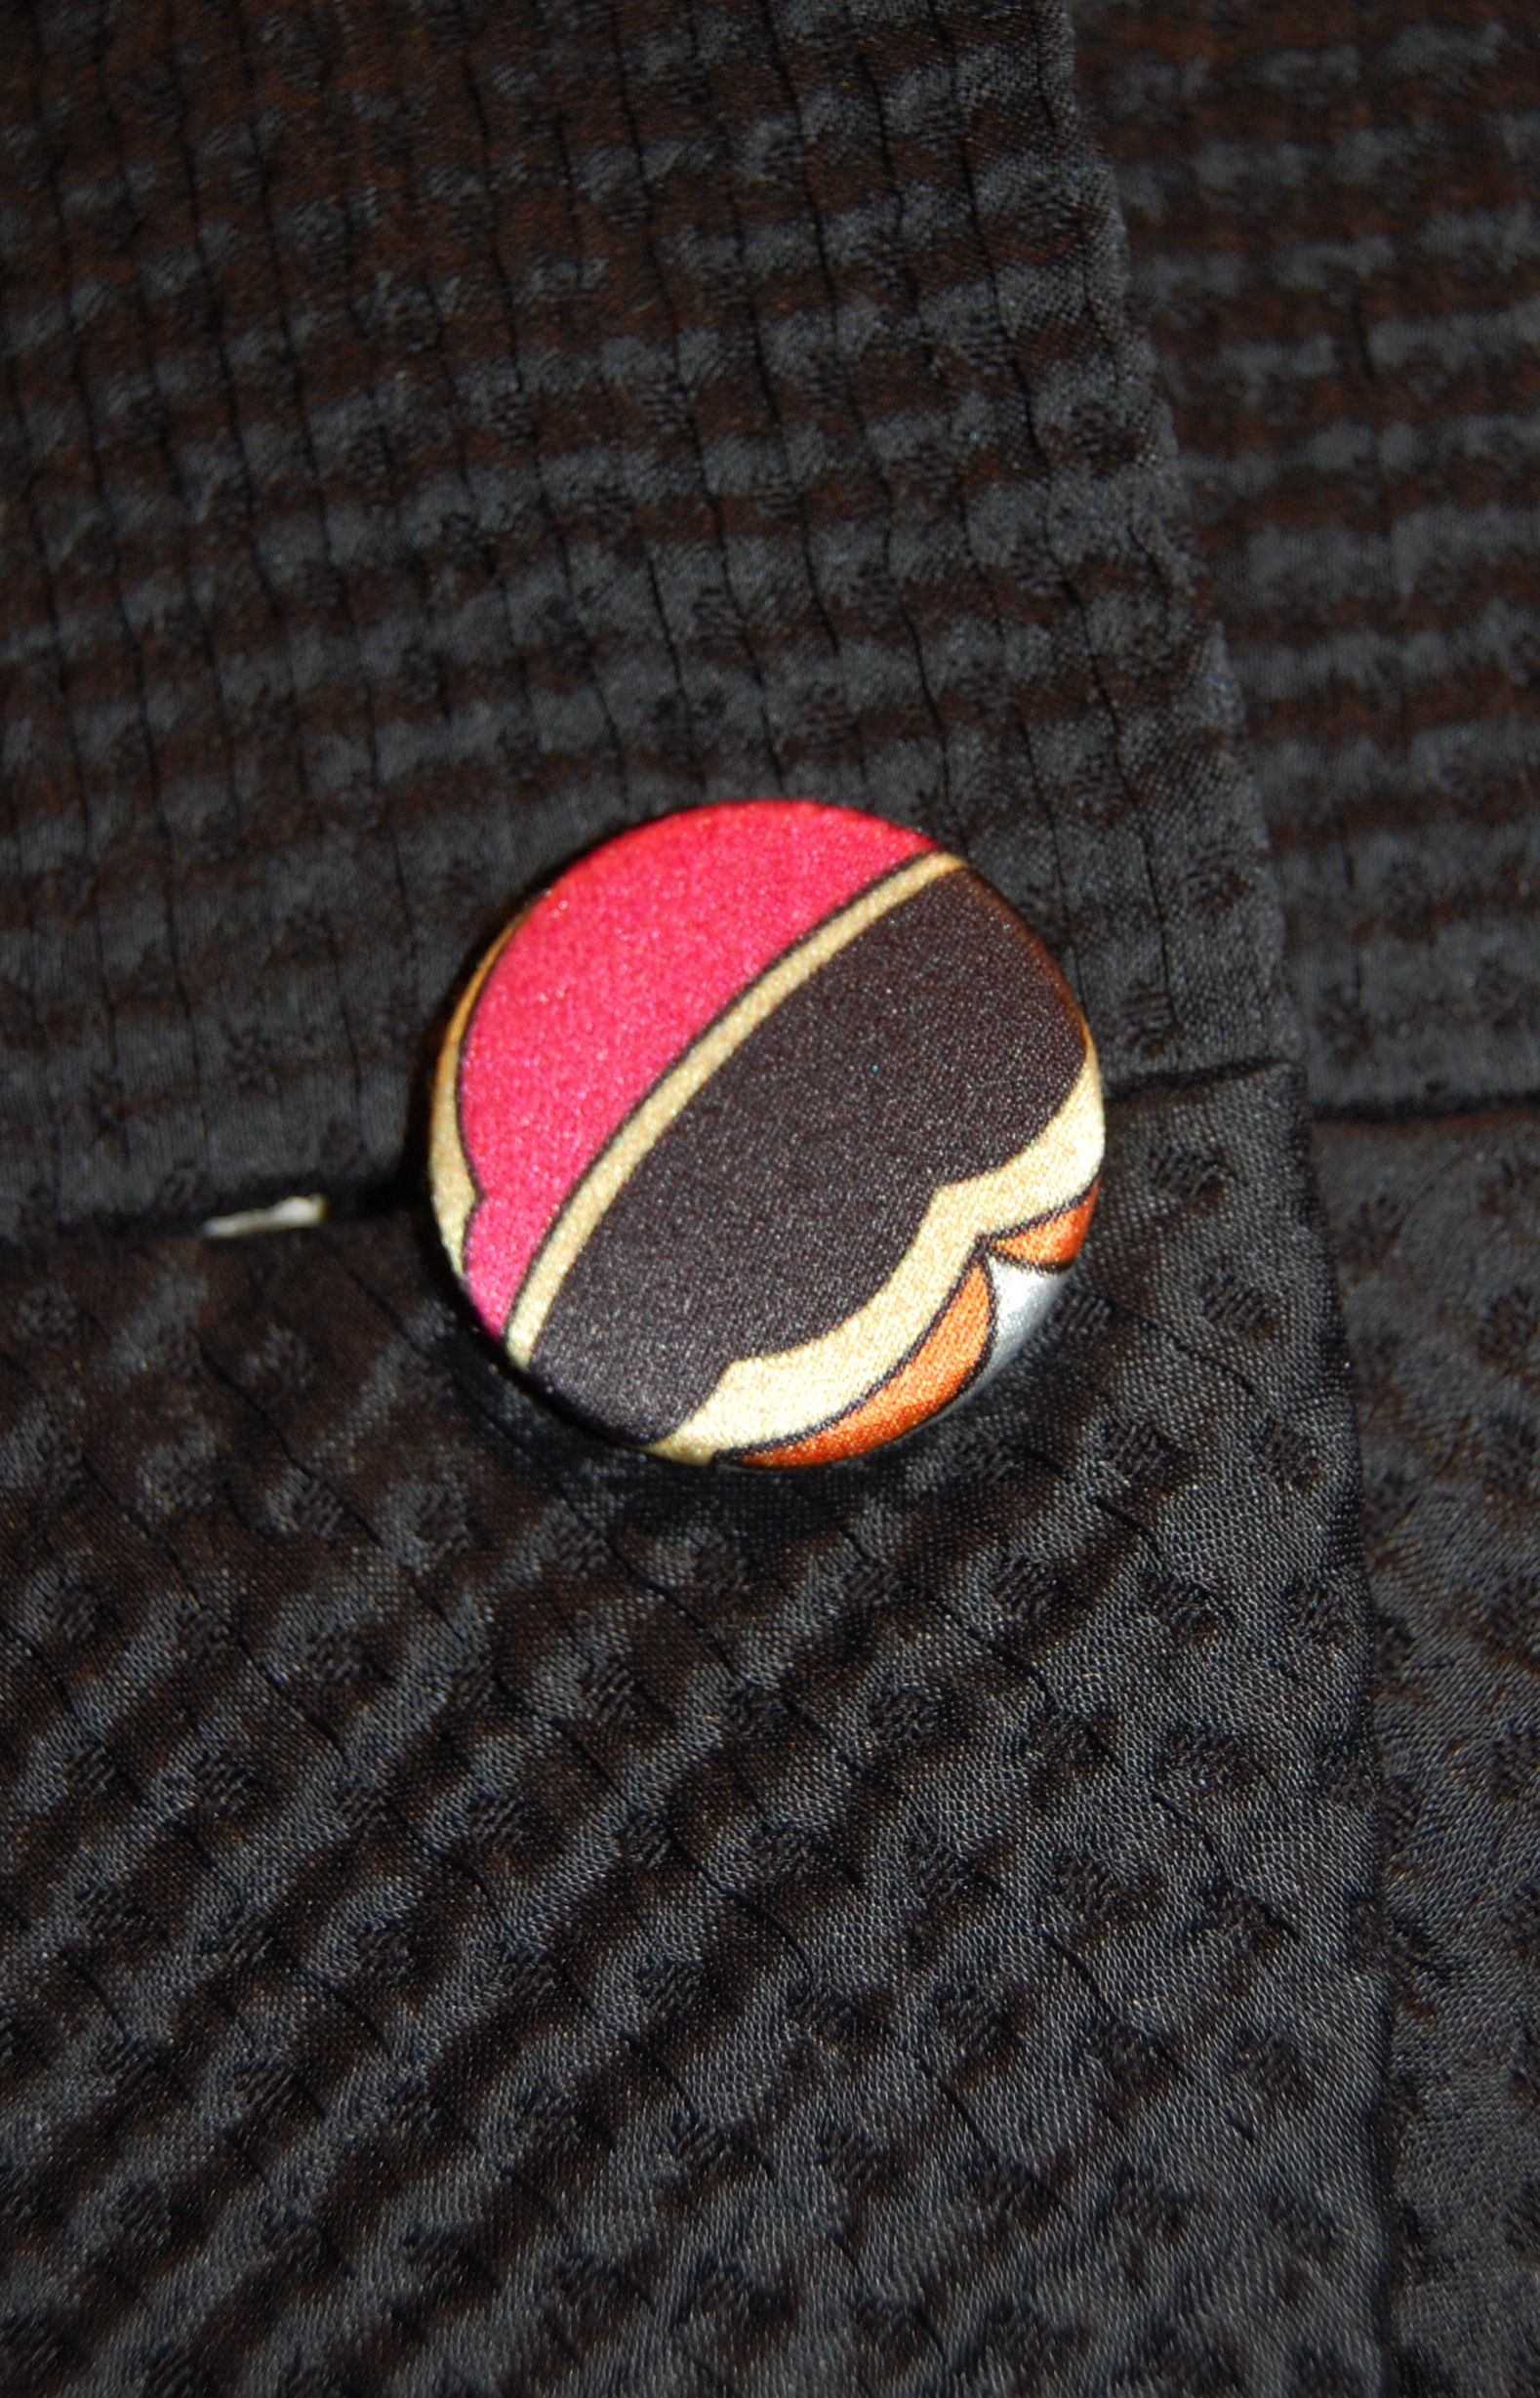
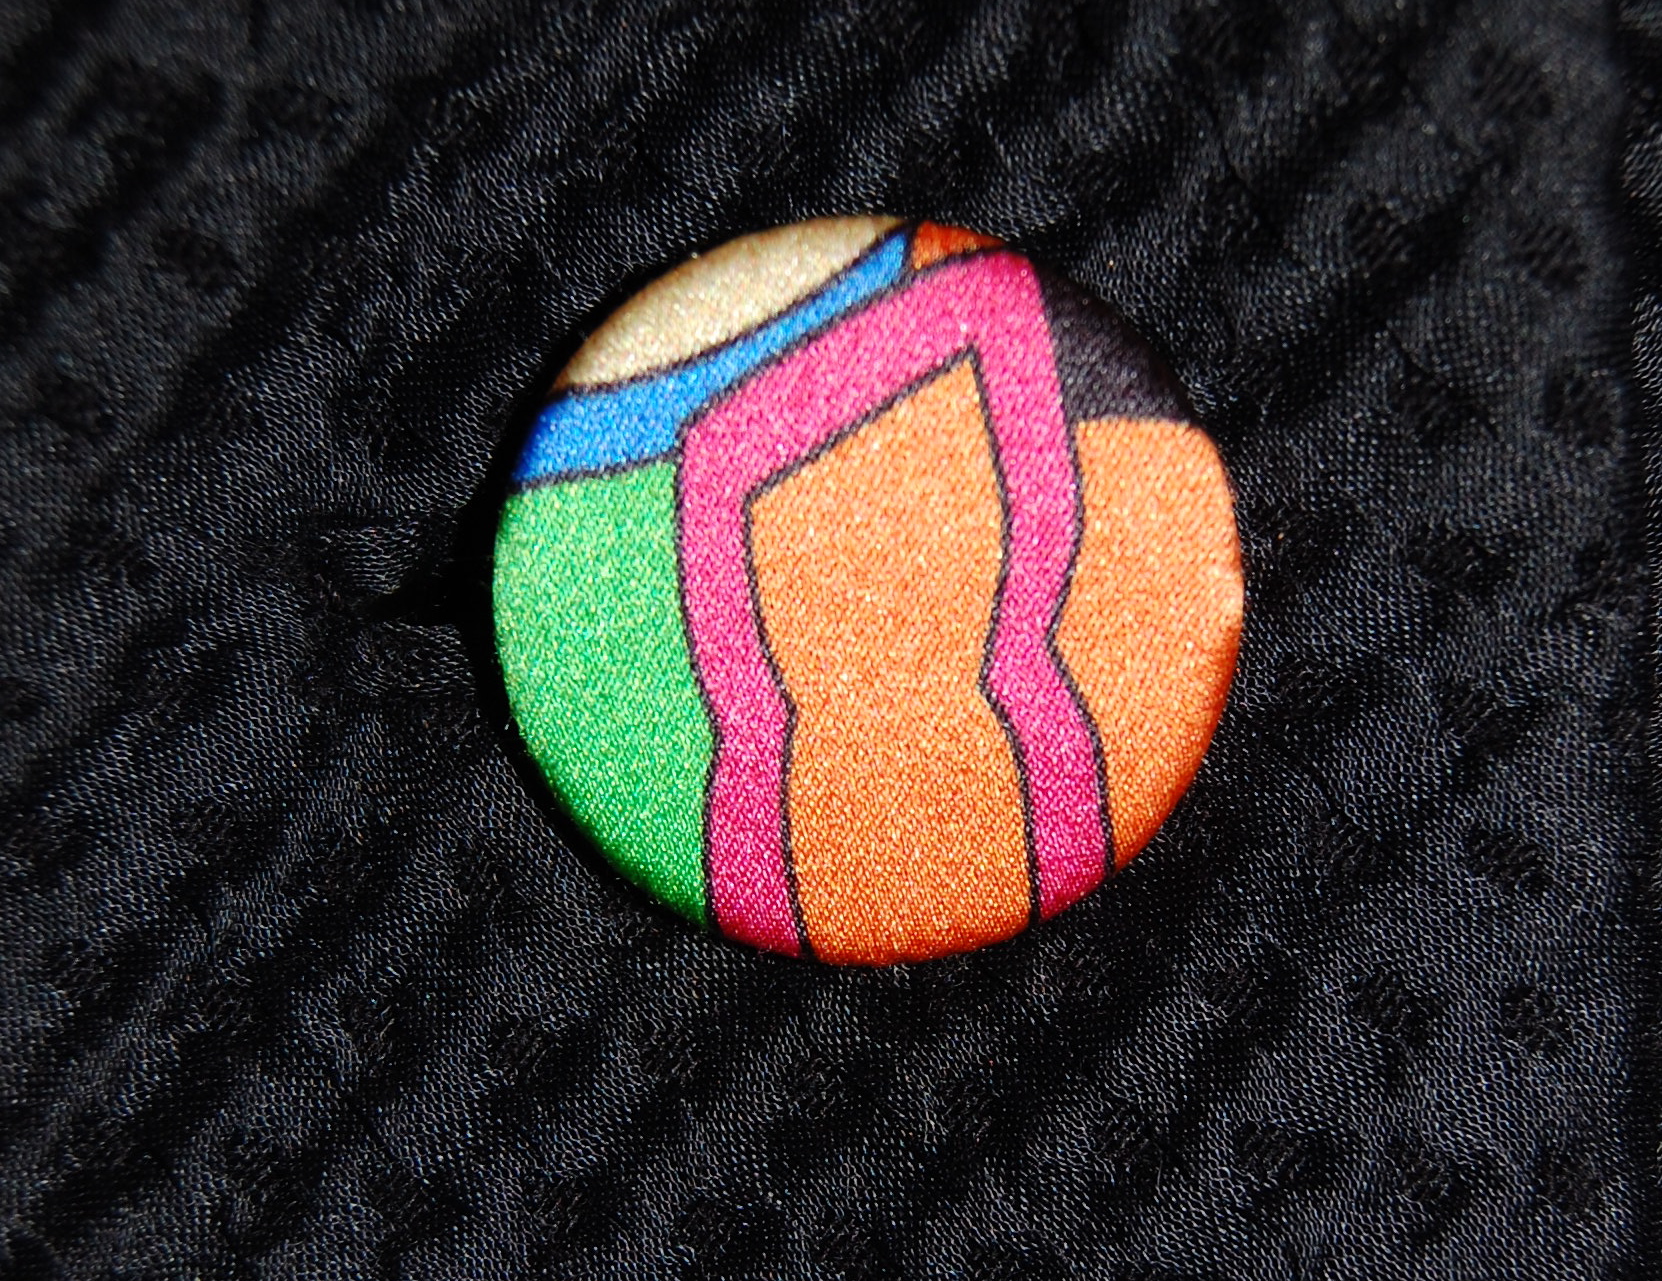
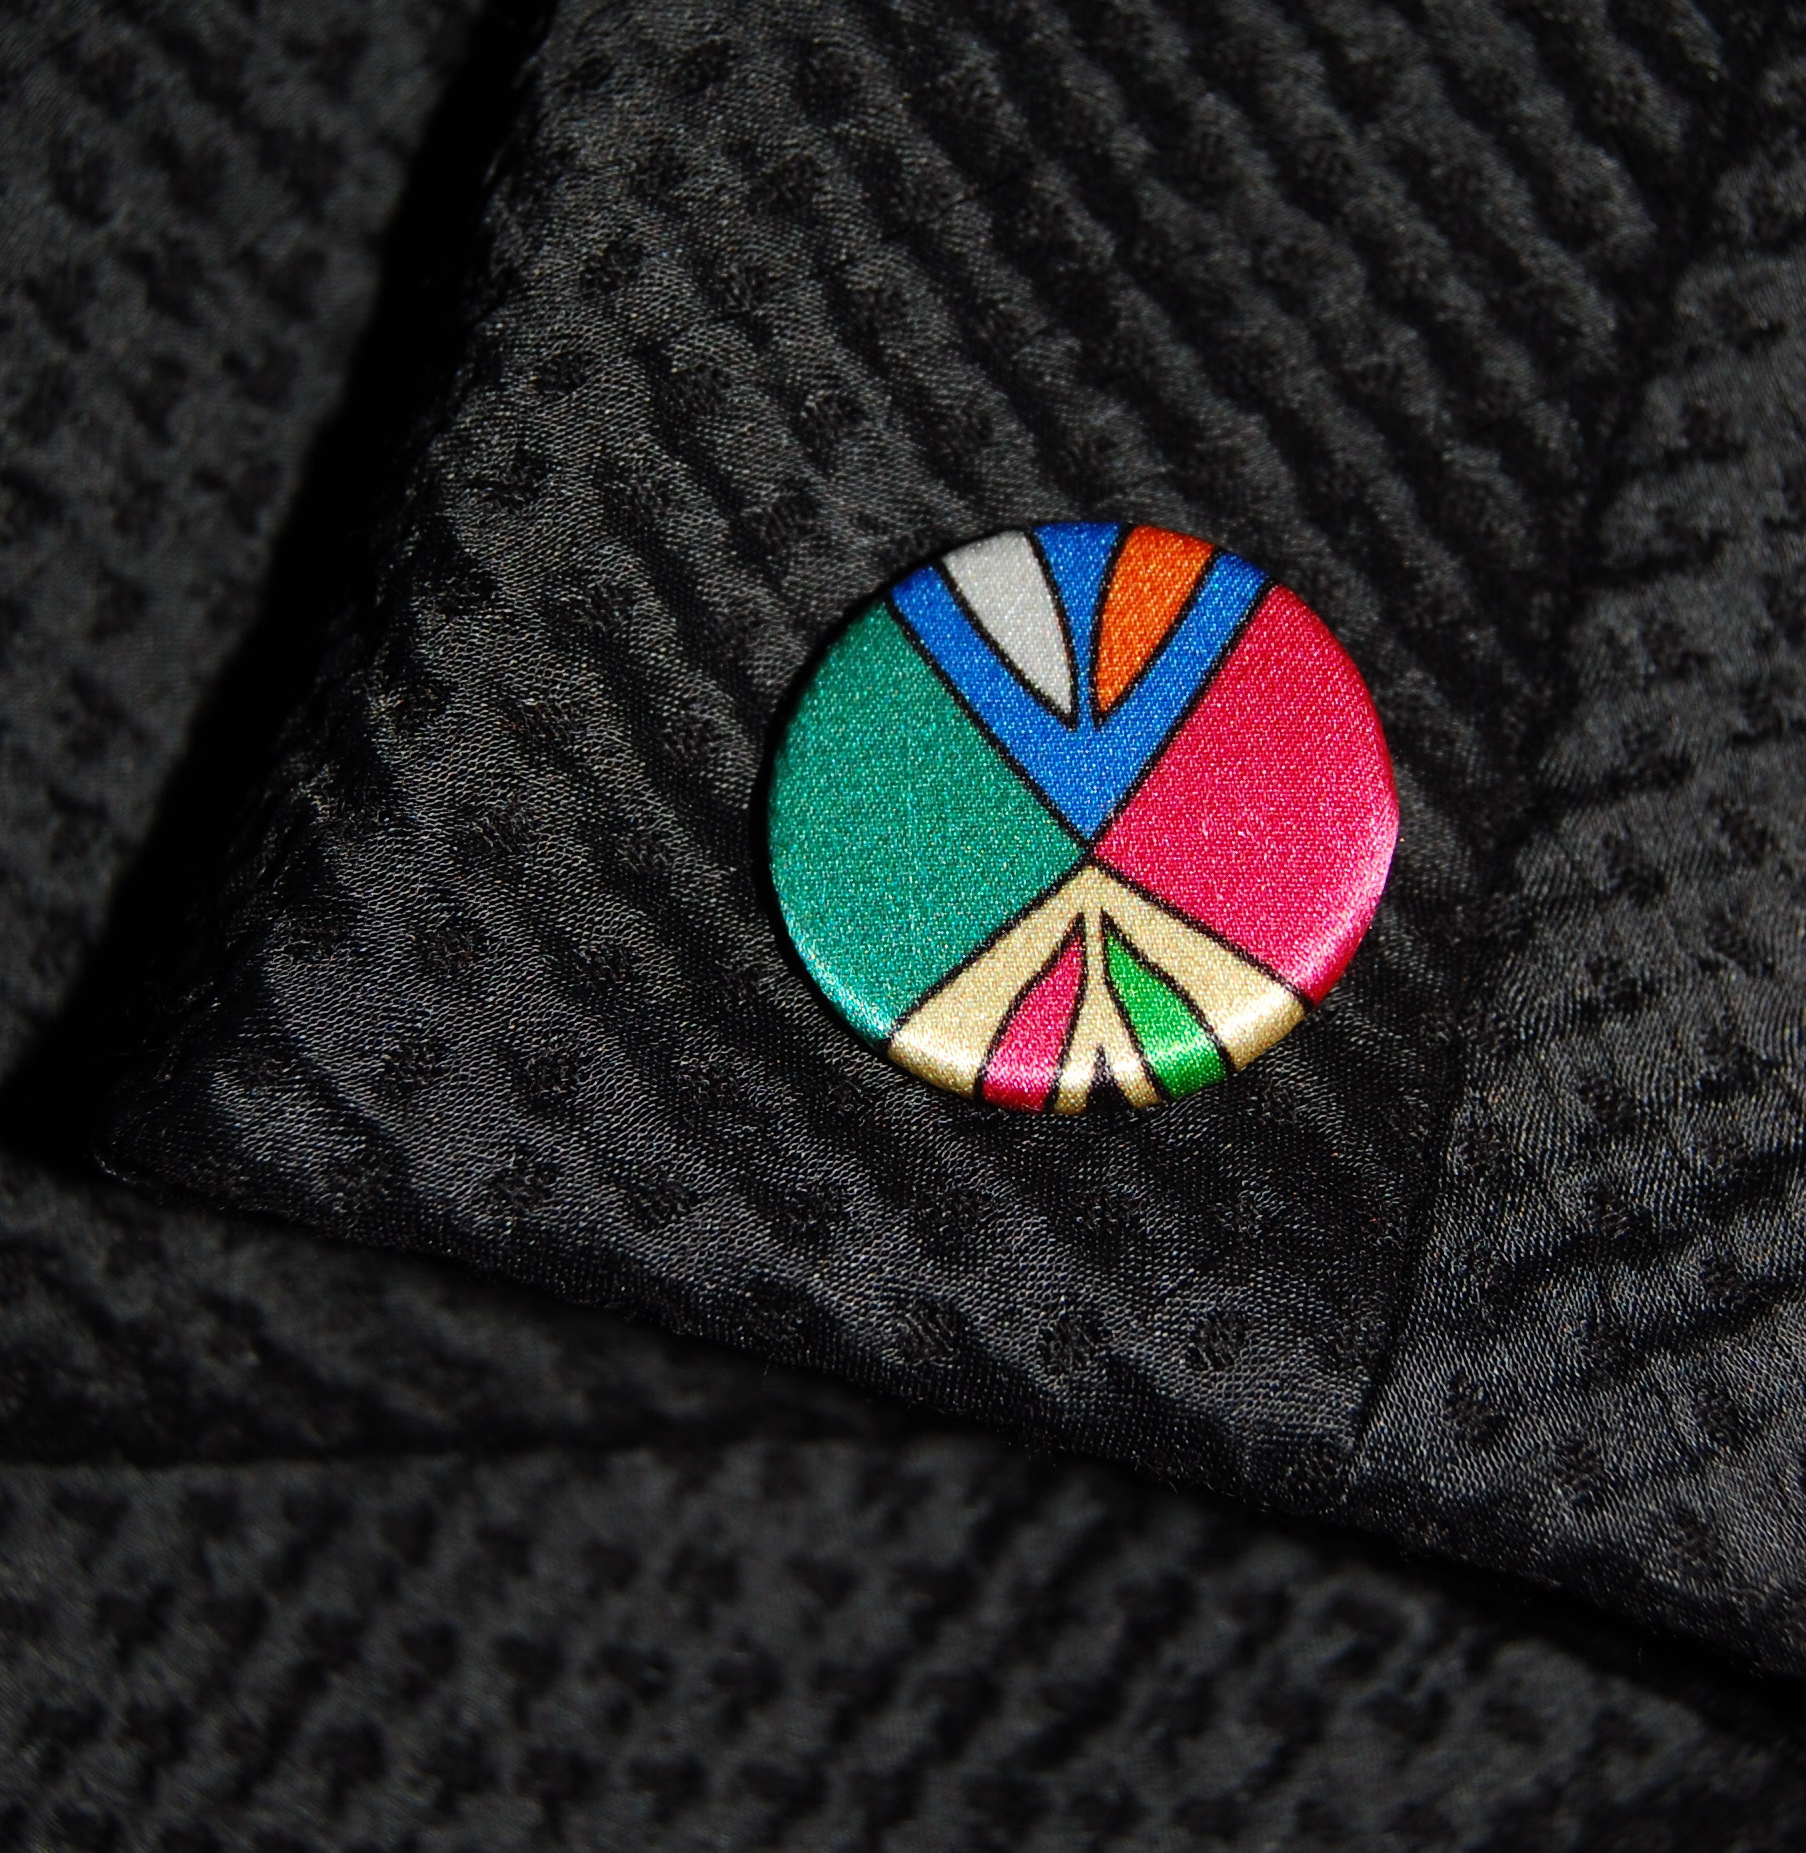
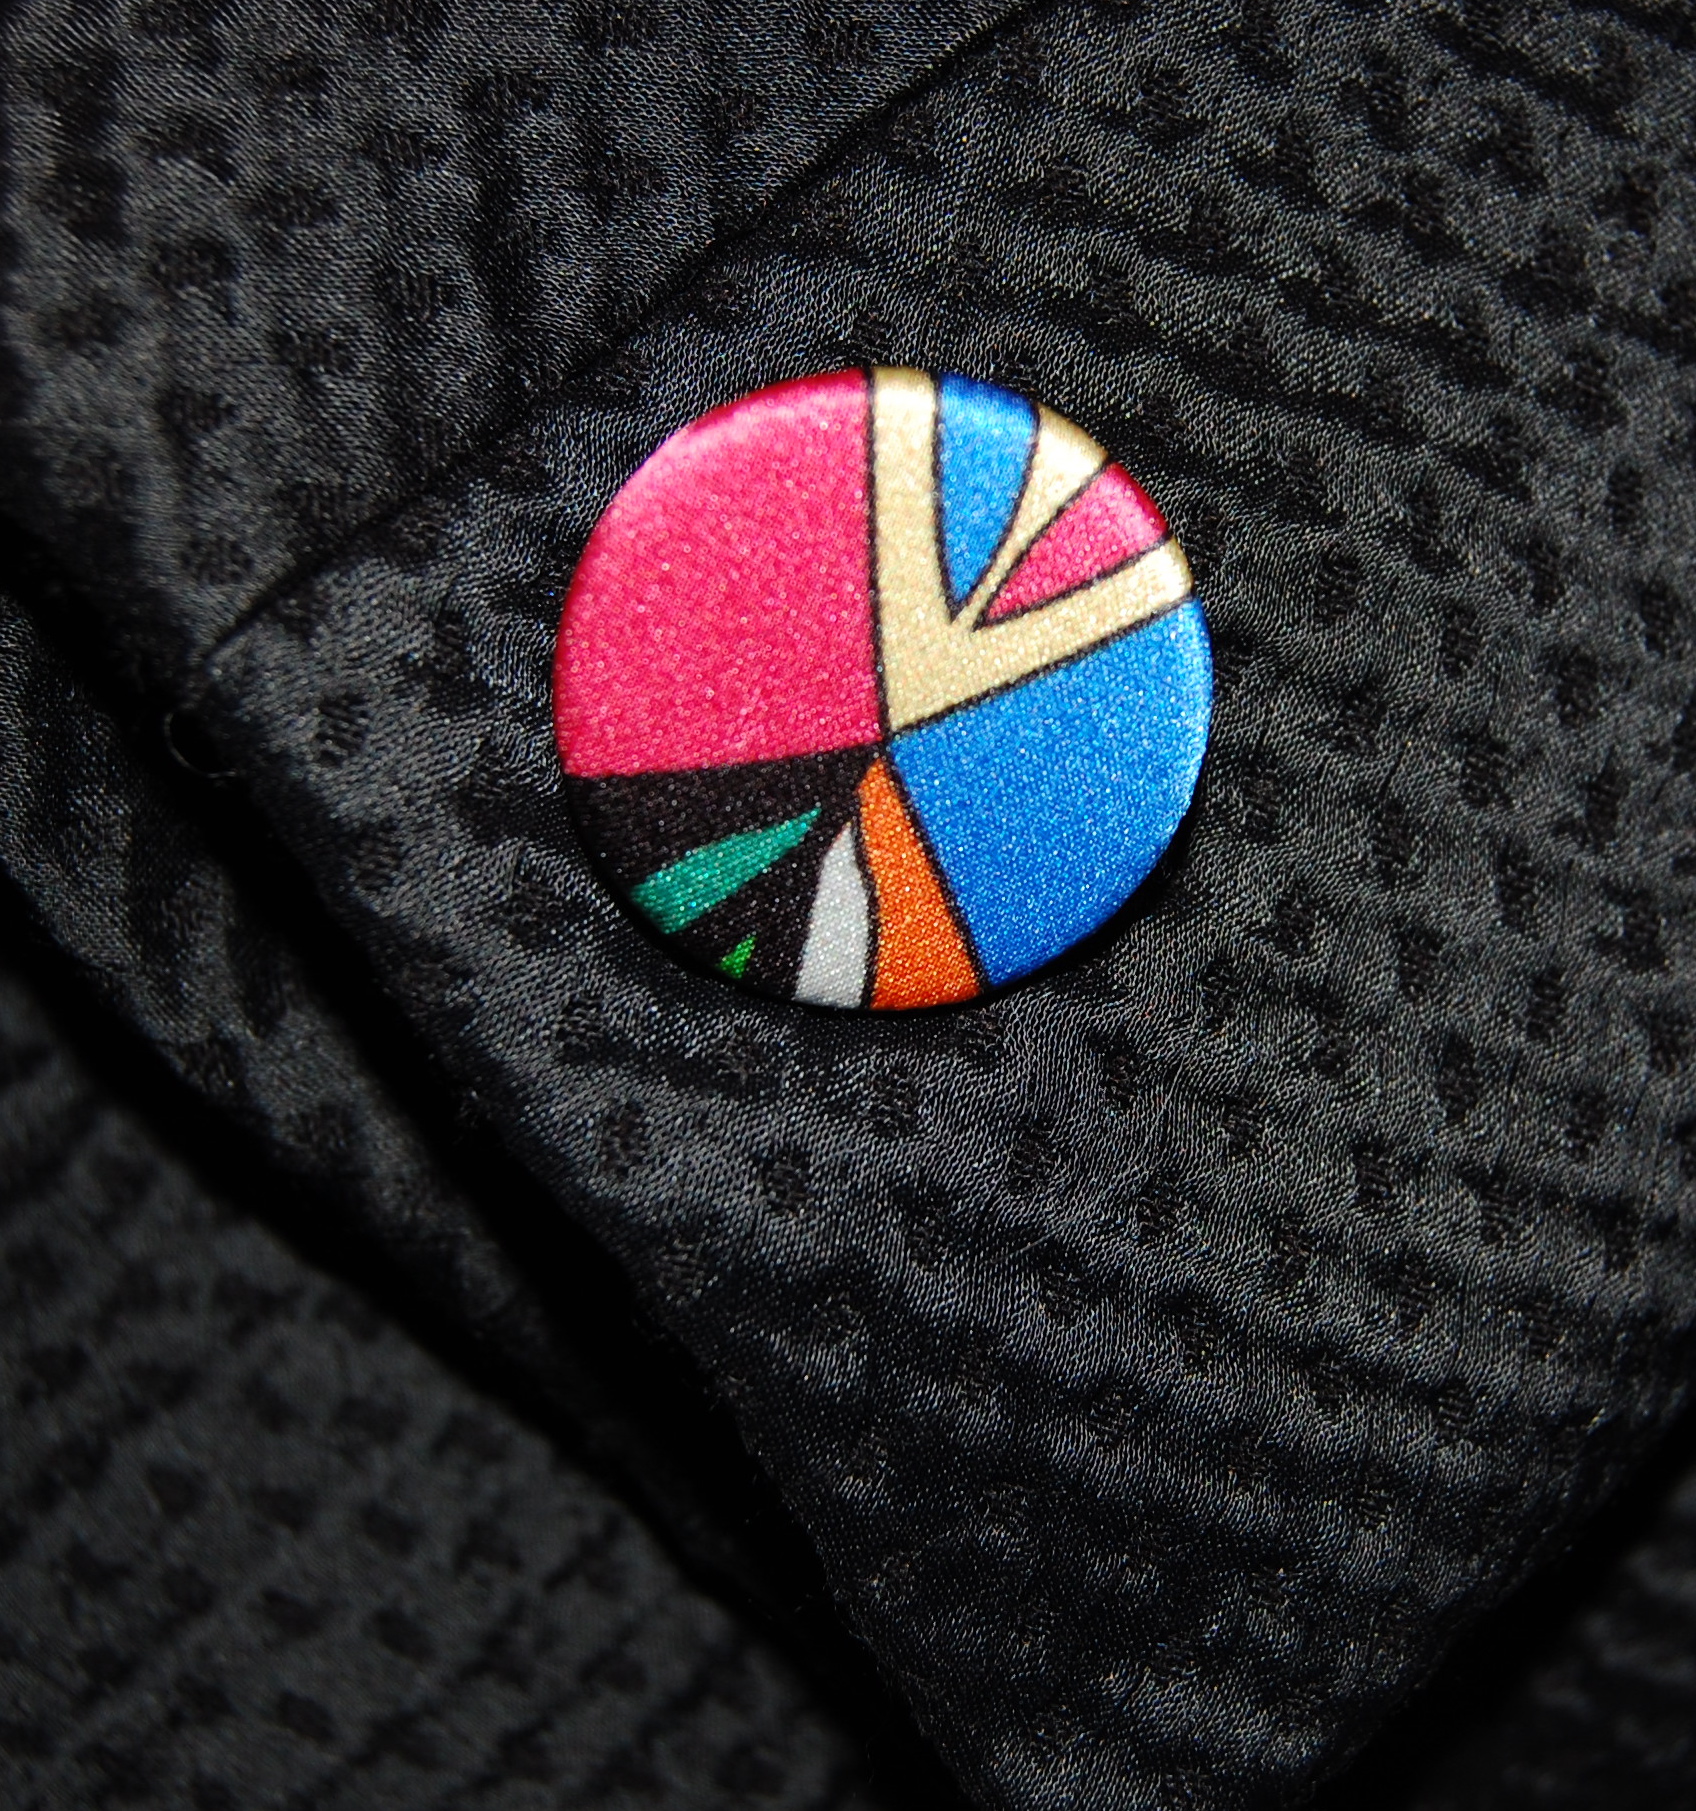
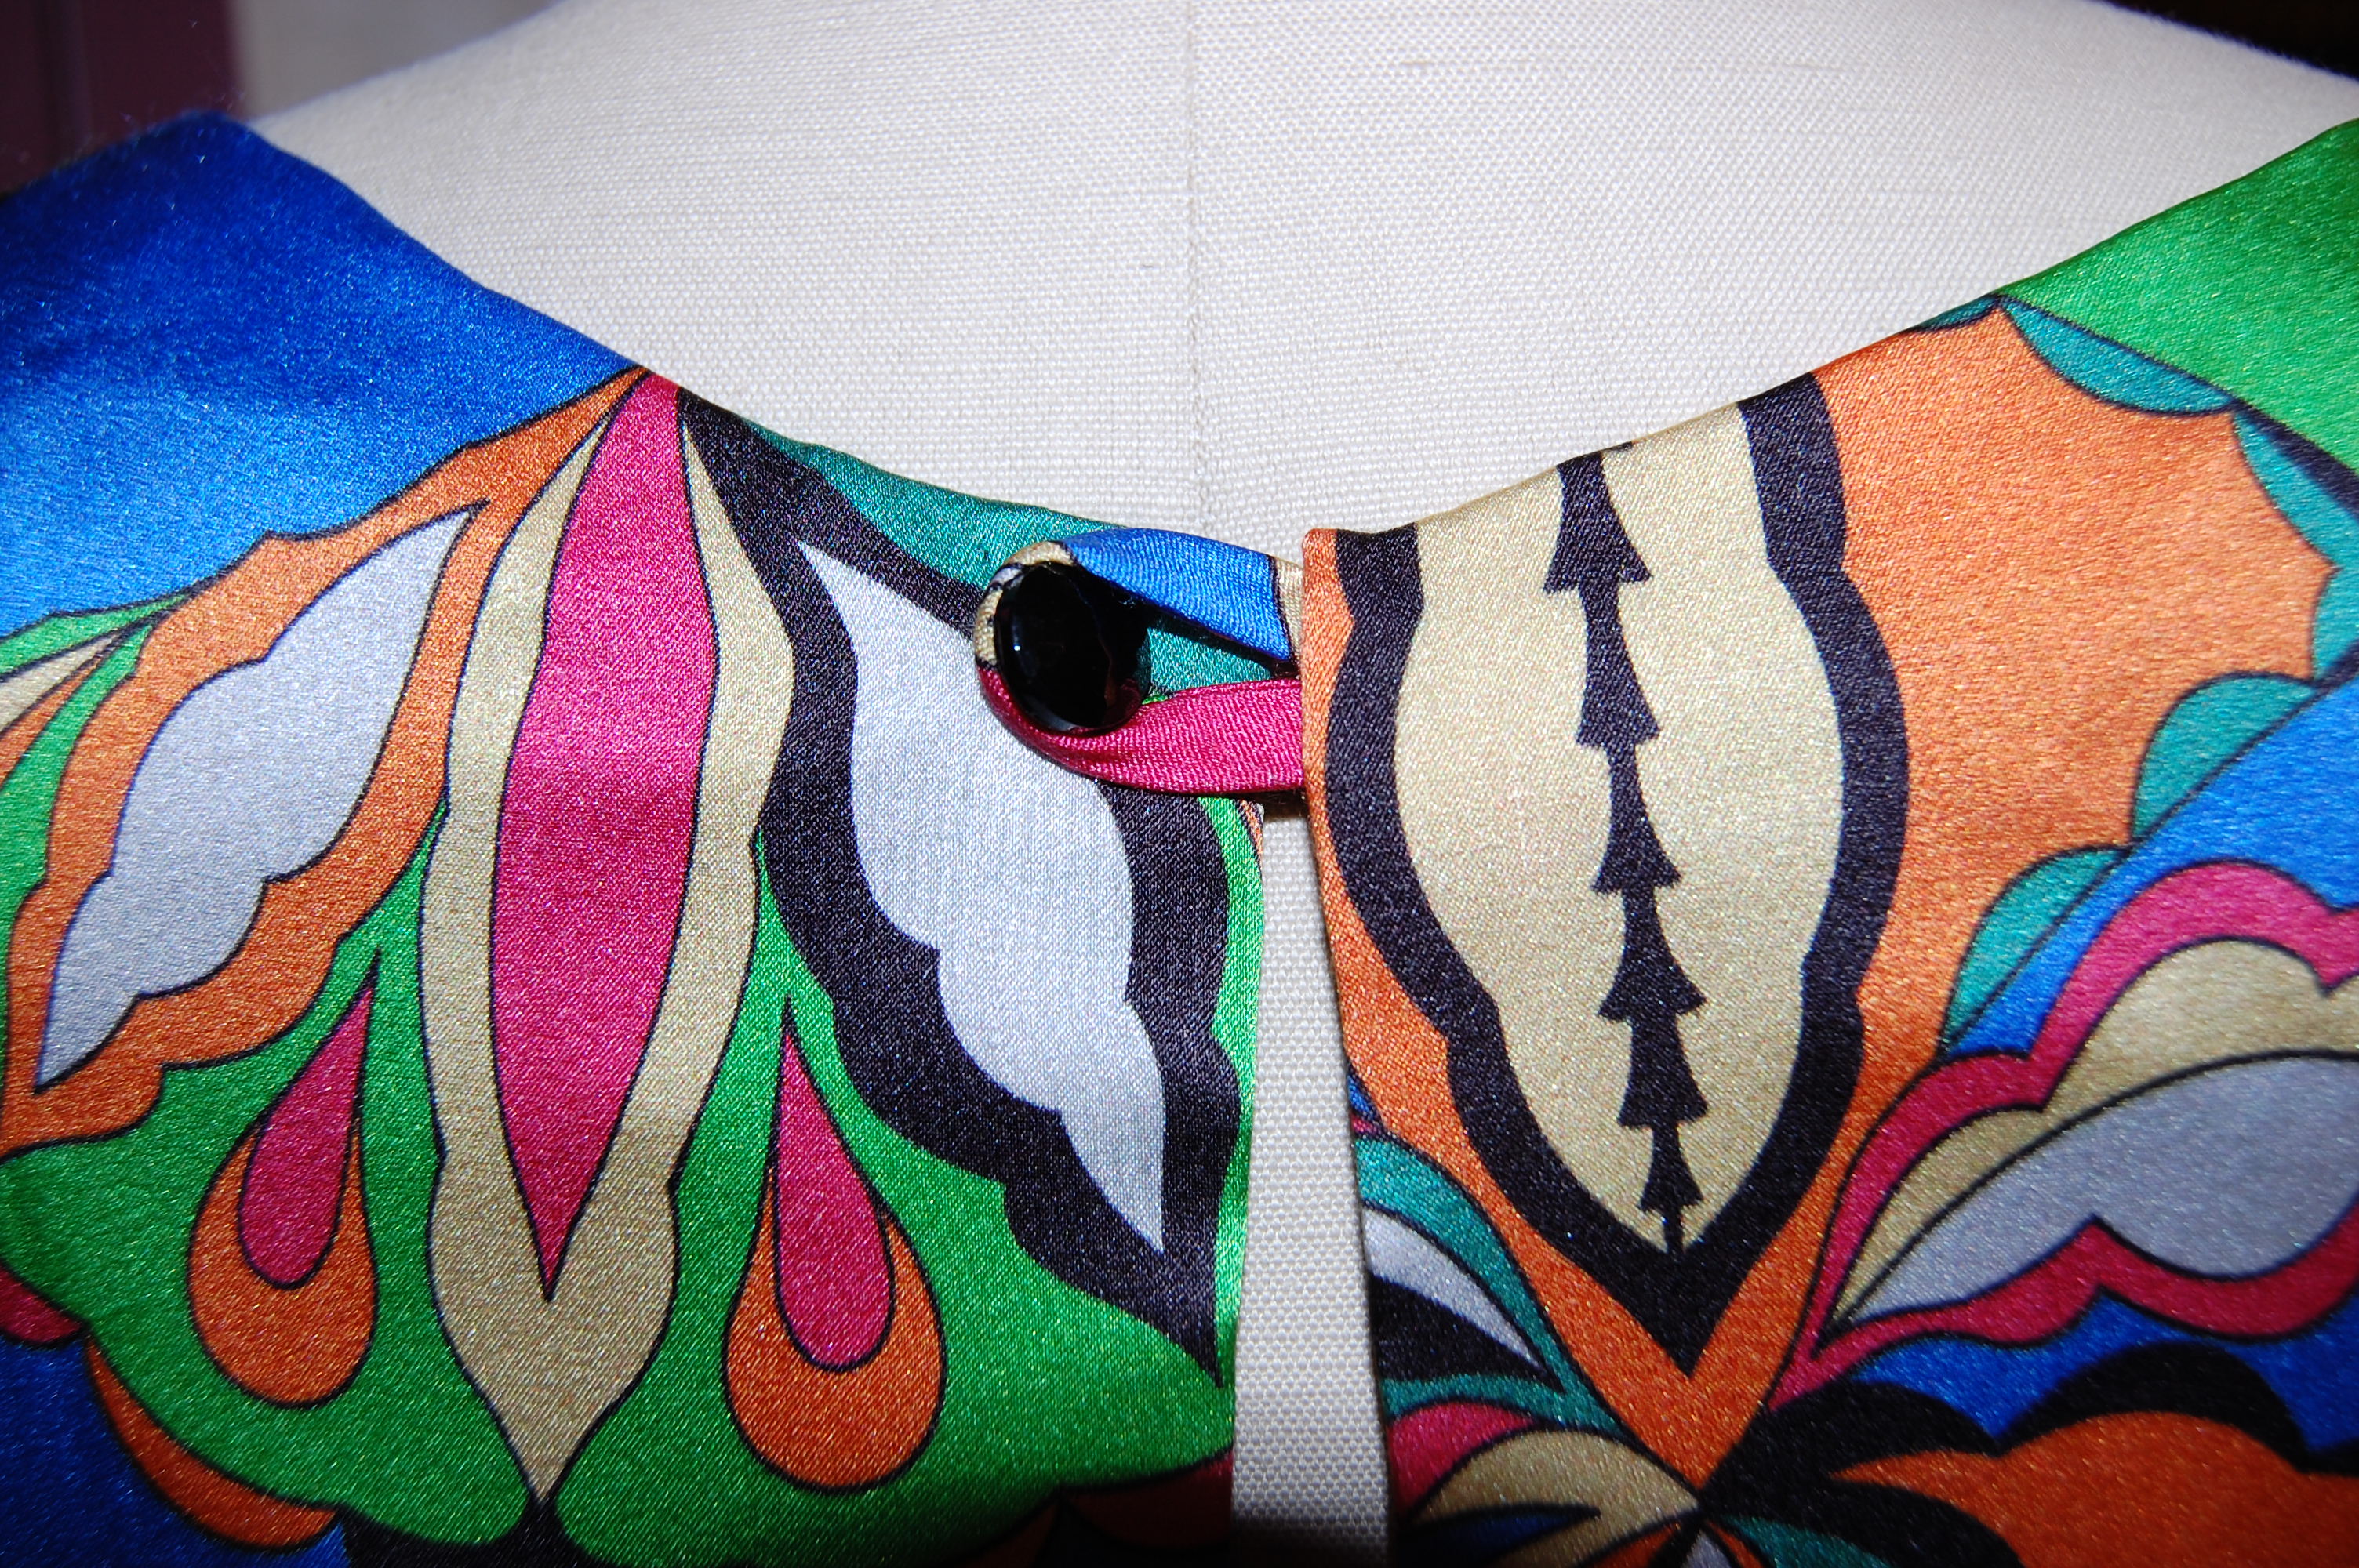
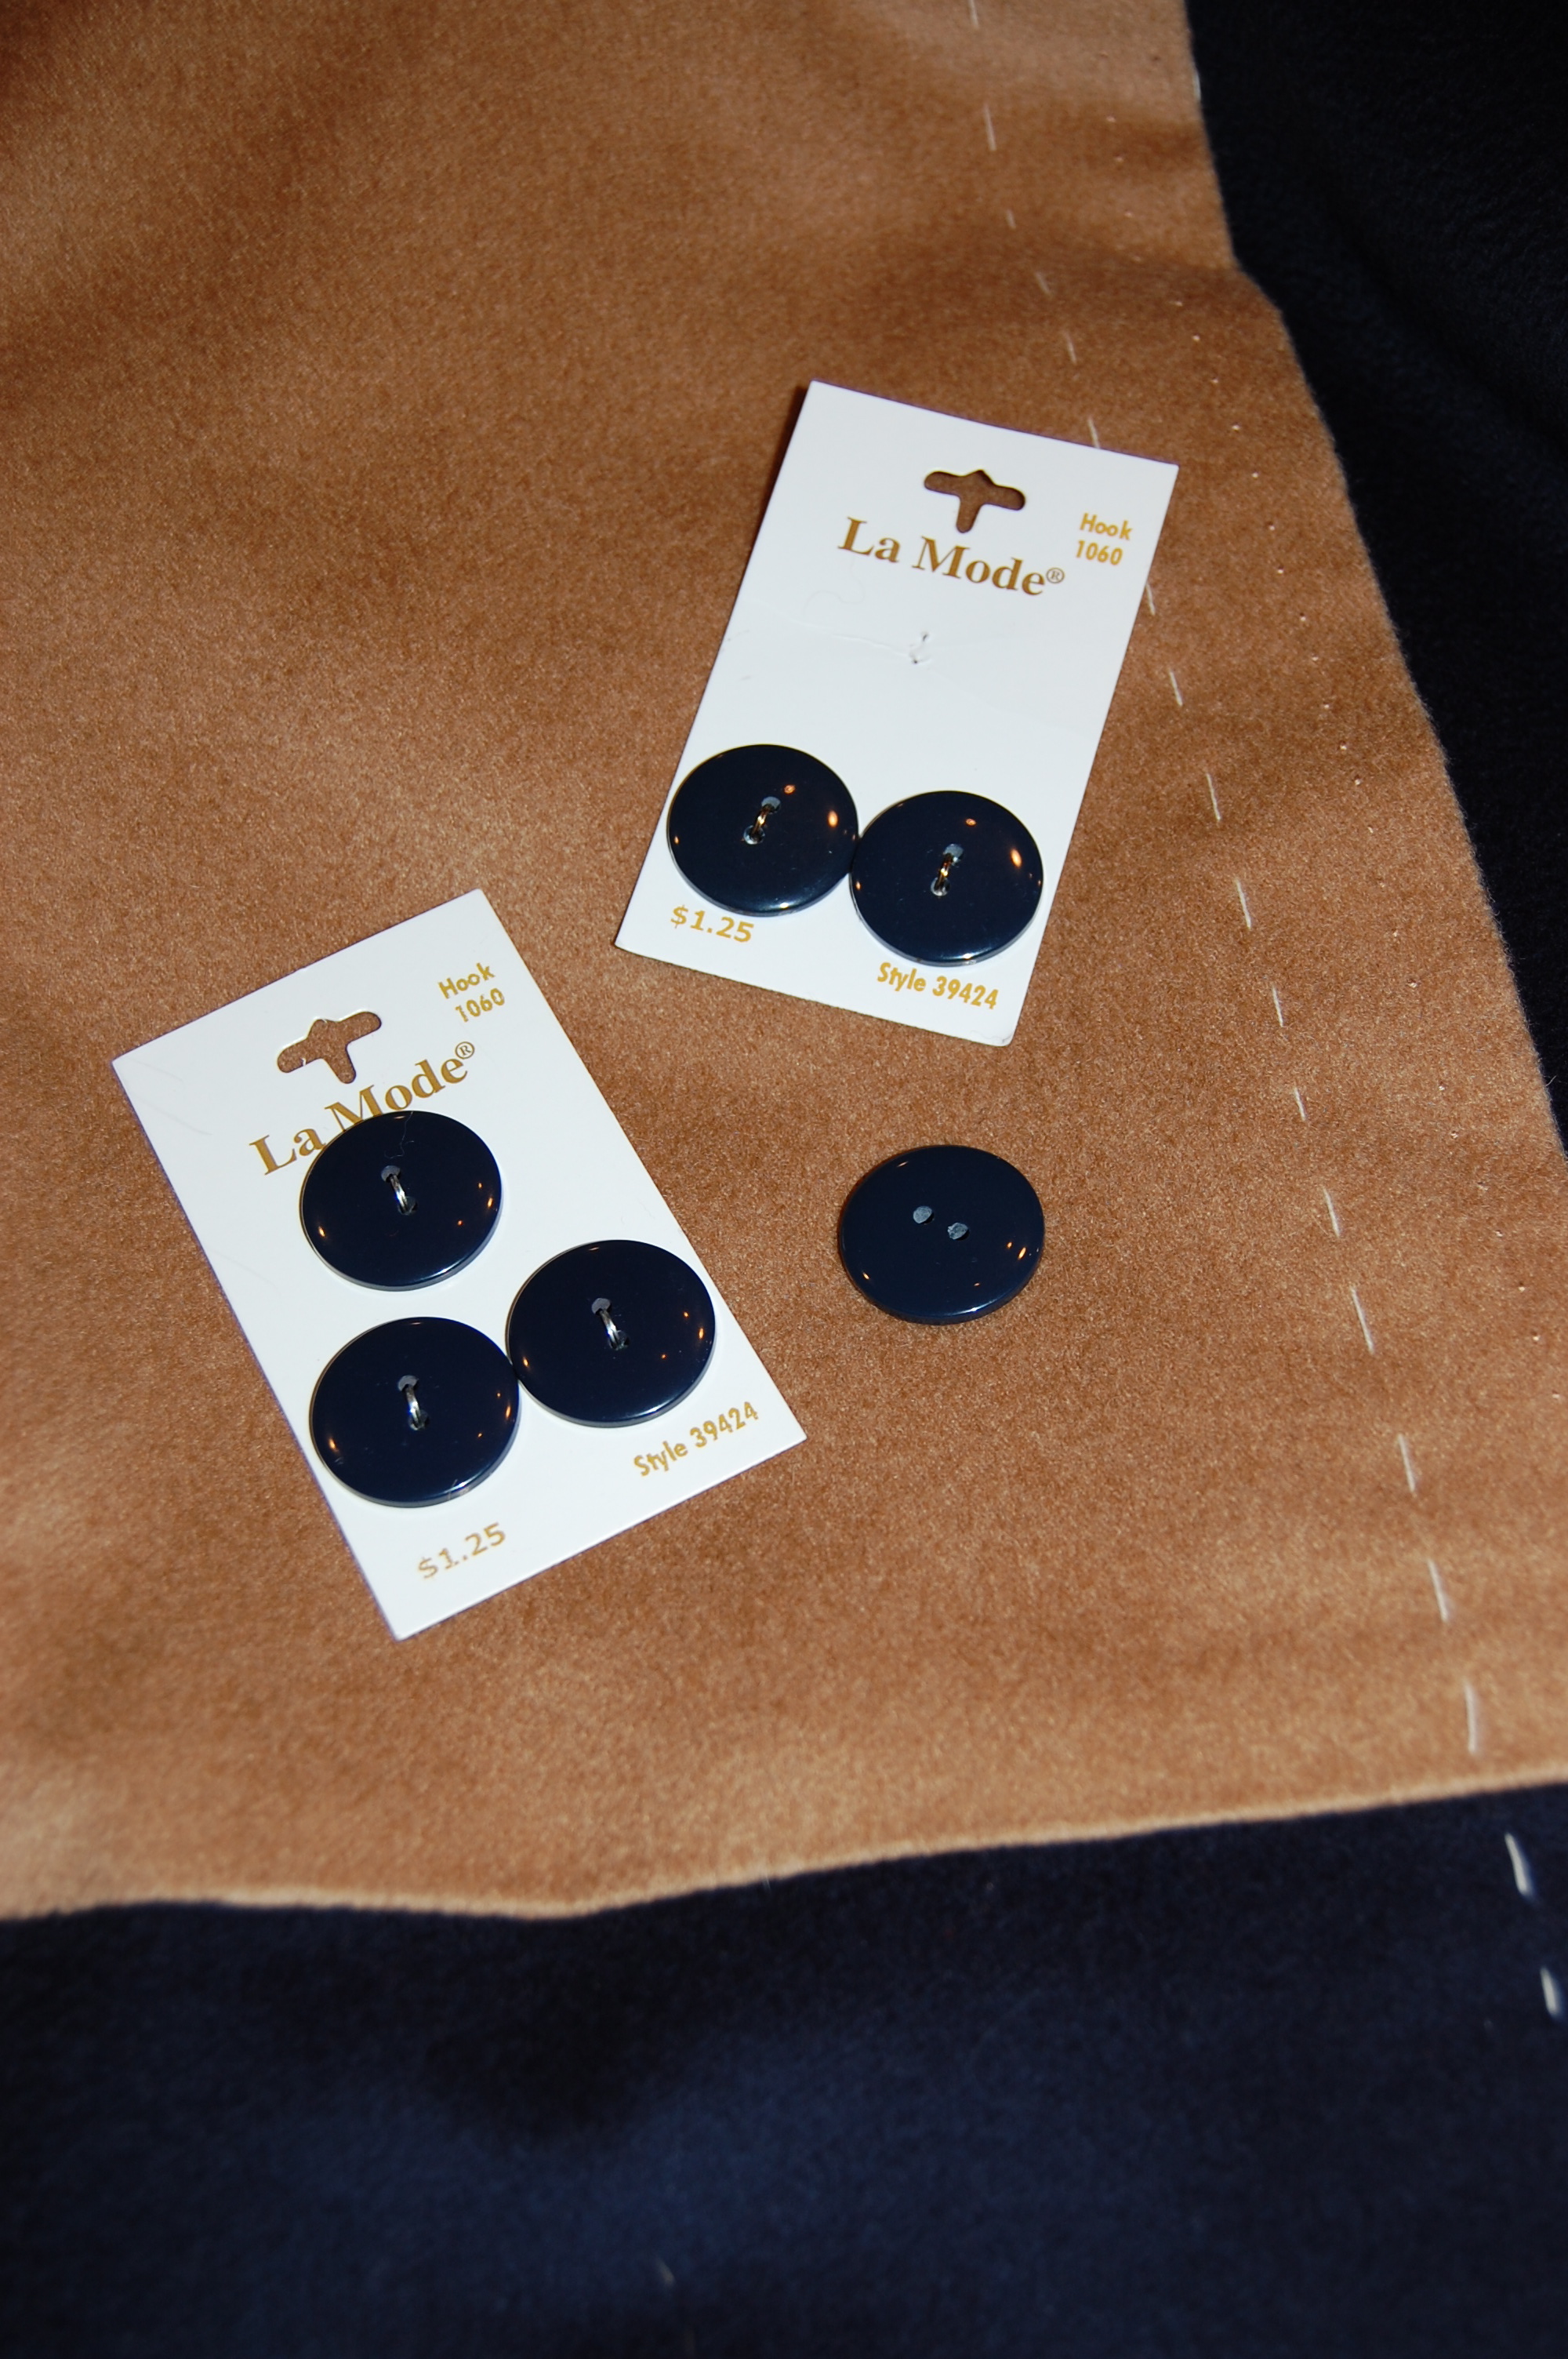
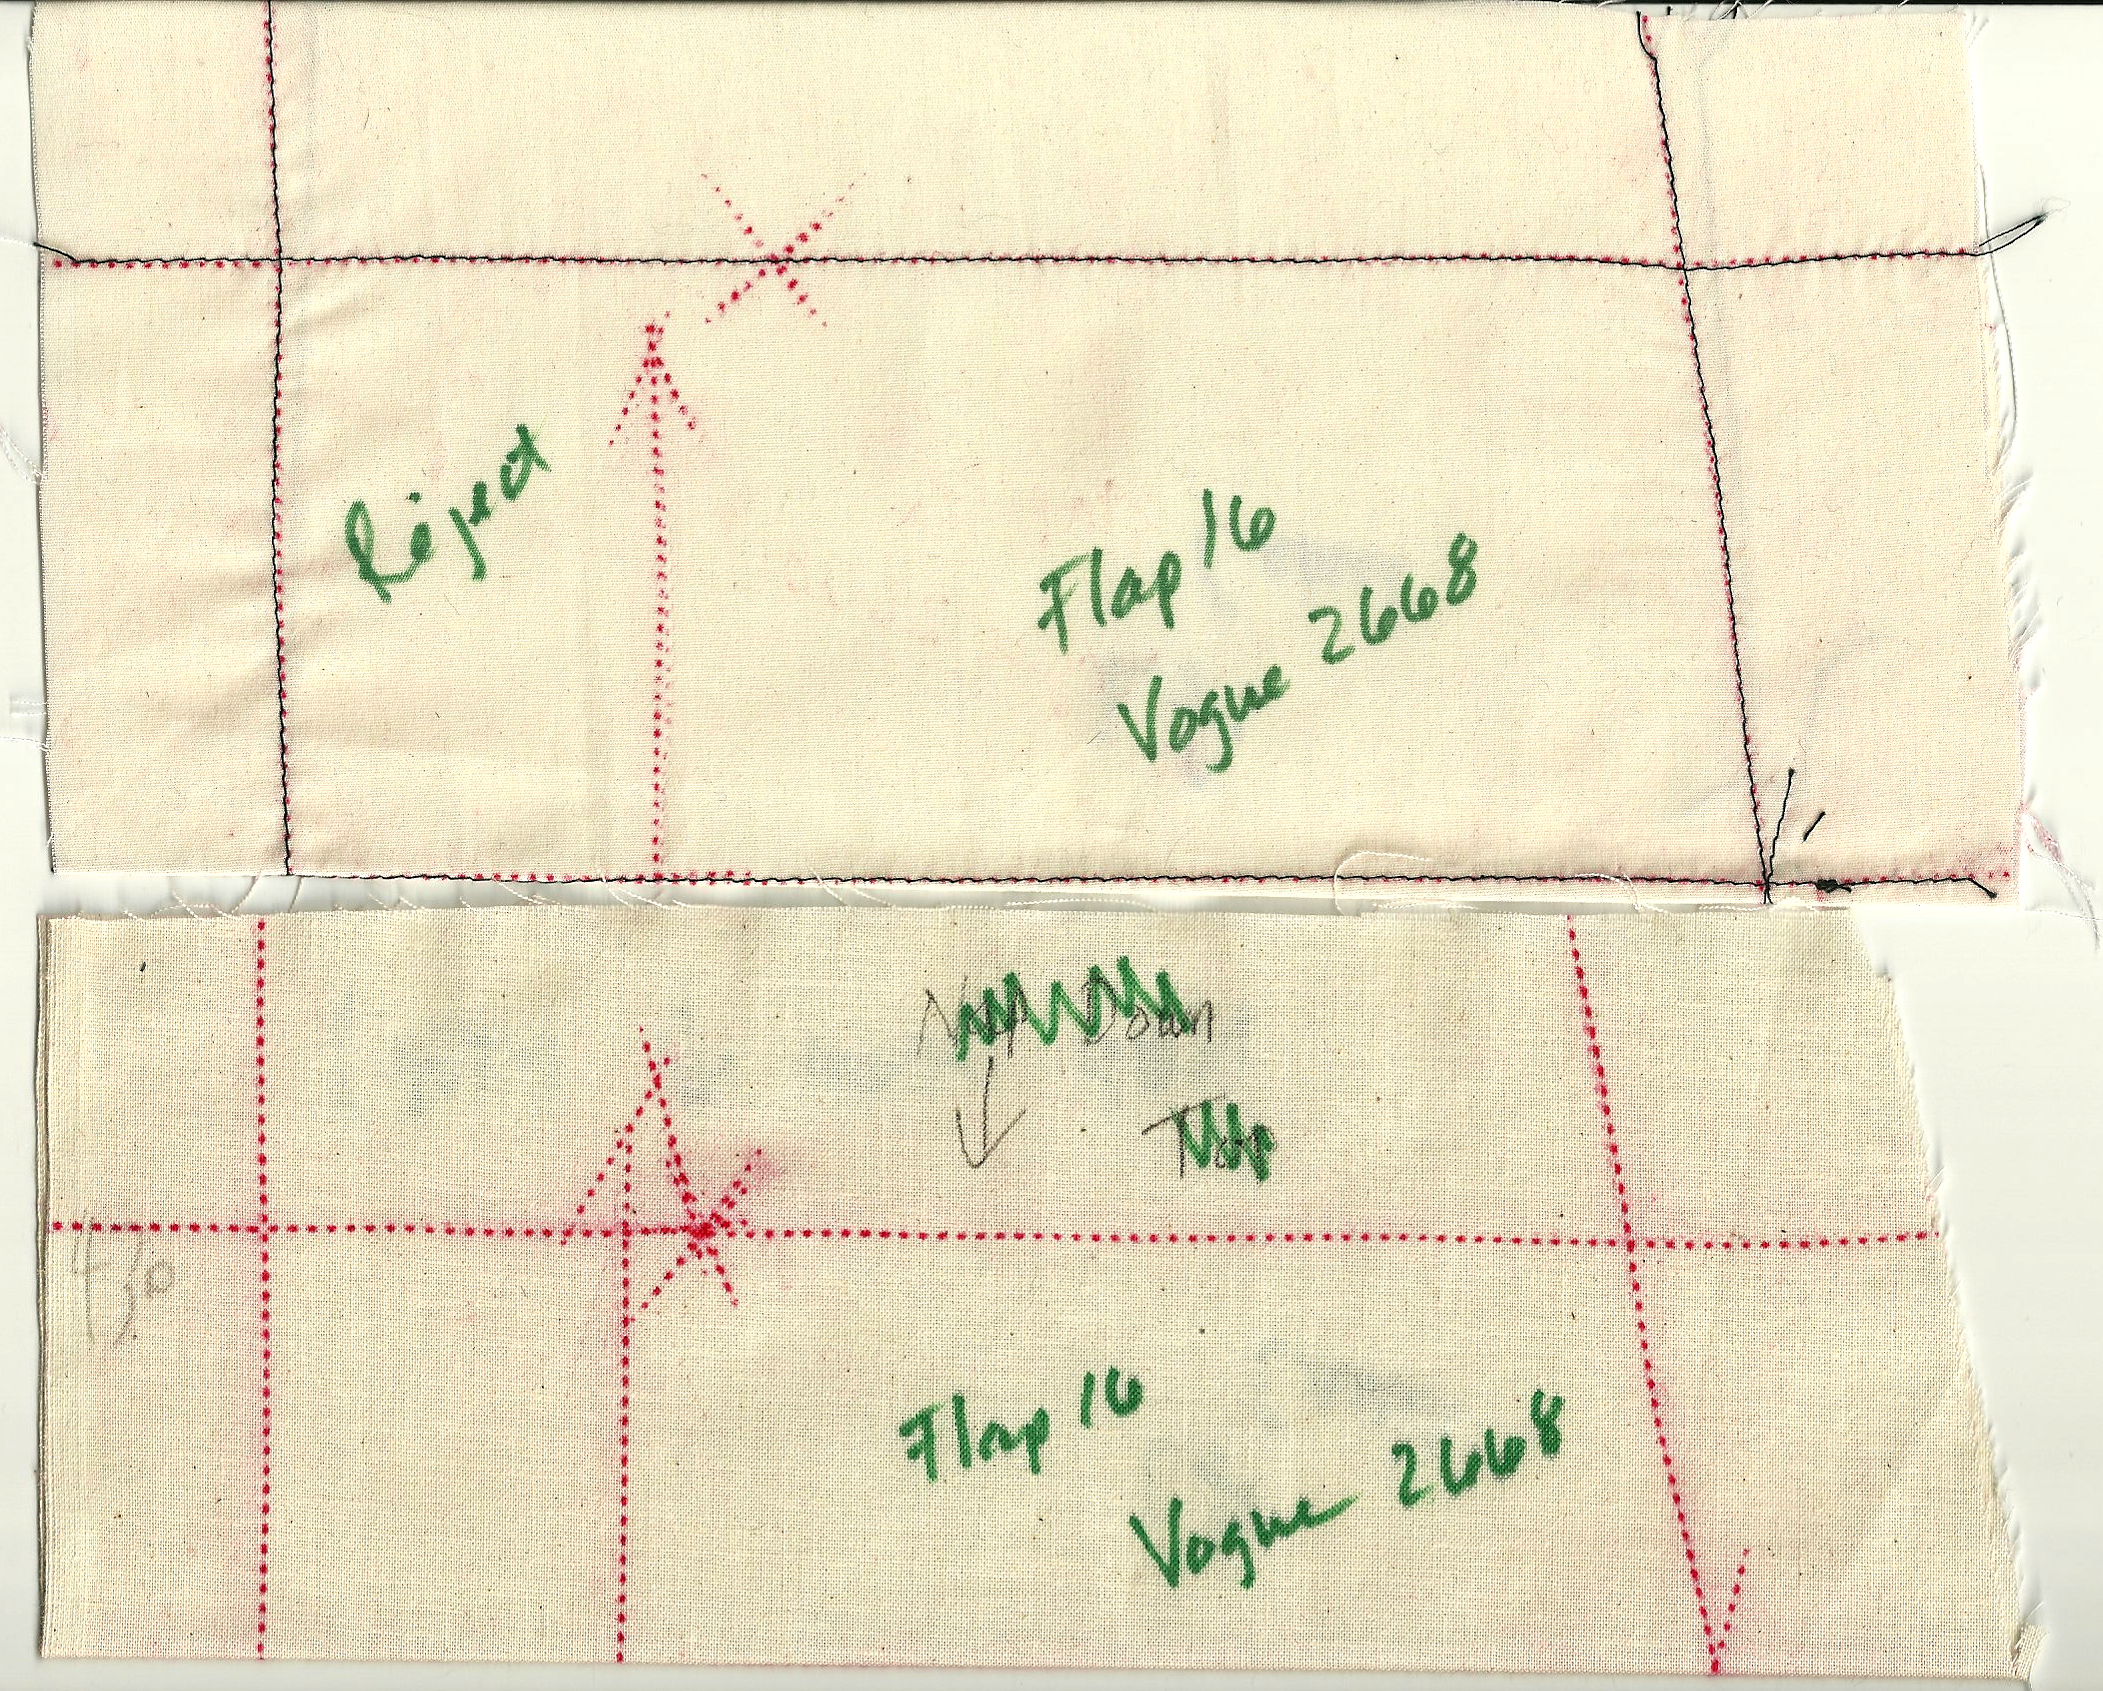
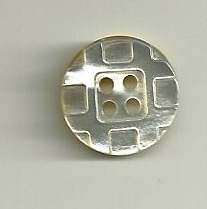
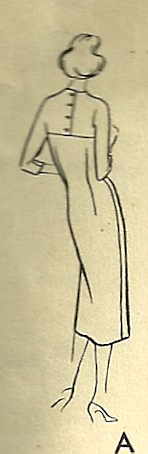
Many of you also know that fortune shone her happy face again on this project when I found three orange vintage buttons, which I knew would help make a back yoke far more interesting. I relied on a Vogue pattern from 1957, which has a back yoke to help me with this reconfigure.
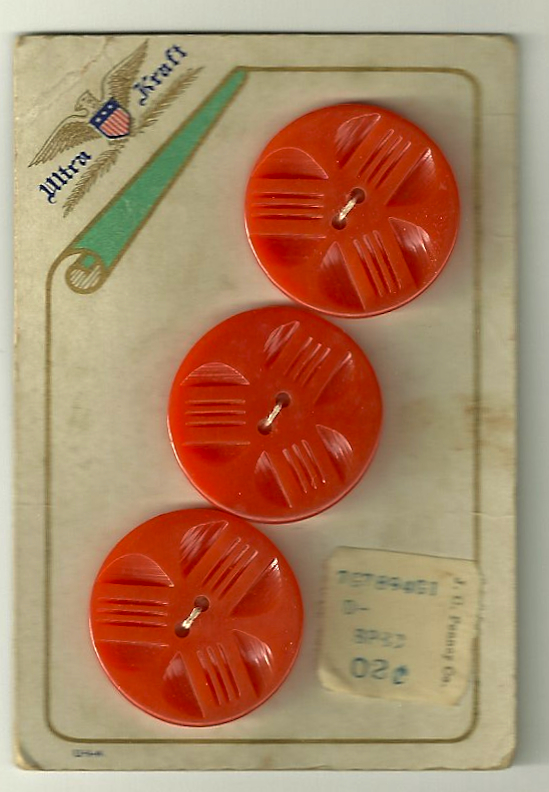
This card of buttons cost 2 cents originally! They seem to mimic the small orange explosions on the dress fabric. They may actually be even earlier than the fabric.
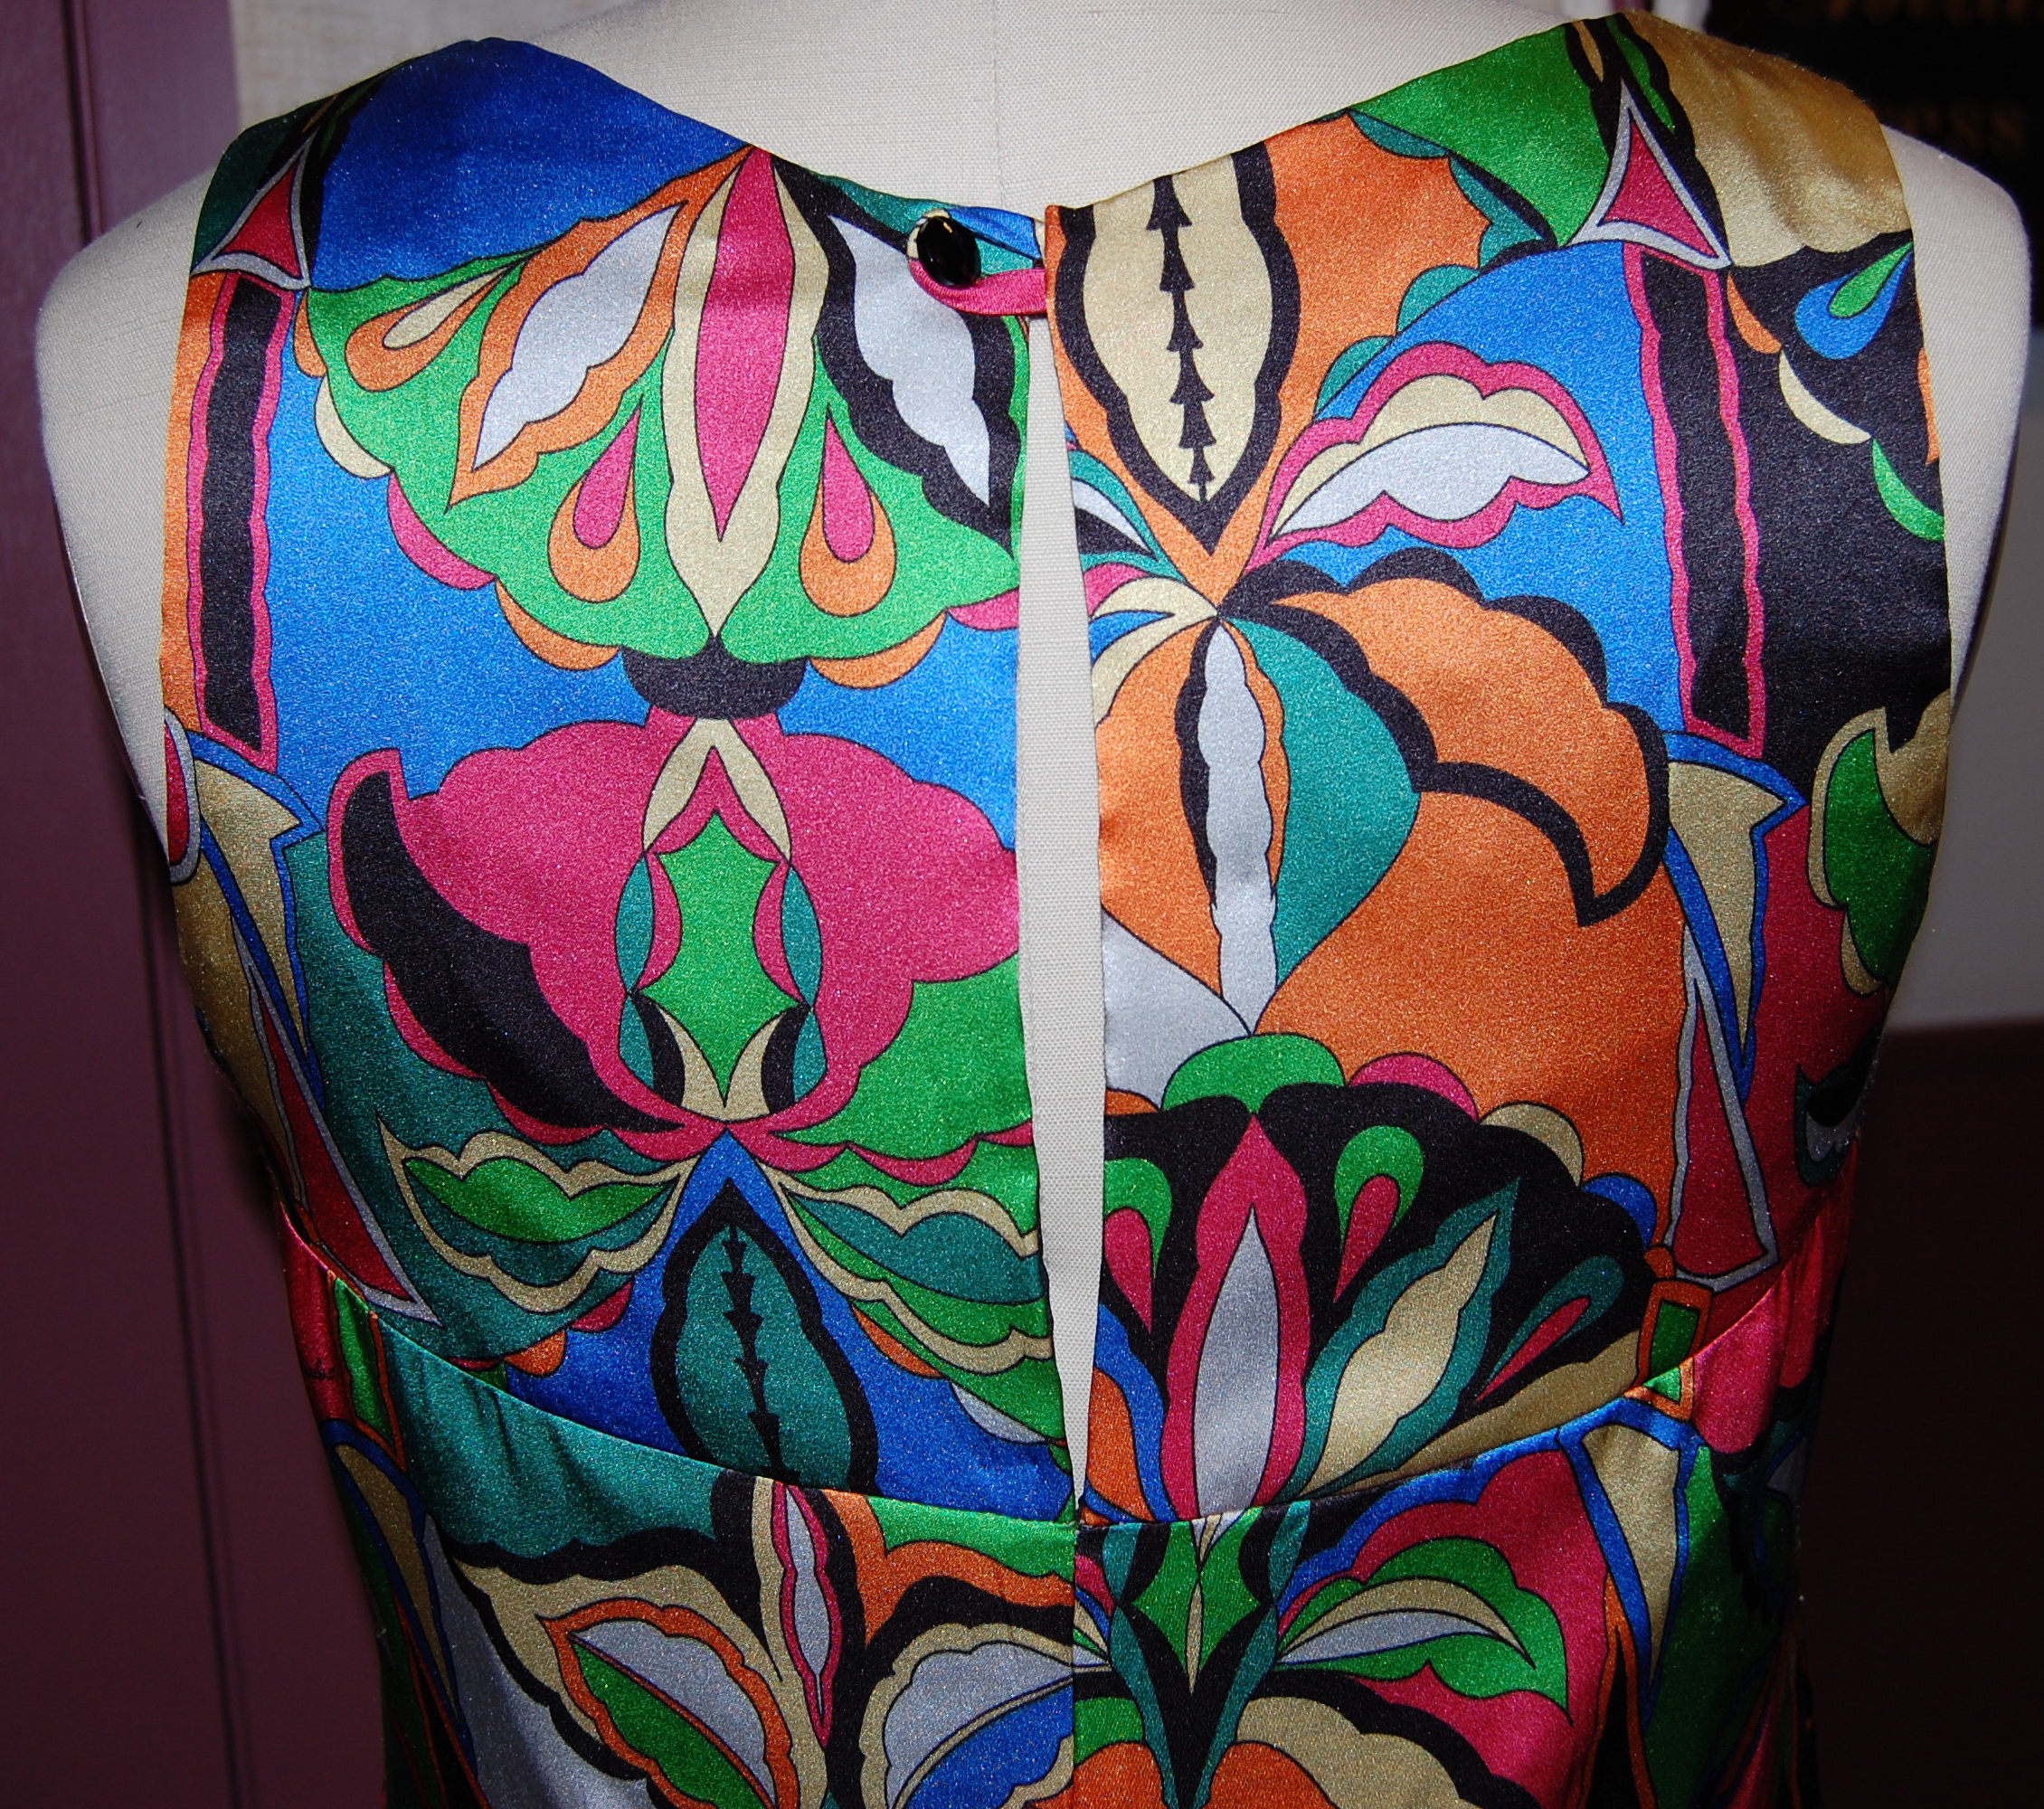
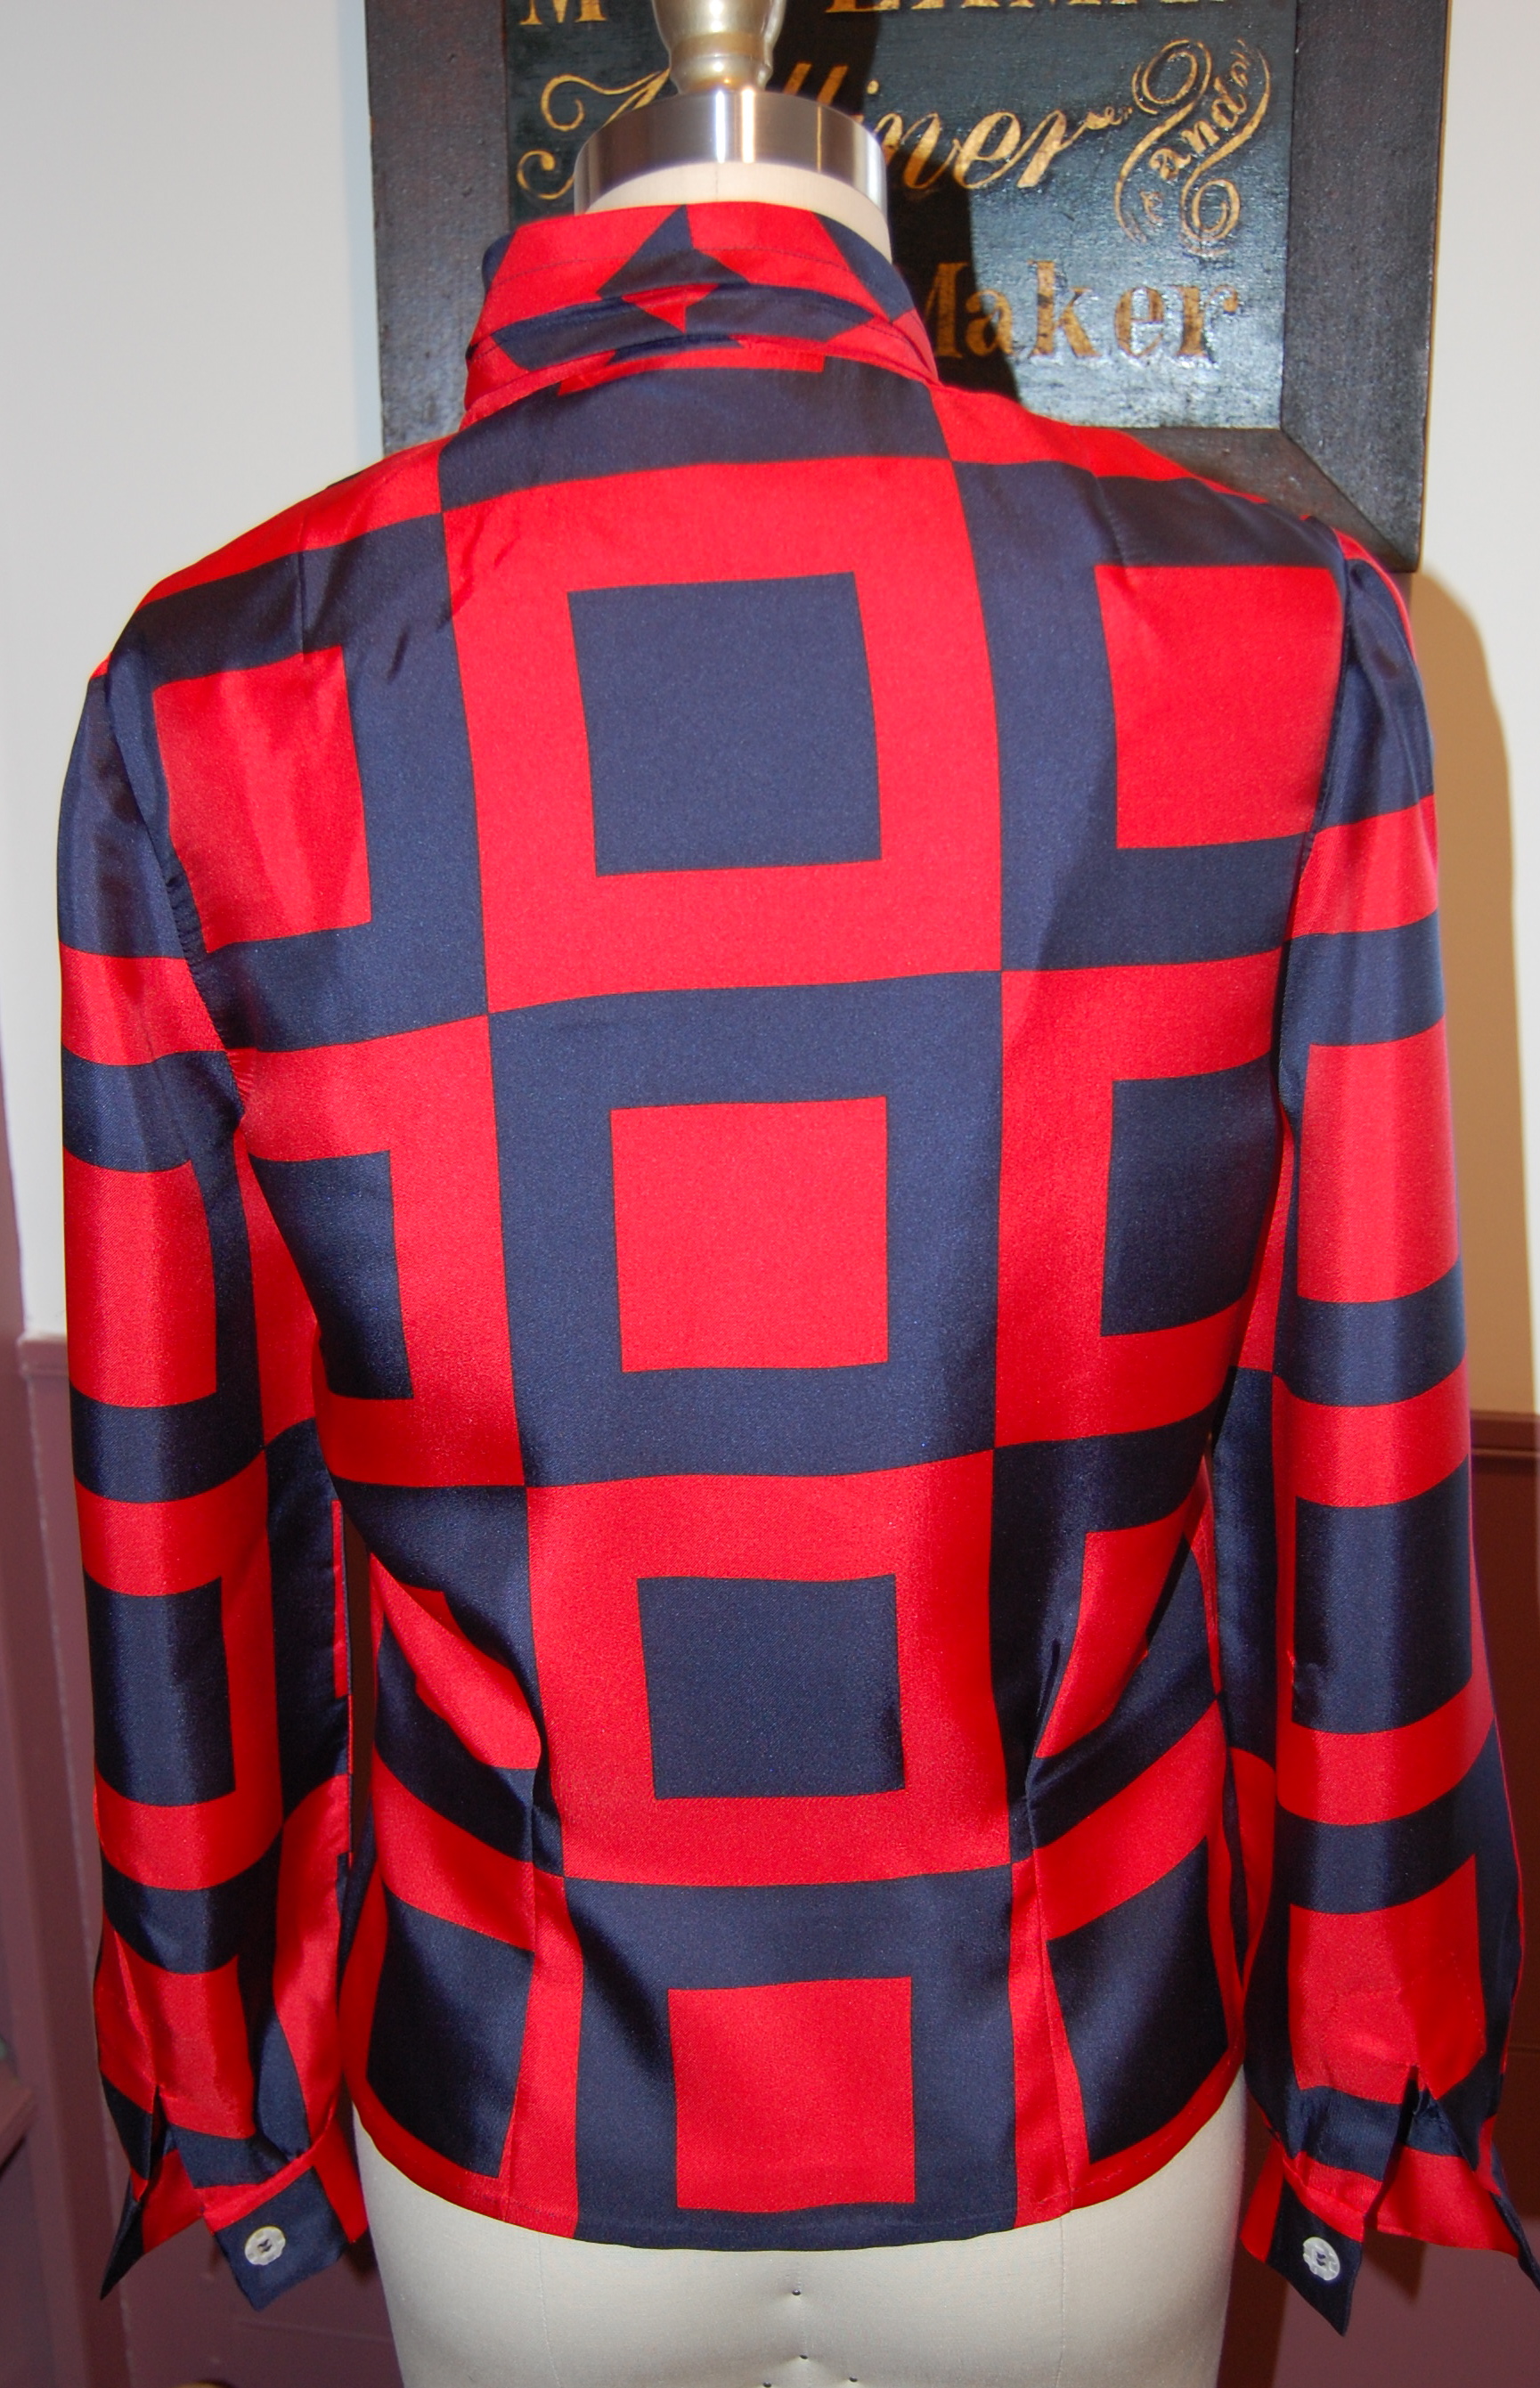
The yoke on this dress uses 4 buttons. I only had three, but their large size still makes the proportions work well.
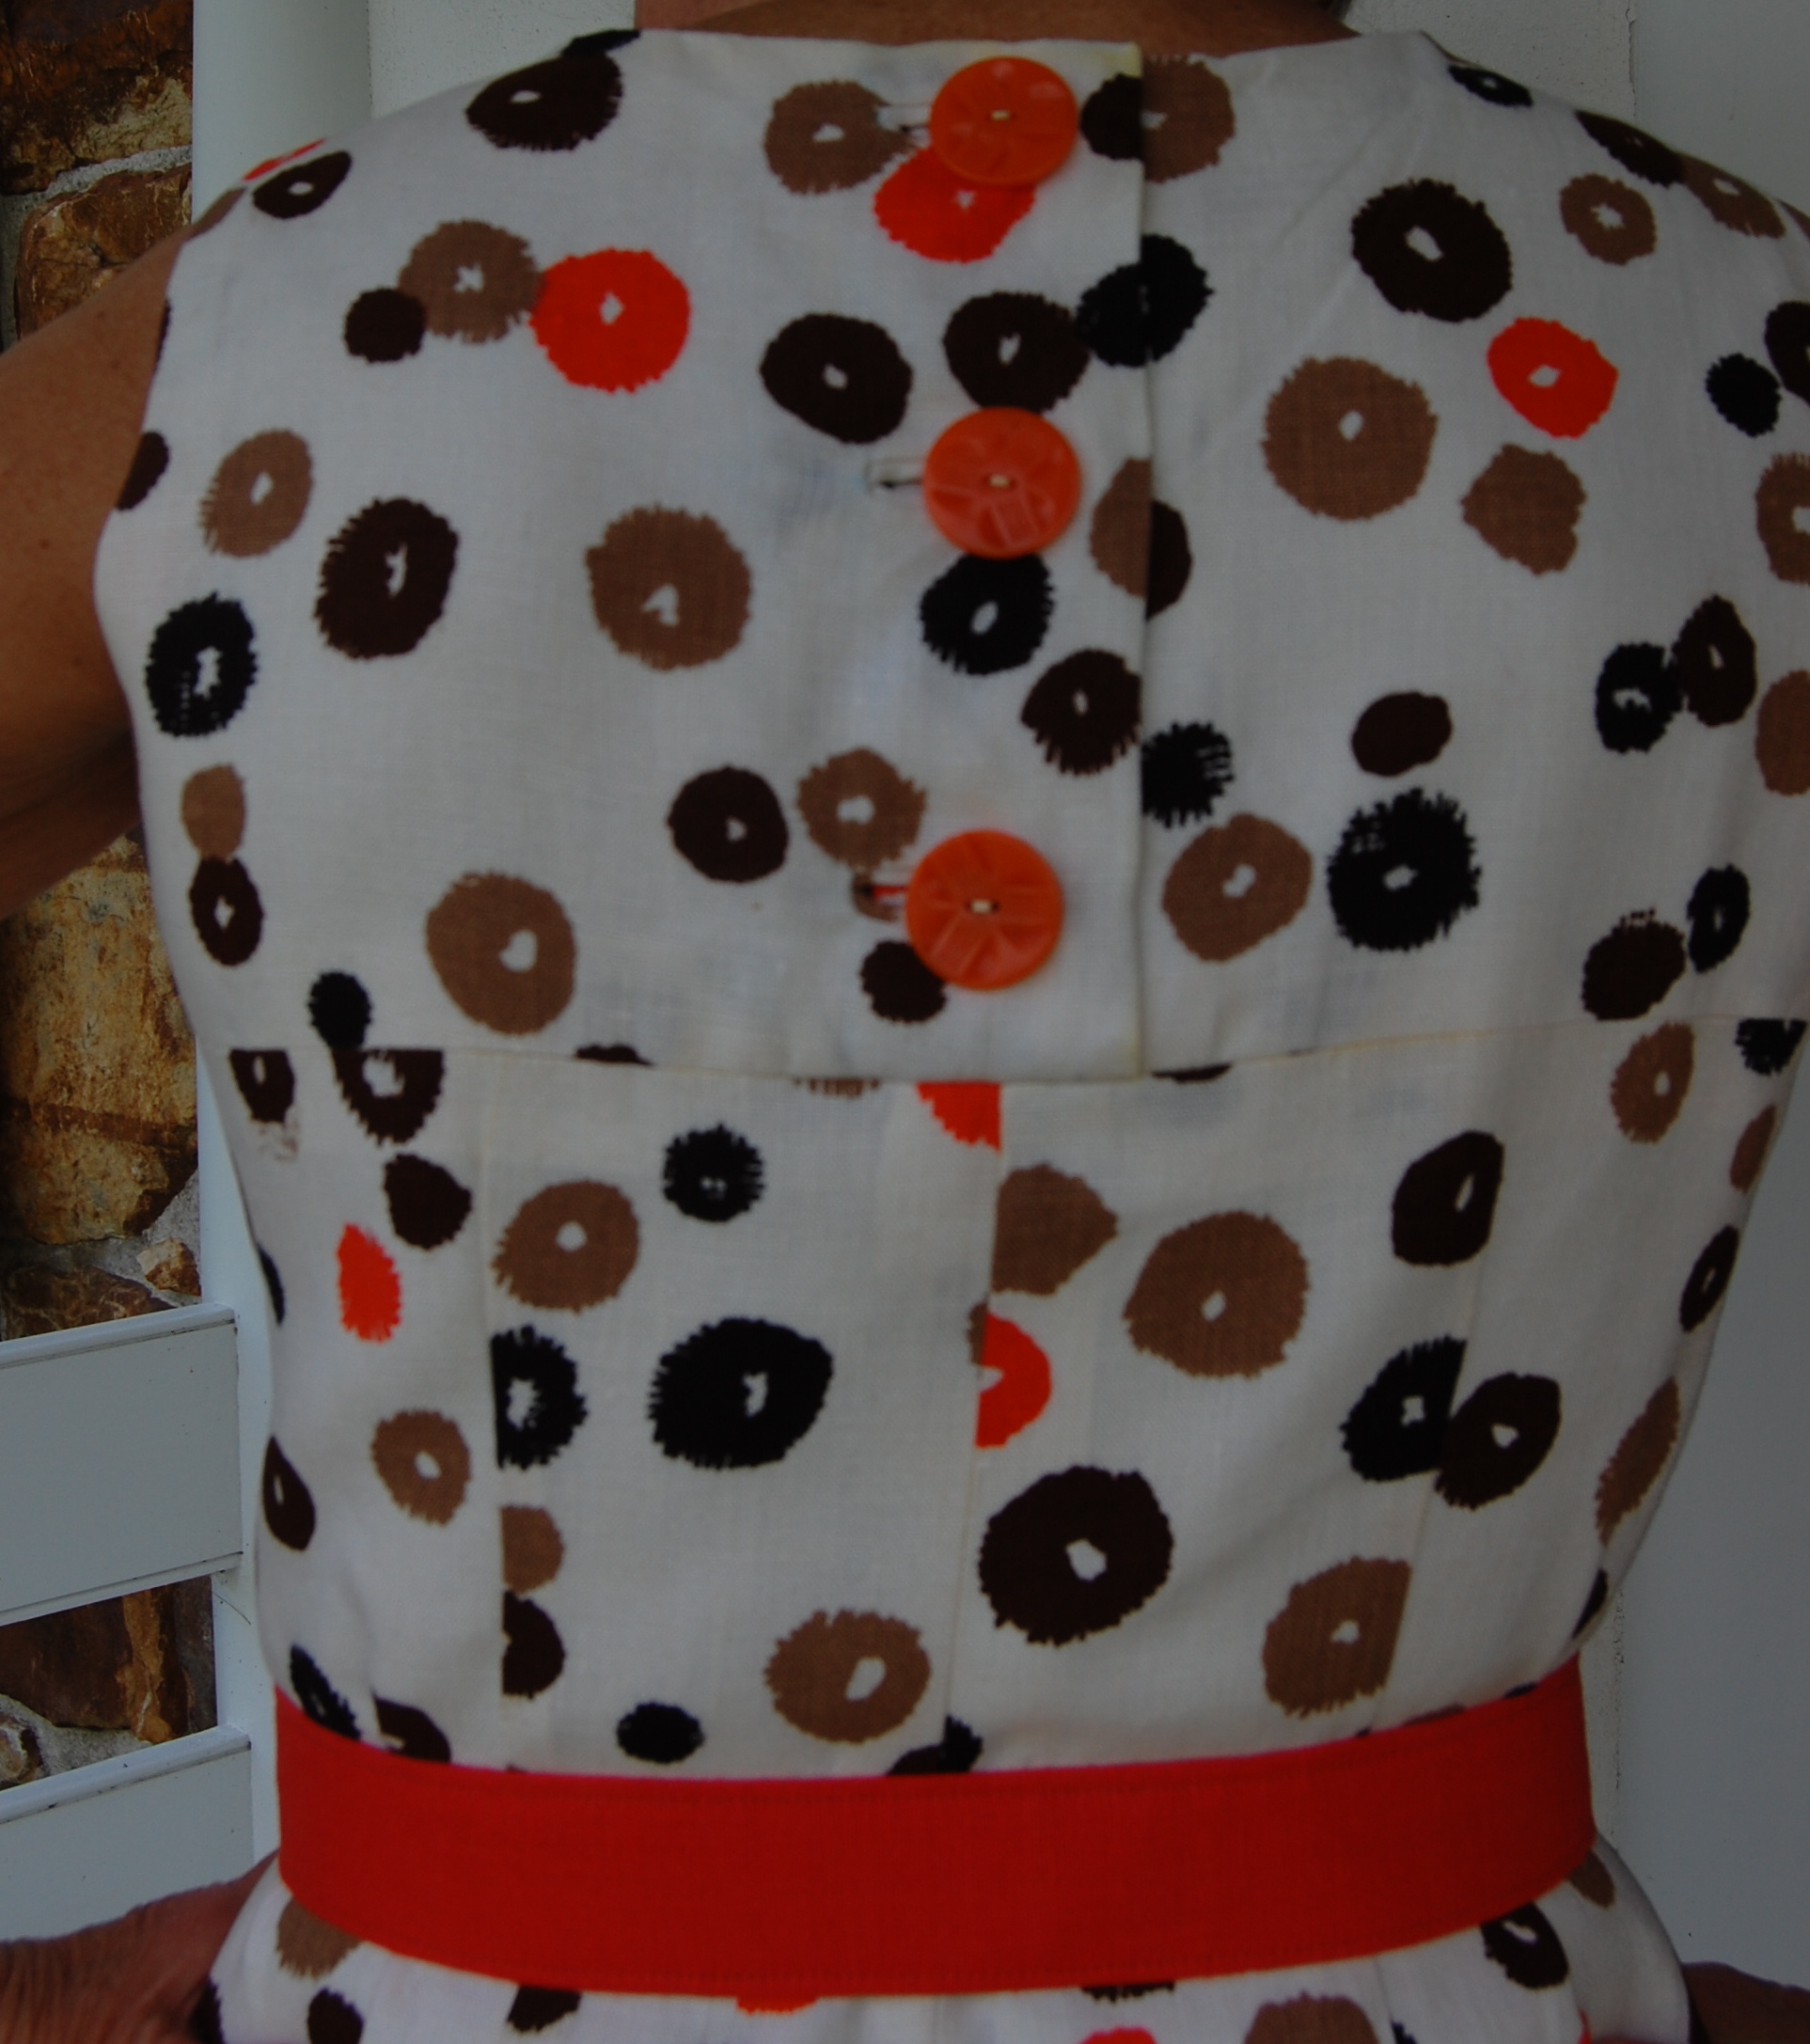
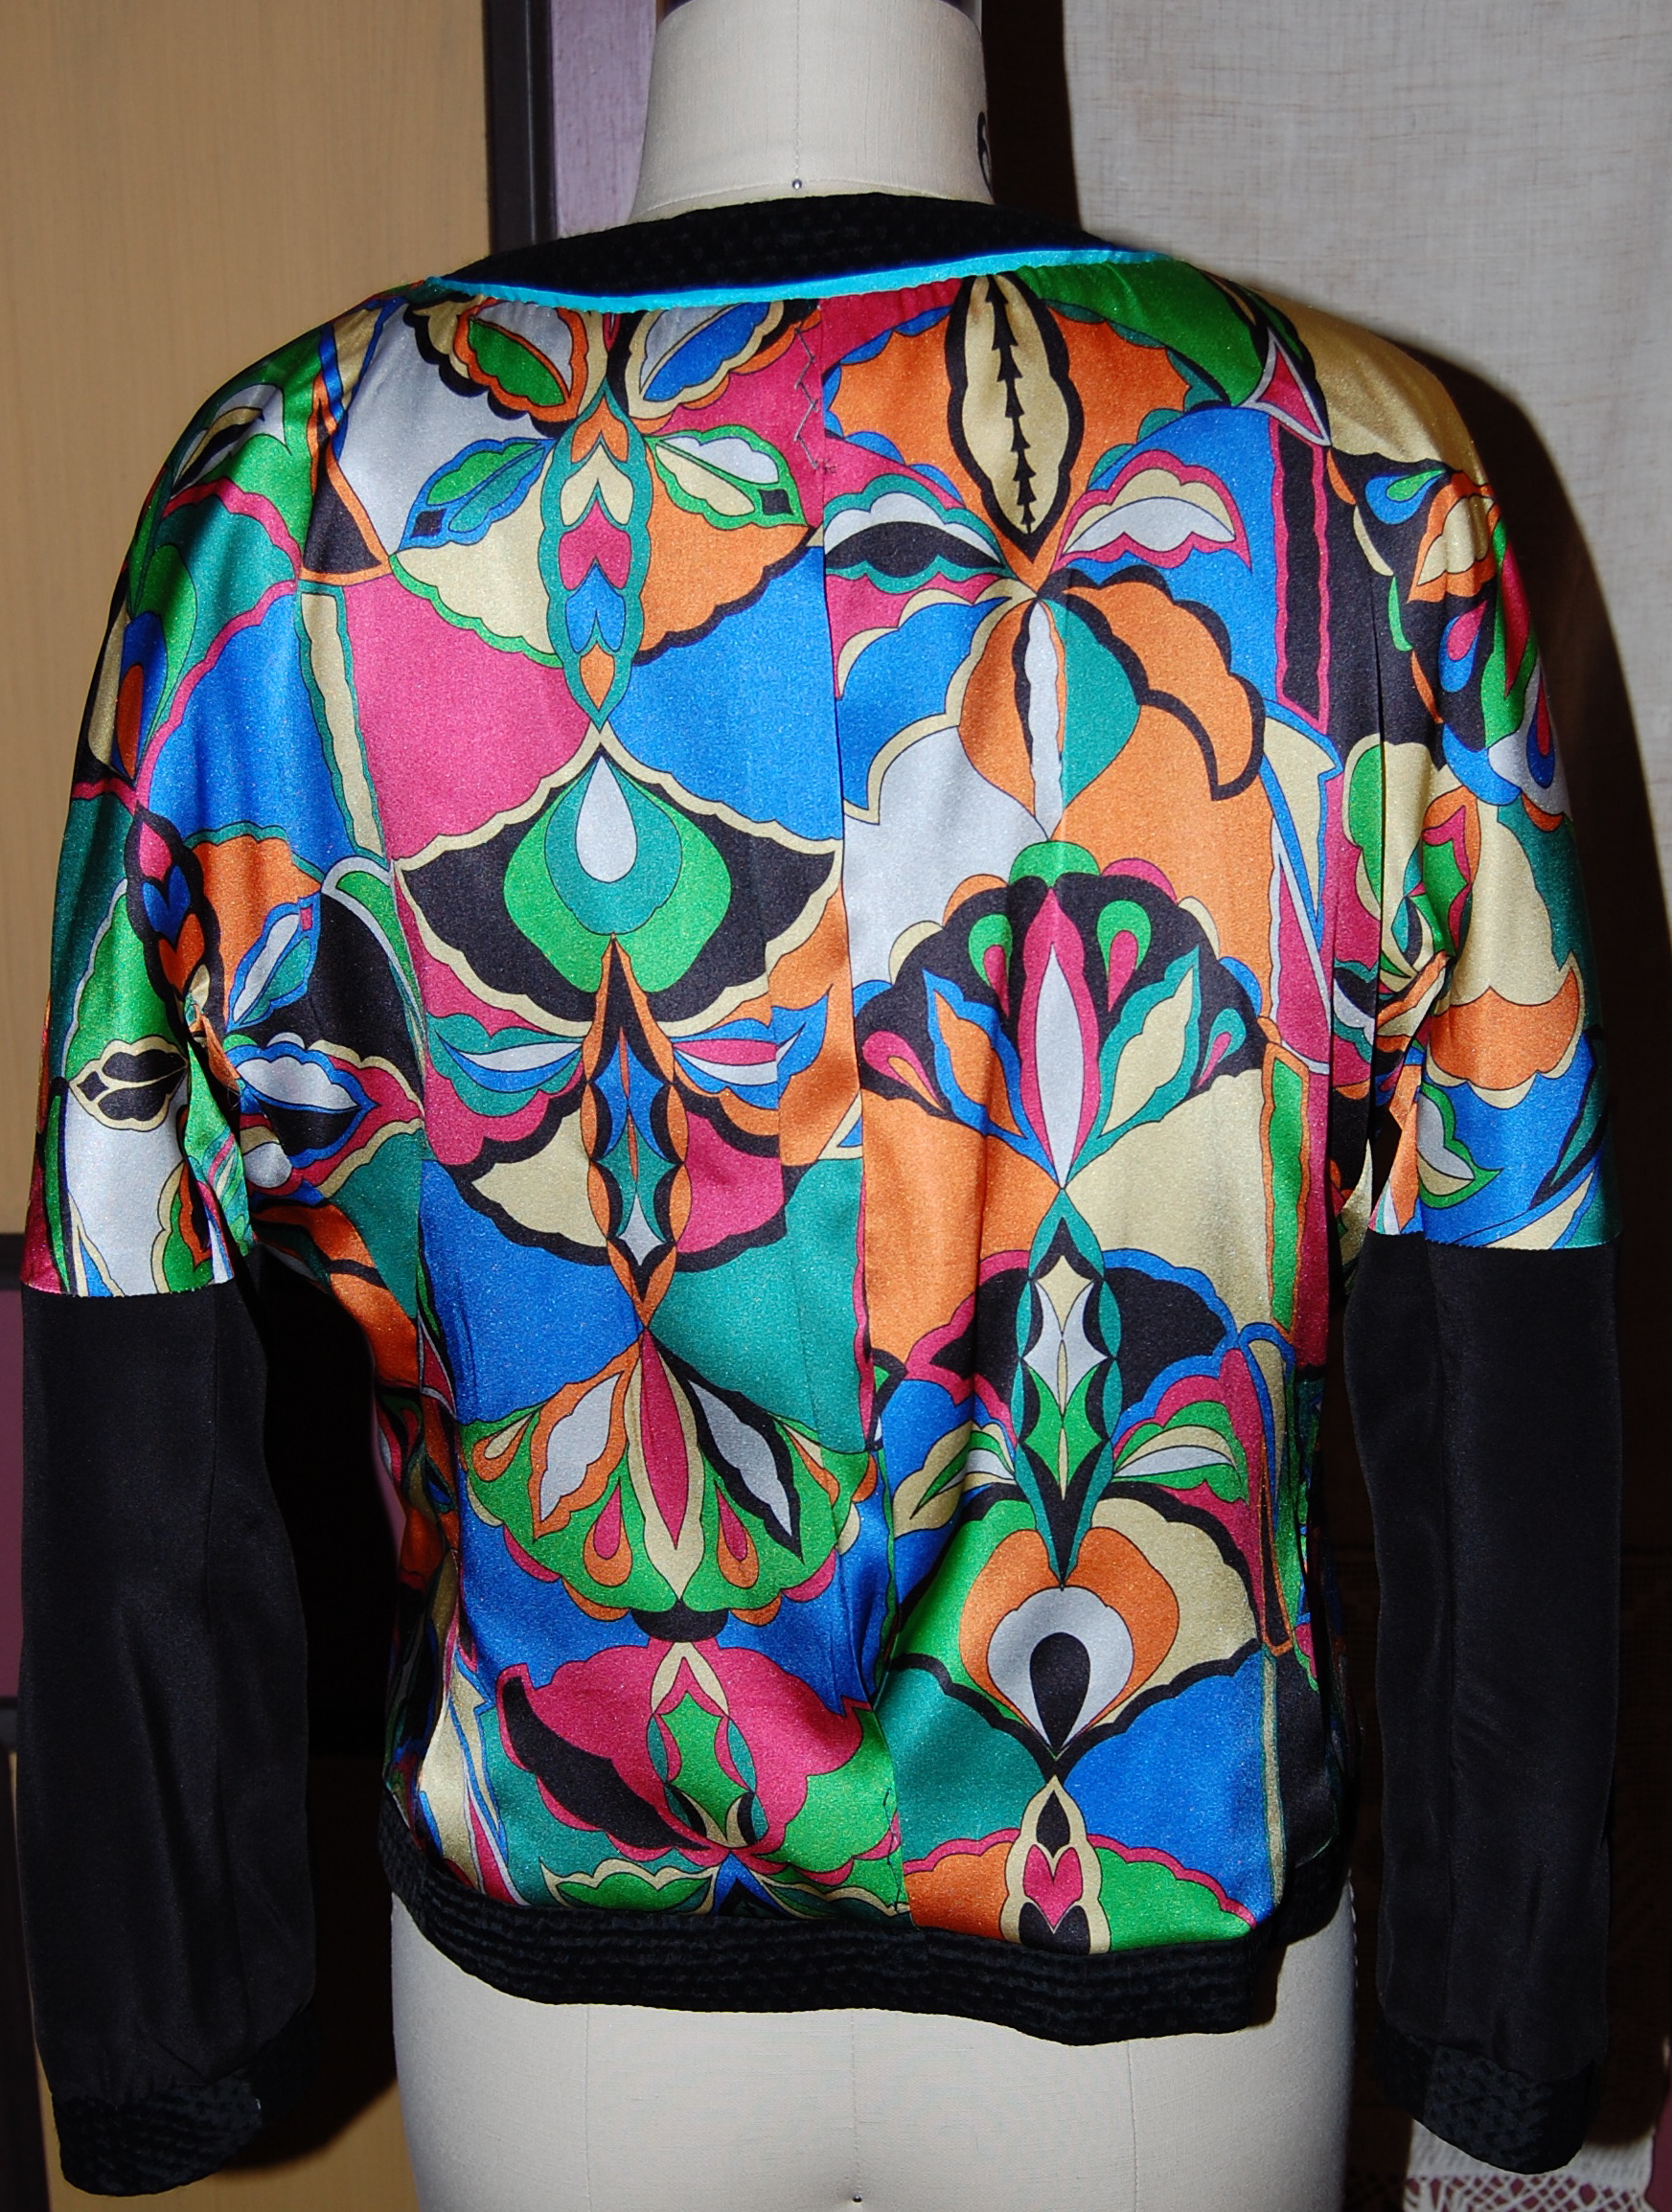
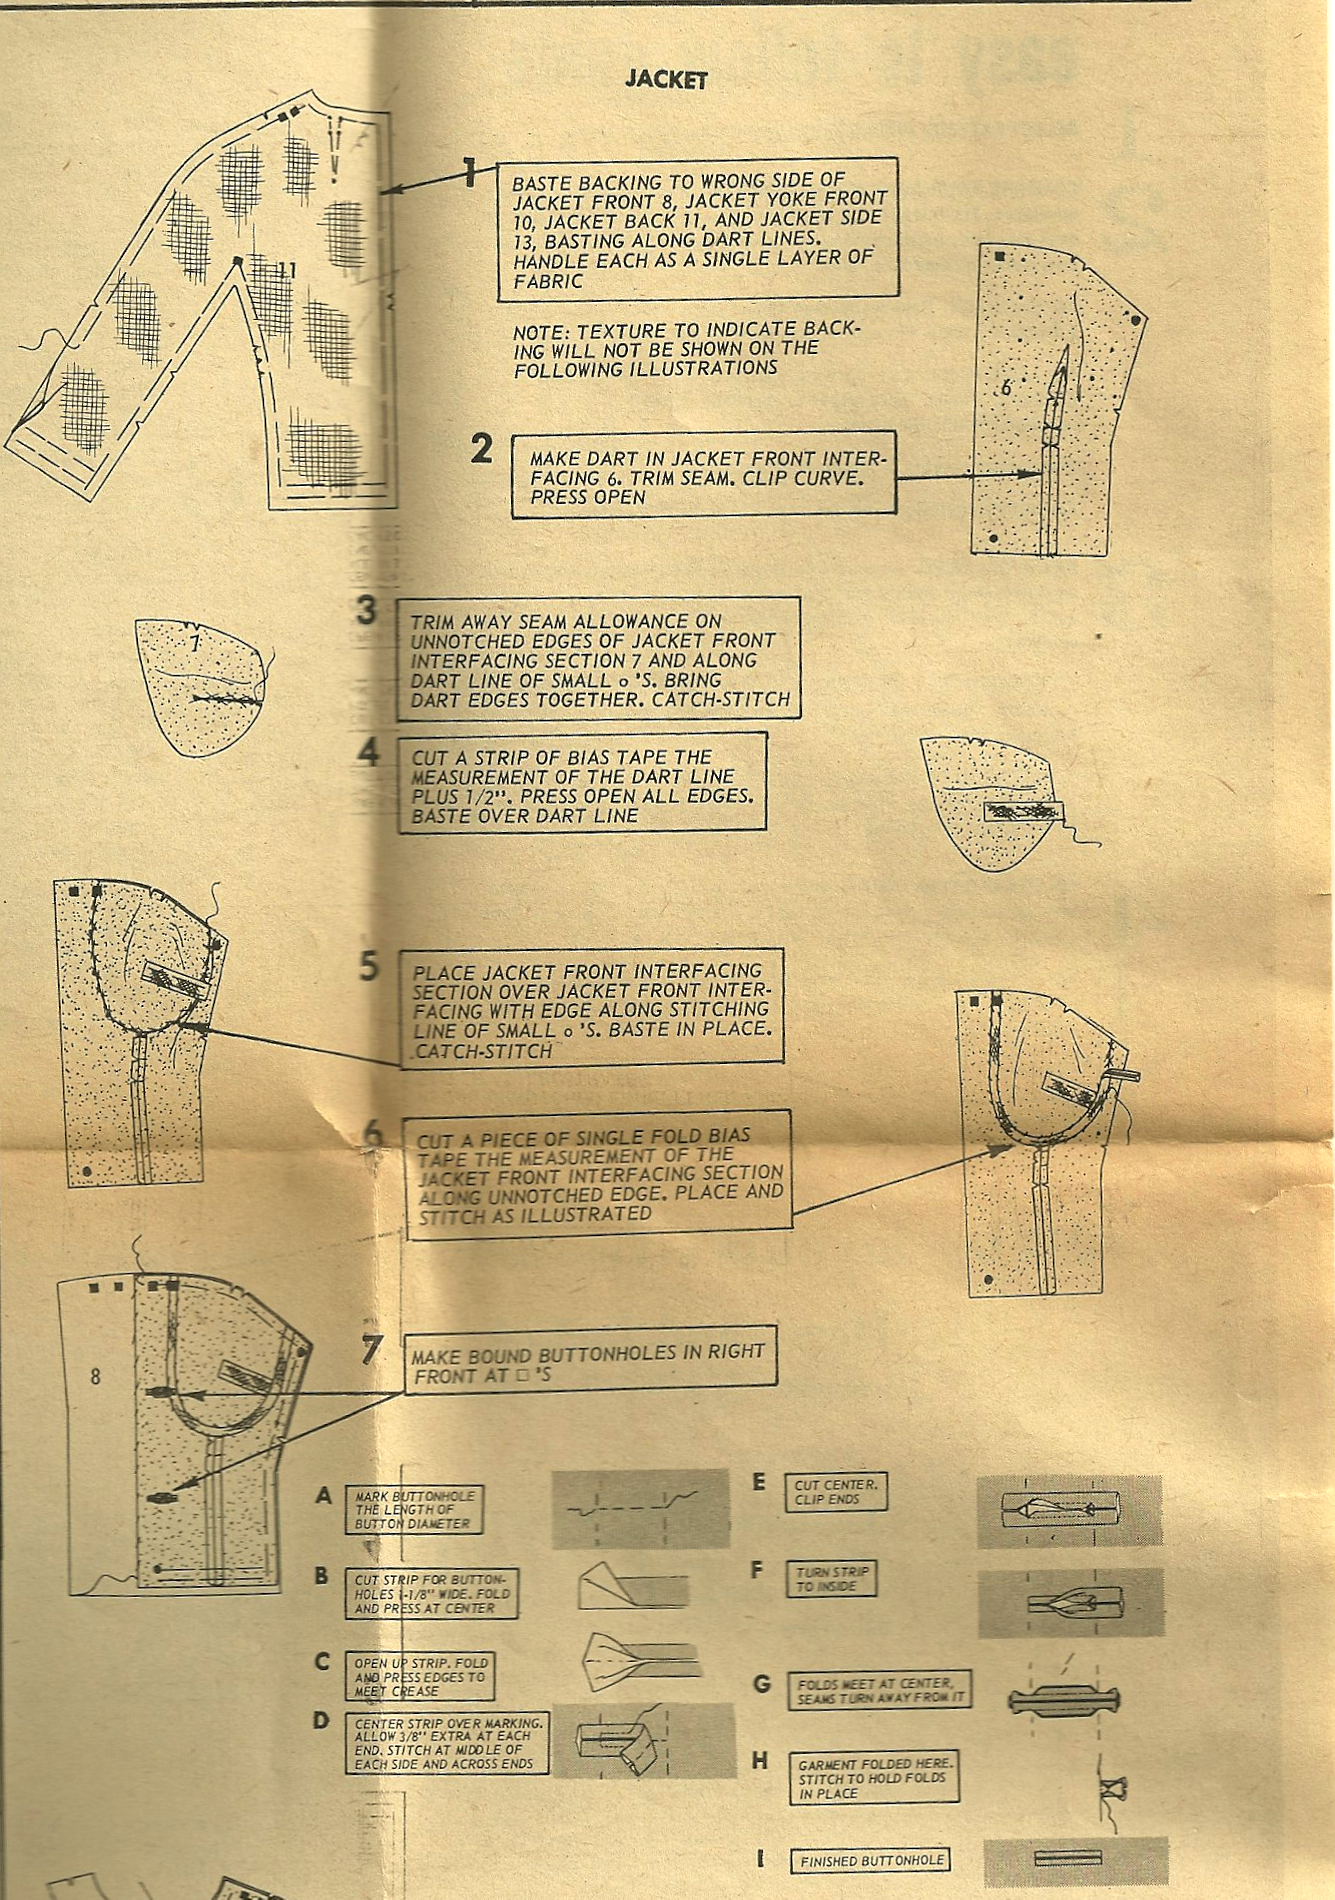
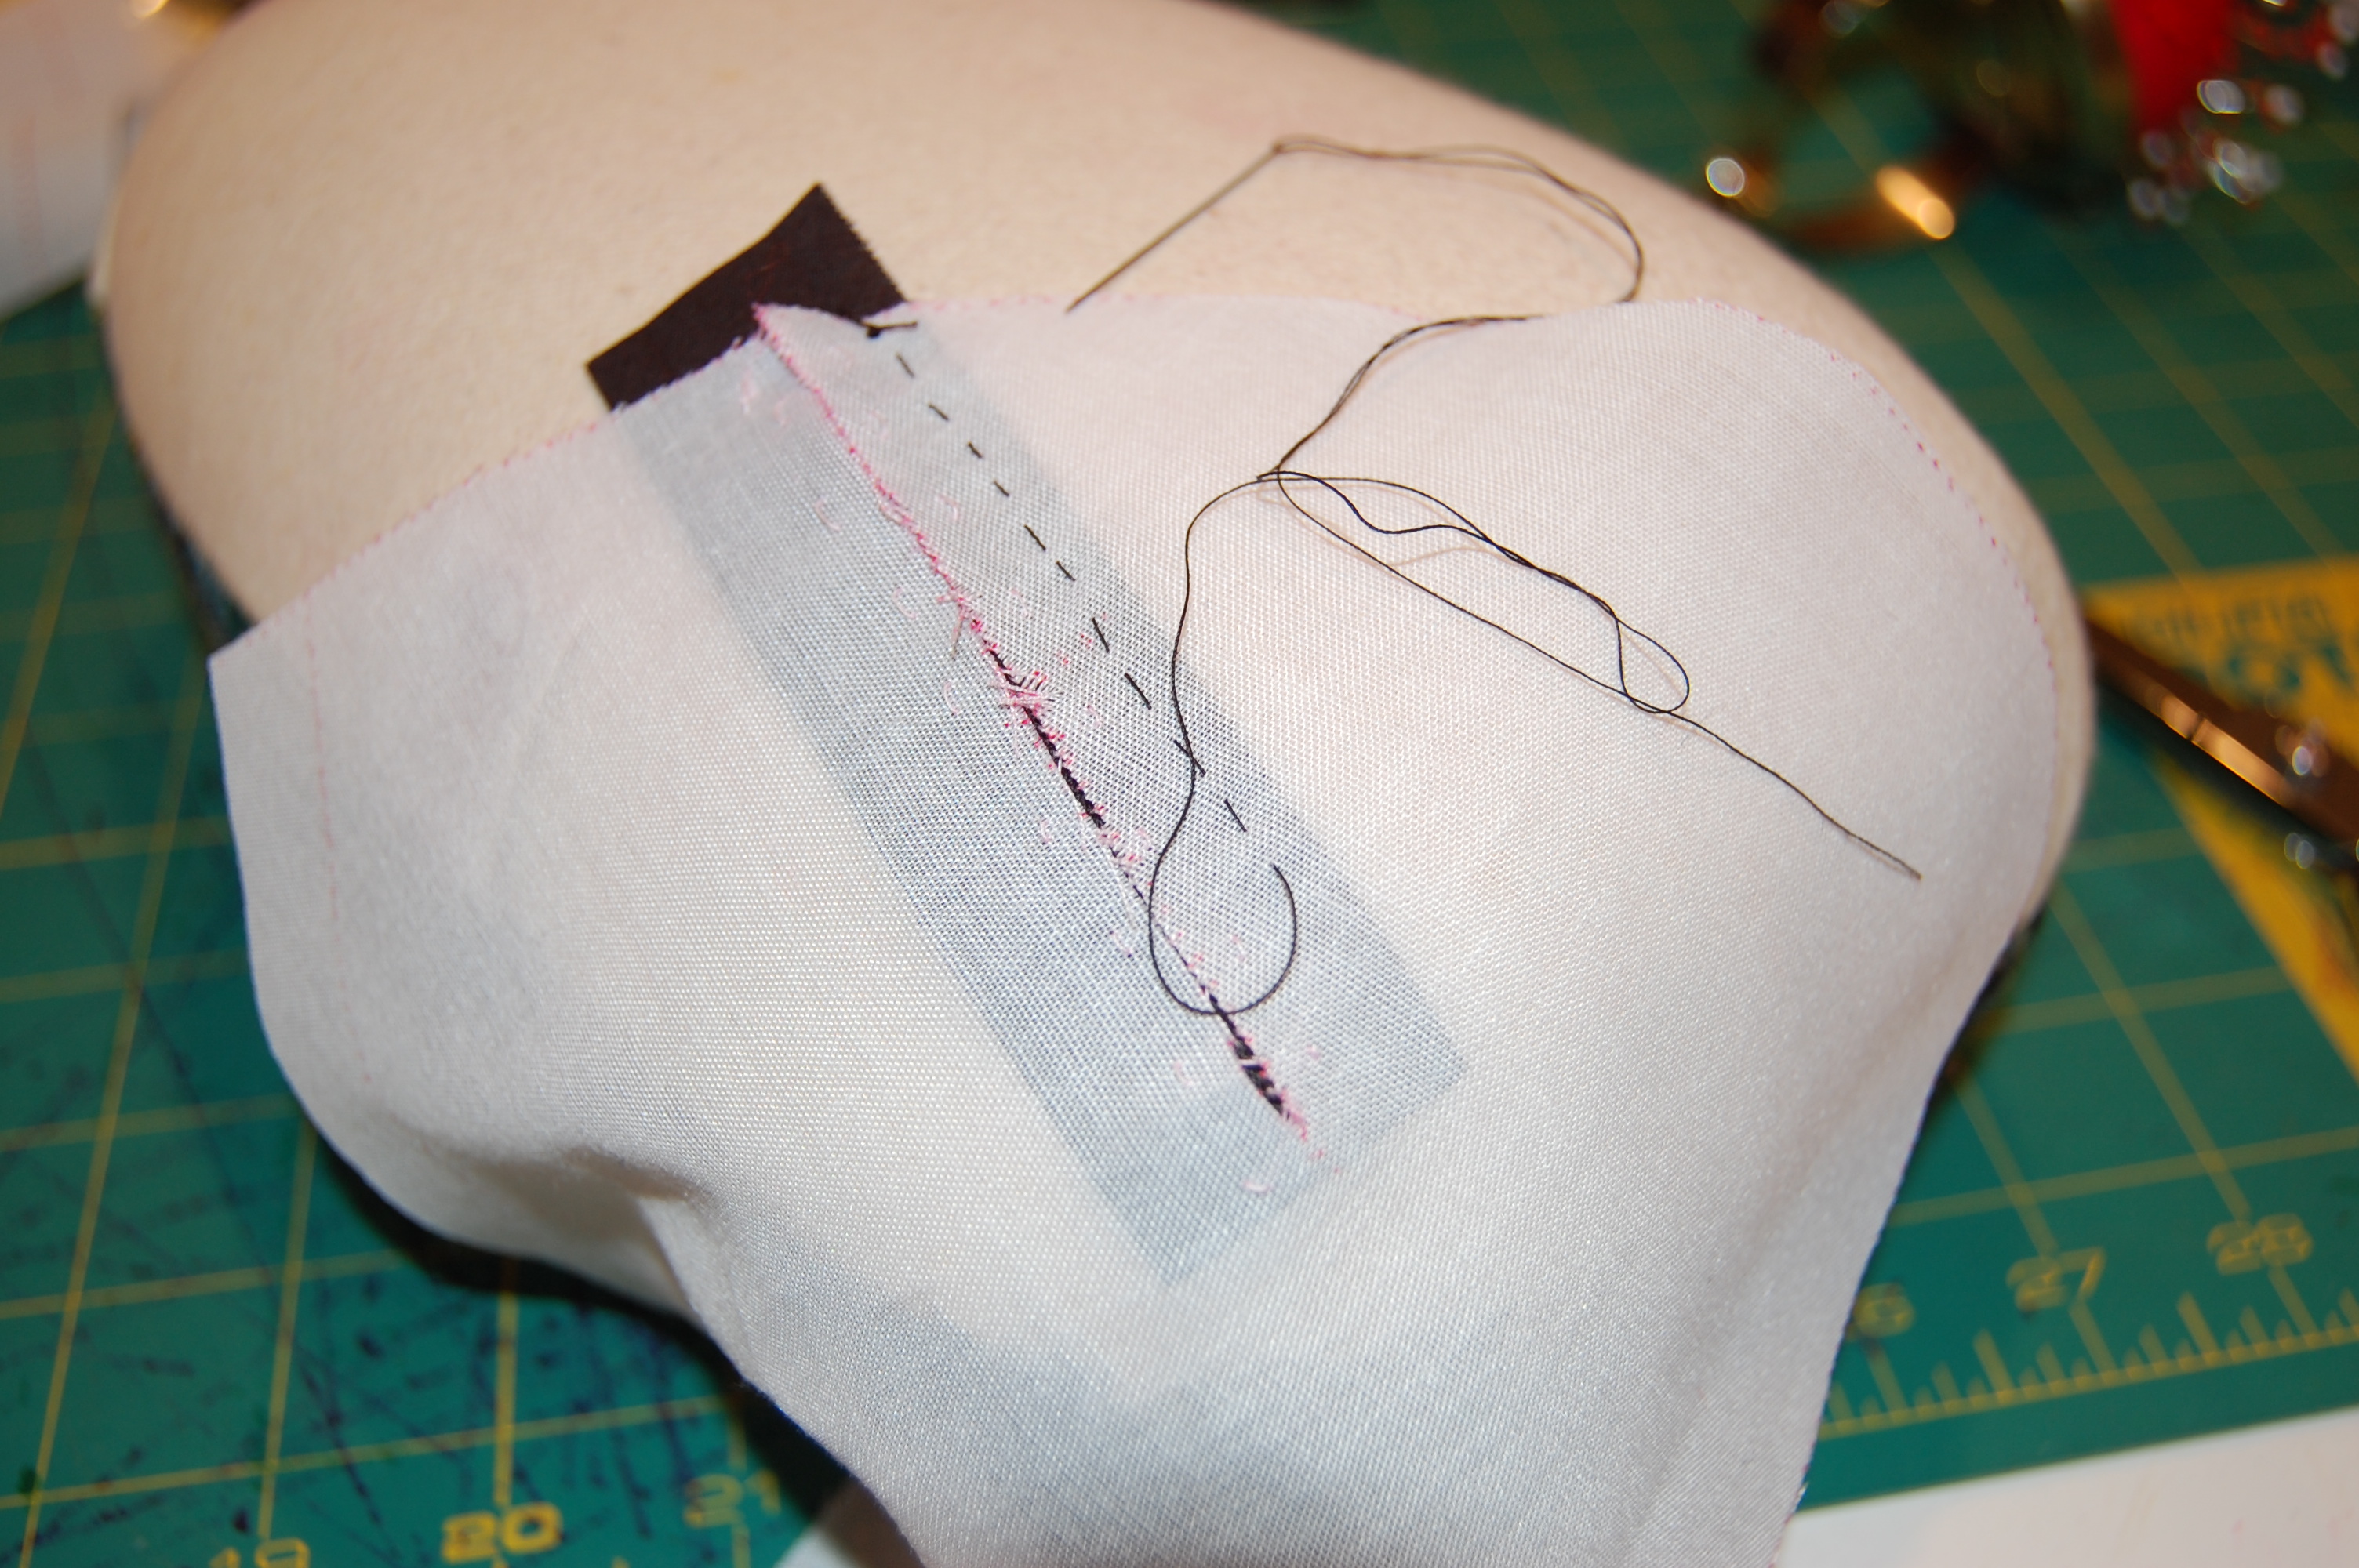
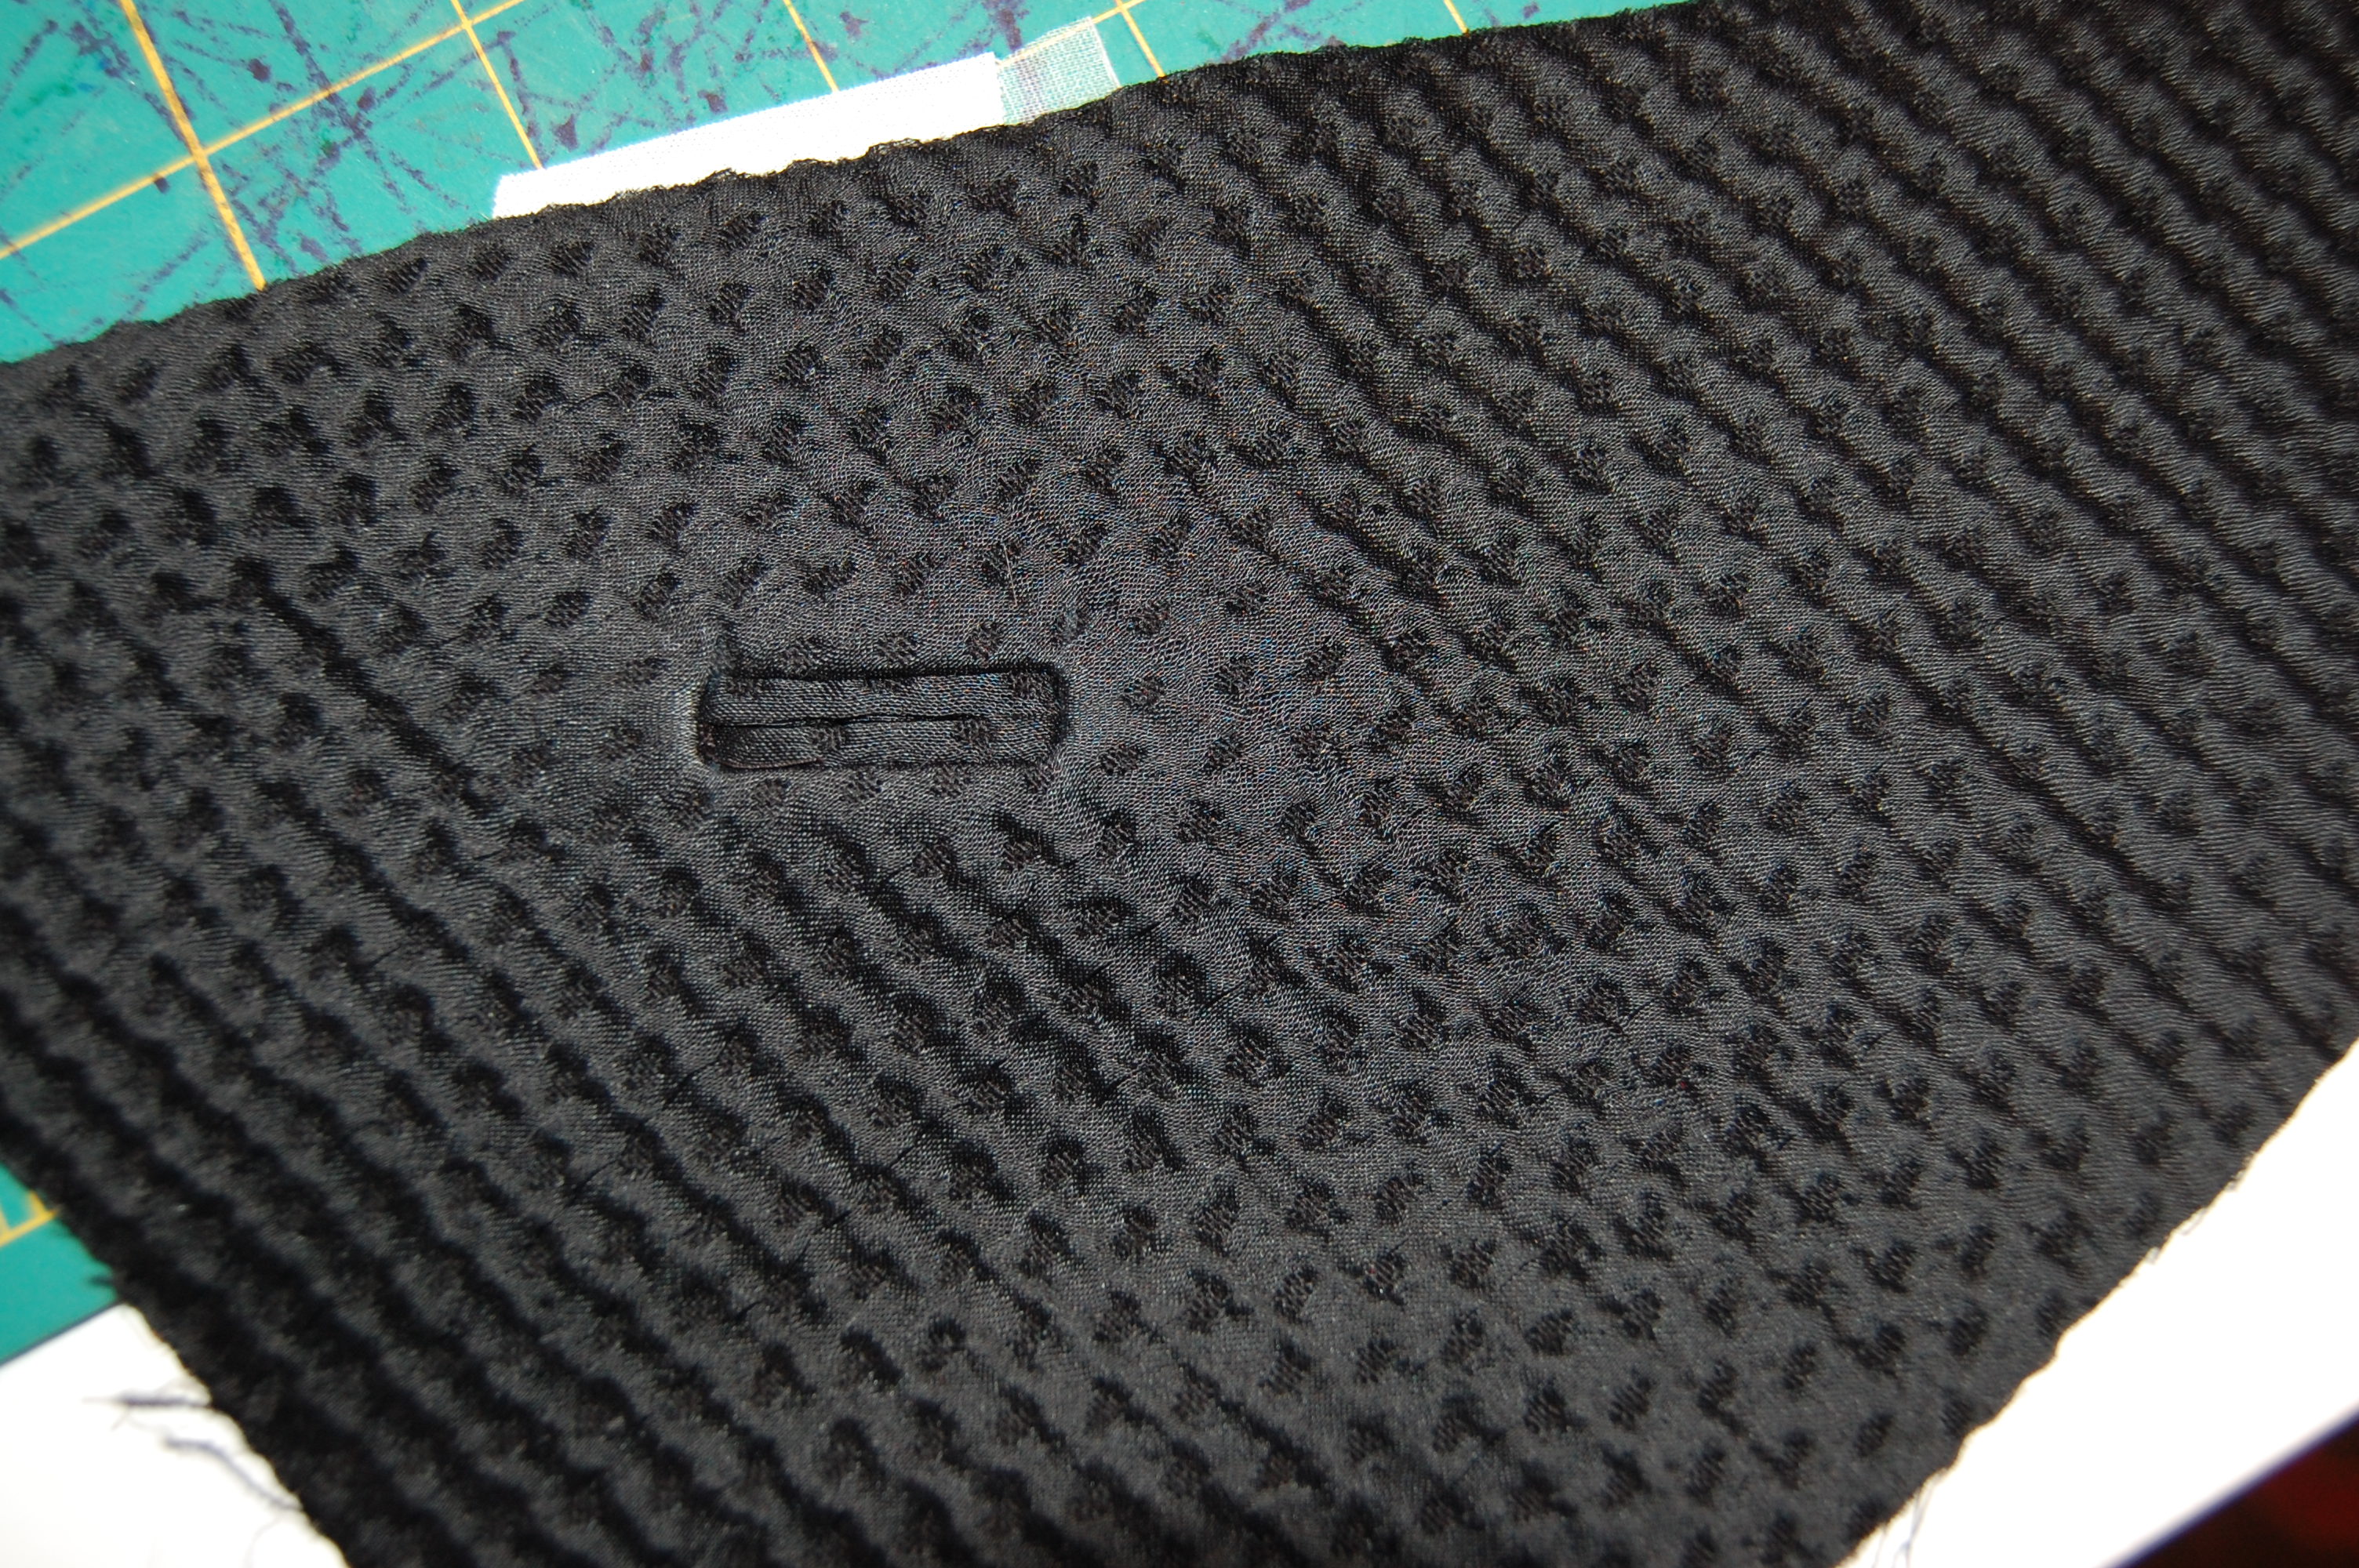
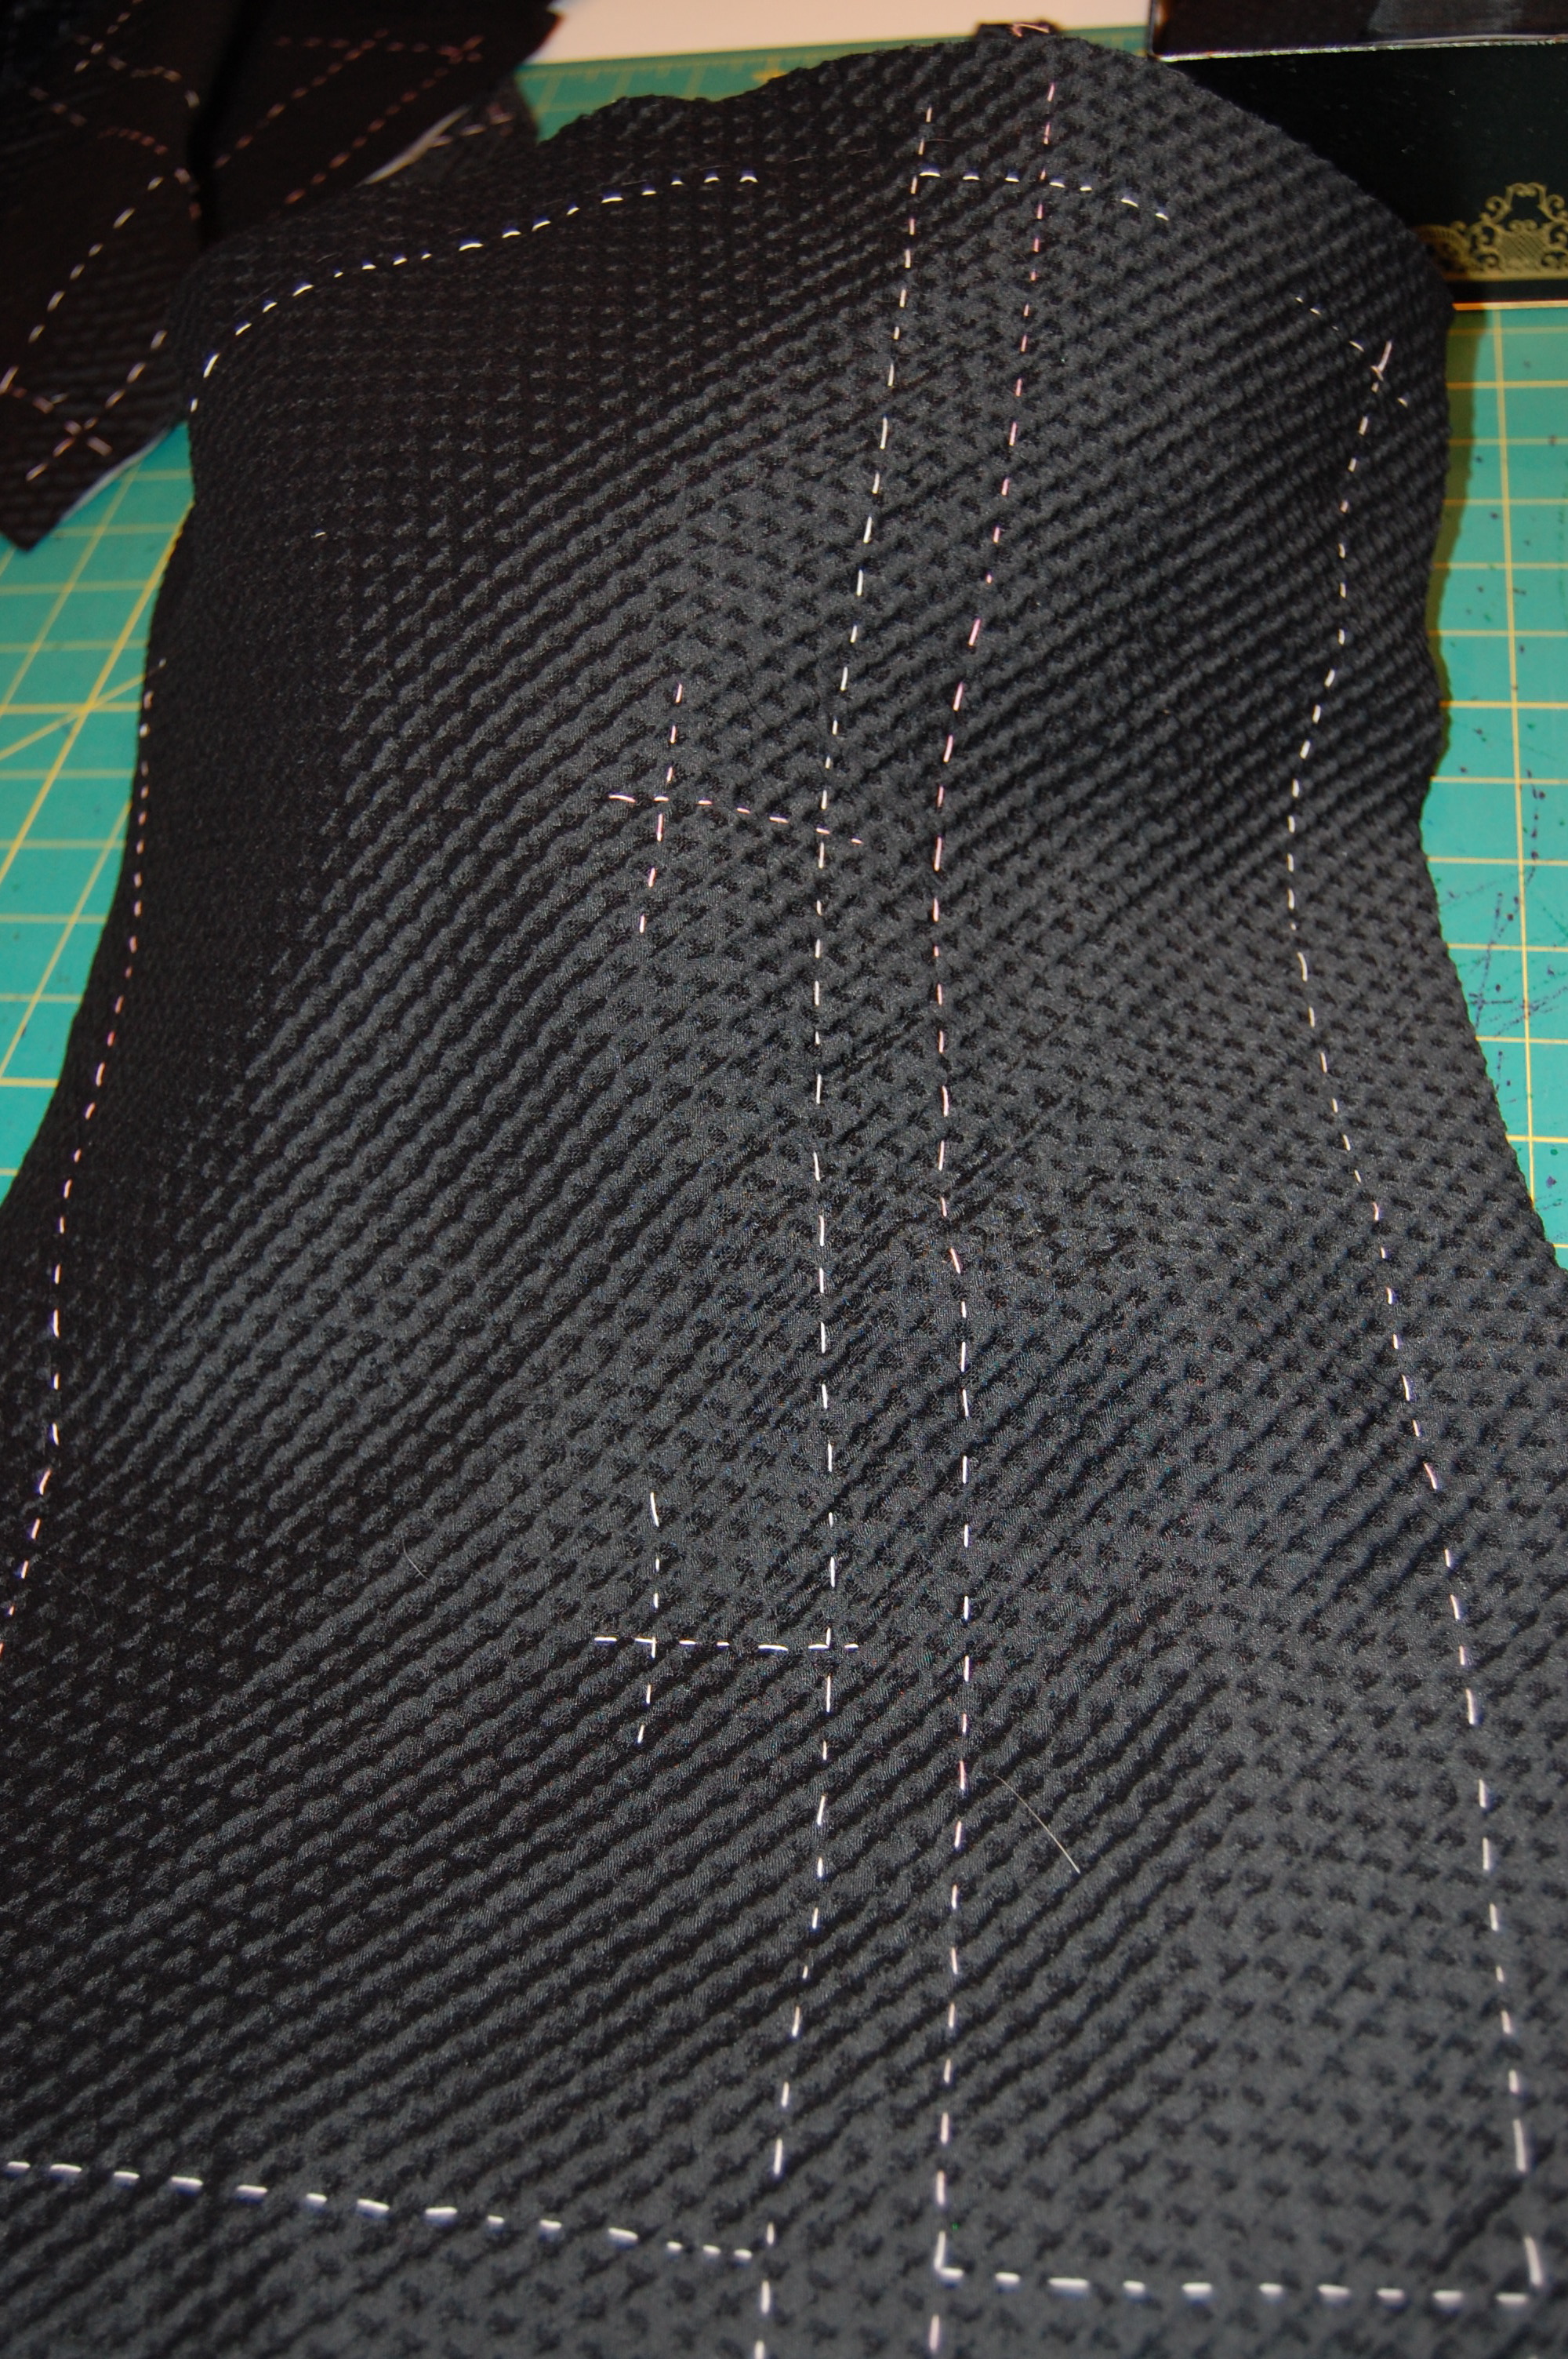
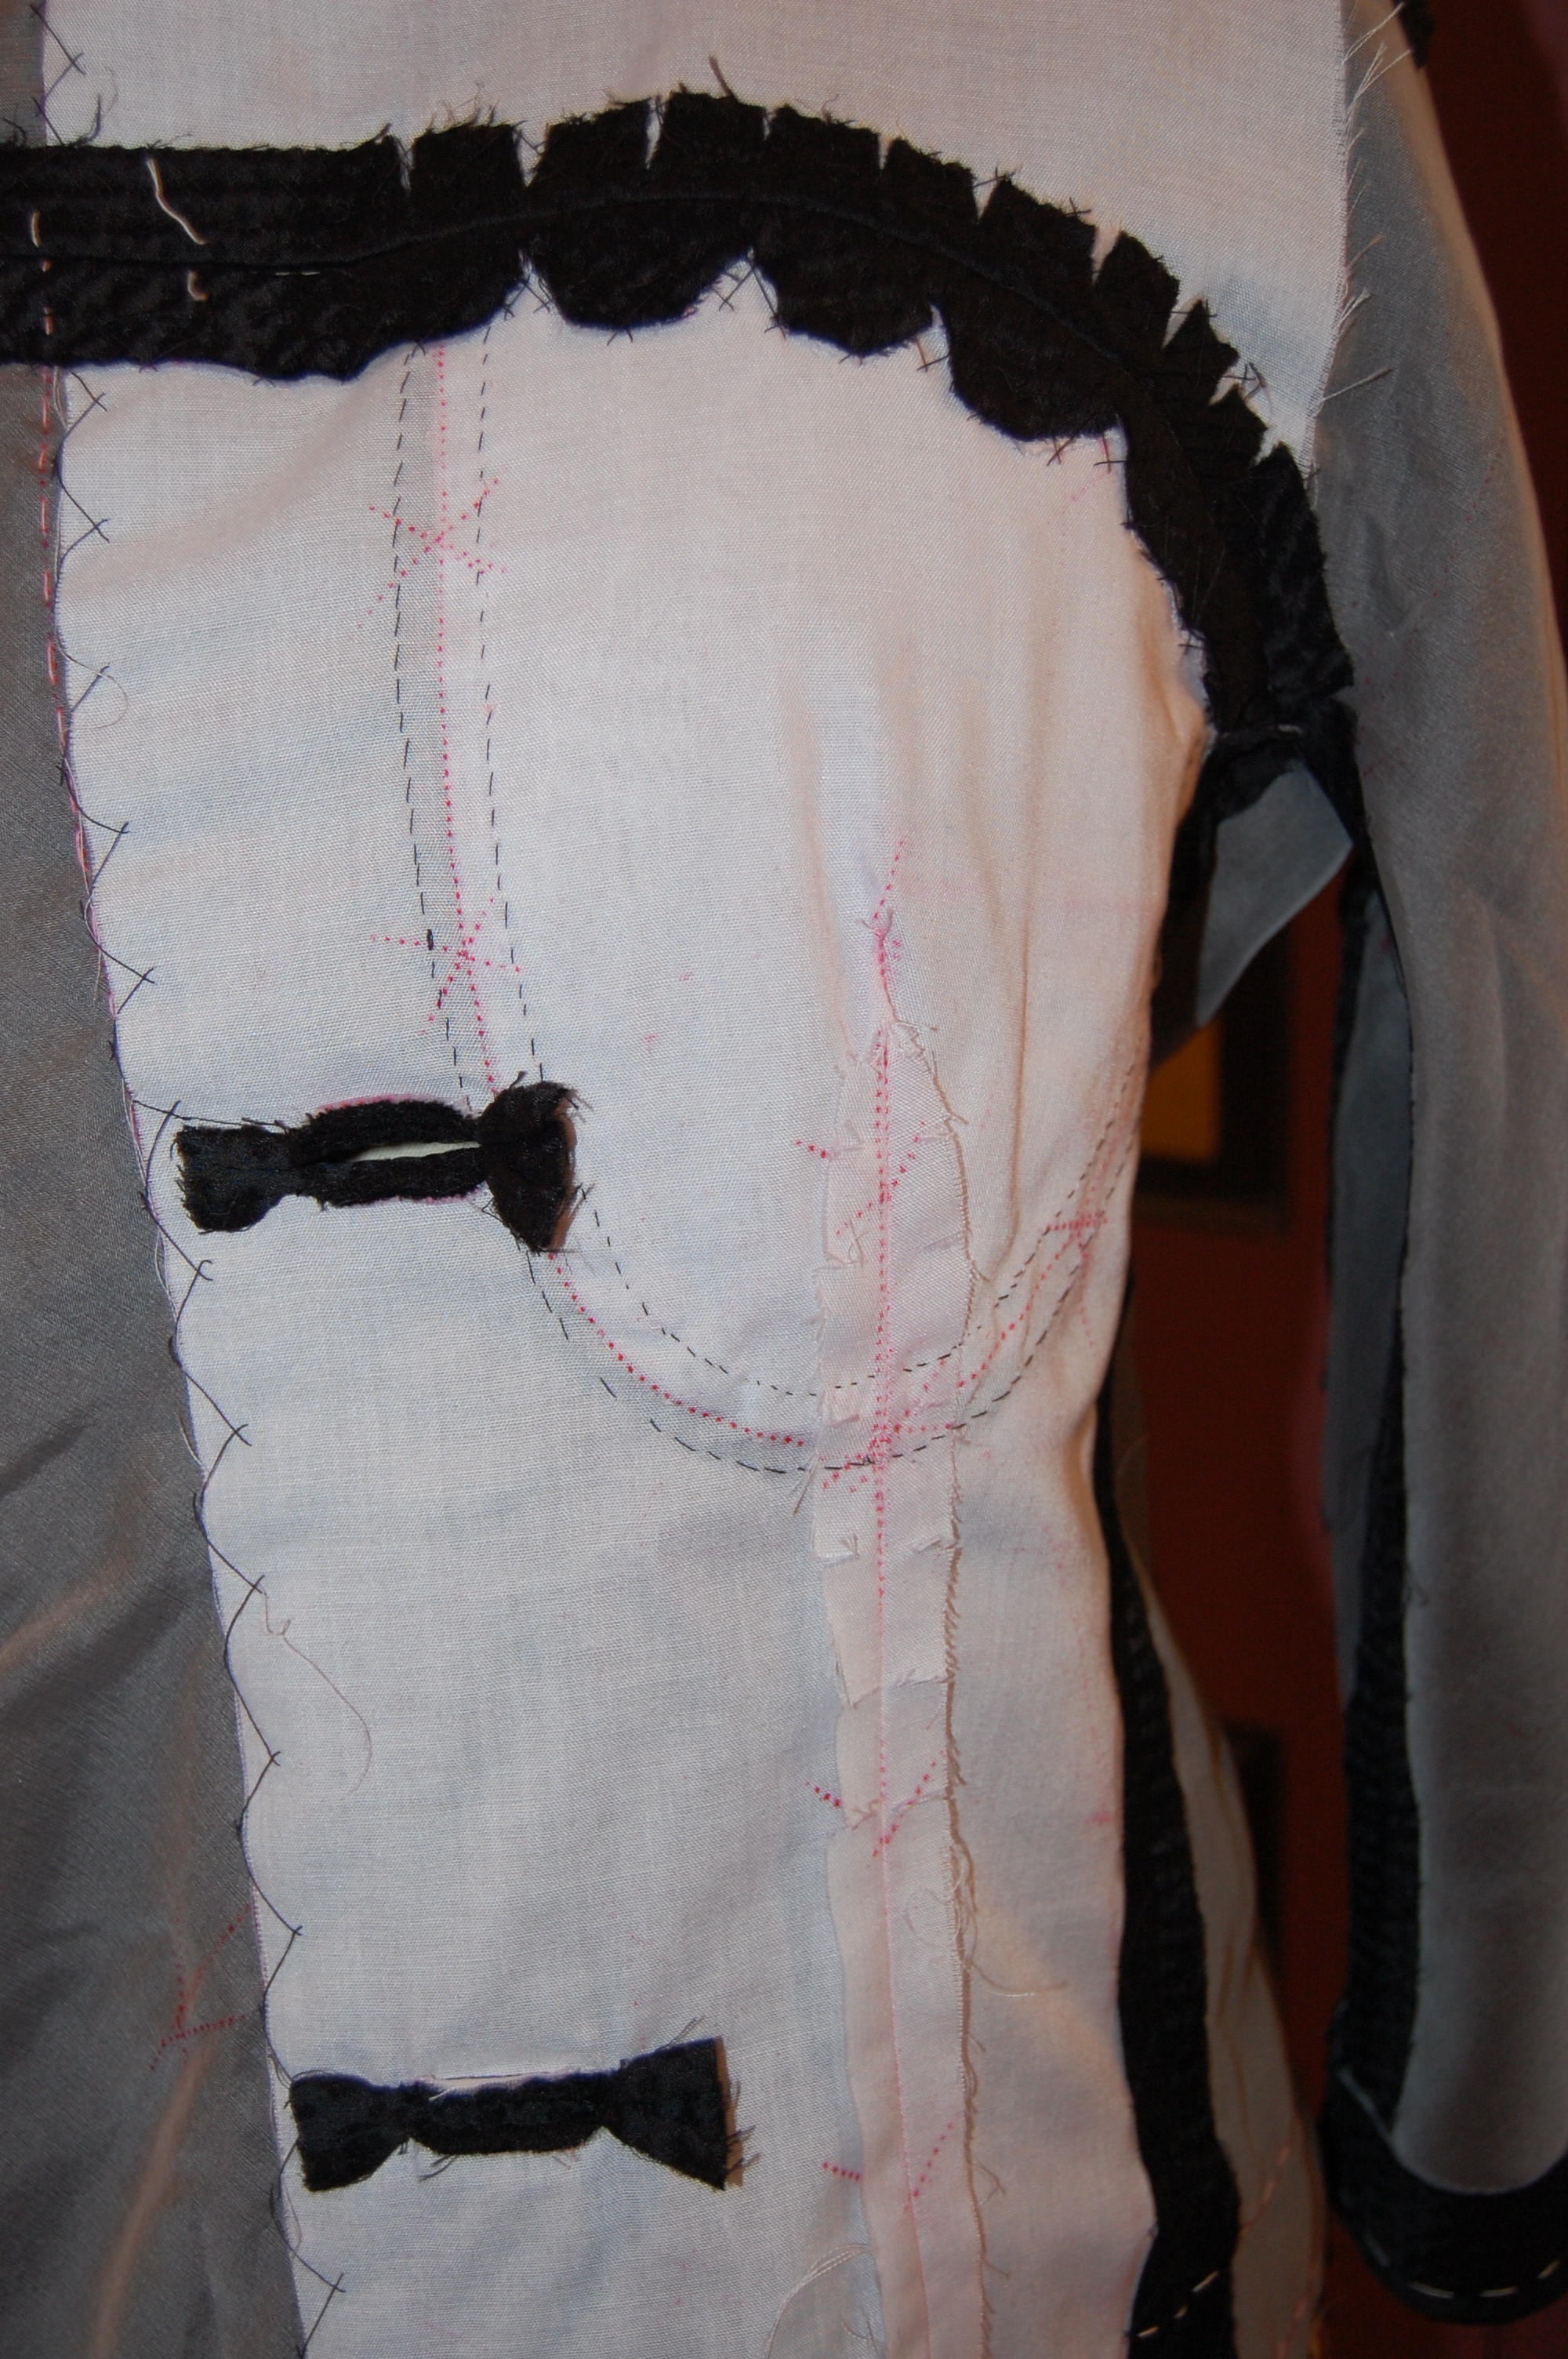
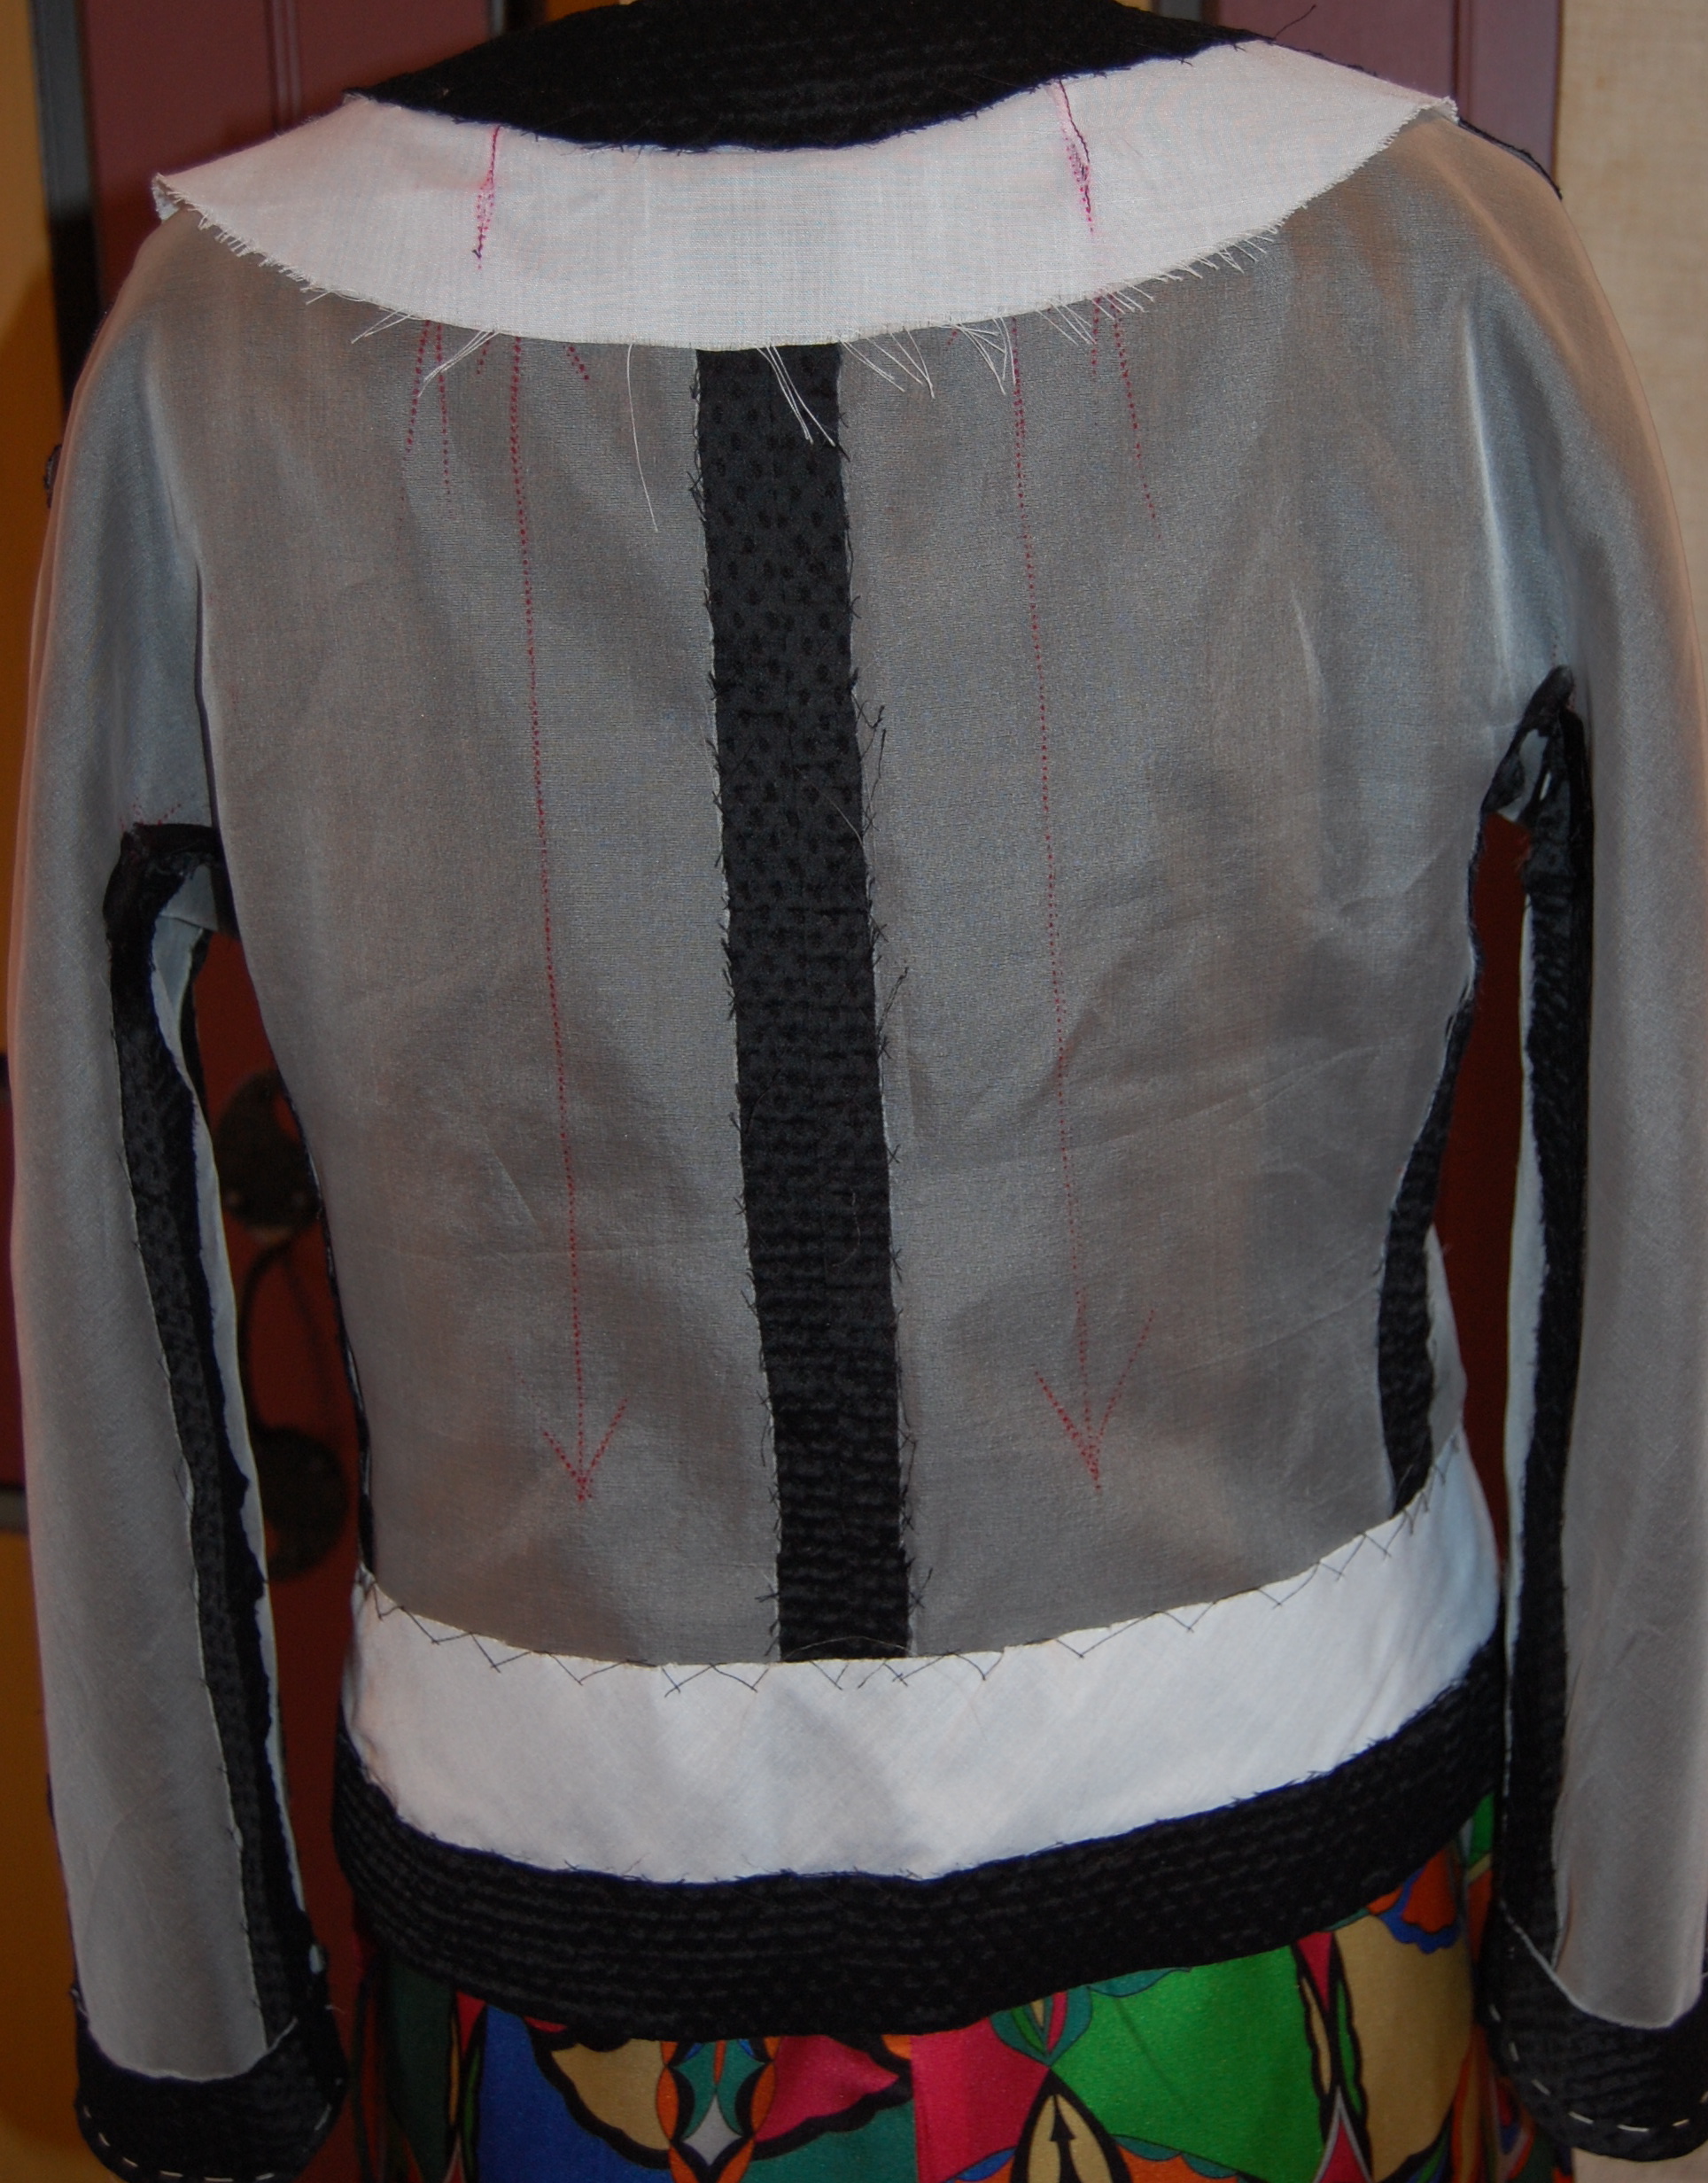
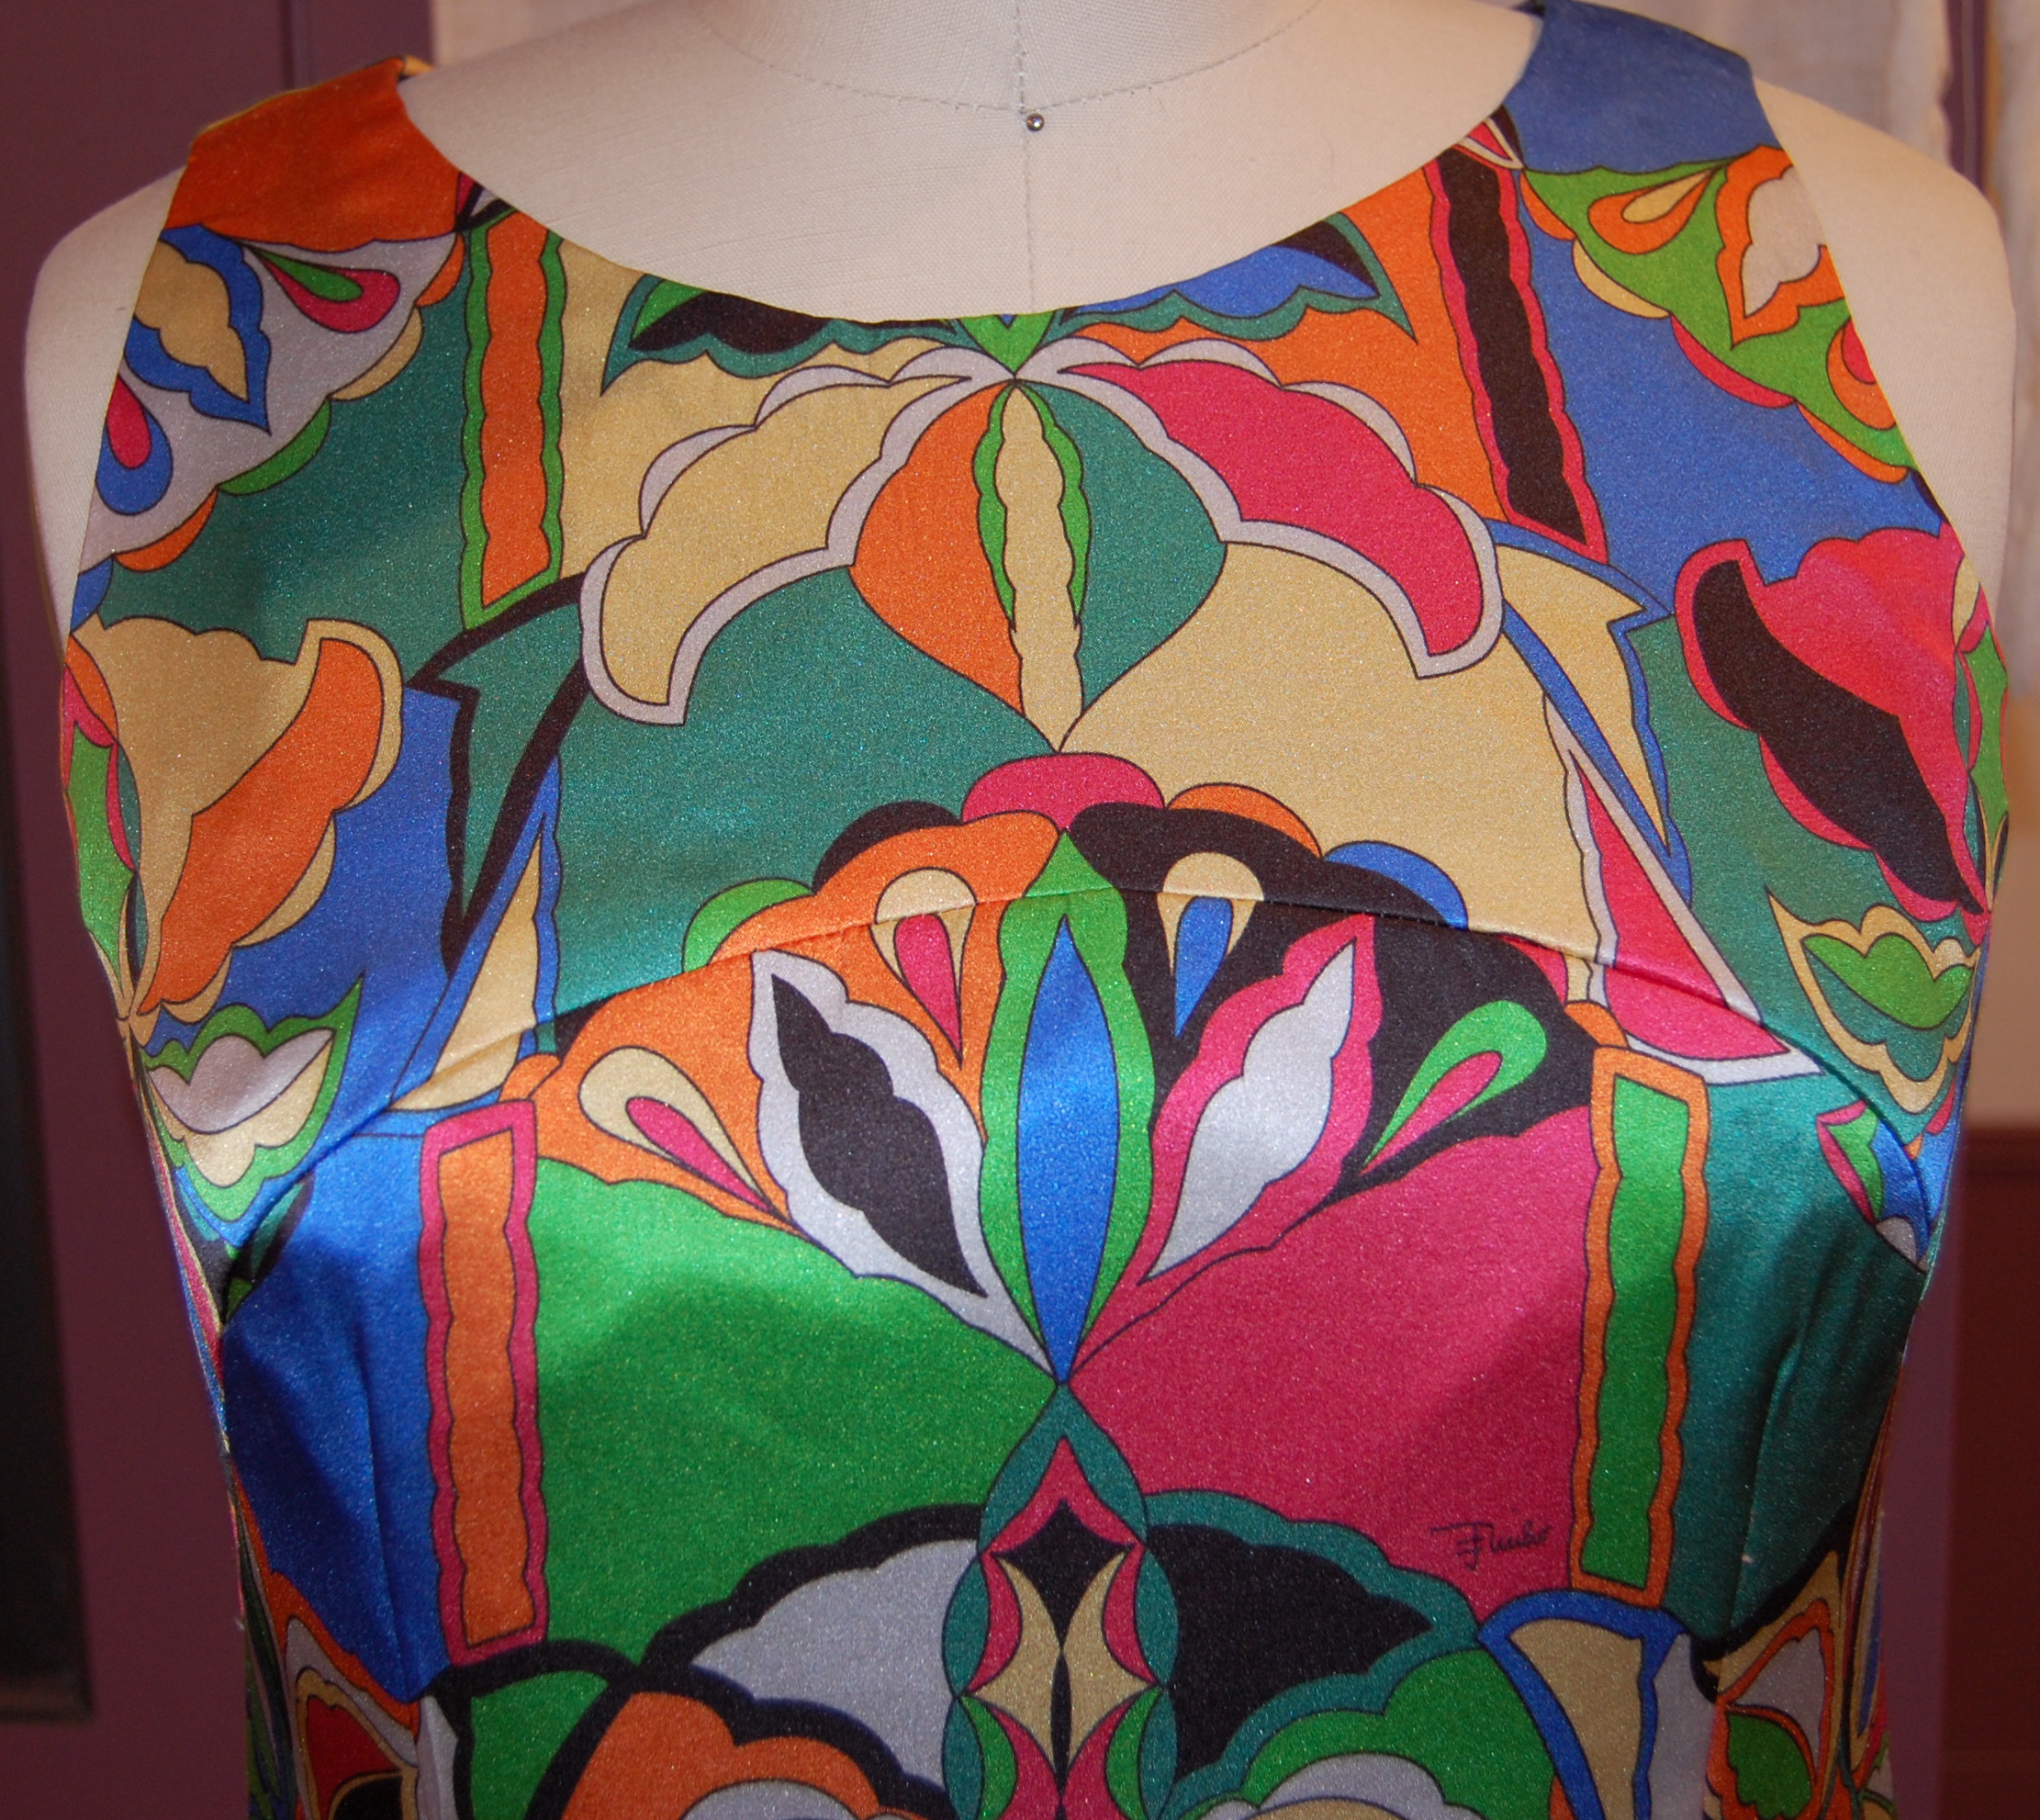
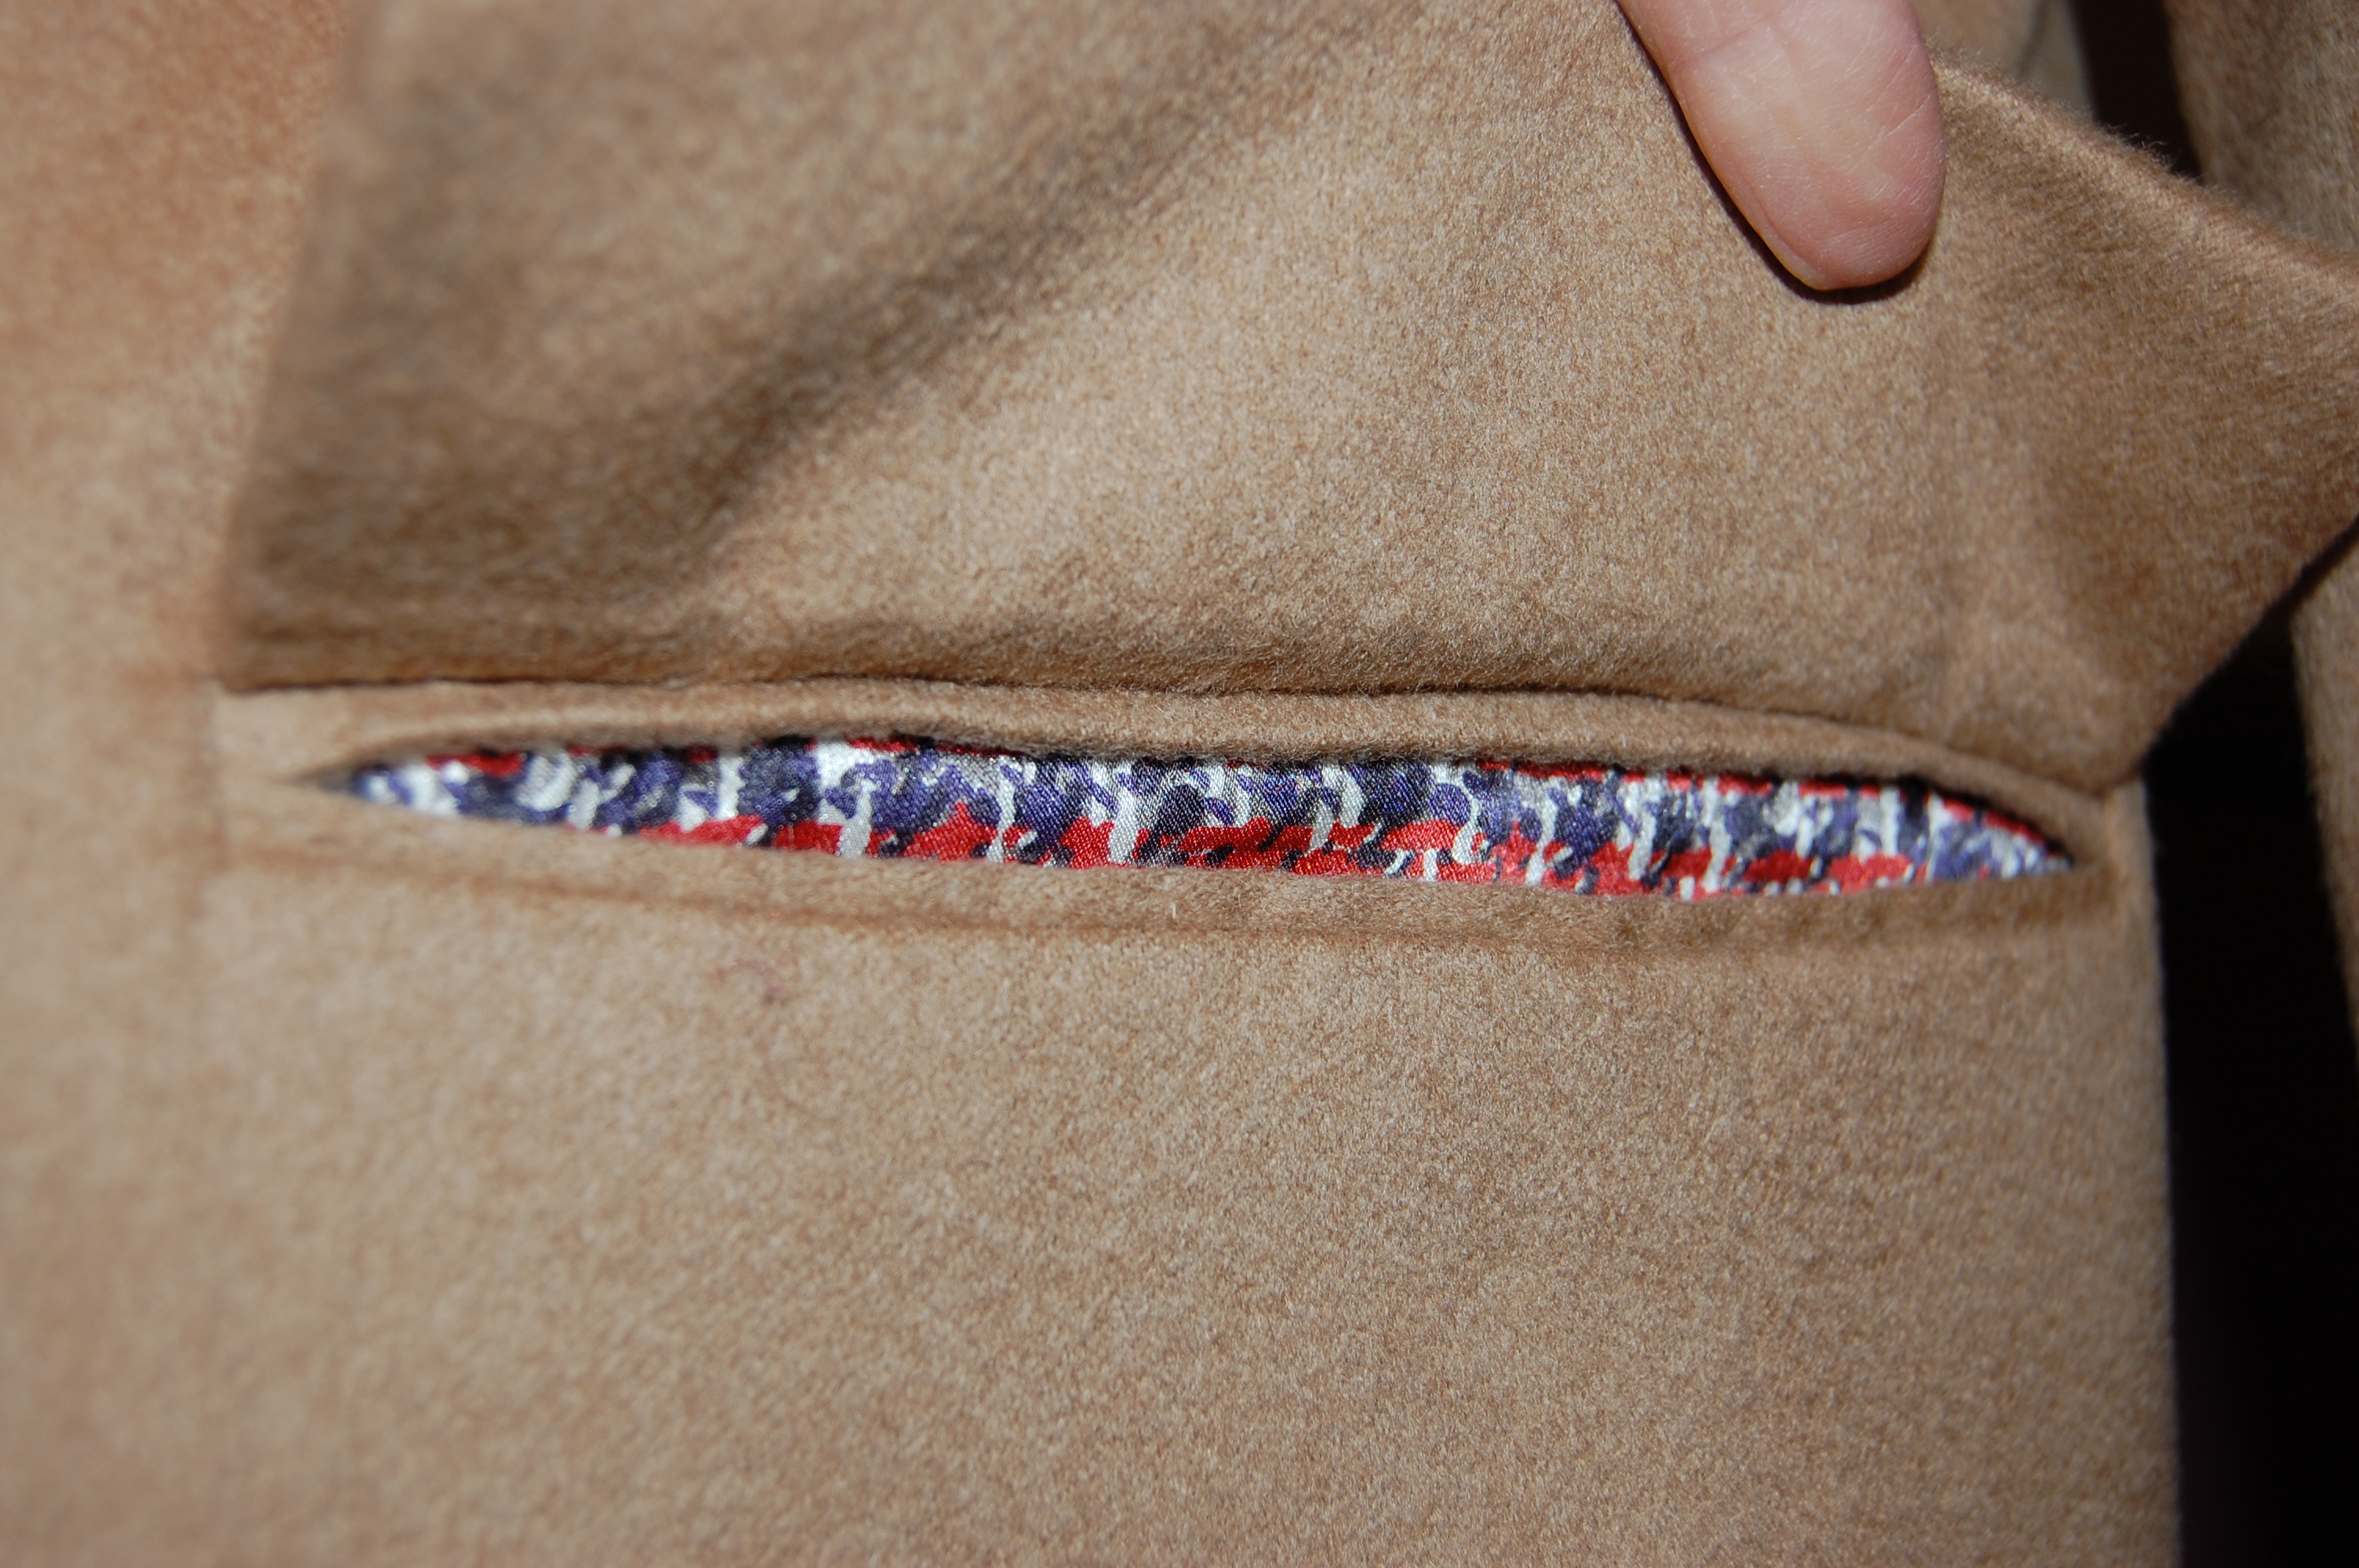
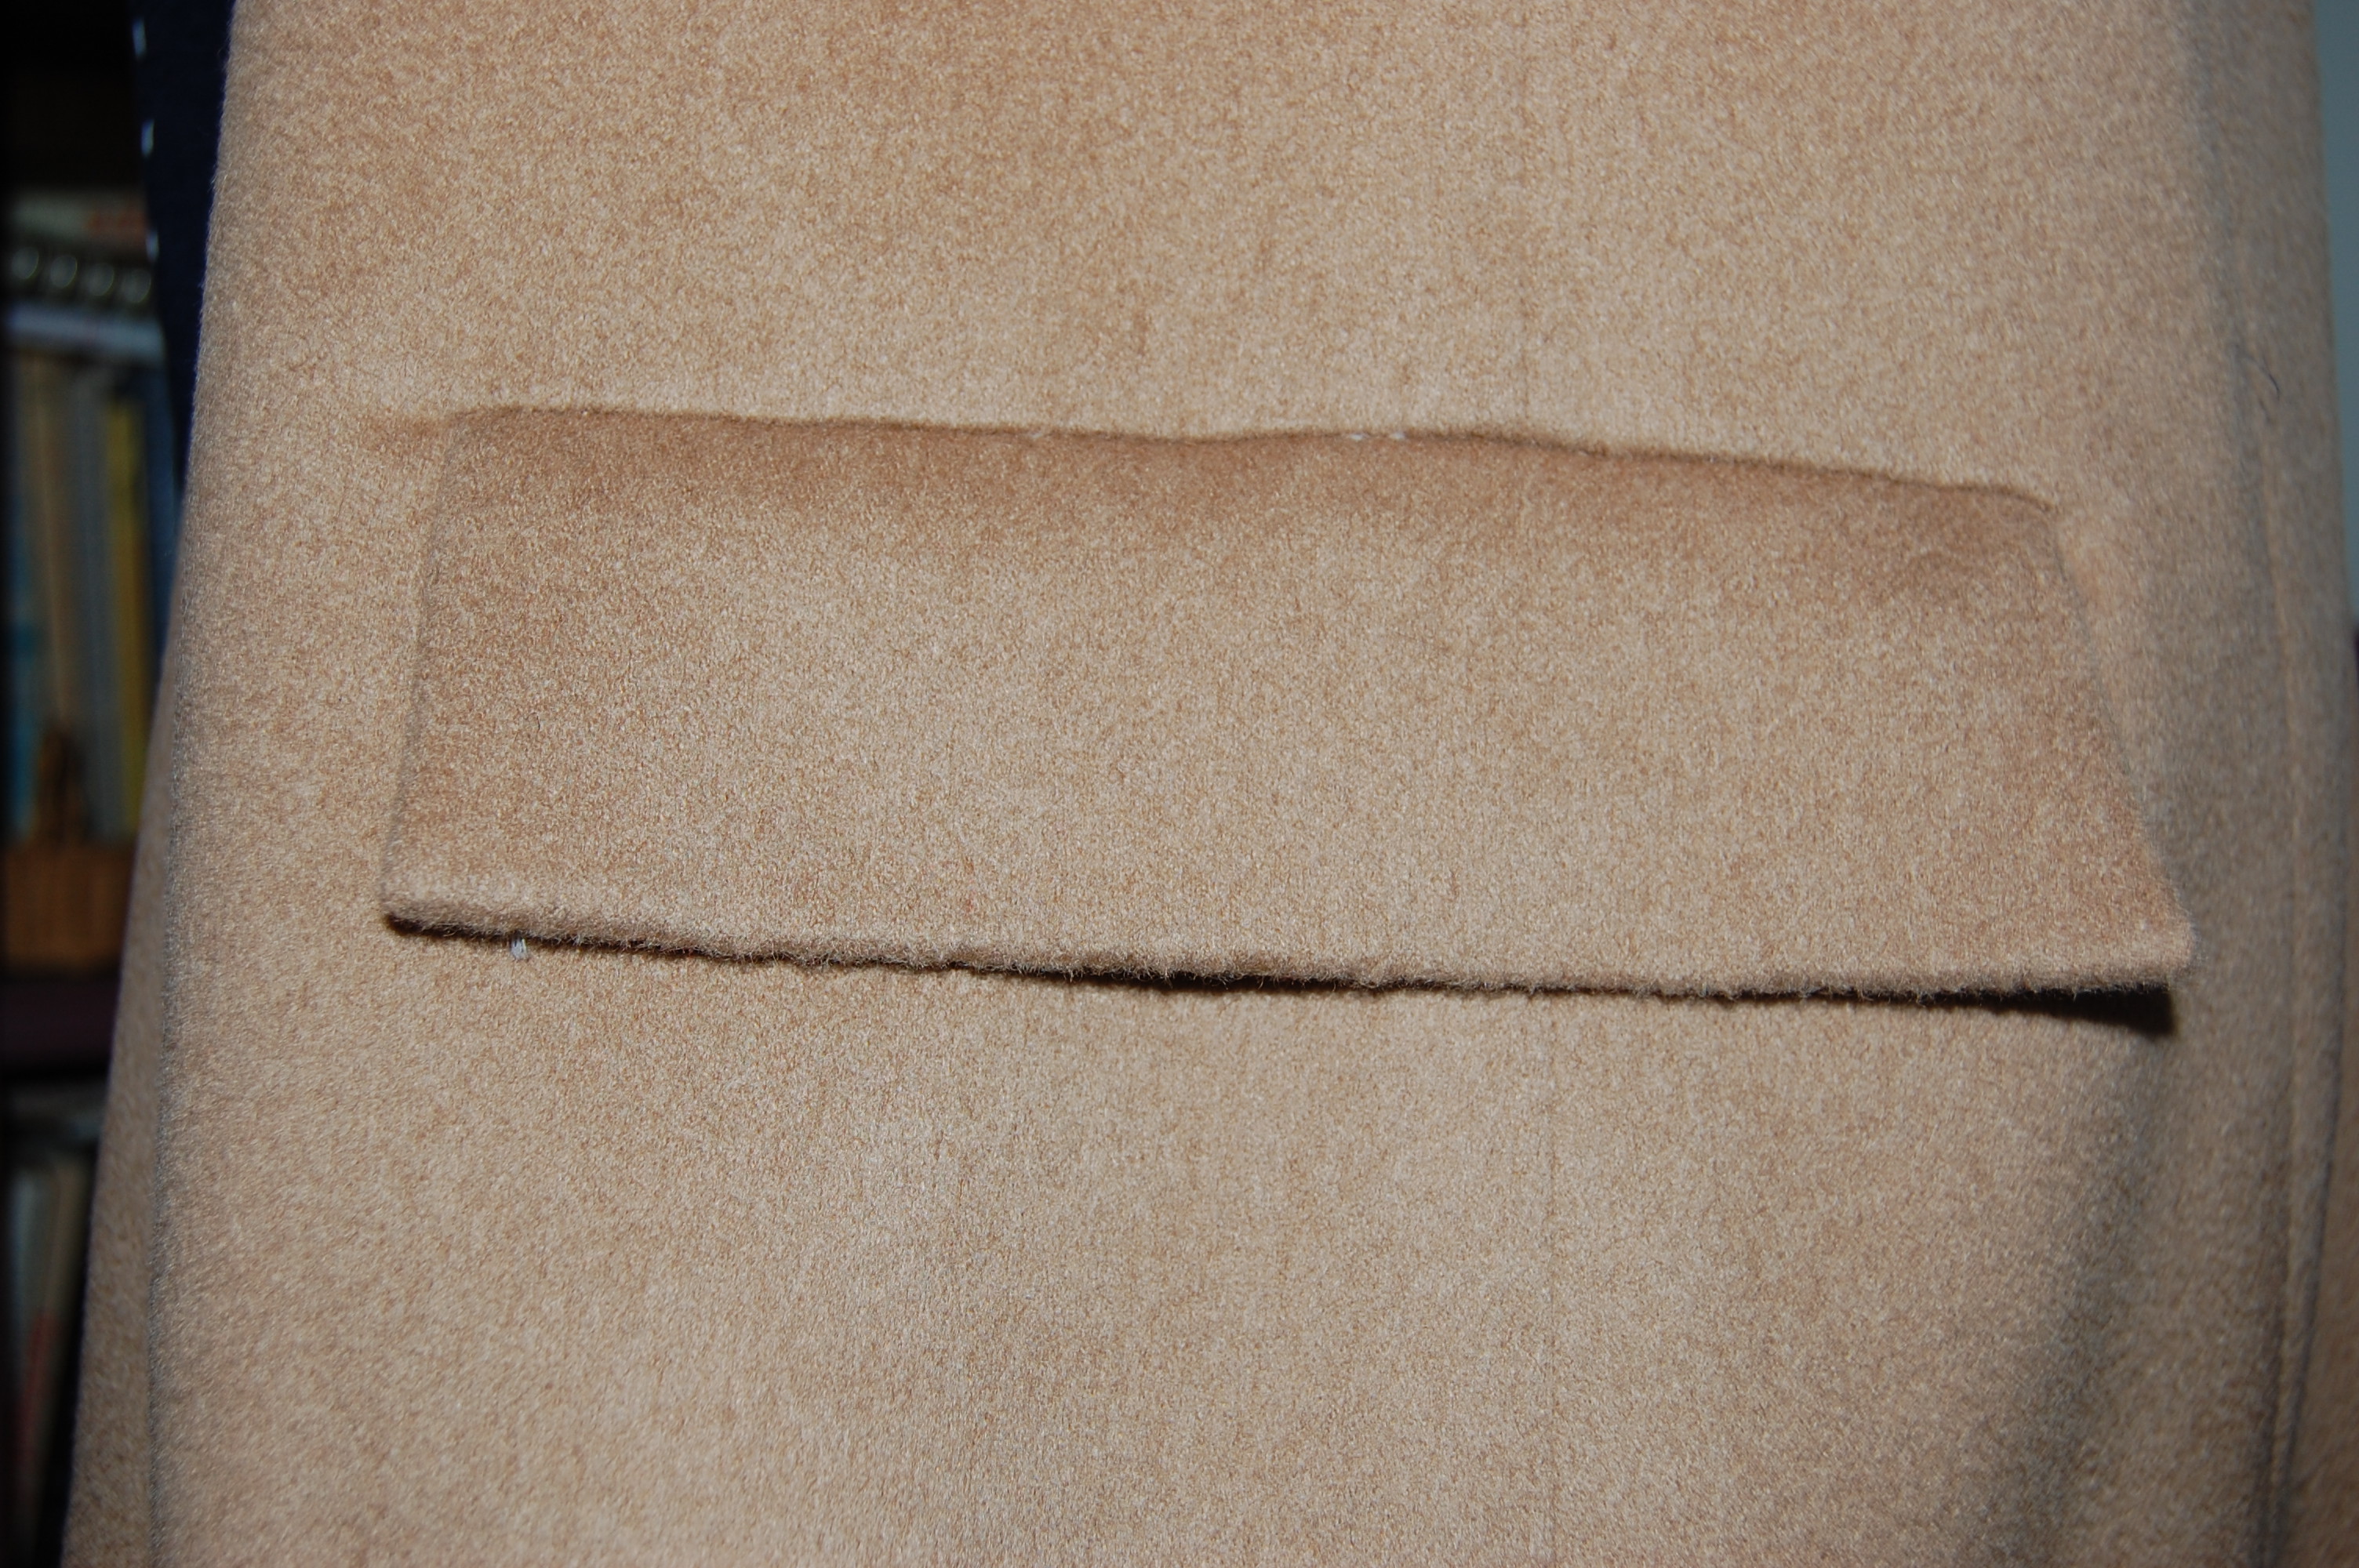
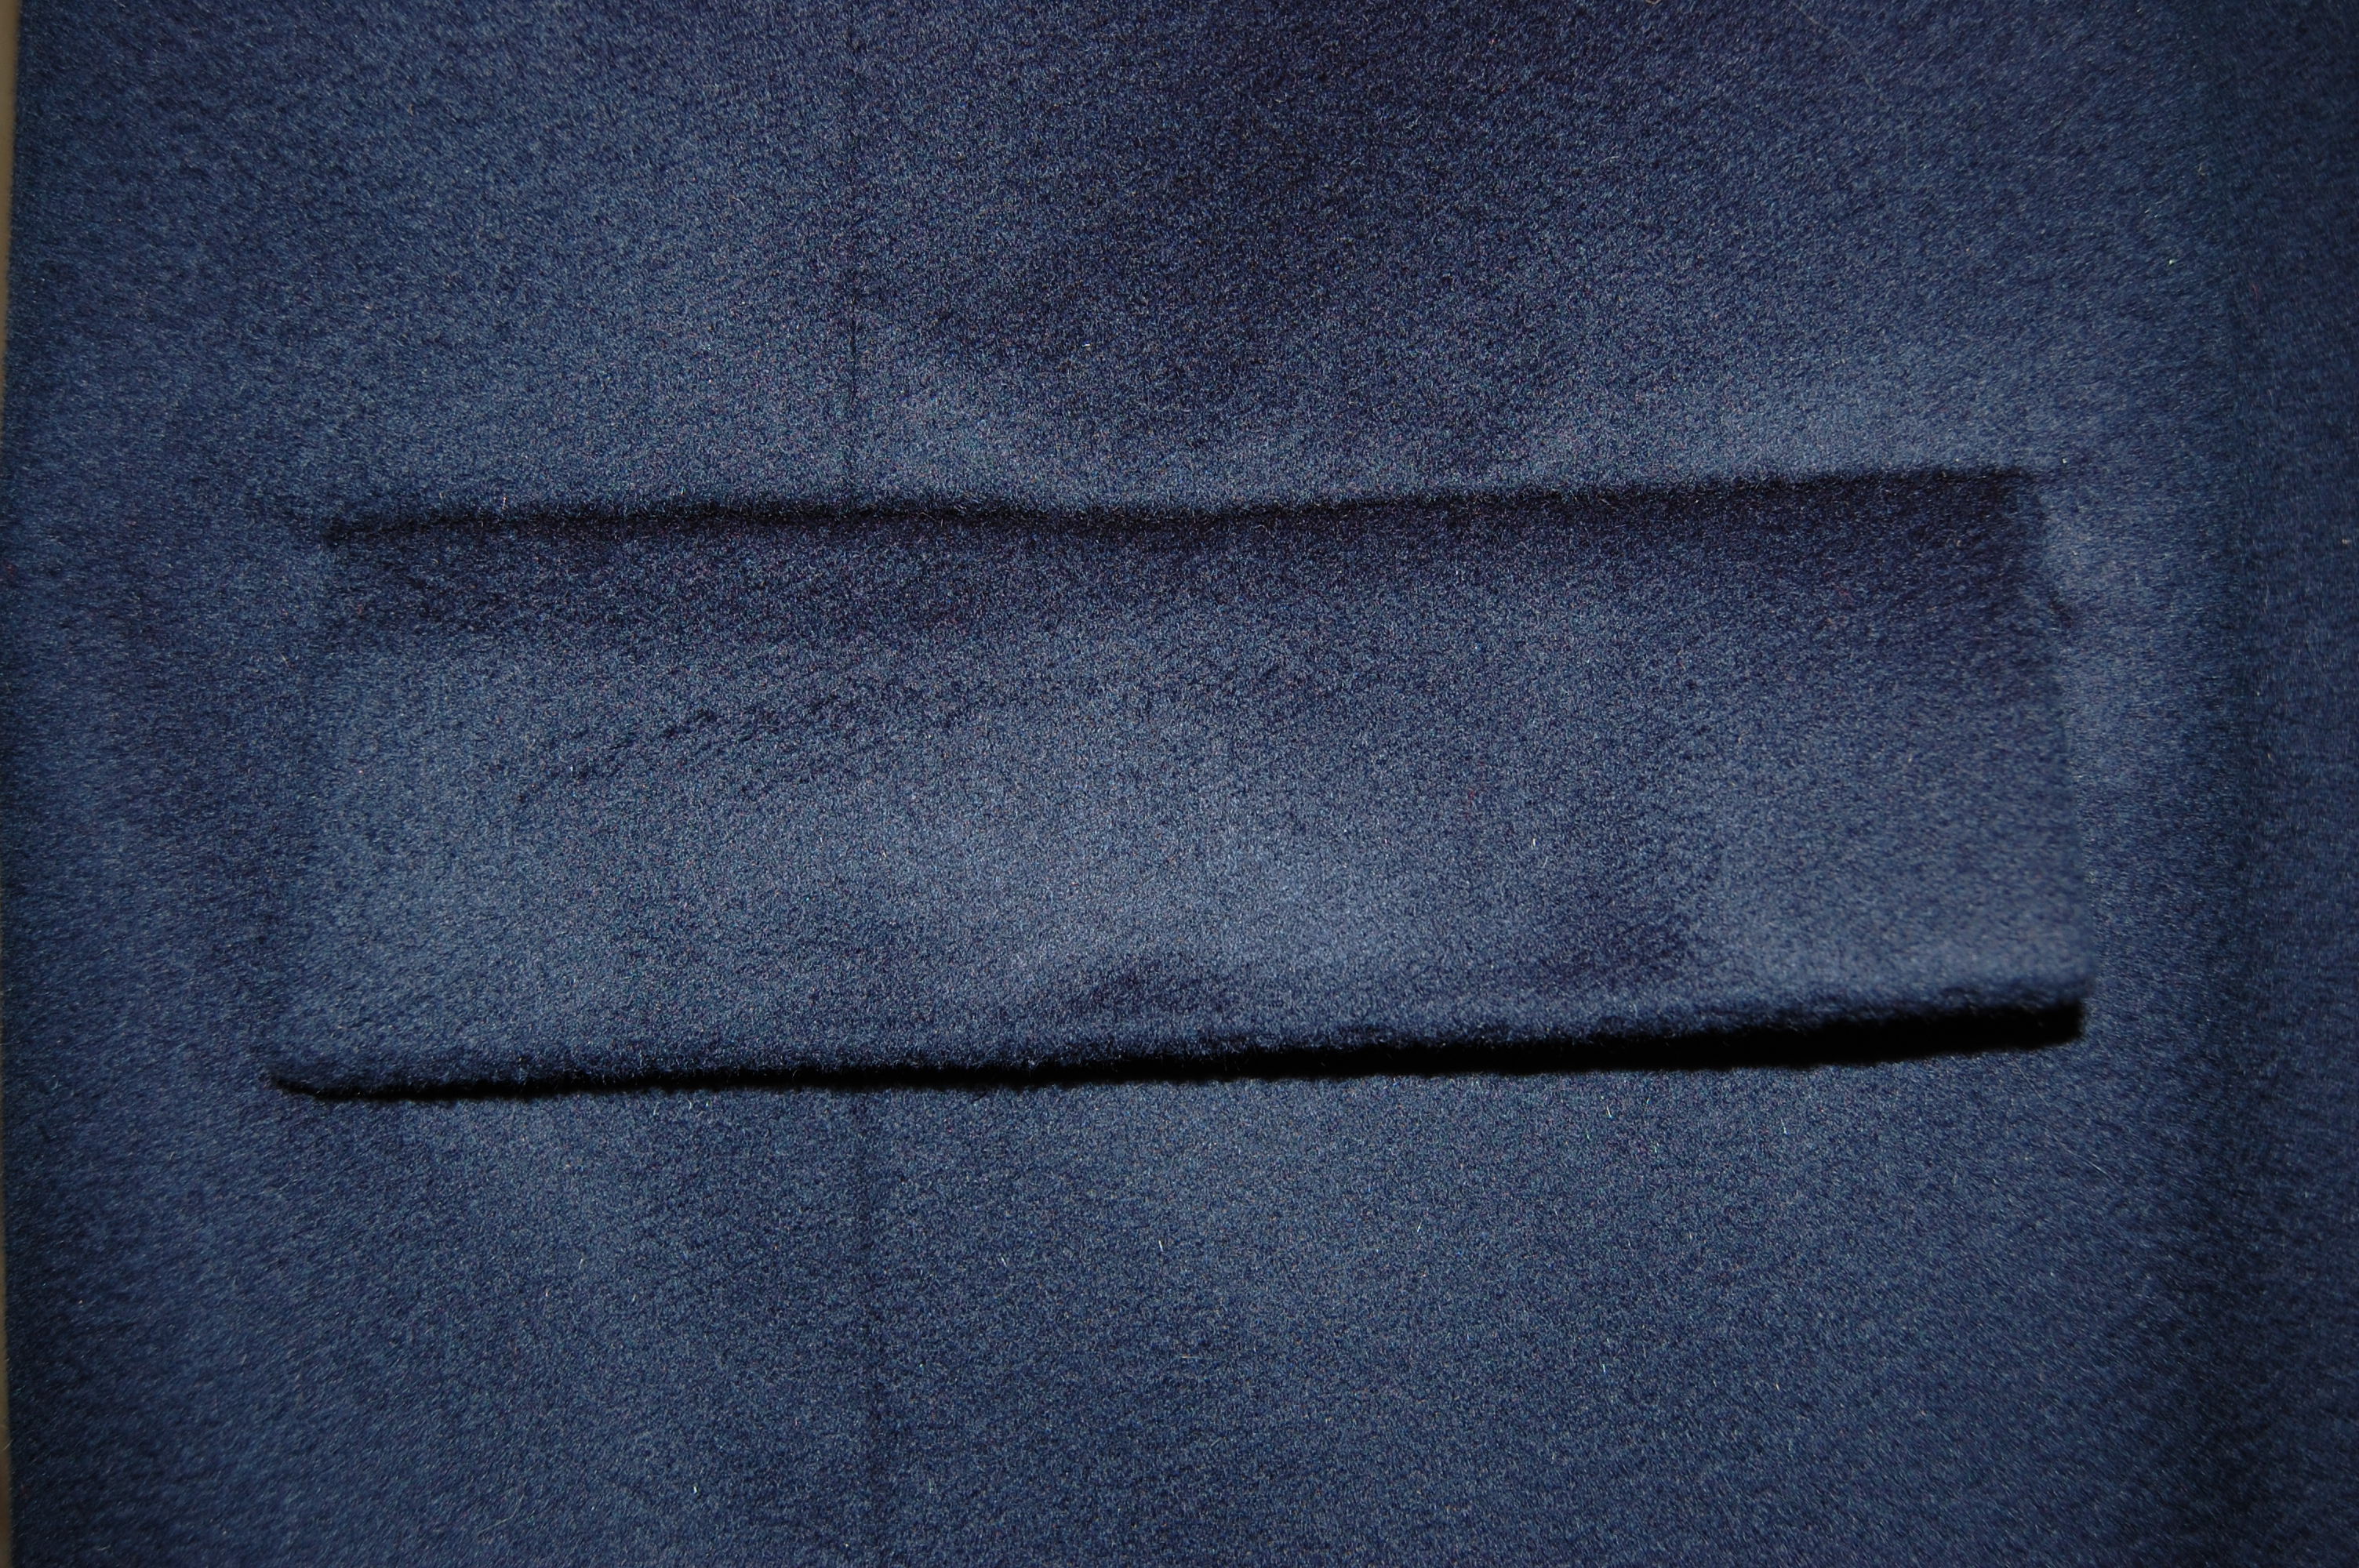
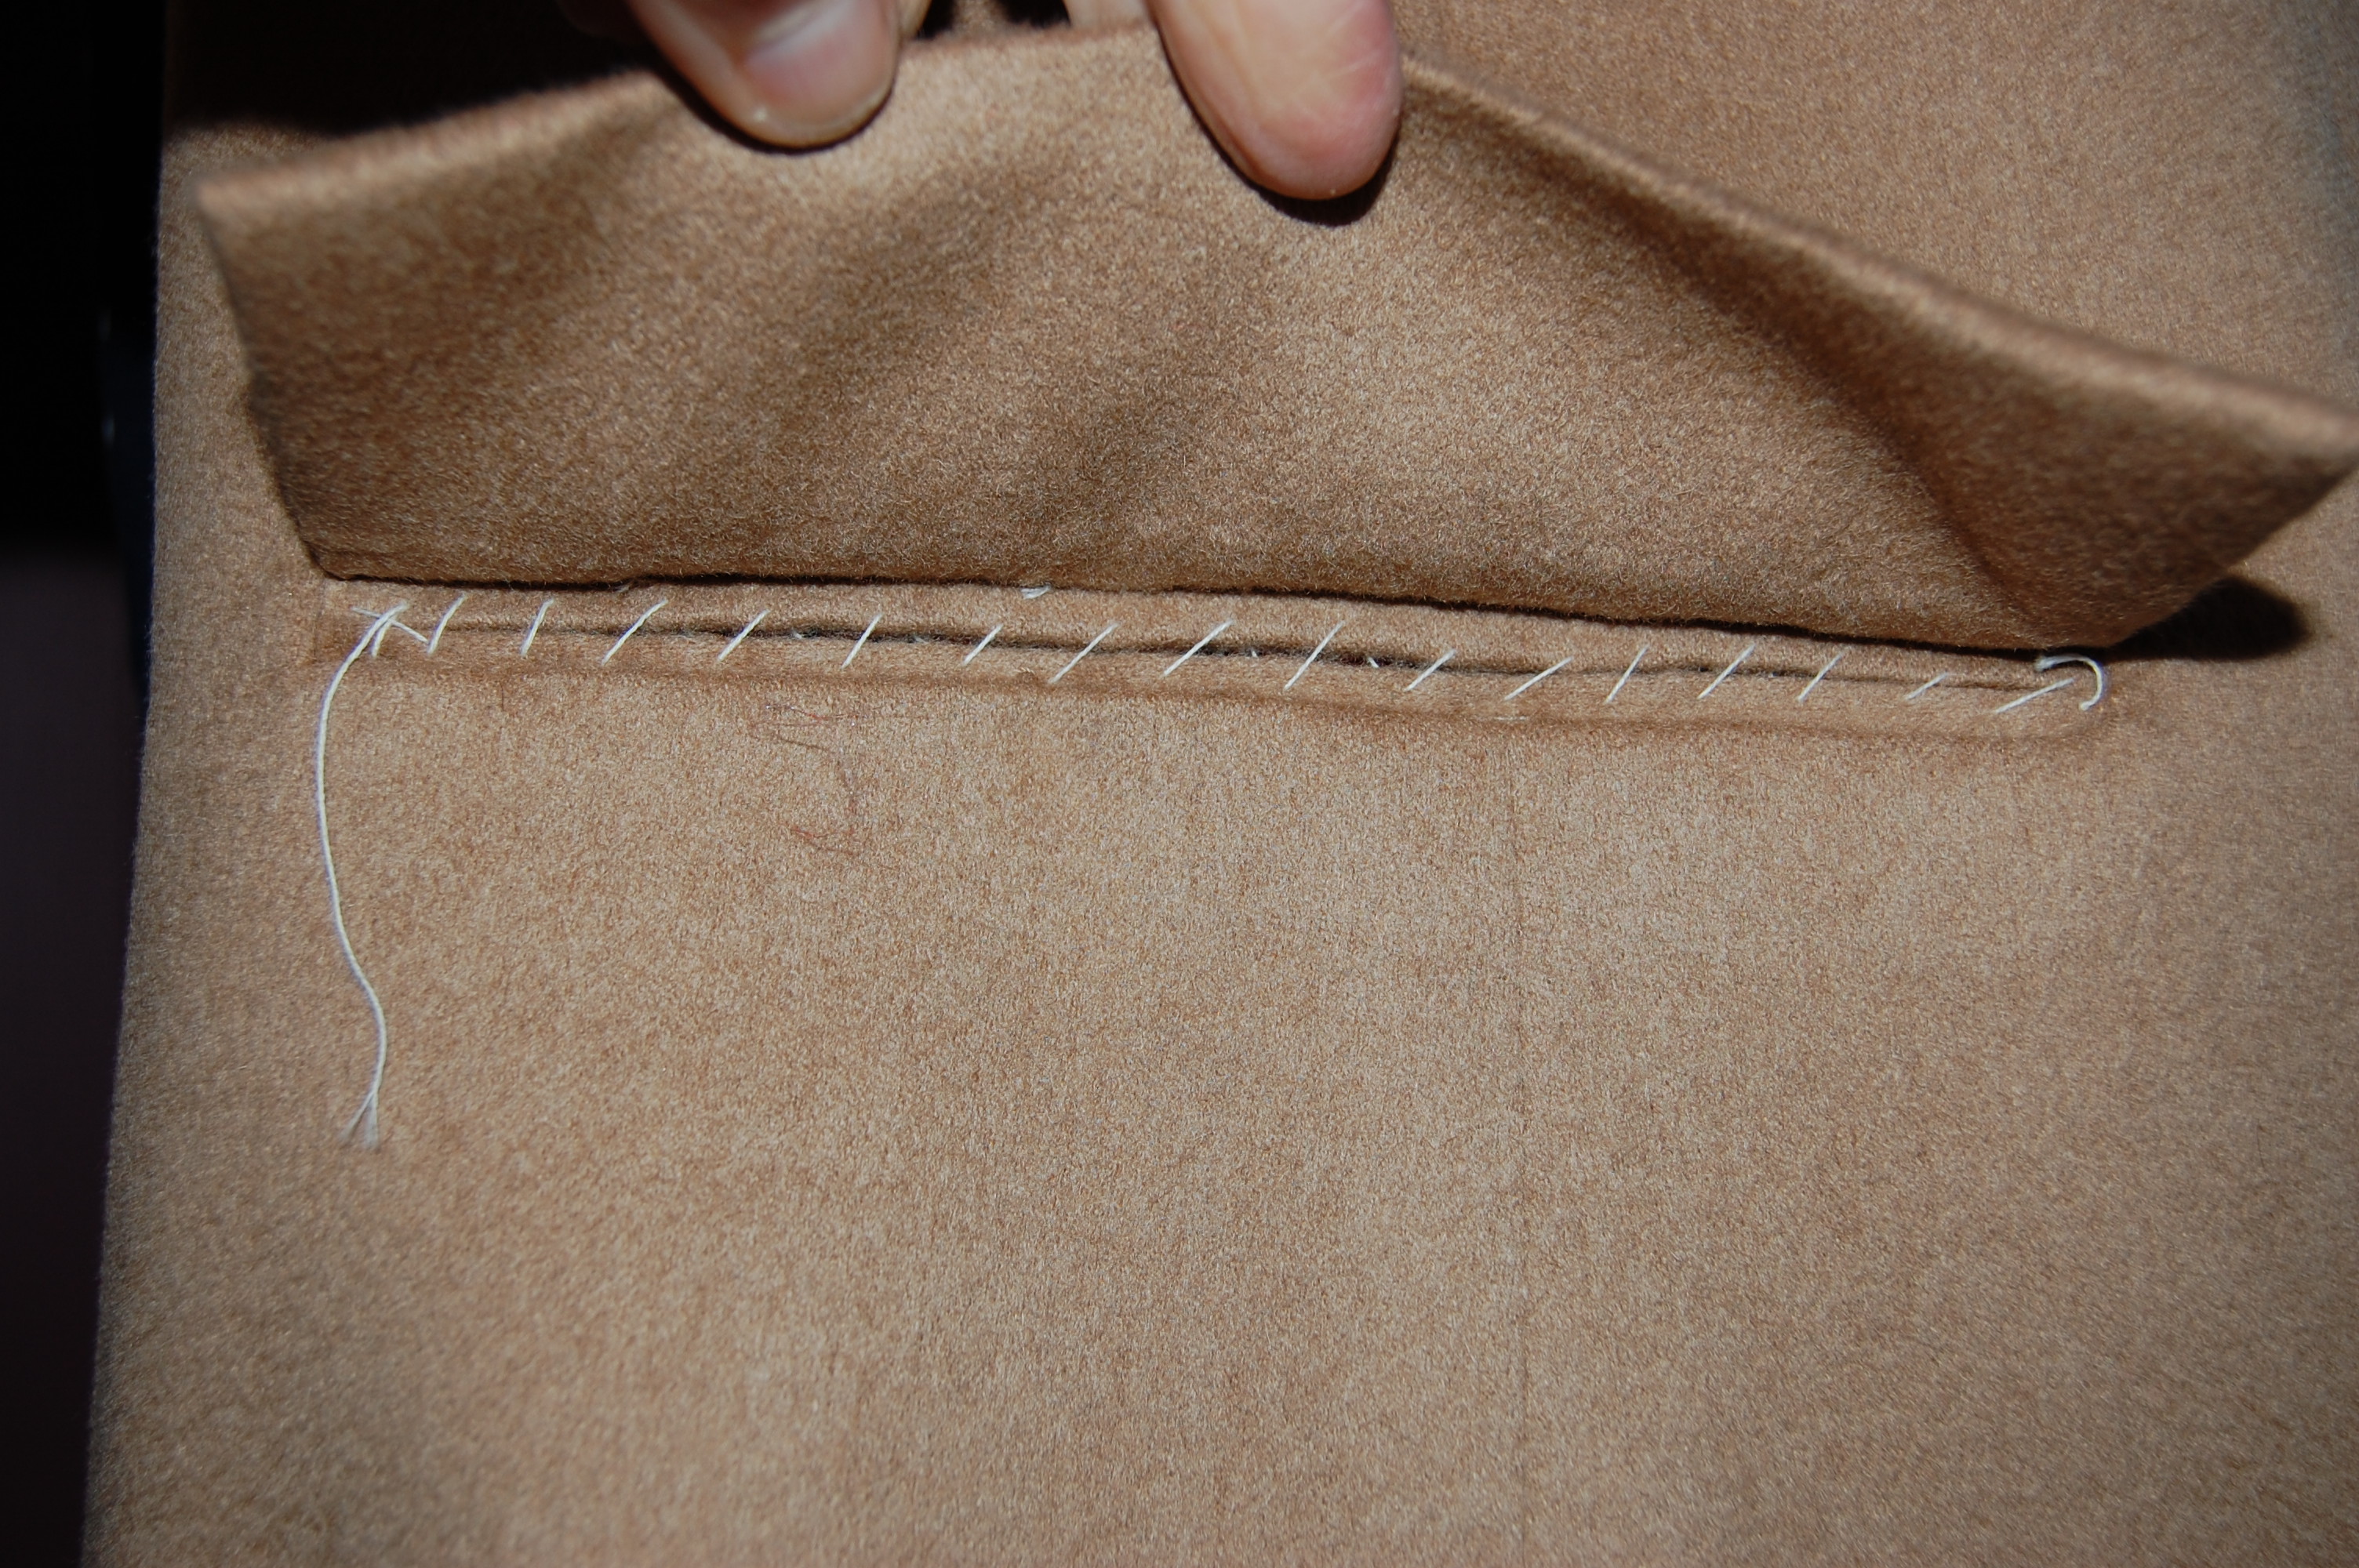
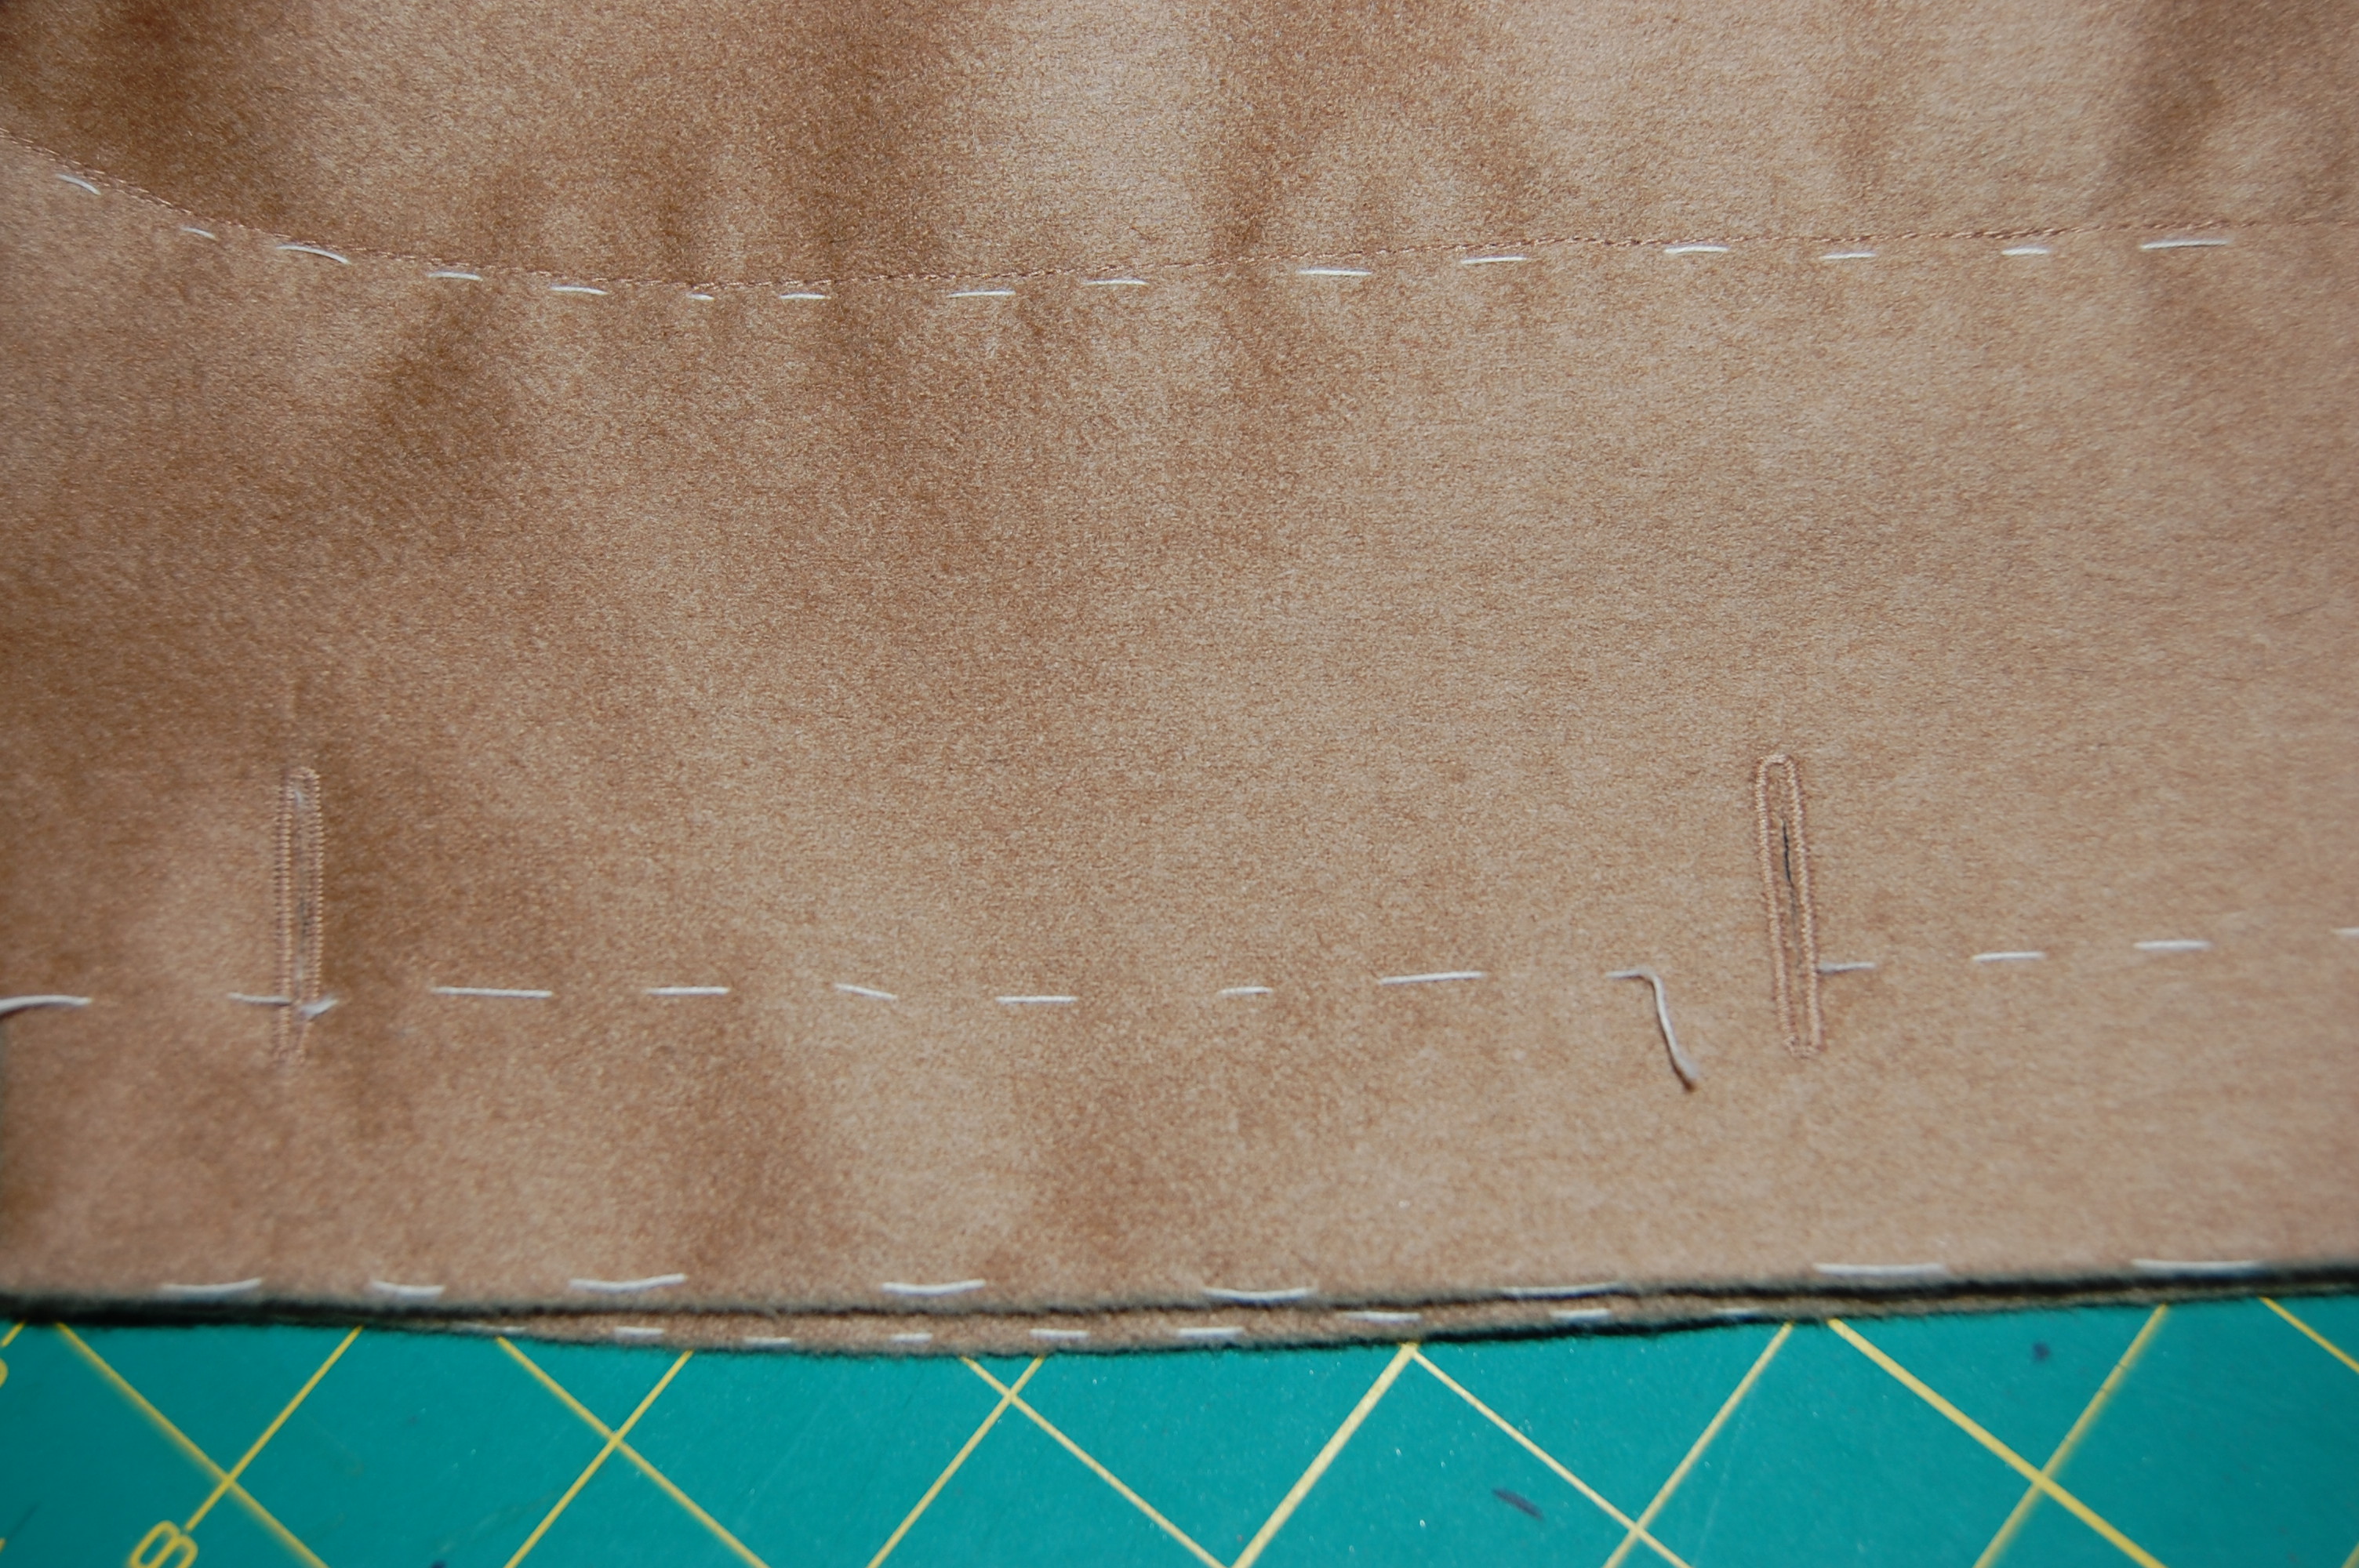
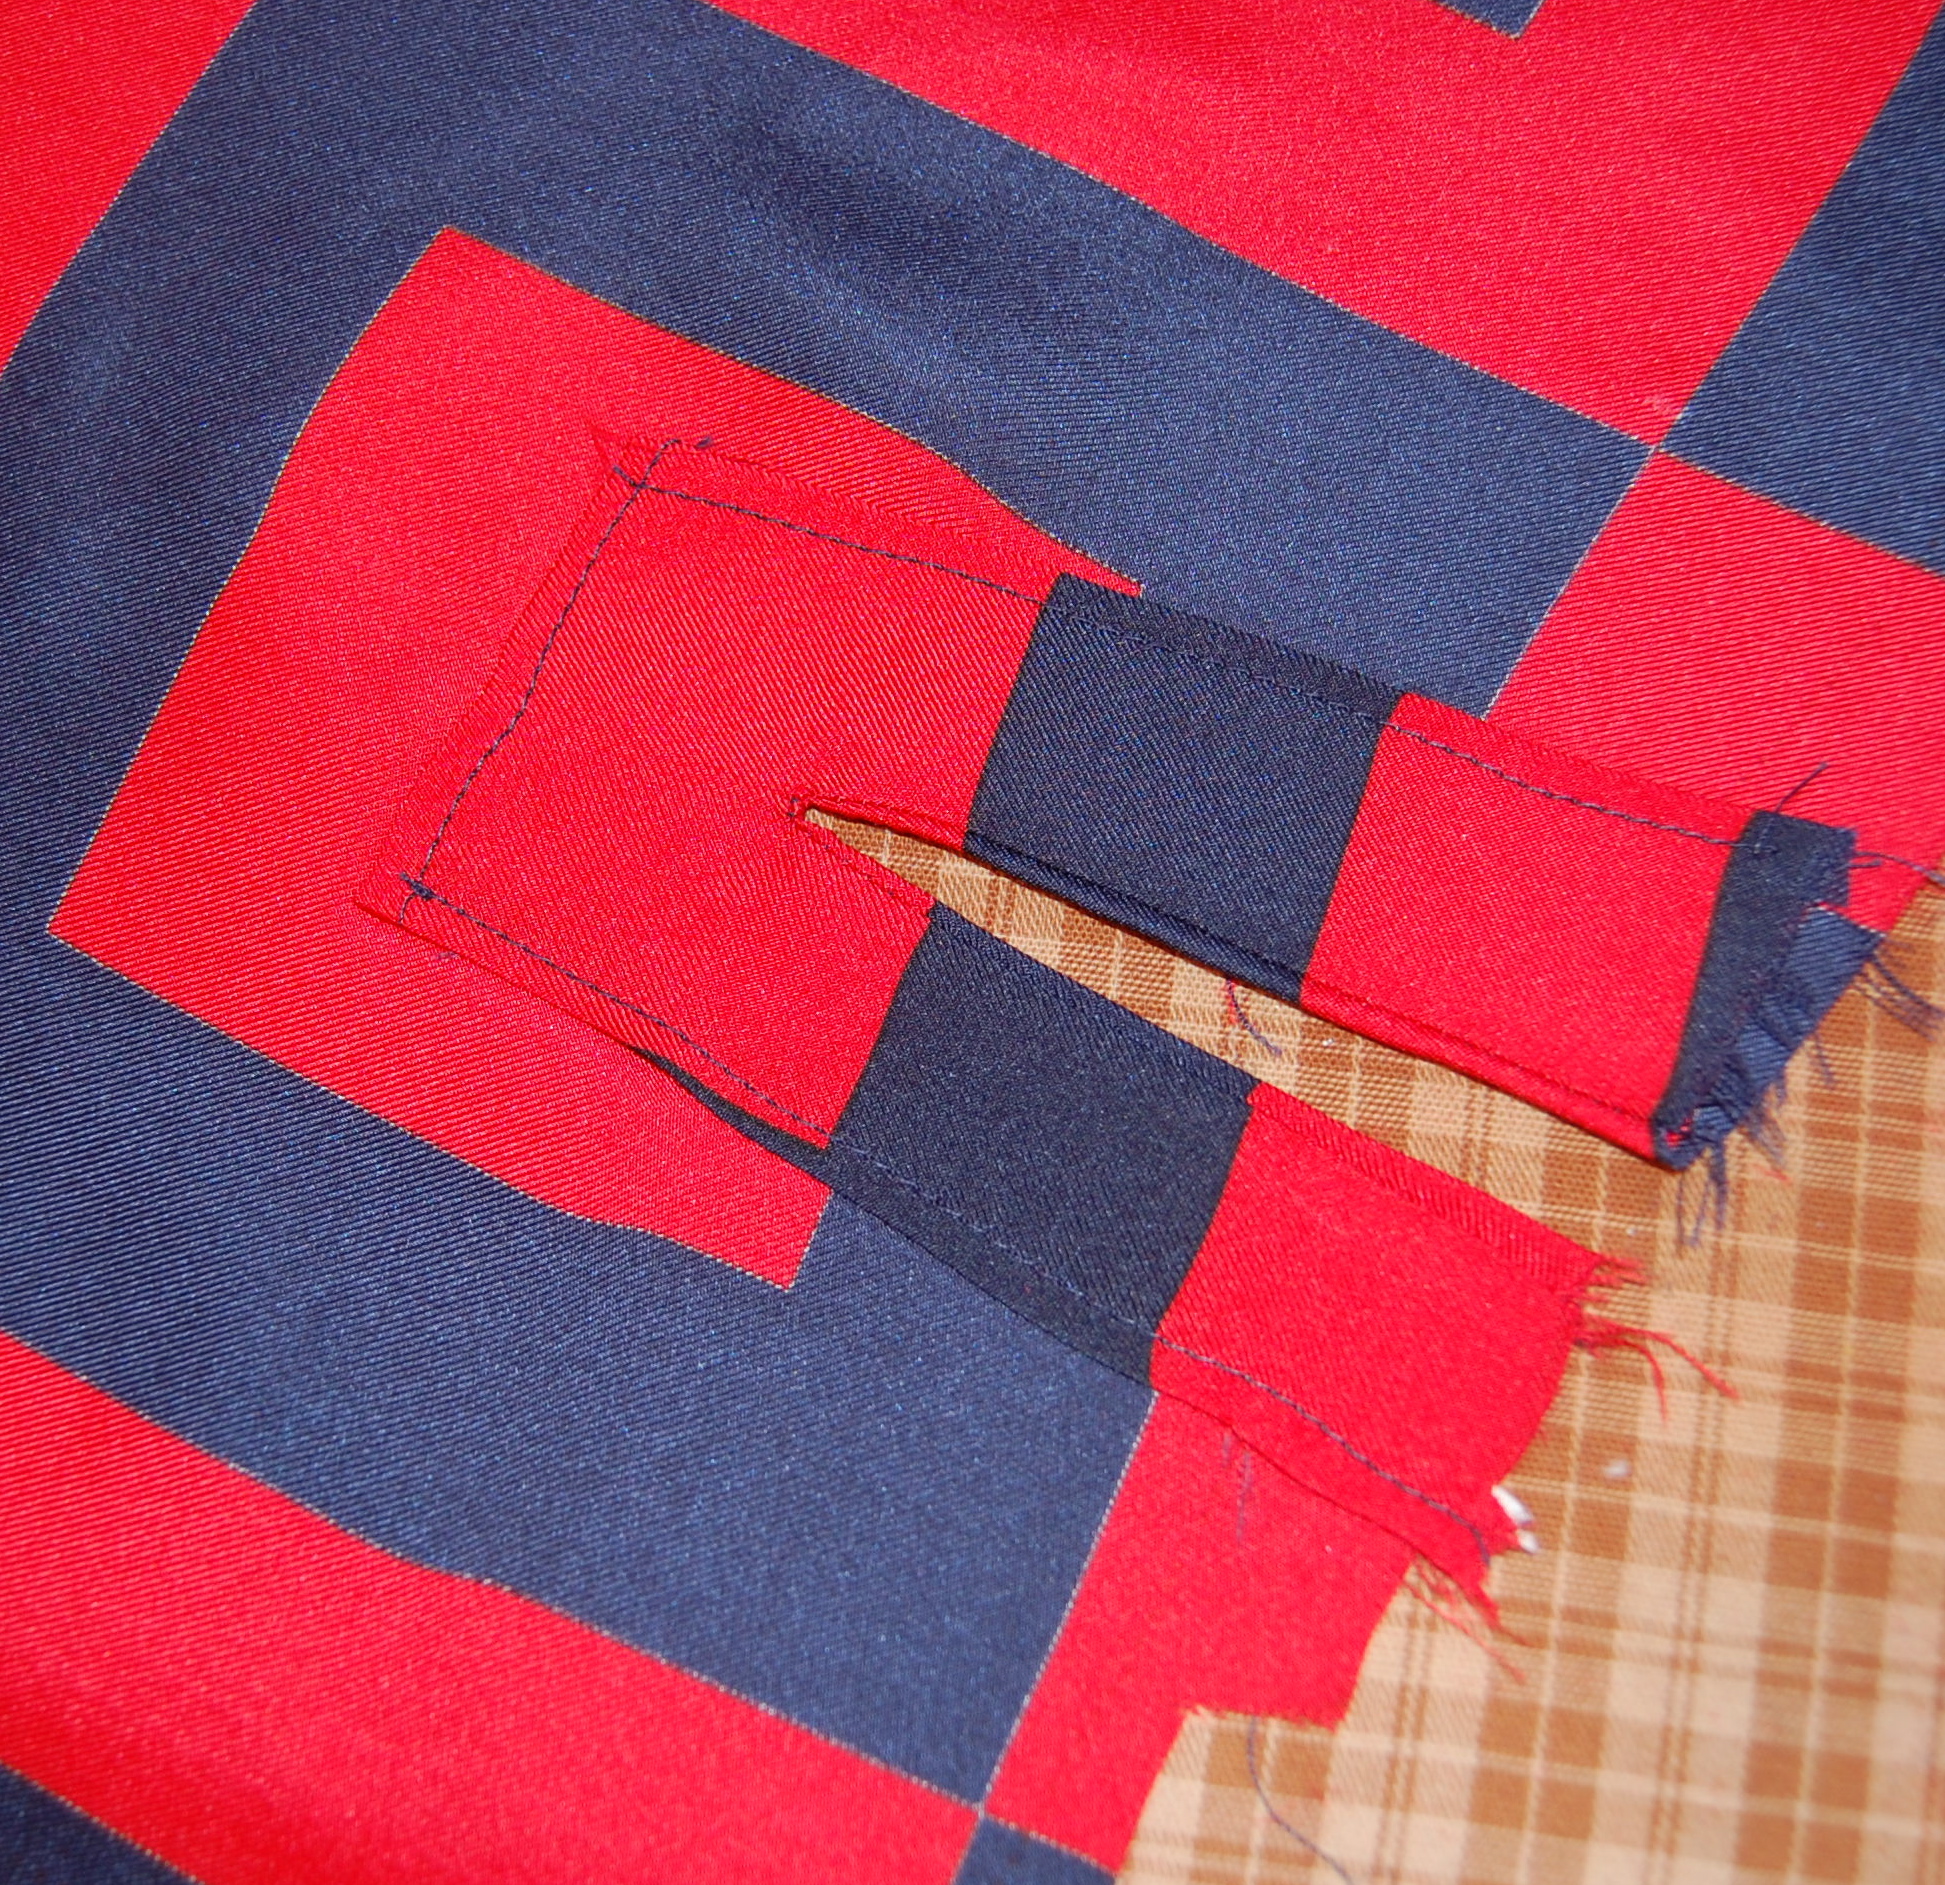
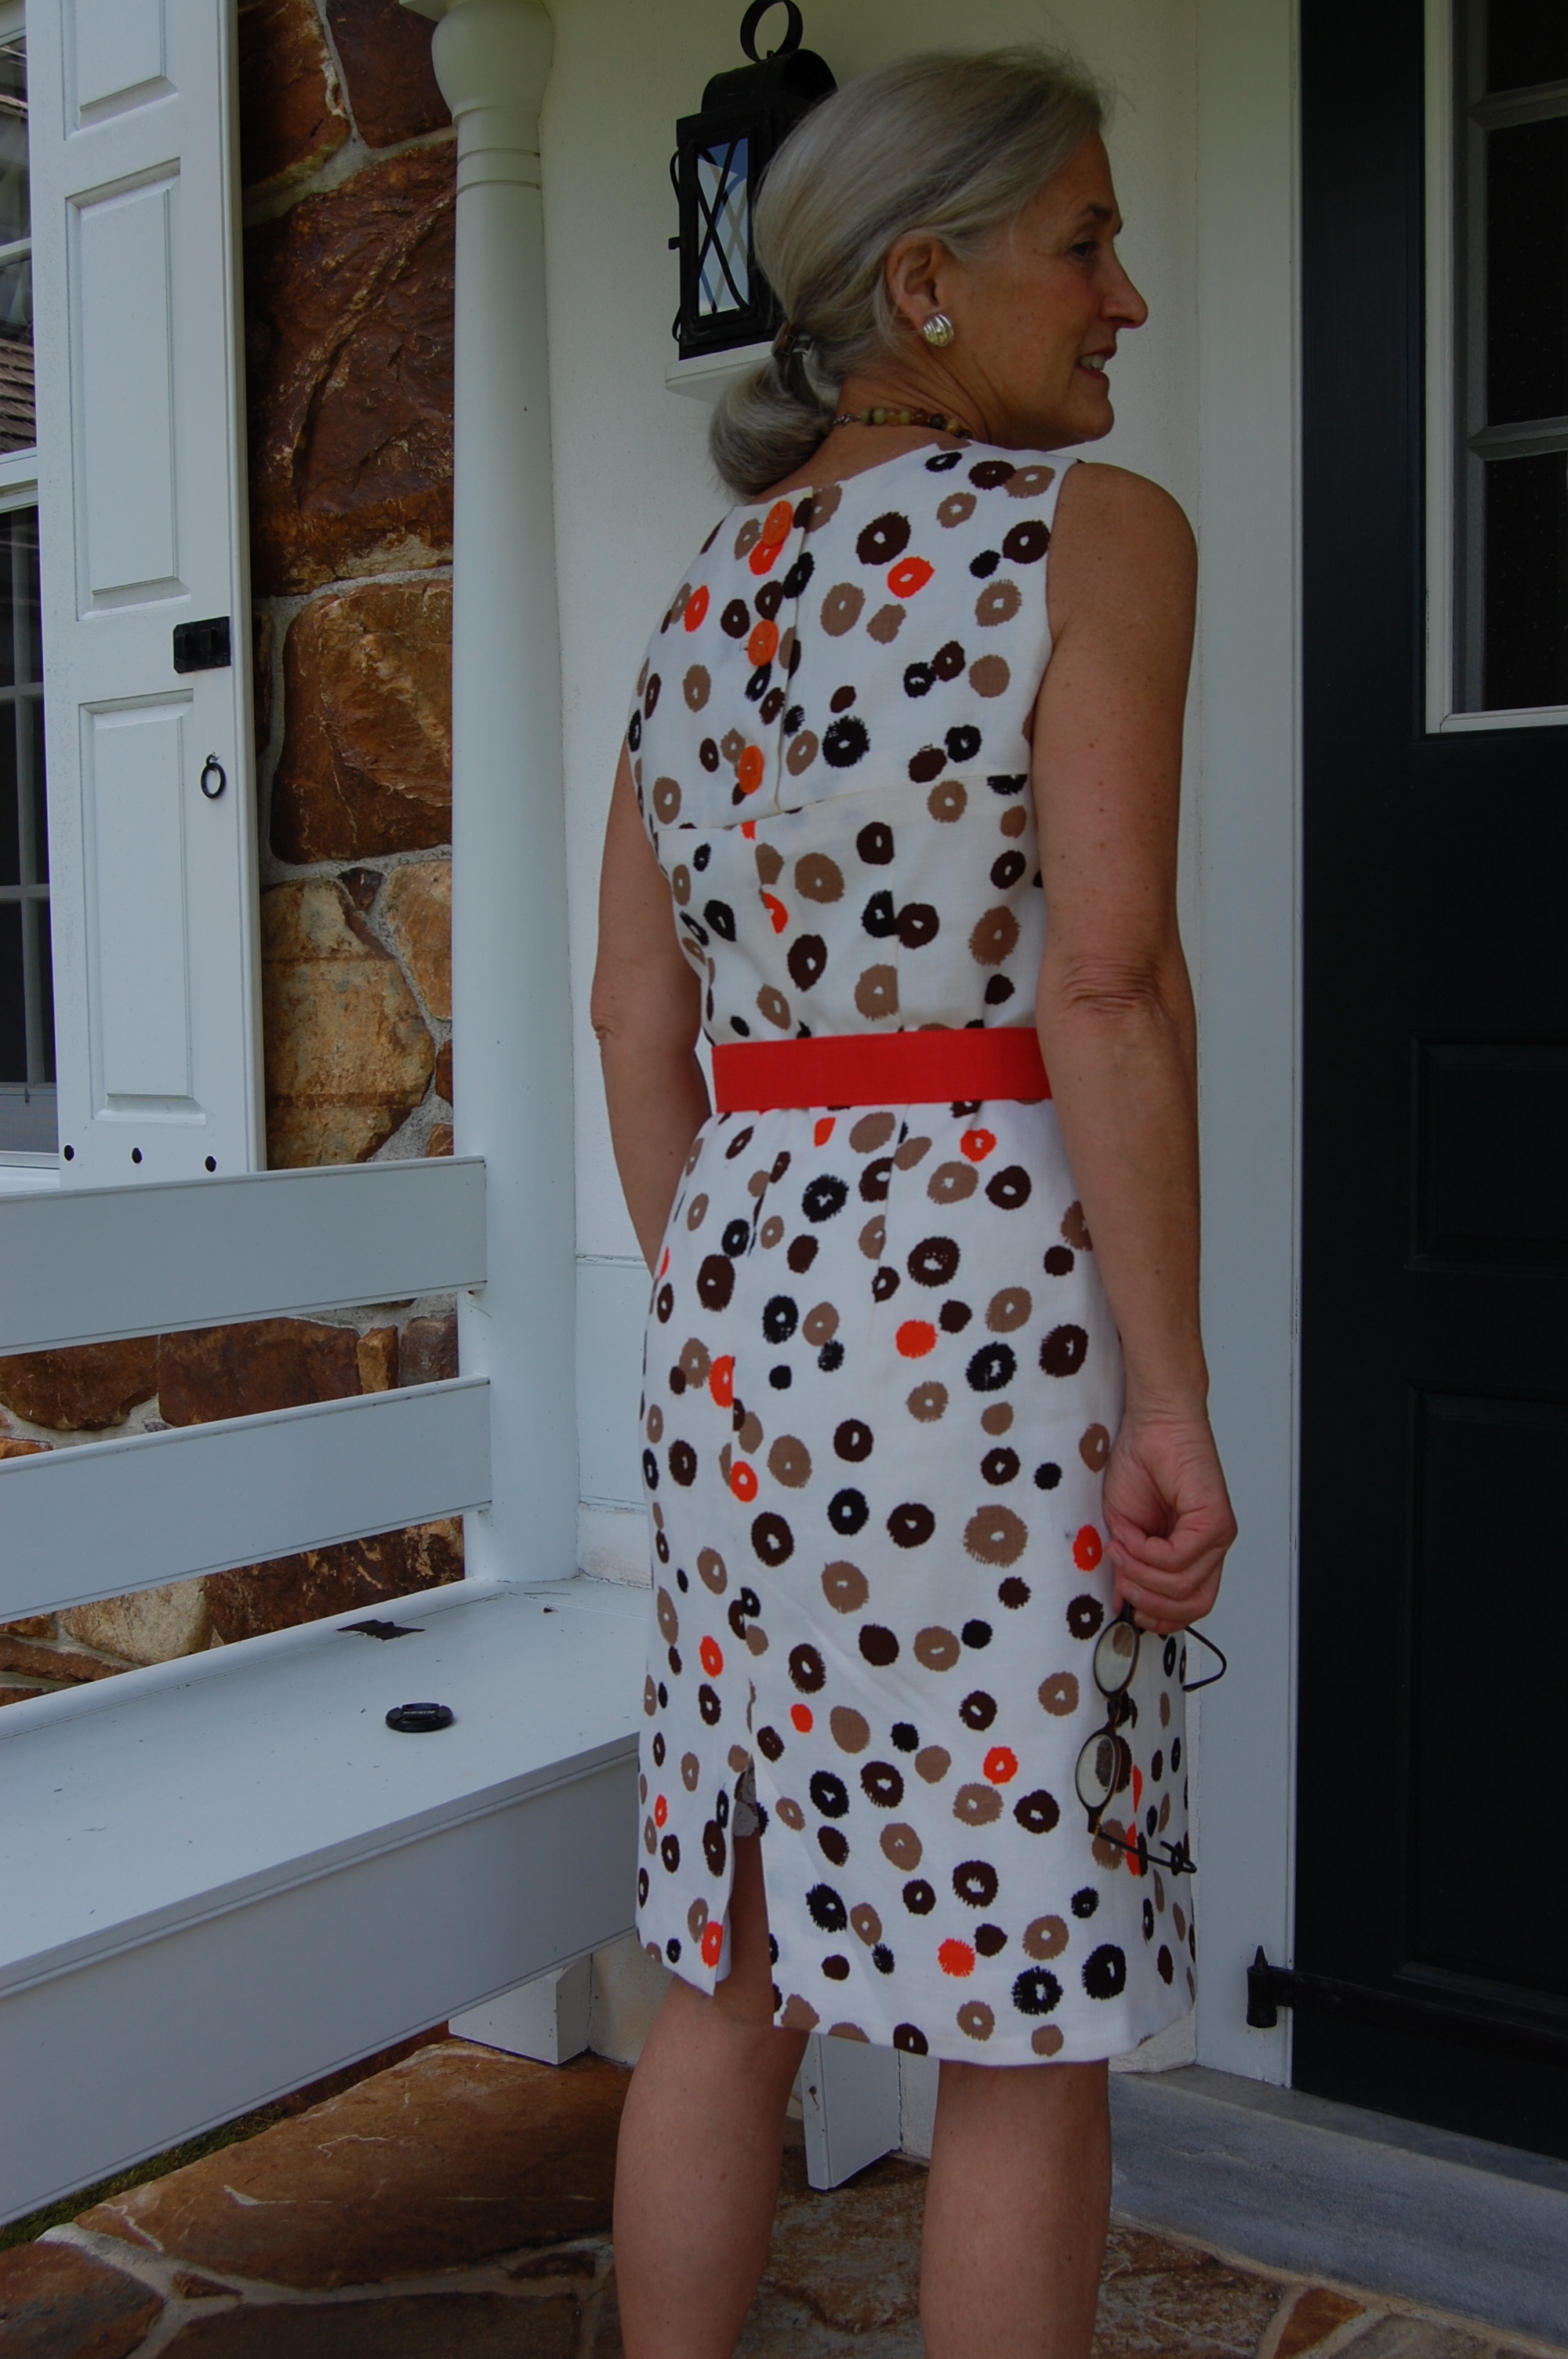
A close-up of the back of the dress. I made bound buttonholes – very 1950-ish!
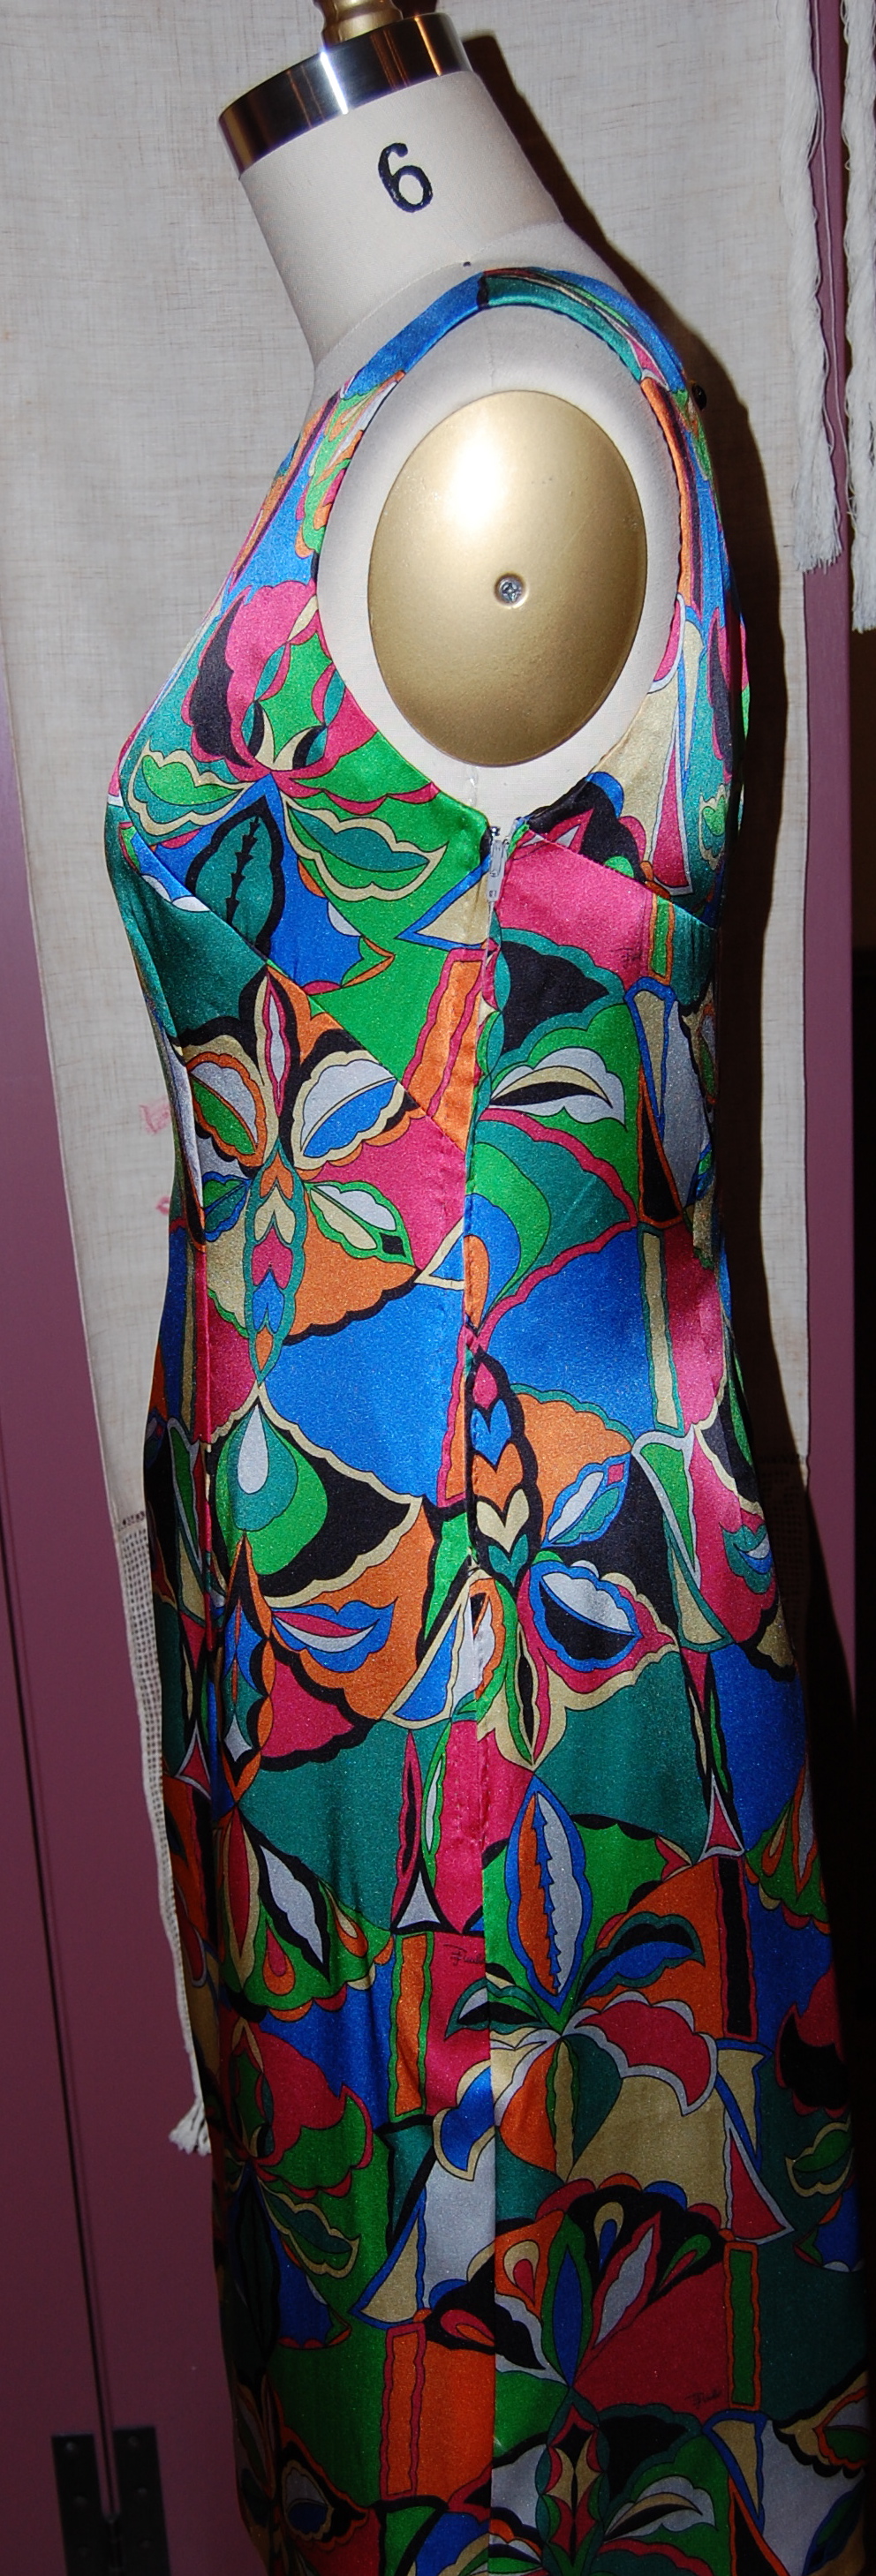
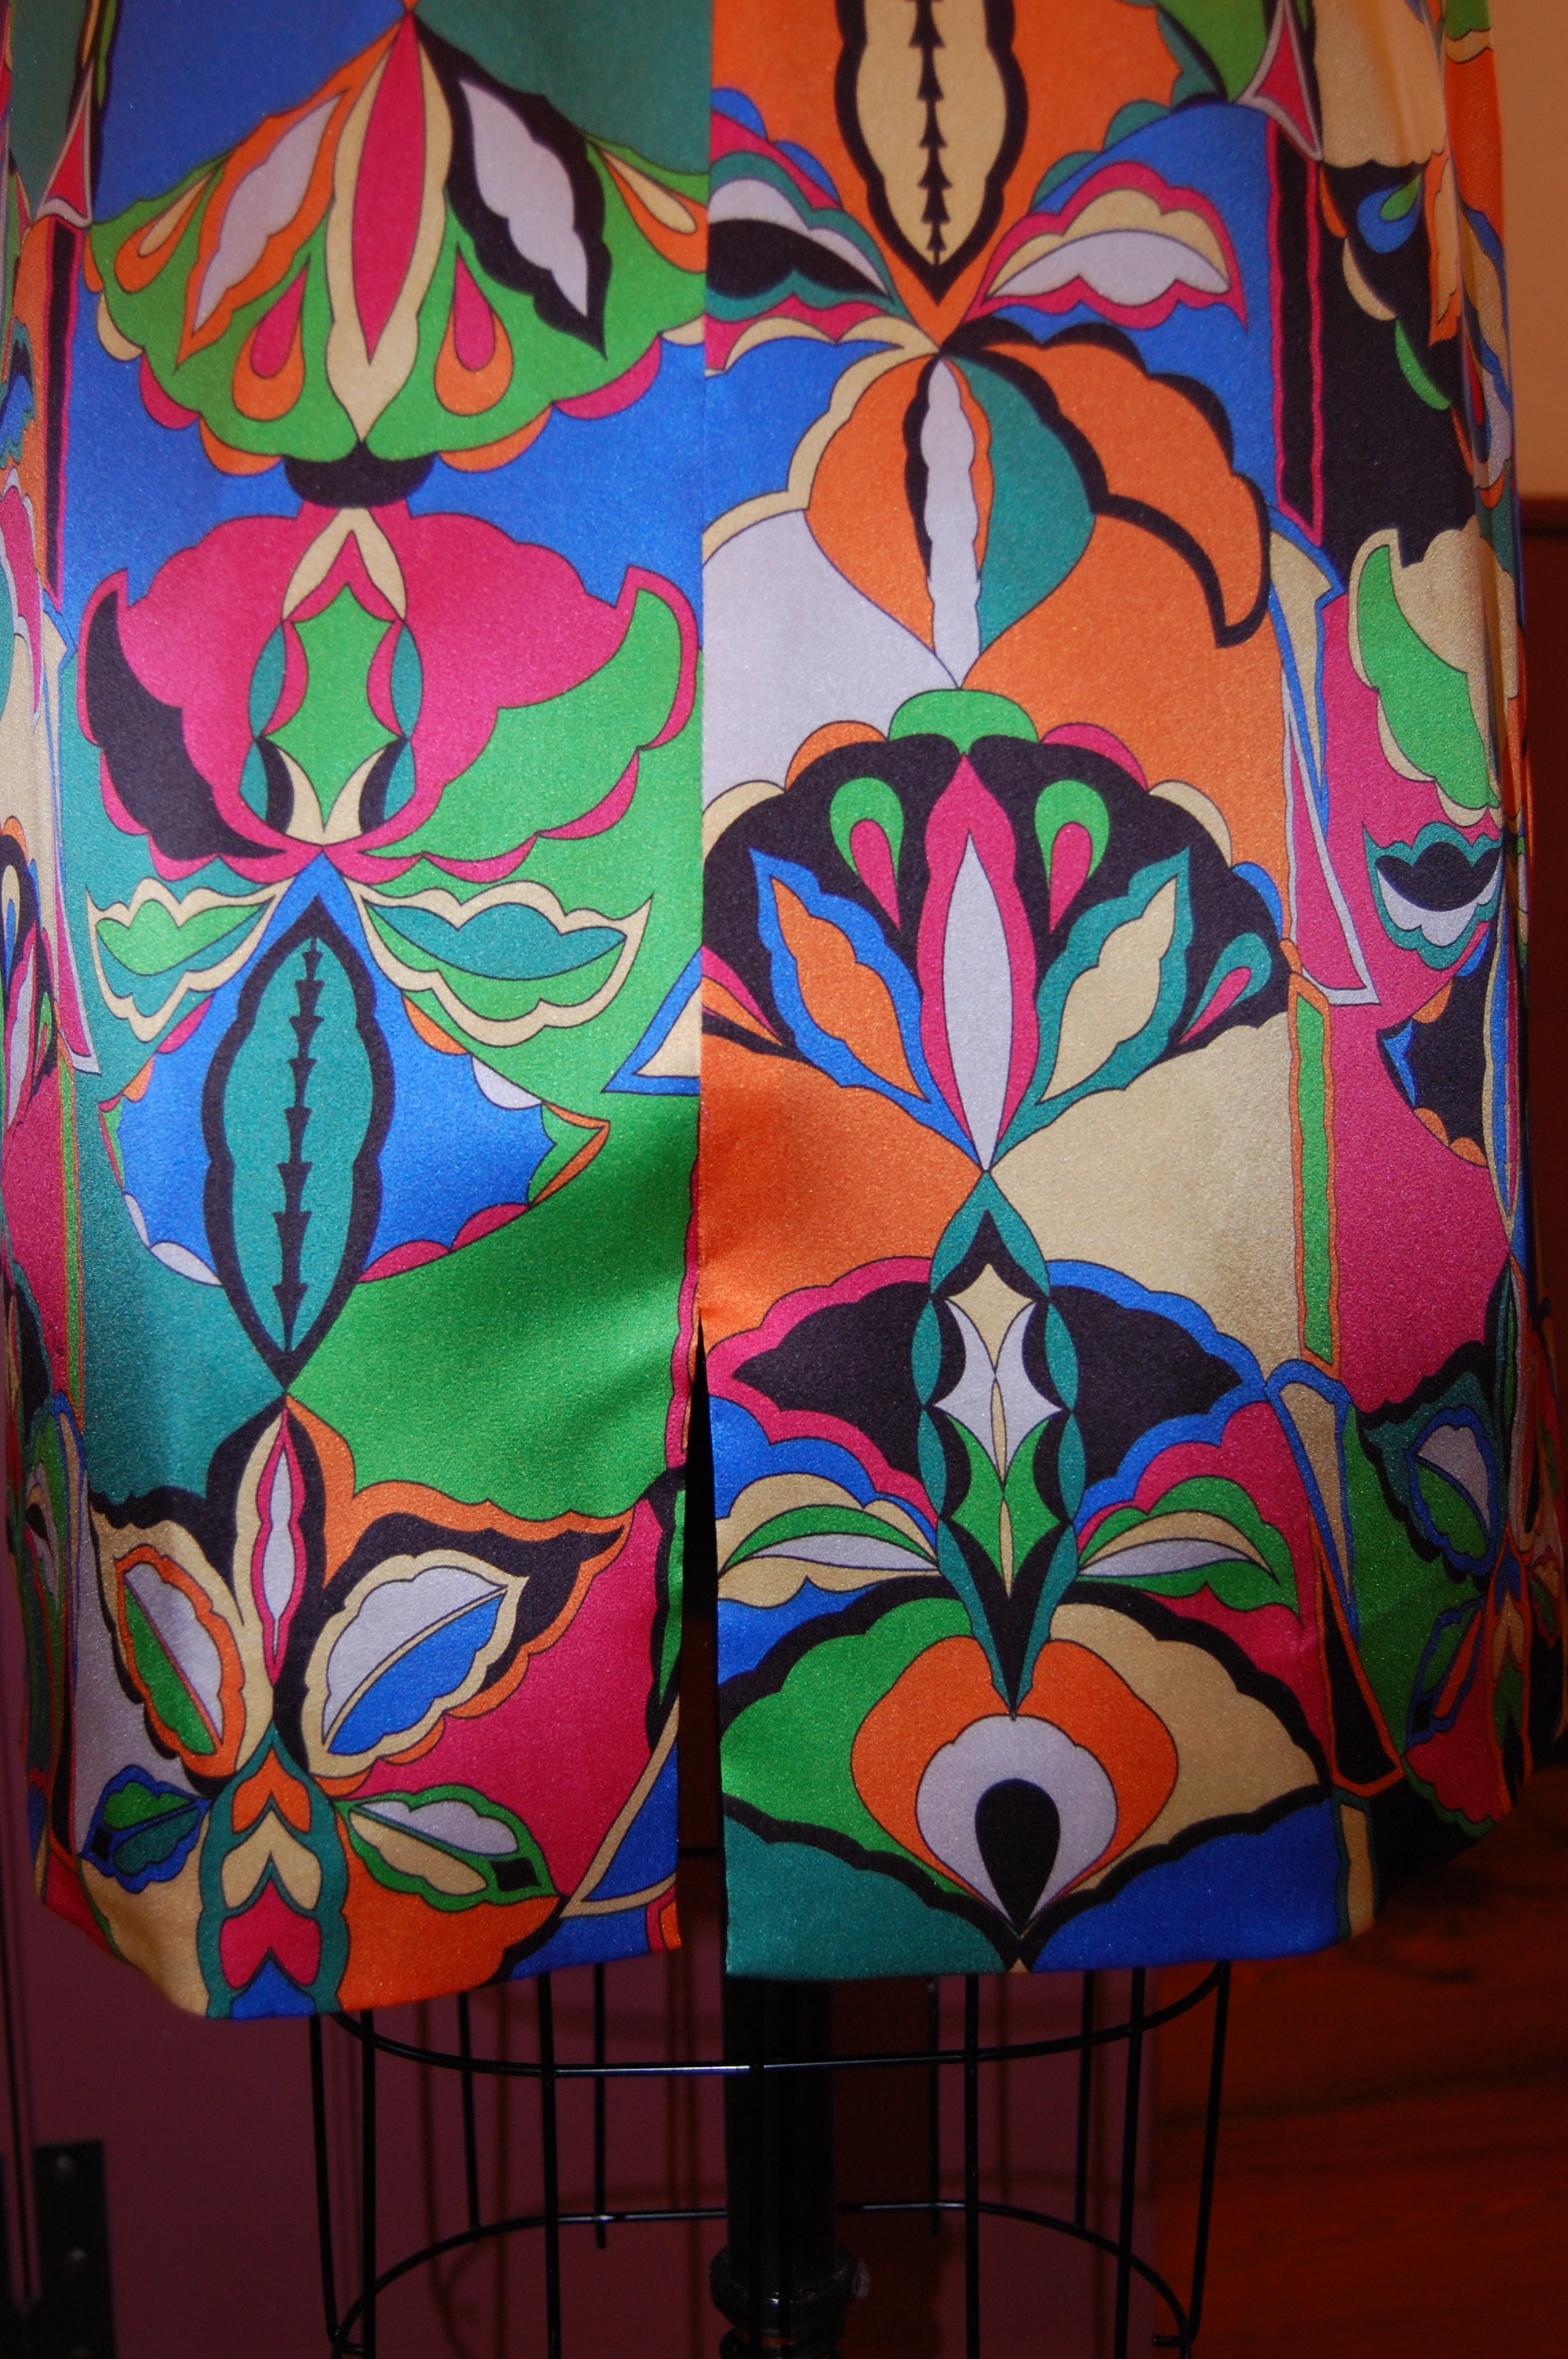
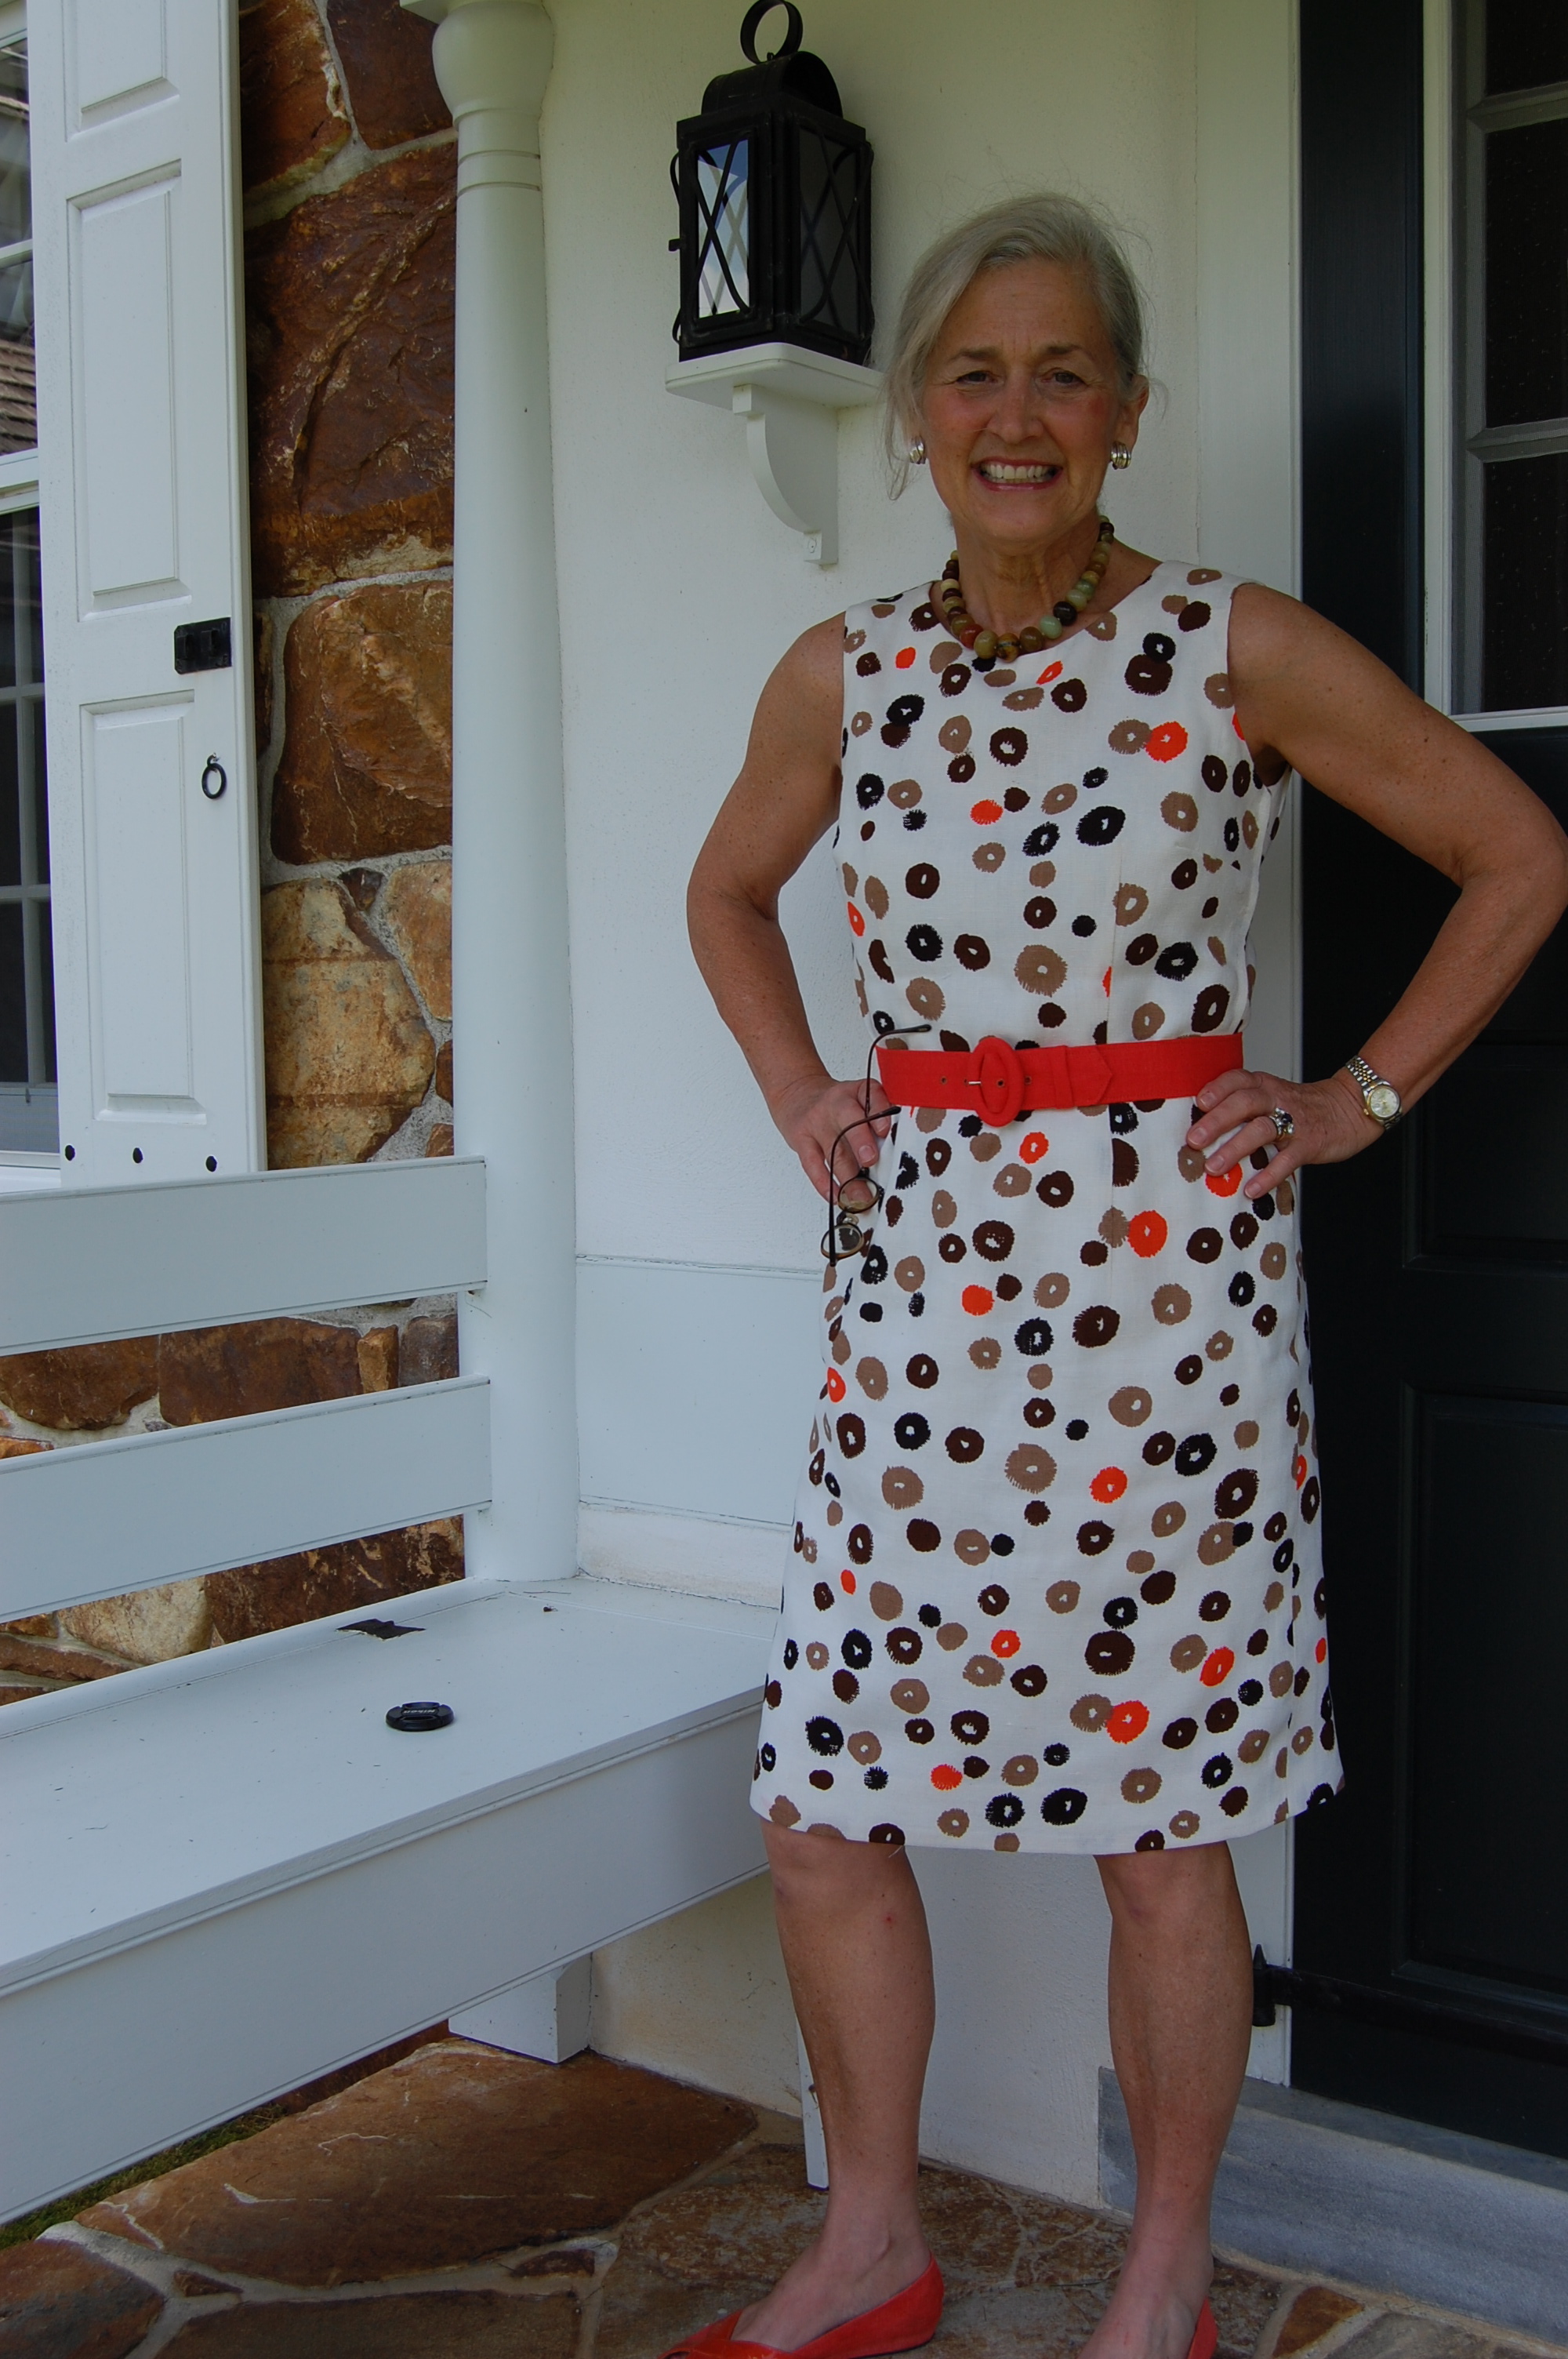
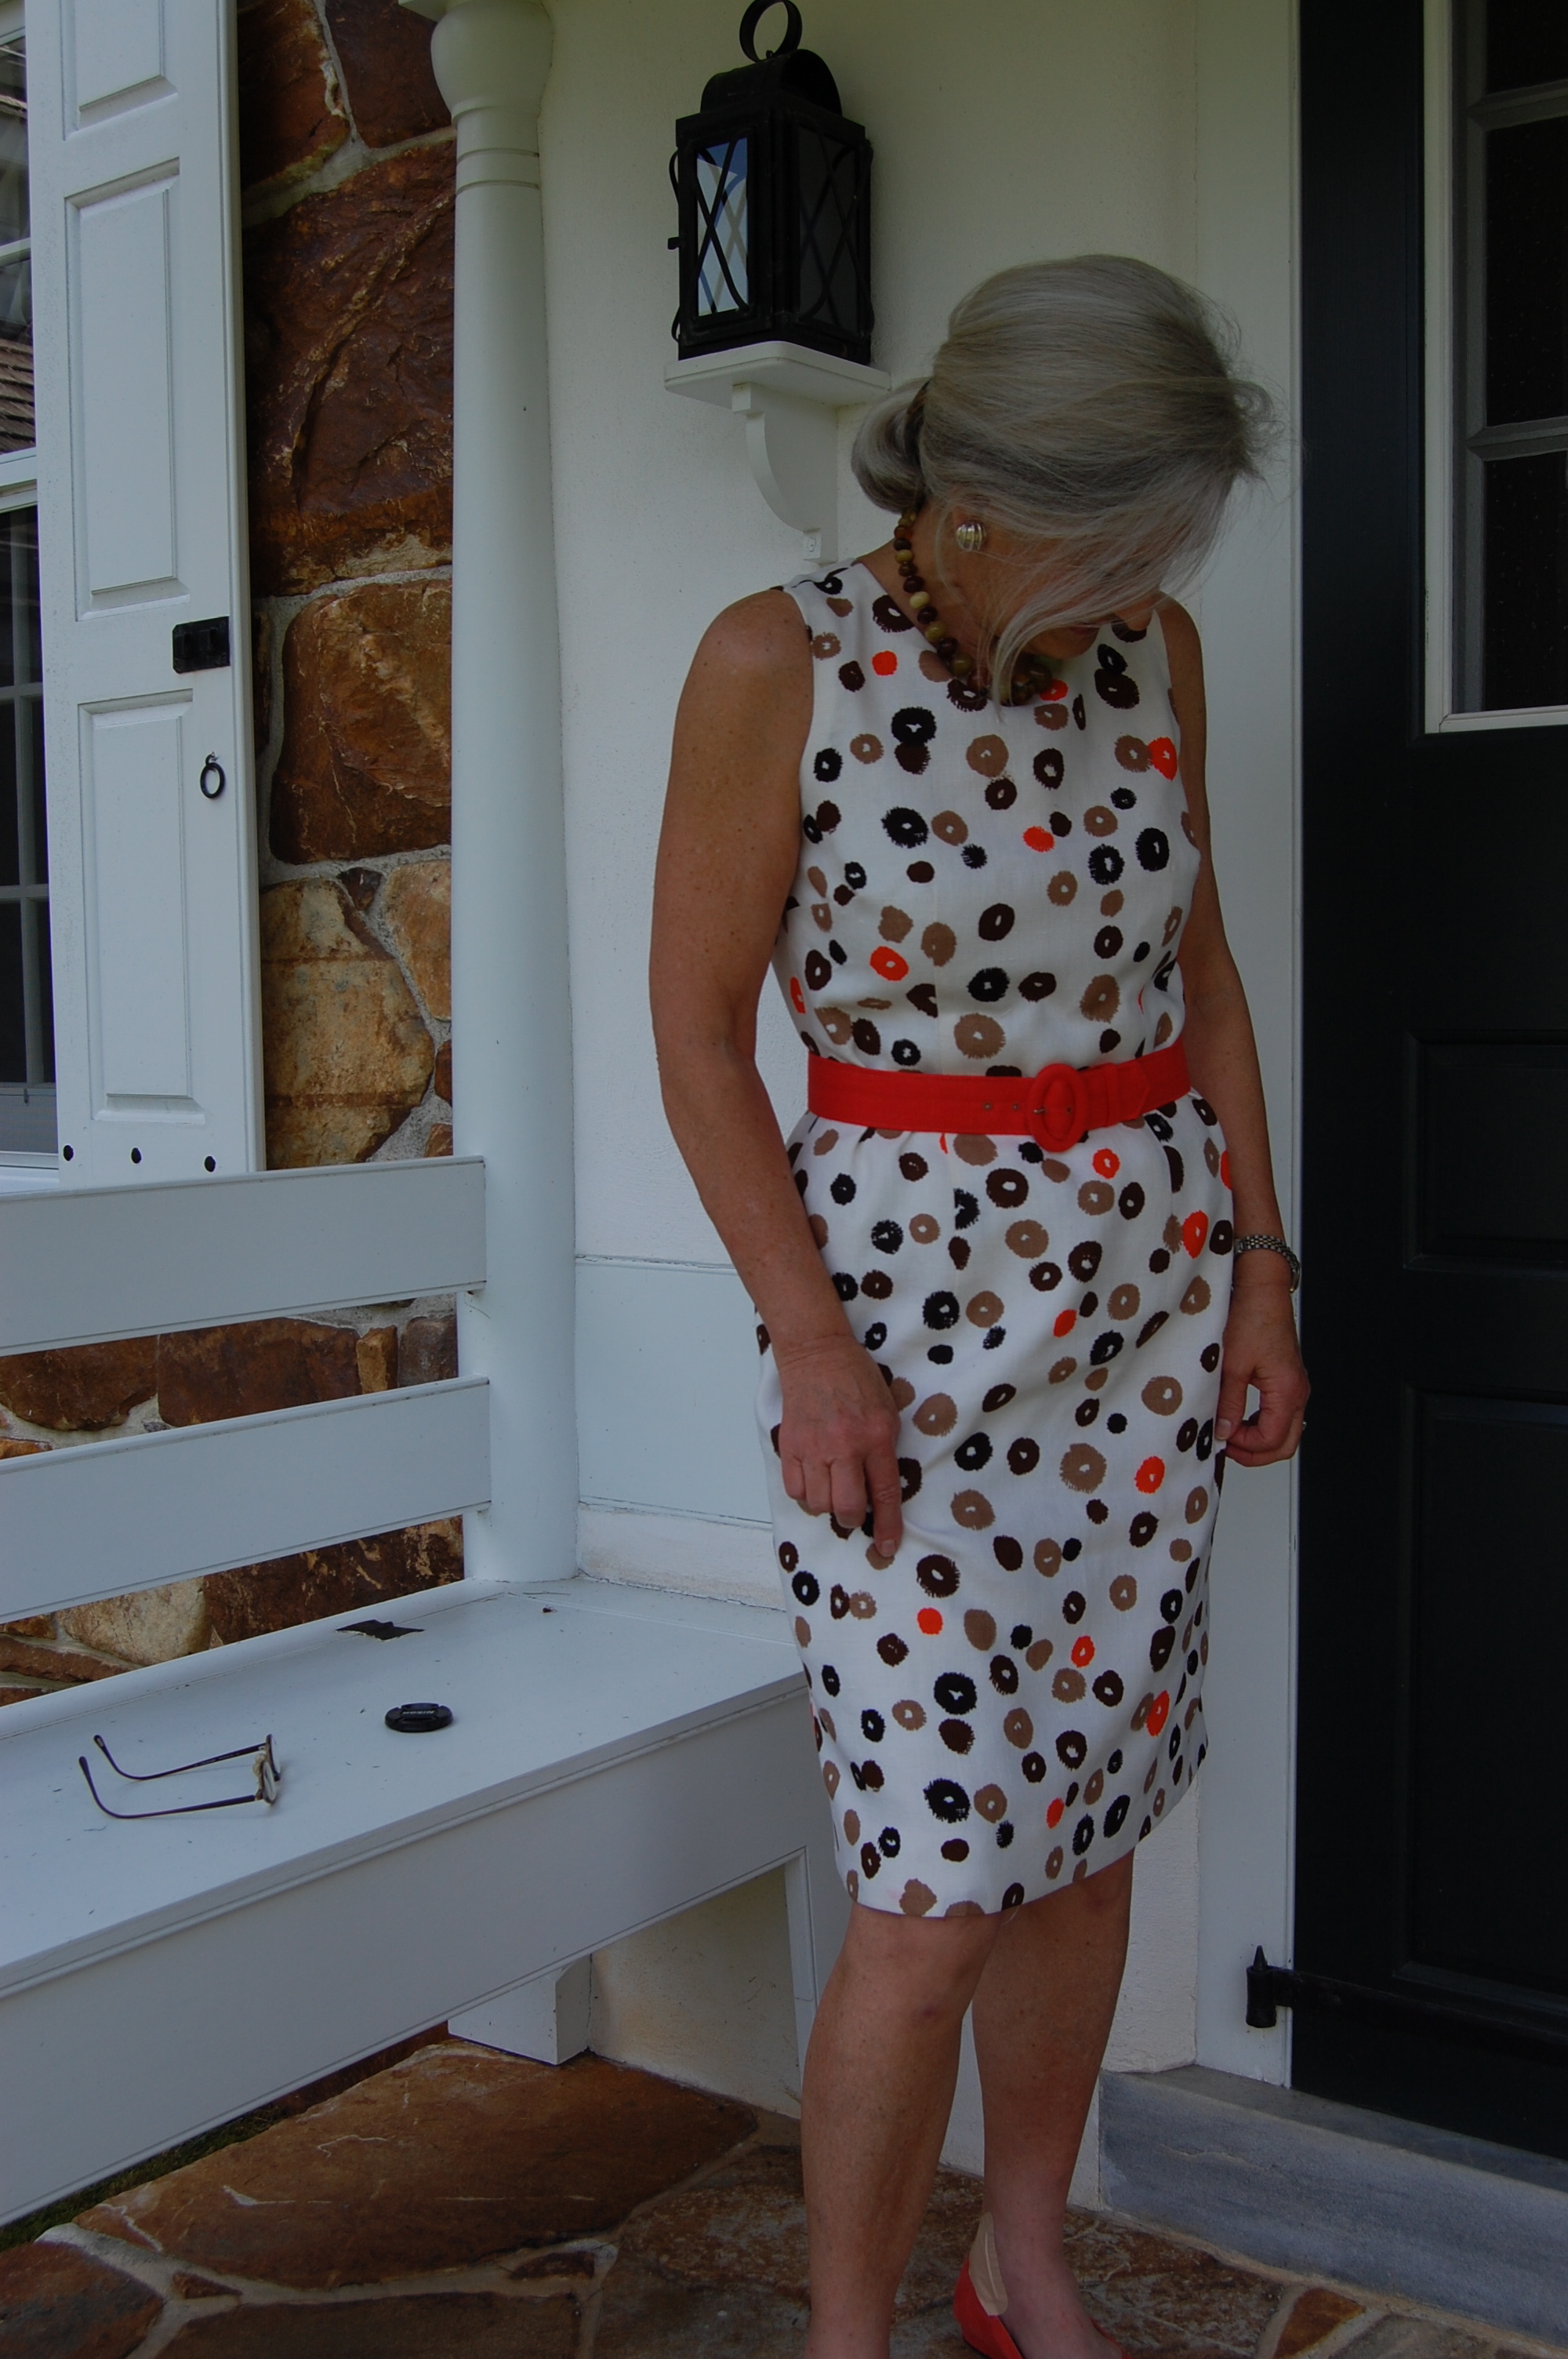
And then, another classic 1950s’ design detail worked right into this dress: I would need to move the zipper to the side in order for the back yoke to look correct. Now I will be the first to tell you that a side zipper is not as convenient as a back zipper, but it is a small sacrifice when everything else is enhanced by this placement. After these obeisances to ‘50s’ style, I slipped right into 2014 with a bright orange, newly made belt, a widened jewel neckline, slightly cut-in shoulders, and a back slit to enhance comfort. I like to choose the best from the ‘50s, but I really don’t want to look like the 1950s.

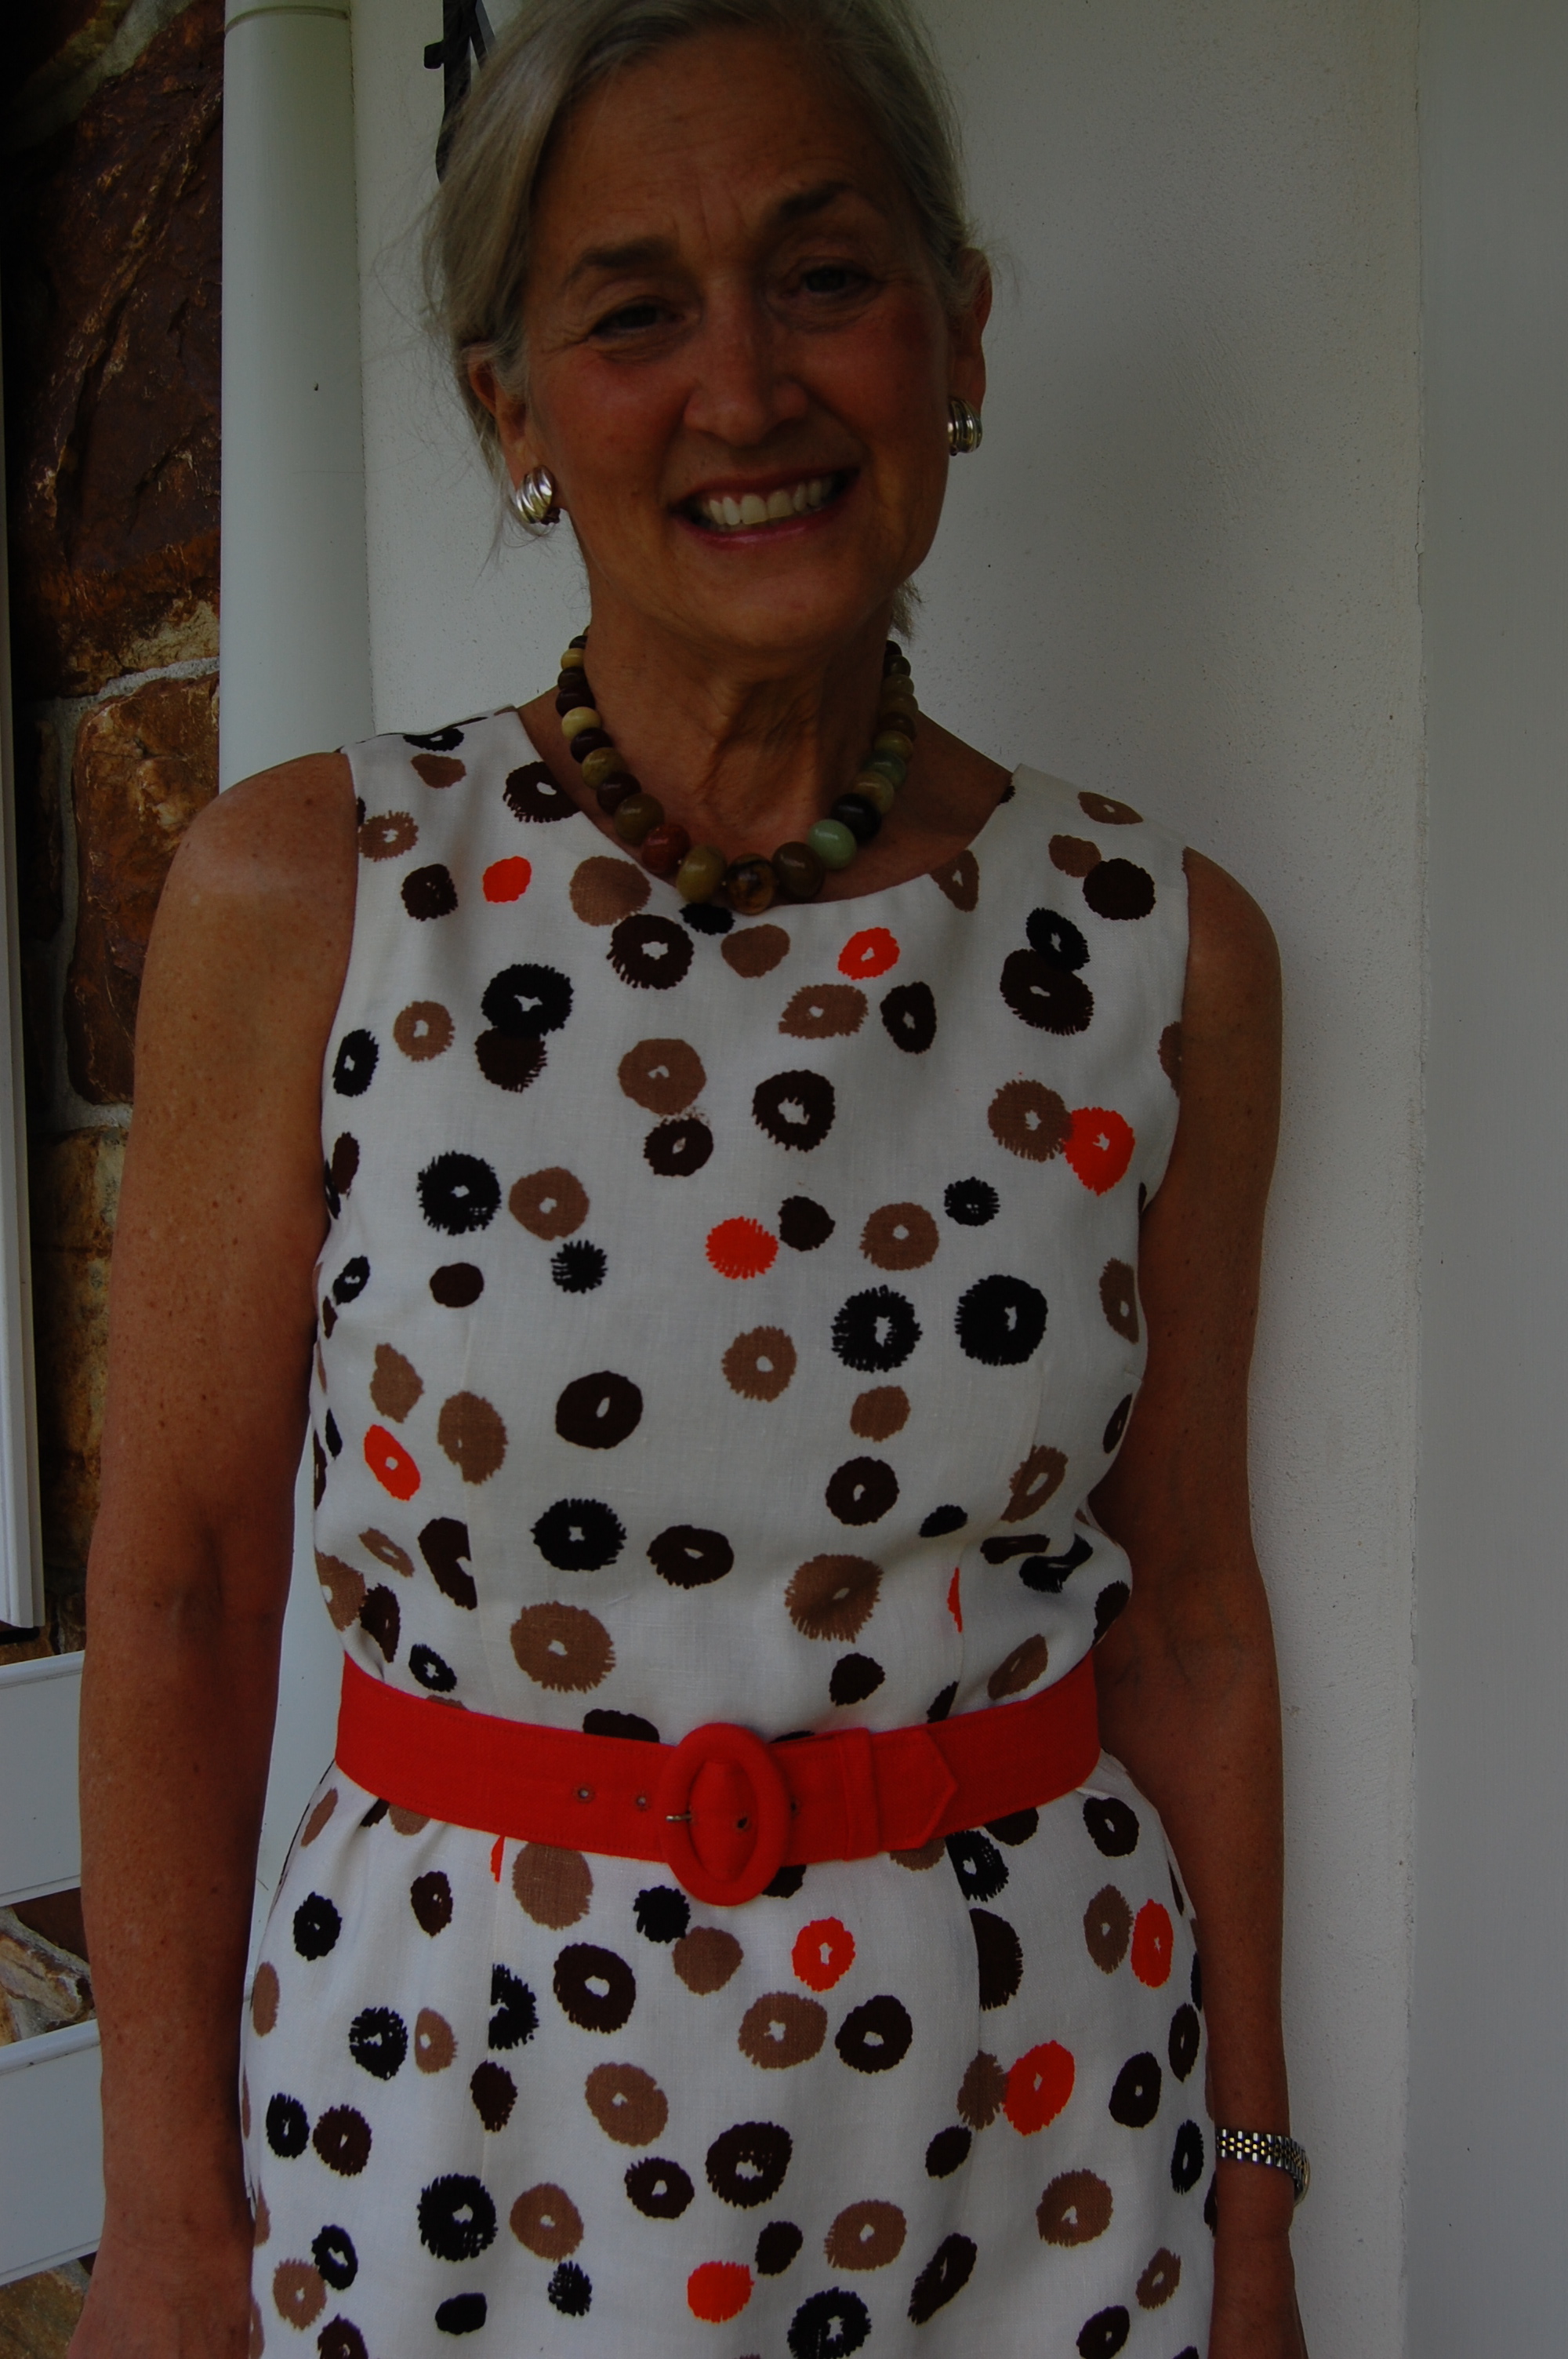
I sent new orange linen to Pat Mahoney of Pat’s Custom Belts and Buttons and this lovely belt came back to me in the mail.
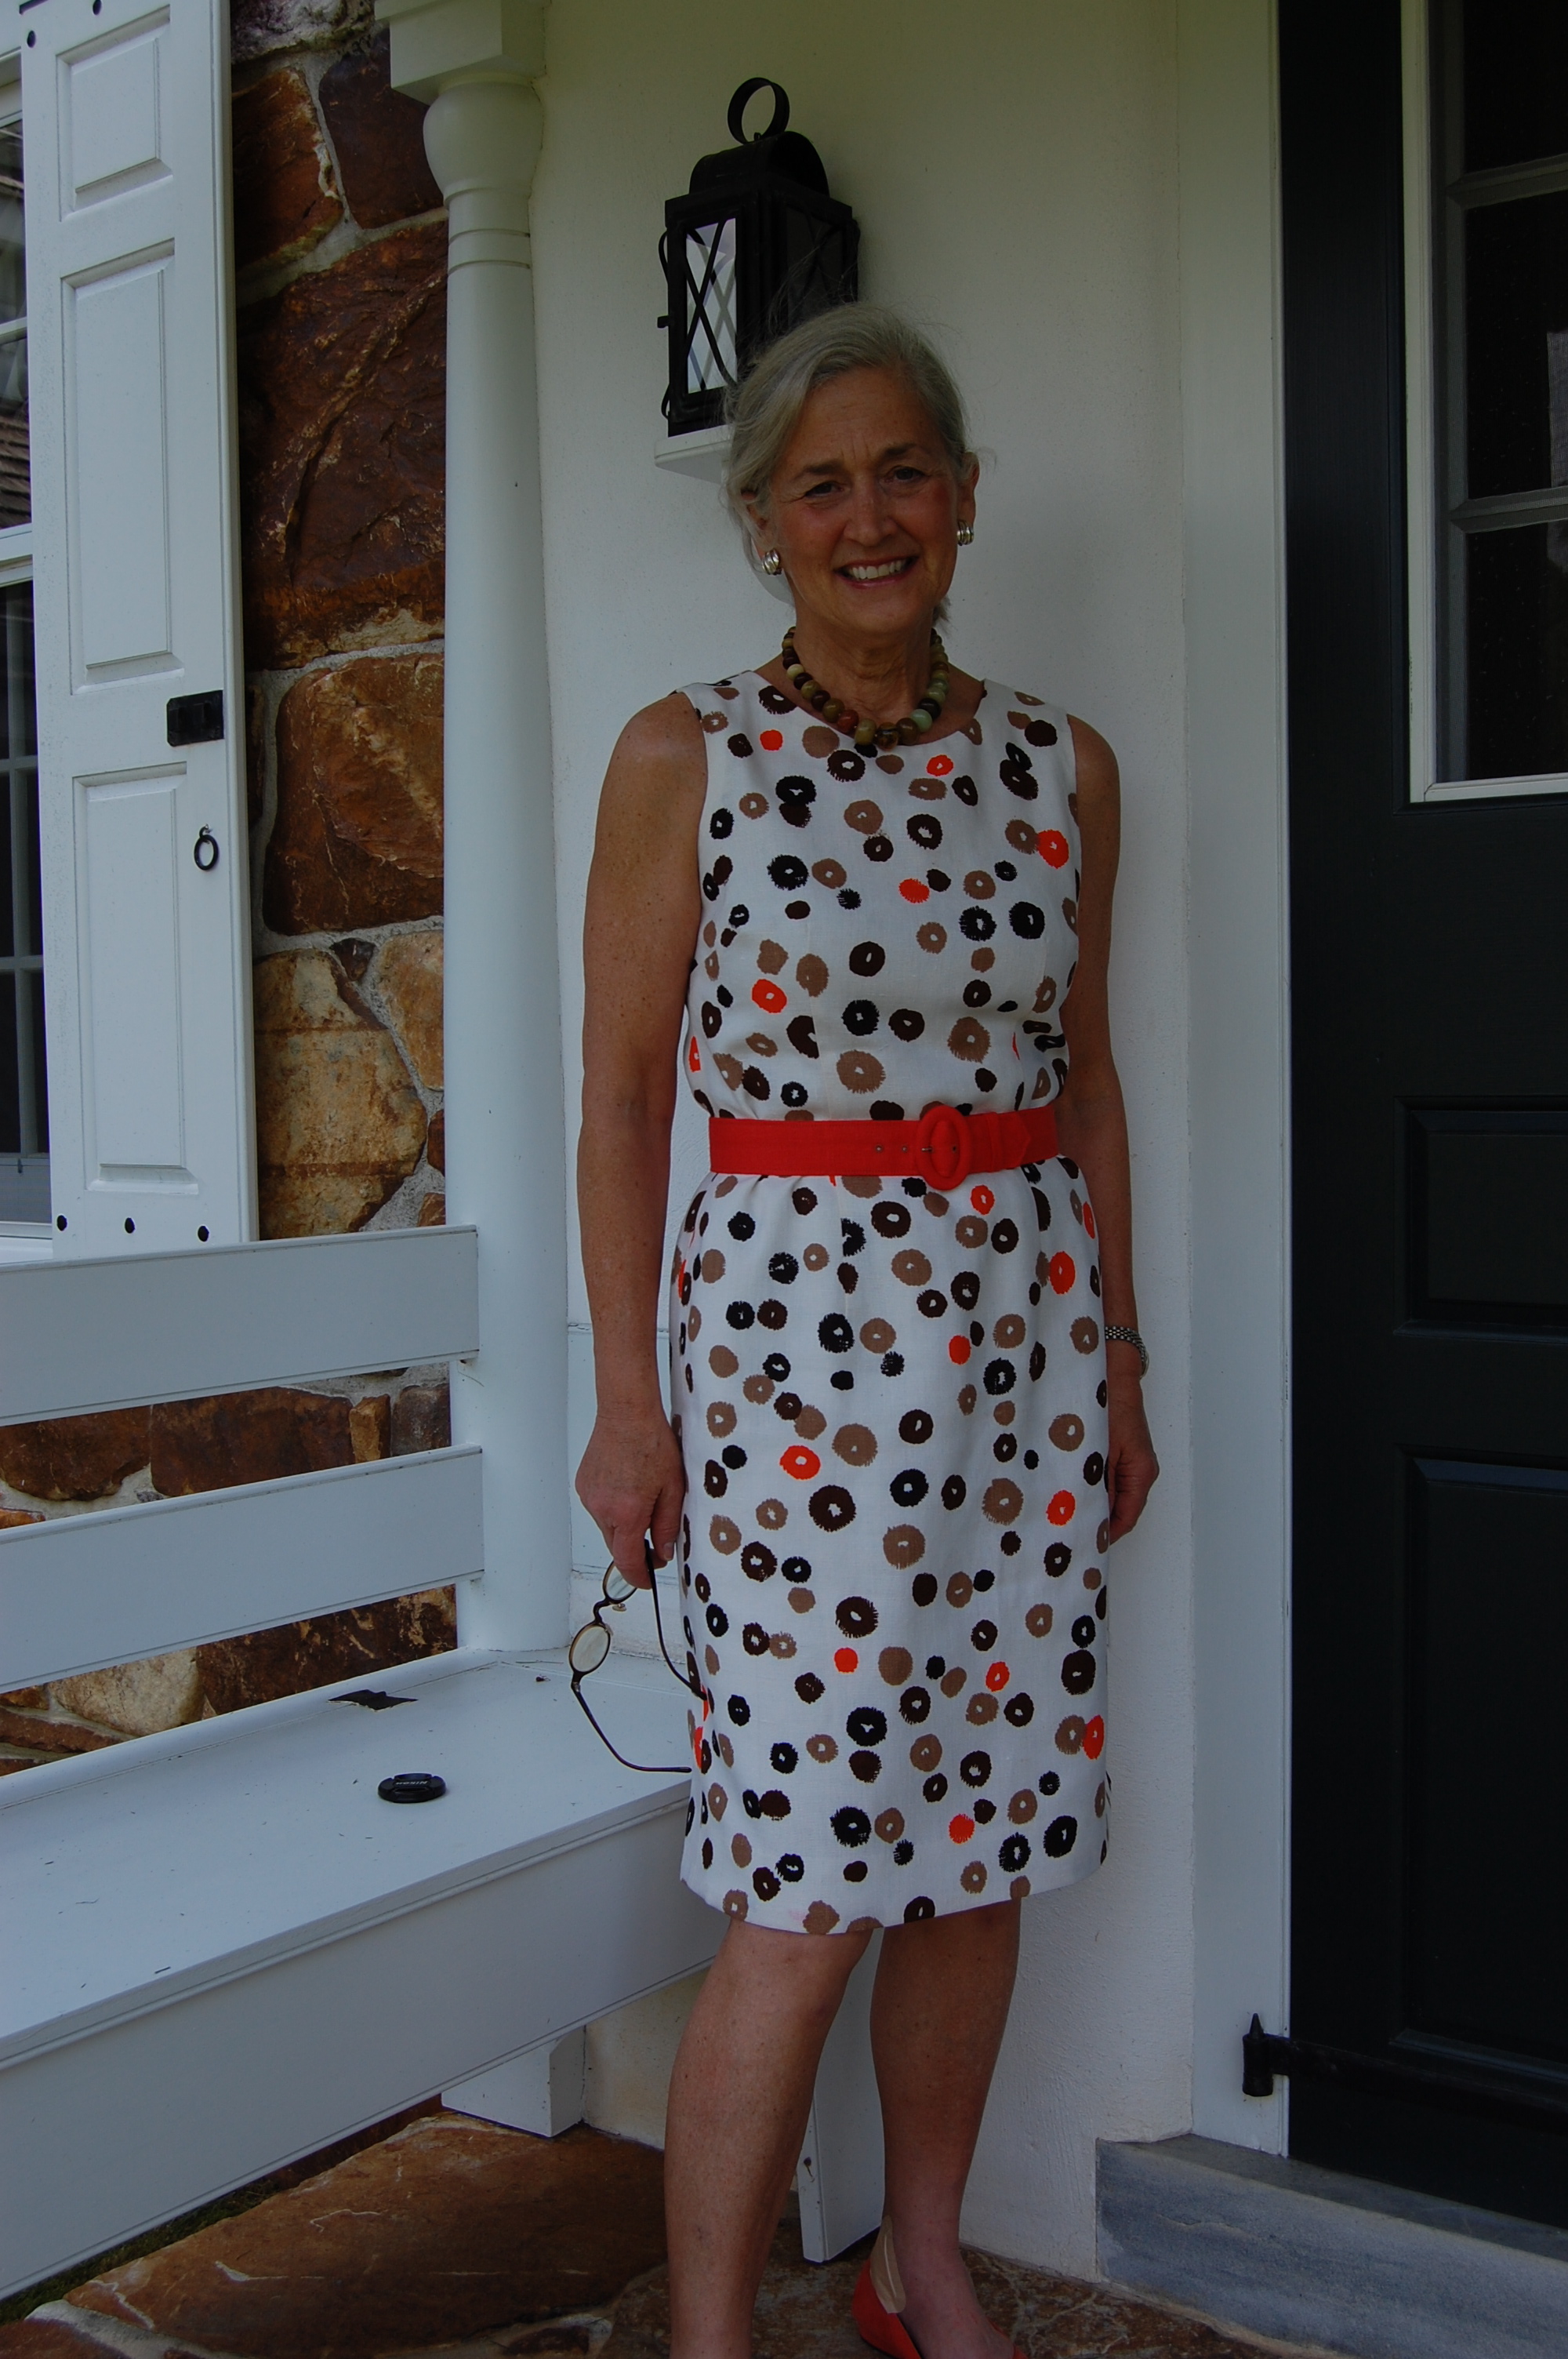
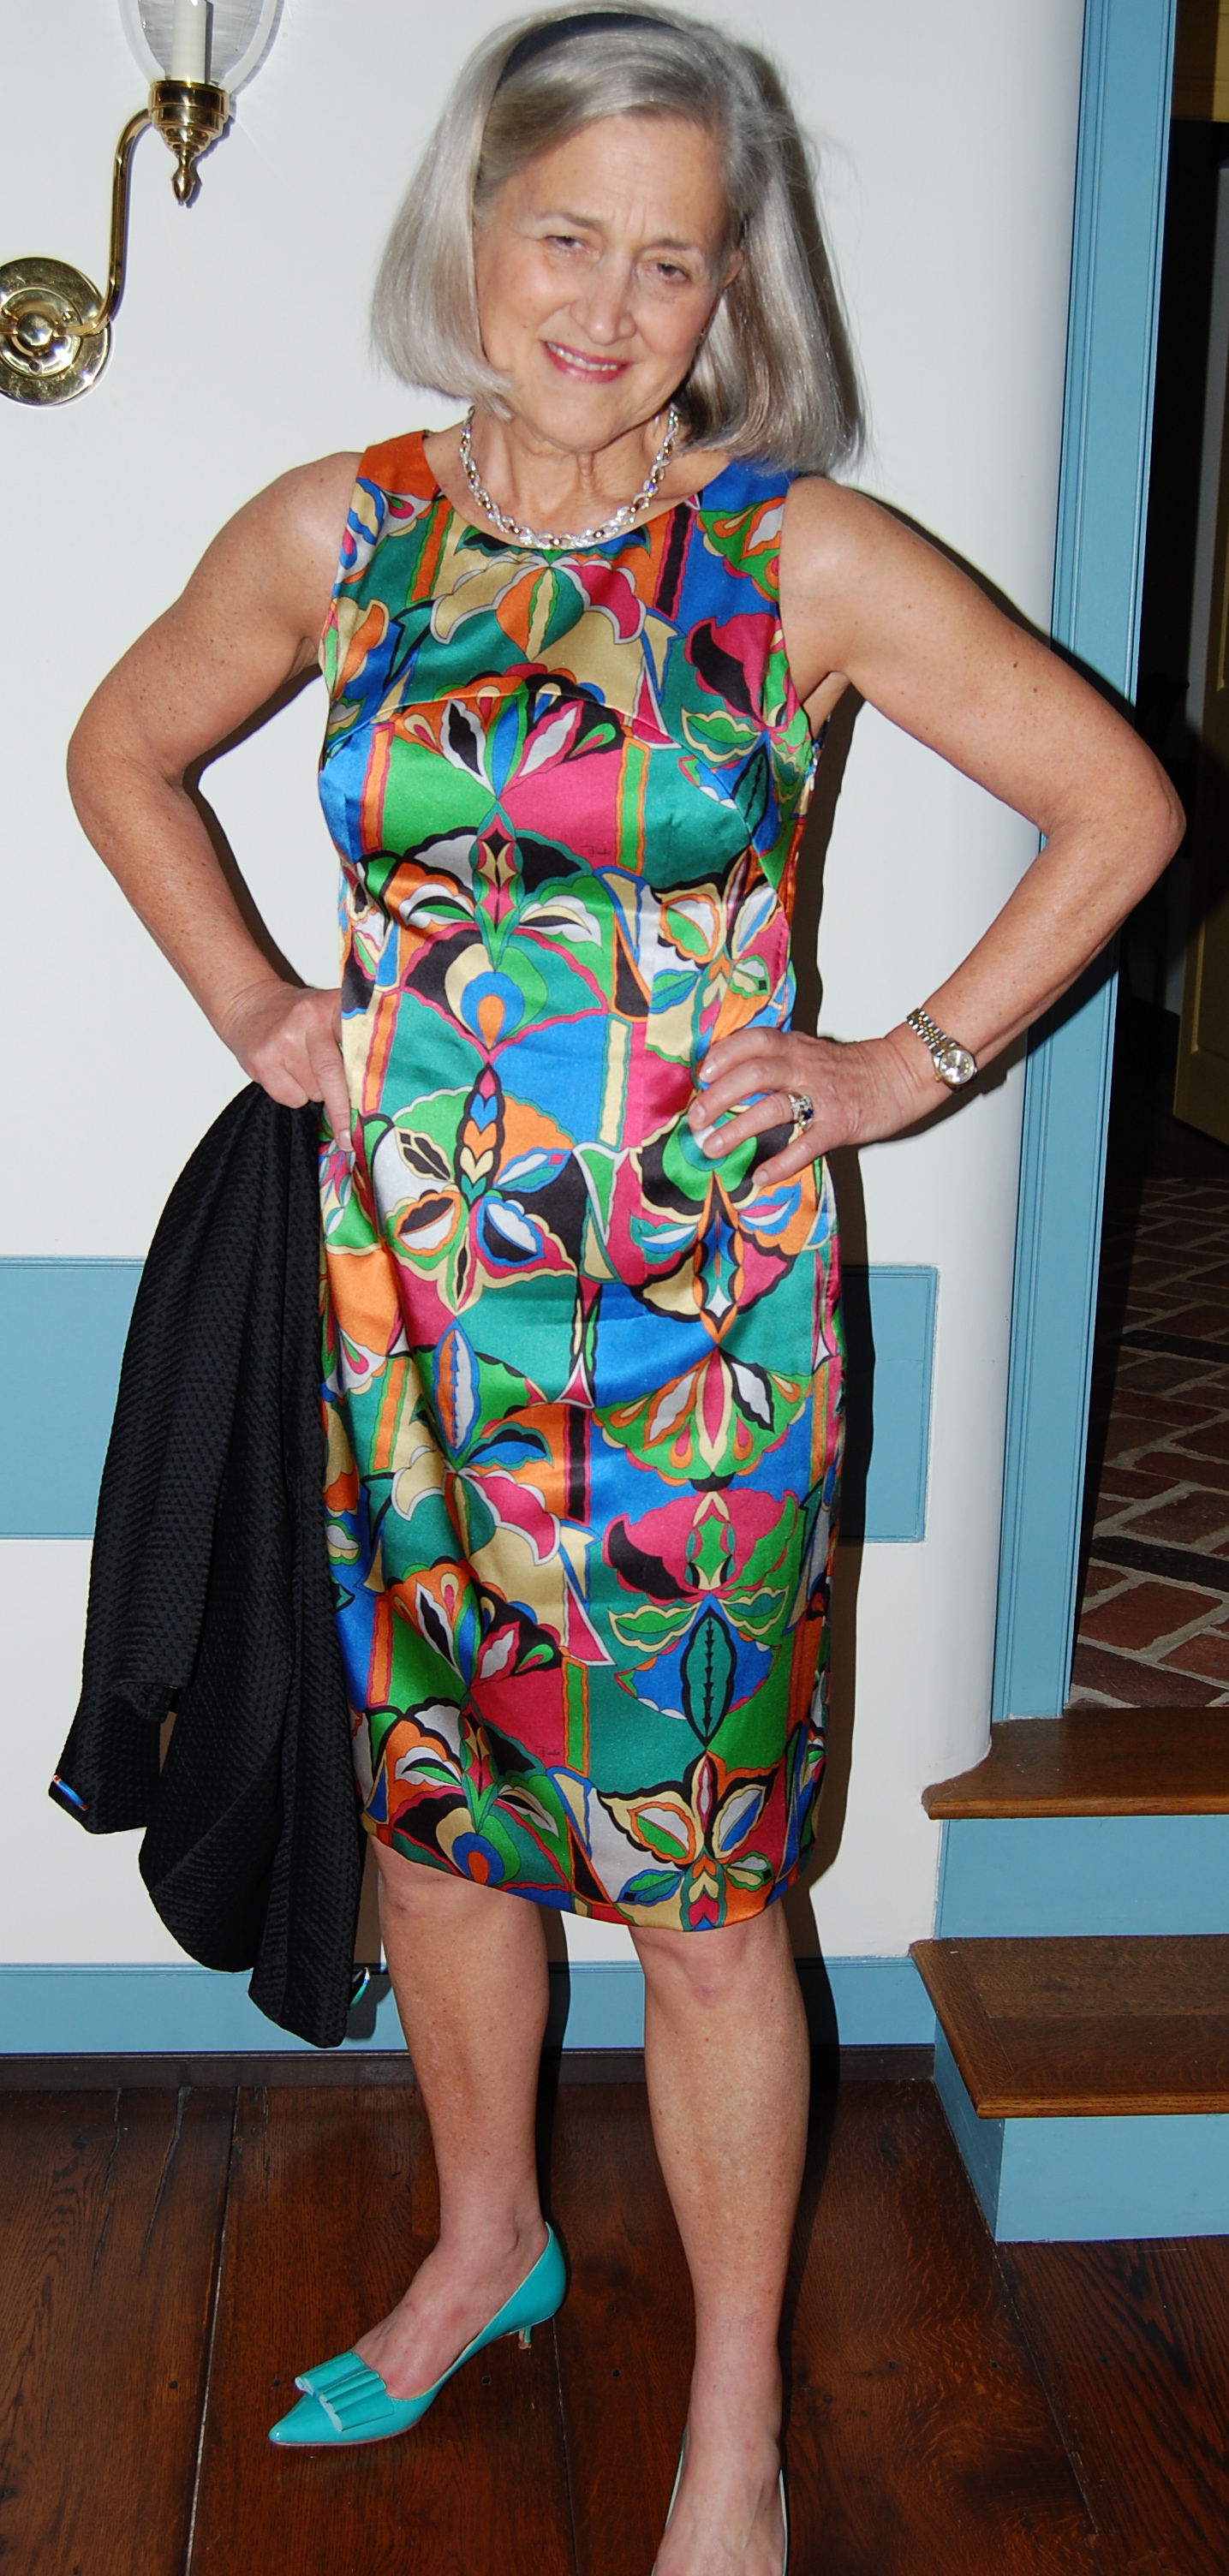
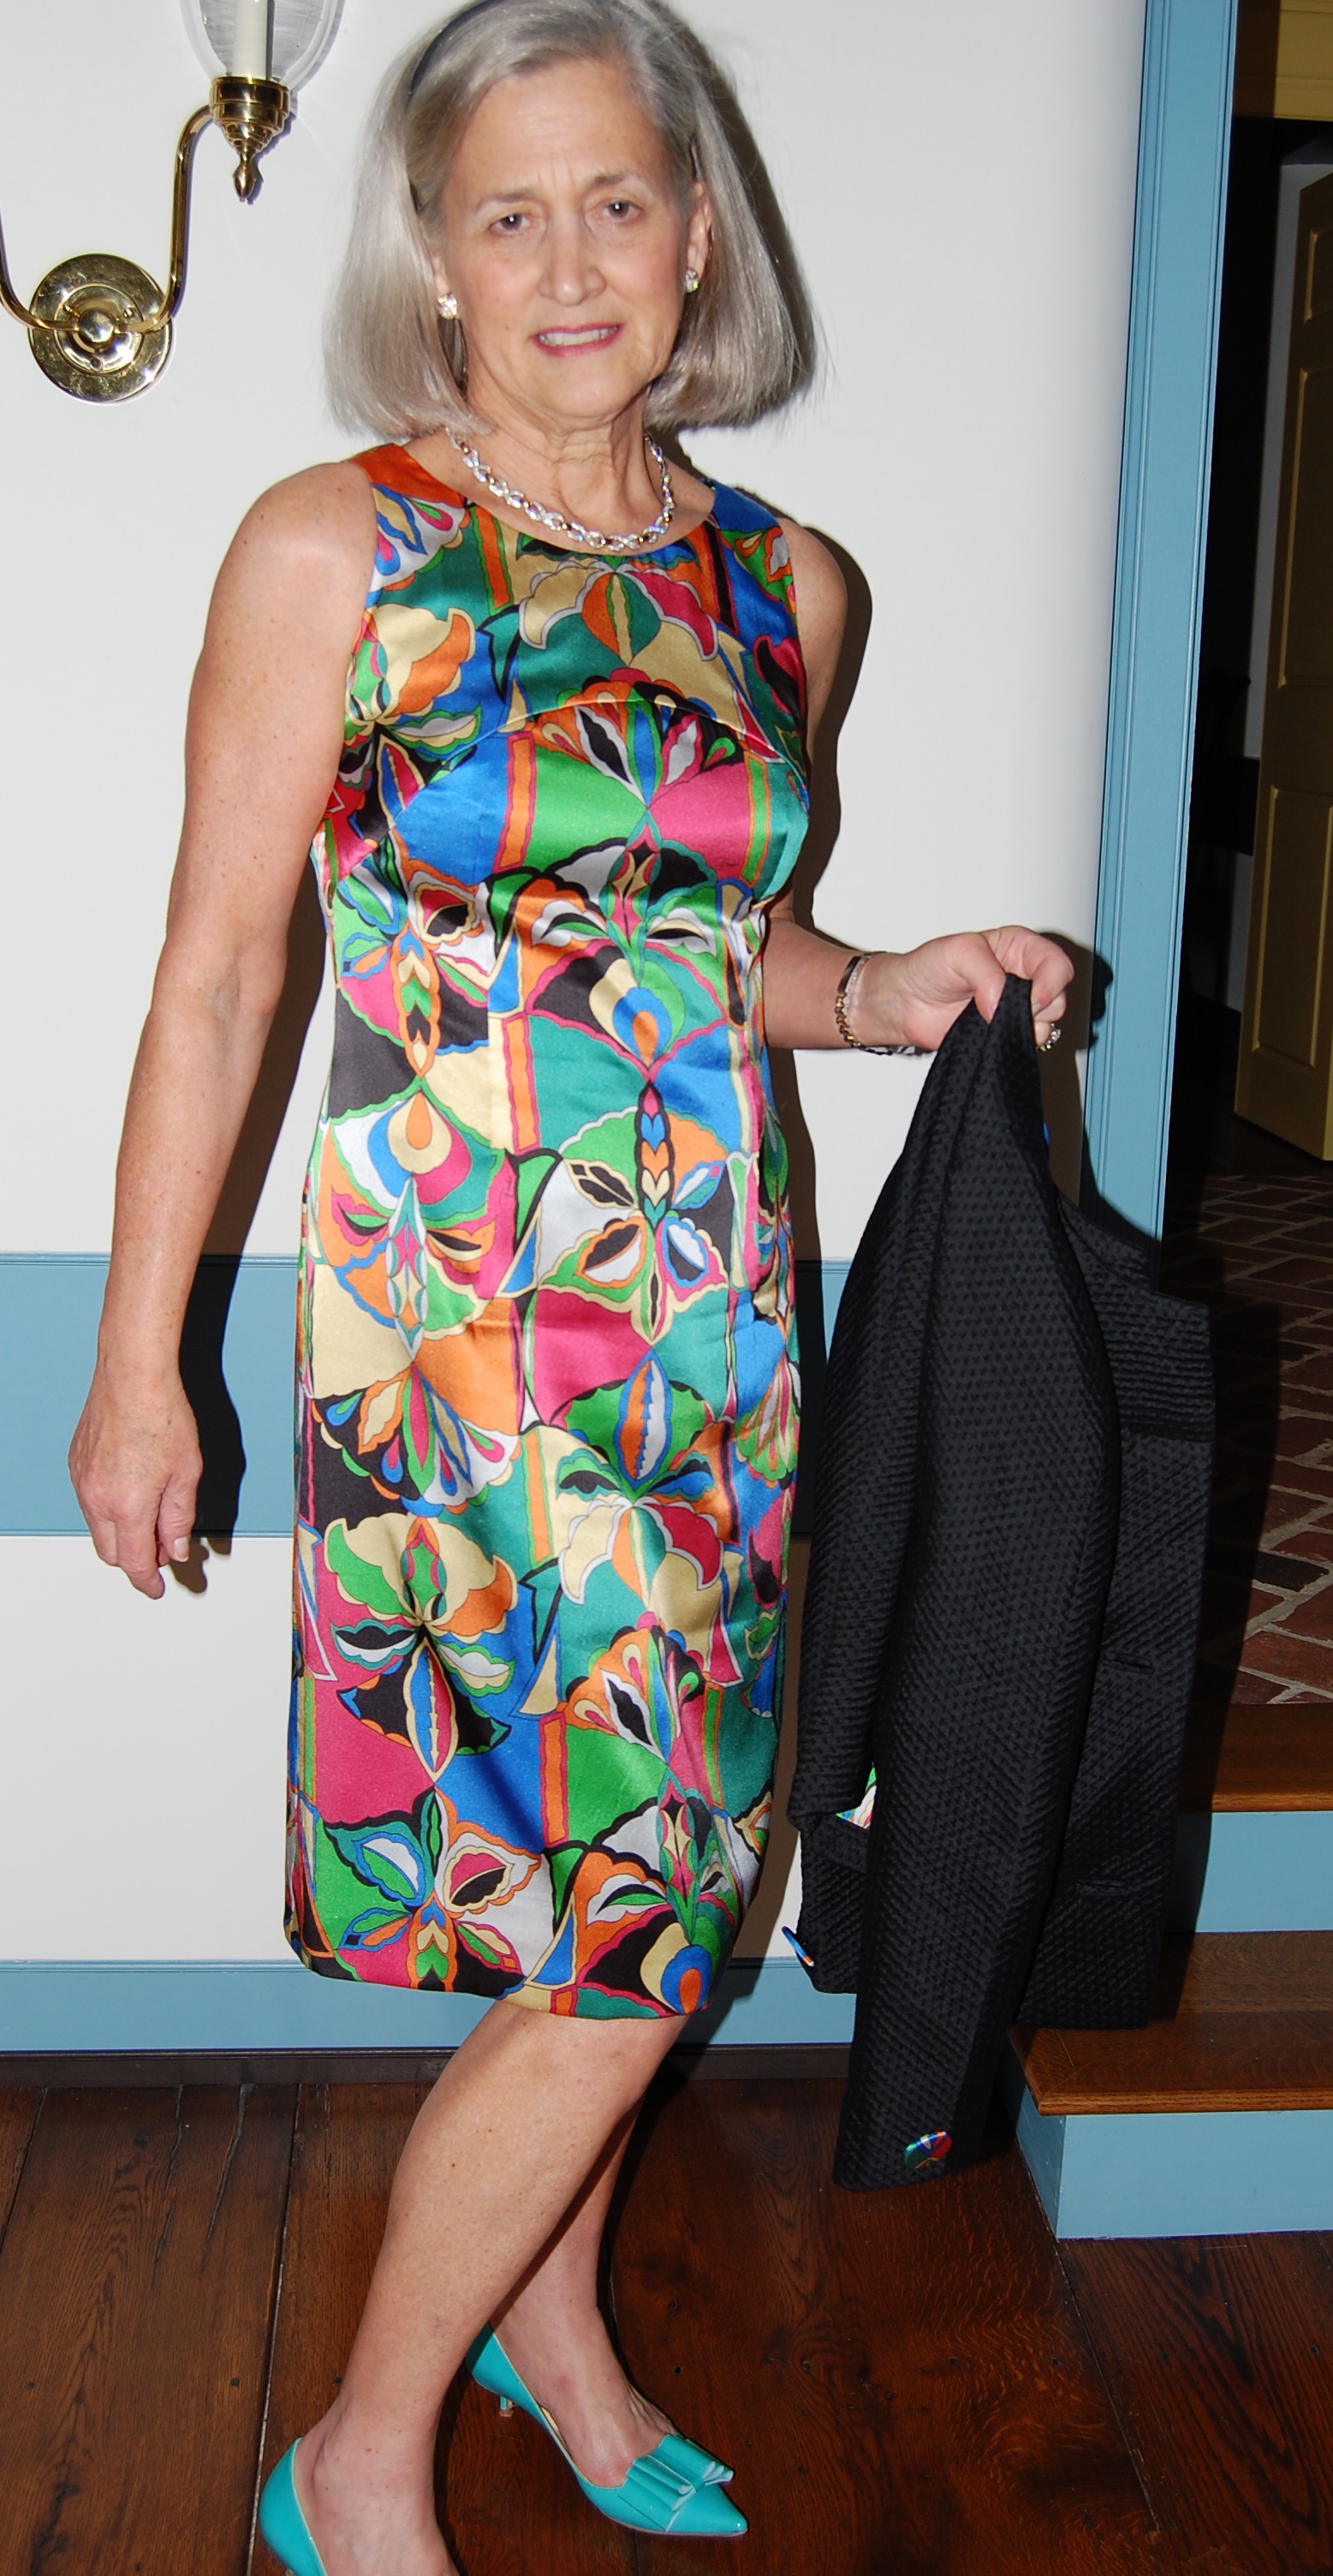
Cool and summery-looking, don’t you think?

Not every dress can have a story, nor should it. But this fabric, which began its life in Ireland, no doubt entered this country through New York City, ordered by a store in Fresno, California, purchased and squirreled away for decades by persons unknown – has now found a starring role in my wardrobe almost 60 years later. Sewing is just so much fun!